TV Wall Decor · How-To
15 Steps To Nail Wall Design Ideas Living Room

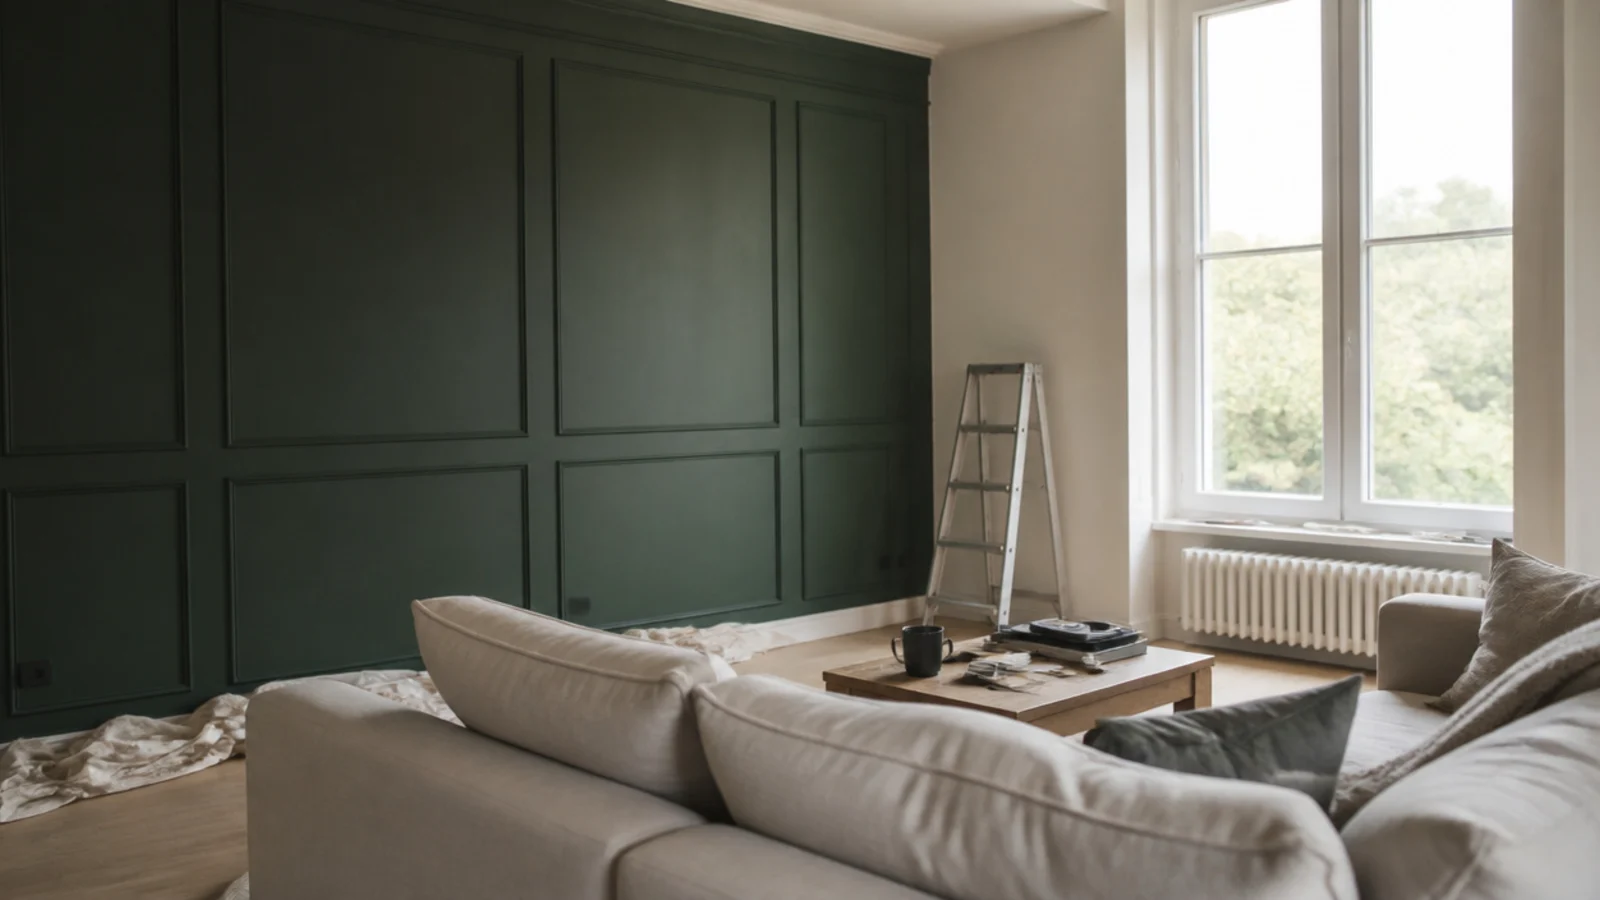
Most living room walls fail in the planning rather than the doing. The paint is fine, the panelling is neat, and the whole thing still looks slightly wrong because it was decided in the wrong order. The wall design ideas living room owners actually keep are the ones that started with the seating position and the light, not with a photograph. These fifteen steps are the sequence I use, and roughly three hours of measuring, sampling and drawing at the front removes almost all of the rework at the back. Only two of the steps involve tools.
In this guide18 sections — tap to openHide
- 1.What You'll Need For Wall Design Ideas Living Room Projects
- 2.Step 1: Decide which wall the room actually looks at
- 3.Step 2: Measure the room and draw it flat
- 4.Step 3: Fix the focal point before anything else
- 5.Step 4: Watch the light cross the wall for a day
- 6.Step 5: Take the palette from the biggest thing you own
- 7.Step 6: Settle the furniture layout first
- 8.Step 7: Choose the treatment and its depth
- 9.Step 8: Sample big, and move the sample around
- 10.Step 9: Map the sockets, switches and radiator
- 11.Step 10: Set the horizontal lines across the room
- 12.Step 11: Set out from the centre, not the corner
- 13.Step 12: Write the order list with ten percent spare
- 14.Step 13: Prepare the wall properly before anything
- 15.Step 14: Paint, fix, fill, caulk, then topcoat
- 16.Step 15: Light it, then leave it alone for a week
- 17.Pro Styling Rules
- 18.Mistakes to Skip
What You'll Need For Wall Design Ideas Living Room Projects
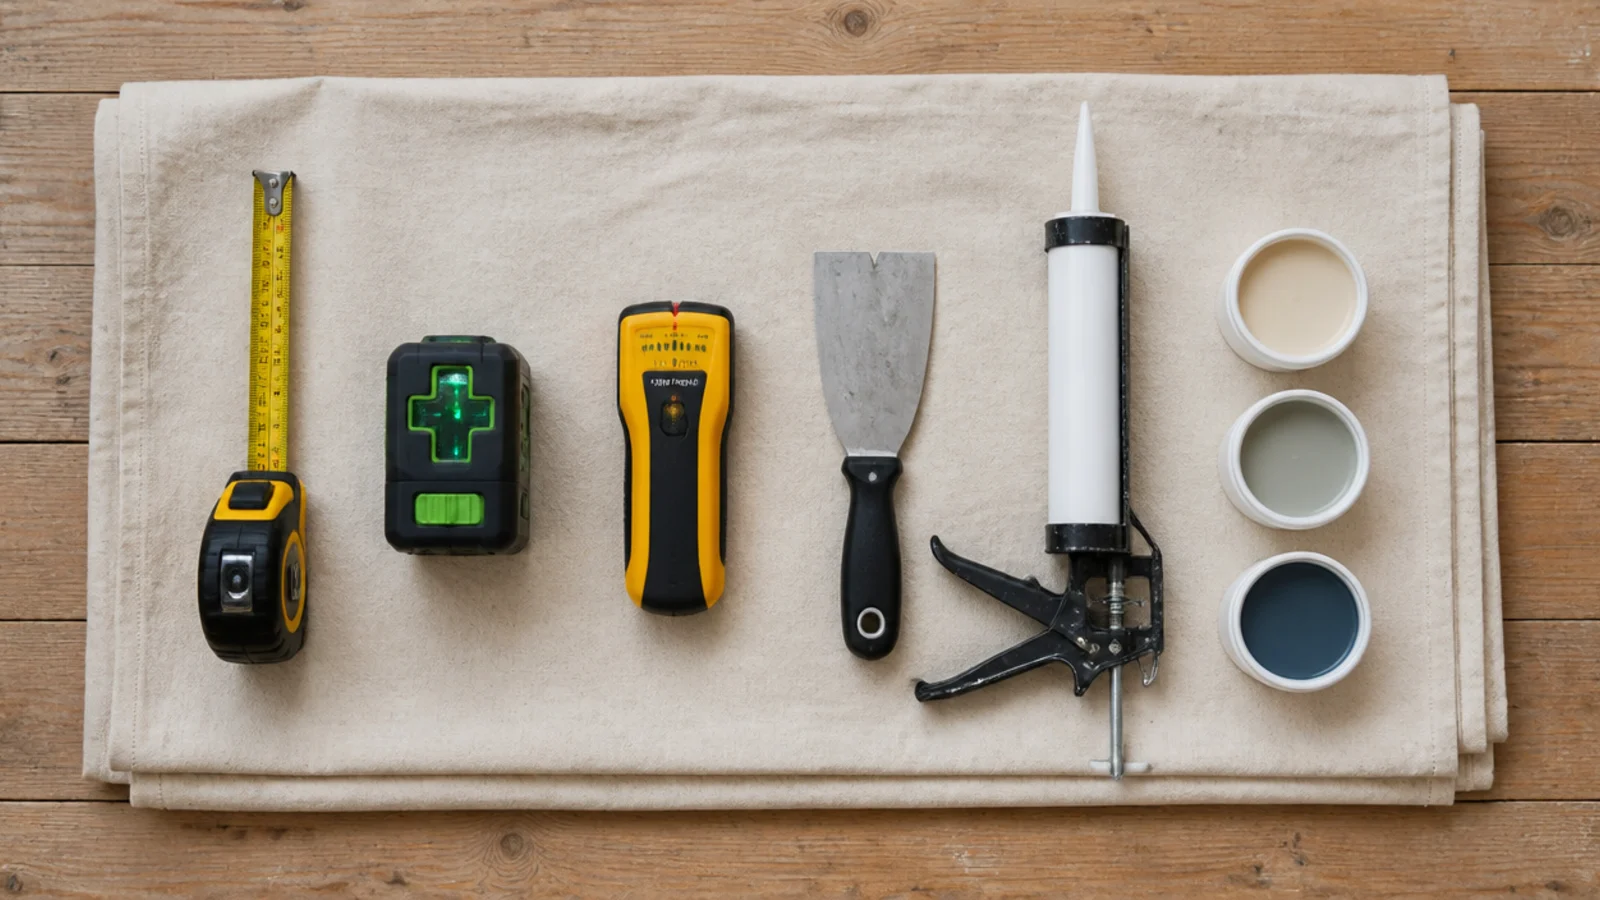
Most of this list measures rather than builds. Expect around 90 dollars if you own none of it, plus materials once the plan is settled.
| Item | Spec that matters | Rough cost |
|---|---|---|
| Tape measure and folding rule | 5m tape plus a rigid rule for depths | $15 |
| Laser or spirit level | Self-levelling cross line, or 1200mm spirit | $25–$70 |
| Stud finder | Electronic with deep scan and live wire warning | $25–$55 |
| Chalk line and painters tape | Low-tack tape that lifts cleanly from paint | $12 |
| Graph paper and pencils | 1:20 scale, plus a red pencil for services | $5 |
| Sample pots and lining paper | Three related tones, A2 boards minimum | $18–$30 |
| Filler, caulk, primer | Fine surface filler and flexible decorators caulk | $30 |
Step 1: Decide which wall the room actually looks at
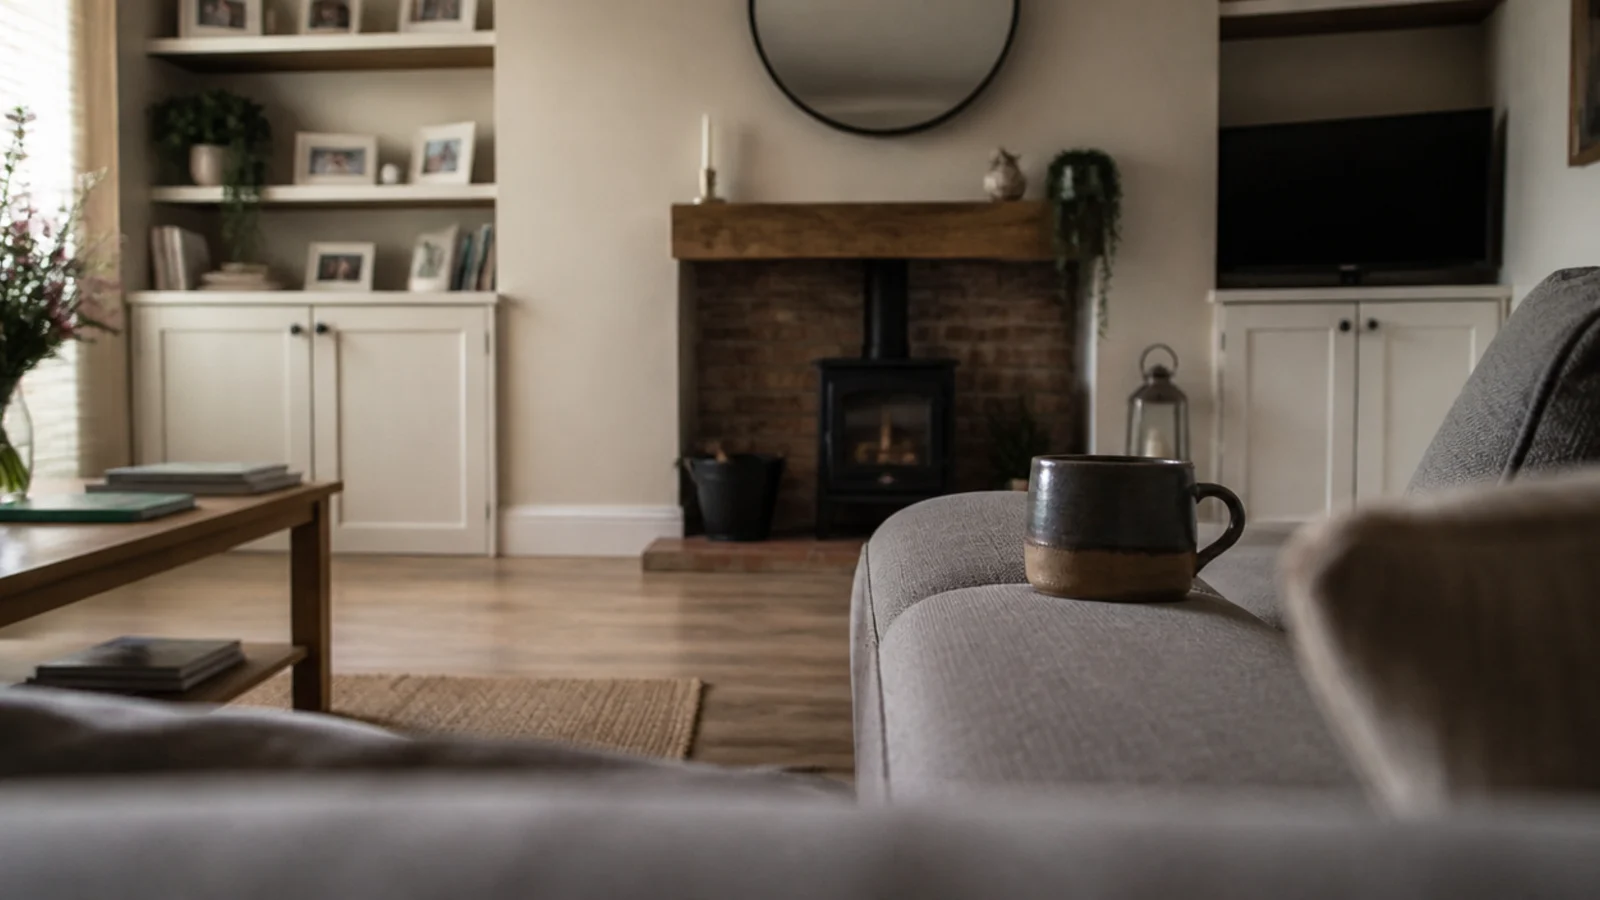
Sit in the main seat and look up. That wall is the feature wall, regardless of what you see walking through the door. In most rooms it is the chimney breast or the screen wall. The wall behind the sofa only qualifies when a second seating position faces it directly. Photograph the room from that seat and work from the photograph, because standing up adds about a foot of height and changes which surfaces you notice.
Step 2: Measure the room and draw it flat
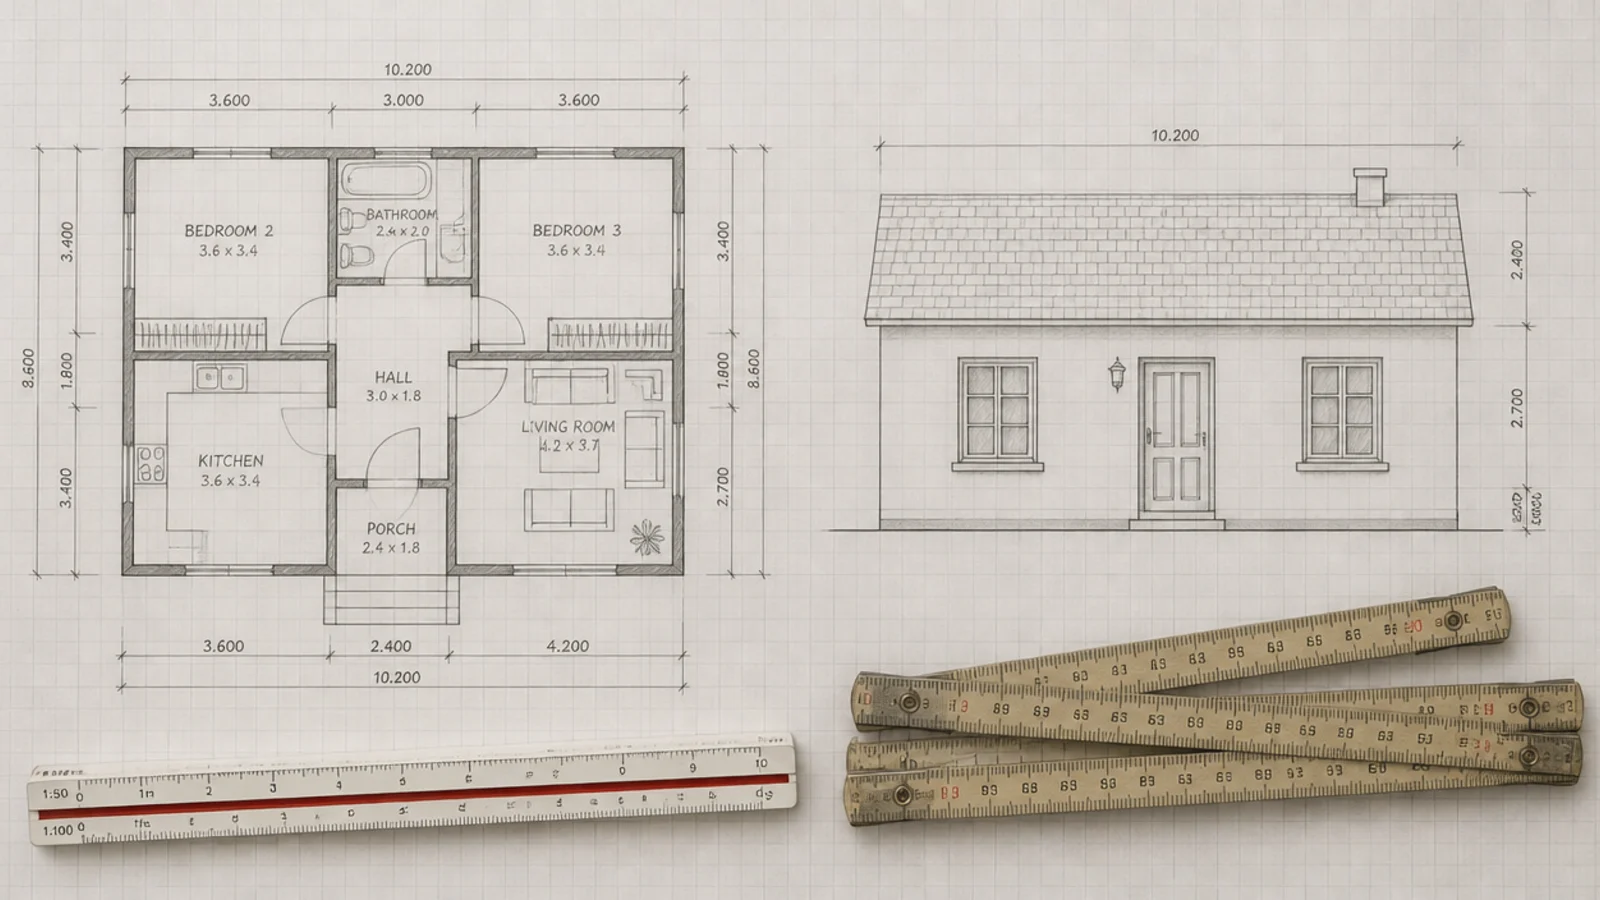
A floor plan and an elevation of the chosen wall on the same sheet of graph paper at 1:20. Include ceiling height, window and door positions, and the depth of any chimney breast or alcove. Ten minutes, and it is the reference for every decision that follows. Measure the wall at floor level and again at ceiling level, since older rooms commonly taper 15 to 25 millimetres over their height and a panel layout drawn to one figure will not fit the other.
Step 3: Fix the focal point before anything else
A room can hold one focal point comfortably. A fireplace, a screen, a large piece of art, or the wall treatment itself. Two competing focal points is what makes an otherwise well-executed room feel restless, and it is the most common fault I am asked to fix.
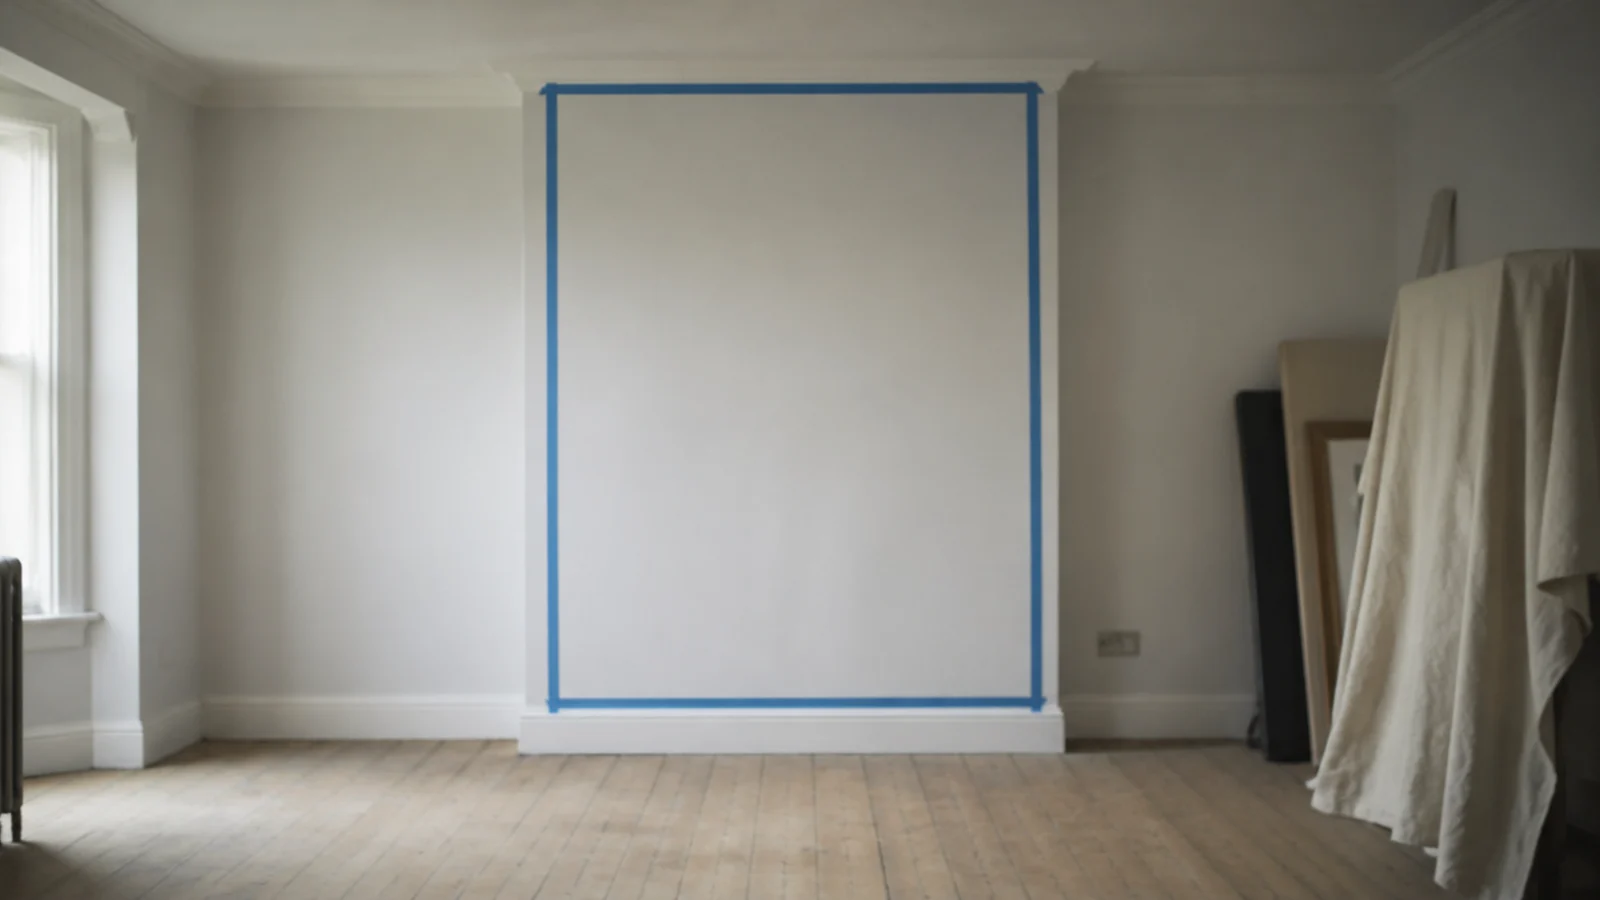
Step 4: Watch the light cross the wall for a day
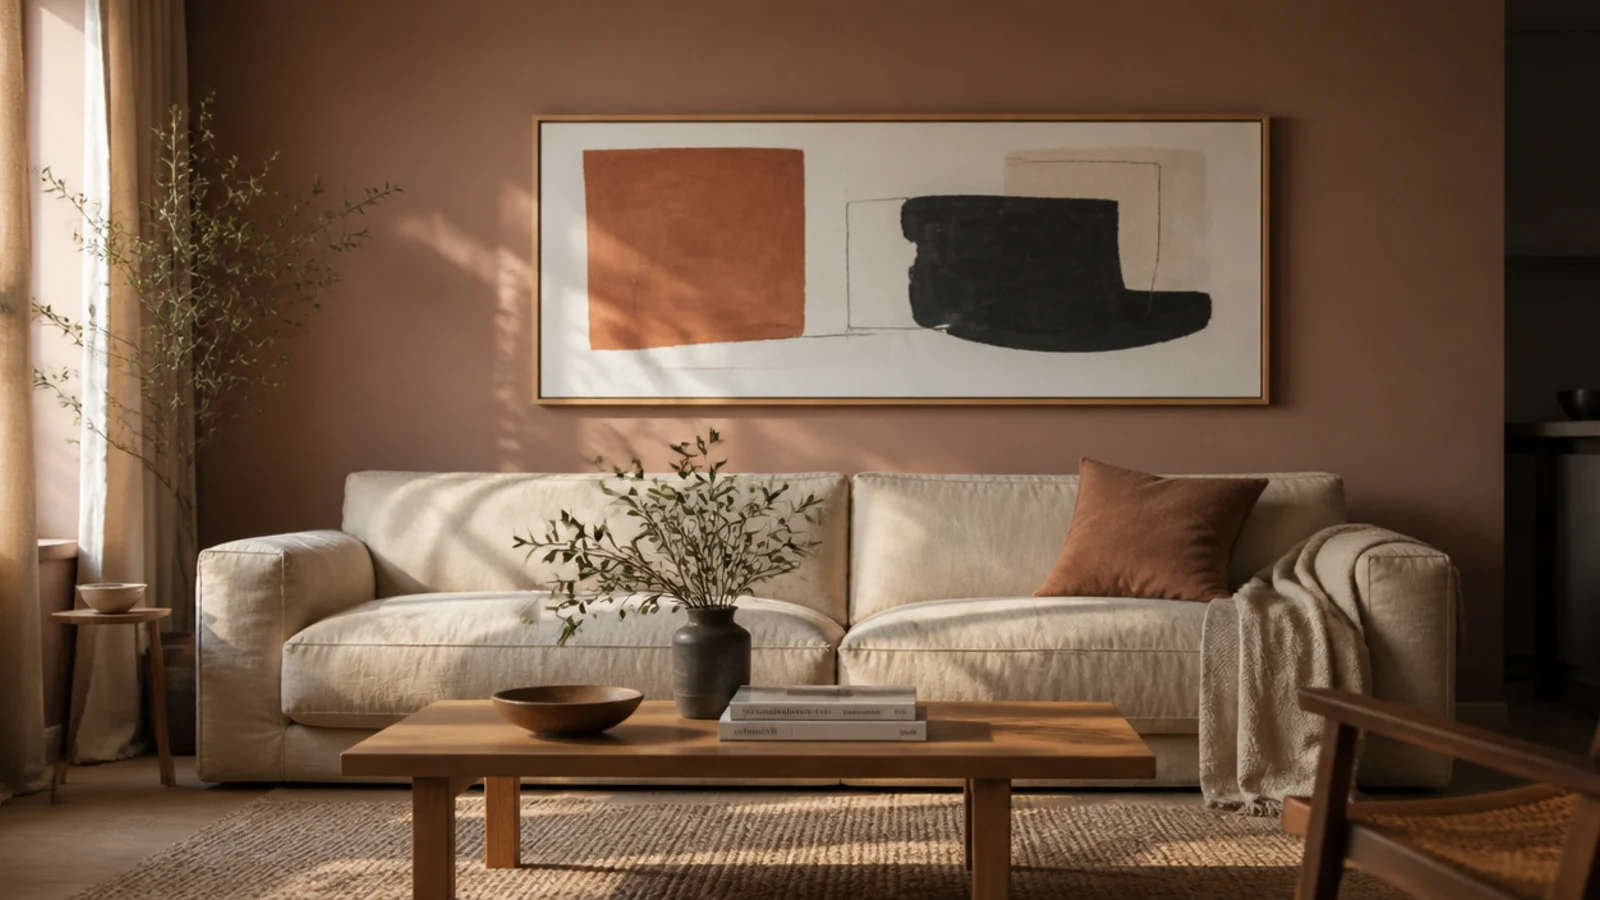
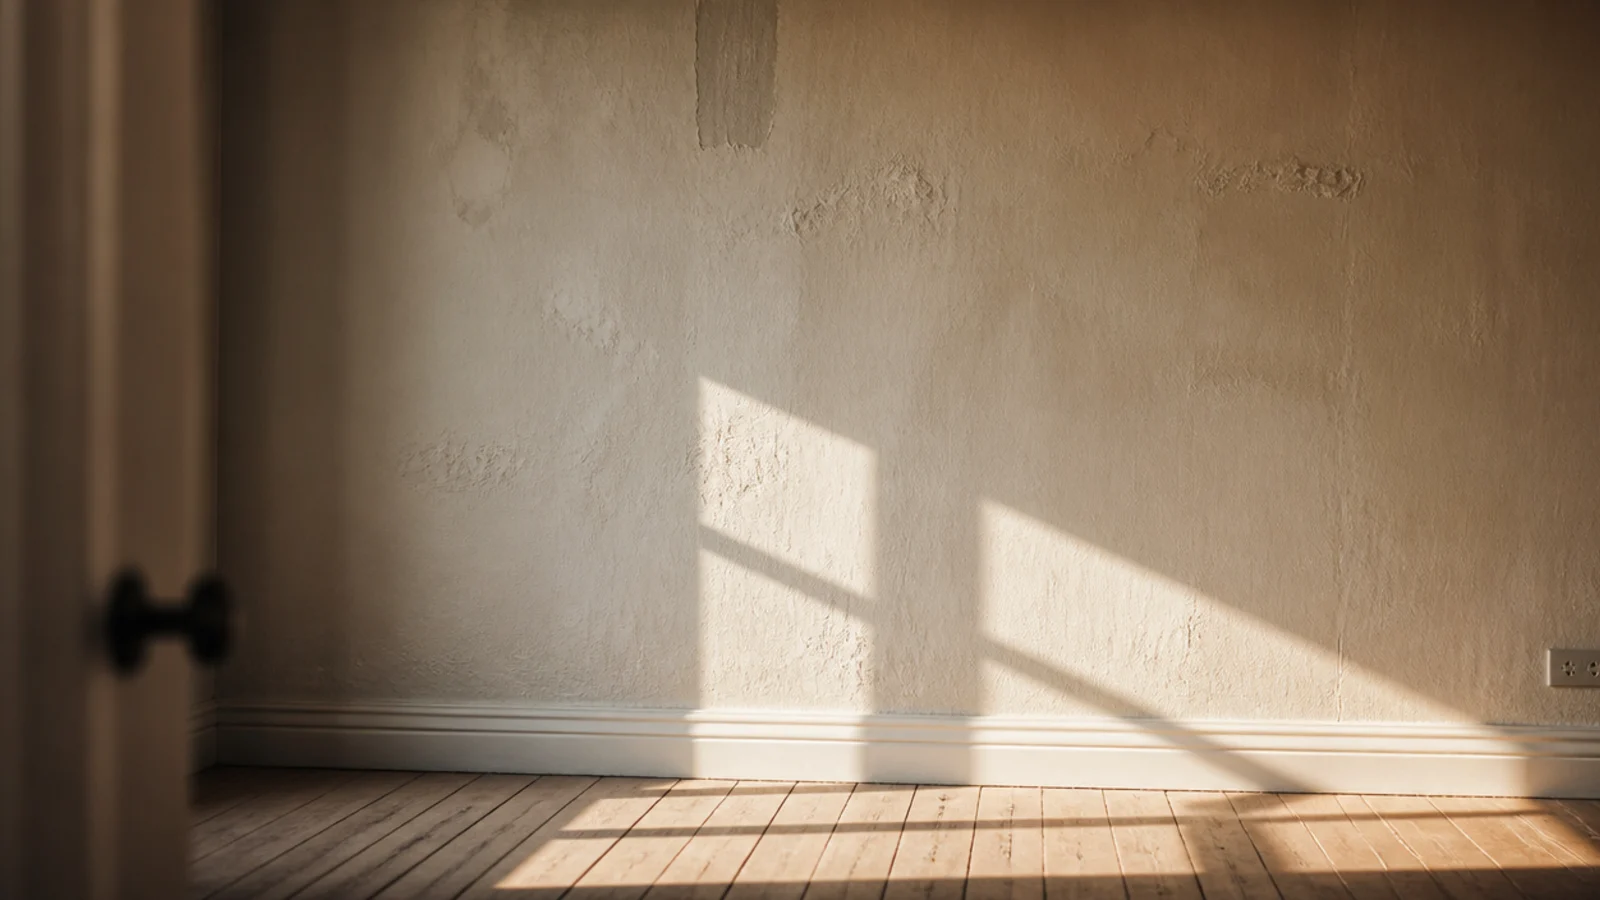
North light is flat and cool all day and shows every ripple in plaster. South light rakes across in the afternoon and exaggerates texture. West-facing rooms go warm and orange from about four o'clock. Photograph the wall at three times in the day before choosing anything. A deep colour that looks rich in a south-facing room at four o'clock can read as flat brown in a north-facing one, which is why the same paint gets wildly different reviews.
Step 5: Take the palette from the biggest thing you own
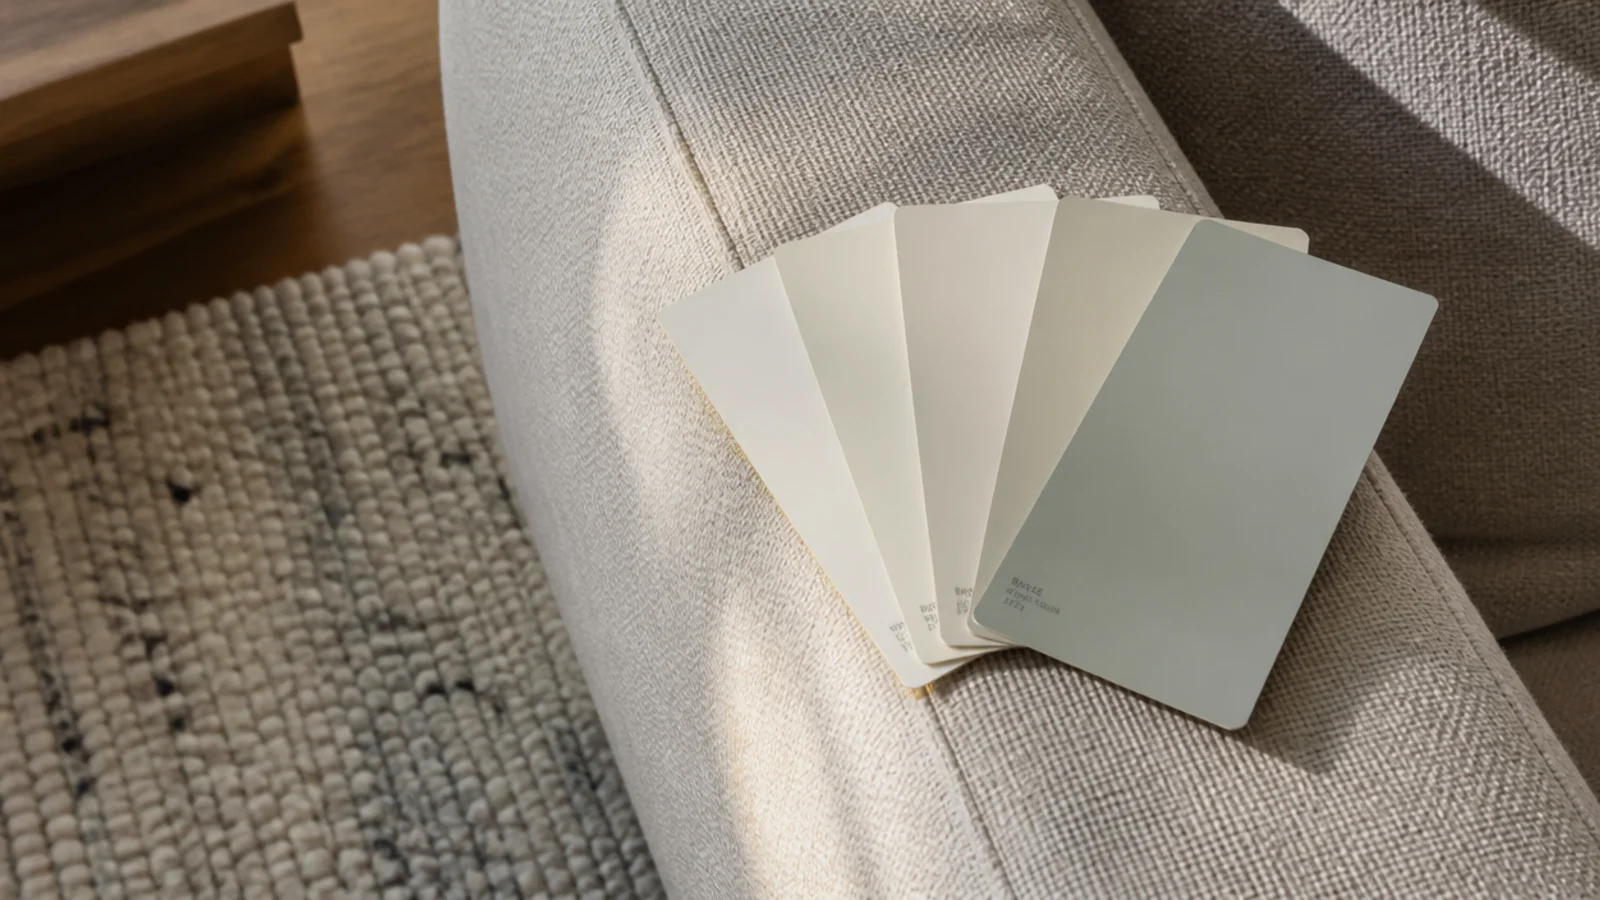
The sofa, the rug or the floor. Whichever is largest is already setting the room's temperature, and picking a wall colour against a screen rather than against that object is how rooms end up with a green-grey wall beside a pink-grey sofa.
Step 6: Settle the furniture layout first
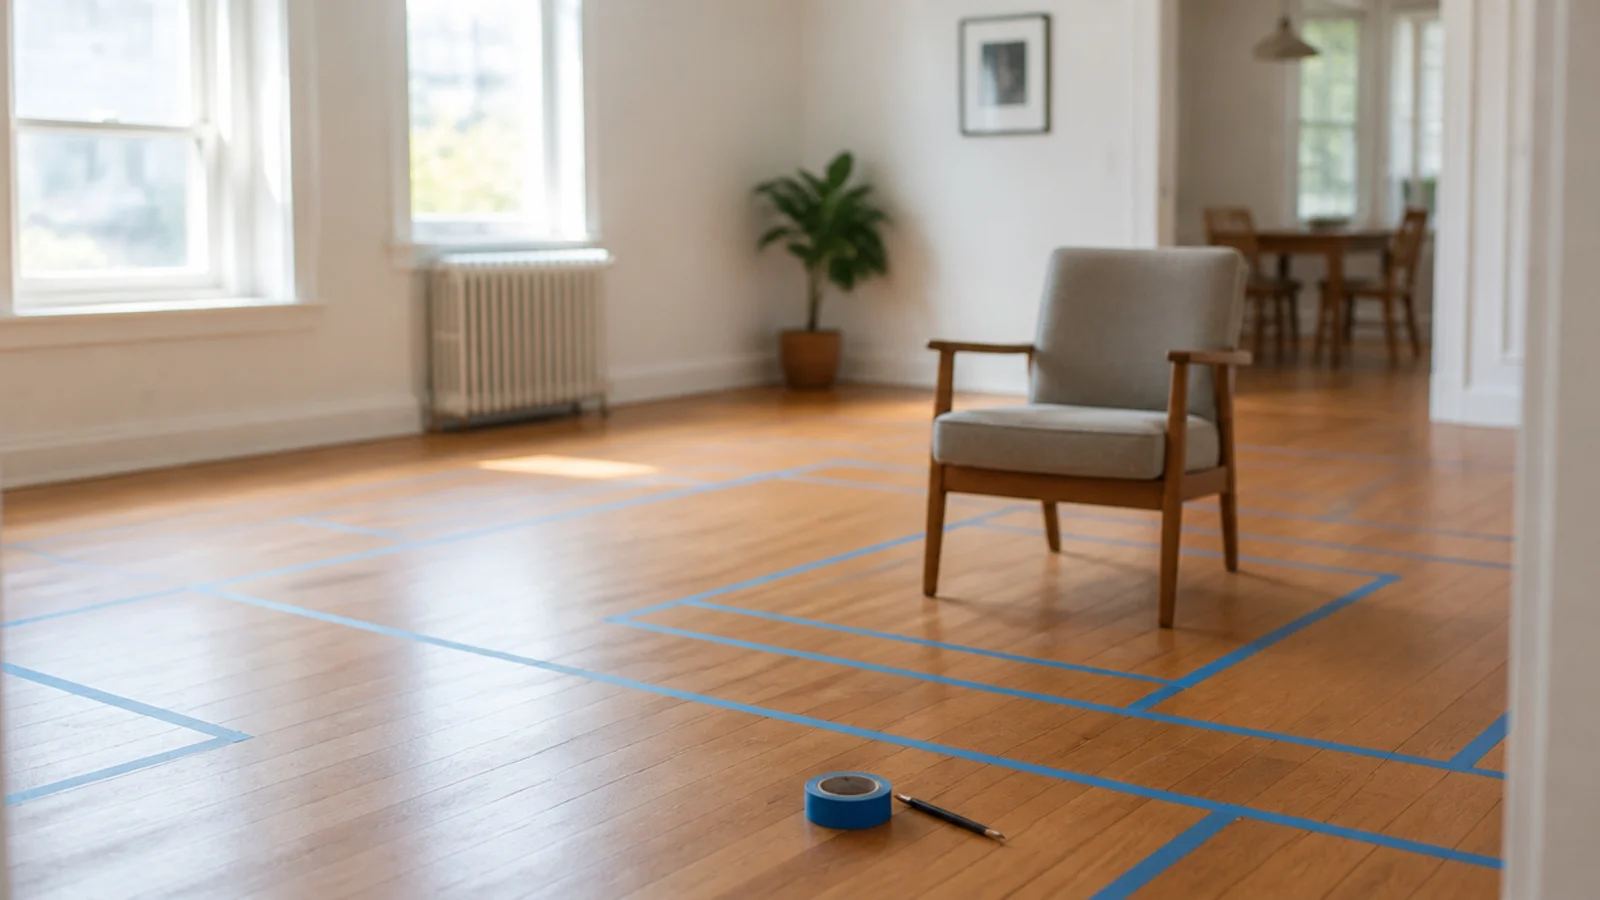
Tape the furniture footprints onto the floor and walk the room. You need 24 inches of clear walkway, 30 where a door swings in, and 14 to 18 inches between sofa and coffee table. A wall treatment planned around the wrong layout has to be redone. Live with the taped layout for a few days and move through it normally, because a route that measures correctly on paper can still catch a shoulder every time you cross the room.
Step 7: Choose the treatment and its depth
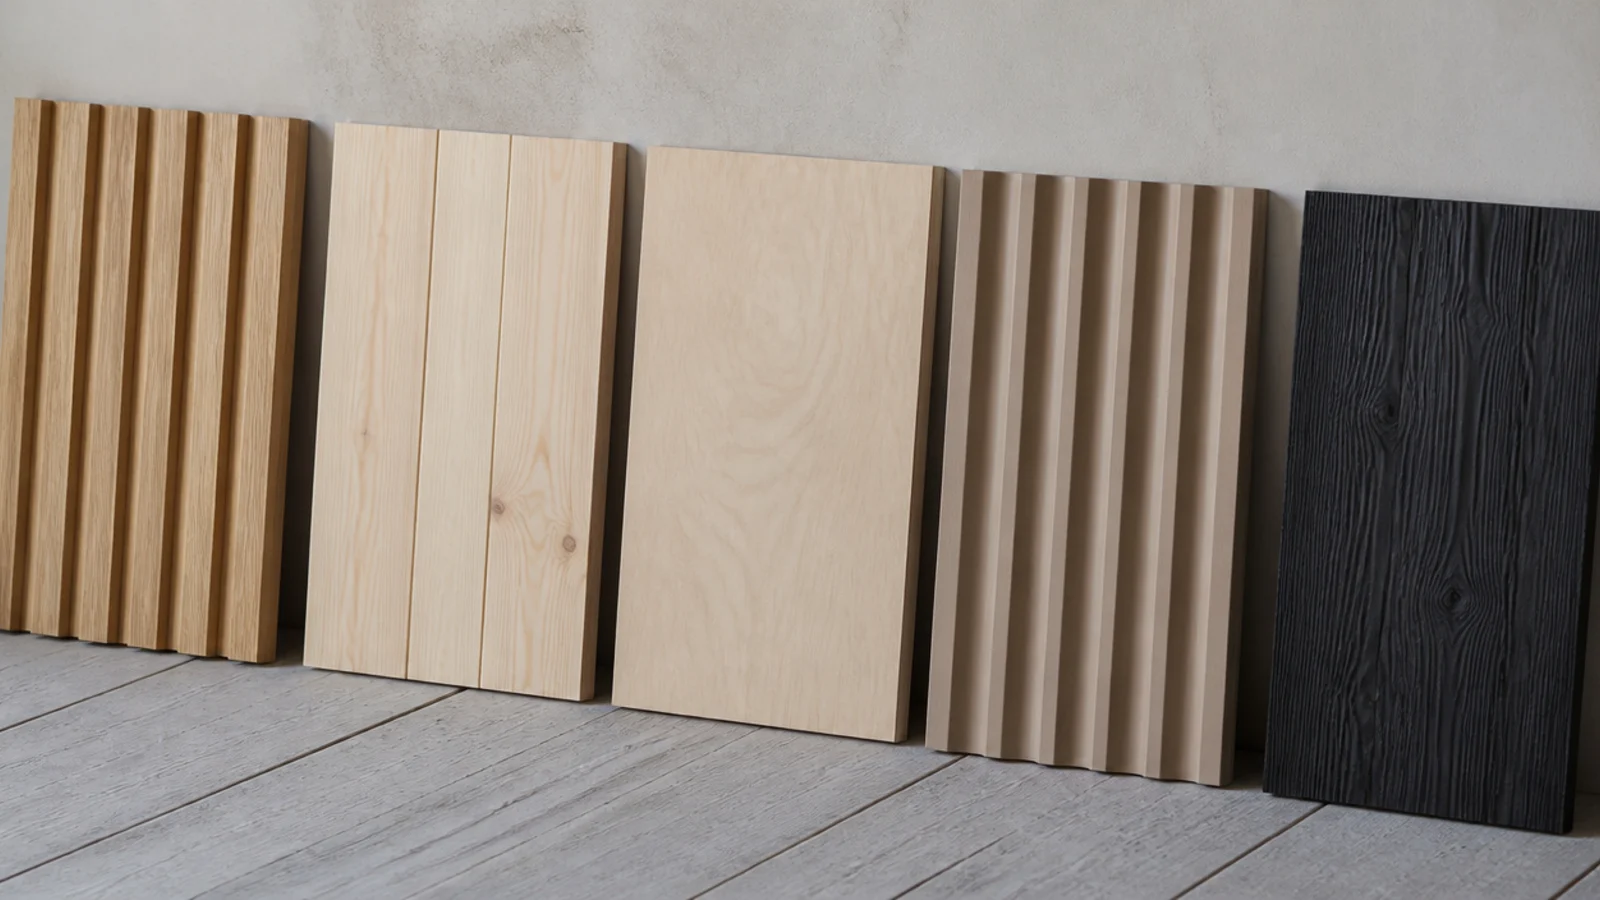
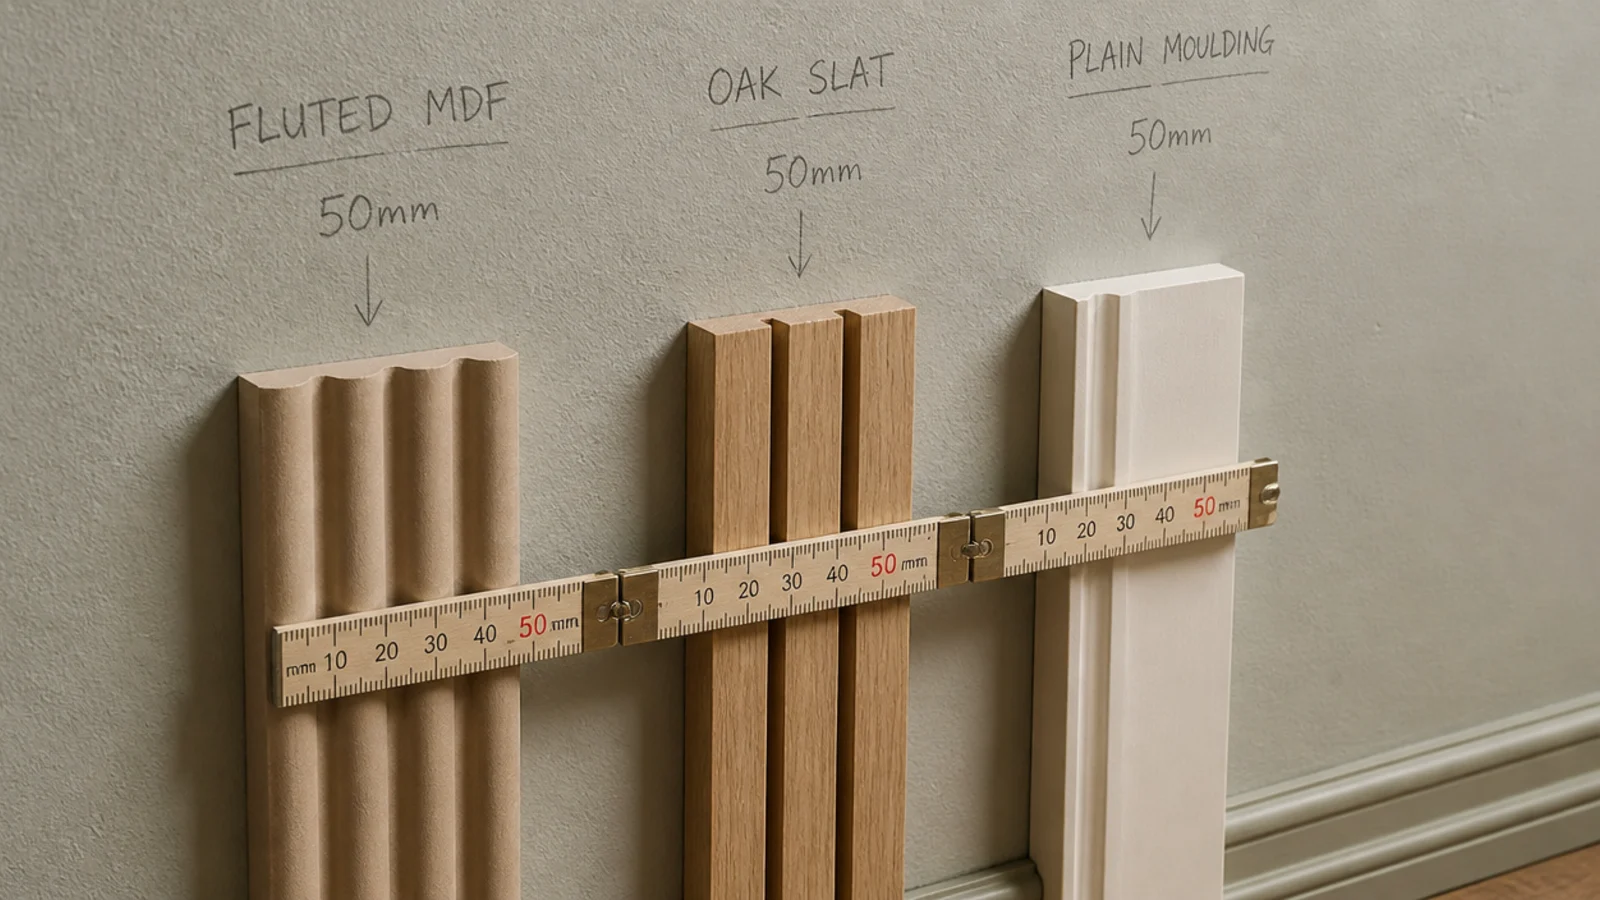
Paint costs no depth. Nine millimetre moulding costs 9 millimetres, an 18 millimetre batten build costs 18, and a felt-backed slat panel costs 25 or more. Check that against the walkway you just taped out, particularly beside a door or in a passing route.
Step 8: Sample big, and move the sample around
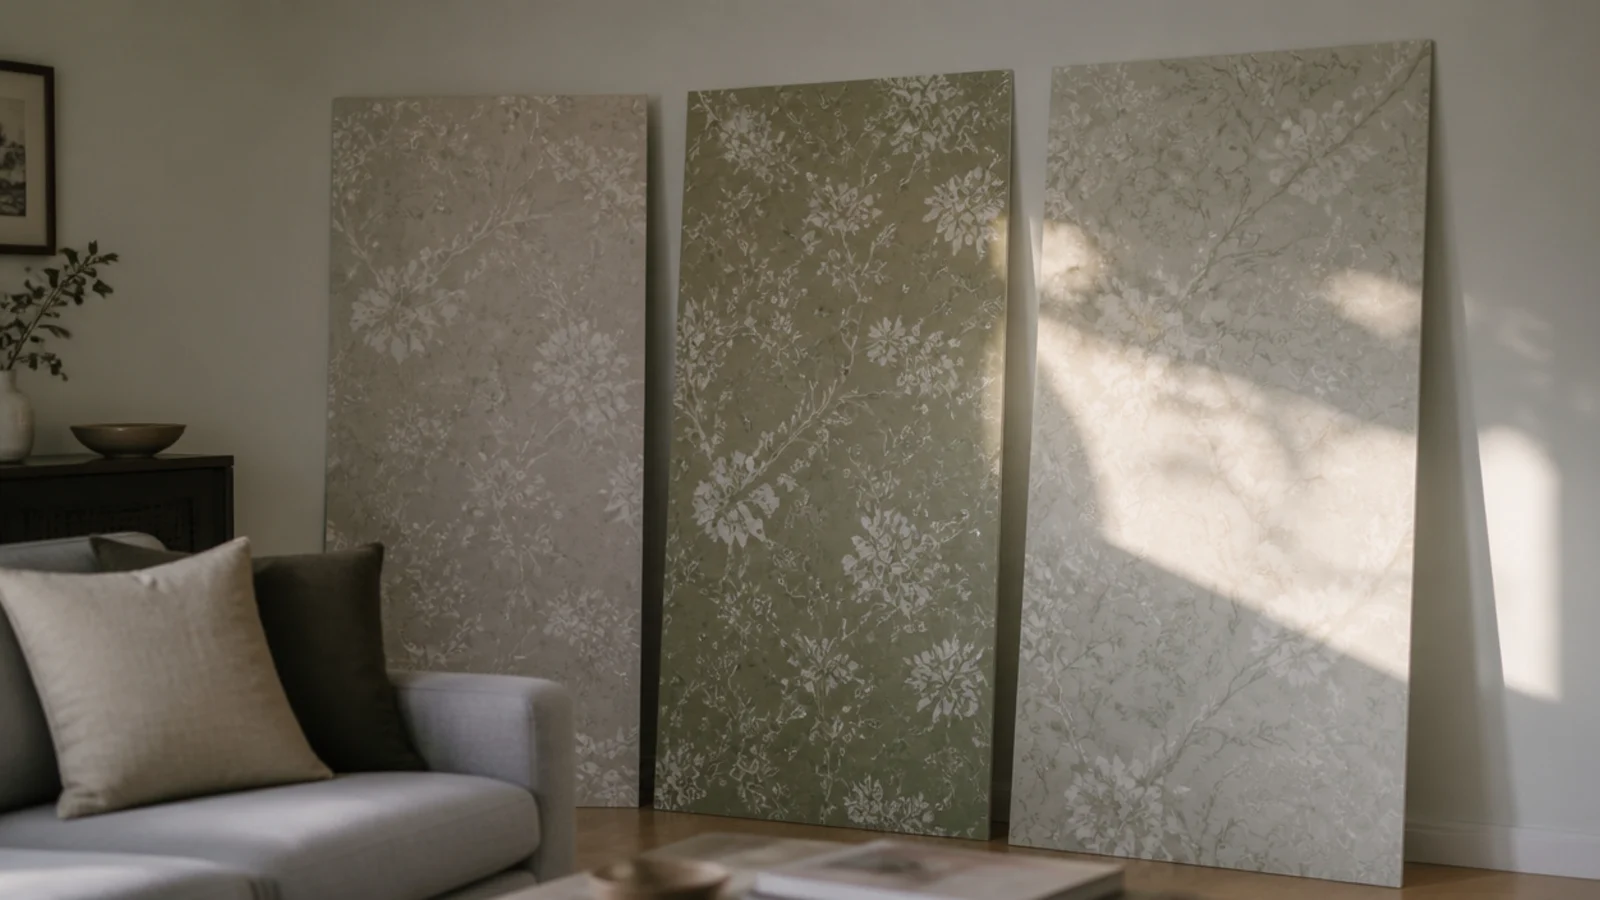
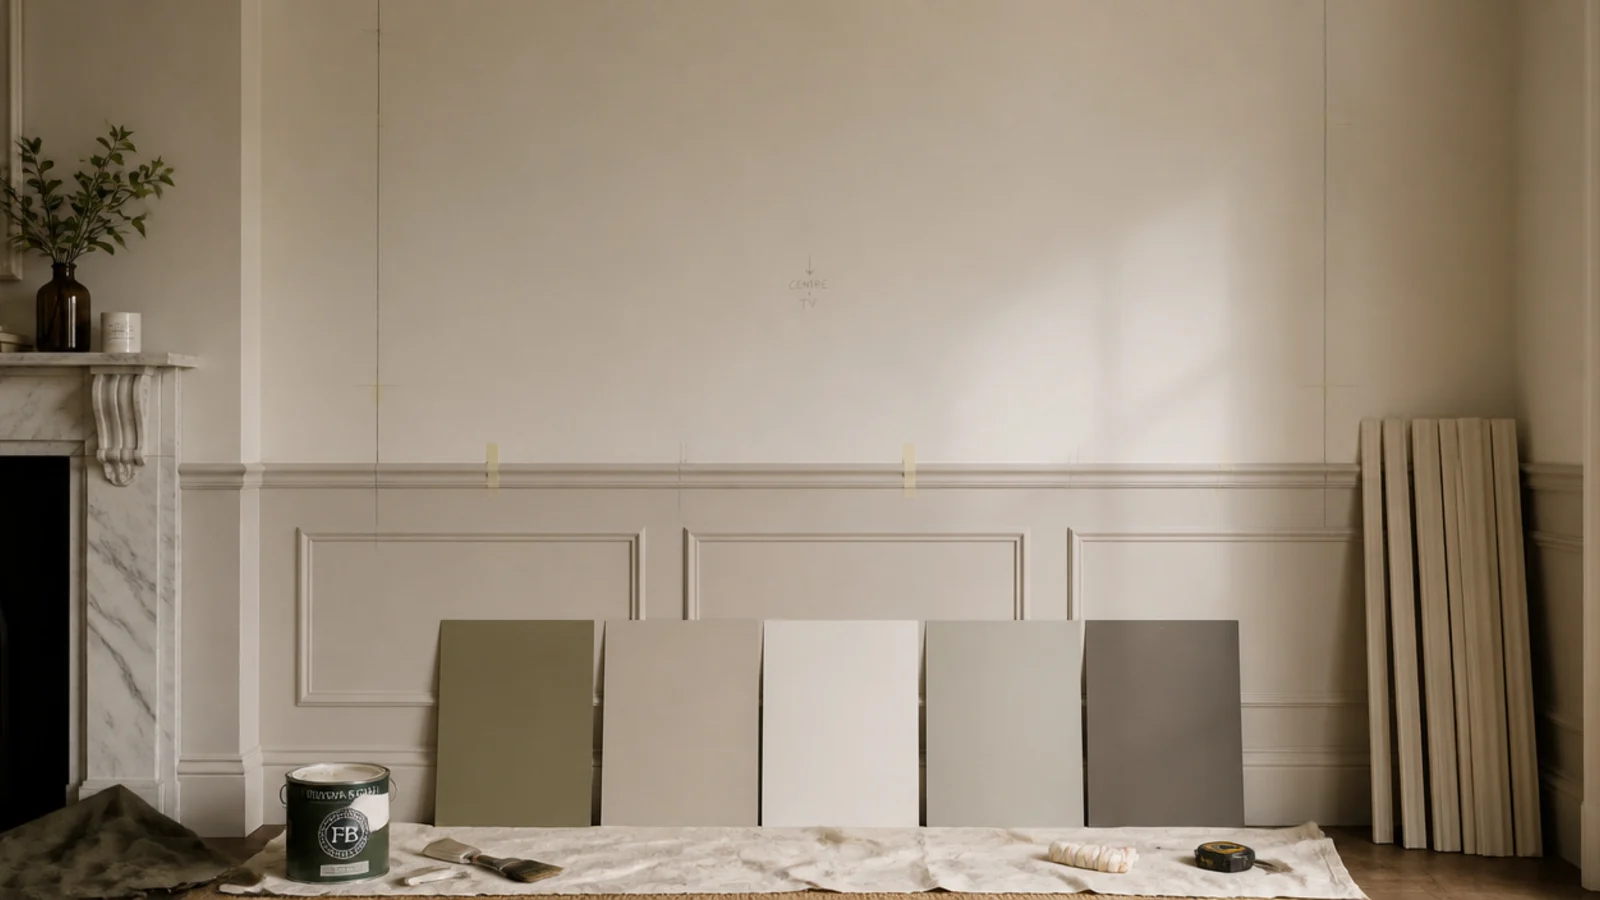
Two coats on lining paper at A2 or larger, then move the board around the room across a full day and into the evening under lamplight. A small patch painted directly on the wall is influenced by the colour around it and tells you very little.
Step 9: Map the sockets, switches and radiator
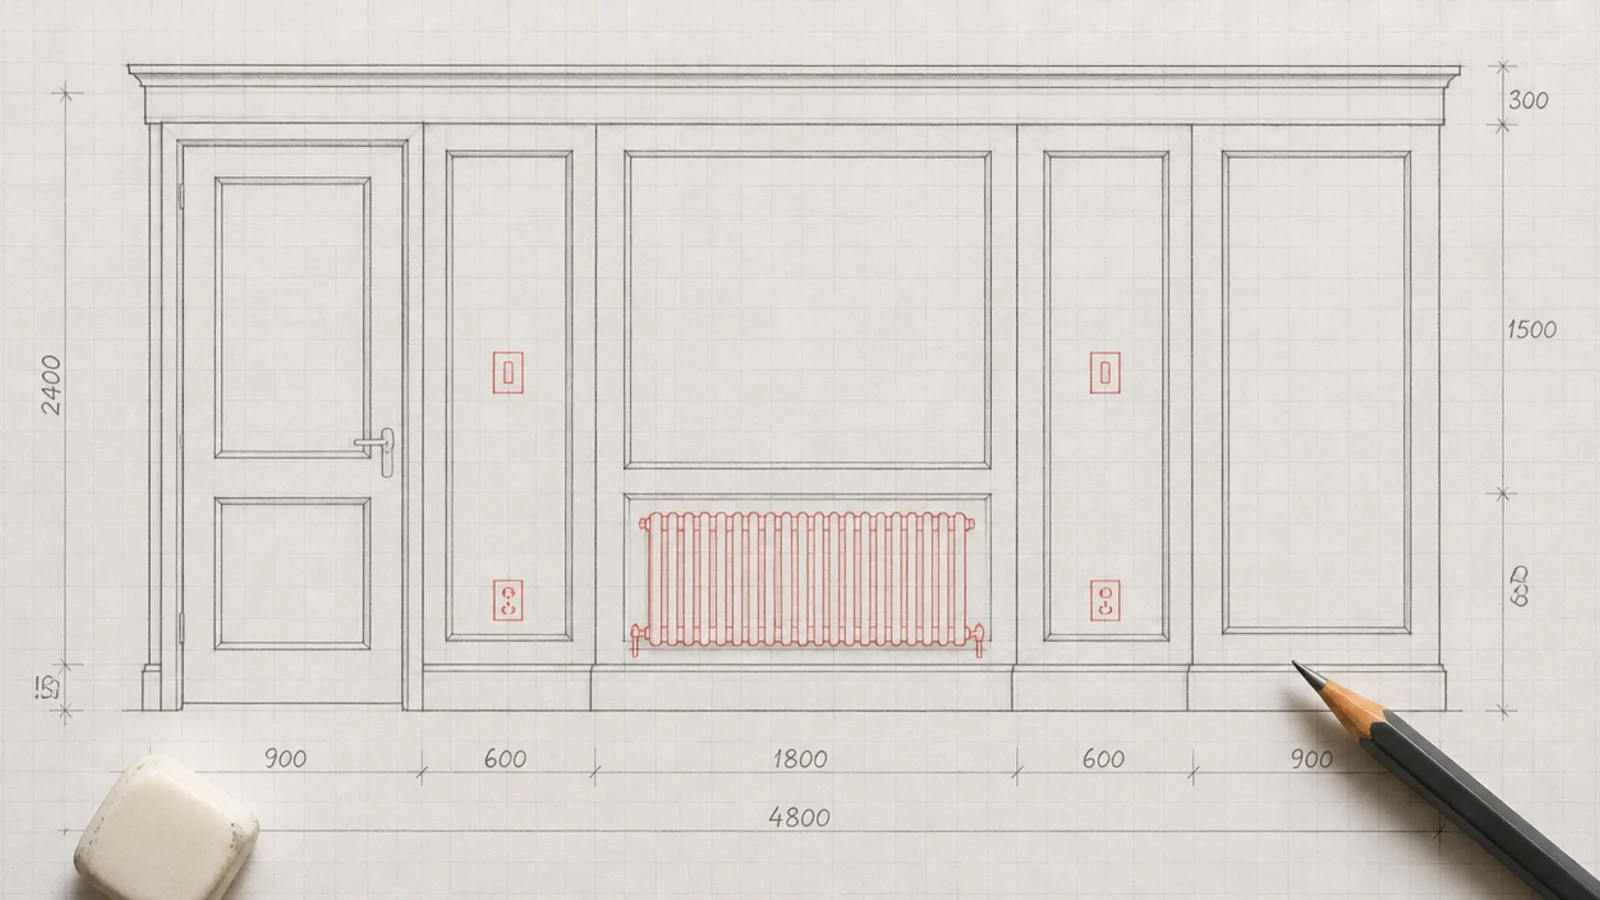
Mark every service in red on the elevation. This is the step that catches a beautiful five-panel layout putting a stile straight through the only outlet. Check for buried cable with a voltage detector wherever you intend to cut, testing the pen on a known live socket first.
Step 10: Set the horizontal lines across the room
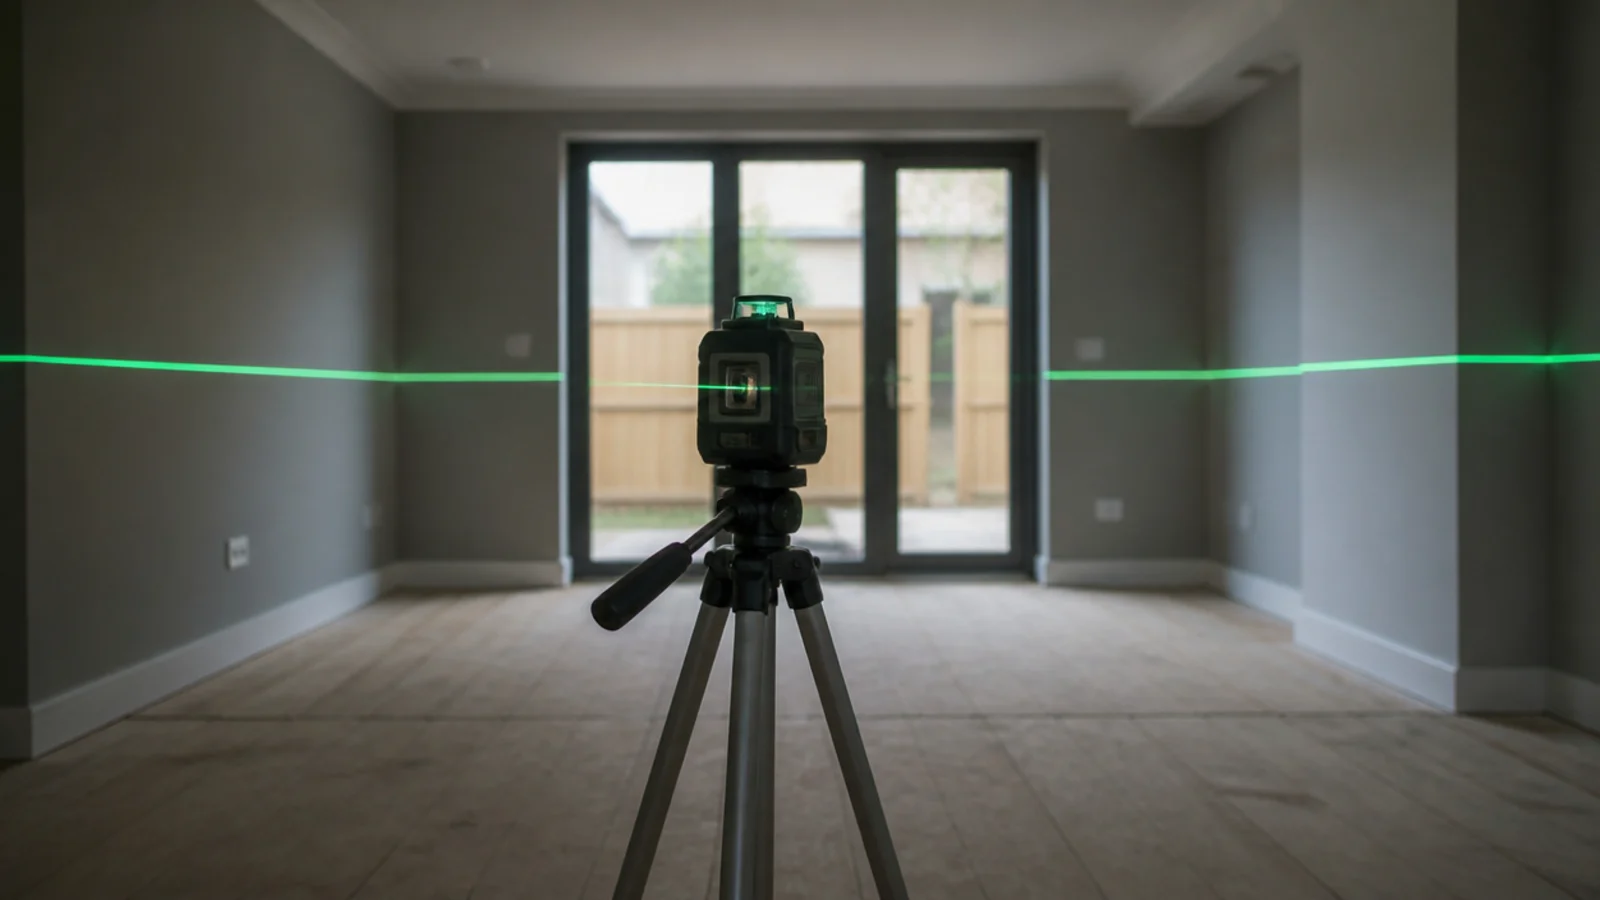
If there is a rail, a ledge or a paint break, it should run at one height around the whole room, not just the feature wall. Forty to 44 inches suits a modern living room. A laser level carried round the walls takes five minutes and settles it permanently.
Step 11: Set out from the centre, not the corner
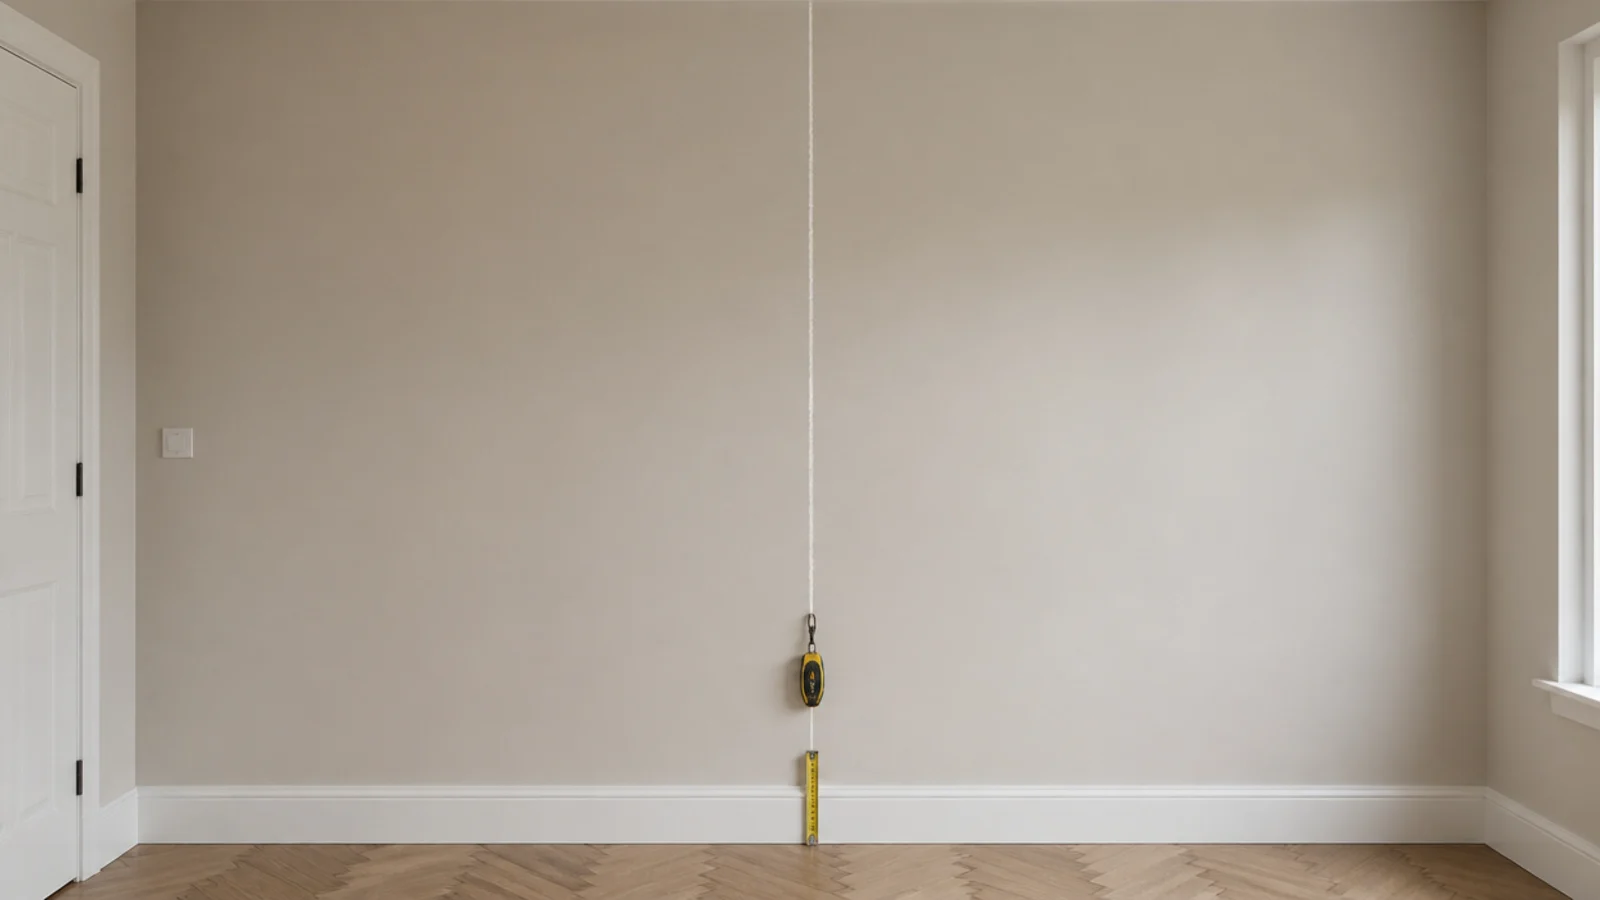
Snap a plumb chalk line down the centre of the focal point and work outward. Living room walls drift 10 to 20 millimetres out of square, and starting from a corner drives all of that error into the middle where it is most visible.
Step 12: Write the order list with ten percent spare
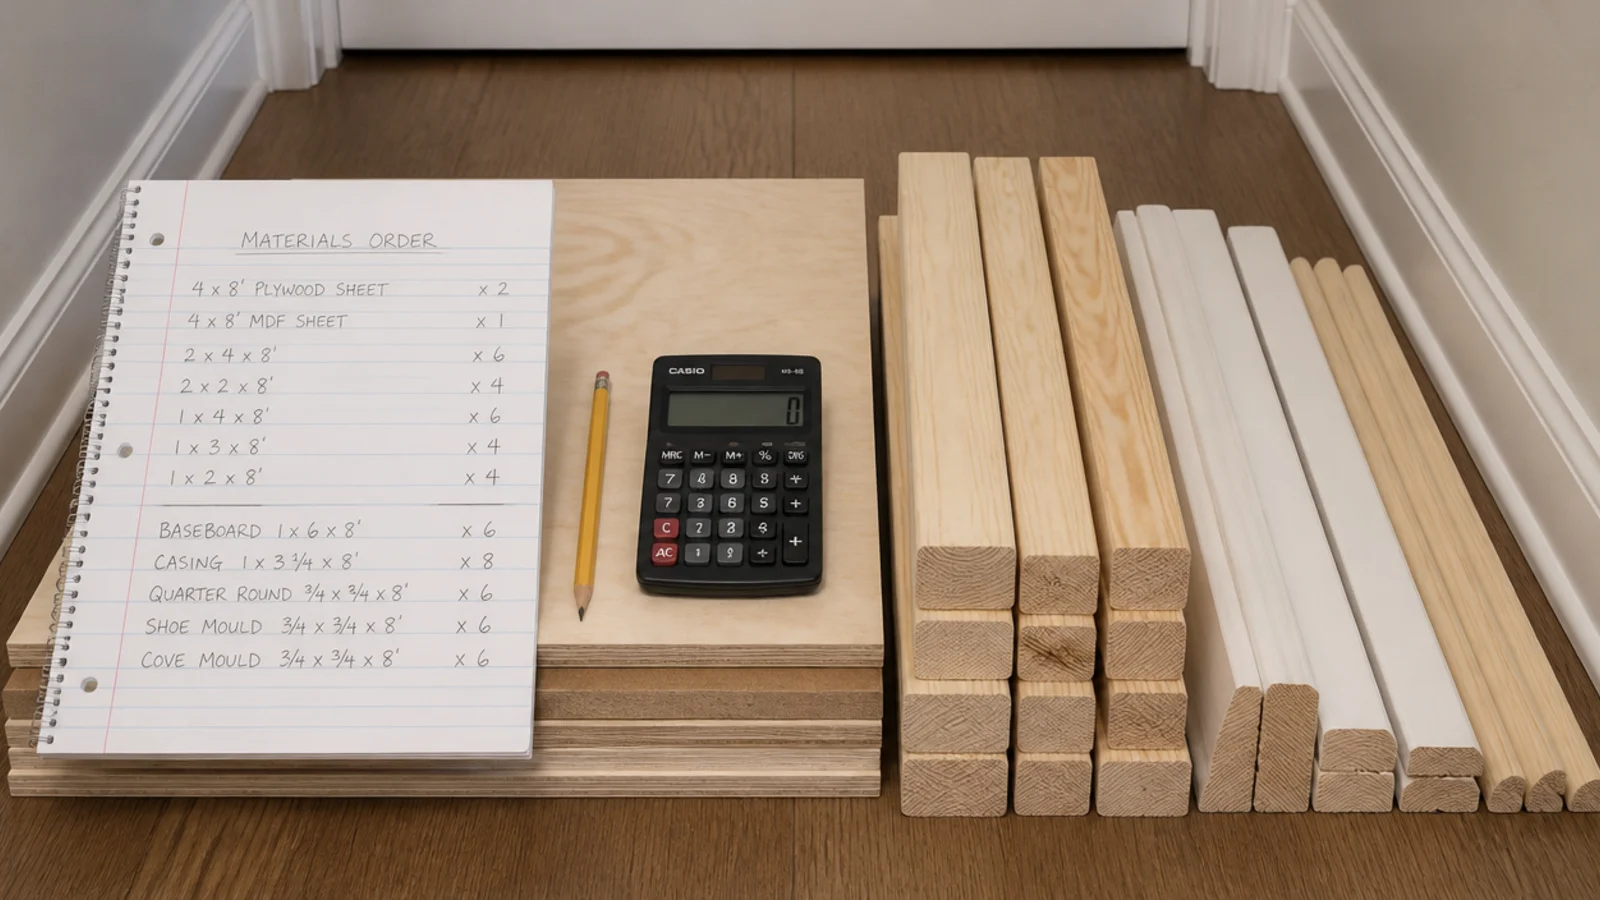
Every finished dimension from the drawing, plus 10 percent on sheet material and trim. Timber batches vary in colour and MDF varies slightly in thickness, so a top-up order rarely matches. Most merchants break sheets down free or for a few dollars a cut.
Step 13: Prepare the wall properly before anything
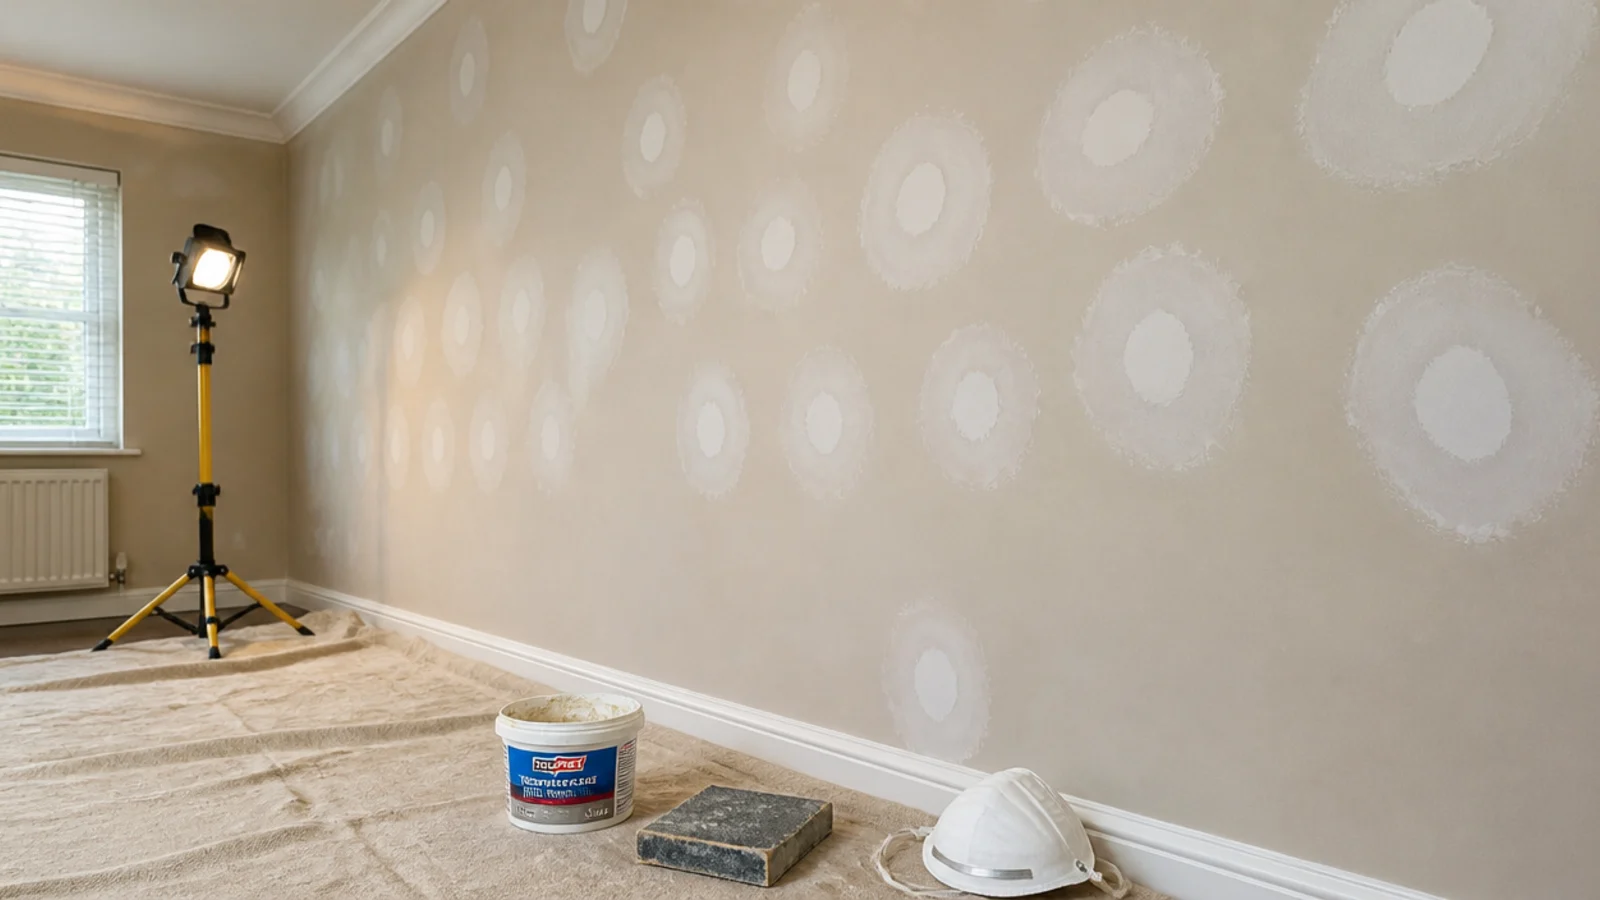
Fill, sand at 120 then 180 grit, wash with sugar soap, let it dry, then prime any bare plaster or filler. Preparation is most of the finish and all of the work, and no amount of expensive paint covers a wall that was skipped at this stage.
Step 14: Paint, fix, fill, caulk, then topcoat
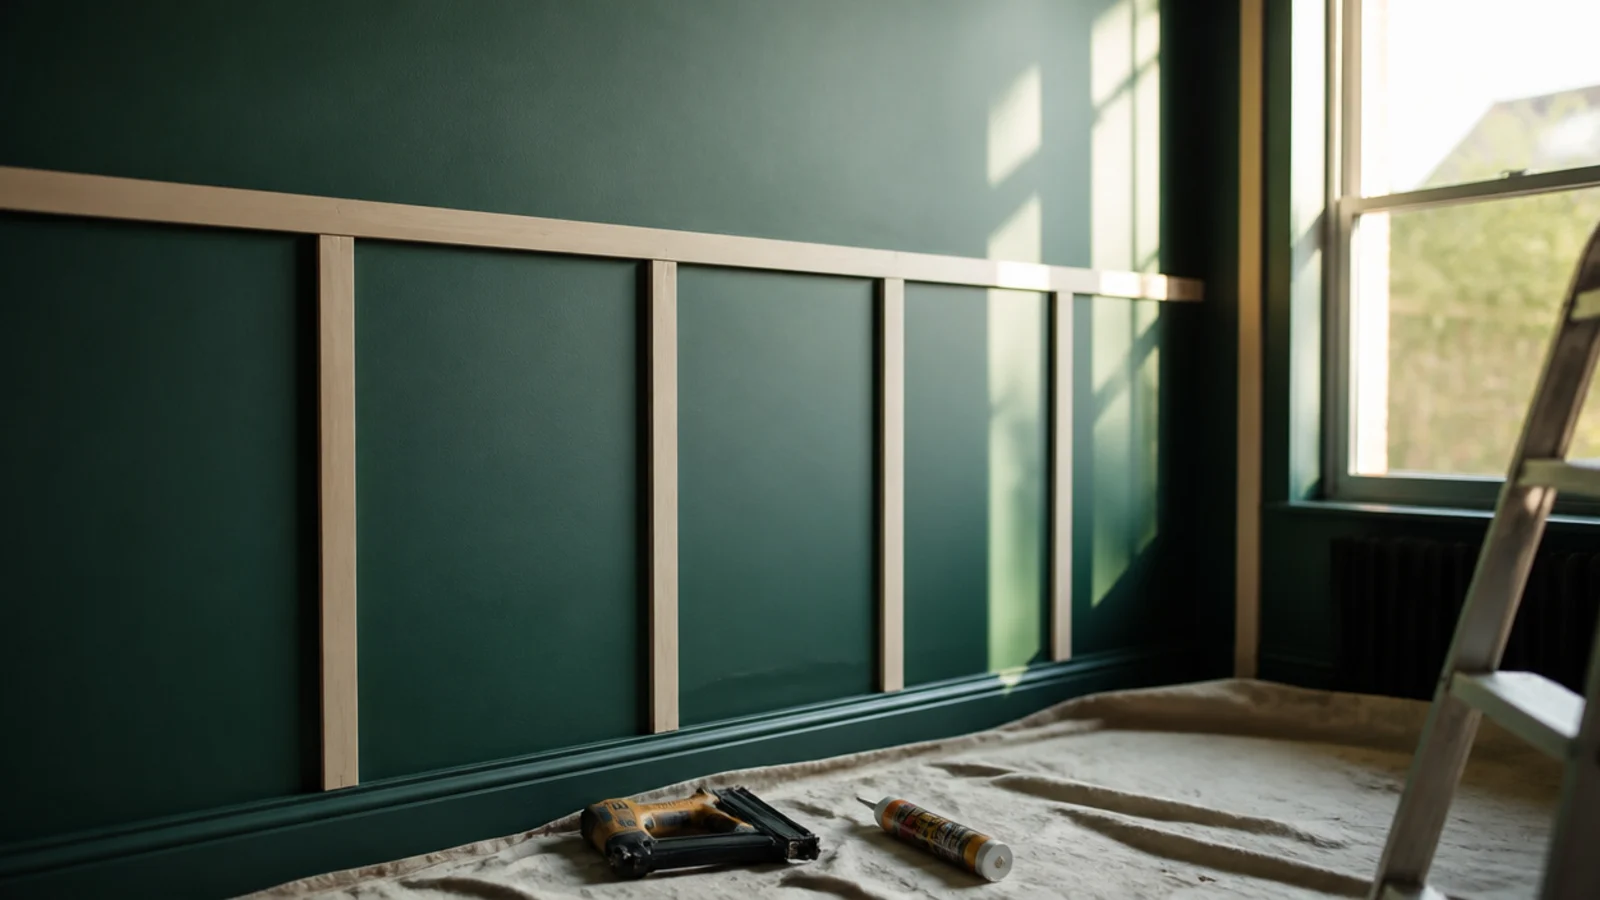
The order matters. Paint the wall first, fix the trim over the finished colour, fill the pin holes, caulk every internal joint with a wet fingertip, then topcoat the whole surface. Cutting in around fixed timber instead takes four times as long and never looks as clean.
Step 15: Light it, then leave it alone for a week
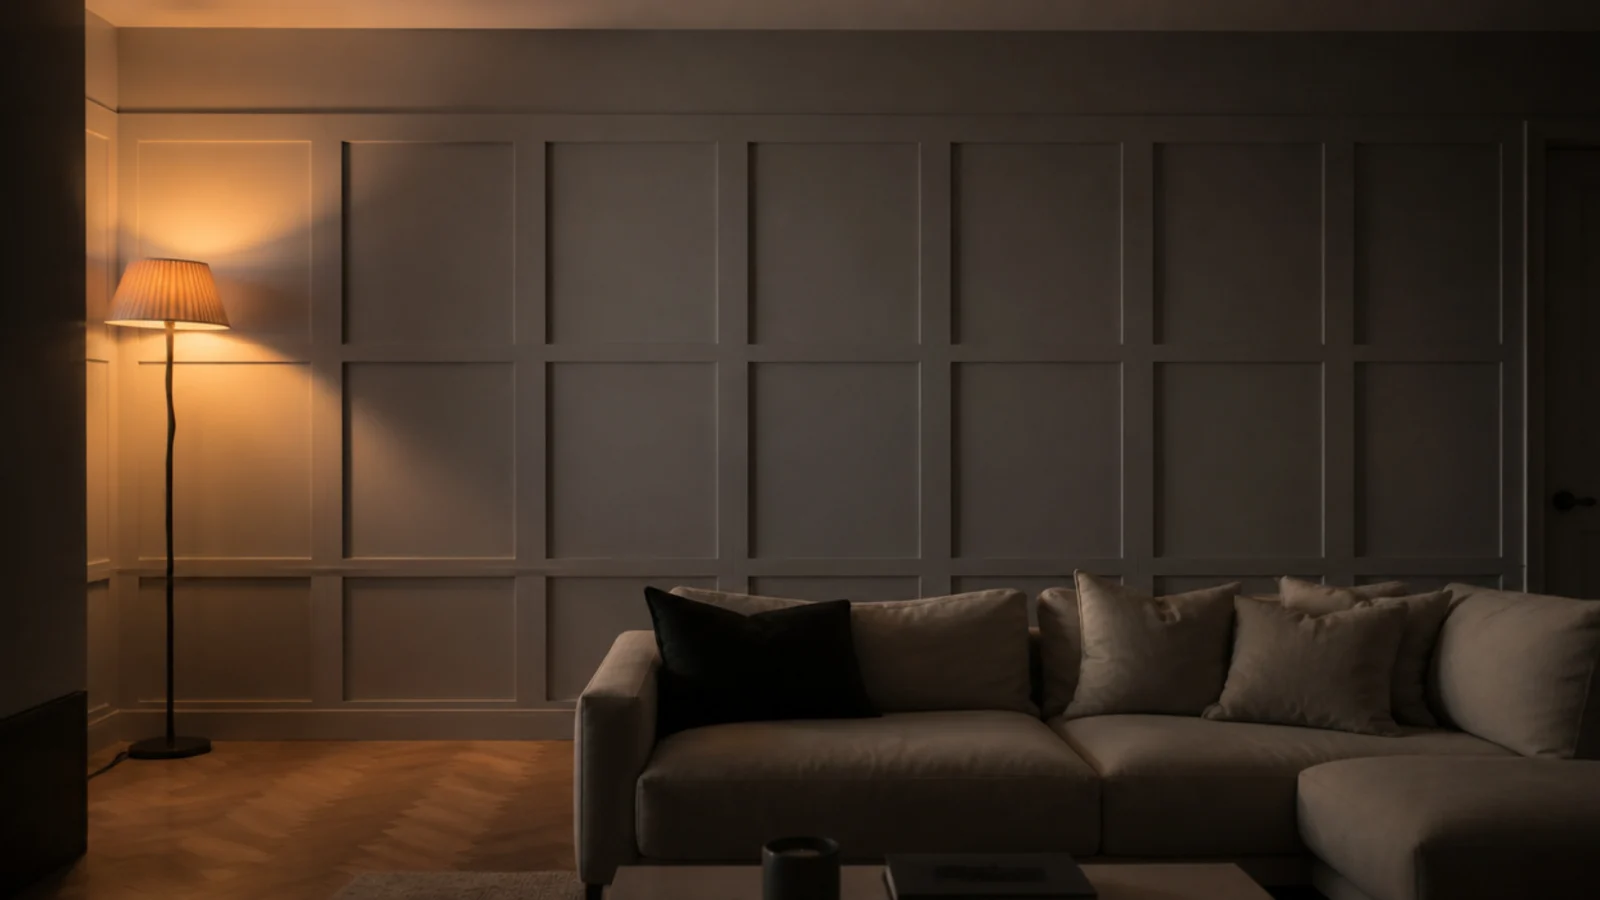
Put the room back, dim everything to around 30 percent, and add nothing for seven days. Then add two things. Almost every wall I have styled is better a week later with fewer objects on it than I originally planned to use. The week also shows up anything the work missed — a caulk line that shrank, a patch that flashed under the topcoat, a fixing that sits proud.
Pro Styling Rules
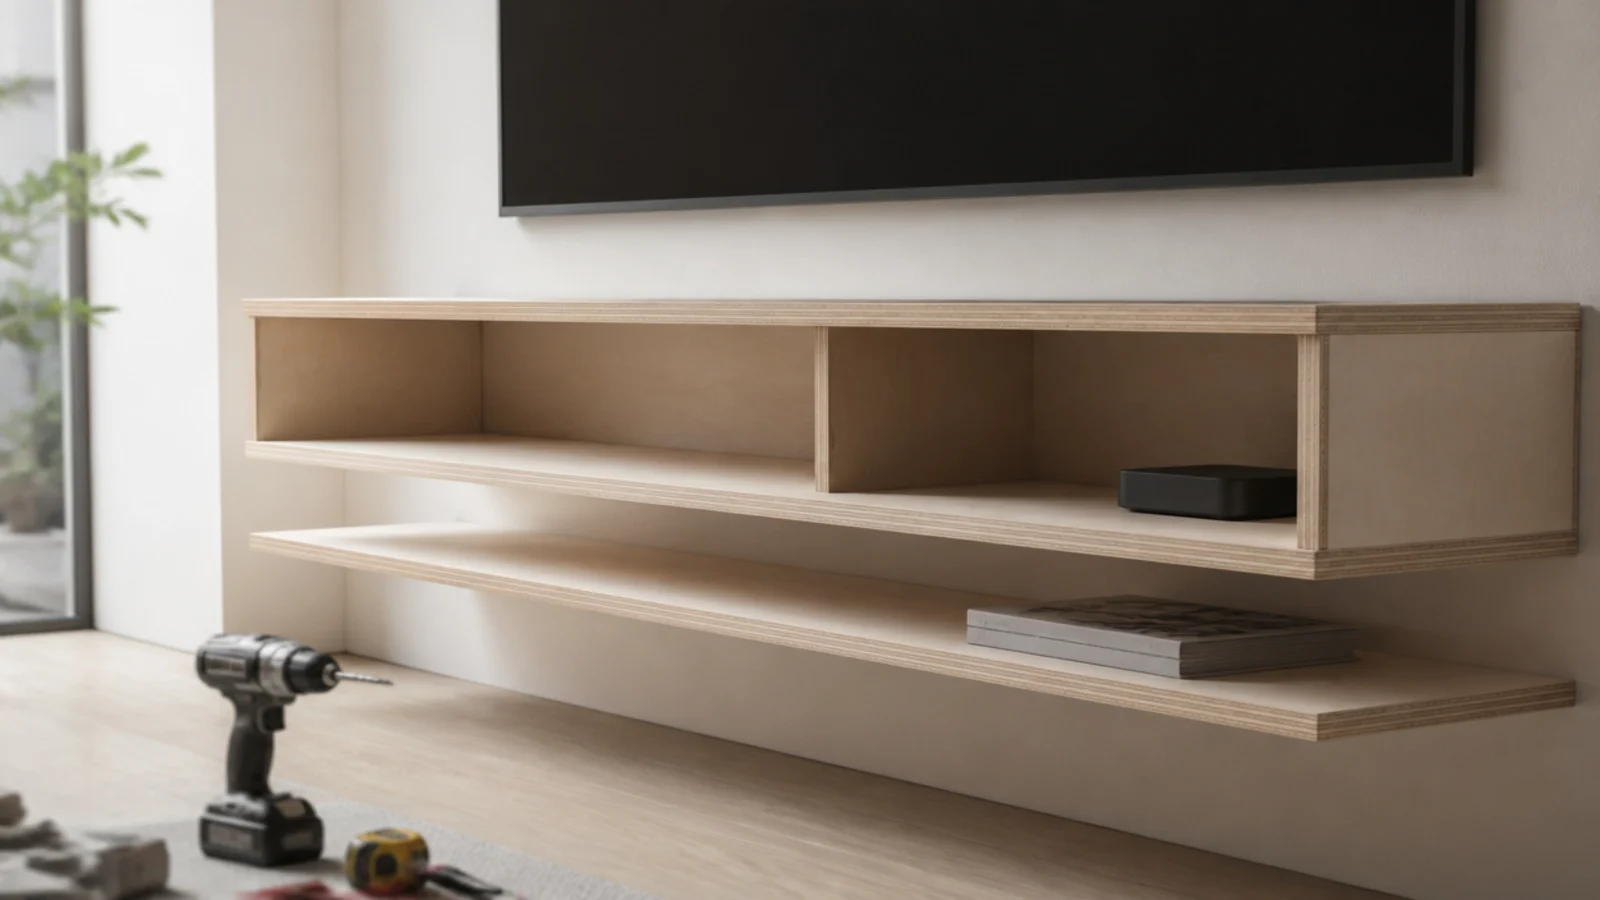
Once the plan is set, 30 renter-friendly wall panel designs covers the adhesive builds, wall molding design ideas has the proportions, and wall texture design ideas works through the mineral finishes. If a screen is going on the wall, budget living room TV wall ideas prices the options, TV unit decor for modern interiors covers the furniture, and living room built-in shelves is the guide if the treatment turns into joinery.
Mistakes to Skip
- Choosing the wall colour from a screen or a small card. Colour shifts several steps between a north-facing morning and a 2700K lamp at night, and only a large sample shows it.
- Treating the wall before settling the furniture. A layout change afterwards leaves a feature wall facing the side of a sofa, and nothing about that can be corrected with styling.
- Fixing trim onto an unpainted wall. Cutting in around fixed battens leaves a ragged edge at every joint and adds hours to a job that would otherwise roll on in one pass.
- Giving a room two focal points. A fireplace and a competing feature wall pull against each other from every seat, and the room never settles no matter how well each one is executed.
Frequently asked questions
Which wall should be the feature wall in a living room?
The one you look at from the main seat, not the one you see from the door. In most rooms that is the chimney breast or the wall holding the screen. A feature wall behind the sofa is only right when the room has a second seating position that faces it directly.
How do I test paint colours properly in a living room?
Paint two coats onto a piece of lining paper at least A2 size, then move it around the room across a full day. Colour shifts dramatically between a north-facing wall at 9am and the same wall under a 2700K lamp at 9pm, and a small patch painted straight onto the wall tells you almost nothing.
What order should I do a living room wall in?
Fill and sand, sugar soap, prime, paint the wall, fix the trim or panelling, fill the pin holes, caulk every internal joint, then topcoat the whole surface. Painting the wall before fixing timber saves hours of cutting in and gives a far cleaner line at every edge.
How much does a living room feature wall cost?
Paint alone runs 35 to 60 dollars for a 2.5 litre tin covering a feature wall twice. Moulding adds 60 to 120 in materials, batten panelling 80 to 160, slat panels 40 to 90 a square metre, and applied mineral finishes 90 to 200 a square metre.
Should every wall in a living room be treated?
No. One treated wall and three quiet ones is the reliable ratio in a room under 25 square metres. Colour drenching is the exception, where walls, ceiling and trim all take the same shade and the room reads as one volume rather than as four surfaces.
Want more like this? Browse all 15 tv wall decor guides — they all use the same measurements and budget tiers.
Pin it for later
Save this to your TV Wall Decor board
Pin it now so it is waiting for you when the tape measure comes out — and so the next person hunting for this idea can find it too.
Save this pinKeep going
More ideas worth saving while you have the tape measure out.