TV Unit Decor · How-To
15 Steps To Build TV Wall Unit Decor Cheaply

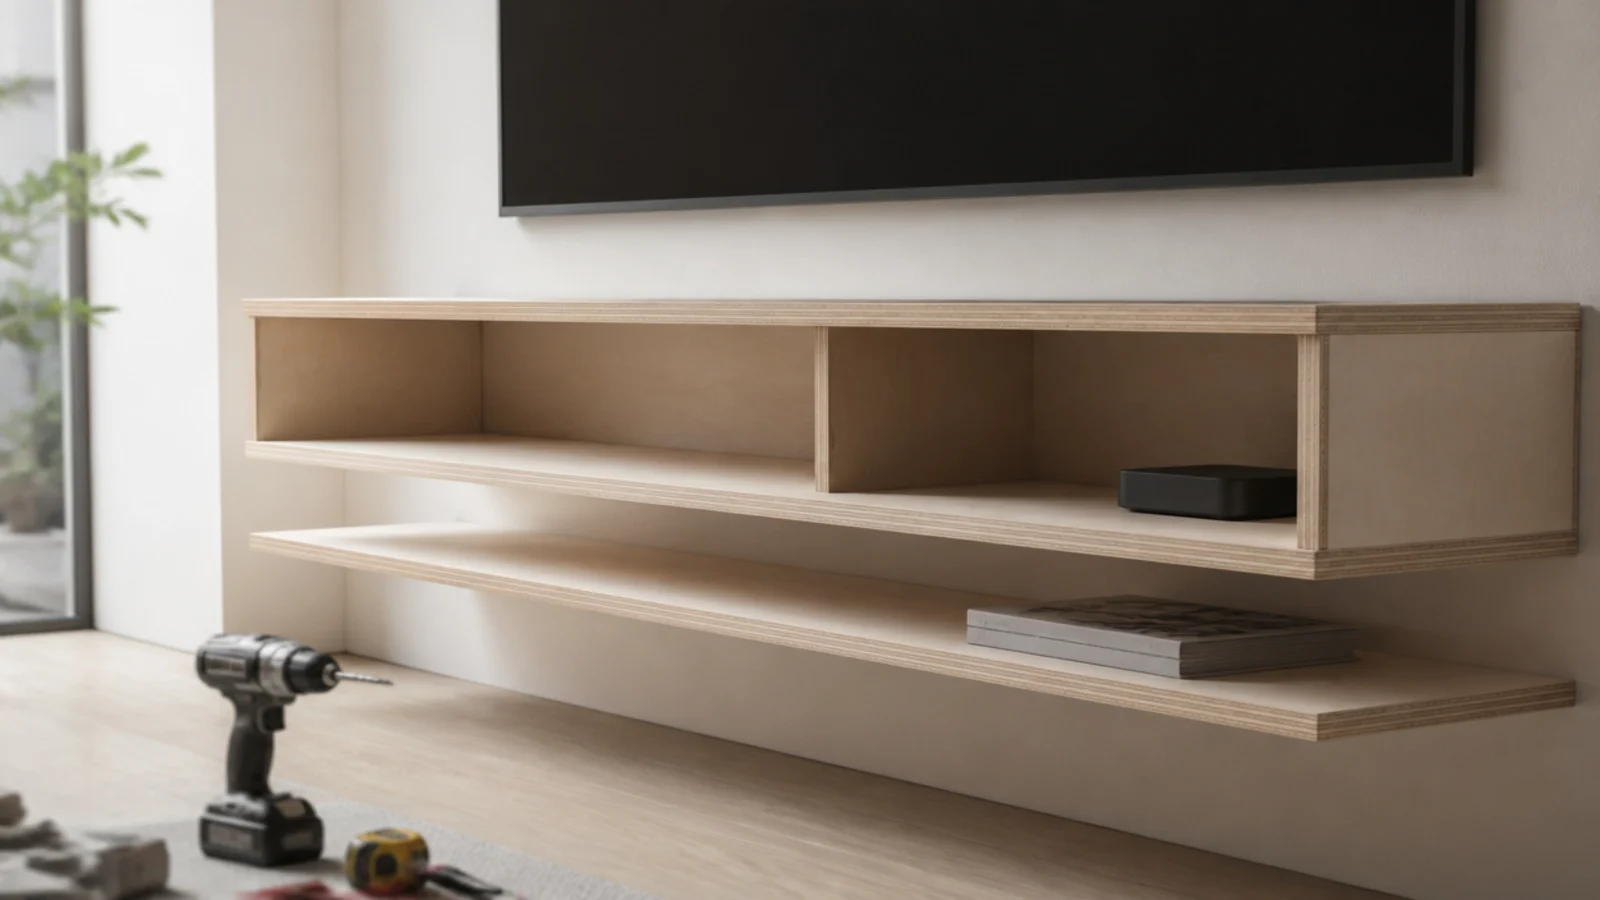
A media wall is one of the few pieces of joinery worth building yourself, because the shapes are simple, the tolerances are forgiving and the bought version carries a large labour premium for what is essentially two boxes and a shelf. TV wall unit decor built at home comes in around $250 to $450 in materials, and the parts that matter are structural rather than decorative: where the studs are, how the load reaches them, and whether the closed bays can breathe. Fifteen steps, in the order that avoids rework.
In this guide18 sections — tap to openHide
- 1.What You'll Need for TV Wall Unit Decor
- 2.Step 1: Measure the wall and find every stud
- 3.Step 2: Tape the elevation onto the wall
- 4.Step 3: Fix the screen height and work down
- 5.Step 4: Write a cut list before you buy
- 6.Step 5: Buy the hardware before the sheets
- 7.Step 6: Cut ports and vents before assembly
- 8.Step 7: Assemble the boxes square
- 9.Step 8: Cut and fit the French cleat
- 10.Step 9: Fix the wall cleat into the studs
- 11.Step 10: Hang the boxes and join them
- 12.Step 11: Add the shelf and check the span
- 13.Step 12: Fit slatted or cane fronts
- 14.Step 13: Fill, sand and finish every face
- 15.Step 14: Run the cables and mount the strip
- 16.Step 15: Load it, style it, remove two things
- 17.Pro Styling Rules
- 18.Mistakes to Skip
What You'll Need for TV Wall Unit Decor
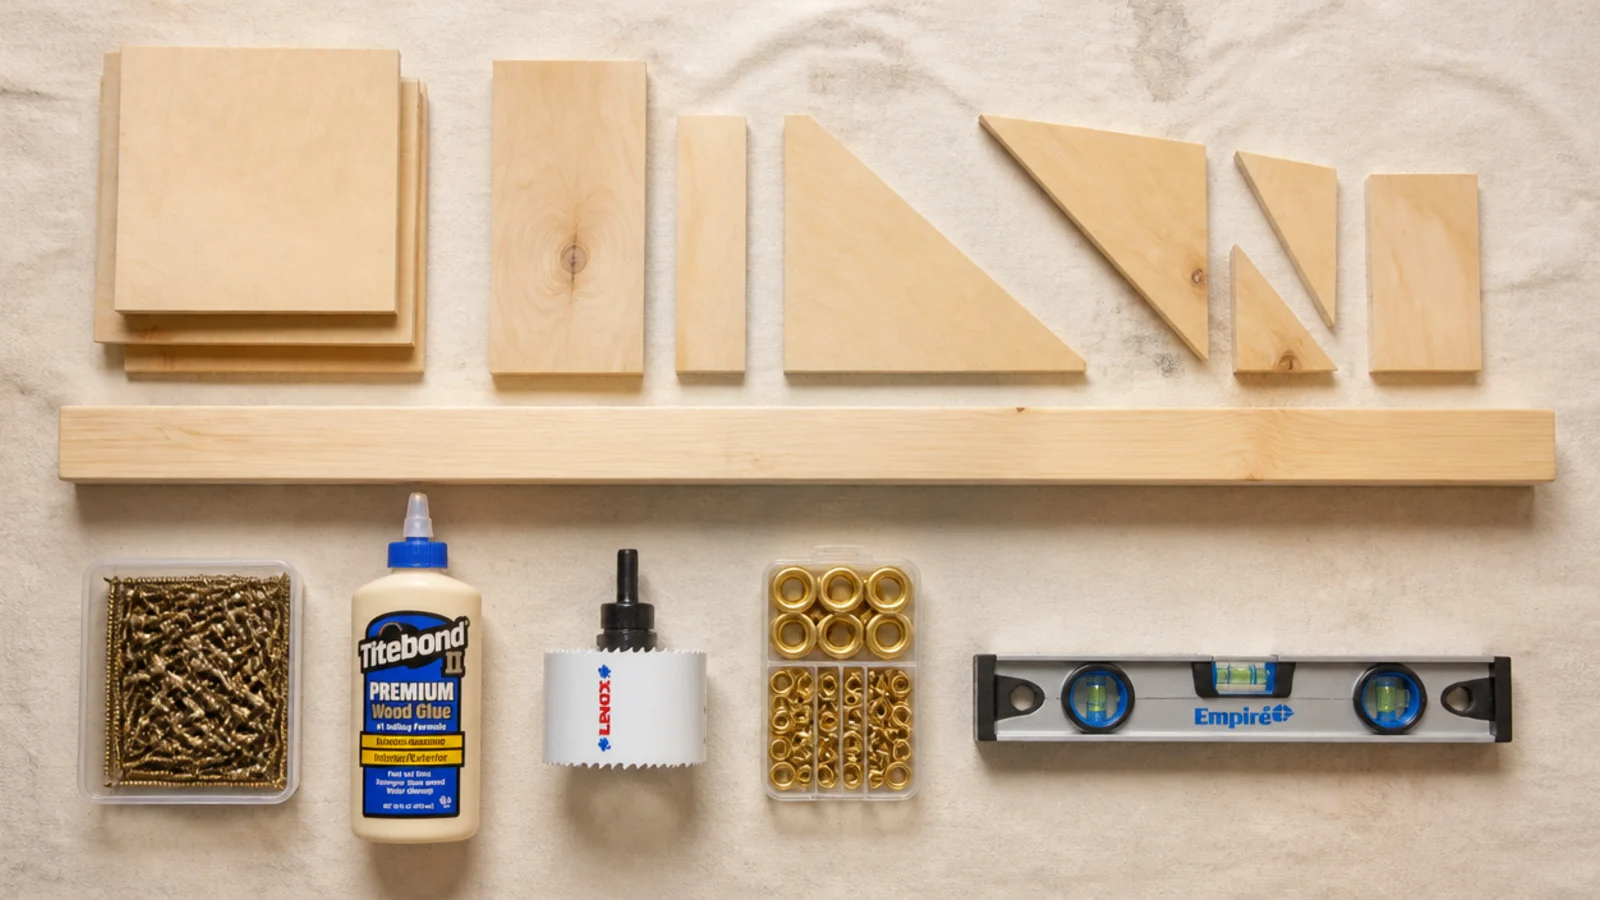
Two sheets of 18 mm birch plywood cover most units up to about 8 feet, at roughly $60 to $110 a sheet depending on grade. Add a length of straight softwood for the cleat, wood glue, 40 mm screws, and edge banding or filler for the exposed edges.
For tools, a circular saw with a straight edge or a track saw does the cutting, though the timber yard's panel saw is squarer than most home cuts and usually costs a small charge per cut. You also want a stud finder, a spirit level at least 3 feet long, two bar clamps, a framing square, a drill and a 3 inch hole saw for the vents.
For the services, budget a couple of rubber grommets at $2 to $4 each, a slim surge strip, a pack of velcro ties and masking tape for labelling. A 2700K light strip at about $20 for 3 metres finishes it. Total materials land under $450 for a unit that would cost two or three times that bought. If you want the built-in look afterwards, the custom-built TV wall details cover scribing and plinths.
Step 1: Measure the wall and find every stud
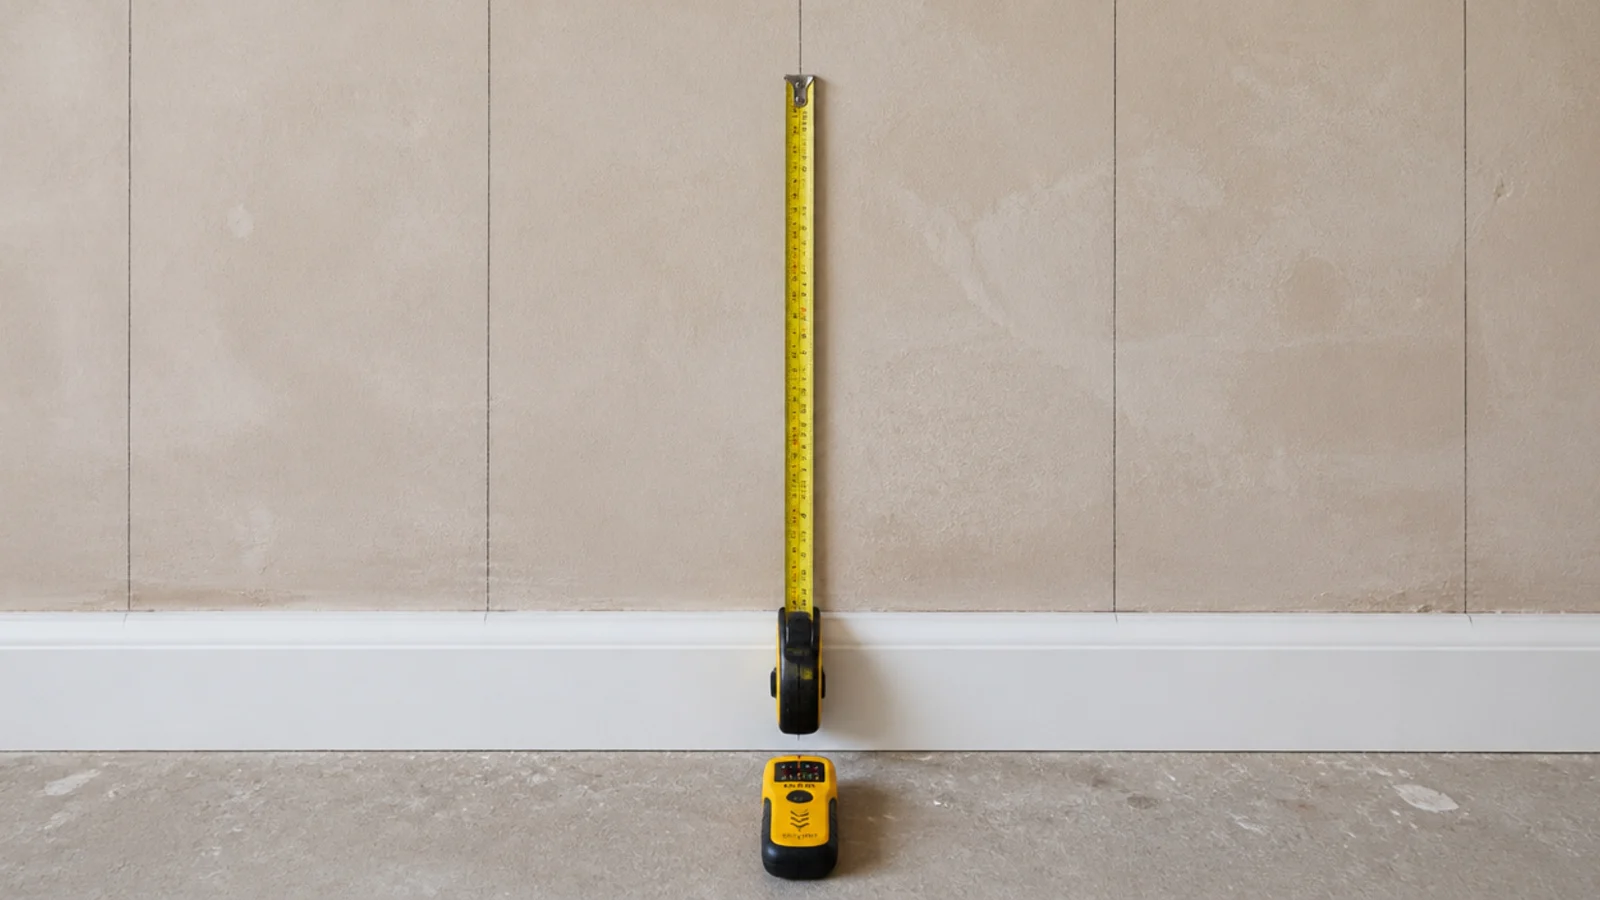
Run the stud finder across the entire wall and mark every hit in pencil before you decide anything. Studs usually sit at 16 inch centres, and the cleat wants at least two of them. Confirm by tapping — a stud sounds solid and a cavity sounds hollow, and both are obvious once you have listened twice. Moving the whole unit 4 inches sideways to catch framing is free, and it changes what the wall can carry more than any fixing upgrade.
Step 2: Tape the elevation onto the wall
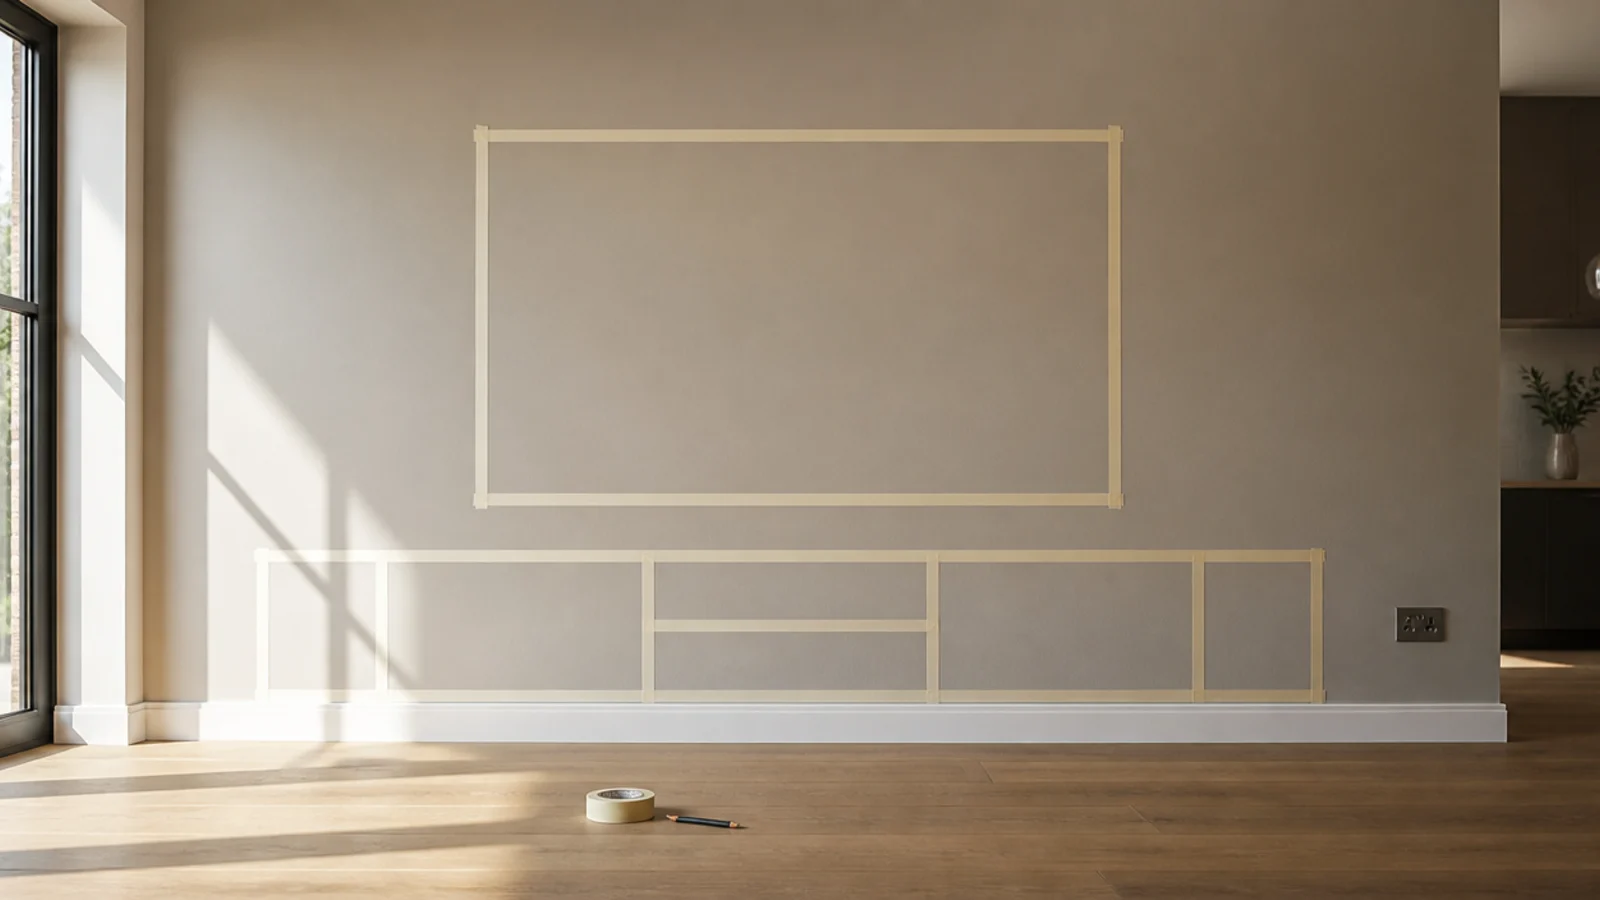
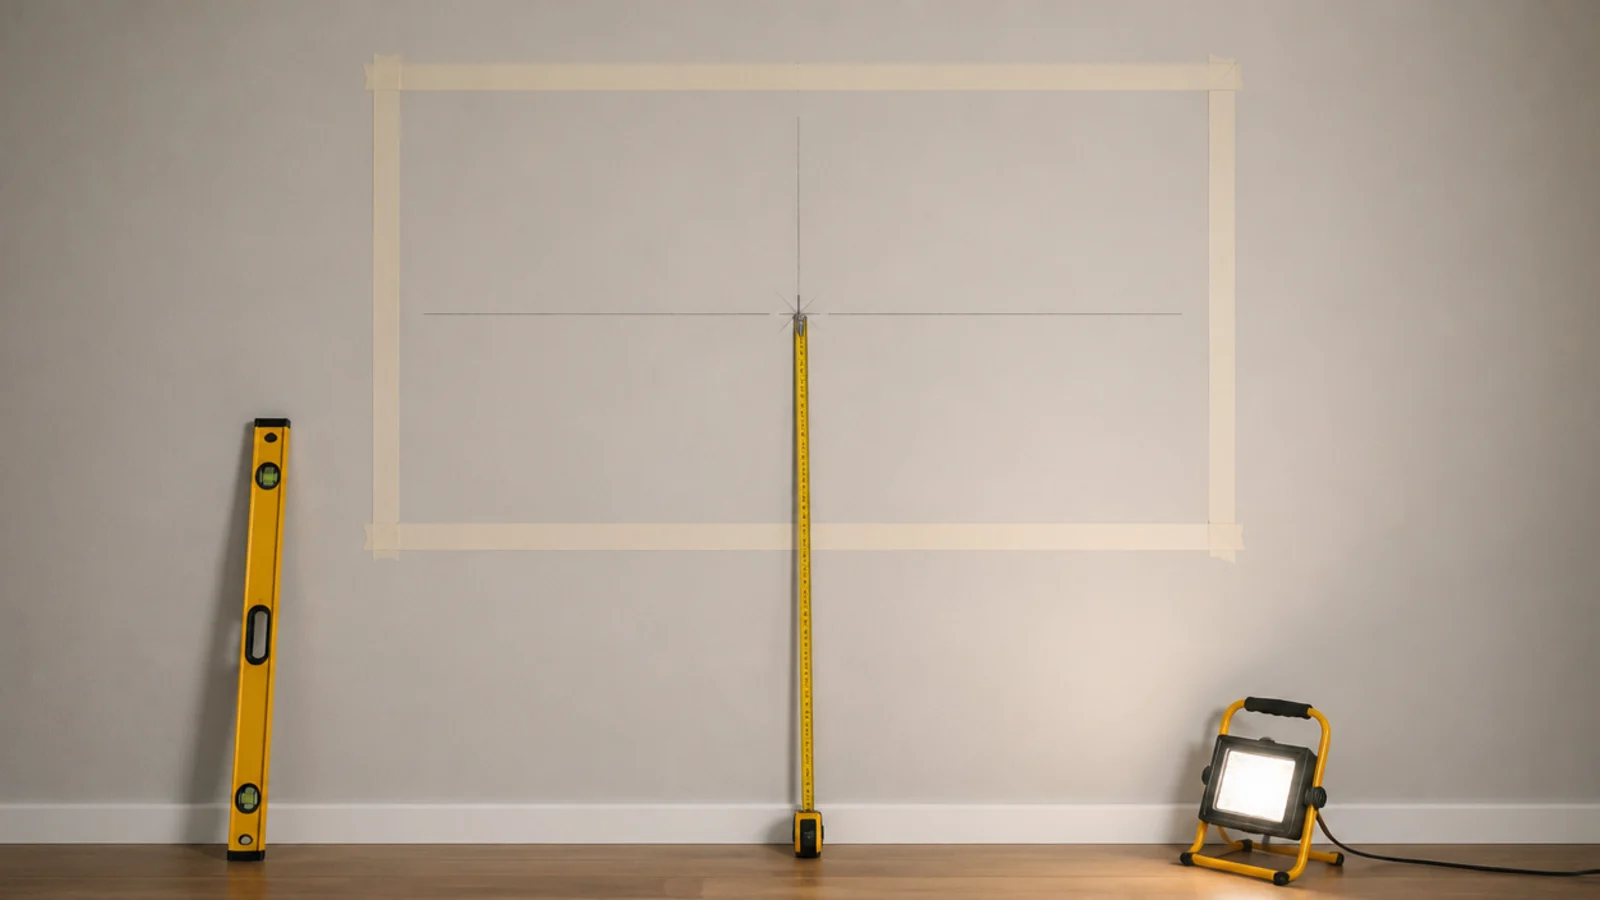
Mark the whole outline in masking tape: cabinet, shelf, screen. Live with it for a day. Twenty minutes of tape catches the two mistakes that cost the most, which are wrong height and wrong length, and it costs nothing to move.
Step 3: Fix the screen height and work down
Sit where you watch and mark the wall at your eye level, usually 40 to 42 inches on a 17 to 19 inch sofa seat. That is the centre of the glass. The cabinet top then falls at 16 to 20 inches, and the cleat position follows from that. A 55 inch panel is roughly 27 inches tall, so its base sits about 13 inches below the centre mark, which is the line the shelf has to clear.
Step 4: Write a cut list before you buy
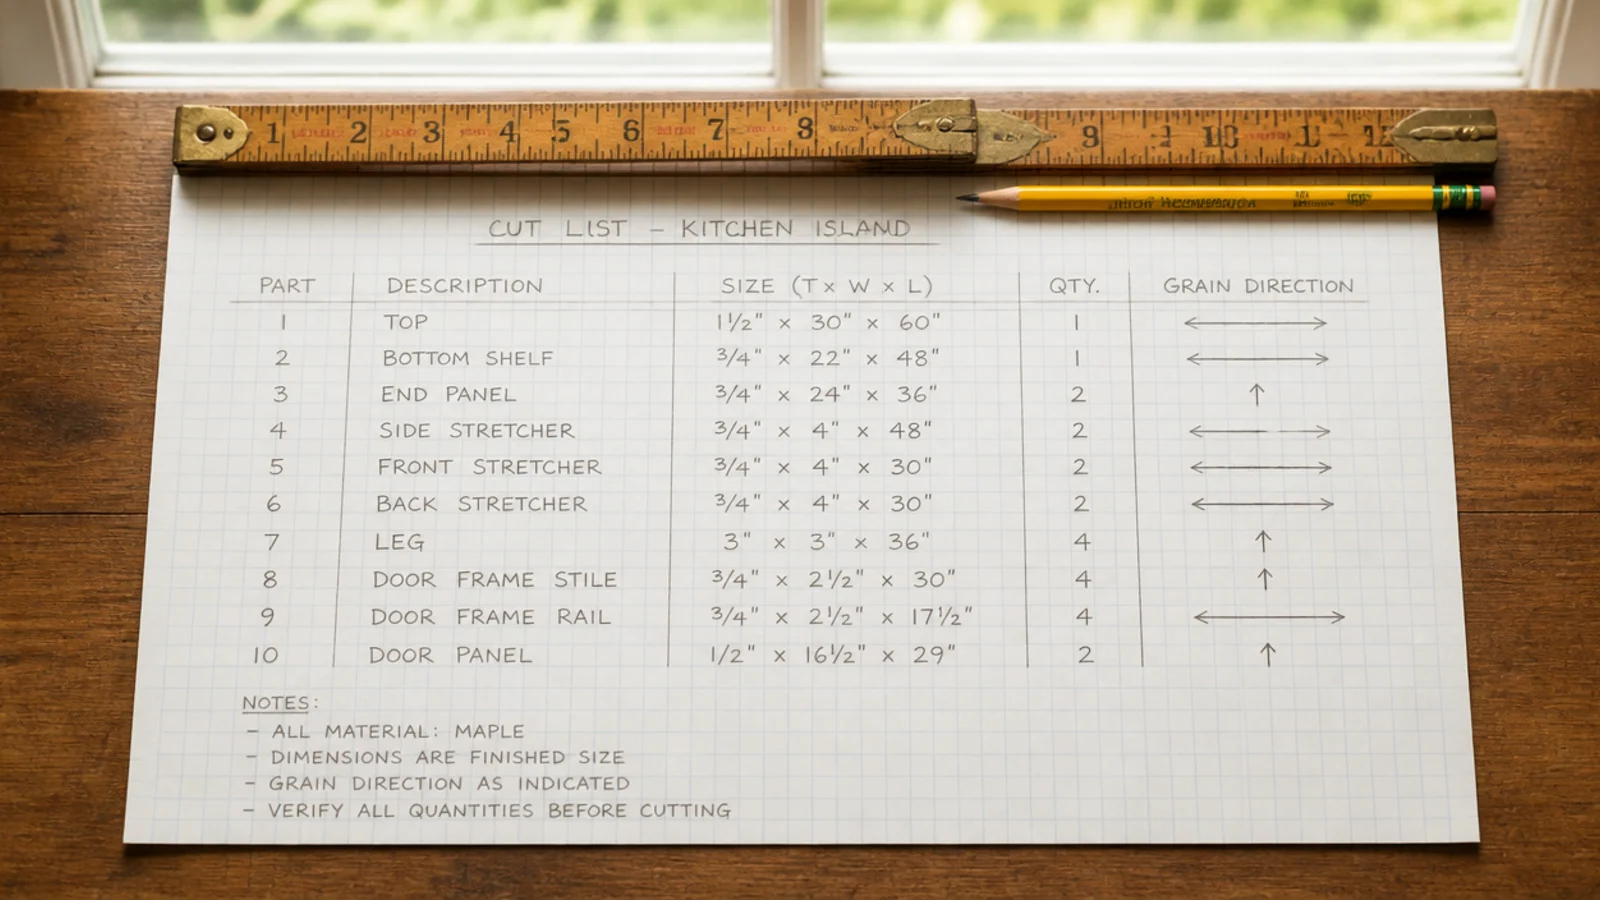
List every panel with width, height, quantity and grain direction. Allow about 3 mm per cut for the blade. A written list handed to the yard gets you square panels and saves an afternoon; a list made up at the saw gets you offcuts in the wrong sizes.
Step 5: Buy the hardware before the sheets
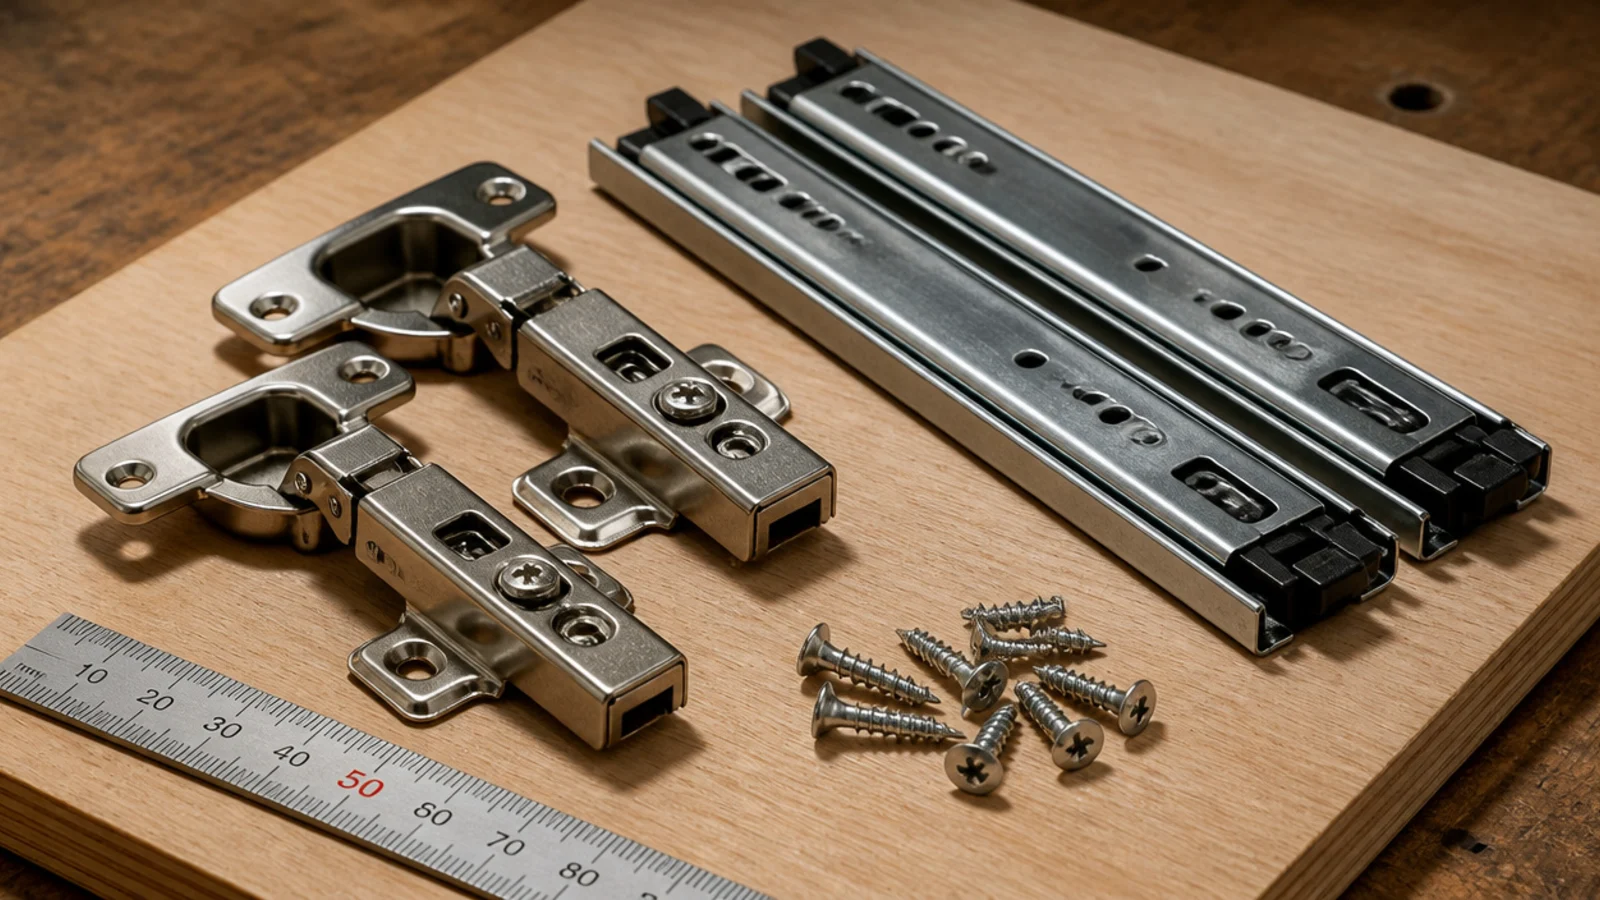
Hinge cup depth, runner length and cleat thickness all dictate carcass dimensions. Buying hardware afterwards means adapting the boxes to it, which is how gaps end up inconsistent. Soft-close hinges run $4 to $9 a door and are worth it on something opened nightly.
Step 6: Cut ports and vents before assembly
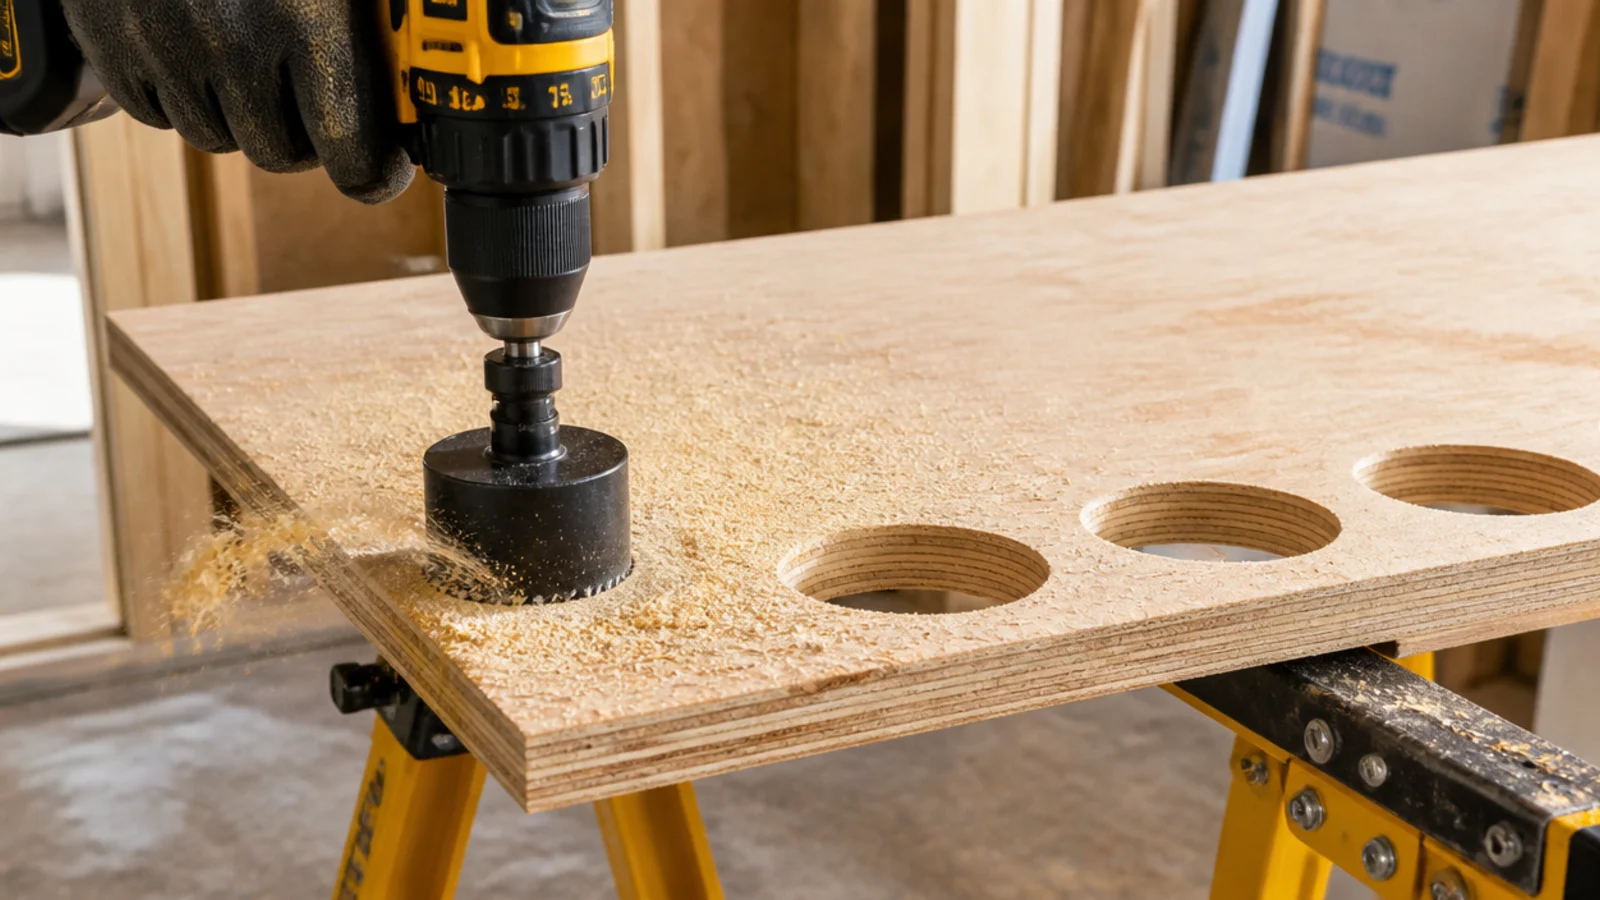
Cut cable ports and vent holes while the panels are flat on trestles. A 2 inch port passes six to eight HDMI cables, since standard HDMI is 6 to 8 mm across. For vents, six 3 inch holes give roughly 42 square inches per bay, split low and high so air crosses rather than sits.
Step 7: Assemble the boxes square
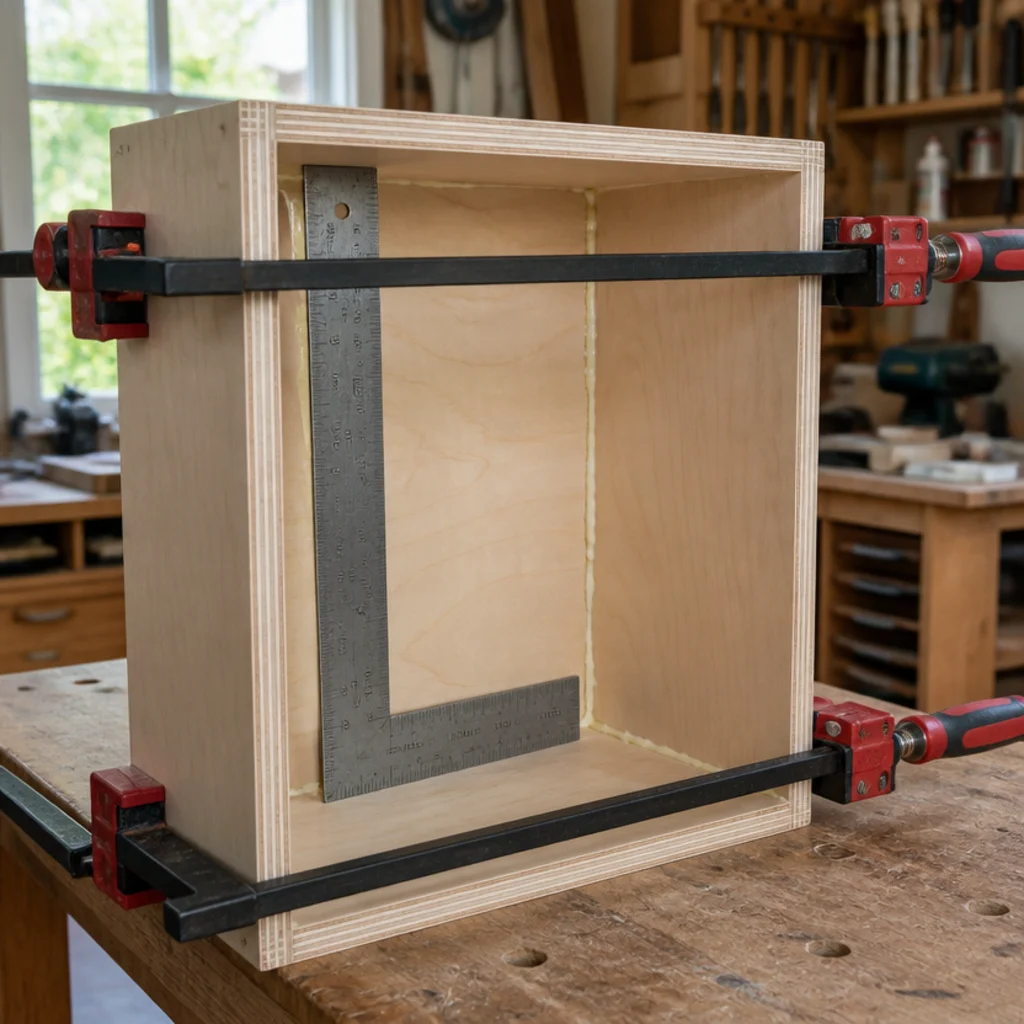
Glue and screw, then check the diagonals with a framing square before the glue grabs. A carcass 3 mm out of square will show as a tapering door gap that no amount of hinge adjustment fixes. Clamp, measure both diagonals, adjust, then drive the screws. Pilot every screw within 40 mm of a panel end as well, because plywood splits along its outer ply far more readily than solid timber does.
Step 8: Cut and fit the French cleat
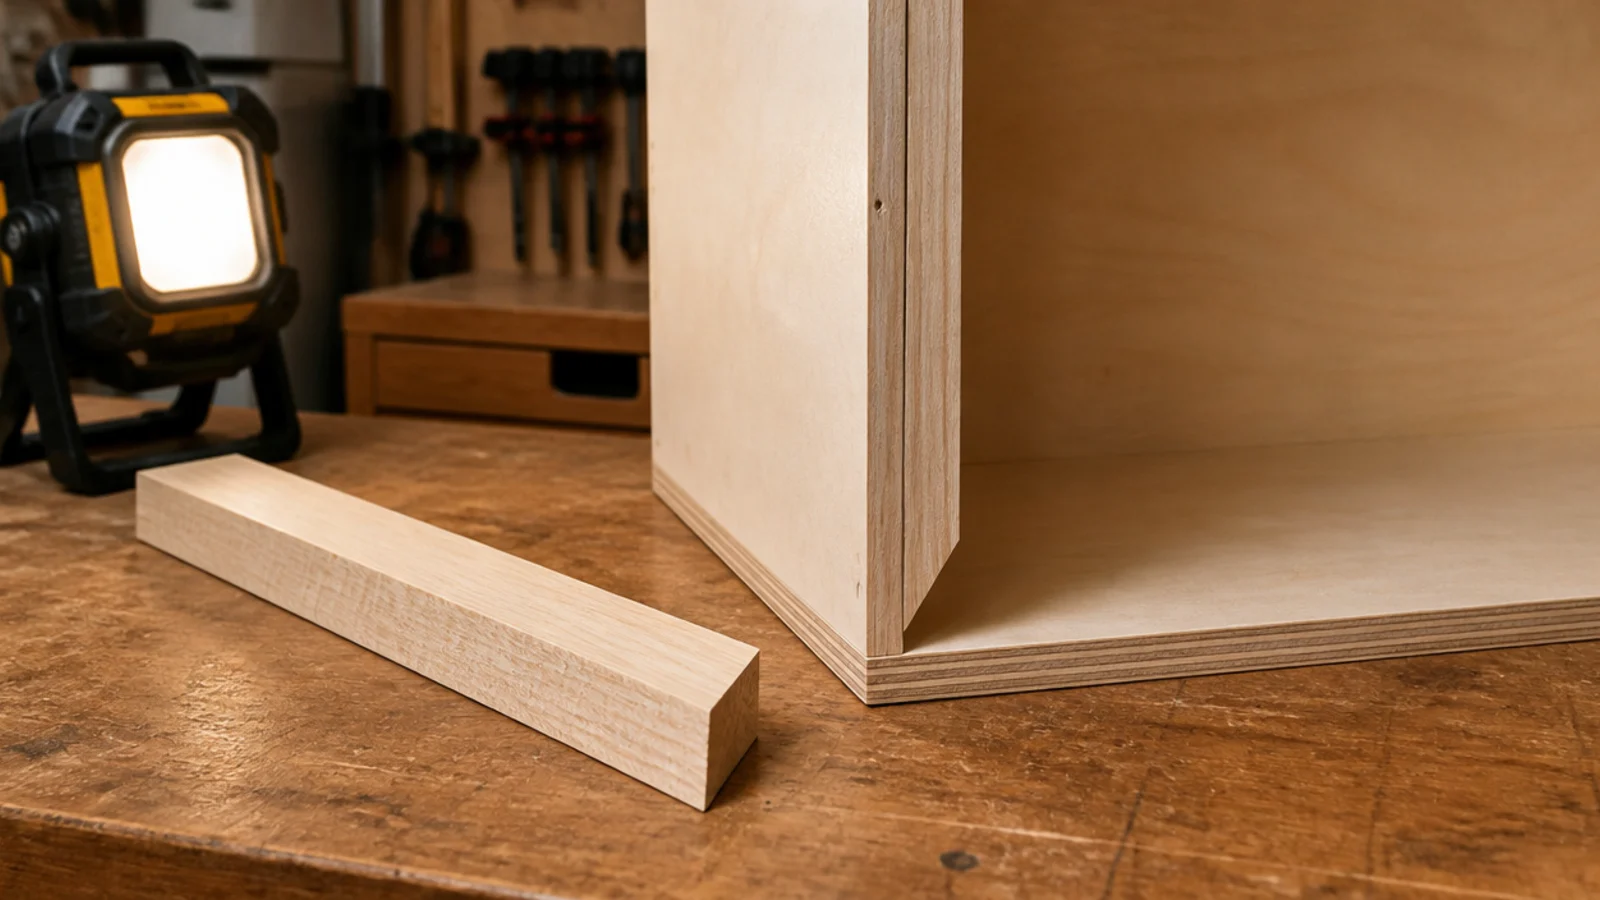
Rip a length of timber along a 45 degree bevel to make two matching halves. One screws to the wall, the other inside the top of the carcass. The bevels interlock and pull the cabinet tight to the wall. Ask the yard to rip the bevel if you have no table saw.
Step 9: Fix the wall cleat into the studs
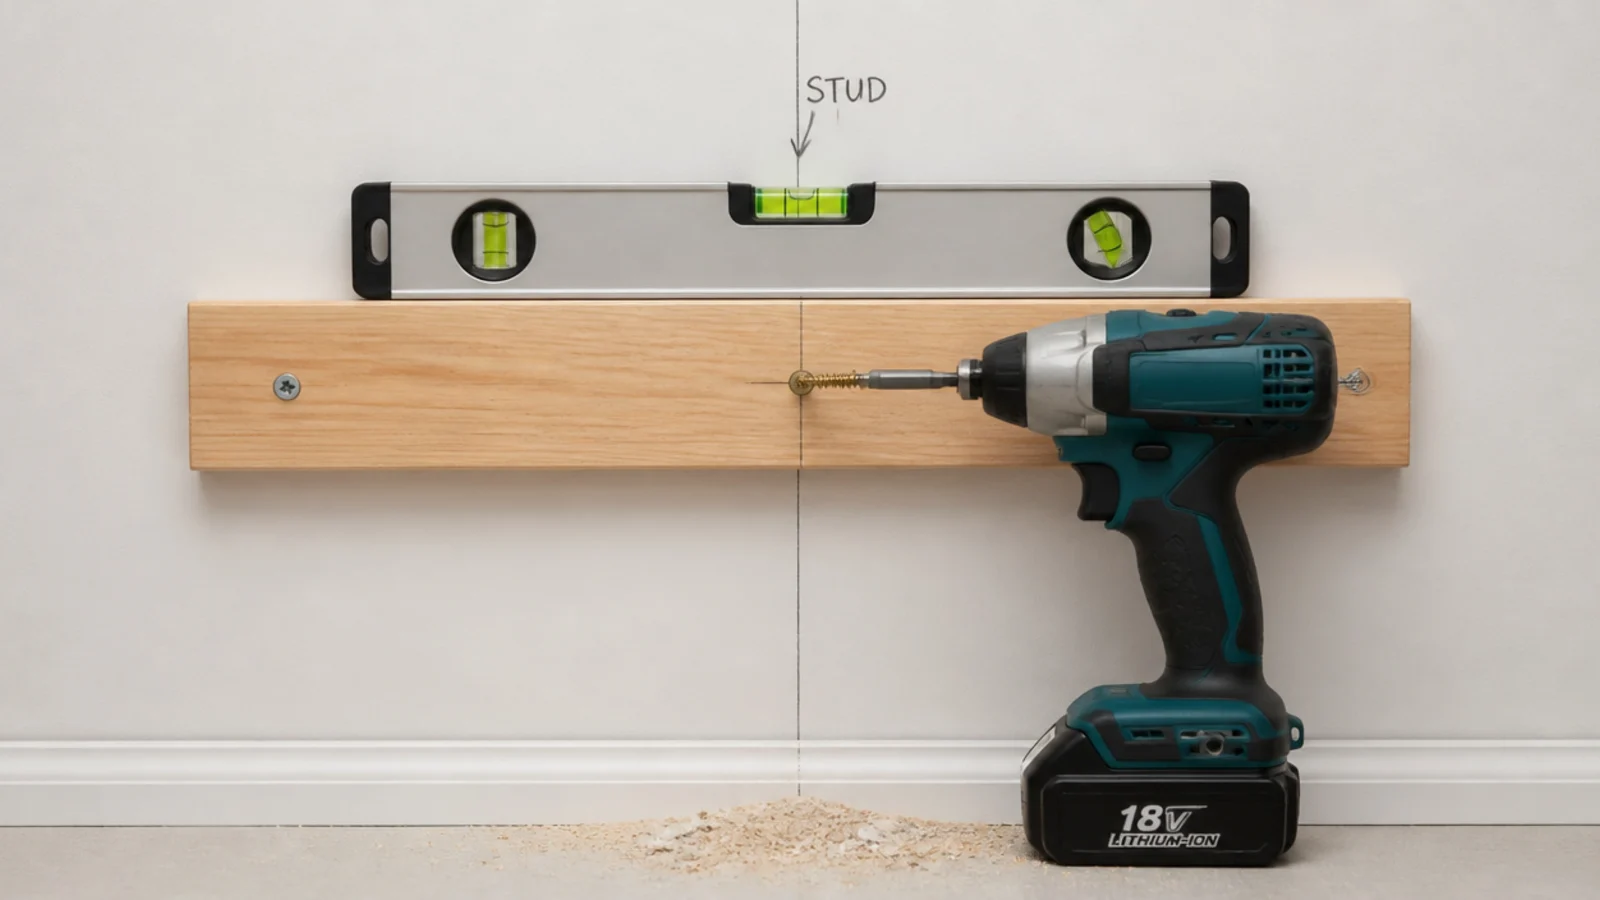
Screw through the cleat into at least two studs with 75 mm screws, checking level along its full length as you go. Across two studs a cleat carries well over 100 pounds, far more than a loaded cabinet with a television on it. Everything hangs off this one line, so take the extra minute.
Step 10: Hang the boxes and join them
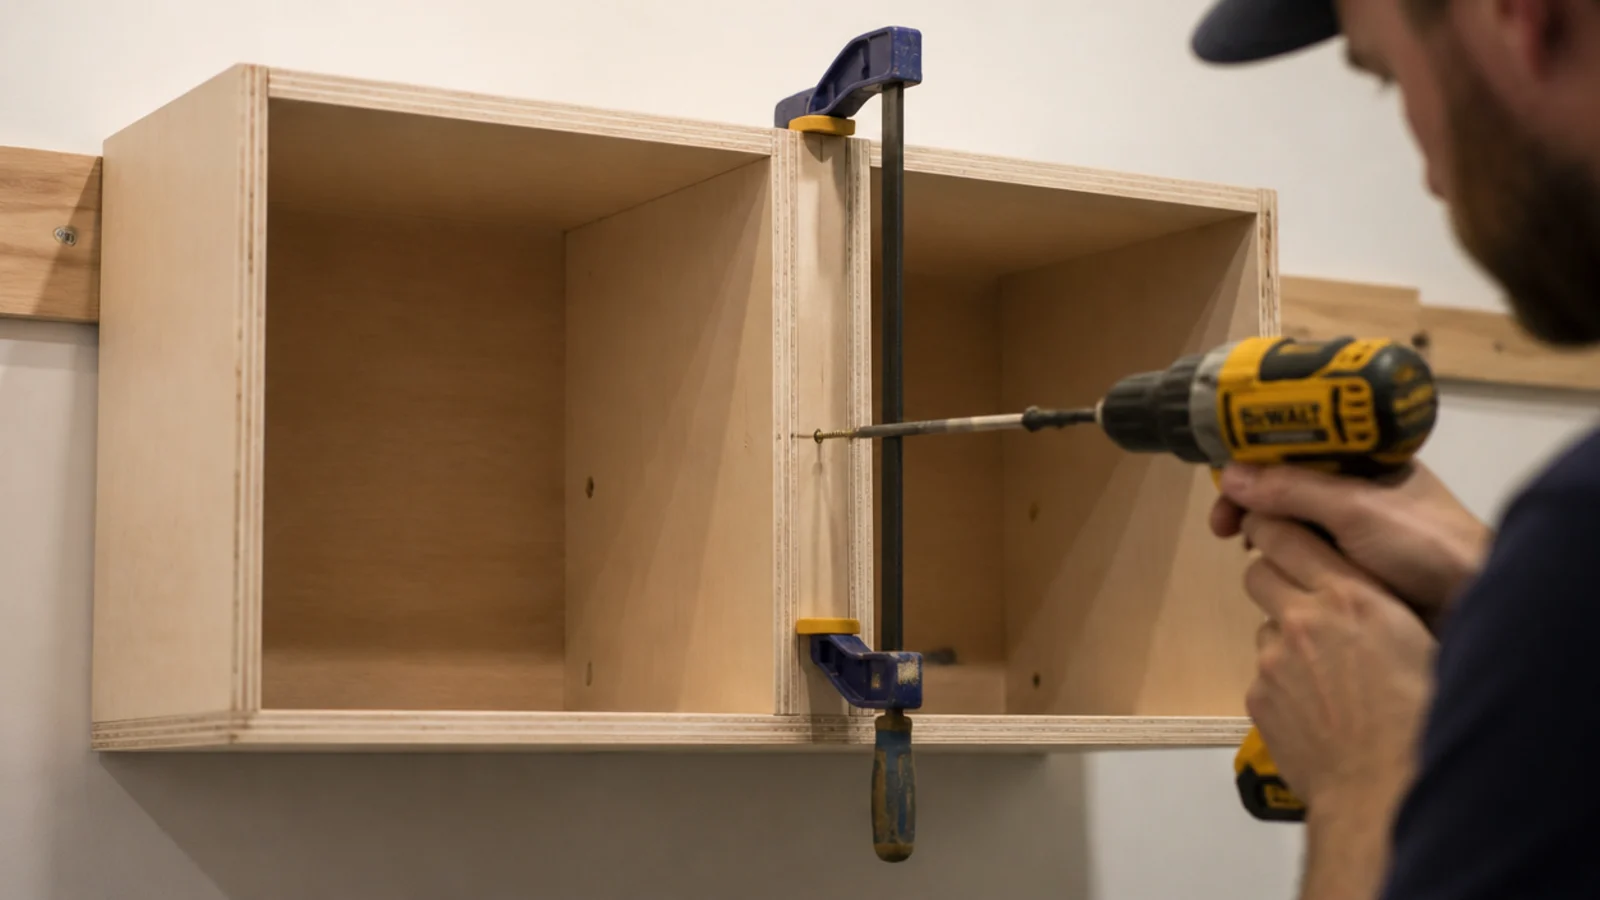
Lift each carcass onto the cleat and let it settle, then clamp the boxes together and screw through the shared side panels so the fronts stay aligned. Two boxes joined read as one cabinet; two boxes merely pushed together always show their join. Check the front faces with a straight edge before the screws go home, since a millimetre of step at the top becomes very visible along a run.
Step 11: Add the shelf and check the span
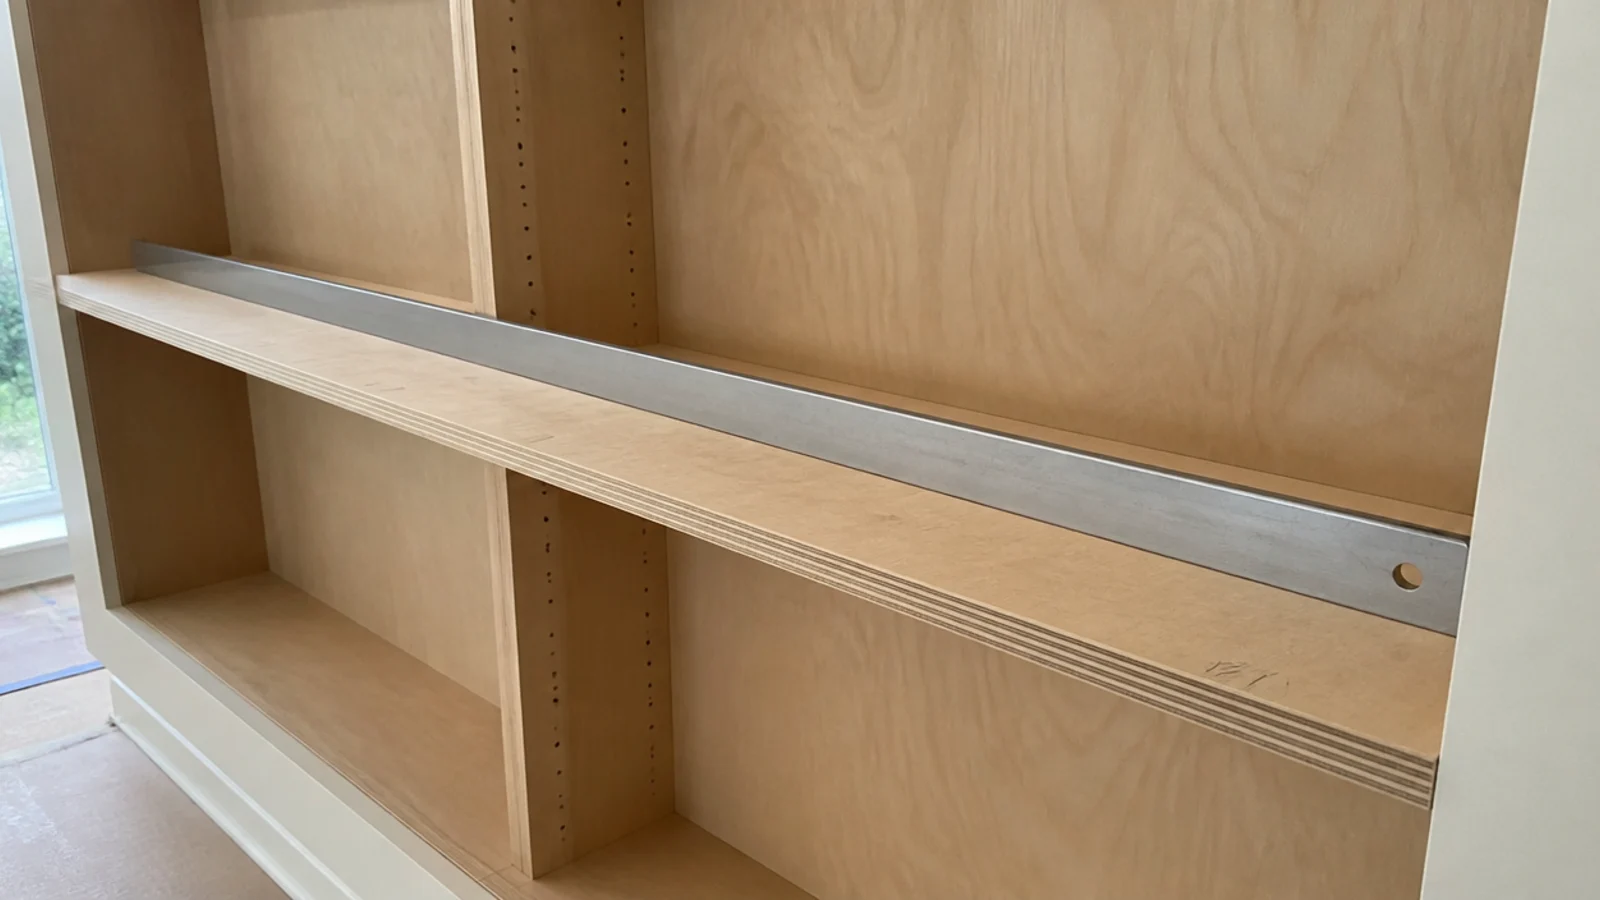
Eighteen millimetre ply spans 30 to 32 inches under 30 pounds without visible dip. Past that, add a vertical divider or glue a batten along the back edge. Lay a straight edge across the finished shelf and look — deflection shows in the middle, and no end fixing corrects it later.
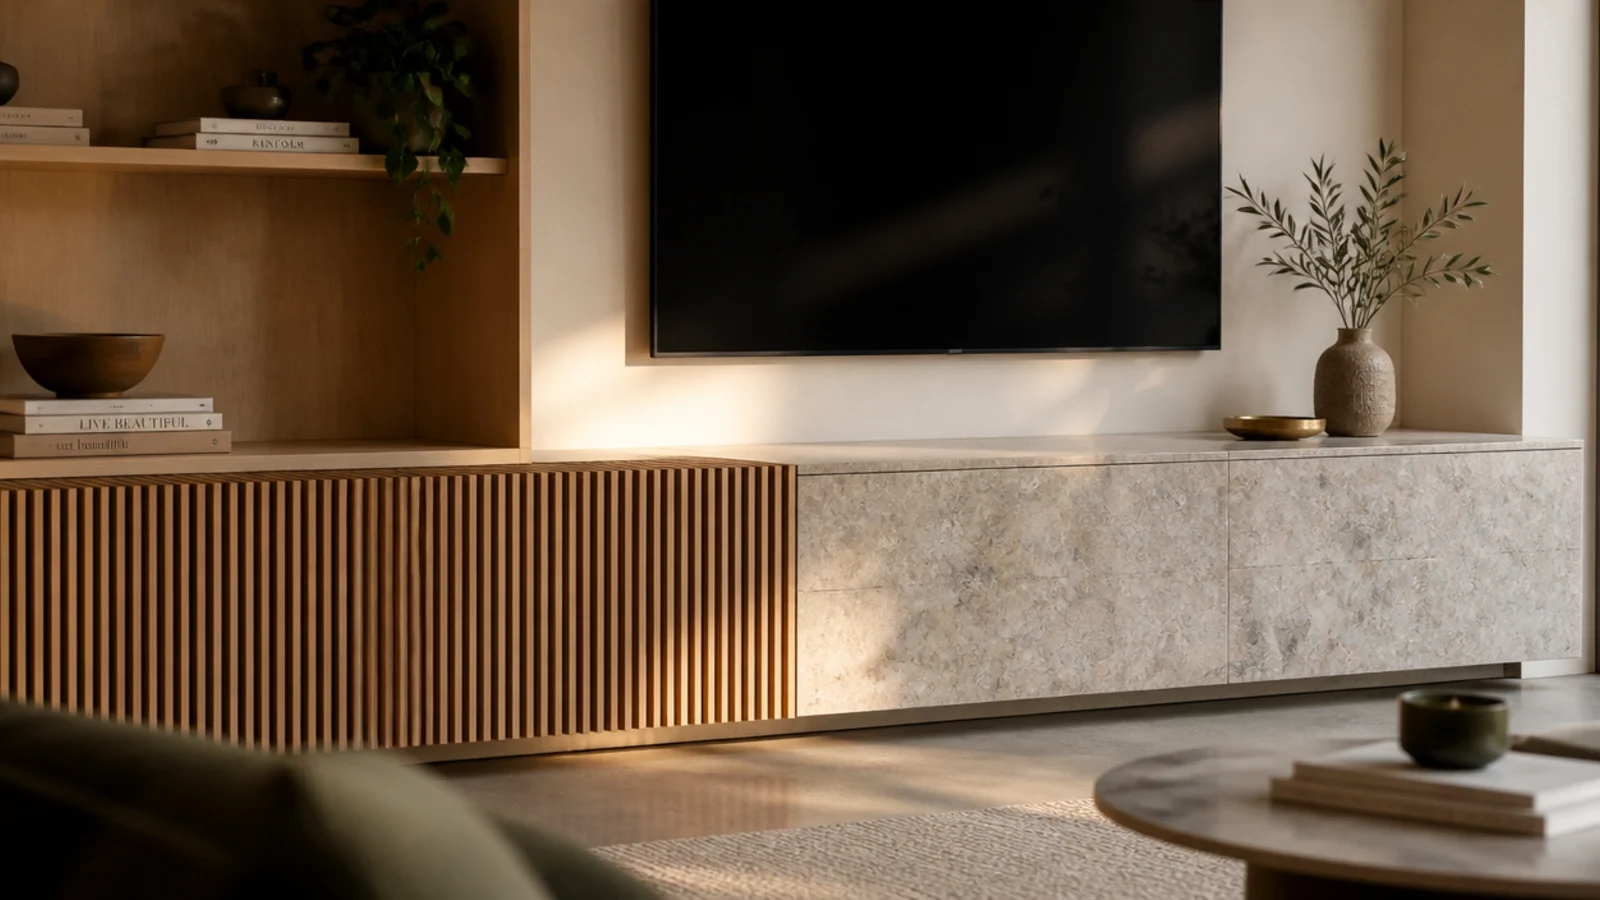
Step 12: Fit slatted or cane fronts
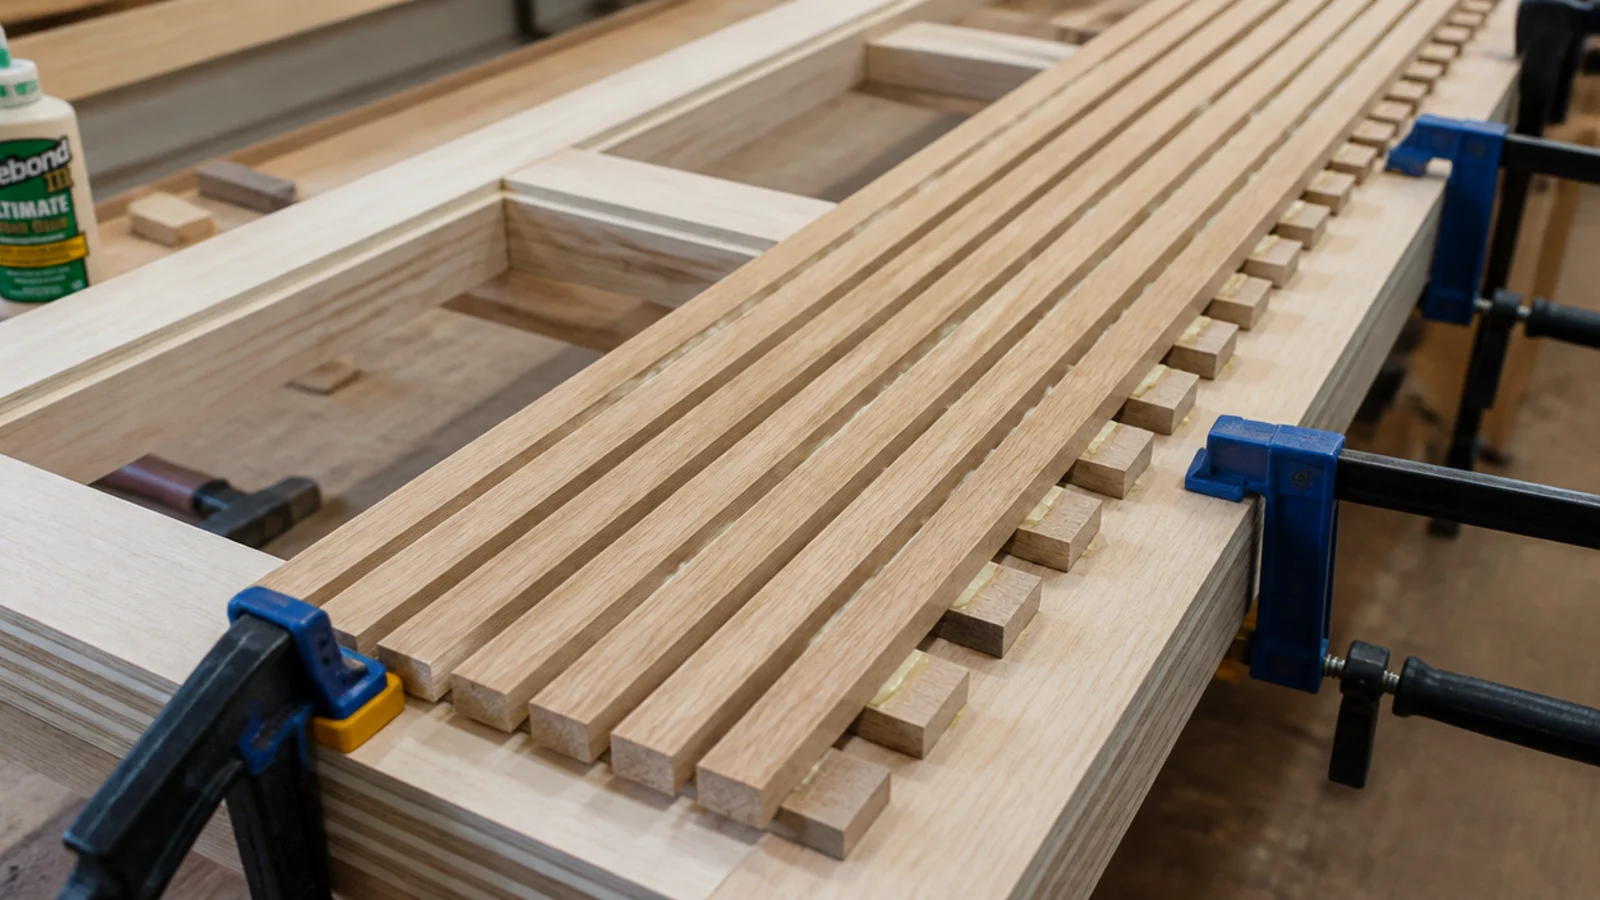
Slats at 20 mm with 10 mm gaps give roughly a third open area, which vents a closed bay and passes infrared so remotes still work. Use offcut spacers to hold the gaps even. Cane webbing in a rebated frame is the alternative and costs $25 to $50 a roll.
Step 13: Fill, sand and finish every face
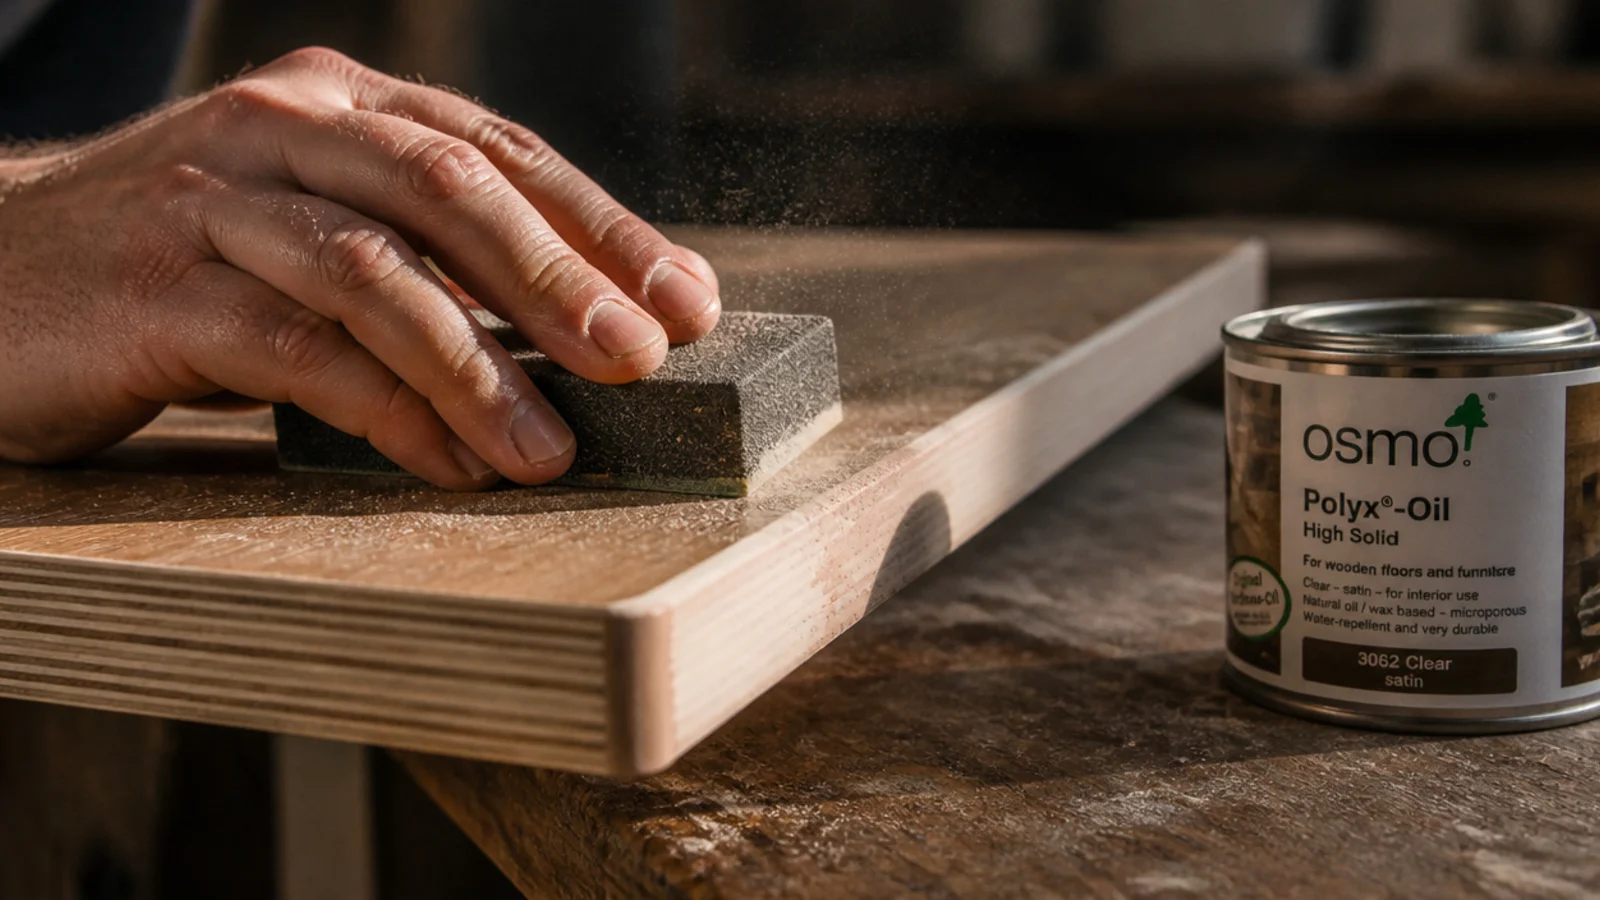
Fill the screw holes, sand to 180 grit, and finish every surface including the underside and the back edges. An unfinished face absorbs moisture at a different rate from a finished one, which is what makes panels cup. Hardwax oil takes a spot repair later; lacquer does not.
Step 14: Run the cables and mount the strip
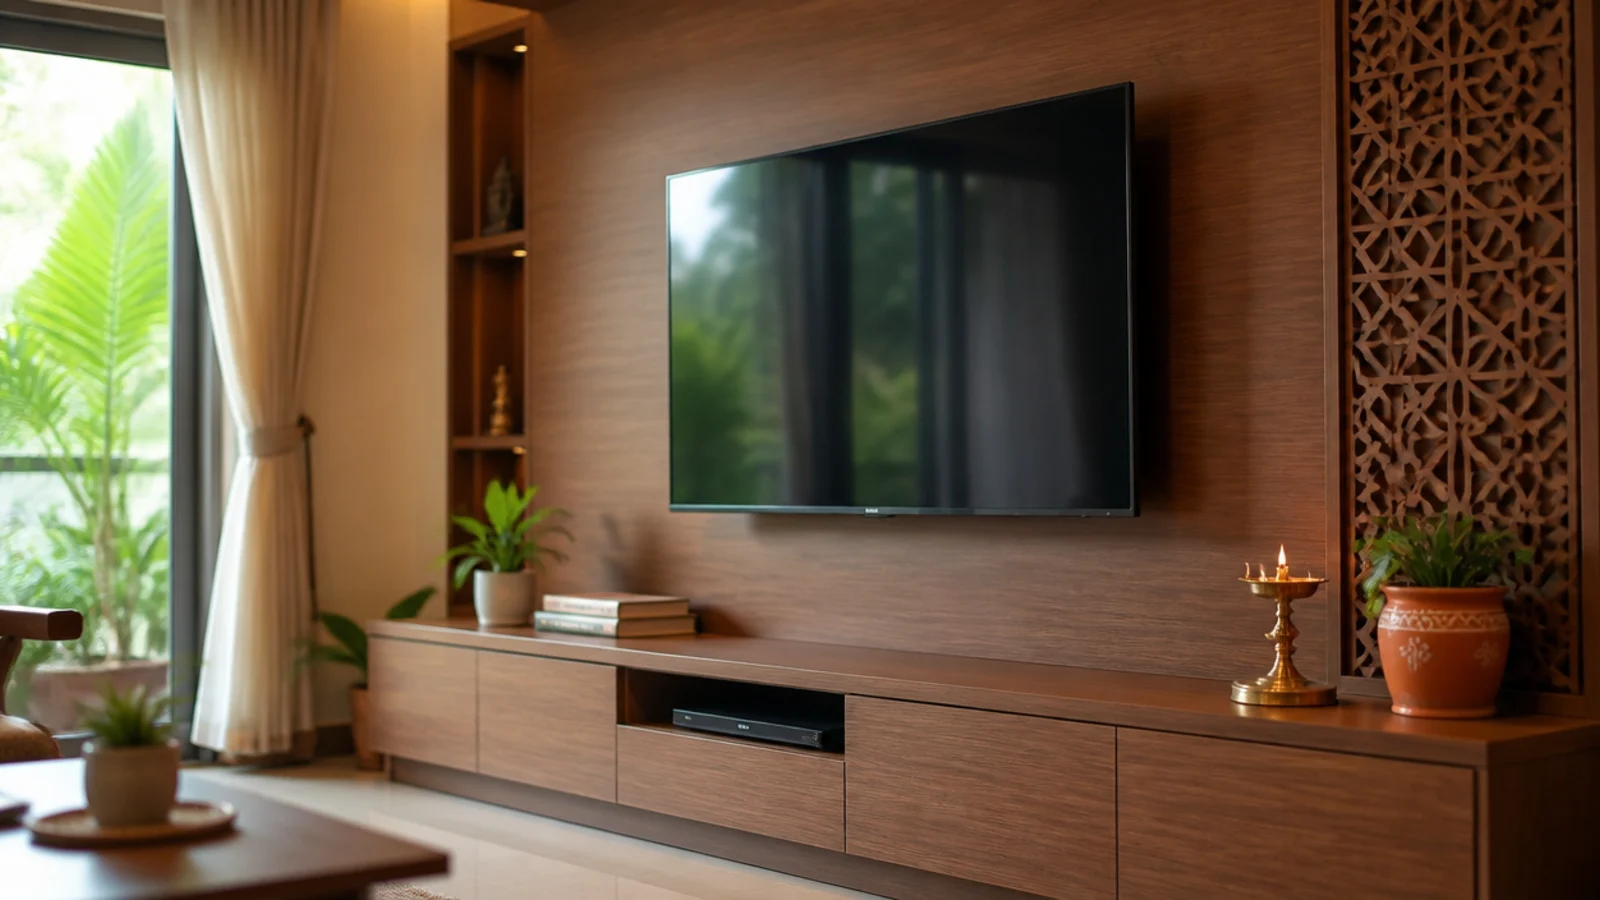
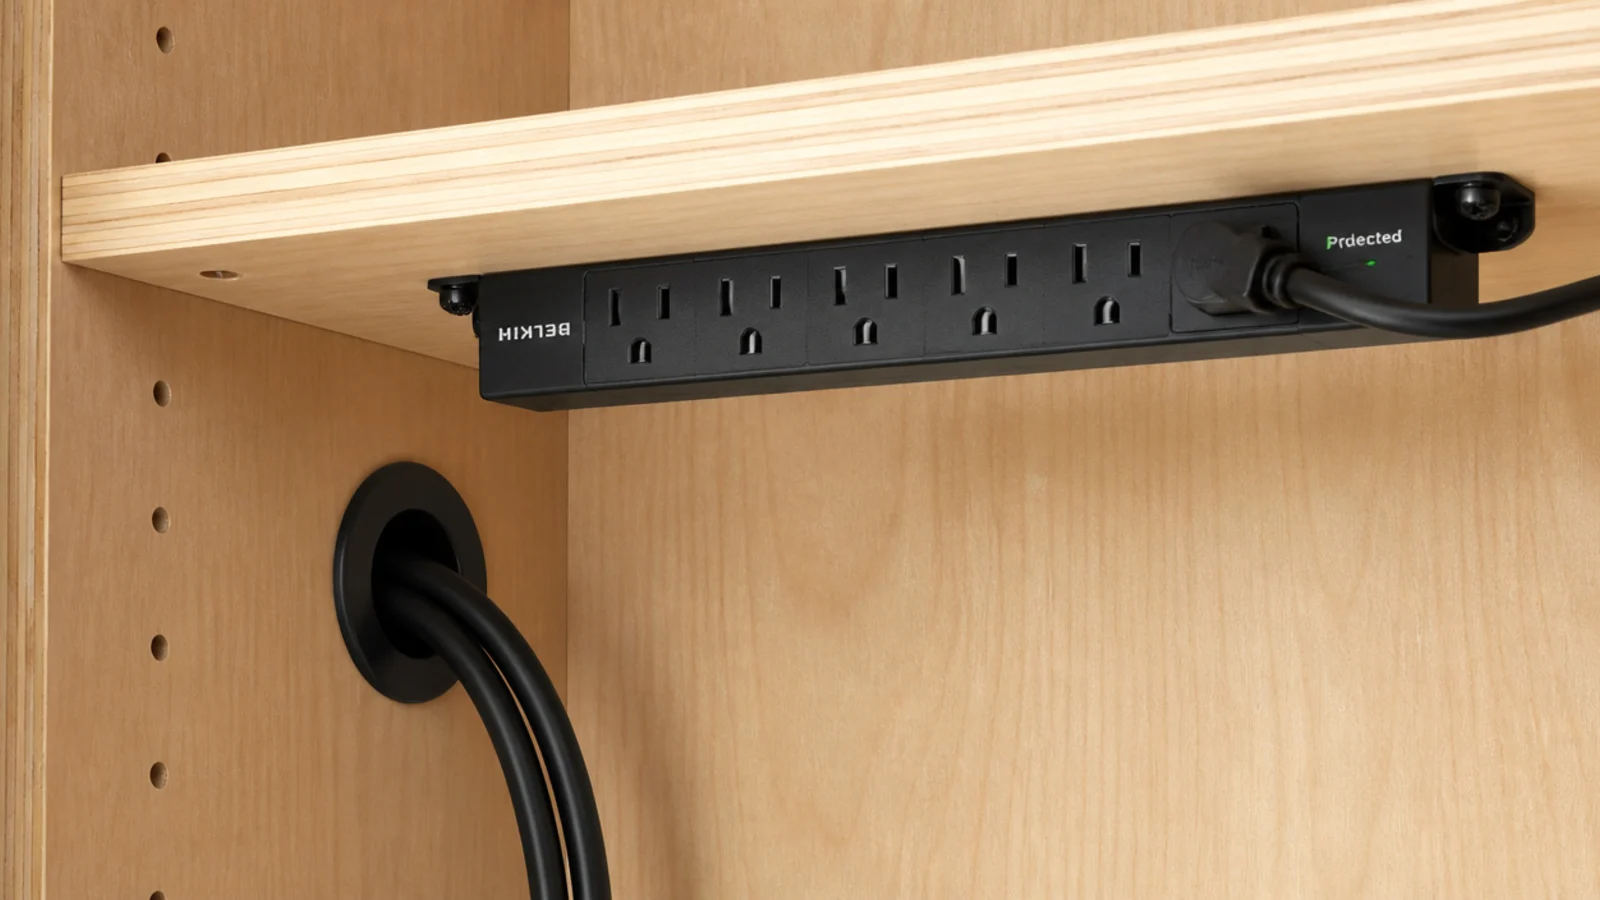
Feed everything through the grommet, screw the surge strip to the underside of a shelf inside the carcass, and strap the slack with velcro every 8 inches. Flag both ends of every lead with masking tape. Leave 4 inches between the back panel and the wall for the cable to turn.
Step 15: Load it, style it, remove two things
Load the closed storage first, leaving a third empty, then put three objects at three heights on the top. Photograph it, look at the picture rather than the wall, and take two things away. The step-by-step styling method covers that part in detail.
Pro Styling Rules
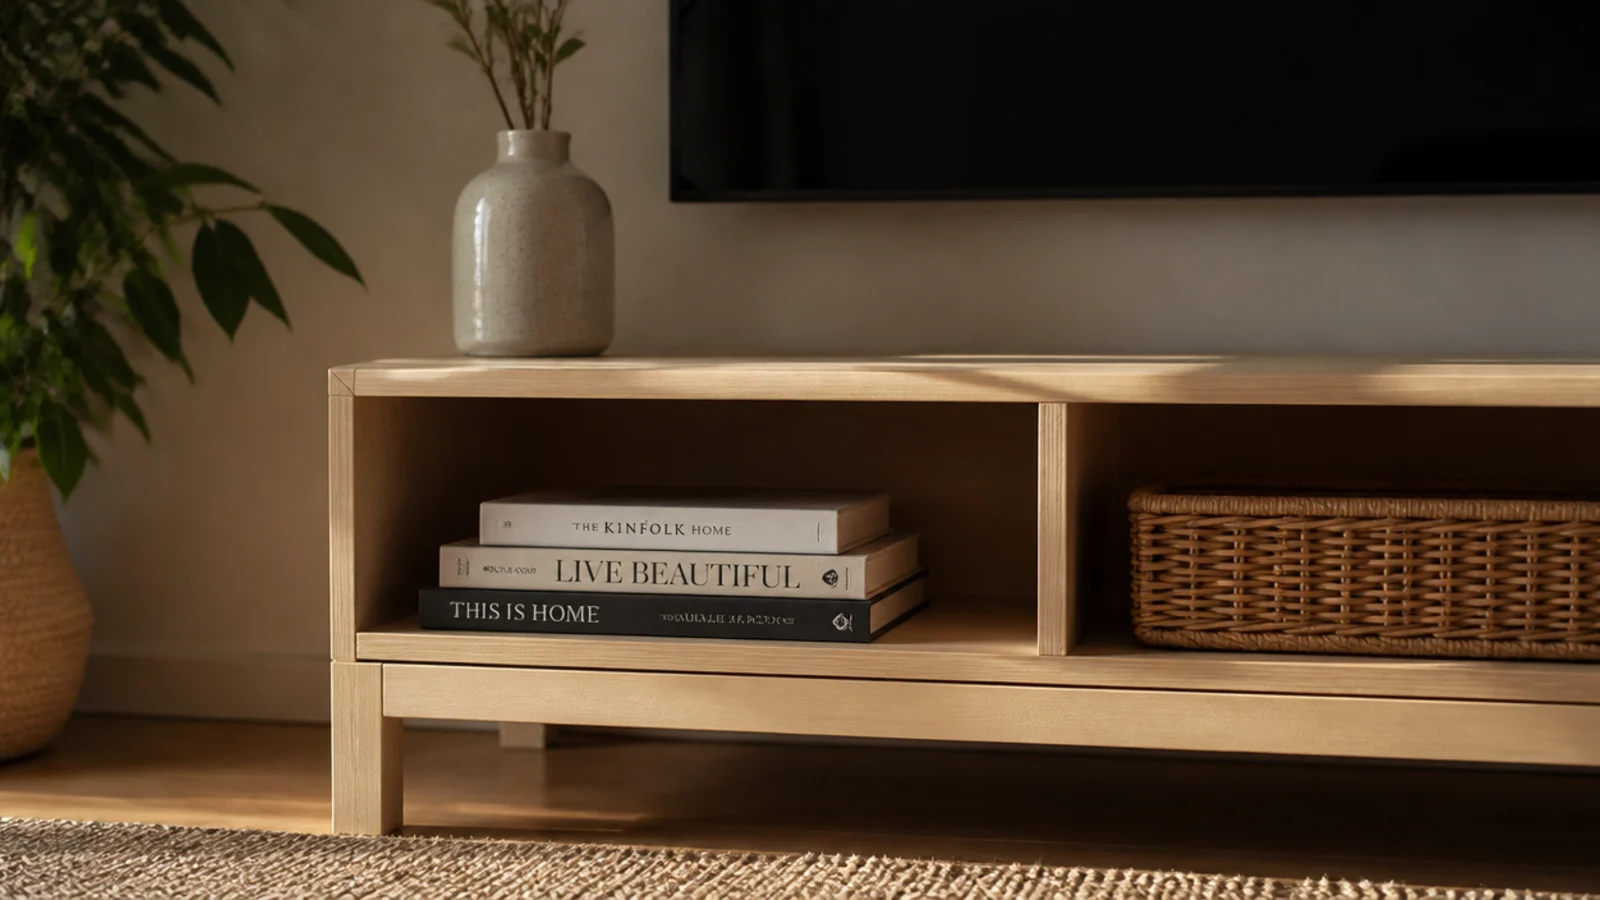
For the cable, vent and grommet detail in more depth, the clutter-hiding guide has every number in one place. If you would rather buy than build, the modern cabinets guide covers what to check, and floating shelf ideas has the load ratings for the shelf alone.
Mistakes to Skip
- Hanging a cleat on plasterboard anchors alone. The load belongs in framing, and a loaded media unit is not the place to test an anchor rating.
- Cutting vents after assembly. A hole saw inside a built carcass is awkward, inaccurate and usually ends with a smaller vent area than the bay needs.
- Buying sheets before writing a cut list. Two sheets covers most units, but only if the panels are nested sensibly rather than cut as you go.
- Spanning 40 inches with an 18 mm shelf. It will dip within a season under a soundbar and books, and the sag appears in the middle where nothing can fix it.
- Finishing only the visible faces. Unfinished backs and undersides take up moisture unevenly, and that is what makes a flat panel cup a year later.
Frequently asked questions
How much does it cost to build a TV wall unit yourself?
Two sheets of 18 mm birch plywood, cleat timber, hardware, fixings and finish come to roughly $250 to $450 depending on where you buy, which is well under the price of a comparable bought unit. The saving is mostly in labour, and the cost rises quickly if you add doors and soft-close hardware.
How much weight does a French cleat hold?
A cleat screwed into two studs comfortably carries over 100 pounds, which is more than a loaded media cabinet with a television standing on it. The load goes into framing rather than plasterboard, and the whole unit lifts straight off the wall if you ever need to reach behind it.
How far can a plywood shelf span without sagging?
Eighteen millimetre plywood spans about 30 to 32 inches under 30 pounds without visible deflection. Beyond that, add a vertical divider, a batten along the back edge, or step up to 25 mm stock. Deflection shows in the middle, so no bracket at the ends will fix it afterwards.
Can I get plywood cut to size at the store?
Most timber yards and larger stores will cut sheets down for a small charge per cut, and their panel saw is squarer than most home cuts. Take a written cut list with the grain direction marked, and allow about 3 mm per cut for the blade when you calculate the pieces.
Do I need to vent a plywood media cabinet?
Yes, if anything warmer than a streaming stick lives inside. Cut about 40 square inches of free vent area per closed bay before assembly, half low and half high so air can cross. A 3 inch hole gives roughly 7 square inches, so six holes per bay is a sound target.
Want more like this? Browse all 15 tv unit decor guides — they all use the same measurements and budget tiers.
Pin it for later
Save this to your TV Unit Decor board
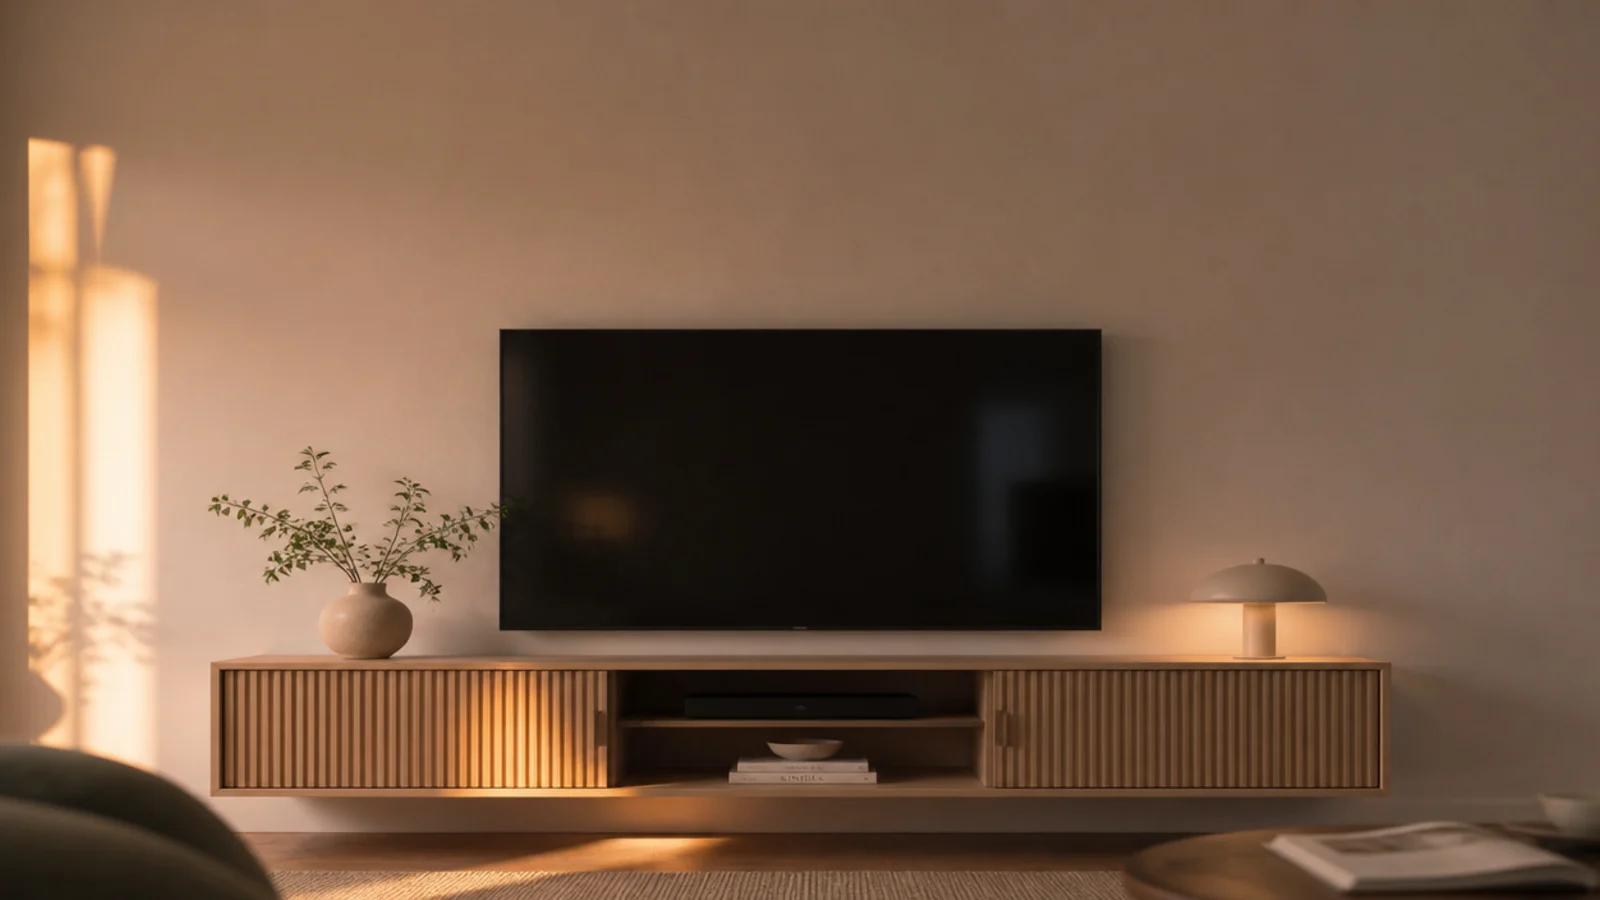
Pin it now so it is waiting for you when the tape measure comes out — and so the next person hunting for this idea can find it too.
Save this pinKeep going
More ideas worth saving while you have the tape measure out.