TV Unit Decor · Listicle
25 Stylish TV Unit Decor Ideas Indian Homes Love

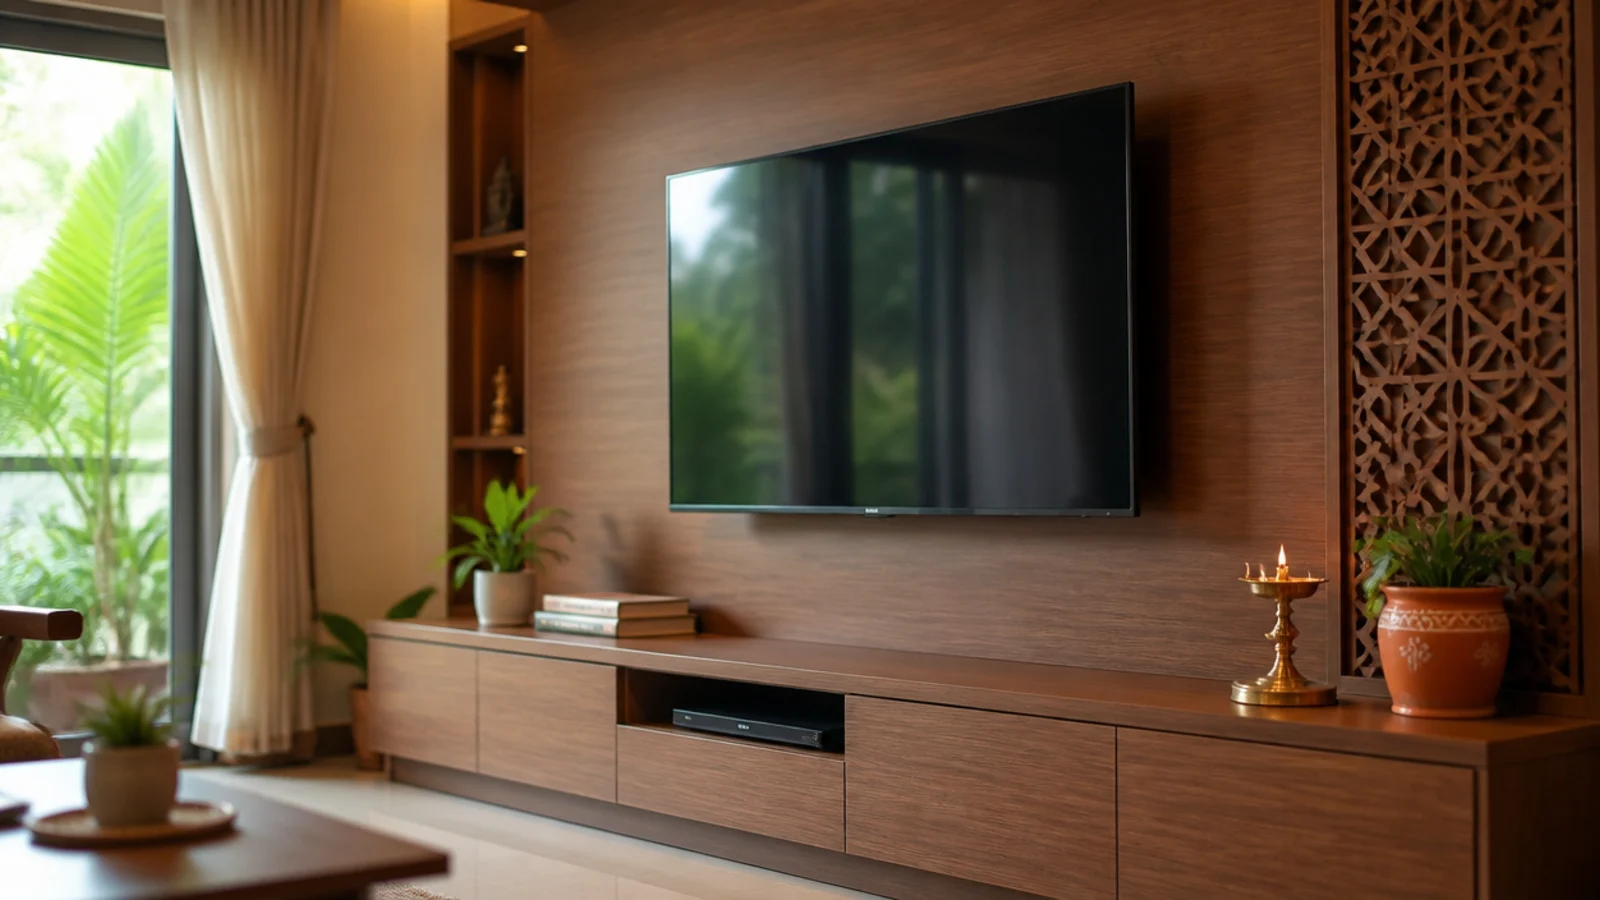
A media wall in an Indian home has to survive things a European one never meets: monsoon humidity for months, daily mopping right up to the plinth, a voltage stabiliser that has to live somewhere, and a set-top box whose remote needs line of sight. TV unit decor ideas Indian homes actually keep are the ones specified for that — 19 mm BWP plywood rather than MDF, sealed edges, louvres where air needs to move, and a bay for the equipment nobody puts in a mood board. Here are twenty-five, with the specification behind each.
In this guide27 sections — tap to openHide
- 1.What TV unit decor ideas Indian homes get right
- 2.Build the carcass in nineteen-millimetre BWP plywood
- 3.Use one-millimetre laminate on the shutters
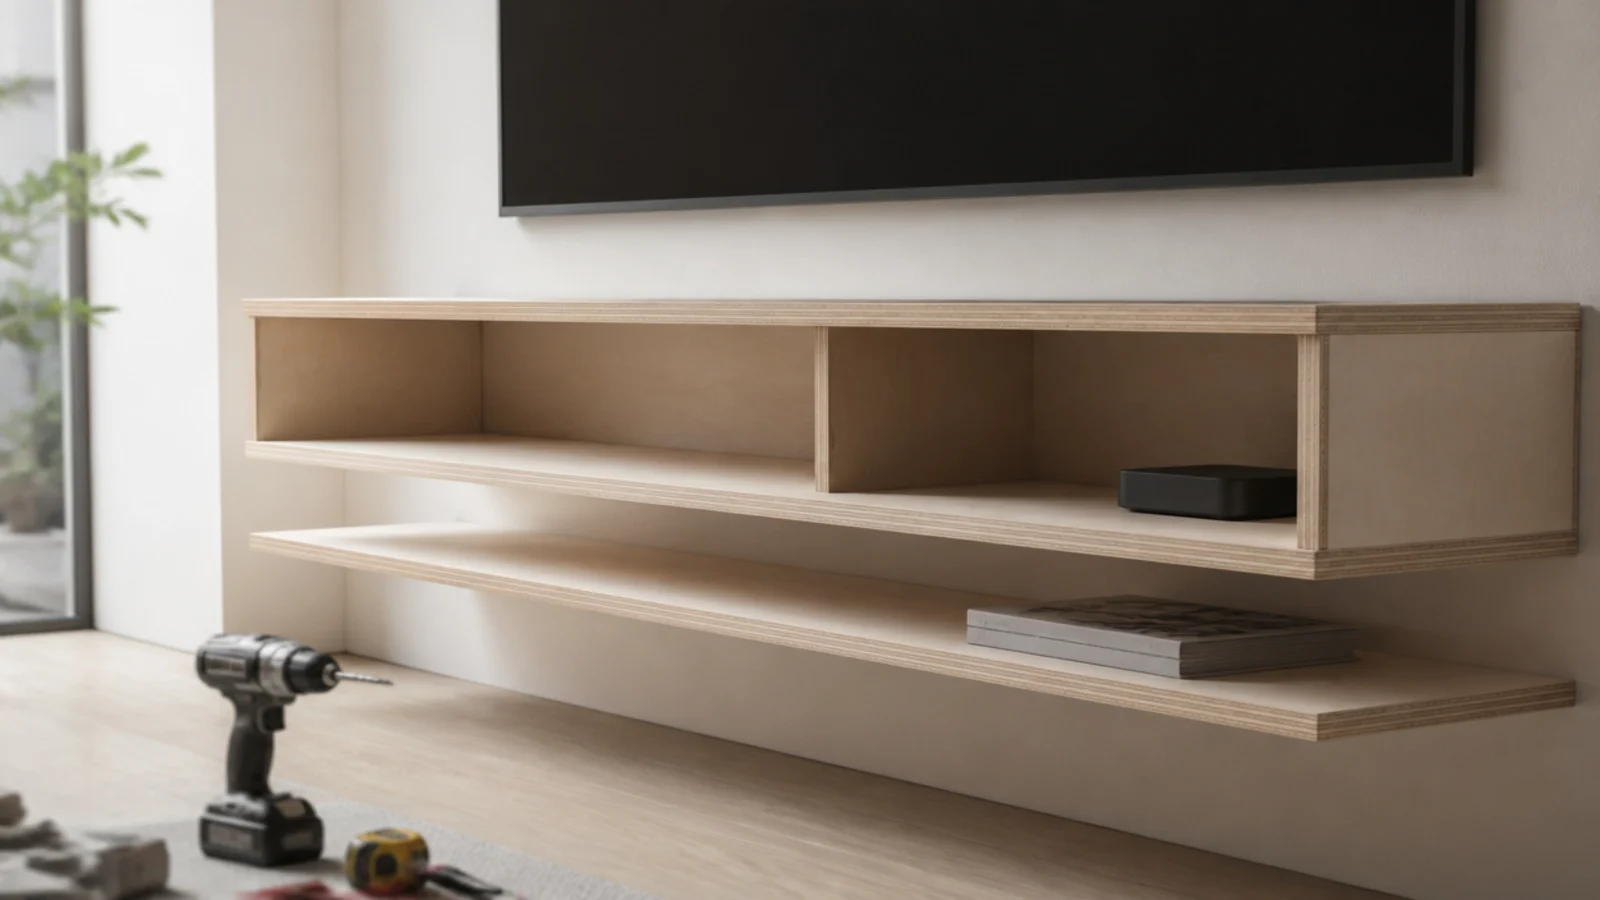
- 4.Combine wall-hung uppers with floor drawers
- 5.Panel the full wall in veneer
- 6.Add a CNC-cut jaali screen
- 7.Choose teak or sheesham for a traditional room
- 8.Bring in brass and terracotta
- 9.Integrate a niche at one end
- 10.Go handleless with proper edge banding
- 11.Specify louvred shutters for humid months
- 12.A backlit translucent panel
- 13.Size the unit to eighteen hundred millimetres
- 14.Carry the laminate down to the skirting
- 15.Give the stabiliser its own bay
- 16.Run conduit during the civil work
- 17.Keep line of sight for the set-top box
- 18.Use one strong colour on the shutters
- 19.Hang block-printed textile behind
- 20.Put a dhurrie or jute rug in front
- 21.Add a stone ledge at the base
- 22.Plan around the air conditioner
- 23.Seal every cut edge against moisture
- 24.Keep one open shelf for brass and curios
- 25.Compare carpenter and modular quotes properly
- 26.Keep the ledge clear enough to use
- 27.Mistakes to Skip
What TV unit decor ideas Indian homes get right
Material first. Use 19 mm BWP or BWR grade plywood for the carcass and anything touching a wall or floor. MDF swells permanently once moisture reaches it, and indoor humidity in coastal and monsoon regions sits at 70 to 85 per cent for long stretches. Seal every cut edge, including the ones nobody sees.
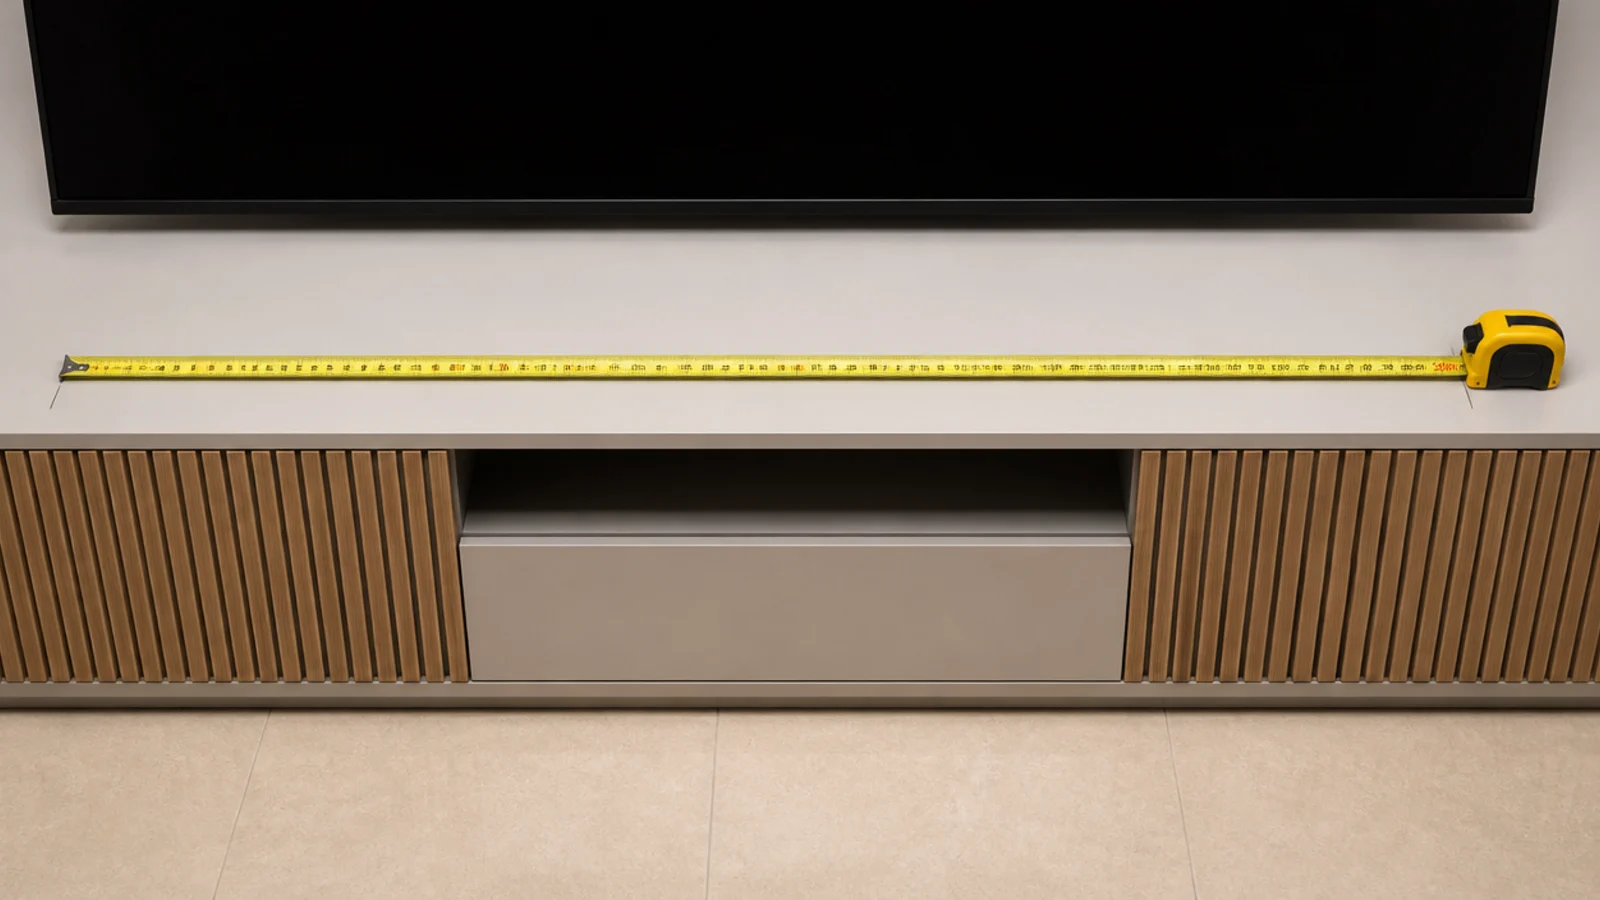
Then size. A 55 inch television measures about 1,230 mm across, so a unit of 1,500 to 1,800 mm reads correctly. Keep the base cabinet at 450 mm deep for equipment and any wall-hung upper at 300 mm so a narrow room stays walkable. Screen centre still wants to land near 1,050 to 1,100 mm from the floor, which is seated eye level on a normal sofa.
Then the services. Decide where the stabiliser, the inverter feed and the conduit run go before the carpenter starts, because retrofitting them means chiselling plaster. Quotes are usually given by the square foot of finished surface; ask for carcass, shutters and hardware to be priced separately, since that is where two quotes for the same drawing diverge. For the wall behind, the TV wall design guide covers panelling.
1. Build the carcass in nineteen-millimetre BWP plywood
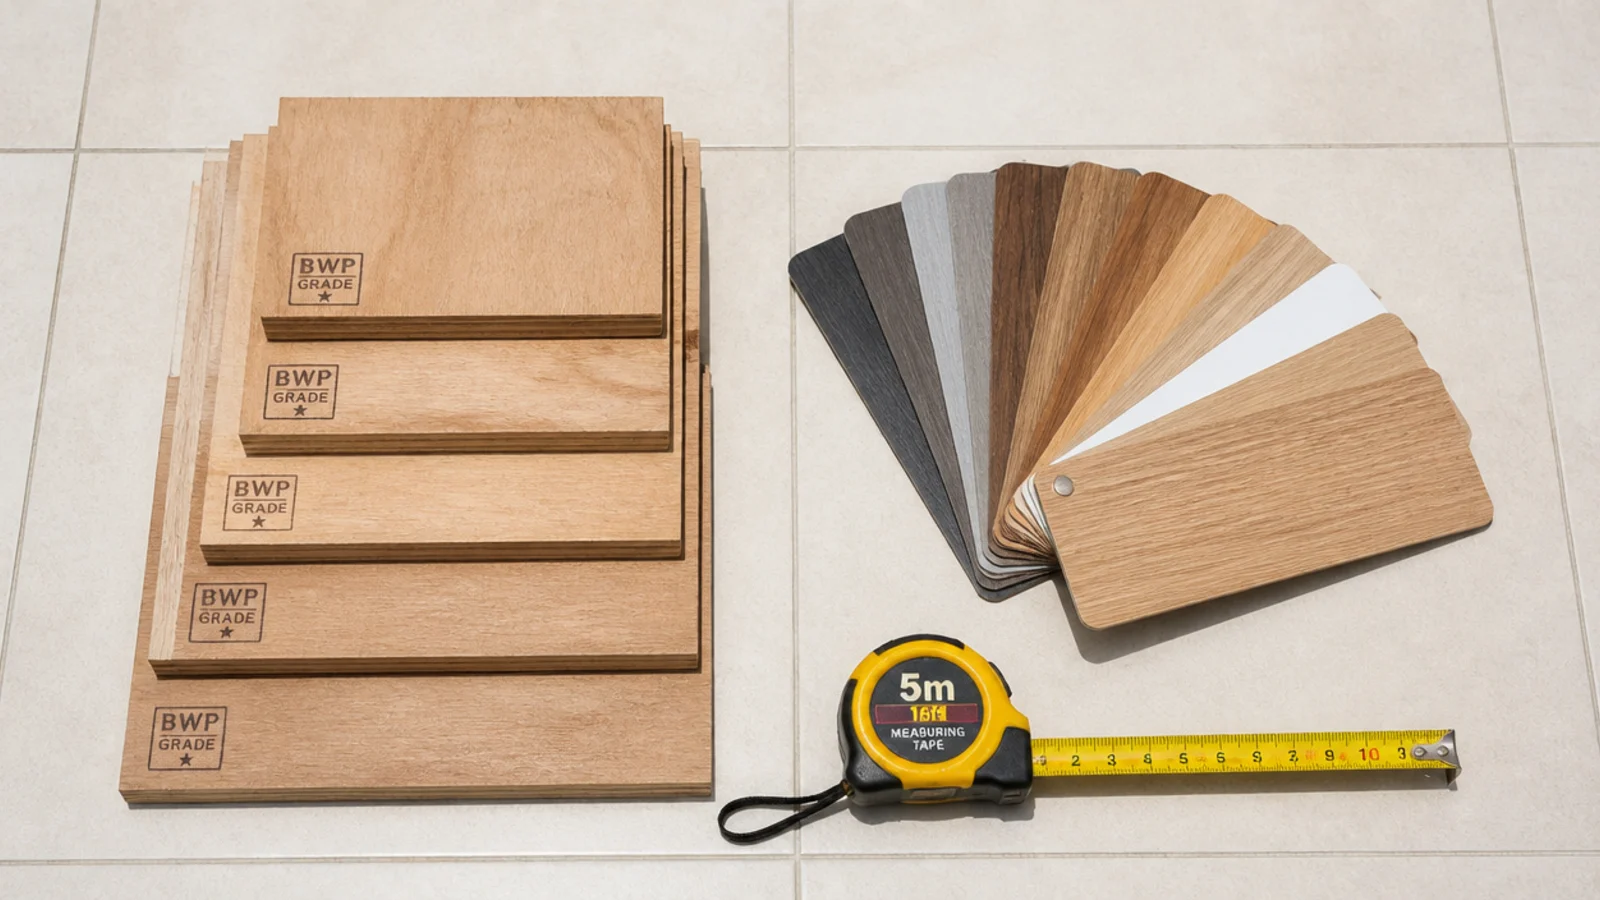
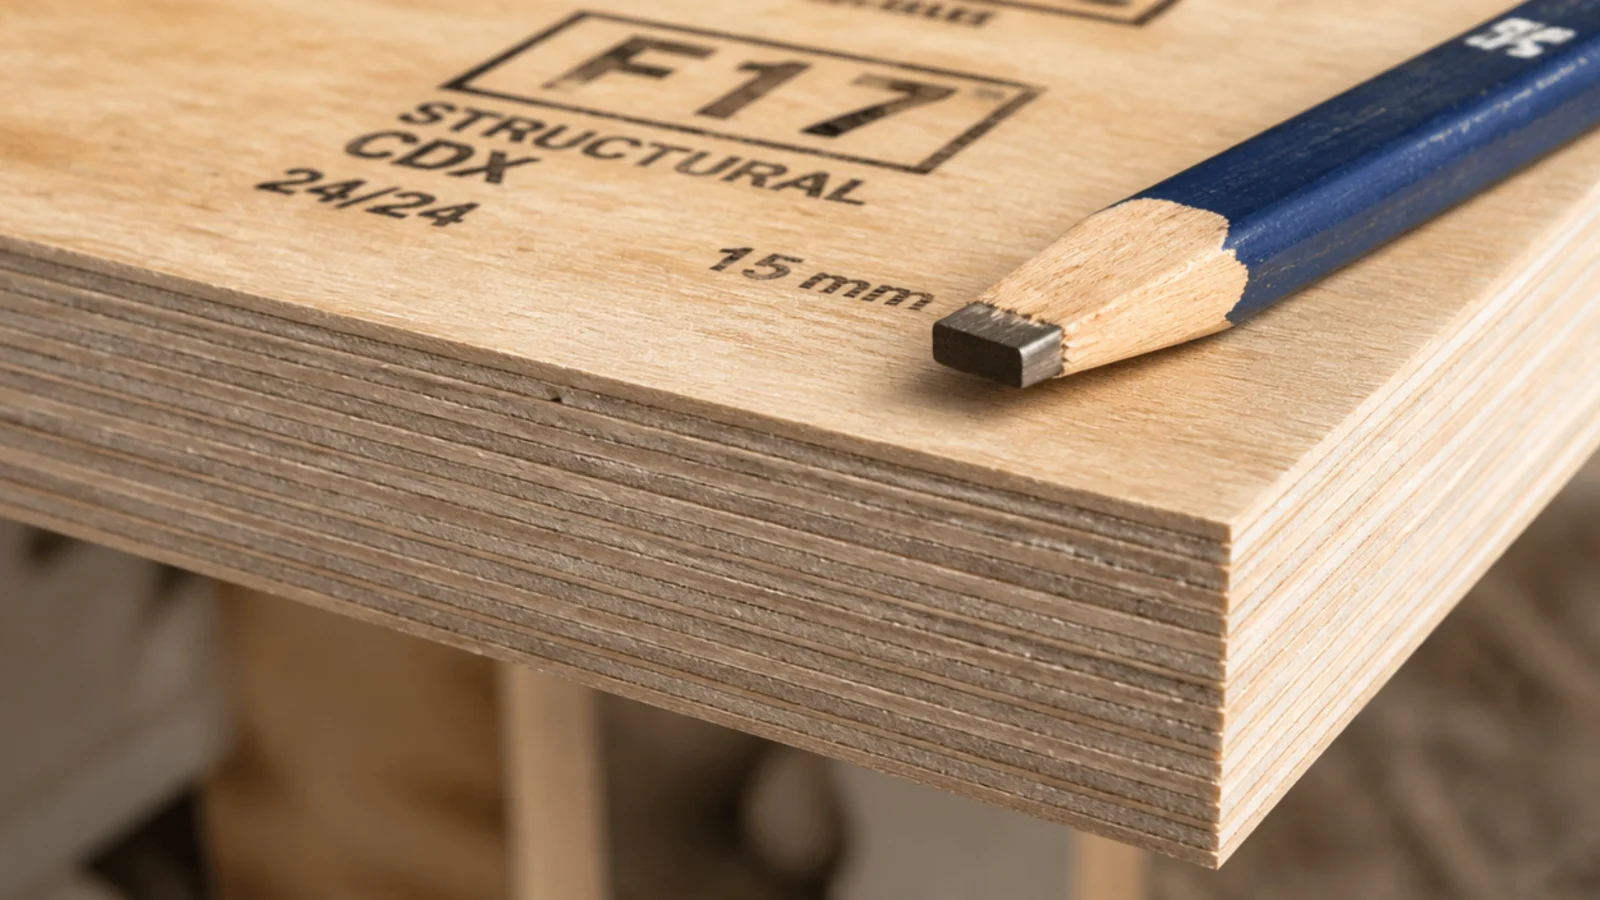
Nineteen millimetre holds a hinge screw through several removals and stays flat across a long span. Look at a cut edge before agreeing anything: dense laminations with no visible voids, and a grade stamp on the face. Thinner boards sag under equipment and strip at the first re-fit.
2. Use one-millimetre laminate on the shutters
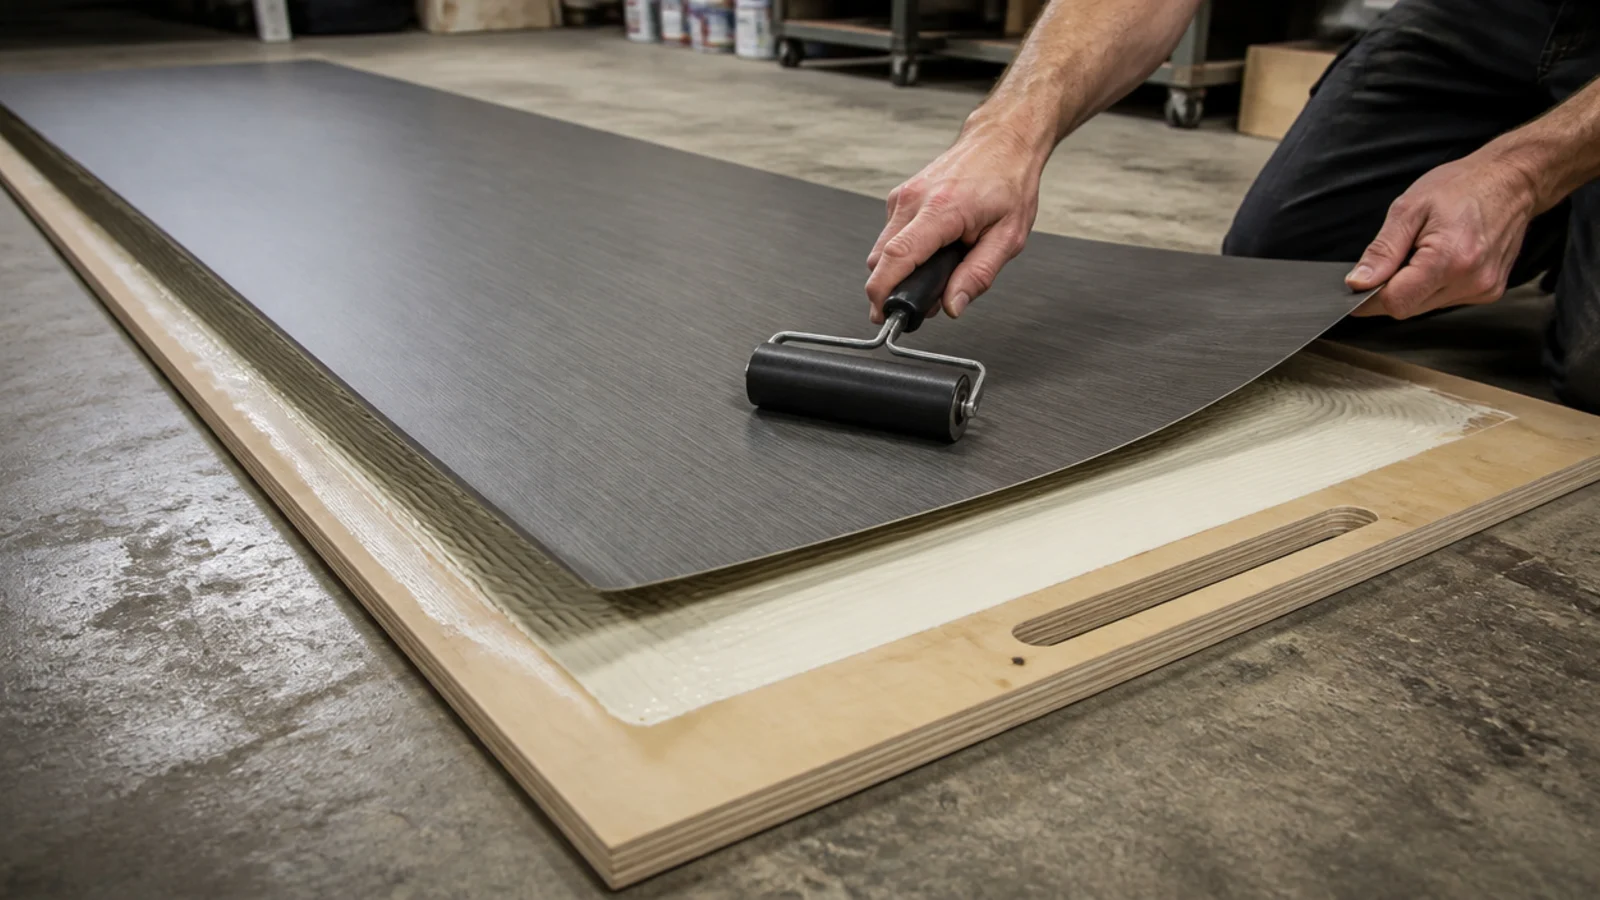
Thin laminate chips at the edges within a year on doors that open daily. One millimetre on shutters and drawer fronts, with thinner grades acceptable on internal surfaces, is the sensible split. Matte finishes hide fingerprints far better than gloss on a wall that catches afternoon light.
3. Combine wall-hung uppers with floor drawers
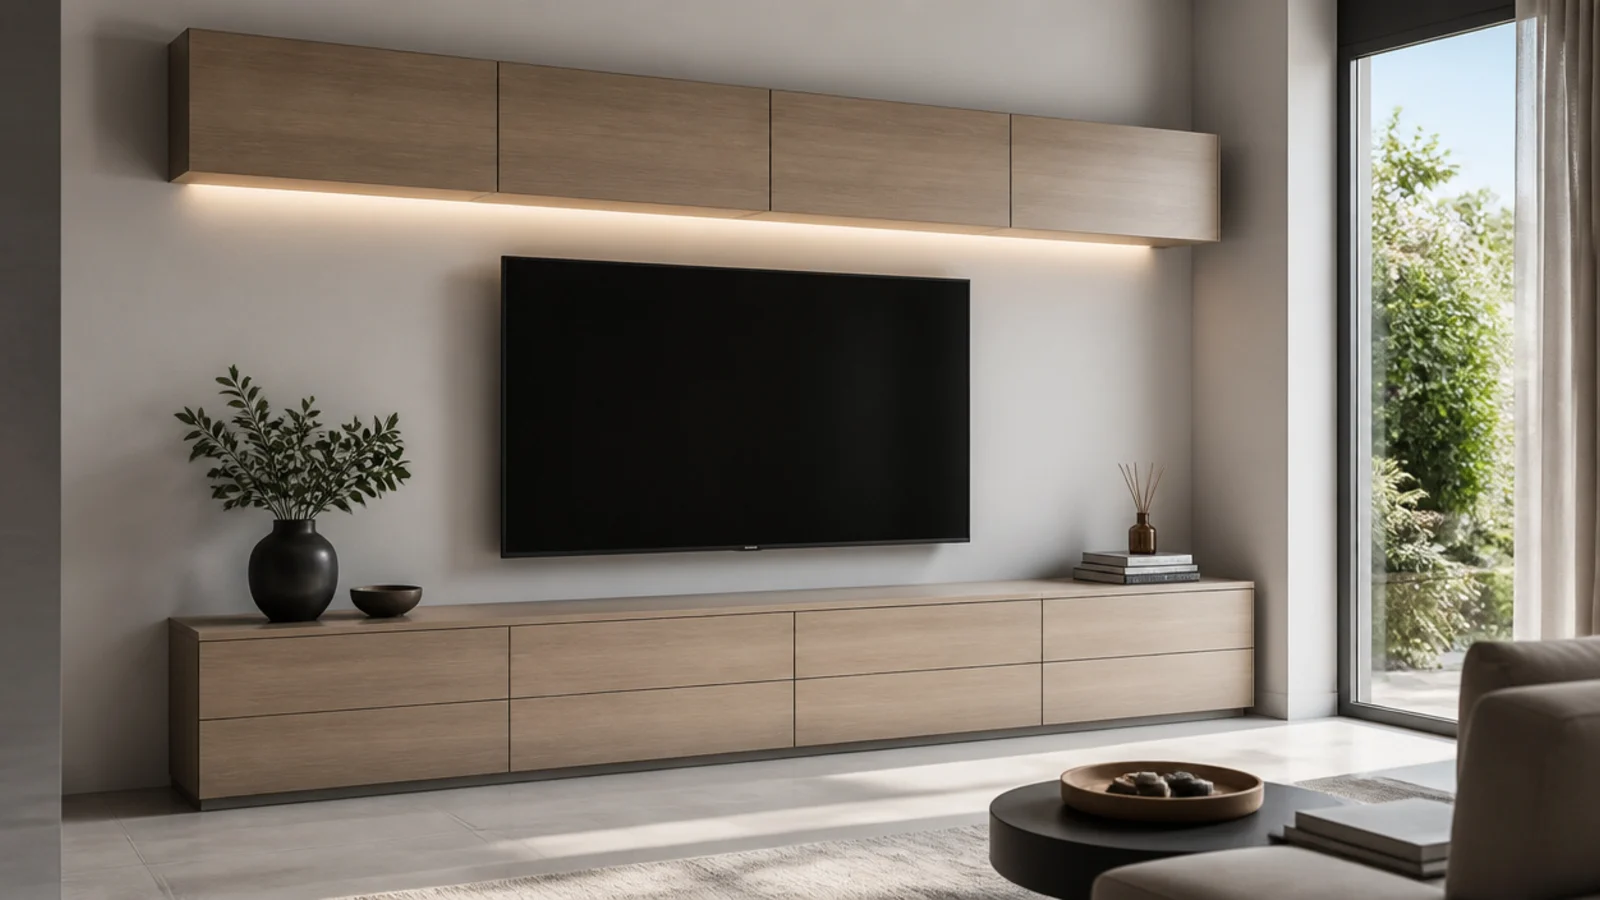
Drawers at floor level carry weight where it belongs and hide the things that photograph badly. Slim wall-hung uppers keep the elevation light. Keep the gap between the two at least 400 mm so the ledge is usable, and let the floor stay visible under any hung section.
4. Panel the full wall in veneer
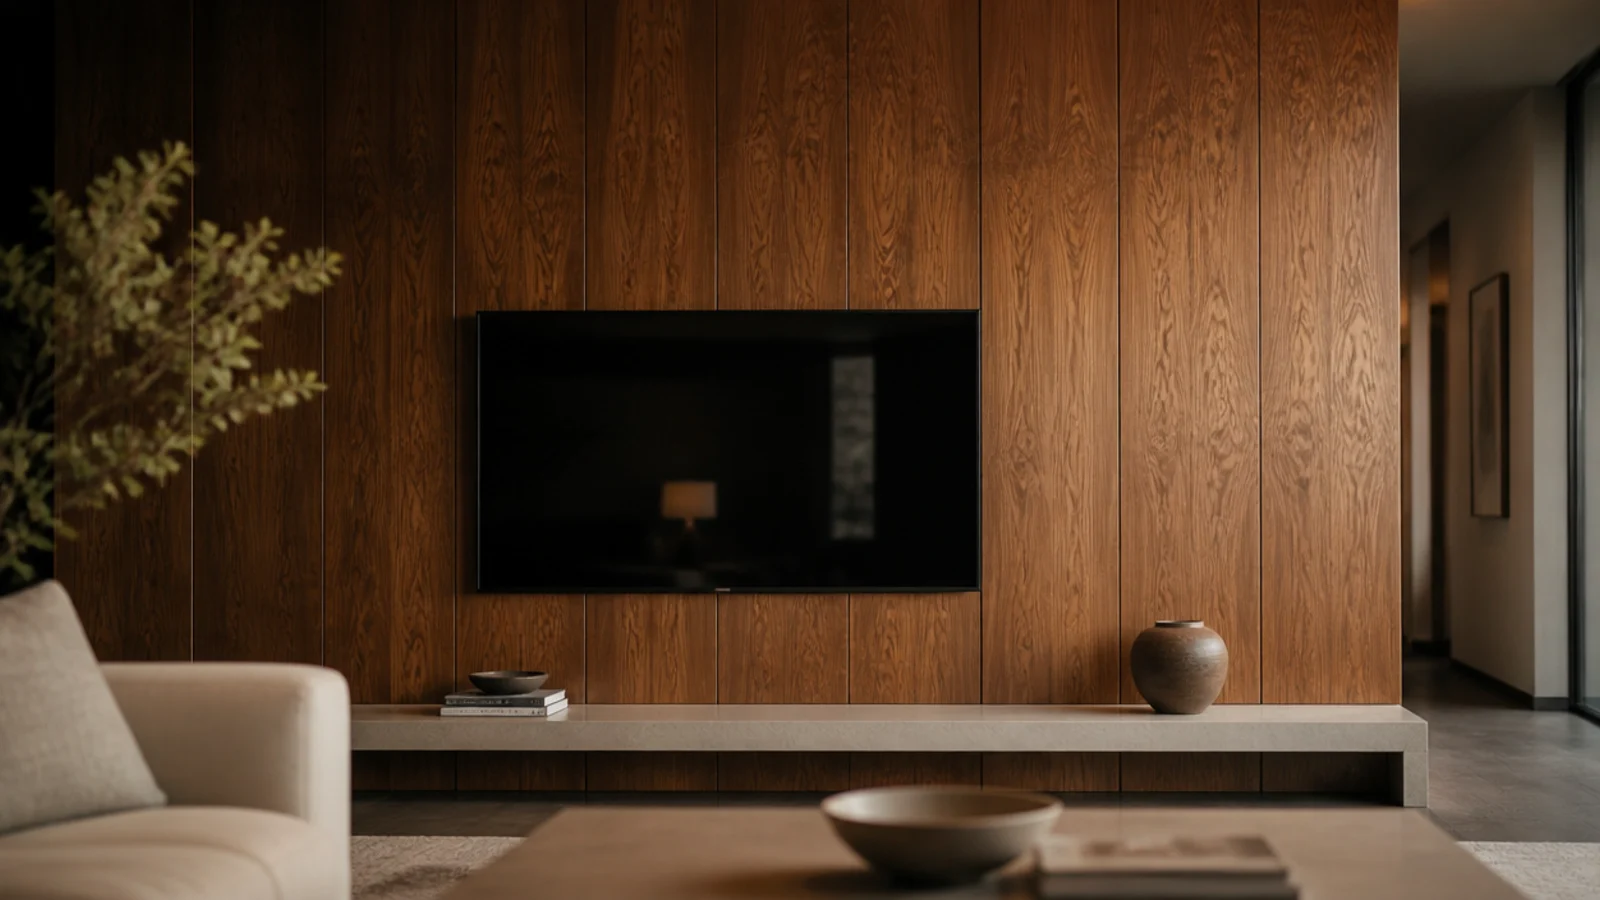
Running veneer floor to ceiling behind the screen turns furniture into architecture, and it hides the joins between cabinet and wall. Ask for sequential veneer so the grain continues across each panel. Budget considerably more than laminate, and expect polish work to add both time and cost.
5. Add a CNC-cut jaali screen
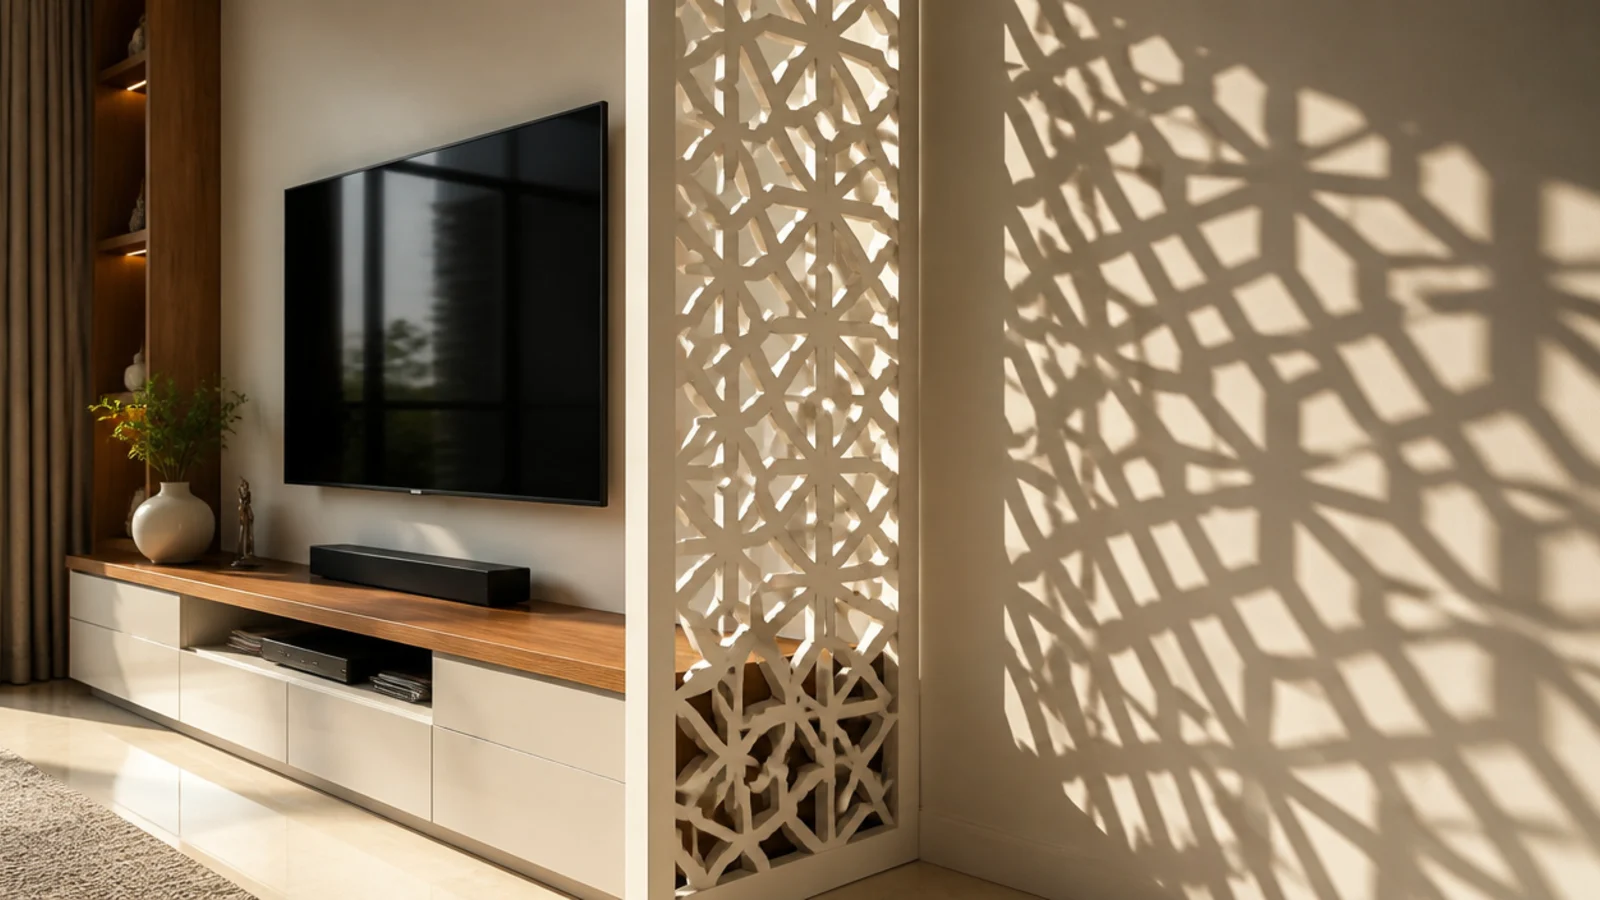
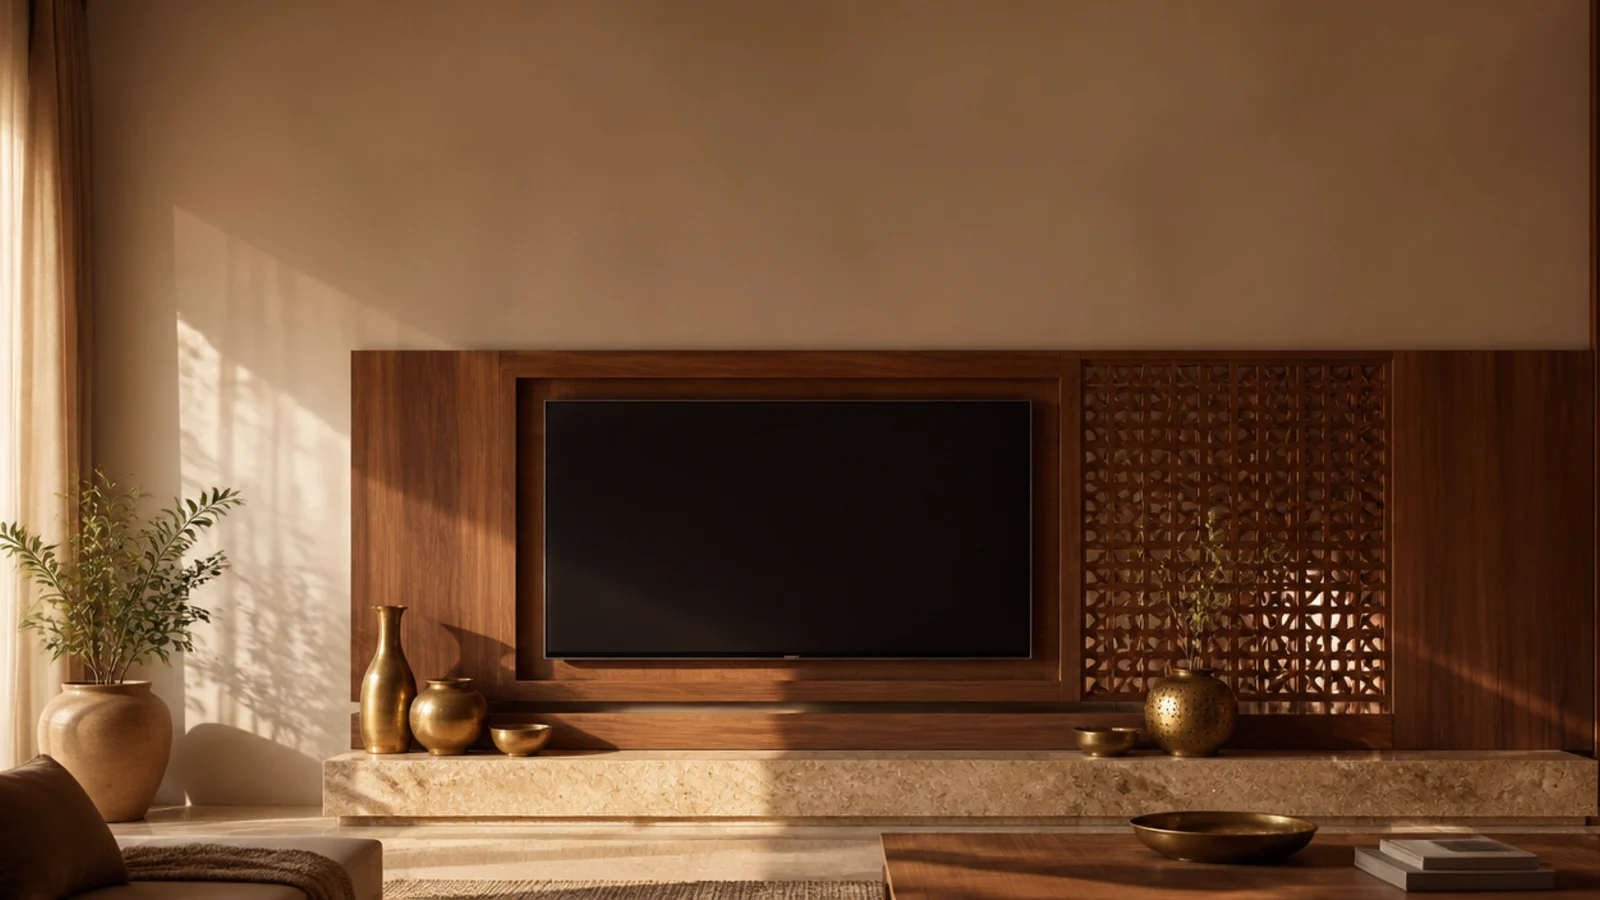
A cut jaali panel gives pattern, filters light and lets air pass, which is exactly what a hot room wants. In 18 mm board it is stiff enough to span a full height without a frame. Keep the perforation open enough that it reads as a screen rather than a texture.
6. Choose teak or sheesham for a traditional room
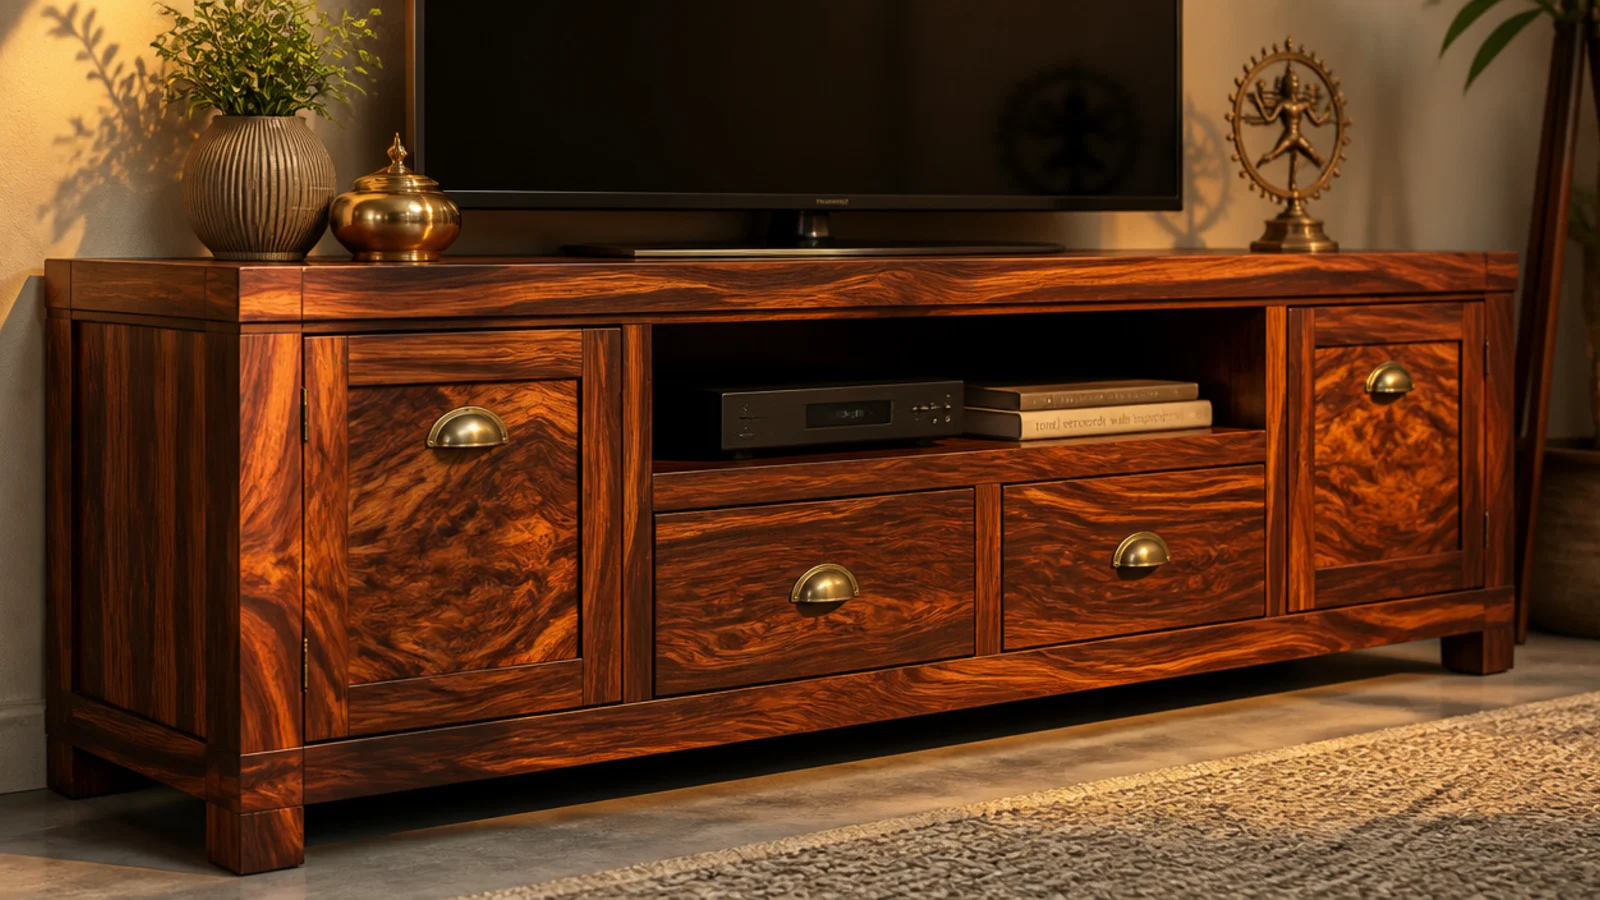
Sheesham is dense at roughly 1,660 on the Janka scale, so it resists the dents a softer timber picks up from daily use, and its interlocked grain suits older rooms. Teak sits near 1,070 and takes polish beautifully. Both cost far more than laminate and both outlive it.
7. Bring in brass and terracotta
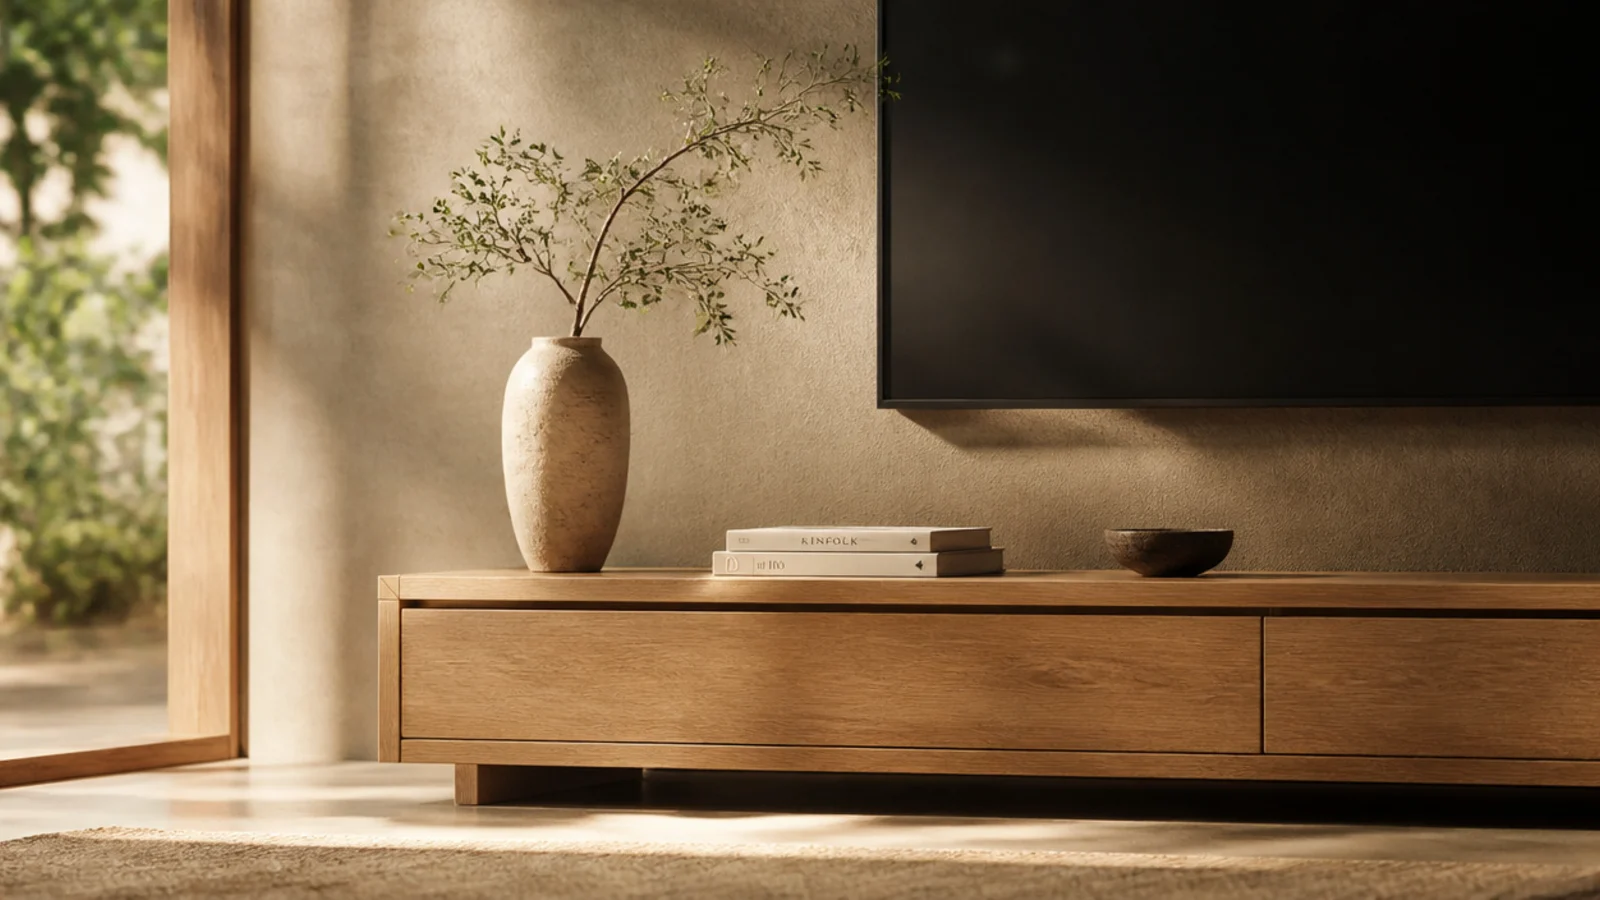
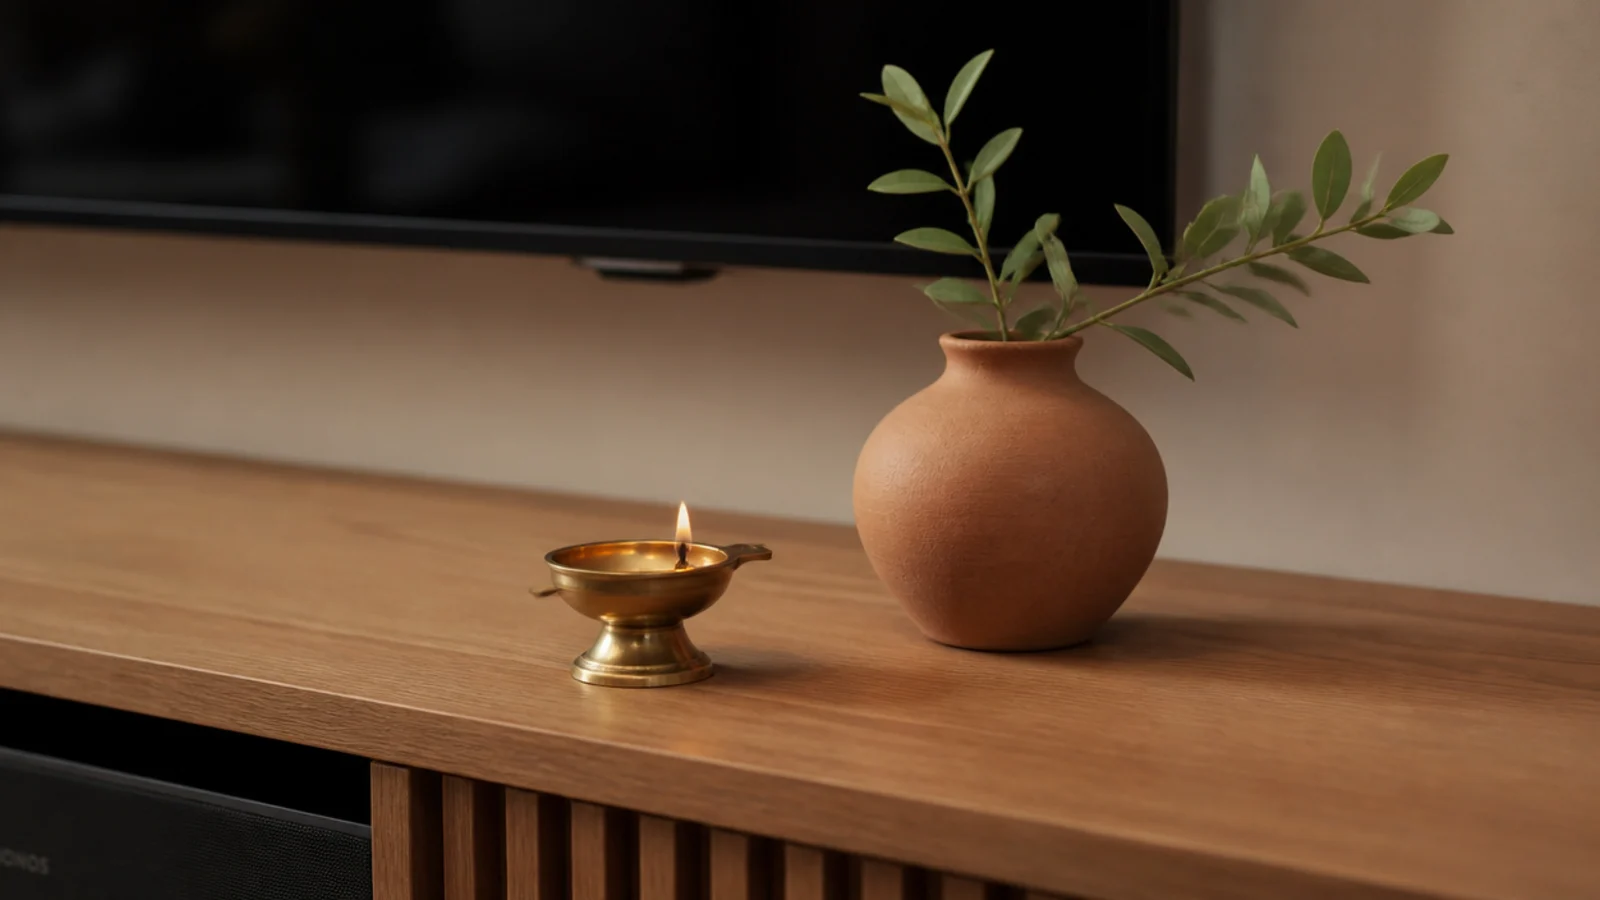
Two warm materials will do the entire styling job on a media ledge. A small brass vessel and an unglazed terracotta pot read as considered against timber or laminate, and neither dates. Keep the group to two or three pieces with clear space between them.
8. Integrate a niche at one end
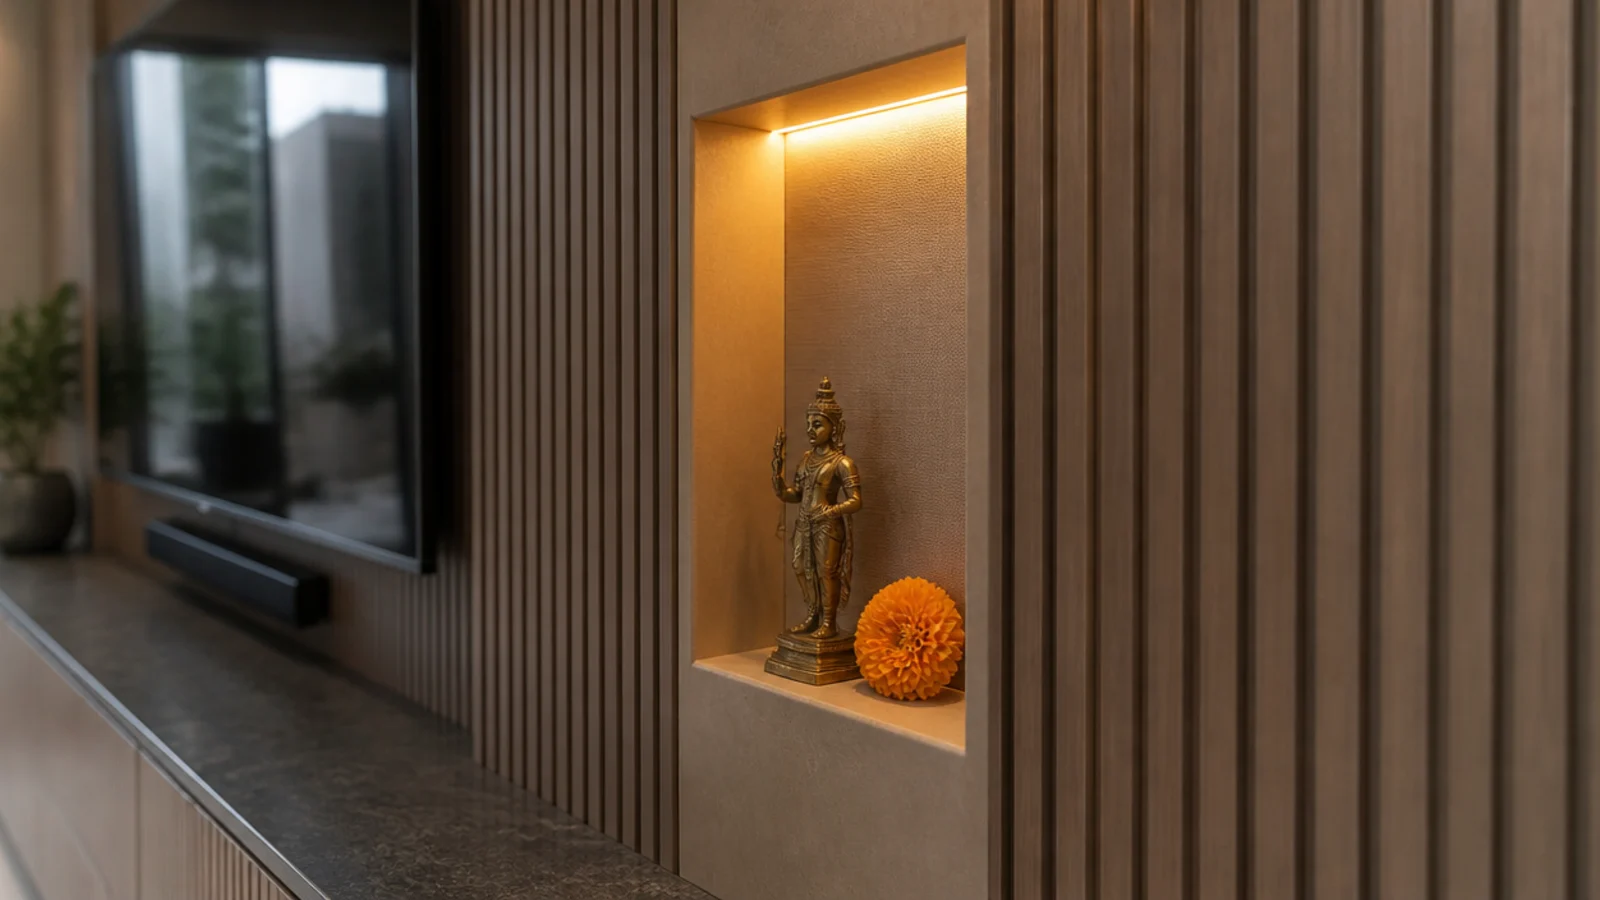
A shallow recess of 200 to 250 mm depth at one end of the run, lit with a concealed warm strip, gives the wall a quiet corner that is not about the television. Keep any flame well clear of timber and textile above, and use an LED lamp where the niche sits under a shelf.
9. Go handleless with proper edge banding
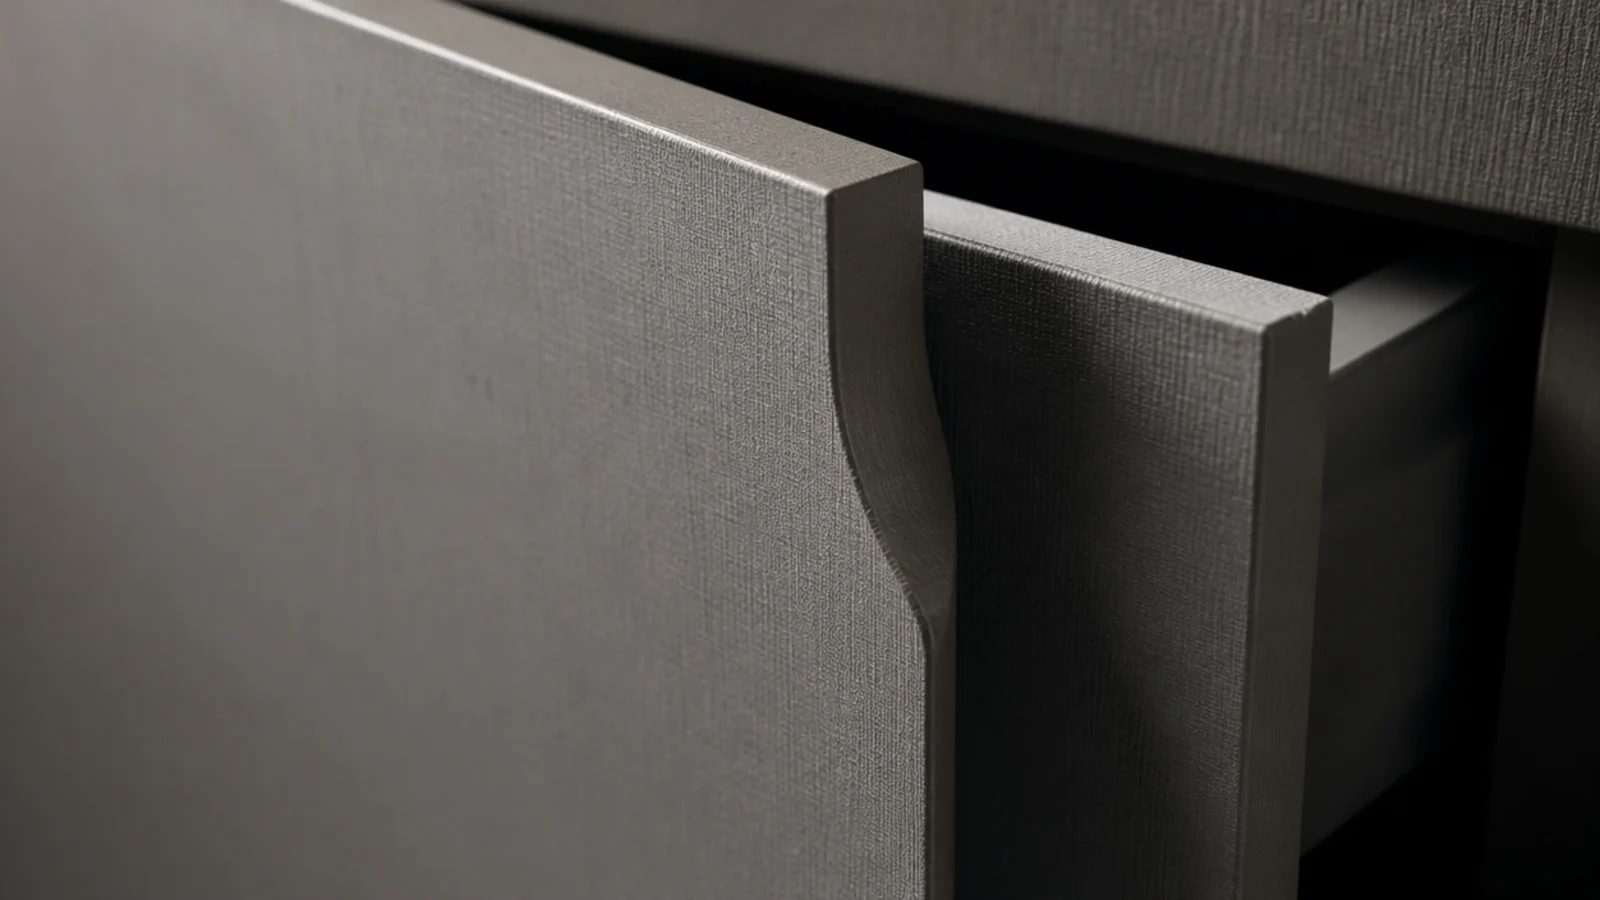
A routed finger groove or a J-profile removes the handle line entirely, but the edge band is where the work shows. Ask for matching band on every visible edge, applied hot rather than with contact adhesive, and check the corners at handover.
10. Specify louvred shutters for humid months
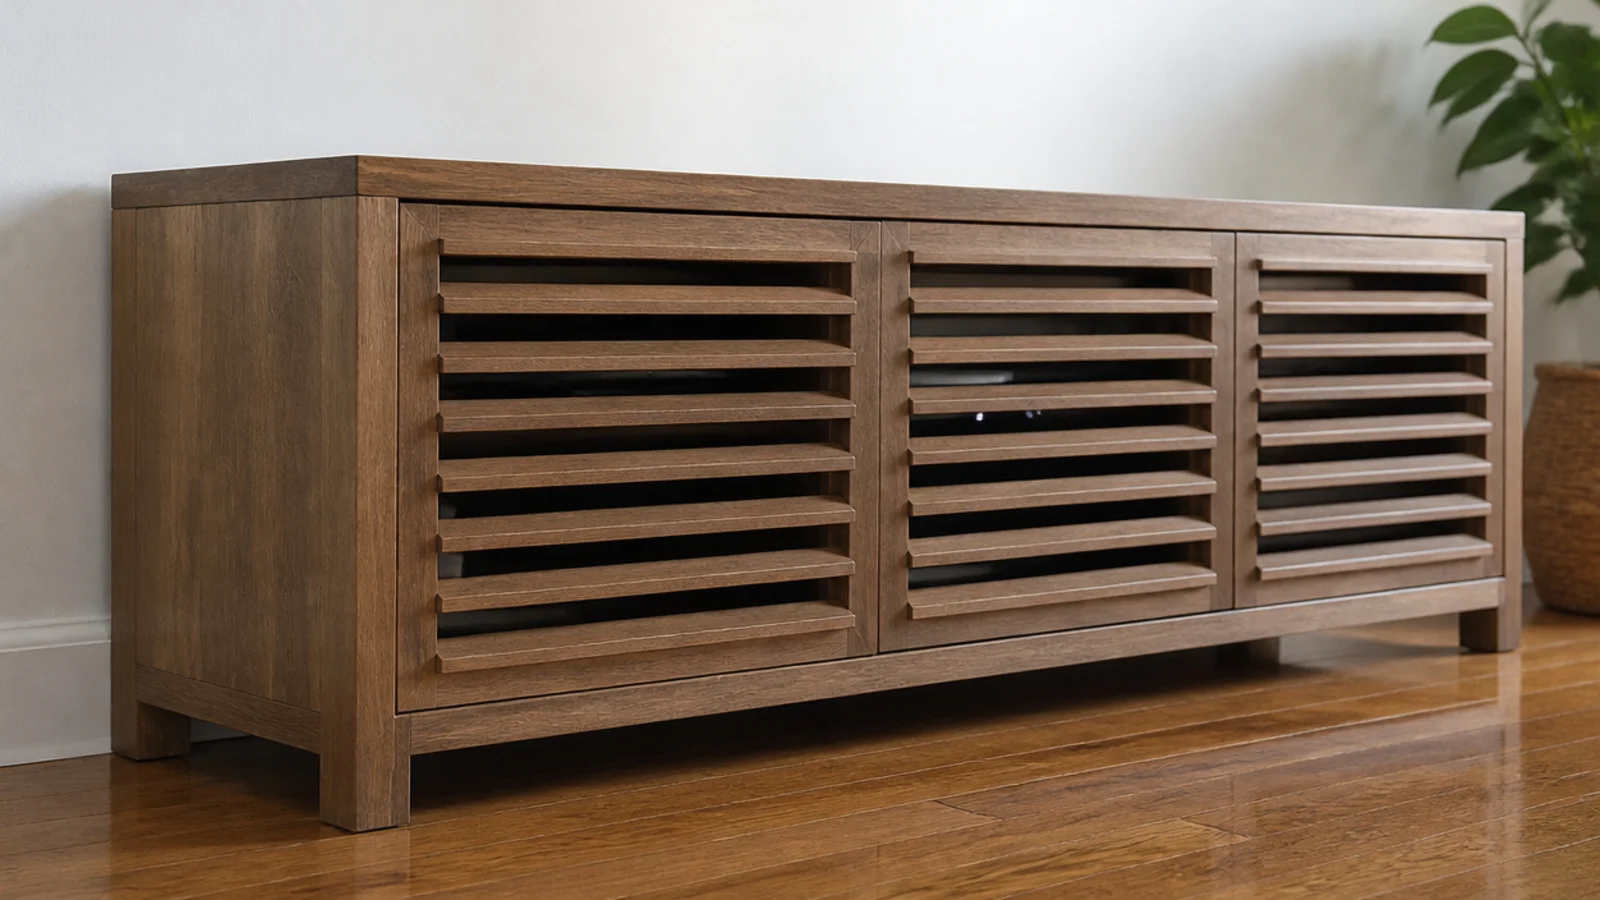
Angled louvres move air through the cabinet continuously, which matters when a closed bay holds a set-top box, a console and a stabiliser. They also pass infrared, so remotes work with the shutters closed. Solid shutters over warm equipment are the most common specification mistake here.
11. A backlit translucent panel
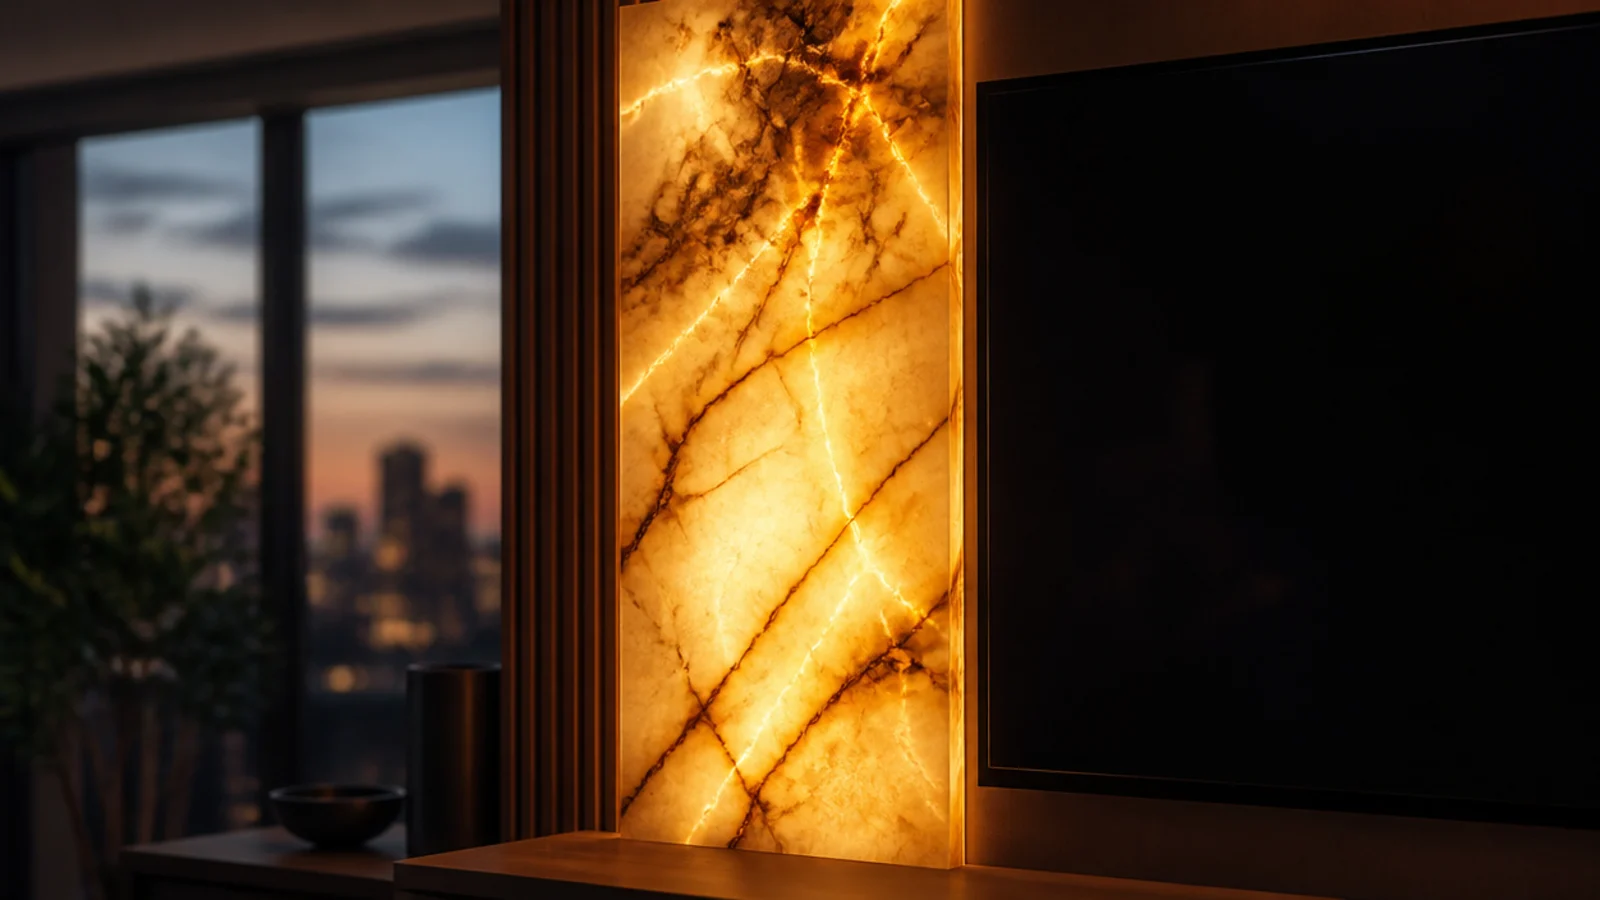
A translucent acrylic or onyx-look panel lit from behind gives the wall a glow that reads as expensive and costs far less than stone. Use an even LED sheet rather than a strip, or the diodes show as bright bands. Keep it to one panel, at one end of the run.
12. Size the unit to eighteen hundred millimetres
For a 55 inch panel at about 1,230 mm wide, a 1,500 to 1,800 mm unit shows a comfortable margin at each side. Anything narrower than the screen looks unstable from every seat. On a wide living wall, 2,100 mm reads better still.
13. Carry the laminate down to the skirting
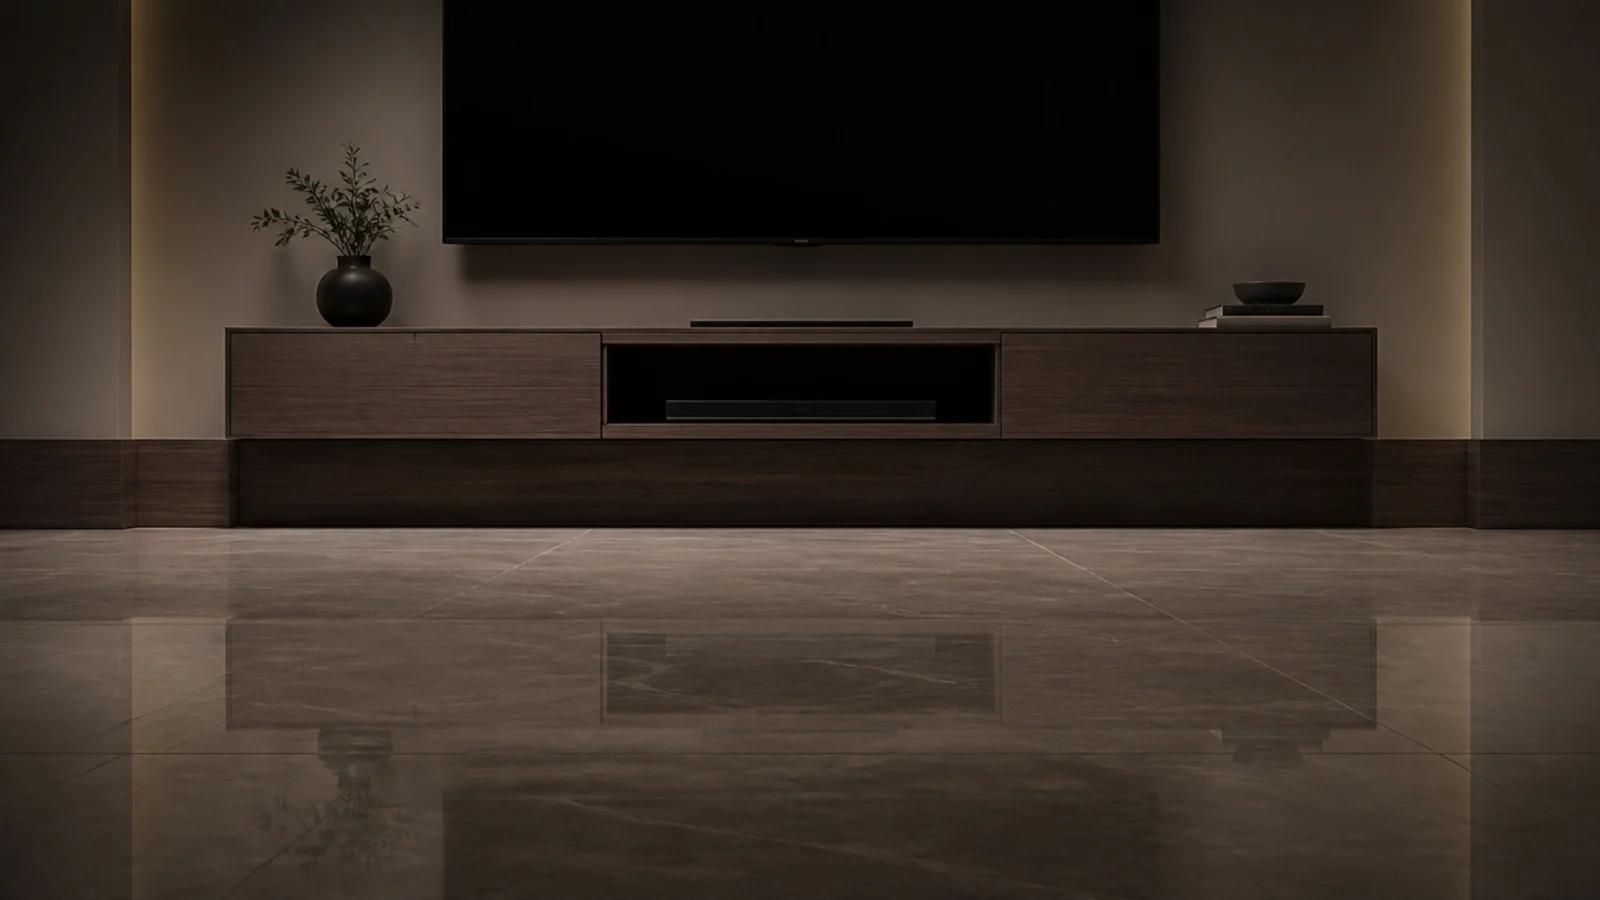
Running a band of the same laminate along the wall at skirting height ties the unit into the room and protects the plaster where a mop reaches every day. It is a small addition to the quote and it is what makes a fitted unit look fitted.
14. Give the stabiliser its own bay
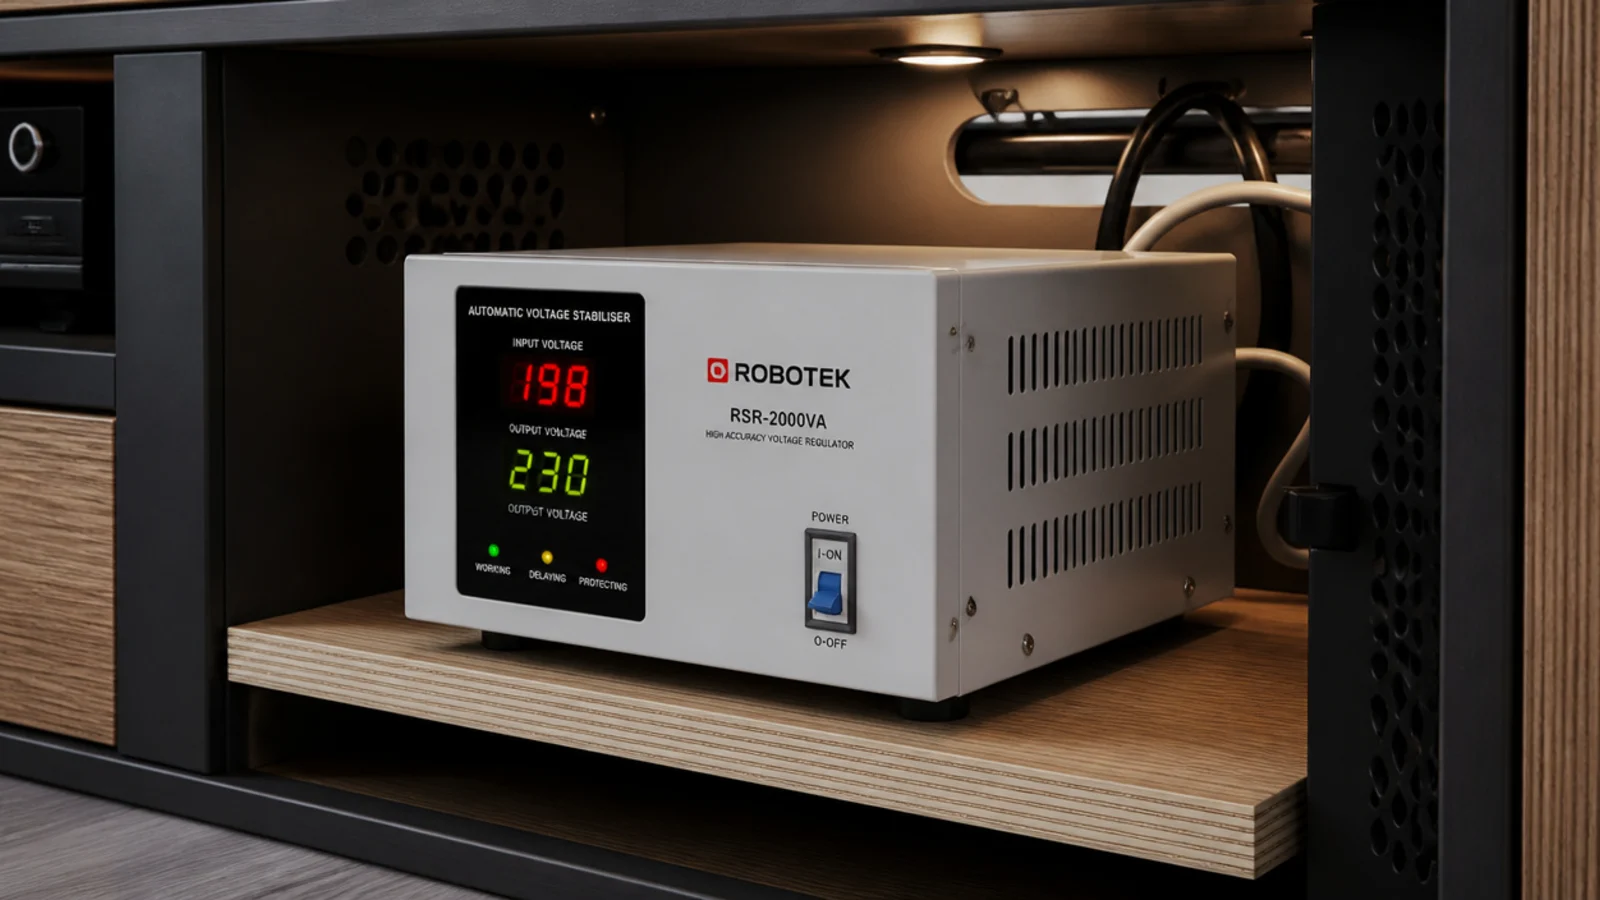
A voltage stabiliser needs clearance on all sides and should not share a sealed cupboard with anything else warm. Give it an open or louvred bay close to the socket, standing on a shelf rather than the floor so mopping water never reaches it.
15. Run conduit during the civil work
Getting conduit into the wall before plastering costs almost nothing; doing it afterwards means chiselling and re-plastering a finished room. Plan a route from the screen position down to the socket and a second spare run. Only cable rated for the purpose goes inside a wall.
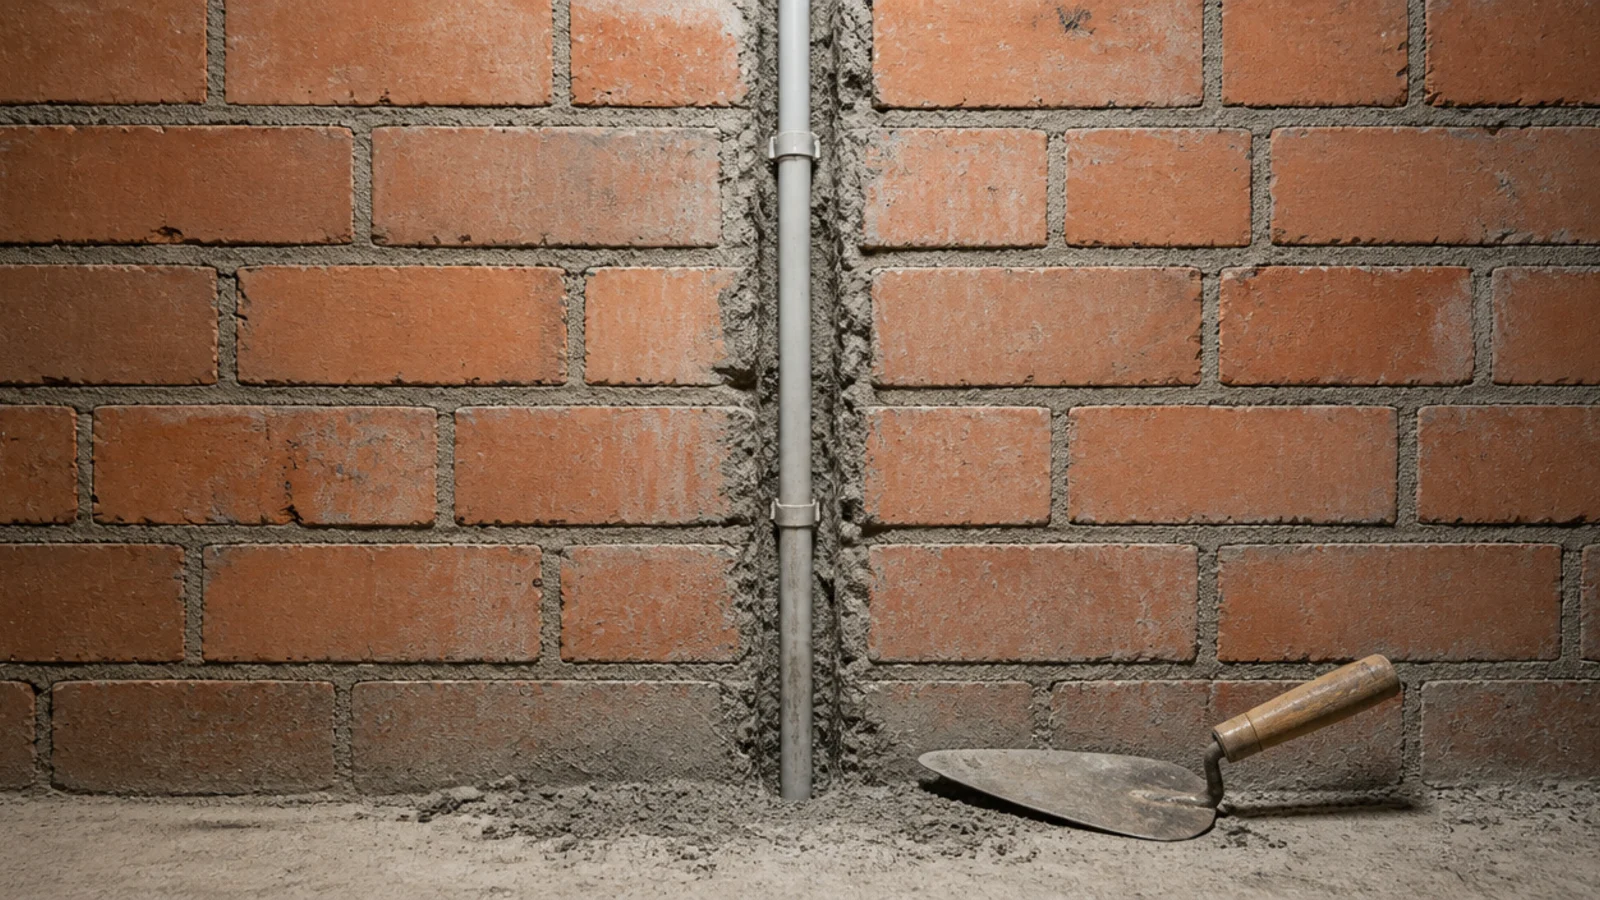
16. Keep line of sight for the set-top box
If the shutters are solid, the remote stops working the moment they close, which is why so many beautiful units live permanently half open. Either use louvres, or fit an infrared repeater with an eye on the shutter lip and emitters inside.
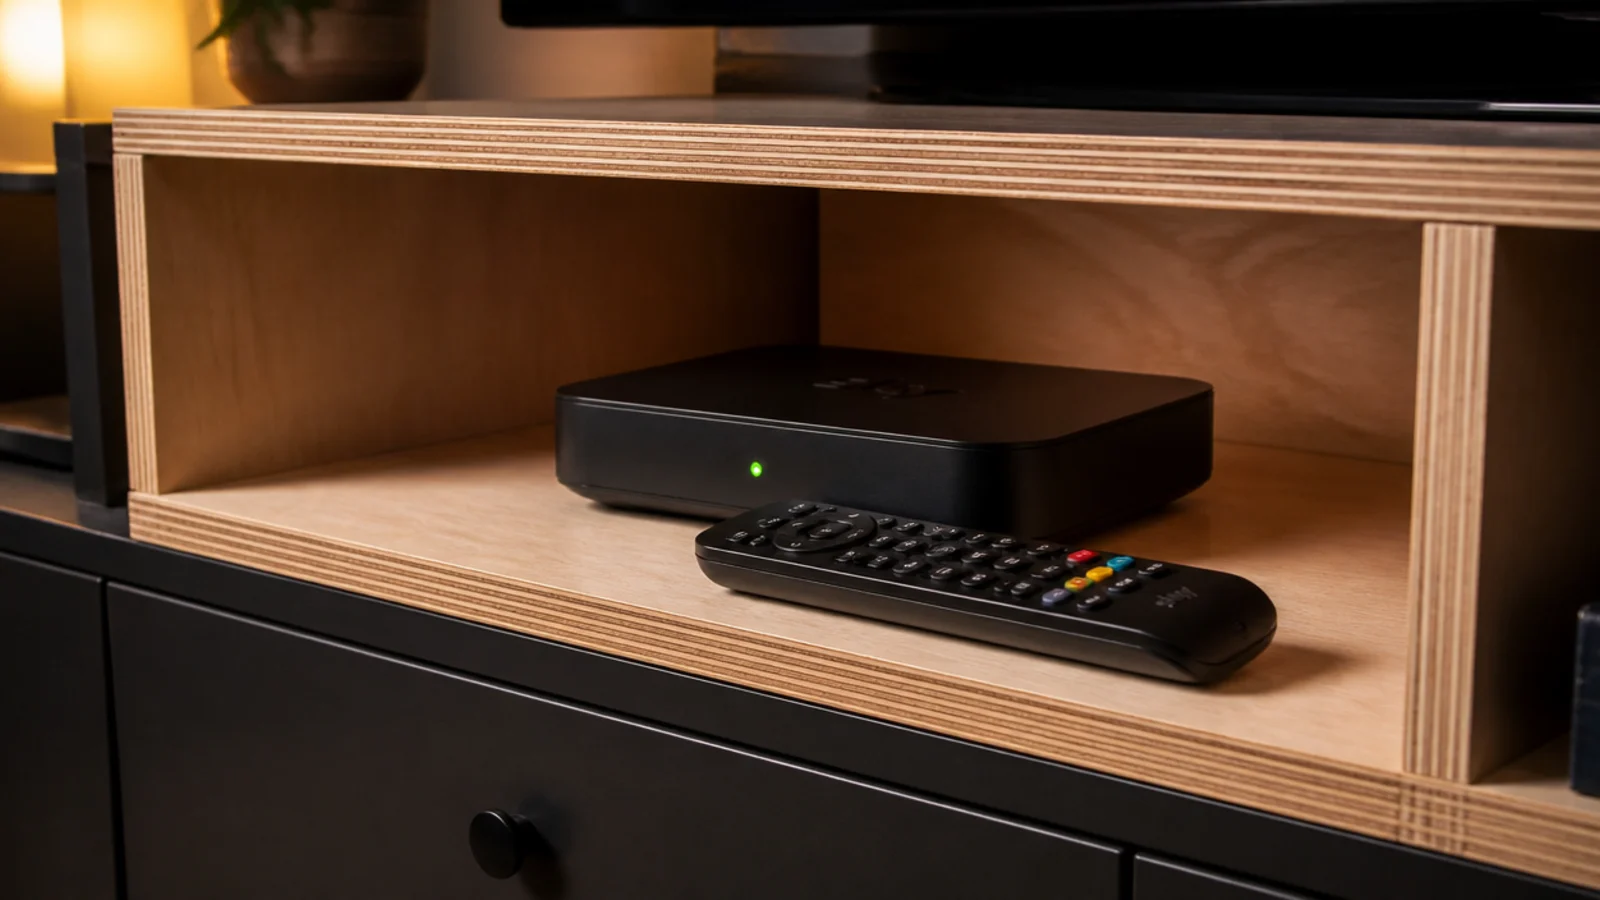
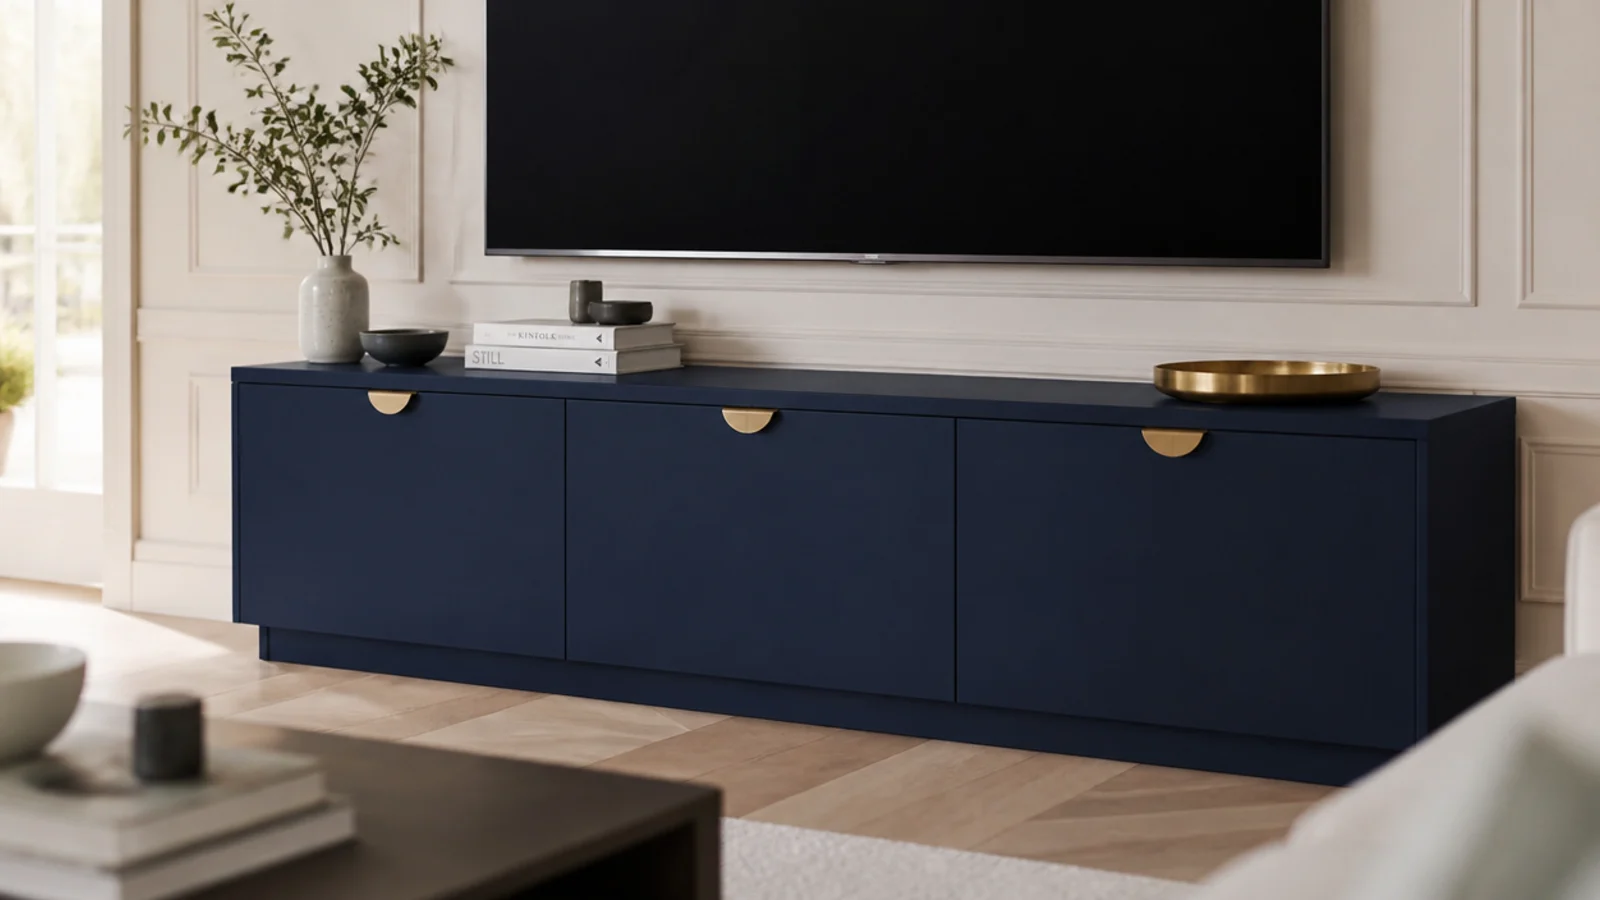
17. Use one strong colour on the shutters
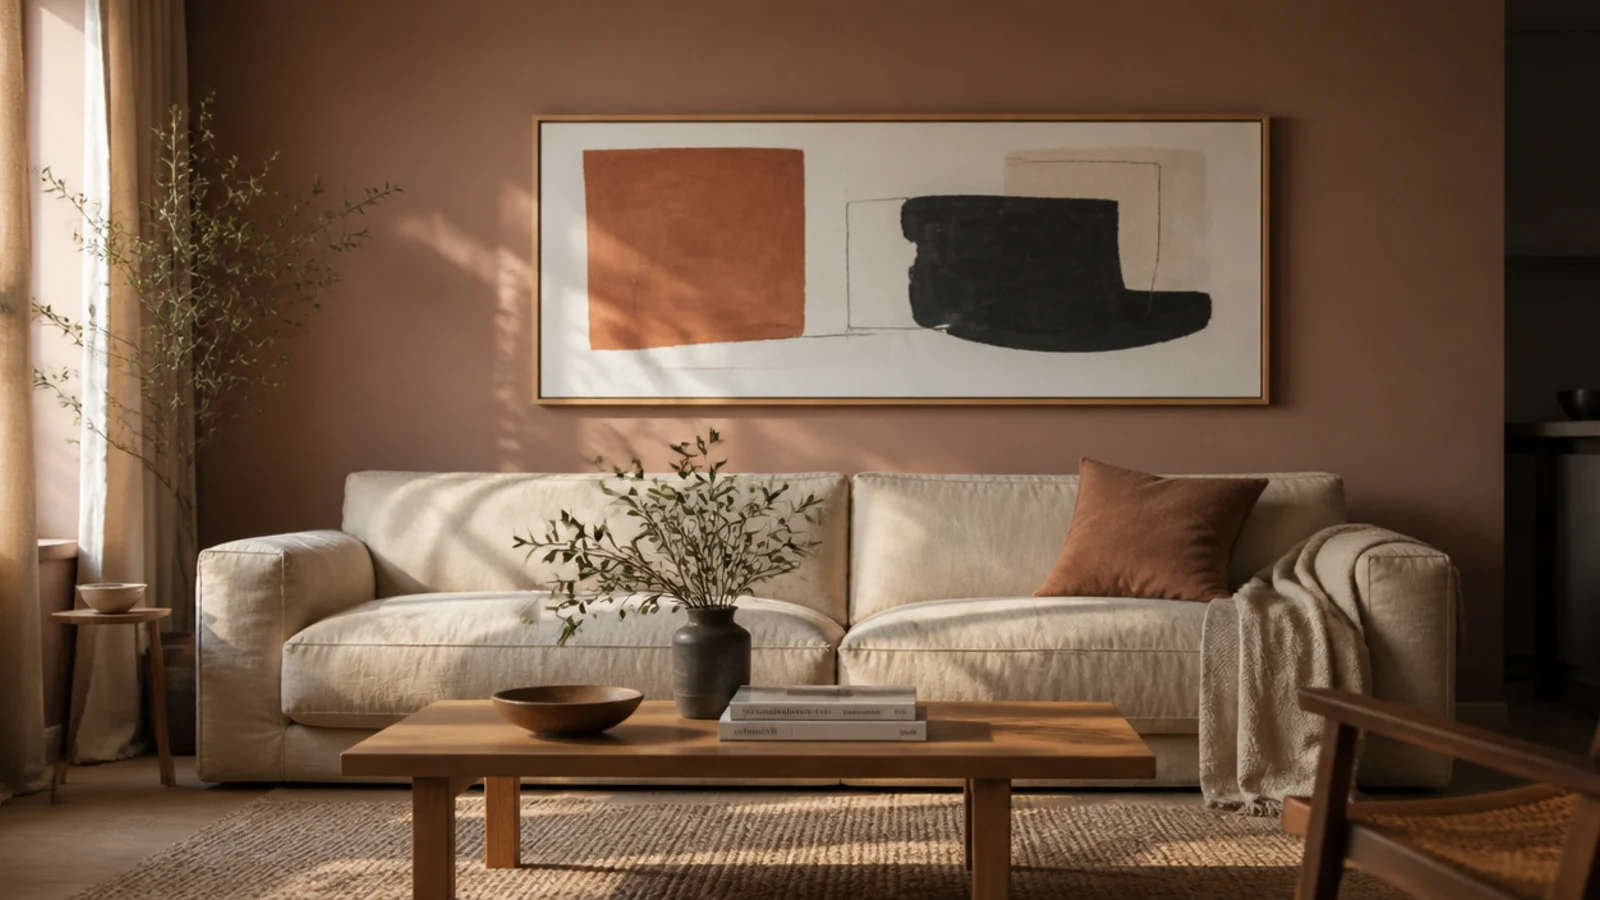
Deep indigo, rani pink or forest green on the shutters against pale walls does more than three cautious neutrals. Keep the strong colour to one plane — the shutters or the back panel, not both — and repeat it once elsewhere in the room in a cushion or a rug.
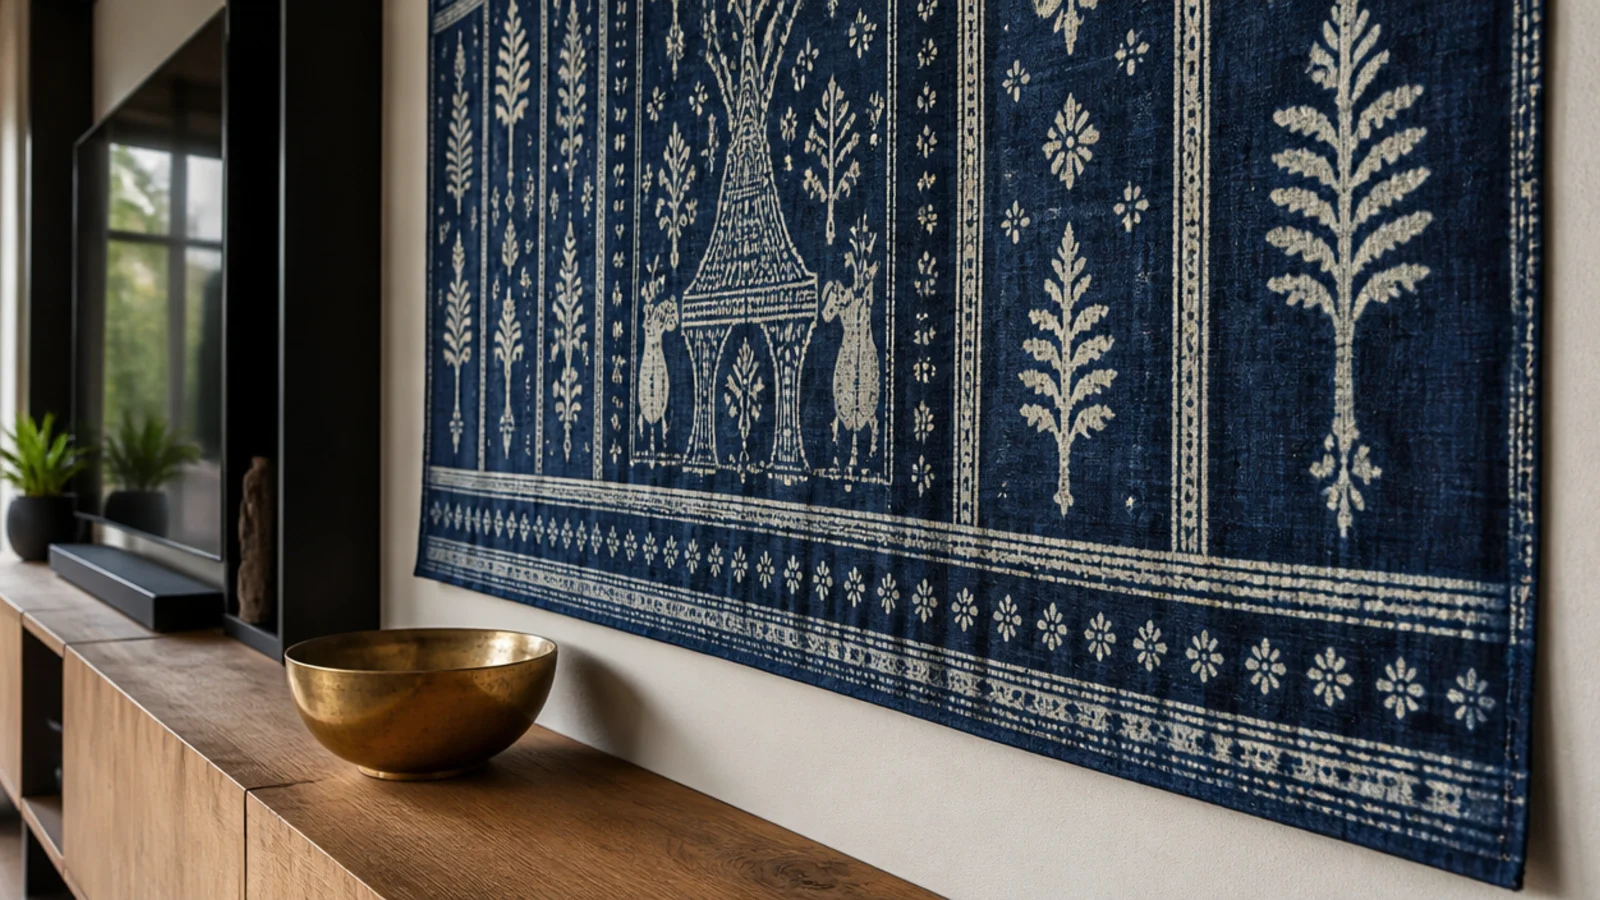
18. Hang block-printed textile behind
A hand block-printed panel stretched flat on the wall beside the screen adds pattern and absorbs some of the echo a tiled room produces. Keep it out of direct afternoon sun, which fades natural dyes faster than most people expect.
19. Put a dhurrie or jute rug in front
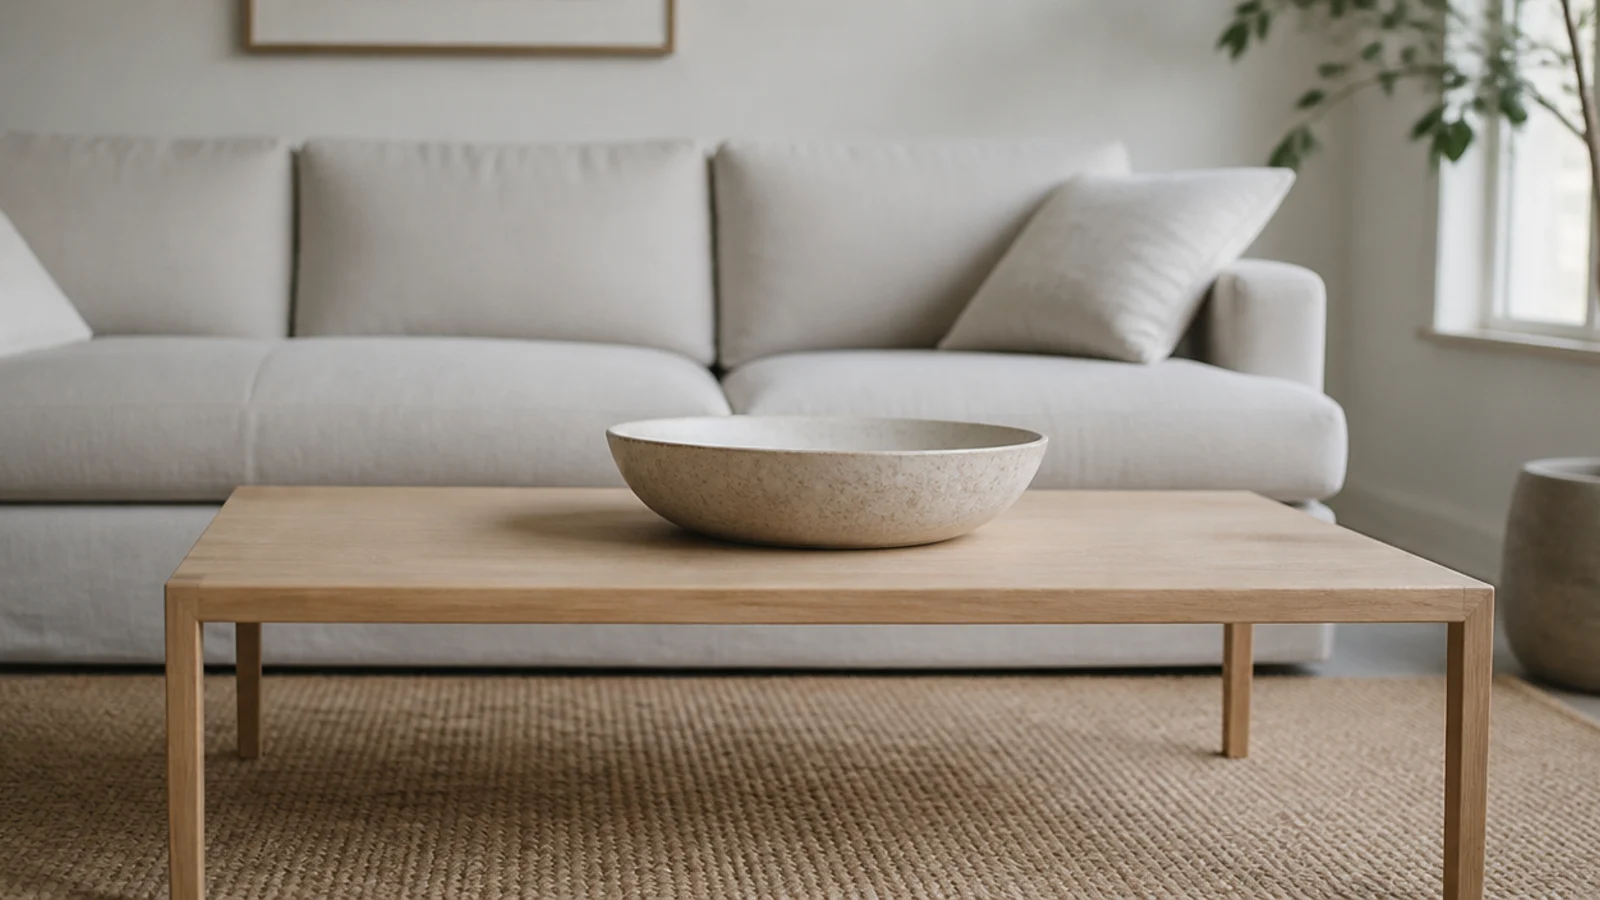
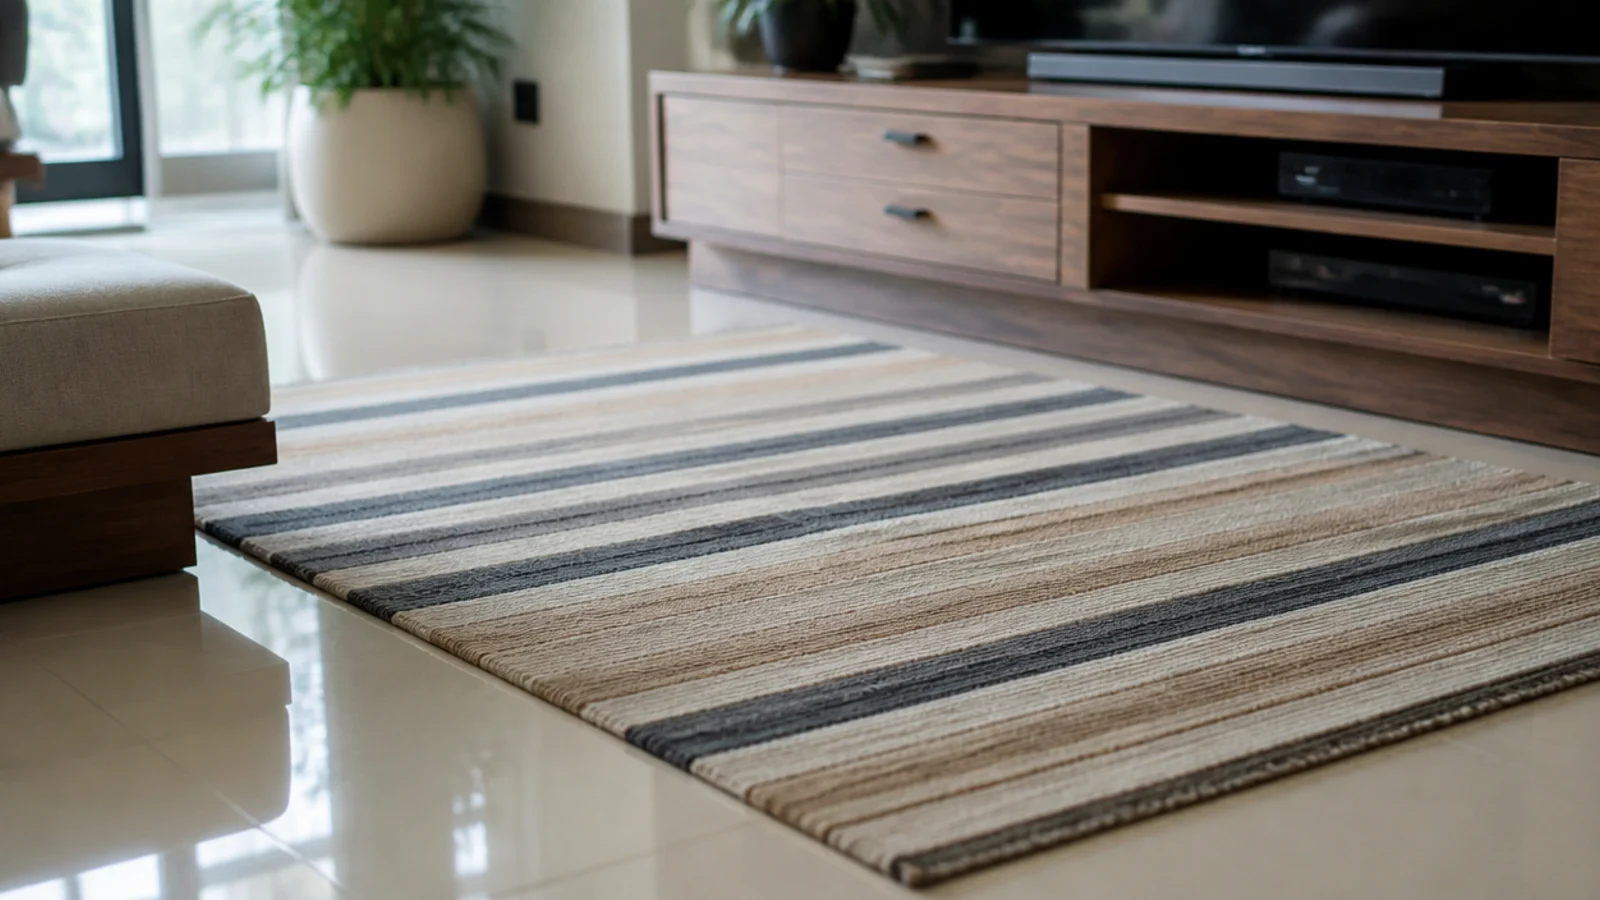
Hard floors bounce sound, which is why dialogue can be difficult in a tiled living room. A flatweave dhurrie or jute rug in front of the unit takes the edge off it and defines the seating. Flatweaves also sweep and wash far more easily than pile.
20. Add a stone ledge at the base
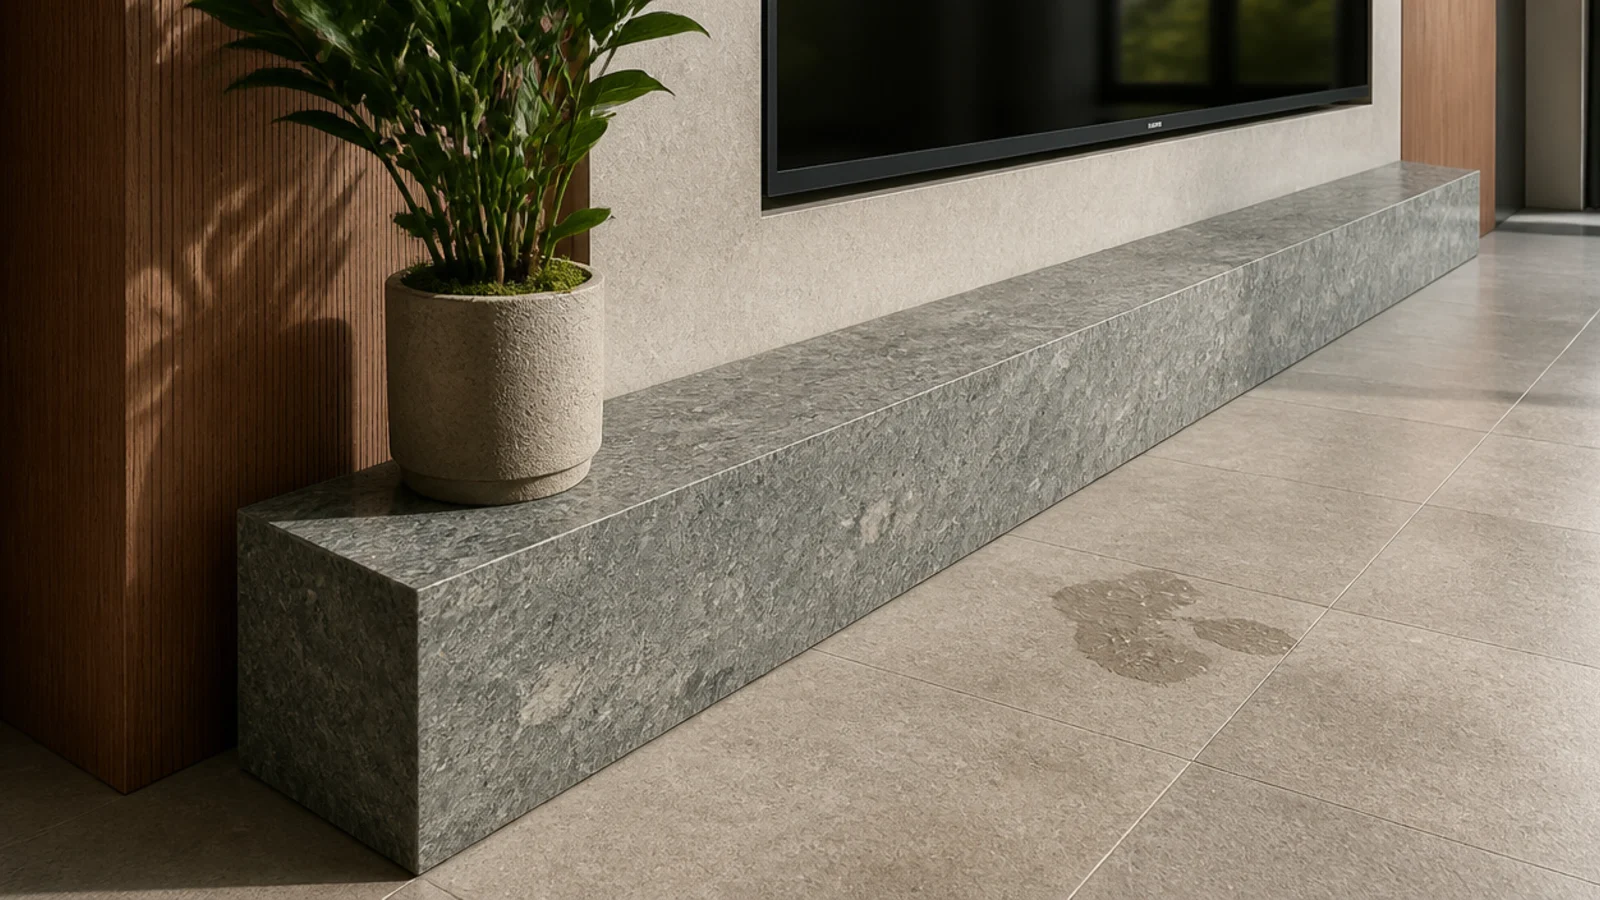
A stone plinth or base ledge takes daily mopping without swelling, which no plywood plinth does indefinitely. Kota, granite and porcelain all work. Ask for it to sit slightly proud of the cabinet face so water never runs back into the carcass.
21. Plan around the air conditioner
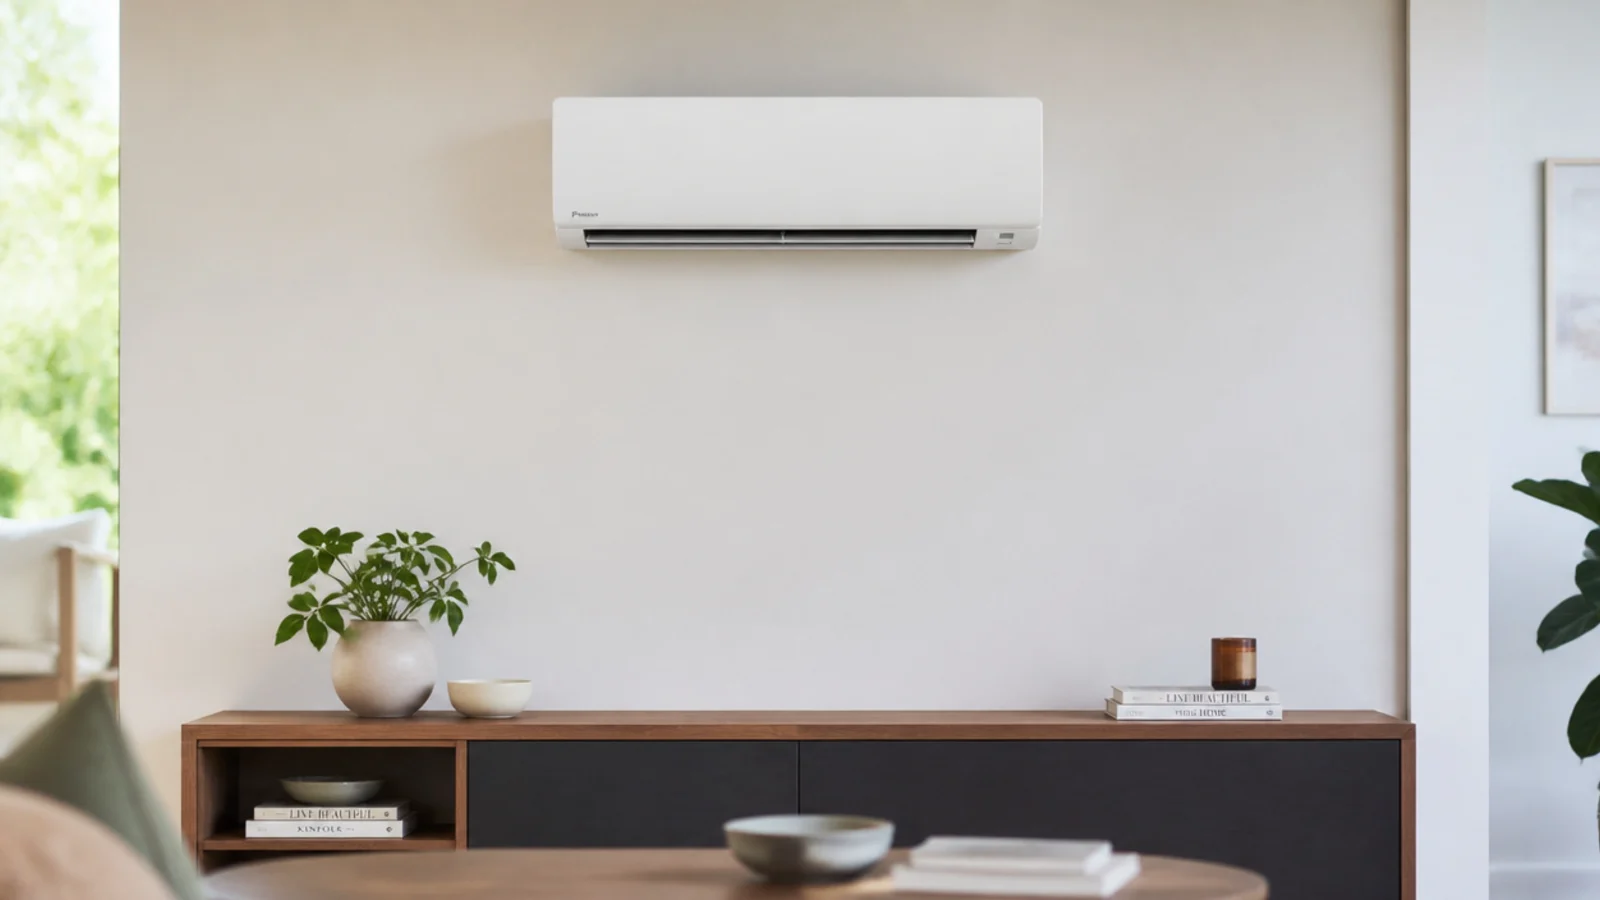
A wall-mounted indoor unit needs clear space around it to work properly, and no joinery should crowd it or sit directly under its drip line. Mark the air conditioner on the elevation drawing before the carpenter does anything, not after.
22. Seal every cut edge against moisture
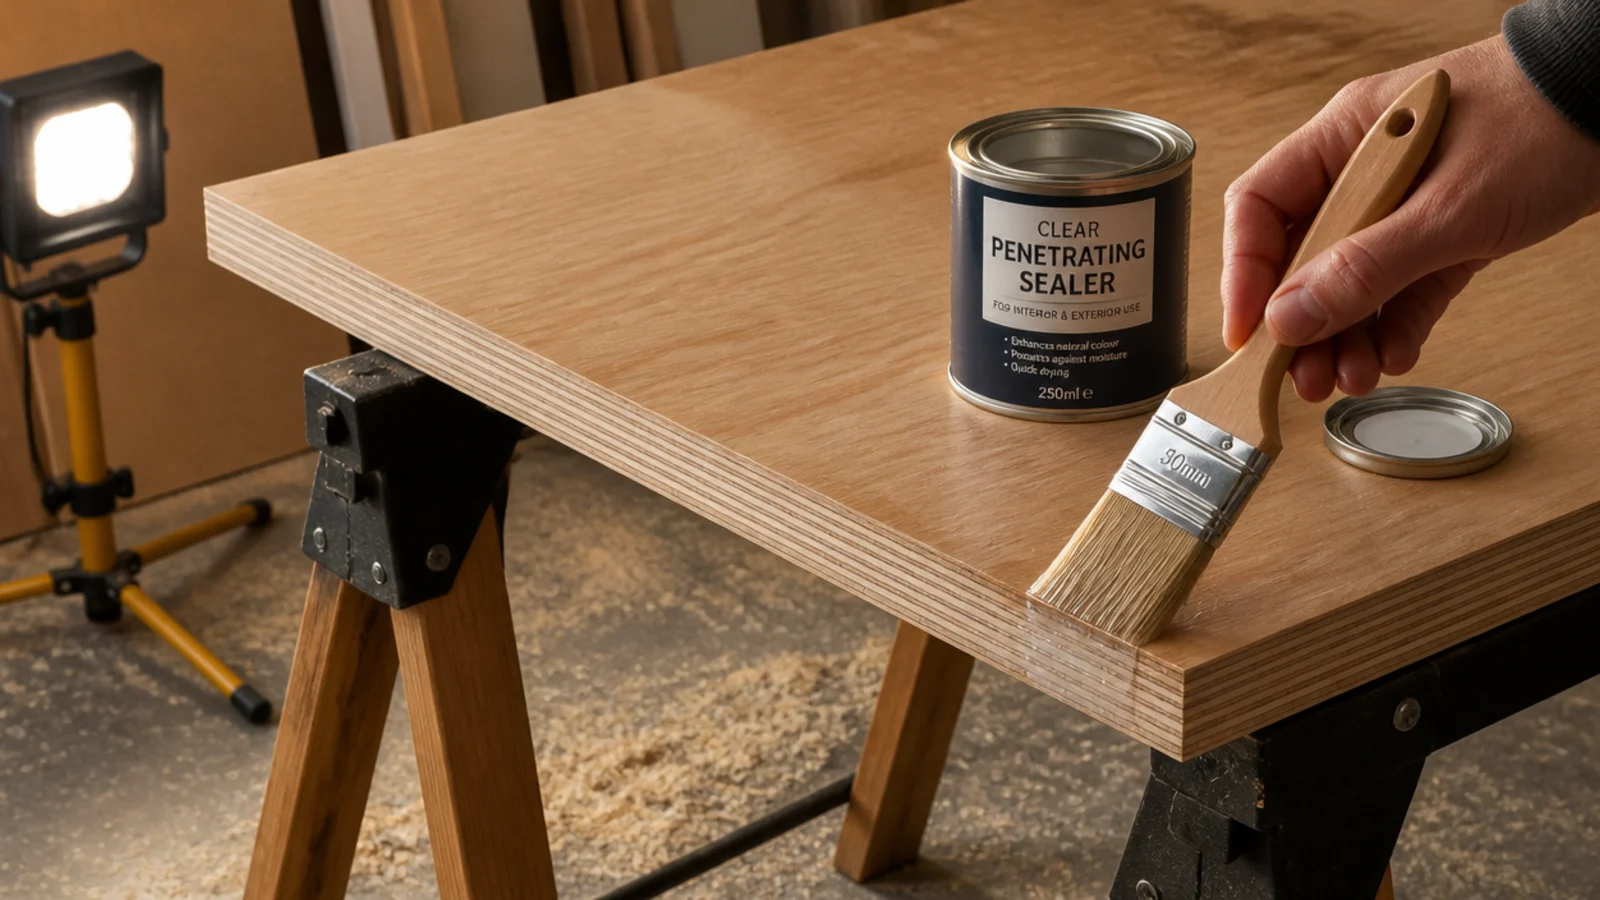
Every saw cut opens the core of the board. Sealing those edges, including the hidden ones against the wall, is a ten minute job on site and the difference between a unit that lasts a decade and one that swells at the base after two monsoons.
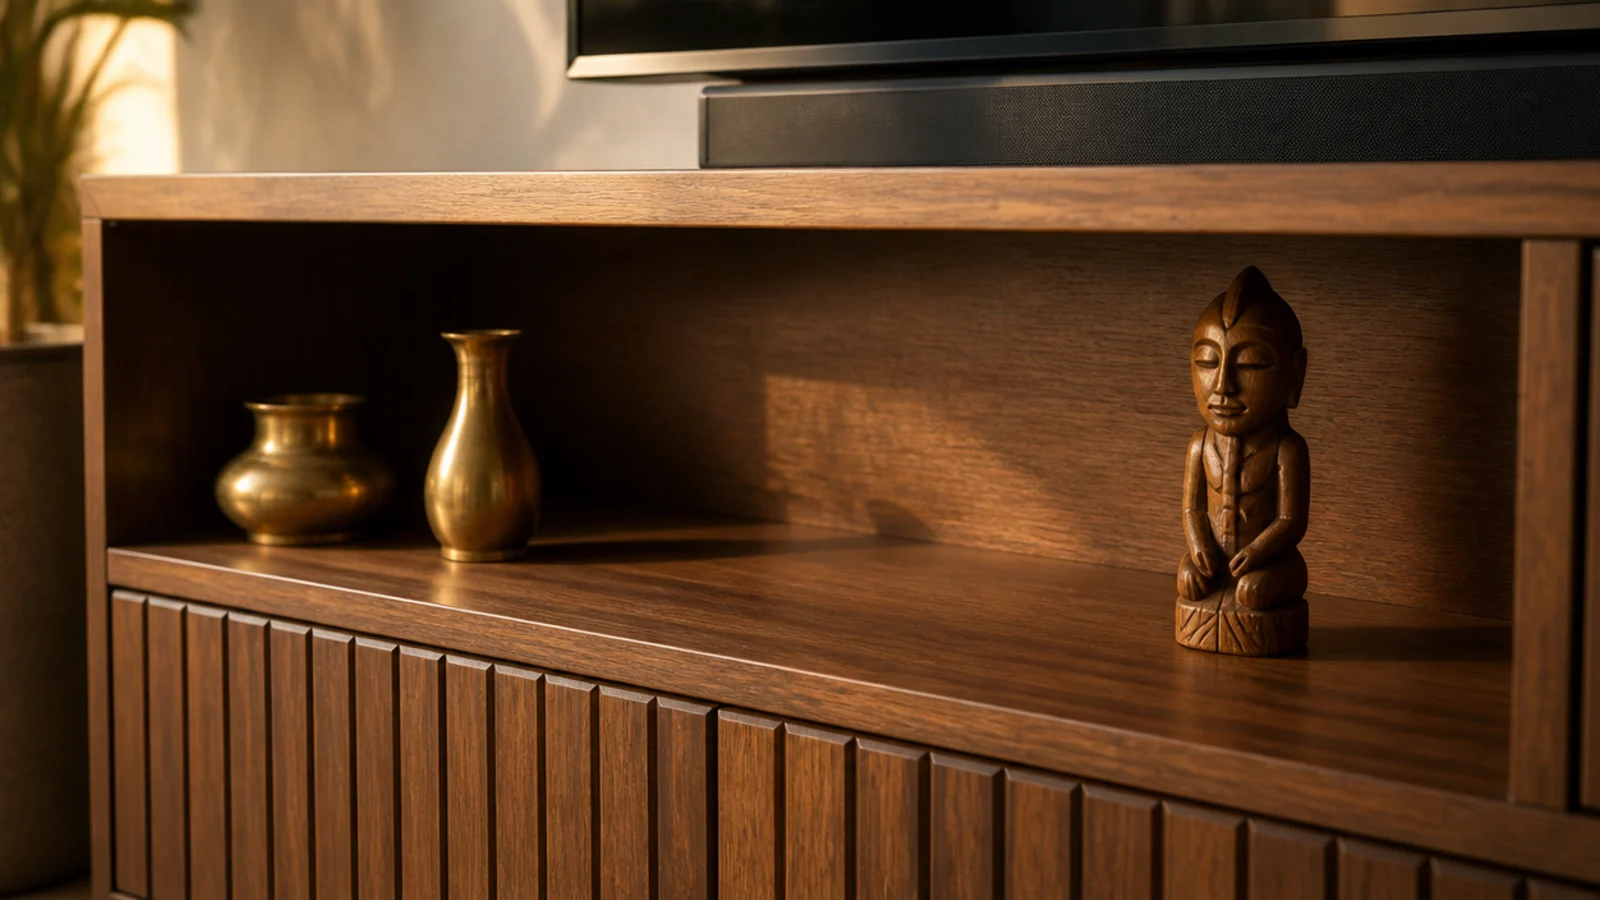
23. Keep one open shelf for brass and curios
One open shelf carries the personality of the room while everything else stays behind shutters. Three objects at three heights, with real space between them. The wall unit styling steps cover the arrangement in order.
24. Compare carpenter and modular quotes properly
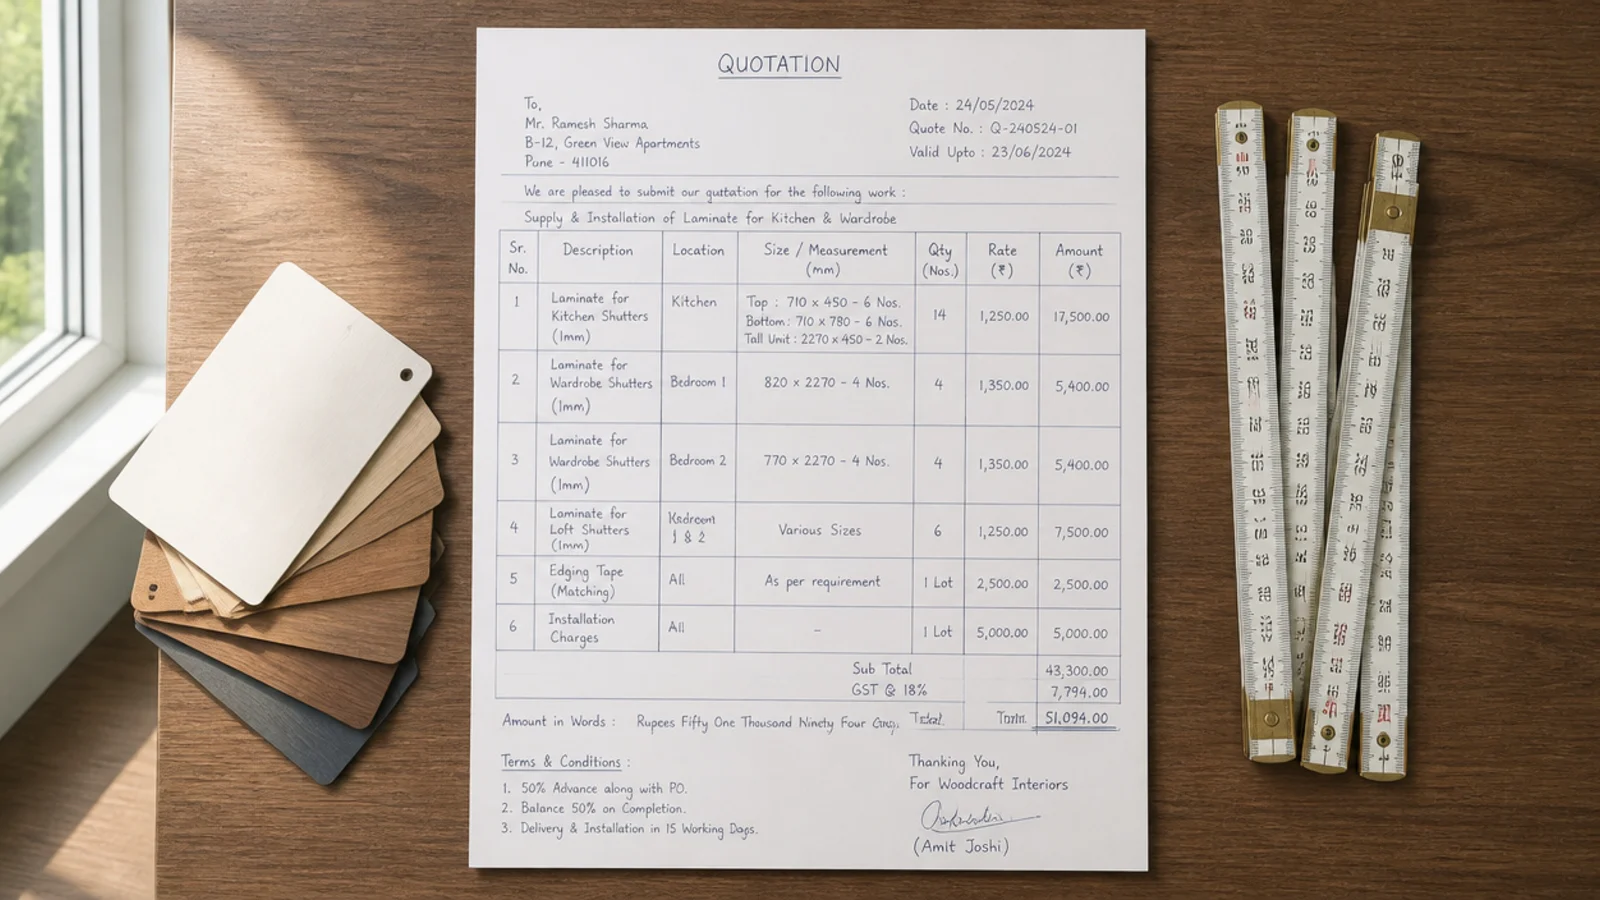
Site carpentry usually costs less per square foot than factory modular but takes longer and depends entirely on the carpenter. Modular gives better hardware and edge finishing. Ask both to quote carcass, shutters and hardware separately, and confirm the plywood grade in writing.
25. Keep the ledge clear enough to use
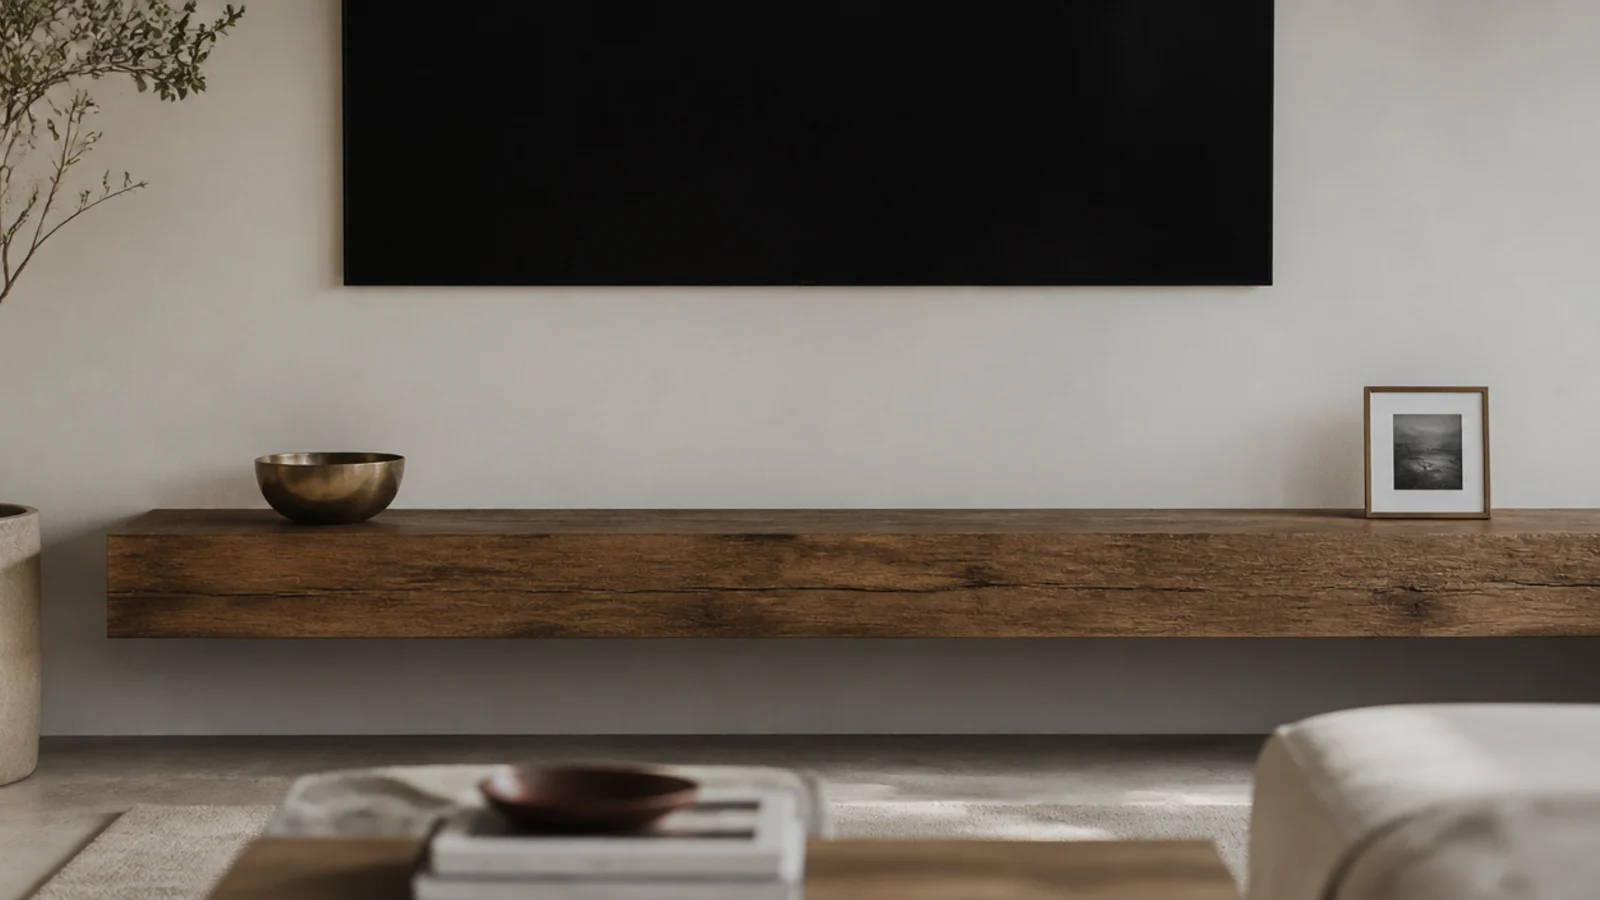
A media ledge is a working surface in most homes: keys, the remote, a phone, a cup. Style it with two objects and leave the rest genuinely clear. The budget ideas guide has more low-cost ways to keep it that way.
For cable routing and heat inside the finished unit, the clutter-hiding guide has the grommet and vent numbers. The wooden design picks go further into species and finishes, and kitchen shelf ideas covers the same plywood and laminate decisions elsewhere in the house.
Mistakes to Skip
- Accepting MDF for the carcass because the quote is lower. It swells permanently at the first serious damp and cannot be repaired, only replaced.
- Sealing a stabiliser and a set-top box behind solid shutters. Neither gets the air it needs, and the remote stops working the moment the doors shut.
- Leaving the conduit route until after plastering. Chasing a finished wall costs more in making good than the conduit ever would have.
- Sizing the unit to the wall rather than the screen. Narrower than the panel always looks wrong, and 1,500 mm is the practical minimum for a 55 inch television.
- Skipping edge sealing on the hidden faces. Damp arrives from the wall side first, and that is exactly the edge nobody thinks to seal.
Frequently asked questions
Should a TV unit be made from plywood or MDF?
Plywood, and specifically 19 mm BWP or BWR grade for anything that meets a wall or the floor. MDF swells permanently once moisture reaches it, which matters in coastal and monsoon climates where indoor humidity sits at 70 to 85 per cent for months at a time.
How much does a carpenter-built TV unit cost per square foot?
Site carpentry in plywood with laminate typically runs from a lower band per square foot, with veneer and polish work costing appreciably more, and factory modular units higher again. Ask for the rate to be quoted separately for the carcass, the shutters and the hardware, because that is where quotes differ most.
What size TV unit suits a standard Indian living room?
A 55 inch television measures about 1,230 mm across, so a wall unit of 1,500 to 1,800 mm reads correctly. Keep the base cabinet 450 mm deep for equipment and any wall-hung upper section at 300 mm so it does not crowd a narrow room.
How do I stop a TV unit warping in humid weather?
Use BWP plywood rather than MDF, seal every cut edge including the hidden ones, and specify louvred or slatted shutters so air moves through the cabinet. Leave a gap of at least 25 mm between the back panel and an external wall, which is where damp usually arrives first.
Where should the set-top box and stabiliser go?
Give the set-top box a shelf with a line of sight for its remote, or fit an infrared repeater if the shutters are solid. The stabiliser needs its own ventilated bay near the socket with clearance on all sides, and it should never sit sealed behind a solid shutter with the other equipment.
Want more like this? Browse all 15 tv unit decor guides — they all use the same measurements and budget tiers.
Pin it for later
Save this to your TV Unit Decor board
Pin it now so it is waiting for you when the tape measure comes out — and so the next person hunting for this idea can find it too.
Save this pinKeep going
More ideas worth saving while you have the tape measure out.