TV Unit Decor · Listicle
30 Creative TV Unit Decor Ideas On A Budget

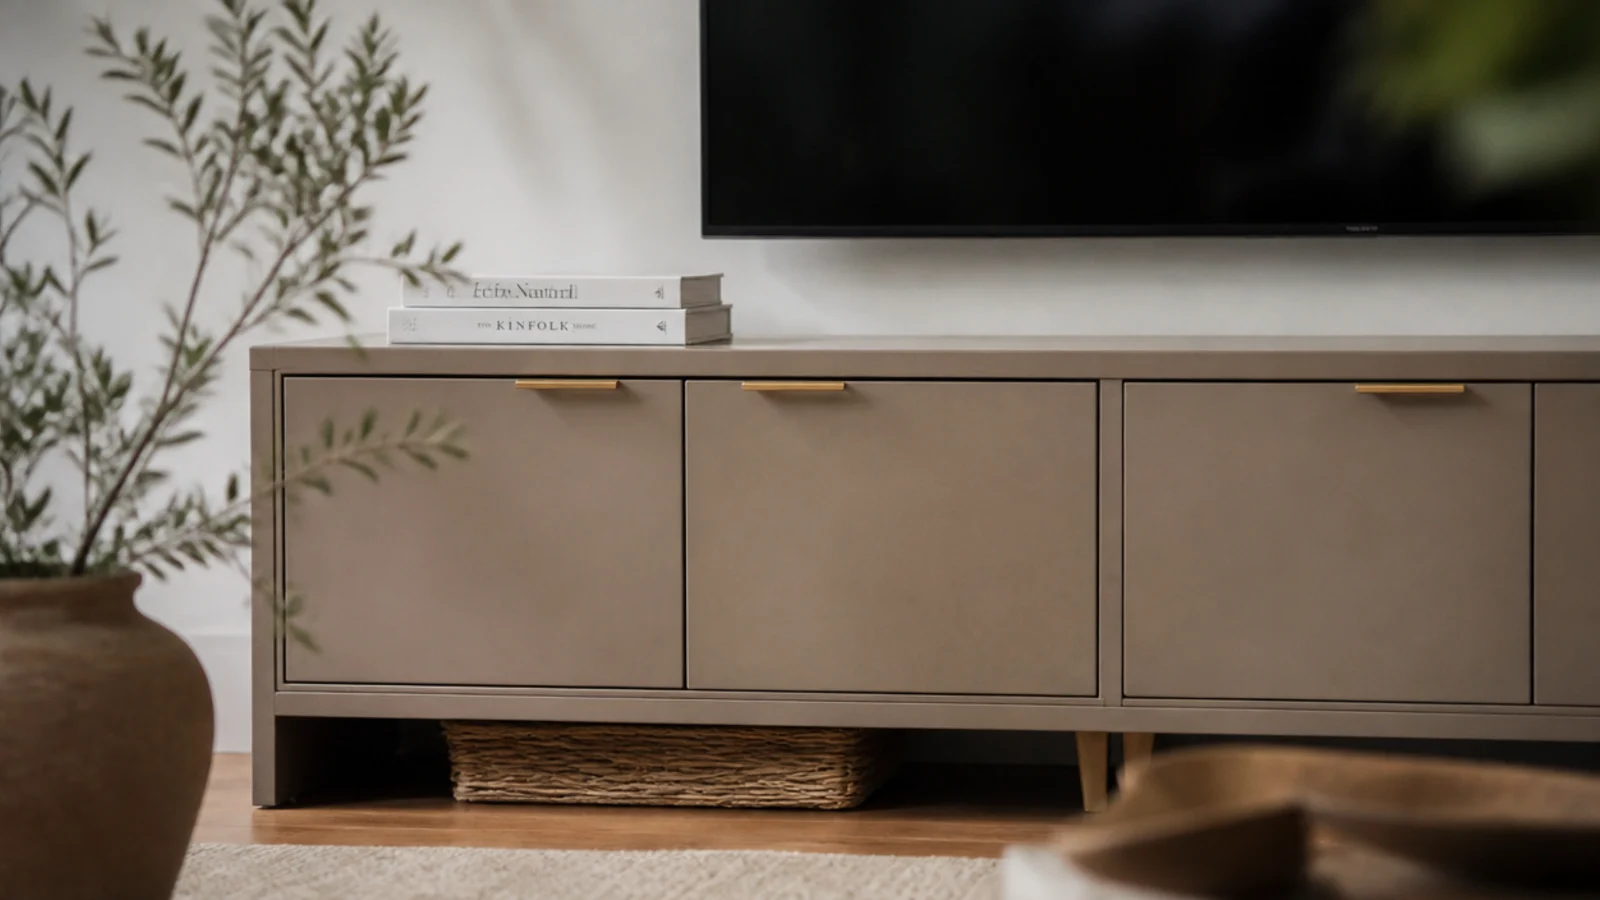
A media unit rarely needs replacing. It usually needs paint, better hardware, somewhere for the cables to go, and about two fewer objects on top. Budget TV unit decor ideas earn their place when they fix a real problem — heat, mess, a door that swings badly, a screen at the wrong height — rather than adding another decorative layer over the top of it. Everything below costs under $50, most of it under $20, and the order matters more than the total. Here are thirty of them.
In this guide32 sections — tap to openHide
- 1.What budget TV unit decor ideas usually miss
- 2.Repaint the unit you already own
- 3.Swap the handles before anything else
- 4.Rout cane webbing into flat doors
- 5.Peel-and-stick veneer on the fronts only
- 6.Add legs to a plinth-based unit
- 7.Build a plinth and paint it out
- 8.Two boxes on one shared base
- 9.Bracket a scaffold board as a shelf
- 10.Buy the secondhand sideboard instead
- 11.Drill your own cable grommet
- 12.Paint the raceway the wall colour
- 13.Bundle and label the cables properly
- 14.Cut vents into a closed cabinet
- 15.Replace a glass door panel with cane
- 16.Line a drawer and give the remotes a home
- 17.Fit a fifteen-dollar bias light strip
- 18.Paint the wall behind the screen darker
- 19.Use peel-and-stick fluted panelling
- 20.Measure the opening before buying baskets
- 21.Hang a fabric skirt across open bays
- 22.Lean the art instead of hanging it
- 23.Line the back panel of an open bay
- 24.One plant instead of three ornaments
- 25.Repurpose a chest of drawers
- 26.Fix one floating shelf under the screen
- 27.Hang a small pegboard for controllers
- 28.Bracket the soundbar and free a shelf
- 29.Level the unit and add felt pads
- 30.Shop your own house before buying
- 31.Take two things away and stop
- 32.Mistakes to Skip
What budget TV unit decor ideas usually miss
Fix the function before the finish. The three things that make a cheap media unit look cheap are visible cables, a sagging or overloaded shelf, and doors that stick or swing open. None of those are solved by styling, and all three are solved for under $50.
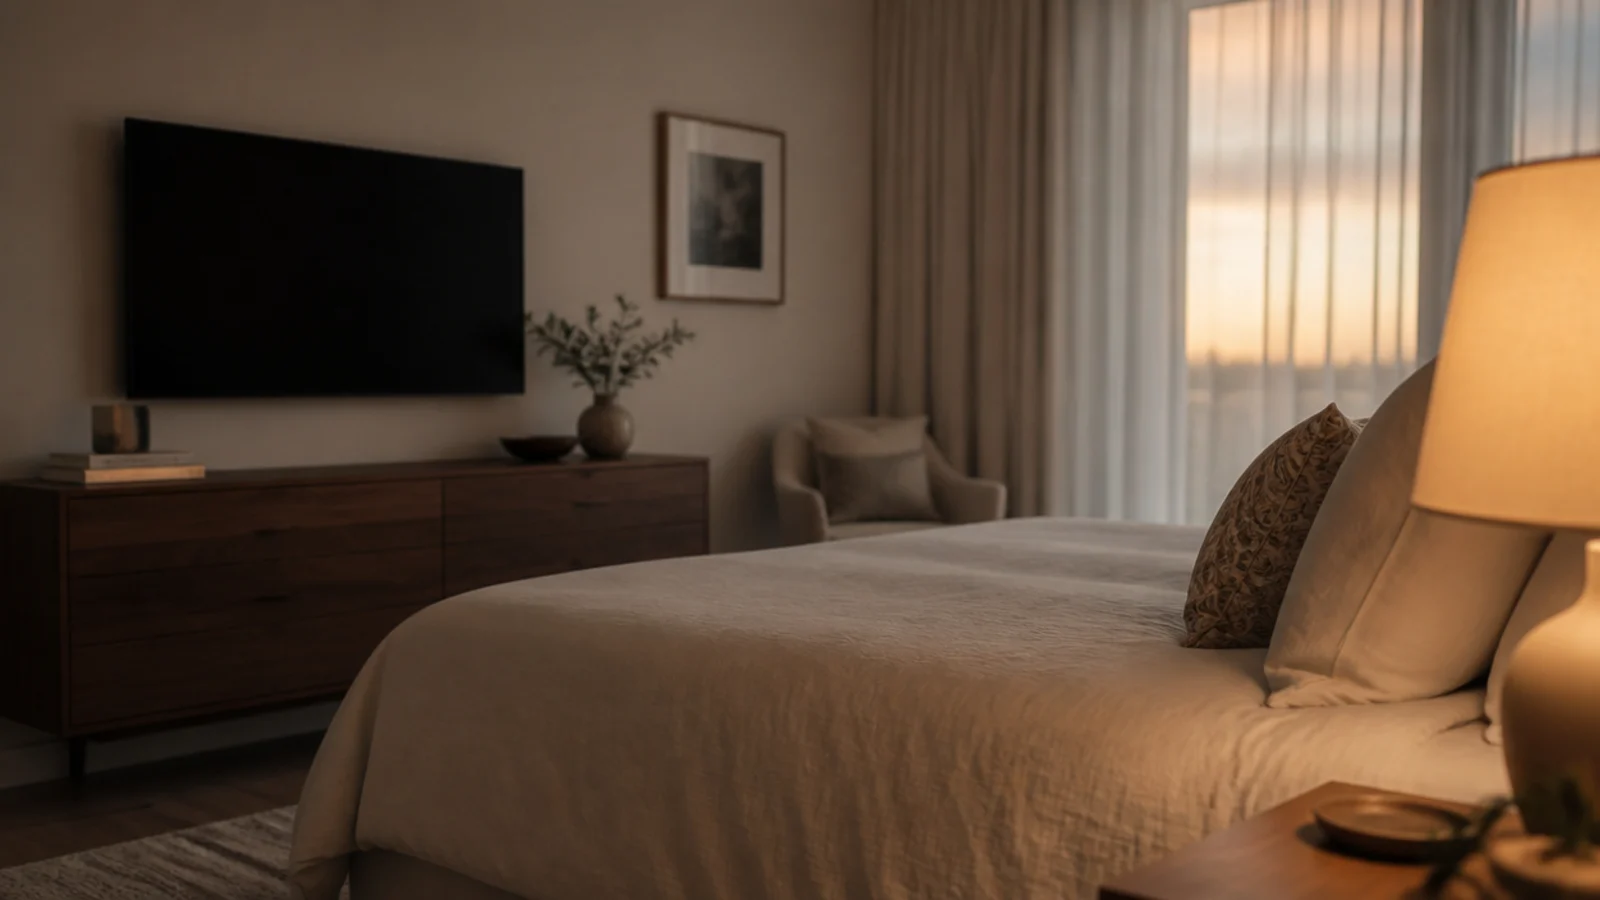
Then check the two numbers that no amount of paint changes: screen centre at 40 to 42 inches from the floor, which is seated eye level, and a cabinet at least 12 inches wider in total than the screen. A 55 inch panel is about 48 inches across, so a 60 inch unit is the working minimum.
Then look at heat. If anything warmer than a streaming stick lives behind a closed door, the bay needs roughly 40 square inches of vent area, because gear starts throttling once a cabinet passes about 40 degrees Celsius. A hole saw and six holes cost less than a takeaway. For the wall behind, the TV wall design guide covers cheap panelling.
1. Repaint the unit you already own
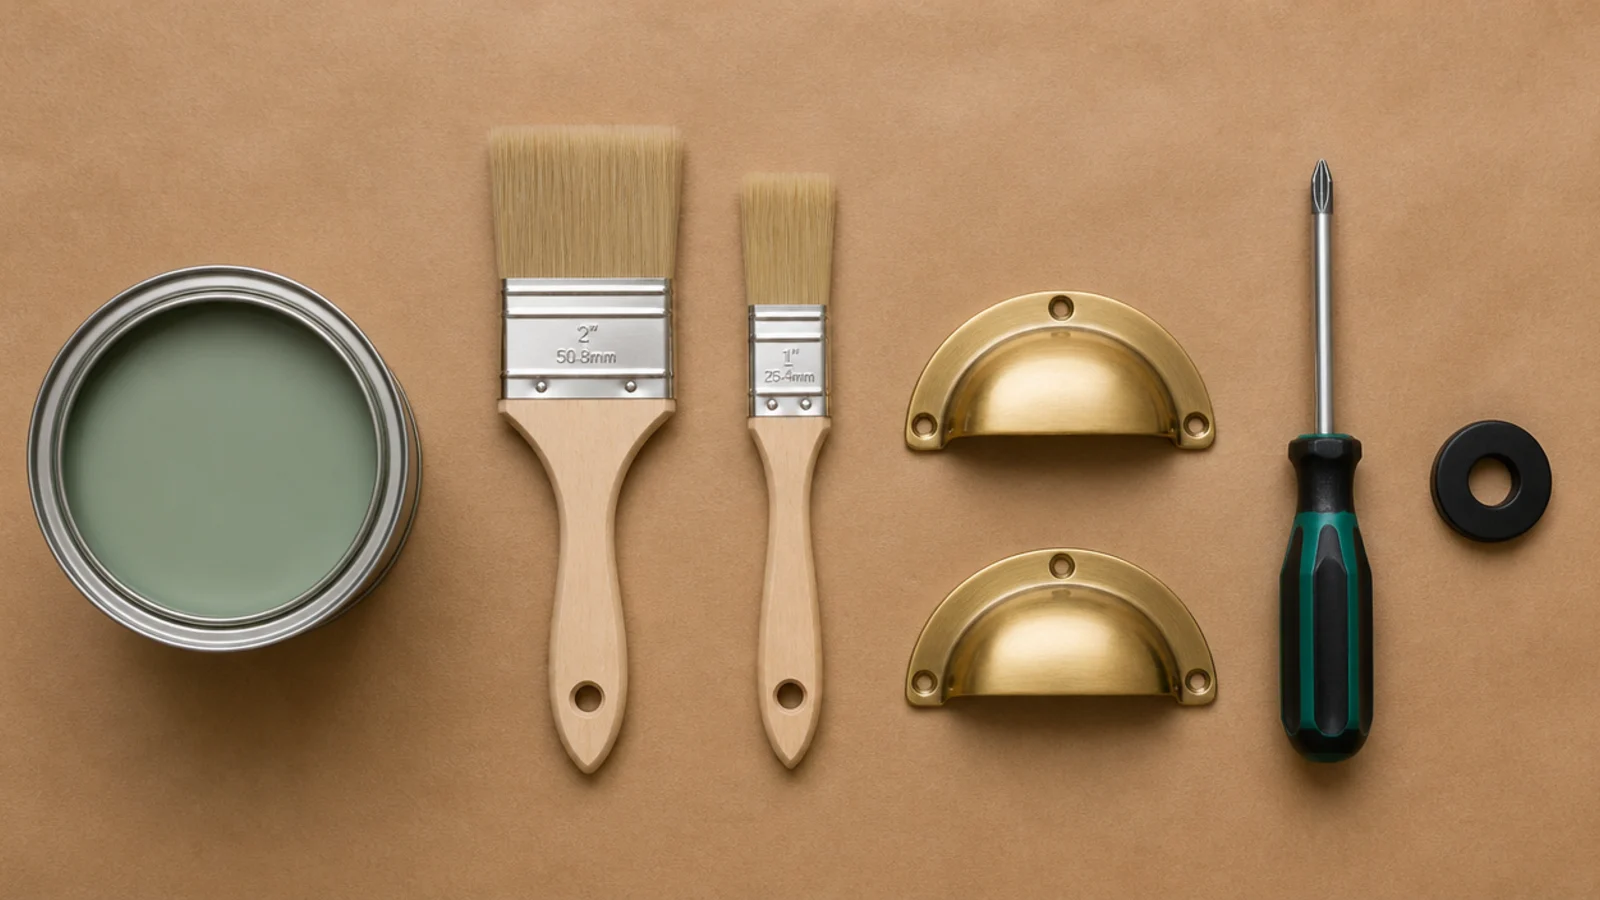
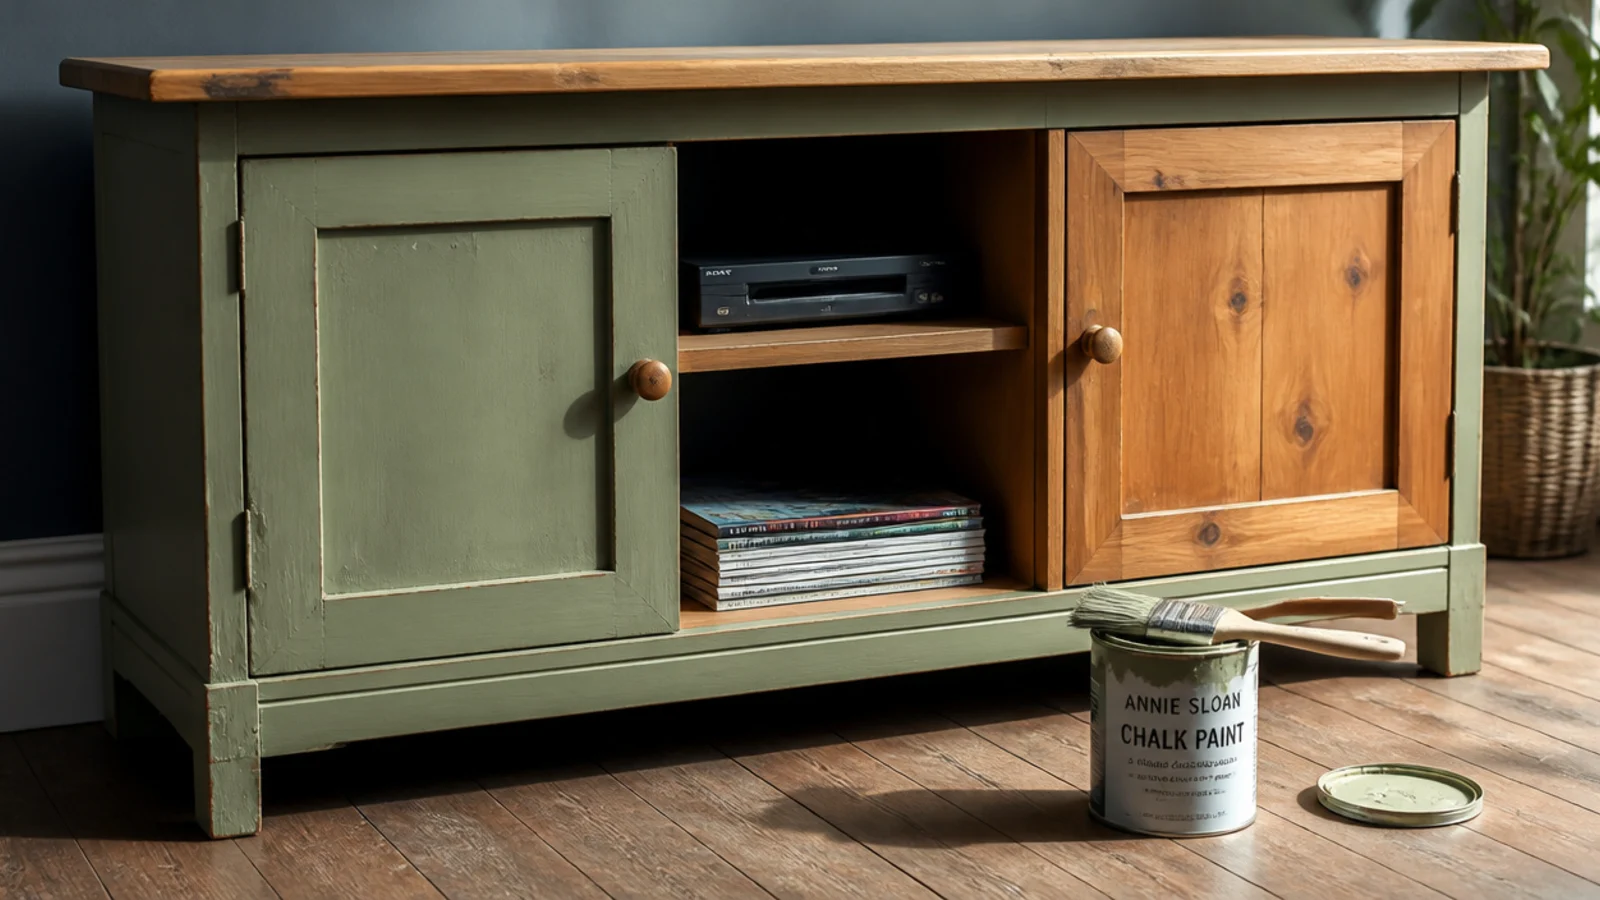
One litre of eggshell covers a media cabinet twice with paint left over, for $20 to $35. On laminate, scuff with 180 grit, degrease, then use a bonding primer — skipping it is why painted laminate chips along the edges. Two thin coats beat one thick one every time.
2. Swap the handles before anything else
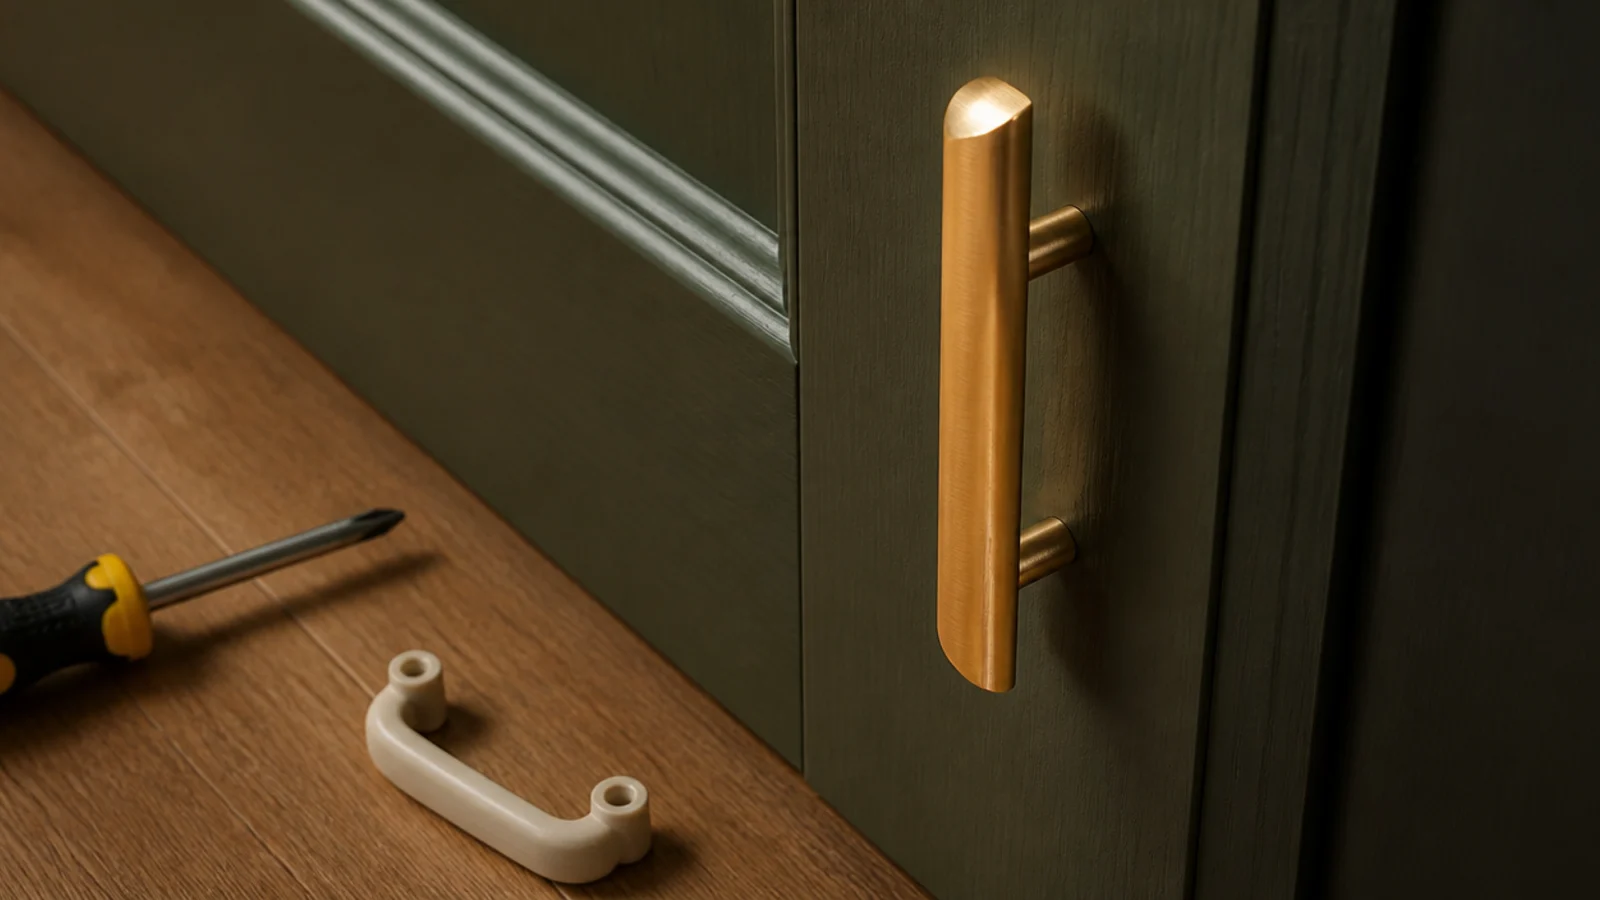
Hardware is the part your hand touches, and it is where a cheap cabinet gives itself away. A set of four decent pulls runs $12 to $30. Measure the existing hole centres first, usually 96 or 128 mm, and buy to match so there is nothing to fill.
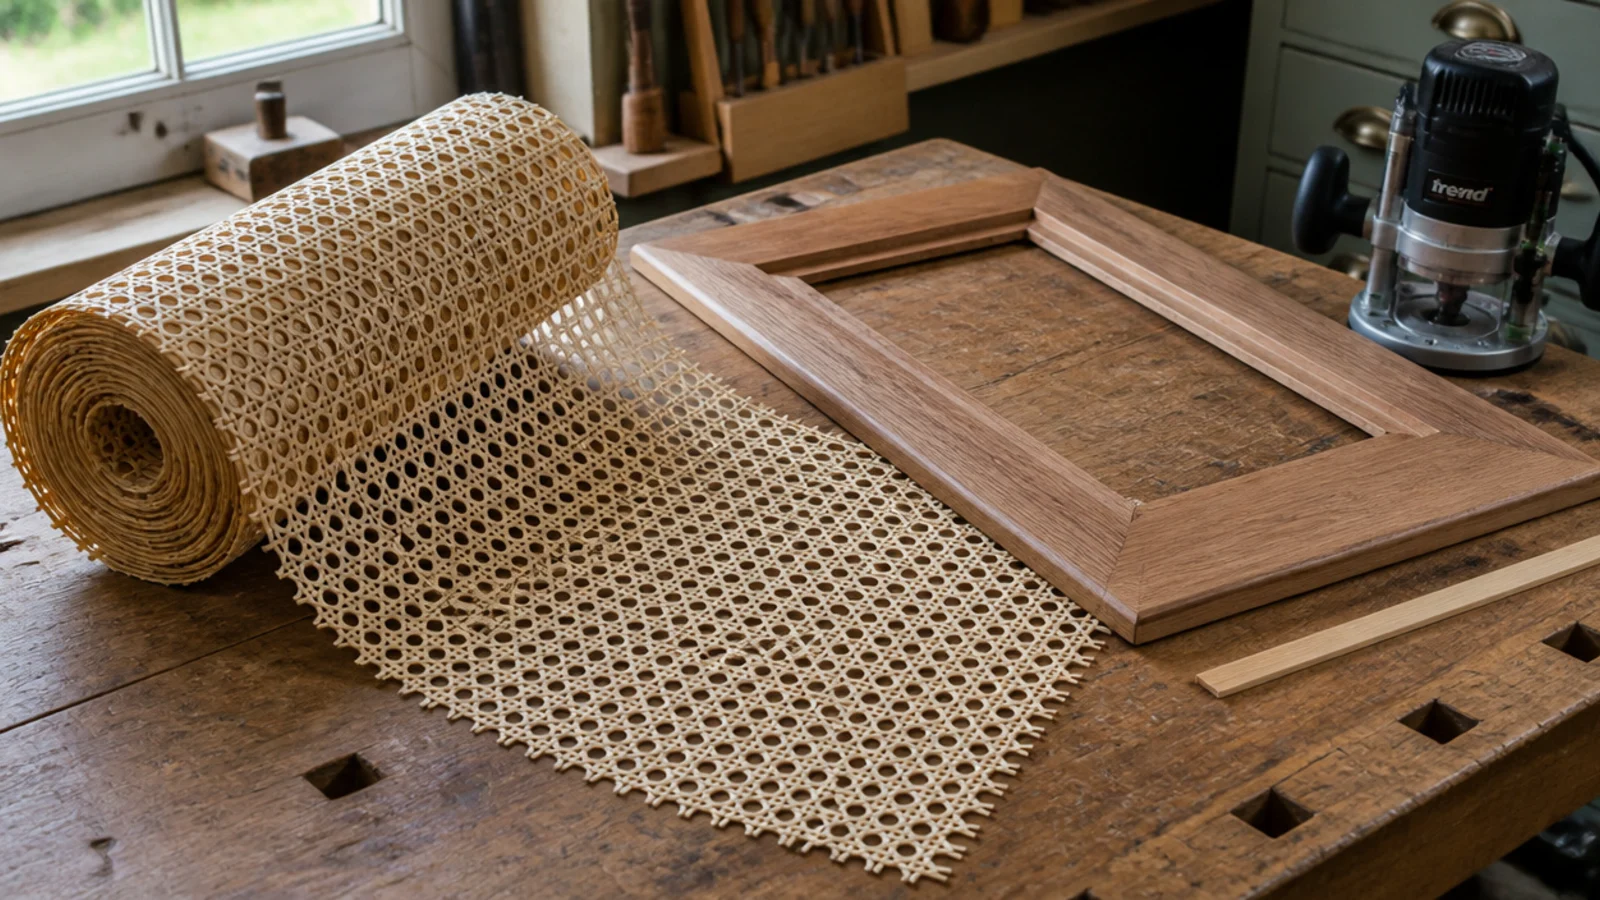
3. Rout cane webbing into flat doors
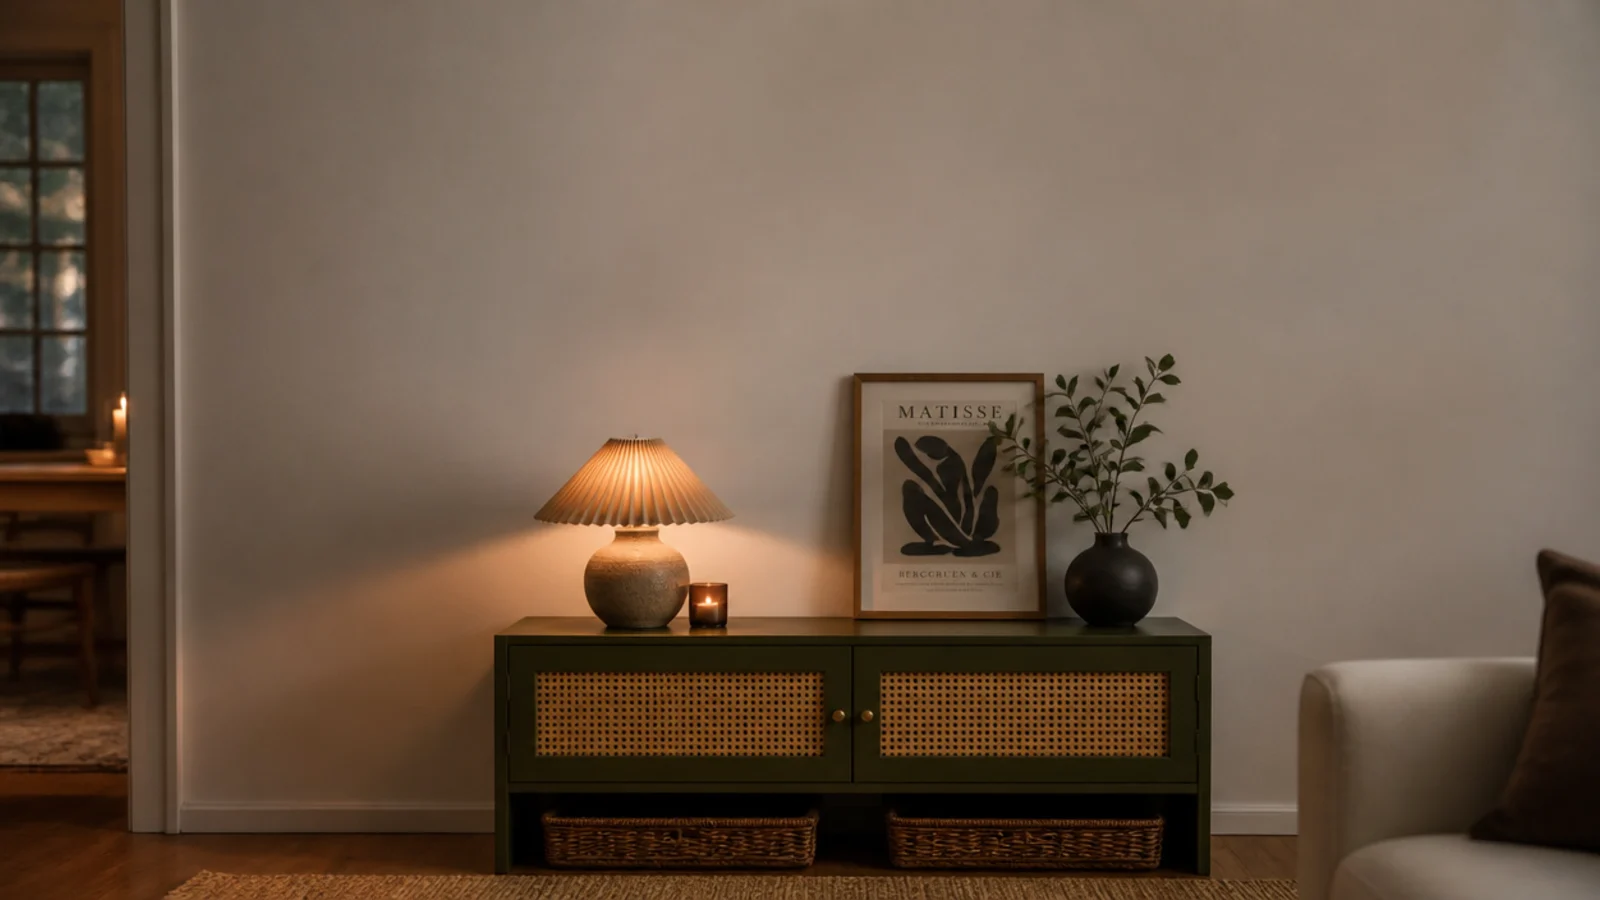
A roll of natural cane webbing costs $25 to $50 and converts flat doors into something that breathes. Rout a rebate, soak the webbing, press it in with a spline, and let it dry tight. Cane passes both air and infrared, so devices stay cooler and remotes keep working.
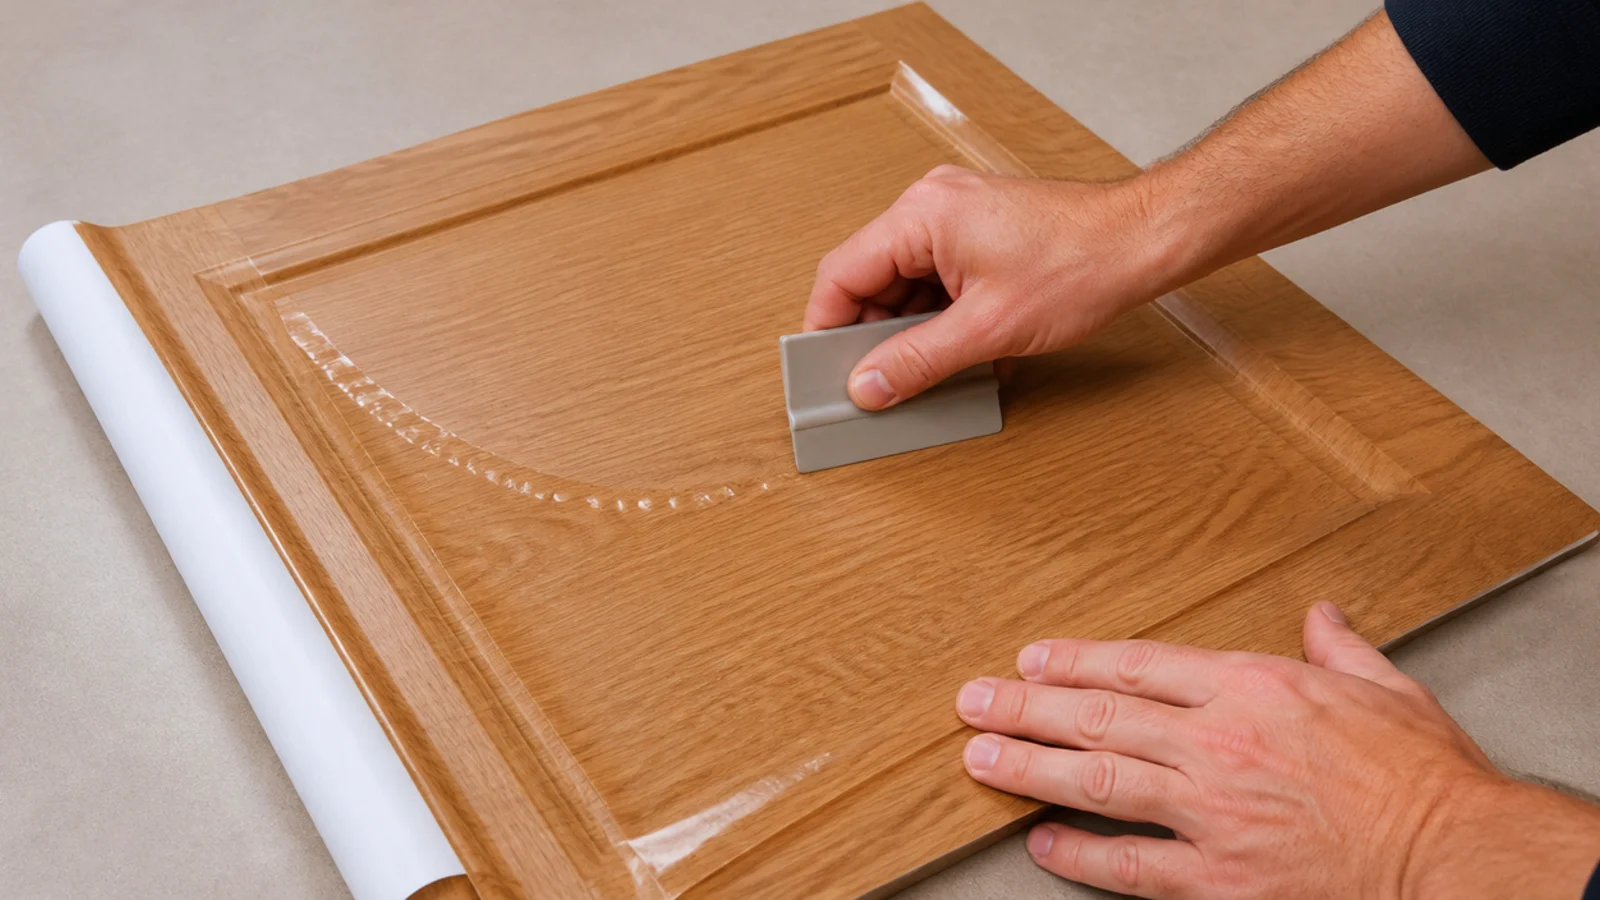
4. Peel-and-stick veneer on the fronts only
Adhesive wood-effect film runs about $2 a square foot. Cover the door and drawer fronts and leave the carcass, so any edge that lifts is hidden by a door gap. Clean with alcohol first and squeegee from the centre out, or you will chase bubbles for an hour.
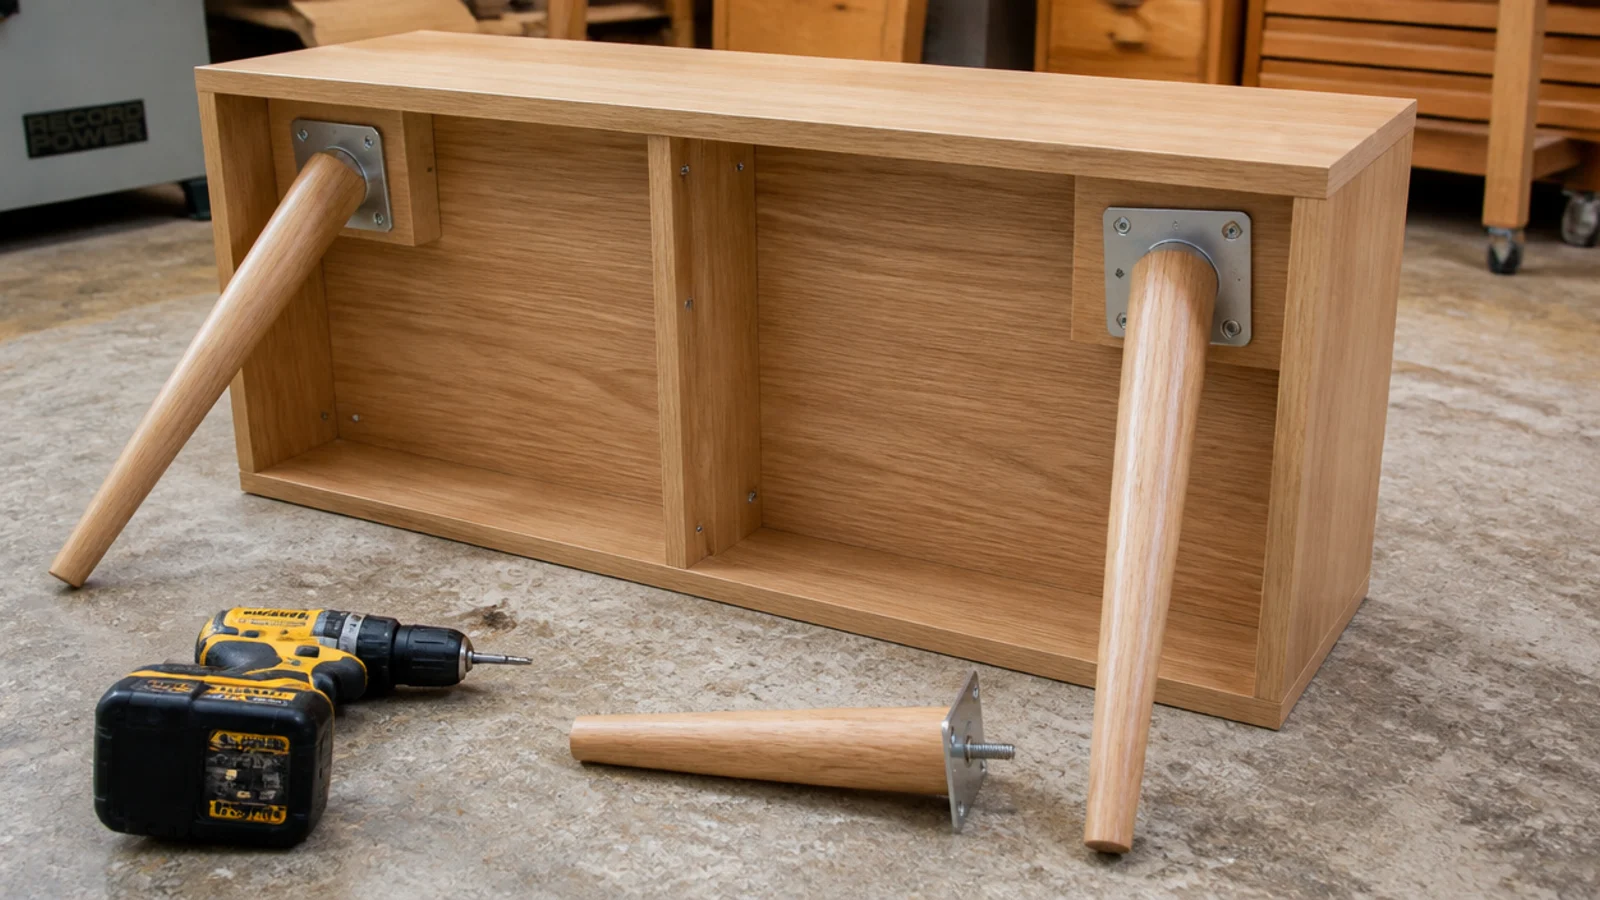
5. Add legs to a plinth-based unit
Four tapered legs on angled plates cost $15 to $30 and lift a box off the floor, which reads as lighter and lets a vacuum underneath. Choose 4 to 6 inch legs so the top does not rise past 20 inches and push the screen centre too high.
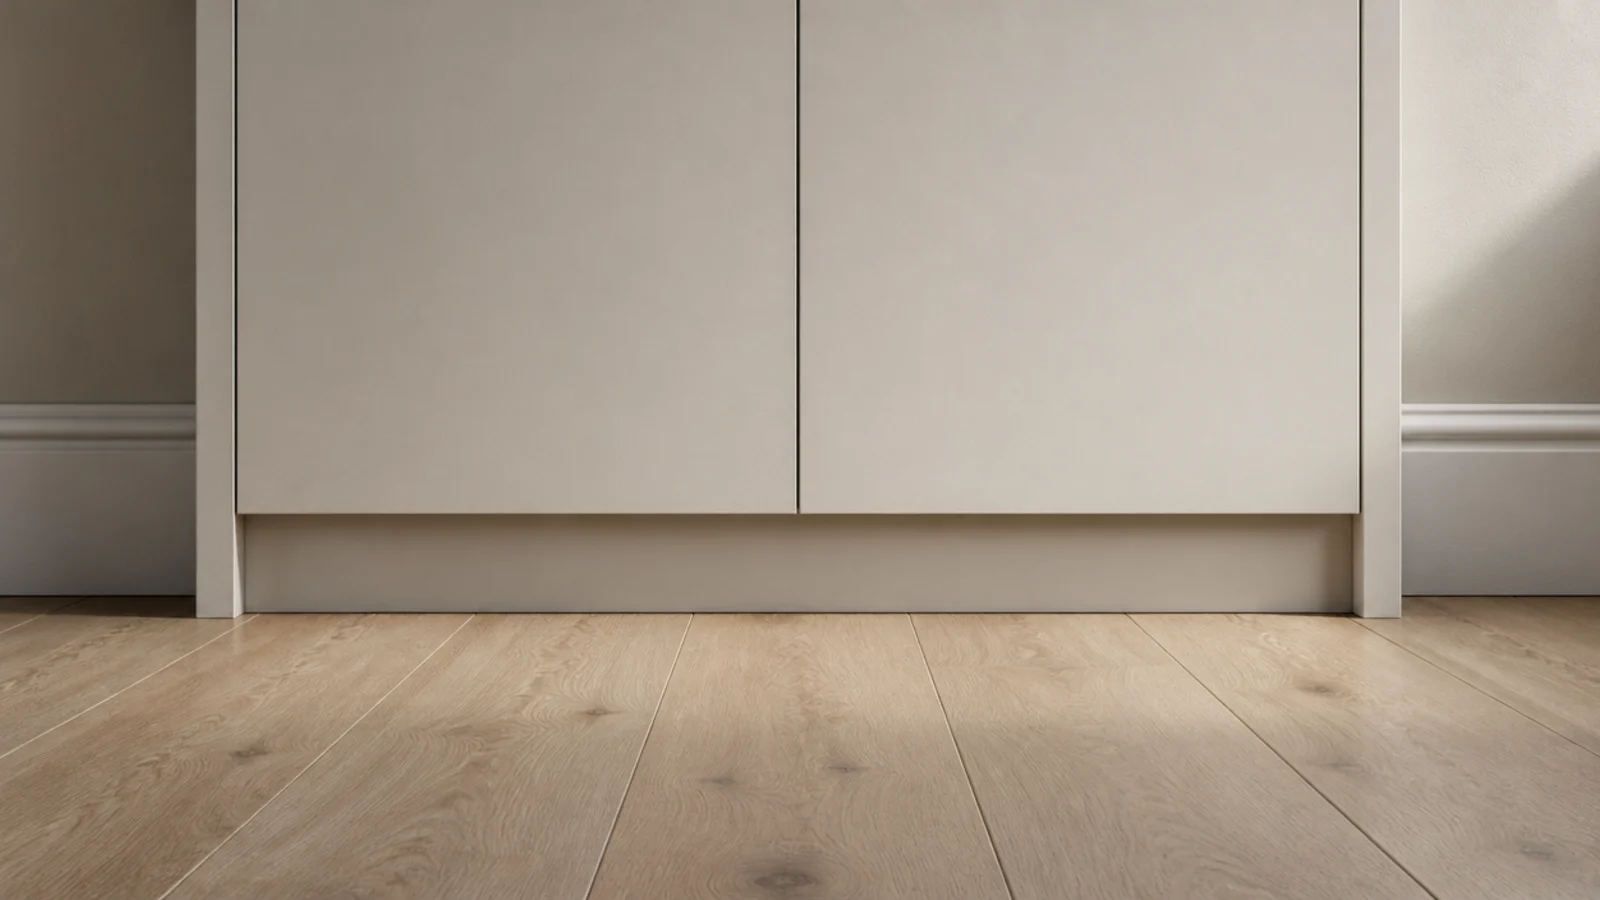
6. Build a plinth and paint it out
The opposite approach, for a unit that should look built in. A frame of cheap timber, set back 10 mm behind the cabinet face and painted the wall colour, gives you a shadow line and hides an uneven floor. Materials come in under $20.
7. Two boxes on one shared base
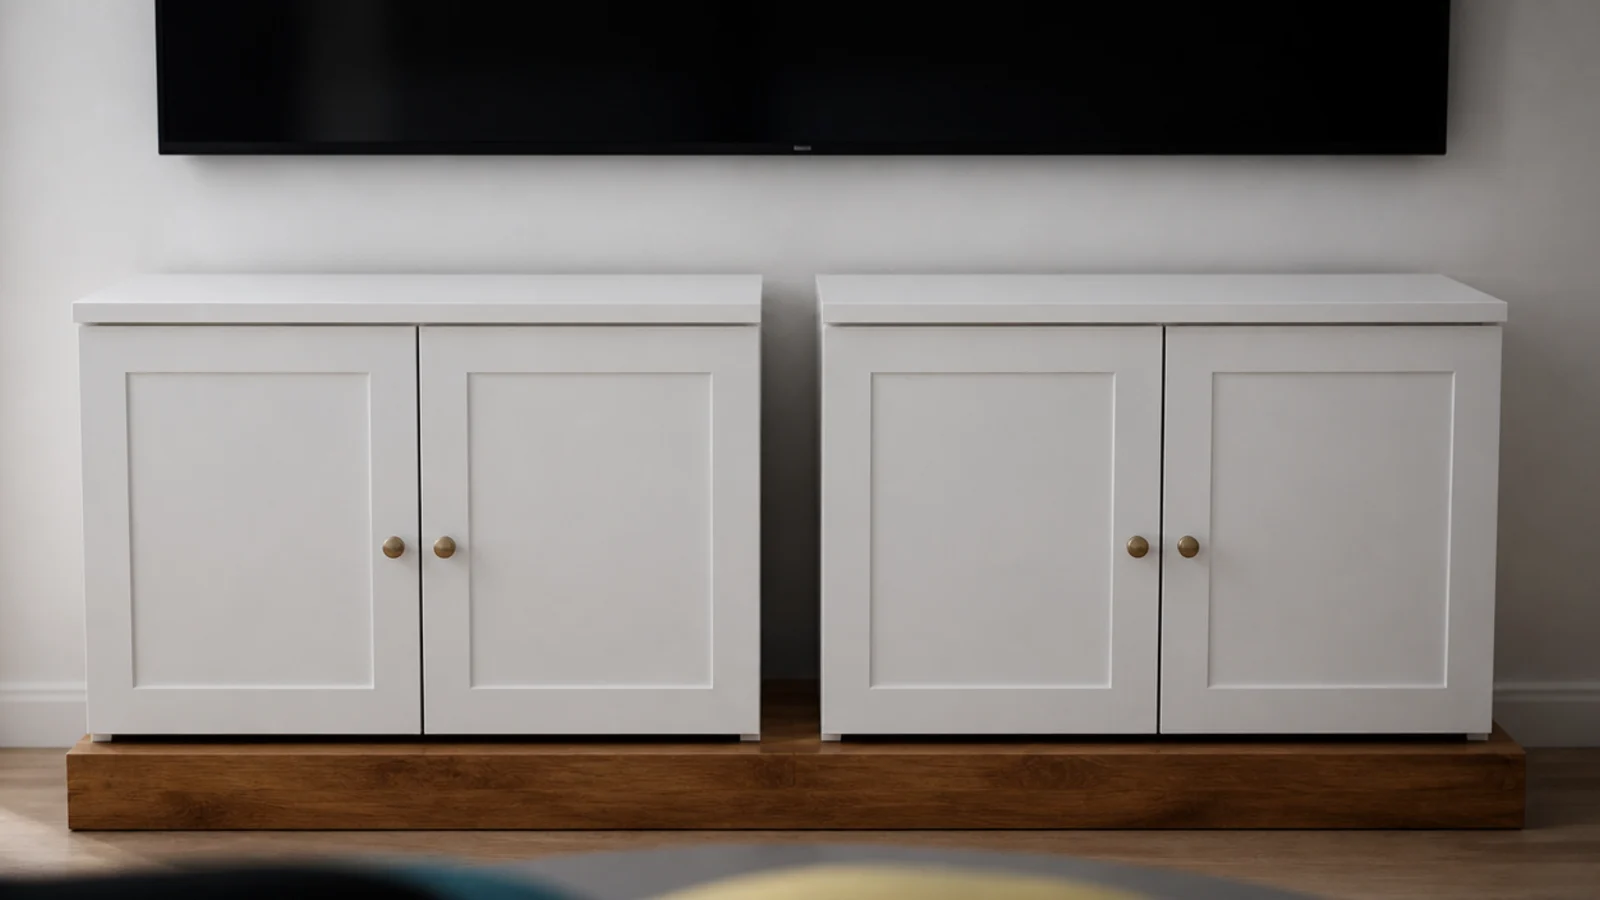
Two identical flat-pack cabinets standing on a single continuous base read as one piece rather than two. The base can be a stained plank on blocks. Screw the carcasses to each other through the side panels so the fronts stay aligned as the floor moves.
8. Bracket a scaffold board as a shelf
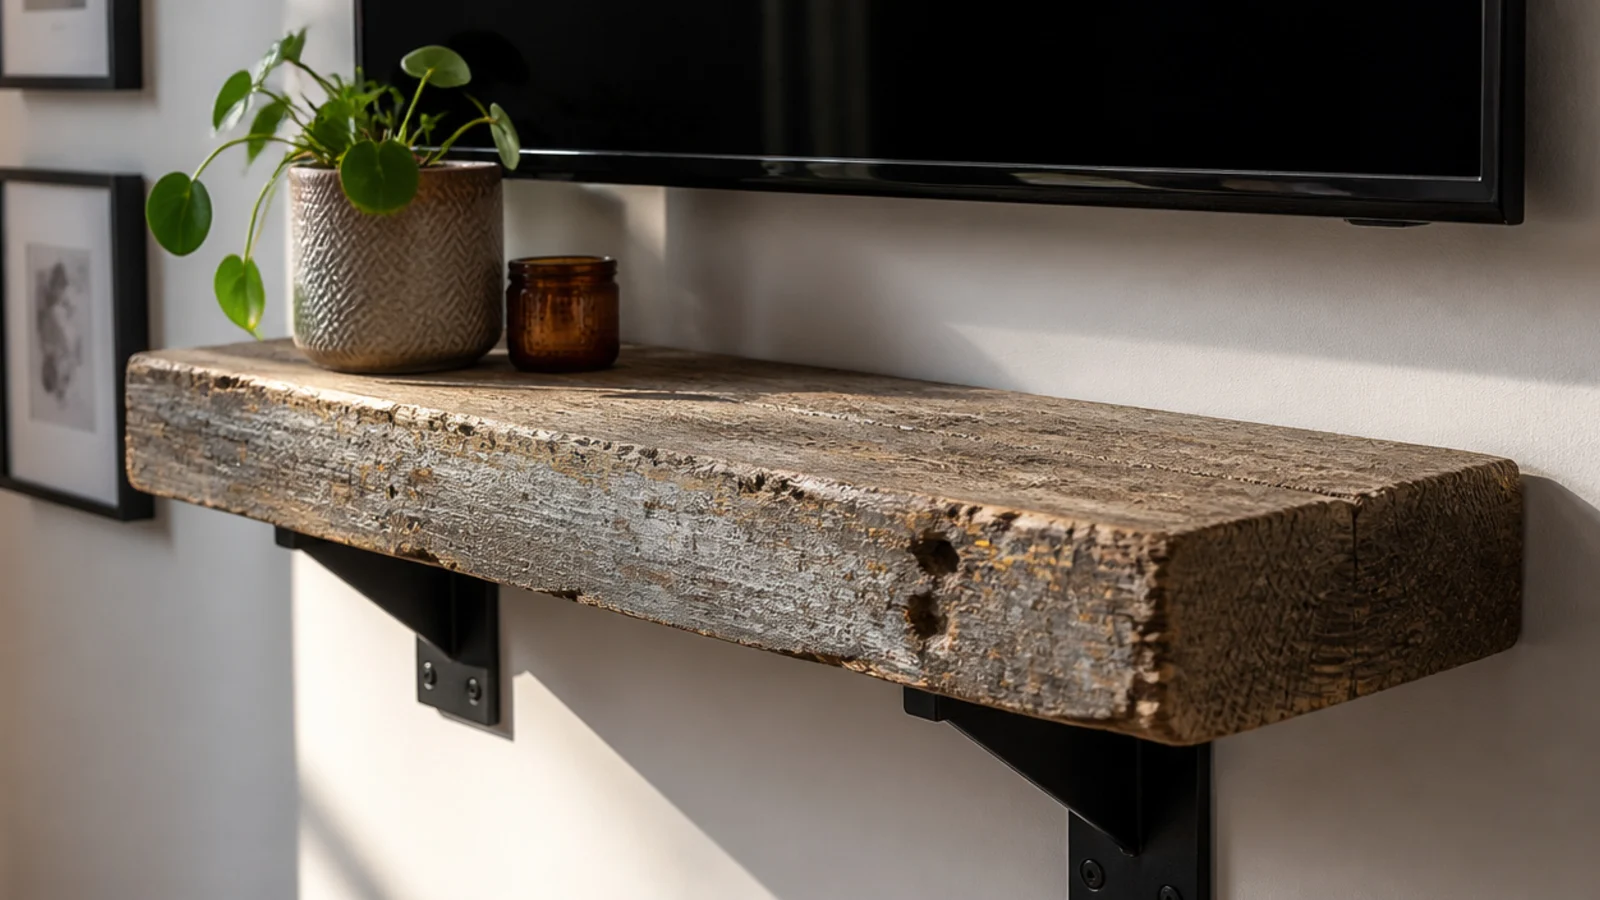
A reclaimed board and two steel brackets come to $25 to $40 and give you a shelf with real character. Sand to 120 grit, wipe with oil, and fix into studs. Thirty-eight millimetre stock spans well past 32 inches without any visible dip.
9. Buy the secondhand sideboard instead
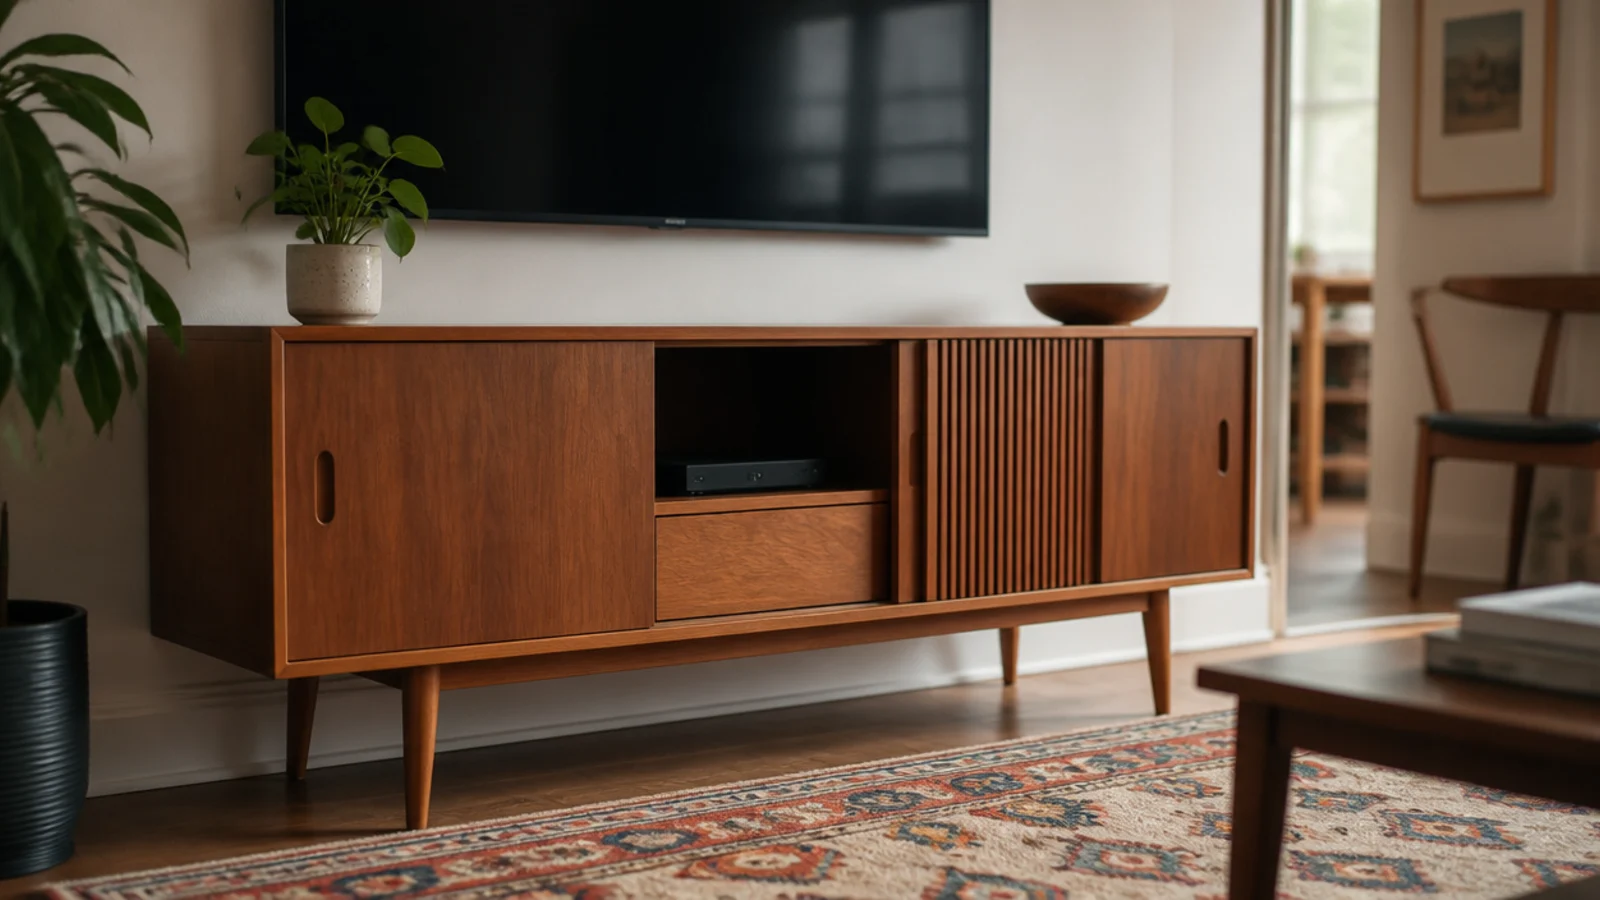
Solid timber sideboards from the 1960s and 70s turn up at $80 to $200 and are better built than most new furniture. Check the depth reaches 15 inches, the top sits at 16 to 24 inches, and the back panel can take a cable cut without weakening the carcass.
10. Drill your own cable grommet
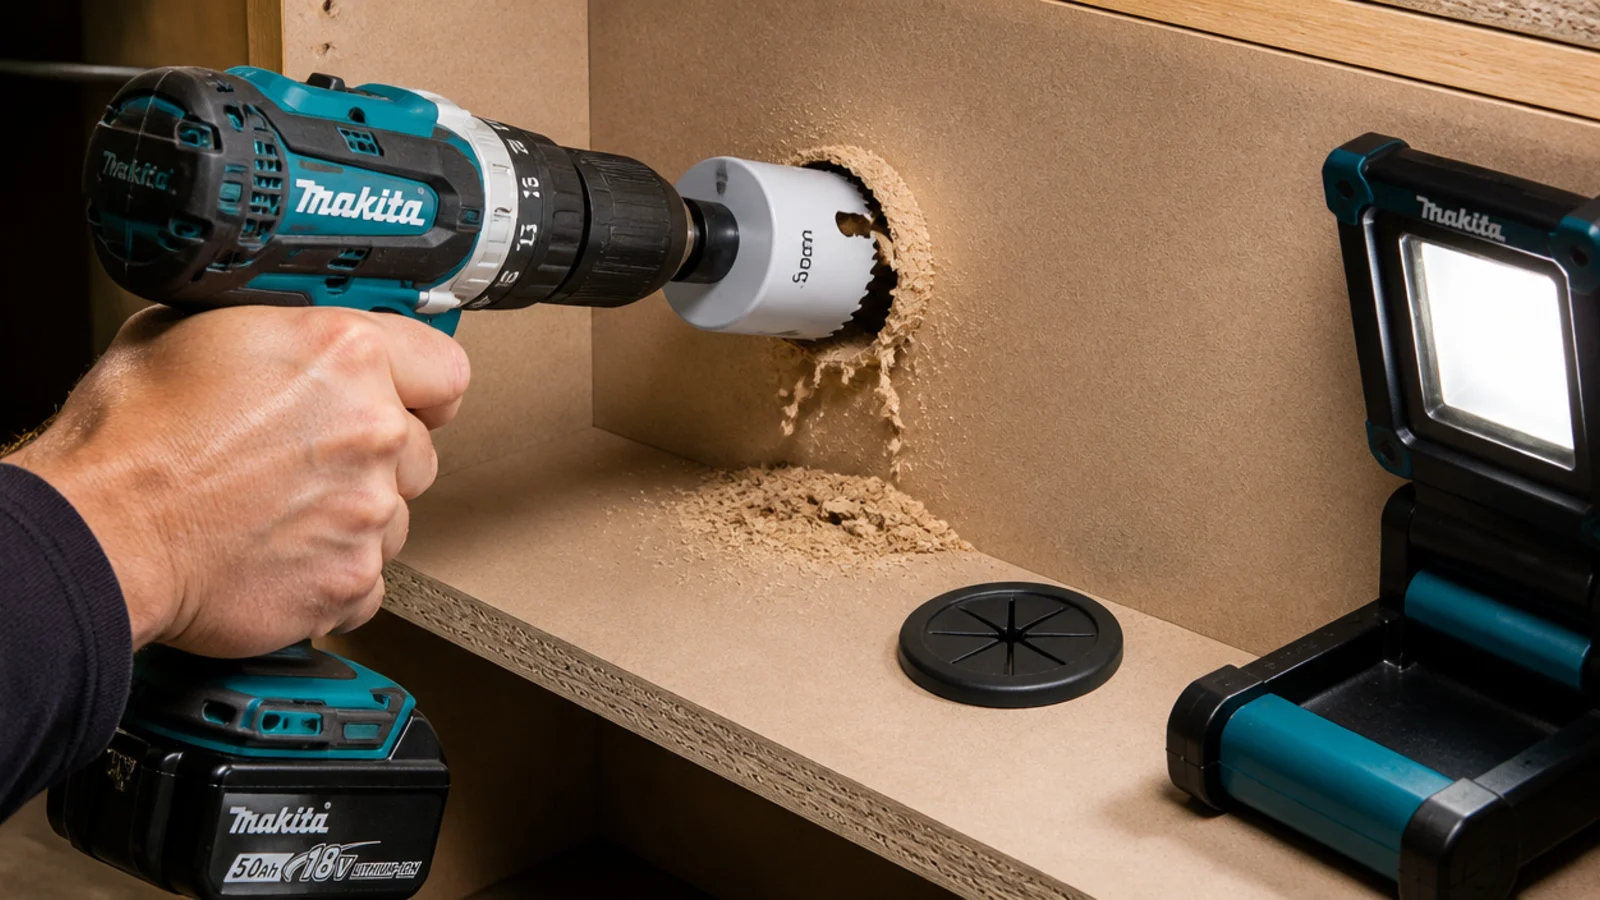
A 2 inch hole saw and a rubber grommet cost about $12 together and take fifteen minutes. One grommet passes six to eight HDMI cables, since standard HDMI is only 6 to 8 mm across. Cut it in the back panel behind the gear bay, not in the side.
11. Paint the raceway the wall colour
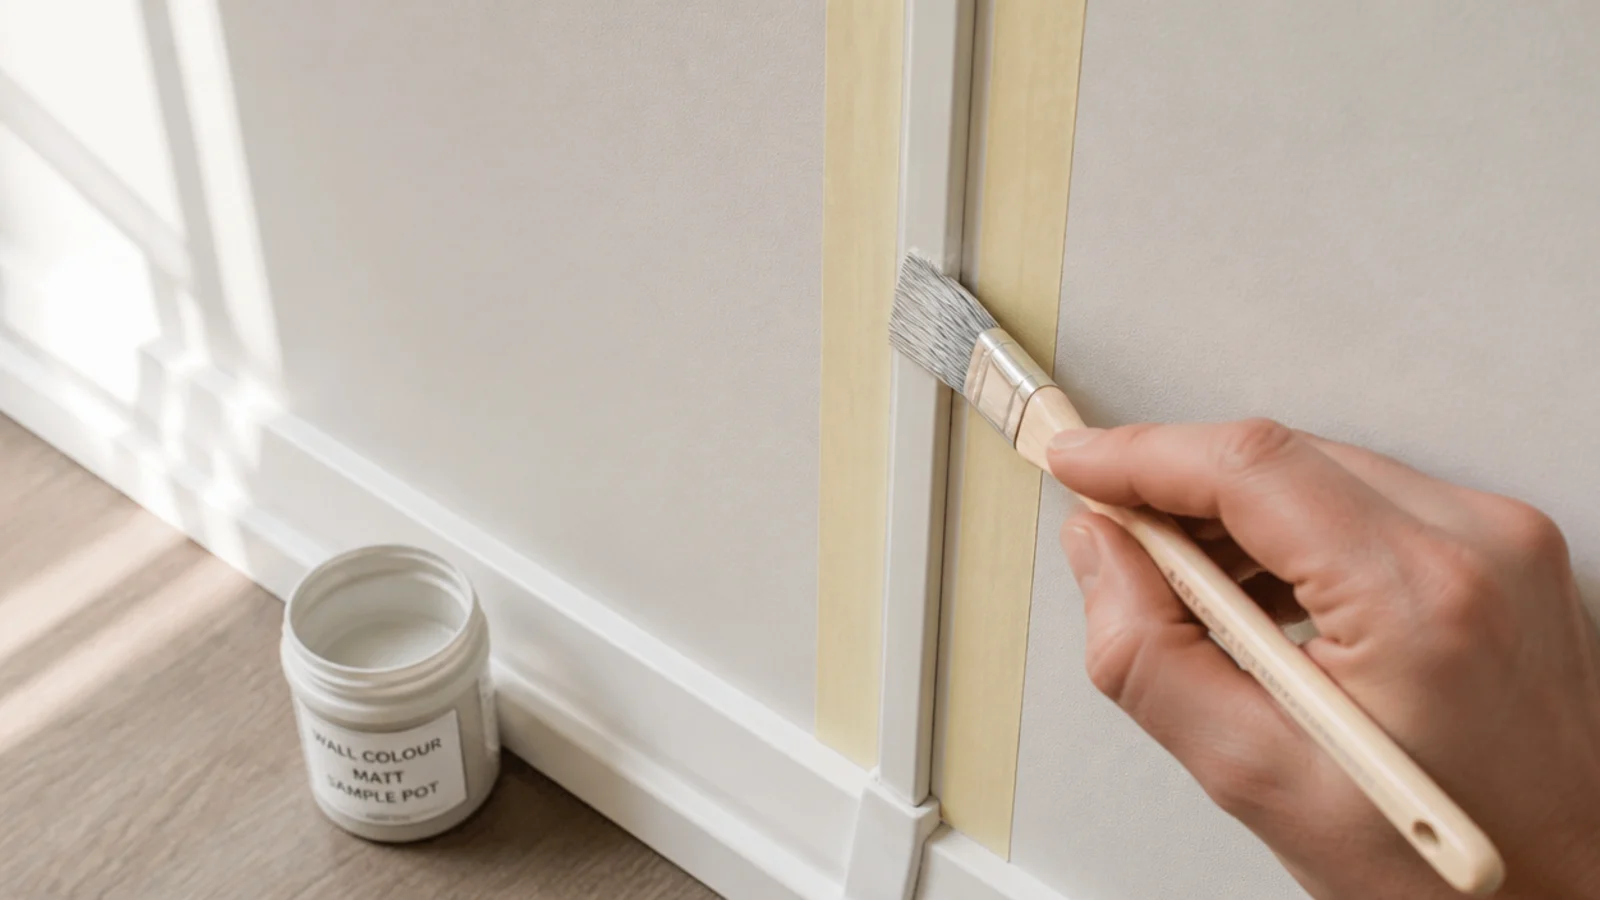
A 1.5 inch paintable raceway holds six to eight cables and costs under $20 for a 6 foot run. Fill the joins, prime, then match the wall colour and the sheen. From six feet away nobody sees it, and no rated cable or landlord permission is needed.
12. Bundle and label the cables properly
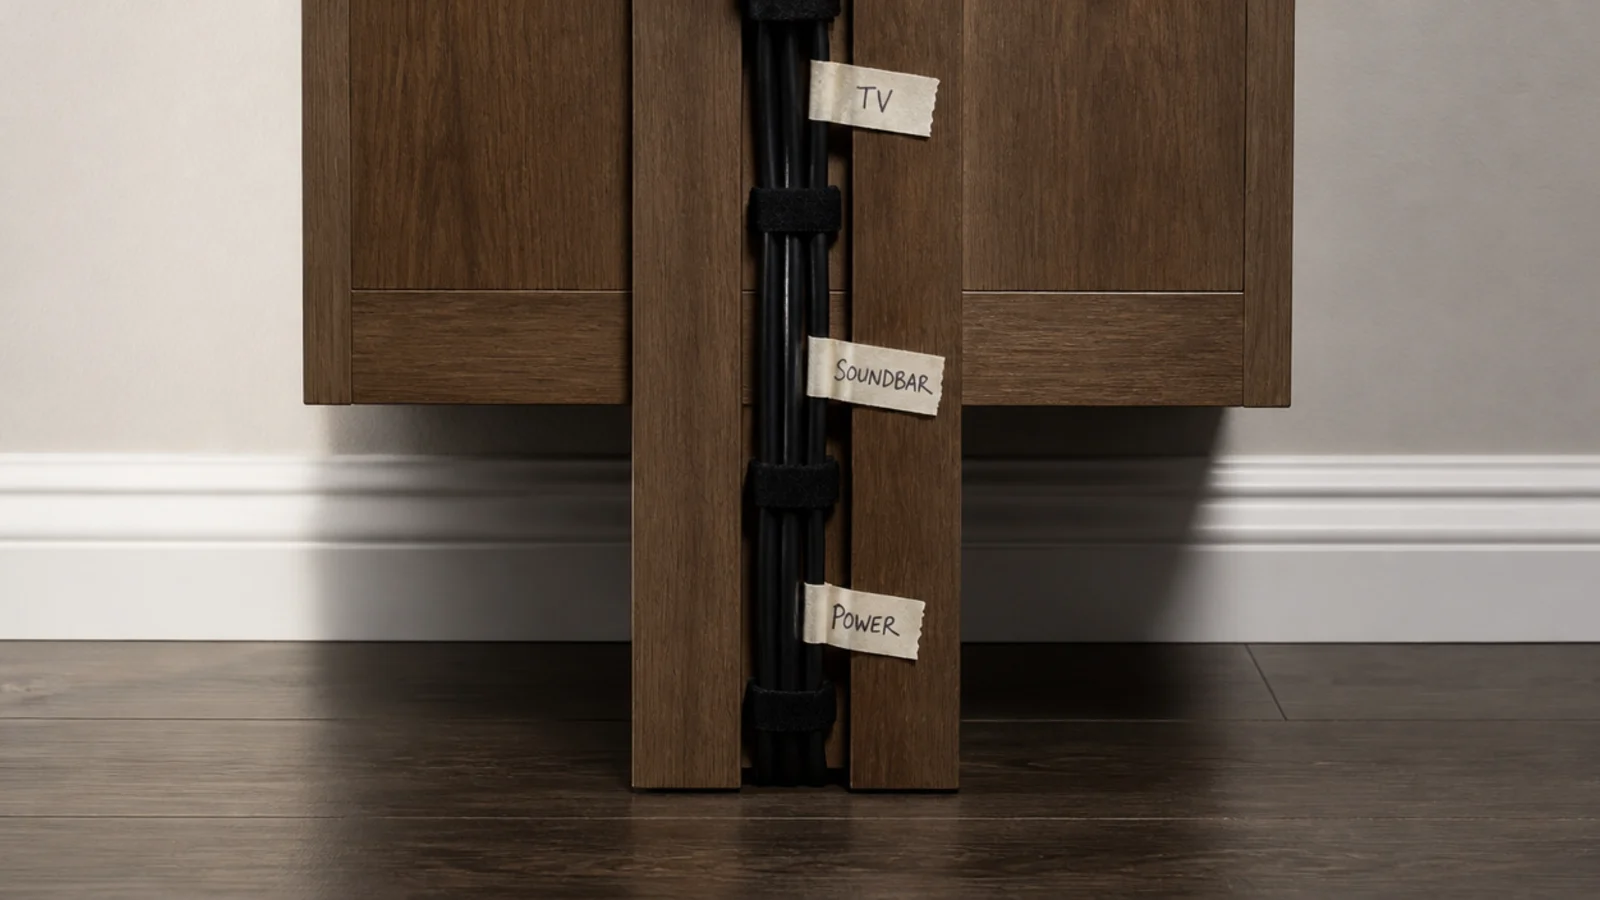
Reusable velcro straps every 8 inches turn six wandering lines into one, for about $6 a pack. Flag both ends of every lead with masking tape while you are down there. It is the only job here that gets more valuable every year the setup survives.
13. Cut vents into a closed cabinet
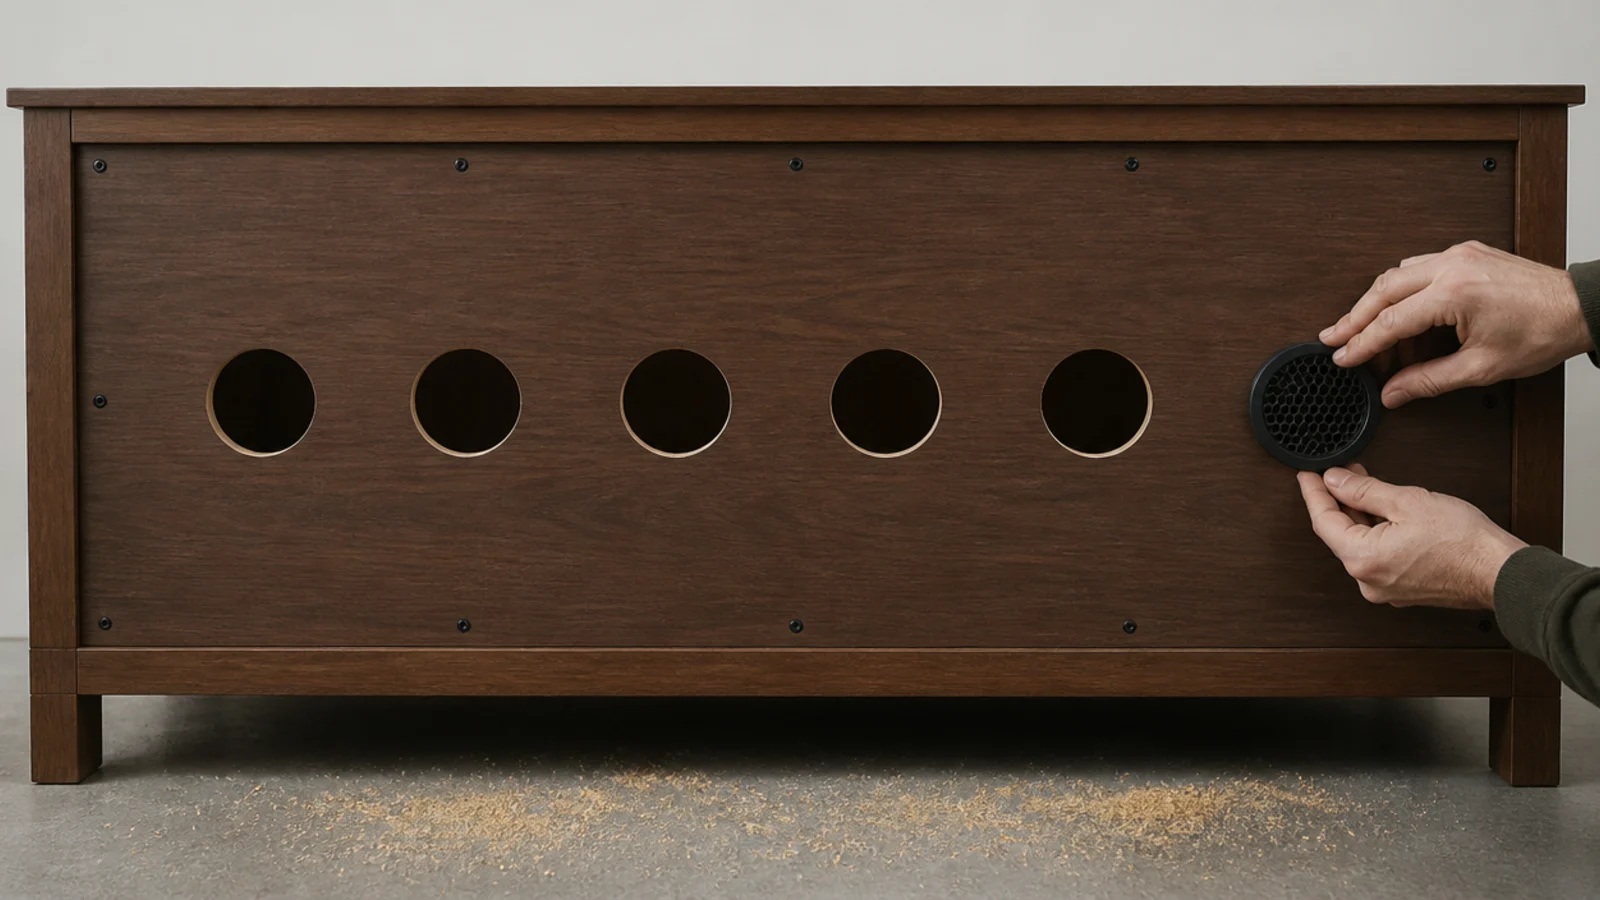
Six 3 inch holes give roughly 42 square inches of free area, which is a sound target per closed bay. Put half low in the plinth or side and half high in the back panel so air crosses. Mesh inserts at $1 each keep it looking deliberate.
14. Replace a glass door panel with cane
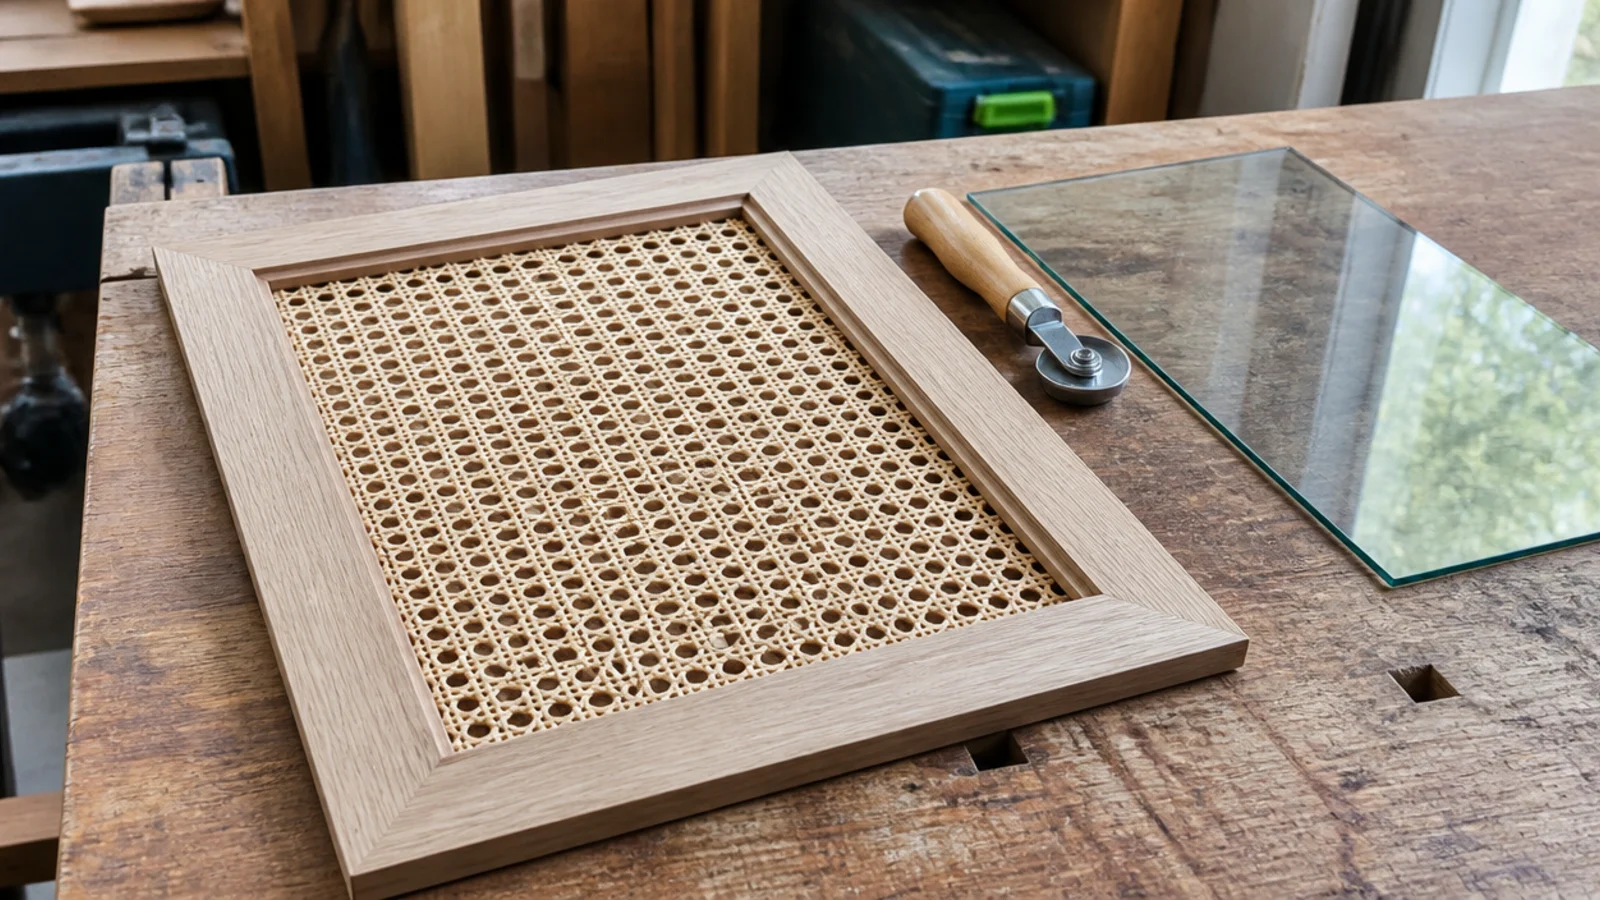
Glass traps heat and shows every fingerprint. Pop the pane, fit webbing into the existing rebate, and the same door now vents. Keep the glass somewhere safe if you rent, since it takes ten minutes to put back on move-out day.
15. Line a drawer and give the remotes a home
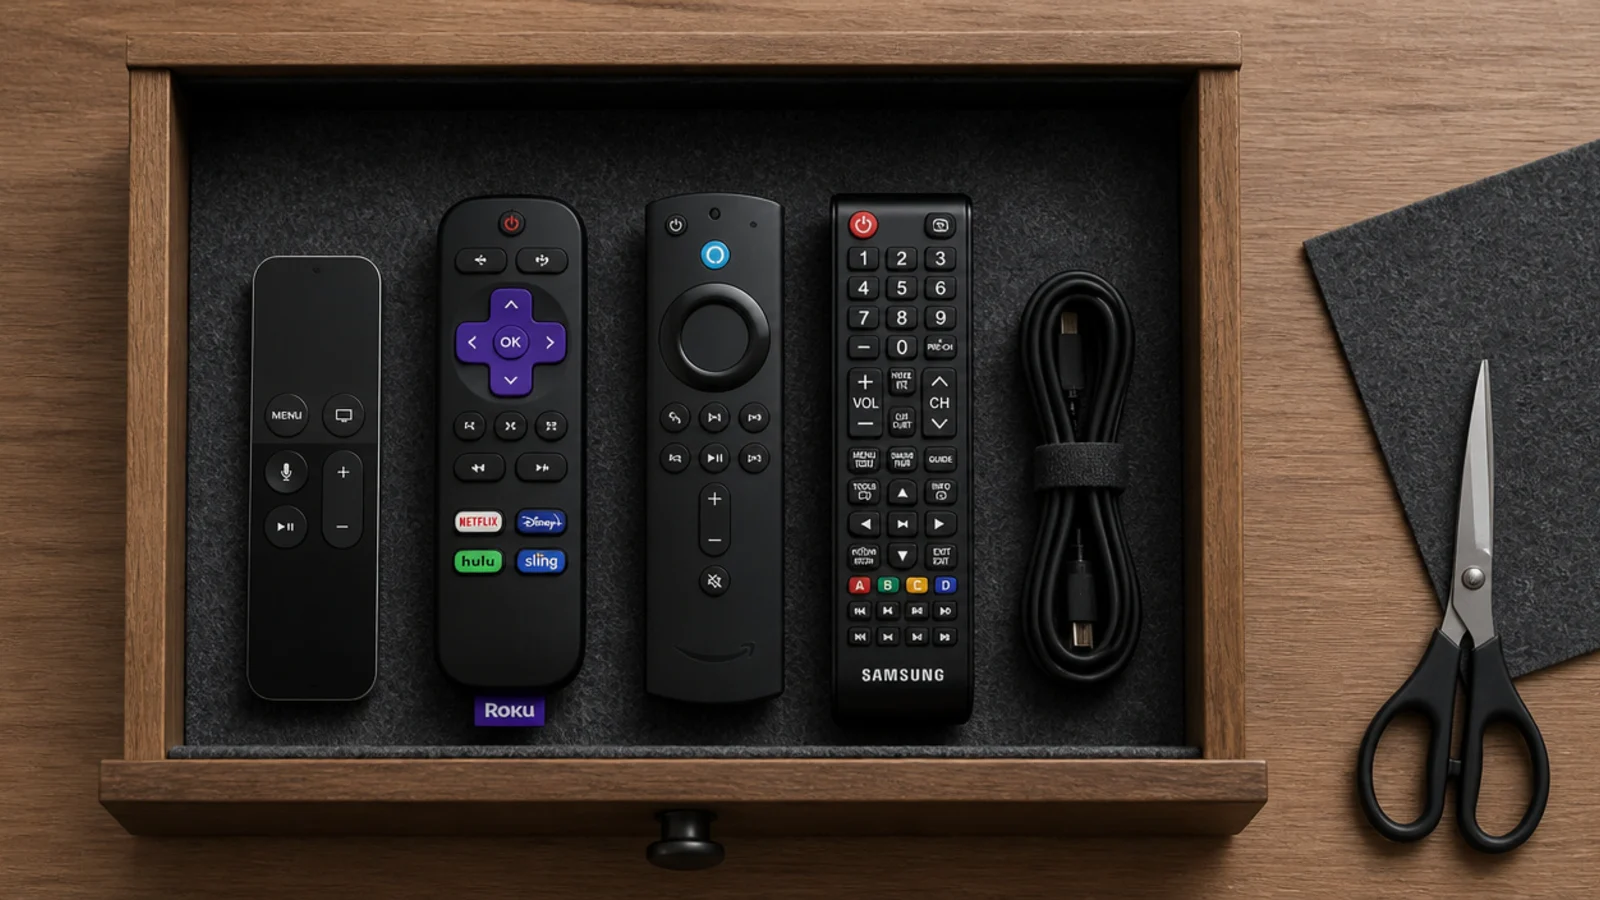
A sheet of felt or cork at $8 stops everything sliding when the drawer shuts, and one drawer with a single job stays usable. Remotes are 1 to 1.5 inches thick, so a 3 inch internal depth holds four flat with room for a charging cable.
16. Fit a fifteen-dollar bias light strip
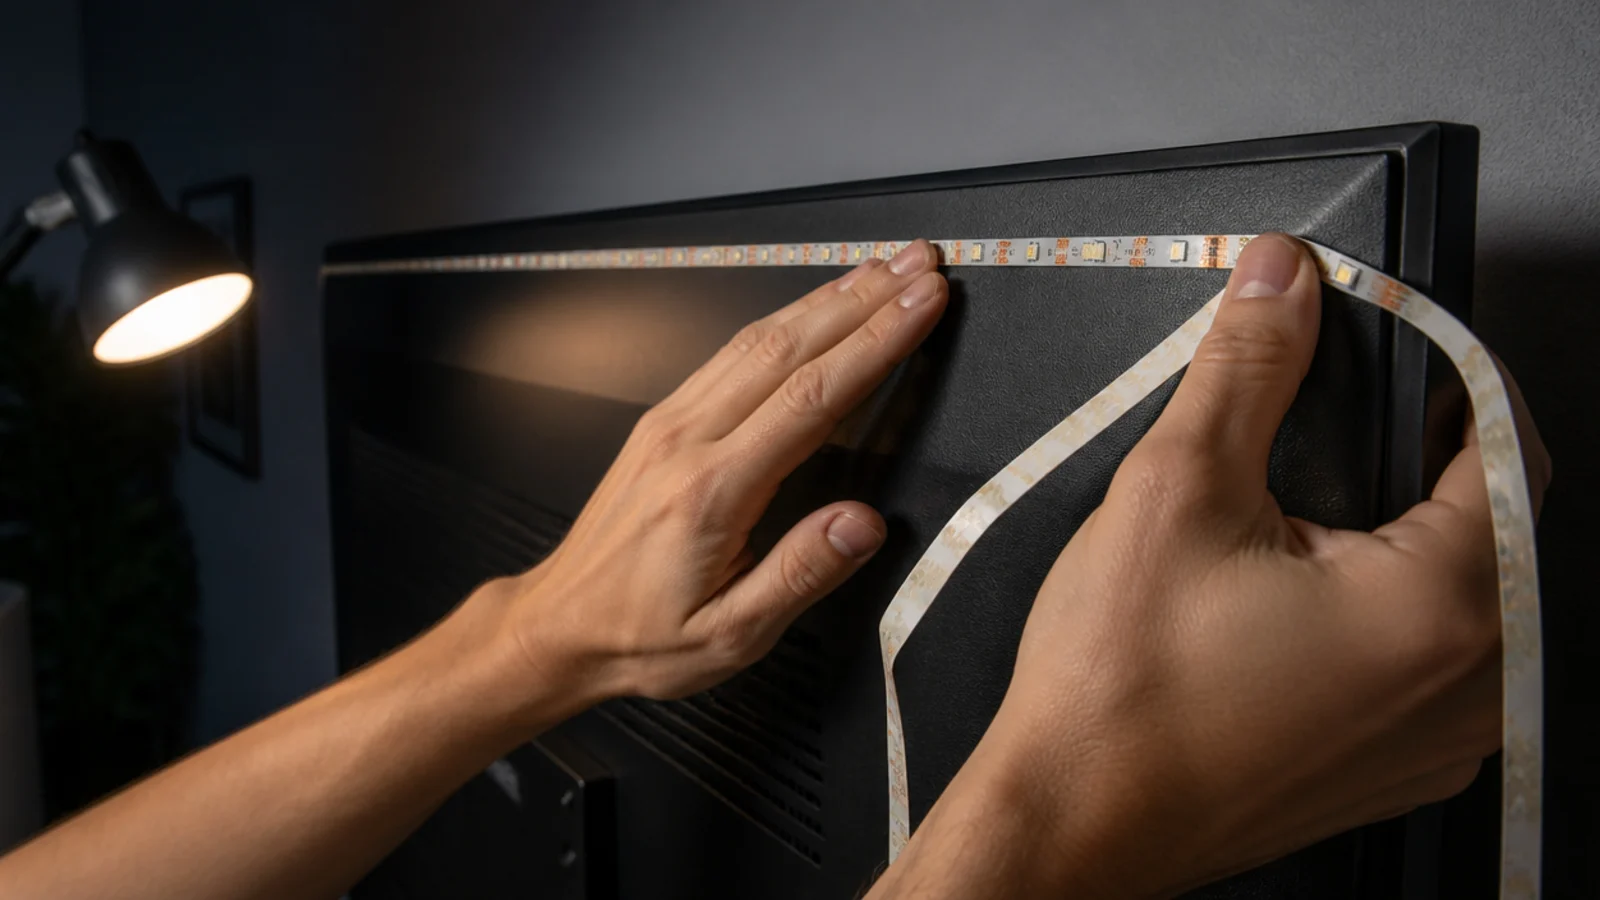
A 6500K strip drawing 1.5 to 3 watts per metre stuck to the rear edges of the panel lifts the wall to about a tenth of screen brightness. It reduces eye strain in a dark room. Face the diodes at the wall, never at the room, or you get a visible hot line.
17. Paint the wall behind the screen darker
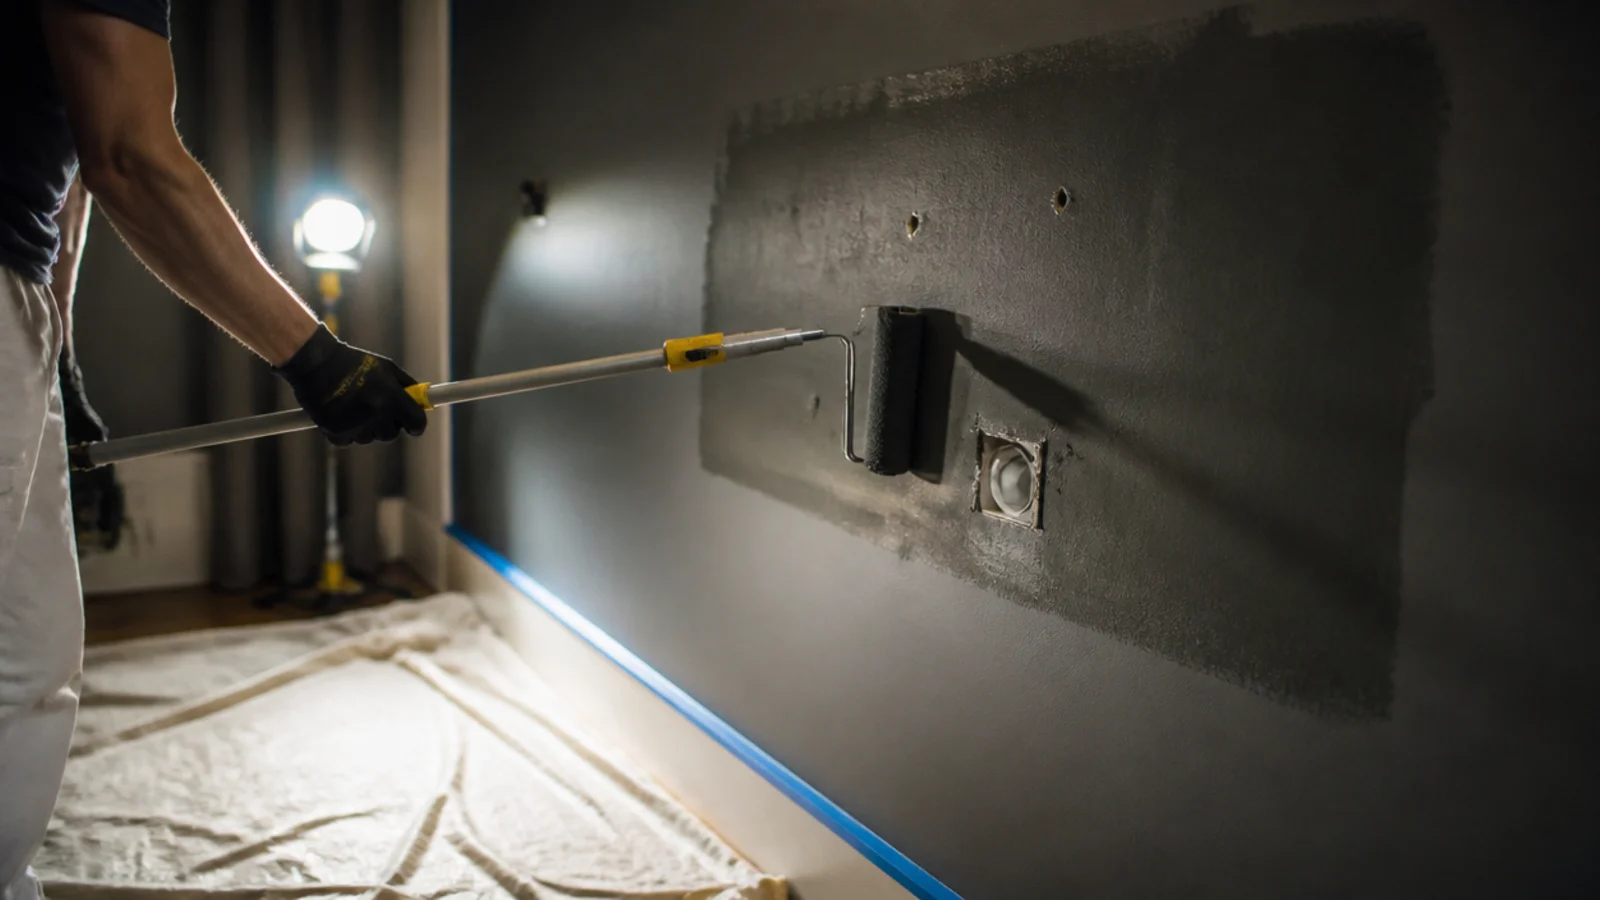
A sample pot and an hour cuts the contrast between a bright picture and pale plaster, which makes the image look richer. Keep the return walls light so the room does not close in, and use a matt or low-sheen finish so nothing reflects back at you.
18. Use peel-and-stick fluted panelling
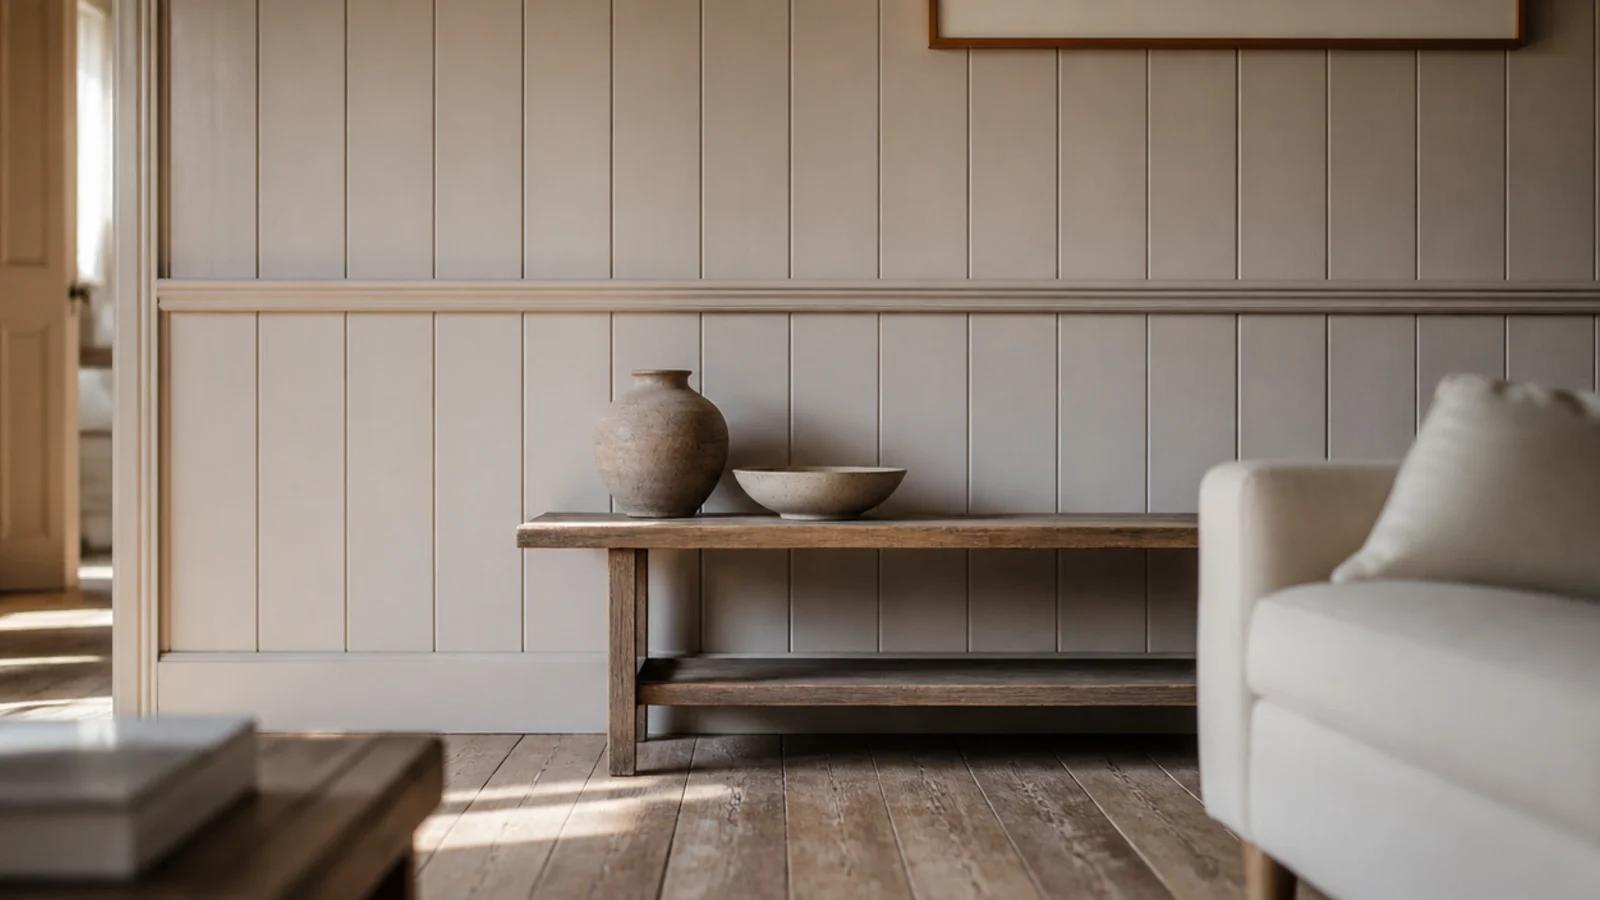
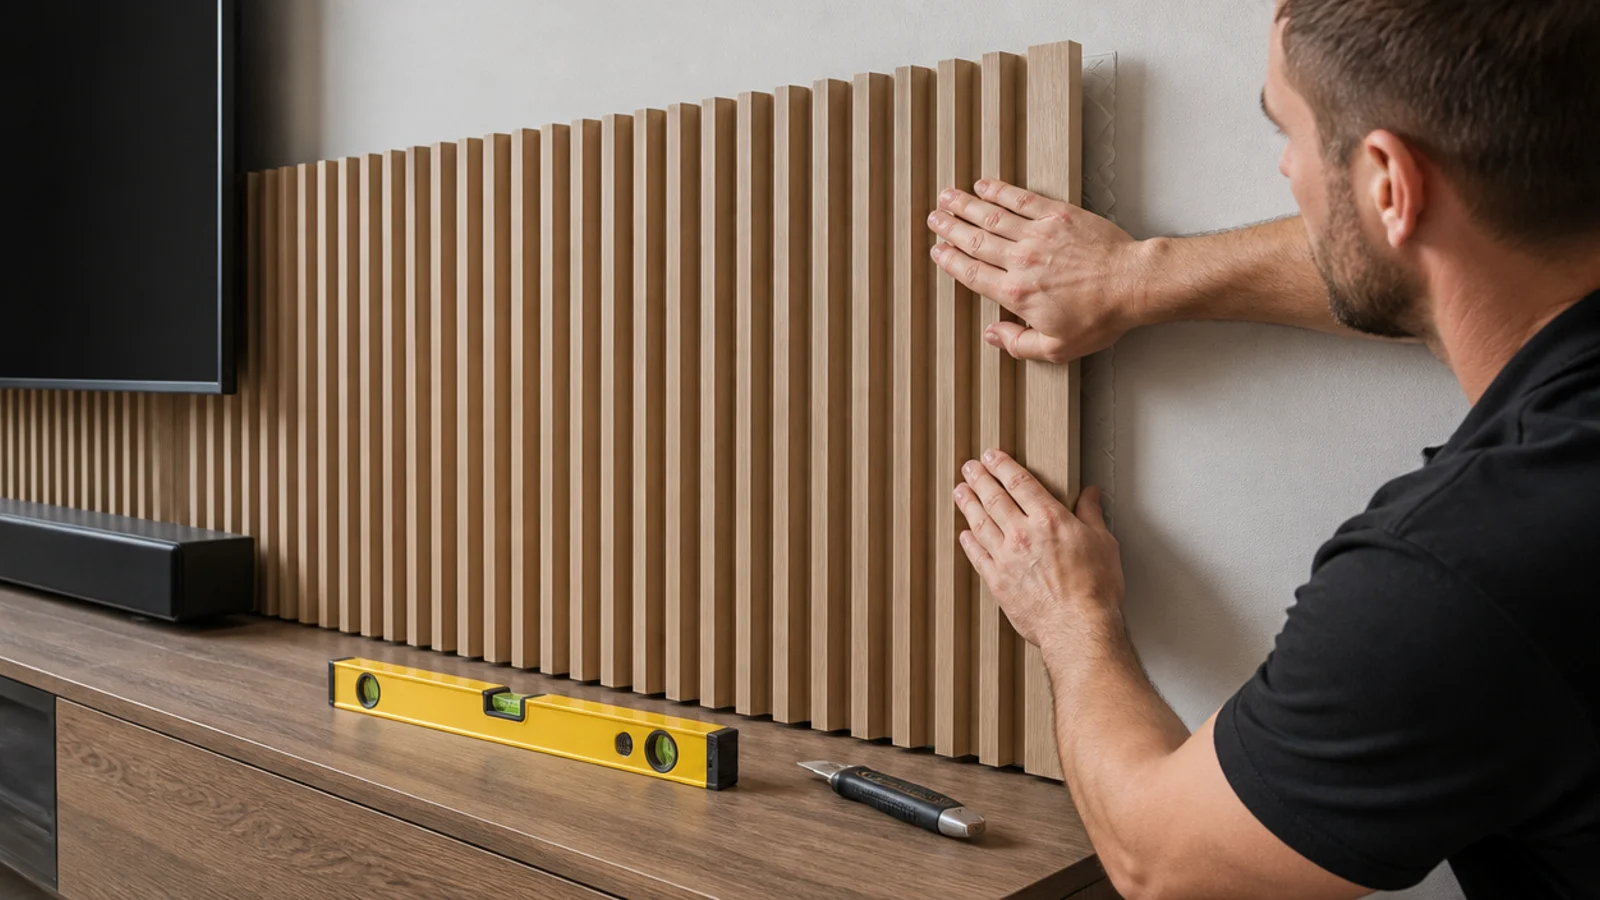
Adhesive fluted panels give a wall vertical shadow lines for a fraction of timber cladding. Keep the ribs plumb with a level as you go, and cut around the socket before the sheet goes up. Run it behind the unit only rather than around the whole room.
19. Measure the opening before buying baskets
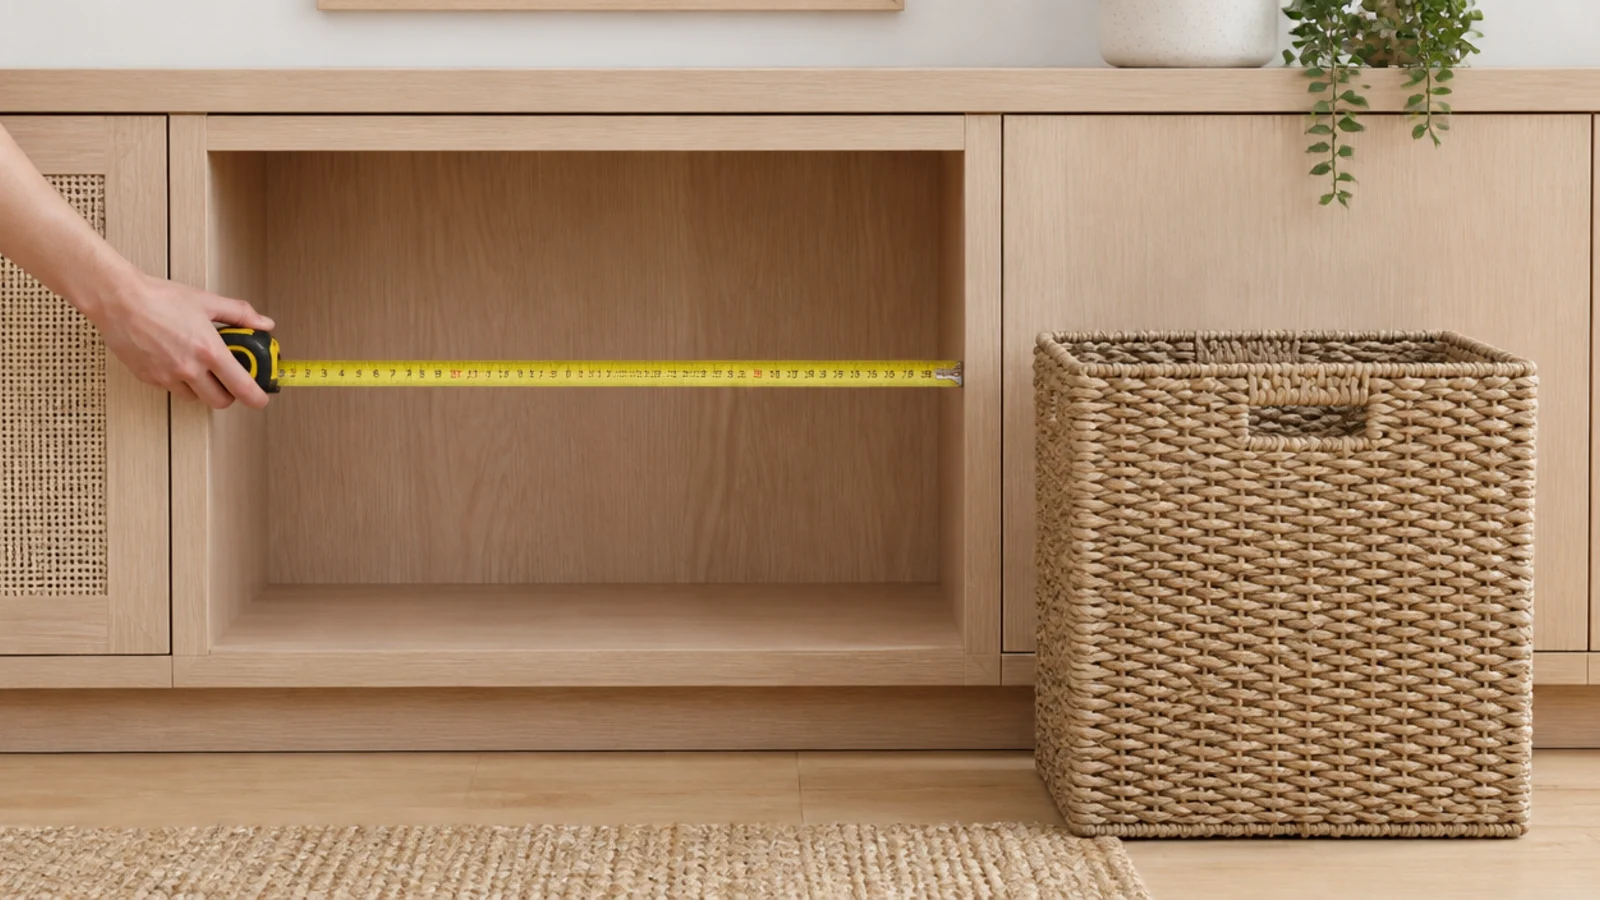
Take the internal width, height and depth, then buy an inch smaller in each direction. A basket that fills its cubby with a finger of clearance slides out one-handed; a short one leaves a dust gap that reads as a mistake. Soft weaves forgive a tight fit.
20. Hang a fabric skirt across open bays
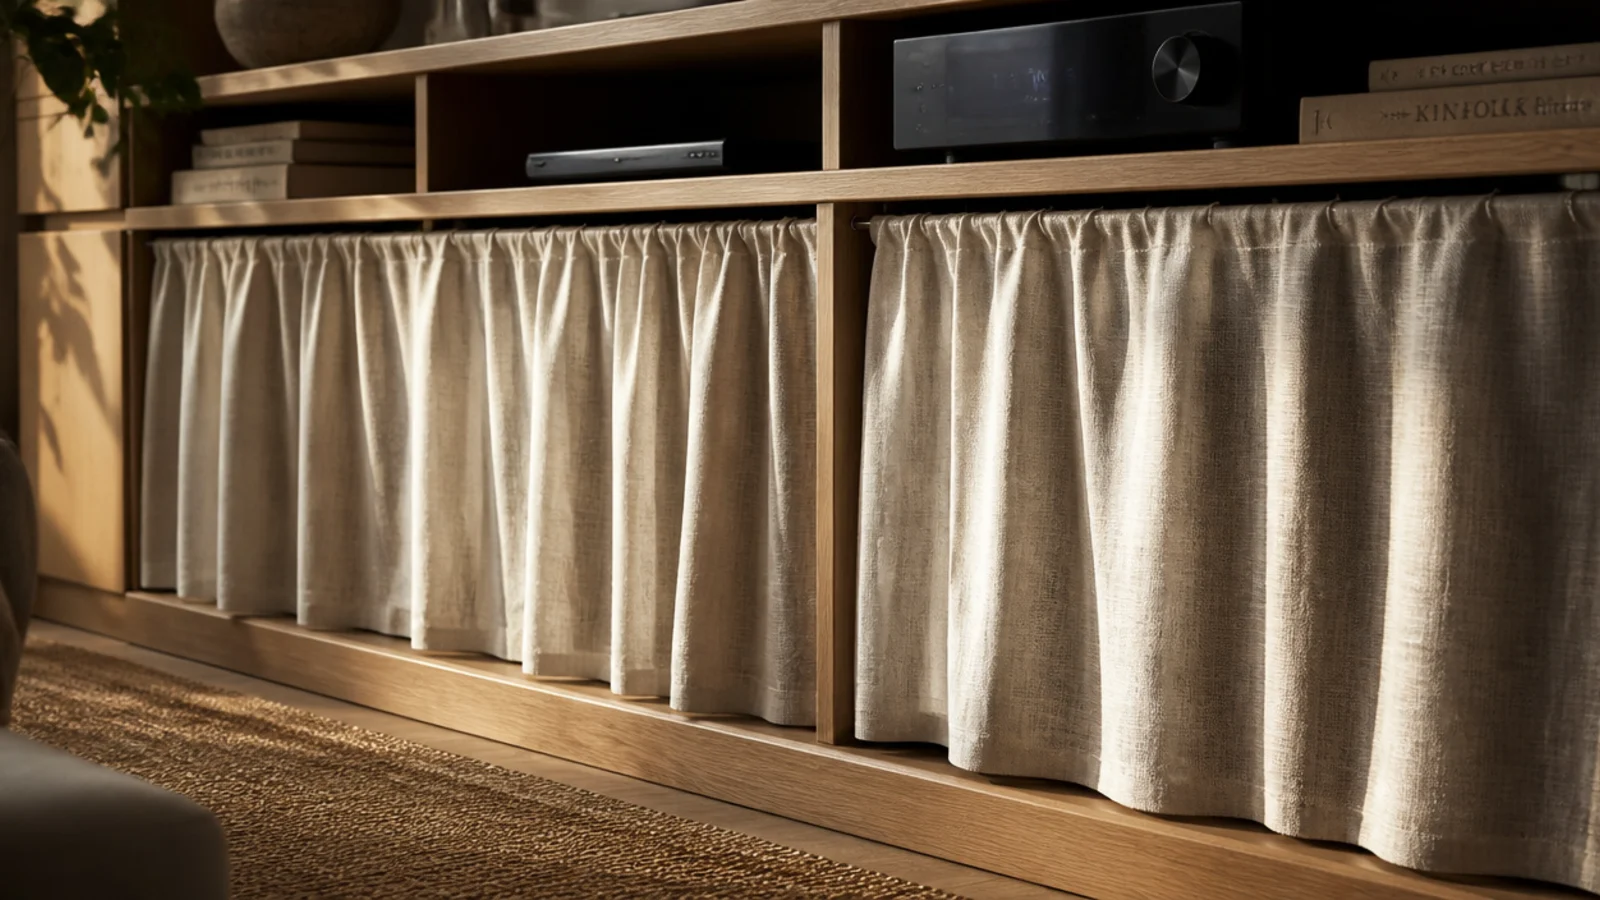
A yard of linen on a tension wire hides an entire open shelf for under $15. It suits a rental where cutting doors is not an option, and it softens a wall of hard surfaces at the same time. Gather it slightly rather than pulling it flat.
21. Lean the art instead of hanging it
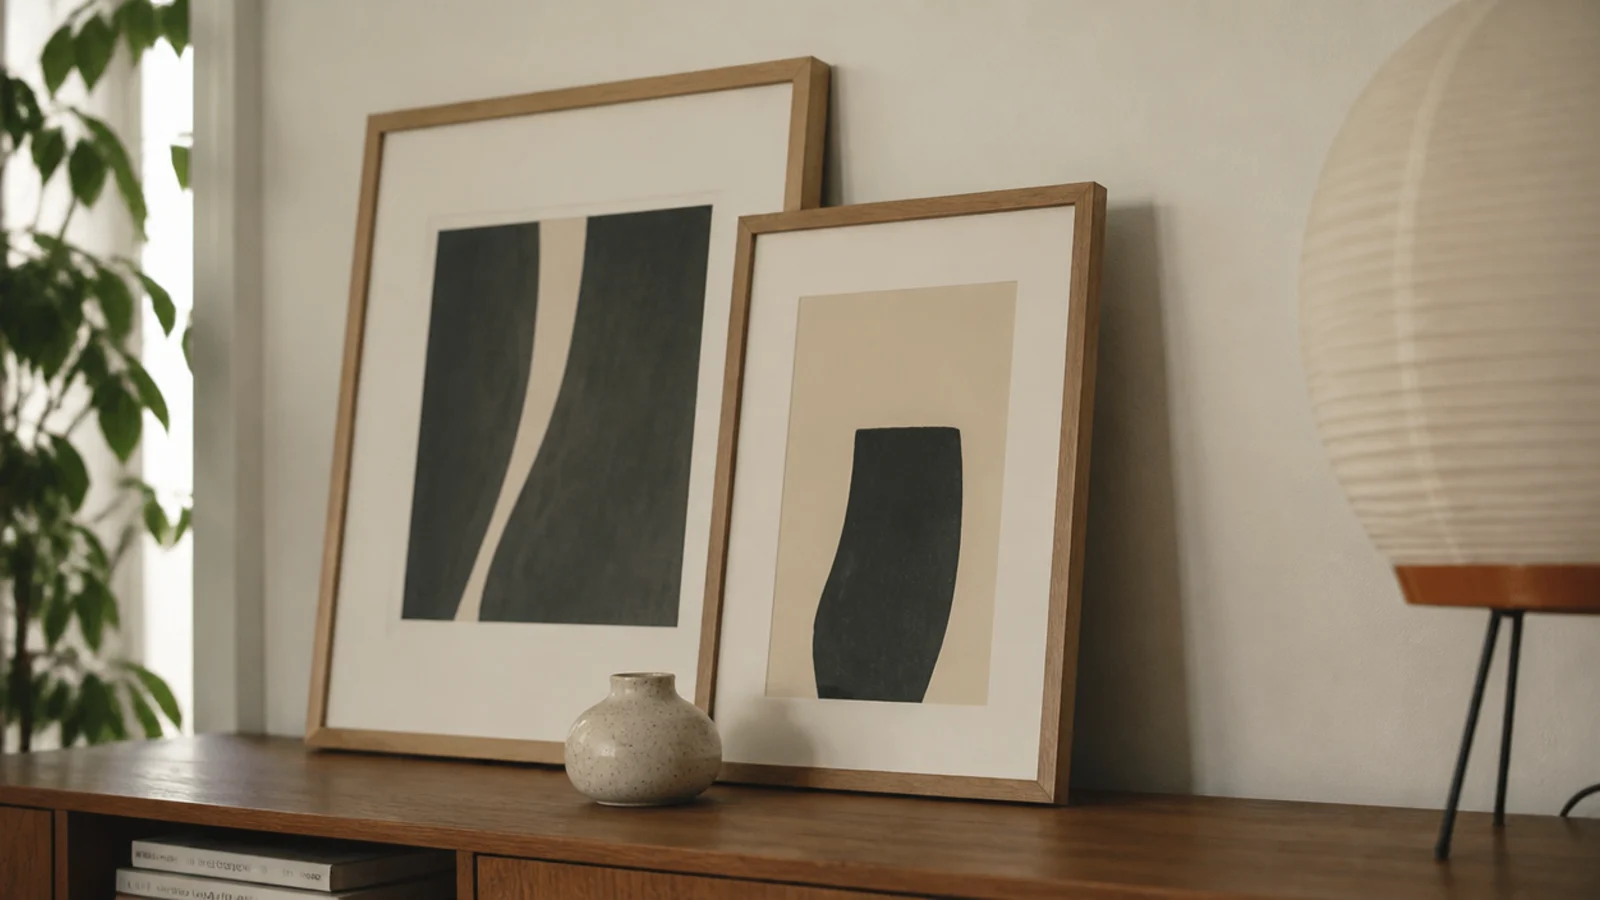
Leaning costs no holes, changes in seconds and reads as deliberate when pieces overlap slightly. Keep the tallest frame under 16 inches so nothing crowds the screen from a seated view, and put something small in front so the bottom edge is not floating.
22. Line the back panel of an open bay
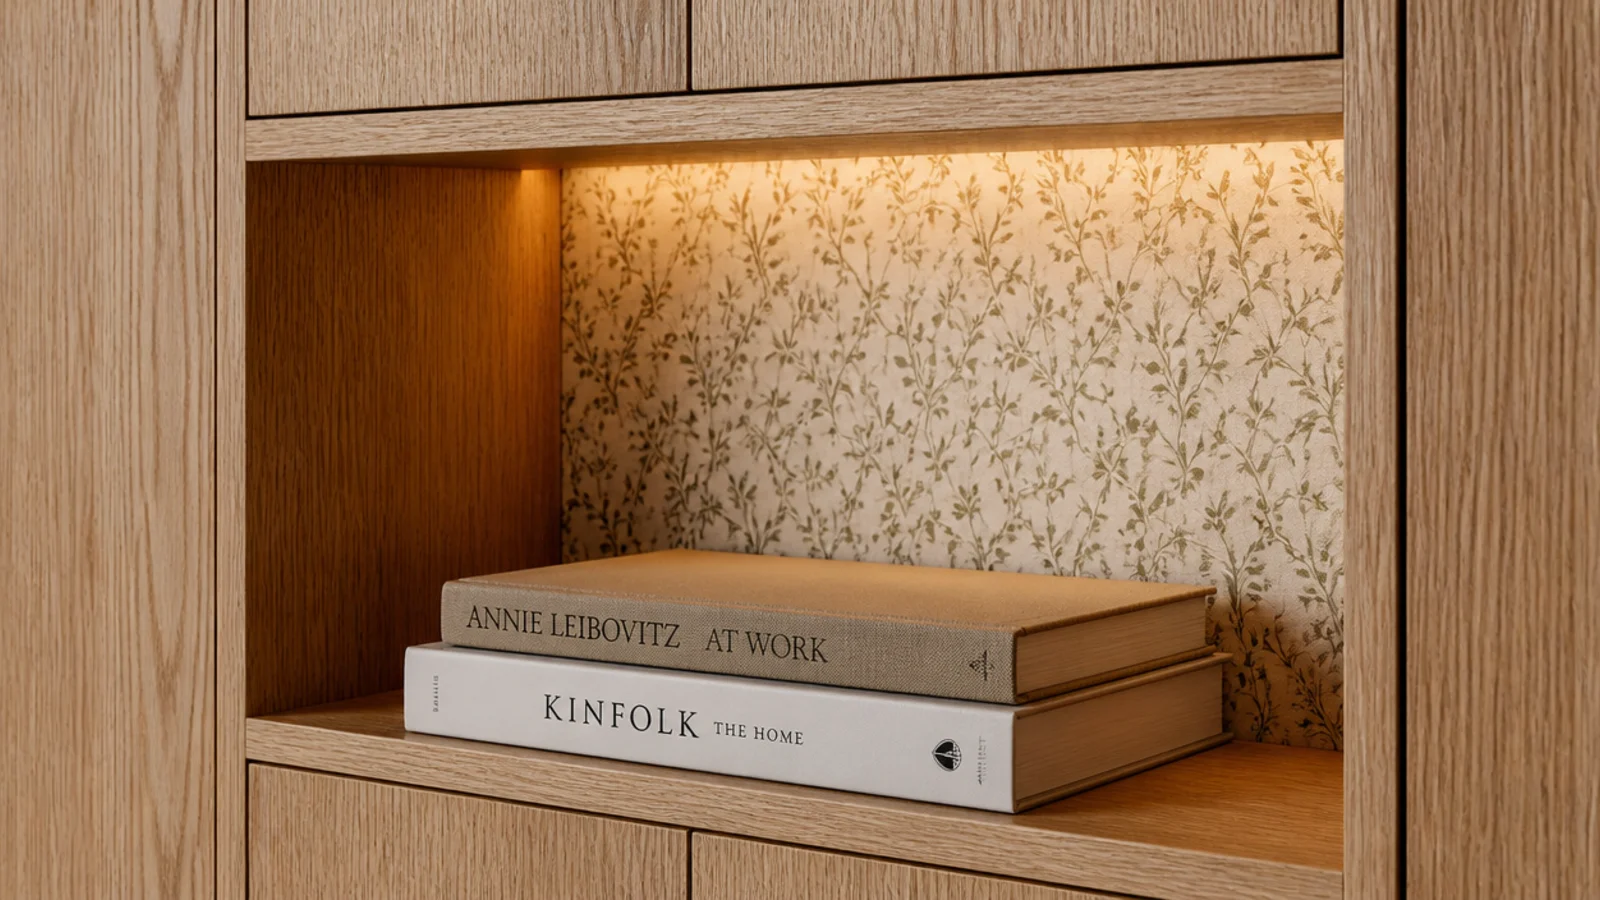
Lining paper or a leftover offcut inside an open bay gives it depth for about $6 and hides a scuffed panel. Cut it slightly oversized and trim in place. It works best in one or two bays rather than every one of them.
23. One plant instead of three ornaments
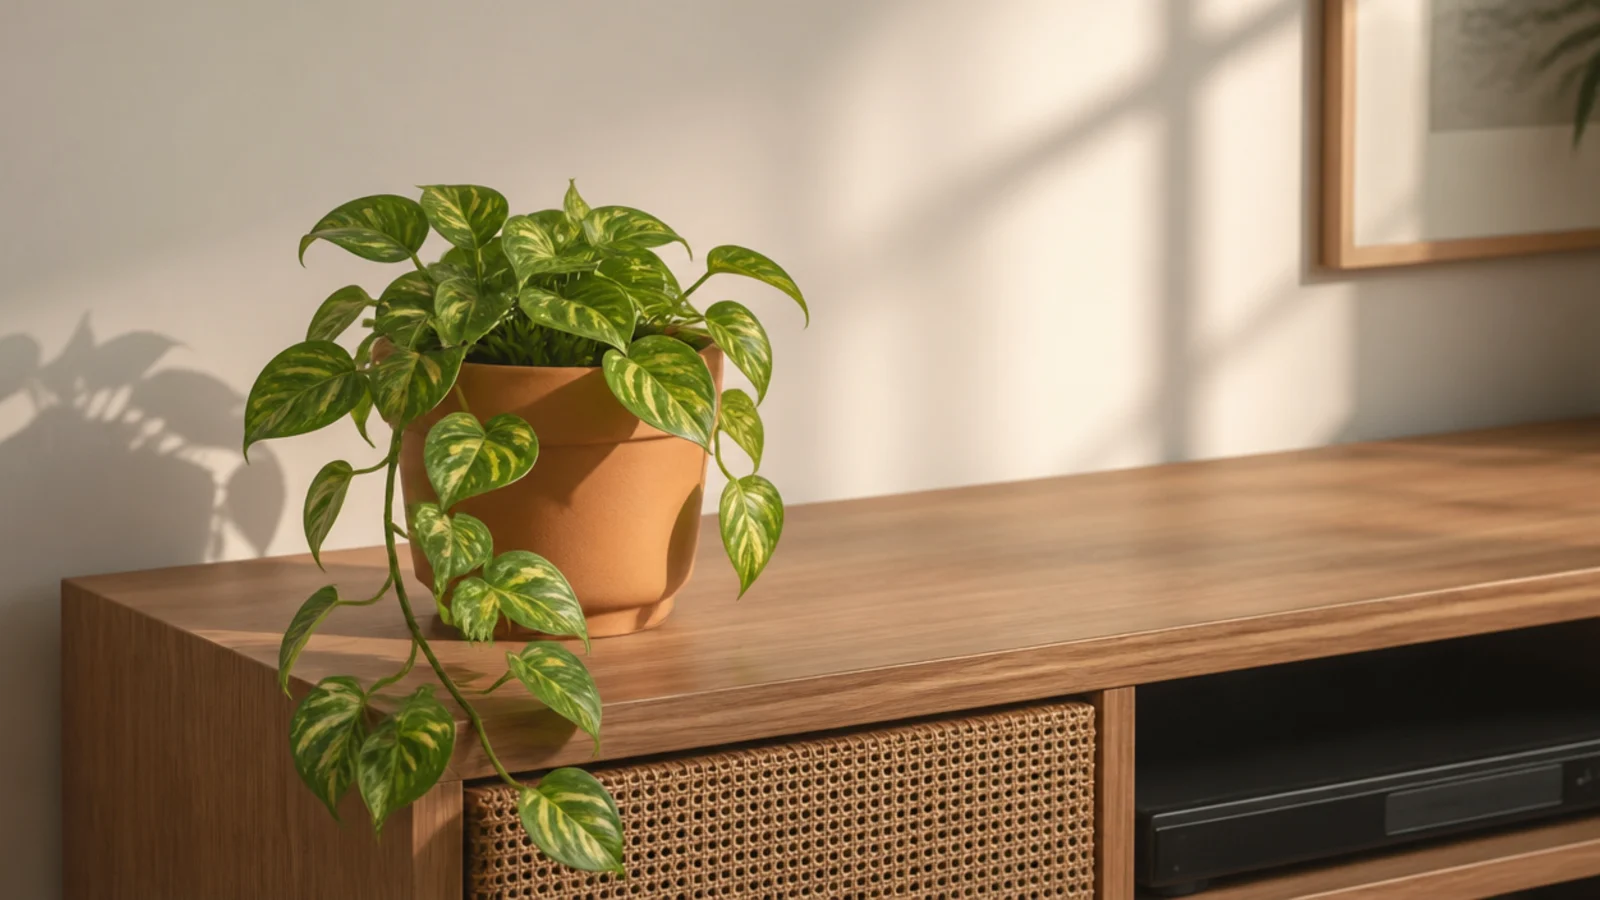
A small trailing plant does more for a media unit than any group of ornaments, and it is the only object that improves with time. Choose something that tolerates low light, and stand the pot on a saucer so no water reaches a timber top.
24. Repurpose a chest of drawers
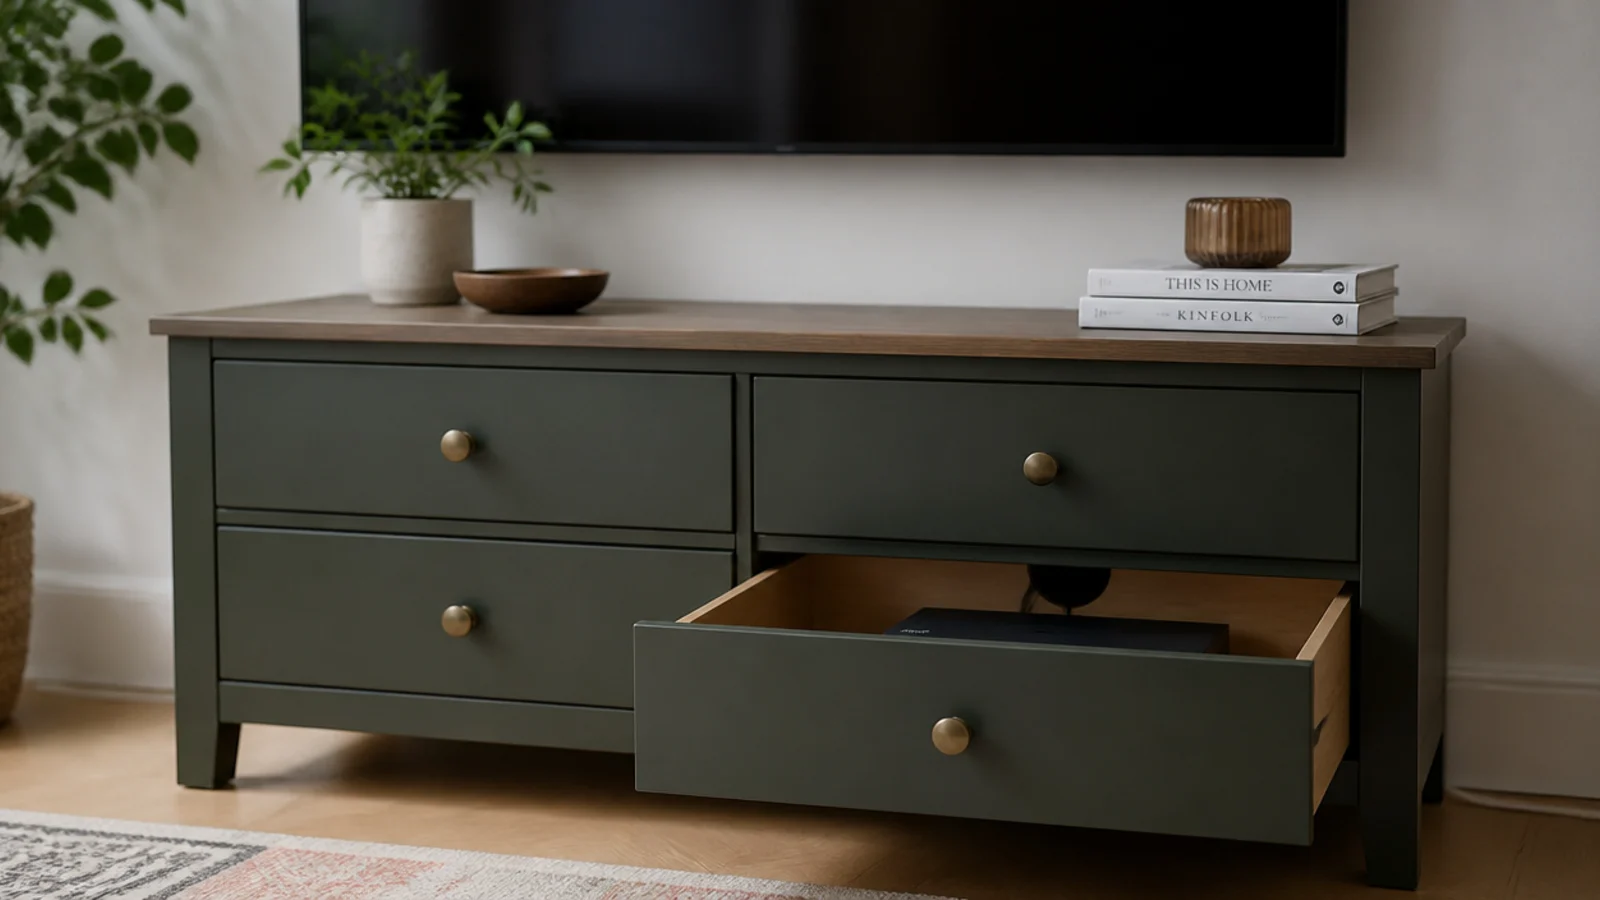
A low chest gives you closed storage no open unit can match. Cut a notch in the back of one drawer for cables, keep the top between 16 and 24 inches, and strap it to the wall if it is over 30 inches tall. The wooden design guide covers timber finishes.
25. Fix one floating shelf under the screen
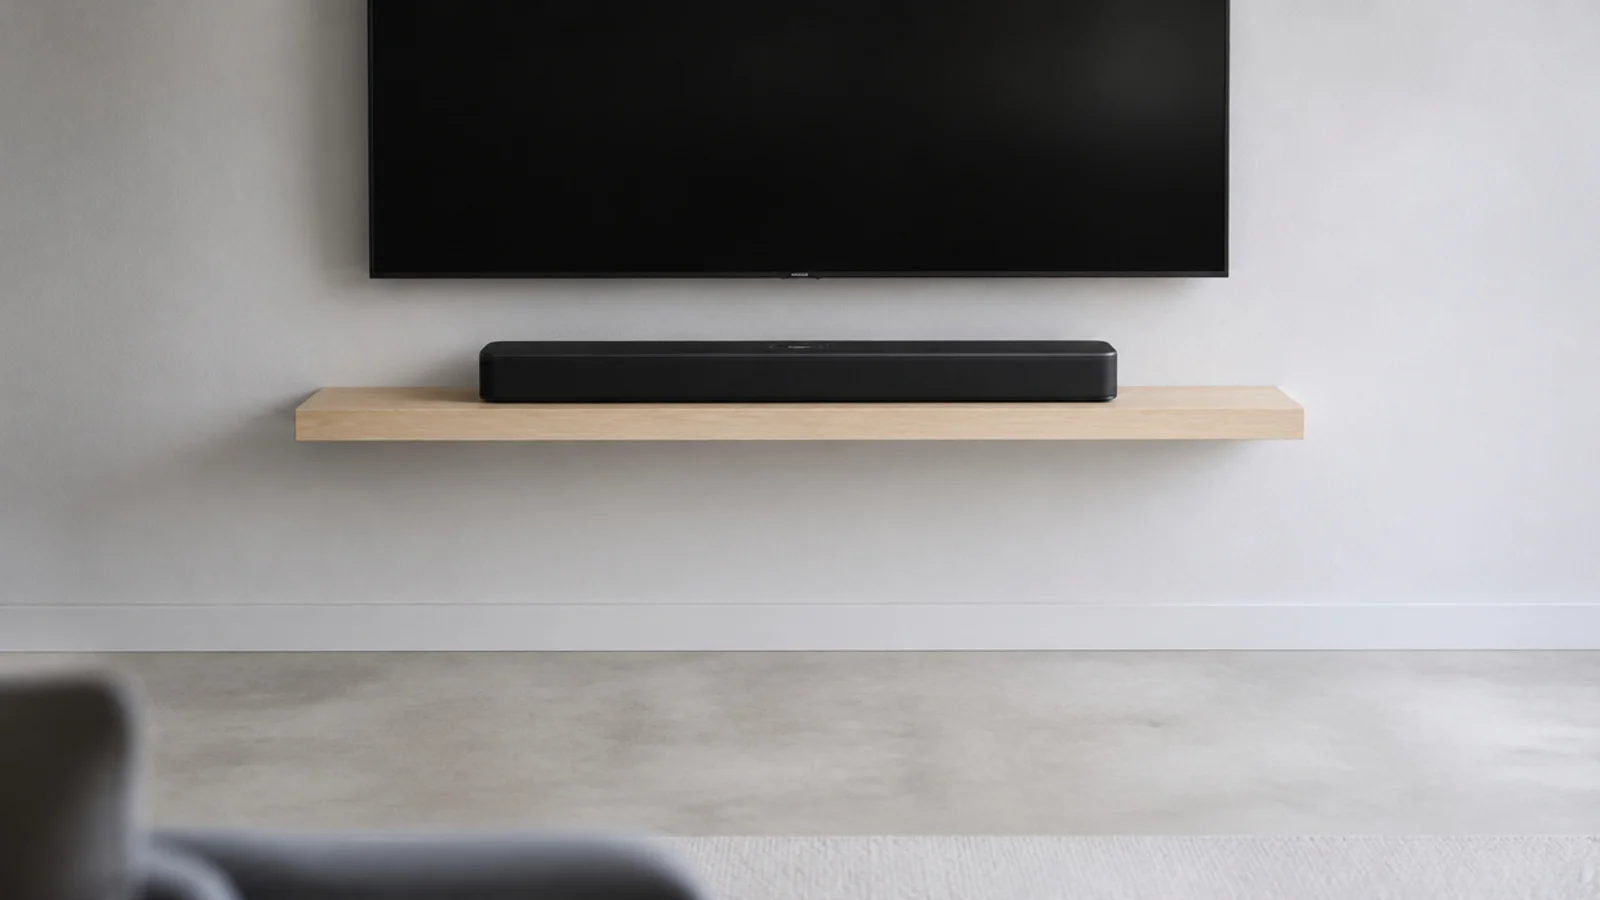
Eighteen millimetre ply on two brackets into studs costs under $35 and carries a soundbar and a box with the floor left completely clear. It spans 30 to 32 inches under 30 pounds without dipping, which covers most rooms.
26. Hang a small pegboard for controllers
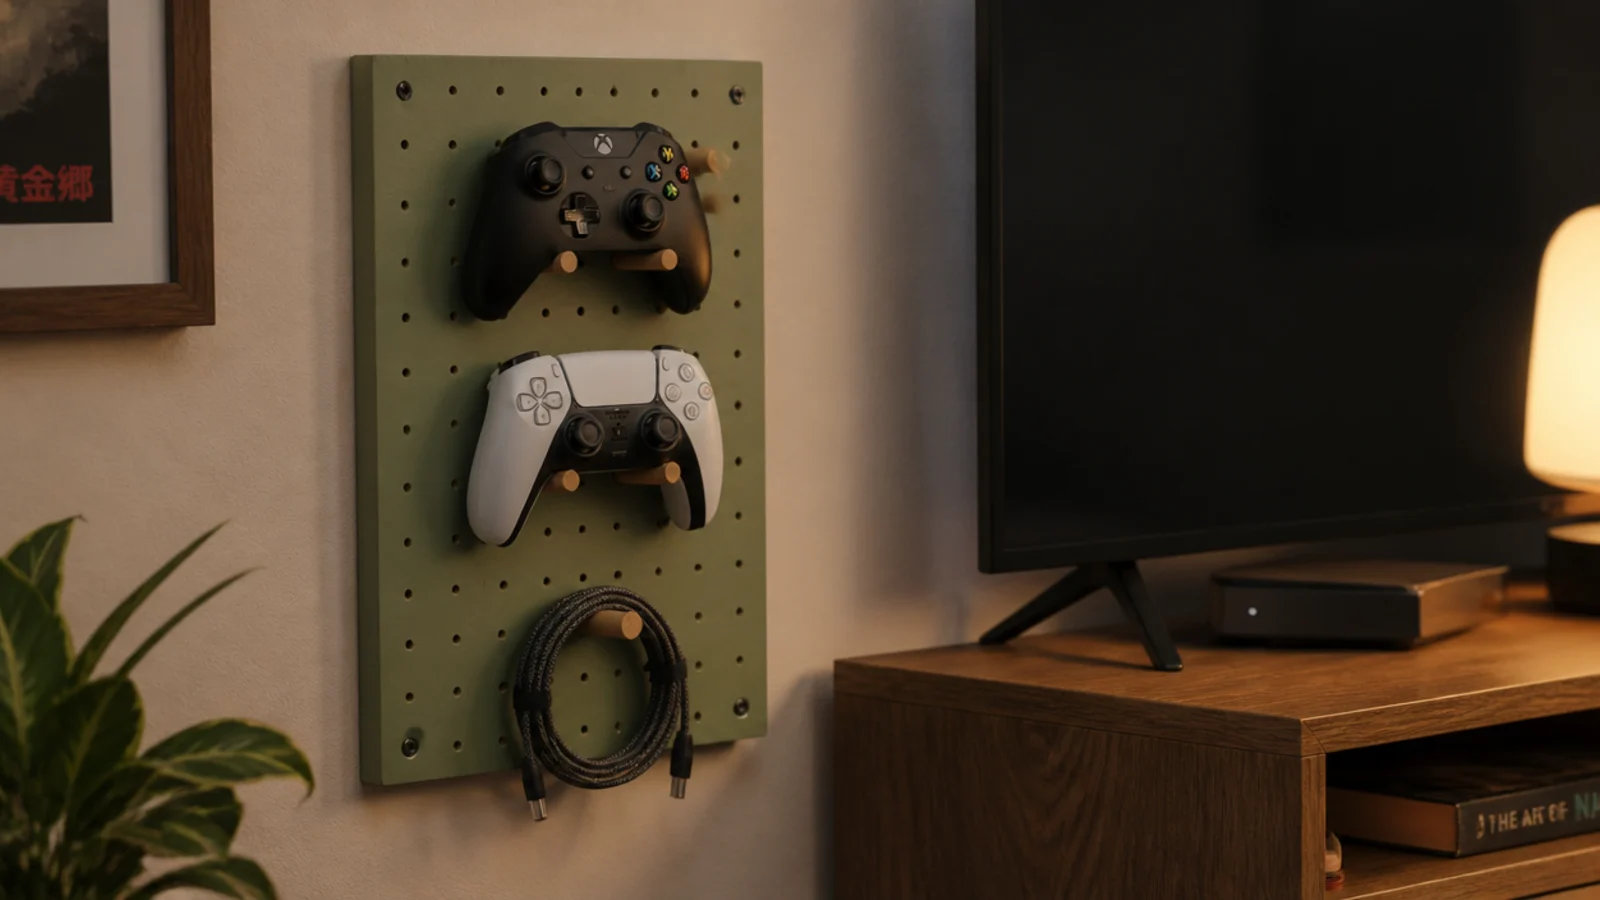
Controllers, headsets and charging cables never fit anywhere. A 12 by 18 inch pegboard beside the unit costs about $15 and takes them all vertically. Paint it the wall colour and it disappears into the background.
27. Bracket the soundbar and free a shelf
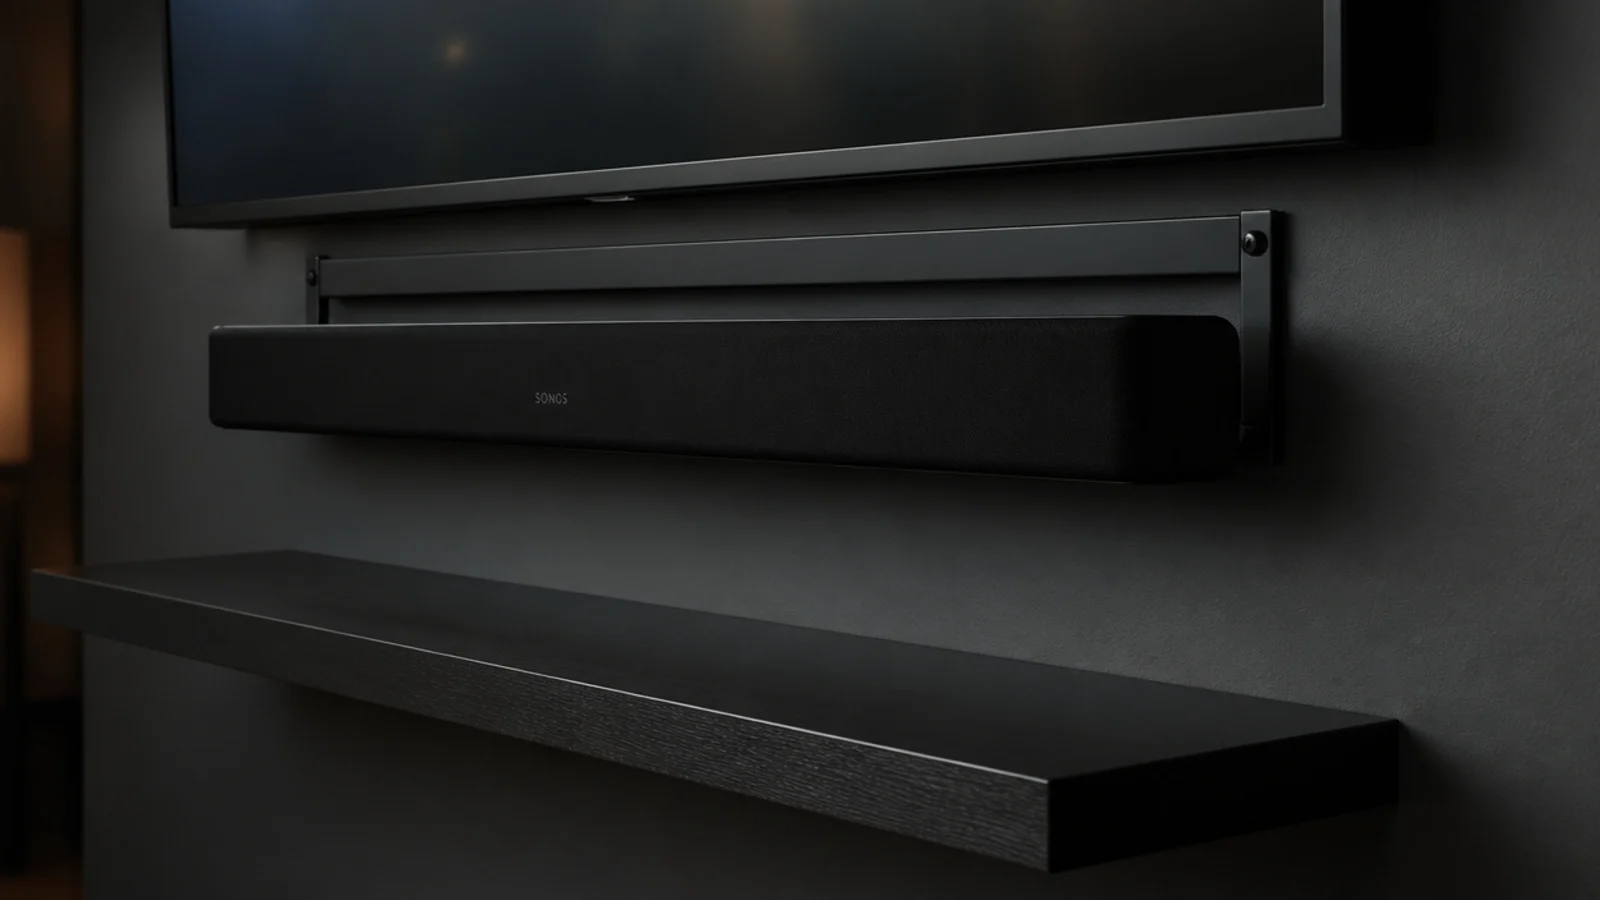
A soundbar bracket at $15 to $30 hangs the bar within a couple of inches of the screen's bottom edge, which is where it belongs anyway, and gives back the entire shelf beneath. Check it does not cover the screen's own infrared window.
28. Level the unit and add felt pads
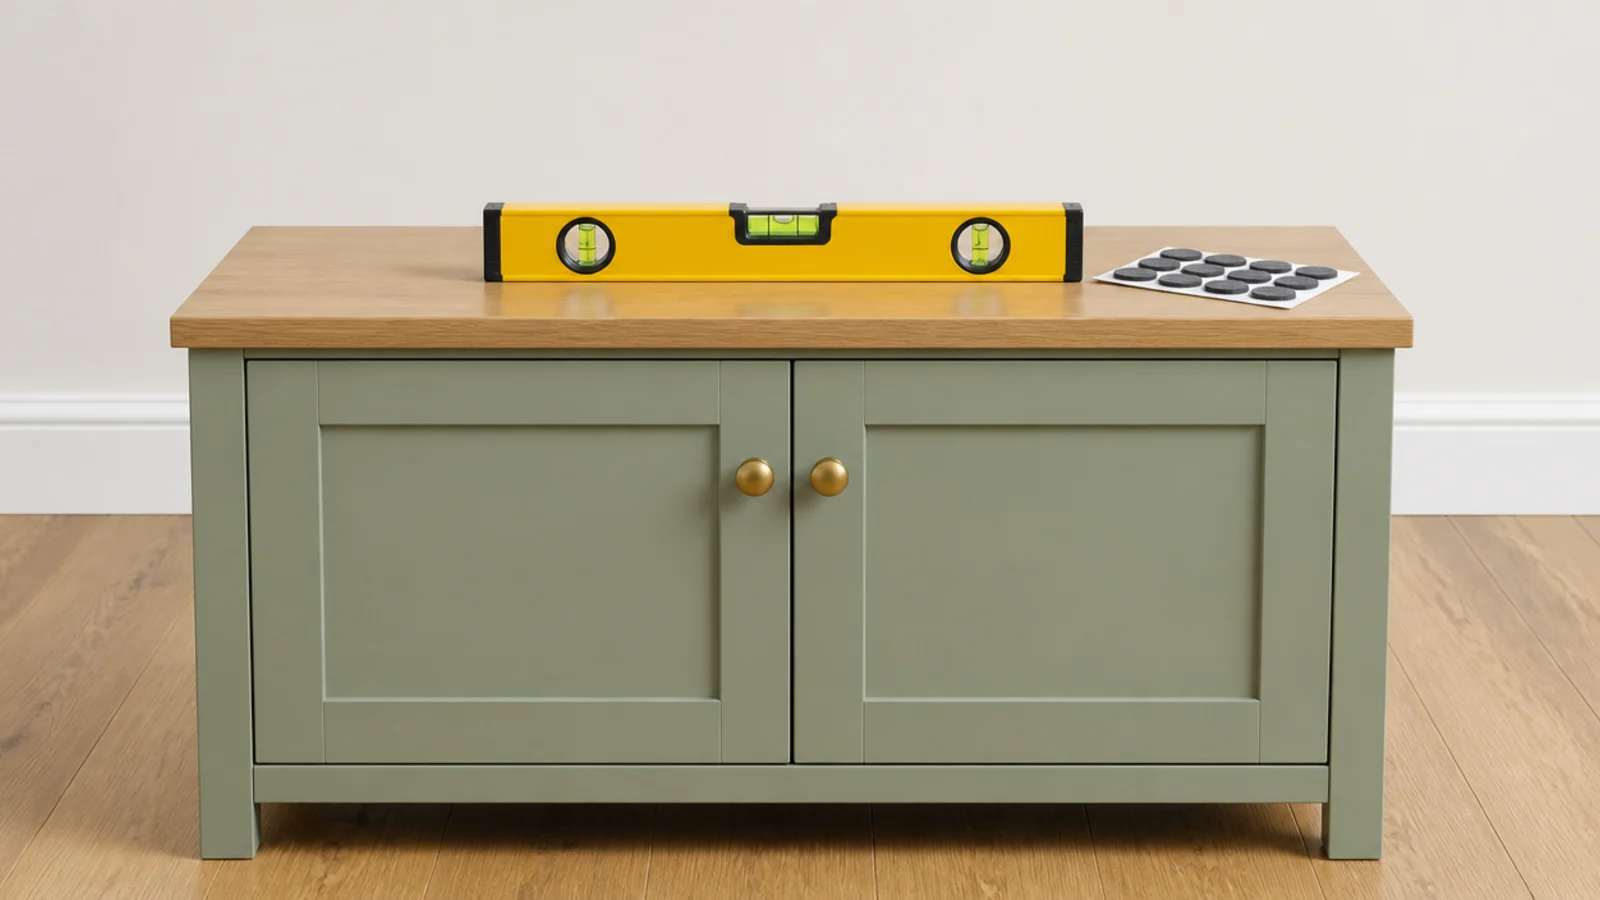
A cabinet out of level by a few millimetres has doors that drift open and drawers that will not stay shut. Adjustable feet or a folded shim plus a $5 pack of felt pads fixes it in ten minutes and stops the floor being scratched.
29. Shop your own house before buying
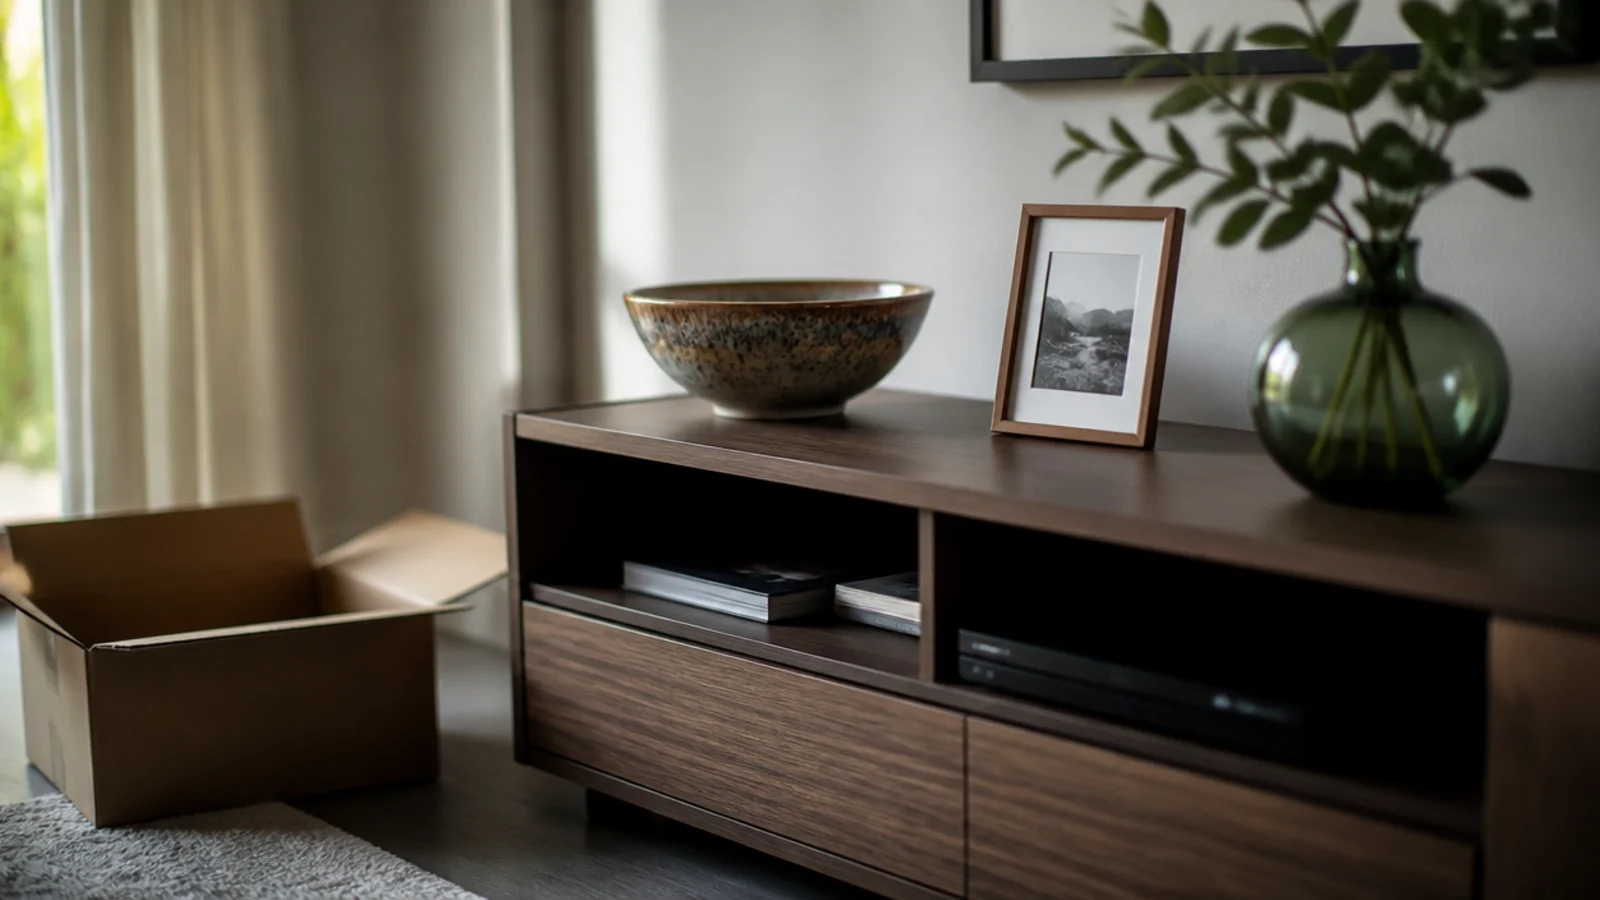
Walk round with an empty box and collect three objects from other rooms — a bowl, a small frame, a vase. Objects already in the house share a palette by default, which is exactly why they work together. It is free and it beats a shopping trip.
30. Take two things away and stop
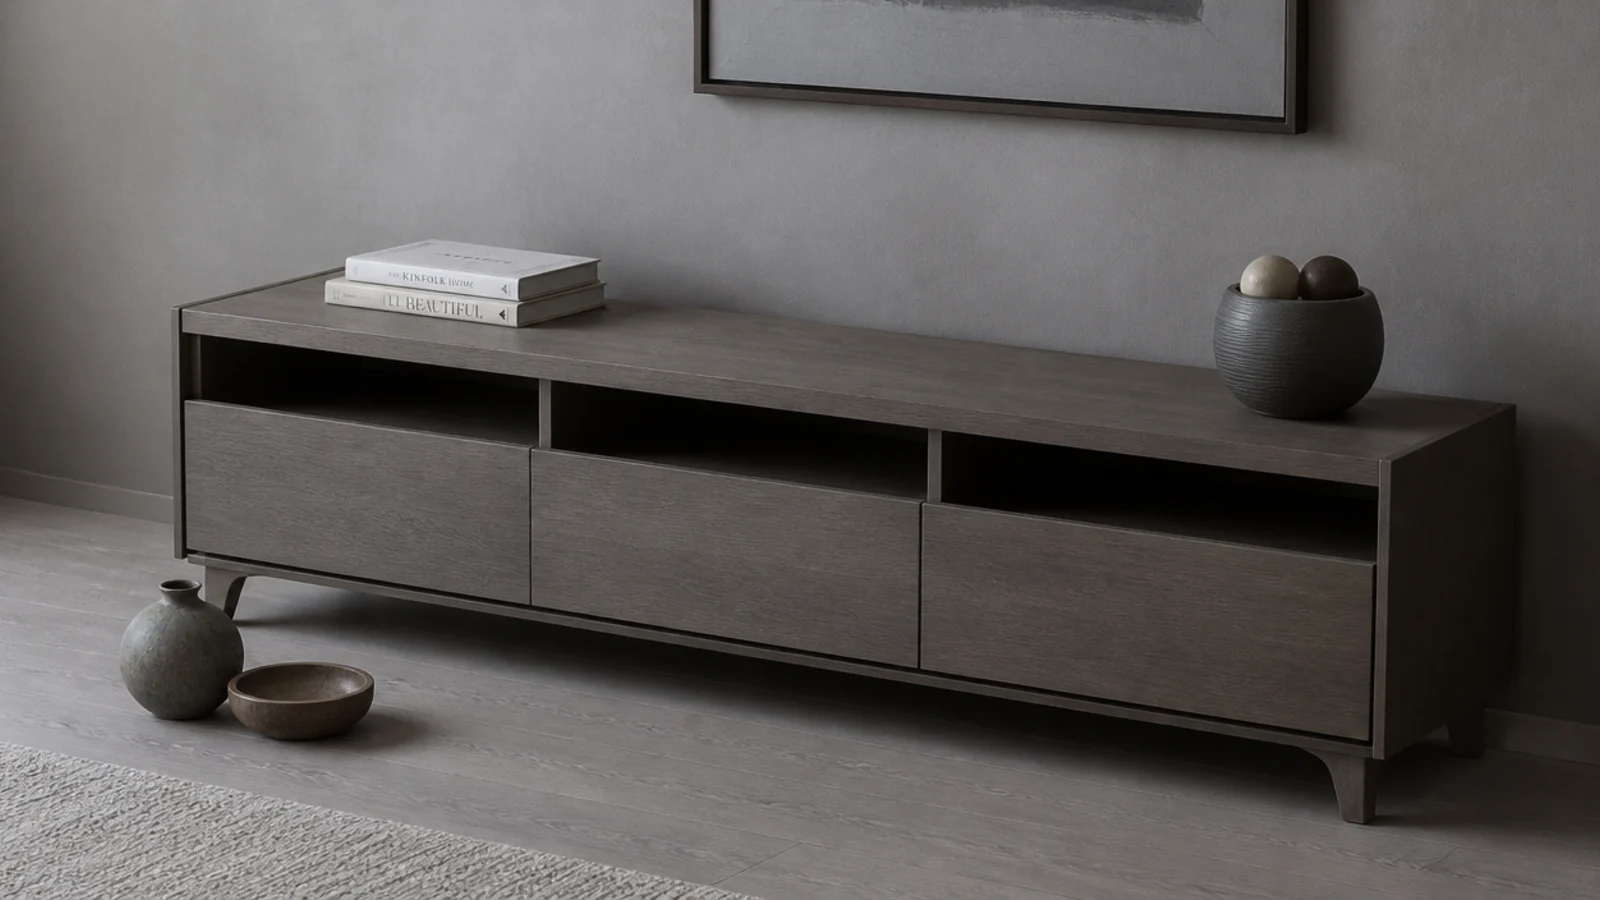
The last and best idea on the list. Photograph the styled unit, look at the picture rather than the wall, and remove two objects. The styling mistakes guide covers what usually needs to go first, and the simple picks for small rooms go further still.
For the full set of clutter fixes, the cable and ventilation guide goes into detail on grommets, raceways and vent area. If the room is tight, corner shelf ideas covers the storage that fits where a cabinet cannot.
Mistakes to Skip
- Painting laminate without a bonding primer. It looks fine for a fortnight and then chips along every edge a hand touches.
- Buying storage before measuring the opening. Baskets an inch too tall are the most returned item in any media unit project.
- Hiding cables by pushing the unit against the wall. Connectors bend, heat has nowhere to go, and the back panel drums whenever the bass hits.
- Running standard power flex inside a wall to hide a plug. Only in-wall rated cable belongs in a cavity, and a recessed outlet kit is the legitimate version at about $30.
- Spending the whole budget on decorative objects. The unit is not short of things; it is short of somewhere for the cables and somewhere for the heat.
Frequently asked questions
What is the cheapest way to improve a TV unit?
Deal with the cables first, then swap the hardware. A $5 grommet and a pack of velcro ties remove the most visible mess in the room, and $40 of soft-close hinges and decent pulls changes how a flat-pack cabinet feels every time you open it. Both beat any decorative purchase.
Can I paint a laminate TV unit?
Yes, provided you prepare it. Scuff the surface with 180 grit, wipe it down with a degreaser, then use a bonding primer made for slick surfaces before two thin topcoats in eggshell. Skipping the primer is why most painted laminate chips along the edges within a few months.
How do I add ventilation to a closed cabinet?
Cut roughly 40 square inches of free vent area per closed bay with a hole saw — a 3 inch hole gives about 7 square inches, so six of them. Put half low in the plinth or side and half high in the back panel so cool air enters at the bottom and warm air leaves at the top.
Are cane inserts a good replacement for glass doors?
They are better in a media cabinet. Cane hides the gear from a seated eye while passing air and infrared, so devices stay cooler and remotes keep working. A webbing kit runs $25 to $50, and fitting it to a flat door needs a router, a rebate and an afternoon.
Is a secondhand sideboard worth buying as a TV unit?
Often, yes. Solid timber sideboards from the 1960s and 1970s turn up at $80 to $200 and are built better than most new flat-pack. Check the depth is at least 15 inches, that the back can be cut for cables, and that the top sits between 16 and 24 inches high.
Want more like this? Browse all 15 tv unit decor guides — they all use the same measurements and budget tiers.
Pin it for later
Save this to your TV Unit Decor board
Pin it now so it is waiting for you when the tape measure comes out — and so the next person hunting for this idea can find it too.
Save this pinKeep going
More ideas worth saving while you have the tape measure out.