TV Unit Decor · How-To
15 Steps To Style Wall Unit Decor Ideas Properly

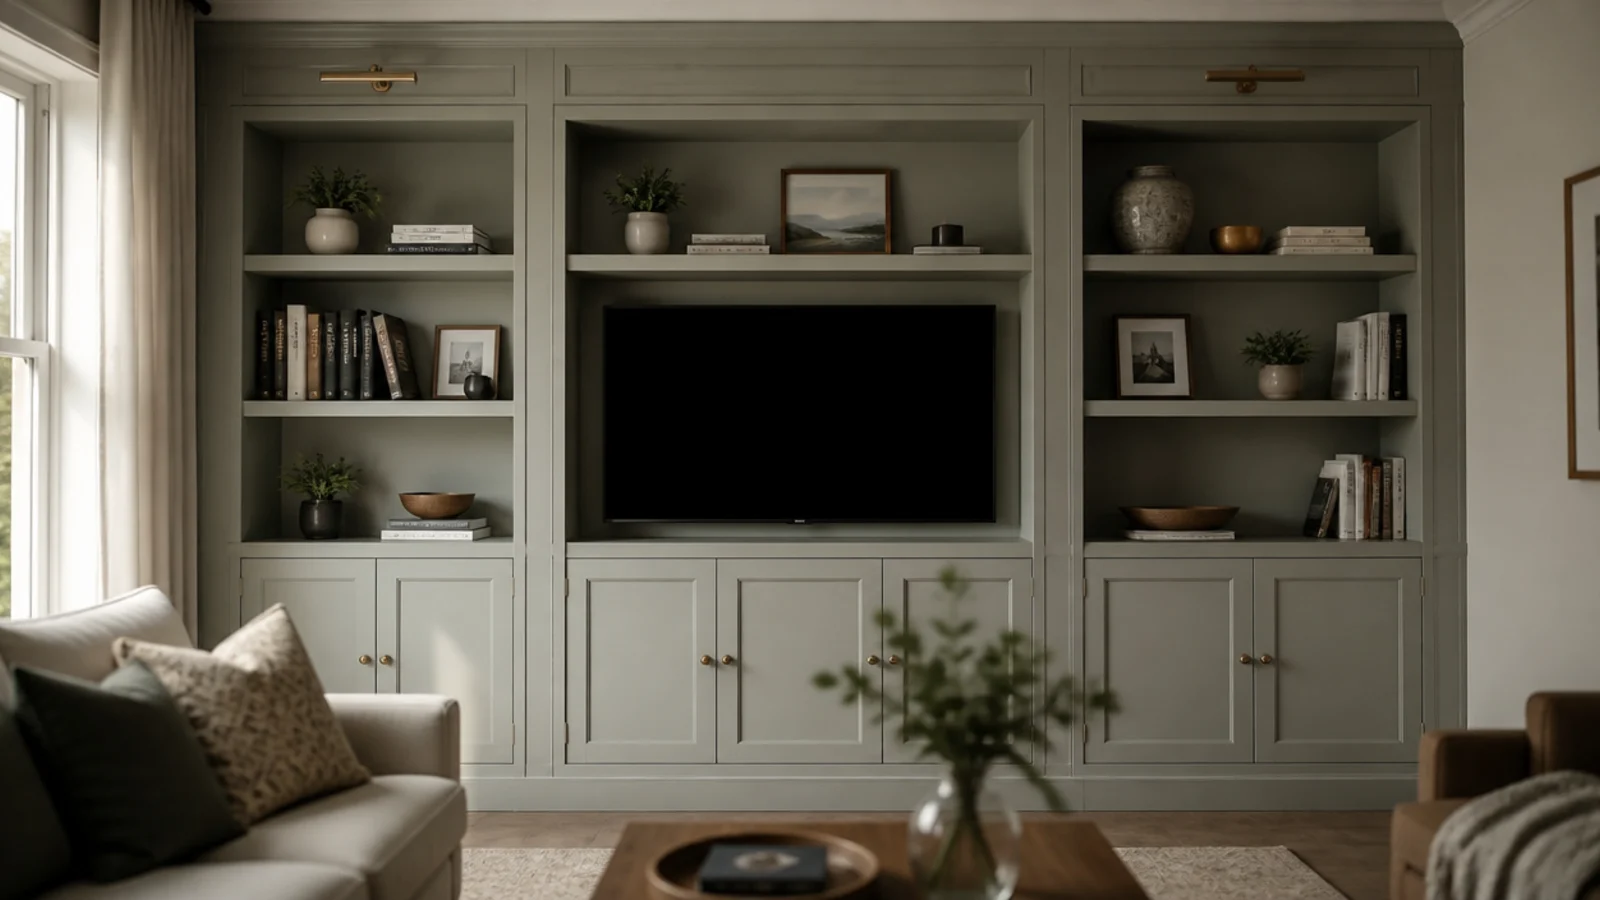
Most wall units are styled from the outside in: objects arranged, cables dealt with afterwards, the screen height inherited from whoever hung it. That order is why the result never quite settles. Wall unit decor ideas work far better run as a sequence, starting from the things that cannot be changed later — the viewing height, the gear bay, the ventilation — and finishing with the objects, which take twenty minutes. Here is the sequence I use, fifteen steps, with the measurements each one turns on.
In this guide18 sections — tap to openHide
- 1.What You'll Need for Wall Unit Decor Ideas
- 2.Step 1: Empty the unit completely and clean it
- 3.Step 2: Measure every opening and write it down
- 4.Step 3: Sort everything into hide, show and go
- 5.Step 4: Set the screen centre before anything else
- 6.Step 5: Choose the gear bay and check it can breathe
- 7.Step 6: Run, bundle and label the cables
- 8.Step 7: Reload the closed storage first
- 9.Step 8: Give the open bays a rhythm
- 10.Step 9: Place the largest objects first
- 11.Step 10: Build triangles at three heights
- 12.Step 11: Mix upright and stacked books
- 13.Step 12: Add one living thing per three bays
- 14.Step 13: Leave a third of every shelf empty
- 15.Step 14: Light the bays and the screen wall
- 16.Step 15: Photograph it, then remove two things
- 17.Pro Styling Rules
- 18.Mistakes to Skip
What You'll Need for Wall Unit Decor Ideas
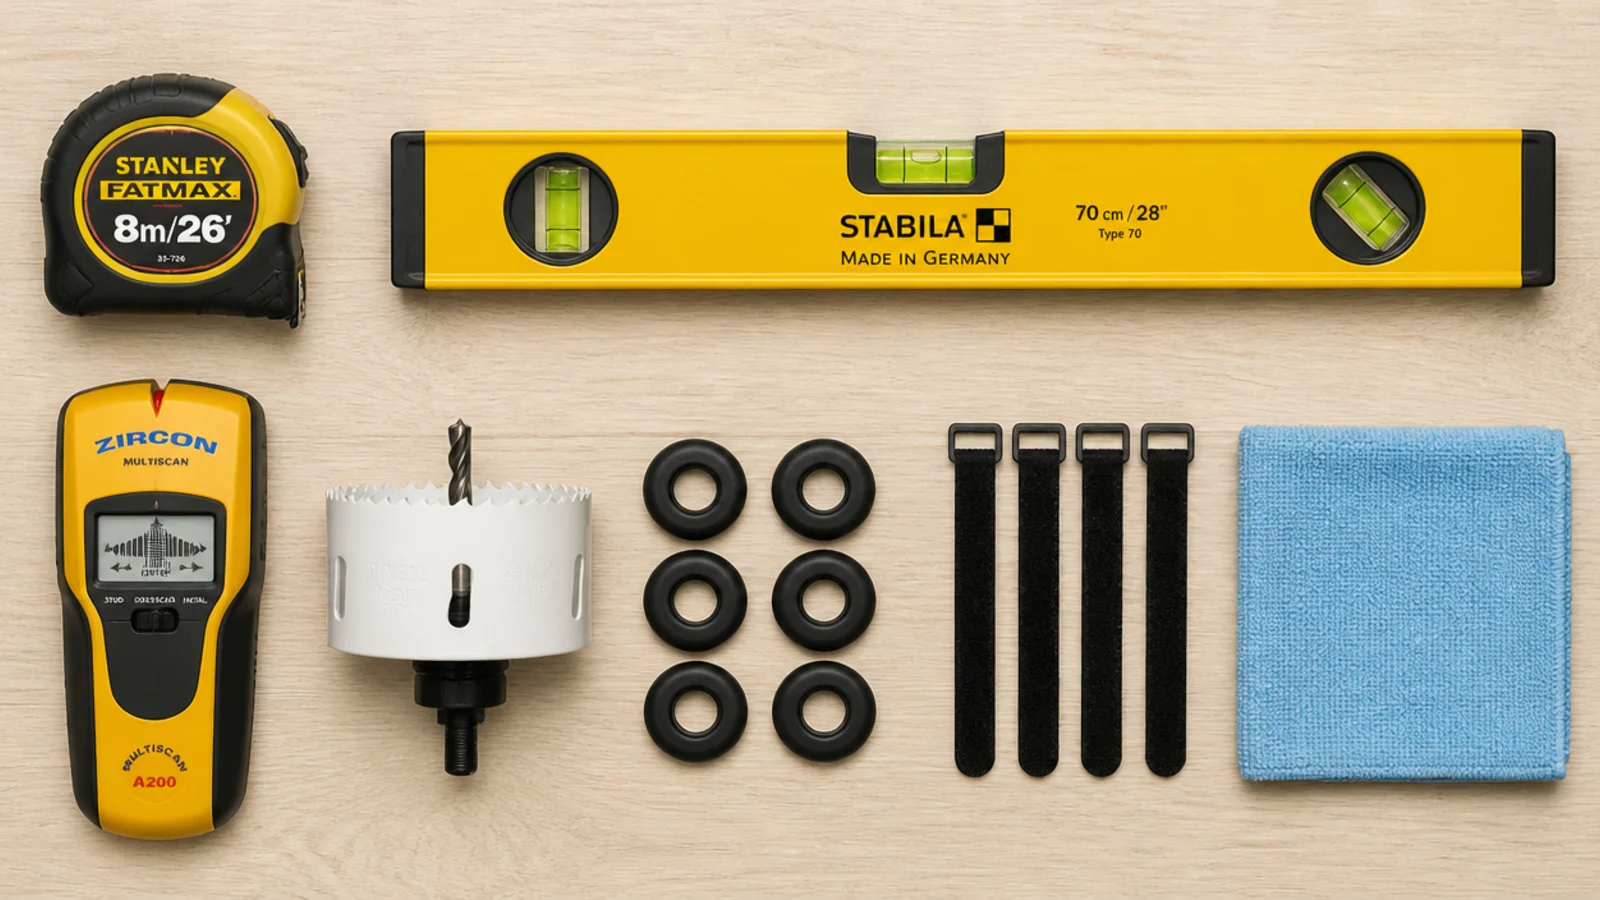
A tape measure, a spirit level, a stud finder and a pencil cover the layout. For the gear you want a hole saw around 2 inches for grommets, a handful of rubber grommets at $2 to $4 each, a pack of reusable velcro ties, and masking tape for labelling. A microfibre cloth and a spray bottle deal with the shelves.
Add a bag or two for the things leaving, and something to put the contents in while the unit is empty. A drill with a spade bit handles vent holes if the closed bays have none, and a set of felt pads stops heavy pieces marking a timber shelf.
Two optional buys change the result more than anything else on this list: an interior light strip at 2700K drawing about 3 watts per metre, roughly $20 for a 3 metre run, and containers measured to the actual openings rather than bought first and fitted after. Baskets run $12 to $30 each depending on weave. If the wall behind the unit needs work too, the TV wall decor guide covers it.
Step 1: Empty the unit completely and clean it
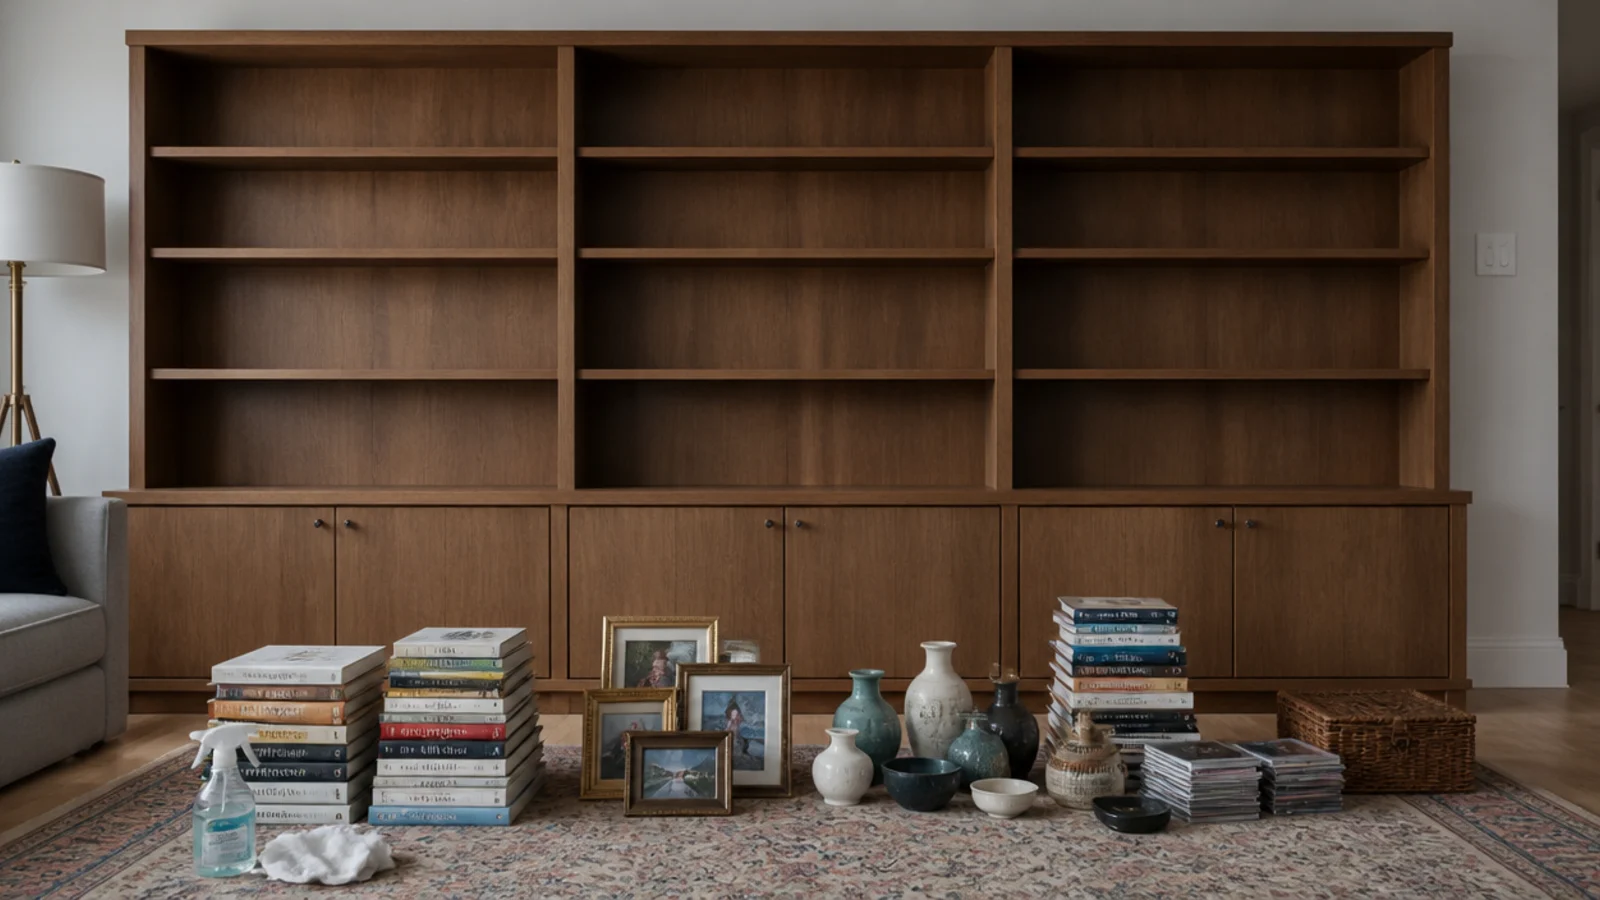
Take everything out, including the things you intend to put straight back. A half-emptied unit keeps its old logic, and the old logic is what you are trying to change. Wipe the shelves and the back panel while they are clear, because you will not do it again for a year. Take a photograph of the wall before you start too, since it is surprisingly hard to remember what bothered you once the shelves are bare.
Step 2: Measure every opening and write it down
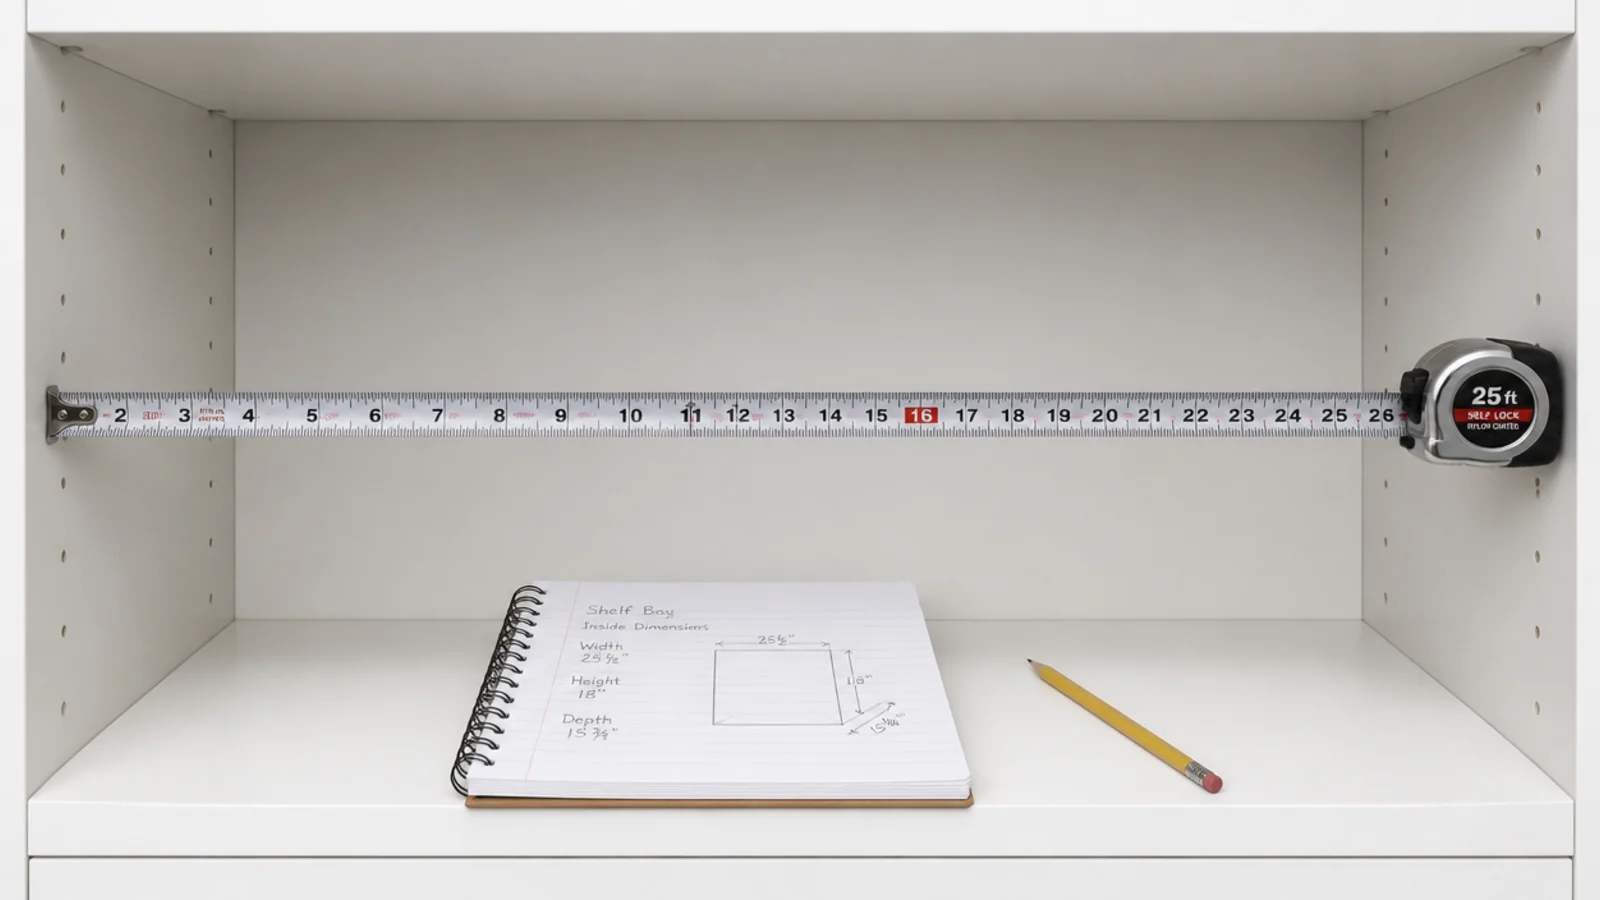
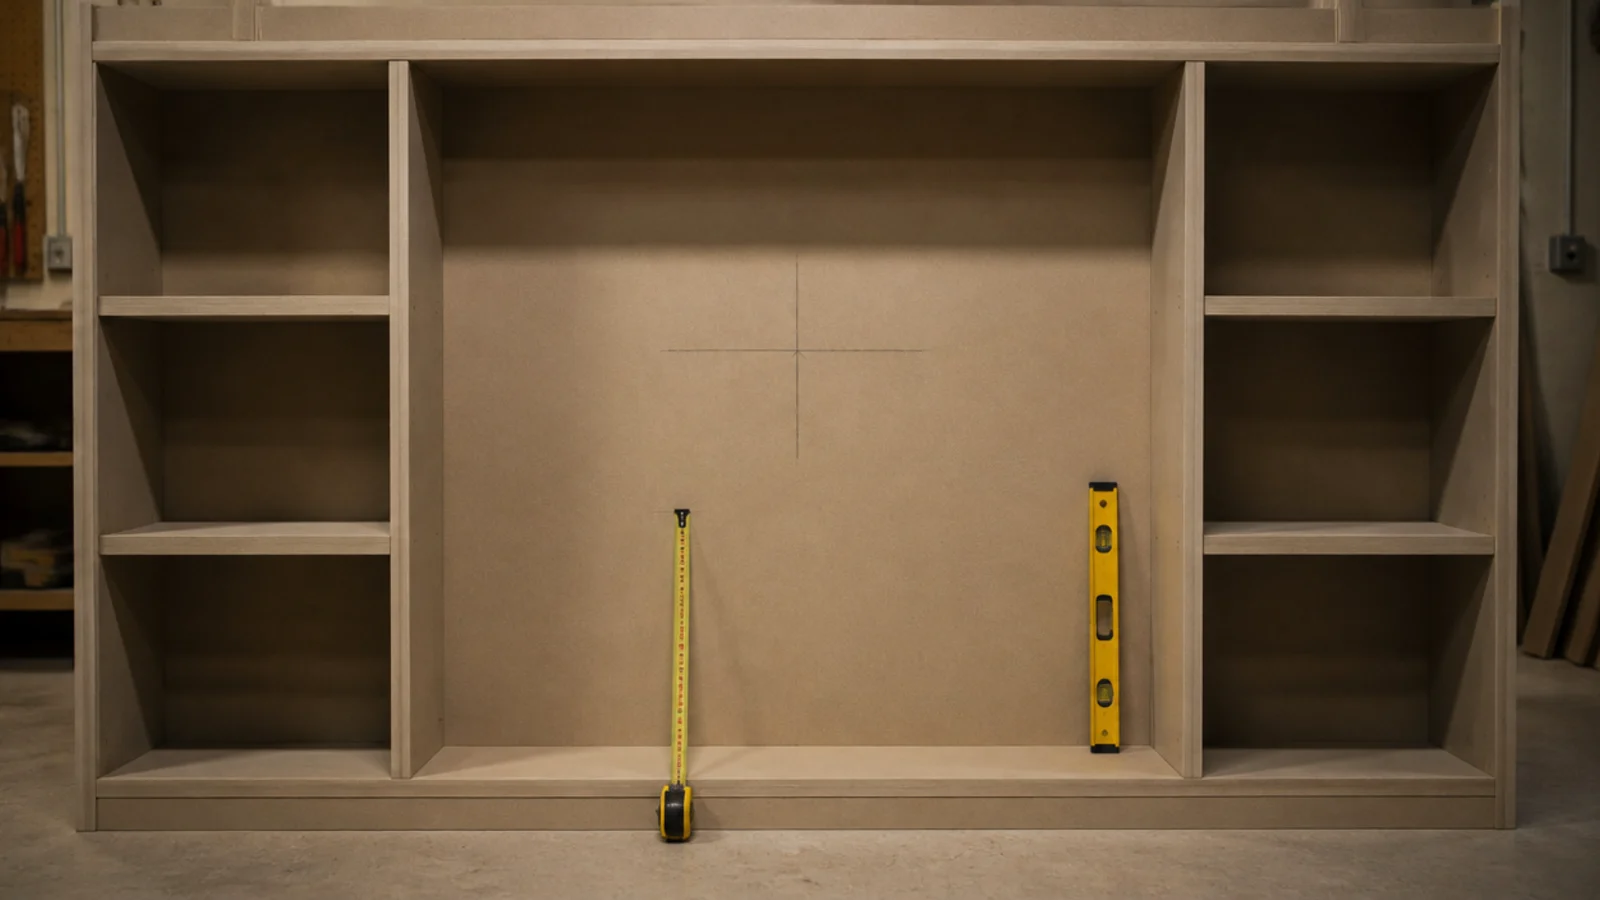
Internal width, height and depth for each bay, on paper or in your phone. Those numbers decide what will fit and what will not, and they stop you buying a basket an inch too tall. Note the shelf pin spacing too, usually 32 mm centres, so you know how far a shelf can move. Measure the deepest device you own while you are at it, because a receiver at 17 inches rules out a 15 inch bay before you have arranged a single object.
Step 3: Sort everything into hide, show and go
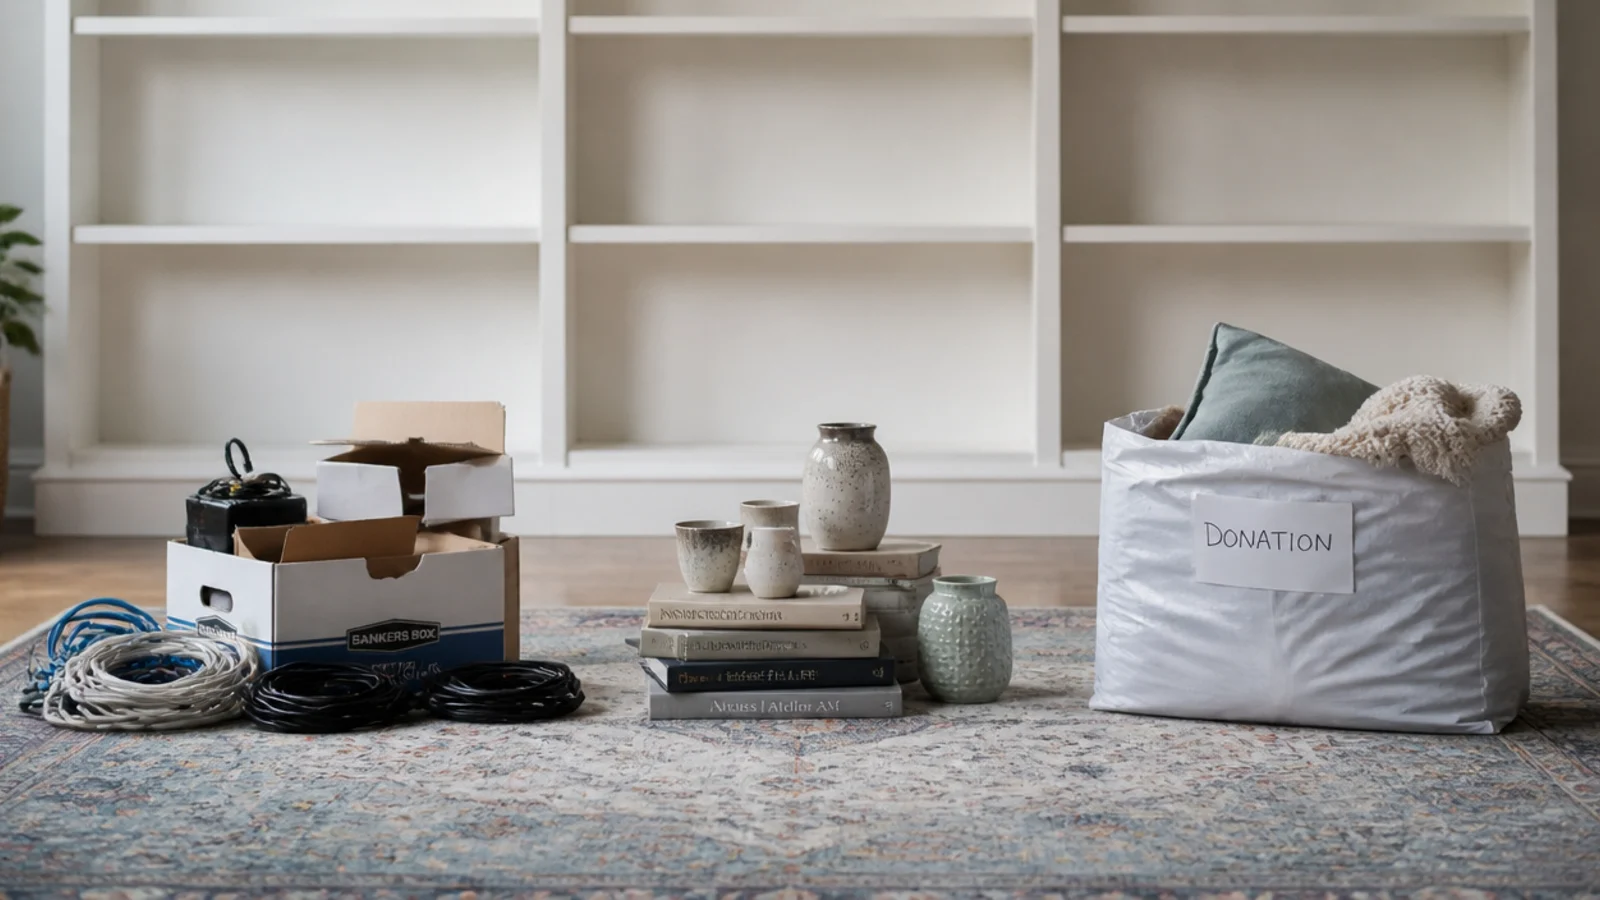
Three piles on the floor: things that must be hidden, things worth displaying, and things leaving the house. Most wall units are cluttered because the third pile has never existed. Be blunt with the discs, the manuals and the cables for devices you no longer own. A useful test: if an object has not moved in a year and you would not buy it again today, it belongs in the third pile rather than the back of a cupboard.
Step 4: Set the screen centre before anything else
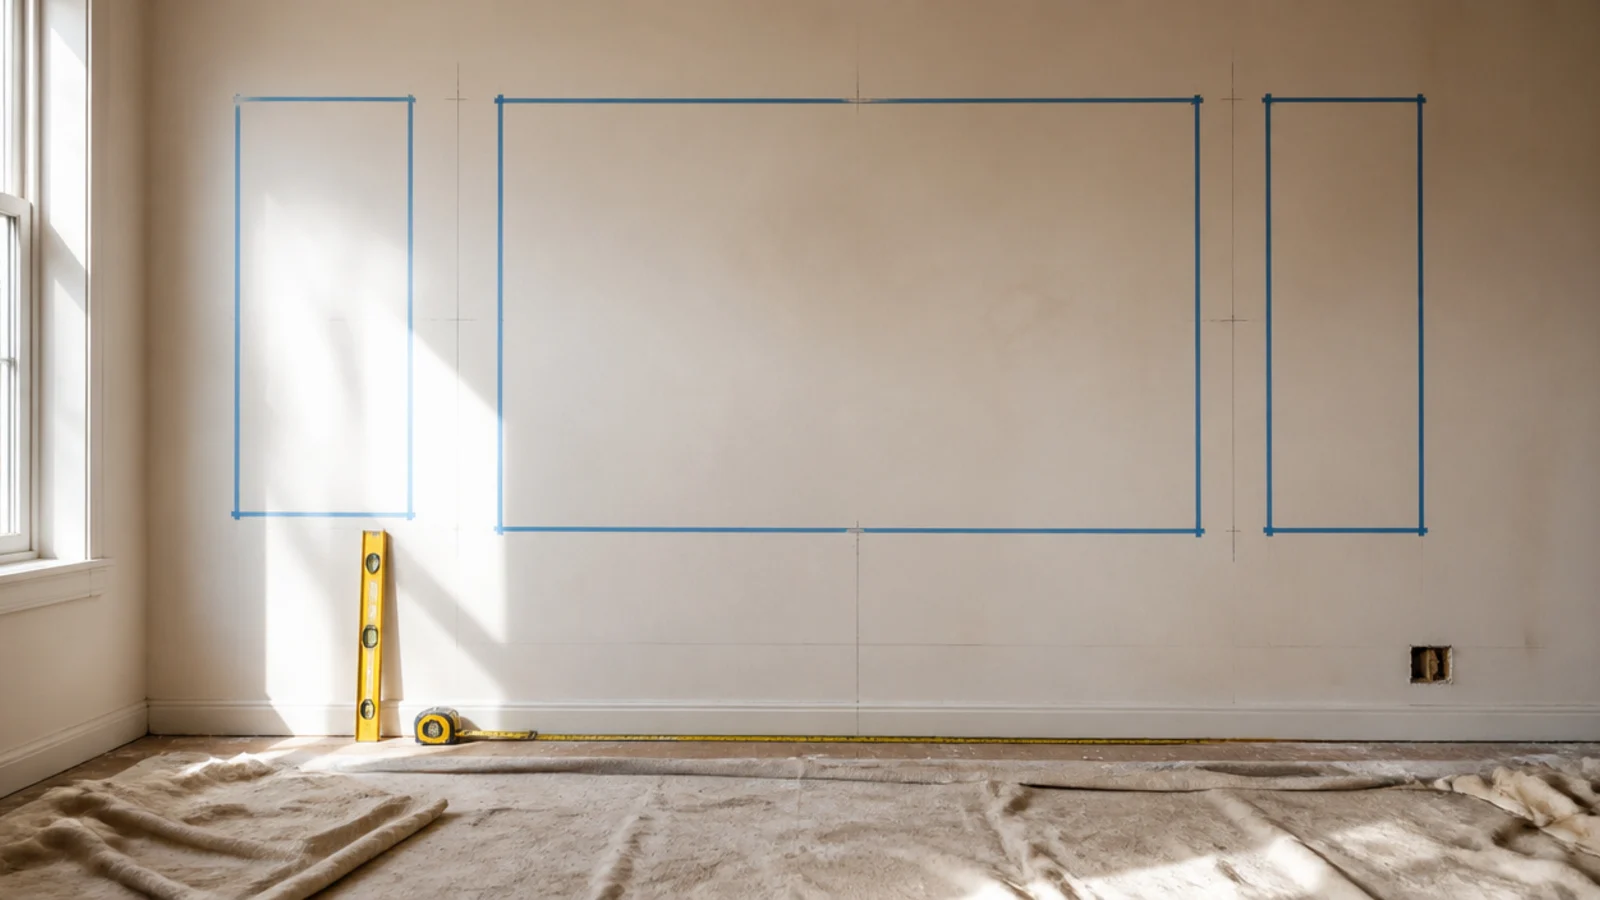
Mark 40 to 42 inches from the floor, which is seated eye level on a sofa with a 17 to 19 inch seat, and set the middle of the glass there. Every other decision hangs off this one, and it is the only measurement you cannot correct later without moving hardware. Ergonomics guidance puts the comfortable upward gaze at about 15 degrees, and a screen centred at 55 inches passes double that from a normal sofa.
Step 5: Choose the gear bay and check it can breathe
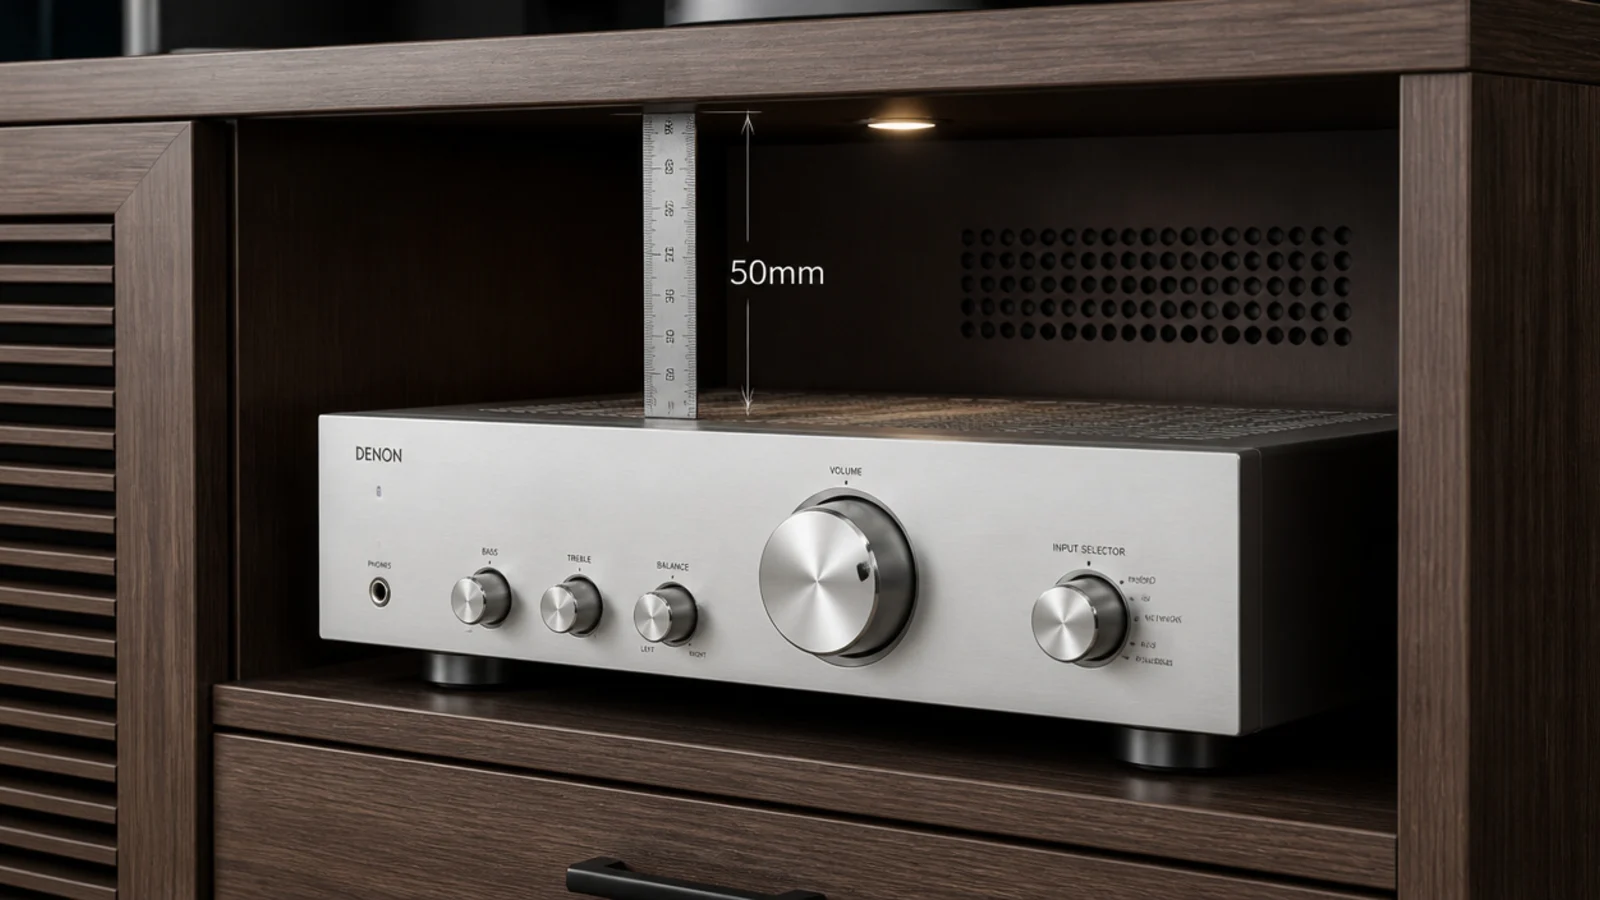
Pick the bay with the most depth and the best airflow. A receiver is 13 to 17 inches deep and wants 3 to 4 inches behind it plus 4 to 6 inches of clear air above. If the bay is closed, cut roughly 40 square inches of vent area — six 3 inch holes, split low and high so air can cross.
Step 6: Run, bundle and label the cables
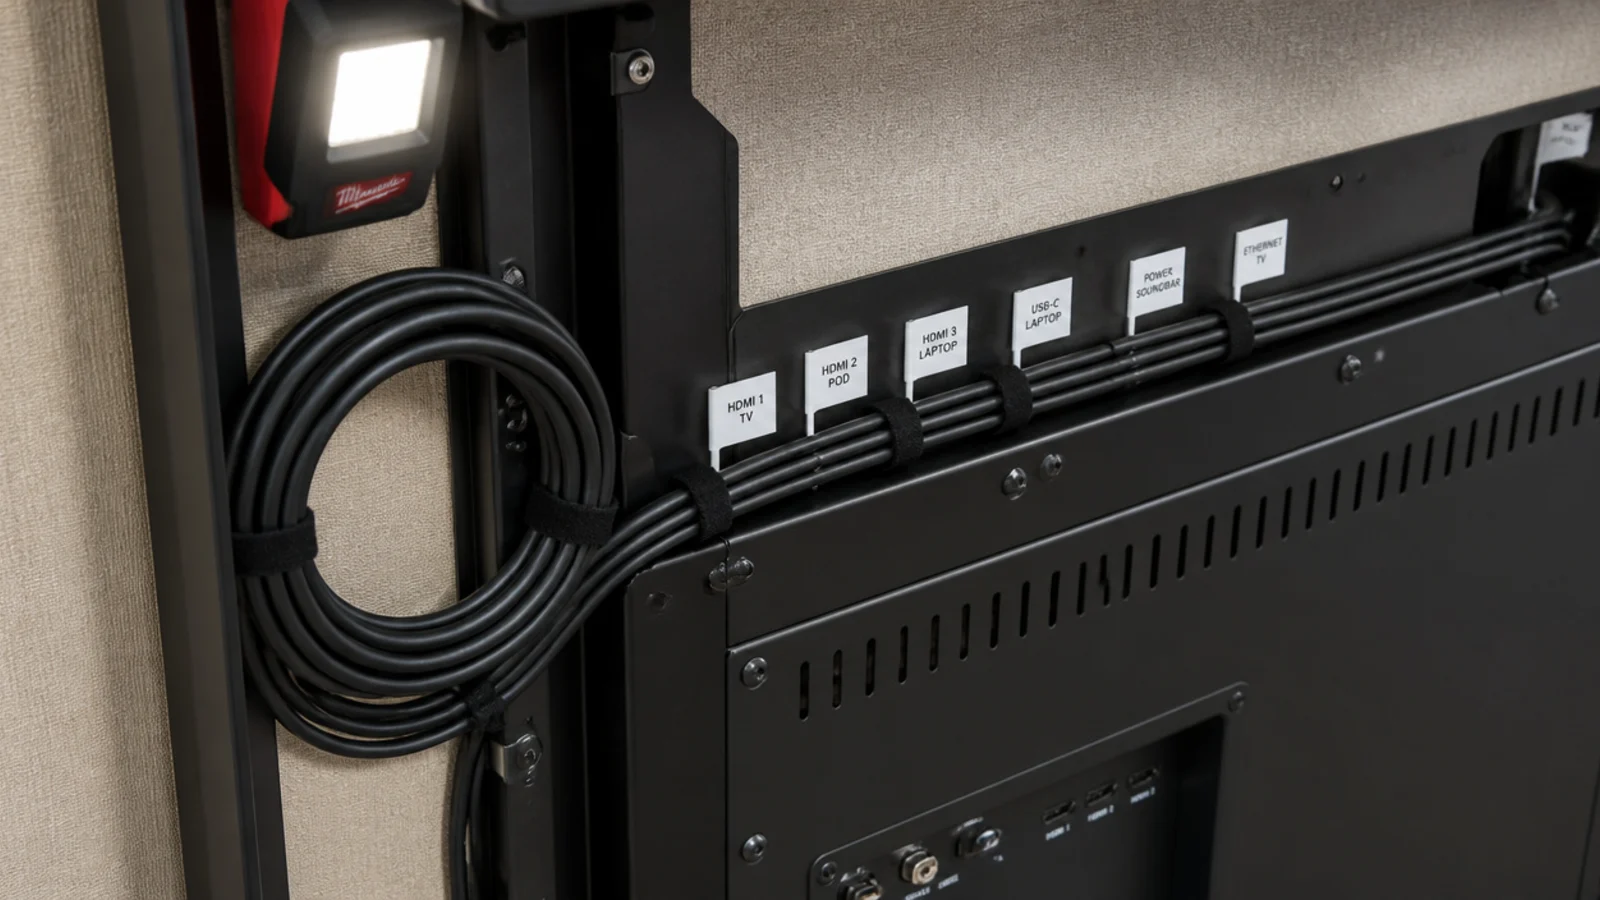
Feed everything through one 2 inch grommet, strap the slack with velcro every 8 inches, and flag both ends of every lead with masking tape. Standard HDMI is only 6 to 8 mm across, so one grommet passes six to eight cables comfortably. Mount the power strip inside the carcass rather than on the floor.
Step 7: Reload the closed storage first
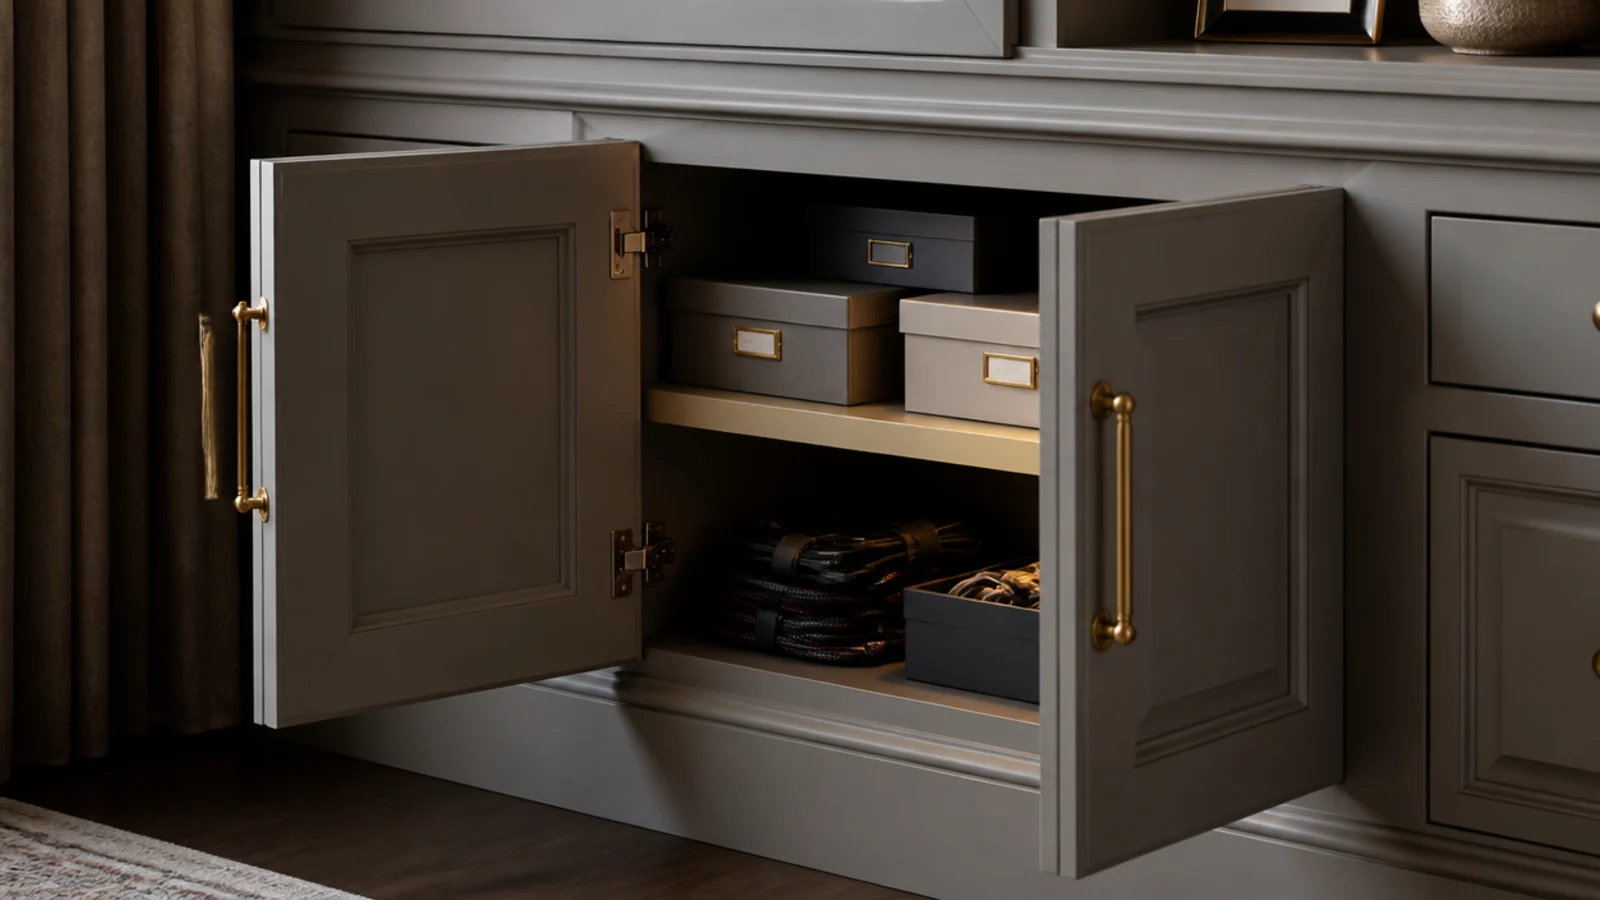
Fill the cupboards and drawers before you touch a single display shelf. Whatever will not fit behind a door is what the open bays have to absorb, and knowing that number early stops you styling a shelf that has to be dismantled an hour later. Leave a third of the closed space empty.
Step 8: Give the open bays a rhythm
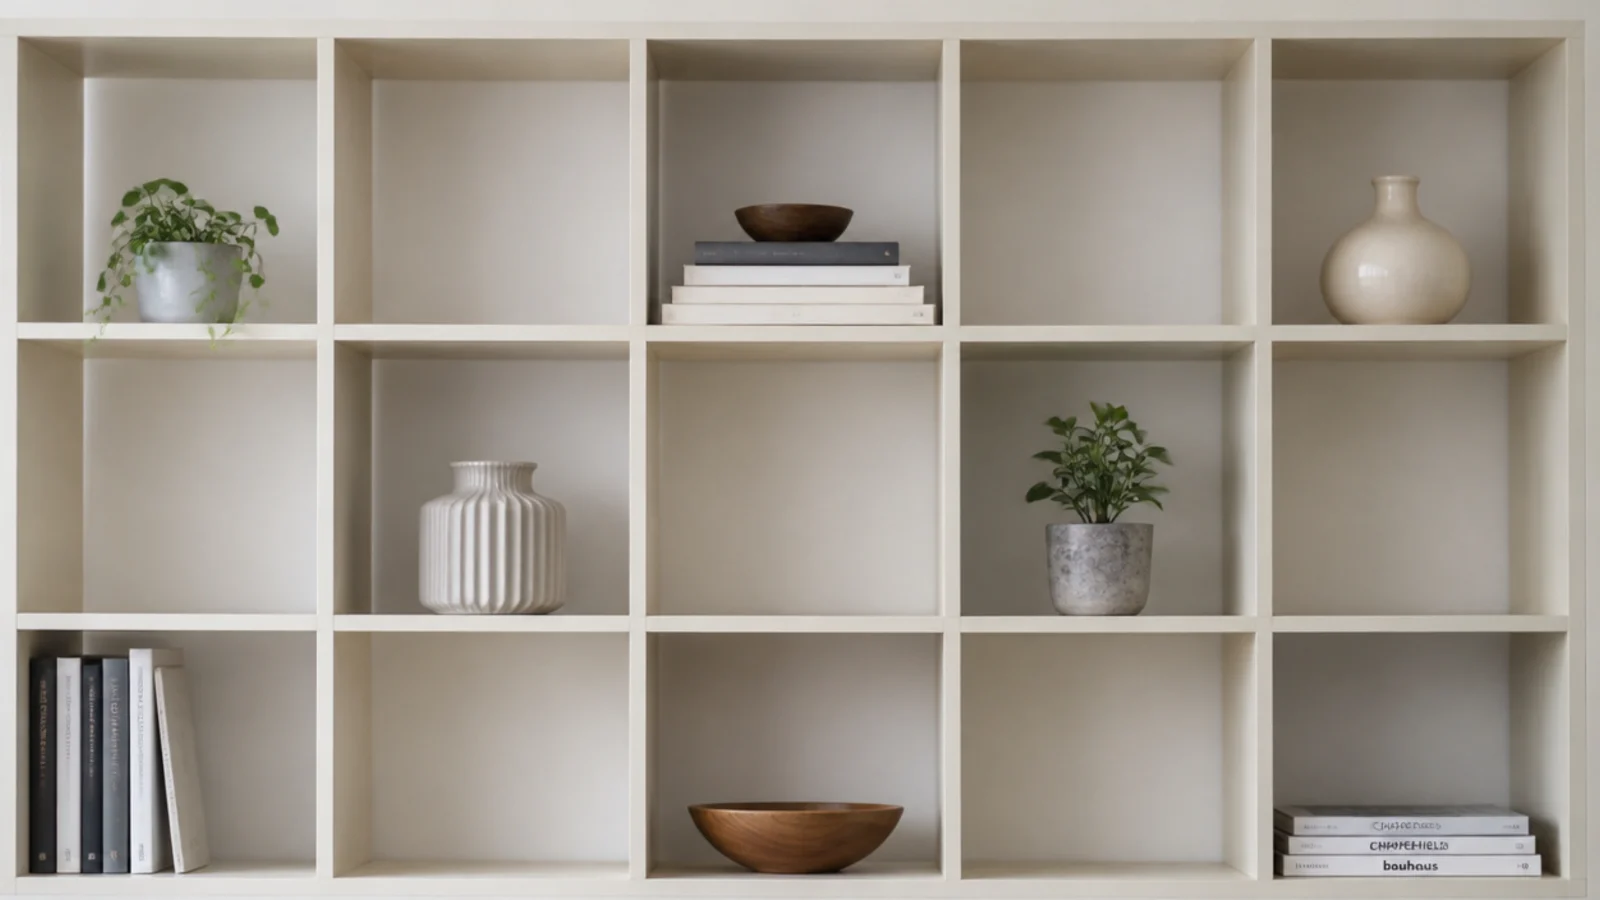
Do not fill every compartment. Alternate loaded and empty bays, or run a pattern of two full and one bare. The eye reads the pattern rather than the objects, which is why a unit with fewer things in it can look far more considered than one with better things scattered evenly.
Step 9: Place the largest objects first
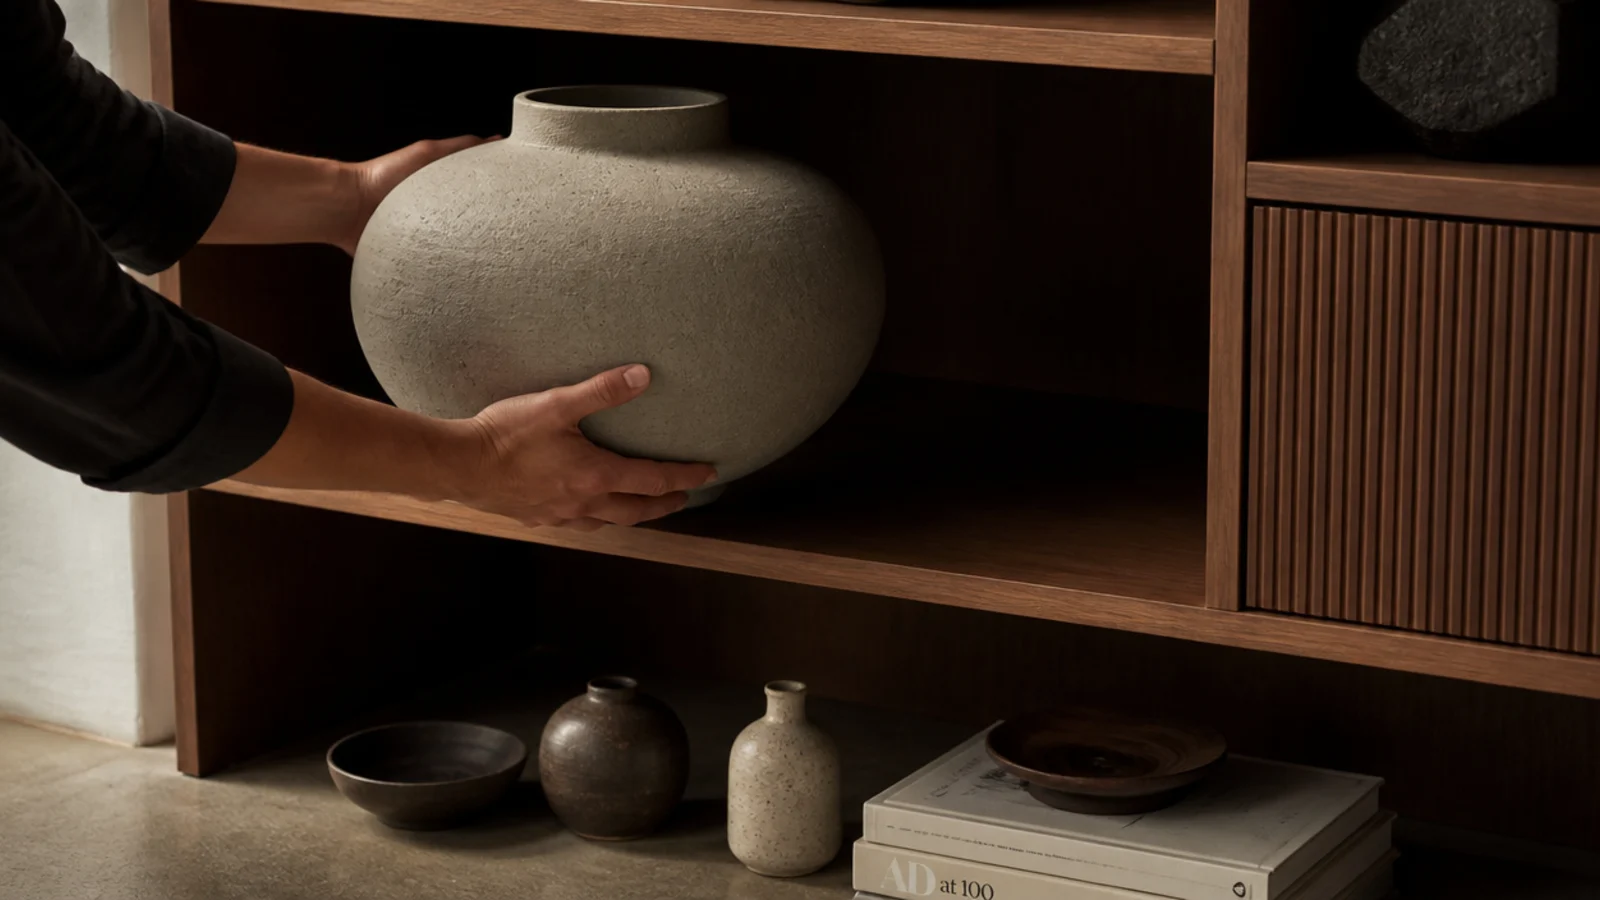
Big pieces claim their space and everything else arranges around them. Start with the tallest vase, the biggest bowl, the largest framed piece. Keep the heaviest items low and directly over a side panel or a divider, since an 18 mm shelf carries about 30 pounds across 30 inches before it starts to dip.
Step 10: Build triangles at three heights
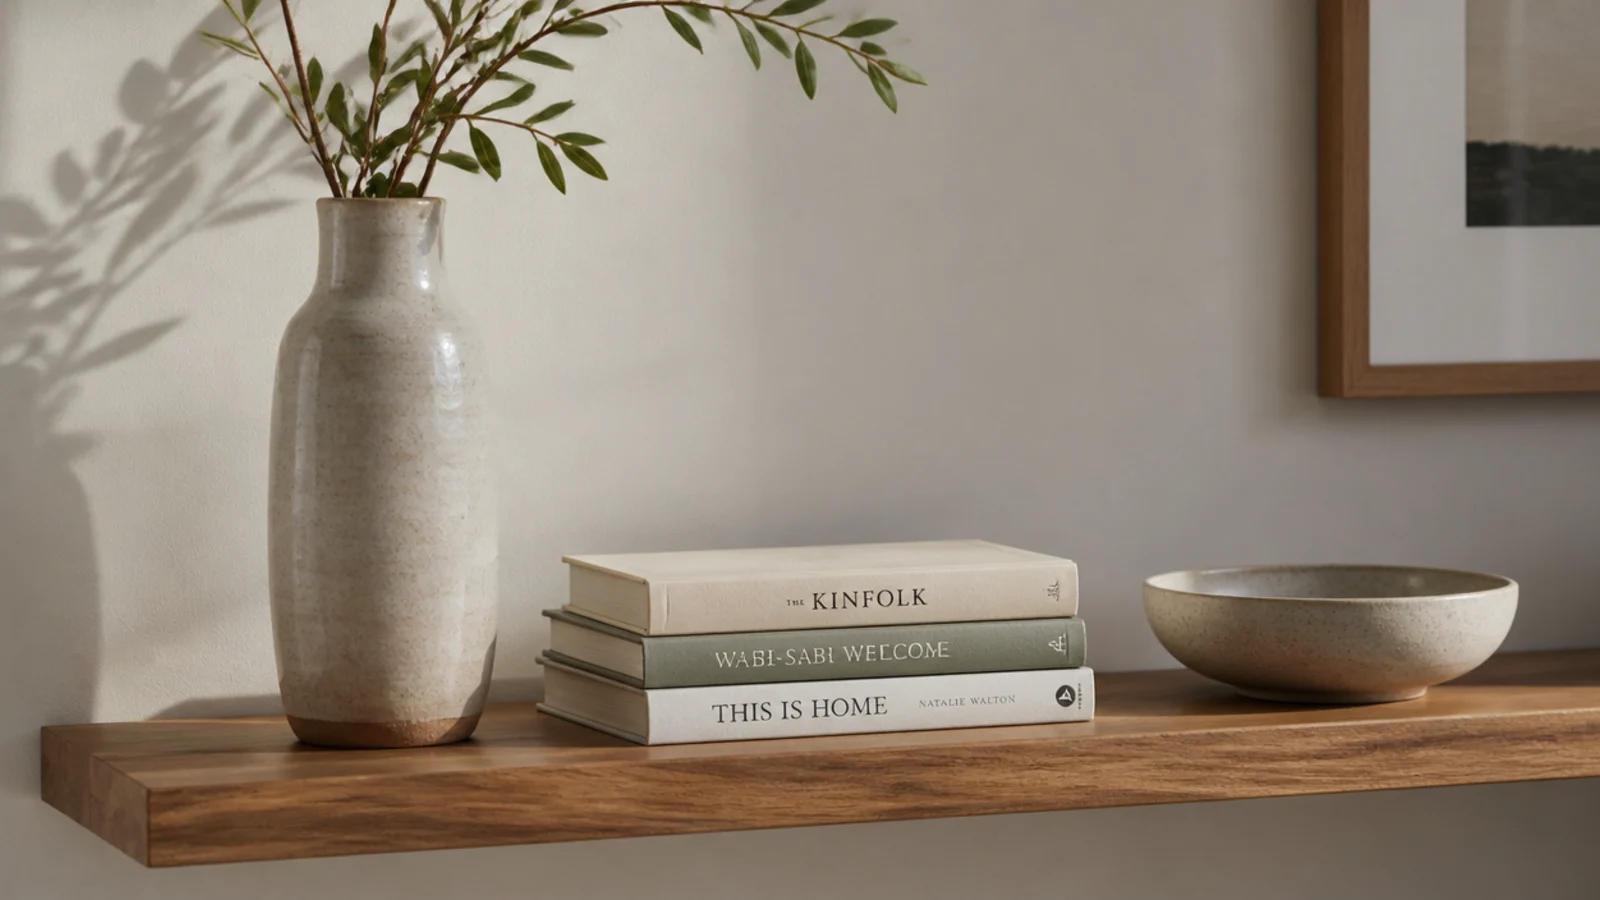
Within each bay, aim for three objects at three clearly different heights — something tall, something mid, something low and wide. Objects at one height read as a row. A rough triangle reads as an arrangement, and it works whether the bay is 10 inches wide or 24.
Step 11: Mix upright and stacked books
Stand five or six books upright against one side, lay three flat beside them, and put a small object on the flat stack. The two orientations break up the vertical rhythm that makes shelving read as a library. Turning spines backwards looks like a shop; leave them facing out.
Step 12: Add one living thing per three bays
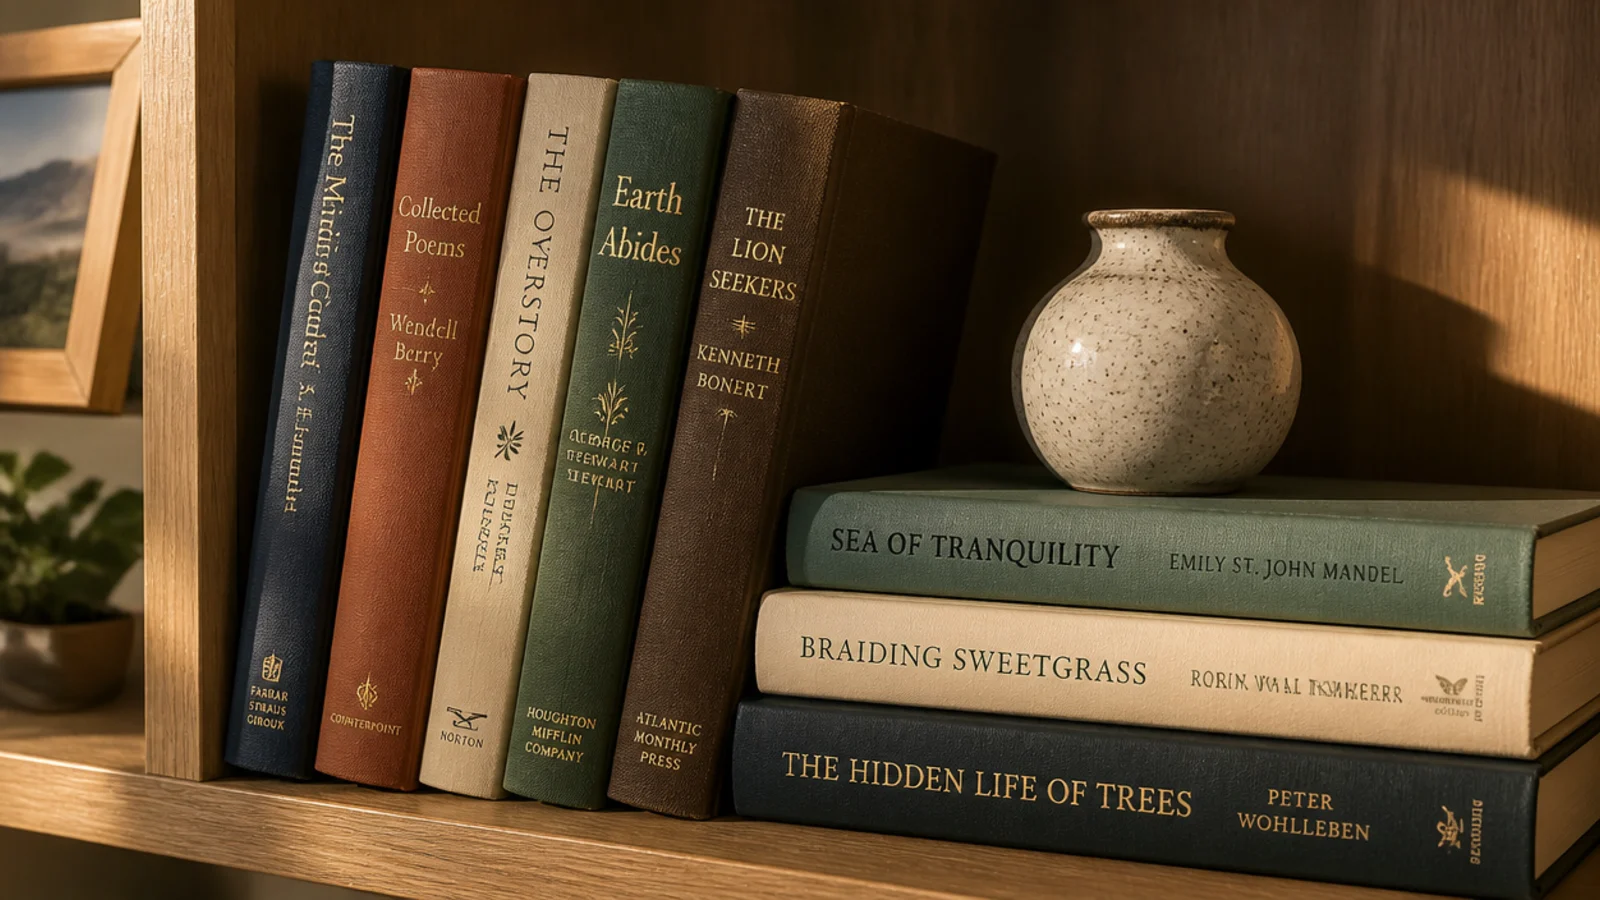
Plants stop shelving looking staged, but one per three bays is the right dose. Choose species that tolerate low light, because a media wall rarely gets direct sun, and use a pot with a saucer so no water reaches a timber shelf. Bookshelf styling ideas has more on ratios.
Step 13: Leave a third of every shelf empty
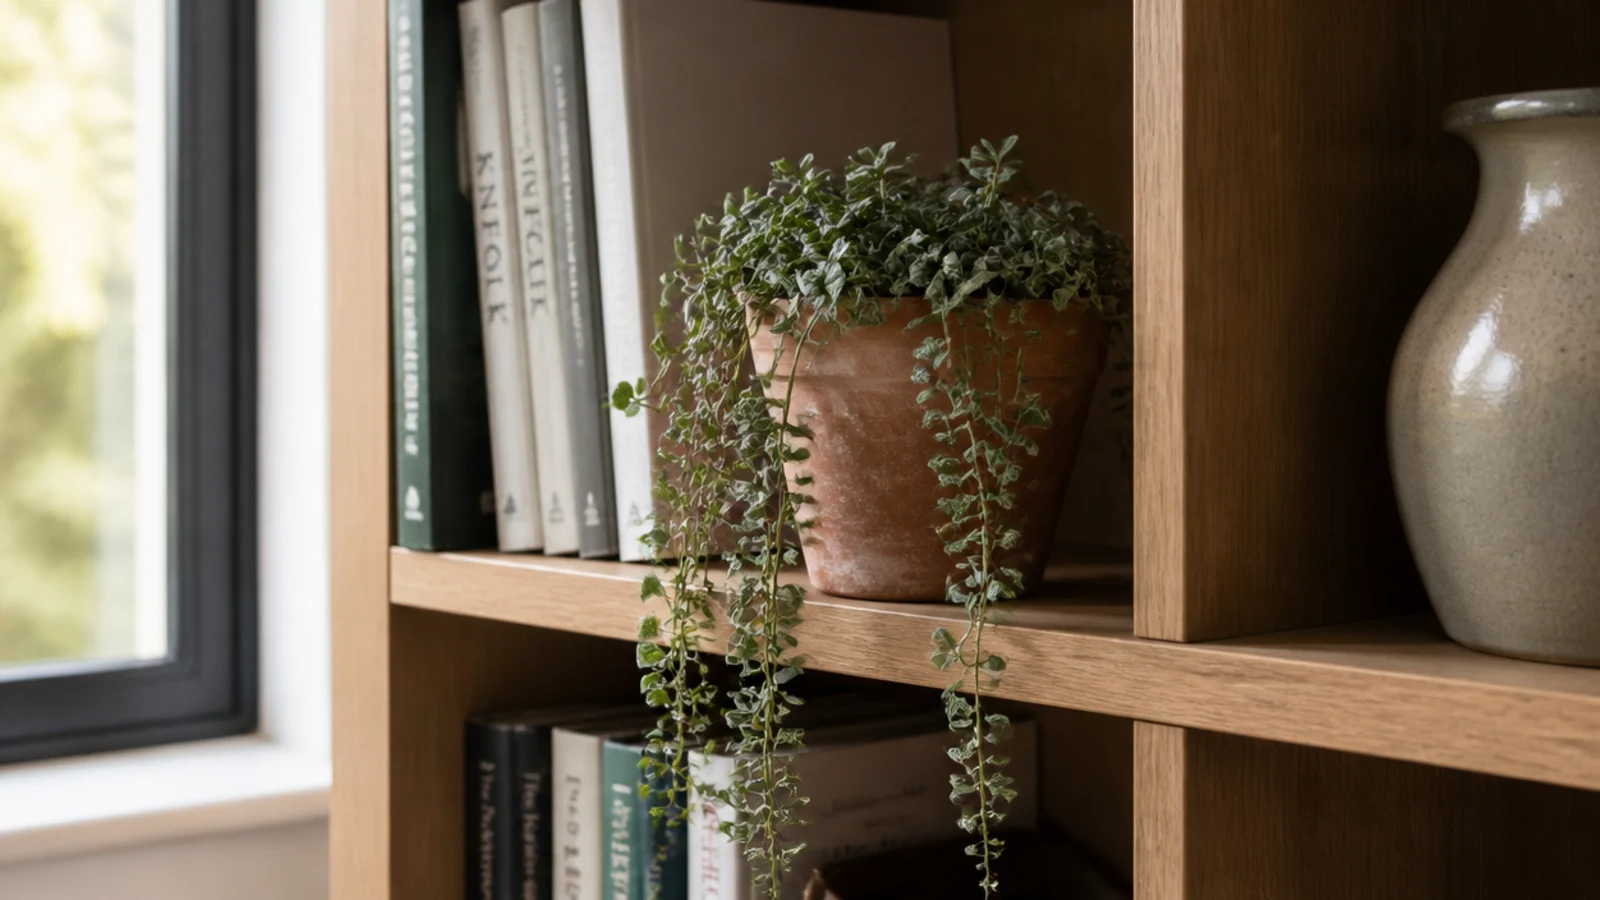
Thirty per cent empty, and visibly so, in gaps between groups rather than hidden at the back. That space is what separates a styled unit from a full one, and it gives next month's arrivals somewhere to land other than the floor.
Step 14: Light the bays and the screen wall
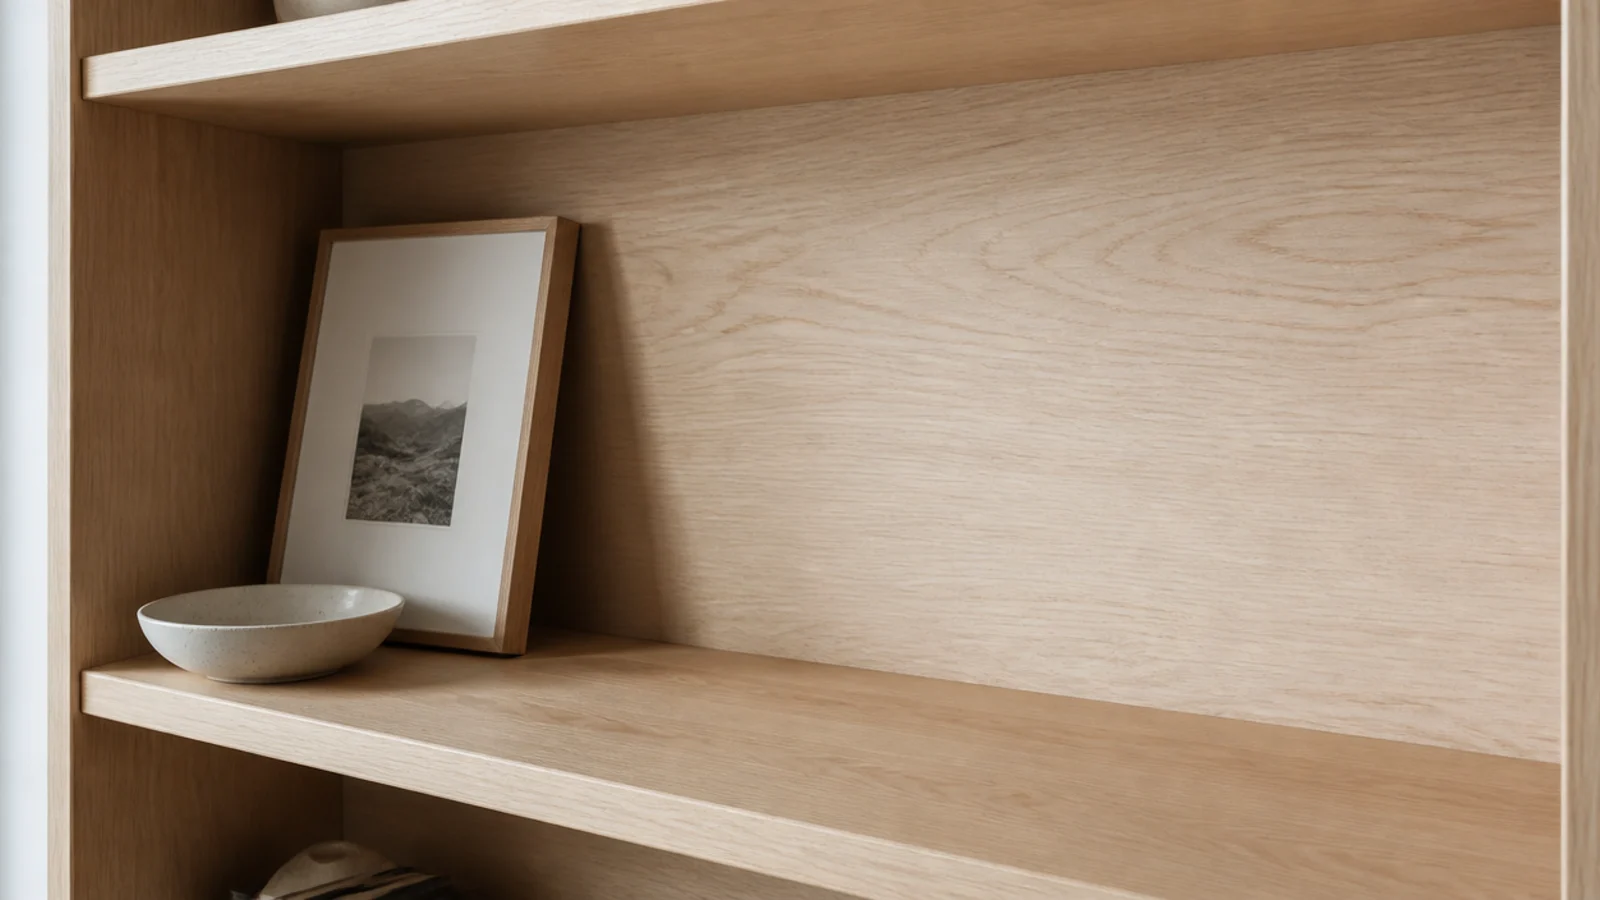
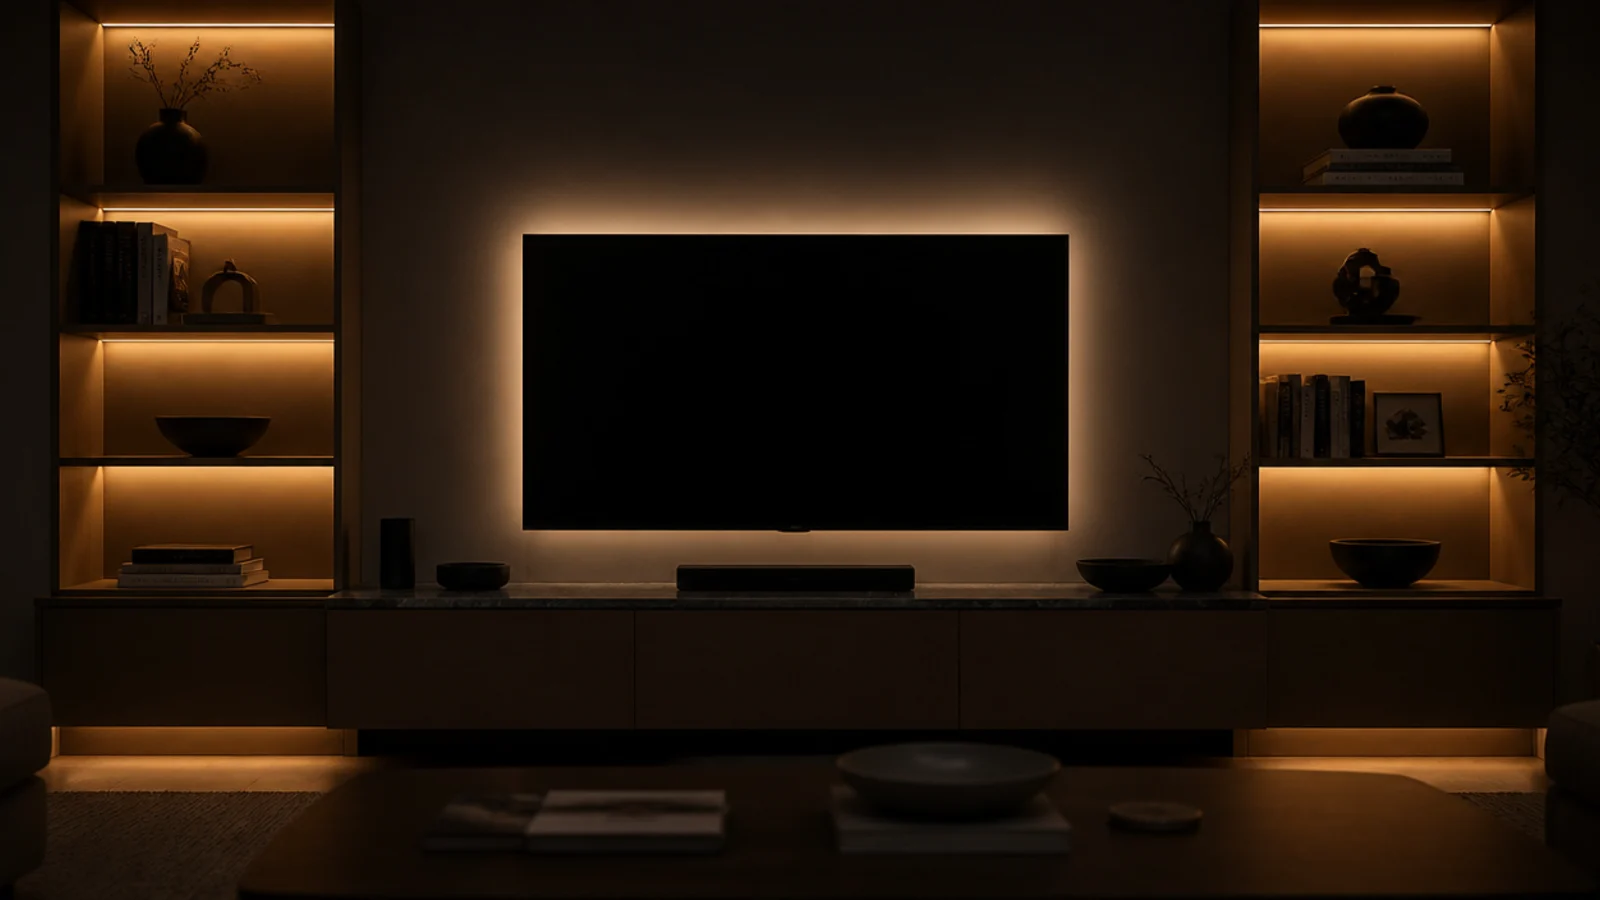
Run a warm 2700K strip inside the open bays, tucked behind the front edge so you see light and not diodes, and a 6500K bias strip behind the screen at around 1.5 to 3 watts per metre. Put both on dimmers. This is the step that makes the unit look finished after dark.
Step 15: Photograph it, then remove two things
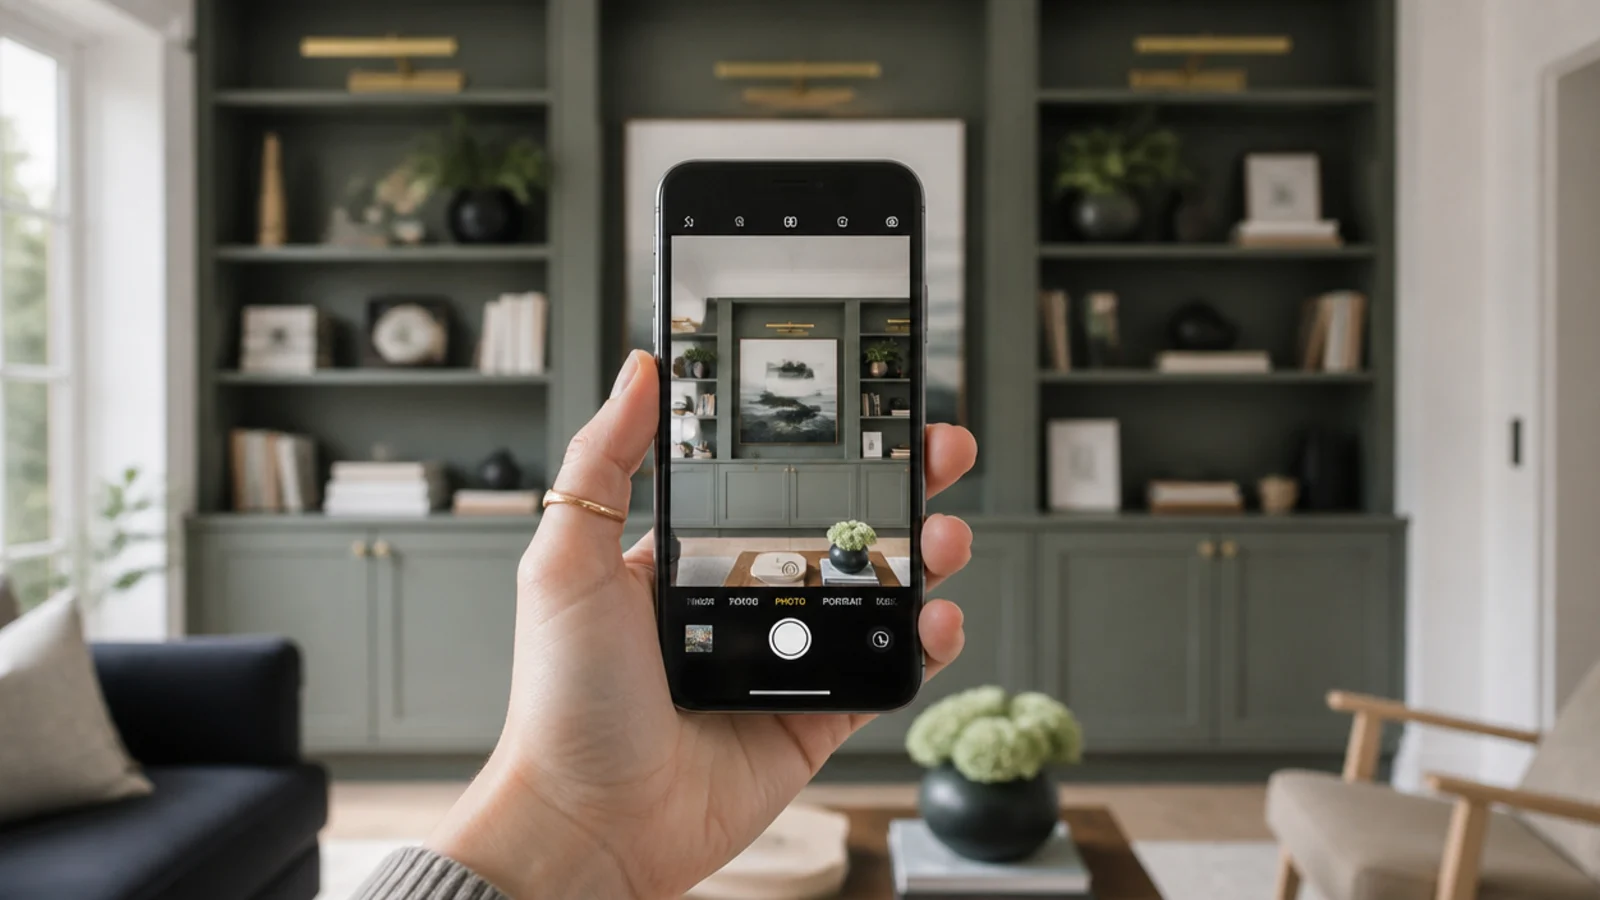
Take a photograph on your phone and look at it rather than at the wall. A camera flattens the composition and shows the crowding your eye has already forgiven. Then remove two objects. It has never once been the wrong call. Come back to the photograph a week later as well, because the version you remember styling and the version the room actually has are rarely the same thing.
Pro Styling Rules
Once the unit is styled, the clutter-hiding ideas cover keeping it that way, and the styling mistakes guide walks through what typically goes wrong first. For a wall unit that flanks a chimney breast, living room built-in shelves has the proportions.
Mistakes to Skip
- Styling before the cables are solved. Every lead you deal with afterwards means moving objects you have already placed, and it is why so many units get half-restyled and abandoned.
- Buying baskets before measuring the openings. An inch too tall and the basket sits proud; two inches too short and the gap collects dust and looks like an error.
- Loading a long unsupported shelf in the middle. Put weight over a divider, and add a centre support to anything spanning past 32 inches.
- Sealing gear into a closed bay with no vents. Above roughly 40 degrees Celsius inside a cabinet, equipment throttles and eventually shuts down mid-film.
- Filling the unit in one session and never editing it. Styling is a two-visit job: place everything, then come back the next day and take things away.
Frequently asked questions
What order should I style a wall unit in?
Empty it completely, measure every opening, then work from the fixed constraints outward: screen height, gear bay, cables, closed storage, and only then the display shelves. Styling first and solving the cables later is why most wall units end up looking rearranged rather than designed.
How full should the open shelves be?
Leave roughly 30 per cent of every open shelf empty, and keep that space in visible gaps rather than hidden behind objects. A shelf loaded to the ends reads as storage no matter how good the objects are, and it gives the next arrival nowhere to go but the floor.
How do I stop a wall unit looking cluttered?
Reduce the number of separate items rather than rearranging them. Group small things into one container, keep three objects to a bay at three different heights, and put anything you use daily behind a door. Most cluttered units have too many pieces, not the wrong pieces.
Where should the heavy items go in a wall unit?
Low and over a side panel or a vertical divider, never centred on a long unsupported span. An 18 mm shelf carries about 30 pounds across 30 inches before it starts to dip, and books at roughly a pound an inch of run add up faster than most people expect.
Do I need lighting inside a wall unit?
It is the single biggest improvement after decluttering. A 2700K strip drawing about 3 watts per metre inside the open bays makes the objects look chosen after dark, and a 6500K bias strip behind the screen reduces eye strain when the room lights are low.
Want more like this? Browse all 15 tv unit decor guides — they all use the same measurements and budget tiers.
Pin it for later
Save this to your TV Unit Decor board
Pin it now so it is waiting for you when the tape measure comes out — and so the next person hunting for this idea can find it too.
Save this pinKeep going
More ideas worth saving while you have the tape measure out.