TV Wall Decor · Listicle
25 Stunning TV Wall Decor Ideas That Hide Cables

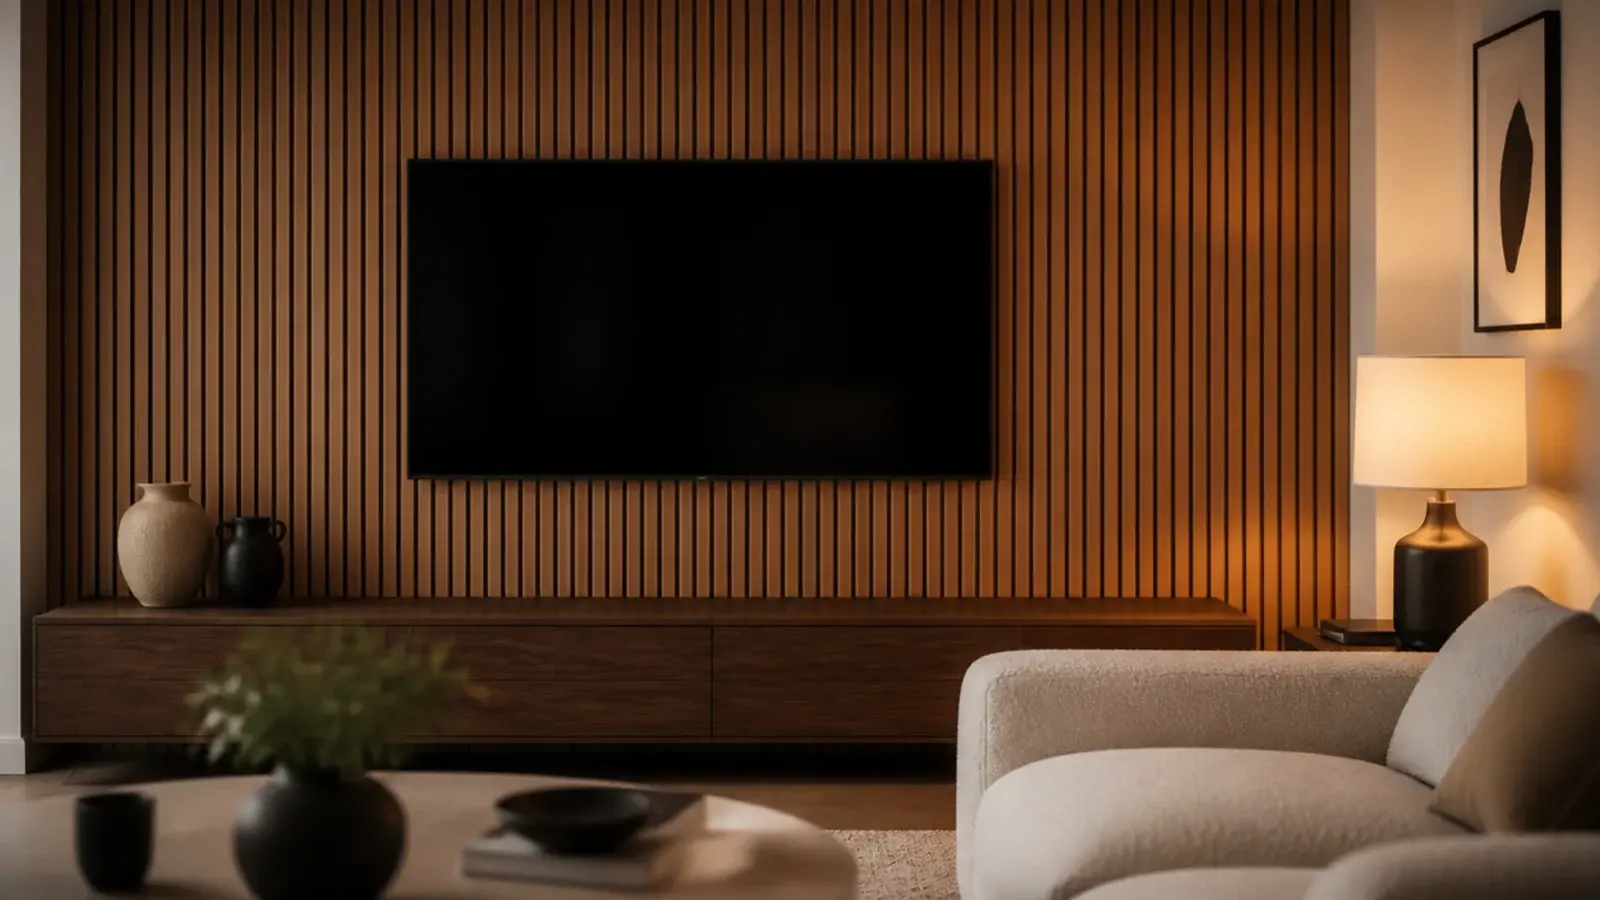
TV wall decor is judged from the sofa, and from the sofa the first thing anyone sees is a grey cable hanging out of a black rectangle. I have mounted screens in four flats and two houses, and the fix has never been a better bracket. It has been deciding where the wires go before anything gets drilled. Once the run is planned, the rest is styling: the ledge, the panelling, the trim, the lamp. Here are twenty-five arrangements that deal with the cabling properly and still leave you with a room rather than a showroom.
In this guide27 sections — tap to openHide
- 1.What tv wall decor gets wrong before you drill
- 2.Recess the outlet so the screen sits flat
- 3.Paint a raceway out and lose the drop entirely
- 4.Fish rated cable between two brush plates
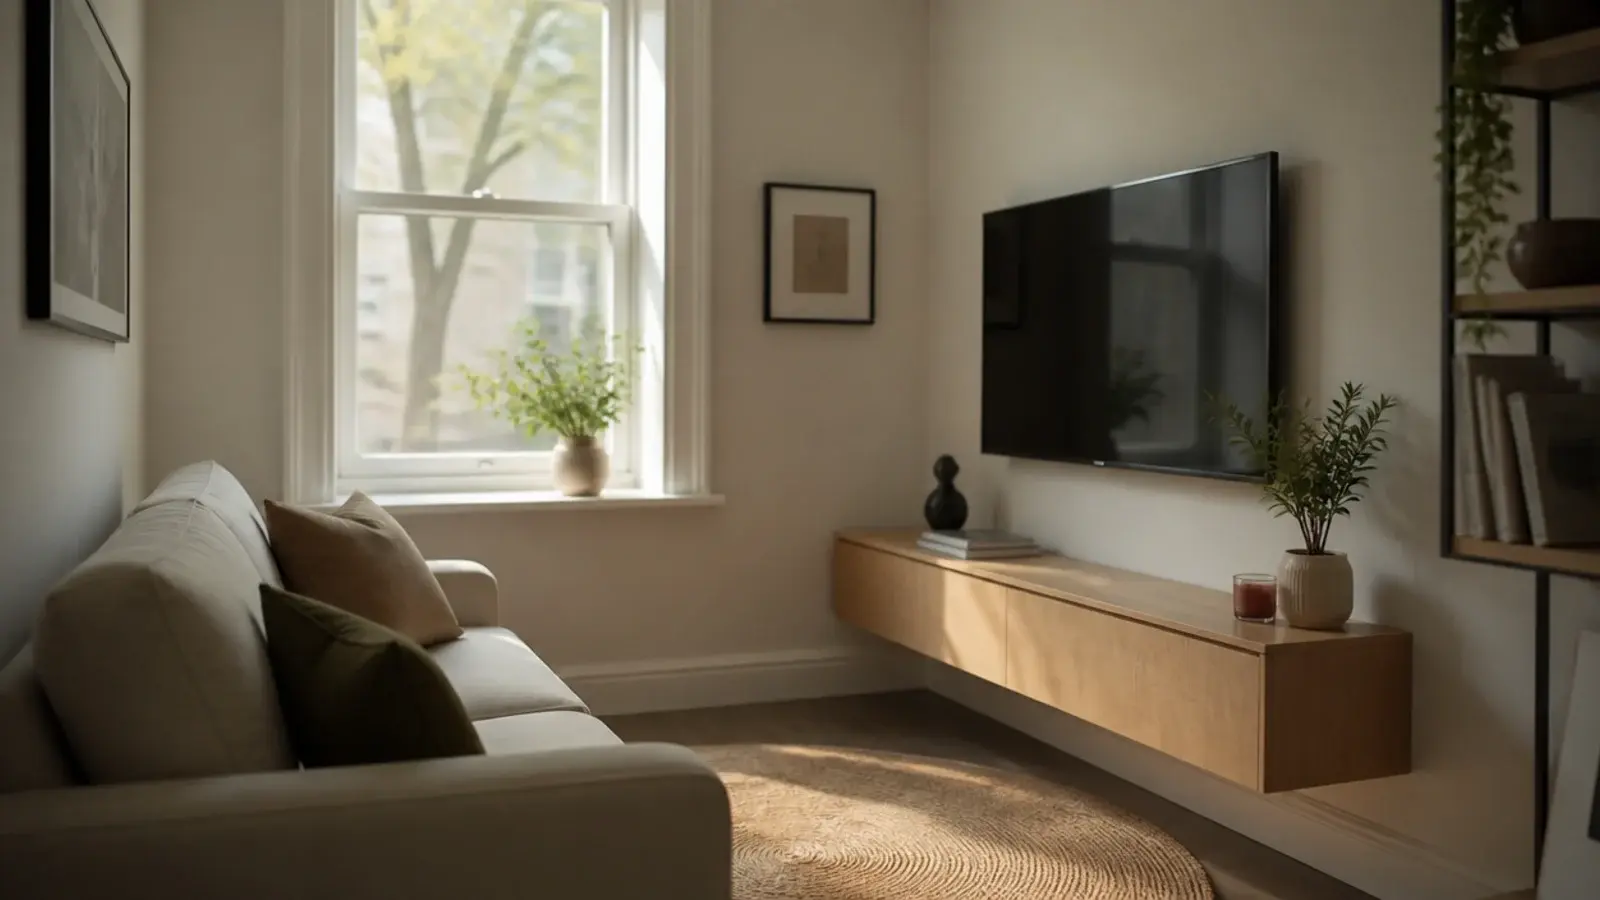
- 5.Float a shelf under the screen for the soundbar
- 6.Panel the wall and use the batten cavity as a chase
- 7.Paint the wall two shades darker than the room
- 8.Build a ledge with a two-inch service gap behind
- 9.Frame the screen inside slim moulding boxes
- 10.Choose a fixed mount over a full-motion arm
- 11.Sleeve the drop between screen and console
- 12.Set the screen centre at forty-two inches
- 13.Run a console wider than the screen
- 14.Hang art level with the top of the screen
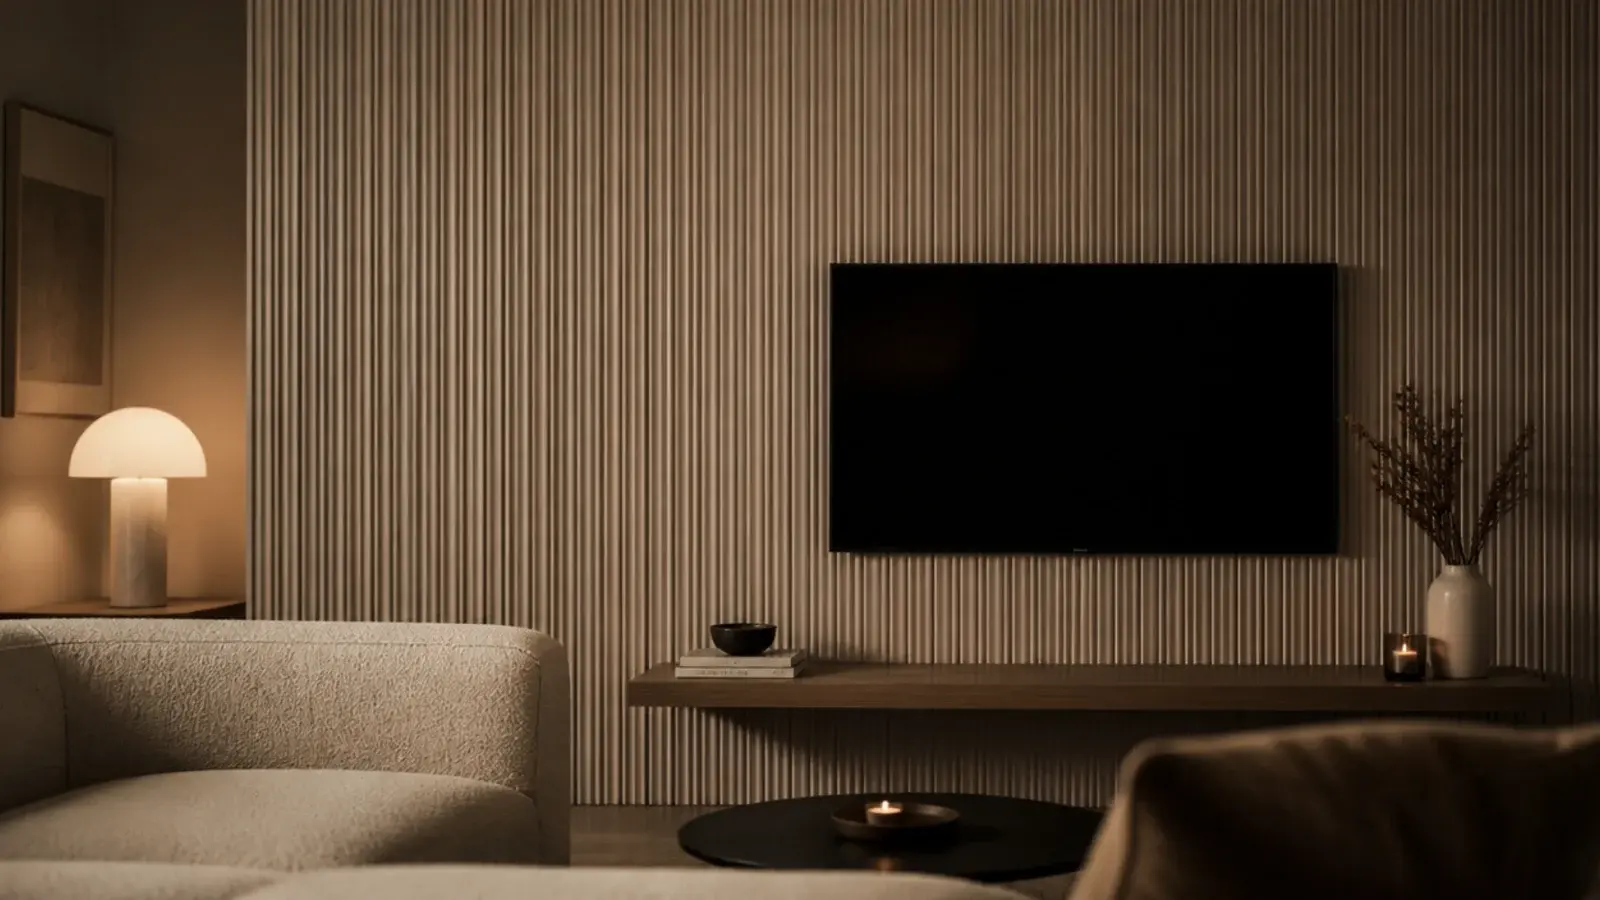
- 15.Slat the wall and route a channel behind
- 16.Use a picture light instead of a table lamp
- 17.Absorb the screen into a gallery wall
- 18.Back the screen with a felt acoustic panel
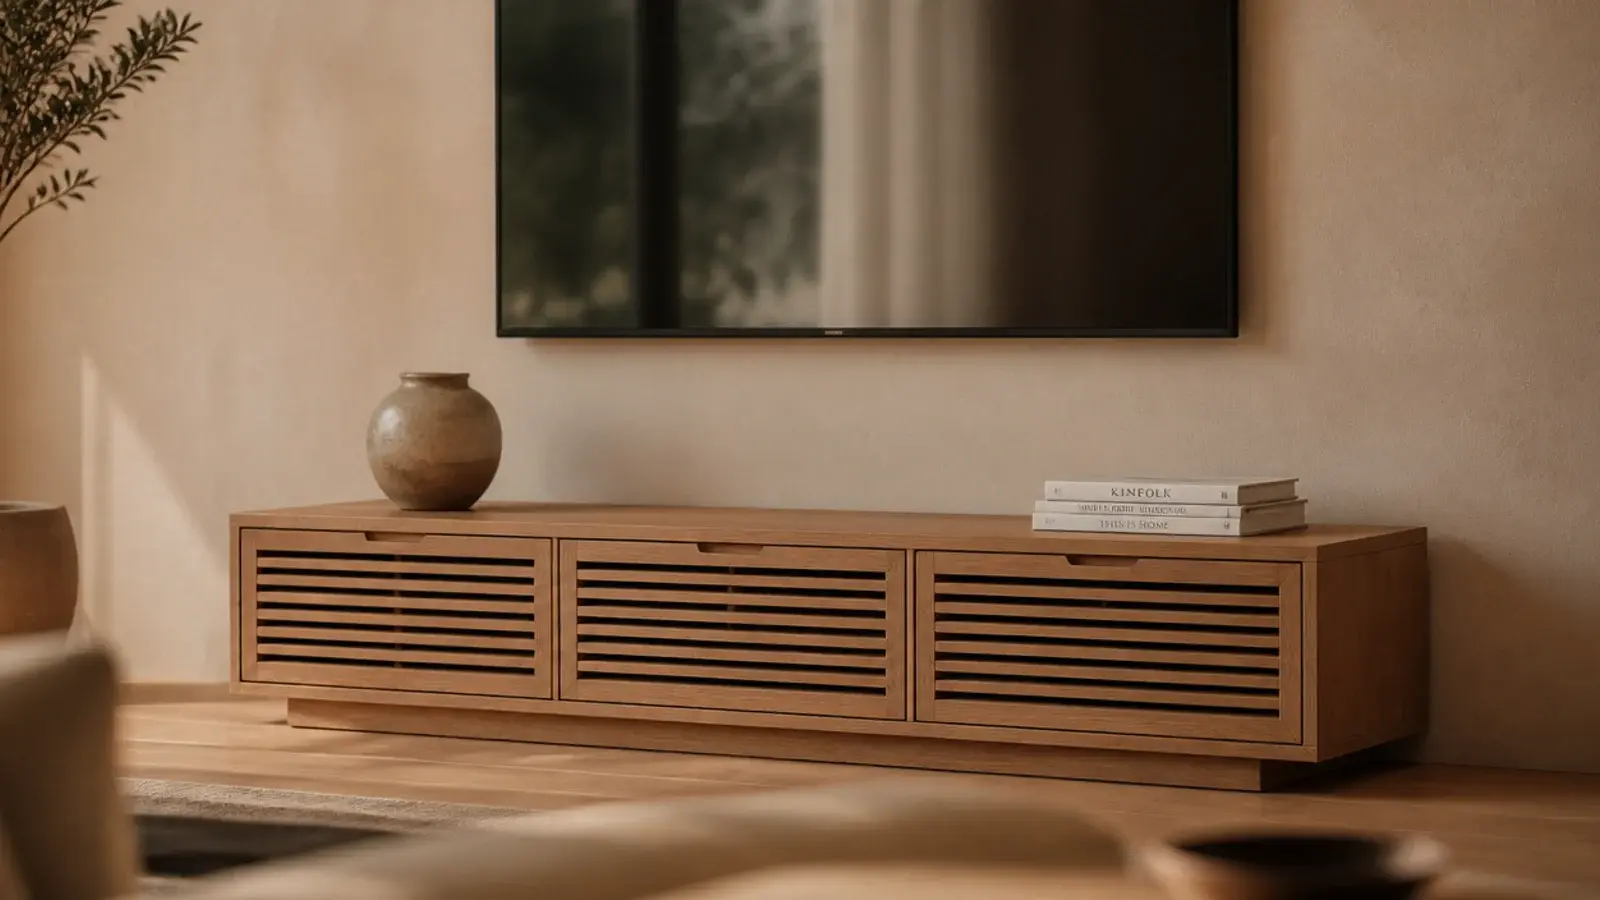
- 19.Vent the cabinet holding the streaming boxes
- 20.Fit a swivel mount where the sofa turns
- 21.Screen the media boxes with grille cloth
- 22.Give the remotes one drawer with a divider
- 23.Match the cover plate to the paint
- 24.Panel the lower wall and chase the run inside
- 25.Break the rectangle with one tall plant
- 26.Style the console in three heights
- 27.Mistakes to Skip
What tv wall decor gets wrong before you drill
Three numbers settle the layout, and all three come before you choose a single object.
Height. Measure to the centre of the screen, not the bottom. A standard sofa seat sits 17 to 18 inches off the floor and seated eye level lands near 42 inches, so a screen centred at 40 to 44 inches puts the picture straight ahead. Above a fireplace you are usually looking at 55 inches or more, which is why that arrangement aches after an hour.
Distance. Multiply the diagonal by 1.6 for a relaxed 30 degree viewing angle, or by 1.2 for a cinema-style 40 degrees. A 65 inch screen therefore wants 8.5 feet in a normal living room and 6.5 feet if you want to be swallowed by it.
Framing. Studs sit 16 inches on centre in most US homes and 400 or 600 millimetre centres in the UK. A fixed mount needs two of them and 5/16 inch lag bolts biting at least 2.5 inches into solid timber. On masonry, use sleeve anchors into the brick face, never the mortar.
Cables split into two jobs. Low-voltage HDMI and speaker wire can legally sit inside a wall if it is CL2 or CL3 rated. A moulded power cord cannot, ever. Use an in-wall power relocation kit at 60 to 110 dollars, or stay outside the plaster with a paintable raceway at 12 to 25 dollars for eight feet. If you rent, the raceway plus adhesive-backed panelling covers most of this list without a single hole. The step-by-step planning guide walks the whole sequence in order.

1. Recess the outlet so the screen sits flat
A standard plug sticks out 1.5 to 2 inches behind the panel, and that gap is why so many mounted screens sit oddly proud. A recessed low-profile box costs 10 to 20 dollars and sinks the plug flush with the drywall face, letting a slim bracket close to under an inch.

2. Paint a raceway out and lose the drop entirely
A paintable PVC raceway is roughly 1 to 1.5 inches wide and half an inch deep, and it takes four or five cables comfortably. Prime it, then give it two coats of the exact wall colour in the same sheen. From six feet it reads as a shadow, not a channel.

3. Fish rated cable between two brush plates
Two brush plates, one behind the screen and one behind the console, cost about 15 dollars a pair. Cut both openings inside the same stud bay so nothing crosses framing, and check for wiring with a voltage detector before the drywall saw goes anywhere near the plaster.

4. Float a shelf under the screen for the soundbar
Six to eight inches of depth holds a soundbar and a streaming box with room for the connectors behind. Mount it 8 to 12 inches below the screen so the bar does not clip the bottom bezel, and use toggle bolts rated 25 to 35 pounds each if you cannot land on framing.

5. Panel the wall and use the batten cavity as a chase
Battens at 18 millimetres thick leave an 18 millimetre gap behind the finish panel, which is more than enough for HDMI and speaker cable. Clip the run before the face boards go on and label both ends, because reopening a finished panel to trace a wire is a genuinely miserable afternoon.

6. Paint the wall two shades darker than the room
A black screen on a white wall is a hole punched in the room. Two steps darker on the same colour card, in a matt finish at 2 to 5 percent sheen, drops the contrast so the edges soften. A single 2.5 litre tin covers most feature walls twice over for 35 to 60 dollars.

7. Build a ledge with a two-inch service gap behind
Hold a solid ledge two inches off the wall on hidden cleats and you have a permanent, reachable cable void running its whole length. It costs nothing extra in materials, and it means adding a console next year does not mean opening the wall again.

8. Frame the screen inside slim moulding boxes
Three panels of 9 to 12 millimetre moulding, the centre one sized to leave 3 to 4 inches of clear wall around the screen, turn a mounted television into a deliberate part of the wall. Keep the outer margins equal to within a quarter inch or the whole run reads crooked.

9. Choose a fixed mount over a full-motion arm
A slim fixed bracket holds the panel 0.6 to 1.2 inches off the wall. A full-motion arm needs 2.5 to 4 inches even folded, and it always needs two studs because the leverage at full extension is brutal. Only buy the arm if a second seating position genuinely needs it.

10. Sleeve the drop between screen and console
A neoprene or braided sleeve gathers four or five cables into one soft column for 8 to 15 dollars. It does not hide the run, but it changes it from clutter into a line, which is the whole difference when a wall cannot be cut open.

11. Set the screen centre at forty-two inches
Mark the centre height first, then work backwards to the bracket holes, because every mount hangs the panel differently. Sit on the sofa with a laser level or a piece of tape and check the sightline before a single hole goes in. Two minutes here saves patching later.

12. Run a console wider than the screen
The console should extend at least 6 inches past each edge of the screen, and further looks better. A 55 inch television measures about 48 inches wide, so a 60 to 72 inch console reads balanced. Anything narrower than the panel above makes the whole wall look top-heavy.

13. Hang art level with the top of the screen
Aligning the top edges of framed prints with the top of the screen gives the wall one shared horizon line. Keep frames 4 to 6 inches clear of the panel so nothing looks crowded, and repeat one frame finish twice rather than using five different ones.

14. Slat the wall and route a channel behind
Slat panels built from 20 by 40 millimetre battens at 20 to 30 millimetre gaps give a strong vertical rhythm and a natural place to hide a cable. Felt-backed acoustic panels come in 240 by 60 centimetre sheets, weigh about 12 kilograms each, and need fixing into framing rather than plasterboard alone.

15. Use a picture light instead of a table lamp
Watching a bright screen against a dark wall is what makes eyes ache by episode three. A warm 2700K picture light above the panel at 200 to 400 lumens lifts the surrounding wall just enough. Plug-in versions exist, so this works in a rental with no wiring.

16. Absorb the screen into a gallery wall
Surround the panel with mixed frames and the eye stops reading it as the only object. Keep 2 to 3 inches between frames, mock the layout on the floor first, and hang the largest piece at the same centre height as the screen so the arrangement has an anchor.

17. Back the screen with a felt acoustic panel
A hard plaster wall throws sound straight back at the sofa. A 9 to 12 millimetre felt panel behind and around the screen takes the edge off that slap echo and gives the black rectangle a soft ground to sit on. Expect 40 to 90 dollars a square metre.

18. Vent the cabinet holding the streaming boxes
A closed cabinet full of media boxes runs 10 to 15 degrees warmer than the room. Cut two 50 millimetre holes through the back panel, or leave the rear open entirely, and keep 2 inches of clear air above each device. Heat is what kills consoles, not use.

19. Fit a swivel mount where the sofa turns
If a second chair sits at an angle, 15 to 20 degrees of swing fixes the sightline that height alone cannot. Buy a short-throw swivel rather than a long articulated arm — it keeps the panel close to the wall and still turns enough to serve the other seat.

20. Screen the media boxes with grille cloth
Loose-weave linen or speaker cloth over a slim timber frame hides equipment while still passing an infrared remote signal. Test with the remote before you fix the frame, because dense upholstery fabric will block it and you will only find out after the panel is glued.

21. Give the remotes one drawer with a divider
Three remotes, a spare battery pack and a charging cable fit a drawer 12 by 16 inches with two felt dividers. The rule that makes it stick is that the drawer holds nothing else. Shared drawers fill with receipts within a month, and then the remotes live on the sofa again.

22. Match the cover plate to the paint
Sockets and plates on a feature wall are small white full stops in the middle of the composition. Scuff them with 240 grit, then roll on the wall colour. It takes ten minutes, costs nothing, and does more than any single piece of styling on this wall.

23. Panel the lower wall and chase the run inside
Board and batten to 40 to 48 inches high gives you a full-width cavity to run cable behind, plus a capping shelf for candlesticks and small frames. Renters can build this on adhesive alone on sound painted plaster, and the panelling ideas guide covers the removable versions in detail.

24. Break the rectangle with one tall plant
A screen, a console and a rug are all horizontal. One plant at 4 to 5 feet, set so the leaves just overlap a screen corner, gives the wall the vertical it is missing. Choose a low-light tolerant species, because a media wall is rarely the brightest corner.

25. Style the console in three heights
One tall object, one flat stack, one small round thing, and nothing else. That is the working limit for a media console, and it survives real life because there is deliberately space left for the mug, the phone and the remote that arrive every evening anyway.

For the whole-wall treatments, thirty TV wall design looks covers materials and finishes in depth, and budget living room TV walls has the versions under 200 dollars. If the cabinet below is the real problem, TV unit decor ideas handles the storage side, and mirror wall decor ideas is worth reading for the wall opposite, where reflections in a dark screen actually matter.
Mistakes to Skip
- Mounting above a working fireplace. Screen centre lands at 55 to 65 inches, the neck angle is punishing, and mantel heat regularly pushes the panel past its rated operating range.
- Running a moulded power cord inside the wall because the hole was already cut. It is against code, it is a genuine fire risk, and an in-wall power kit costs less than a takeaway.
- Hanging a heavy full-motion mount on drywall anchors alone. At full extension the leverage on those fixings is several times the static load, and the failure happens while nobody is home.
- Choosing panelling before measuring the socket position. Half the panelled TV walls I have unpicked were built straight over the only outlet on that wall.
Frequently asked questions
How high should a TV be mounted on the wall?
Aim for the centre of the screen at 40 to 44 inches from the floor, with 42 inches suiting most sofas. Seat height on a standard sofa is 17 to 18 inches and seated eye level lands near 42 inches, so that puts the middle of the picture straight ahead rather than tipping your head back all evening.
Can I run a TV power cord inside the wall?
No. A moulded appliance cord is not rated to sit inside a stud cavity and doing it breaks electrical code in most places. Use an in-wall power relocation kit instead: it puts a proper receptacle behind the screen and a second one near the console, joined by rated cable, for roughly 60 to 110 dollars.
How do I hide TV cables without cutting the wall?
Use a paintable PVC raceway. Standard sizes run about 1 to 1.5 inches wide and half an inch deep, they take four or five cables, and two coats of the wall colour makes them read as a shadow line. Adhesive-backed versions need no holes at all, which suits a rental.
How far should the sofa sit from the television?
Multiply the screen diagonal by 1.6 for a comfortable 30 degree viewing angle, so a 65 inch screen wants roughly 8.5 feet. Multiply by 1.2 if you want a cinema-style 40 degree angle. Closer than that and you start tracking the picture with your eyes rather than taking it in whole.
Does a TV need a gap around it inside a recess?
Yes. Leave at least 2 inches of clear air at the top and both sides, and 3 to 4 inches if the recess is closed at the back. Screens vent upward, and a tight alcove traps heat against the panel, which shortens the life of the backlight and voids most warranties.
Want more like this? Browse all 15 tv wall decor guides — they all use the same measurements and budget tiers.

Pin it for later
Save this to your TV Wall Decor board
Pin it now so it is waiting for you when the tape measure comes out — and so the next person hunting for this idea can find it too.
Save this pinKeep going
More ideas worth saving while you have the tape measure out.