Center Table Living Room · How-To
15 Steps To Style A Wooden Modern Center Table

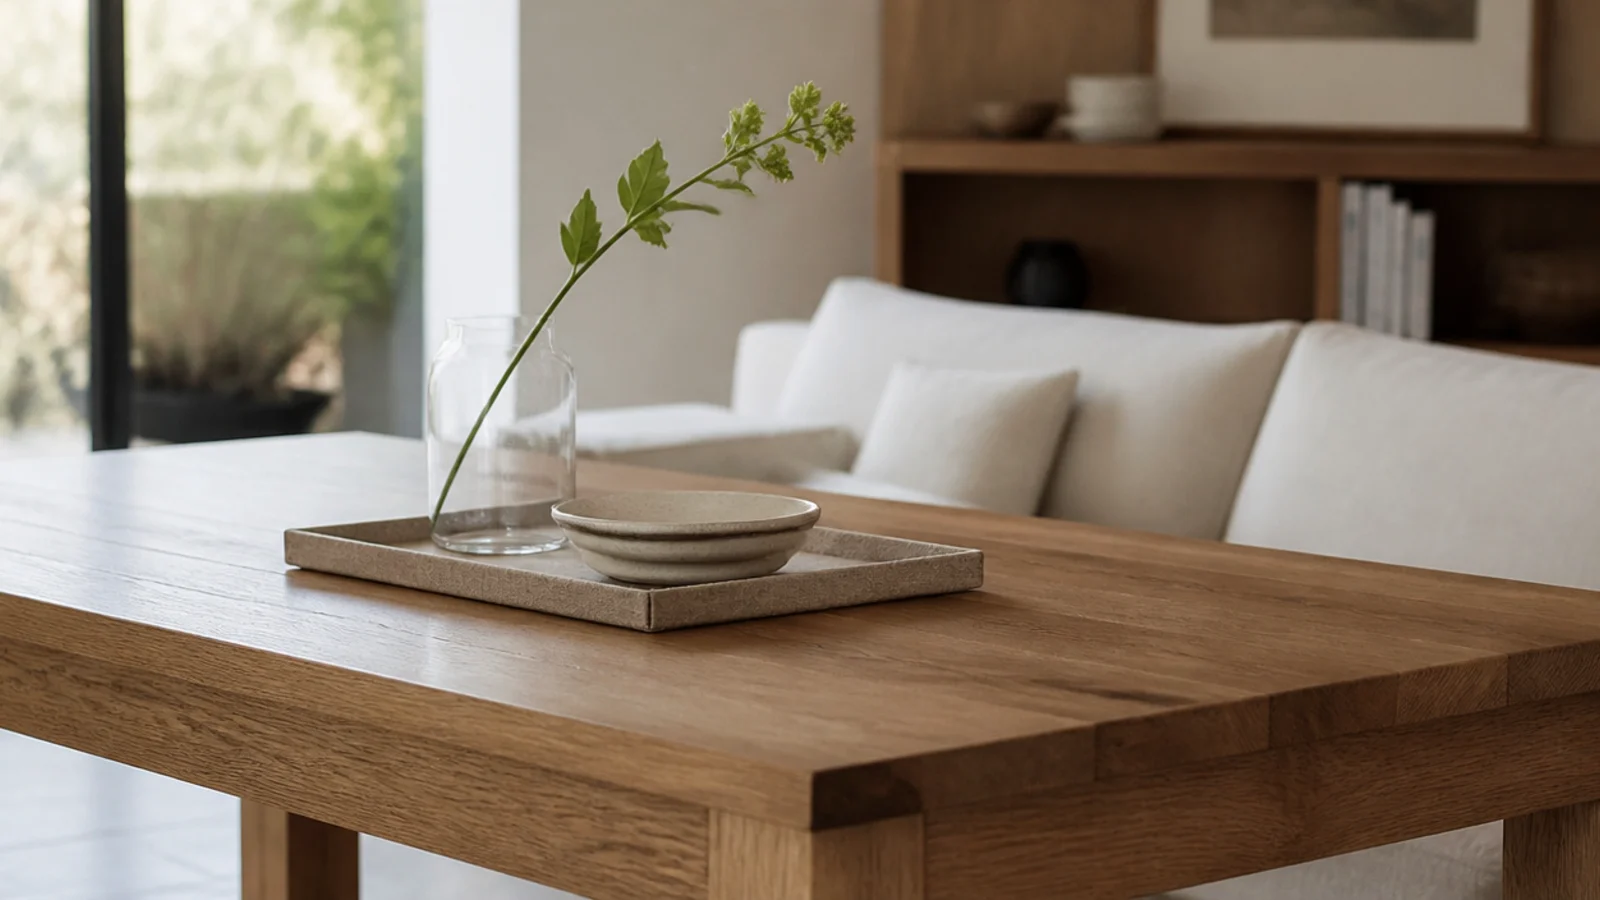
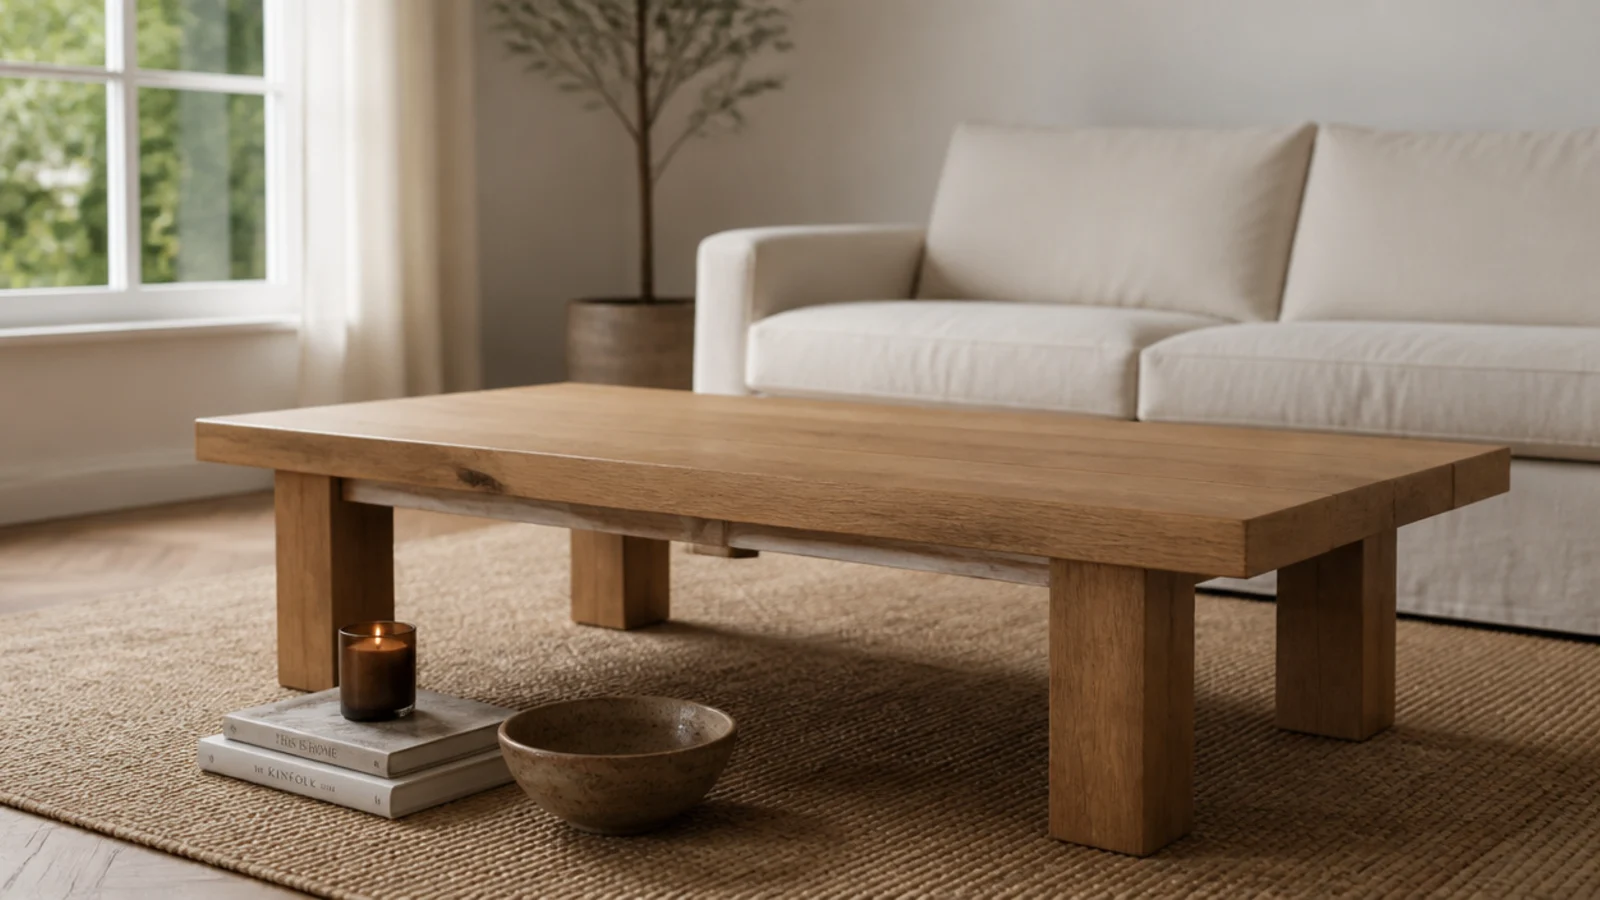
A solid timber top is the easiest surface in the house to make look good and the easiest to leave looking tired. Oil finishes go thirsty, felt pads wear through, and arrangements drift upward in height until nobody can see across the room. This is the order I work in on a center table living room wooden modern setup, from tape measure to final photograph. It takes an afternoon plus overnight drying, and needs no new furniture.
In this guide18 sections — tap to openHide
- 1.What You'll Need To Style A Wooden Modern Center Table In The Living Room
- 2.Step 1: Measure the sofa seat and check the top height
- 3.Step 2: Tape the sixteen to eighteen inch gap
- 4.Step 3: Clear the table completely
- 5.Step 4: Clean the timber and let it dry
- 6.Step 5: Test the finish with water droplets
- 7.Step 6: Apply hardwax oil thin and buff it off
- 8.Step 7: Level the table with pads and glides
- 9.Step 8: Set the rug so all four feet land on it
- 10.Step 9: Choose a tray about a third of the top
- 11.Step 10: Add the one large anchoring object
- 12.Step 11: Build three clear heights
- 13.Step 12: Set a texture against the timber
- 14.Step 13: Route the charging cable out of sight
- 15.Step 14: Leave the near third completely bare
- 16.Step 15: Photograph it and take one thing away
- 17.Pro Styling Rules
- 18.Mistakes to Skip
What You'll Need To Style A Wooden Modern Center Table In The Living Room
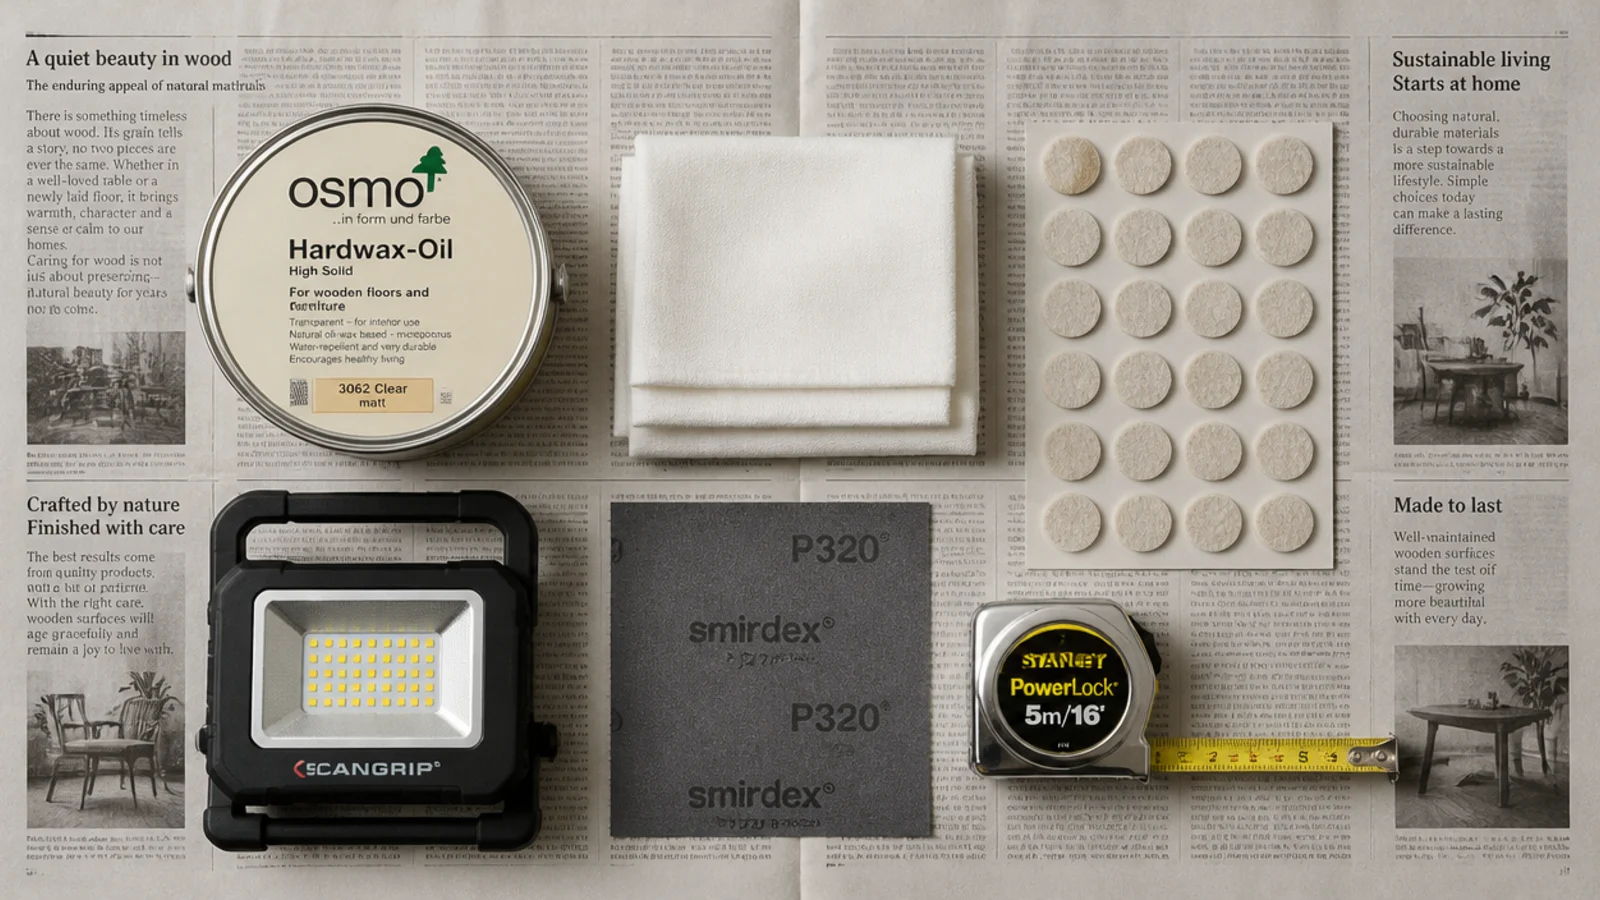
Nothing specialist. If the table is already in reasonable condition you can skip the finishing items and go straight to step seven. A full refresh including oil and pads runs about $45 to $80.
| Item | Spec that matters | Rough cost |
|---|---|---|
| Tape measure | 12 ft, for seat height and walkway | borrowed |
| Painters tape | Low tack, for marking the gap on the floor | $5 |
| Mild soap and cloths | Barely damp, lint-free, never a soaking sponge | $6 |
| Hardwax oil | Clear satin, penetrating rather than film-forming | $22–$35 |
| Fine abrasive | 240 to 320 grit for a light key between coats | $6 |
| Felt pads and glides | One inch dots plus threaded glides if the floor slopes | $10–$18 |
| Tray | Around a third of the table length, half inch rim | $25–$70 |
| Coasters | Cork or leather around 4mm thick | $15–$35 |
| Cable clips | Self-adhesive, for routing flex down a leg | $6 |
Step 1: Measure the sofa seat and check the top height
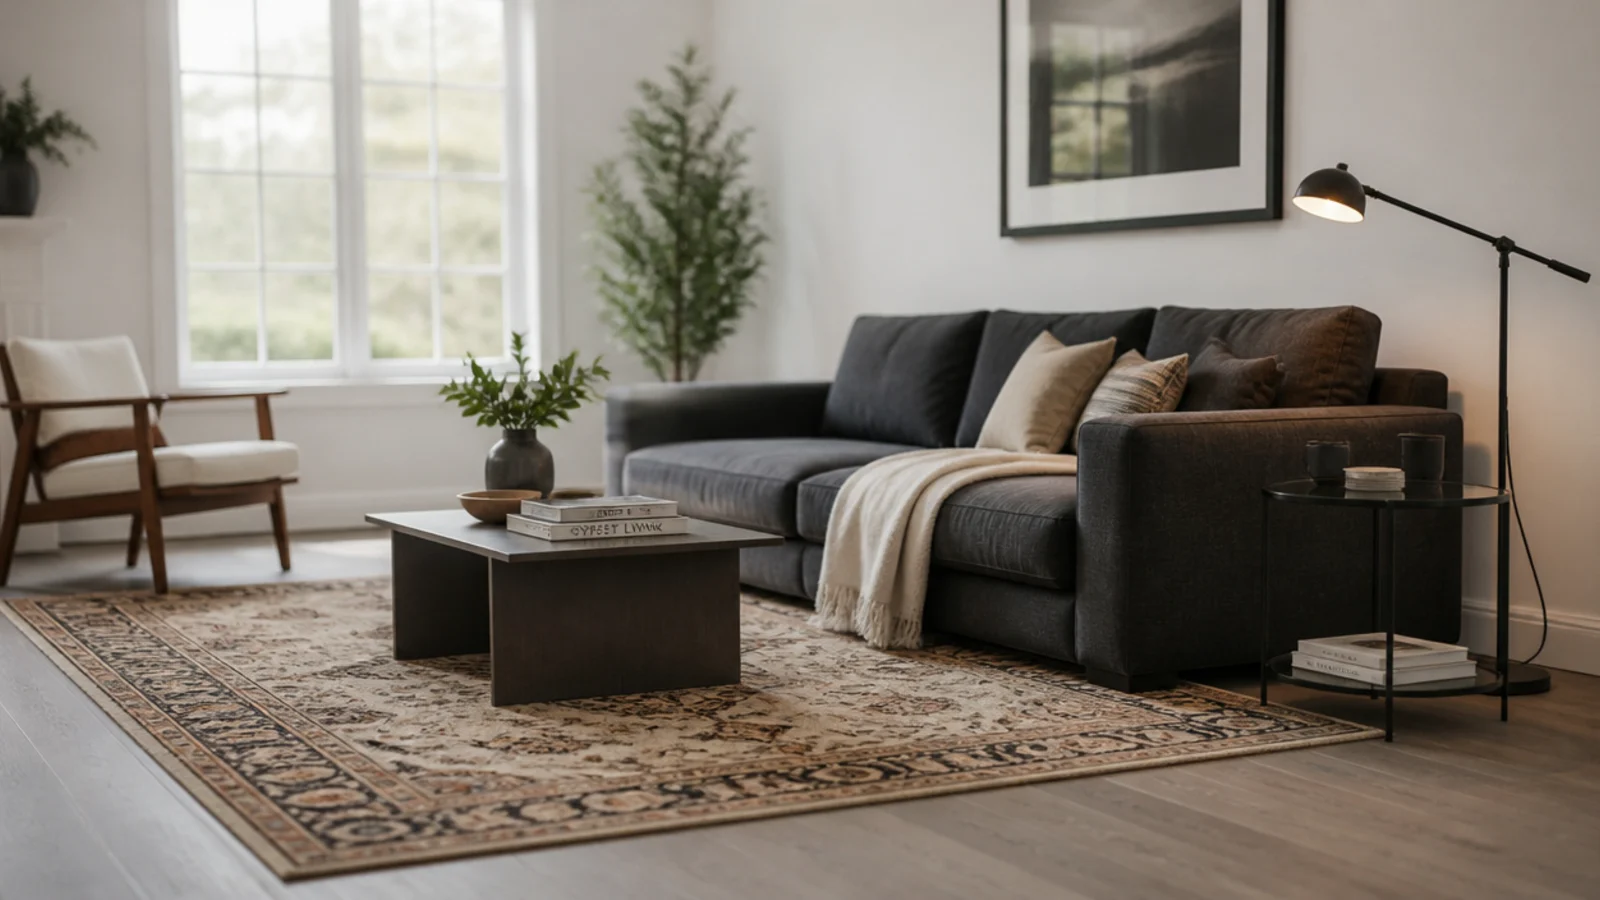
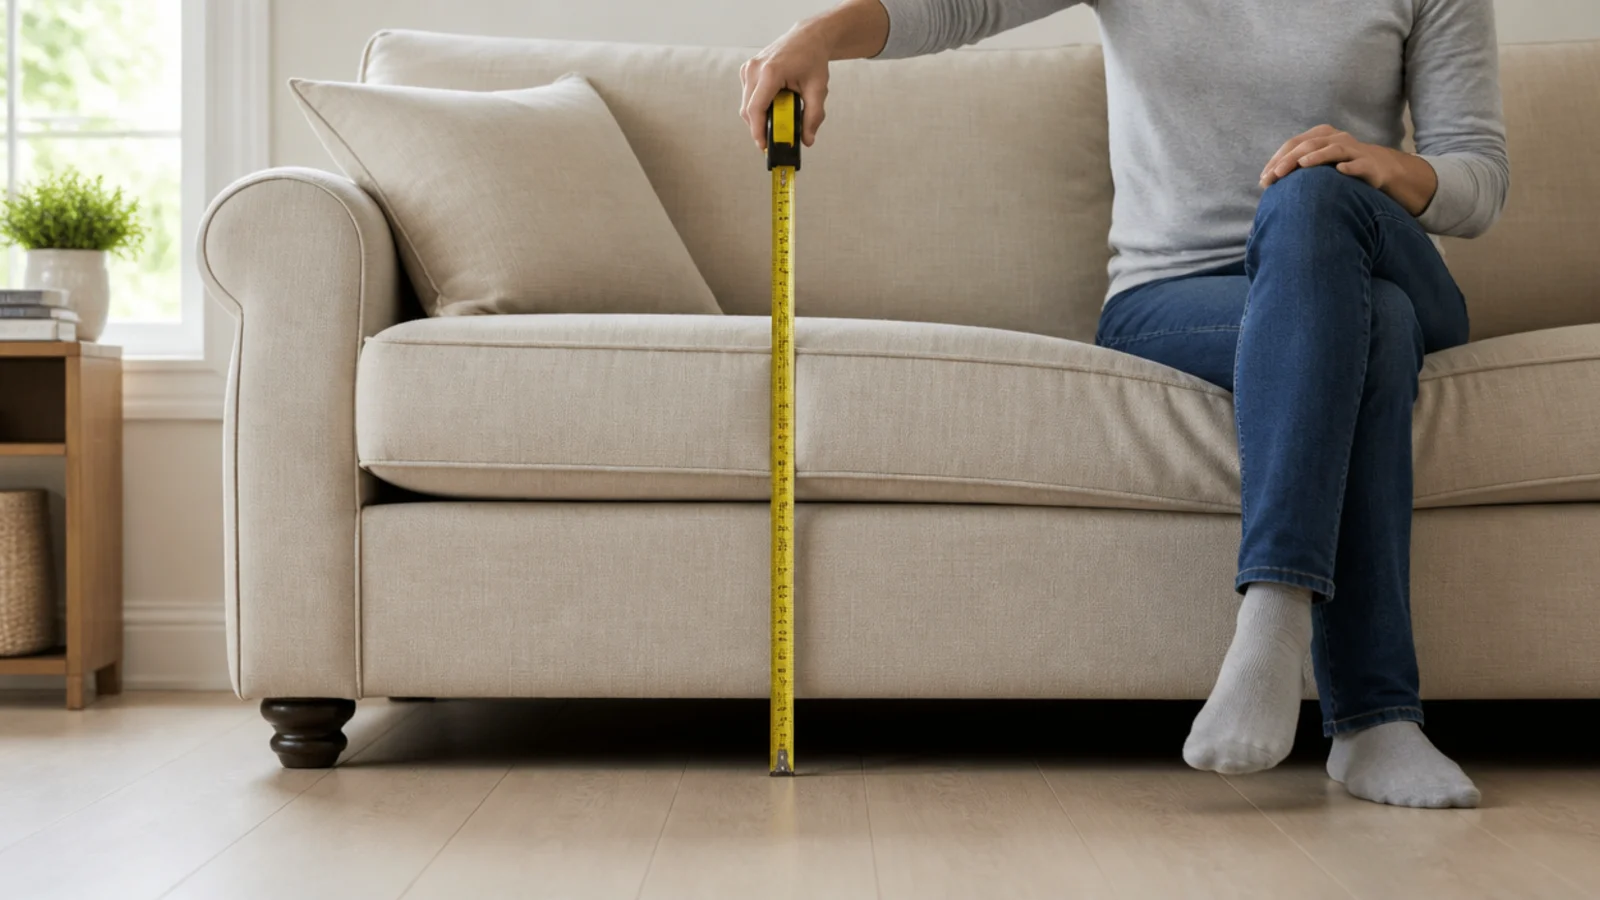
Have somebody sit on the sofa and measure from the floor to the top of the compressed cushion. Most land at 17 to 19 inches, low modern frames at 15 to 16. Your table top should be within one to two inches of that, ideally just under. If the table is more than three inches out you are styling the wrong piece, and no arrangement fixes it.
Step 2: Tape the sixteen to eighteen inch gap
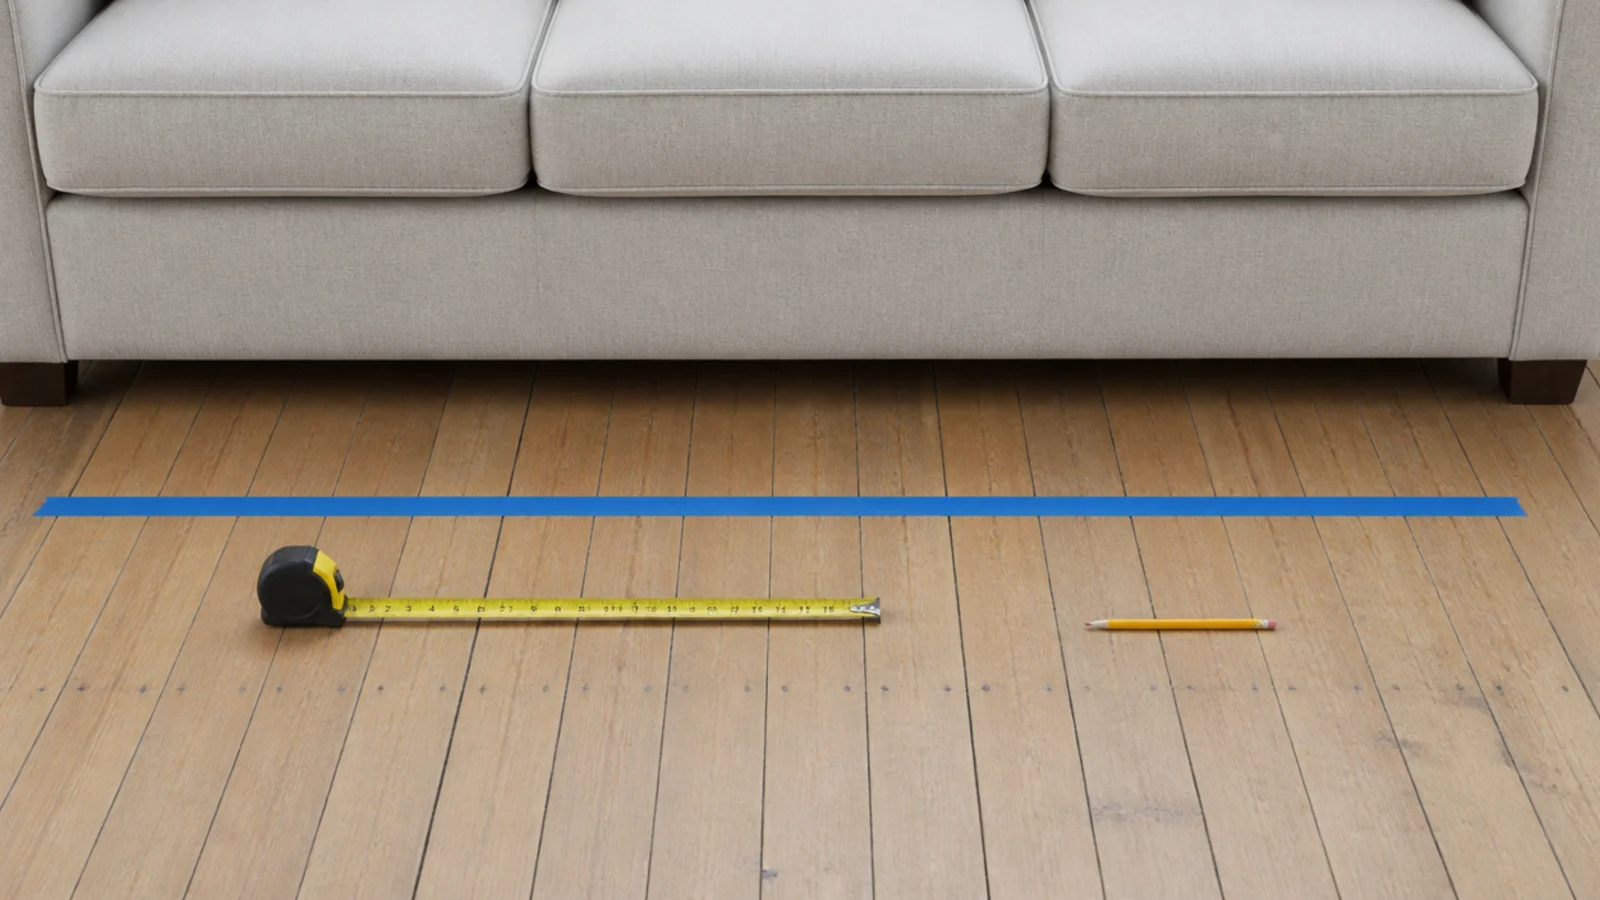
Run a strip of low-tack tape on the floor parallel to the sofa front and set the table edge to it. Sixteen inches lets you reach a mug from the cushion; eighteen lets you stand up without turning sideways. Walk the room for a day before you commit. If the main route past the table drops under 30 inches, the table is too deep for the room.
Step 3: Clear the table completely
Everything off, onto the rug. Styling around what has accumulated is how tables end up with eleven objects on them and no clear surface. Sort the pile into three groups as you go: things that live here, things that belong elsewhere, and things nobody has touched in six months. The third group does not come back.
Step 4: Clean the timber and let it dry
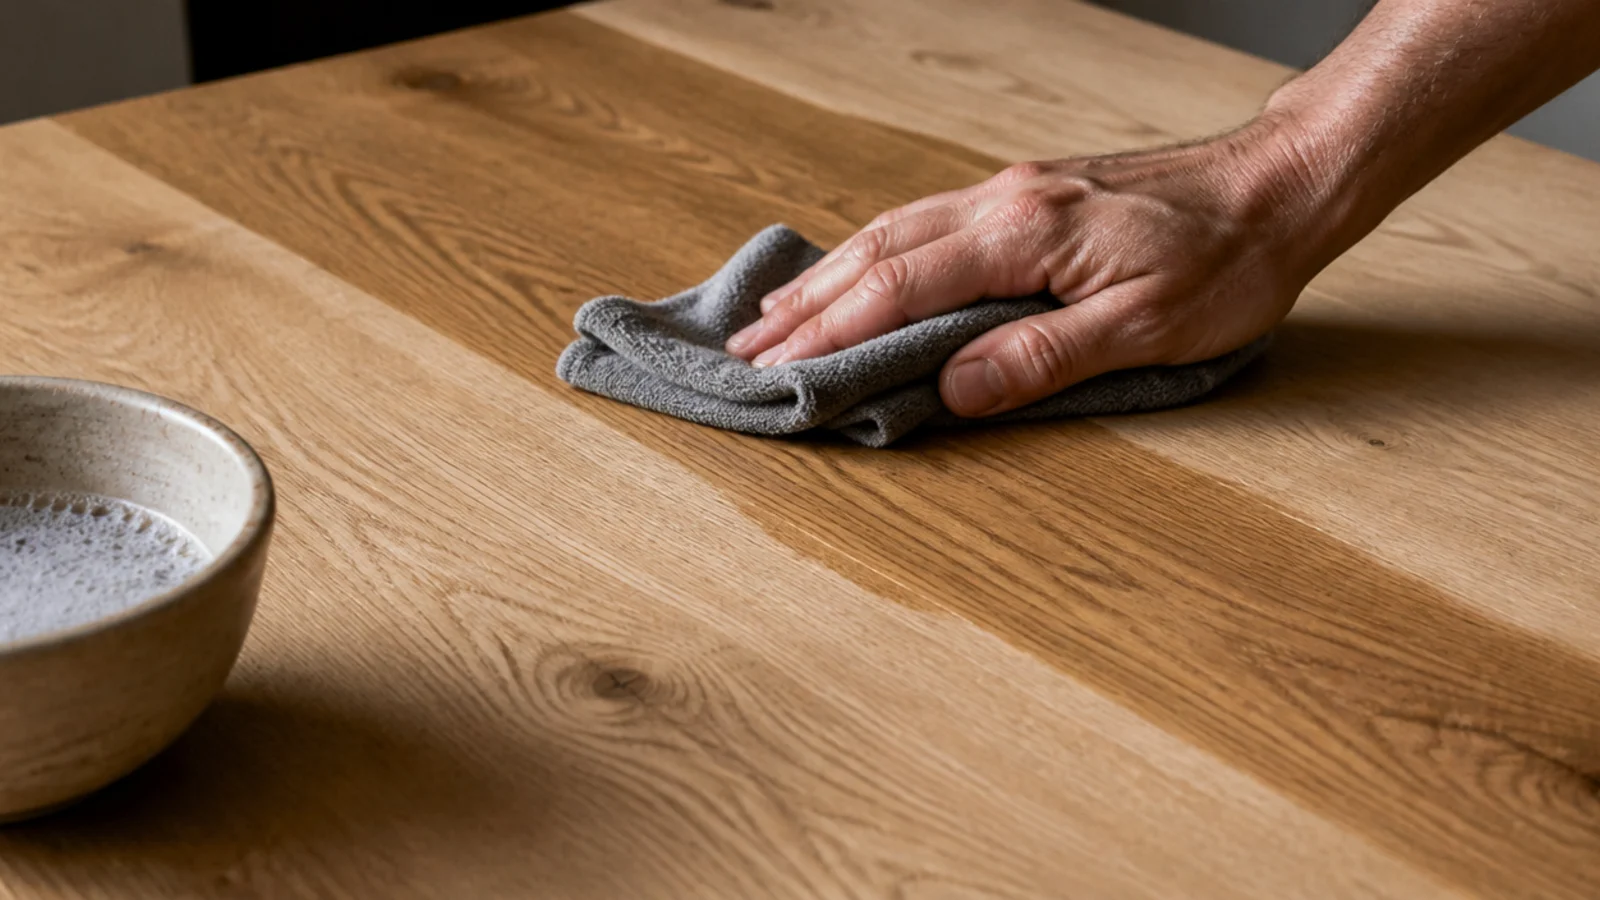
A barely damp cloth with a drop of mild soap, worked along the grain rather than across it, then a dry cloth immediately behind. Never leave standing water on an oiled top. Give it a full hour to dry before you assess the finish, because damp timber always looks better than it is.
Step 5: Test the finish with water droplets
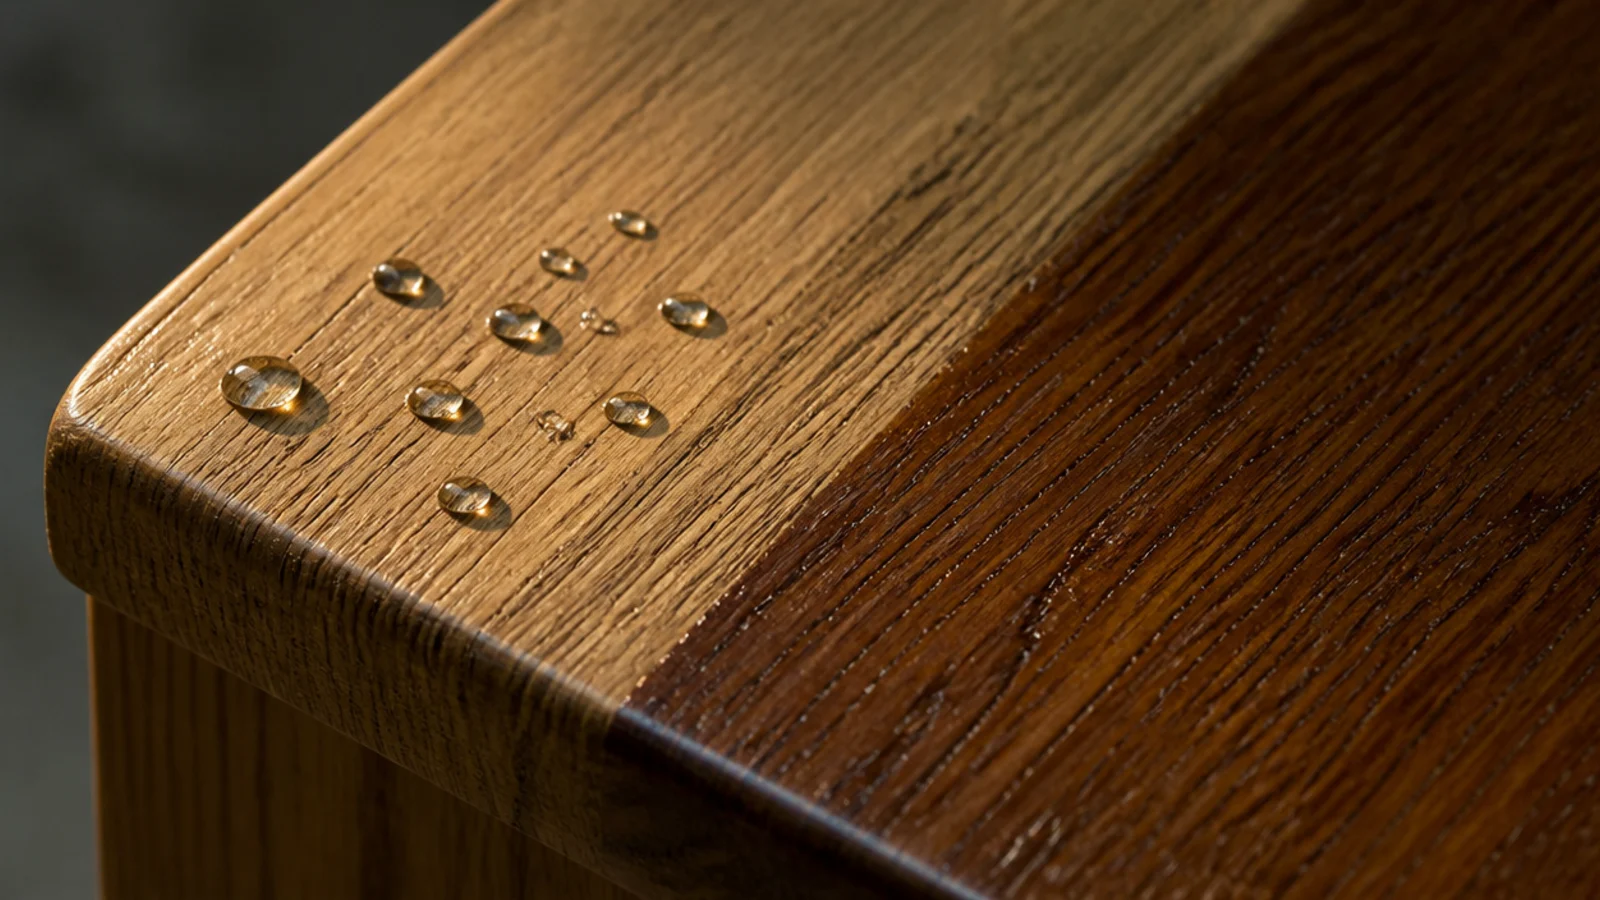
Flick four or five drops of water onto different parts of the top and watch for thirty seconds. Beads sitting proud mean the finish is intact and you can skip to step seven. Drops that soak in and darken the grain mean the surface is thirsty, which is normal once or twice a year on a table in daily use.
Step 6: Apply hardwax oil thin and buff it off
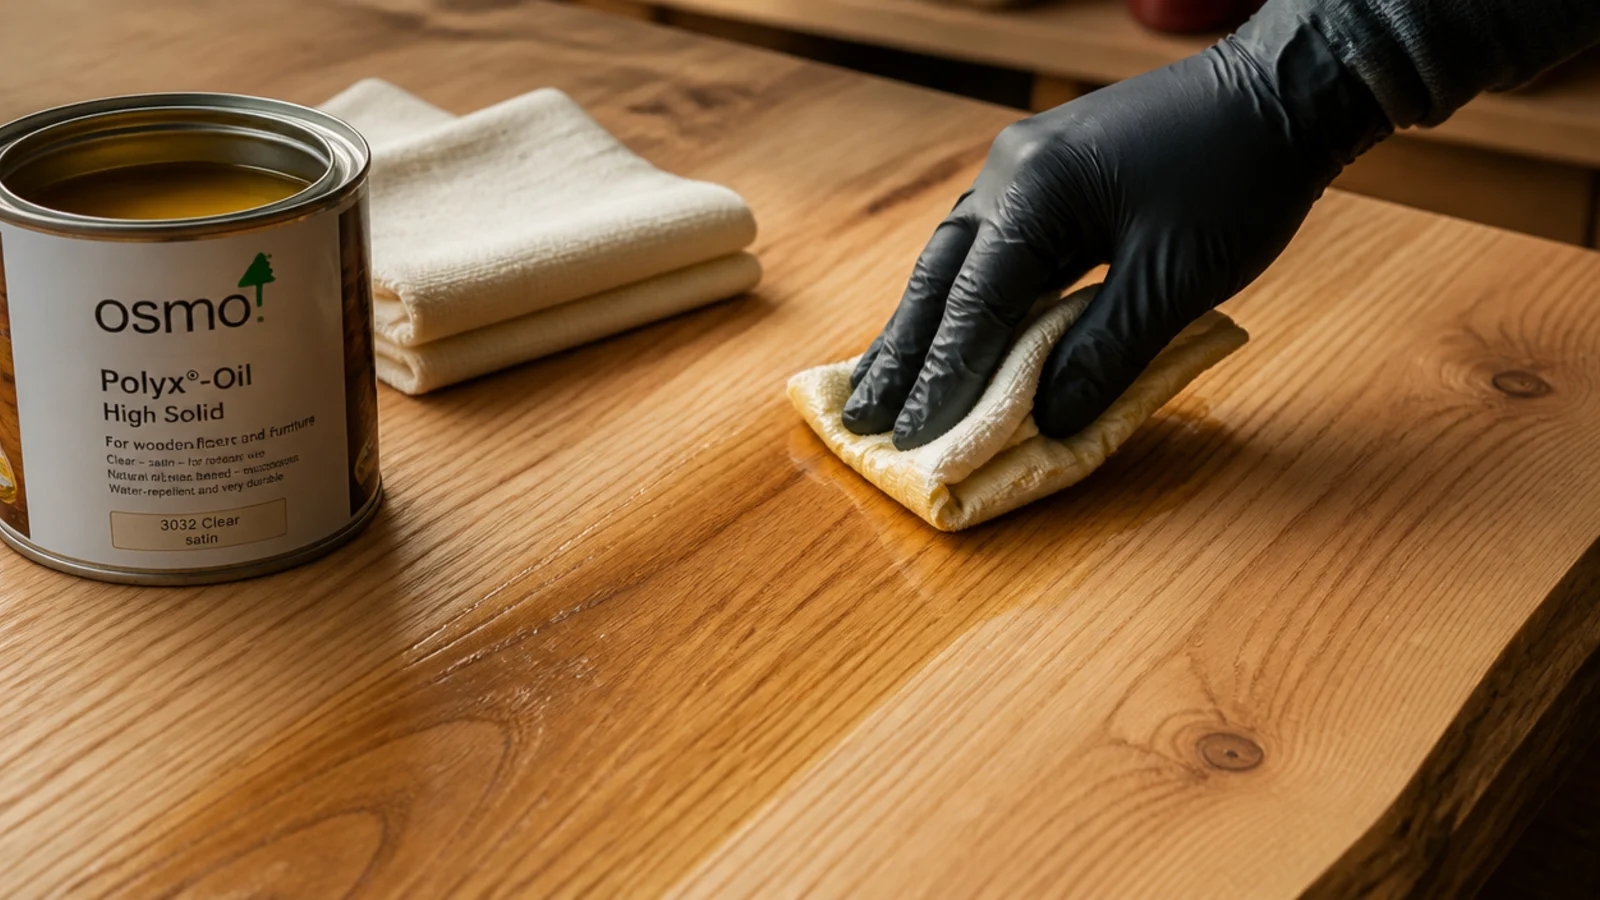
Scuff any rough patches with 240 to 320 grit, vacuum the dust, then wipe on a thin coat of clear satin hardwax oil with a lint-free cloth. Leave it fifteen minutes, then buff off everything that has not absorbed. Two thin coats beat one heavy one every time. Allow eight hours before use and about seven days before the finish fully hardens. Lay used oily cloths flat outdoors to dry, because a bunched rag can self-heat.
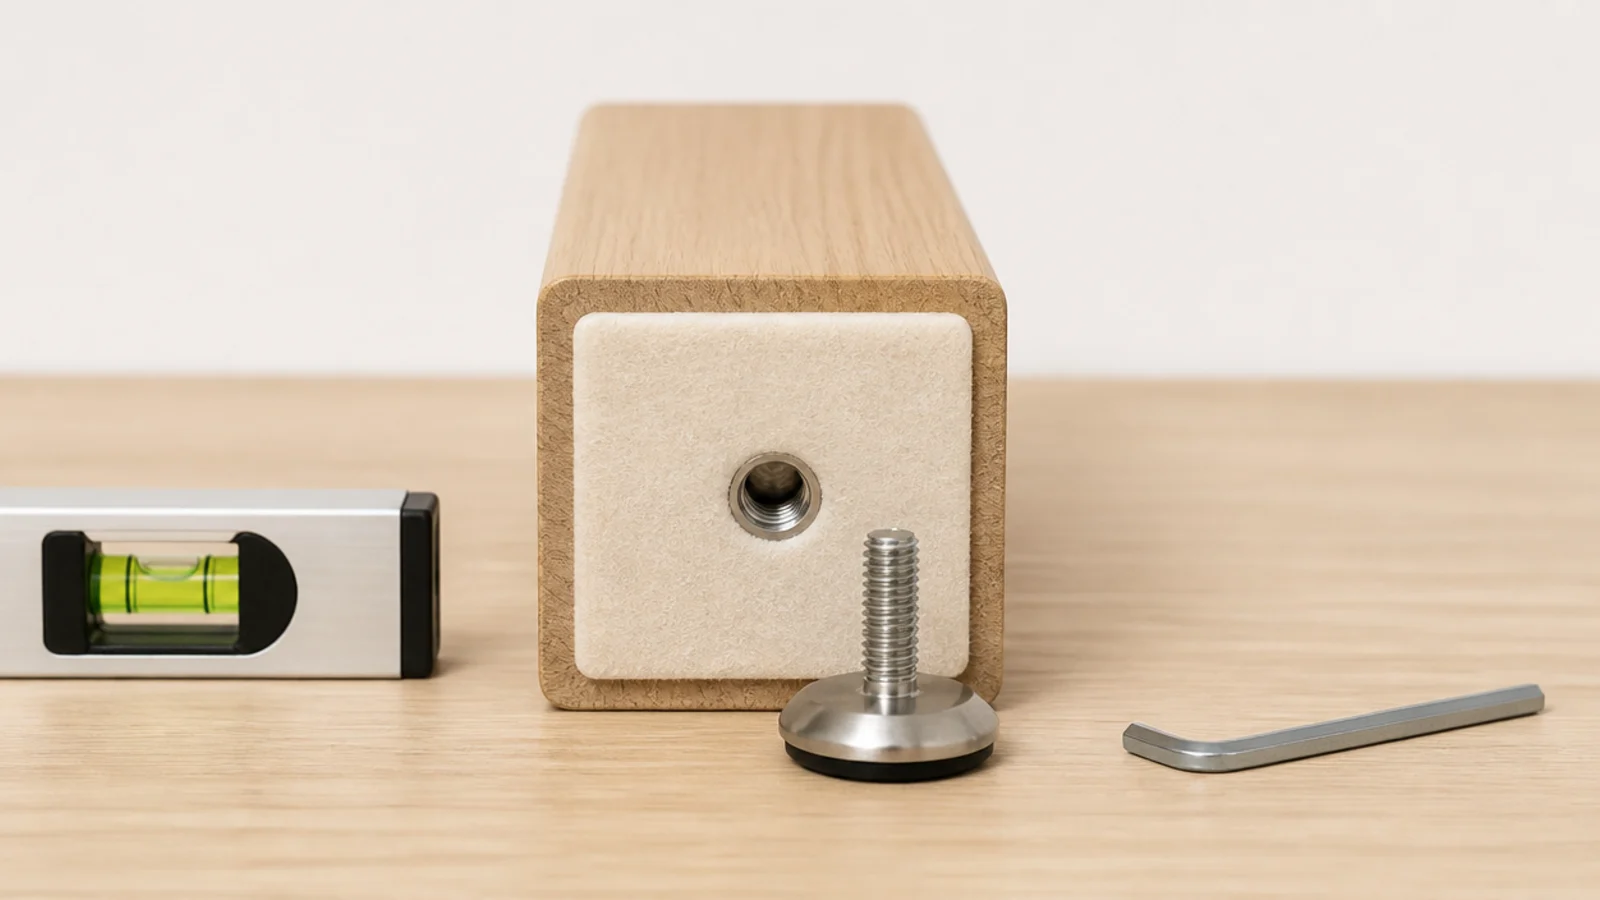
Step 7: Level the table with pads and glides
Press one-inch felt dots onto every foot, then check for rock by pressing diagonally opposite corners. Old floors are almost always the culprit rather than the furniture. Threaded glides give 10 to 15mm of adjustment and a quarter turn on one leg usually settles it permanently.
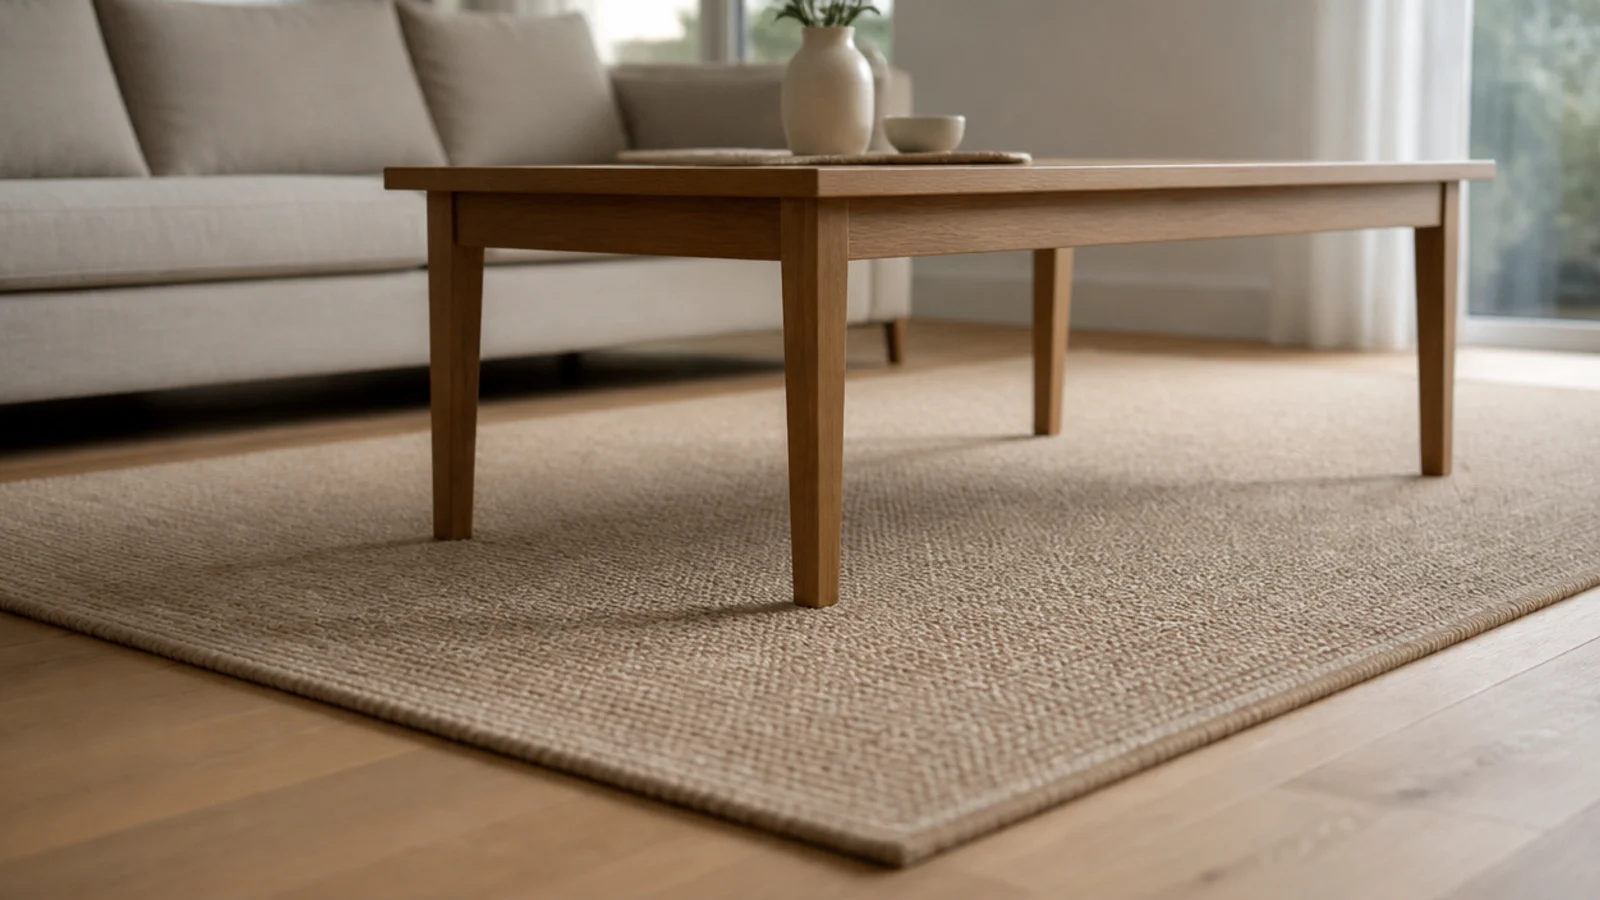
Step 8: Set the rug so all four feet land on it
Either every foot sits on the pile or none do. Two on and two off produces a wobble no shim ever really cures. Aim for at least 8 to 12 inches of rug beyond the table on every side so the arrangement reads anchored rather than balanced on an edge. The rug and table pairing guide covers sizing in more detail.
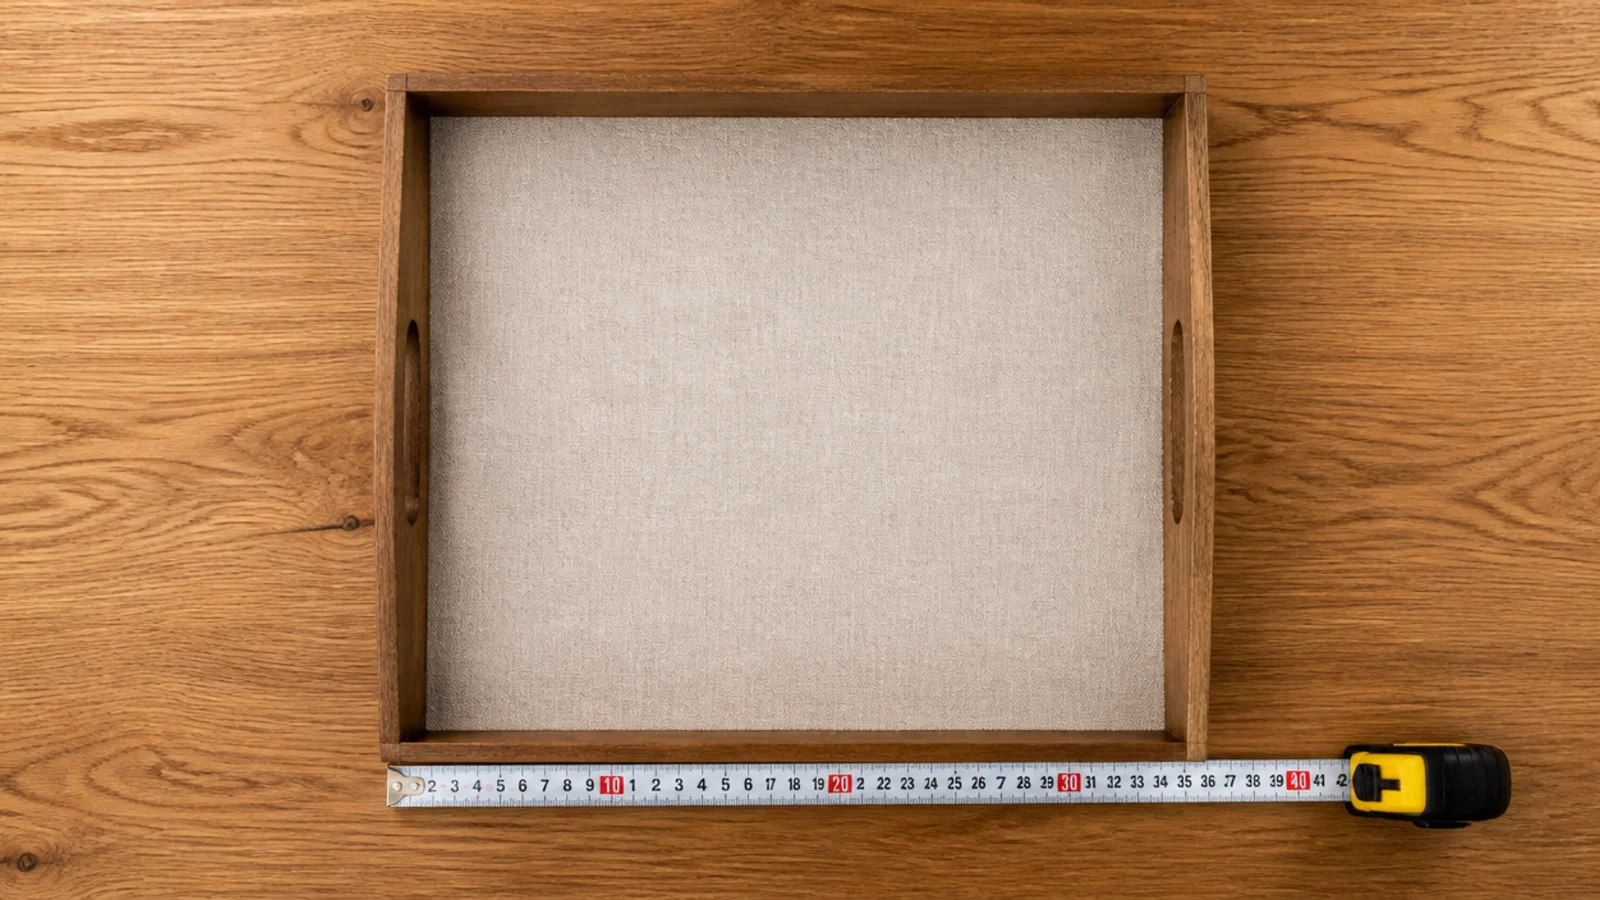
Step 9: Choose a tray about a third of the top
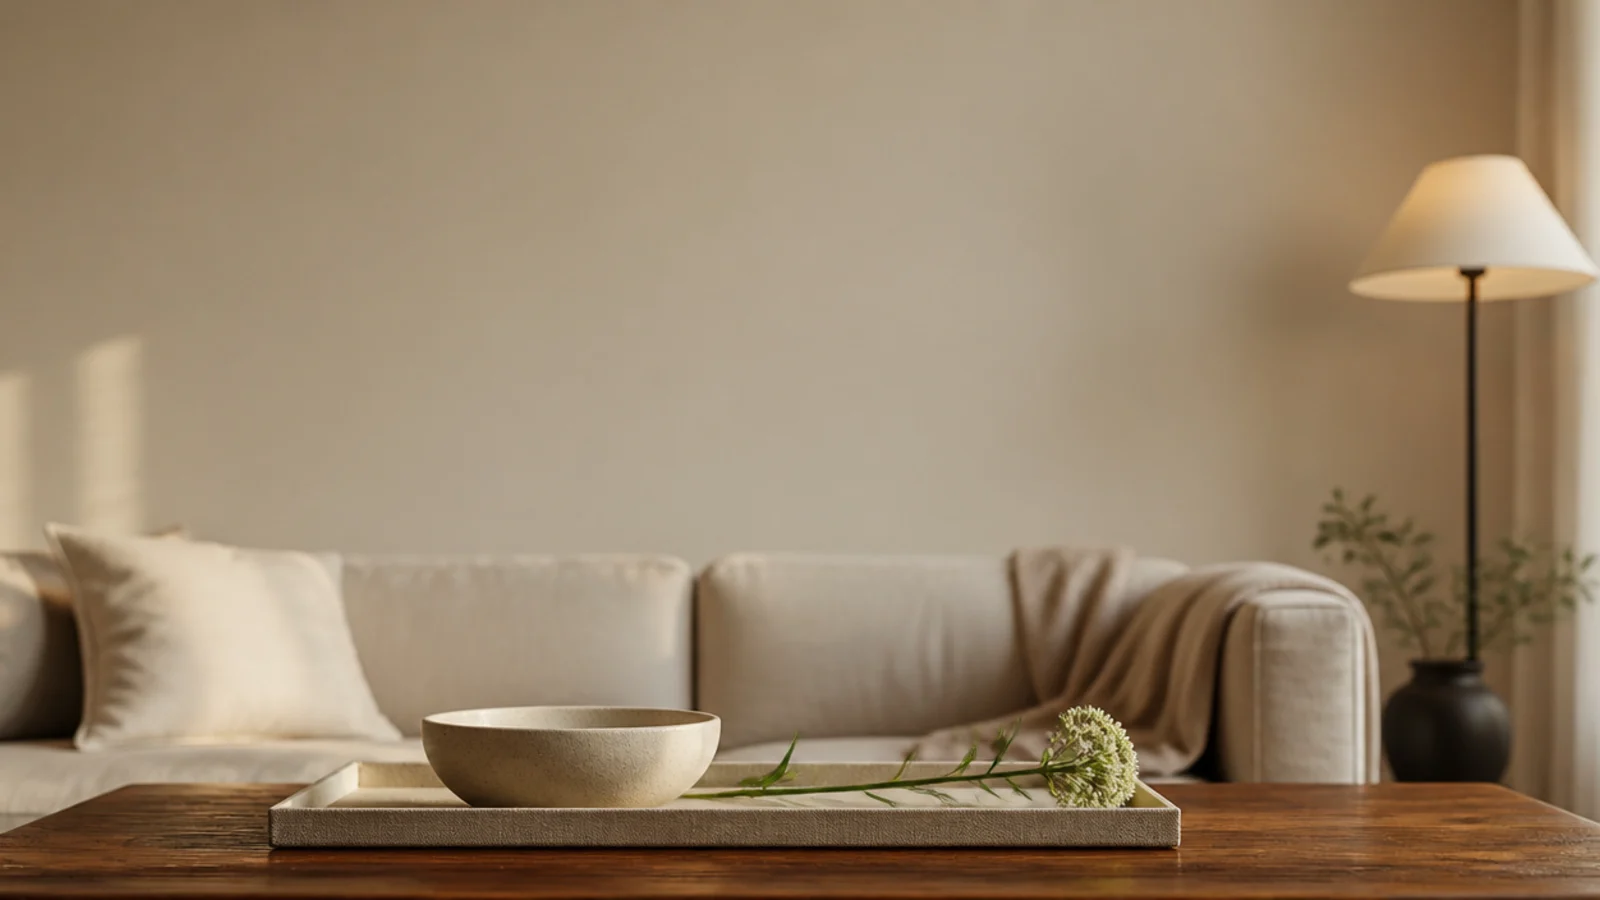
On a 48-inch table, that means a tray around 16 to 20 inches. Smaller and the contents crowd the rim; larger and it stops reading as a container. A half-inch rim keeps things aboard when you carry it, and a fabric or cork lining stops bases marking the tray and the tray marking the timber.
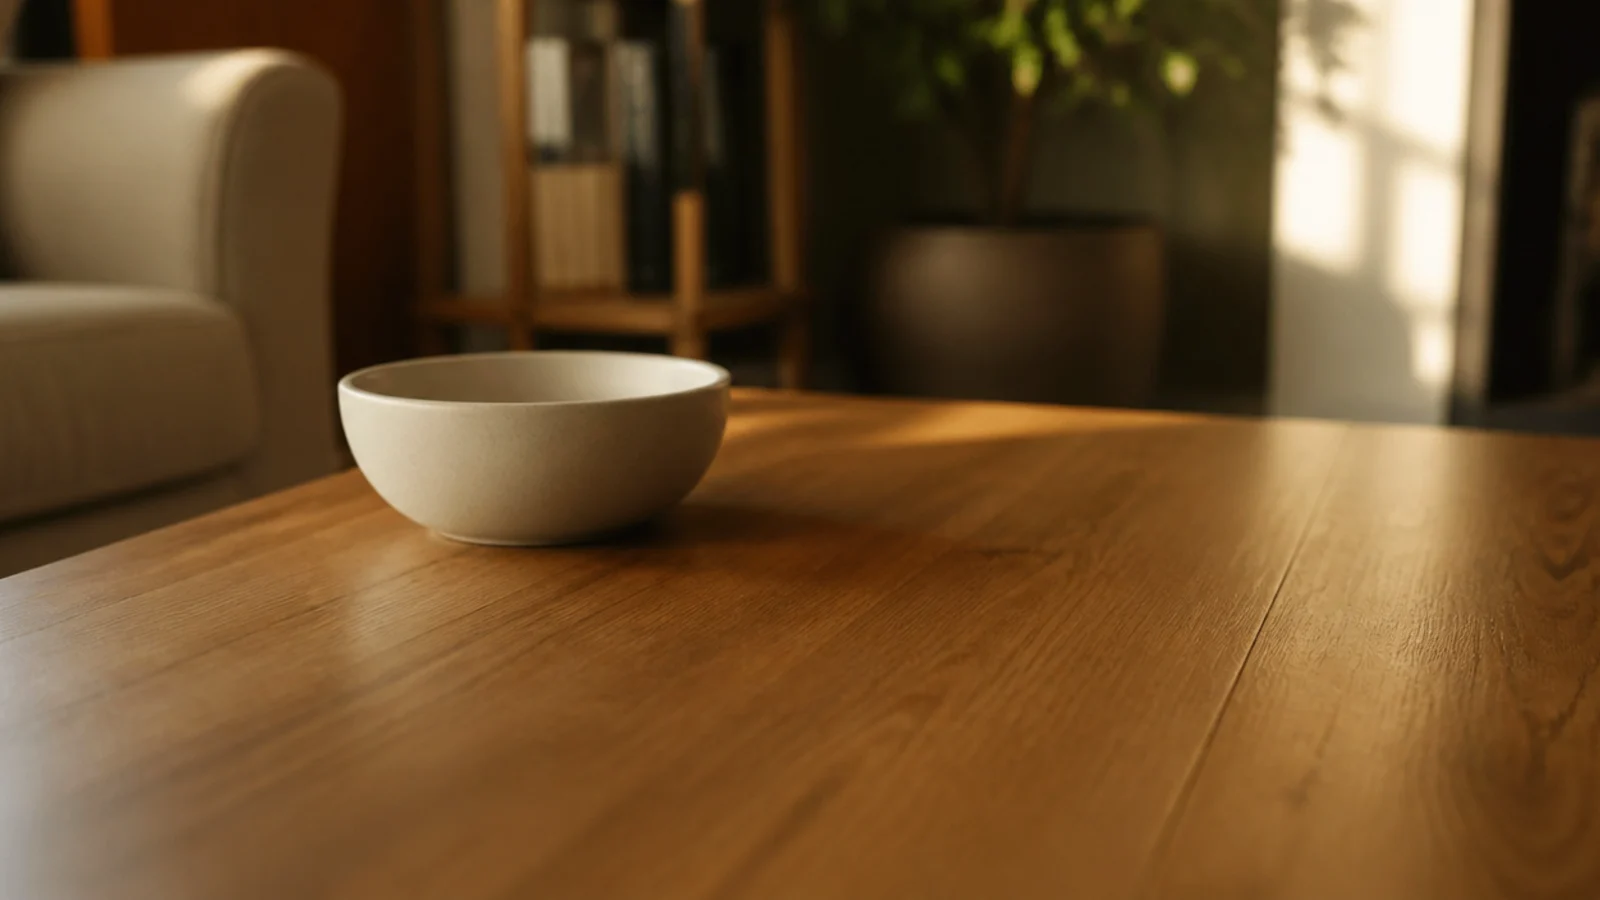
Step 10: Add the one large anchoring object
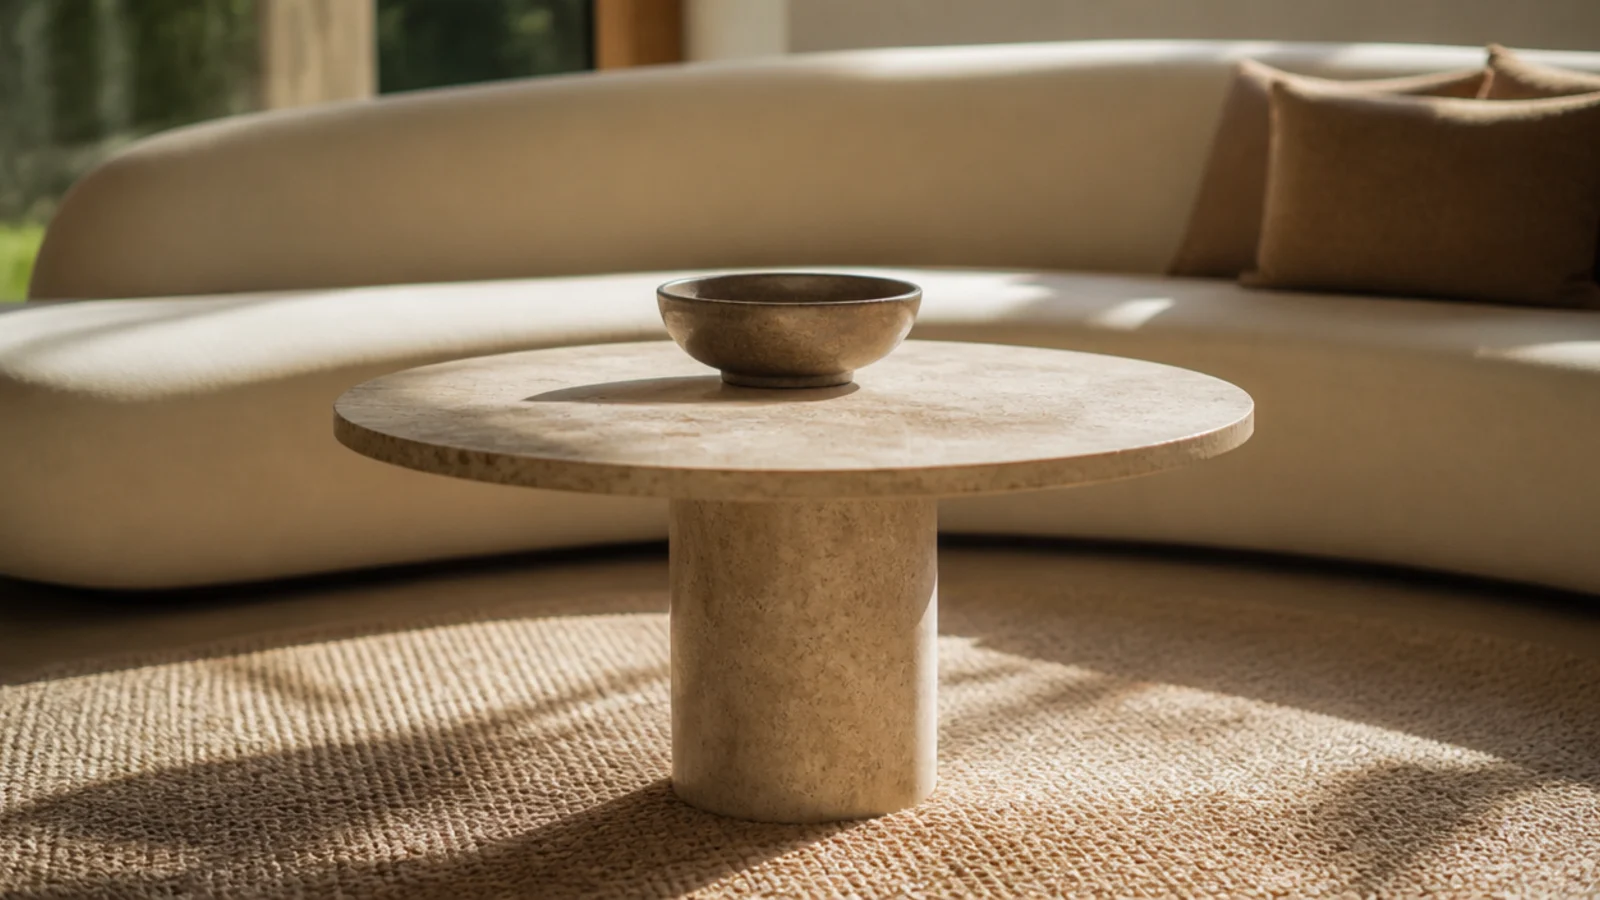
A single bowl or vessel between 14 and 18 inches wide, placed about a third of the way along rather than dead centre. One large piece does the work of six small ones, costs less than the six, and leaves the rest of the surface clear. Off-centre placement is what stops it looking like a display.
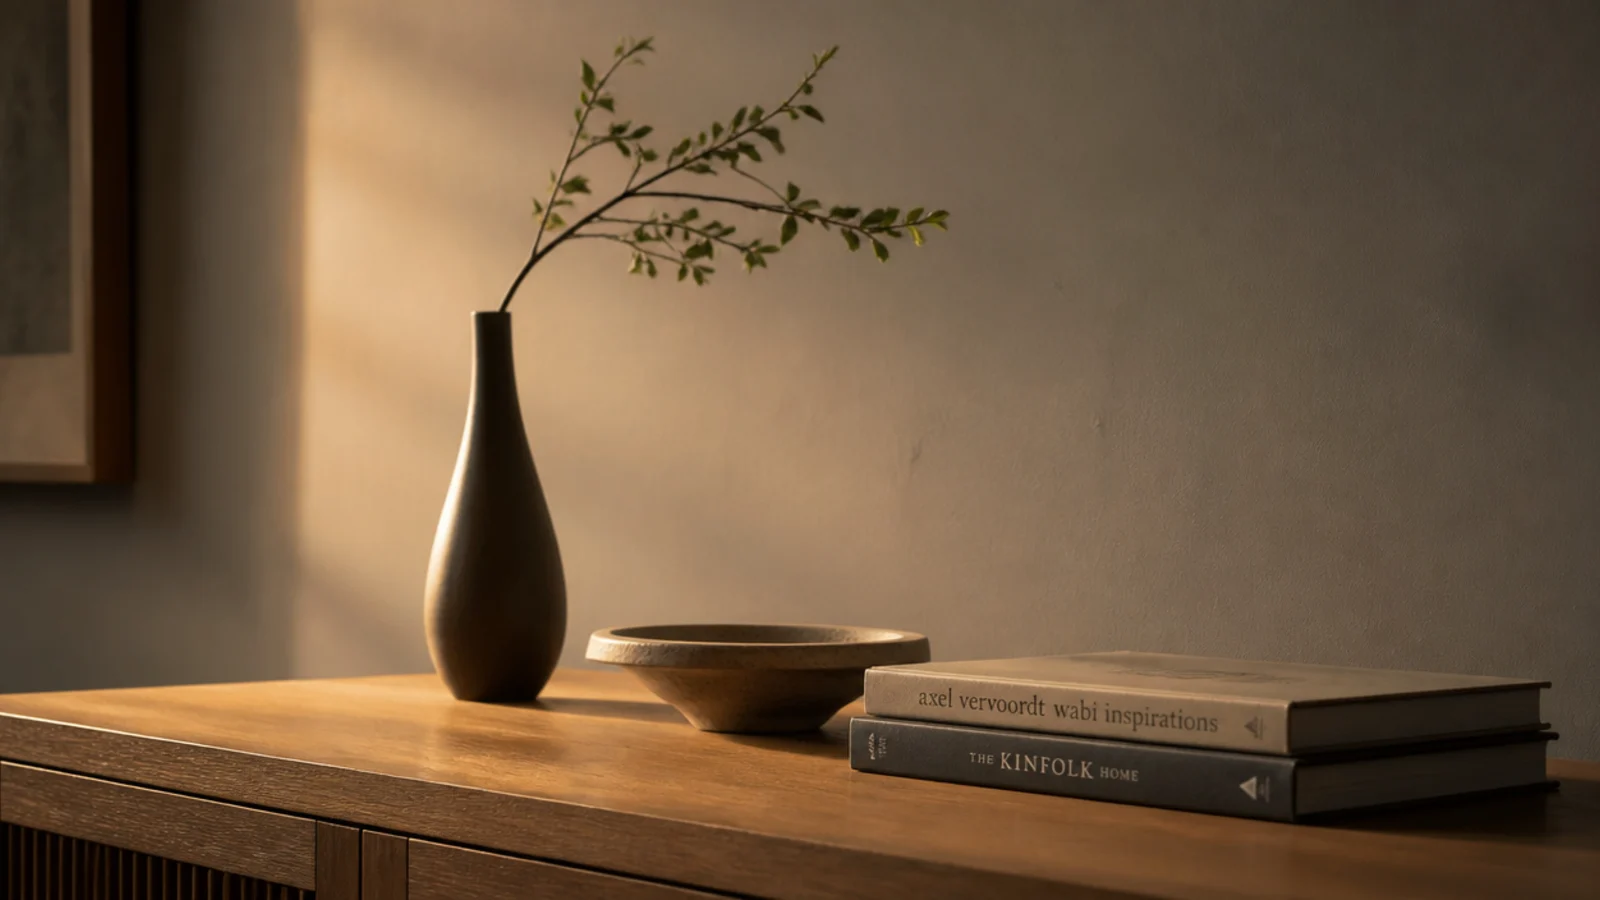
Step 11: Build three clear heights
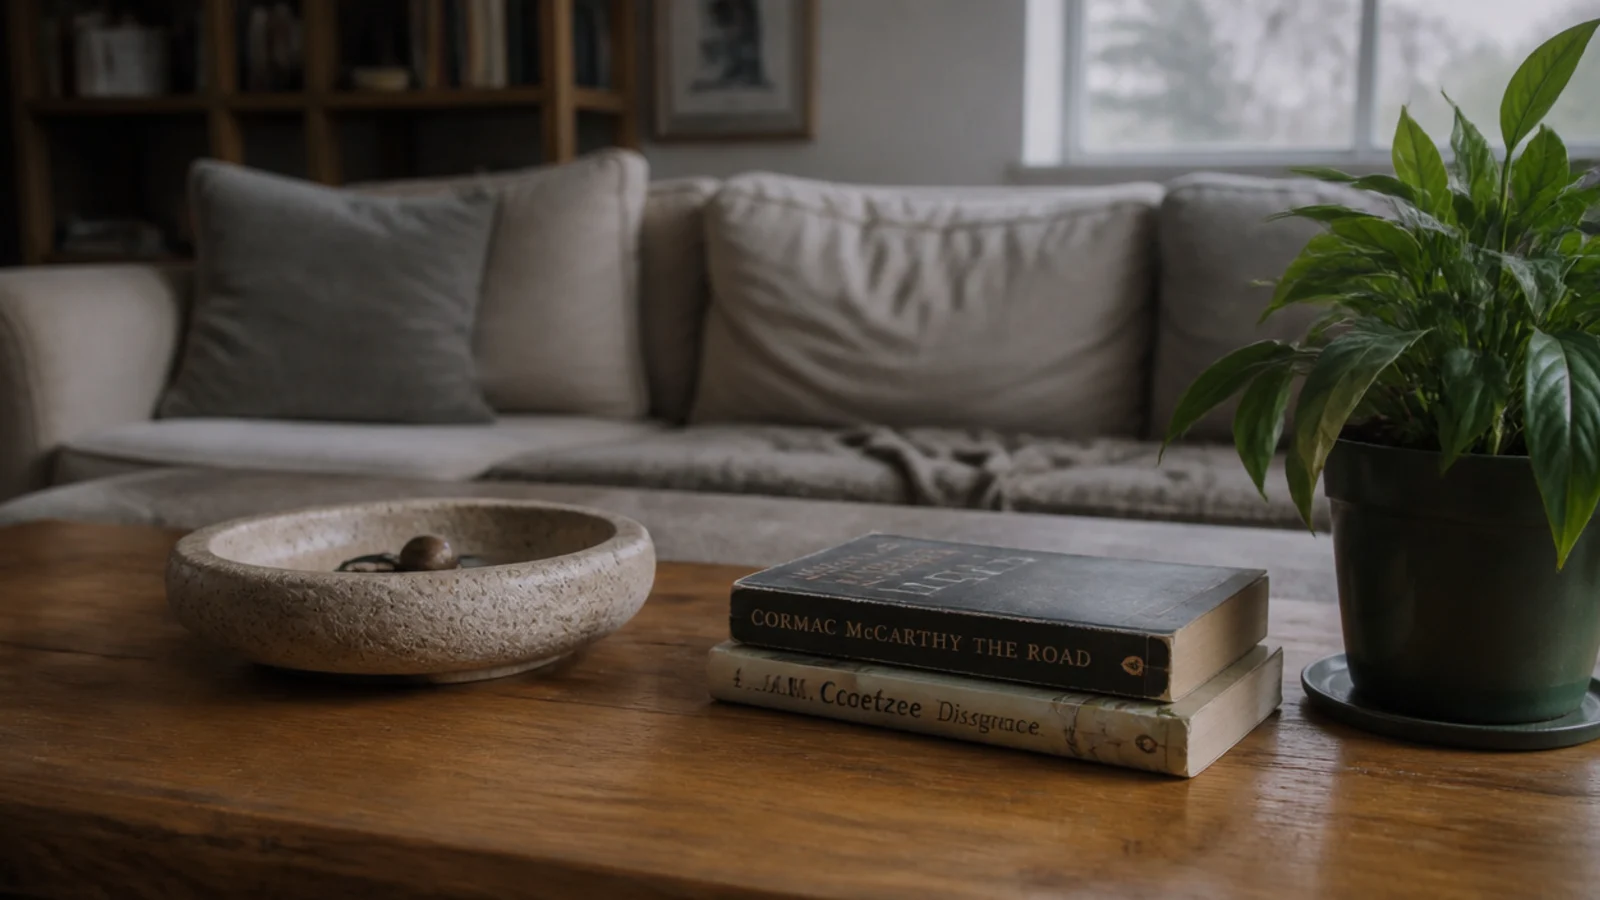
Something around seven inches tall, something two to three inches and wide, and something flat. Make the steps obvious — a five-inch vase next to a four-inch bowl reads as an accident. Cap the tallest element at eight inches including the vessel so two people on opposite seats can still see one another.
Step 12: Set a texture against the timber
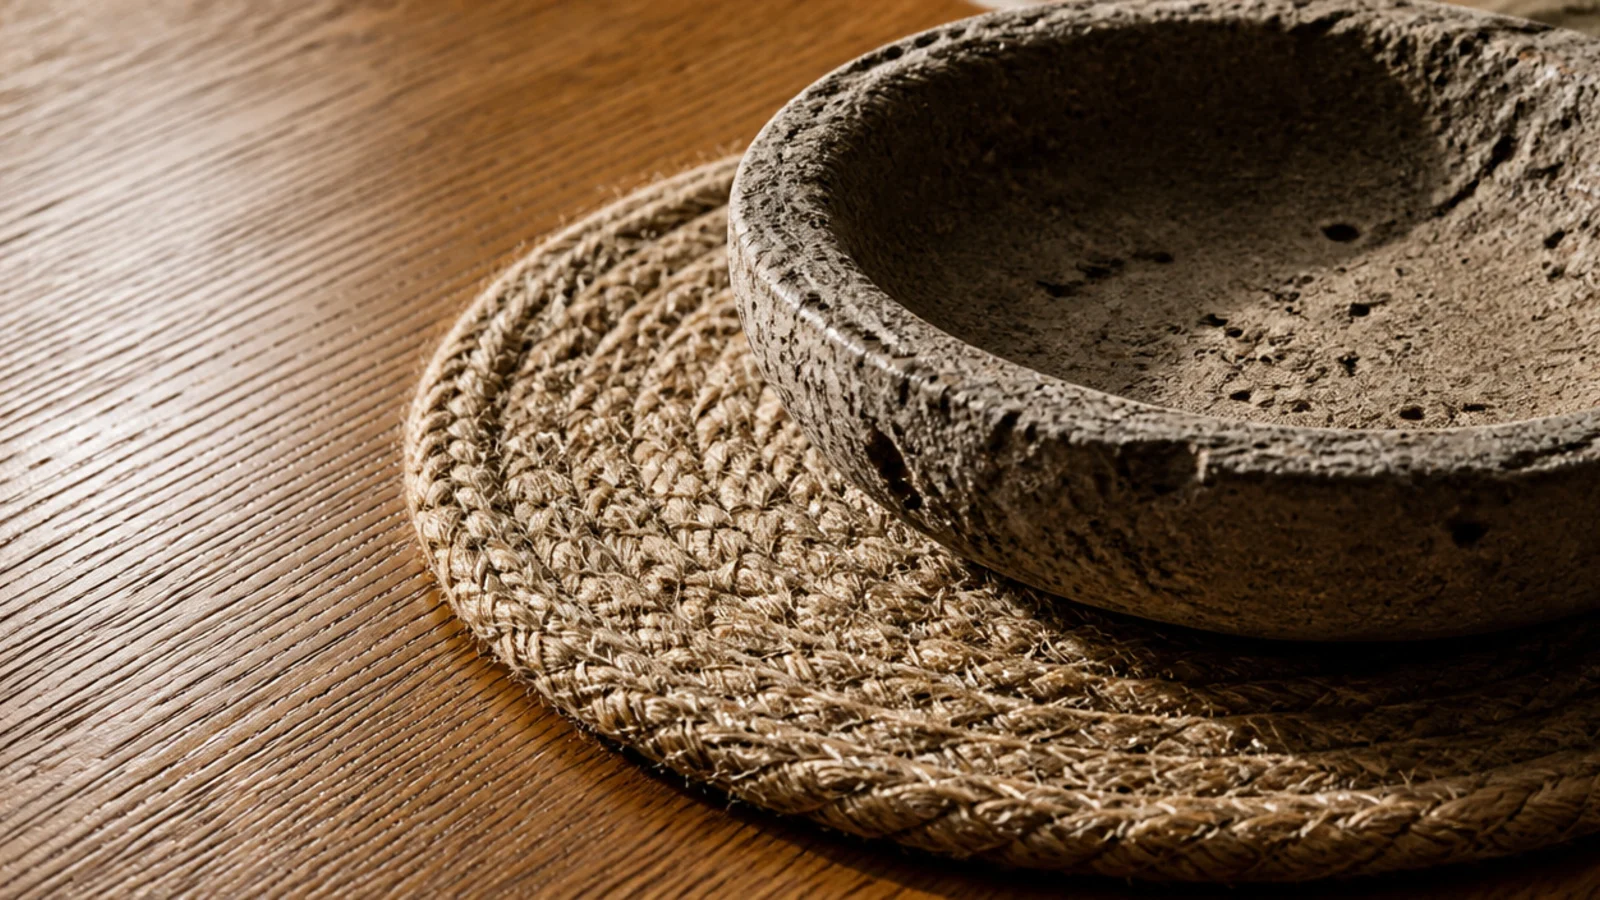
Smooth oiled oak wants something rough beside it: a jute coaster, an unglazed stone dish, a crumpled linen cloth. Texture contrast is what photographs cannot fake and what stops a neutral, all-timber arrangement reading flat. Two textures against the wood is plenty; three starts to look like a props table.
Step 13: Route the charging cable out of sight
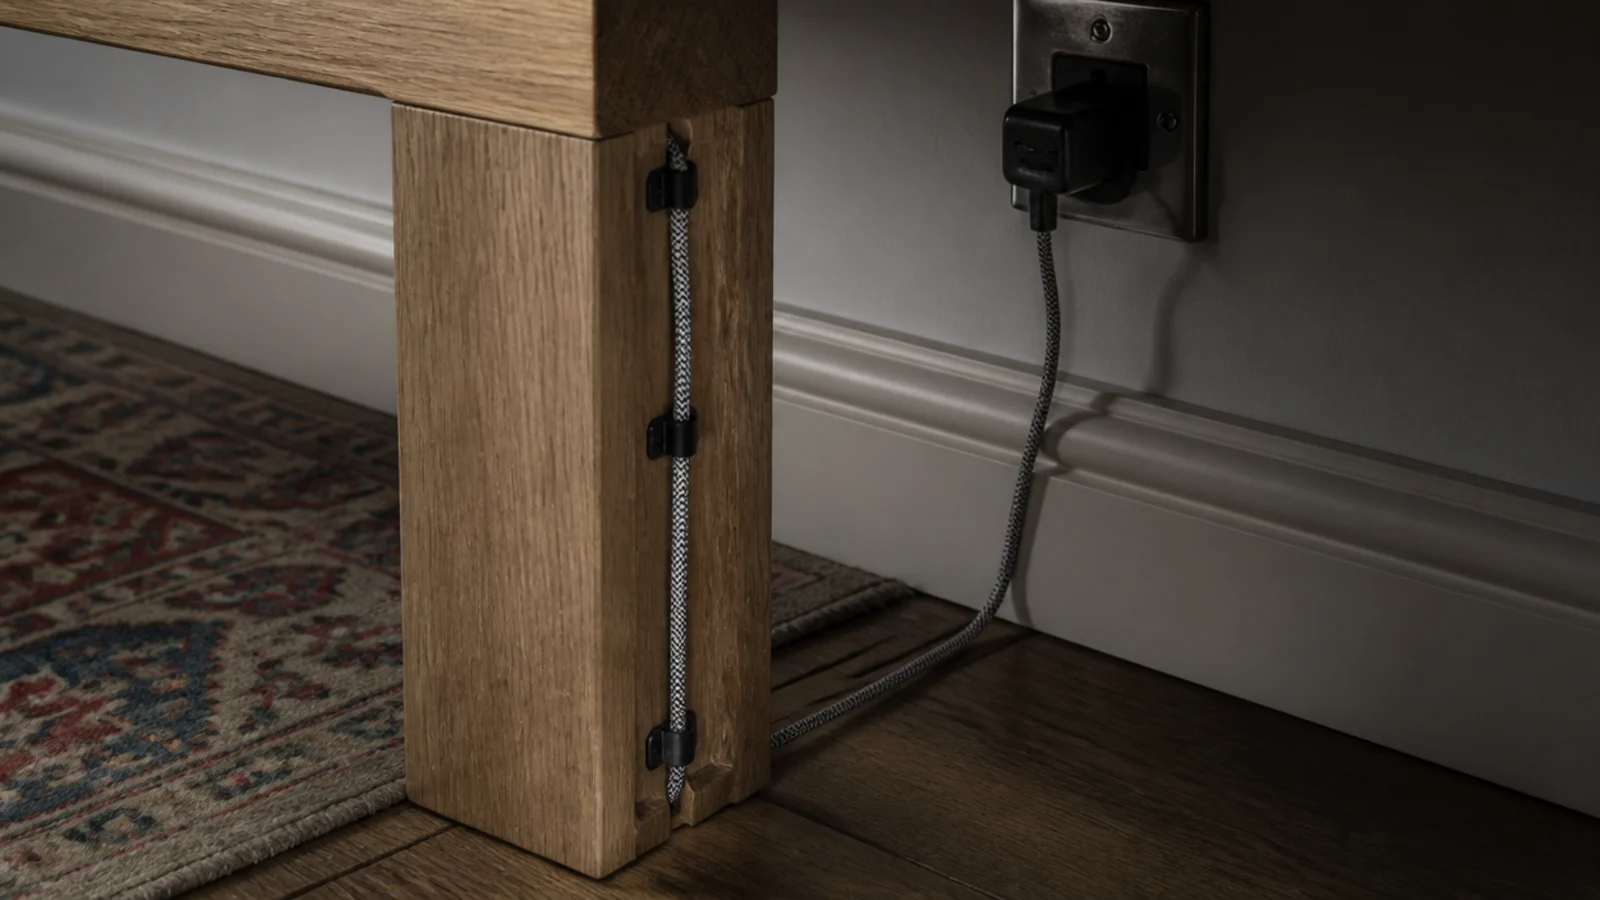
Adhesive clips down the hidden inside face of a rear leg, or a half-inch grommet through a lower shelf, and the plug block lives underneath. It costs about $6 and removes the single most visible piece of clutter in most living rooms. Nothing should cross the open floor where a foot can catch it.
Step 14: Leave the near third completely bare
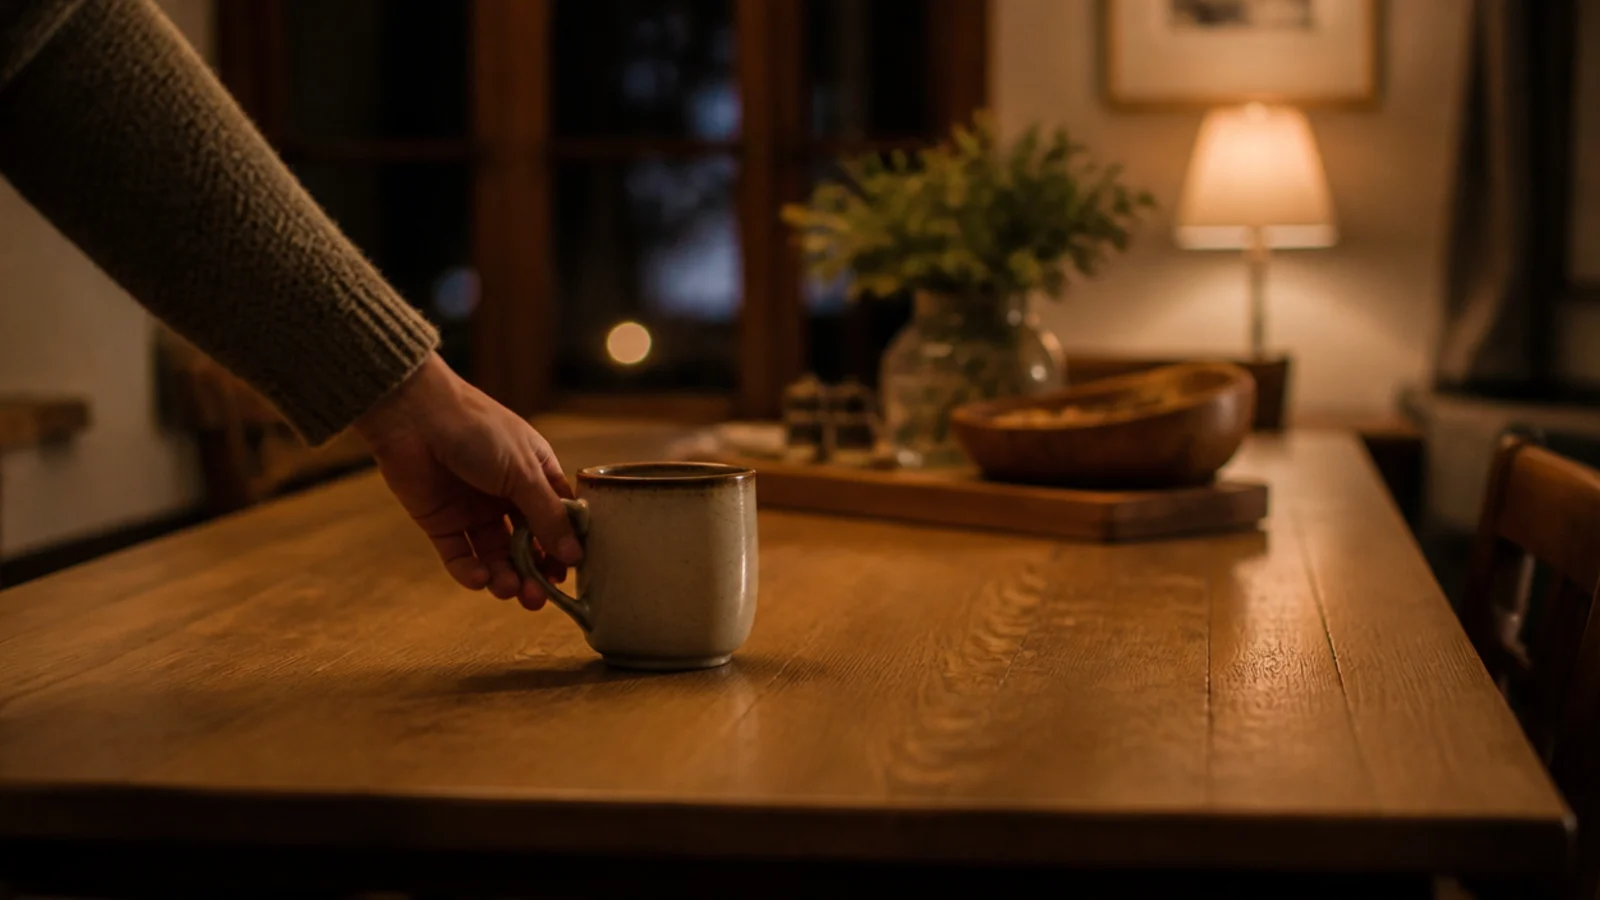
Style the far end, keep the end nearest the seating empty. That patch is where the mug, the plate and the phone land every evening. Arrangements that ignore it get pushed aside on the first night and never rebuilt. Roughly a spread hand of clear timber at each end is enough.
Step 15: Photograph it and take one thing away
Shoot it from the doorway on your phone, look at the picture for five seconds, and remove whichever object you noticed second. The camera flattens the scene and shows overlaps your eye forgives. Then live with it for a week — whatever you move to sit down belongs somewhere else.

Pro Styling Rules
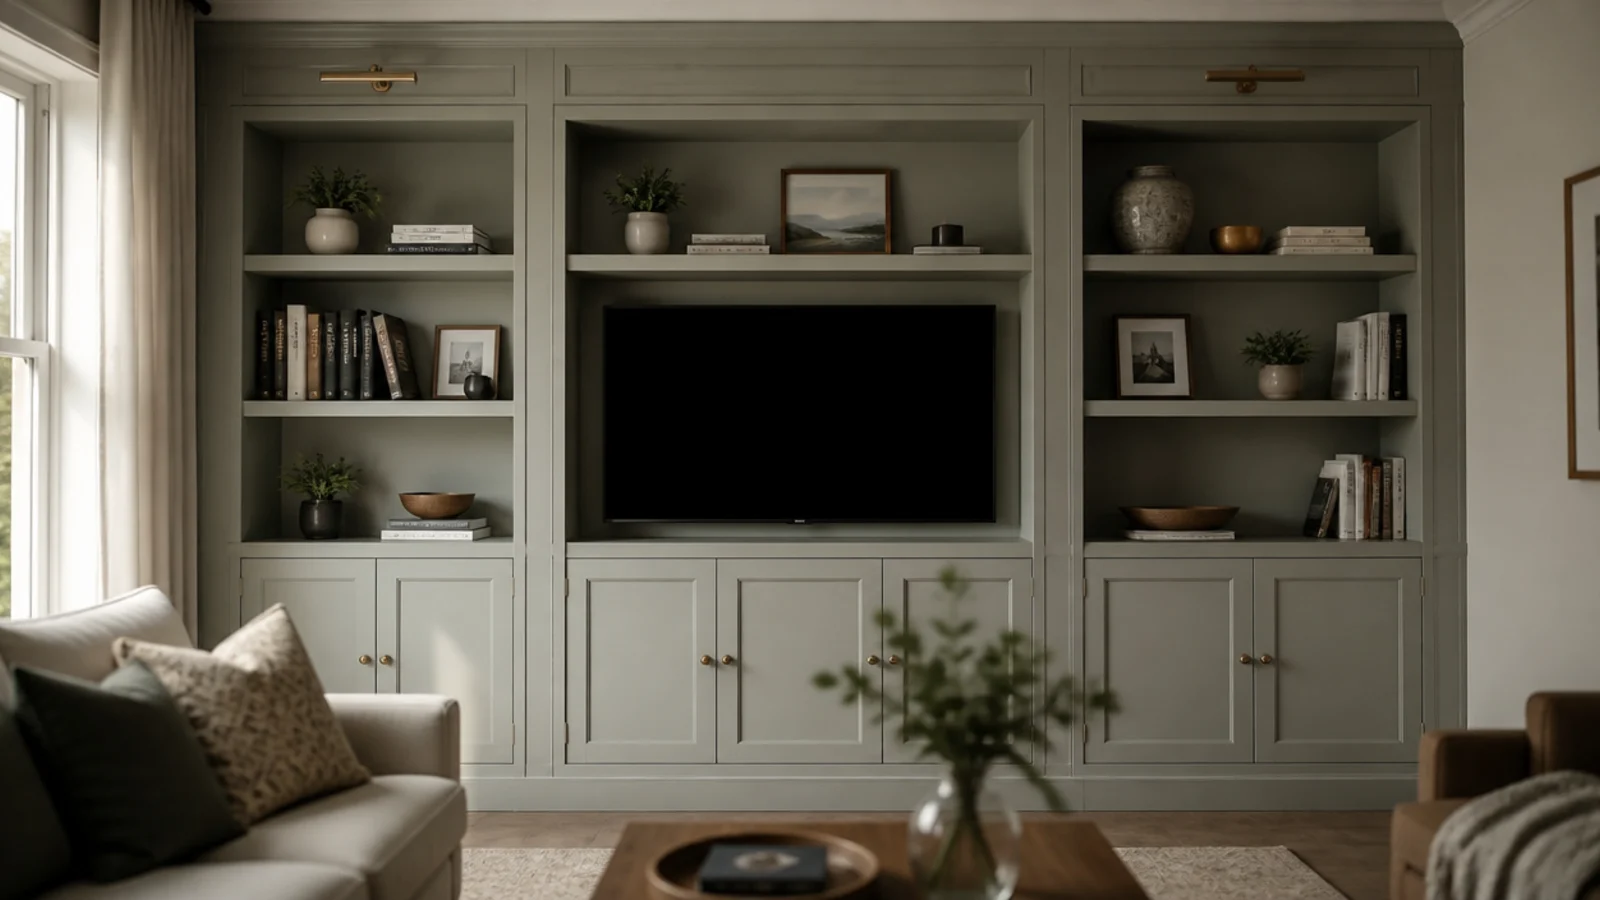
For the version of this where you build the table first, the wooden table build guide runs through the whole project, and the modern picks guide covers what to look for if you are buying rather than making. The simple table guide strips the styling back further. For the awkward corner of the same room, corner shelf ideas handles vertical storage, and TV wall decor balances the wall the sofa faces.
Mistakes to Skip
- Flooding an oiled top with oil and leaving it to dry. Hardwax oil is a penetrating finish, and anything that does not soak in within fifteen minutes cures sticky and has to be sanded back off.
- Styling before levelling. Every object you place is a reason not to lift the table again, and a rocking top is the one fault that annoys people daily.
- Setting a wet glass straight onto oiled timber. Penetrating finishes are not waterproof, and a pale ring in the grain takes a full sand and re-oil of the whole top to remove properly.
- Choosing a tall vase because the table looked empty. Empty is a legitimate finish on a timber top, and anything over eight inches sits directly in the eyeline between two seats.
Frequently asked questions
How do I refresh a wooden center table before styling it?
Clean it with a barely damp cloth and mild soap, let it dry fully, then apply hardwax oil thinly with a lint-free cloth. Leave it fifteen minutes, buff off everything that has not soaked in, and give it eight hours before anything is set back down on the surface.
How often should an oiled timber table be re-oiled?
Once or twice a year in a room in daily use. The test is water: flick a few drops onto the top and watch for thirty seconds. If they bead and sit proud the finish is intact, and if they darken the grain or soak straight in the surface is thirsty.
What size tray suits a wooden coffee table?
About a third of the table surface. On a forty-eight inch top that means something in the region of sixteen to twenty inches long. Choose a rim of at least half an inch so nothing rolls off when the whole tray is carried to the kitchen.
Should I use coasters on an oiled wood table?
Always. Oil finishes are penetrating rather than film-forming, so a wet glass leaves a pale ring where moisture gets into the grain. Cork or leather at around four millimetres works best because it absorbs condensation instead of trapping it against the timber.
What goes on a modern wooden table so it does not look bare?
Three groups at three clear heights: something around seven inches tall, something low and wide, and something flat like a book stack. Keep everything under eight inches so people can see across it, and leave the third nearest the sofa completely empty.
Want more like this? Browse all 15 center table living room guides — they all use the same measurements and budget tiers.
Pin it for later
Save this to your Center Table Living Room board
Pin it now so it is waiting for you when the tape measure comes out — and so the next person hunting for this idea can find it too.
Save this pinKeep going
More ideas worth saving while you have the tape measure out.