Rugs In Living Room · How-To
15 Steps To Nail Layering Rugs Living Room Style

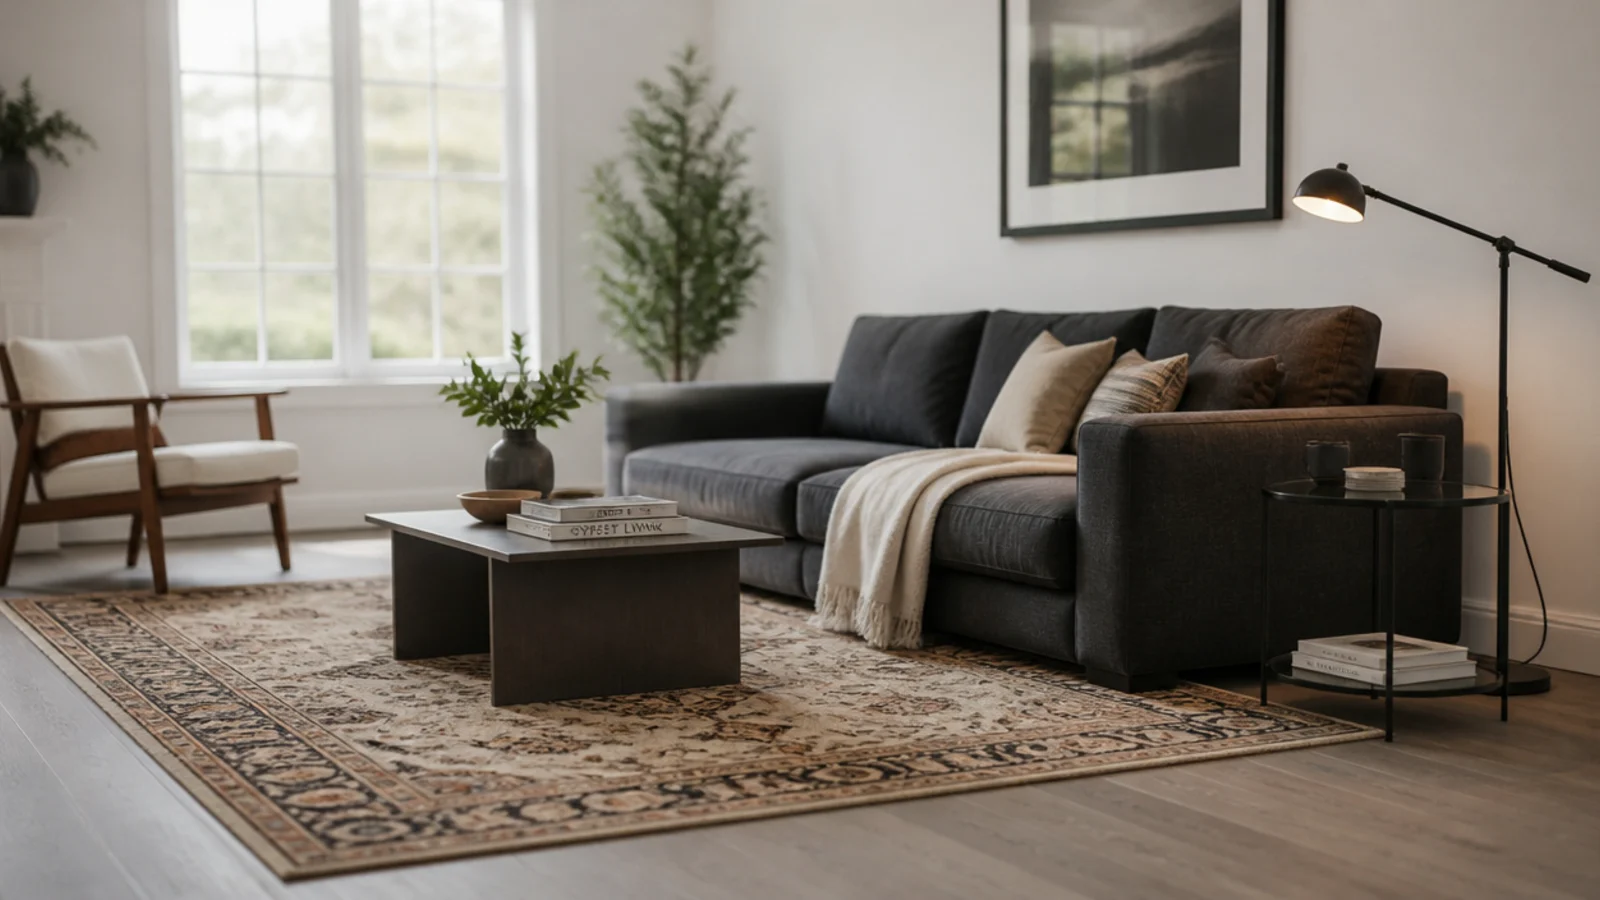
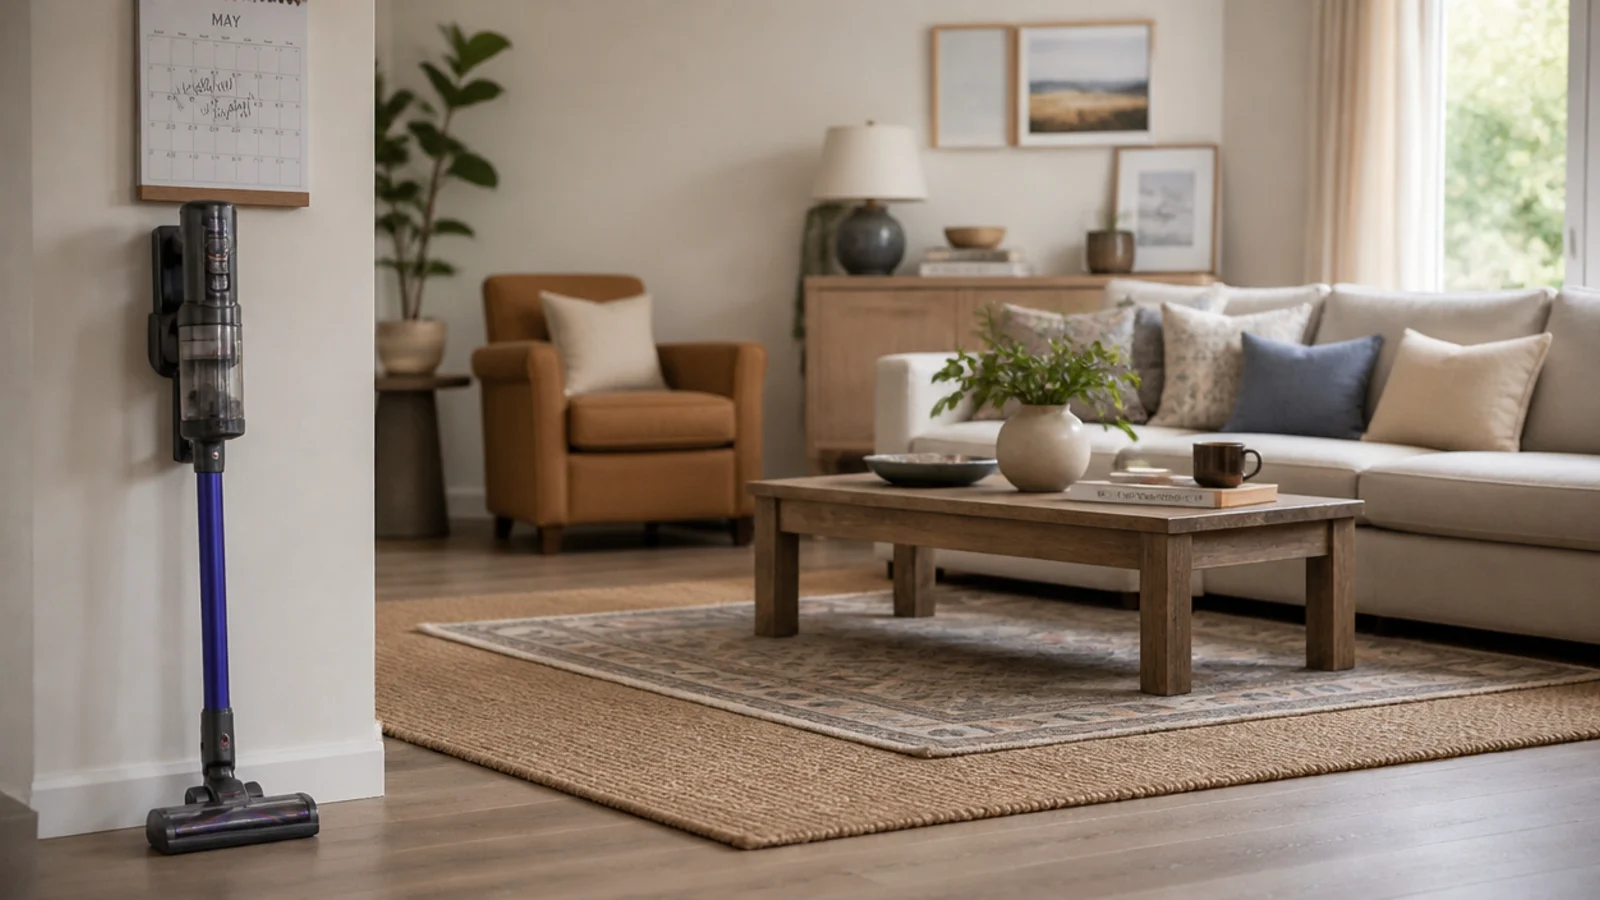
Layering rugs living room floors is a build, not a styling flourish, and it goes wrong in the same three places every time: the base is too thick, the reveal is uneven, and nothing holds the top rug still. I have done this in two homes and taken one apart after a fortnight because it kept walking toward the door. The order below is the one that works — sizing and clearance decided before anything is bought, then grip, then furniture. Fifteen steps, with the measurements that make each one repeatable.
In this guide18 sections — tap to openHide
- 1.What You'll Need For Layering Rugs Living Room Style
- 2.Step 1: Measure the seating footprint and the room
- 3.Step 2: Size the base rug first
- 4.Step 3: Keep the base under a quarter inch thick
- 5.Step 4: Choose a top rug 12 to 18 inches smaller each side
- 6.Step 5: Check a quarter inch of pile difference
- 7.Step 6: Test the whole stack against the door swing
- 8.Step 7: Clear the floor and vacuum the boards
- 9.Step 8: Cut the pad one inch smaller than the base
- 10.Step 9: Lay the pad and base square to the sofa
- 11.Step 10: Let both rugs relax for 48 hours
- 12.Step 11: Position the top rug and measure all four reveals
- 13.Step 12: Grip the top rug to the base
- 14.Step 13: Put the furniture back, heaviest legs on the corners
- 15.Step 14: Walk the whole stack and adjust
- 16.Step 15: Set the maintenance before you forget
- 17.Pro Styling Rules
- 18.Mistakes to Skip
What You'll Need For Layering Rugs Living Room Style
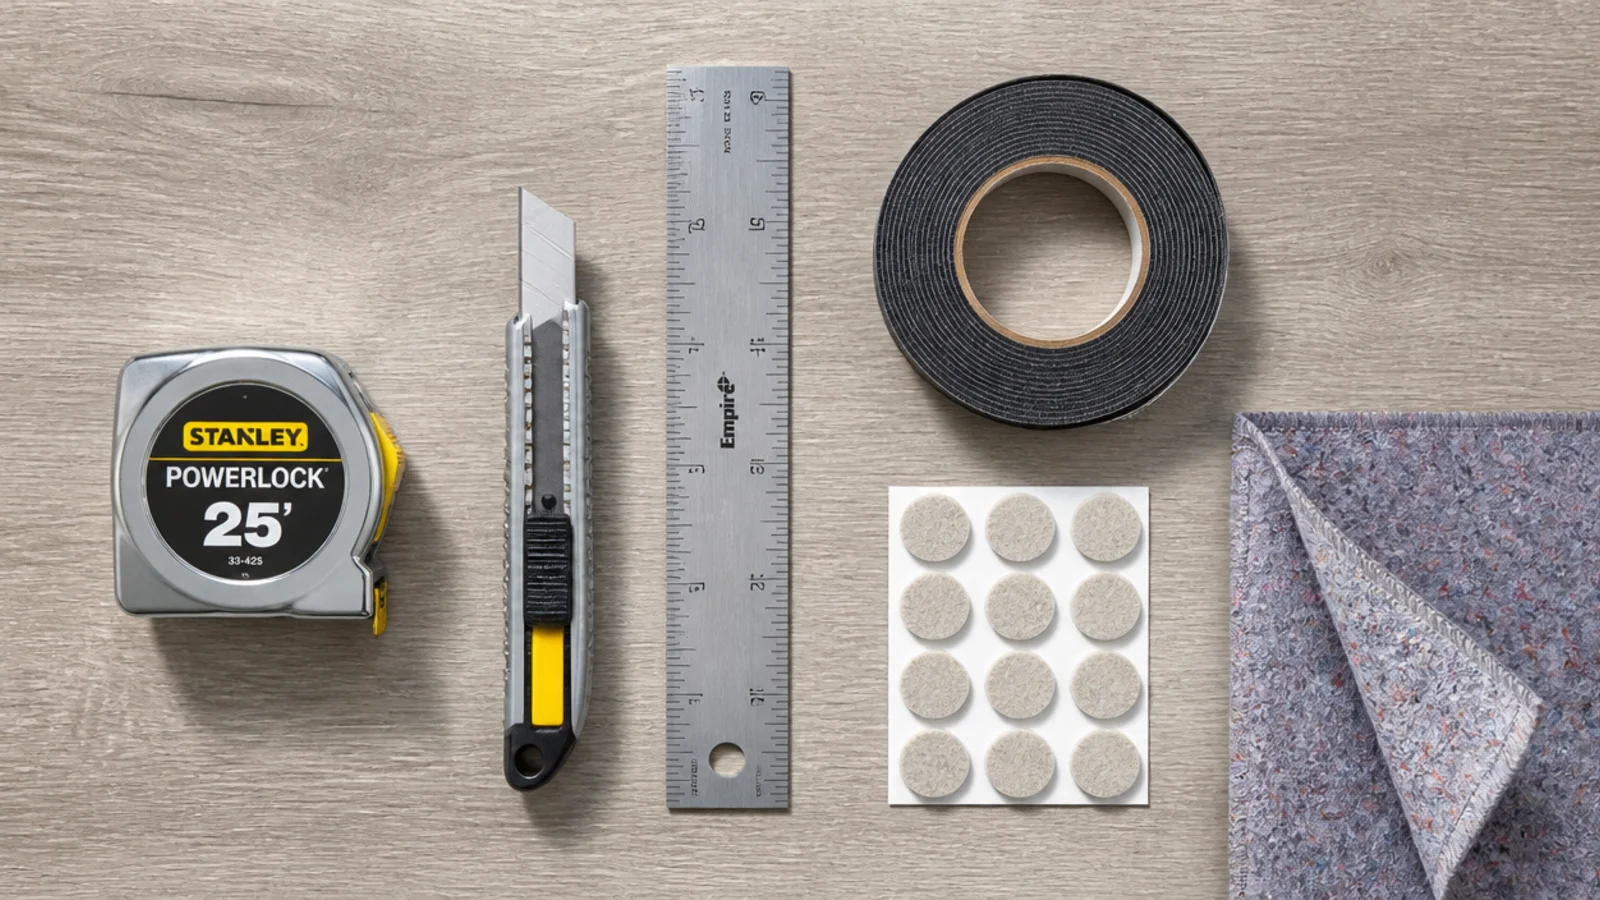
Gather the whole list before you move a single piece of furniture. Most of the failures in a layered floor come from improvising the grip at the end.
- A base rug, sized as if it were the only rug in the room — usually an 8x10 or 9x12 flatweave, jute or sisal at around 1/8 inch thick.
- A top rug 12 to 18 inches smaller on every side, and at least a quarter inch thicker than the base.
- A quarter-inch felt and natural rubber pad for under the base, $40 to $120 for an 8x10. On carpet, swap this for a thin needle-punch felt underlay.
- Rug-to-rug grip tape or non-slip mesh for between the layers, roughly $12 to $25 a roll.
- A steel tape measure, a utility knife and a long straightedge for trimming the pad.
- Low-tack painter's tape to mark the rug outline on the floor before ordering.
- Felt glides for every furniture foot that will stand on the pile.
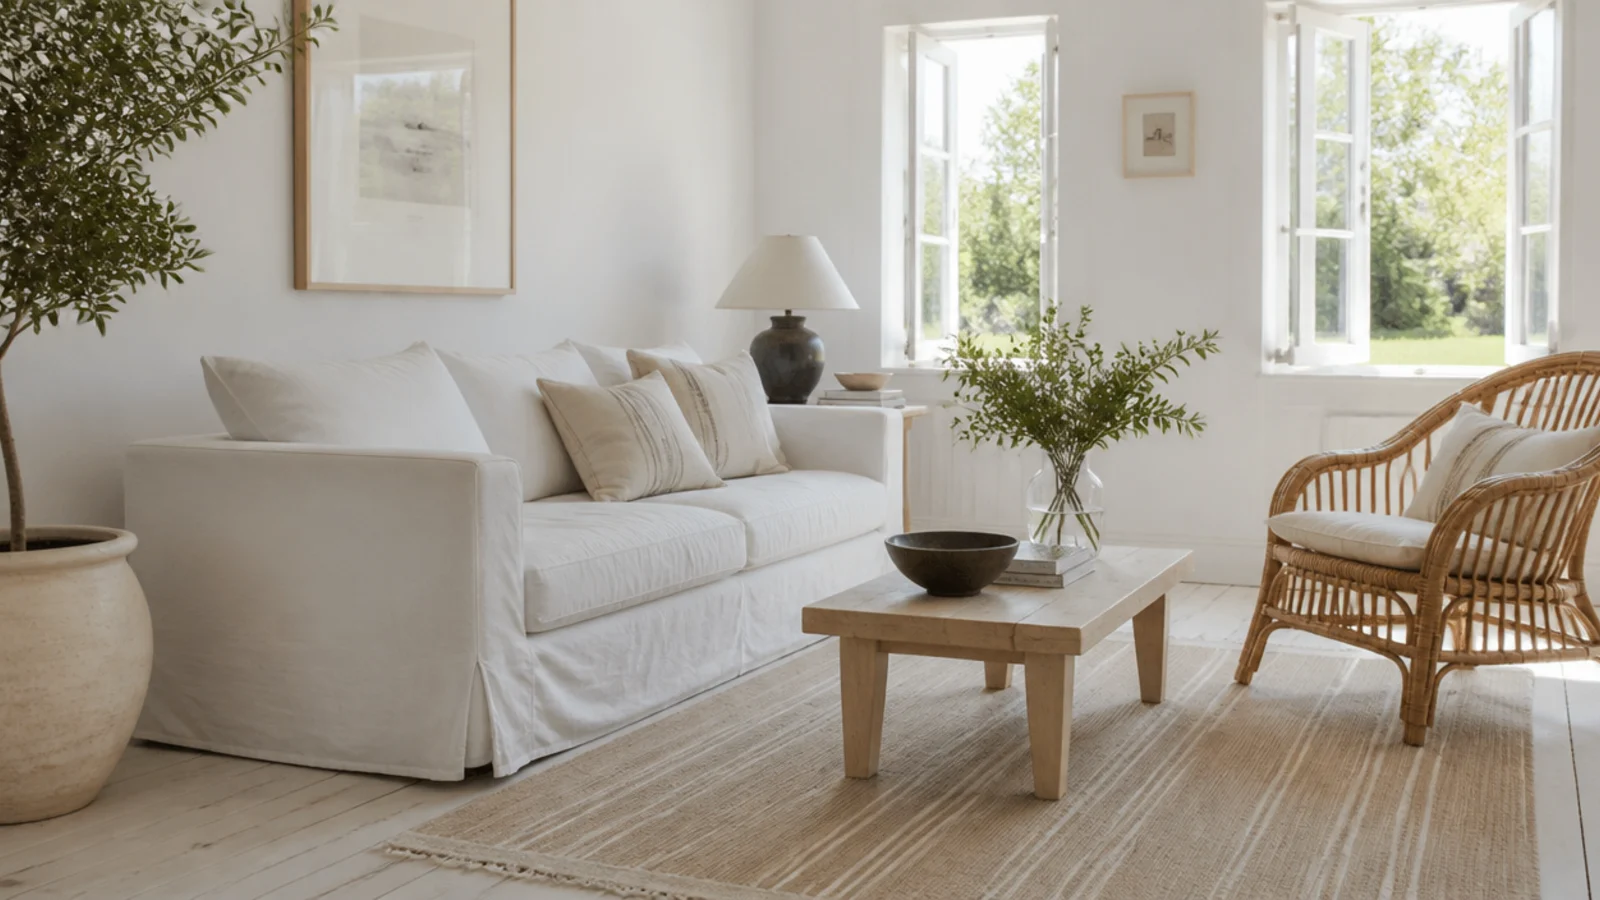
Budget an afternoon, and two people for the lifting. If you want to see finished combinations before committing, the layered rug looks guide covers pairings; for the old wool that usually ends up on top, the vintage buying steps explain what to check.
Step 1: Measure the seating footprint and the room
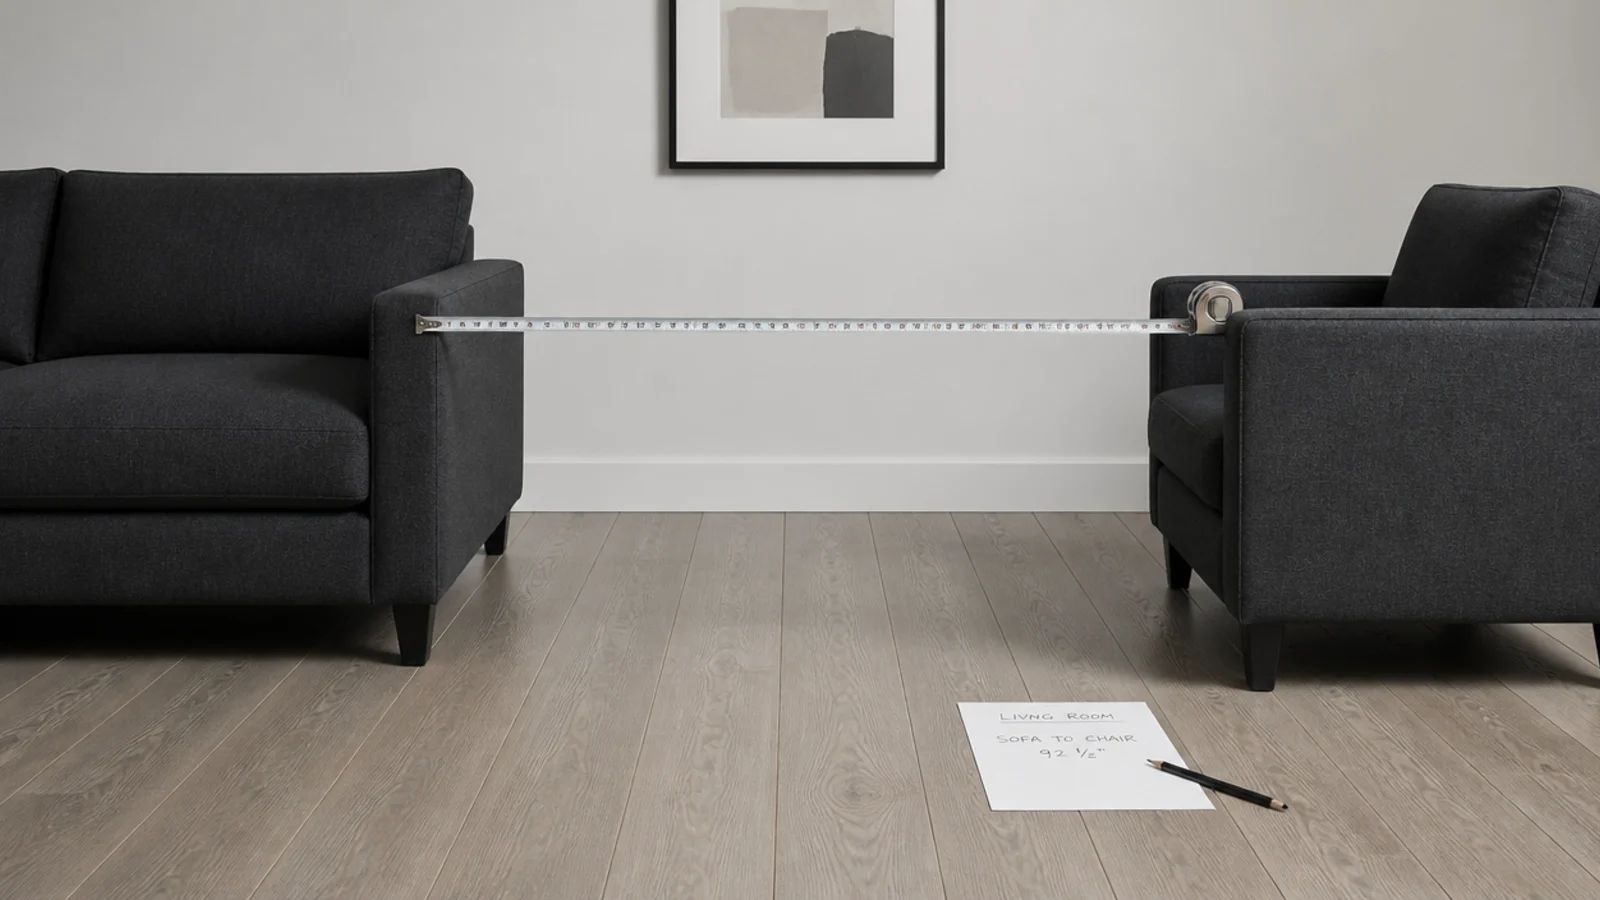
Push the sofa and chairs into the arrangement you actually want, then measure the outer rectangle they make — outside arm to outside arm, and sofa back to the front edge of the facing chairs. Write both numbers down. Measure the room too, because you need to know how much perimeter you have to give away. That rectangle, not the room, is what the base rug has to serve.
Step 2: Size the base rug first
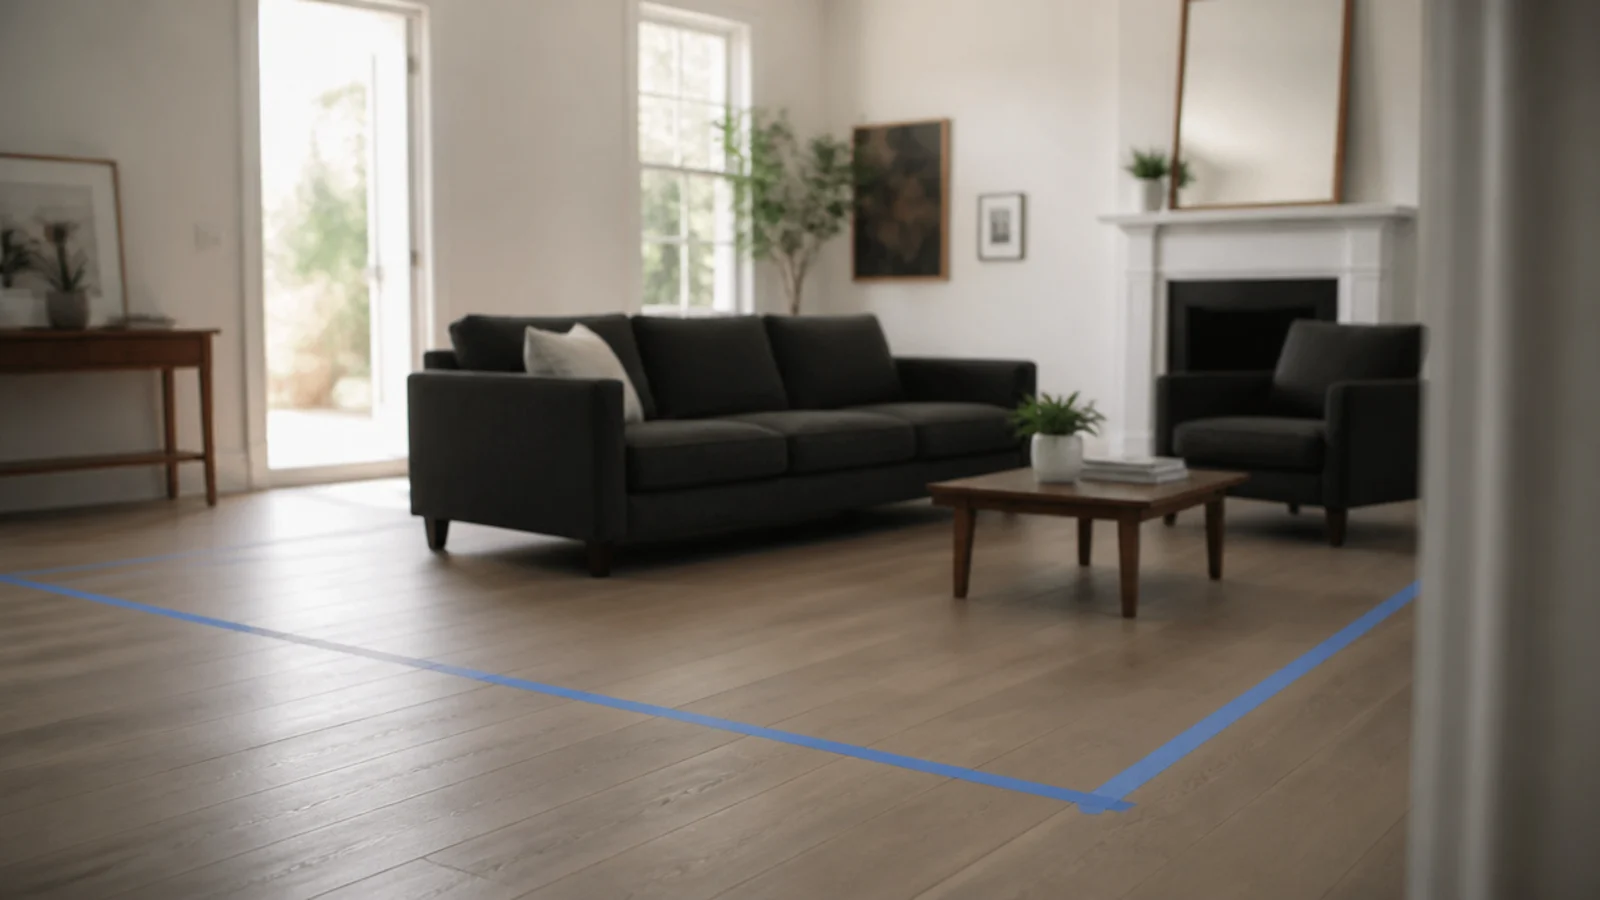
Add 6 to 8 inches to every side of the seating rectangle and round up to the nearest standard size. In most living rooms that lands on an 8x10 for a 12x14 to 13x16 room, or a 9x12 for anything from 14x16 up. Mark the outline on the floor with painter's tape and leave it two days before ordering. Living with the rectangle tells you more than any amount of measuring.
Step 3: Keep the base under a quarter inch thick
A flatweave, a jute or a sisal at roughly 1/8 inch is what you want. Thin keeps the finished stack low, which matters twice: the door still clears it, and the edge stays a slope rather than a step. A thick base under a thick top gives you a raised platform with a lip all the way round, and that lip is exactly what a toe catches.
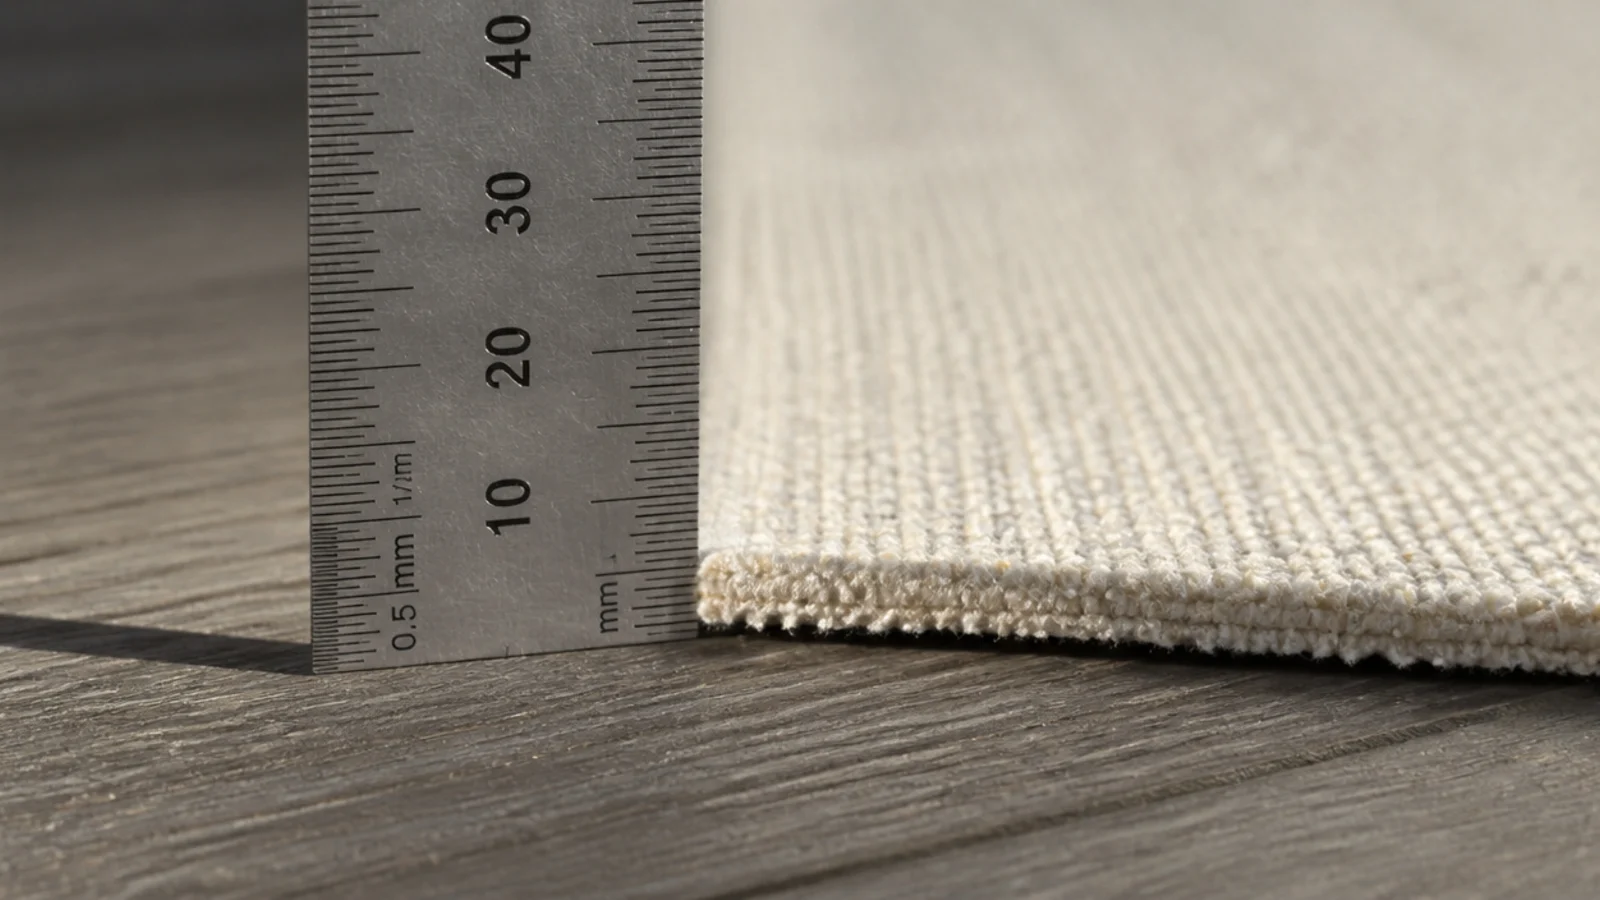
Step 4: Choose a top rug 12 to 18 inches smaller each side
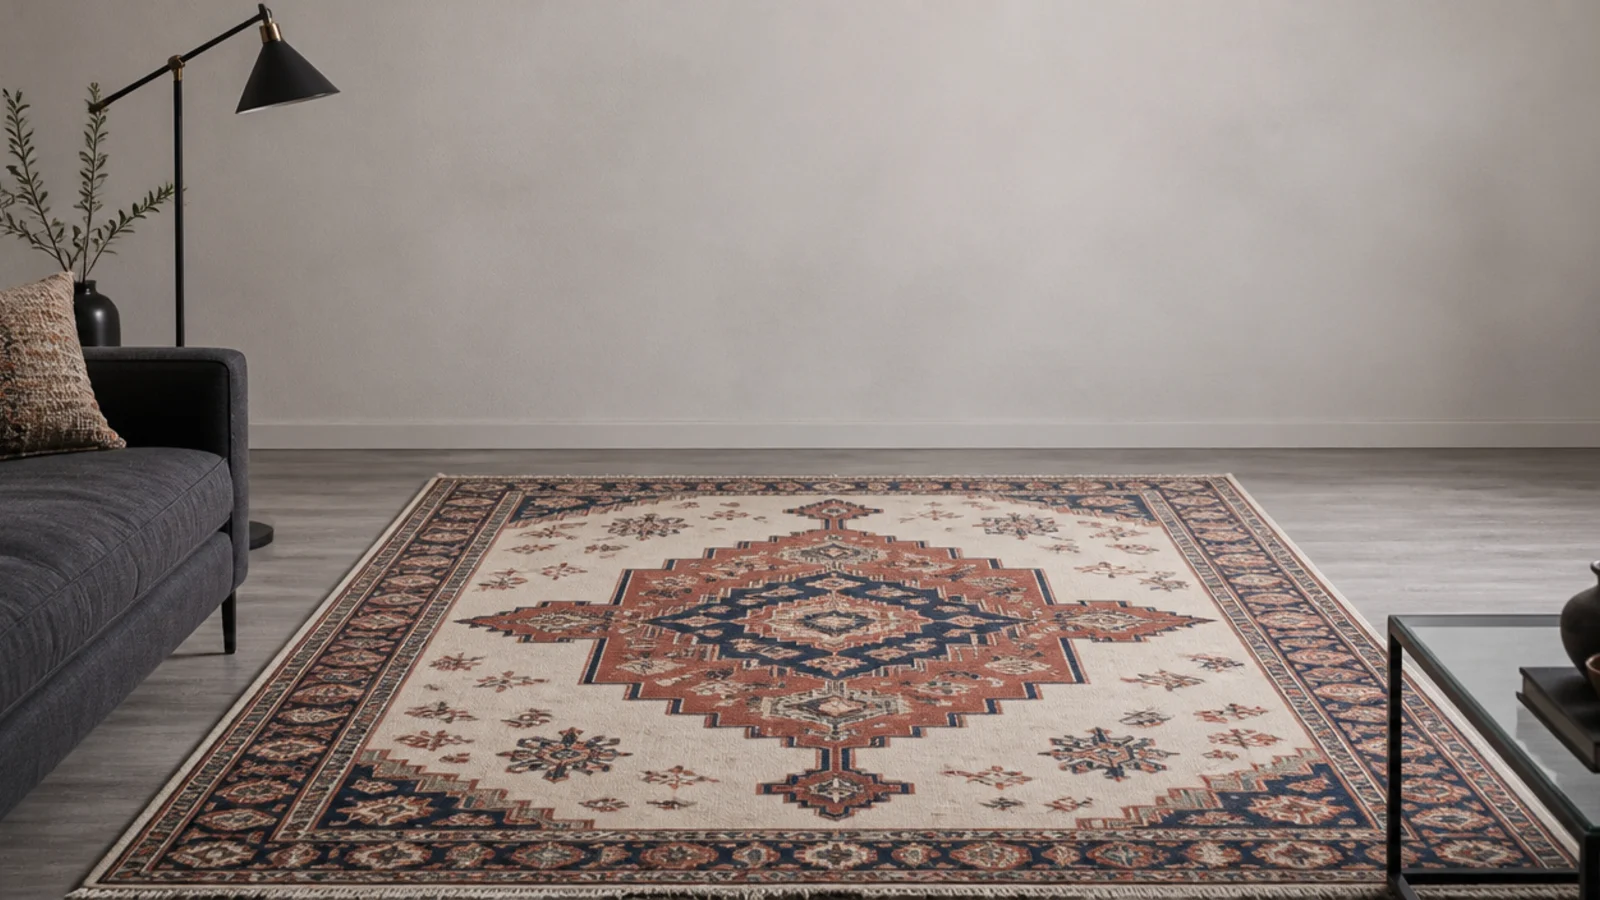
Subtract roughly three feet from each dimension of the base and you have your top rug. A 9x12 base takes a 6x9 top; an 8x10 base takes a 5x8. That gives 18 inches of reveal on the long sides and a little less on the short ones, which is the range that reads as a decision rather than an accident.
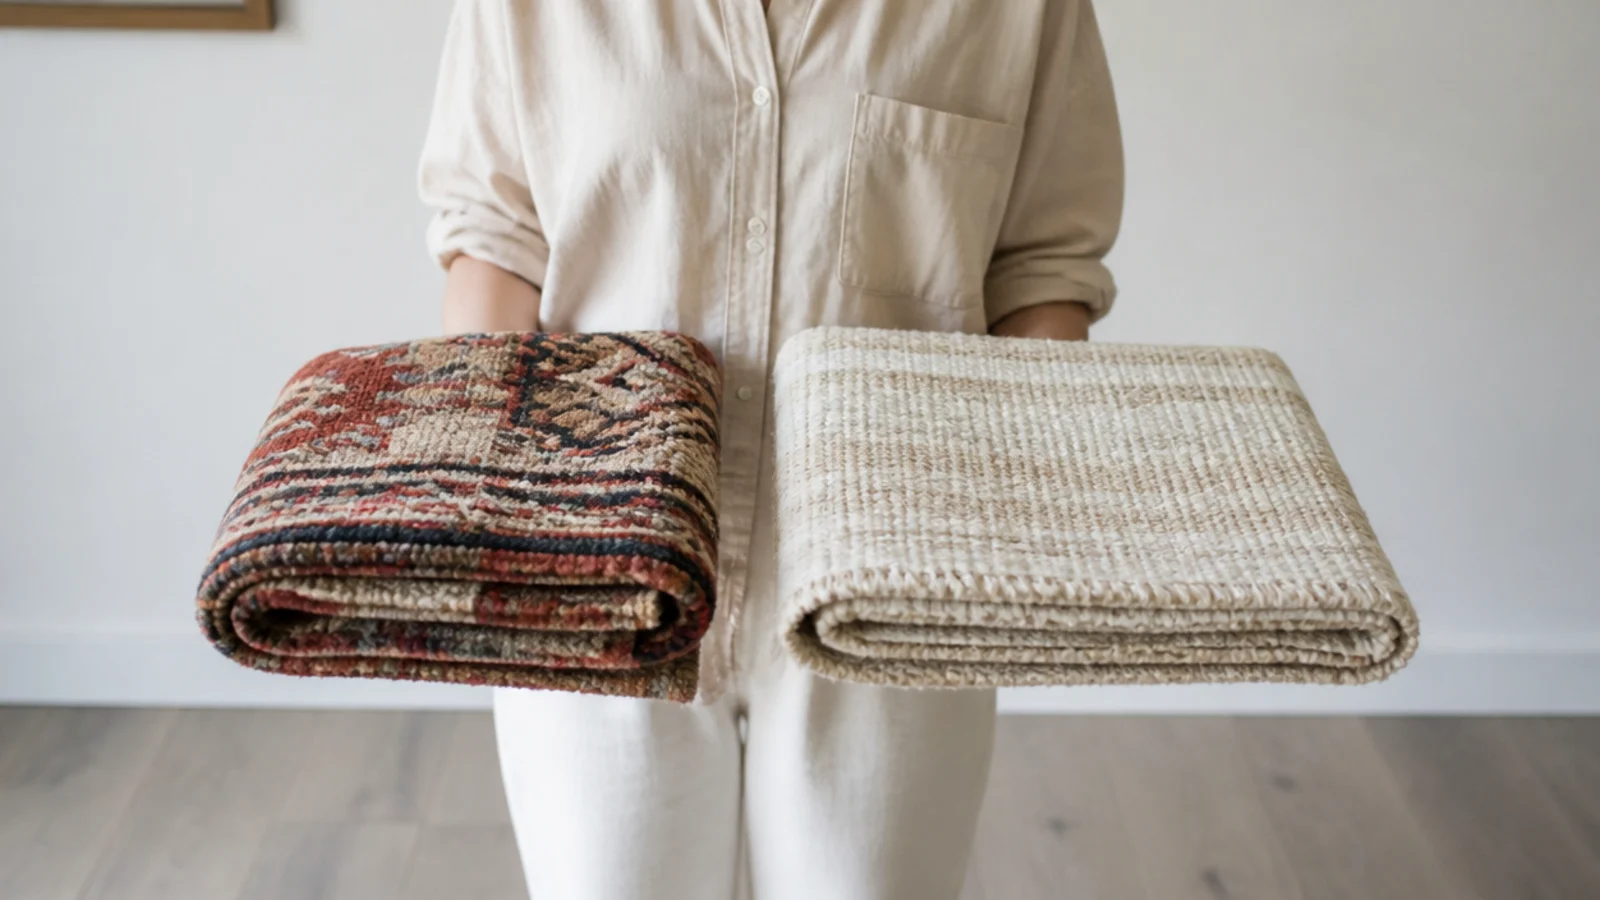
Step 5: Check a quarter inch of pile difference
Hold the two rugs edge to edge. If they are the same thickness, the stack will read as one confusing rug with a strange border. You want the top rug at least a quarter inch deeper so it casts a fine shadow line along its edge. That shadow is the whole visual argument for layering, and without it the effect disappears.
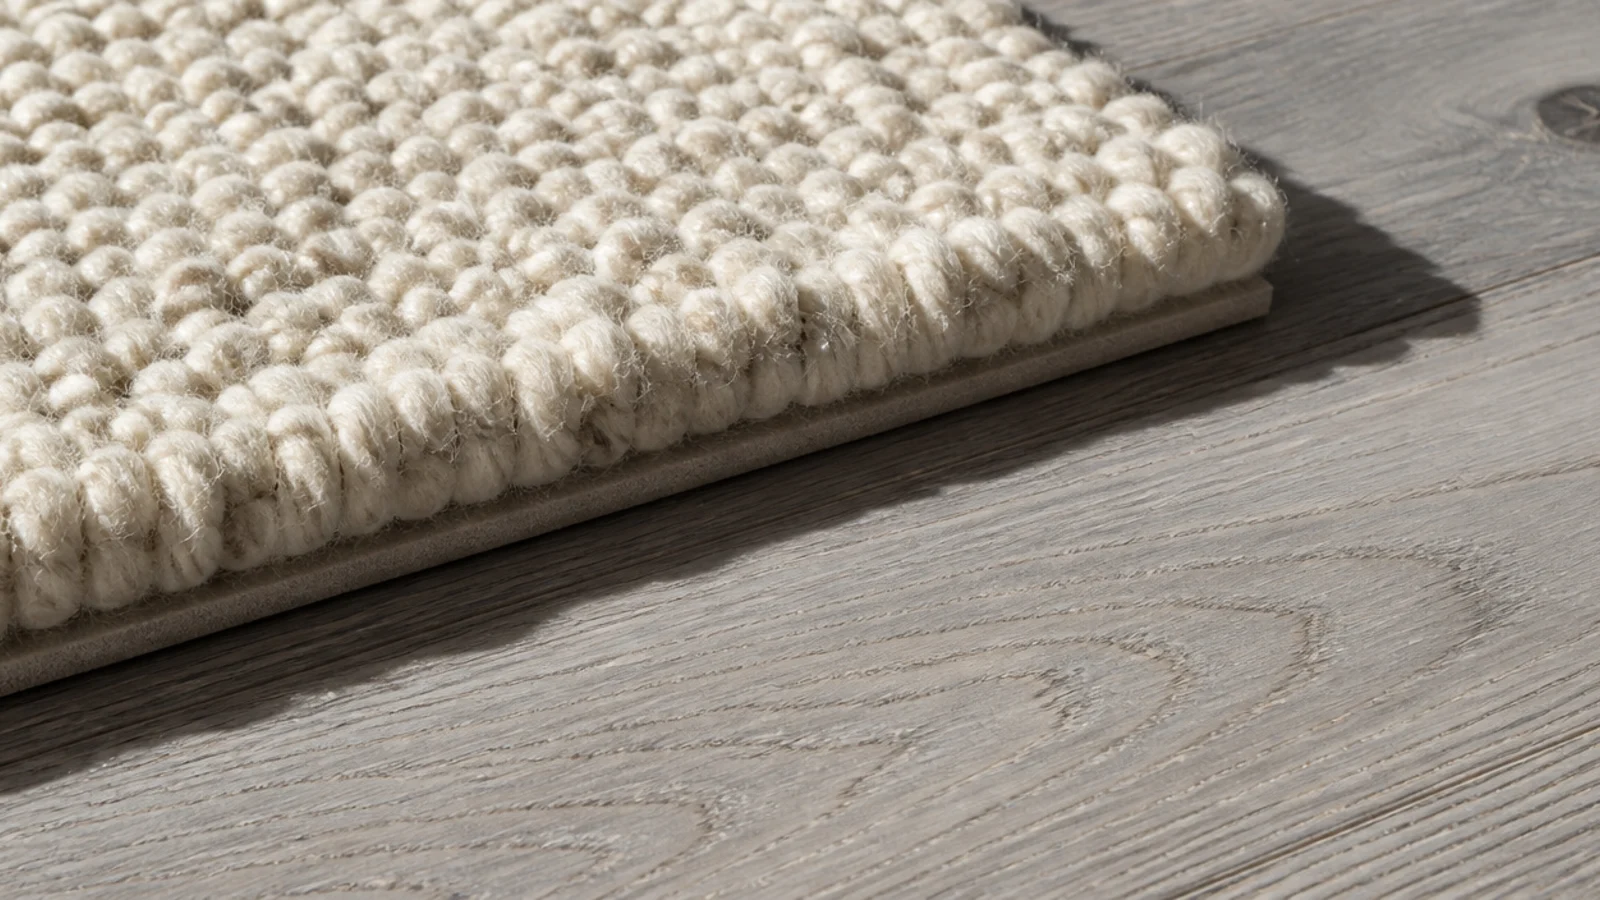
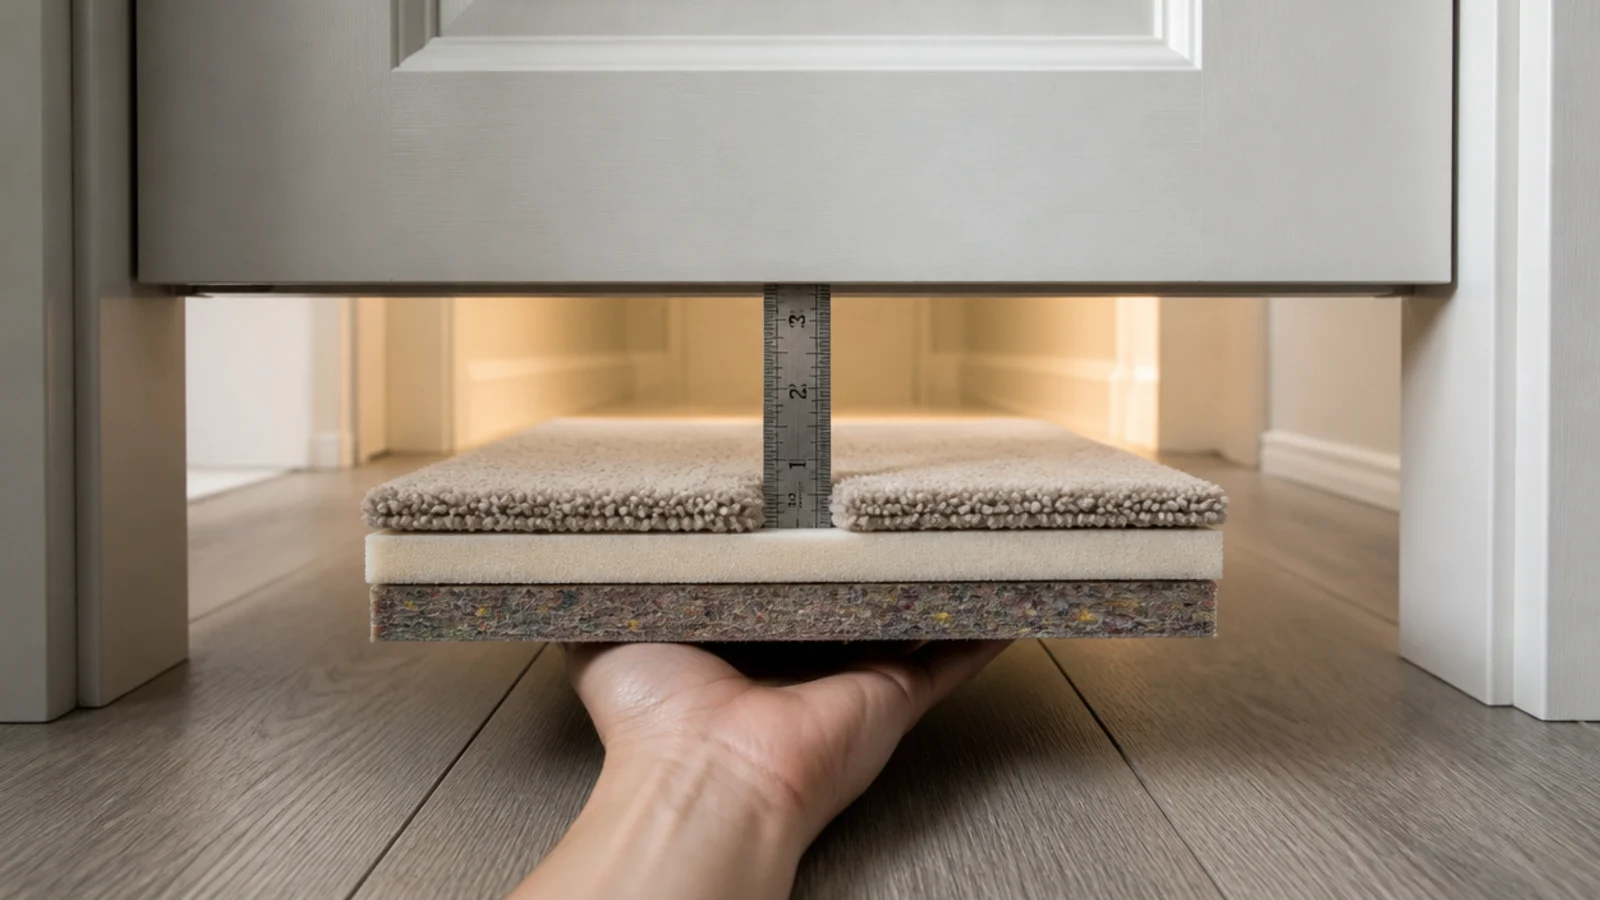
Step 6: Test the whole stack against the door swing
Stack the pad, a folded corner of the base and a folded corner of the top rug, and slide the pile under any door that opens over the area. Most interior doors clear half to three-quarters of an inch. If the stack jams, drop to an eighth-inch pad or a lower top rug now, before anything is unrolled and unreturnable.
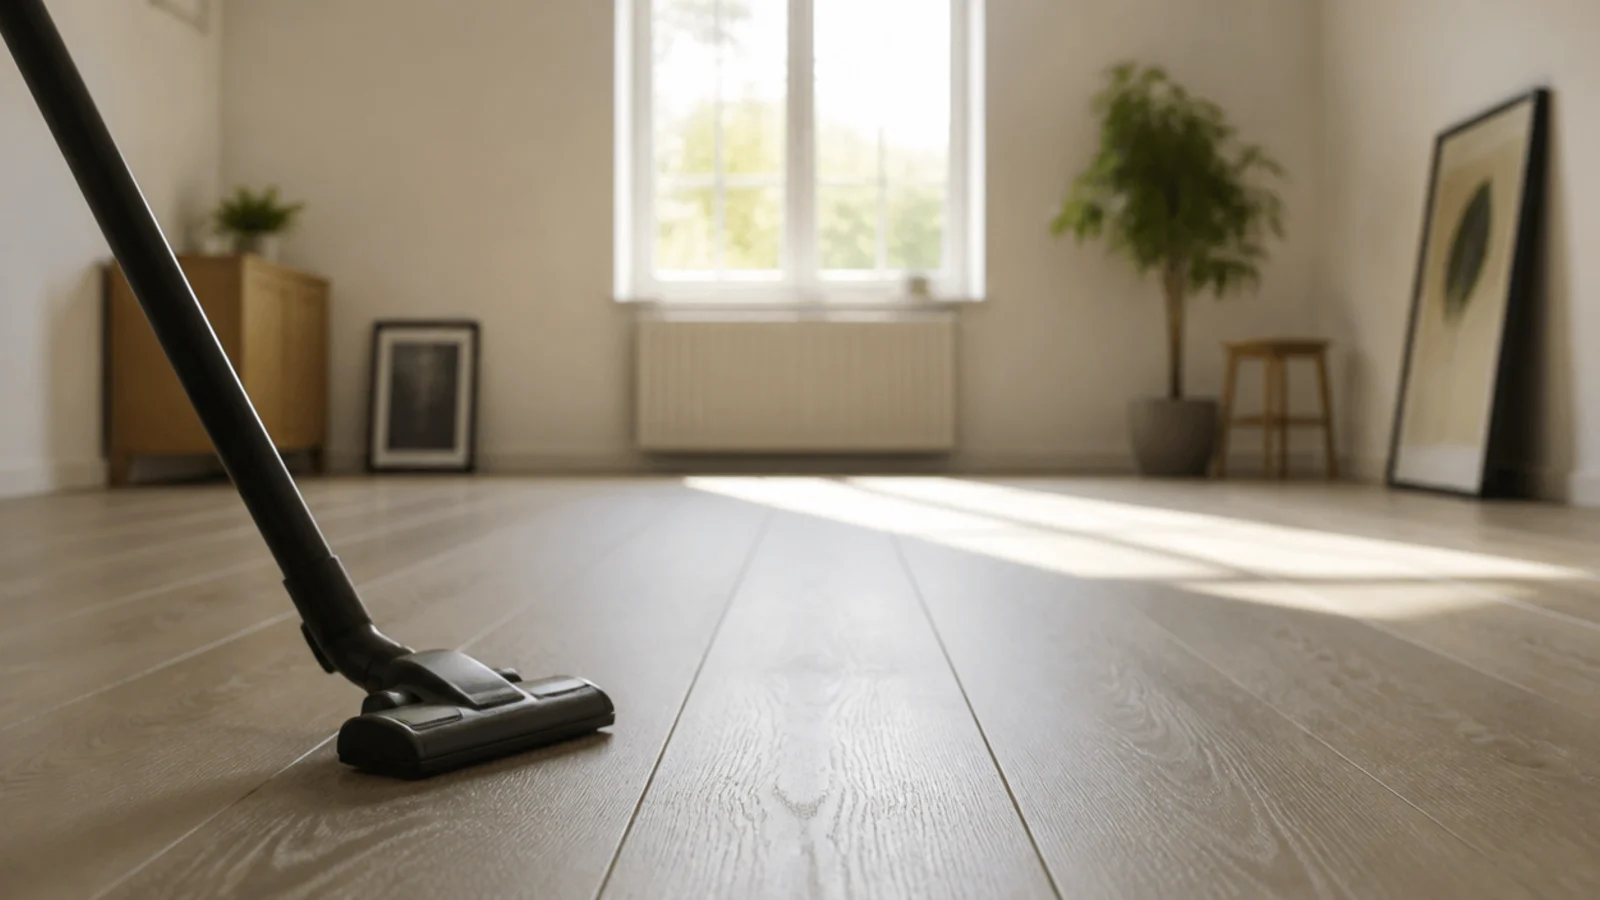
Step 7: Clear the floor and vacuum the boards
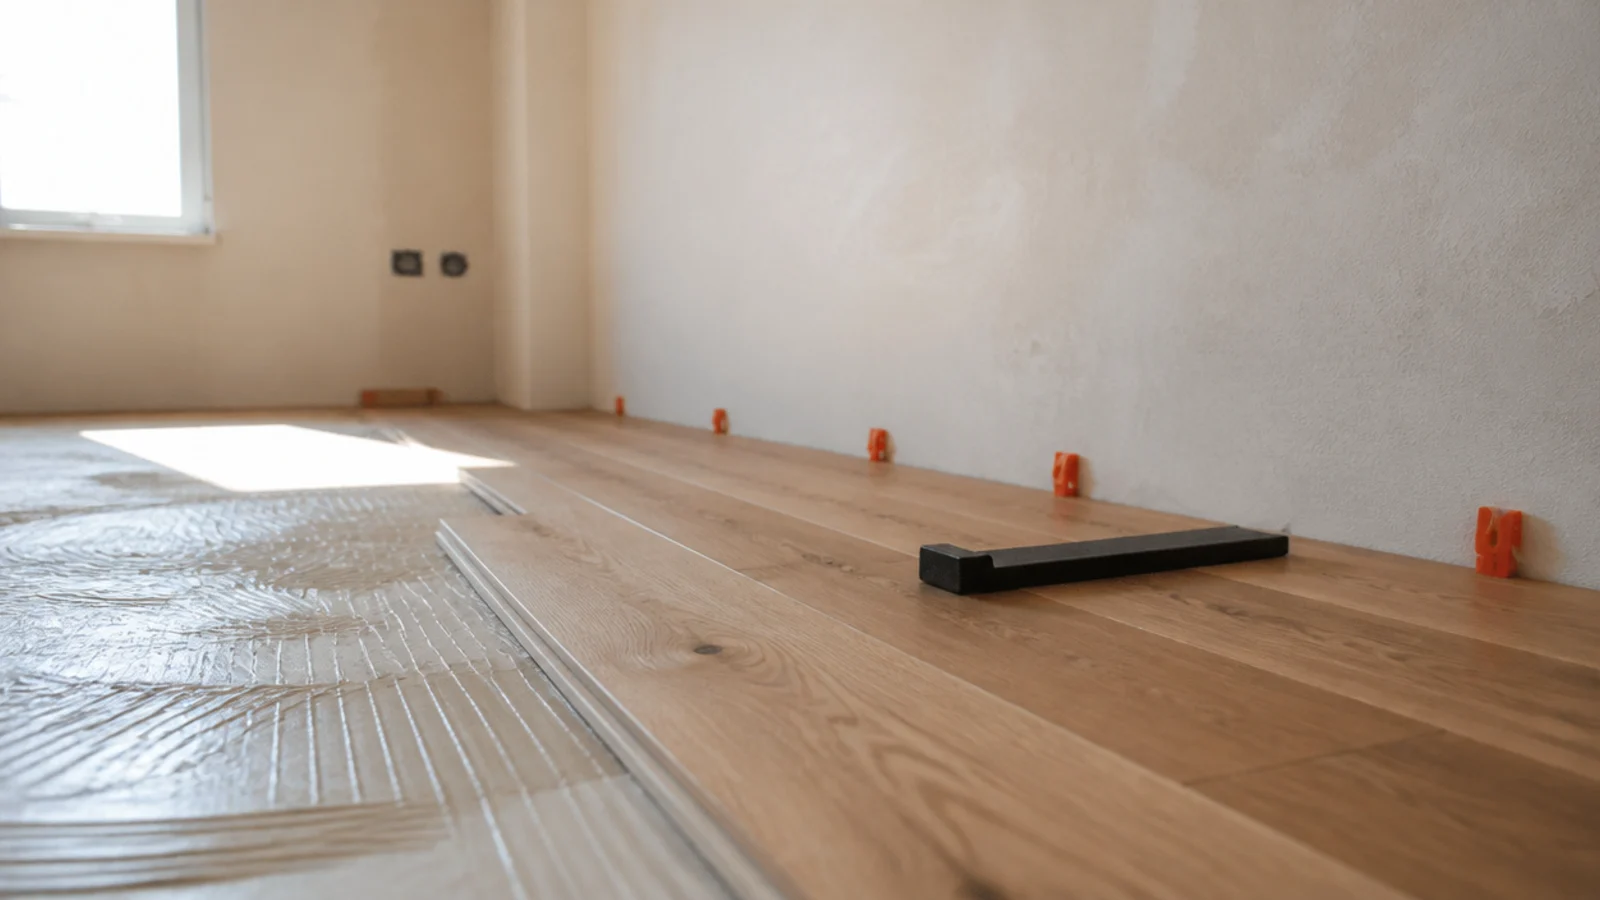
Move everything out, vacuum the bare floor and wipe it with a floor-safe cleaner. Grit trapped between a felt pad and a hard floor acts as sandpaper every time somebody crosses the room, scratching the finish from beneath and wearing the pad. Let the boards dry completely — five minutes now protects the floor for as long as the rugs are down.
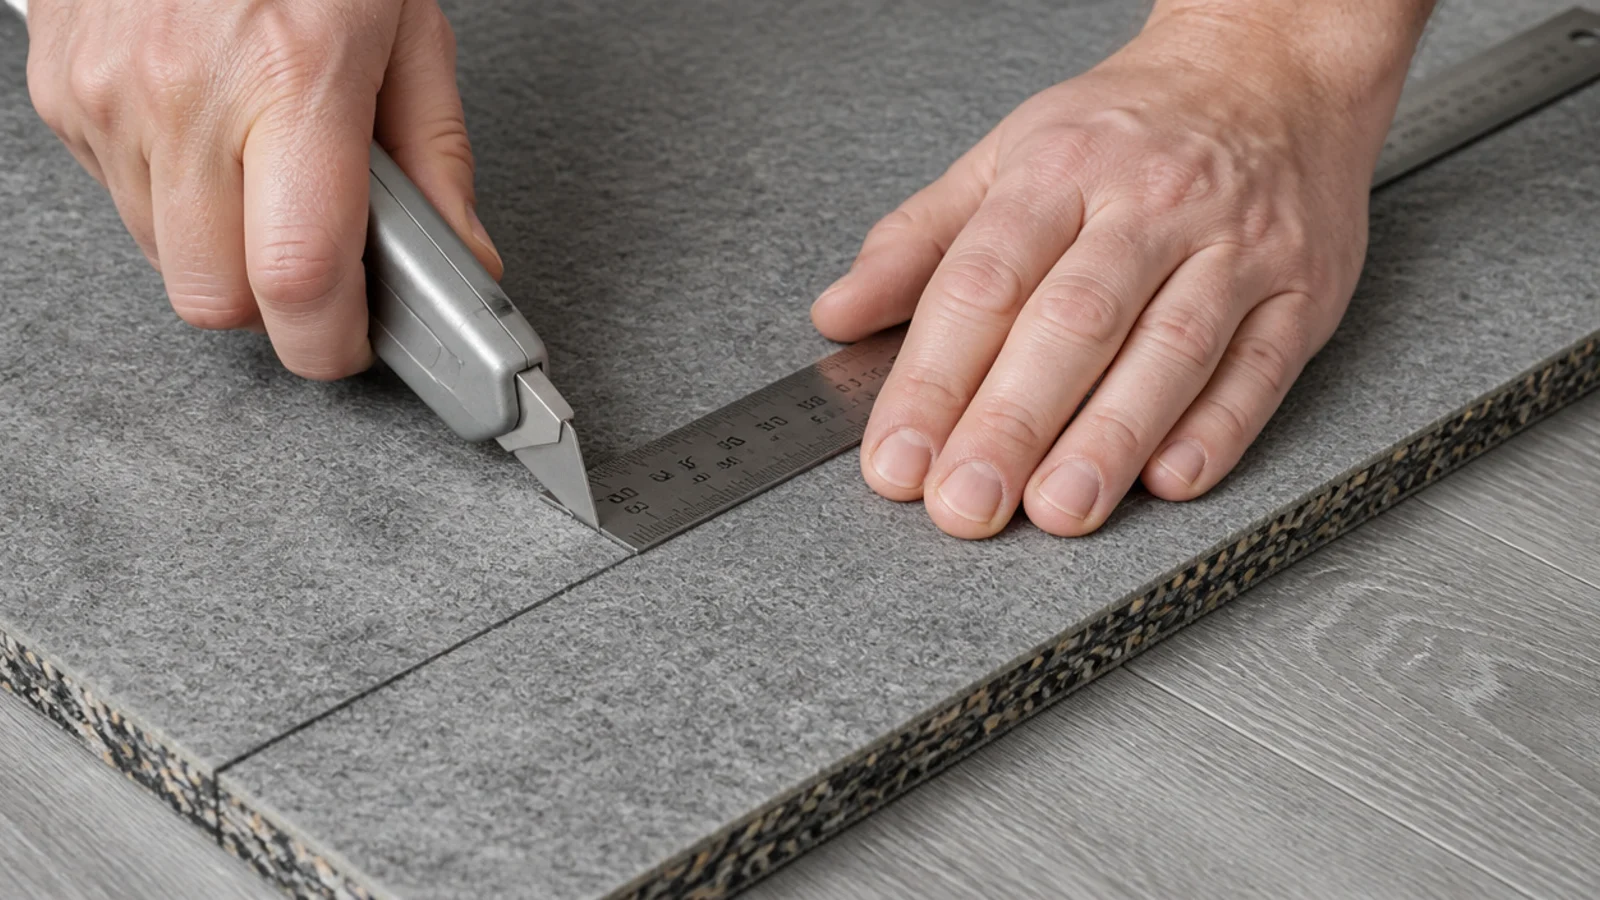
Step 8: Cut the pad one inch smaller than the base
Roll the pad out, lay the base rug on top of it, and mark an inch inside the rug edge all the way round. Cut along a steel straightedge with a utility knife. Felt cuts cleanly in one or two passes. A pad that reaches the edge shows as a pale lip and creates the ridge you are trying to avoid.
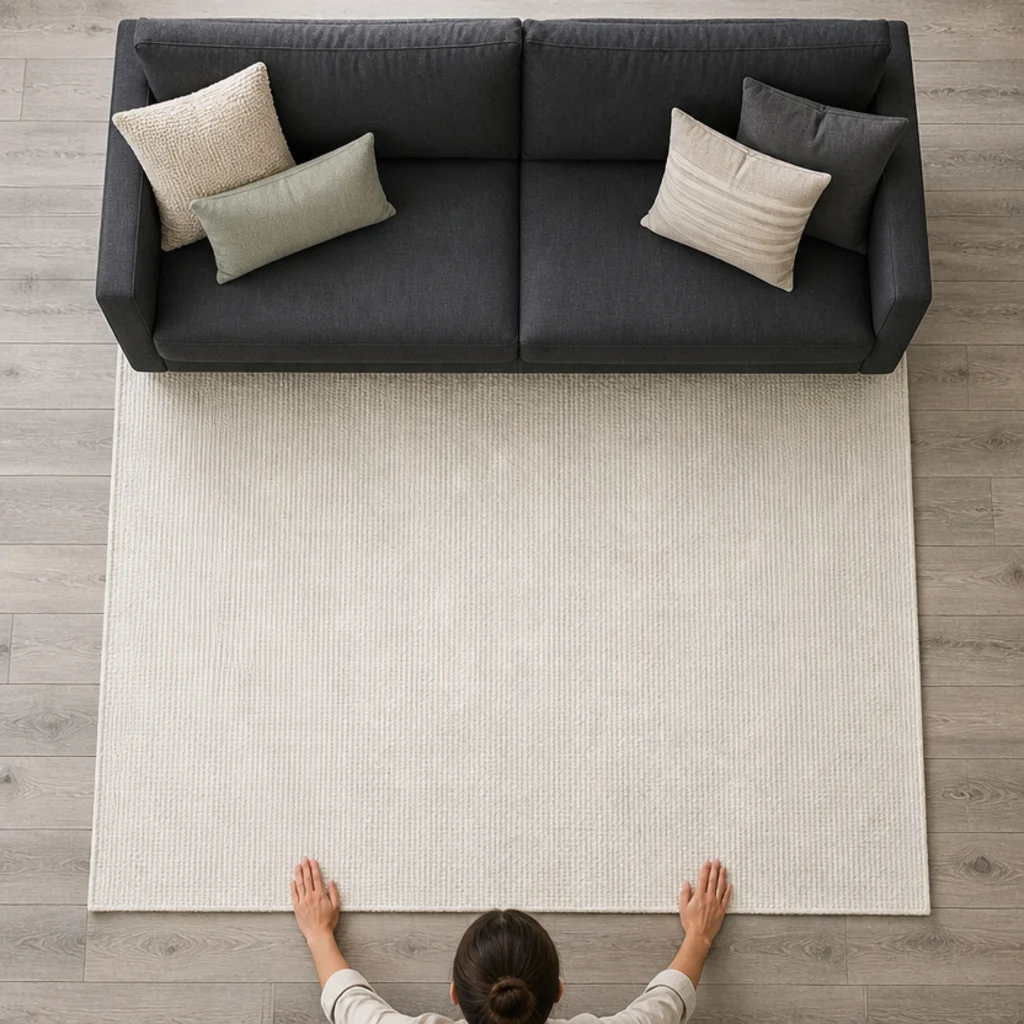
Step 9: Lay the pad and base square to the sofa
Put the pad down rubber-side to the floor, then the base rug on top of it. Align the base with the back line of the sofa rather than with the nearest wall — in most rooms the furniture defines the zone and the walls are not quite square anyway. Check the perimeter gap at four points and even it out before moving on.
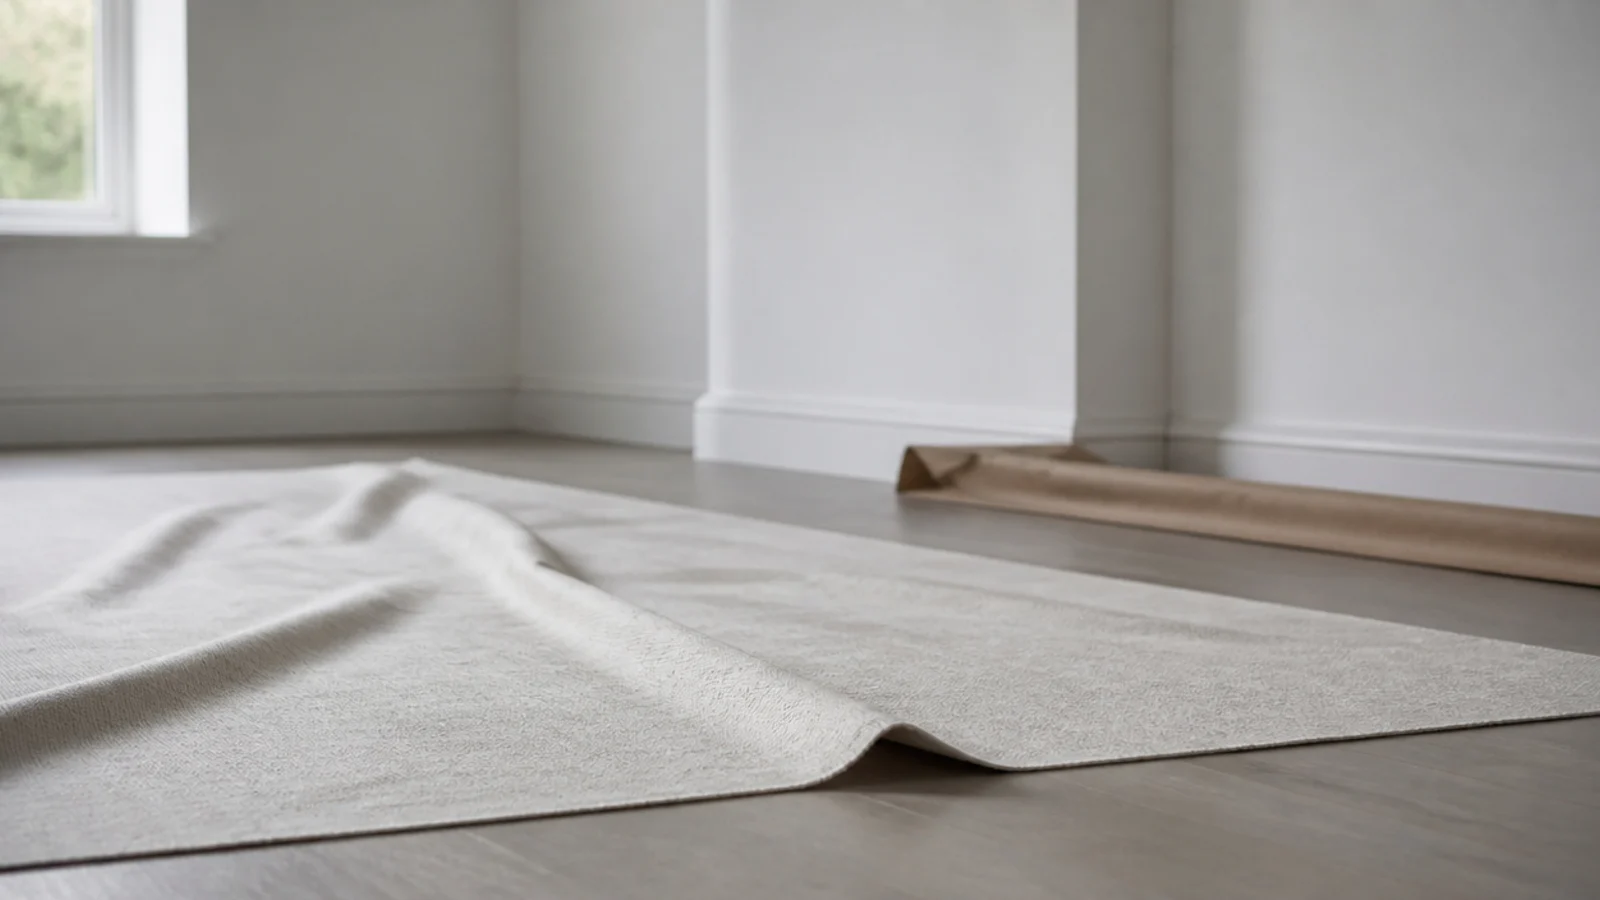
Step 10: Let both rugs relax for 48 hours
Every rug arrives folded and holds its creases for a day or two, which makes it read narrower than its stated size. Lay both flat, walk on them, and leave them two days before you judge the reveal. Reverse-rolling a stubborn end for an hour helps. Measuring a creased rug is how uneven reveals happen.
Step 11: Position the top rug and measure all four reveals
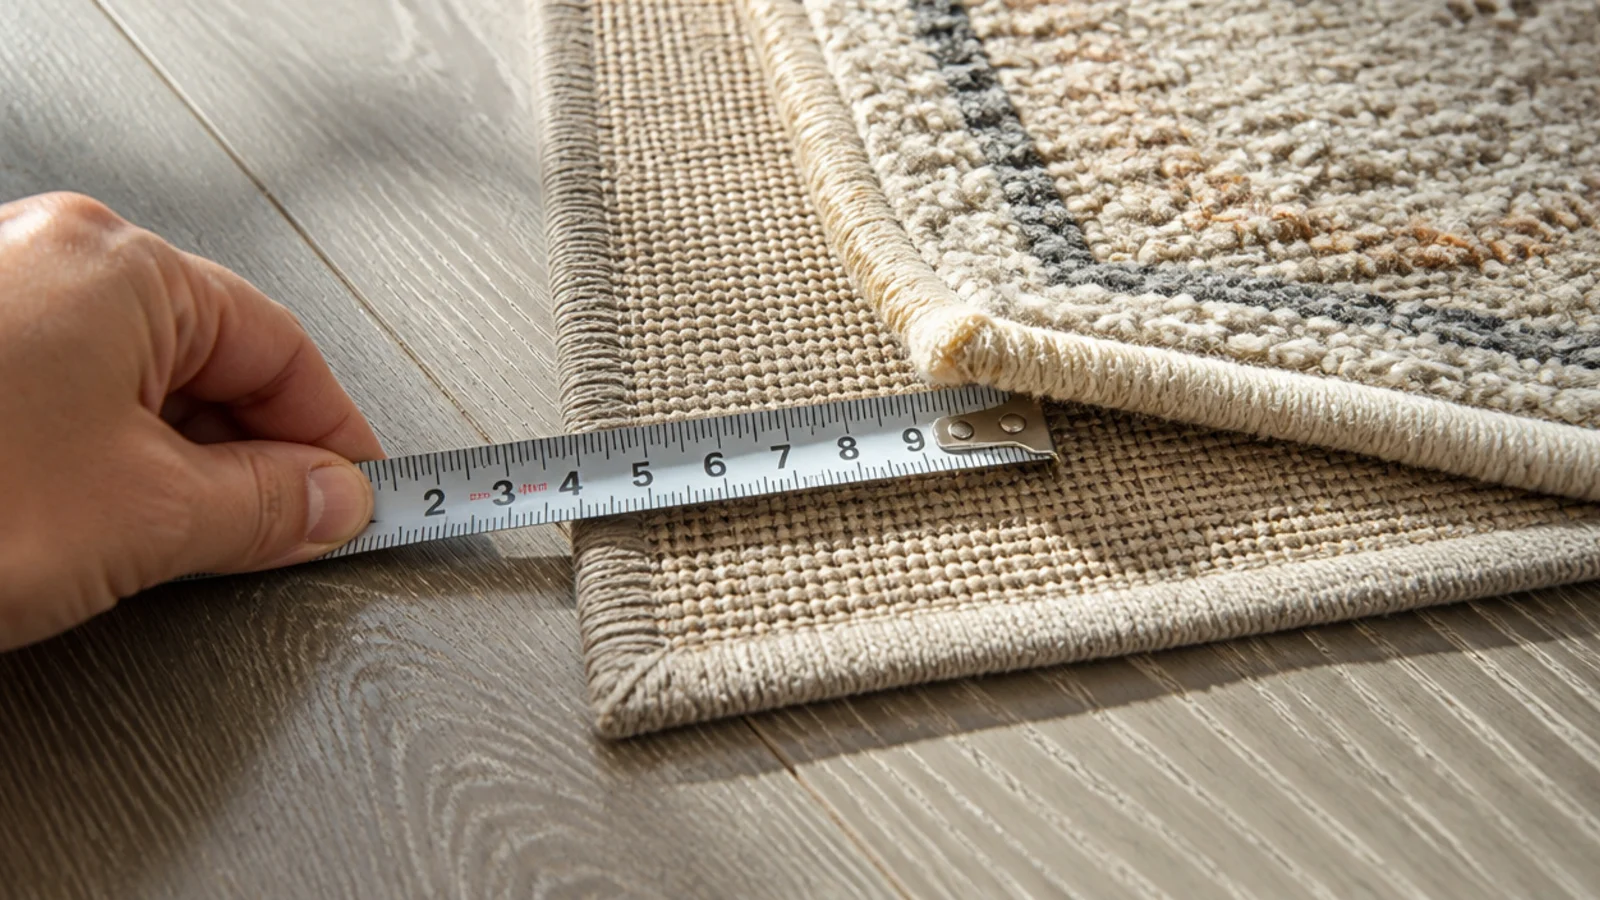
Centre the top rug by eye first, then measure the band of base showing on each of the four sides. Aim for 12 to 18 inches, equal on opposite sides. An inch of difference front to back is visible from the doorway even though nobody can name it. If the sofa is against a wall, shifting the top rug 6 to 10 inches forward is a deliberate exception worth making.
Step 12: Grip the top rug to the base
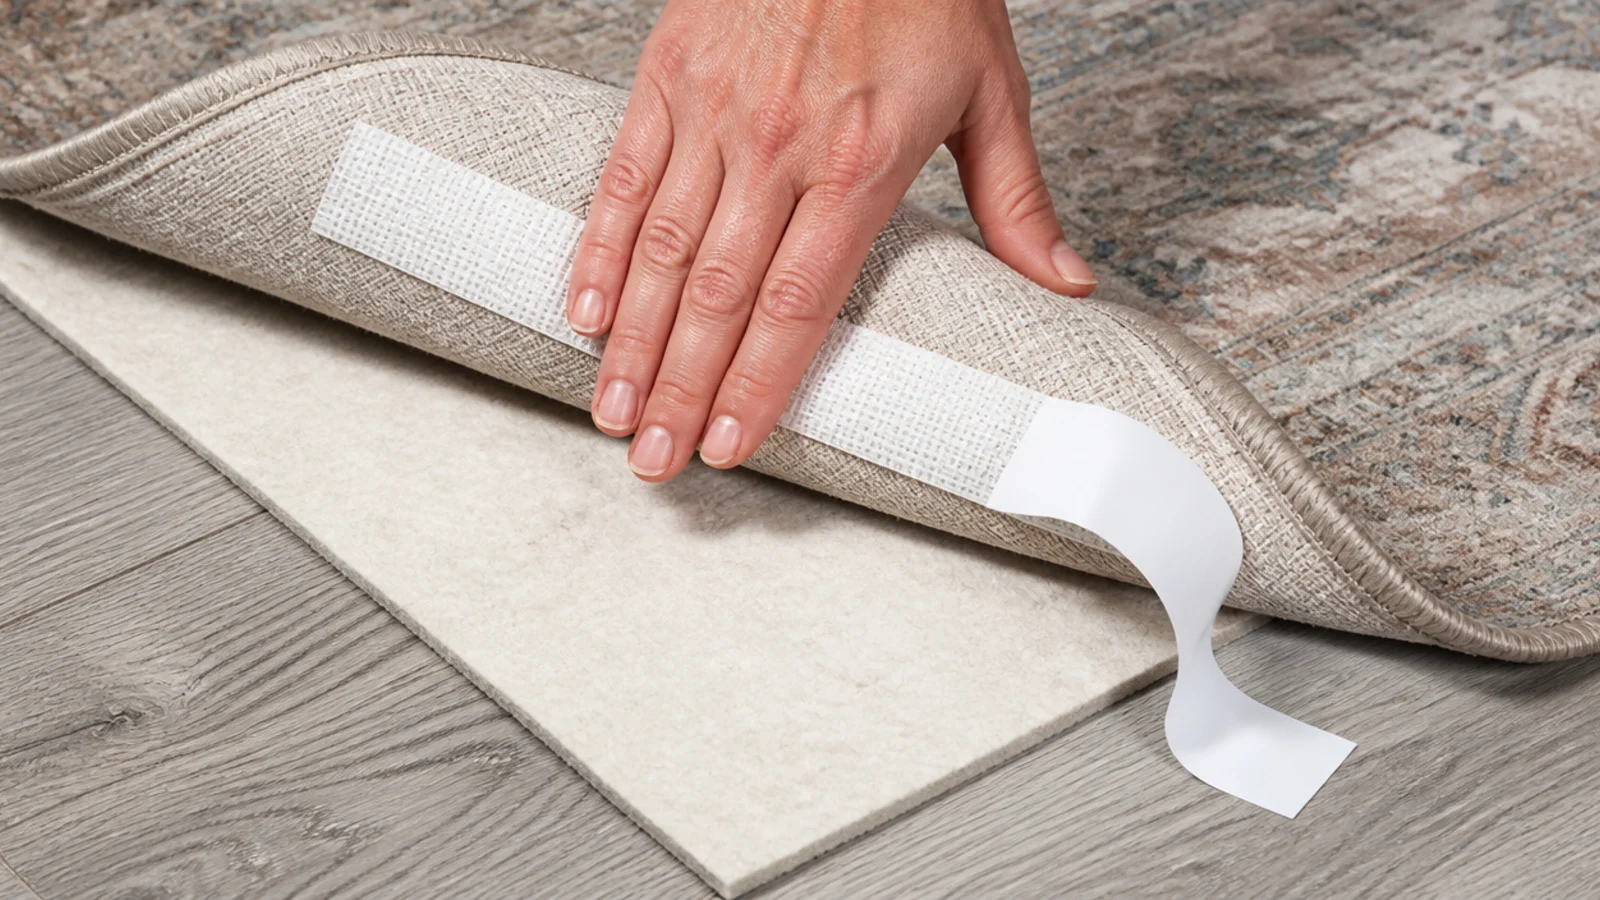
Fold the top rug back to its centre line, run grip tape or non-slip mesh along the underside of each edge, then lay it back down and press. Do not add a second pad between the layers: two pads stacked makes the whole build spongy and the top rug creeps more, not less. The felt and rubber pad belongs under the base only.
Step 13: Put the furniture back, heaviest legs on the corners
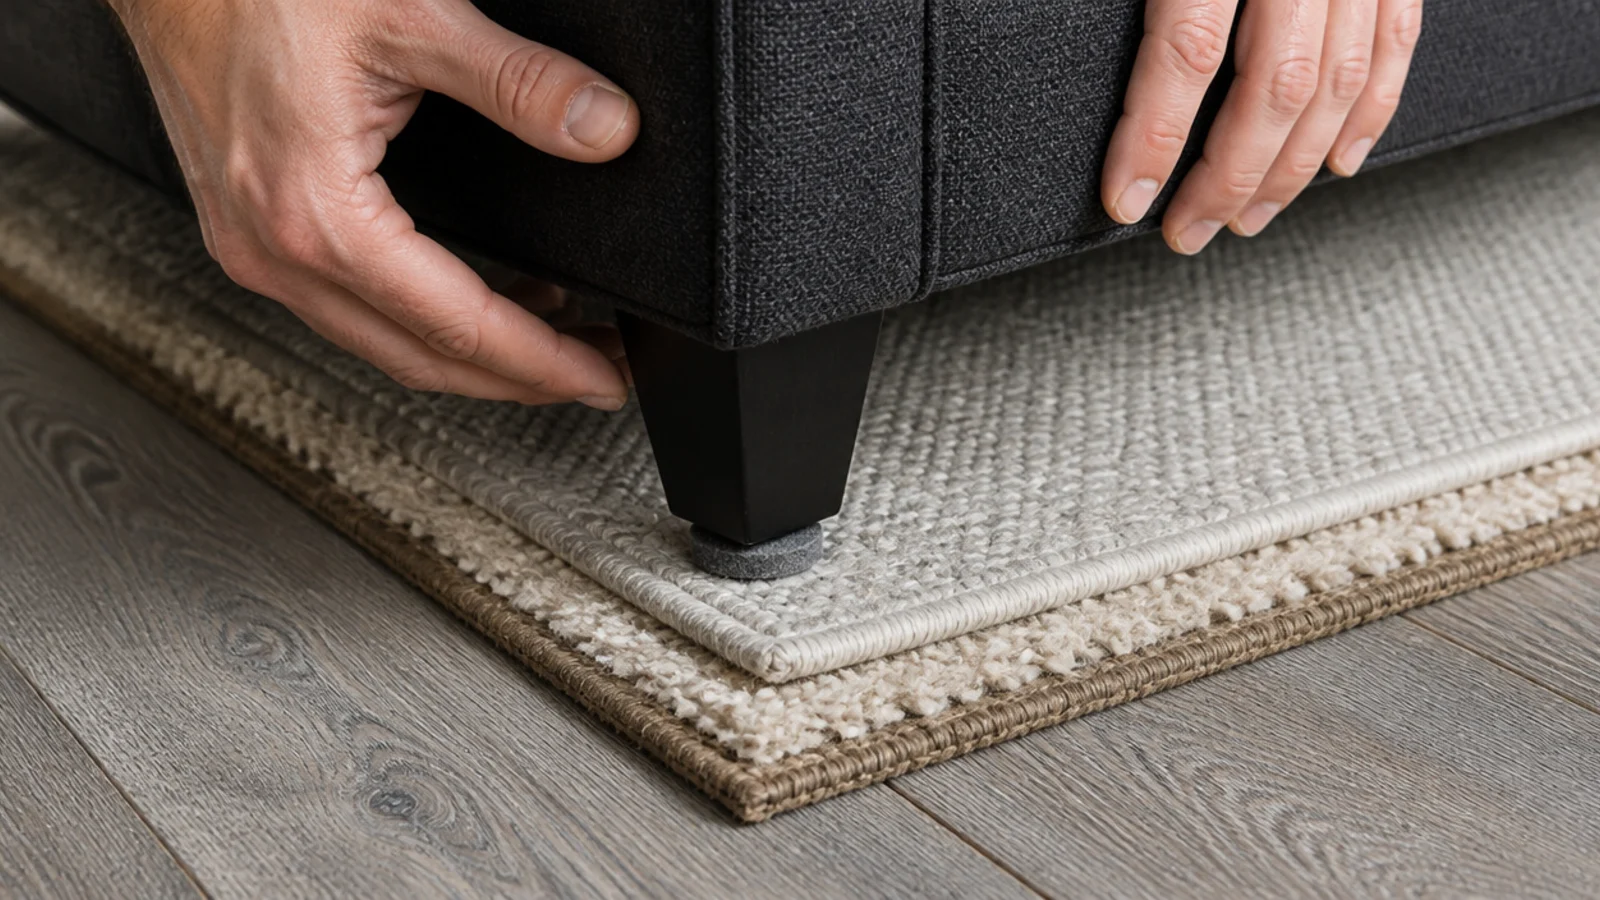
Bring the sofa and chairs back in and set the heaviest feet on the corners most likely to lift, which are usually the two nearest the door. Slip felt glides under every foot that lands on pile, so nothing indents permanently and nothing marks the base rug through the top one. Weight holds a corner flat for years where tape gives up in a season.
Step 14: Walk the whole stack and adjust
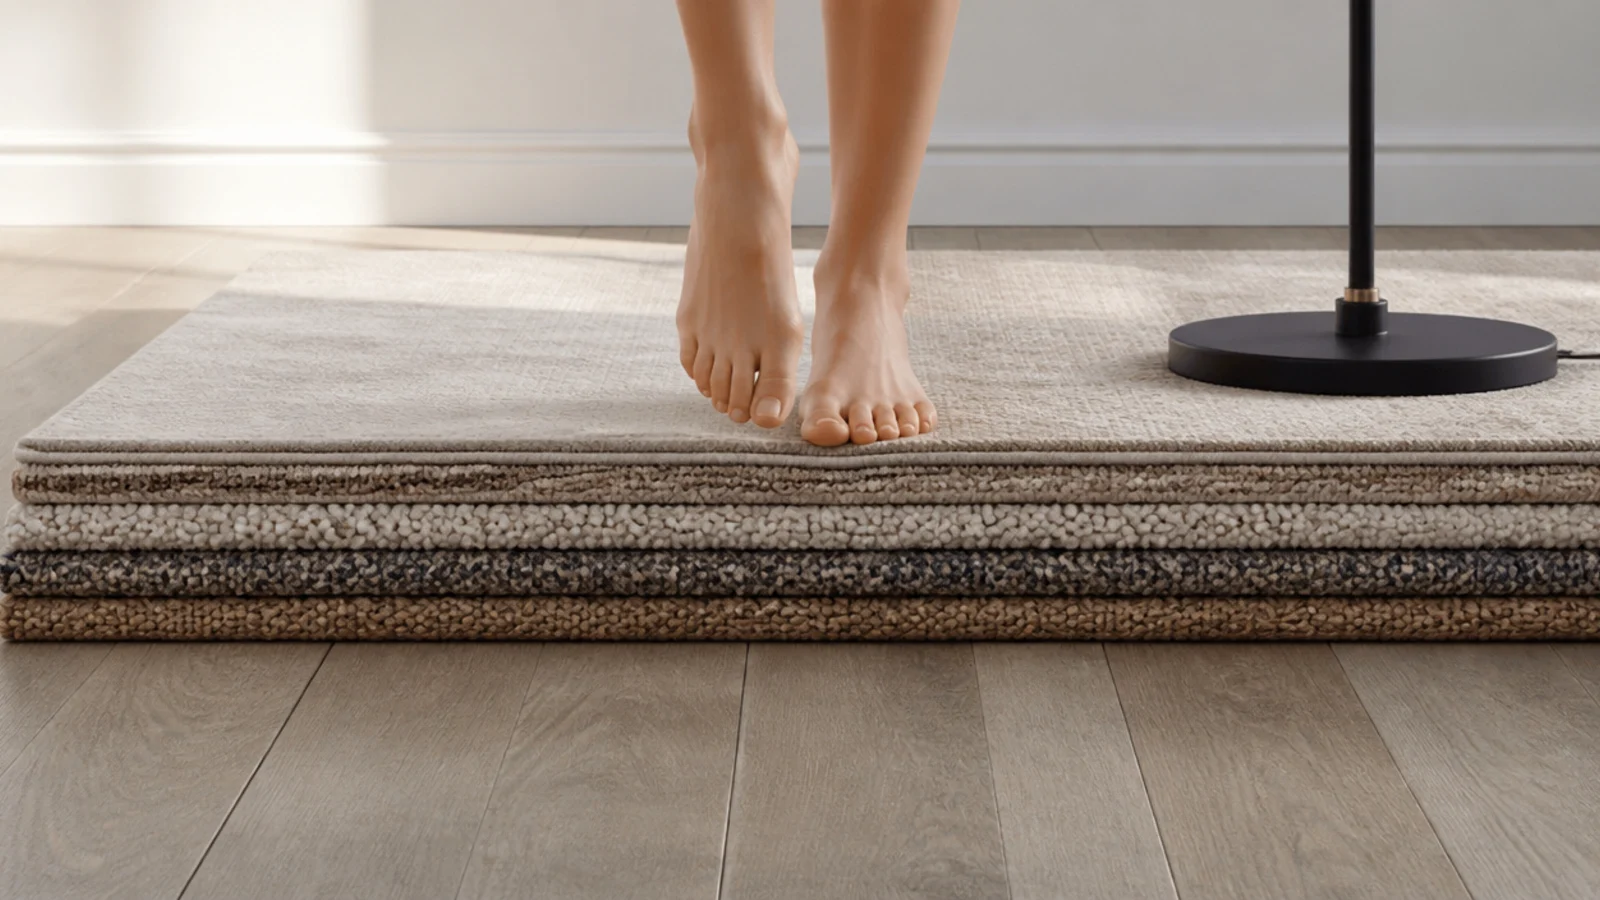
Walk every edge in bare feet, including the diagonal across the corners, and pay attention to any point where the top rug shifts or the edge rolls under. A layered stack that moves on a hard floor is a genuine trip hazard, so fix movement now with more grip or a repositioned furniture leg rather than promising yourself it will settle.
Step 15: Set the maintenance before you forget
Write two reminders. Rotate the whole stack 180 degrees every six months so the traffic lane and the sun line move onto fresh pile. Twice a year, lift the top rug and vacuum the base, because grit migrates down through the upper layer and sits between the two, grinding against both surfaces every time anyone walks across.
Pro Styling Rules
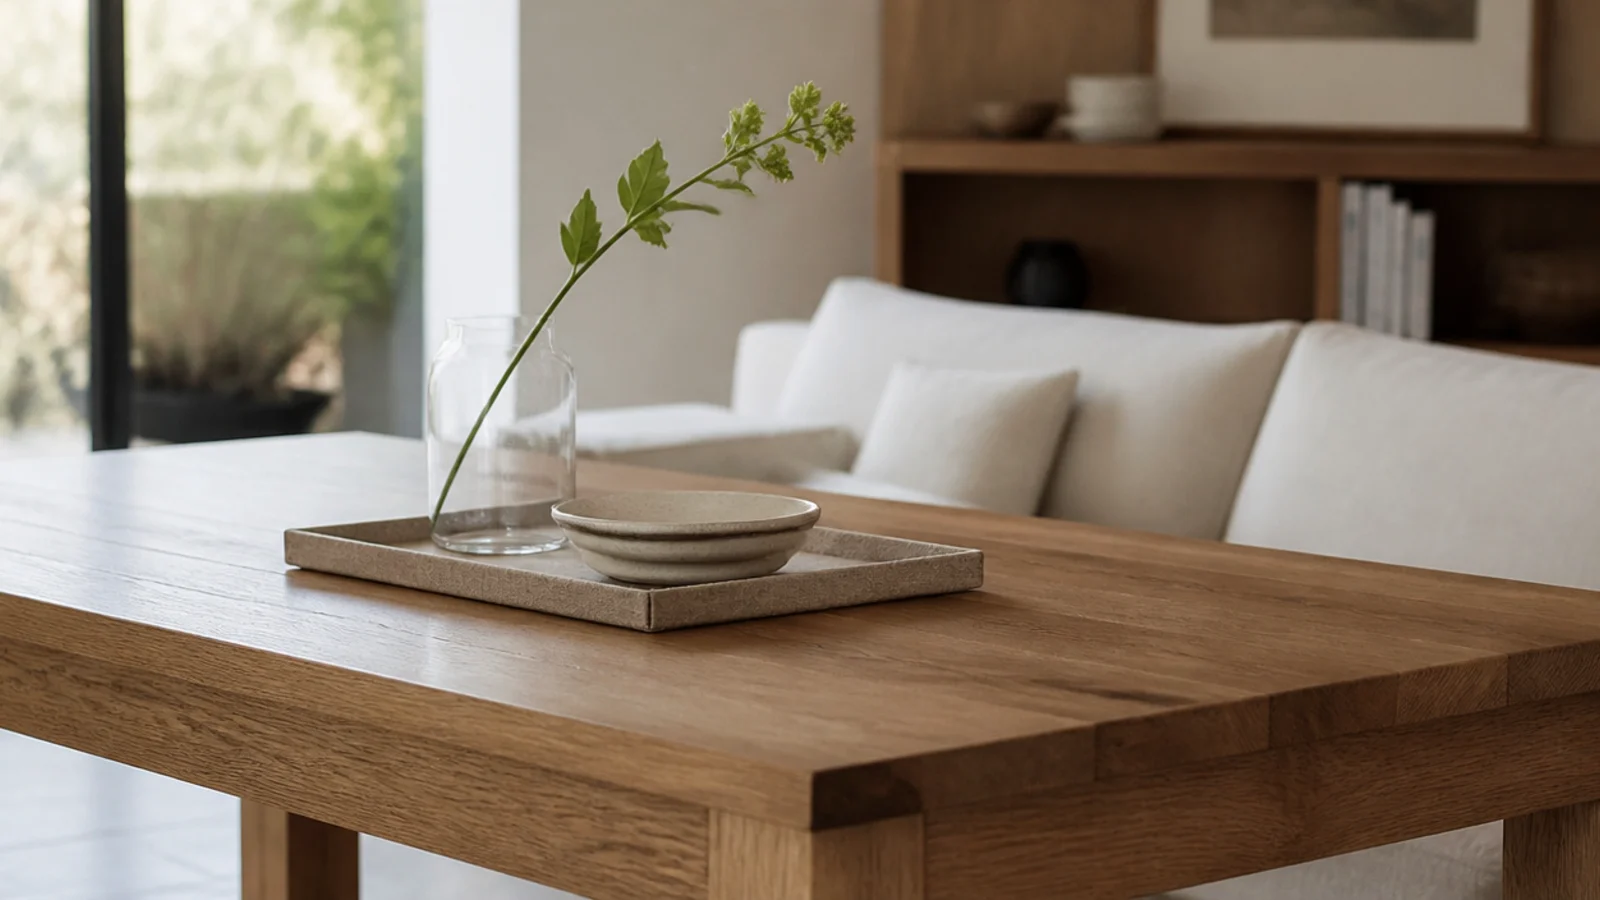
Once the floor is settled, the center table guide covers what belongs in the middle and how much clearance to leave around it, and the floating shelf ideas handle storage that keeps the layered area clear of clutter.
Mistakes to Skip
- Buying the top rug first because you fell for it. The base sets the room proportion, so it has to be sized first, and a beautiful top rug on an undersized base fixes nothing.
- Stacking two pads. The build becomes spongy, the top rug creeps further than it would with grip tape alone, and every edge rolls underfoot instead of lying flat.
- Skipping the door test. Discovering that the stack jams the door after both rugs are unrolled and out of their return window is an expensive five minutes to have saved.
- Measuring the reveal before the rugs have relaxed. Fold creases hold a rug narrower than its true size, so the gaps you carefully evened out drift within two days.
Frequently asked questions
Which rug goes on the bottom when layering?
The larger and thinner one. The base sets the room proportion and should reach 6 to 8 inches past every furniture leg, so it needs to be the big rug. Keeping it around an eighth of an inch thick means the finished stack stays low enough to clear a door and low enough not to trip anyone.
How do I stop the top rug moving?
Put a felt and natural rubber pad under the base, then rug-to-rug grip tape or a thin non-slip mesh between the two layers. Two pads stacked makes the build spongy and actually increases movement. Add furniture weight on whichever corner lifts first, since that is the corner people catch a foot on.
Can I layer two rugs of the same thickness?
You can, but it rarely looks deliberate. Without at least a quarter inch of height difference the top rug has no shadow line at its edge, so the two read as one confusing rug. Choose a flat base and a pile top, or a thin flatweave under a thicker hand-knotted piece.
What size base rug do I need?
Size it as if it were the only rug in the room. Measure the outer rectangle of the seating group and add 6 to 8 inches on every side, which usually lands on an 8x10 or a 9x12. Then work backwards to the top rug, which should sit 12 to 18 inches inside that on each side.
Will layering work over carpet?
Yes, and it is the usual fix for rental carpet. Use a thin needle-punch felt underlay rather than rubber, because rubber can mark some carpet backings. Choose a low pile for the top rug so the build stays firm underfoot rather than spongy, and check the door still clears the extra height.
Want more like this? Browse all 15 rugs in living room guides — they all use the same measurements and budget tiers.
Pin it for later
Save this to your Rugs In Living Room board
Pin it now so it is waiting for you when the tape measure comes out — and so the next person hunting for this idea can find it too.
Save this pinKeep going
More ideas worth saving while you have the tape measure out.