Wooden Flooring · How-To
15 Steps To Lay Wooden Plank Flooring Yourself

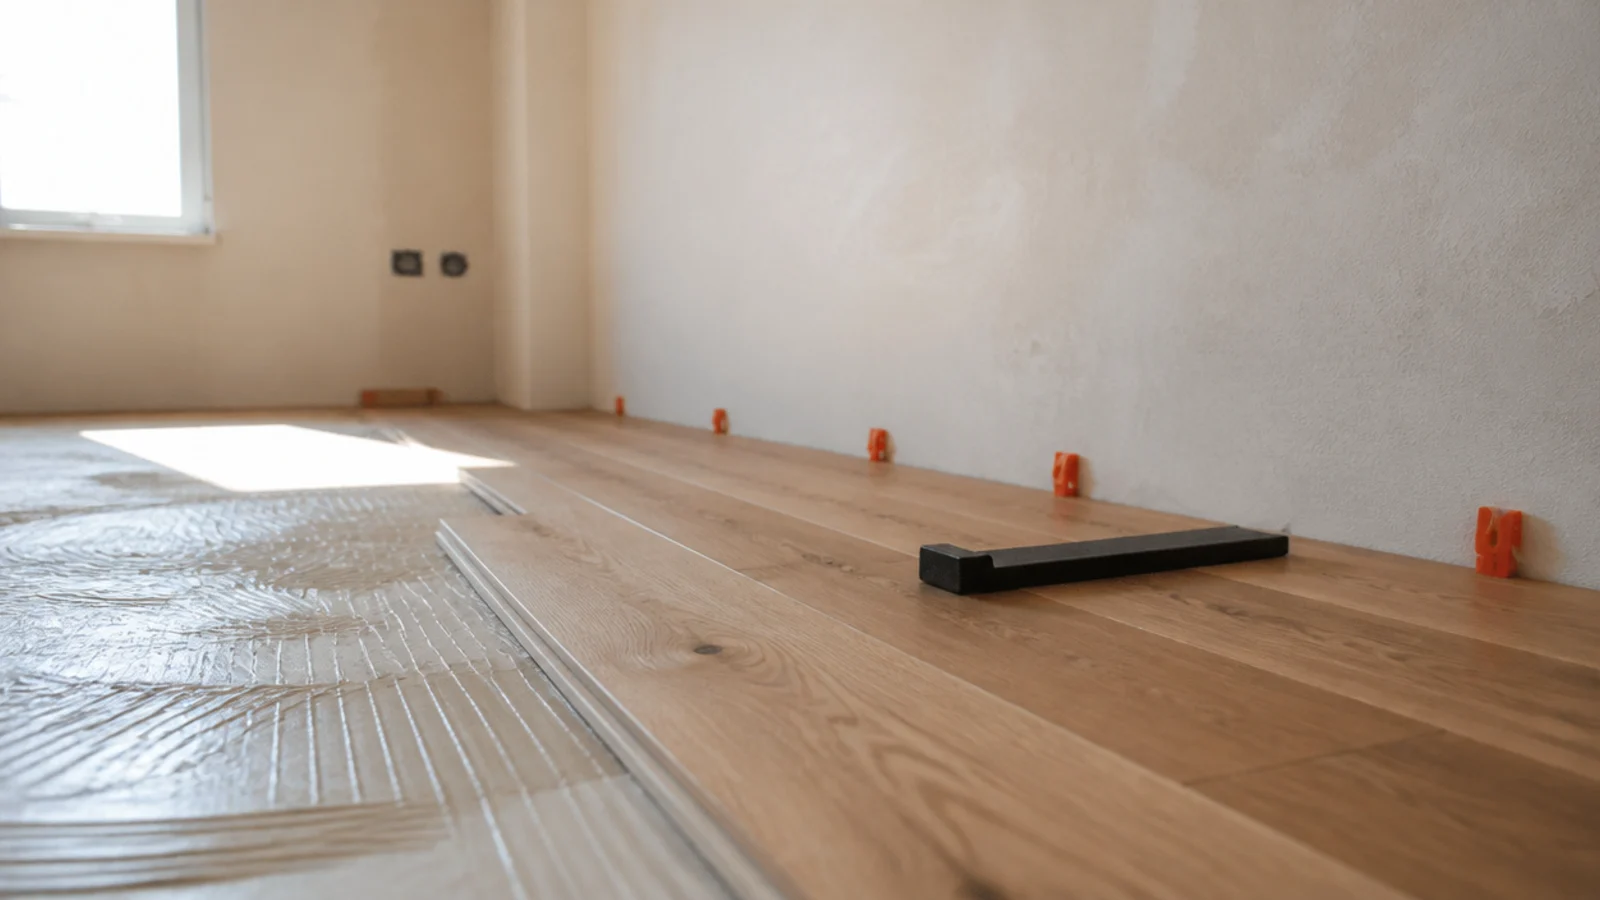
Most flooring failures happen before the first board clicks together. The subfloor was damp, the packs sat sealed in a cold garage, or nobody worked out how wide the last row would be until there was nowhere left to fix it. Laying wooden plank flooring is genuinely within reach of a careful amateur — the cutting is simple and the tools are cheap — but the order of operations matters more than the skill. These fifteen steps run in the sequence the job actually happens, with the numbers that decide whether the floor is still flat in five years.
In this guide18 sections — tap to openHide
- 1.What You'll Need To Lay Wooden Plank Flooring
- 2.Step 1: Test the subfloor for moisture and flatness
- 3.Step 2: Acclimatise the boards in the actual room
- 4.Step 3: Decide direction and find your set-out line
- 5.Step 4: Lift the skirting or plan for scotia
- 6.Step 5: Undercut the door casings and architraves
- 7.Step 6: Lay the membrane and underlay
- 8.Step 7: Dry-lay and calculate the last row
- 9.Step 8: Set the first row with twelve millimetre spacers
- 10.Step 9: Stagger the end joints as you go
- 11.Step 10: Cut around pipes and radiator legs
- 12.Step 11: Pull the last row in with a pull bar
- 13.Step 12: Fit thresholds at every doorway
- 14.Step 13: Refit skirting or scotia without pinning the floor
- 15.Step 14: Clean, fill and finish the surface
- 16.Step 15: Rest the floor before the furniture returns
- 17.Pro Styling Rules
- 18.Mistakes to Skip
What You'll Need To Lay Wooden Plank Flooring
Buy or hire before day one, because half of this cannot be improvised.
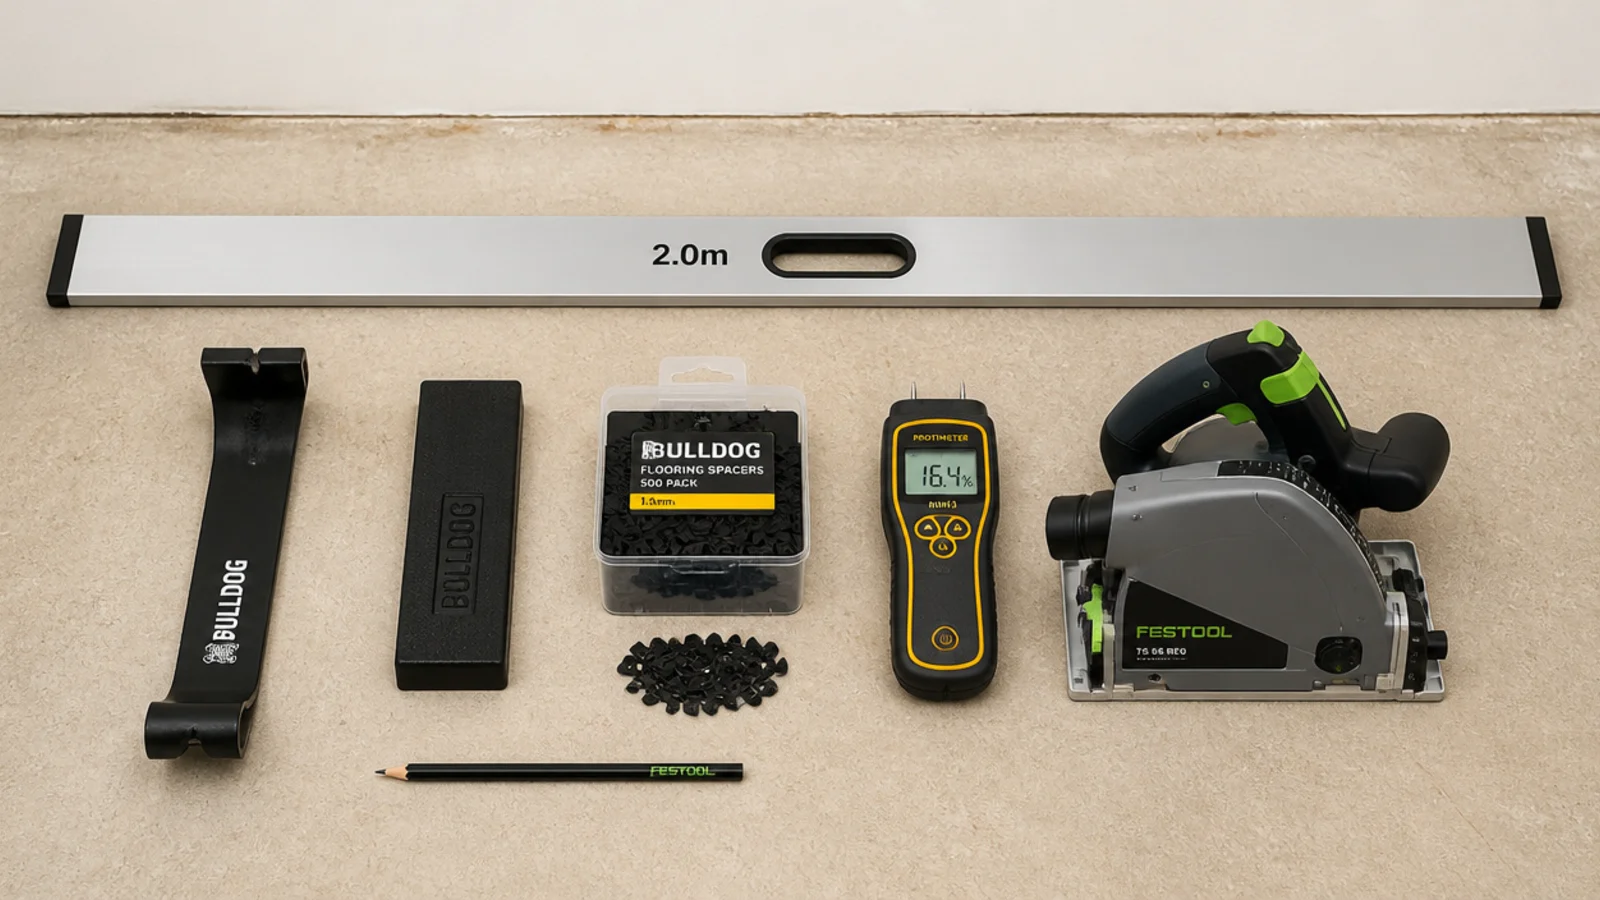
Tools. A tapping block matched to your click system, a steel pull bar, a bag of 10 to 12mm spacers, a mitre saw or a sharp handsaw, a jigsaw for pipe cuts, a flush cut saw for door casings, a rubber mallet, a 2-metre straightedge and a moisture meter. Knee pads are not optional over a full day.
Materials. Boards plus 5 percent for a straight lay, 10 for diagonal, 15 for herringbone. A damp-proof membrane of 250 micron polythene over any concrete, 2 to 3mm foam or 5 to 6mm acoustic underlay, jointing tape, and scotia or replacement skirting.
Numbers to hold on to. Concrete subfloor at or below 75 percent relative humidity, timber subfloor at or below 12 percent moisture content, flat within 3mm over 2 metres, room held at 18 to 22 degrees Celsius and 35 to 55 percent humidity. Expansion gap 10 to 12mm at every fixed edge, 15mm on runs beyond 8 metres.
Budget. Around £25 to £70 per square metre for the boards, £4 to £9 for underlay, and perhaps £60 for the tools if you own none of them. For choosing the boards themselves, the wooden flooring ideas guide covers species, width and grade.
Step 1: Test the subfloor for moisture and flatness
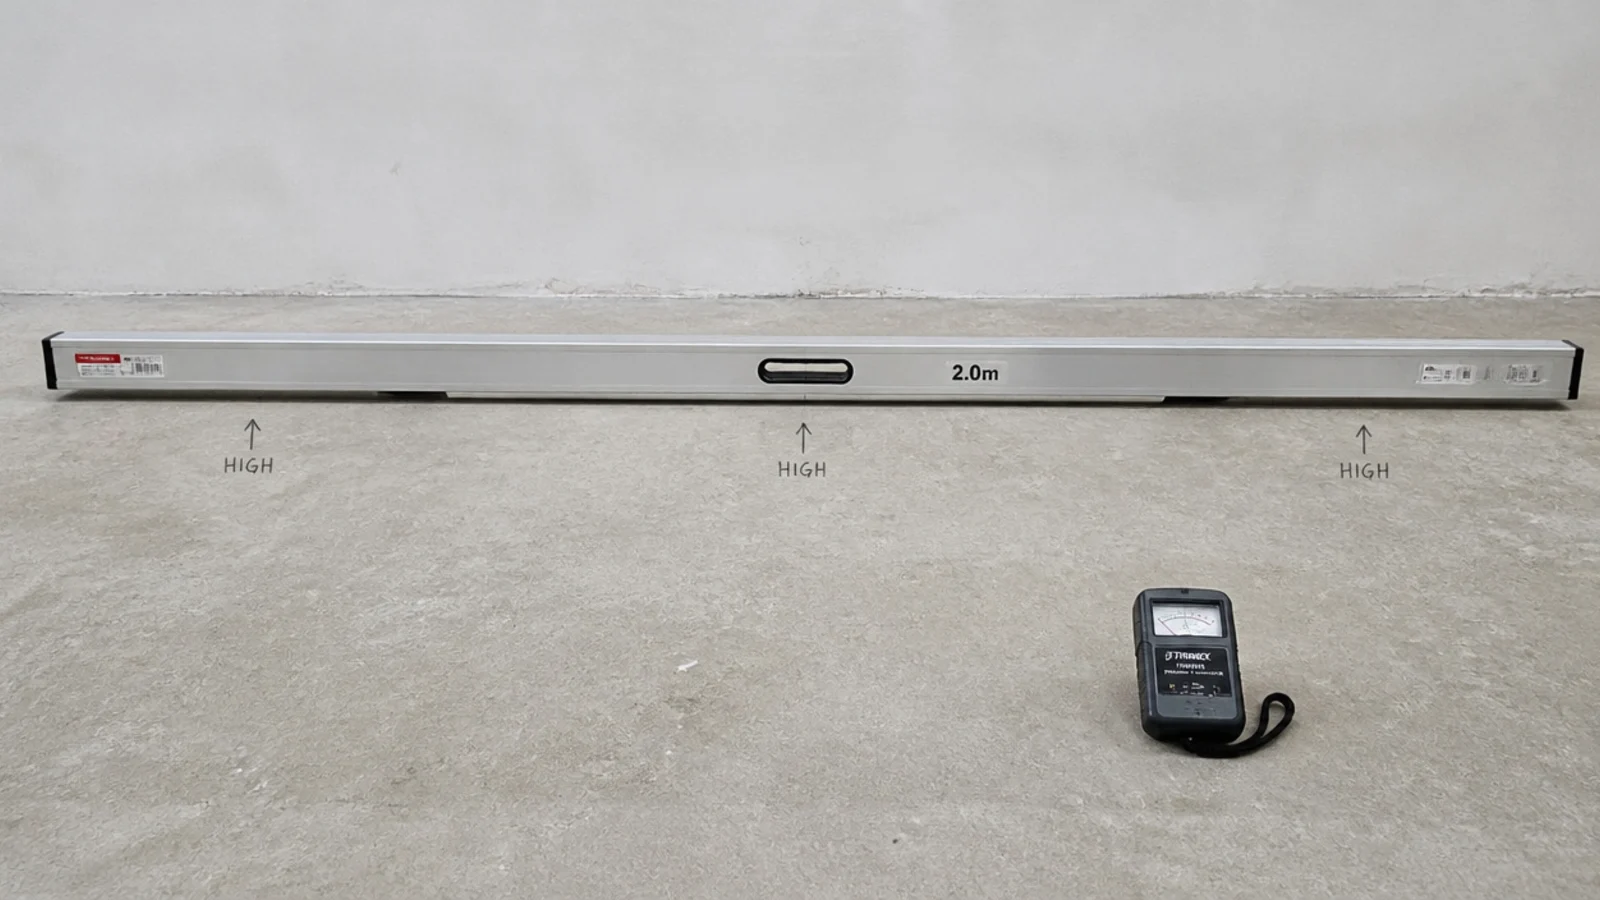
Take a moisture reading before anything else. Concrete wants 75 percent relative humidity or less on an in-slab probe; a timber deck wants 12 percent or less, and the boards should land within 2 to 4 percent of that. Then run a 2-metre straightedge across the floor in several directions. Anything over 3mm of gap gets marked and skimmed with levelling compound, which needs its own drying time before you go further.
Step 2: Acclimatise the boards in the actual room
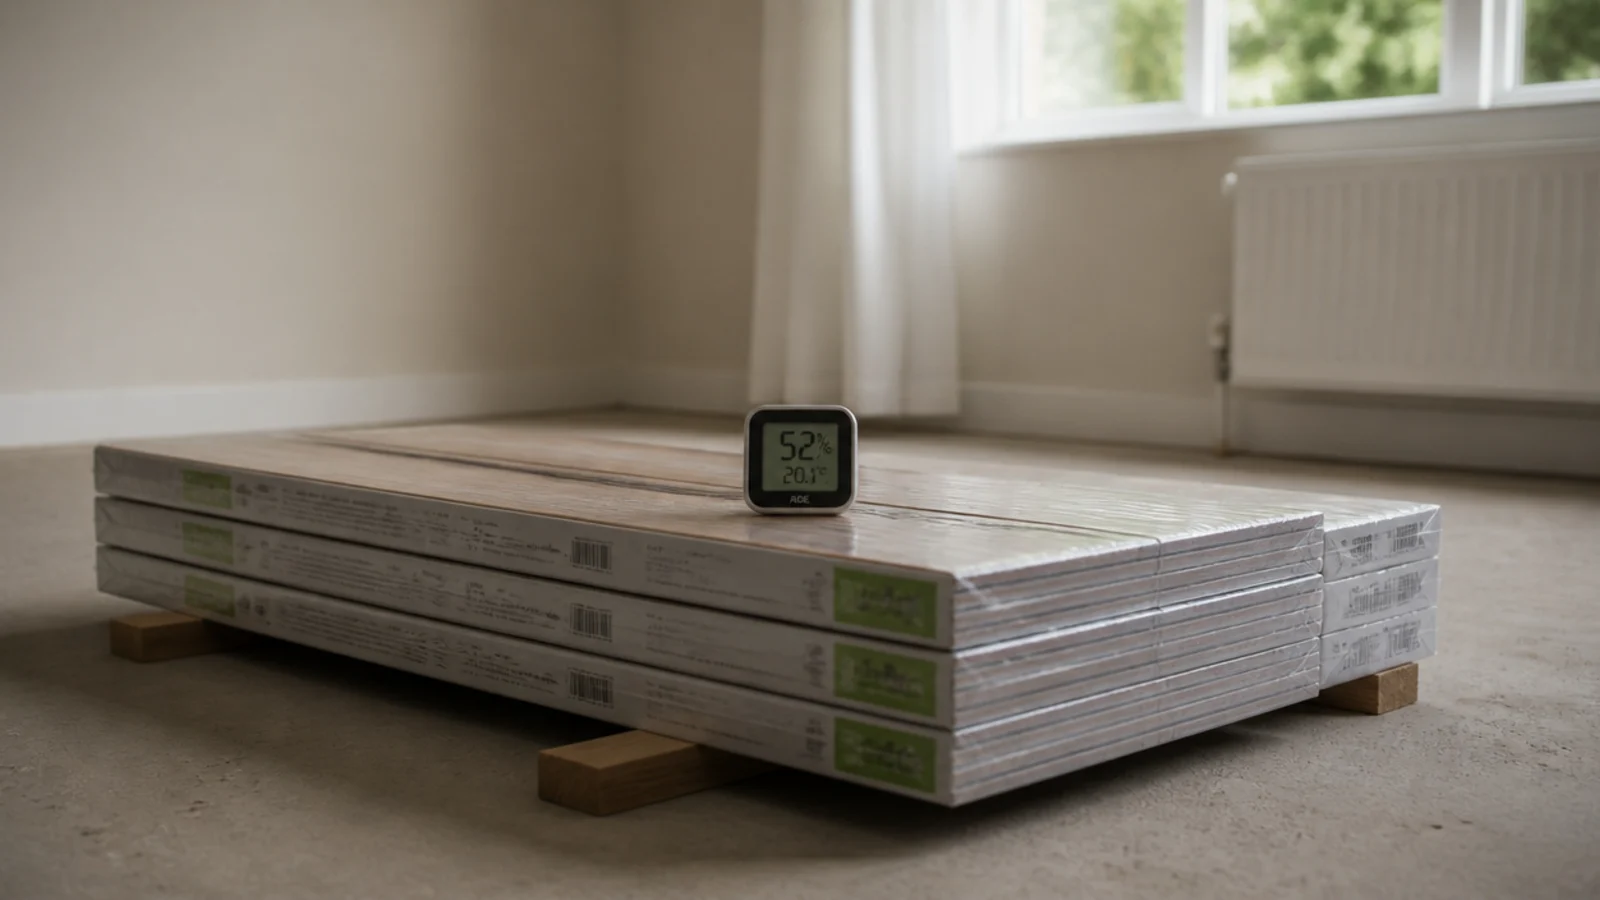
Open every pack and stack the boards flat, on battens, in the room where they will be laid — not a hallway, not a garage. Solid boards need five to seven days, engineered two to three. Hold the room at 18 to 22 degrees and 35 to 55 percent humidity throughout, with the heating running as it normally would. Sealed packs acclimatise nothing.
Step 3: Decide direction and find your set-out line
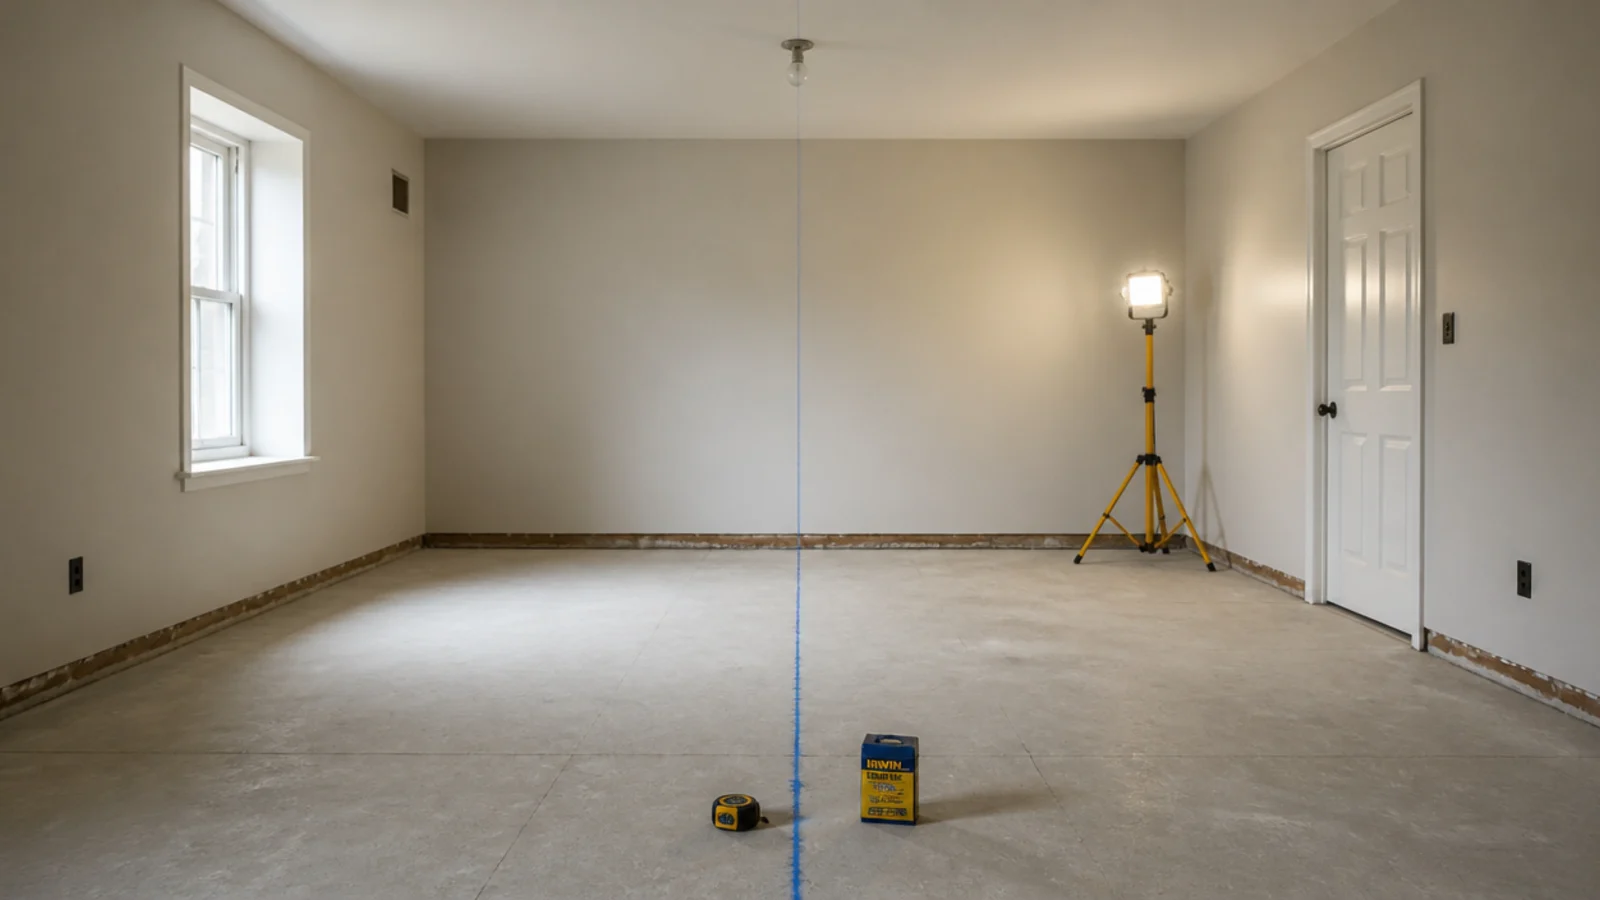
Run the planks along the longest wall and away from the main window, so light travels down the boards rather than across the end joints. Over exposed joists, solid boards must cross the joists instead — that rule outranks the light. Snap a chalk line parallel to your chosen wall, measured from two points, because walls are rarely straight and the line is what you actually work to.
Step 4: Lift the skirting or plan for scotia
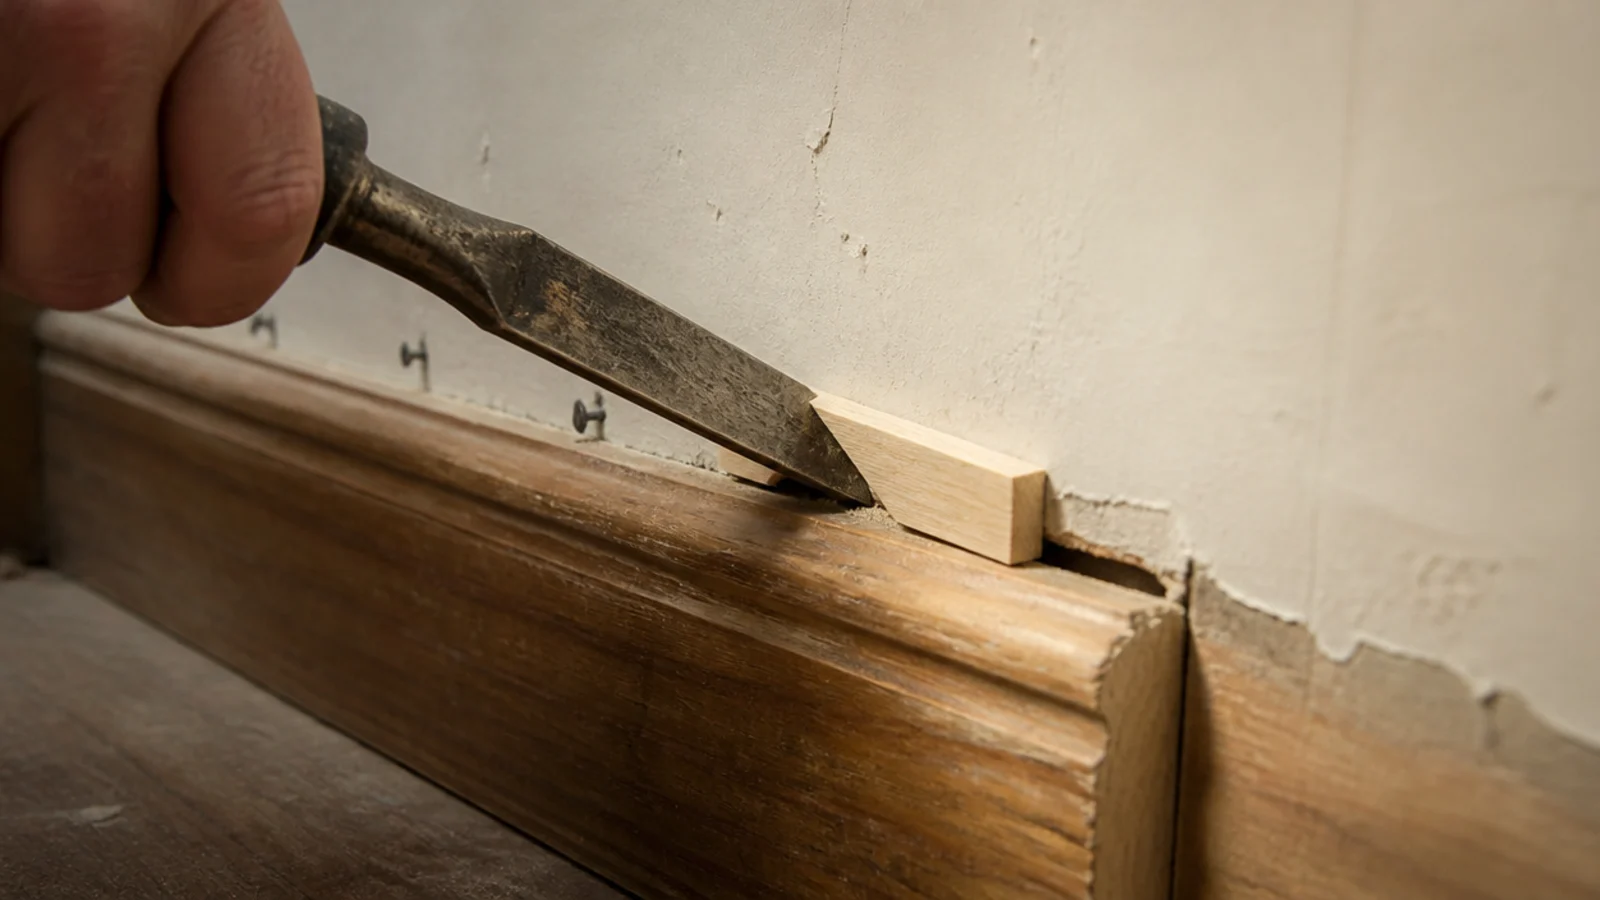
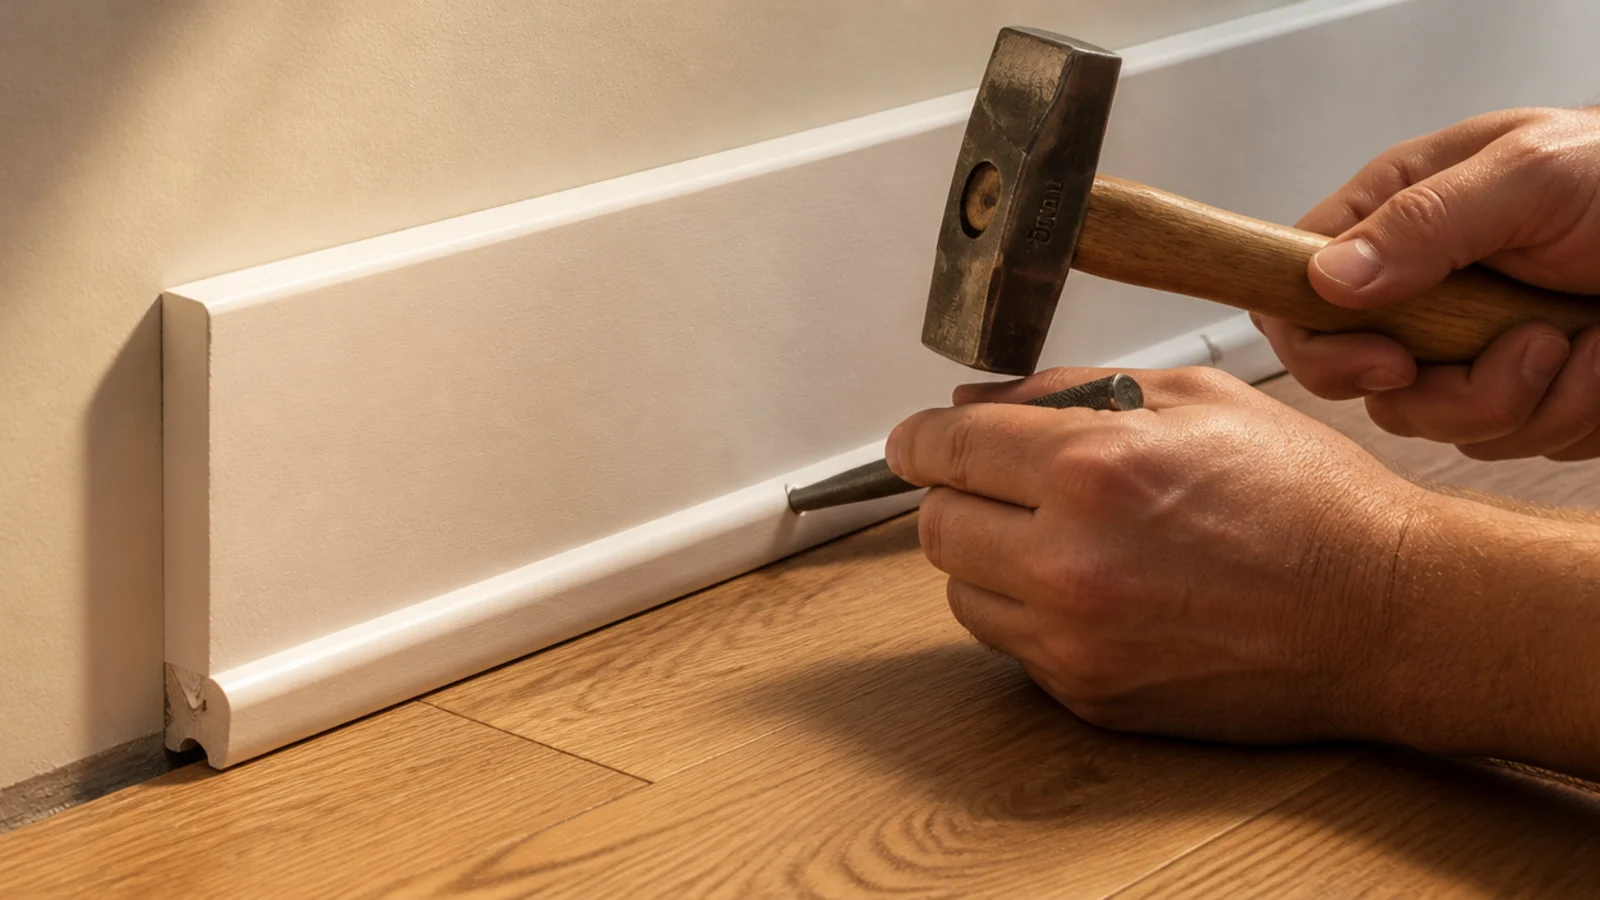
Removing skirting lets the expansion gap hide behind it, which is the cleanest finish. Score the paint line with a knife first, then ease the board off with a bolster and a thin shim to protect the plaster. If the skirting is fragile or tiled into, leave it and plan for a 19 to 21mm scotia bead instead — faster, less risk, but a visible profile at the wall.
Step 5: Undercut the door casings and architraves
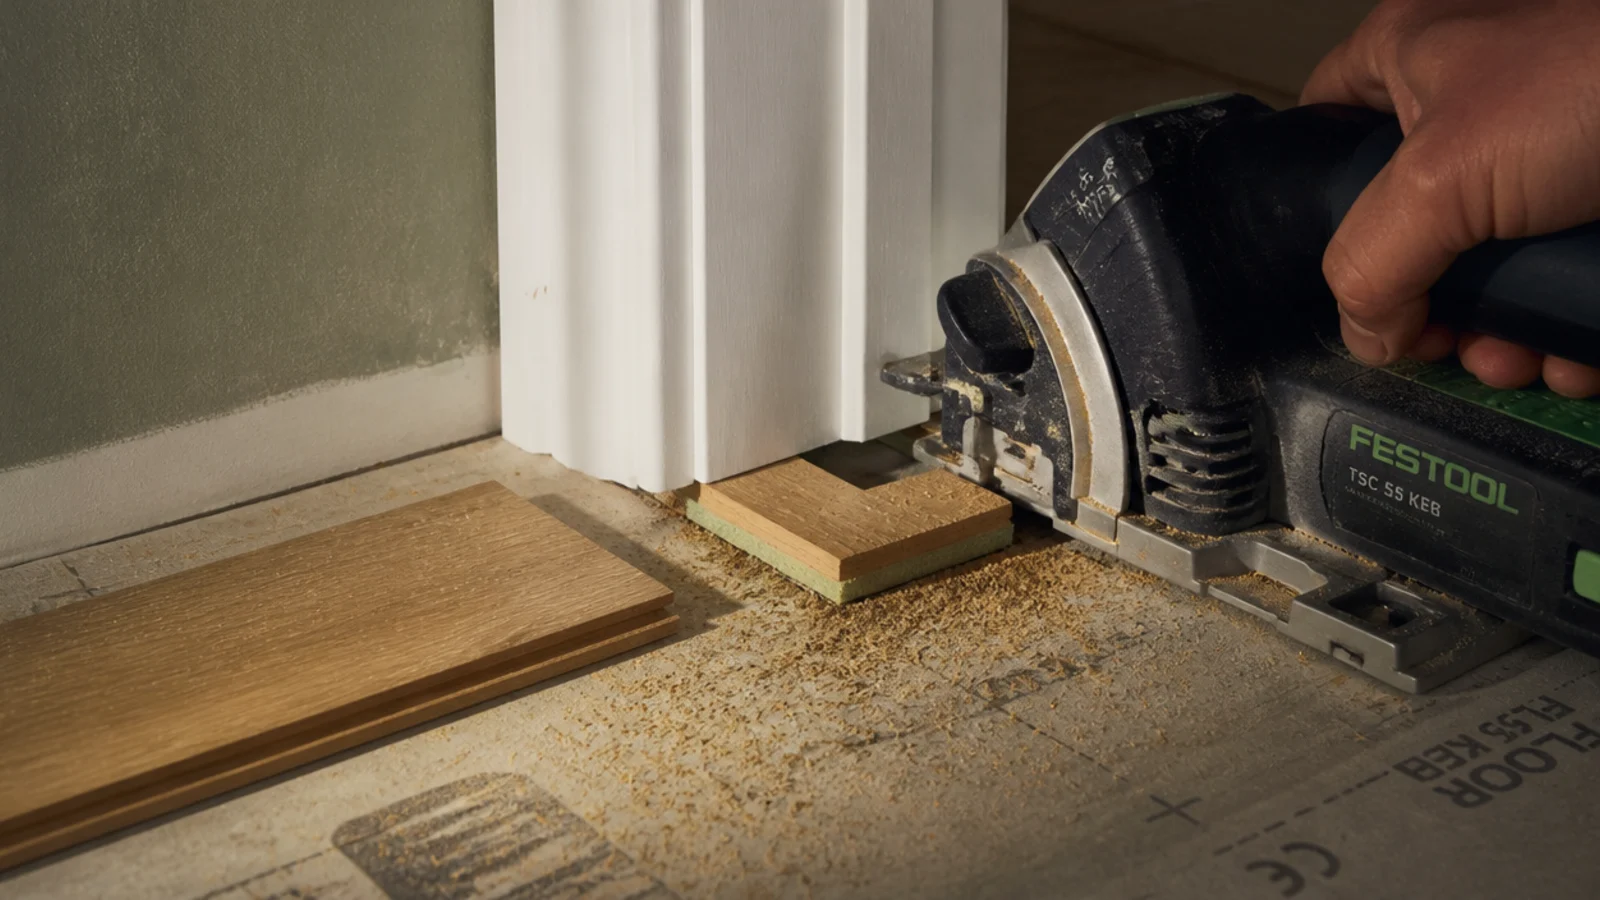
Lay an offcut of board on a scrap of underlay next to each casing and use it as a height guide for a flush cut saw. Cut through the casing, clear the waste, and the planks slide underneath. It takes about ninety seconds per leg and it is the single detail that separates a professional-looking floor from a scribed, gappy one.
Step 6: Lay the membrane and underlay
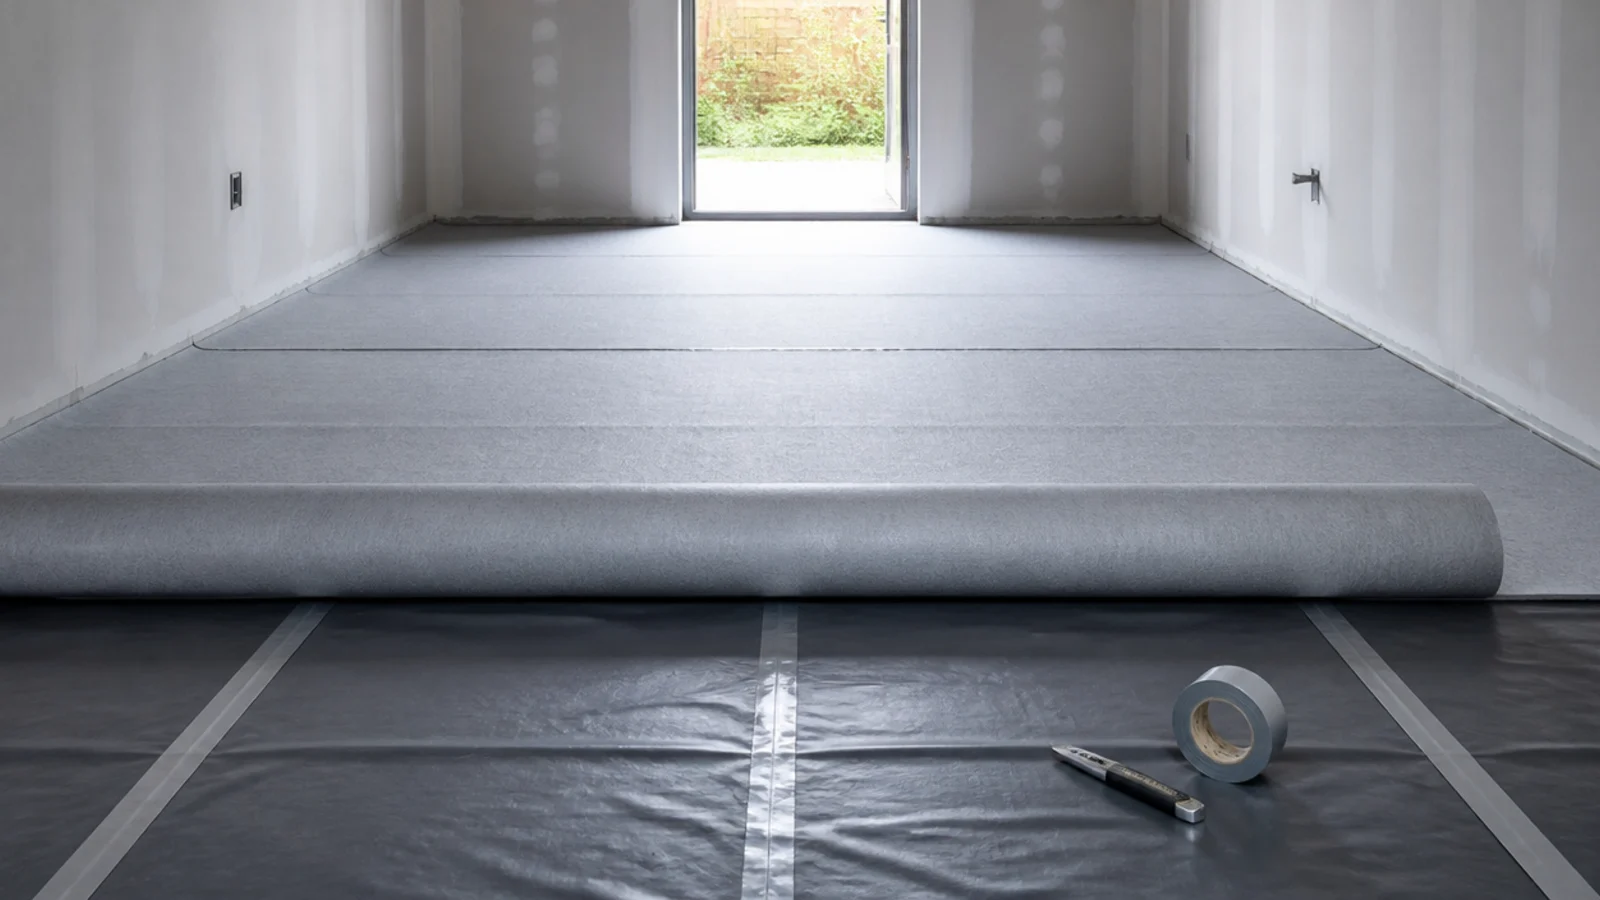
Over concrete, roll out a 250 micron polythene membrane with 200mm overlaps, taped, and turned up 50mm at the walls to be trimmed later. Over timber, the membrane is usually unnecessary but the underlay is not. Lay underlay in the same direction as the boards, butt the joints rather than overlapping them, and tape every seam so nothing shifts as you work across it.
Step 7: Dry-lay and calculate the last row
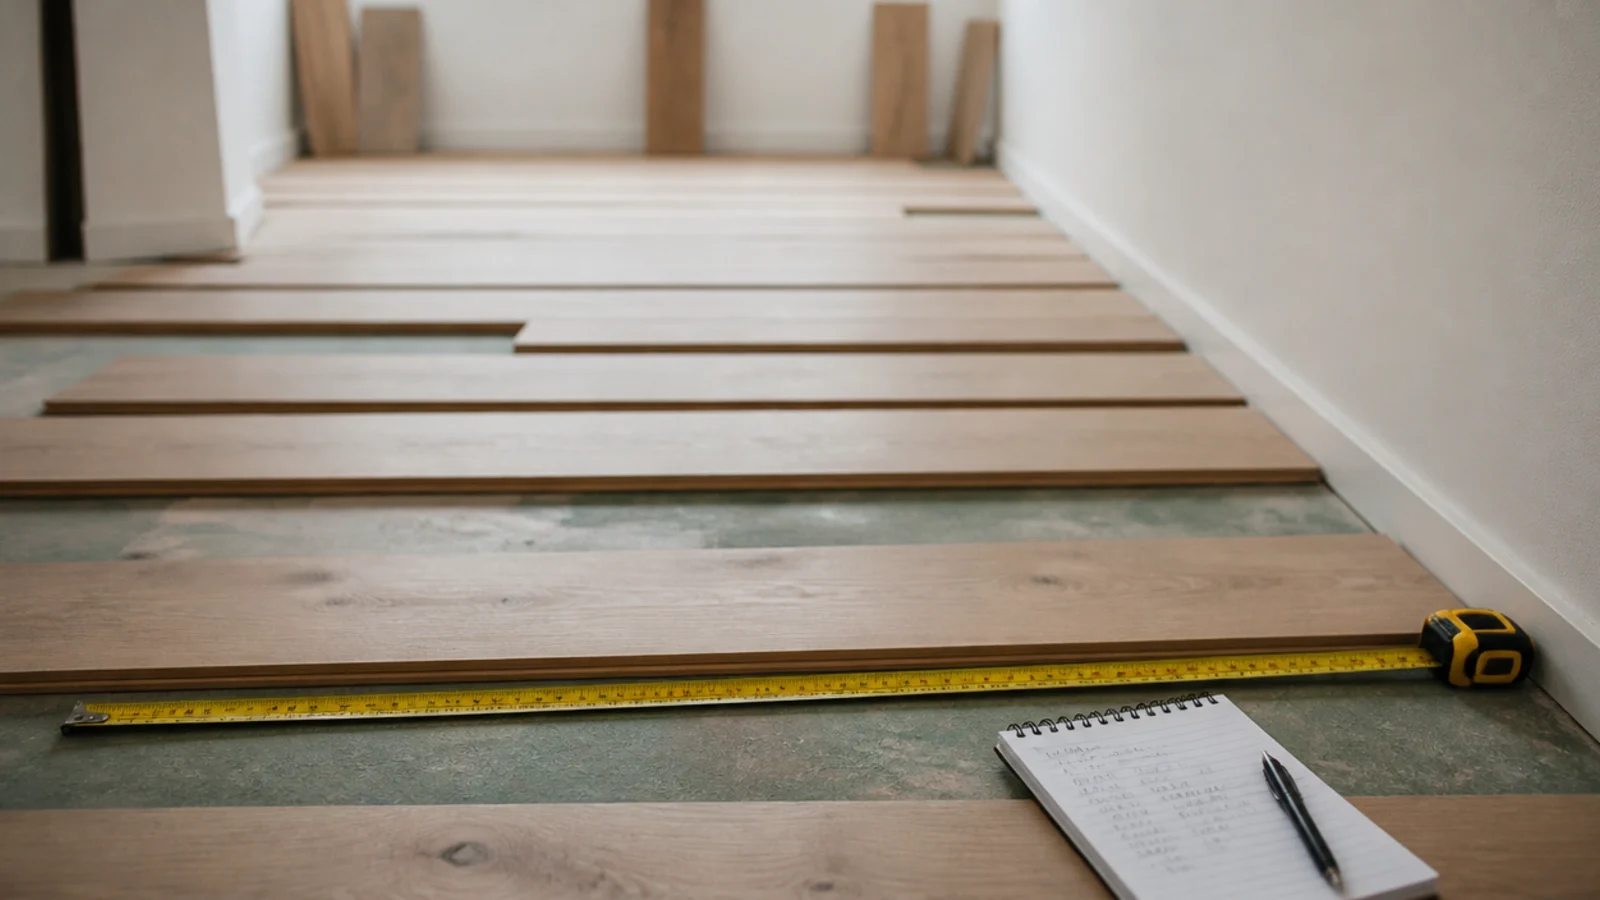
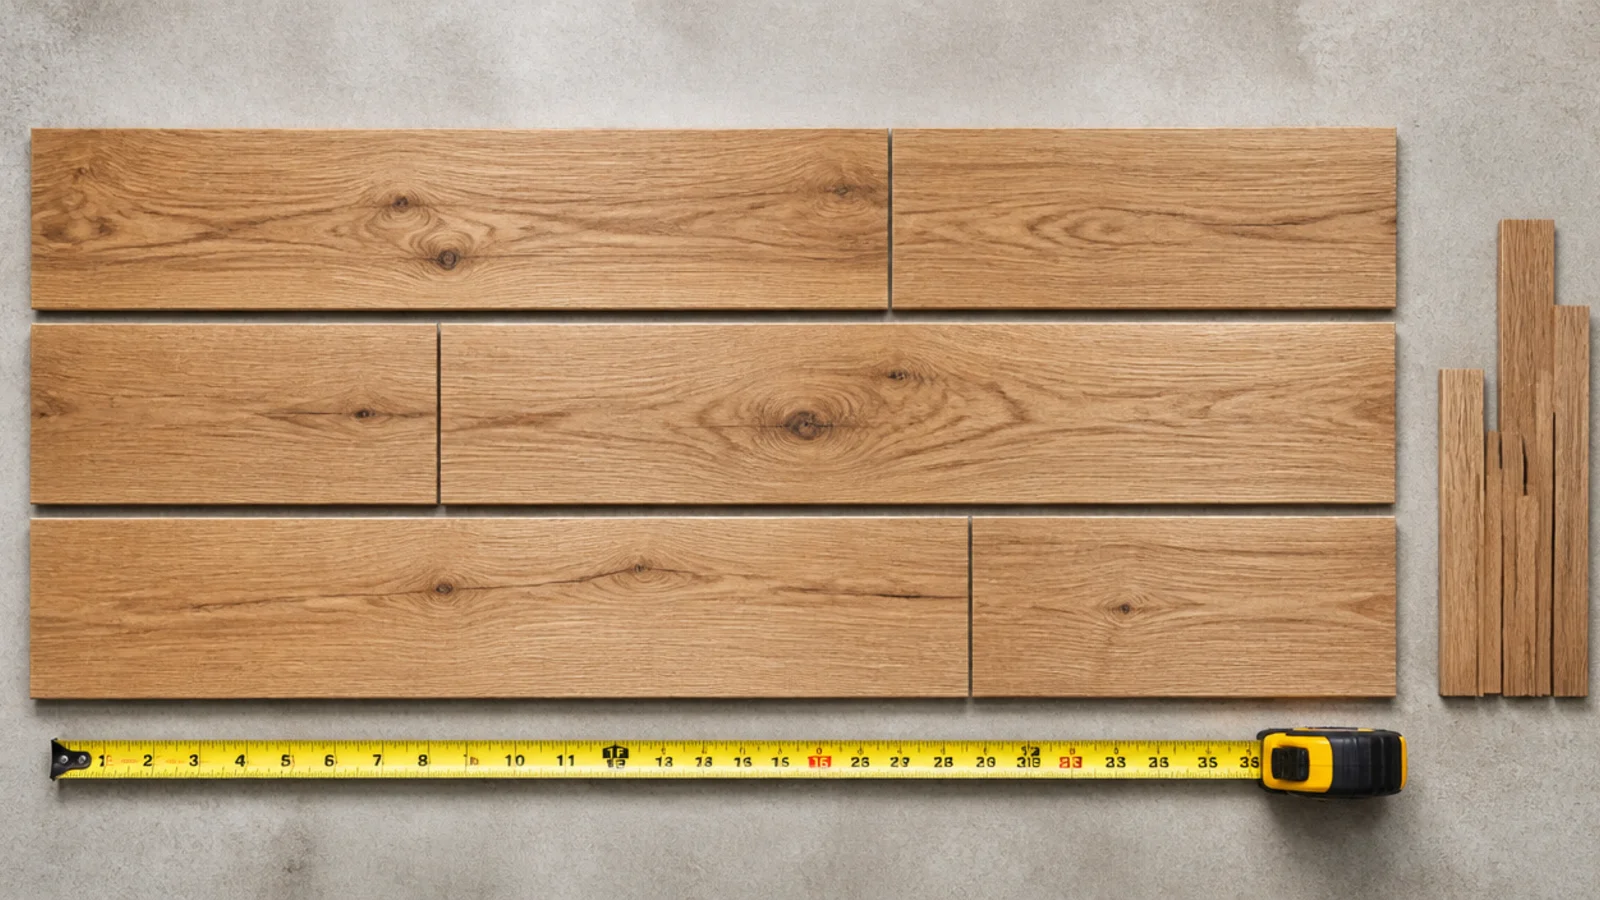
Measure the room width, subtract 24mm for the two expansion gaps, and divide by the board width. If the remainder leaves a final row under 50mm, rip the first row narrower so both edges finish at a sensible width. Doing this now costs ten minutes; discovering it at the far wall costs a day. Dry-lay two or three rows to confirm the arithmetic before anything clicks together.
Step 8: Set the first row with twelve millimetre spacers
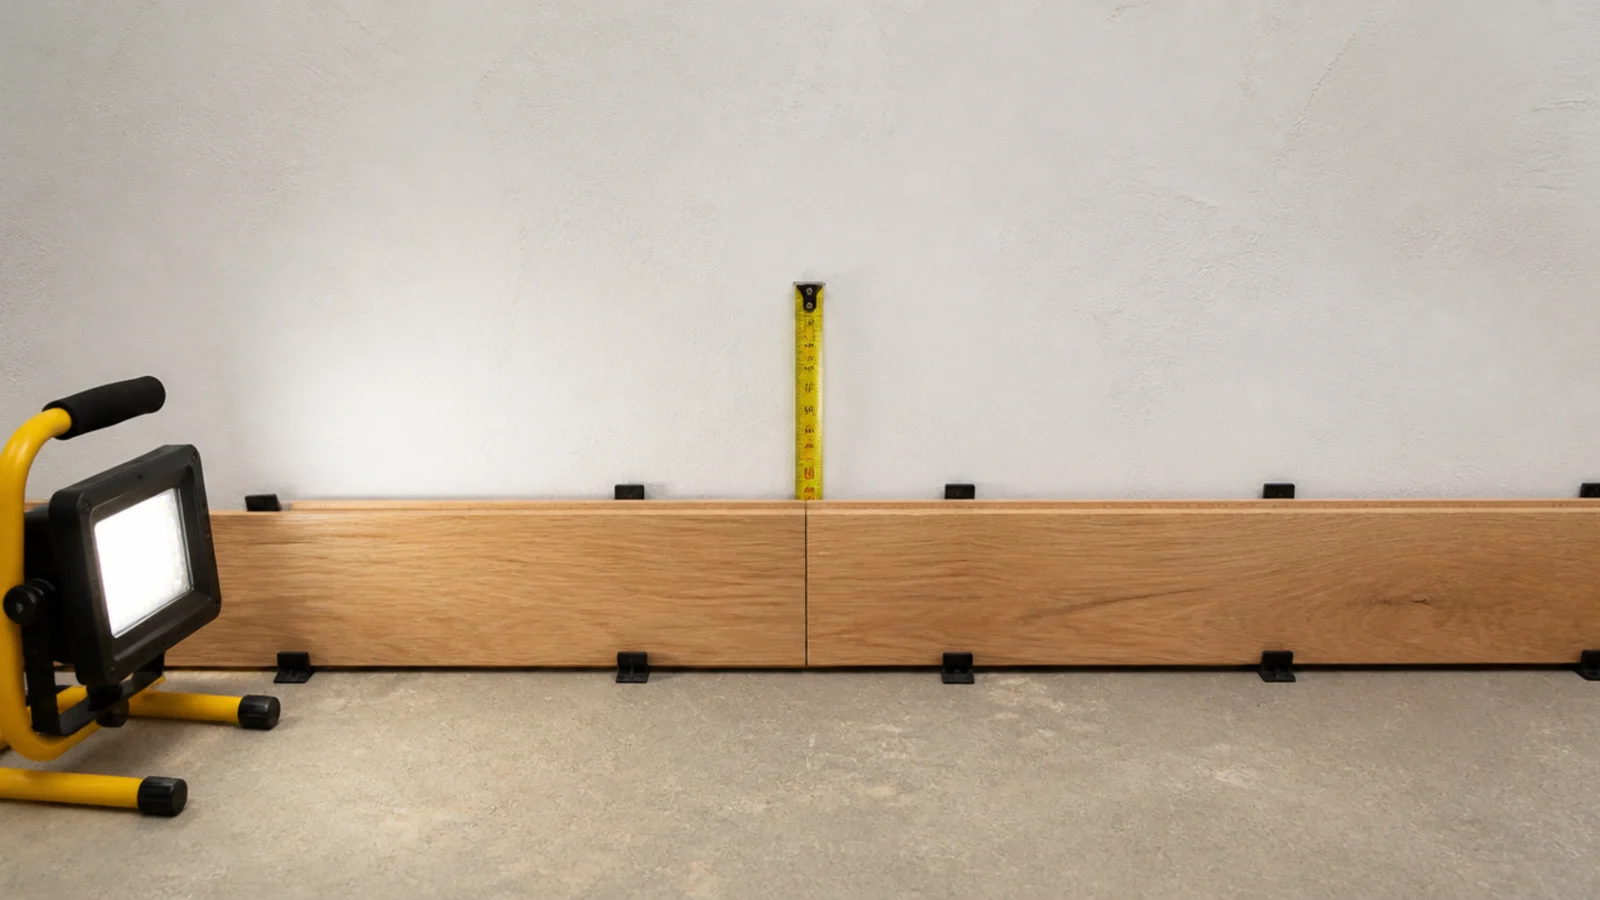
Start with the tongue facing the wall, spacers every 400 to 600mm along the back and at both ends. Check the row against your chalk line rather than the wall. If the wall bows, scribe the first row to follow it so the rest of the floor stays true — the first row is the only one that should ever be cut to a wall.
Step 9: Stagger the end joints as you go
Keep at least 300mm between end joints in adjacent rows, and twice the board width on planks over 180mm. Work from three or four open packs at once so lengths and tones mix. Start alternate rows with the offcut from the previous row where it is long enough — it staggers naturally and cuts waste noticeably.
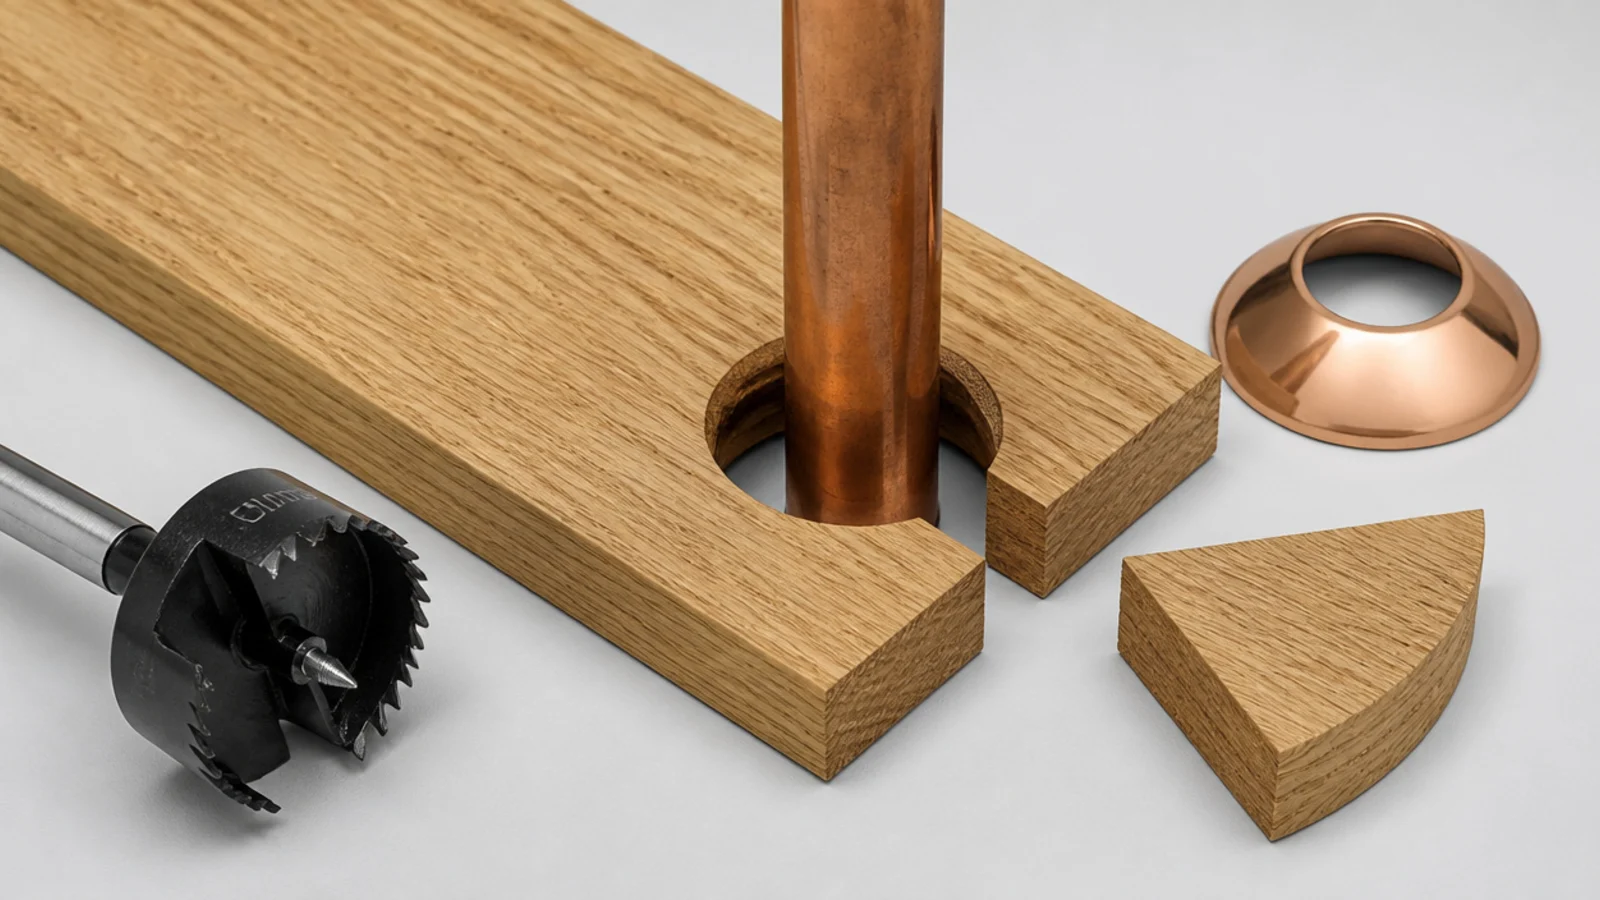
Step 10: Cut around pipes and radiator legs
Mark the pipe centre on the board, drill a hole 20mm larger than the pipe, then cut a wedge from the board edge to the hole at 45 degrees. Fit the board, glue the wedge back in behind the pipe, and cover with a two-part pipe collar. The oversize hole is deliberate: the floor still needs to move around fixed obstacles.
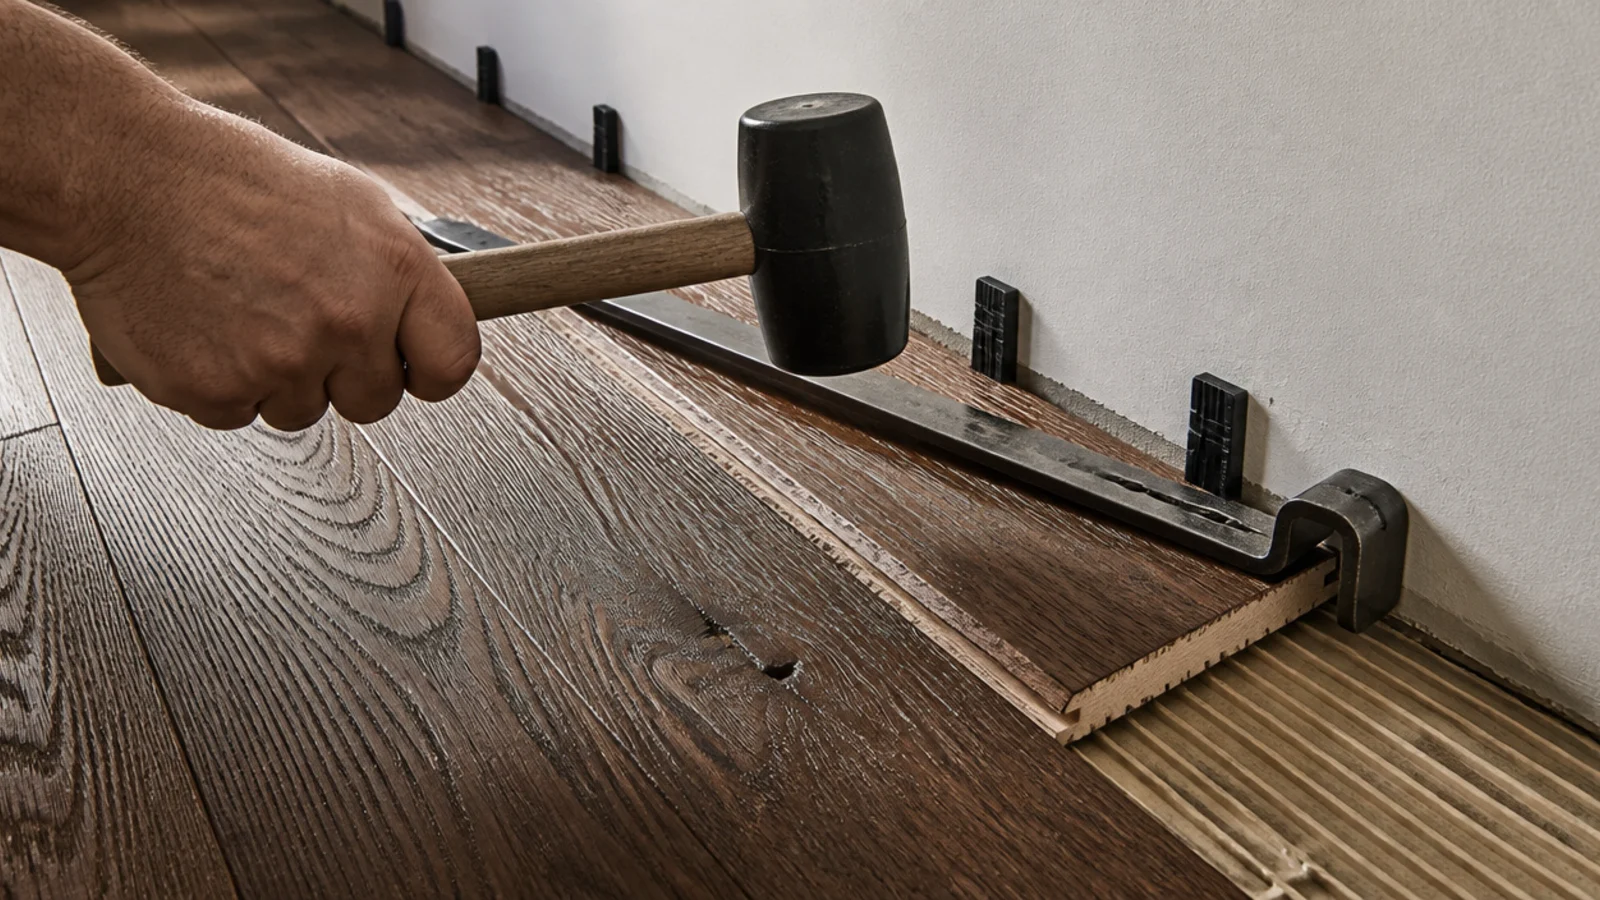
Step 11: Pull the last row in with a pull bar
Rip the final row to width, remembering the 12mm gap, and use a pull bar hooked over the far edge with a mallet to close the joint. Never lever against fresh plaster. If the room narrows across its length, cut each last board individually rather than to one measurement — most rooms are 5 to 15mm out of parallel.
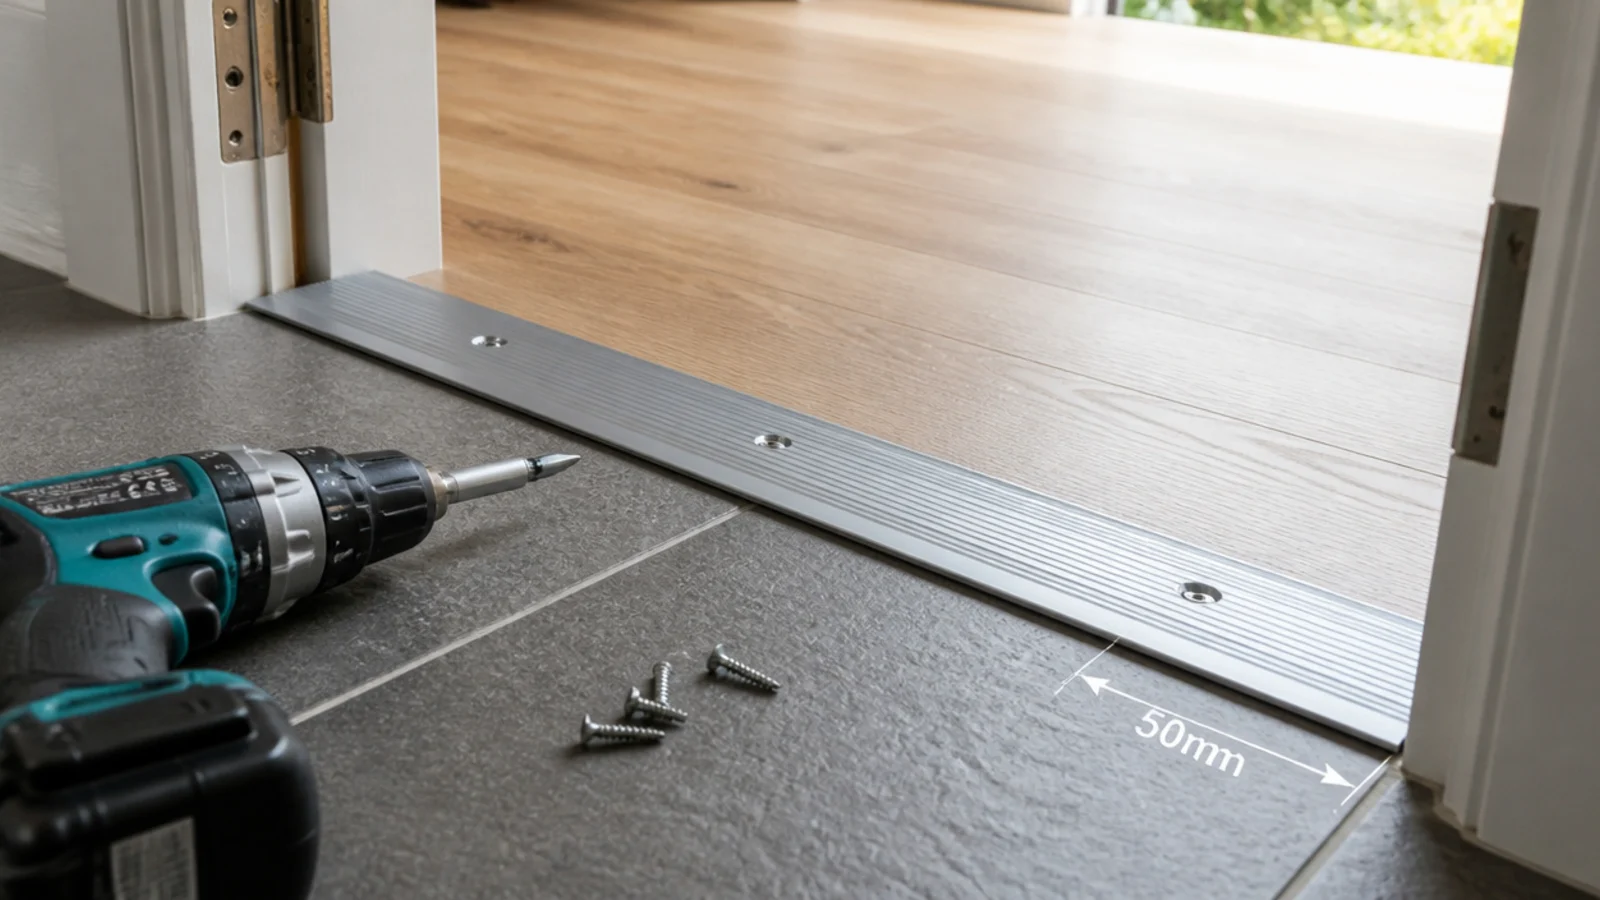
Step 12: Fit thresholds at every doorway
A floating floor needs an expansion break at every doorway and on any run over 8 metres. Use a flush strip where the two floors are level and a ramp only where heights genuinely differ. Fix the threshold to the subfloor between the two floors, never through the planks, so both sides stay free to move.
Step 13: Refit skirting or scotia without pinning the floor
This is where people undo all the previous work. Skirting fixes to the wall only. Scotia pins to the face of the skirting only. Nothing goes through the boards, and nothing packs the gap tight. Remove the spacers first, check the gap is genuinely open all the way round, then fix. A trapped floor peaks in the middle of the room by the first humid August.
Step 14: Clean, fill and finish the surface
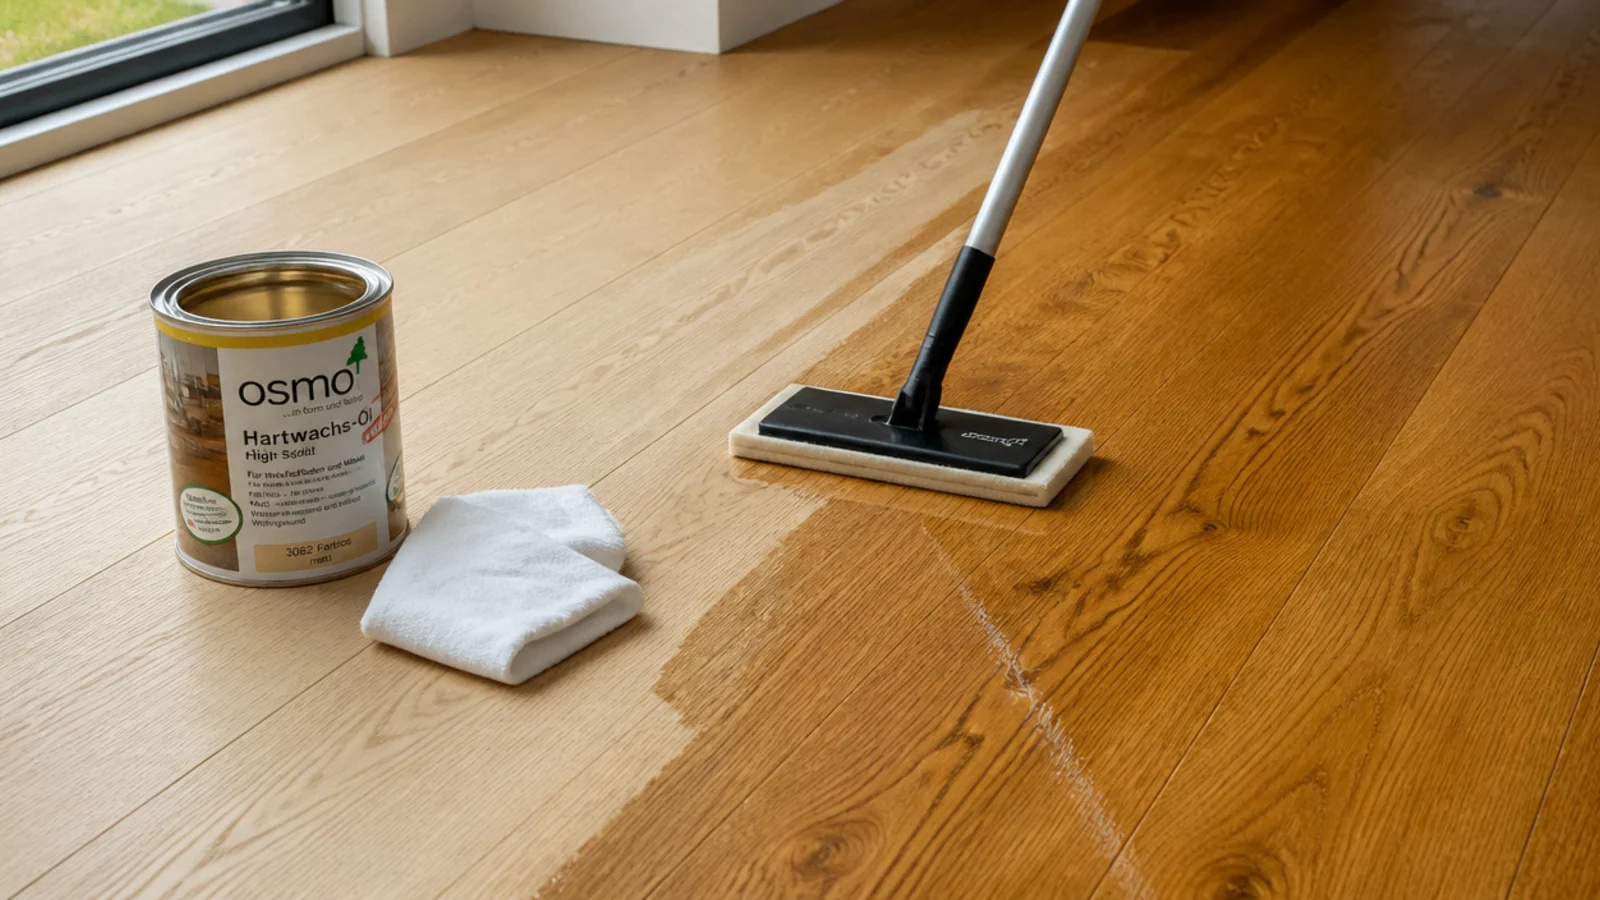
Factory-finished boards need nothing but a vacuum and a barely damp mop. Unfinished boards get sanded through 60, 100 and 120 grit, vacuumed twice, tacked, then finished — three coats of satin polyurethane, four in a hallway, or two coats of hardwax oil. Fill only where a board has a genuine defect, and colour-match the filler to the mid-tone of the pack.
Step 15: Rest the floor before the furniture returns
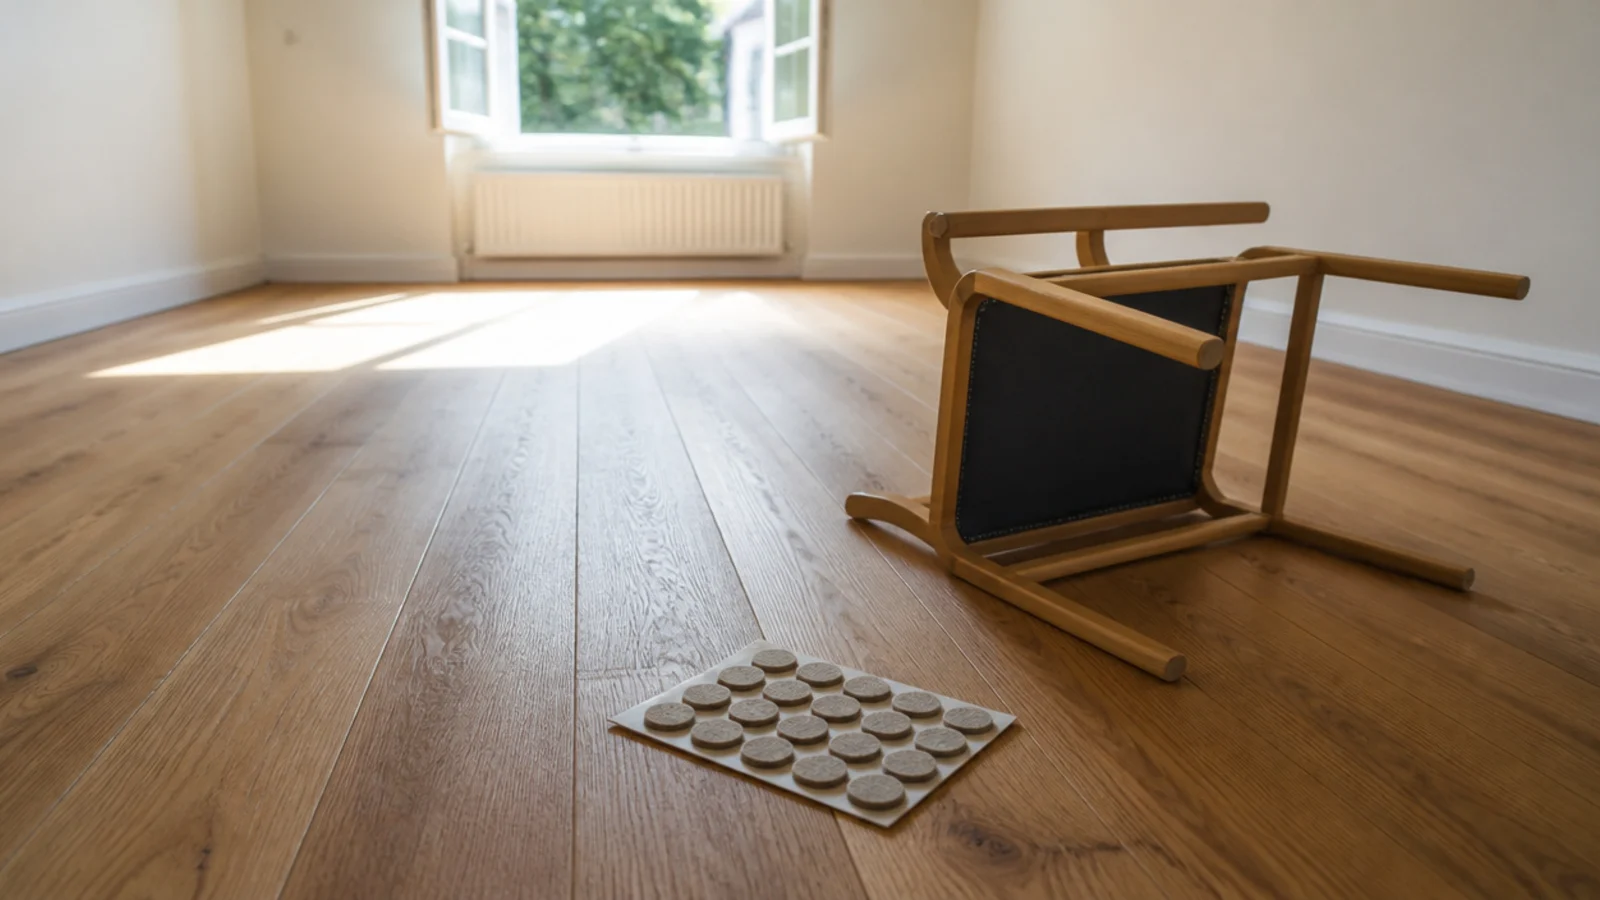
Factory-finished floors take furniture straight away. Site-finished floors need a full week: water-based finishes are touch dry in hours but keep curing for seven to fourteen days, and a rug laid too early leaves a permanent outline. Fit felt pads to every leg before anything comes back, and lift rather than drag. The rug sizing guide covers what should go down once the week is up.
Pro Styling Rules
If you want to run something more ambitious than a straight lay, the wooden flooring pattern layouts explain what herringbone and chevron add in labour and waste. And once the floor is down, floating shelves are the cleanest way to get storage back into a room without adding legs that need pads.
Mistakes to Skip
- Laying over a subfloor you never tested. A moisture meter costs less than two square metres of oak, and a damp slab cups a floor within two winters regardless of the board quality.
- Acclimatising boards in sealed packs, or anywhere other than the room they are going in. Wrapped timber exchanges no moisture at all, so the days achieve nothing.
- Working out the last row when you get to it. Ending on a 20mm sliver against the most visible wall is the most common and most avoidable amateur result.
- Fixing skirting or scotia through the boards. It pins the floor to the wall, removes the expansion gap you carefully left, and guarantees a peak in the middle of the room.
Frequently asked questions
How long does it take to lay a plank floor?
A competent first-timer should allow a full day for a small room of around twelve square metres, plus the acclimatisation period beforehand. Subfloor preparation often takes longer than laying does, and levelling compound needs its own drying time before anything can go on top of it.
Do I need to remove skirting boards first?
Not necessarily. Removing them lets you hide the expansion gap behind the skirting, which looks cleanest. Leaving them means fitting a scotia or quadrant bead over the gap instead, which is faster and far less likely to damage plaster, but adds a visible profile at the wall.
What tools do I actually need?
A tapping block, a pull bar, spacers, a decent handsaw or mitre saw, a jigsaw for pipes, a flush cut saw for door casings, a moisture meter and a two metre straightedge. A cheap tapping block will split tongues, so buy the version made for your click system.
Which direction should the planks run?
Along the longest wall and away from the main window, so daylight travels down the boards instead of across the end joints. If you are laying solid boards over exposed joists rather than a continuous deck, they must run across the joists, and that rule wins.
How soon can I put furniture back?
Immediately on a factory-finished floating floor, though heavy items want lifting rather than dragging and felt pads on every leg. On a site-finished floor, wait a full week before rugs and heavy furniture, because water-based finishes keep curing for seven to fourteen days.
Want more like this? Browse all 15 wooden flooring guides — they all use the same measurements and budget tiers.
Pin it for later
Save this to your Wooden Flooring board
Pin it now so it is waiting for you when the tape measure comes out — and so the next person hunting for this idea can find it too.
Save this pinKeep going
More ideas worth saving while you have the tape measure out.