TV Unit Decor · Listicle
25 TV Unit Decor TV Walls That Look Custom Built

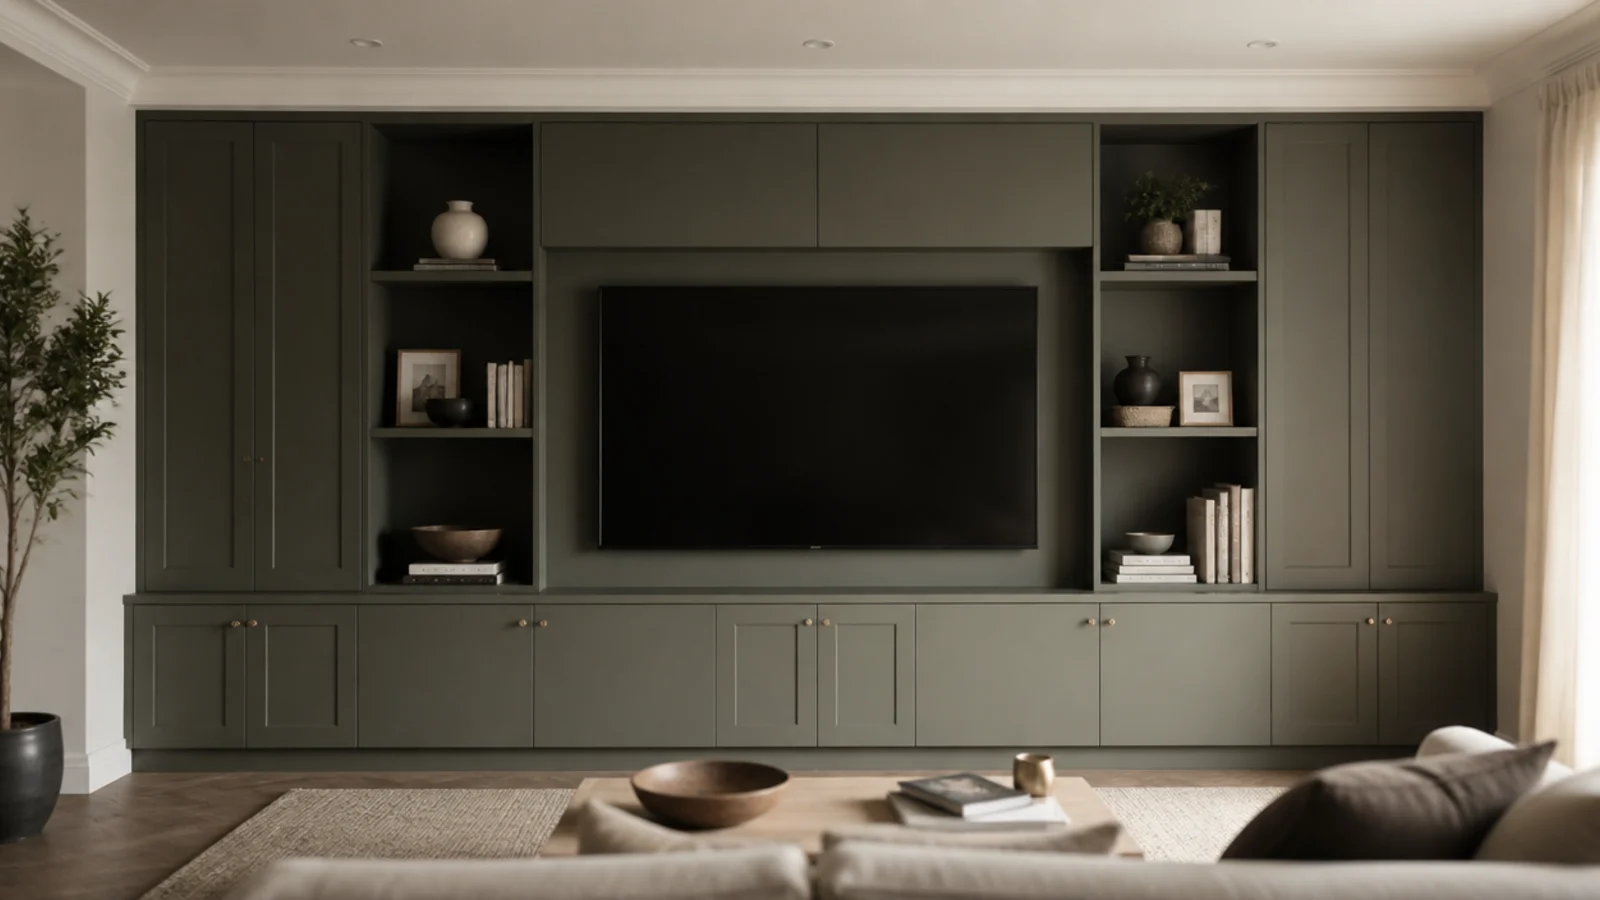
The difference between a media wall that looks installed and one that looks assembled is rarely money. It is a set of alignments: the run reaching both walls, the plinth agreeing with the skirting, a shadow gap held at the same width all the way round. TV unit decor TV walls that read as custom joinery share those decisions whether the budget was four figures or four hundred pounds. Here are twenty-five of them, with the depths, gaps and clearances that make each one behave.
In this guide27 sections — tap to openHide
- 1.What TV unit decor TV walls need before the first fixing
- 2.Run the joinery from wall to wall
- 3.Line the unit top up with the window sill
- 4.Panel only the television wall, floor to ceiling
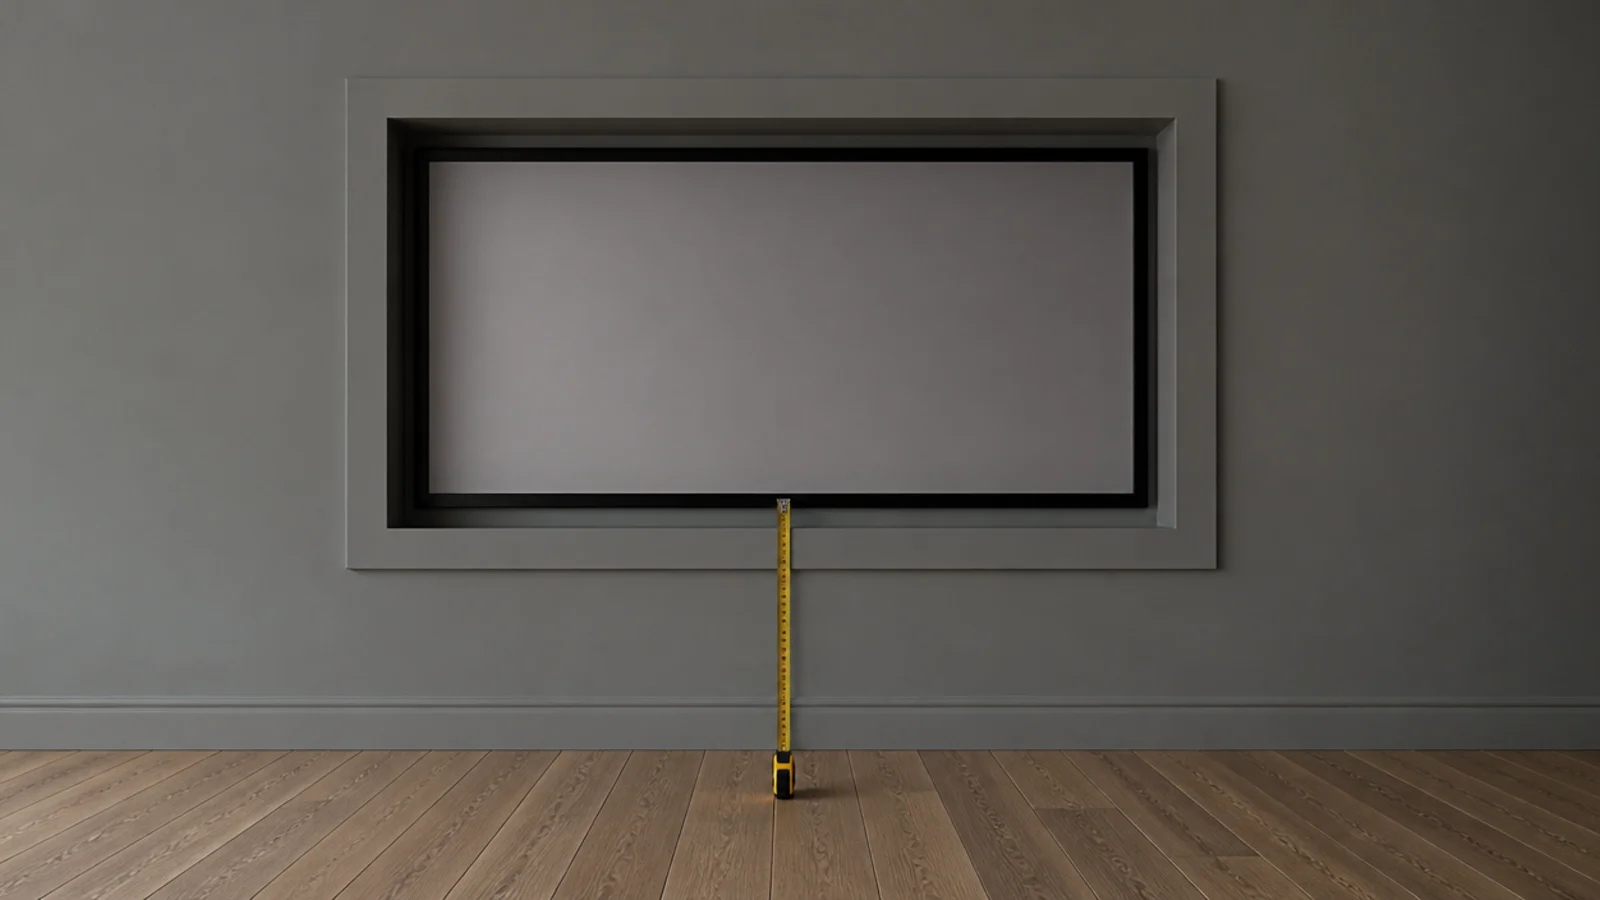
- 5.Recess the screen two inches deeper than the panel
- 6.Hold a three-millimetre shadow gap all the way round
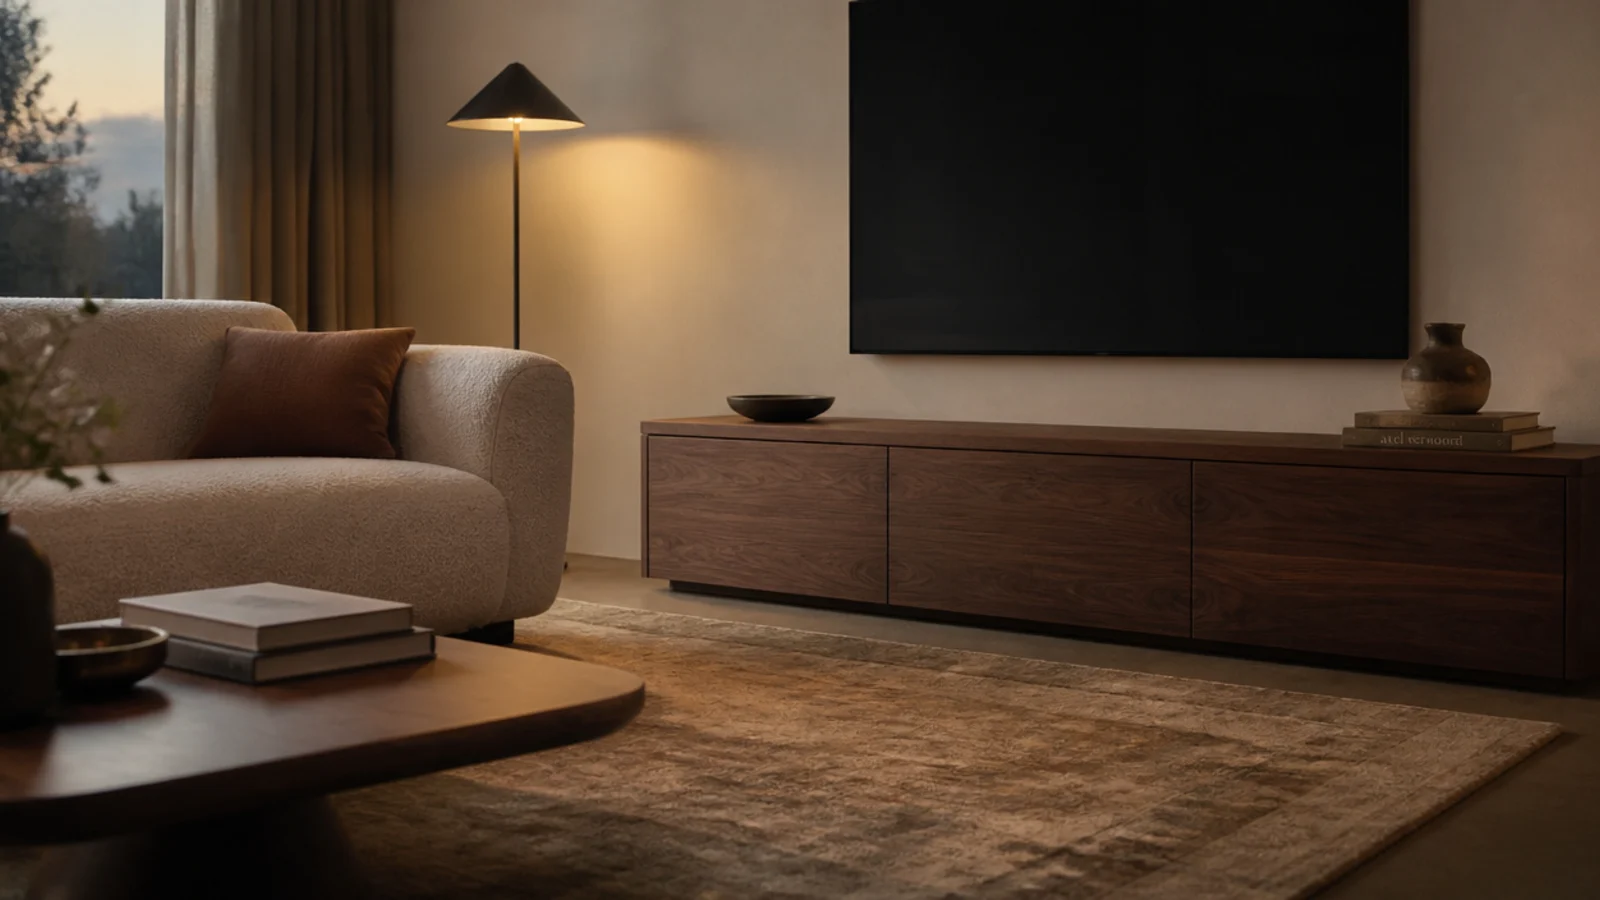
- 7.Paint the wall and the joinery the same colour
- 8.Match the plinth height to the existing skirting
- 9.Scribe the joinery into the plaster
- 10.Close the ceiling gap with a bulkhead
- 11.Full-height cupboards flanking a low middle
- 12.Fluted panels behind rather than around
- 13.Book-match the veneer across the doors
- 14.Add a lighting reveal along the top edge
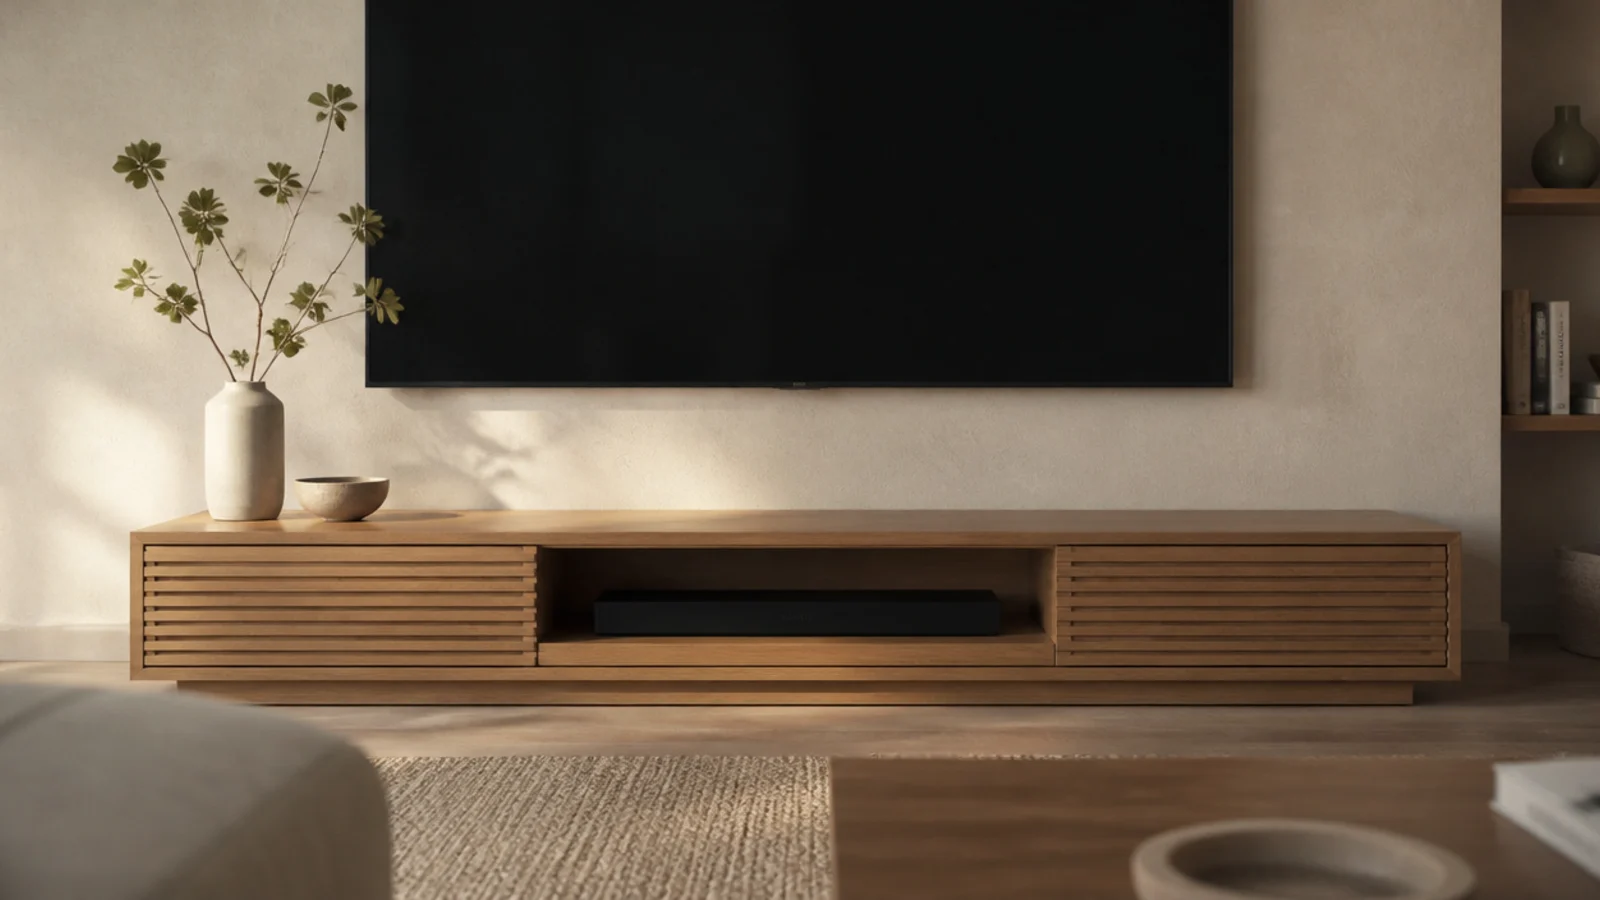
- 15.Slot the soundbar into the joinery
- 16.Hide the centre speaker behind acoustic fabric
- 17.Use a brush plate where the cables leave the wall
- 18.Fit a swivel mount where the seating is off-axis
- 19.Let the floor run under a floating unit
- 20.Give the base a stone slab like a hearth
- 21.Put a shallow ledge above the screen
- 22.Choose MDF over plywood if you are painting
- 23.Cap the ends with returns so no carcass shows
- 24.Keep the screen centre at forty-two inches even in a recess
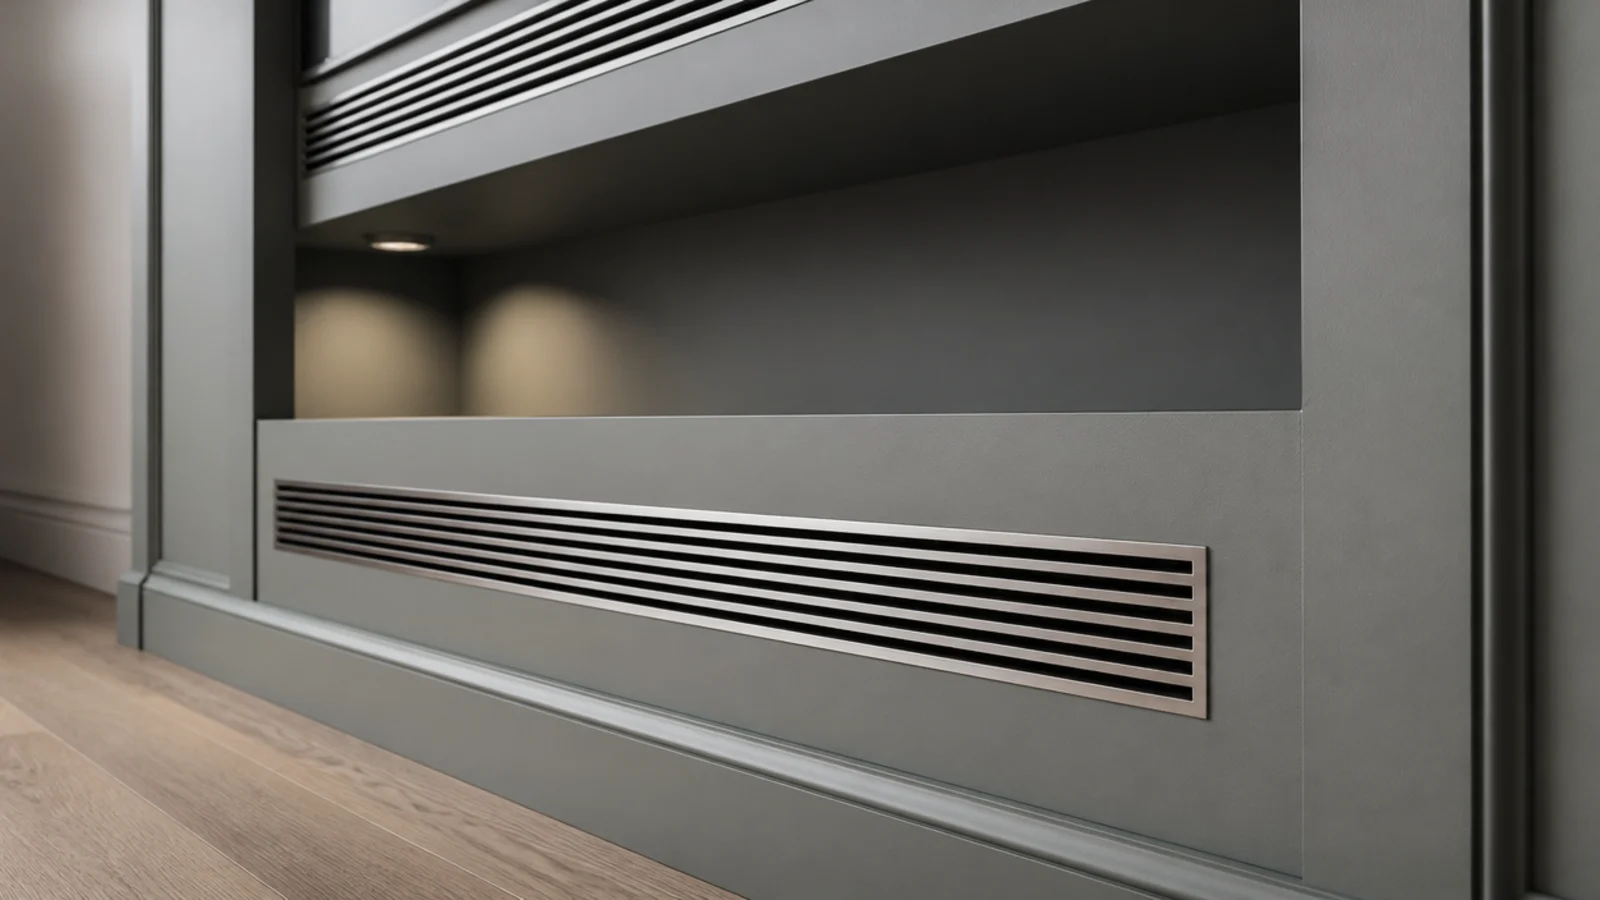
- 25.Vent the recess low and high
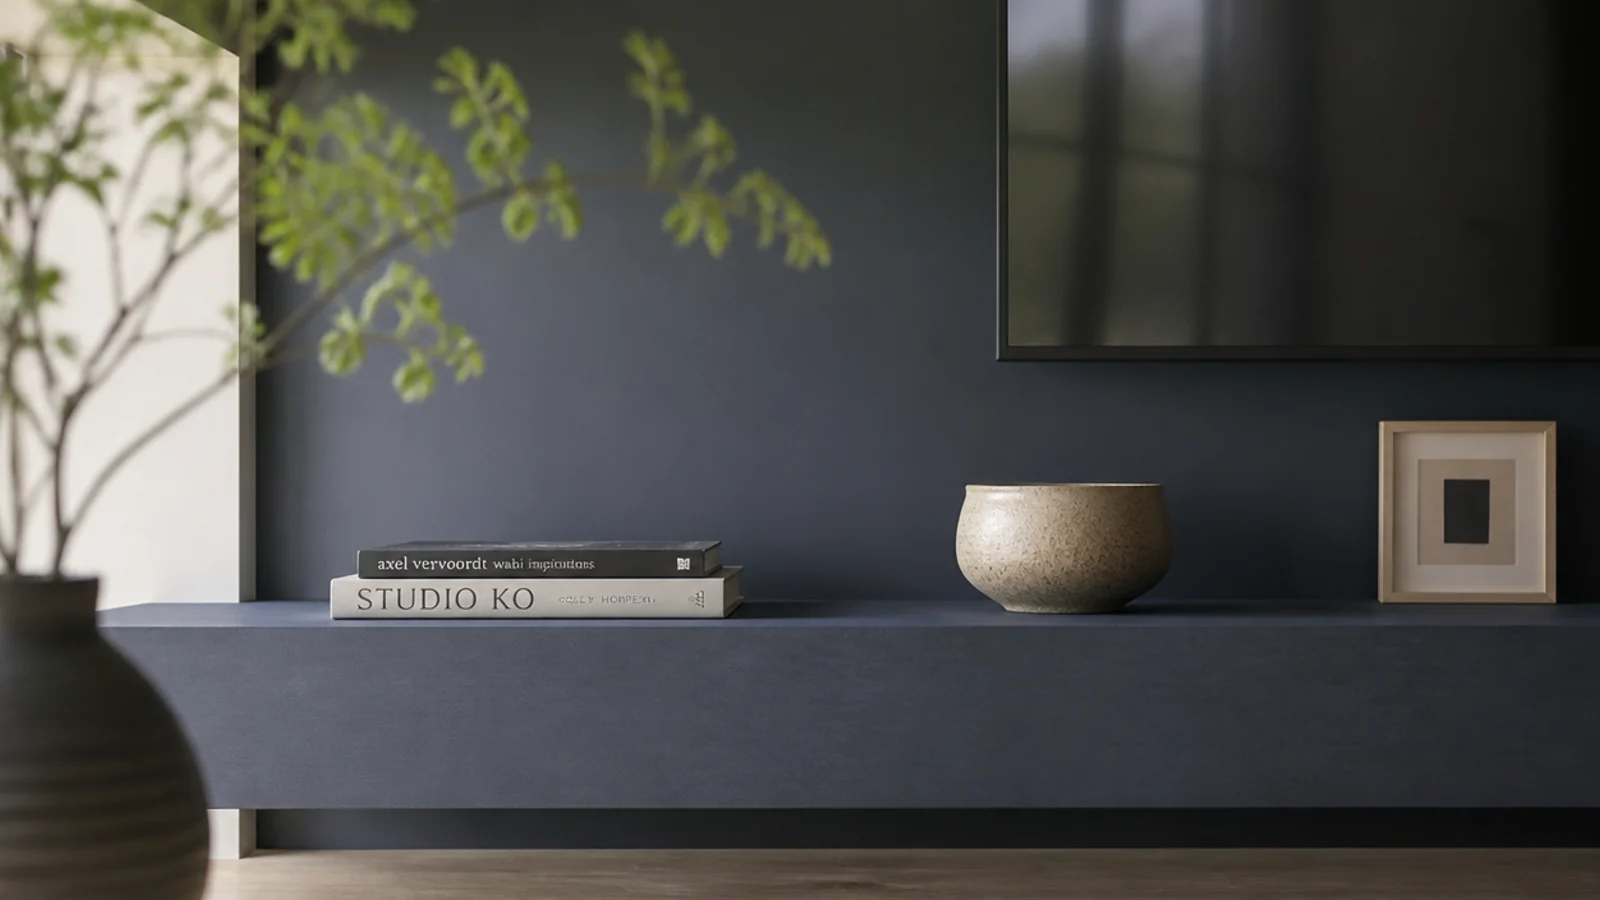
- 26.One deep shelf rather than five shallow ones
- 27.Mistakes to Skip
What TV unit decor TV walls need before the first fixing
Mark the studs across the whole wall before deciding anything. They usually sit at 16 inch centres, and a screen bracket for a 65 inch panel wants two of them. Moving the layout 4 inches sideways to catch framing is free and changes what the wall can carry — a 75 inch television runs 65 to 90 pounds before you add an arm.
Then set the two heights. Screen centre at 40 to 42 inches, measured from the floor to the middle of the glass, which is seated eye level on a 17 to 19 inch sofa seat. Cabinet top at 16 to 20 inches so it sits below that centre line rather than crowding it.
Then decide the recess. A slim panel on a low-profile bracket stands about 2 inches off the plaster, so a 5 inch recess brings the glass flush with the wall face. Allow 2 inches of clear air behind and above the set, and plan vents before anything is plastered. Materials for a painted MDF media wall run $400 to $900; joinery made to measure starts around $2,000. The TV wall decor guide covers what goes on the wall around it.
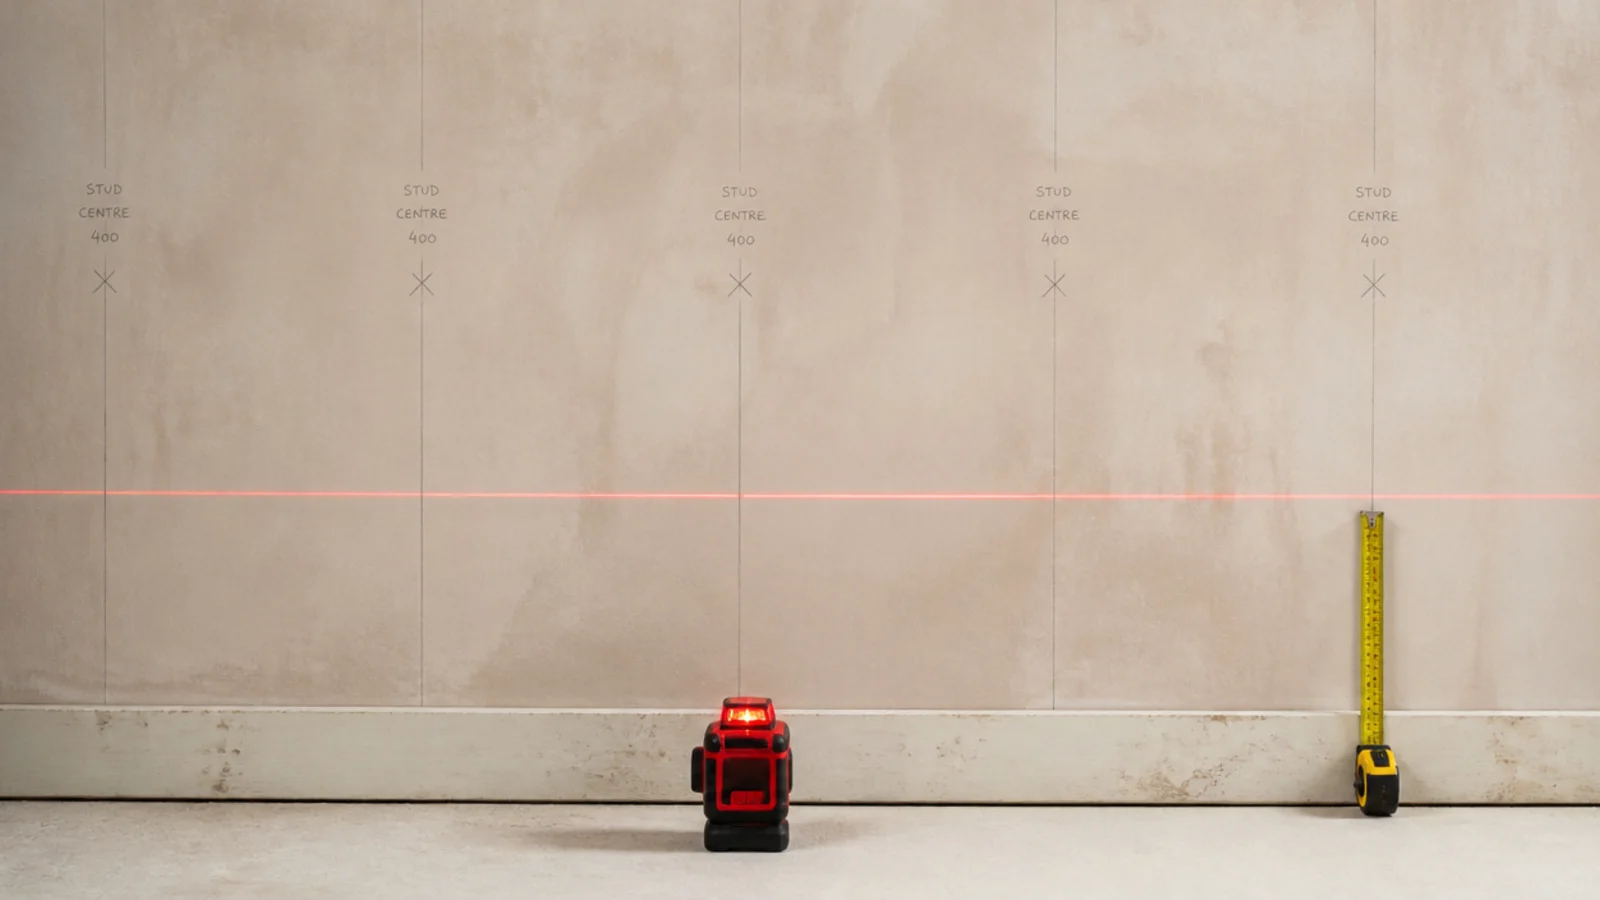
1. Run the joinery from wall to wall
An end panel standing proud in the middle of a wall announces furniture. Filling the alcove or the whole wall removes the end entirely, and the eye stops looking for one. Where a full run is impossible, take the joinery to a corner or a window reveal rather than stopping at an arbitrary point.
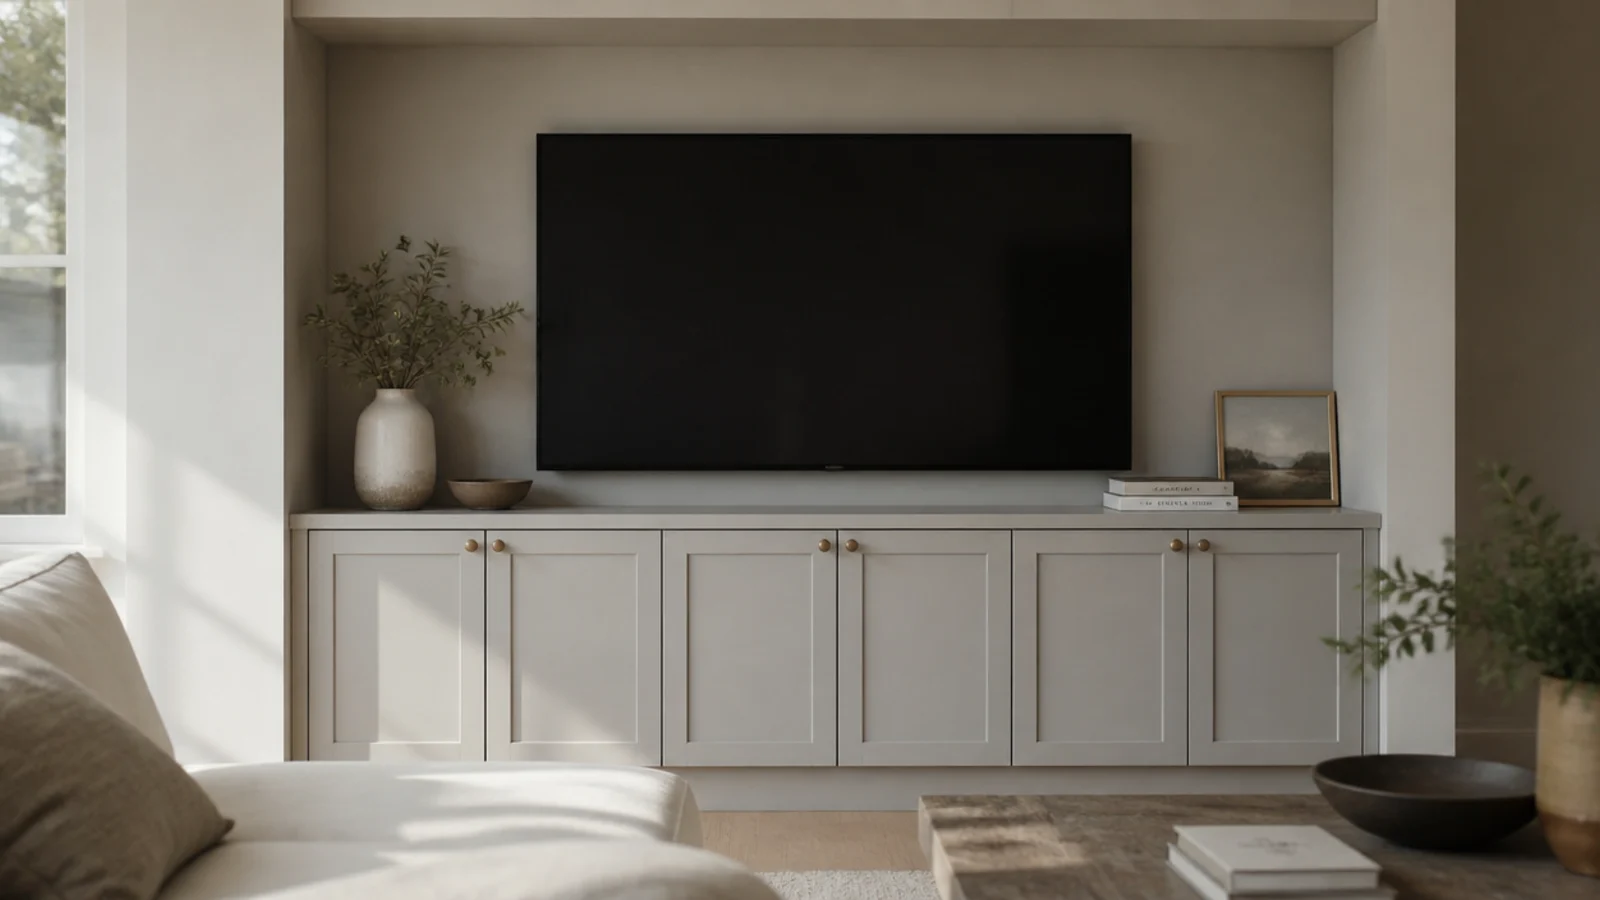
2. Line the unit top up with the window sill
If a window sits on an adjacent wall, its sill gives you a free horizontal to borrow. Setting the cabinet top at that height, usually somewhere between 18 and 30 inches, makes the two lines agree from every seat in the room. It is the cheapest alignment available and almost nobody uses it.
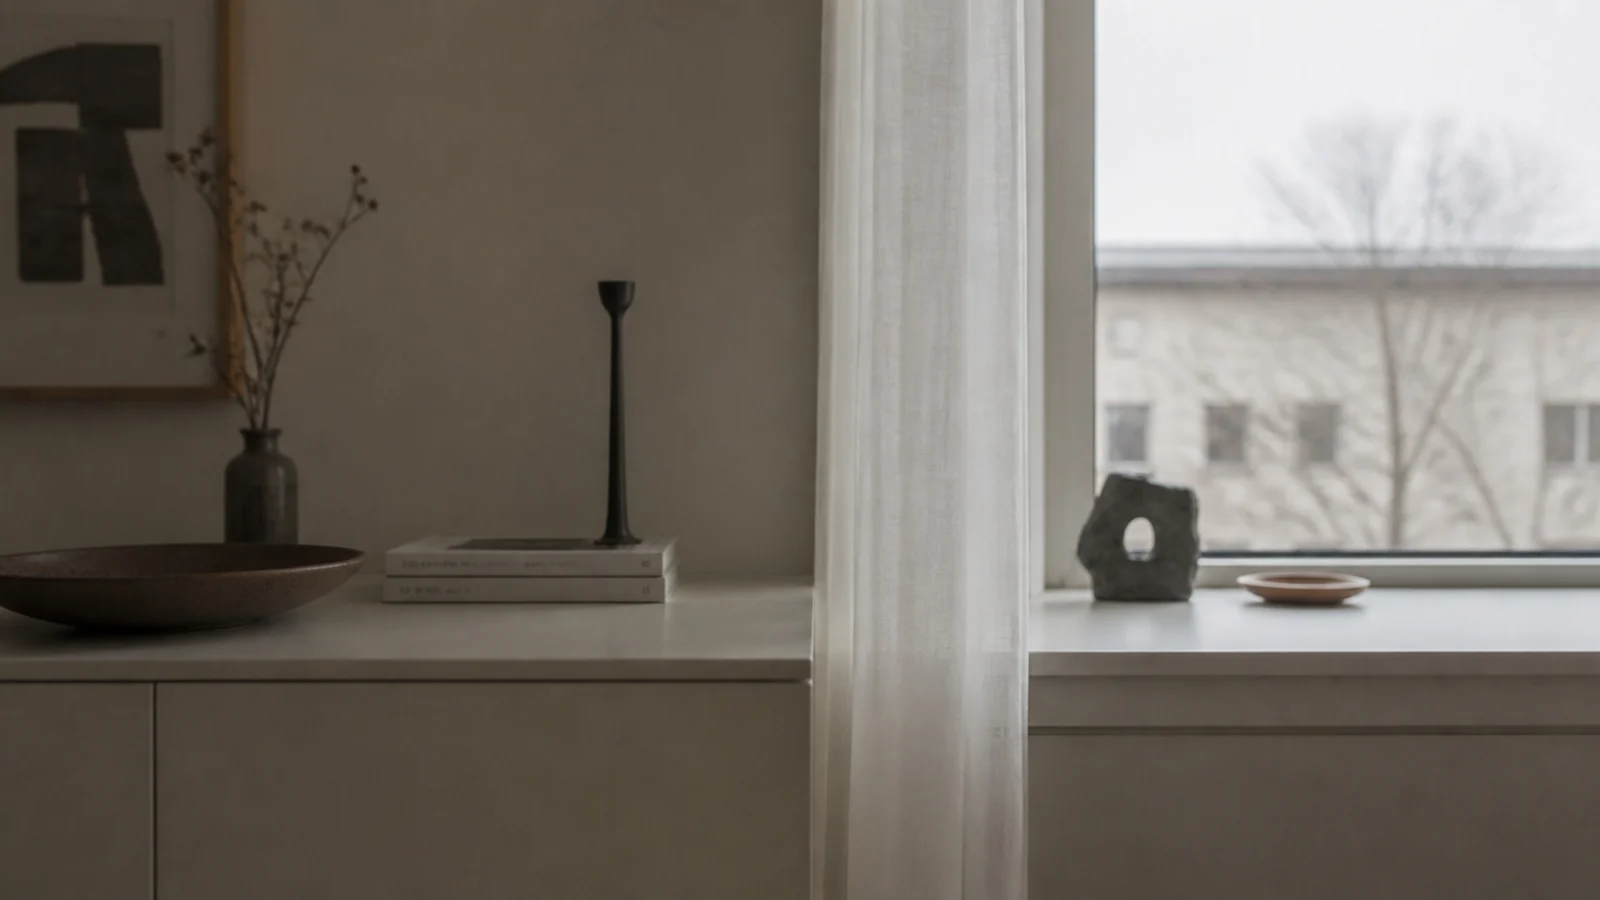
3. Panel only the television wall, floor to ceiling
Panelling one wall reads as architecture. Panelling all four reads as a theme. Take the treatment from skirting to cornice on the screen wall alone and leave the returning walls flat, which also keeps the room feeling its actual size.
4. Recess the screen two inches deeper than the panel
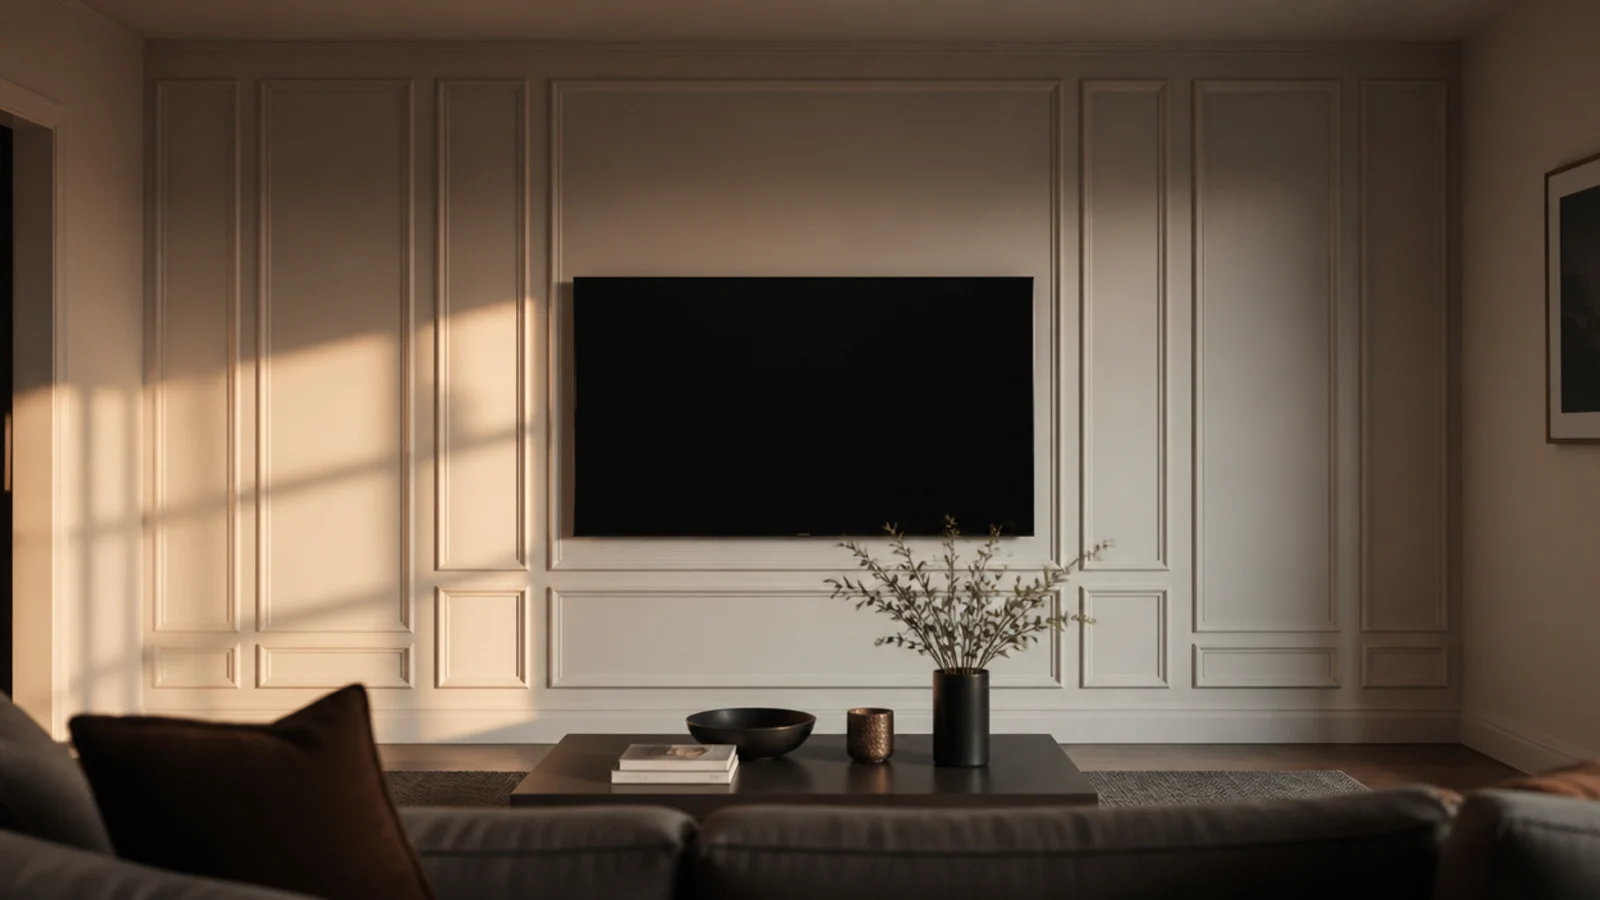
Measure the television with its bracket fitted, add 2 inches, and build the recess to that depth. The glass then finishes level with the plaster and the wall reads flat instead of hosting an object. Check the arm folds inside the recess before you close the frame up.
5. Hold a three-millimetre shadow gap all the way round
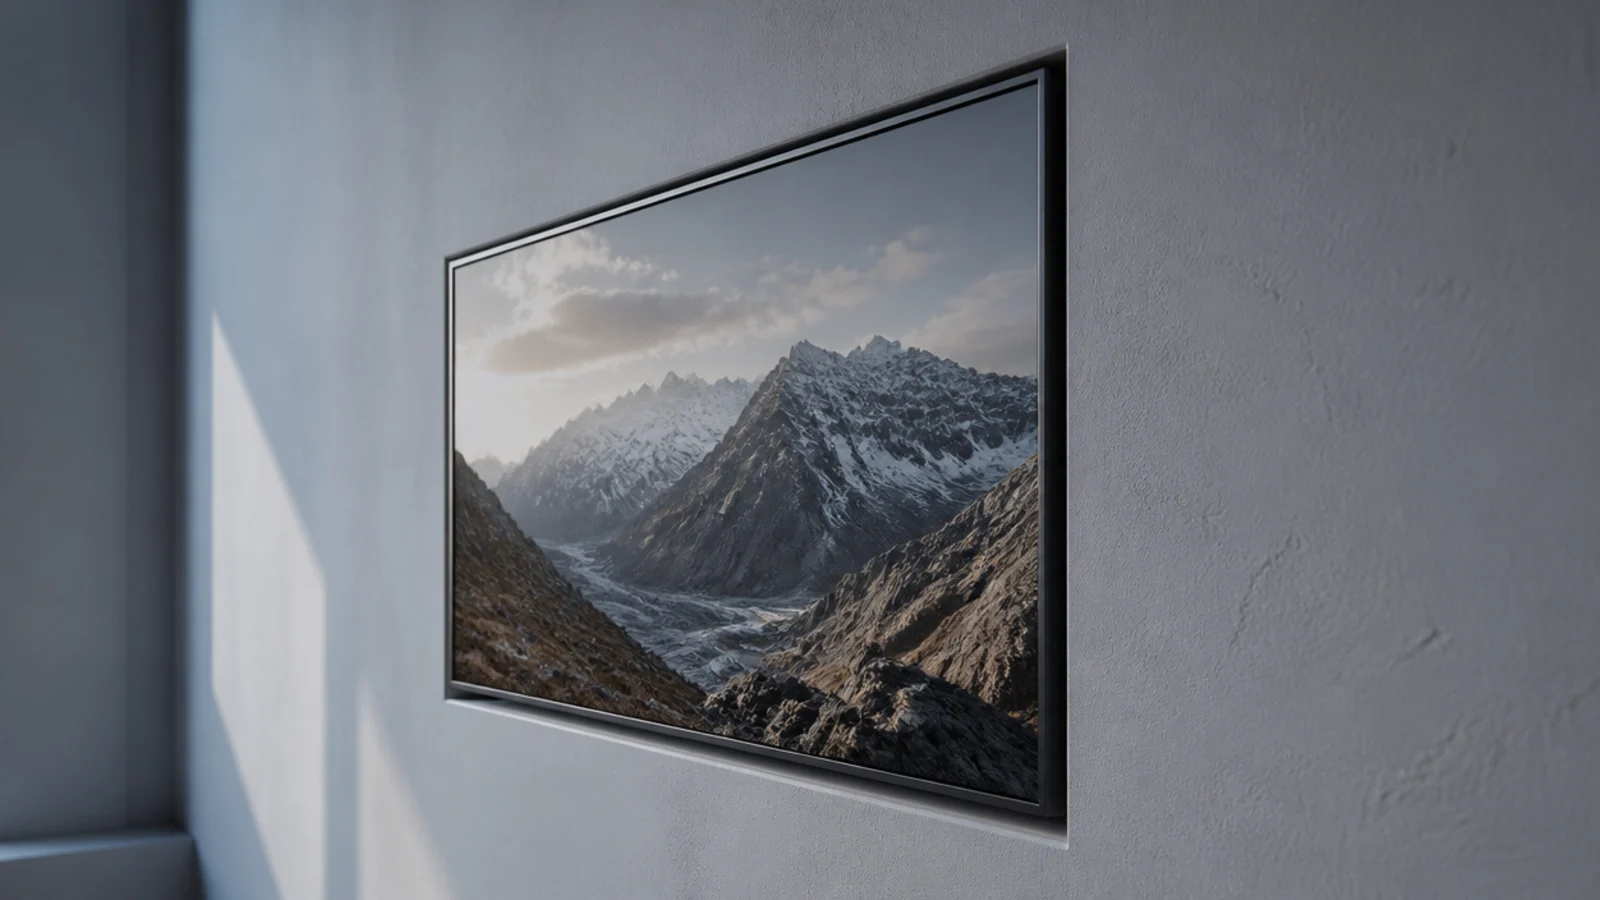
Consistency is what the eye reads, not size. A 3 mm gap held identically at top, bottom and both sides looks intentional; the same gap running 3 mm at the top and 8 mm at the bottom looks like a fitting error. Set it with offcuts as spacers rather than by eye.
6. Paint the wall and the joinery the same colour
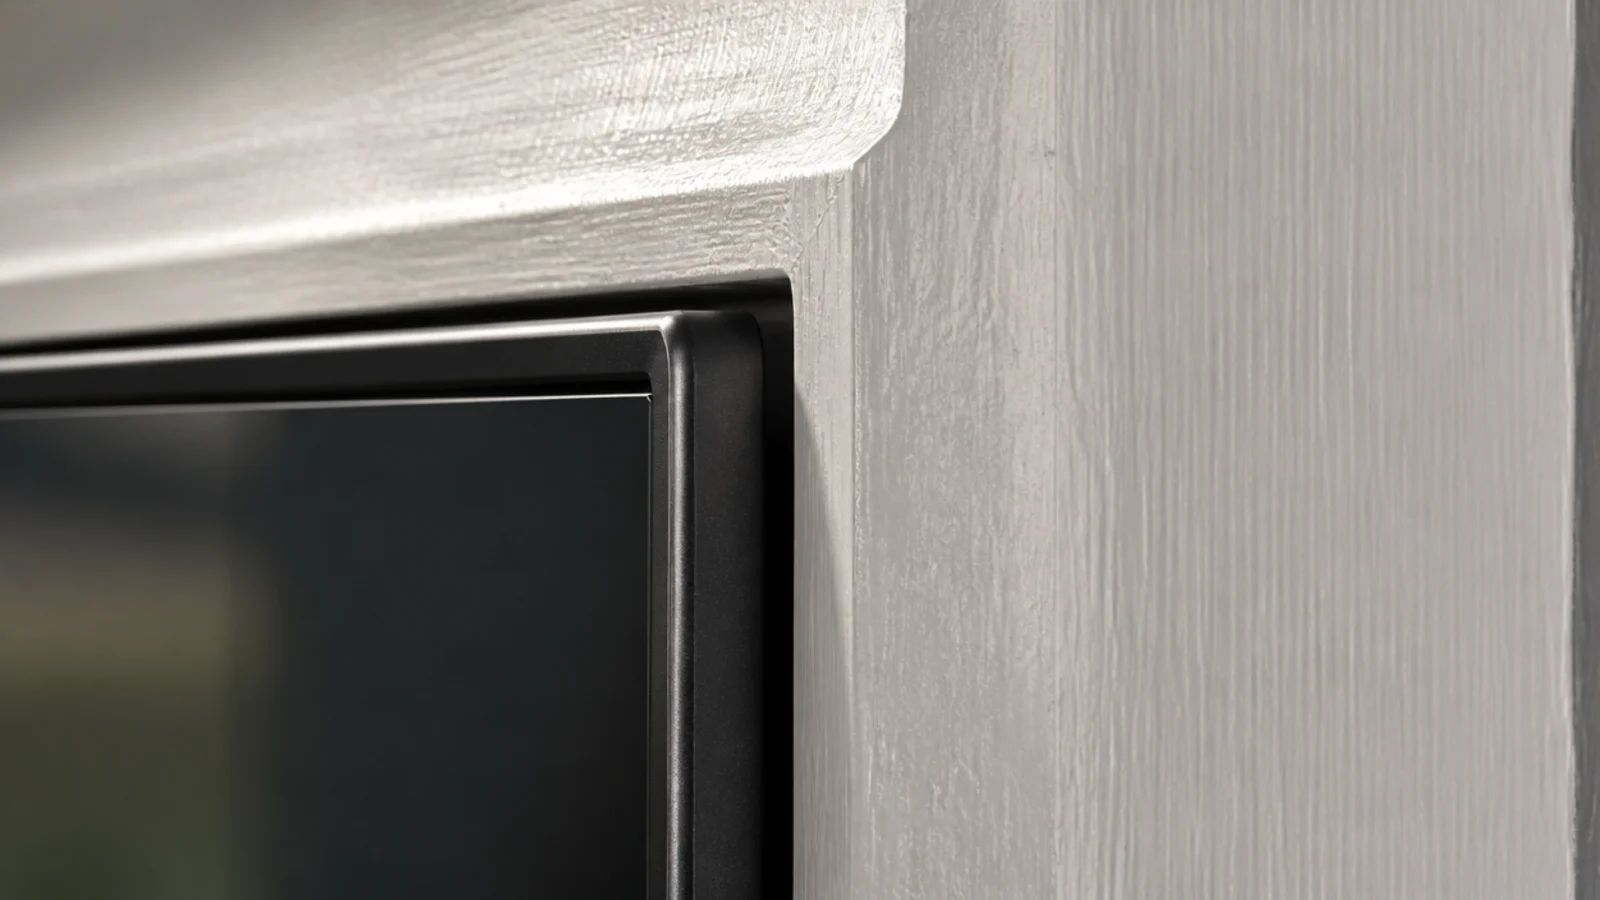
One colour across plaster and cabinet fronts collapses the two into a single surface. Use matt on the wall and eggshell on the joinery — the sheen difference is small enough that the eye does not separate them, and eggshell survives fingers around a door edge.
7. Match the plinth height to the existing skirting
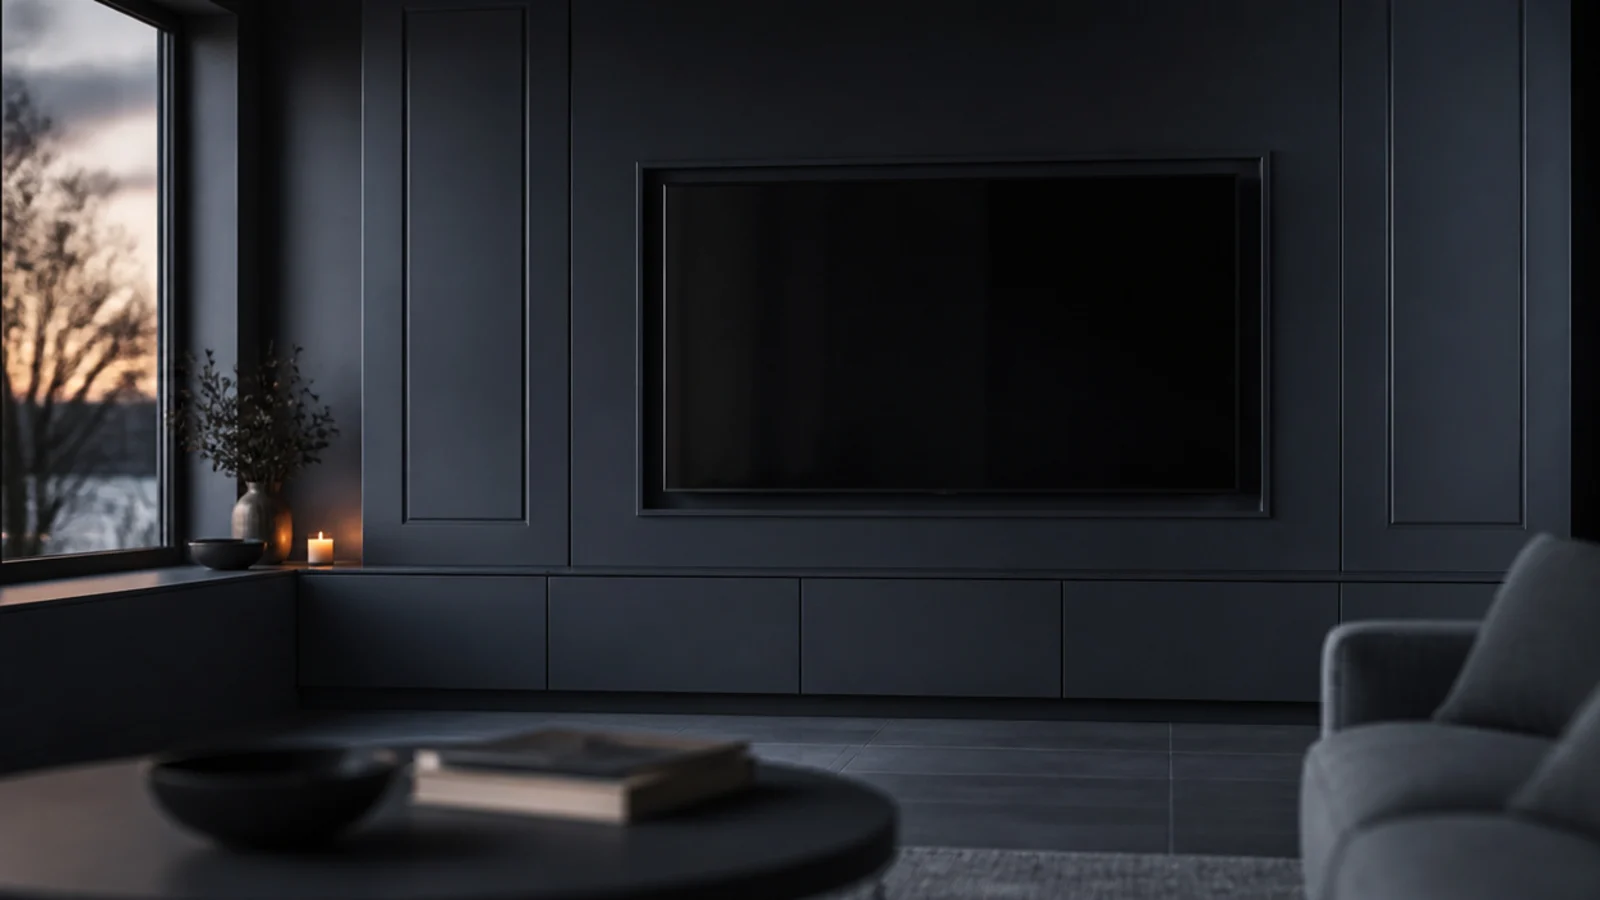
If the room has 5 inch skirting, make the plinth 5 inches. The cabinet then appears to grow out of the wall detailing rather than sit in front of it. Where the skirting is ornate, run it across the plinth face and let the joinery interrupt only the top.
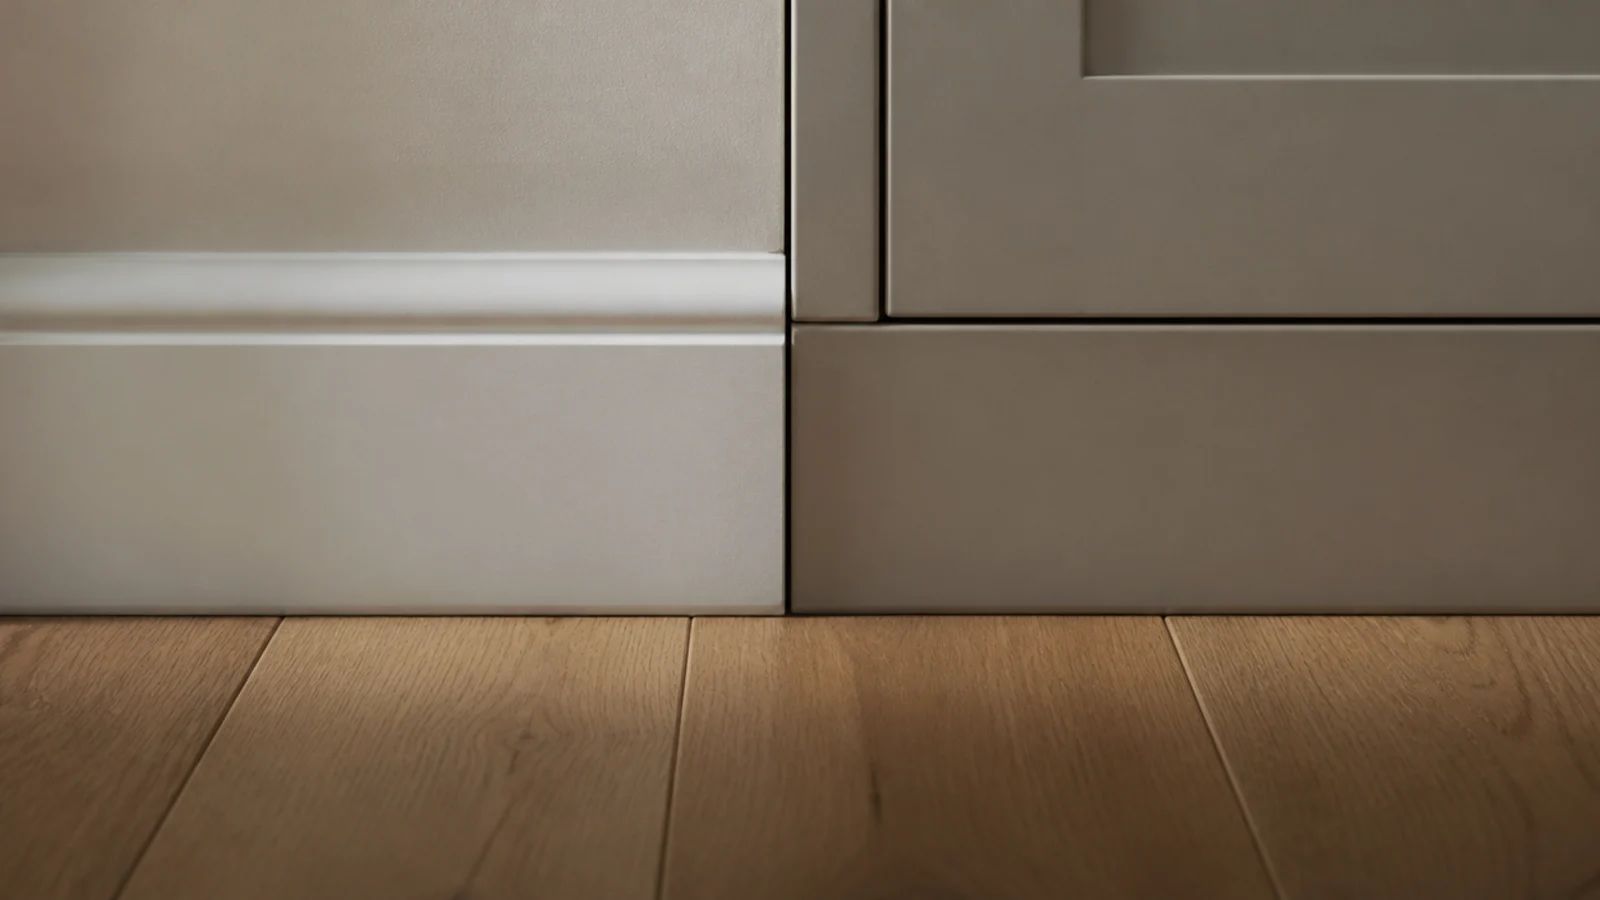
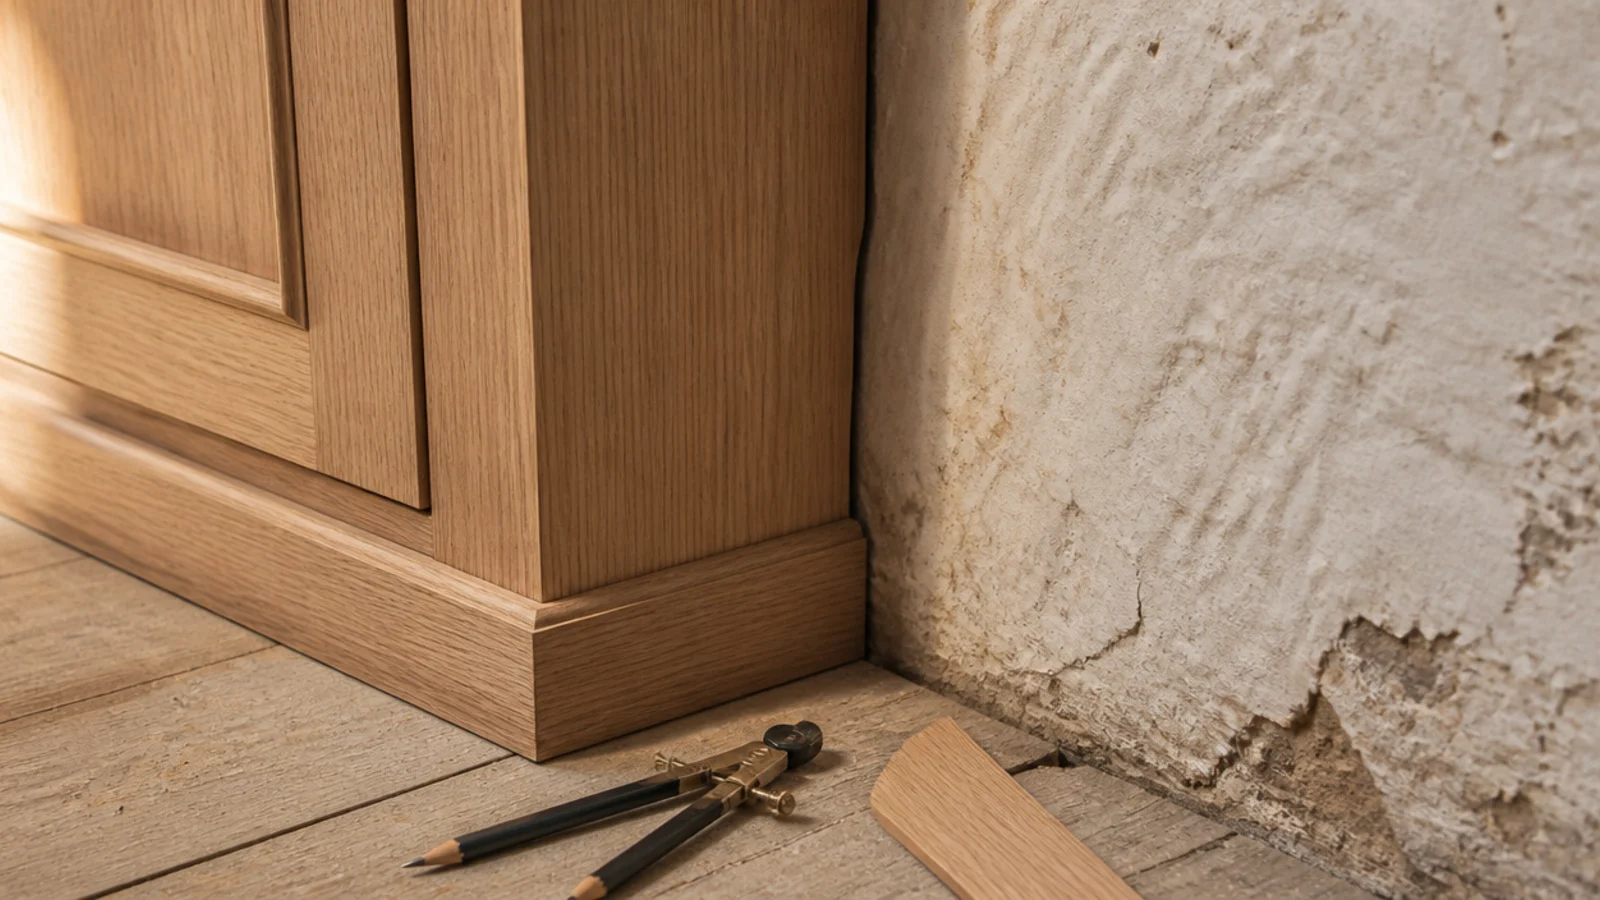
8. Scribe the joinery into the plaster
Almost no wall is straight. Cutting a scribe strip to follow the wall, rather than leaving a tapering gap filled with sealant, is the single most convincing built-in detail. Allow 10 to 15 mm of extra width on the end panel to scribe into, and mark it with a compass.
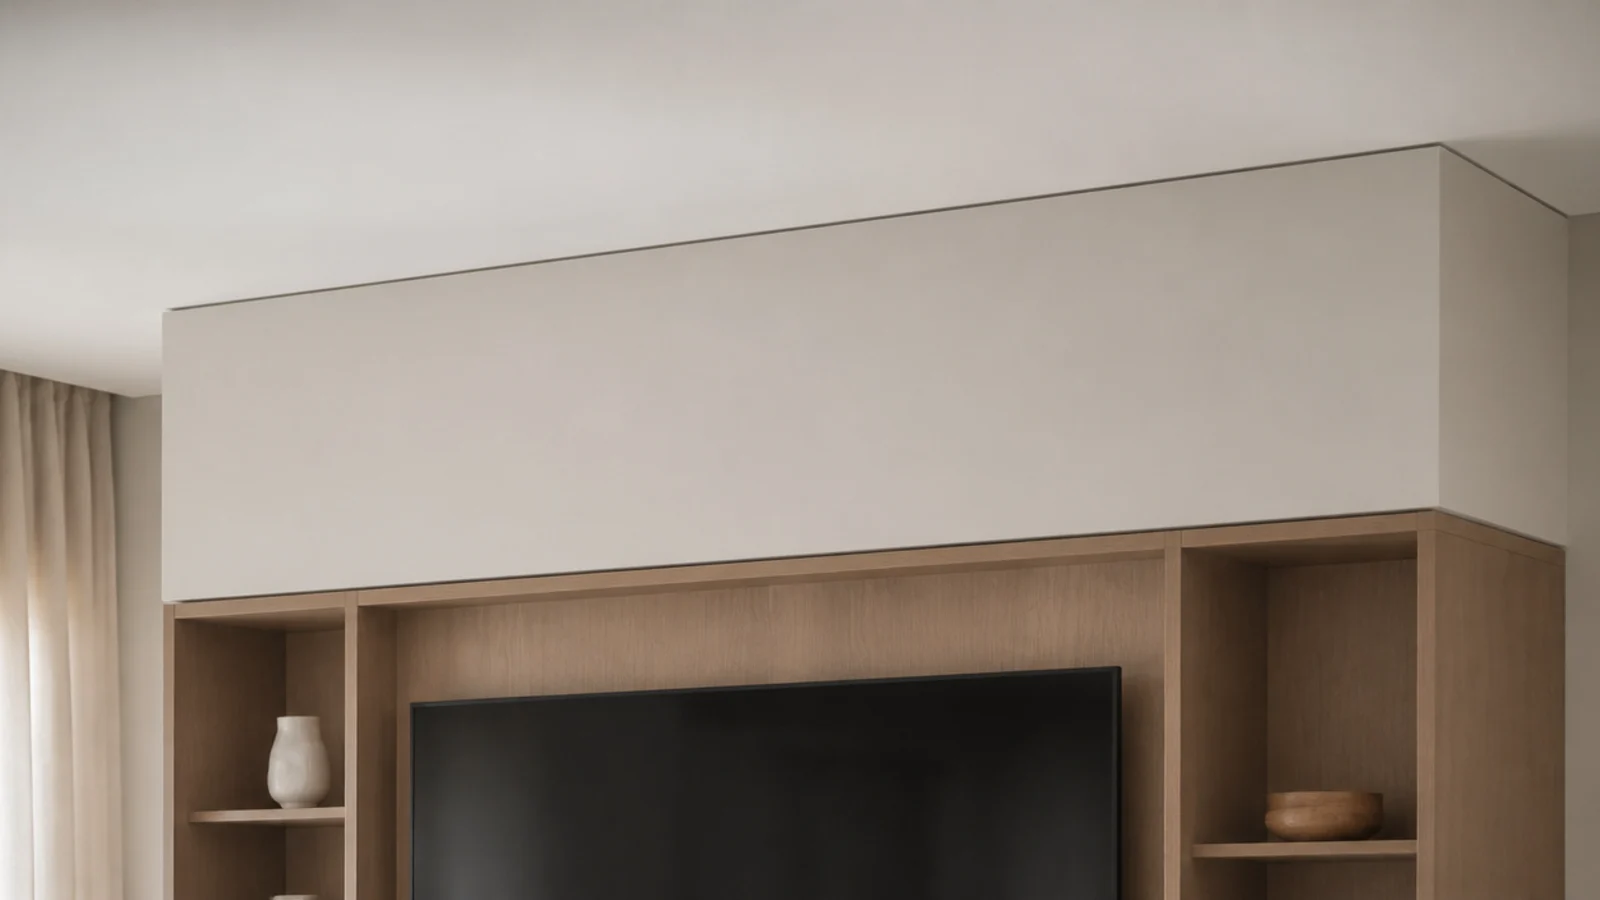
9. Close the ceiling gap with a bulkhead
A gap over the top of tall joinery collects dust and reads as unfinished. A plastered bulkhead bridging to the ceiling with a slim shadow line closes it and gives you somewhere to conceal an uplight. Where you would rather keep the gap, make it 4 to 6 inches so it looks chosen.
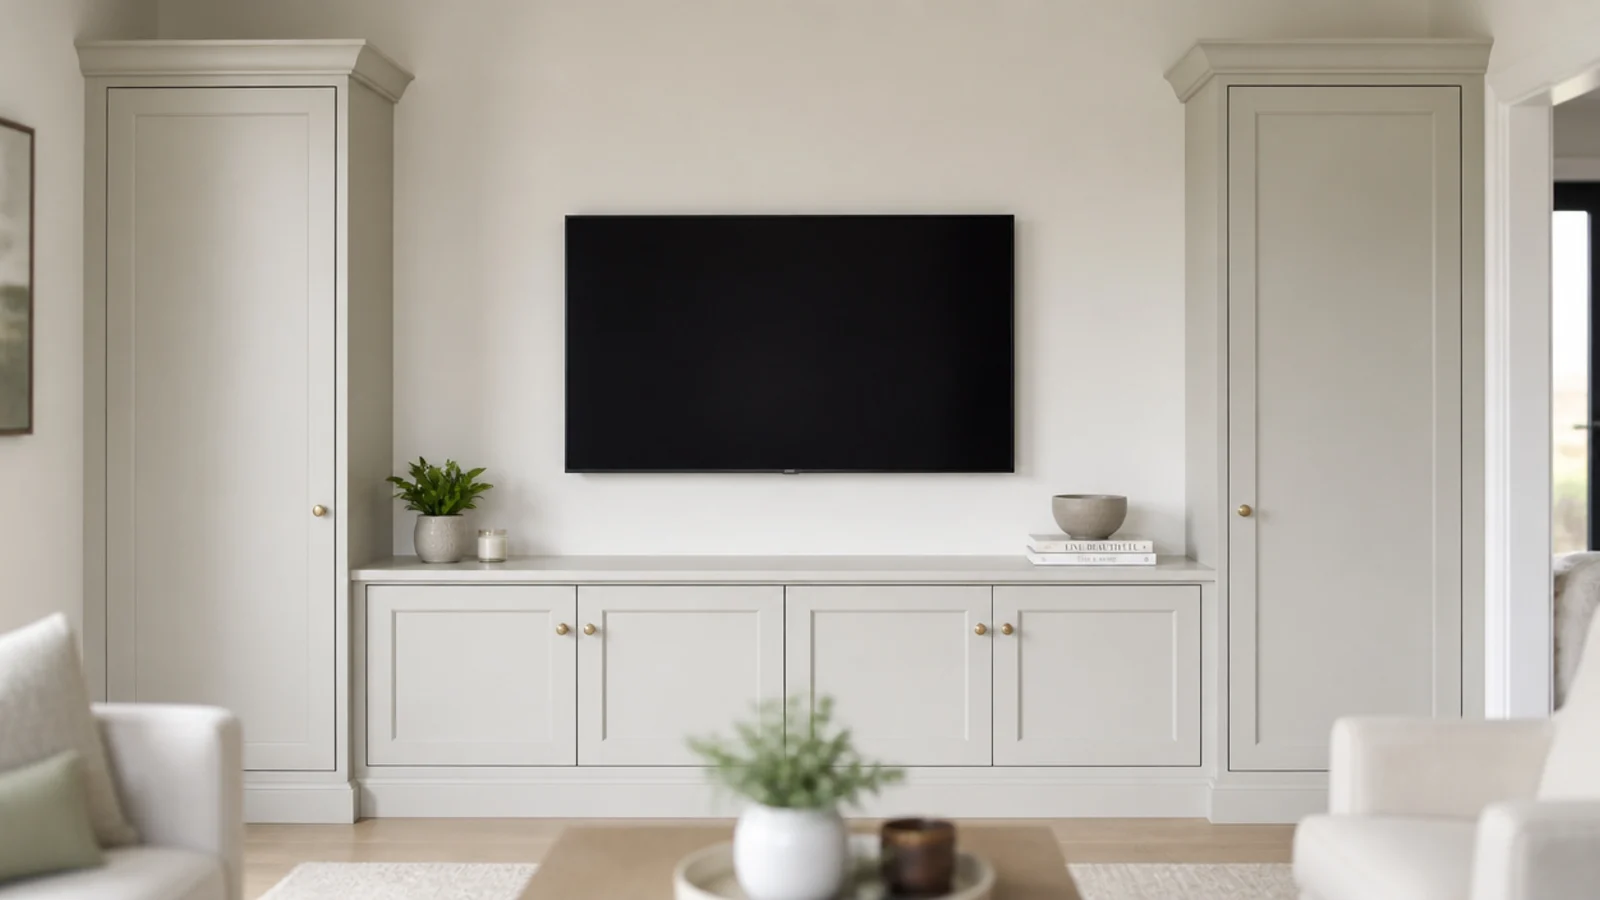
10. Full-height cupboards flanking a low middle
The layout that carries the most storage without dominating: tall closed cupboards at both ends, a low run of 16 to 20 inches across the middle under the screen. It also gives the eye somewhere to rest and makes a wide wall feel composed.
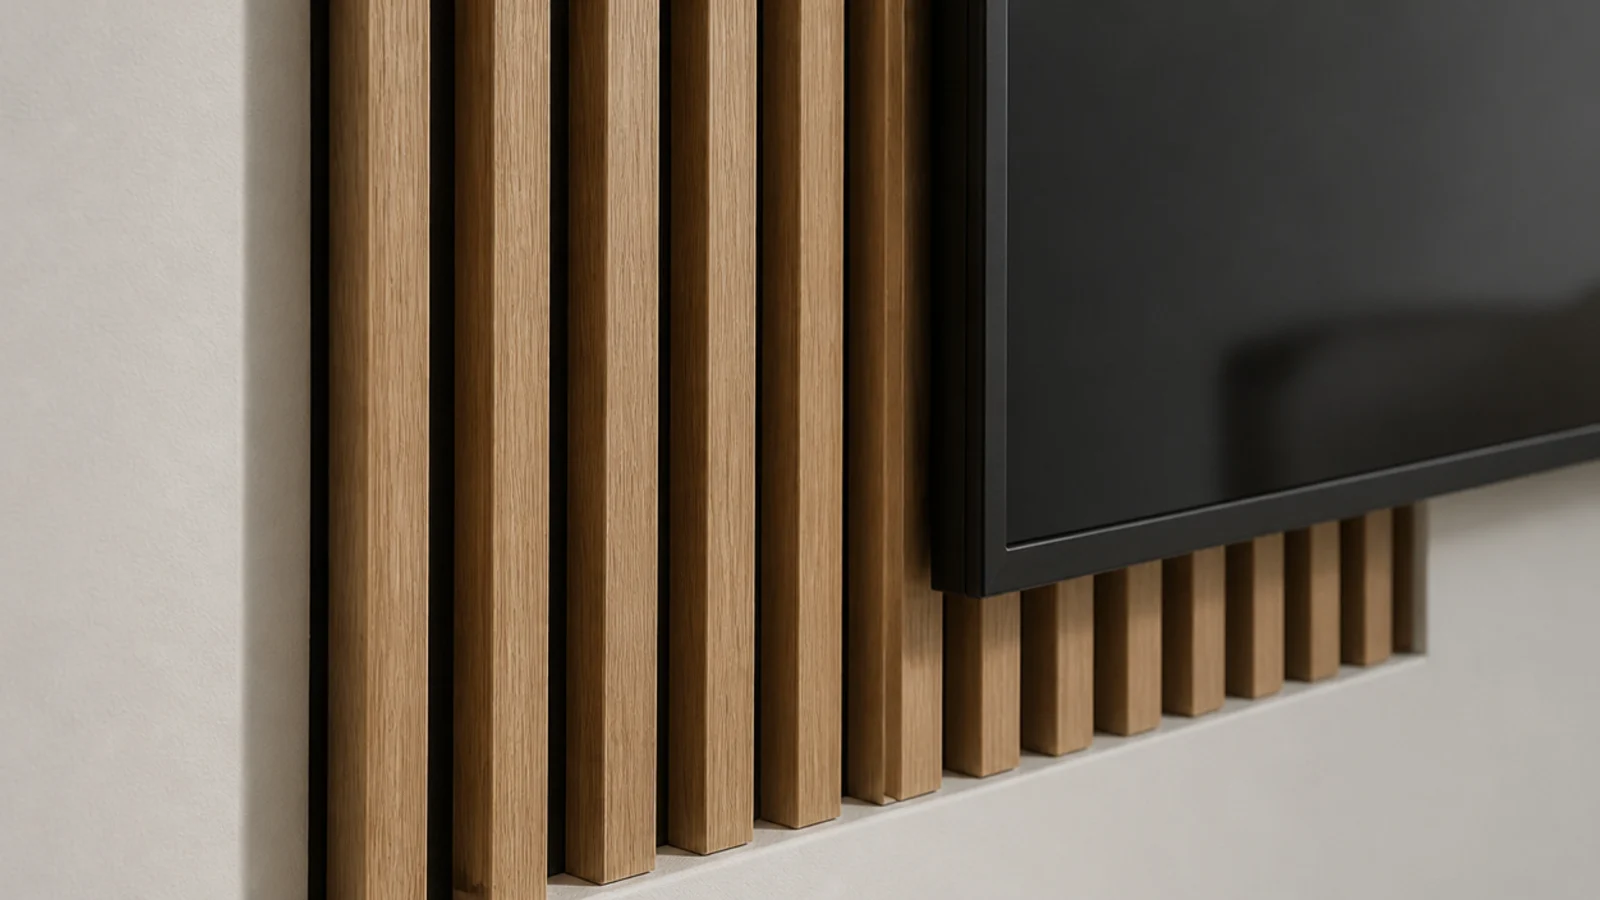
11. Fluted panels behind rather than around
Fluted or slatted sheets come 2400 by 1200 with ribs typically 12 mm at 25 mm spacing. Using them only inside the recess behind the screen gives depth where the eye lands and keeps the rest flat. Cut with a fine-tooth blade and fix with grab adhesive plus a few pins.
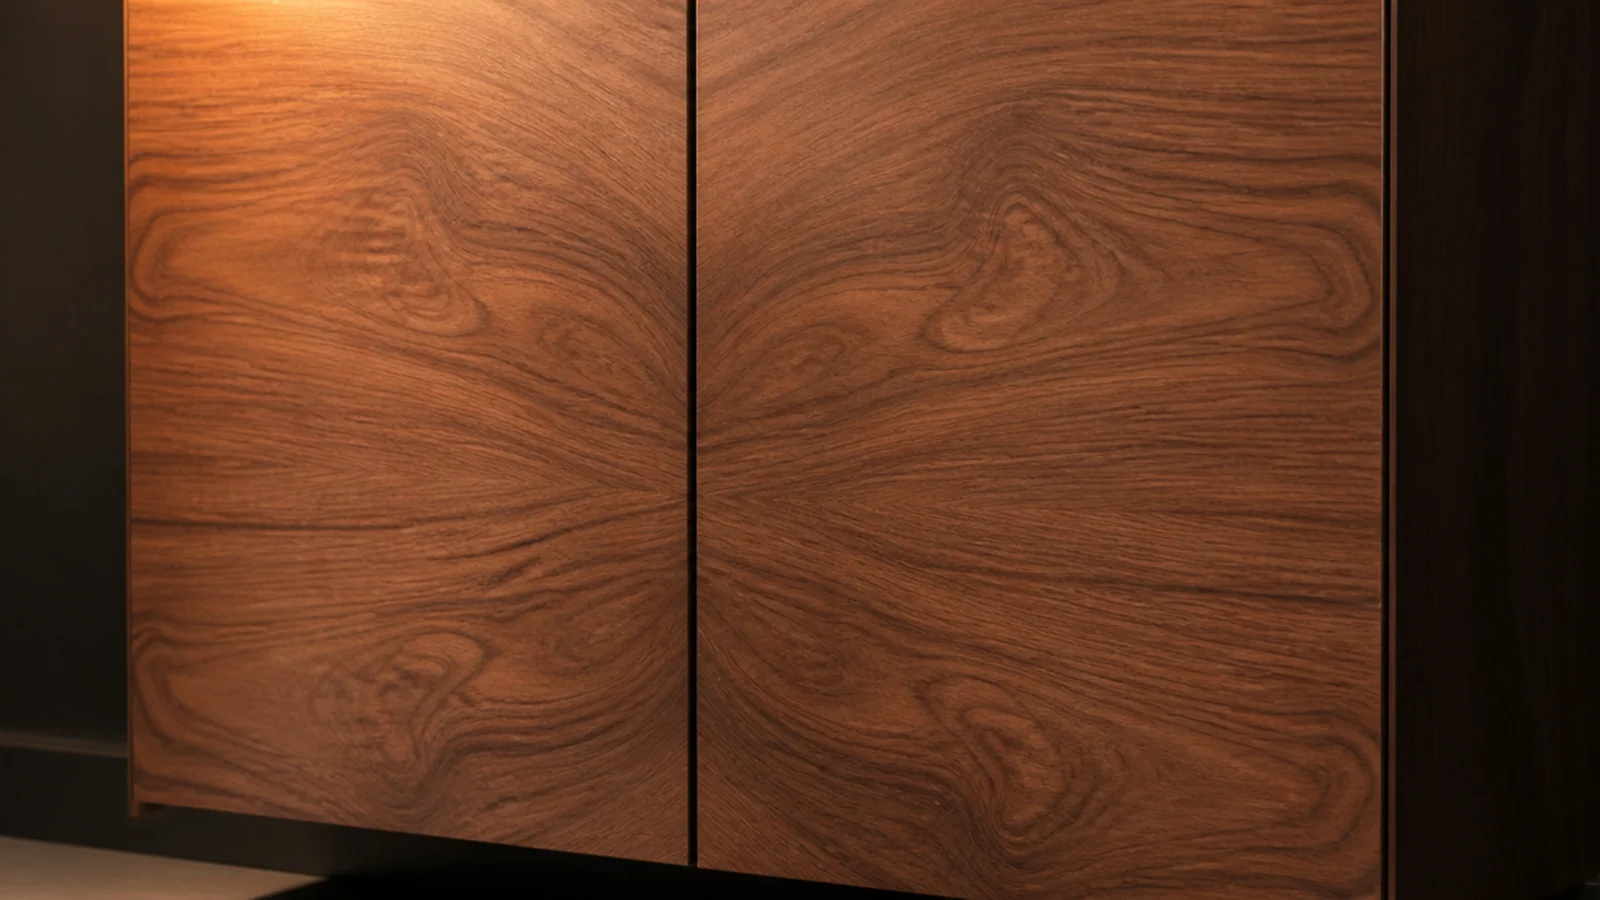
12. Book-match the veneer across the doors
Ask for veneer from a single leaf so the grain mirrors across the join. A pair of book-matched doors reads as one slab and instantly signals joinery rather than flat-pack. Request a sample at least 12 inches wide, because grain scale looks entirely different across a small swatch.
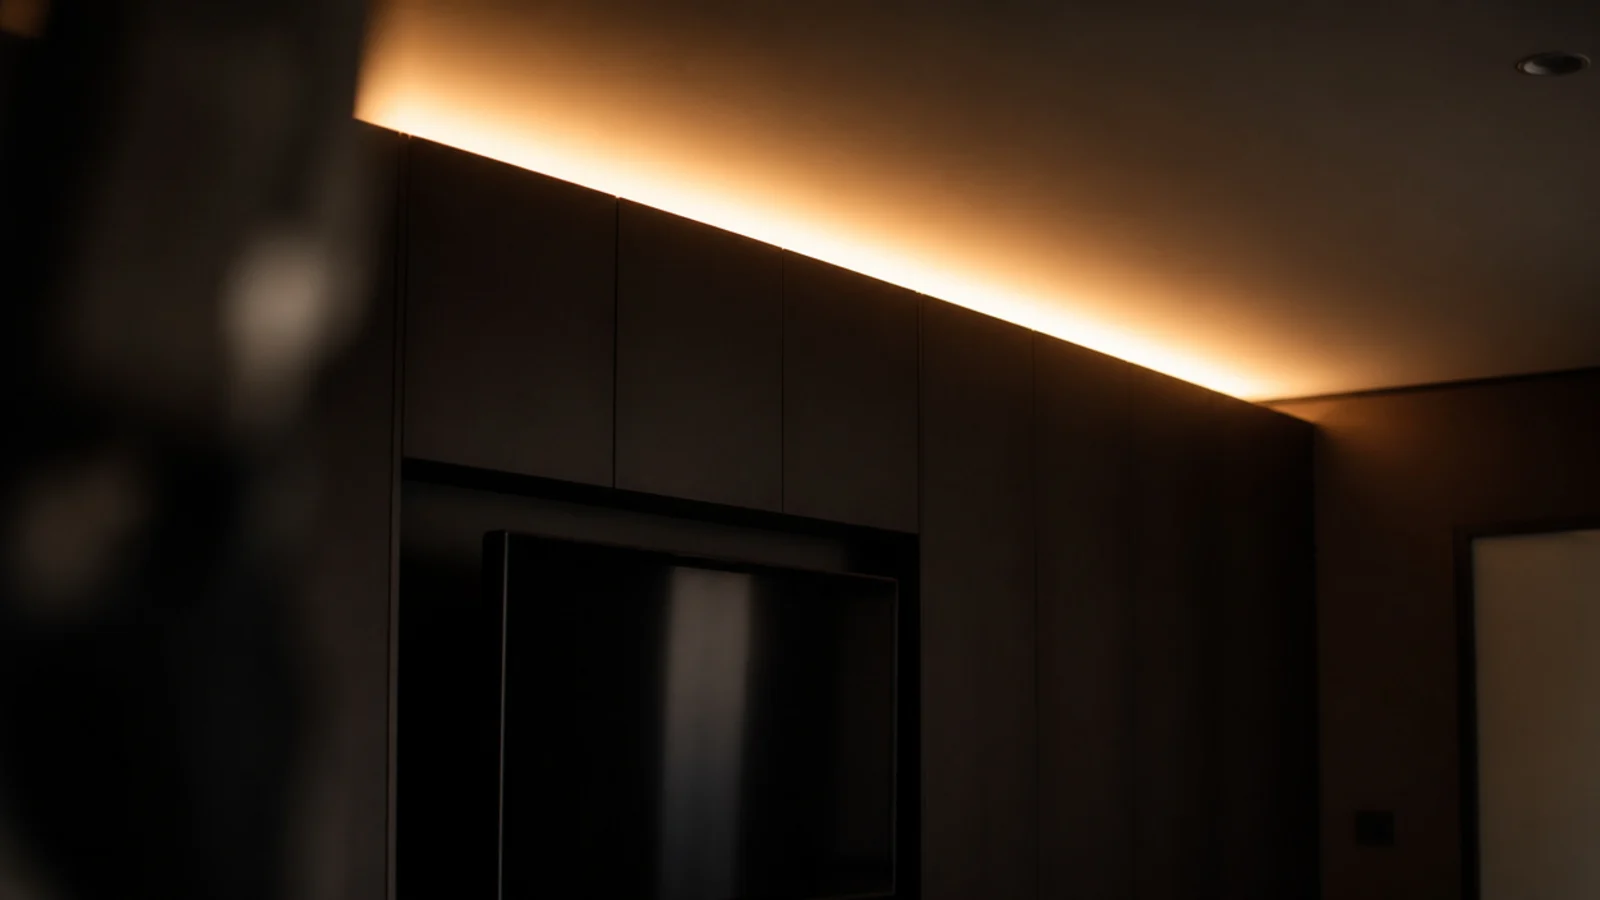
13. Add a lighting reveal along the top edge
A warm strip at 4 to 6 watts per metre concealed in the top reveal washes the ceiling and makes the joinery look installed rather than delivered. Keep it behind a 20 mm upstand so you see the light and never the diodes, and put it on a dimmer.
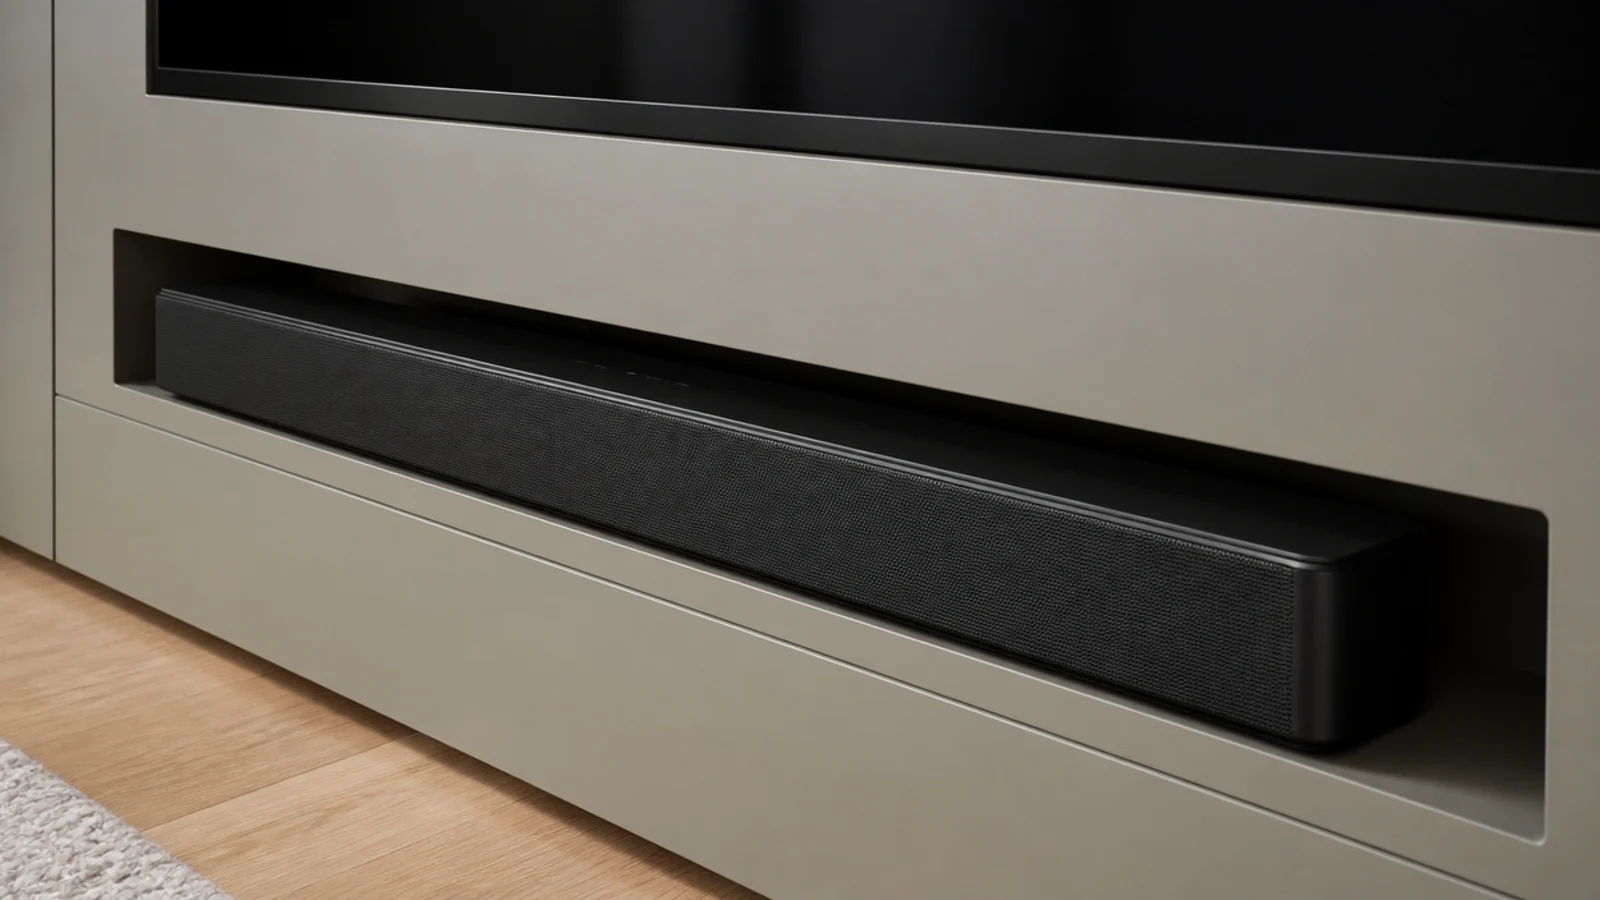
14. Slot the soundbar into the joinery
Cutting a horizontal slot for the bar sets it within a couple of inches of the screen's bottom edge and removes an object from the shelf. Leave the back of the slot open and an inch of clearance above; a bar buried more than 2 inches into a closed recess loses its top end.
15. Hide the centre speaker behind acoustic fabric
Acoustic fabric on a removable frame lets sound through while the grille disappears. Keep the driver within 2 inches of the fabric and aim it at ear height, around 40 inches seated. Use a proper speaker cloth rather than upholstery weight, which muffles the top end noticeably.
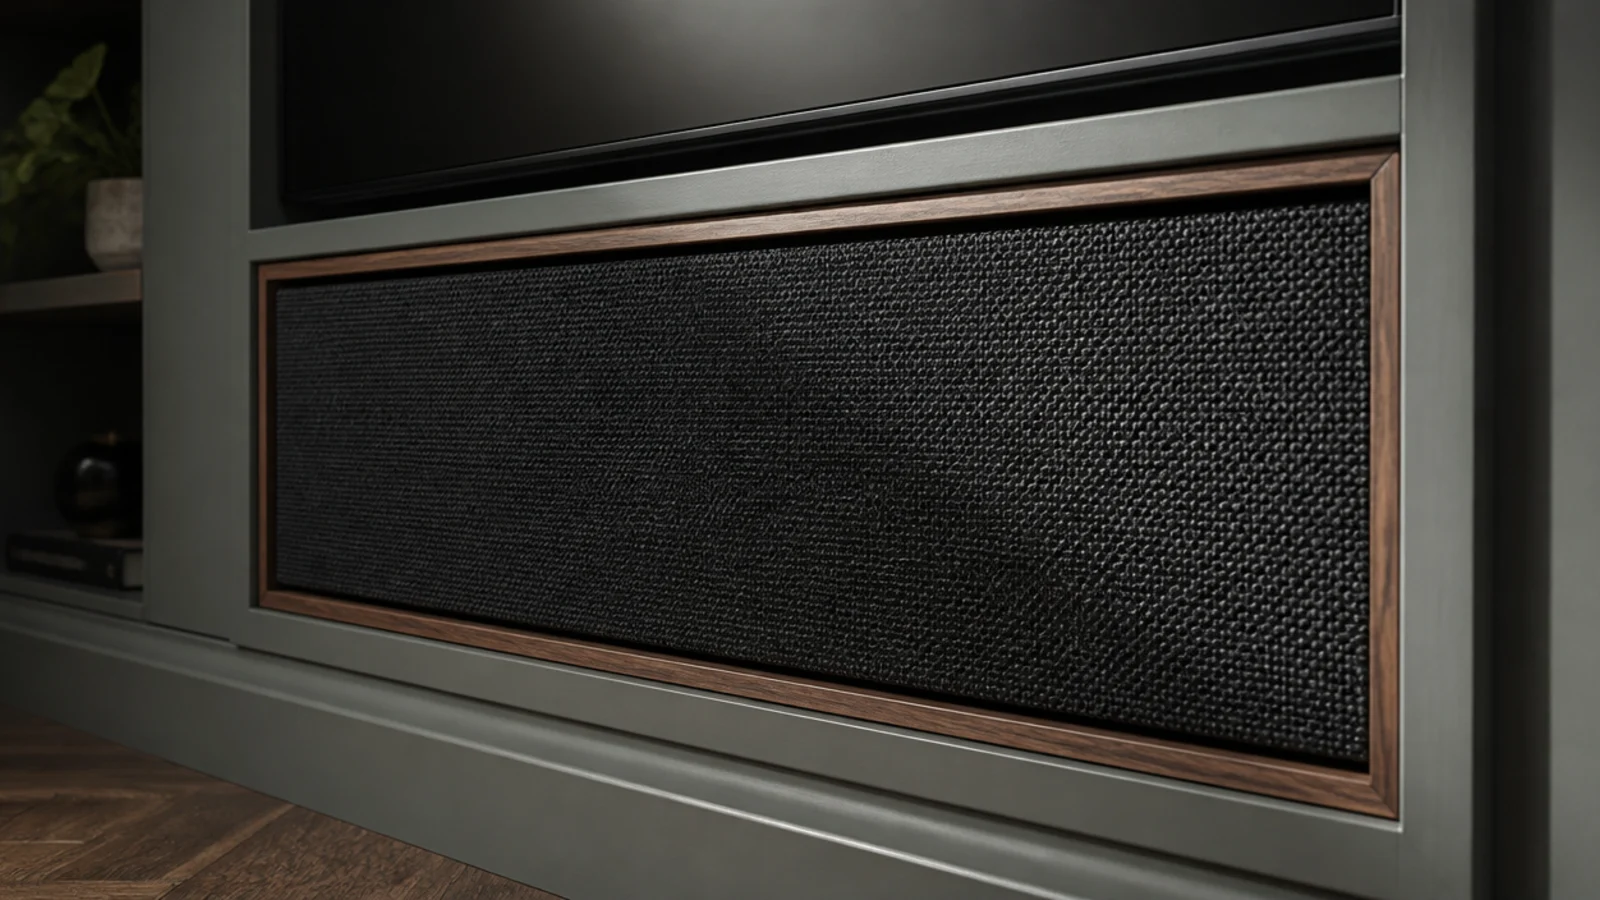
16. Use a brush plate where the cables leave the wall
A brush plate costs about $8 and turns a ragged cable hole into a finished detail. Fit one behind the screen and a second low down behind the cabinet, then run only in-wall rated cable between them. Standard power flex never belongs inside a cavity.
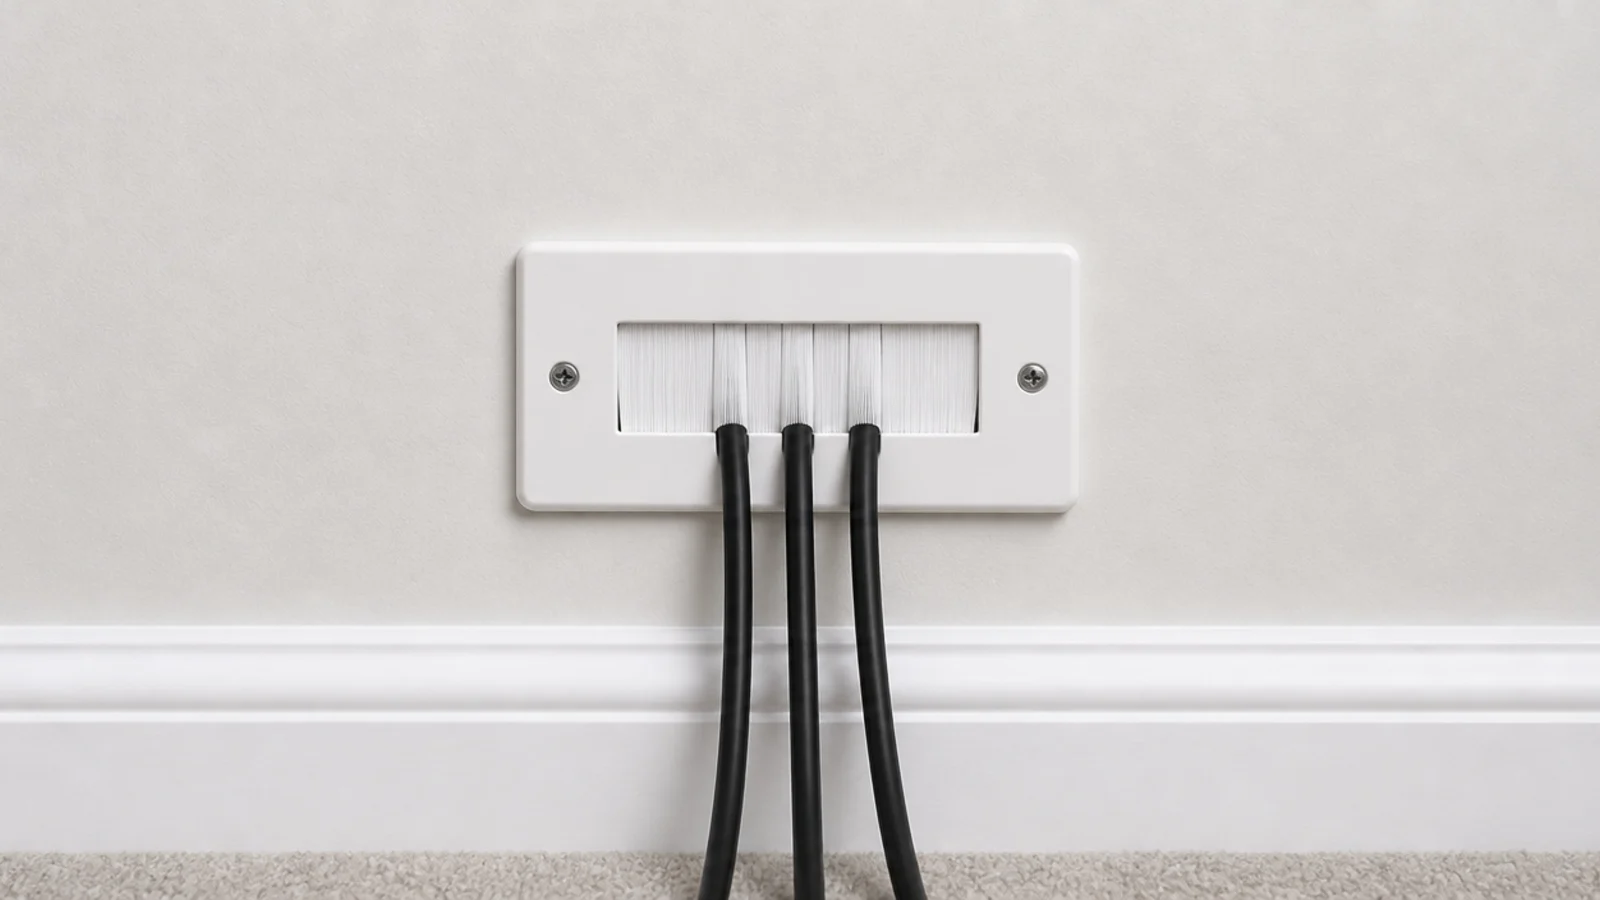
17. Fit a swivel mount where the seating is off-axis
Picture quality falls away past roughly 30 degrees off-centre on many panels. An articulated arm carrying 45 to 75 pounds lets a screen turn toward a sofa that does not face the wall squarely. It needs two studs and a deeper recess, so decide before the joinery is built.
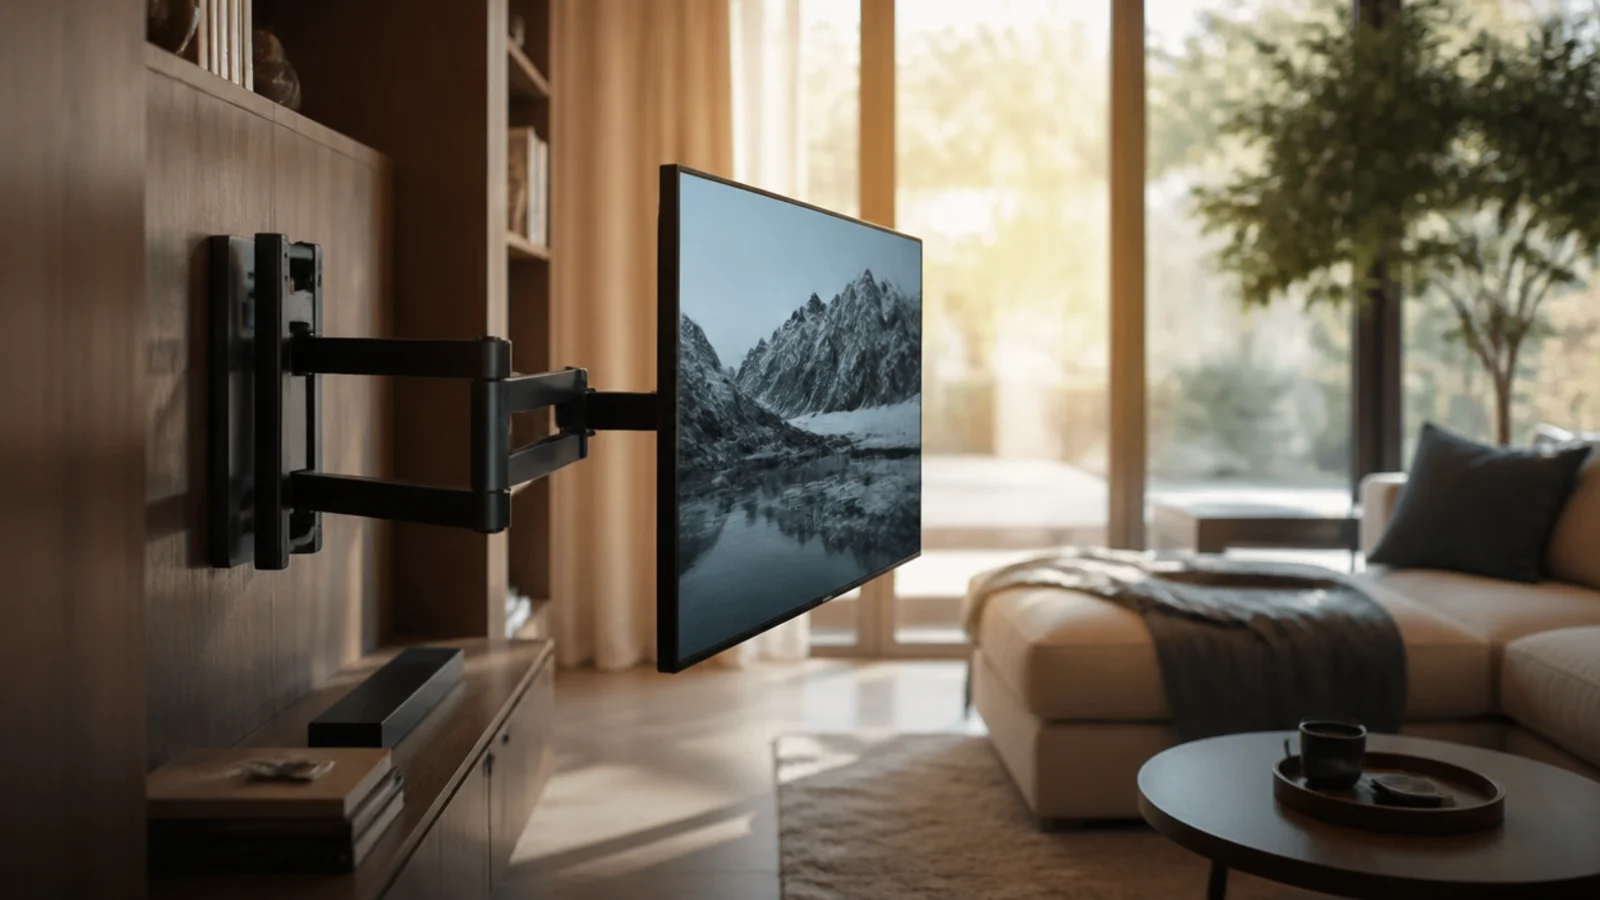
18. Let the floor run under a floating unit
Keeping the boards visible from the foreground to the skirting reads as more floor and therefore more room. Hang the carcass 12 to 16 inches up, into studs, and check the clearance beats the 3.5 to 4 inches a robot vacuum needs.
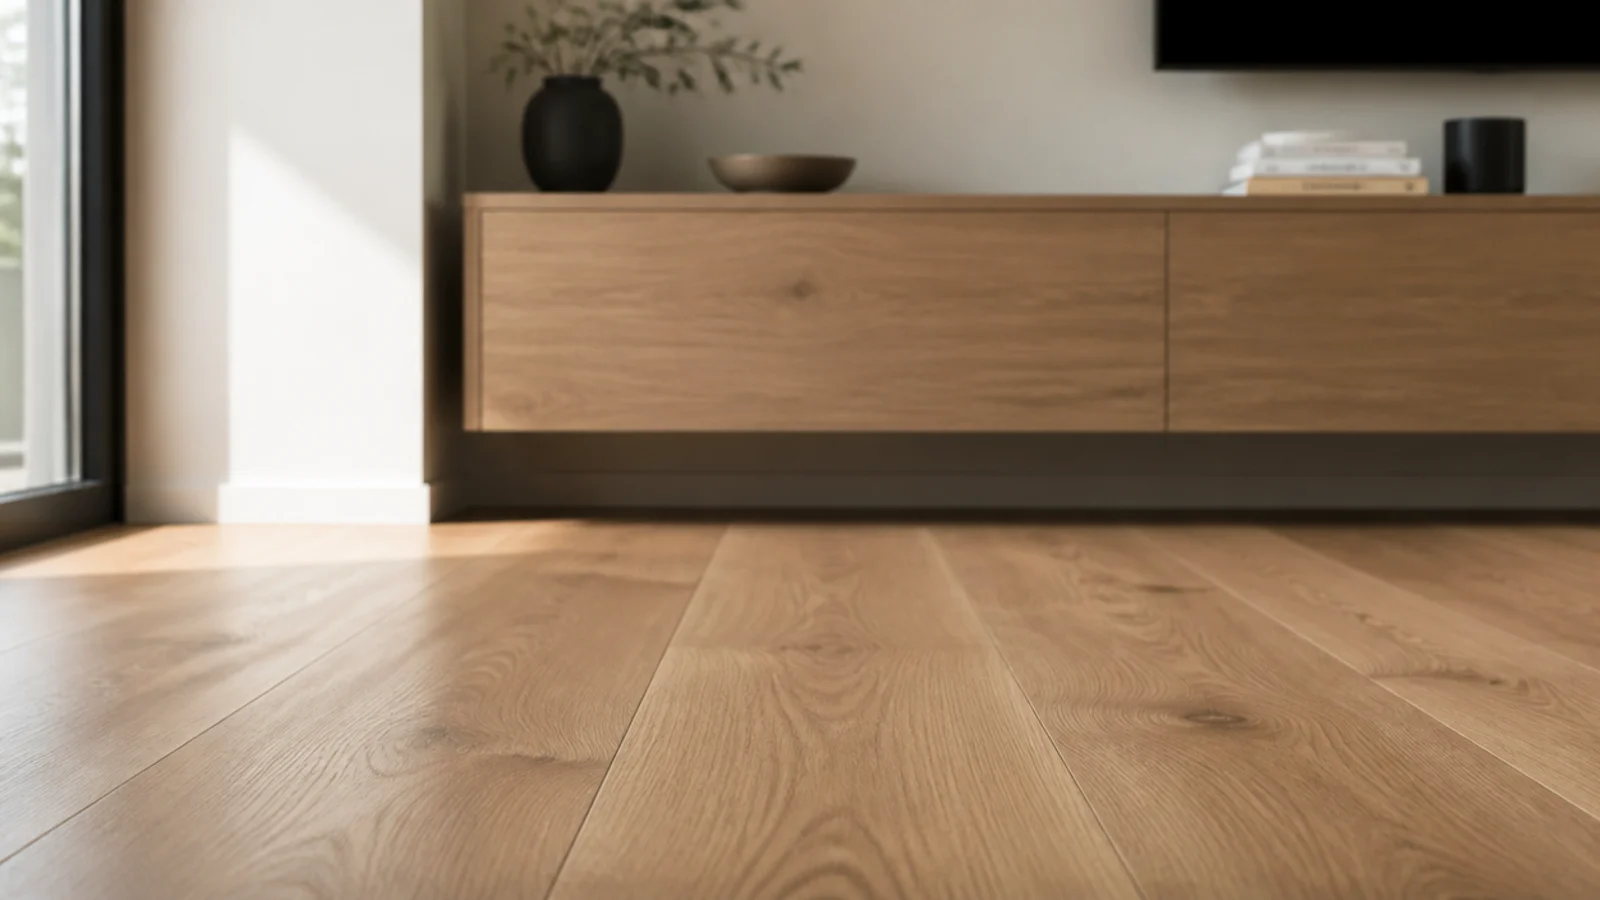
19. Give the base a stone slab like a hearth
A slab of limestone or porcelain laid into the floor under the joinery grounds a media wall the way a hearth grounds a fireplace, and it gives baskets and plants a surface that never marks. Twenty millimetre porcelain is the practical version at $60 to $140 a square foot fitted.
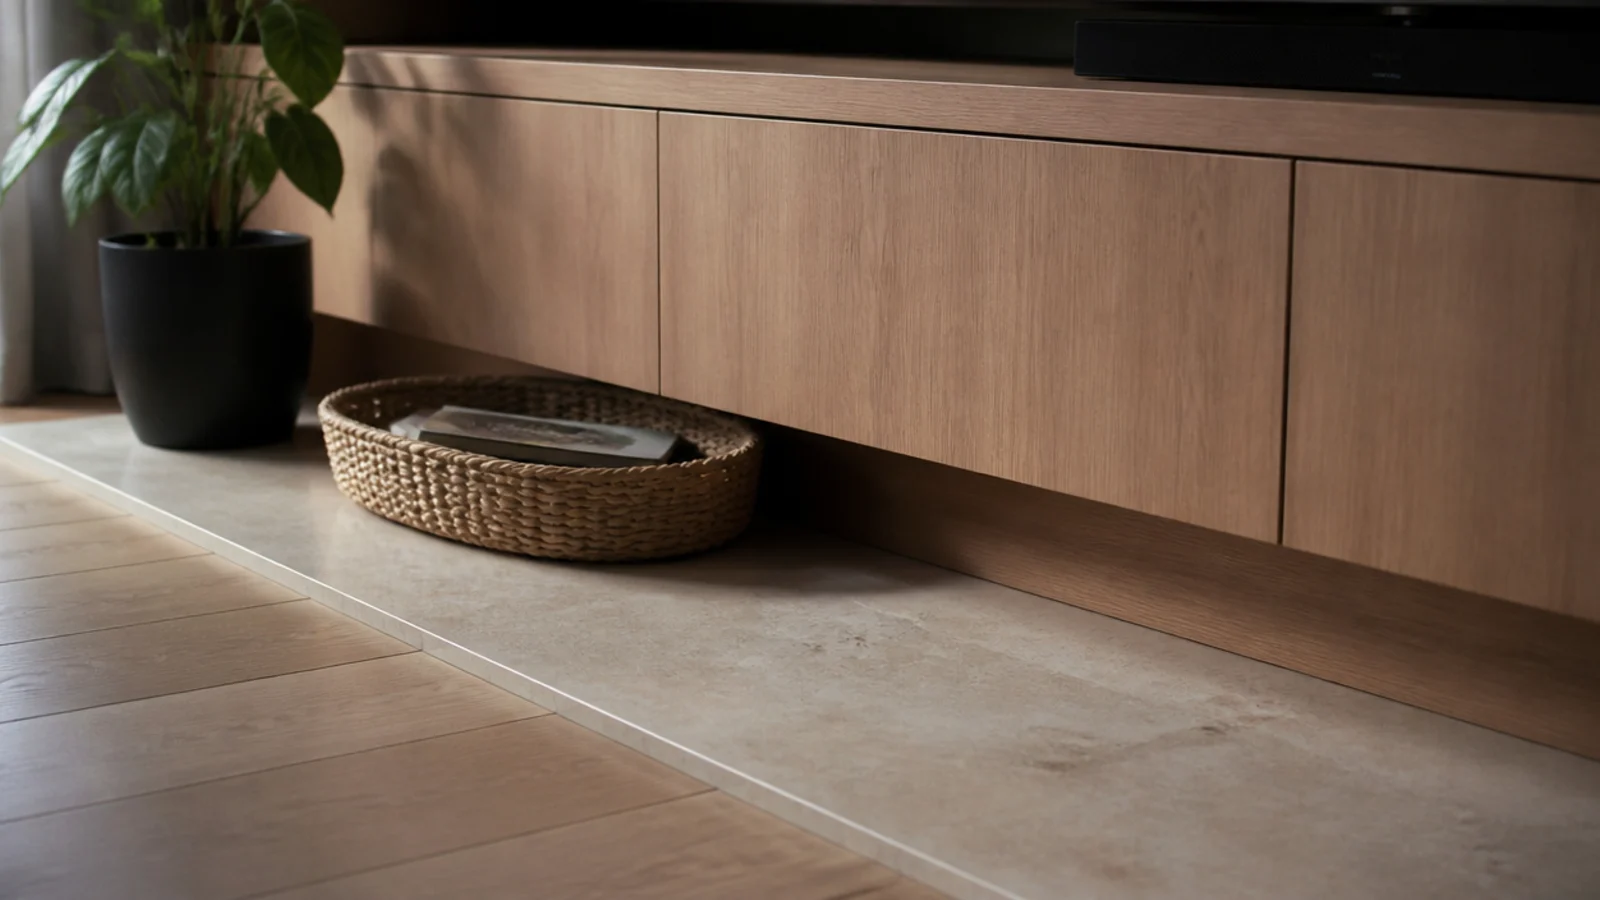
20. Put a shallow ledge above the screen
A 4 inch ledge set 10 to 12 inches above the panel gives you a changing display with two fixings instead of twelve nail holes. Lean the frames, overlap them slightly, and keep the tallest under 16 inches so nothing crowds the screen.
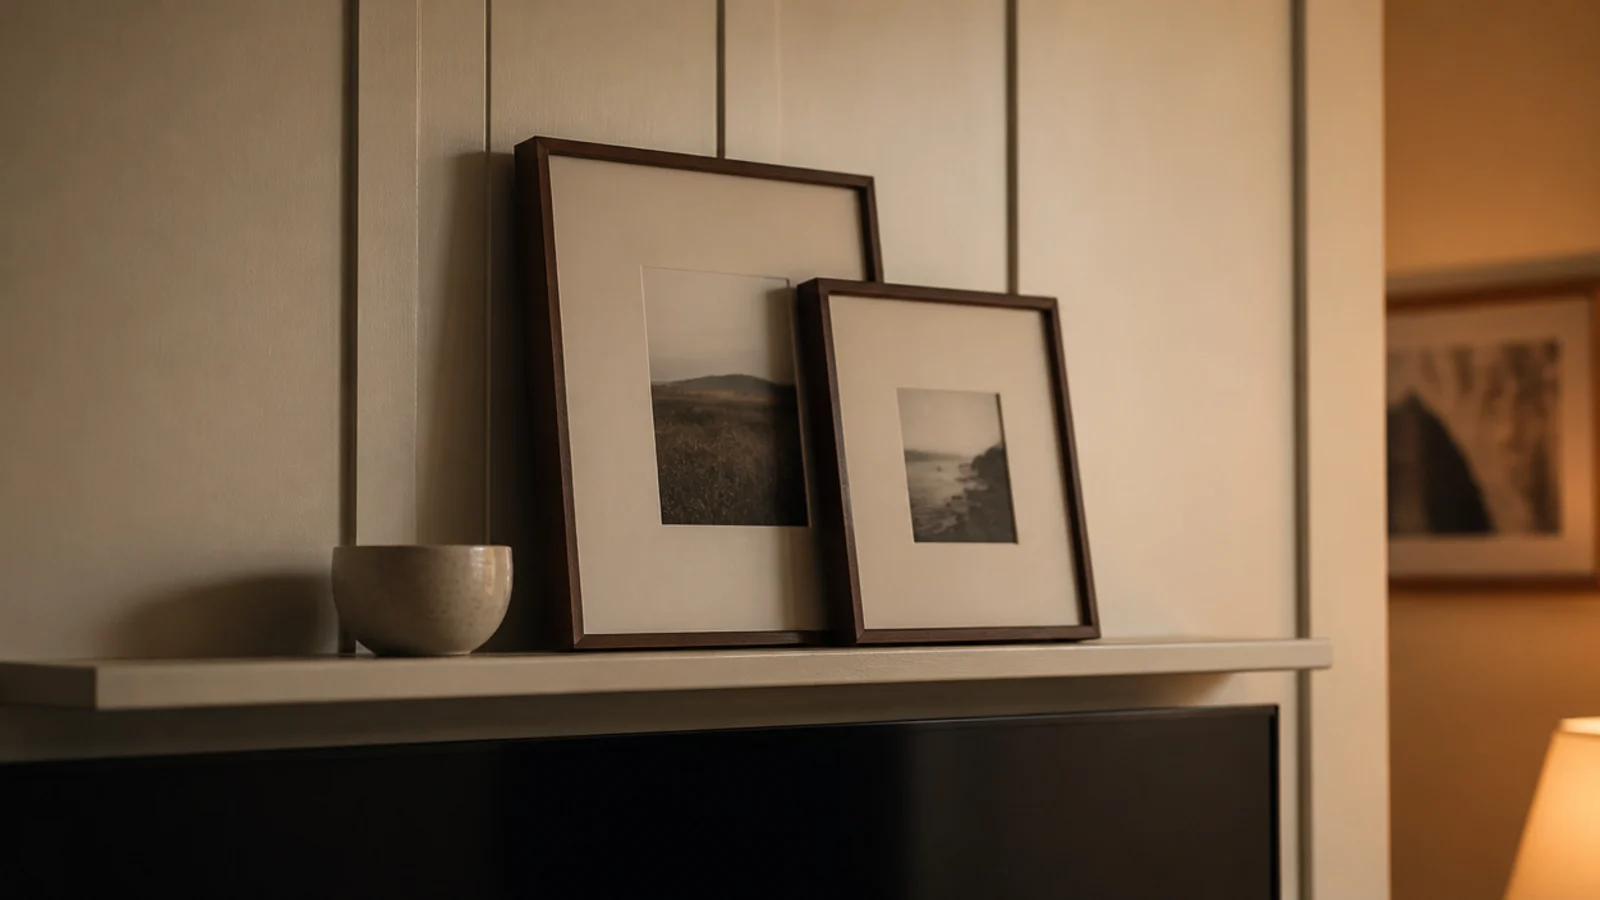
21. Choose MDF over plywood if you are painting
Paint reveals every ply layer at an exposed edge, and no amount of filler keeps them hidden for long. Medium density fibreboard takes a sprayed finish flawlessly. Use moisture-resistant grade in a room with damp risk, and always wear a mask when cutting it.
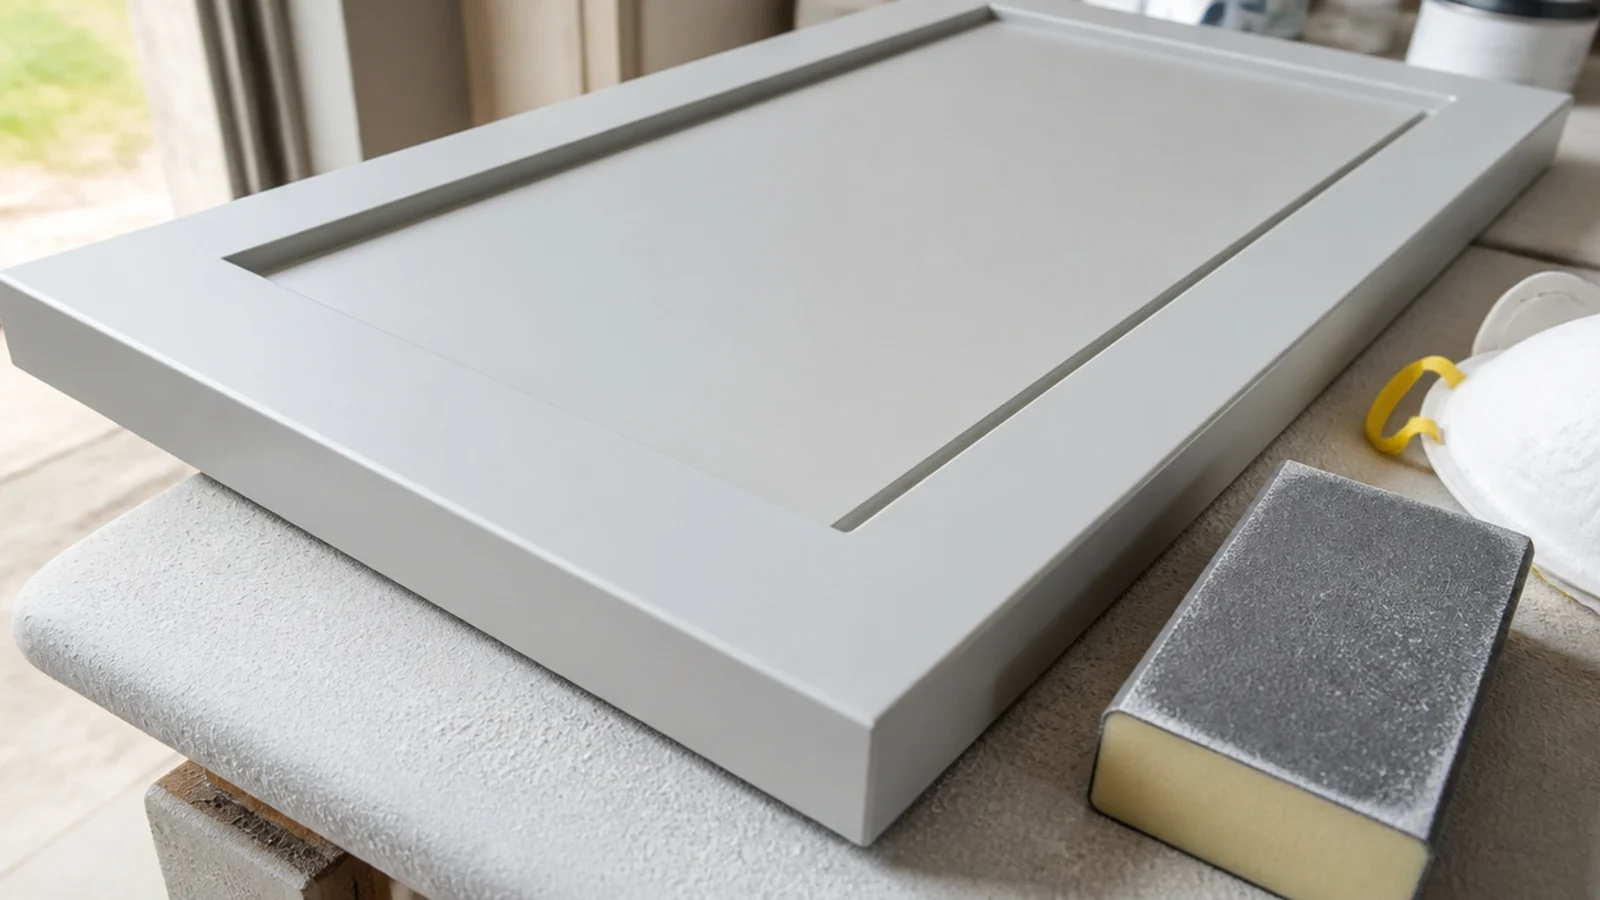
22. Cap the ends with returns so no carcass shows
Where joinery must stop before a corner, close the end with a full-height return panel in the same finish. An exposed carcass edge, even a well-taped one, is the detail that gives away a bought unit dressed up as a built-in.
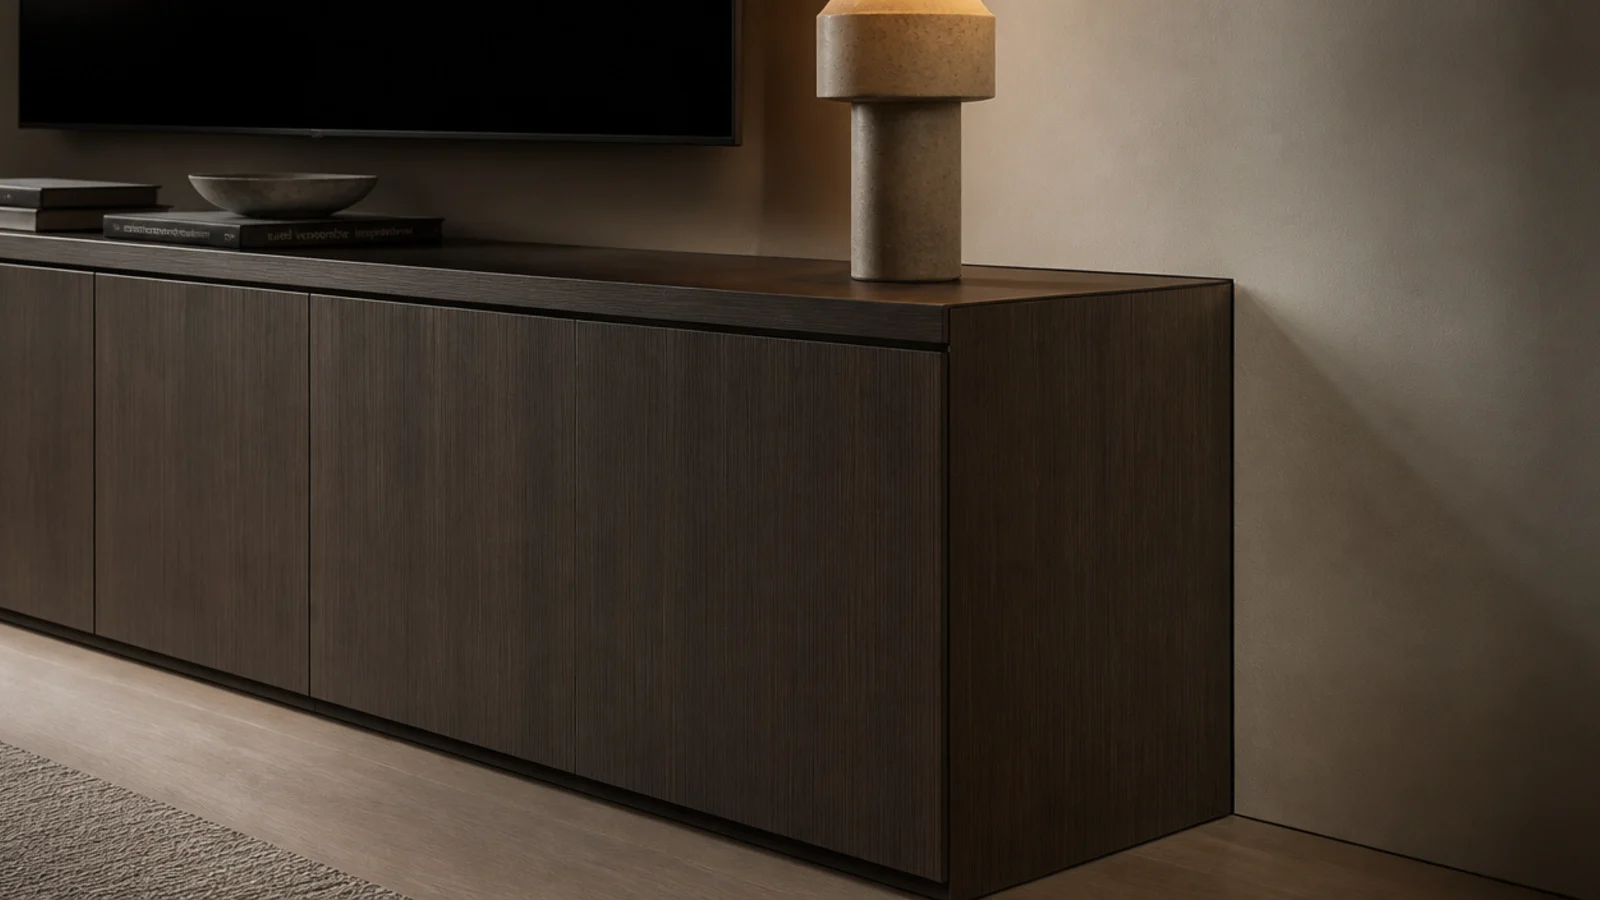
23. Keep the screen centre at forty-two inches even in a recess
Building a recess tempts people to centre the screen in the opening rather than at the right height. Set the height first, from the floor, then draw the recess around it. The wall unit styling steps work through the sequence in order.
24. Vent the recess low and high
A screen in a tight recess recirculates its own warm air and dims itself to protect the panel. Cut a slim grille low in the recess and another high, so cool air enters at the bottom and leaves at the top. Roughly 40 square inches of free area each end is a sound target.
25. One deep shelf rather than five shallow ones
A single 12 inch deep shelf running the width of the wall carries books, a vessel and a leaning frame and still looks calm. Five thin shelves fill up and start reading as storage. Depth also lets objects overlap, which is what makes a shelf look styled rather than lined up.
If you want the built-in look without joinery, the budget-friendly ideas cover panelling and paint tricks, and the modern media wall details go further into gaps and reveals. For the shelving that flanks a media wall, living room built-in shelves has the proportions worked out.
Mistakes to Skip
- Building the recess to the exact size of the television. Panels vary by a few millimetres between production runs and a replacement two years later will not fit a tight opening.
- Plastering before the cables are in. Retrofitting a route behind finished joinery means either a surface raceway or cutting the wall open again.
- Centring the screen in the joinery instead of at seated eye level. Symmetry on the elevation is worth nothing if the room aches to watch.
- Using gloss paint on a wall opposite a window. Every reflection lands on the screen, and a media wall is the one place a matt finish always wins.
- Skipping the vents because the recess looks roomy. Warm air has no route out of a three-sided box, and the screen protects itself by dimming.
Frequently asked questions
How deep should a TV niche be?
About 2 inches deeper than the television itself, measured with the mount fitted. A slim panel on a low-profile bracket sits roughly 2 inches off the wall, so a 5 inch recess usually lands the screen face flush with the plaster while leaving room for the cable to turn.
Does a recessed television need ventilation?
Yes. A screen in a tight recess recirculates its own heat, and panels throttle brightness when they get hot. Leave 2 inches of clear air behind and above the set, and cut vents low and high in the recess so cool air enters at the bottom and warm air leaves at the top.
How do I make joinery look built in rather than bought?
Three things do most of it: run the cabinetry wall to wall so there is no visible end, scribe the edges to the plaster with a filler strip, and match the plinth height to the existing skirting. A cabinet that ends mid-wall always reads as furniture.
Should the TV wall be a different colour from the room?
A darker backdrop cuts the contrast between a bright picture and the wall around it, which is easier on the eyes and makes the image look richer. Keep the side walls pale so the room does not close in, and use a low-sheen paint so the screen does not reflect back at you.
Can I panel a TV wall without joinery skills?
Yes. Fluted or slatted panels come in 2400 by 1200 sheets, cut with a fine-tooth blade and fixed with grab adhesive plus a few pins. The two jobs that need care are keeping the ribs plumb and planning where the panel meets the socket, which should be cut before the sheet goes up.
Want more like this? Browse all 15 tv unit decor guides — they all use the same measurements and budget tiers.
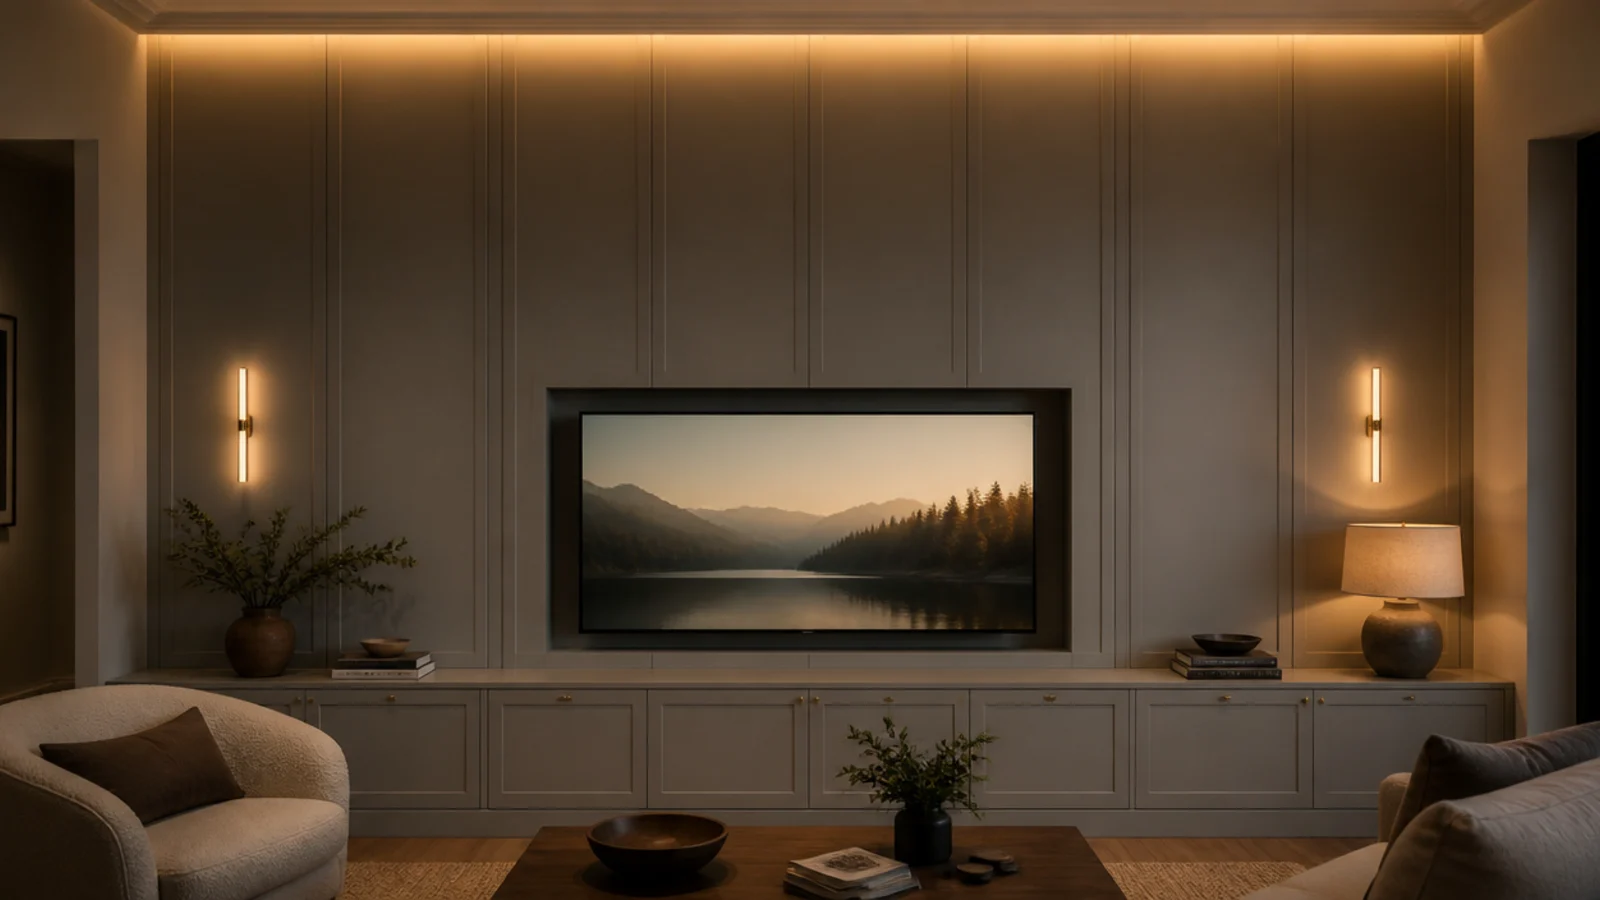
Pin it for later
Save this to your TV Unit Decor board
Pin it now so it is waiting for you when the tape measure comes out — and so the next person hunting for this idea can find it too.
Save this pinKeep going
More ideas worth saving while you have the tape measure out.