TV Wall Decor · Listicle
25 Living Room TV Wall Ideas On A Budget

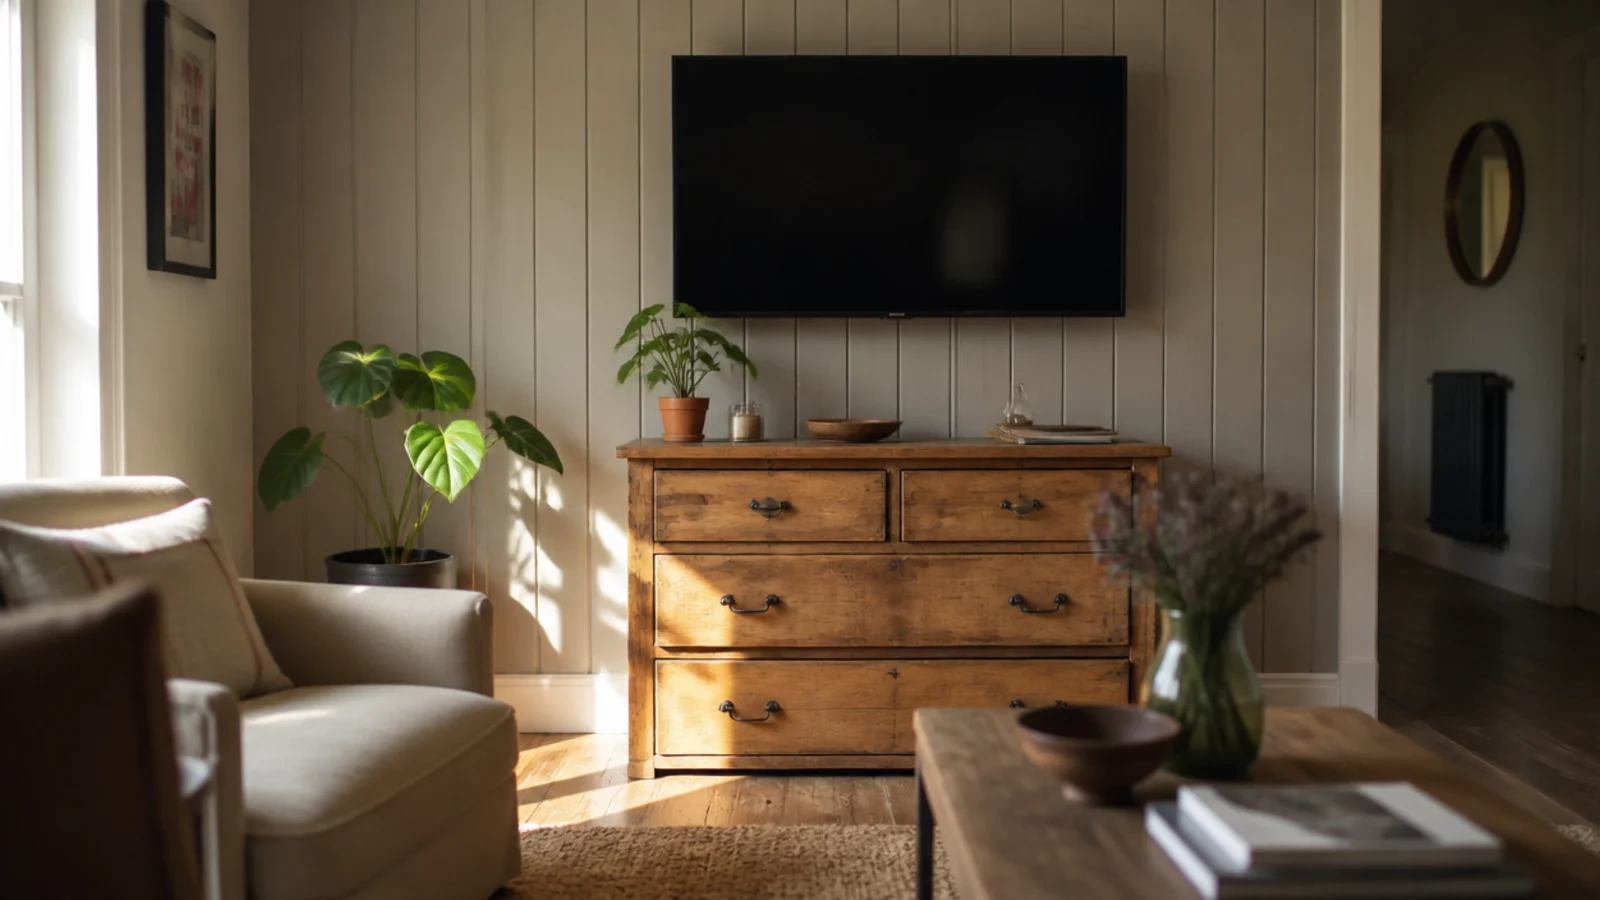
Nearly every screen wall I have built has been done on money that was meant for something else. A living room tv wall does not need joinery to look considered — it needs a straight line, a consistent colour and a fixing that will still be holding in five years. The three treatments below that cost under 100 dollars in materials have outlasted two that cost ten times as much. Here are twenty-five ideas with the real number attached to each, and a clear split between what a renter can do and what needs a drill.
In this guide27 sections — tap to openHide
- 1.What a living room tv wall really costs
- 2.Start with one tin of paint two shades darker
- 3.Rip one sheet of MDF into sixteen battens
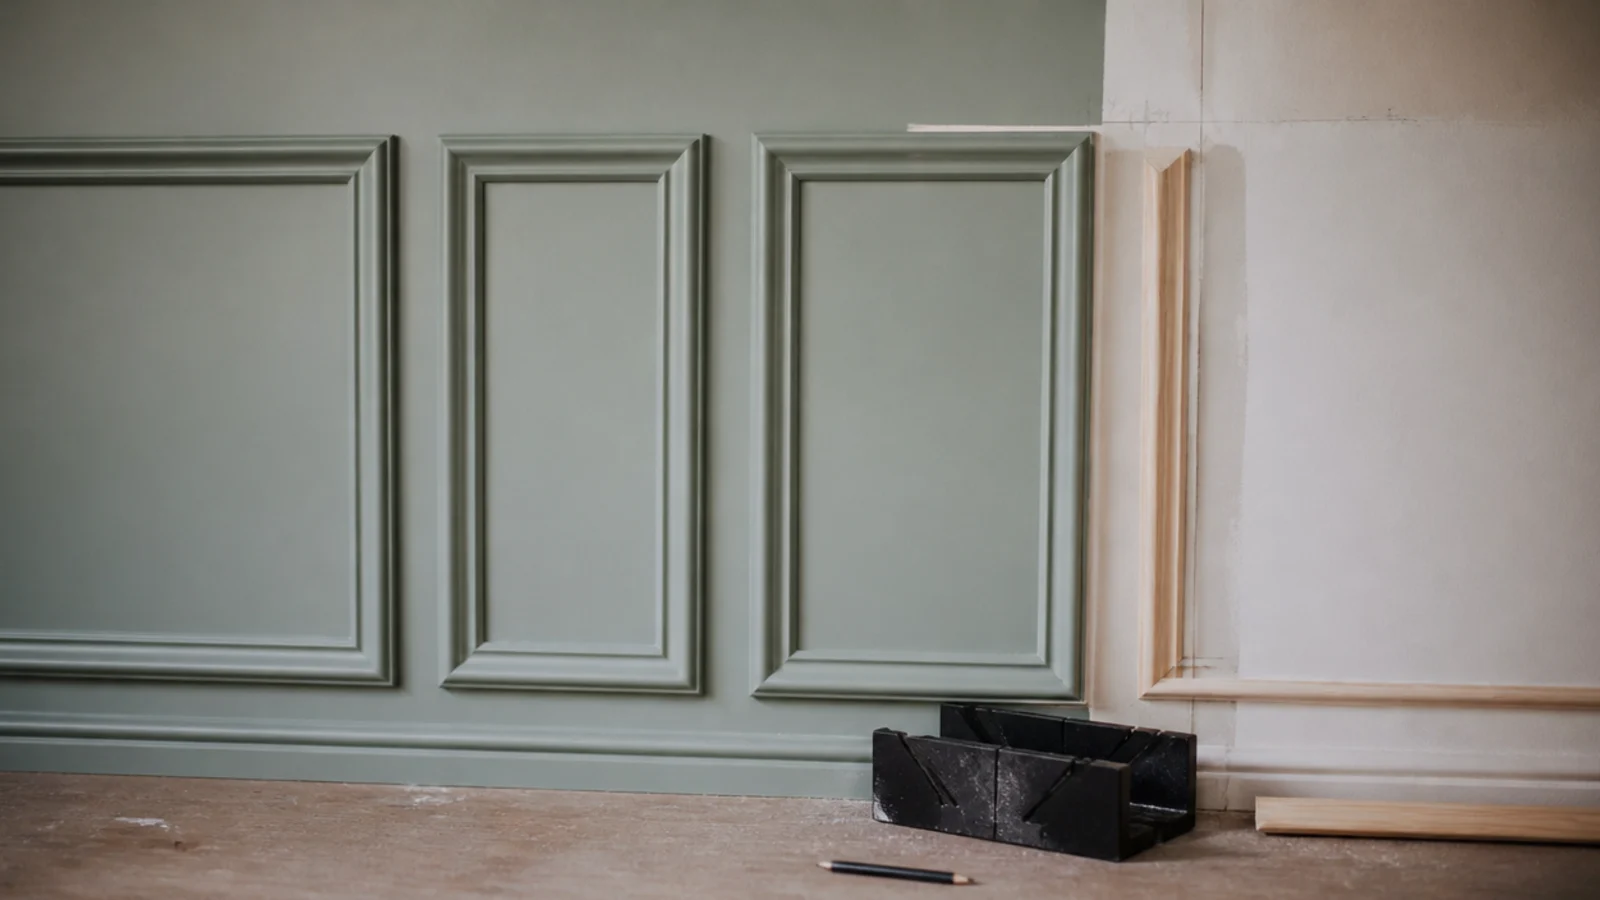
- 4.Build a moulding grid from nine-millimetre stock
- 5.Repurpose a chest of drawers as the console
- 6.Paint the raceway instead of opening the wall
- 7.Unify secondhand frames with one colour
- 8.Add a shelf across the alcove for eleven dollars
- 9.Buy the mount new and everything else used
- 10.Use peel-and-stick slat panels at eight millimetres
- 11.Limewash straight over the existing paint
- 12.Paint the media unit the wall colour
- 13.Make a board-and-batten grid from three-inch rips
- 14.Hang a clearance linen curtain across the wall
- 15.Two brackets and one board under the screen
- 16.Panel with cane webbing in a simple frame
- 17.Backlight with a plug-in LED strip
- 18.Hide the plug block in a lidded basket
- 19.Fit a peel-and-stick paper panel behind the screen
- 20.Stack crates into open media storage
- 21.Add a half-round bead to a flat plywood panel
- 22.Colour-match the sockets and plates
- 23.Build a dowel screen for the media boxes
- 24.Frame the screen with two vertical battens
- 25.Rework the layout before you spend anything
- 26.Finish with one good object, not six cheap ones
- 27.Mistakes to Skip
What a living room tv wall really costs
Price the materials, not the photograph. A 2440 by 1220 millimetre sheet of 18 millimetre MDF runs 45 to 70 dollars and rips into sixteen 75 millimetre battens, which covers a 3 metre wall at 16 inch centres with spares. Nine millimetre moulding is 2 to 4 dollars a metre. A 2.5 litre tin of matt emulsion is 35 to 60 and covers a feature wall twice. Peel-and-stick slat panels run 25 to 45 a square metre against 40 to 90 for felt-backed oak.
Against that, the one thing worth full price is the mount. A rated fixed bracket at 40 to 80 dollars with 5/16 inch lag bolts biting 2.5 inches into framing holds a 20 to 30 kilogram panel without flexing. Thin-armed budget brackets let the screen settle slightly nose-down within a year, and no wall finish rescues that.
Two more cost lines people forget. Solvent-free grab adhesive is about 12 dollars a tube and one tube fixes roughly 6 metres of batten. Eighteen gauge brad pins at 300 millimetre centres are 8 dollars a box. On sound painted plaster more than four weeks old, adhesive plus pins is enough for panelling — no plugs, no framing, and it lifts at move-out with a heat gun and a wide filling knife.
Renters can do everything here except mounting the screen itself. That one needs holes, and there is no adhesive product rated to hold that load in shear over years. Cozy TV wall setups for small rooms covers the no-drill alternatives if drilling is genuinely not an option.
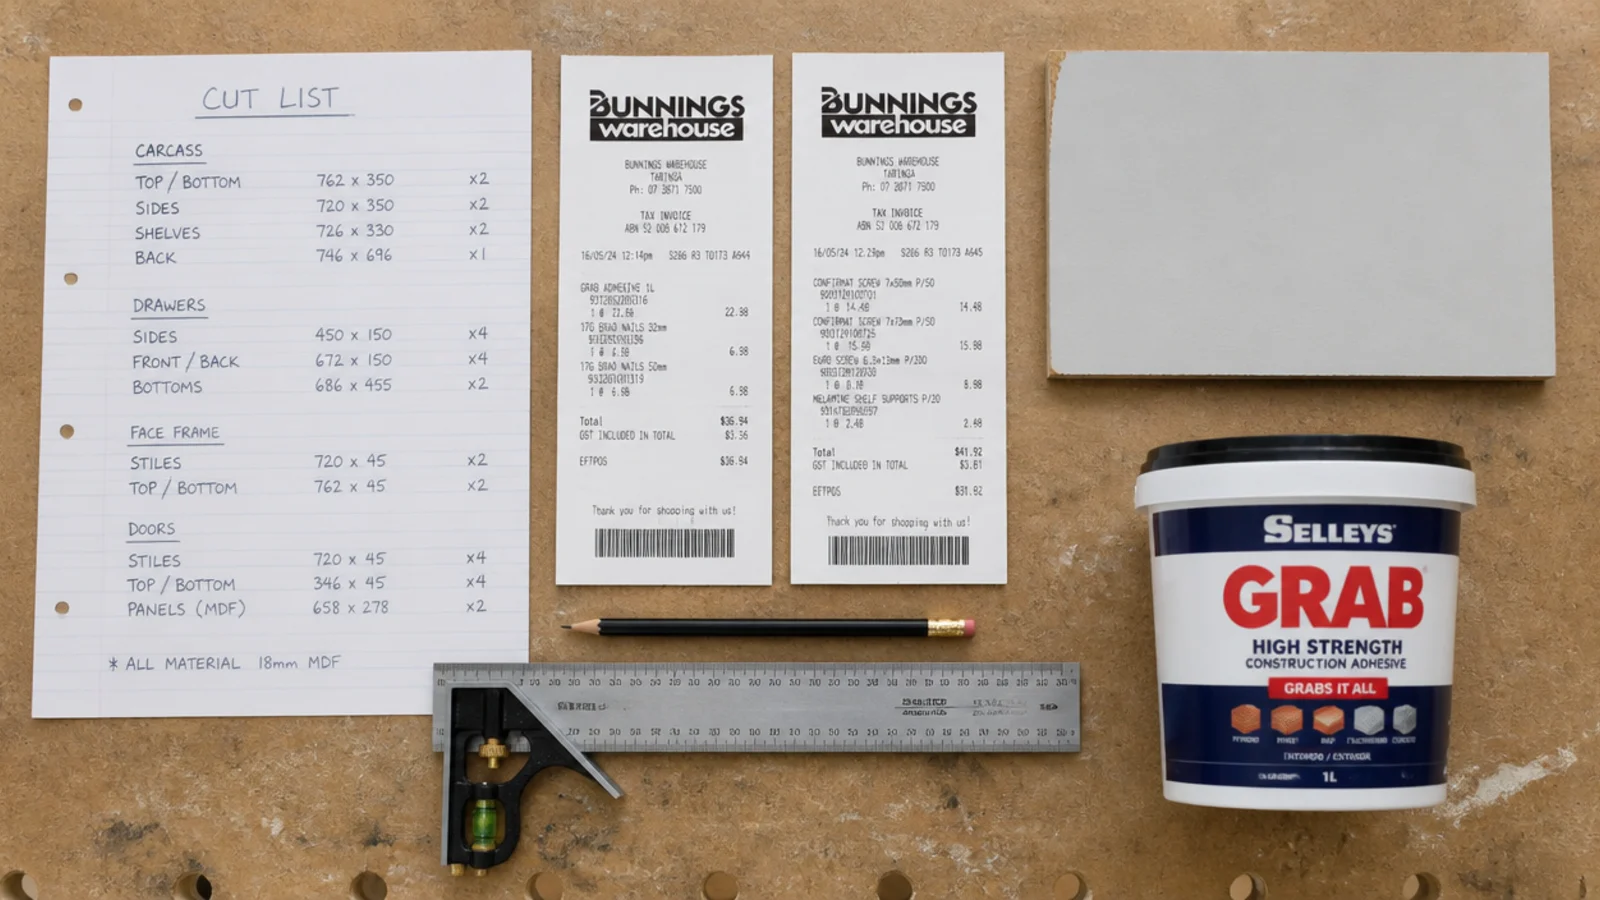
1. Start with one tin of paint two shades darker
Before any panelling, paint. Two steps darker than the room on the same colour card, in a matt at 2 to 5 percent sheen, softens the edge of a black panel more than any moulding does. One tin, one evening, 35 to 60 dollars, and it works in every rental.
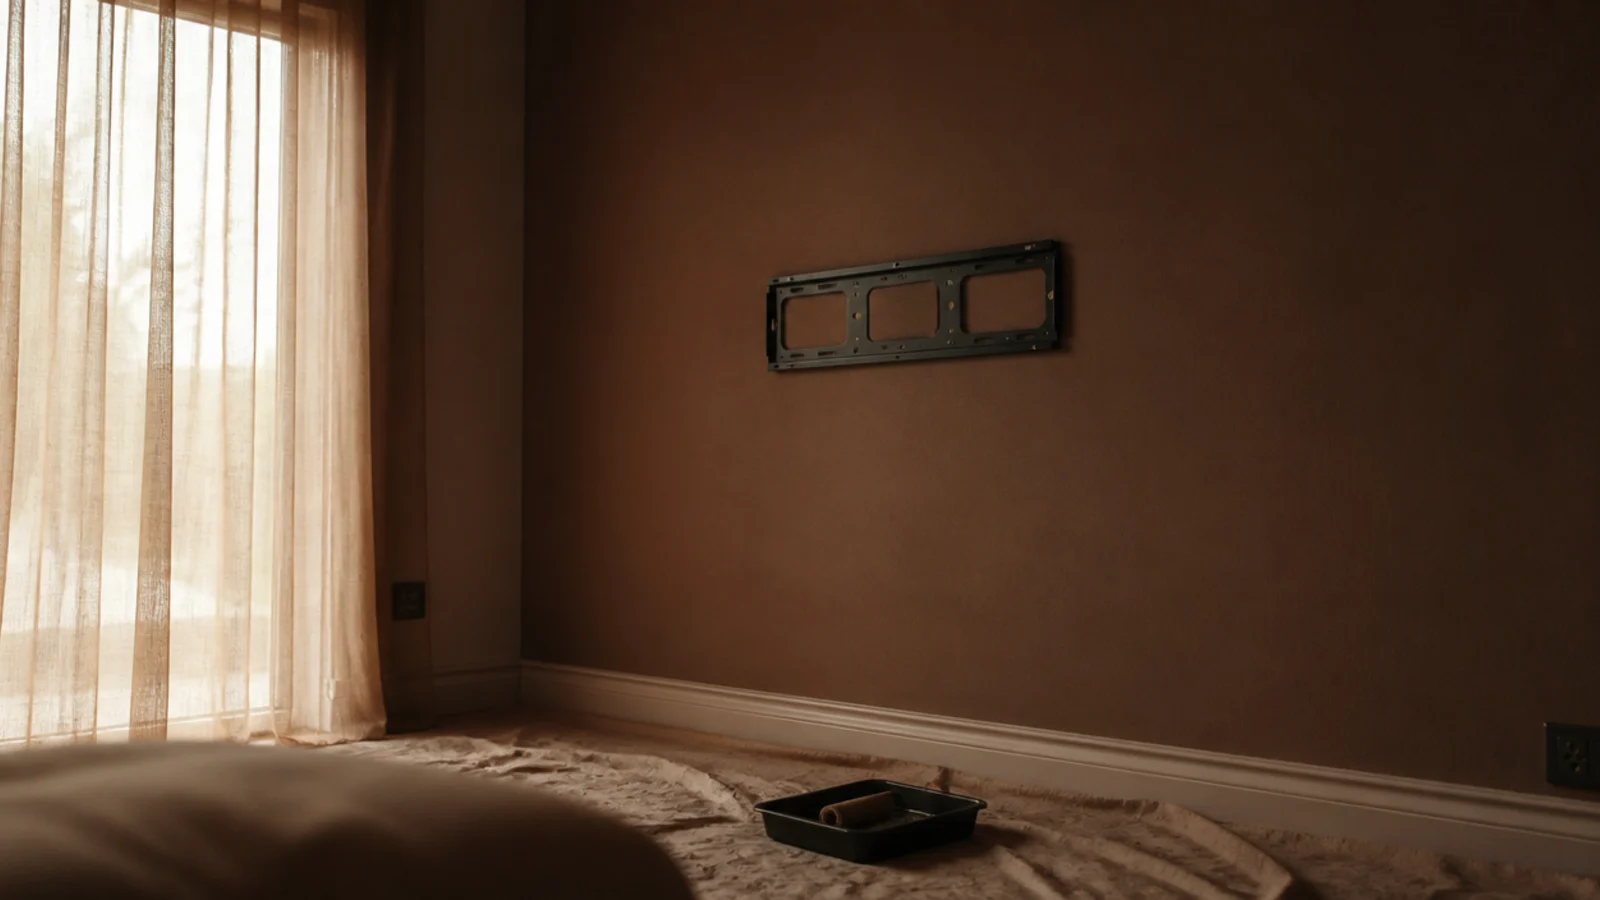
2. Rip one sheet of MDF into sixteen battens
Ask the merchant to rip the sheet — most do it free or for a few dollars a cut. Sixteen battens at 75 millimetres wide covers a 3 metre wall at 16 inch centres. Prime the cut edges twice before painting, because raw MDF drinks paint and the edges otherwise stay visibly duller.
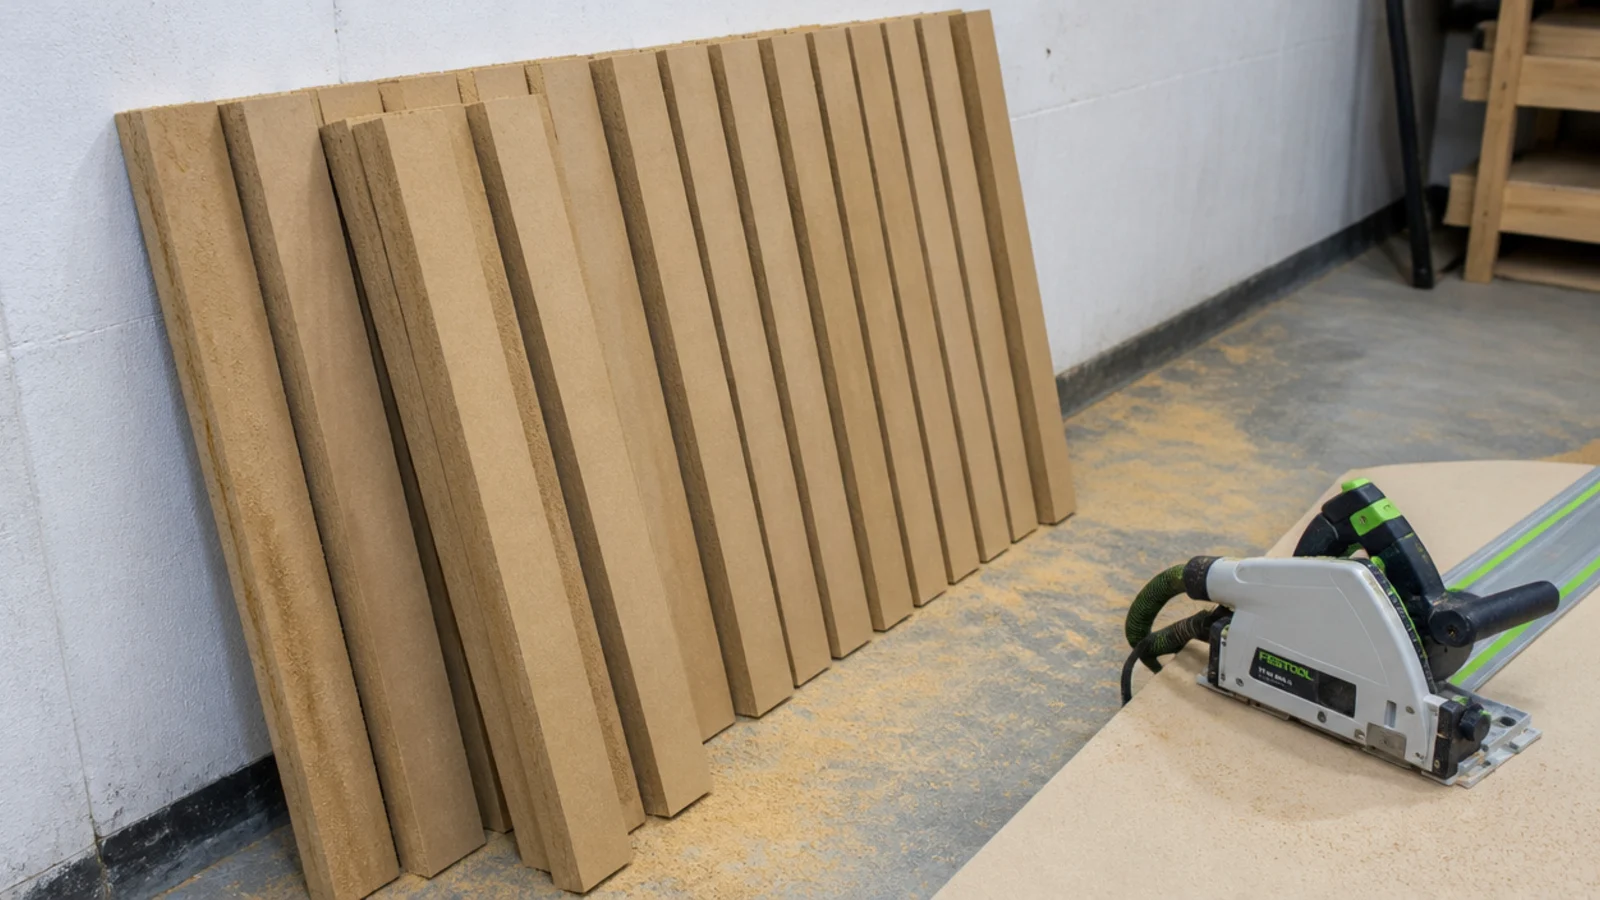
3. Build a moulding grid from nine-millimetre stock
Keep 3 to 5 inches between boxes, 4 to 6 inches above the skirting, and equal margins at both ends. A full grid on a 3 by 2.5 metre wall lands near 90 dollars in materials. The margins are the part that separates a good moulding wall from an obviously homemade one.
4. Repurpose a chest of drawers as the console
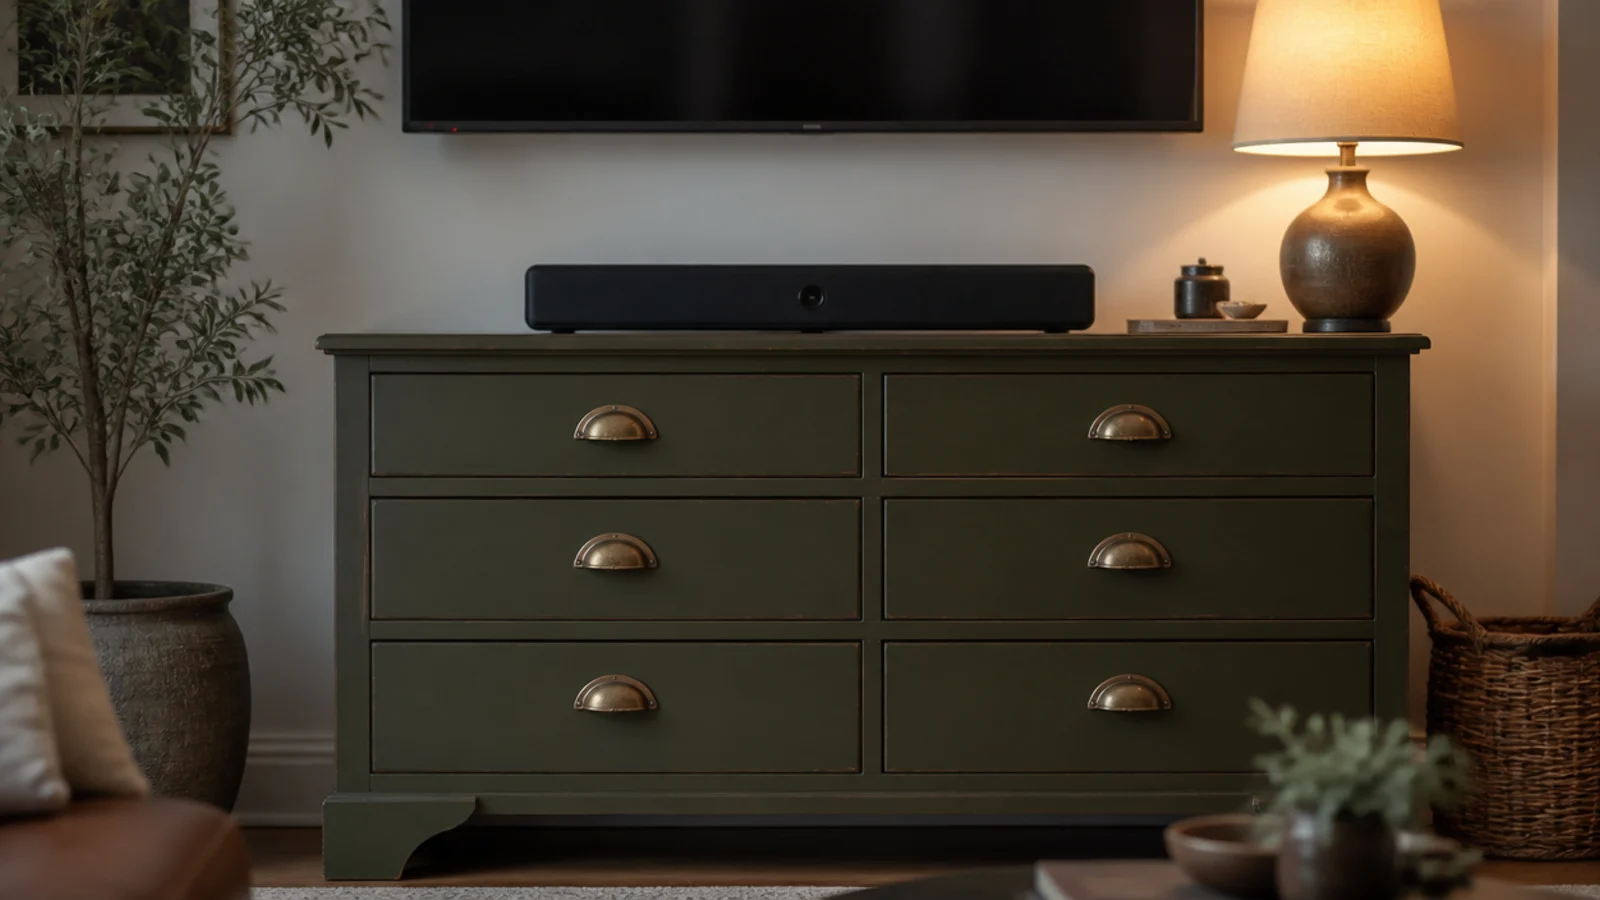
A secondhand chest at 40 to 90 dollars gives you closed storage a media unit at three times the price will not match. Drill a 50 millimetre hole through the back panel of the top drawer for cables, and check the top height stays 4 inches or less below the bottom of the screen.
5. Paint the raceway instead of opening the wall
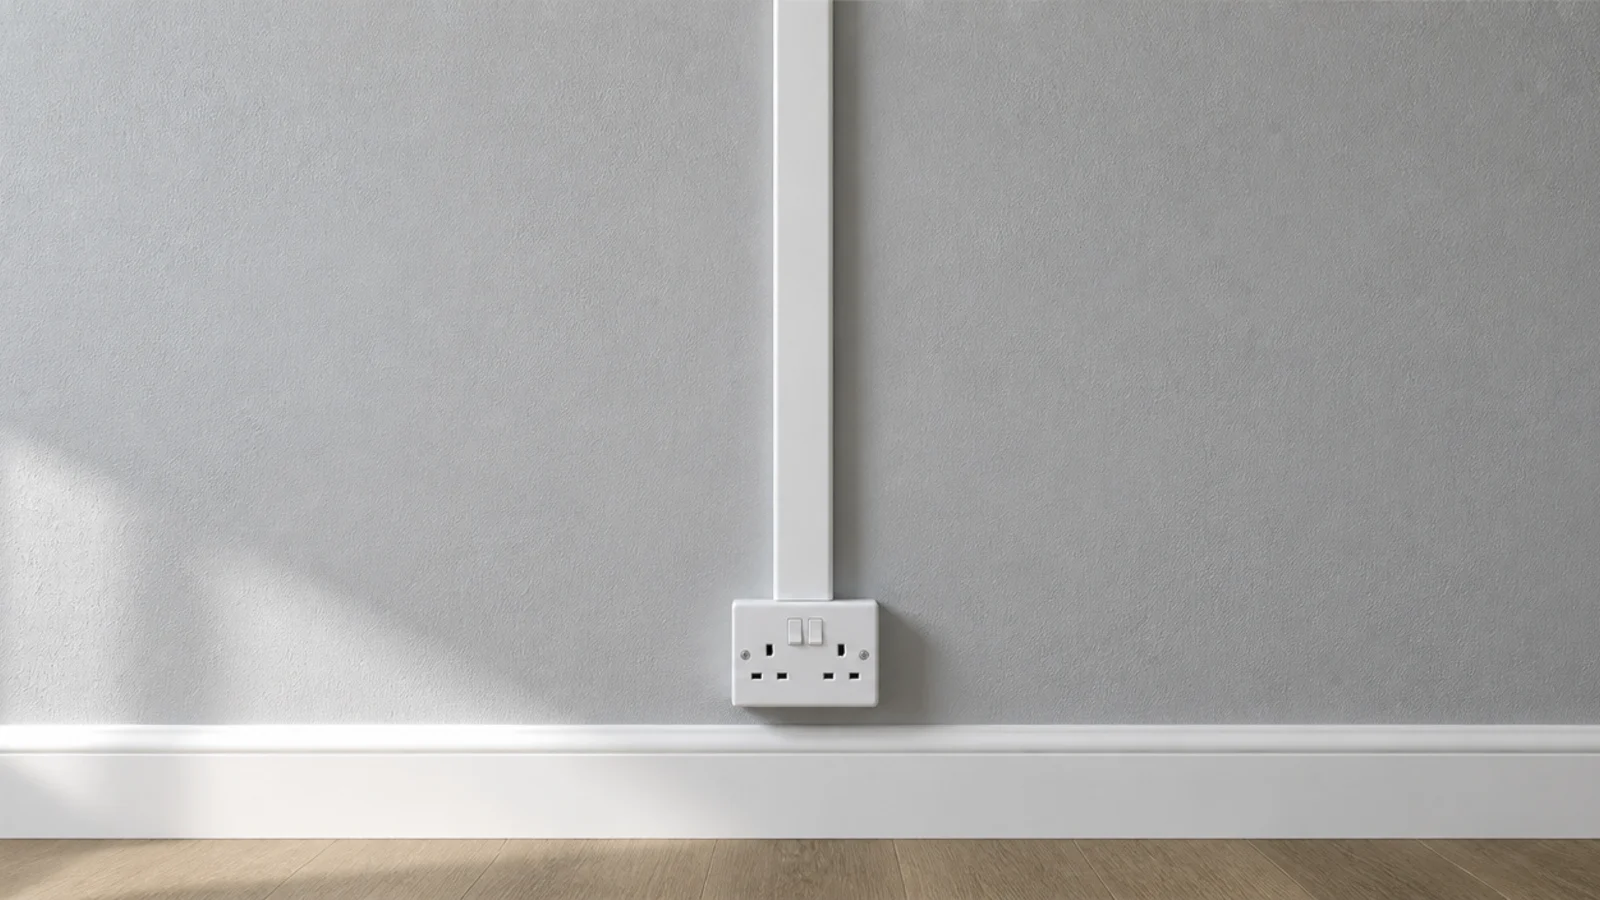
Eight feet of paintable trunking is 12 to 25 dollars and takes four or five cables. Prime it, then two coats in the exact wall colour and sheen. Fixing it before painting the wall gives the neatest result, because the wall roller then carries across both surfaces in one pass.
6. Unify secondhand frames with one colour
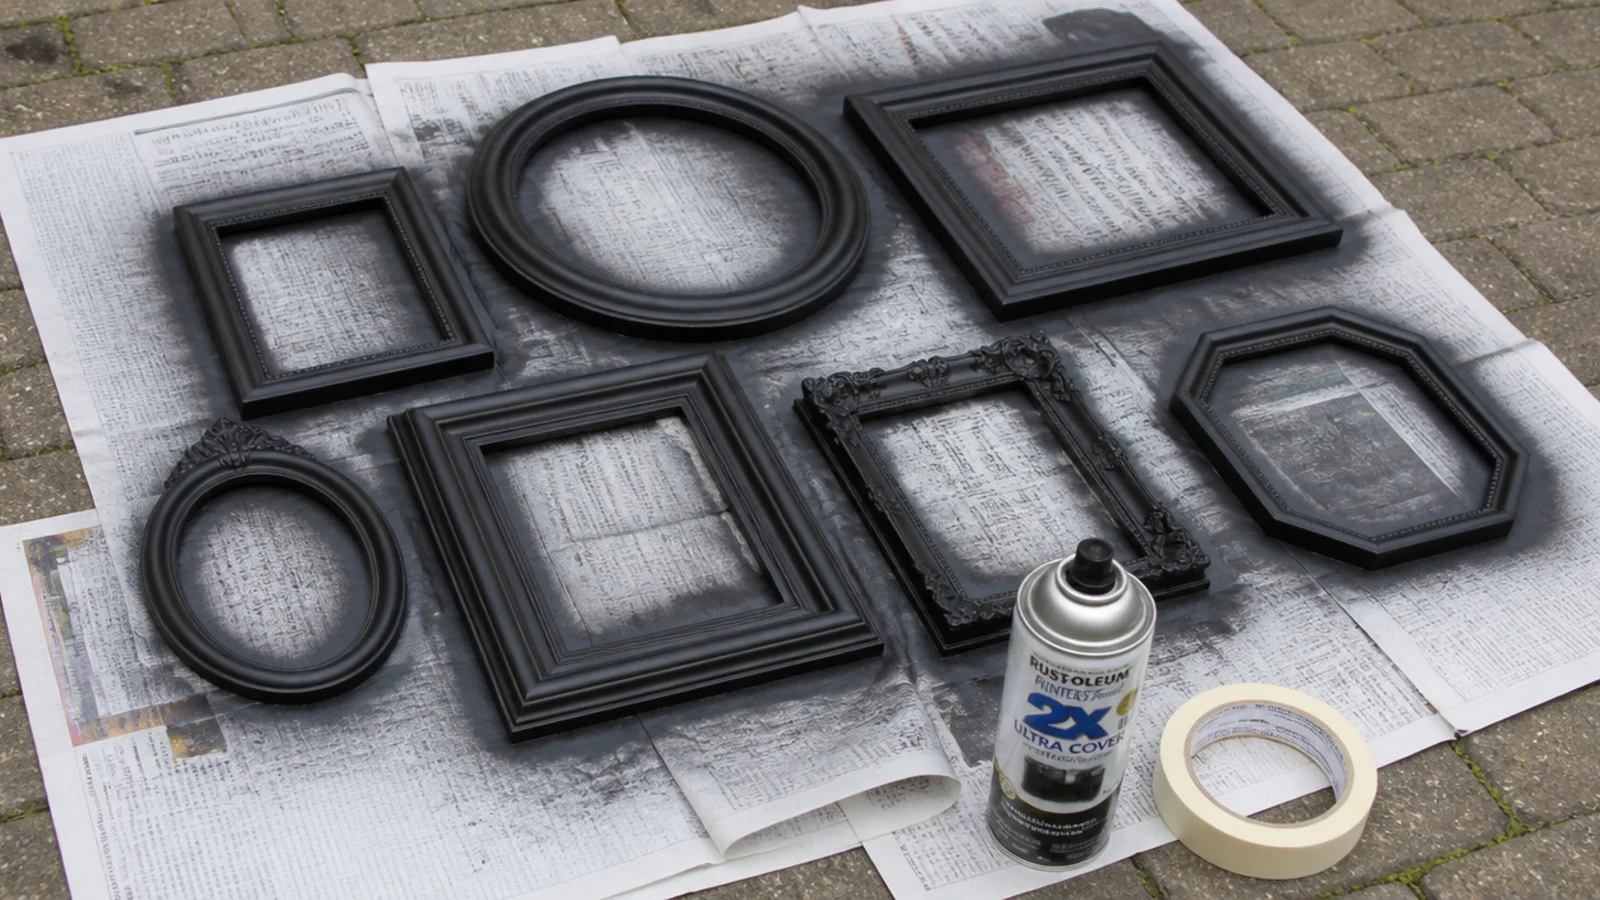
Charity shop frames cost 2 to 6 dollars each and look like a jumble until they share a finish. One can of matt spray paint at about 9 dollars covers eight small frames. Keep 2 to 3 inches between them and align the largest with the screen centre.
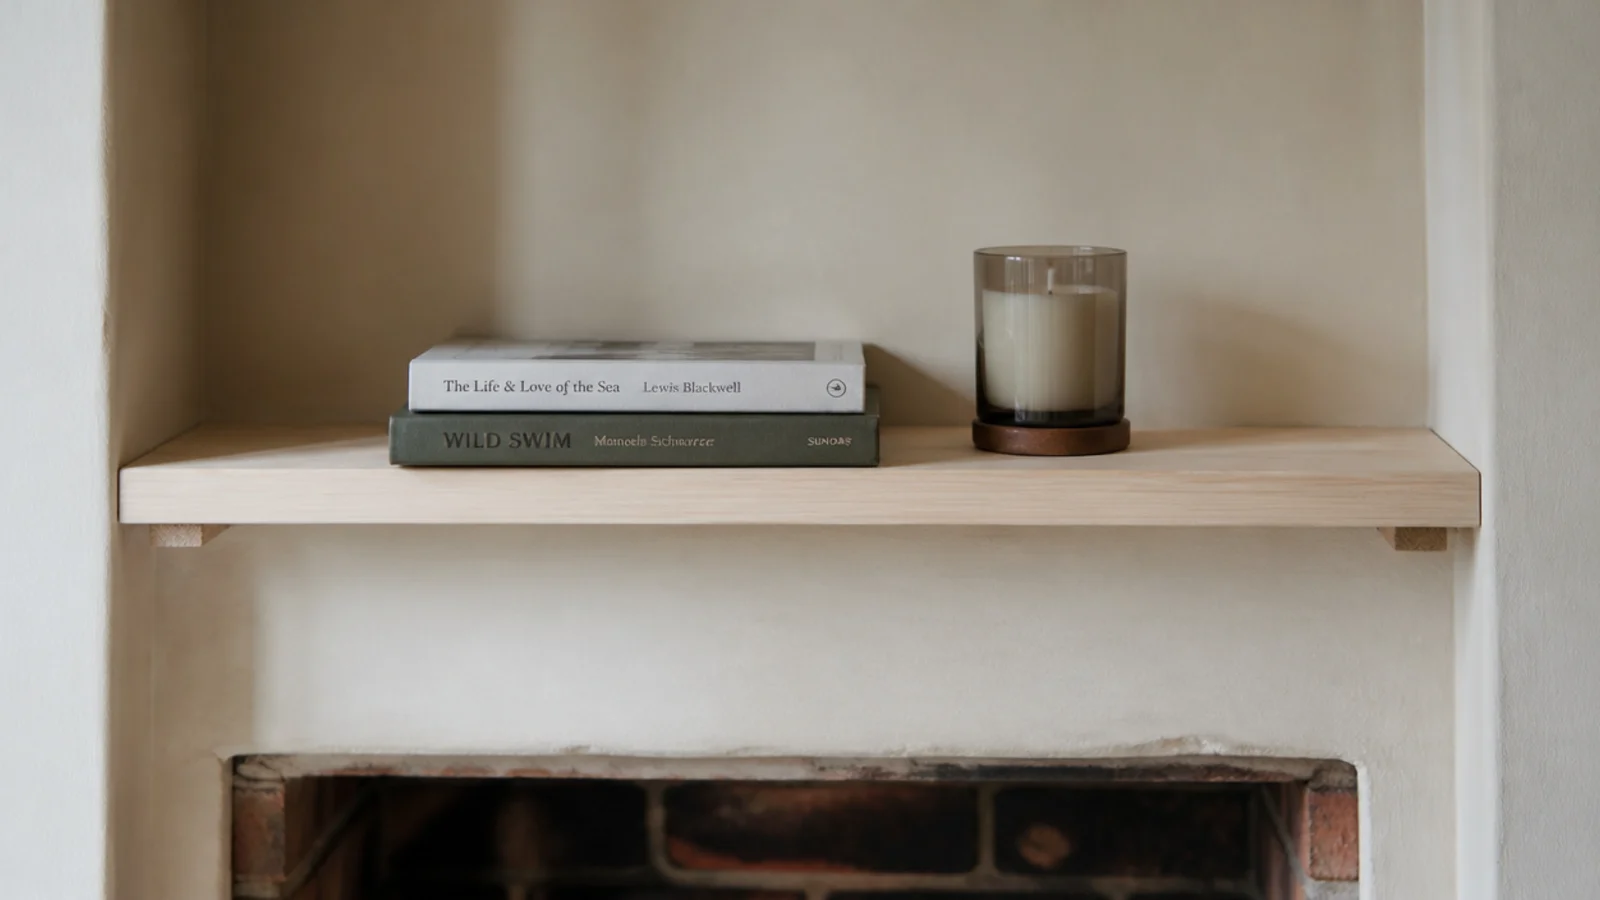
7. Add a shelf across the alcove for eleven dollars
An alcove beside a chimney breast needs no brackets. Two small battens screwed to the side walls carry a board cut to a tight fit, and the whole thing costs the price of the timber. Use 18 millimetre stock so it does not dip past a 24 inch span.
8. Buy the mount new and everything else used
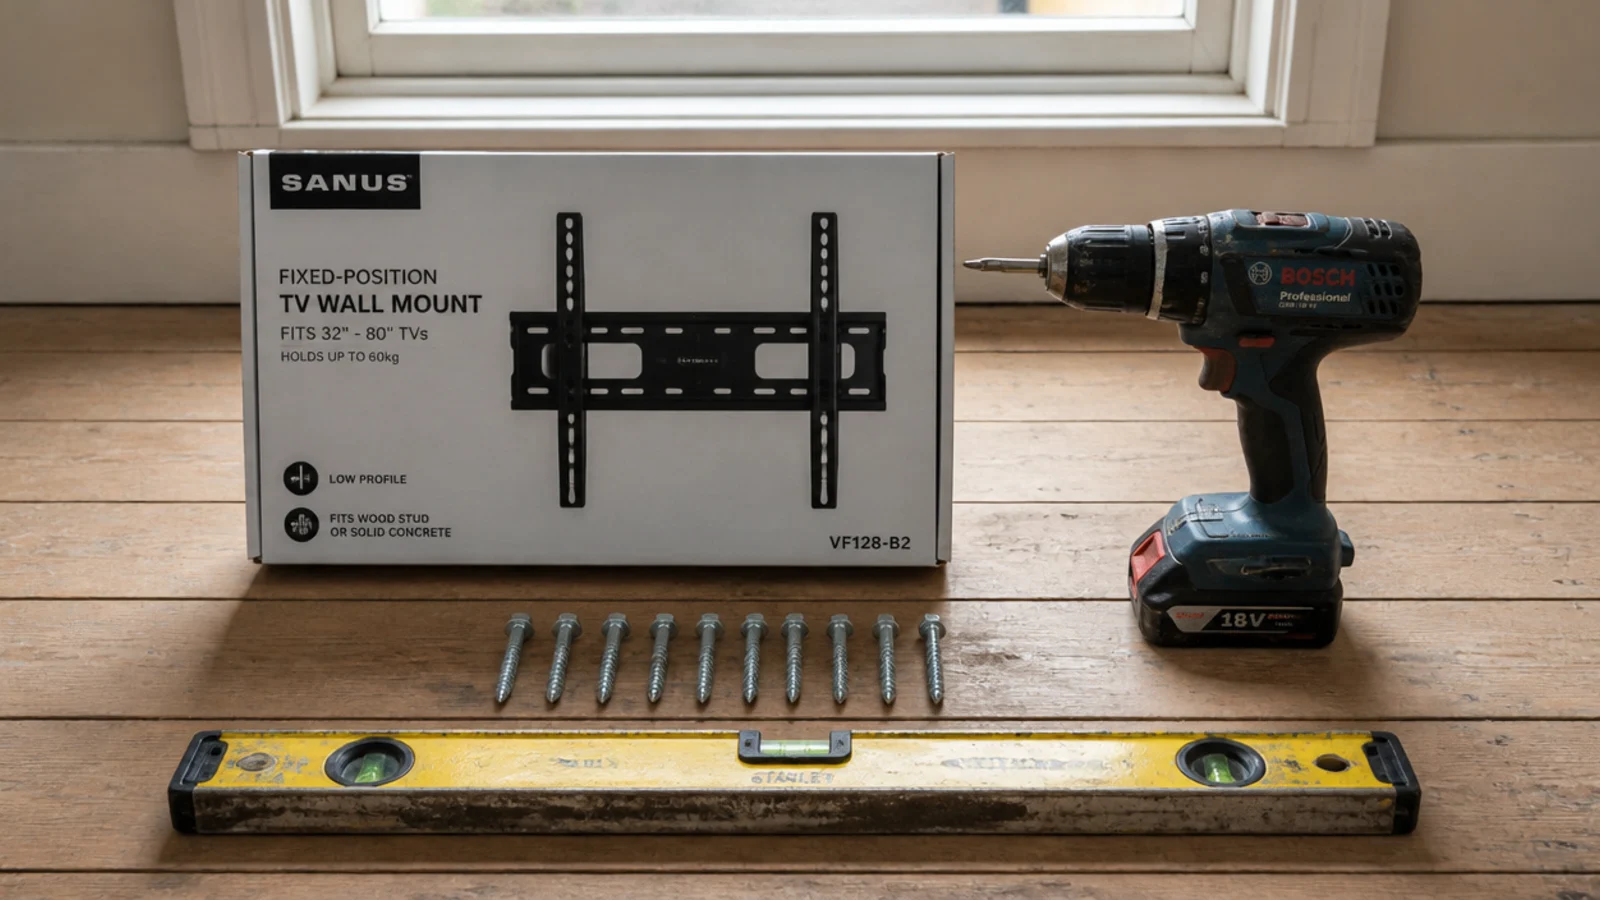
The bracket is the one component where secondhand is a false economy, because you cannot see metal fatigue and the box rarely still has the right bolts. Check the VESA pattern against your screen — 200 by 200 up to 600 by 400 covers most panels — and buy the lag bolts fresh.
9. Use peel-and-stick slat panels at eight millimetres
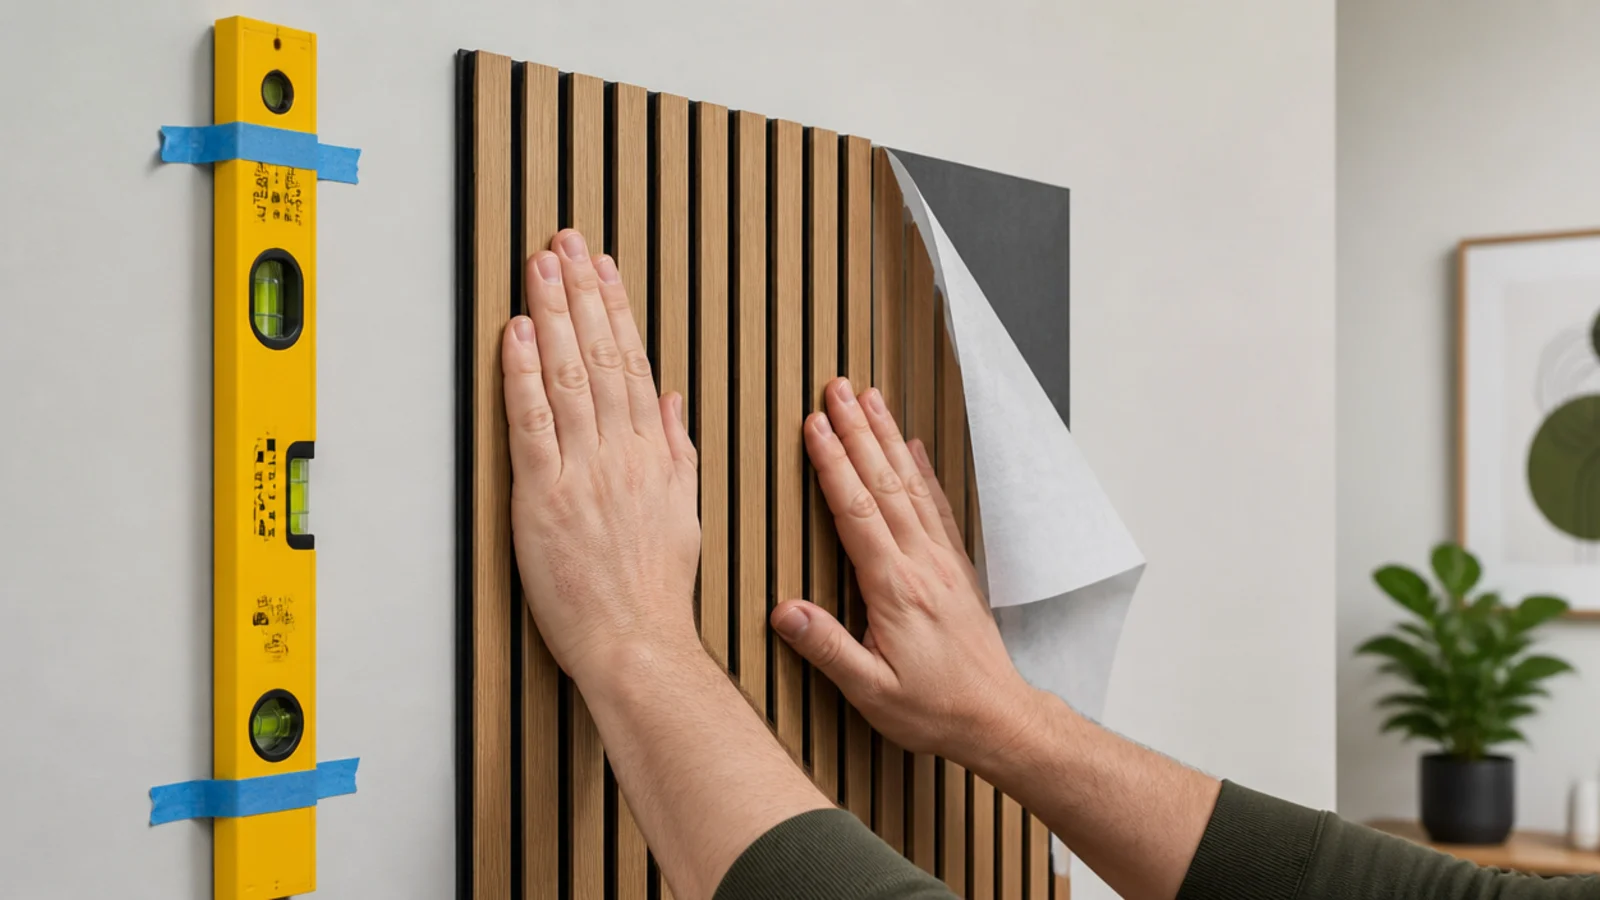
Thin foam slats look like what they are. Panels 8 millimetres deep or more cast a real shadow between ribs, which is what your eye reads as timber. Wipe the wall with sugar soap first, and start from a plumb line rather than the corner, because rooms are rarely square.
10. Limewash straight over the existing paint
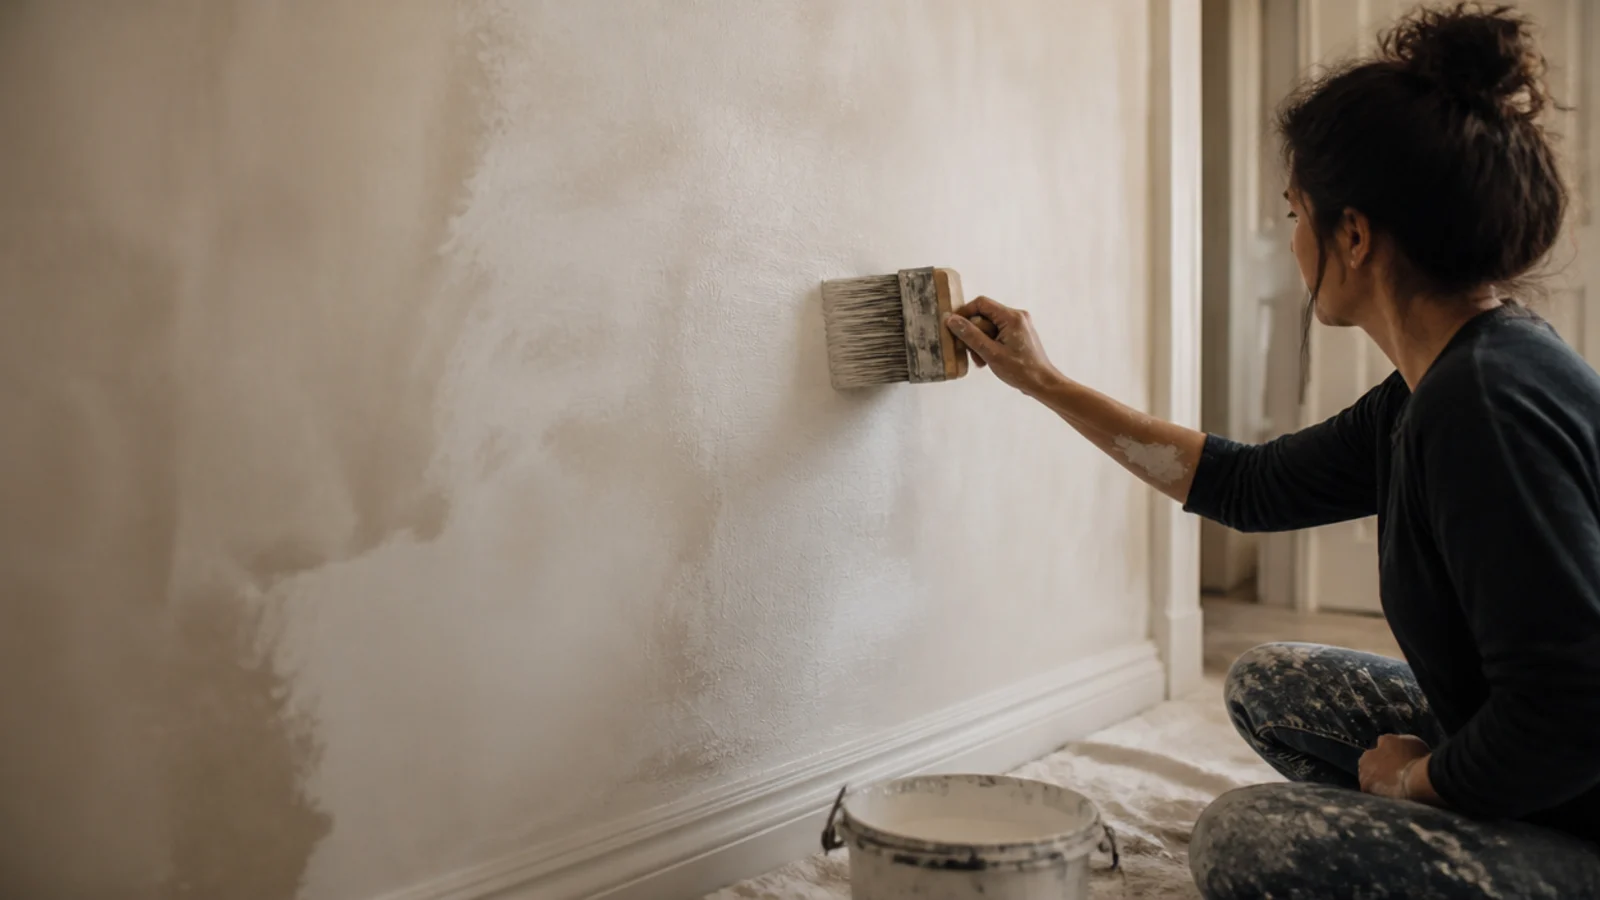
Limewash covers roughly 10 square metres per litre per coat and needs two coats over a mineral primer. A 5 litre tub runs 60 to 110 dollars and treats a whole feature wall with movement no flat emulsion can imitate. It is chalky, so keep it above a console rather than behind a sofa back.
11. Paint the media unit the wall colour
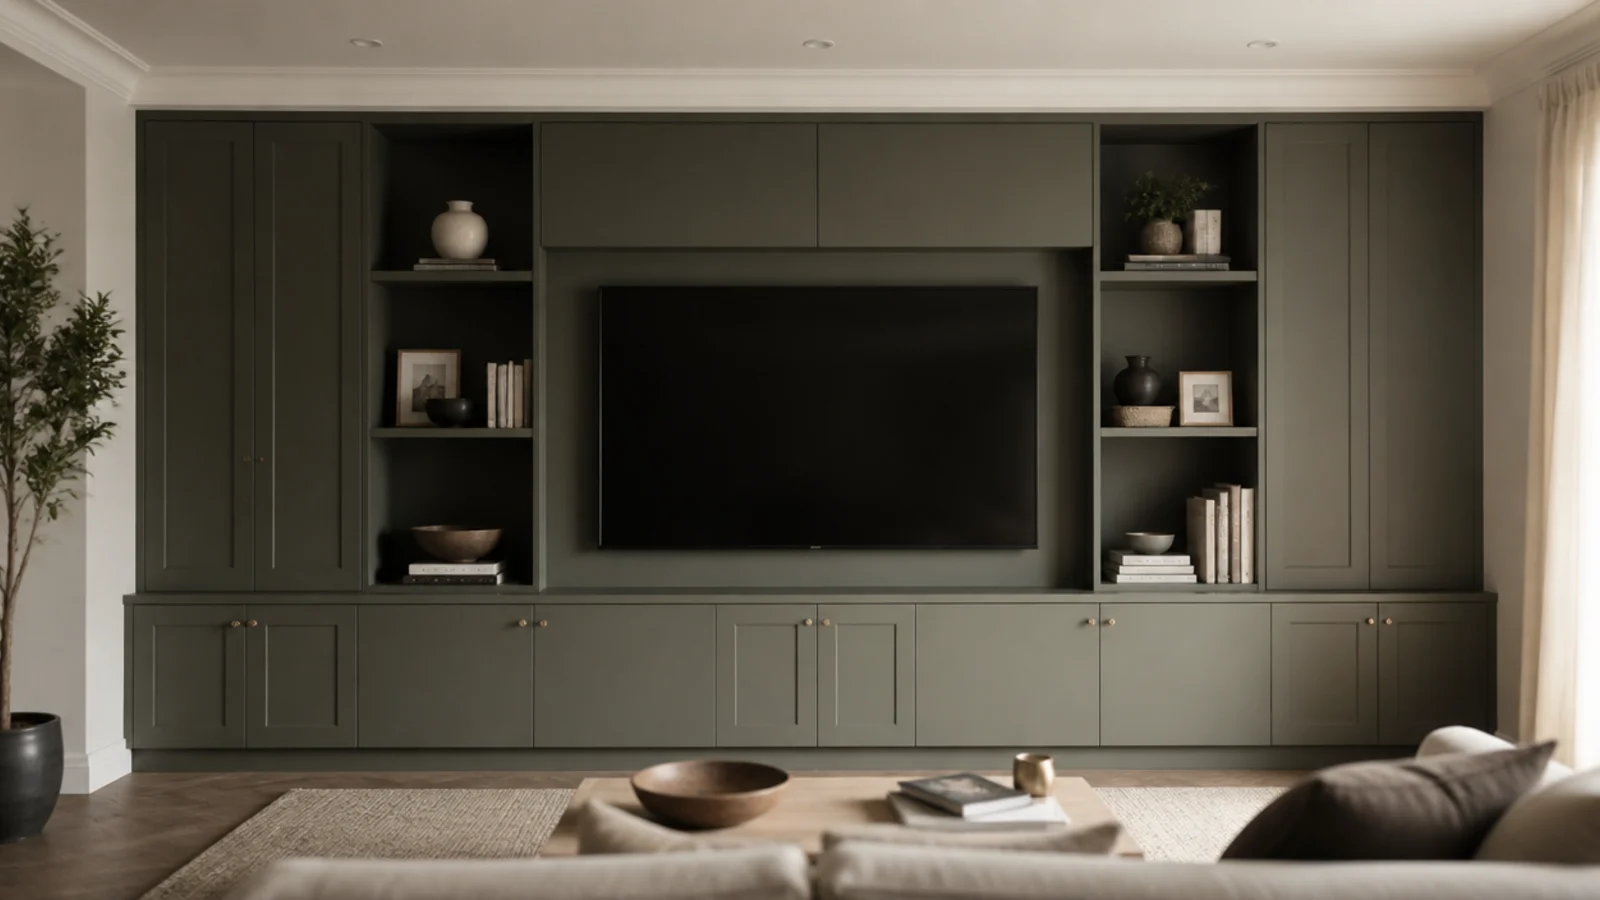
The fastest way to make an ordinary unit look built in. Degrease, scuff with 240 grit, one coat of adhesion primer and two of eggshell. A tester pot and a small foam roller is under 25 dollars, and the unit stops reading as a separate piece of furniture entirely.
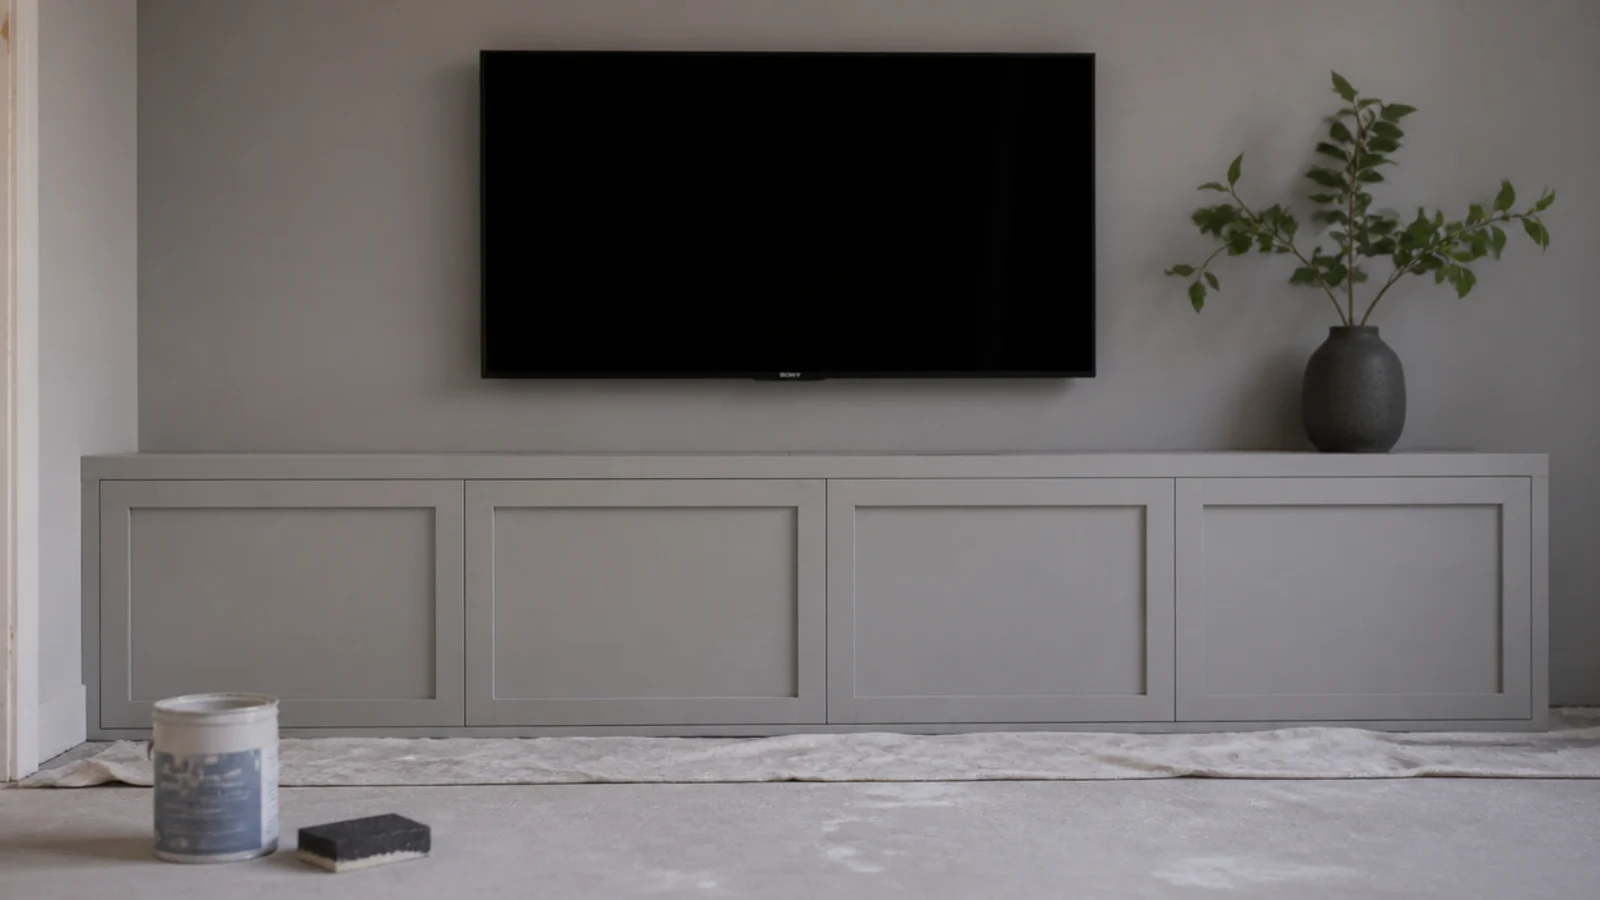
12. Make a board-and-batten grid from three-inch rips
Battens 2.5 to 3.5 inches wide at 12 to 16 inch centres, with a horizontal rail at 40 to 48 inches. Fix with grab adhesive and brads, caulk every internal joint, then paint the wall and battens in one colour so the whole thing reads as a single plane.
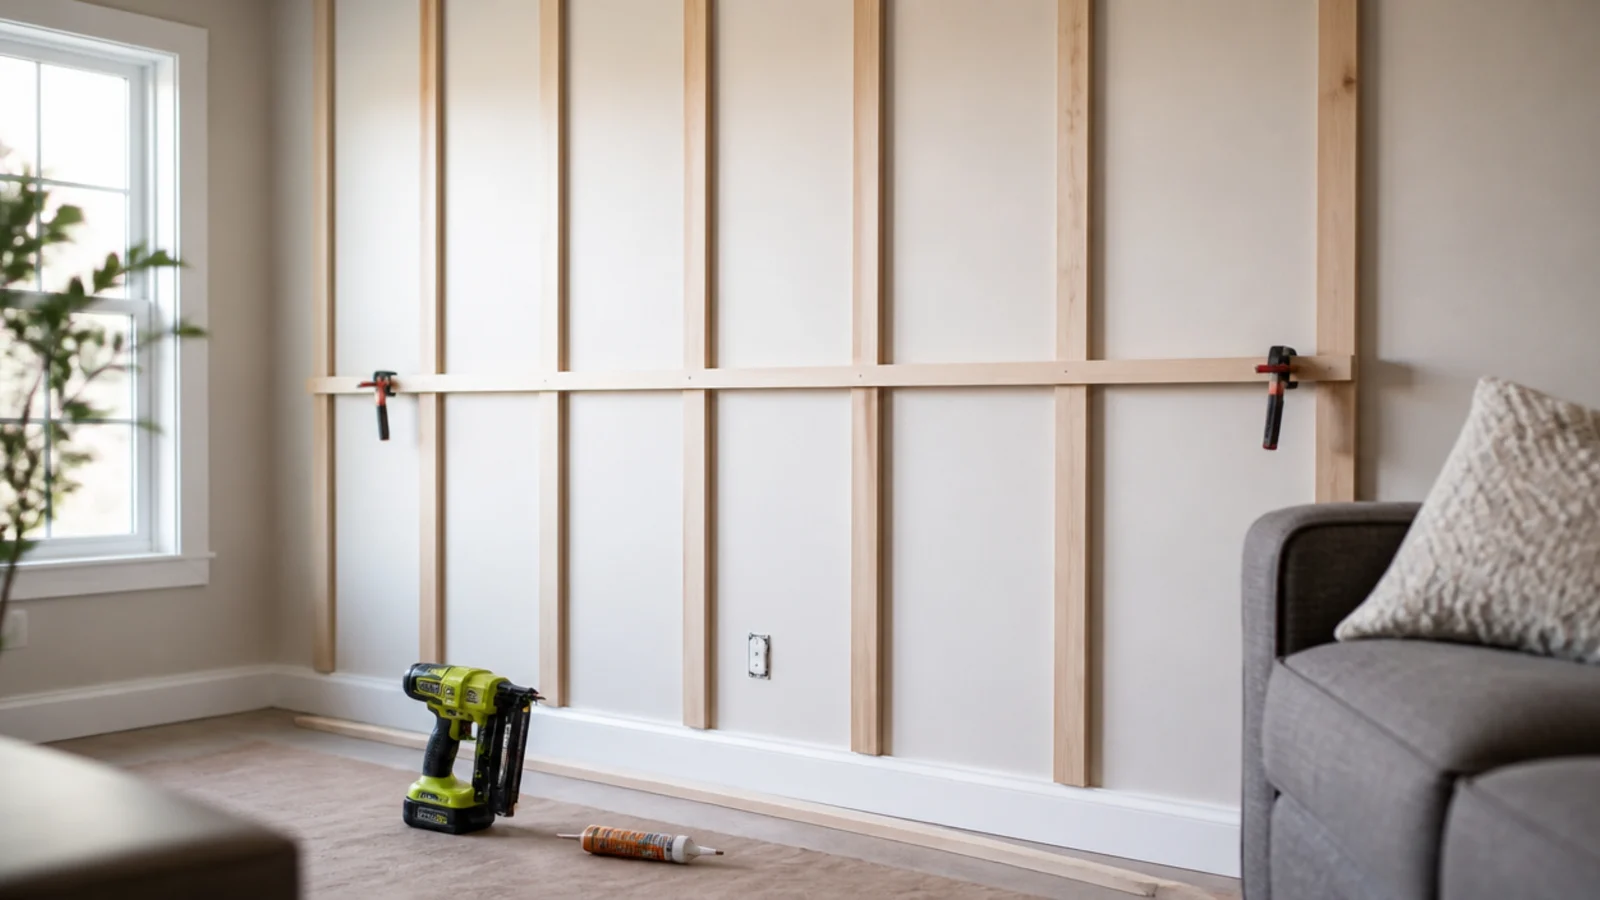
13. Hang a clearance linen curtain across the wall
End-of-line linen at 15 to 30 dollars a metre plus a slim ceiling track gives you a full-wall backdrop, better acoustics and a way to hide a wall you may not alter. Allow 2 to 2.5 times the wall width in fabric, or the folds hang flat and it reads as a bedsheet.
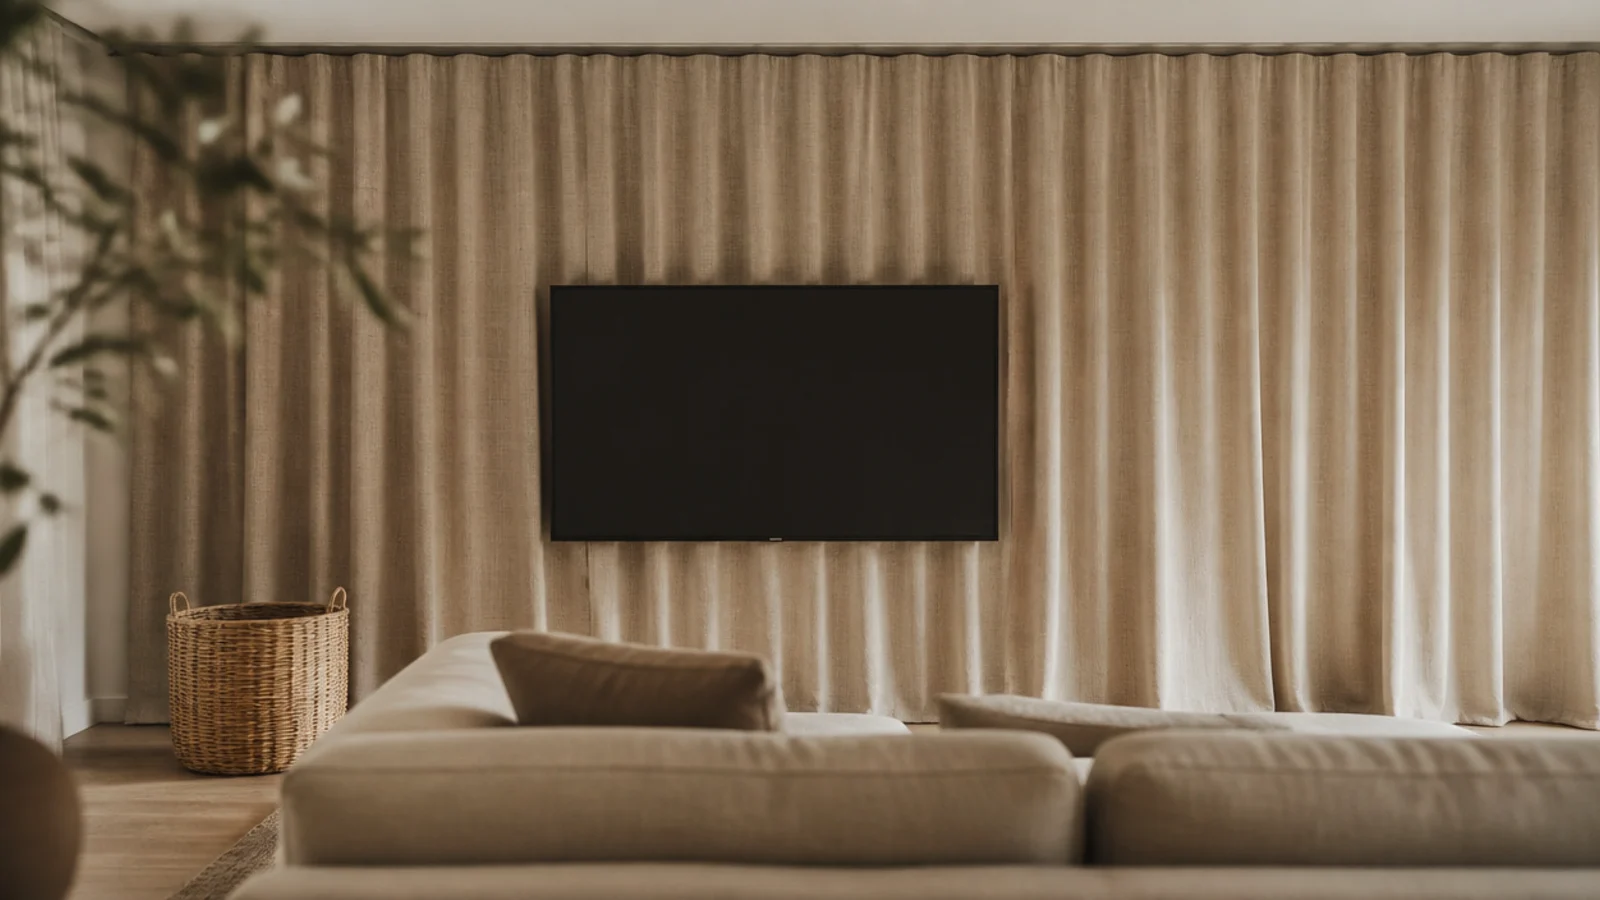
14. Two brackets and one board under the screen
A pair of powder-coated L brackets is 8 to 18 dollars and carries more than most concealed systems. Painted the wall colour, they read as floating from any normal viewing angle. Mount the board 8 to 12 inches below the screen so a soundbar clears the bezel.
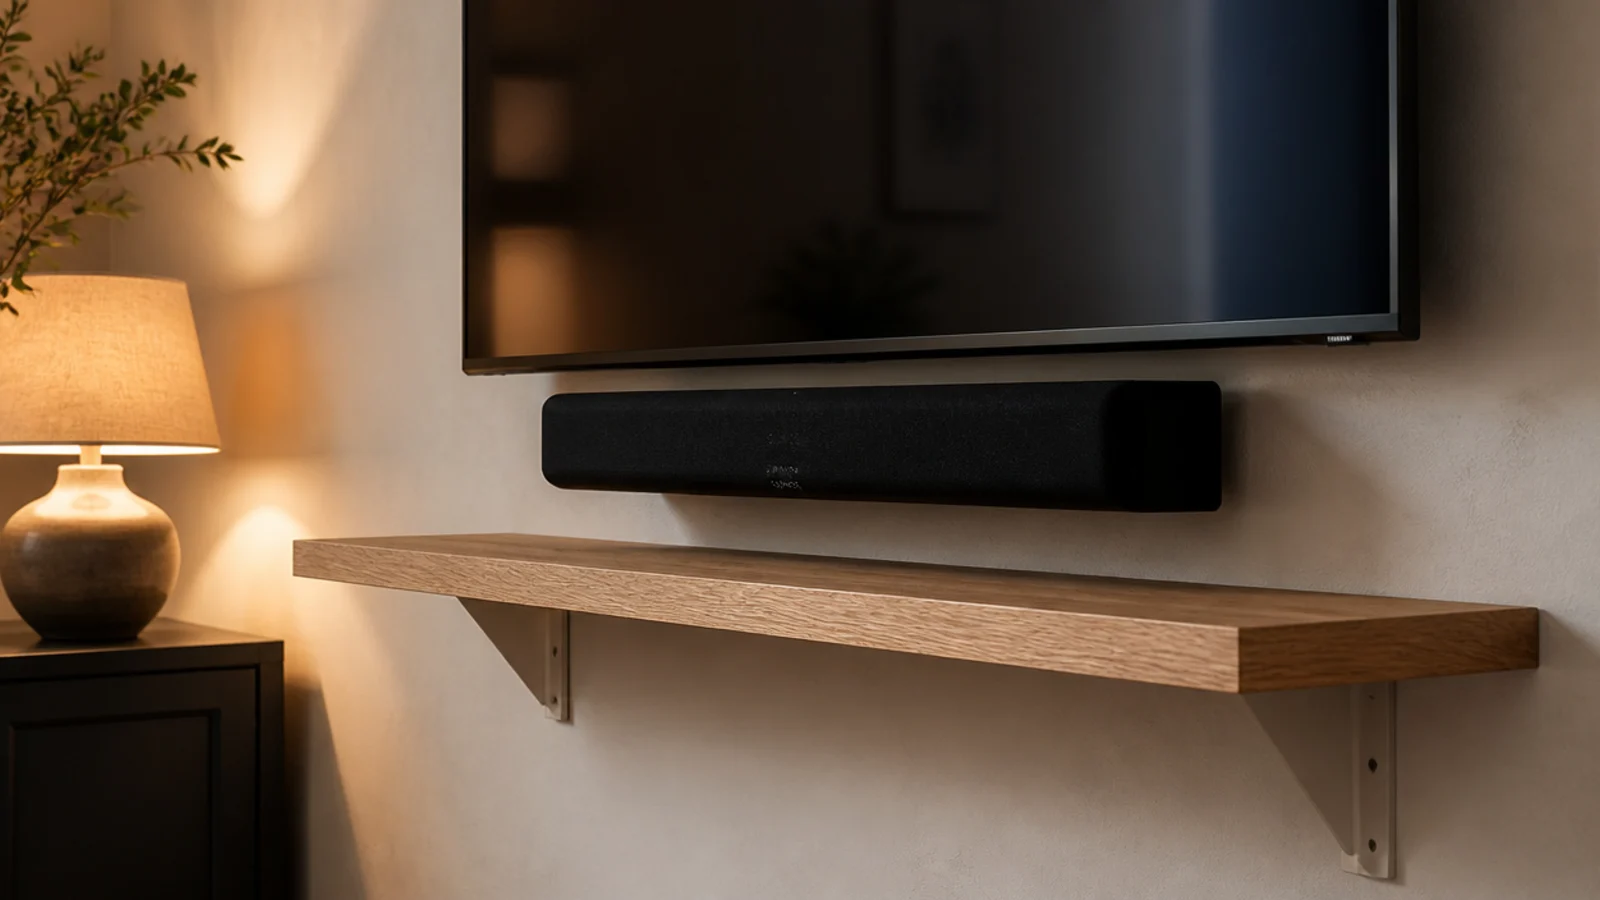
15. Panel with cane webbing in a simple frame
Natural cane webbing is 20 to 40 dollars a metre and staples into a slim timber frame in an afternoon. It brings texture without pattern, and unlike a solid panel it lets a remote signal through, so it works as a door front over media equipment.
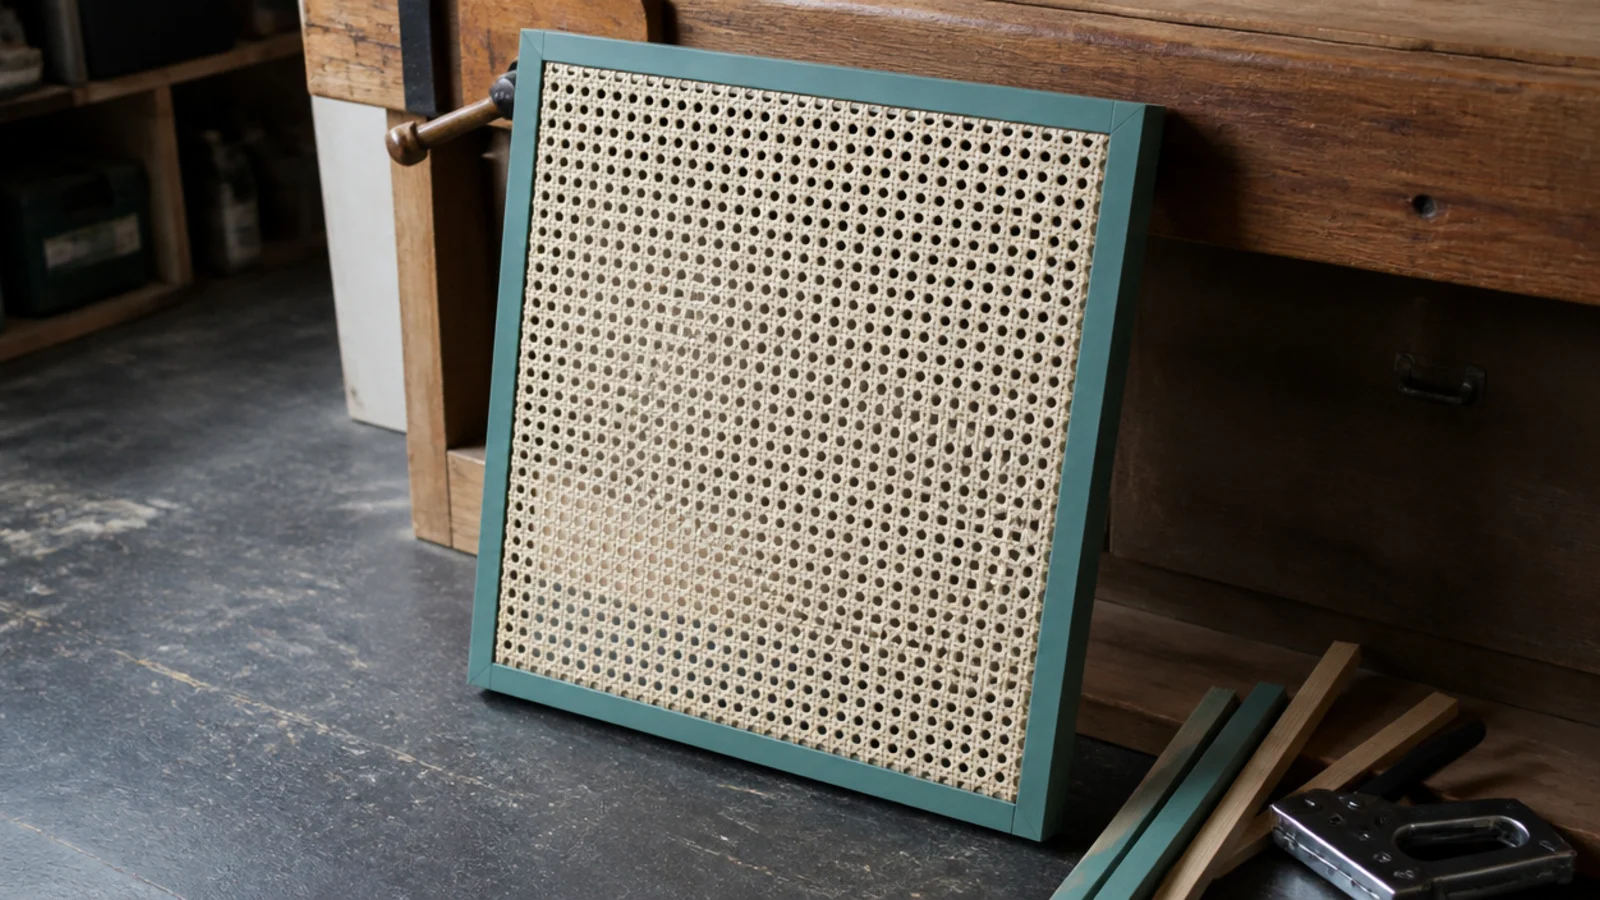
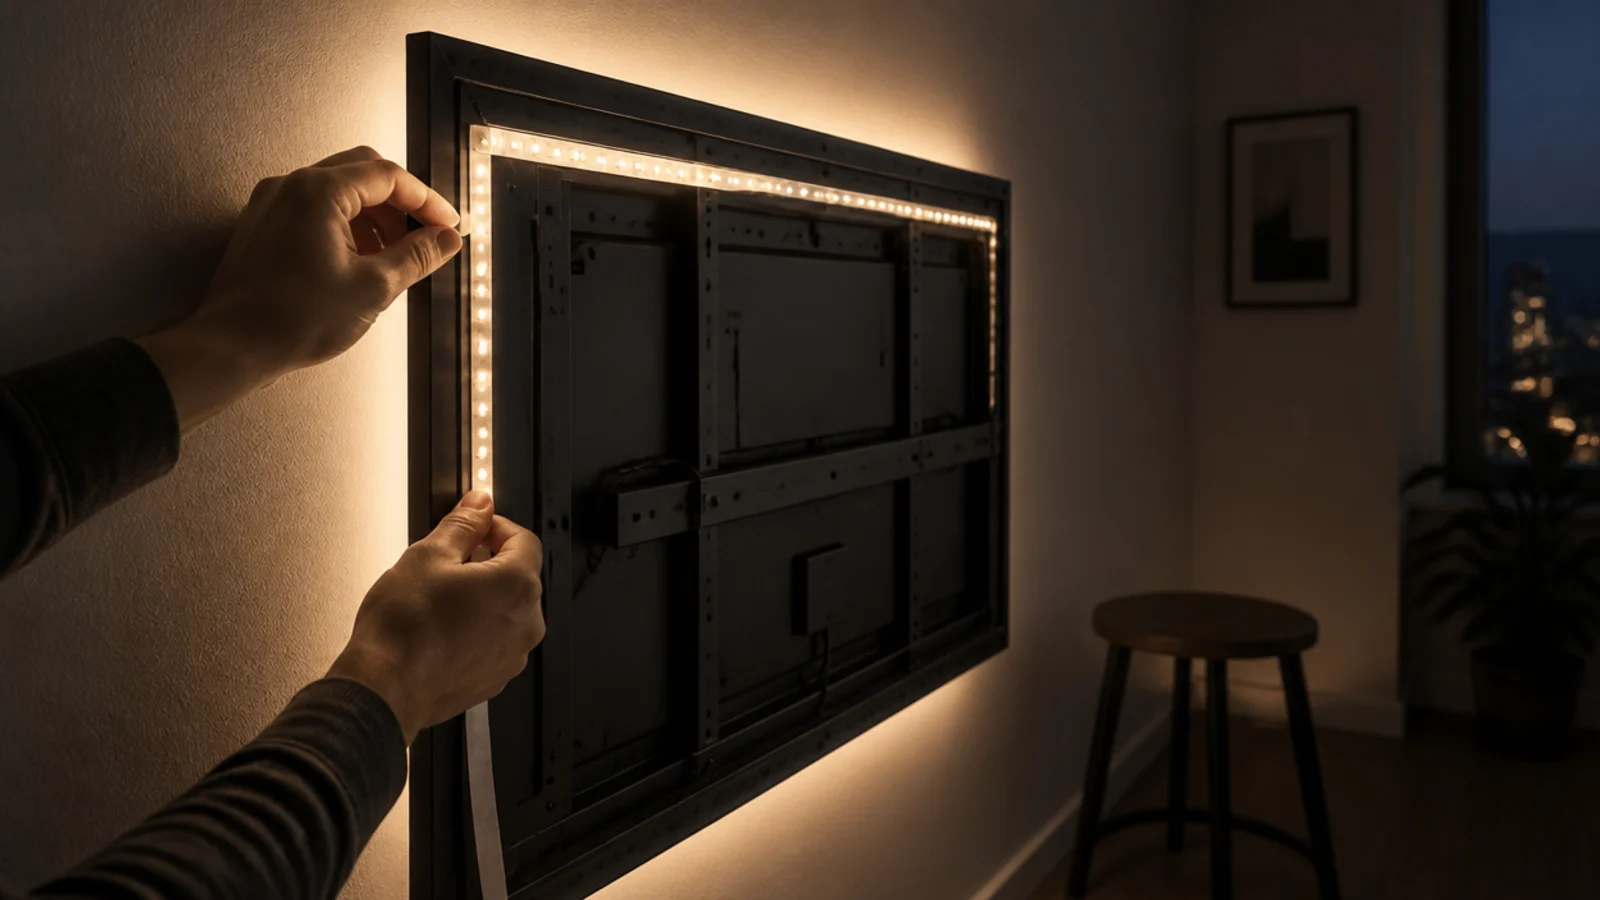
16. Backlight with a plug-in LED strip
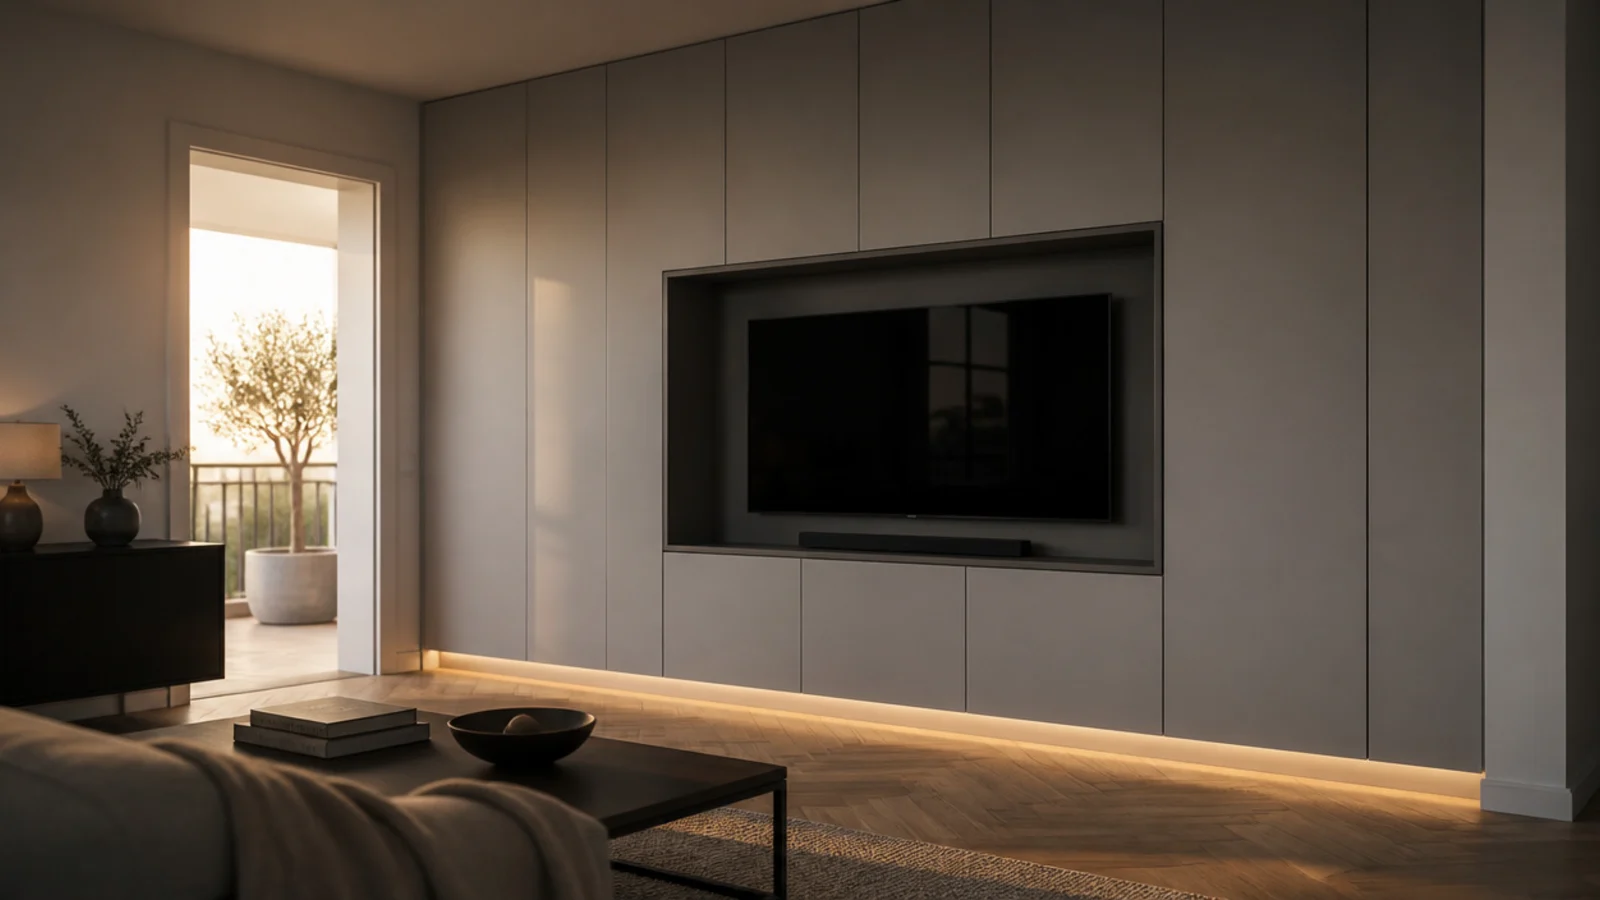
A USB or plug-in warm white strip at 15 to 25 dollars taped to the back of the panel lifts the wall out of black during dark scenes and genuinely reduces eye strain. Choose 2700K rather than cool white, and dim it to roughly a third of full output.
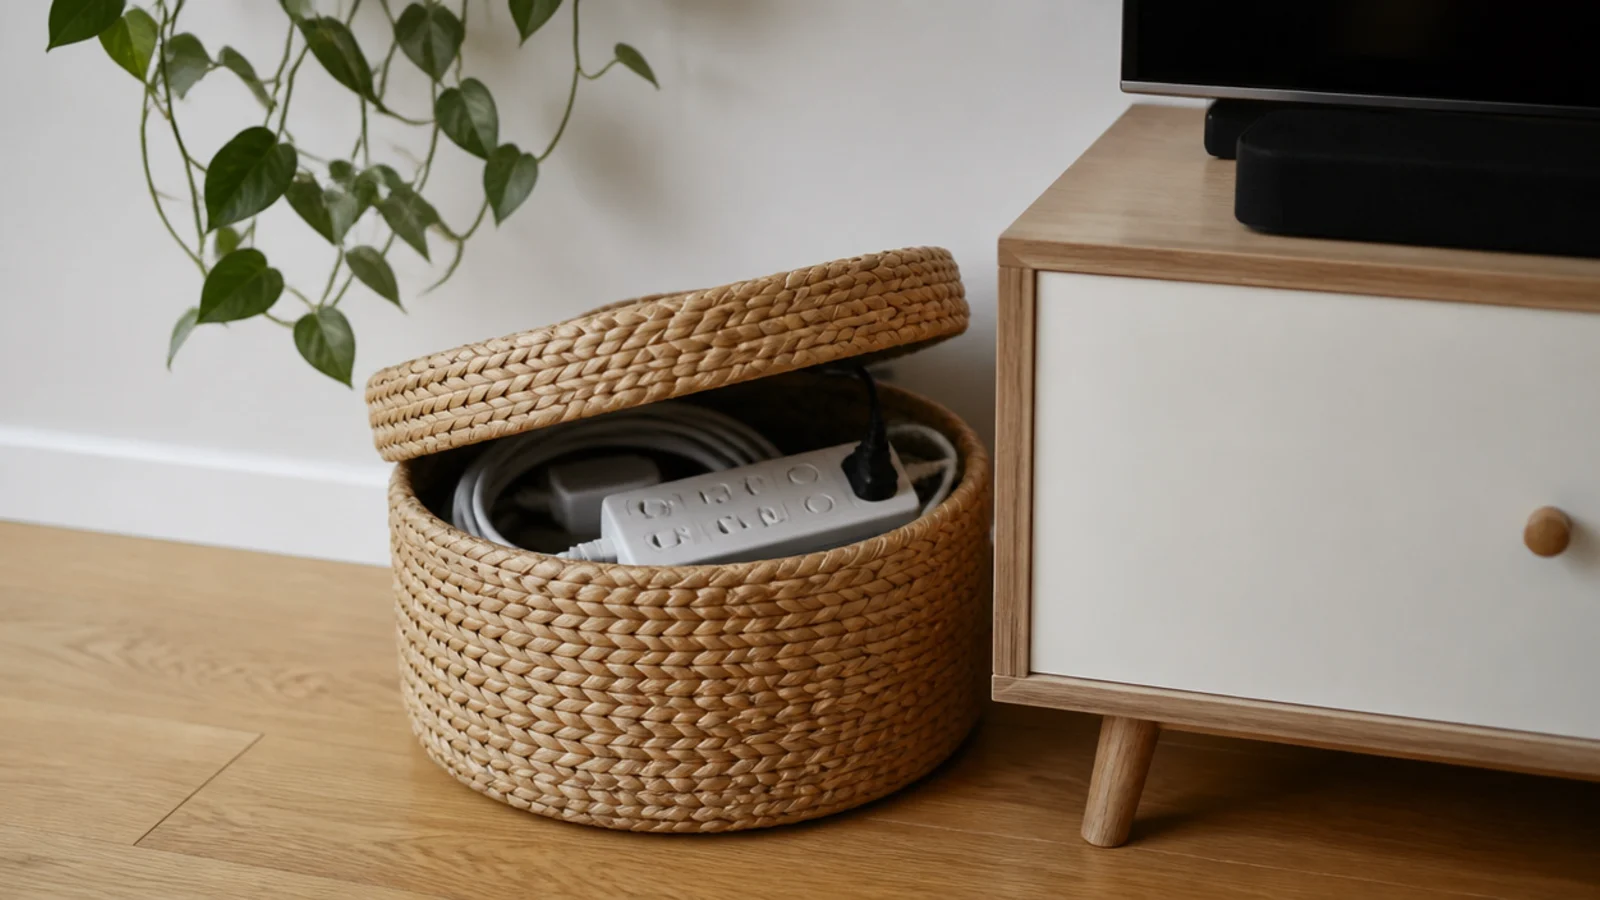
17. Hide the plug block in a lidded basket
A cable box is a plastic object designed to hide plastic objects. A lidded seagrass basket at 20 to 35 dollars does the same job, takes the plug block and the coiled excess, and looks like something you chose. Leave the lid slightly ajar so heat can escape.
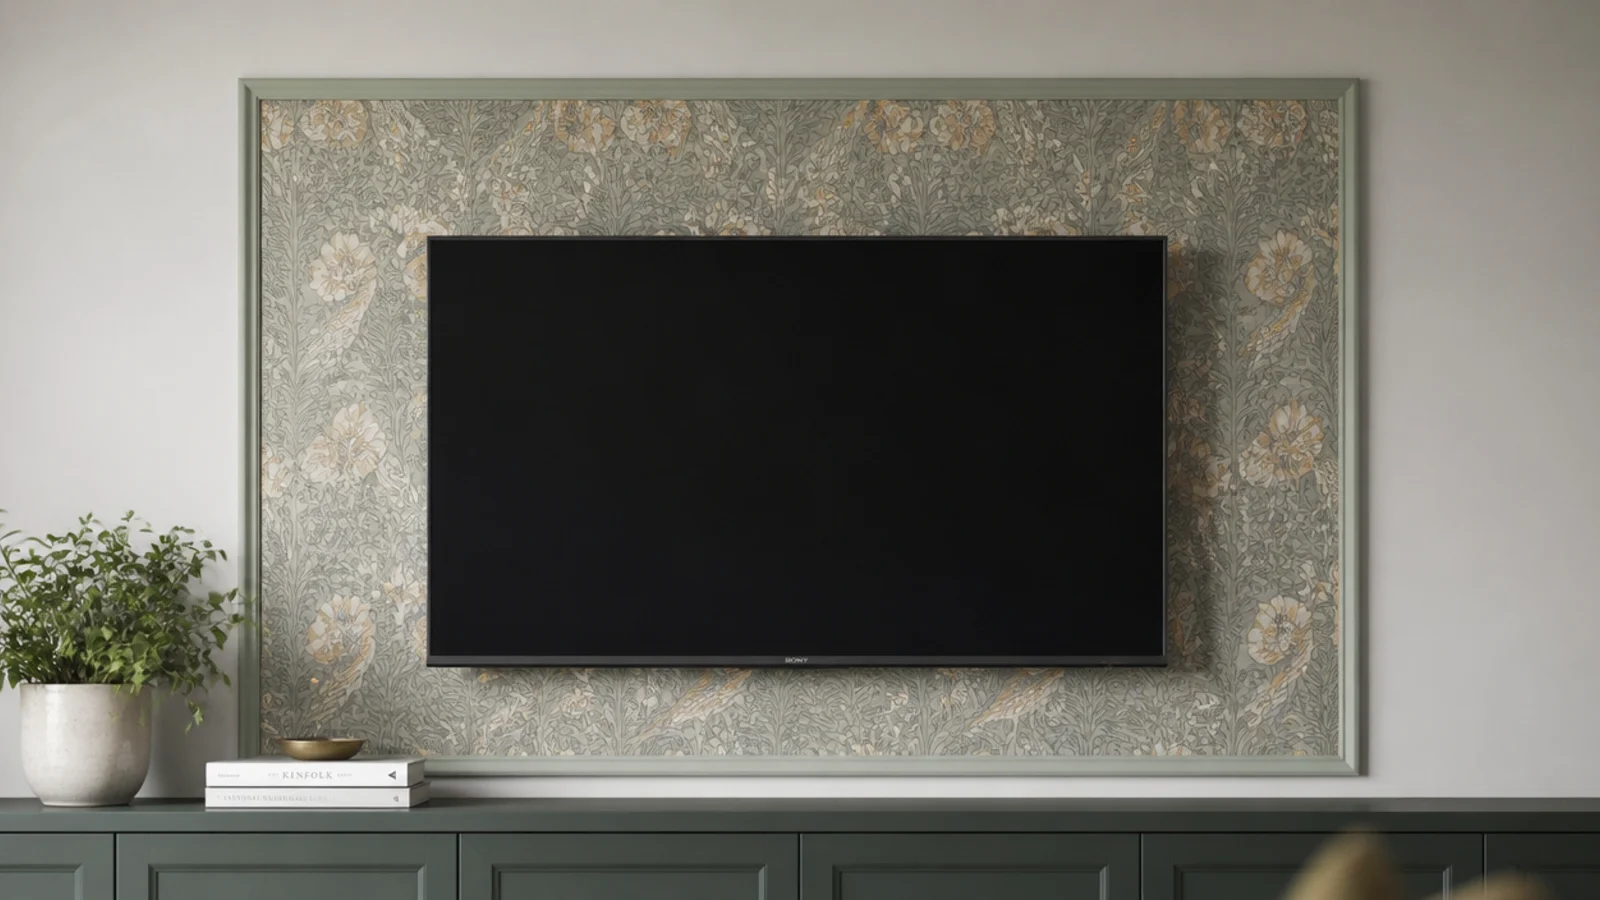
18. Fit a peel-and-stick paper panel behind the screen
A full wall of removable paper is 90 to 200 dollars. One panel framed in slim moulding behind the screen is under 40 and reads as deliberate. Size it at least 12 inches larger than the panel on every side, or the paper looks like a patch rather than a feature.
19. Stack crates into open media storage
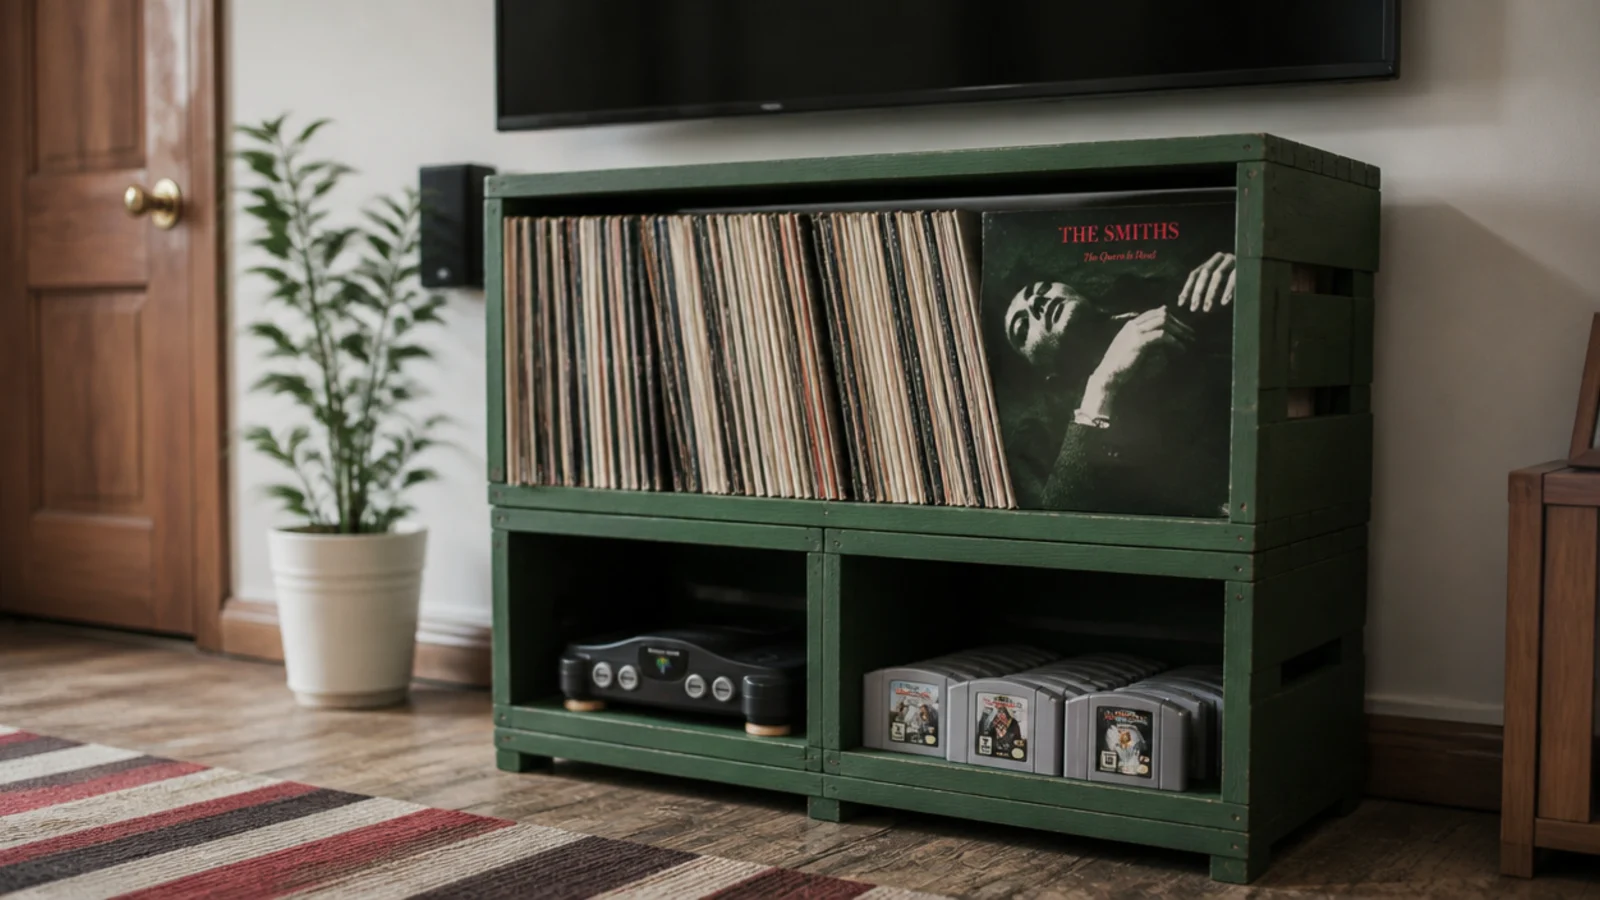
Three wooden crates at 8 to 14 dollars each, screwed together and painted, give you record and console storage that costs a tenth of a media unit. Fix the stack to the wall with one anti-tip bracket, because open crates loaded at the top tip forward far more easily than they look.
20. Add a half-round bead to a flat plywood panel
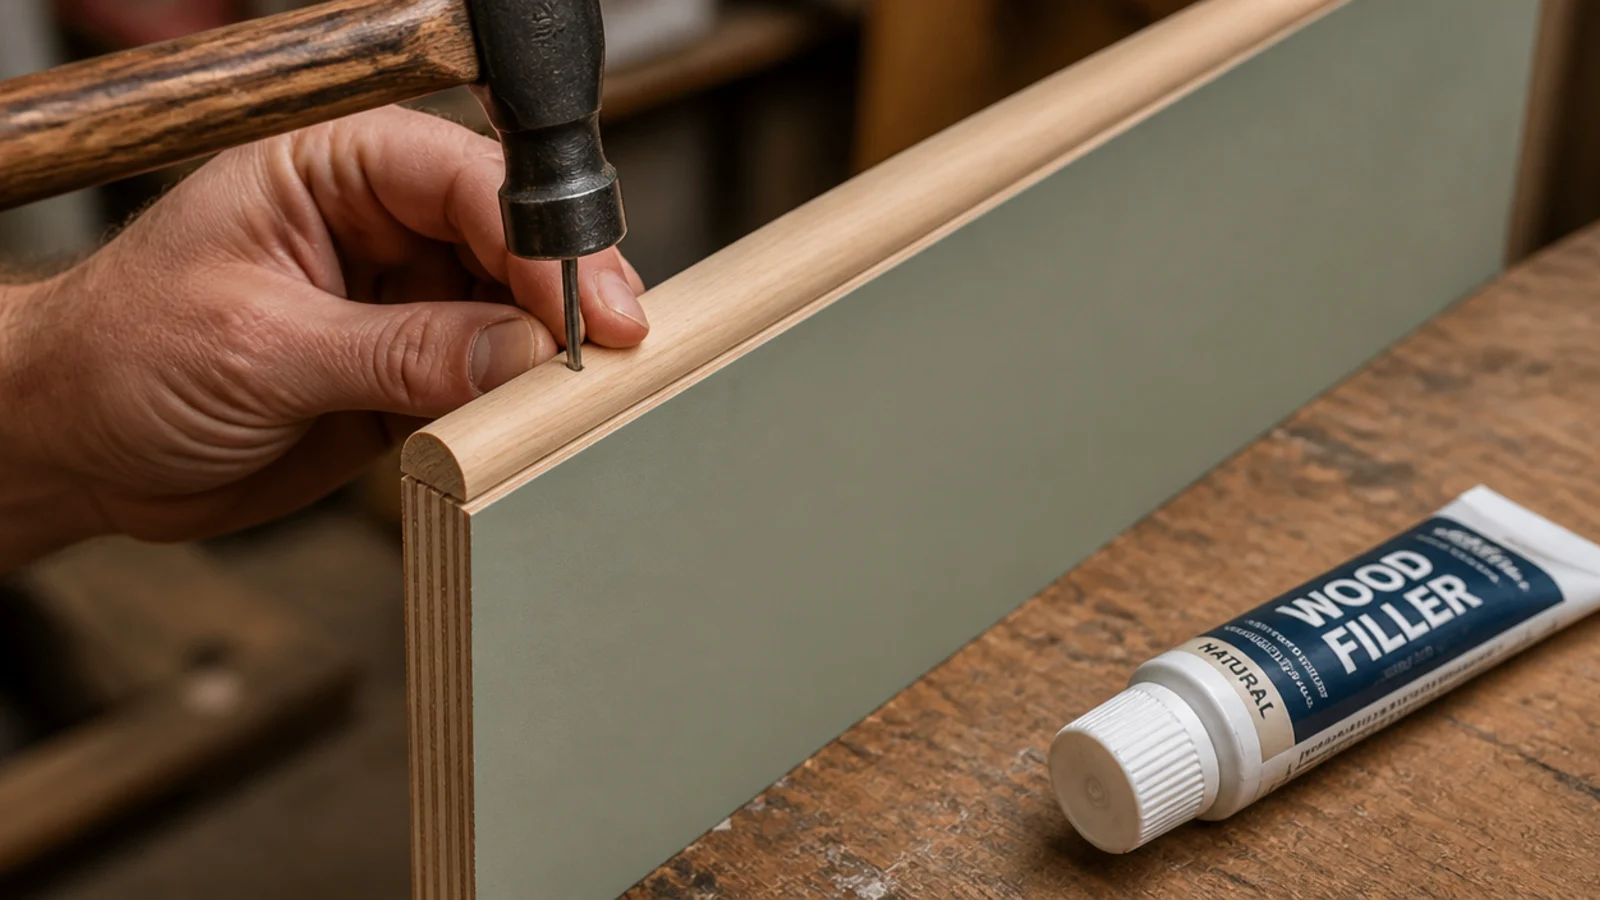
Exposed plywood edges are what make a budget panel look budget. Two dollars of half-round beading pinned along the visible edges, filled and painted, hides the laminations completely and gives the panel a profile that catches light.
21. Colour-match the sockets and plates
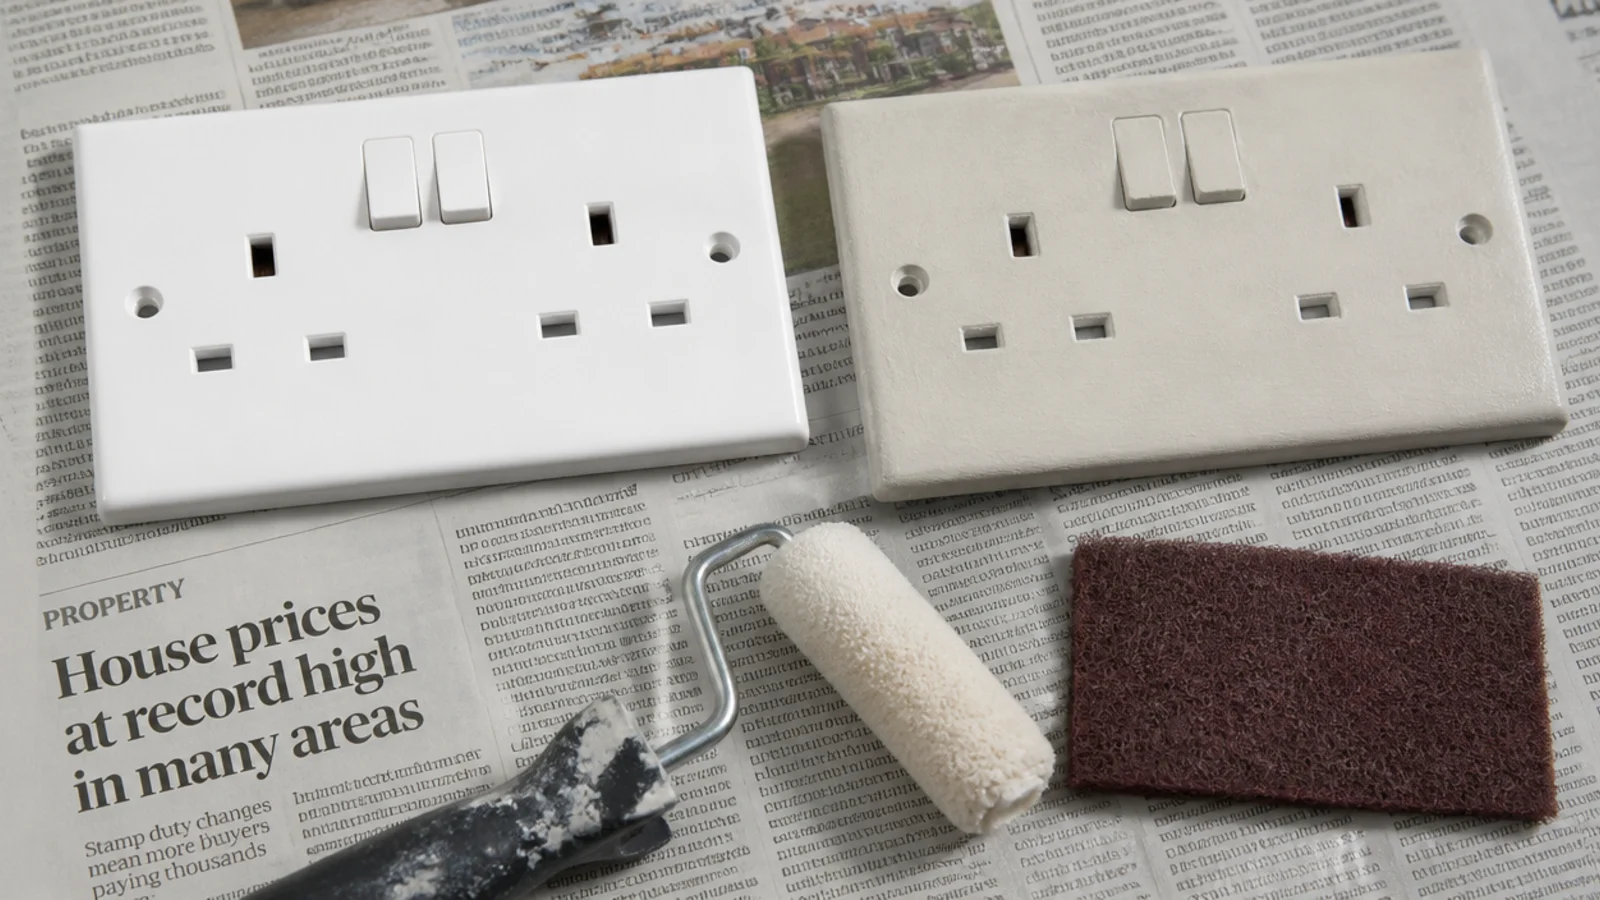
Four white faceplates on a dark feature wall are four bright full stops in the middle of the composition. Scuff with 240 grit and roll on the wall colour. It costs nothing, takes ten minutes and is the single highest-return job on this whole list.
22. Build a dowel screen for the media boxes
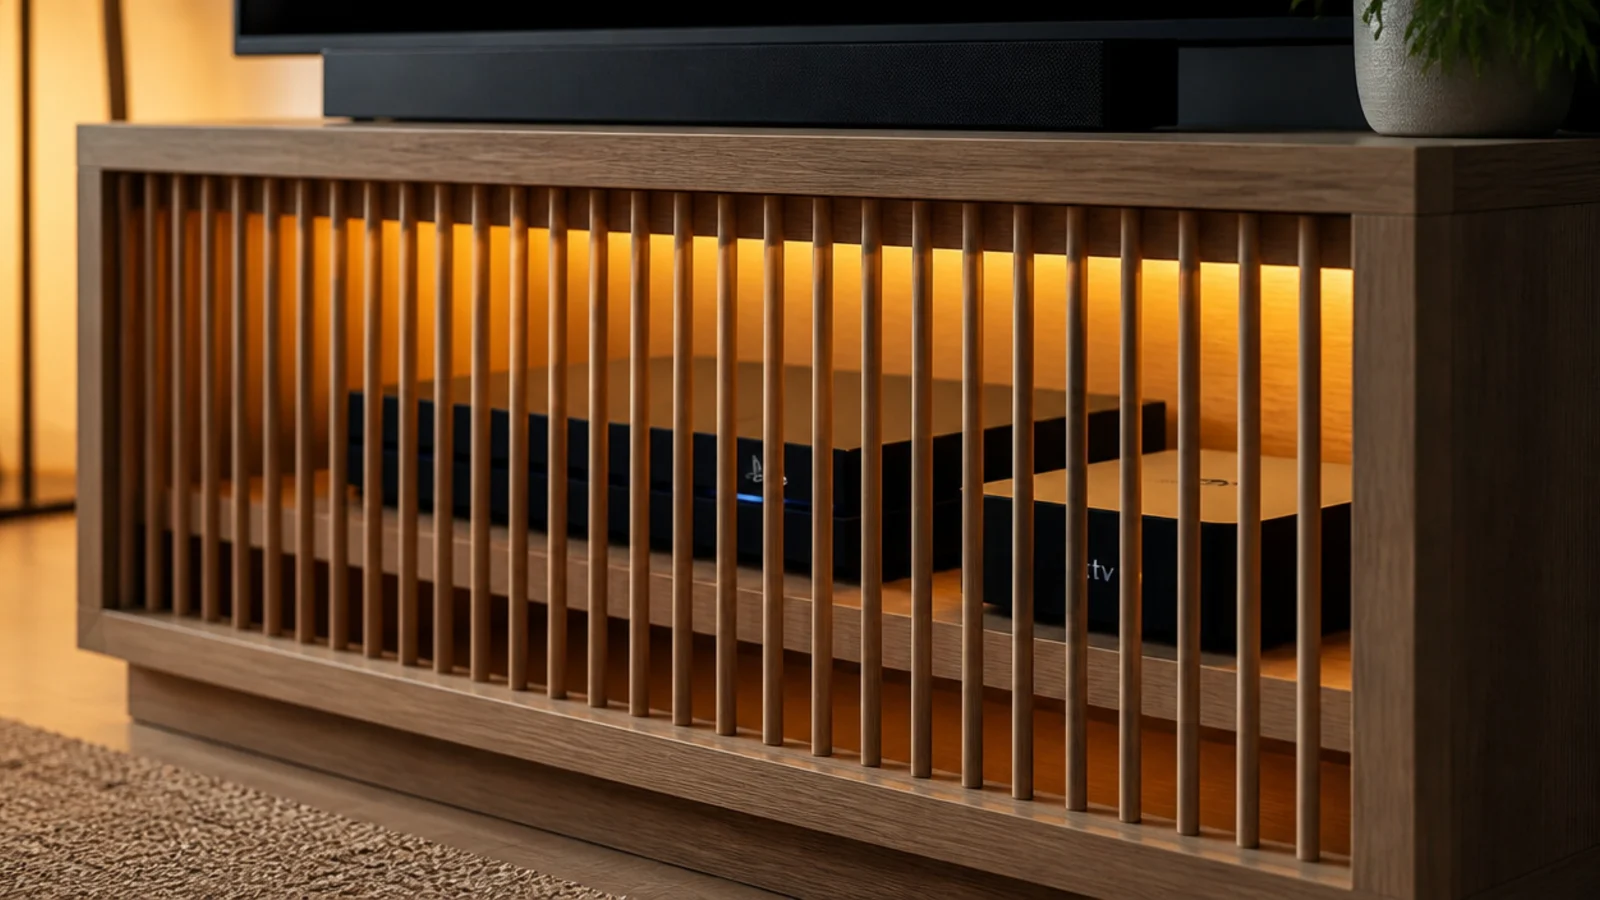
Ten millimetre dowels at 25 millimetre gaps inside a simple frame blur equipment while still passing a remote signal. A metre of dowel is about 2 dollars. Test the remote through the gaps before you glue anything, because tighter spacing starts blocking infrared.
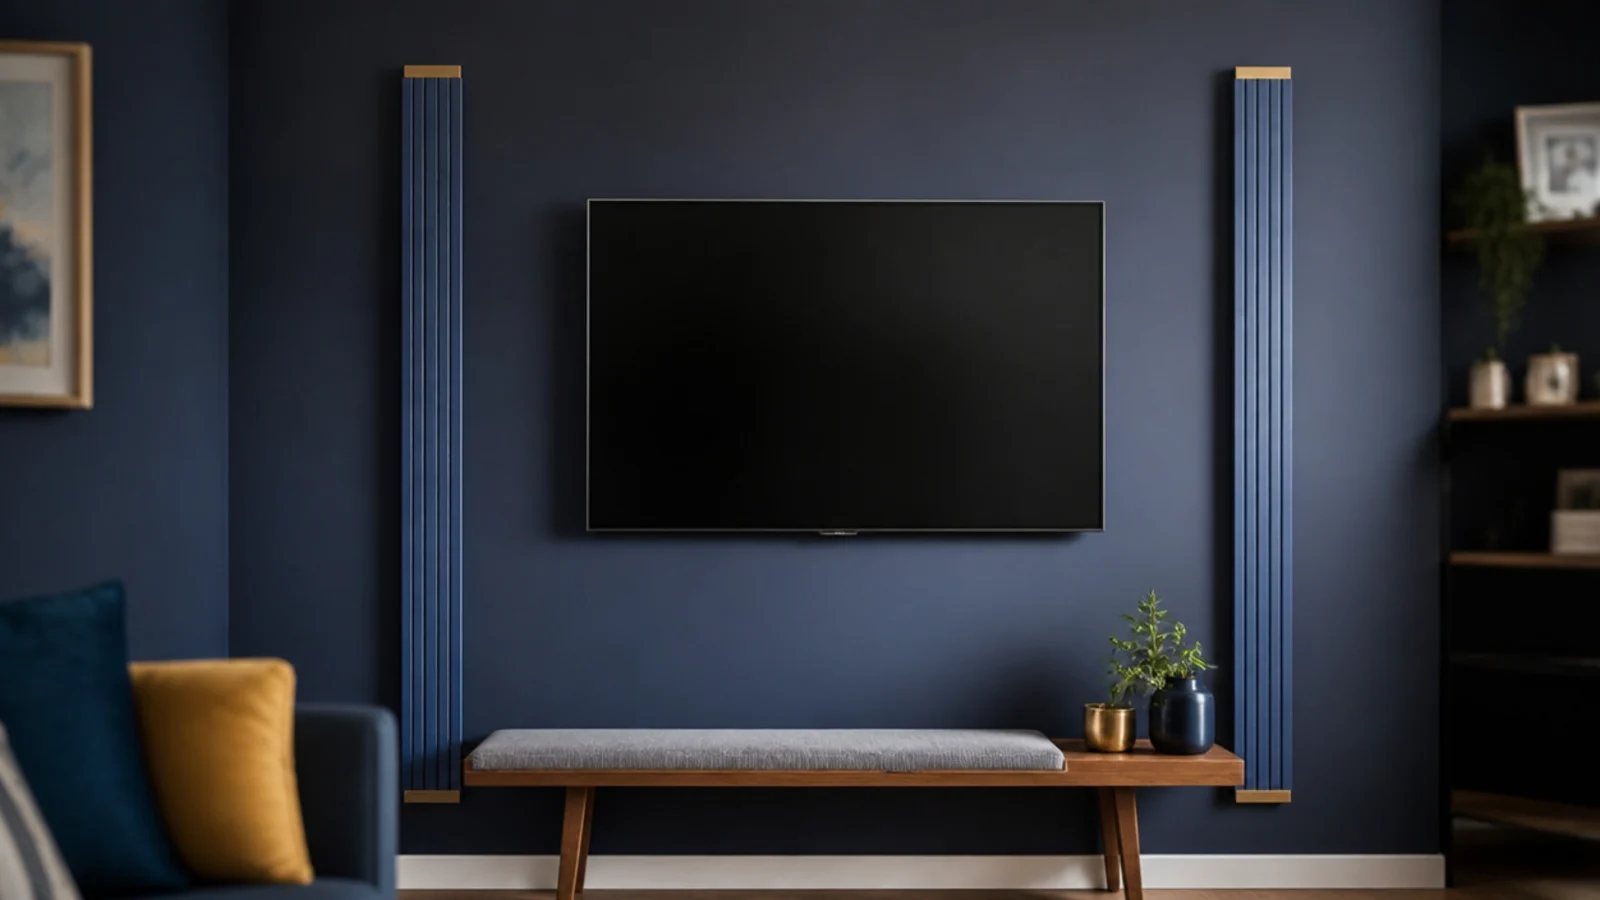
23. Frame the screen with two vertical battens
Two full-height battens set 12 to 18 inches beyond each edge of the screen imply a recessed bay without building one. It is the cheapest architectural move here — about 15 dollars of timber — and it gives the panel a defined field to sit inside.
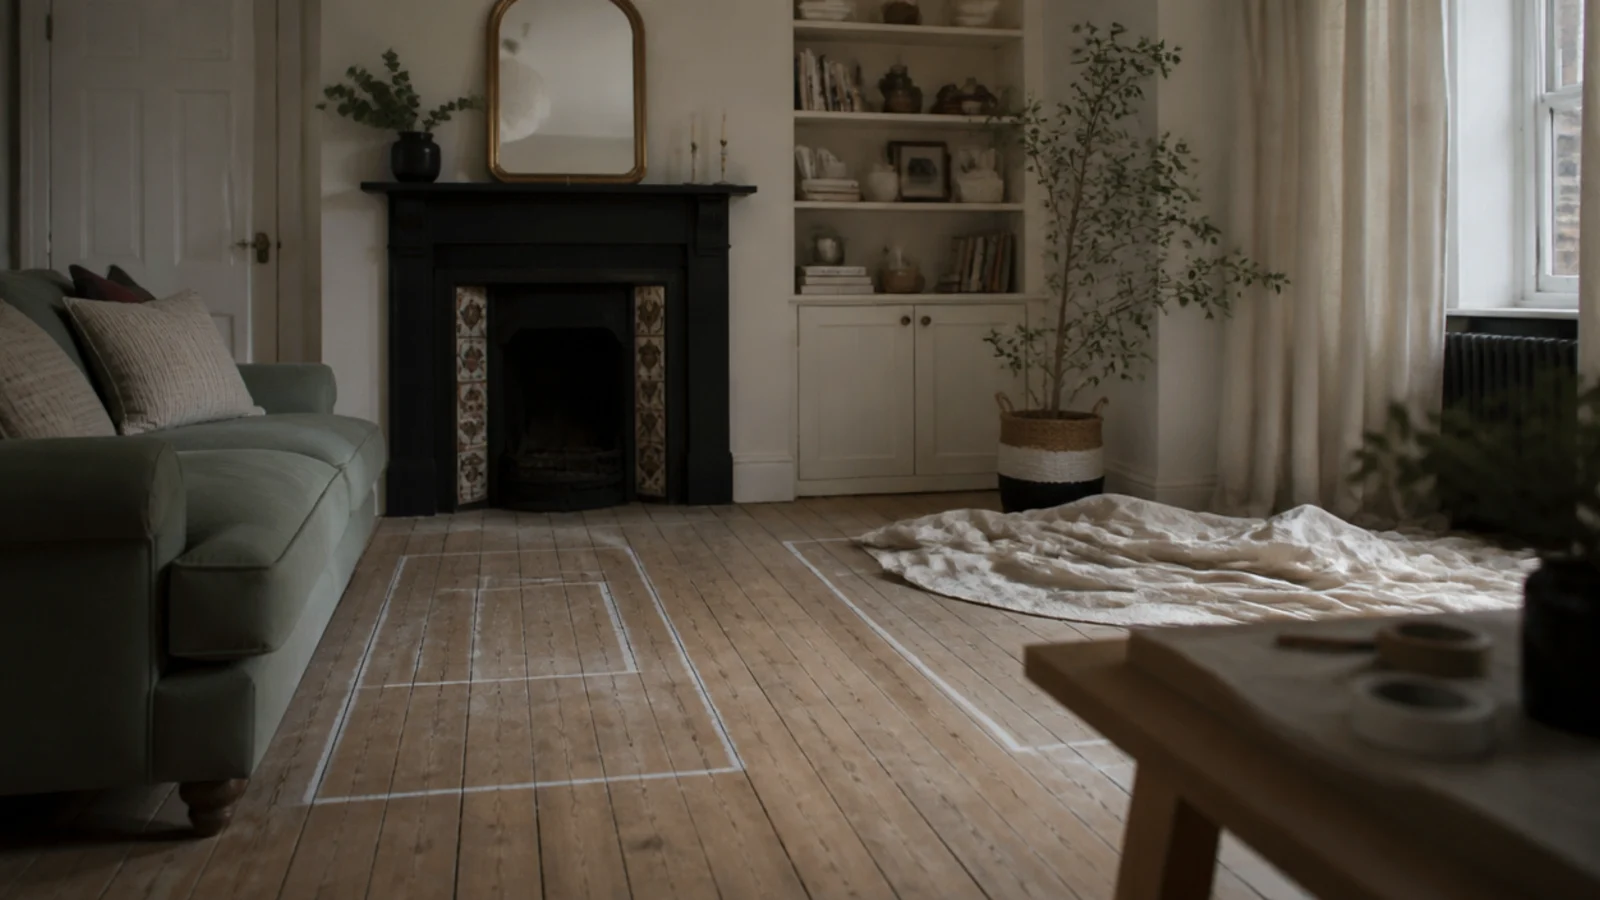
24. Rework the layout before you spend anything
Moving the sofa is free, and half the walls I have been asked to panel did not need panelling — they needed the seating turned 90 degrees. Chalk the new positions on the floor and live with them for a week before buying a single sheet of MDF.
25. Finish with one good object, not six cheap ones
Six small accessories on a media shelf read as clutter from the sofa. One large hand-thrown vessel or a single heavy stone bowl at 40 to 80 dollars holds the whole arrangement together. Bookshelf styling ideas covers the same principle in more depth.

If the batten and moulding builds are what interest you, wall molding design ideas works through the layouts and proportions in detail, and 30 TV wall design looks covers the material choices at every price band. For the cabinet below, budget TV unit decor ideas is the companion guide.
Mistakes to Skip
- Saving money on the bracket. A flexing budget mount puts a permanent slight tilt into a 20 kilogram panel, and no amount of panelling behind it hides a crooked screen.
- Panelling over a socket to save a rewire. Plan the outlet position onto your elevation first, because cutting a surface box into finished panelling afterwards always looks like a repair.
- Using cheap thin peel-and-stick slats. Under 8 millimetres deep there is no shadow between ribs, and the wall reads as printed film rather than timber from the first glance.
- Skipping primer on MDF cut edges. Raw edges soak up paint and stay visibly duller, which draws the eye straight to every join you were trying to hide.
Frequently asked questions
What is the cheapest living room TV wall you can build?
Paint plus a painted raceway, at around 45 to 70 dollars total. One 2.5 litre tin of matt emulsion covers a feature wall twice, and eight feet of paintable cable trunking costs 12 to 25 dollars. Two shades darker than the room in a low sheen does more for a screen wall than most panelling.
How much MDF do I need for a batten feature wall?
One 2440 by 1220 millimetre sheet of 18 millimetre MDF rips into roughly sixteen battens at 75 millimetres wide, which covers a 3 metre wall at 16 inch centres with spares. Expect 45 to 70 dollars for the sheet, plus 12 for adhesive and 8 for brad pins.
Should I spend money on the TV mount or the wall finish?
The mount, every time. A cheap bracket with thin steel arms flexes under a 20 kilogram panel and the screen ends up sitting slightly nose-down. Spend 40 to 80 dollars on a rated fixed mount with proper lag bolts, then build the wall finish from ripped sheet stock and paint.
Can I panel a rented living room wall?
Yes, if the wall is sound painted plaster and the paint is more than four weeks old. Solvent-free grab adhesive plus a heat gun and a wide filling knife lifts most of it at move-out with minor filling. Do not attempt it over wallpaper, where the paper releases before the adhesive does.
Do peel-and-stick slat panels look cheap?
The thin foam ones do. Look for panels at least 8 millimetres deep with a real veneer or a printed grain plus a matt finish, because depth is what creates the shadow line your eye reads as timber. Expect 25 to 45 dollars a square metre, roughly half the price of felt-backed oak.
Want more like this? Browse all 15 tv wall decor guides — they all use the same measurements and budget tiers.
Pin it for later
Save this to your TV Wall Decor board
Pin it now so it is waiting for you when the tape measure comes out — and so the next person hunting for this idea can find it too.
Save this pinKeep going
More ideas worth saving while you have the tape measure out.