TV Wall Decor · Listicle
30 Gorgeous TV Wall Design Looks Worth Copying

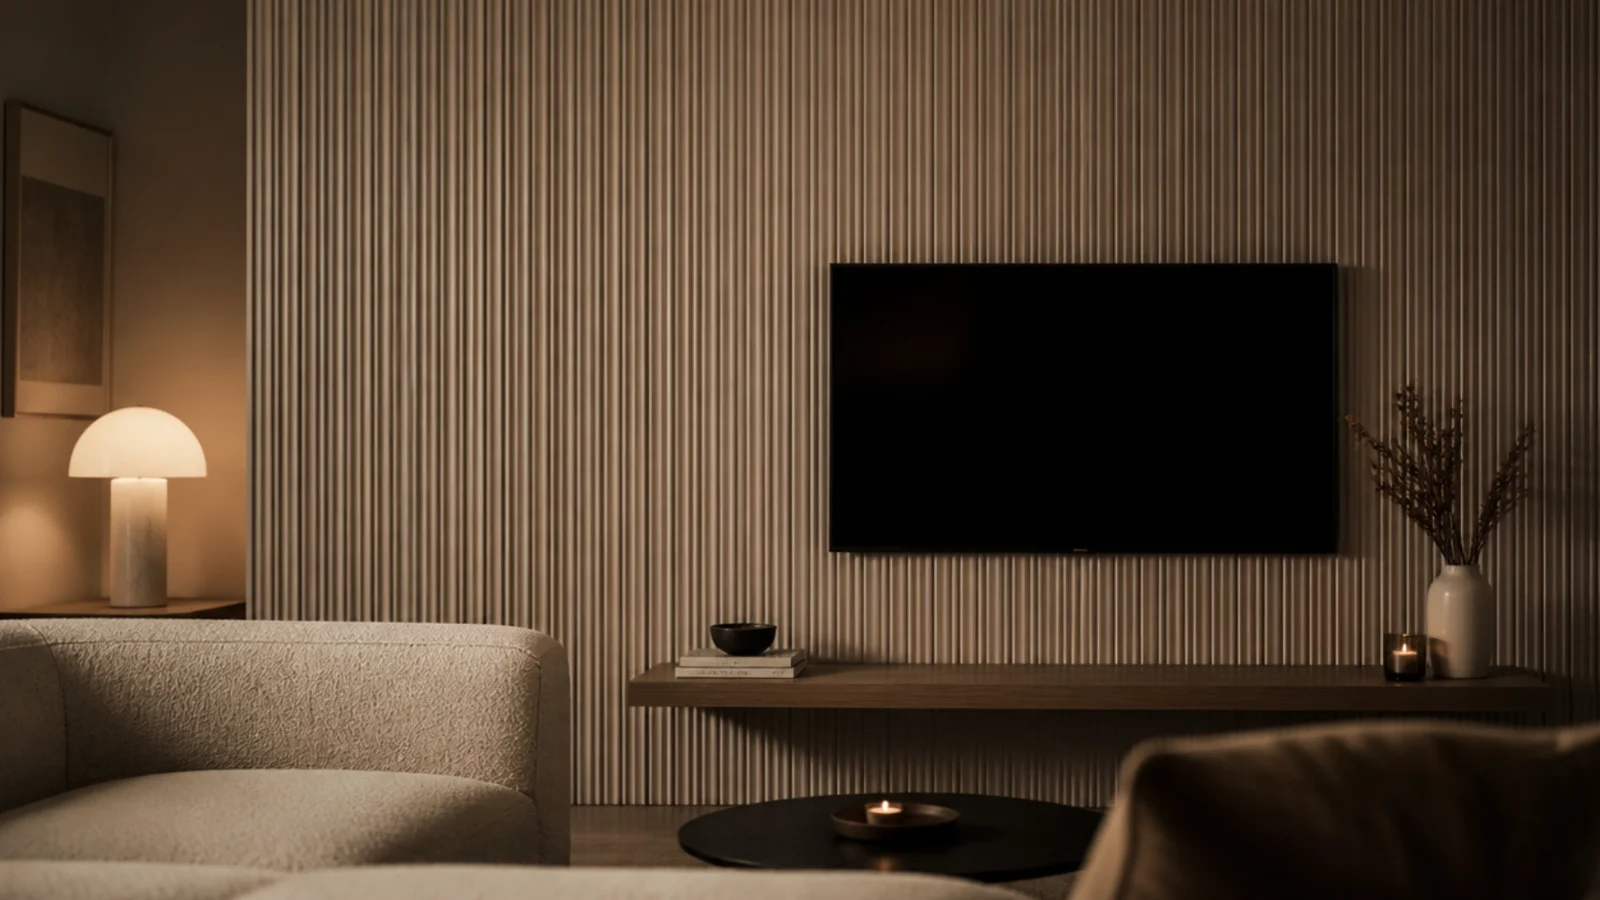
The wall a television lives on is usually the largest uninterrupted surface in a living room, and treating it is the cheapest architecture available to most homes. TV wall design is really a question of which material you are prepared to fix to plaster and how much depth you can give up. Slats want 25 millimetres, joinery wants 300, paint wants nothing at all. Below are thirty treatments sorted roughly from the ones you can do on a Saturday to the ones that need a joiner, each with the numbers that decide whether it works.
In this guide32 sections — tap to openHide
- 1.What tv wall design has to solve first
- 2.Full-height fluted MDF across the whole wall
- 3.Vertical oak slats over acoustic felt
- 4.Board and batten carried to the ceiling
- 5.A picture-frame moulding grid
- 6.Micro-cement troweled over the existing plaster
- 7.Two-tone limewash with a soft break line
- 8.Full-wall joinery with a recessed screen niche
- 9.Large-format porcelain that reads as stone
- 10.Brick slips on the chimney breast only
- 11.An arched recess drawn around the screen
- 12.Floor-to-ceiling curtain as the backdrop
- 13.Colour-drench the alcove between chimney breasts
- 14.A backlit LED cove behind the panel
- 15.Two-tone paint split at forty-two inches
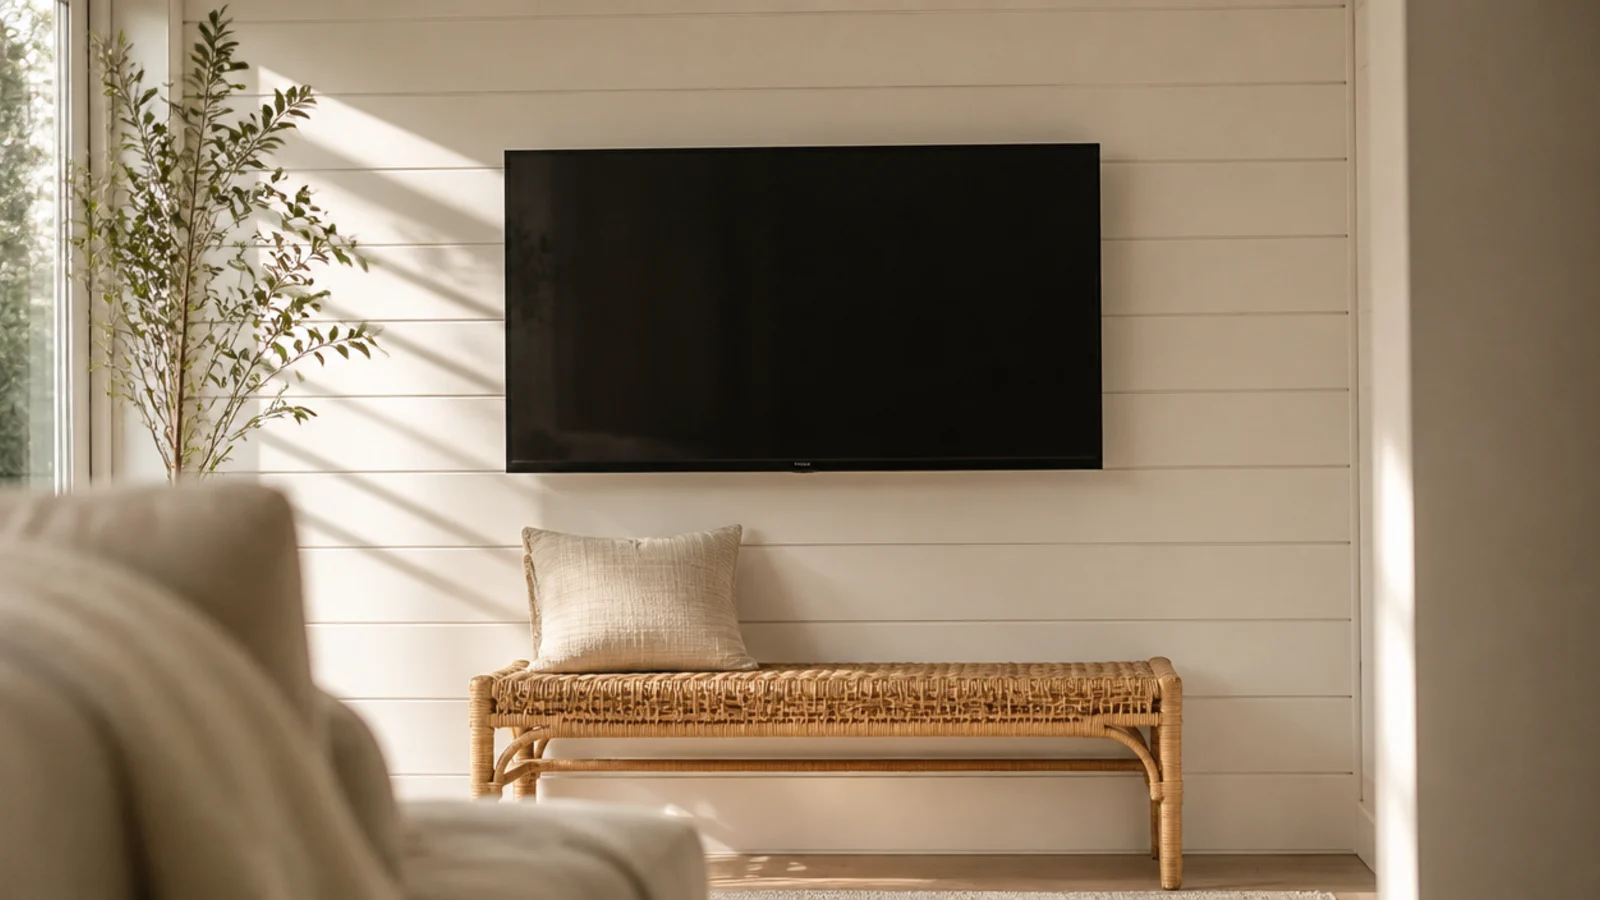
- 16.Horizontal shiplap for a lower ceiling
- 17.Reeded glass doors on the flanking cabinets
- 18.A bookmatched slab with a mirrored vein
- 19.Charred timber for a matt black wall
- 20.A cork wall that absorbs and warms
- 21.Wallpaper everywhere except a plain screen panel
- 22.Herringbone timber laid on the wall
- 23.A floating cabinet on a lit toe recess
- 24.A library wall with the screen set into it
- 25.Textured plaster with a built-in niche
- 26.A brass shadow gap around the panel
- 27.Curve the plaster return into the wall
- 28.Half-round battens for a softer rhythm
- 29.Paint the wall, ceiling and trim one colour
- 30.A sliding panel that covers the screen
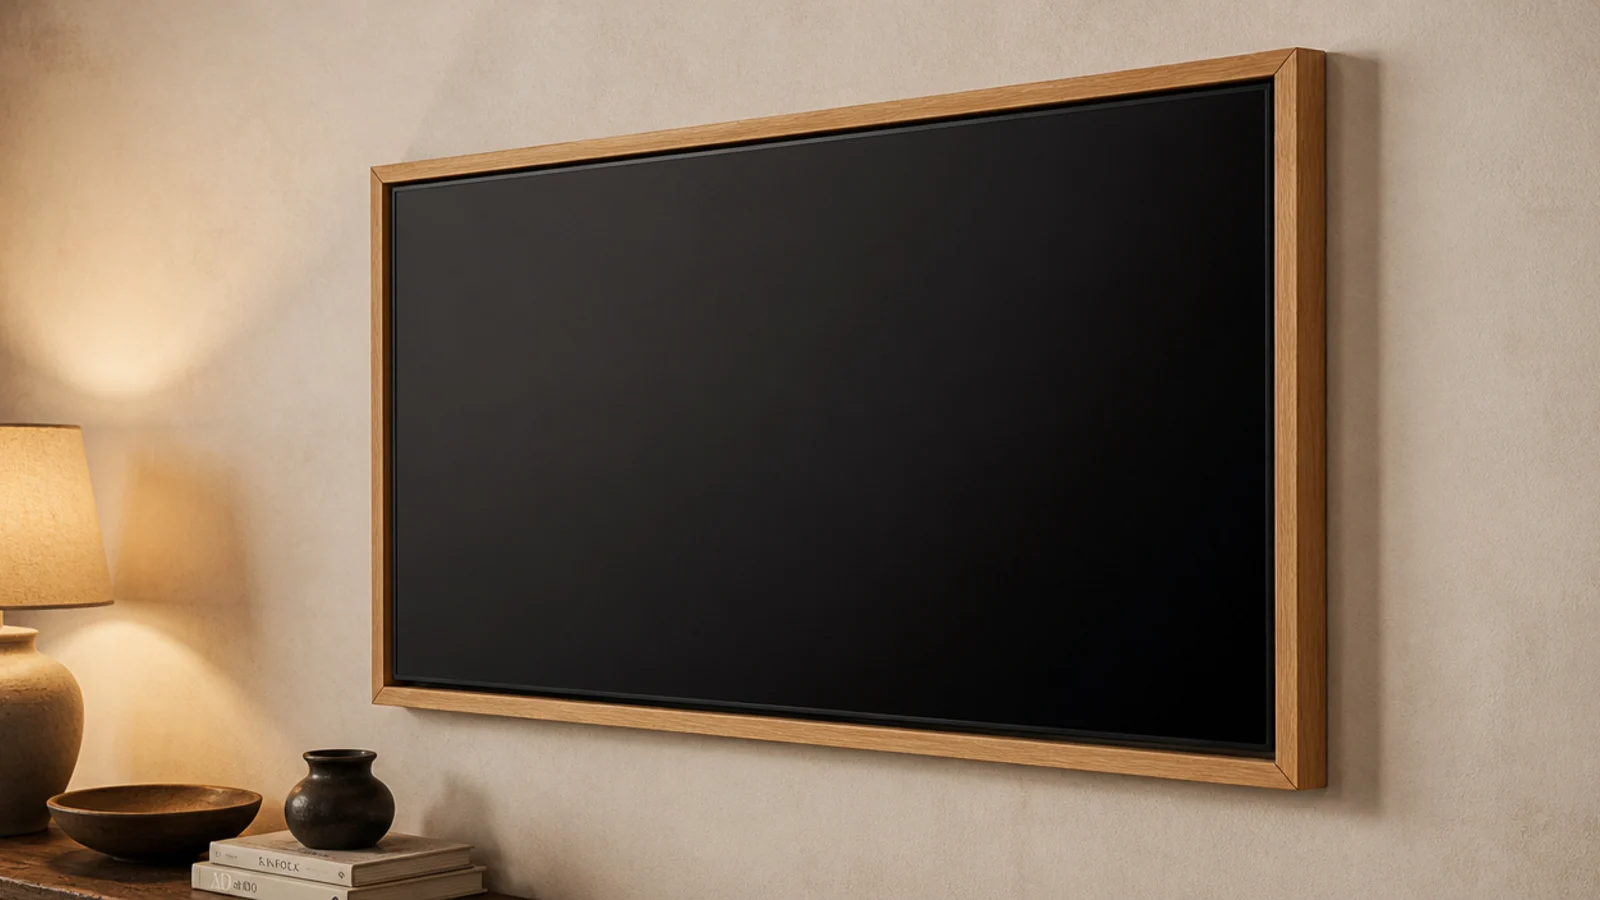
- 31.Give the screen a real timber frame
- 32.Mistakes to Skip
What tv wall design has to solve first
Draw the wall in elevation before buying anything. Graph paper, the real width and height, and the position of every socket, switch and radiator. Ten minutes here is what stops a beautiful panel arrangement landing dead centre on the only outlet.
Depth. A fixed screen mount holds a panel 0.6 to 1.2 inches proud of the finished surface. Every millimetre of panelling adds to that, so a 25 millimetre slat build puts the screen about 2 inches into the room. Under a stair or beside a door swing, measure the clearance before you commit.
Substrate. Solvent-free grab adhesive plus 18 gauge brad pins at 300 millimetre centres holds panelling on sound painted plaster. Adhesive alone works on the same surface but not on wallpaper, not on fresh emulsion under four weeks old, and not on flaking distemper. Anything carrying real load — a mount, a floating cabinet, a bracket — goes into framing at 16 inch or 400 millimetre centres.
Cost bands. Paint and moulding on a 3 by 2.5 metre wall runs 80 to 150 dollars in materials. Slat panelling lands at 40 to 90 dollars a square metre. Micro-cement or polished plaster runs 90 to 200 a square metre applied. Full joinery starts near 2,000 and rises fast.
Reversibility. Renters can do paint, adhesive panels, peel-and-stick slat sheets and curtains. Everything with a routed chase, a recessed niche or a lit cove needs holes. If you plan to link cables through any of it, the cable-hiding decor guide covers the rated versus unrated distinction that matters here.
1. Full-height fluted MDF across the whole wall
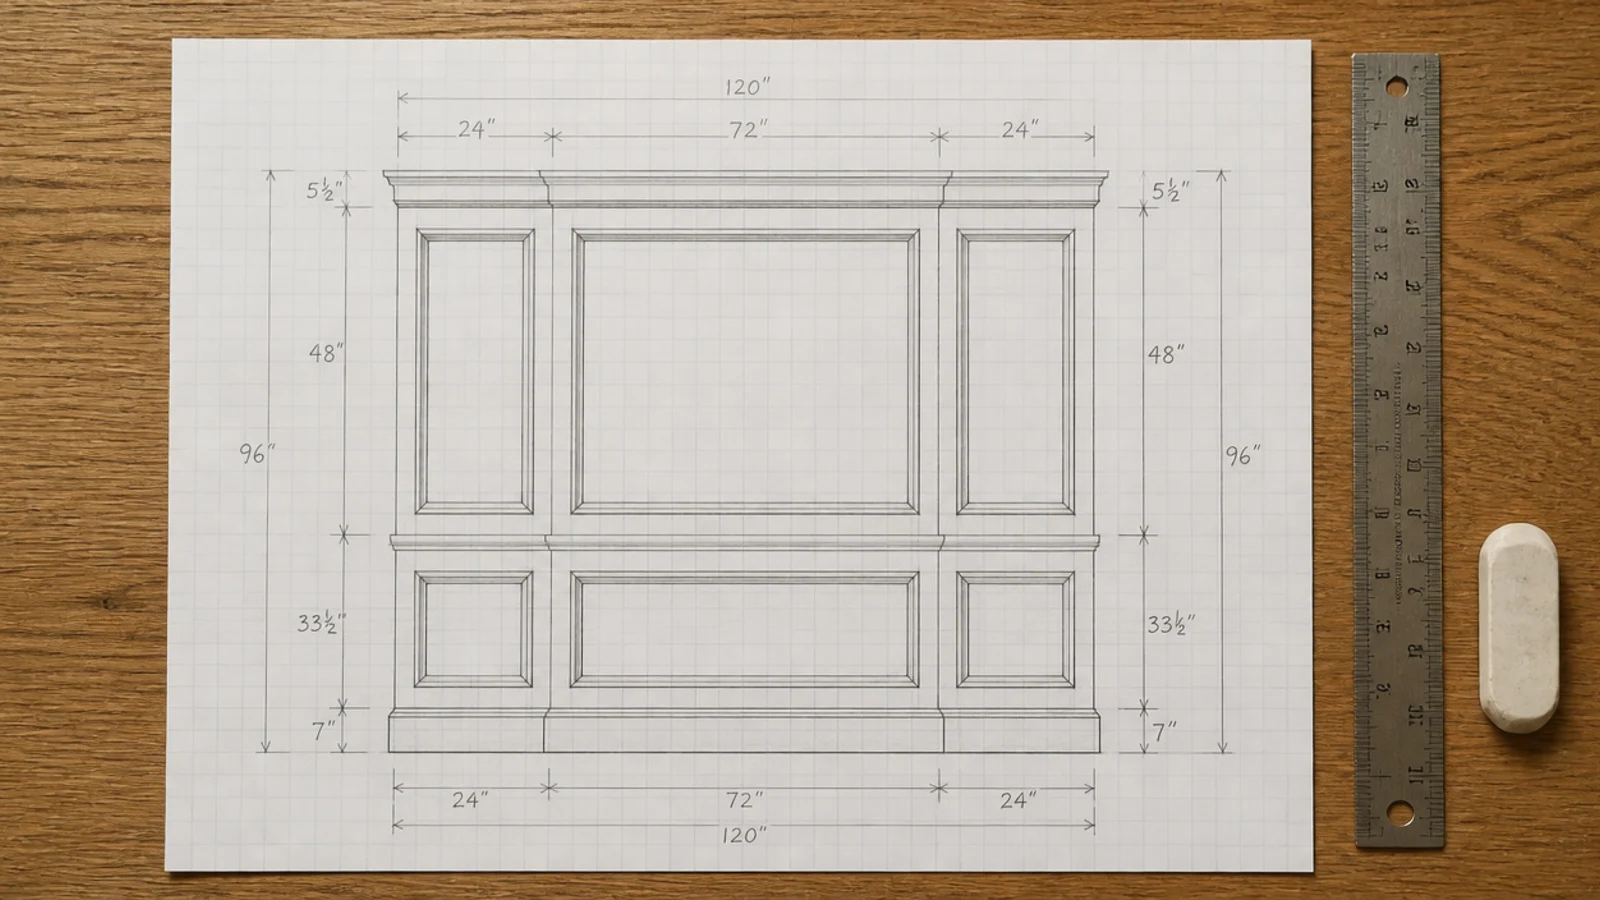
Fluted panels come in 2.4 metre lengths with half-round beads at 40 to 60 millimetre repeats, and running them floor to ceiling adds vertical height to a low room. Expect 30 to 60 dollars a square metre in primed MDF. Paint after fixing, and use a mini foam roller so the grooves do not fill.
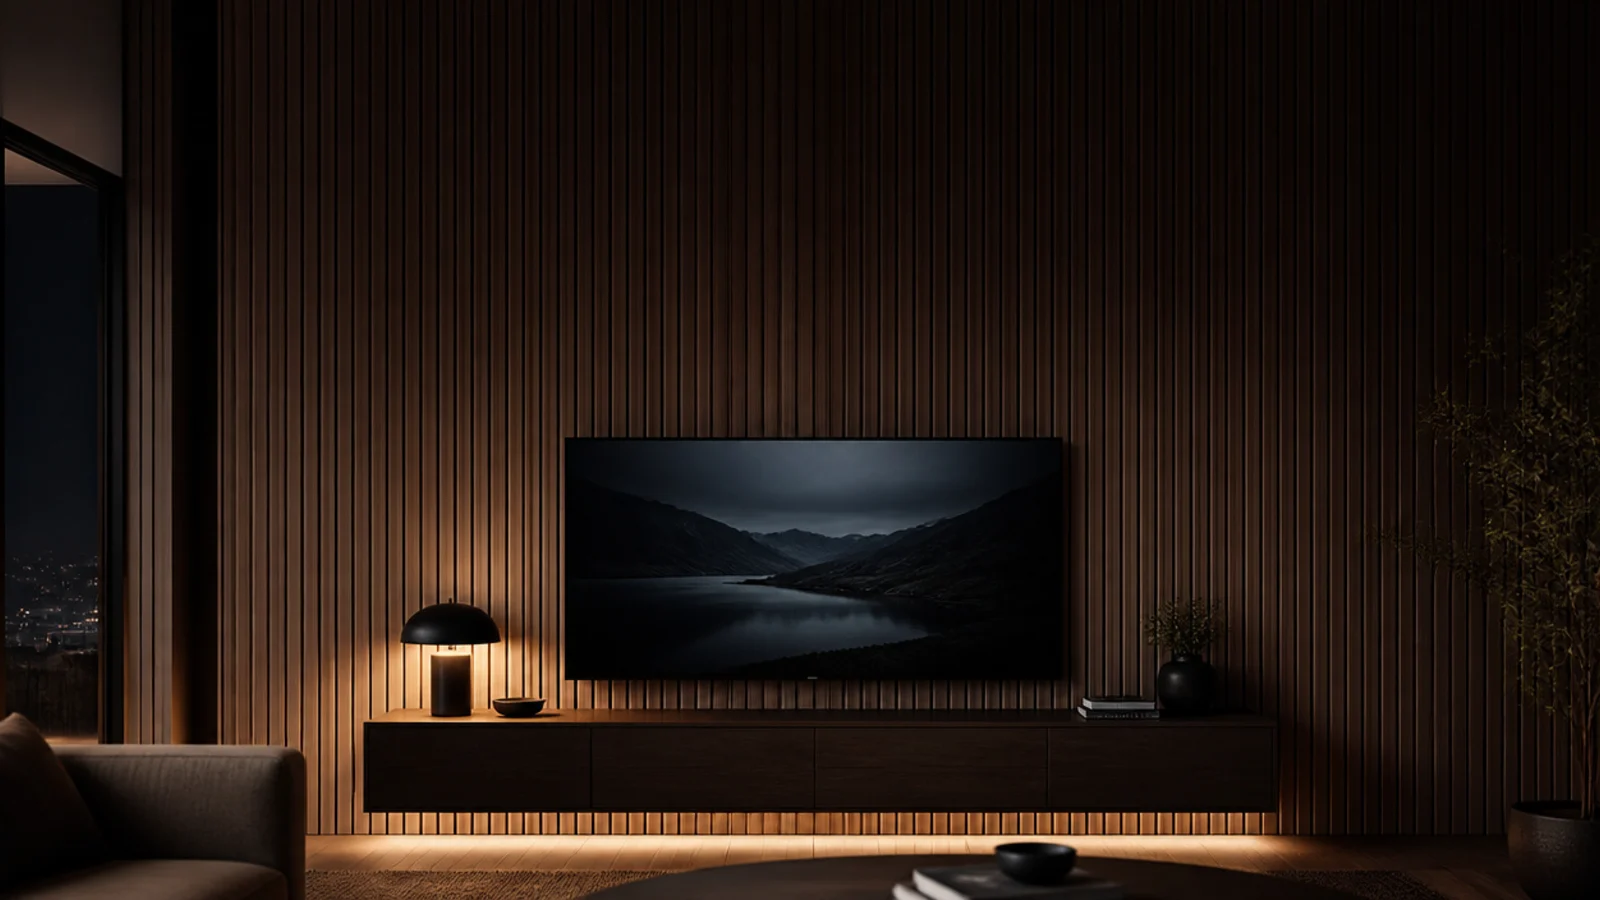
2. Vertical oak slats over acoustic felt
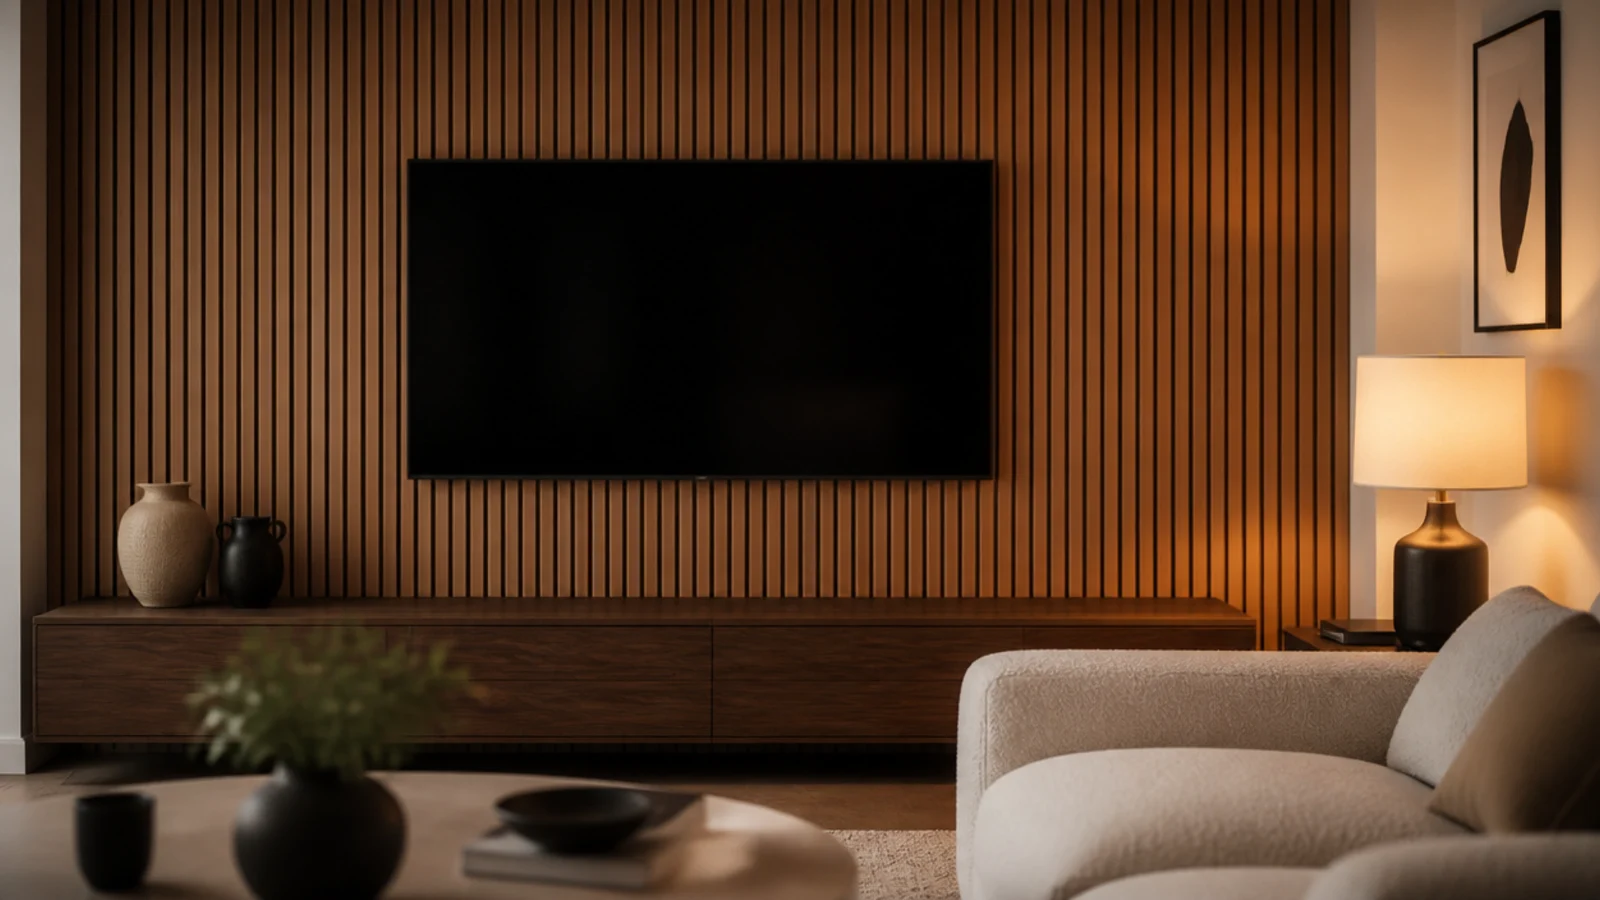
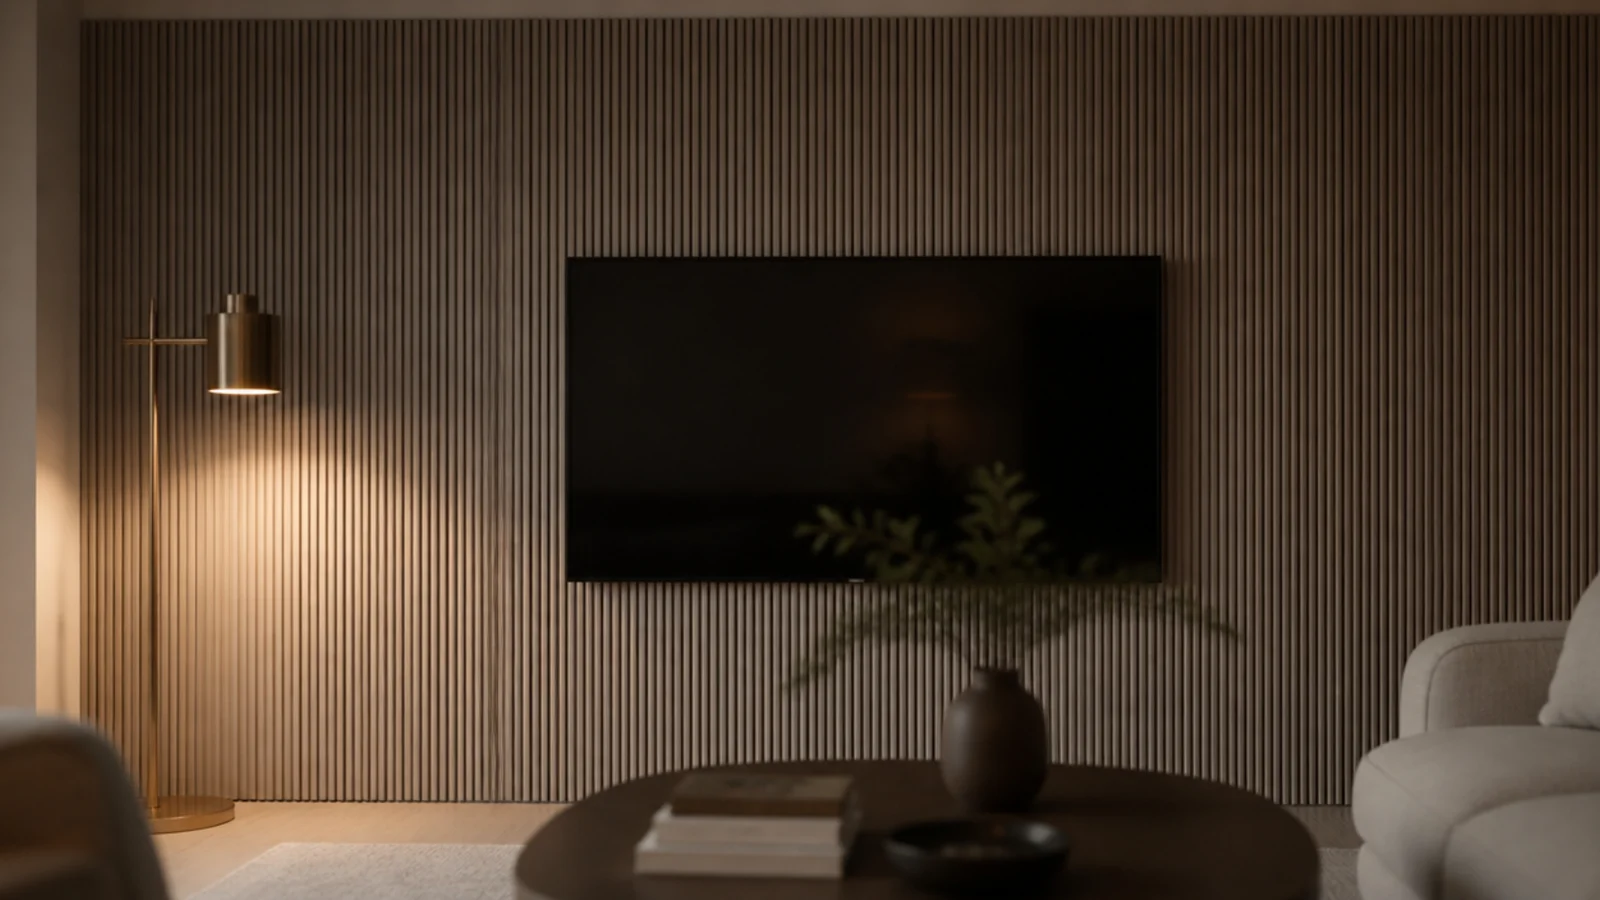
Standard slat panels are 240 by 60 centimetres, roughly 12 kilograms each, and drop room reverberation noticeably at speech frequencies. Fix into framing, not plasterboard alone. Set the gap between slats at 20 to 30 millimetres — much wider and the felt starts reading as a stripe rather than a shadow.
3. Board and batten carried to the ceiling
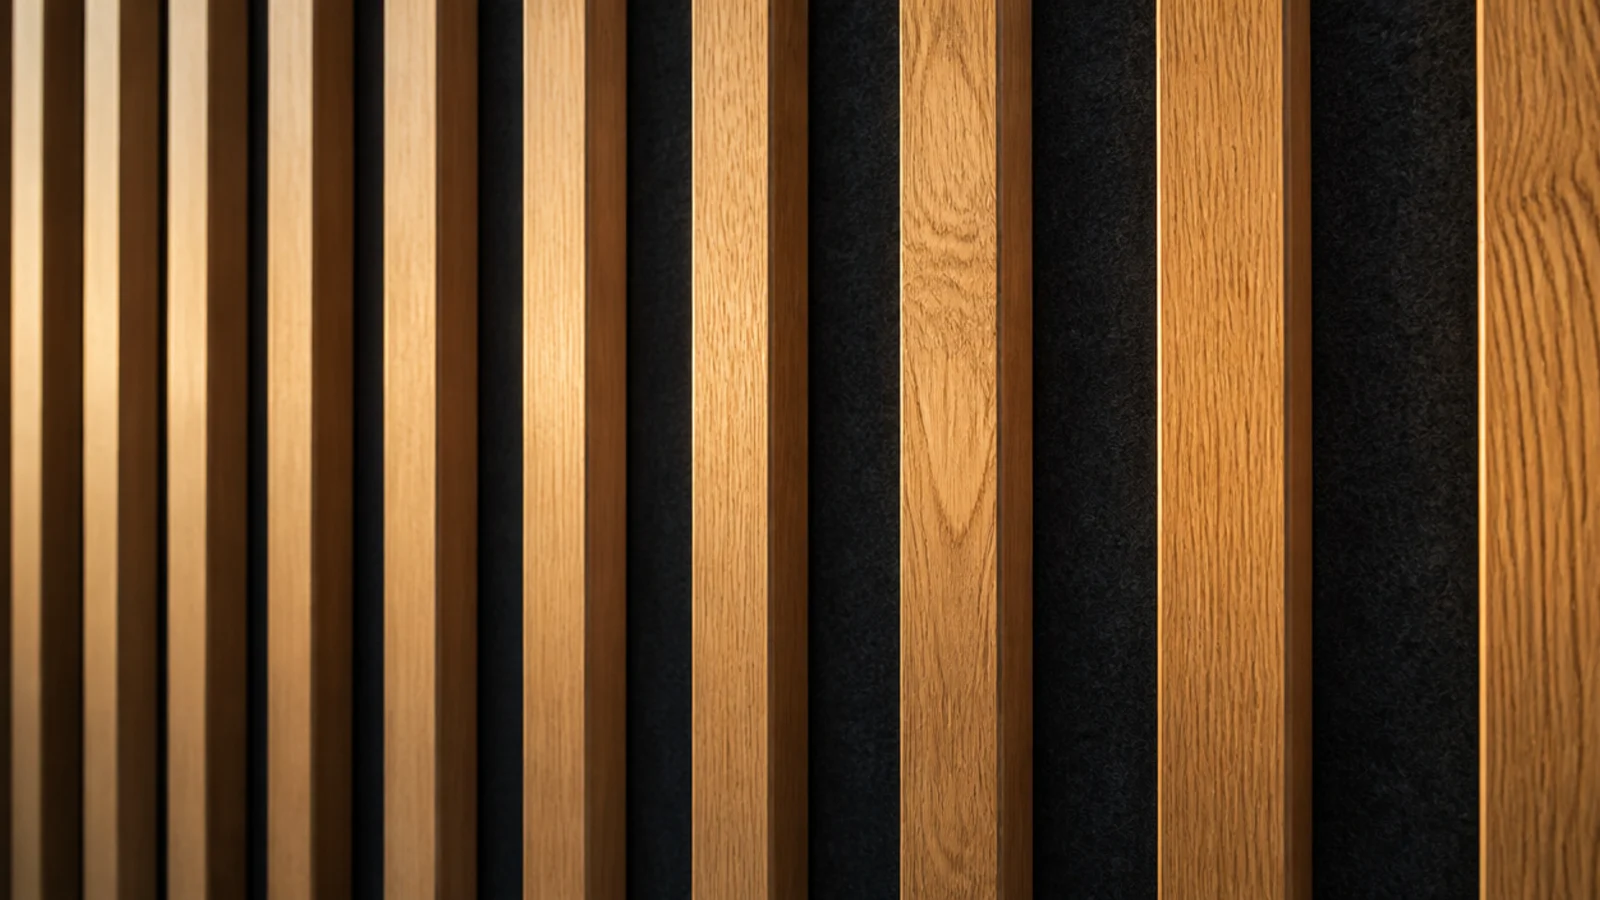
Battens 2.5 to 3.5 inches wide at 12 to 16 inch centres give a rhythm that matches the framing behind. Taking them past the usual chair rail all the way to the cornice is what separates this from a hallway treatment. Use 18 millimetre stock so the shadow lines read properly.
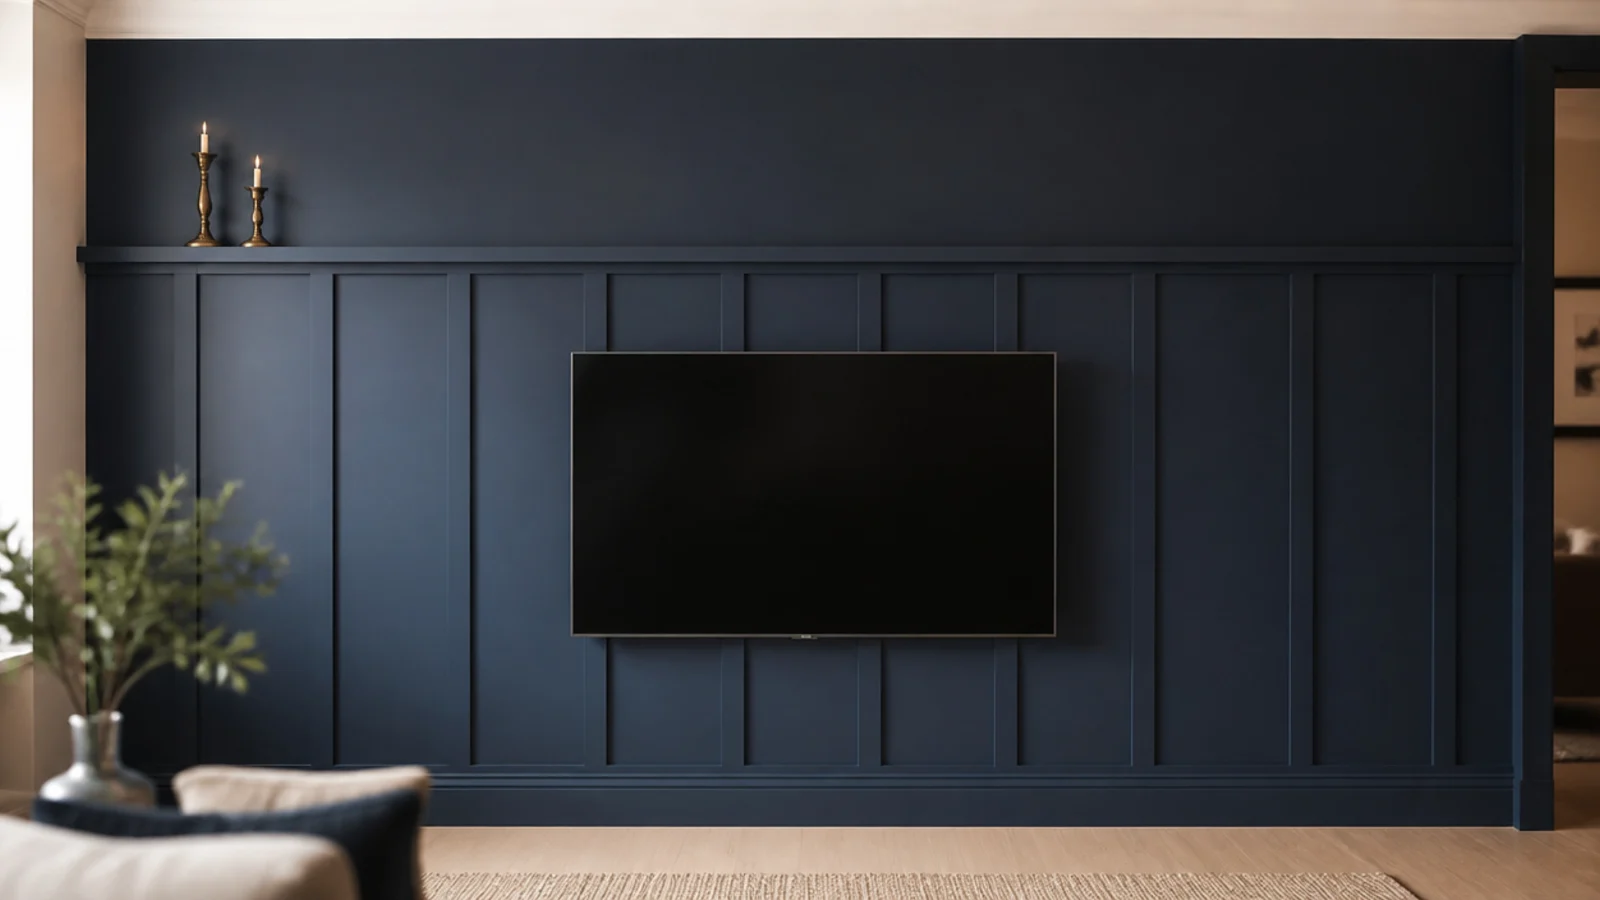
4. A picture-frame moulding grid
Keep 3 to 5 inches between boxes, 4 to 6 inches above the skirting and equal margins at both ends of the wall. The margins are the part people get wrong. Nine millimetre moulding at 2 to 4 dollars a metre makes this the cheapest genuine architecture on the list.
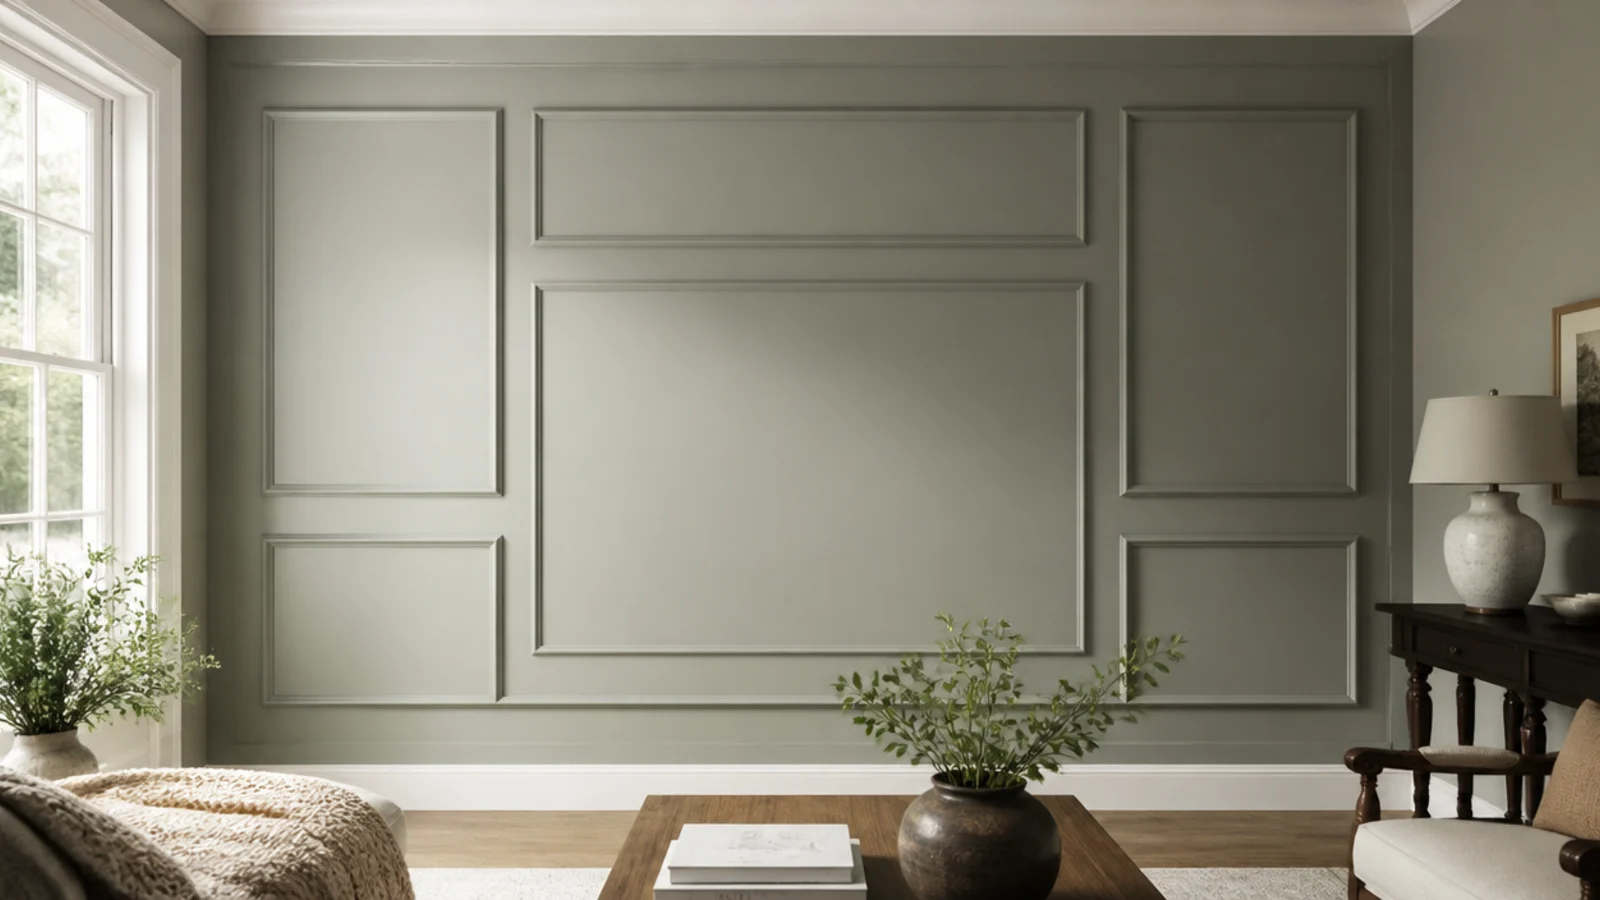
5. Micro-cement troweled over the existing plaster
Two thin coats totalling around 2 millimetres, then a matt sealer, gives a seamless mineral surface with no joints anywhere. It needs a sound, flat, crack-free substrate and a steady hand. Applied cost runs 90 to 200 dollars a square metre, and the finish is genuinely hard-wearing once cured.
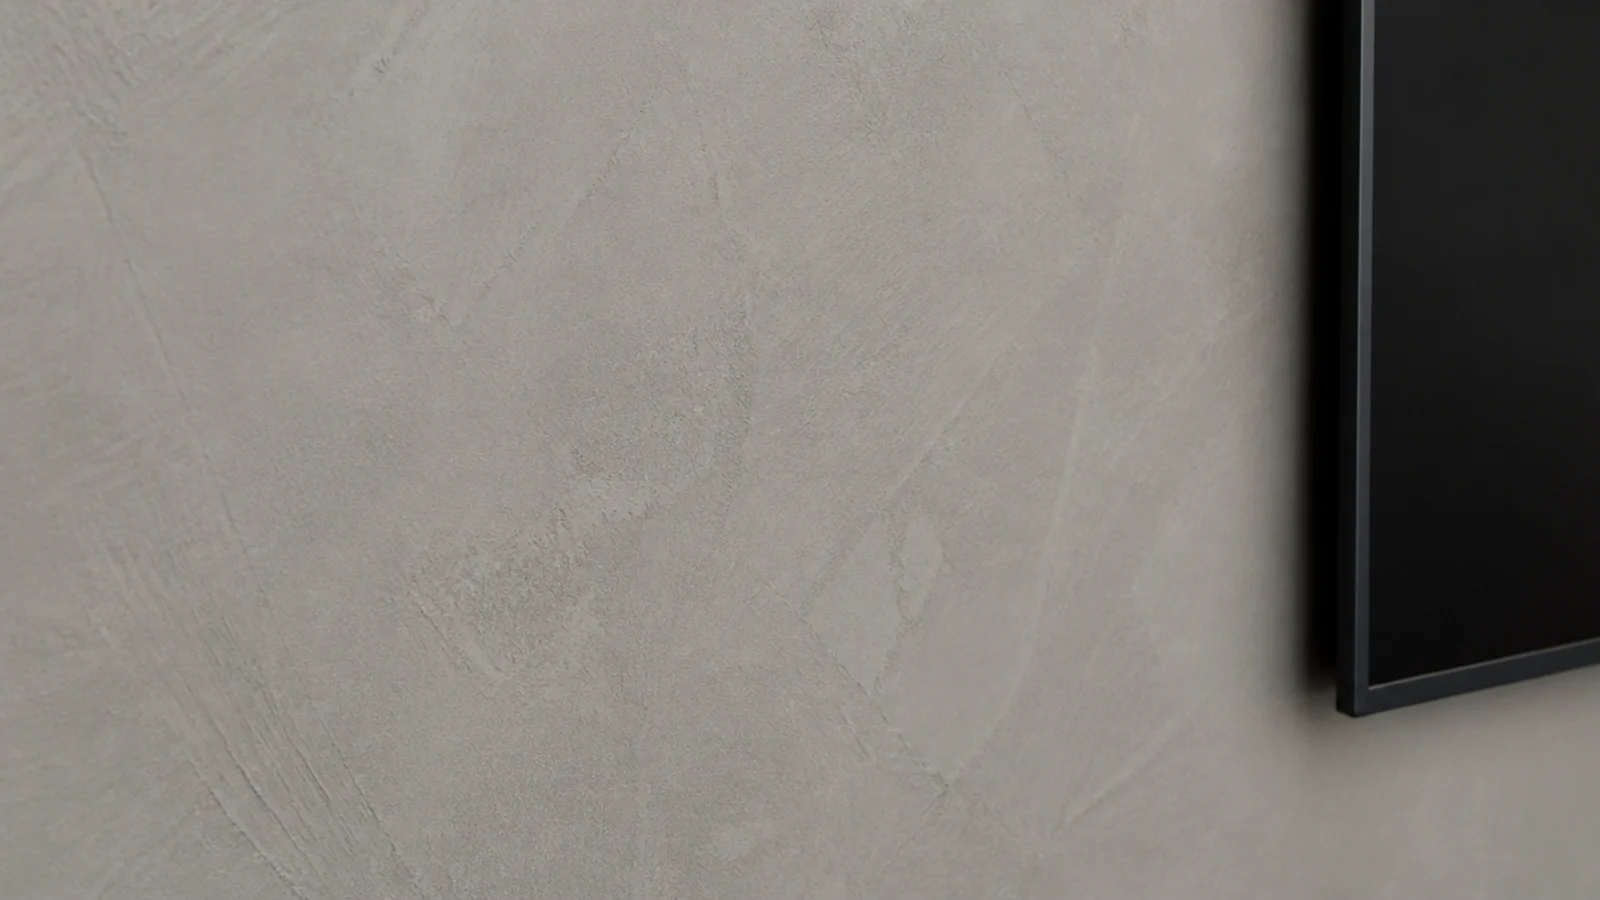
6. Two-tone limewash with a soft break line
Limewash covers roughly 10 square metres per litre per coat and needs two coats over a mineral primer. Two related tones meeting at chair rail height gives a wall movement without a hard edge. It is chalky and slightly fragile, so keep it above a console rather than behind a sofa back.
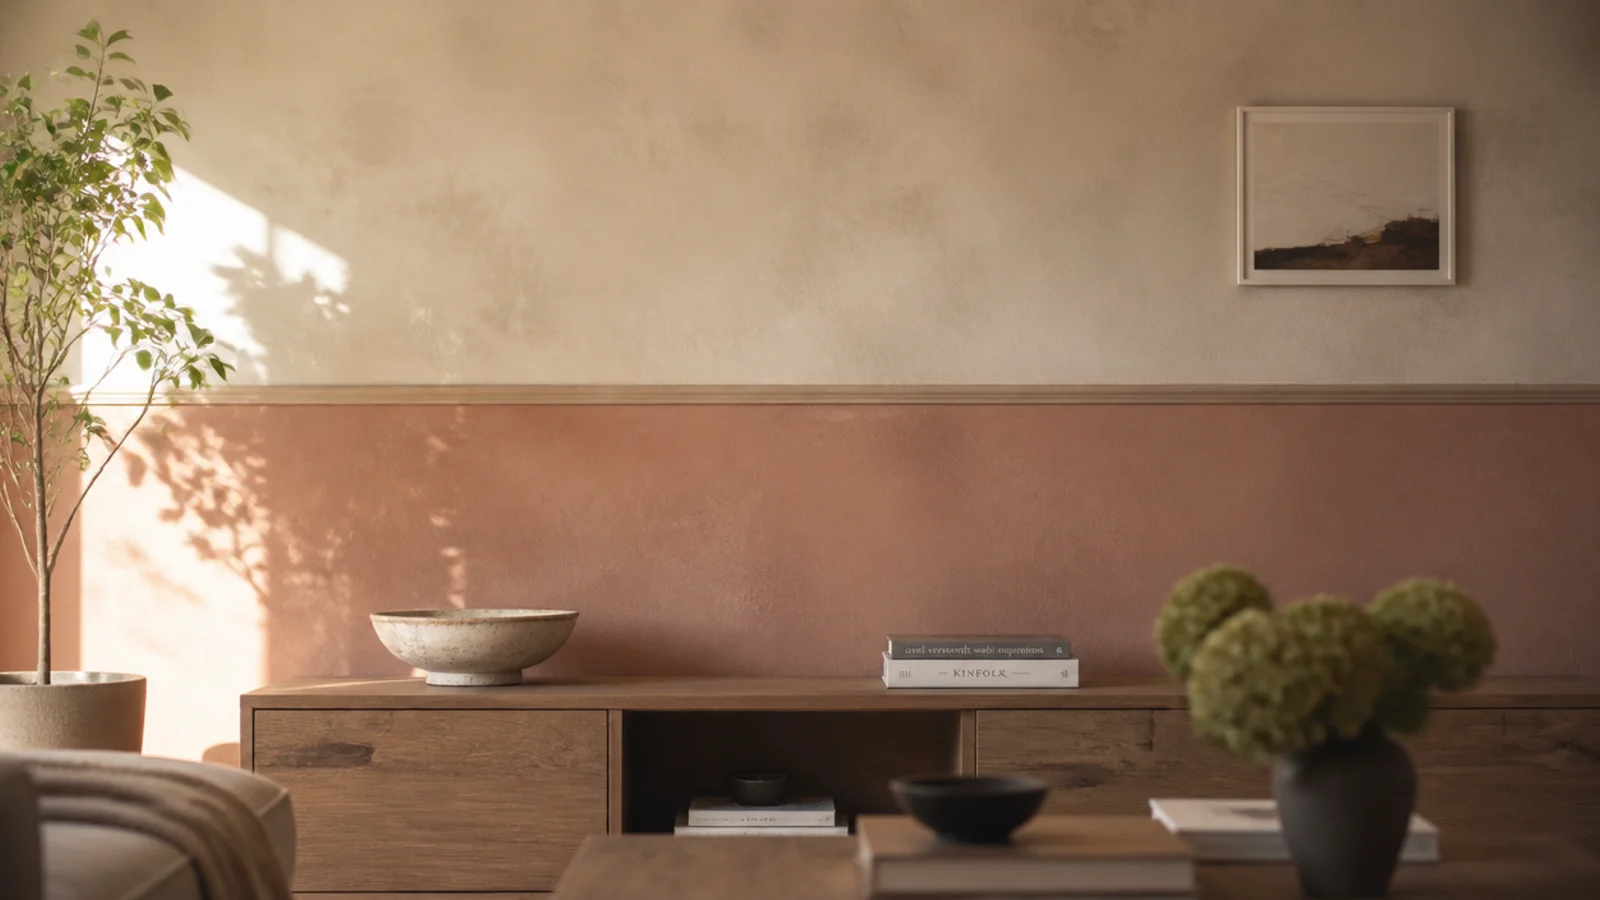
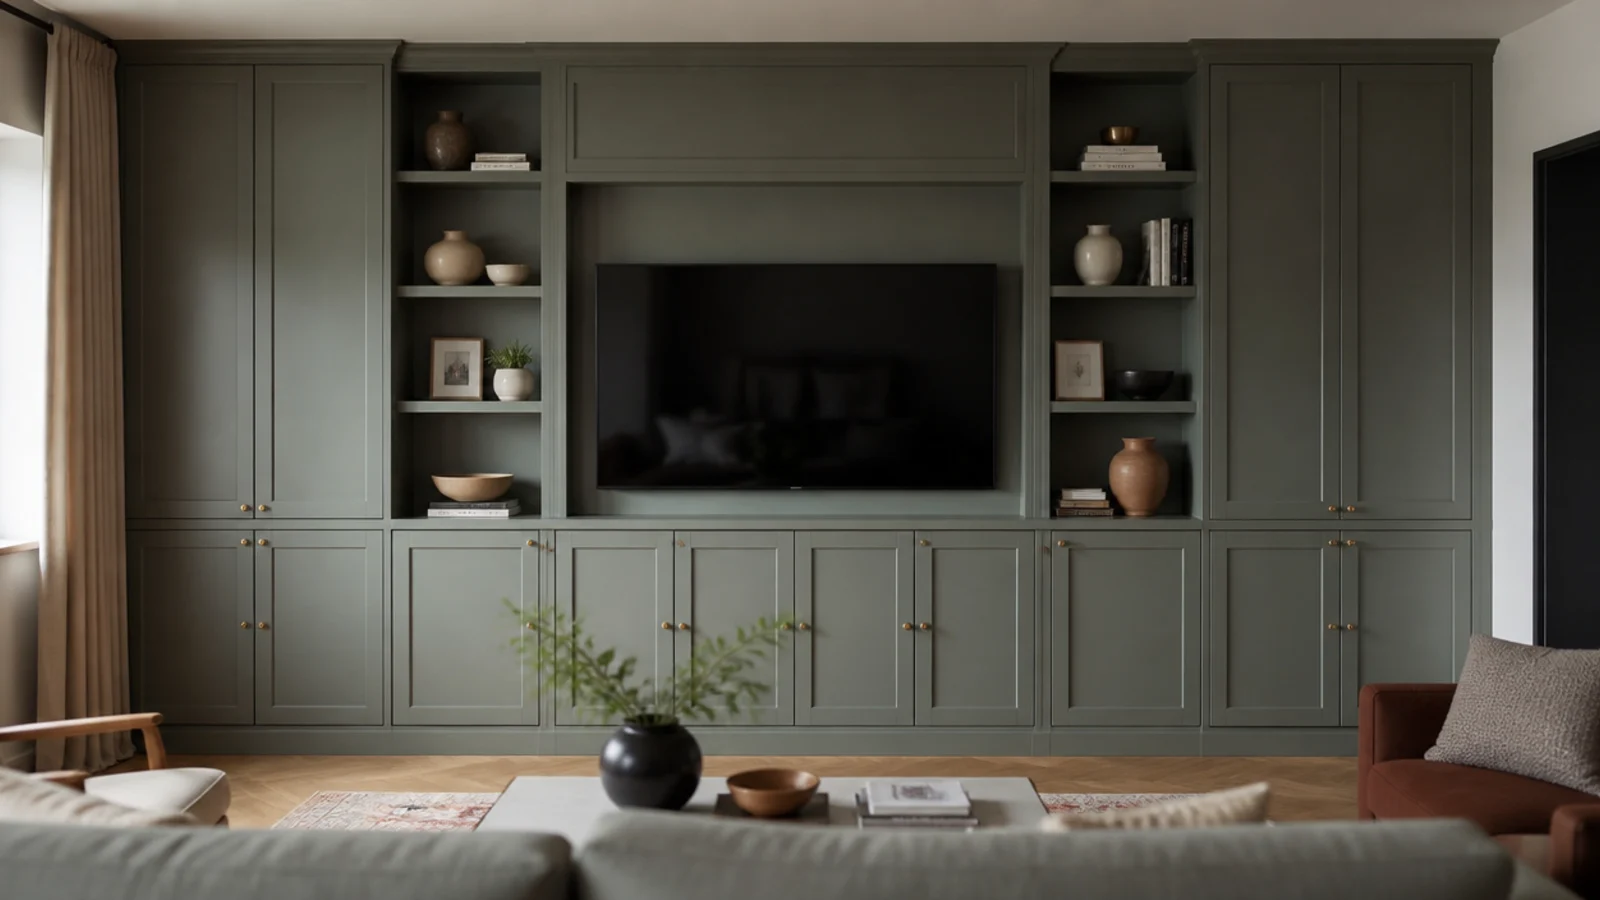
7. Full-wall joinery with a recessed screen niche
The niche needs to be at least 2 inches wider and taller than the panel on every side, and 3 to 4 inches deeper than the mount stack, or the screen cooks. Add a removable back panel for cable access. Budget from 2,000 dollars for a 3 metre run built and sprayed.
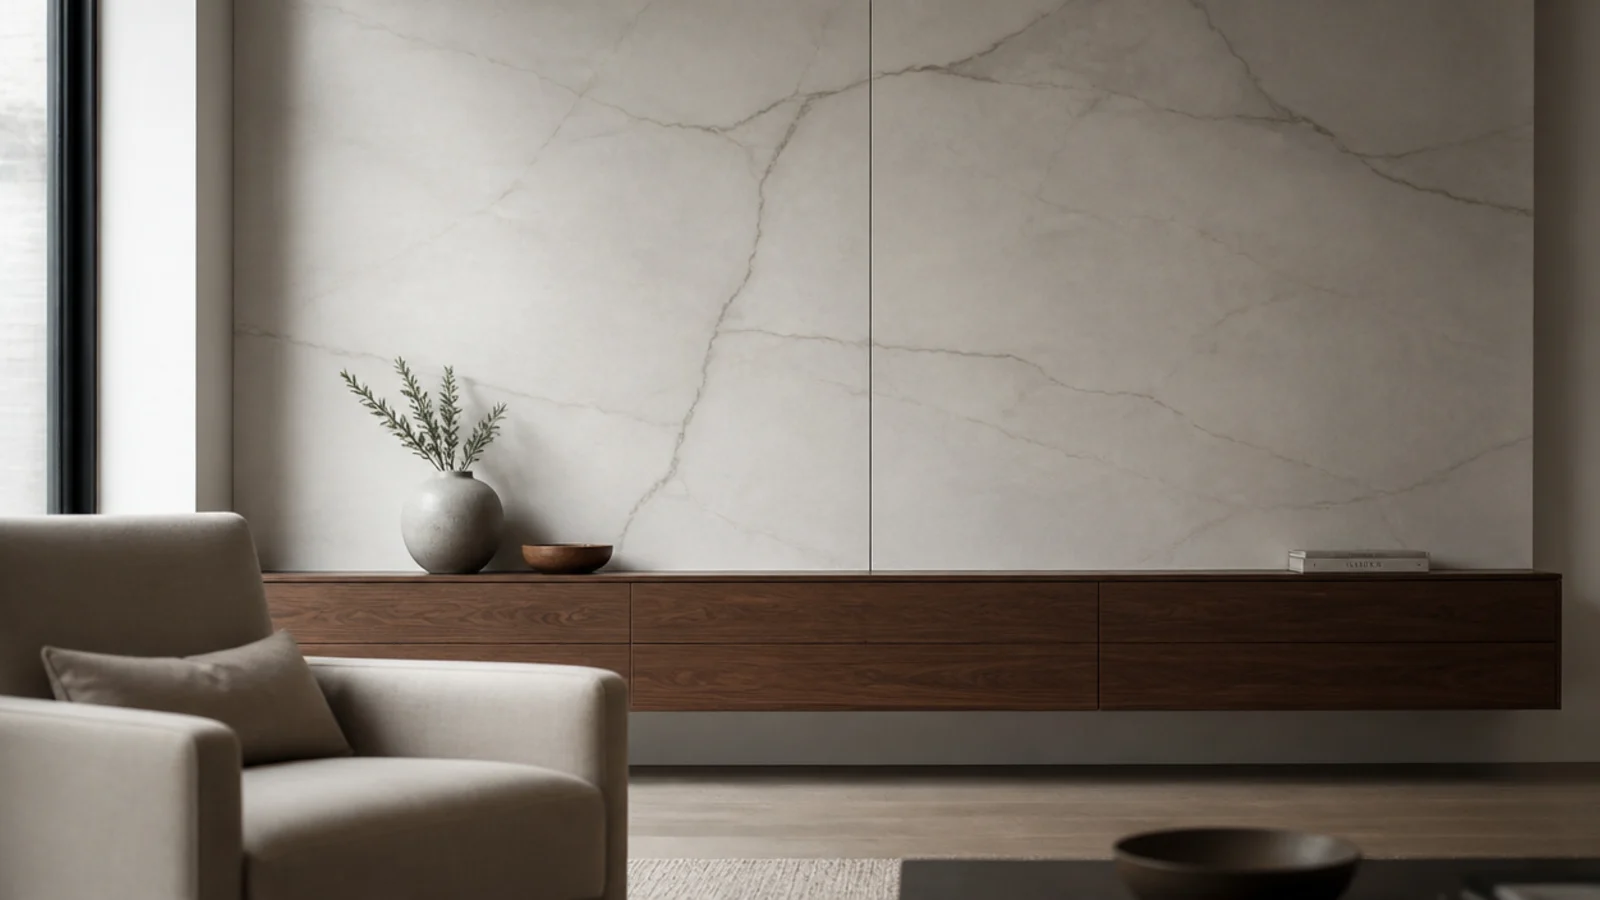
8. Large-format porcelain that reads as stone
Slabs at 1200 by 2600 millimetres cover most feature walls in two pieces, so you get one visible joint instead of twenty grout lines. They are 6 to 12 millimetres thick and heavy, which means a battened substrate and two people minimum. Materials start around 70 dollars a square metre.
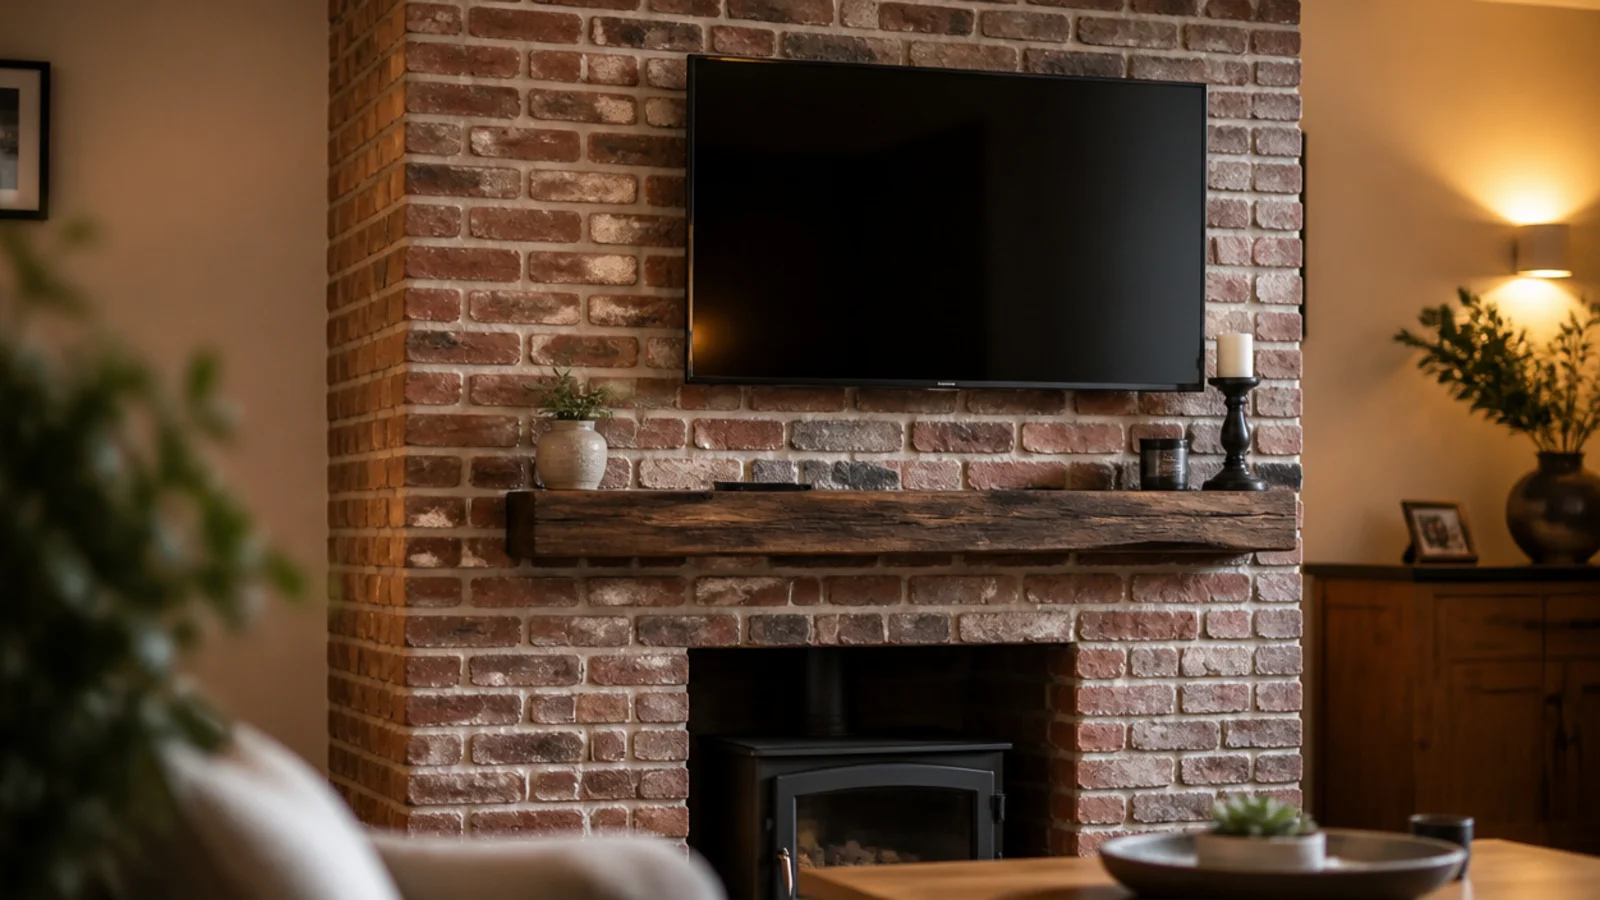
9. Brick slips on the chimney breast only
Slips are 15 to 25 millimetres thick, so they add texture without stealing the room depth a full course would. Keeping them to the chimney breast rather than the whole wall stops the effect tipping into a themed bar. Point with a lime mortar for a softer, older-looking joint.
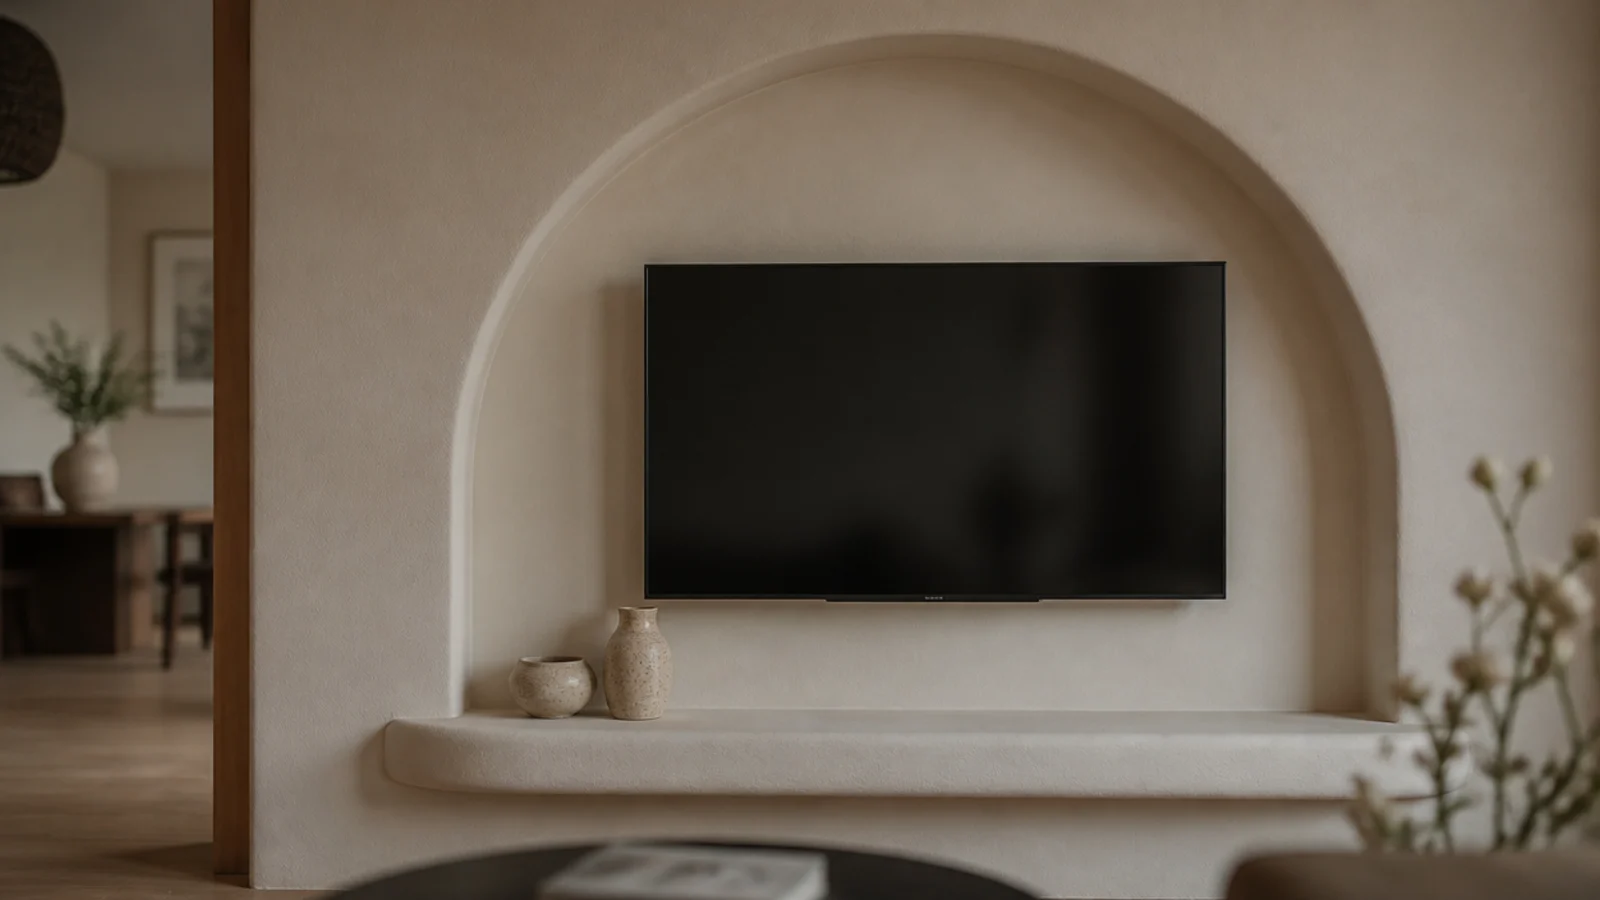
10. An arched recess drawn around the screen
A plywood arch template, two layers of 12 millimetre MDF and a skim coat gives a curve that reads as plasterwork. Keep the arch spring point above the top of the screen so the curve is not cropped by the panel. Radius of 400 to 600 millimetres suits most standard ceiling heights.
11. Floor-to-ceiling curtain as the backdrop
A ceiling-track curtain in heavy linen behind the whole wall costs 150 to 400 dollars and does more for room acoustics than any panel here. It also hides a wall you cannot alter. Allow 2 to 2.5 times the wall width in fabric so the folds stay generous rather than flat.
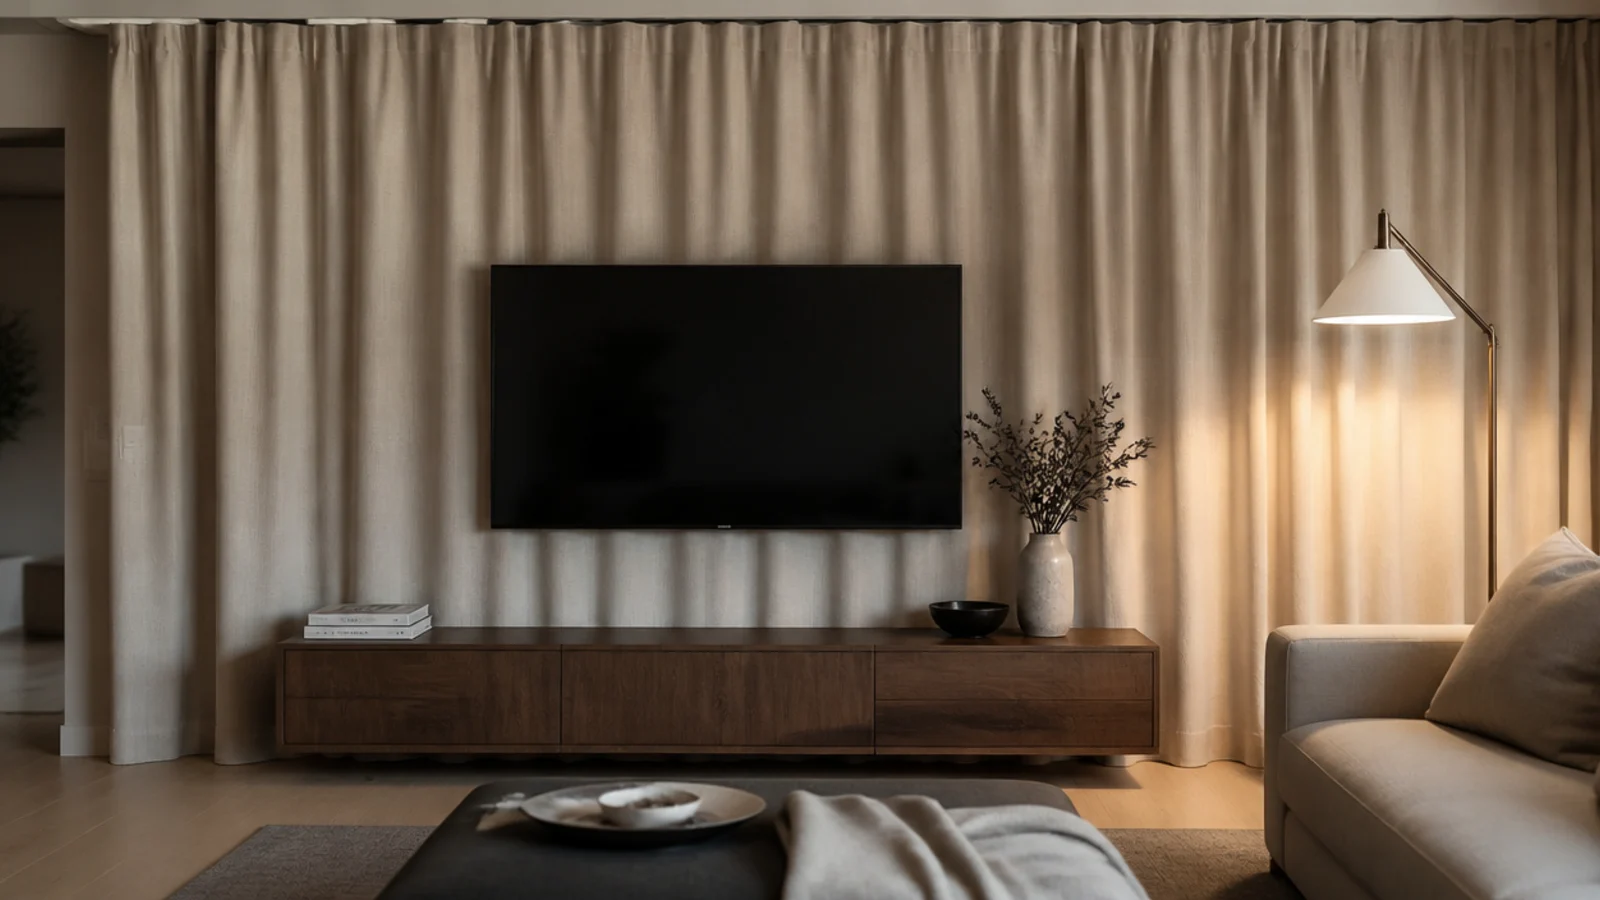
12. Colour-drench the alcove between chimney breasts
Paint the alcove walls, ceiling, back and shelf edges in one deep shade and leave the surrounding wall pale. The recess reads as genuine depth rather than a gap. Use an eggshell inside so the shelves wipe clean, and keep the same colour on the reveal edges.
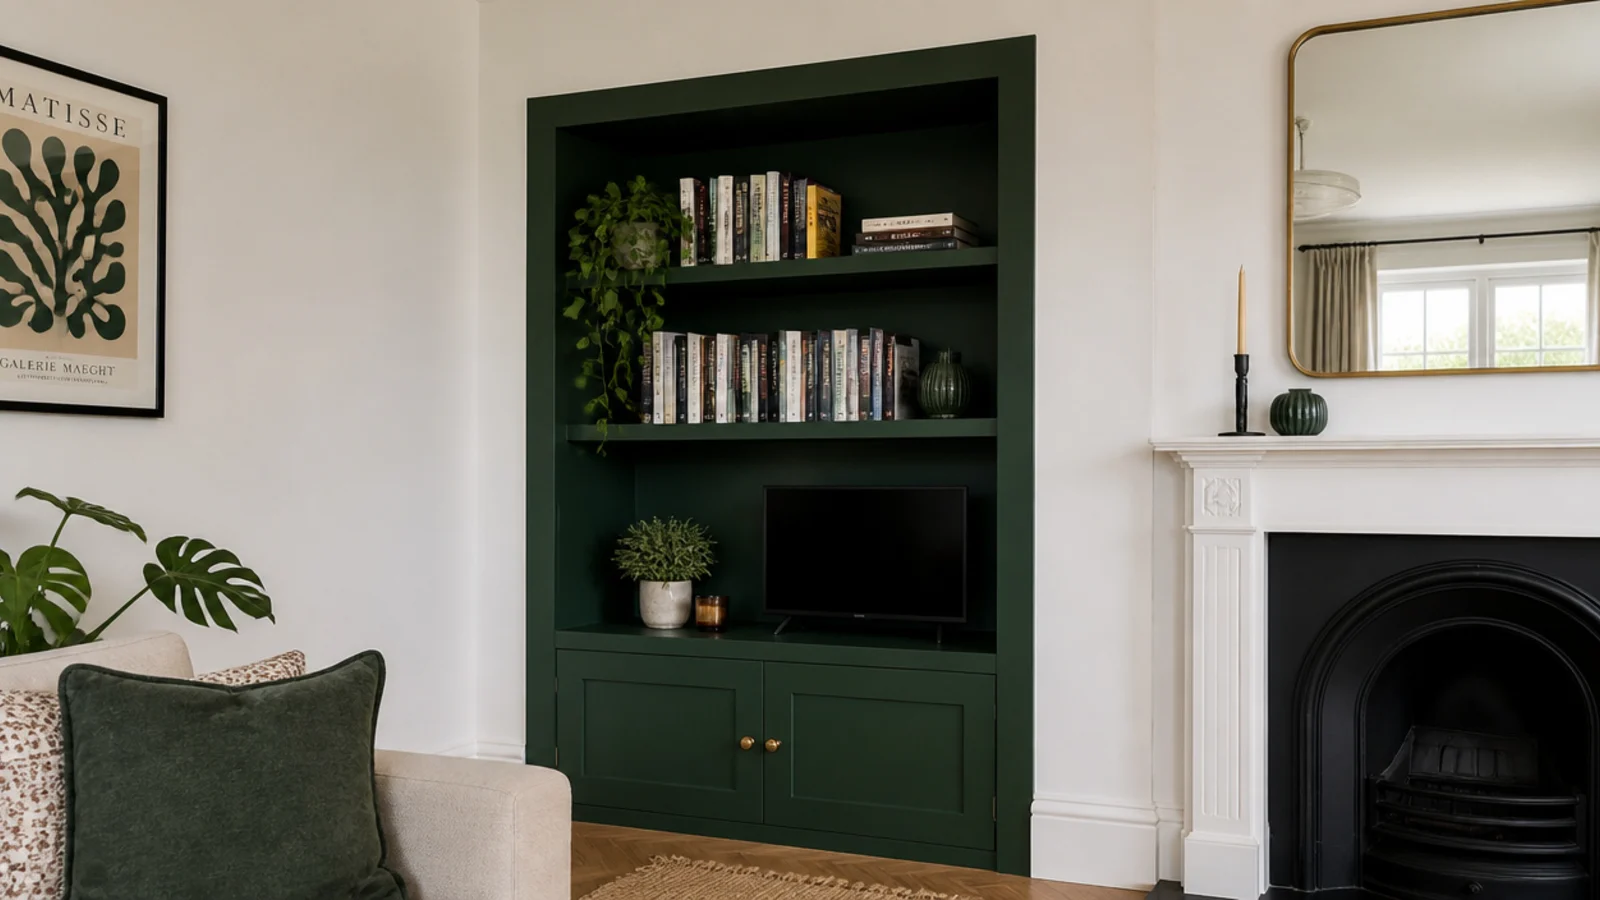
13. A backlit LED cove behind the panel
Set the strip 40 to 60 millimetres back from the panel edge so the wall gets a wash rather than a hot line. Use warm 2700K at around 400 to 600 lumens per metre, on a dimmer. Bias lighting behind a screen genuinely reduces eye strain during dark scenes.
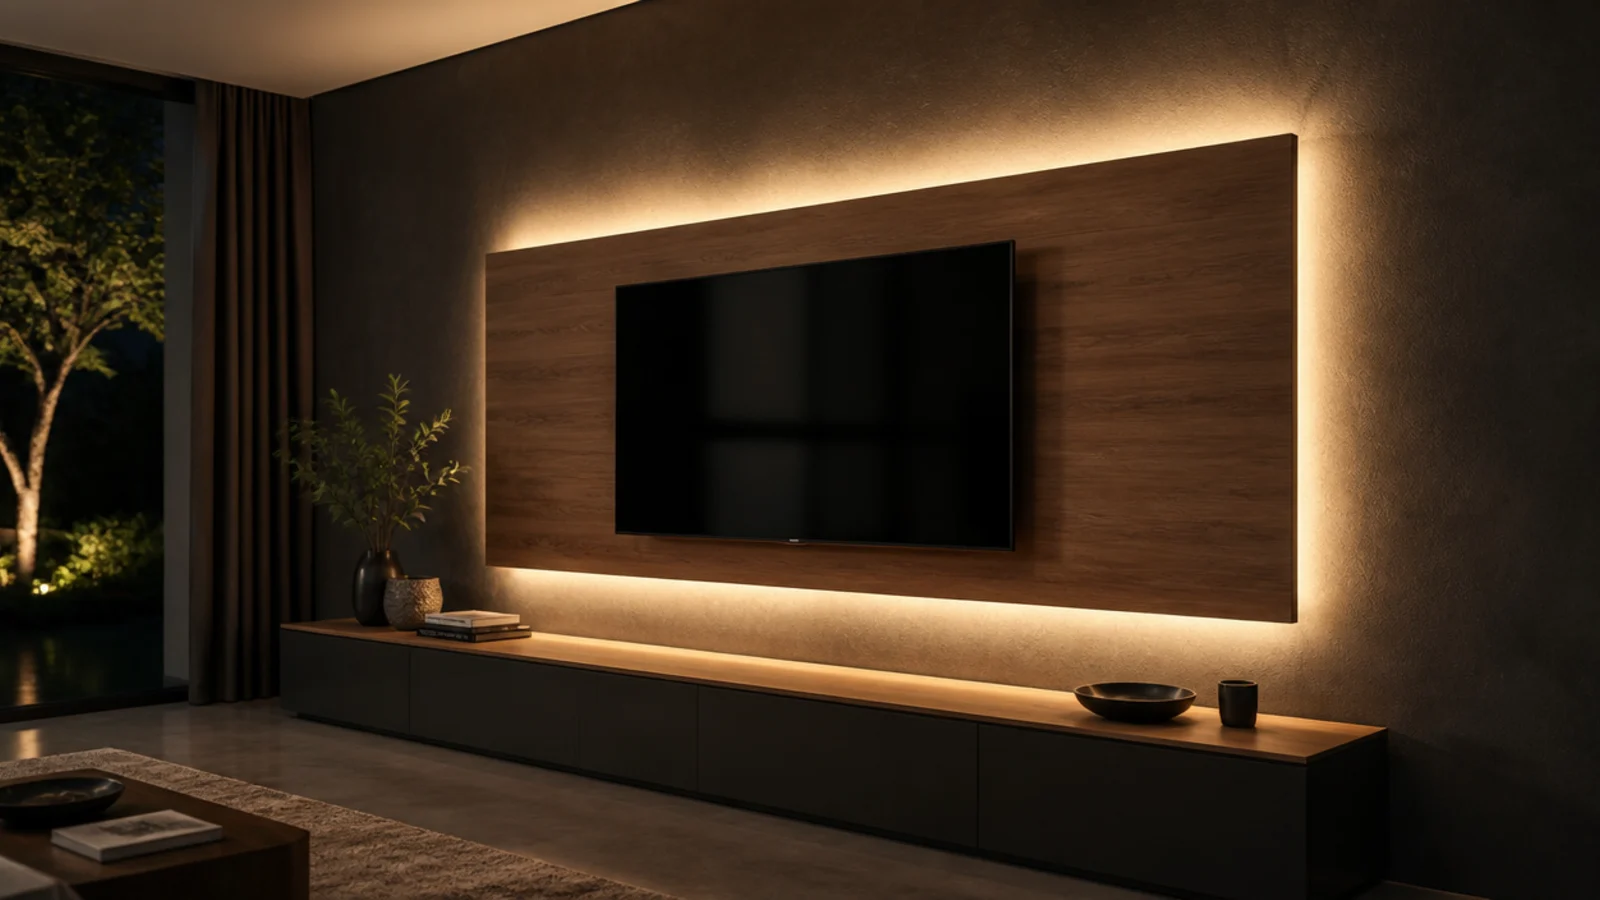
14. Two-tone paint split at forty-two inches
A horizontal break at 40 to 44 inches, exactly where a chair rail would sit, brings a tall wall down to a human scale. Darker below, lighter above, matt in both. It costs one extra tin and a roll of low-tack tape, and it works in every rental.
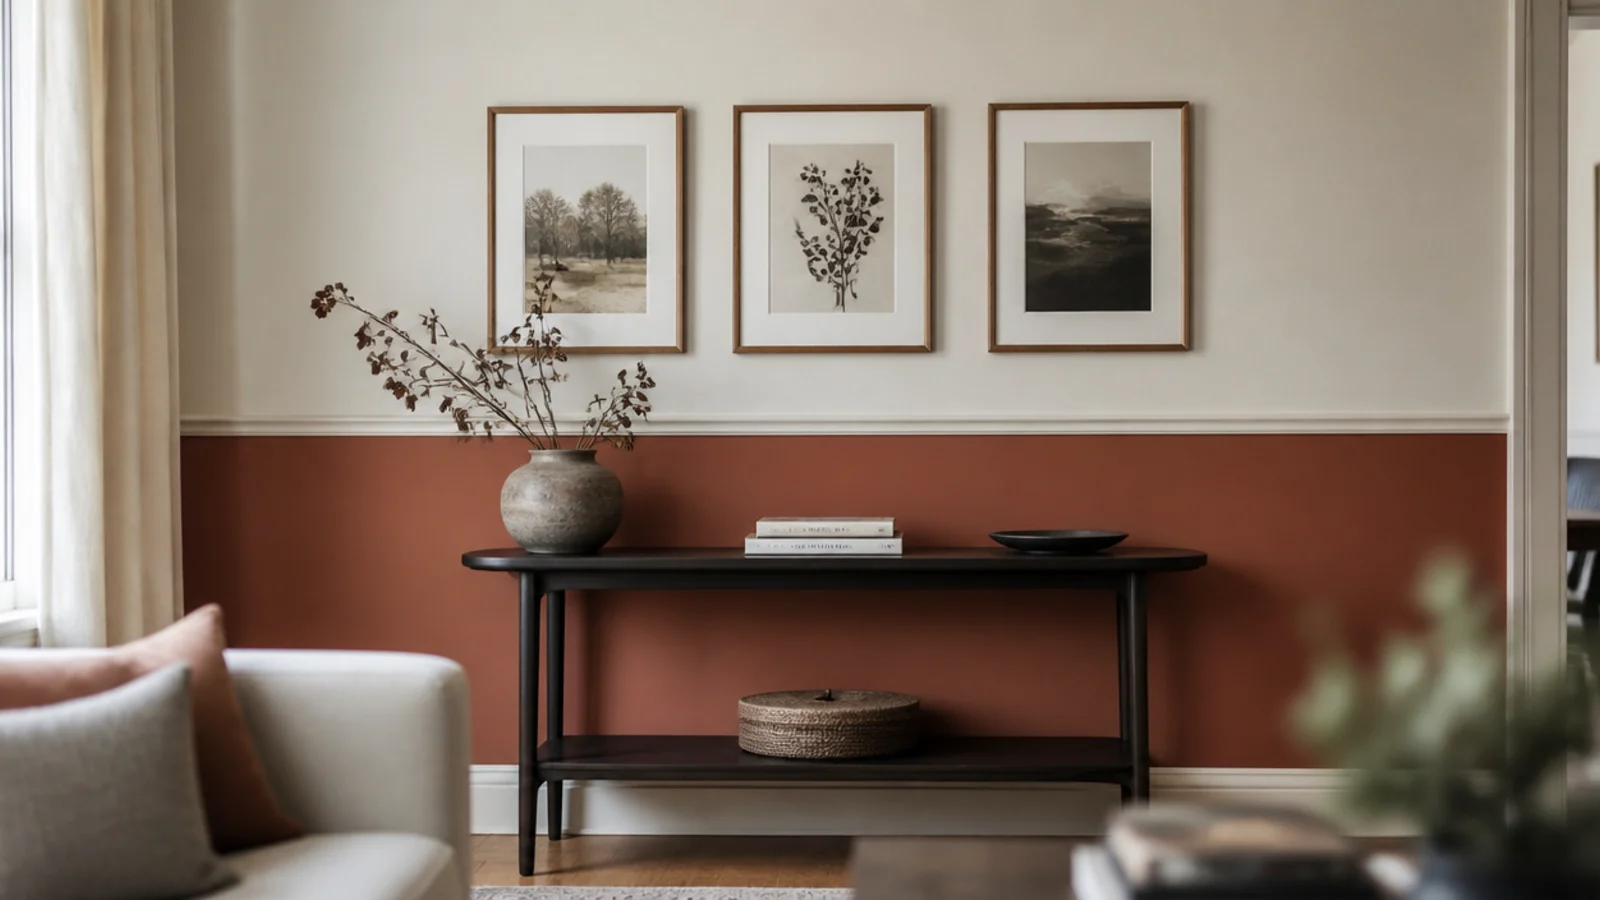
15. Horizontal shiplap for a lower ceiling
Horizontal boards stretch a narrow wall sideways, which suits a long thin living room. Use 120 to 145 millimetre boards with a 5 millimetre shadow gap, and start from the top so any cut board lands at the skirting where nobody looks.
16. Reeded glass doors on the flanking cabinets
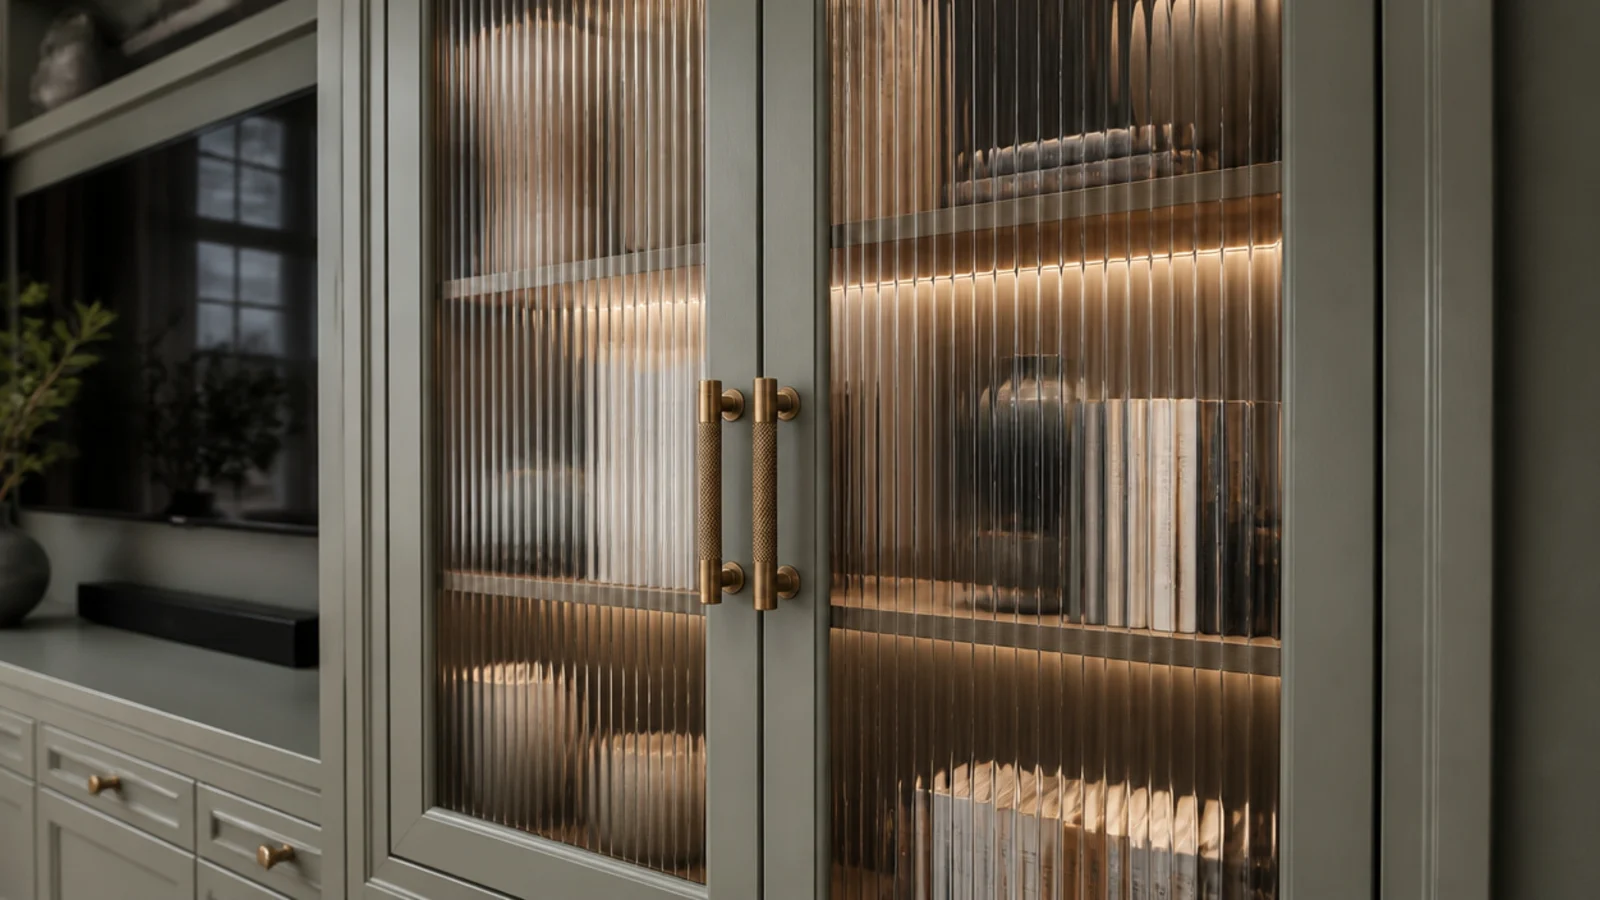
Ribbed or fluted glass blurs whatever sits behind it while still reading as open, which is exactly right for a cupboard holding cables and games. Toughened reeded glass runs 120 to 250 dollars a door. Pair it with an interior light and the cabinet becomes part of the design.
17. A bookmatched slab with a mirrored vein
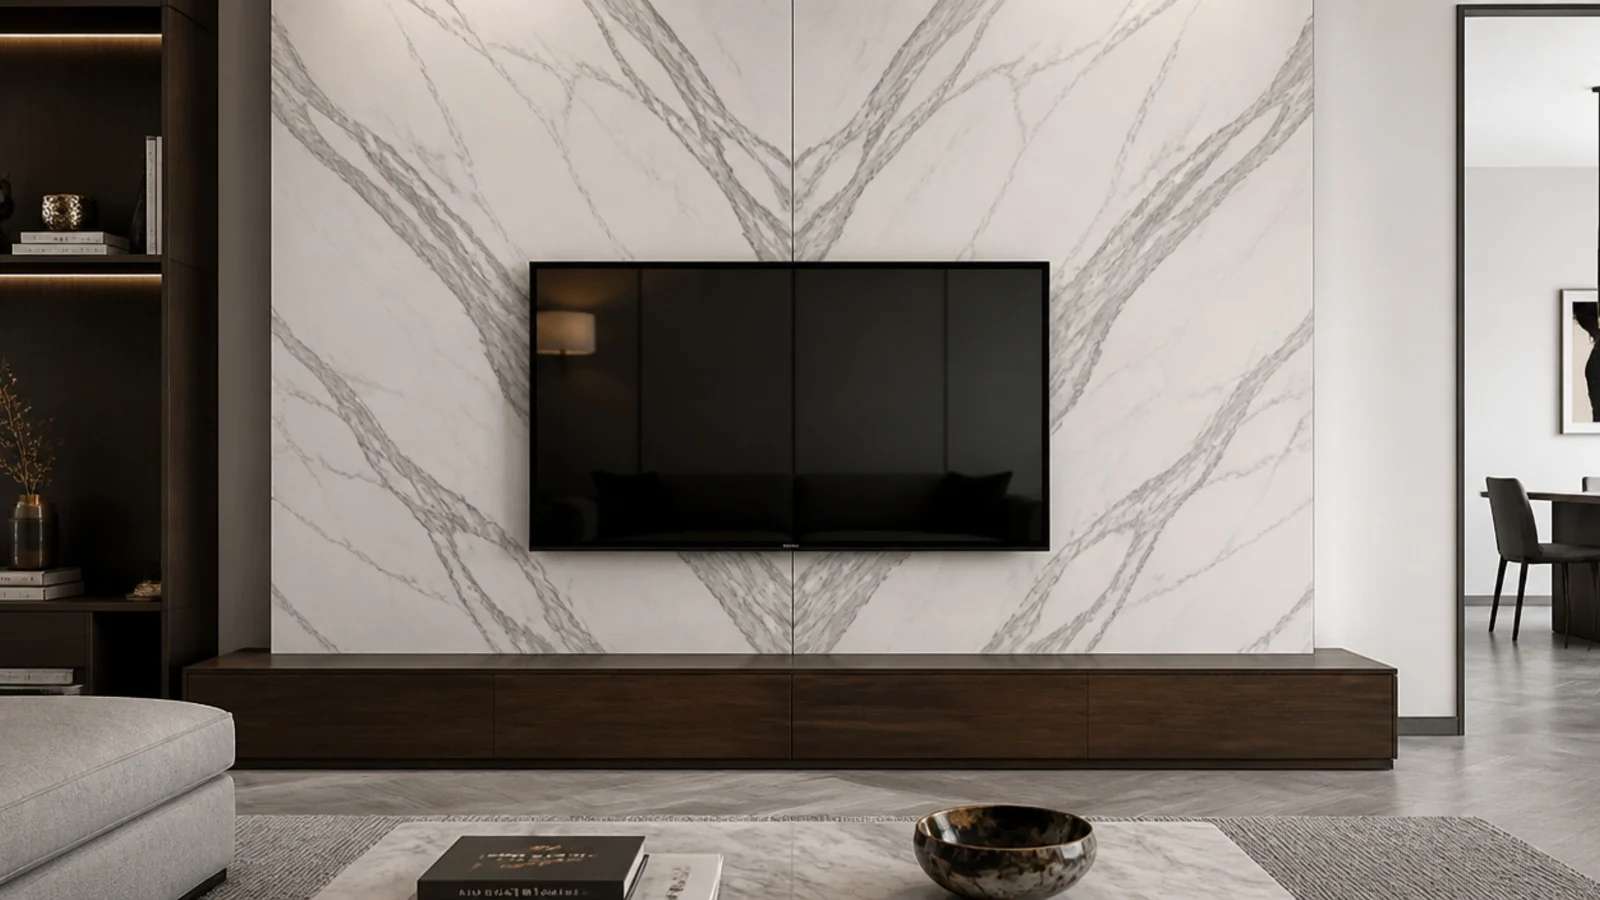
Two slabs cut from the same block and opened like a book give a symmetrical vein through the middle of the wall. Porcelain versions cost a fraction of real stone and weigh half as much. Centre the joint on the screen, not on the wall, or the symmetry is lost.
18. Charred timber for a matt black wall
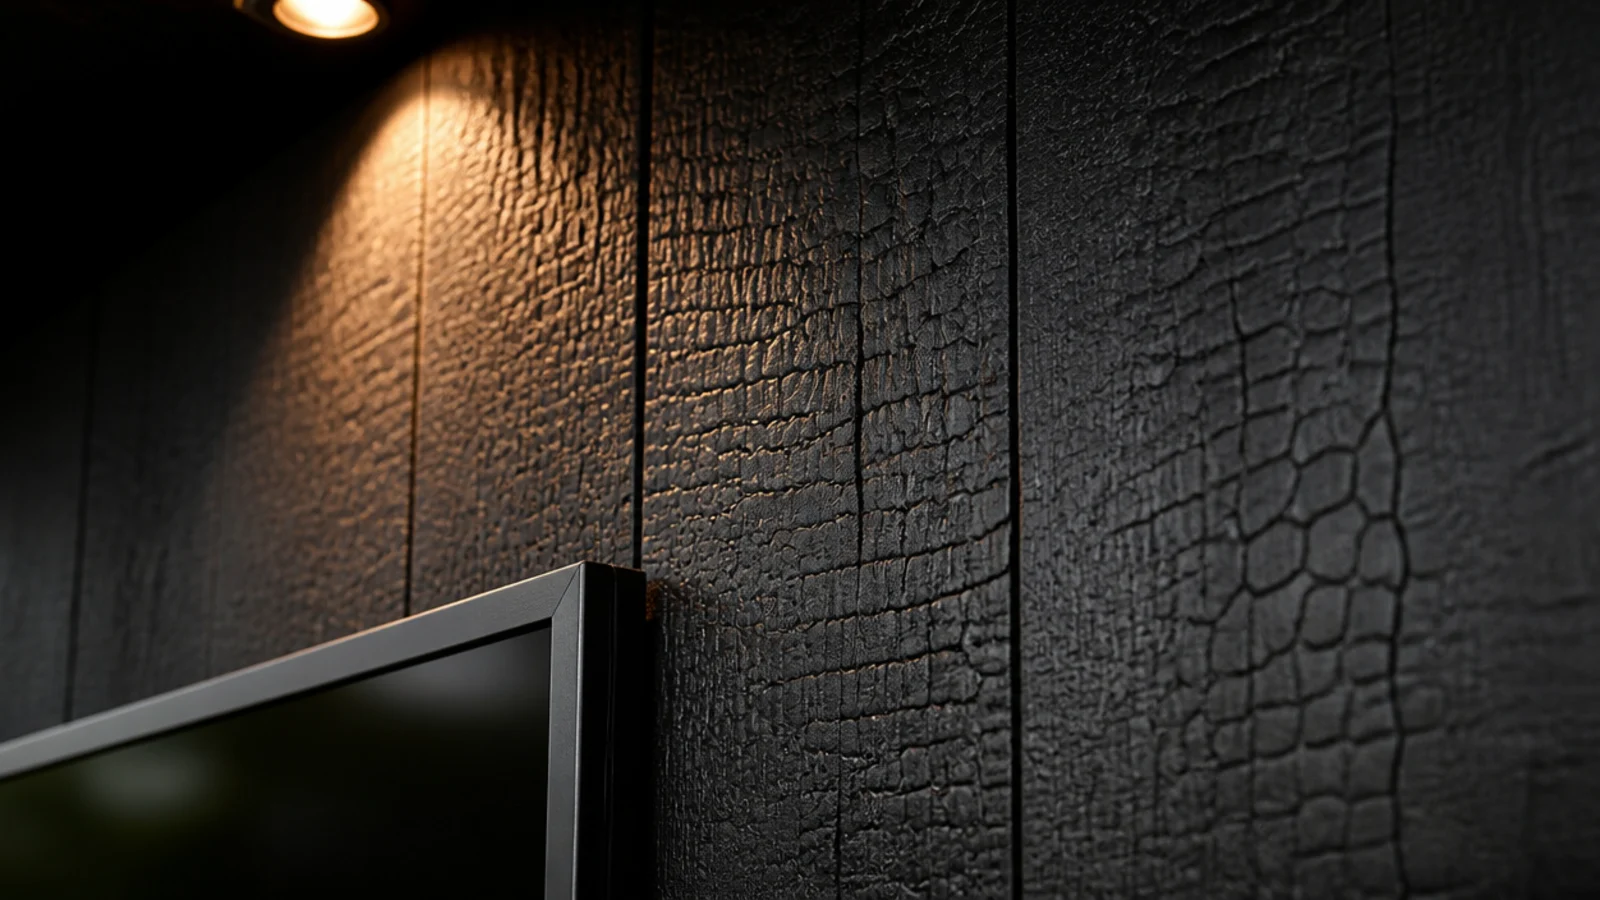
Shou sugi ban cladding gives you black with a visible grain instead of a flat coat of paint. It is stable, insect-resistant and low maintenance once oiled. Boards run 60 to 120 dollars a square metre. Brush the loose char off before fixing or it marks everything it touches.
19. A cork wall that absorbs and warms
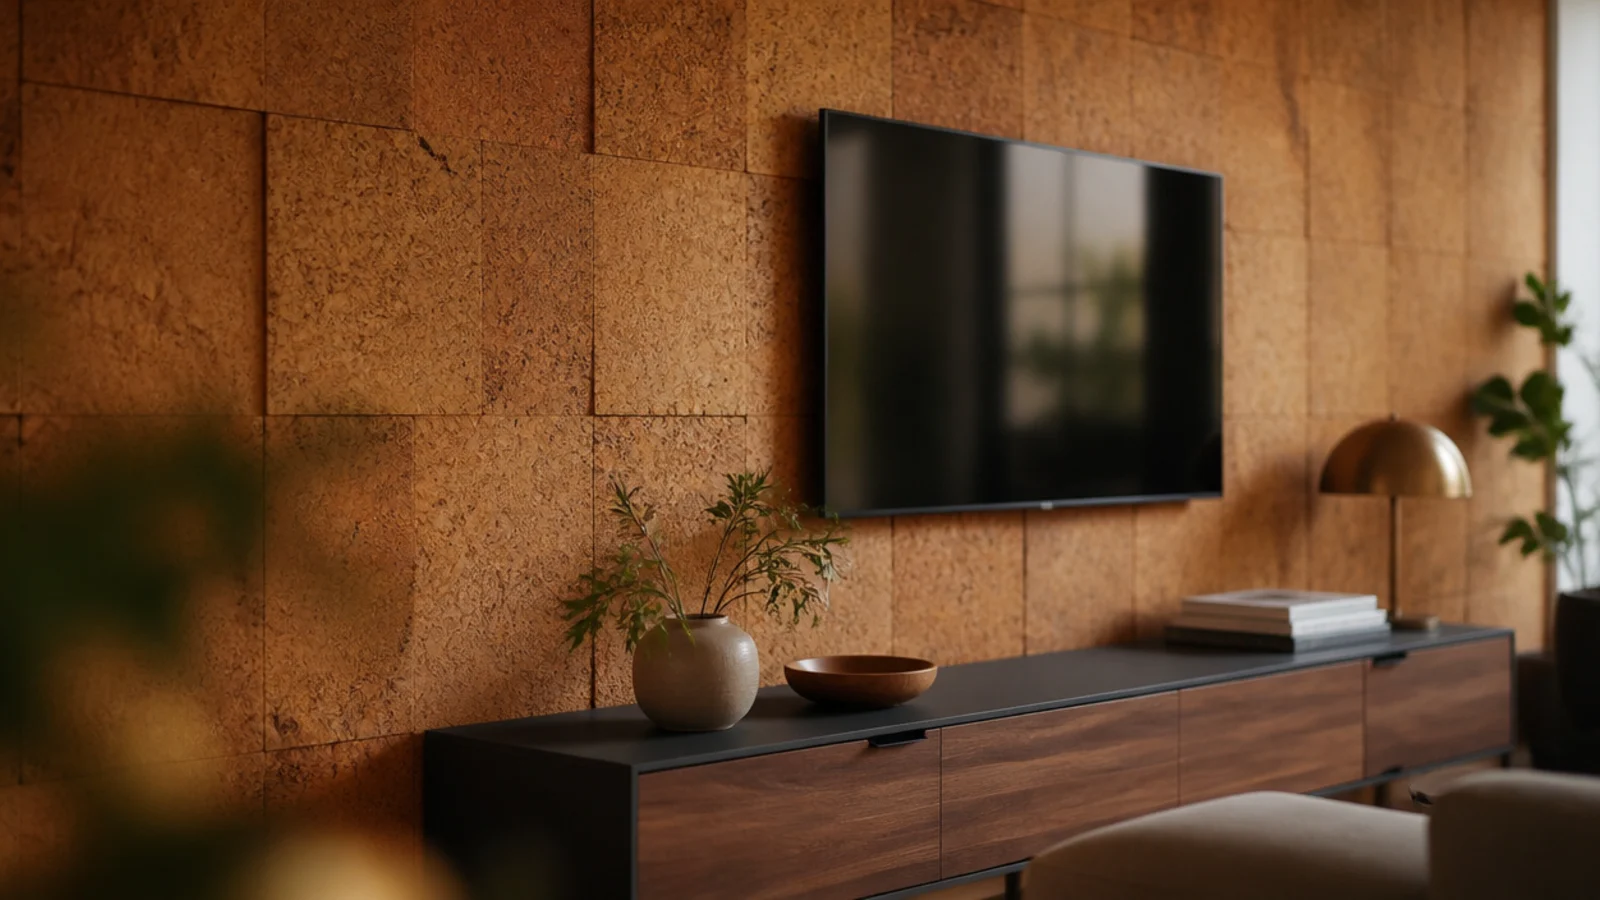
Cork tiles at 3 to 6 millimetres thick take a pin, deaden sound and cost 25 to 50 dollars a square metre. They go up on contact adhesive over sound plaster. Seal with a matt water-based finish if the wall is anywhere near a radiator or direct sun.
20. Wallpaper everywhere except a plain screen panel
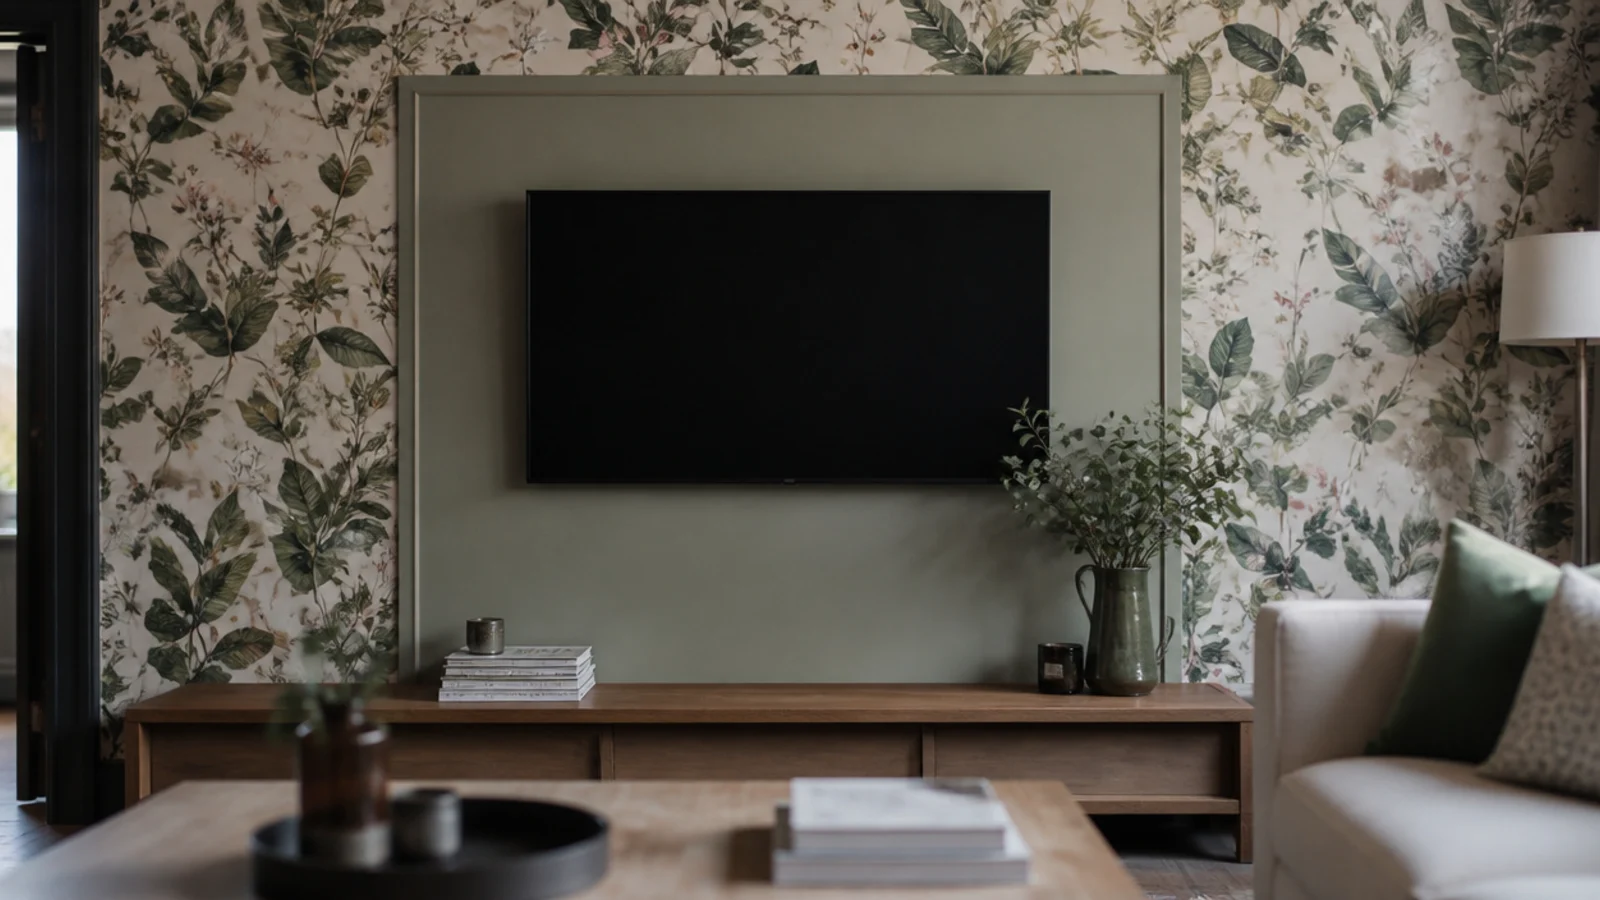
Busy paper behind a screen fights the picture all evening. Wrap the wall in pattern, then frame a plain painted rectangle at least 12 inches larger than the panel on every side with slim moulding. The screen gets calm ground and the room keeps its character.
21. Herringbone timber laid on the wall
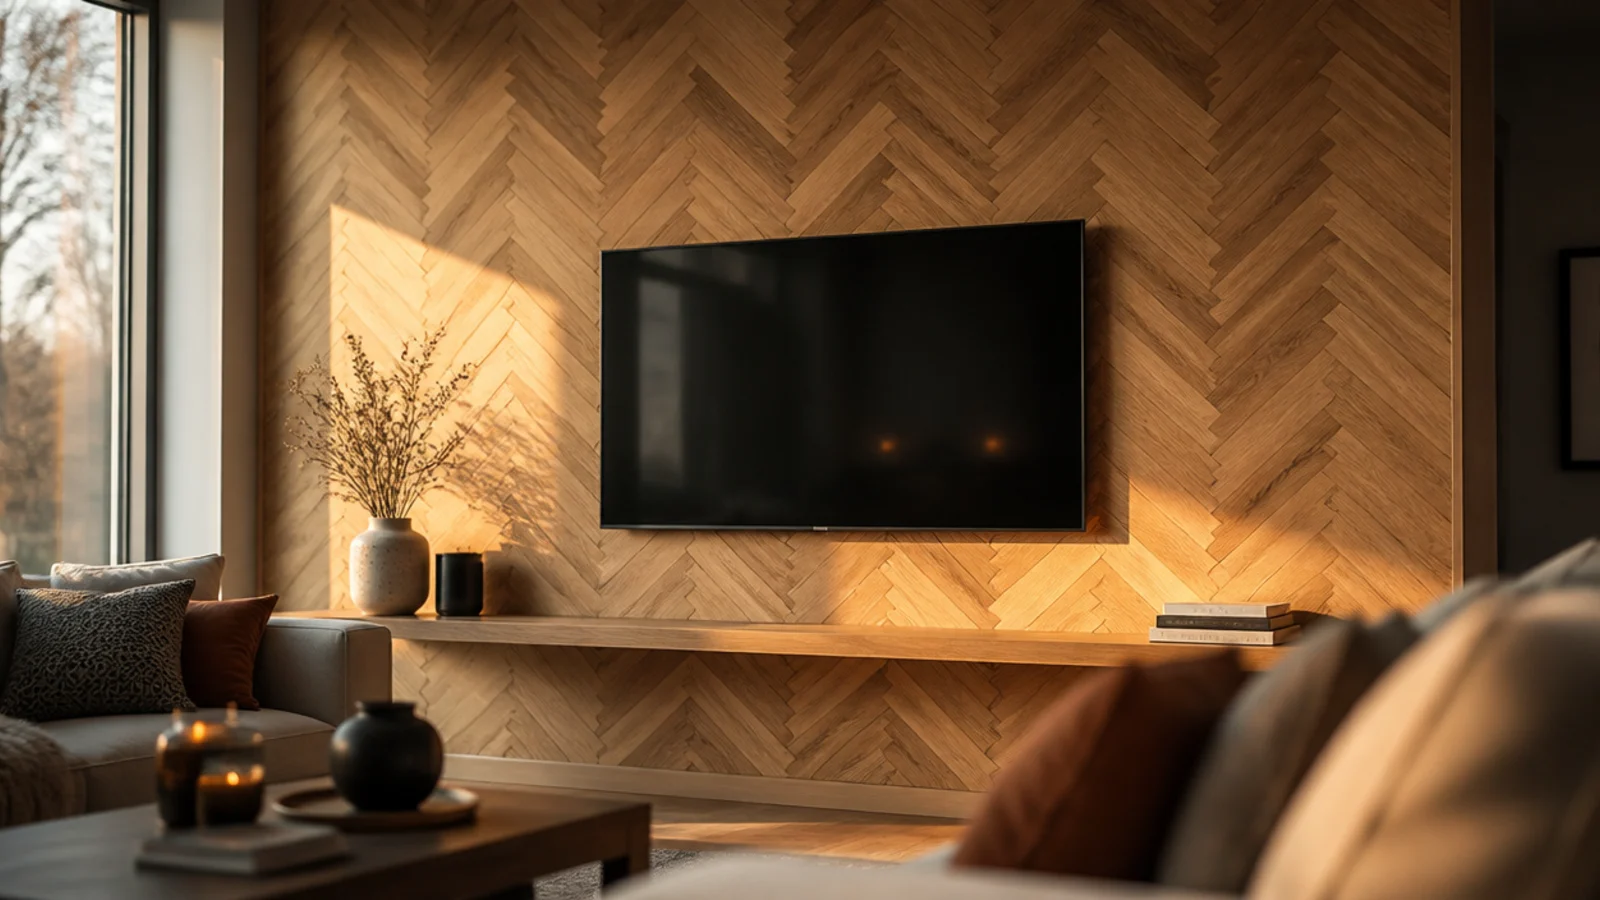
Engineered oak herringbone blocks cost 45 to 90 dollars a square metre and go on a wall exactly as they go on a floor, with adhesive and a plywood substrate. Set out from the centre line of the screen so the pattern resolves symmetrically either side.
22. A floating cabinet on a lit toe recess
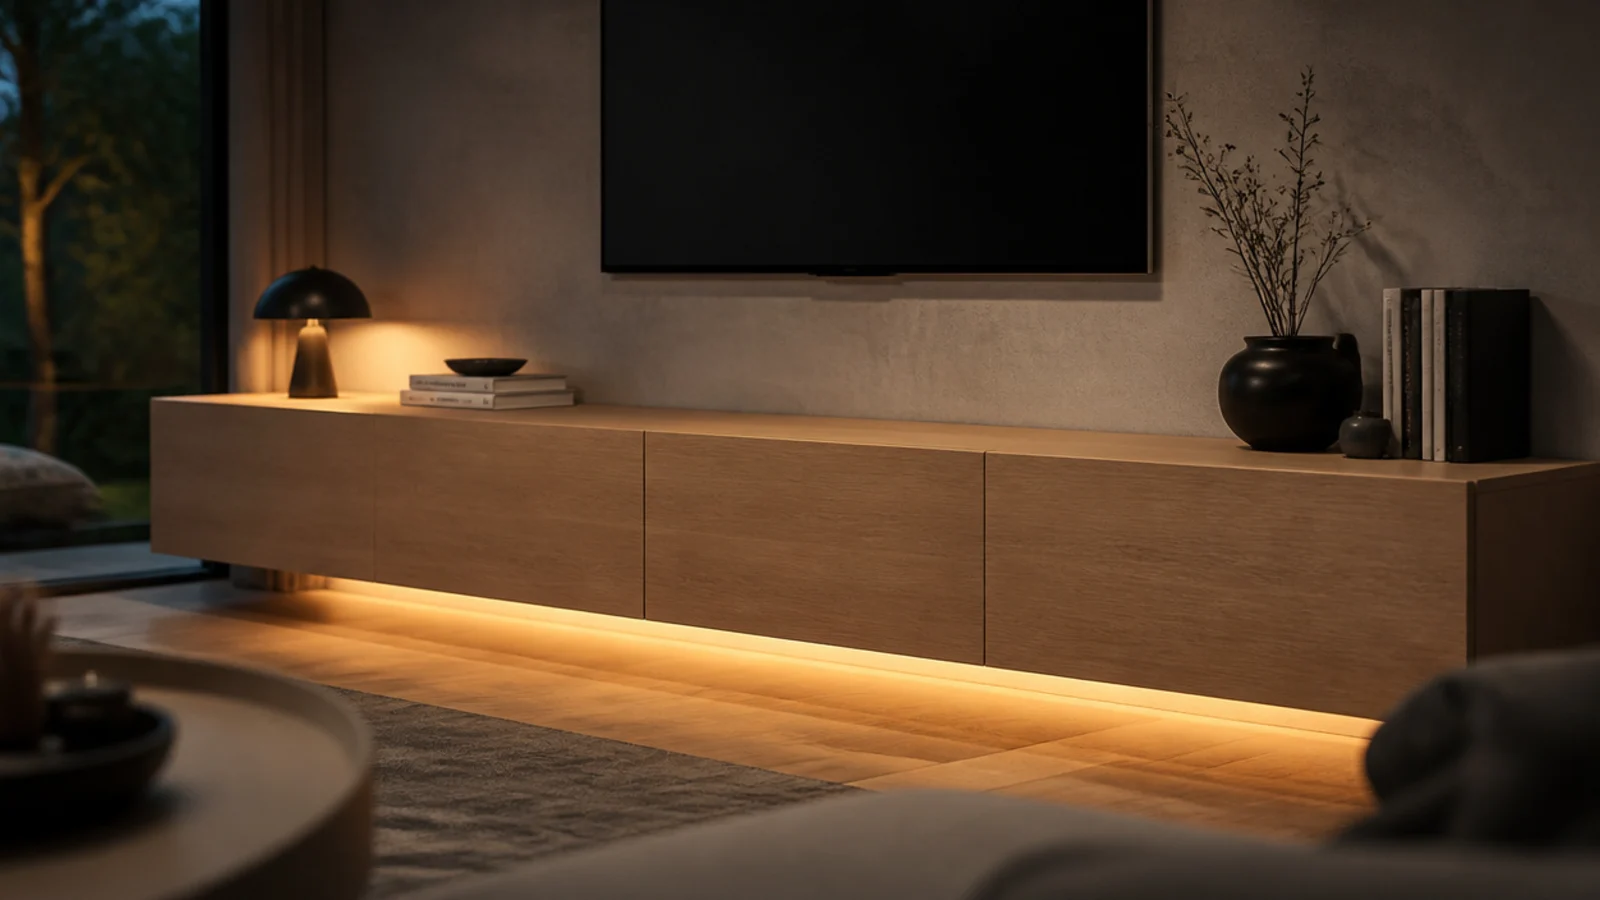
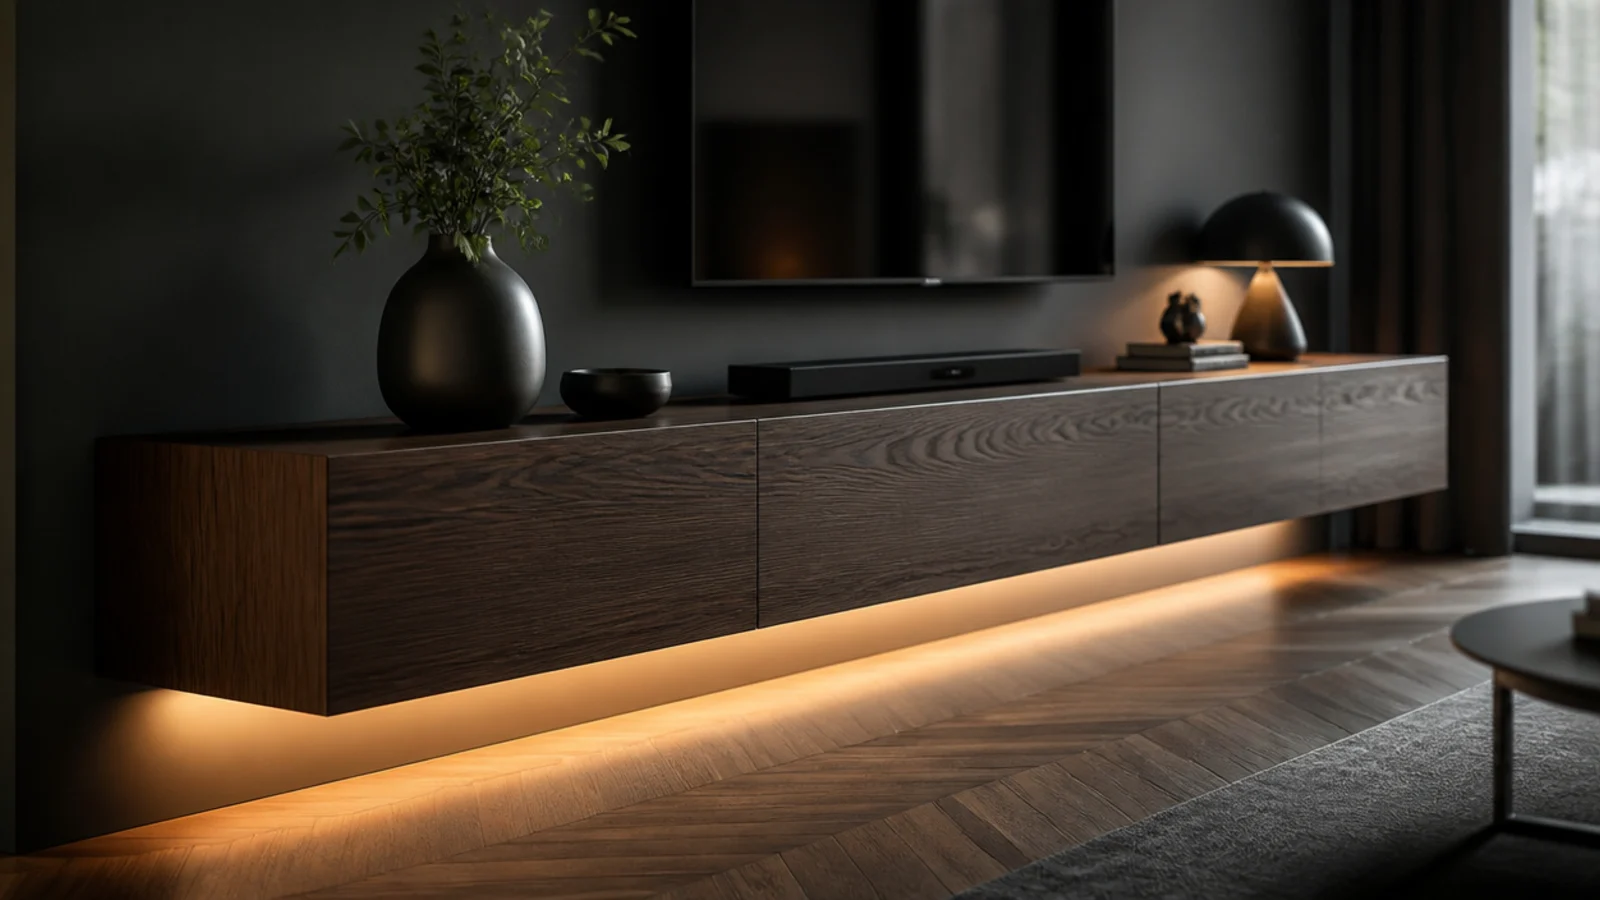
Set the cabinet base 100 to 150 millimetres above the floor, recess the front by 50 millimetres and run a warm strip inside. The unit appears to hover, and the floor stays visible corner to corner, which makes a small room read considerably larger.
23. A library wall with the screen set into it
Books absorb sound and break the rectangle better than any art arrangement. Leave a bay 4 inches wider than the panel and keep 13 inches of clear height per shelf so hardbacks stand up. The wall TV unit guide covers the shallow-depth versions for narrow rooms.
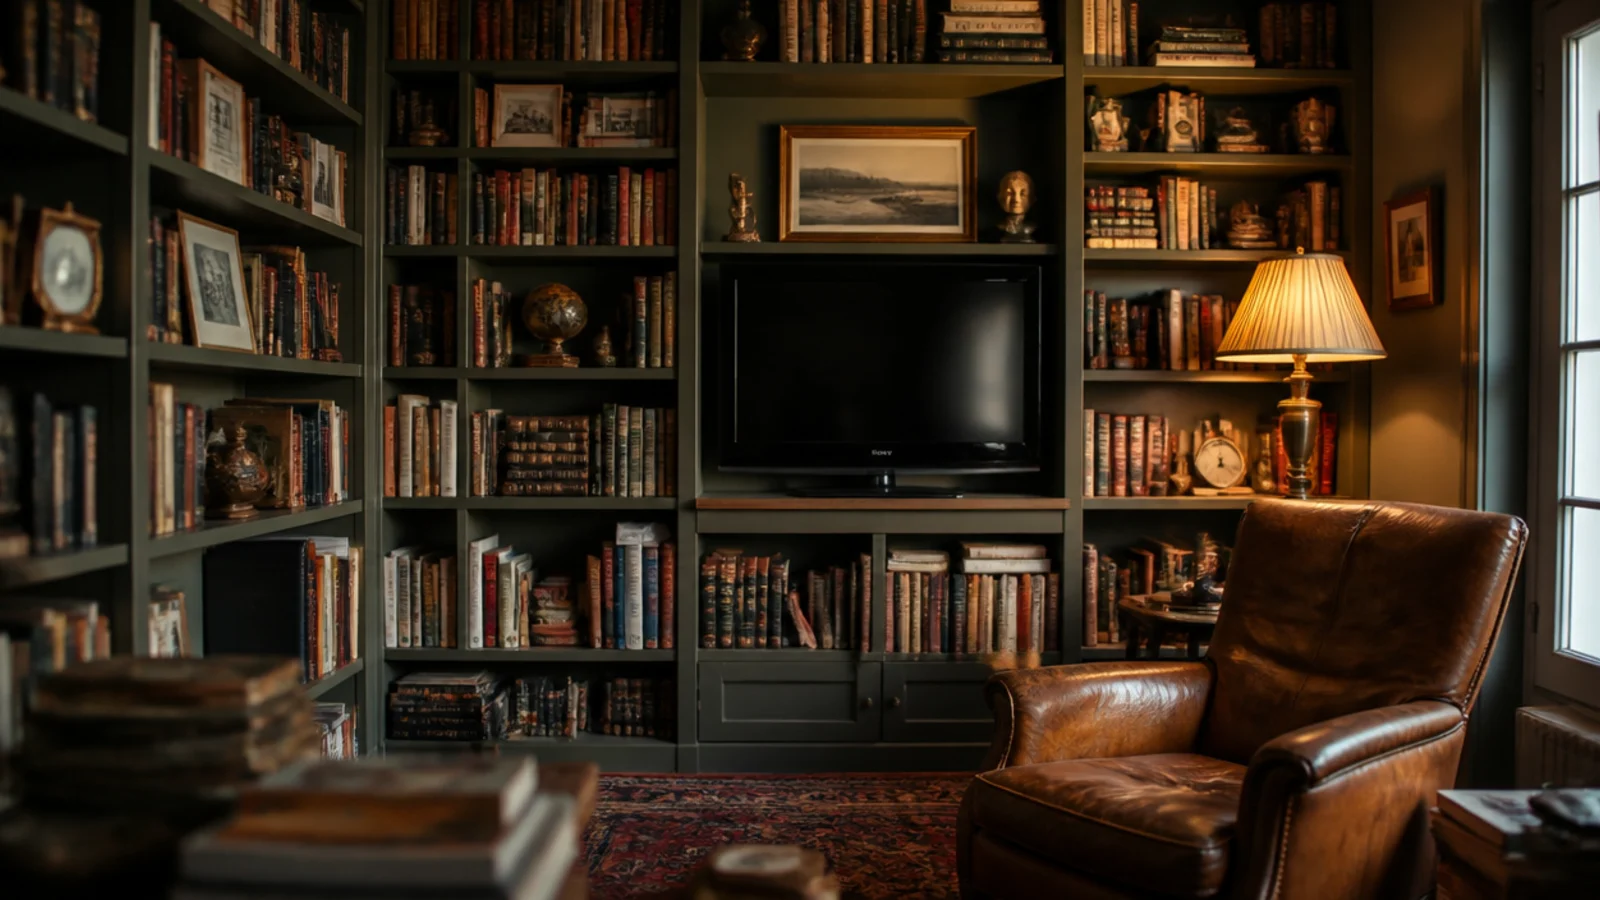
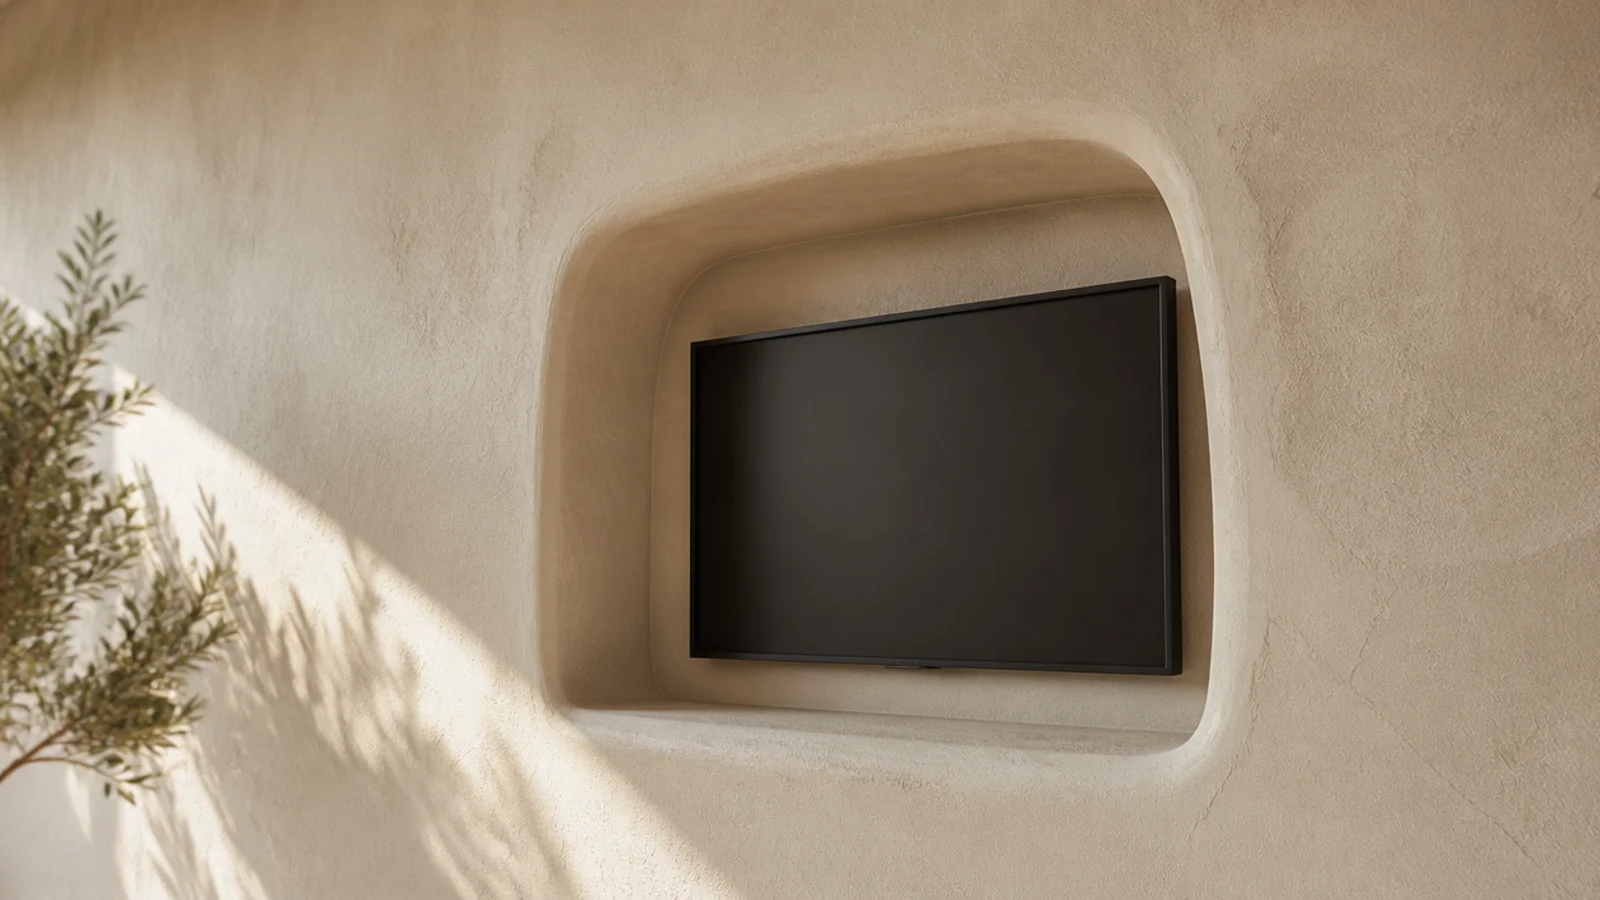
24. Textured plaster with a built-in niche
Hand-applied lime or clay plaster over a formed niche gives a monolithic look with no visible frame. Round every return edge with a bullnose bead, because a sharp plaster arris at hand height chips within a year and the repair never matches.
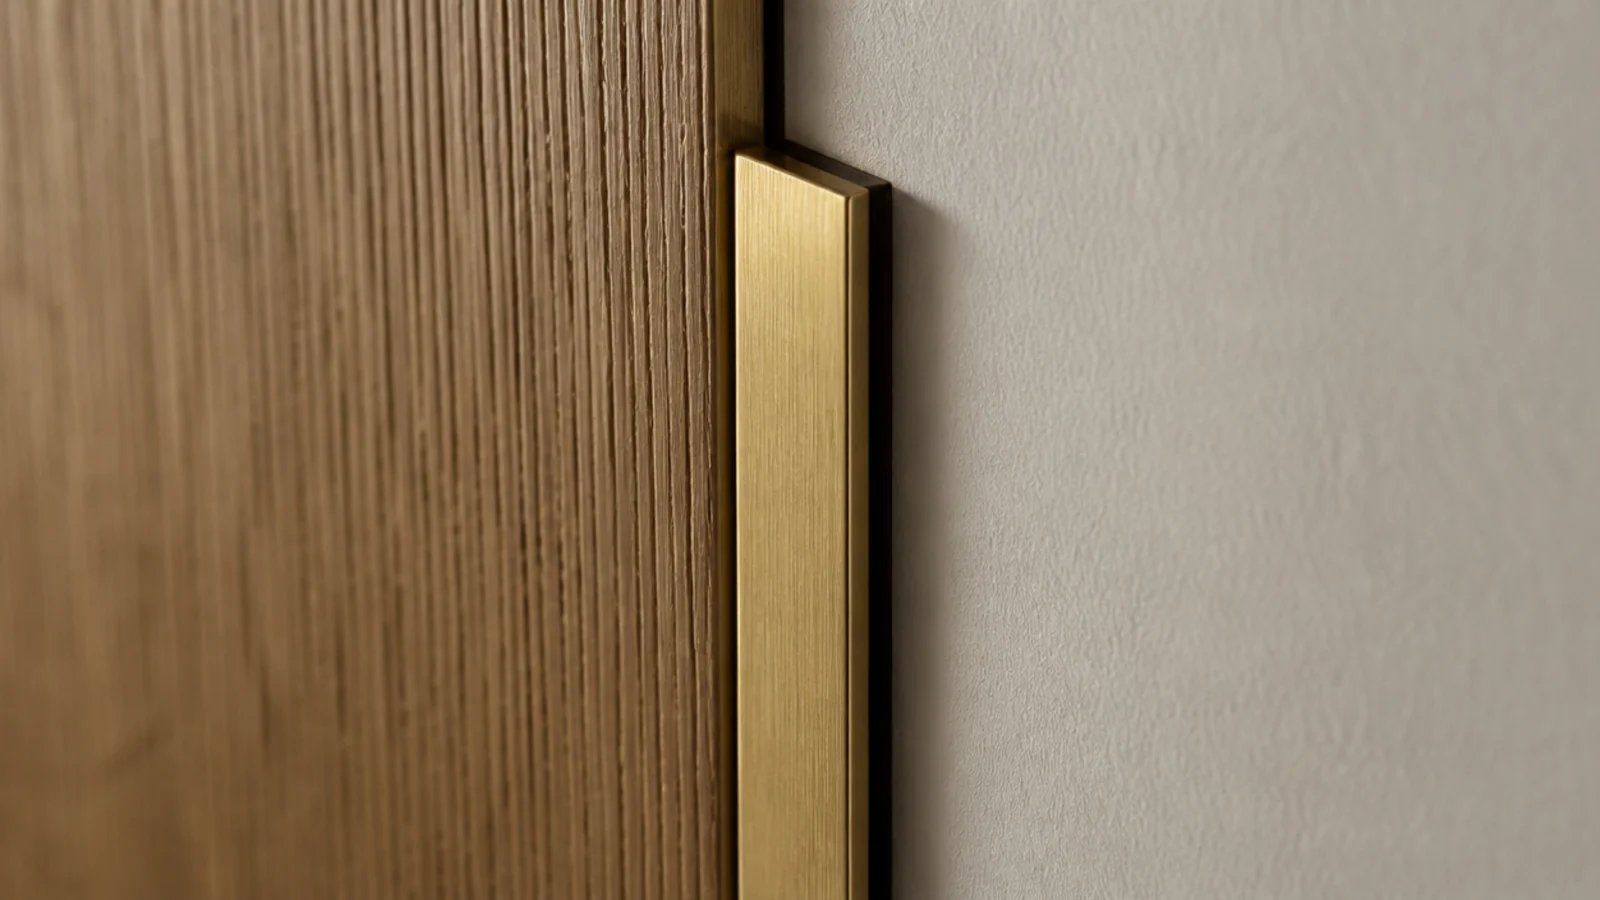
25. A brass shadow gap around the panel
A 6 to 10 millimetre brass or anodised aluminium trim set between panelling and plaster gives the panel a deliberate edge instead of a caulked join. Trim runs 8 to 20 dollars a metre. It is the smallest detail here and the one people notice most.
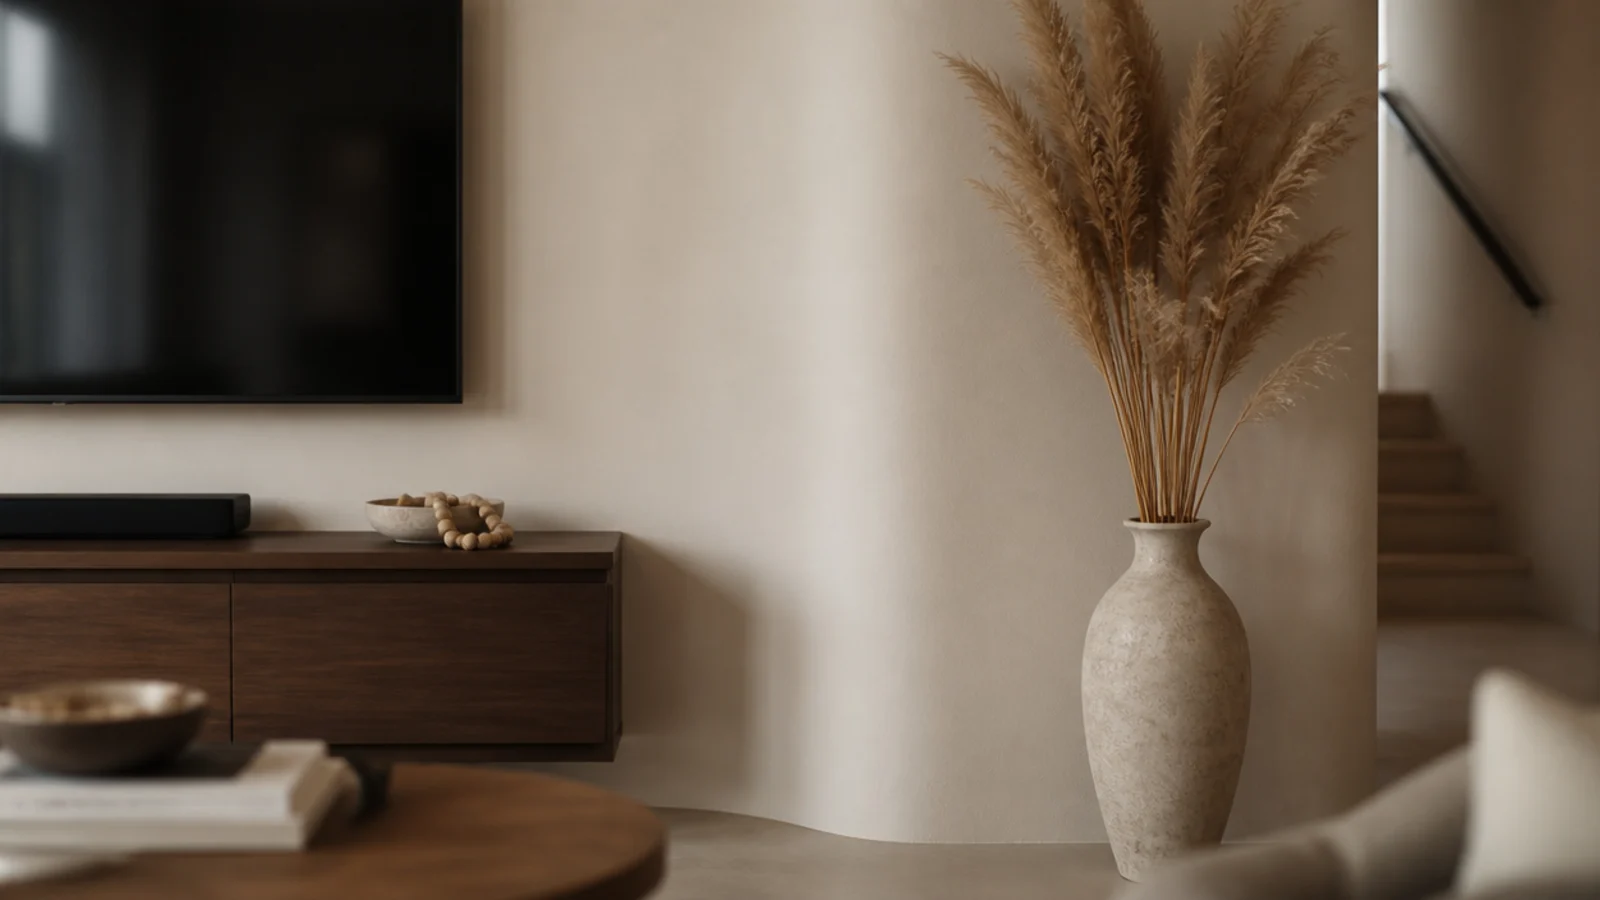
26. Curve the plaster return into the wall
A curved external corner where the feature wall meets the next one removes the boxed-in look entirely. Flexible corner bead plus two coats of finish plaster gives a 50 to 100 millimetre radius. It reads as period architecture and costs about 30 dollars in beads.
27. Half-round battens for a softer rhythm
Half-round or pencil-round profiles catch light along one edge instead of casting a hard shadow, which suits a room with low or diffused daylight. Space them at 60 to 100 millimetre centres. They are also far easier to paint neatly than a square batten with two inside corners.
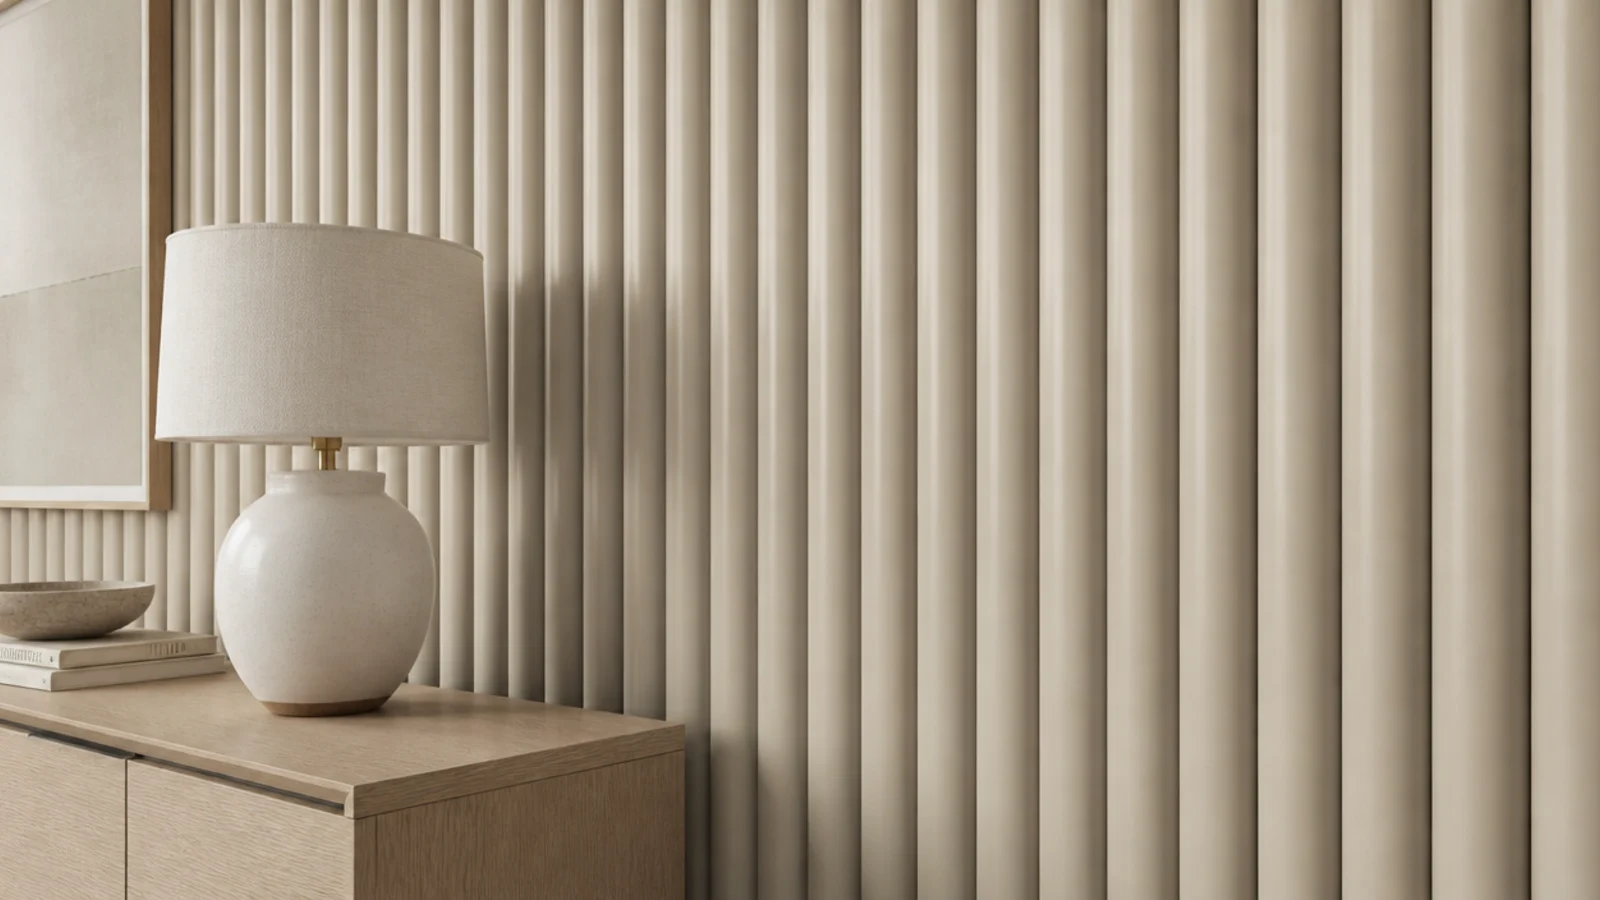
28. Paint the wall, ceiling and trim one colour
Colour drenching removes every line the eye uses to measure a small room, which makes awkward alcoves and boxed pipework disappear. Use the same colour in matt on walls and ceiling and eggshell on woodwork. Three tins and a weekend, and it beats most panelling for impact.
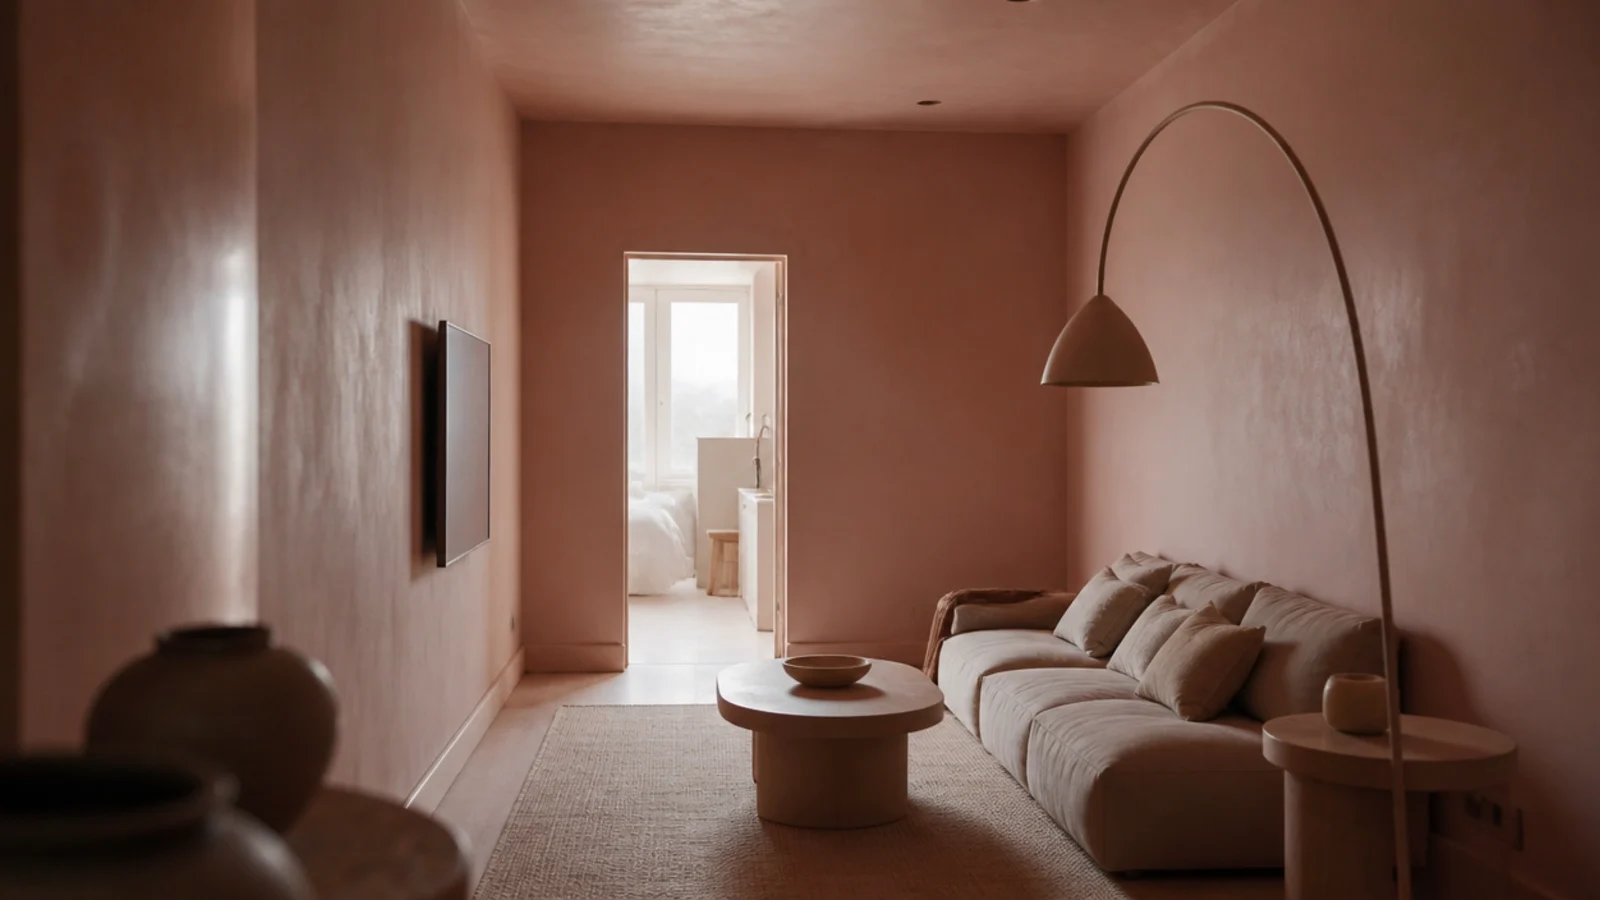
29. A sliding panel that covers the screen
A slatted or upholstered panel on a top-hung track hides the television during daylight and slides clear in the evening. Allow the full panel width of clear wall to one side. Track and hardware run 100 to 250 dollars, and it turns the screen into an option rather than a fixture.
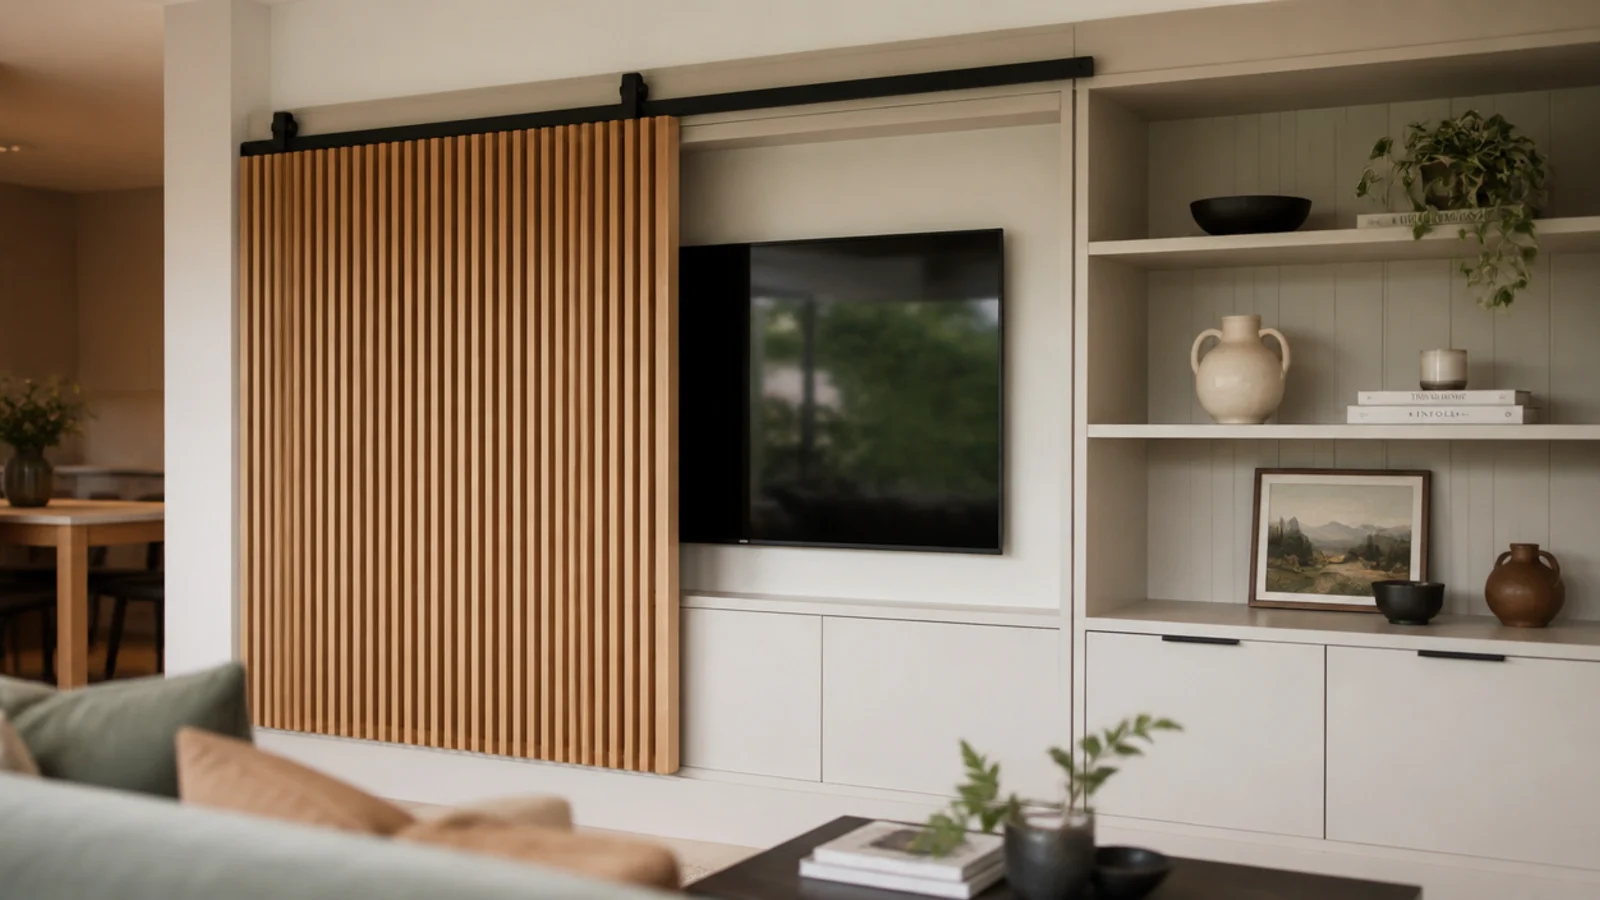
30. Give the screen a real timber frame
A mitred oak or painted frame fitted tight to the bezel makes the black rectangle read as a hung object rather than an appliance. Keep the frame under 40 millimetres wide so it does not shade the picture, and leave the top edge open for ventilation.
For the small-room versions of these, cozy TV wall setups works through the layouts that fit under 3.5 metres, and wood wall design finishes compared puts real costs against every timber option above. On the furniture side, modern TV unit cabinets covers what goes beneath, and living room built-in shelves is the guide for the joinery route.
Mistakes to Skip
- Panelling over the only socket on the wall. Trace every outlet, switch and aerial point onto your elevation drawing first, and plan a proper surface box or a relocation before a single batten goes up.
- Fixing heavy slat panels to plasterboard with plugs alone. A 12 kilogram panel plus a mount is a framing job, and the failure mode is the whole sheet peeling forward.
- Choosing a high-sheen finish behind a screen. Satin and gloss mirror the panel and put a permanent bright halo around the darkest object in the room.
- Sealing a niche with no ventilation gap. Screens vent upward, and an enclosed recess with under 2 inches of clearance runs hot enough to shorten the backlight life.
Frequently asked questions
What is the cheapest way to design a TV wall?
Paint plus slim moulding. A 2.5 litre tin of matt emulsion runs 35 to 60 dollars and covers a feature wall twice, and 9 millimetre MDF moulding costs roughly 2 to 4 dollars a metre. A full picture-frame grid on a 3 by 2.5 metre wall lands near 90 dollars in materials.
How thick should TV wall panelling be?
Nine to twelve millimetre MDF suits picture-frame moulding and beaded panels, and 18 millimetre suits board and batten where you want a real shadow. Anything thinner than 9 millimetres bows between fixings and telegraphs every wall imperfection once the paint goes on.
Should a TV wall be darker or lighter than the room?
Darker, almost always. A black screen on a pale wall is a hole in the composition, while two steps darker on the same colour card softens the edges. Keep the sheen low at 2 to 5 percent, because satin and eggshell throw a reflected halo around the darkest object in the room.
Can a rented flat take a TV wall design?
Yes, with adhesive-fixed panels, peel-and-stick slat sheets and paint. Solvent-free grab adhesive holds 9 millimetre MDF on sound painted plaster, and a raceway carries cables without cutting. Avoid it on fresh emulsion under four weeks old or on any wallpaper, where the paper releases before the glue does.
How wide should a TV feature wall be?
Treat the whole wall corner to corner if it is under 4 metres. A partial panel only works when it is at least 12 inches wider than the screen on each side and lines up with something real, such as a chimney breast, an alcove or a ceiling beam.
Want more like this? Browse all 15 tv wall decor guides — they all use the same measurements and budget tiers.
Pin it for later
Save this to your TV Wall Decor board
Pin it now so it is waiting for you when the tape measure comes out — and so the next person hunting for this idea can find it too.
Save this pinKeep going
More ideas worth saving while you have the tape measure out.