Living Room Built-In Shelves · Listicle
15 Easy Living Room Built-Ins Ideas for Any Home

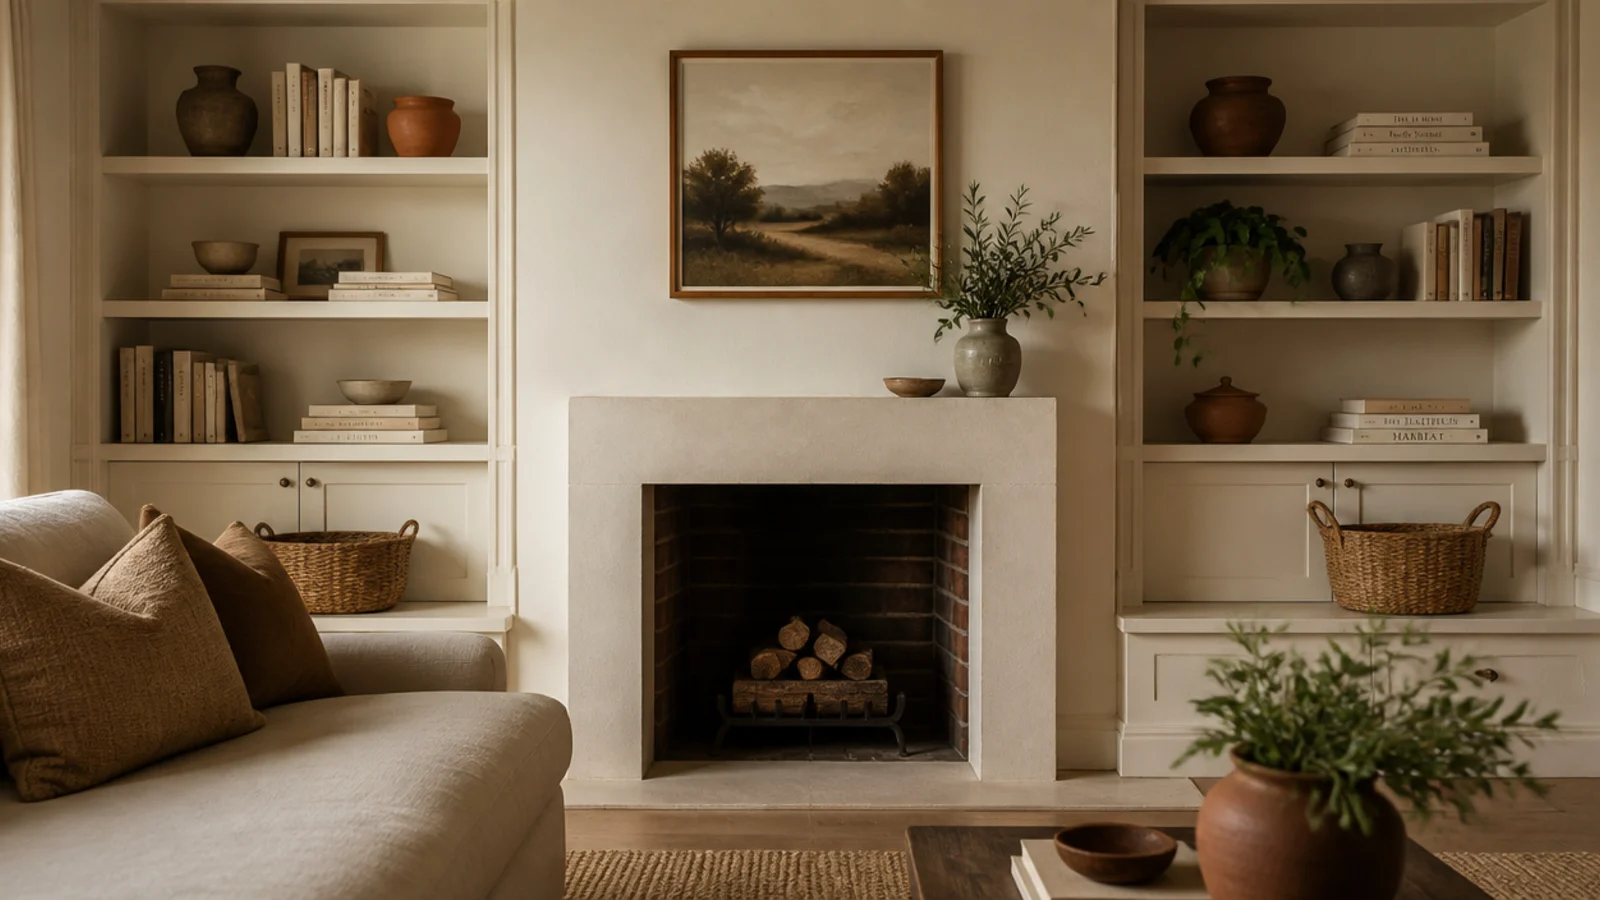
Built in shelves living room ideas usually arrive as a photograph with no numbers attached, and the numbers are the entire difference between a wall that looks built and one that looks bolted on. I have lived with three sets now, two I made myself and one I paid a joiner for. The ones that worked shared the same short list: a depth that fits a hardback, spacing you can actually reach into, a span that does not sag, and a paint color already in the room.
In this guide17 sections — tap to openHide
- 1.What built in shelves living room ideas need to get right
- 2.The alcove pair beside the chimney breast
- 3.A full wall of shelves on the long wall
- 4.Half-height built-ins with a closed base
- 5.A window seat with book cubbies either side
- 6.A TV wall with a recessed media bay
- 7.Shelves that frame a doorway
- 8.Deep base cabinets with shallow open uppers
- 9.Painted back panels for depth
- 10.Picture lights on the top bay
- 11.A built-in desk nook in the shelving run
- 12.One glass-front bay for the good things
- 13.A reading nook lined on three sides
- 14.Baskets in the bottom bay
- 15.A shallow eight-inch run behind the sofa
- 16.The renter version: bookcases trimmed in
- 17.Mistakes to Skip
What built in shelves living room ideas need to get right
Start with depth, because everything else follows it. Eleven to twelve inches holds books properly — a hardback runs nine to ten inches tall and wants the shelf under all of it. Fourteen to sixteen inches is for baskets, a receiver, a console. The best runs use both: a deep closed base, shallow open uppers stepping back above it.
Then spacing. Eleven to thirteen inches of clear height between shelves takes hardbacks standing up. Drill pin holes at 32 mm centers instead of fixing every shelf, because what you store changes and a fixed ten-inch run annoys you for a decade.
Then span. A 3/4-inch plywood shelf begins to sag past 32 inches with books on it. Glue a solid 1x2 lip along the front edge or drop in a vertical divider — both cost a few dollars and both have to be decided before you cut.
Budget honestly. $ is $150 to $400 to trim stock bookcases into one alcove. $$ is $500 to $1,200 in materials for a plywood run with doors. $$$ is $2,500 to $6,000 and up for a cabinetmaker, which is fair money for scribed fillers and a sprayed finish.
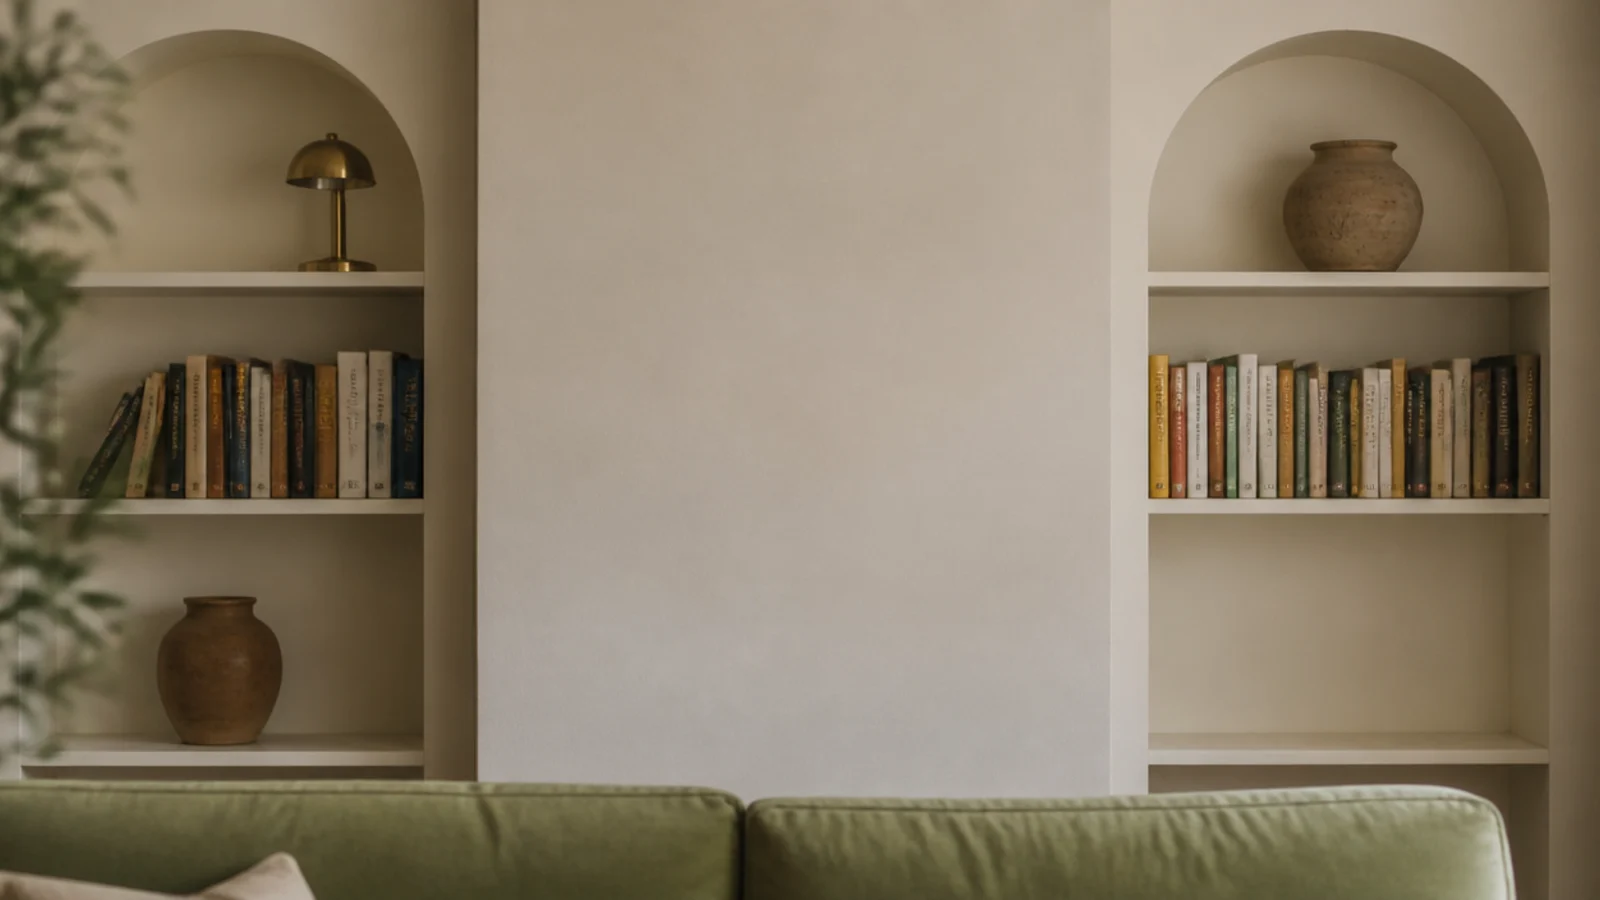
1. The alcove pair beside the chimney breast
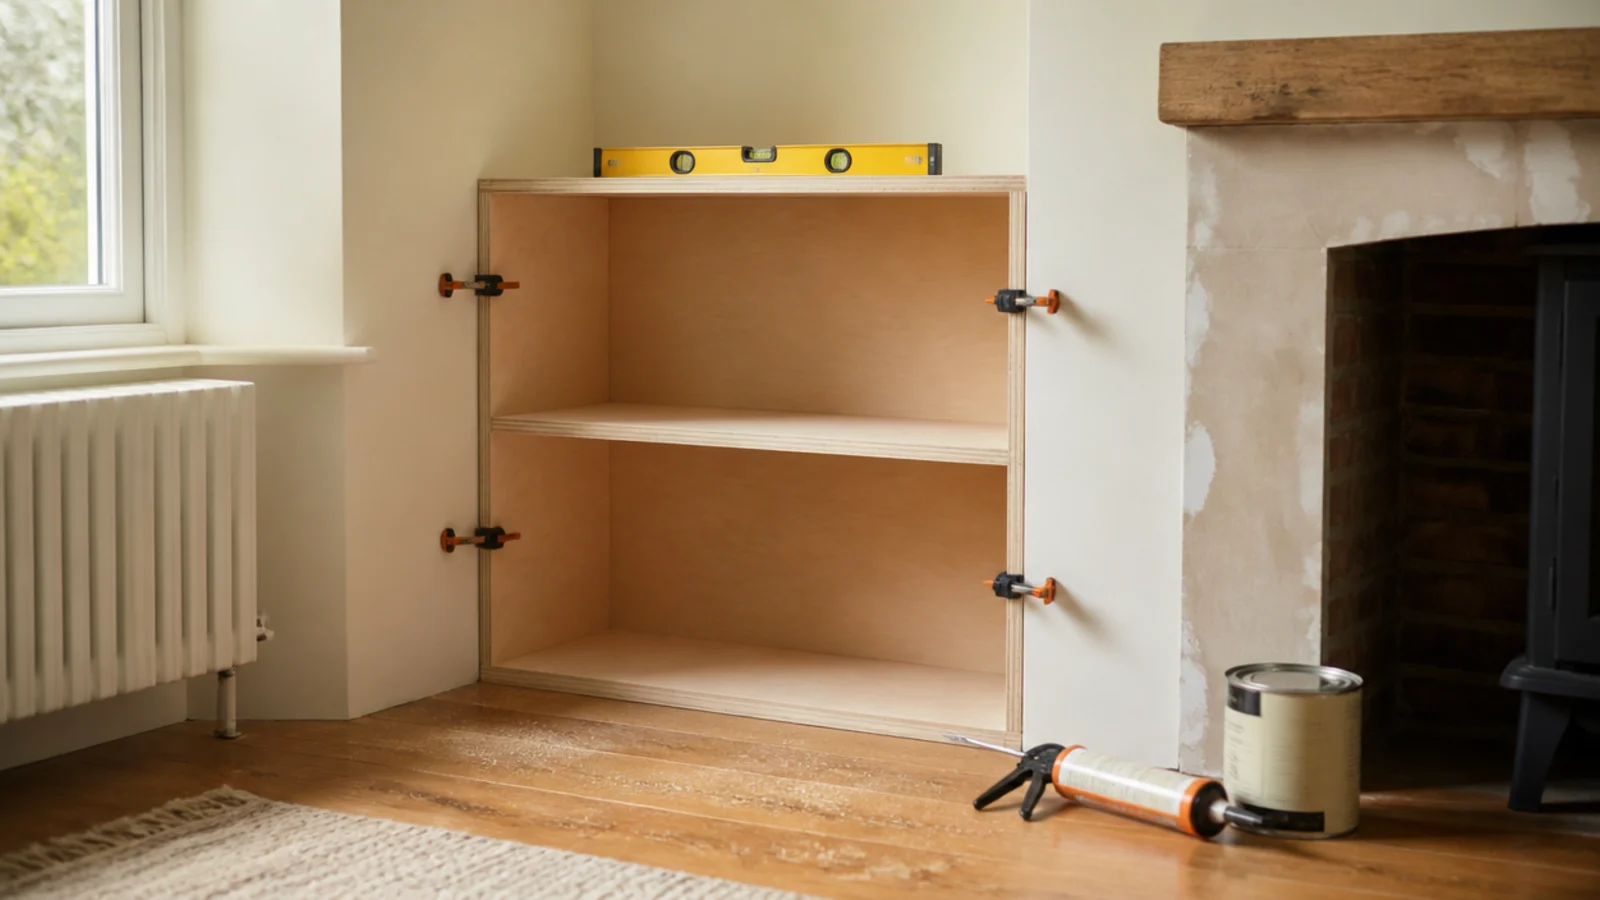
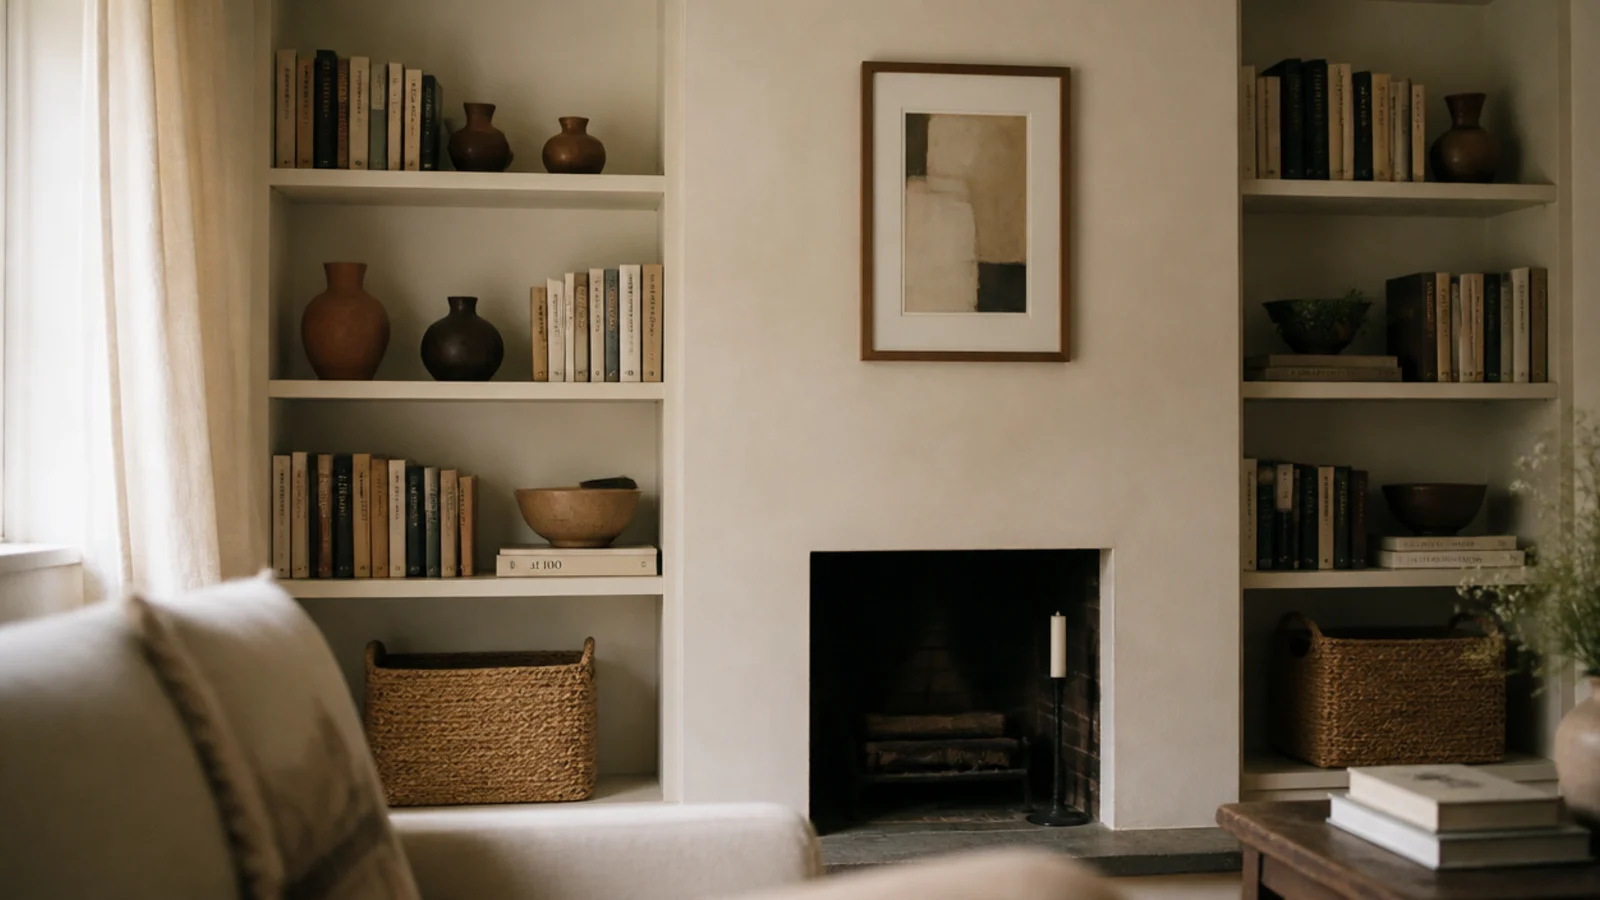
The two alcoves either side of a chimney breast are the easiest built-in in any house, because the walls already frame the shape for you. Most run 24 to 40 inches wide, which is comfortably inside the 32-inch span limit for a plain 3/4-inch shelf.
Keep both sides identical — same shelf heights, same paint, same styling weight. Asymmetry needs a reason, and a chimney breast is not one. Budget tier $$, or $ if you trim in bookcases rather than building boxes.
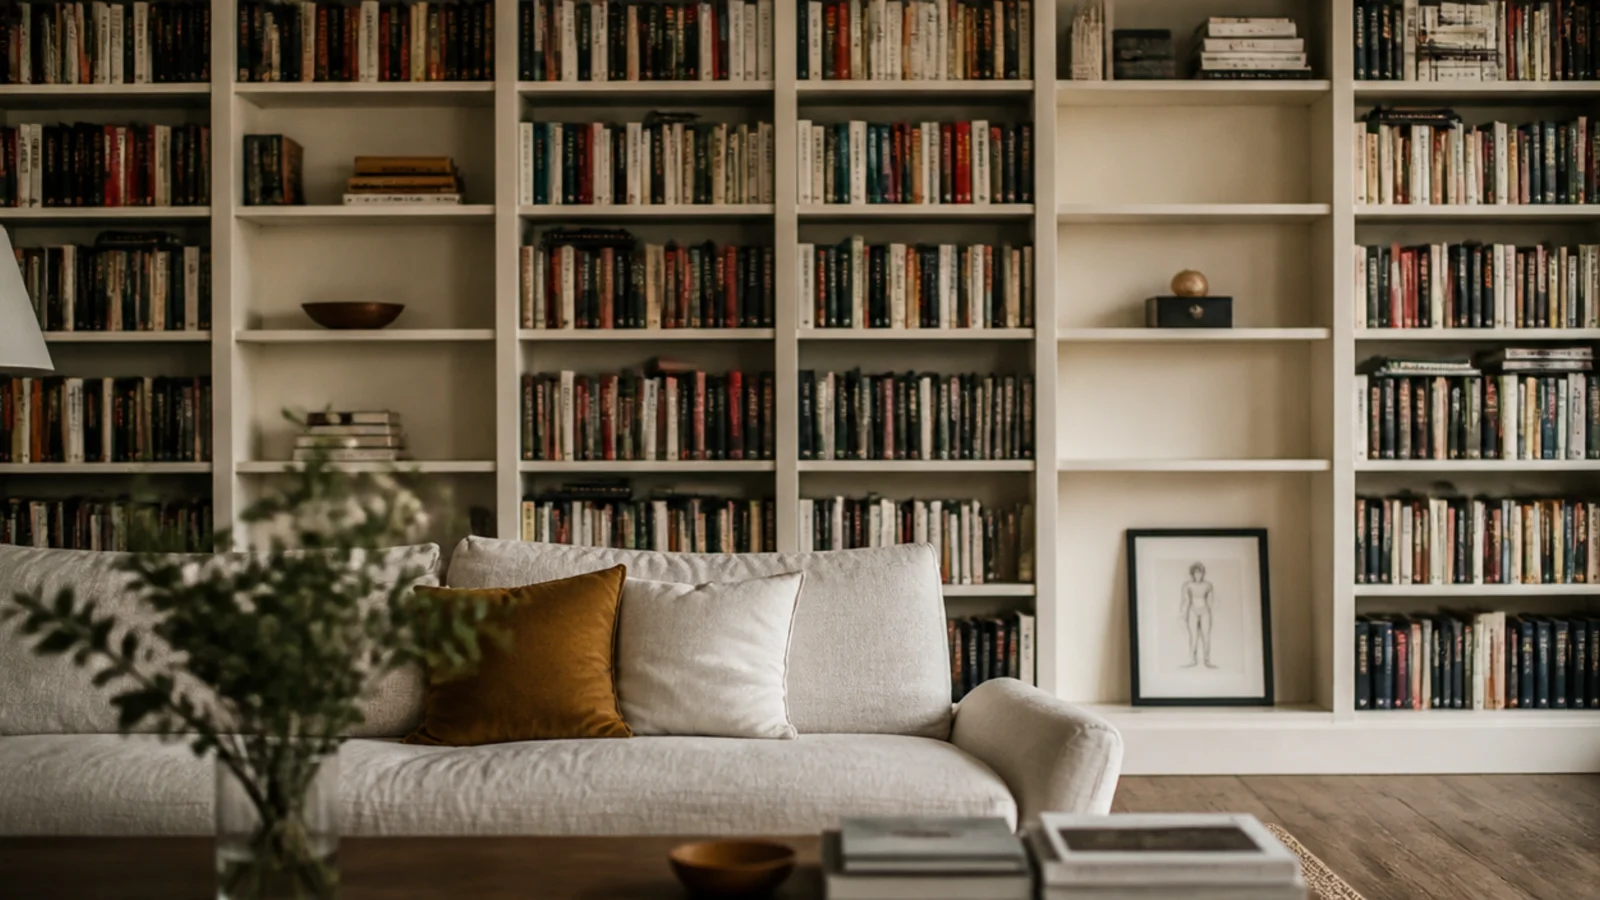
2. A full wall of shelves on the long wall
Half-height shelving on a big wall reads as unfinished furniture. Running the same shelving floor to ceiling reads as architecture, and it costs surprisingly little more because the expensive parts are the face frame and the finish, not the plywood.
Divide the wall into even bays of 30 to 32 inches. Leave the top shelf about 12 inches below the ceiling if you are not running crown, and carry the room baseboard across the plinth so the run sits into the floor rather than on it.
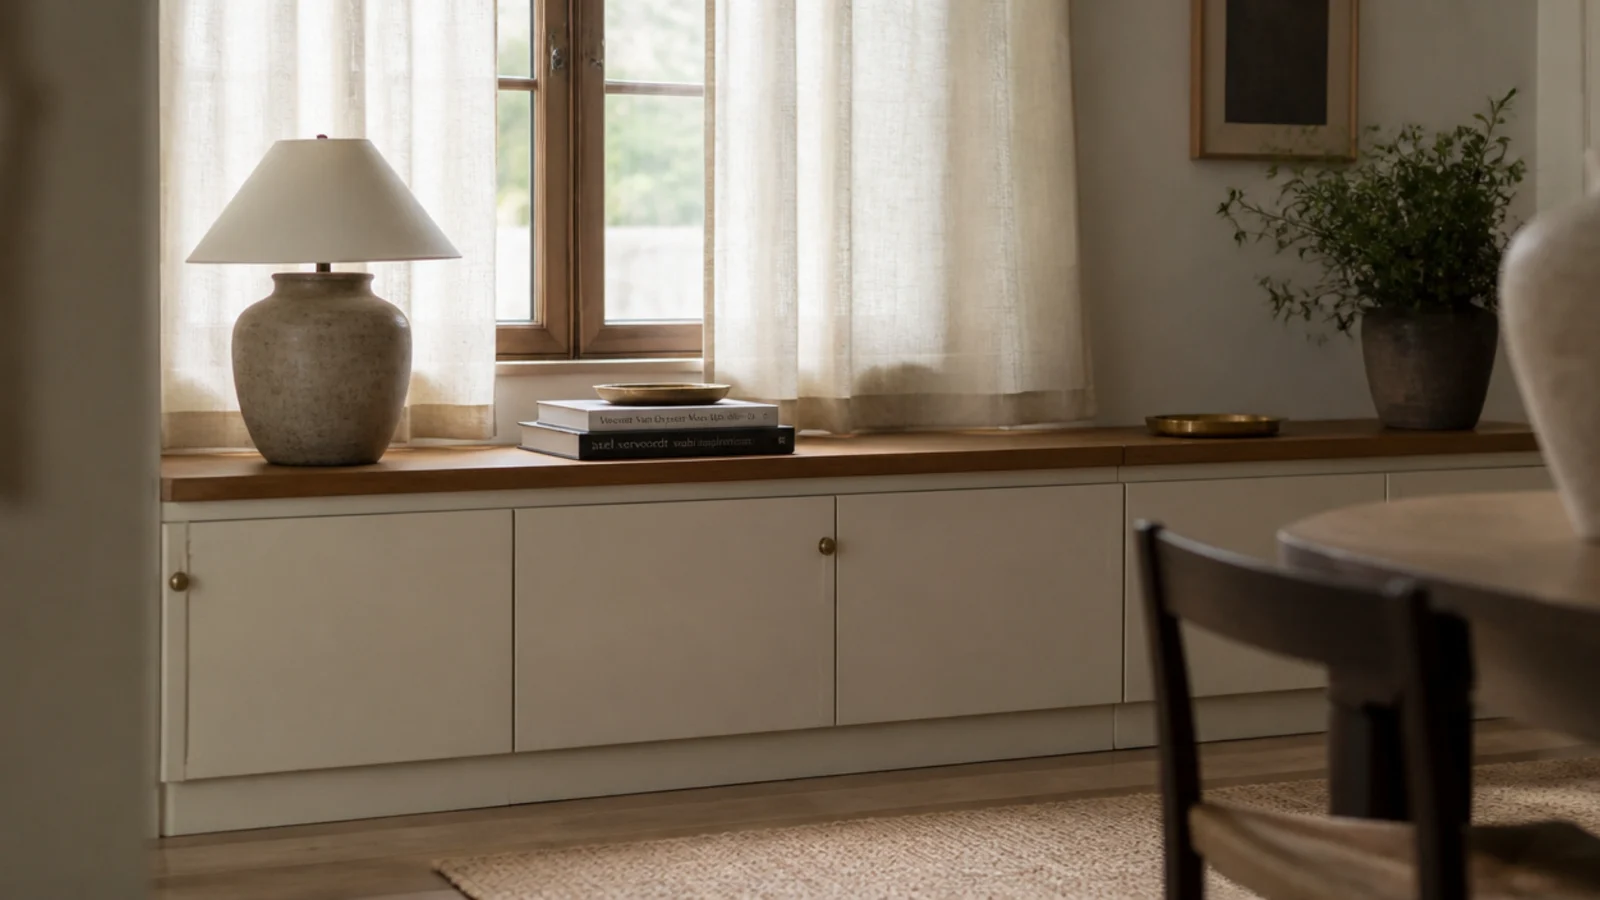
3. Half-height built-ins with a closed base
Where a room already feels tight, stop at 30 inches. A run of closed cabinets with a warm oak or painted top gives you a surface for lamps, a landing spot for keys and drinks, and none of the visual weight of a tall unit.
Fifteen to sixteen inches deep is right here; that takes board games, files and a printer. Add a 4-inch tall by 3-inch deep toe kick so you can stand at it without stubbing your toes.
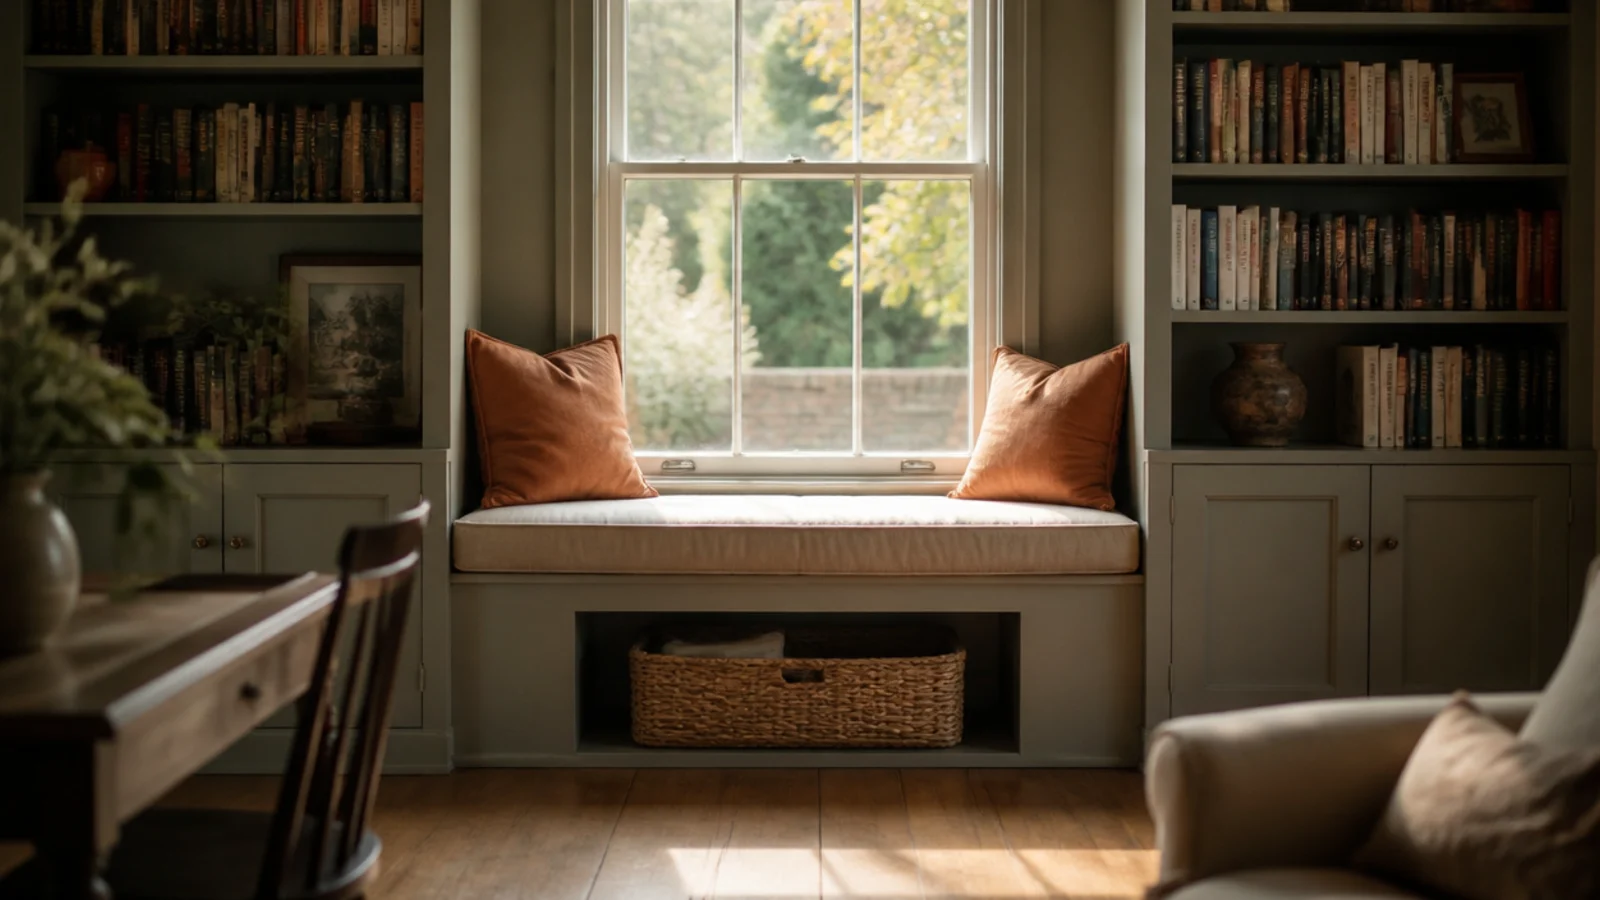
4. A window seat with book cubbies either side
Under a window, a built-in bench turns dead wall into seating and storage at once. Build the seat 18 inches high including the cushion, and 20 inches deep so an adult can actually sit back on it.
Flank it with shallow bays of books at 10 inches deep, running to the ceiling. Use a hinged lid or drawers underneath, not open cubbies — anything open under a seat collects exactly what you do not want on display.
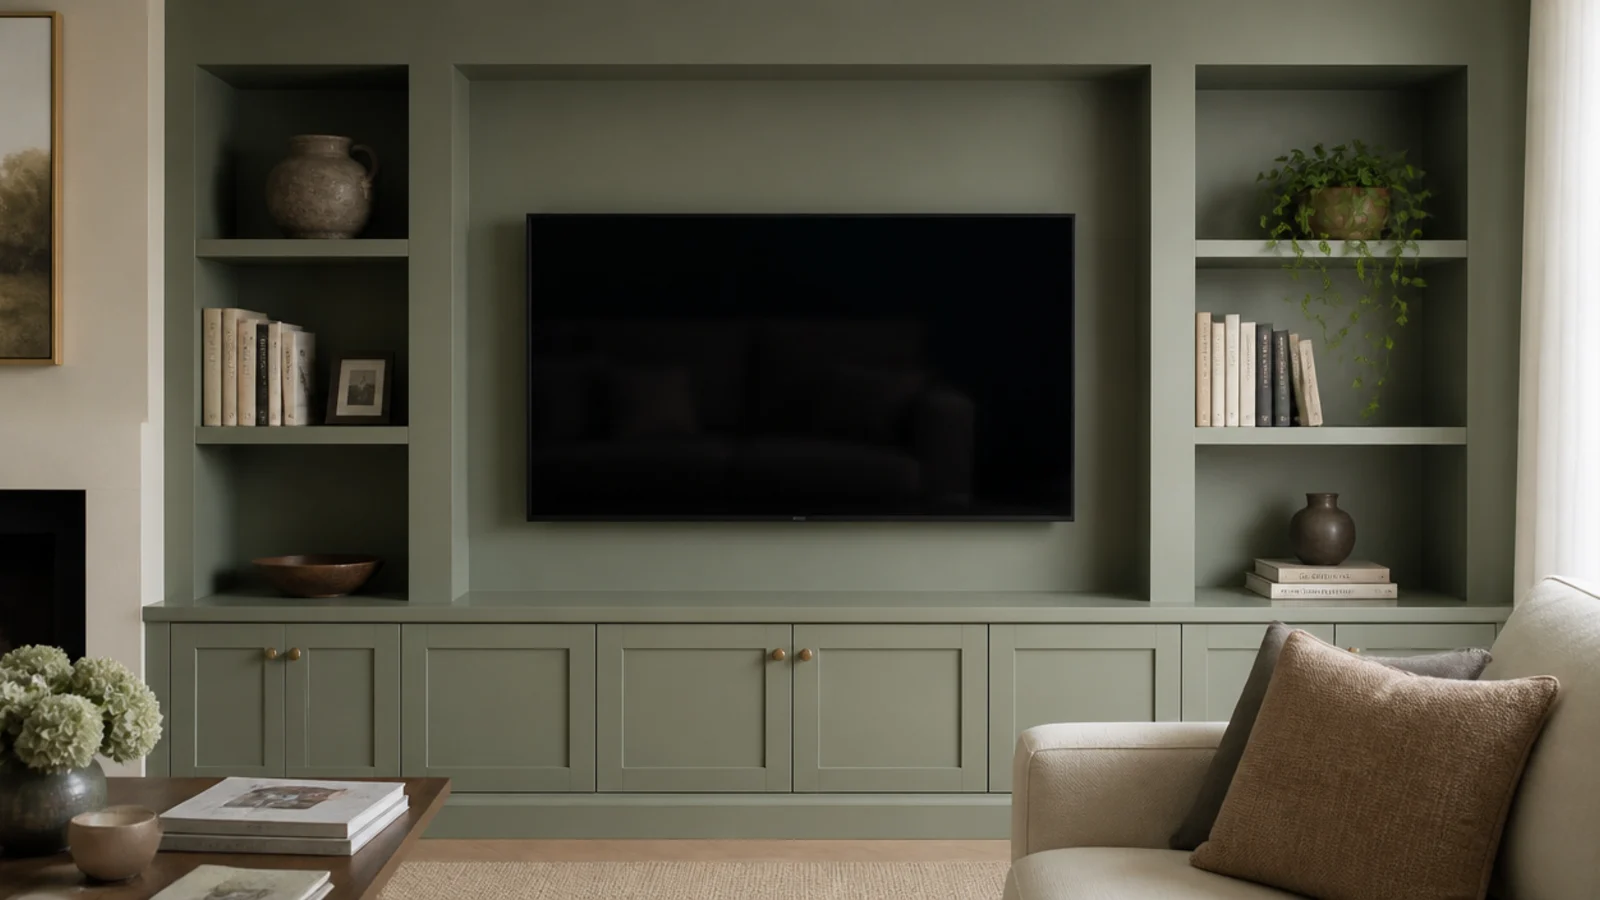
5. A TV wall with a recessed media bay
A screen fights shelves unless you recess it. Set the television into a bay that is 4 inches wider than the screen on each side and paint the inside of that bay a shade darker, so the black rectangle stops being the loudest thing on the wall.
Give the components a closed cabinet below with a 2-inch cable grommet and a vented back. Media gear needs 14 to 16 inches of depth, so plan that bay deeper than the book bays either side.
6. Shelves that frame a doorway
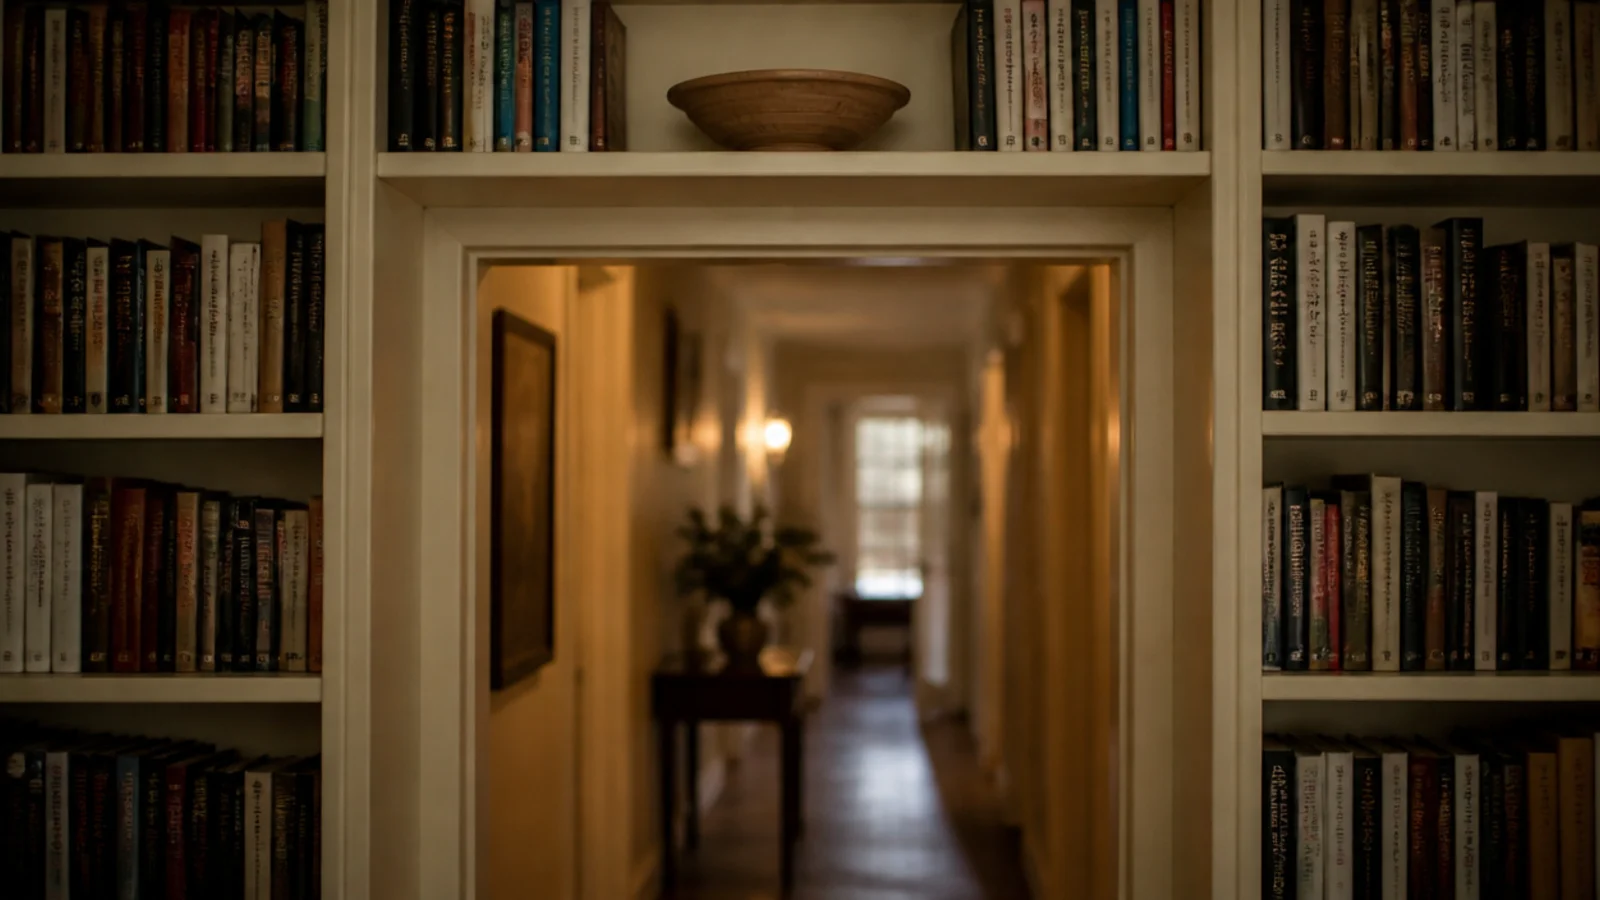
The wall around a doorway is usually wasted. Running shelving up both sides and bridging over the top turns a plain opening into an arch of books.
Keep the side runs shallow at 8 to 10 inches so nobody clips a shoulder walking through, and make the bridge shelf a full 3/4-inch with a front lip, since it will span the door width. Painting the whole thing the trim color makes the doorway read as original joinery.
7. Deep base cabinets with shallow open uppers
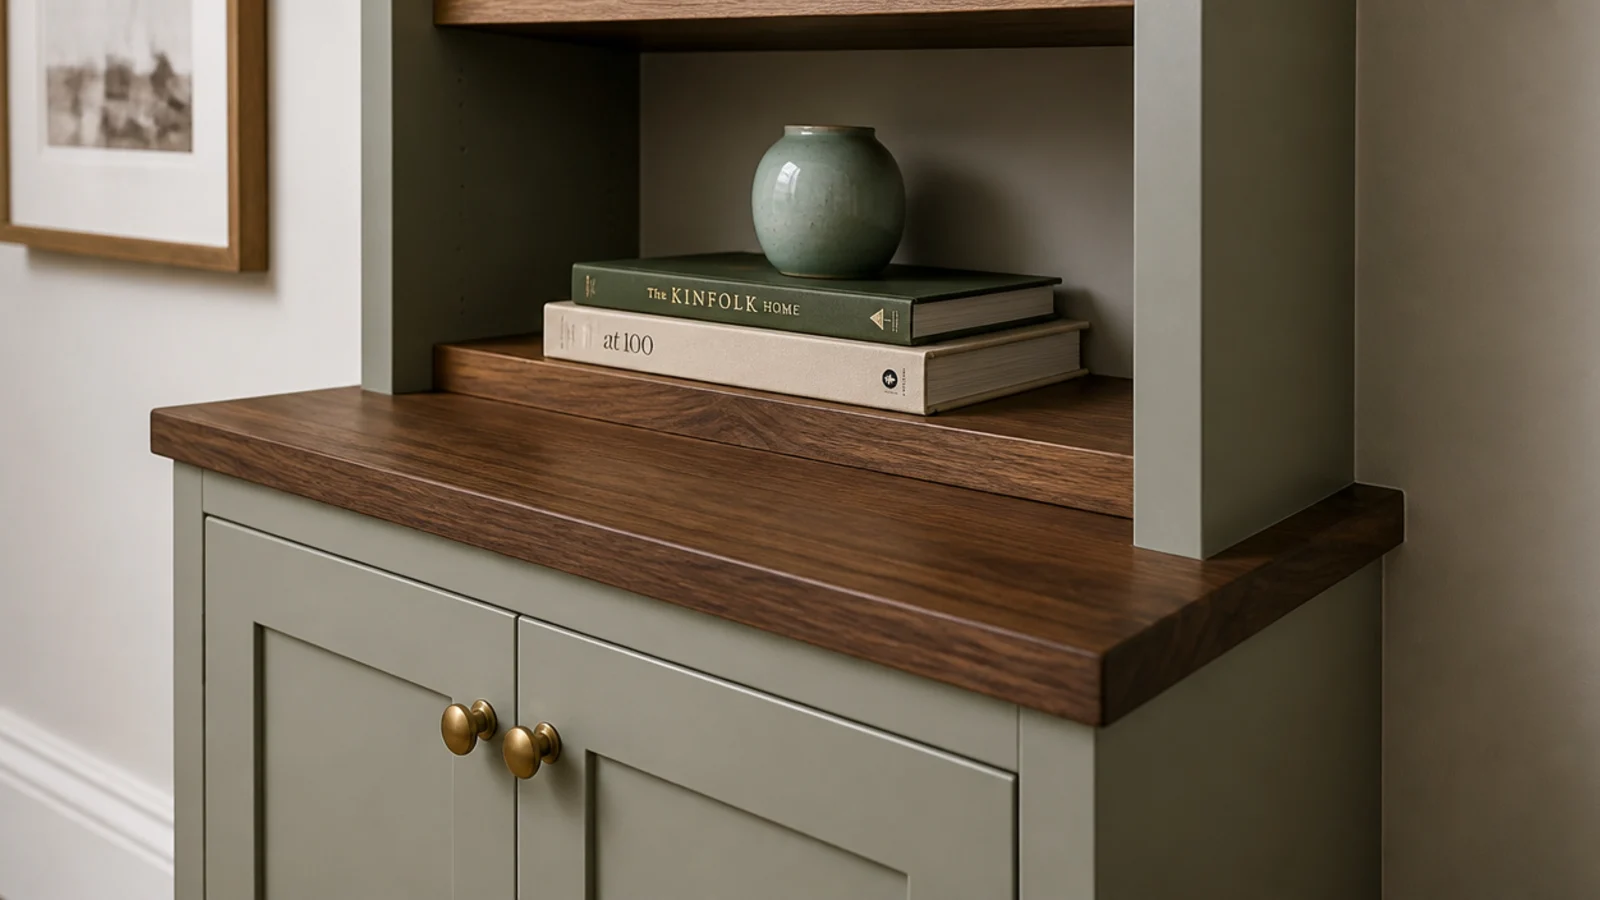
The most useful built-in I have ever had was two different depths. Base cabinets at 15 inches swallow everything you do not want seen. Open shelves above at 11 inches keep books at a sensible depth and stop the wall looming.
The step between them wants to be deliberate — a visible reveal of 3 to 4 inches, ideally capped with a solid top. If you build both depths flush, the whole thing reads as one heavy slab instead of two ideas.
8. Painted back panels for depth
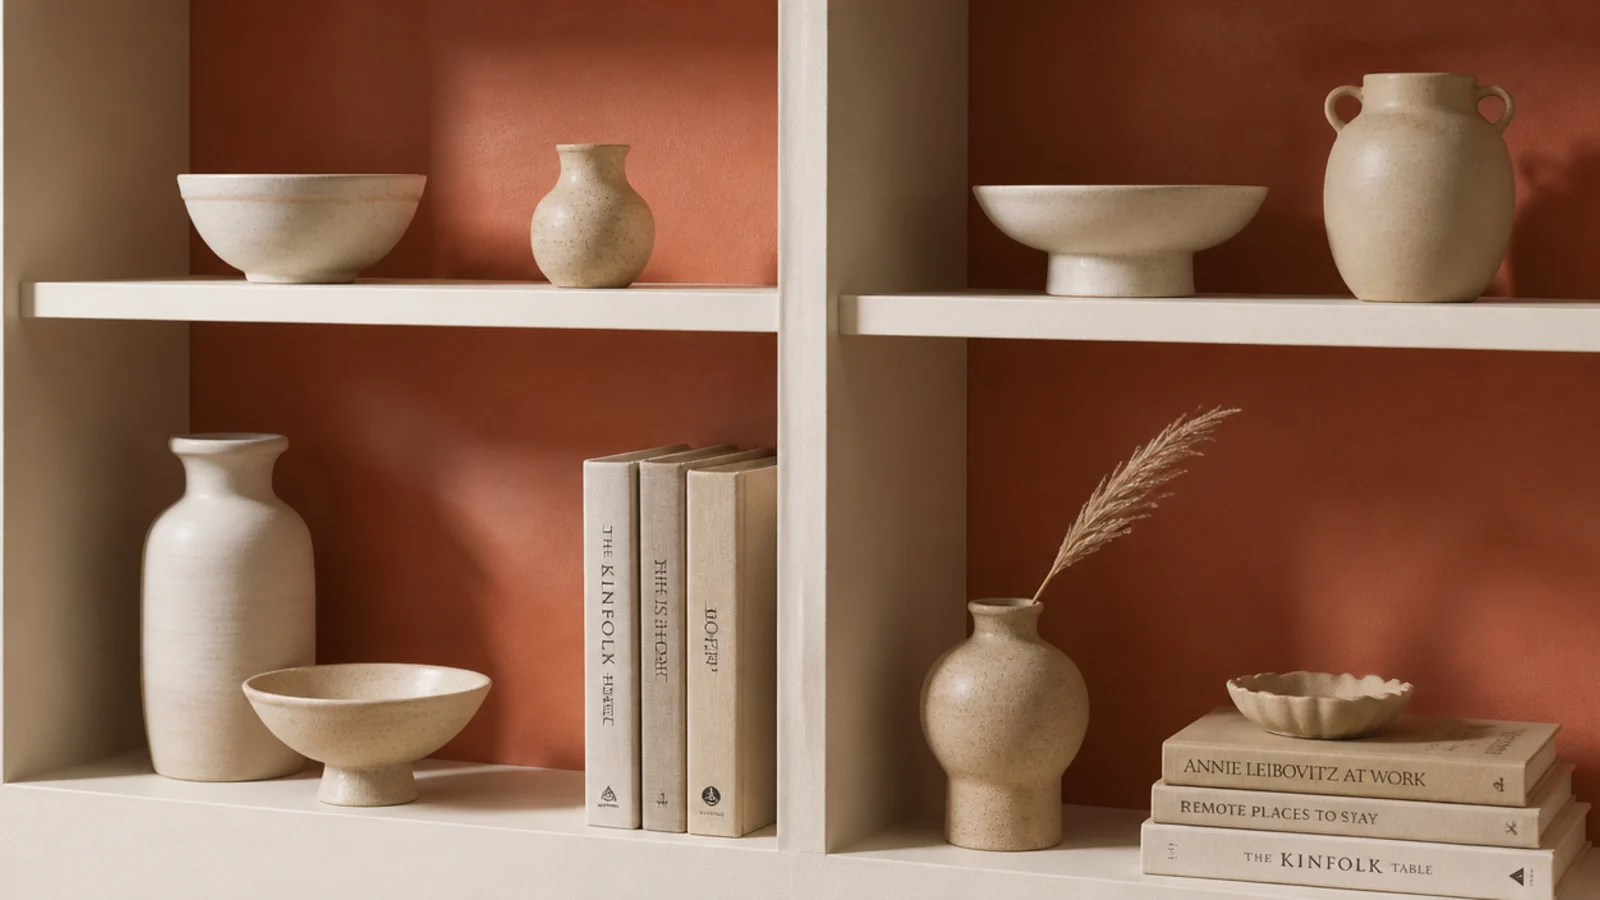
If you want color, put it behind the objects rather than on the frame. A back panel painted a deep clay, a muted sage or a soft charcoal makes pale ceramics and book spines pop, and it costs a sample pot.
Paint the frame, shelves and face the wall color, and the back panel alone the accent. Doing it the other way around — colored frame, white back — makes a built-in look like furniture, which is the one thing you paid to avoid.
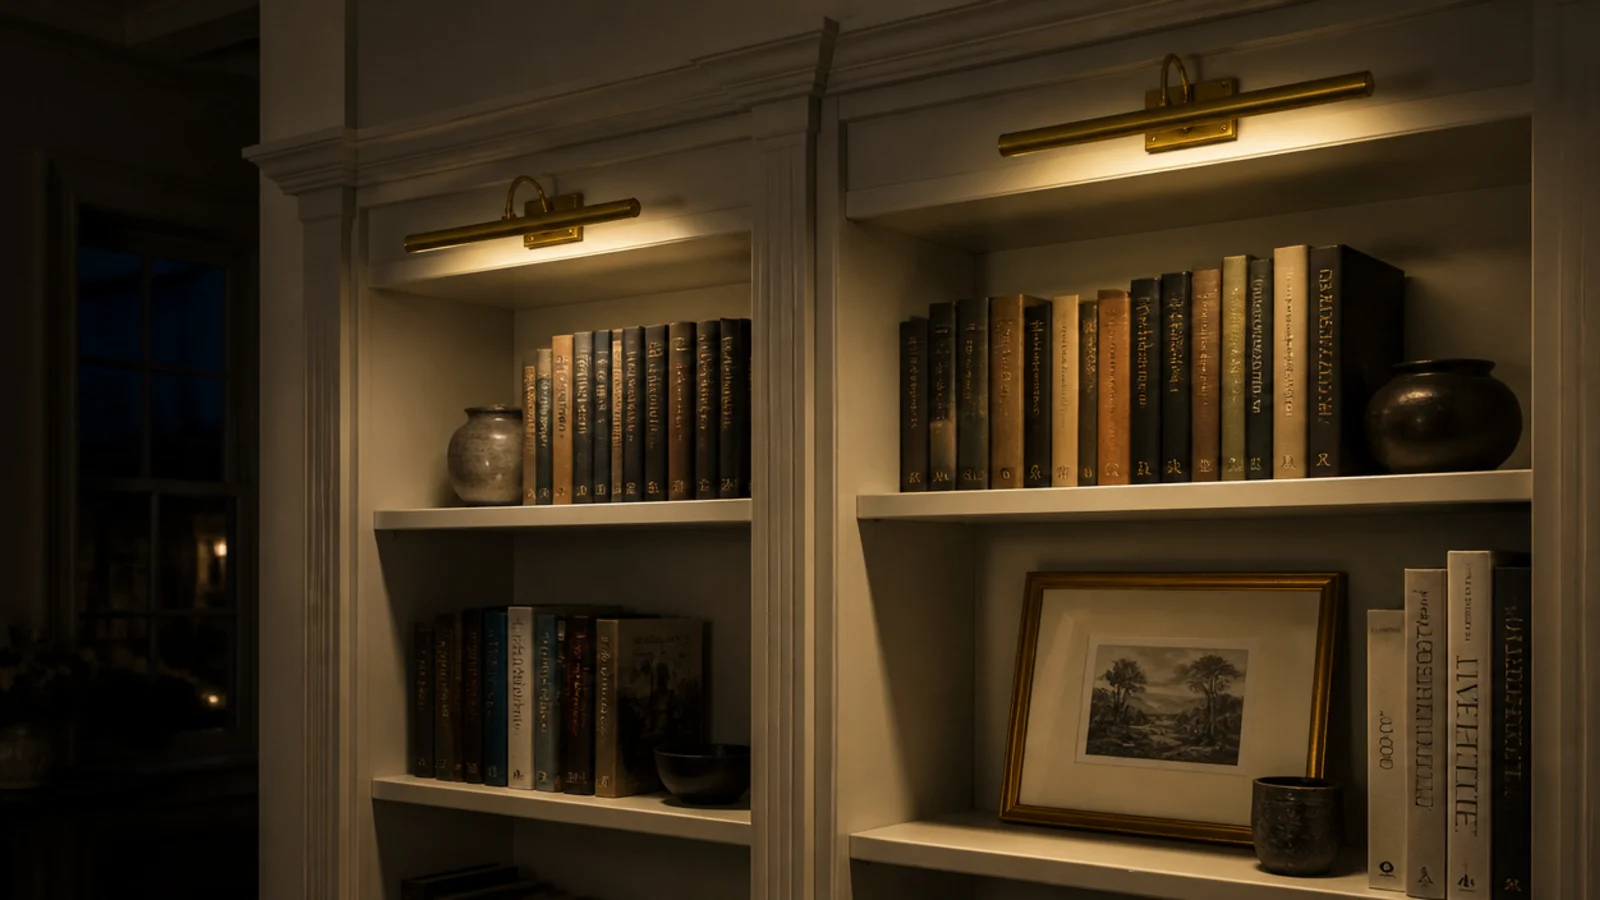
9. Picture lights on the top bay
Nothing makes shelving look expensive faster than light on it. Slim brass picture lights above the top bays throw a warm wash down the spines and give the room a second light layer at night.
Battery picture lights start around $30 and are genuinely renter-safe. Hardwired versions with a dimmer run $120 to $250 installed. Aim for 2700K warm bulbs and put them on the same dimmer circuit as the rest of the room so the shelves are never the brightest thing at 10pm.
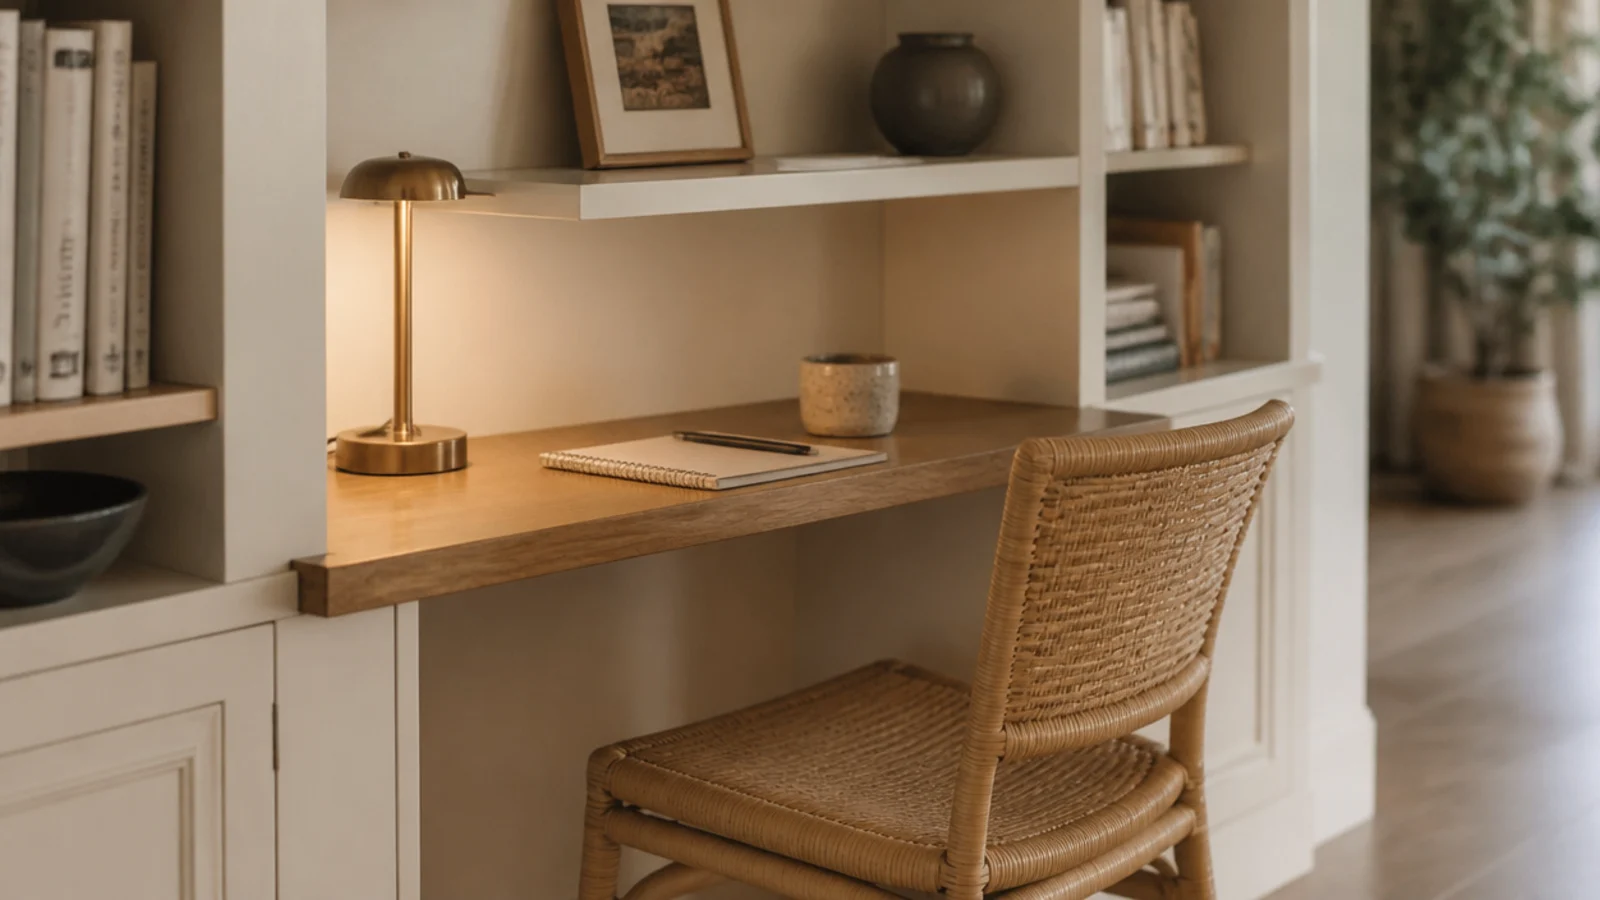
10. A built-in desk nook in the shelving run
Give one bay a horizontal surface at 30 inches and a run of shelves becomes a workspace without a desk taking floor space. Twenty inches deep is enough for a laptop and a notebook.
Add a shallow drawer under the surface for the cable mess, and leave the bay above open rather than shelved so you are not staring at spines from six inches away. Tuck a light chair under it and the nook disappears when it is not being used.
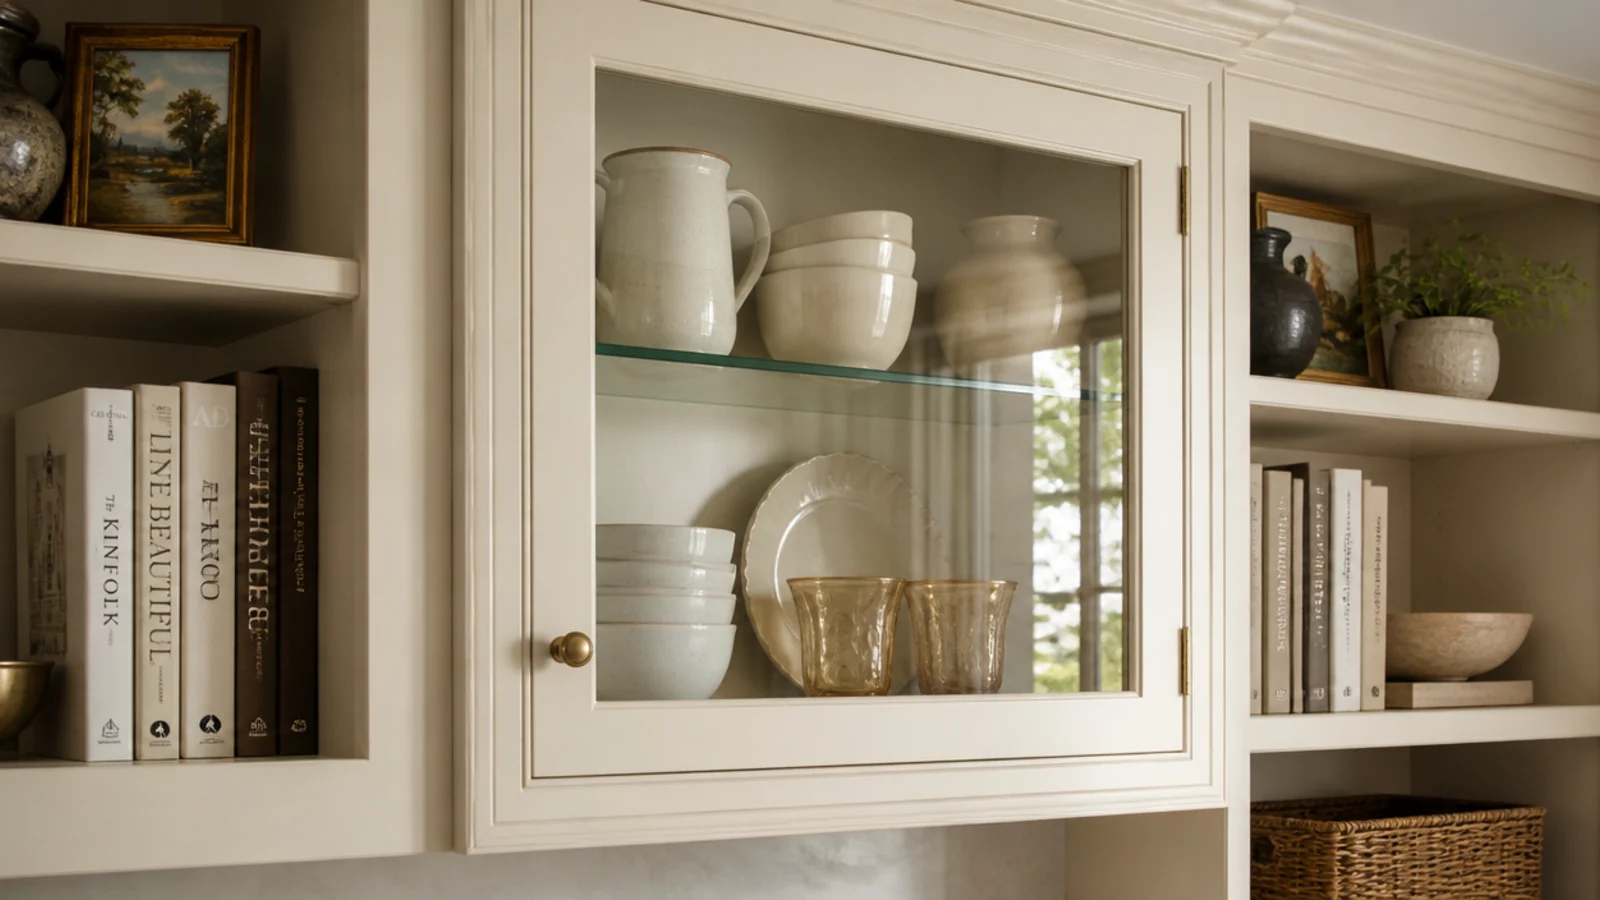
11. One glass-front bay for the good things
Glass doors on everything turns a built-in into a display cabinet. Glass on one bay makes that bay feel deliberate.
Use it for the things that suffer on open shelves — glassware, a record collection, anything dust-hating. Simple clear panes in a shaker frame read calmer than leaded or reeded glass in a modern room. Reserve reeded glass for the bay where you want the contents blurred rather than shown.
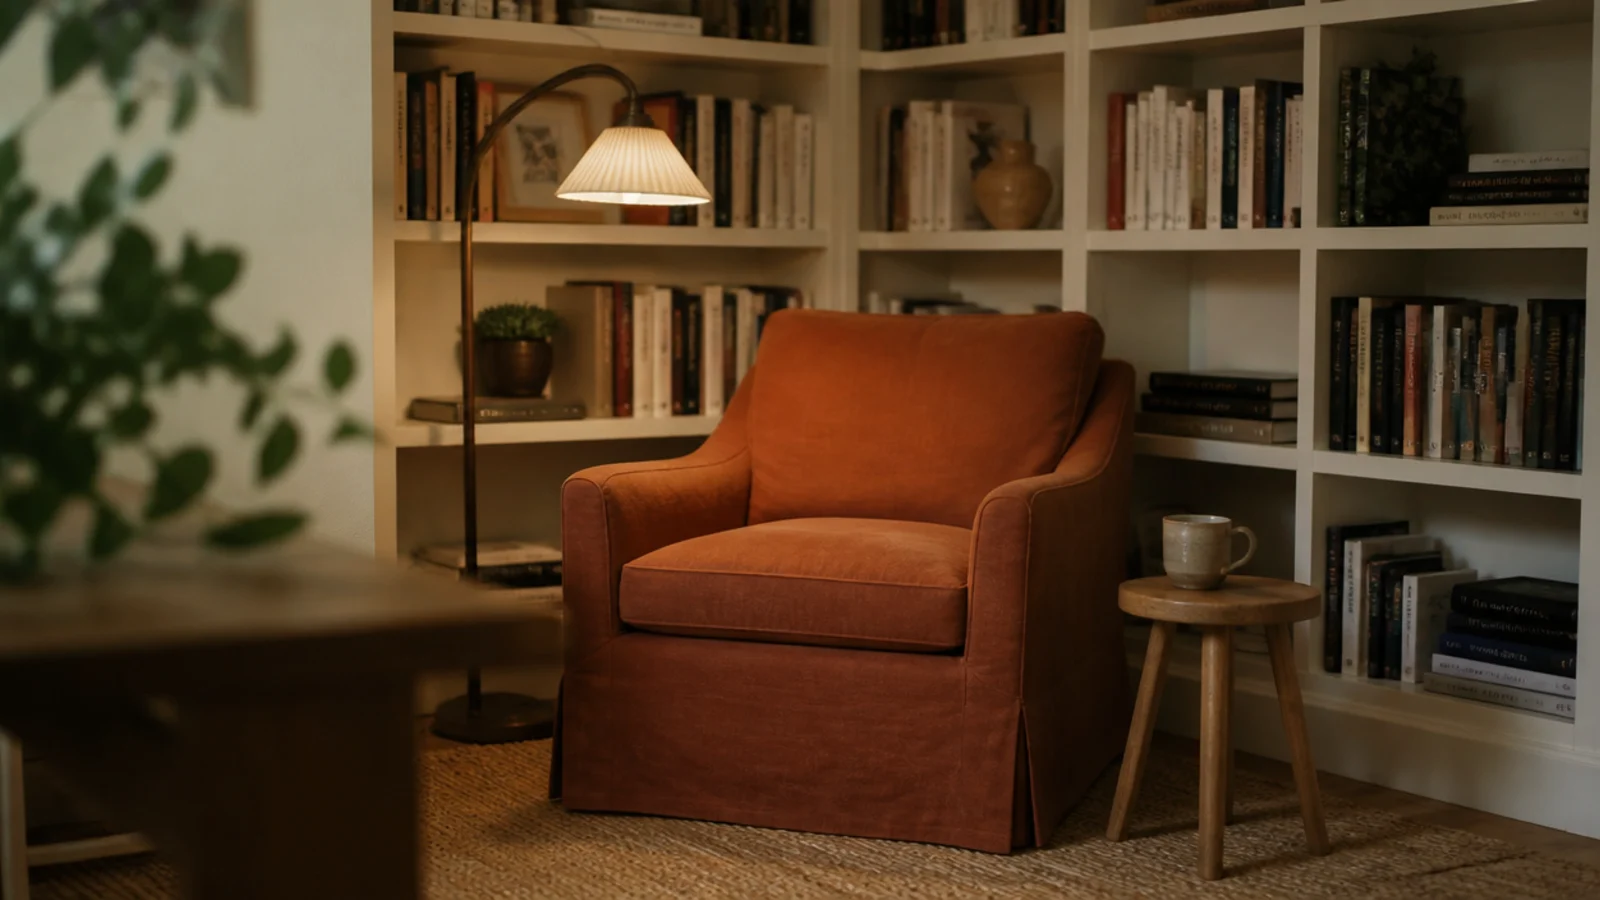
12. A reading nook lined on three sides
Wrap shelving around a corner and put a chair in it, and a spare corner becomes the best seat in the house. You need about 42 by 42 inches of floor for a chair and a small table.
Keep the shelves 10 inches deep at shoulder height so nothing hangs over the person sitting there, and place a floor lamp behind and to the side rather than a shelf lamp above. Warmth here comes from a jute rug and a throw, not more objects on the shelves.
13. Baskets in the bottom bay
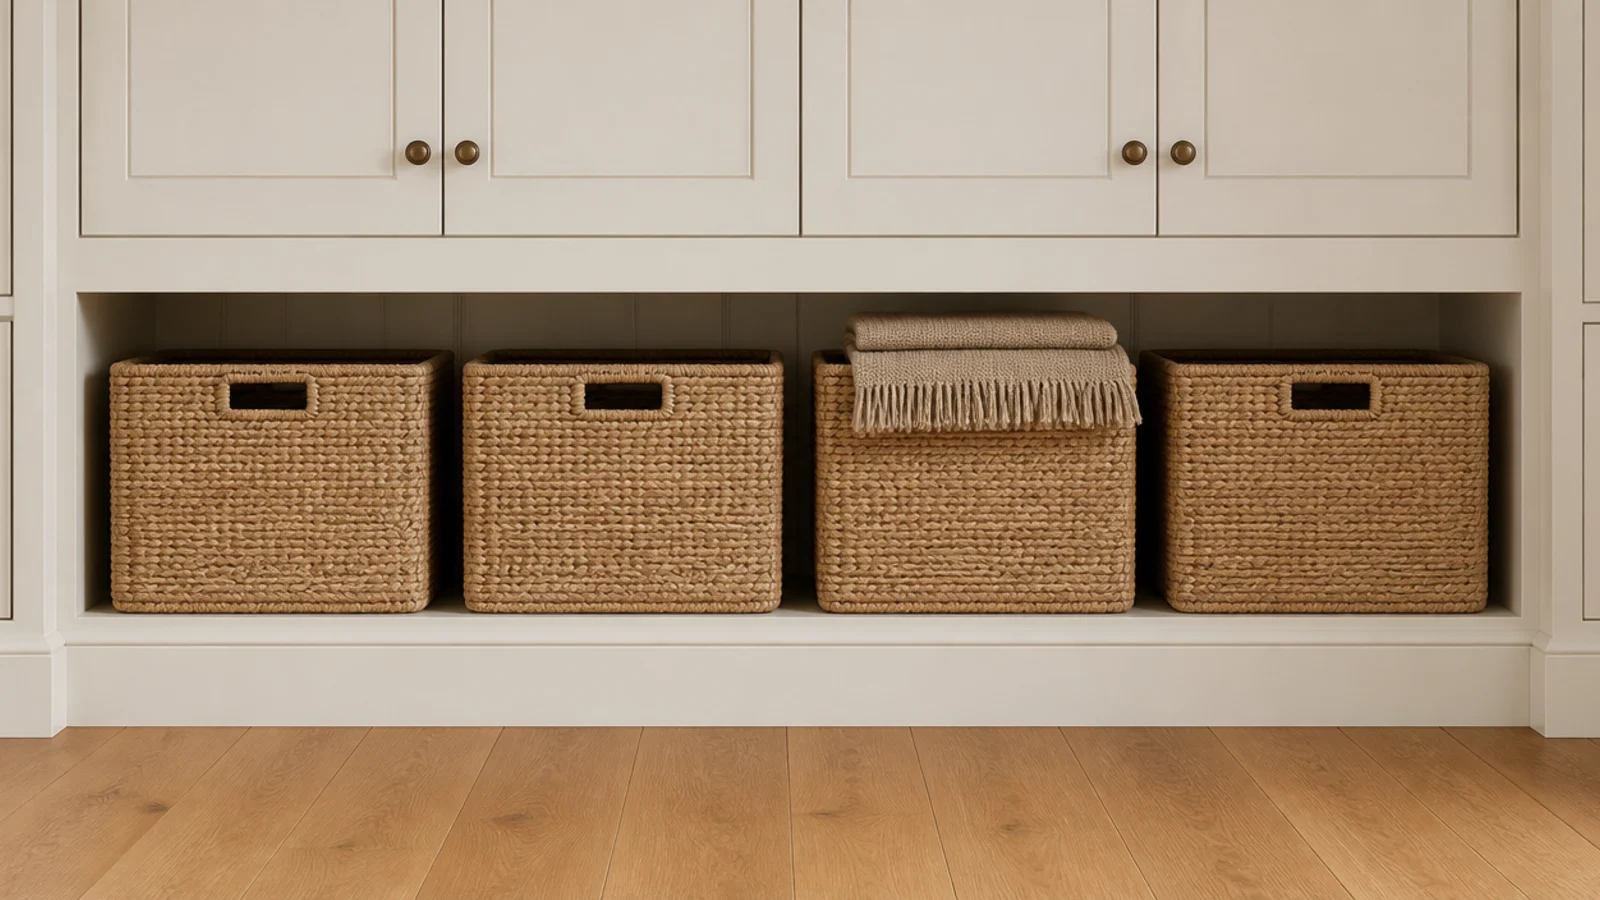
The lowest bay is where a built-in either gets tidy or gives up. Four matching jute or seagrass baskets, sized to fill the bay width with about half an inch of air each side, turn cables, throws and toys into one calm horizontal band.
Measure the bay opening before you buy — baskets that are two inches too wide are the reason people give up and pile things on the floor instead. Budget tier $, at roughly $15 to $30 a basket.
14. A shallow eight-inch run behind the sofa
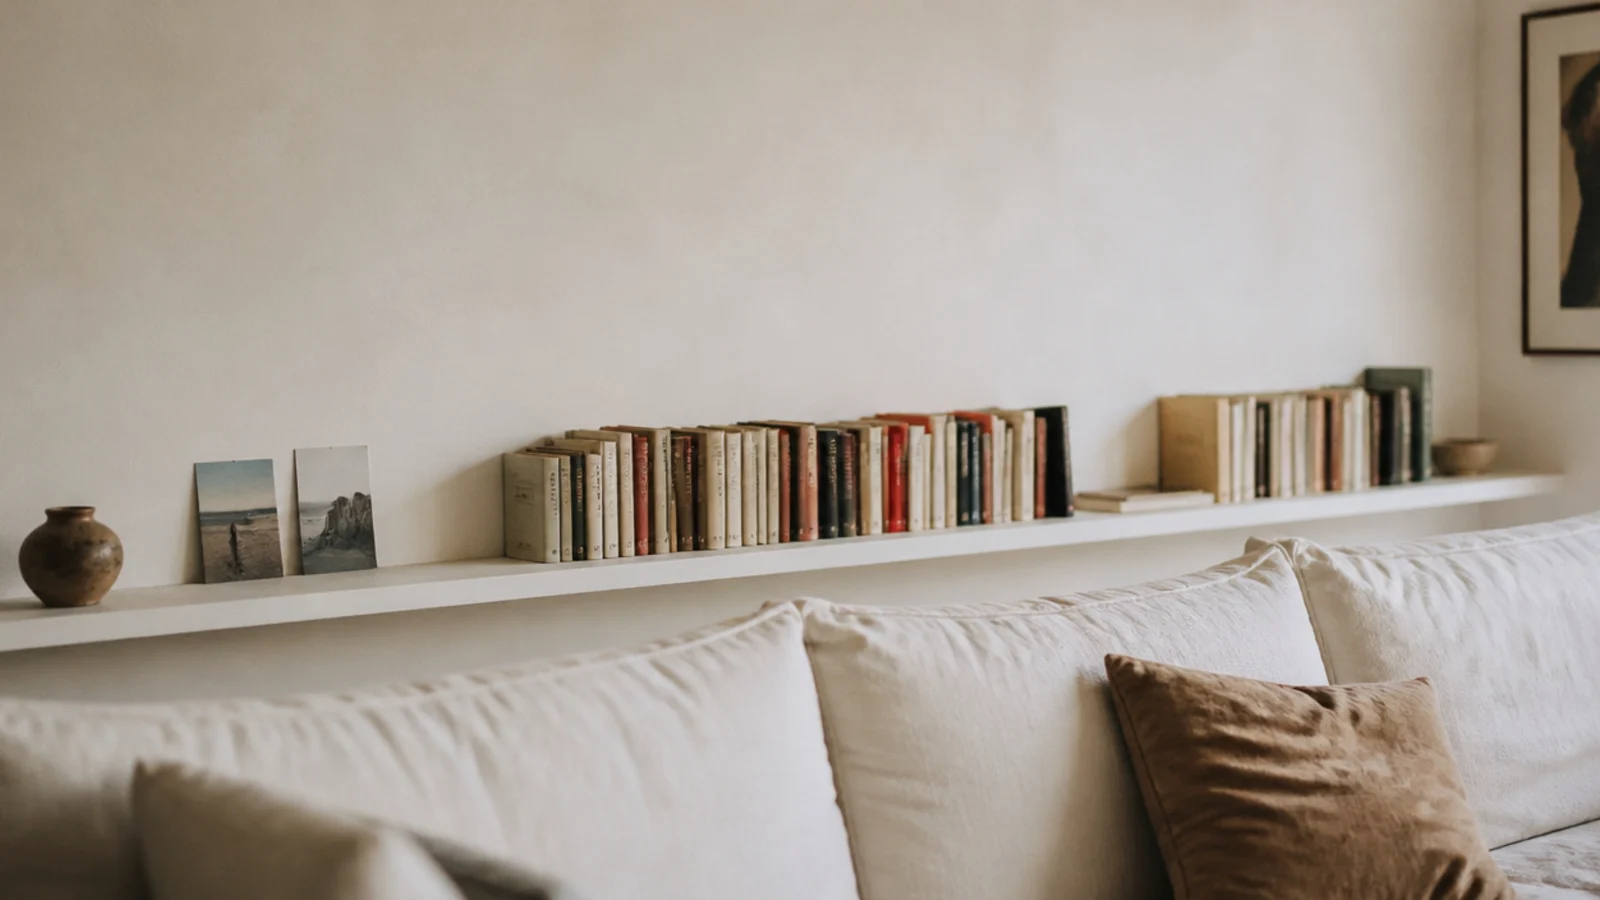
Behind a sofa, depth is your enemy. An 8-inch run holds paperbacks, framed photos and small pottery while keeping the walkway completely intact, and it costs a fraction of a full-depth build.
Mount the lowest shelf at least 10 inches above the sofa back so nobody knocks their head, and skip anything breakable on the shelf directly above where people sit. If you want the whole styling logic for a shallow run, built in shelf styling covers what actually fits in 8 inches.
15. The renter version: bookcases trimmed in
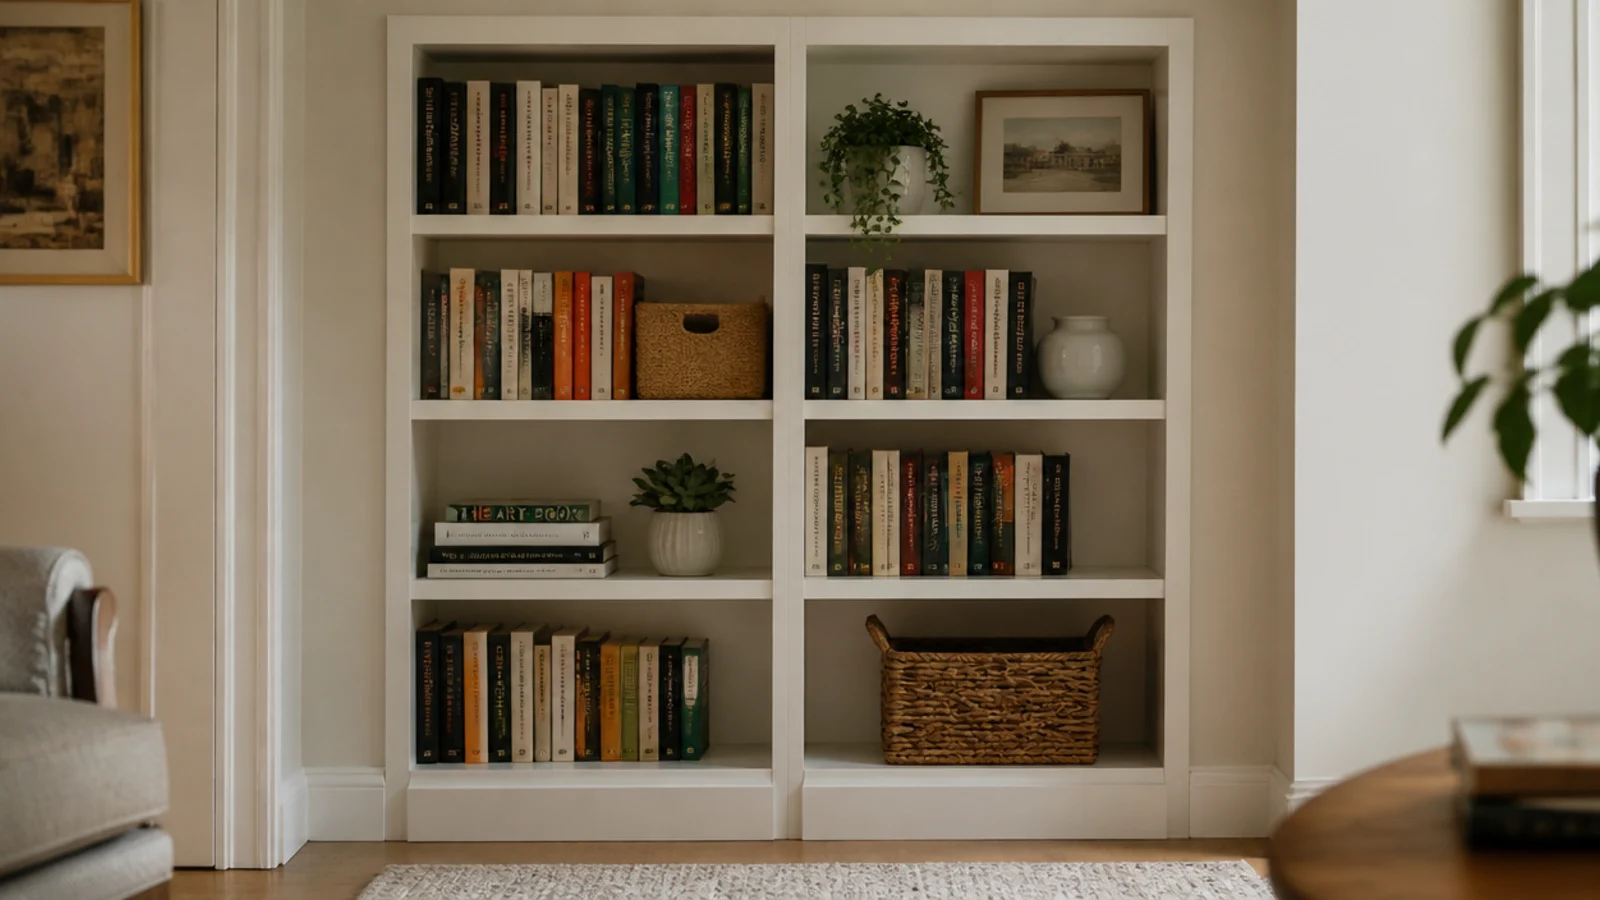
If the walls are not yours, buy the look instead of building it. Push two stock bookcases into an alcove, run the room baseboard across the front of their plinths, add a scribed filler strip where each unit meets the wall, and caulk the joint.
Anchor each unit to a stud with the strap it came with — two small screw holes, patched in five minutes on move-out day. Paint everything the wall color and, from the sofa, almost nobody can tell. The budget built in shelves guide goes further on cheap materials that still look right.
Mistakes to Skip
- Building every shelf fixed at one height. Drill adjustable pin holes at 32 mm centers instead; what you store in five years is not what you store now.
- Spanning more than 32 inches with bare 3/4-inch plywood. It sags with books on it, and a solid 1x2 front lip costs about four dollars a shelf.
- Painting the built-ins a different color from the wall and the trim. That single choice is what makes an expensive build read as a bookcase somebody wedged into an alcove.
Frequently asked questions
How deep should living room built-in shelves be?
Eleven to twelve inches is the working number for books, because a hardback is nine to ten inches tall and needs the shelf under all of it. Go to fourteen or sixteen inches only where a shelf carries baskets, a receiver or a console. The best-looking runs mix both: a deep closed base at fifteen inches with shallow open uppers above it.
How far apart should built-in shelves be spaced?
Eleven to thirteen inches of clear height between shelves lets hardbacks stand upright with room to lift them out. Drill adjustable pin holes rather than fixing every shelf, because the things you store change. One taller bay at sixteen to eighteen inches gives you somewhere for a large art book or a lamp, and it breaks up the grid.
Why do built-in shelves sag in the middle?
Span, almost always. A 3/4-inch plywood shelf starts to sag past a 32-inch span once it holds a full row of books. Two cheap fixes solve it: glue a solid 1x2 lip along the front edge, which stiffens the shelf dramatically, or add a vertical divider in the middle of the bay. Decide before you cut the plywood.
What color should living room built-ins be painted?
The same color as the wall, or the same color as the trim. Both read as architecture. A contrasting color reads as a bookcase pushed into an alcove. If you want contrast, put it on the back panel inside the bays instead, where it adds depth without turning the whole run into a piece of furniture.
Can renters have built-in shelves?
Yes, with freestanding bookcases trimmed in. Push two stock bookcases into an alcove, run baseboard across the front, add a scribed filler strip at each wall and anchor the units to a stud. You get most of the built-in look, the anchor leaves two small holes, and everything comes out on move-out day with a patch kit and an hour.
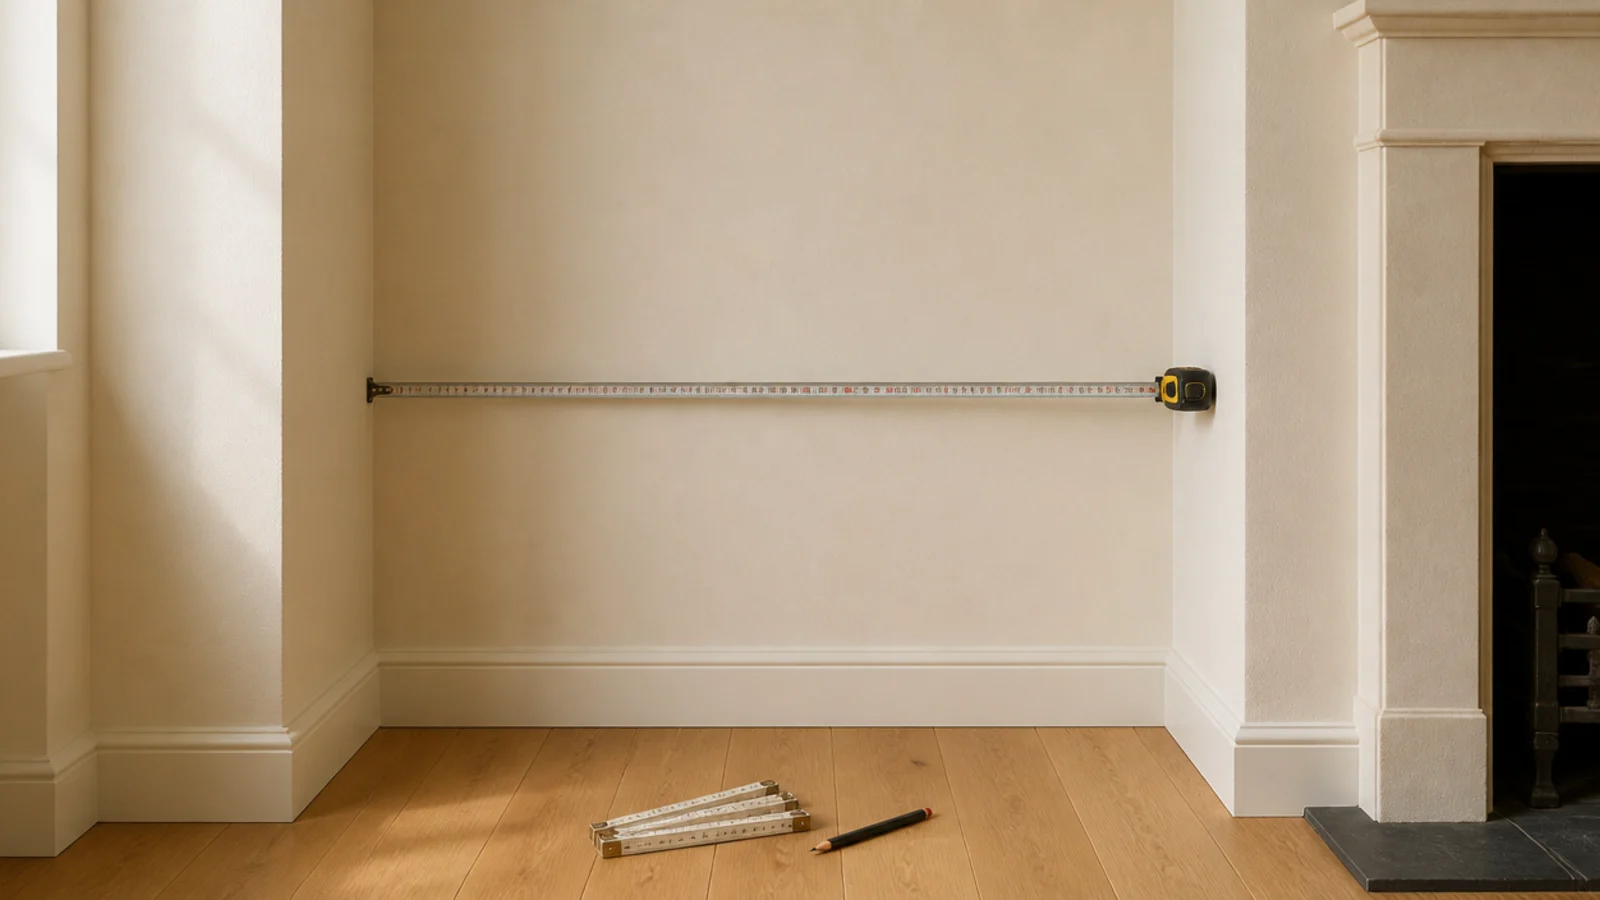
Pick the alcove that annoys you most and measure it at three heights before you buy a thing — old walls taper, and the number at the top is rarely the number at the floor. If you want the full build sequence, the step-by-step shelf build covers cutting, scribing and mounting, and a mirror wall arrangement is the cheaper move if the wall you are staring at needs light more than storage. Save the pin below so the depths and spans are with you at the lumber counter.
Want more like this? Browse all 15 living room built-in shelves guides — they all use the same measurements and budget tiers.
Pin it for later
Save this to your Living Room Built-In Shelves board
Pin it now so it is waiting for you when the tape measure comes out — and so the next person hunting for this idea can find it too.
Save this pinKeep going
More ideas worth saving while you have the tape measure out.
Living Room Built-In Shelves
25 Budget-Friendly Living Room Built-Ins Ideas for Small Spaces
11 min read