Living Room Built-In Shelves · Listicle
30 Beautiful Living Room Built-Ins Ideas to Steal Today

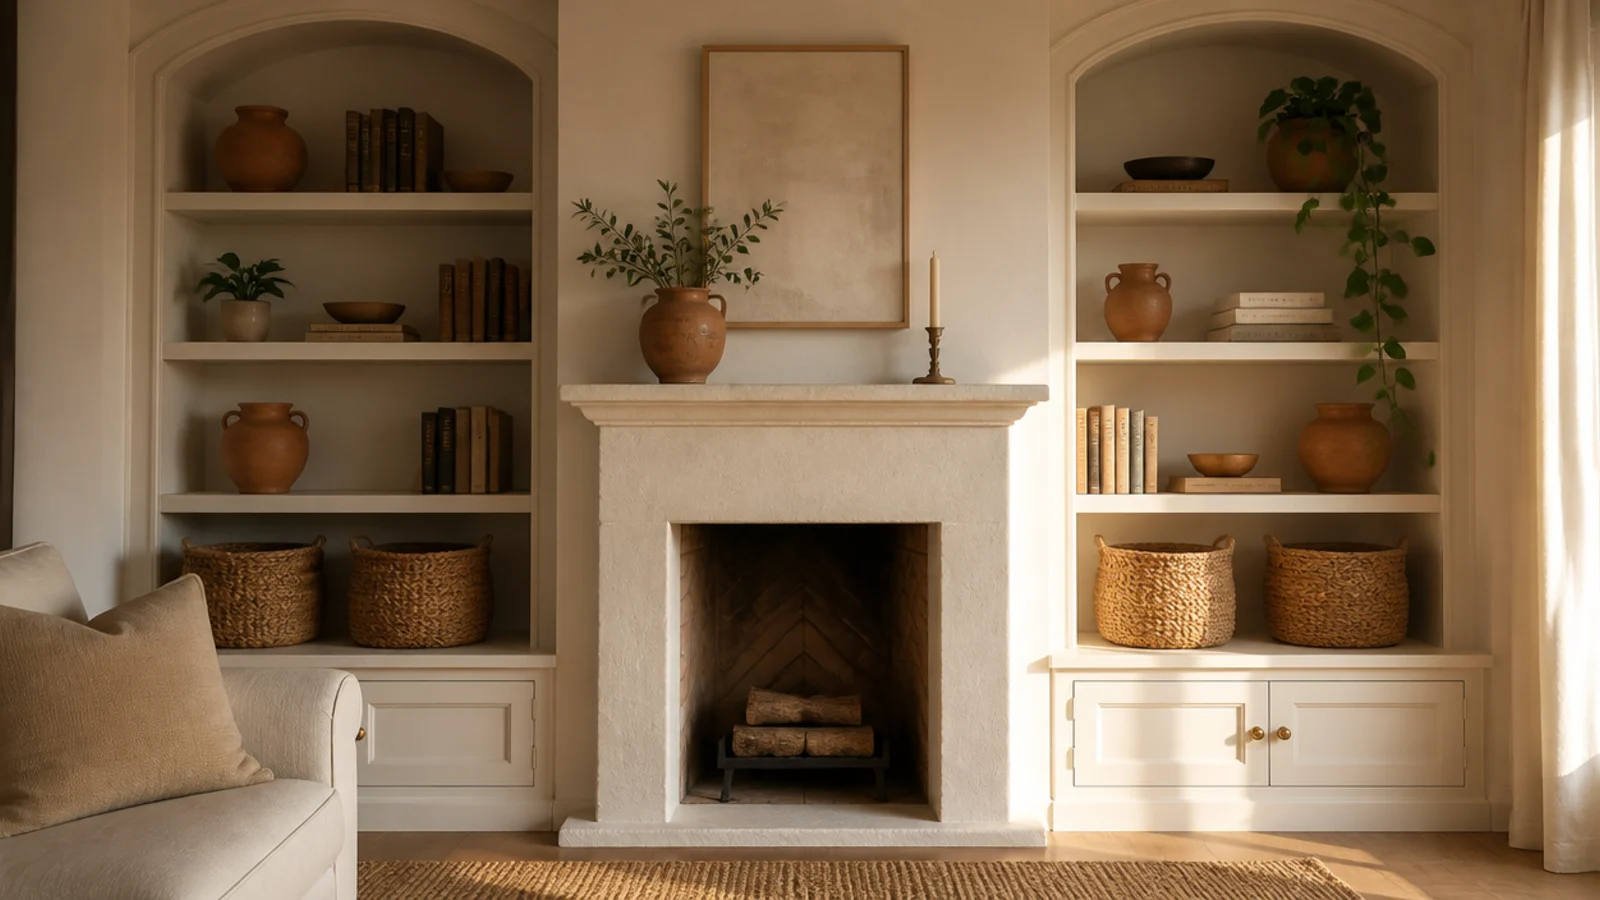
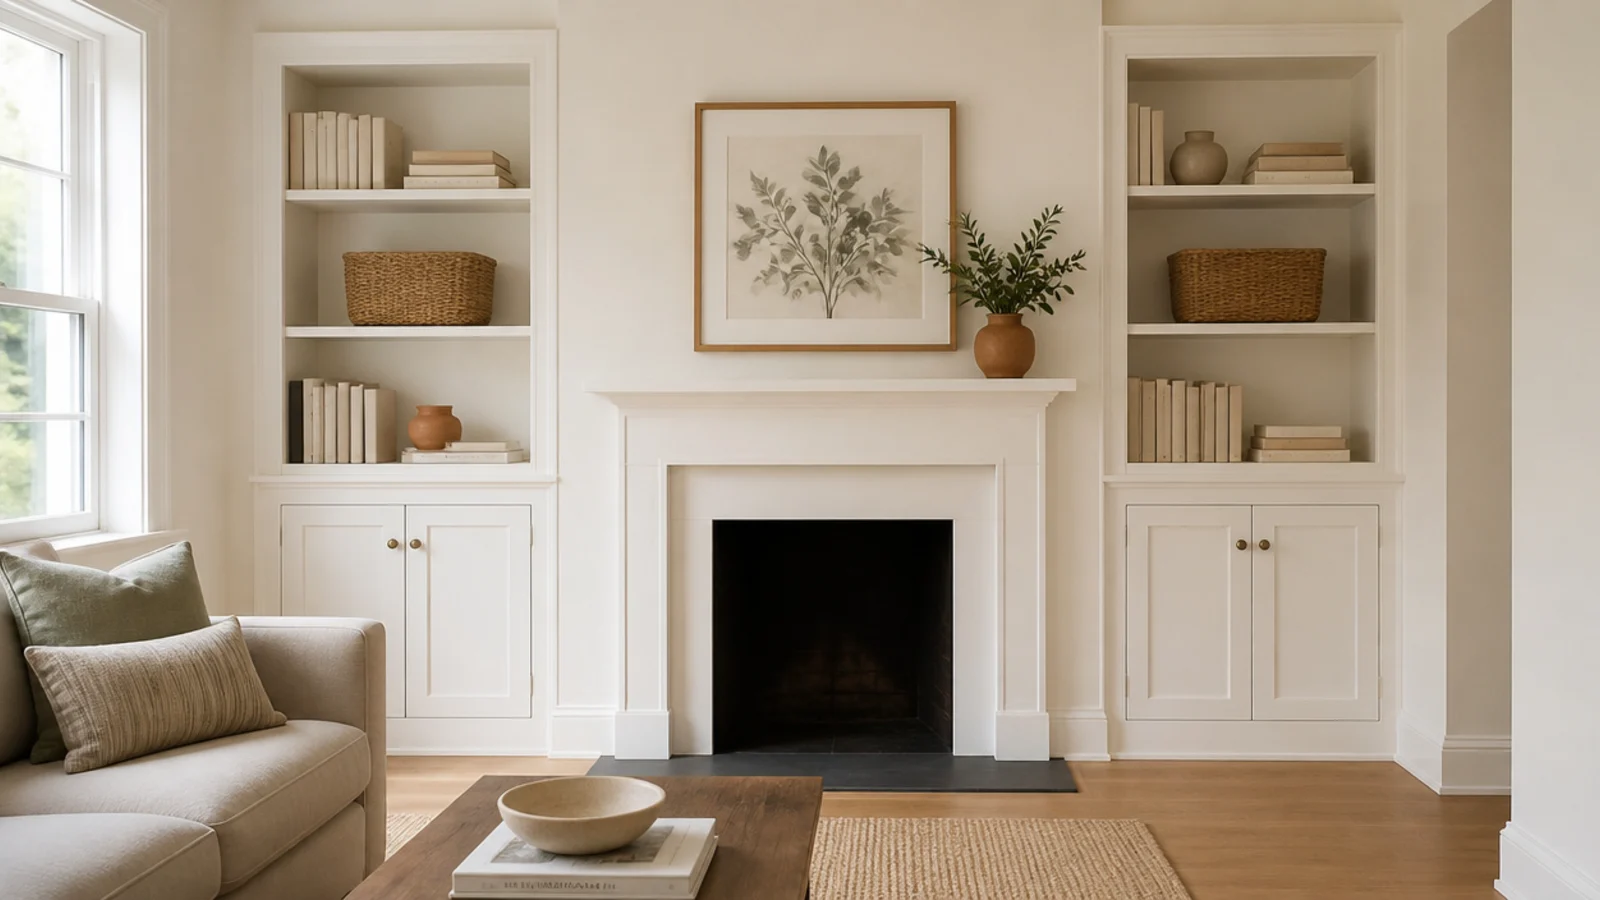
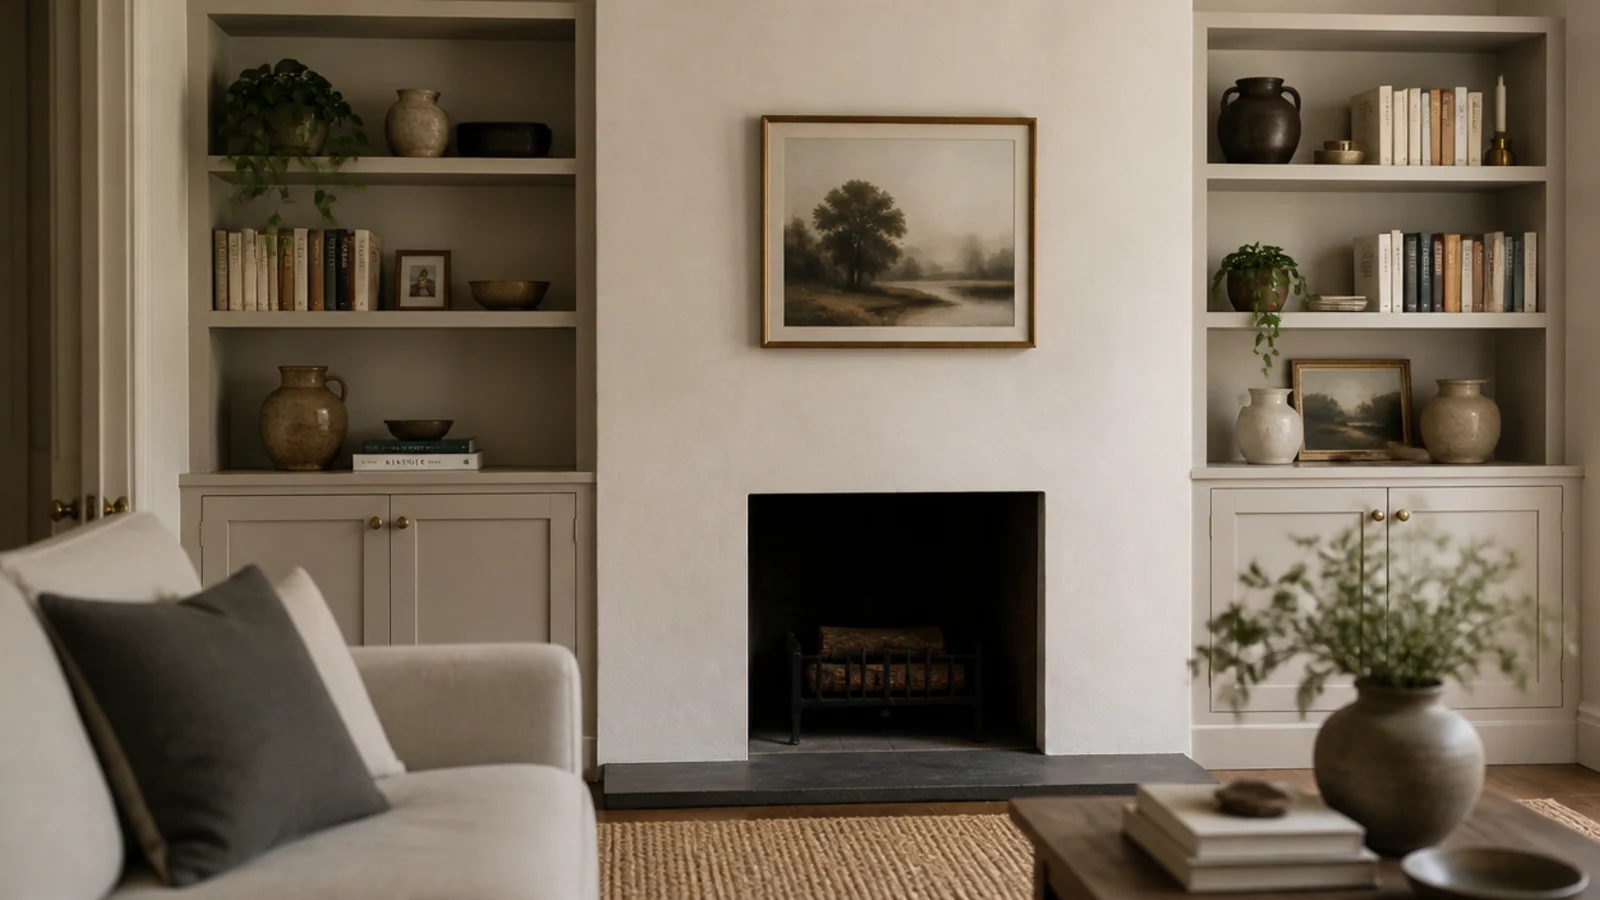
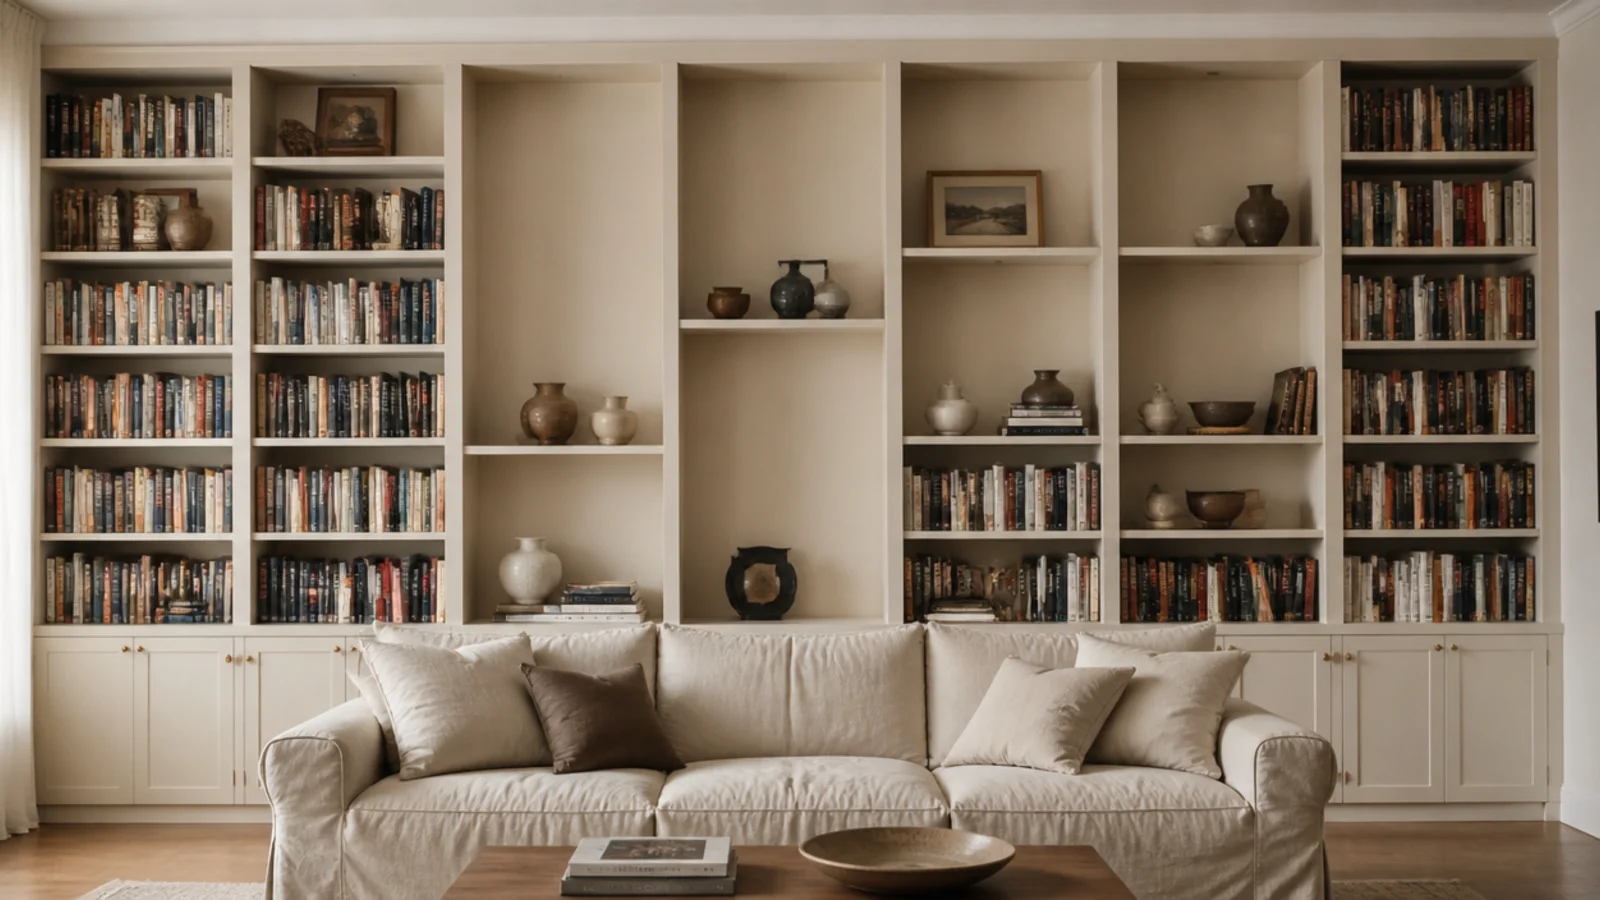
Built in shelf styling is the job that starts after the carpenter leaves, and it is the one that decides whether a wall of bays reads as architecture or as a storage unit with the doors taken off. I have restyled the same run four times in two years. What finally worked was not more objects. It was fewer objects, a measured empty third, and a spine line I stopped breaking.
In this guide32 sections — tap to openHide
- 1.The built in shelf styling rules that do the heavy lifting
- 2.Empty the bay completely before you style it
- 3.The rough 60/30/10 of books, objects and baskets
- 4.Horizontal book stacks as pedestals
- 5.Group in odd numbers, three beats four
- 6.Three heights inside every bay
- 7.Leave a third of each shelf empty
- 8.Pull the objects forward to the front edge
- 9.Line every spine to one line
- 10.Repeat one material three times
- 11.Cap the whole run at two metals
- 12.Sort books by height first, color second
- 13.Turn one cover face out
- 14.Take the dust jackets off
- 15.Bookends that are actually objects
- 16.Lean one piece of art inside a bay
- 17.Slip a small mirror into a single bay
- 18.Baskets along the lowest shelf
- 19.One trailing plant and one upright
- 20.Sculptural objects with irregular edges
- 21.Picture lights and puck lights
- 22.Paint the back of the bays
- 23.Wallpaper one back panel
- 24.Move the sparse bays on a diagonal
- 25.Bridge two bays with one long object
- 26.Keep the top shelf light
- 27.Hide the router, the modem and the cords
- 28.A three-object seasonal swap
- 29.Keep family photos to one bay
- 30.Photograph the shelves to test the composition
- 31.Live with it a week, then take two things out
- 32.Mistakes to Skip
The built in shelf styling rules that do the heavy lifting
Four numbers carry most of the work. Depth comes first: 11 to 12 inches is what a hardback actually needs, and 14 to 16 inches is only for bays holding baskets or media gear. Then spacing. Give the shelves 11 to 13 inches of clear height, because that is the number that decides whether a styled bay looks right; under 11 inches, everything you own has to lie down.
Then the two rules that are not measurements. Leave roughly a third of each shelf empty. And keep the shelves the same color as the wall or the trim so the run reads as architecture rather than furniture; if you want color, it belongs on the back panel inside the bays. Renters get the same look from freestanding bookcases trimmed in with baseboard and anchored to a stud.
Budget it honestly, because styling is the cheapest part of a built-in. $ is $0 to $75: restyle with what you already own plus two thrifted objects. $$ is $150 to $400 for matching baskets, battery picture lights and a few real pieces instead of filler. $$$ is $600 to $1,500 for hardwired picture lights, a wallpapered back panel and one commissioned piece of pottery.
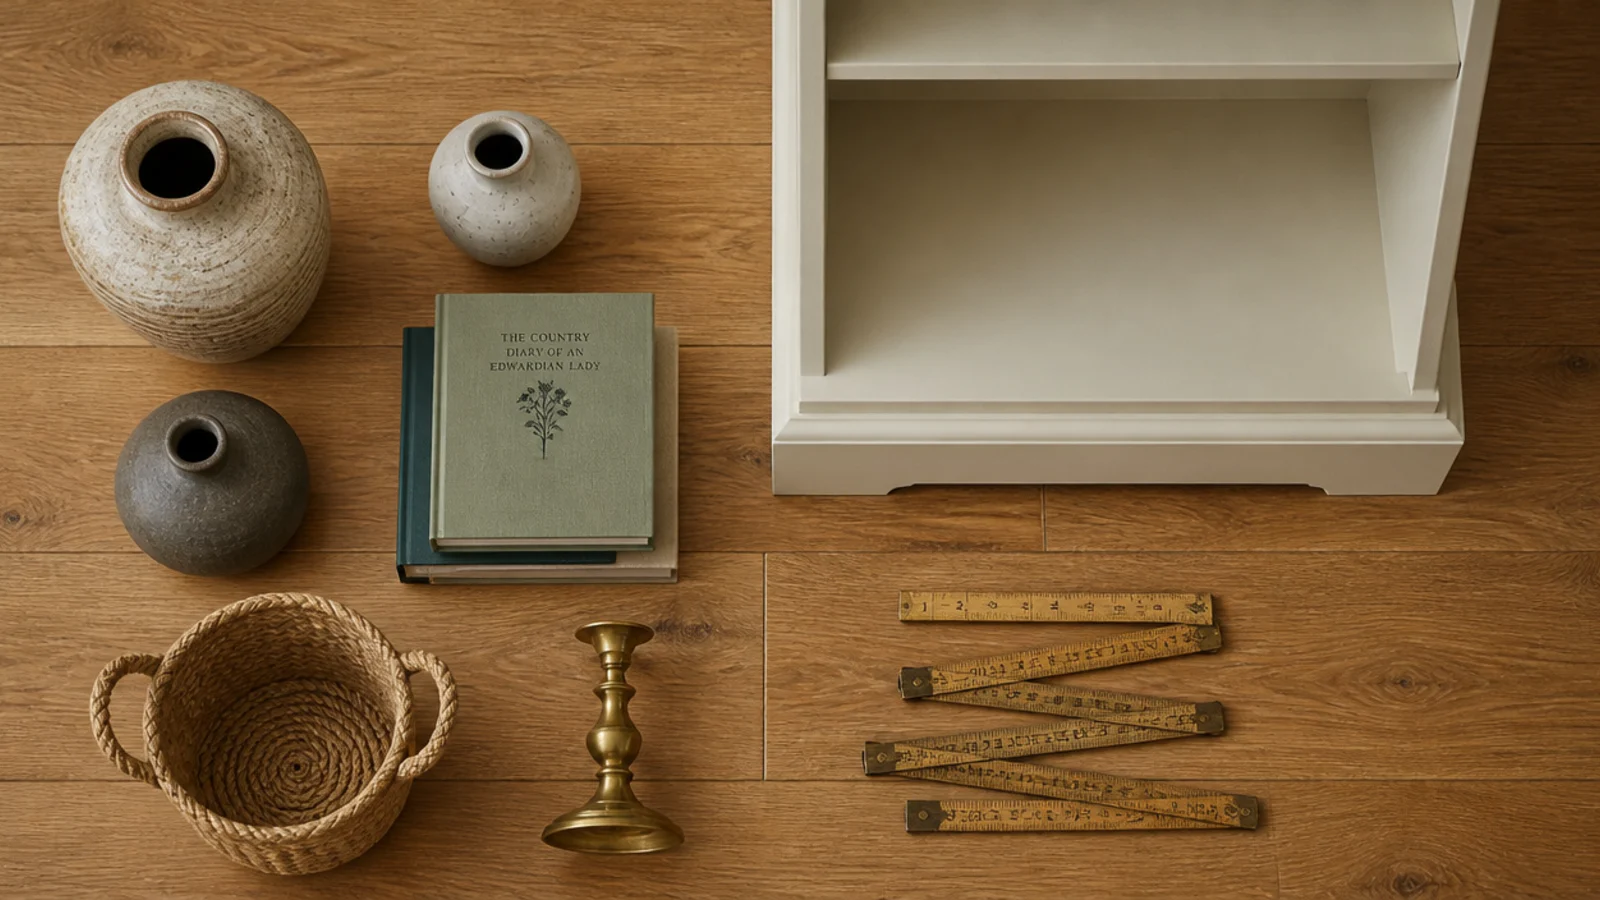
1. Empty the bay completely before you style it
Take everything out, onto the floor in front of you, until the bay is bare and you can see the back panel. Styling around what is already there is why most runs look accreted rather than composed. Wipe the shelf, then put back only what earns its inches. Tier $, because it costs nothing.
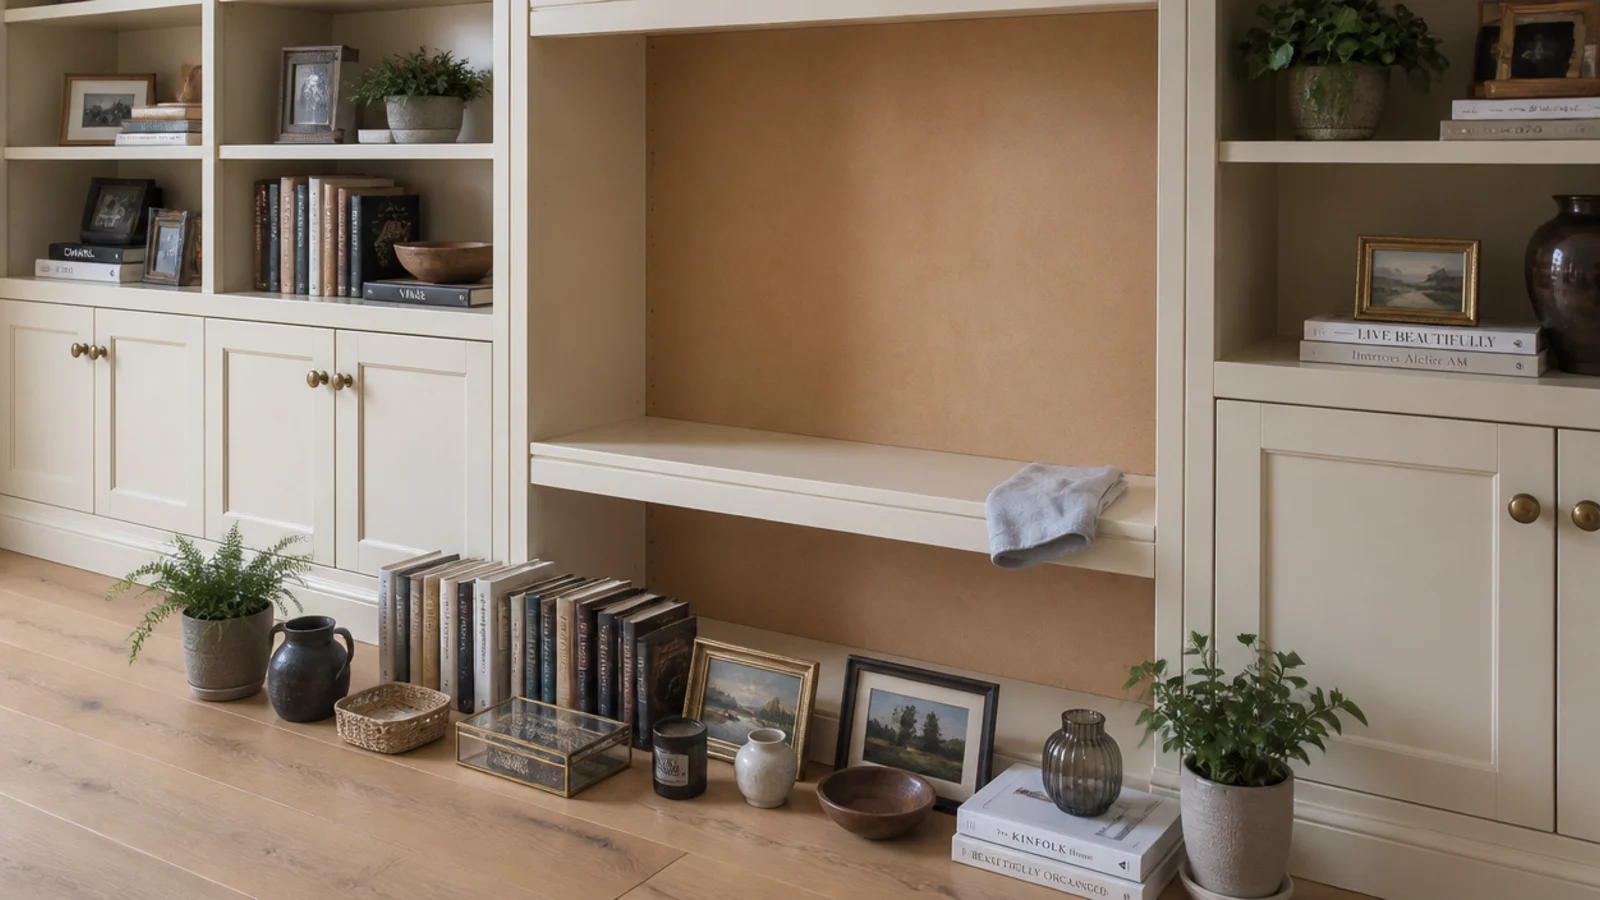
2. The rough 60/30/10 of books, objects and baskets
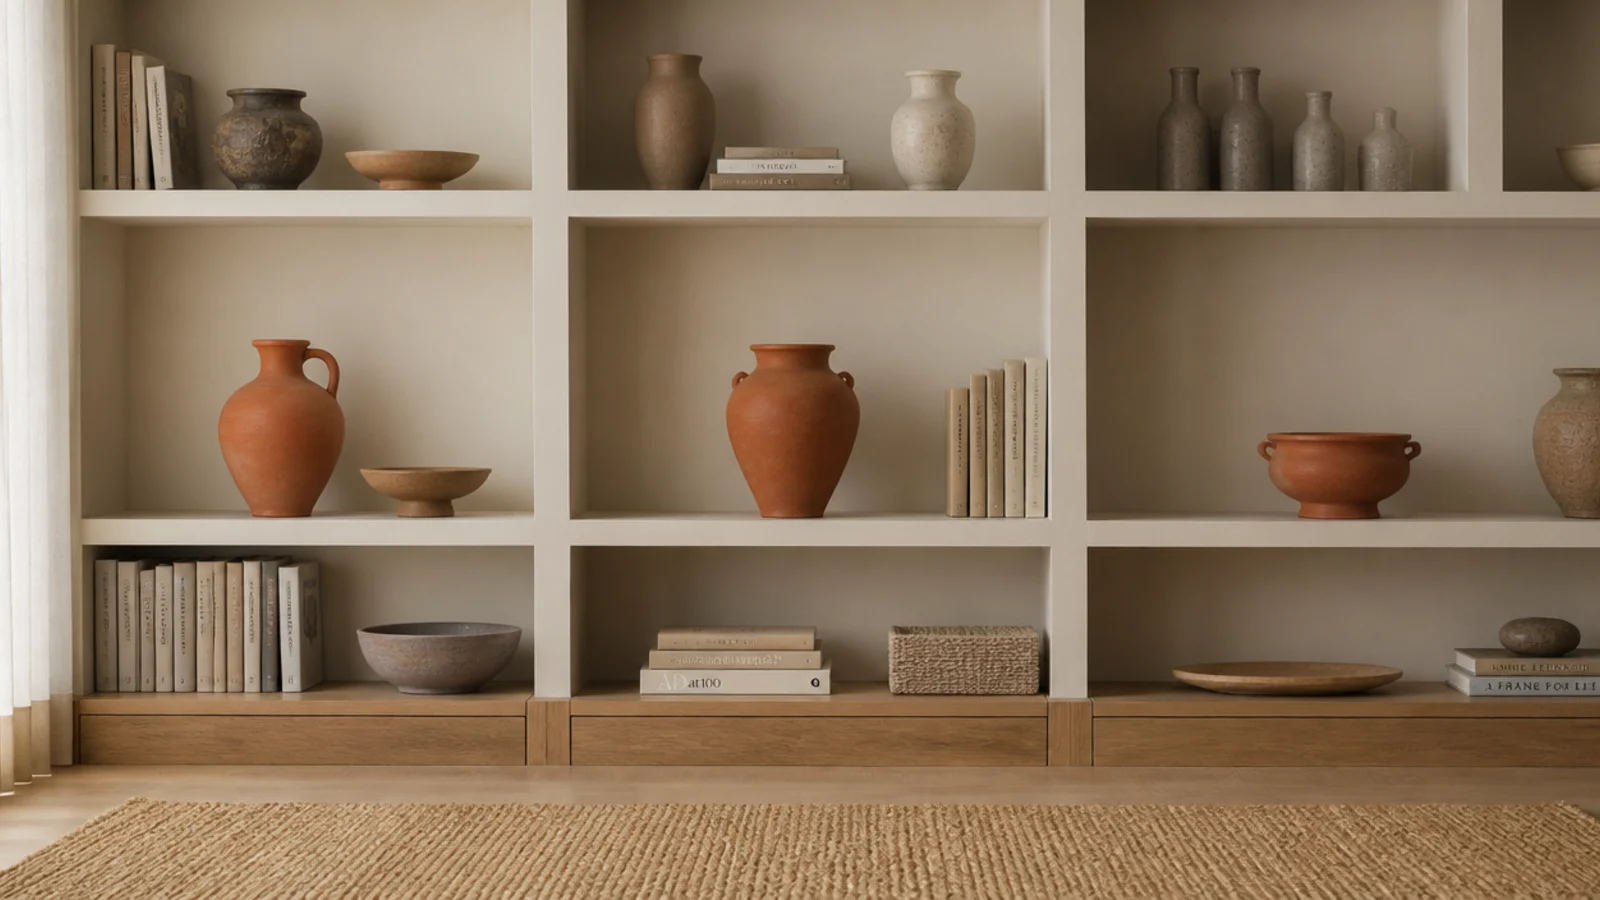
Across the whole run, aim for about 60 percent books, 30 percent objects and 10 percent concealed storage. That ratio keeps a built-in feeling like a library rather than a gift shop. In a 12-bay wall that is roughly seven bays of spines, three of pottery, and one full bay of lidded boxes.
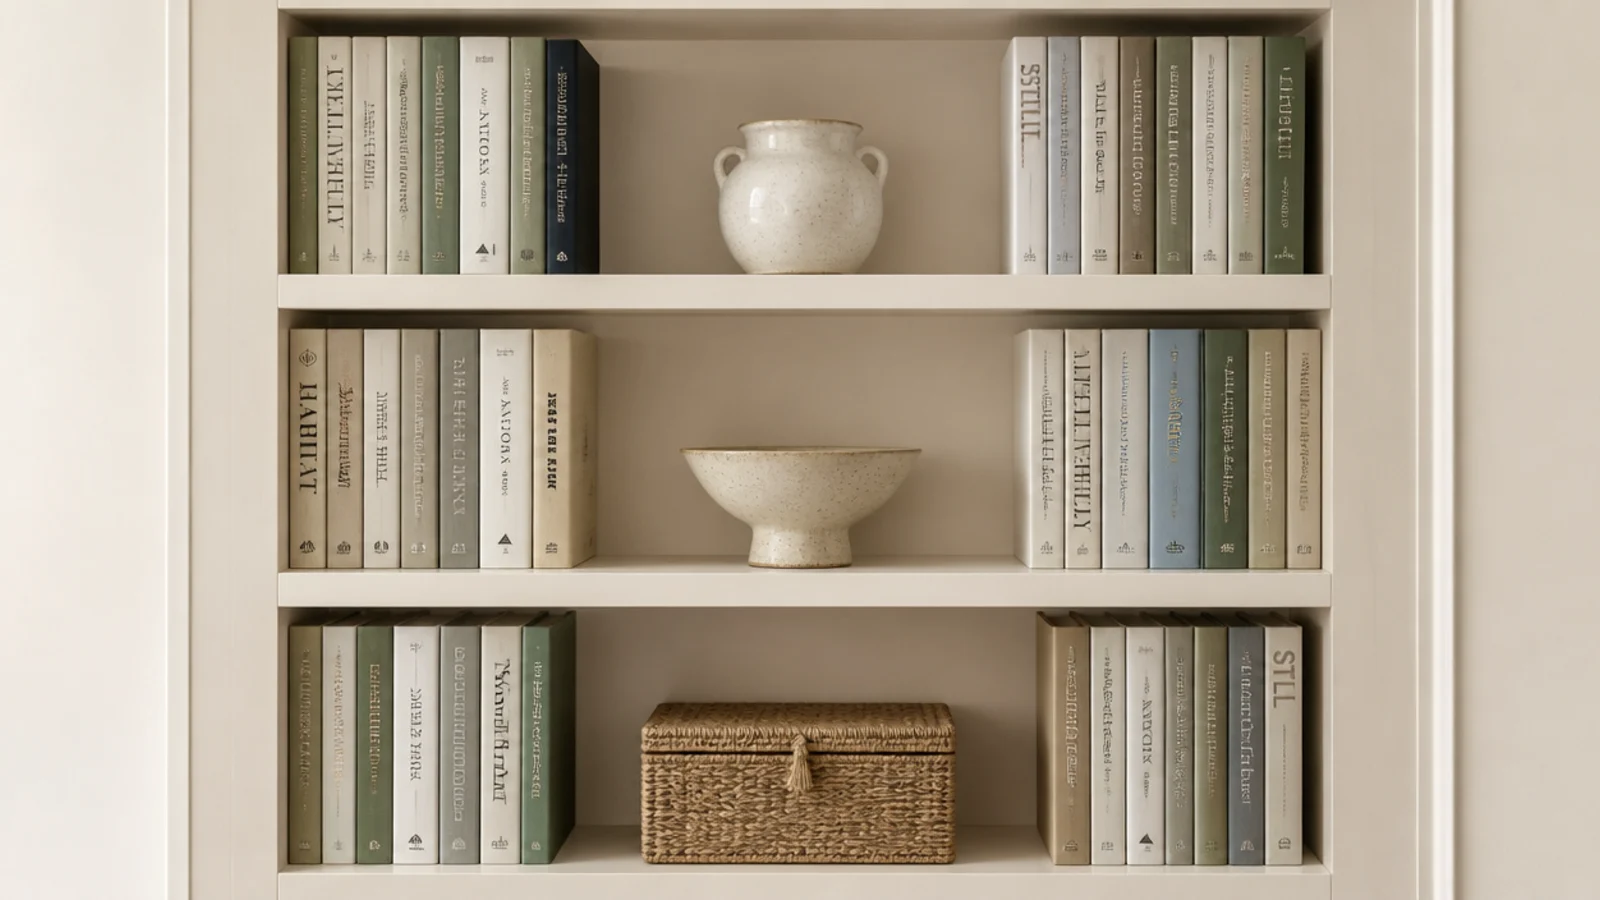
3. Horizontal book stacks as pedestals
Lay three or four hardbacks flat and set something on top of them. The stack lifts a small object into the middle of the shelf opening instead of stranding it on the deck, and it fills the awkward air in a bay with 11 to 13 inches clear. Cap stacks at four books; five reads as a pile.
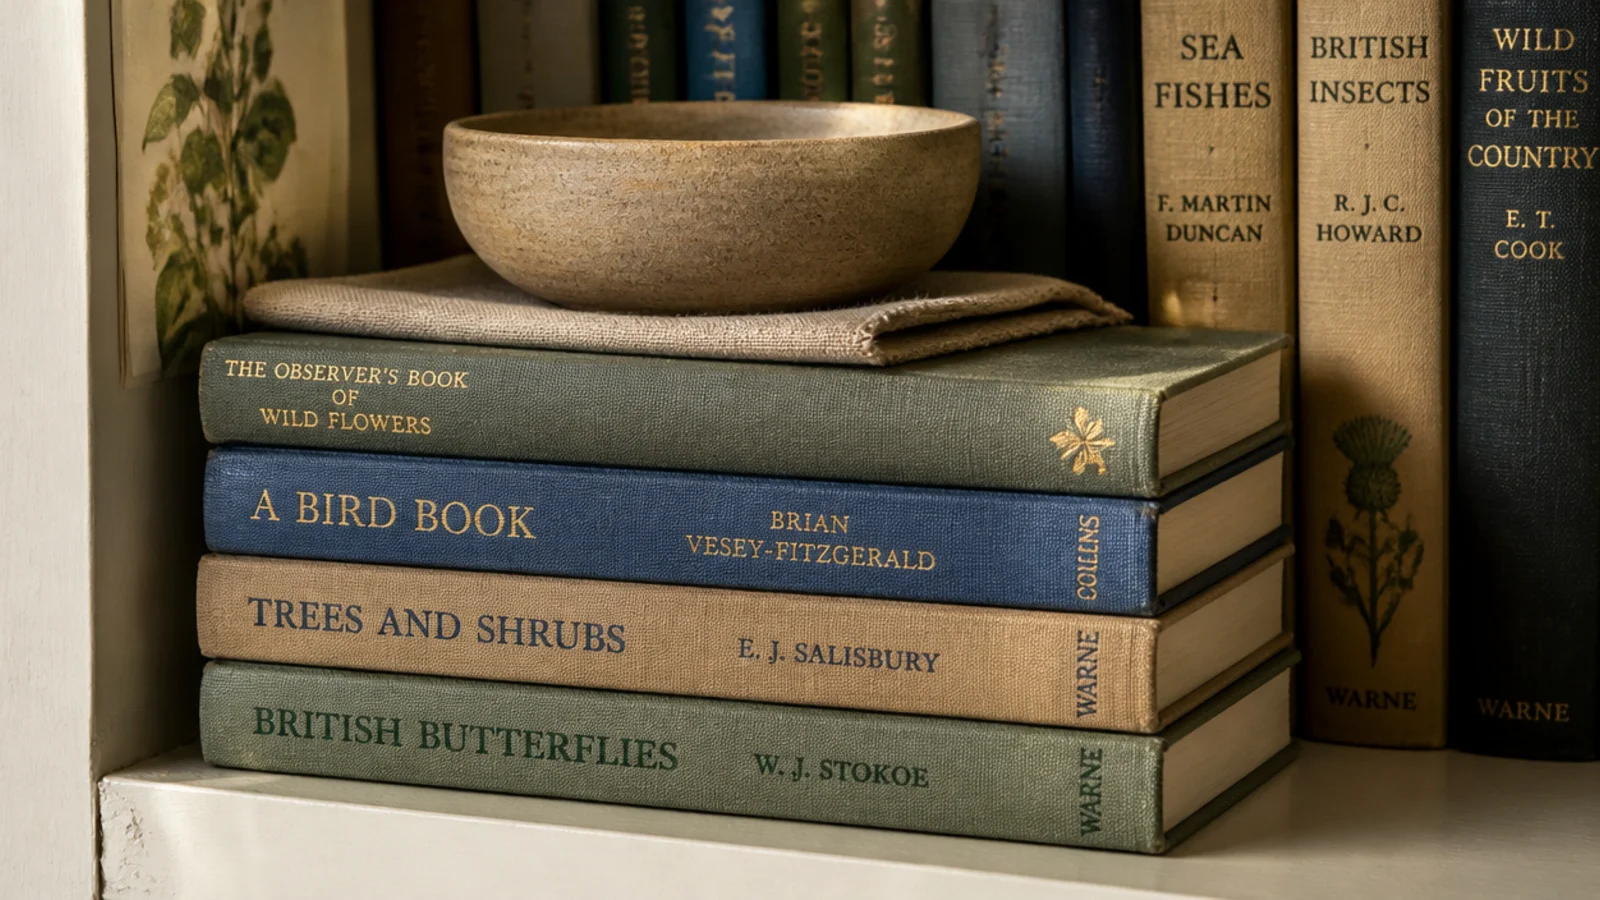
4. Group in odd numbers, three beats four
Three objects per shelf is the reliable default, and it works because your eye cannot split three into two matching halves. Four reads as inventory. If you must use four, group them as three plus one set apart, with at least 4 inches of clear air between the group and the single piece.
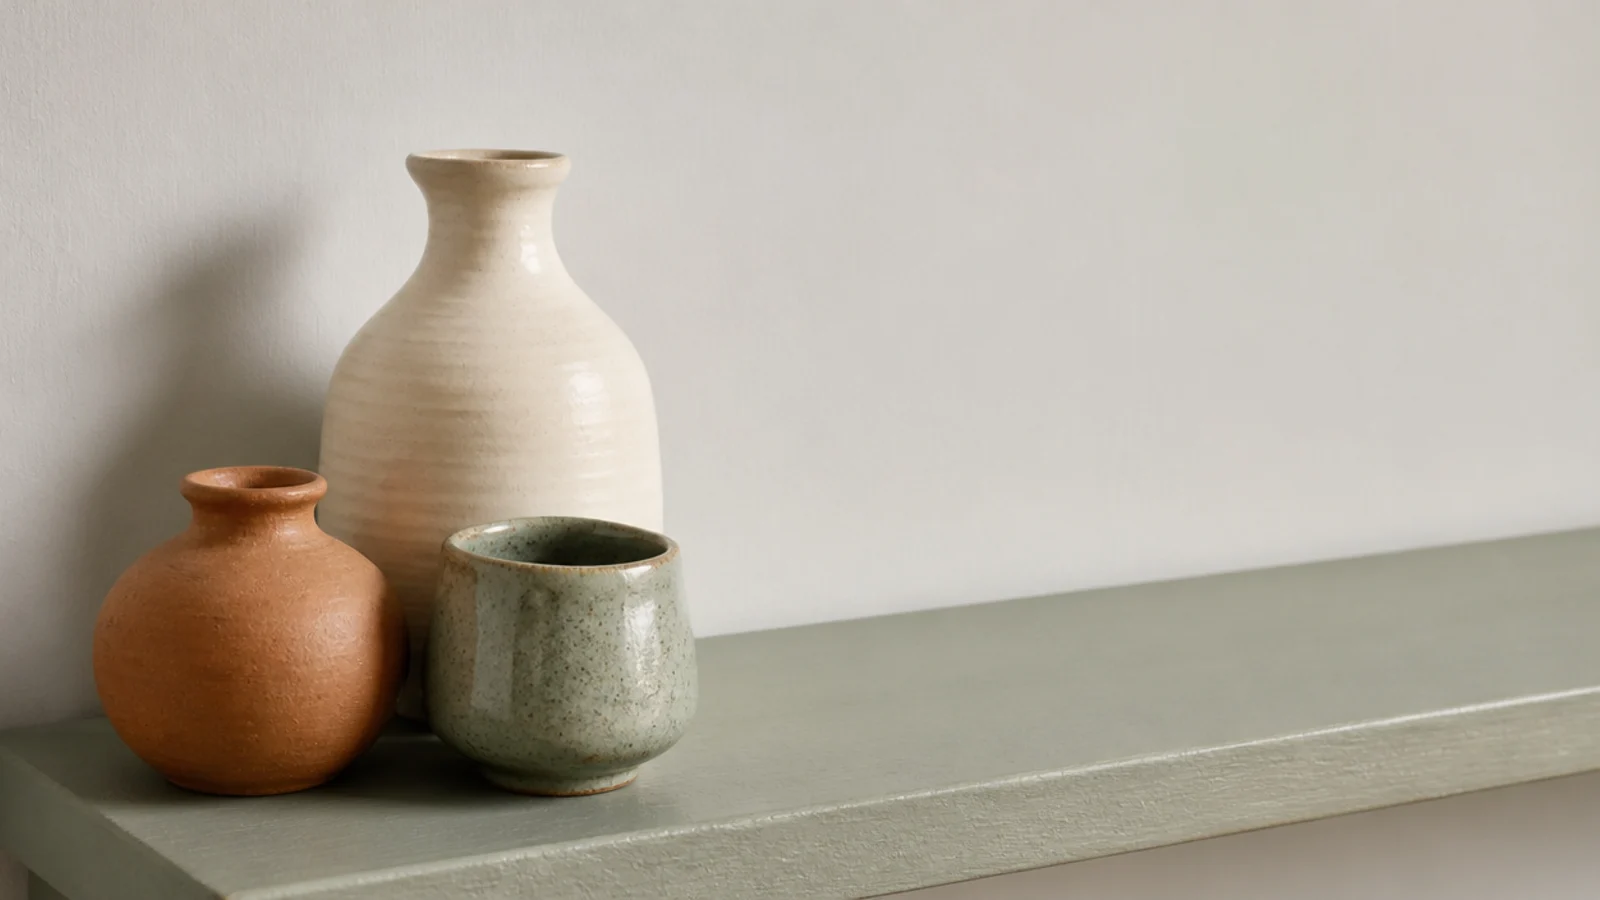
5. Three heights inside every bay
Give each shelf something tall, something low and wide, and something soft: a 12-inch taper, a flat stack of art books, then a trailing stem to break the horizontal. In a bay with 11 to 13 inches clear, the tall piece should reach about two thirds of the opening and never touch the shelf above.
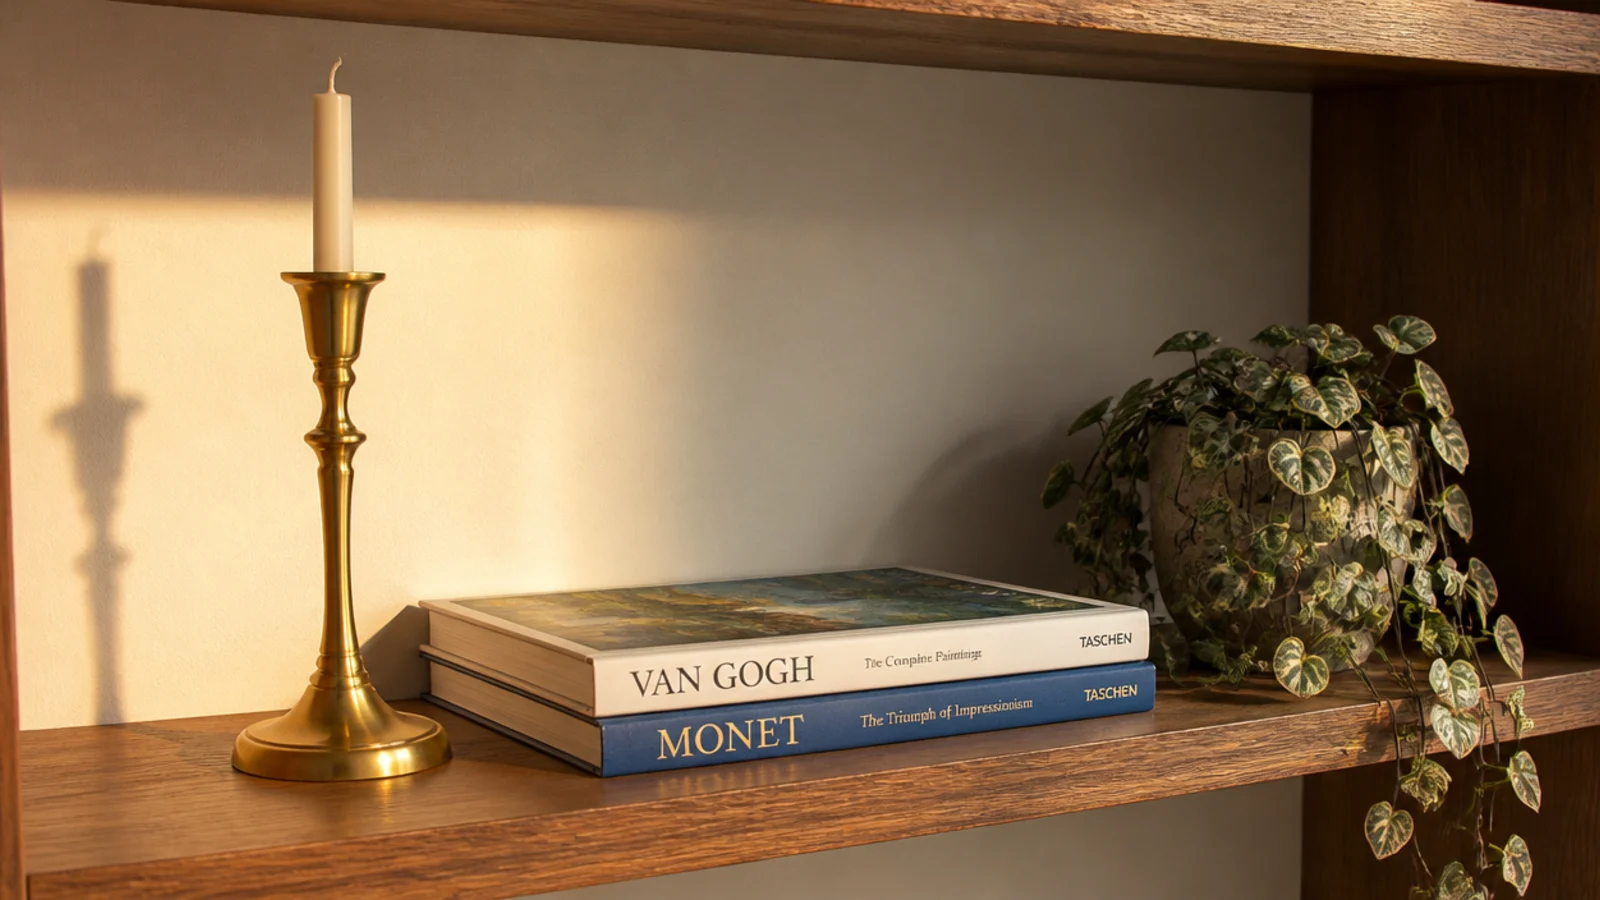
6. Leave a third of each shelf empty
The empty third does more work than anything you could add. On a 30-inch bay that is 10 inches of bare shelf, and it looks best kept at one end rather than split into two small gaps. Whenever a run stops working, this is the rule that broke first, and restoring it is free.
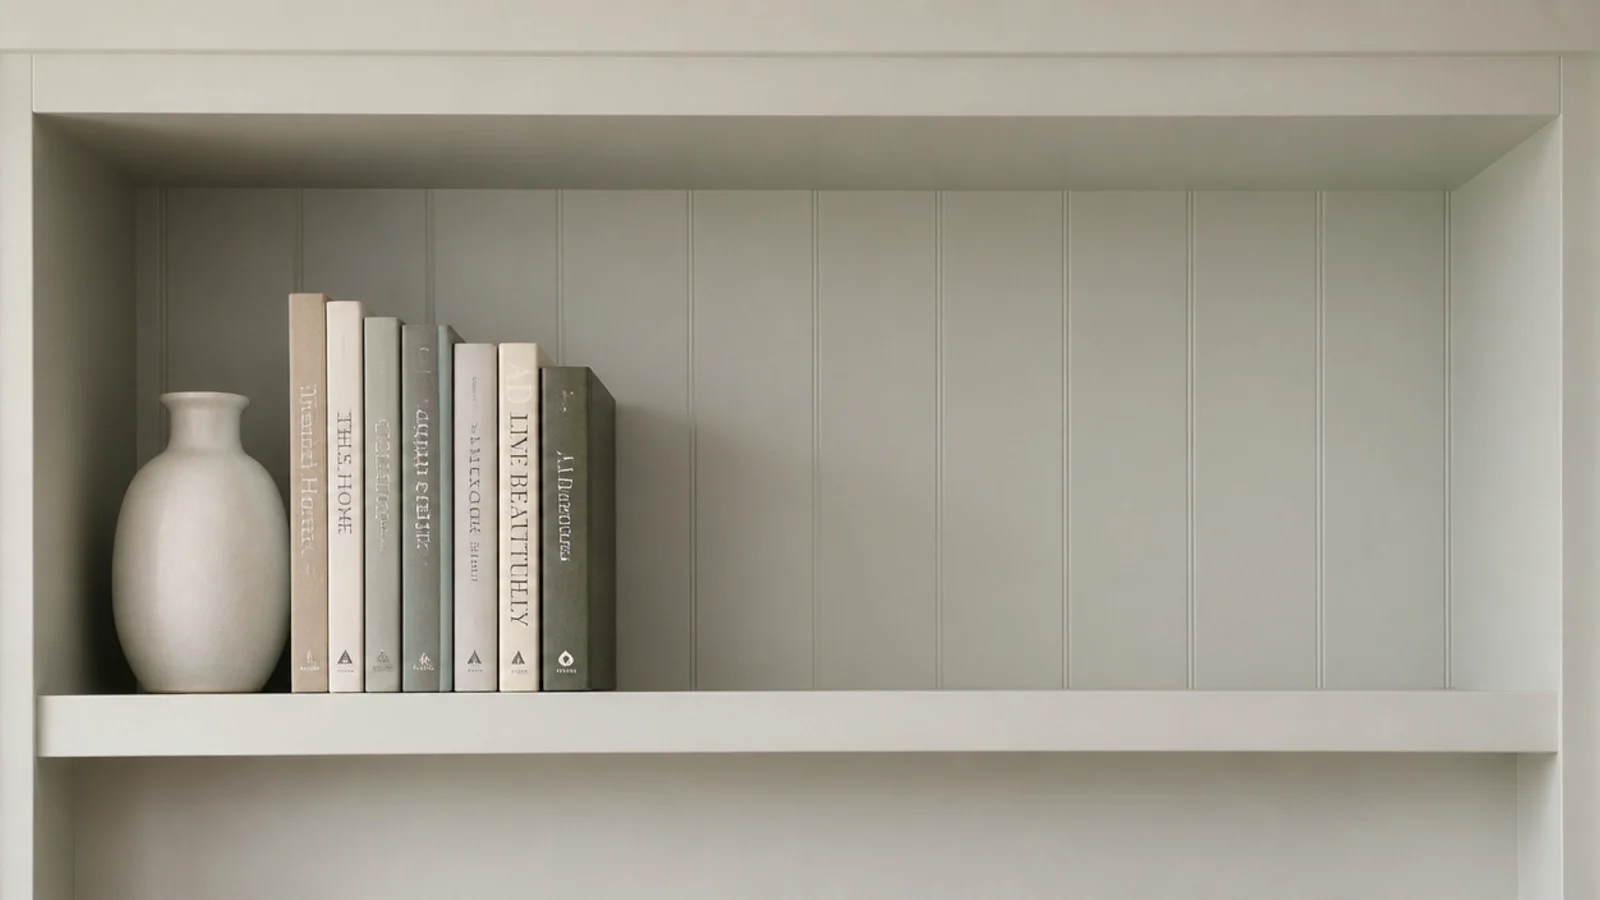
7. Pull the objects forward to the front edge
Objects pushed to the back of a 12-inch shelf sit in shadow and make a whole run look dusty in daylight. Bring them forward until they are within half an inch of the front edge. Nothing falls off, and the shelf gains visible depth behind them, which is what actually reads as styled.
8. Line every spine to one line
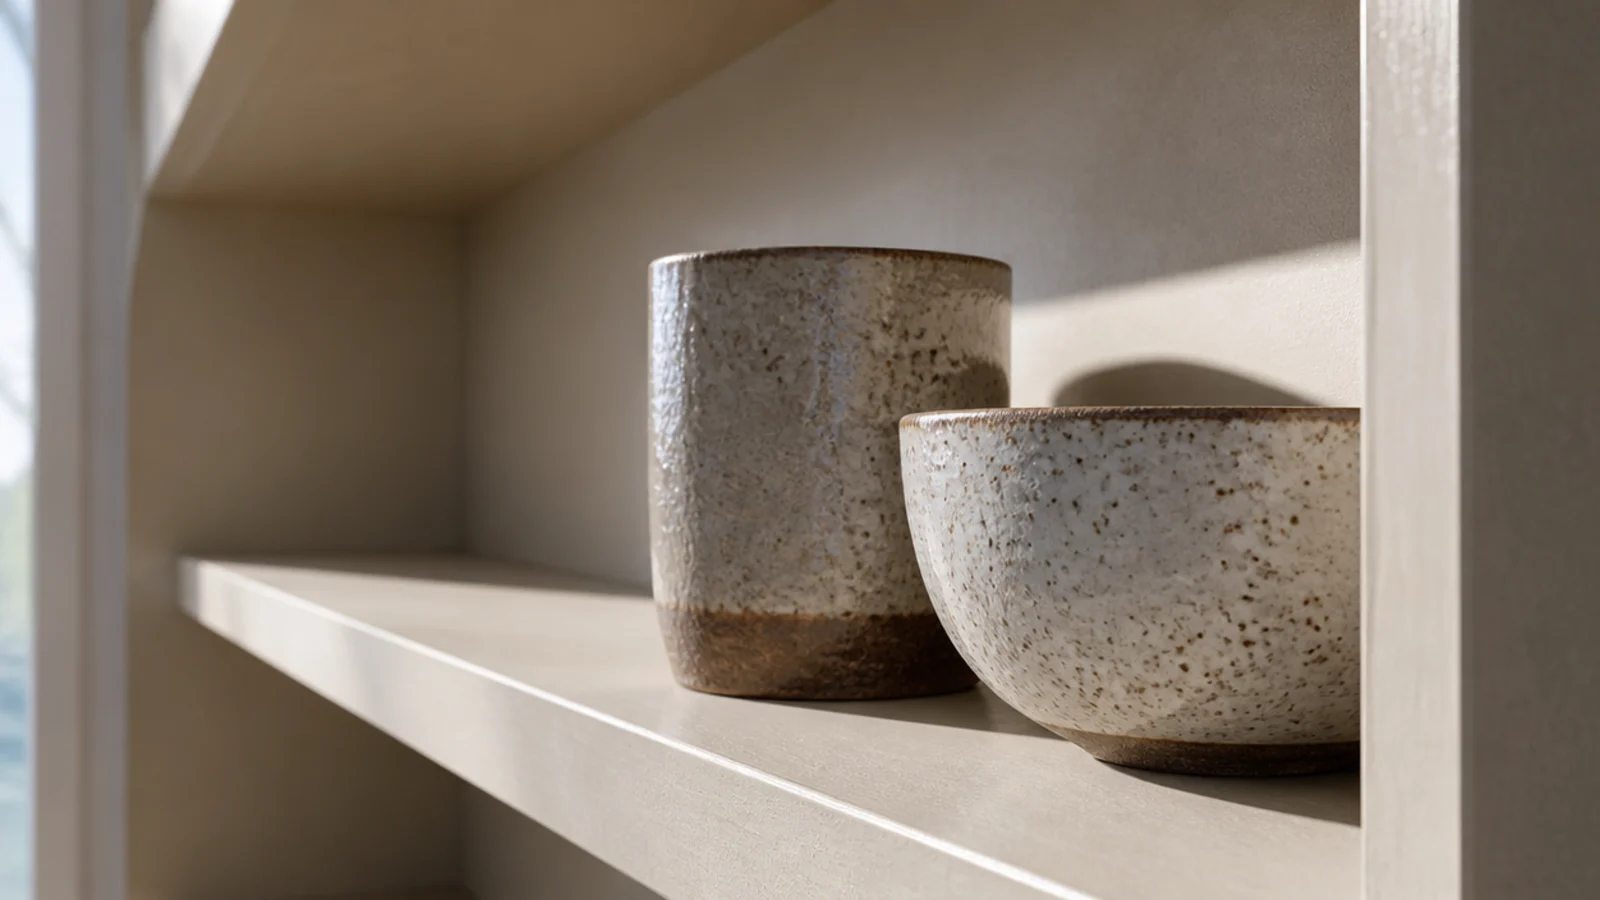
In a bay 11 to 12 inches deep, pull the spines flush with the front edge. In a deeper bay at 14 to 16 inches, set them an inch back and line every spine to that same line. Watch the load, though: a bay filled end to end is what reveals a 3/4-inch plywood shelf sagging past a 32-inch span. A solid 1x2 front lip or a mid support fixes it.
9. Repeat one material three times
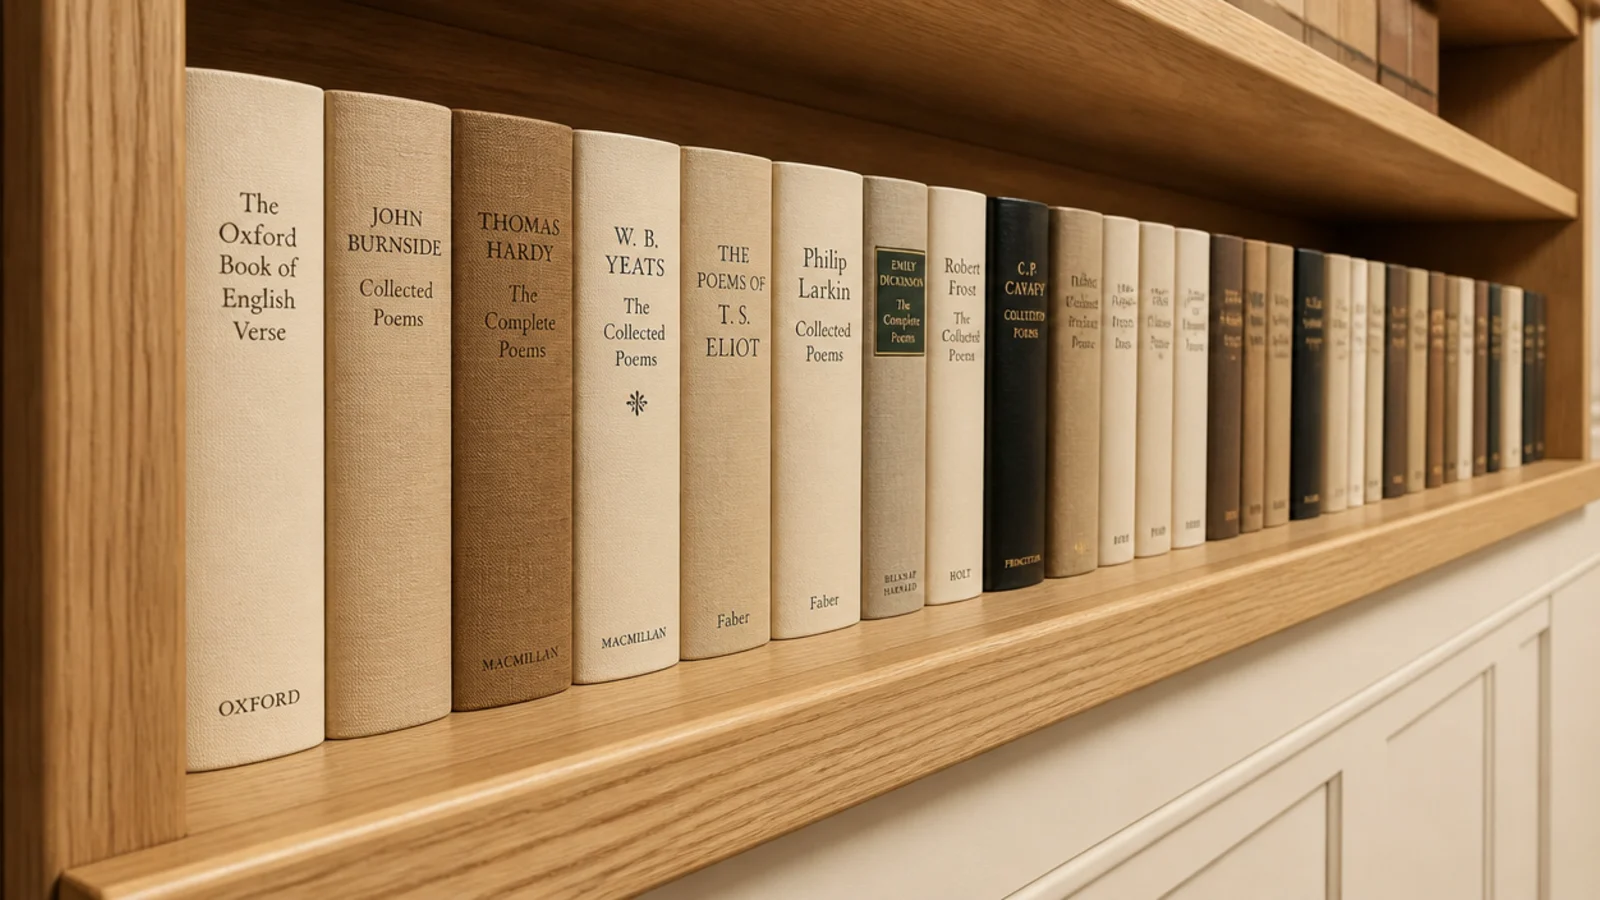
Pick one material and use it exactly three times across the whole run: three terracotta pieces, three brass objects, three jute baskets. Spread them so no two share a bay. Repetition is what makes a collection of unrelated things read as one composition, and thrifted pieces do it just as well as new ones.
10. Cap the whole run at two metals
Two metal finishes, no more. Brass and blackened iron is the pairing I keep returning to; brass and chrome fights. That cap includes the picture lights, the shelf pins if they show, and any hardware on the cabinet doors below, which is the one everybody forgets. Everything else stays wood, clay or glass.
11. Sort books by height first, color second
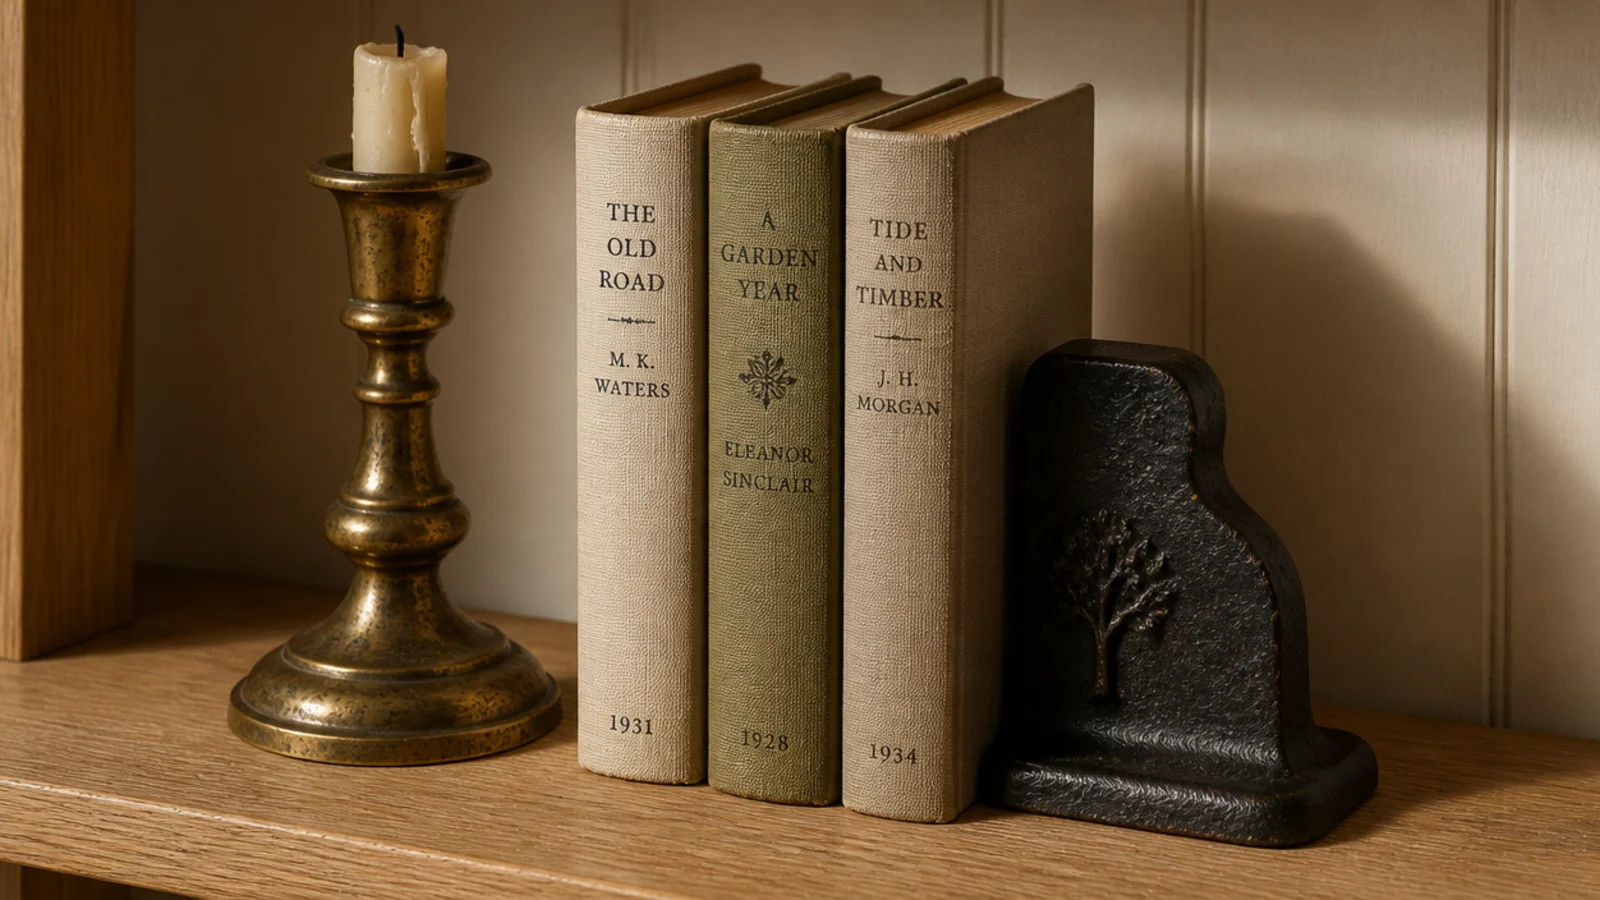
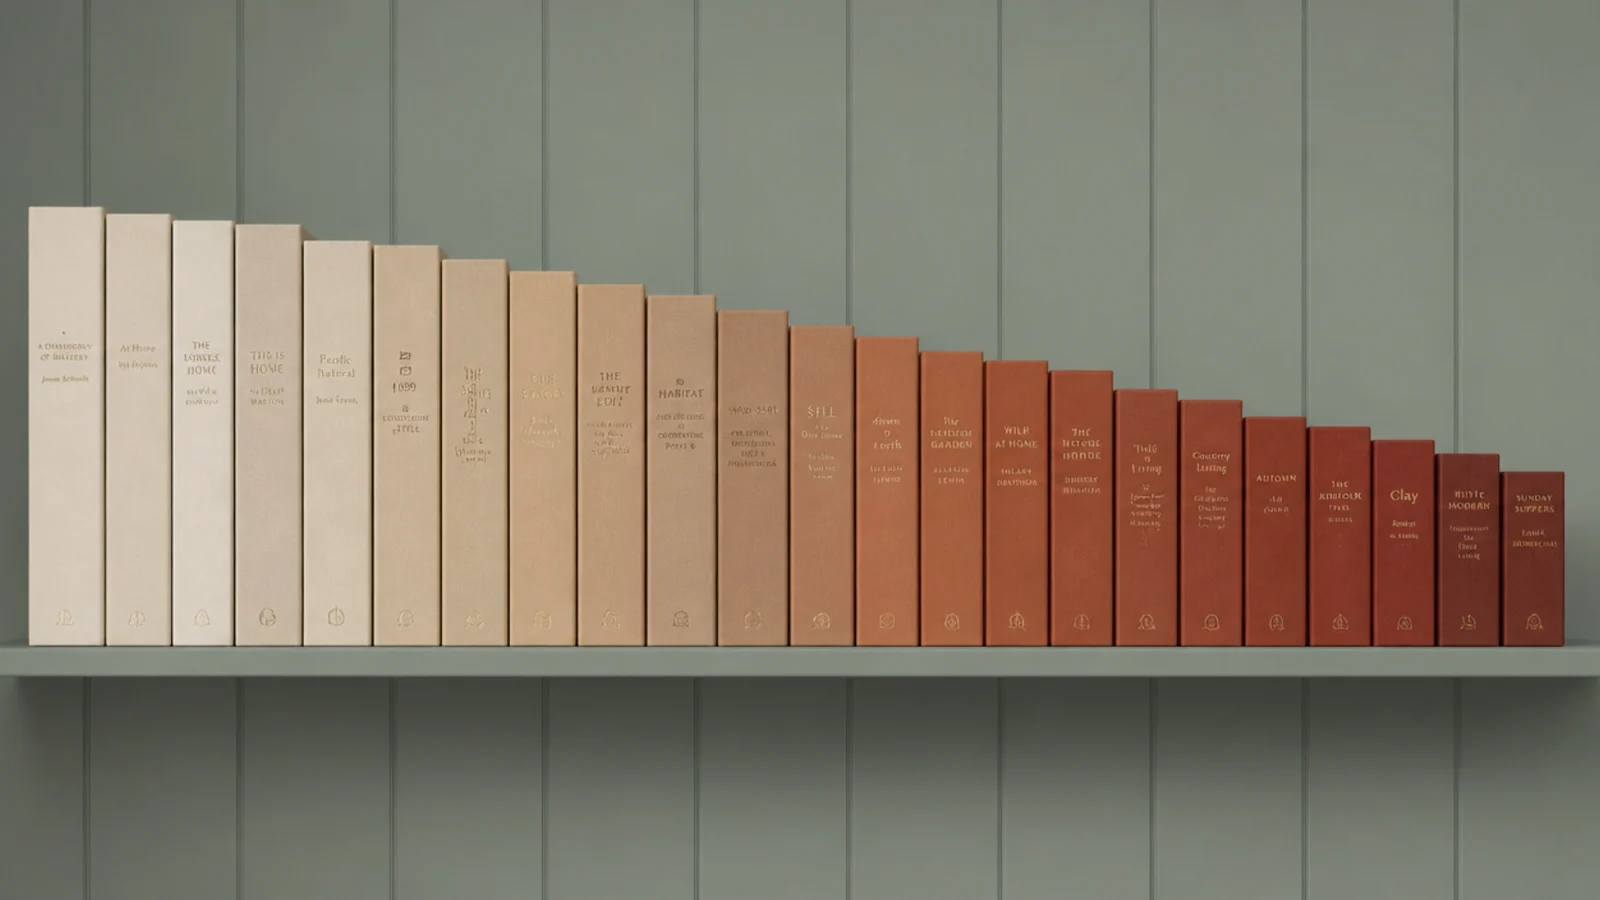
Group books by height so the top edges step in a deliberate rhythm instead of jumping around. Within each height band, let the colors drift from cream through sand into rust rather than making a hard rainbow. It takes an afternoon for a whole wall, and it costs nothing at all. Tier $.
12. Turn one cover face out
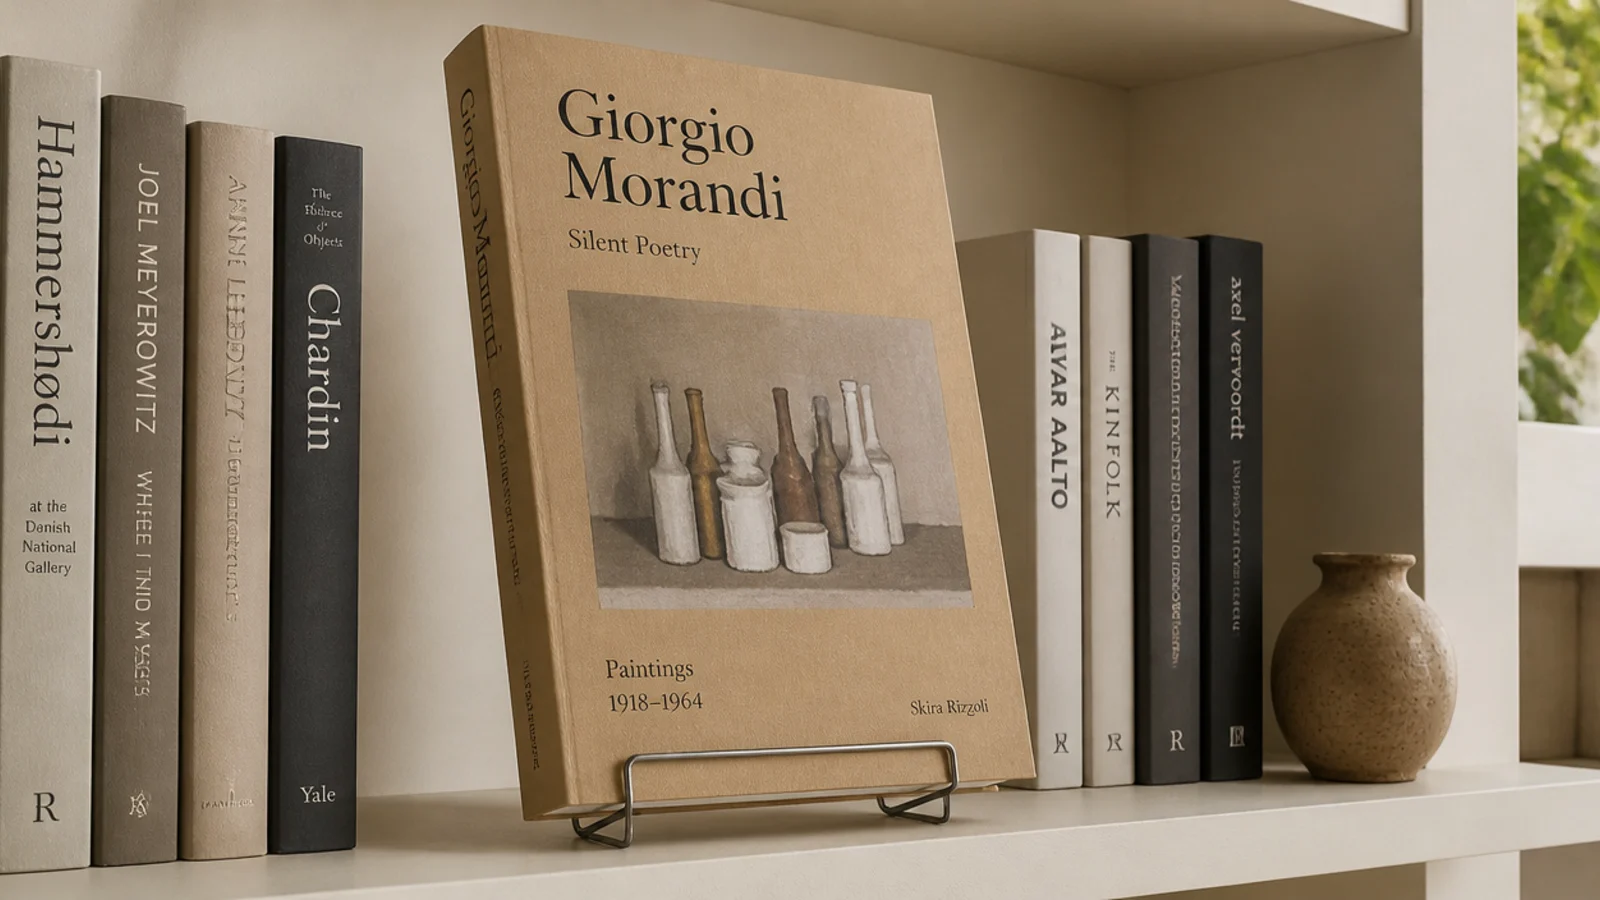
One book per bay, no more, turned face out on a small easel or leaned against the back panel. It breaks a wall of spines the way a window breaks a wall. Choose a cover carrying color that already exists in the room, and let a $4 wire easel do the holding.
13. Take the dust jackets off
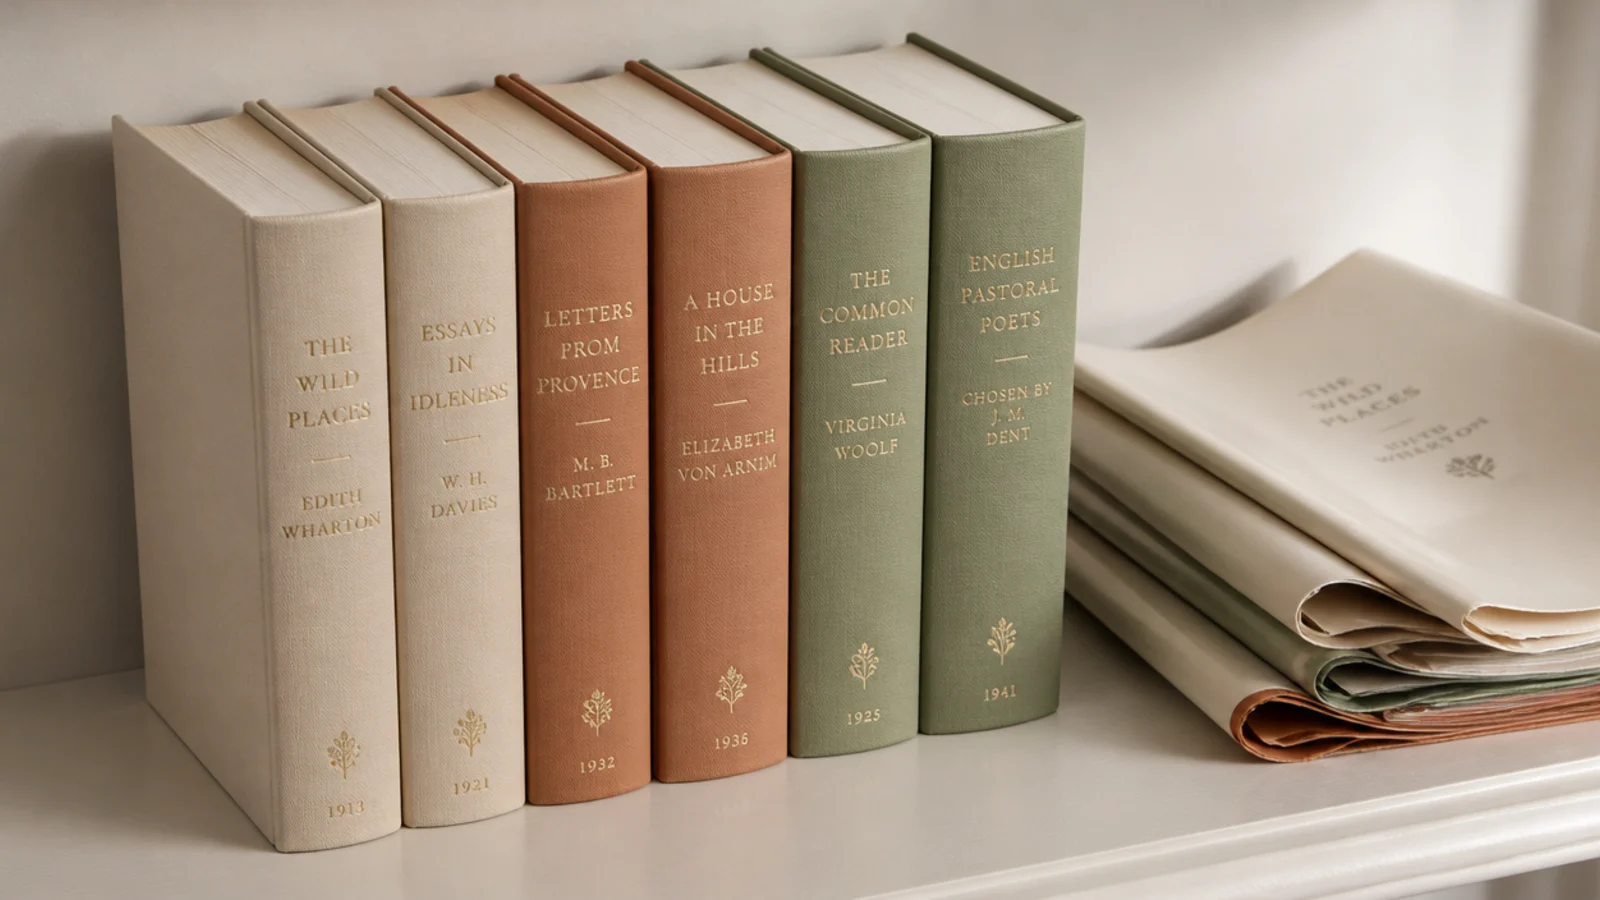
Most hardbacks are far better looking underneath: cloth, linen, stamped foil, quiet colors. Pull the jackets, store them flat in a box in the cabinet base, and a mixed shelf calms down immediately. It is the cheapest change on this entire list and it takes about ten minutes per bay.
14. Bookends that are actually objects
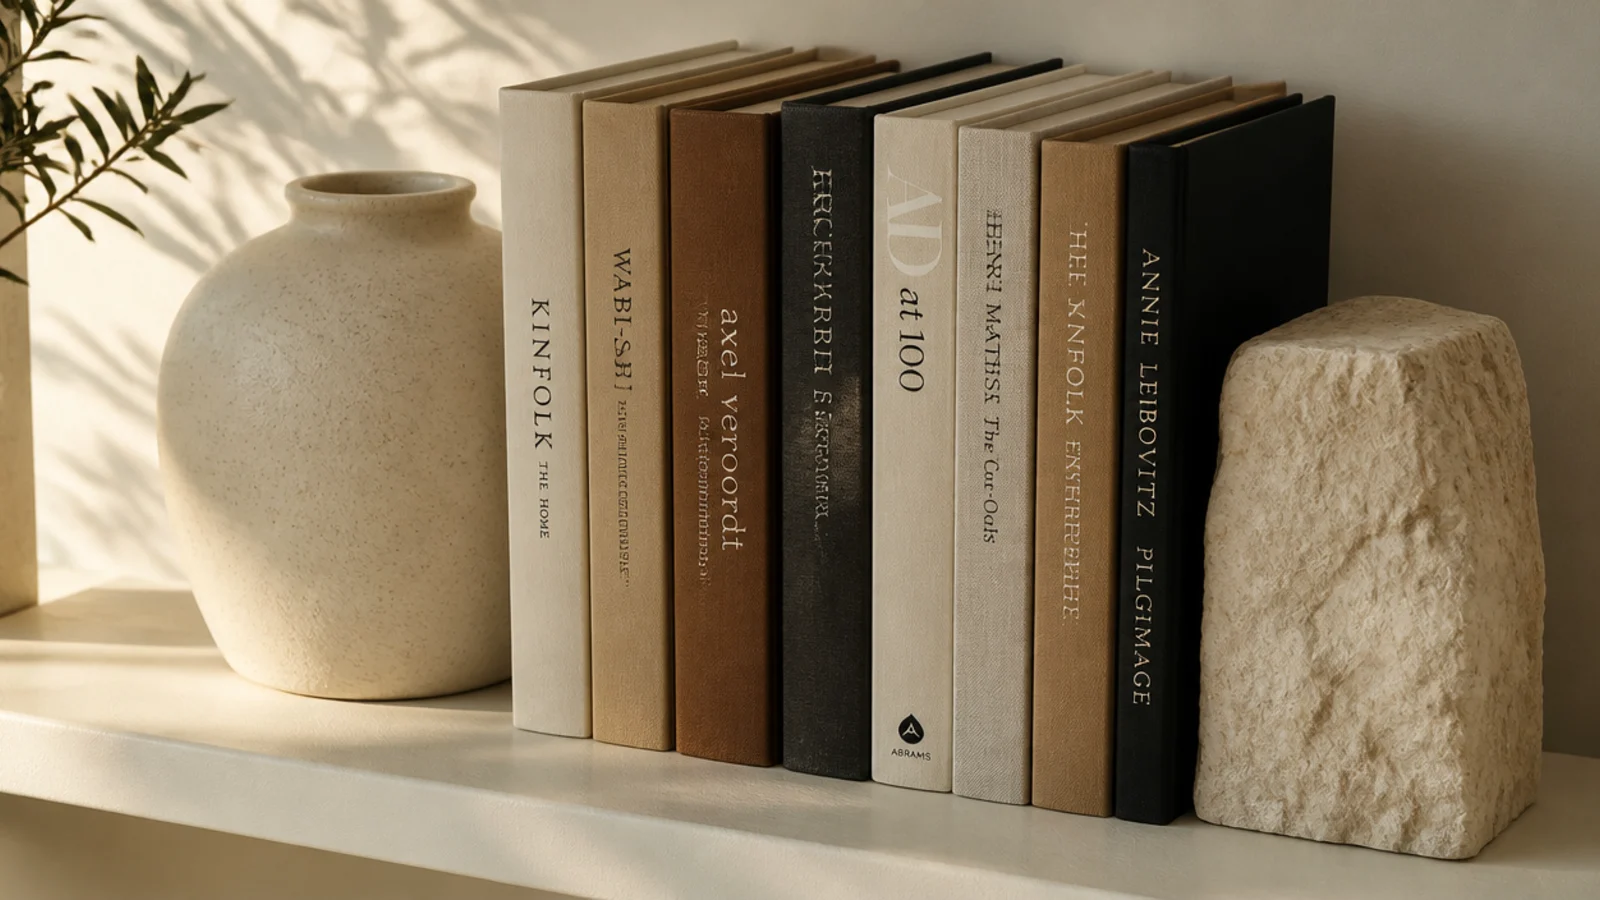
Skip the metal L shapes. A heavy stoneware vessel, a chunk of limestone or a small brass sculpture holds a short run of books upright and counts as one of your three objects. It needs to weigh at least 3 pounds to hold eight hardbacks, so weigh it in your hand before buying.
15. Lean one piece of art inside a bay
Art belongs inside the shelving, not only on the walls around it. Lean a small framed print against the back panel with two objects in front, overlapping its bottom corner. Keep the frame under 12 inches wide in a bay with 11 to 13 inches clear, or the shelf reads as storage for pictures.
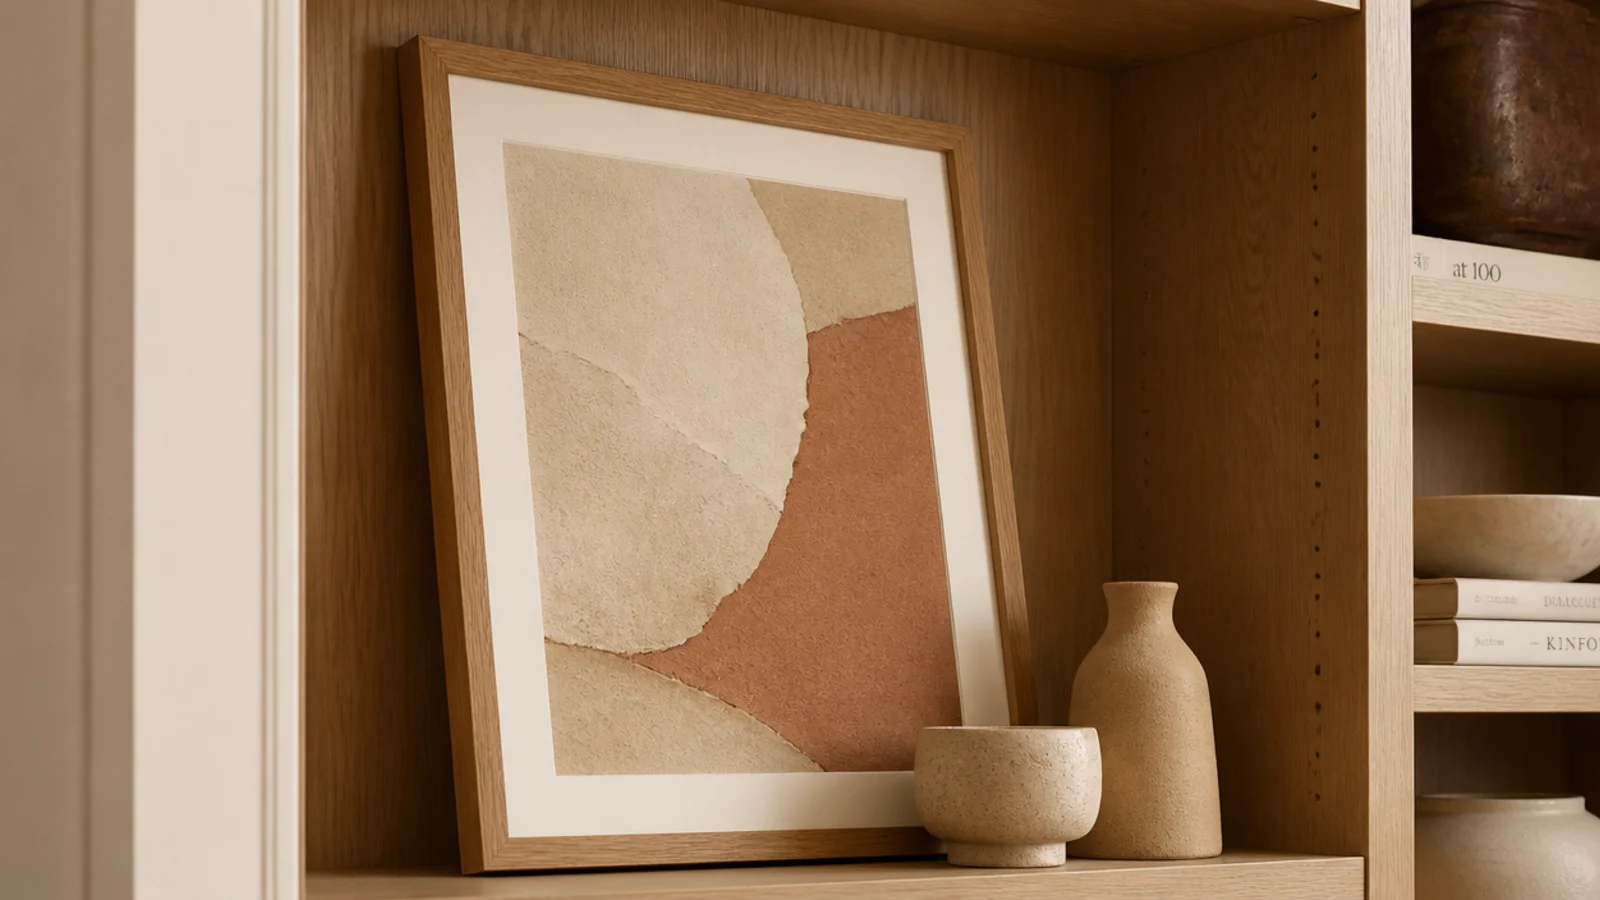
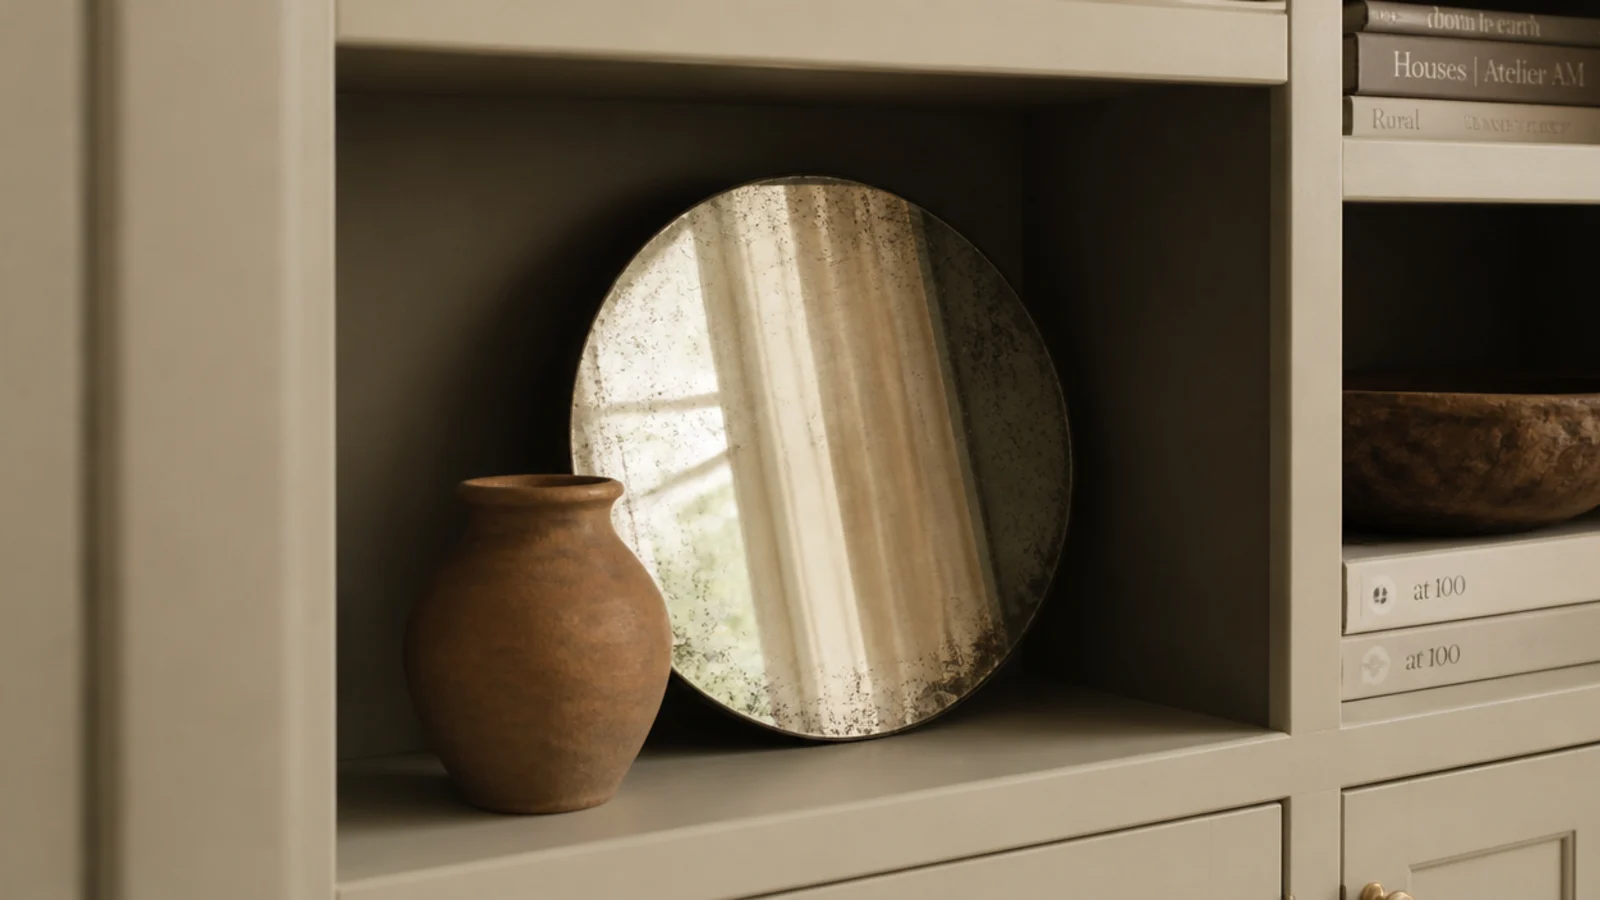
16. Slip a small mirror into a single bay
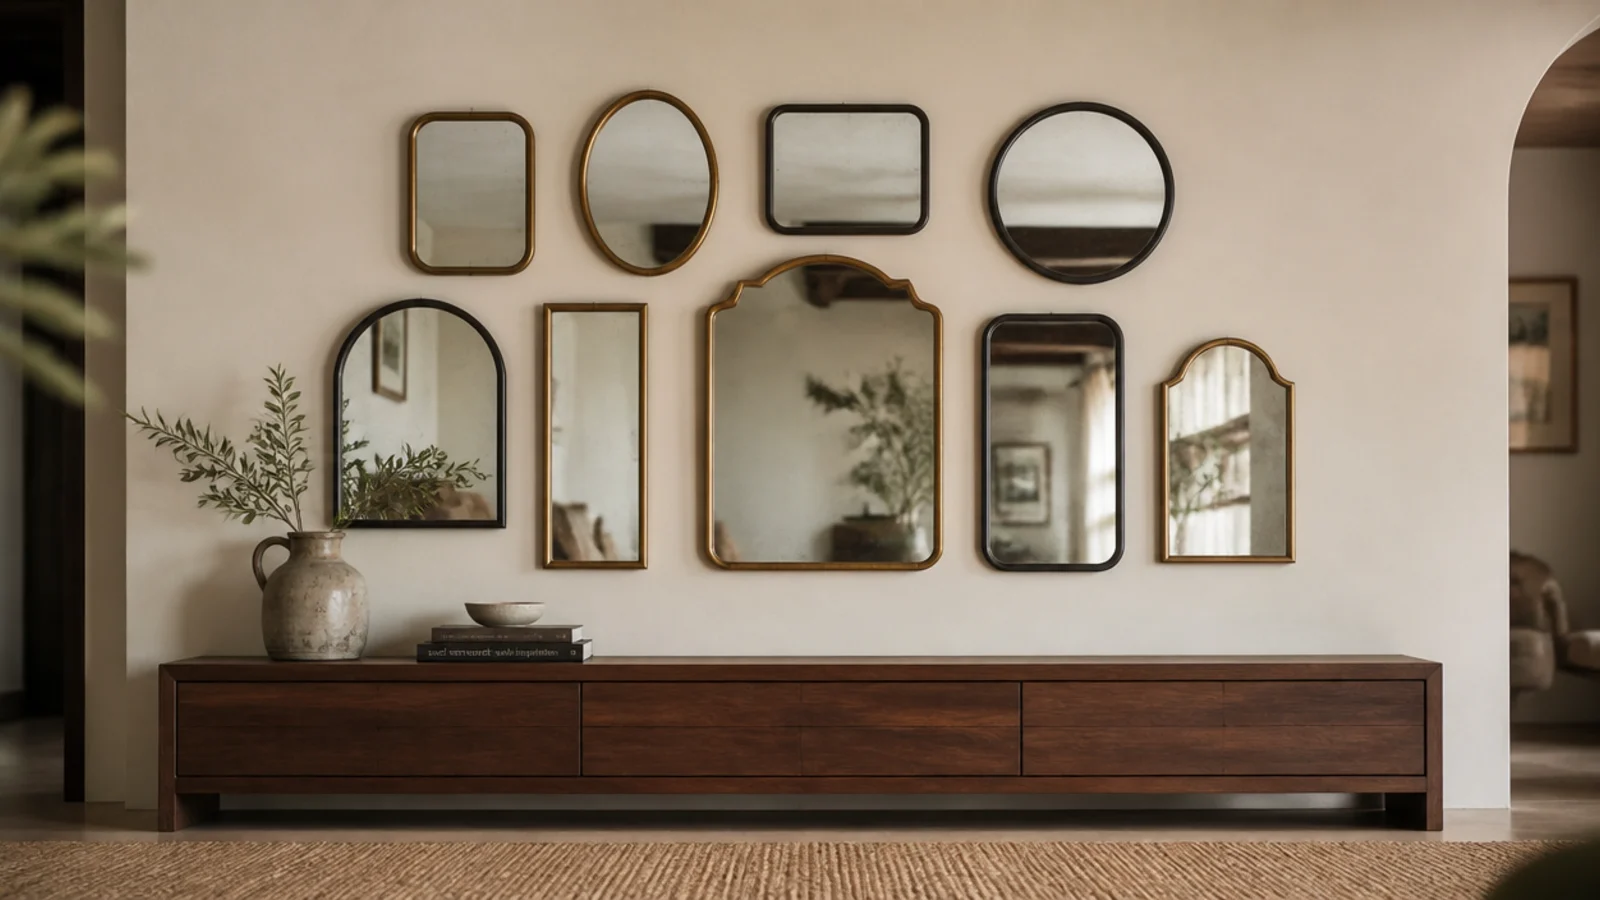
One mirror, in one bay only, ideally the darkest bay in the run. It bounces window light back into the room and gives a flat wall of shelves some depth. A round mirror 8 to 10 inches across with an antique glass finish runs $25 to $60, tier $$. If the room needs light more than storage, a full mirror wall arrangement earns its place faster.
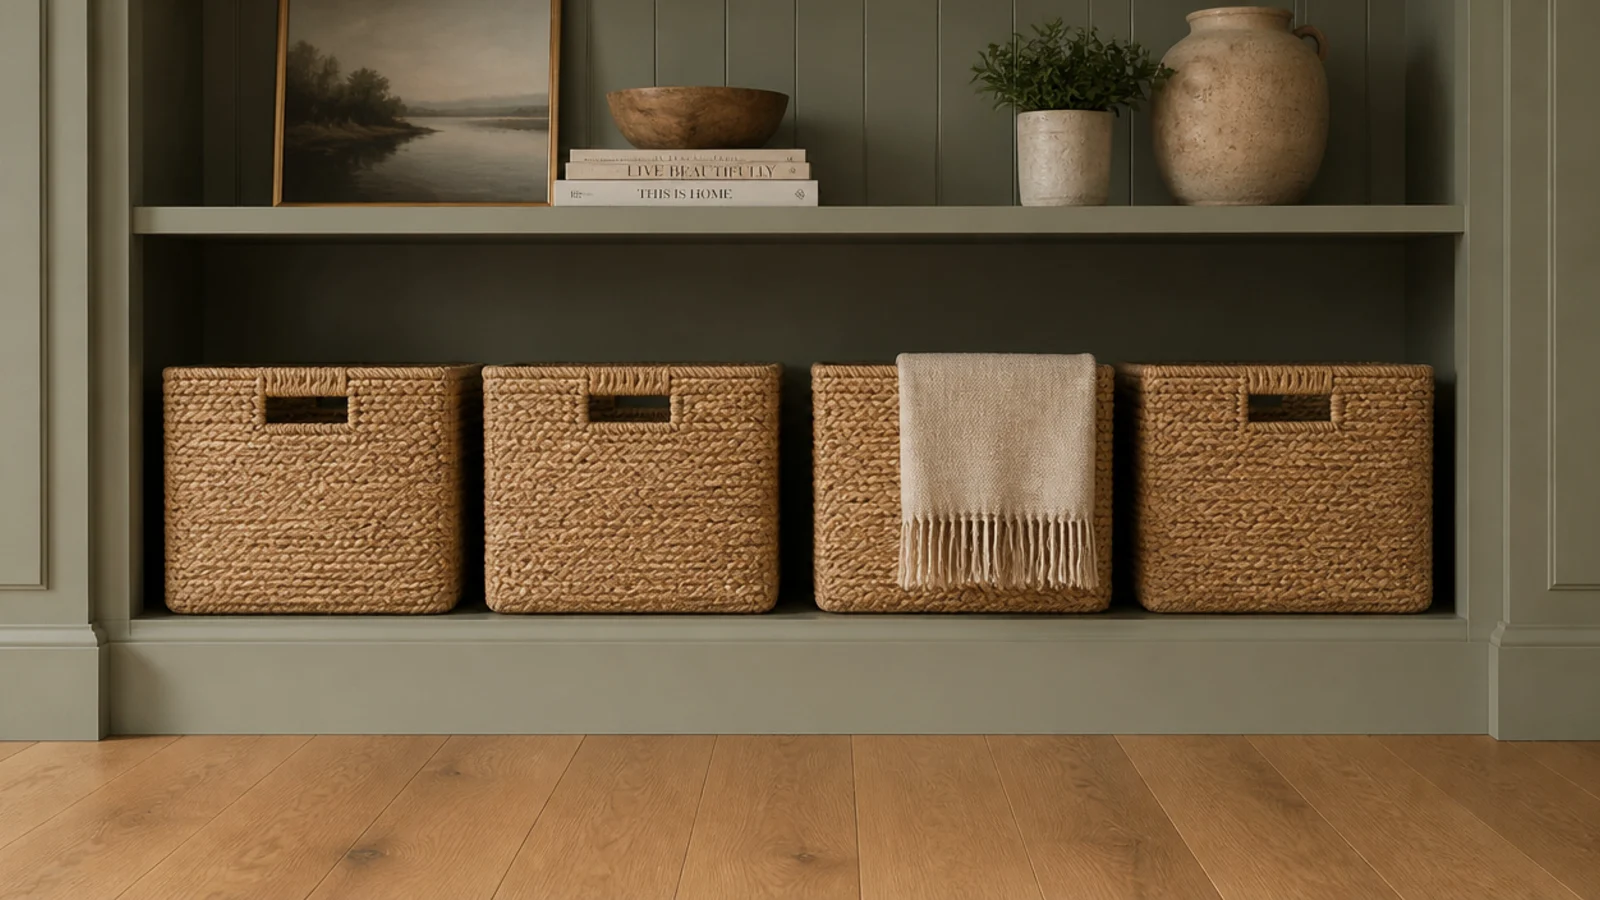
17. Baskets along the lowest shelf
The bottom bay is where a built-in either gets tidy or gives up. Line up matching baskets sized to the opening with half an inch of air each side, and keep that bay 14 to 16 inches deep. At $15 to $30 each, tier $$. Doors do the job better, which built ins with cabinets covers properly.
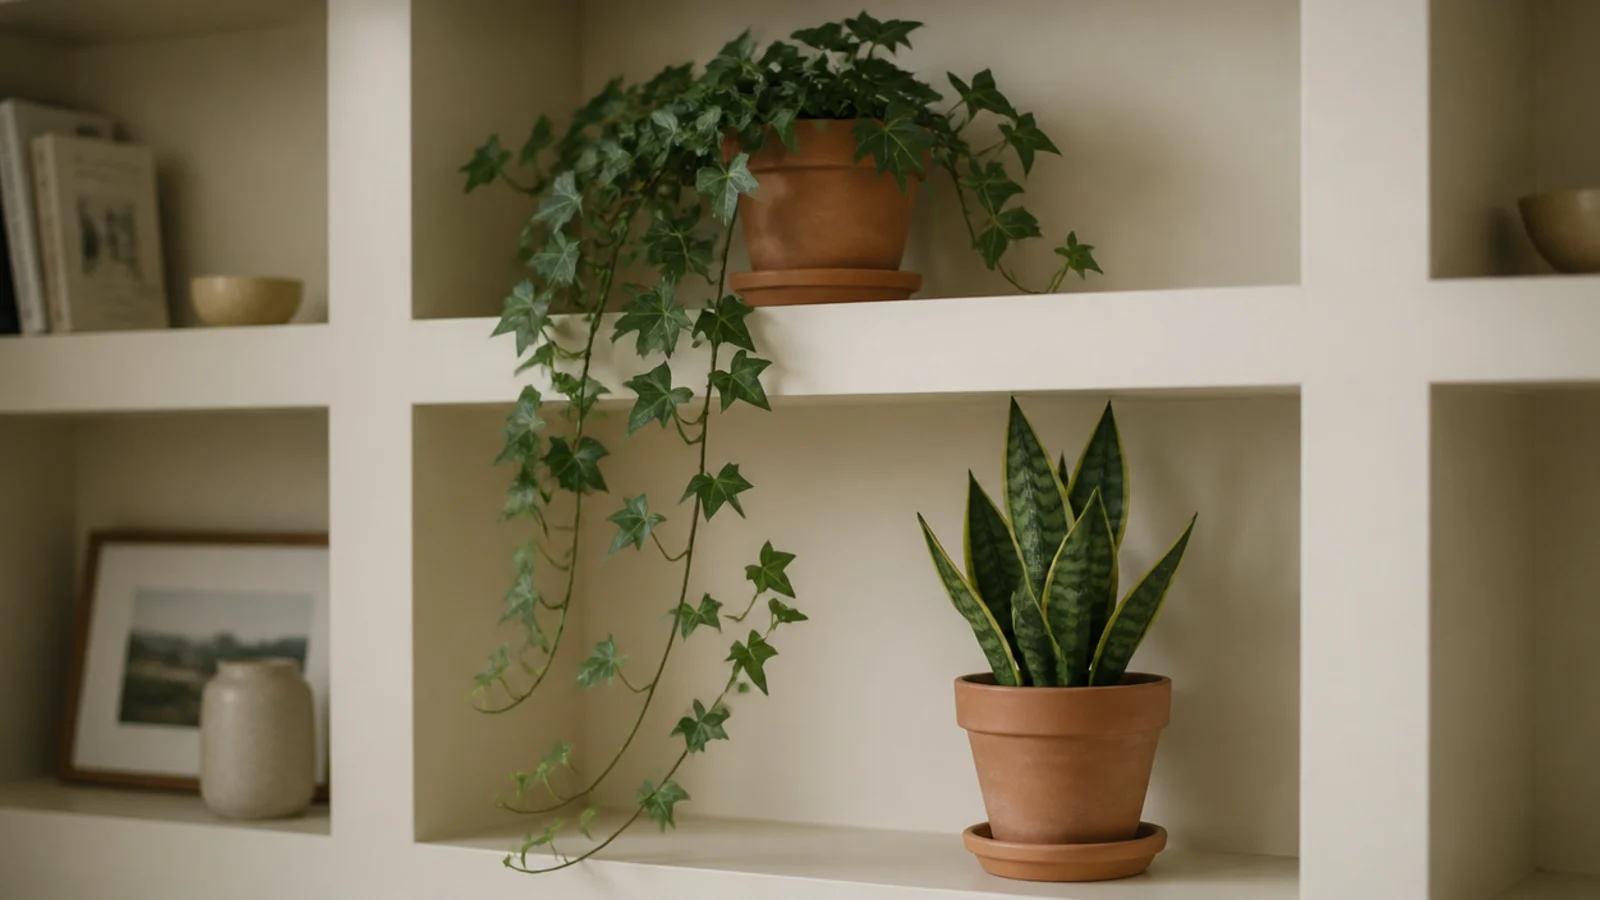
18. One trailing plant and one upright
Two plants in a whole run is plenty. Put a trailing pothos or ivy high, where it falls across two shelf lines and softens the grid, and one upright in a lower bay. Both need a saucer, because water rings on a painted shelf never fully sand out. Faux is fine above eye level.
19. Sculptural objects with irregular edges
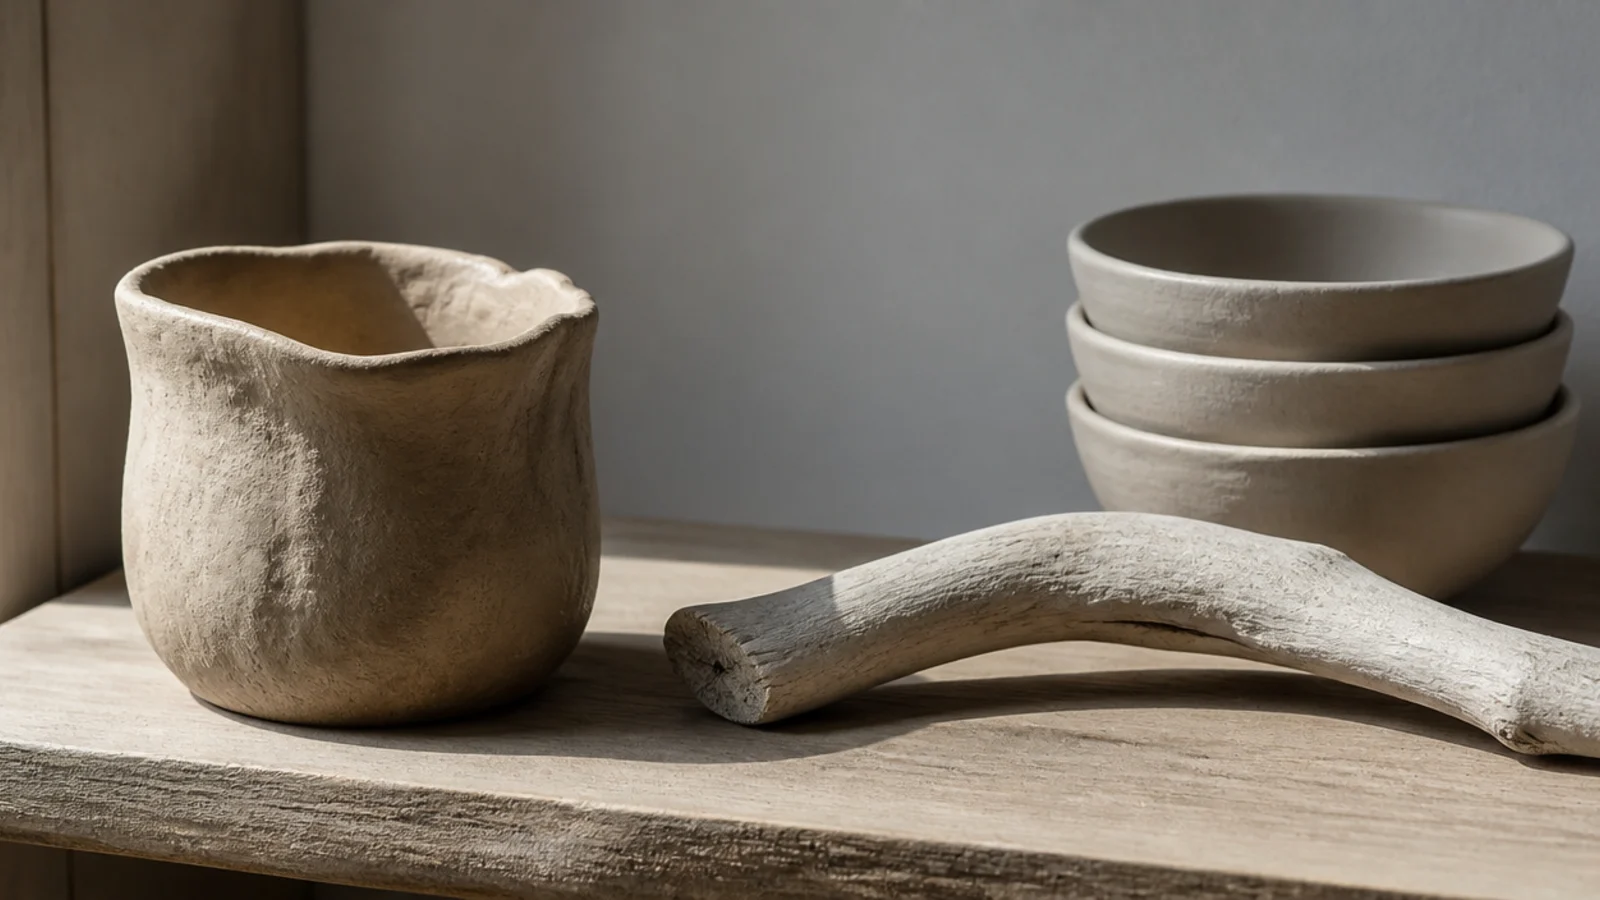
Shelves are nothing but straight lines, so the objects have to argue with them. A hand thrown vessel with a wobbling rim, a curve of driftwood, a stack of unglazed bowls. Two or three irregular shapes across the whole run is enough, and thrift stores are full of them at $5 to $15.
20. Picture lights and puck lights
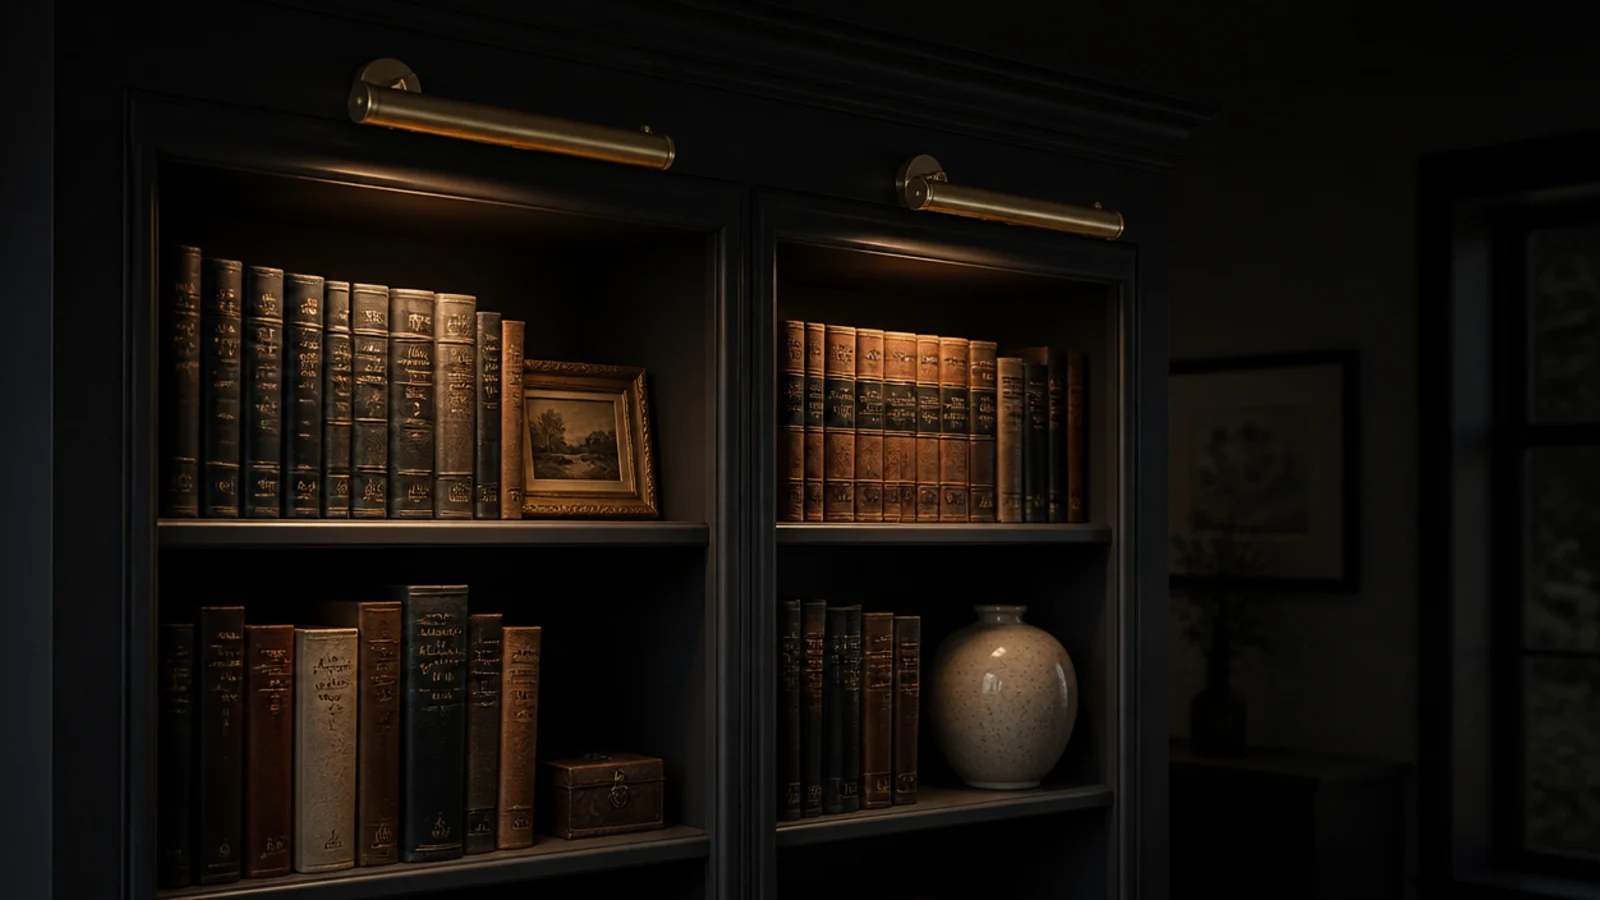
Light is the difference between a built-in at 3 in the afternoon and one at 9 at night. Slim picture lights project 4 to 5 inches from the frame, so keep tall objects clear underneath. Battery versions start near $30; hardwired with a dimmer runs $120 to $250. Use 2700K bulbs on a dimmer.
21. Paint the back of the bays
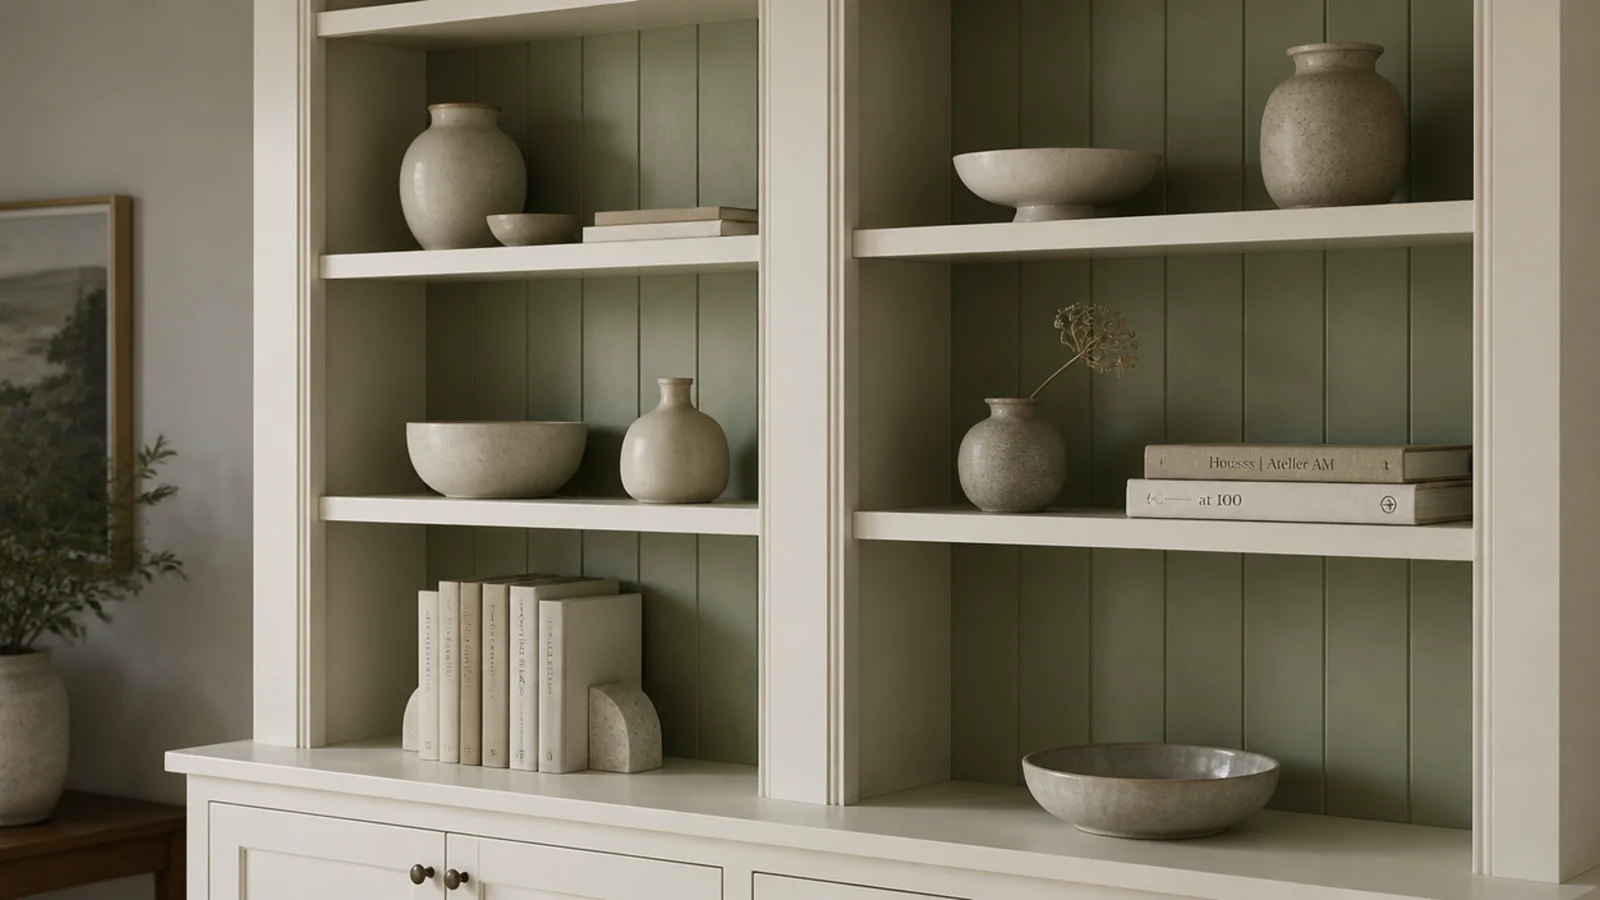
With the frame and shelves already matching the wall or the trim, the back panel is where color is allowed. A muted sage, a deep clay or a soft charcoal makes pale stoneware and book spines lift off the panel. One sample pot covers four bays, which makes it the best $8 on this list.
22. Wallpaper one back panel
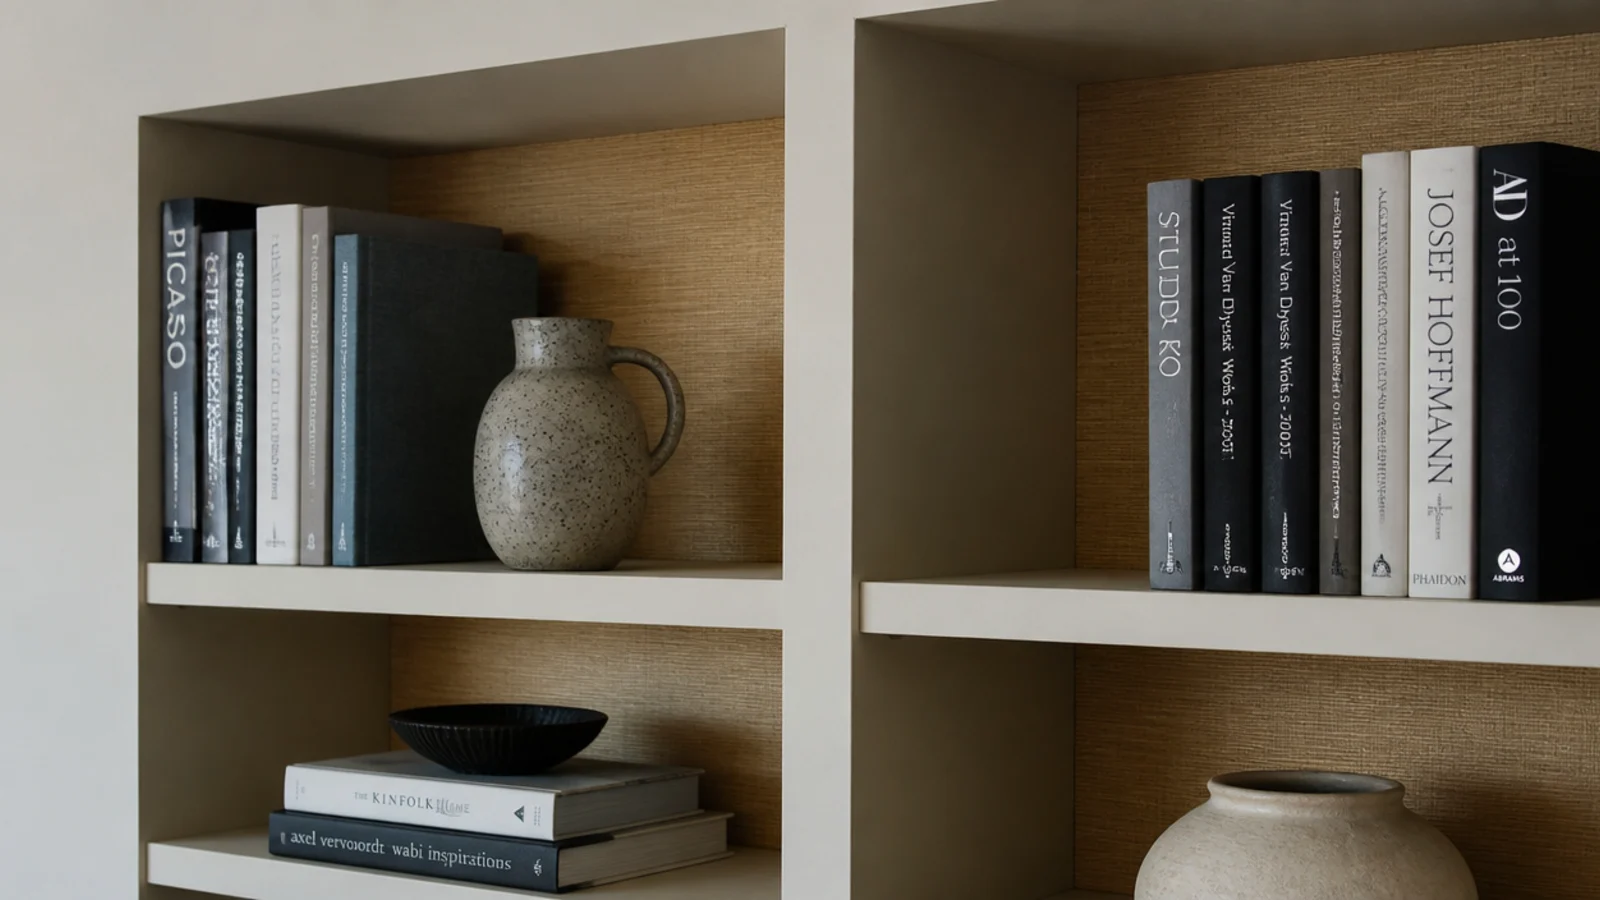
Grasscloth or a small print inside the bays gives a texture paint cannot. Cut panels to the exact bay opening and stop at the shelf edge so the paper never wraps a corner. Peel and stick versions are renter safe and run $40 to $90 for a full run of bays, tier $$.
23. Move the sparse bays on a diagonal
If every bay carries the same density, the wall goes flat. Choose three bays to leave noticeably sparse and place them on a rough diagonal from low left to high right. Your eye travels that line without being told to, and the dense bays start looking intentional rather than merely full.
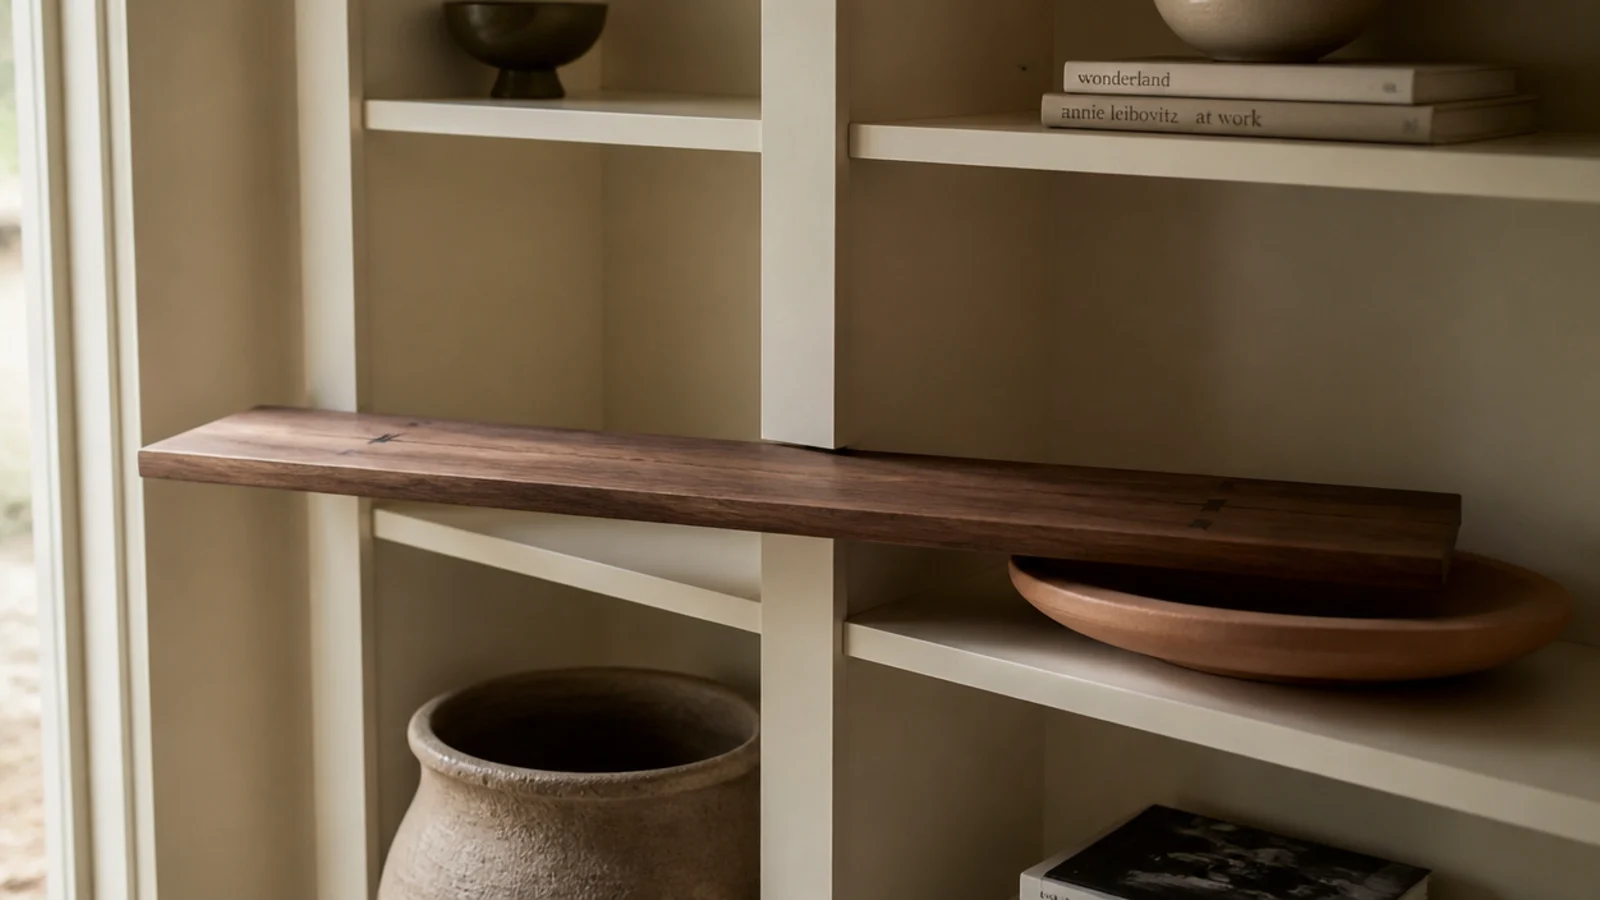
24. Bridge two bays with one long object
Once per run, let something cross the vertical divider: a long walnut board leaned across two bays at the same shelf height, a wide platter, or a frame spanning the gap. It ties separate boxes into one piece of joinery. Only once, though, or the grid you paid for disappears entirely.
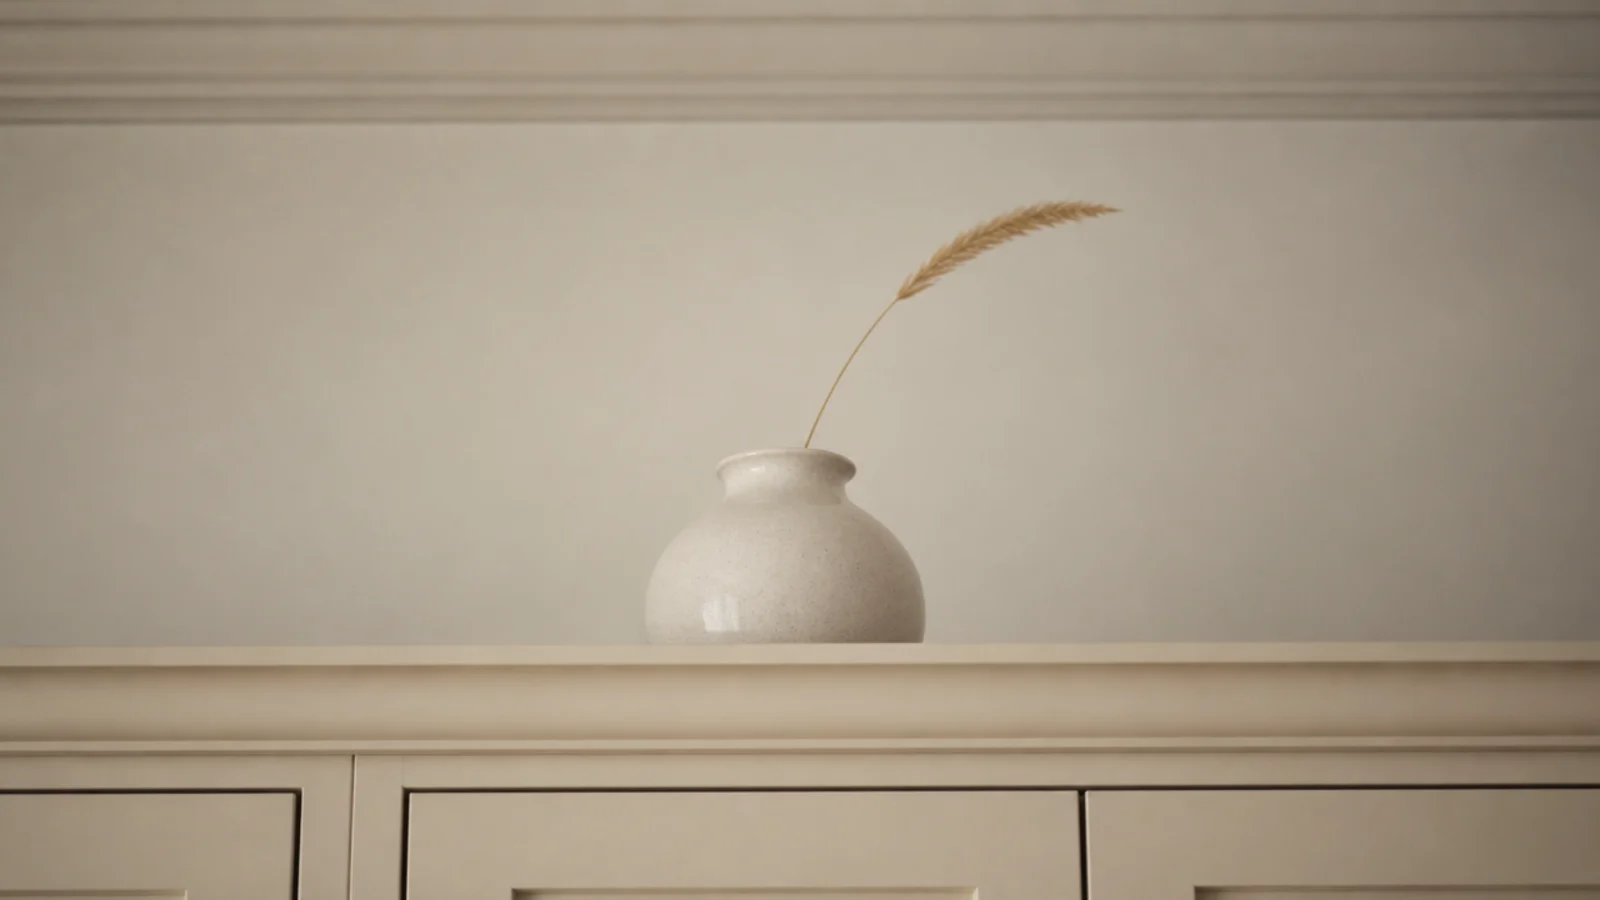
25. Keep the top shelf light
Heavy objects above eye level pull a ceiling down. Give the top shelf one pale vessel, one dried stem and nothing else, and leave about 12 inches between it and the ceiling if the run stops short. Dark spines up high do the same damage, so send those down to the middle bays.
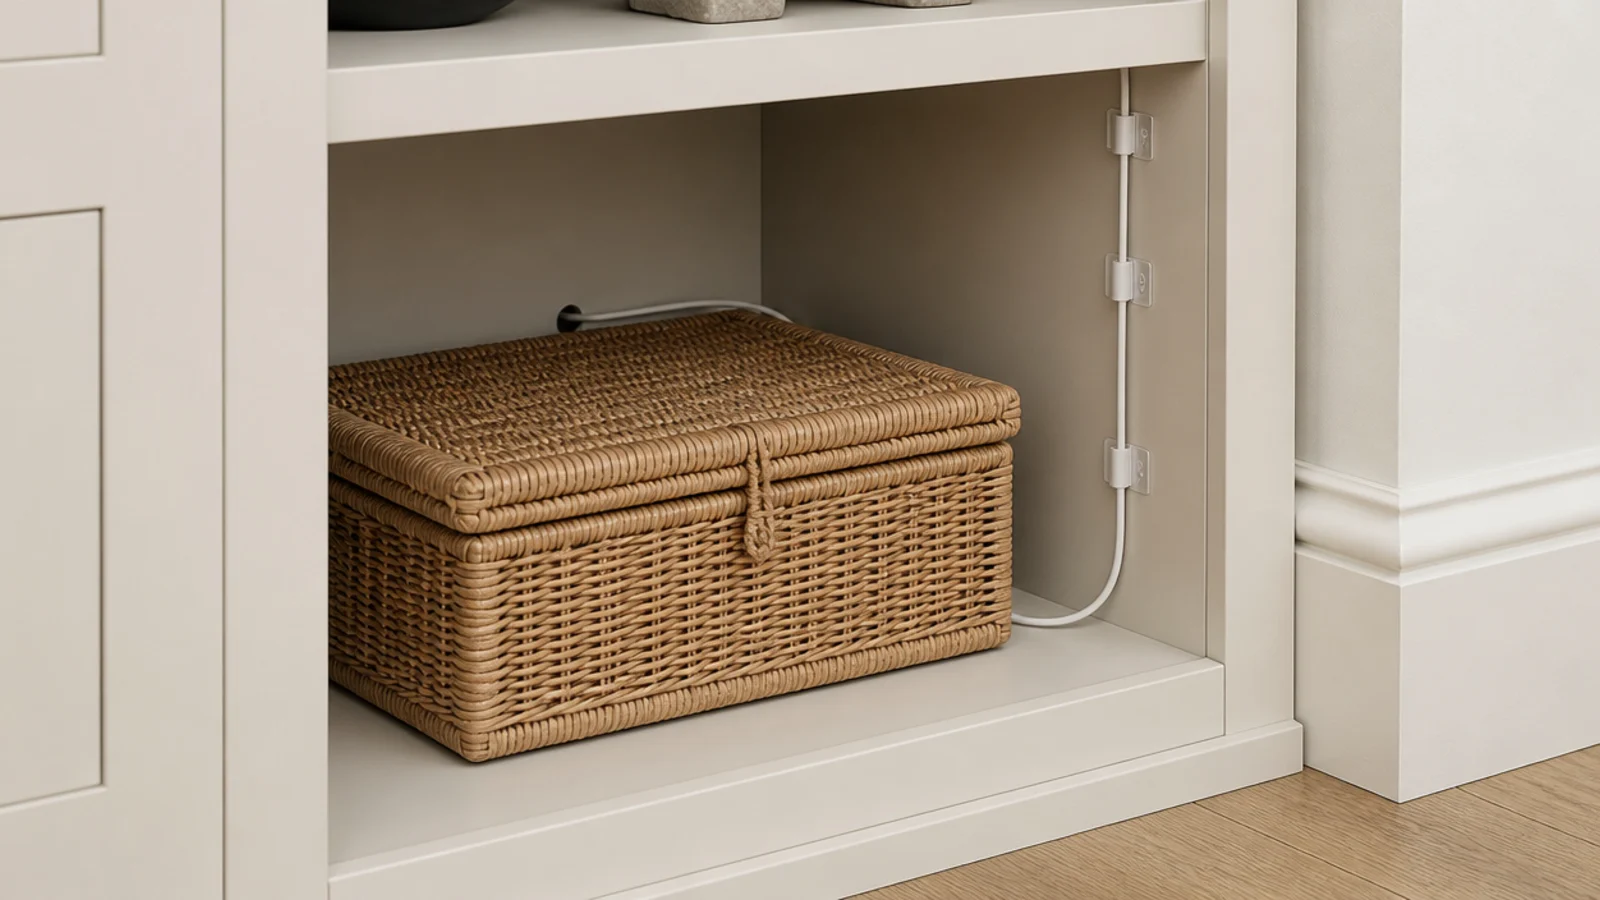
26. Hide the router, the modem and the cords
A lidded rattan or stoneware box in the lowest bay swallows a router, and a half-inch gap at the back panel keeps the cable fed and the air moving. Run cords down the back corner with adhesive clips every 12 inches. One visible white cable undoes an entire afternoon of work.
27. A three-object seasonal swap
Do not restyle four times a year. Swap three objects instead: one stem, one textile, one piece carrying color. Twenty minutes, and the run reads new. If your bays sit beside a firebox, keep paper, dried stems and anything combustible at least 6 inches from the opening and follow the clearance label.
28. Keep family photos to one bay
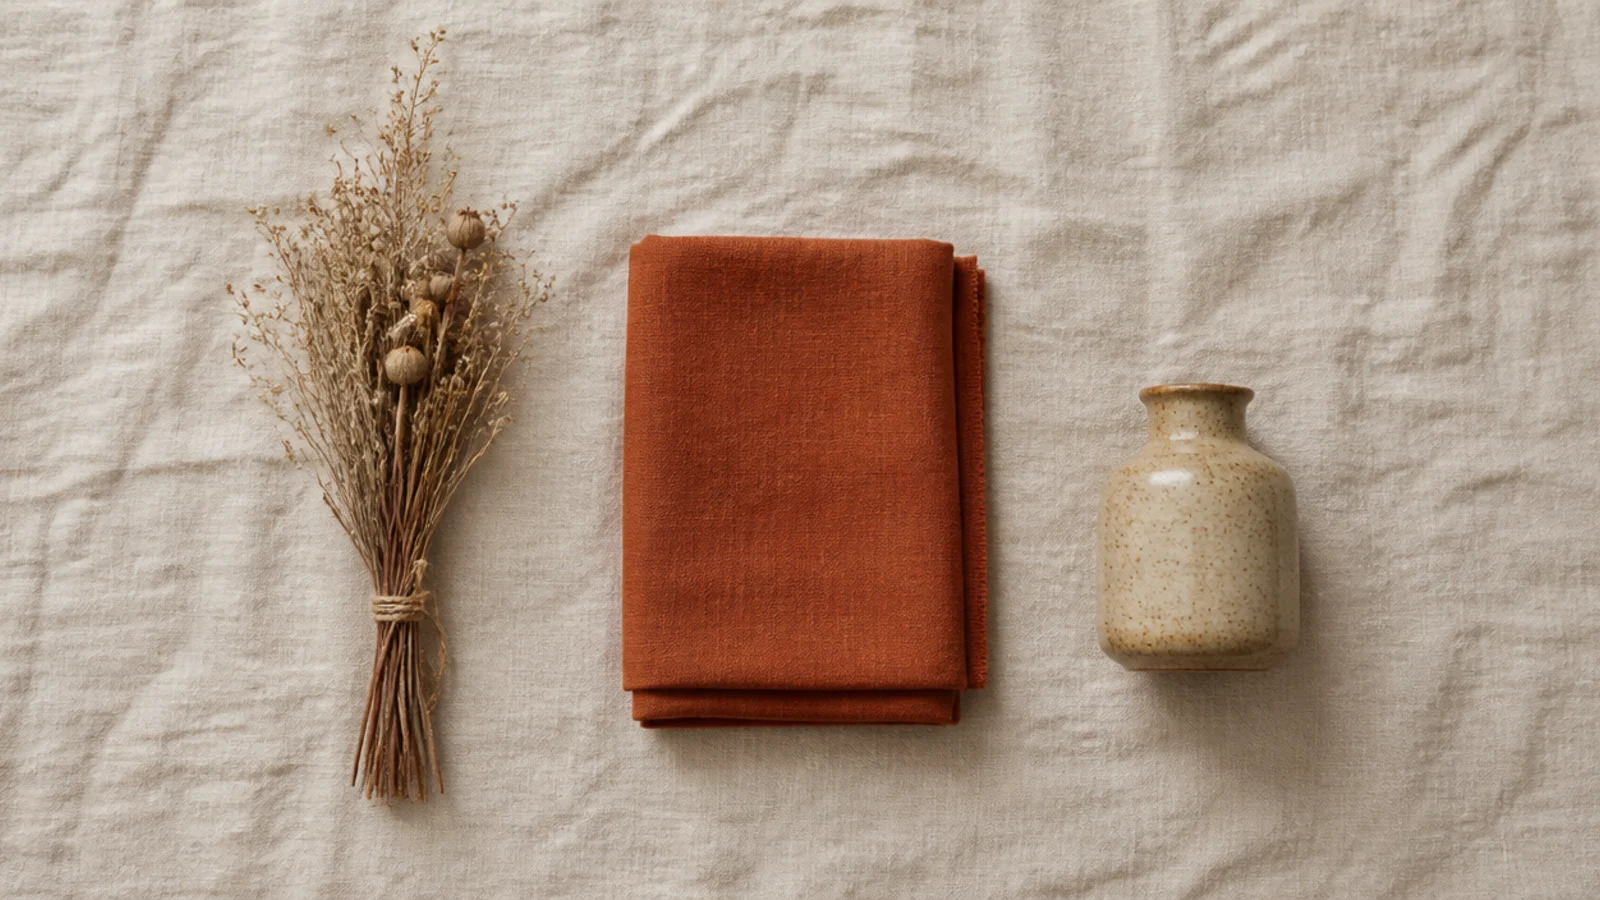
Photographs scattered through a run make it read as a mantel rather than a library. Give them a single bay, frame them all in the same oak or the same brass, and overlap the smaller ones slightly so they read as one block. Anything larger than 8 by 10 belongs on a wall.
29. Photograph the shelves to test the composition
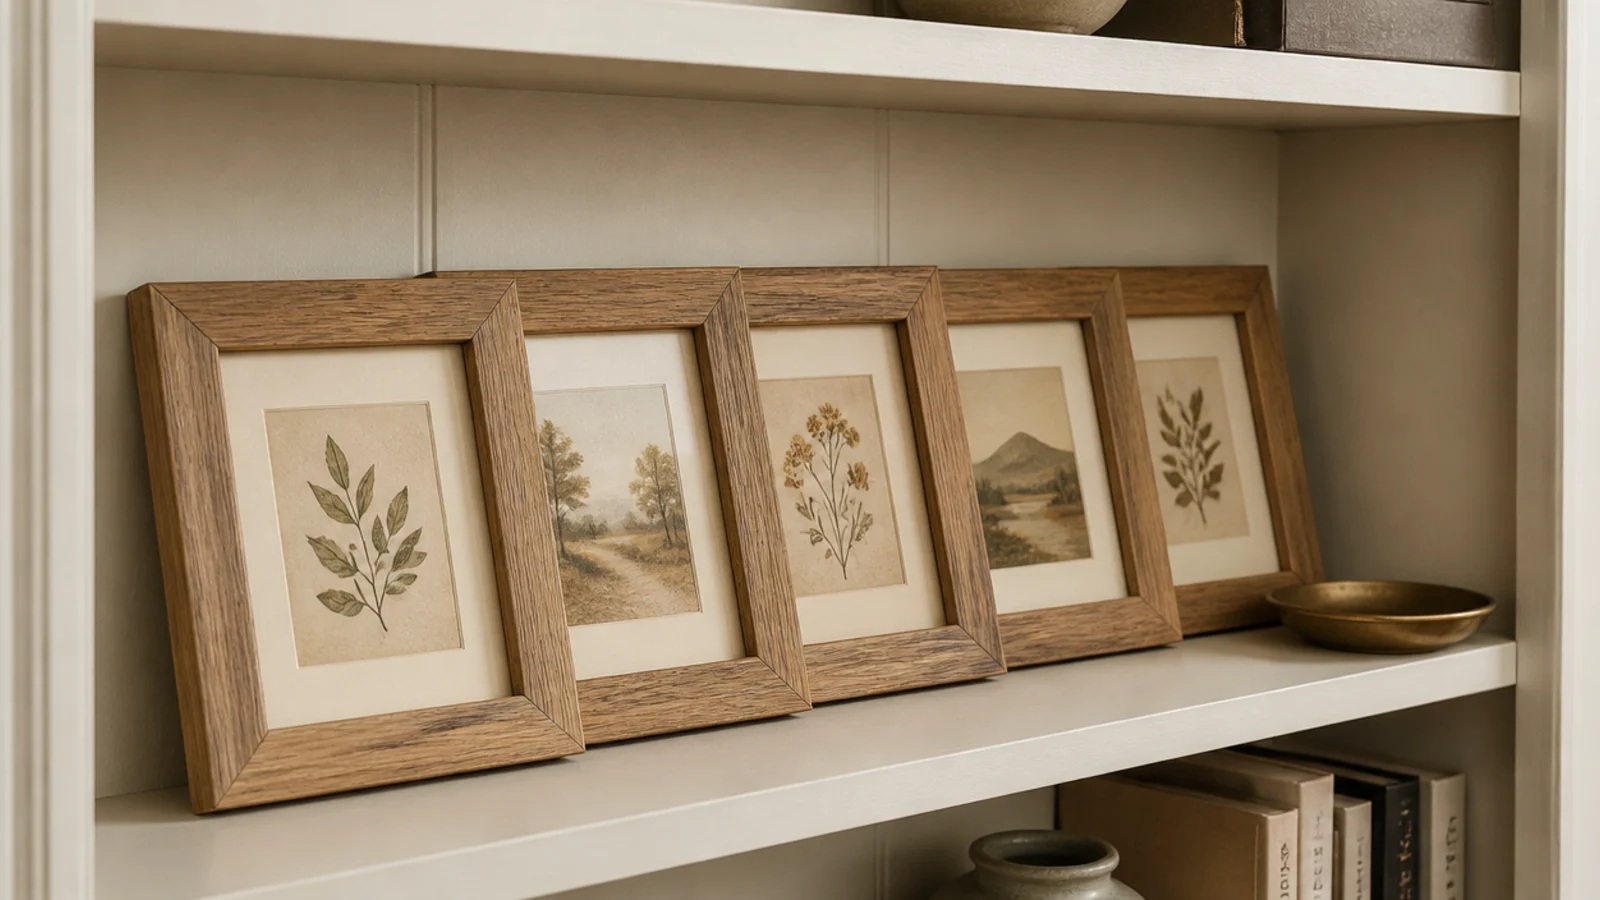
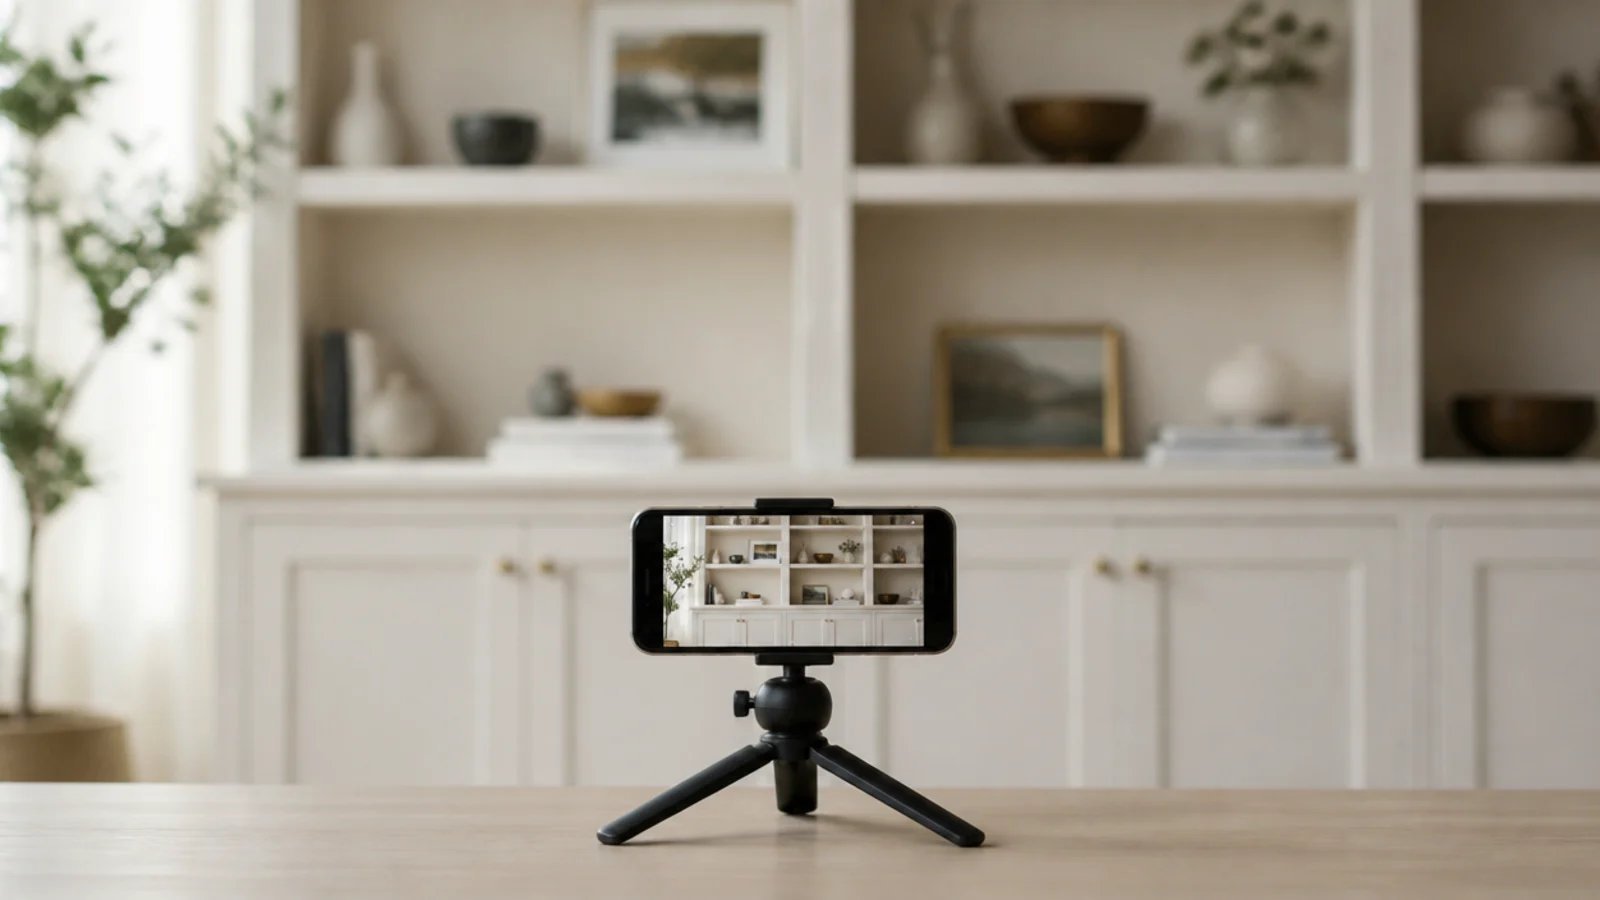
Your phone is the most honest critic in the house. A photograph flattens the run into two dimensions, which is exactly how a visitor sees it from the doorway, and every crowded shelf and broken spine line shows up instantly. Shoot straight on, in daylight, and fix what the picture tells you.
30. Live with it a week, then take two things out
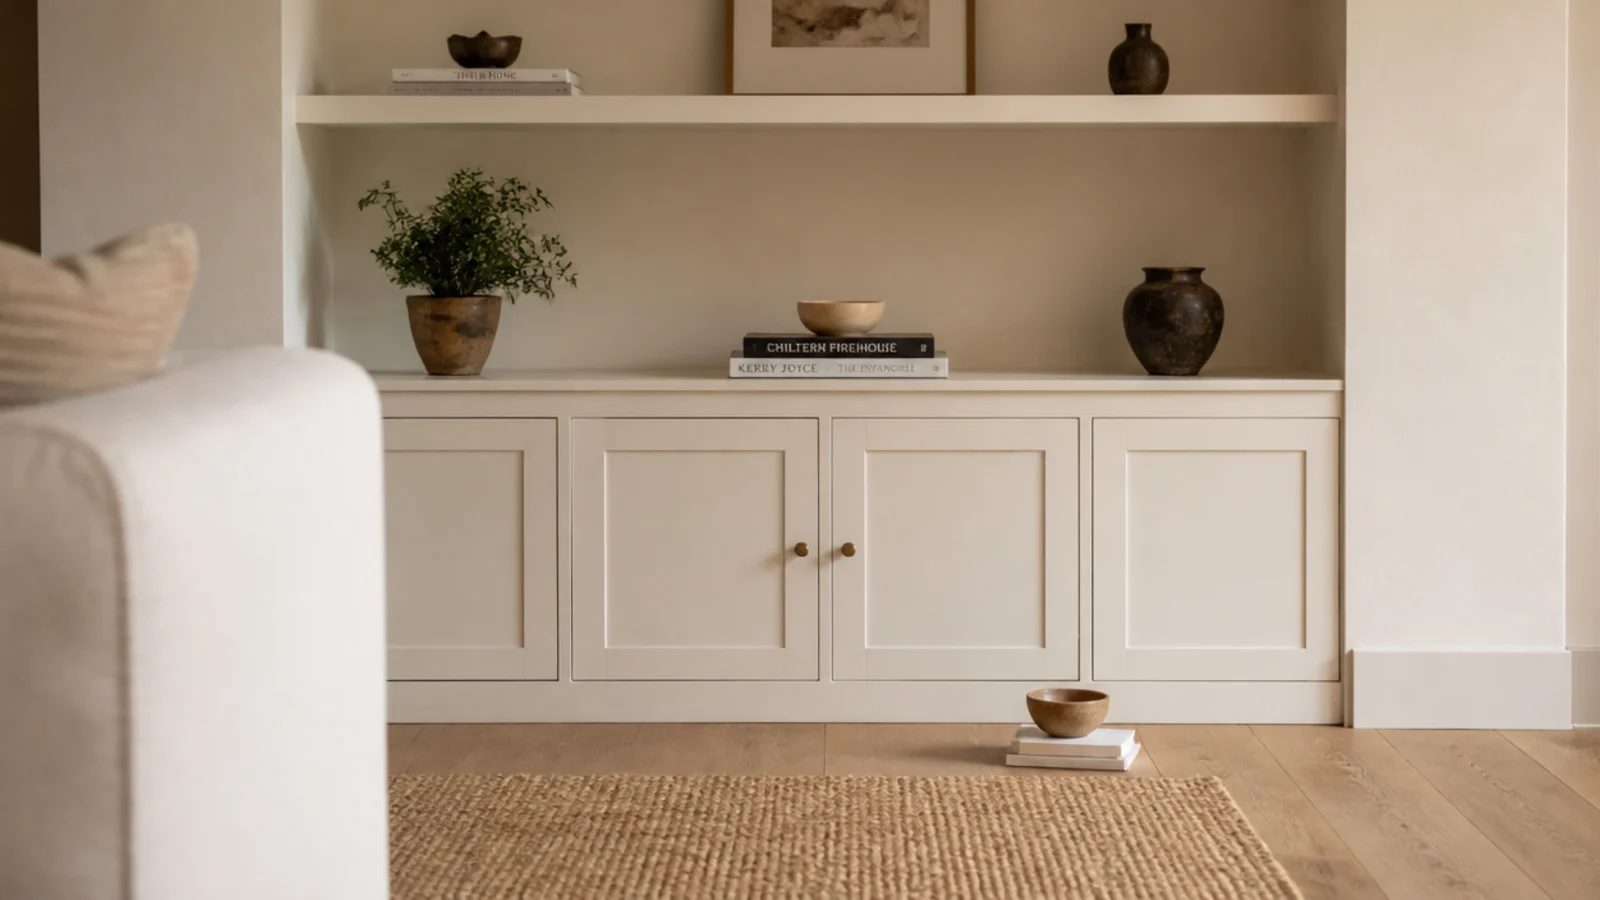
Style it, then leave it alone for a week. Almost every run I have done needed two things removed and nothing added. While you are there, step back 10 feet and look for a gap at the wall or ceiling, the number one giveaway of a DIY built-in. Scribe it and caulk it.
Mistakes to Skip
- Filling every inch because a bare shelf looks unfinished on day one. A dense run reads as storage from the doorway, and the third you leave empty is the whole difference.
- Buying every decorative object in one shopping trip. A run styled entirely from one store looks staged; mix thrifted, inherited and new, and hold the metals to two finishes.
- Leaving books pushed to the back of a deep bay. In a 14-inch shelf that shadow line is what makes expensive joinery look neglected in every single photograph.
Frequently asked questions
How do you style built in shelves without them looking cluttered?
Leave about a third of every shelf empty and cap each shelf at three objects set at three different heights. Density is the problem, not the objects themselves. Pull everything forward to within half an inch of the front edge so each piece throws a shadow, and choose three bays to leave noticeably sparse so the eye has somewhere to rest.
What should go on the bottom shelf of a built-in?
Weight and mess. Matching baskets sized to the bay opening with half an inch of air each side, oversized art books laid flat, or a lidded box that swallows the router. Keep that bay 14 to 16 inches deep if you are still building, since baskets and media gear need more depth than the 11 to 12 inches books want.
How many books should be on styled built in shelves?
Roughly 60 percent of the total run, with about 30 percent objects and 10 percent concealed storage. In practice that is six to eight spines per shelf in a 30-inch bay, not a packed row. Mix upright runs with flat stacks used as pedestals, and cap each flat stack at four books before it starts reading as a pile.
Should built in shelves be the same color as the wall?
Yes, or the same color as the trim. Either choice makes the run read as architecture instead of a bookcase pushed into an alcove. Save the contrast for the back panel inside the bays, where a muted sage or a deep clay lifts pale stoneware and book spines without adding visual weight to the frame.
How do you light built in shelves?
Picture lights above the top bay, or slim puck lights tucked under the front lip of each shelf. Picture lights project 4 to 5 inches, so keep tall objects clear of them. Battery versions start near $30 and are renter safe, while hardwired with a dimmer runs $120 to $250 installed. Use warm 2700K bulbs on a dimmer.
Start with one bay. Empty it, put back two thirds of what came out, and see how much better it looks than the rest of the wall by comparison. If the carpentry is not in yet, the depths and spans that make a built-in work come first, and the styling pieces worth buying sorts baskets, lights and bookends by type and price. Save the pin below so the empty third and the spine line are with you next time.
Want more like this? Browse all 15 living room built-in shelves guides — they all use the same measurements and budget tiers.
Pin it for later
Save this to your Living Room Built-In Shelves board
Pin it now so it is waiting for you when the tape measure comes out — and so the next person hunting for this idea can find it too.
Save this pinKeep going
More ideas worth saving while you have the tape measure out.