Kitchen Shelf Ideas · Listicle
30 Beautiful Kitchen Shelf Ideas to Steal Today

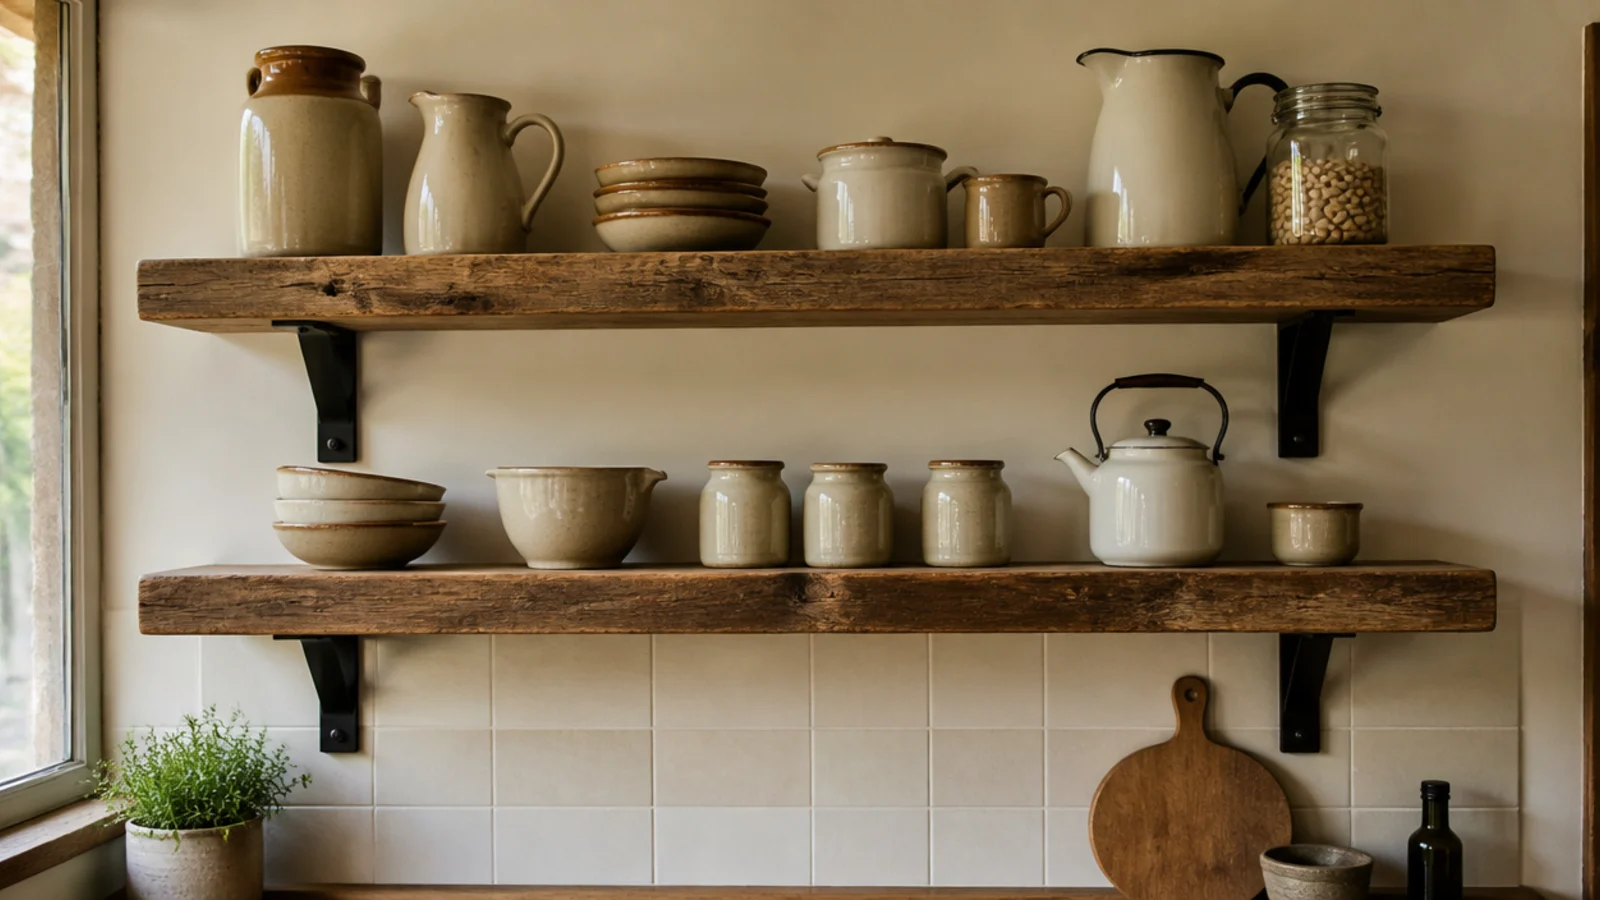
Rustic kitchen shelves fail in one of two directions. Either the wood is genuinely old and nobody sealed it, so it drinks grease within a season, or nothing is old at all and the whole wall reads as a theme. The fix for both is the same: one honest piece of timber, properly finished, against surfaces that are not pretending. These 30 setups cover the sourcing, the hardware and the finishes that hold up.
In this guide32 sections — tap to openHide
- 1.How rustic kitchen shelves survive a working kitchen
- 2.Barn board with the saw marks left in
- 3.Black iron pipe brackets
- 4.Salvaged cast iron corbels
- 5.Scaffold boards at their full two inches
- 6.Live edge at the front, straight at the back
- 7.Elm or ash for wild grain
- 8.Wire-brush the grain open
- 9.Keep the nail holes and the knots
- 10.A driftwood grey for a coastal kitchen
- 11.Leather strap shelves for a short run
- 12.A rope-hung shelf from the ceiling joists
- 13.Scaffold boards on gas pipe uprights
- 14.An old door panel as a shelf backing
- 15.Whitewashed pine with the grain showing
- 16.A chunky cleat in the same timber
- 17.A shelf cut from an old floor joist
- 18.An iron plate rail with hooks below
- 19.A blacksmith iron pot rail underneath
- 20.Enamelware as the styling language
- 21.A shelf under an old window frame
- 22.Hand-cut chamfer instead of a router round
- 23.Dark stain rubbed back, sealed matte
- 24.Antique brass hooks aged with vinegar
- 25.A butcher block offcut as a chopping shelf
- 26.Wooden crates fixed to the wall
- 27.A crock of wooden spoons at the working end
- 28.Mixed timber tones, one bracket style
- 29.A ladder shelf leaning on the kitchen wall
- 30.Old timber against plain modern tile
- 31.A single old board is enough
- 32.Mistakes to Skip
How rustic kitchen shelves survive a working kitchen
Old timber is the easy part. Salvage yards, ReStores and builders yards sell used scaffold boards, floor joists and barn board at $4 to $12 a linear foot, which undercuts new oak.
Sand less than you think. Stop at 120 grit. Going finer erases the saw marks, the patina and the tool history you bought the board for. Fill nothing — nail holes and knots are the whole point.
Then seal properly, which is where rustic shelves usually fall down. Matte water-based polyurethane or a hardwax oil, both of which sit low in the grain and keep the surface looking dry rather than plastic. Never clear wax in a kitchen: it offers almost no protection against grease and softens near heat. Seal every face including the underside and the cut ends, or the board cups.
Then the same kitchen rules as anything else. First shelf 18 inches above the counter to clear a stand mixer, second 12 to 14 inches above that. Anything within four feet of a burner picks up an airborne grease film, so that zone holds items you wash weekly. Above a range hood, ceramic, metal or glass only — never wood.
And weight. Ten dinner plates is around 12 pounds. At least one bracket in a stud for anything holding dishes, and toggle bolts rather than plastic plugs everywhere else.
Budget: a salvaged board with pipe brackets, $30 to $50 ($). Scaffold boards on iron corbels, $80 to $150 ($$). Reclaimed oak beam shelves cut and finished, $200 upward ($$$).
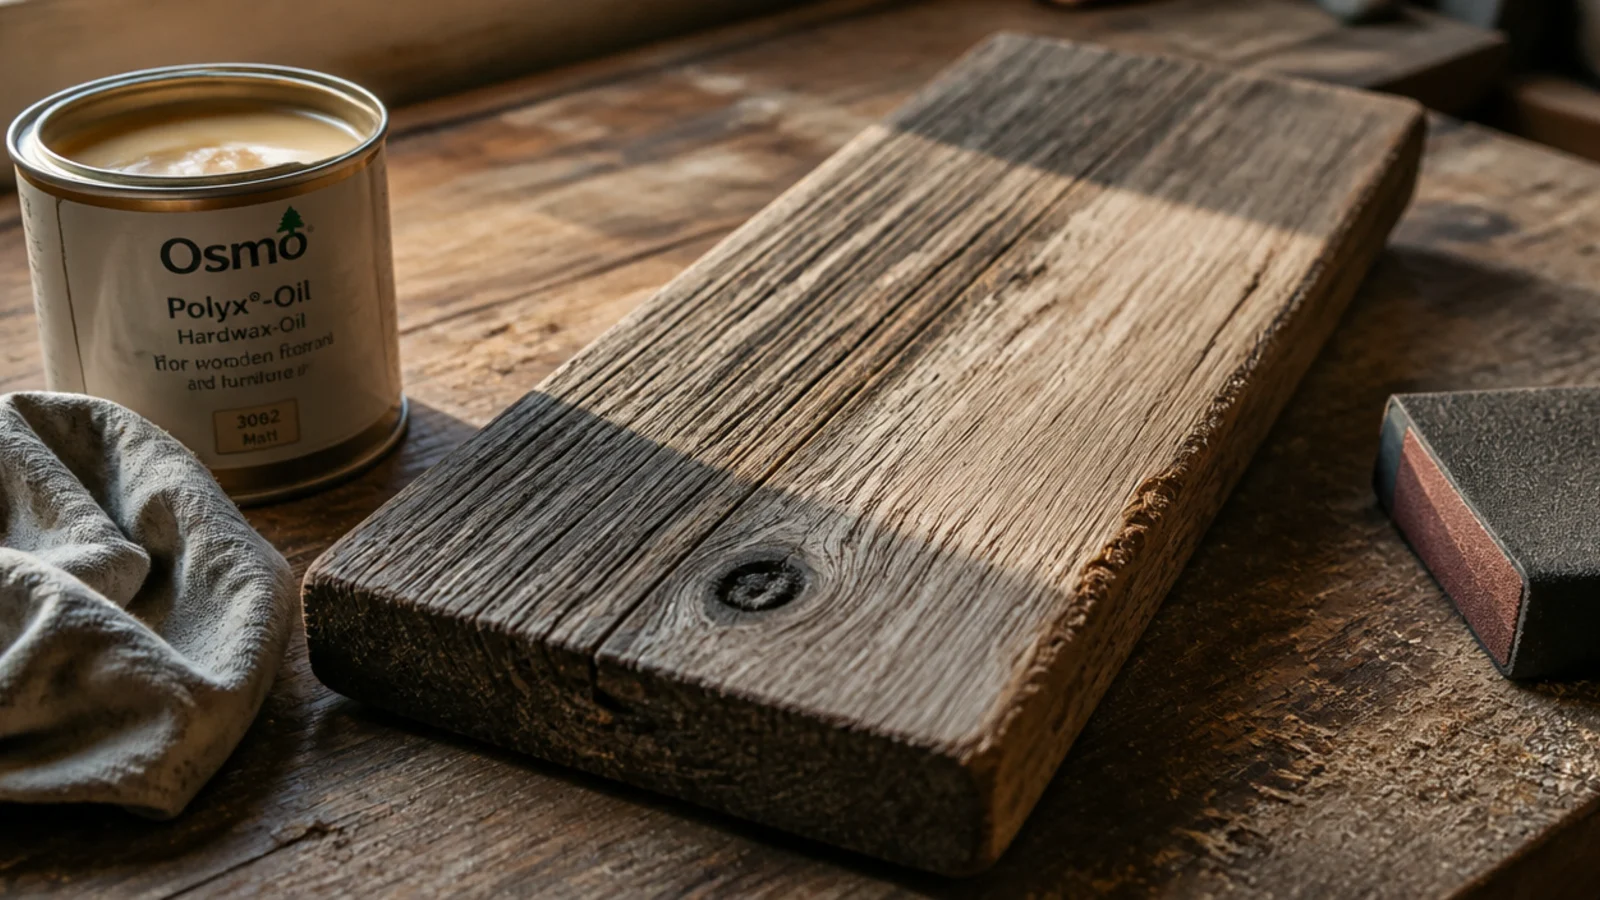
1. Barn board with the saw marks left in
Old barn siding carries circular saw arcs across the face that no finish can imitate. Sand to 120 only, wipe, and seal.
Check for embedded grit before it touches a blade. A metal detector wand costs $20 and saves a saw blade at $40.
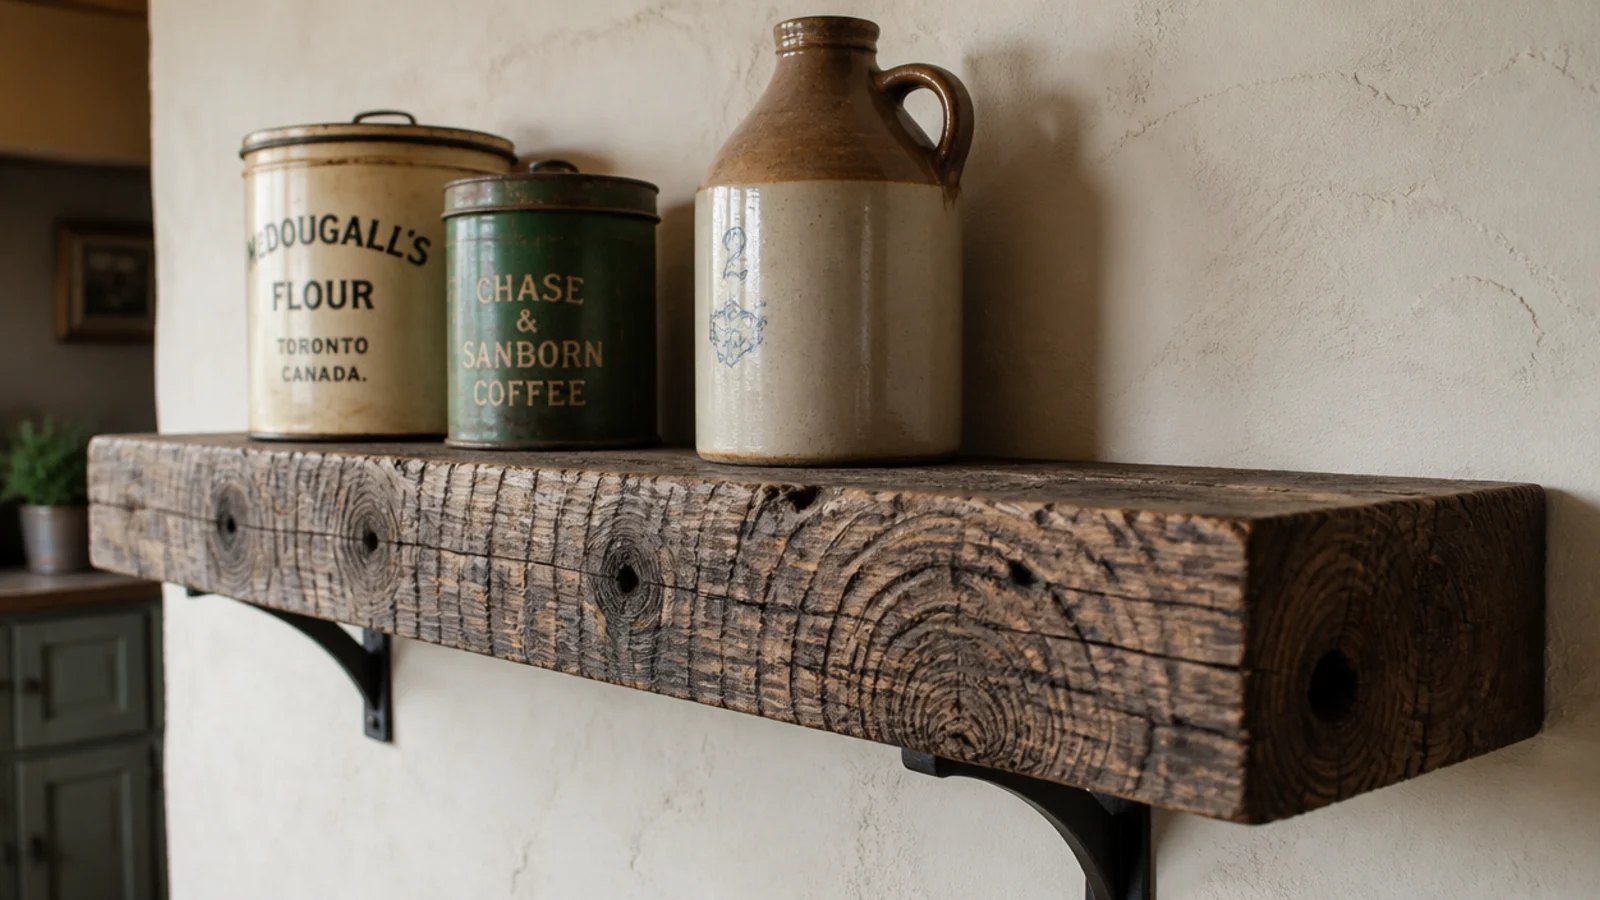
2. Black iron pipe brackets
Half-inch black pipe, two flanges and a nipple make a bracket for about $9 that carries more than most steel ones sold as shelf hardware.
Degrease the pipe with white spirit first — it ships coated in oil and will mark a wall for months otherwise.
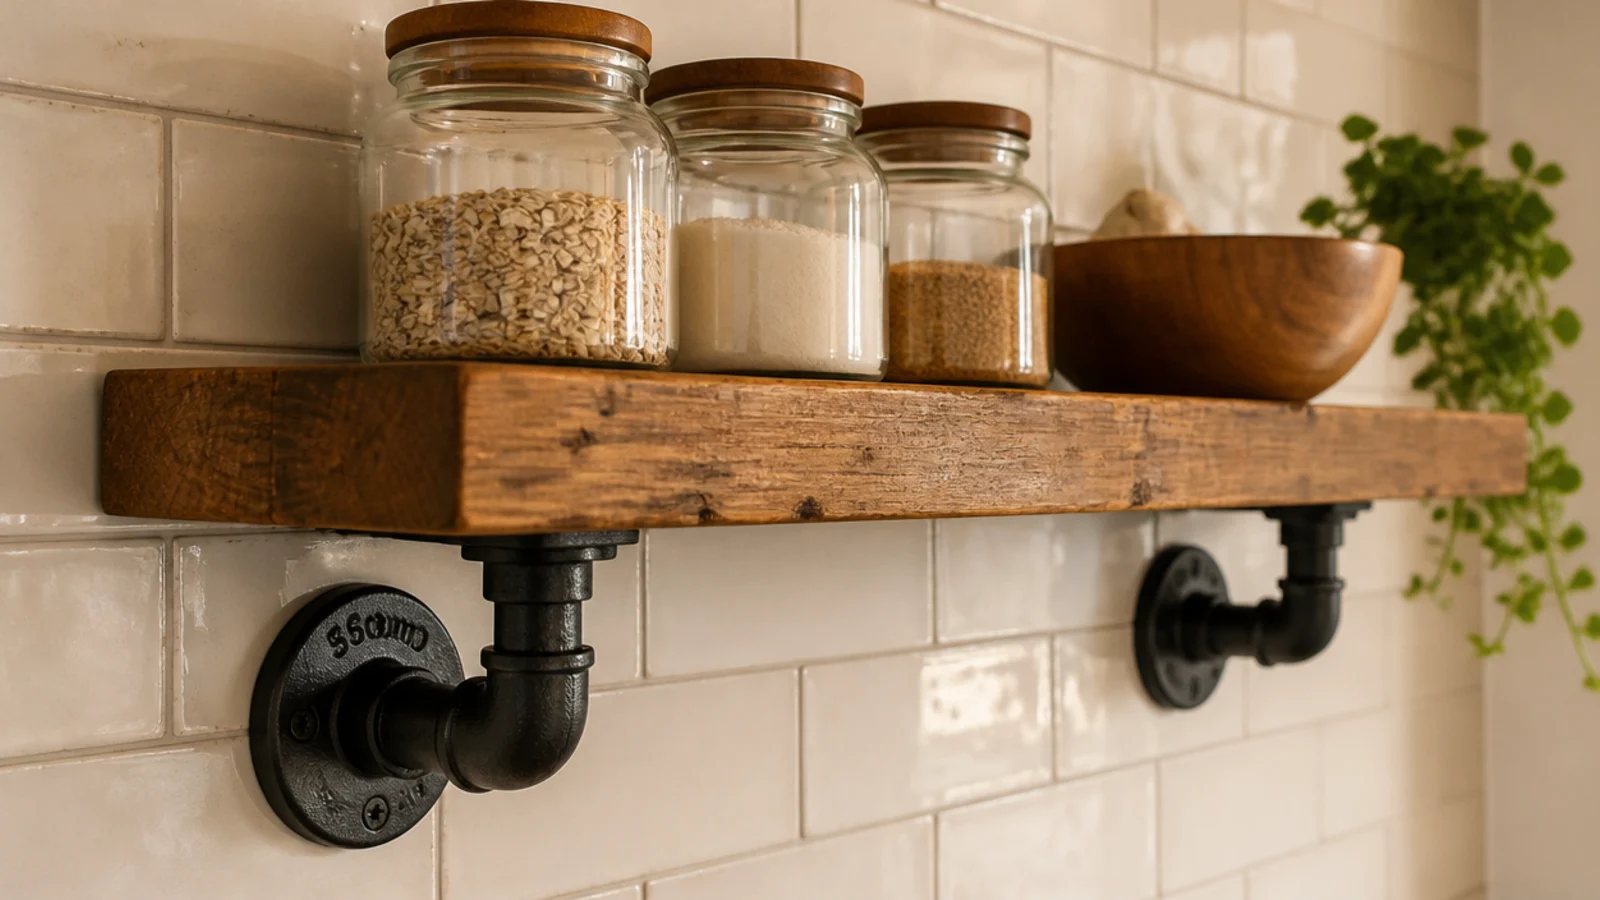
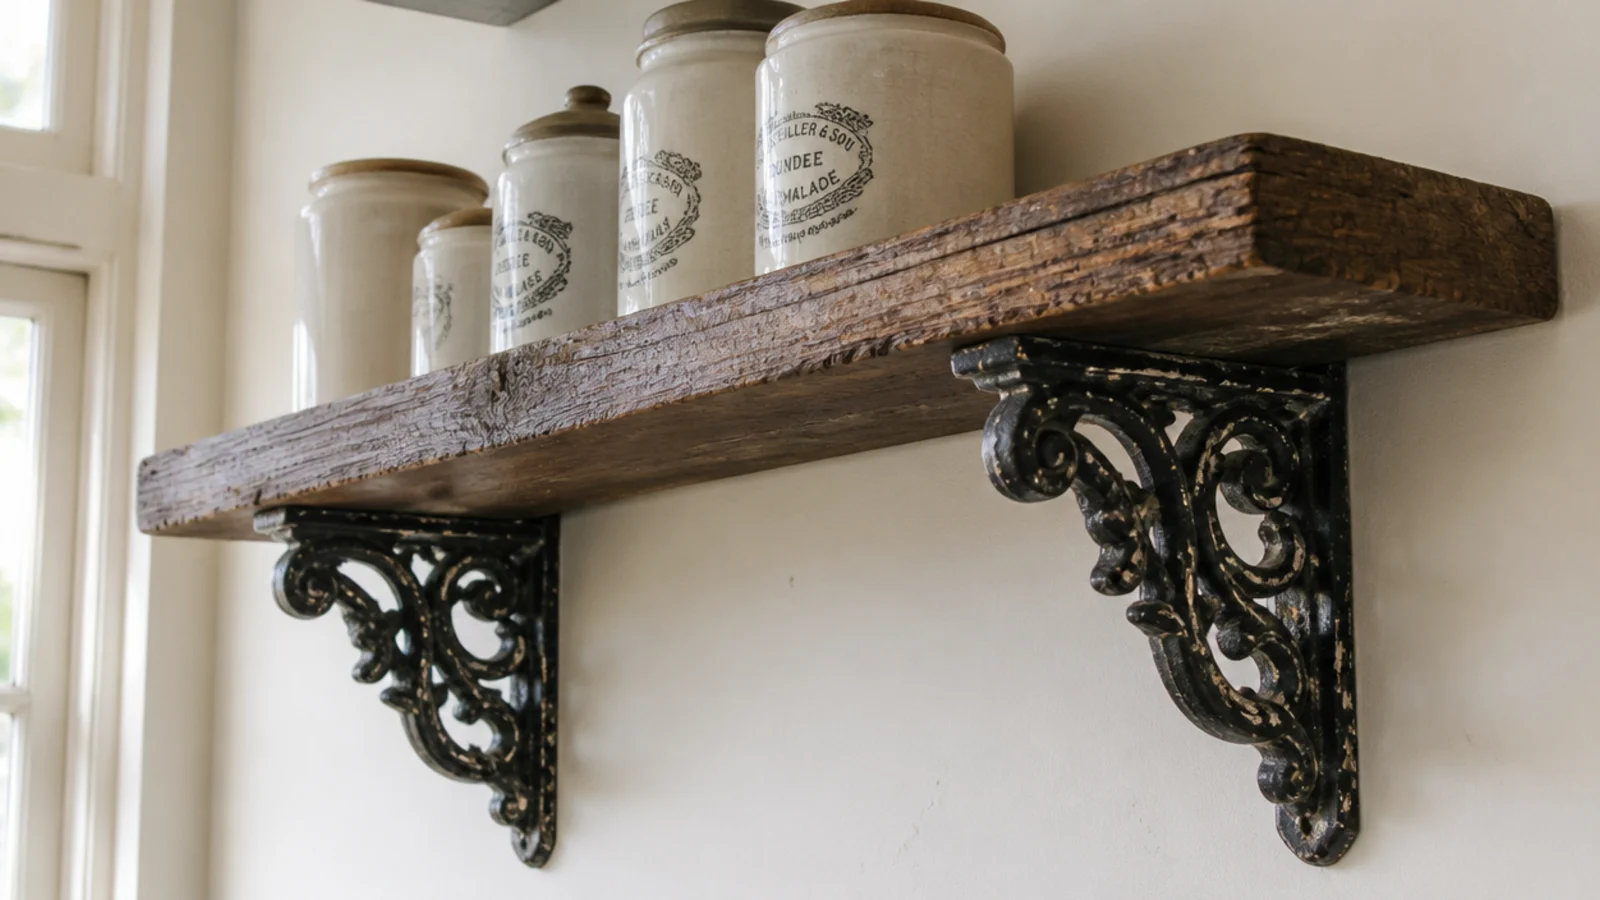
3. Salvaged cast iron corbels
One pair of old corbels does more for a kitchen wall than any amount of distressing on the board itself.
Expect $25 to $60 a pair at salvage. Bolt through into studs, since ornate cast iron is heavy before anything sits on it, and the profile puts real leverage on the wall.
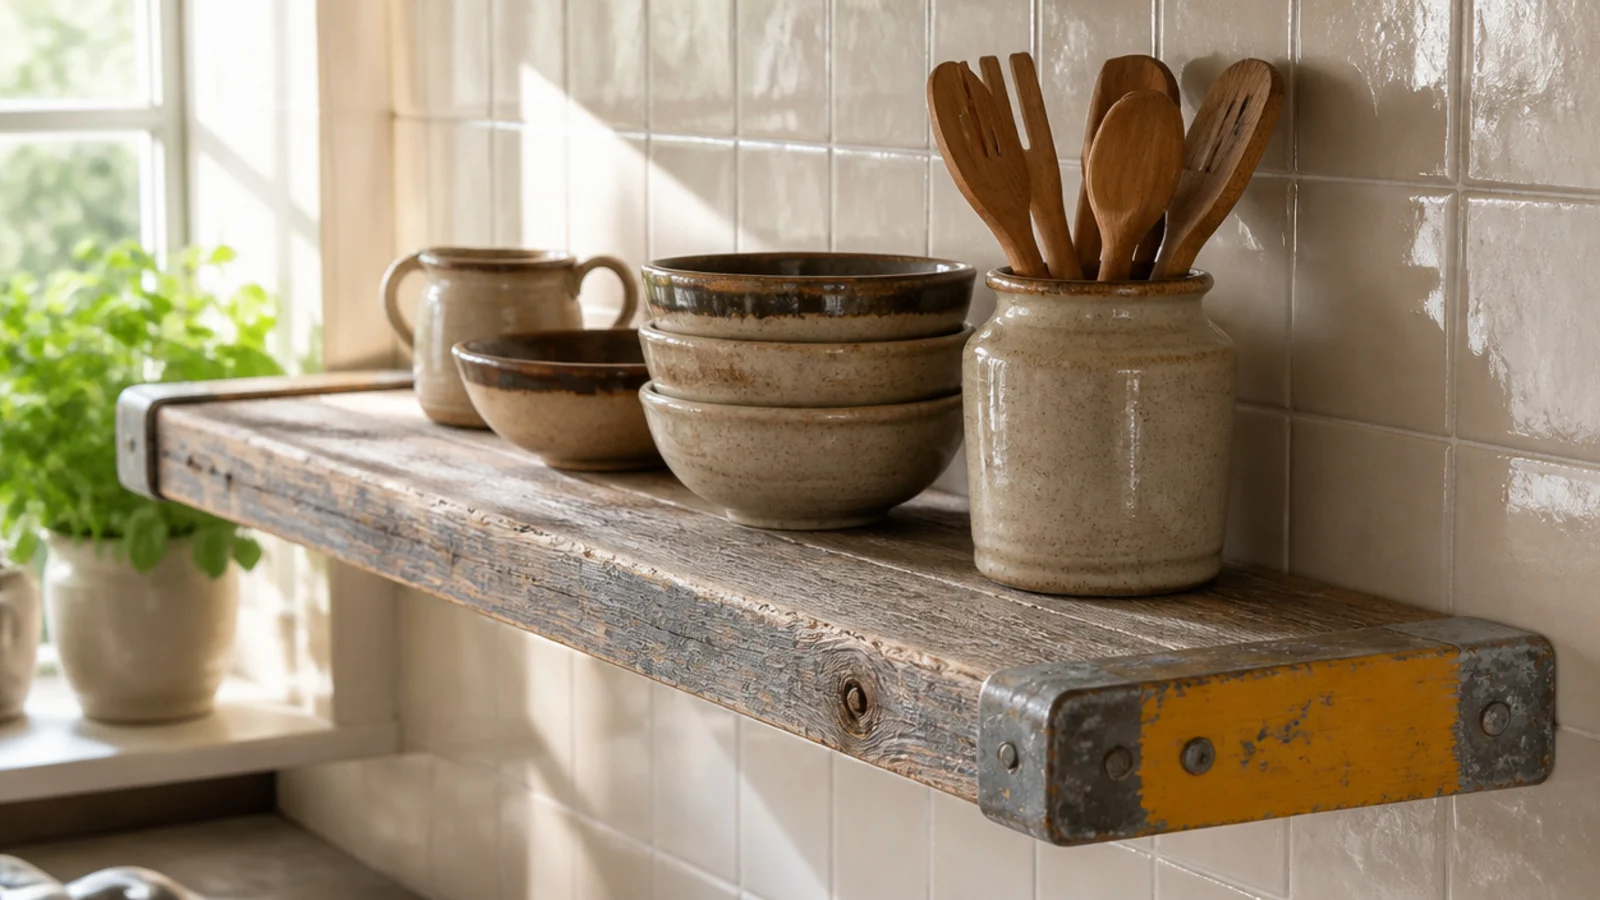
4. Scaffold boards at their full two inches
Used scaffold boards arrive nearly two inches thick with banded ends, old paint flecks and a lifetime of scuffs.
Thickness is what makes a rustic shelf convincing. At two inches you can span 40 inches between brackets without a hint of deflection, which few new boards manage.
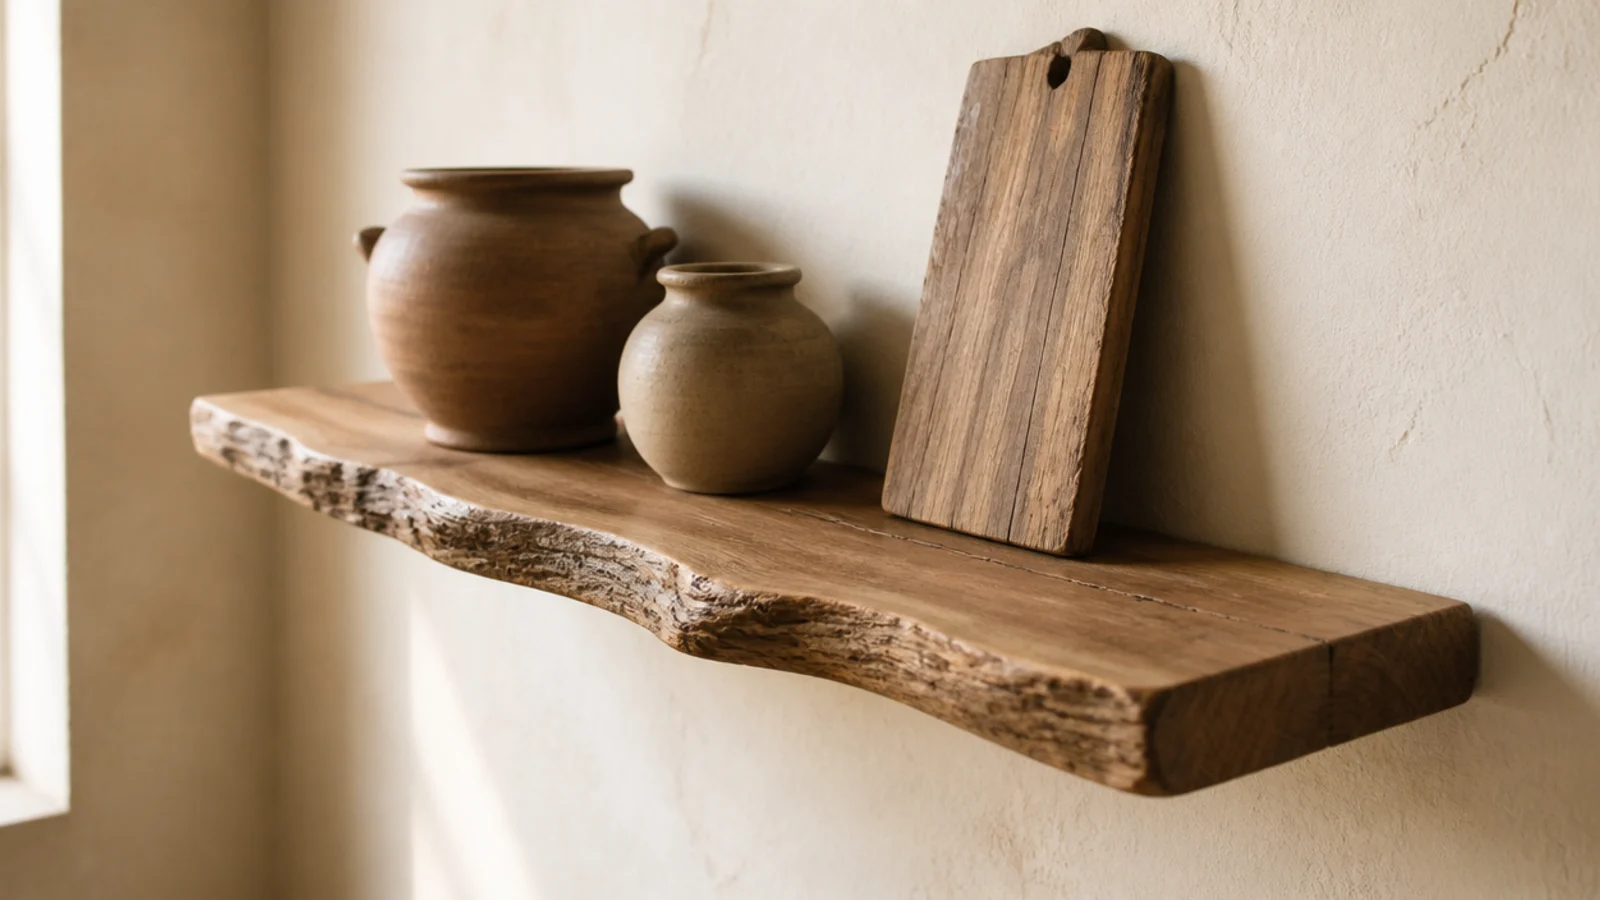
5. Live edge at the front, straight at the back
One natural edge on the front and a scribed straight edge against the wall. Two live edges is a table top, not a shelf.
Seal the bark line thoroughly or leave the bark off entirely. Loose bark in a kitchen sheds into the food below.
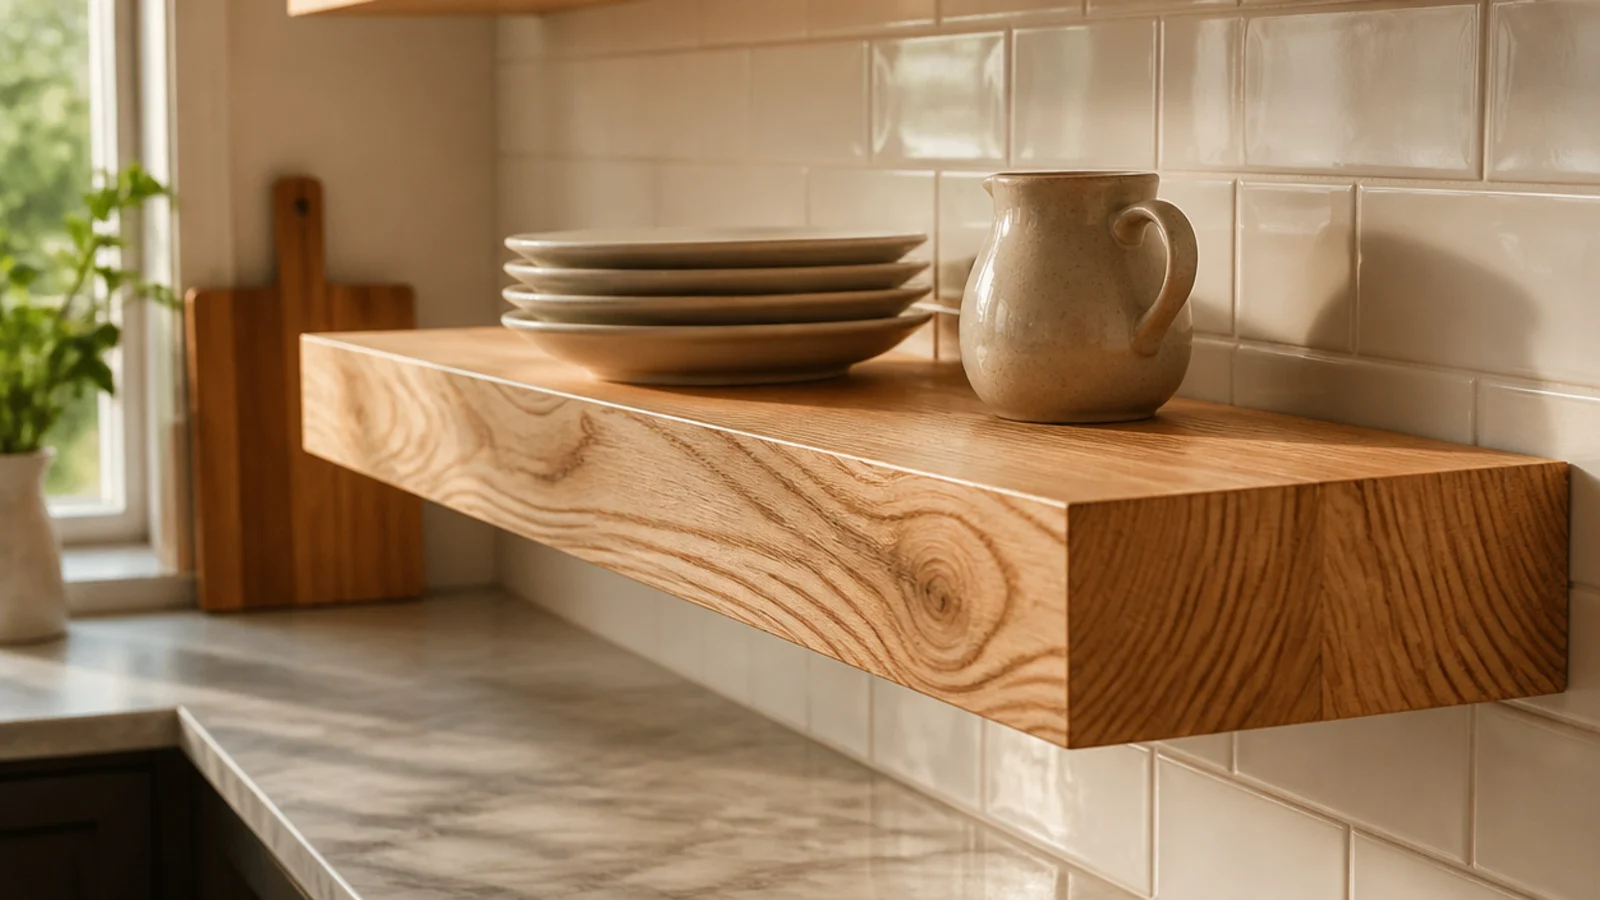
6. Elm or ash for wild grain
If you are buying new, choose species with drama. Elm and ash both have swirling figure that gives fresh timber an old face straight off the rack.
Ash is also hard enough to shrug off a dropped pan lid, which pine is not. Around $9 a board foot.
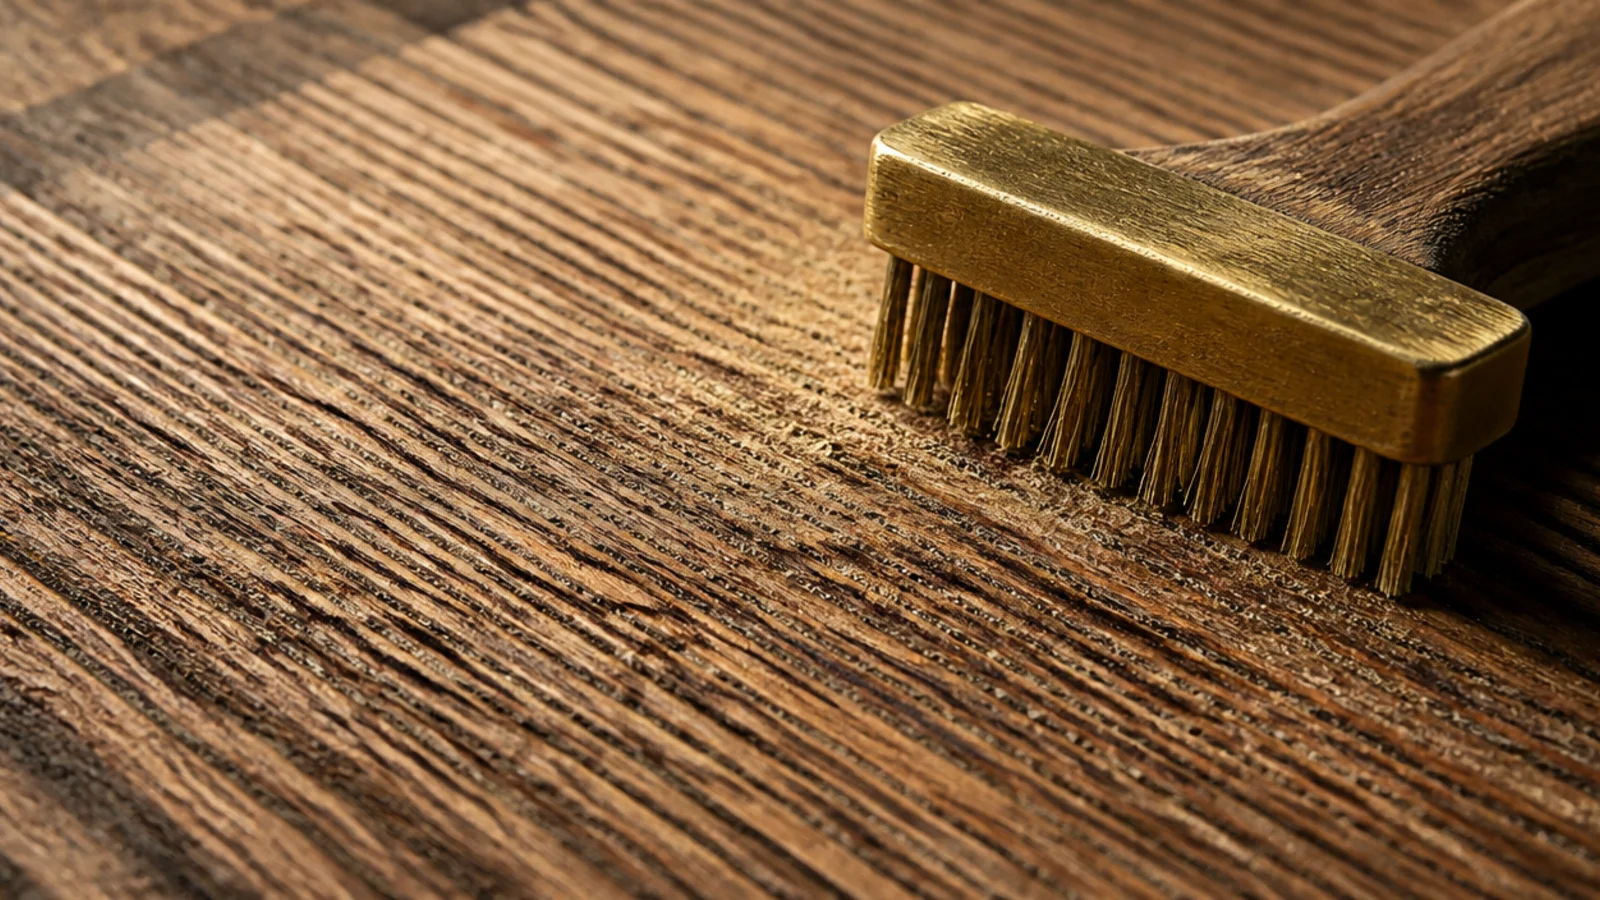
7. Wire-brush the grain open
A brass wire brush dragged along the grain of soft pine tears out the summer wood and leaves ridges, which is exactly what fifty years of scrubbing does.
Five minutes a board. Always with the grain, never across, and seal afterward or the open grain traps grease.
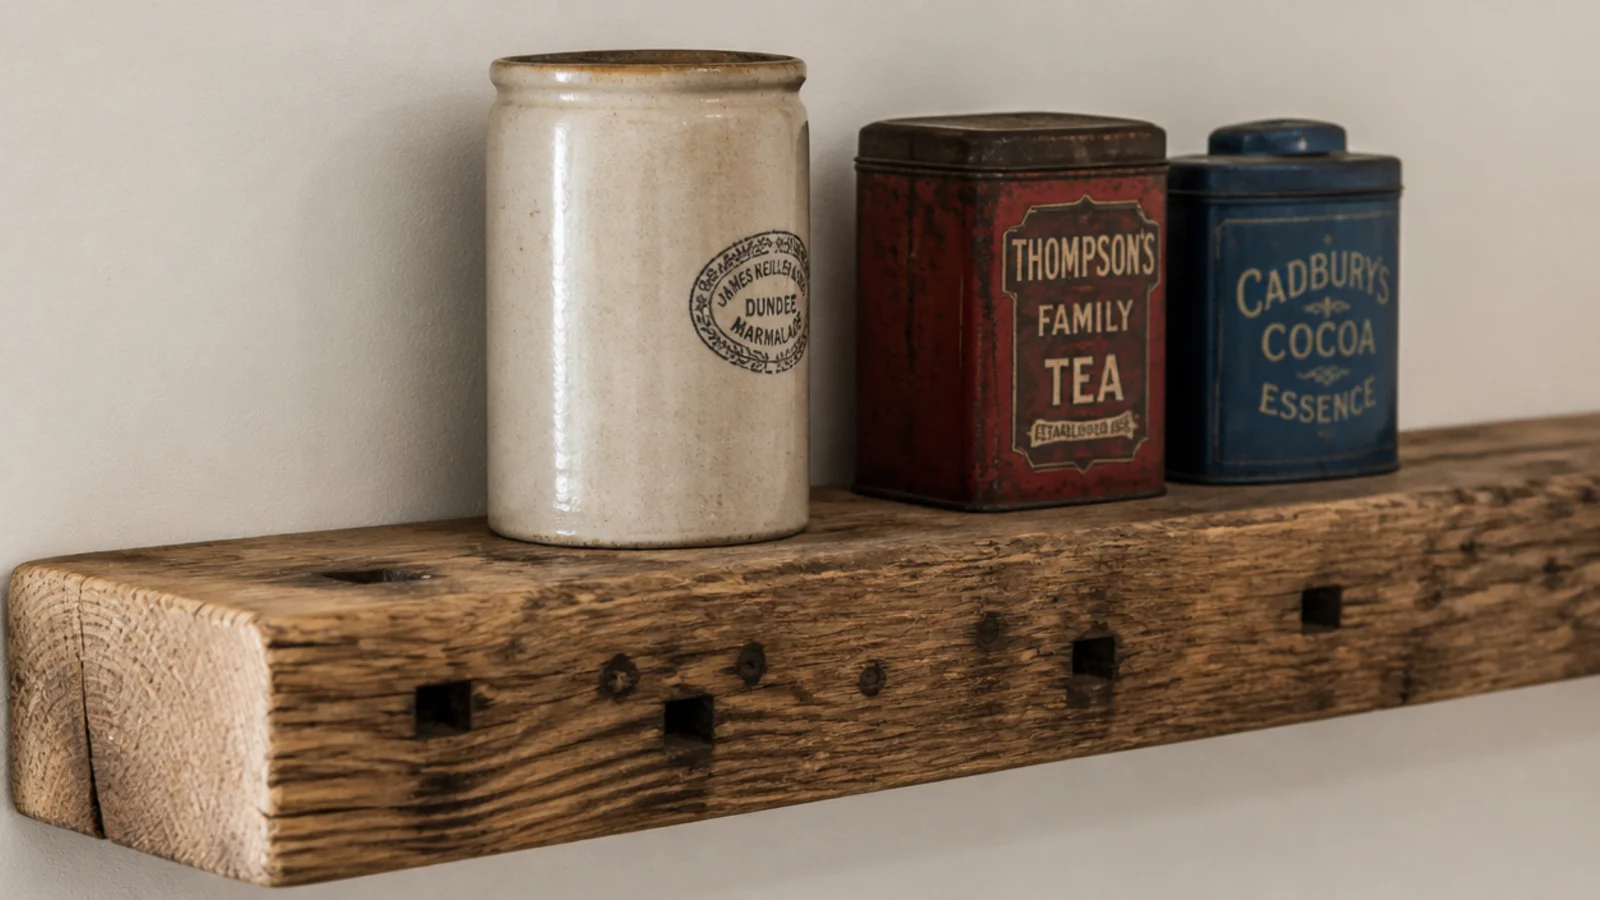
8. Keep the nail holes and the knots
The urge to fill is strong and it is always wrong. Old square nail holes and dark knots are the proof of age you paid for.
The only exception is a hole that goes right through above a food prep area. Plug that one from behind with a scrap.
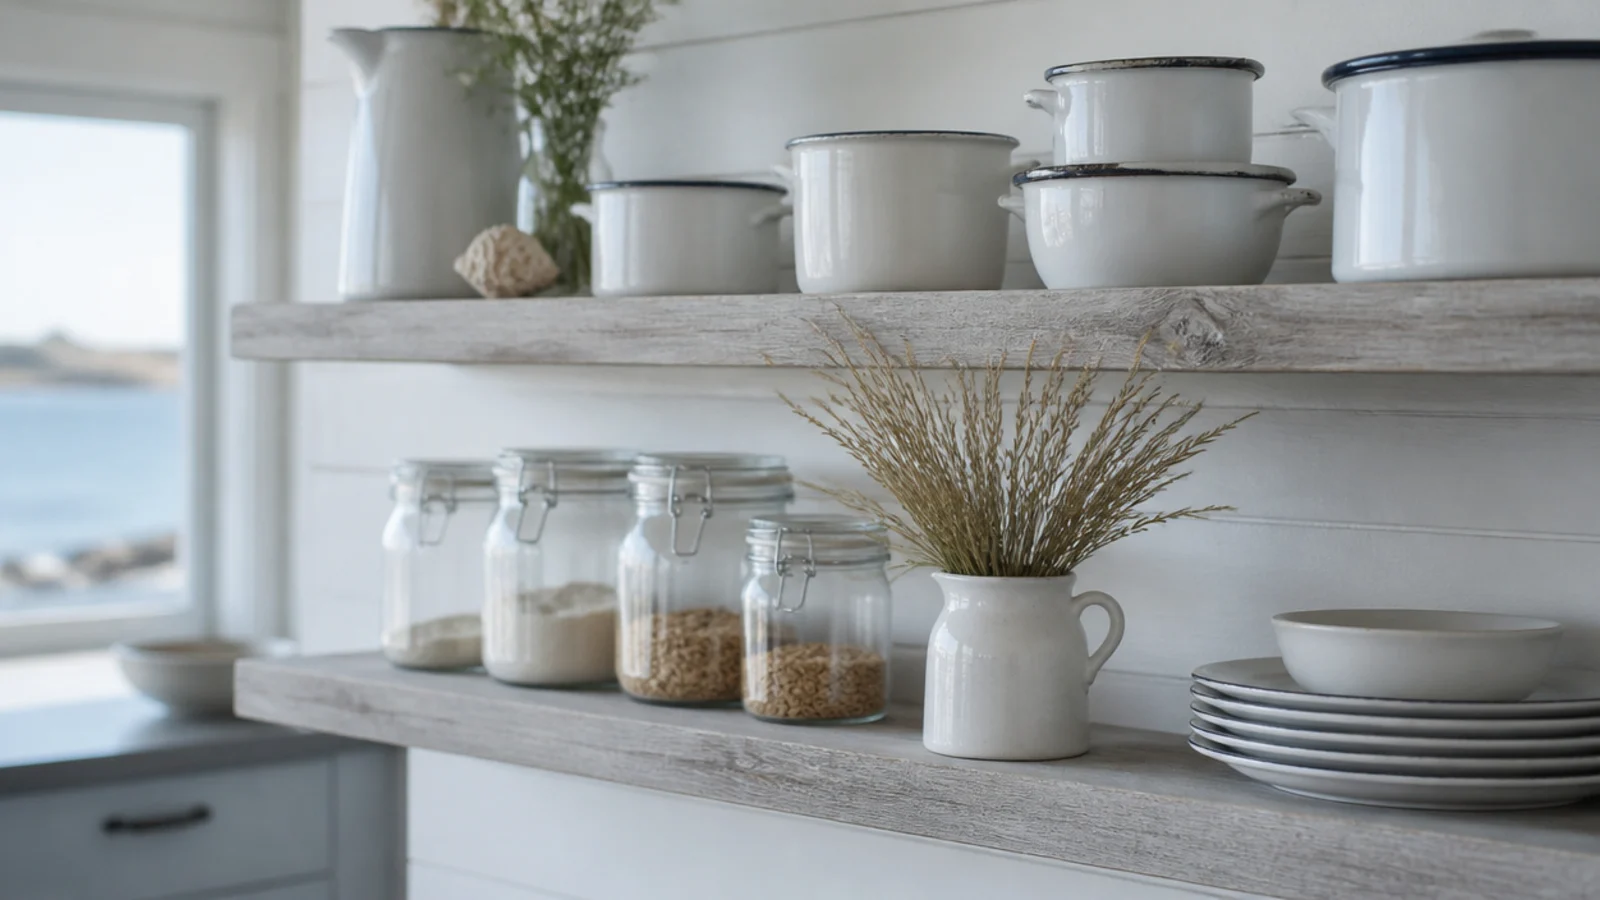
9. A driftwood grey for a coastal kitchen
In a cool north-facing kitchen, warm honey timber can look orange. A dilute grey wash pulls it back toward driftwood.
Mix one part grey emulsion to four parts water, brush on, wipe off within a minute. Then seal in matte, as always.
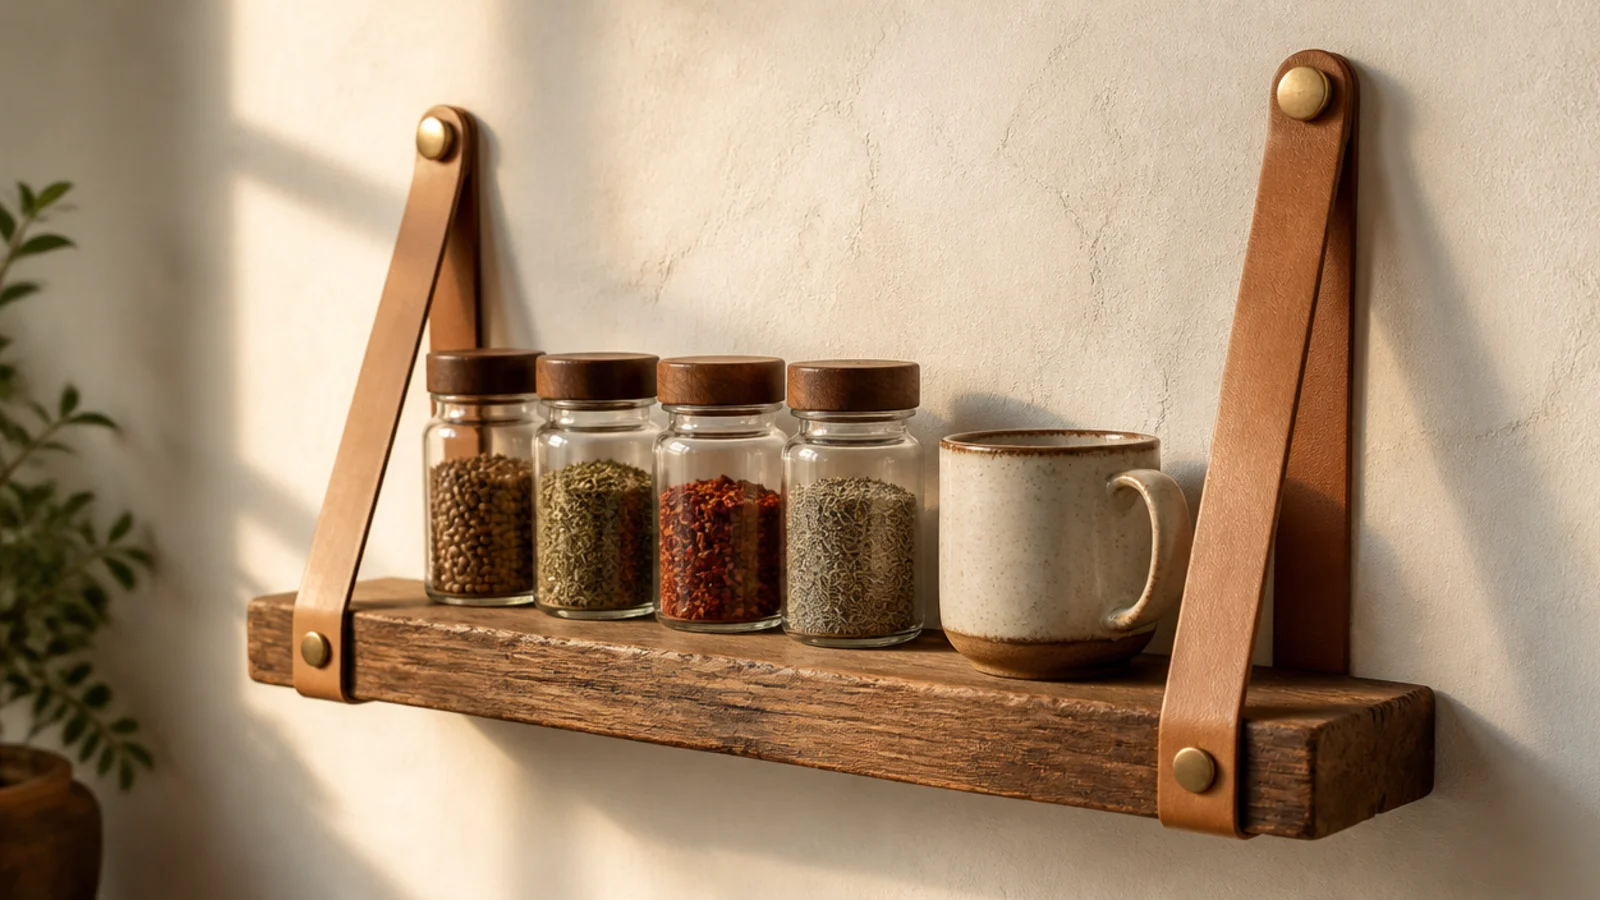
10. Leather strap shelves for a short run
Two thick leather straps anchored above and looped under a board make a genuinely lovely 24-inch shelf.
Load limits are honest and low. Jars, mugs and spices only. Never plates, because 12 pounds of stoneware on a strap is asking a lot of two screws and some hide.
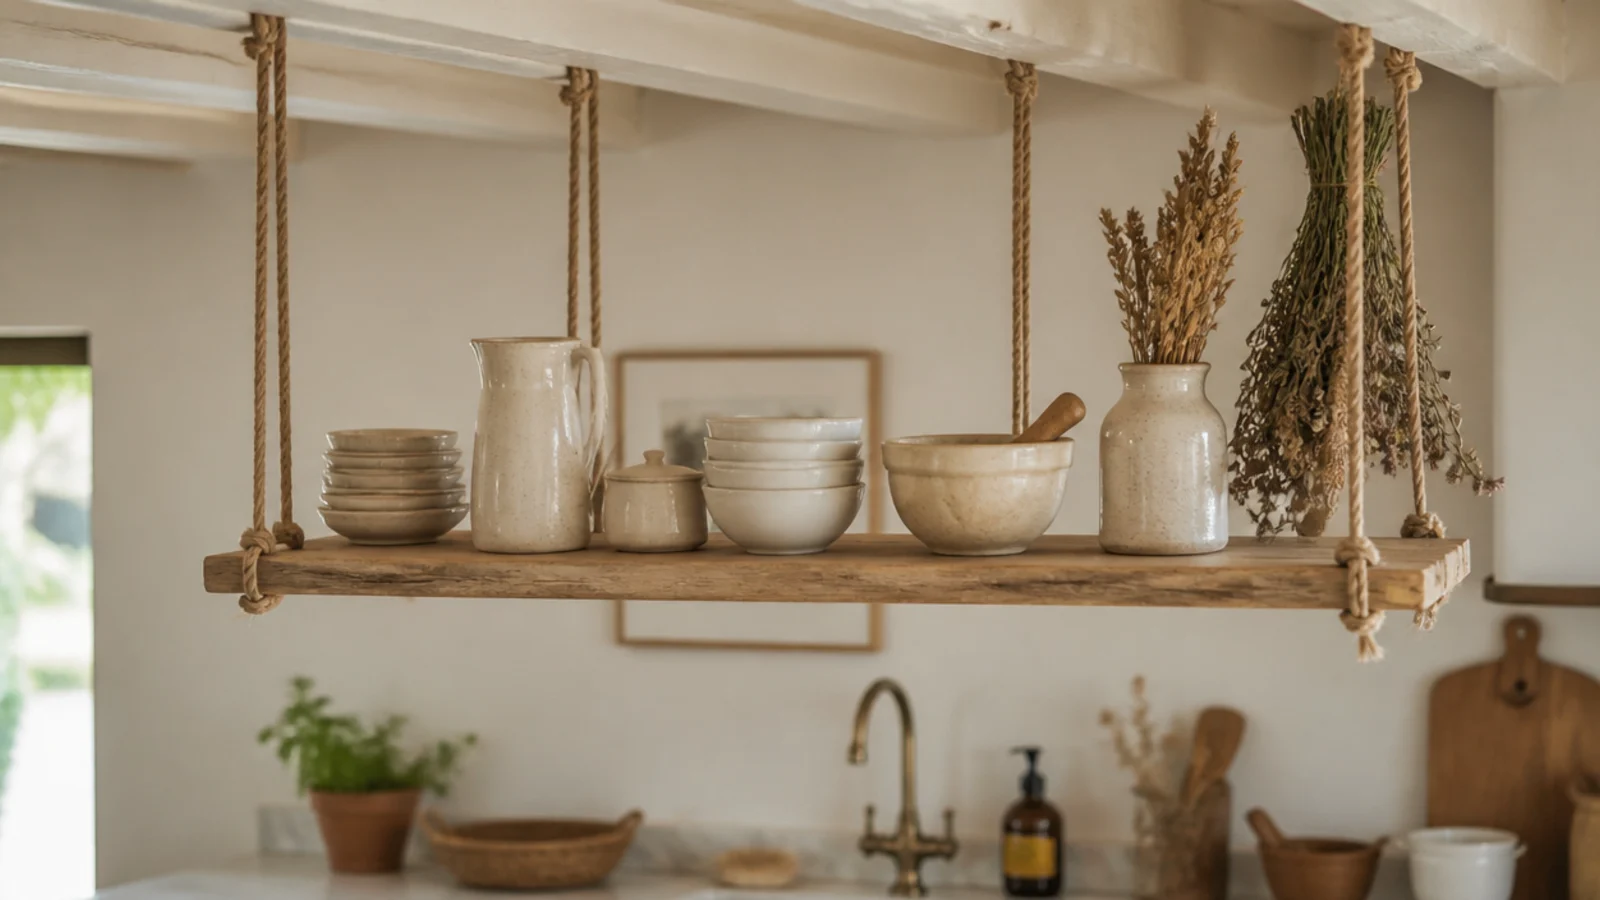
11. A rope-hung shelf from the ceiling joists
Rope through four drilled corners and up to ceiling joists gives a shelf that appears to hang in mid air.
Joists only. Rope into drywall is decoration. Keep it well away from the hob, since natural fibre absorbs grease and cannot be cleaned.
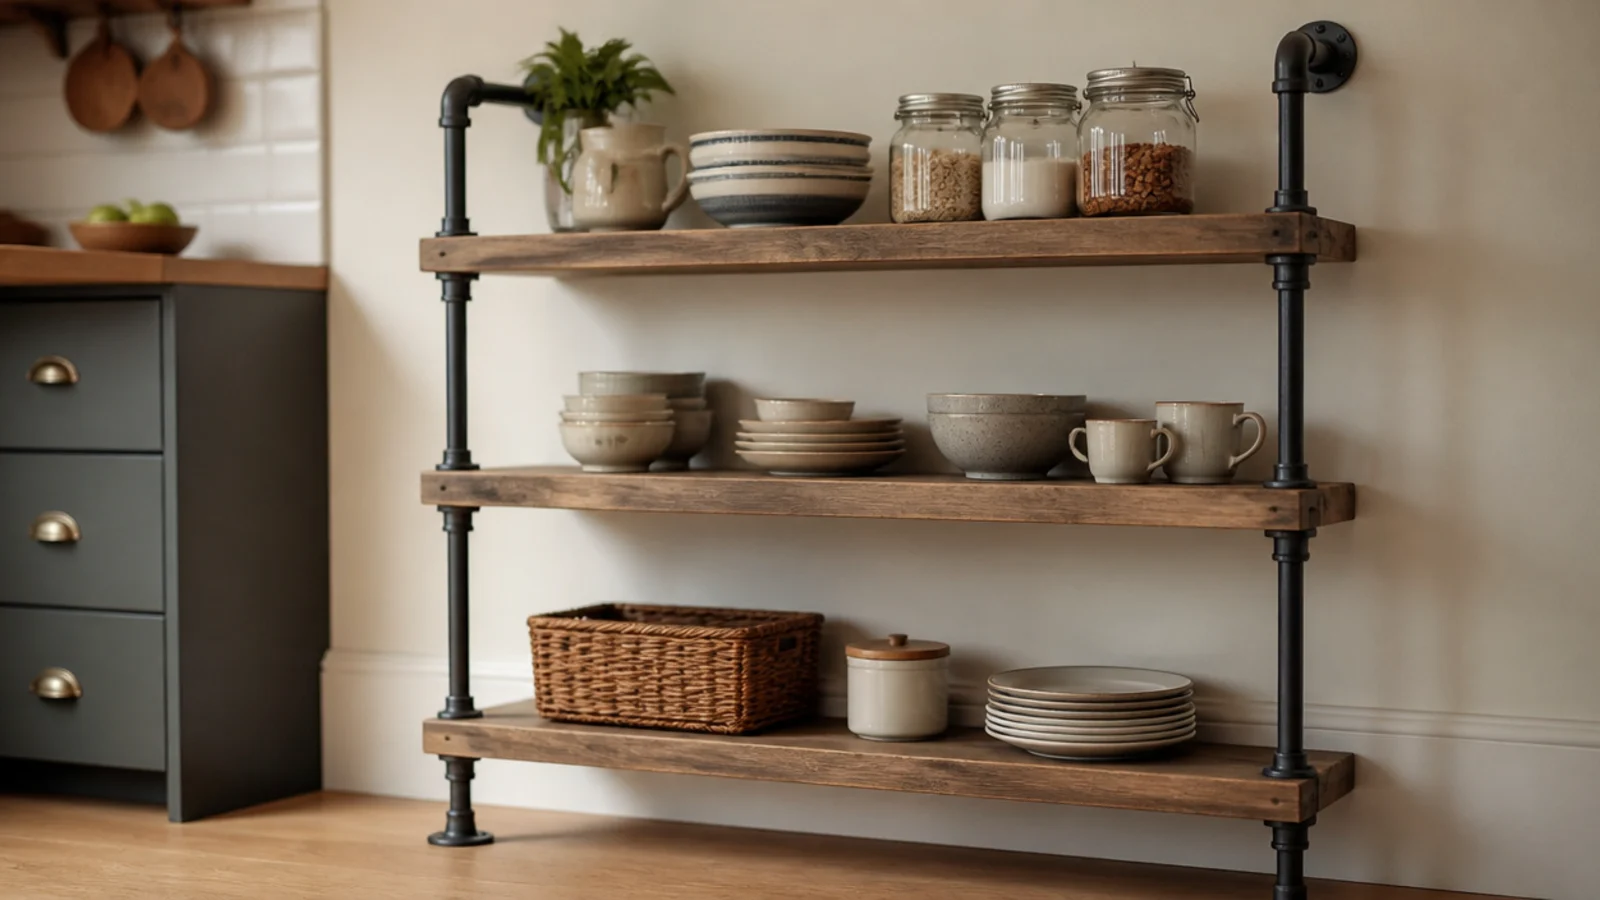
12. Scaffold boards on gas pipe uprights
Three boards on black pipe uprights makes a freestanding unit that carries an enormous amount and touches the wall only for an anti-tip strap.
It is the best rustic option for renters, and at around $120 in fittings it costs less than most bought shelving.
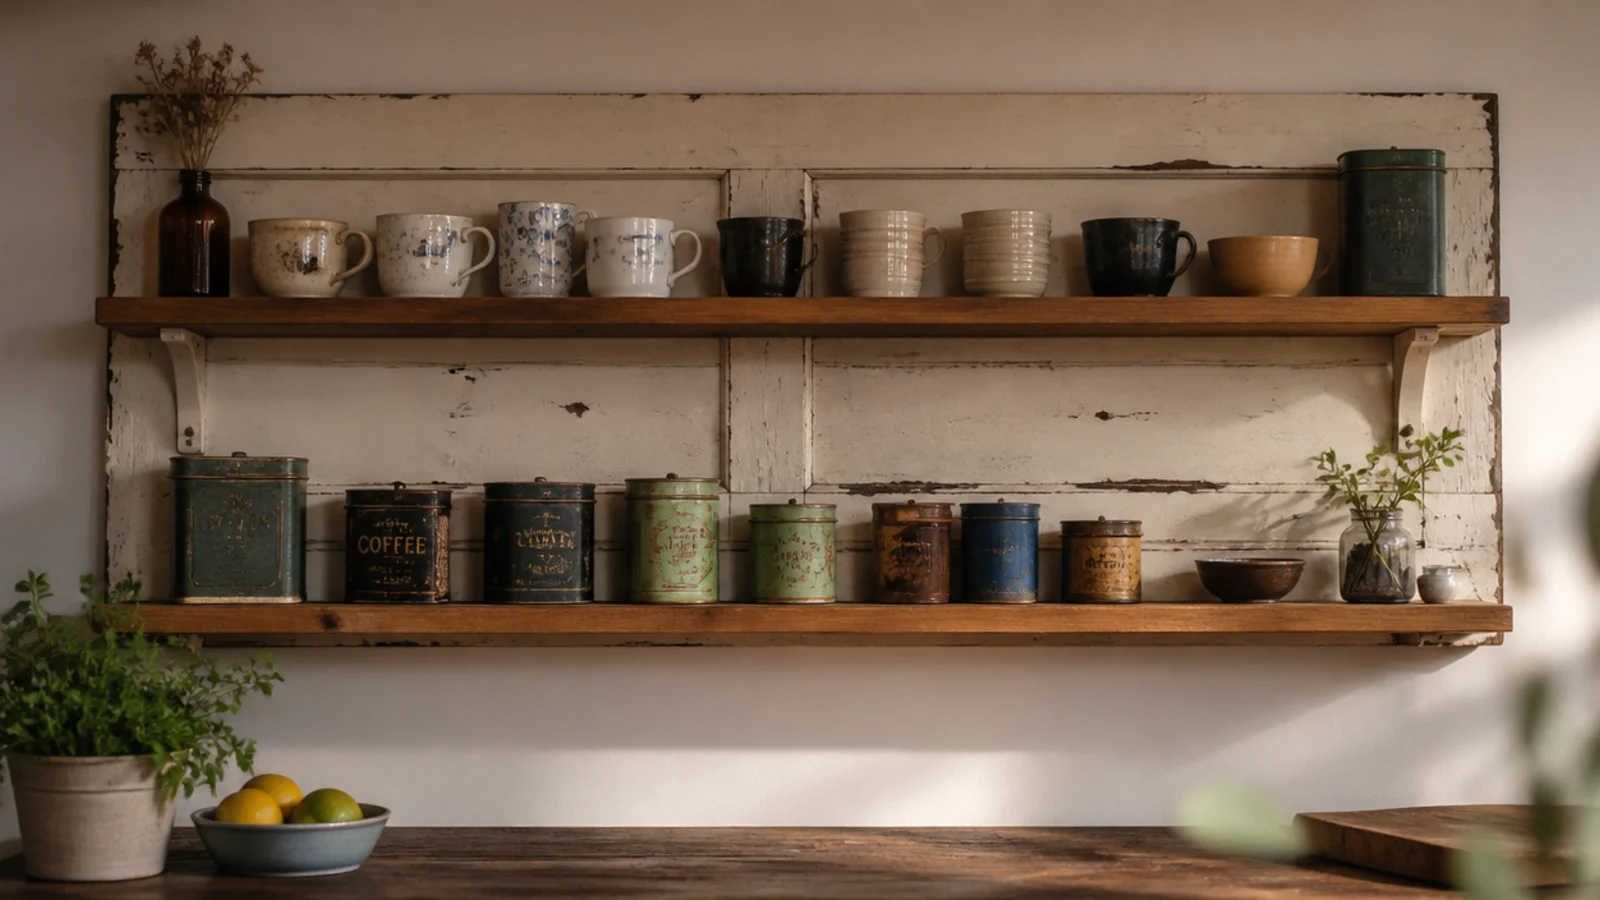
13. An old door panel as a shelf backing
Fix a salvaged panelled door flat to the wall, then mount two shelves across it. The panelling gives the shelves a frame and depth.
Leave the original chipped paint but seal it with matte clear, especially if the house predates 1978 and the paint may be lead.
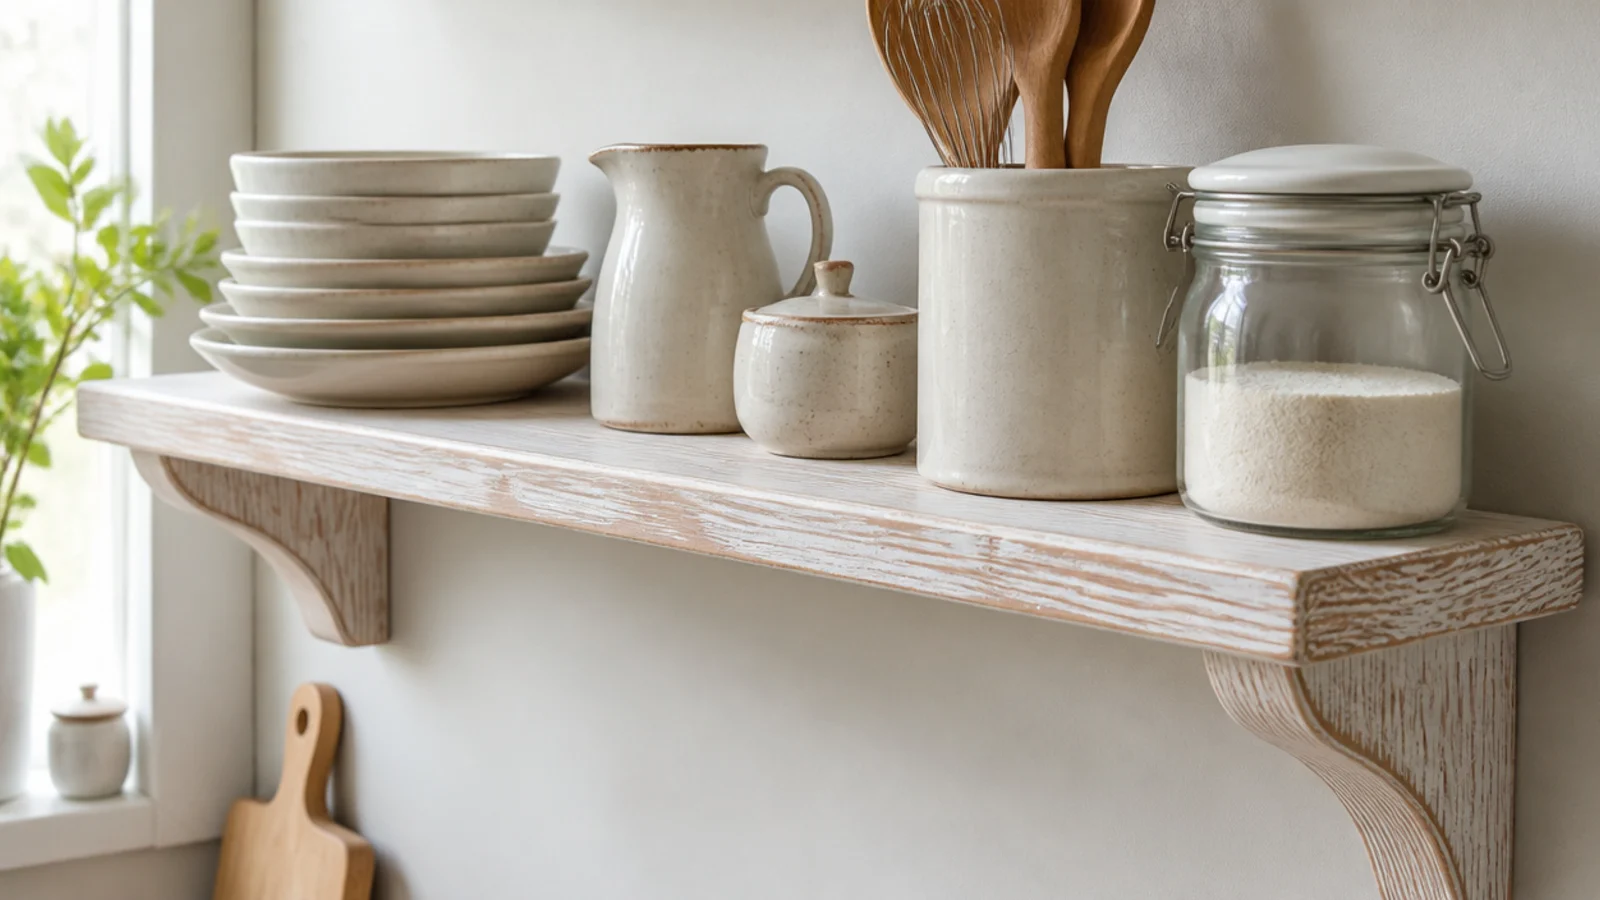
14. Whitewashed pine with the grain showing
Thin white emulsion three to one with water, brush it on and wipe back while wet. The grain reads through and the knots stay visible.
Far better than solid paint on pine, which flattens everything that made you choose wood in the first place.
15. A chunky cleat in the same timber
Cut a two-inch cleat from the same board, screw it to the studs, and rest the shelf on top. No metal anywhere.
It reads as a much older way of building and carries more than most brackets. Pin the board down from beneath with two short screws.
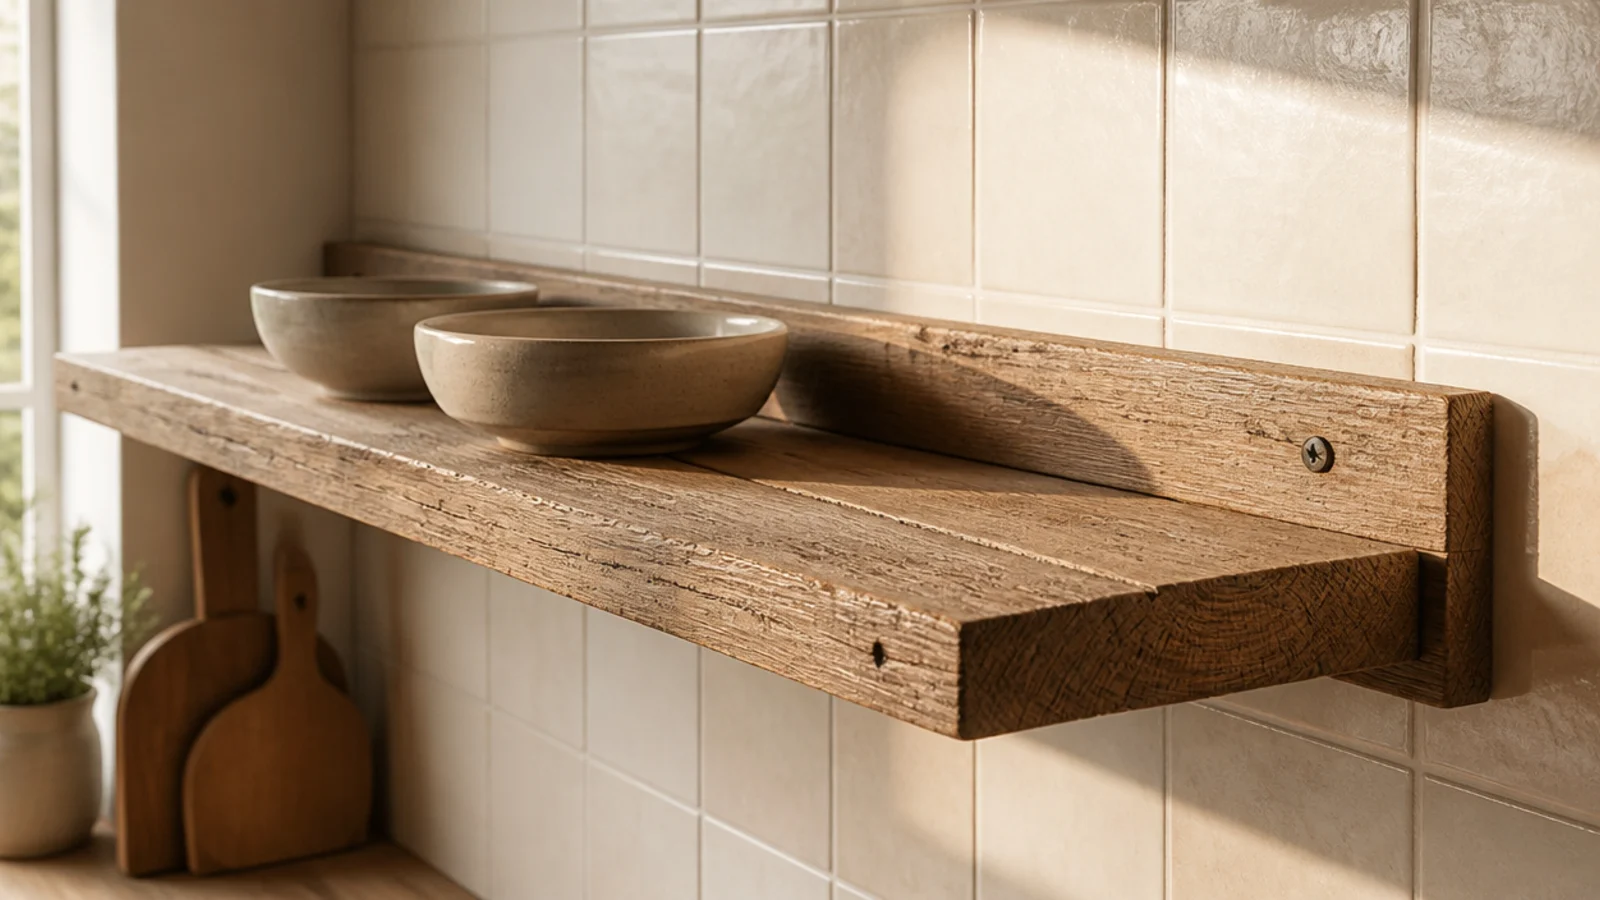
16. A shelf cut from an old floor joist
Joists pulled from a renovation are dense, straight-grained and usually free if you ask the contractor.
Rip one down to 10 inches on a table saw and you have a shelf with the original notch cuts along one edge — a detail that no reproduction board has.
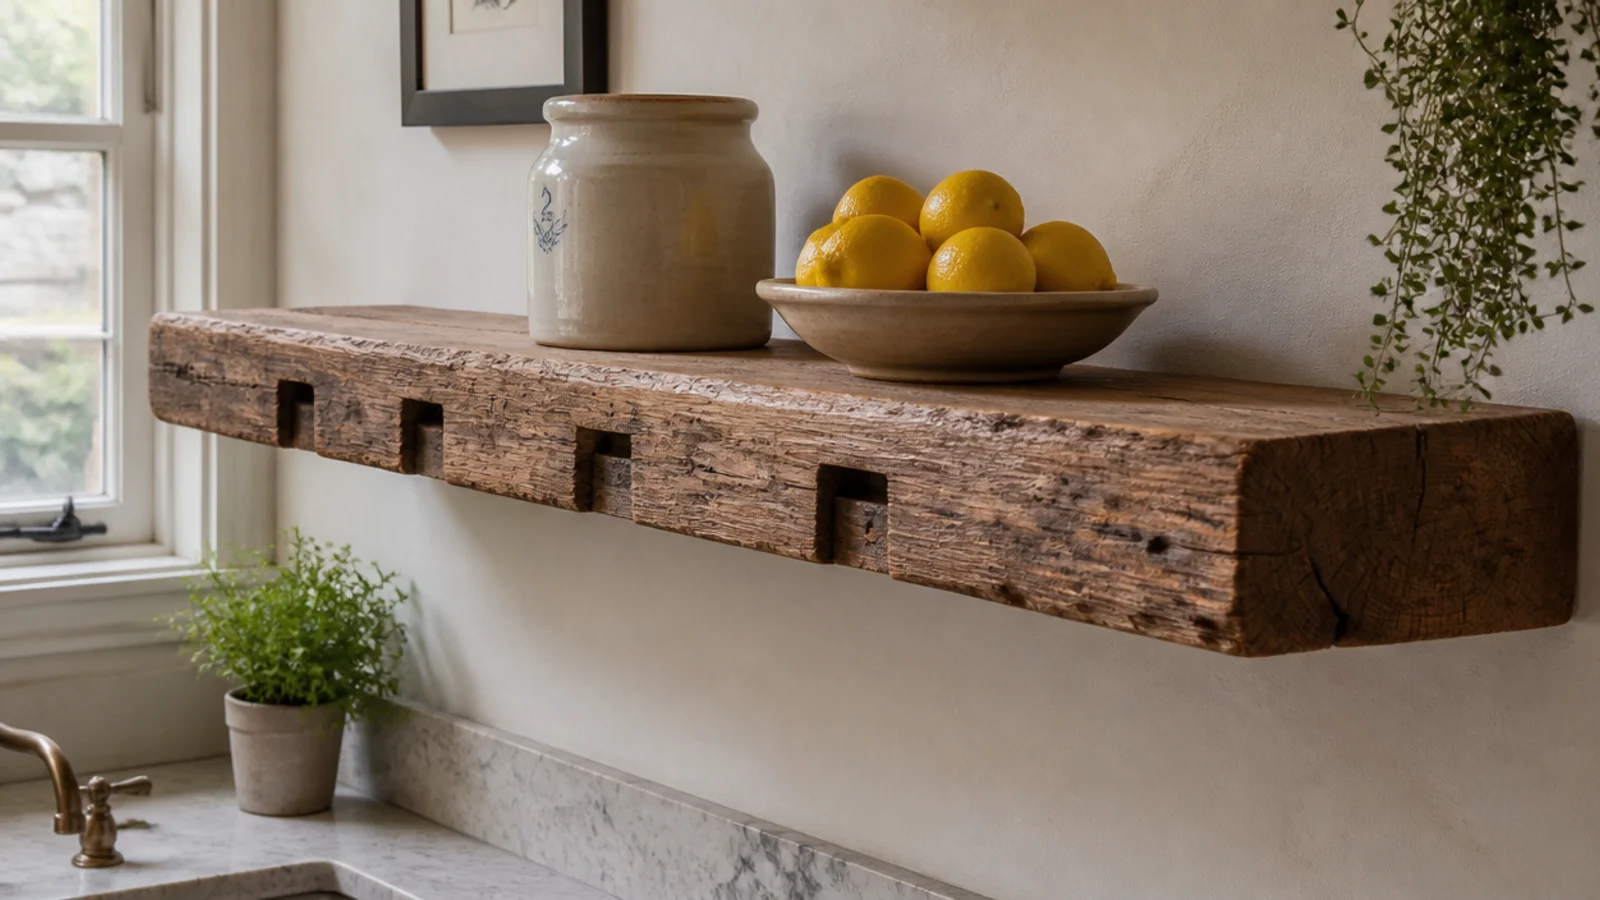
17. An iron plate rail with hooks below
A forged rail holding plates on edge with cups hanging beneath does the job of a dresser in four inches of depth.
Use the plates you eat off, not decorative ones. Open storage stays clean through use, and a display plate near a stove just films over.
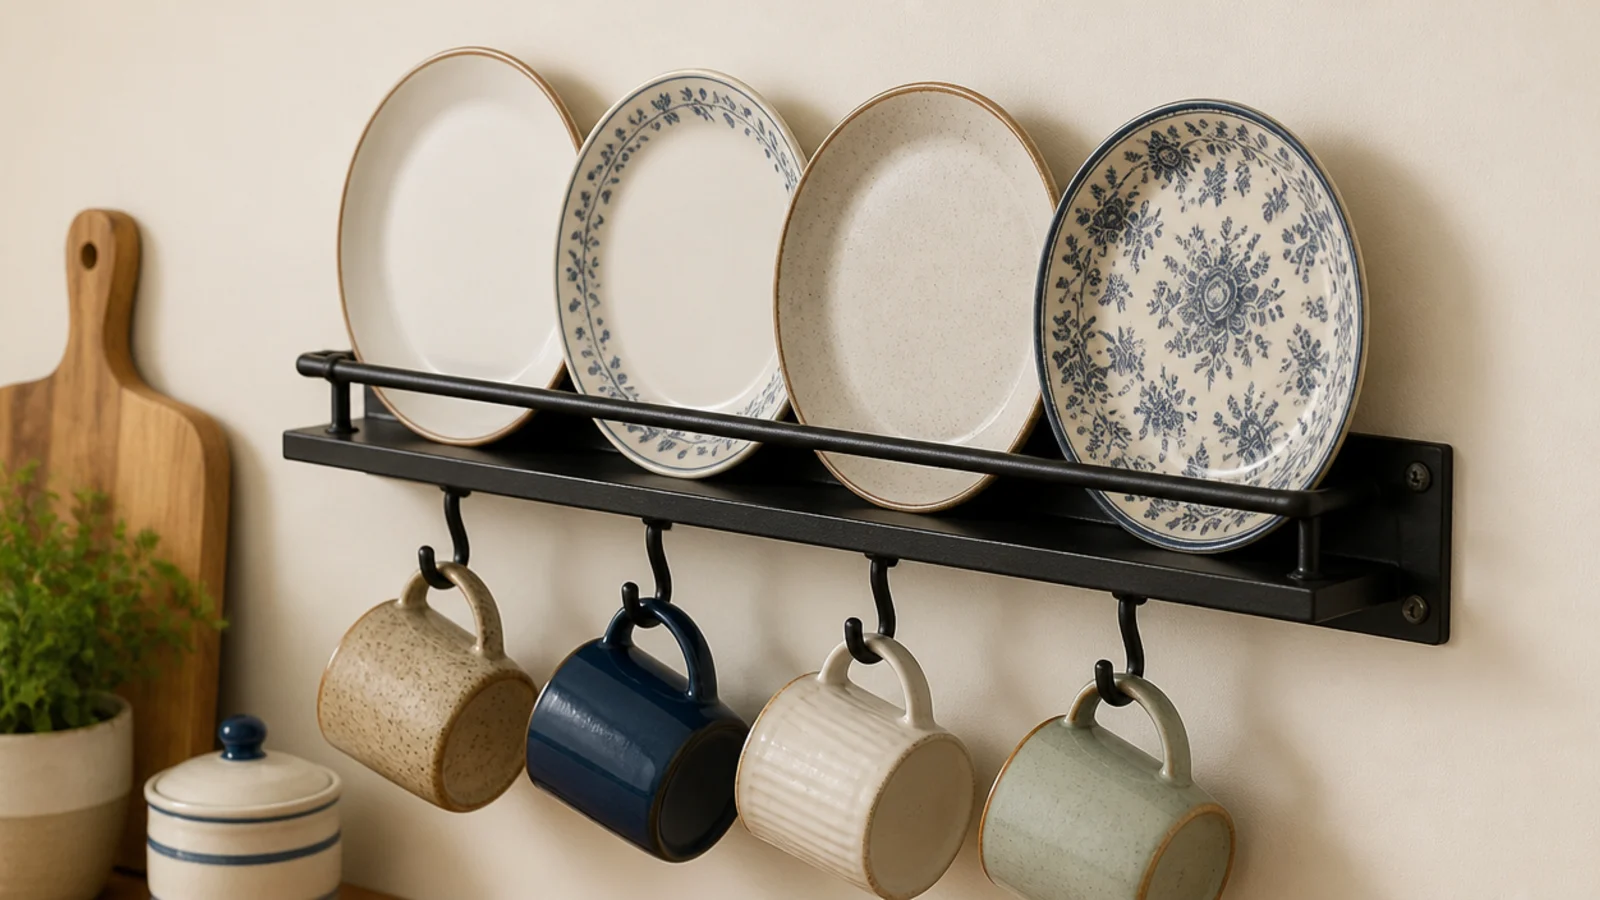
18. A blacksmith iron pot rail underneath
A hand-forged rail under a shelf with S-hooks costs $30 to $70 from a smith and looks entirely different from a chain-store version.
Hang only what you use weekly. Anything hanging near a stove collects grease fastest, and the untouched pans show it within a month.
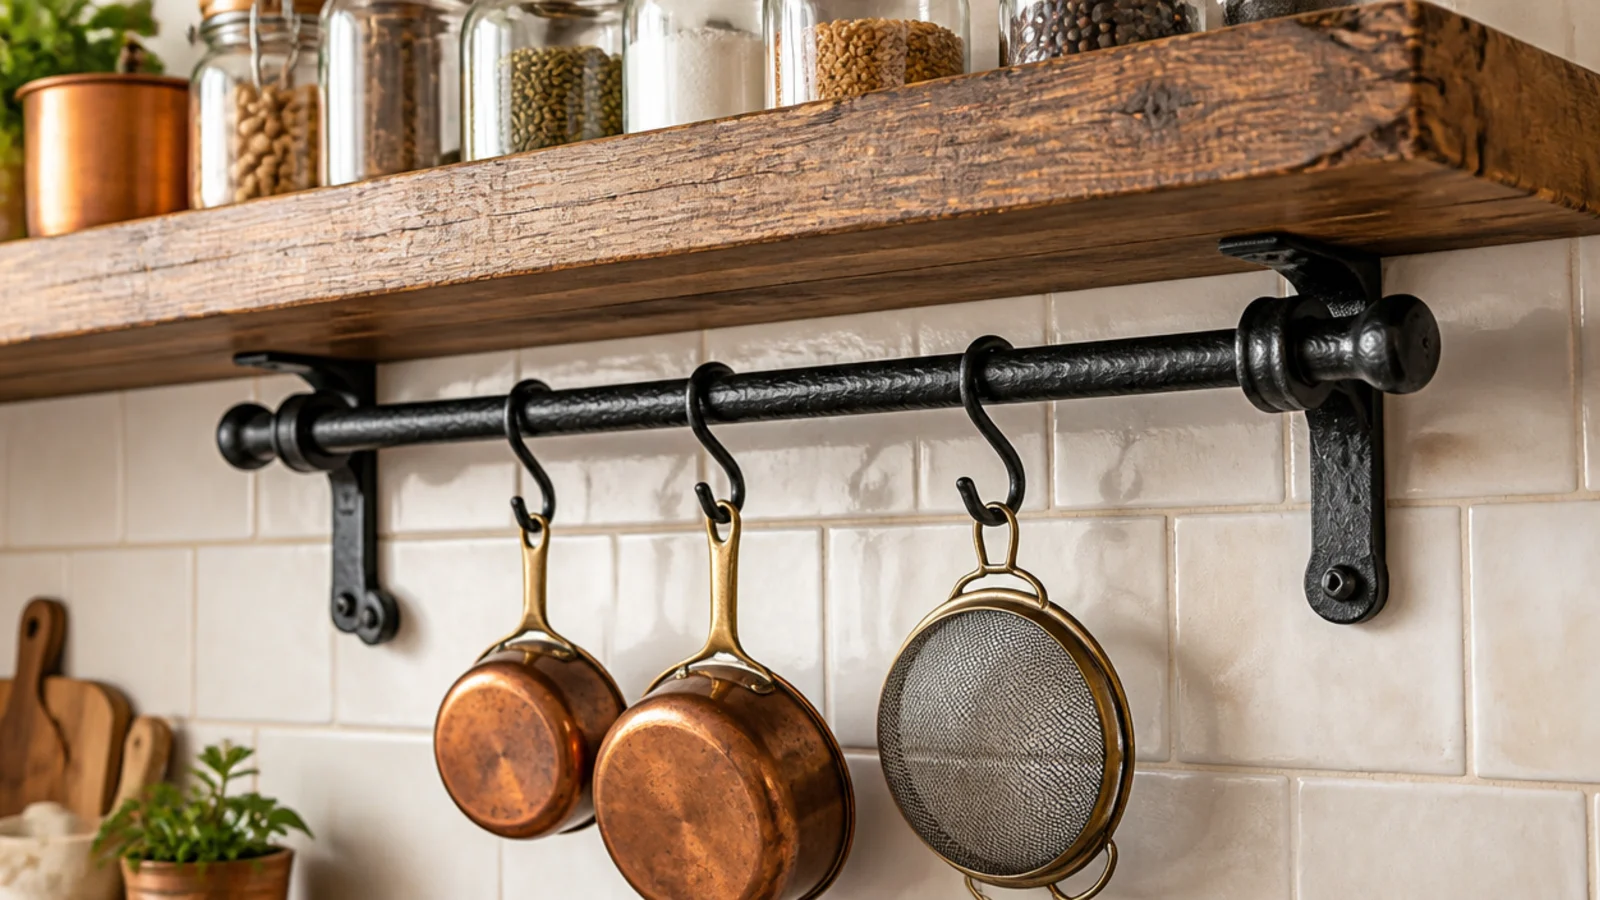
19. Enamelware as the styling language
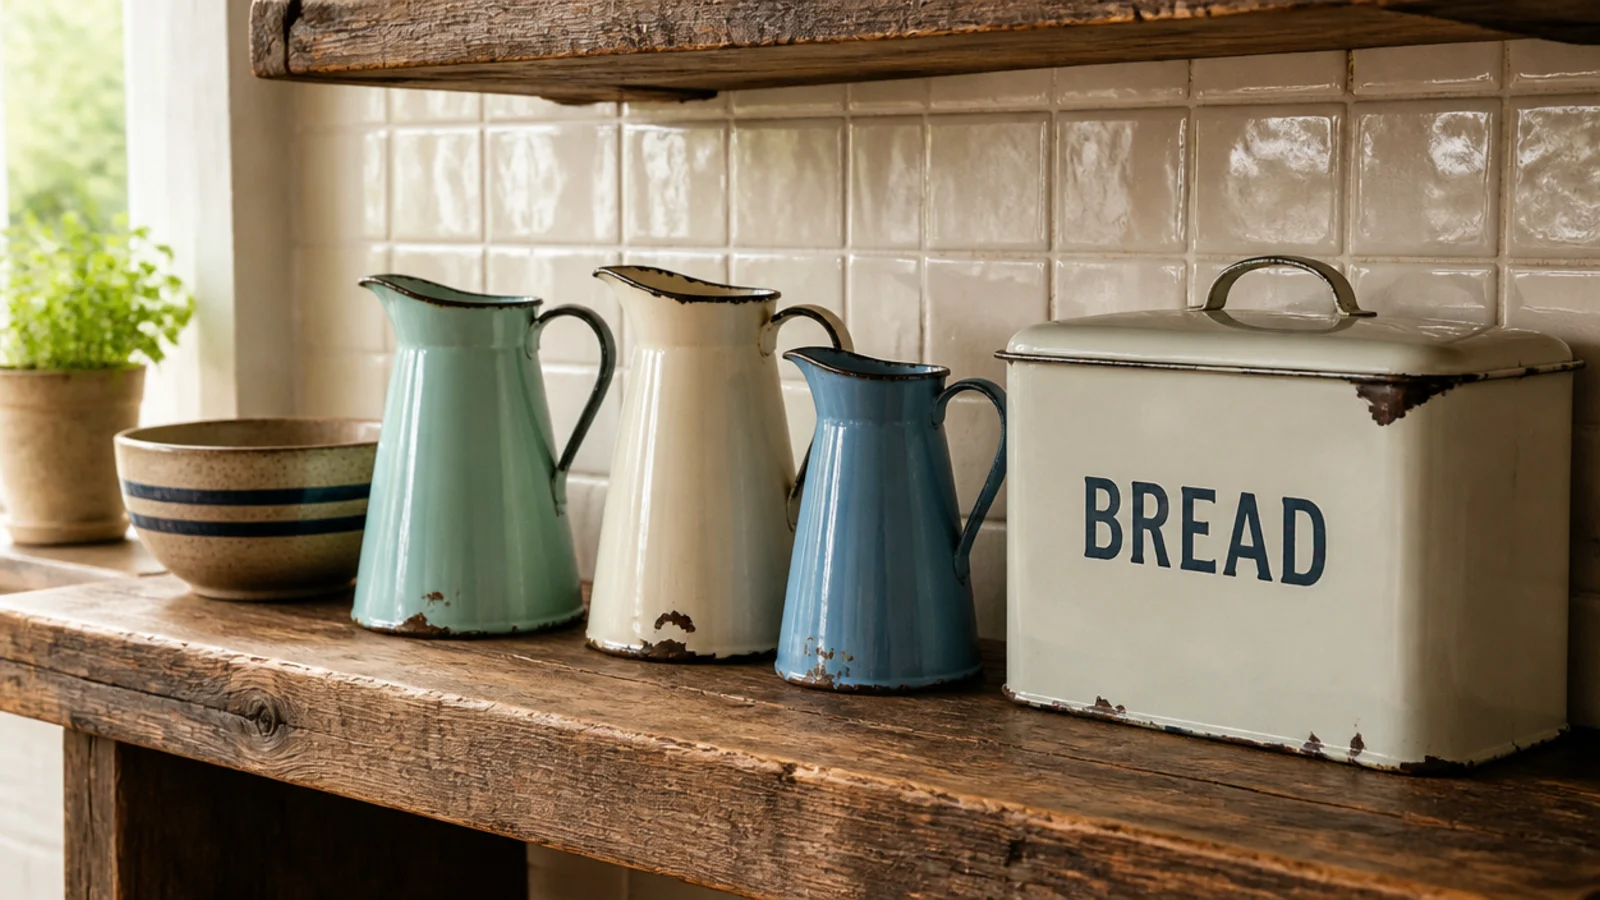
Vintage enamel jugs, bread tins and colanders are the right objects for rustic shelves because they are genuinely useful and wipe clean.
Chips are fine — enamel ages beautifully. Avoid anything with rust on a food surface, and keep the tone family to cream, sage and clay.
20. A shelf under an old window frame
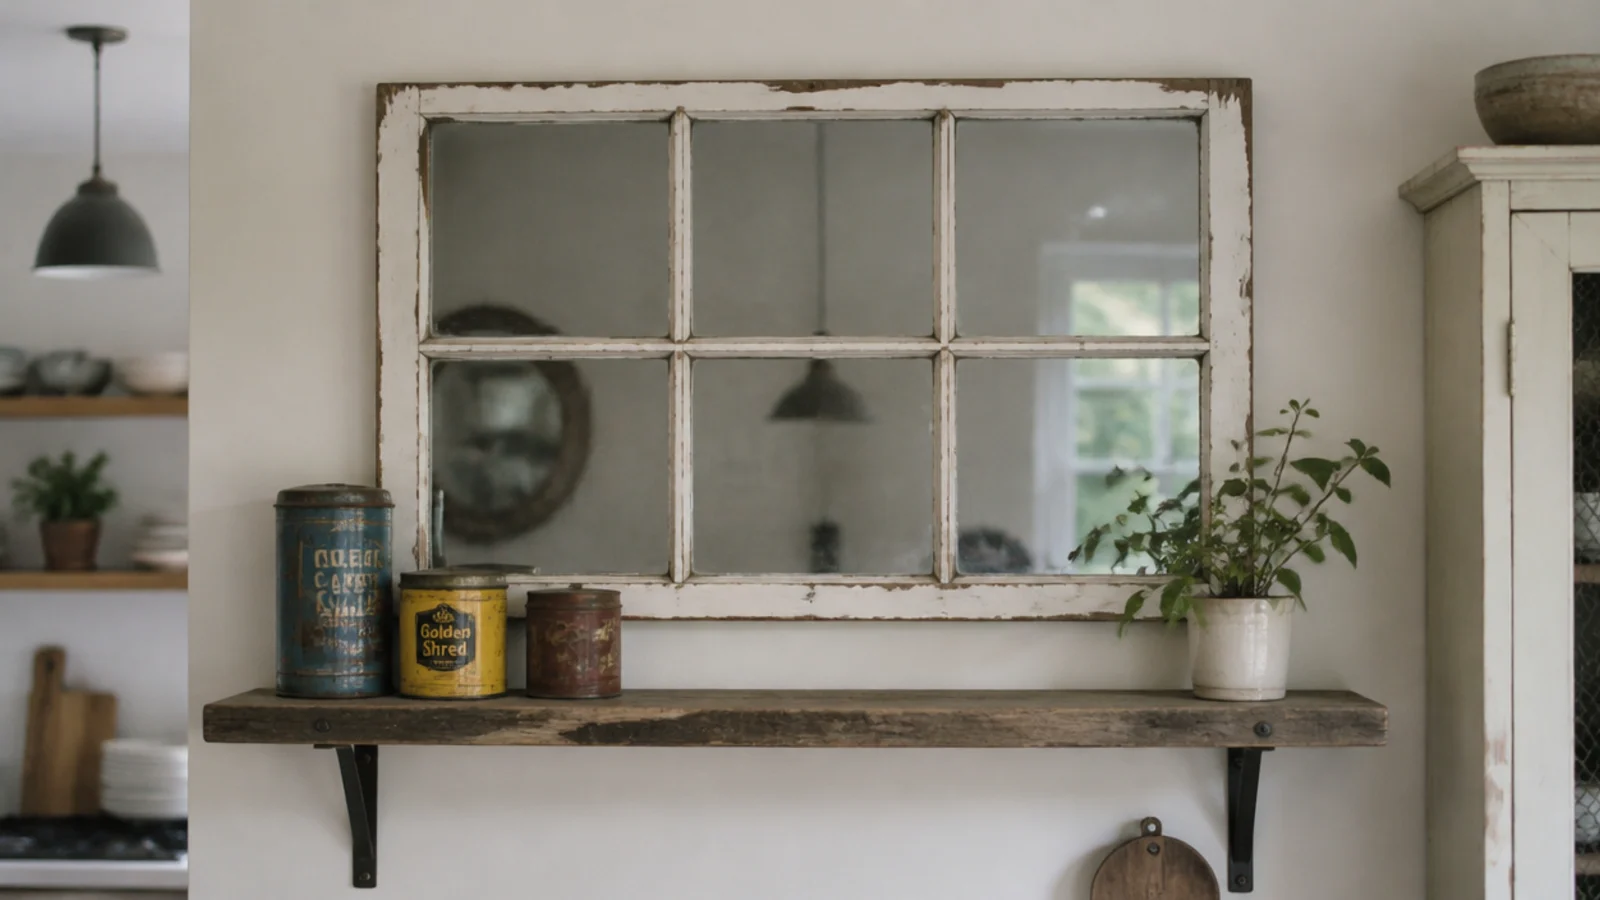
Hang a salvaged multi-pane frame flat on the wall and fit a shelf directly beneath it. The frame does the decorating and the shelf does the work.
Keep it on the wall furthest from the range, since old glazing bars have a hundred crevices that hold grease.
21. Hand-cut chamfer instead of a router round
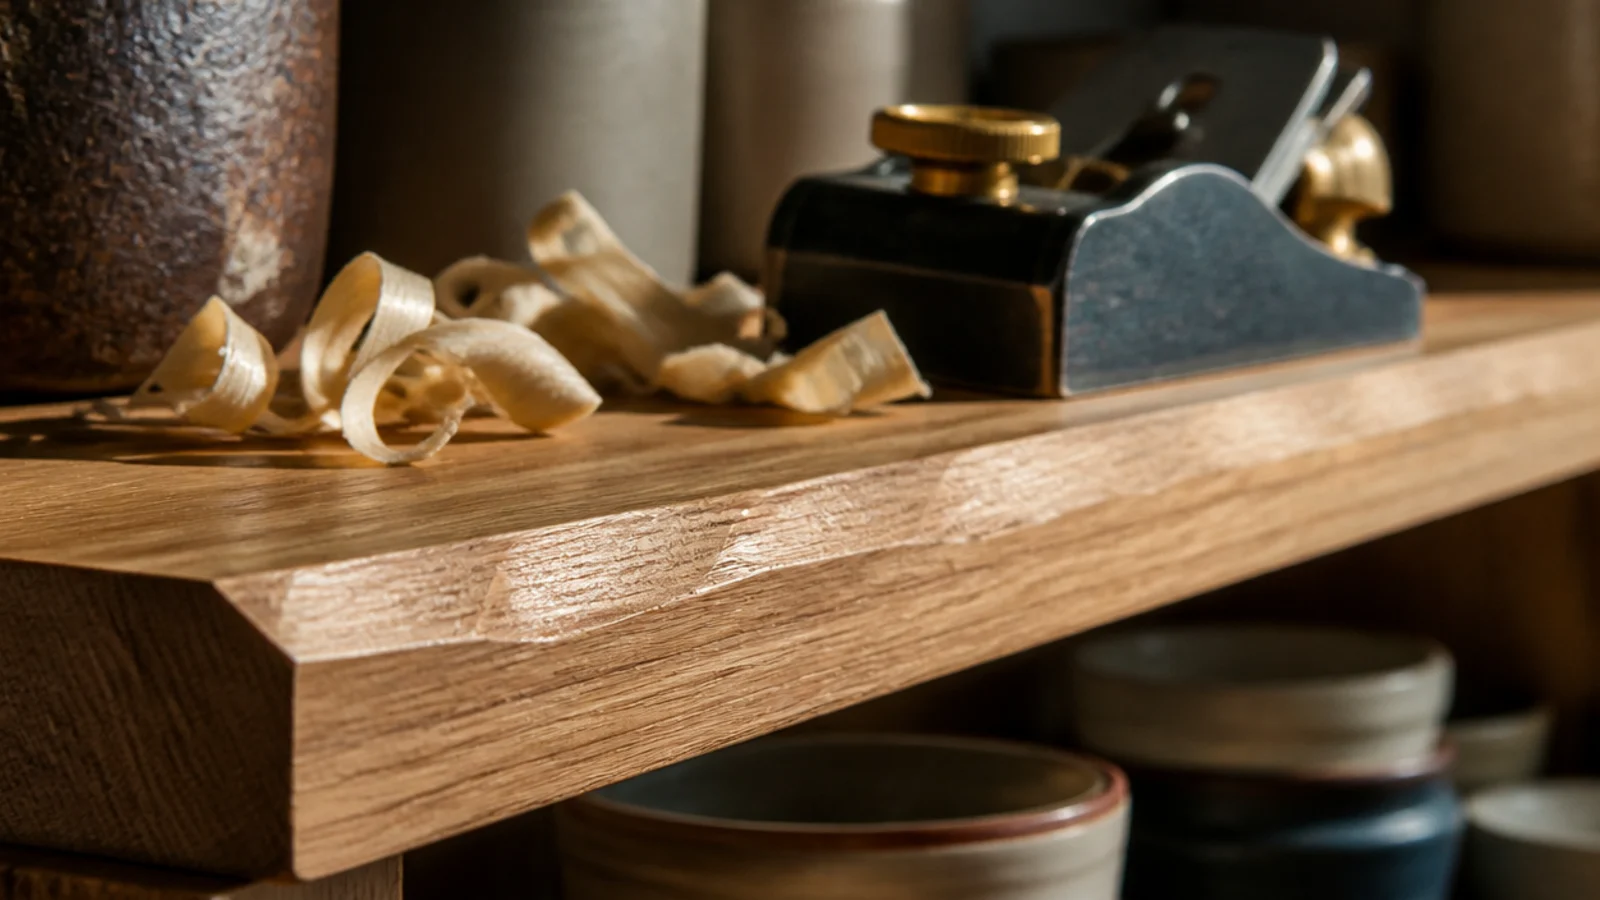
A router leaves a perfect, identical, obviously machine-made edge. A block plane leaves faint facets and a slightly uneven line.
Ten minutes with a plane on the front edge is the detail that separates a reclaimed shelf from a distressed one.
22. Dark stain rubbed back, sealed matte
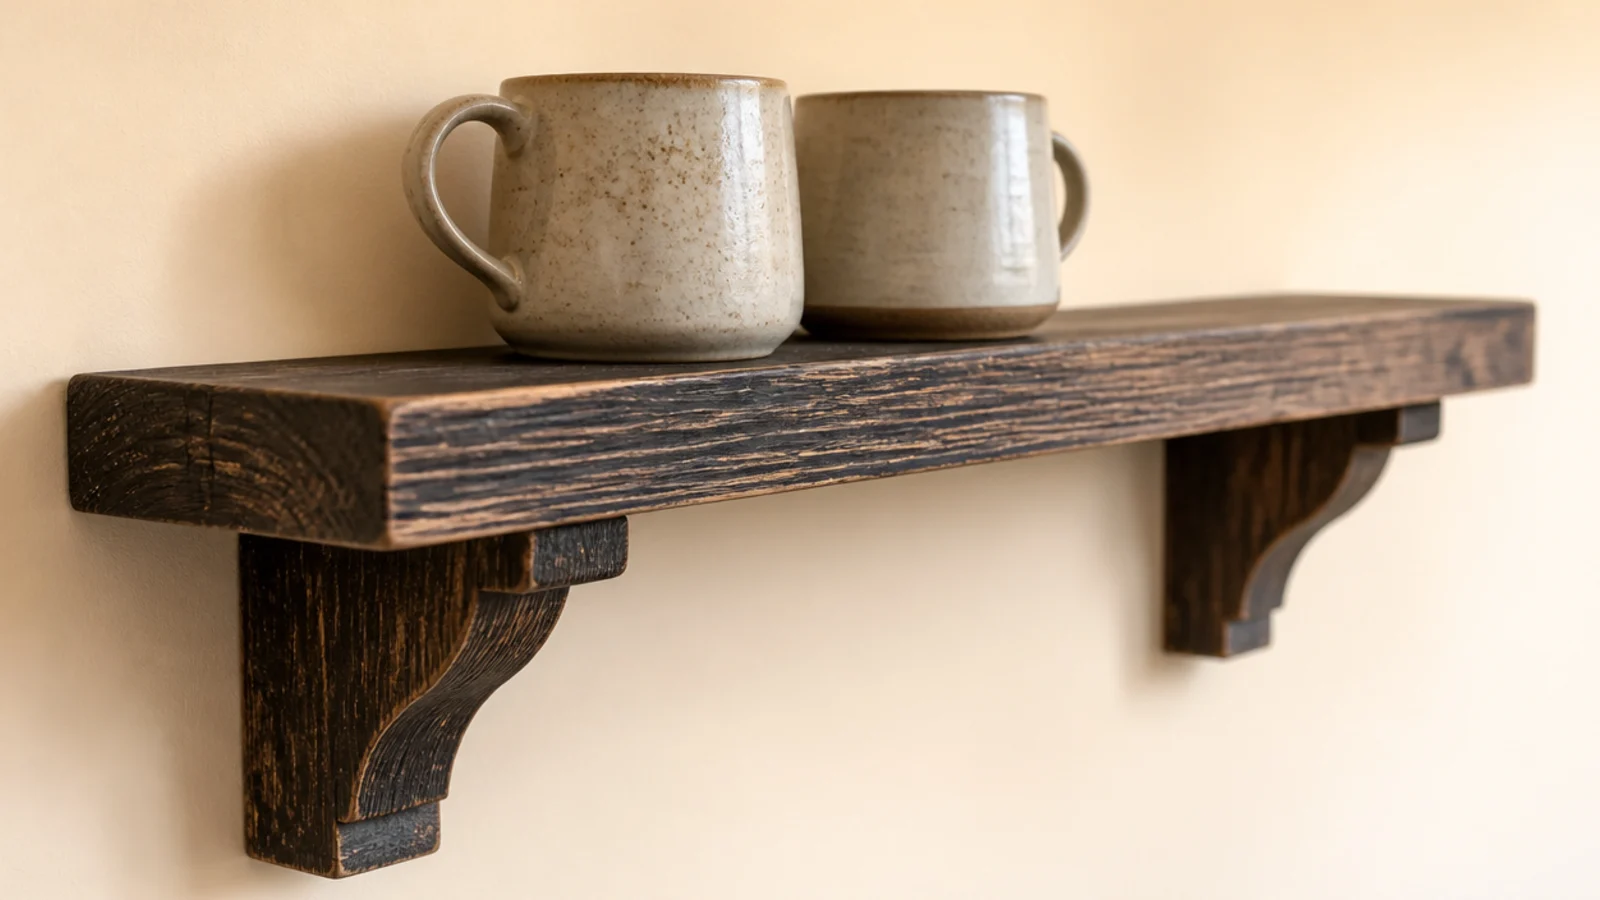
Brush a dark stain on, wait ninety seconds, then wipe most of it off. It stays in the open grain and lifts off the high spots.
Then seal with matte polyurethane, never wax. Wax on a kitchen shelf softens near heat and gives no grease protection at all.
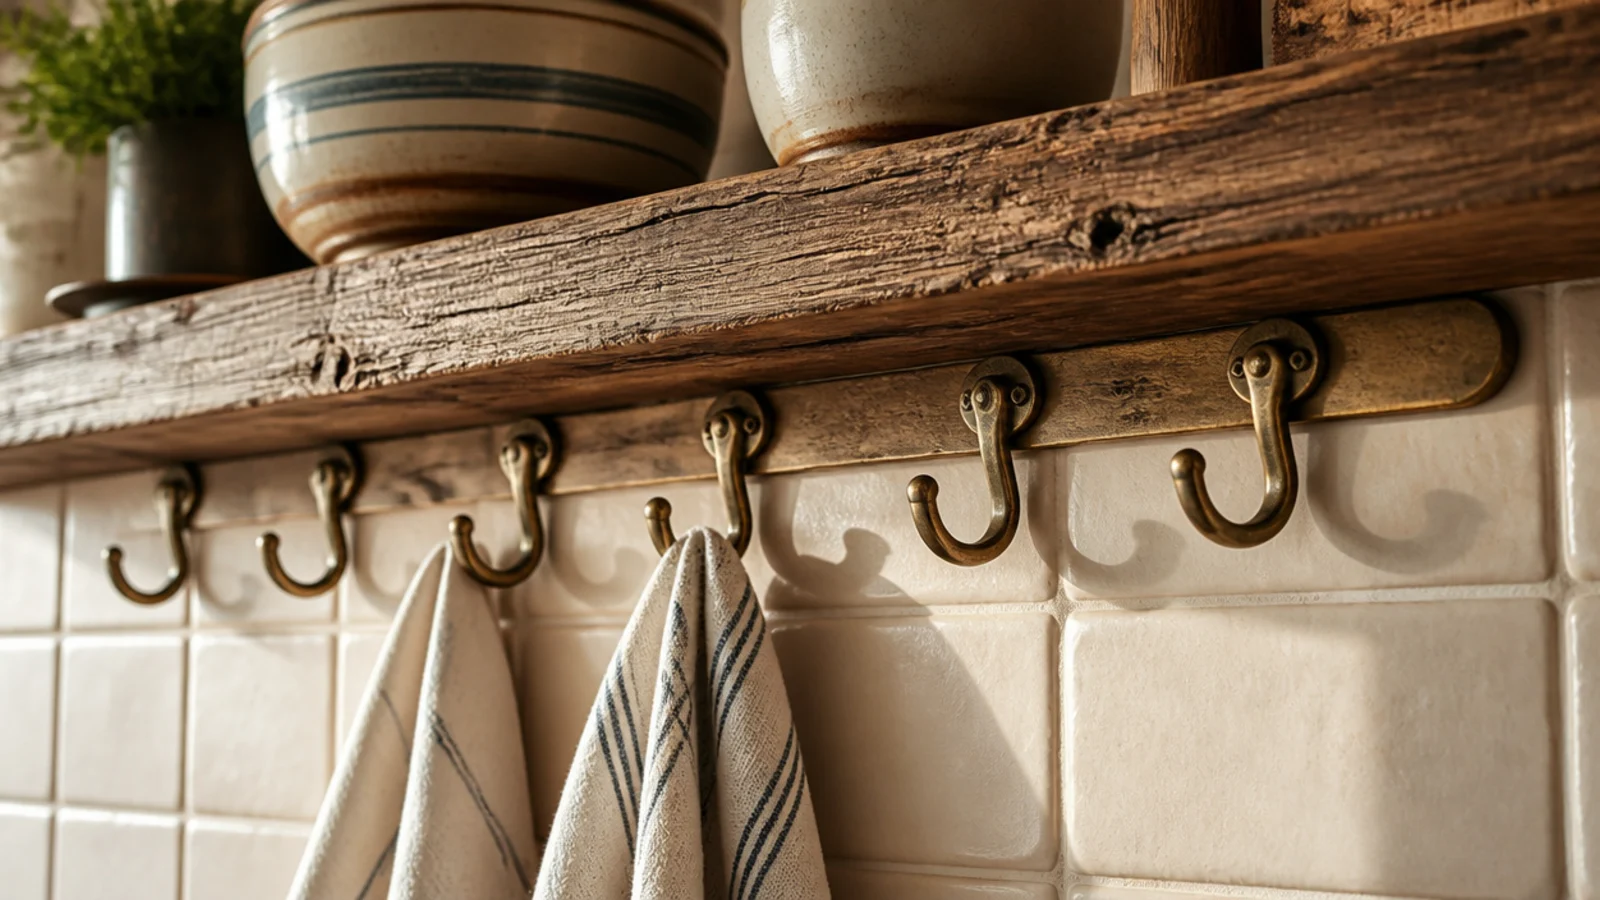
23. Antique brass hooks aged with vinegar
New brass hooks arrive lacquered and shiny. An hour in white vinegar strips the lacquer and dulls the surface to something believable.
Rinse, dry thoroughly and fit. Six hooks under a shelf cost about $12 and hold cloths and cups off the board.
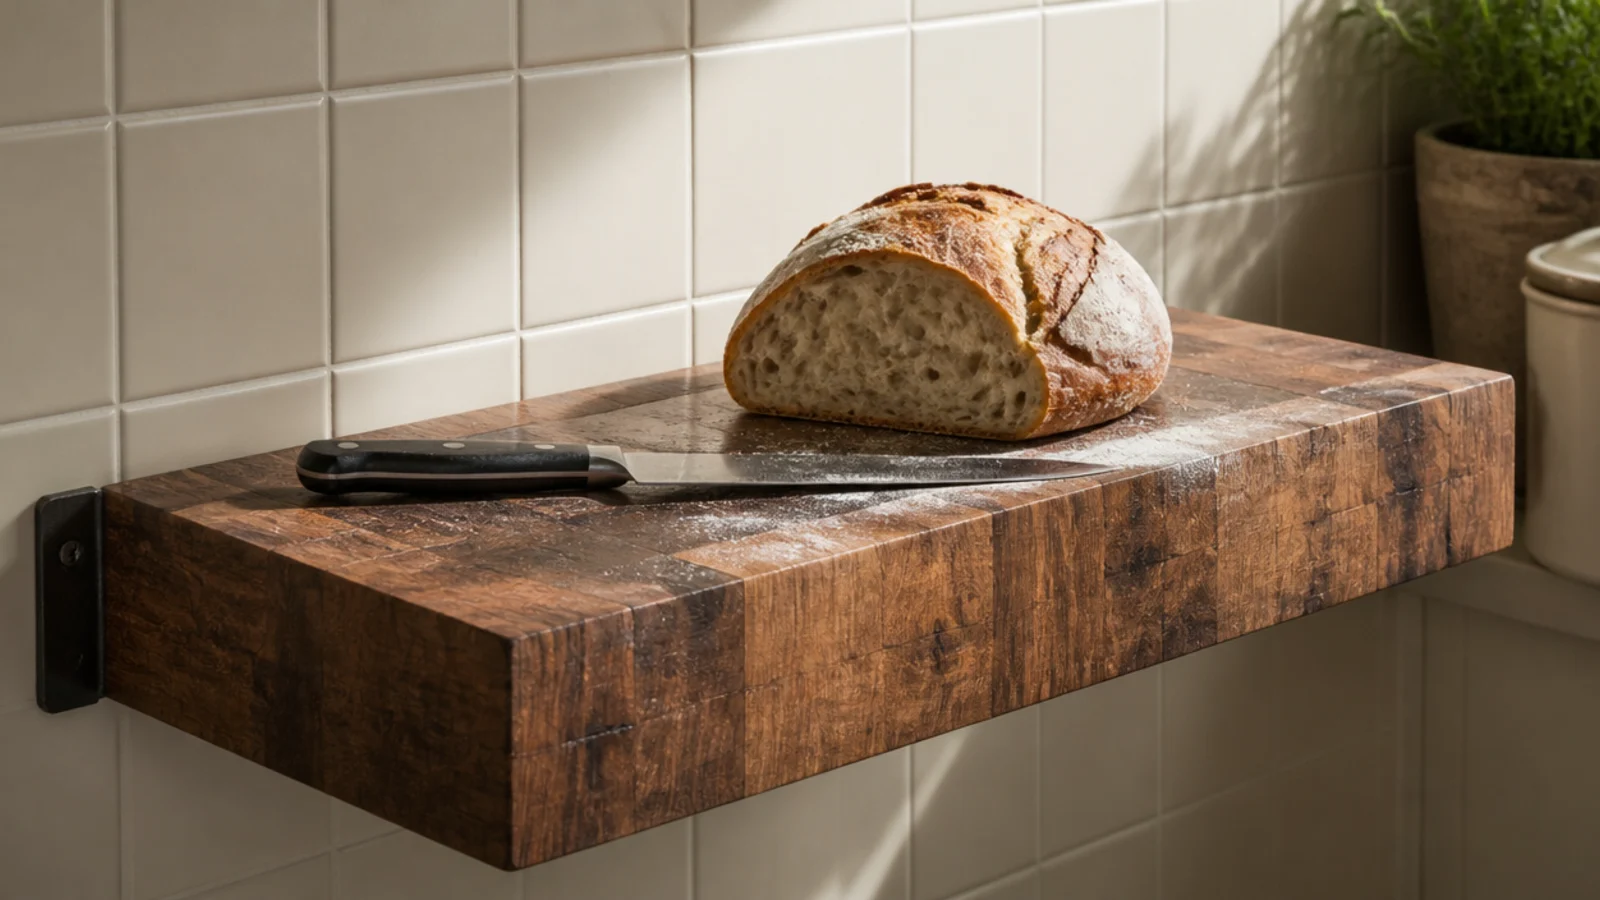
24. A butcher block offcut as a chopping shelf
Mount a thick offcut low — around 36 inches, counter height — and it becomes a genuine work surface rather than storage.
Oil it monthly with food-safe mineral oil rather than sealing it, since this one gets cut on. It is the exception to the sealed-finish rule.
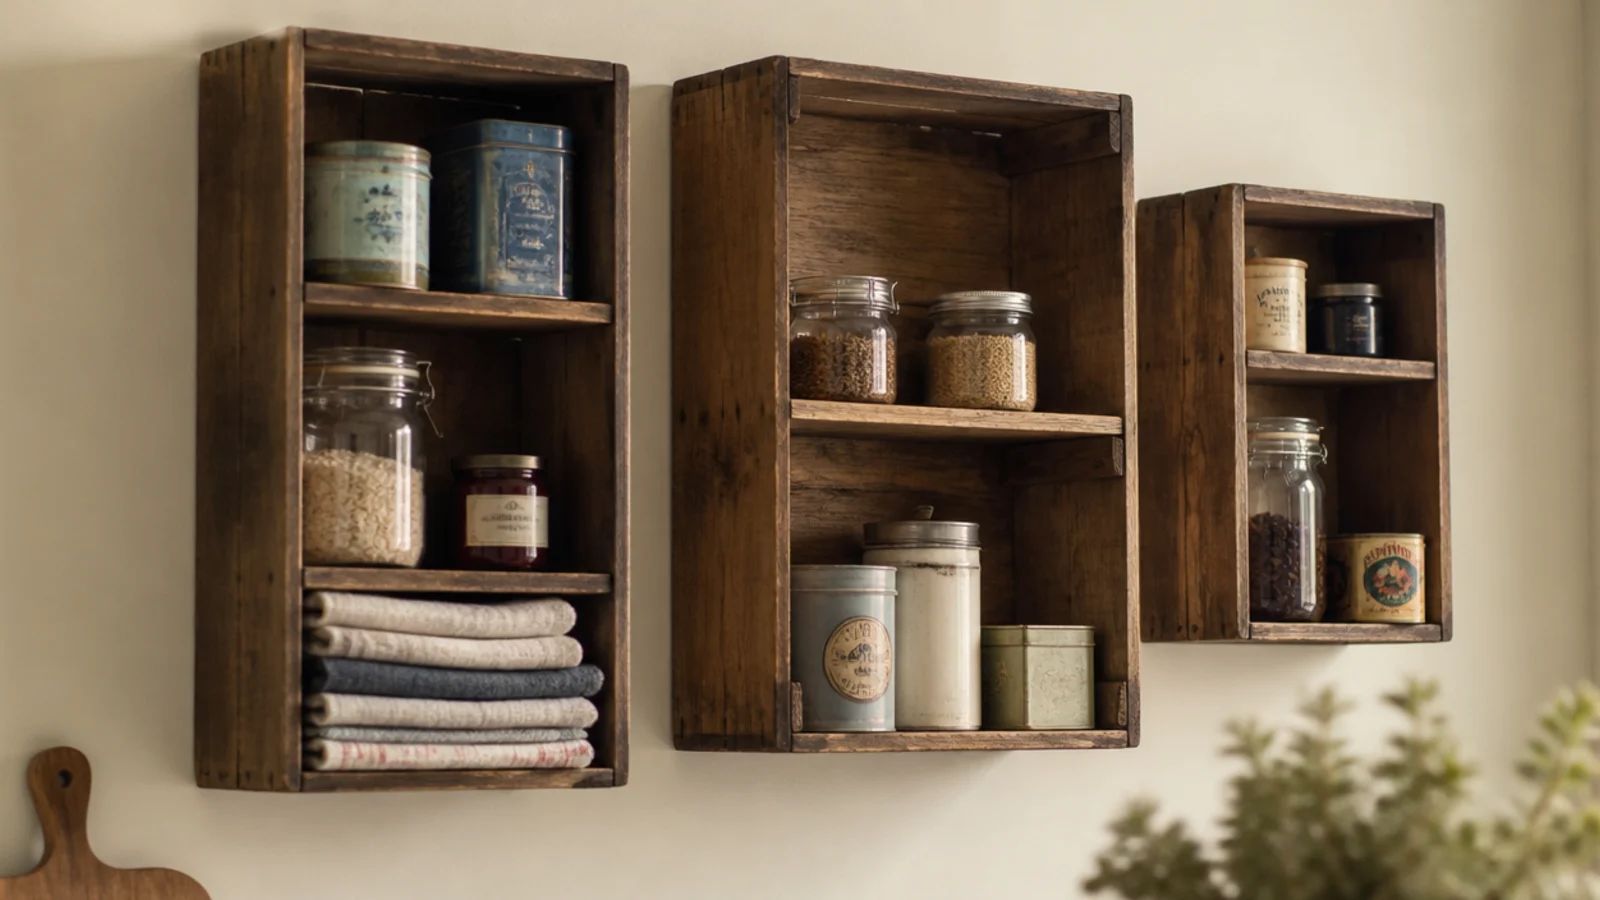
25. Wooden crates fixed to the wall
Old crates screwed through their backs into studs become box shelves with sides, which suits jars and packets better than a flat board.
Sand off any stencilling that names a brand. Three crates at slightly different sizes, hung at varied heights, reads far better than a matched set.
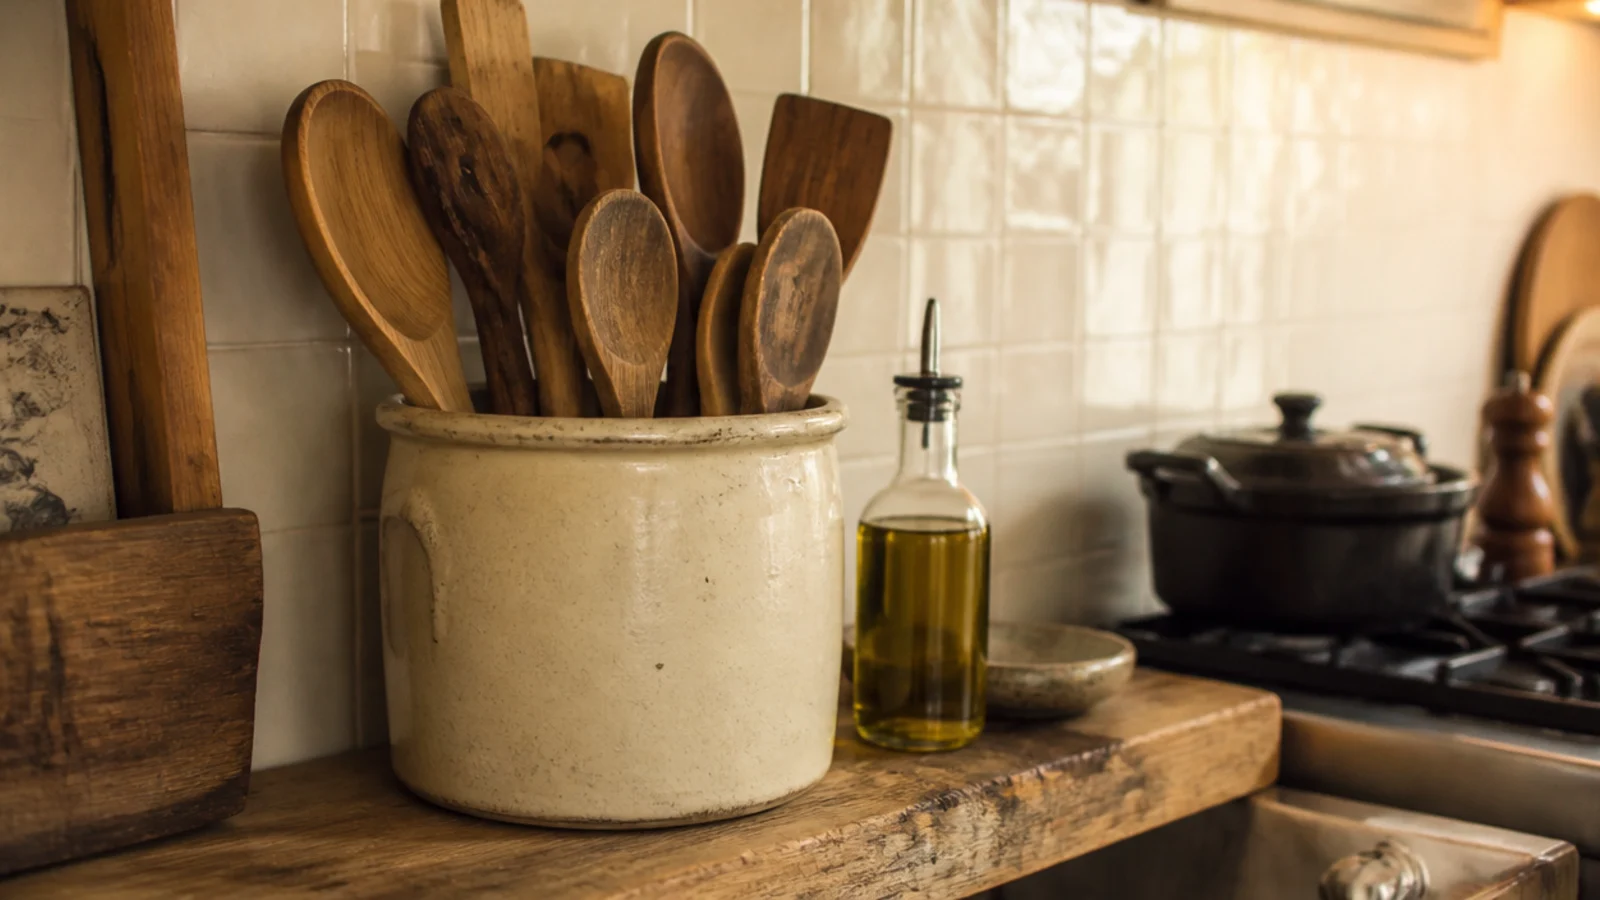
26. A crock of wooden spoons at the working end
One big stoneware crock, handles upward, on the shelf nearest the pan. It is the most-used object in most kitchens.
Keep it to the eight utensils you genuinely use. A crock stuffed with twenty means fishing through it every single time.
27. Mixed timber tones, one bracket style
Three shelves in three different reclaimed tones look collected rather than mismatched, provided every bracket is identical.
Vary the wood, repeat the hardware. Reverse that and the wall falls apart visually. More on this in kitchen wall shelves.
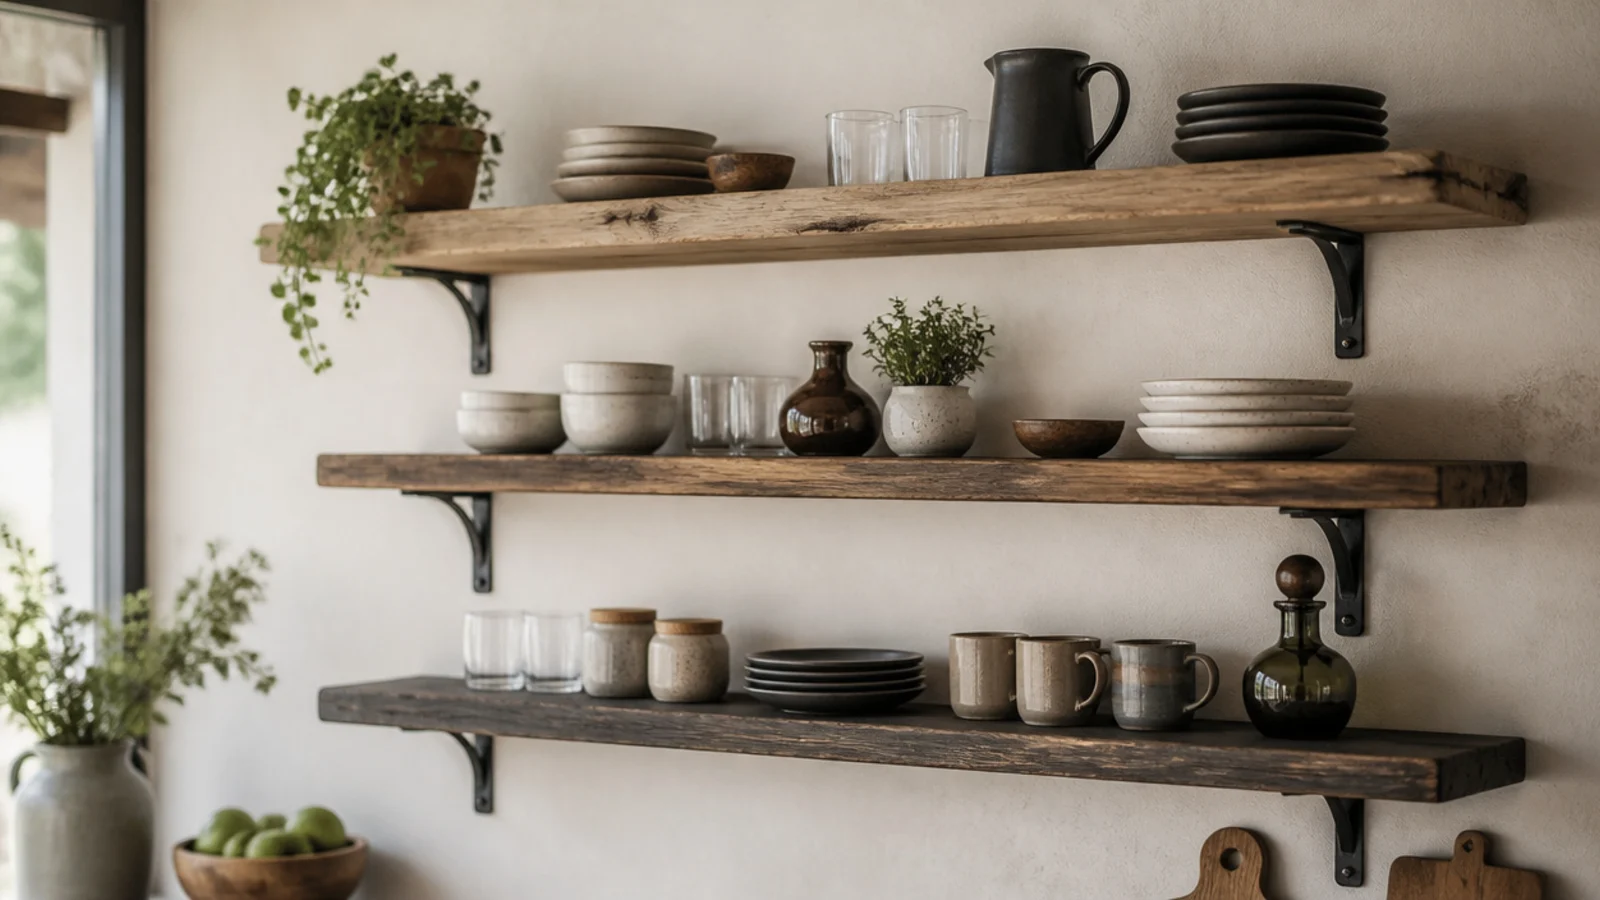
28. A ladder shelf leaning on the kitchen wall
An old wooden ladder leaning at about 15 degrees with boards across the rungs gives four levels with zero holes in the wall.
Felt pads under both feet, heaviest things on the bottom rung. Perfect for a rental, and it walks out with you on lease day.
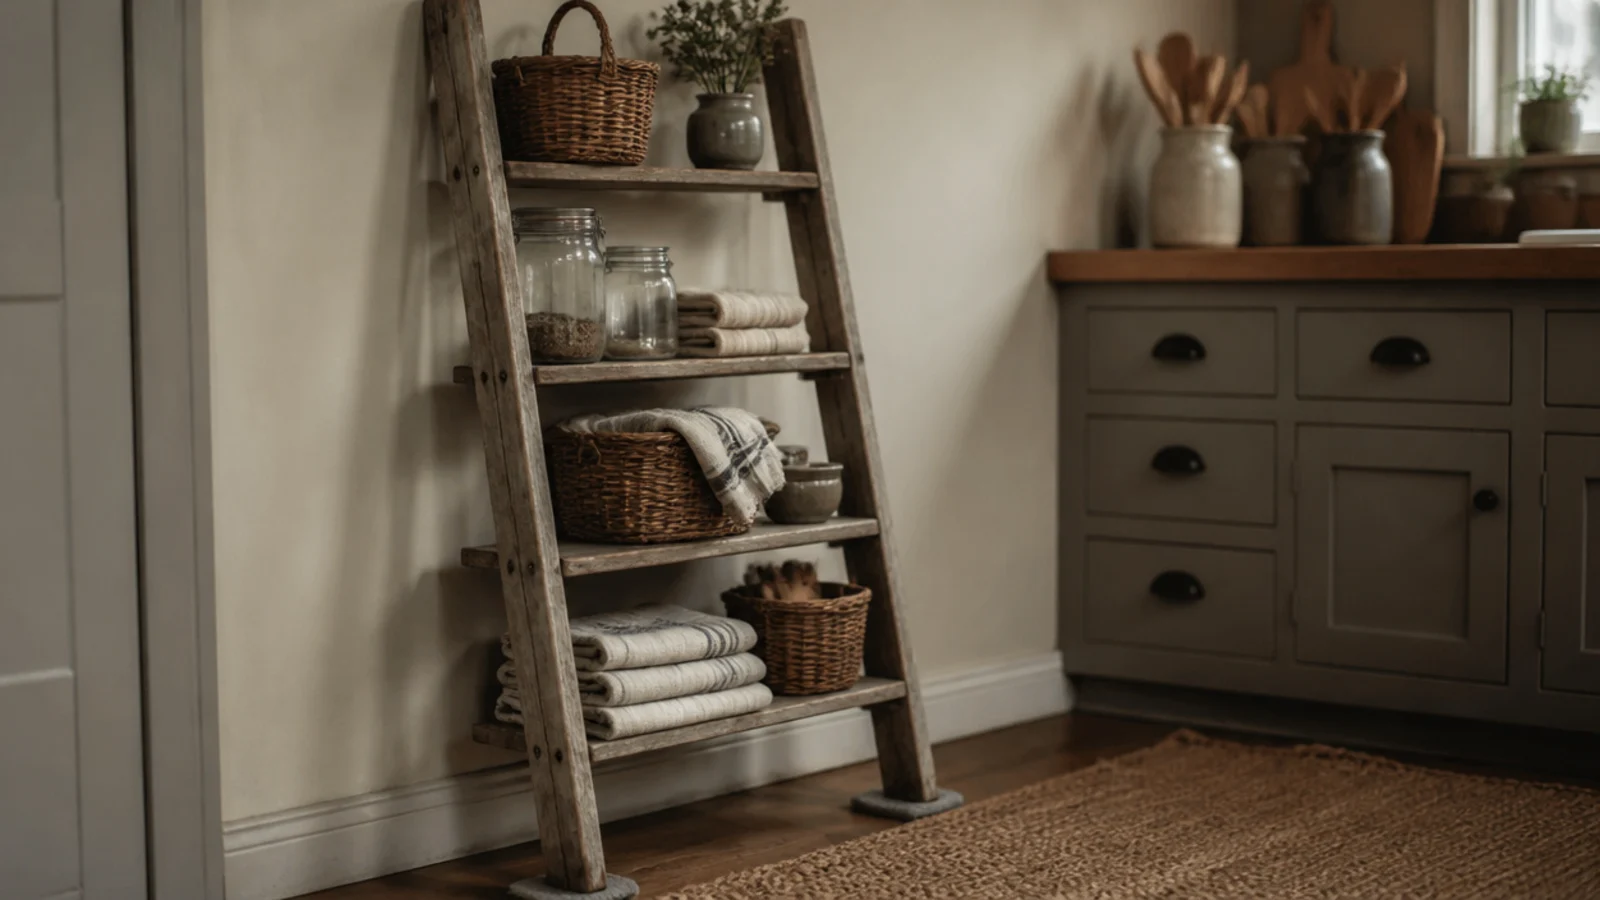
29. Old timber against plain modern tile
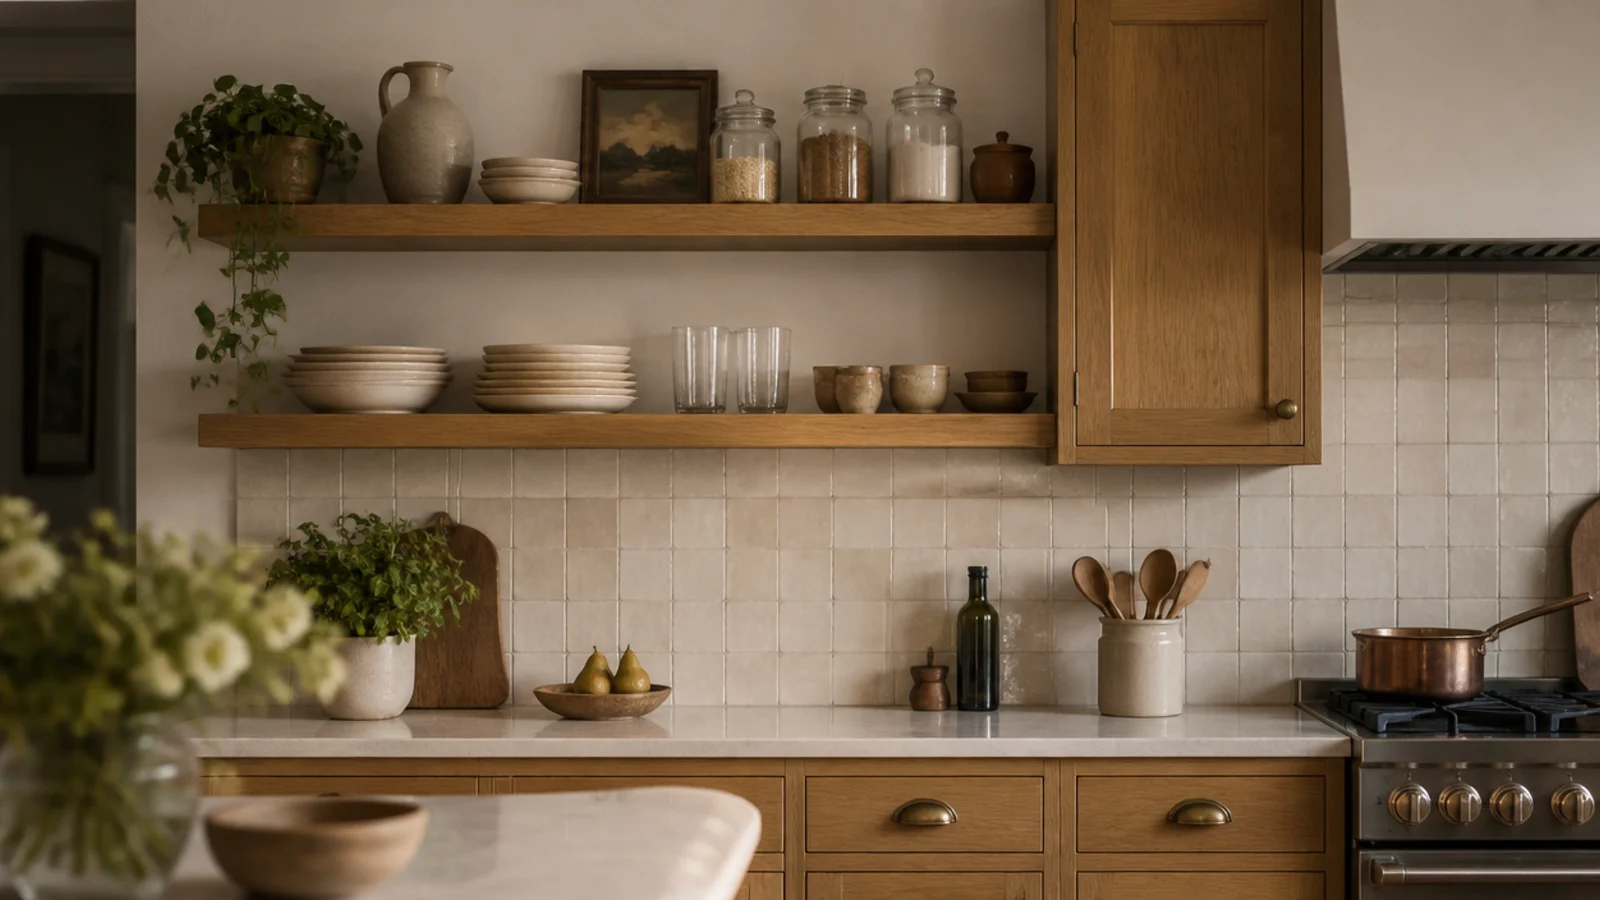
The most convincing rustic shelf sits in a kitchen that is otherwise entirely plain. Flat cabinet fronts, simple tile, one old board.
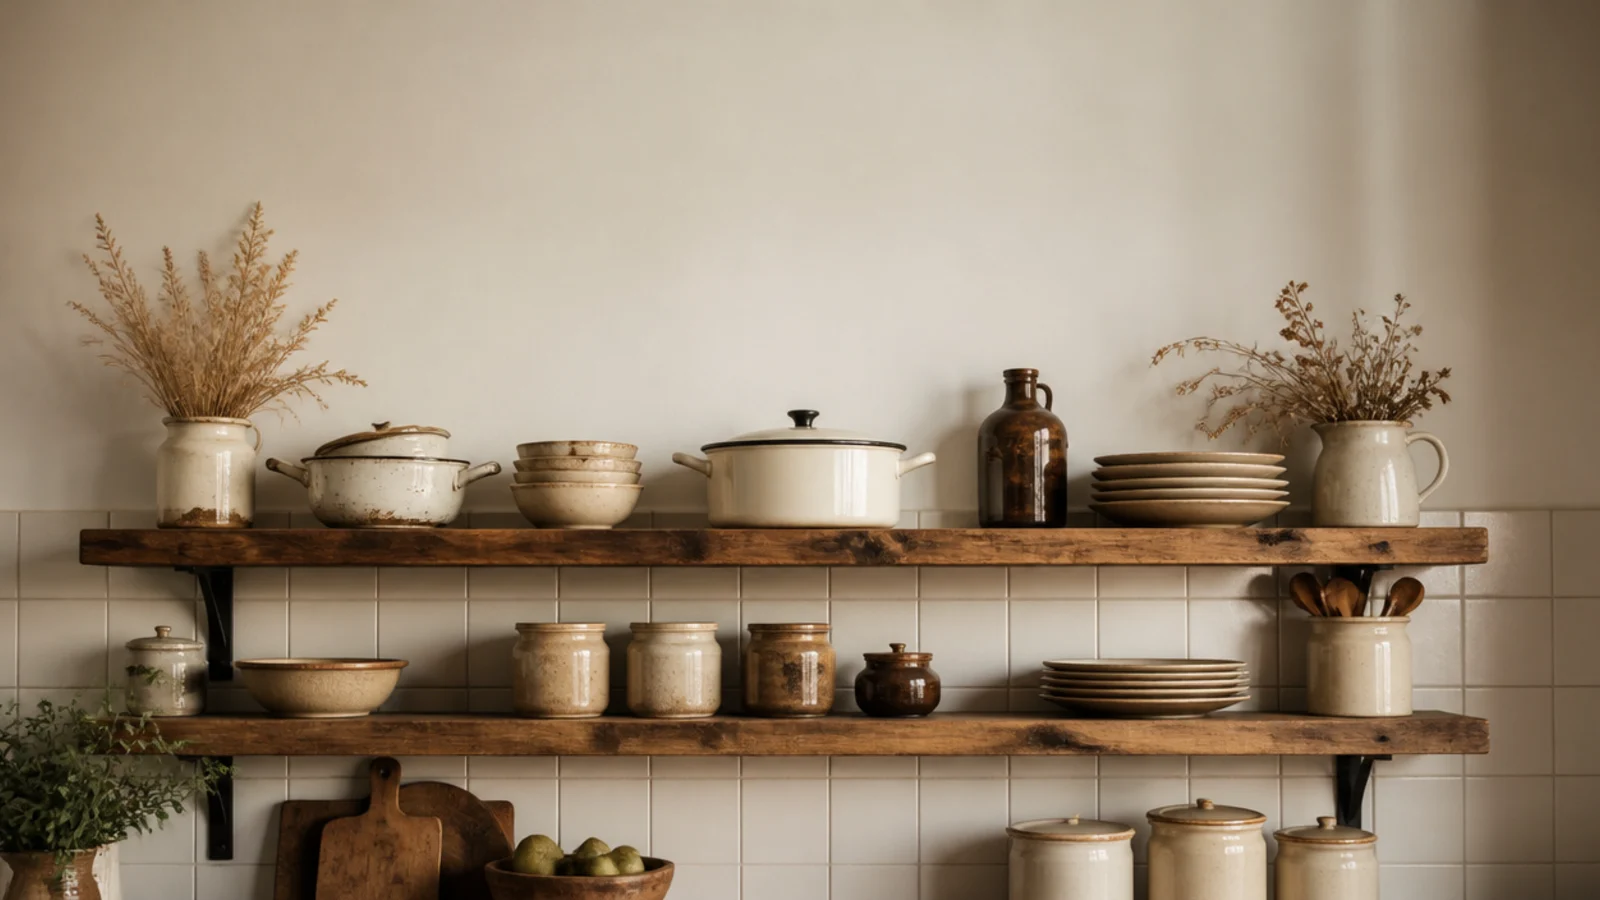
Contrast is what reads as character. Rope, signs, crates and mason jars all at once reads as a theme, and themes date fast.
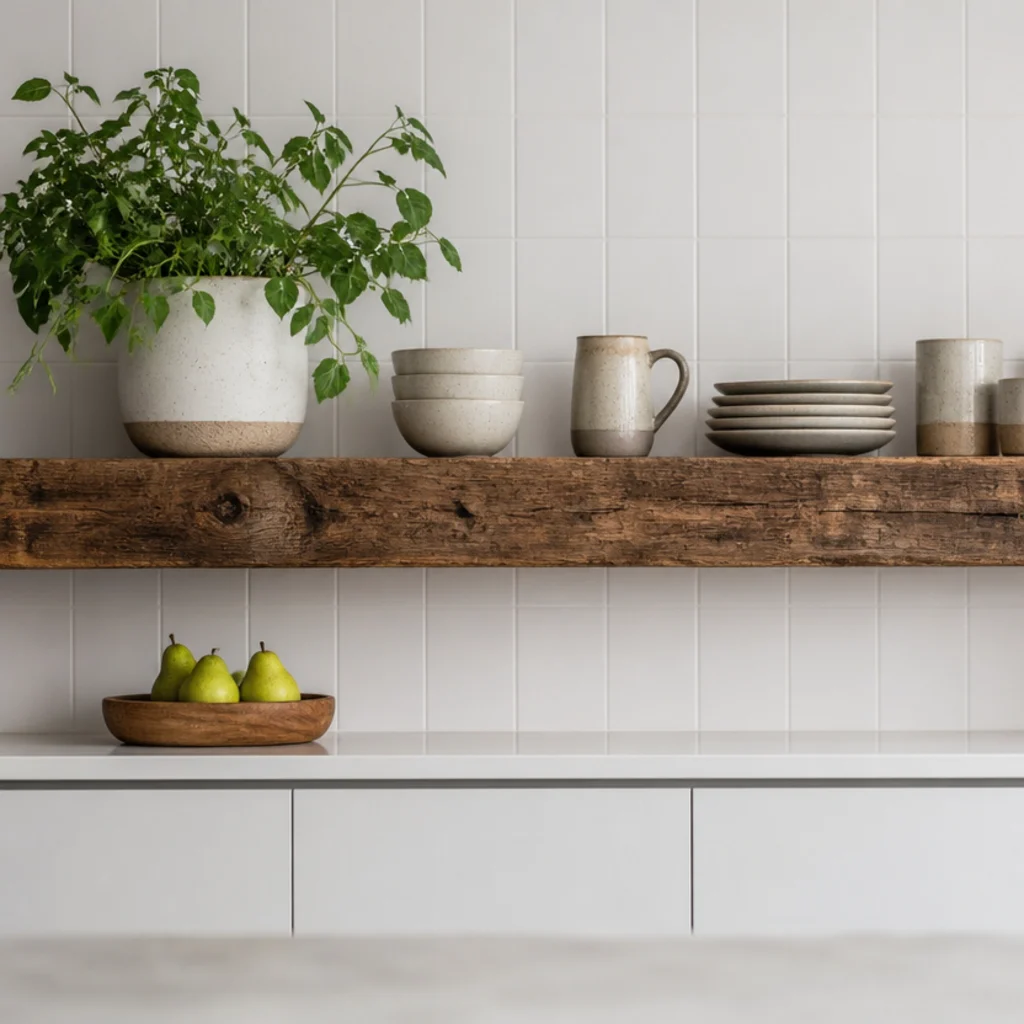
30. A single old board is enough
If you take one thing from this list: one genuinely good piece of timber, well finished, alone on a plain wall, beats a whole wall of distressed pine.
Give it clear space either side and let the board be the object. Arrangements for it sit in kitchen shelf styling.
Mistakes to Skip
- Leaving reclaimed timber raw because it looks better unsealed. Open grain absorbs airborne grease within a season and there is no cleaning it back out.
- Finishing rustic shelves with clear wax. It softens near heat, offers almost no grease protection, and blocks any proper sealer you try to apply later.
- Sanding a salvaged board to 220. You pay a premium for saw marks and patina, then remove all of it in twenty minutes with an orbital sander.
Frequently asked questions
What wood is best for rustic kitchen shelves?
Reclaimed pine, old floor joists and used scaffold boards all give you thickness and history for very little money. Elm and ash bring wild grain if you are buying new. What matters more than species is thickness — anything under three-quarter-inch reads as thin and modern regardless of how weathered the surface looks.
How do you seal rustic kitchen shelves without losing the patina?
Use a matte water-based polyurethane or a hardwax oil. Both sit low in the grain and keep the surface looking dry rather than plastic. Avoid clear wax entirely in a kitchen — it gives almost no protection against grease and softens near heat. Seal every face including the underside and the cut ends or the board cups.
Where can you buy reclaimed wood for kitchen shelves?
Architectural salvage yards, Habitat ReStores, builders yards selling used scaffold boards, and demolition contractors. Expect $4 to $12 a linear foot for genuinely old timber, which is often cheaper than new oak. Take a magnet and a moisture meter, and never buy pallet wood stamped MB, which means it was treated with methyl bromide.
Do rustic kitchen shelves look dated in a modern kitchen?
Not when they are the only rustic element. A reclaimed timber shelf against plain tile and simple cabinetry reads as warmth and contrast. It dates the moment it is joined by rope, signs, mason jars and painted crates all at once. One old material among new ones is the whole trick.
How much weight can reclaimed timber shelves carry?
Old timber is usually denser than new stock, and a two-inch scaffold board is genuinely strong. The limit is the wall, not the board. A stack of ten dinner plates is around 12 pounds, so land at least one bracket in a stud for anything holding dishes and use toggle bolts, never plastic plugs, between studs.
Buy one board before you plan a whole wall — take a tape measure to a salvage yard, find something two inches thick with a history, and put it up on its own. That single shelf will tell you whether you want three more. For heights and anchors, the twenty-step build covers the sequence, and fifteen kitchen shelf ideas covers where they belong. The same timber on a living room wall appears in wood floating shelves. Save the pin for your next salvage trip.
Want more like this? Browse all 15 kitchen shelf ideas guides — they all use the same measurements and budget tiers.
Pin it for later
Save this to your Kitchen Shelf Ideas board
Pin it now so it is waiting for you when the tape measure comes out — and so the next person hunting for this idea can find it too.
Save this pinKeep going
More ideas worth saving while you have the tape measure out.