Kitchen Shelf Ideas · Listicle
30 Simple Kitchen Shelf Ideas on a Budget

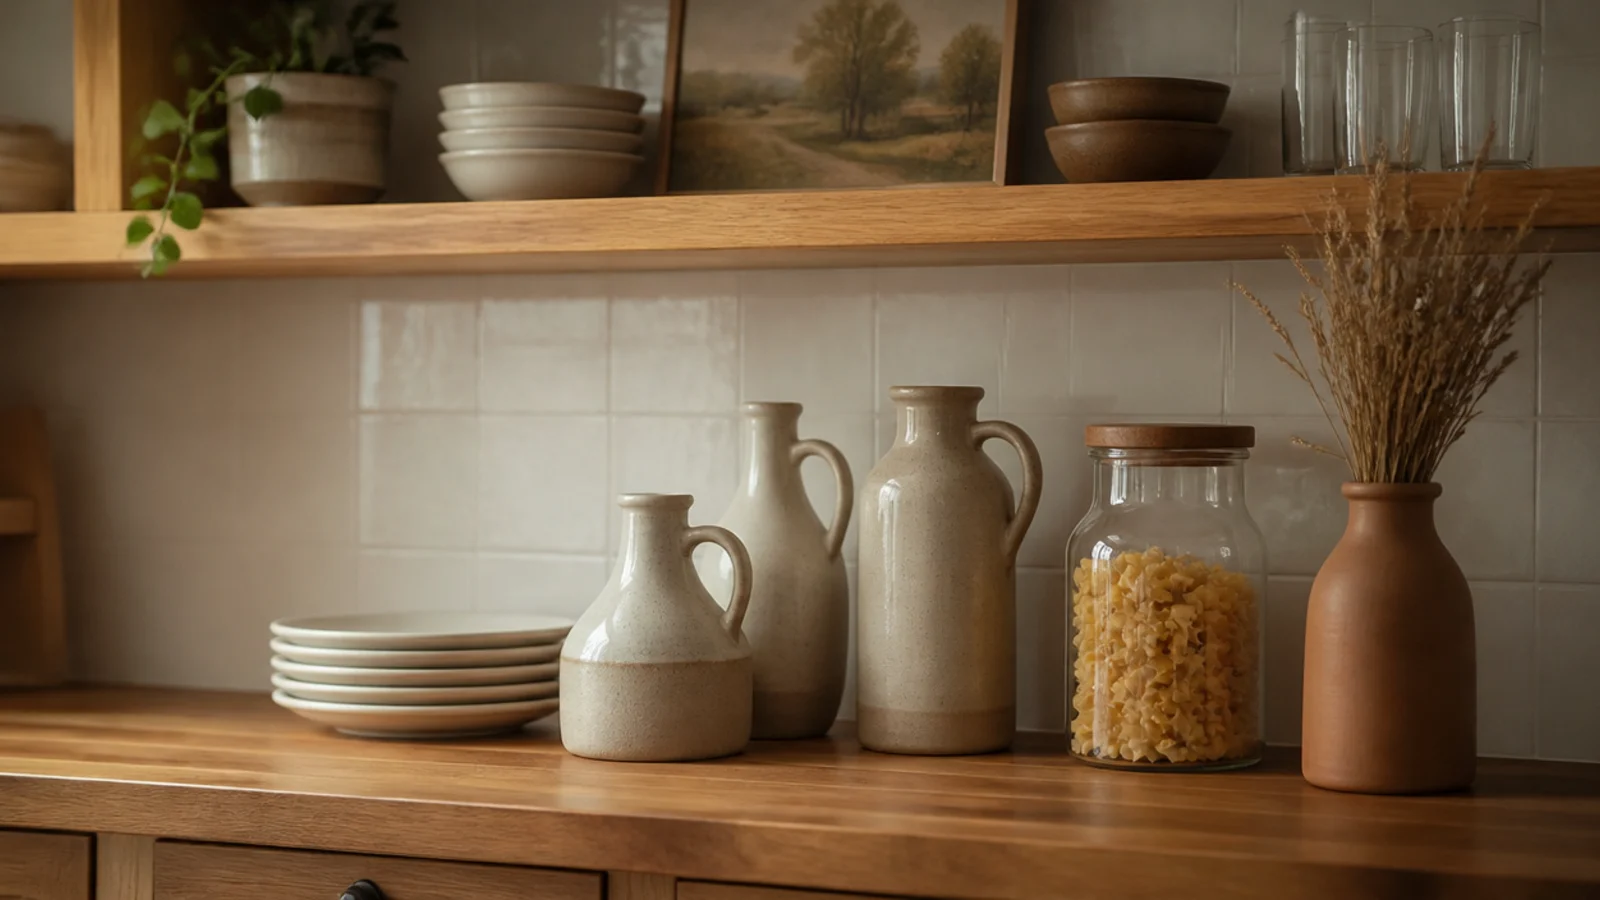
Kitchen shelf styling is the one kind of styling with a second job: everything on the board still has to be cookable-with. That rules out most of what magazine shelves are made of. These 30 arrangements cost almost nothing, use what you already own, and are built around the two things that actually decide how a kitchen shelf looks in month six — how much you left off it, and how close it sits to the stove.
In this guide32 sections — tap to openHide
- 1.The rules behind kitchen shelf styling that lasts
- 2.Three heights on every single shelf
- 3.Leave a third of every shelf empty
- 4.Anchor each shelf with one large object
- 5.Two material families plus green
- 6.Stack plates in fives, not tens
- 7.Turn one board or tray to face out
- 8.Group by ritual, not by category
- 9.Repeat one material three times across the run
- 10.Put the tallest thing furthest from the window
- 11.Odd numbers for pretty, even for useful
- 12.Use a stack of books as a riser
- 13.Mix one matte, one glossy, one raw
- 14.Let one thing trail over the front edge
- 15.Hang the mugs to free the shelf plane
- 16.Turn every label to face forward
- 17.Keep the contents warm and neutral
- 18.Workhorses low, pretty things high
- 19.Line up the front edges, not the backs
- 20.Corral the small things on a tray
- 21.One leaning print per run, well off the stove
- 22.Vary silhouettes, not colors
- 23.Put back only what you used this week
- 24.Use the shelf ends as bookends
- 25.One brass note per shelf, no more
- 26.Style the shelf you see from the sofa
- 27.Small trailing plants, never bushy ones
- 28.Dried stems in the grease zone
- 29.Match the metals to your taps
- 30.Photograph it to spot the imbalance
- 31.Restyle with fruit and stems, nothing bought
- 32.Mistakes to Skip
The rules behind kitchen shelf styling that lasts
Start by taking everything off. Not editing in place — completely bare. It is the only reset that works, because you stop defending things once they are on the counter.
Zone by distance from the stove. Anything within about four feet of a burner picks up an airborne grease film, so that zone gets objects you wash weekly. Decorative pieces live at the far end. Above a range hood it is ceramic, metal or glass only, never wood or anything wax-based.
Then set the heights. The first shelf sits 18 inches above the countertop to clear a stand mixer, the second 12 to 14 inches above that. Styling into the wrong spacing is impossible — tall jars simply will not stand up.
Then load in order. Weekly-use items first, because open shelving only works for things you use weekly. Use is what keeps them clean. Decorative pieces come last and only into gaps that remain.
Everything here works with what you own. If you do buy, buy one large anchoring vessel ($15 to $30) rather than five small ones — big shapes are what most kitchen shelves are missing ($).
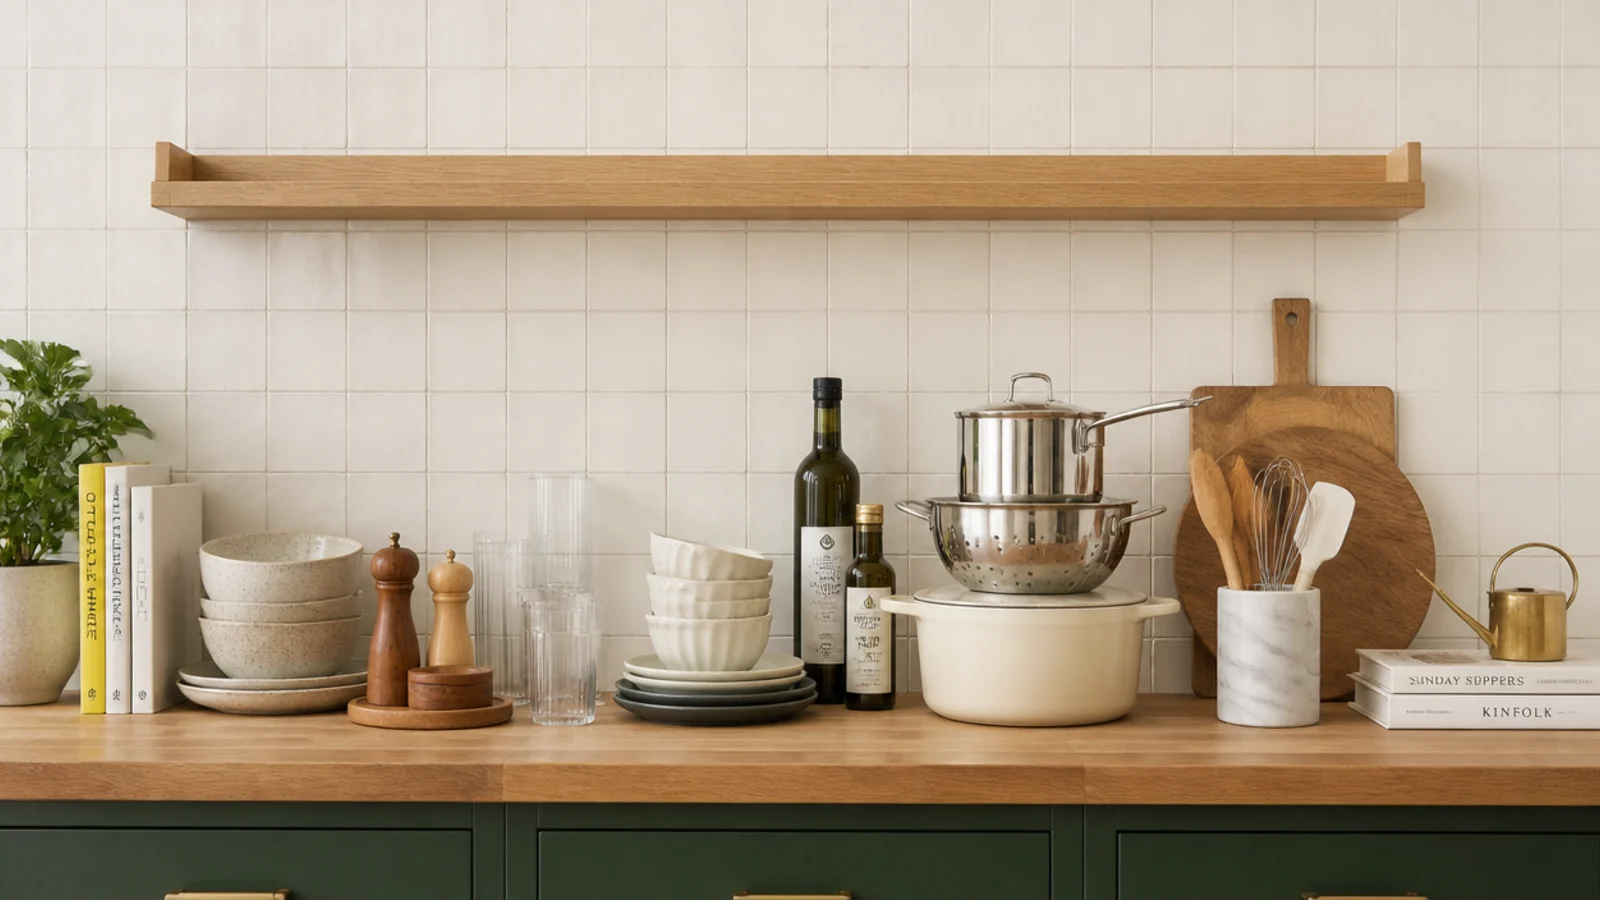
1. Three heights on every single shelf
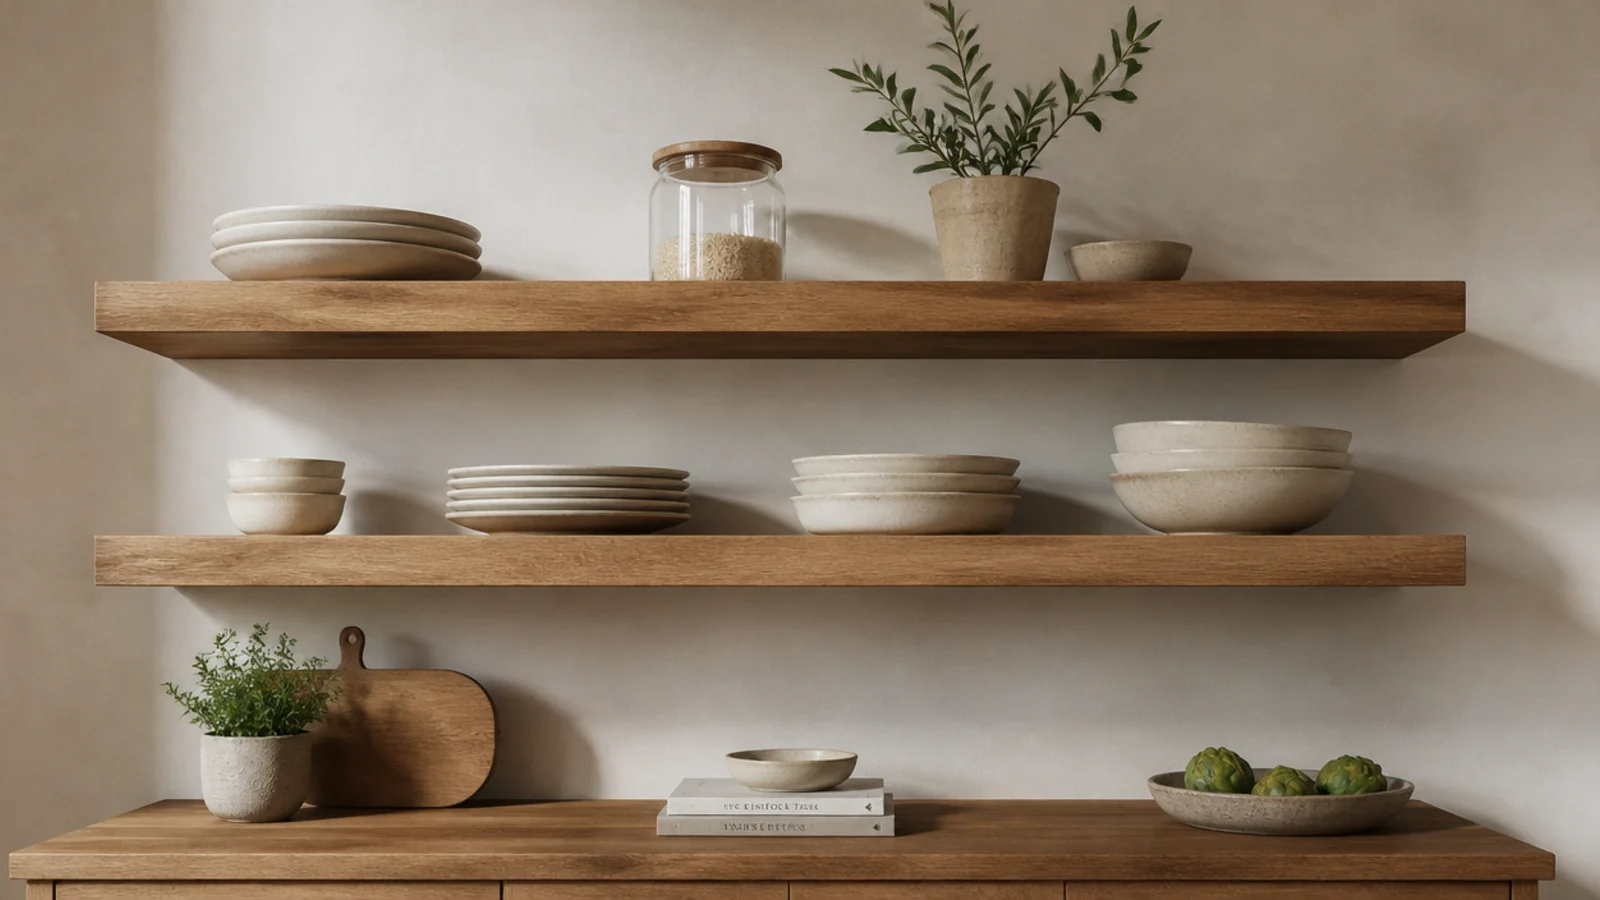
Something tall, something low and wide, something soft that trails. A jug, two stacked bowls, a small plant.
Two objects reads as a mistake and four starts to read as storage. Three at three heights is the default that works on any board length.
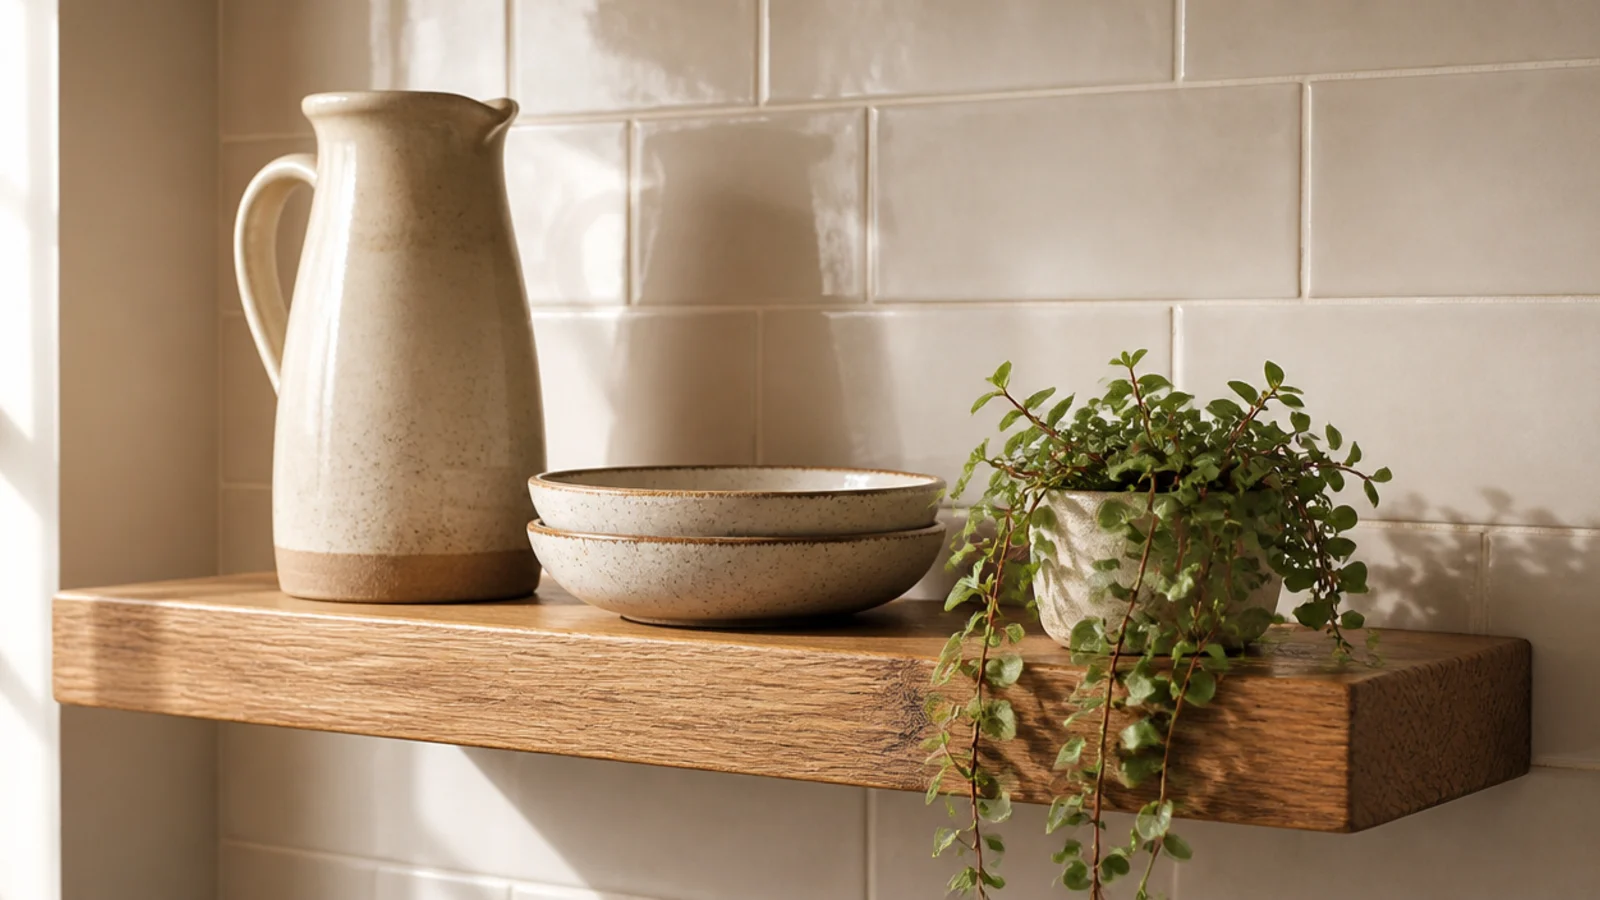
2. Leave a third of every shelf empty
Fill two-thirds of the board and stop. The bare third is what separates styled from stacked, and it costs nothing.
In a kitchen it earns its keep twice, because the gap is also where you set a hot pan lid down.
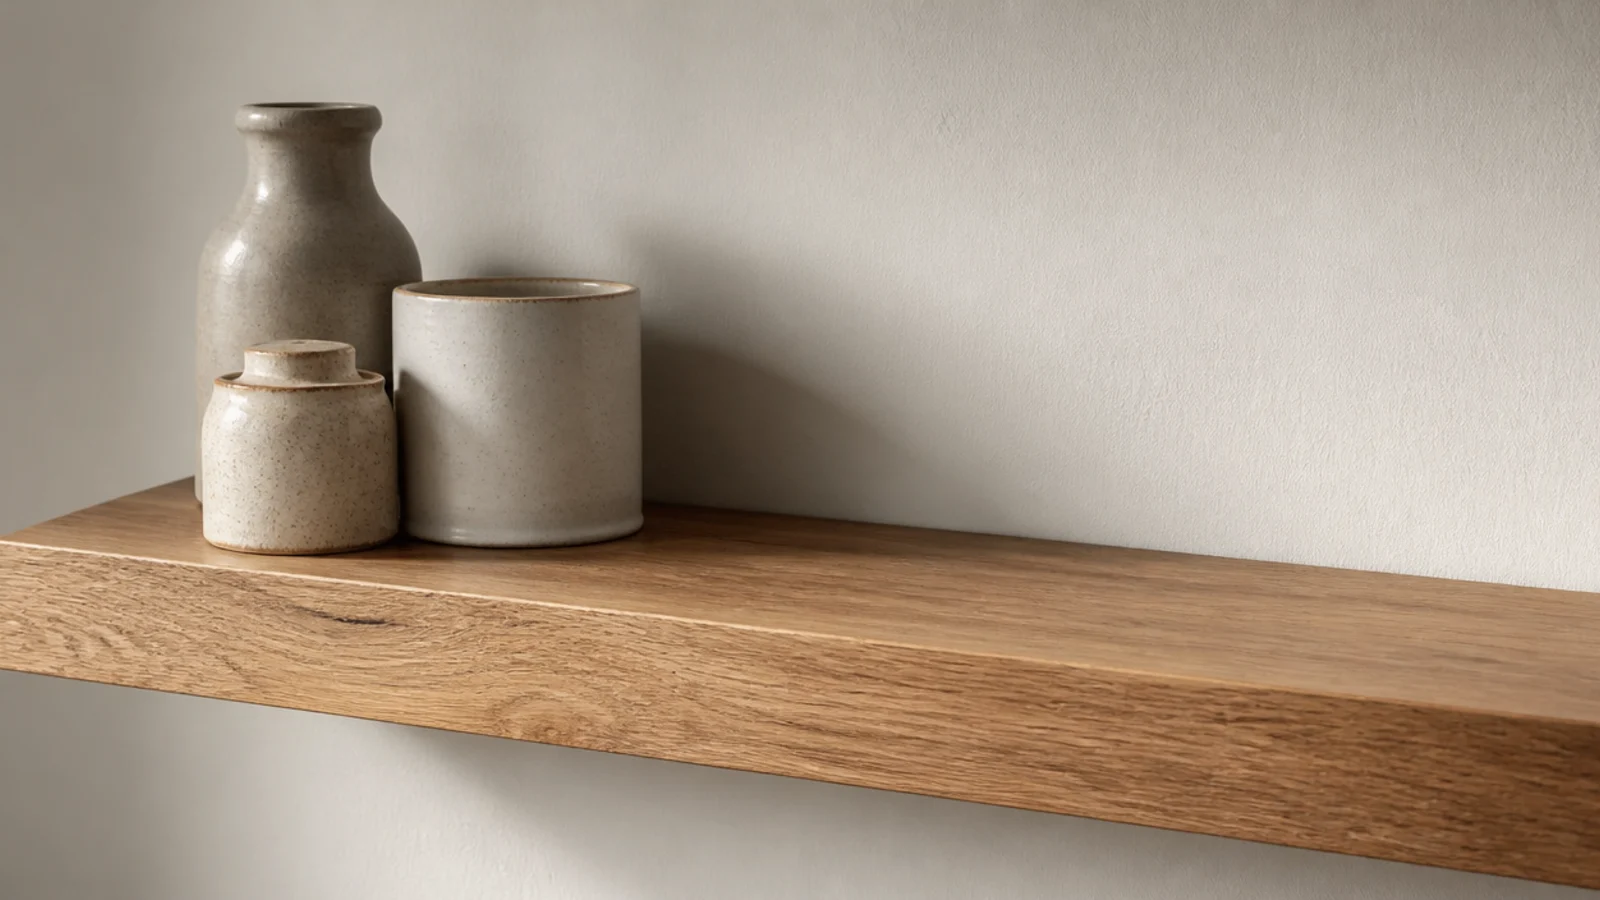
3. Anchor each shelf with one large object
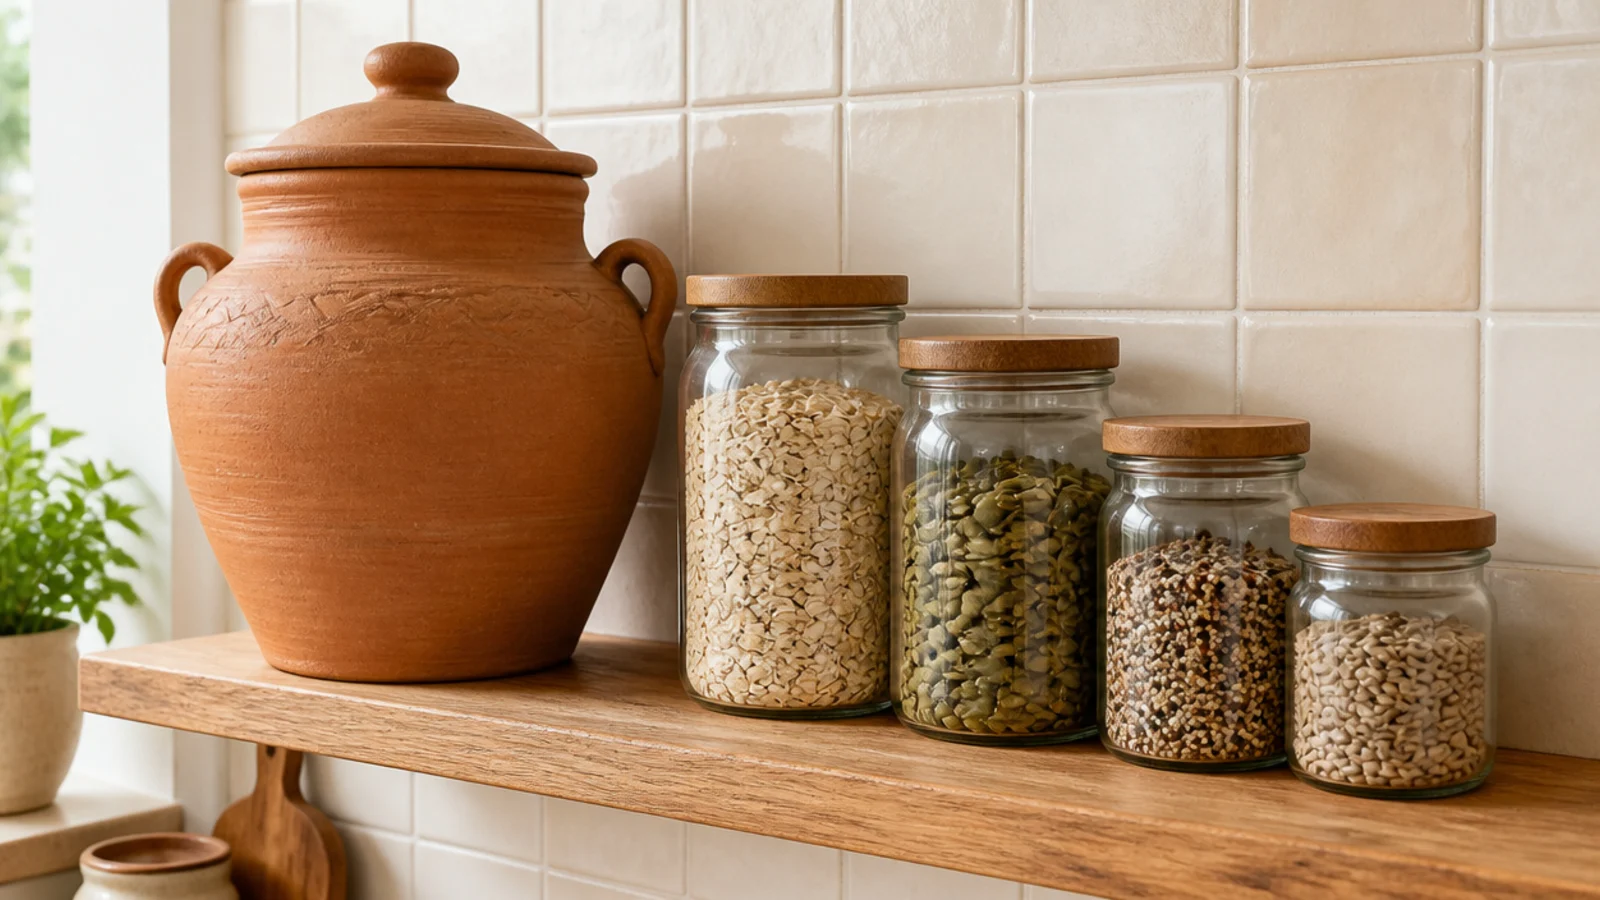
Small things scatter. One big shape — a wide clay vessel, a stack of five plates, a large bowl — gives the eye a place to start.
Put the anchor a third of the way in from one end rather than dead center. Center is static; a third looks composed.
4. Two material families plus green
Wood and stoneware plus a plant. Or glass and steel plus a plant. Kitchens already have cabinetry, tile, appliances and a counter all competing.
Two families is the ceiling before a shelf starts to look busy, no matter how nice each individual object is.
5. Stack plates in fives, not tens
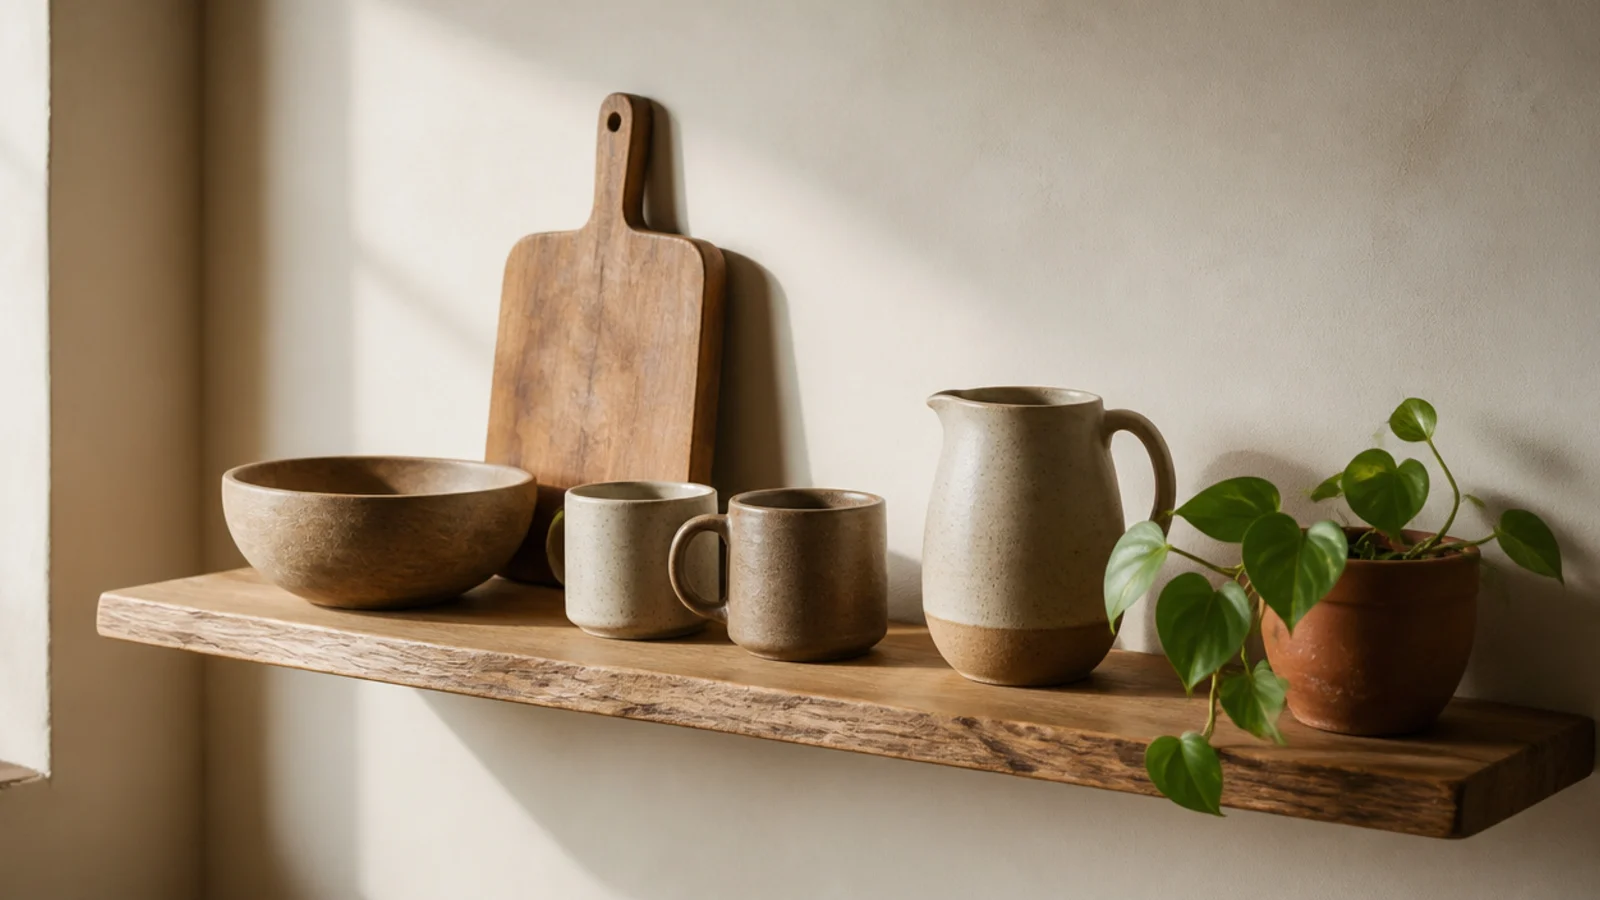
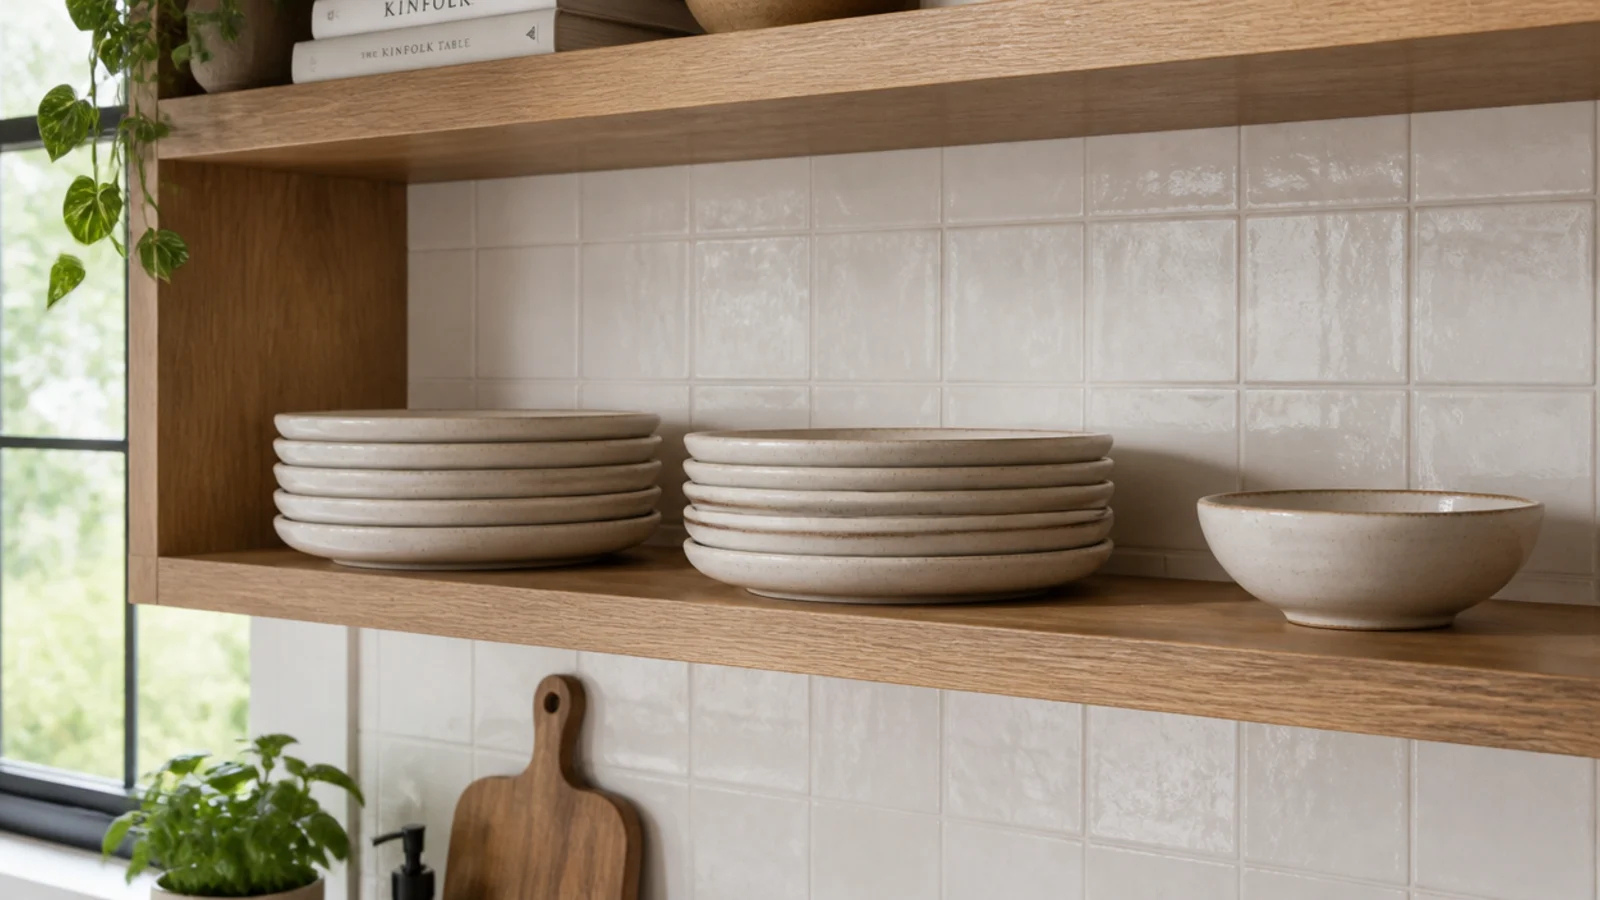
Two stacks of five look deliberate. One stack of ten looks like a cupboard with the door off.
There is a structural reason too: ten dinner plates is about 12 pounds concentrated in one spot, and splitting the stack spreads the load along the board.
6. Turn one board or tray to face out
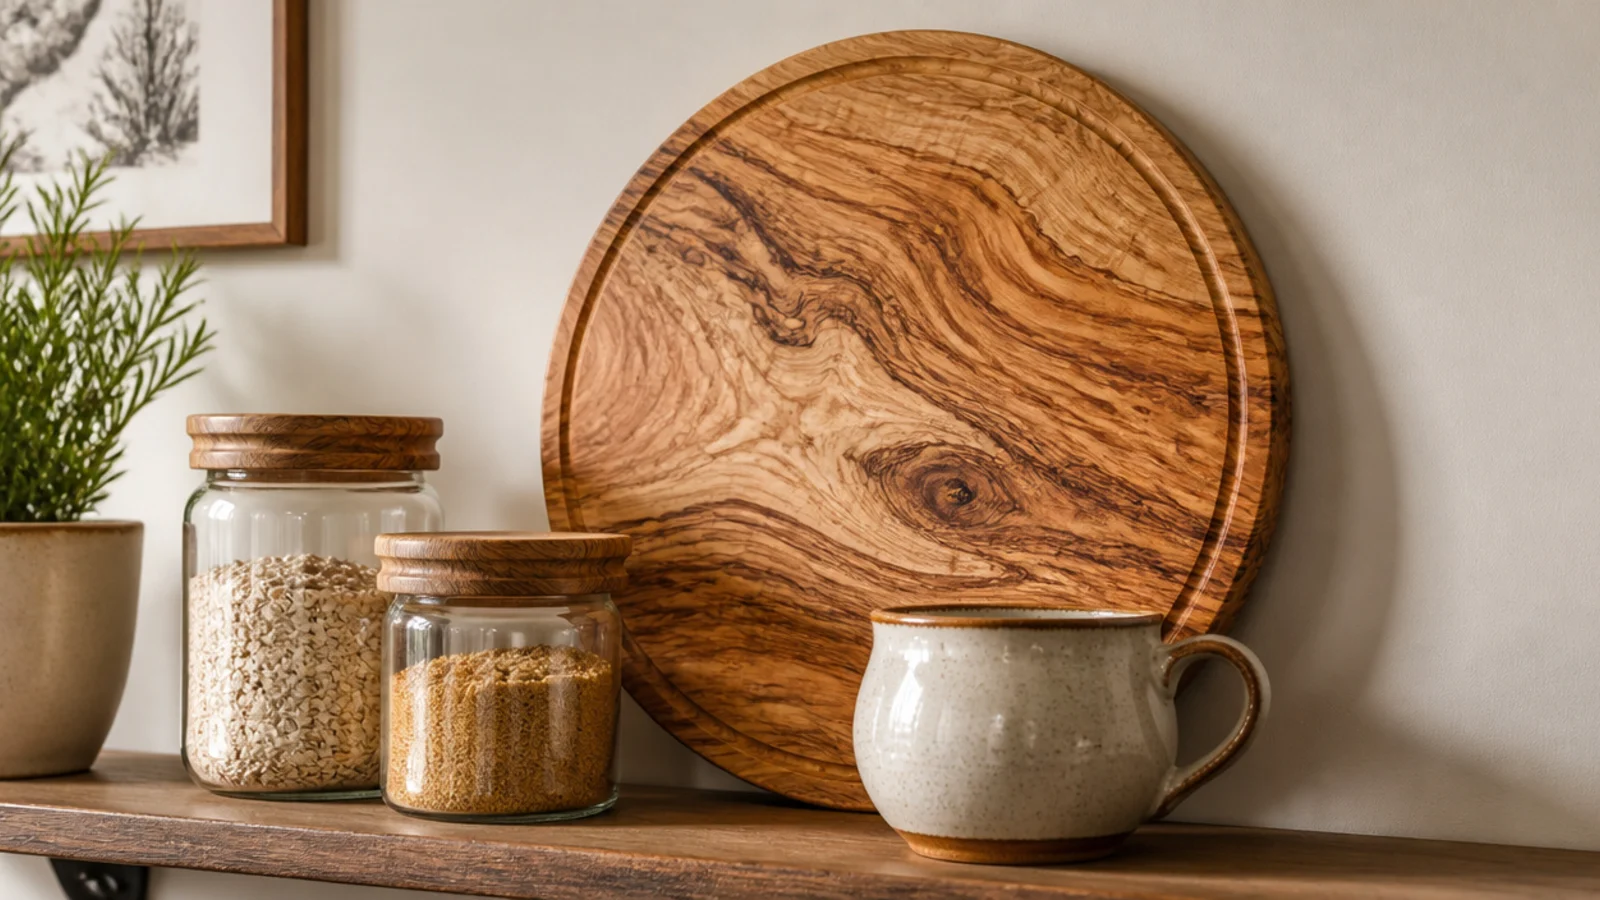
A round board or a tray leaning face-out at the back gives a shelf one large flat plane behind all the small silhouettes.
It is the cheapest depth you can add. Stand it on edge so air moves behind it and the wood dries properly.
7. Group by ritual, not by category
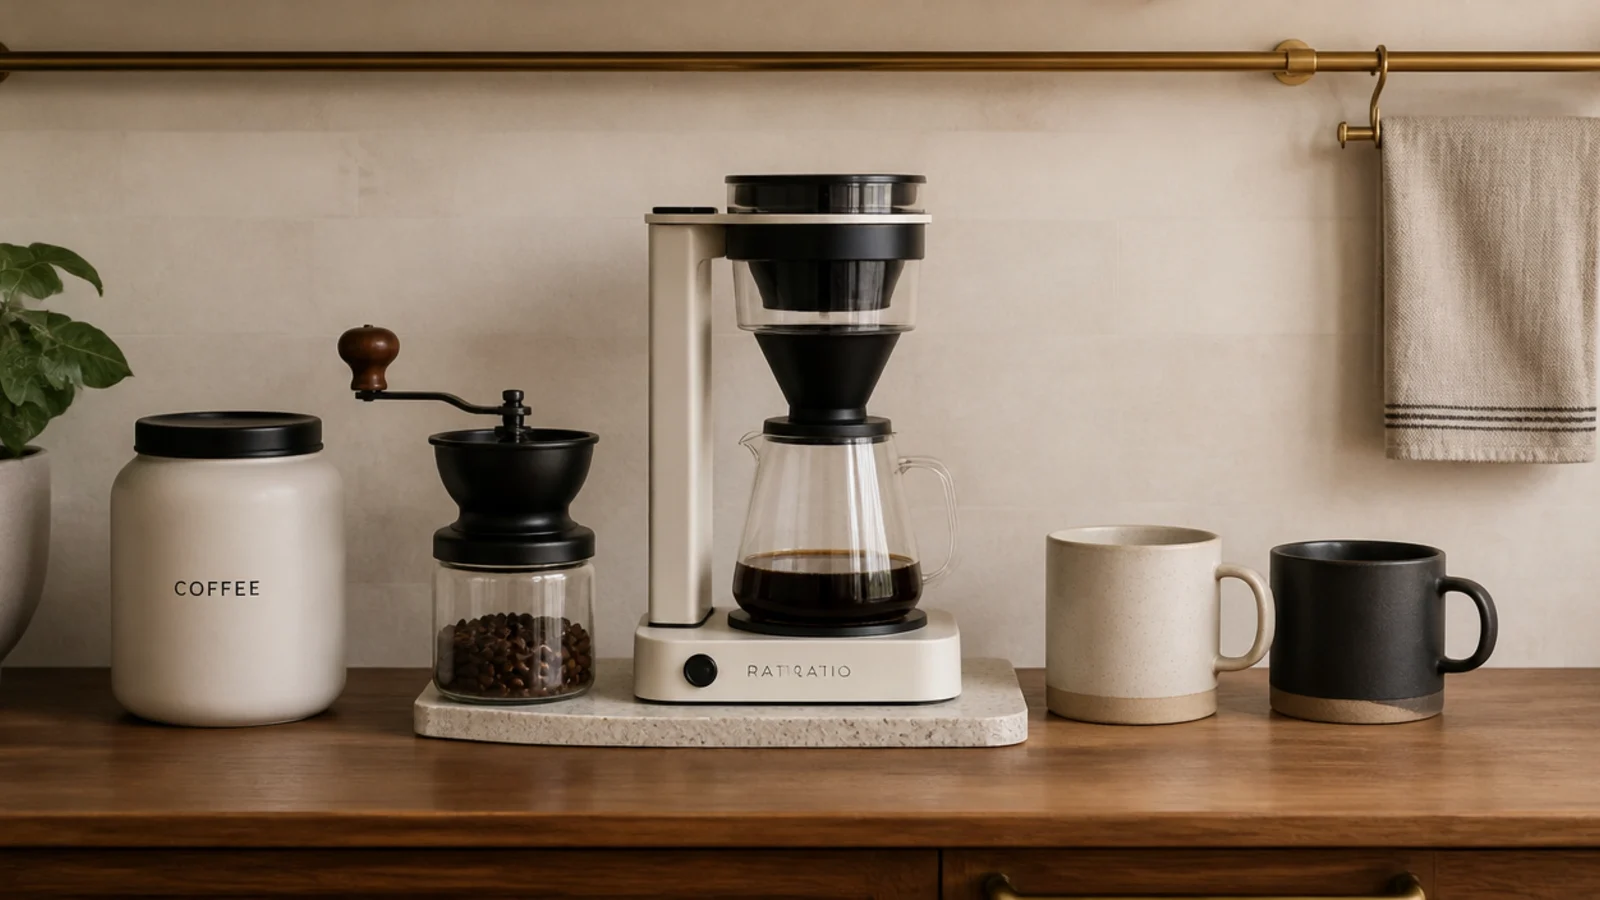
Everything for the morning drink together, regardless of whether it is a tin, a cup or a spoon.
Ritual groups stay tidy for months because you put things back where you used them. Category groups fall apart in a fortnight.
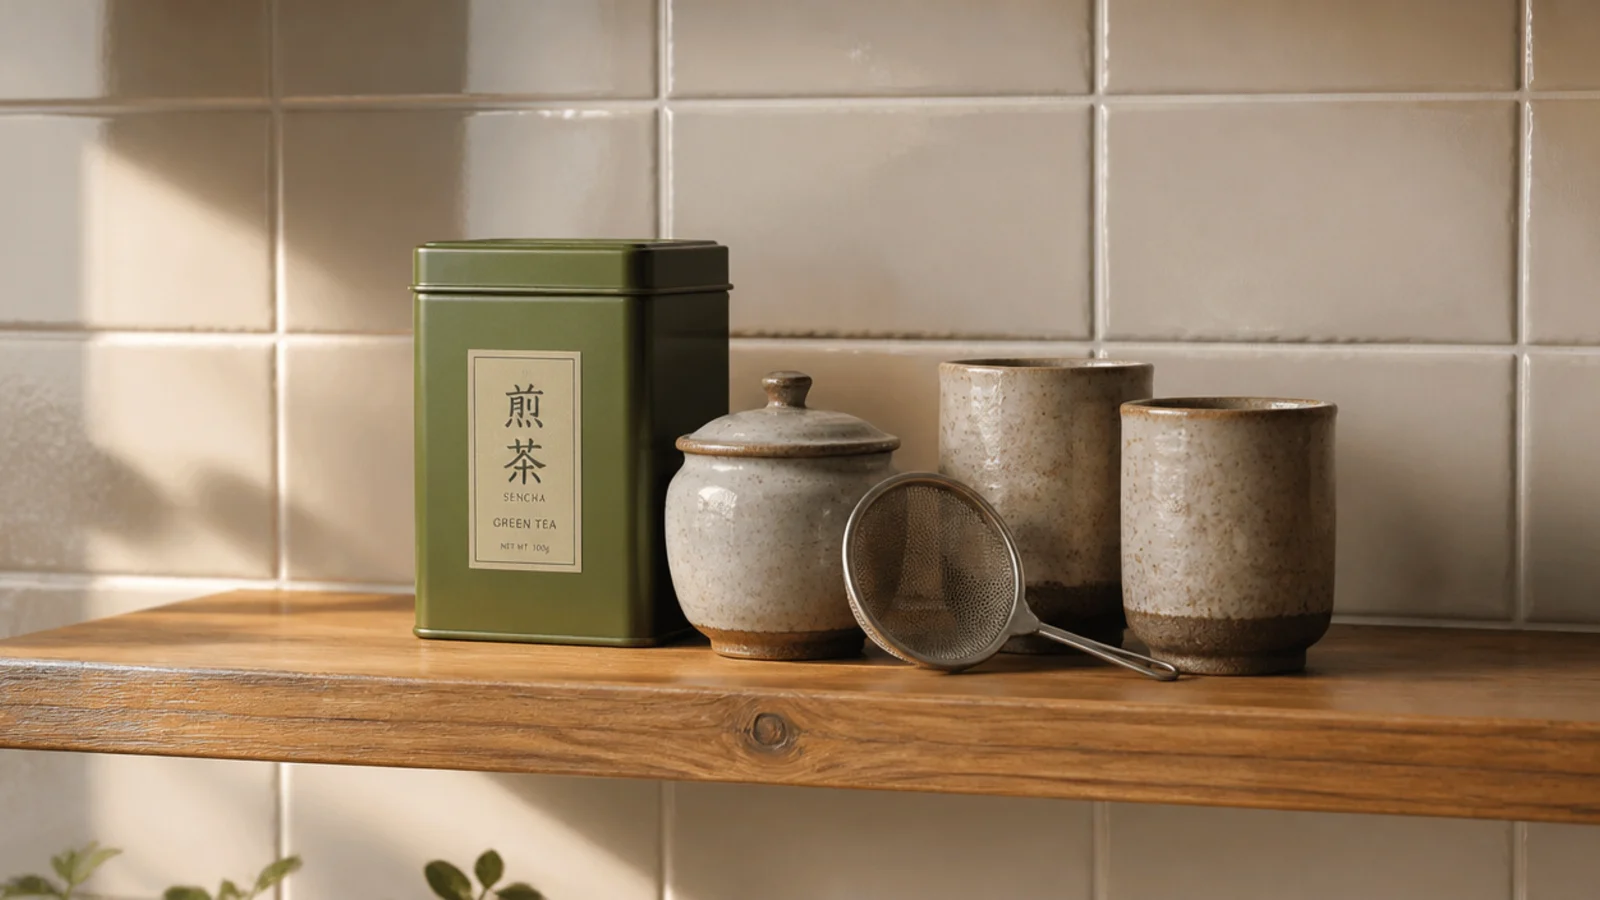
8. Repeat one material three times across the run
Three brass objects spaced along two shelves. Or three terracotta pieces. Repetition is what makes a mixed group read as composed rather than collected.
Space the repeats unevenly. Evenly spaced repeats read as a display rather than a home.
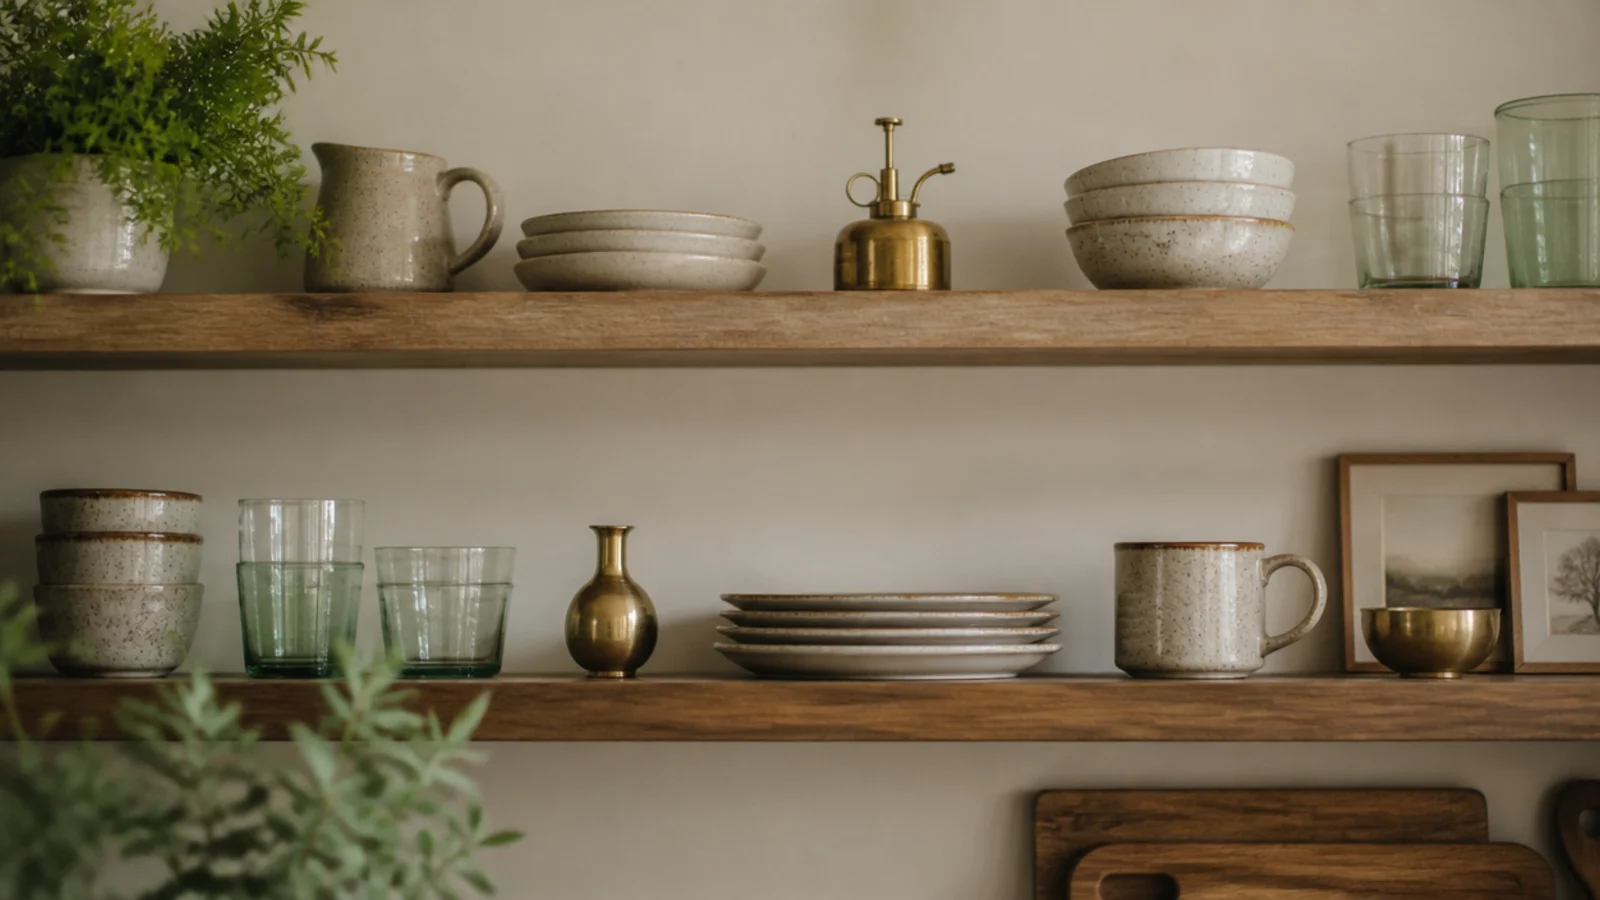
9. Put the tallest thing furthest from the window
Height near a window blocks the light that makes a small kitchen workable. Keep the low, flat objects at the bright end.
The shelf still reads as balanced because the window itself is doing the visual work at that end.
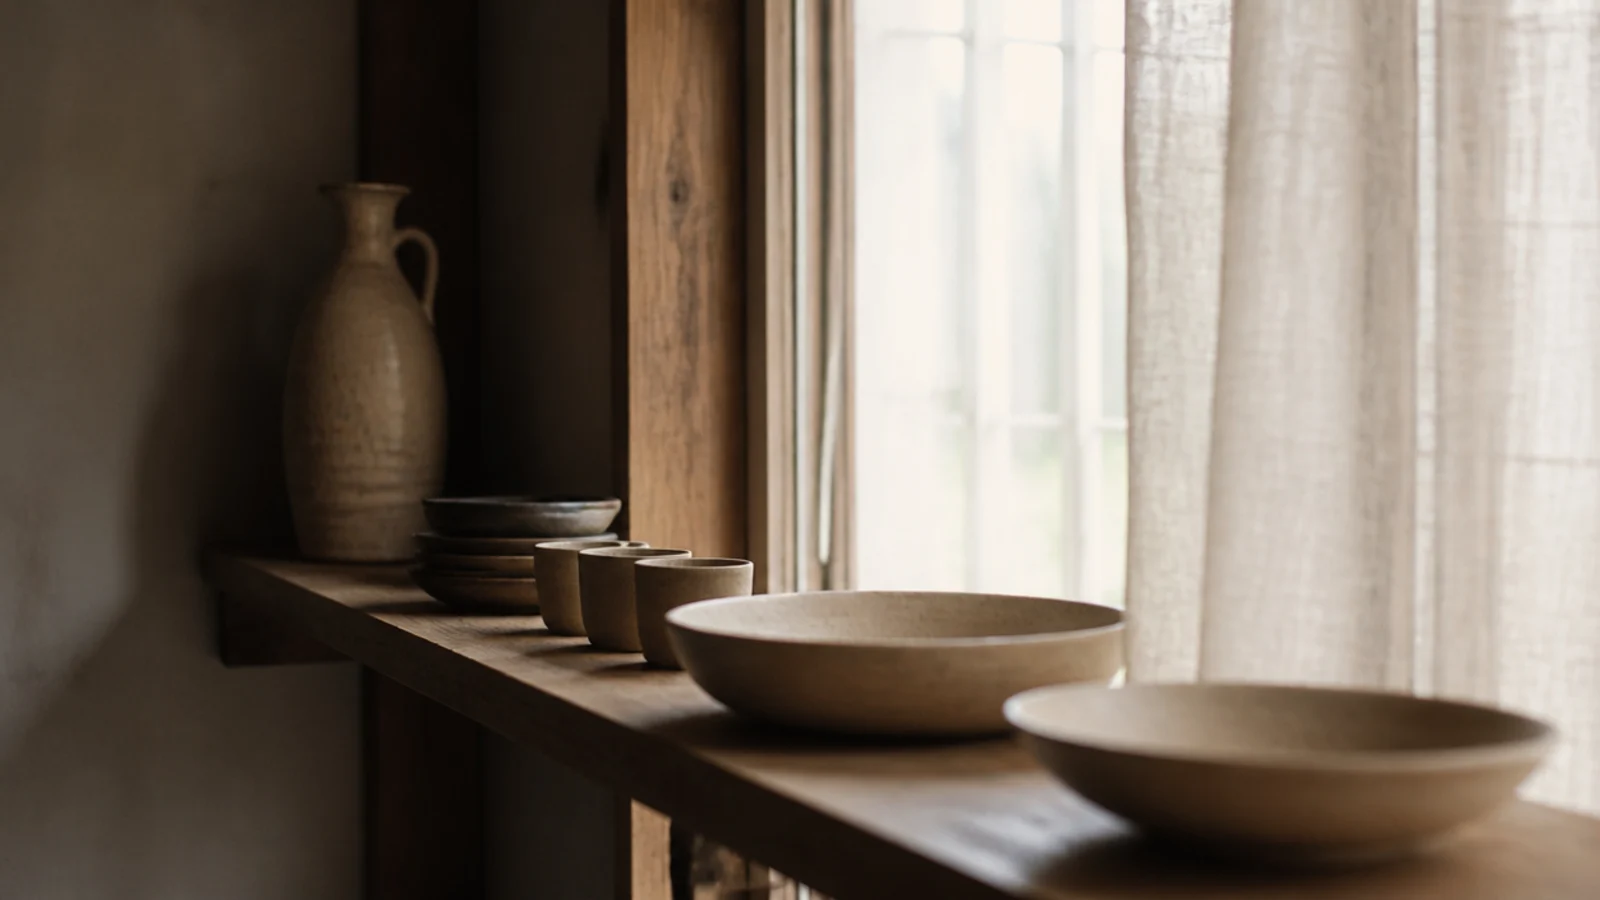
10. Odd numbers for pretty, even for useful
Three decorative pots. Four matching mugs. The odd-number rule is for objects you look at; functional sets look better in the number you own.
Forcing five mugs into a set of four is how kitchen shelves start to feel staged.
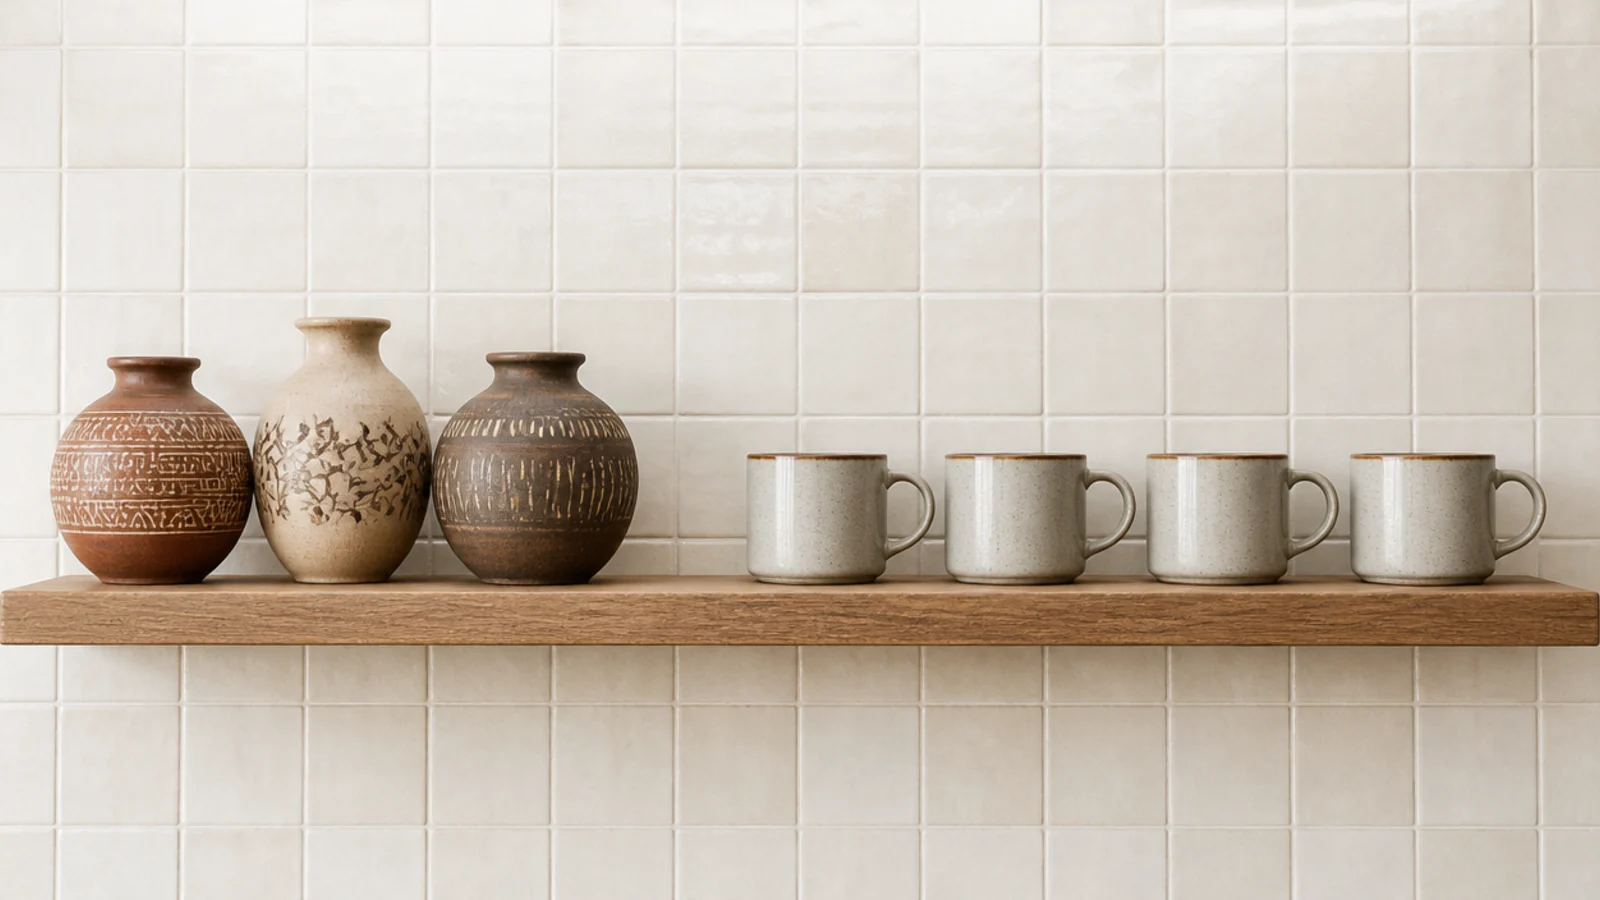
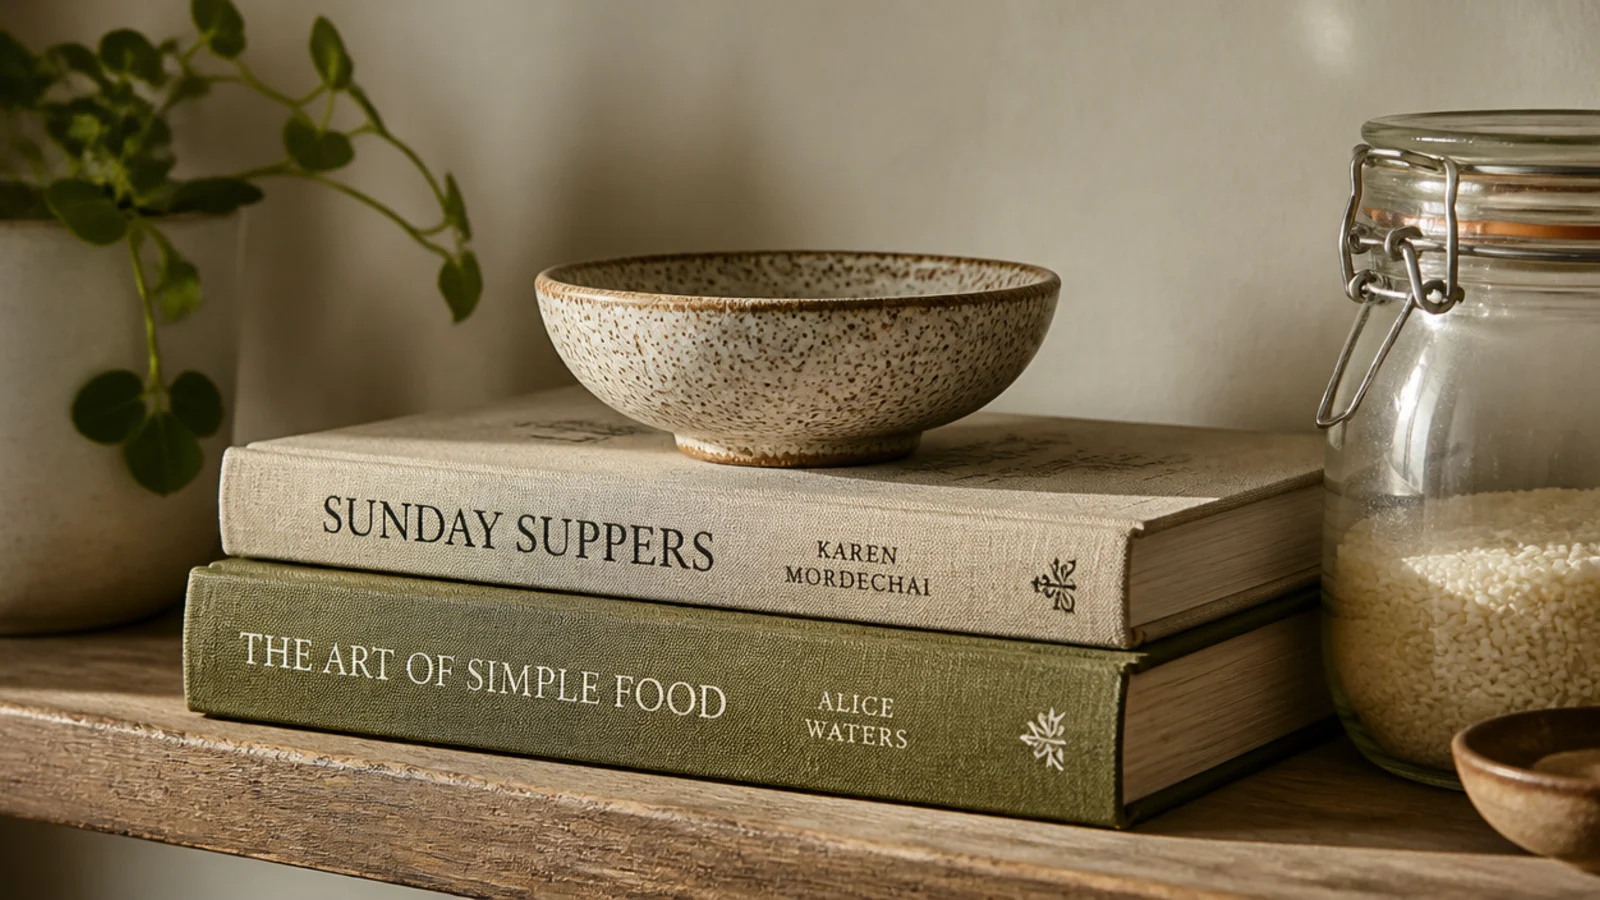
11. Use a stack of books as a riser
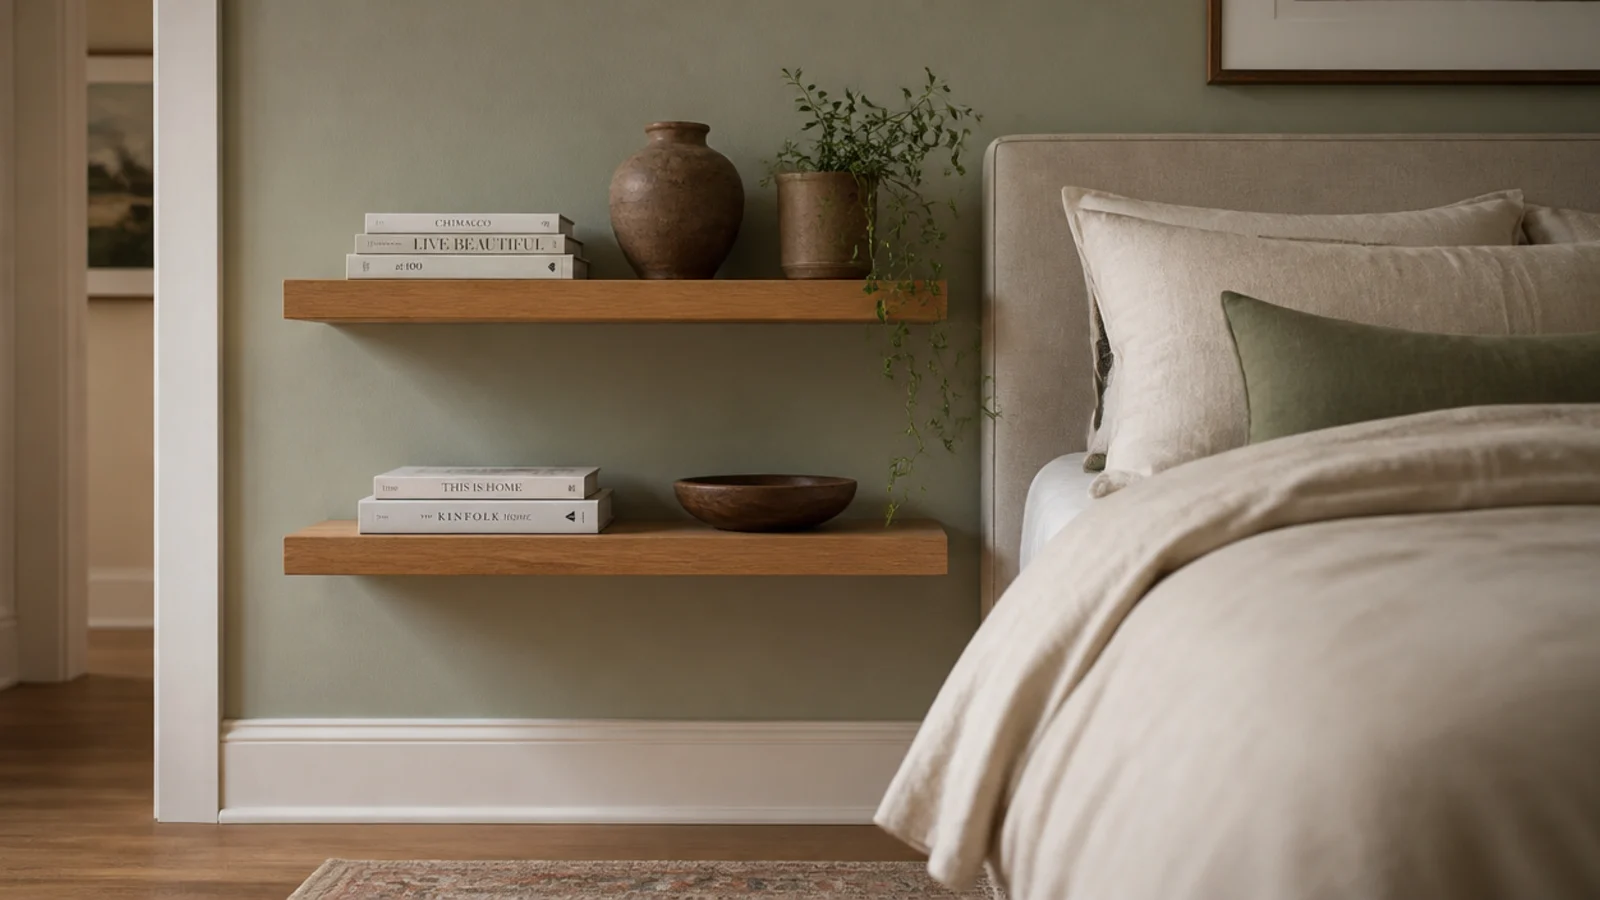
Two cookbooks lying flat lift a small bowl into the composition instead of leaving it lost against the board.
Keep the books well away from the stove. Paper absorbs grease permanently and cannot be cleaned once it has.
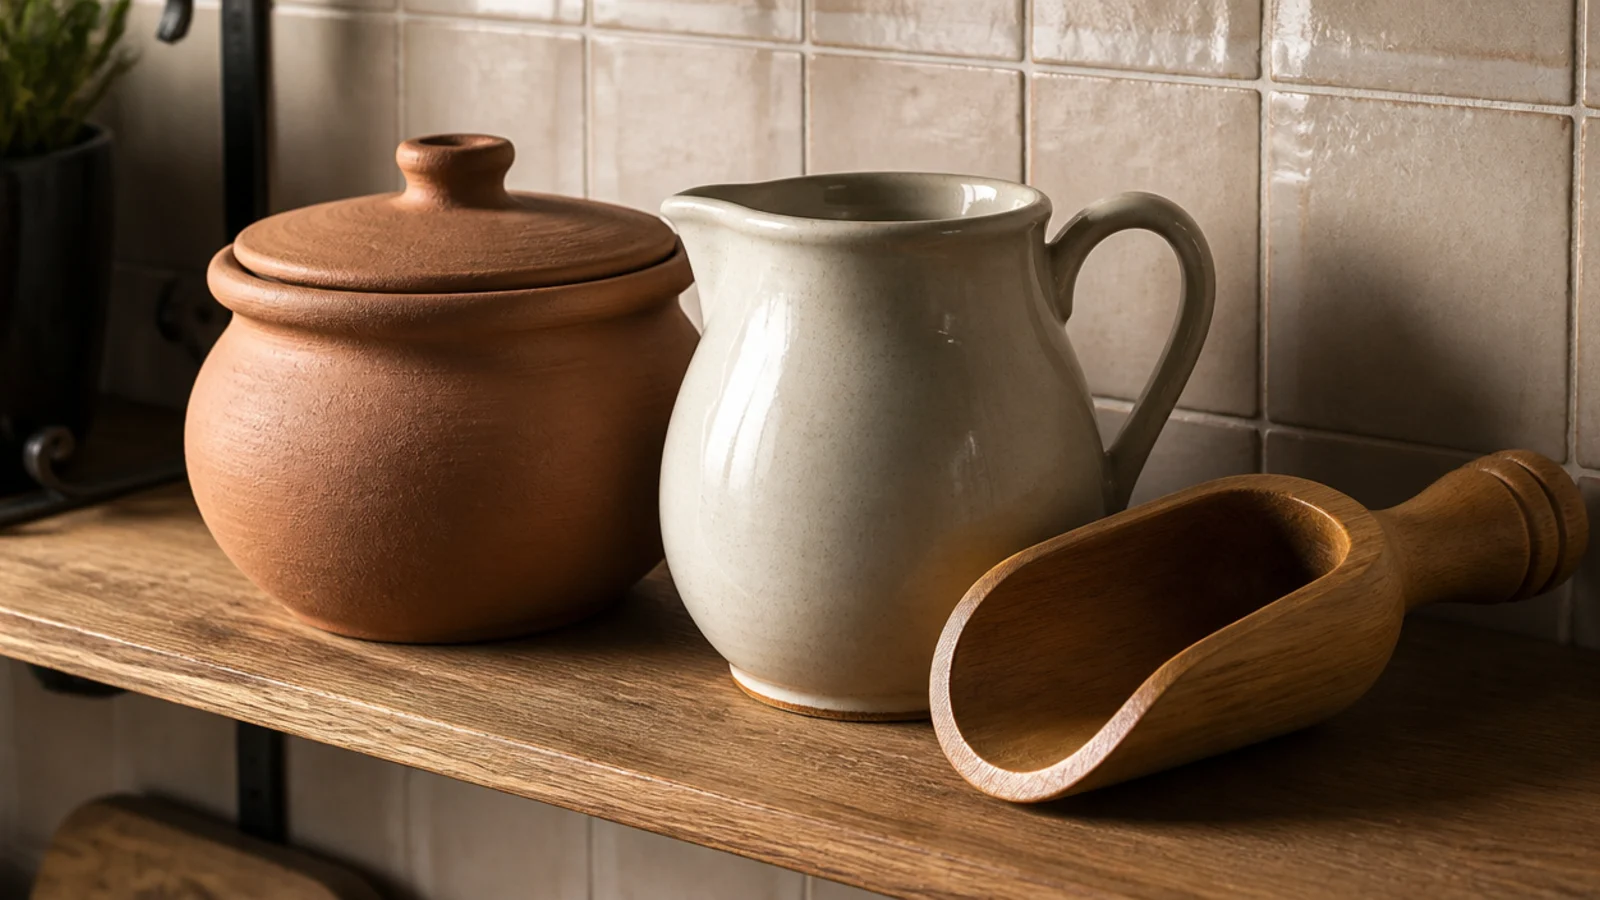
12. Mix one matte, one glossy, one raw
A matte clay pot, a glazed jug, a raw oiled scoop. Three finishes give a shelf more depth than three colors ever will.
This is why all-white shelves often look flat: one finish repeated has nothing to catch the light differently.
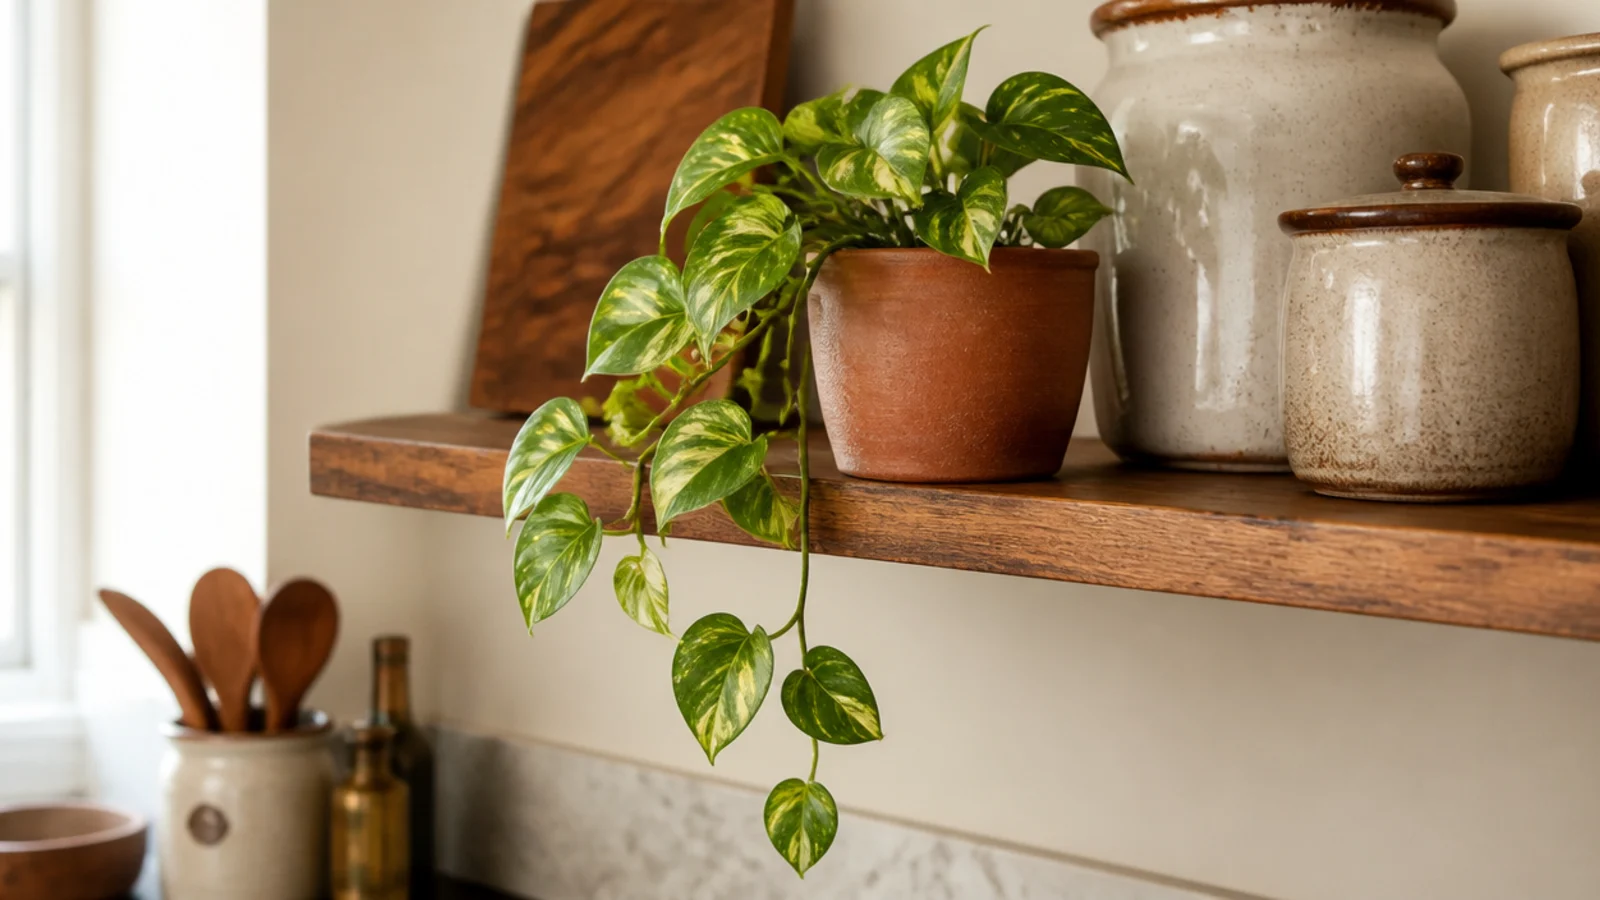
13. Let one thing trail over the front edge
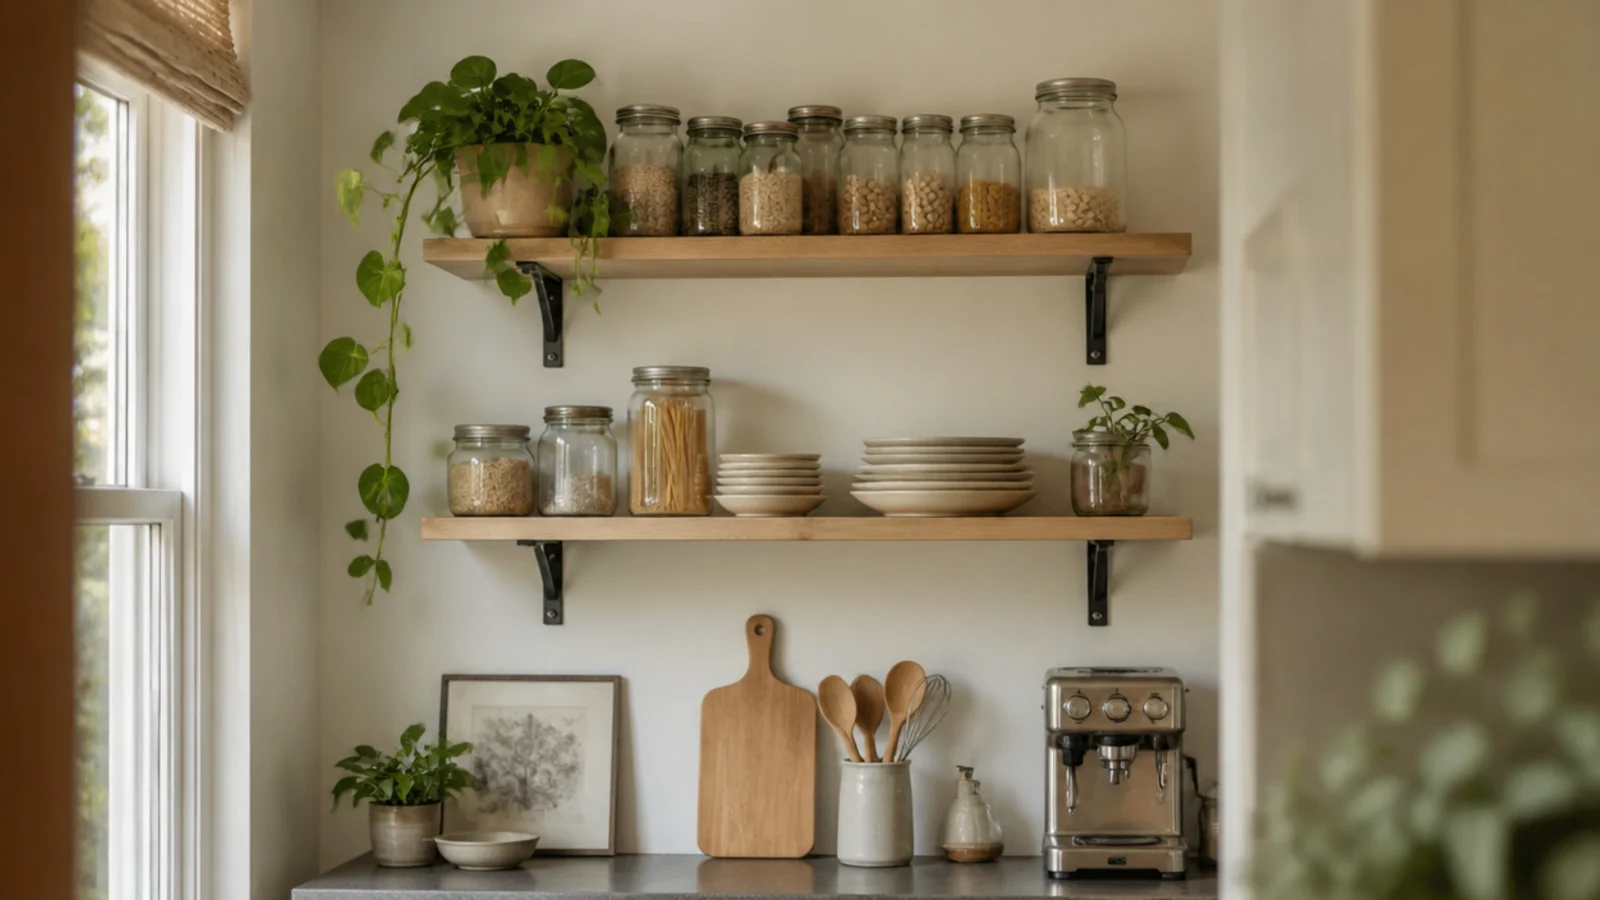
A kitchen is nothing but straight lines — counters, tile grout, cabinet edges. One trailing plant breaks every one of them.
Keep the vine short enough that it clears your head at the counter, or you will tuck it back up daily.
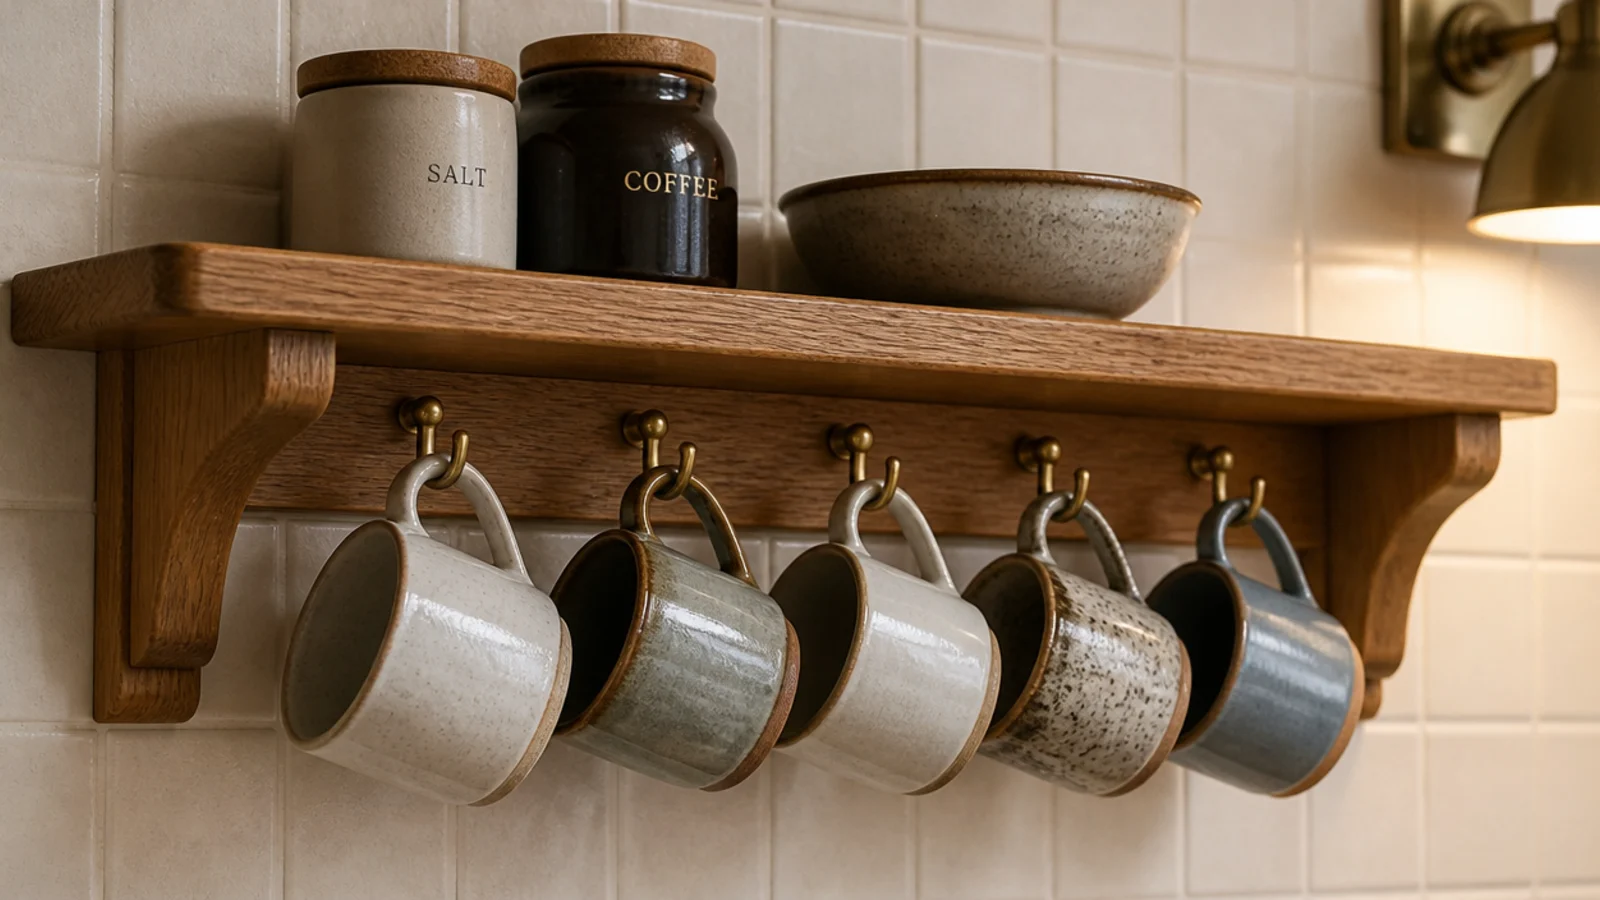
14. Hang the mugs to free the shelf plane
Hooks under a shelf hold six mugs in the space one takes on the board, and the freed surface is what lets the styling breathe.
Space the hooks at least 4 inches apart or the mugs knock together every time you take one.
15. Turn every label to face forward
Two minutes of rotating jars is the highest-value styling move in a kitchen, and it costs nothing at all.
Random label angles read as chaos even when the objects themselves are perfectly matched. Do it after every unpack.
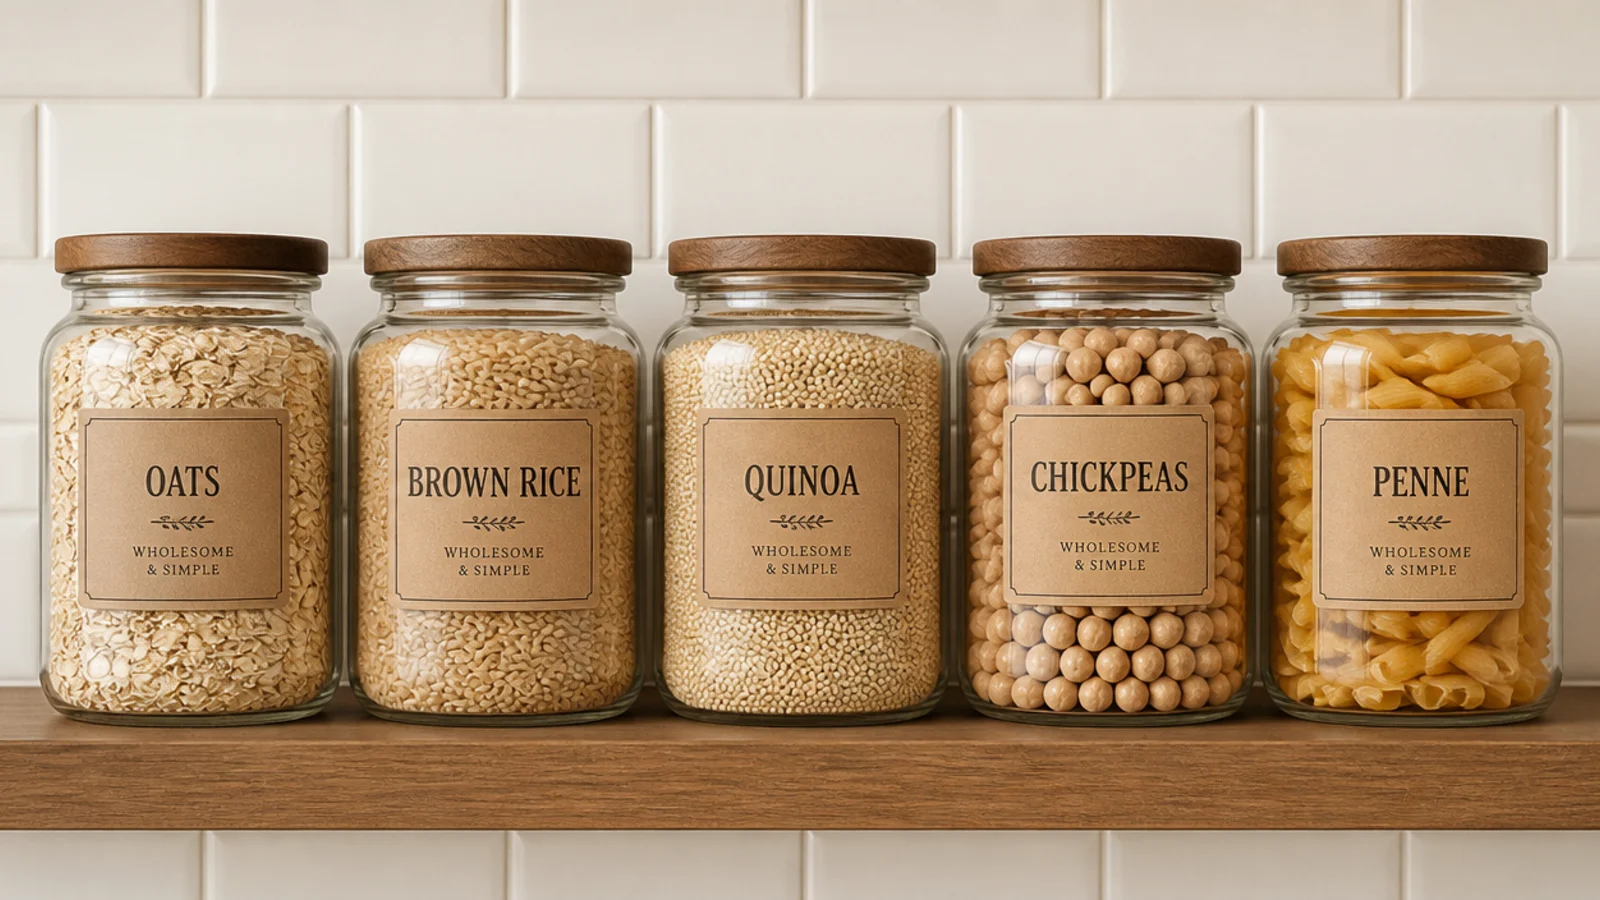
16. Keep the contents warm and neutral
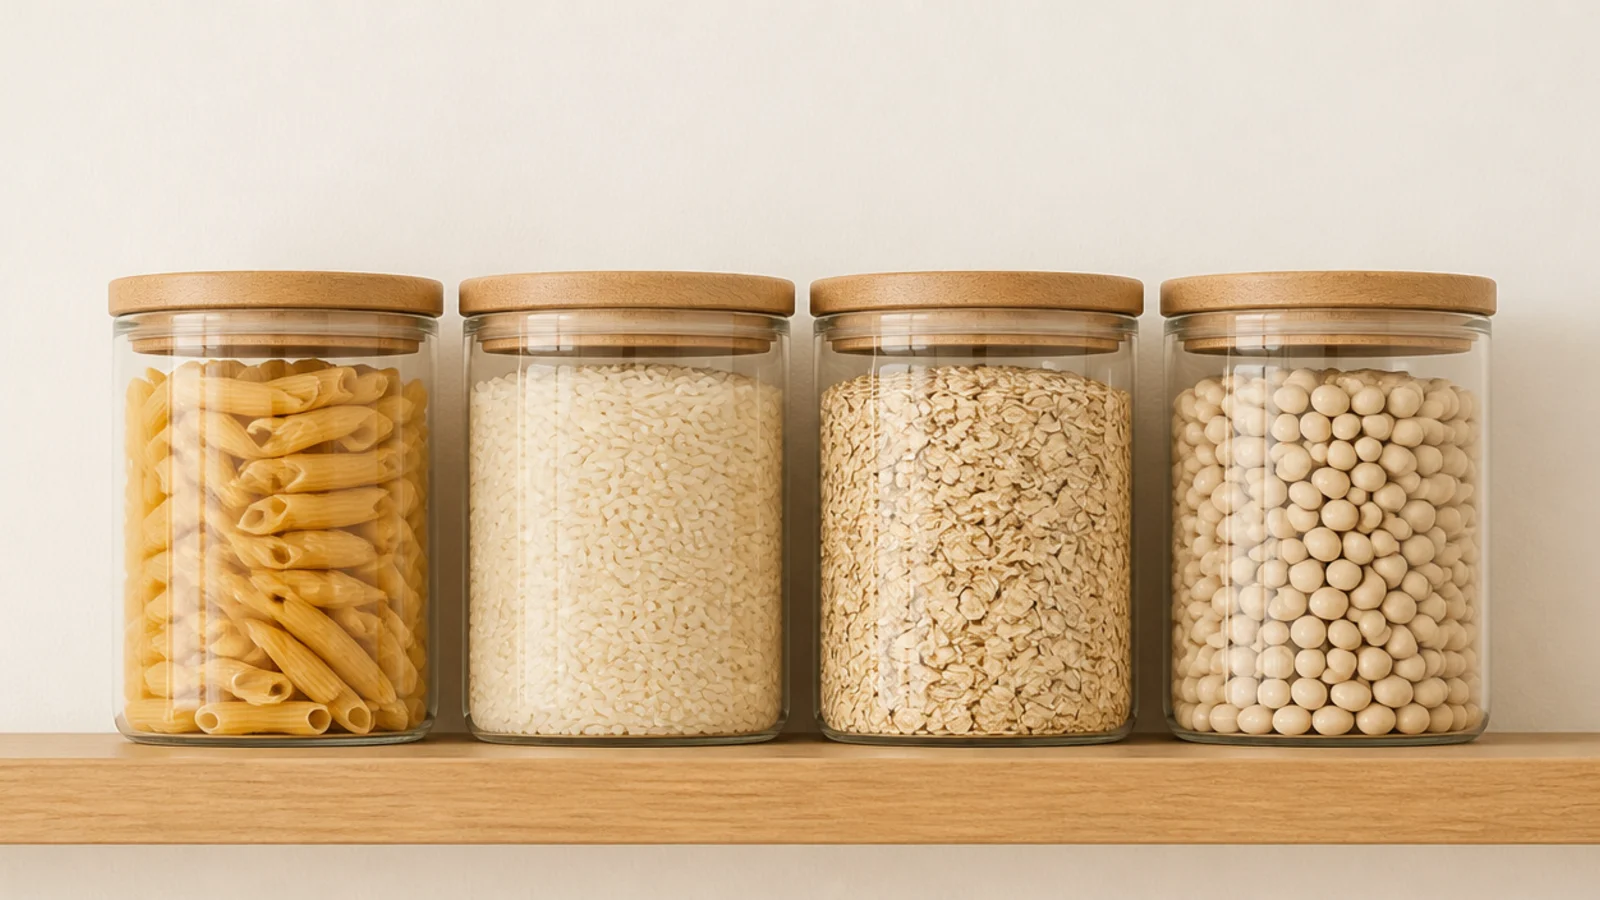
Dry goods are free color. Pasta, oats, rice and dried beans sit in the same warm sand range and read as one palette.
Bright cereal boxes and branded packaging fight everything. Decant those or leave them behind a door.
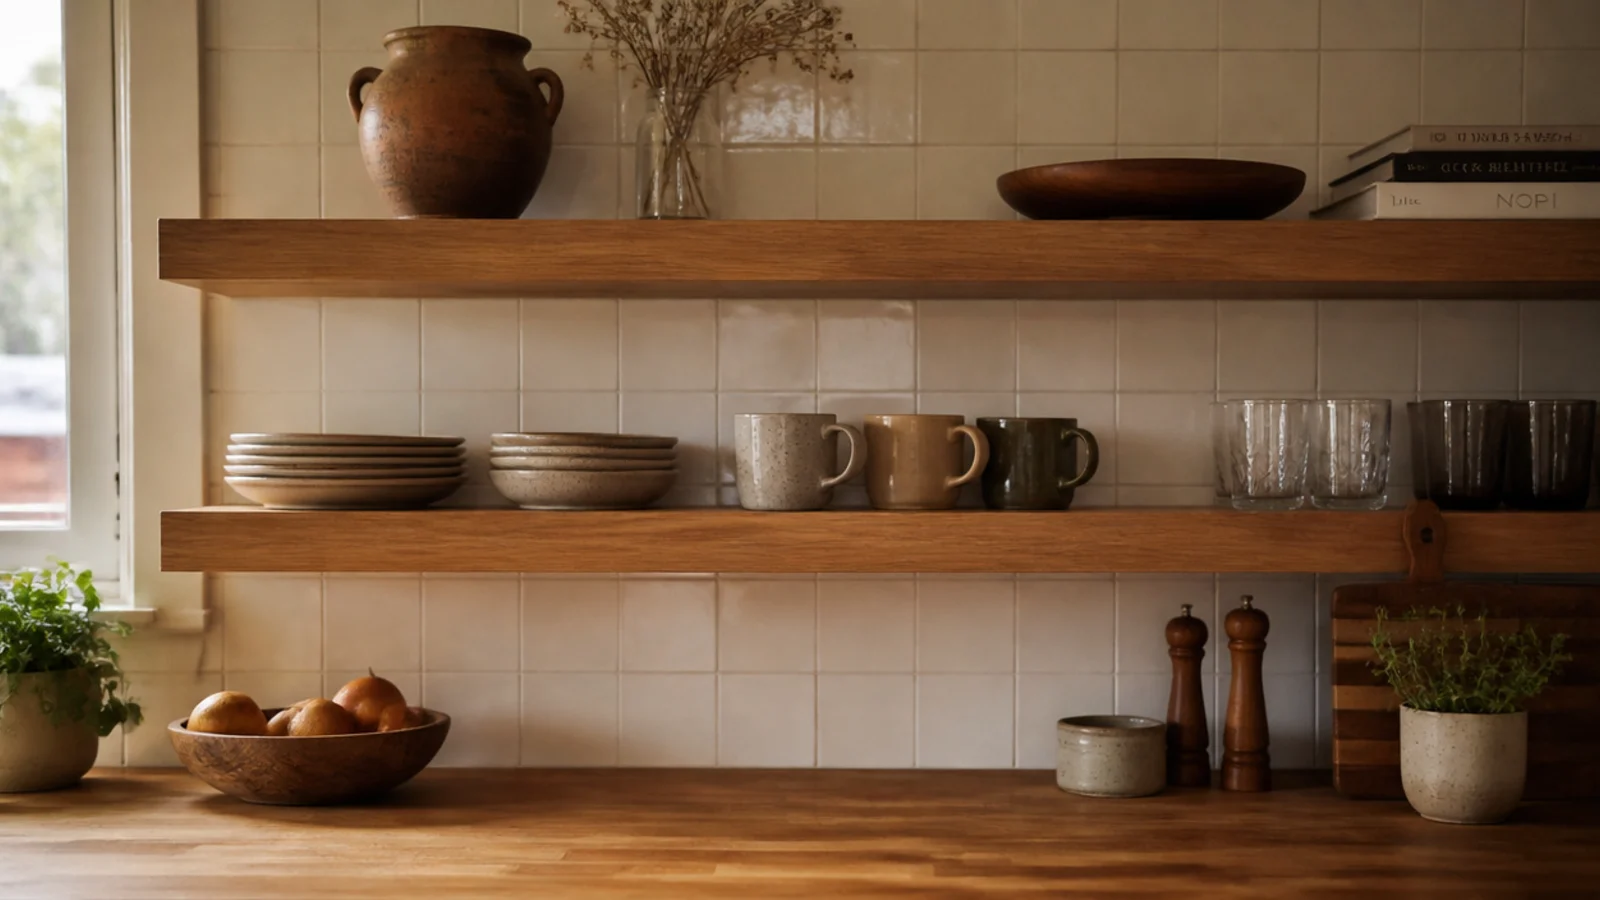
17. Workhorses low, pretty things high
You reach the lowest shelf twenty times a day. Anything decorative down there gets shoved aside within a week.
Plates, mugs and oils on the bottom board. The clay vessel and the dried stems go up top where nothing needs to move.
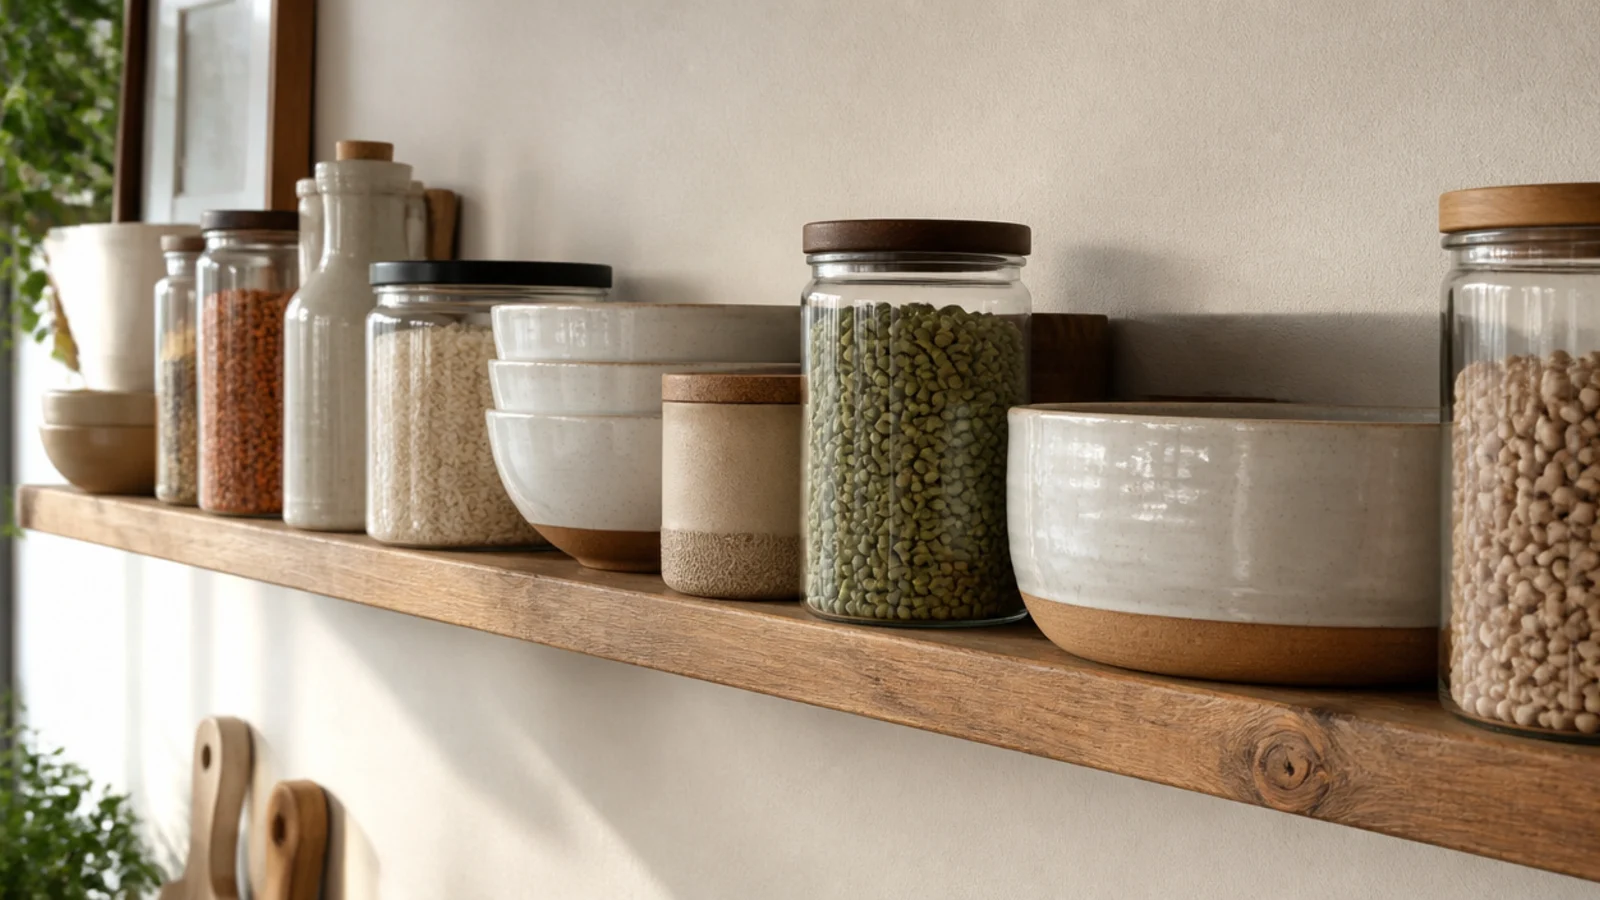
18. Line up the front edges, not the backs
Push everything forward so the front faces sit on one straight line, and let the gaps fall behind where nobody sees them.
Objects aligned at the back look staggered and messy from the side, which is how you see a kitchen shelf while cooking.
19. Corral the small things on a tray
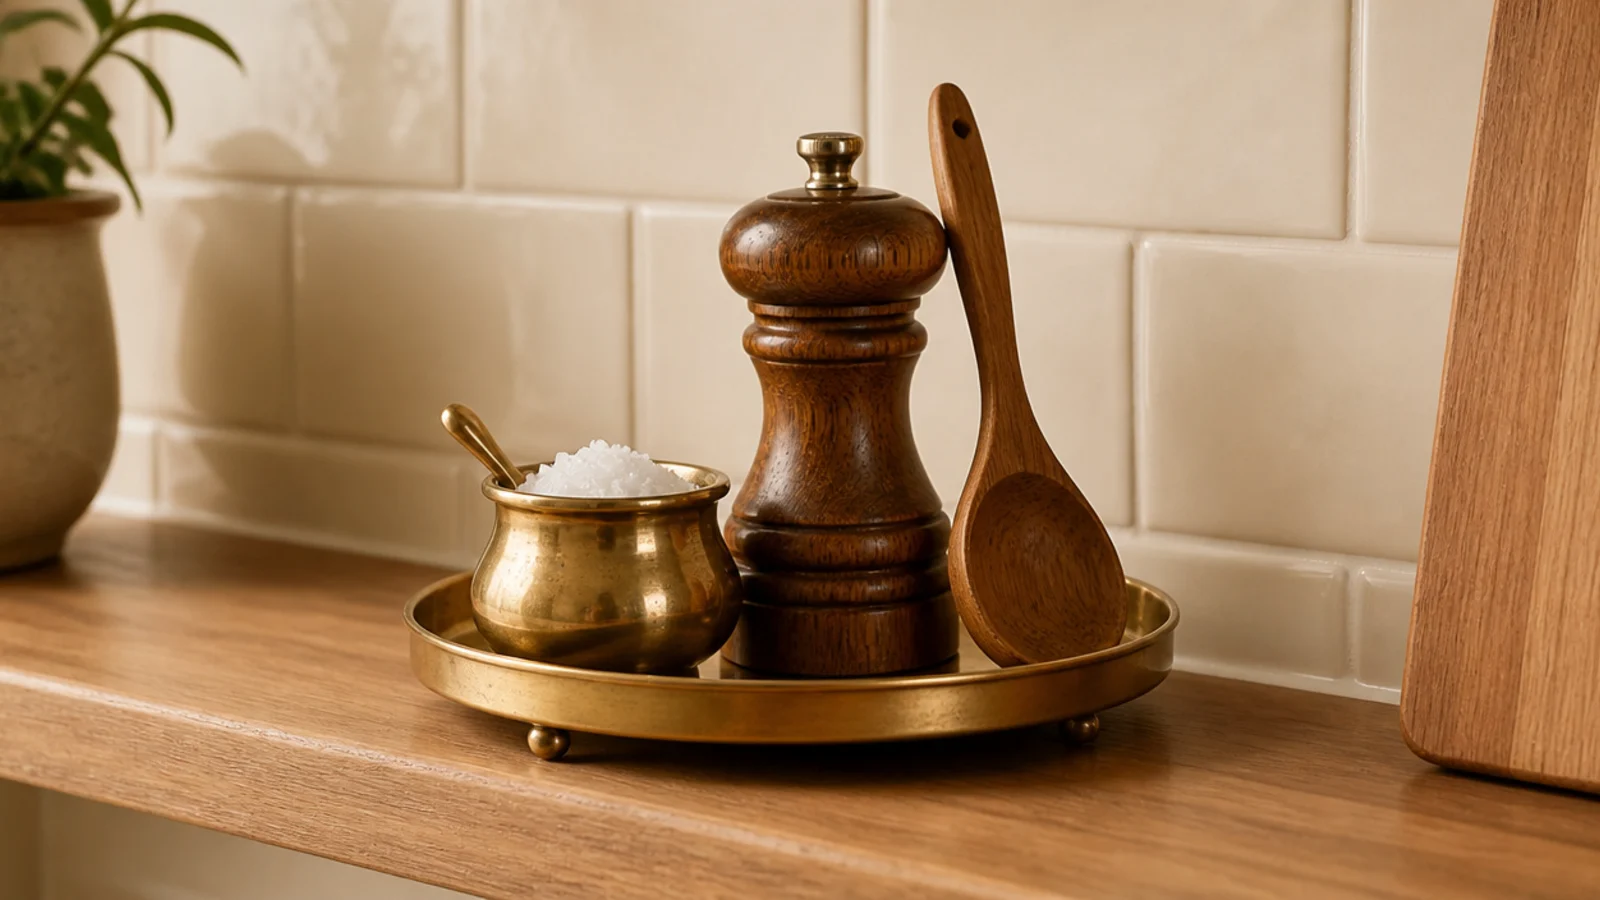
A small tray turns salt, pepper and a spoon into one object instead of three pieces of visual noise.
It also means you lift three things at once when you wipe the shelf, which makes the weekly clean far more likely to happen.
20. One leaning print per run, well off the stove
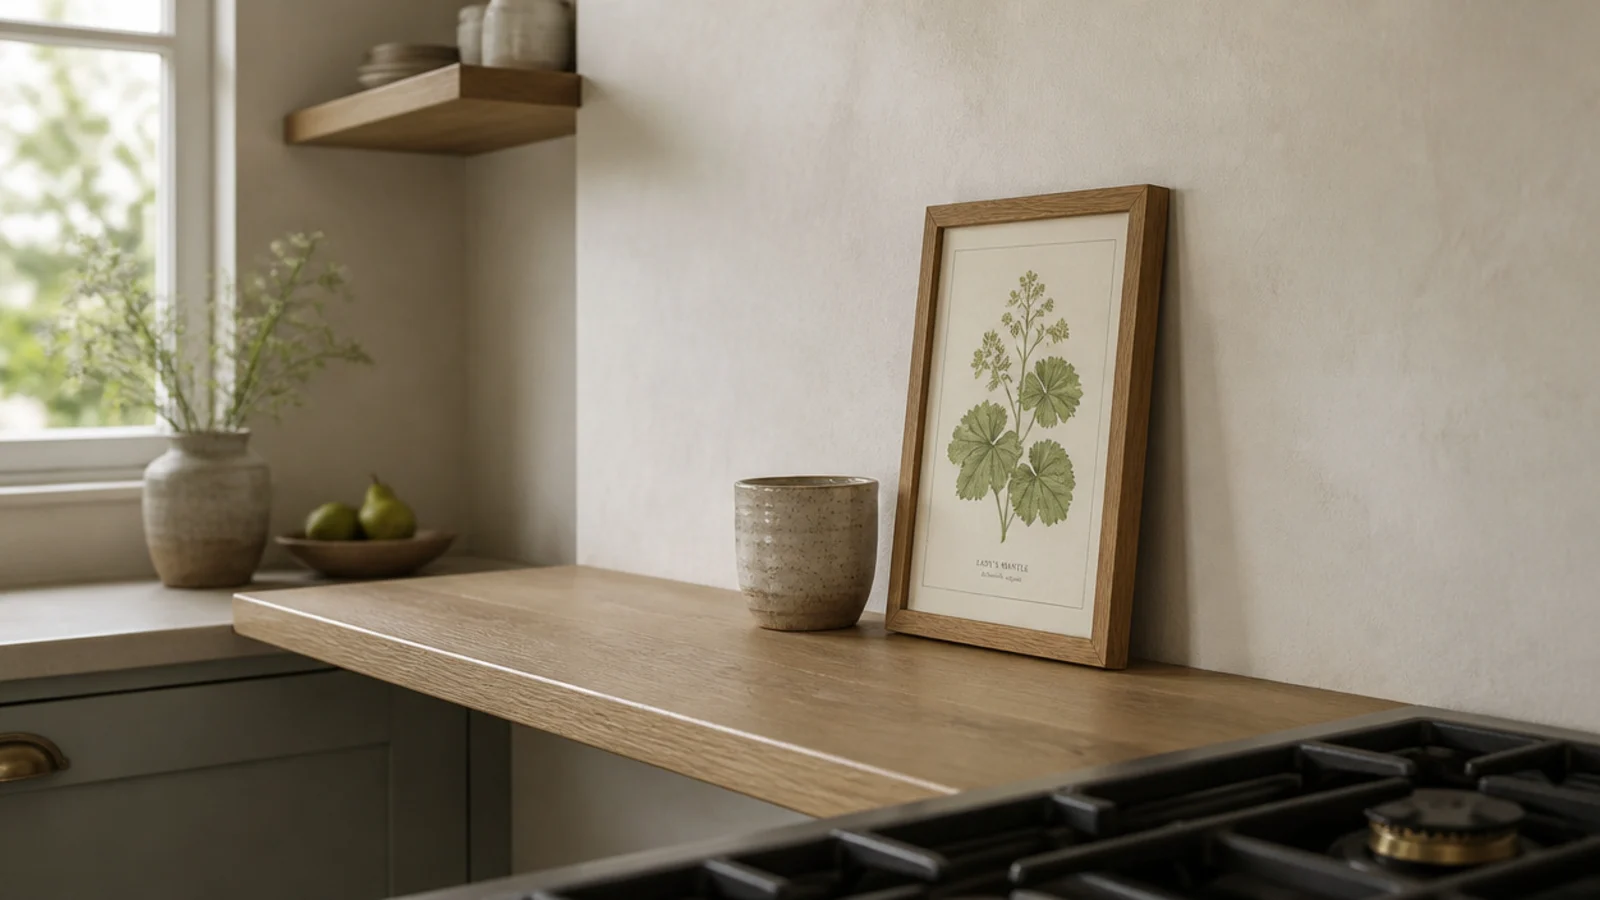
Art in a kitchen works, but only at the cool end of the wall. Lean one small framed print rather than hanging it.
Leaning means you can lift it out to wipe behind, and glass shows a grease film faster than any other material.
21. Vary silhouettes, not colors
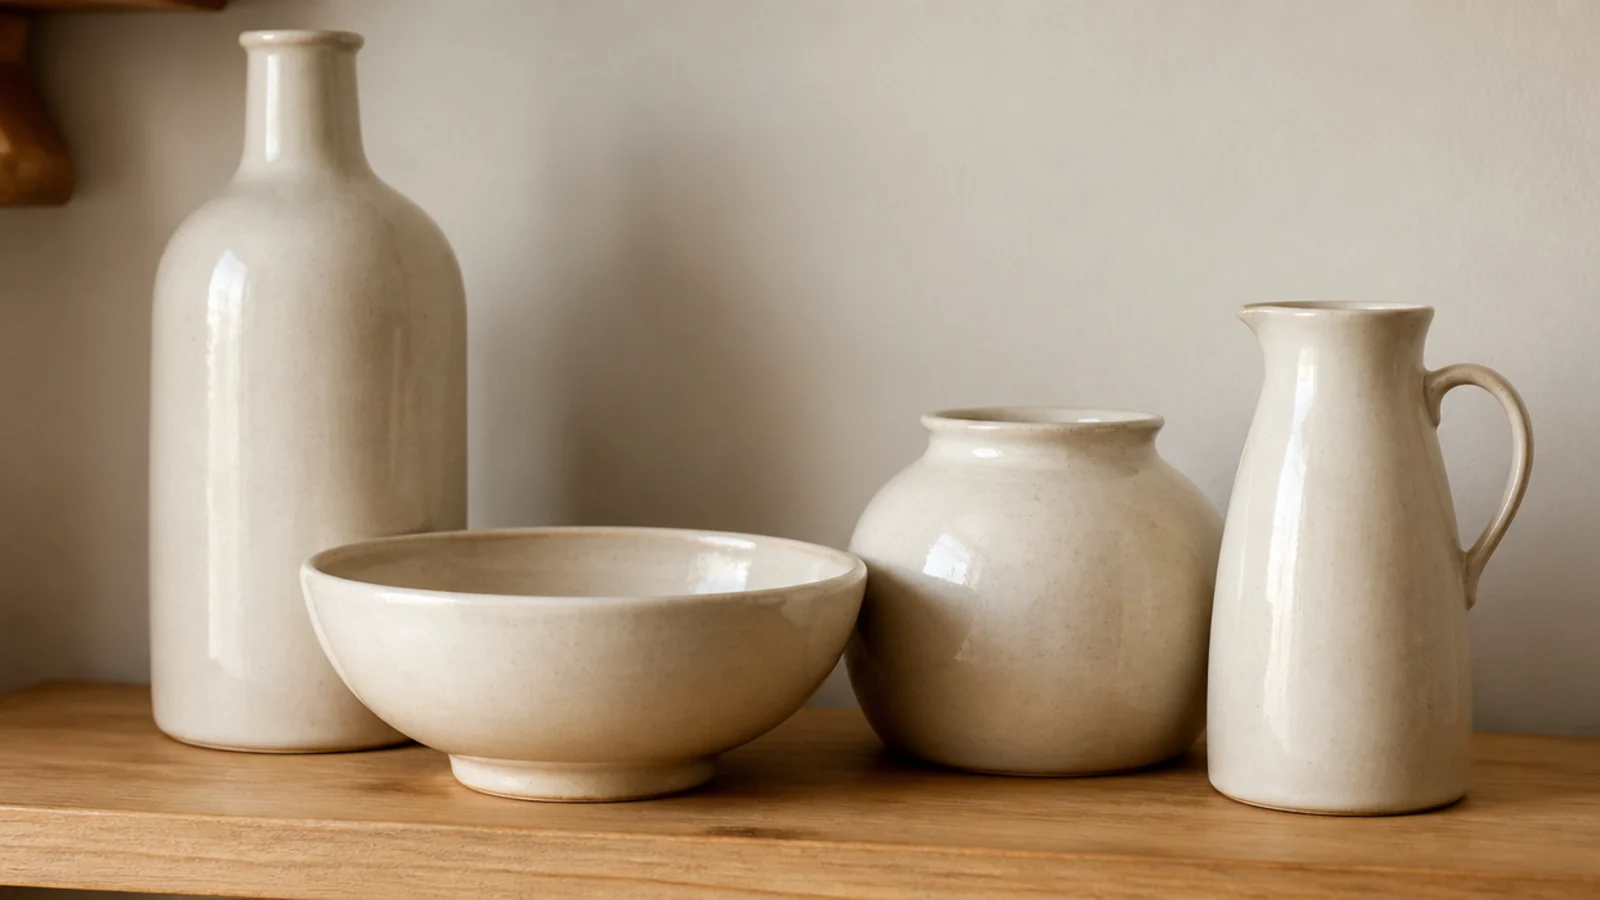
Four cream vessels in four different shapes look richer than four shapes in four colors.
Shape variation is quiet and reads as considered. Color variation shouts and dates quickly. In a kitchen already full of hard edges, quiet wins.
22. Put back only what you used this week
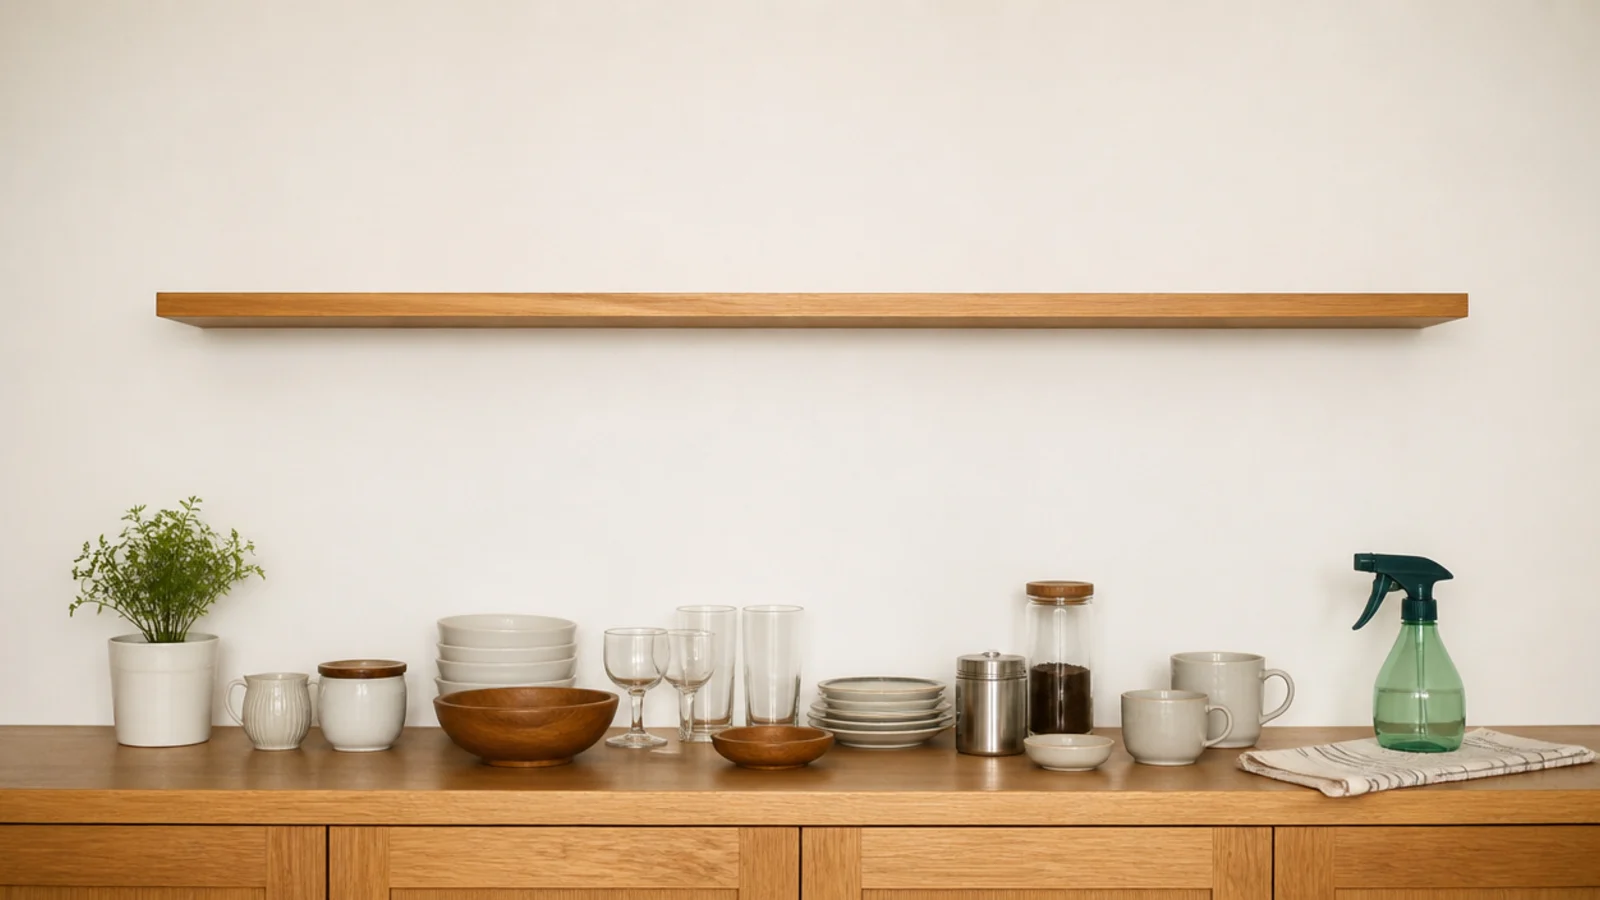
Once the shelf is bare, return items one at a time and only if you have genuinely touched them in seven days.
Everything else goes behind a door. This single exercise fixes more kitchen shelves than any amount of rearranging.
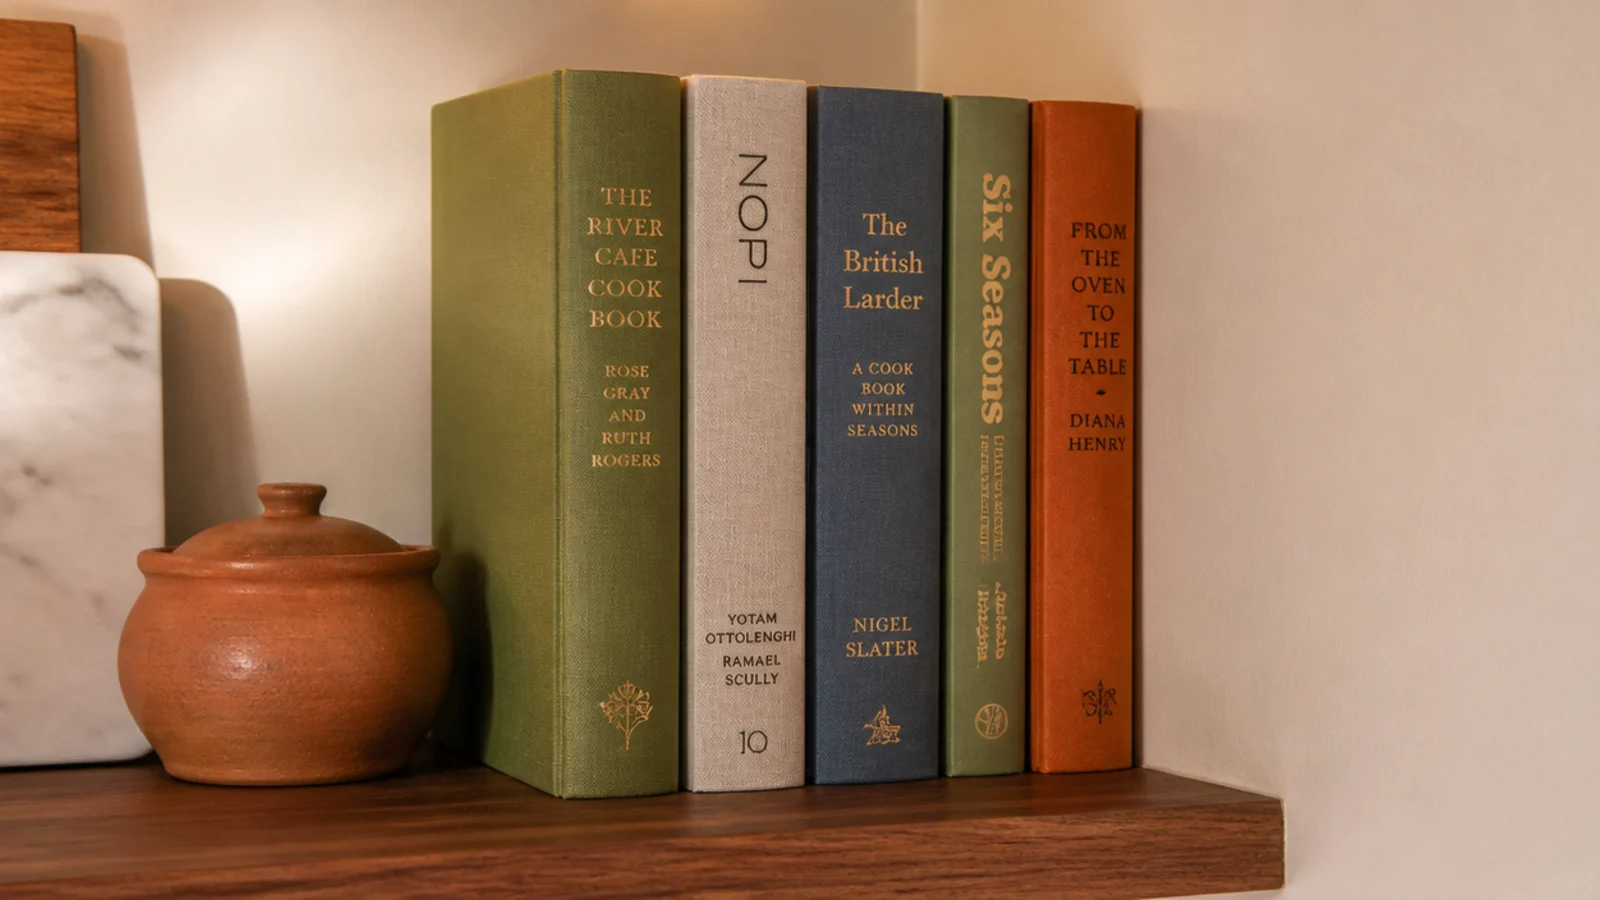
23. Use the shelf ends as bookends
Where a shelf run meets a wall, push cookbooks upright into that corner and let the wall hold them.
No bookends needed, and the vertical spines at the end give the run a natural stop. Keep them at the far end from the range.
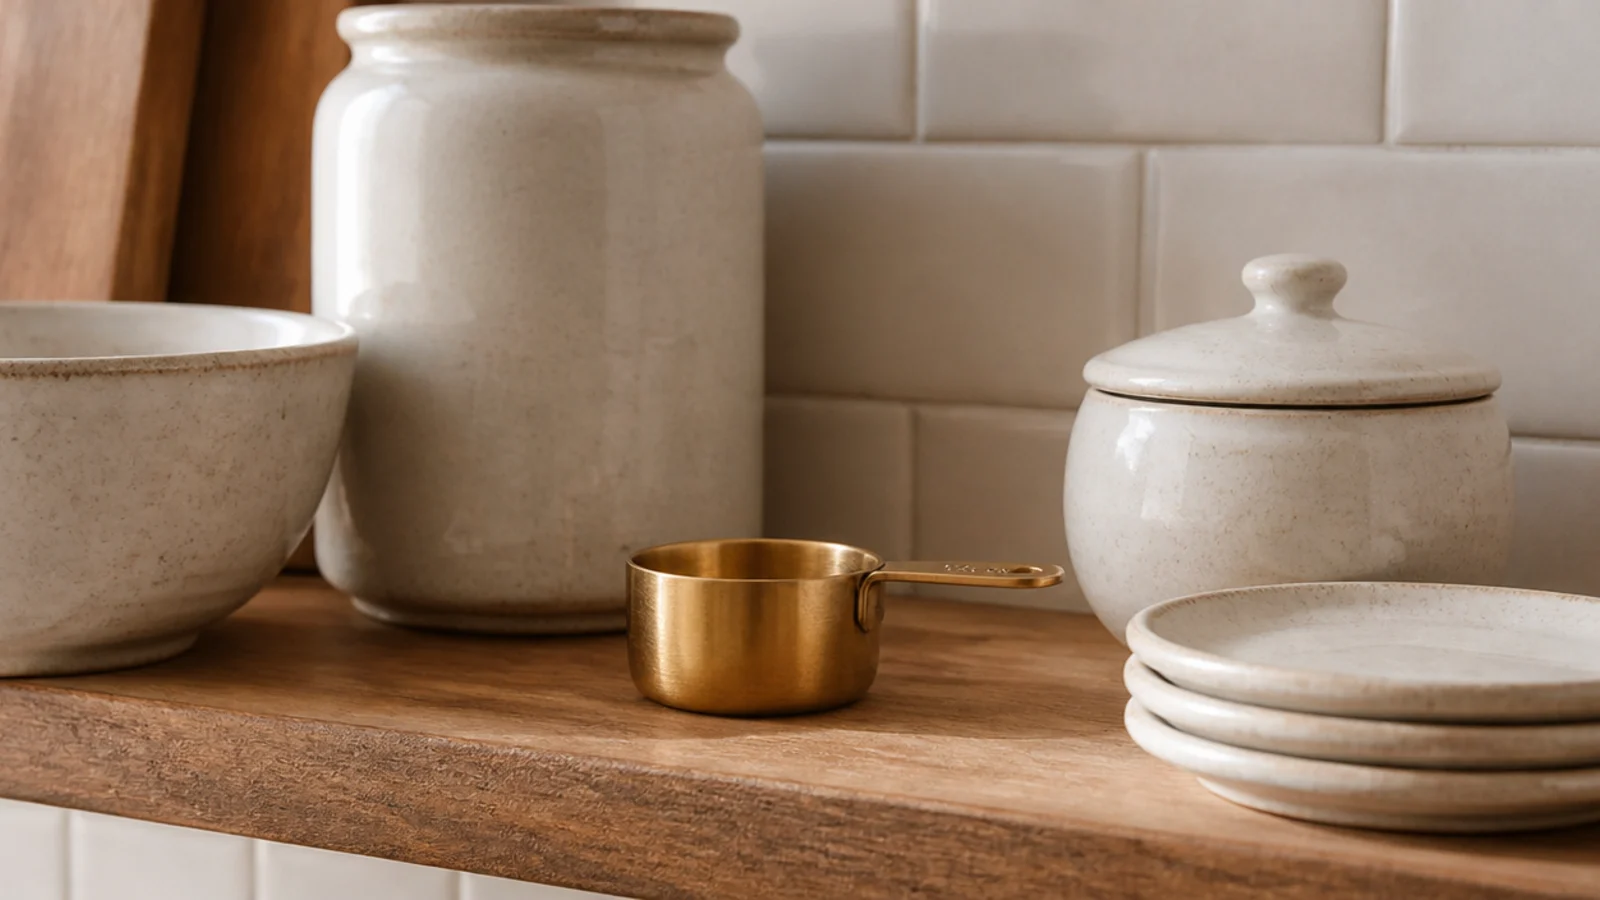
24. One brass note per shelf, no more
A single brass measure or small tray per board adds warmth. Two starts to look like a collection; three looks like a theme.
Match the tone to your taps rather than mixing aged brass with polished gold, which reads as accidental.
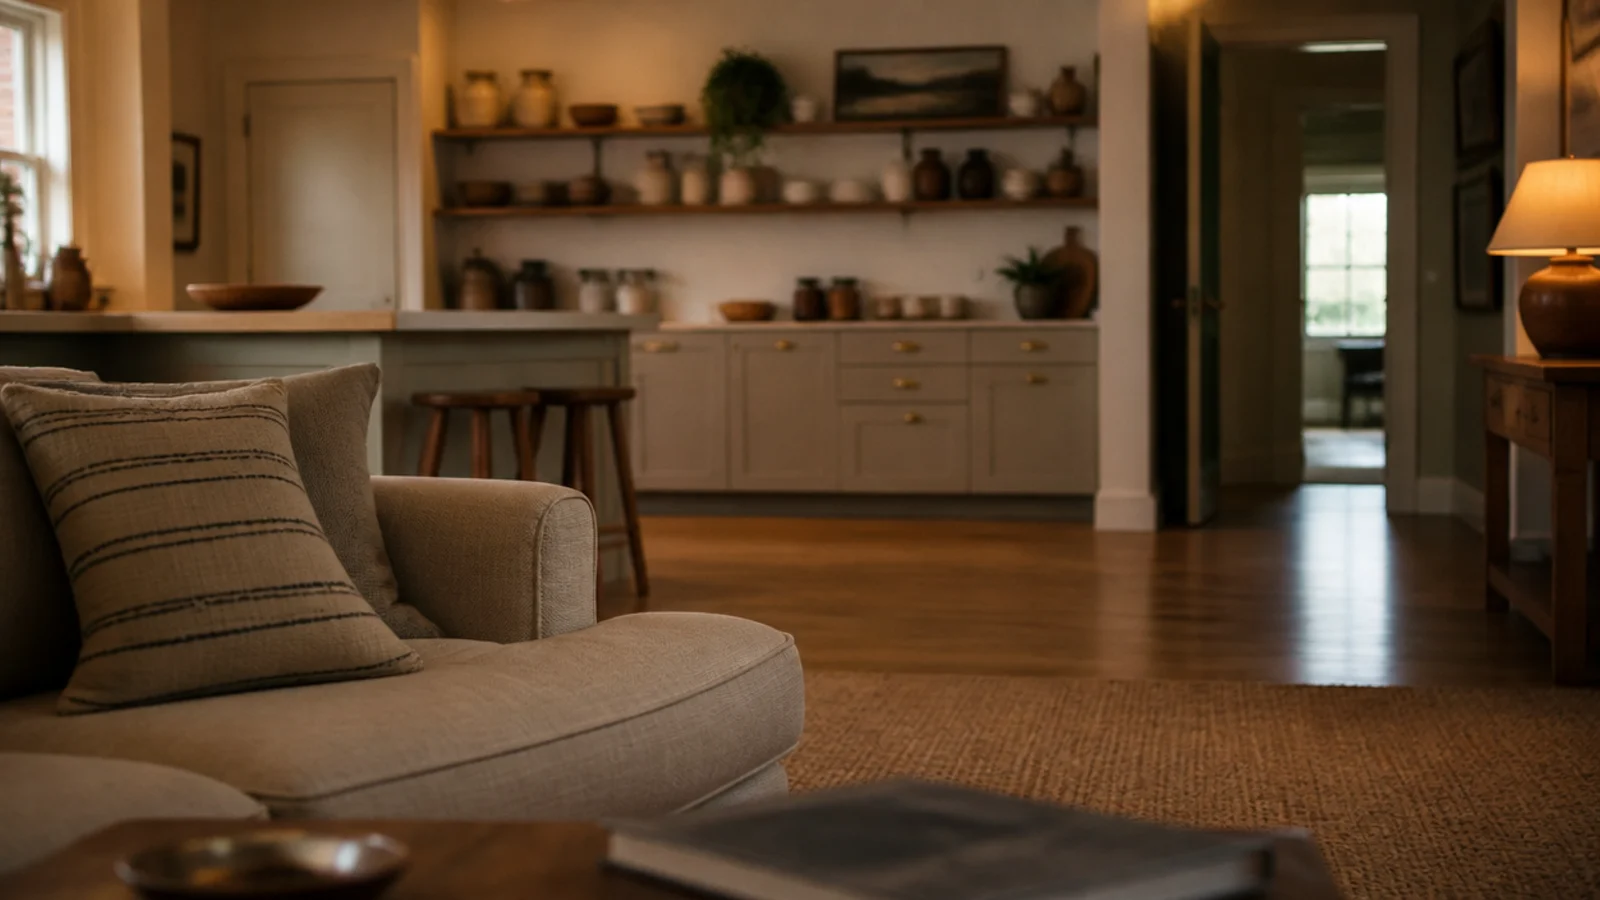
25. Style the shelf you see from the sofa
In an open-plan room, the shelf gets looked at from the couch far more than from the counter. Stand there before you commit.
The arrangement that reads beautifully at 18 inches often disappears at 18 feet. Bigger shapes, fewer of them.
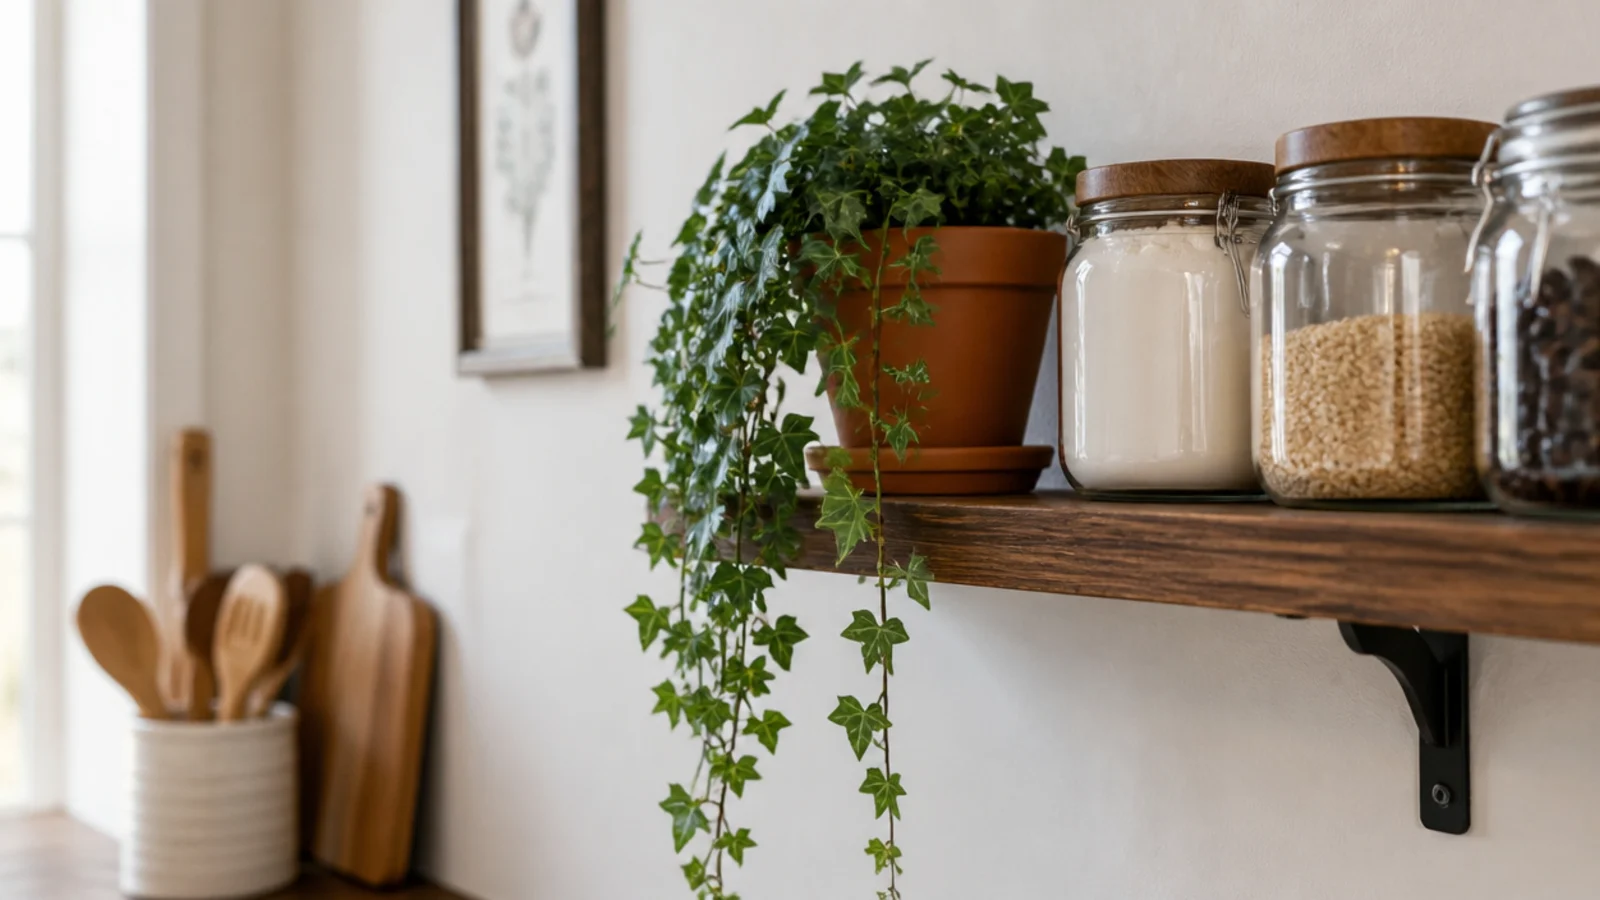
26. Small trailing plants, never bushy ones
A bushy plant eats a shelf and blocks everything behind it. Trailing plants fall downward and frame the board instead.
Pothos, string of hearts and small ivy all handle kitchen humidity happily. Terracotta over plastic, every time.
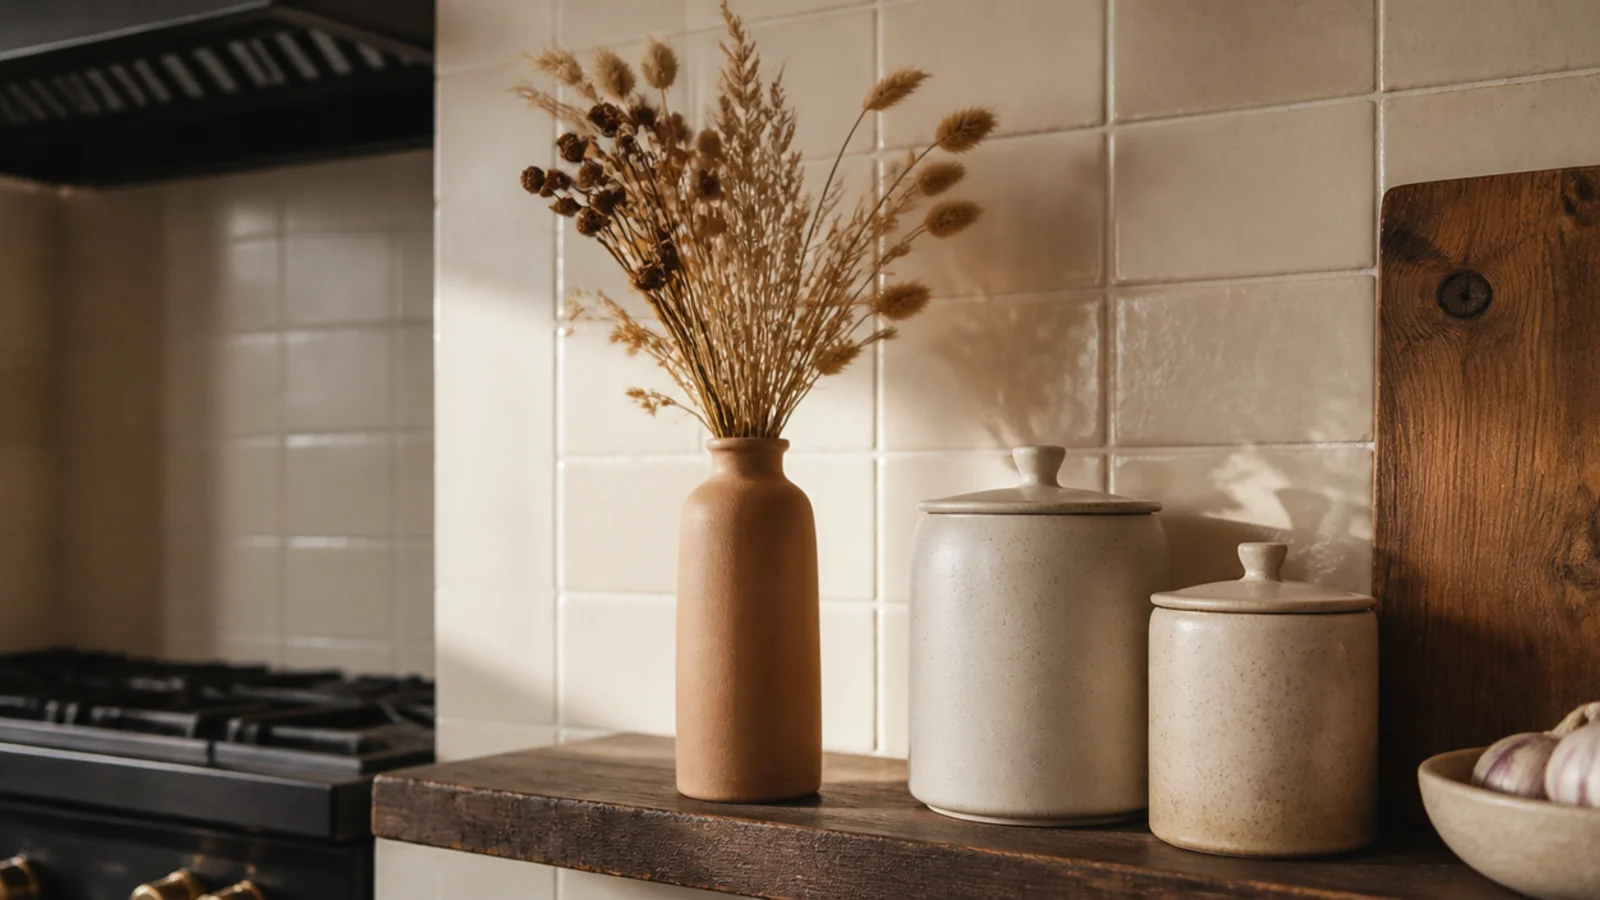
27. Dried stems in the grease zone
Fresh flowers within four feet of a burner wilt fast and then need water changed on a shelf you cannot reach easily.
Dried grasses and seed heads shrug all of that off, cost a few dollars, and hold their shape for a whole season.
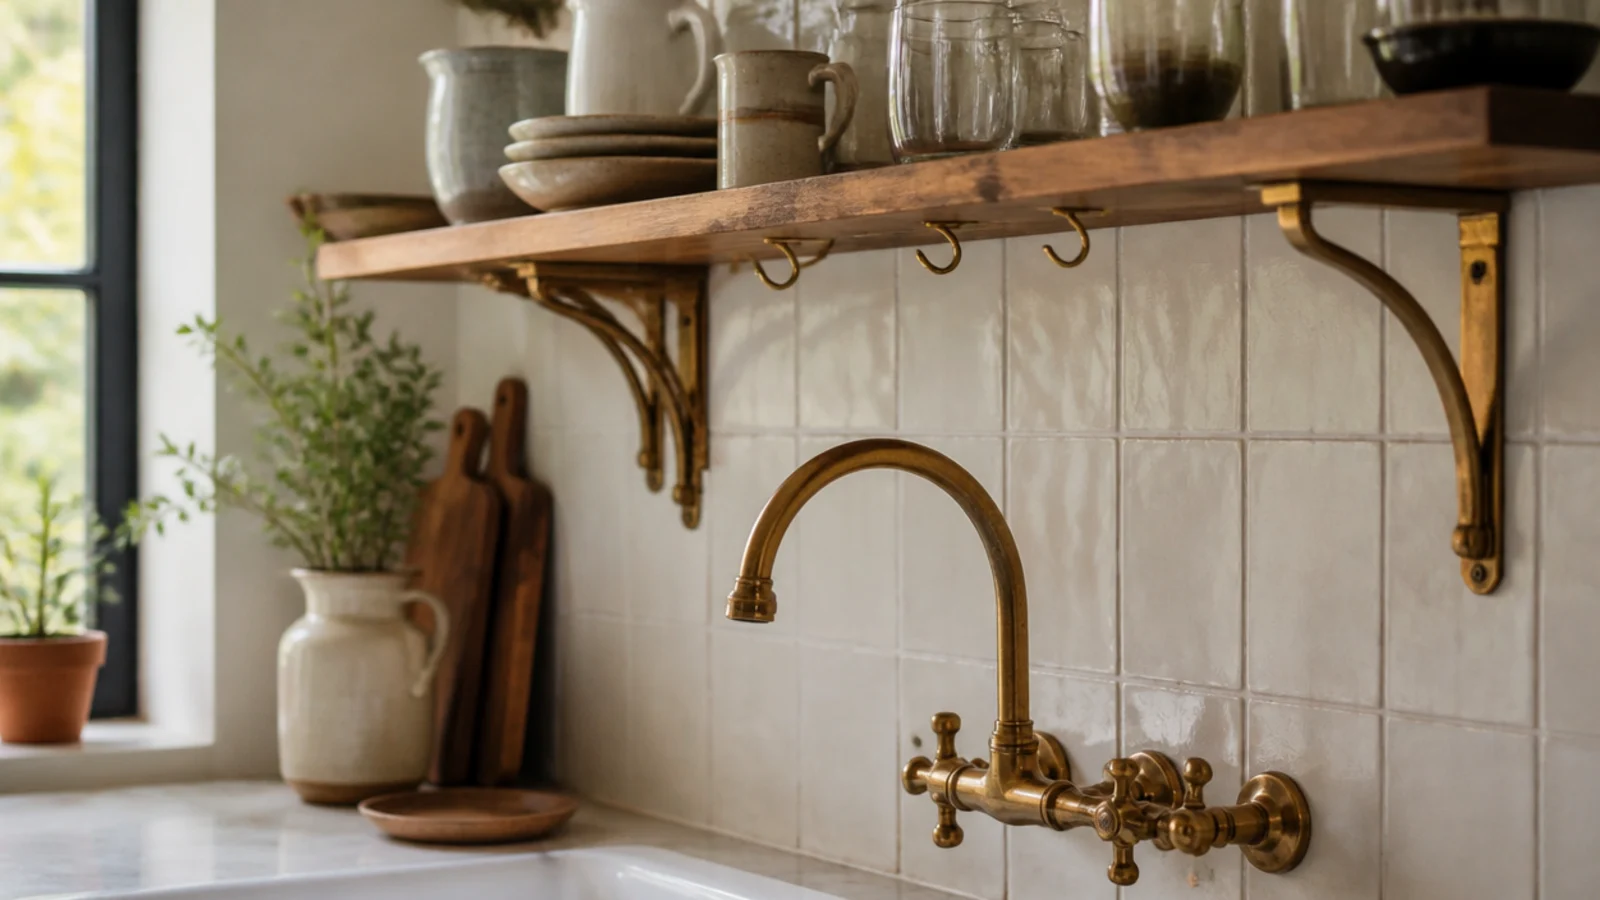
28. Match the metals to your taps
Whatever finish the taps and handles already are, use that for brackets, hooks and rails. The room has made the decision for you.
Mixed metals work in a big kitchen with distance between them. On one shelf run they just look unfinished.
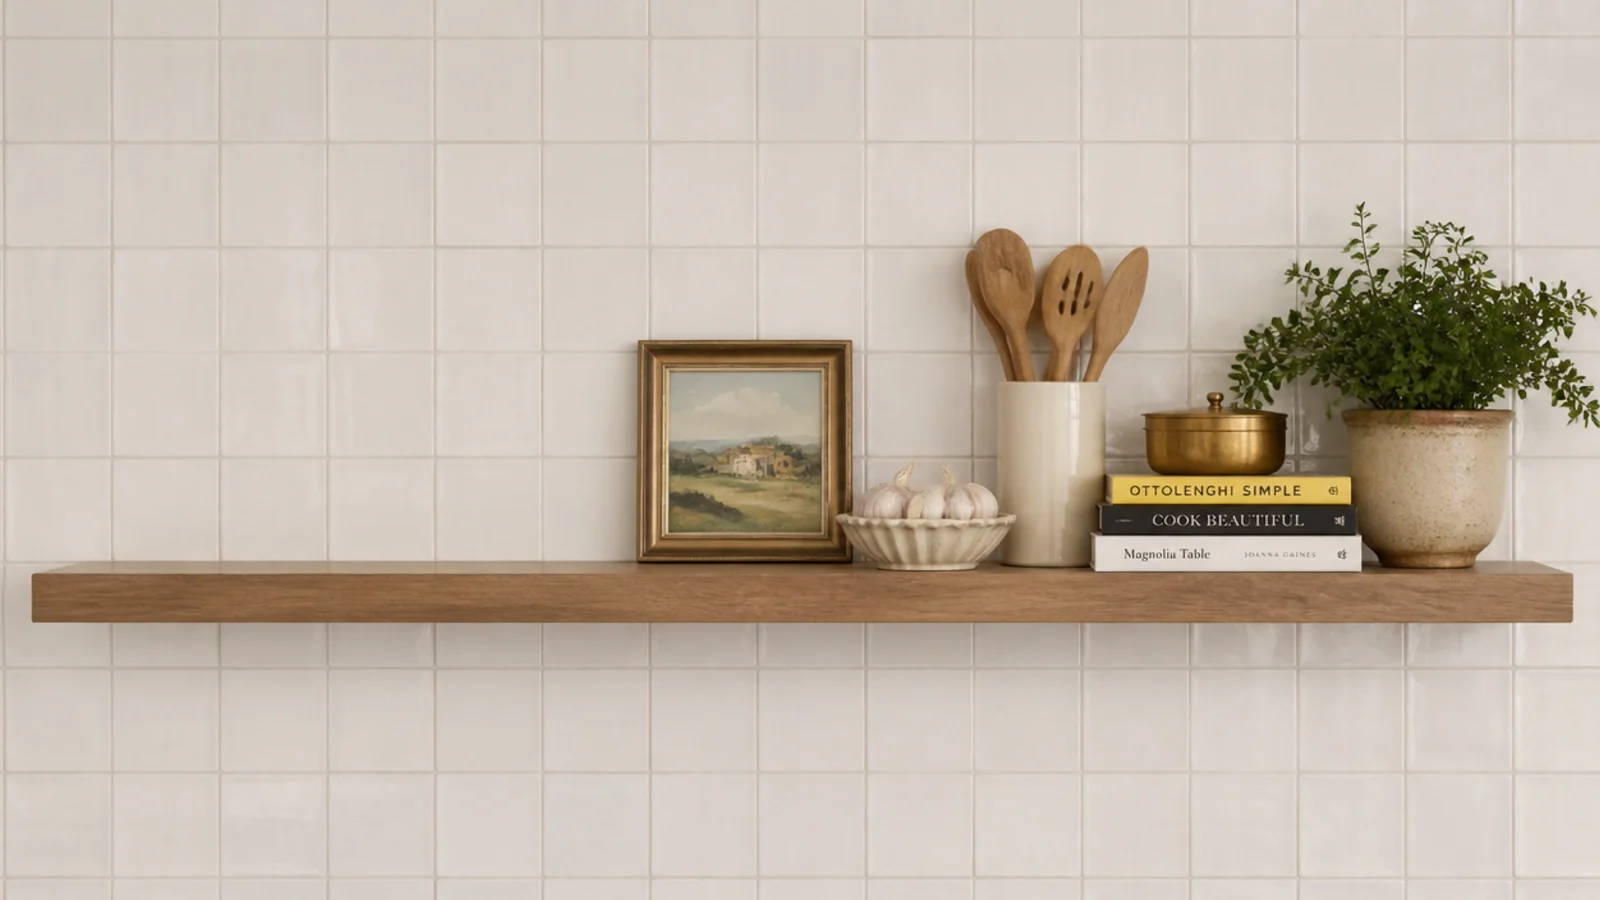
29. Photograph it to spot the imbalance
Take a flat, straight-on photo on your phone. Your eye forgives what a photograph does not.
Bunching to one side, a missing height, a color that jumps out — all of it shows up instantly on screen and takes a minute to fix.
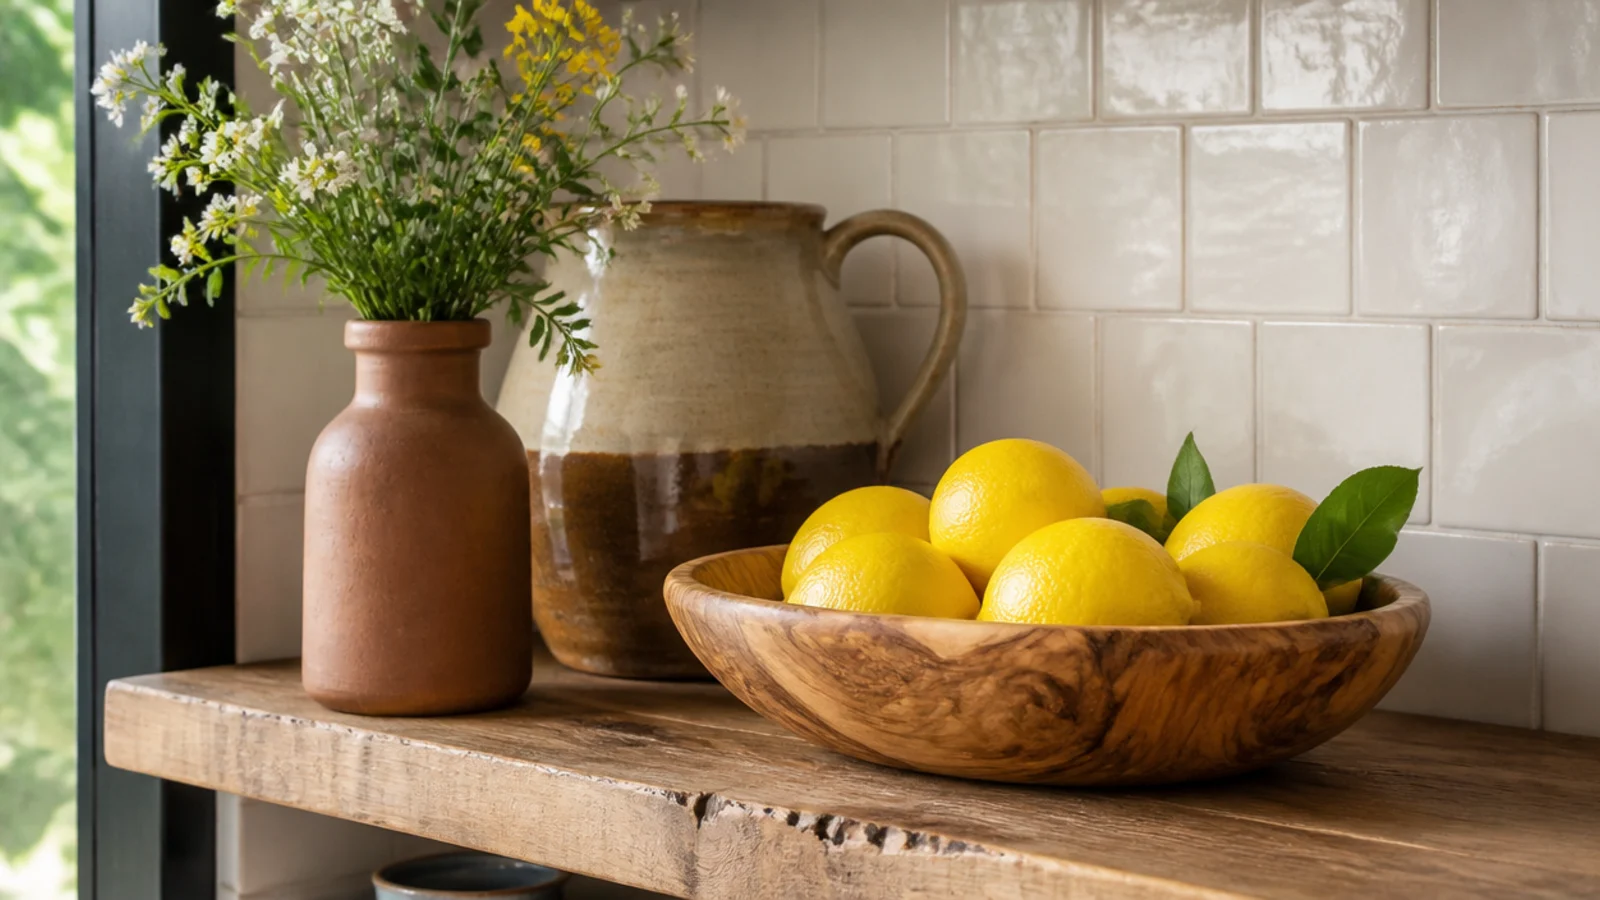
30. Restyle with fruit and stems, nothing bought
Lemons in winter, plums in late summer, apples in autumn, a few stems from the garden. Five or six pieces reads as styling; twenty reads as storage.
That is the whole seasonal refresh, for about three dollars. More arrangements sit in kitchen shelf decor.
Mistakes to Skip
- Styling with things you never use. In a kitchen they collect grease in full view and nobody has a reason to pick them up and wash them.
- Spacing objects evenly along the board. Equal gaps read as a shop display; tight clusters with real air between them read as a home.
- Putting paper or wicker within four feet of the range. Both absorb an airborne grease film into a surface that cannot be wiped clean afterward.
Frequently asked questions
How do you style kitchen shelves without them looking cluttered?
Leave roughly a third of every shelf empty and keep everything to two material families plus one plant. Clutter in a kitchen is almost always a variety problem rather than a quantity problem — eight matched stoneware pieces read as calm, while five mismatched objects read as busy. Line the front edges up rather than the backs.
What should you not put on open kitchen shelves?
Anything you use less than weekly, anything paper within four feet of the stove, and anything you cannot wipe. Cookbooks absorb grease permanently. Wicker traps it in the weave. Appliances you use twice a year sit gathering a film nobody has a reason to clean. Those four categories account for most abandoned open shelving.
How far apart should things be spaced on a kitchen shelf?
Think in groups rather than gaps. Three clusters per three-foot shelf, each cluster tight, with real air between them. Objects spread evenly at equal intervals read as a shop display. The empty space between groups is what your eye reads as intentional, and it is the cheapest styling tool available.
Do you need to buy new things to style kitchen shelves?
No, and buying usually makes it worse. Take everything off, put back only what you have used in the last seven days, and style with that. Fruit, dried stems from the garden and the plates you already own do more than anything on a homeware shelf, and they cost nothing to swap out seasonally.
How often should kitchen shelves be restyled?
Wipe weekly, edit monthly, restyle seasonally. The weekly wipe is non-negotiable within four feet of a burner because grease film is invisible for about three weeks and then suddenly is not. The monthly edit is where you remove whatever crept back on, which is usually two or three things you never once reached for.
Take one shelf completely bare this weekend and put back only what you touched in the last seven days — that alone fixes most kitchen shelves before you rearrange a single object. If the shelves are not up yet, fifteen kitchen shelf ideas covers placement and the twenty-step build covers heights and anchors. The same grouping rules on a living room wall appear in floating shelf styling. Save the pin for your next reshuffle.
Want more like this? Browse all 15 kitchen shelf ideas guides — they all use the same measurements and budget tiers.

Pin it for later
Save this to your Kitchen Shelf Ideas board
Pin it now so it is waiting for you when the tape measure comes out — and so the next person hunting for this idea can find it too.
Save this pinKeep going
More ideas worth saving while you have the tape measure out.