Kitchen Shelf Ideas · Listicle
15 Cozy Kitchen Shelf Ideas That Look Pricey

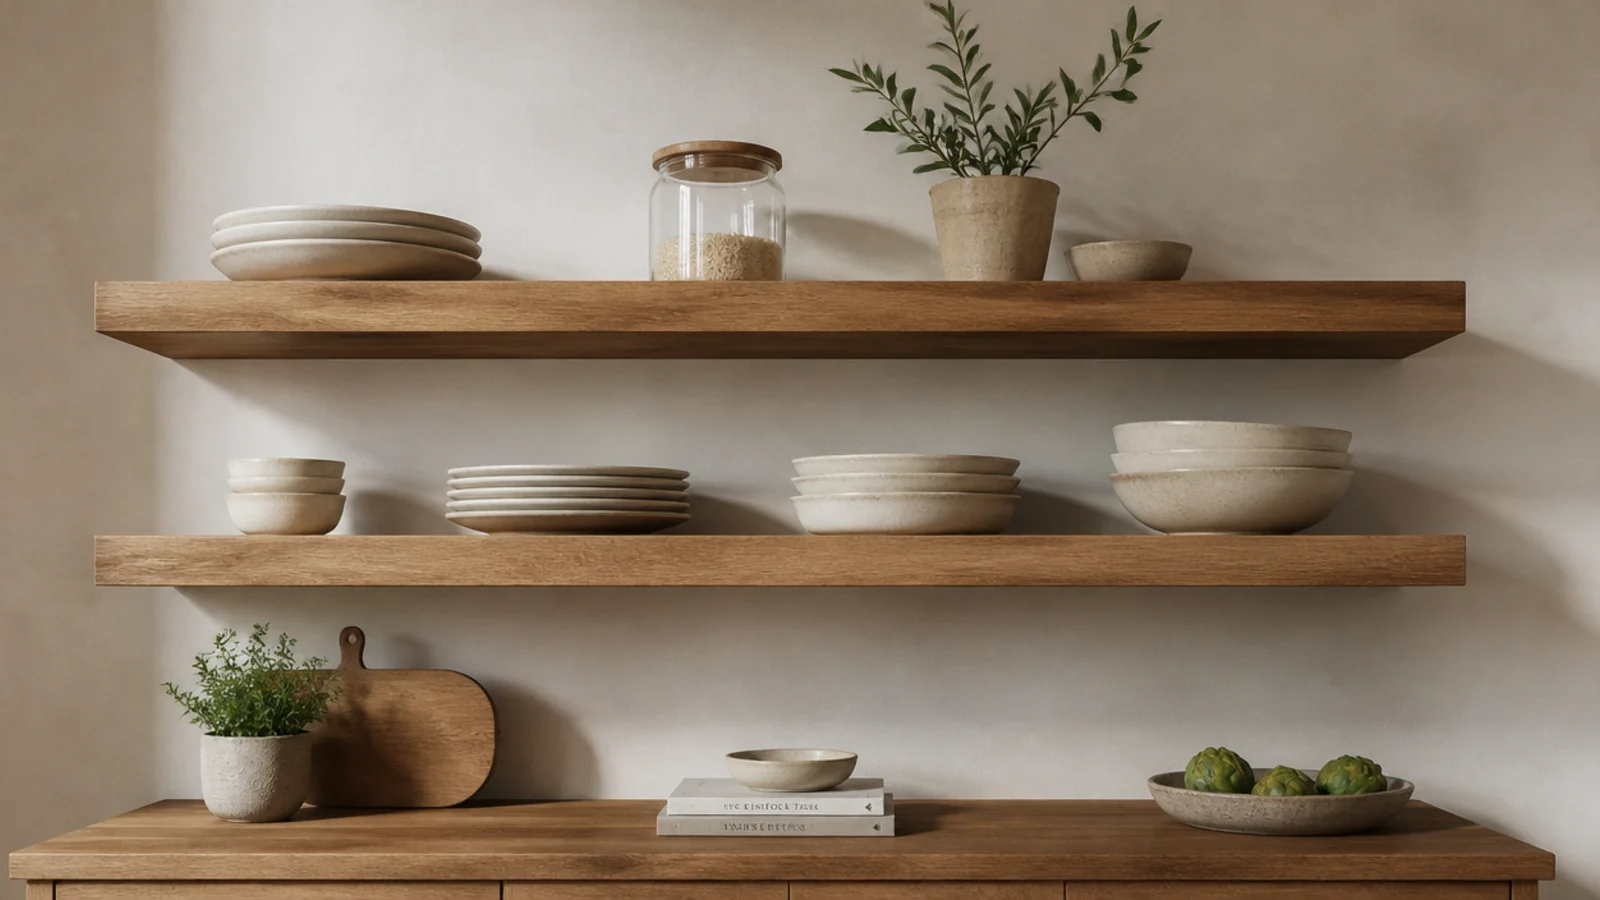
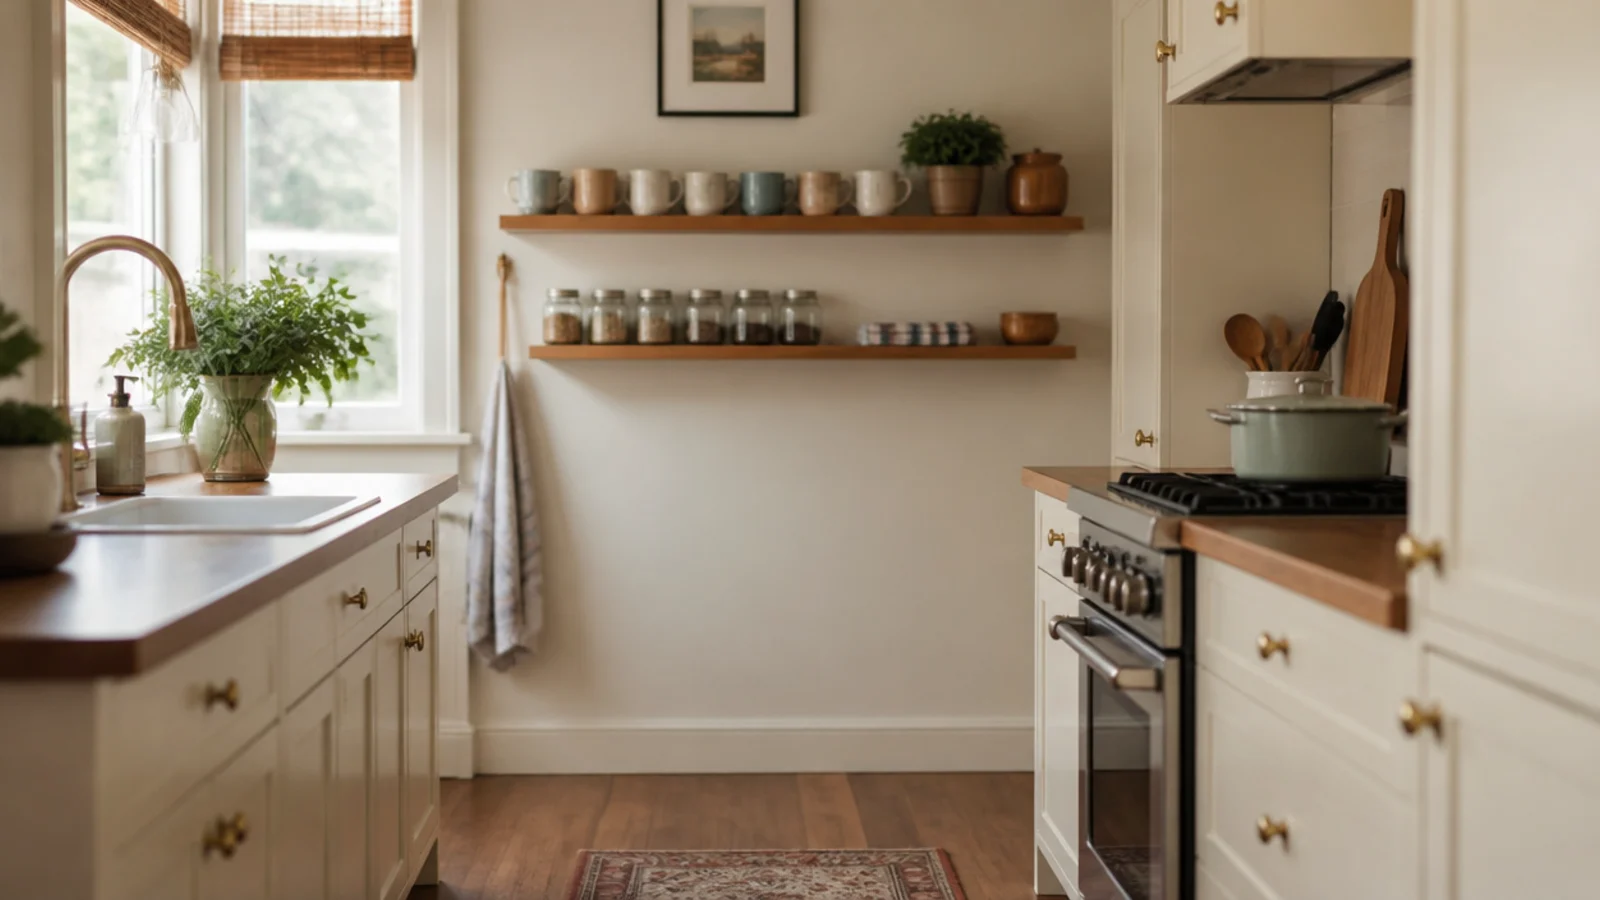
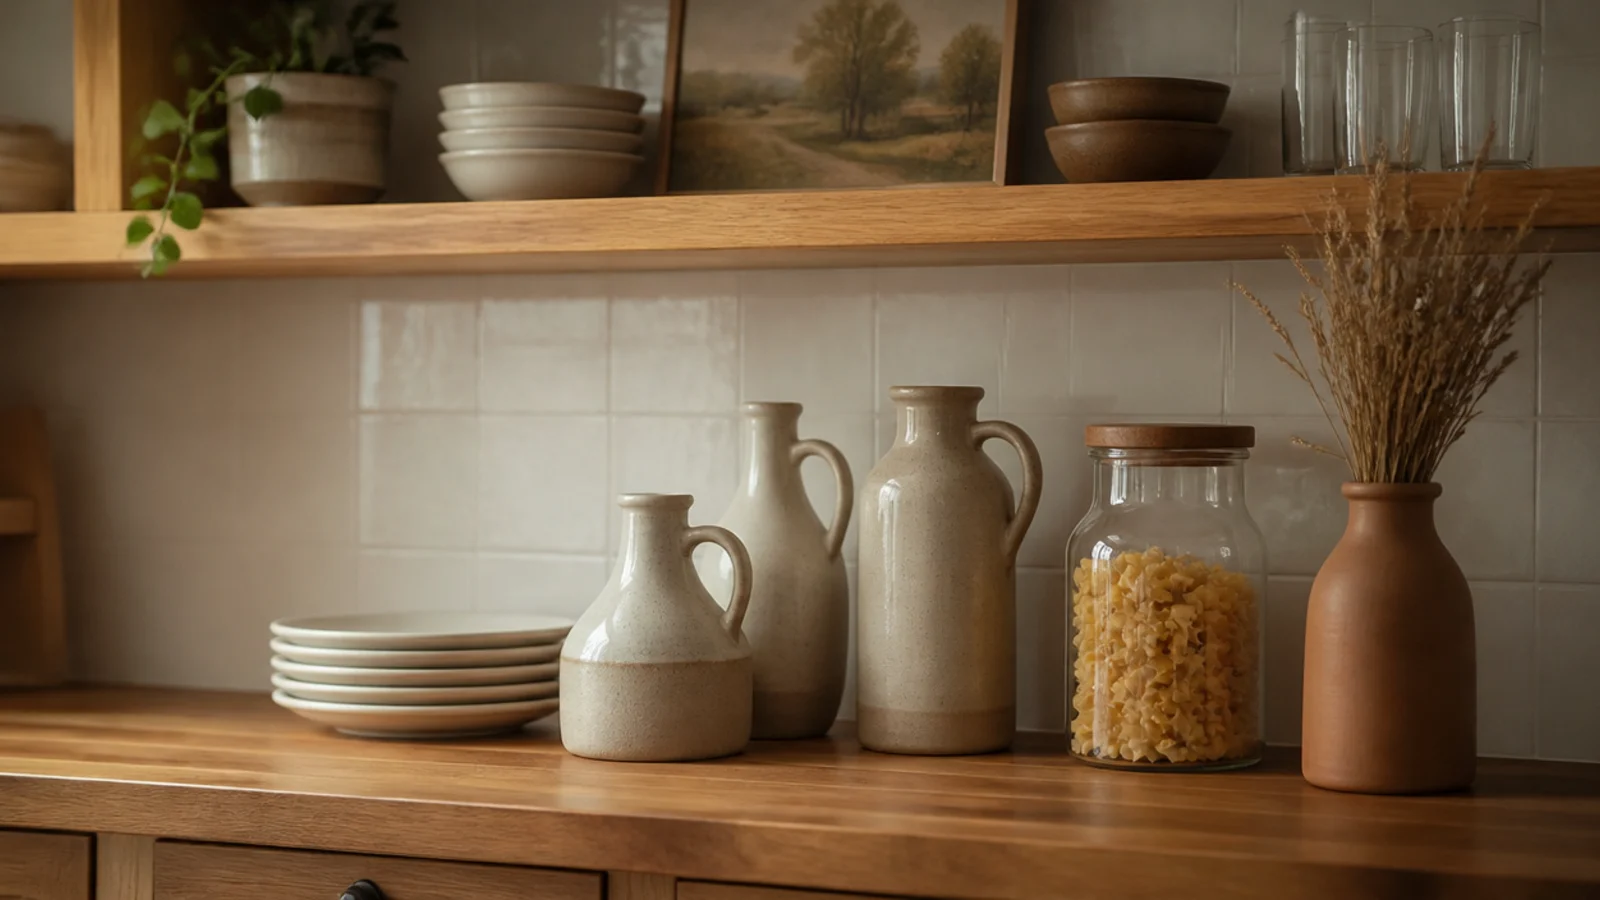
Floating kitchen shelves cost about the same as bracketed ones and read three times more expensive, and the difference is almost entirely in details that take an extra hour. Thickness, edge profile, where the run ends, whether you can see a shadow behind it. I have installed these in two kitchens and got the first one wrong in exactly the ways below. Fifteen setups, each with the detail that does the work.
In this guide17 sections — tap to openHide
- 1.What makes floating kitchen shelves look custom
- 2.Build the thickness with a hollow box shelf
- 3.Run it wall to wall so the ends disappear
- 4.Mitre the front edge so no end grain shows
- 5.Match the shelf to your counter species
- 6.A routed channel for an under-shelf LED strip
- 7.One thick shelf instead of two thin ones
- 8.Paint the wall behind a shade darker
- 9.Scribe the back edge to the wall
- 10.Align the shelf with the window head
- 11.Keep a consistent reveal at both ends
- 12.Wrap a chimney breast with two levels
- 13.Mount to a plywood backer behind the tile
- 14.Break the run cleanly at the range hood
- 15.Add a recessed lip underneath for a rail
- 16.Route a groove and make it a plate rail
- 17.Mistakes to Skip
What makes floating kitchen shelves look custom
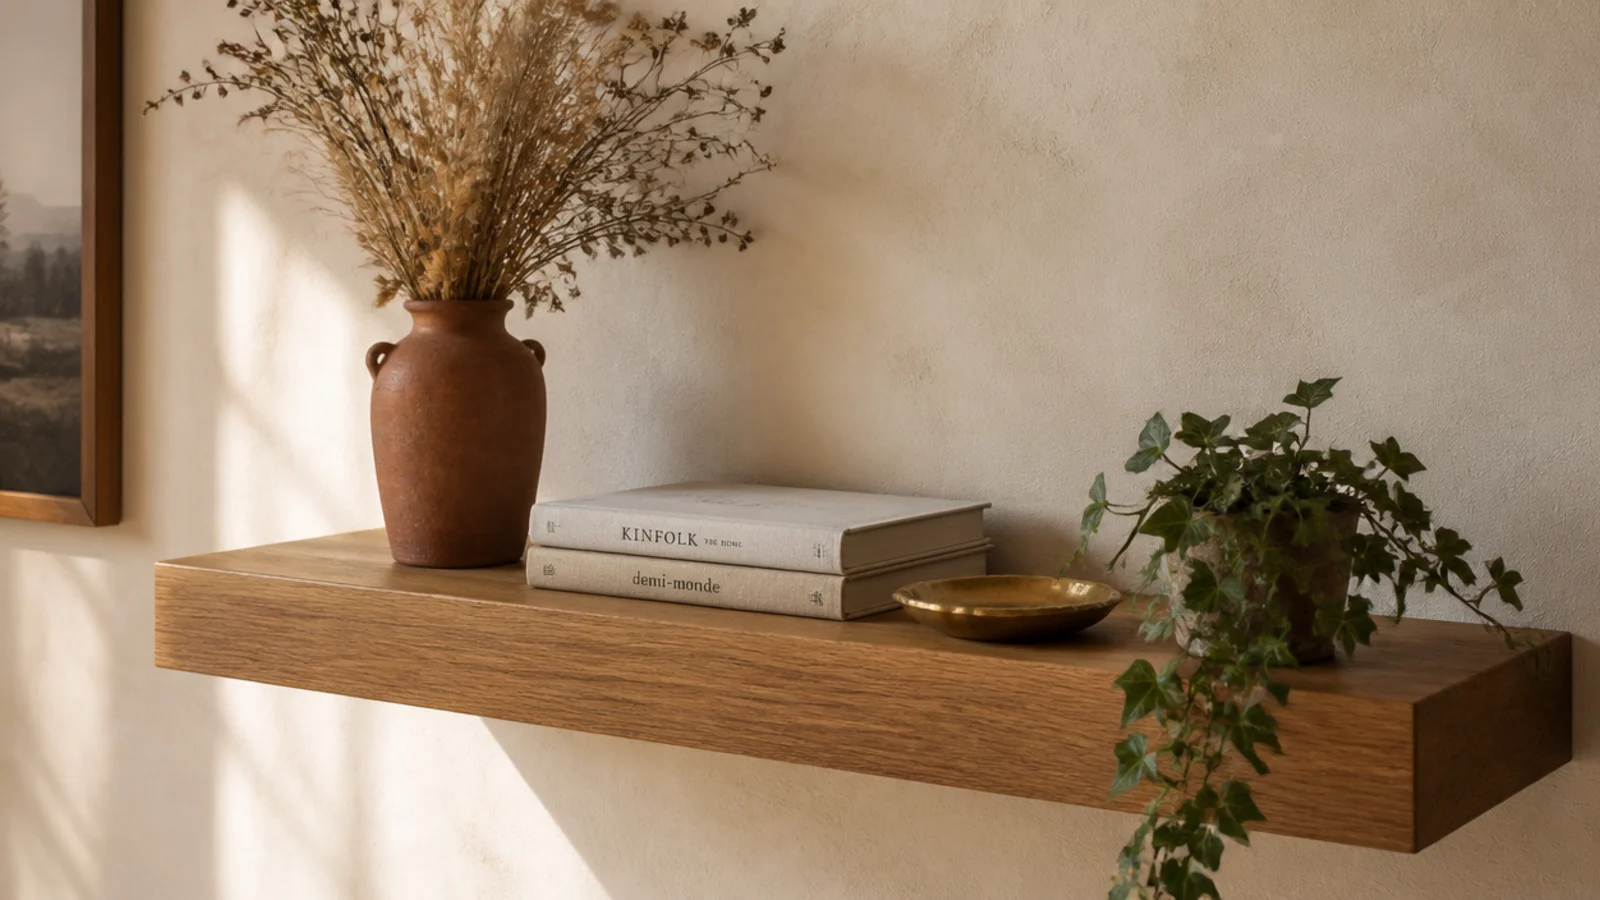
A floating shelf is a board with steel rods buried in its back edge. Everything expensive-looking about it comes from three decisions.
Thickness. An inch and a half to two and a half inches reads as joinery. Three-quarter-inch stock reads as a bought shelf, however nice the timber. A hollow box built from a plywood core with a solid front edge gets you the thick look at a third of the cost.
Where it ends. A run that dies into a wall at both ends looks built in. A run that stops mid-wall for no reason looks bought. If it must stop, give it equal reveals at each end.
What is behind it. Rod brackets need studs. Since a stack of ten dinner plates is about 12 pounds, plan a rod at every stud for anything holding dishes and use three-quarter-inch stock at absolute minimum.
The kitchen rules still apply: first shelf 18 inches above the counter to clear a mixer, second 12 to 14 inches above that, water-based poly or hardwax oil on every face including the underside and cut ends, never clear wax.
Budget: a ready-made floating shelf runs $30 to $60 ($), a built-up box in oak veneer ply is $70 to $120 in materials ($$), and solid two-inch walnut with concealed hardware is $180 upward per shelf ($$$).
1. Build the thickness with a hollow box shelf
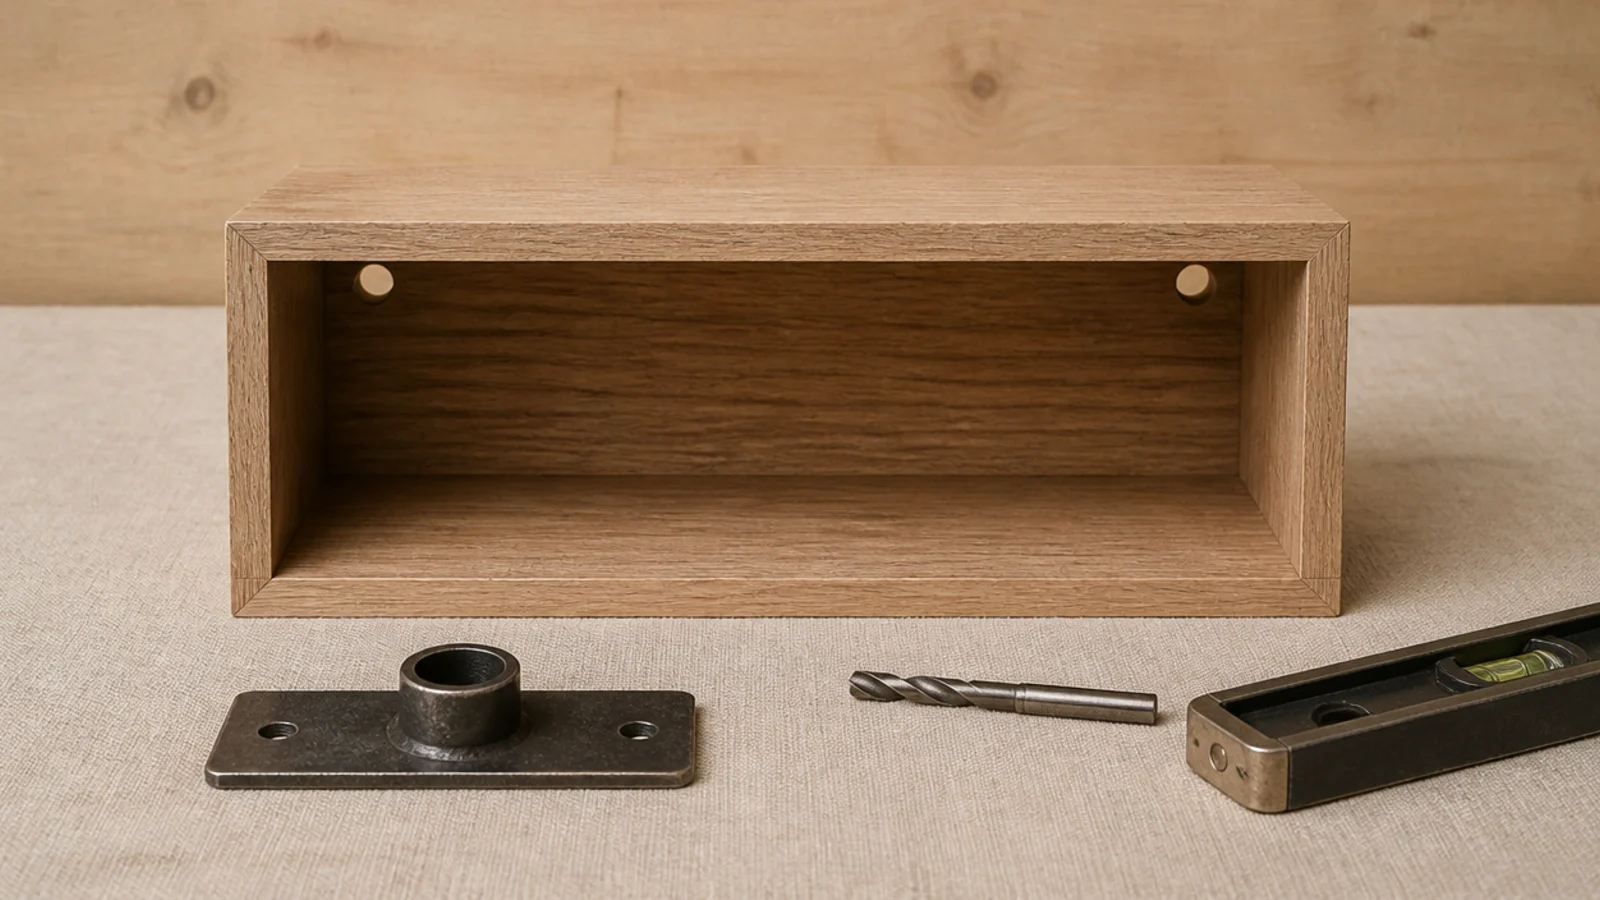
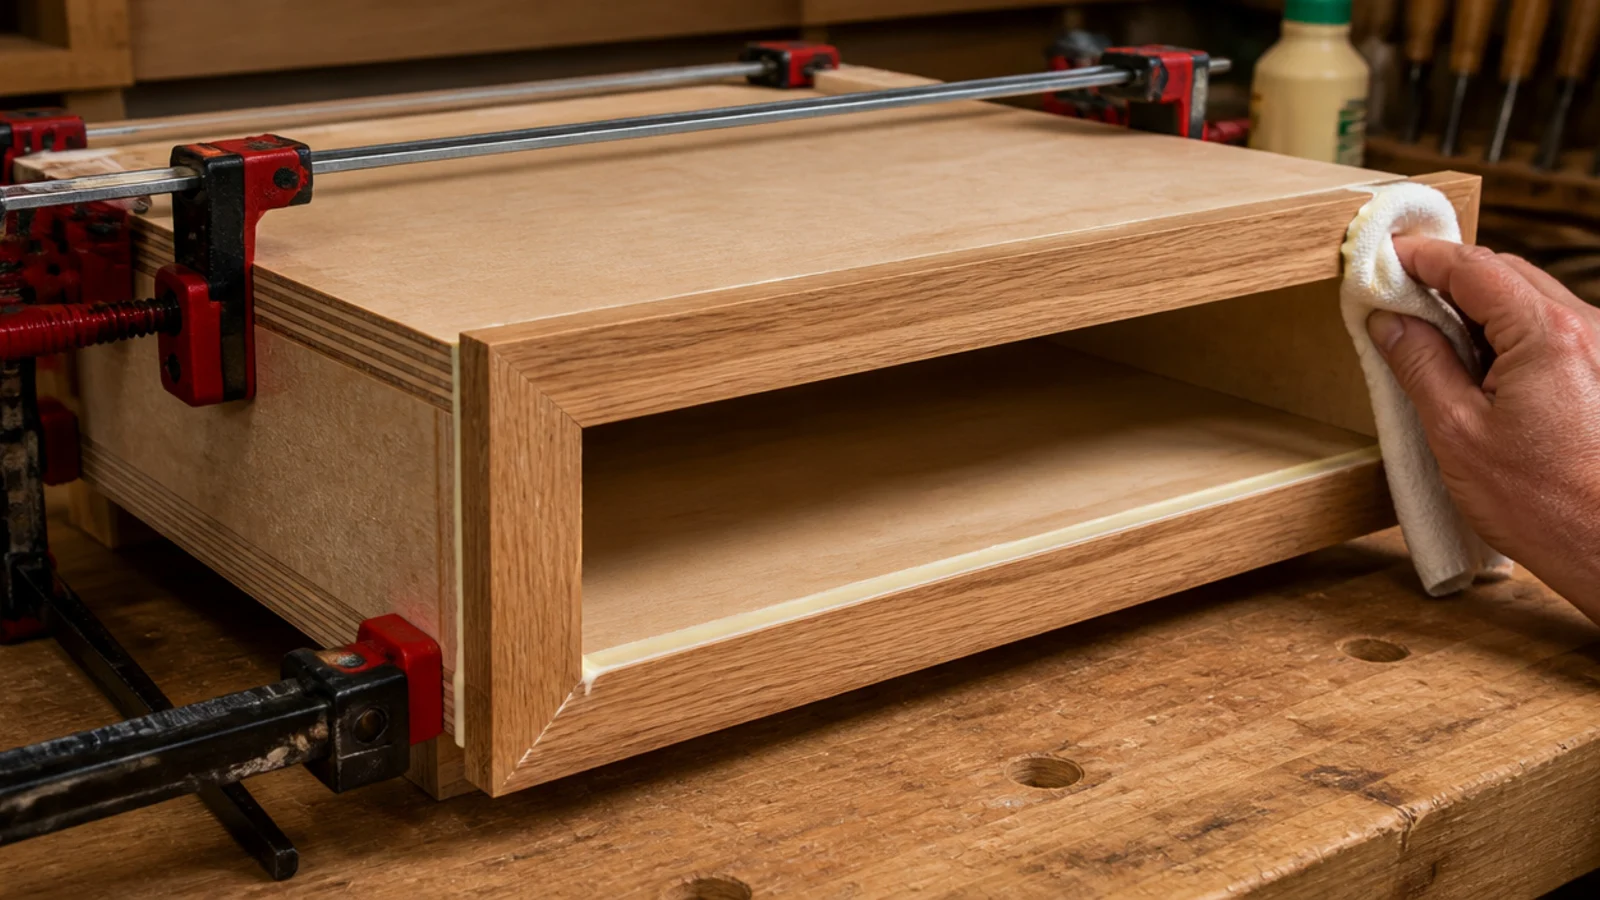
Solid two-inch timber is expensive and heavy. A hollow box is neither, and once it is on the wall nobody can tell the difference.
Build a frame of one-by-two battens, sheet it top and bottom in quarter-inch ply, and glue a solid hardwood strip on the front edge. The rod brackets slot inside the frame with real depth to grip. A six-foot box costs around $45 in materials and takes an evening plus glue-up time.
2. Run it wall to wall so the ends disappear
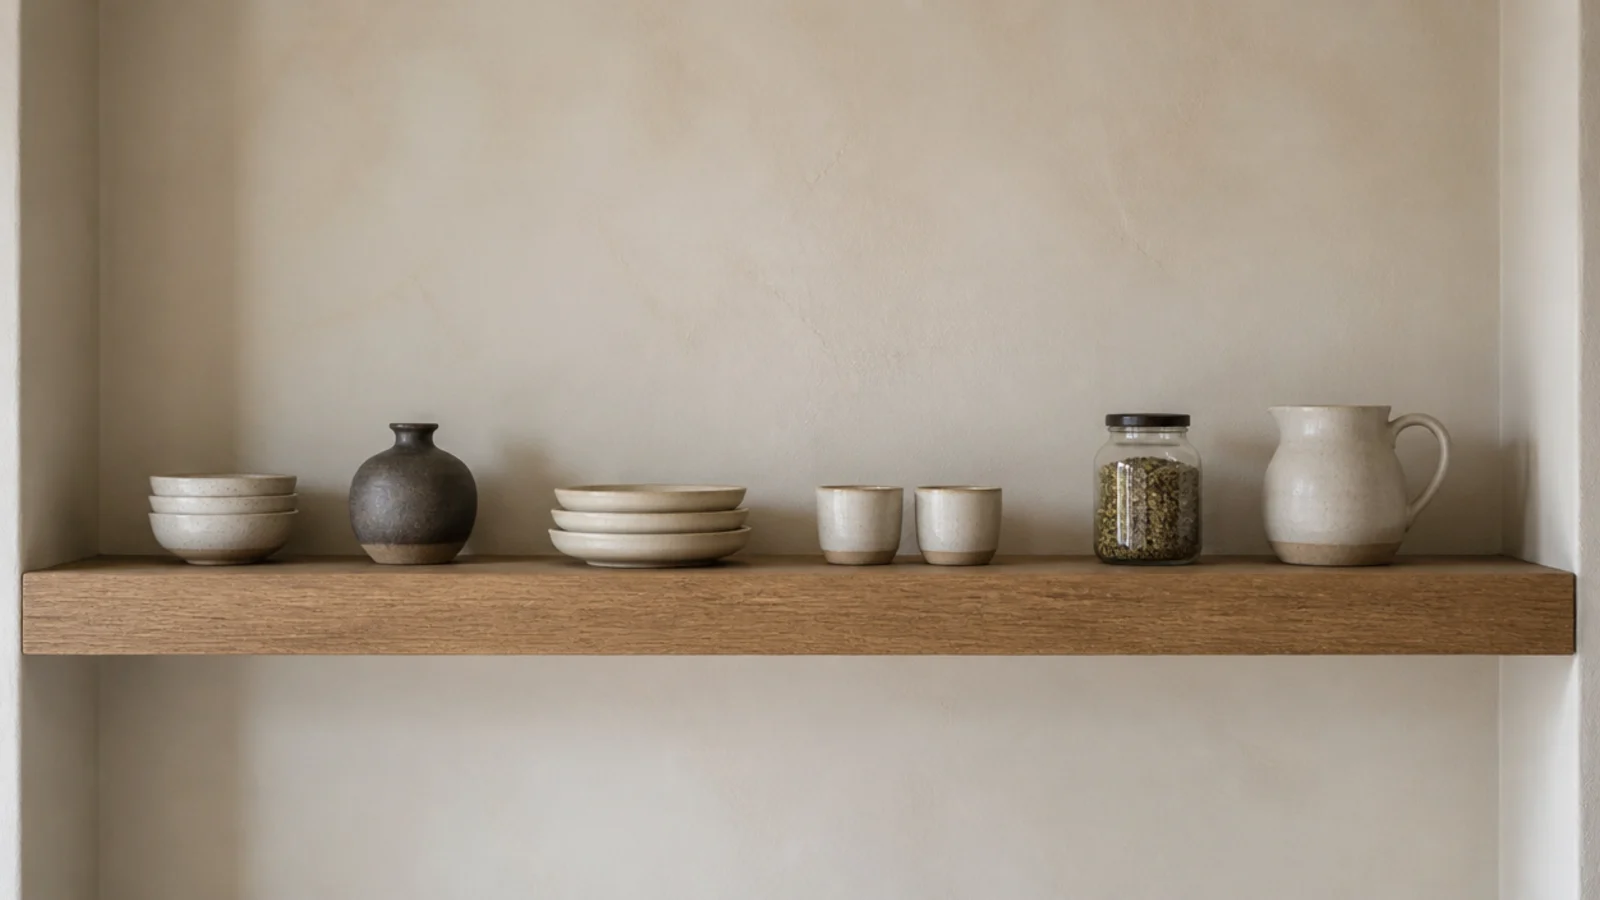
An alcove or a wall between two returns is the ideal home for a floating shelf, because both ends vanish into plaster and there is no cut edge to look at.
Measure at three points along the opening — walls are rarely parallel. Cut to the smallest measurement minus a sixteenth, then caulk the joints once it is level. That single bead is what removes the last hint that this is a shelf rather than joinery.
3. Mitre the front edge so no end grain shows
Where a shelf ends in open air, a 45-degree mitre wrapping the front edge around to the side means the grain runs continuously around the corner.
Exposed end grain is the single loudest clue that a shelf was bought flat-packed. A mitred return costs one extra cut and a strip of timber. If you cannot mitre, a solid edge band glued to both the front and the side gets you most of the way there.
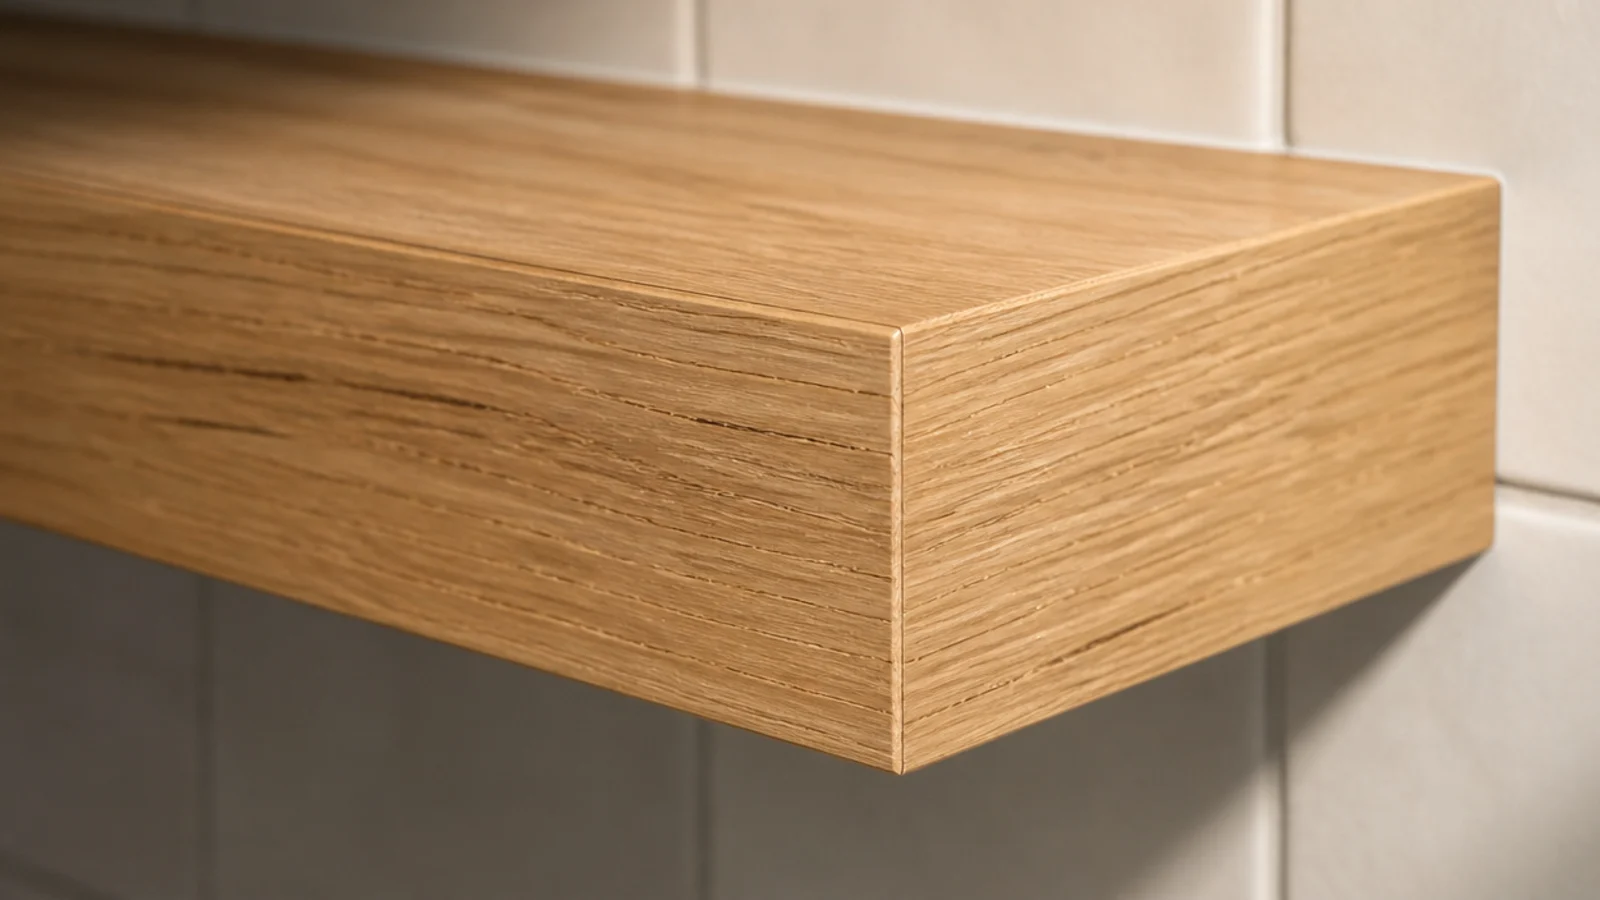
4. Match the shelf to your counter species
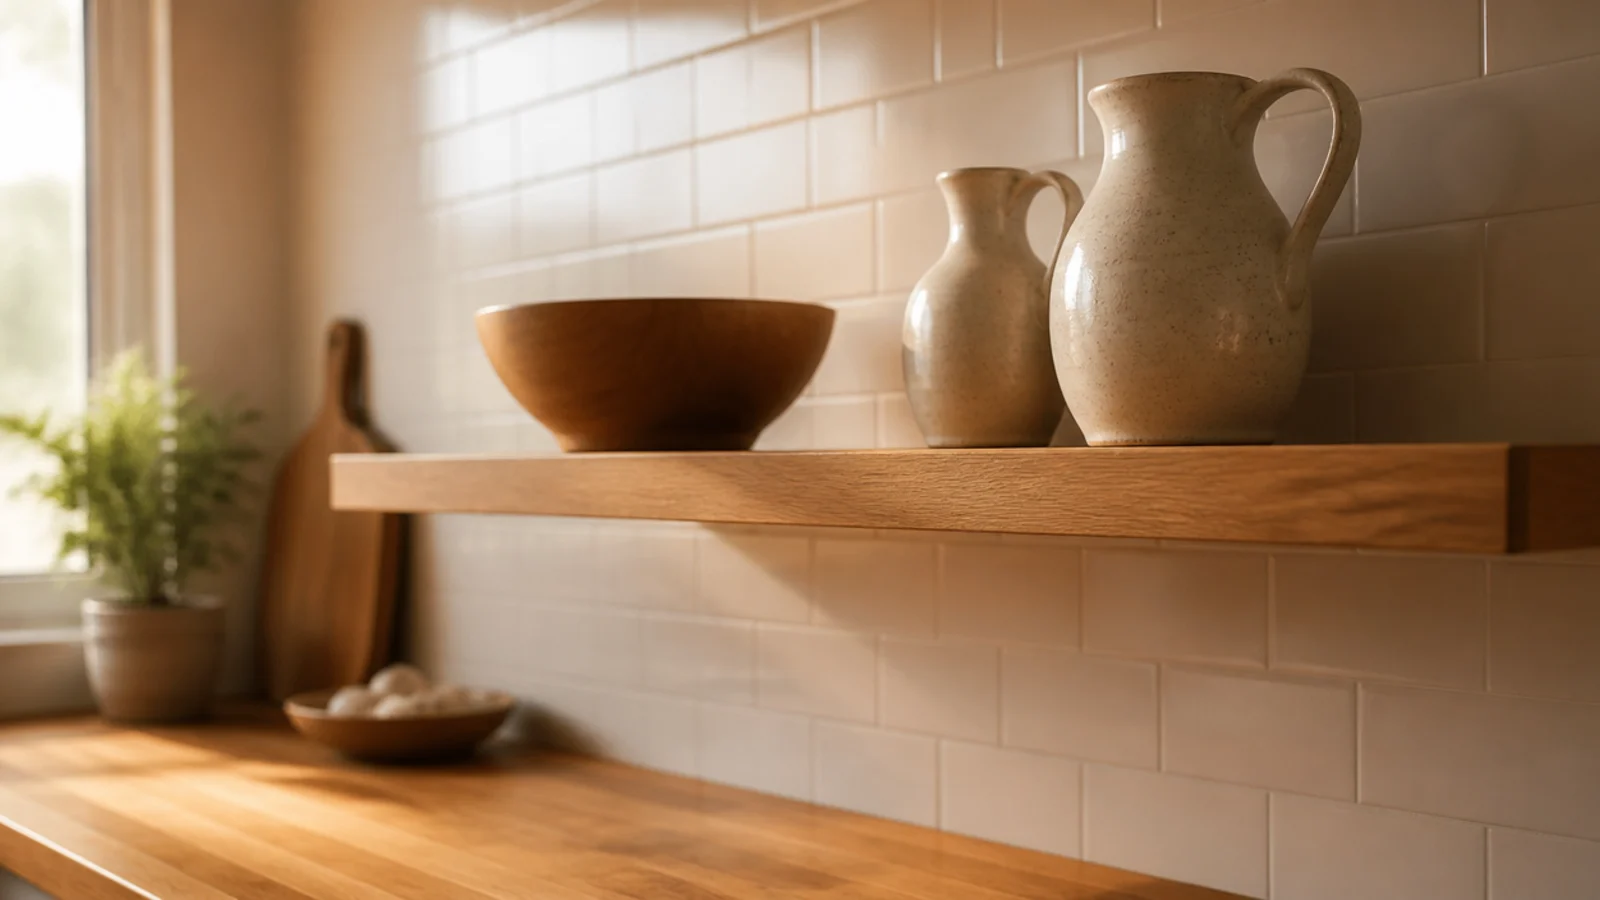
If you have a wooden counter, either match it properly — same species, same tone — or contrast it deliberately with painted shelves. What never works is nearly matching.
An oak shelf above a walnut counter reads as a mismatch rather than a mix, because your eye compares them directly across two feet of tile. Take a counter offcut to the timber yard rather than trusting a photograph.
5. A routed channel for an under-shelf LED strip
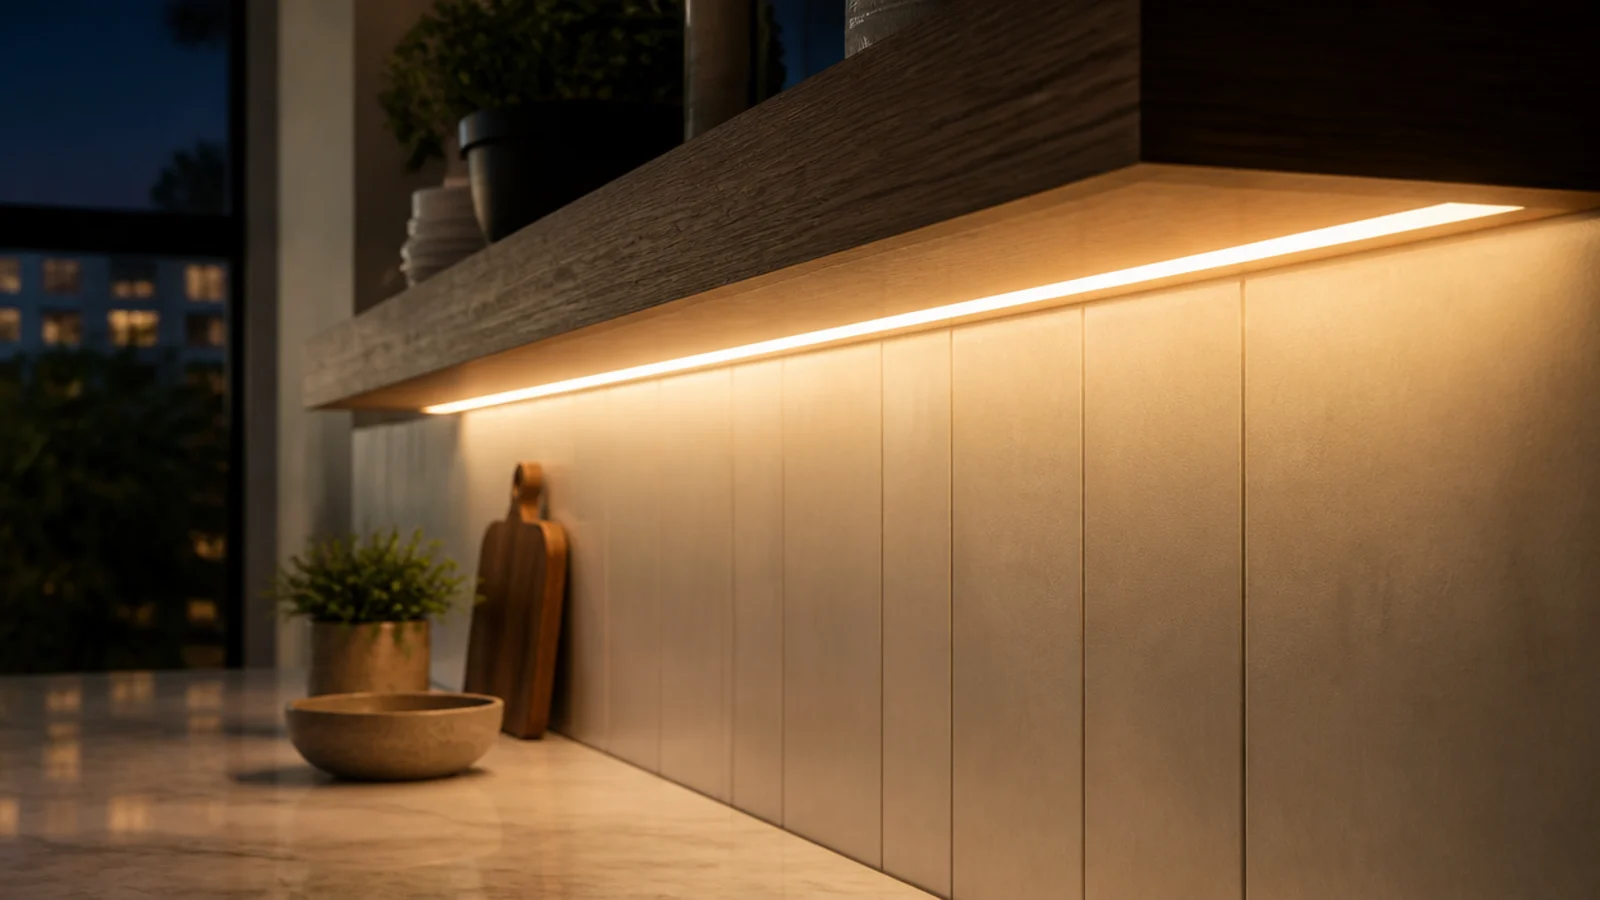
A warm-white LED strip seated in a shallow routed groove on the shelf underside throws light down onto the counter and hides the diodes completely.
Warm white only — 2700K. Anything cooler makes food look grey and makes wood look plastic. Run the cable through the wall behind the shelf, not down the tile. Strip and driver run about $25, and it is the single biggest step-up in perceived cost on this list.
6. One thick shelf instead of two thin ones
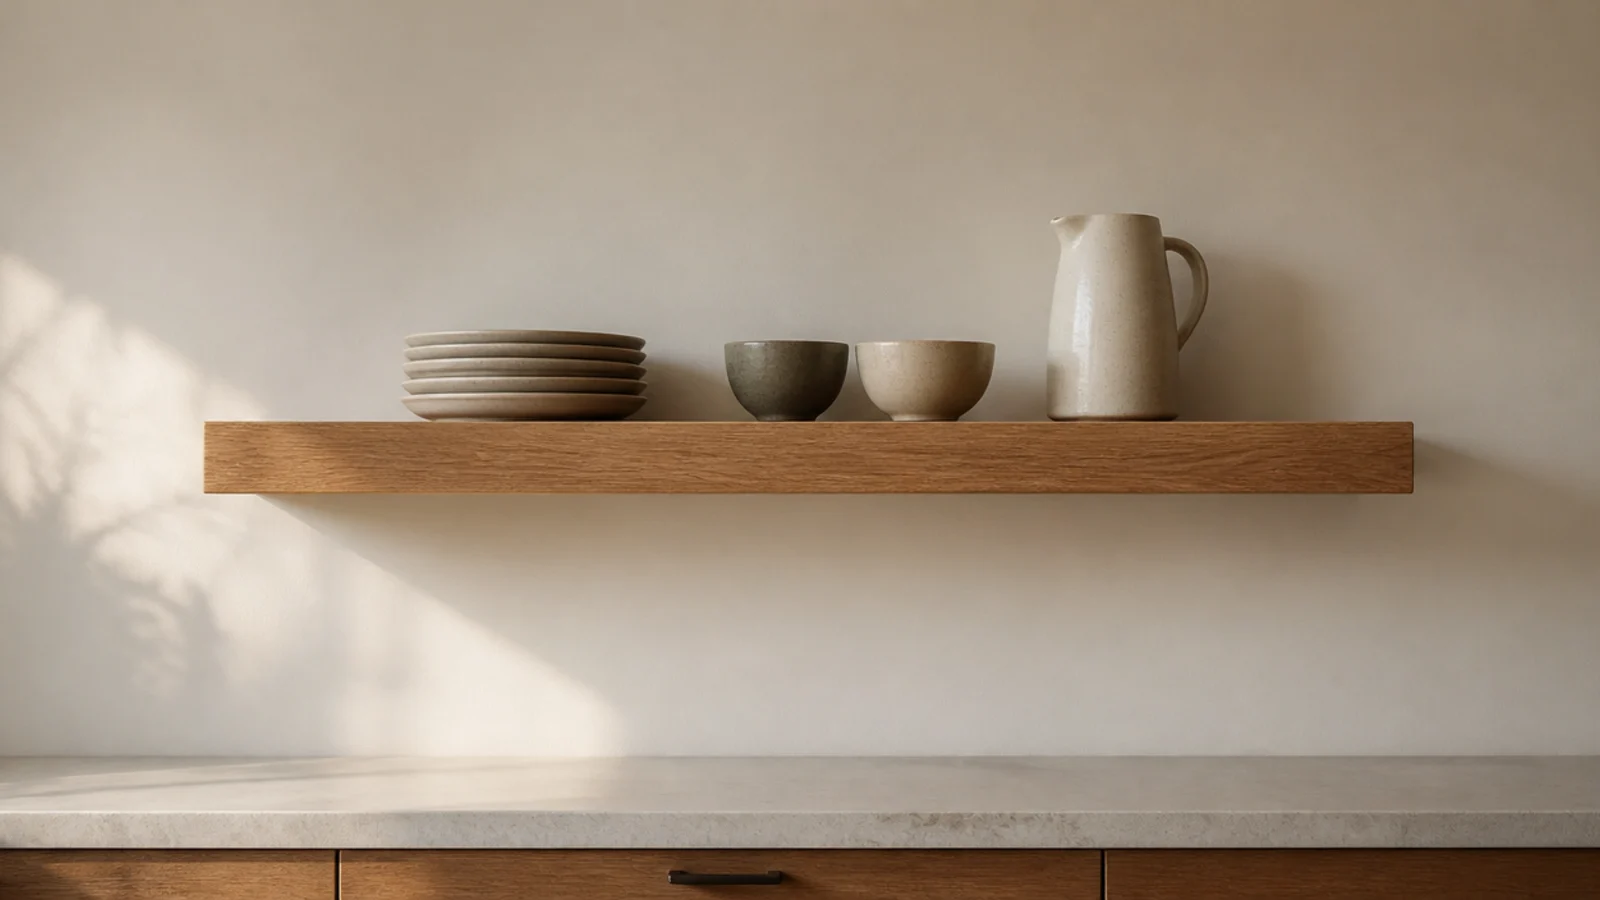
Two thin shelves crowd a wall. One generous shelf, mounted alone with real space above and below it, reads as a design decision.
This works especially well on a short wall or between two windows. Give it 24 inches of clear wall above so it does not feel squeezed, and 18 inches of counter clearance below so a stand mixer still fits. Load it with one large group rather than filling it end to end — the emptiness is doing the same job as the thickness.
7. Paint the wall behind a shade darker
A pale shelf on a pale wall loses its edge entirely, especially in flat daylight. Painting the wall behind two or three tones darker throws the front edge forward.
Deep sage, warm clay or a soft charcoal all work behind oak. Keep the paint eggshell rather than matte on a kitchen wall, because matte holds grease and cannot be scrubbed. There is more on this in modern kitchen shelves.
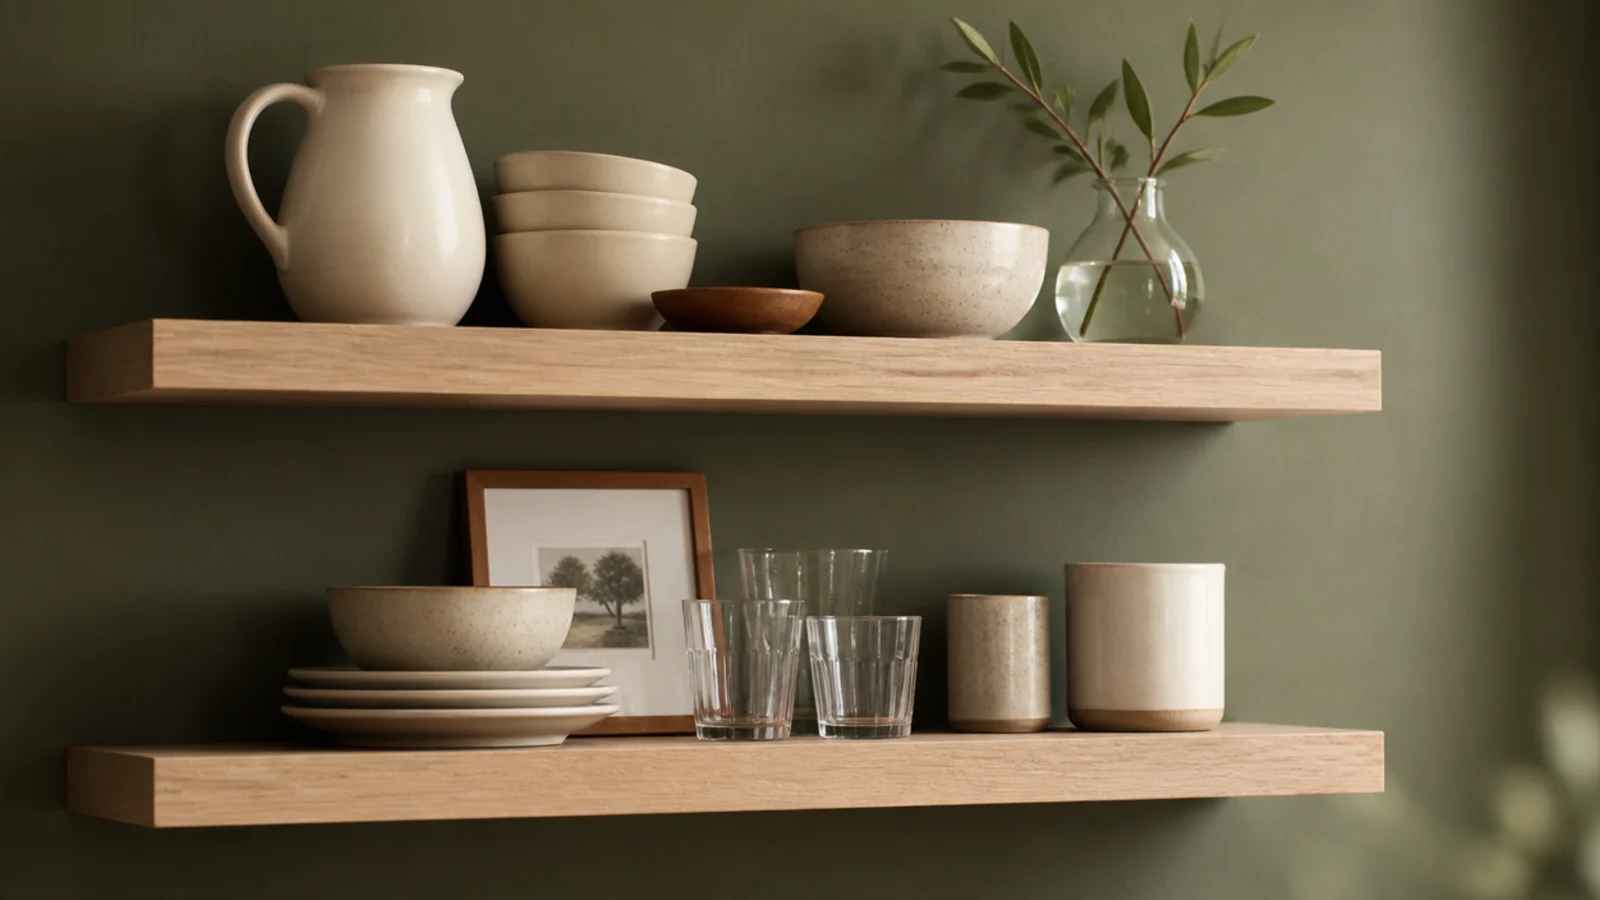
8. Scribe the back edge to the wall
Old kitchen walls wave. A shelf pushed against one leaves a shadow gap somewhere along its length, and that gap is what reads as cheap.
Hold the shelf level, run a pencil compass along the wall to transfer the wave onto the back edge, then take the line off with a block plane. Twenty minutes of scribing does more for the finished look than a hundred dollars of better timber.
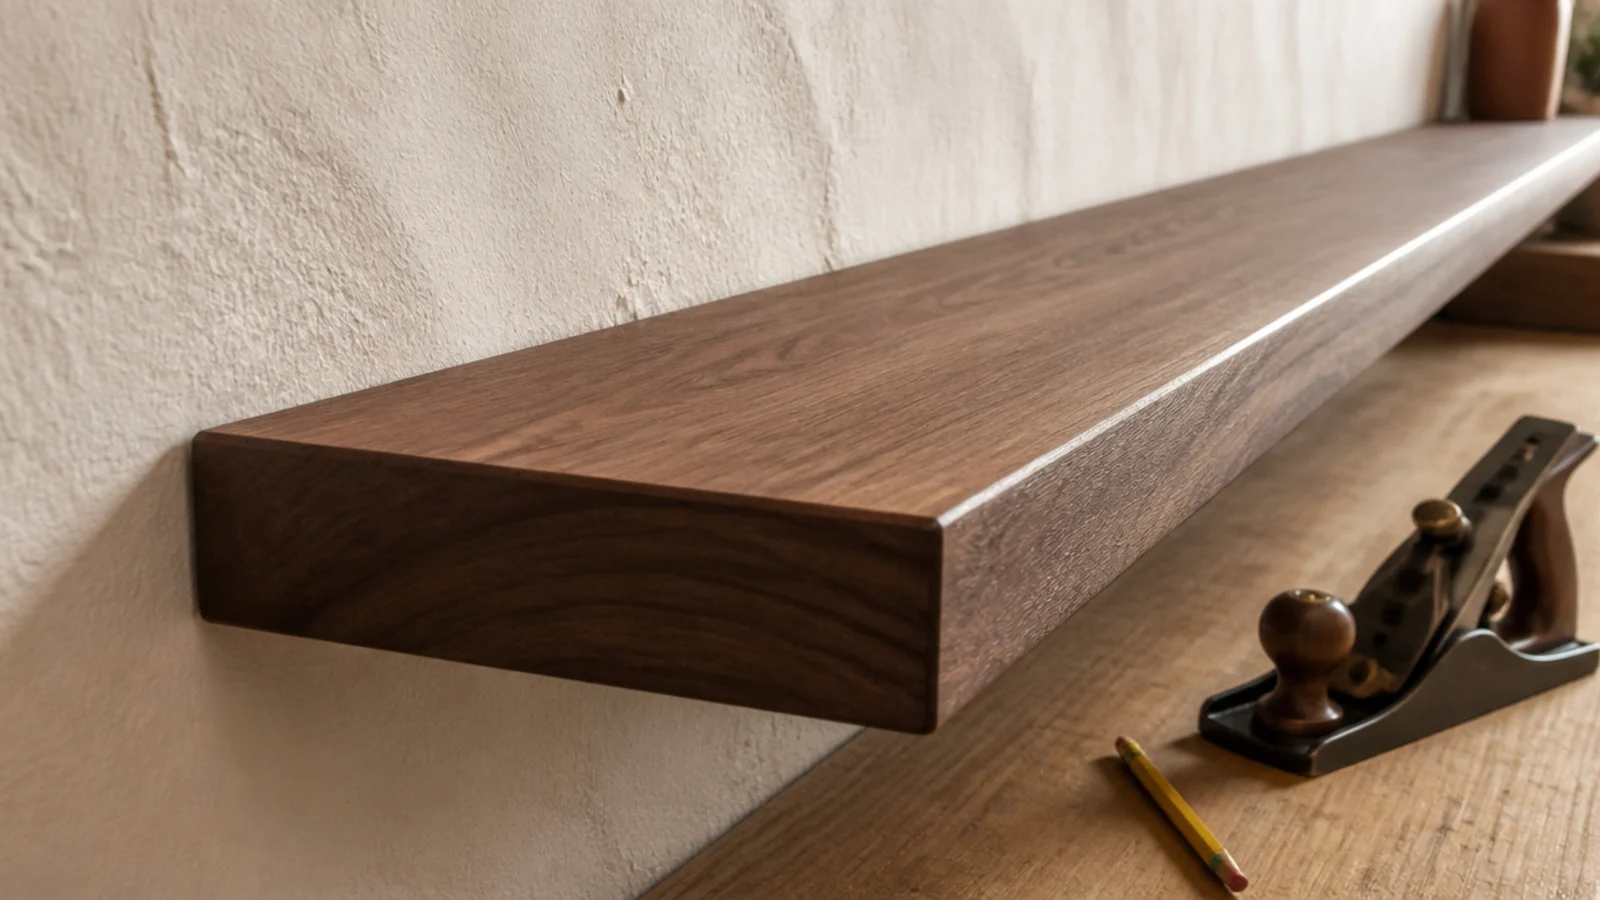
9. Align the shelf with the window head
Rooms already contain horizontal lines — window heads, door casings, the top of a cabinet run. Landing a floating shelf on one of them makes it look planned rather than placed.
Window head height is usually around 80 inches, which is too high for a working shelf, so use it for the upper board of a two-tier run and set the lower one 12 to 14 inches beneath.
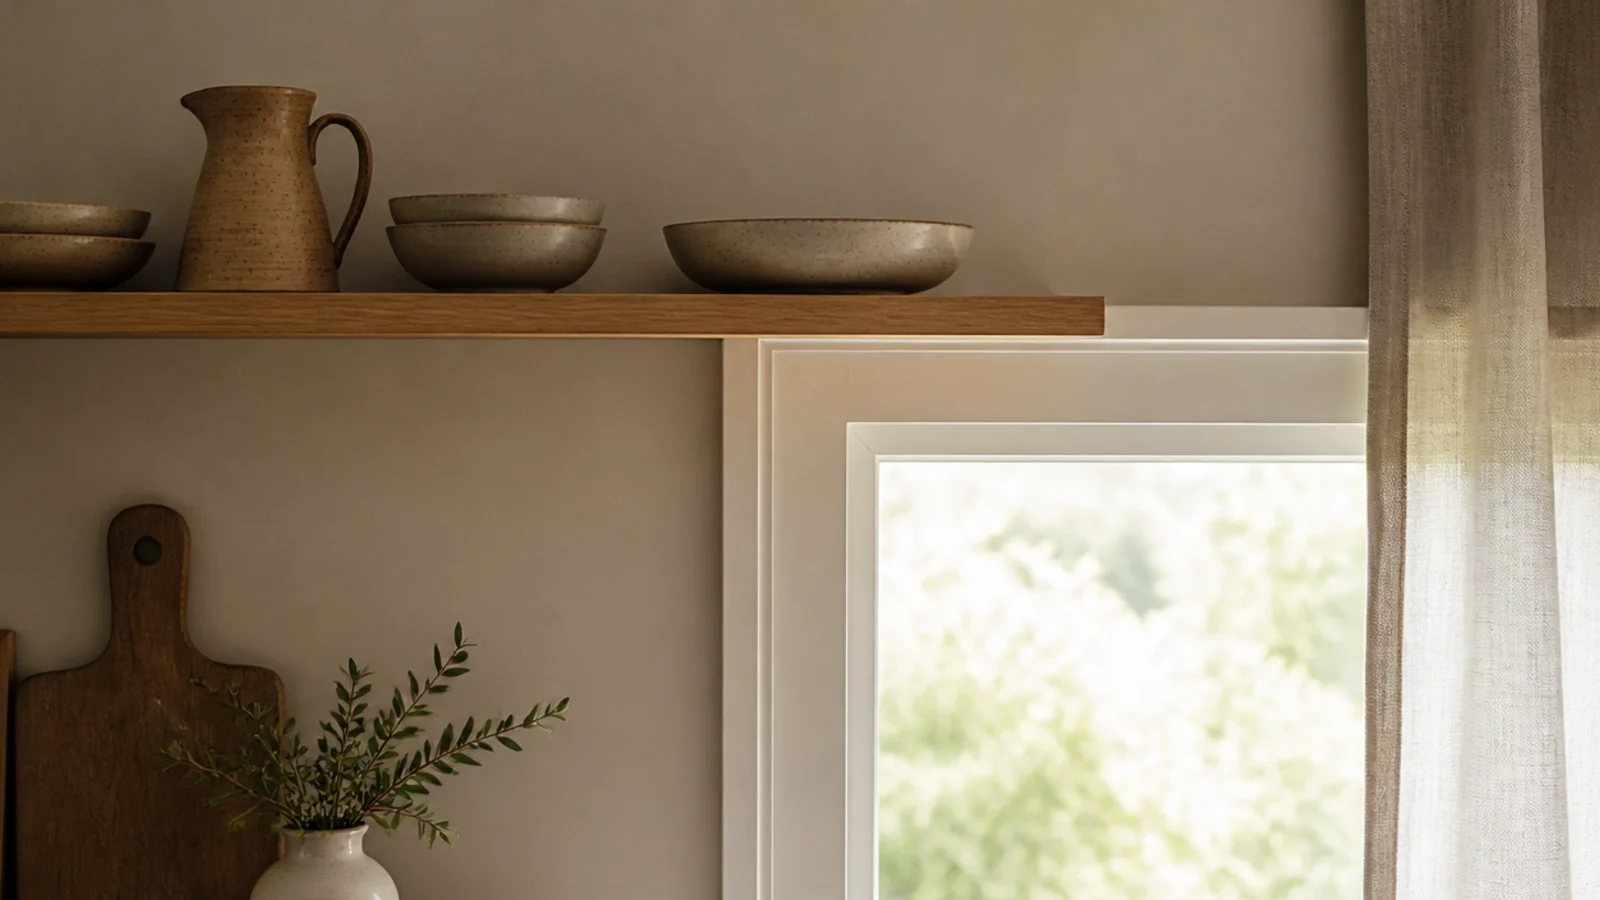
10. Keep a consistent reveal at both ends
If a shelf cannot run wall to wall, centre it and leave identical gaps at each end. Two inches, four inches, six — the number matters far less than the fact that they match.
Uneven reveals are the thing people notice without being able to name. Measure from the wall at both ends before you drill, not from the shelf. And check the reveal against the counter edge below too, since a shelf centred on the wall but off-centre over the counter still looks wrong from the doorway.
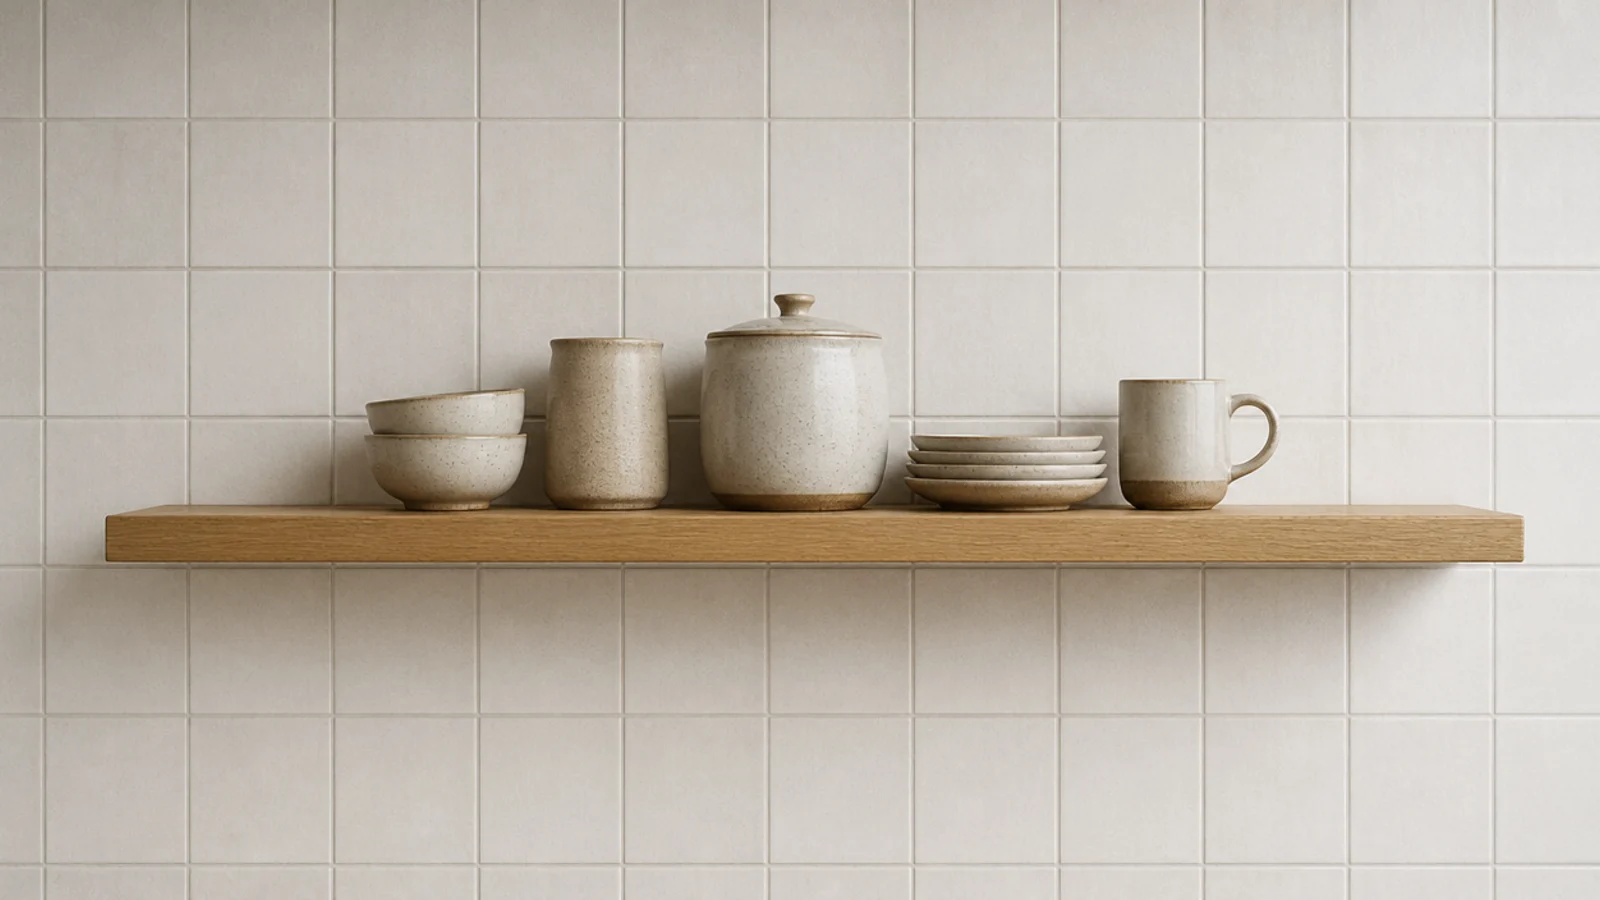
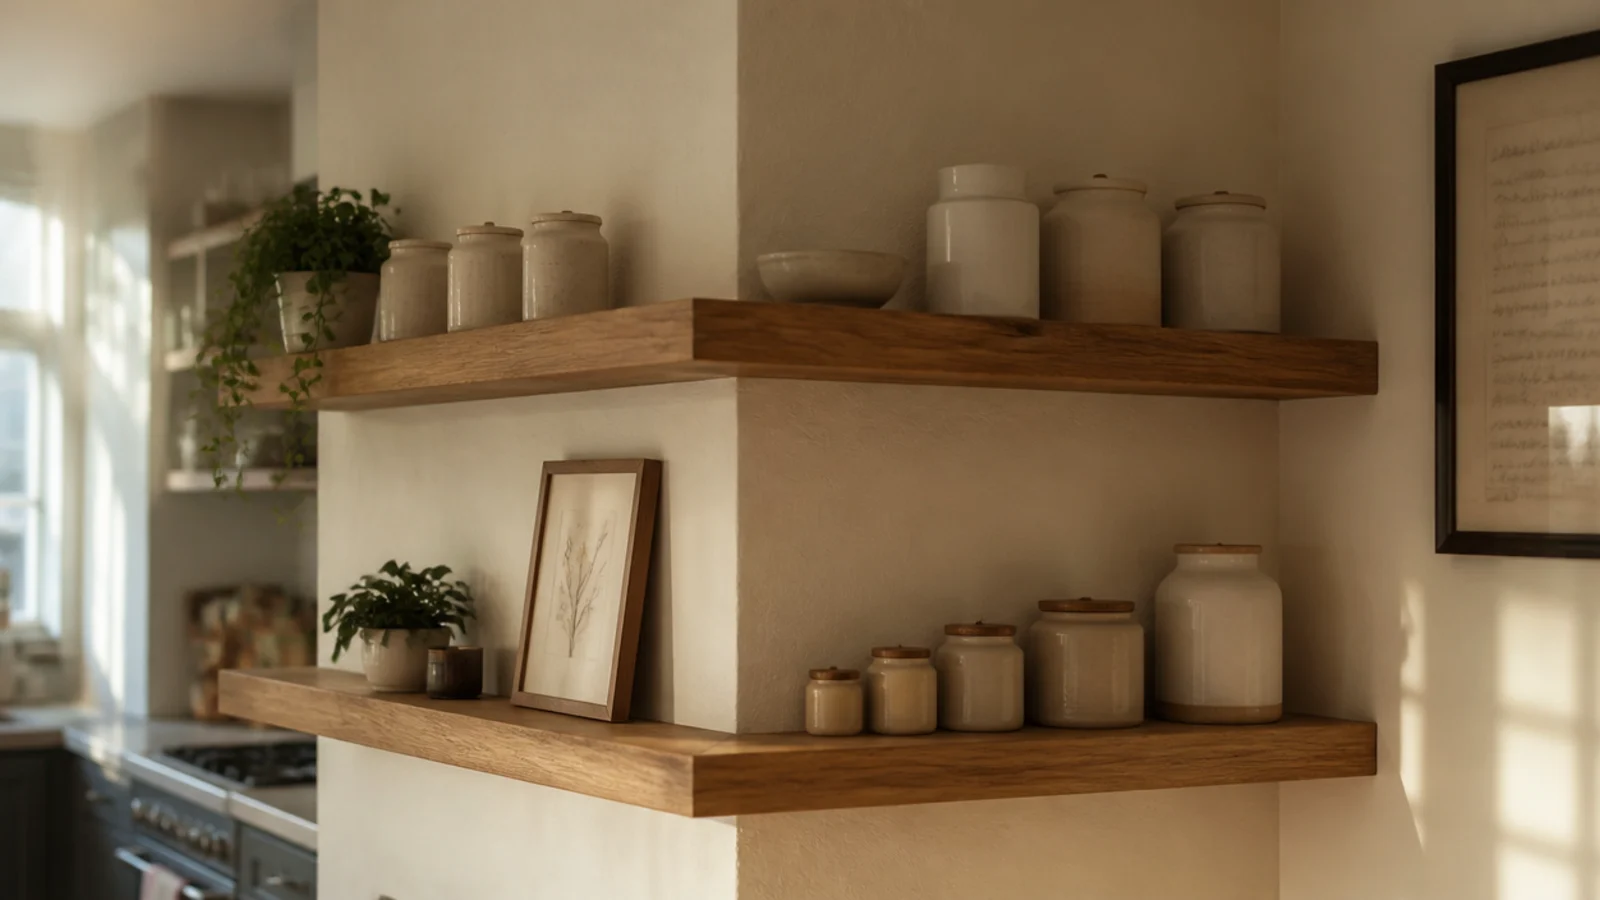
11. Wrap a chimney breast with two levels
Older kitchens often have a chimney breast breaking up a wall. Returning short shelves around its face and side turns an obstruction into the feature of the room.
Keep both returns at exactly the same height and use the same thickness. A shelf that steps up around a corner looks like an accident. Mount into the masonry with sleeve anchors rather than plasterboard fixings.
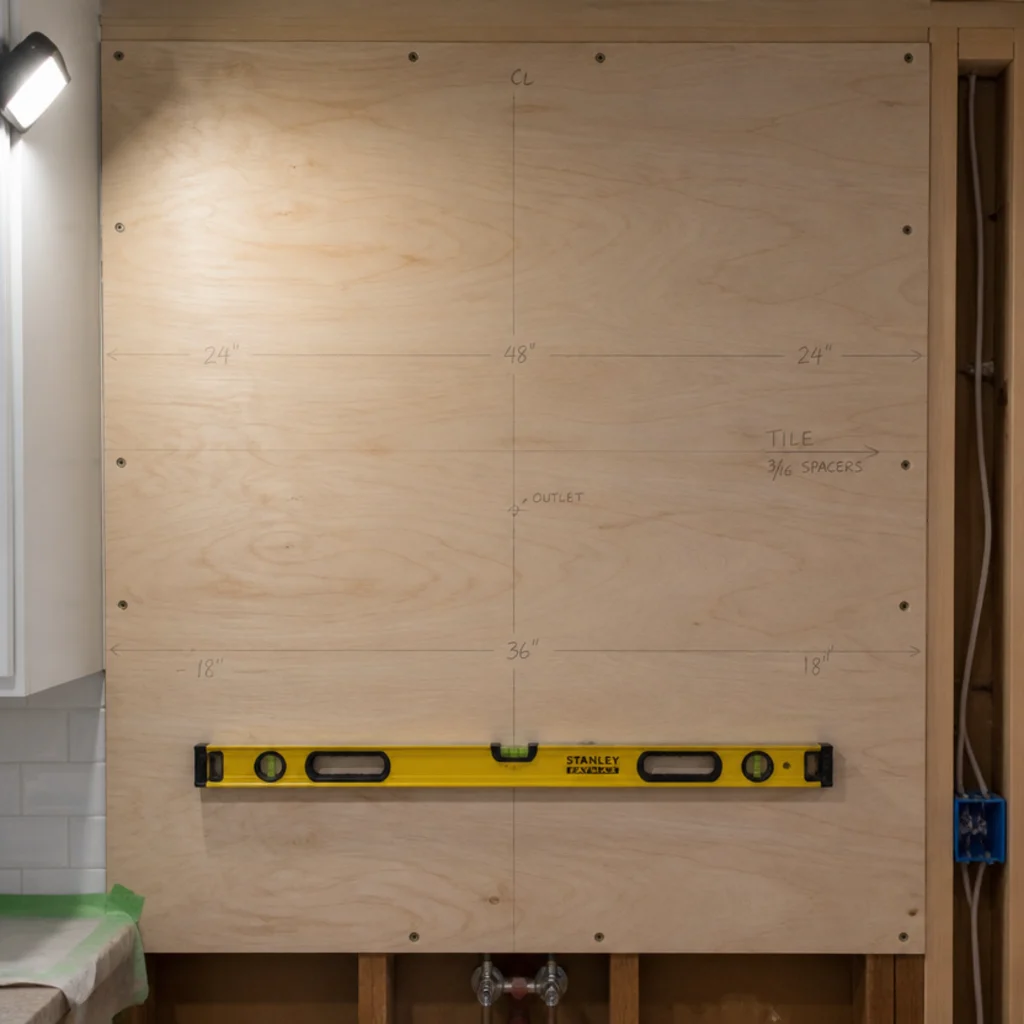
12. Mount to a plywood backer behind the tile
If you are tiling anyway, screw a three-quarter-inch plywood backer across the studs first and tile over it. Now the whole wall takes a rod bracket anywhere.
It costs about $30 and removes every compromise about bracket position for the life of the kitchen. Note where the backer ends on a photo before the tile goes on, because you will not find it later.
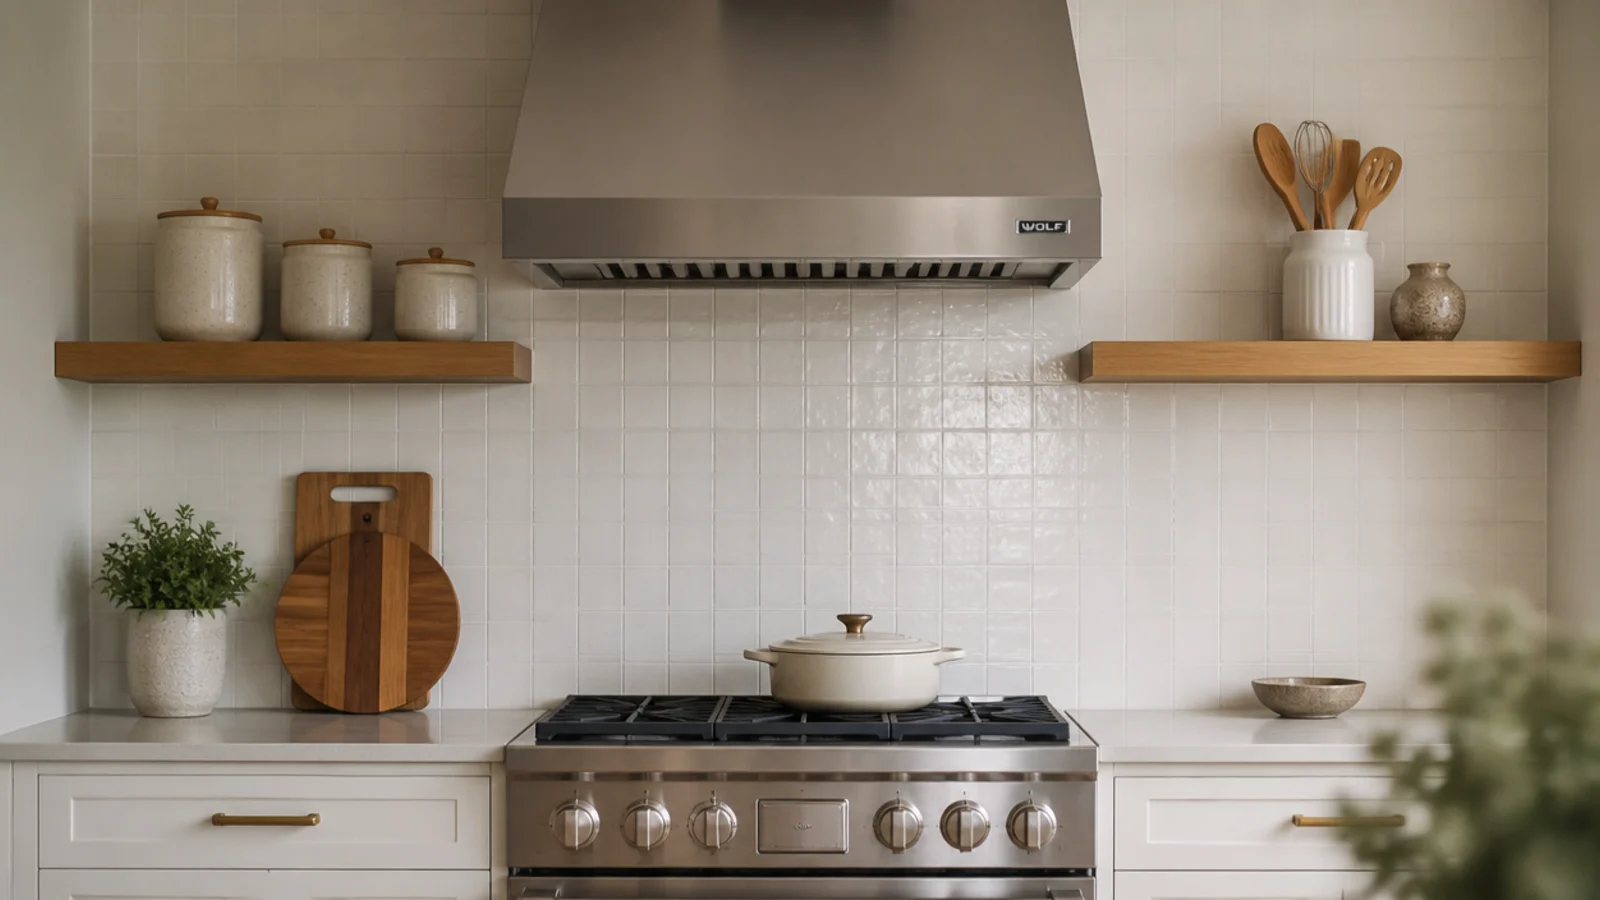
13. Break the run cleanly at the range hood
A shelf run that stops at matching distances either side of the hood looks composed. One that runs behind it looks like nobody thought about heat.
Above a range hood use ceramic, metal or glass only — never wood, never anything wax-based. A slim stainless ledge there matched to the hood is the one material that belongs. Expect to wipe both flanking shelves weekly.
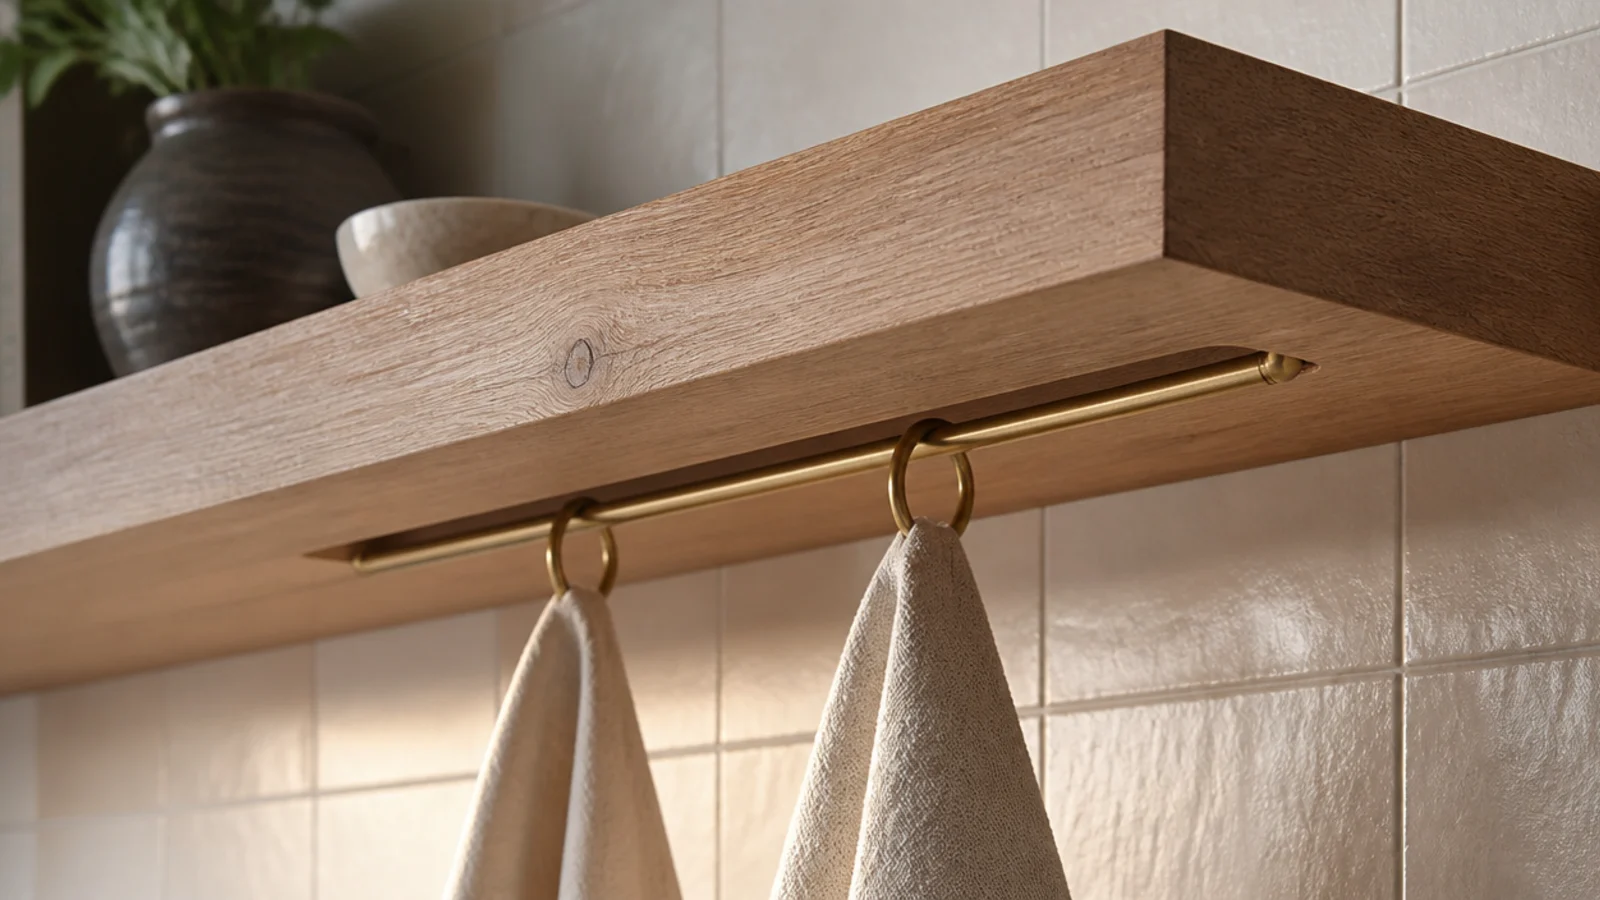
14. Add a recessed lip underneath for a rail
A rail screwed to the underside of a shelf hangs below it and breaks the clean line. Recessed into a shallow rebate, it reads as part of the shelf.
Route the rebate a quarter inch deep before finishing. Hang cloths, a couple of cups or a small pan. Keep it to things you use weekly, because anything hanging near a stove collects grease fastest of all.
15. Route a groove and make it a plate rail
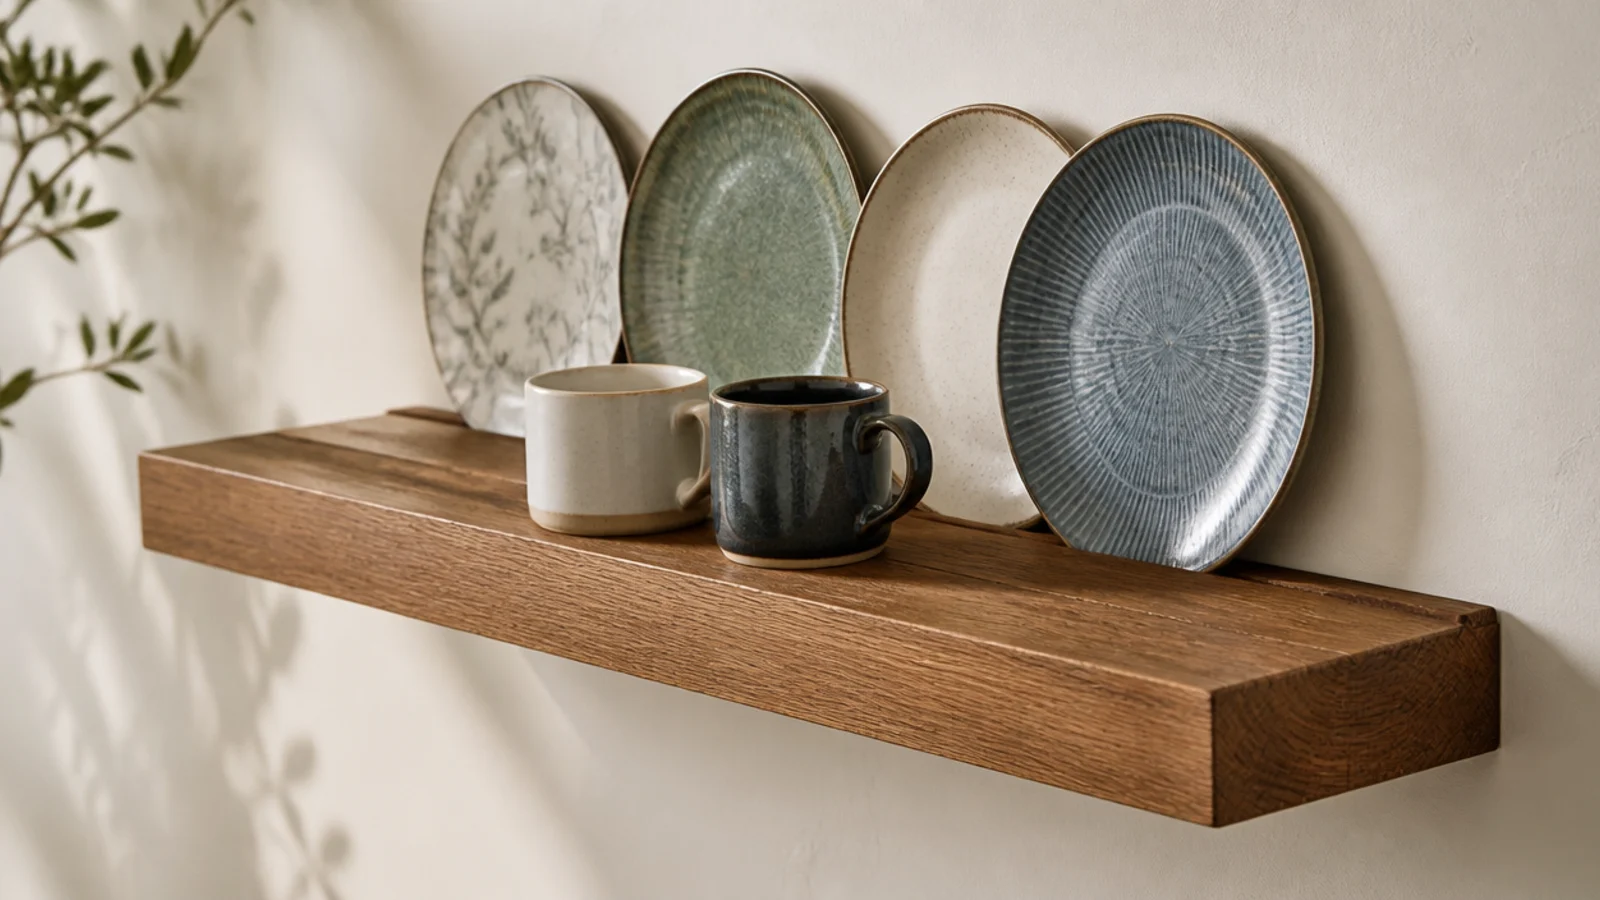
A groove three-eighths deep, an inch from the back edge, lets plates stand upright on edge. It turns a shelf into a dresser without a dresser.
Use it for the plates you actually eat off, not decorative ones — open storage only works for things you use weekly, because use is what keeps them clean. Full arrangements for both are in kitchen shelf styling.
Mistakes to Skip
- Fitting rod brackets into drywall alone. Rods need framing, and a floating shelf pulling out takes a chunk of plaster and every plate on it.
- Using three-quarter-inch stock with concealed rods. There is not enough depth for the rod pocket, and the shelf splits along the grain long before the wall gives up.
- Running a wooden shelf directly above a range hood. Heat and grease together will darken and eventually craze any finish you put on it.
Frequently asked questions
How much weight can floating kitchen shelves hold?
It depends entirely on the rod bracket and what it lands in. A rod anchored in a stud carries 35 to 50 pounds; the same rod in drywall alone carries almost nothing. Since a stack of ten dinner plates is around 12 pounds, plan on hitting a stud at every rod for anything holding dishes, and use three-quarter-inch stock minimum.
Are floating shelves strong enough for plates in a kitchen?
Yes, if the rods land in framing and the shelf is thick enough to grip them. A built-up box shelf around an inch and a half deep gives the rod real leverage inside the shelf, which is where most floating failures actually happen. Thin shelves fail at the rod pocket long before the bracket fails at the wall.
How thick should a floating kitchen shelf be?
An inch and a half to two and a half inches is the range that reads as custom joinery. Three-quarter-inch stock works structurally but looks like a bought shelf. You can fake the thickness with a built-up box: a plywood core with a solid front edge glued on, which costs a fraction of solid timber that thick.
What finish makes floating kitchen shelves look expensive?
A softened front edge and a low-sheen finish. Water-based polyurethane in matte or a hardwax oil both give depth without the plastic gloss that makes wood look laminated. Never clear wax in a kitchen — it offers almost no grease protection and softens near heat. Seal every face including the underside and the cut ends.
Can floating kitchen shelves be installed in a rental?
Concealed rod brackets need real holes, so they are a poor rental choice. A French cleat gives a similar clean look with three screws instead of eight, and patches in an hour. If nothing can be drilled at all, a thick shelf on a slim timber cleat rail reads far closer to floating than any adhesive system does.
If you only take one thing from this list, make it thickness — an inch and a half changes how a shelf reads more than any other single decision, and a hollow box gets you there for under $50. For the build sequence, the twenty-step kitchen shelf project covers cuts, anchors and finish, and floating shelf brackets compared covers the hardware in detail. Save the pin before you order rods.
Want more like this? Browse all 15 kitchen shelf ideas guides — they all use the same measurements and budget tiers.
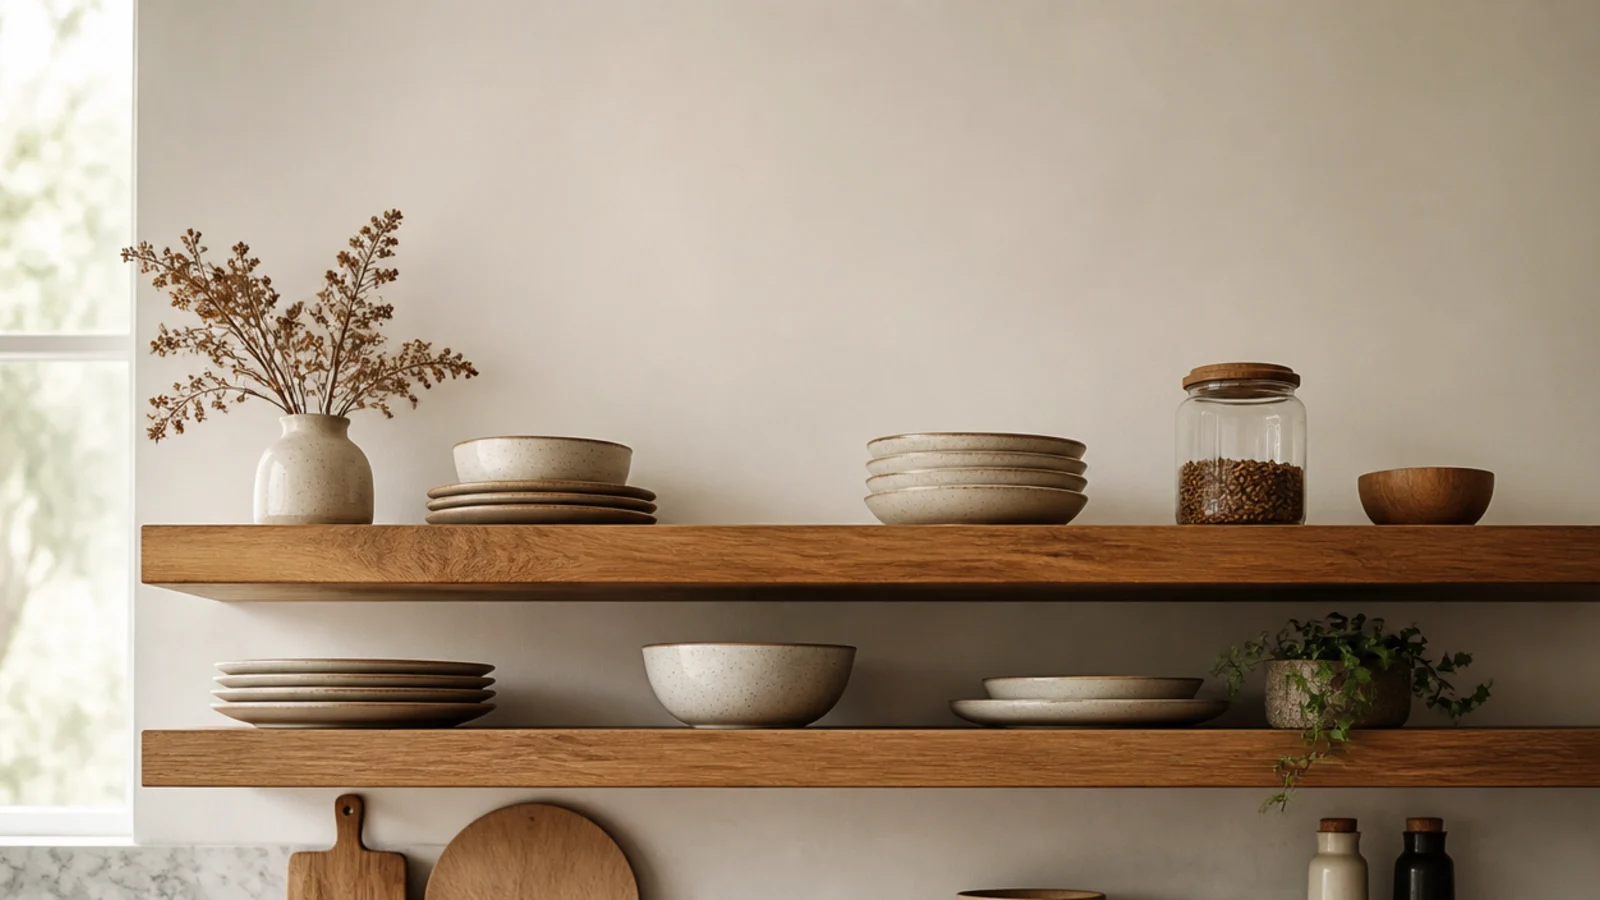
Pin it for later
Save this to your Kitchen Shelf Ideas board
Pin it now so it is waiting for you when the tape measure comes out — and so the next person hunting for this idea can find it too.
Save this pinKeep going
More ideas worth saving while you have the tape measure out.