Coffee Corner Ideas · Listicle
15 Cozy Coffee Corner Ideas That Look Pricey

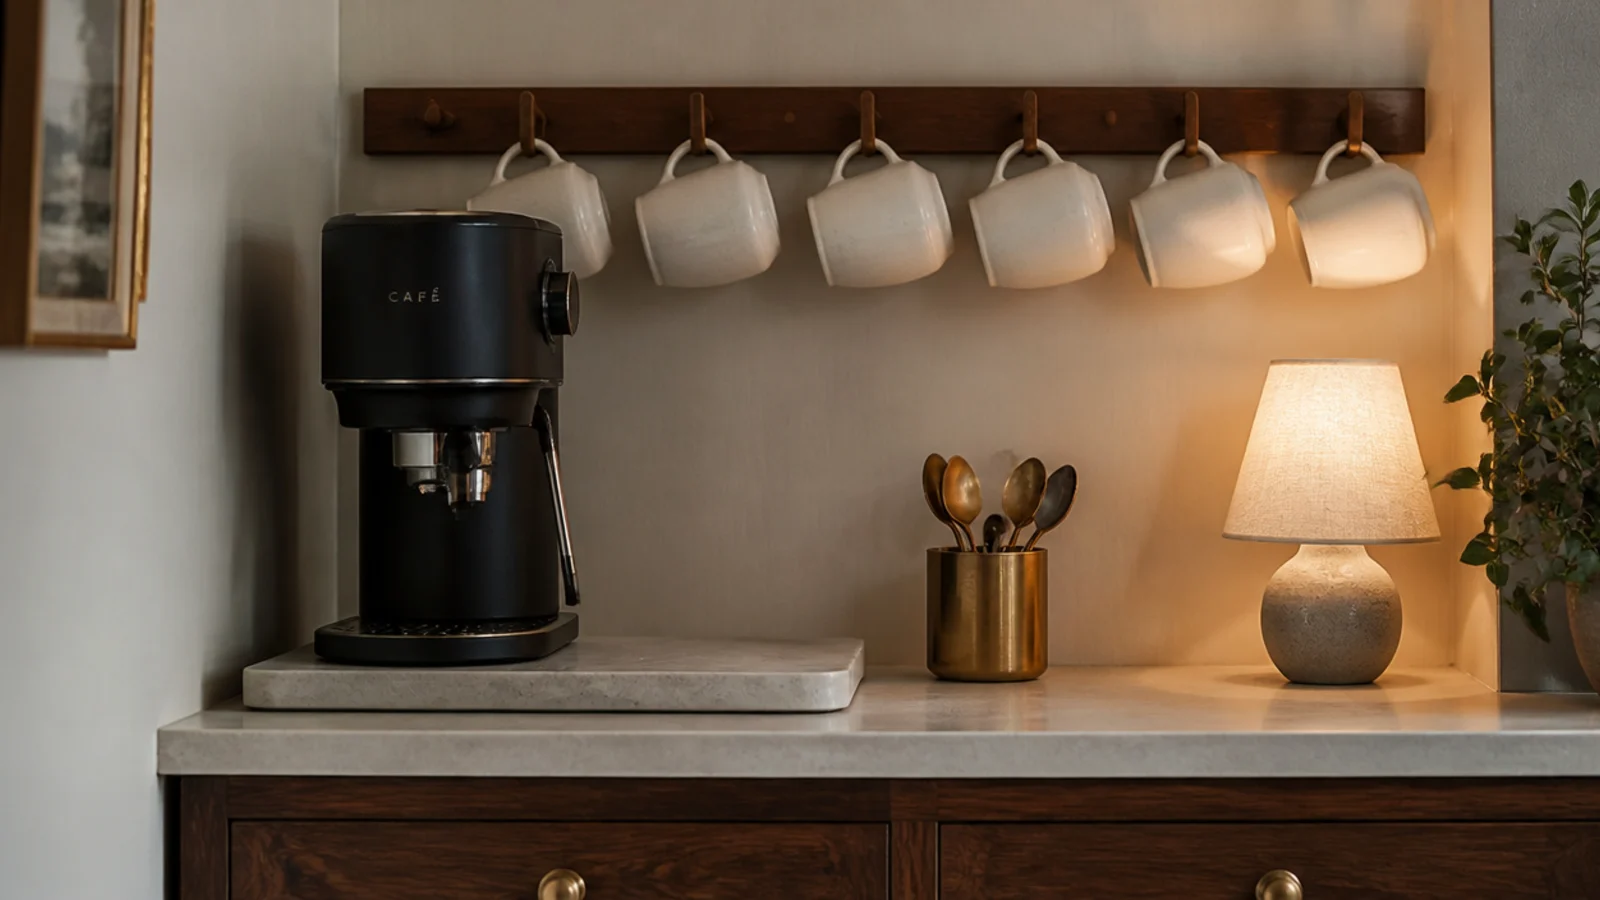
A small coffee corner reads as expensive or as cluttered based on almost nothing to do with price. It comes down to how few materials you use, how consistent they are, and what the corner looks like at four in the afternoon when nobody is making anything. These fifteen changes are what I do when a client wants a counter that looks like joinery rather than appliances.
In this guide17 sections — tap to openHide
- 1.What makes a small coffee corner look expensive
- 2.Commit to one wood tone and repeat it
- 3.Buy a stone remnant for the tray
- 4.Match the mugs, all six of them
- 5.Thicken the shelf edge to an inch and a half
- 6.Add a small lamp instead of a strip light
- 7.Paint the alcove a shade deeper
- 8.Tile only the 30-inch splash panel
- 9.Choose unlacquered brass and let it patina
- 10.Decant anything with a printed label
- 11.Layer in one soft texture
- 12.Raise the machine onto a plinth
- 13.Put the supplies behind a door
- 14.Lean one piece of art at eye level
- 15.Keep three objects visible at rest
- 16.Finish with one living stem
- 17.Mistakes to Skip
What makes a small coffee corner look expensive
Three things, in this order: material count, cohesion and light.
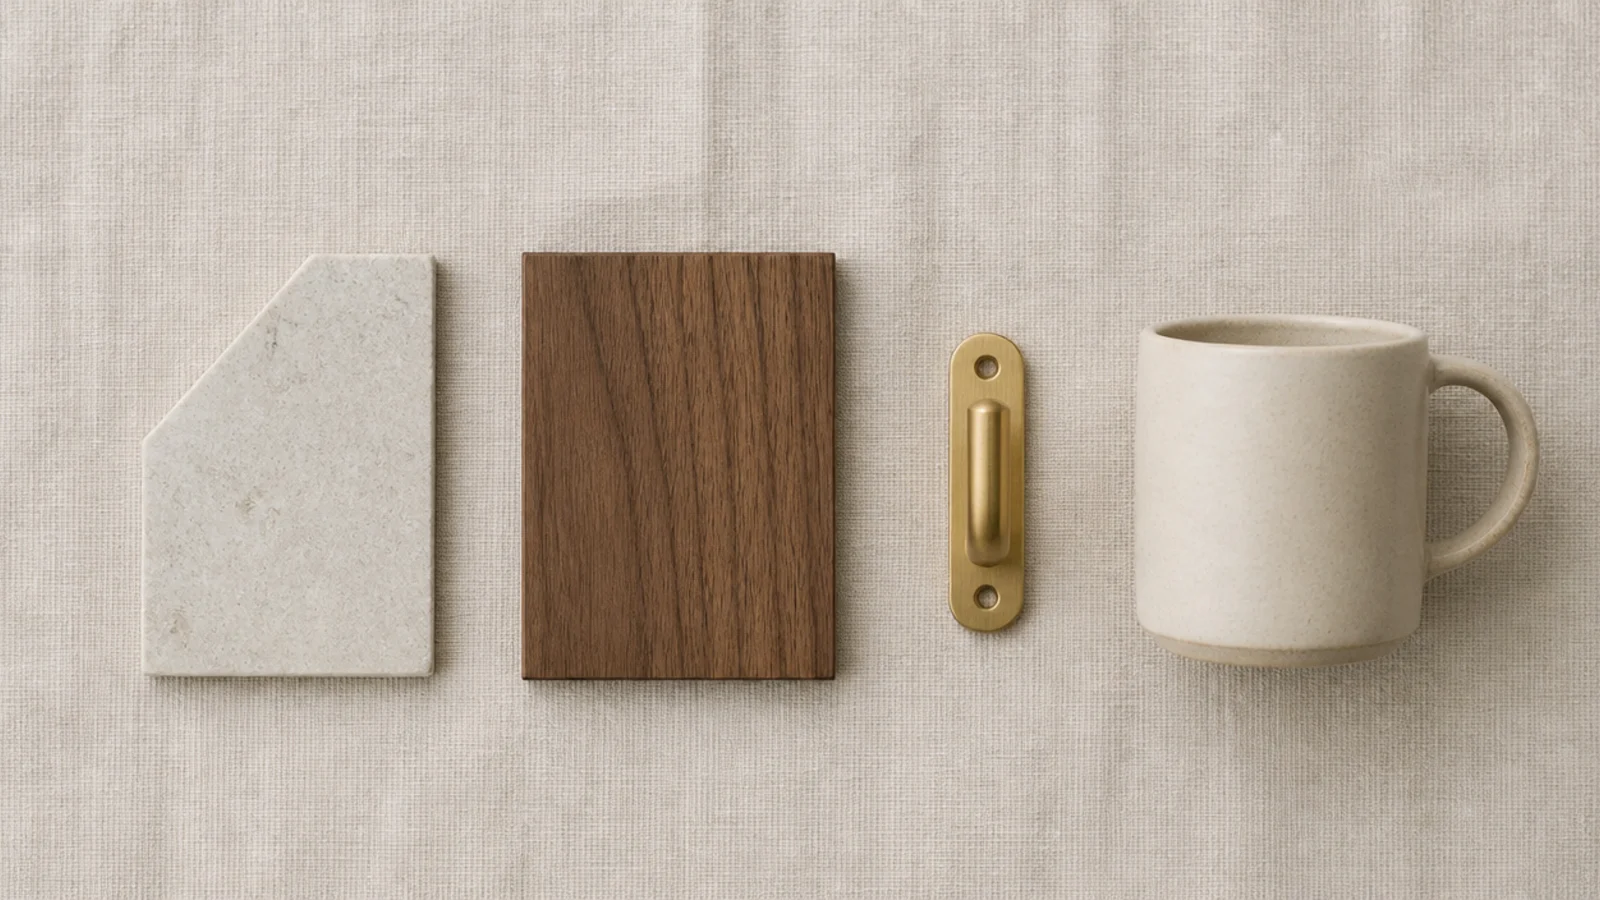
Material count first. Pick three — a wood, a stone or ceramic, and one metal — and refuse the fourth. A corner with walnut, honed stone and brass looks designed at any budget. The same corner with walnut, oak, chrome, stainless, plastic and glass looks like a shelf of whatever was on sale, no matter how much each item cost.
Cohesion is mostly decanting. Retail packaging carries five colors and a logo, and it is the actual clutter on most counters. Matching canisters and handwritten kraft tags fix that for about $40.
Light is the third. One warm 2700K light at the corner, not the ceiling fixture behind you.
The layout rules do not change because the corner is small: about 24 to 30 inches of counter width, 15 to 18 inches deep, everything inside a single arm sweep of roughly 30 inches, and at least 6 inches of clear air above the tallest point of the machine.
Budget tiers here: $ is under $40, $$ is $40 to $120, and $$$ is $120 to $250 for stone and joinery.
1. Commit to one wood tone and repeat it
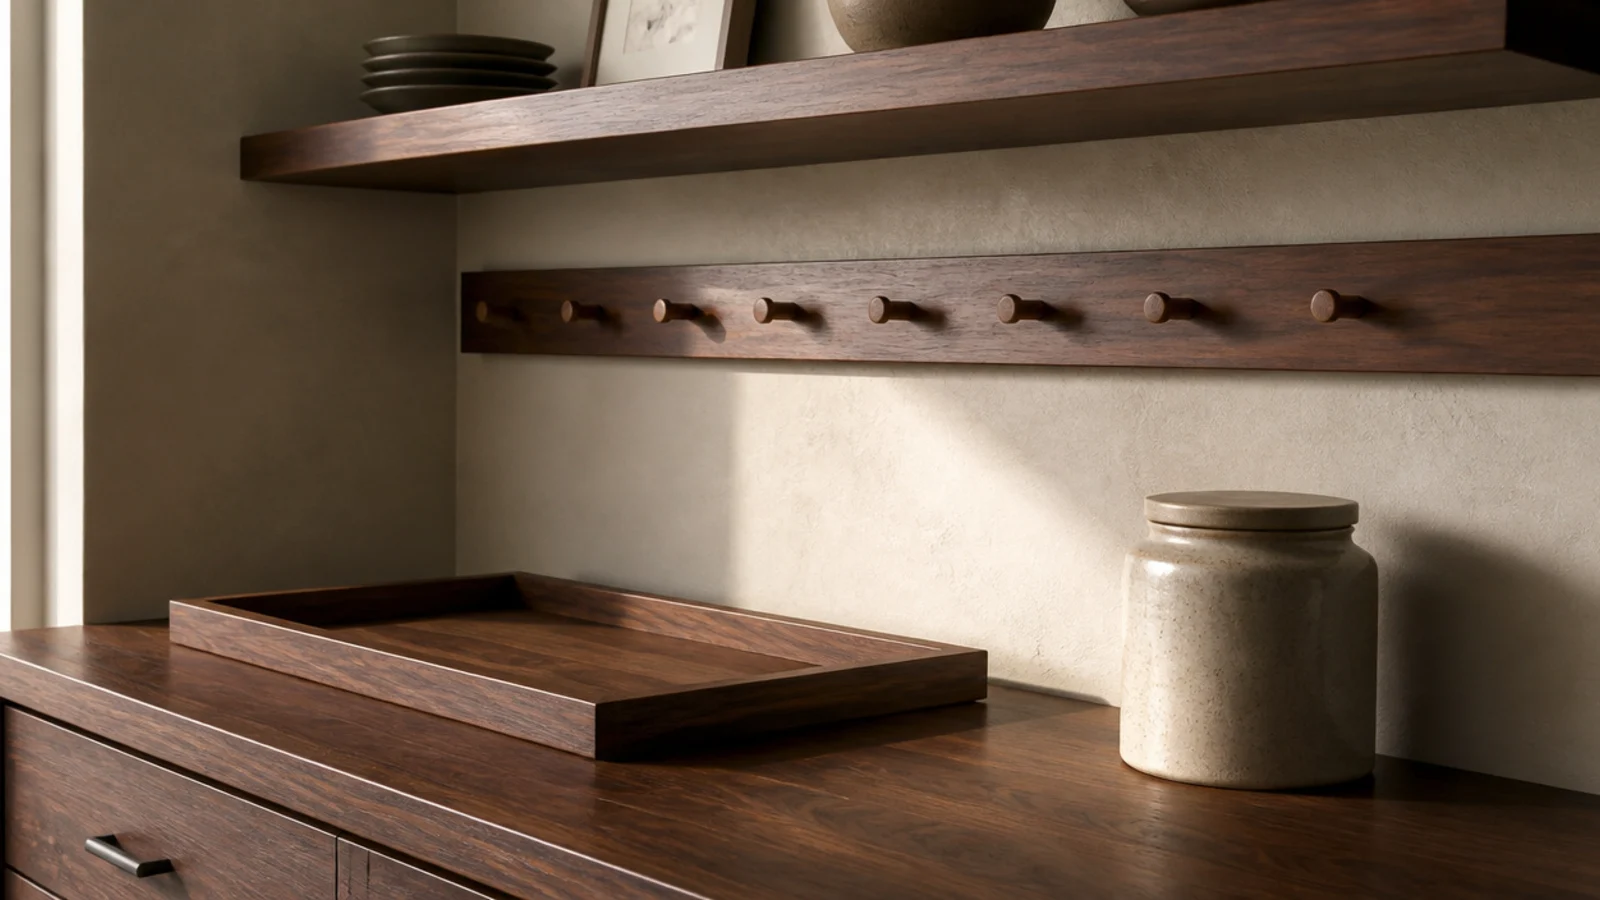
If the tray is walnut, the shelf and the peg rail are walnut too. Three different woods in a 30-inch corner is the most common reason a carefully chosen setup still looks accidental.
Buying matched pieces is not the only way to do this. A $9 tin of hardwax oil in a single tone brings mismatched thrifted wood into one family in an afternoon, and the grain differences stop reading as errors once the color agrees.
If your cabinets are a distinct wood, either match them exactly or go clearly darker. Almost matching is the one option that always looks wrong.
2. Buy a stone remnant for the tray
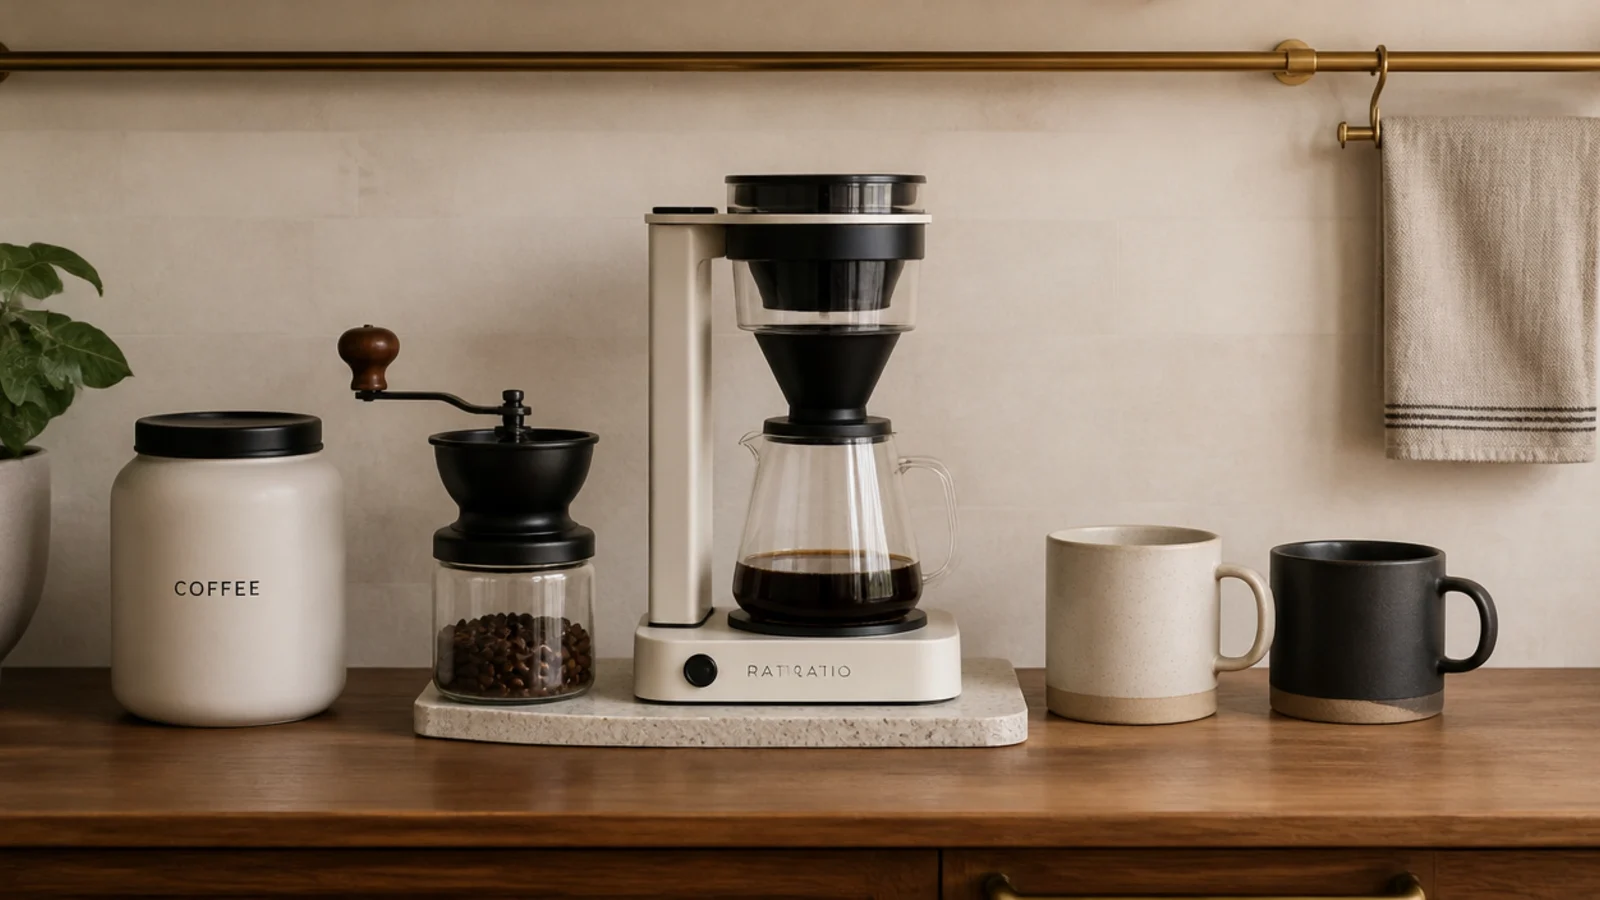
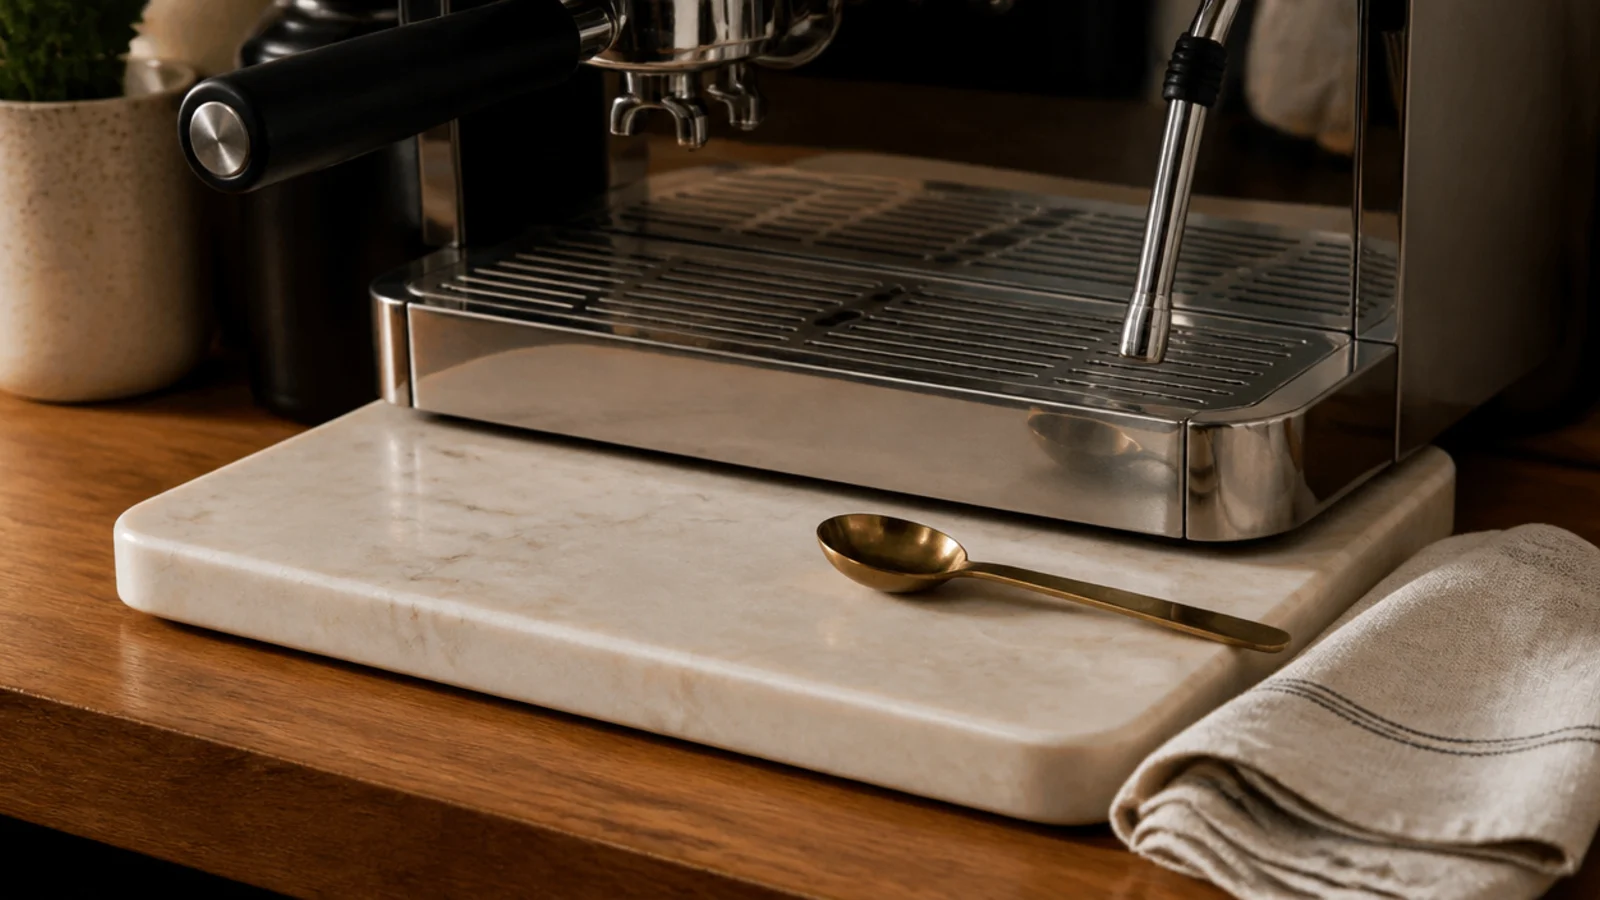
A honed marble or soapstone offcut, roughly 12 by 16 inches, costs $20 to $40 from a countertop fabricator — they cut them from scrap and often have a bin of them.
Ask for the edges to be eased, which takes a minute on their machine and turns an offcut into a finished object. Honed rather than polished: matte stone hides water marks and looks older.
It is heat-proof, wipes clean, and it is the piece that makes people assume the corner was designed rather than assembled ($).
3. Match the mugs, all six of them
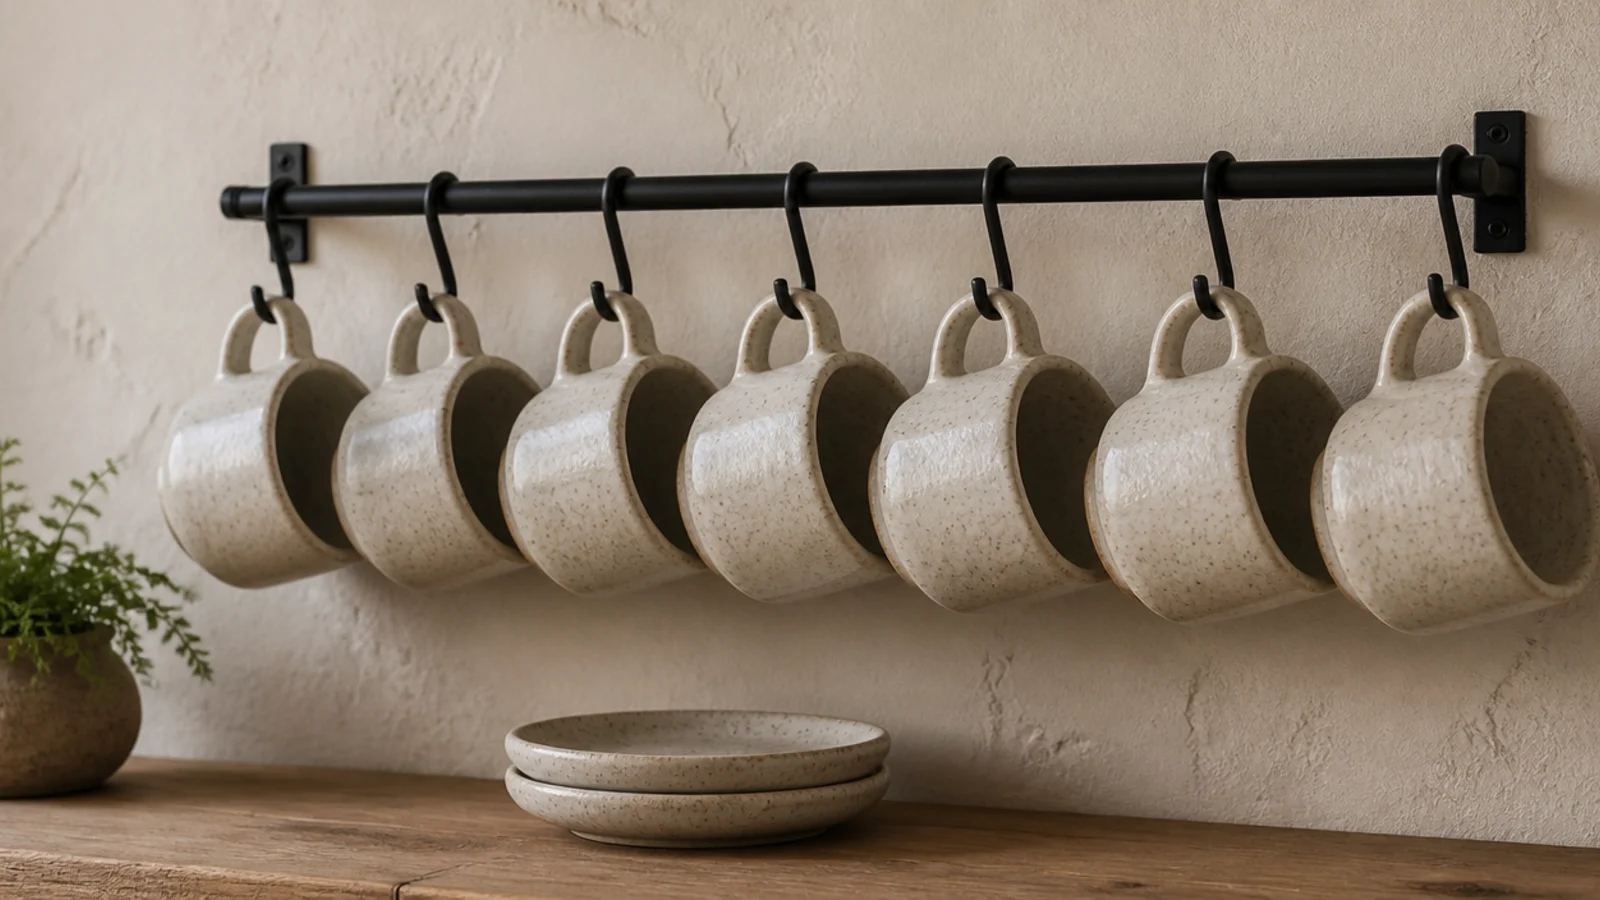
Six mugs in one glaze family does more for a small coffee corner than any appliance upgrade. Mixed mugs are the visual noise nobody notices until they are gone.
Look for seconds from a local pottery or a single restaurant-supply line — both give you six matching pieces for $30 to $60 ($$) without hunting.
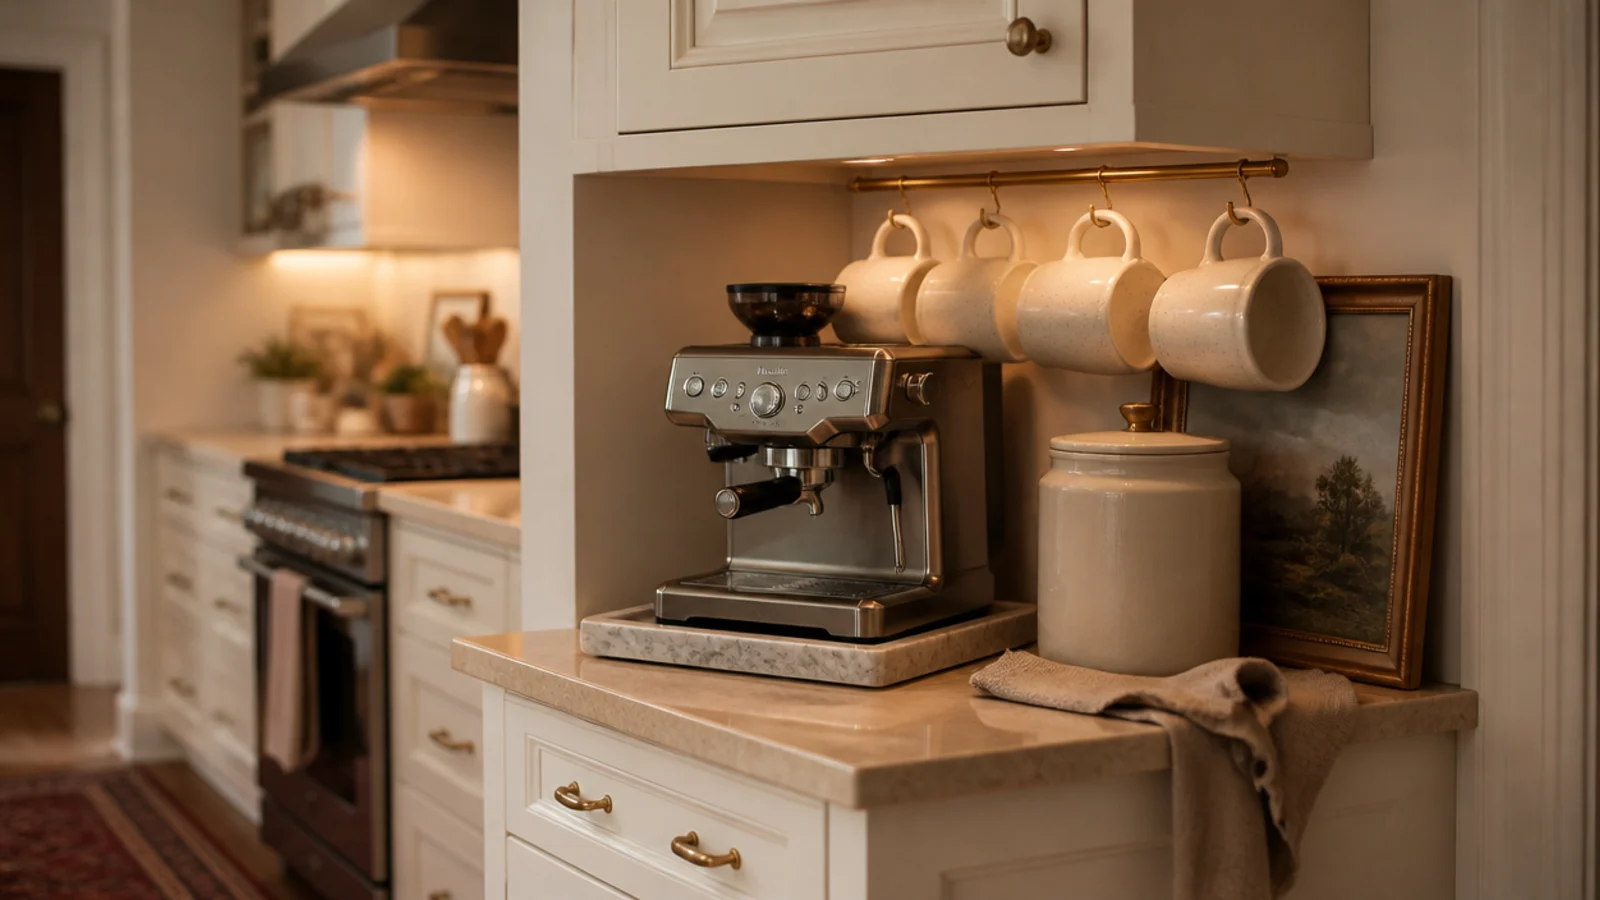
Hang them handle-out in the same direction on a peg rail, which holds six in the width one mug takes on a counter. Keep the sentimental mugs; store them in the cabinet.
4. Thicken the shelf edge to an inch and a half
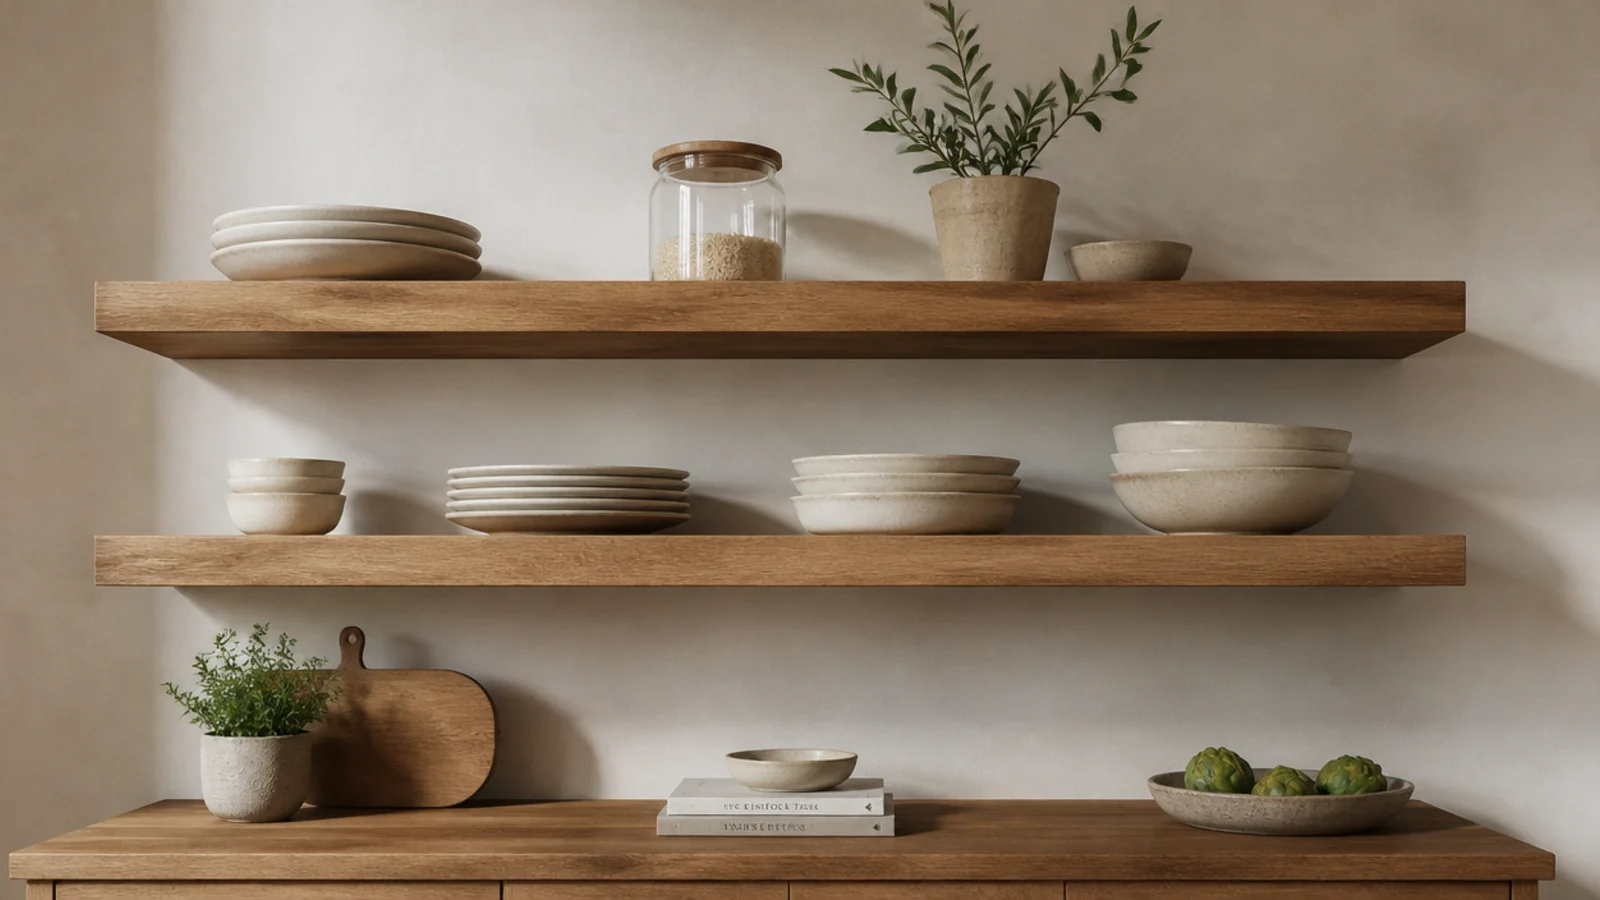
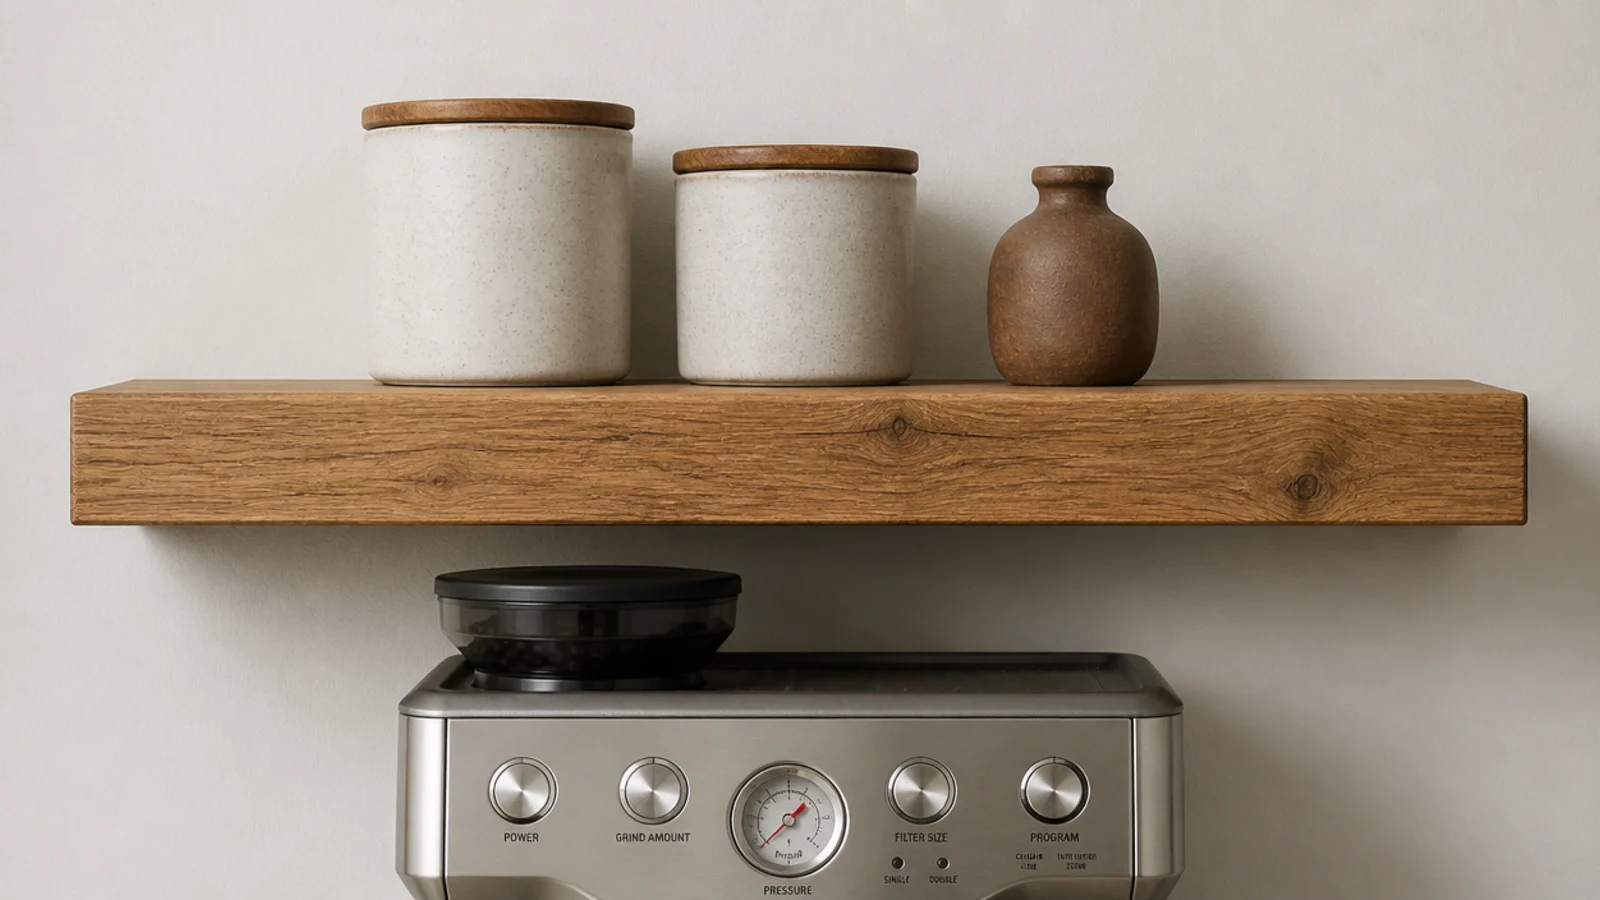
A three-quarter-inch shelf reads as a shelf. An inch and a half reads as joinery, and the difference costs about $12.
You do not need solid stock. Glue a strip of matching wood along the front edge of the board and sand it flush — from below, which is the only angle anyone sees, the shelf now looks twice as substantial.
Keep the depth at 6 to 8 inches and mount it 18 inches above the counter, with at least 6 inches of clear air above the machine's tallest point.
5. Add a small lamp instead of a strip light
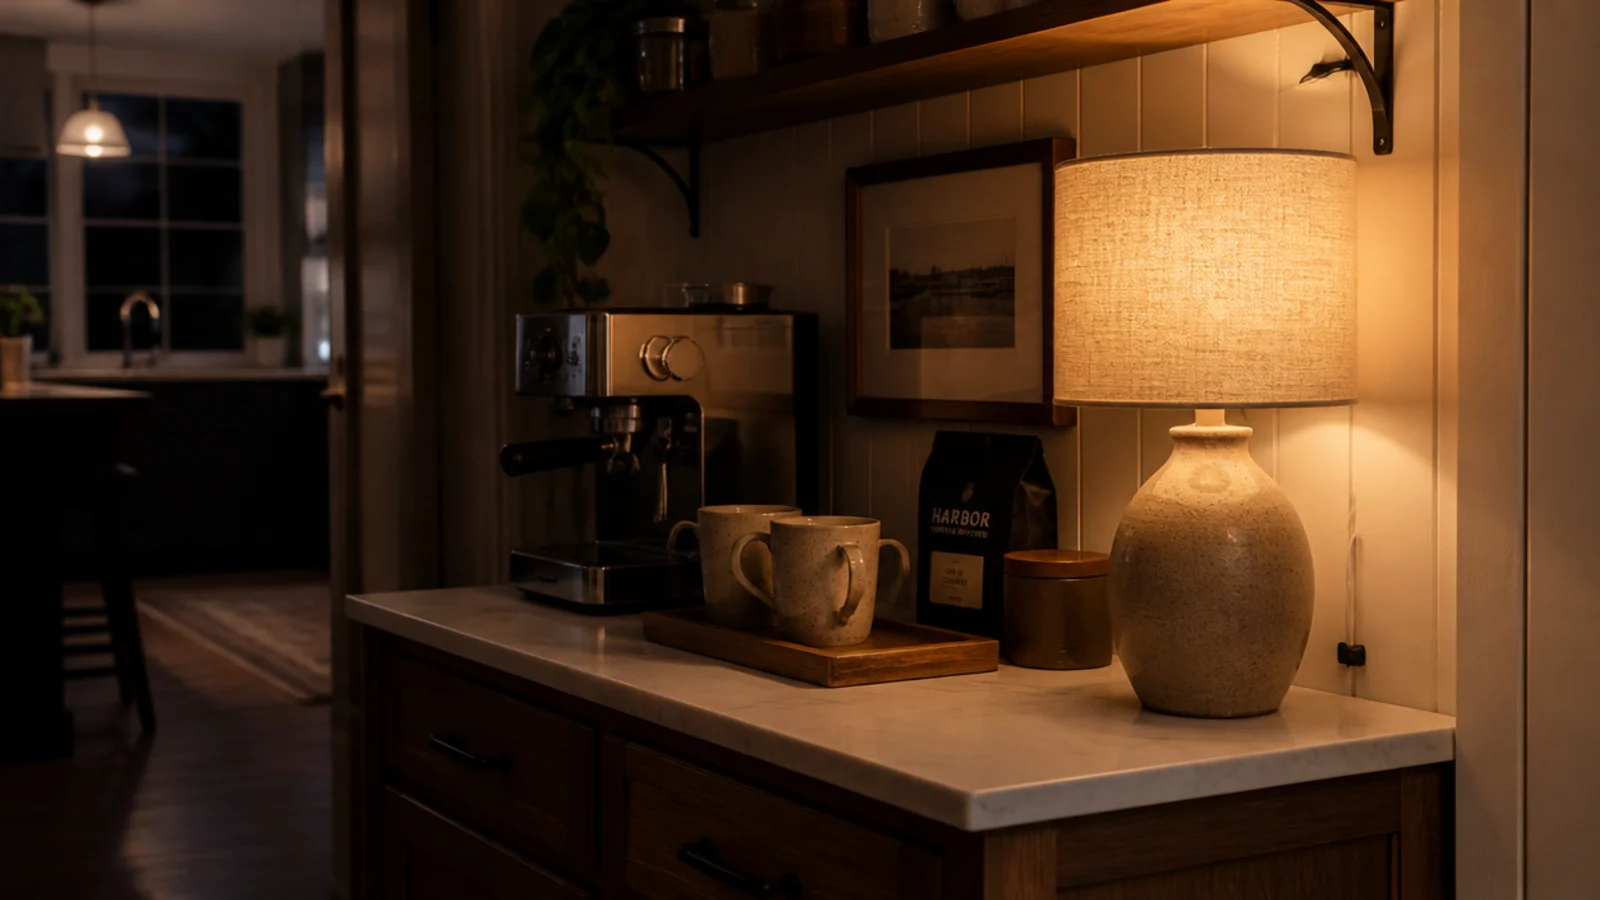
A strip light under a shelf is practical. A small lamp on the counter is what makes a corner feel like part of a home.
Look for a compact ceramic base with a linen shade, 10 to 12 inches tall, under $60 ($$). Warm 2700K bulb, always — daylight white over cream stoneware makes the whole corner look institutional.
Run the cord down the back of the counter with two adhesive clips. A visible cable undoes the effect entirely, and it takes two minutes to fix.
6. Paint the alcove a shade deeper
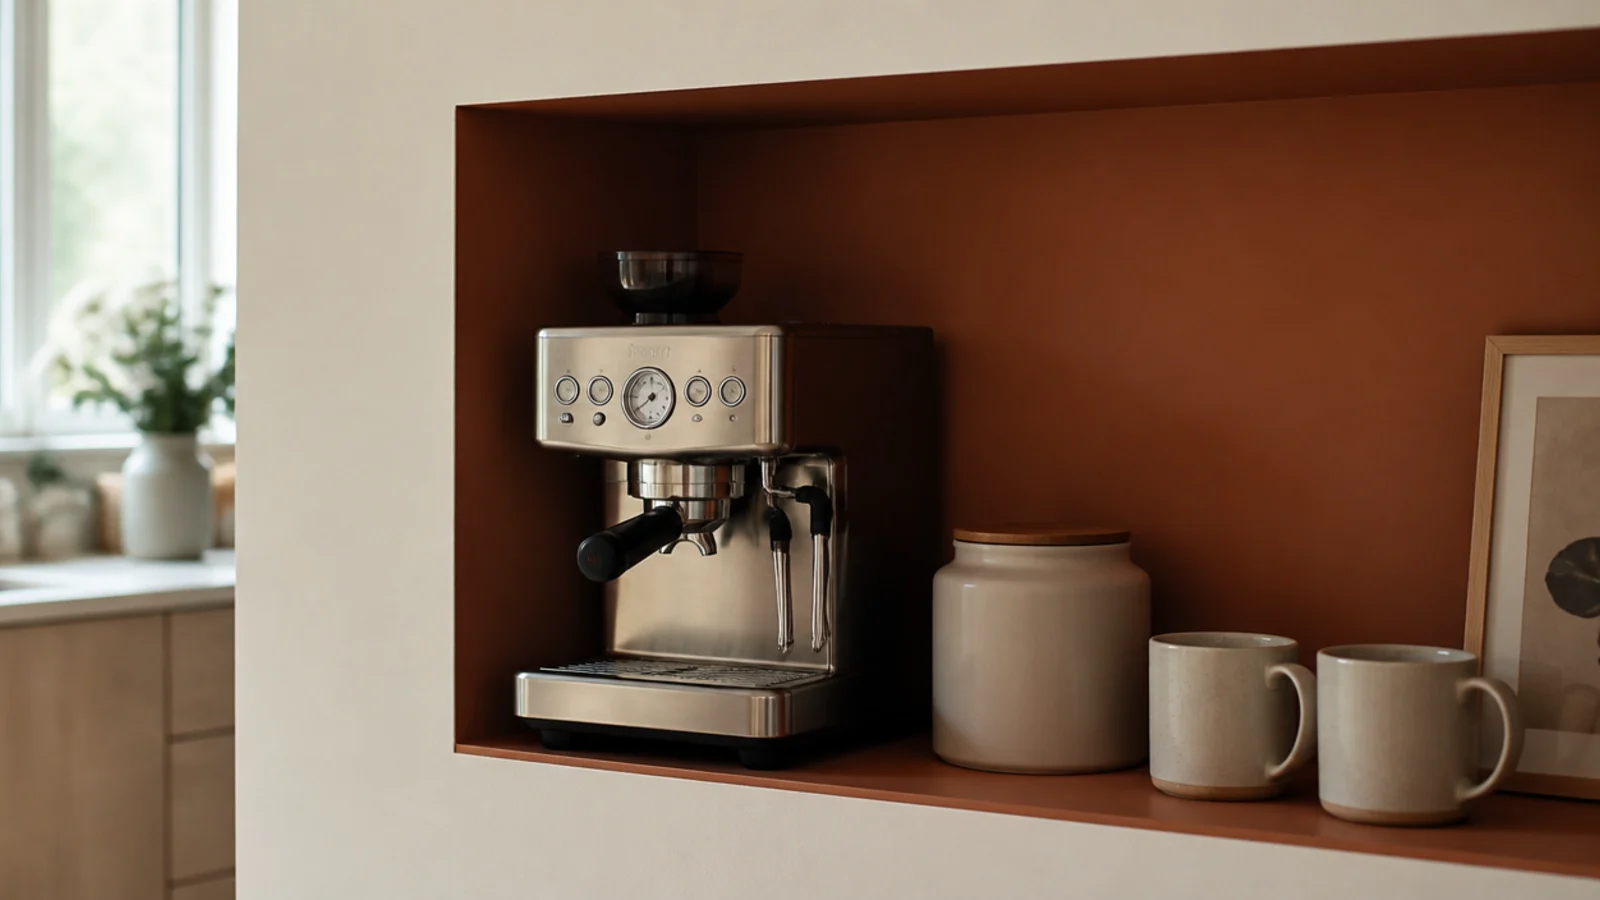
If the station sits in a recess or under a run of cabinets, paint just that panel two or three shades deeper than the kitchen. Warm clay, mushroom or a deep sage.
A single sample pot at $6 covers a 30 by 20 inch panel, which is all the wall the corner ever shows ($). Use eggshell rather than flat so it wipes.
Tape a crisp rectangle rather than fading an edge. A defined panel reads as a deliberate nook; a soft blend reads as a touch-up.
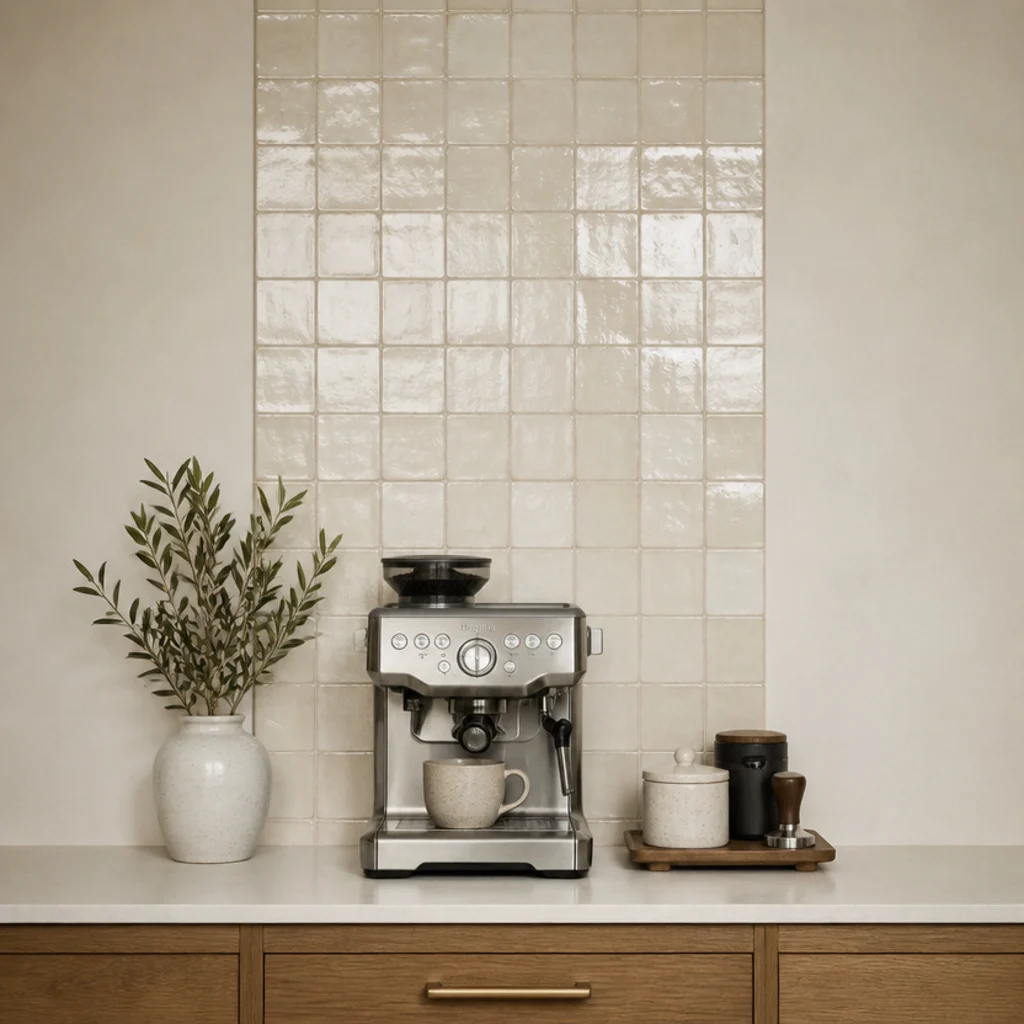
7. Tile only the 30-inch splash panel
Good tile is expensive by the square foot and cheap by the 30-inch panel. Handmade zellige with visible glaze variation costs about $12 to $18 a square foot, and the coffee corner needs roughly three.
That is $50 for the one wall surface people actually look at closely, and it wipes clean of steam and grinder dust forever.
Renting? Peel-and-stick in a matte finish does the same job for $25 and lifts off with gentle heat when you leave.
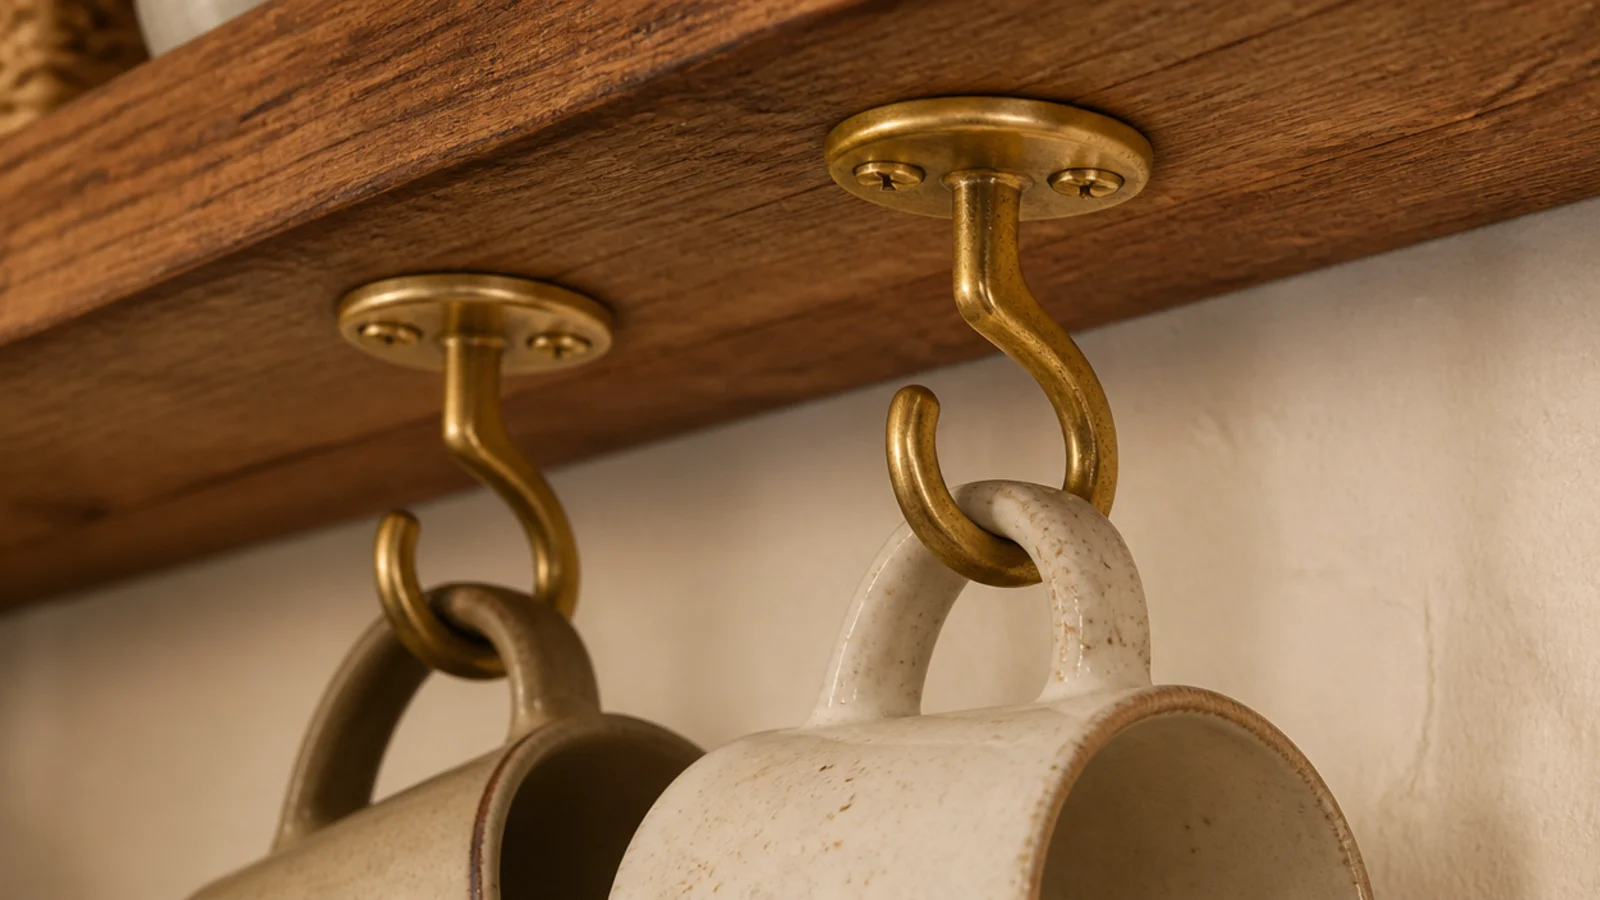
8. Choose unlacquered brass and let it patina
Lacquered brass stays bright for a year and then wears in patches. Unlacquered brass dulls evenly into something that looks old, which is exactly the effect people spend money trying to buy.
Cup hooks, a small rail and a spoon crock in unlacquered brass run $15 to $35 total ($).
Match the metal to the kitchen hardware if it is visible in the same eyeline. Brass beside matte black handles in a 30-inch corner is what makes an otherwise cohesive setup look bolted on.
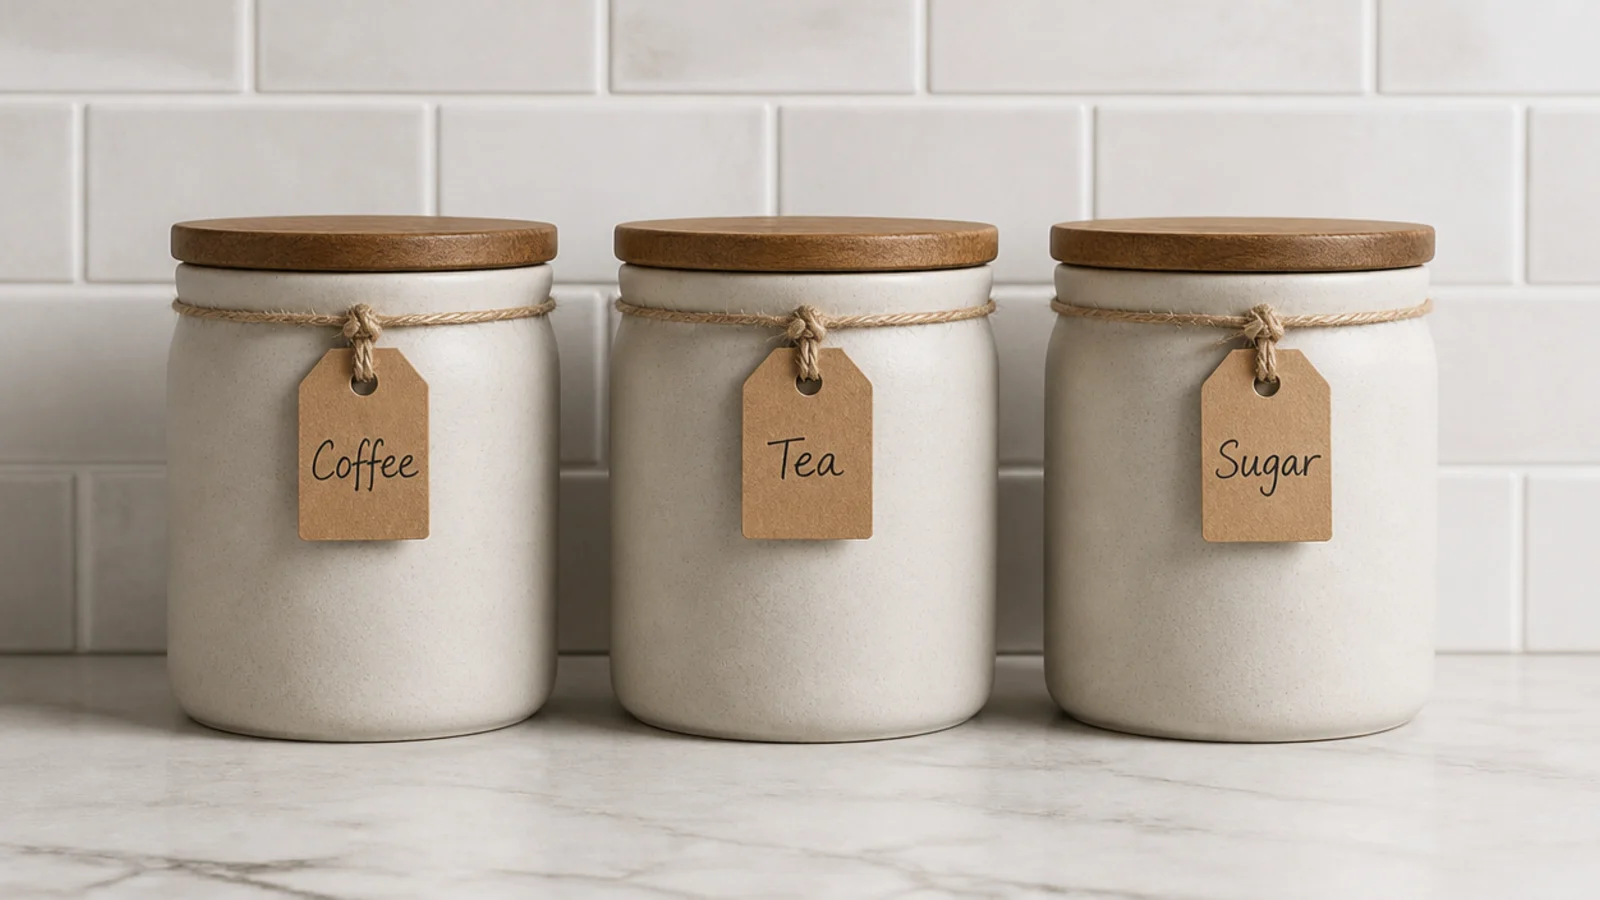
9. Decant anything with a printed label
Half the perceived clutter in a small coffee corner is graphics. Beans, sugar, cocoa and sweeteners all arrive in packaging designed to shout from a shelf ten feet away.
Move them into matching containers and write a kraft tag by hand. Whole beans need an opaque airtight canister at room temperature — not the fridge, and not a clear jar in the sun, where light stales them faster than air.
Three matching canisters run $30 to $70 ($$) and change the corner more than repainting it.
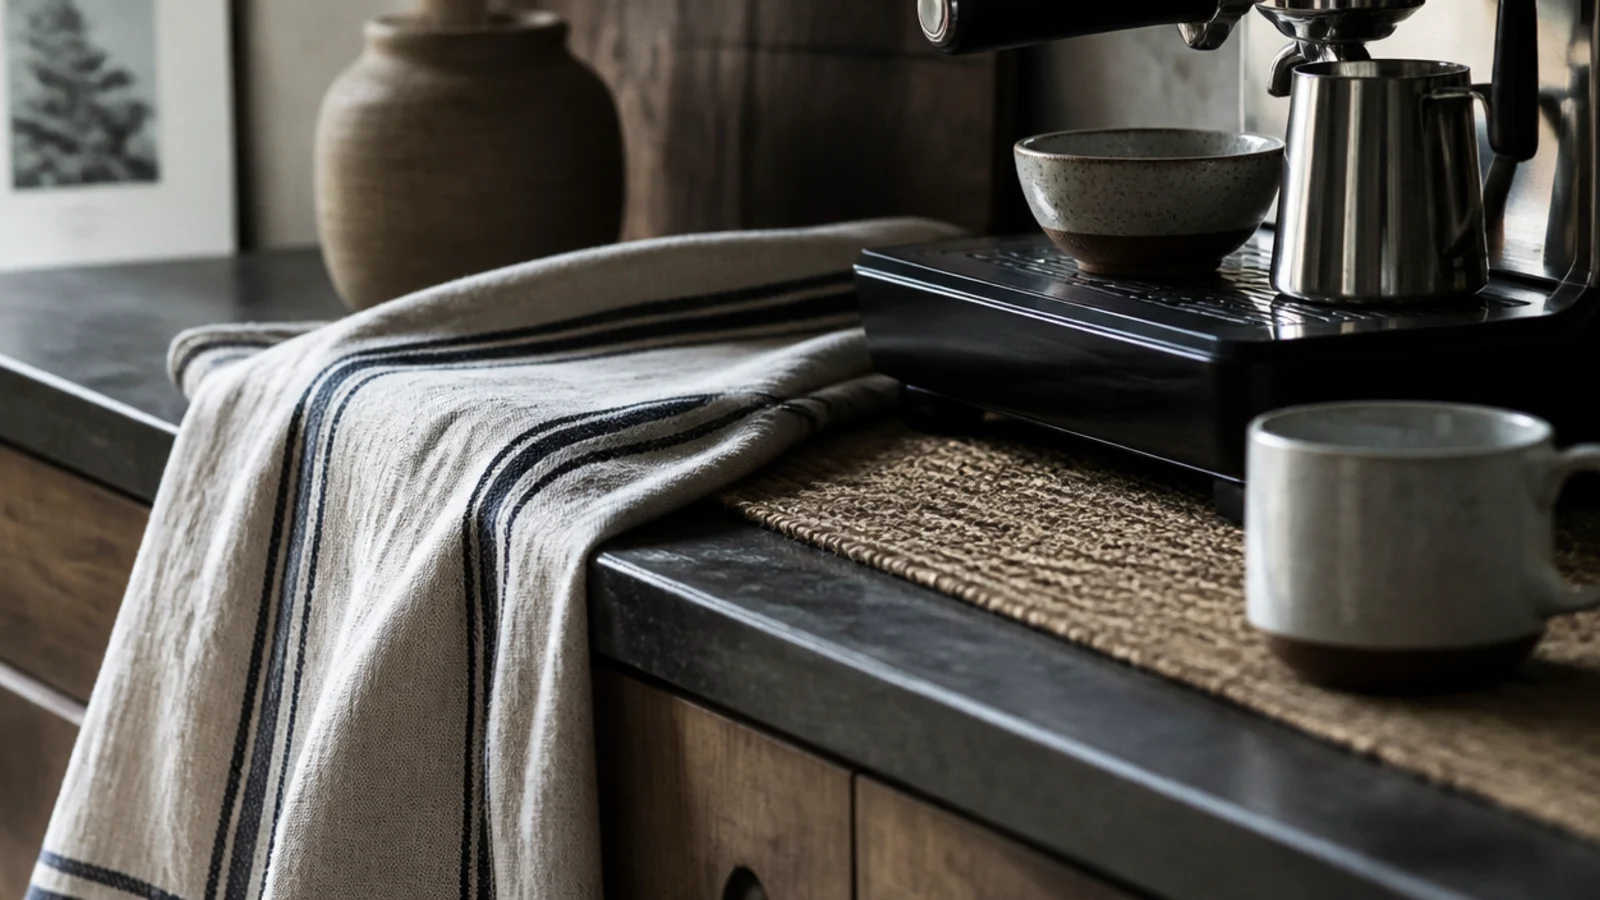
10. Layer in one soft texture
Every object in a coffee corner is hard, matte and manmade. One soft thing fixes the flatness immediately.
A striped linen cloth over a slim rail, a narrow jute runner under the tray, or a small woven basket holding the cloths. Linen over terry, because it dries fast and leaves no lint on a machine housing.
Keep it to one soft element in a 30-inch corner. Two starts to read as a display rather than a working counter.
11. Raise the machine onto a plinth
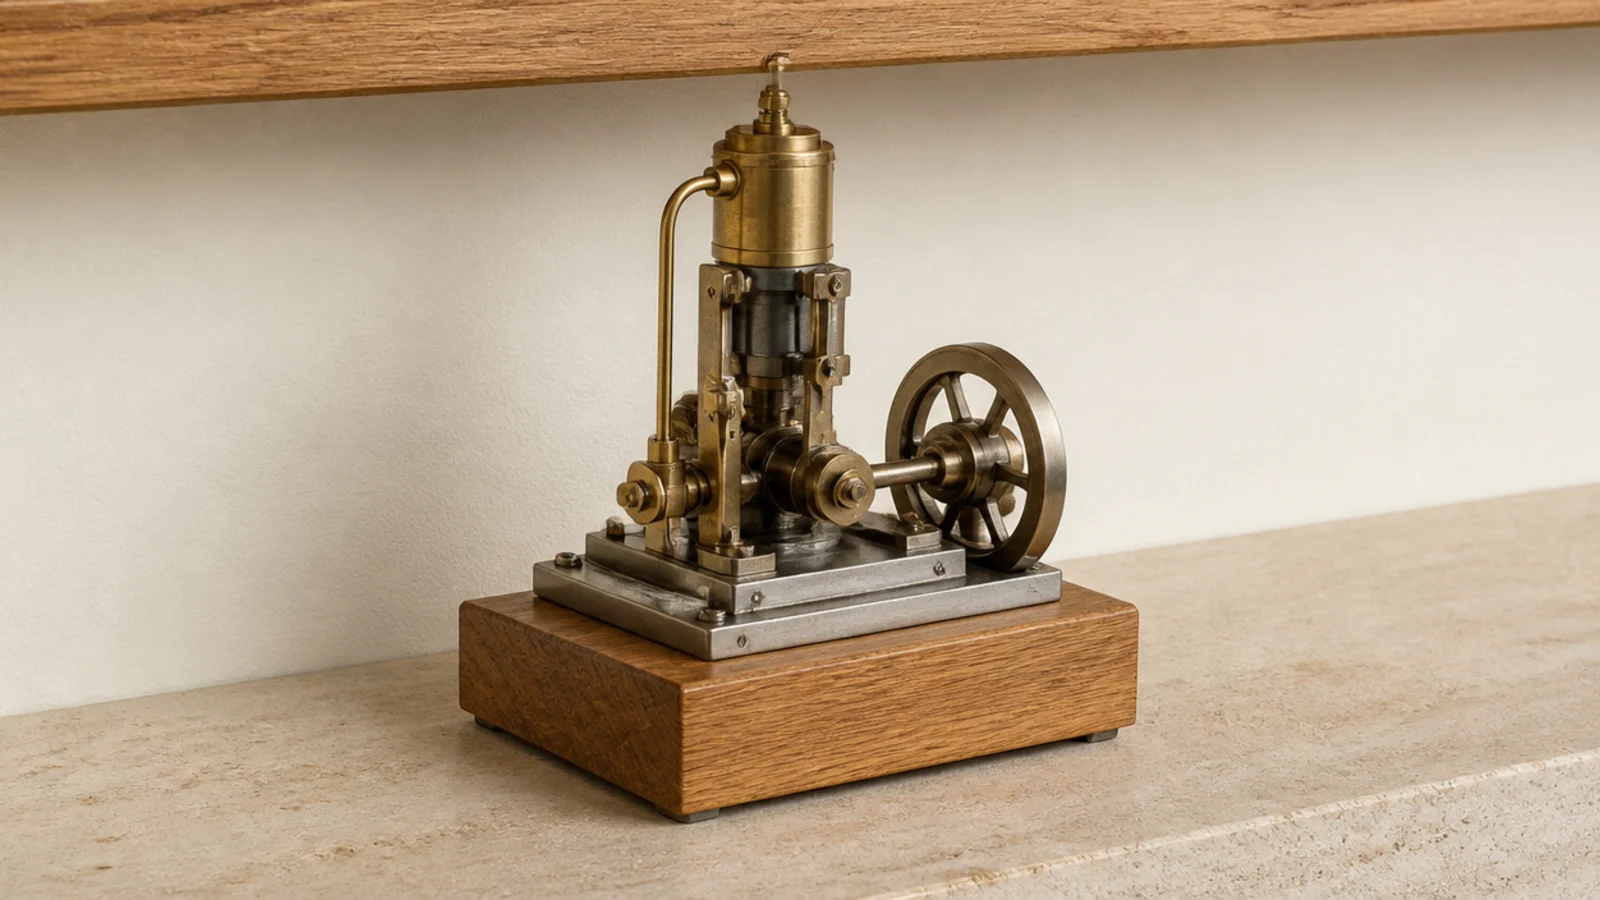
A 3-inch solid wood plinth under the machine does what a plinth does in a shop window: it turns an appliance into a considered object, and it gives you a hidden row for flat tins underneath.
Make it an inch wider than the machine base on each side and finish it to match the shelf. Offcuts and a $9 tin of oil cover it ($).
Remember the plinth eats 3 inches of your steam gap, so recheck the clearance above before you commit.
12. Put the supplies behind a door
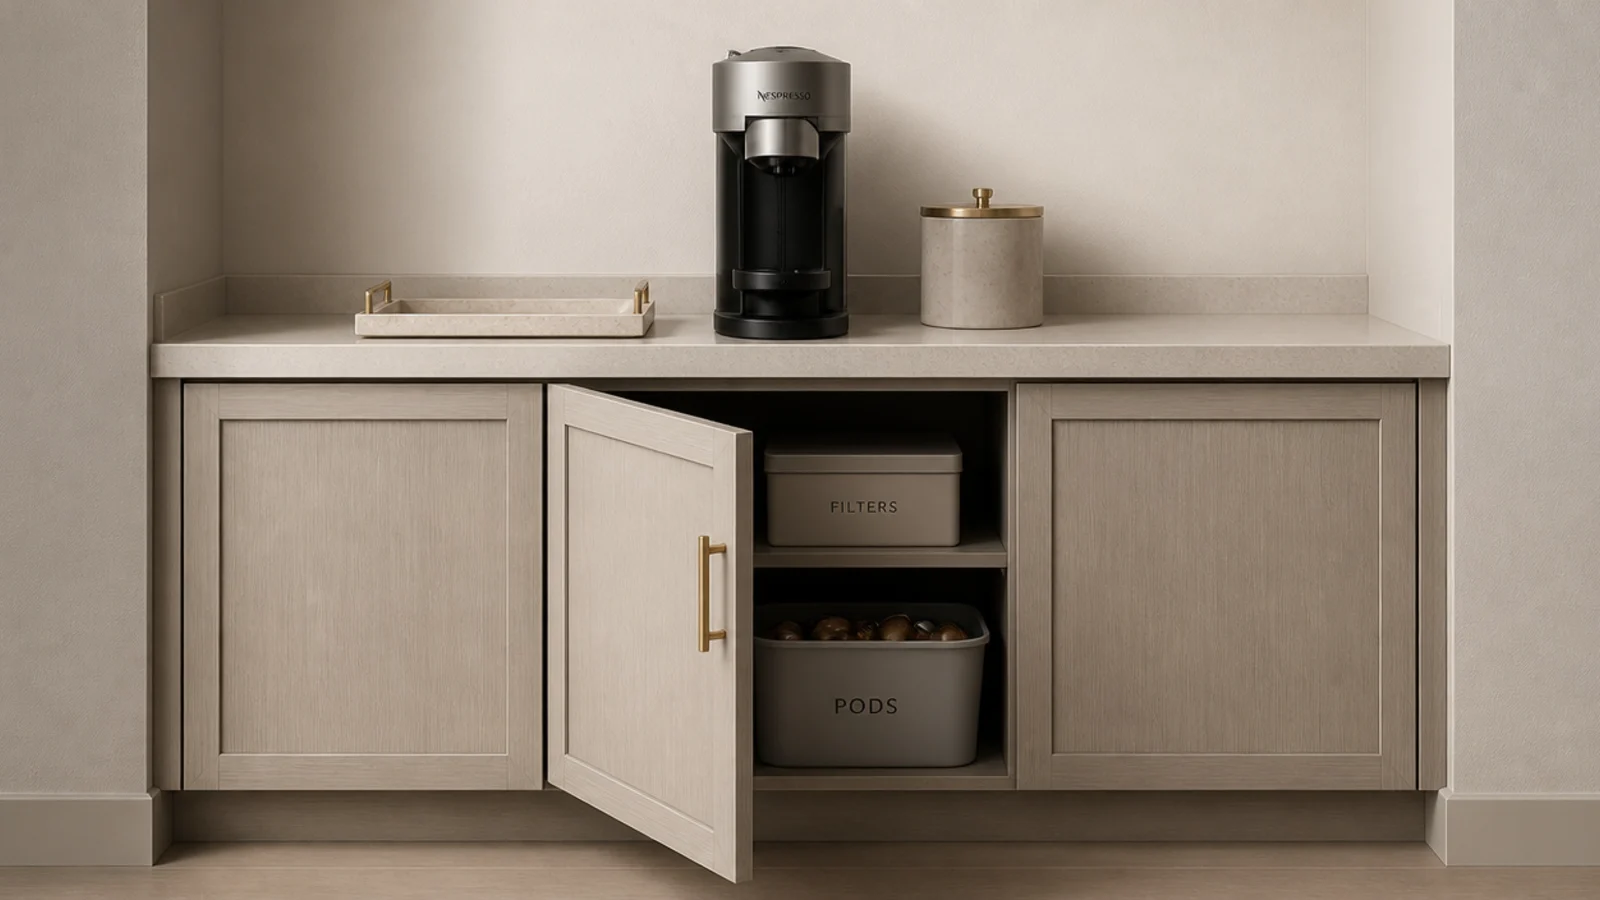
Open storage above, closed storage below — that order, every time. Filters, pods, spare mugs and the descaling kit go in a lidded box or the cabinet.
Open baskets of supplies at eye level are the reason a well-styled corner still photographs as cluttered. The eye reads packaging before it reads arrangement.
If there is no cabinet, one lidded box roughly 10 by 7 inches on the lowest shelf hides everything for $12 to $20 ($).
13. Lean one piece of art at eye level
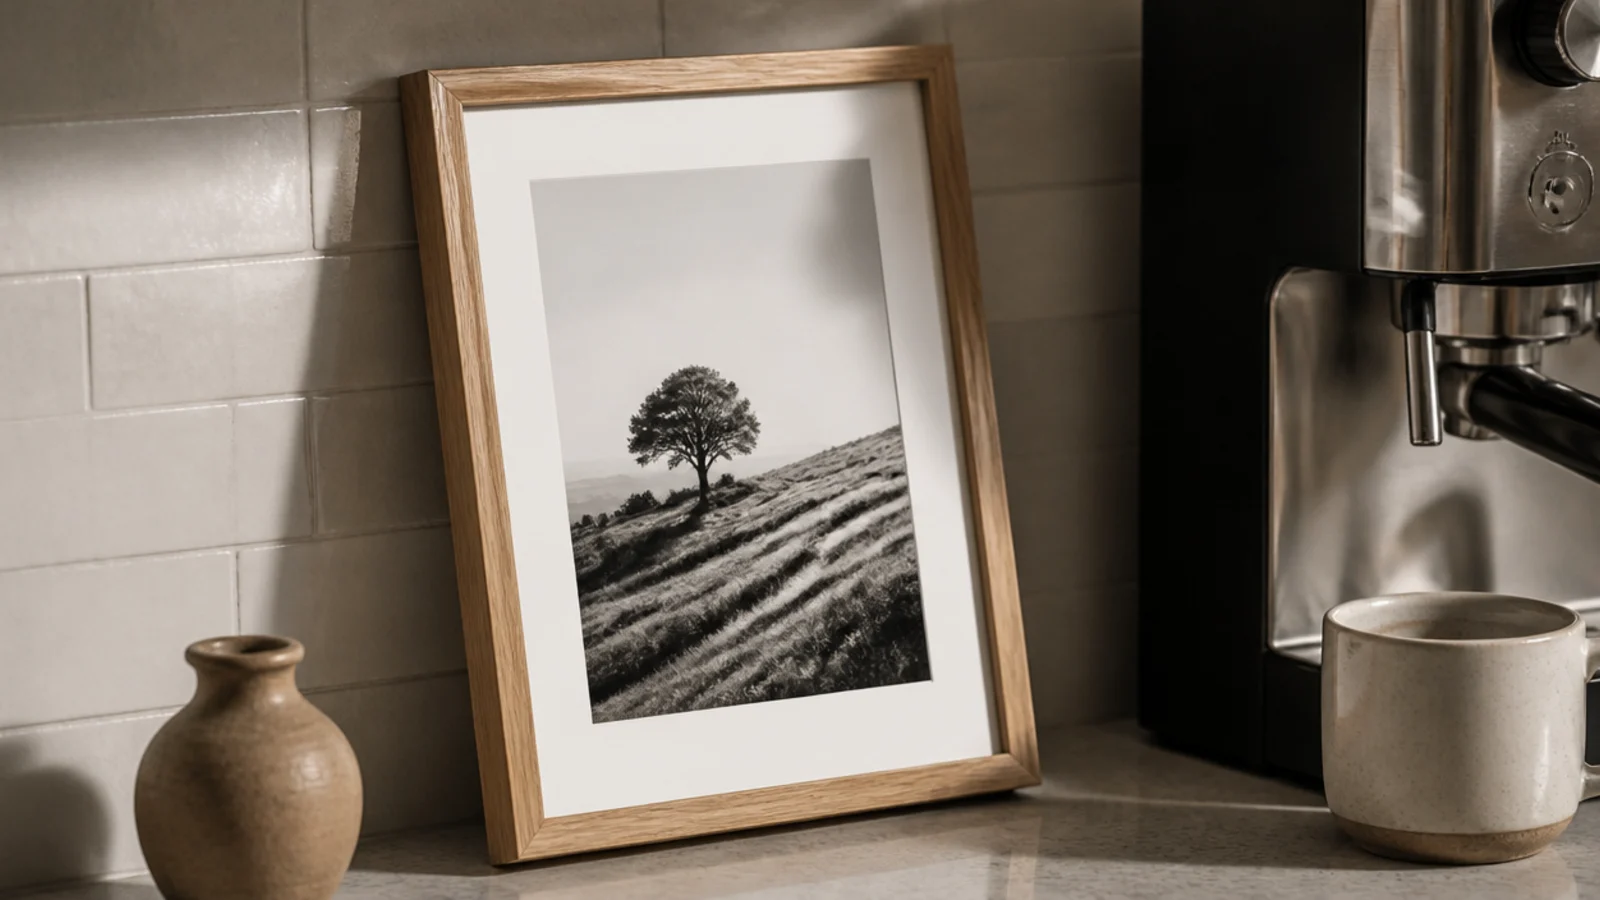
A small framed print leaning against the backsplash is what stops a corner reading as a work zone. Keep it to a 5 by 7 or 8 by 10 in a plain oak frame.
Lean rather than hang. You can lift it to wipe the wall, and a leaning frame always looks less formal than a hung one, which suits a counter.
Textured paper, a pressed leaf or a photograph printed small all work. Secondhand frames run $3 to $8.
14. Keep three objects visible at rest
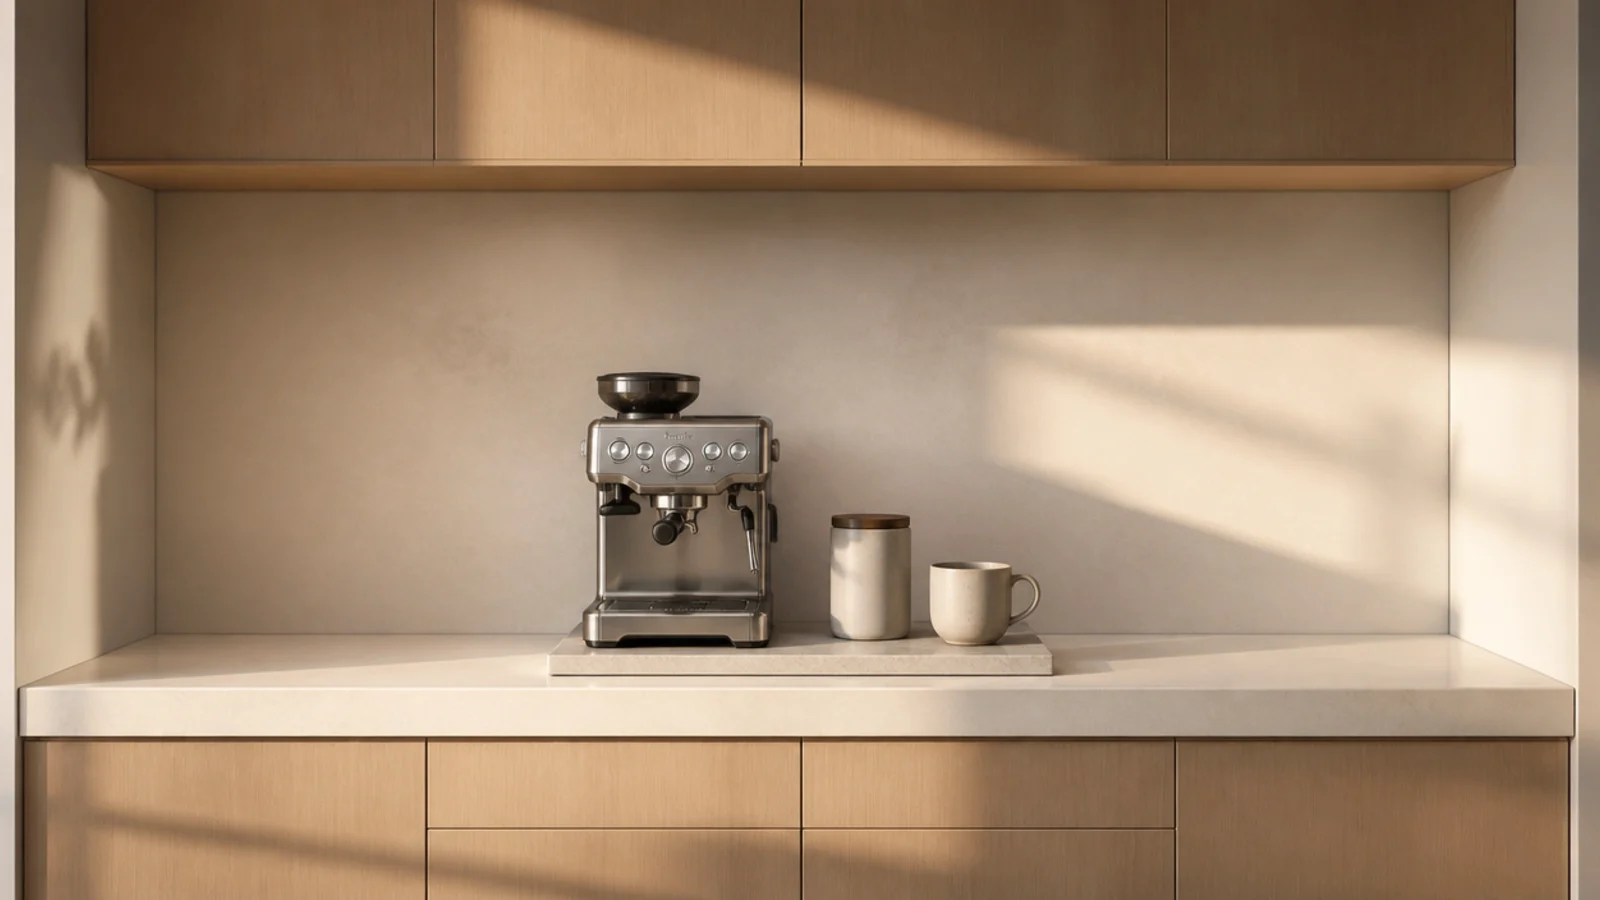
The real test of a small coffee corner is what it looks like at four in the afternoon. If it holds nine objects then, it is storage with a machine in it.
Aim for three visible pieces at rest: the machine, one canister, one mug or a small vase. Everything else goes below.
That single rule does more than any purchase in this list, and it costs nothing. For a full styling pass, twenty-five dreamy setups works through the softer end of the same idea.
15. Finish with one living stem
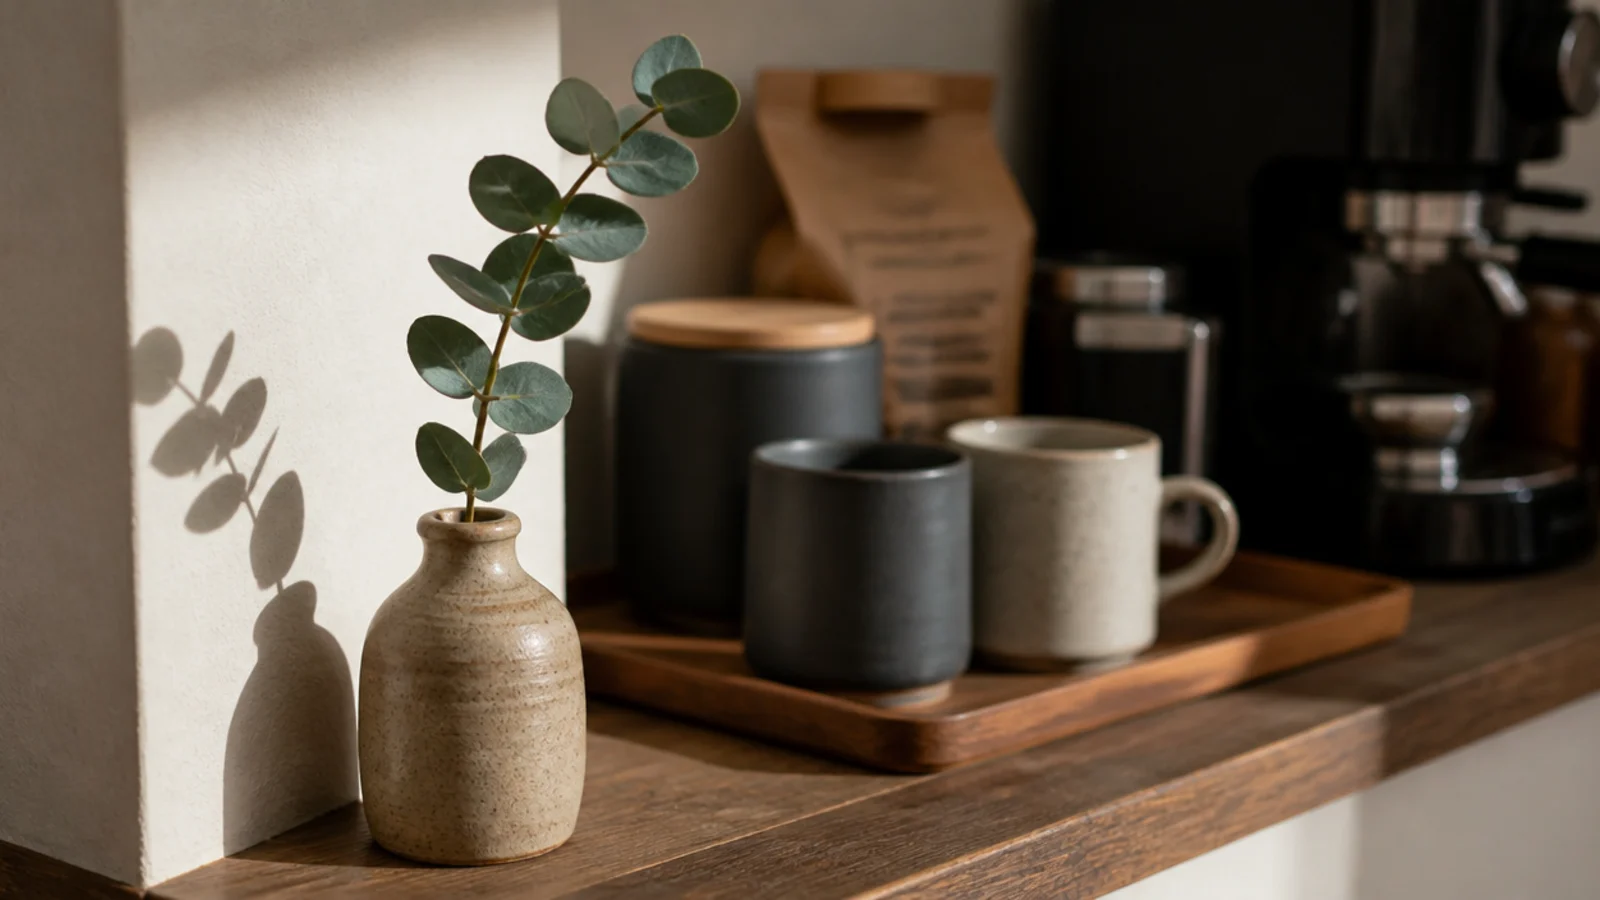
One stem — eucalyptus, olive, a sprig of something dried — in a small clay bottle. Not an arrangement, not a plant that needs watering above an outlet.
Change it with the season and change nothing else. A corner that gets one rotating object feels current all year; a corner that gets fully redecorated four times a year just looks unsettled.
Keep the vessel under 8 inches so it stays out of the steam path and inside the reach zone.
Mistakes to Skip
- Adding a fourth material. Wood, stone and one metal is the whole palette; the fourth is what makes a corner look assembled rather than designed.
- Lighting it with the ceiling fixture only. You stand between the light and the machine, so you brew in your own shadow every single morning.
- Keeping open baskets of pods and filters at eye level. Packaging graphics read as clutter faster than any object count does.
Frequently asked questions
How do I make a small coffee corner look expensive?
Cohesion does almost all of it. Commit to one wood tone, one metal and three colors, then decant anything with a printed label. A stone tray, a thicker shelf edge and a warm lamp cost under $100 together and read as cabinetry rather than as appliances on a counter. Object count matters less than how few materials you use.
What materials make a coffee corner look high end?
Honed stone, solid wood at least an inch and a half thick, unlacquered brass and matte stoneware. All four age well and none of them shine. The finishes that cheapen a corner are high-gloss laminate, chrome and clear plastic, because they reflect hard light and show every fingerprint on a surface you touch daily.
How small can a coffee corner be and still look designed?
Twenty-four inches of width and 15 inches of depth is enough if the materials are consistent. A designed corner is a small one with three materials, not a large one with twelve objects. Below 24 inches, hang the mugs and shelve the beans so the counter carries only the machine and a tray.
What lighting works best for a coffee corner?
One warm light at eye level or under the shelf, at 2700K. The overhead kitchen light sits behind you at the machine, so you brew in your own shadow, and daylight-white bulbs over wood and cream stoneware make the whole corner look like a break room. A small lamp with a linen shade does more than any strip.
Should a coffee corner use open or closed storage?
Open above, closed below. Keep the six things you touch daily visible and put filters, pods, spare mugs and the descaling kit behind a door or in a lidded box. Open baskets of supplies at eye level are the single most common reason a well-styled corner still reads as cluttered in photographs.
Start with the mugs and the decanting — under $60 between them, and they change the corner more than a new machine would. If you want the build side rather than the styling, the twenty-step coffee bar project covers shelf heights and anchors, and kitchen shelf decor handles the wall above on a renter budget. Save the pin so the material rules are with you when you shop.
Want more like this? Browse all 15 coffee corner ideas guides — they all use the same measurements and budget tiers.

Pin it for later
Save this to your Coffee Corner Ideas board
Pin it now so it is waiting for you when the tape measure comes out — and so the next person hunting for this idea can find it too.
Save this pinKeep going
More ideas worth saving while you have the tape measure out.