Coffee Corner Ideas · How-To
20 Steps to Style a Stunning Coffee Corner

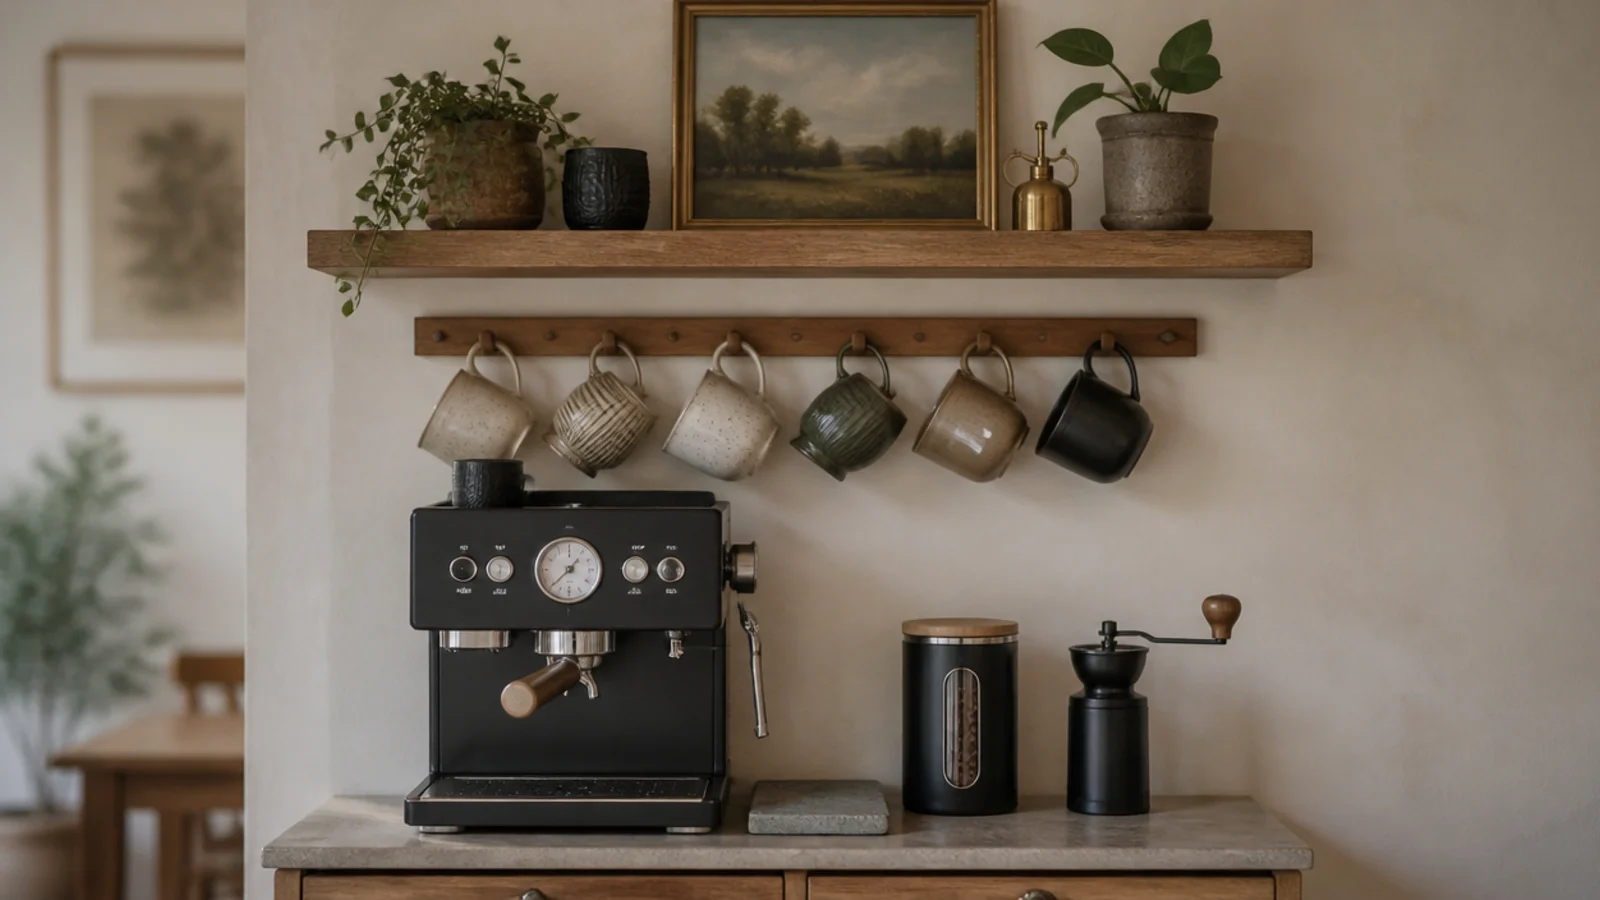
A DIY coffee bar goes wrong in the first ten minutes, not the last. People choose the prettiest wall, buy a shelf, and only then discover the nearest outlet is six feet away and the machine lid hits the shelf underside. These twenty steps run in the order that prevents that. Follow them and you get a station that fits your actual machine, holds six mugs in almost no width, and still looks composed a year in.
In this guide23 sections — tap to openHide
- 1.What You'll Need to Build a DIY Coffee Bar
- 2.Step 1: Pick the wall the outlet already serves
- 3.Step 2: Measure the machine with the lid open
- 4.Step 3: Tape out the footprint on the counter
- 5.Step 4: Choose the surface the bar sits on
- 6.Step 5: Set the order you actually work in
- 7.Step 6: Fix the shelf height at 18 inches
- 8.Step 7: Find the studs before you choose anchors
- 9.Step 8: Mount the shelf and check level twice
- 10.Step 9: Fit the mug peg rail underneath
- 11.Step 10: Put a tray under the machine
- 12.Step 11: Solve the water route first
- 13.Step 12: Decant beans into an opaque airtight canister
- 14.Step 13: Put the small supplies in one closed box
- 15.Step 14: Give the spoons a crock
- 16.Step 15: Decide where the grounds go
- 17.Step 16: Protect the wall behind the bar
- 18.Step 17: Light the corner separately
- 19.Step 18: Hide the cords properly
- 20.Step 19: Style the shelf in threes
- 21.Step 20: Use it for a week, then remove two things
- 22.Pro Styling Rules
- 23.Mistakes to Skip
What You'll Need to Build a DIY Coffee Bar
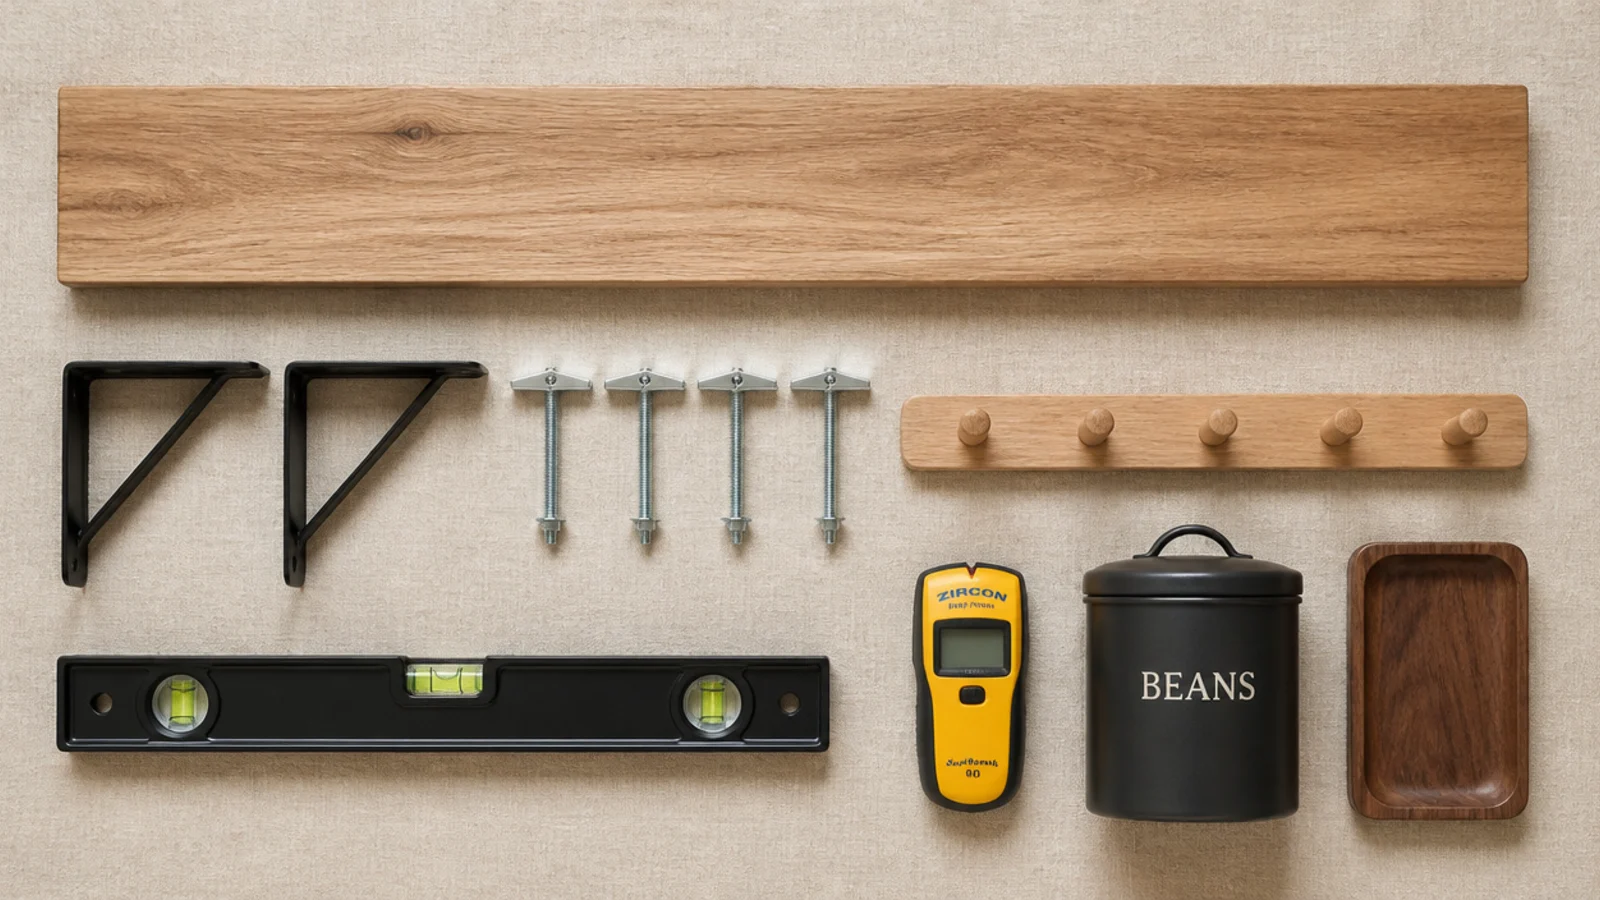
Nothing here is specialist. Mounting a shelf and a mug rail onto an existing counter runs $60 to $150 in materials; working with a cart or a sideboard you already own keeps it under $50.
| Item | Spec that matters | Rough cost |
|---|---|---|
| Shelf board | Solid oak or poplar, 3/4 in thick, 6–8 in deep | $15–$40 |
| Shelf brackets | Powder-coated steel, rated 40 lb per pair | $10–$20 |
| Toggle bolts | 1/8 in, for half-inch drywall | $4 |
| Mug peg rail | Hardwood, pegs 4 in apart, 3/4 in screws | $12–$25 |
| Tray | Sealed walnut, stoneware or honed stone, 12 x 16 in | $18–$45 |
| Bean canister | Opaque, airtight, 12 oz | $12–$28 |
| Crock and lidded box | For spoons, filters and pods | $10–$30 |
| Tools | Drill, stud finder, spirit level, tape measure | borrowed |
Step 1: Pick the wall the outlet already serves
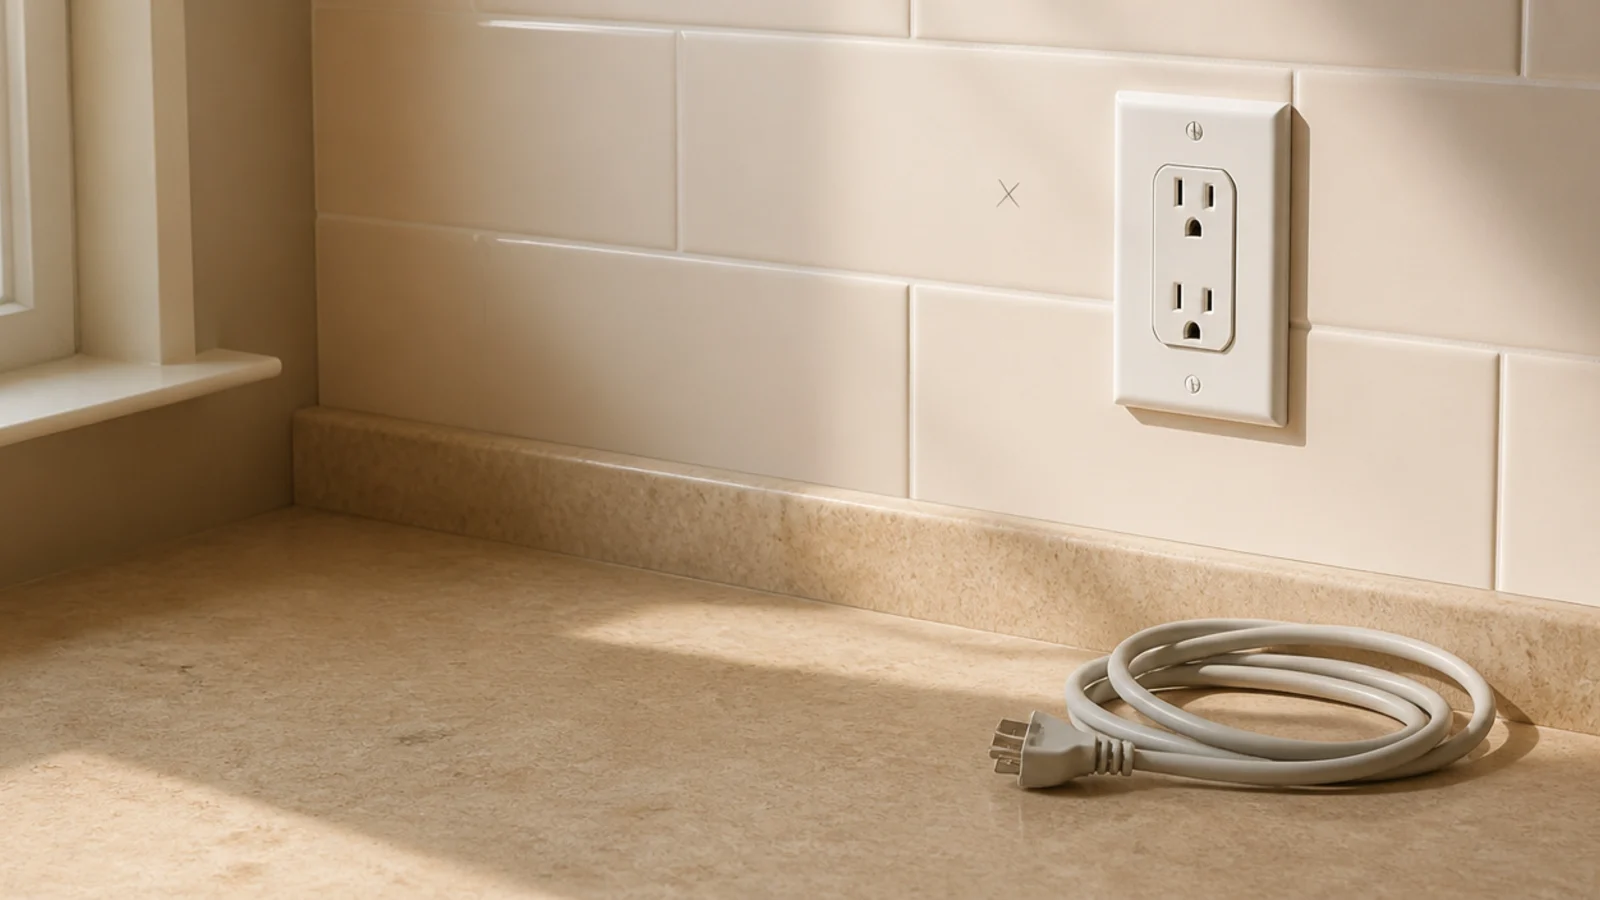
Stand in the kitchen and find the outlets before you find the wall you like. Power decides this, not the light or the view.
An extension cord running to a coffee station is the wrong answer, and under or near a water source it is a genuinely bad one. If the only candidate wall has no outlet, either budget for an electrician or move the whole plan to a cart that can park where the power is.
Step 2: Measure the machine with the lid open
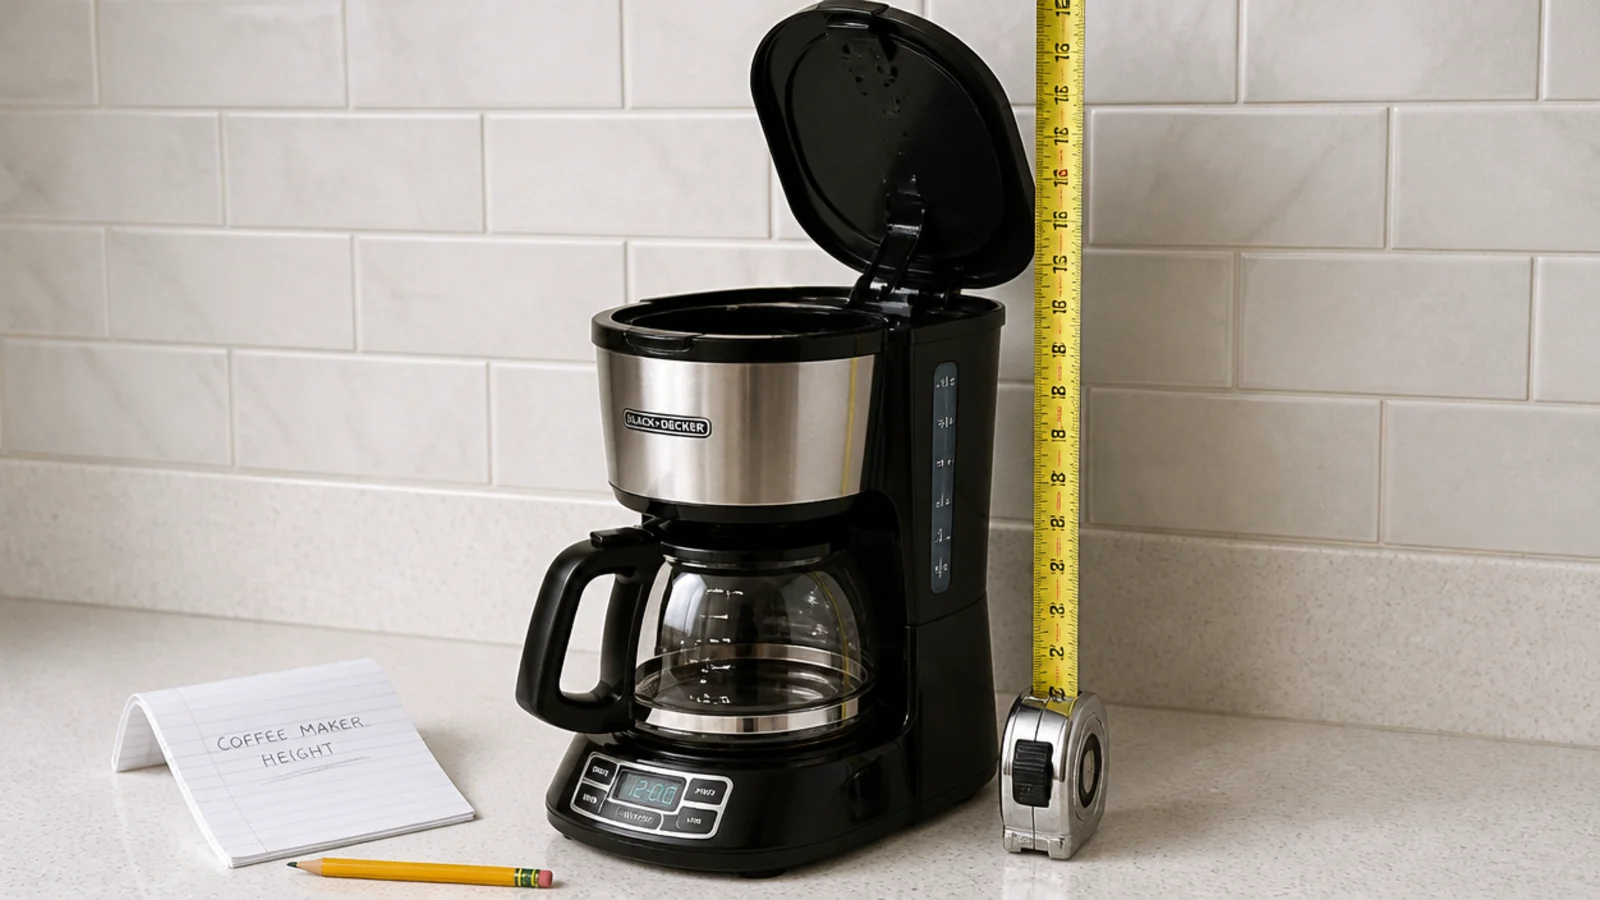
Almost everyone measures a machine closed, and almost everyone regrets it. Lift the top-fill lid, raise the reservoir, and measure from the counter to the highest point it reaches.
Write that number down. It governs the shelf height, the cabinet interior height and whether the appliance garage idea works at all. A bean-to-cup with a hopper commonly needs 17 to 19 inches of open height on its own.
Step 3: Tape out the footprint on the counter
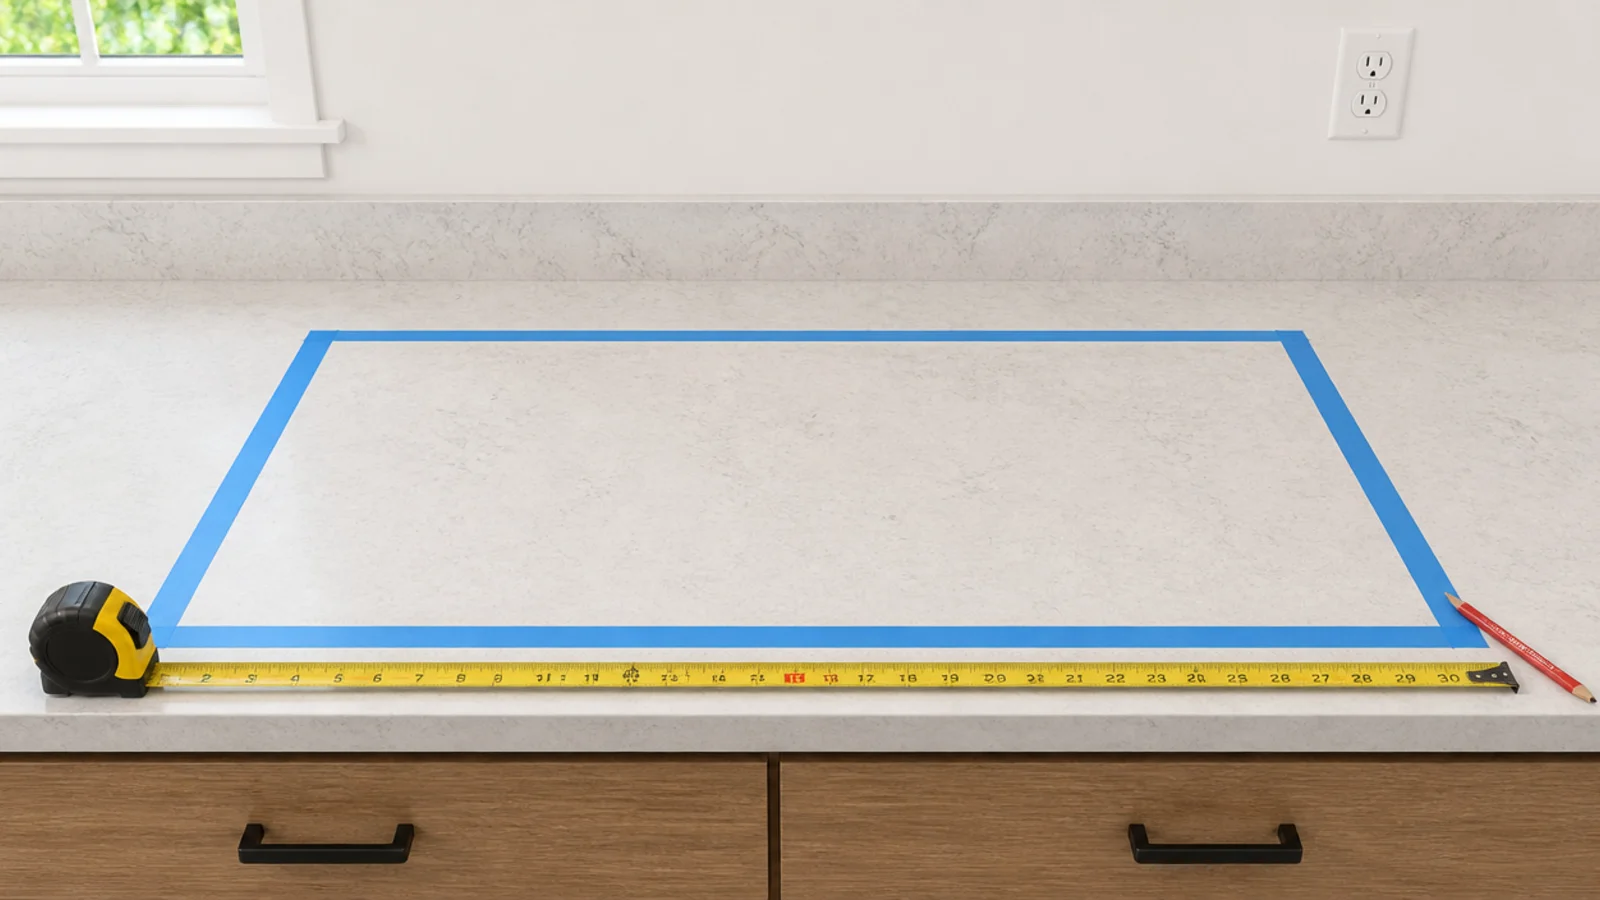
Run painters tape into a rectangle 30 inches wide by 18 inches deep on the counter, or 24 by 15 if space is tight. Leave it there for a day and cook around it.
That rectangle is your whole coffee bar. Everything inside it earns its spot; everything else lives in the cabinet below. Taping first is what stops a station spreading to 40 inches and becoming the place mail lands.
Step 4: Choose the surface the bar sits on
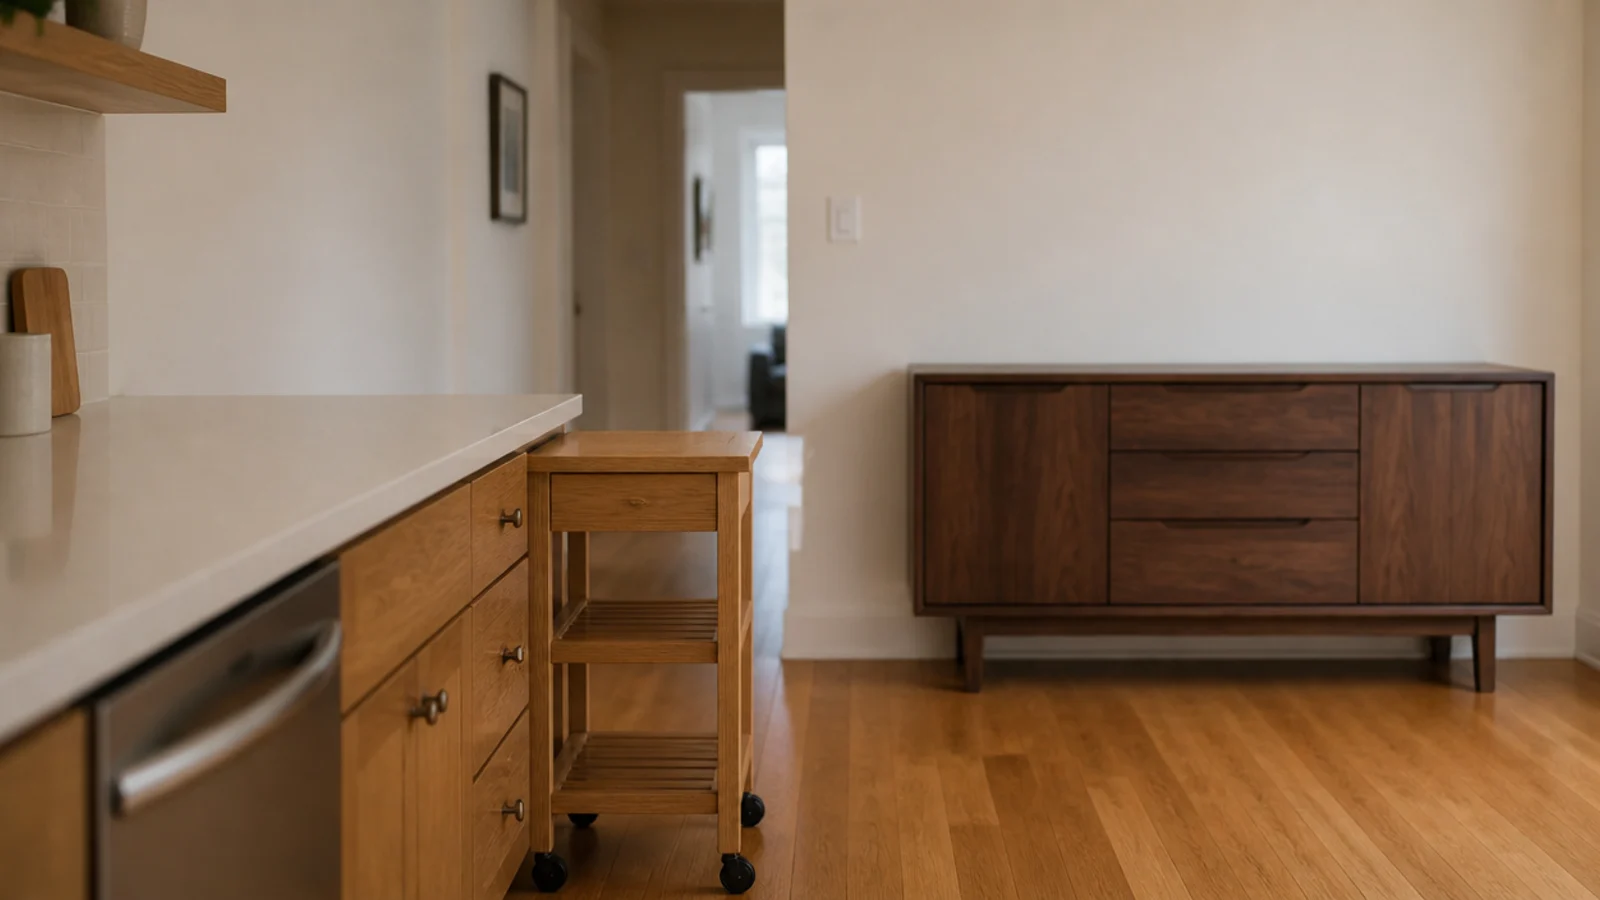
Three surfaces work. Counter, at 36 inches, is best for anything you press down on. A cart at 32 to 34 inches suits a kitchen with no spare run and rolls out for cleaning. A sideboard suits a dining room and stores cups underneath.
Pick now, because brackets, tray size and cord length all follow from it. Solid wood or stone tops handle heat and drips; laminate lifts at the seams over time.
Step 5: Set the order you actually work in
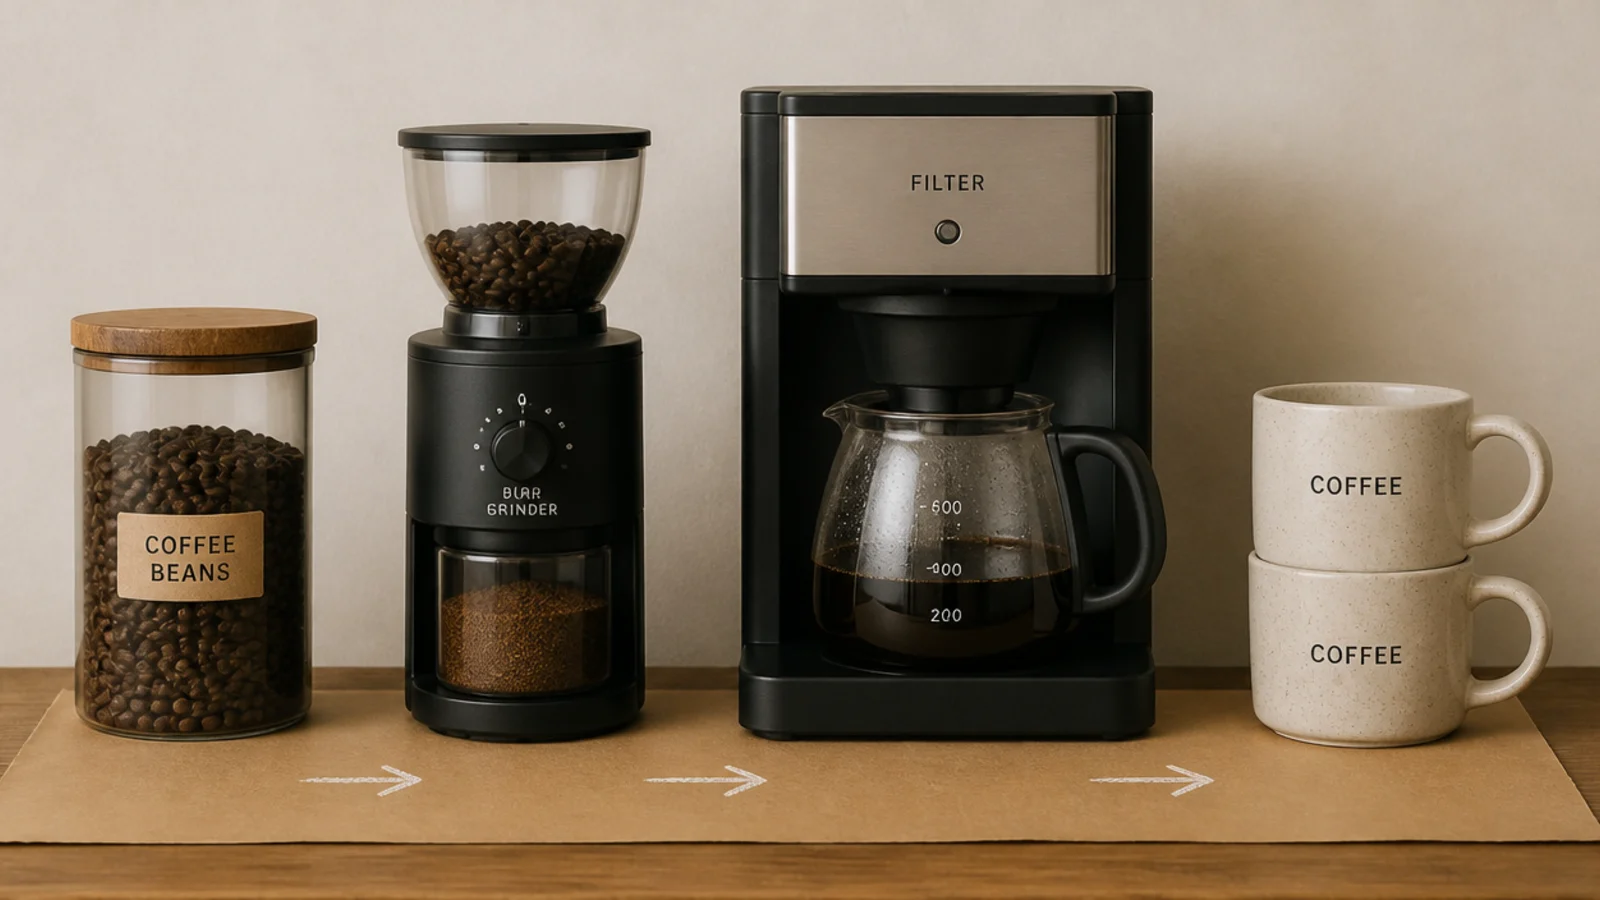
Lay the pieces out in the sequence your hands move: beans, grinder, machine, mug. Left to right if you are right-handed, and reverse it if you are not.
Everything should sit inside a single arm sweep, roughly a 30-inch reach zone from where you stand. Test it with your eyes shut. Any object you have to step sideways for is in the wrong place, and it will annoy you every morning for years.
Step 6: Fix the shelf height at 18 inches
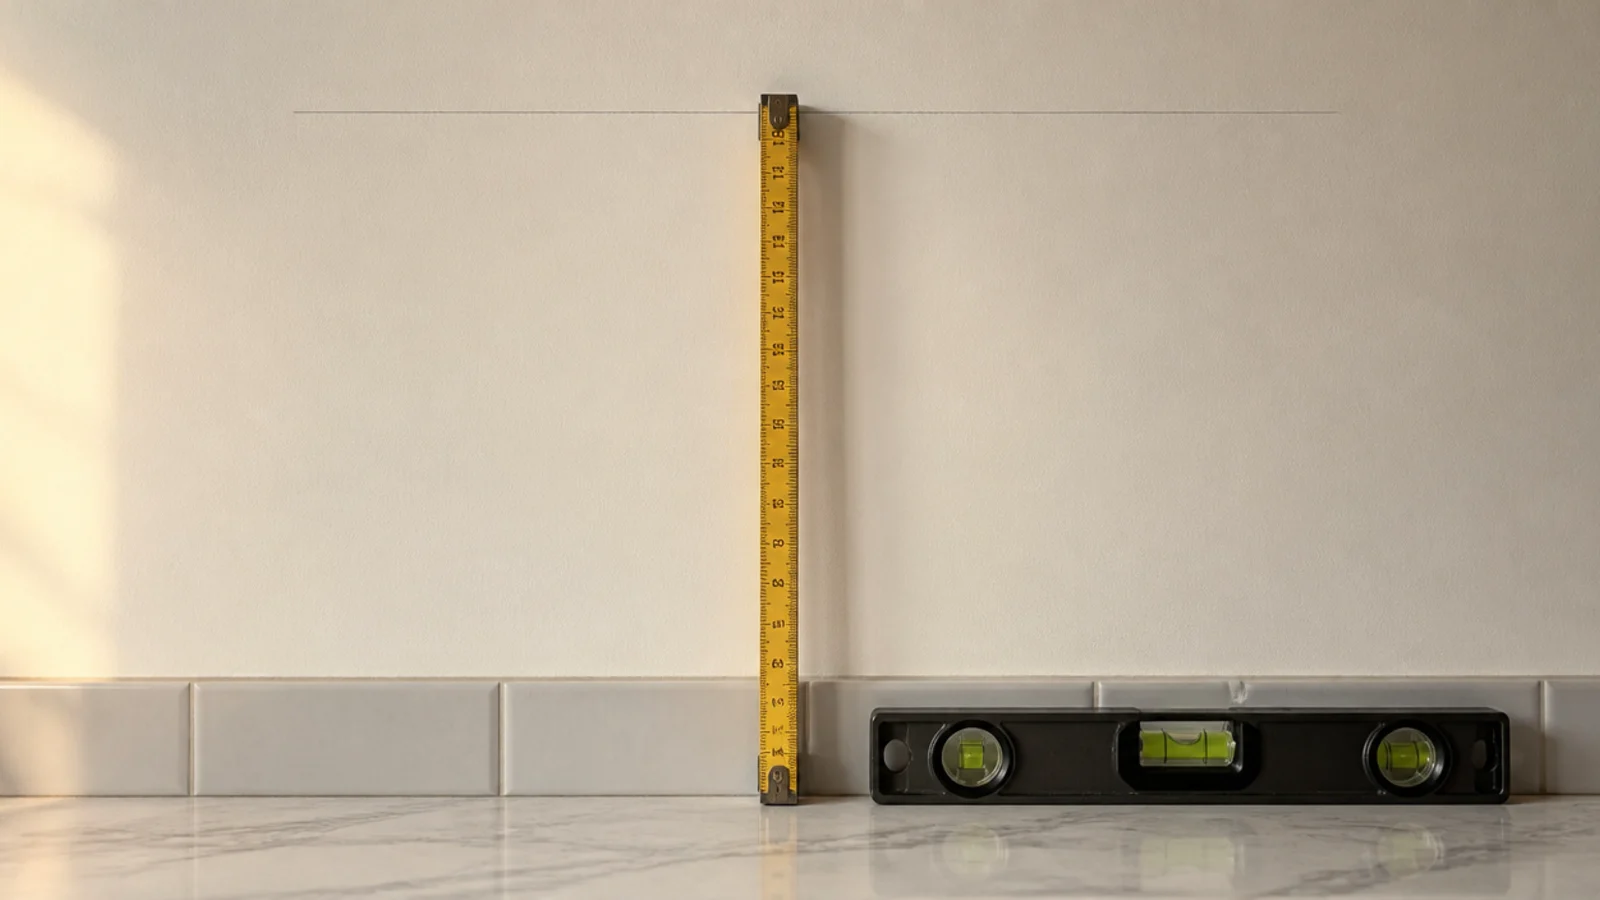
A shelf above the machine sits 18 inches off the counter in most kitchens. That clears standard drip machines and kettles and keeps the mugs within reach without stretching.
Then check it against Step 2. Leave at least 6 inches of clear air above the tallest point of your machine so steam disperses instead of hitting the shelf underside and condensing back down. Top-fill machines usually push the shelf to 20 or 22 inches.
Step 7: Find the studs before you choose anchors
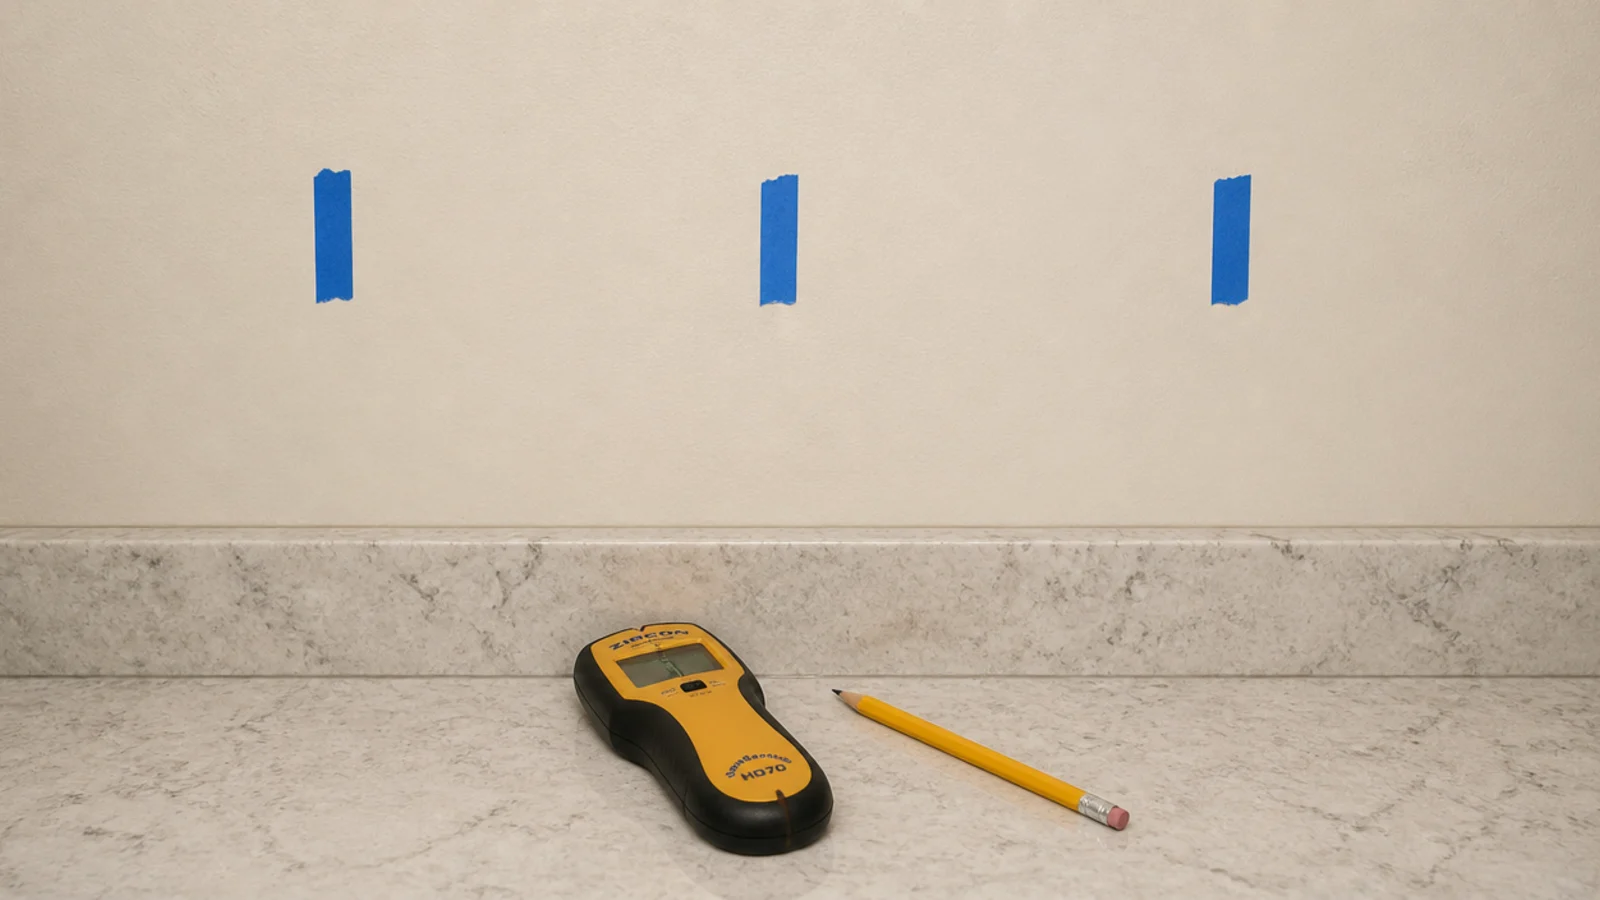
Run a stud finder across the wall in six-inch sweeps and mark every hit with painters tape. Tape survives the build; pencil disappears under a bracket.
Into a stud, a two-and-a-half-inch wood screw carries 40 to 50 pounds per bracket. Into bare drywall, throw the plastic plugs away — they are rated around 10 pounds and they are why loaded shelves sag. Toggle bolts carry 25 to 35 pounds each in half-inch drywall.
Step 8: Mount the shelf and check level twice
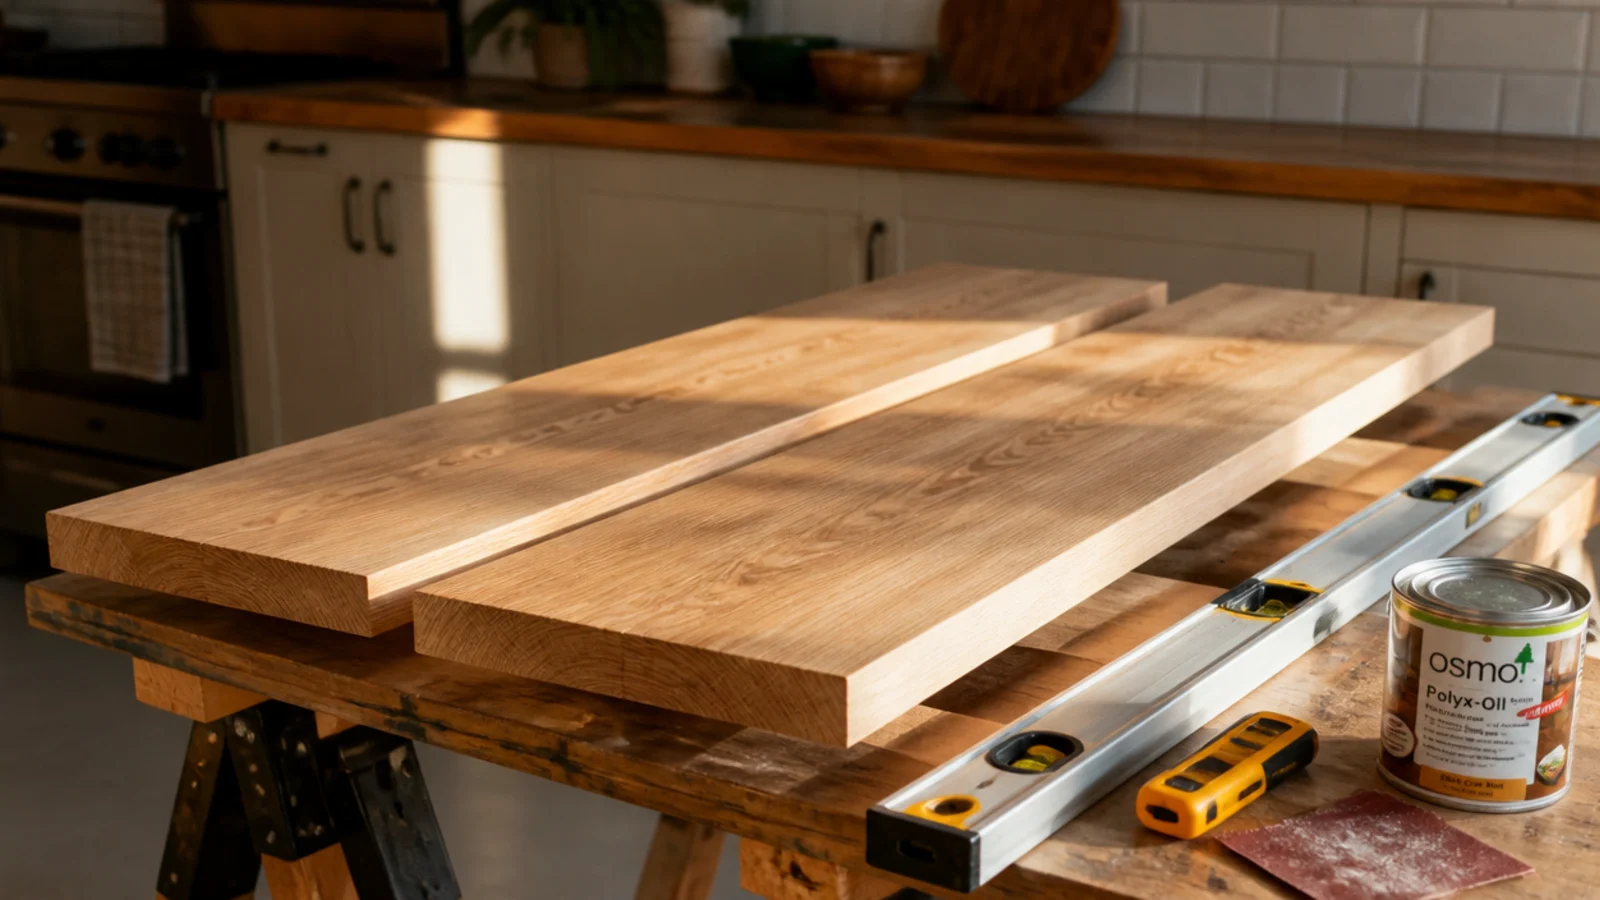
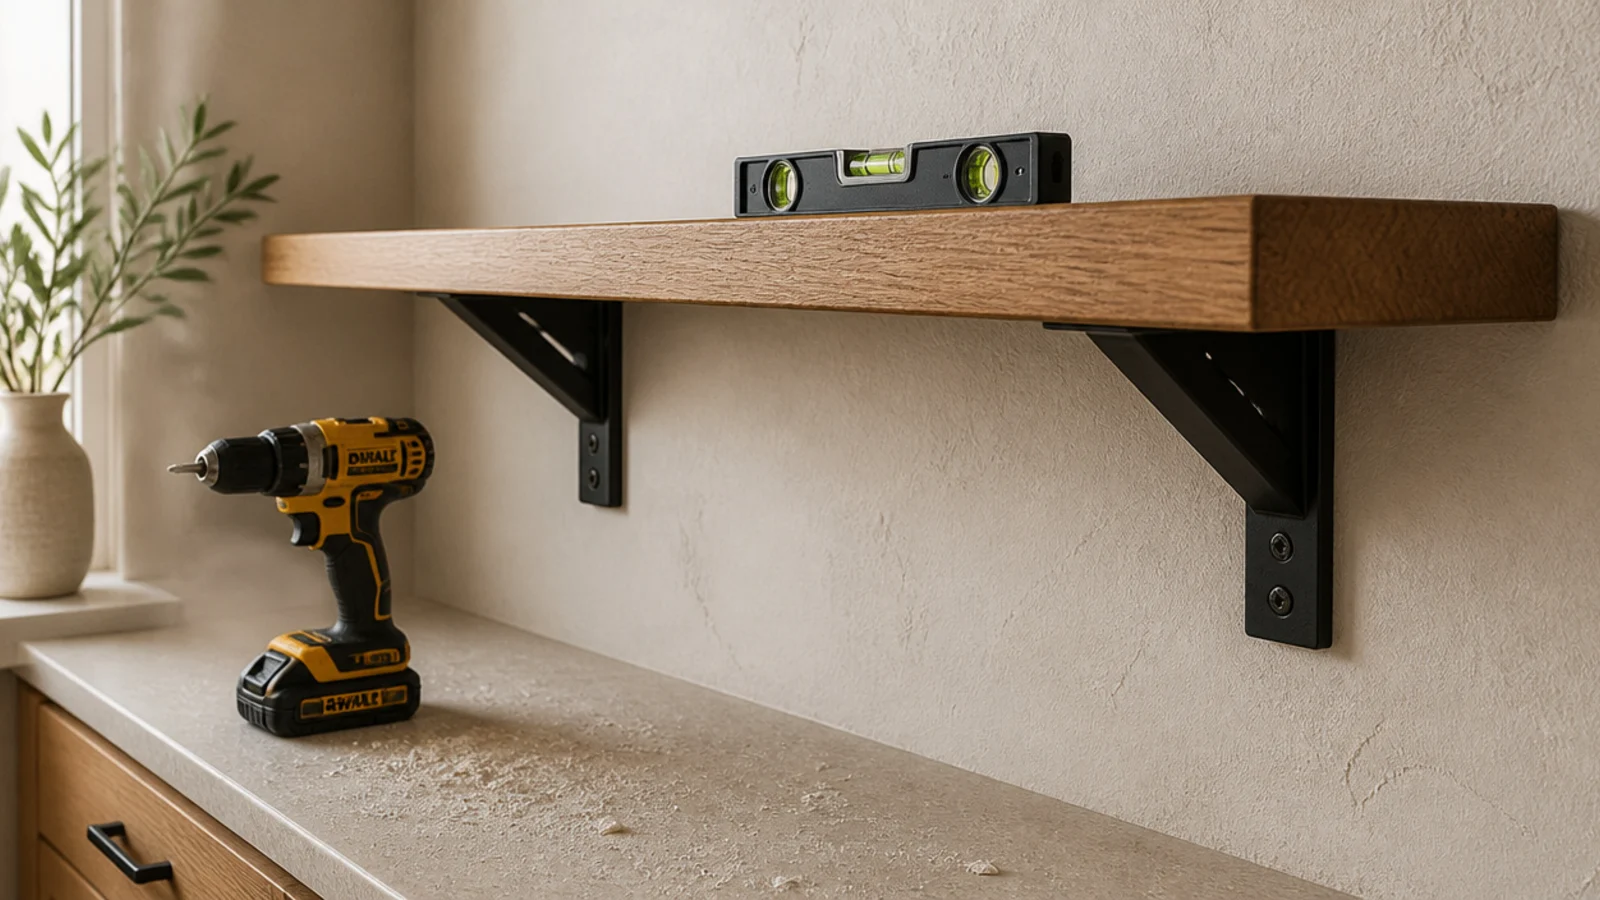
Mount the brackets, set the board, and put the level on top before you screw the board down. Boards are not perfectly flat and brackets flex slightly under load.
If the bubble drifts, shim the low bracket with a single washer behind the wall plate rather than drilling again. Then load the shelf with the canisters and mugs and level it a second time — that is when a shelf reveals what it is going to do.
Step 9: Fit the mug peg rail underneath
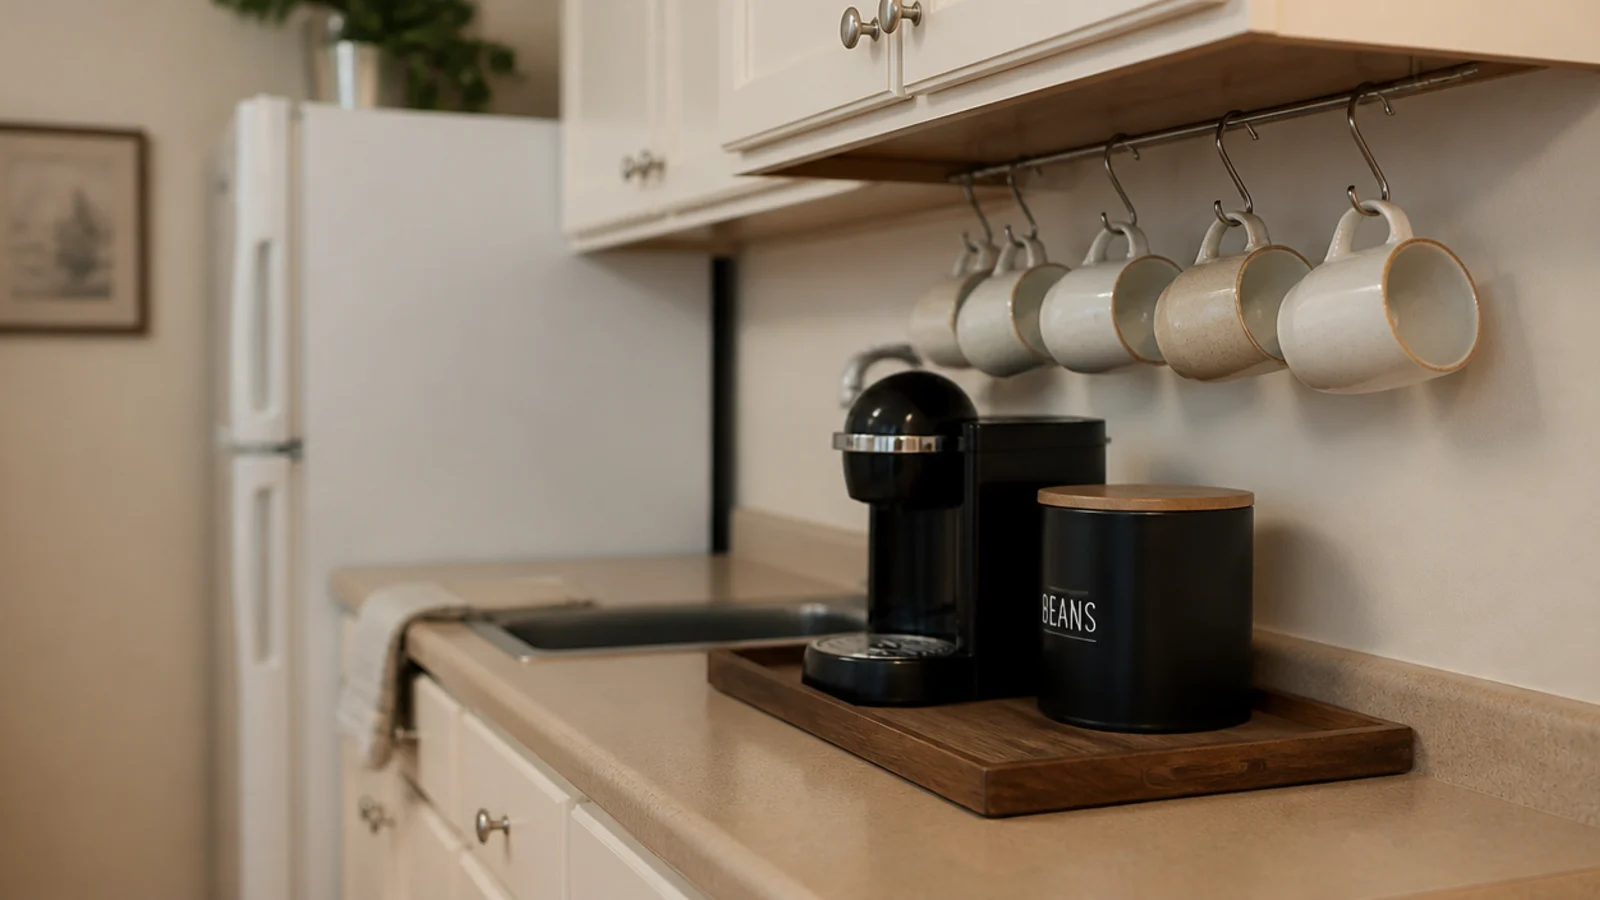
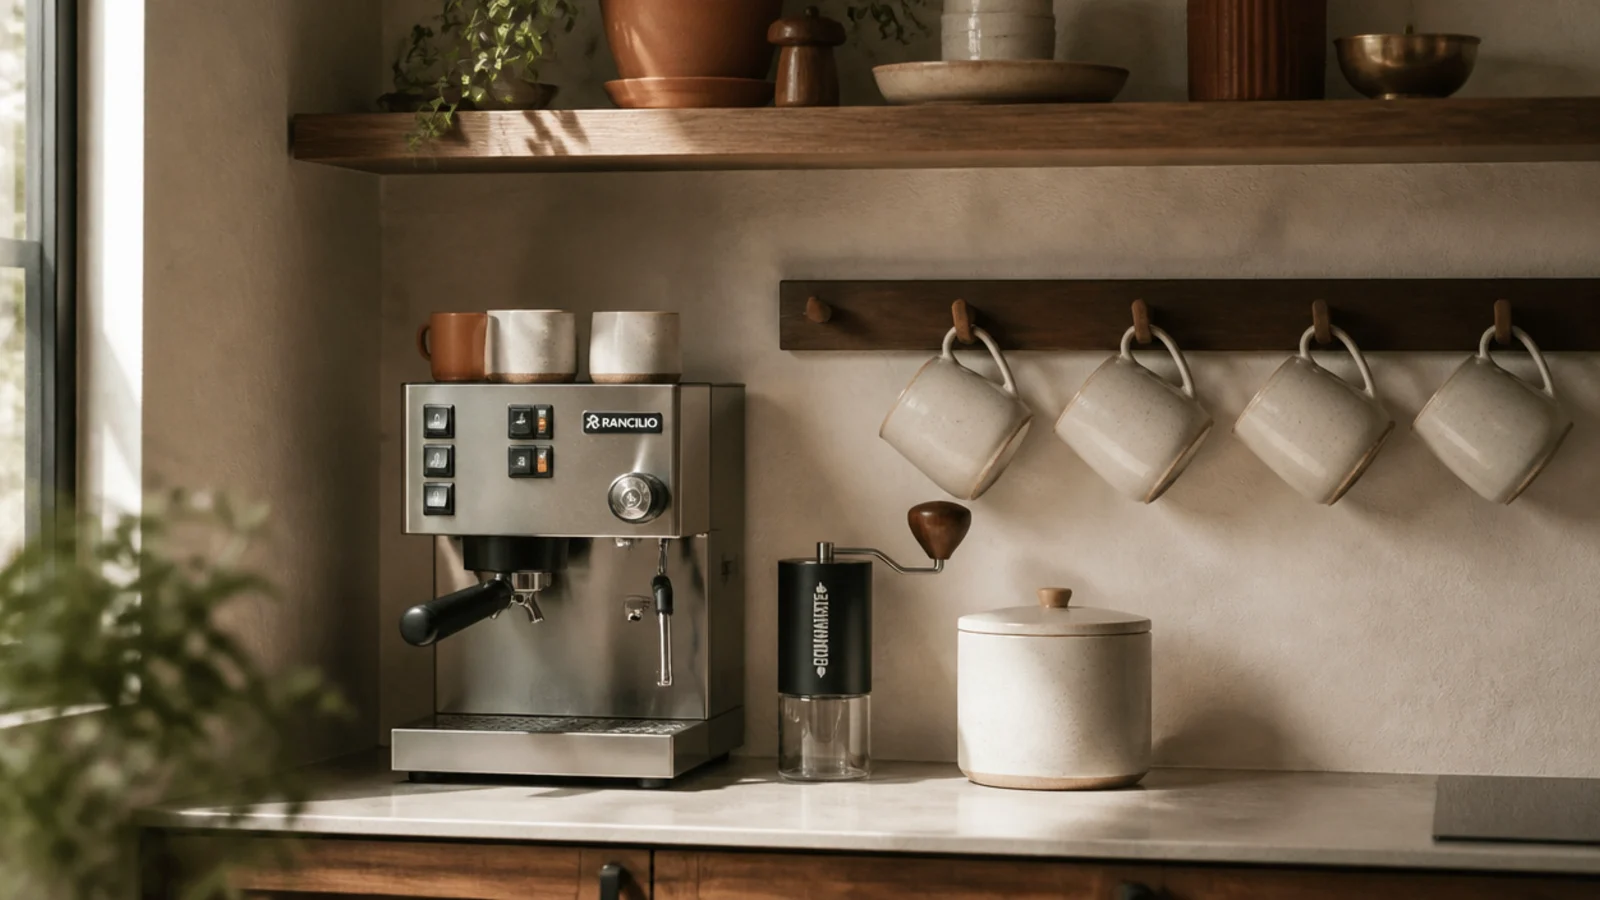
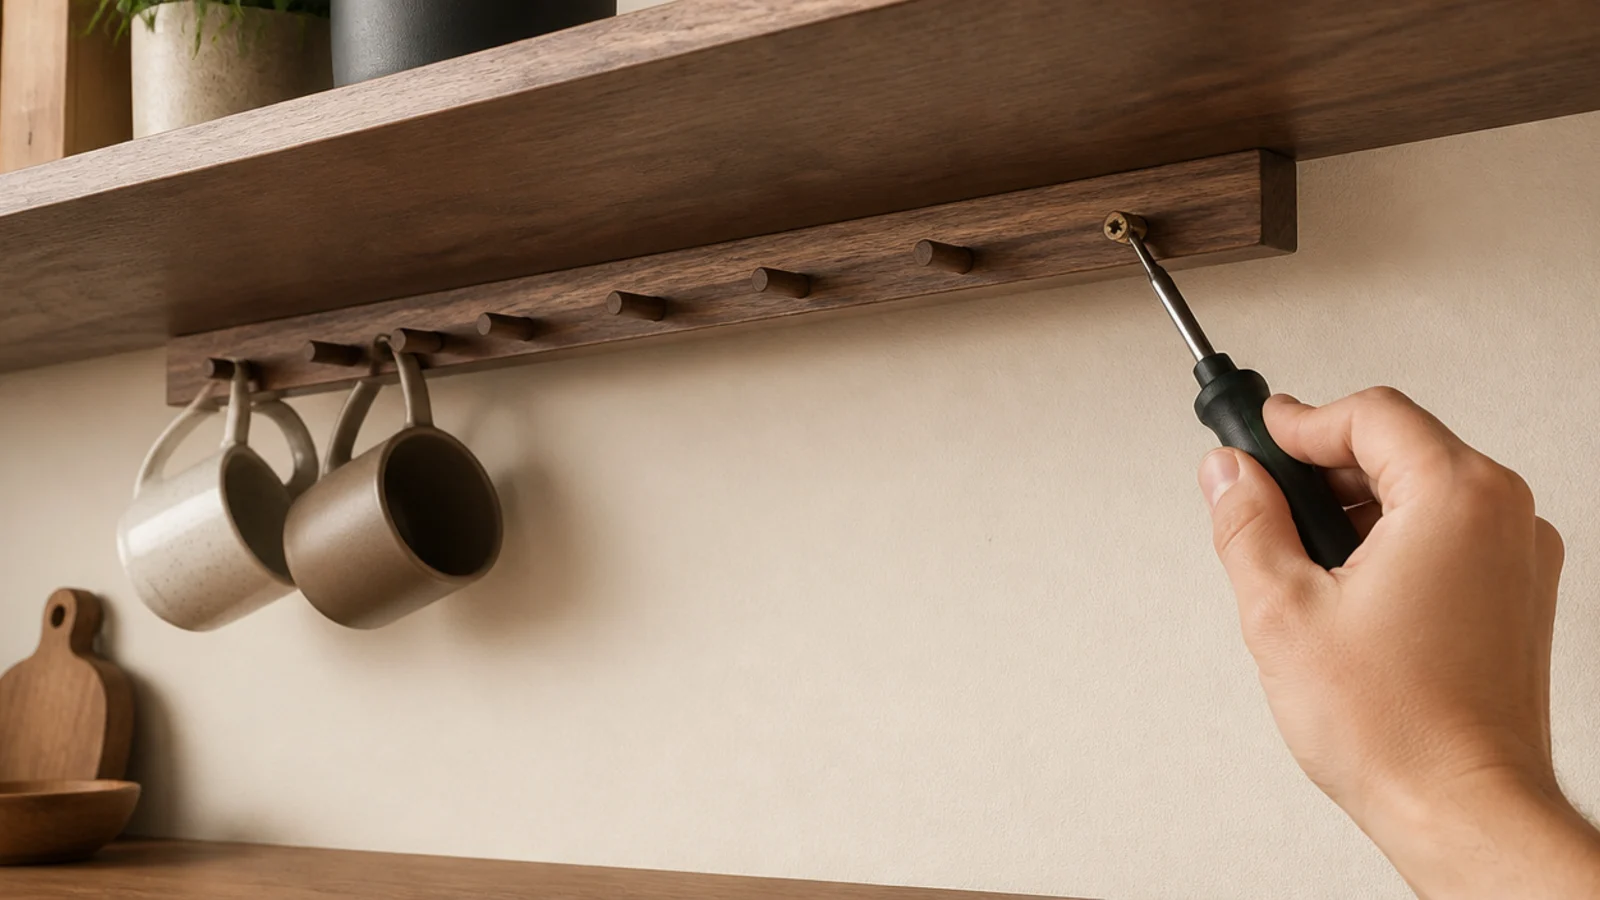
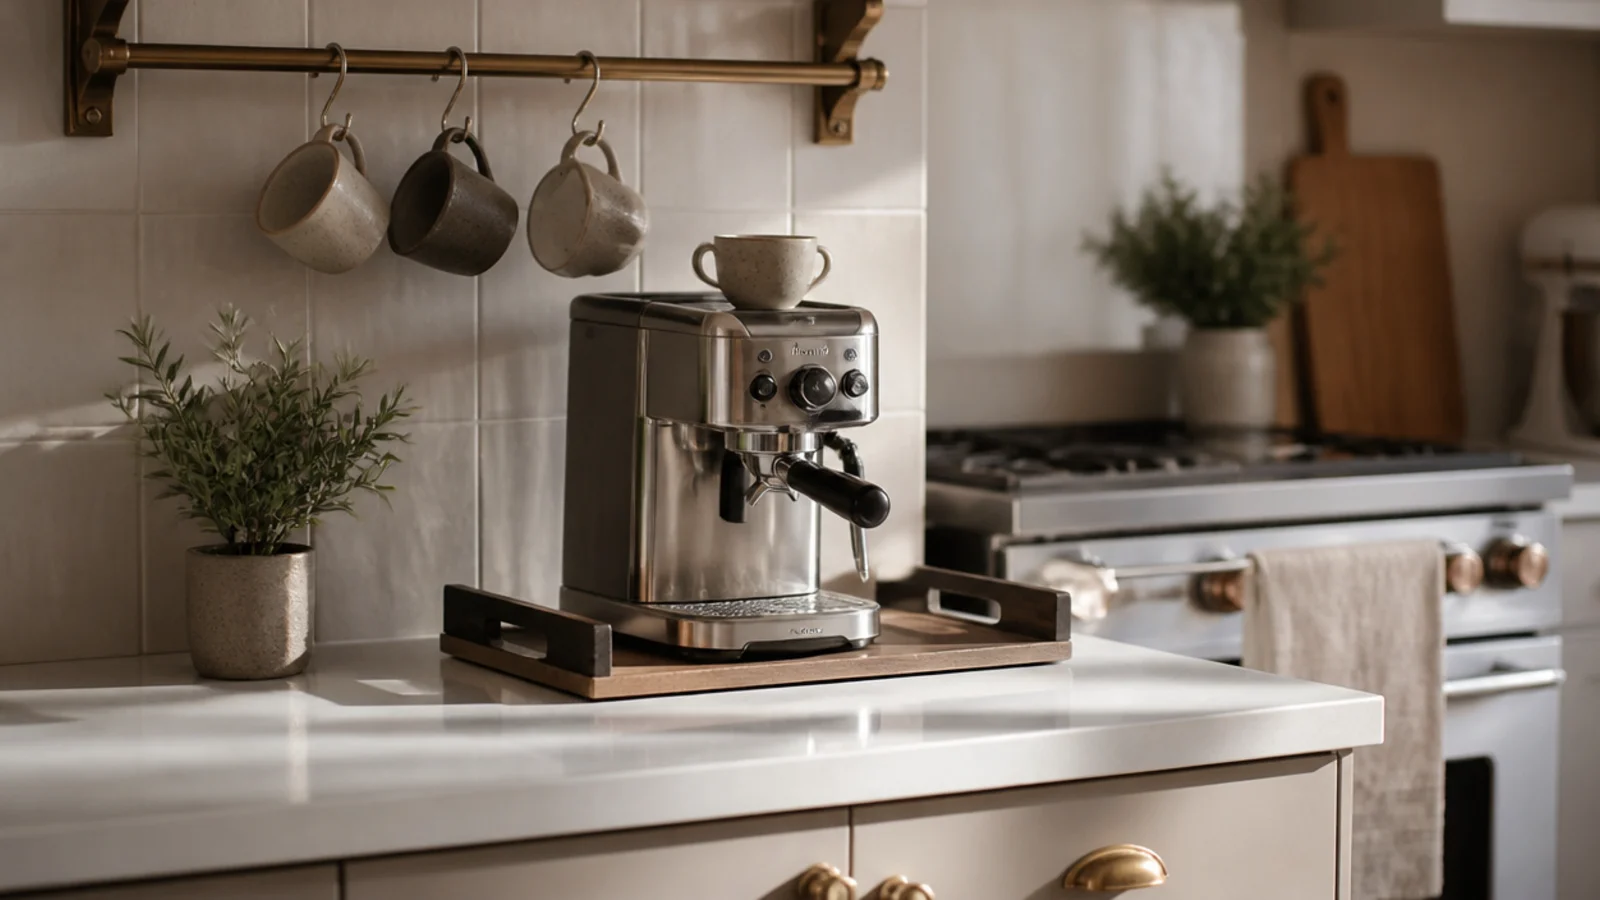
A hardwood peg rail fixed to the underside of the shelf holds six mugs in the width one mug takes sitting on the counter. It is the best four dollars of hardware in this whole build.
Space pegs at least 4 inches apart so the mugs stop knocking. Drive three-quarter-inch screws up from below; anything longer comes through the shelf top and there is no fixing that.
Step 10: Put a tray under the machine
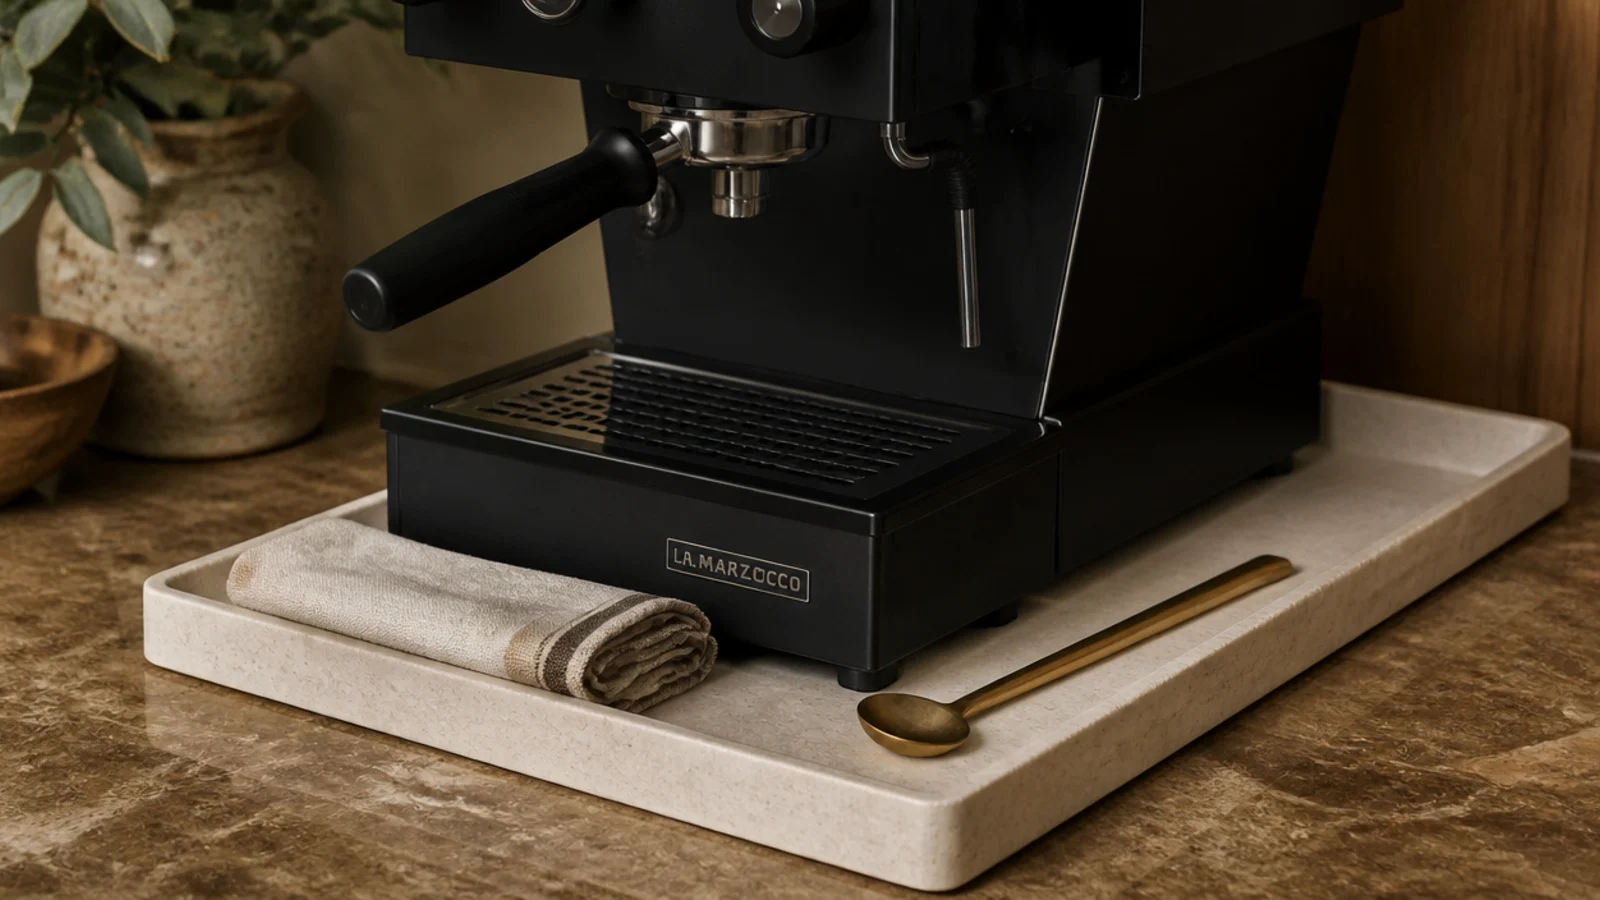
A tray about 12 by 16 inches under the machine catches drips before they dry into rings, and it means you can lift the whole station out in one movement to wipe the counter and backsplash behind.
Sealed walnut, glazed stoneware or honed stone all work. Raw wood absorbs coffee within a month and never comes clean, so if the tray is unfinished, oil it before it goes down.
Step 11: Solve the water route first
Every coffee bar that dies quietly dies over water. If the station sits more than a few steps from the sink, filling a reservoir with a mug becomes the reason you stop using it.
A one-litre glass carafe kept beside the machine fixes it — fill once, pour twice. A slim filter jug does the same job and improves the taste in hard-water areas. Refill it when you put the mug in the dishwasher, not in the morning.
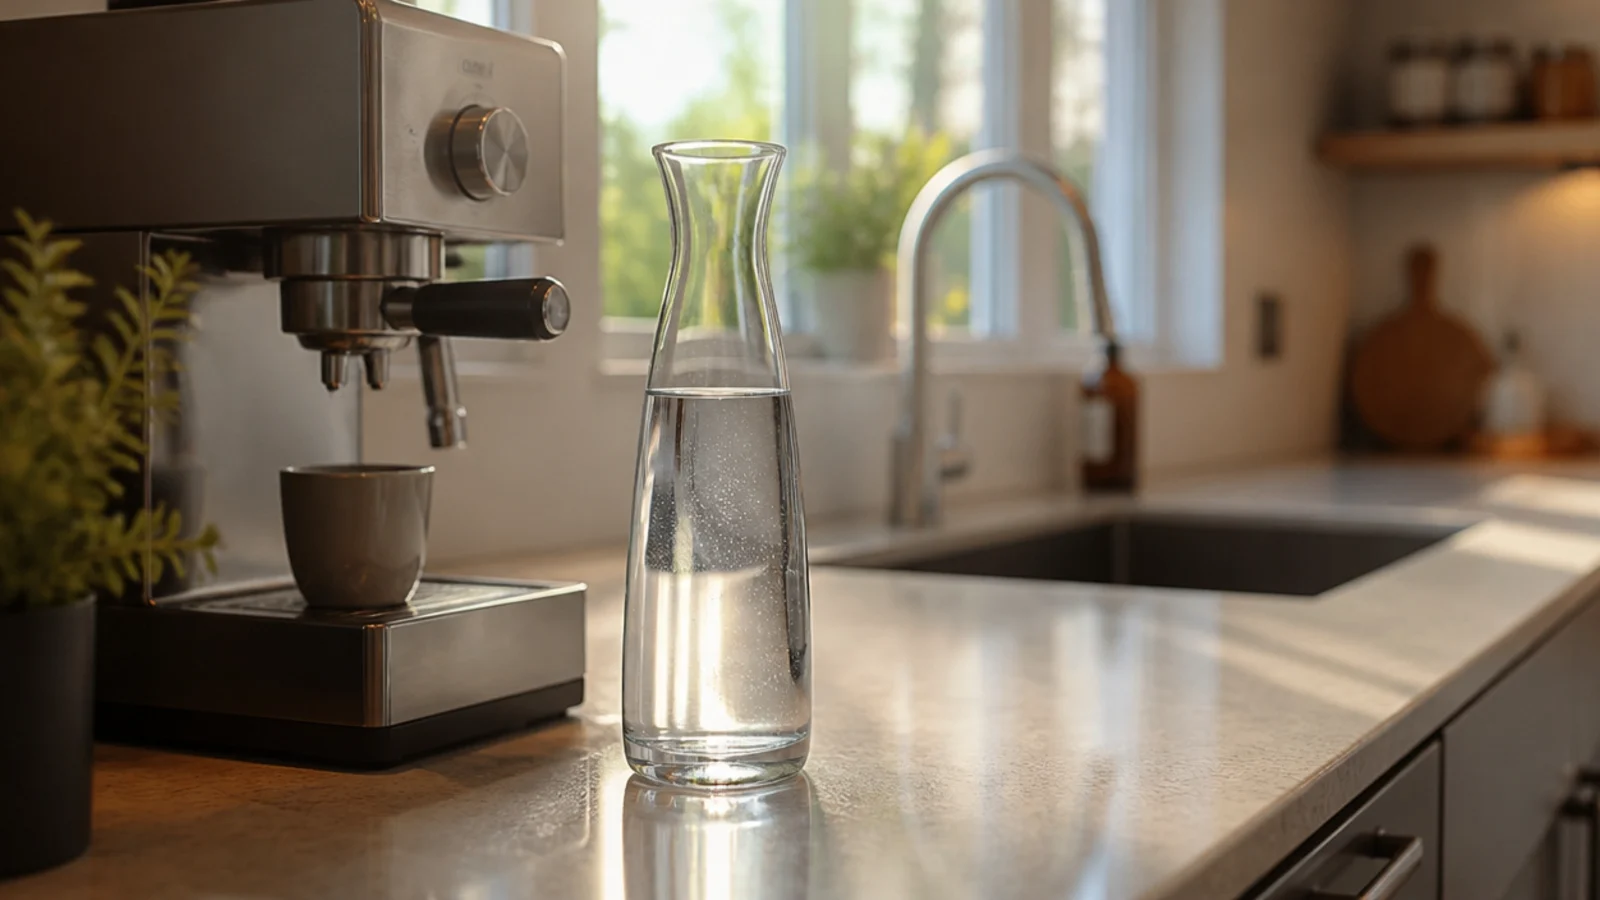
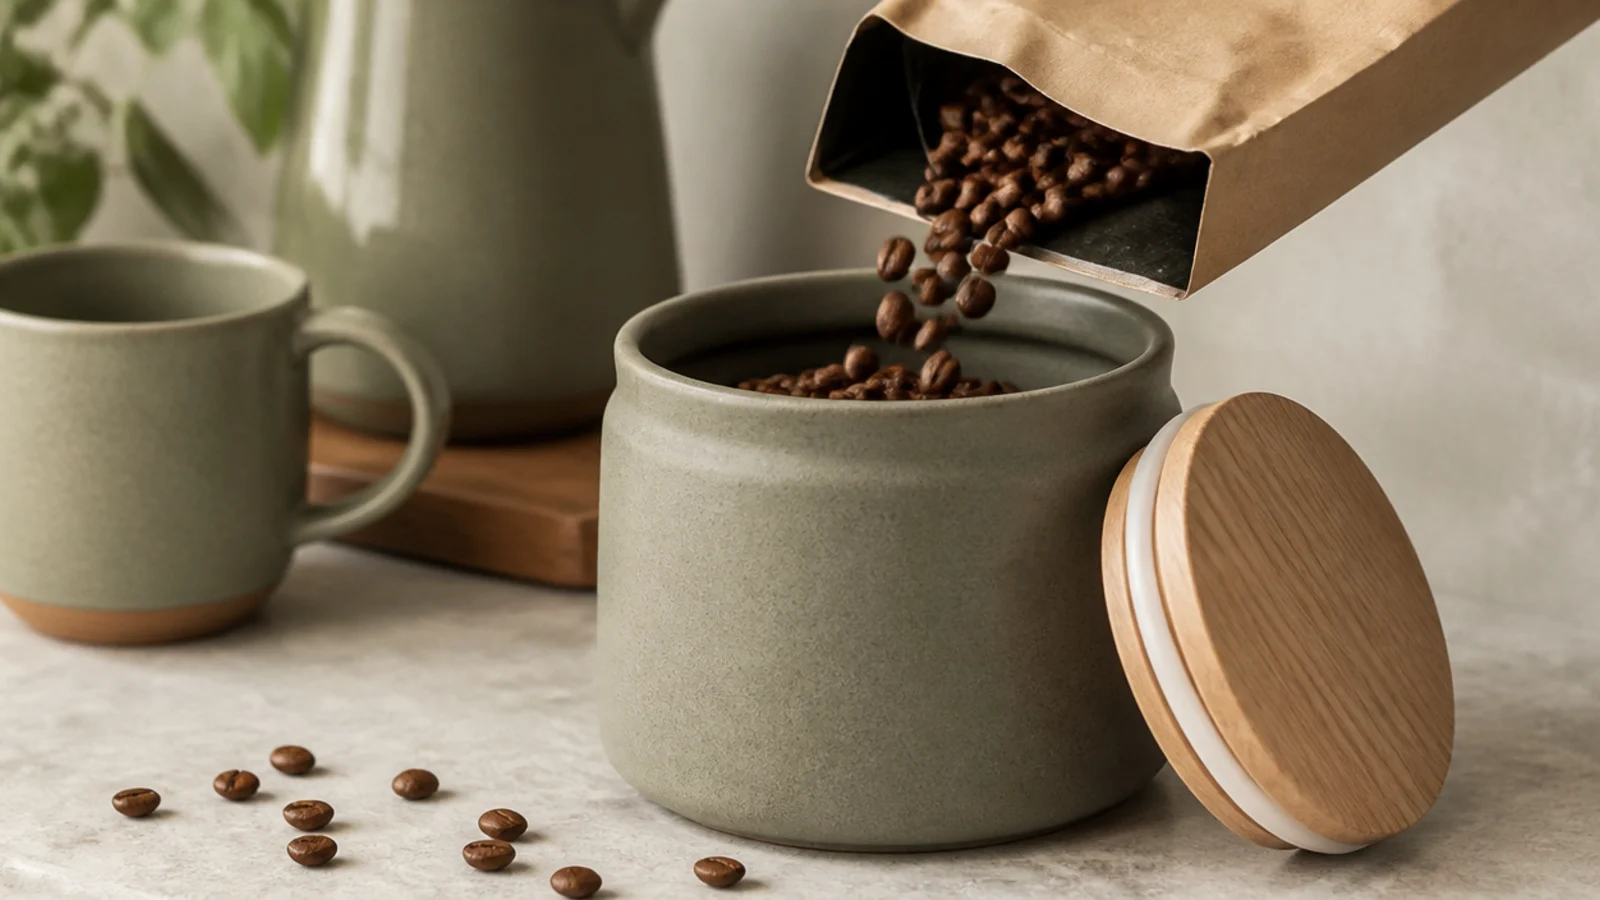
Step 12: Decant beans into an opaque airtight canister
Whole beans keep in an opaque airtight container at room temperature. Not the fridge, where condensation forms on the beans every time it comes out, and not a clear jar on a sunny shelf, where light stales them faster than air.
A 12-ounce canister rather than a large one keeps the beans cycling through in about two weeks. Ceramic, matte stoneware or powder-coated steel all work; the seal matters more than the material.
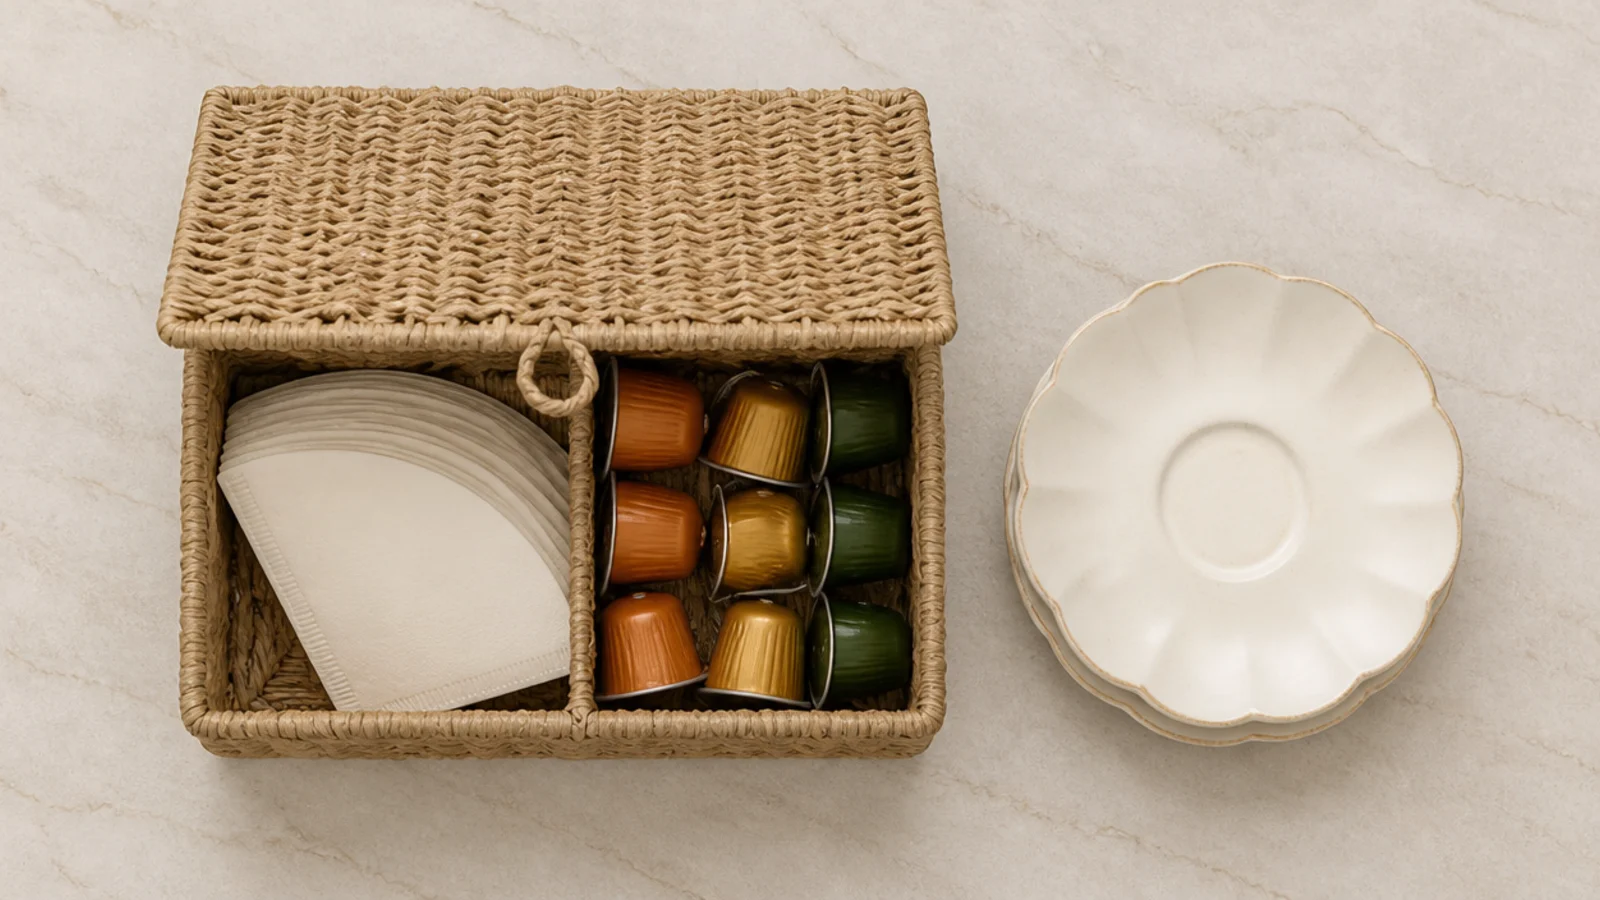
Step 13: Put the small supplies in one closed box
Filters, pods, sachets and stirrers multiply into visual noise faster than anything else on a counter. Put all of them in one lidded box roughly 10 by 7 inches.
Anything you use weekly or less — descaler, backup filters, syrup bottles — goes in the cabinet below, not on the bar. A visible object you touch twice a month is exactly what makes an otherwise tidy corner read cluttered.
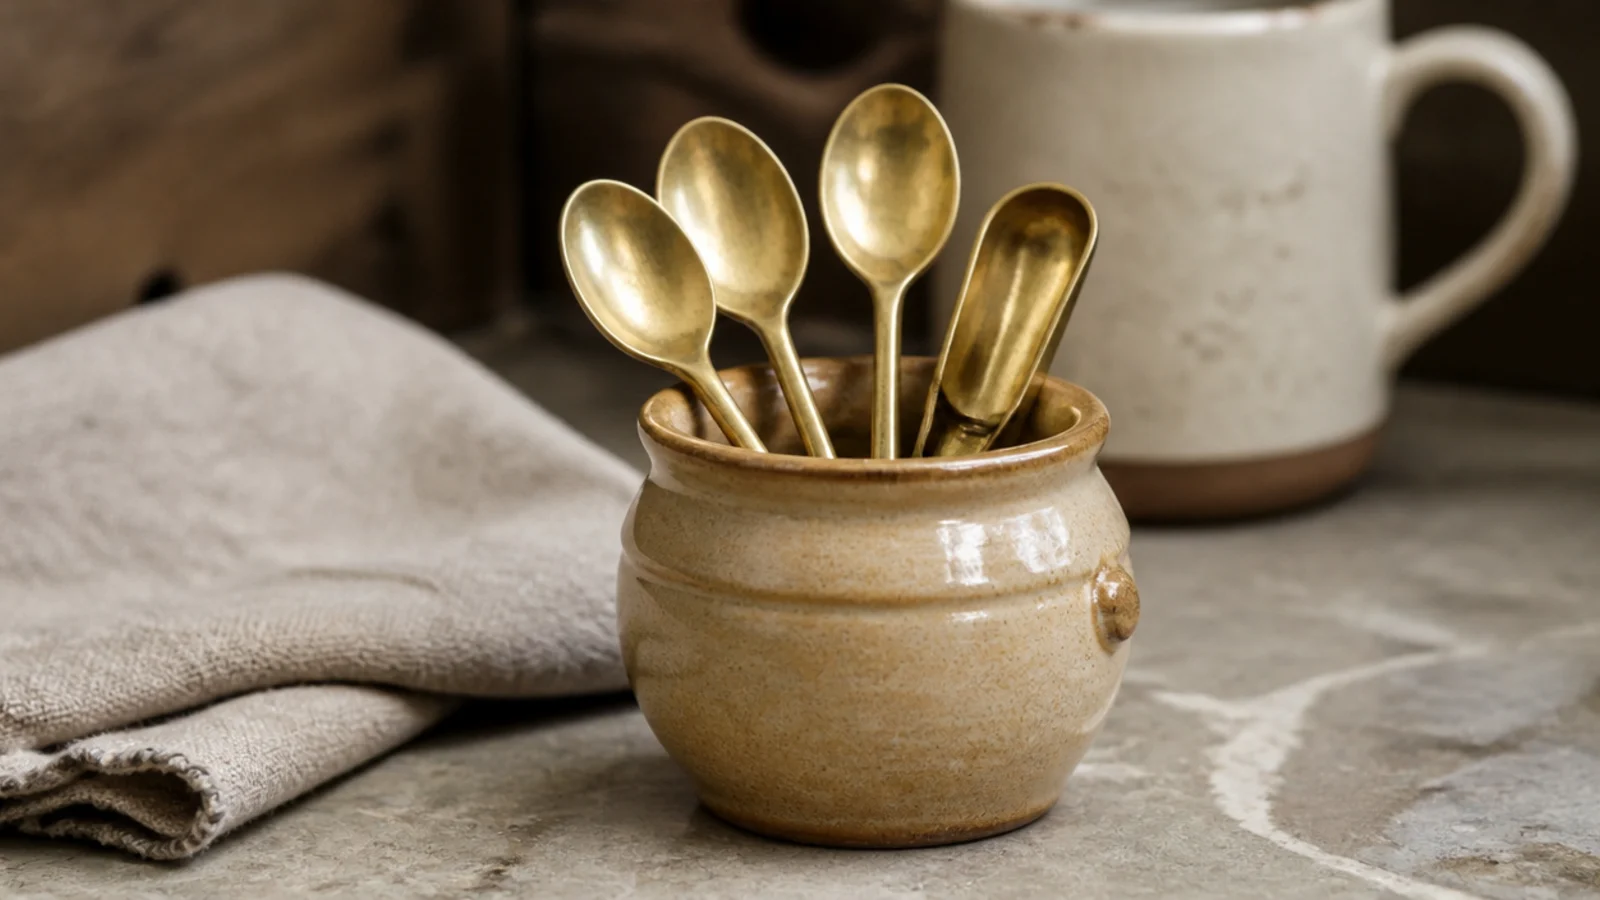
Step 14: Give the spoons a crock
A small stoneware crock holding two spoons and a scoop removes the one daily trip to a drawer that makes a station feel unfinished.
Keep it to three items. A crock with six utensils in it stops being a styling piece and becomes a jar of clutter at eye level. Match the glaze to something else in the corner so it reads as part of the group rather than a stray.
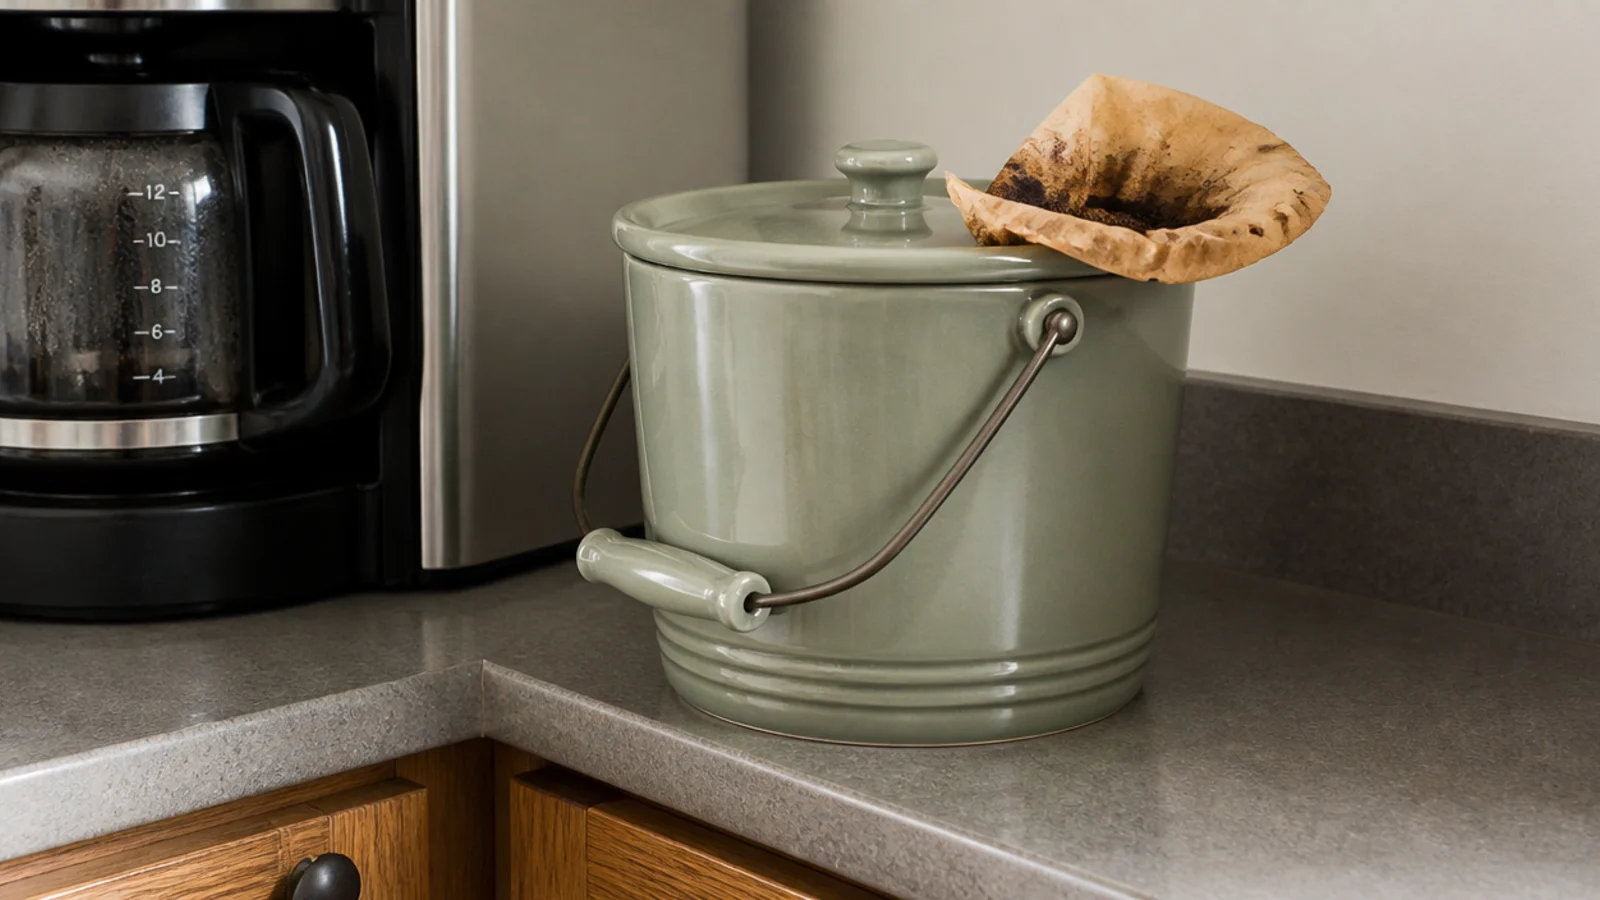
Step 15: Decide where the grounds go
Used grounds are wet, heavy and smell within a day. Deciding this now is what keeps a beautiful corner from turning grim by Thursday.
A small lidded pail or a covered compost caddy on the counter works if you empty it every two days. If the bin is more than a couple of steps away, you will leave the filter on the tray instead — that is not a discipline problem, it is a layout problem.
Step 16: Protect the wall behind the bar
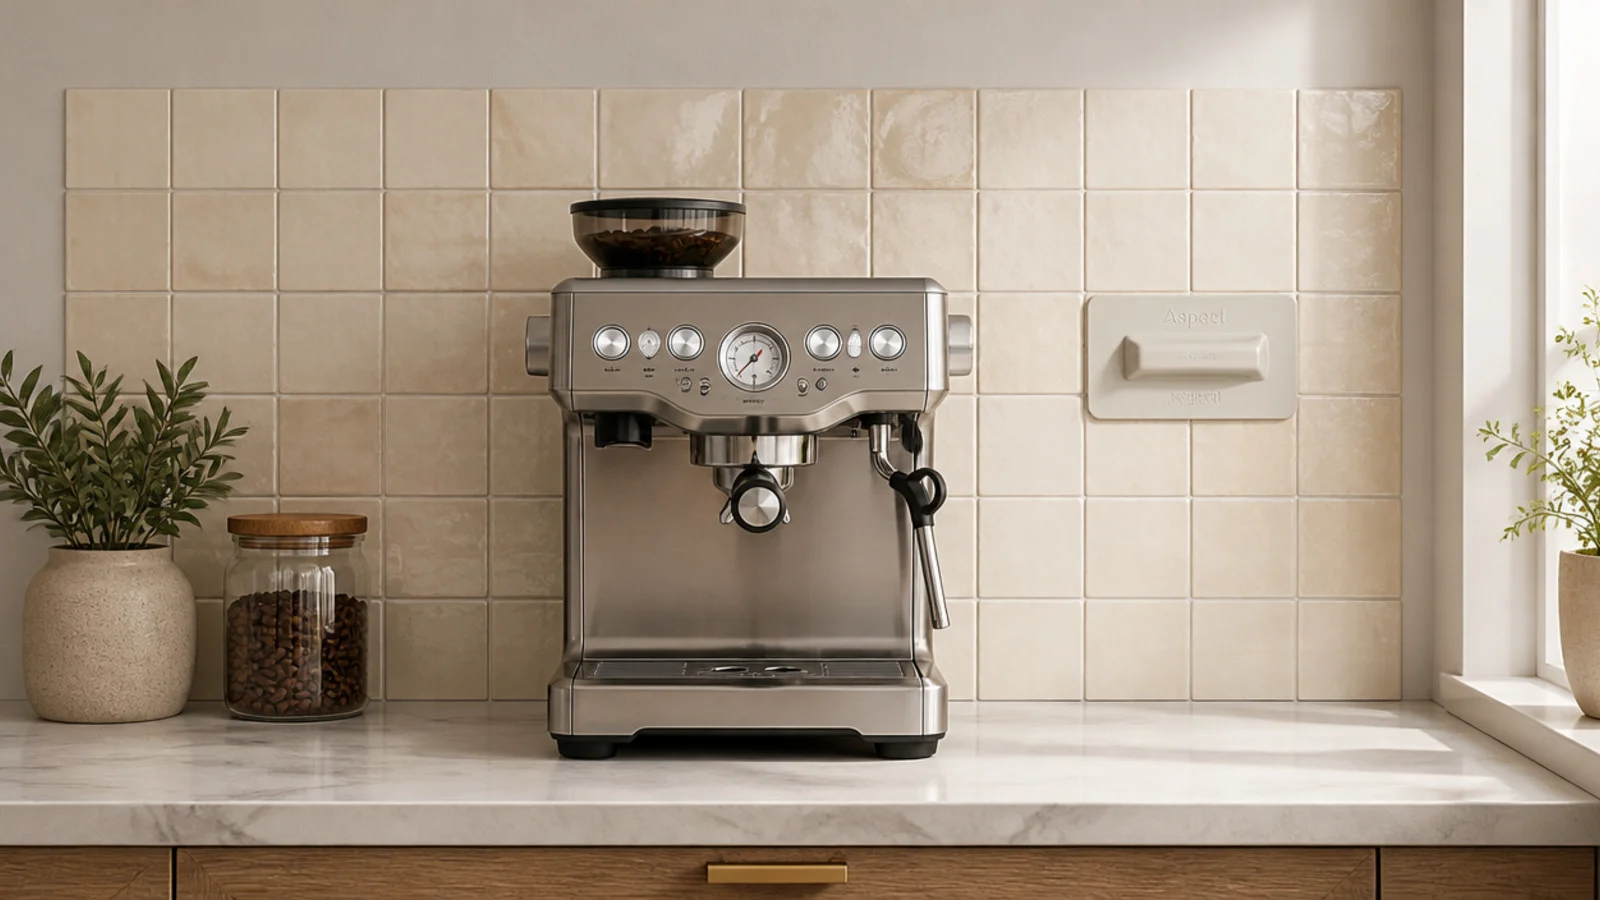
Steam, splashes and grinder dust all land on the wall behind the machine. Flat builder-grade paint marks permanently and cannot be scrubbed.
Peel-and-stick tile is the renter answer at $20 to $45 for a 30-inch stretch, comes off cleanly with heat, and wipes down. A framed piece of pressed metal or a slab offcut leaned against the wall works too. Any wipeable surface beats repainting twice a year.
Step 17: Light the corner separately
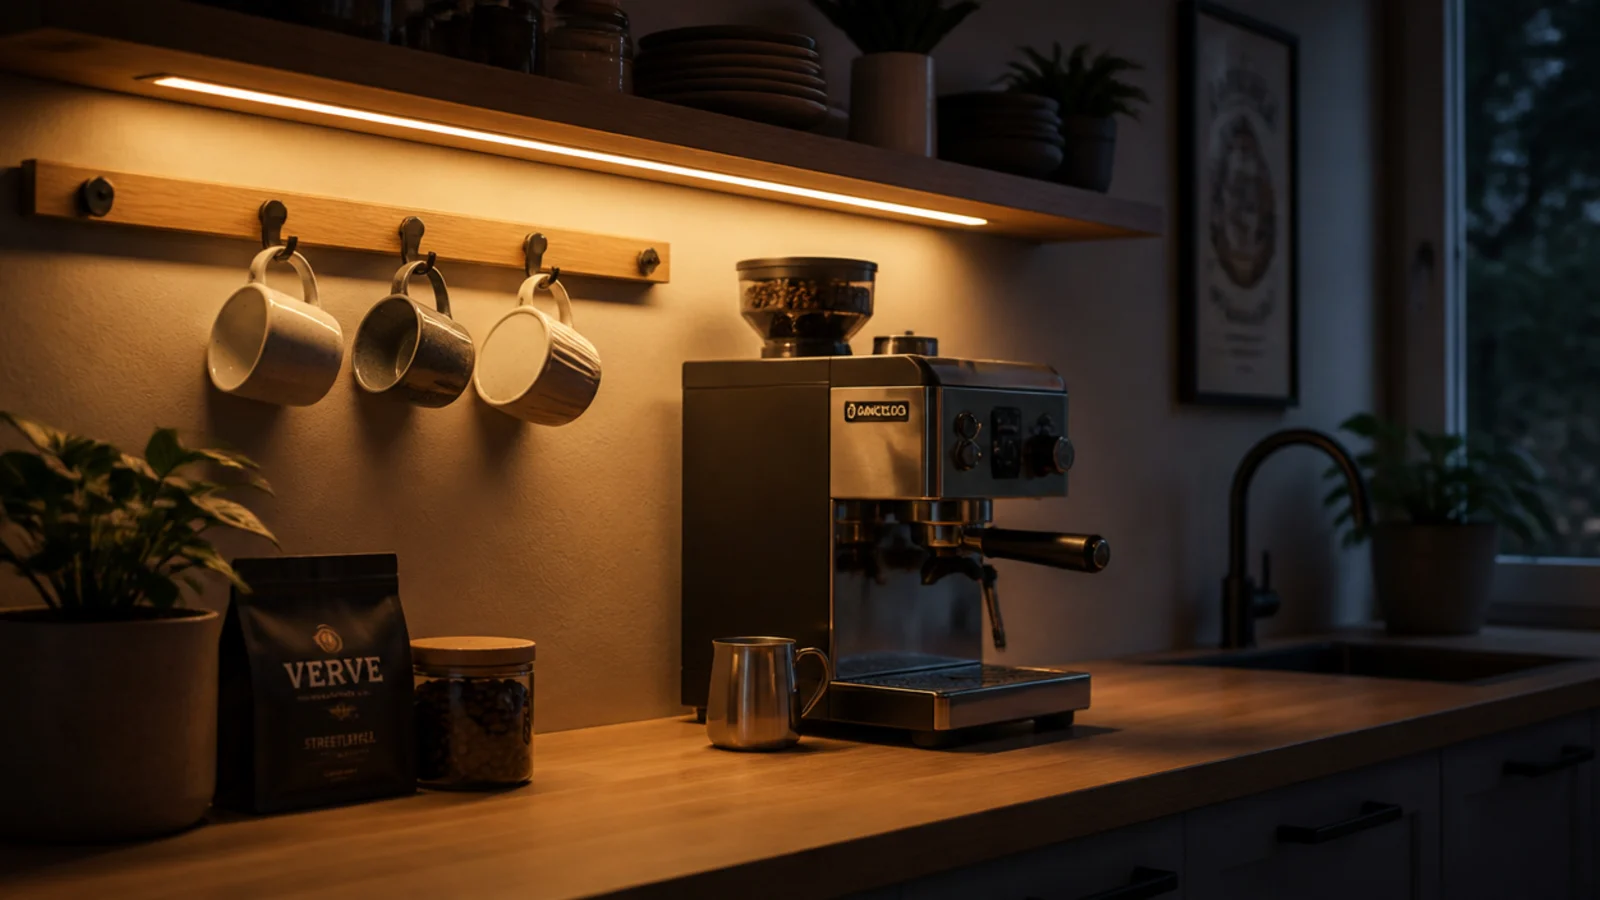
The overhead kitchen light is directly behind you at the machine, which means you make coffee in your own shadow. One warm light fixes both the function and the mood.
A battery or plug-in LED strip under the shelf costs $15 to $30 and takes five minutes. Choose 2700K, not daylight white — cool light on a wooden shelf and cream mugs makes the whole corner look clinical.
Step 18: Hide the cords properly
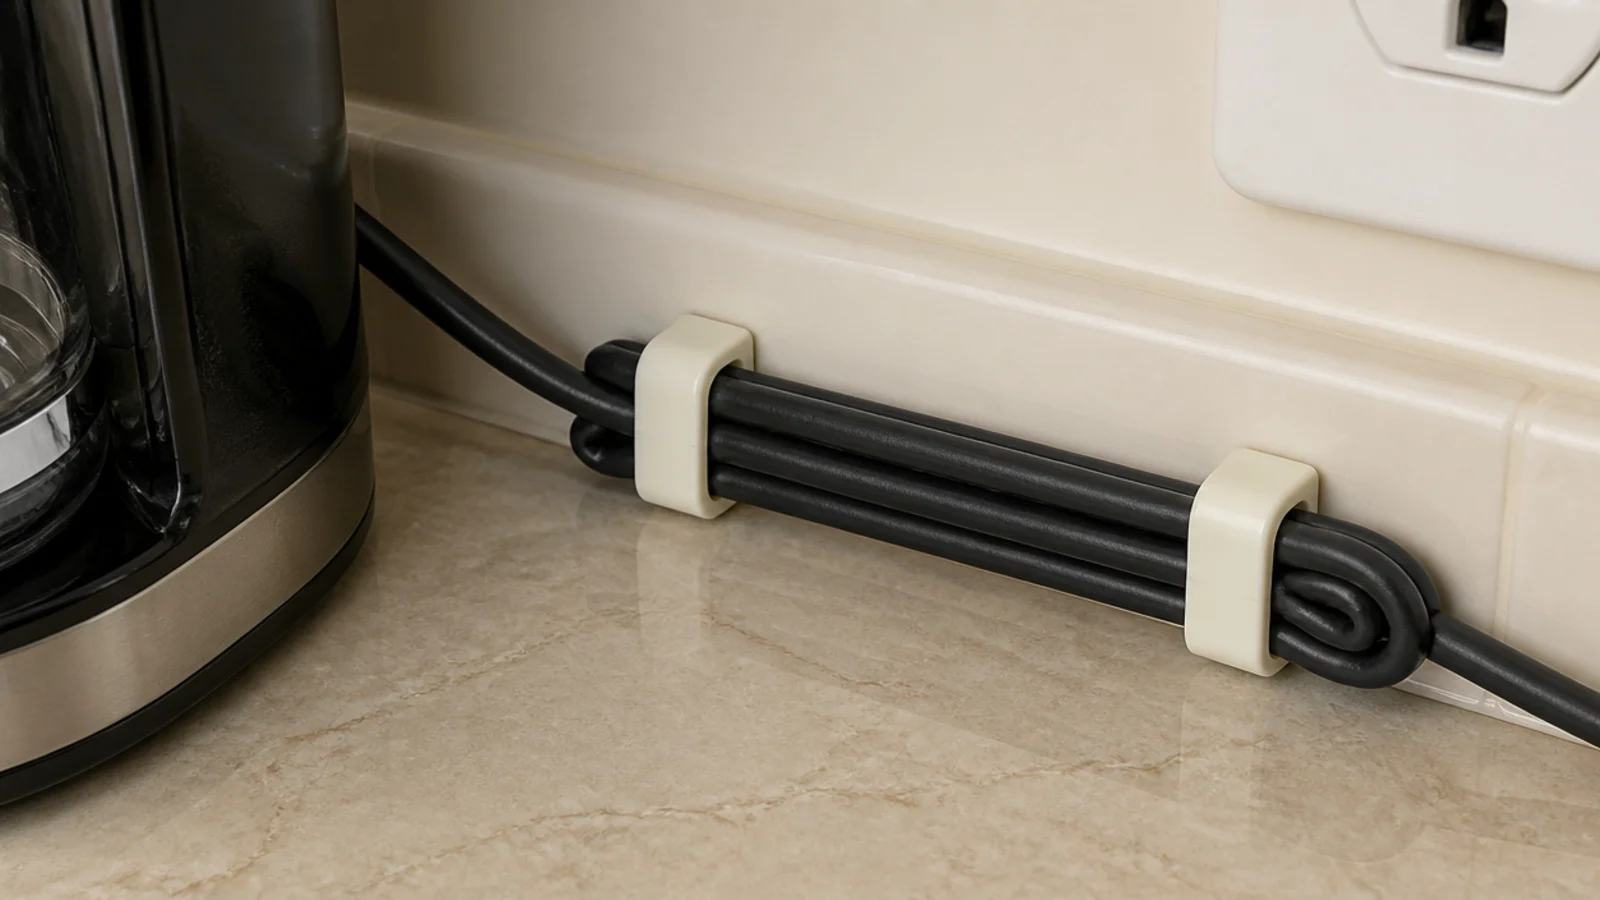
Coil the excess cord and clip it along the back edge of the counter with two adhesive cable clips. Never run a cord across the front of a machine or over the edge of a tray.
If the outlet sits above the counter, a short 1-foot appliance cord replaces the six-foot one that came in the box and removes the loop entirely. Visible cable is what makes a carefully built corner photograph like an appliance aisle.
Step 19: Style the shelf in threes
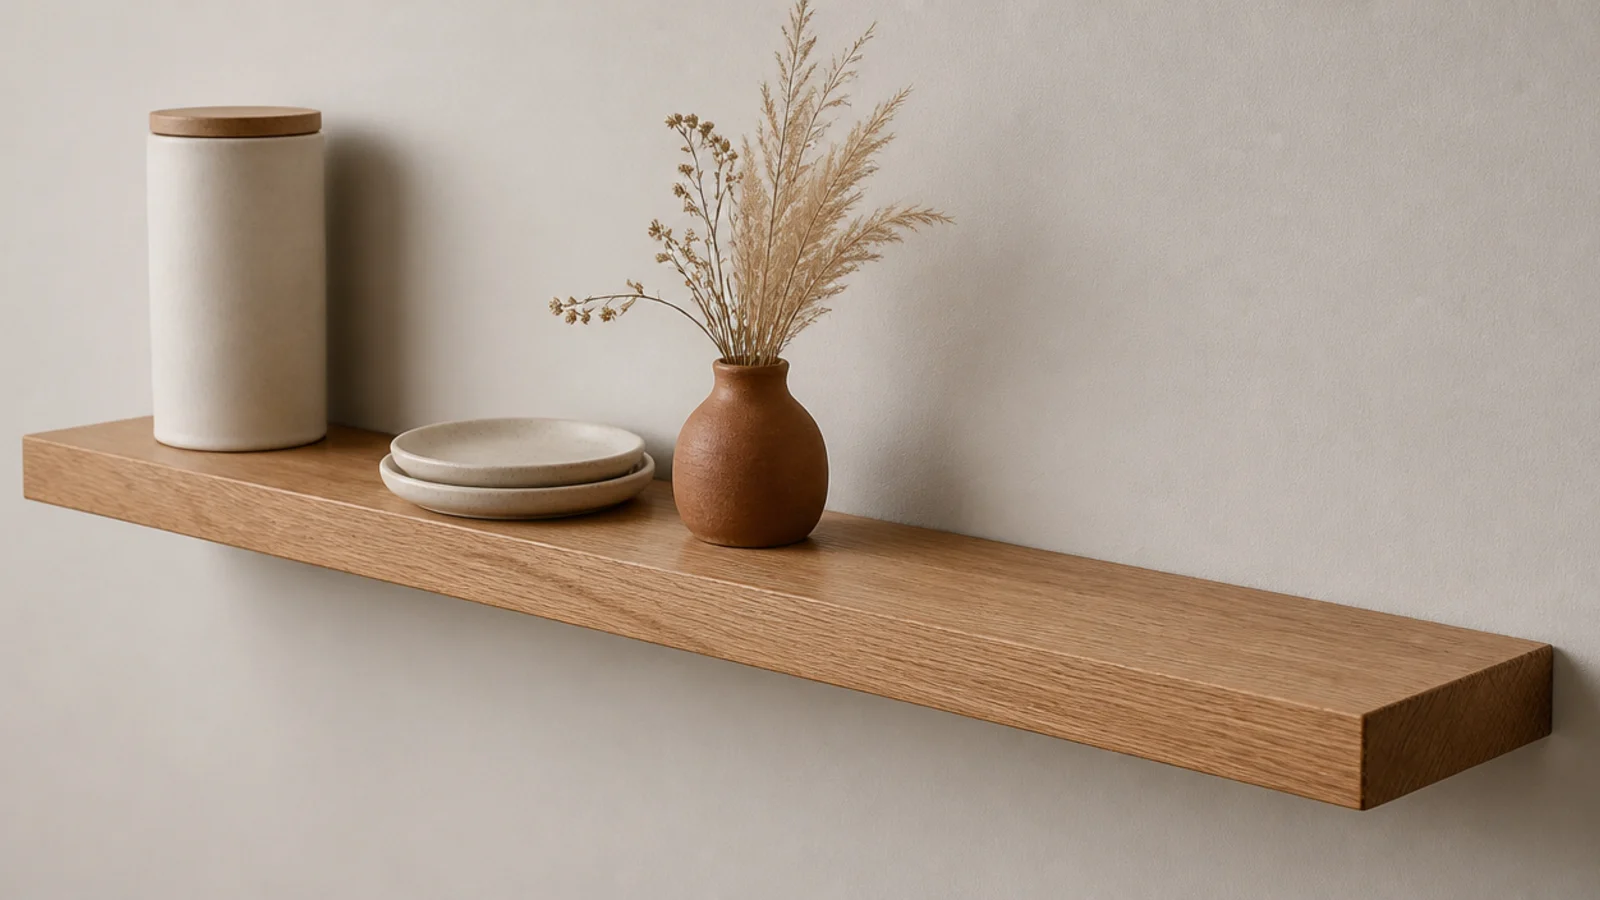
Three objects at three heights: something tall like a canister, something low and wide like stacked saucers, and something soft like dried stems in a clay bottle.
Leave about a third of the shelf empty. That empty third is doing more work than any object on it. Repeat one material three times across the whole corner — three stoneware pieces, or three brass details — and the group reads composed rather than collected.
Step 20: Use it for a week, then remove two things
Make coffee here for seven days and pay attention to what your hand actually reaches for. Then take two objects off and put them in the cabinet.
Every corner I have ever styled is better a week later with two fewer things on it, and mine are no exception. This step costs nothing and improves the result more reliably than anything you can buy. If it still feels busy, fifteen cozy setups that look expensive shows what to swap in.
Pro Styling Rules
Mistakes to Skip
- Mounting the shelf before measuring the machine with its lid open. Steam that hits a shelf underside condenses and drips straight back onto the machine.
- Using the plastic plugs from the bracket box. Rated for around 10 pounds, and the reason shelves of mugs come off walls. Toggle bolts cost a dollar each.
- Building the station three steps from the sink with no carafe. The water trip is what kills a coffee bar, not the styling.
Frequently asked questions
What do I need to build a DIY coffee bar?
A surface, an outlet within reach, one shelf, a mug rail and a tray. That is the whole list. The build runs about $60 to $150 in materials if you are mounting a shelf and rail onto an existing counter, and under $50 if you are working with a cart or a sideboard you already own. Tools are a drill, a level and a stud finder.
How high should a shelf above a coffee maker be?
Eighteen inches off the counter suits most drip machines and kettles while keeping mugs in easy reach. The number that actually governs it is clearance: leave at least 6 inches of clear air above the tallest point of the machine, measured with the lid open and the reservoir lifted. Anything with a top-fill tank usually needs 20 to 22 inches.
How long does it take to set up a coffee bar?
One afternoon for the build and one week for the edit. Mounting a shelf and a peg rail takes 60 to 90 minutes including finding studs. Decanting, arranging and styling takes another hour. Then you use it for seven days and remove the two things you never touched, which is the step that makes it look considered.
Do I need to drill to build a coffee bar?
No. A rolling cart, a freestanding etagere or a sideboard gives you the same station with zero holes, and adhesive hooks rated to five pounds each handle mugs on a backsplash. Drilling buys you the shelf-plus-peg-rail combination that stores the most in the least width, but it is an upgrade rather than a requirement.
What should I keep on a coffee bar and what should I hide?
Keep out what you touch daily: machine, grinder, bean canister, mugs, one spoon crock. Hide everything on a weekly or monthly cycle — spare filters, backup pods, syrup bottles, the descaling kit — in a closed box or the cabinet below. A visible object you use twice a month is the thing that makes a corner read cluttered.
Build it in this order and the fussy parts — clearance, anchors, water — are solved before you start arranging anything. If you would rather assemble than mount, fifteen easy coffee corner setups covers cart and tray versions with the same numbers, and floating kitchen shelves goes deeper on brackets and spans. Save the pin so the clearances are with you at the hardware store.
Want more like this? Browse all 15 coffee corner ideas guides — they all use the same measurements and budget tiers.
Pin it for later
Save this to your Coffee Corner Ideas board
Pin it now so it is waiting for you when the tape measure comes out — and so the next person hunting for this idea can find it too.
Save this pinKeep going
More ideas worth saving while you have the tape measure out.