Coffee Corner Ideas · Listicle
25 Budget-Friendly Coffee Corner Ideas for Small Spaces

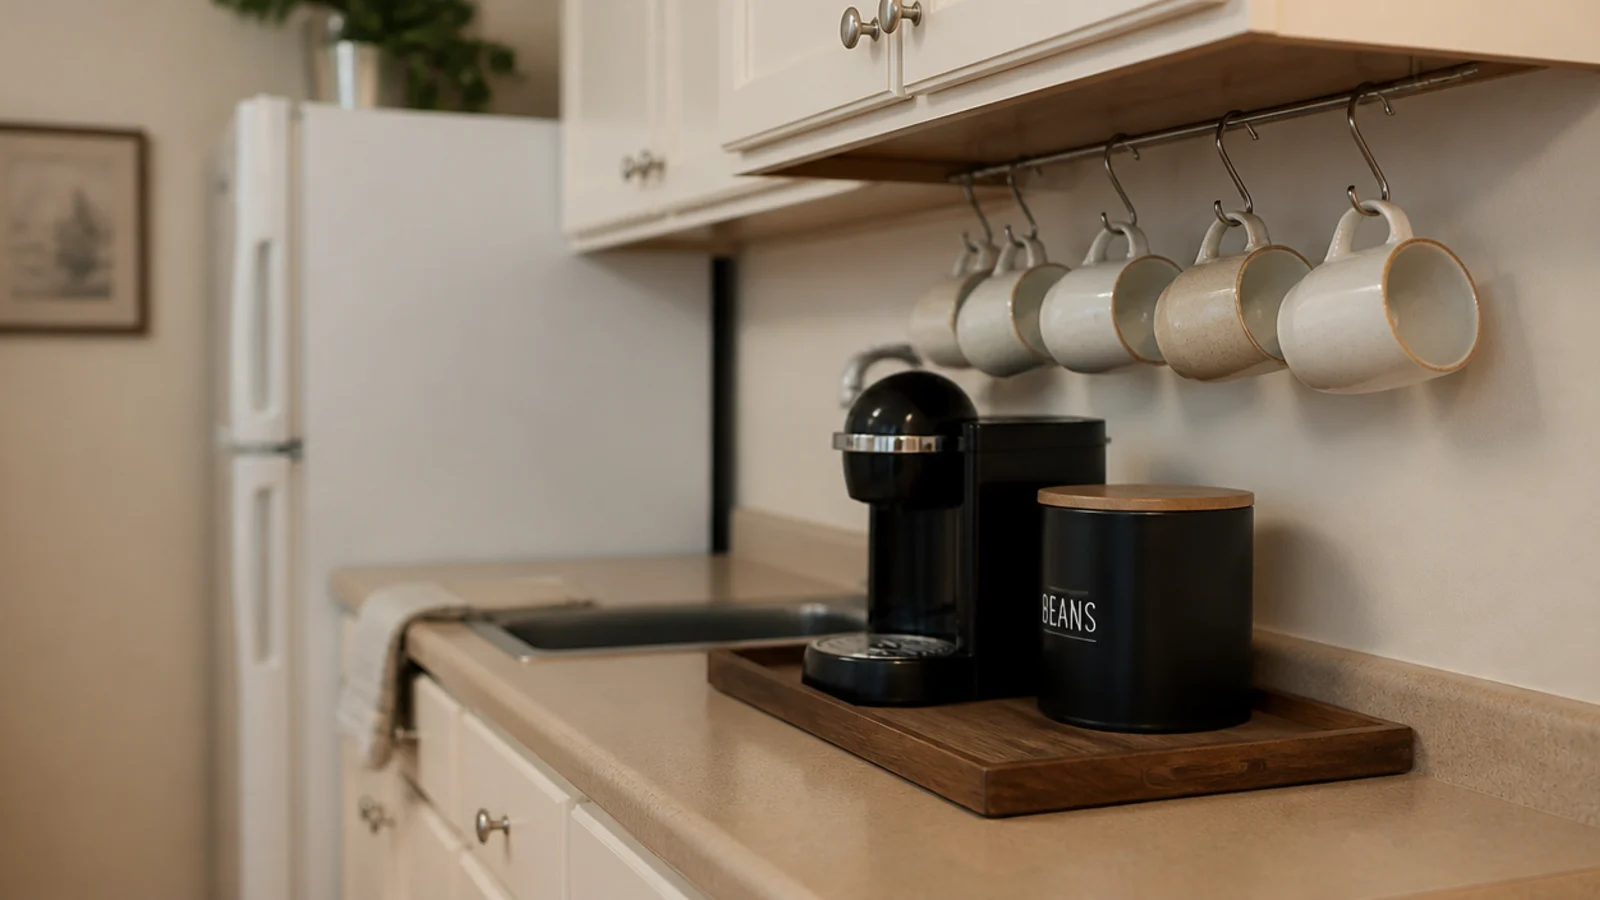
Coffee bar ideas for a home without a spare inch of counter come down to one thing: buying storage before you buy furniture. Every setup below fits a small kitchen, most cost less than a bag of good beans, and all of them start from the same measured footprint. I have built versions of these in three rentals, and the ones that lasted were never the expensive ones.
In this guide27 sections — tap to openHide
- 1.Planning coffee bar ideas at home when counter space is short
- 2.Start with a tray, not furniture
- 3.Borrow 24 inches from the end of the counter run
- 4.Screw six mug hooks under an existing cabinet
- 5.Thrift a nightstand and call it the bar cabinet
- 6.Stack two crates into a tower
- 7.Use a narrow bookcase as the whole bar
- 8.Tile the wall behind with peel and stick
- 9.Buy the cheapest cart and upgrade the top
- 10.Mount a spice rack as the syrup shelf
- 11.Repurpose a cutting board as the drip tray
- 12.Hang mugs on adhesive hooks if you cannot drill
- 13.Put a lazy susan in the awkward corner
- 14.Swap the clear jar for an opaque tin
- 15.Stick battery puck lights under the cabinet
- 16.Hang a 24-inch pegboard for vertical storage
- 17.Give pods one drawer with a $6 divider
- 18.Fit a fold-down shelf in a galley kitchen
- 19.Rescue a tea trolley or a TV tray
- 20.Paint the back wall with a $6 sample pot
- 21.Raise the machine to gain storage underneath
- 22.Corral filters in a napkin holder
- 23.Add a slim towel bar under the shelf
- 24.Slide a stool under the counter overhang
- 25.Close the corner with one small framed print
- 26.Keep the overflow in a labelled bin below
- 27.Mistakes to Skip
Planning coffee bar ideas at home when counter space is short
Twenty-four inches of width and 15 inches of depth is the working minimum. That holds a machine, a bean canister and a landing spot for the mug you are filling. Thirty inches is comfortable; below 24 you go vertical instead — mugs on hooks, beans on a shelf, only the machine on the surface.
Everything you touch for one cup should sit inside a single arm sweep, roughly a 30-inch reach zone from where you stand. In a small kitchen that rule matters more, not less, because there is nowhere to put the thing you had to walk for.
Check the outlet first. An extension cord under a water source is the wrong answer at any budget, and it quietly rules out half the walls people fall in love with.
Leave at least 6 inches of clear air above the tallest point of the machine so steam disperses rather than hitting a shelf underside, more if the lid lifts or the reservoir fills from the top.
Budget tiers here: $ is under $30, $$ is $30 to $80, and $$$ is $80 to $150, which buys a cart or a small cabinet outright.
1. Start with a tray, not furniture
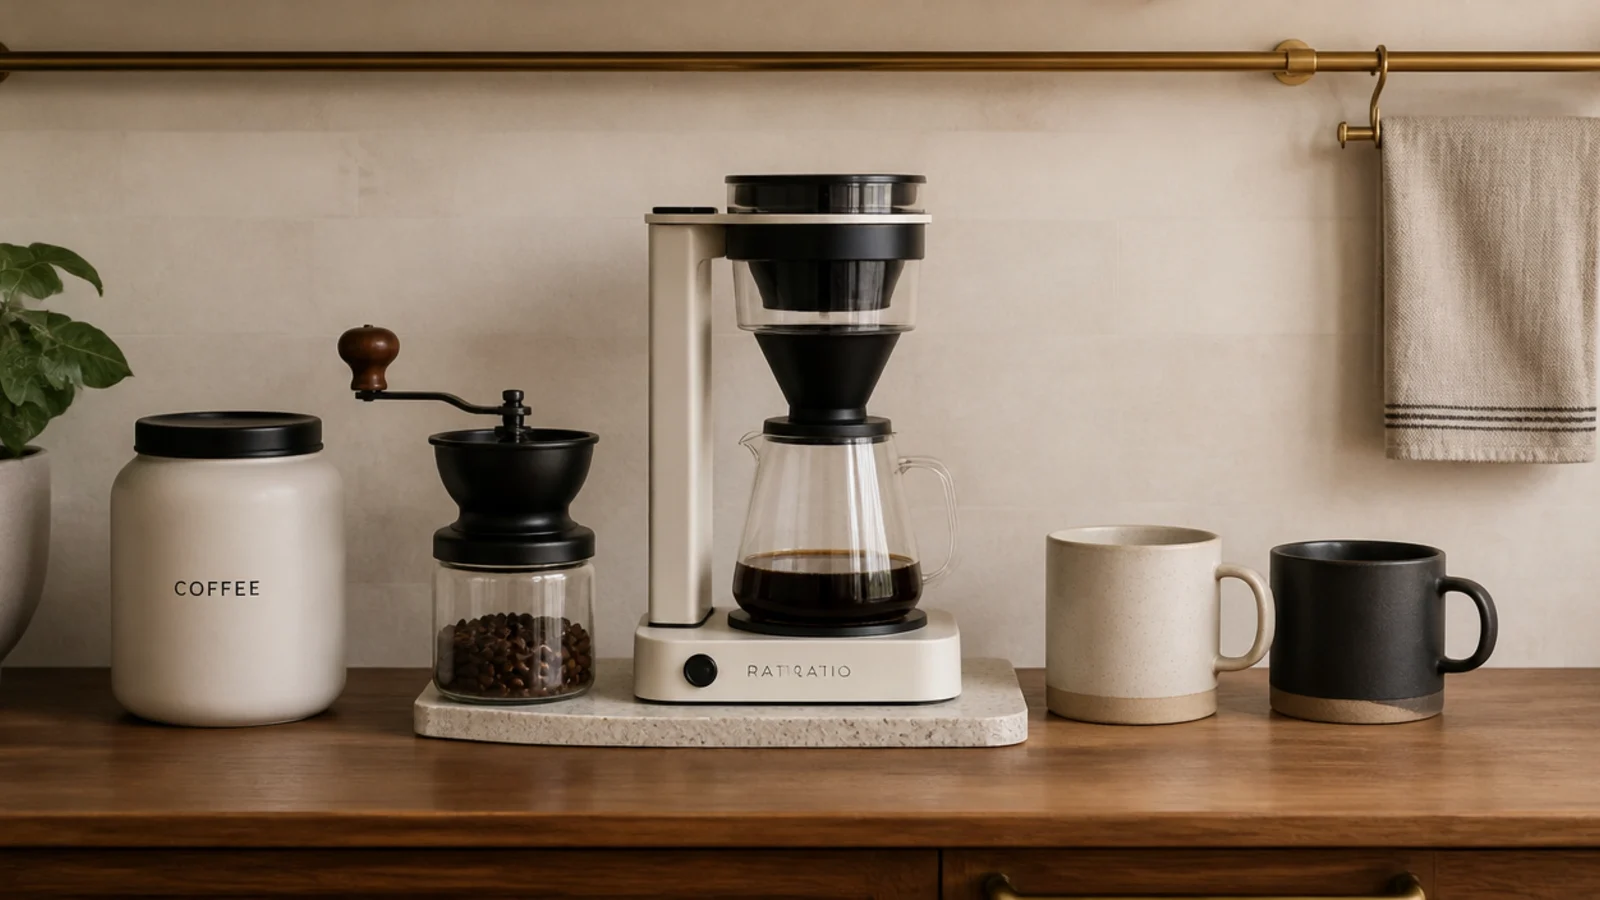
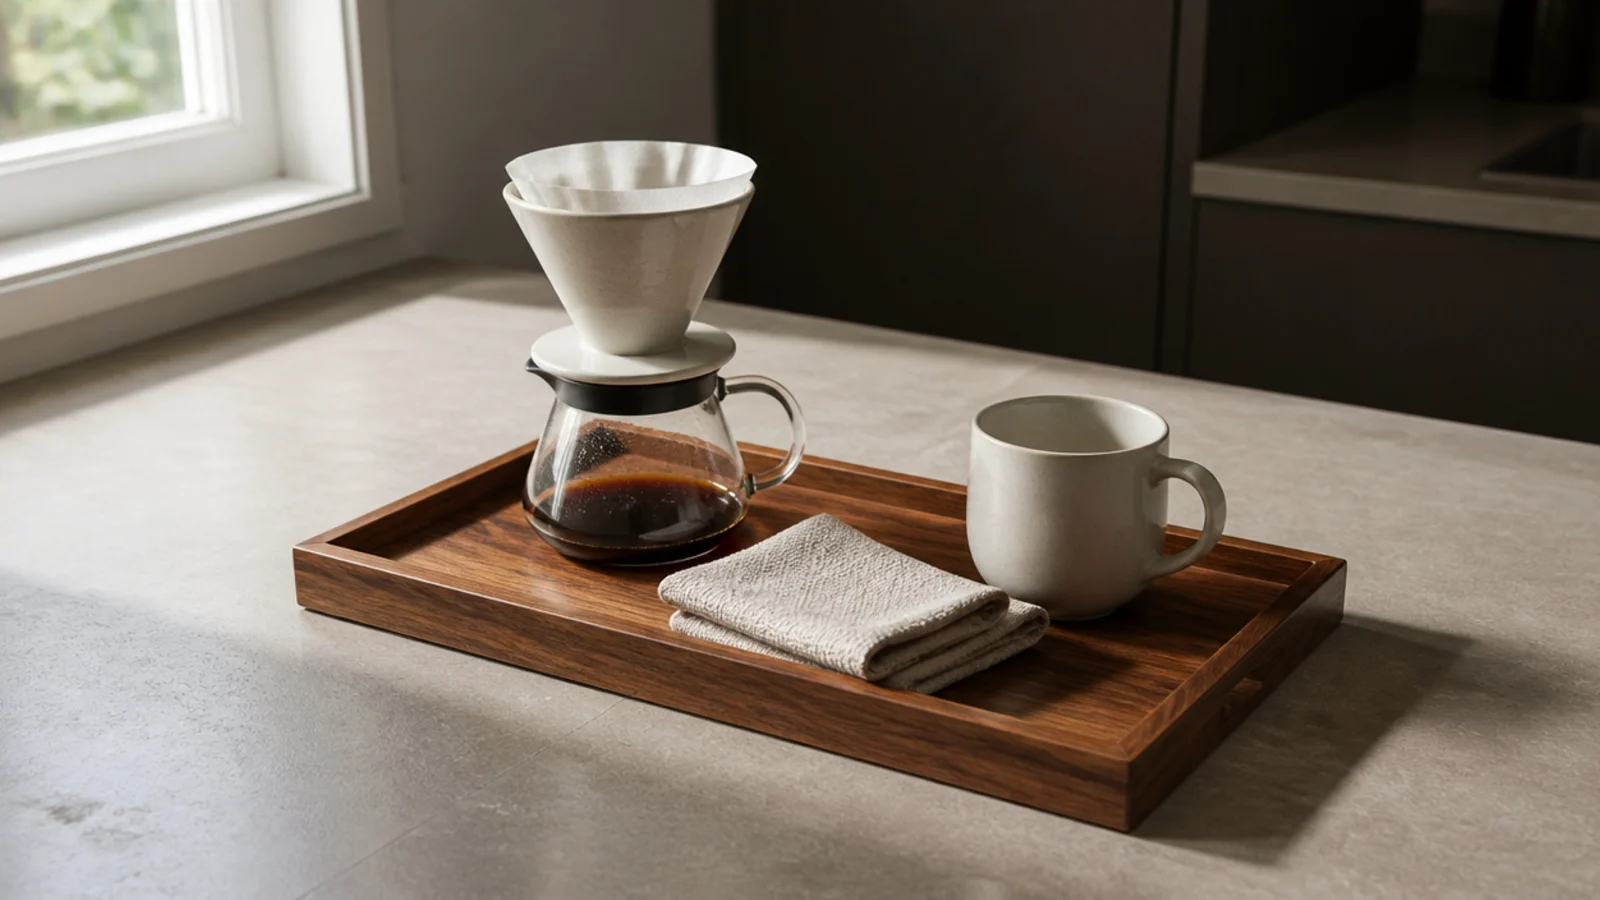
A tray about 12 by 16 inches is the cheapest fix in this entire list and the one I would do first every time. It gives the machine an edge to sit inside, catches drips before they dry into rings, and lets you lift the whole station out to wipe behind it.
Sealed walnut, glazed stoneware or acacia all work at $12 to $25 ($). Oil raw wood before it goes down or coffee soaks in within a month.
2. Borrow 24 inches from the end of the counter run
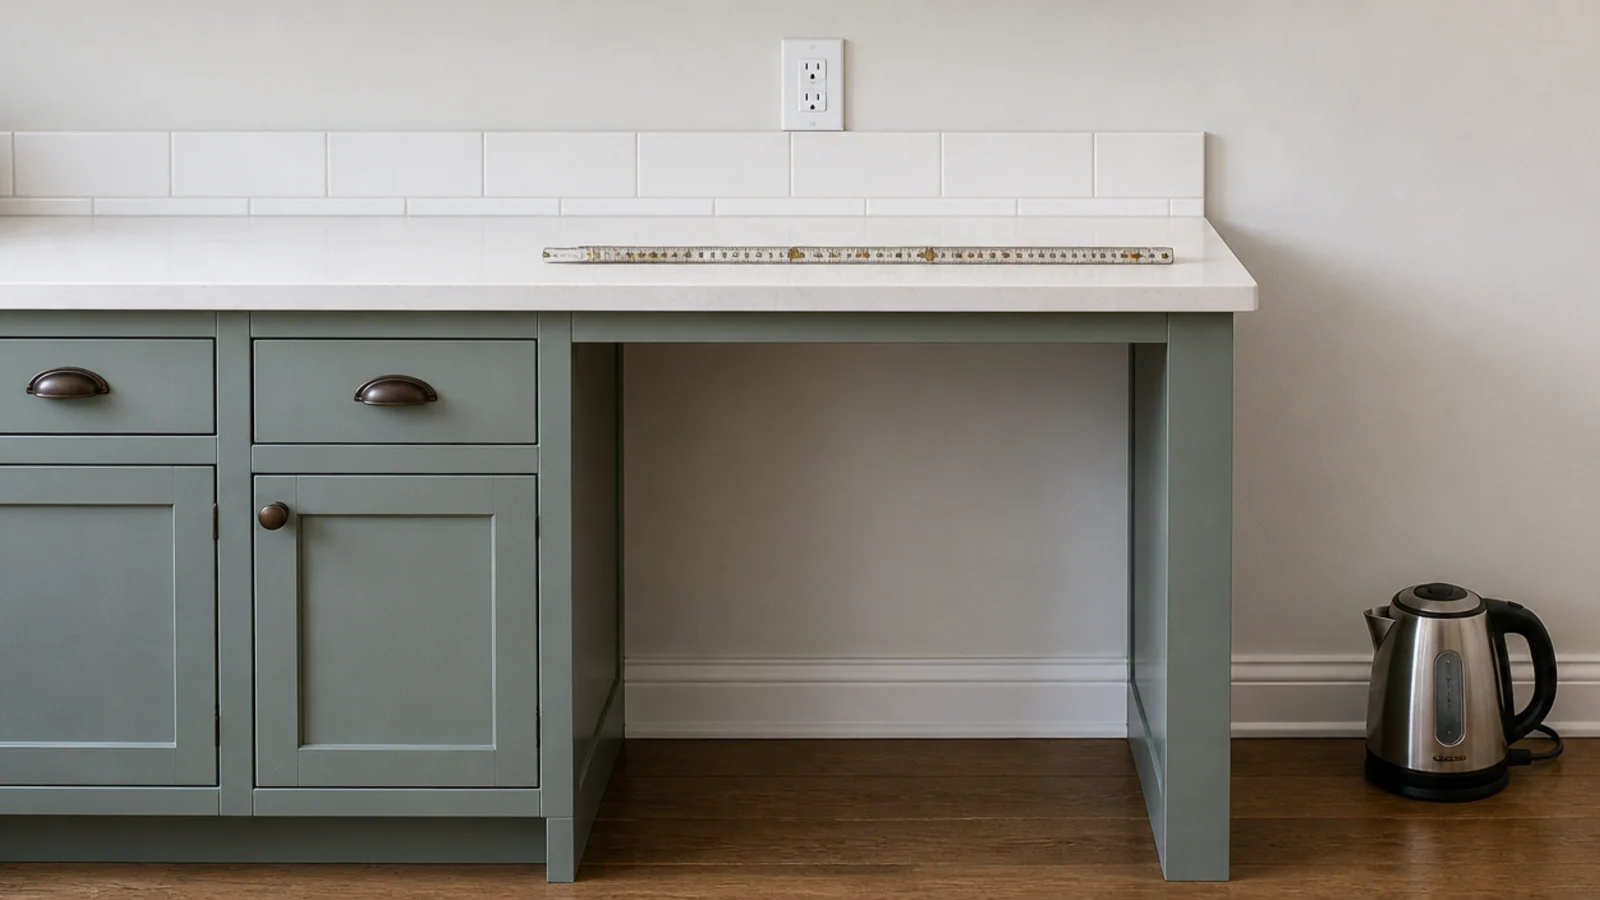
The end of a run is the best small-kitchen spot because only one side of the station ever gets bumped. Nothing swings into it and nothing has to squeeze past.
Measure from the wall out: 24 inches minimum, 30 if you can get it. Keep the last 4 inches nearest the edge clear so a mug always has somewhere safe to land while you pour.
3. Screw six mug hooks under an existing cabinet
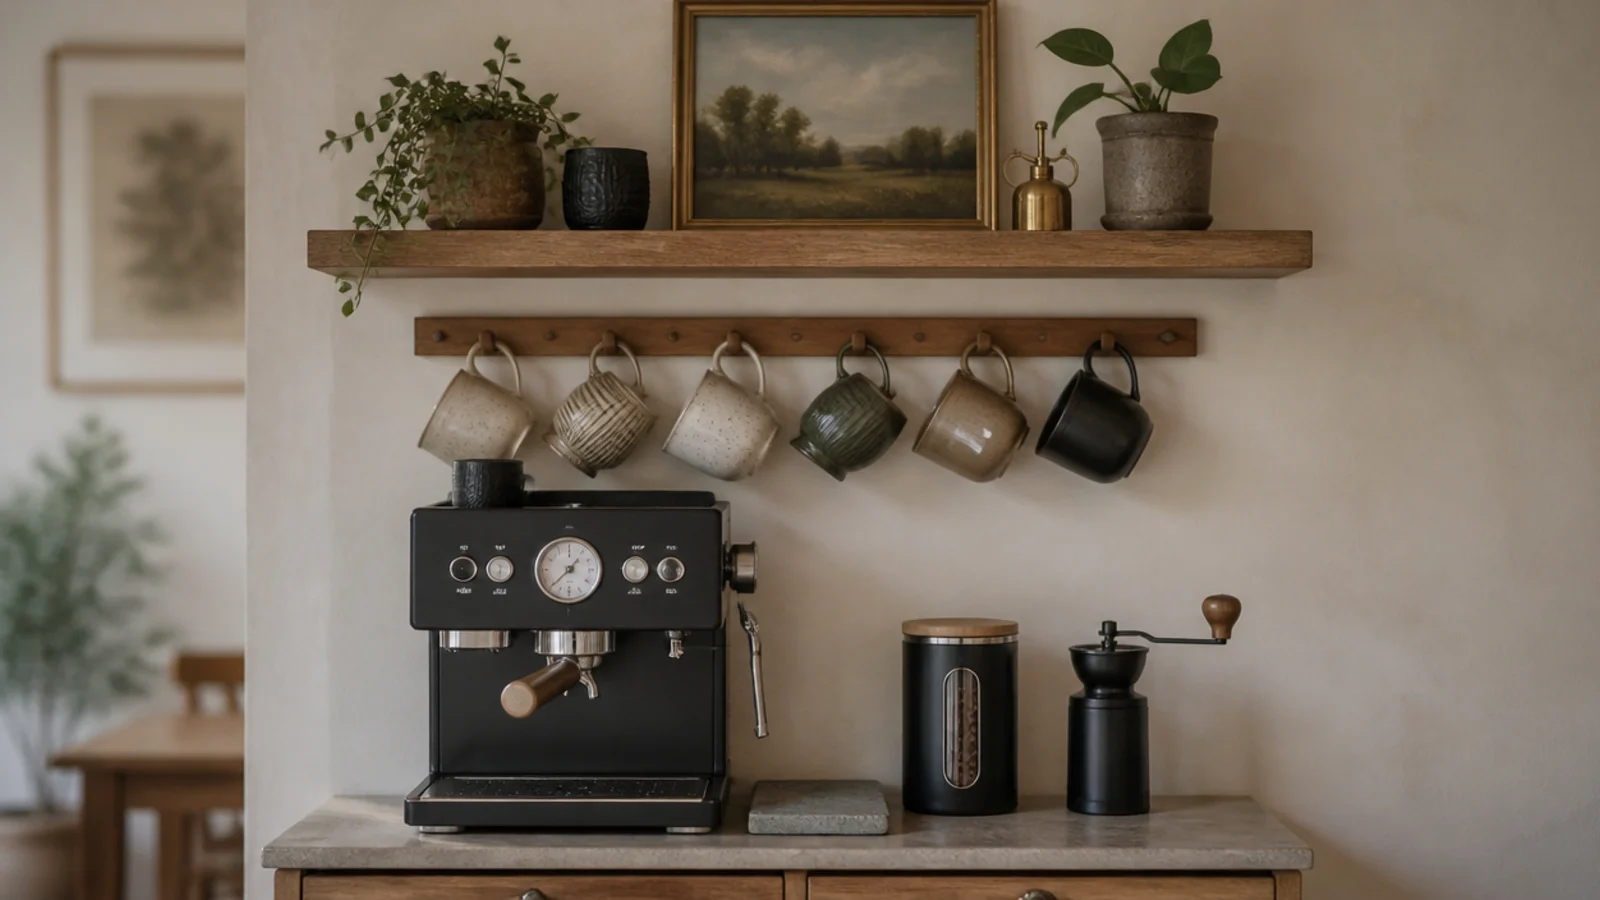
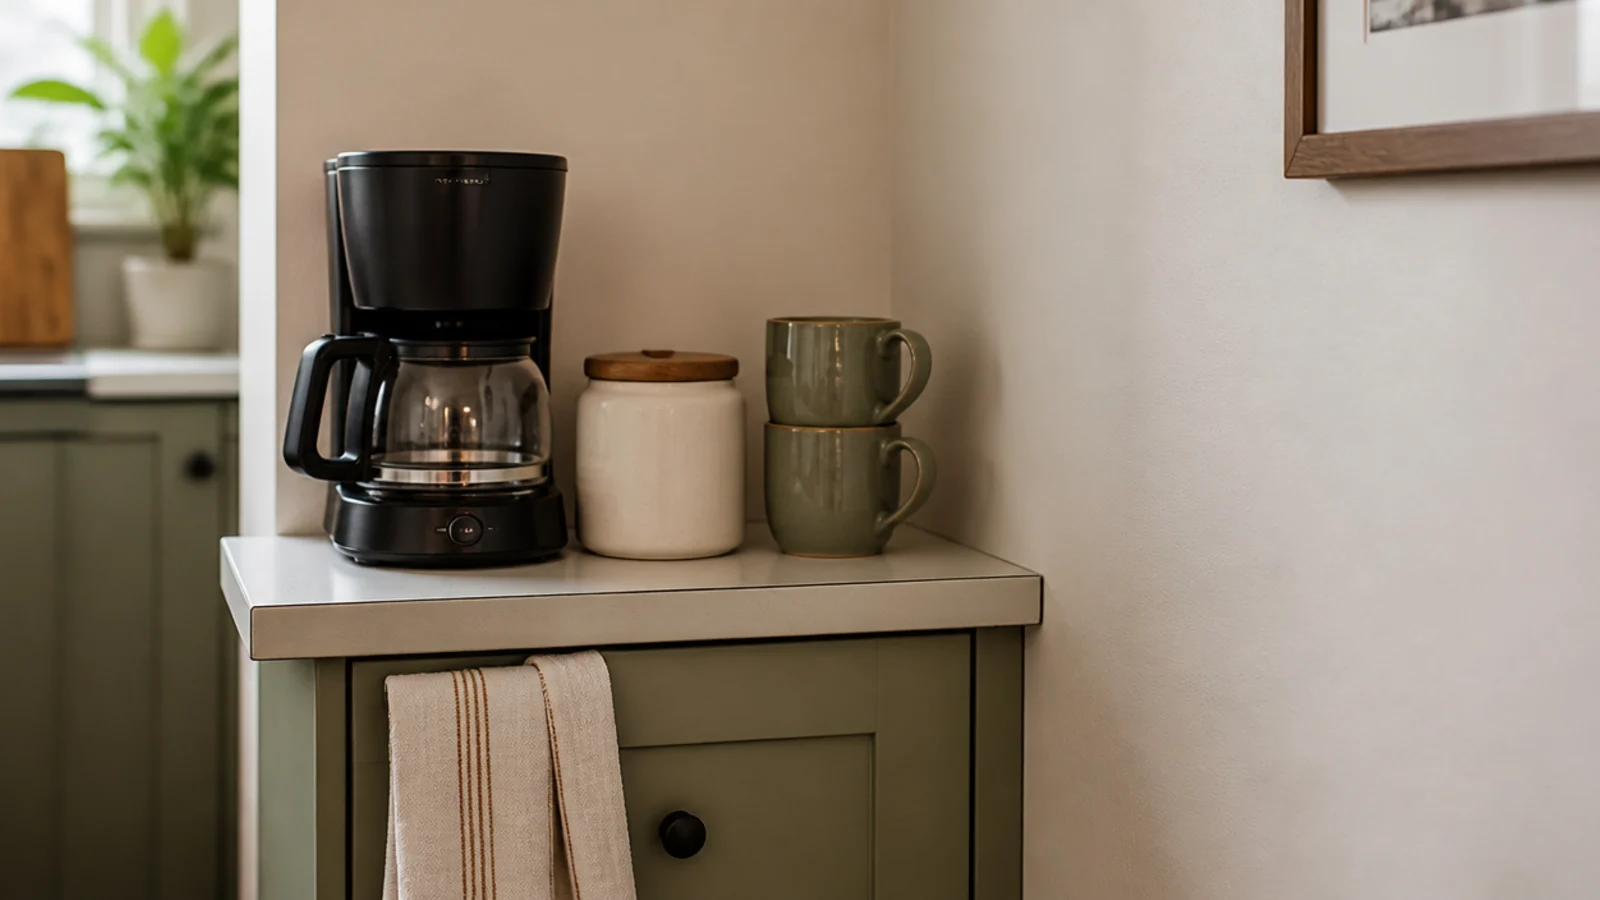
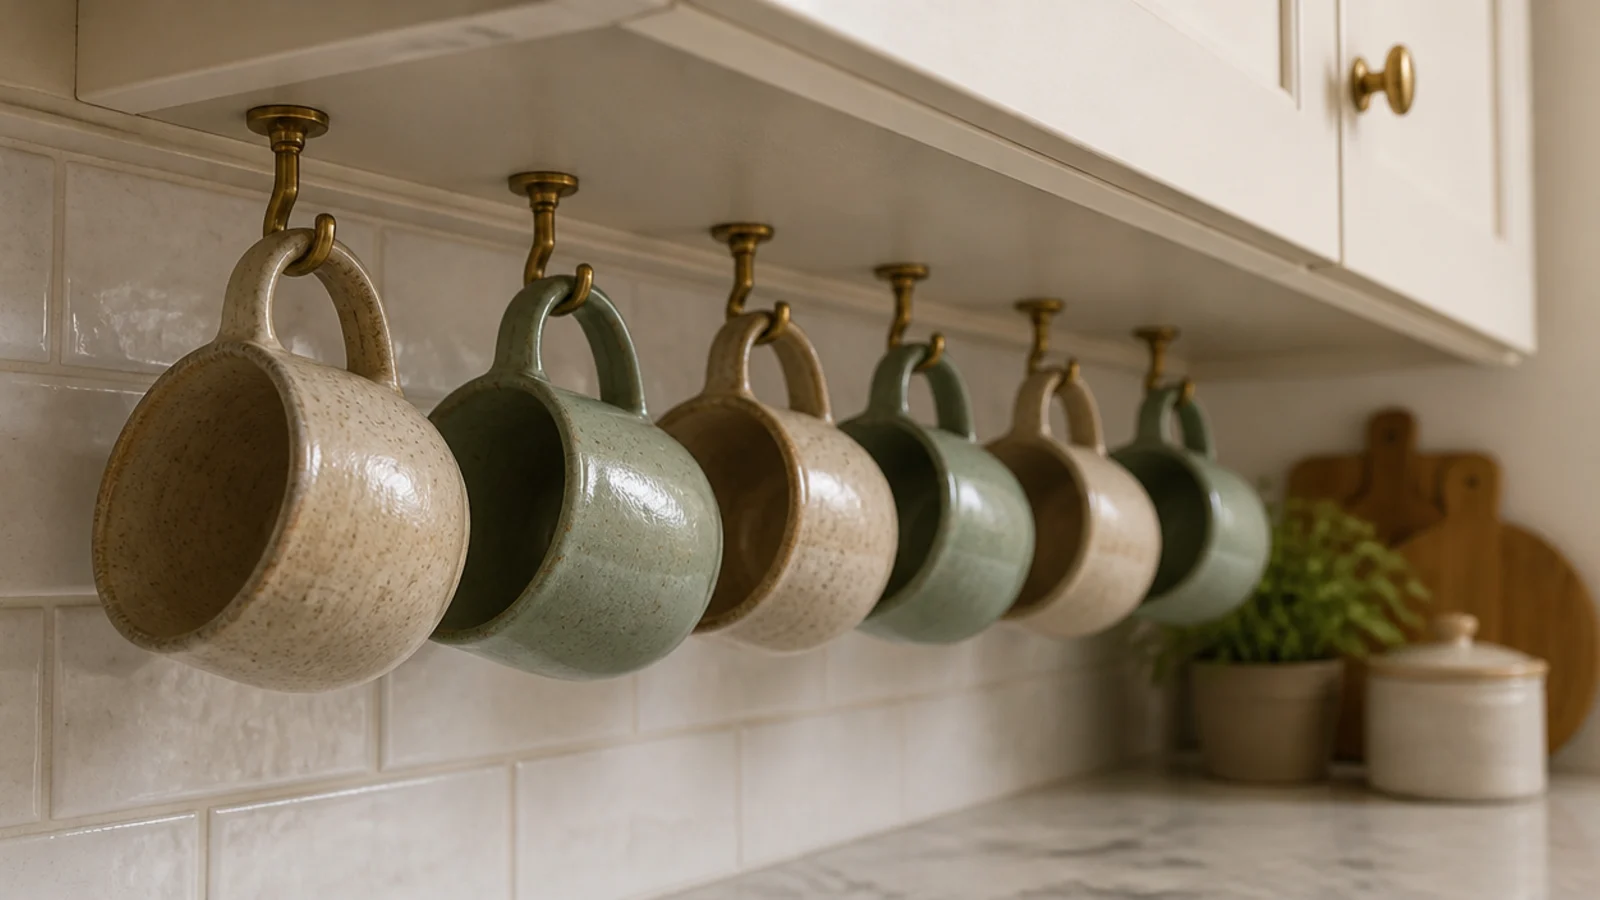
Small brass cup hooks cost about $4 for six and take ten minutes. Fitted to the underside of a wall cabinet, they hold six mugs in the width one mug takes sitting on the counter.
Drill a pilot hole first so the hook goes in straight, and space them 4 inches apart so the mugs stop knocking. Renting? Adhesive hooks rated to five pounds each carry two light mugs safely.
4. Thrift a nightstand and call it the bar cabinet
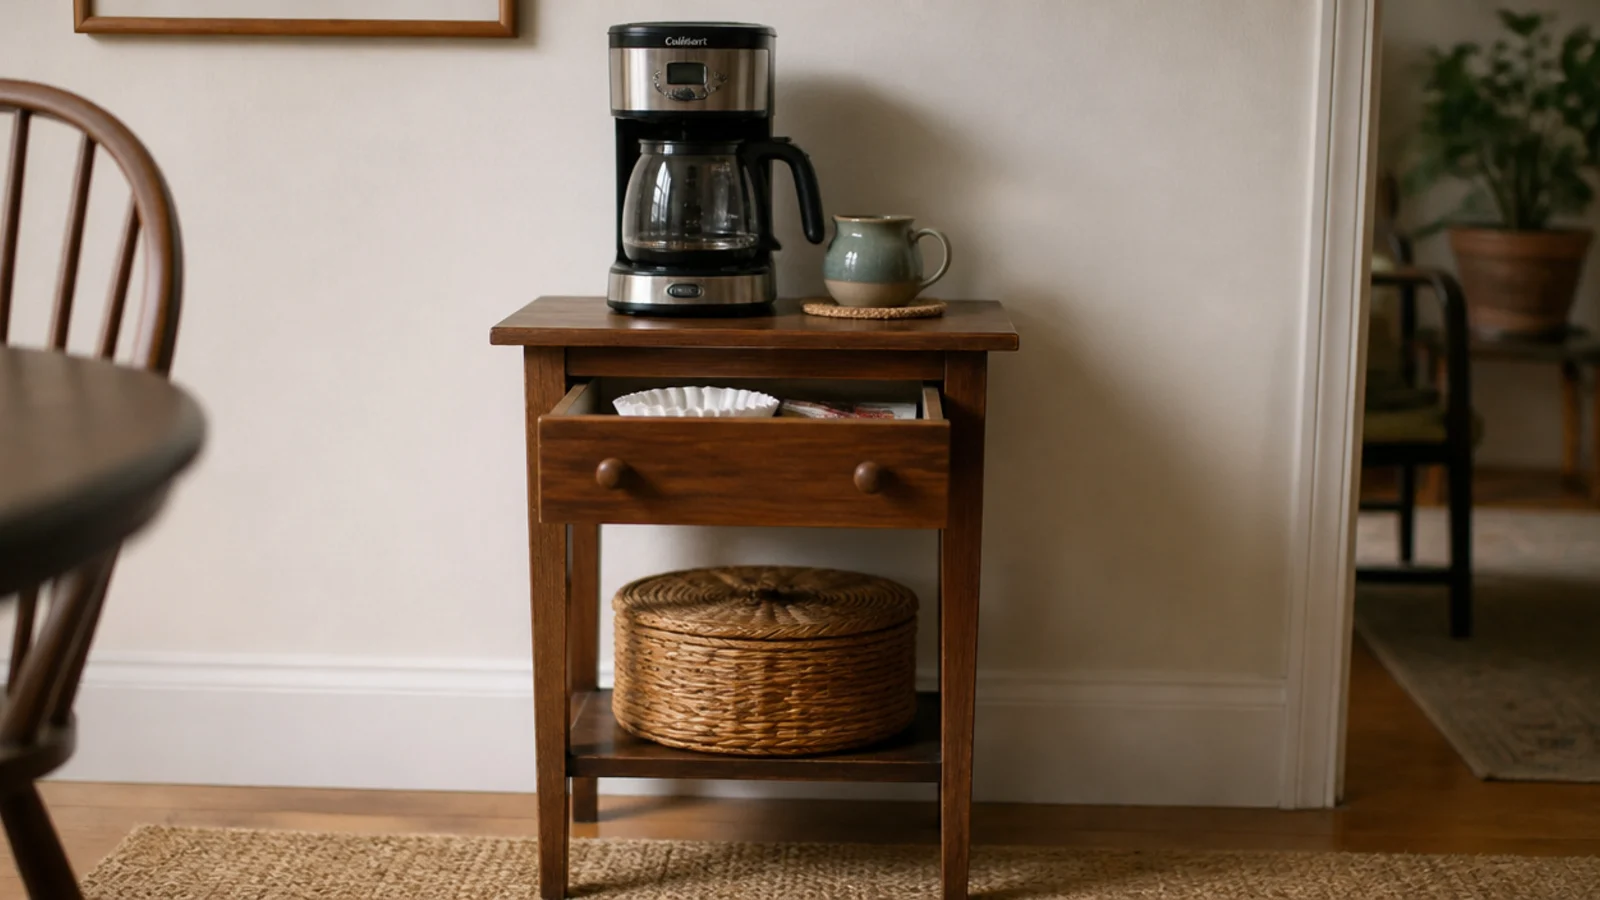
A secondhand nightstand at $20 to $40 gives you a 28 to 32 inch high surface, a drawer for filters and a cupboard for the overflow. That is a complete coffee bar for the price of two cafe orders.
Look for solid wood rather than veneer, and check the back panel is sound. Sand the top lightly and add hardwax oil for $9 so it survives heat and drips.
5. Stack two crates into a tower
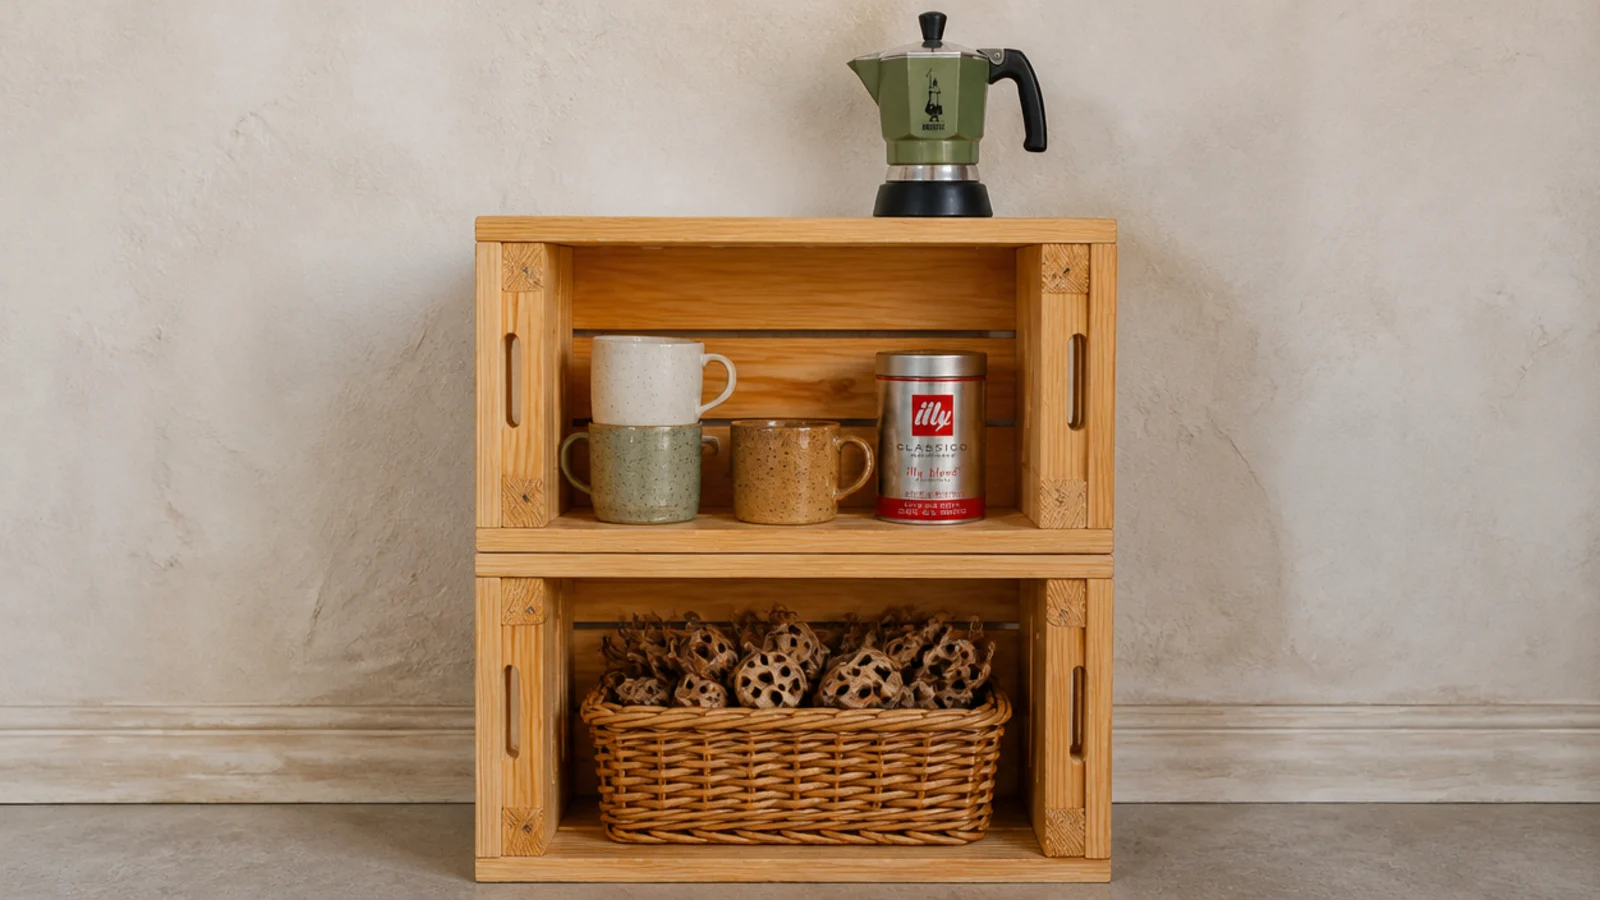
Two unfinished pine crates, sealed with clear oil and stacked, cost about $24 and give you a shelf and a storage cube in a 13-inch footprint.
Screw the two together through the meeting edges — an unfixed stack shifts every time you pull something out. Put the heavier crate on the bottom, and if the tower is over 30 inches tall, run one anti-tip strap into the wall.
6. Use a narrow bookcase as the whole bar
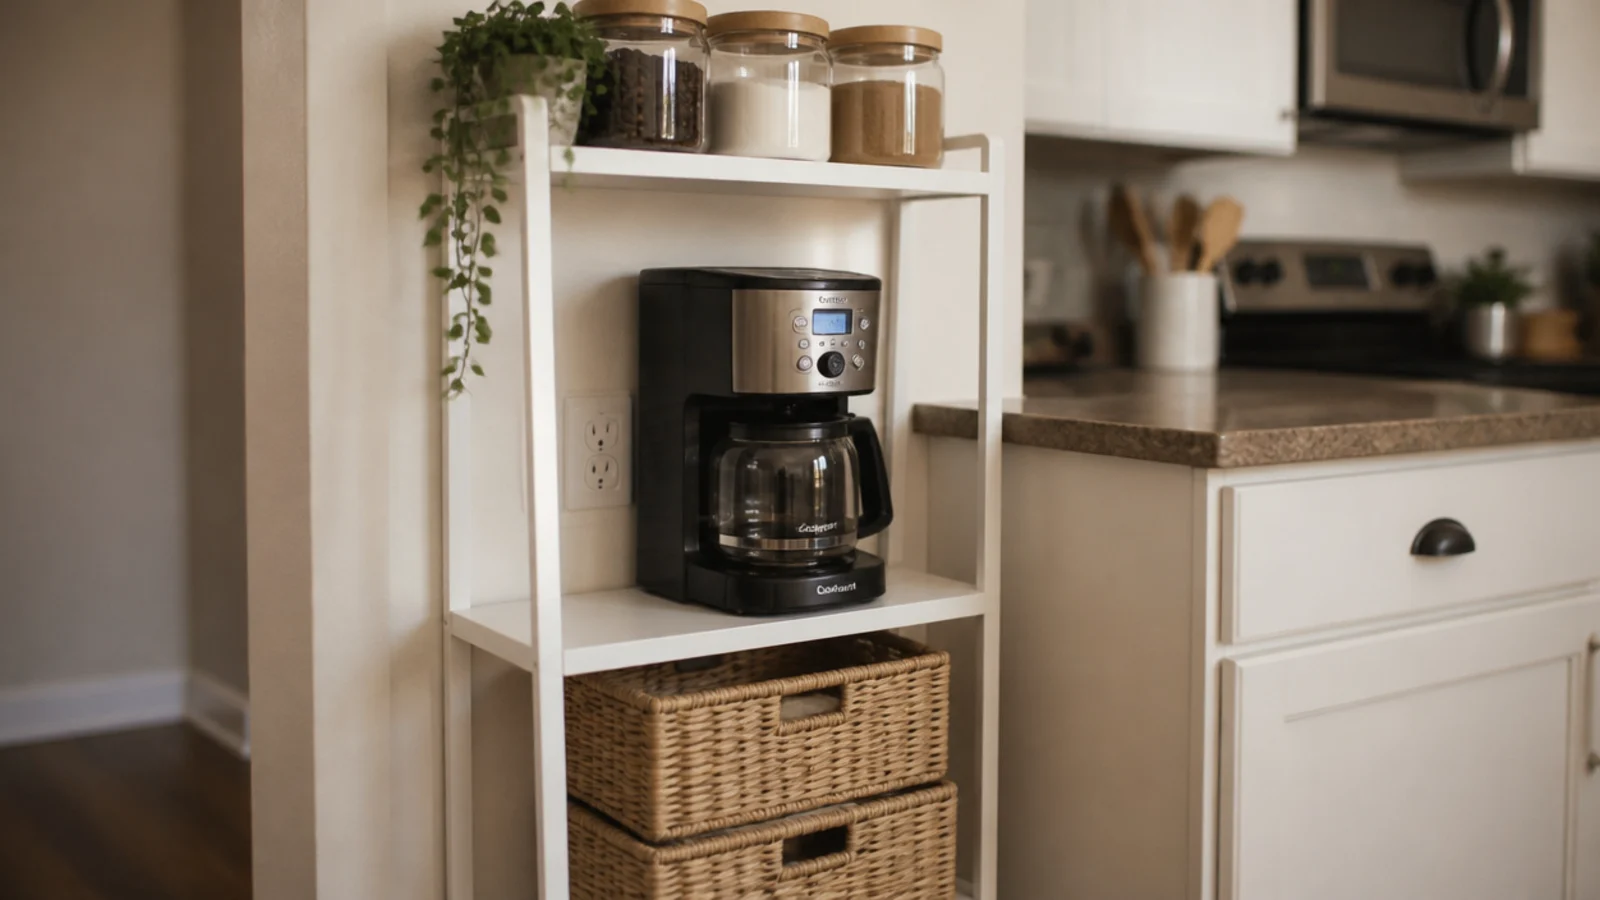
A 24-inch wide two-shelf bookcase is a coffee bar that already has legs. Set the machine on the middle shelf at roughly counter height, canisters above, baskets below.
Check the shelf depth before you commit: 11 inches is common and it is too shallow for a wide machine. Look for 15 to 18 inches, and never run a machine on a shelf with a fixed shelf directly above unless you have 6 inches of steam clearance.
7. Tile the wall behind with peel and stick
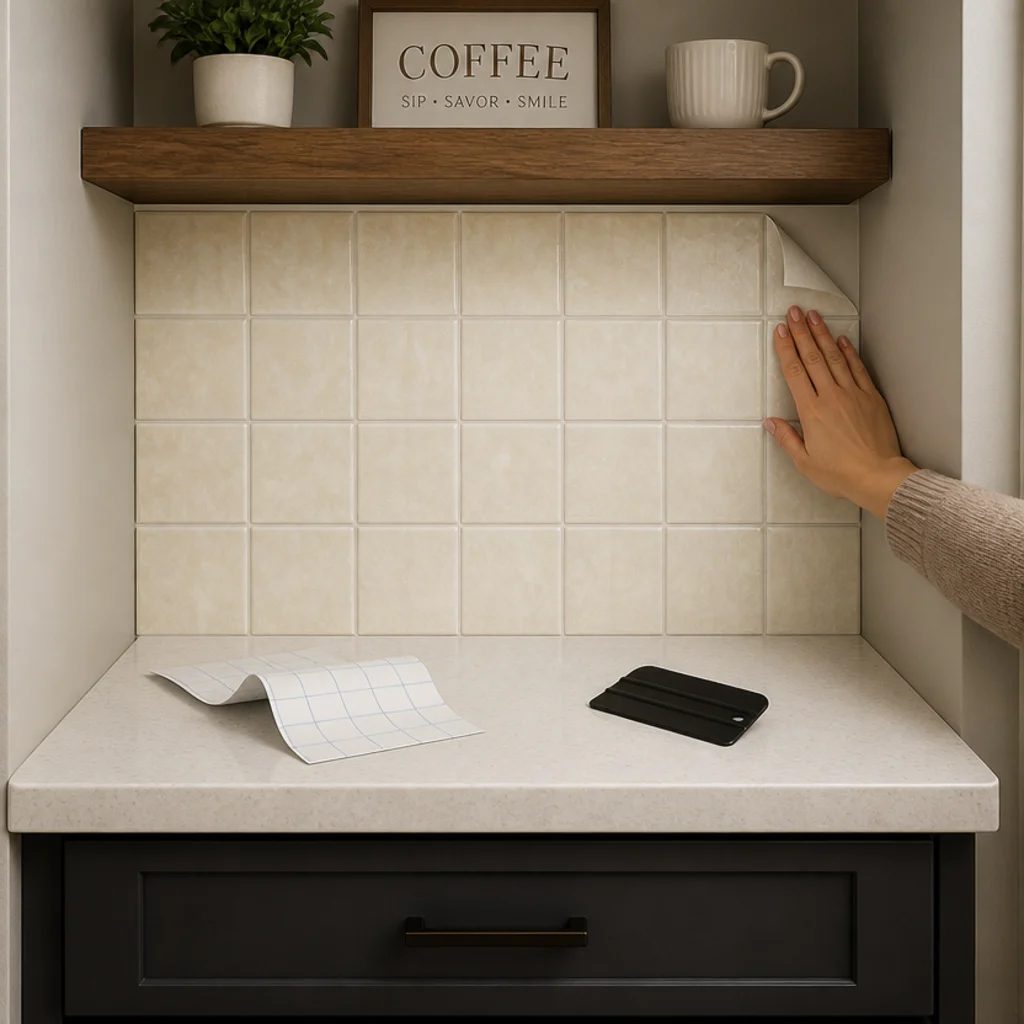
Steam, splashes and grinder dust land on the wall behind the machine, and flat builder-grade paint marks permanently. A 30-inch stretch of peel-and-stick tile costs $20 to $45 ($) and wipes clean forever.
It lifts off with gentle heat from a hairdryer, which makes it genuinely renter-safe. Press from the centre outward and trim with a craft knife against a metal ruler.
8. Buy the cheapest cart and upgrade the top
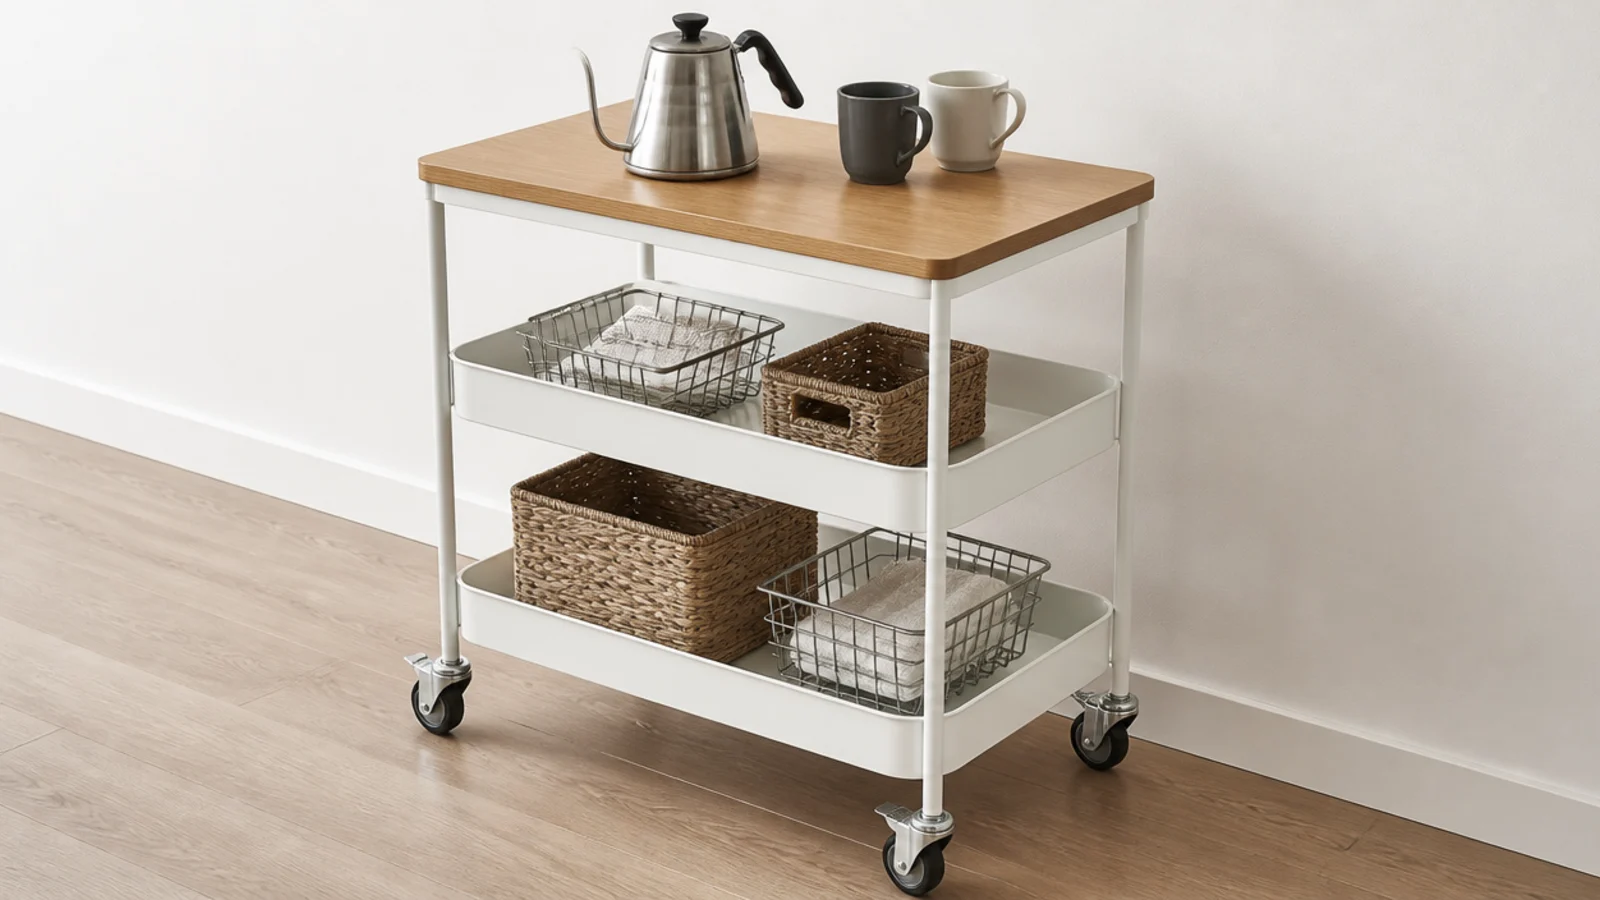
A basic metal utility cart runs about $30. Lay a $12 rectangle of oiled oak over the top tier and it stops looking like a supply trolley immediately.
Check for locking casters or add them, because an unlocked cart slides every time you press down on a grinder. Keep the machine on top, filters and spare mugs in a basket below.
9. Mount a spice rack as the syrup shelf
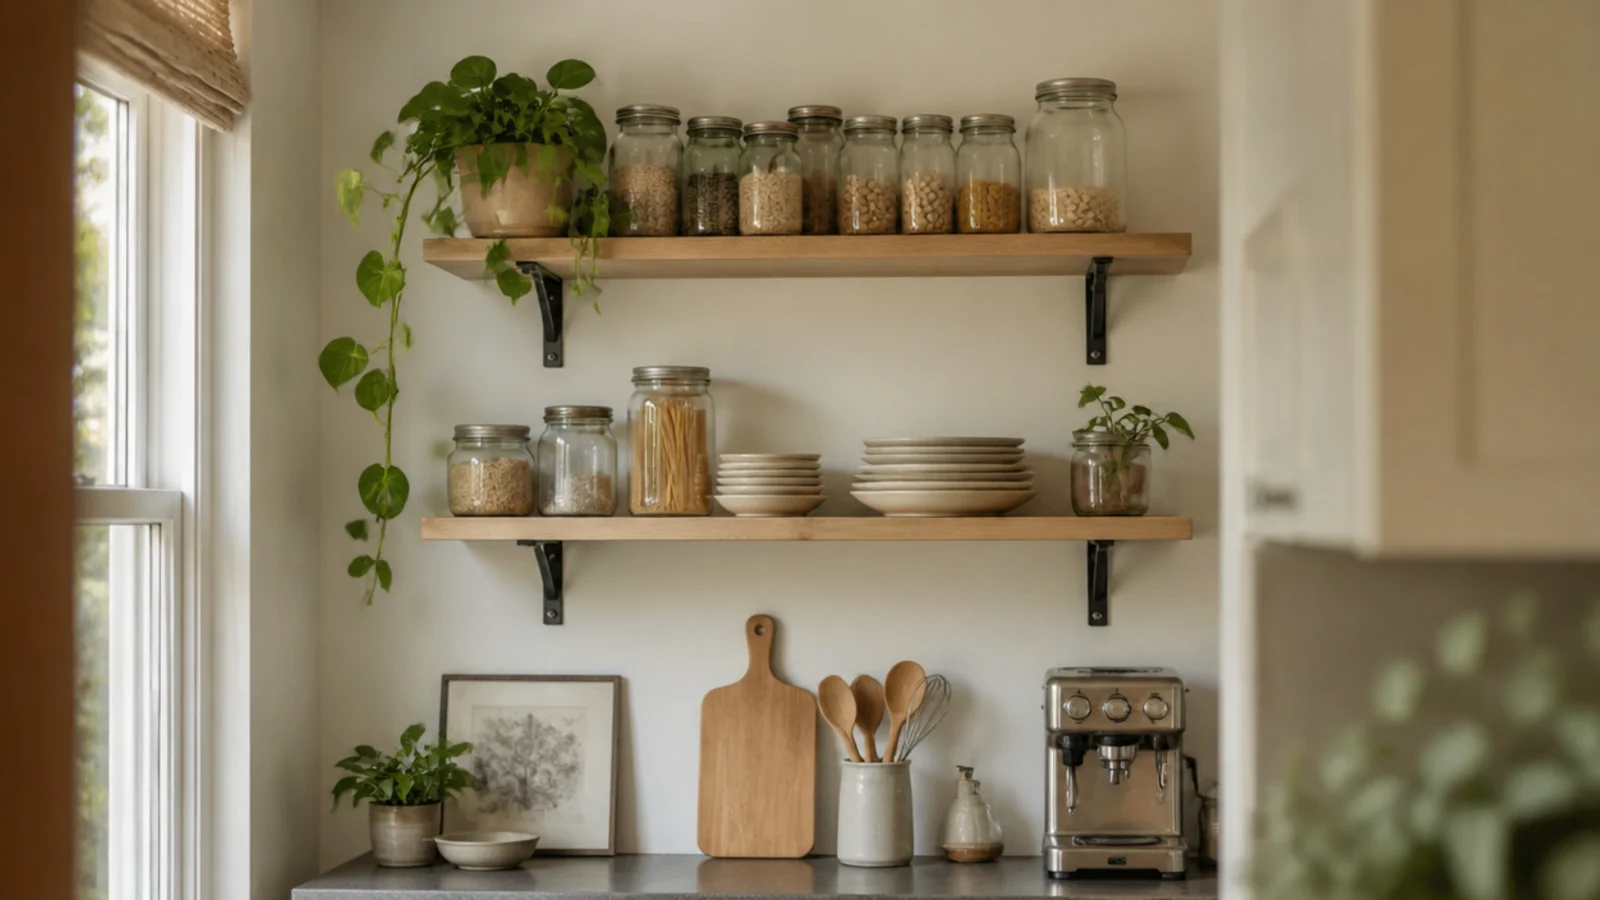
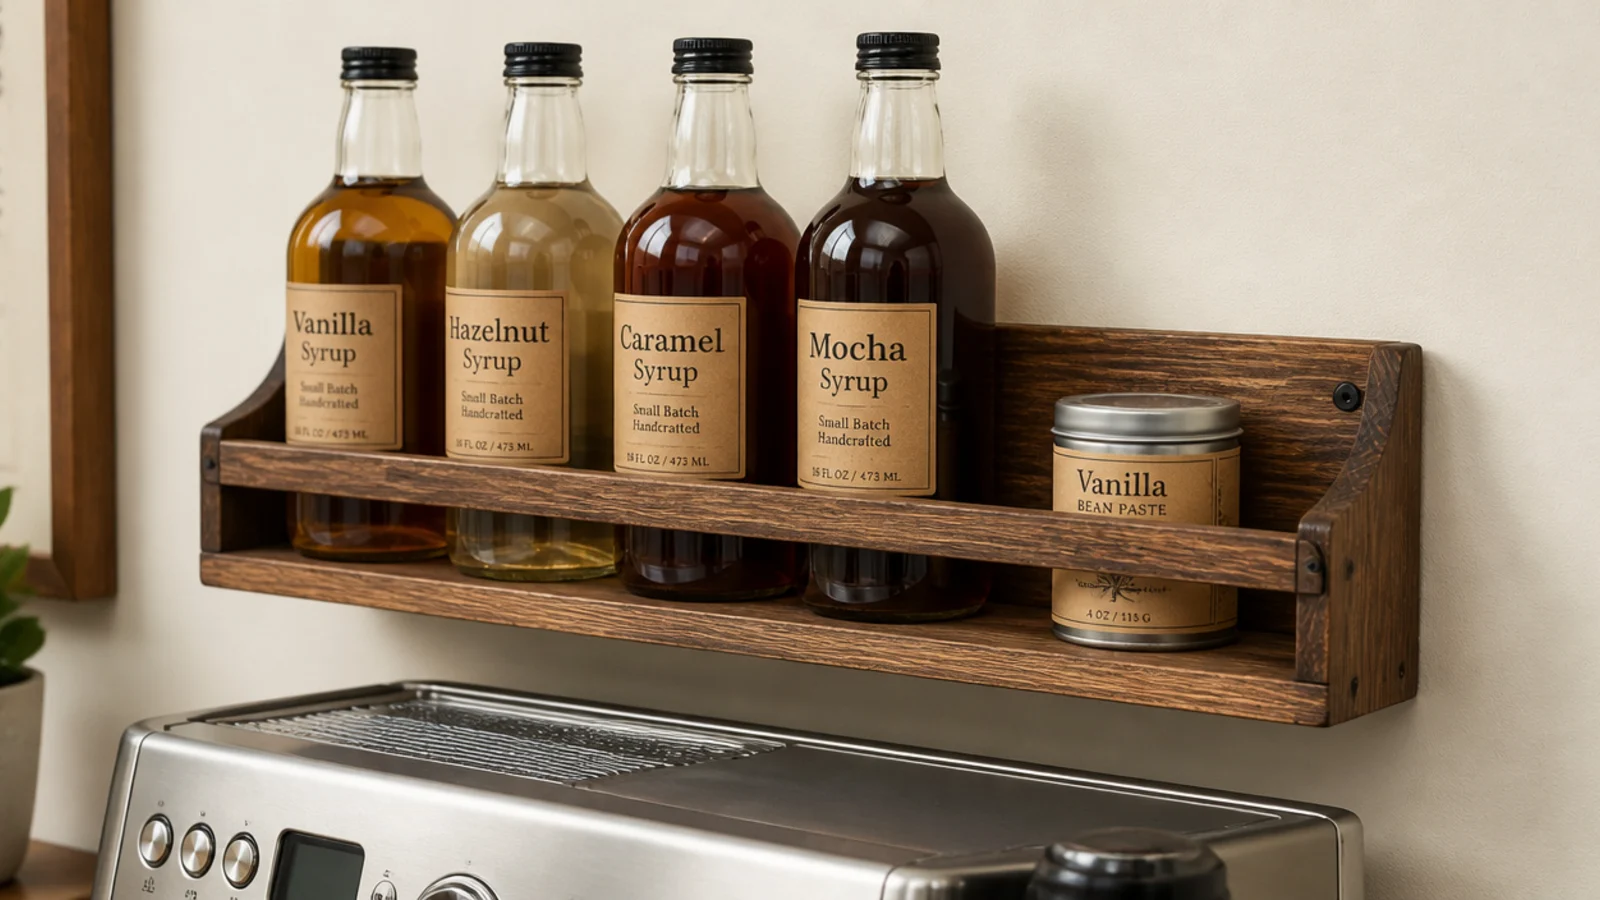
A wall spice rack is 3 inches deep, costs $8 to $15, and is exactly the right size for syrup bottles, a vanilla tin and a small jar of cocoa.
Mount it to one side of the machine rather than above it, so nothing sits in the steam path. Two screws into drywall anchors carry it easily, since the whole loaded rack weighs under 5 pounds.
10. Repurpose a cutting board as the drip tray
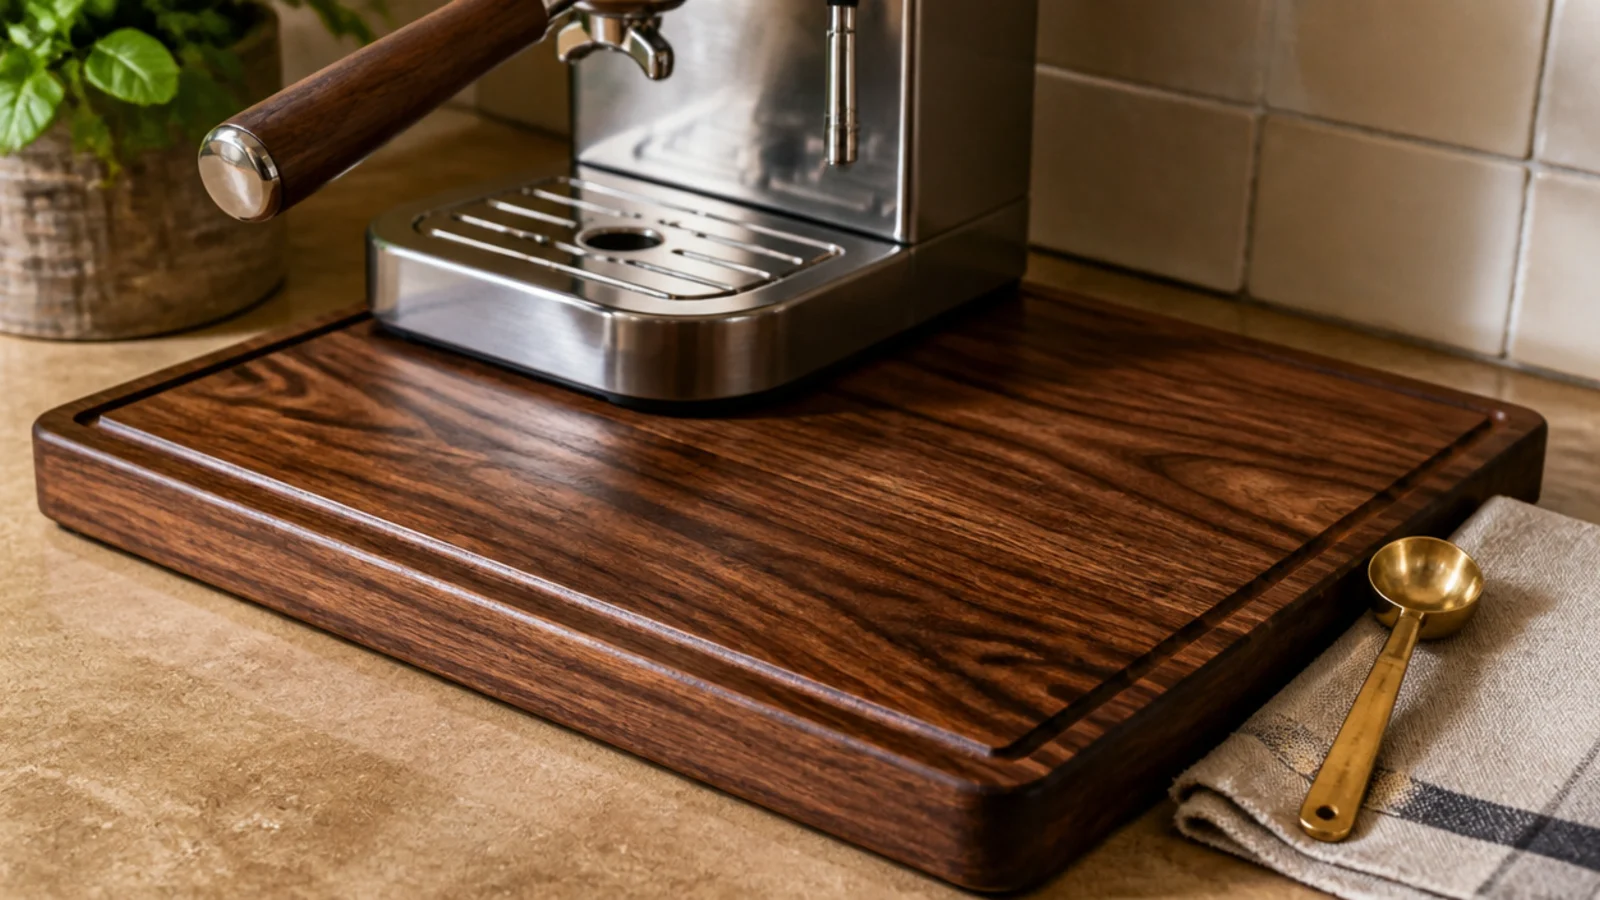
A wooden cutting board you already own does the tray job for nothing. Oil it thoroughly first — an unfinished board absorbs coffee within weeks and never comes clean.
Choose one with a groove around the edge if you have it, which catches spills instead of letting them run onto the counter. Boards under 10 inches wide are too small for a machine; look for 12 by 16 or bigger.
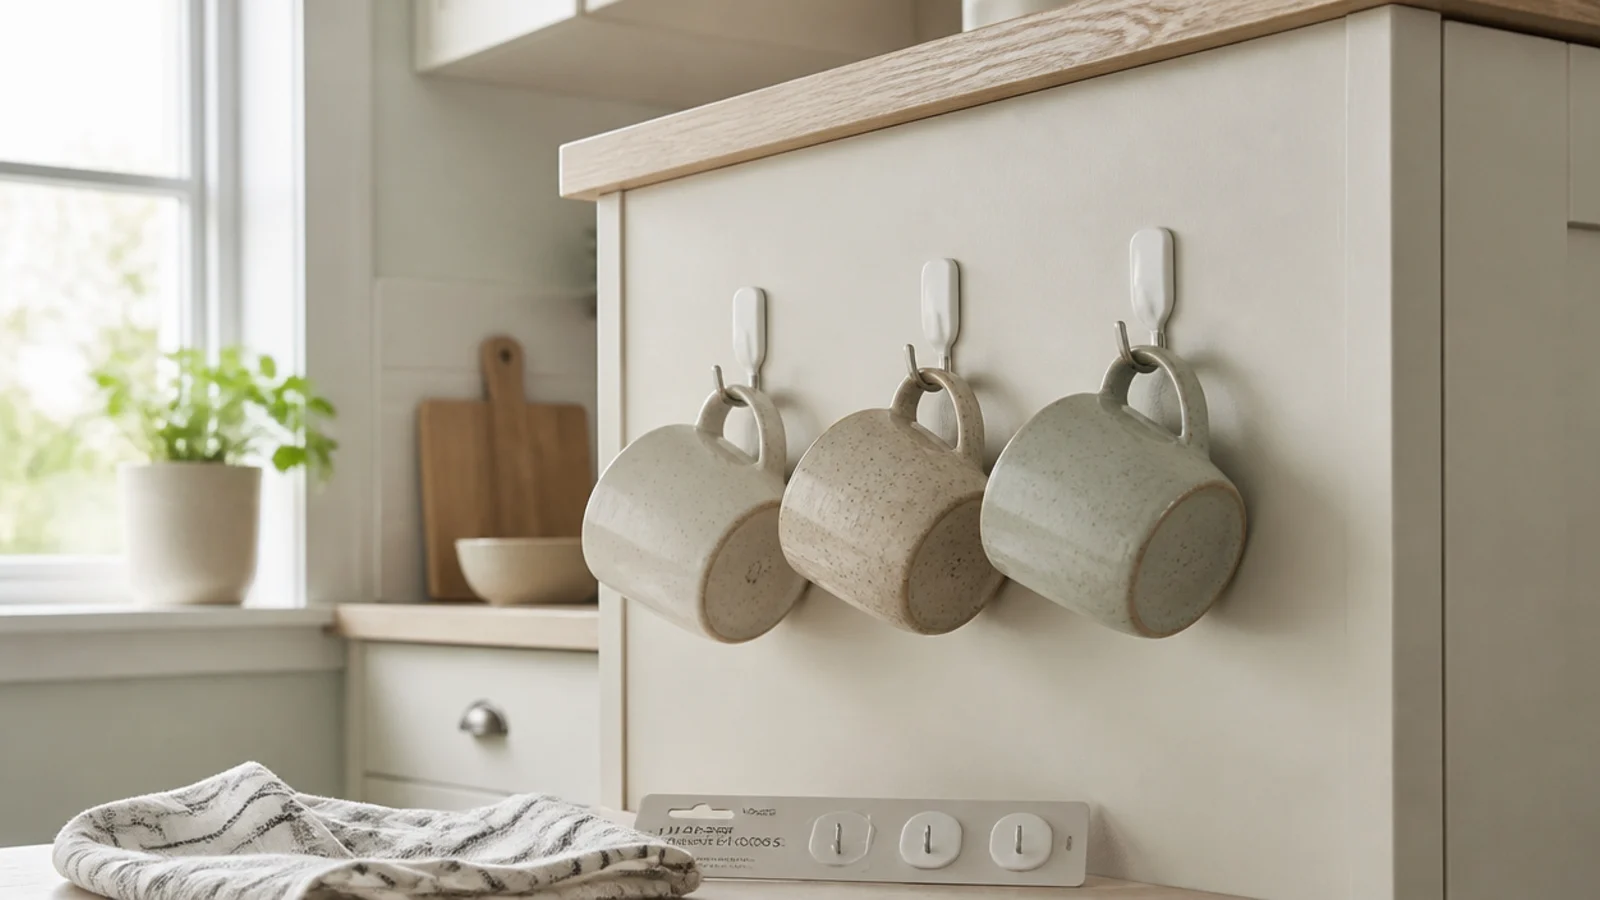
11. Hang mugs on adhesive hooks if you cannot drill
Adhesive hooks rated to five pounds each hold two light stoneware mugs safely, or one heavy one. Hang them on a cabinet side or a backsplash rather than a painted wall.
Test the adhesive on a hidden patch first, because flat builder paint peels off with the strip more often than people expect. Clean the surface with rubbing alcohol before sticking and leave it an hour before loading.
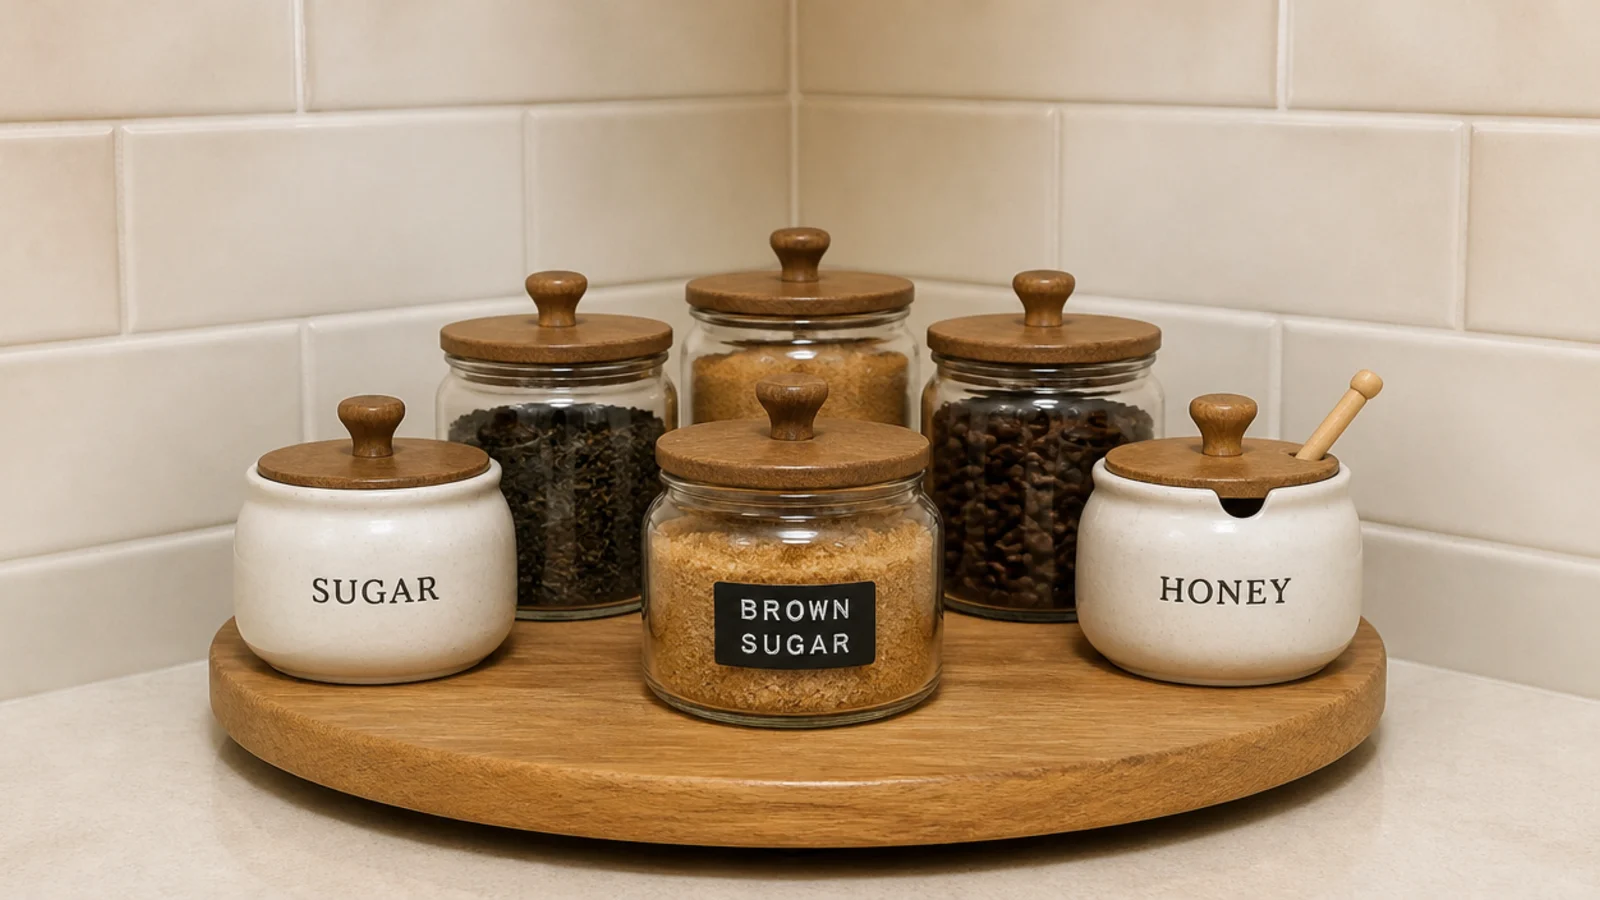
12. Put a lazy susan in the awkward corner
A 12-inch wooden turntable costs $12 to $20 and turns the useless inside corner of a counter into working storage for syrups, jars and a sugar pot.
Everything stays reachable without moving three things first. Keep the load to six items and one height — a turntable stacked two deep just hides what is at the back, which is exactly the problem it was supposed to fix.
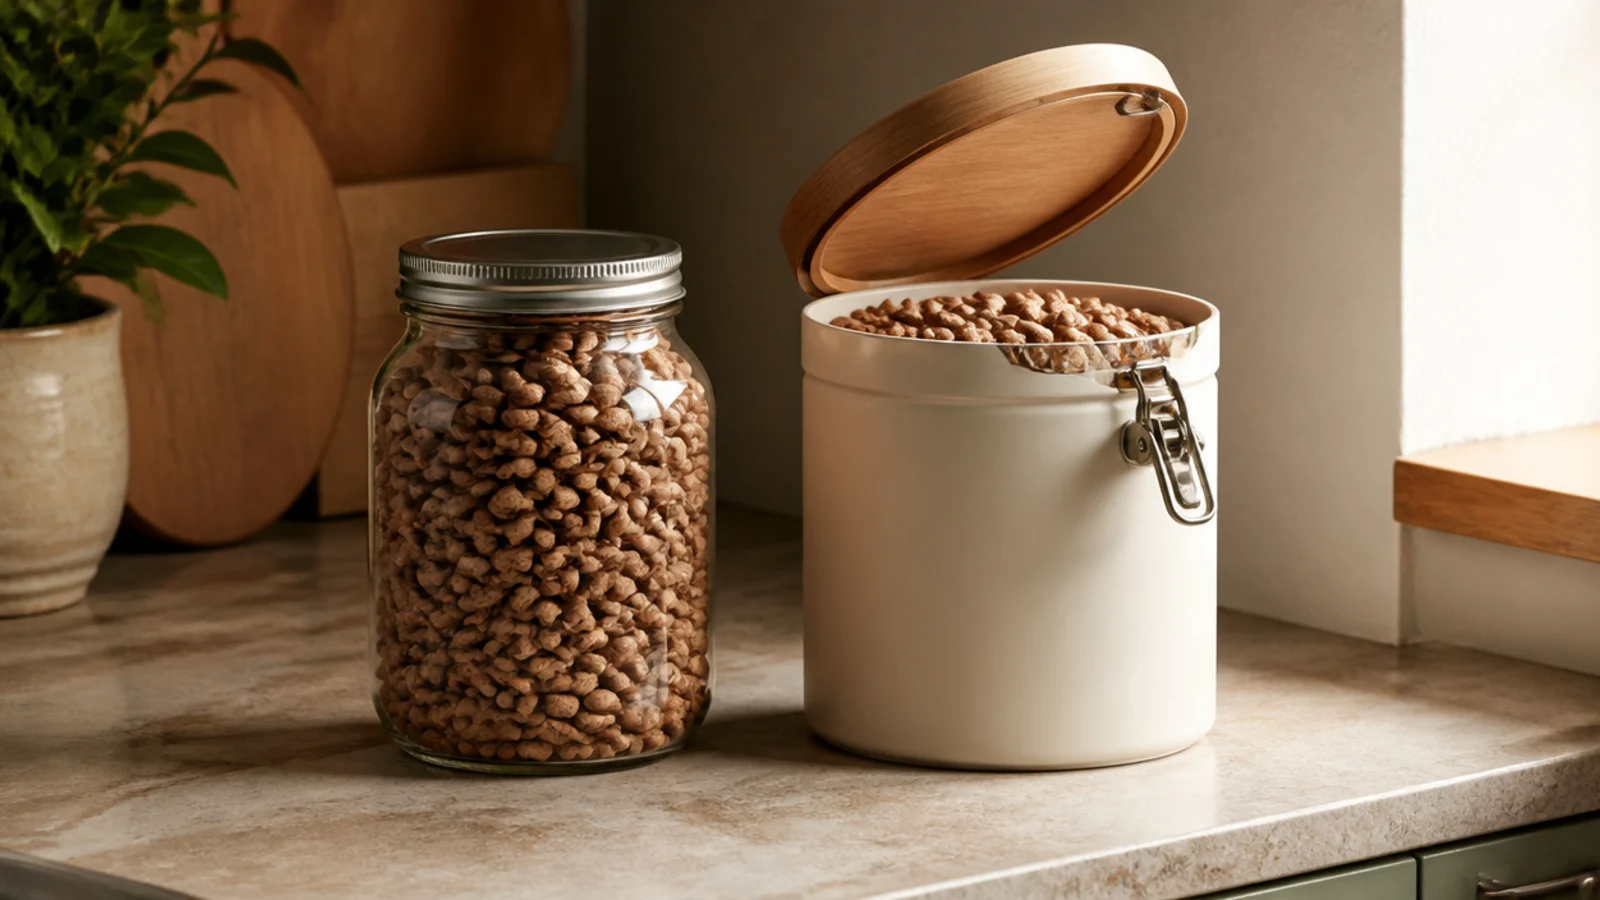
13. Swap the clear jar for an opaque tin
The clear glass bean jar is the most photographed mistake in this whole category. Light stales beans faster than air does, and a sunny counter is the worst place in the kitchen for them.
Whole beans keep in an opaque airtight container at room temperature — not the fridge, where condensation forms every time it comes out. A 12-ounce tin runs $12 to $28 and keeps the beans cycling in about two weeks.
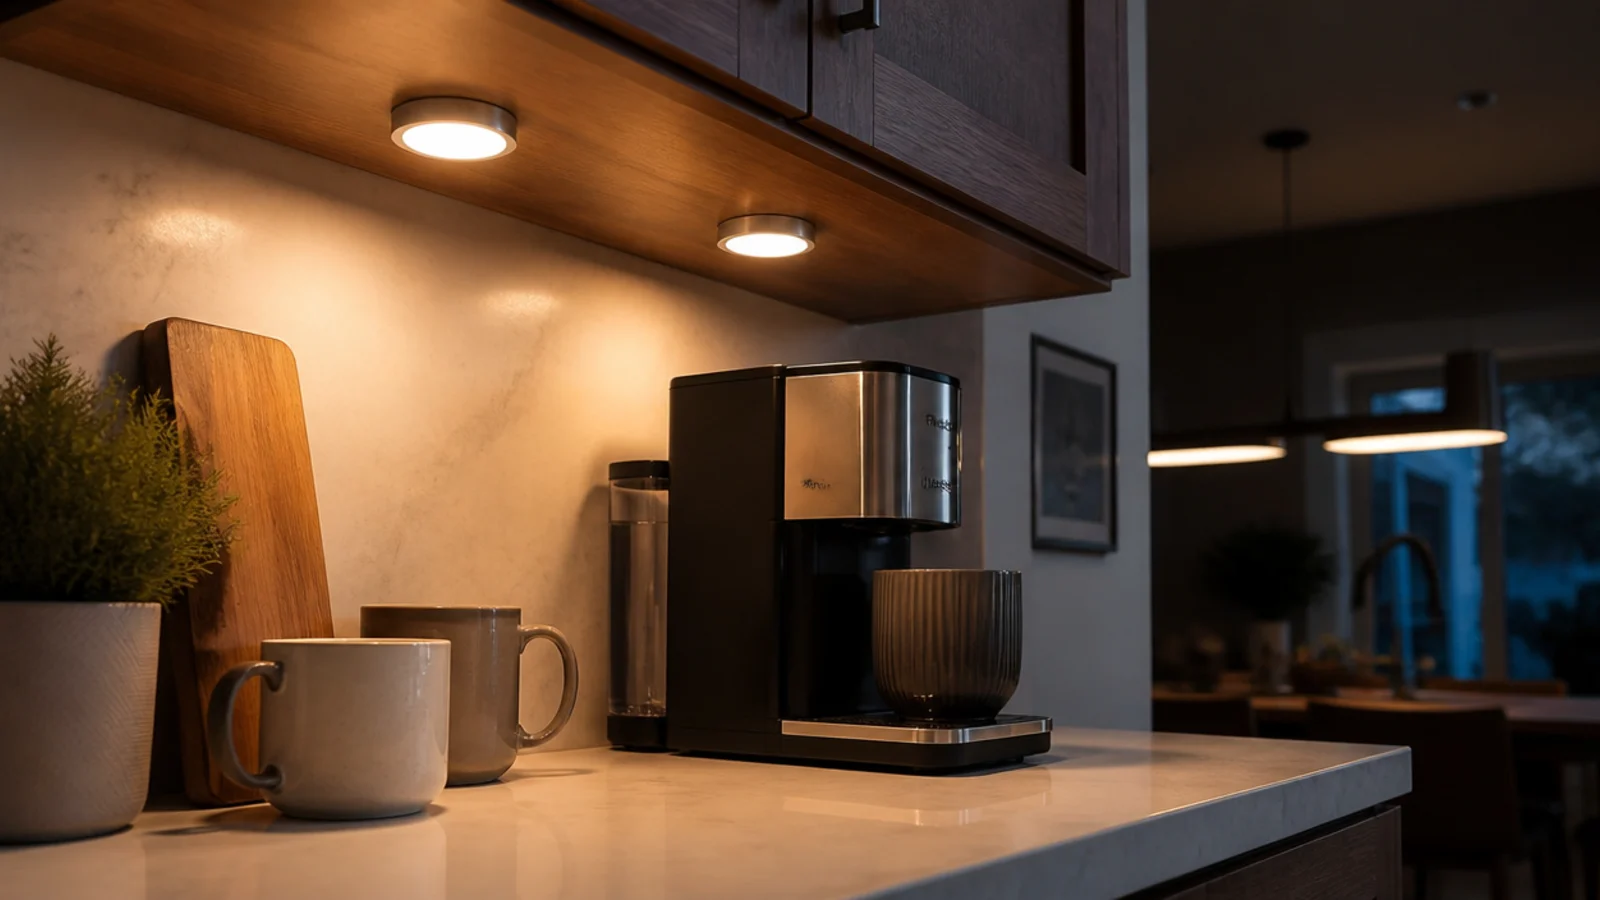
14. Stick battery puck lights under the cabinet
The ceiling light is behind you at the machine, so you make coffee in your own shadow. Two battery puck lights at $12 fix that with no wiring and no landlord conversation.
Choose 2700K warm white. Cool daylight bulbs over wood and cream stoneware make the whole corner look like a break room, and it is the single most common lighting mistake in small kitchens.
15. Hang a 24-inch pegboard for vertical storage
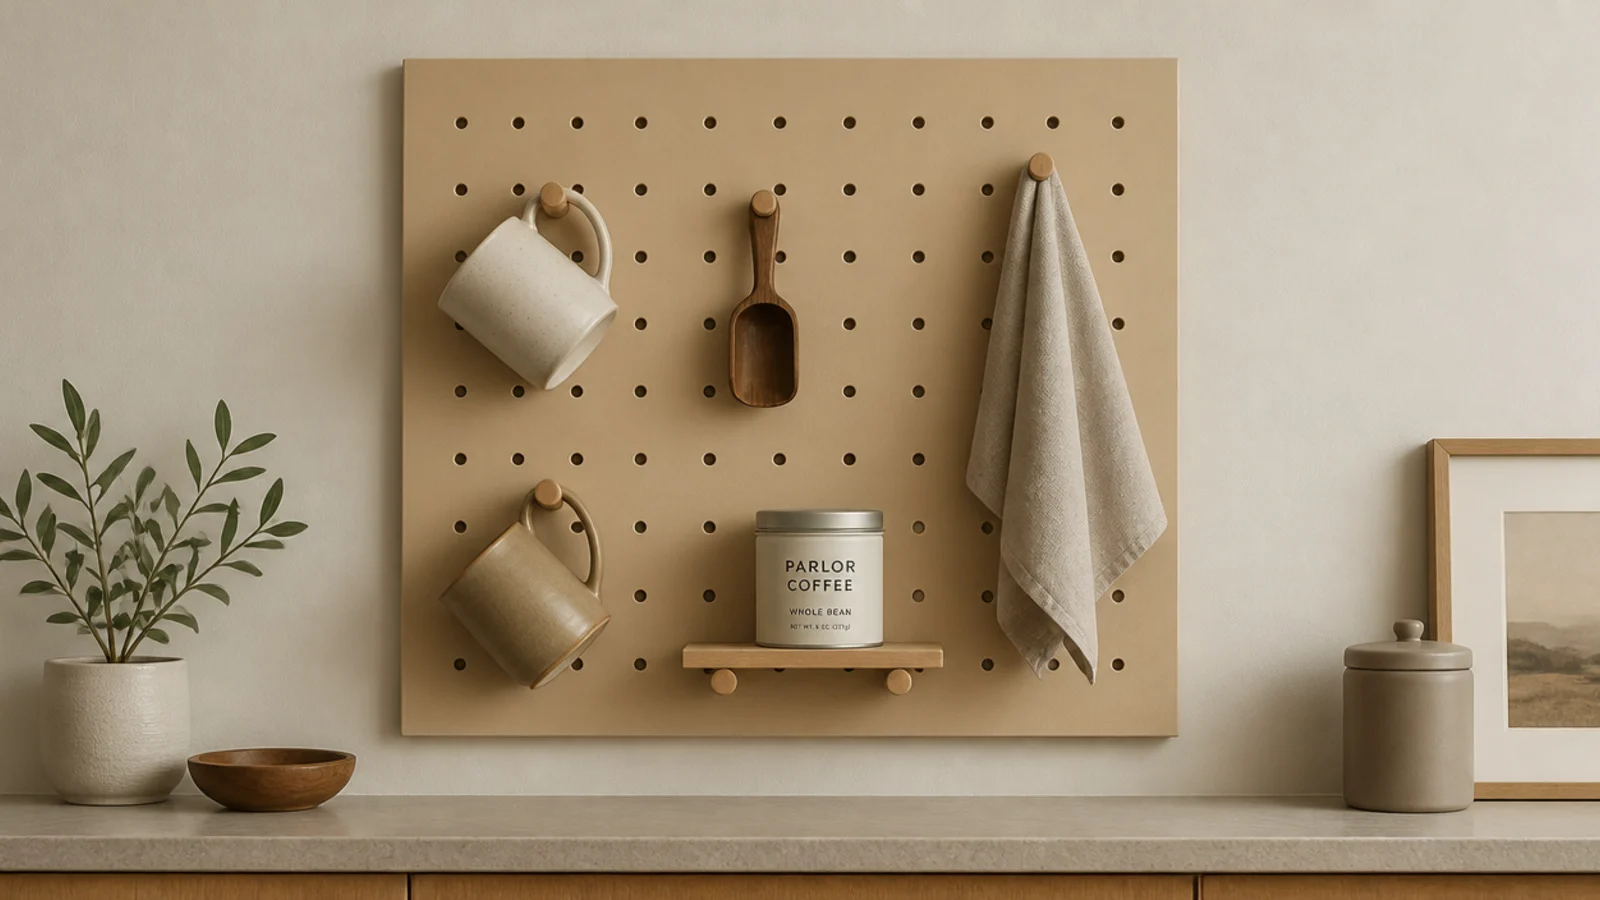
Vertical inches are the cheapest inches in a small kitchen. A 24-inch square pegboard painted to match the wall costs about $20 and carries mugs, a scoop, a cloth and a tiny shelf for the bean tin.
Mount it on four spacers so the pegs have clearance behind, and keep it to eight items maximum. A full pegboard reads as a workshop, not a coffee corner.
16. Give pods one drawer with a $6 divider
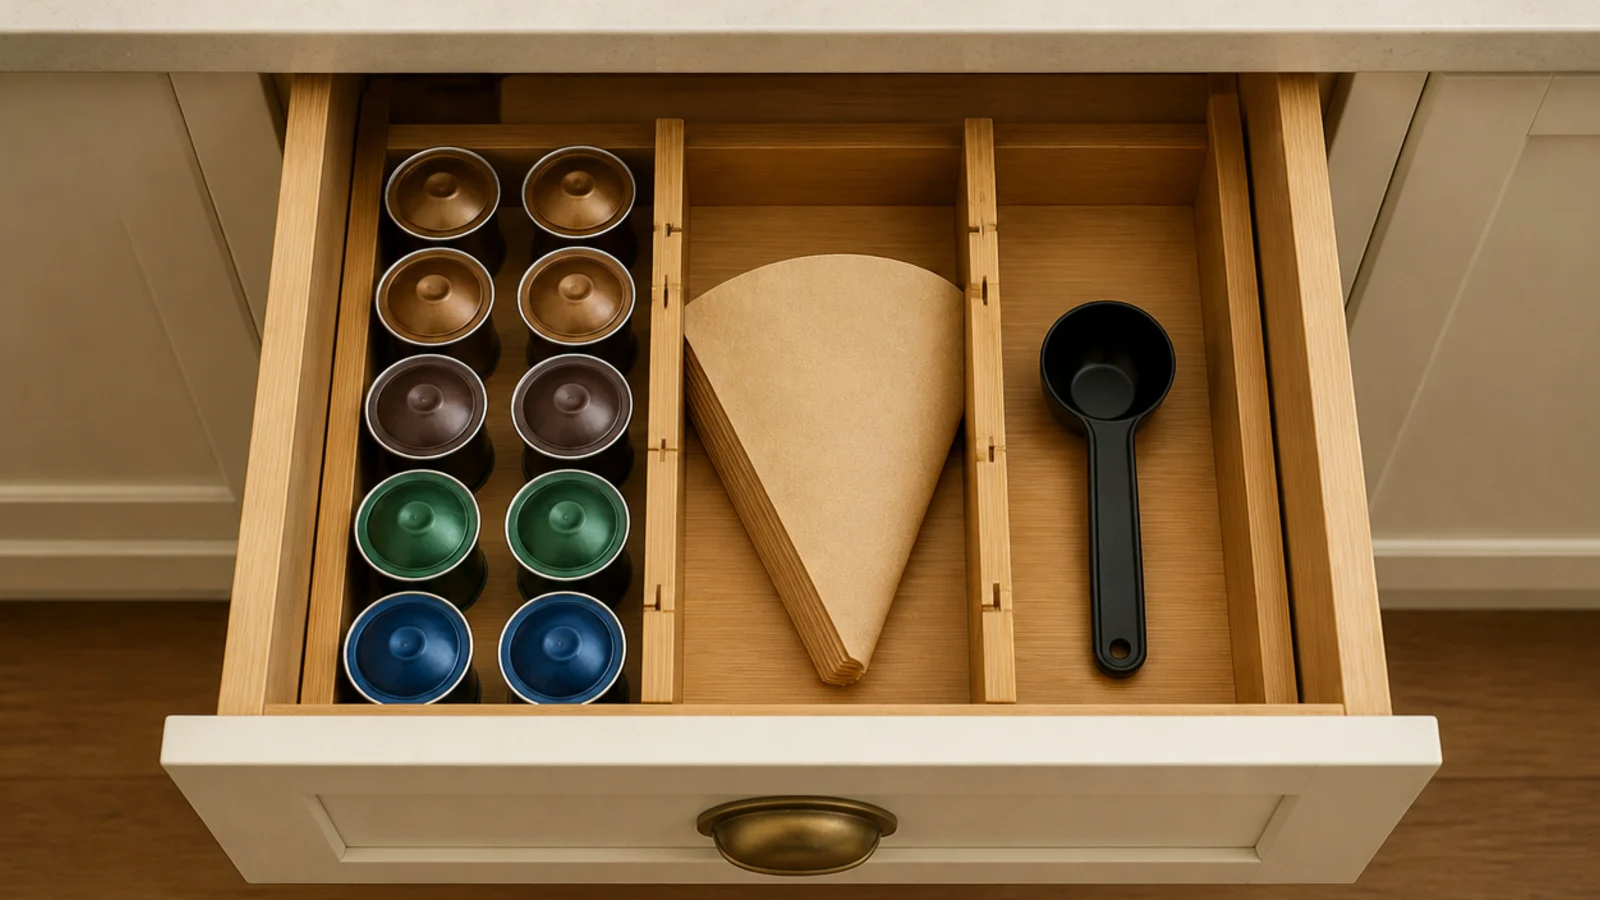
Pods, sachets and filters are the things that make a small station look chaotic, because they come in printed packaging in five colors.
One drawer with an adjustable bamboo divider solves it for $6. Decant nothing — just line the pods up in rows and close the drawer. If you have no spare drawer, a lidded box roughly 10 by 7 inches does the same job on a shelf.
17. Fit a fold-down shelf in a galley kitchen
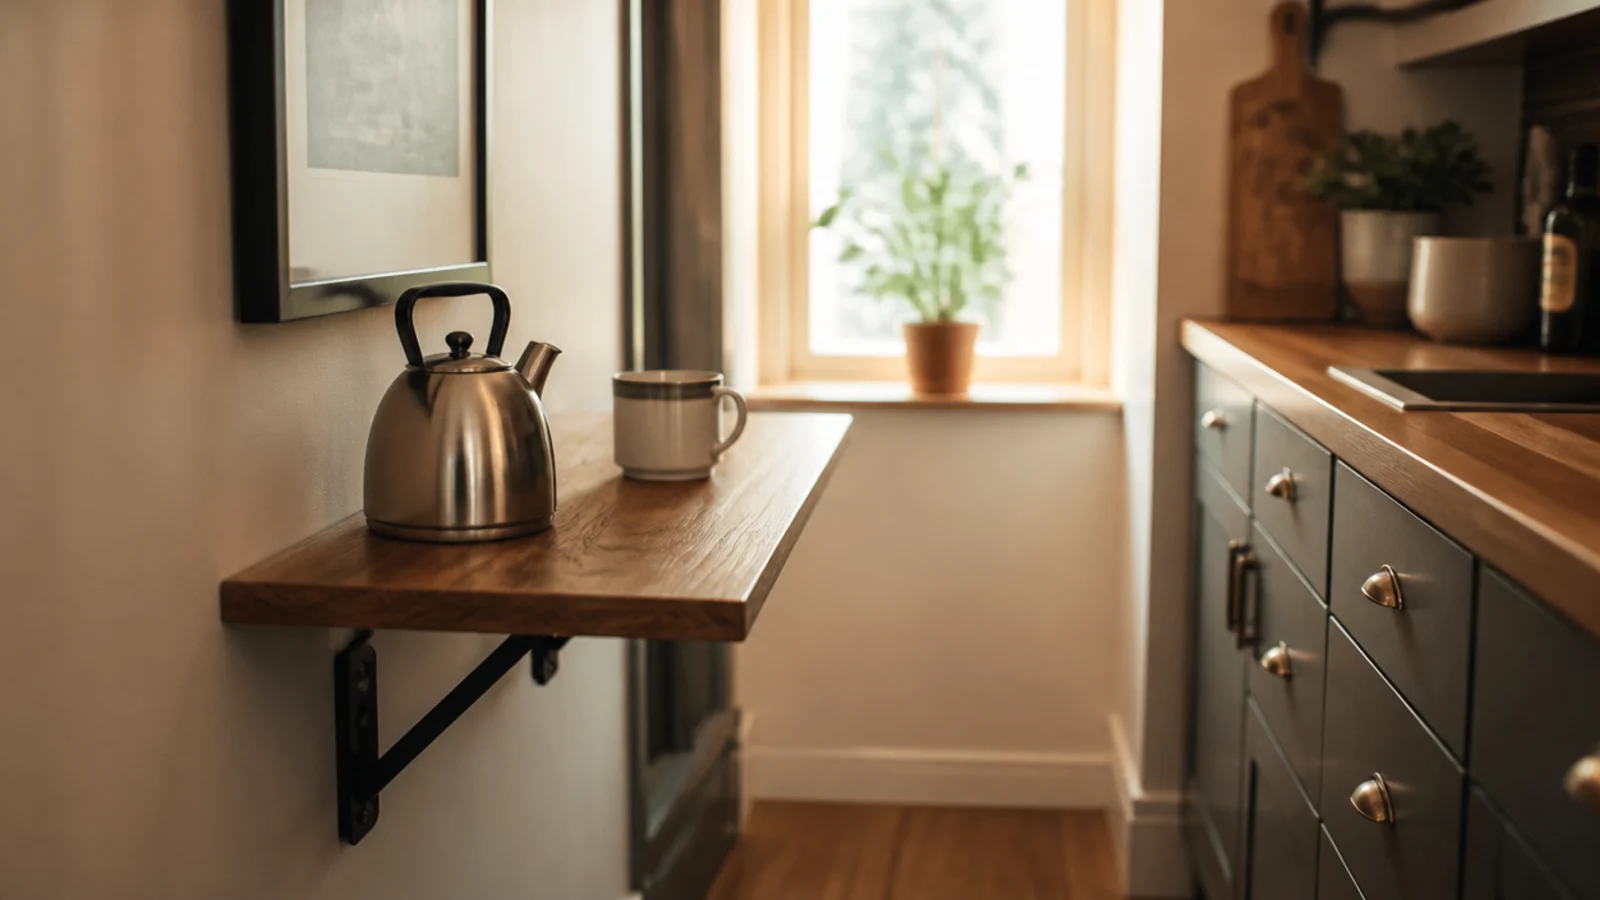
Where 24 inches of spare counter genuinely does not exist, a hinged drop-leaf shelf gives you a station that disappears. Mounted at 36 inches high with 16 inches of depth, it holds a kettle, a cone and a mug.
Use brackets rated to at least 40 pounds and hit a stud, because the load sits at the end of a cantilever. Kits run $25 to $50 ($$).
18. Rescue a tea trolley or a TV tray
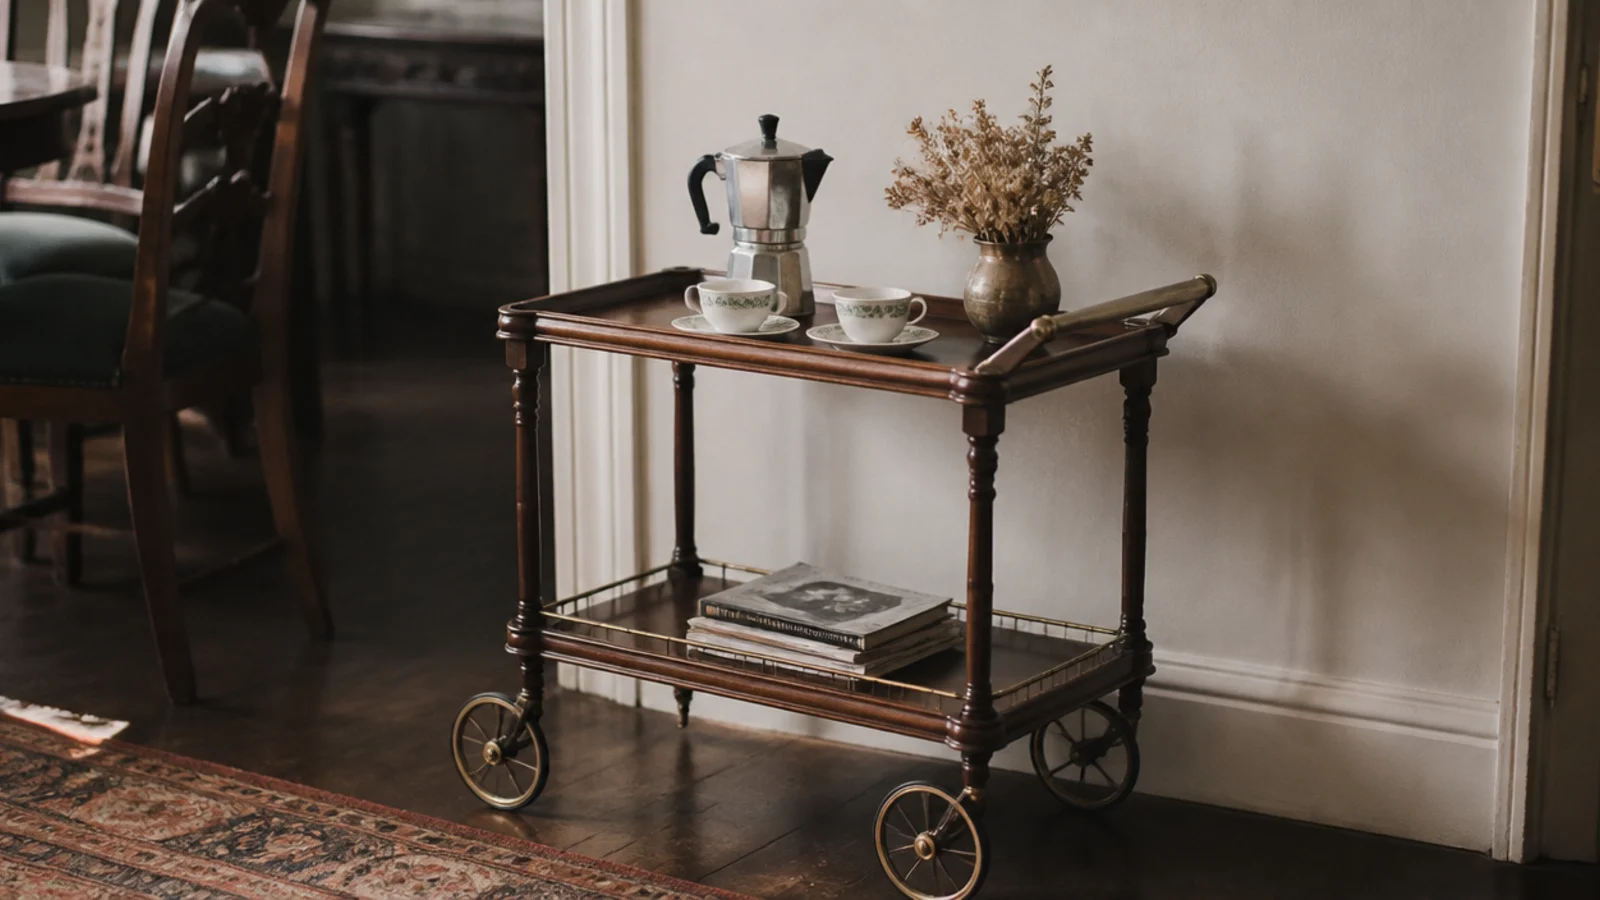
Secondhand tea trolleys cost less than new carts and almost always look better — solid wood, slim wheels, real brass. Expect $25 to $60 at a thrift store or estate sale.
Check the wheels roll and the top is not veneer that has already lifted. Give it one coat of hardwax oil and it handles a hot pot without marking. It is also the easiest piece to move between rooms.
19. Paint the back wall with a $6 sample pot
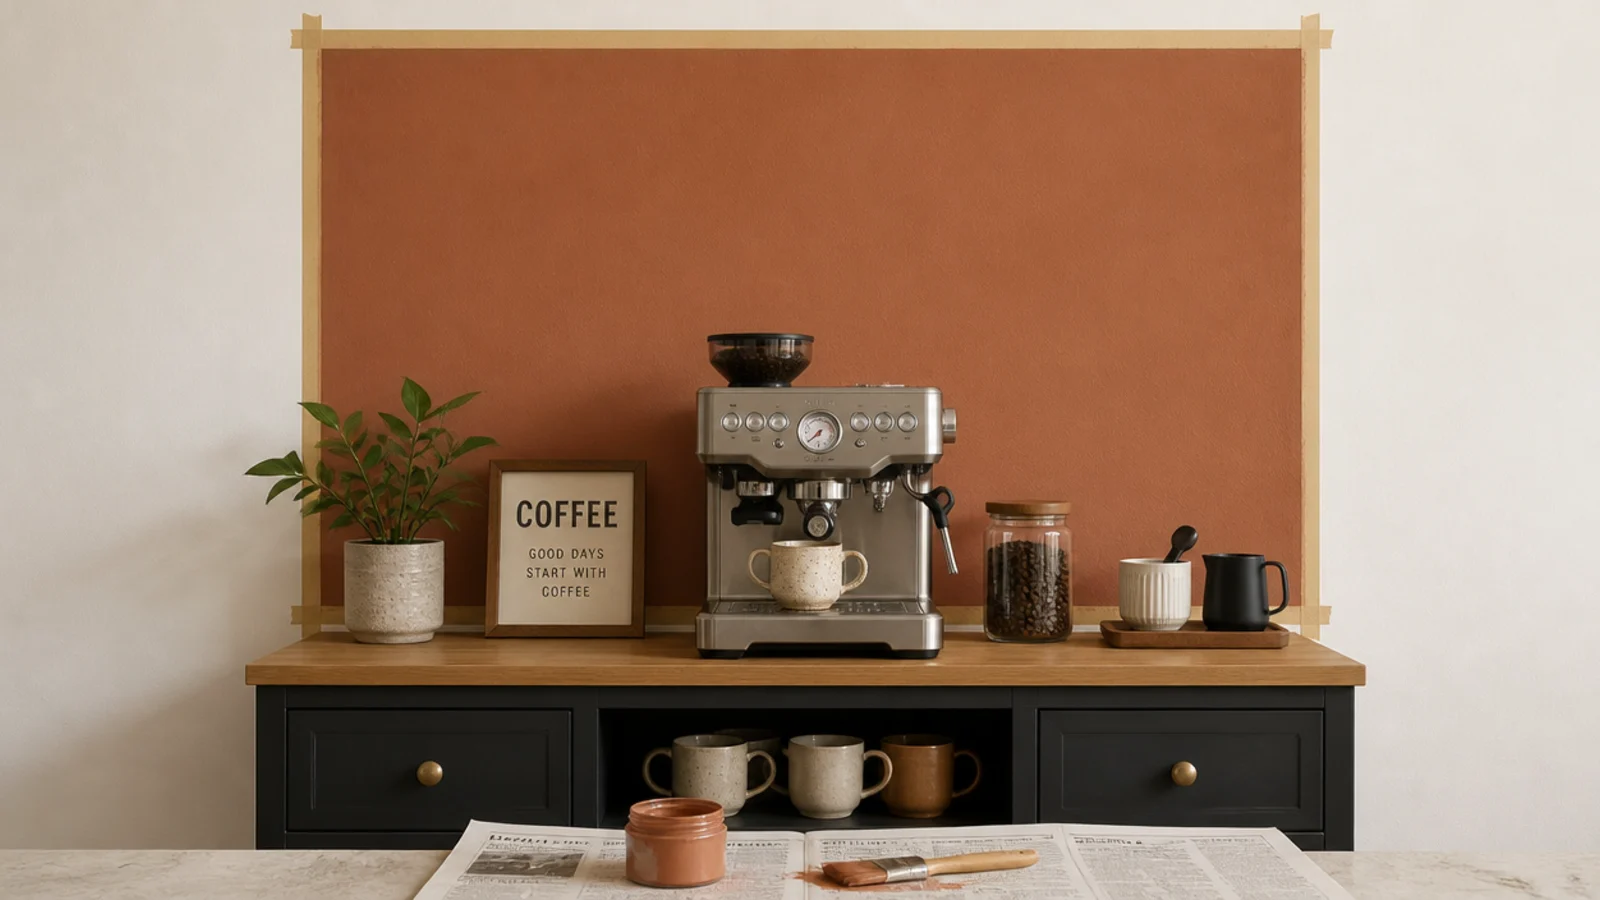
A single sample pot covers the 30 by 20 inch panel behind a coffee station, which is all the wall the corner actually shows.
Choose a warm clay, mushroom or deep sage and use eggshell rather than flat so it wipes. Tape a clean rectangle rather than trying to blend an edge — a crisp painted panel reads as intentional, a soft fade reads as a repair.
20. Raise the machine to gain storage underneath
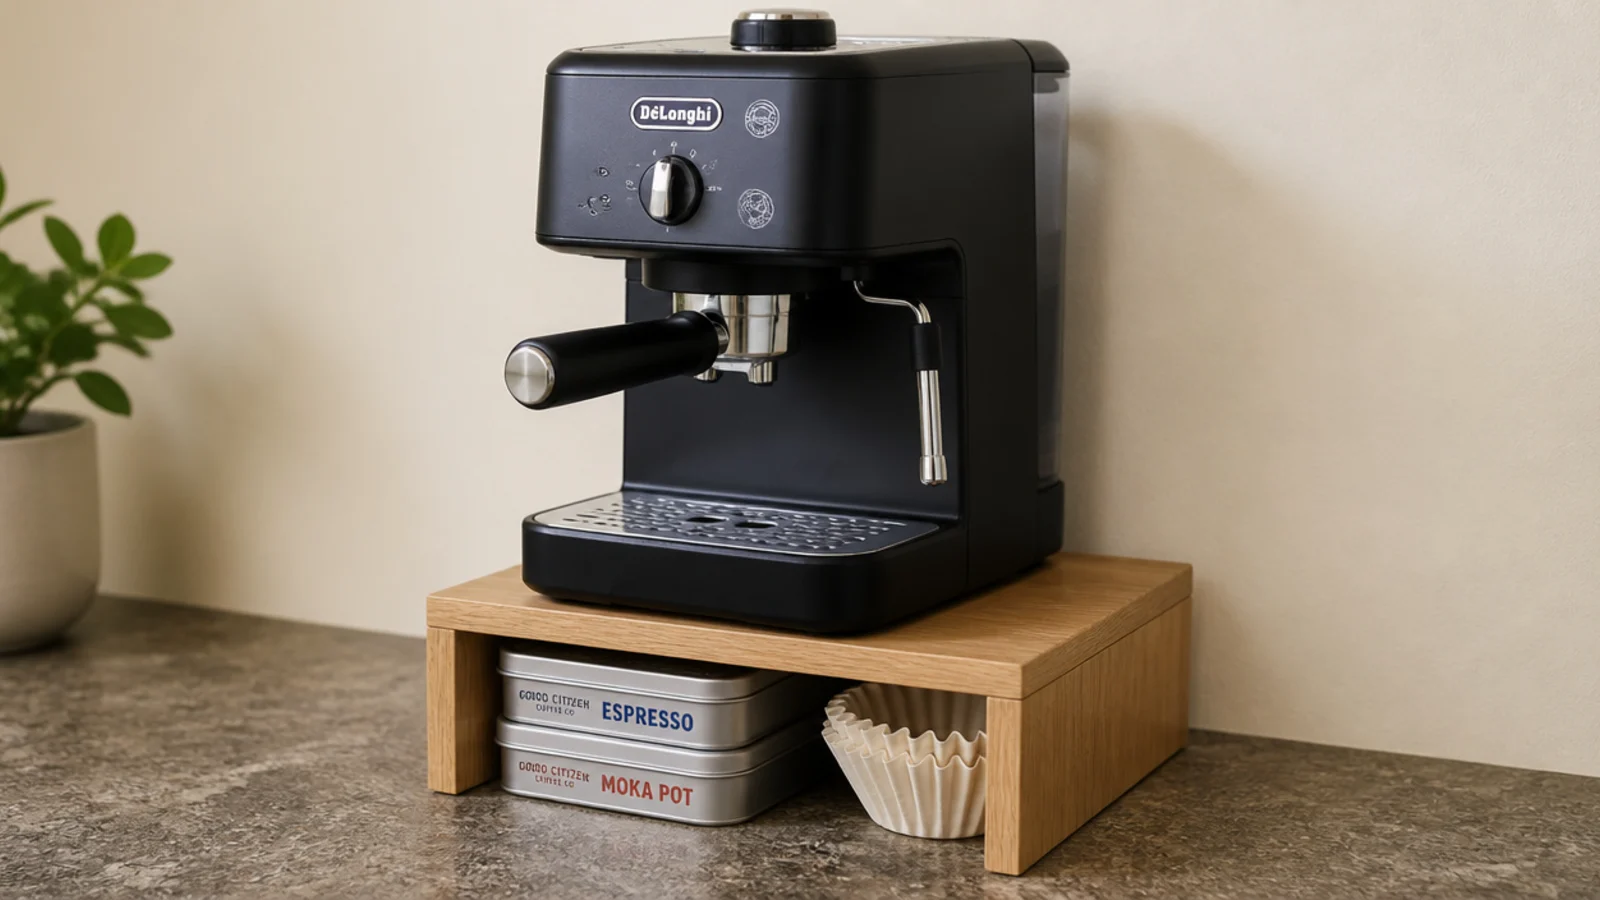
A 4-inch wooden riser under a small machine buys a whole hidden row for flat tins, a stack of filters and a folded cloth.
Make sure the riser is wider than the machine base by an inch on each side, and check your clearance again afterwards — raising the machine 4 inches eats 4 inches of the steam gap above it. Risers run $15 to $30 ($).
21. Corral filters in a napkin holder
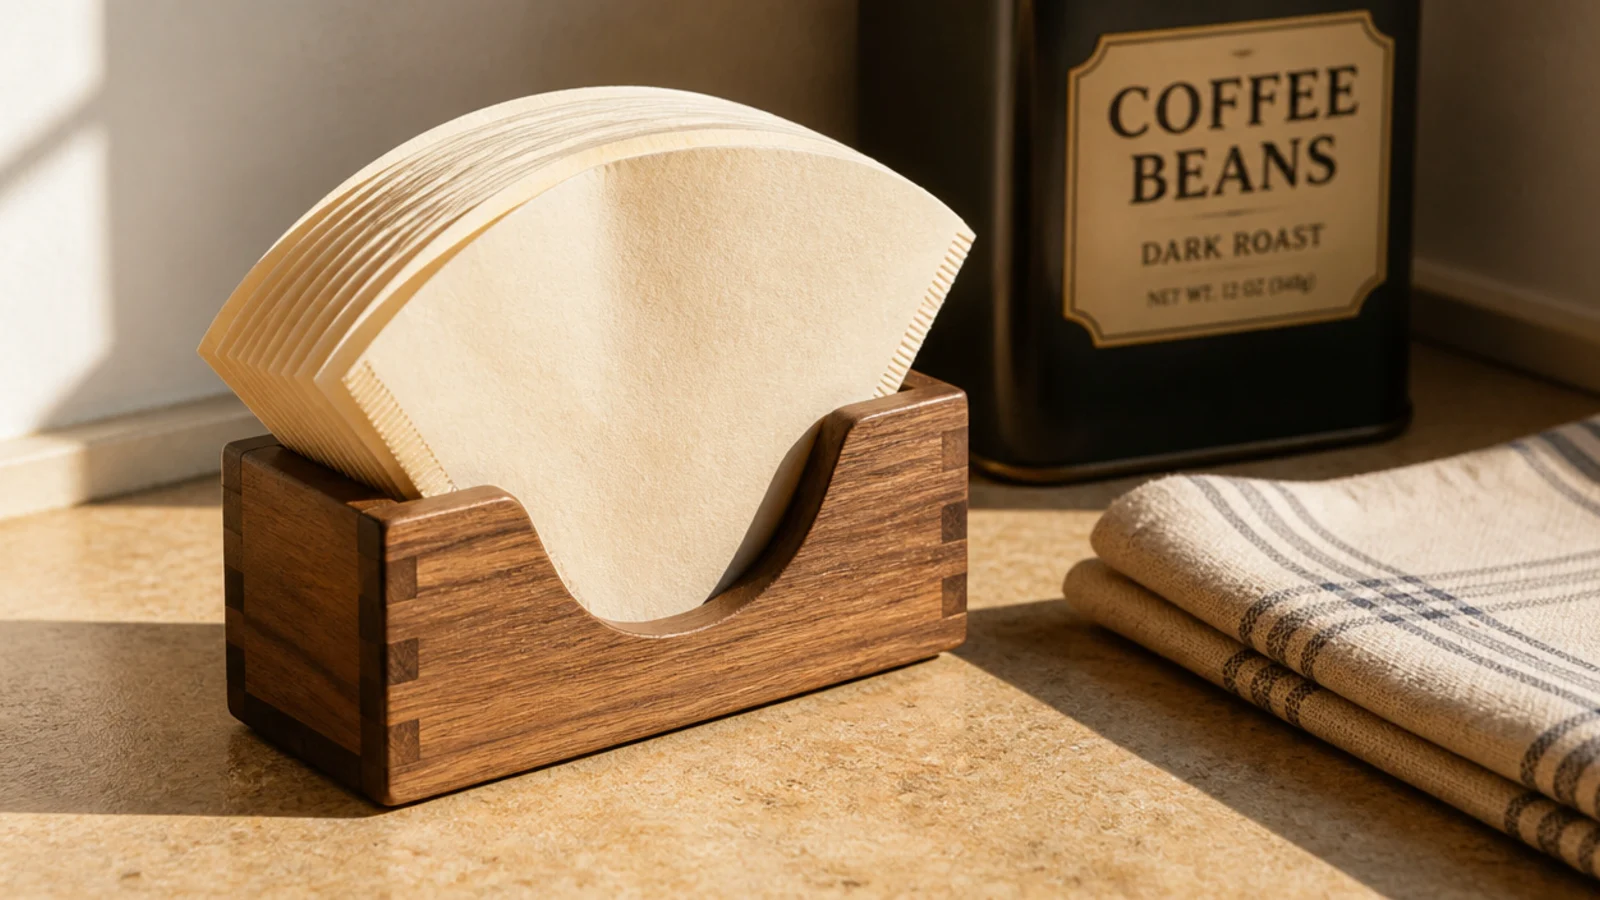
A wooden napkin holder at $5 holds a fan of paper filters upright, dry and visible, which is more than a half-torn packet in a drawer ever manages.
It also keeps filters out of the steam path, since damp filters stick together and tear. Set it beside the machine rather than behind it, on the side you reach with your non-pouring hand.
22. Add a slim towel bar under the shelf
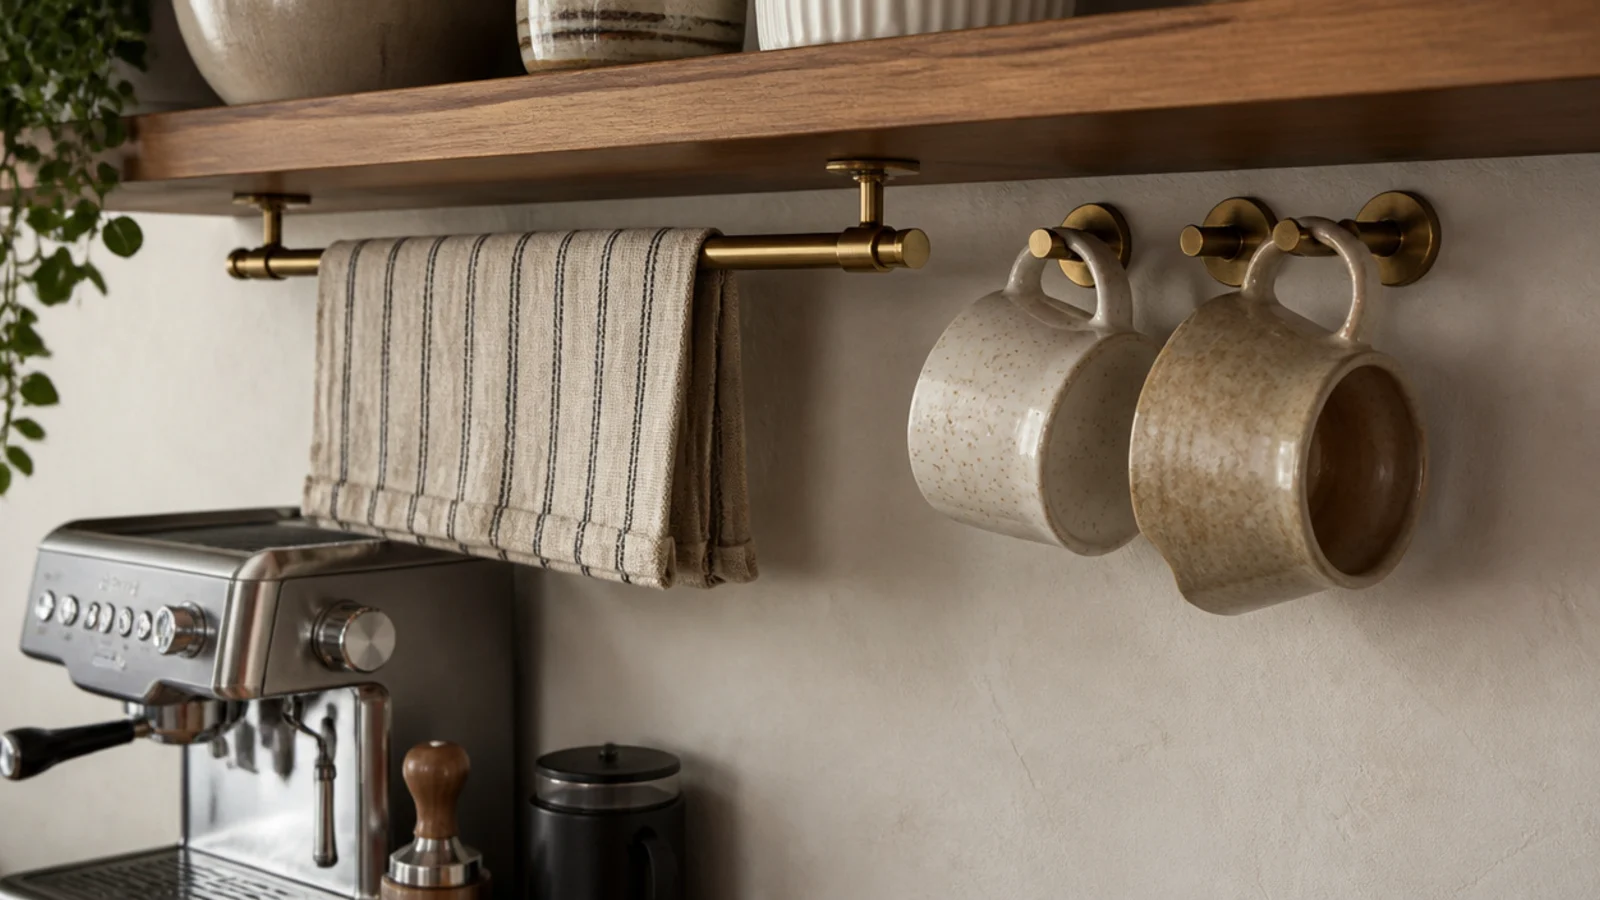
A cloth within arm's reach is the reason a counter stays clean. Fix a slim brass or matte black rail under the shelf, or on the side of the cabinet, for $10 to $18.
Use a linen cloth rather than terry — linen dries fast and does not leave lint on a machine housing. Swap it twice a week and the corner never develops that sticky film.
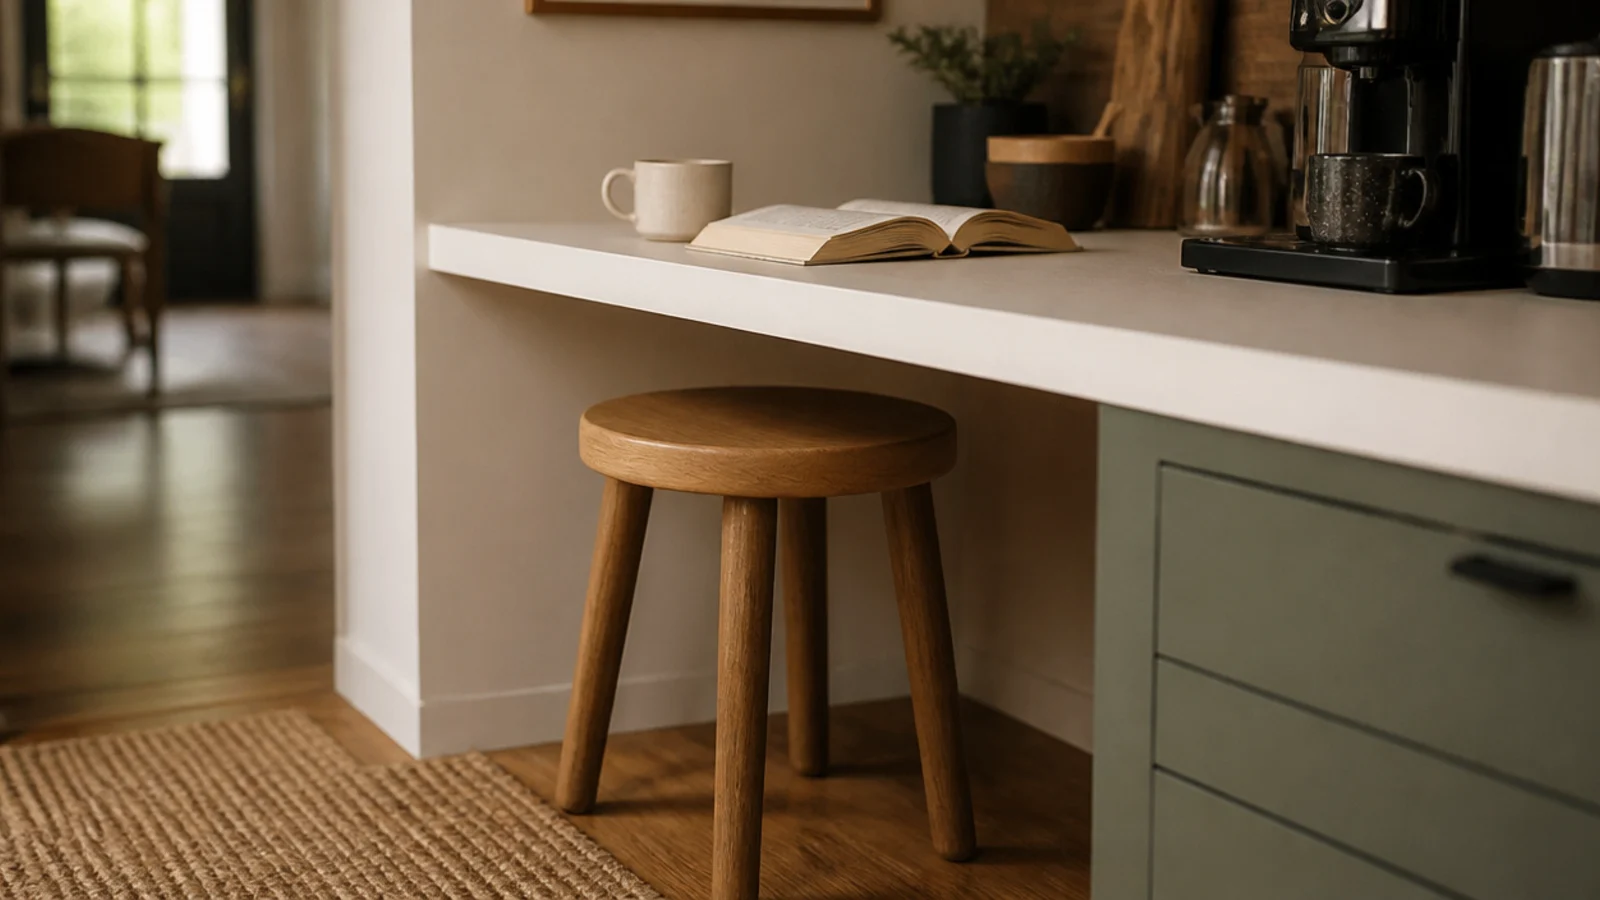
23. Slide a stool under the counter overhang
If there is a 12-inch overhang anywhere near the station, a compact round stool that tucks fully underneath turns a work zone into somewhere you sit for ten minutes.
Measure the seat height against the counter: 24 to 26 inch seats suit a 36-inch counter. A stool that lives out in the walkway will be moved daily and eventually put in a cupboard, so it has to fully disappear.
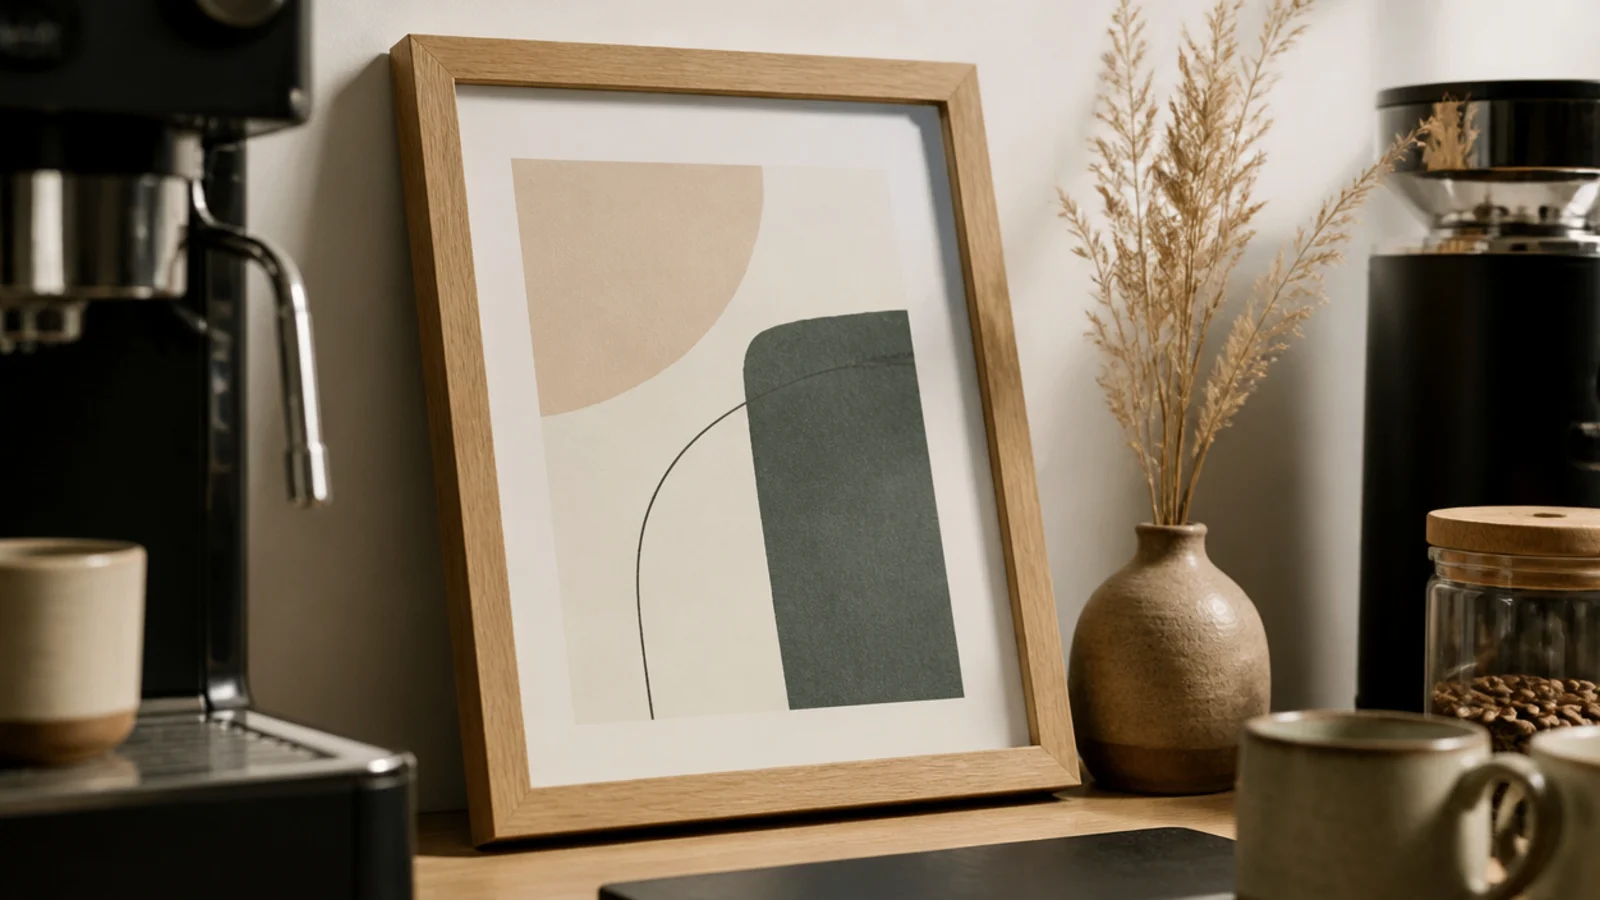
24. Close the corner with one small framed print
Function alone reads as an appliance zone. One small framed print leaning against the wall behind the station is what makes it look like part of the home.
Keep it to a 5 by 7 or 8 by 10 in a plain oak frame, and lean rather than hang so you can wipe the wall behind. Secondhand frames run $3 to $8, and a scrap of textured paper or a pressed leaf fills them beautifully.
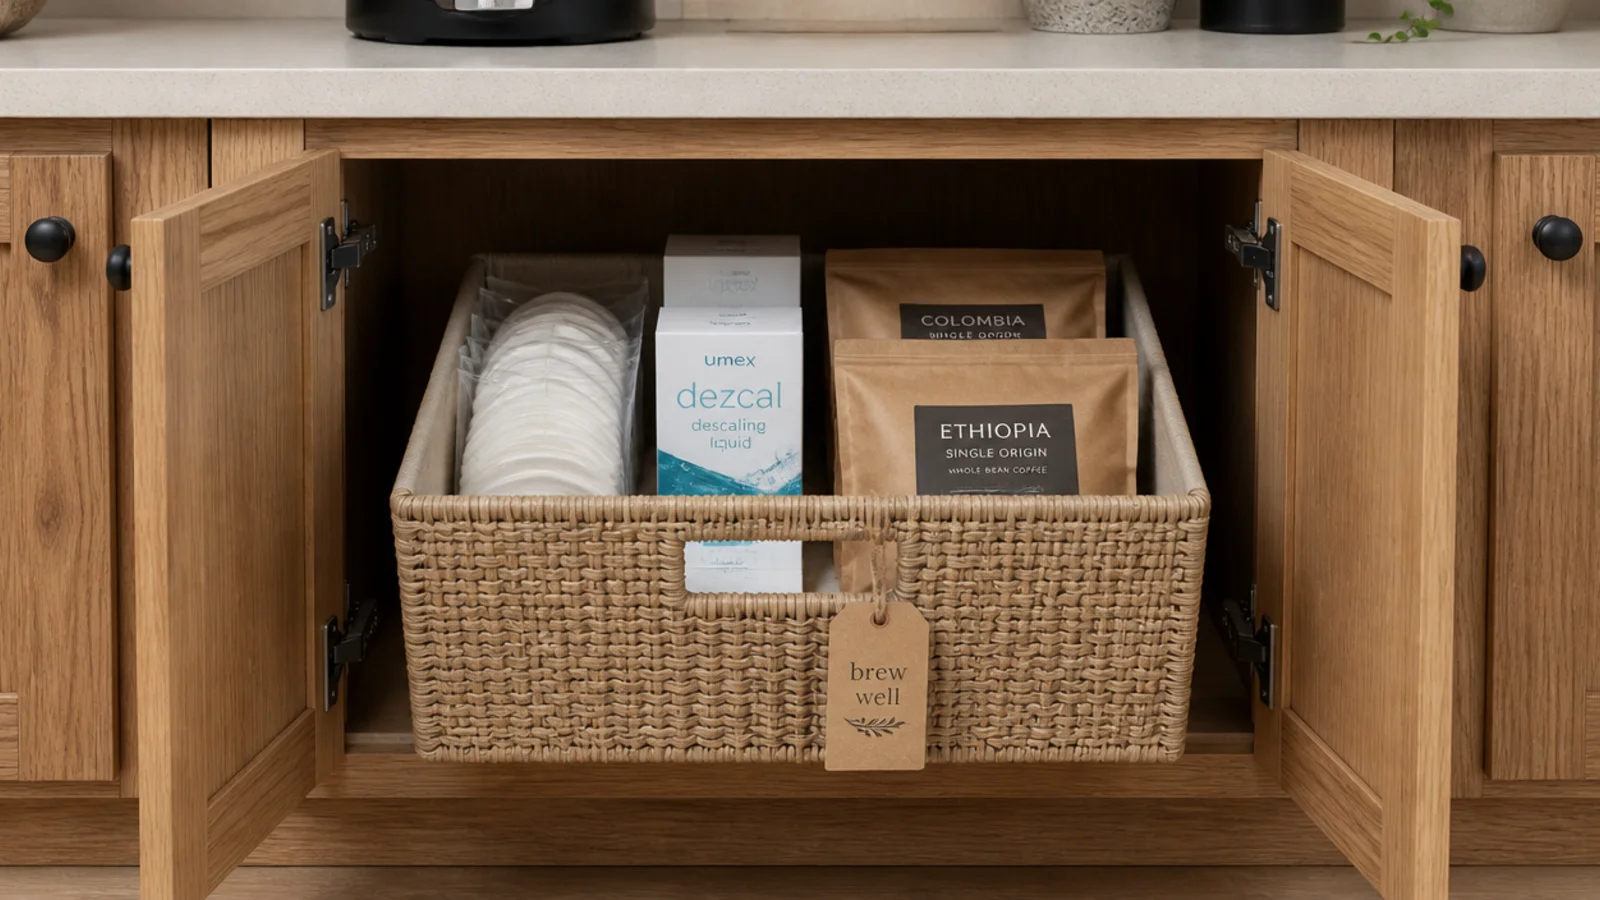
25. Keep the overflow in a labelled bin below
The final rule that keeps a small station looking calm: only a morning of supplies lives on the surface. A month of supplies lives in a woven bin in the cabinet below with a kraft tag on the handle.
Spare filters, backup beans, the descaling kit, the pods you bought on offer — all behind a door. Bins run $10 to $20. Thirty simple station setups go further on the organizing side.
Mistakes to Skip
- Buying furniture before you know where you stand to make coffee. Live with a tray for a week first; the right spot is often not the one you assumed.
- Putting the machine on a shelf with a fixed shelf right above it. Steam needs 6 inches of clear air or it condenses and drips back down.
- Storing a month of pods and filters on the counter. The clutter in a small coffee bar is almost always supplies, not objects.
Frequently asked questions
How do I make a coffee bar at home cheaply?
Start with a tray, an opaque bean canister and six mug hooks, which together run about $35 and solve most of what is wrong with a scattered counter. Add furniture only once you know where you actually stand to make coffee. A thrifted nightstand or a two-crate tower gives you the rest of the station for under $40.
What is the smallest space a coffee bar needs?
Twenty-four inches of width and 15 inches of depth is the working minimum for a machine, a canister and a mug landing spot. Below that, go vertical: hang the mugs, shelve the beans and keep only the machine on the surface. A 12 by 16 inch tray on a shelf can carry a single-serve setup on its own.
Where do you put a coffee bar in a small apartment?
Wherever the outlet is, then wherever the traffic is not. The end of a counter run, a gap beside the fridge, a hall closet shelf or the top of a low bookcase all work. Avoid the wall opposite the fridge door and anywhere a cabinet swings, because a station you sidestep every morning gets abandoned.
Can I put a coffee bar in a rental without damaging anything?
Yes. Adhesive hooks rated to five pounds hold mugs, peel-and-stick tile protects the wall behind the machine and lifts off with gentle heat, and a rolling cart or freestanding shelf carries the rest with zero holes. Test any adhesive on a hidden patch of paint first — flat builder-grade paint peels more often than people expect.
How do I keep a small coffee bar from looking cluttered?
Limit the surface to what you touch daily and put everything else in one lidded box. Keep the palette to three colors plus wood, repeat one material three times, and leave a third of every shelf empty. Most small coffee bars look busy because they hold a month of supplies rather than a morning of them.
Do the tray, the hooks and the opaque tin first — under $60 total, and they fix most of what makes a small counter feel chaotic. If you are working with even less room, twenty creative setups anyone can do covers the tightest kitchens, and small kitchen shelf ideas handles the wall above. Save the pin so the measurements are with you at the thrift store.
Want more like this? Browse all 15 coffee corner ideas guides — they all use the same measurements and budget tiers.
Pin it for later
Save this to your Coffee Corner Ideas board
Pin it now so it is waiting for you when the tape measure comes out — and so the next person hunting for this idea can find it too.
Save this pinKeep going
More ideas worth saving while you have the tape measure out.