Coffee Corner Ideas · Listicle
30 Simple Coffee Corner Ideas on a Budget

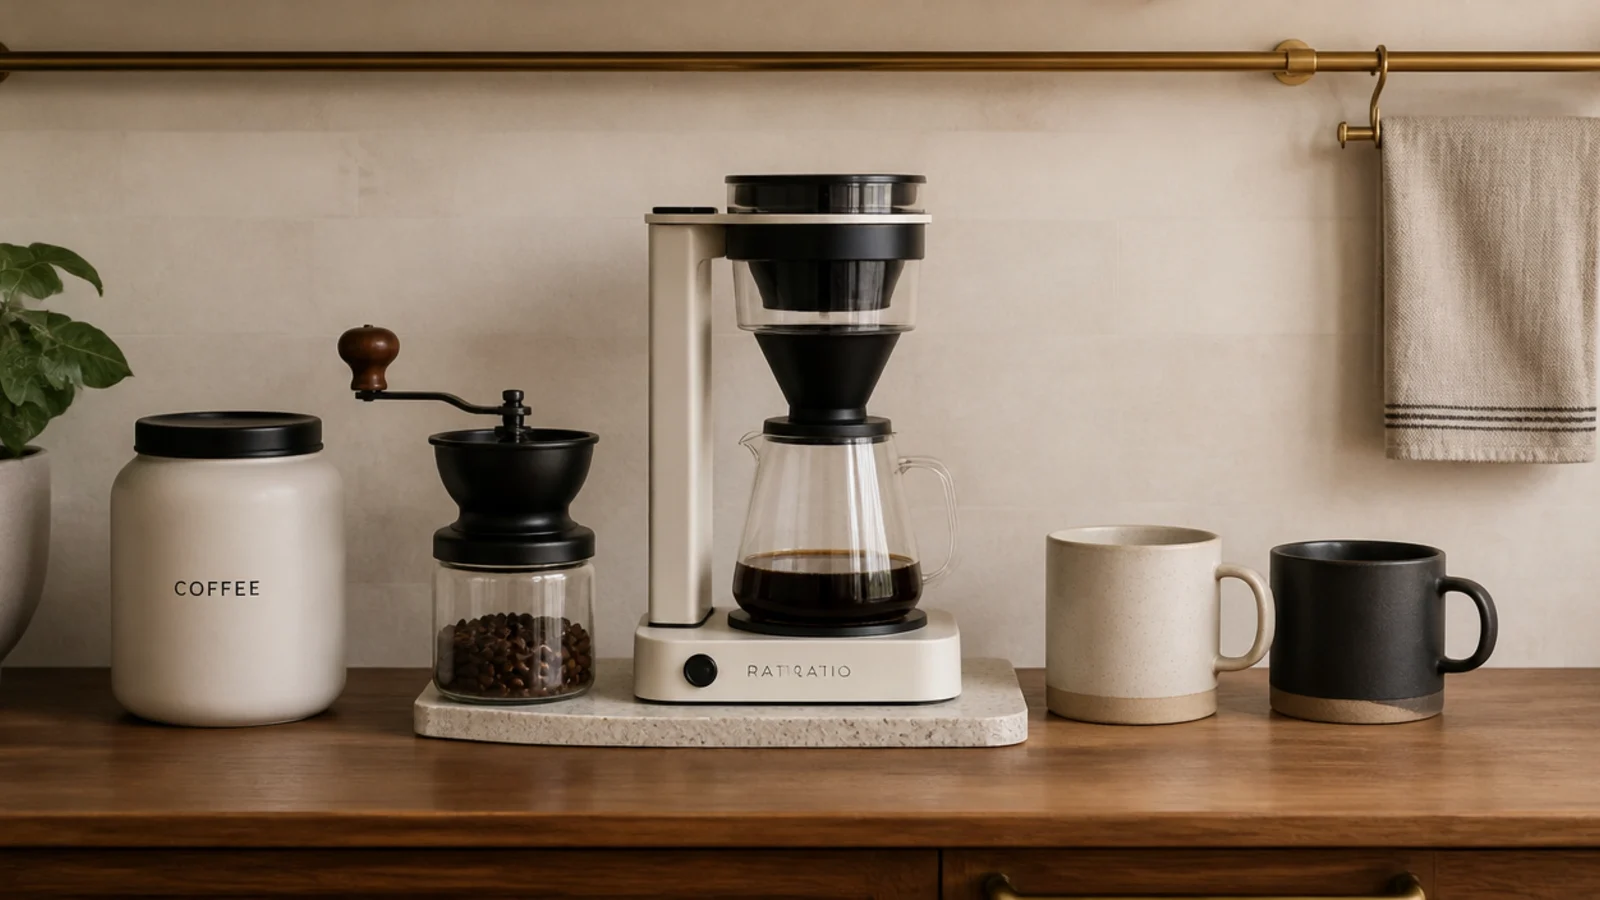
Coffee station ideas are mostly organizing ideas wearing nicer clothes. The equipment barely matters; the order it sits in, the containers it lives in and the two-minute routine that keeps it clean are what separate a counter you enjoy from one you apologize for. These thirty are the ones I actually use, and none of them costs more than a bag of beans.
In this guide32 sections — tap to openHide
- 1.Where coffee station ideas go wrong before the styling starts
- 2.Lay it out in the order your hands move
- 3.Keep the 30-inch reach zone honest
- 4.Zone by task, not by object type
- 5.Let one tray define the edge
- 6.Decant beans into an opaque airtight canister
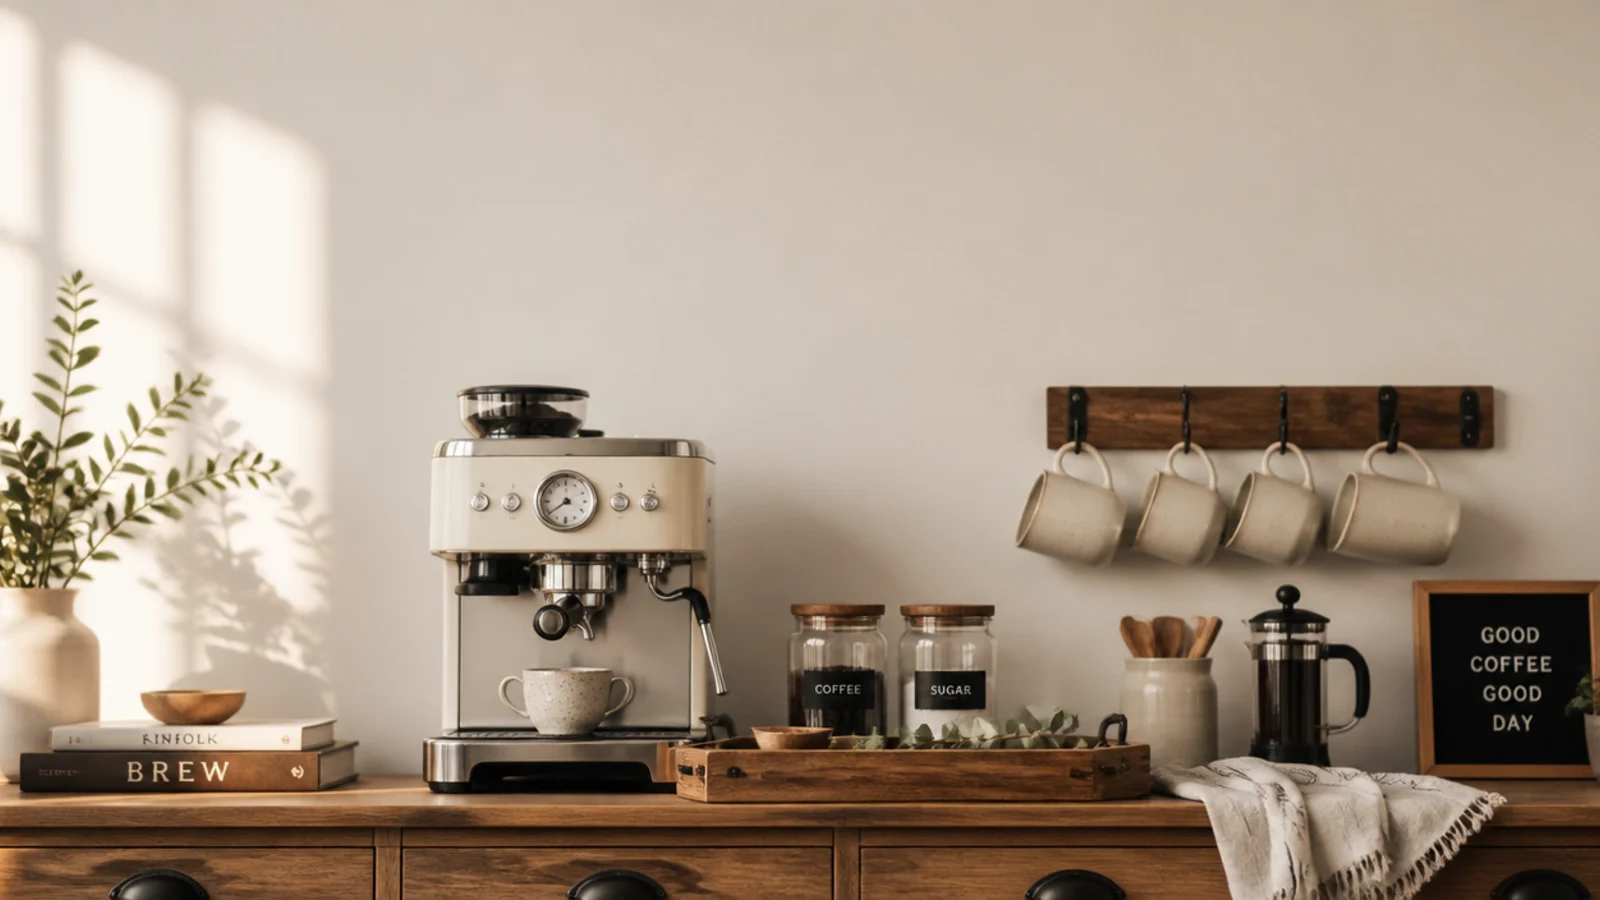
- 7.Tag the bag with the roast date
- 8.Keep two weeks of beans out, no more
- 9.Put filters and pods in one lidded box
- 10.Give the spoons a small crock
- 11.Hang the mugs on a peg rail
- 12.Stack saucers, never mugs
- 13.Corral sweeteners on a 6-inch tray
- 14.Shelve syrups on a 3-inch rack
- 15.Put the grinder on a silicone mat
- 16.Keep a carafe so you stop carrying mugs of water
- 17.Give the grounds a lidded pail
- 18.Write kraft tags instead of printed labels
- 19.Turn printed packaging to face the wall
- 20.Keep the front 4 inches permanently clear
- 21.Store the weekly machine below, not beside
- 22.Divide one drawer for pods
- 23.Keep the descaling kit with the manual
- 24.Hang a linen cloth within reach
- 25.Turn the corner into a 12-inch turntable
- 26.Light it at 2700K, under the shelf
- 27.Clip the cords along the back edge
- 28.Line the shelf so you can wipe it
- 29.Change one object with the season
- 30.Run a two-minute weekly reset
- 31.Remove two things every month
- 32.Mistakes to Skip
Where coffee station ideas go wrong before the styling starts
Almost every messy station fails on one of three things: workflow, containers or supply volume.
Workflow first. Everything you touch to make one cup should sit inside a single arm sweep, roughly a 30-inch reach zone from where you stand. Lay it out in the physical order your hands move — beans, grinder, machine, mug — and the corner starts working before you have bought anything.
The station itself wants about 24 to 30 inches of counter width and 15 to 18 inches of depth. Leave at least 6 inches of clear air above the tallest point of the machine so steam disperses rather than hitting a shelf underside, and more if the lid lifts or the reservoir fills from the top. A shelf above the machine sits 18 inches off the counter.
Then check the outlet before anything else gets planned. An extension cord running under a water source is the wrong answer at any budget.
Budget tiers below: $ is under $25, $$ is $25 to $70, and $$$ is $70 to $150 for a cart or a cabinet.
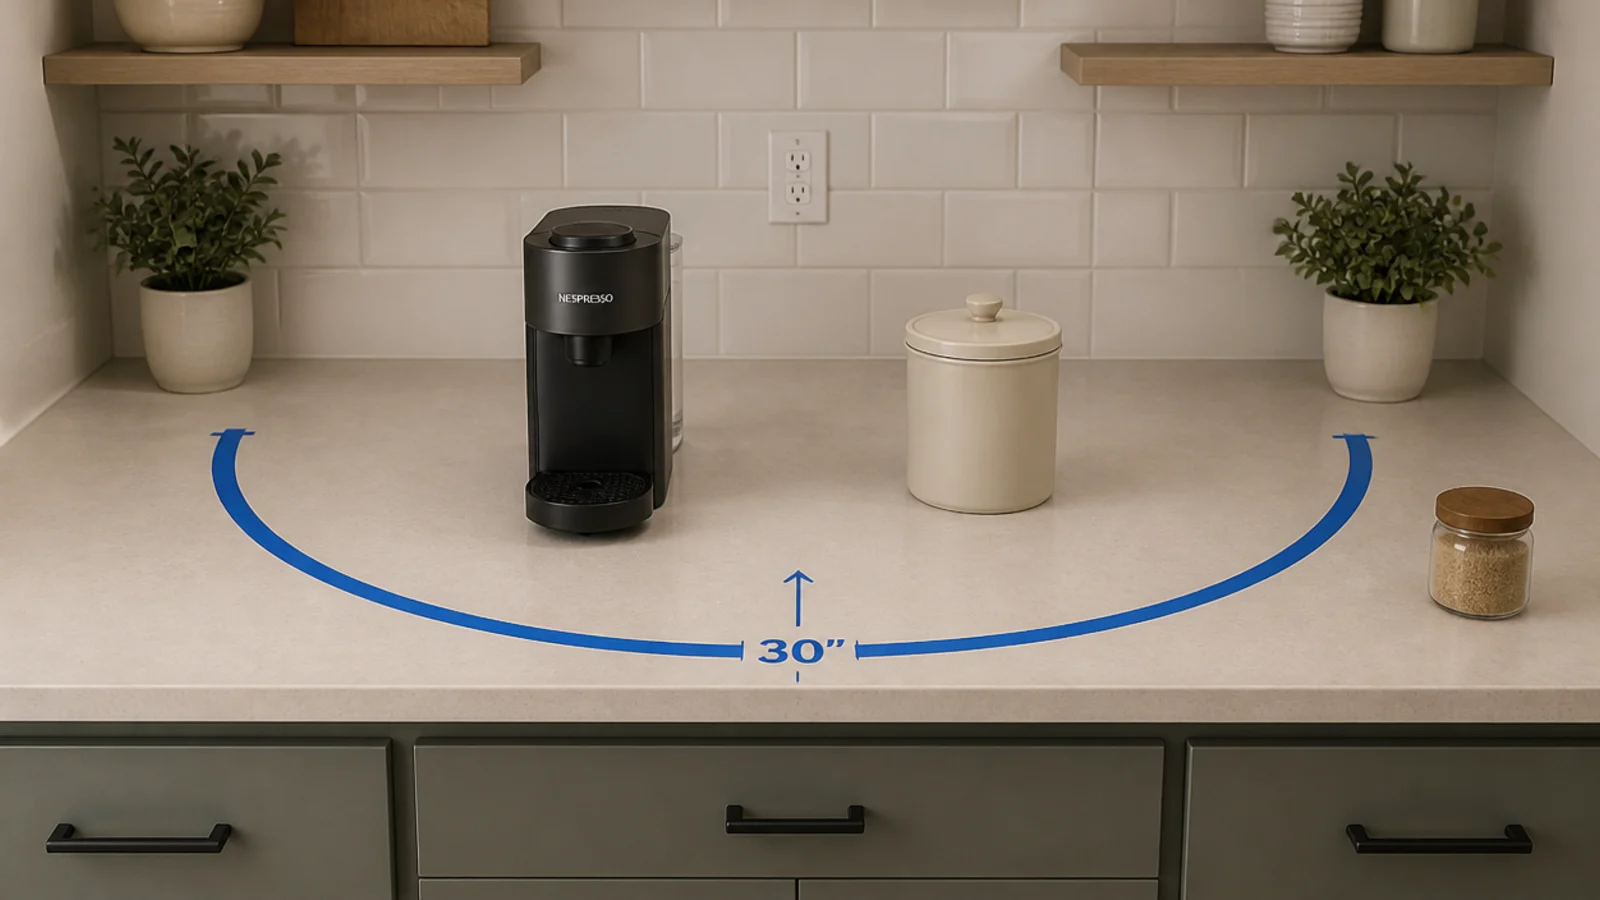
1. Lay it out in the order your hands move
Beans, grinder, machine, mug — left to right if you are right-handed, reversed if you are not.
Test it with your eyes closed. Any object you have to hunt for is in the wrong place, and you will feel it every morning for years.
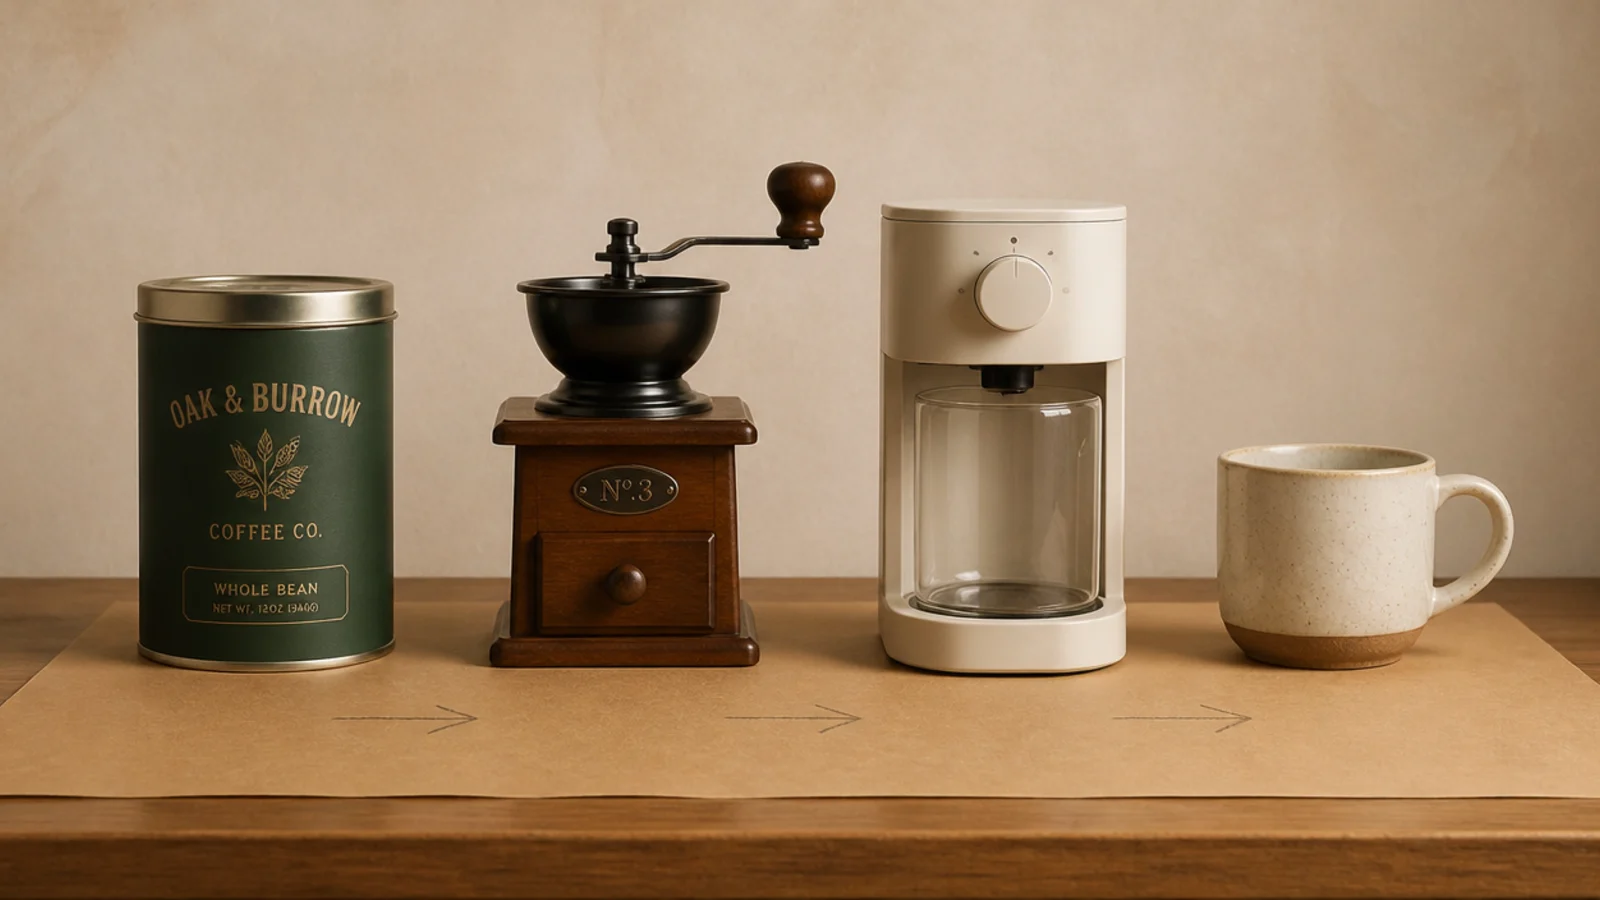
2. Keep the 30-inch reach zone honest
One arm sweep from where you stand is the whole station. Beans, grinder, mugs, spoon, filters, all inside it.
Anything that lands outside that arc gets forgotten within a week, no matter how nice it looks sitting there.
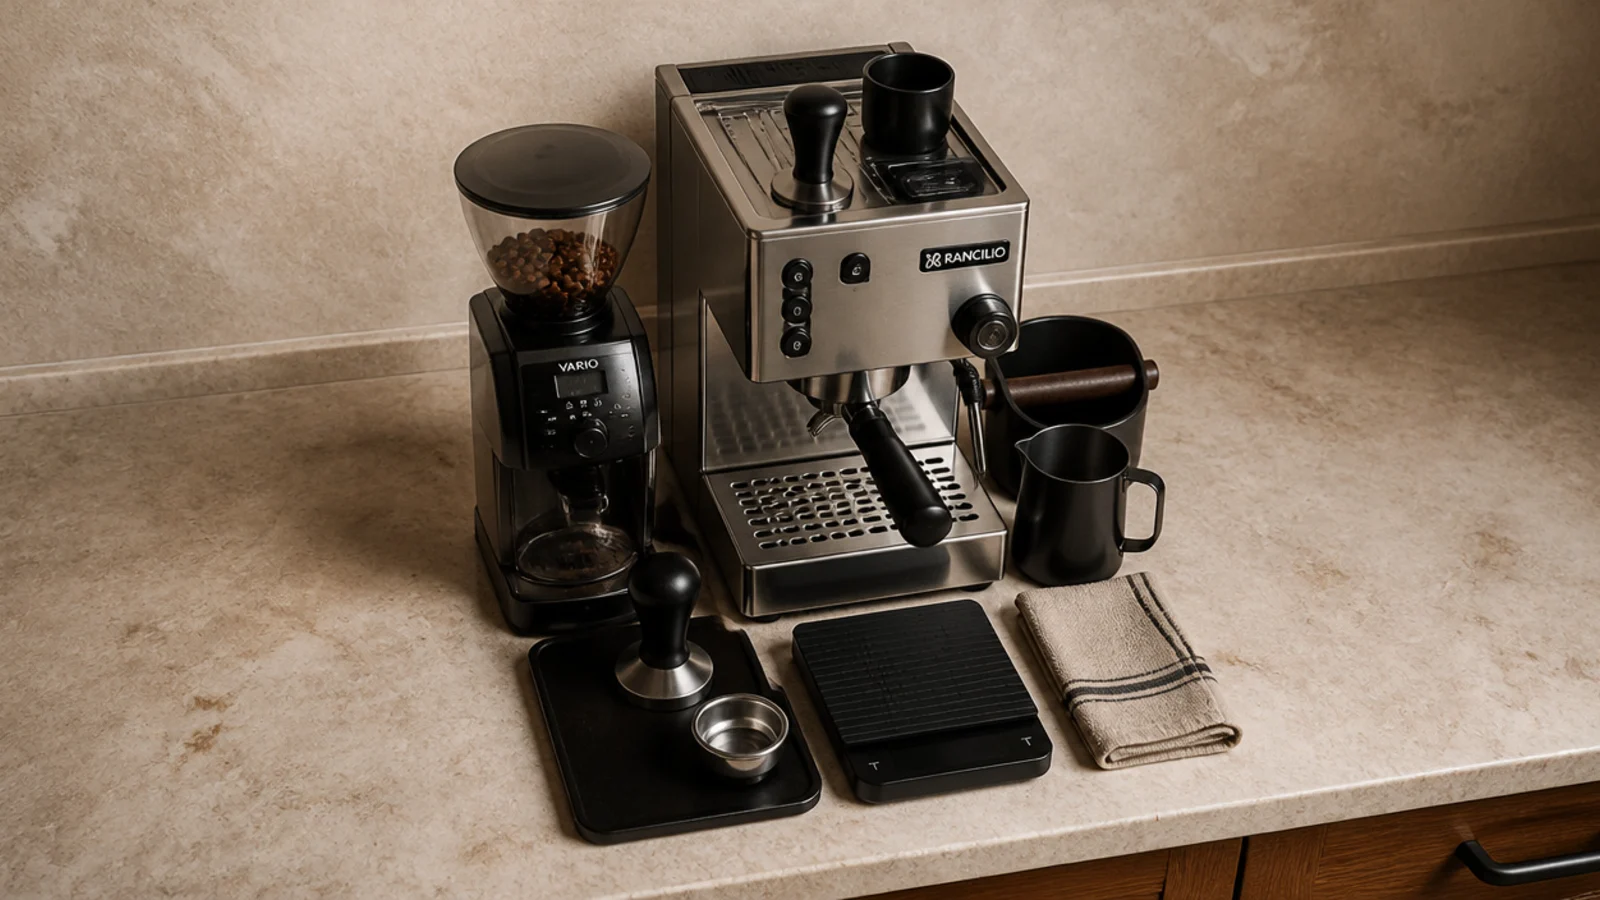
3. Zone by task, not by object type
Brewing at one end, serving at the other, with a hand's width of clear counter between them.
Grouping by type — all the ceramics together, all the metal together — photographs well and works badly. Your hands move by task.
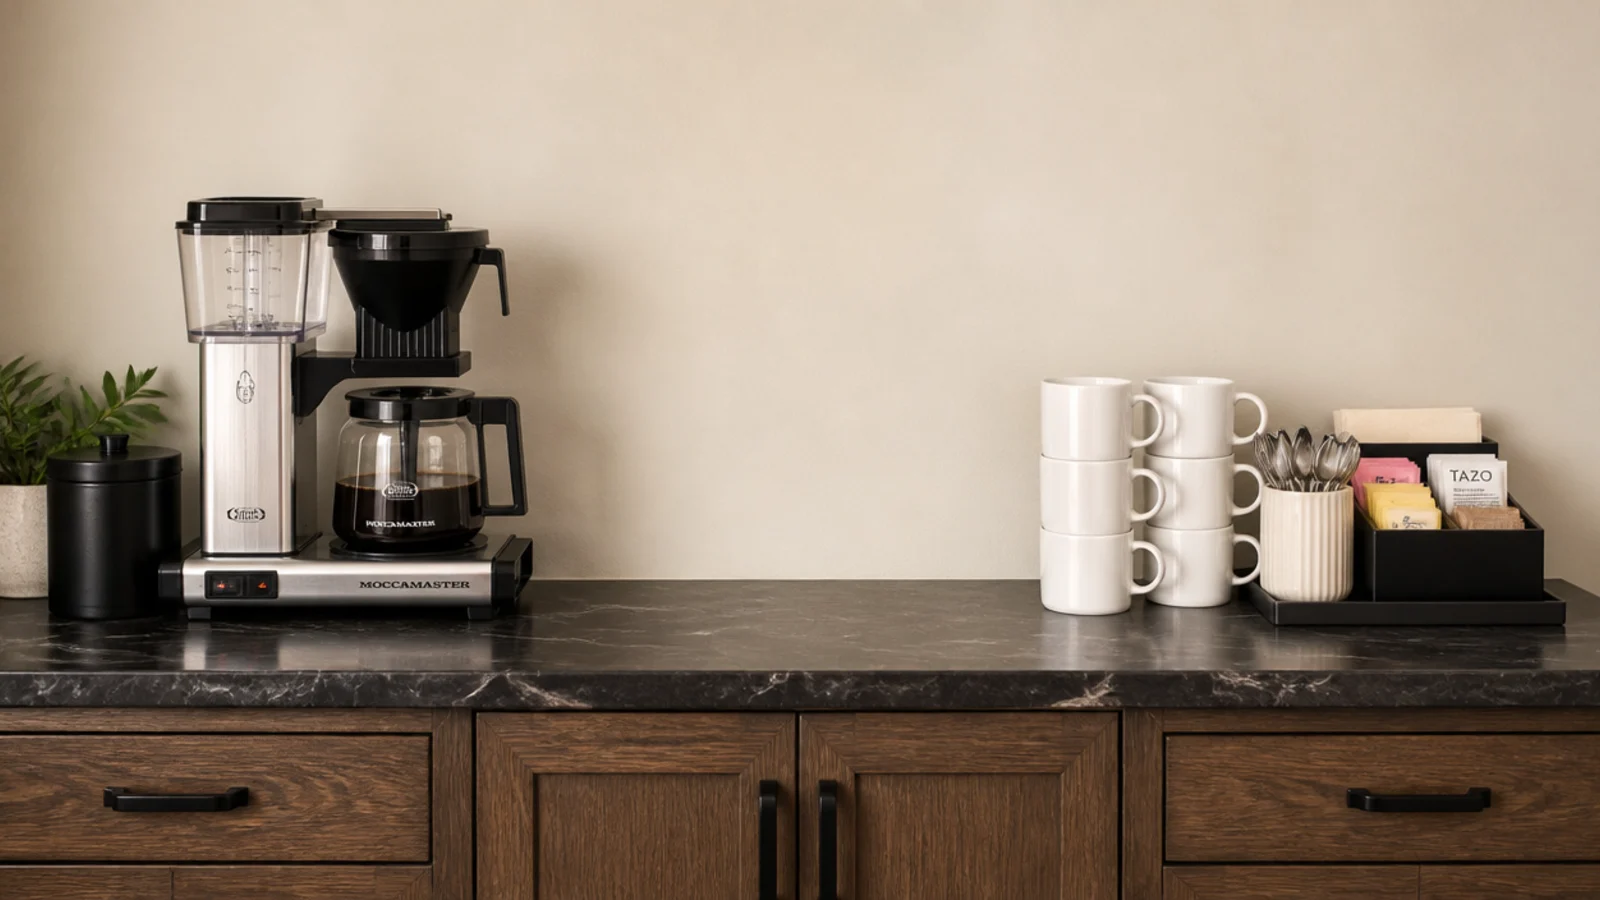
4. Let one tray define the edge
A tray roughly 12 by 16 inches is a border as much as a drip catcher. Inside it is the station; outside it is counter.
It also lets you lift the whole setup out in one movement to clean behind. Sealed wood or stone, $18 to $45 ($).
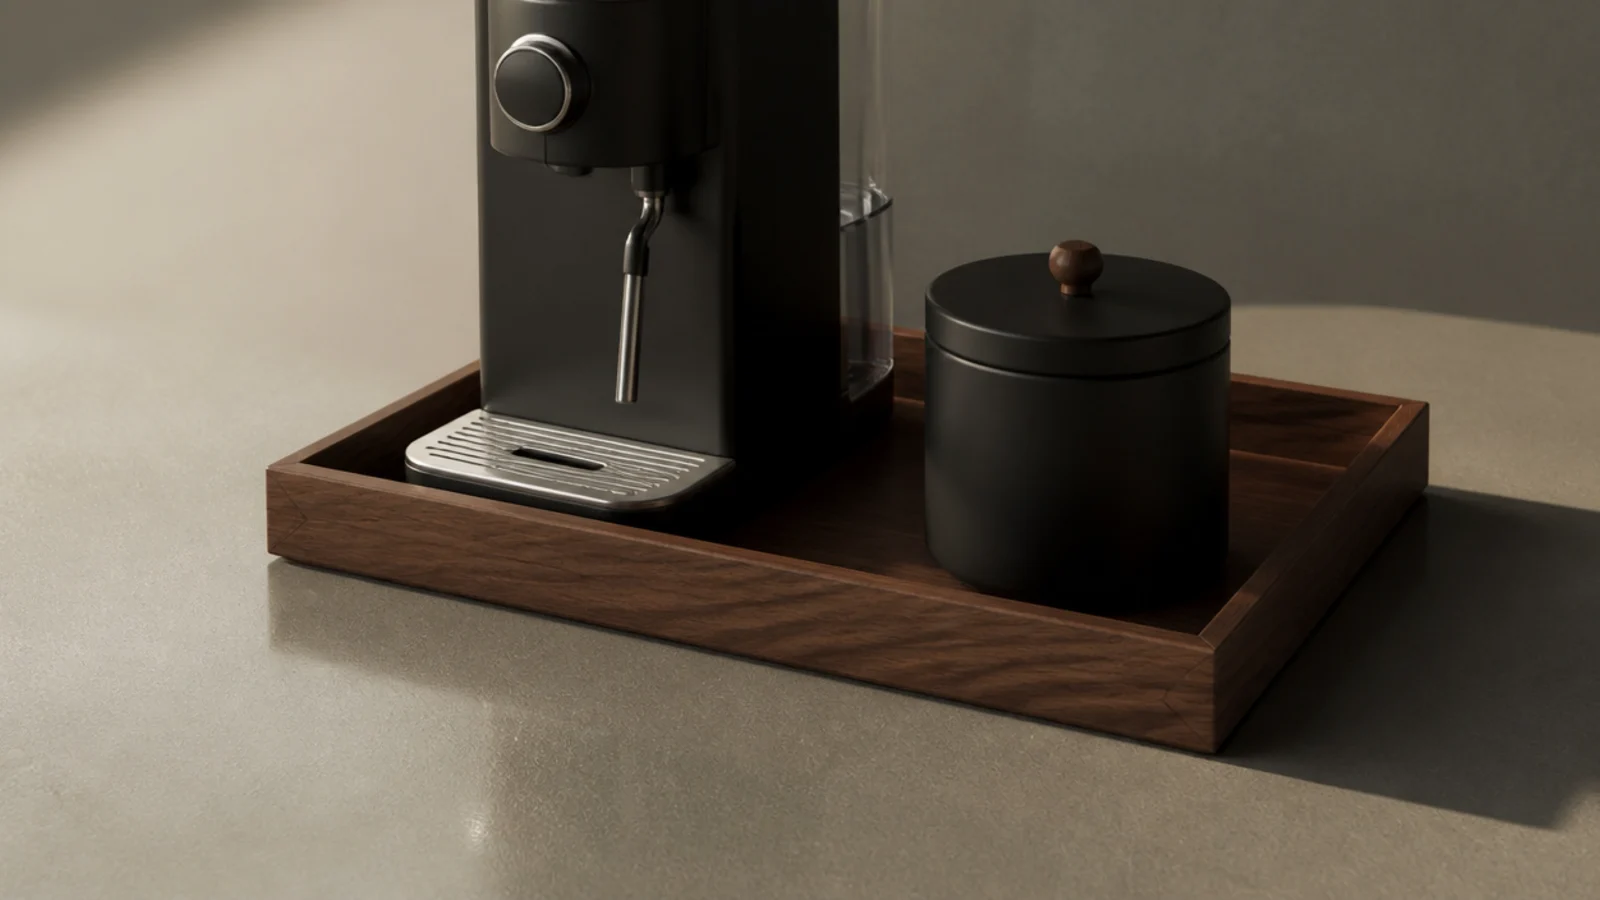
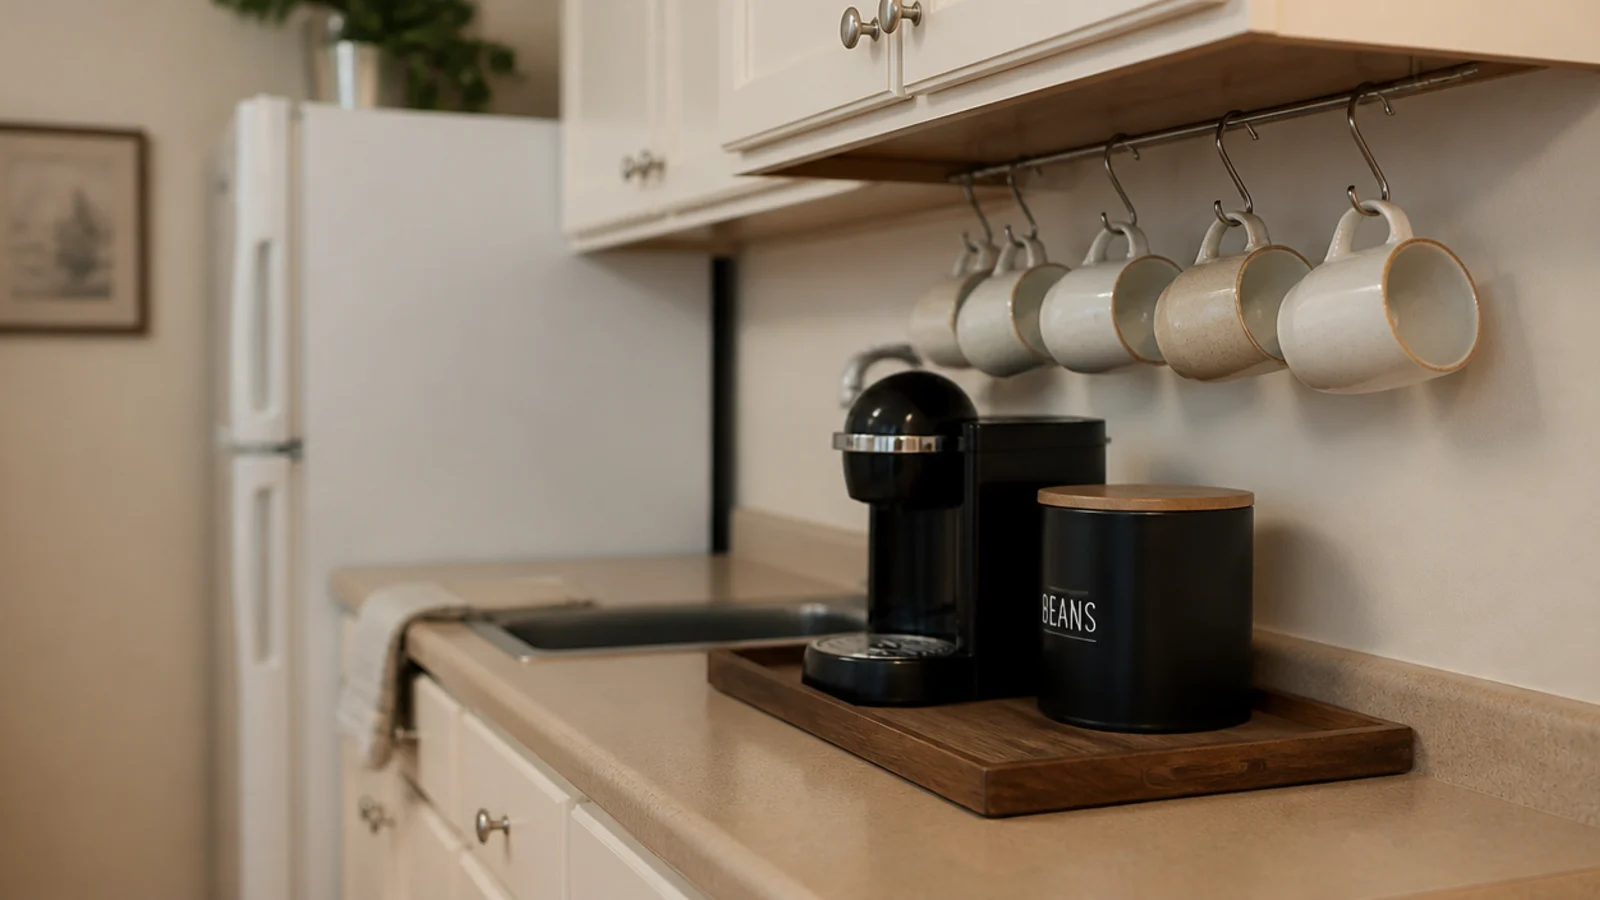
5. Decant beans into an opaque airtight canister
Whole beans keep in an opaque airtight container at room temperature. Not the fridge, where condensation forms every time it comes out.
A clear jar on a sunny shelf is the prettiest way to stale good beans, and light does the damage faster than air.
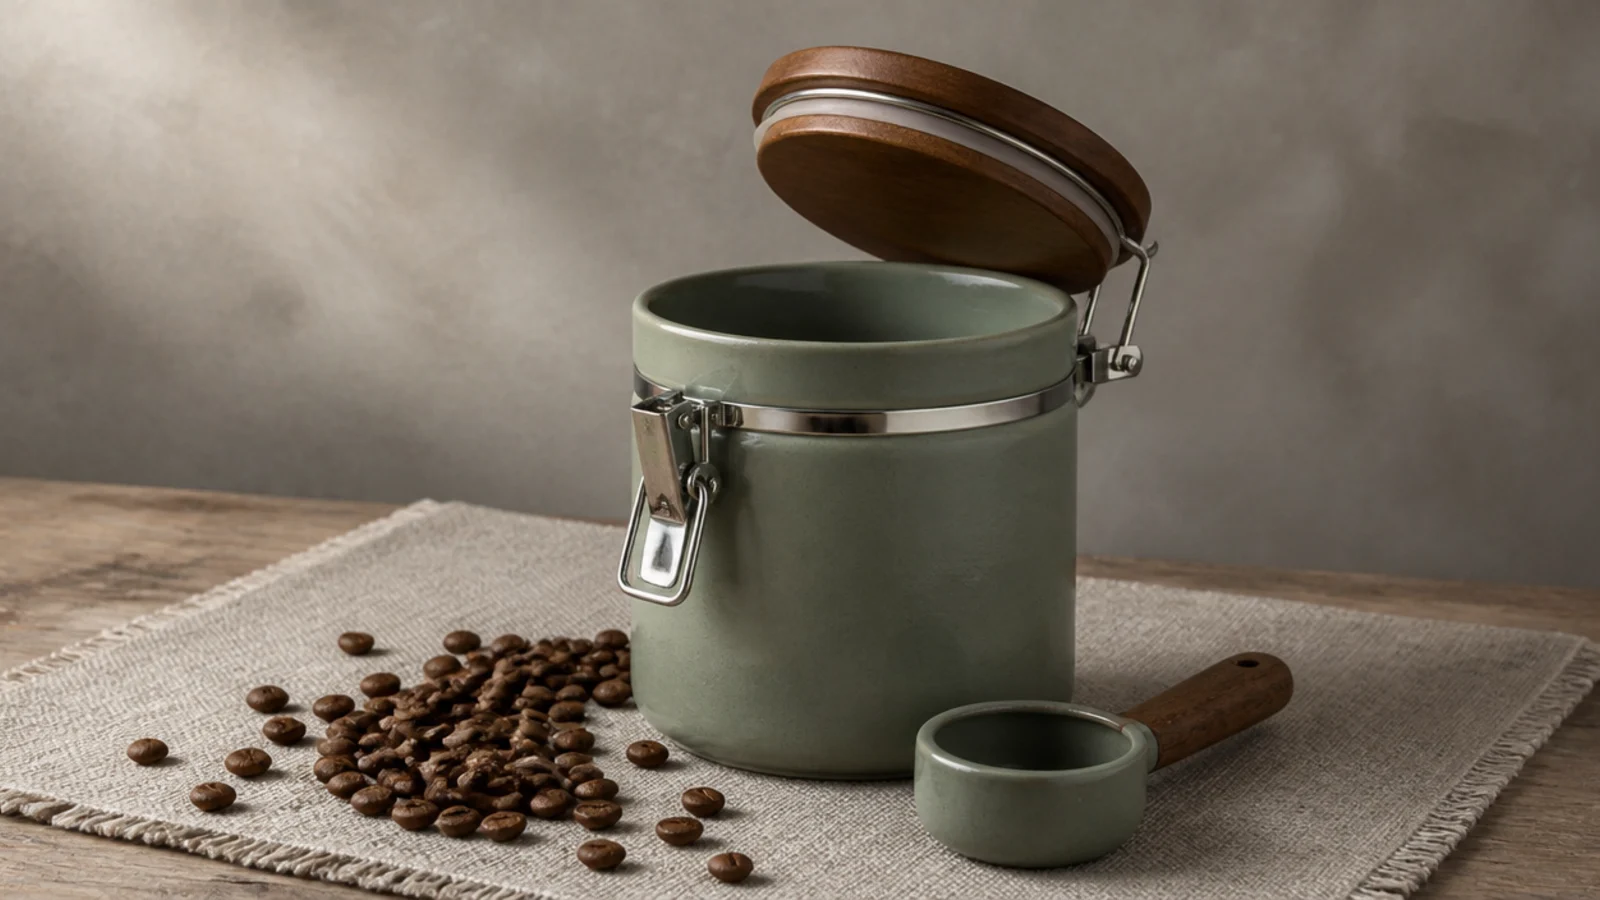
6. Tag the bag with the roast date
Write the roast date on a kraft tag and tie it to the canister handle. Beans peak between three days and three weeks after roasting.
Guessing is how a $20 bag ends up tasting like a supermarket tin by week five.

7. Keep two weeks of beans out, no more
A 12-ounce canister on the counter and everything else sealed in the cabinet. Two daily drinkers empty that in about a fortnight.
Big countertop hoppers look generous and stale the bottom third of whatever is in them.

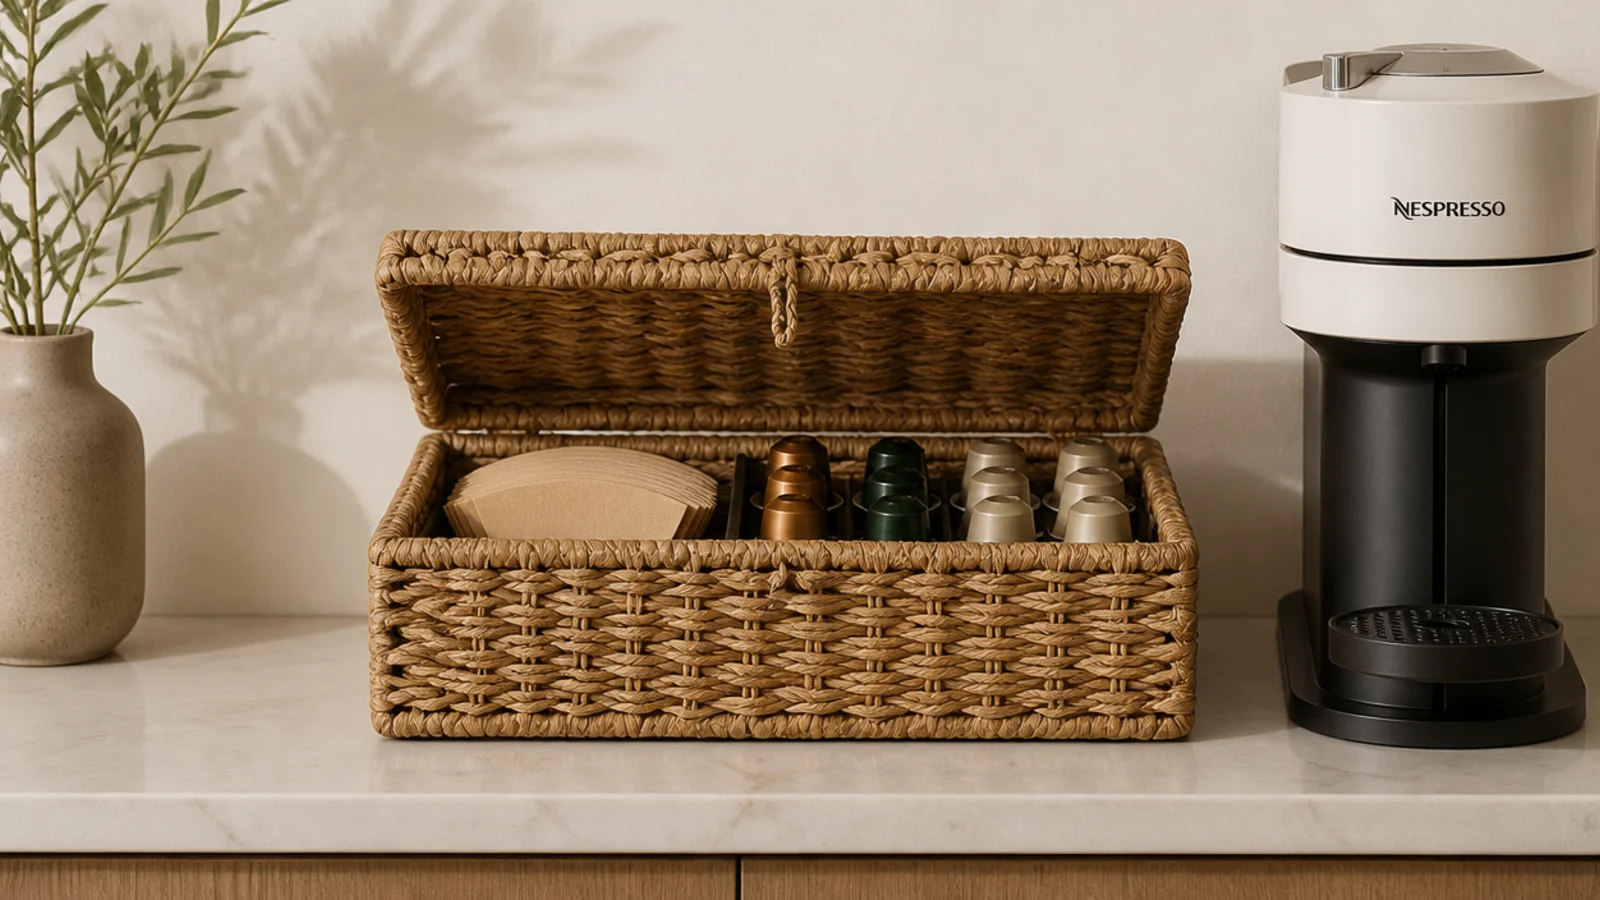
8. Put filters and pods in one lidded box
Filters, pods, sachets and stirrers are the actual clutter in most stations, because they arrive in printed packaging in five colors.
One lidded box around 10 by 7 inches holds the lot for $10 to $20 ($) and closes.
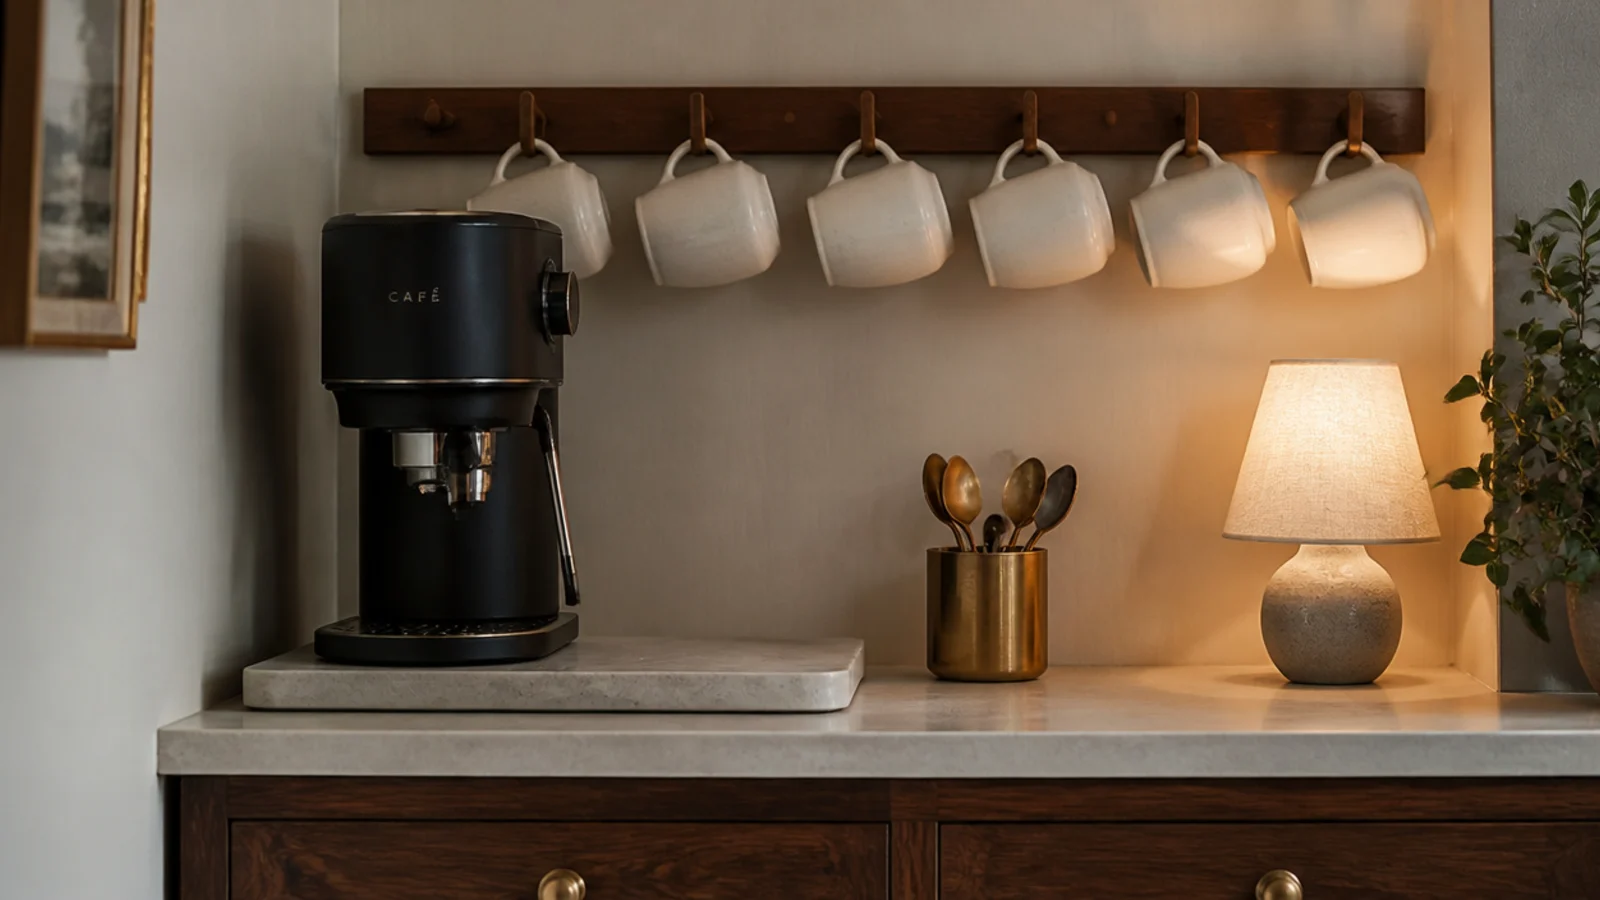
9. Give the spoons a small crock
Two spoons and a scoop in a small stoneware crock removes the daily drawer trip that makes a station feel half-finished.
Three utensils maximum. Six turns a styling piece into a jar of clutter at eye level.
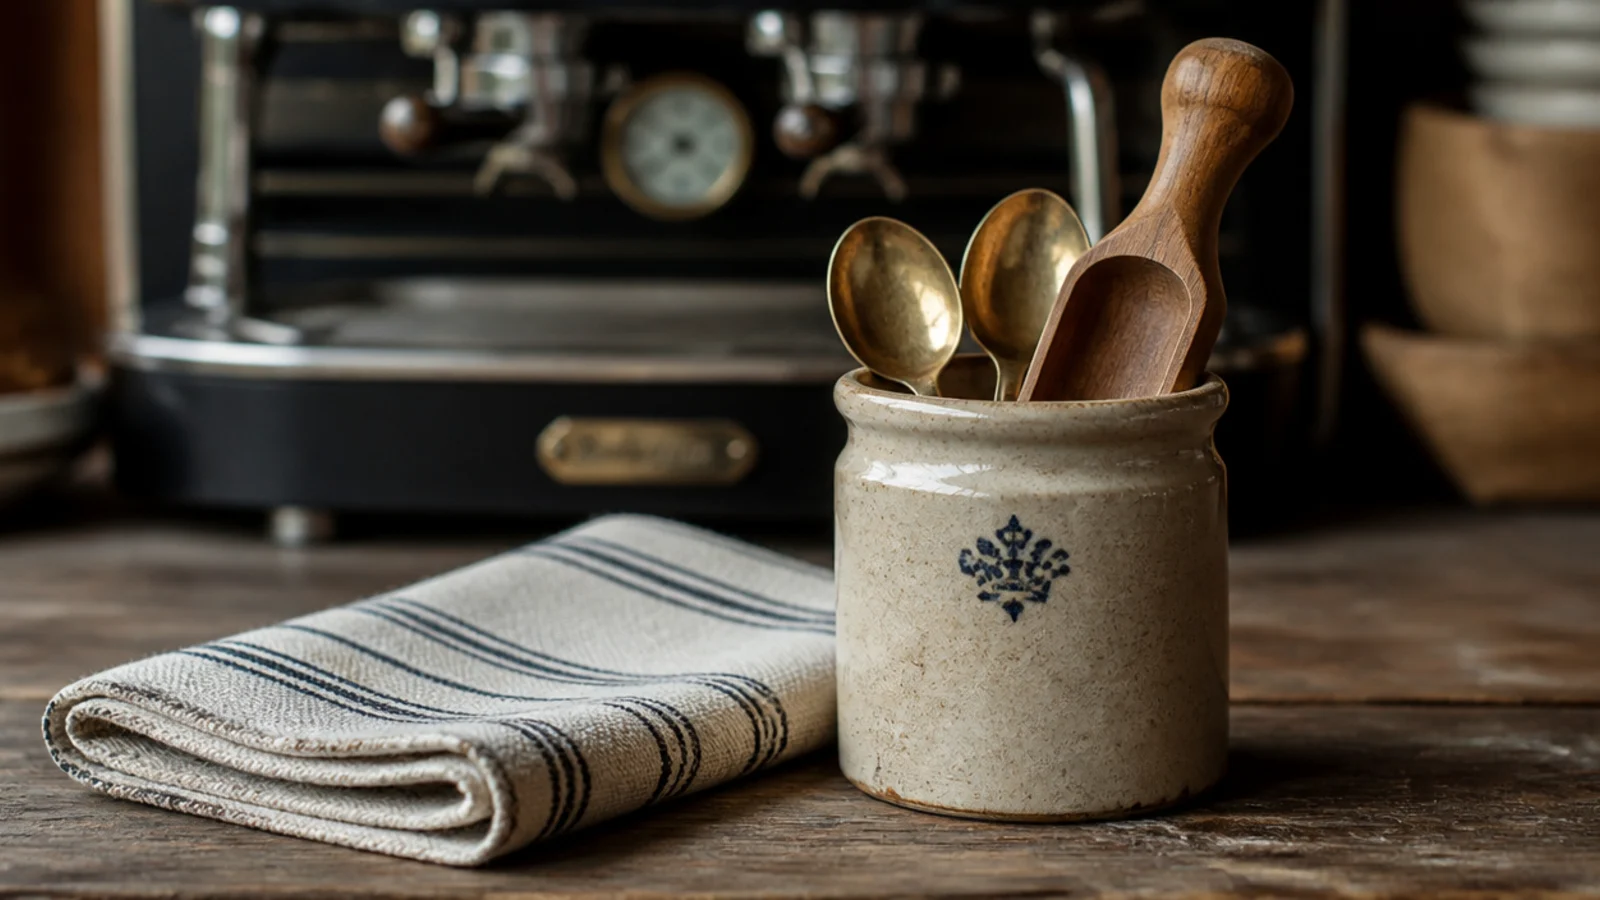
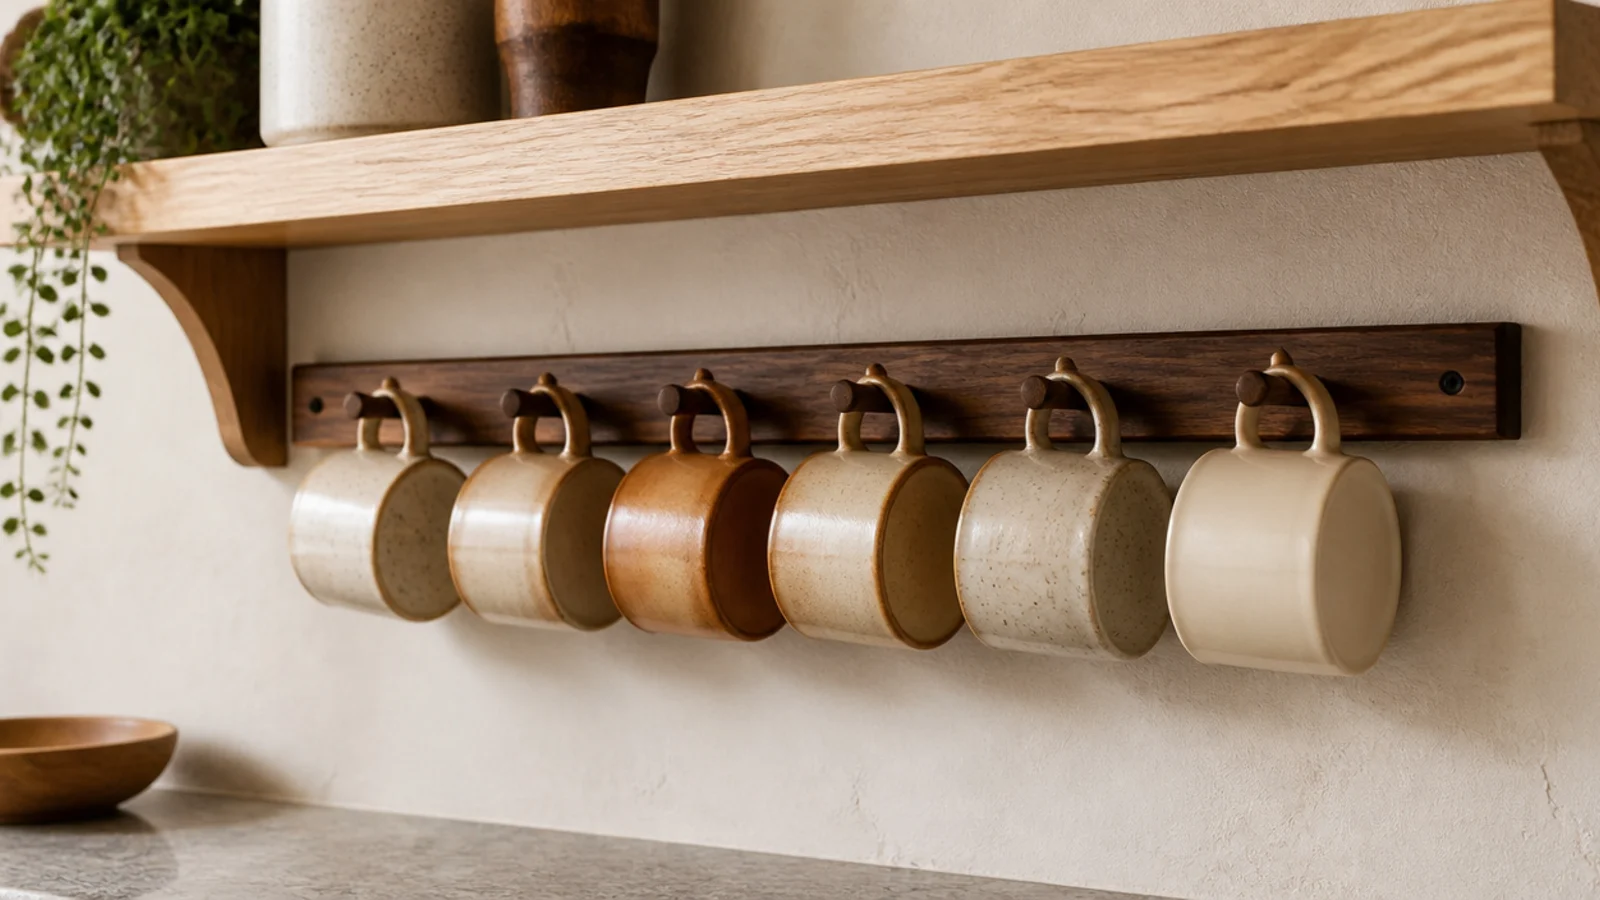
10. Hang the mugs on a peg rail
A peg rail under the shelf holds six mugs in the width one mug takes on the counter, for about $4 of hardware.
Space the pegs 4 inches apart and drive three-quarter-inch screws up from below so nothing comes through the shelf top.
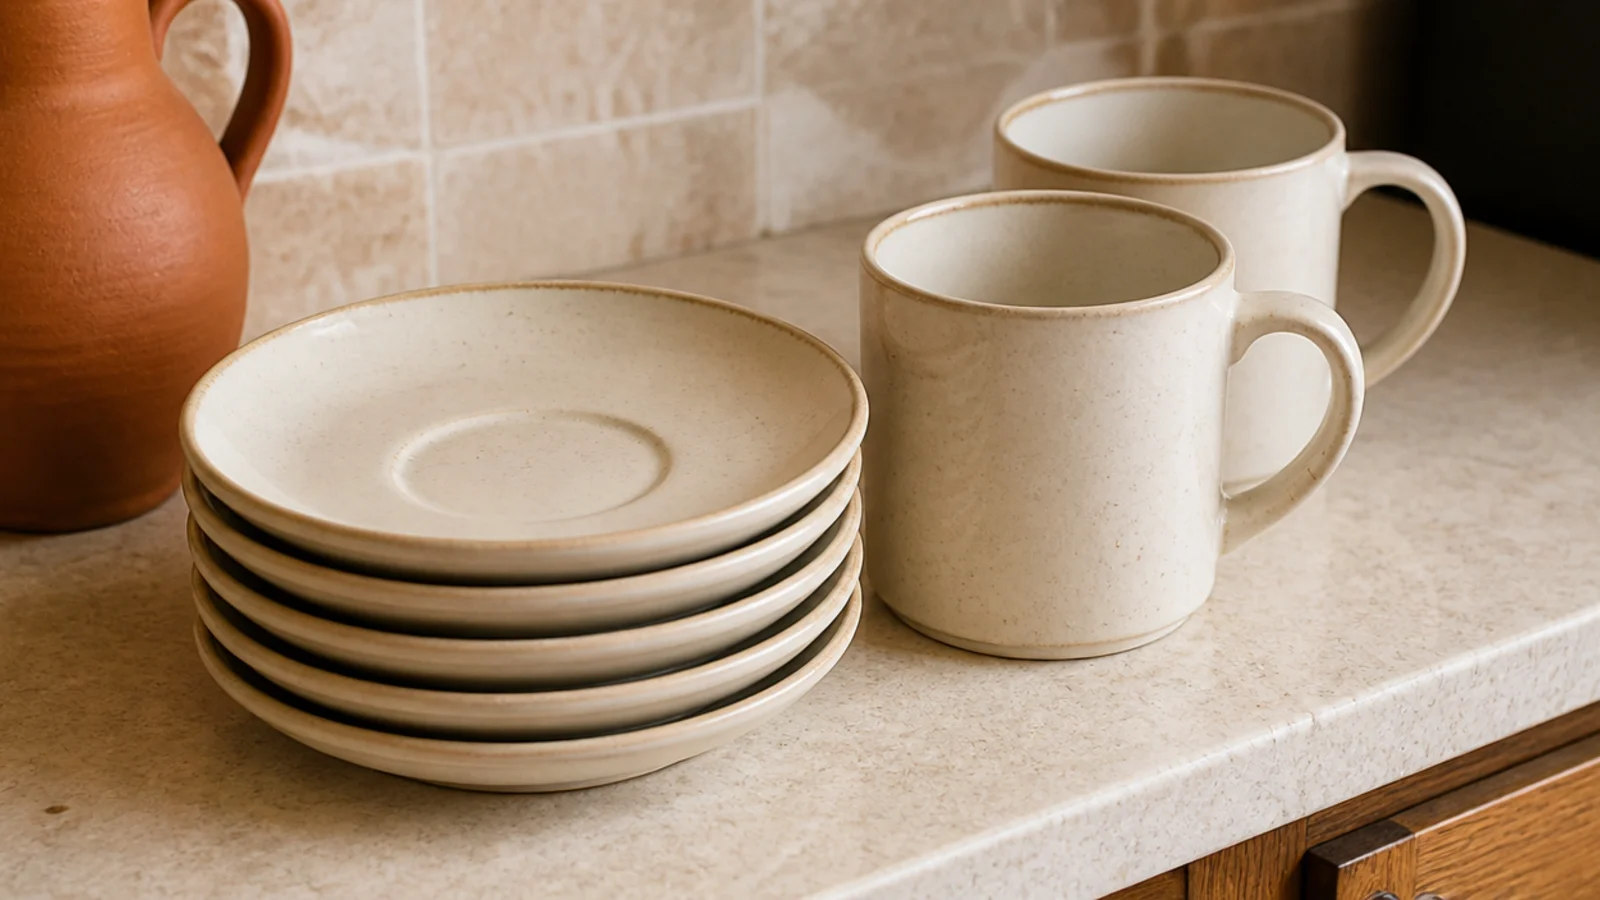
11. Stack saucers, never mugs
Stacked mugs chip at the rim, and a chipped rim is the reason mugs quietly leave a set.
Saucers stack five deep without complaint and give the station a low horizontal shape that balances all the tall objects.
12. Corral sweeteners on a 6-inch tray
A sugar pot, a honey jar and a spoon read as three strays on a counter and as one object on a small tray.
Six inches across is enough. Brass, stoneware or a cork round all work at under $15 ($).

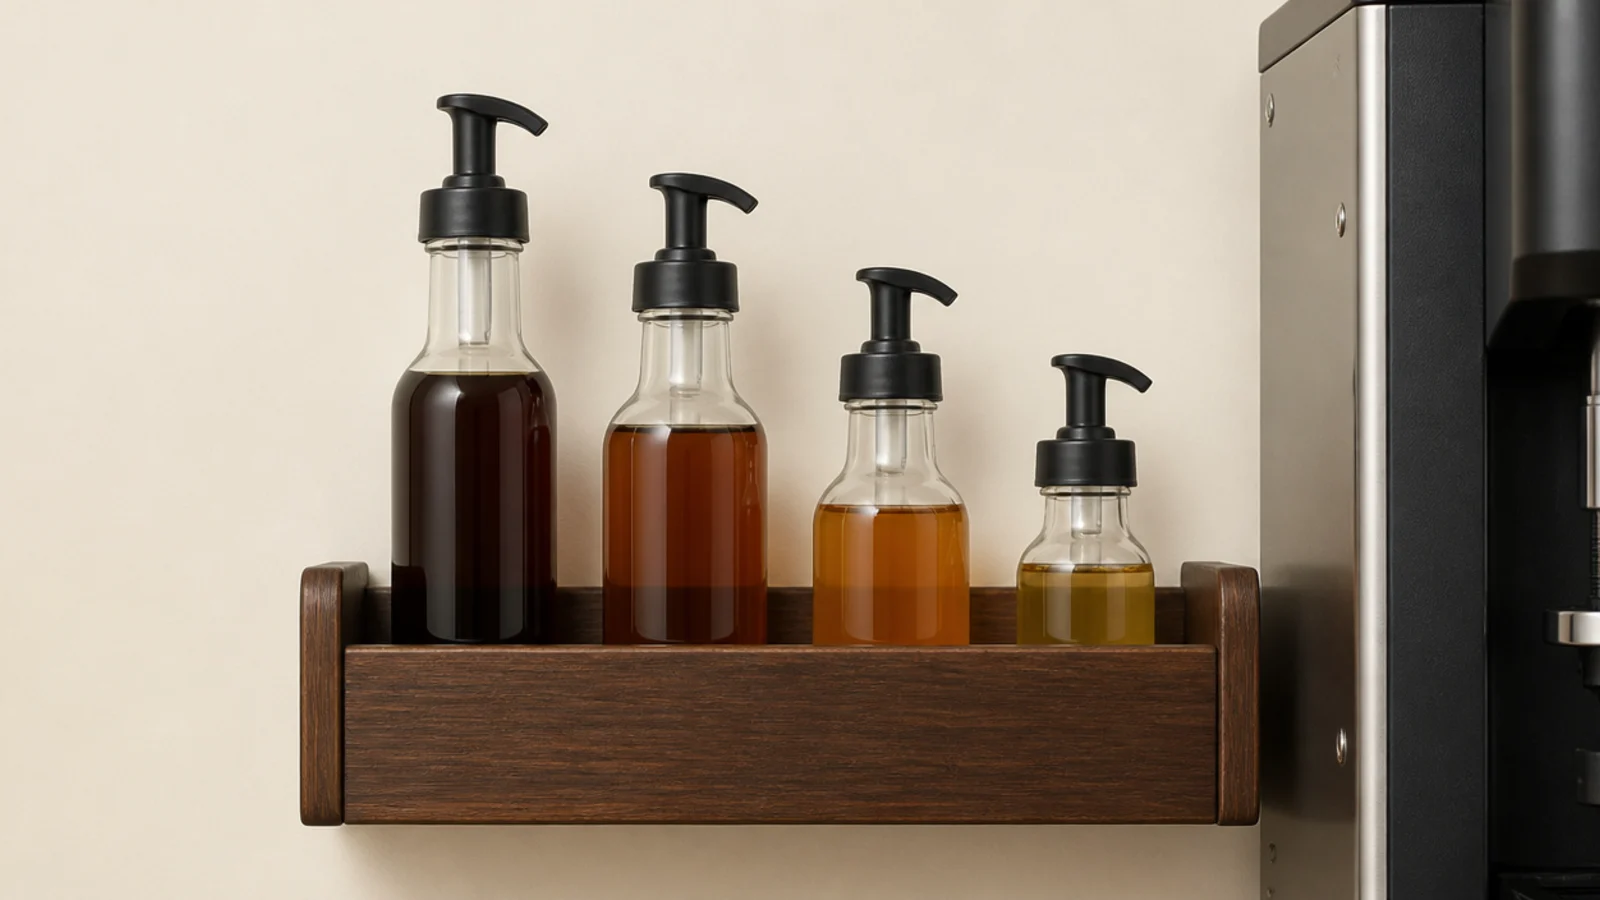
13. Shelve syrups on a 3-inch rack
A narrow wall rack takes syrup bottles off the counter entirely for $8 to $15, and 3 inches of depth holds every standard bottle.
Mount it to the side of the machine rather than above it so nothing sits in the steam path.
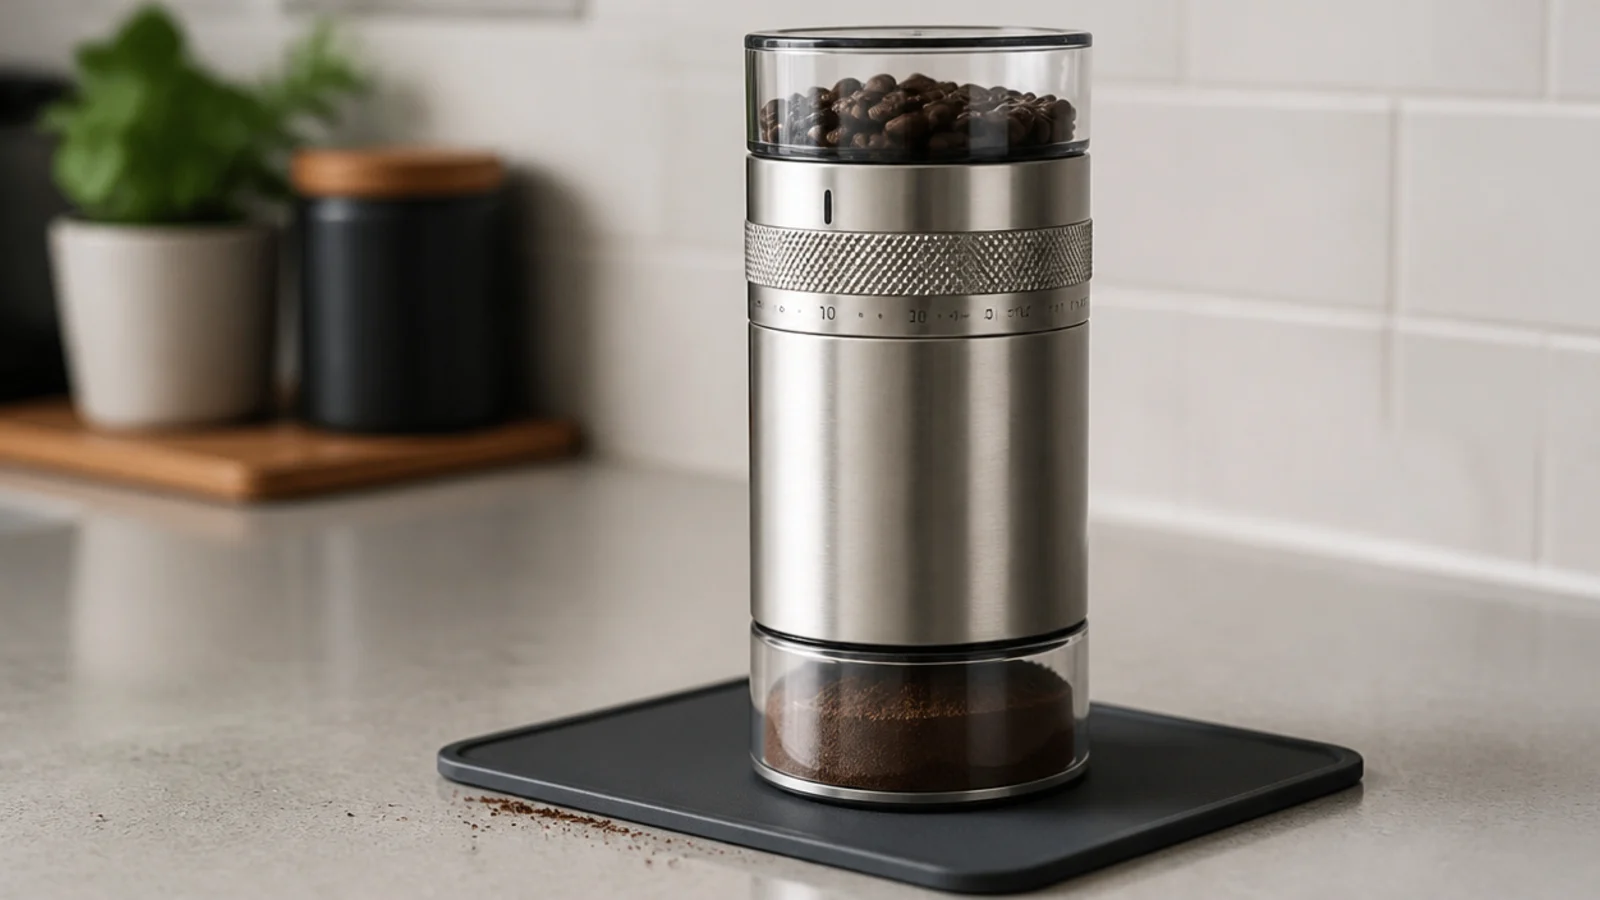
14. Put the grinder on a silicone mat
A grinder vibrates, and over a week it walks itself toward the counter edge. A thin silicone mat stops that and cuts the noise noticeably.
It also catches loose grounds, which otherwise end up under the machine feet.
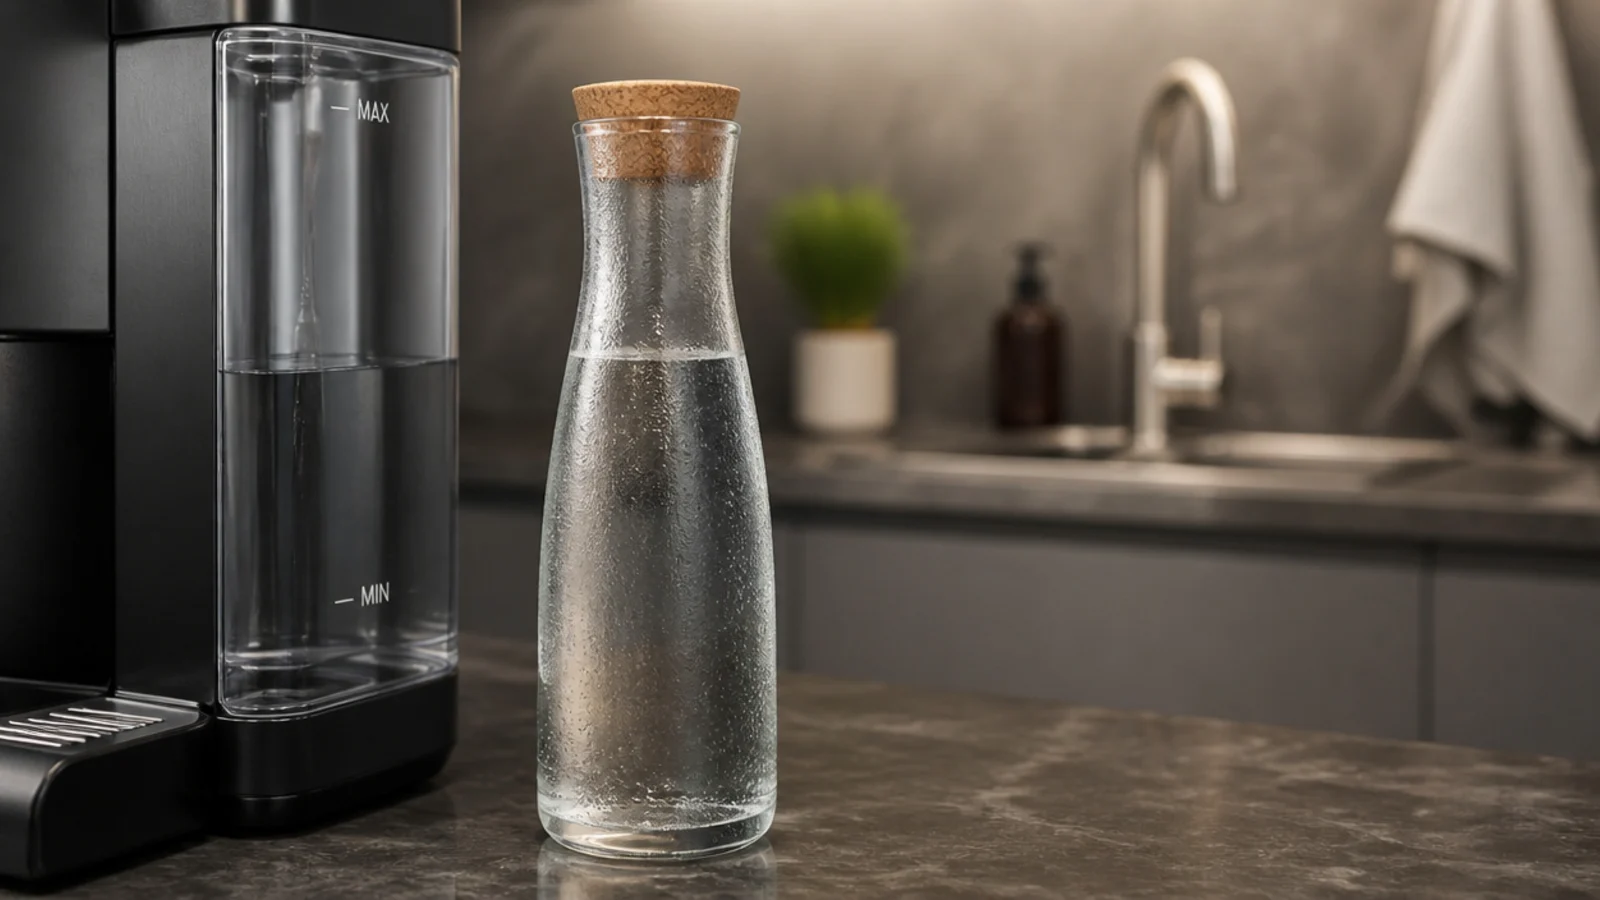
15. Keep a carafe so you stop carrying mugs of water
If the station sits more than a few steps from the sink, filling a reservoir a mug at a time is what eventually kills it.
A one-litre glass carafe beside the machine means one fill covers two brews. Refill it when you load the dishwasher.
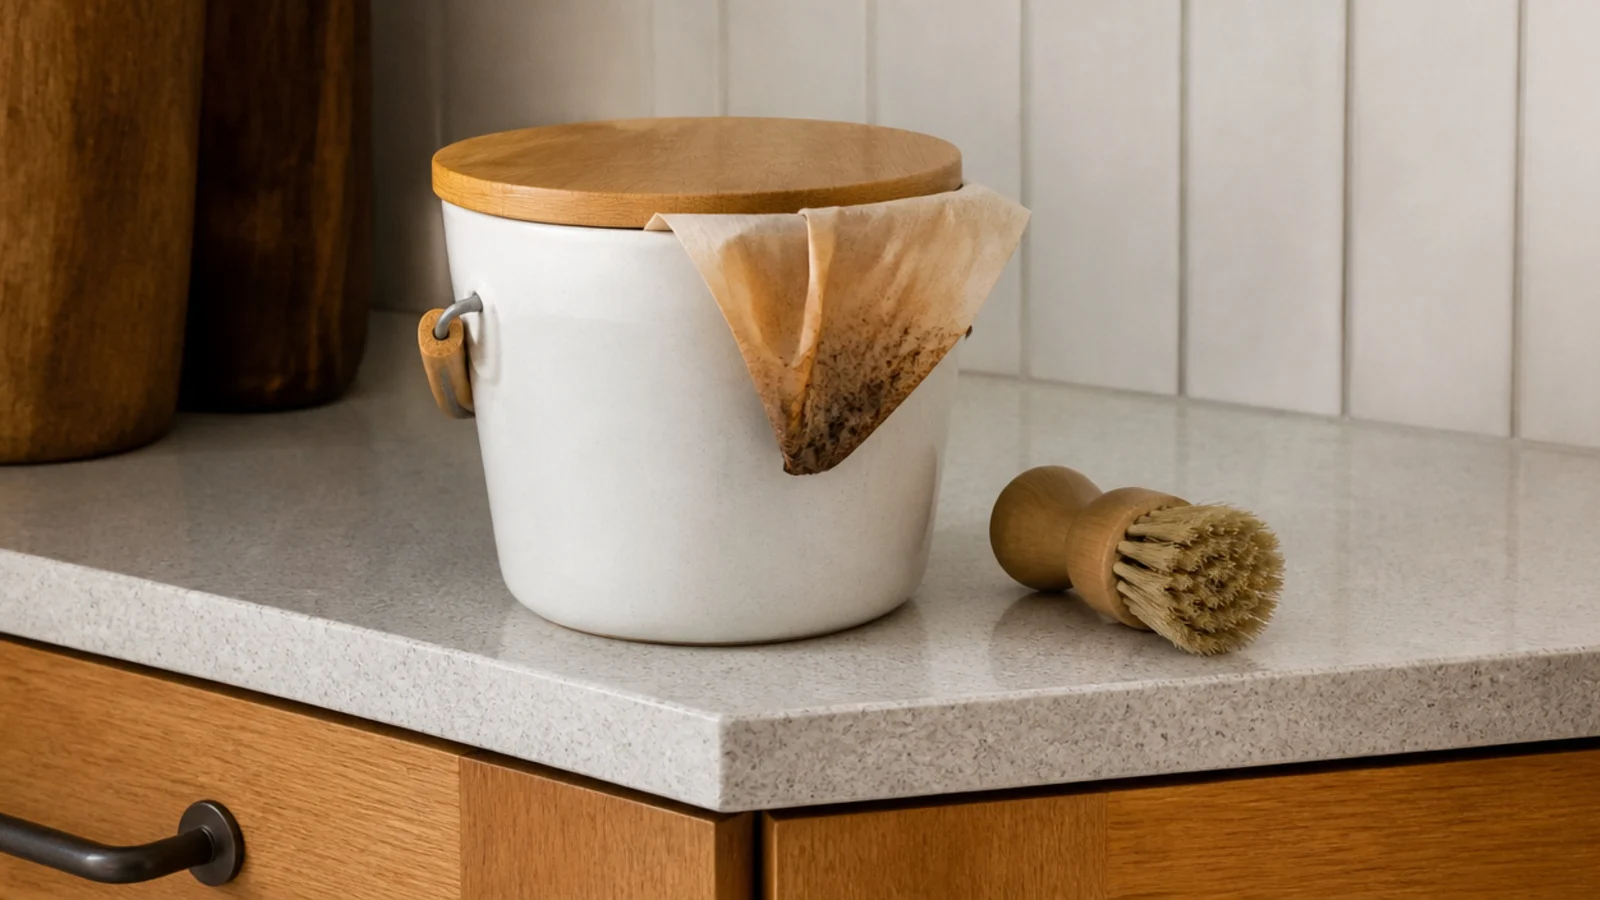
16. Give the grounds a lidded pail
Used grounds are wet and heavy and start to smell within about a day in a warm kitchen.
A small lidded pail within two steps, emptied every other day, is the fix. If the bin is across the room, the filter stays on the tray instead.
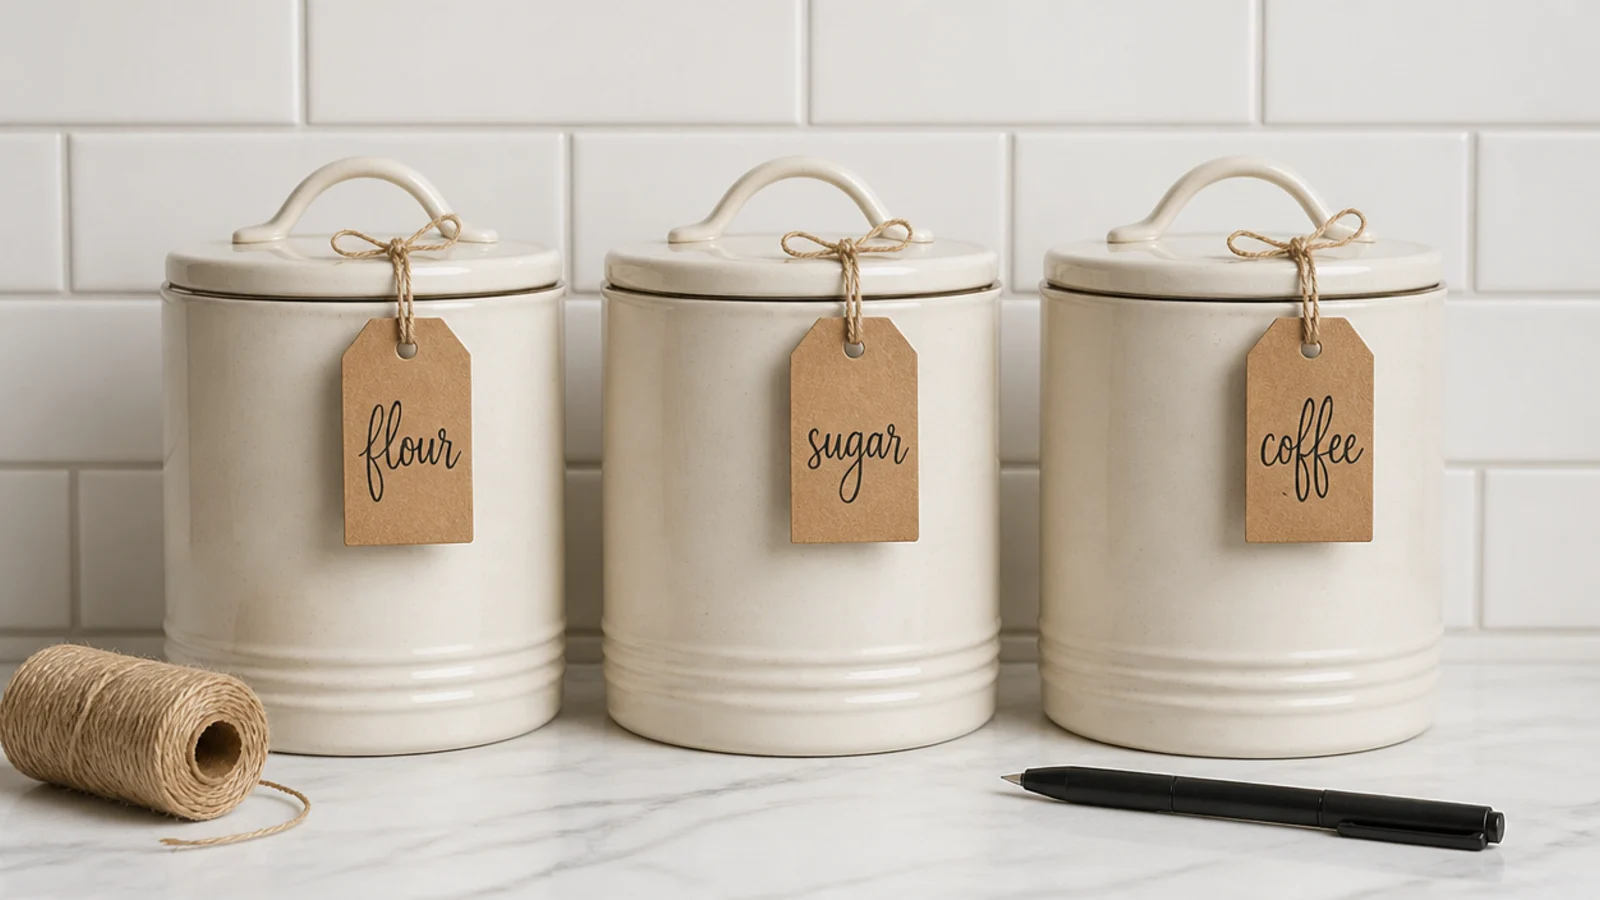
17. Write kraft tags instead of printed labels
Handwriting on a kraft tag reads warmer than a label-maker strip, costs nothing and takes ten seconds per canister.
It also makes mismatched containers look like a set, which is the cheapest cohesion trick in the kitchen.
18. Turn printed packaging to face the wall
Half the visual noise on a counter is retail graphics rather than objects. Rotate boxes so their plain backs face the room.
Better still, decant. But the free version takes four seconds and works immediately.
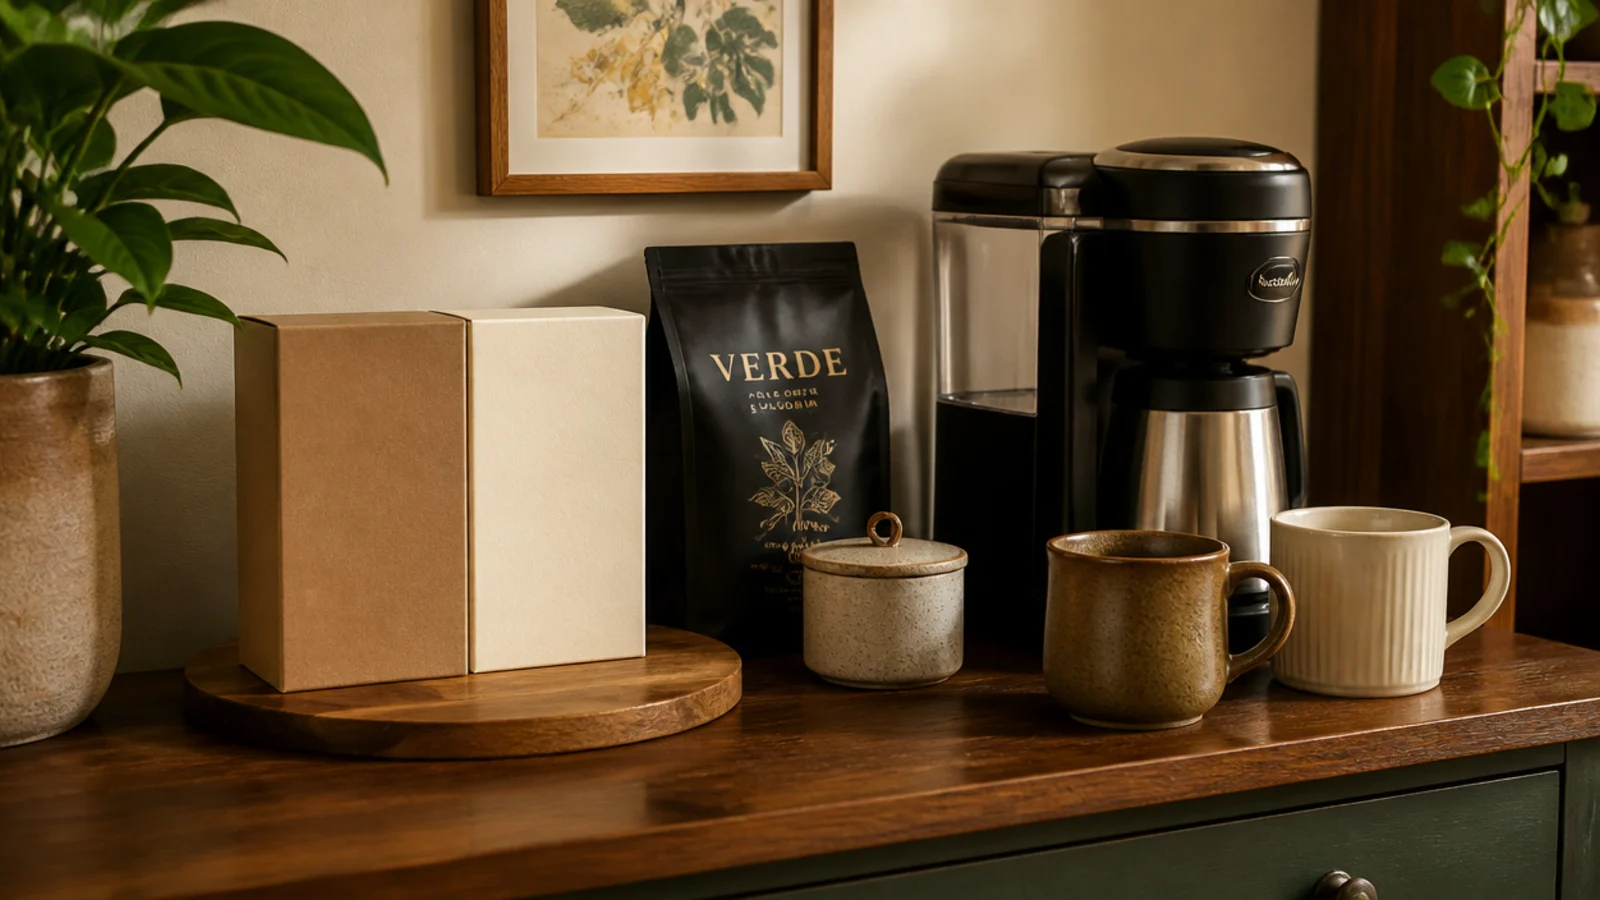
19. Keep the front 4 inches permanently clear
That strip is where a hot mug lands while you reach for milk. Protecting it is a safety rule as much as a styling one.
Push everything back to the wall and leave the front band empty, always.
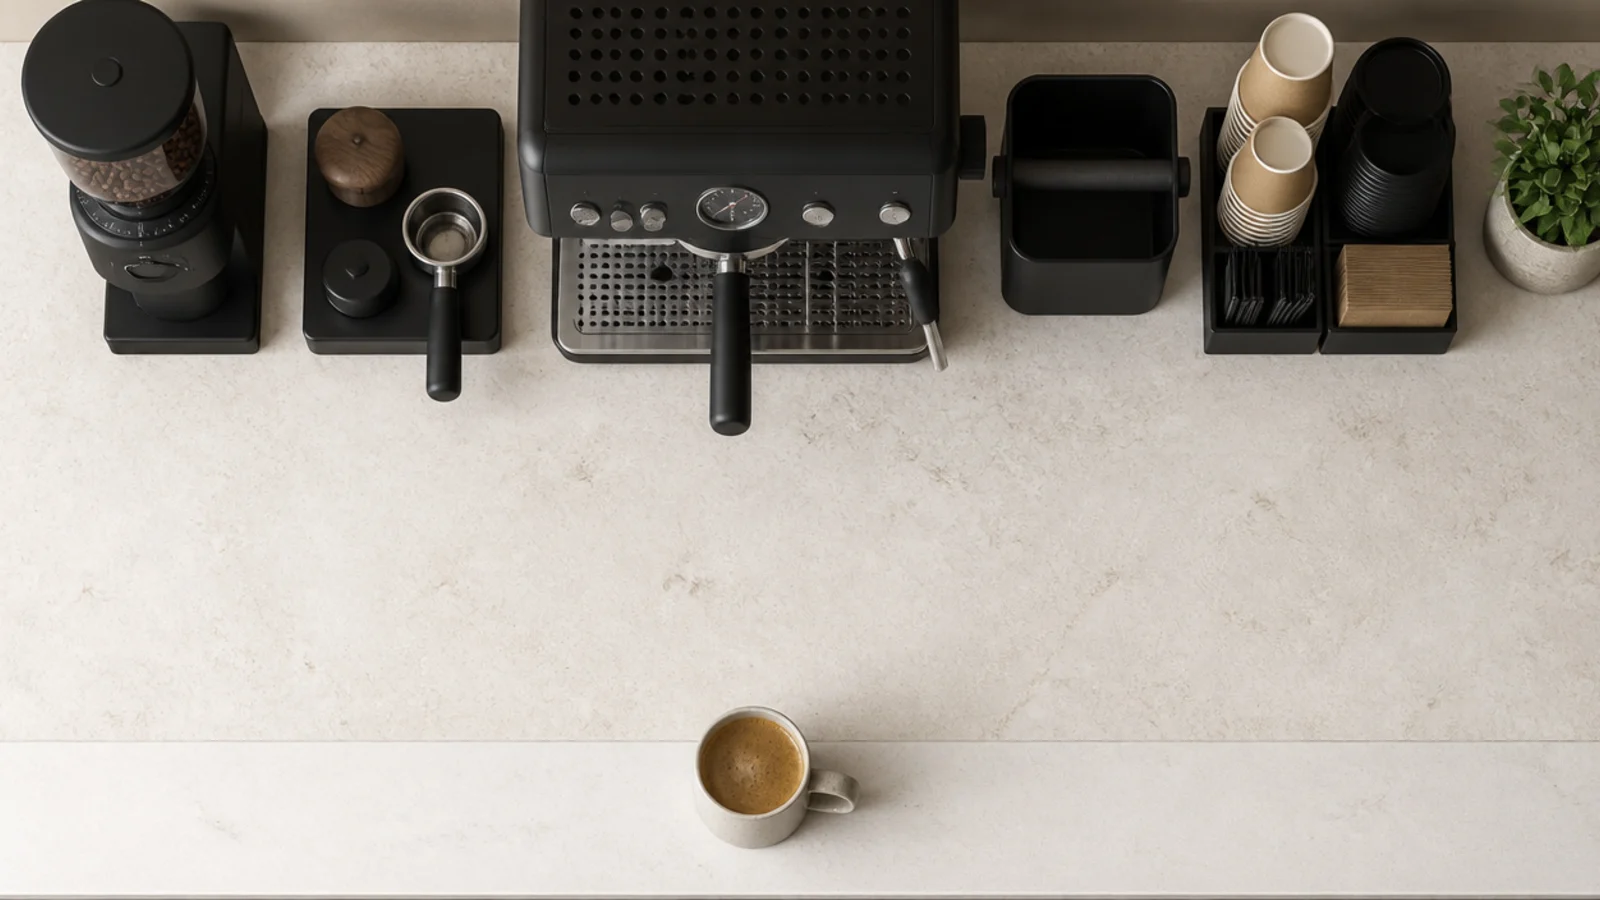
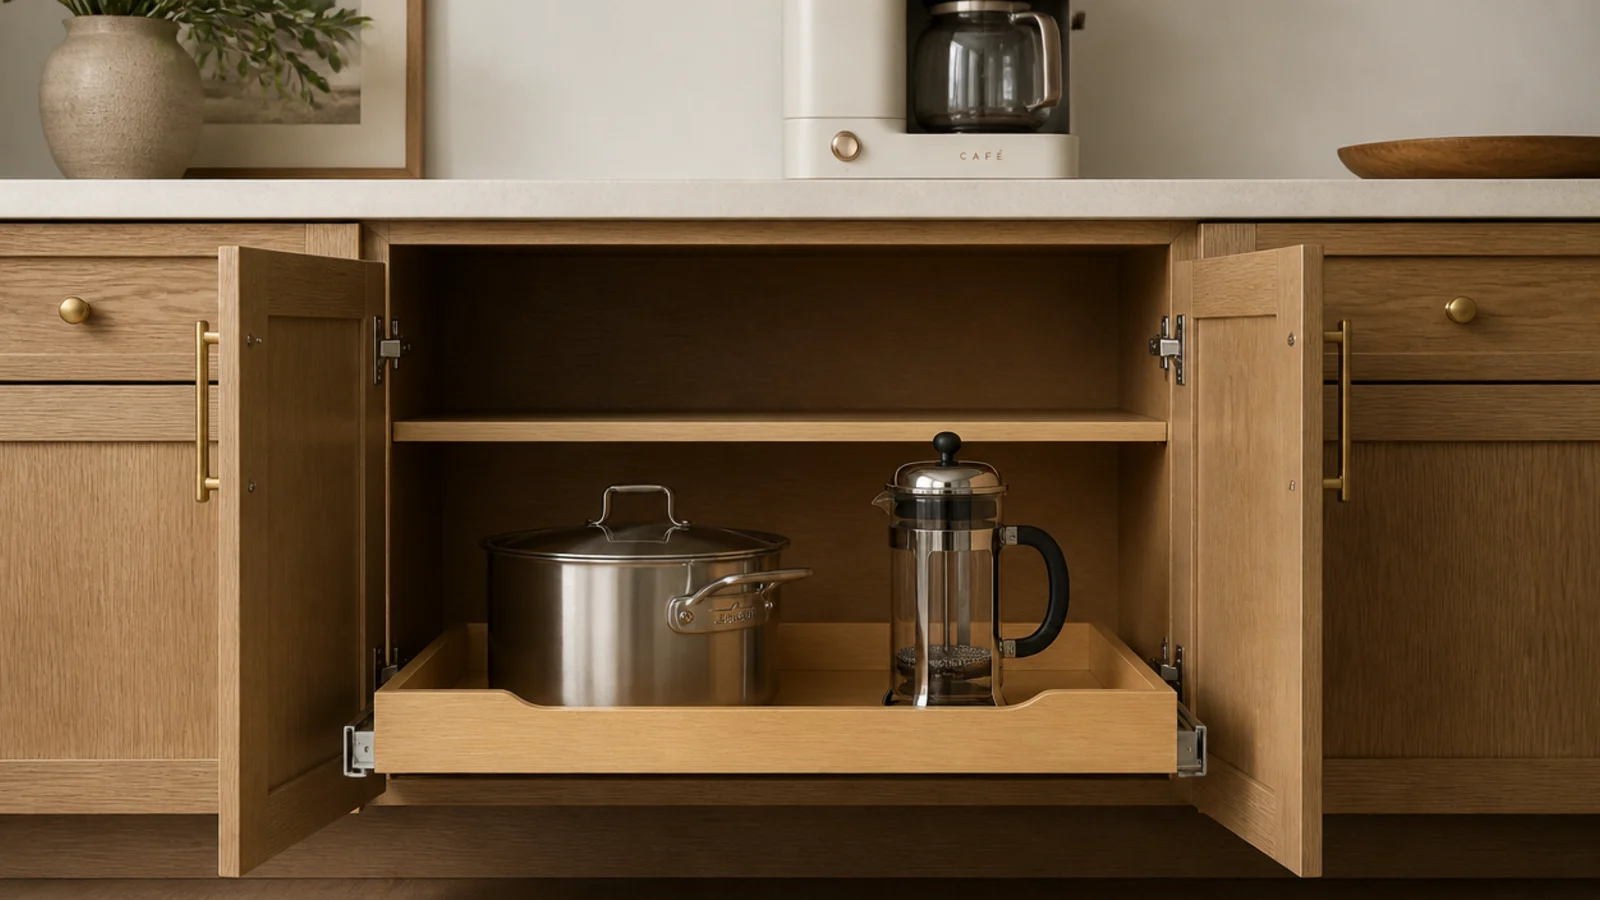
20. Store the weekly machine below, not beside
The French press you use on Sundays does not earn counter space. Daily on the counter, weekly behind a door.
That one rule frees more room in a small kitchen than any organizer you can buy.
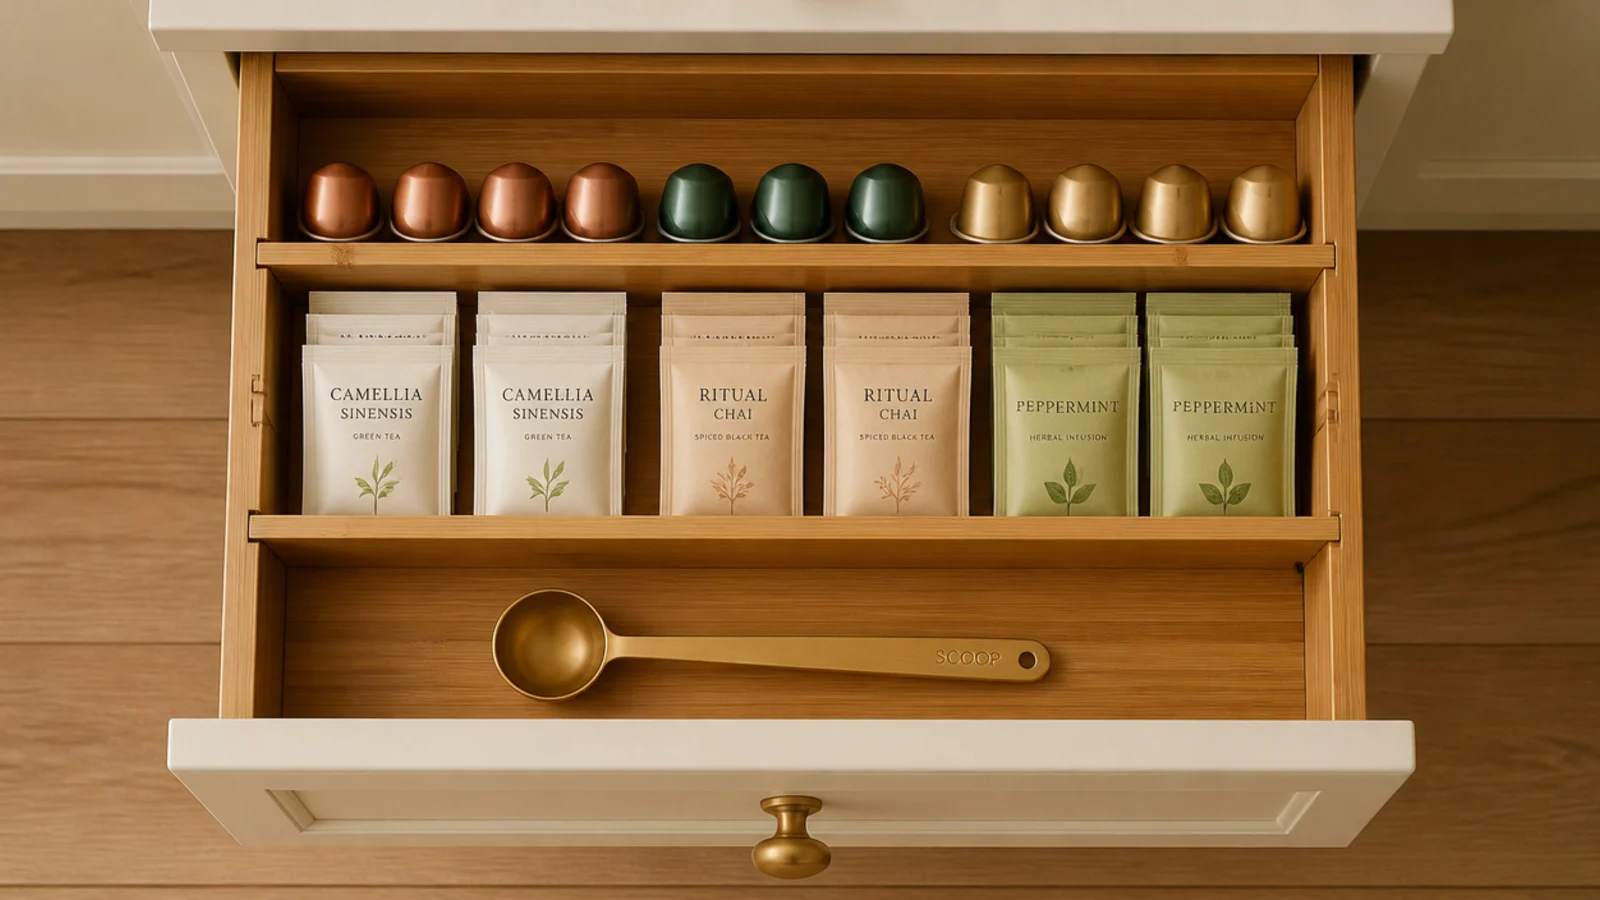
21. Divide one drawer for pods
An adjustable bamboo divider at $6 turns a chaotic drawer into three tidy rows of pods, sachets and a scoop.
Decant nothing here. Just line them up and close it — the packaging disappears the moment the drawer shuts.
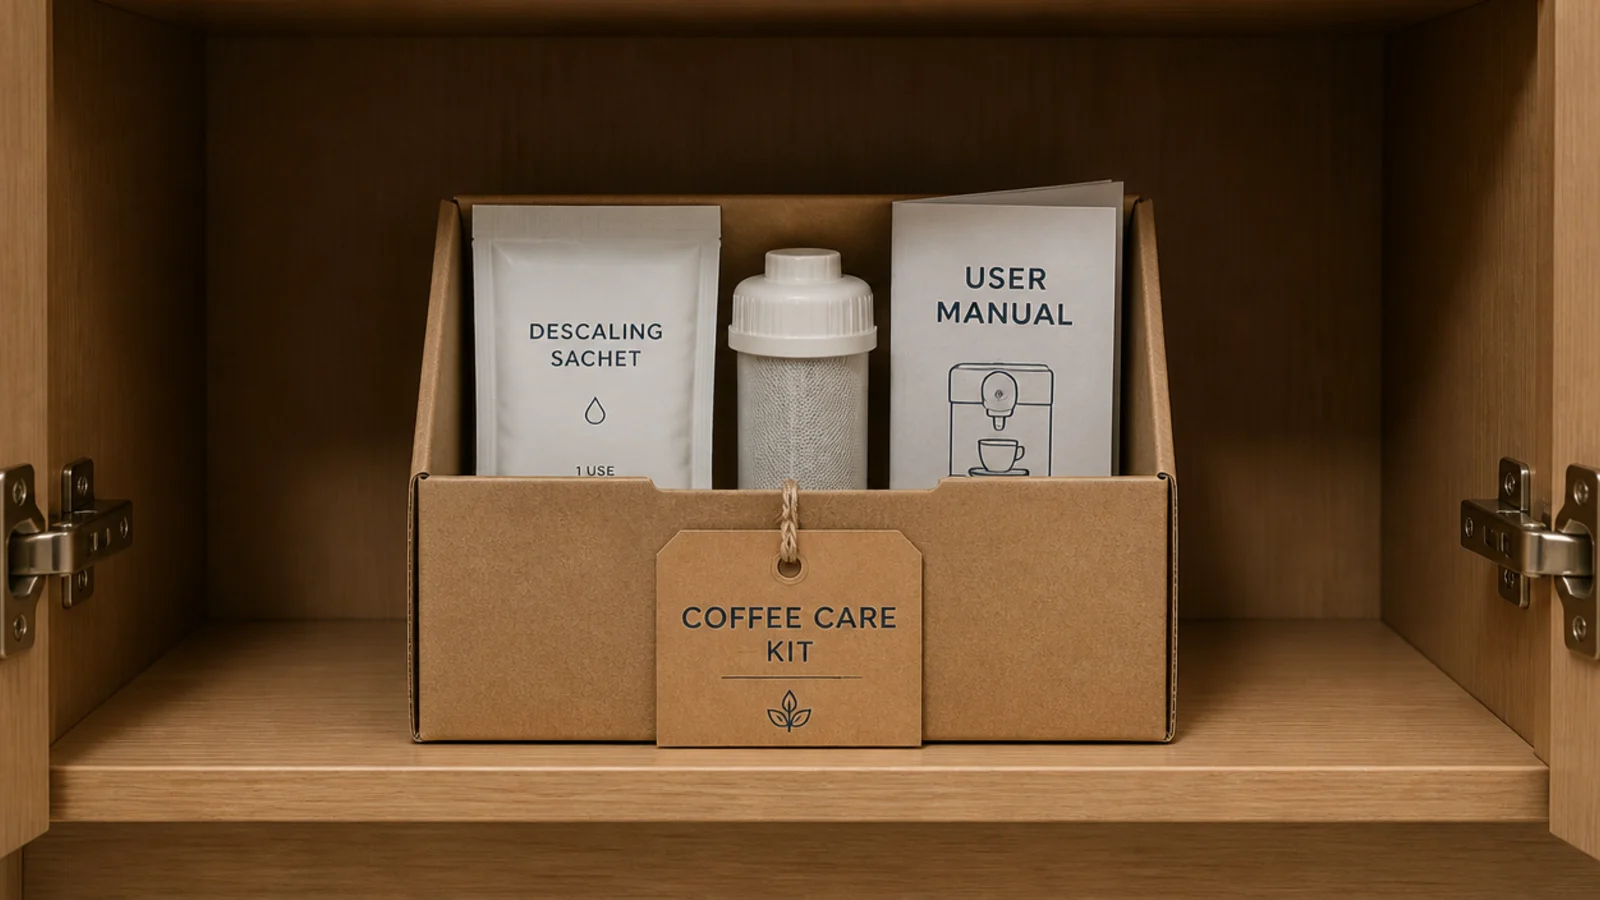
22. Keep the descaling kit with the manual
Quarterly items belong nowhere near the counter. Put descaler, spare water filters and the manual in one labelled box in the cabinet.
You will actually descale on schedule when the kit and the instructions live together.
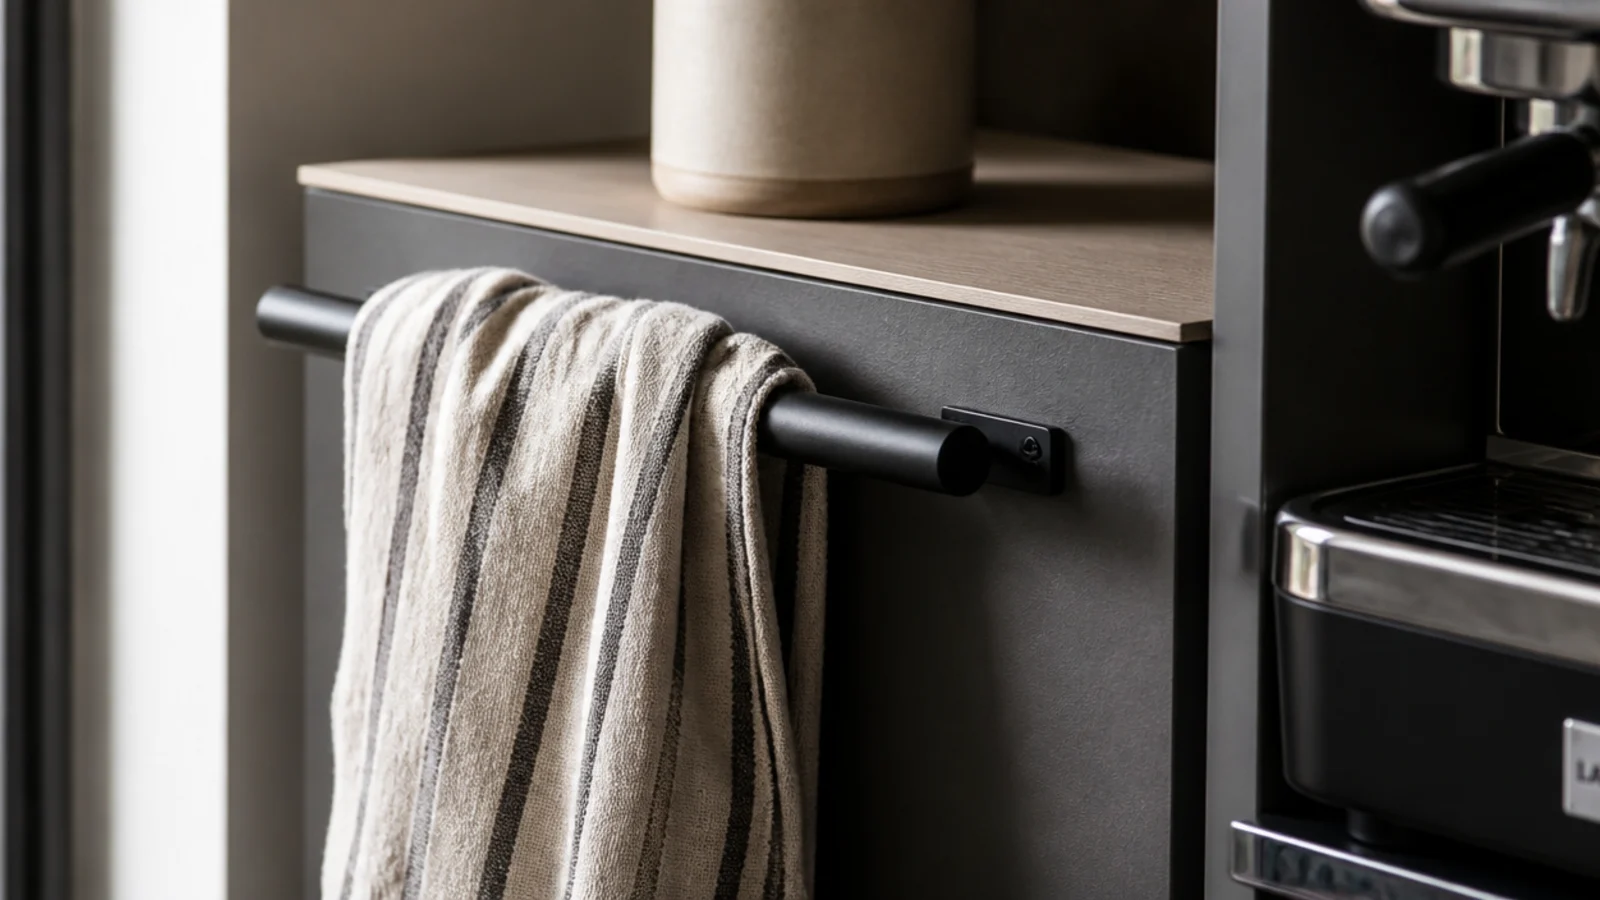
23. Hang a linen cloth within reach
A cloth on a slim rail beside the station is why the counter stays clean, because the wipe never requires a trip.
Choose linen over terry: it dries fast and leaves no lint on a machine housing. Swap it twice a week.
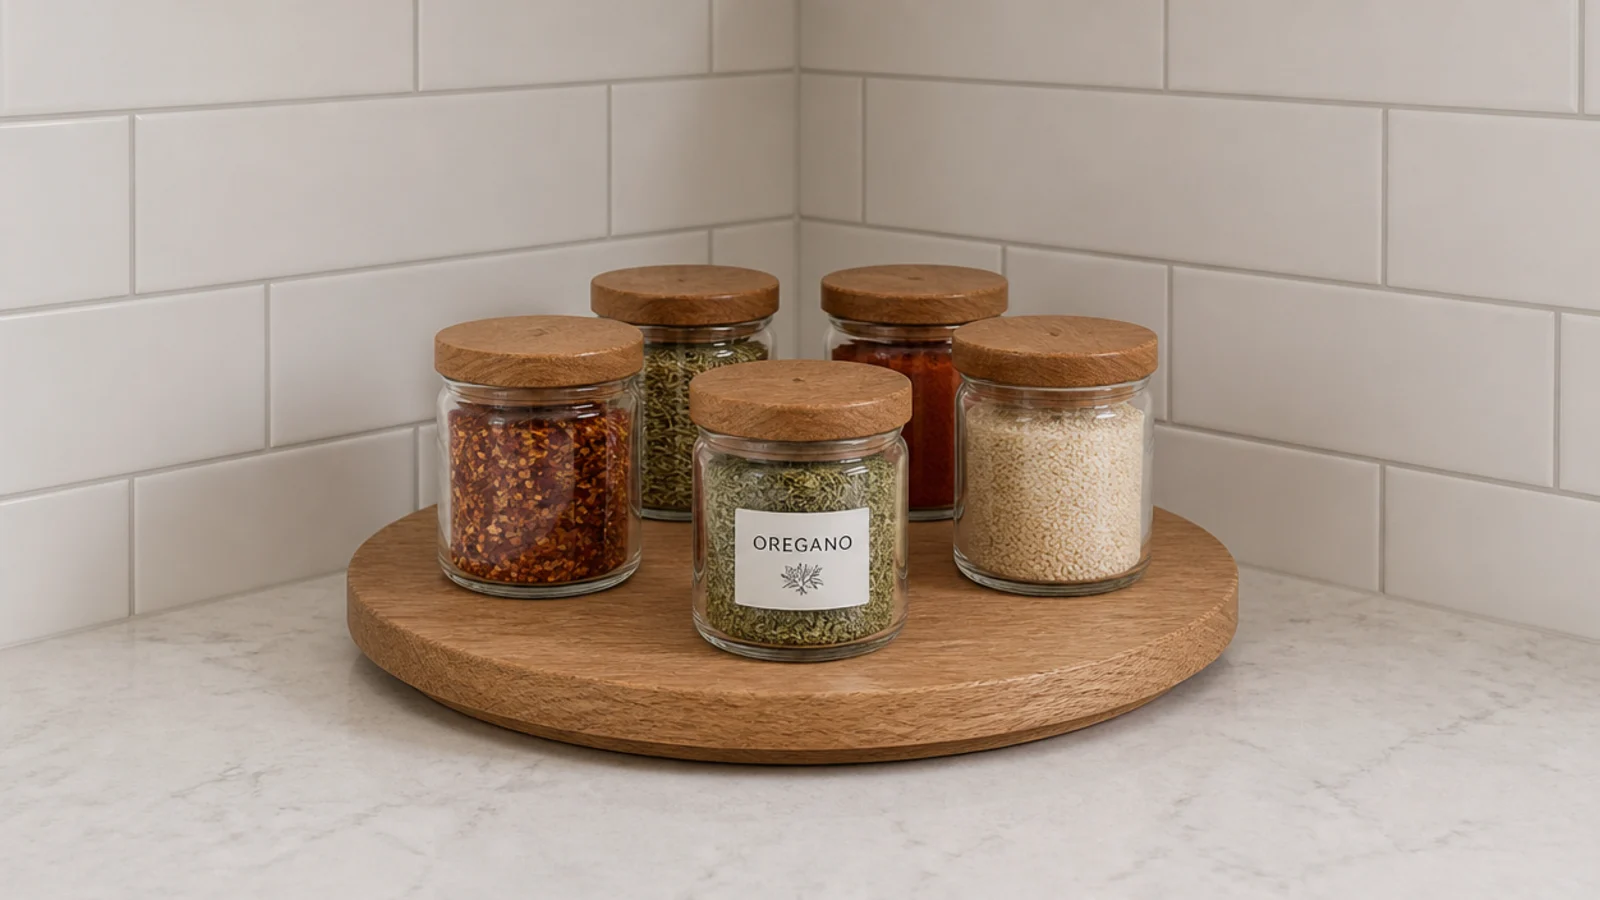
24. Turn the corner into a 12-inch turntable
The inside corner of a counter is dead space you reach into awkwardly. A 12-inch turntable makes all of it accessible with one spin.
Keep to six items in a single layer. Stacking two deep just hides the back row again.
25. Light it at 2700K, under the shelf
The ceiling light sits behind you at the machine, so you brew in your own shadow. A warm LED strip under the shelf fixes it for $15 to $30 ($).
Warm white only. Daylight bulbs over wood and cream stoneware make a coffee corner look like a break room.

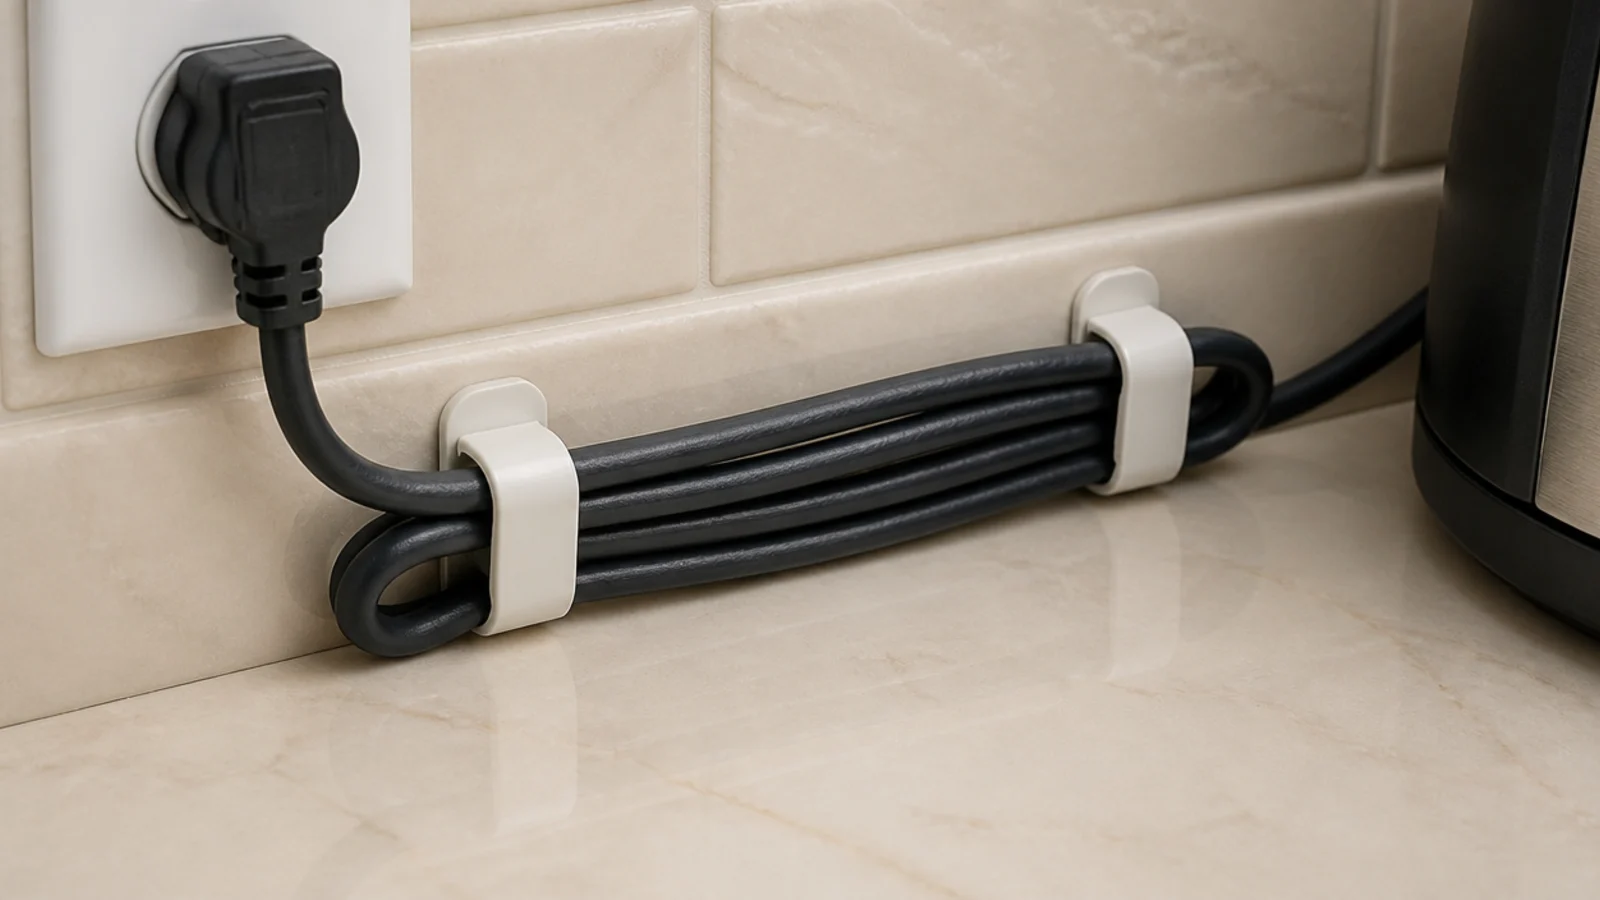
26. Clip the cords along the back edge
Two adhesive cable clips along the back edge remove the single most visible piece of mess in the whole corner.
If the outlet sits above the counter, a one-foot appliance cord replaces the six-foot one and the loop disappears entirely.
27. Line the shelf so you can wipe it
A cork or wipeable liner under the canisters means the weekly clean is lift, wipe, replace, rather than moving eight objects.
It also stops ring marks setting into an oiled shelf, which never fully sand out.
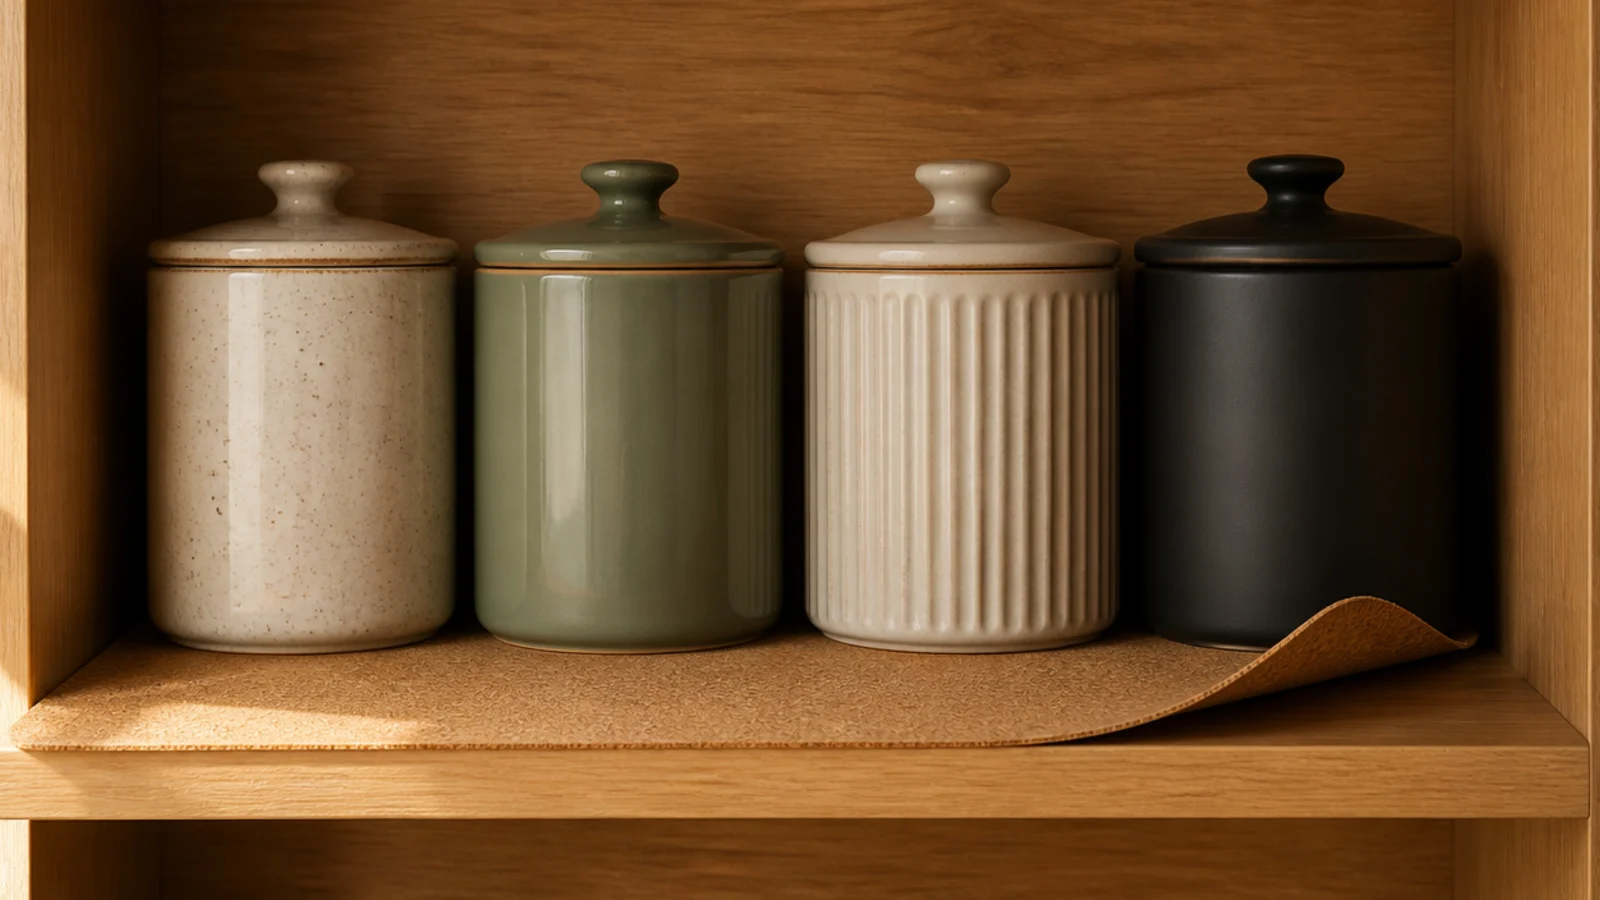
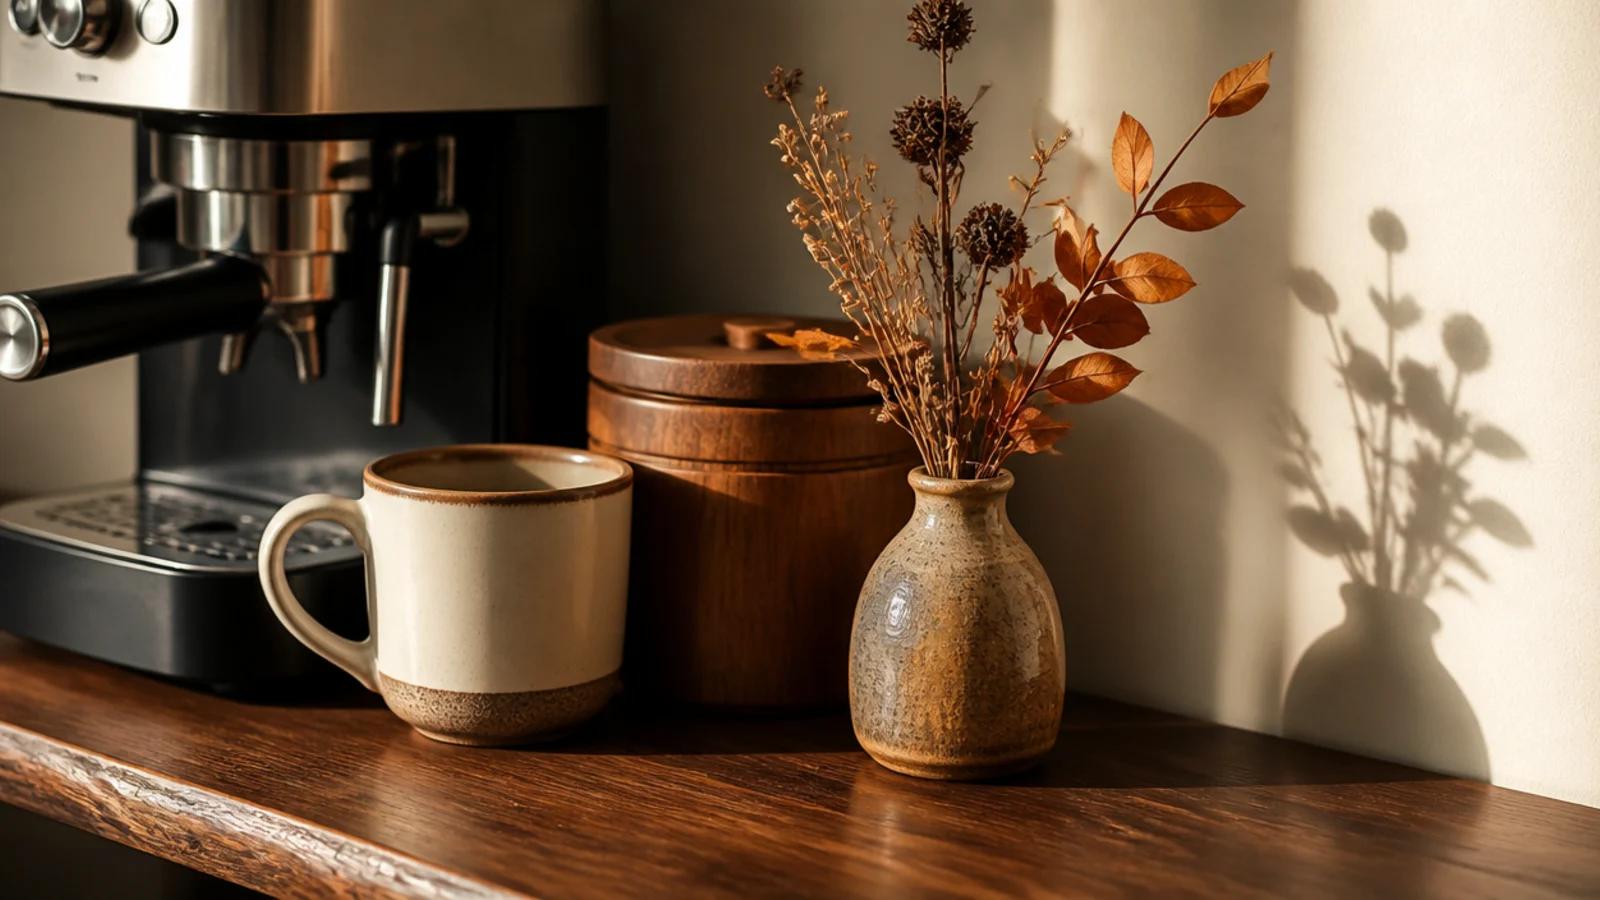
28. Change one object with the season
Dried grasses in autumn, eucalyptus in winter, a sprig of something green in spring — in the same small vase every time.
One rotating object keeps the corner feeling current. Redecorating the whole thing four times a year does not.
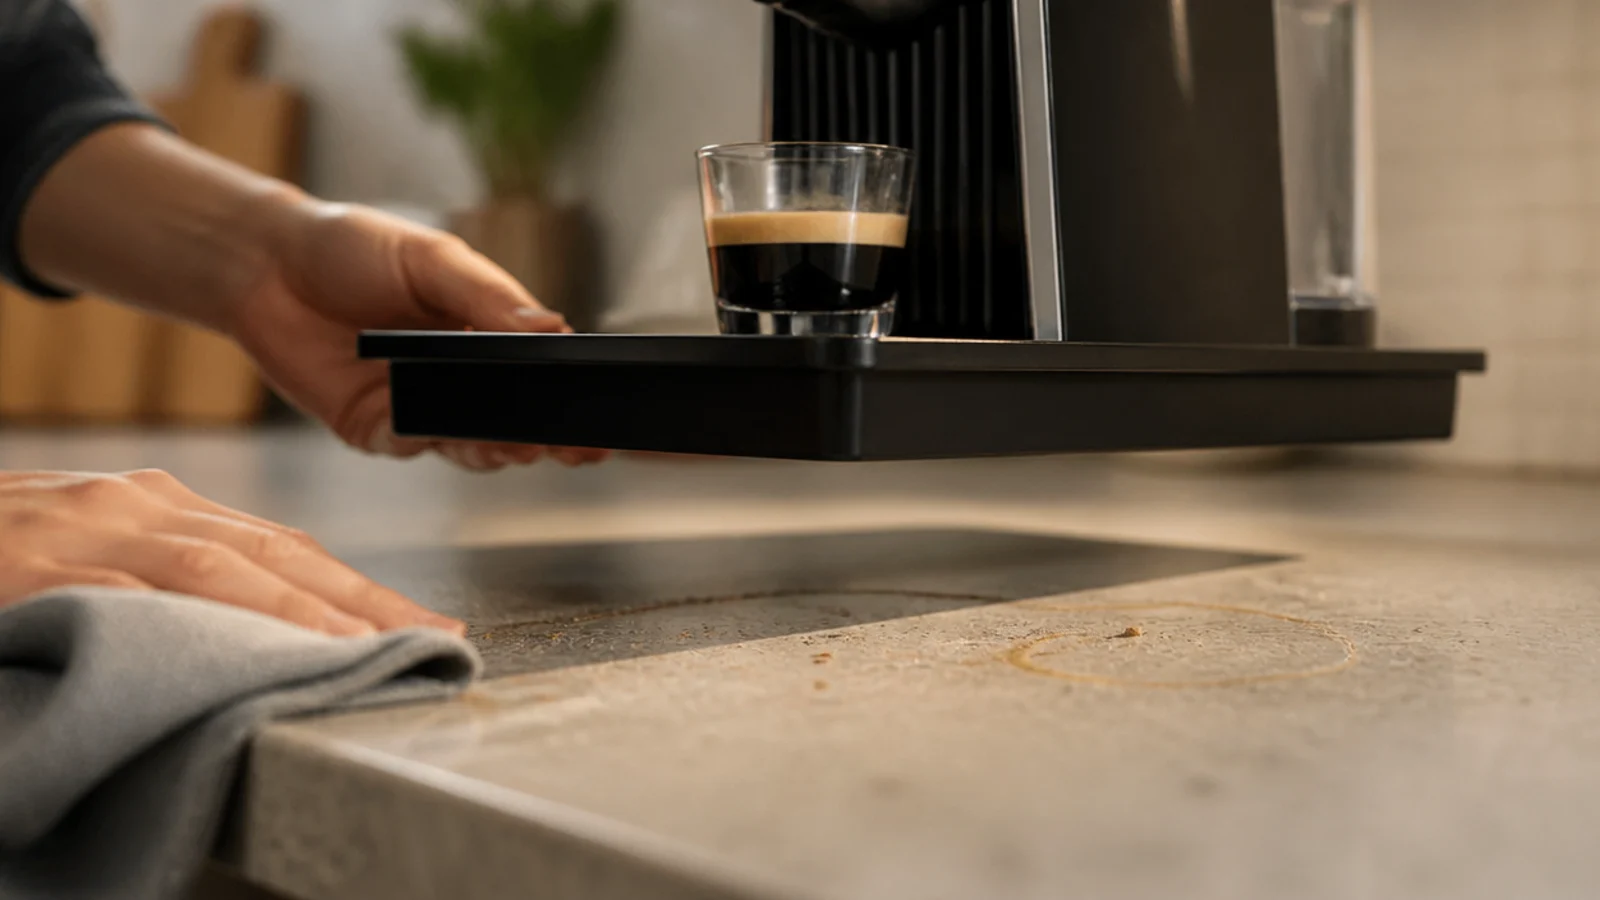
29. Run a two-minute weekly reset
Lift the tray, wipe the counter and the backsplash behind, put it back. That is the entire routine.
It takes two minutes and it is the difference between a station that still looks good a year in and one that quietly turns sticky. There is more on this in fifteen coffee corner mistakes worth avoiding.
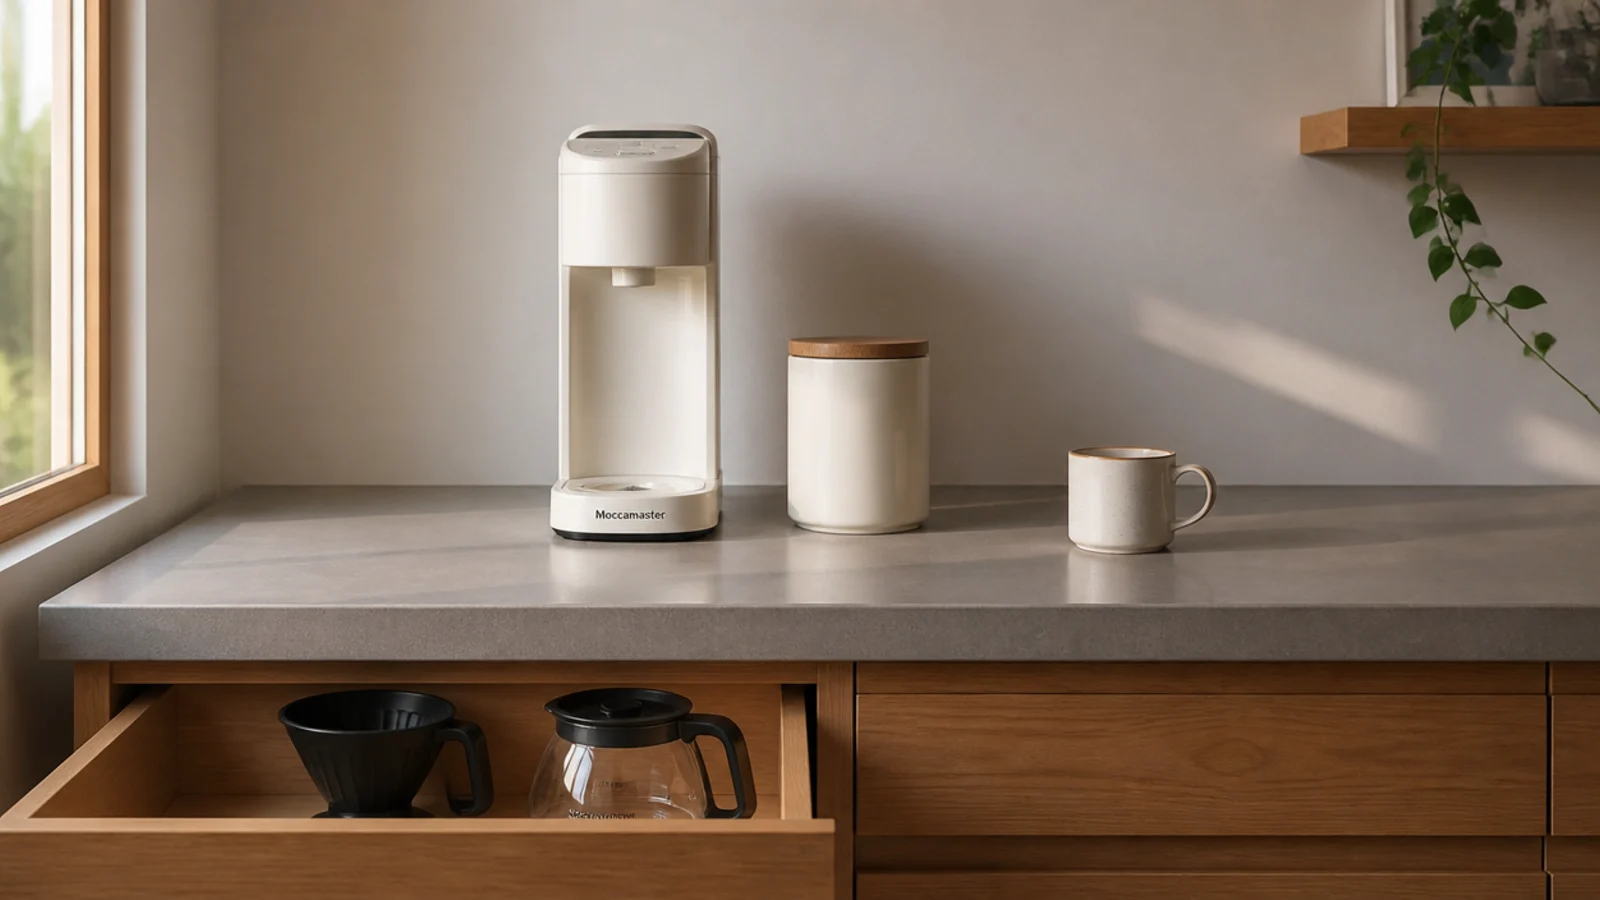
30. Remove two things every month
Every station I have ever set up is better a month later with two fewer objects on it.
Take off the two things your hand never reaches for and put them in the cabinet. If you do not miss them in a week, they were decor pretending to be equipment.
Mistakes to Skip
- Arranging by object type instead of task order. It photographs beautifully and adds a step to every single cup you make.
- Keeping a month of supplies on the counter. The clutter in most stations is filters and pods, not equipment.
- Skipping the tray. Without it, cleaning behind the machine means unplugging and lifting everything, so nobody ever does it.
Frequently asked questions
How should I arrange a coffee station?
Lay it out in the order your hands move: beans, grinder, machine, mug. Left to right if you are right-handed, reversed if you are not. Everything should sit inside a single arm sweep, roughly a 30-inch reach zone from where you stand. Anything you step sideways for belongs in the cabinet below rather than on the counter.
What should every coffee station have?
Six things: a machine, an opaque airtight bean canister, a grinder or a scoop, mugs within reach, a tray under the machine and one lidded box for filters and pods. That set covers every morning without a single trip to another cupboard. Everything else — syrups, spare mugs, descaler — is weekly or monthly and belongs behind a door.
How do I keep a coffee station clean?
Lift the tray once a week, wipe the counter and backsplash underneath, and put it back. That single habit takes two minutes and is the whole difference between a station that still looks good a year in and one that turns sticky. Keep a linen cloth on a rail within reach so the daily wipe never needs a trip to a drawer.
Where should coffee grounds go in a small kitchen?
In a small lidded pail or covered caddy within two steps of the machine, emptied every other day. Used grounds are wet and heavy and start to smell within about 24 hours in a warm kitchen. If the bin is across the room, you will leave the used filter sitting on the tray instead, which is a layout problem rather than a habit problem.
How often should I restock a coffee station?
Keep about two weeks of beans on the counter and the rest sealed in the cabinet. Whole beans keep in an opaque airtight container at room temperature, never the fridge, and a 12-ounce canister empties at roughly the right pace for two daily drinkers. Restock filters and pods on the same day you do the weekly wipe.
Do the reach zone, the tray and the lidded box first — together they cost under $60 and they solve most of what makes a counter feel chaotic. For the layout side, twenty genius setups for a cozy kitchen works through placement, and kitchen shelf styling covers what goes on the wall above. Save the pin so the numbers are with you next time you reset the counter.
Want more like this? Browse all 15 coffee corner ideas guides — they all use the same measurements and budget tiers.
Pin it for later
Save this to your Coffee Corner Ideas board
Pin it now so it is waiting for you when the tape measure comes out — and so the next person hunting for this idea can find it too.
Save this pinKeep going
More ideas worth saving while you have the tape measure out.