Coffee Corner Ideas · Listicle
20 Genius Coffee Corner Ideas for a Cozy Home

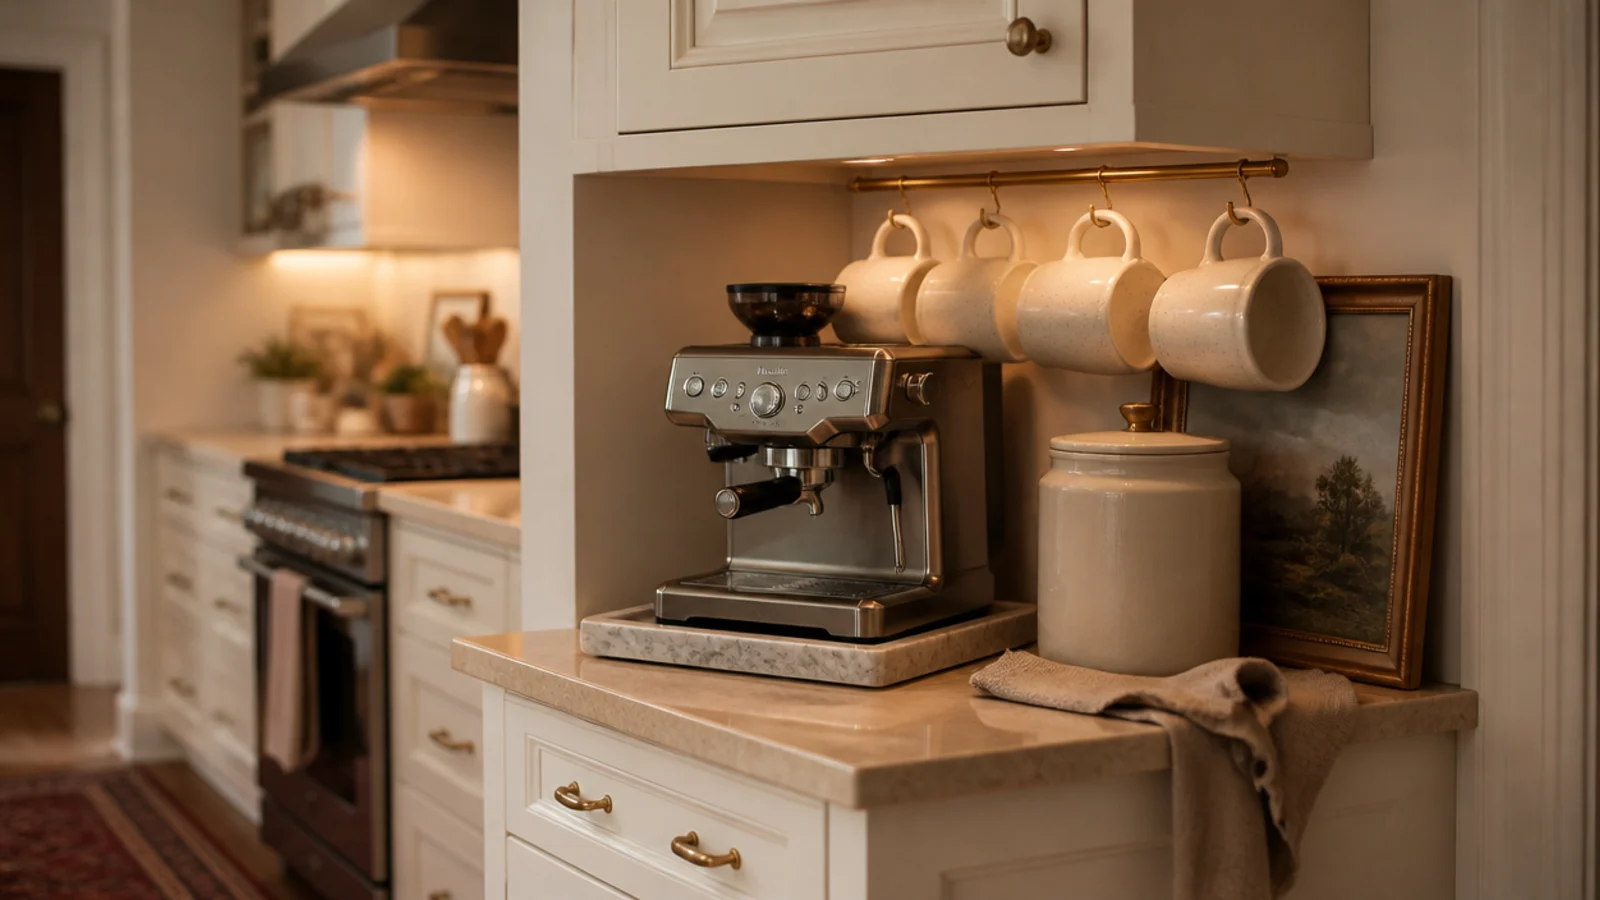
A kitchen coffee corner succeeds or fails on where it sits, long before anything gets styled. I have moved my own three times, and each move fixed a problem the previous spot created — a cord stretched too far, a fridge door that swung into my elbow, a machine three steps too far from the tap. These twenty placements cover every kitchen layout I have worked in, with the numbers that make each one workable.
In this guide22 sections — tap to openHide
- 1.Where a kitchen coffee corner belongs in a real layout
- 2.Take the end of the counter run first
- 3.Claim the gap beside the fridge
- 4.Work under the upper cabinets with an 18-inch shelf
- 5.Turn the dead inside corner into a turntable
- 6.Build an appliance garage with a lift-up door
- 7.Put it within six feet of the sink
- 8.Keep it four feet from the burners
- 9.Take over one upper cabinet and open it up
- 10.Use the drawer directly beneath for pods
- 11.Hang the mug rail under the cabinet
- 12.Park a cart at the end of the island
- 13.Take the pantry shelf if it has power
- 14.Use the window corner, but shade the beans
- 15.Put the mugs where the dishwasher opens
- 16.Fit a pull-out shelf so the machine slides forward
- 17.Add an outlet inside the cabinet
- 18.Keep the grounds bin in the pull-out below
- 19.Fit a wipeable panel behind the machine
- 20.Stay out of every door swing
- 21.Put the whole station on one tray
- 22.Mistakes to Skip
Where a kitchen coffee corner belongs in a real layout
Four constraints decide the spot, and they beat aesthetics every time.
Power. Check the outlet before you plan anything. An extension cord running under or near a water source is the wrong answer, and it rules out plenty of walls people fall for.
Water. Keep the station within about six feet of the sink, or commit to a carafe. Filling a reservoir a mug at a time is what quietly ends a coffee corner.
Grease. Stay at least four feet from the burners. Anything closer collects an airborne film that turns sticky on mugs and machine housings within weeks.
Space. About 24 to 30 inches of counter width and 15 to 18 inches of depth, with everything inside a single arm sweep — roughly a 30-inch reach zone. Leave at least 6 inches of clear air above the tallest point of the machine so steam disperses rather than hitting a shelf underside, and measure that with the lid open. A shelf above the machine sits 18 inches off the counter.
Budget tiers here: $ is under $40, $$ is $40 to $150 for a cart or shelving, and $$$ is $150 and up once cabinetry or an electrician is involved.
1. Take the end of the counter run first
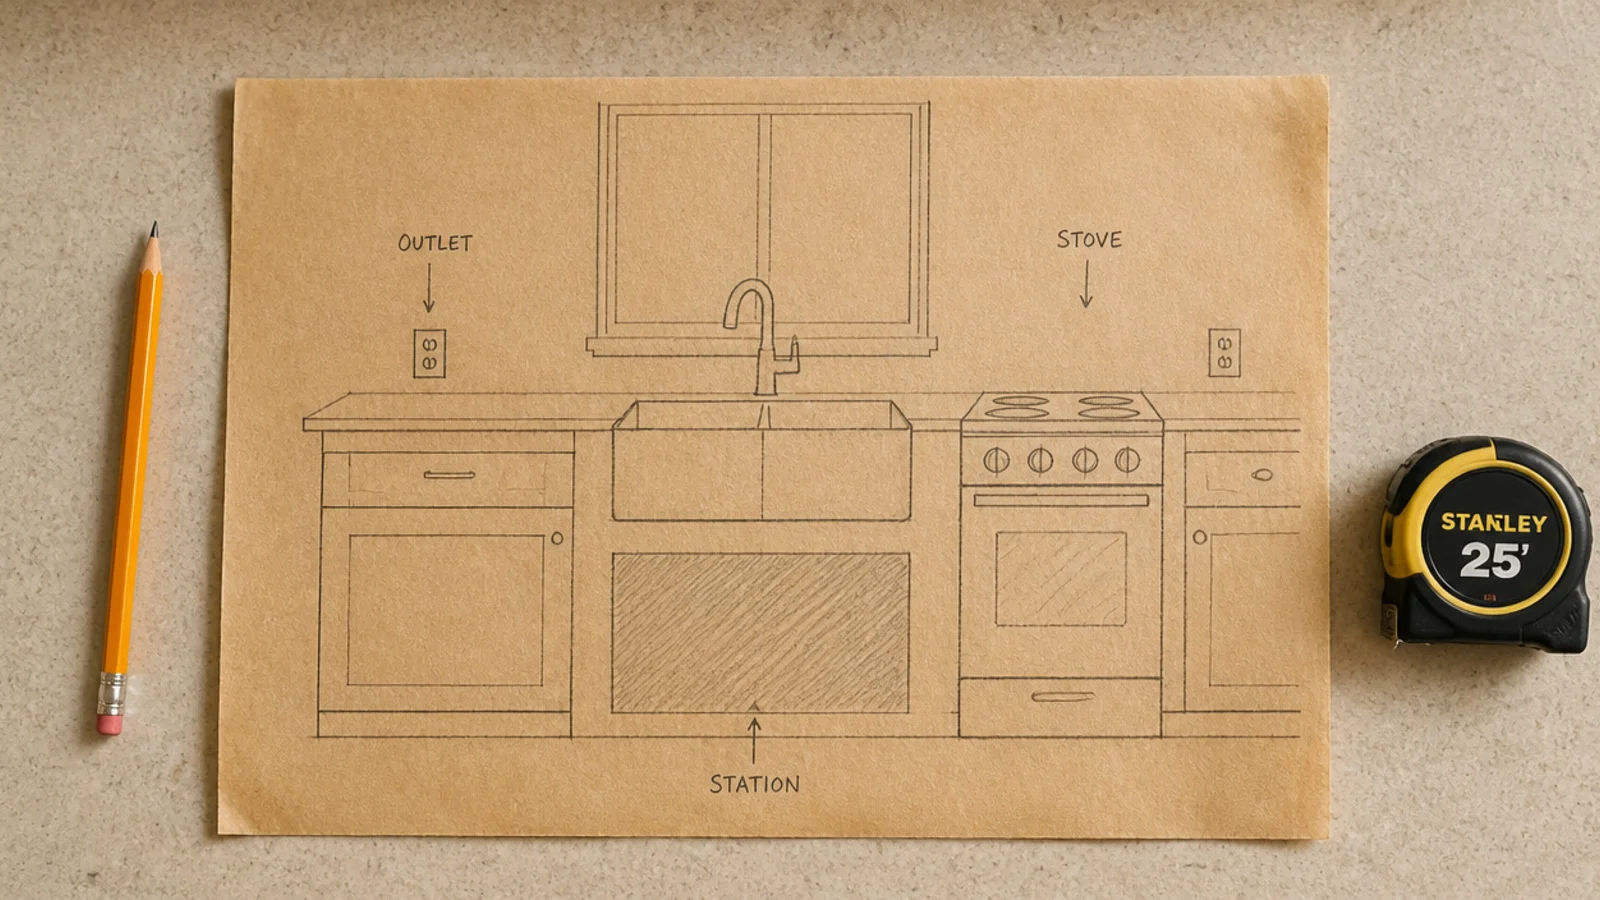
The last 30 inches of a run is the best default in almost any kitchen. Only one side ever gets bumped, nothing swings into it, and there is usually a wall to hang a shelf on.
Measure from the side wall out and keep the final 4 inches near the front edge permanently clear — that strip is where a hot mug lands while you reach for milk.
If the run ends at a doorway rather than a wall, move down one cabinet. A station beside a walkway gets knocked daily.
2. Claim the gap beside the fridge
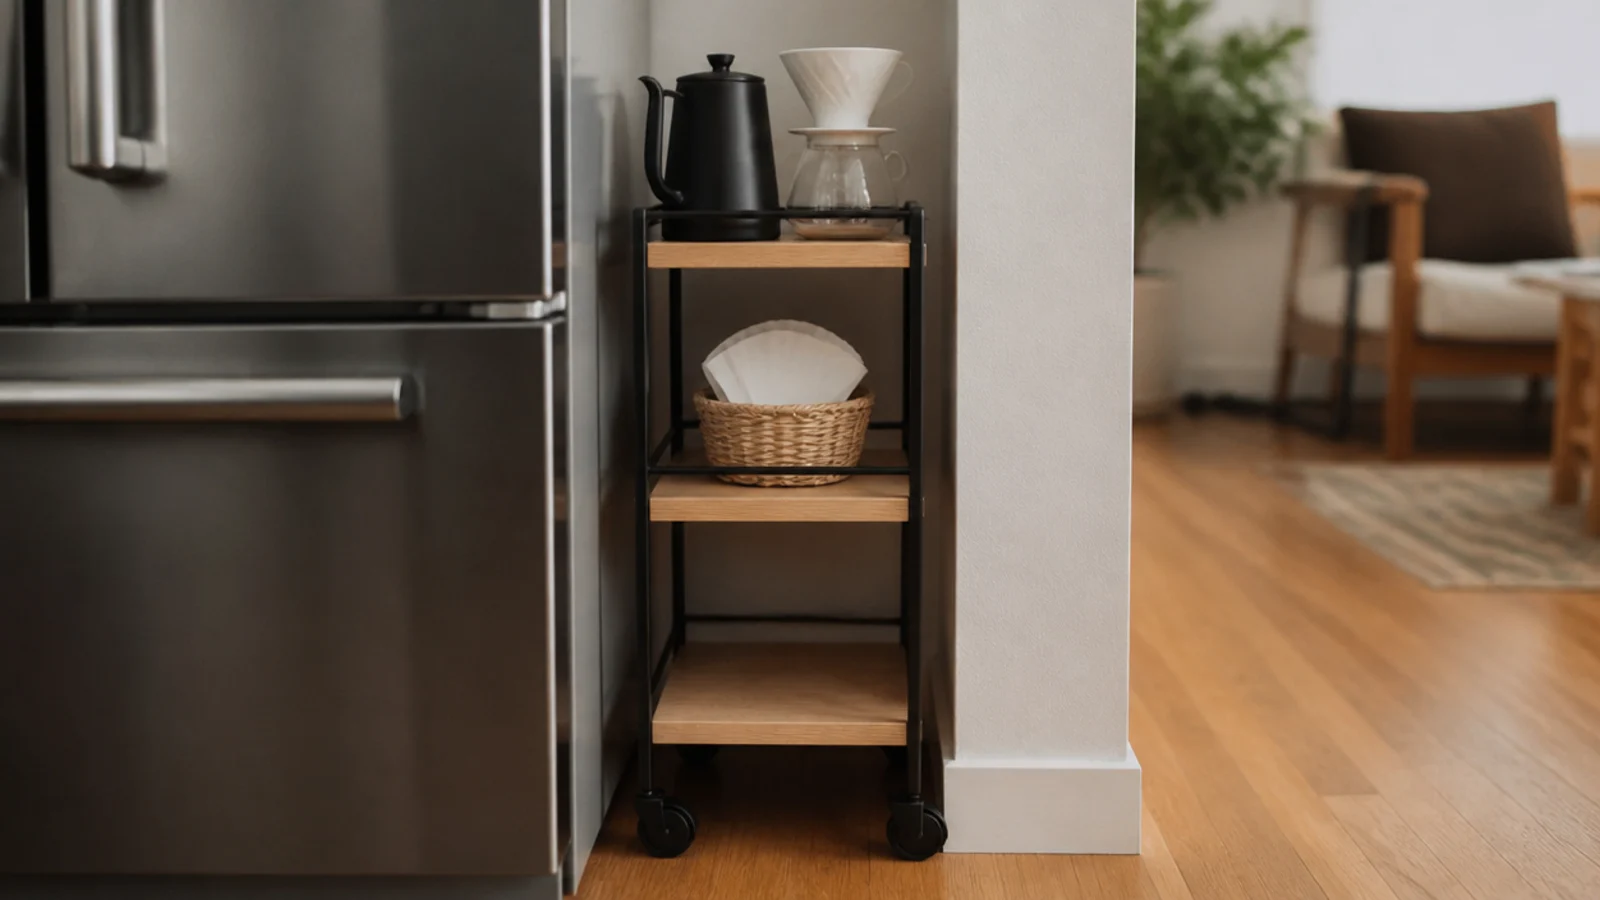
Most kitchens waste 16 to 20 inches between the fridge and the wall or the end of the cabinets. A narrow cart fills it exactly and gives you a station without surrendering any prep counter.
Measure the gap at its narrowest point, including the fridge door hinge when the door is open. Subtract an inch for comfort, and that is your cart width.
Locking casters matter here more than anywhere: an unlocked cart in a gap drifts until it blocks the fridge. Expect $60 to $140 ($$).
3. Work under the upper cabinets with an 18-inch shelf
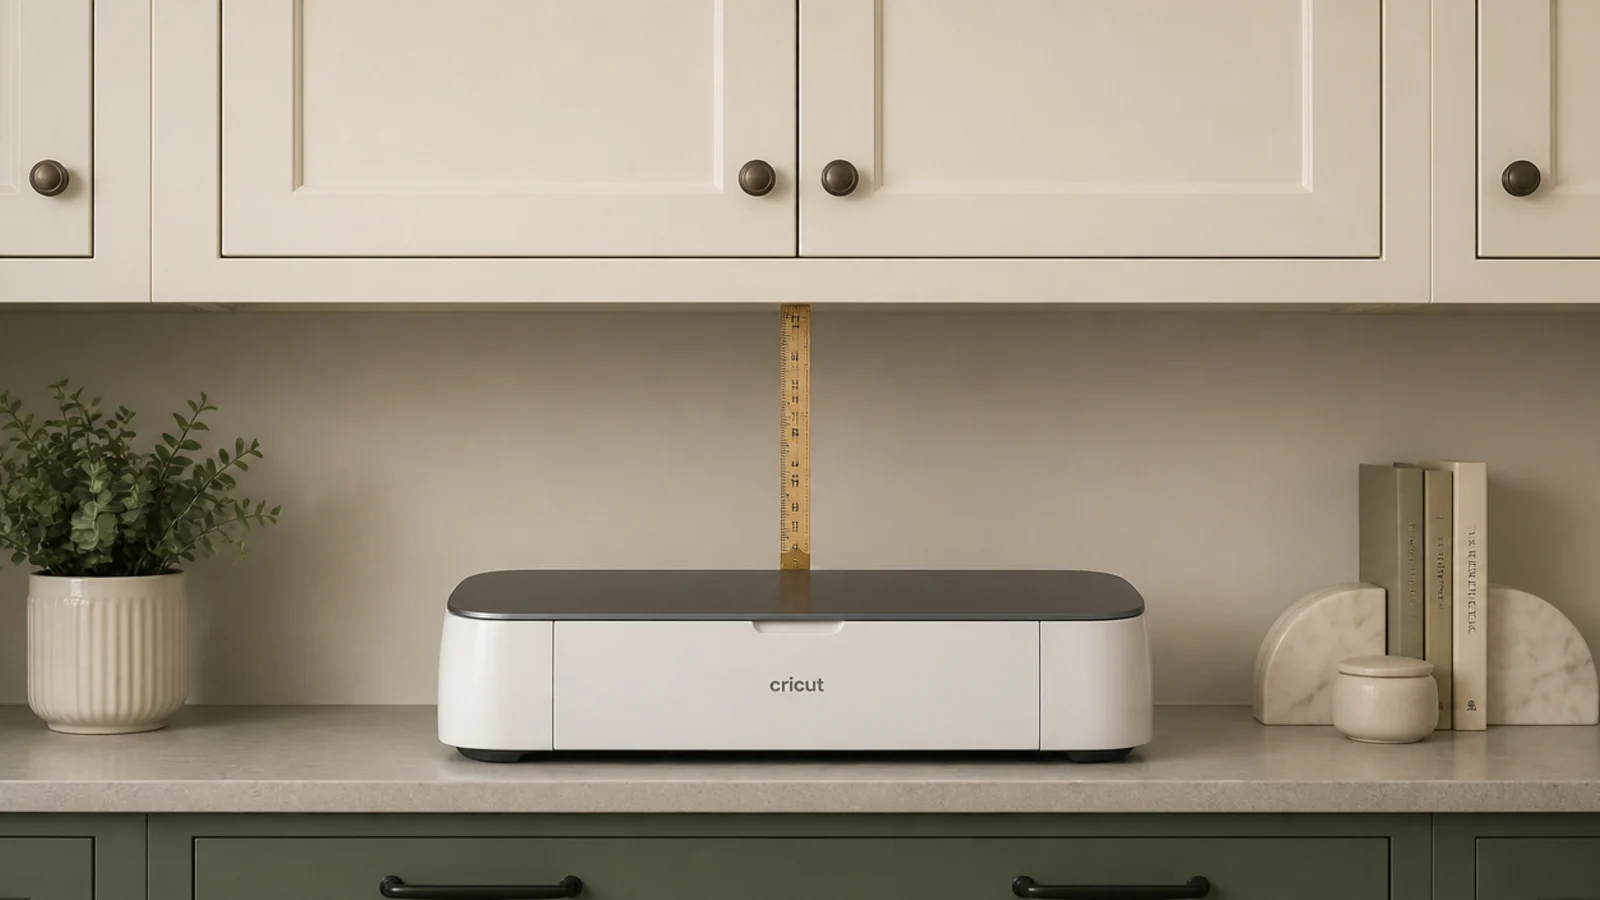
Standard upper cabinets sit 18 inches above the counter, which is exactly the height most drip machines need — and exactly the height a top-fill machine does not.
Measure your machine at its tallest point with the lid open and the reservoir lifted, then confirm you still have 6 inches of clear air above it. If not, shift the station to a stretch of wall with no uppers, or choose a front-fill machine.
Steam that hits a cabinet underside condenses, drips back down, and eventually lifts the finish.
4. Turn the dead inside corner into a turntable
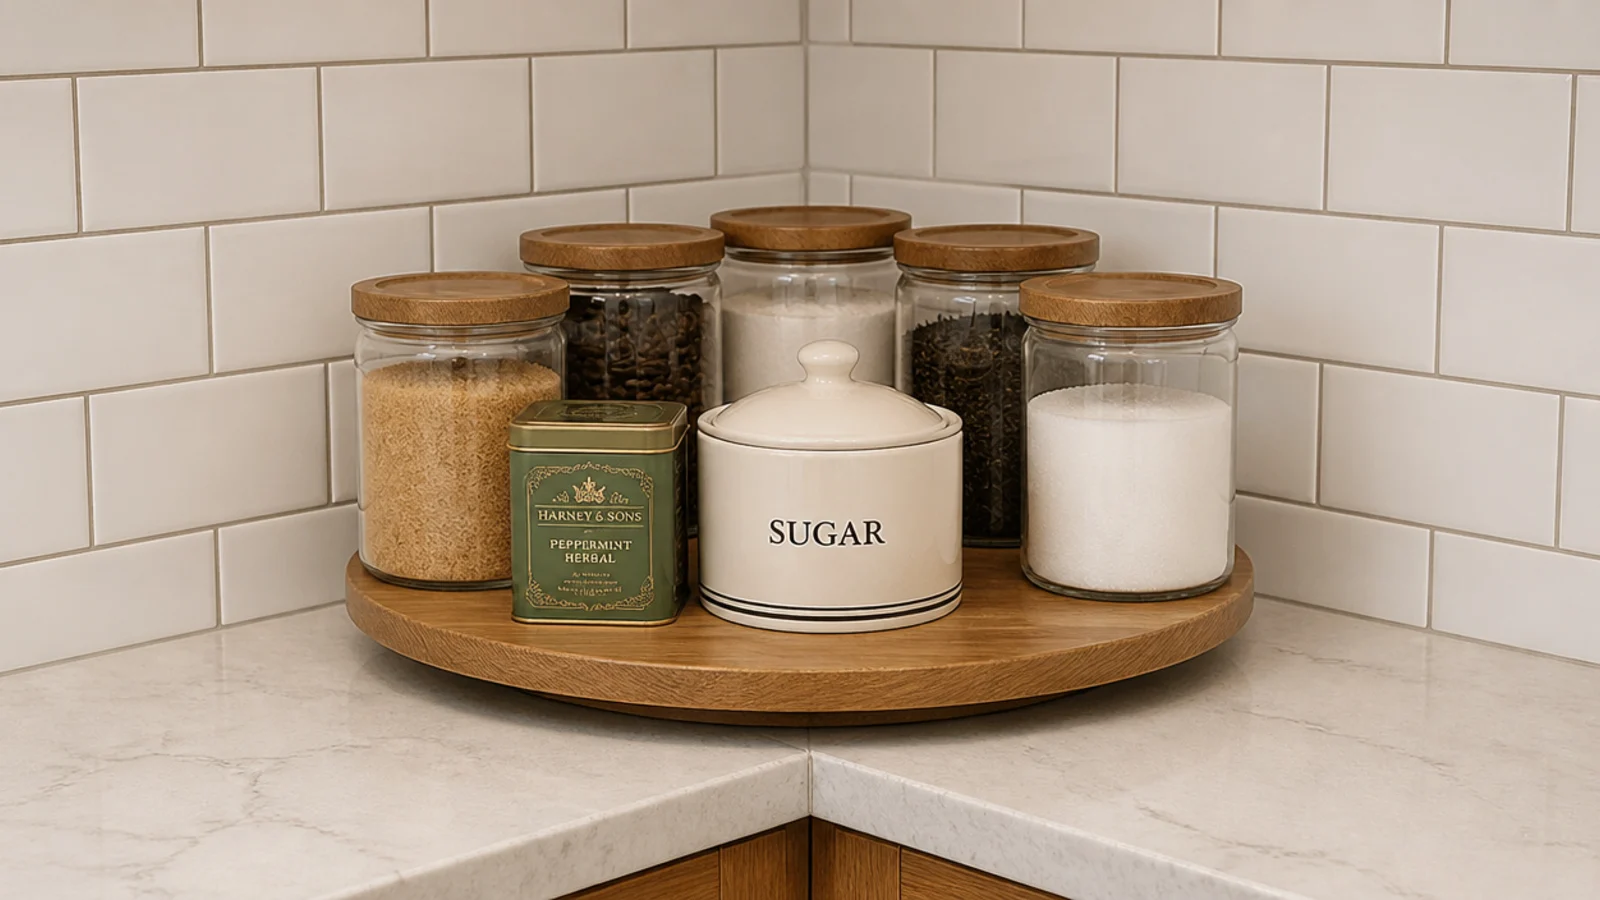
The inside corner where two counters meet is space you already paid for and reach into awkwardly. A 12-inch wooden turntable makes all of it usable with one spin.
Load it in a single layer — six jars, a sugar pot, a small tin. Stacking two deep just re-hides the back row, which is the problem you were solving.
It costs $12 to $20 ($) and it is the highest-return twenty dollars in a cramped kitchen.
5. Build an appliance garage with a lift-up door
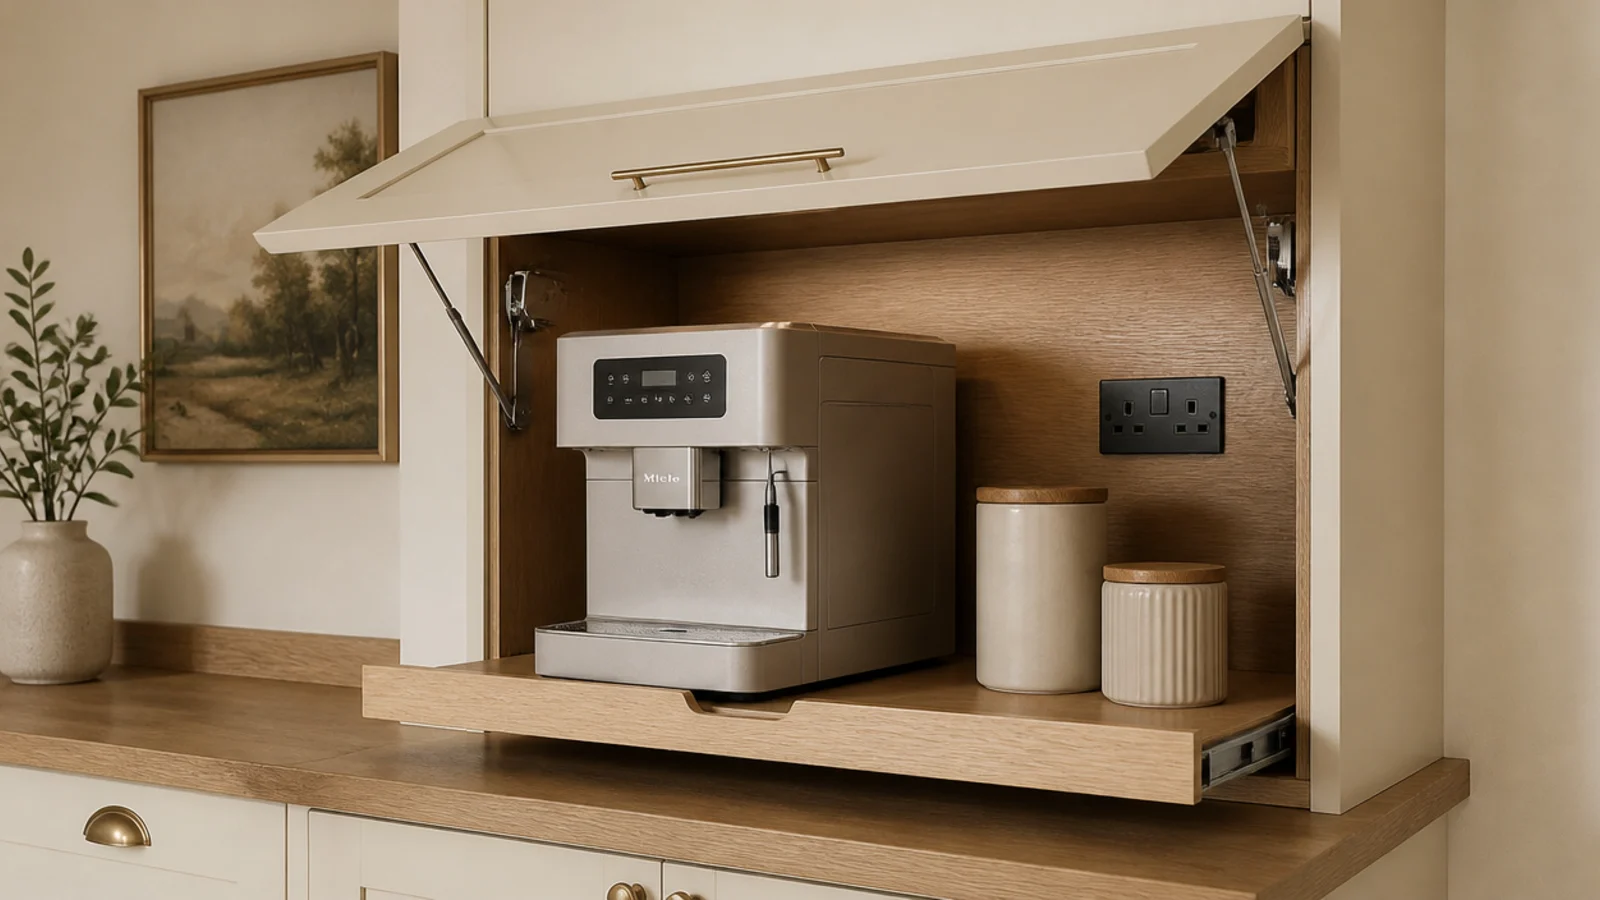
An appliance garage keeps the counter visually clear, which matters most in a small kitchen where the counter is the whole room. Allow 14 inches of interior height for a drip machine and 17 or more for a bean-to-cup.
A lift-up or tambour door beats a swing door here because nothing juts into the walkway while you brew.
The two details that make it usable are an outlet inside the cabinet and a pull-out shelf. Never run the machine with the door shut.
6. Put it within six feet of the sink
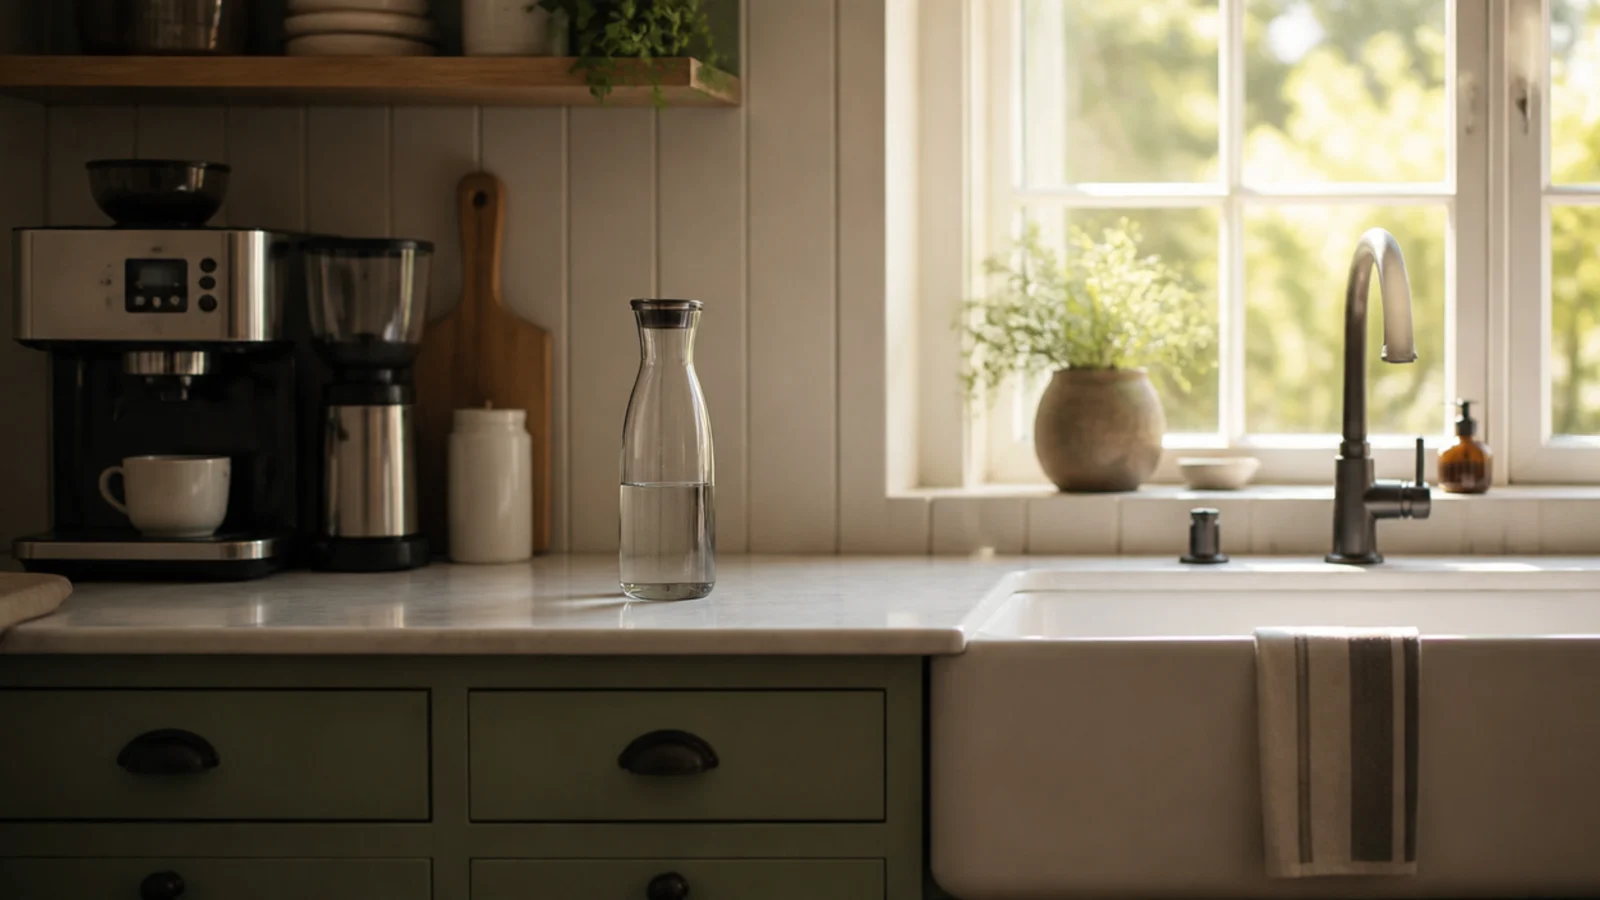
Every abandoned coffee station I have seen died over water. If the machine sits across the kitchen from the tap, filling the reservoir becomes a chore you skip.
Six feet is the comfortable limit. Beyond that, keep a one-litre glass carafe beside the machine so one fill covers two brews, and refill it when you load the dishwasher.
In hard-water areas a filter jug does the same job and halves how often you descale.
7. Keep it four feet from the burners
Airborne grease travels much further than people expect. Within about four feet of a burner, everything on an open shelf develops a film that attracts dust and turns sticky.
If your layout cannot give you that gap, adapt rather than surrender: keep mugs behind a cabinet door, choose stoneware, metal and glass over wood on the open surface, and wipe weekly.
Never put paper filters or cookbooks in that zone. Paper absorbs grease permanently.
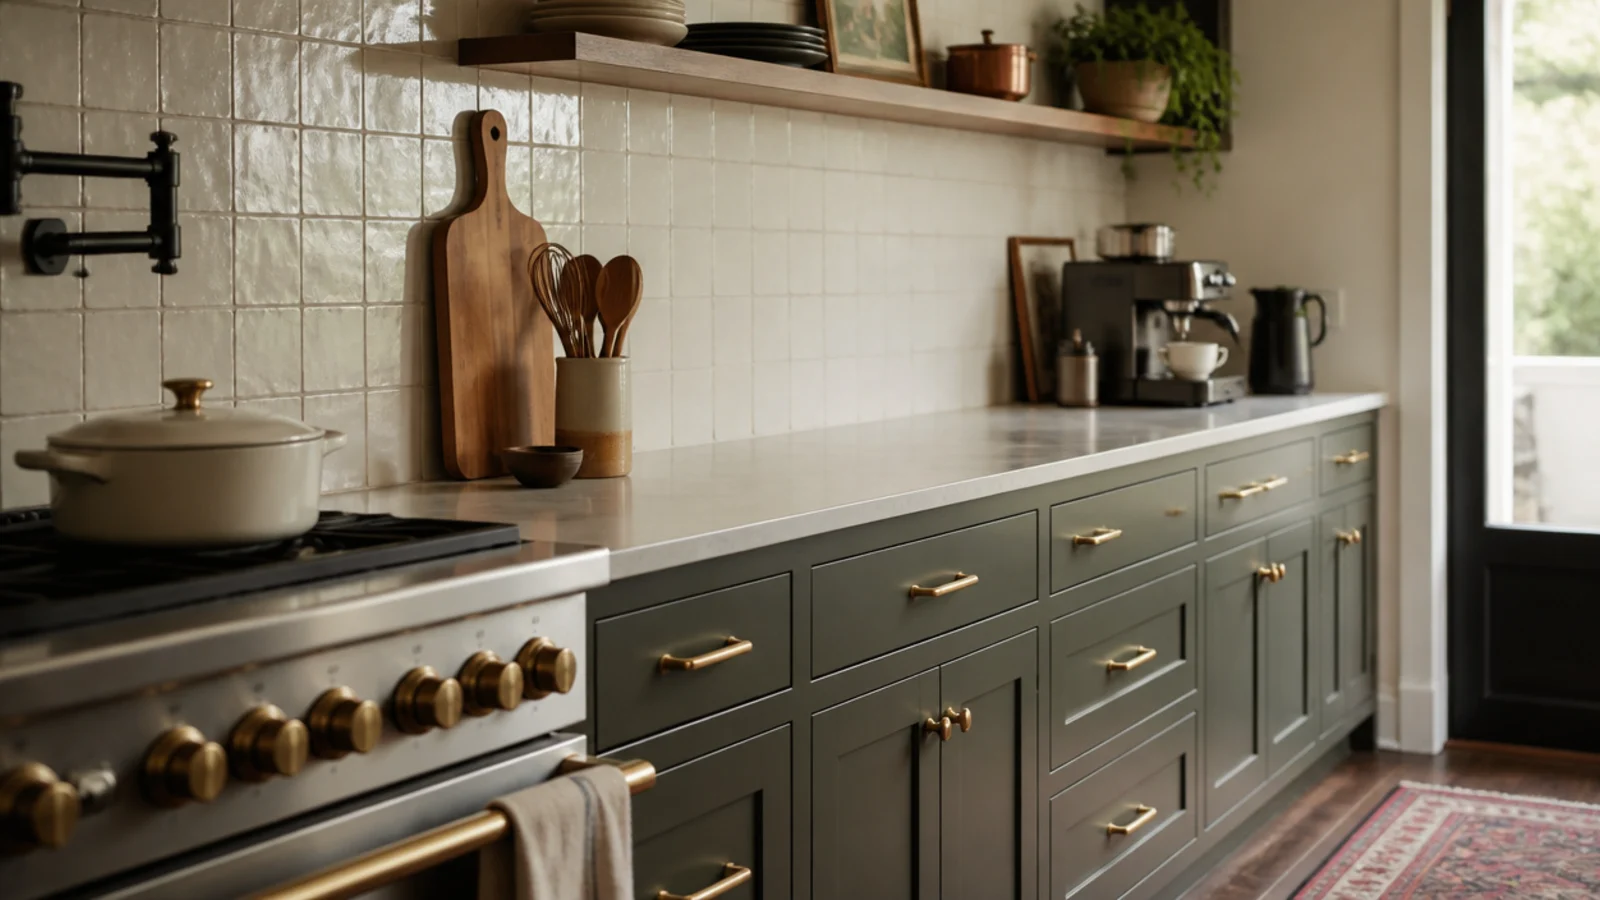
8. Take over one upper cabinet and open it up
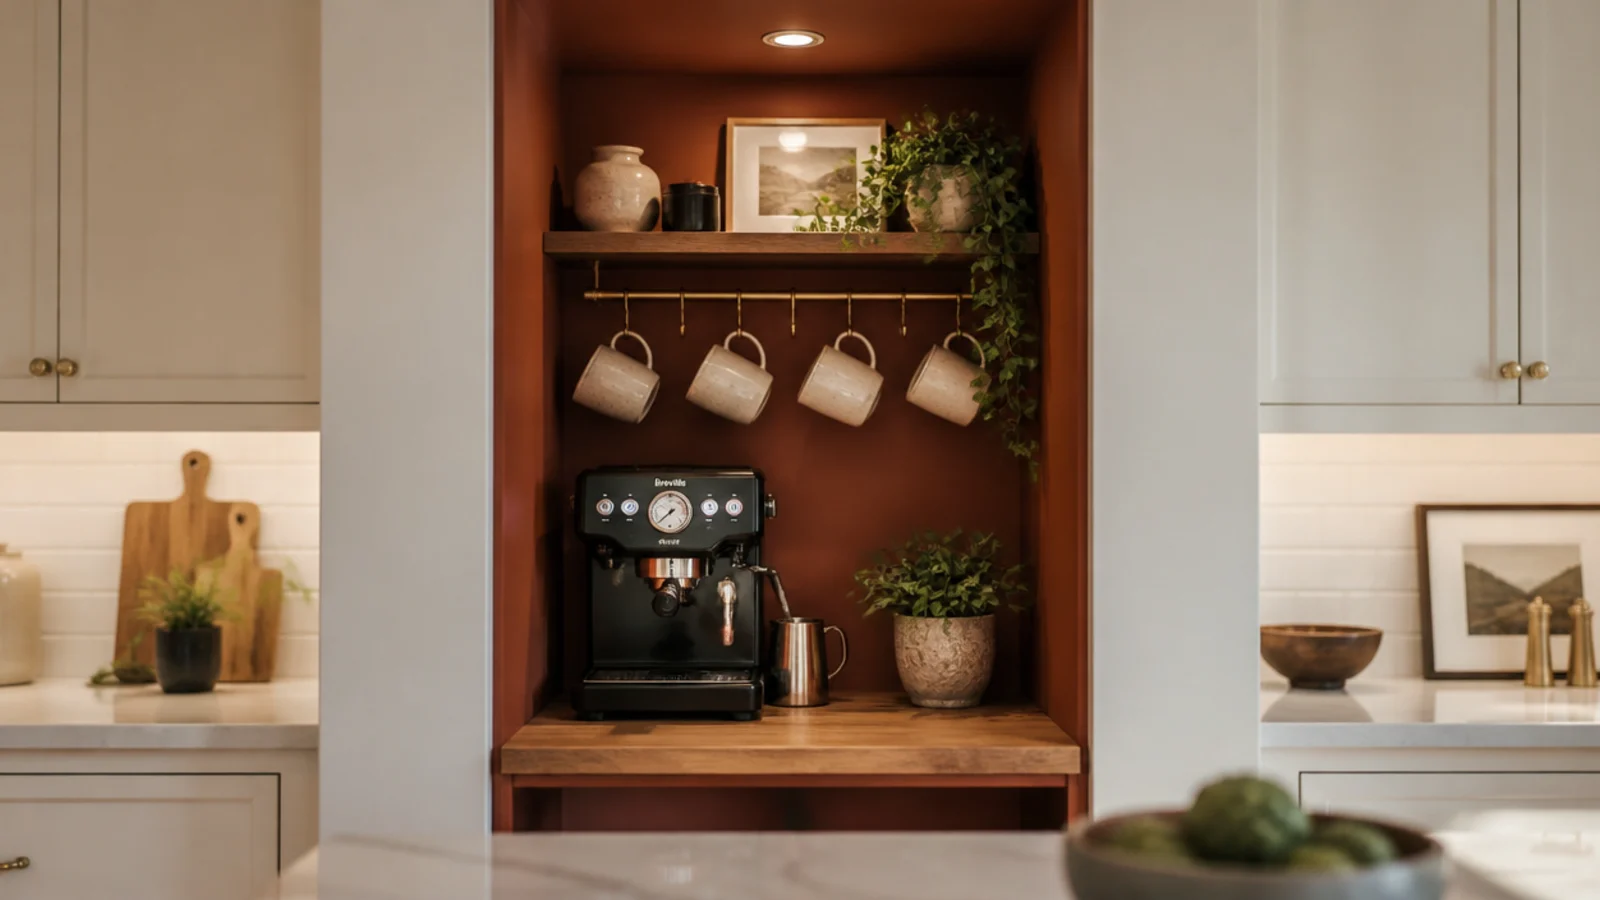
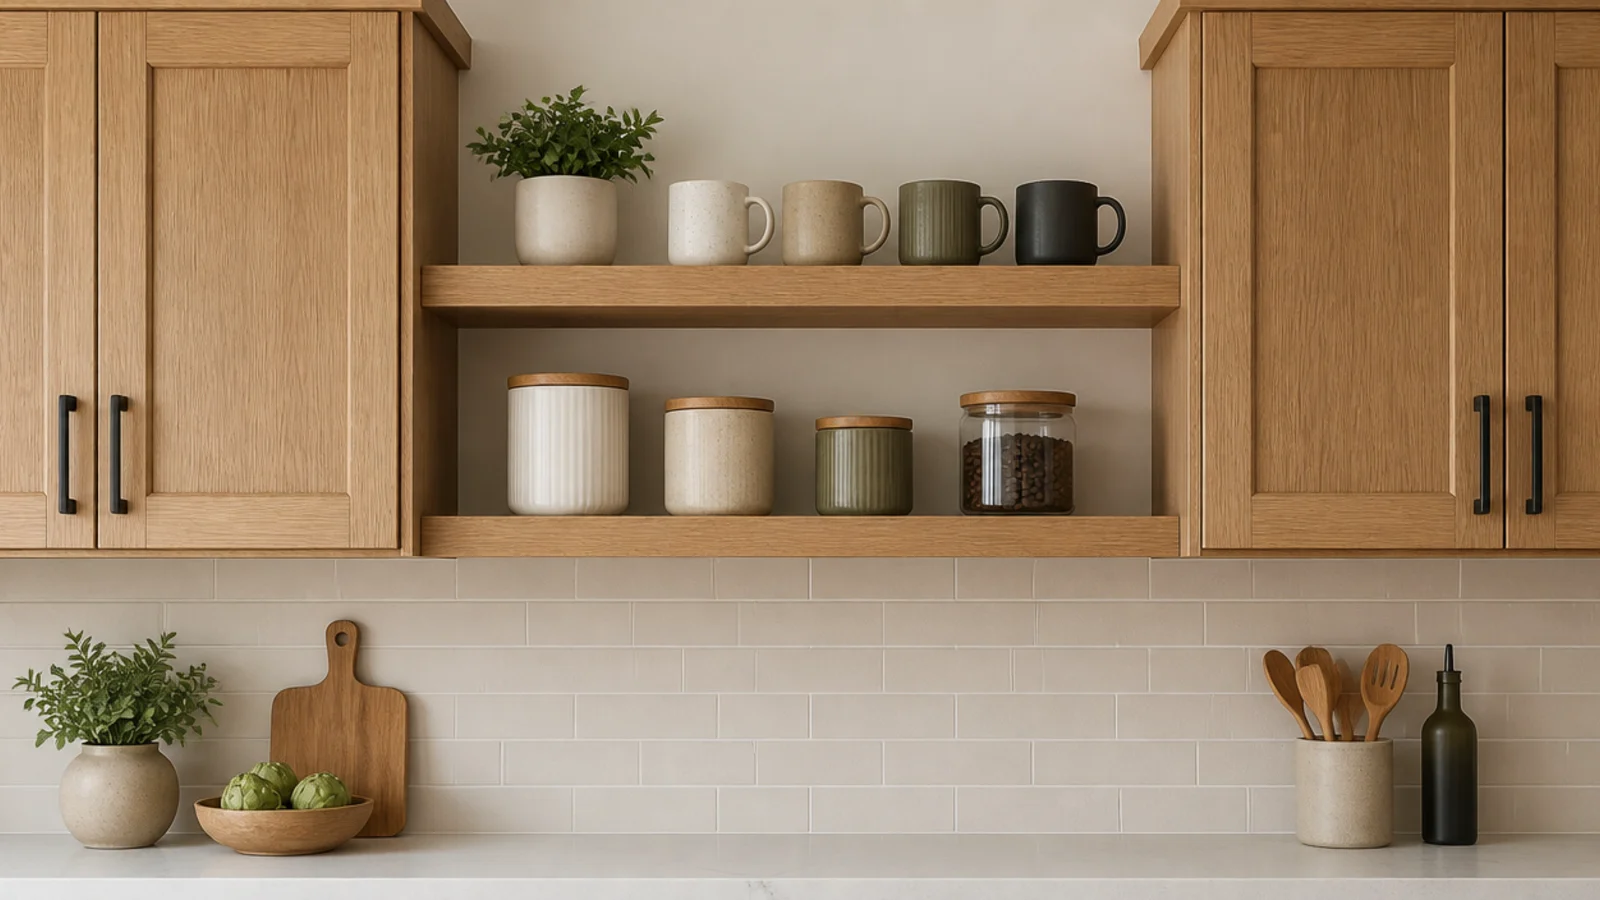
Removing a single upper cabinet above the coffee spot gives you the open-shelf look without losing the storage you rely on across the rest of the kitchen.
Two shelves in the gap, spaced 12 to 14 inches apart, hold mugs, canisters and a small stack of saucers. Patch and paint the wall behind before mounting.
Try one and live with it for six months. There is a fuller argument for this in open shelving instead of cabinets.
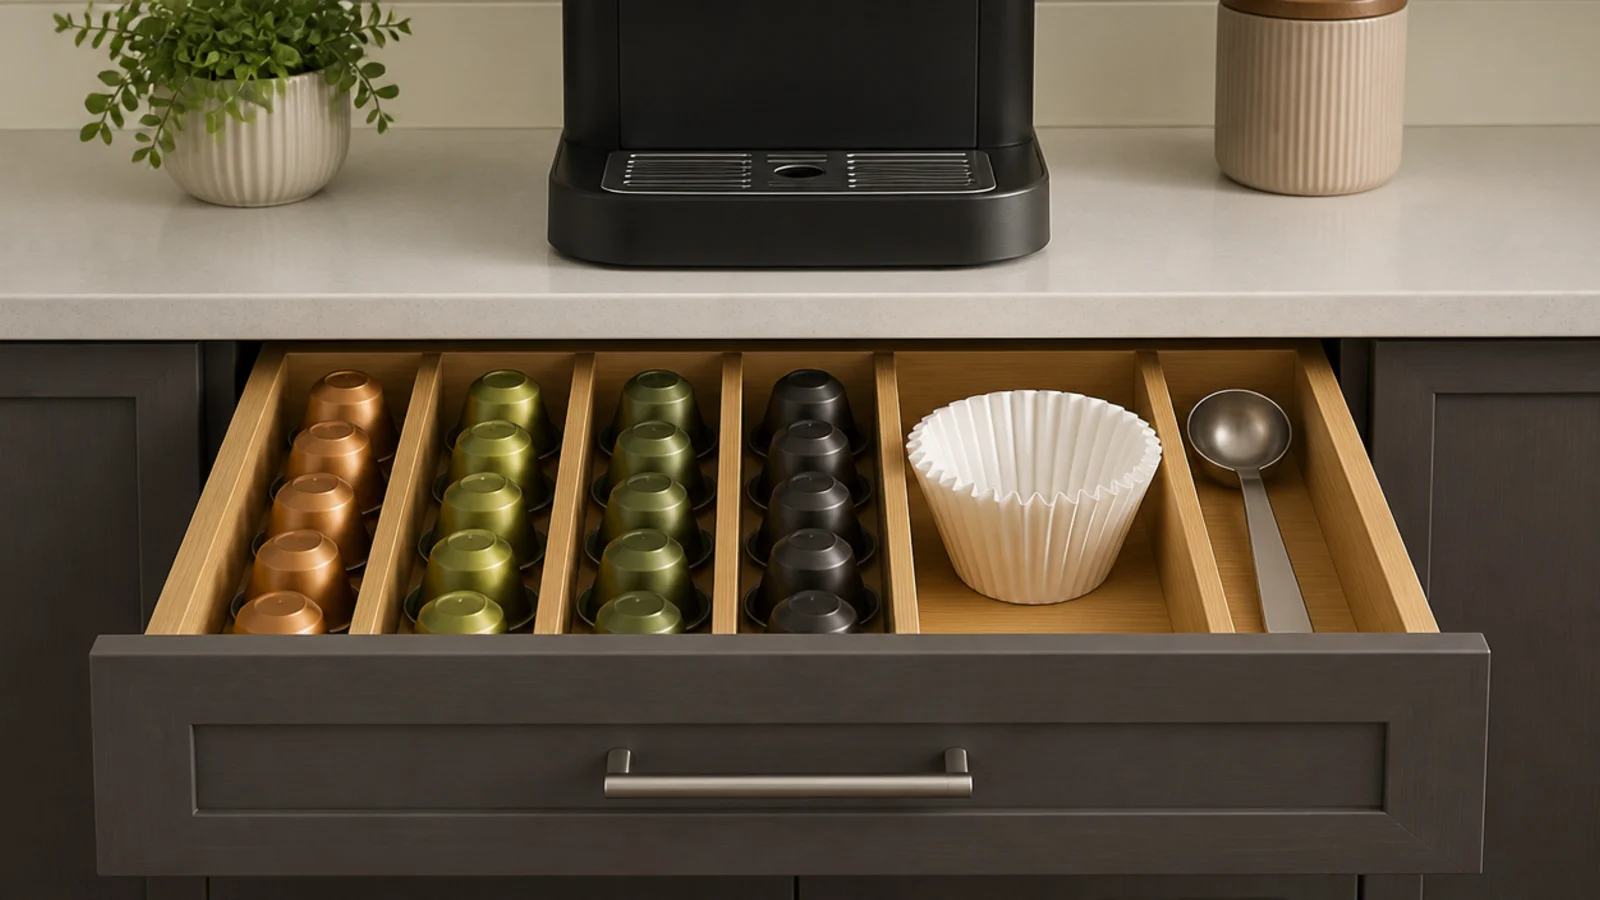
9. Use the drawer directly beneath for pods
The drawer under the machine is the most obvious storage in the kitchen and the one people forget. Pods, filters, sachets and a scoop all fit in one drawer with a $6 adjustable divider.
Decant nothing. Line them up in rows and shut the drawer, and every piece of printed packaging disappears from the room.
Keep the descaling kit and spare water filters out of here — those are quarterly items and belong in a labelled box in the cabinet.
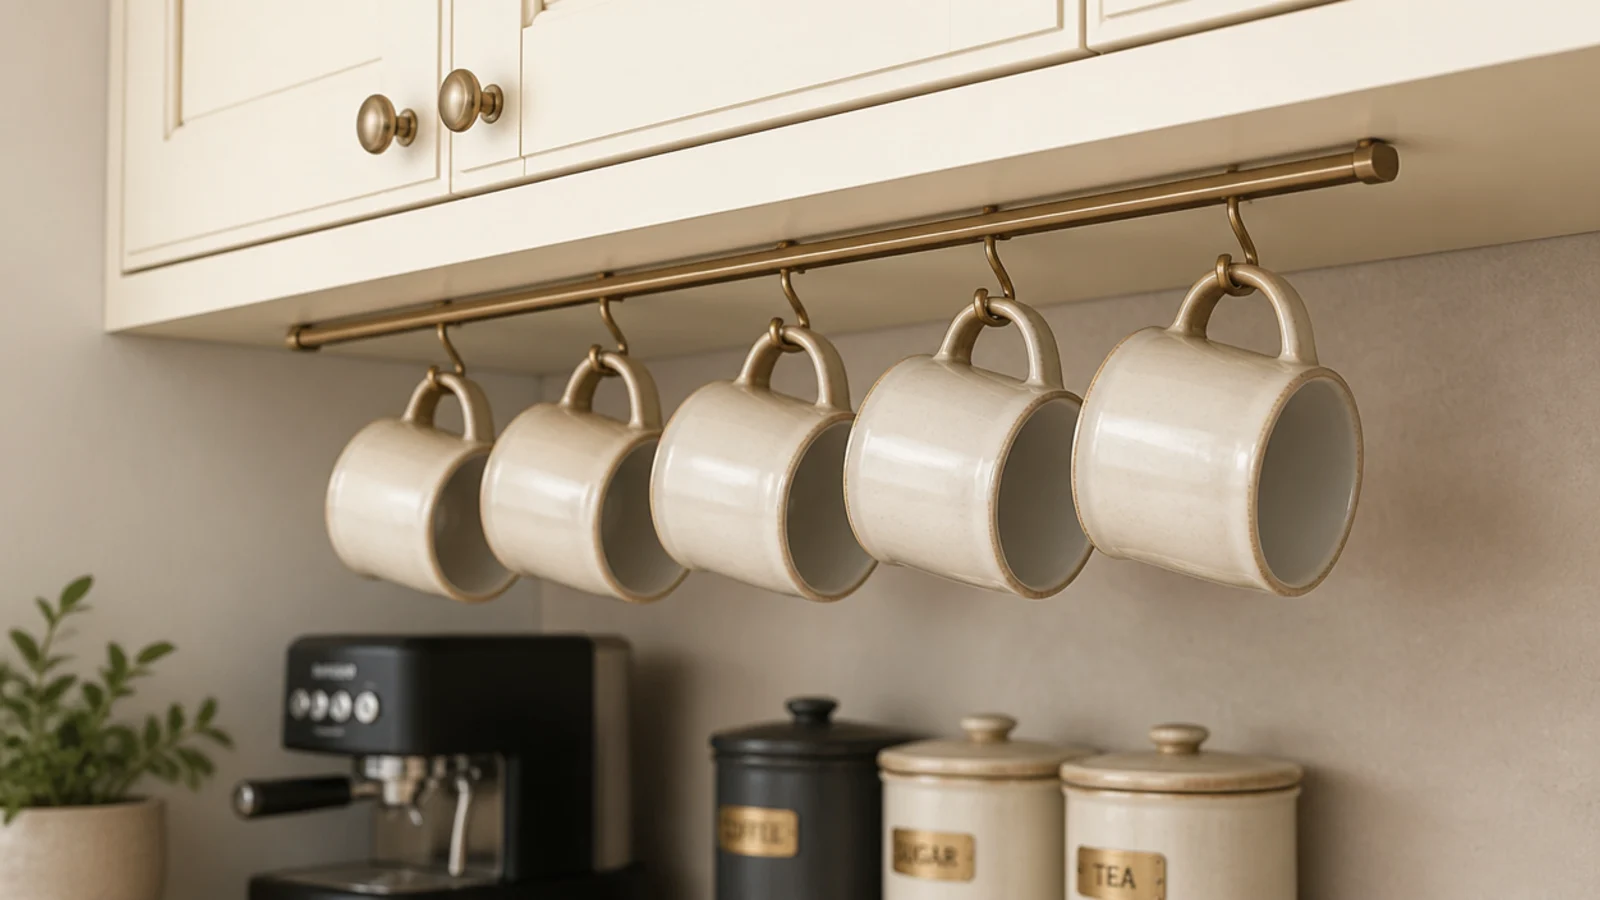
10. Hang the mug rail under the cabinet
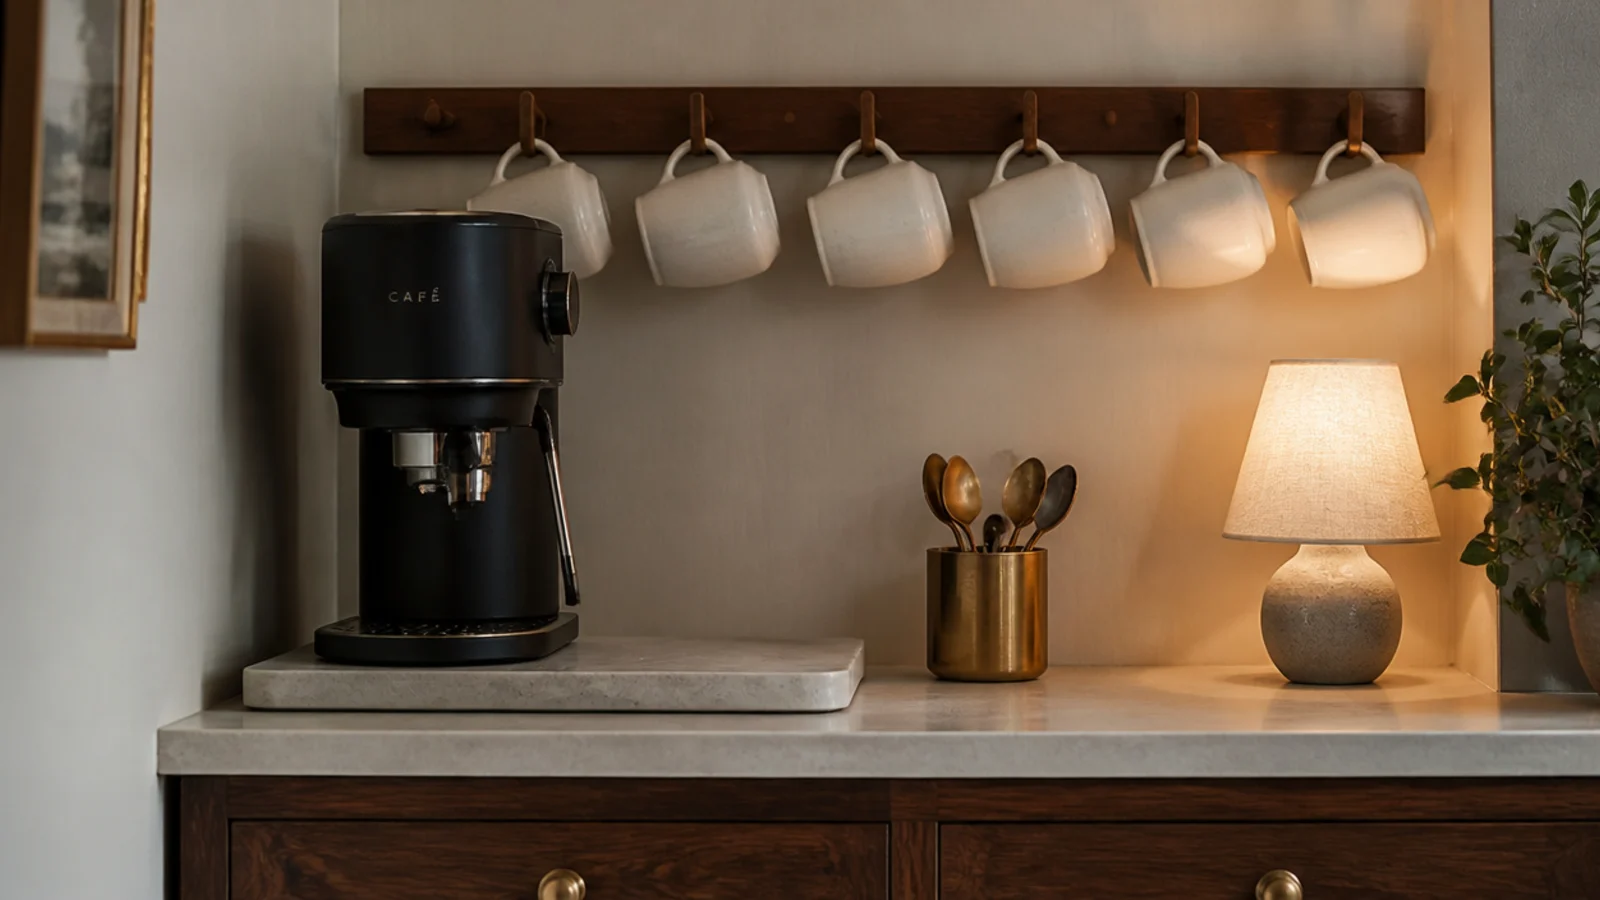
The underside of a wall cabinet is free storage almost nobody uses. Six brass cup hooks at about $4, spaced 4 inches apart, hold six mugs in the width one mug takes on the counter.
Drill pilot holes so the hooks go in straight, and use screws short enough to stay inside the cabinet floor thickness.
Renting? Adhesive hooks rated to five pounds each hold two light mugs, and they come off the cabinet side cleanly.
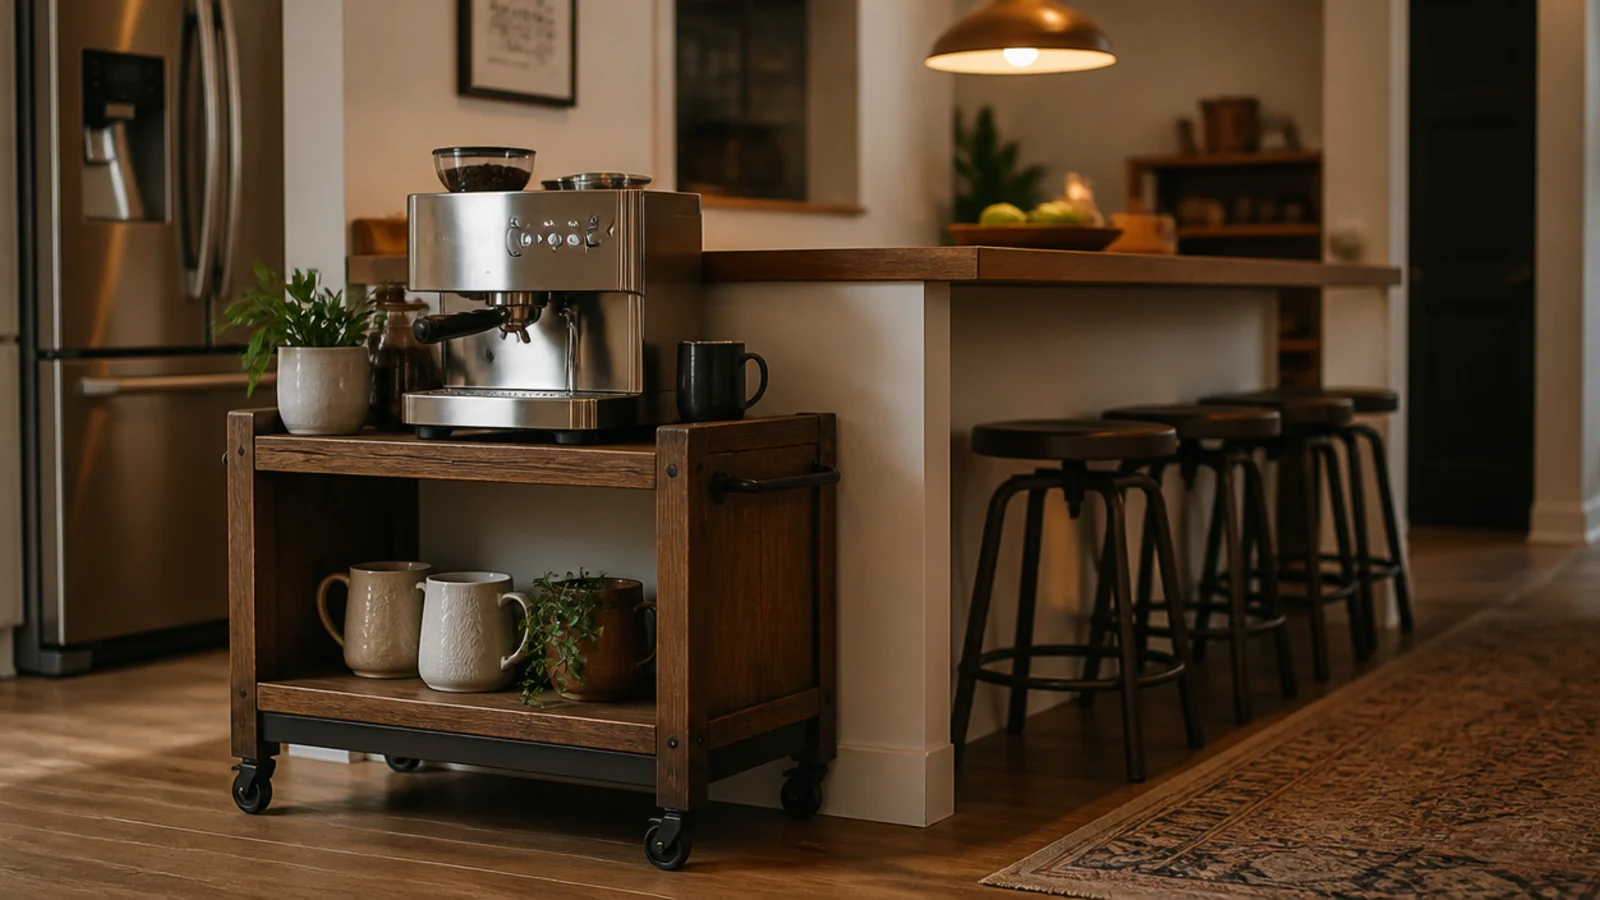
11. Park a cart at the end of the island
If the kitchen has an island, its short end is often the only spot with both space and traffic flow on your side. A cart docks there for the morning and rolls away when you need the island for prep.
Check the outlet situation first — an island end with no nearby power means a cord across a walkway, which is a hard no.
Choose a cart the same height as the island so the two surfaces read as one when docked.
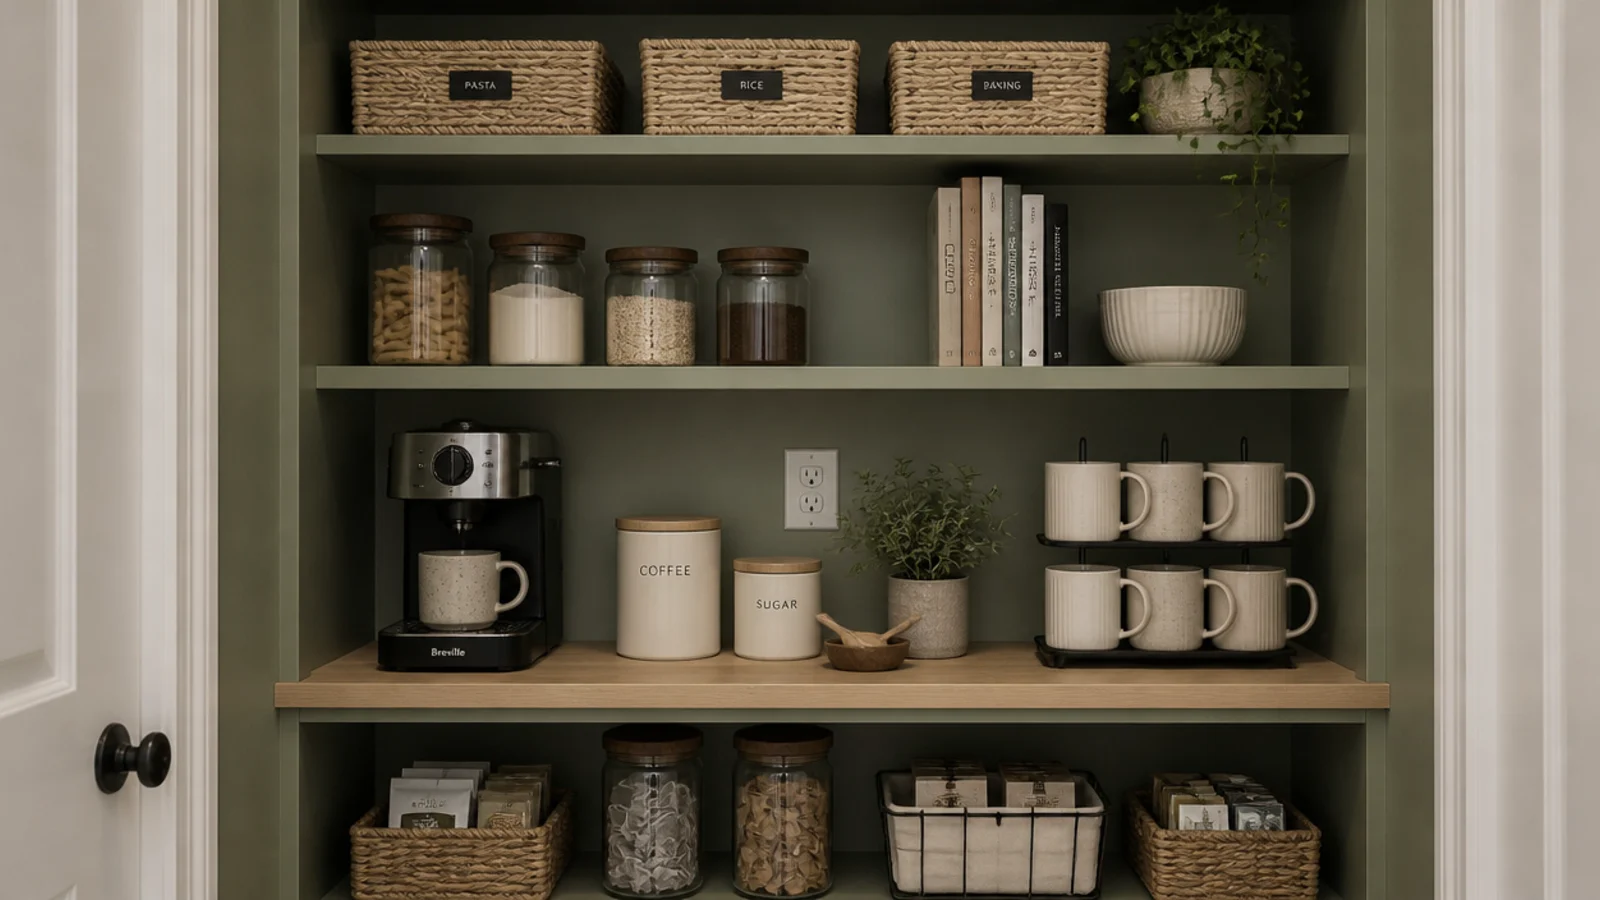
12. Take the pantry shelf if it has power
A pantry shelf at 15 to 18 inches deep is already the right depth for a coffee station, and closing the door hides the whole thing.
Power is the dealbreaker. A pantry with no outlet means an extension cord, and that is not a compromise worth making. Adding one costs $150 to $300 with an electrician ($$$).
Paint the interior a warm tone and light it with a battery puck so it looks considered every time the door opens.
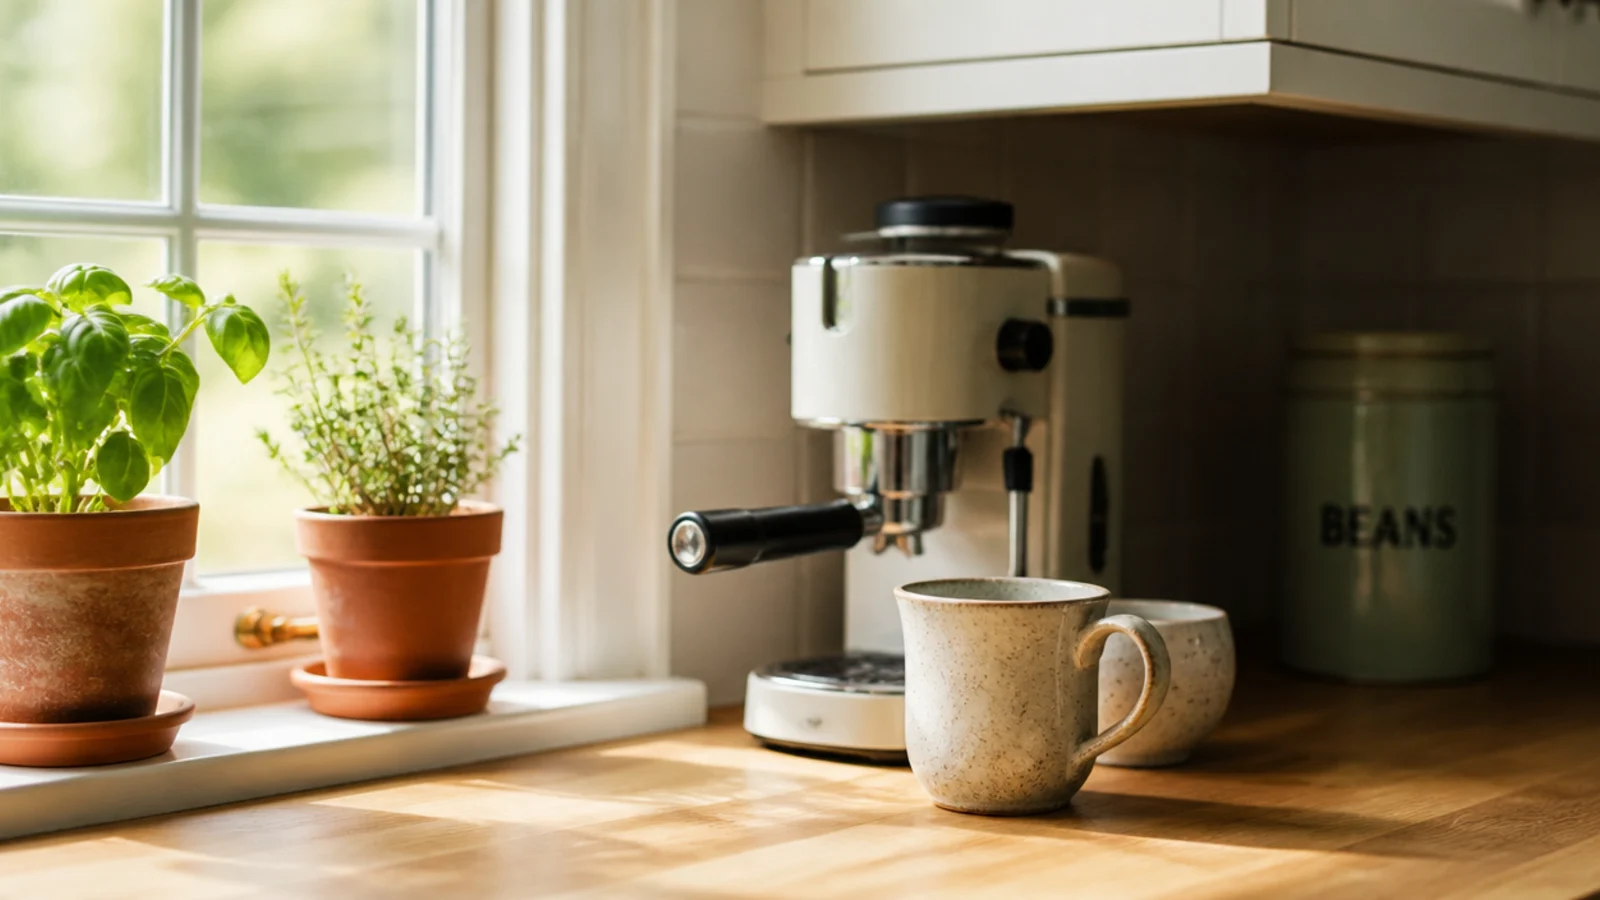
13. Use the window corner, but shade the beans
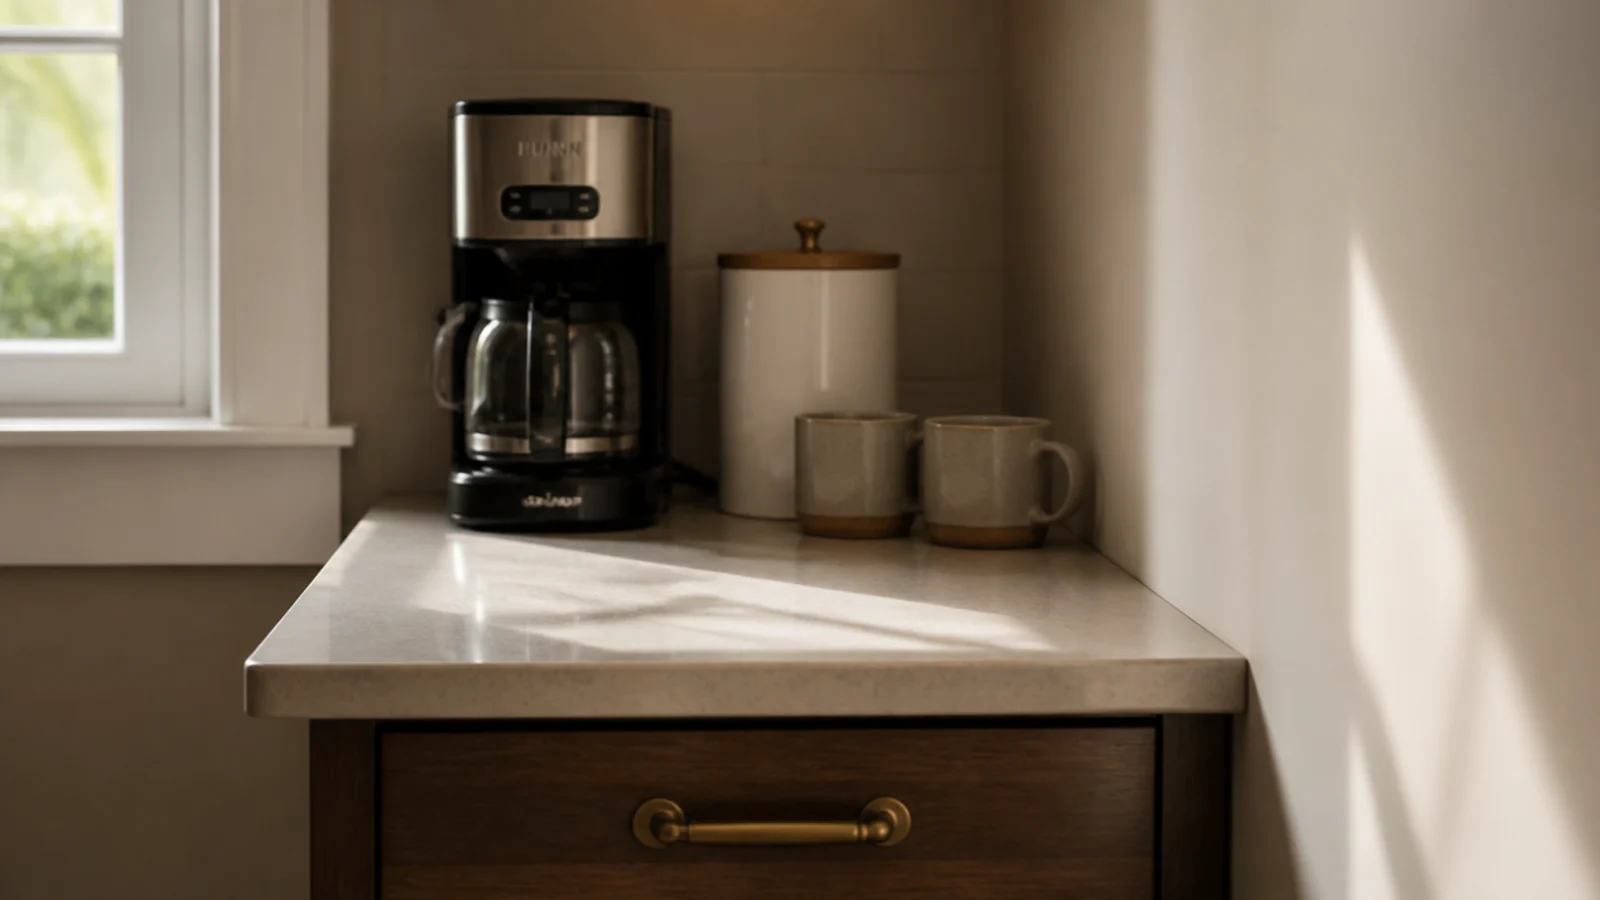
A window corner is the loveliest place to stand with a cup and the worst place to store what makes it. Light stales whole beans faster than air does.
Keep the machine and mugs in the light if you like, and put the beans in an opaque airtight canister set back under the upper cabinet, at room temperature — never the fridge.
Watch heat too: a sunny sill in summer will push a chocolate or syrup bottle past its best.
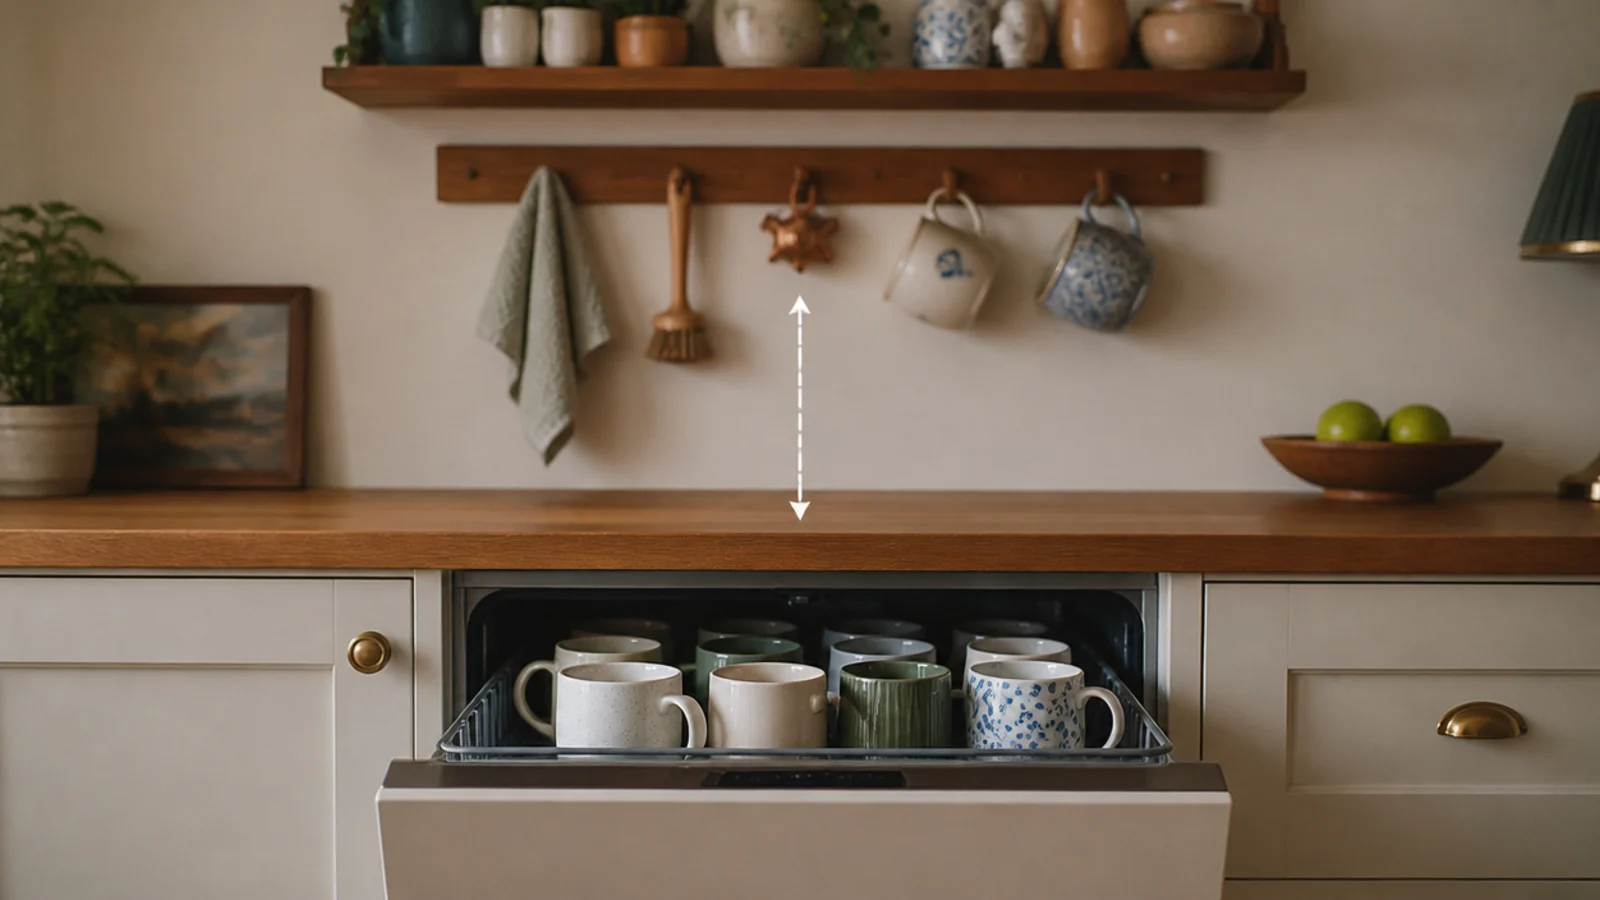
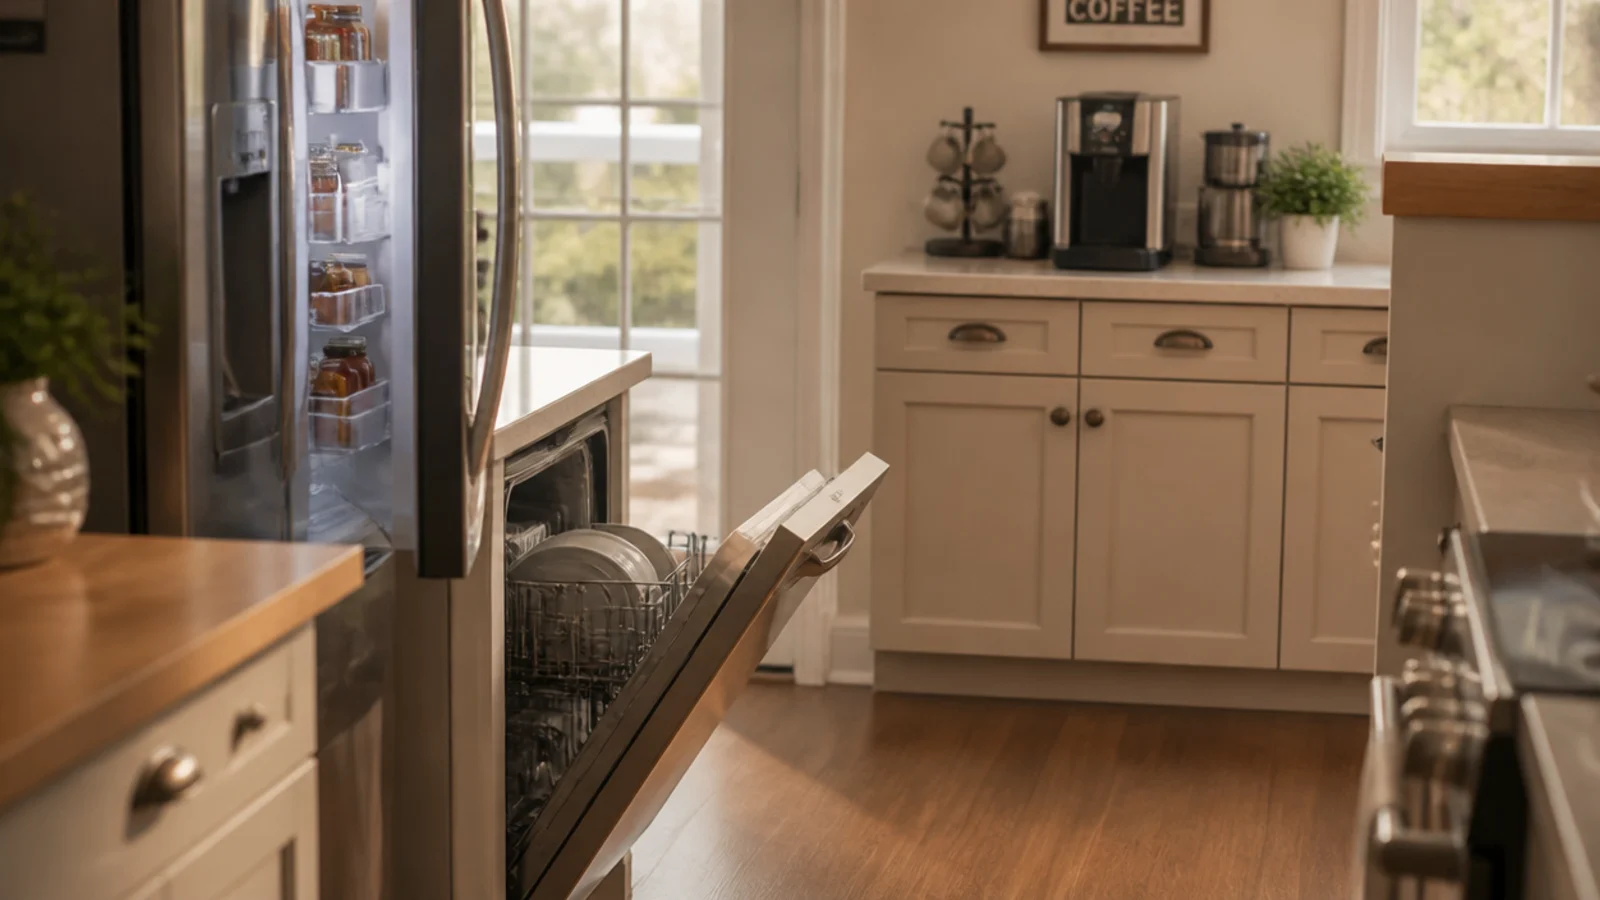
14. Put the mugs where the dishwasher opens
This is the placement nobody plans and everybody appreciates. If the mug shelf or rail sits directly above where the dishwasher door opens, unloading is a vertical lift rather than a walk across the kitchen.
Check the door clearance first — a dishwasher door opens to about 24 inches and needs that space free.
It sounds like a small thing. It is the difference between mugs that live on the rail and mugs that live in the machine.
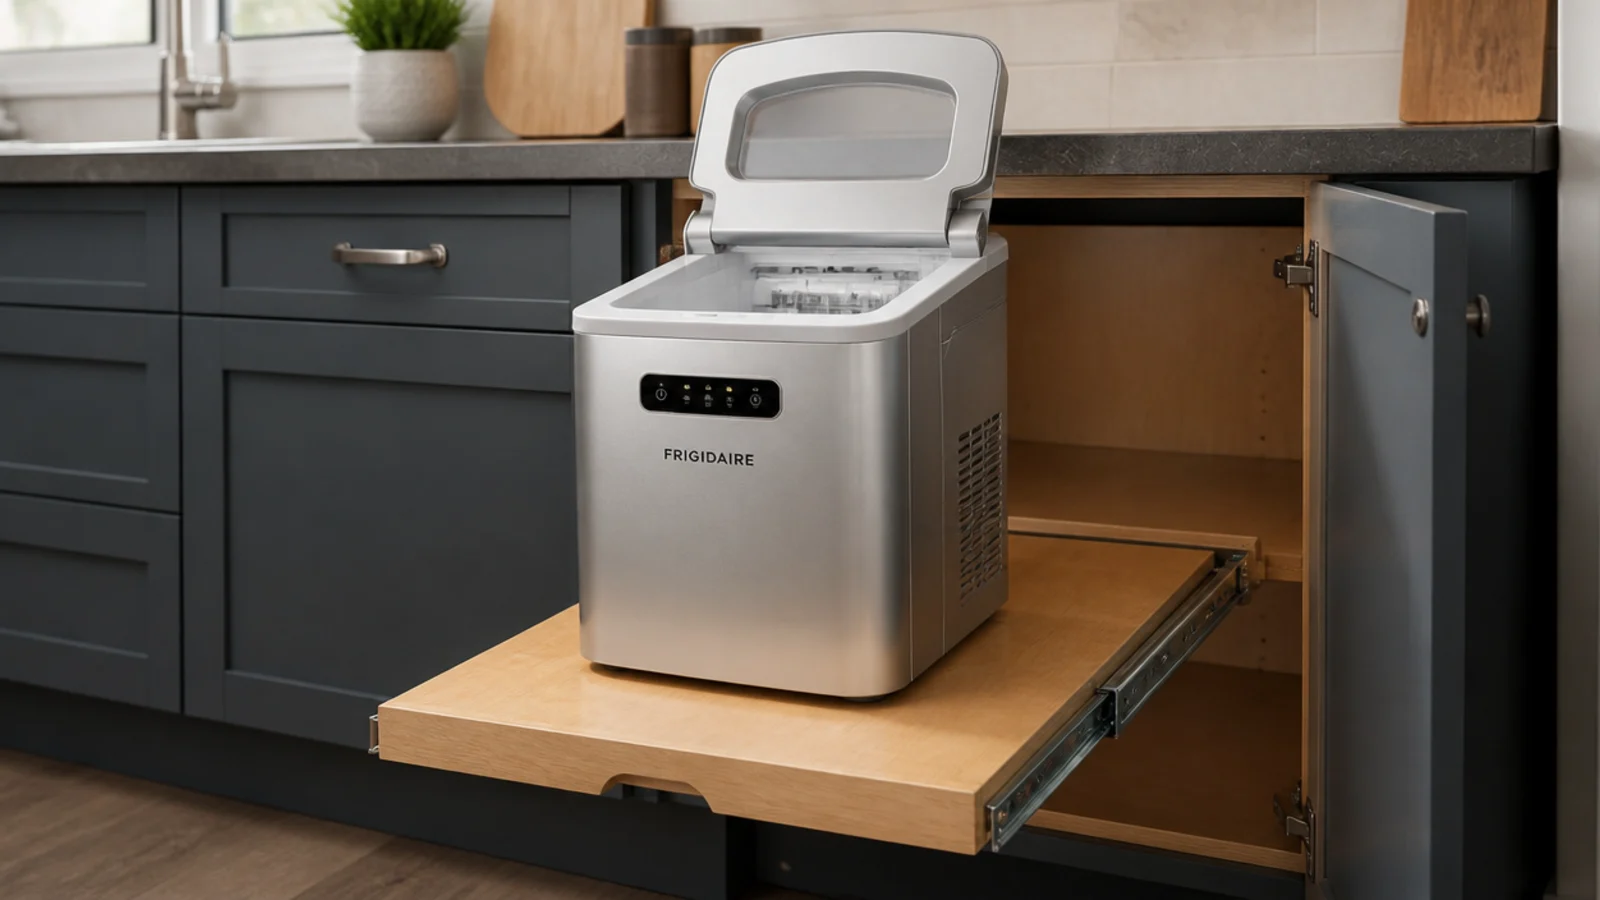
15. Fit a pull-out shelf so the machine slides forward
Any machine tucked under a cabinet or inside a garage needs to come forward before the lid opens. A soft-close pull-out shelf rated to 40 pounds costs $30 to $60 ($$) and takes an hour to fit.
Filling a reservoir at the back of a fixed shelf is miserable, and you will stop doing it within a month.
Check the extended depth clears your cabinet doors and any drawer fronts below.
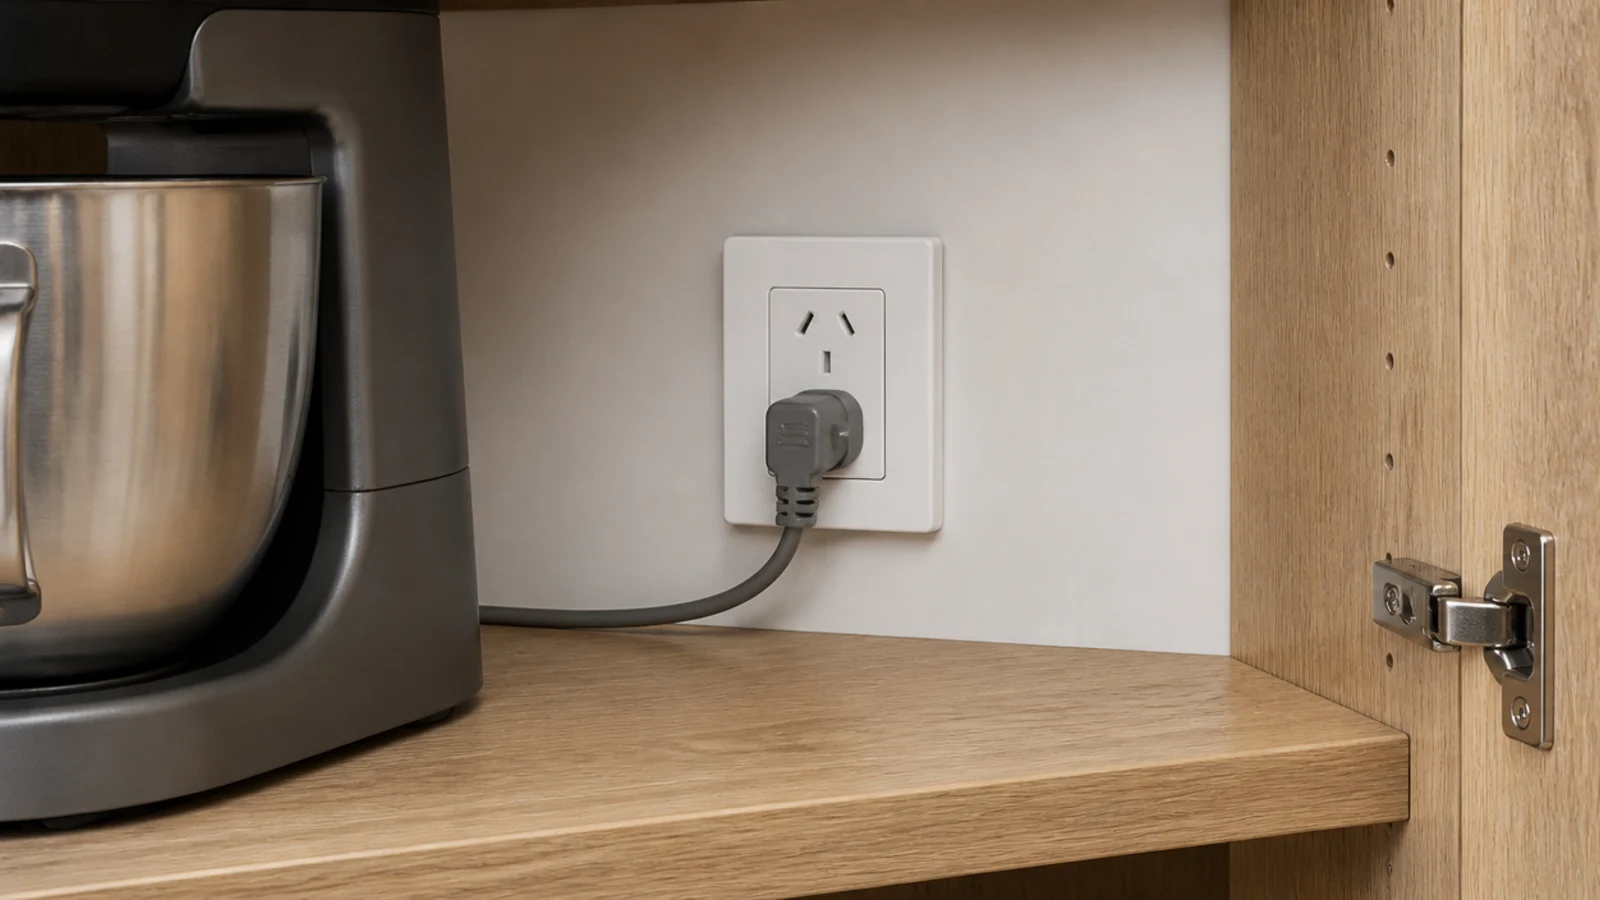
16. Add an outlet inside the cabinet
If the station lives behind a door, the cord has to live behind it too. An outlet installed inside the cabinet is the difference between a tidy solution and a cord jammed under a closed door.
An electrician can usually spur one off the existing counter circuit. Budget $150 to $300 ($$$).
Never notch a cabinet side to run a cord through and call it done — the door will pinch it, and a pinched appliance cord in a kitchen is a real hazard.
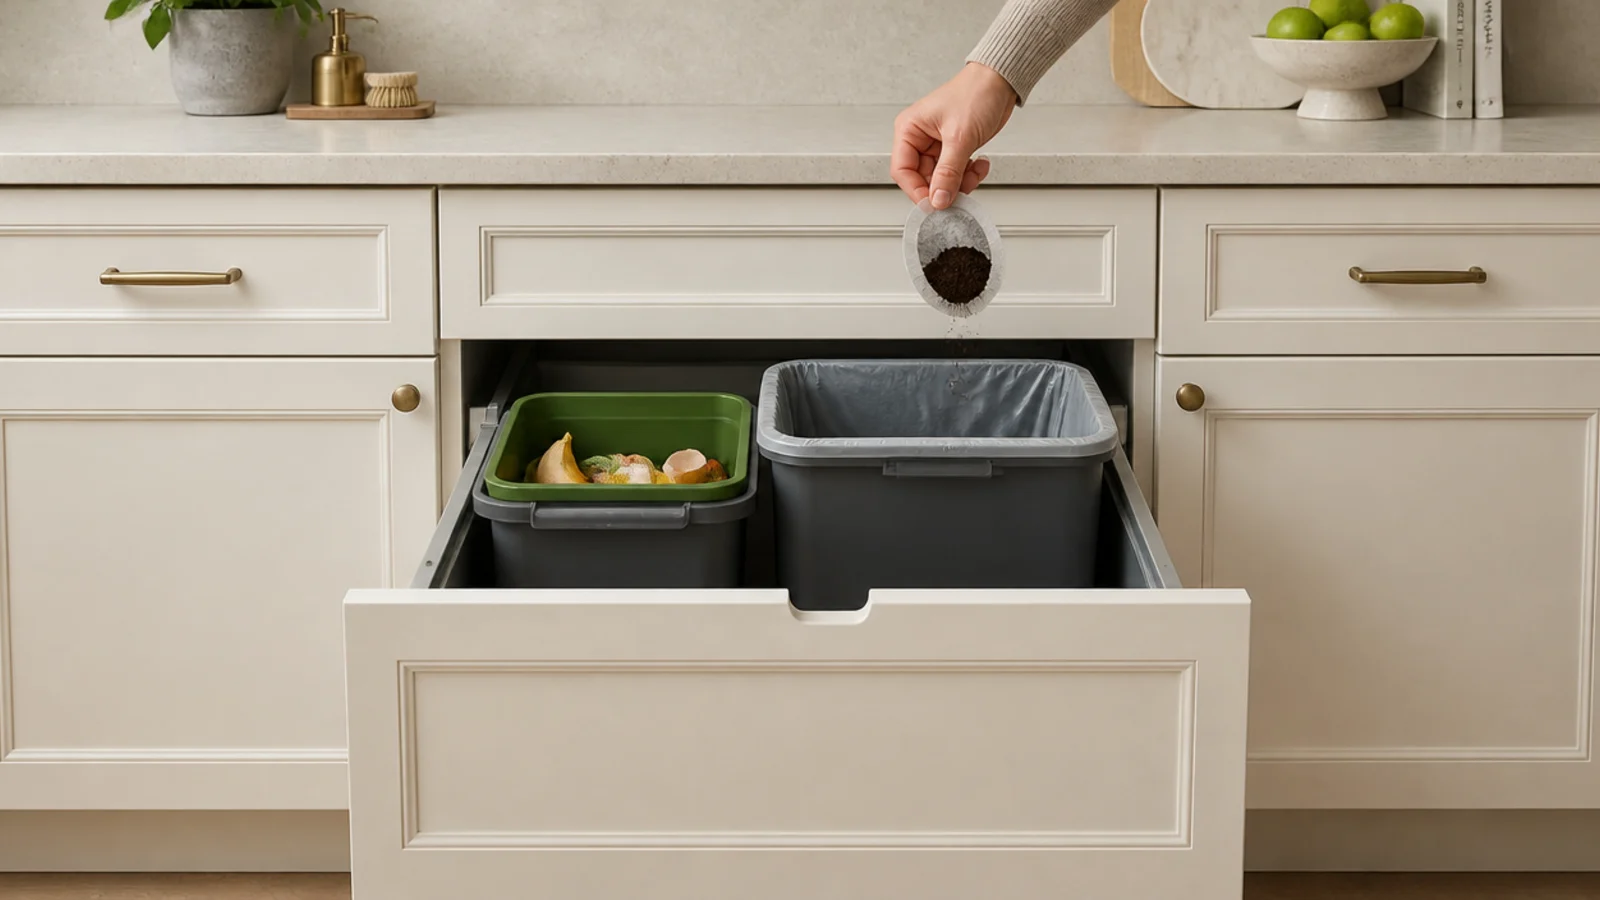
17. Keep the grounds bin in the pull-out below
Used grounds are wet, heavy and start to smell within about a day in a warm kitchen. A small compost caddy inside the pull-out bin directly beneath the station is the fix.
If the bin is more than two steps away, the used filter stays on the tray until evening. That is a layout problem, not a discipline problem.
Line the caddy with a compostable bag and empty it every other day.
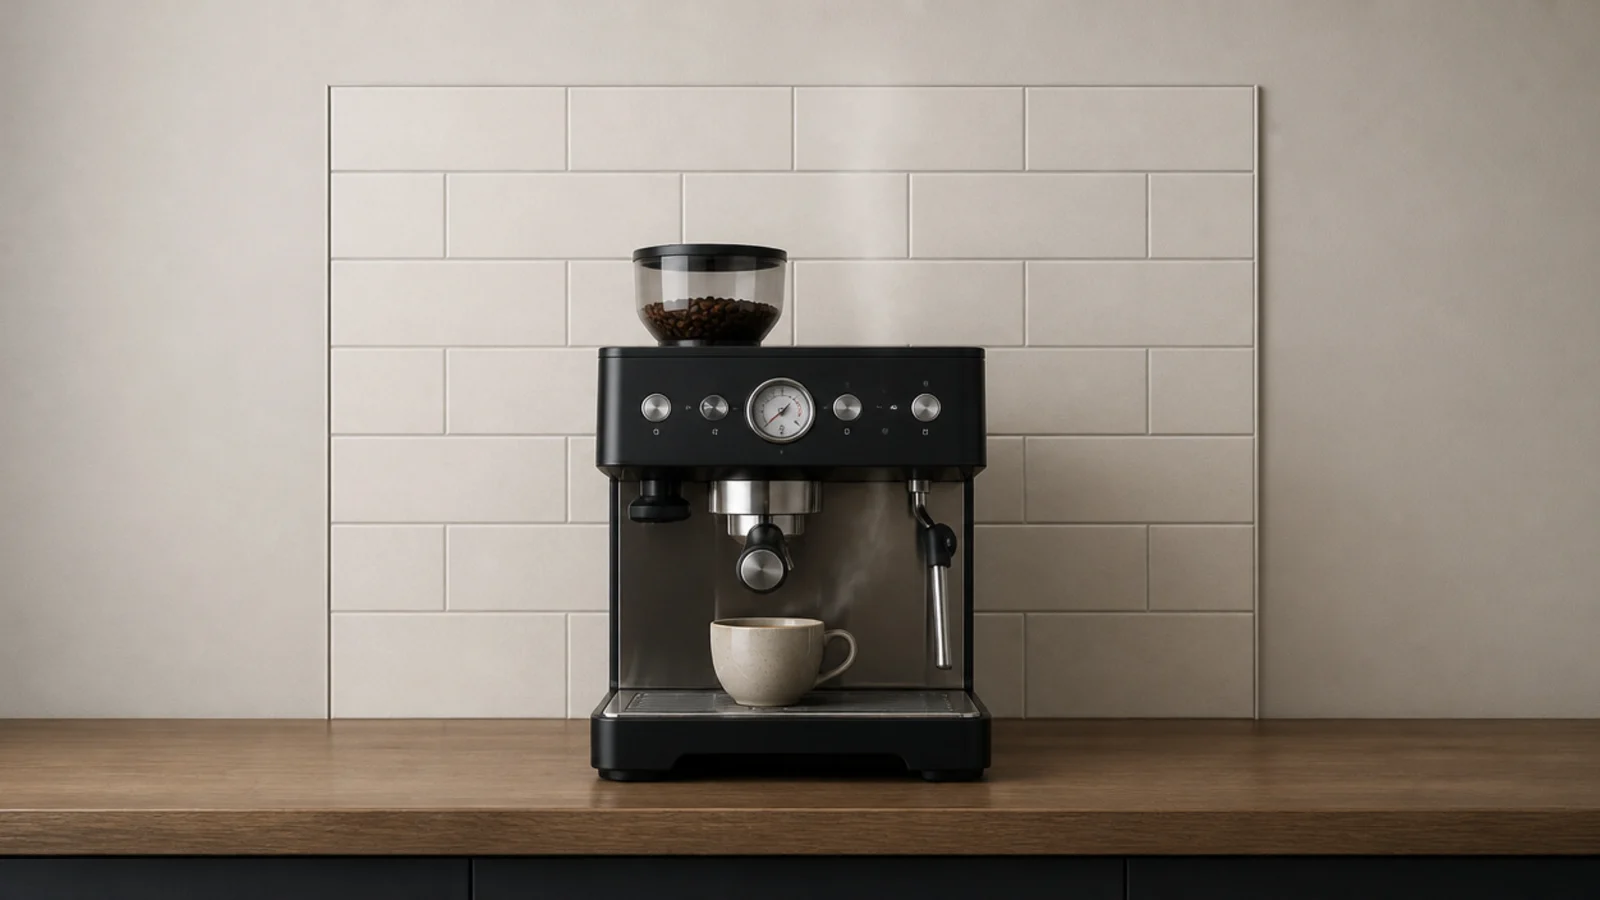
18. Fit a wipeable panel behind the machine
Steam, splashes and grinder dust all land on the same 30 by 20 inch patch of wall, and flat builder-grade paint marks there permanently.
Tile, a slab offcut or peel-and-stick in a matte finish all solve it for $25 to $60 ($$). Peel-and-stick lifts off with gentle heat, which makes it genuinely renter-safe.
Anything wipeable beats repainting the same panel twice a year, and it takes an afternoon.
19. Stay out of every door swing
Before you commit, open every door near the spot at once: fridge, dishwasher, oven, pantry and any cabinet above.
A station inside a swing arc gets knocked daily, and the mug that eventually breaks will be your favourite. Fridge doors need 24 to 36 inches of clear arc; dishwasher doors about 24 inches down.
Mark the arcs on the floor with painters tape for a day if you are unsure. It looks silly and it saves a rebuild.
20. Put the whole station on one tray
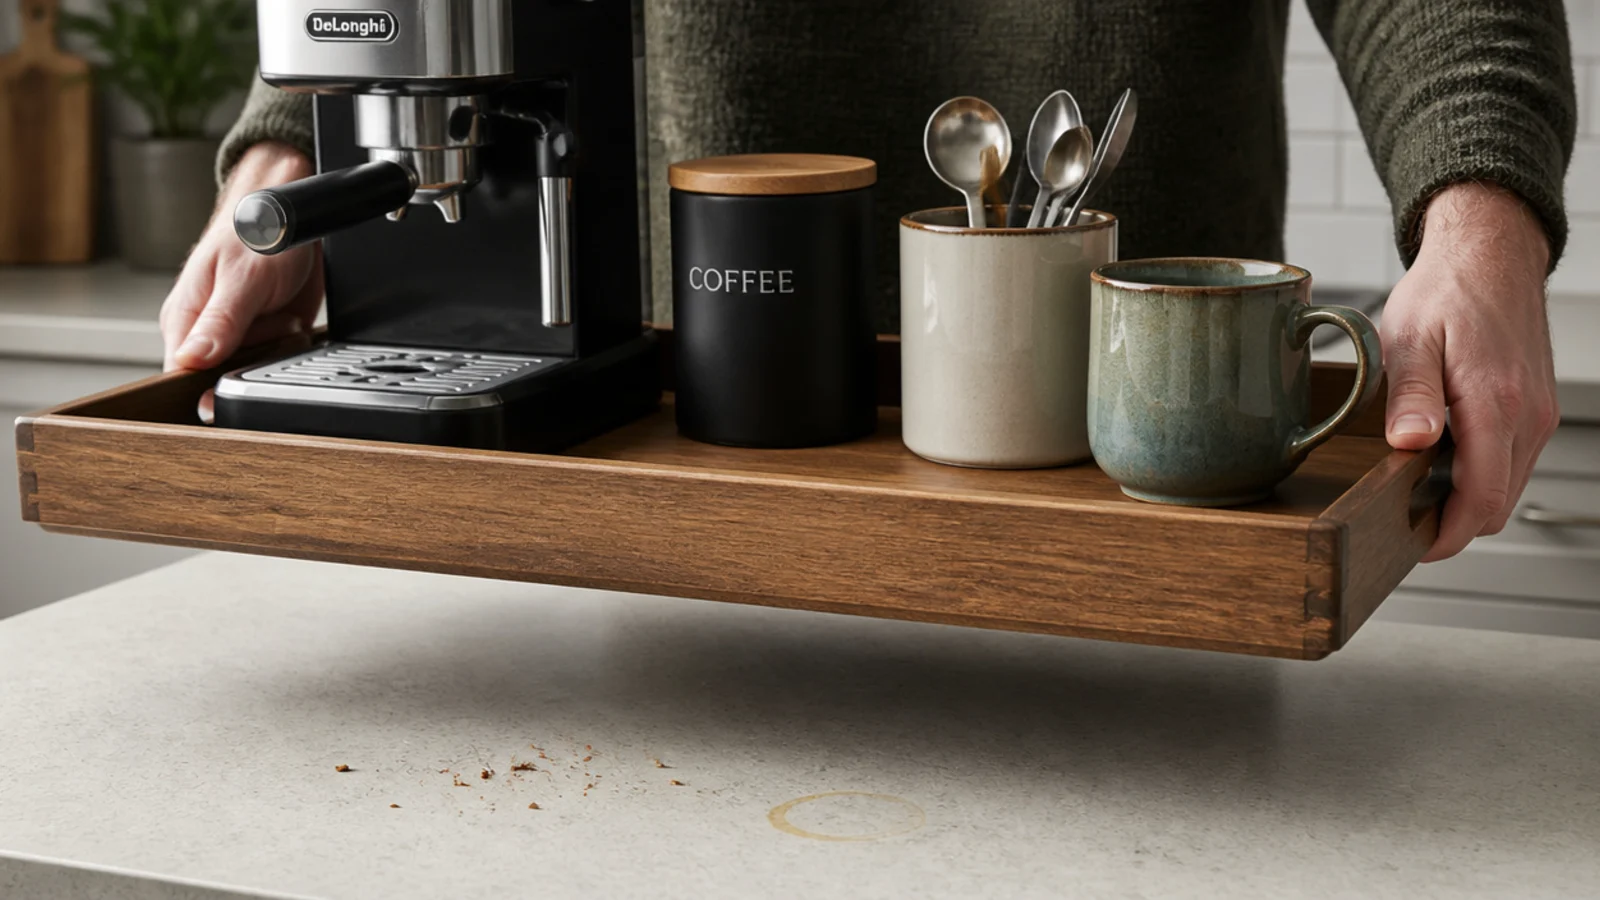
Whatever spot you choose, set the machine and its companions on one tray roughly 12 by 16 inches. It catches drips before they dry into rings and lets you lift the entire station out in a single movement to wipe the counter and backsplash behind.
Sealed wood, glazed stoneware or honed stone. Raw wood absorbs coffee within a month.
That one habit is why some corners still look good a year in. Fifteen easy coffee corner setups covers the rest of the kit.
Mistakes to Skip
- Choosing the spot before checking the outlet. Power is the one constraint you cannot style around, and a cord near a sink is never the answer.
- Sliding the machine under a cabinet without measuring it lid-open. Steam with nowhere to go condenses and lifts the cabinet finish above it.
- Setting up within a few feet of the burners. Grease film builds on mugs and canisters faster than anyone expects, and paper filters absorb it permanently.
Frequently asked questions
Where is the best place for a coffee corner in a kitchen?
The end of a counter run, within about six feet of the sink and at least four feet from the burners. An end position means only one side ever gets bumped, the sink keeps the water trip short, and the distance from the stove keeps airborne grease off the mugs. After that, the outlet decides between your remaining options.
How far should a coffee corner be from the stove?
At least four feet. Anything closer collects an airborne film of grease that turns sticky on mugs, canisters and the machine housing within weeks. If your kitchen cannot give you that gap, put the mugs behind a cabinet door and keep only wipeable items — stoneware, metal, glass — on the open counter.
Can I put a coffee maker inside a kitchen cabinet?
Yes, with two conditions. You need an outlet installed inside the cabinet and a pull-out shelf so the machine slides forward before you lift the lid or fill the reservoir. Never run a machine with the door closed, because steam has nowhere to go and the cabinet interior blisters within a season.
How much space between the counter and a shelf above a coffee maker?
Eighteen inches suits most drip machines and kettles. The rule underneath that number is clearance: at least 6 inches of clear air above the tallest point of the machine, measured with the lid open and the reservoir lifted. Bean-to-cup machines with hoppers usually push the shelf to 20 or 22 inches.
How do I fit a coffee corner into a small kitchen?
Take 24 inches of counter at the end of a run and go vertical for everything else — mugs on a rail under the cabinet, beans on a shelf, filters in the drawer below. If no counter is available, a 16 to 20 inch cart in the gap beside the fridge gives you the whole station without losing prep space.
Start by opening every door in the kitchen and finding the outlets — those two checks eliminate most of the spots that look promising and fail in practice. If your kitchen genuinely has no room, twenty-five nook setups covers closets, alcoves and dining corners, and thirty simple station ideas handles the organizing once the spot is chosen. Save the pin so the clearances are with you when you measure.
Want more like this? Browse all 15 coffee corner ideas guides — they all use the same measurements and budget tiers.
Pin it for later
Save this to your Coffee Corner Ideas board
Pin it now so it is waiting for you when the tape measure comes out — and so the next person hunting for this idea can find it too.
Save this pinKeep going
More ideas worth saving while you have the tape measure out.