Coffee Corner Ideas · Listicle
25 Gorgeous Coffee Corner Ideas Worth Trying

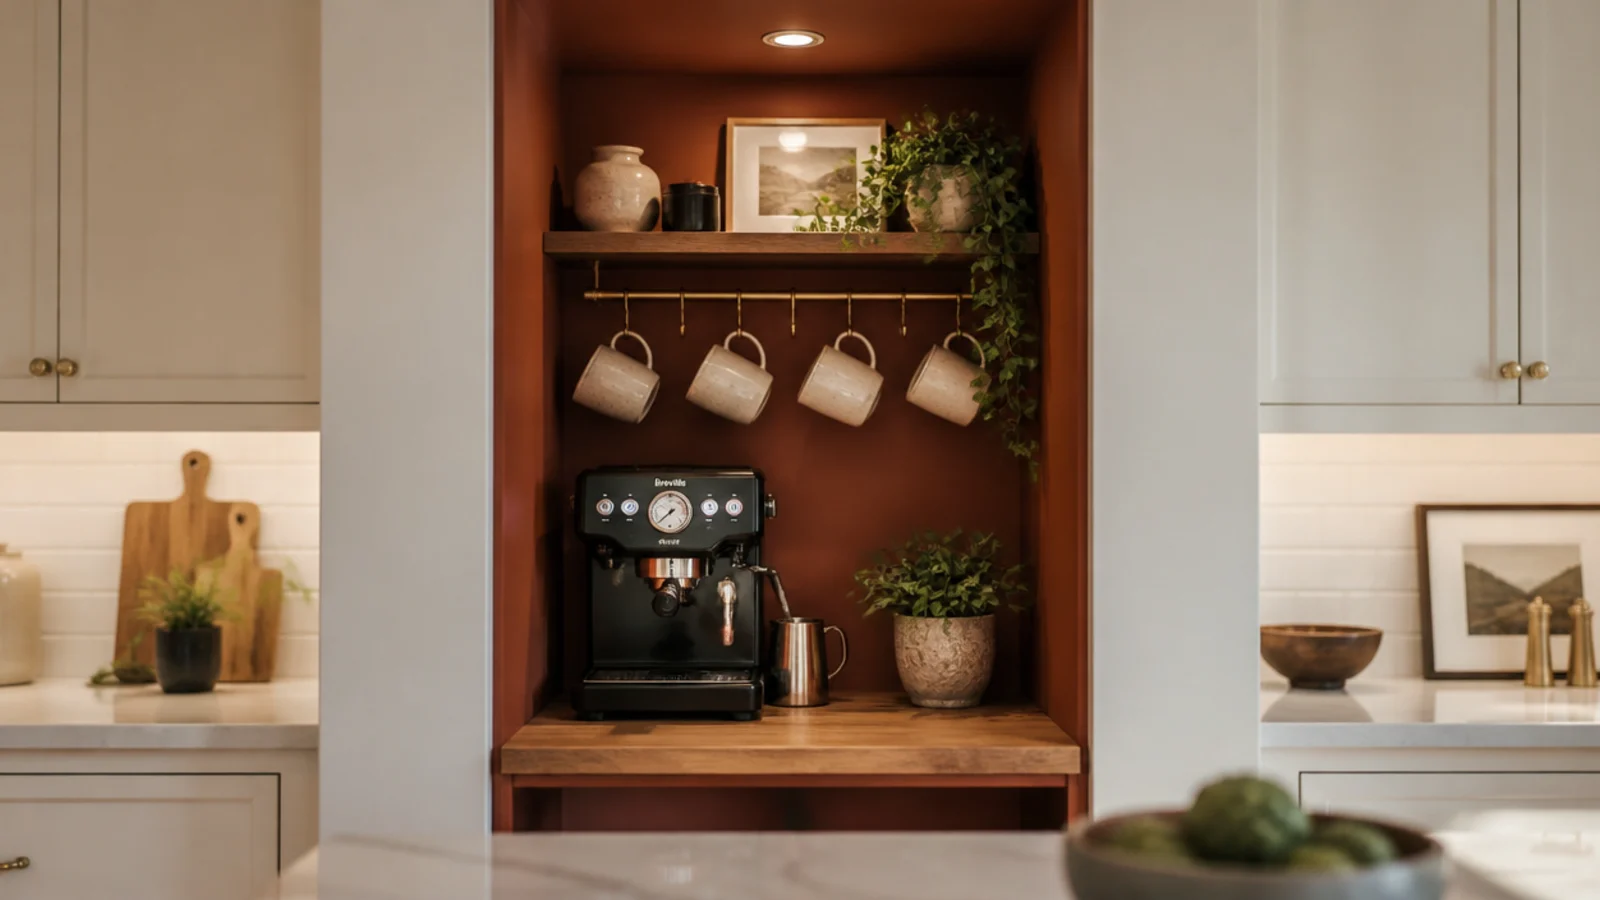
Coffee nook ideas start where the kitchen runs out. A nook is enclosed on at least two sides, and that enclosure is doing something a counter never can — it makes 24 inches feel like a destination instead of a leftover strip. I have built these in closets, alcoves, a landing and once inside an armoire, and the enclosed ones always get used more. Here are twenty-five worth trying.
In this guide27 sections — tap to openHide
- 1.What separates coffee nook ideas from a machine on a counter
- 2.Convert the hall closet
- 3.Use an armoire that closes on itself
- 4.Take the space under the stairs
- 5.End the breakfast banquette with a station
- 6.Add a narrow ledge at a window seat
- 7.Claim the passage between kitchen and dining
- 8.Fit out the top half of a dining hutch
- 9.Build a bedroom bench nook
- 10.Set a guest room tray nook
- 11.Give the home office a 24-inch console
- 12.Use the laundry room counter
- 13.Take a den or basement corner
- 14.Keep a thermos nook in the workshop
- 15.Fit a studio apartment shelf nook
- 16.Rail everything down in a tiny home or RV
- 17.Carry it out to the balcony
- 18.Pair a reading chair with a side table
- 19.Set up on a covered porch
- 20.Use the landing at the top of the stairs
- 21.Fill the alcove where the old fridge stood
- 22.Run a day-and-night bar nook
- 23.Put one by the back door
- 24.Clear one bookcase shelf
- 25.Hide it inside a sideboard
- 26.Serve tea and coffee from the same nook
- 27.Mistakes to Skip
What separates coffee nook ideas from a machine on a counter
Three things: enclosure, depth and power.
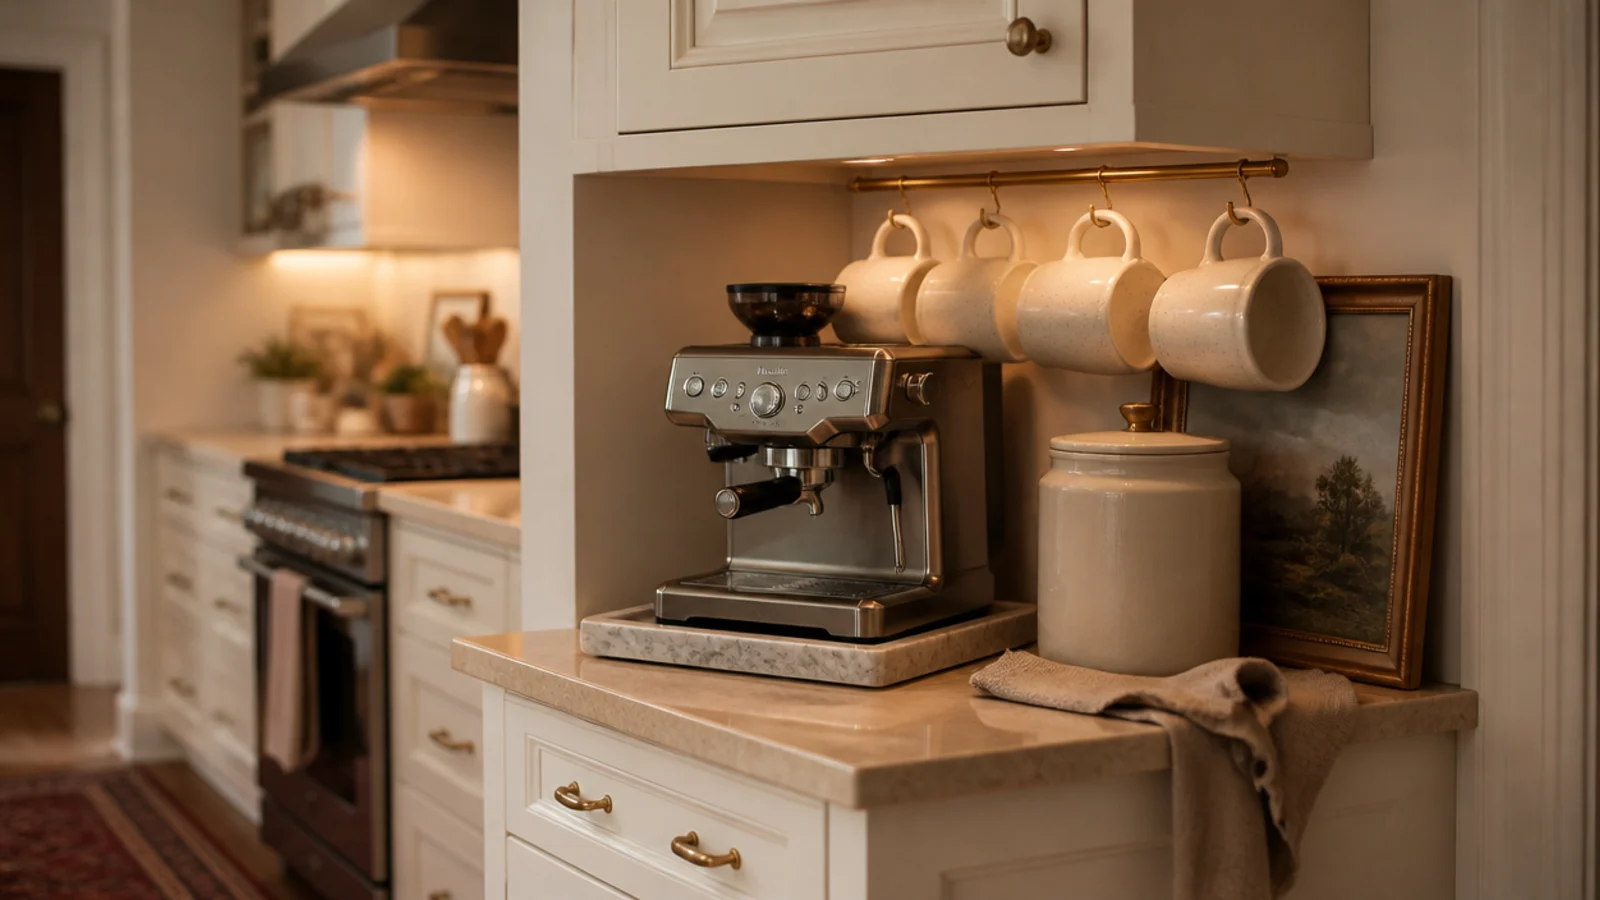
Enclosure is why nooks feel good. Two side walls and a back panel frame everything you put inside, so a nook needs fewer objects to look finished. Paint the interior two or three shades deeper than the surrounding room and the whole thing reads as designed for about $6 in paint.
Depth comes next. Fifteen to eighteen inches is right — the same as a pantry shelf. Width matters more: 24 inches is workable, 30 is comfortable, and below 24 you go vertical with mugs on hooks and beans on a shelf.
Power is the constraint that kills most nook plans. Check the outlet before anything else, because an extension cord run in from another room, especially near a water source, is the wrong answer.
The clearances do not change: at least 6 inches of clear air above the tallest point of the machine measured with the lid open, and a shelf above it at 18 inches off the surface.
Budget tiers: $ under $40 for a tray-and-shelf nook, $$ $40 to $150 for shelving and light, $$$ $150 and up once an outlet or joinery is involved.
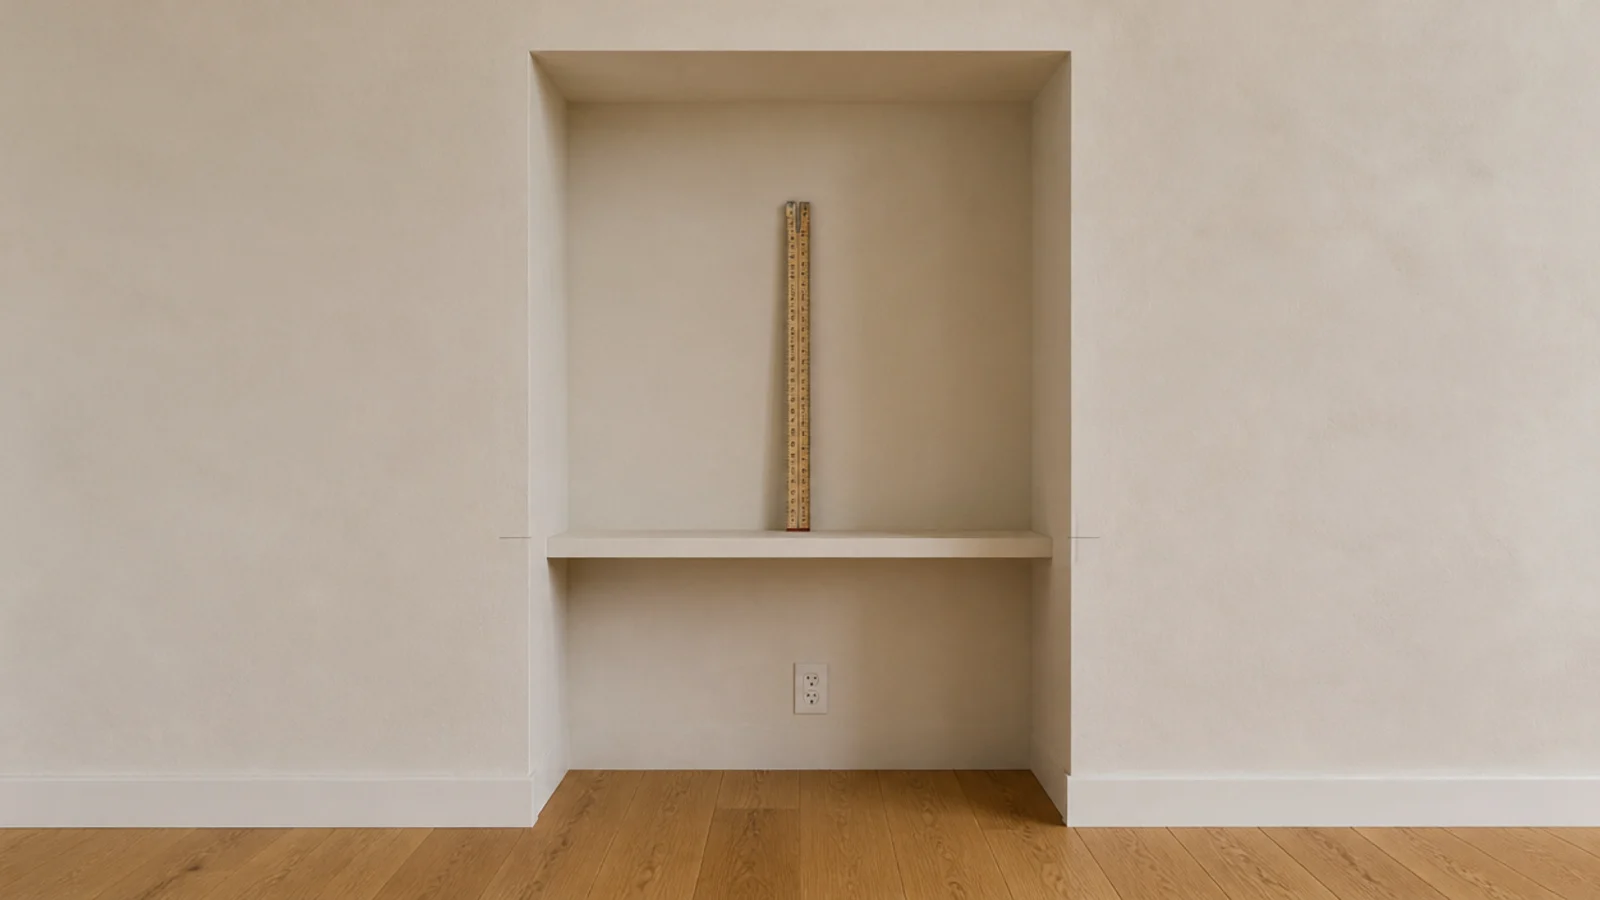
1. Convert the hall closet
Take out the hanging rail, fit a shelf at 36 inches for the machine and another 18 inches above it, and paint the interior a warm clay.
Closet depth is usually 22 to 24 inches, which is generous. The door closes on every bag of filters you own, which is the real luxury.
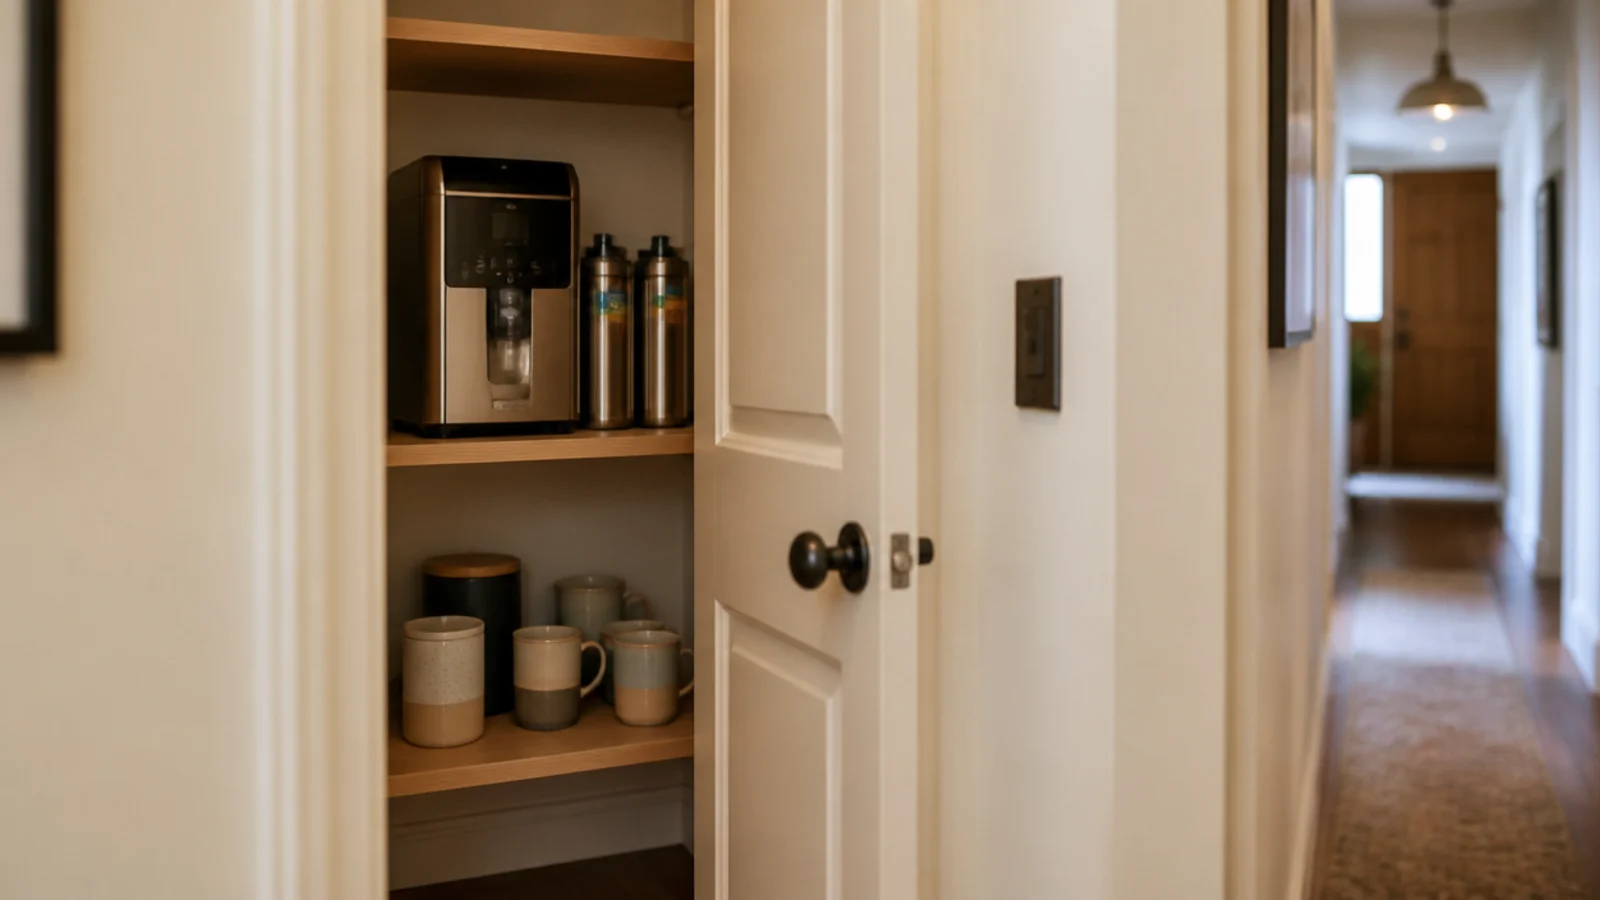
2. Use an armoire that closes on itself
A secondhand armoire at $80 to $200 gives you a nook with doors in a room that has no spare wall. Fit one shelf inside and hooks on the door back for mugs.
Drill a 2-inch cord hole in the back panel low down, and never run the machine with the doors shut.
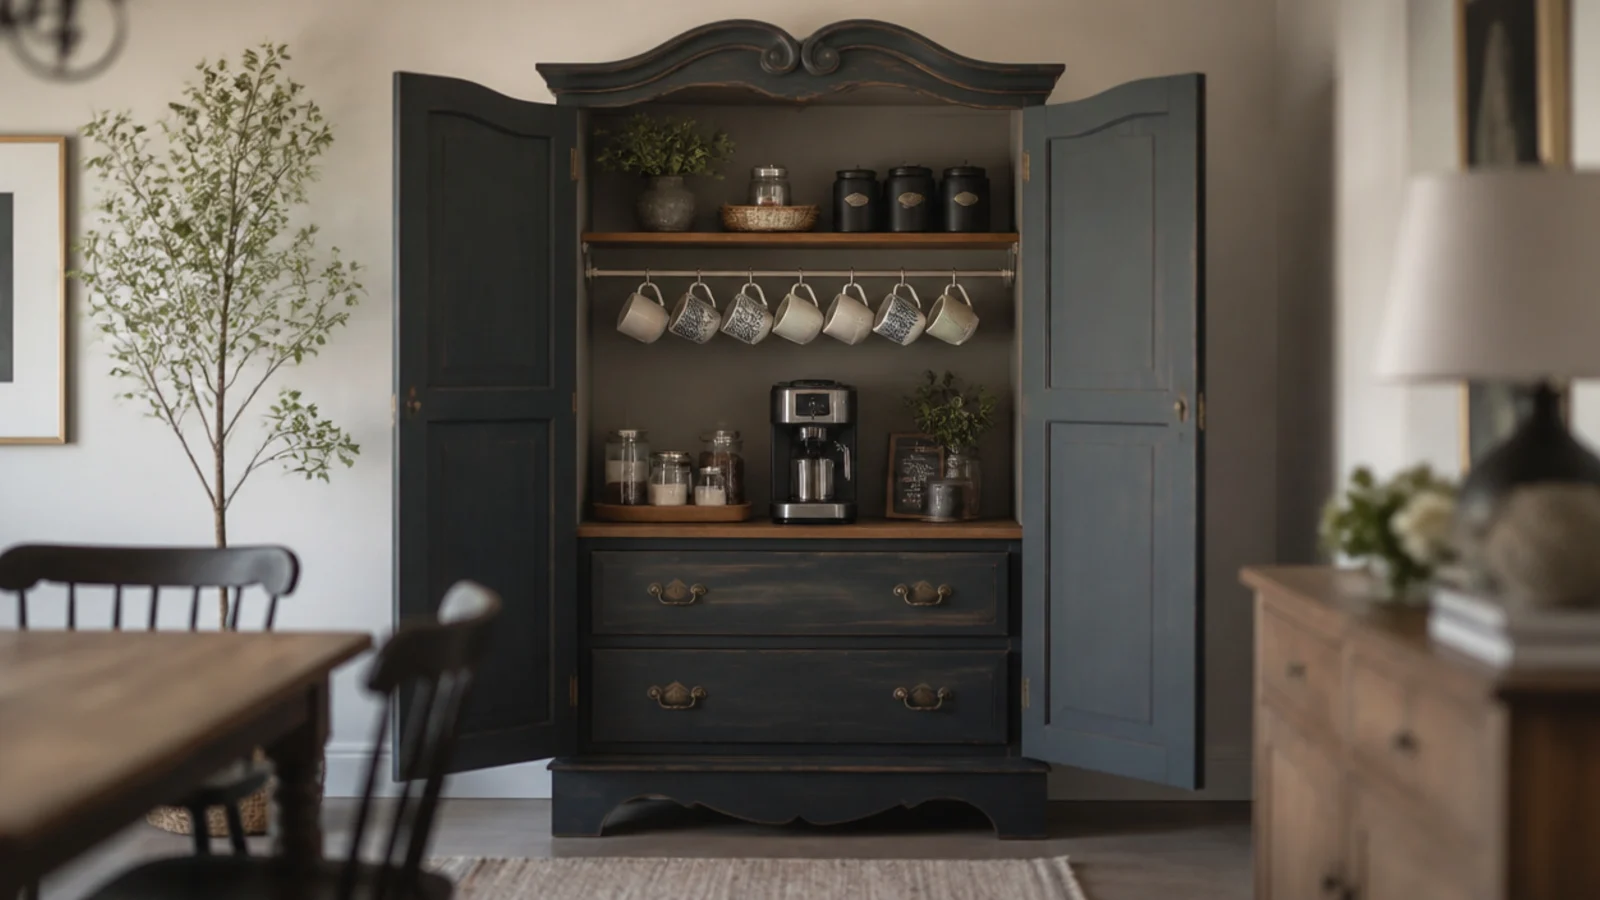
3. Take the space under the stairs
Put the machine at the tall end where you can stand comfortably, and use the low end for baskets of supplies. You need about 60 inches of headroom where you stand.
Line the sloped ceiling with beadboard and paint the whole cavity one color so the awkward angles disappear.
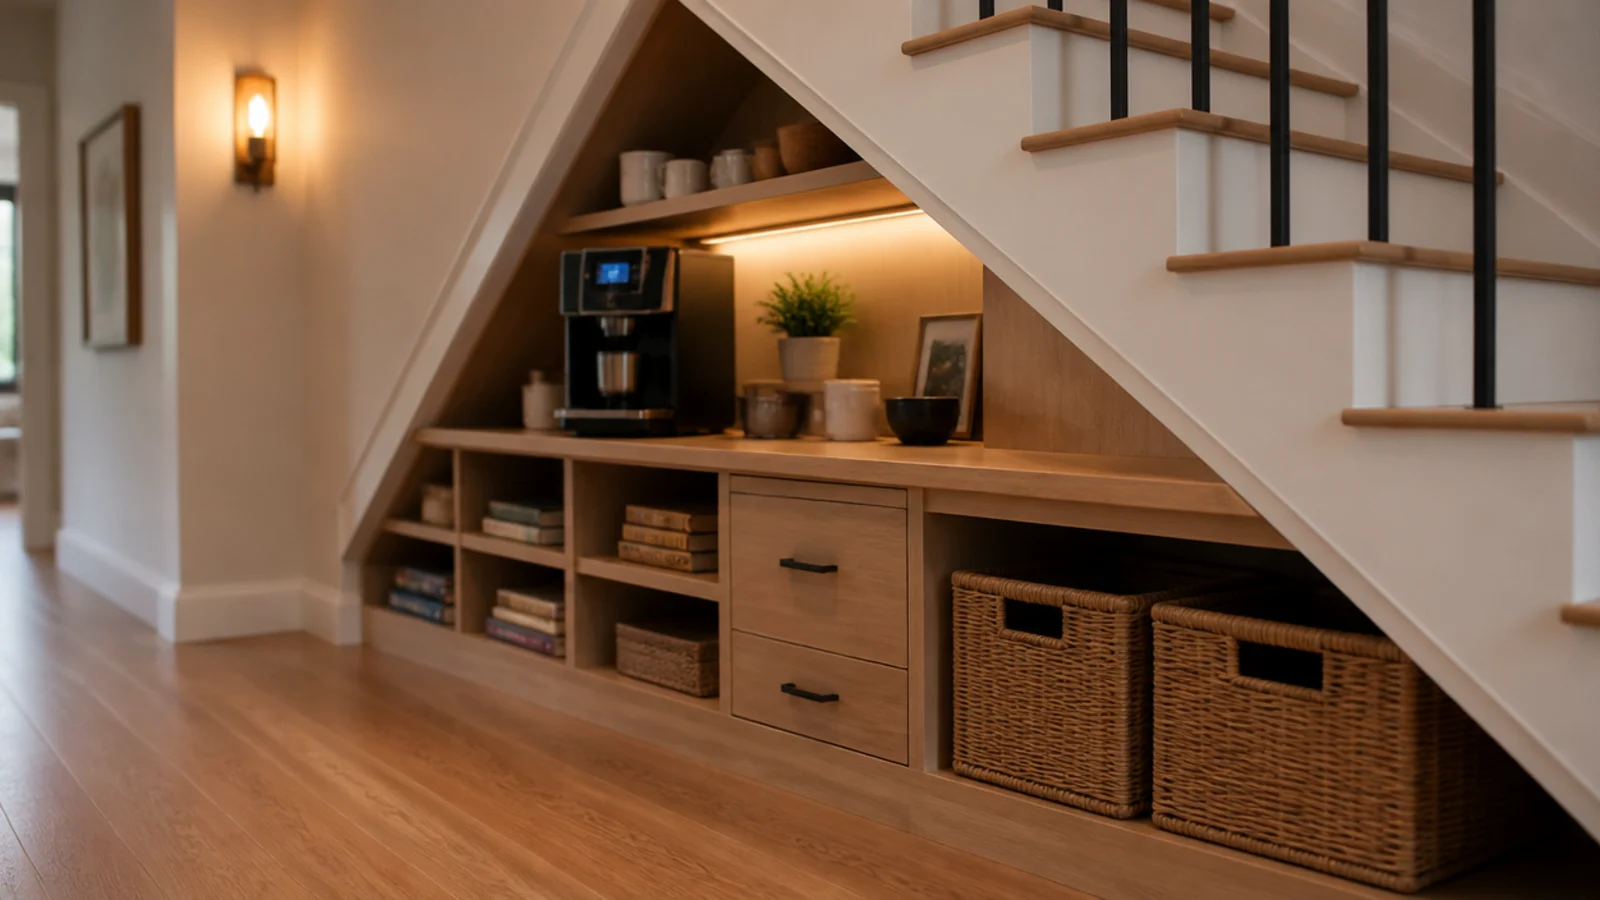
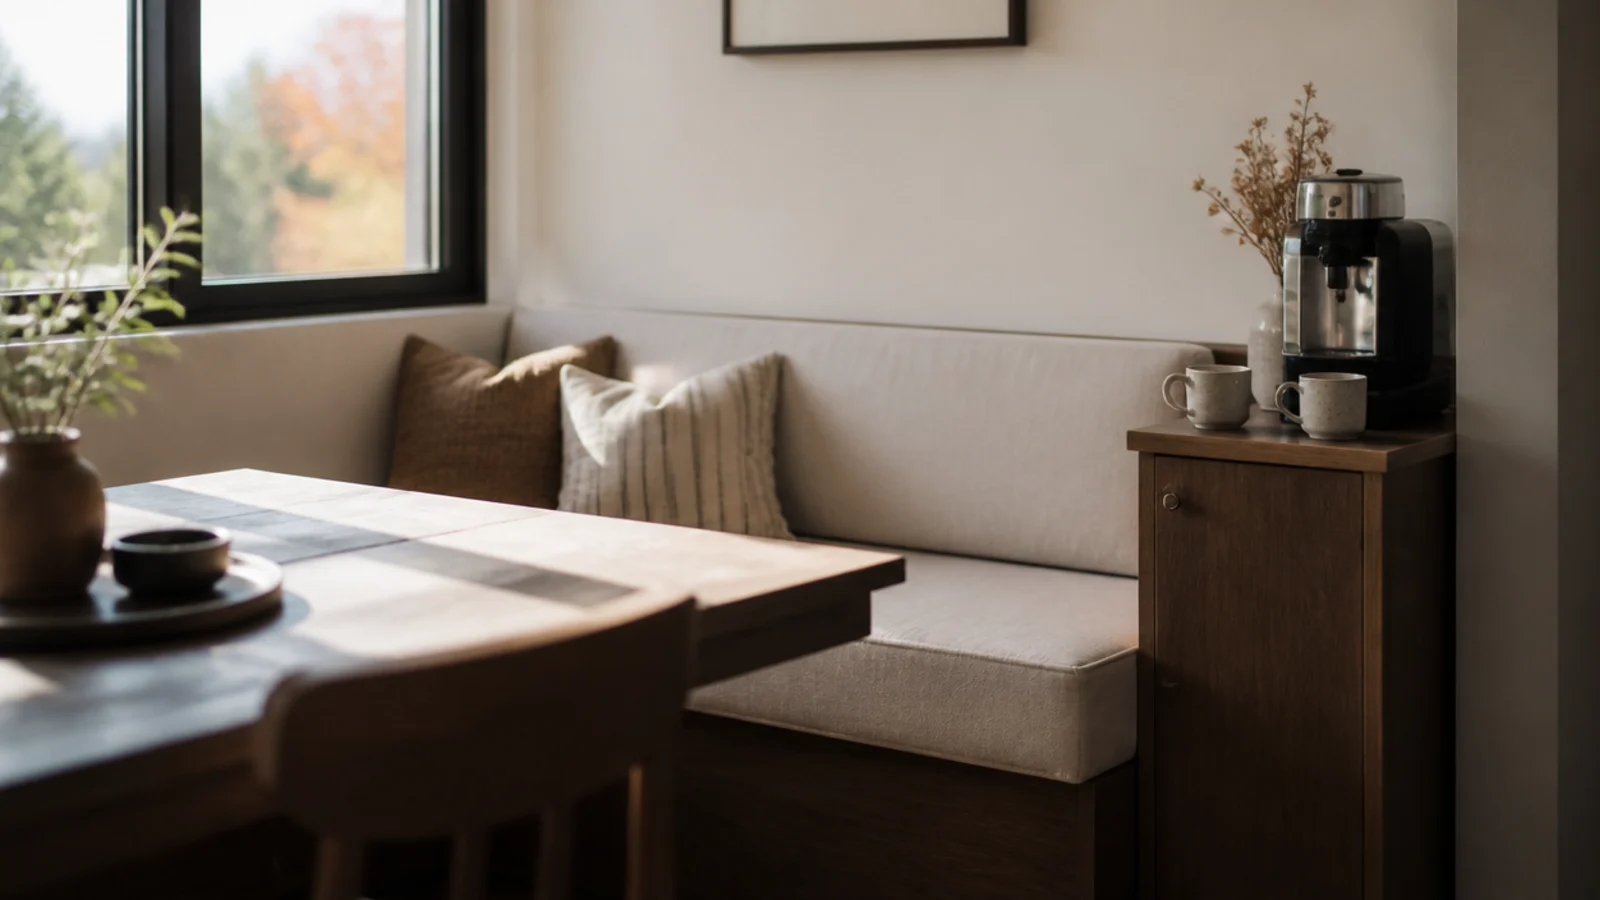
4. End the breakfast banquette with a station
The point where a banquette meets the wall is dead space in almost every breakfast nook. A narrow cabinet 15 inches deep fits there and serves the table directly.
Keep the top at bench height plus 12 inches so nobody knocks a mug while sliding in.
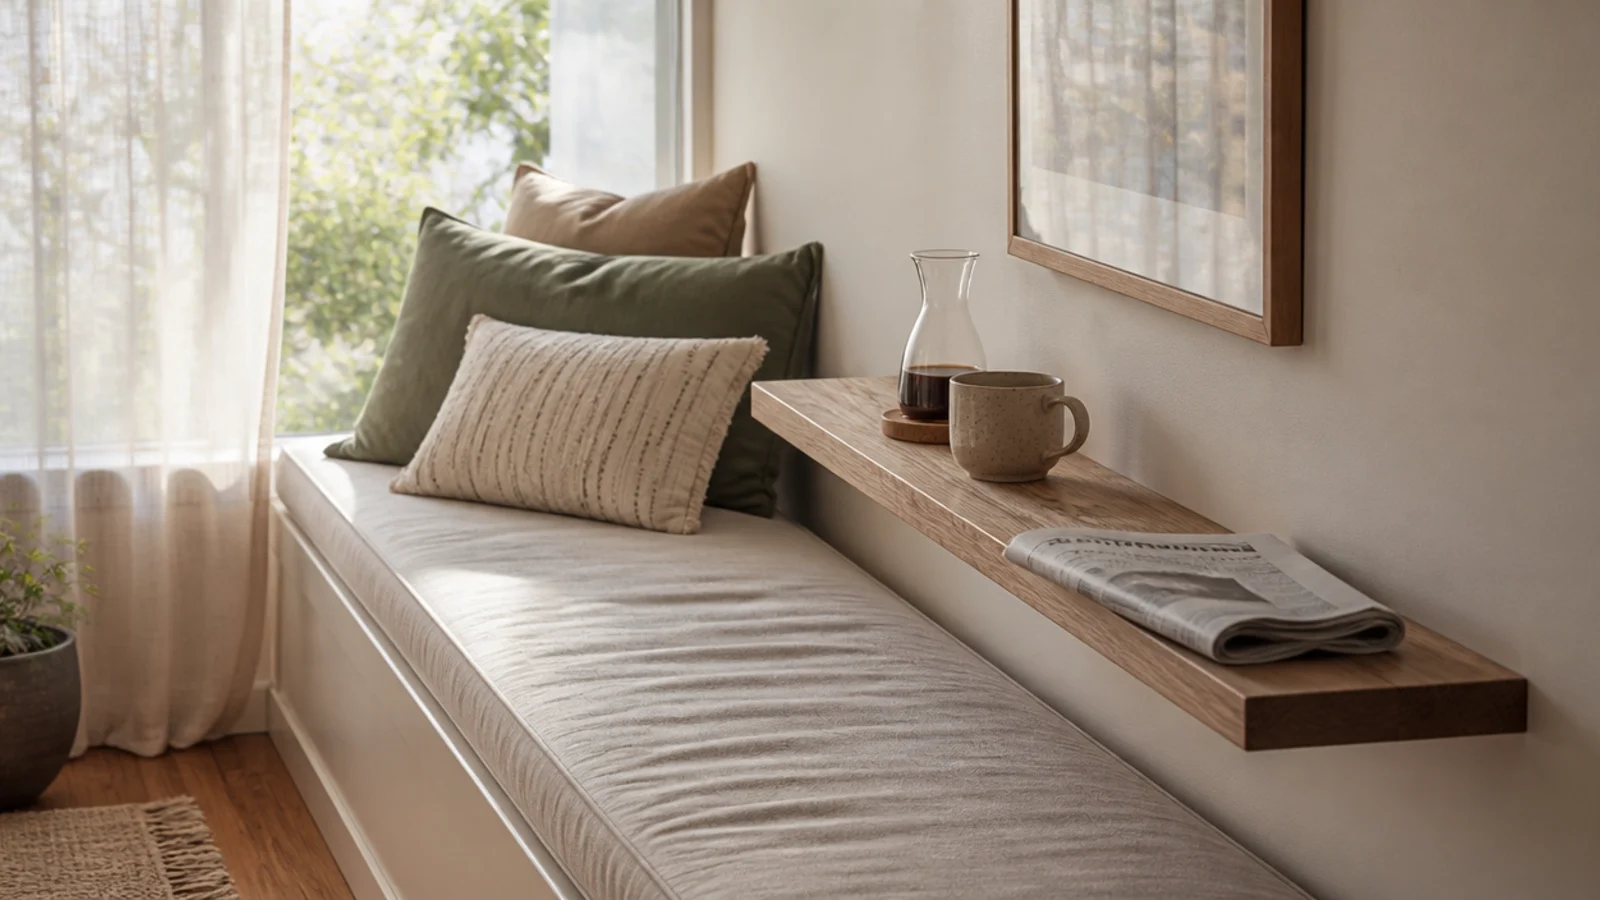
5. Add a narrow ledge at a window seat
A 6-inch timber ledge fixed along the wall beside a window seat holds a mug, a small carafe and a book, without eating any of the seat.
Fix it at seat height plus 10 inches so it lands naturally beside your elbow. Two brackets and an offcut, under $25 ($).
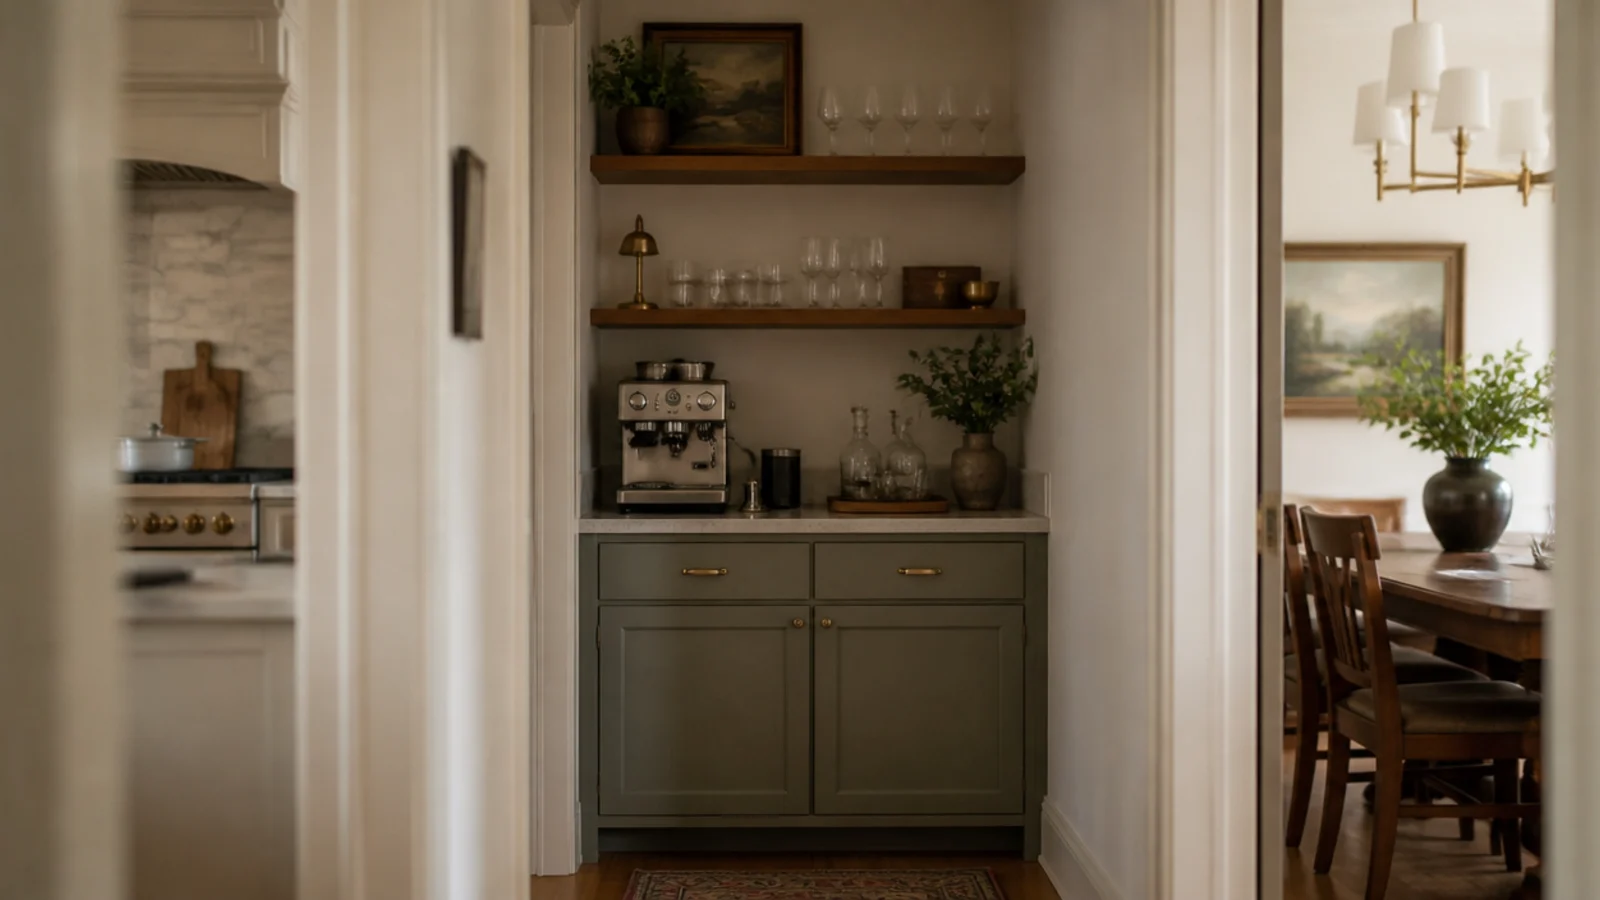
6. Claim the passage between kitchen and dining
A short passage with 15 inches of spare wall depth can carry a shallow counter and a shelf above it, serving both rooms.
Check the walkway first. You need 32 inches of clear passage after the counter goes in, or the nook turns the route into a squeeze.
7. Fit out the top half of a dining hutch
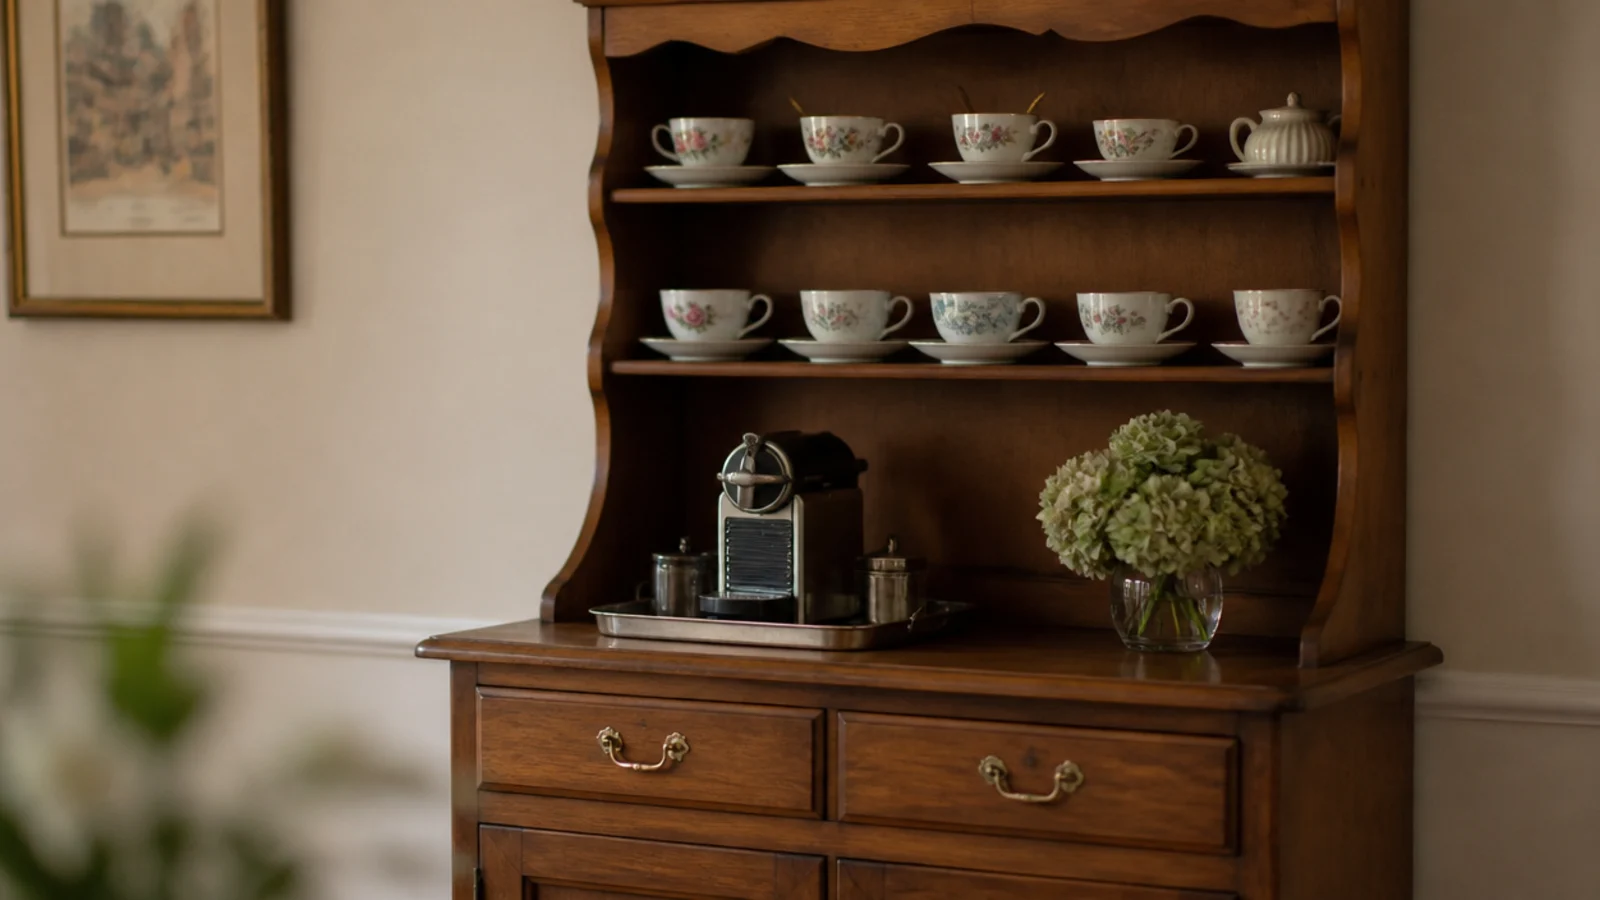
A hutch already has the architecture: shelves above, closed storage below. Cups and saucers go up top, the machine sits on the middle surface, and linens live in the drawers.
Put a stone or metal tray under the machine so heat and drips never touch old veneer.
8. Build a bedroom bench nook
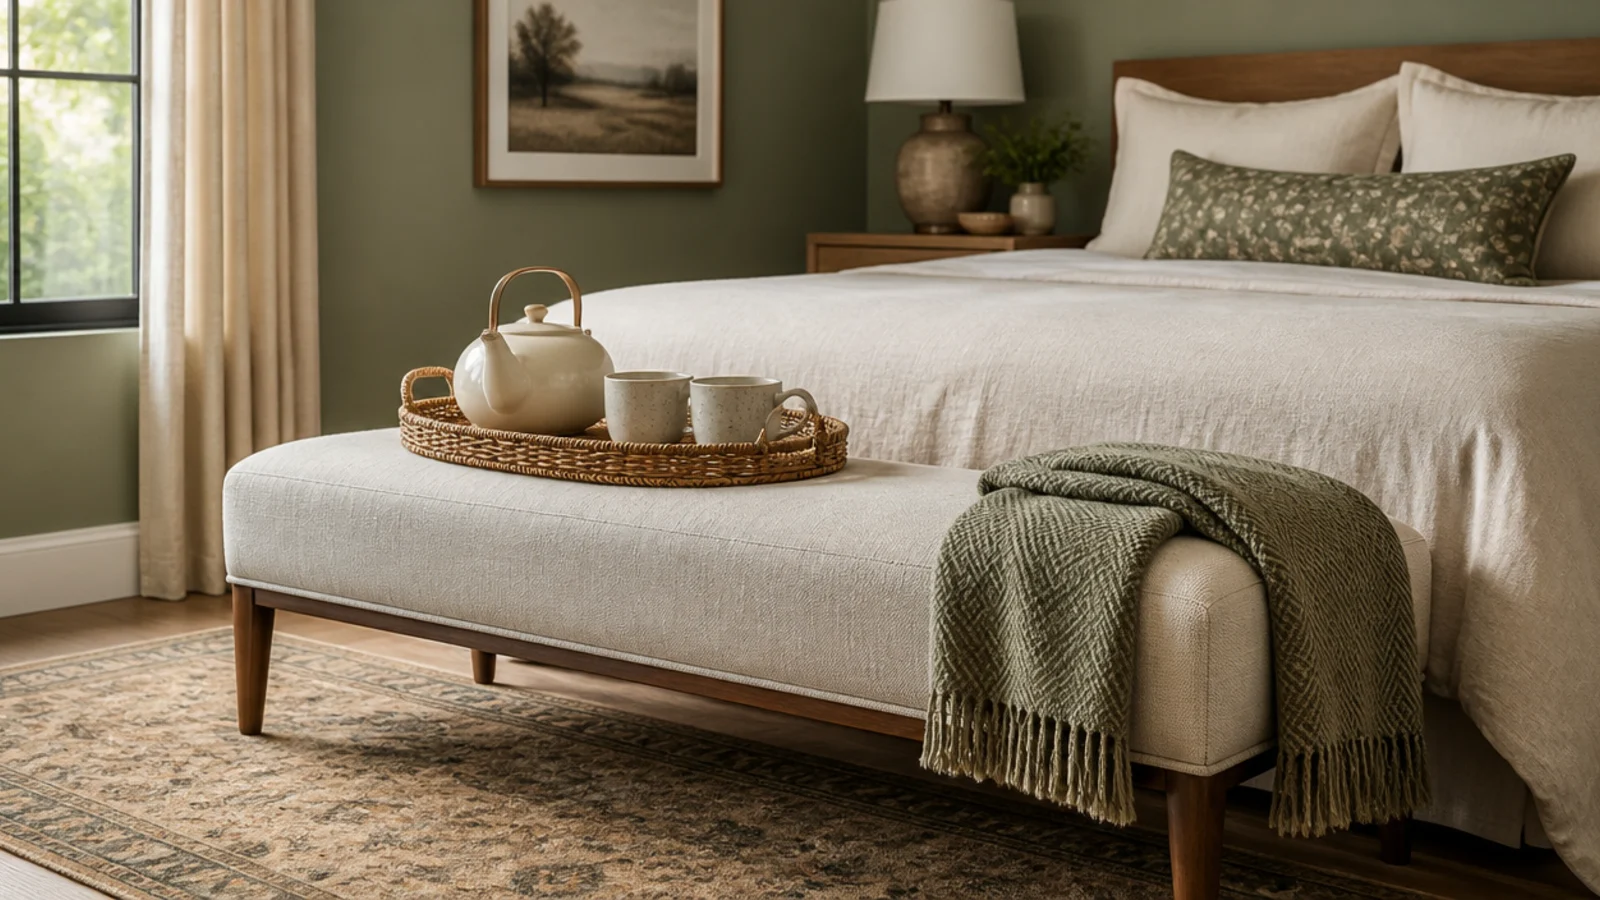
A kettle, two mugs and a lidded jar on a tray at the foot of the bed. Nothing that grinds, nothing that needs plumbing.
An 0.8 litre cordless kettle boils enough for two and stores upright. Skip milk entirely up here, for reasons anyone who has tried it already knows.
9. Set a guest room tray nook
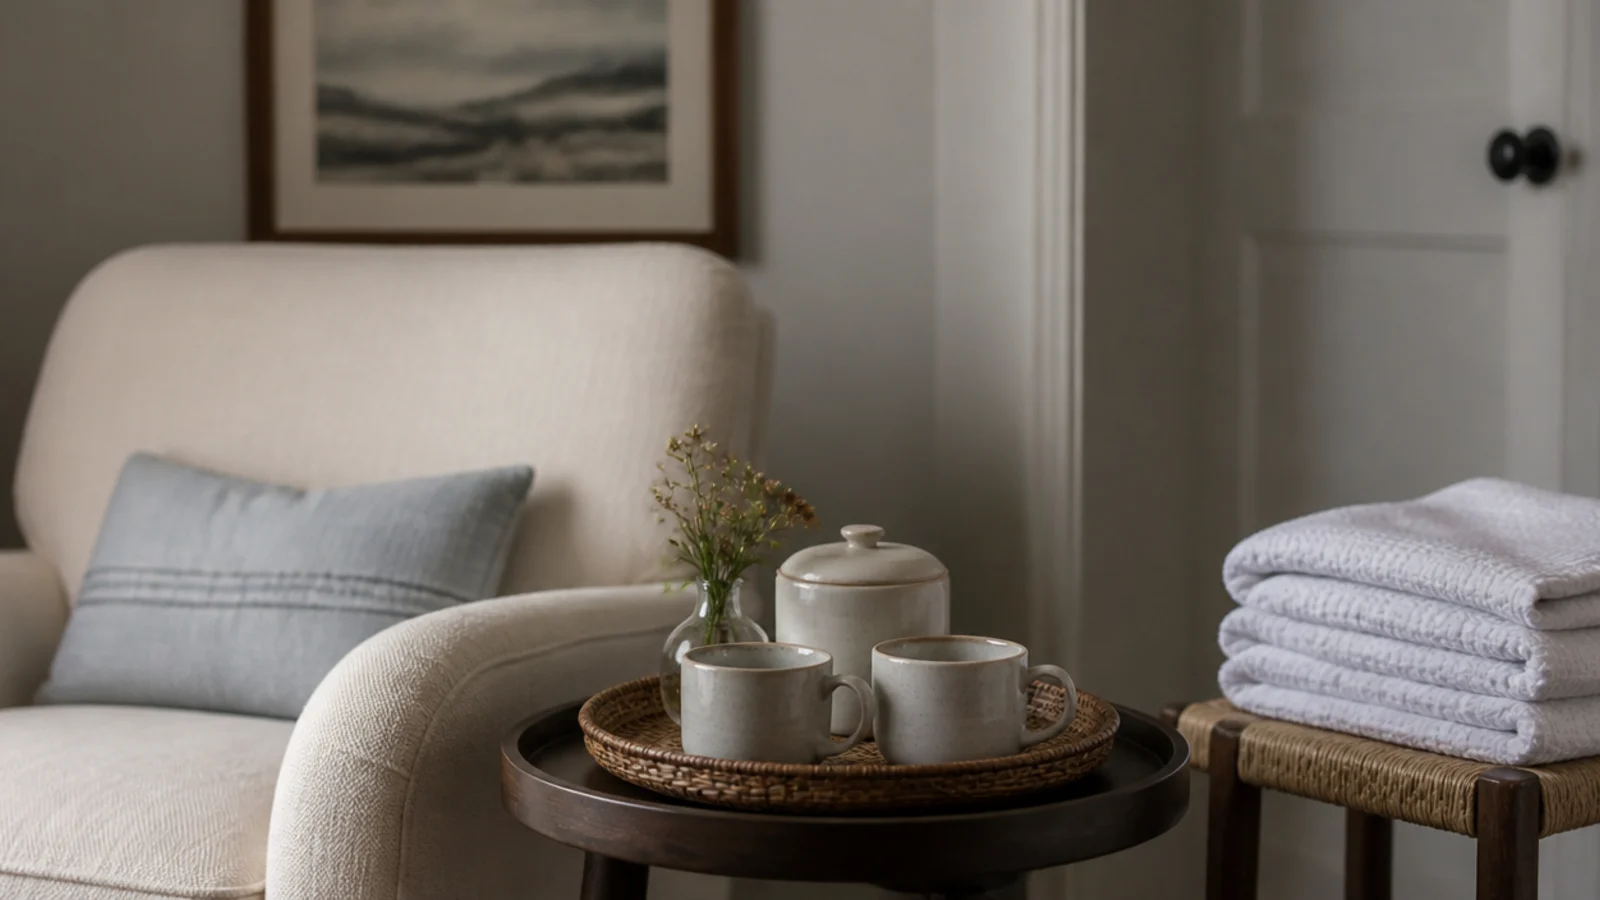
Five items maximum: two mugs, a small kettle, a lidded jar of sachets, a spoon and one dried stem in a tiny vase.
Use a tray with handles so a guest can move the whole thing if they need the surface, and refill it the morning they arrive rather than the week before.
10. Give the home office a 24-inch console
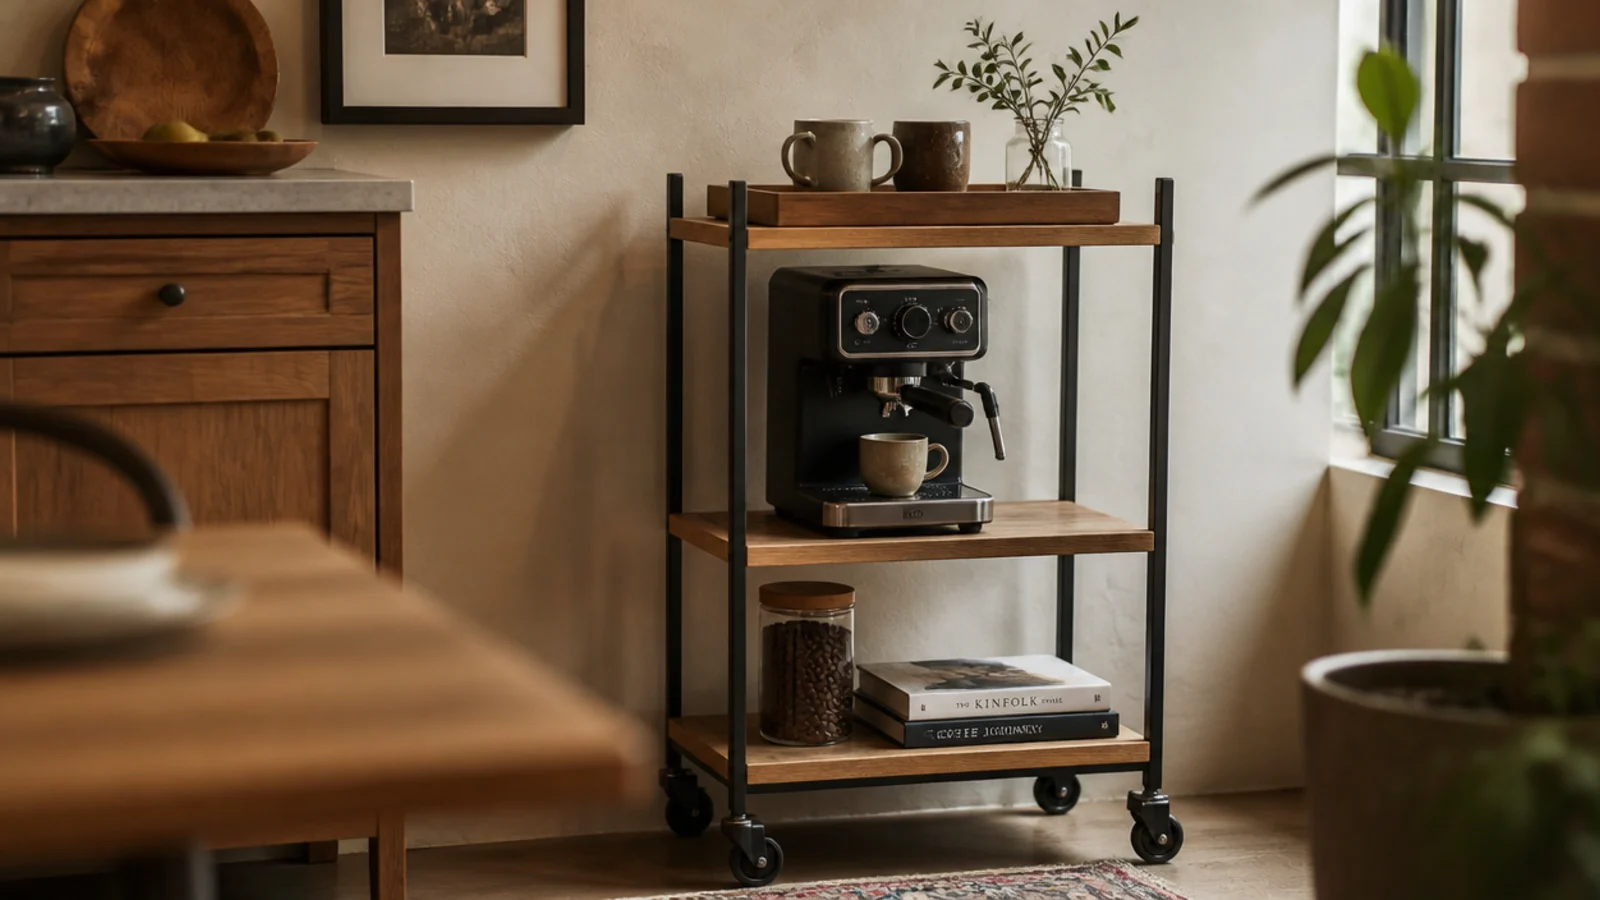
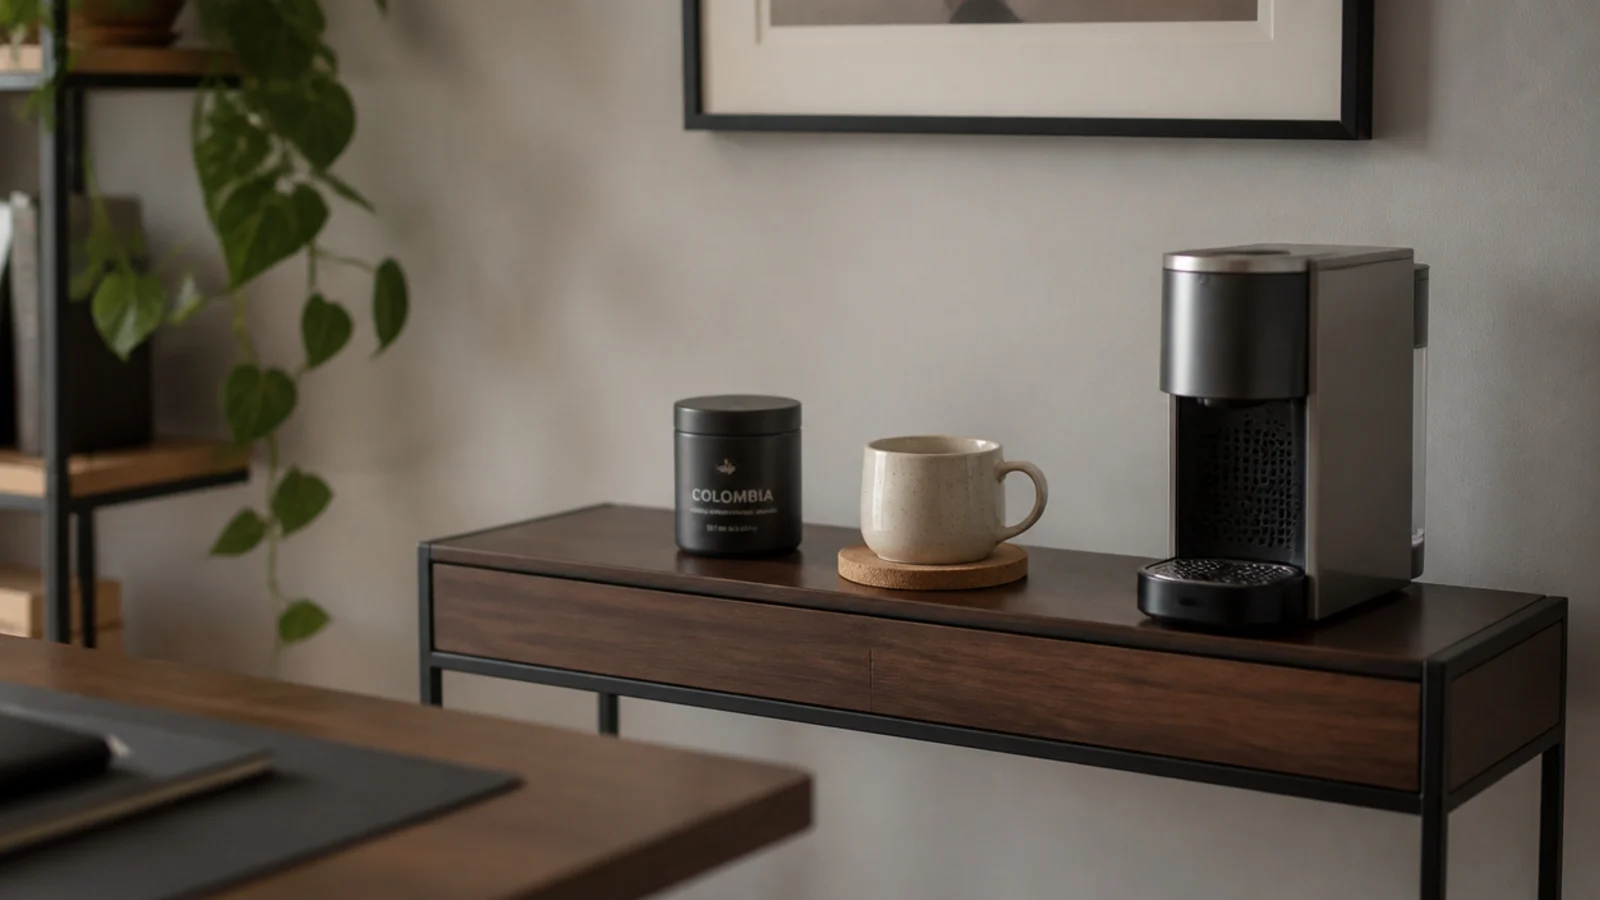
The walk to the kitchen is where the afternoon goes. A console 24 inches wide and 14 deep holds a single-serve machine, one mug and a small tin.
Keep it deliberately minimal, or the office coffee nook becomes a snack station within a month.
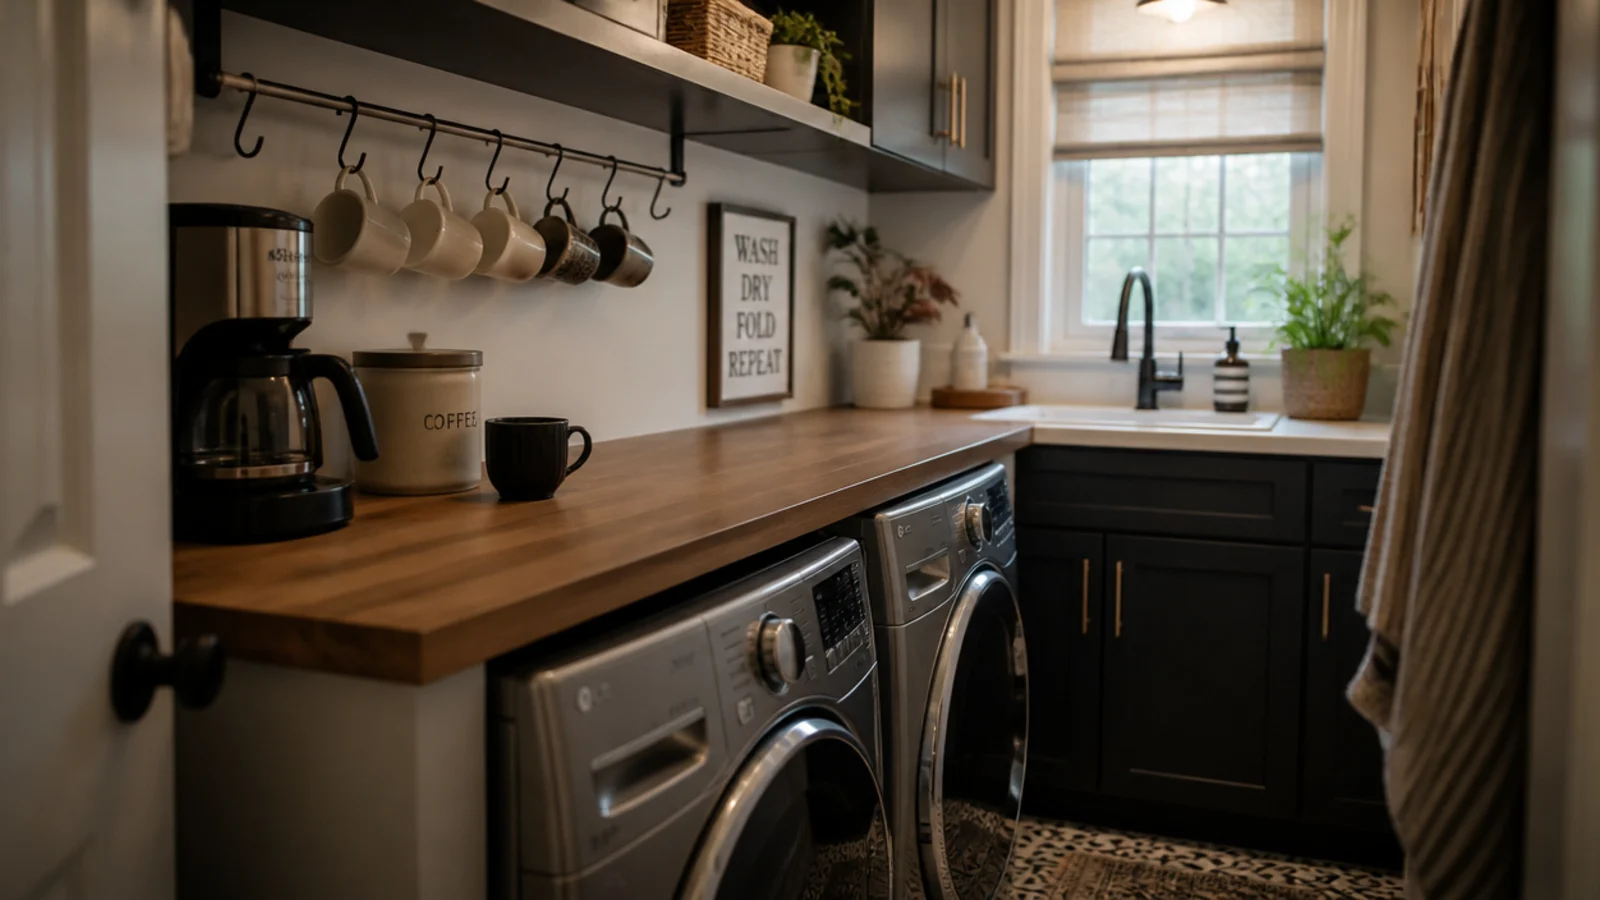
11. Use the laundry room counter
A laundry room already has power, water and usually a counter, which makes it the most overlooked coffee nook in the house.
Keep the station at the opposite end from the detergent, and store beans in an opaque airtight canister — laundry rooms run warm and humid, which ages them faster.
12. Take a den or basement corner
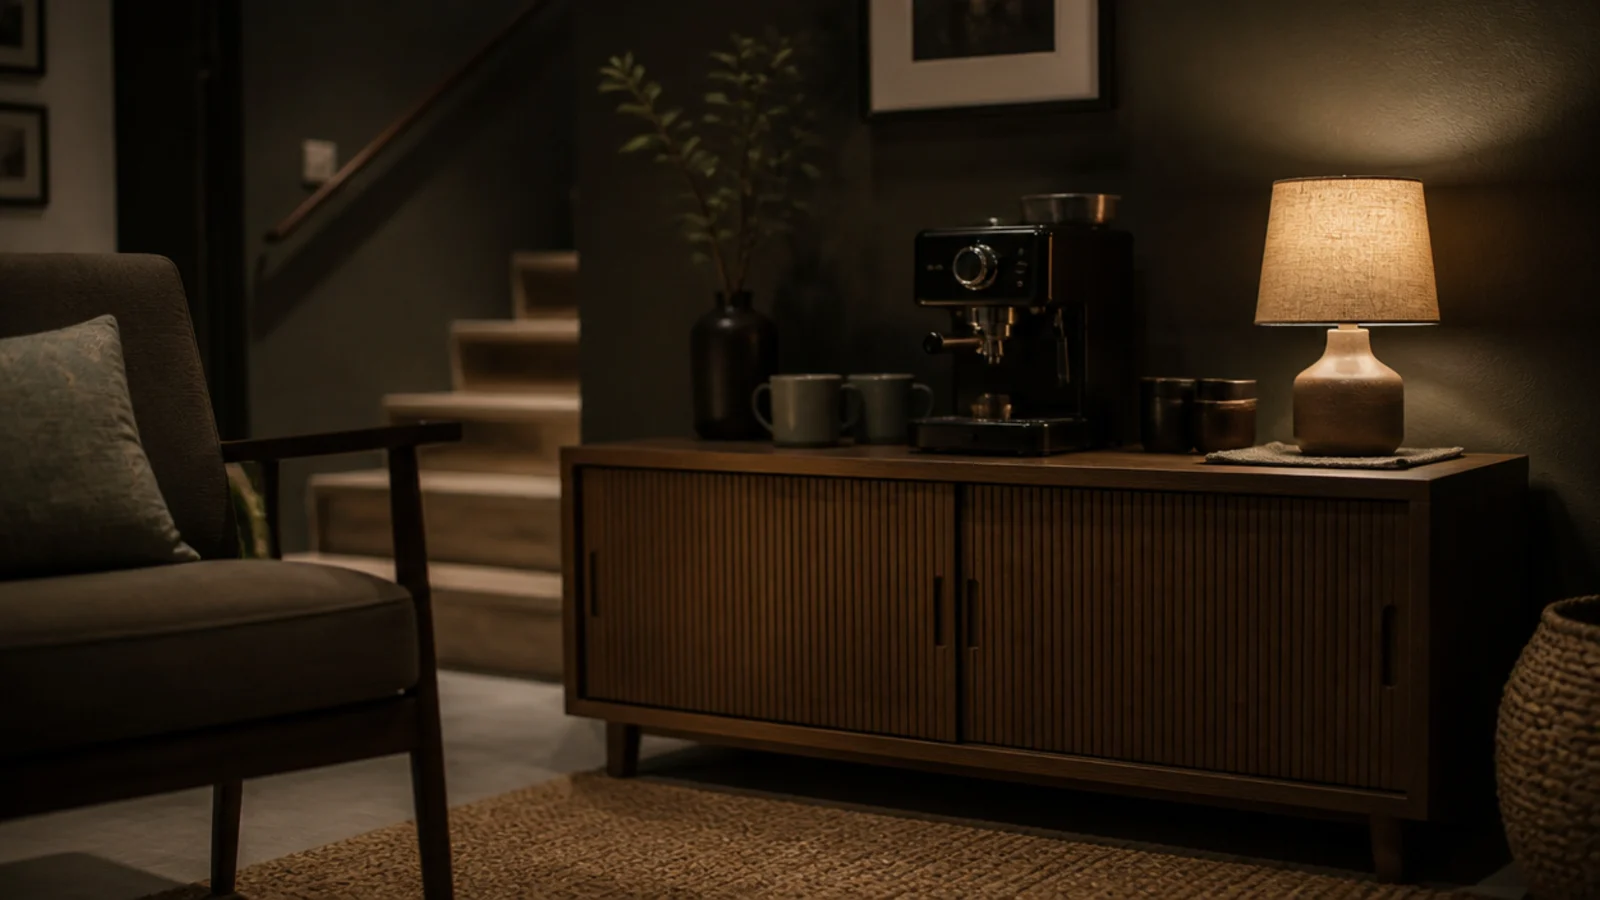
Lower rooms are dim, so the light does more work here than the furniture. One lamp with a warm 2700K bulb beside a low cabinet is the whole trick.
Keep beans upstairs if the basement is damp, and bring down two weeks at a time in a sealed tin.
13. Keep a thermos nook in the workshop
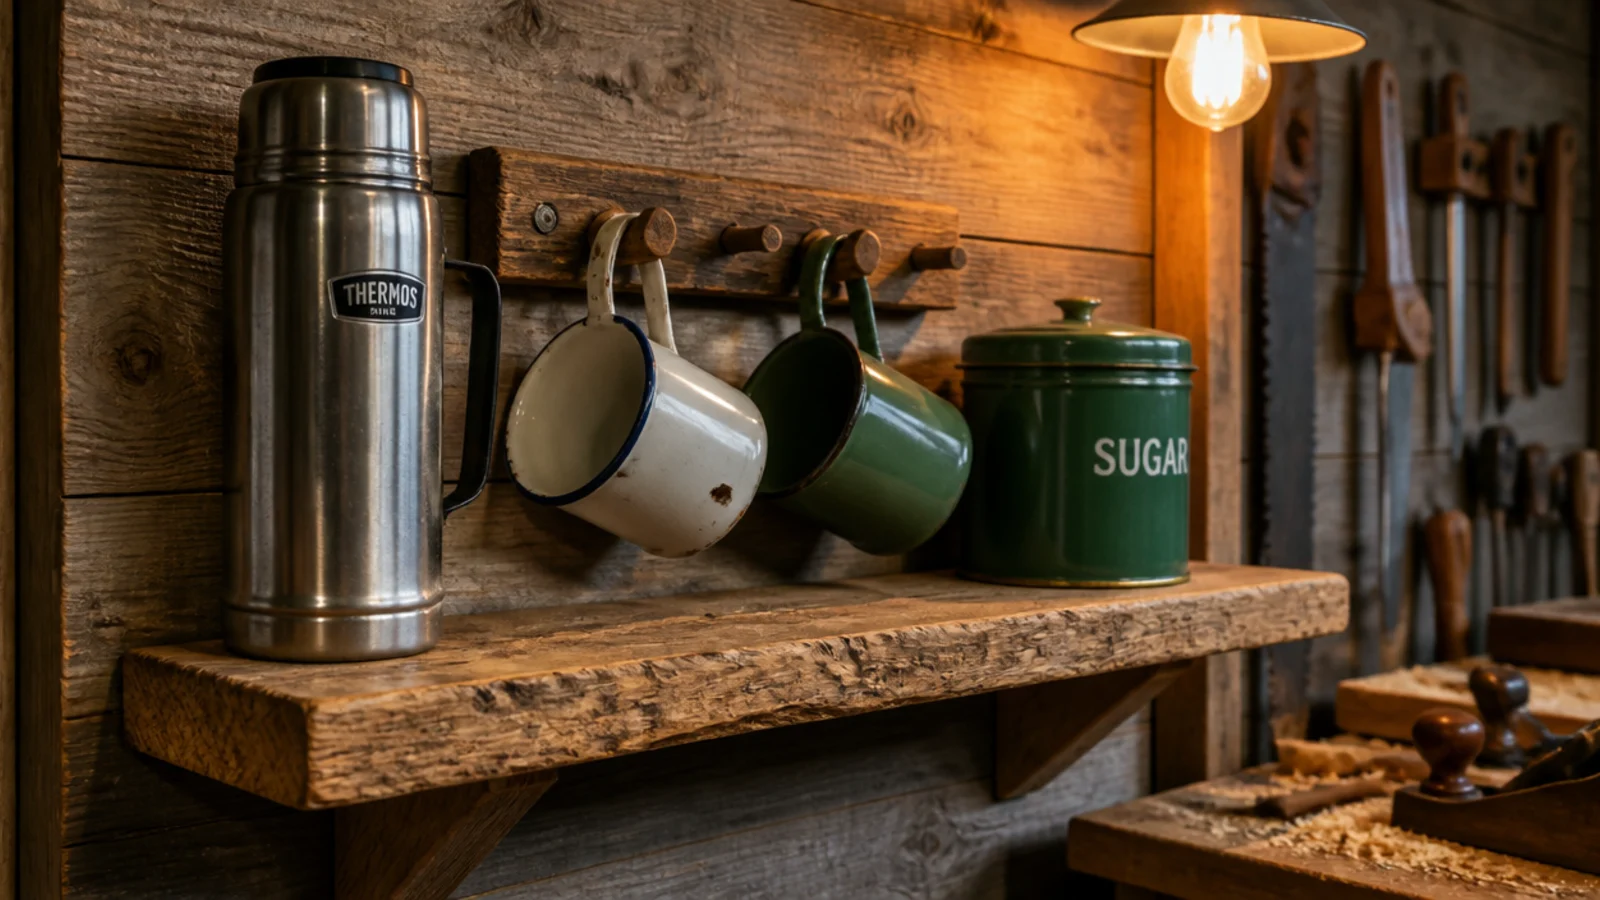
Brew inside, carry out. A shelf with a steel thermos, two enamel mugs on pegs and a small tin of sugar is the entire setup.
Enamel over ceramic in a workshop for the obvious reason. Total cost is under $40 ($) and it saves a dozen trips a day.
14. Fit a studio apartment shelf nook
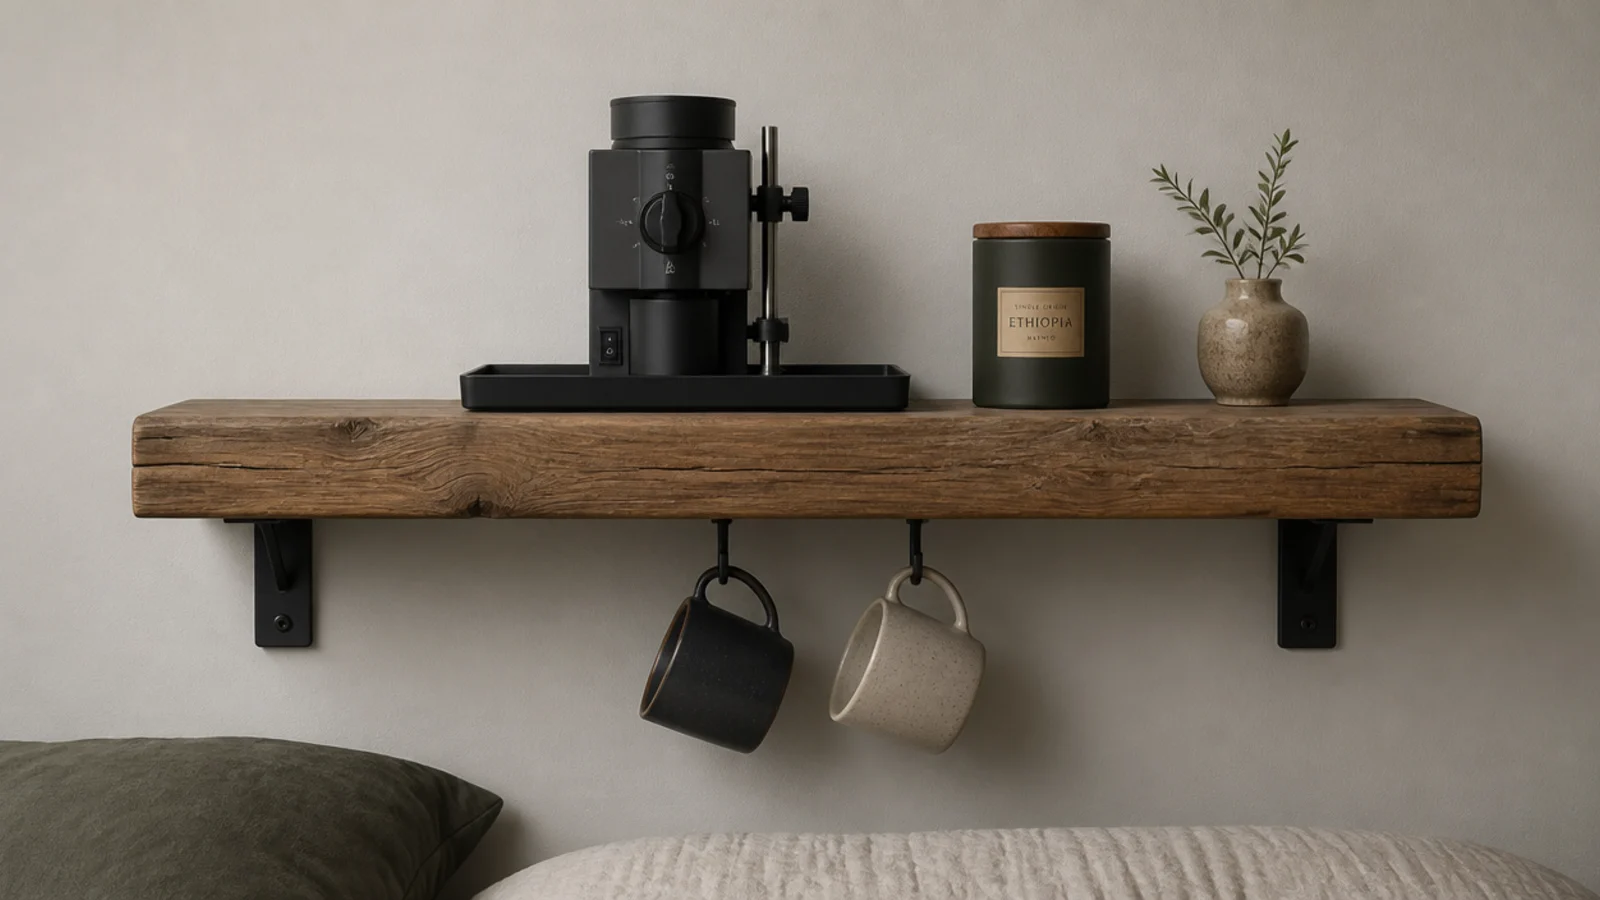
In a studio, one sturdy shelf mounted at 40 inches can hold the whole station: machine on a tray, canister beside it, two mugs on hooks beneath.
Anchor into studs or use toggle bolts rated 25 to 35 pounds each, because this shelf carries real weight in a small footprint.
15. Rail everything down in a tiny home or RV
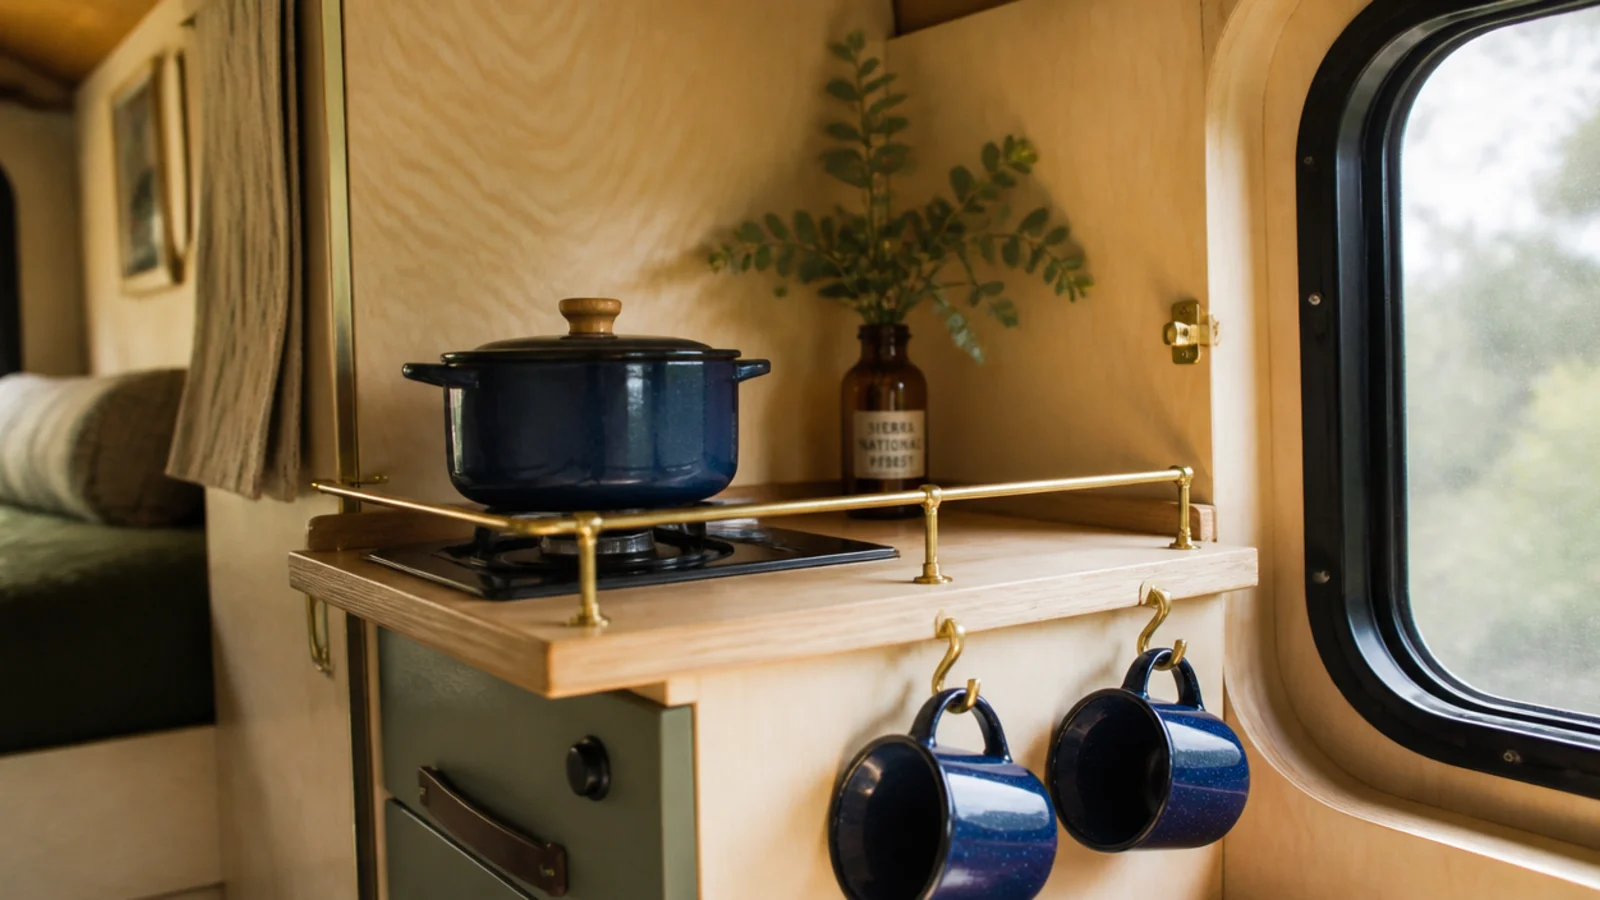
Anything that moves needs a fiddle rail on the shelf edge and hooks rather than stacks. Enamel or steel over ceramic, always.
Keep beans in a sealed tin wedged in a drawer rather than standing on a shelf, and choose a stovetop pot over a machine to save both power and space.
16. Carry it out to the balcony
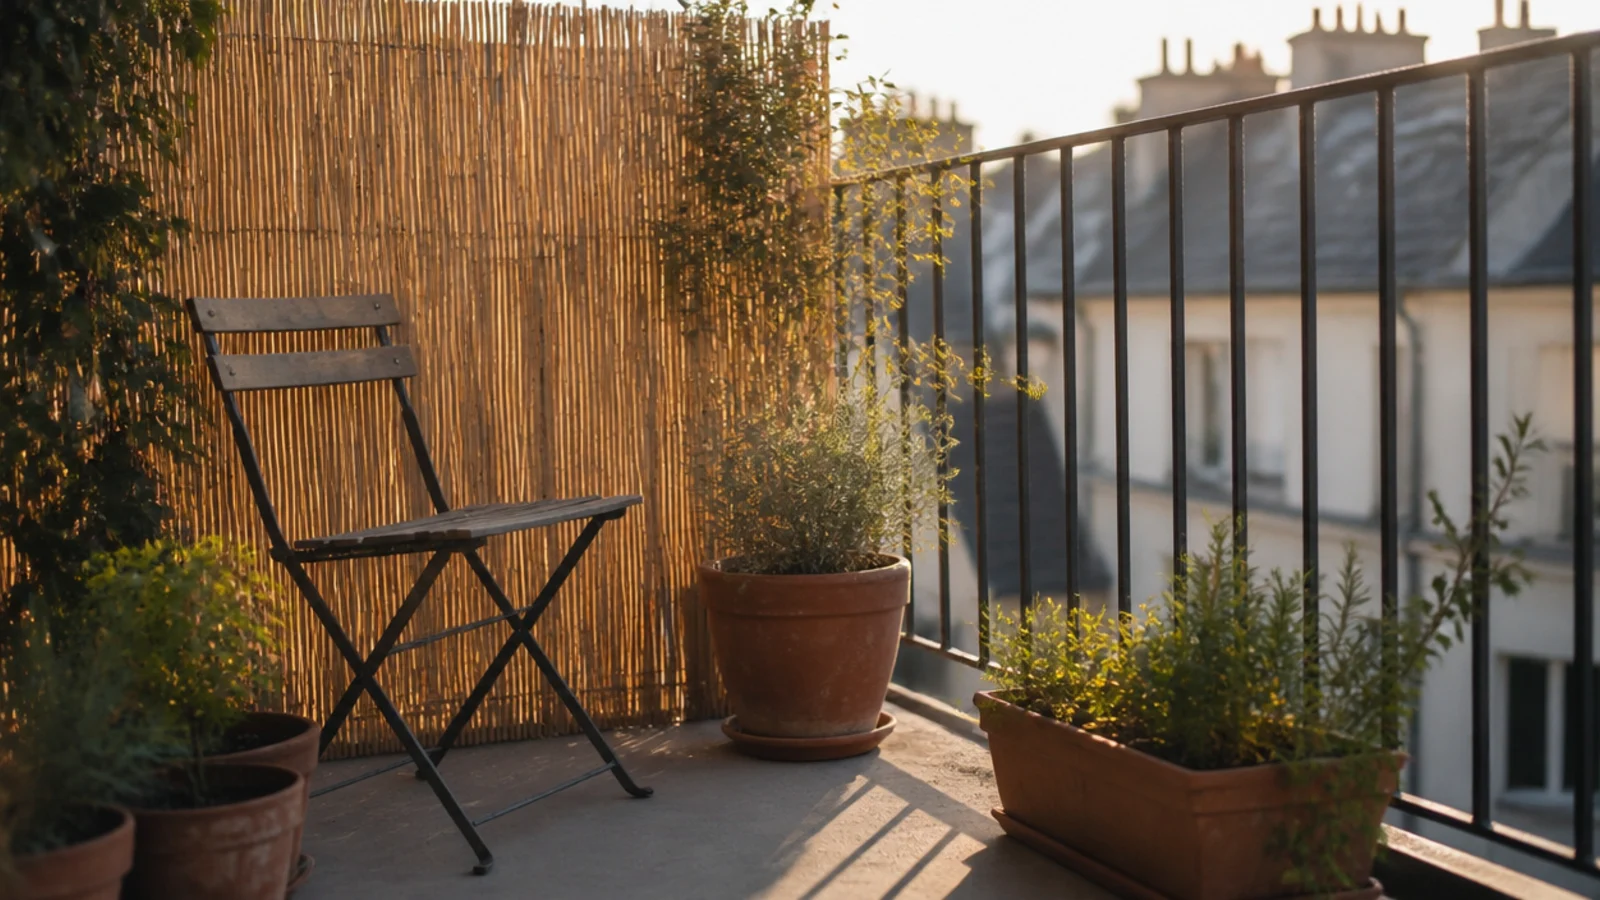
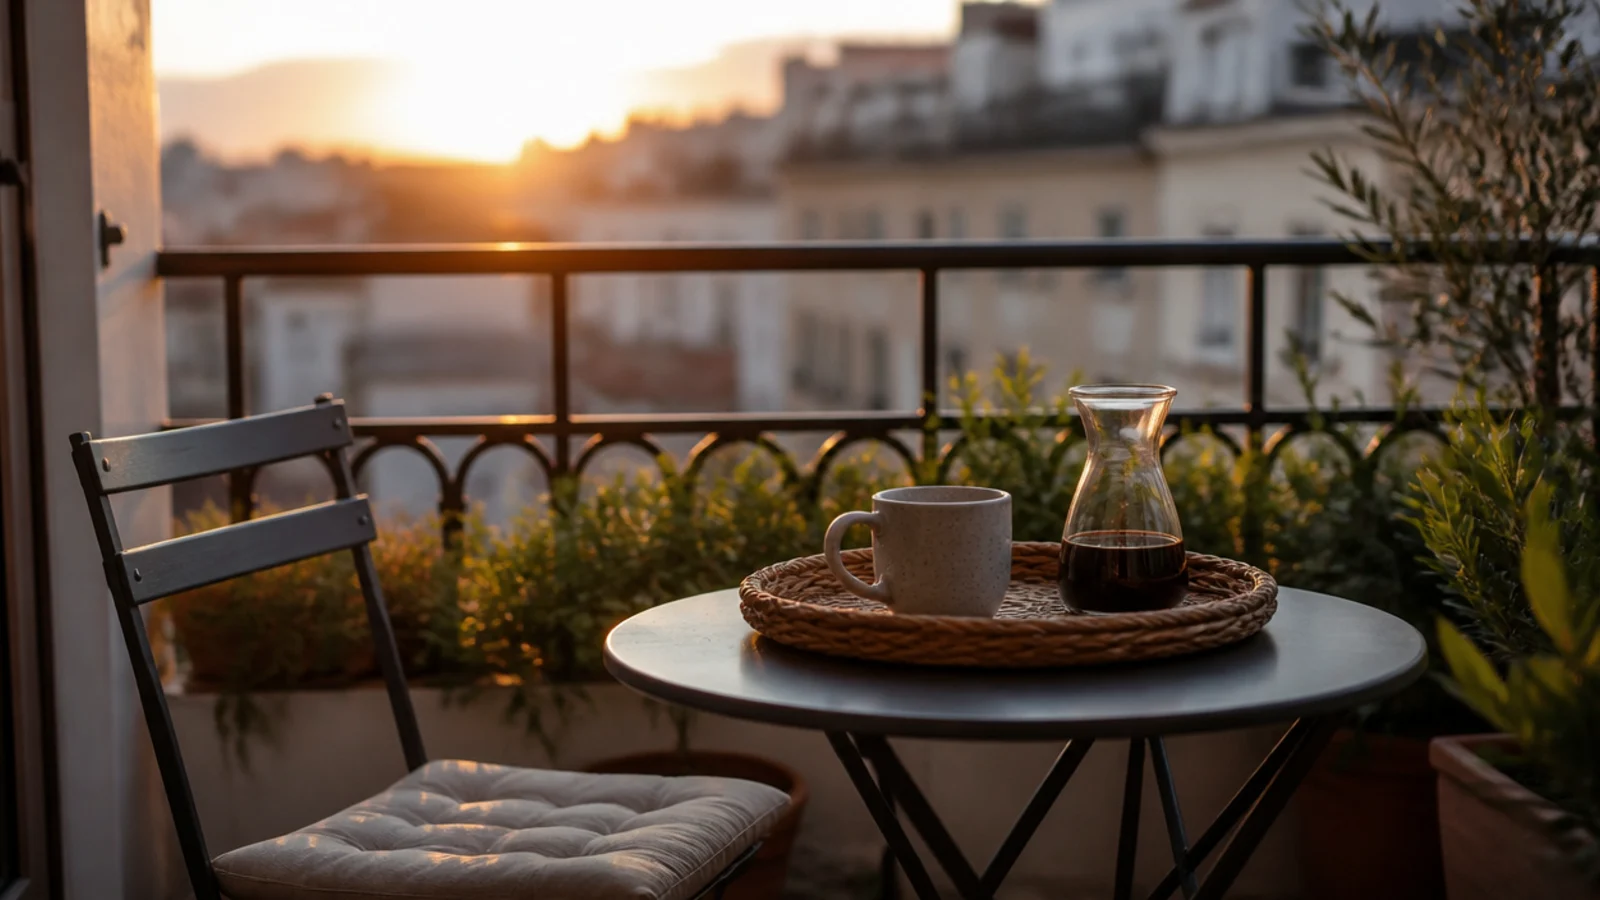
A 20 to 24 inch bistro table, one folding chair and a woven tray turns the first cup into a reason to go outside.
Carry everything in one trip and bring it back the same way — a setup that needs three trips gets used twice. The apartment balcony guide covers the seating side.
17. Pair a reading chair with a side table
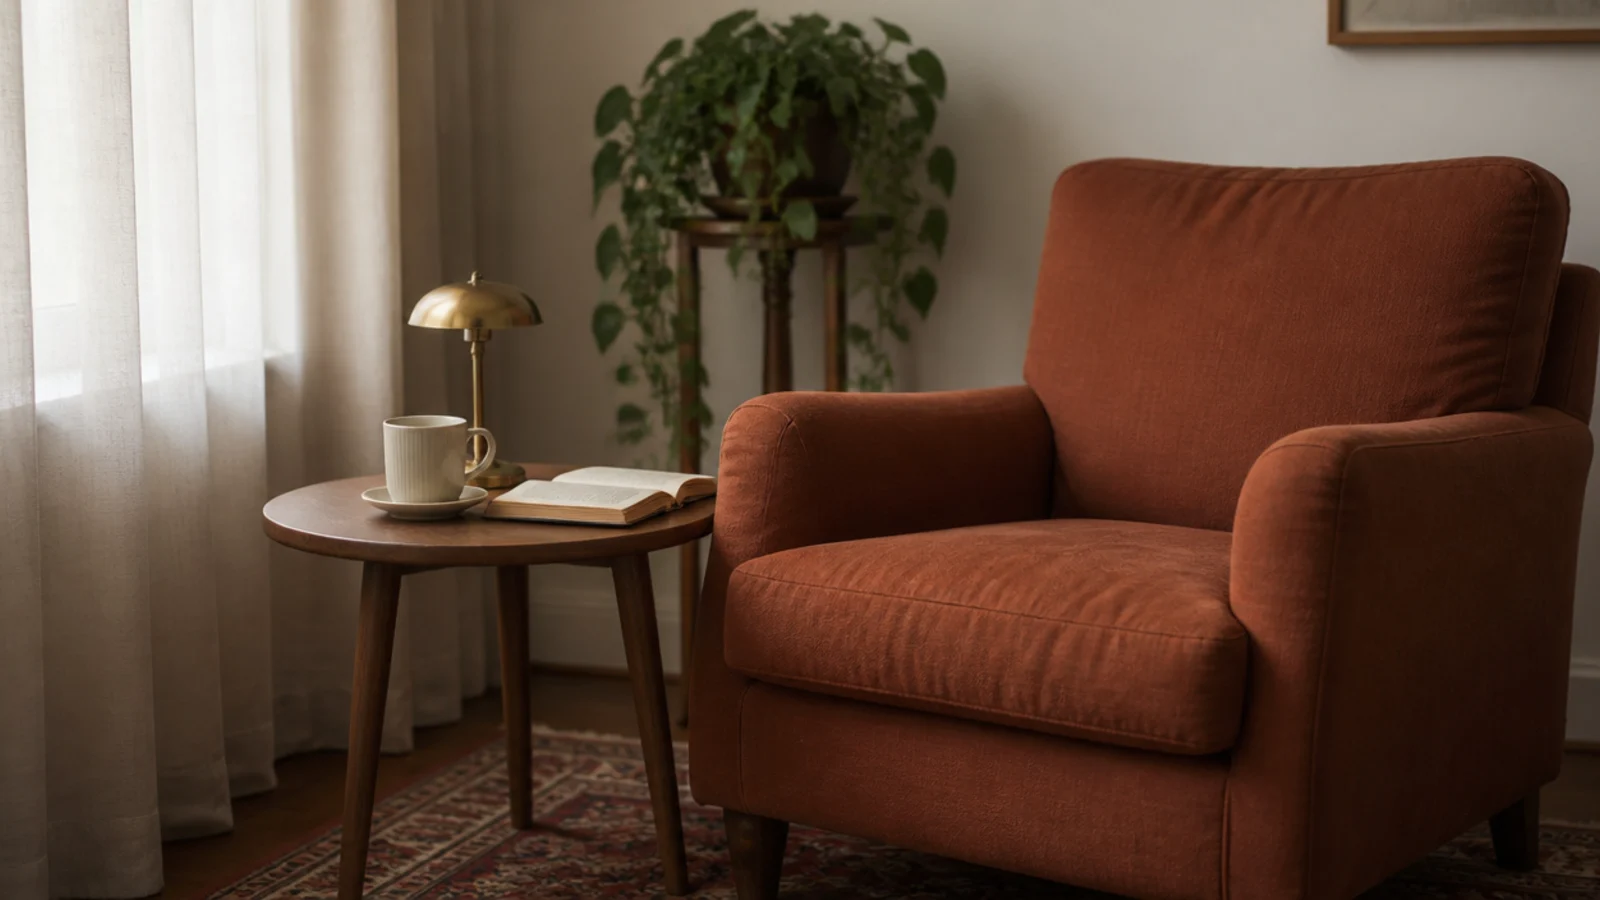
The nook here is the chair. What it needs is a table at arm height — usually 24 to 26 inches, level with the chair arm rather than the seat.
Twelve to fourteen inches across is plenty for a mug, a book and a small lamp base. Anything wider becomes a shelf for clutter.
18. Set up on a covered porch
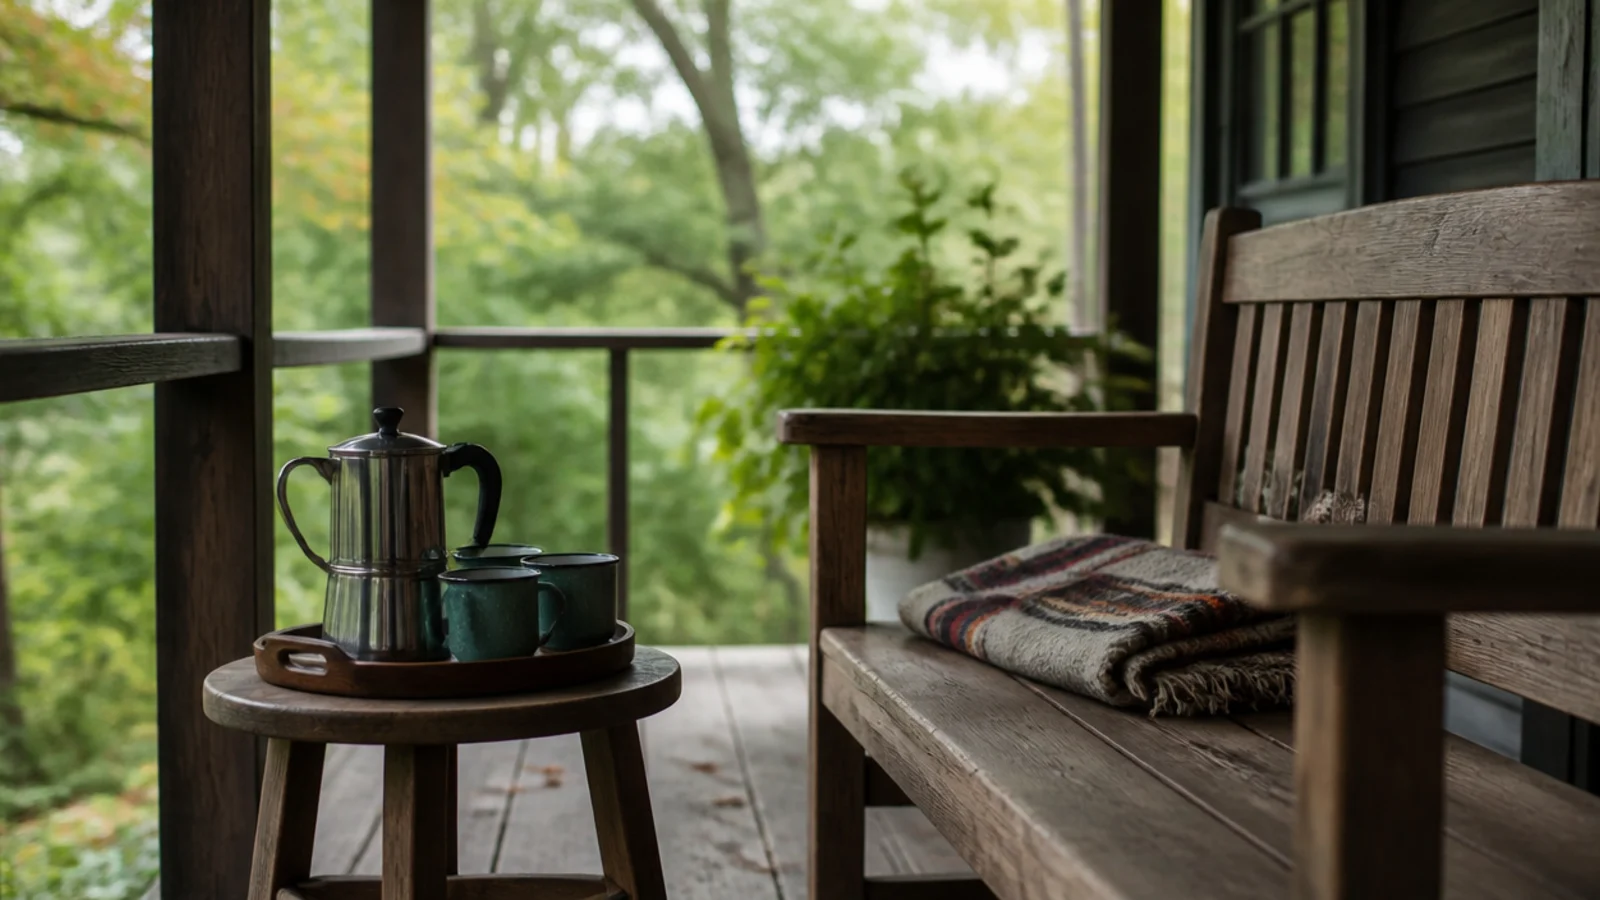
Covered only. A tray, a stovetop pot and two enamel mugs live happily under a roof and get ruined in one week of open weather.
Keep a wool blanket folded on the bench from October onward. That single object is what turns a porch into a place you actually sit in autumn.
19. Use the landing at the top of the stairs
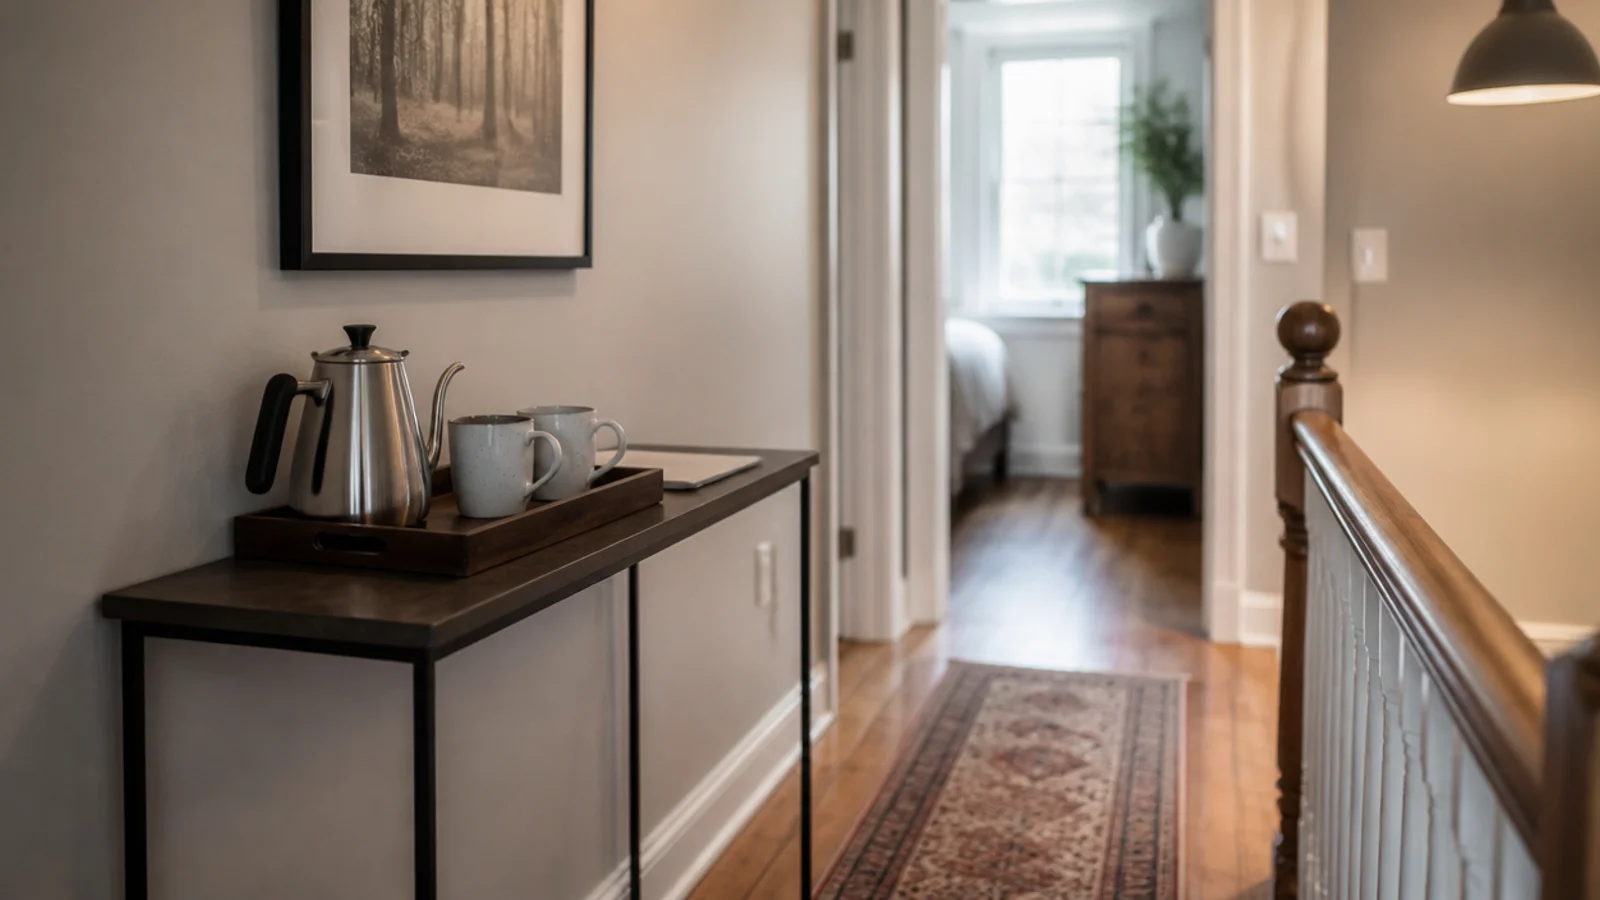
An upstairs landing usually has 10 to 12 inches of spare depth against the wall — enough for a slim console with a tray, a kettle and two mugs.
Check the walkway stays at least 36 inches wide, and never put anything breakable within a stair tread of the top step.
20. Fill the alcove where the old fridge stood
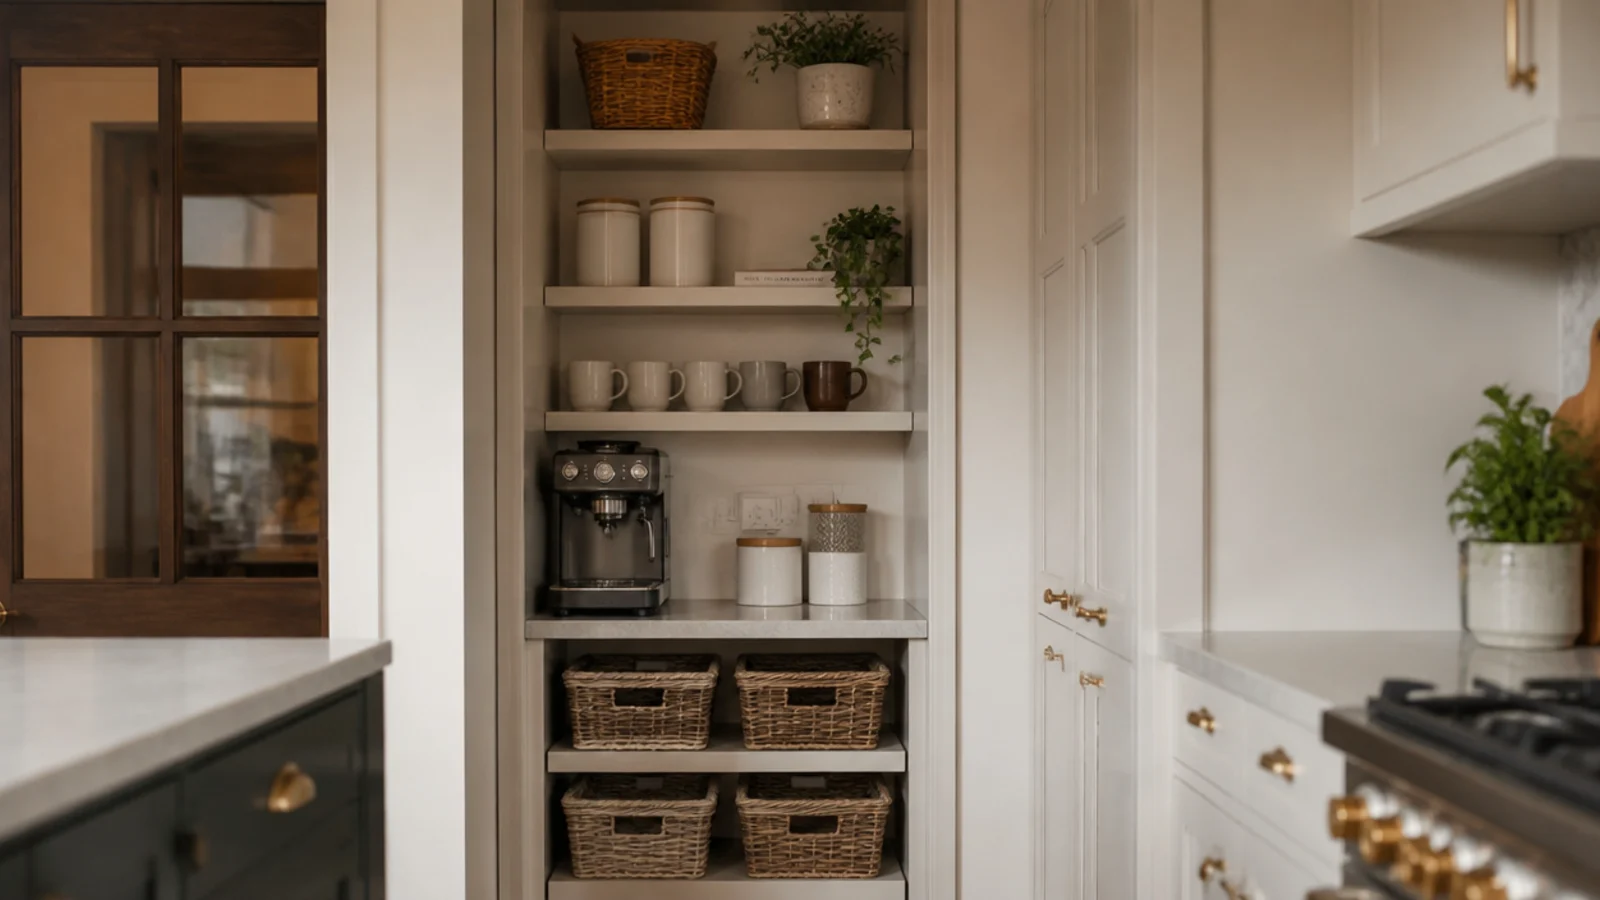
A former fridge recess is roughly 30 to 36 inches wide, full height, and already wired — the single best coffee nook opportunity in any kitchen.
Fit a counter at 36 inches with shelves above and baskets below. Because the outlet already exists, this is one of the few nooks that needs no electrician.
21. Run a day-and-night bar nook
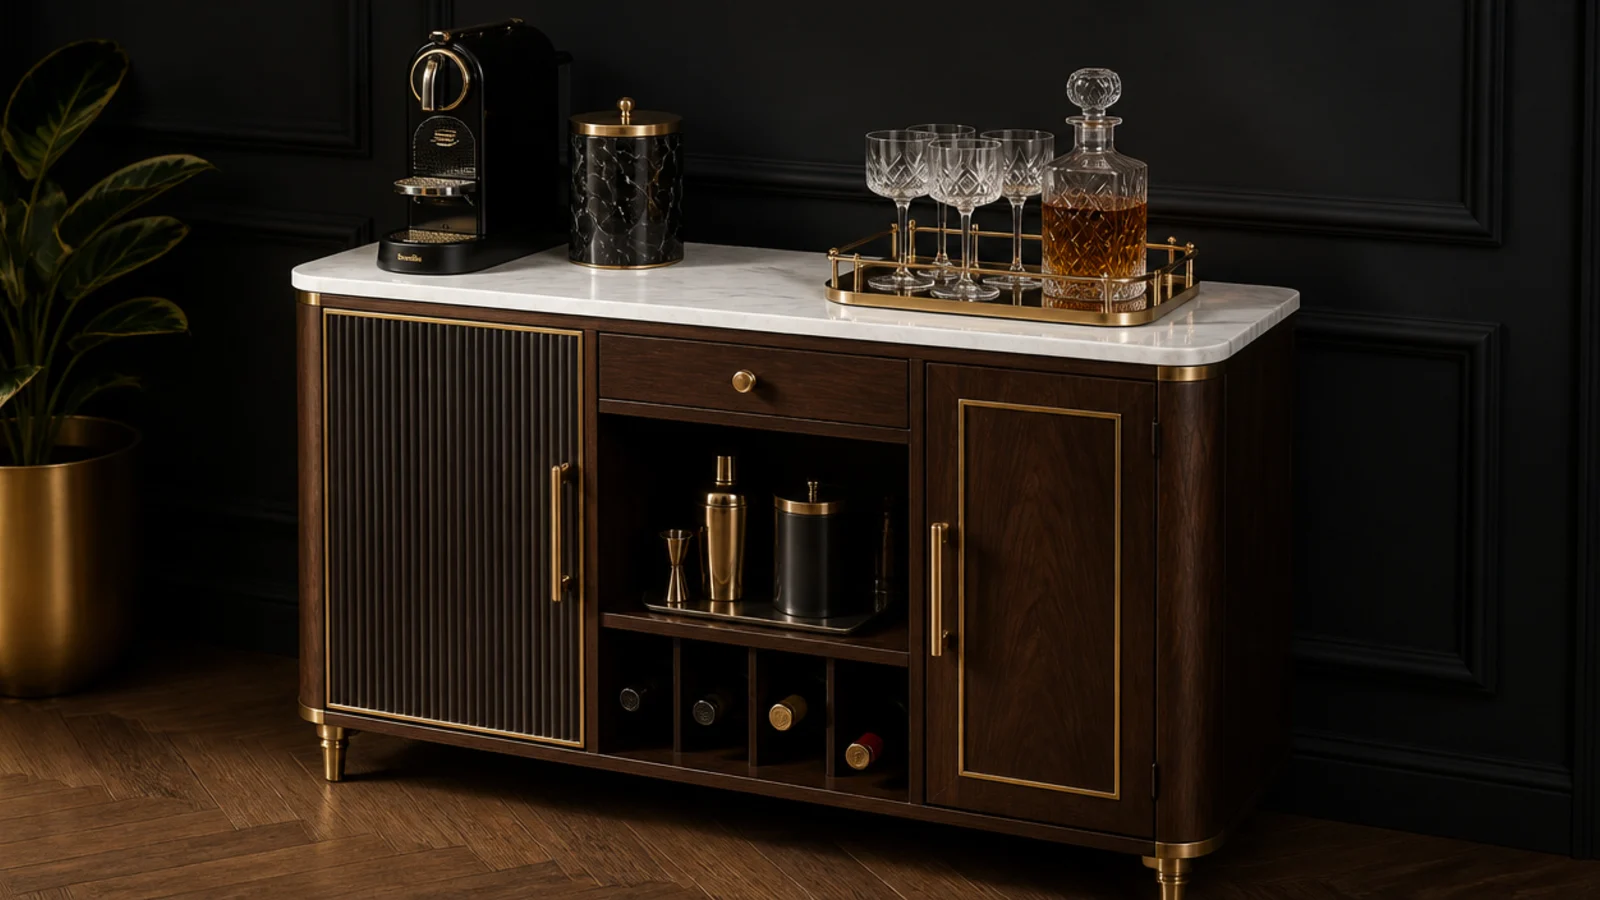
One cabinet, two jobs. Machine, canister and mugs on the left; glasses, a decanter and a small ice bucket on the right.
Use a marble or metal top so both hot and wet get handled, and keep the two zones physically separate so neither turns into a jumble.
22. Put one by the back door
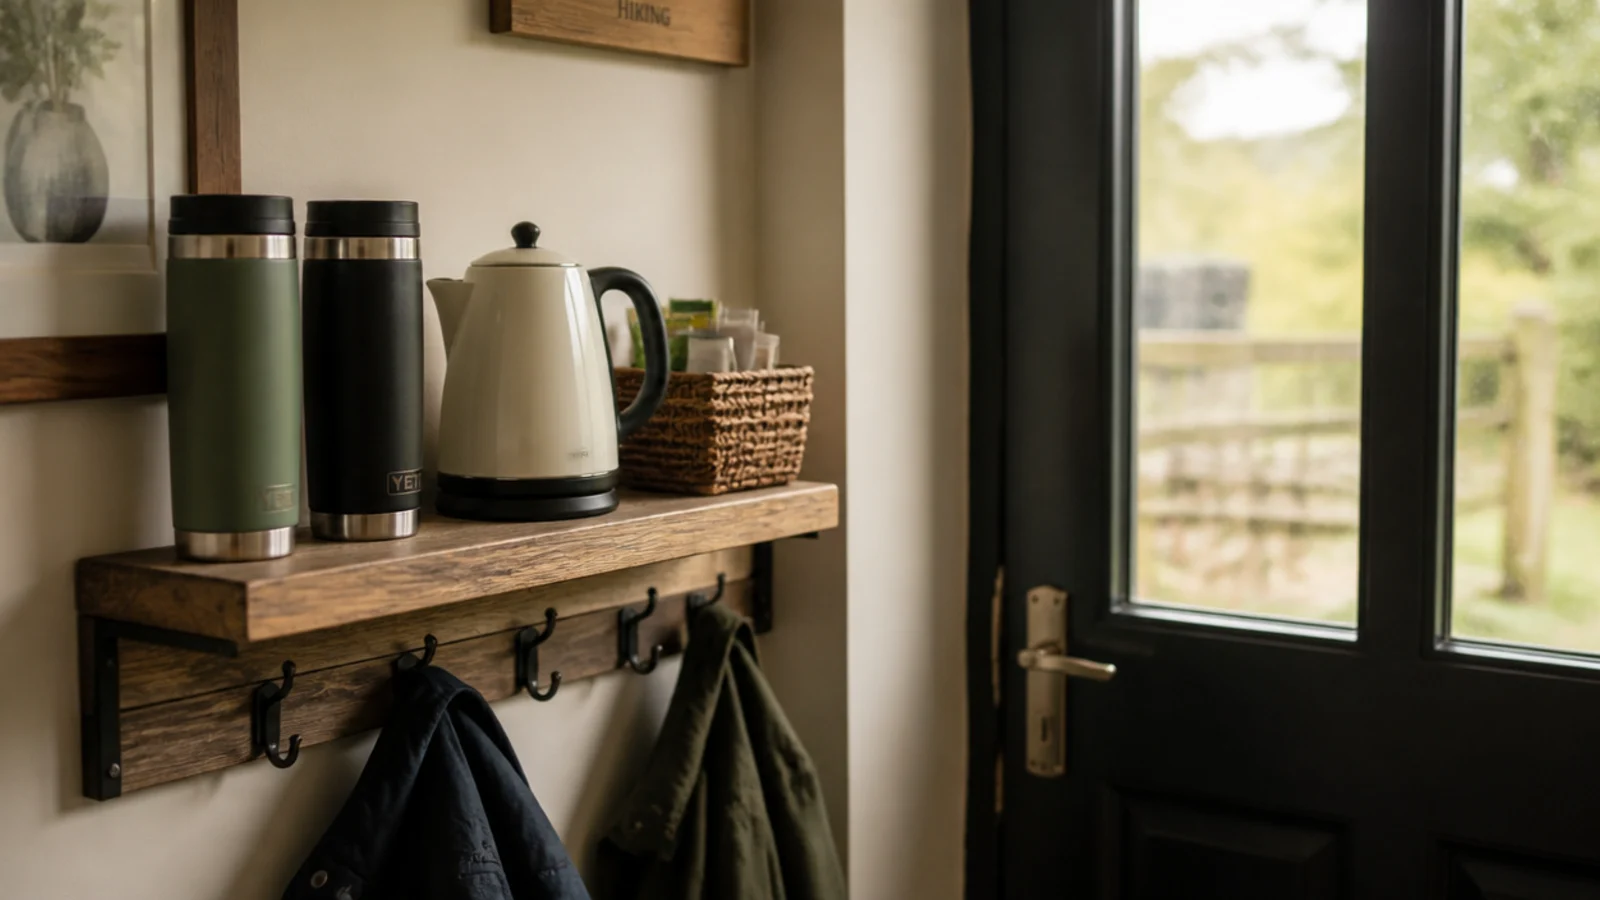
Travel mugs belong where you leave the house, not in a cupboard on the far side of the kitchen. A shelf and a hook rail beside the door holds two mugs, a kettle and a basket of sachets.
Mount the shelf at 48 inches so coats hang clear underneath.
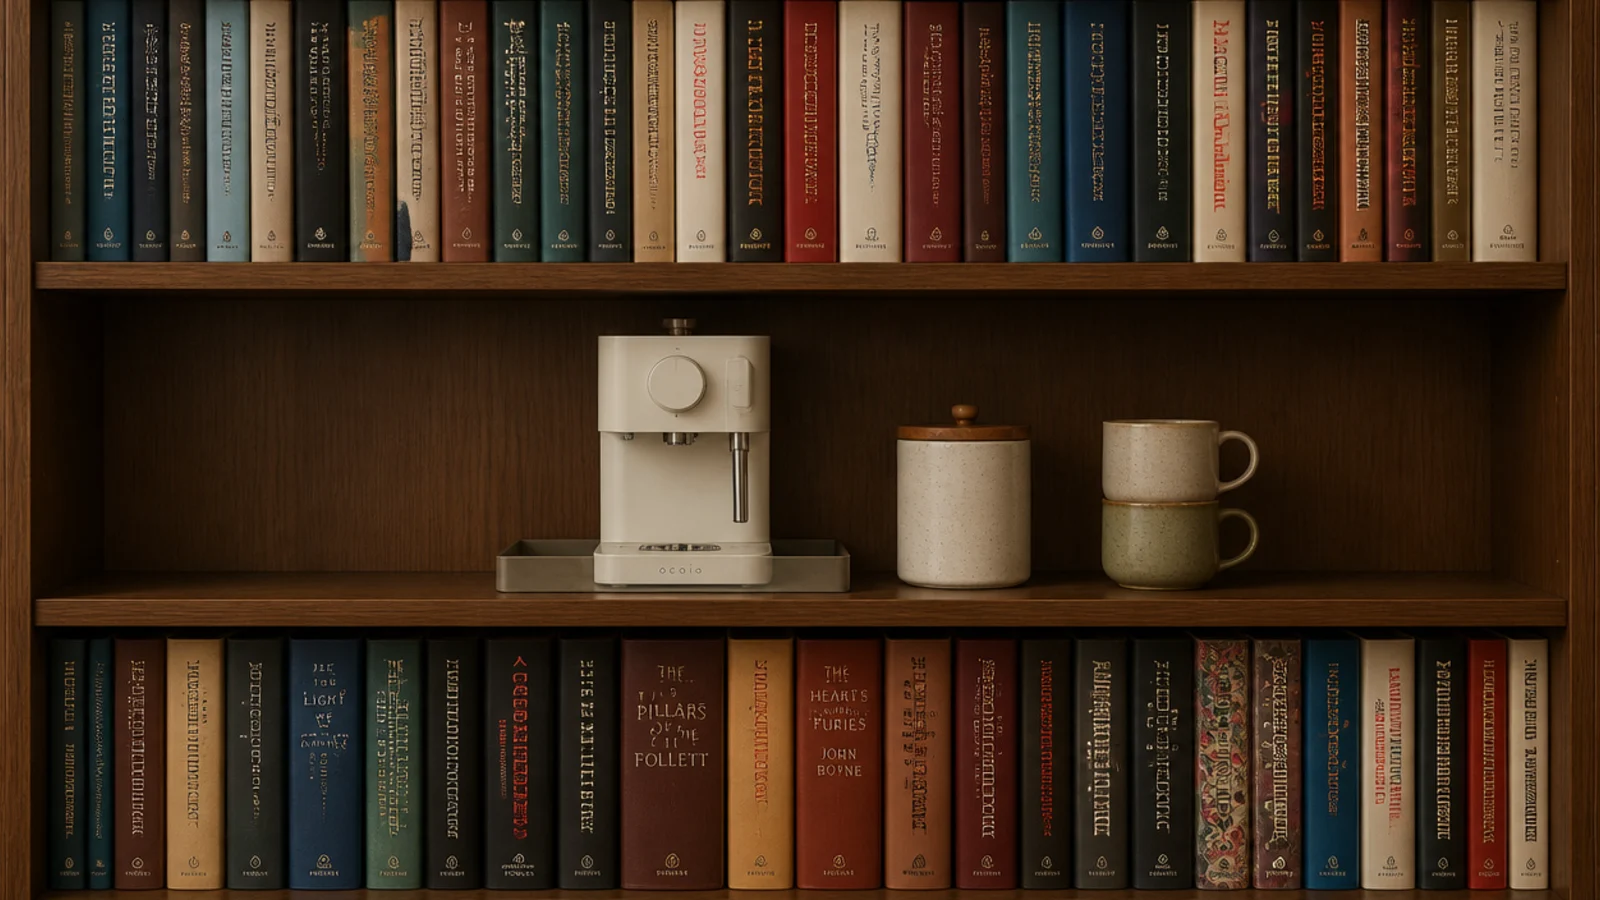
23. Clear one bookcase shelf
Take the books off one shelf at chest height, add a tray, a small machine and a canister, and let the books frame it above and below.
Check the shelf depth first — 11 inches is common in bookcases and too shallow for most machines. Look for 14 or more.
24. Hide it inside a sideboard
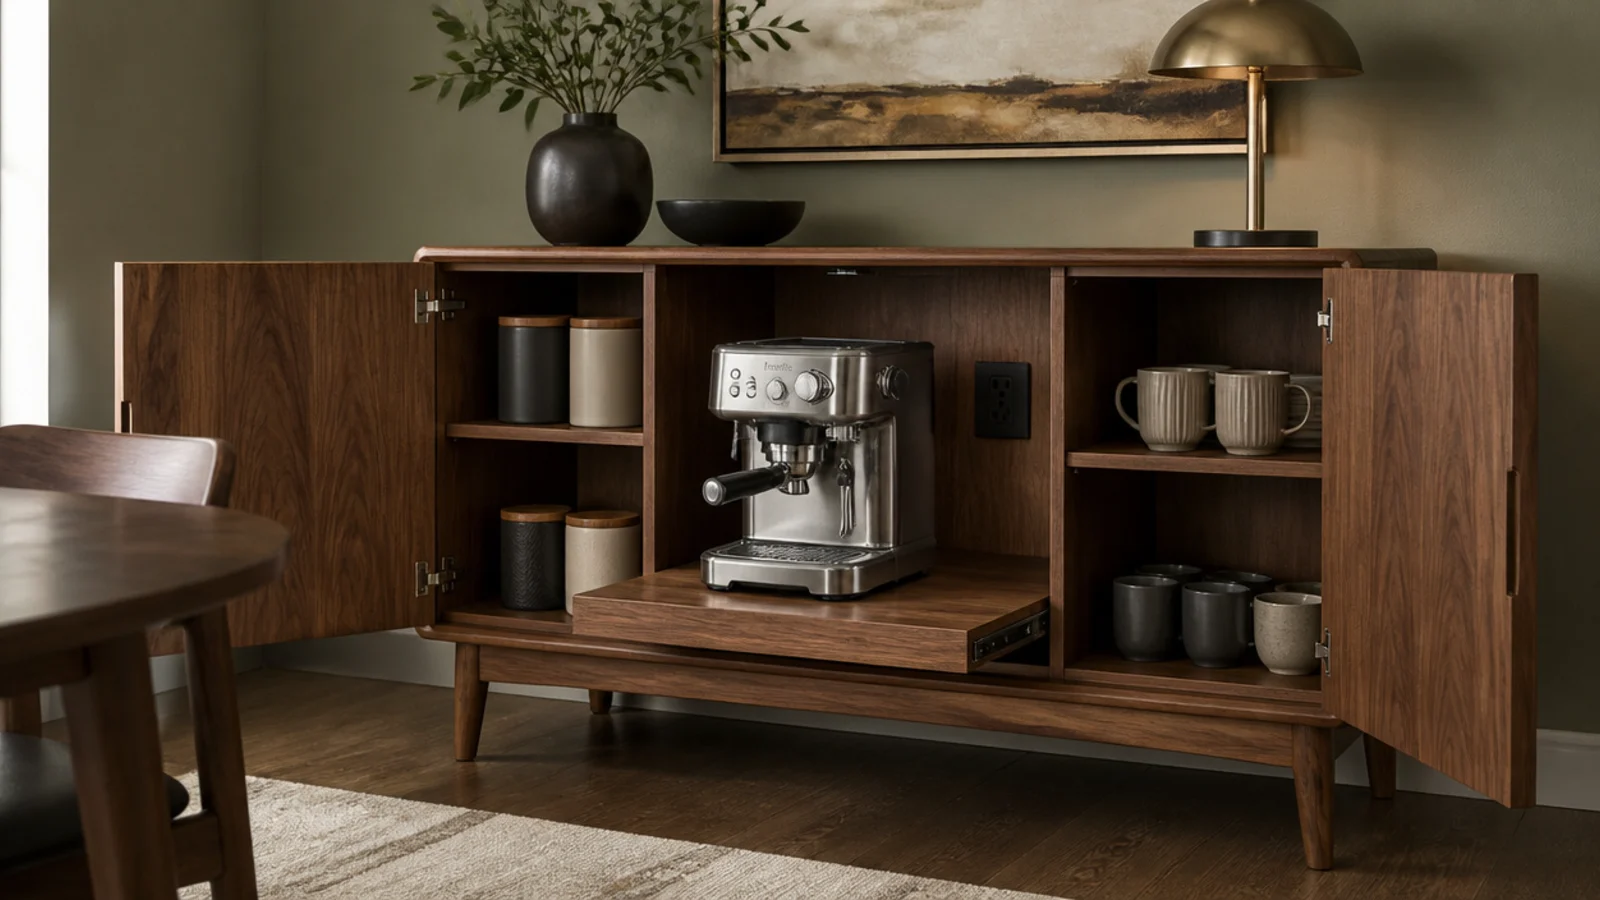
A sideboard with a pull-out shelf and an outlet fitted at the back panel gives a dining room a station that vanishes behind doors by nine in the morning.
Pull the machine fully forward before lifting any lid, and never brew with the doors closed. Pull-out slides rated to 40 pounds run $30 to $60 ($$).
25. Serve tea and coffee from the same nook
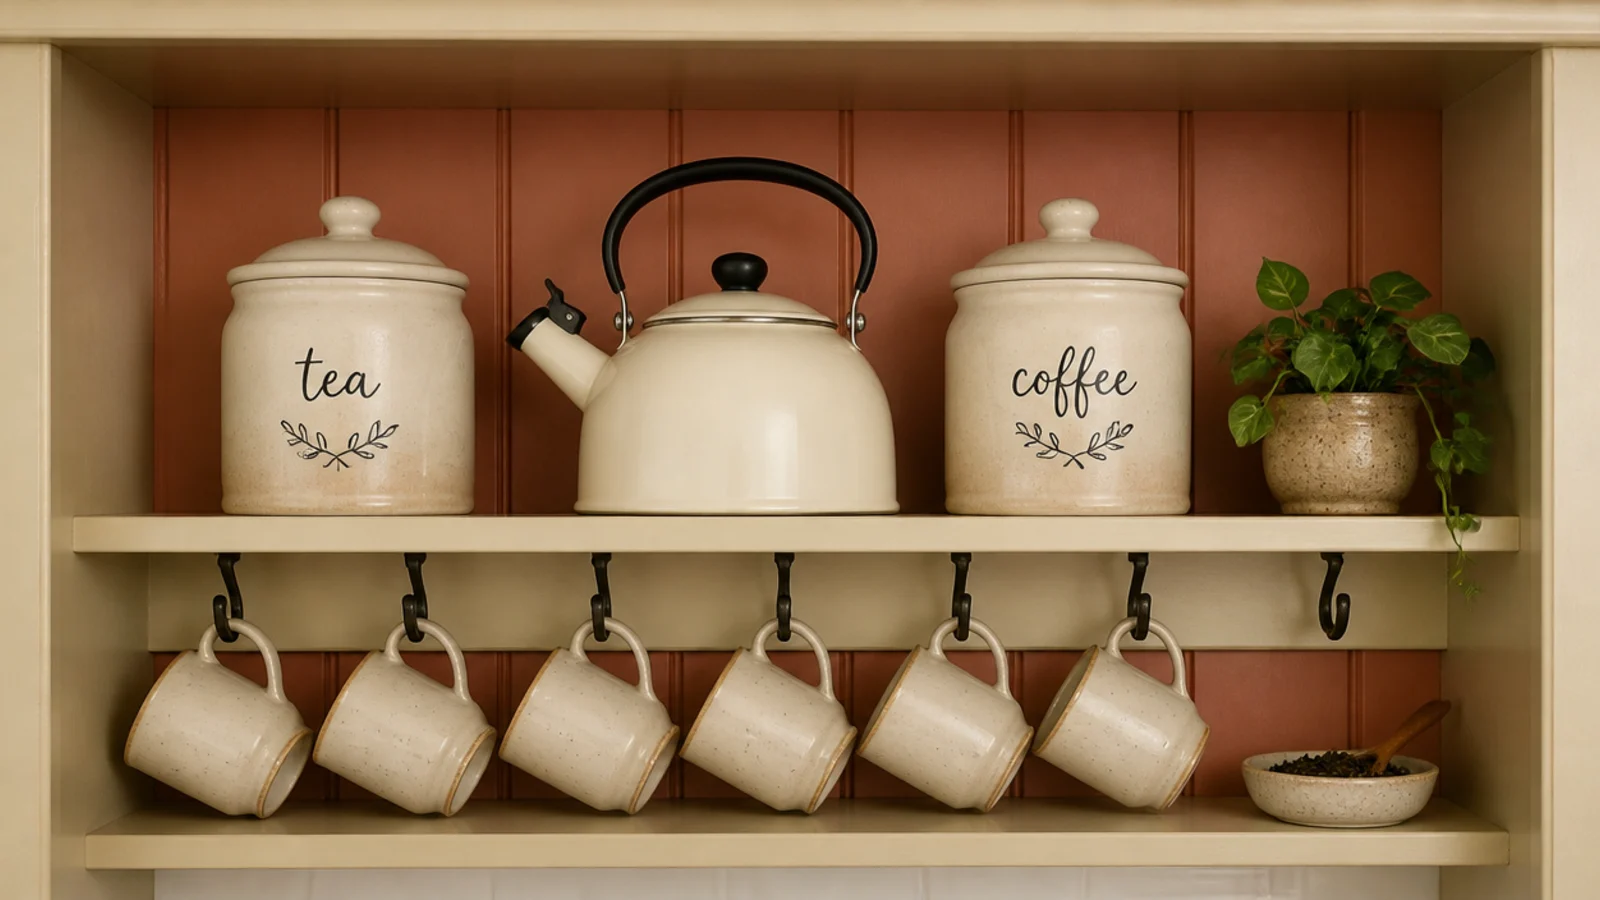
Two matching canisters, one kettle, one row of mugs. Hand-write the tags so the containers stay interchangeable as habits change.
Keep the loose leaves and the beans in separate opaque airtight tins at room temperature — coffee aromatics migrate into tea within days if they share a container. More styling in fifteen cozy setups that look pricey.
Mistakes to Skip
- Running an extension cord into a closet or alcove with no outlet. Add power properly or choose a different nook, especially anywhere near water.
- Brewing behind closed doors. Steam trapped in an armoire or a cabinet blisters the interior finish within a season.
- Filling the nook because it is enclosed. Two side walls already do the framing, and a packed alcove reads as a cupboard rather than a nook.
Frequently asked questions
What makes a coffee nook different from a coffee corner?
A nook is enclosed on at least two sides, which is why it feels like a destination rather than a stretch of counter. That enclosure also does the styling work for you: paint the inside a deeper tone, add one warm light, and a 24-inch alcove reads as designed with almost nothing in it.
How deep does a coffee nook need to be?
Fifteen to eighteen inches, which is the same depth as a standard pantry shelf and most closet shelving. That holds a machine, a canister and a mug landing spot. Width matters more than depth: 24 inches is workable, 30 is comfortable, and below 24 you go vertical with mugs on hooks and beans on a shelf above.
Can I turn a closet into a coffee nook?
Yes, if it has power or you are willing to add it. Take out the hanging rail, put a shelf at 36 inches for the machine and another 18 inches above it, and paint the interior a warm tone. An extension cord run in from the hall is the wrong answer, especially near any water source.
How do I light a coffee nook?
One warm 2700K light inside the nook, not the room fixture behind you. A battery puck light costs about $12 and needs no wiring, a plug-in picture light reads as intentional, and a small lamp works if the nook is wide enough. Cool daylight bulbs make wood and cream stoneware look institutional.
What should I put in a coffee nook so it feels finished?
Six working objects and one soft one. Machine, opaque bean canister, grinder or scoop, mugs, a tray and a lidded box for filters, plus a linen cloth or a single stem in a small vessel. Keep the palette to three colors plus wood and leave about a third of every shelf empty.
Walk the house once looking only for enclosed spaces with an outlet — most homes have two or three nobody has counted. If yours are all tiny, twenty creative setups anyone can do works in genuinely small footprints, and thirty stylish apartment setups covers rentals where drilling is off the table. Save the pin so the depths are with you when you go measuring.
Want more like this? Browse all 15 coffee corner ideas guides — they all use the same measurements and budget tiers.
Pin it for later
Save this to your Coffee Corner Ideas board
Pin it now so it is waiting for you when the tape measure comes out — and so the next person hunting for this idea can find it too.
Save this pinKeep going
More ideas worth saving while you have the tape measure out.