Coffee Corner Ideas · Listicle
20 Creative Coffee Corner Ideas Anyone Can Do

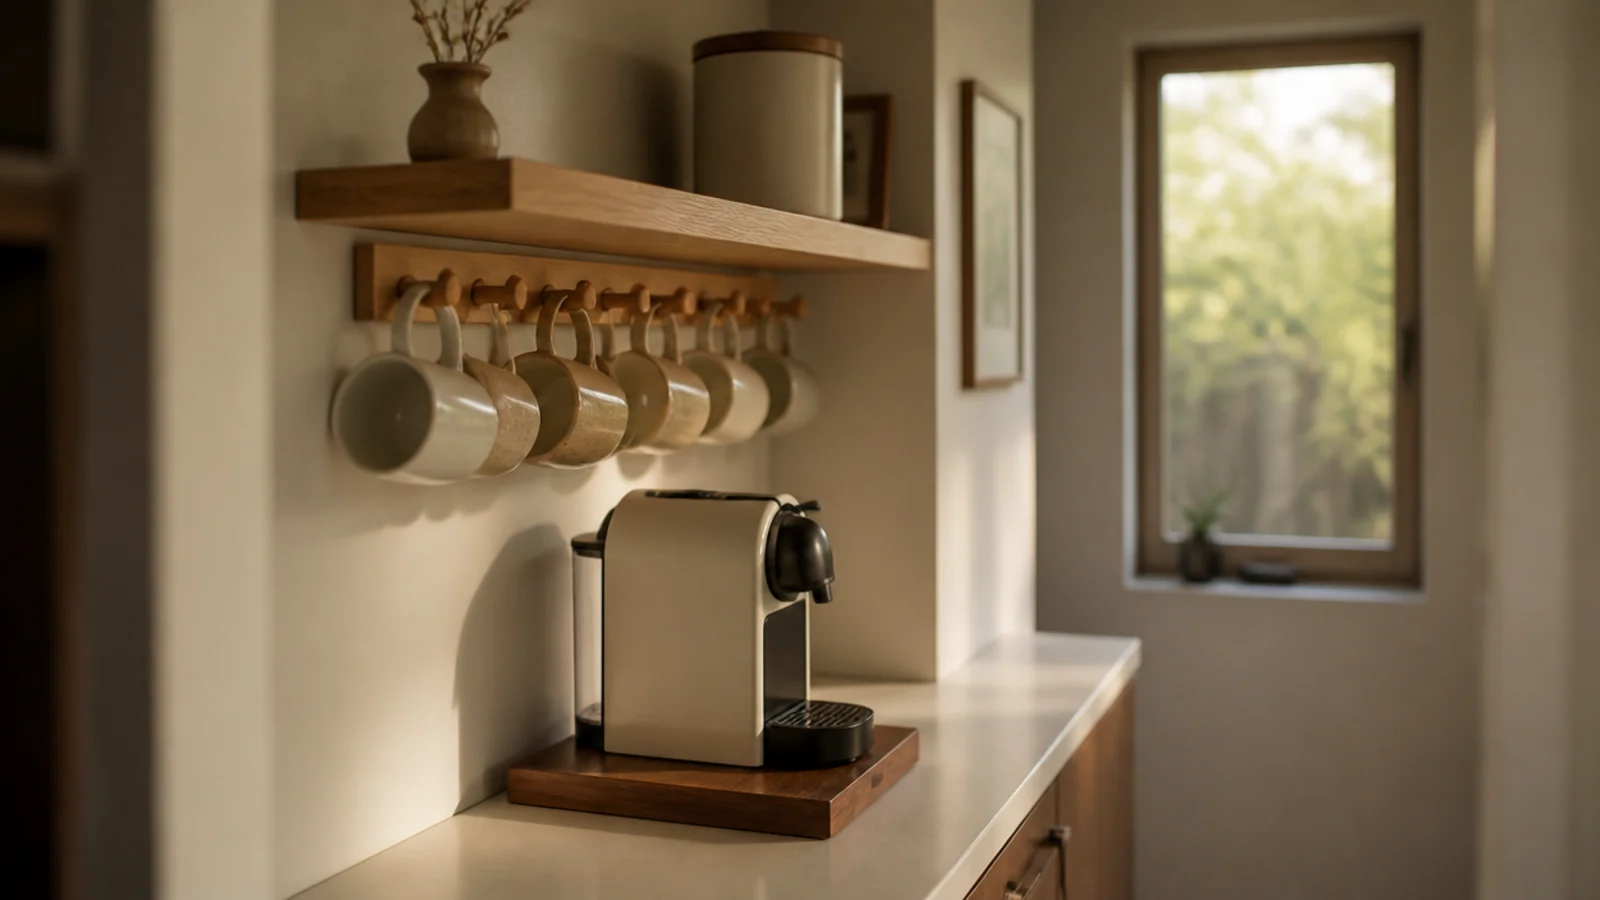
A coffee corner for small spaces is a subtraction problem, not a shopping one. Every extra object you add costs you counter you cannot get back, so the corners that work in tight kitchens are the ones where somebody made hard choices early. I have built these in a 400-square-foot studio and in a galley kitchen with 26 usable inches. Here are twenty layouts that fit, with the numbers that make them fit.
In this guide22 sections — tap to openHide
- 1.What a coffee corner for small spaces actually needs
- 2.Claim a 24-inch strip and defend it
- 3.One shelf 18 inches above the counter
- 4.A peg rail under the shelf for six mugs
- 5.A tray that draws the boundary
- 6.Turn one base cabinet into the coffee cupboard
- 7.The inside of the cabinet door for filters and lids
- 8.A pull-out cutting board as the pour-over deck
- 9.A 12-inch rolling cart in the gap beside the fridge
- 10.A fold-down wall shelf for weekend pour-over
- 11.Swap the drip machine for a pour-over cone
- 12.A hand grinder that lives in a drawer
- 13.One drawer, entirely coffee
- 14.A mug rail on the side of the cabinet box
- 15.Under-cabinet light to make 24 inches feel generous
- 16.A stacking mug set instead of six different shapes
- 17.Beans in a canister sized to two weeks
- 18.A coffee corner on one bookshelf shelf in a studio
- 19.The dining sideboard as a weekend station
- 20.A kettle and a press for the smallest possible footprint
- 21.Cables, plug and switch, solved before you style
- 22.Mistakes to Skip
What a coffee corner for small spaces actually needs
Four decisions carry the whole thing, and all four happen before you buy anything.
Width and depth. A workable corner needs about 24 to 30 inches of counter width and 15 to 18 inches of depth. That covers machine, mugs, beans and a landing spot for a hot cup. Everything you touch to make one cup should sit inside a single arm sweep, roughly a 30-inch reach zone, or you will start setting things down wherever your hand happens to be.
The outlet. Check it first. The corner has to be an outlet corner, because an extension cord run under a water source is the wrong answer and no amount of cable clips fixes it.
Headroom. Leave at least 6 inches of clear air above the tallest machine for steam, and more if the lid lifts or the reservoir fills from the top. A shelf above the machine sits 18 inches off the counter, which handles both.
Where the beans live. Whole beans keep in an opaque airtight container at room temperature. Not the fridge, and not a clear jar in the window.
Budget tiers: $ under $50 for a tray, a canister and hooks. $$ $50 to $150 for a shelf, a rail and a cart. $$$ $150 to $350 for cabinetry changes or a sideboard.
1. Claim a 24-inch strip and defend it
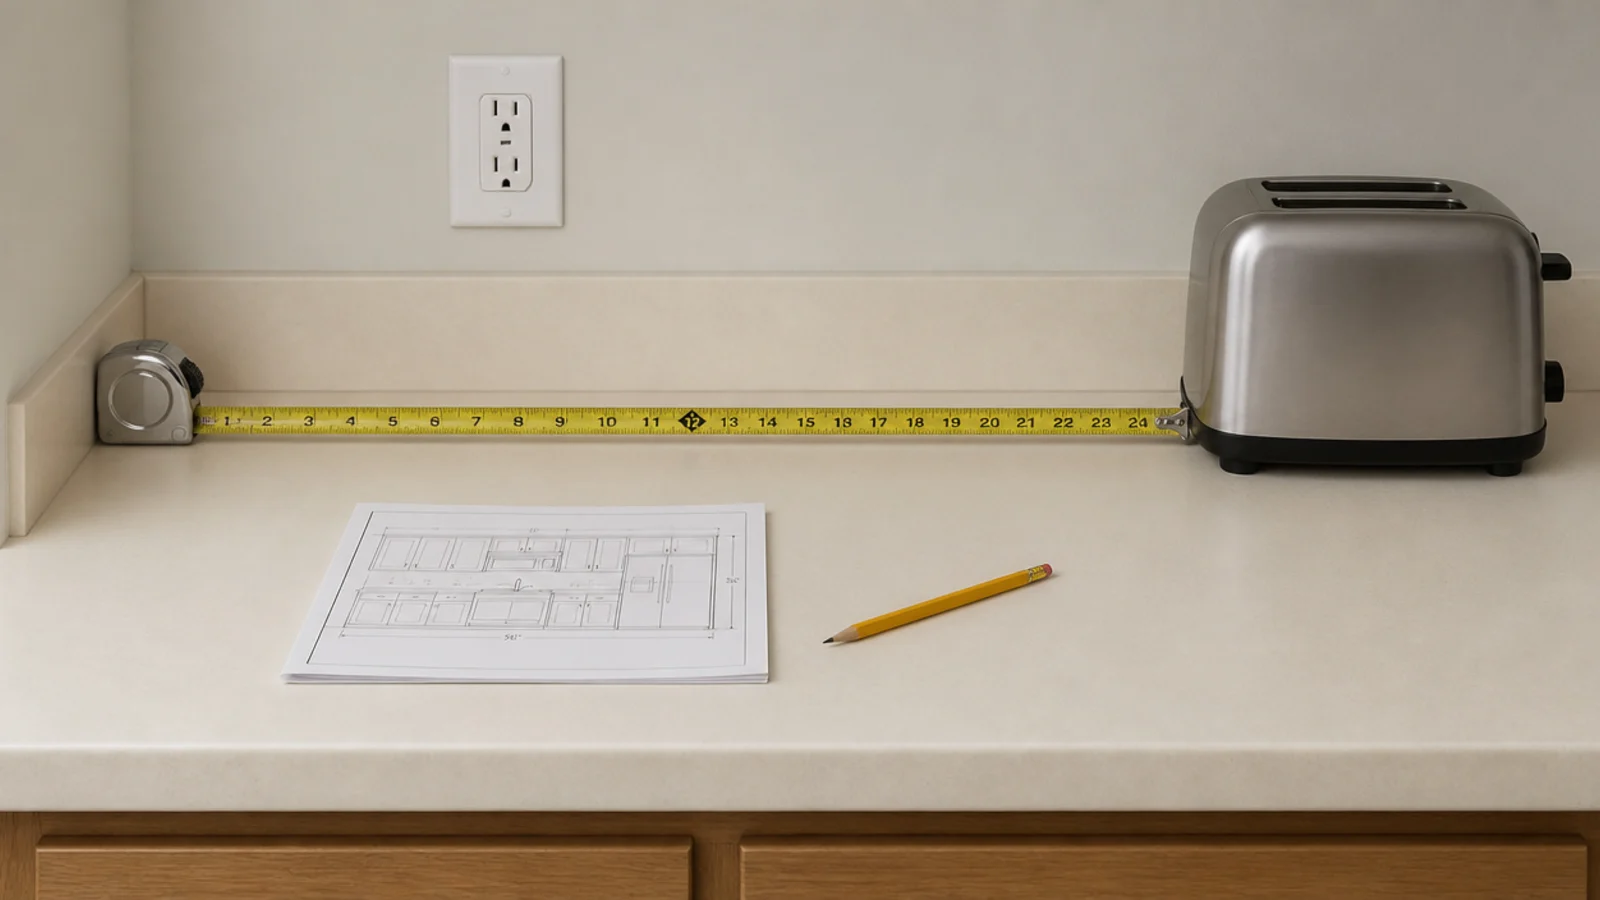
Pick the two feet of counter you are willing to give up permanently, and then actually give it up. A coffee corner fails when it shares its counter with the toaster on Monday and the mail on Thursday.
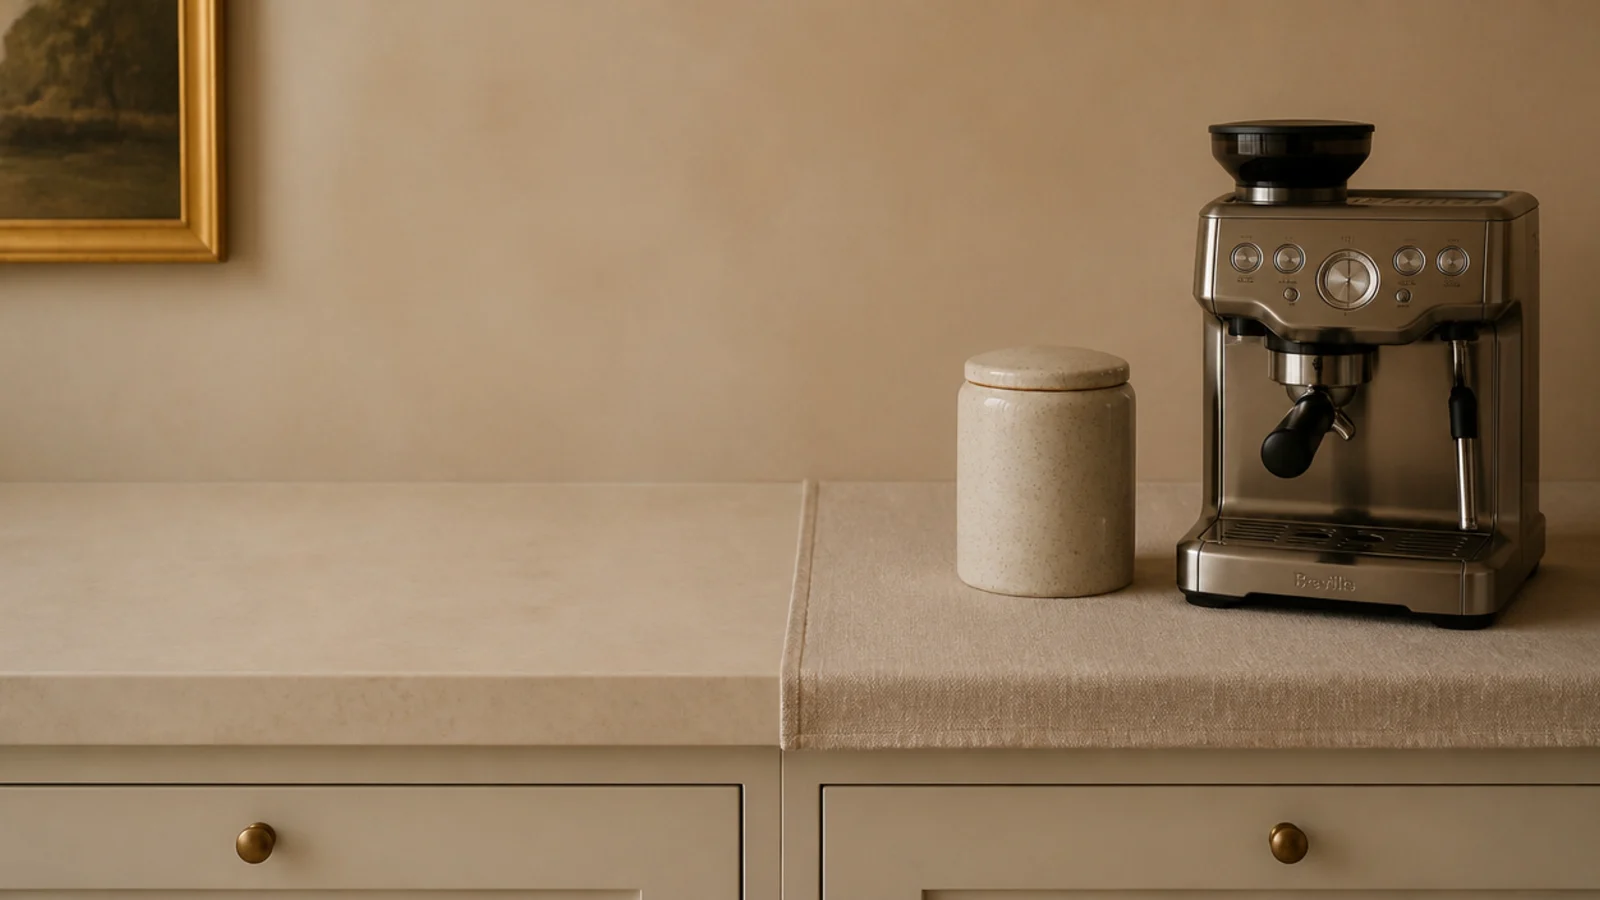
Mark it with a linen runner or a tray so the edge is visible. The visible boundary is what stops the drift. Twenty-four inches sounds mean and holds a machine, a canister, a mug in progress and a spoon rest with room to work.
2. One shelf 18 inches above the counter
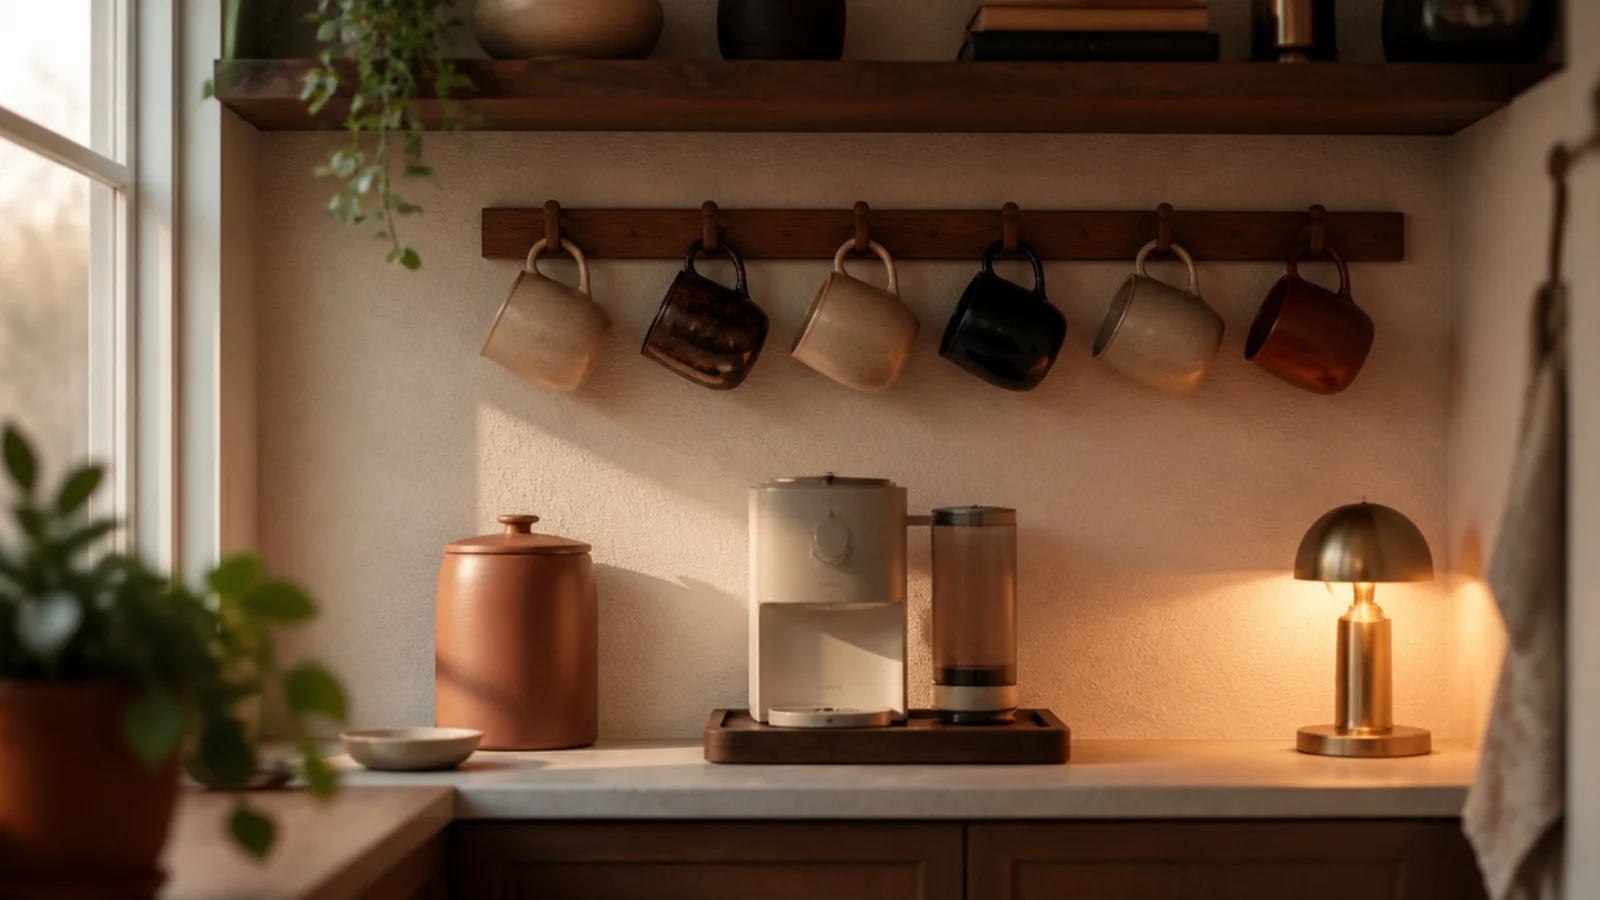
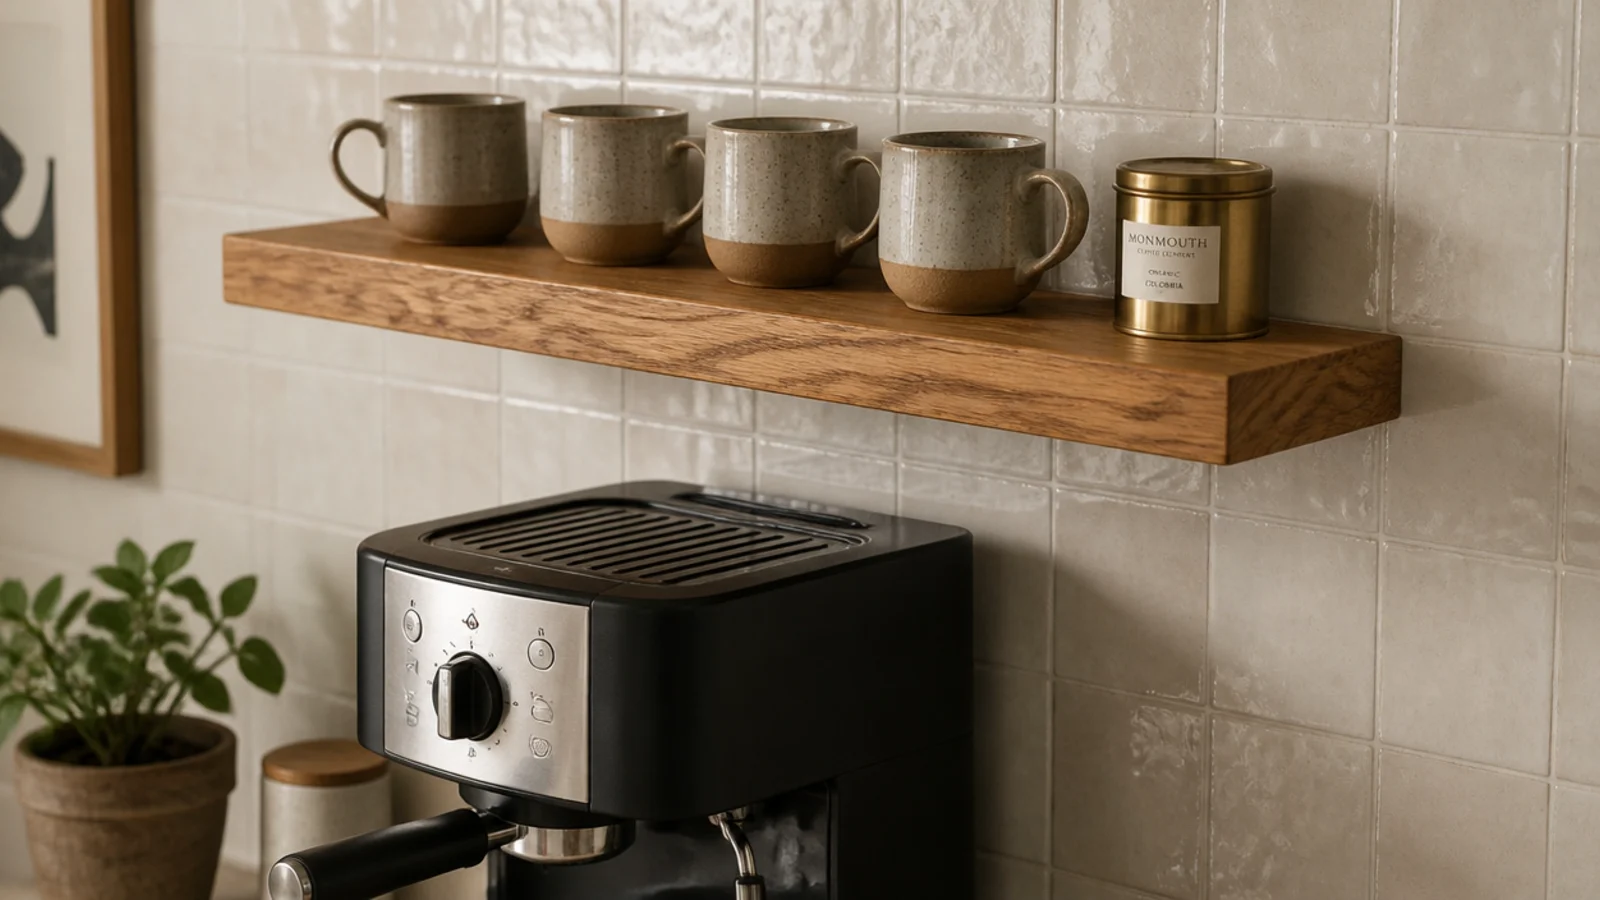
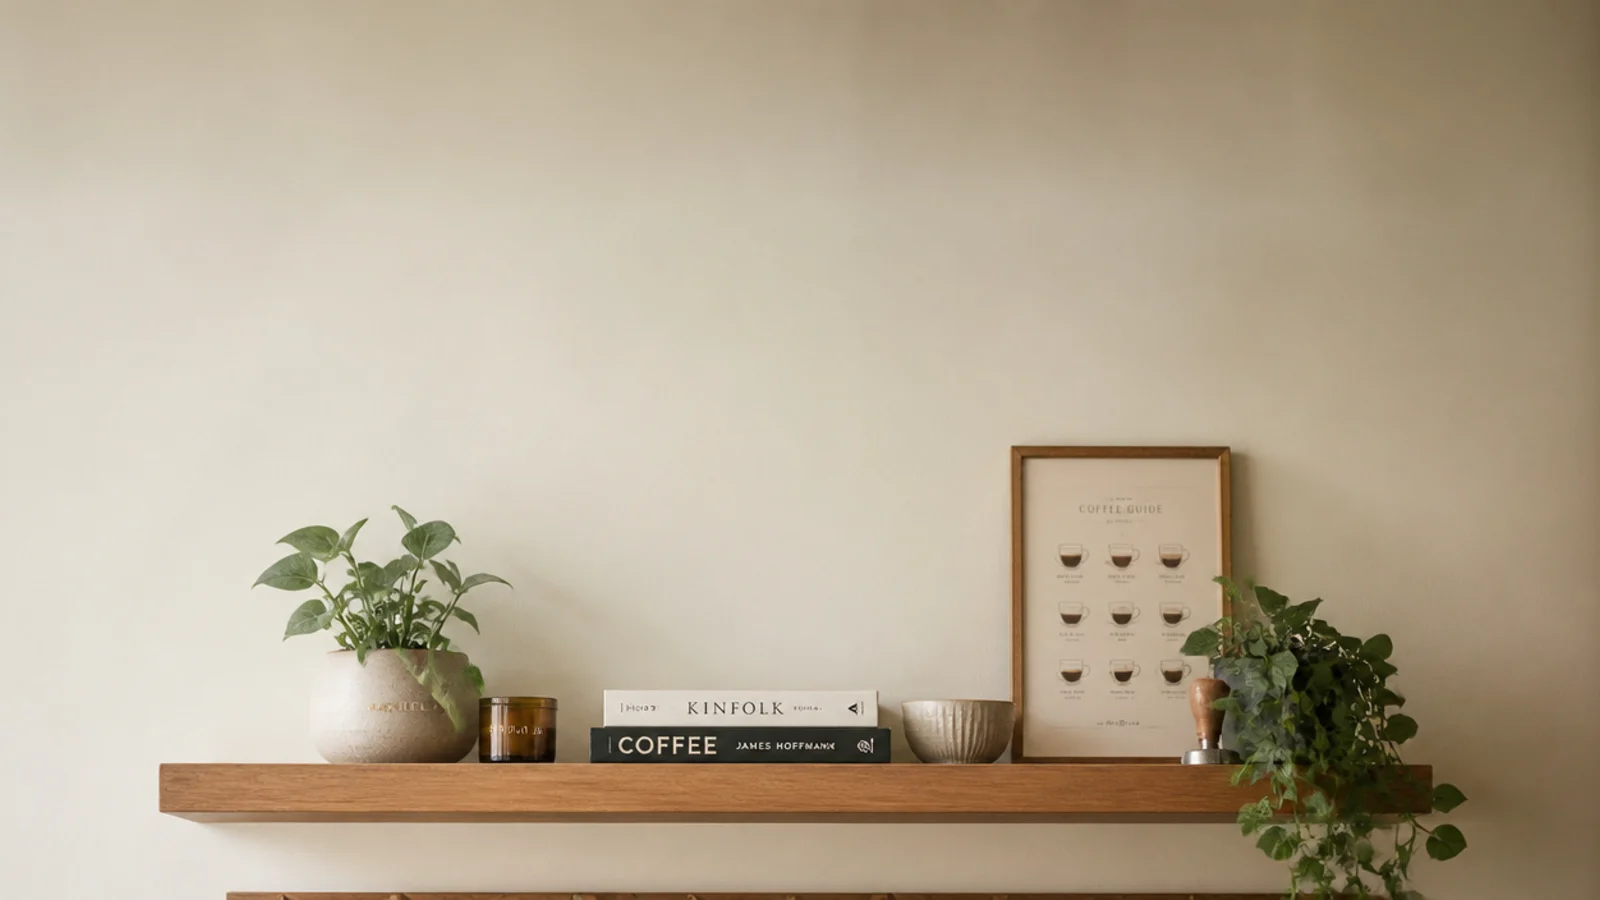
The single highest-value addition to a small corner is one shelf, mounted 18 inches off the counter. That height clears the tallest common machine, leaves room for steam, and lets a top-fill reservoir open without you sliding the machine forward every morning.
Eight inches deep is plenty — it holds mugs, a canister and a small tin without eating the light. Solid oak or painted pine at three-quarters of an inch spans 24 inches without sag.
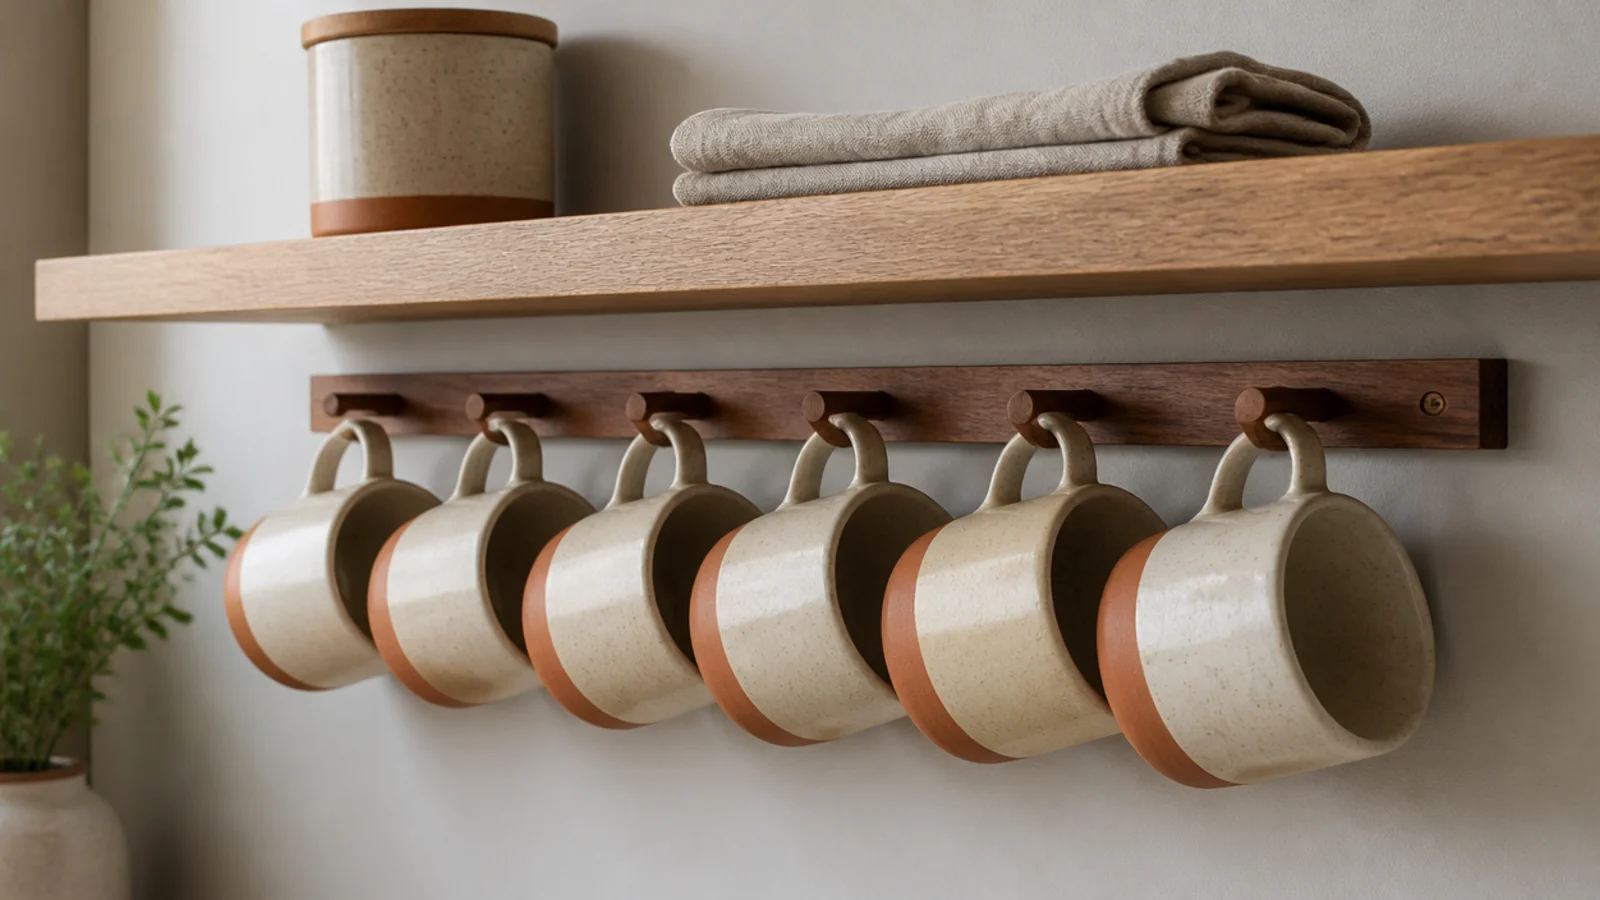
3. A peg rail under the shelf for six mugs
This is the best storage math in a small kitchen. A mug peg rail fixed under the shelf holds six mugs in the same width a single mug takes standing on the counter.
Space the pegs 4 inches apart so handles clear each other, and set the rail high enough that a hanging mug does not brush the machine. If drilling is not allowed, a freestanding mug tree covers about a 7-inch circle and holds the same six.
4. A tray that draws the boundary
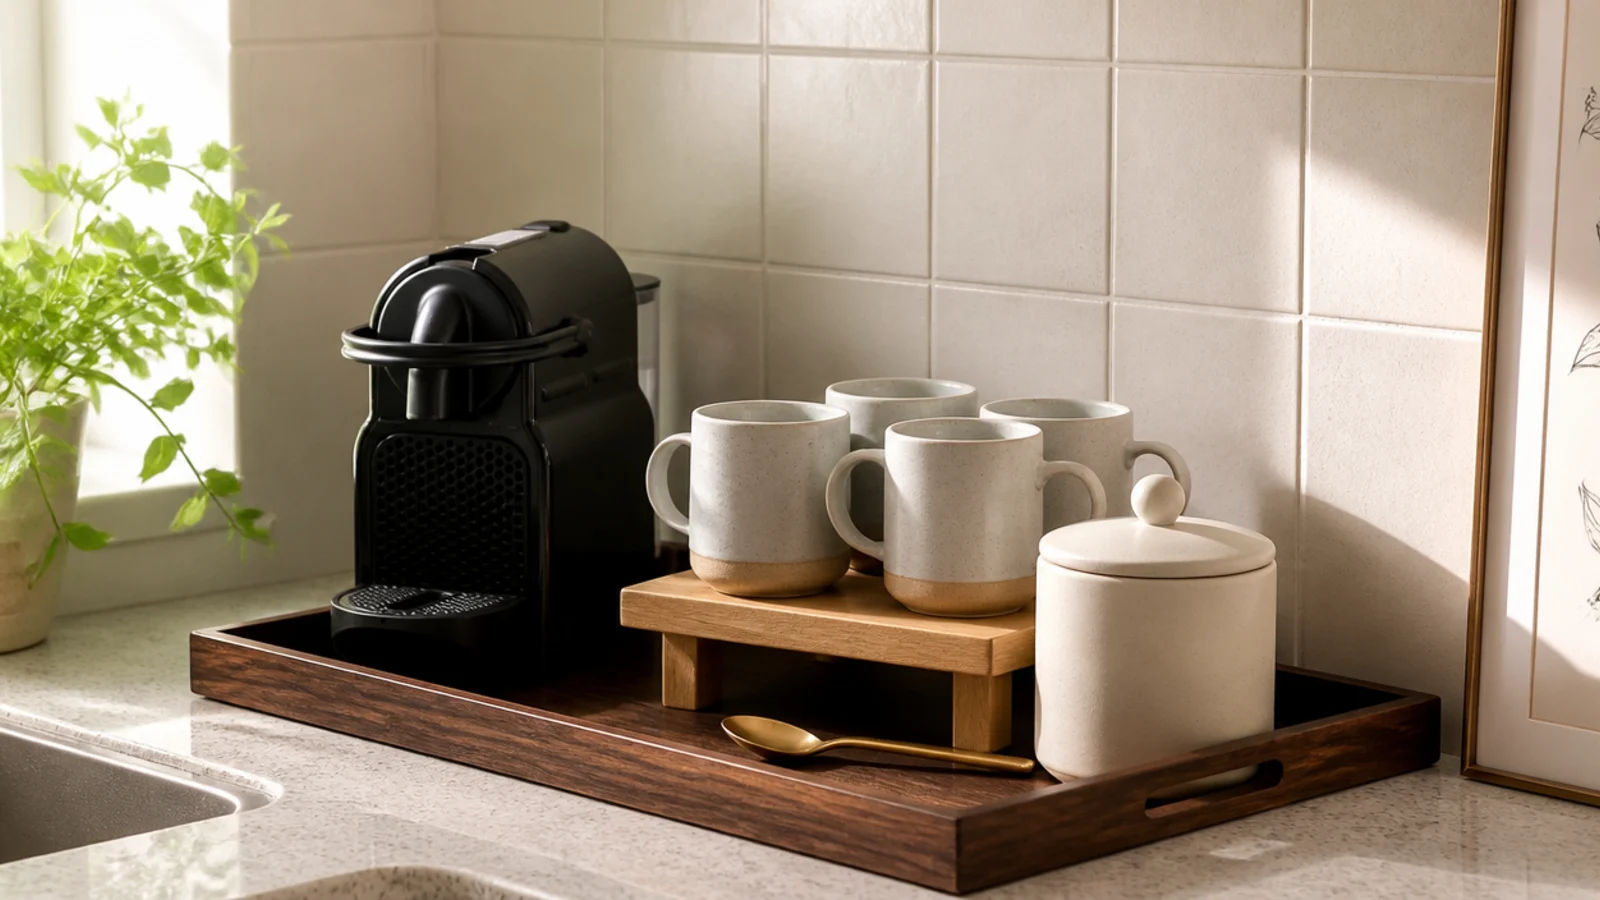
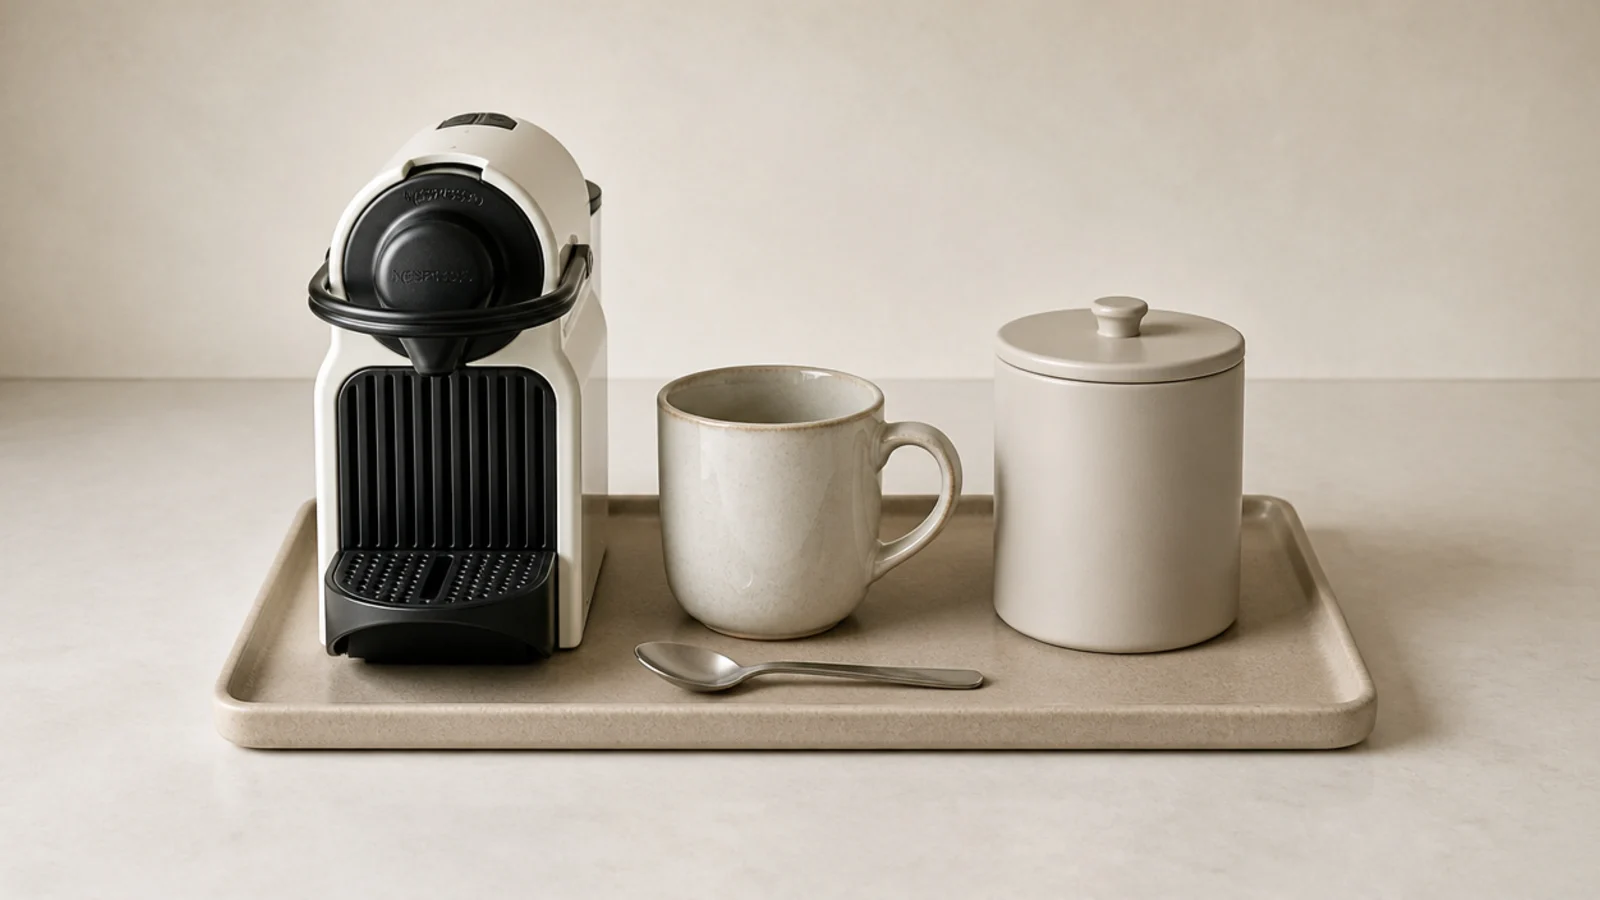
A tray under the machine does three jobs in a tight kitchen: it catches drips, it lets you lift the whole station out to clean behind it, and it tells you what belongs there. Anything that will not fit on the tray lives somewhere else.
Twelve by 18 inches with a half-inch lip is the size that works. Wood or stoneware over metal, because metal amplifies the machine noise on a hard counter at 6am.
5. Turn one base cabinet into the coffee cupboard
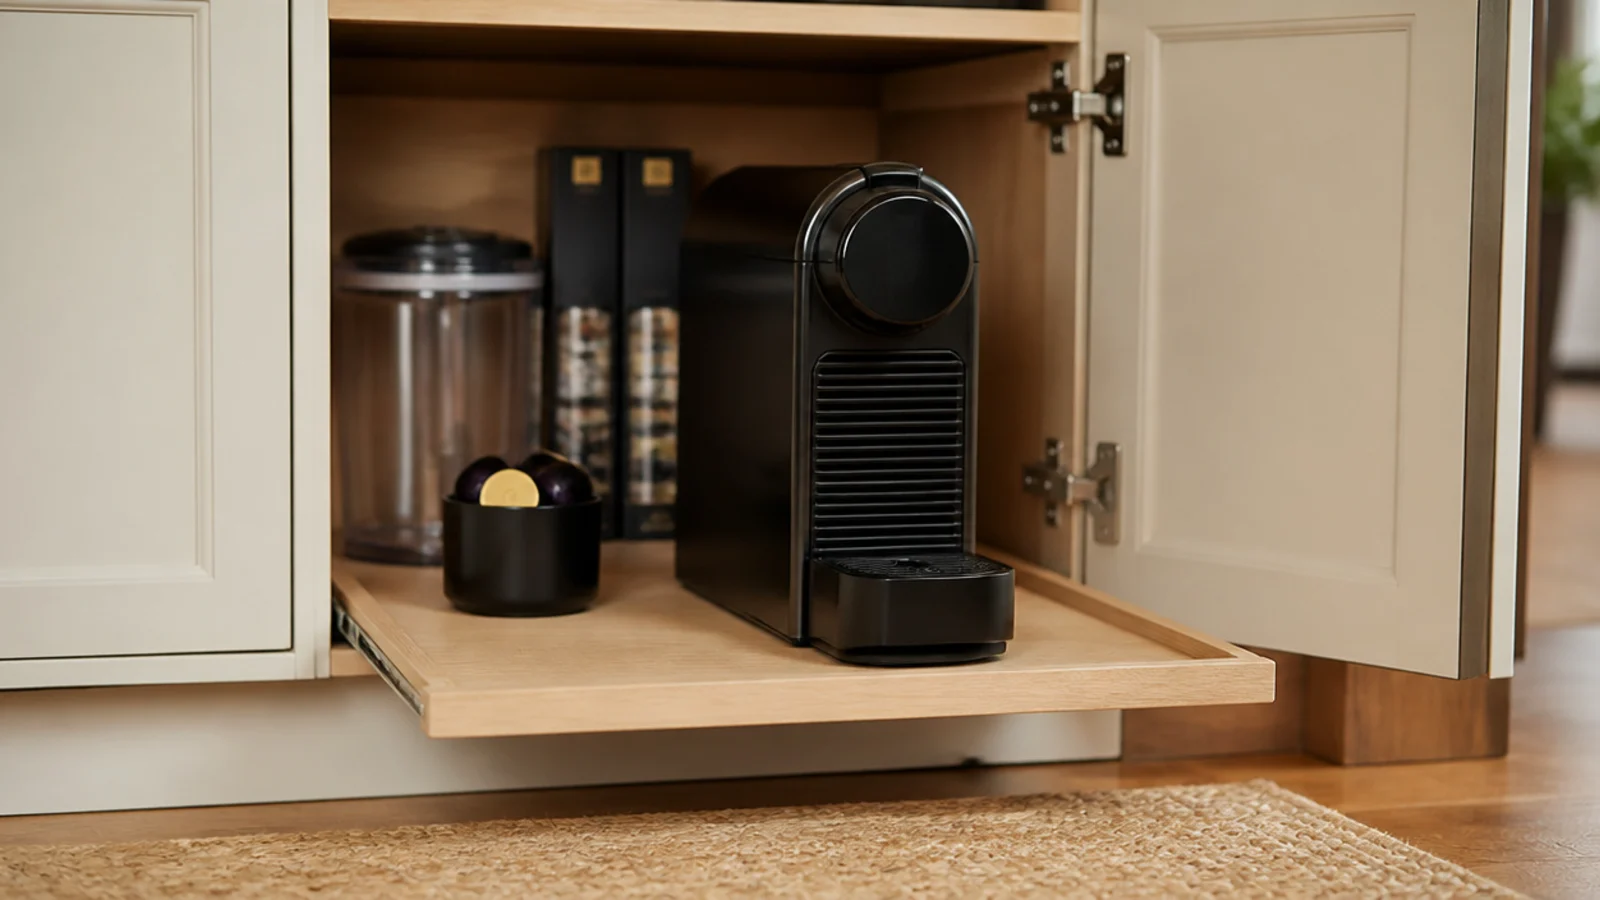
If the counter is genuinely full, move the station down. Take one shelf out of a base cabinet, set the machine on a pull-out tray, and slide it forward to brew.
Two rules make this safe: never run it with the door closed, and never drill through a rental cabinet for the cord — route it out the back gap most carcasses already have. This turns a cluttered counter into an empty one, which in a small kitchen is worth more than any shelf.
6. The inside of the cabinet door for filters and lids
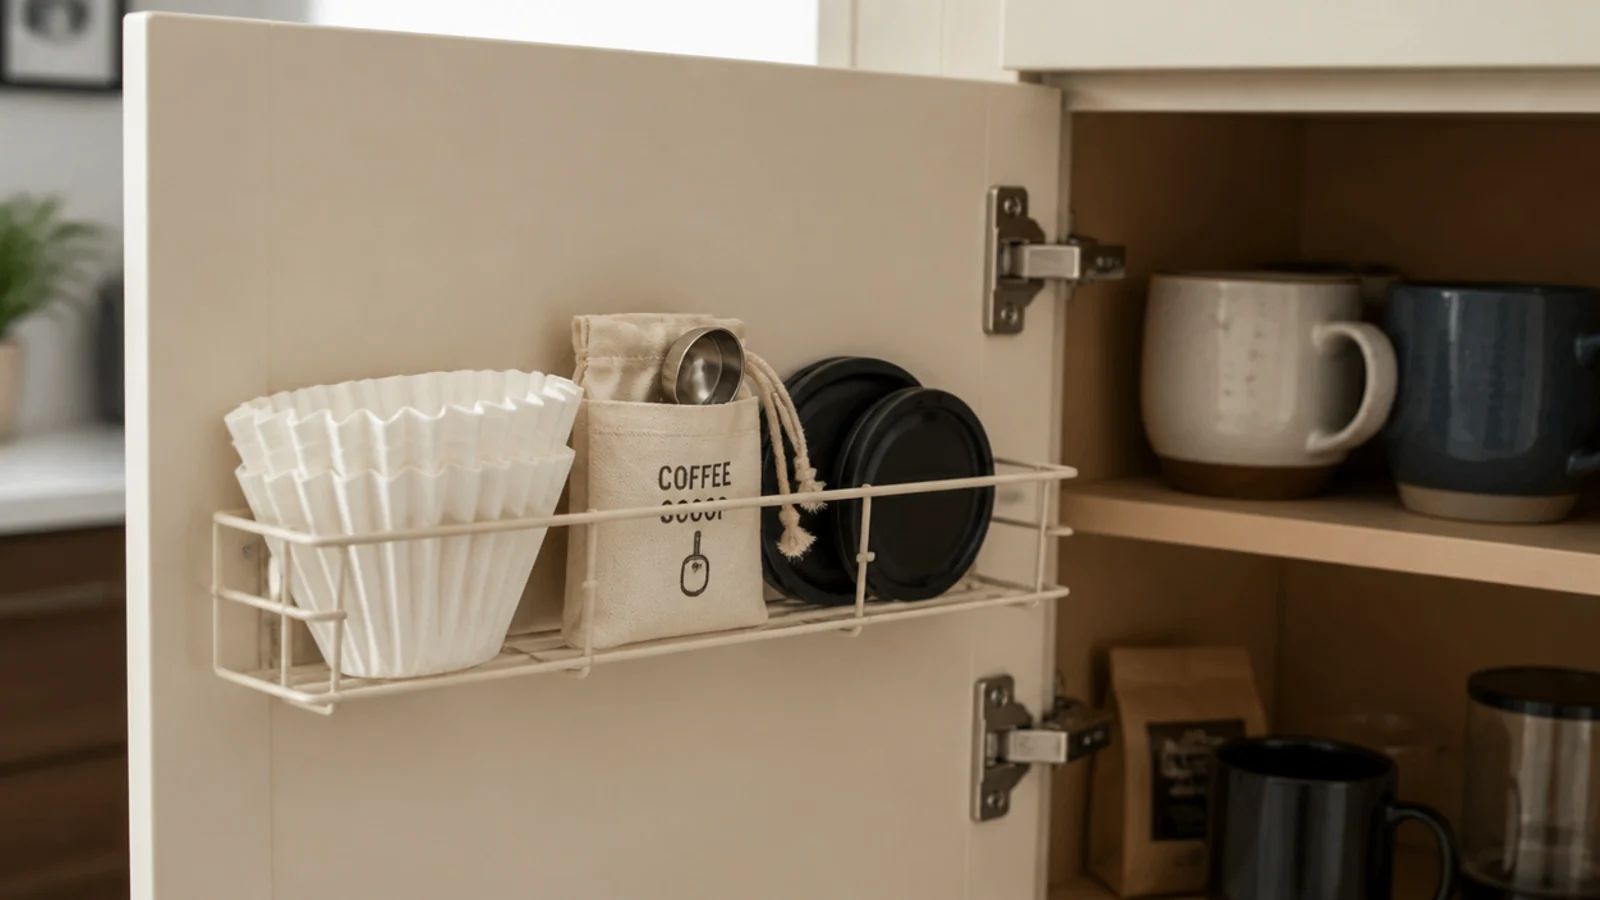
The inside face of a cabinet door is two flat inches nobody uses. A shallow wire or wooden rack there holds a stack of paper filters, spare lids and a pouch of scoops.
Check the swing clearance against whatever is on the first shelf before you fit it — a rack that stops the door closing is worse than no rack. Adhesive-mounted versions run under $15 and come off with a hair dryer.
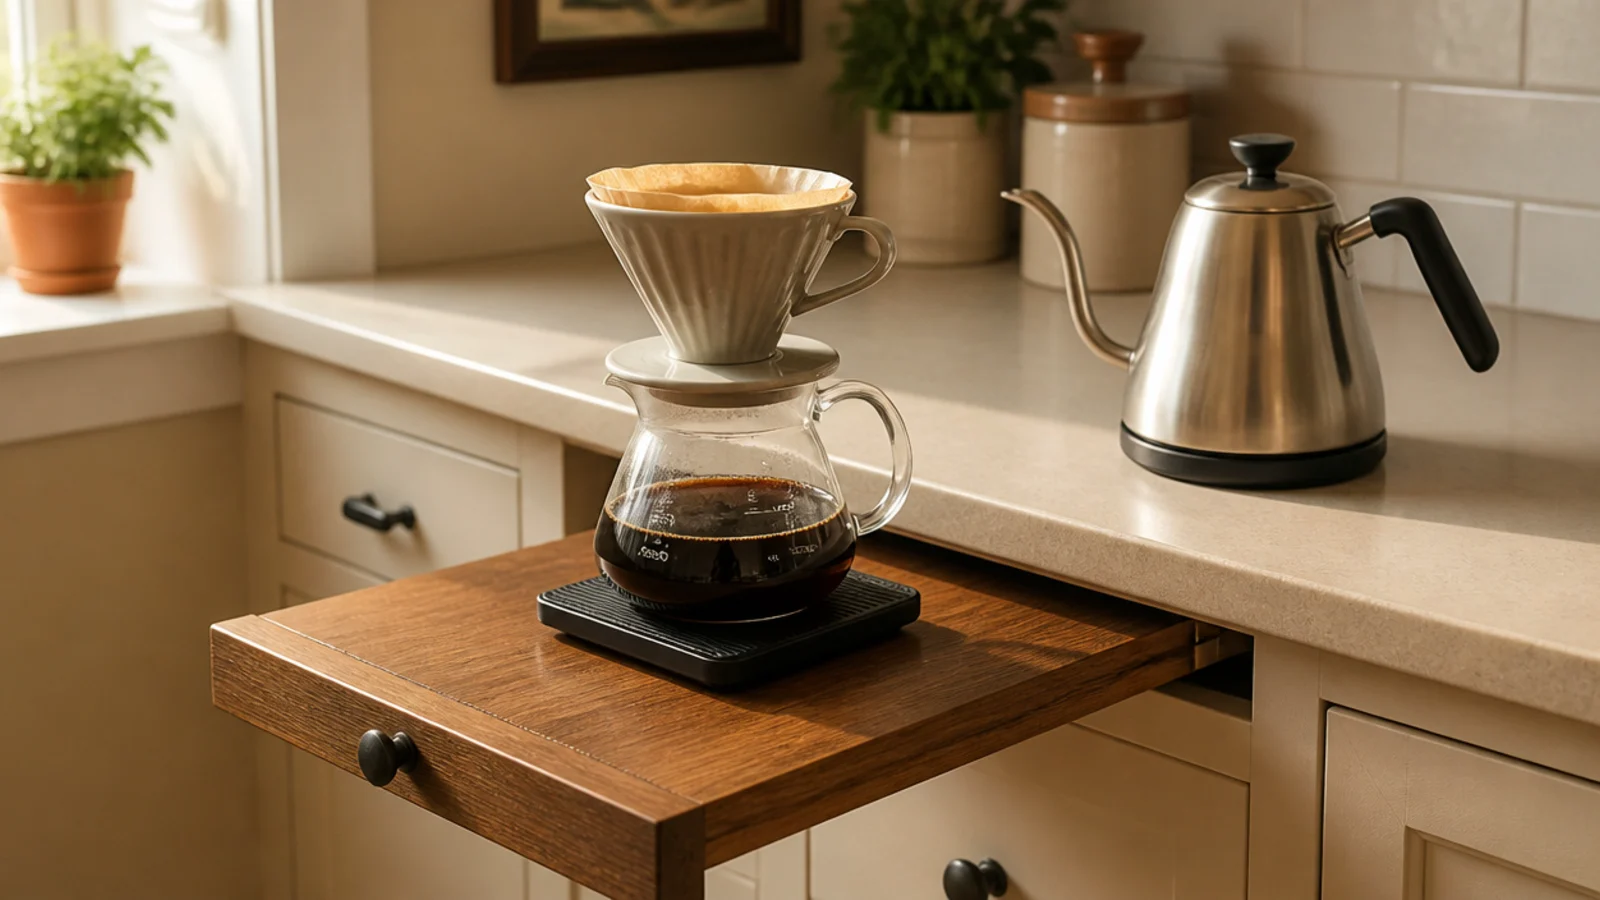
7. A pull-out cutting board as the pour-over deck
Older kitchens often have a pull-out board beside the sink that nobody has used in years. Pull it out and it becomes a temporary 20-inch deck for a cone, a carafe and a kettle, then vanishes again.
It is the ideal small-space surface: present when needed, gone the rest of the time. Set a folded cloth on it first so the carafe does not slide, and keep the kettle on the main counter where its cord can reach.
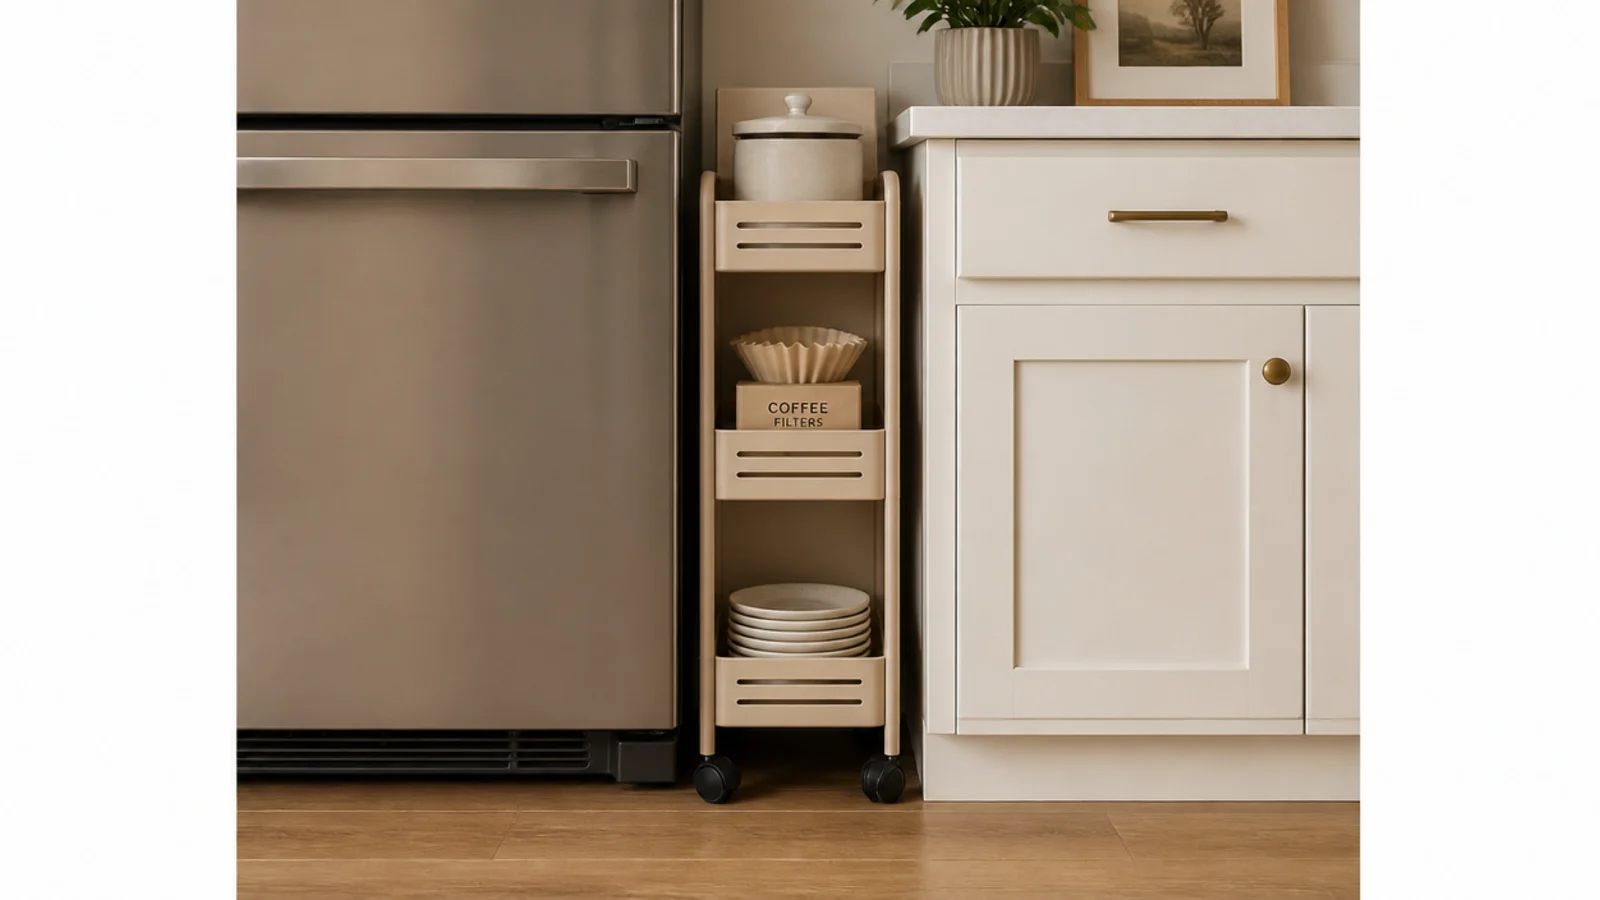
8. A 12-inch rolling cart in the gap beside the fridge
Almost every small kitchen has a 10 to 14 inch gap beside the fridge that holds nothing. A narrow rolling cart fits it and takes on all the storage the counter should not carry.
Measure the gap at its tightest point and subtract an inch, because those gaps taper toward the back. Around $30 to $60. Load it with filters, spare beans and the frother you use on weekends, and keep the counter to daily items only.
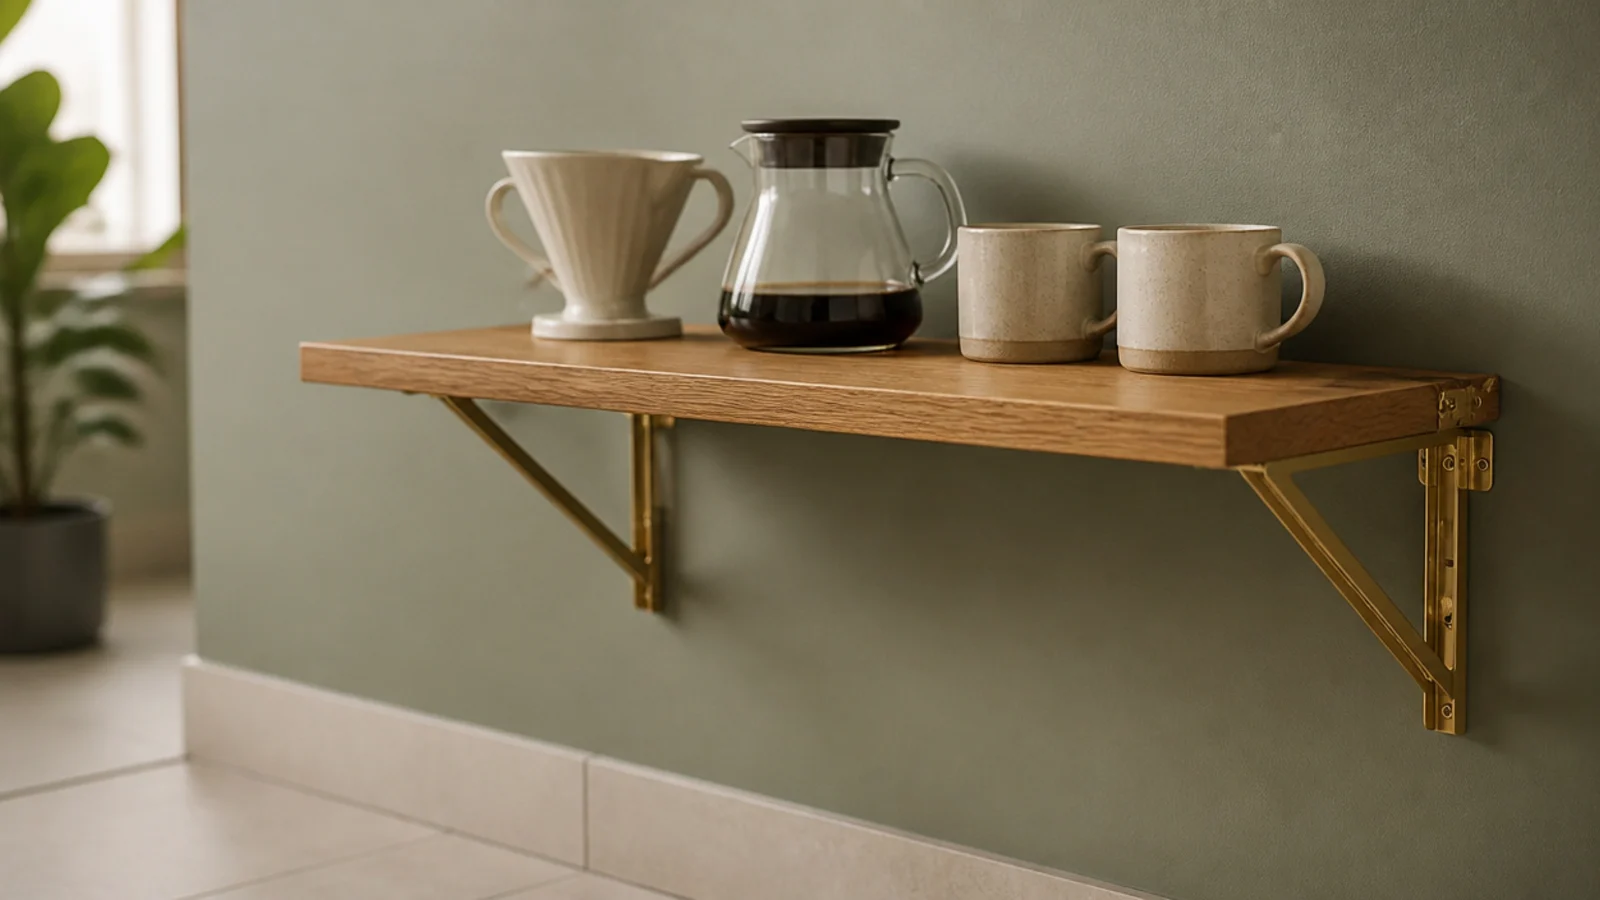
9. A fold-down wall shelf for weekend pour-over
A hinged shelf on folding brackets gives you a 10 by 20 inch surface on Sunday morning and disappears flat against the wall by Monday.
Mount it at 36 inches so you can stand and pour comfortably, and into studs or solid blocking — a shelf that carries a full kettle and your weight when you lean on it is not a drywall-anchor job. Expect $35 to $70 including brackets.
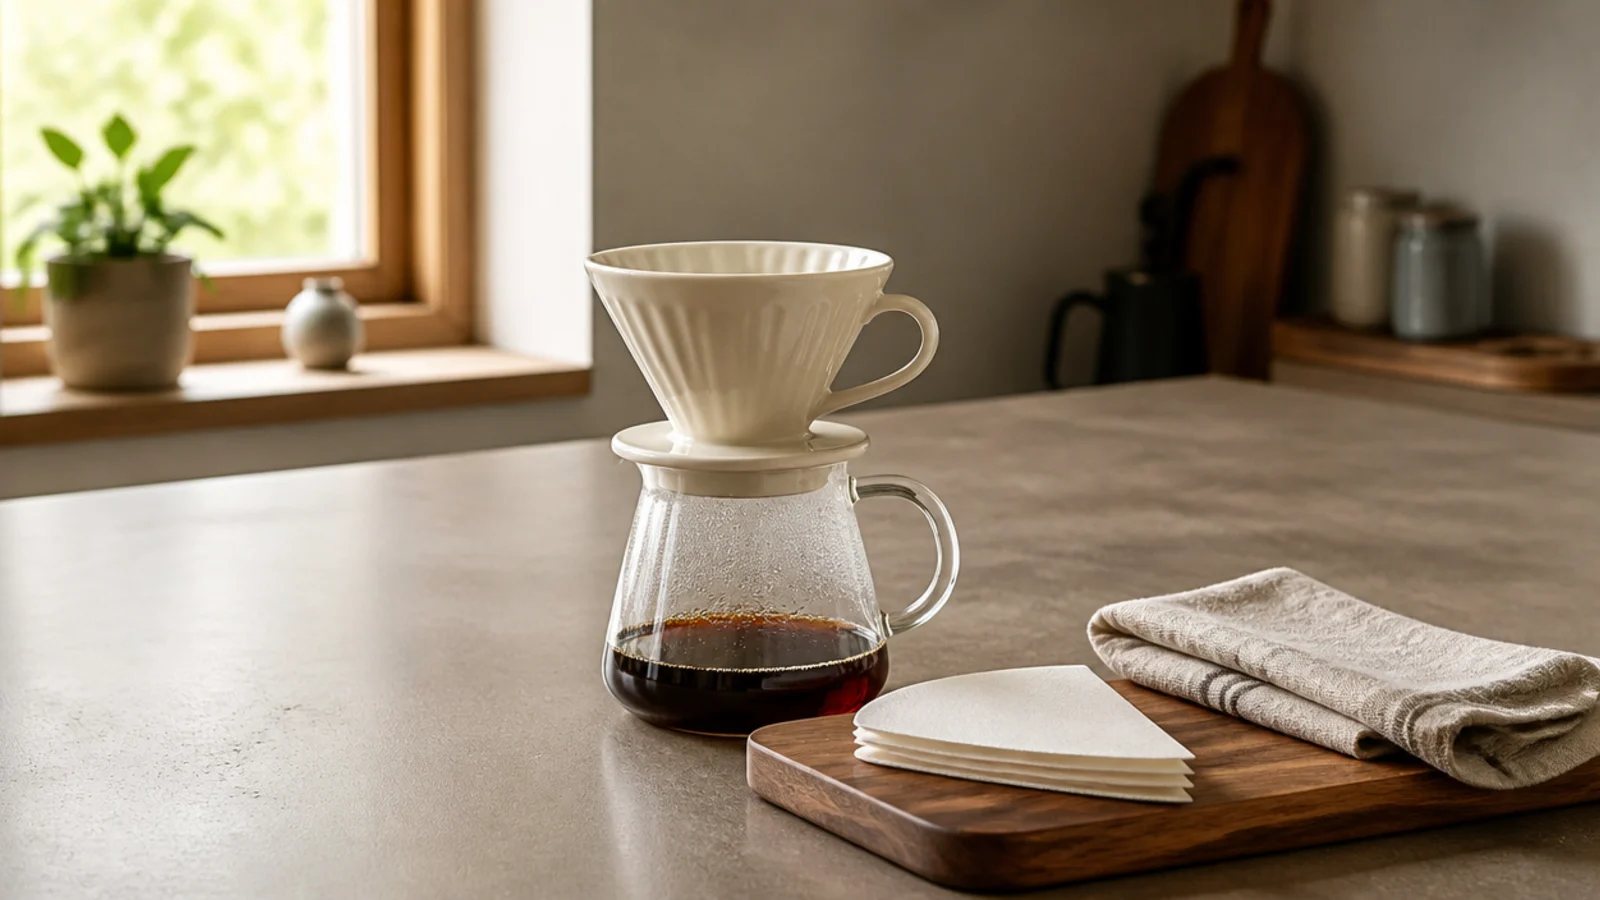
10. Swap the drip machine for a pour-over cone
The fastest way to gain counter is to give up the machine. A ceramic cone and a carafe take the footprint of a cereal bowl, need no outlet, and store inside each other.
The trade is time: four minutes of attention instead of a button. In a small kitchen that trade is often worth it, and there are more compact setups in small coffee corner if you want to see the full range.
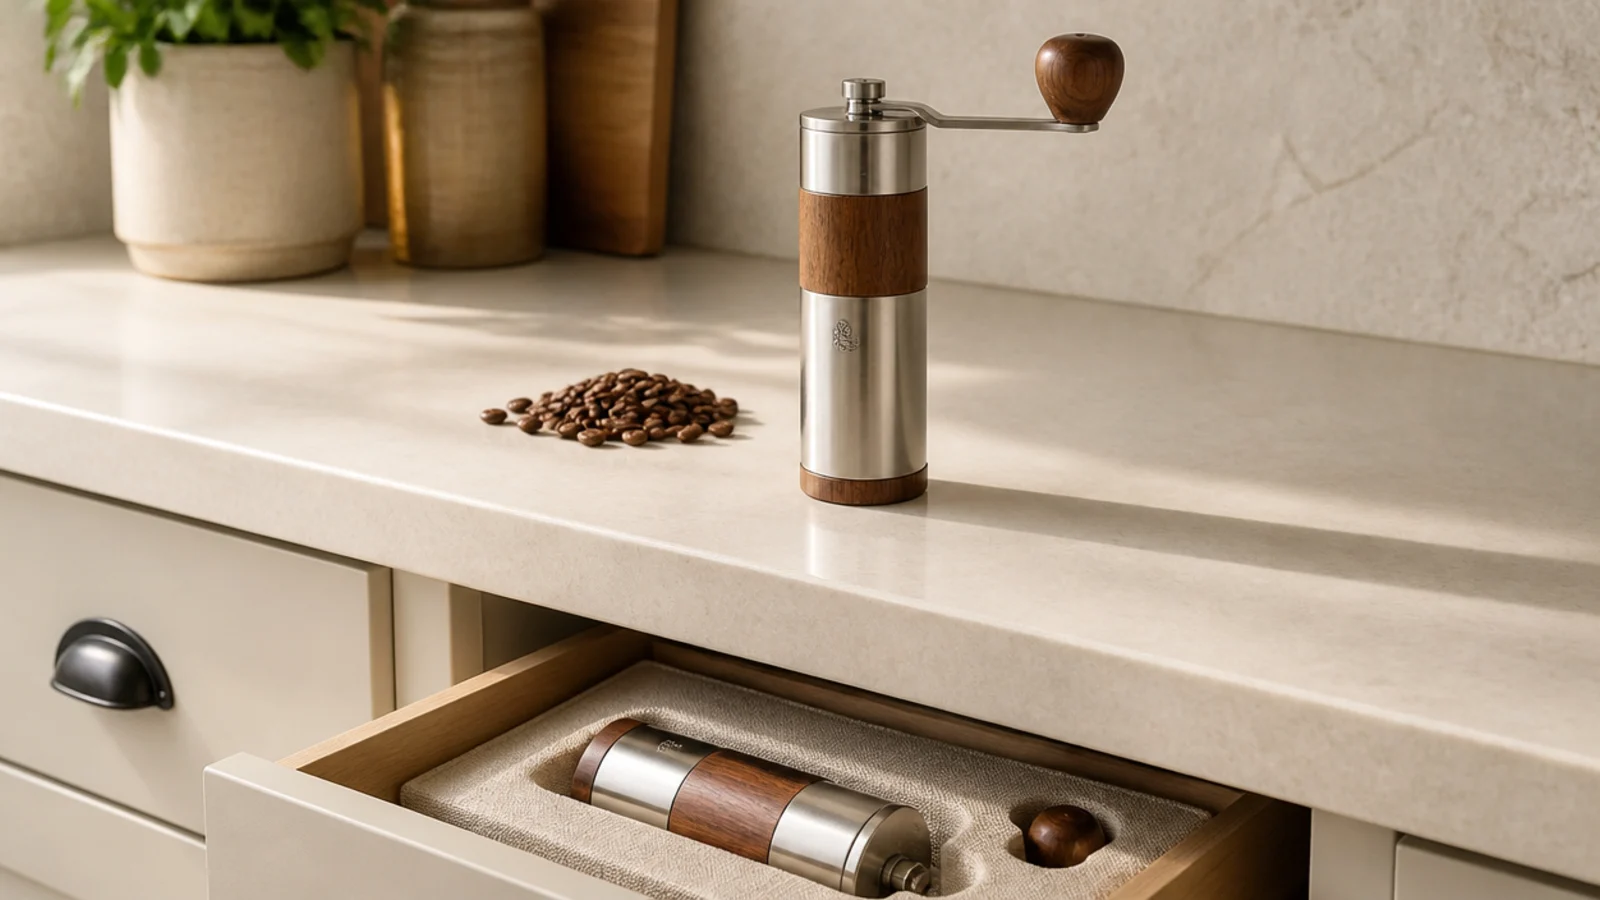
11. A hand grinder that lives in a drawer
An electric grinder is a permanent counter resident. A hand burr grinder is the size of a large mug, makes no noise at 6am, and lives in a drawer between uses.
It takes about 40 seconds of cranking for two cups, which is less irritating than it sounds. Around $35 to $90 for one with real burrs. Buy whole beans in a quantity you will finish in two weeks and this becomes the cheapest upgrade to how your coffee tastes.
12. One drawer, entirely coffee
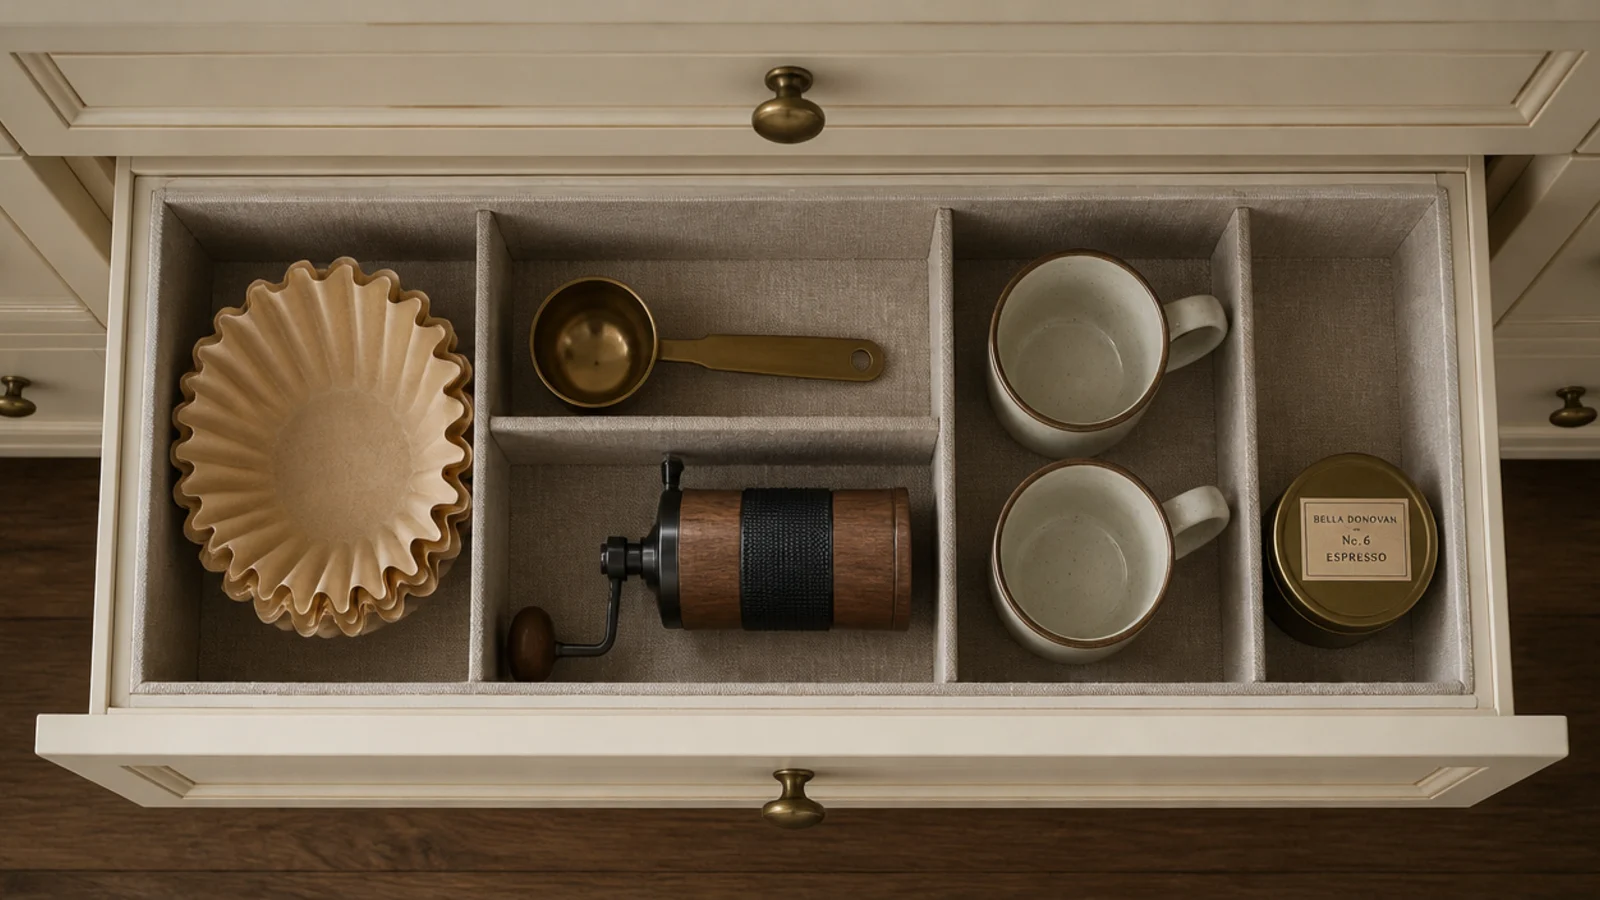
Give the corner a drawer and the counter calms down immediately. Filters, scoops, the grinder, spare mugs and a small tin all live one pull away rather than in three different cupboards.
Line it with a linen cloth to stop things sliding, and keep the drawer directly under the station so the reach stays inside that 30-inch zone. Split it with two simple wooden dividers, not a plastic tray with compartments you will fight with.
13. A mug rail on the side of the cabinet box
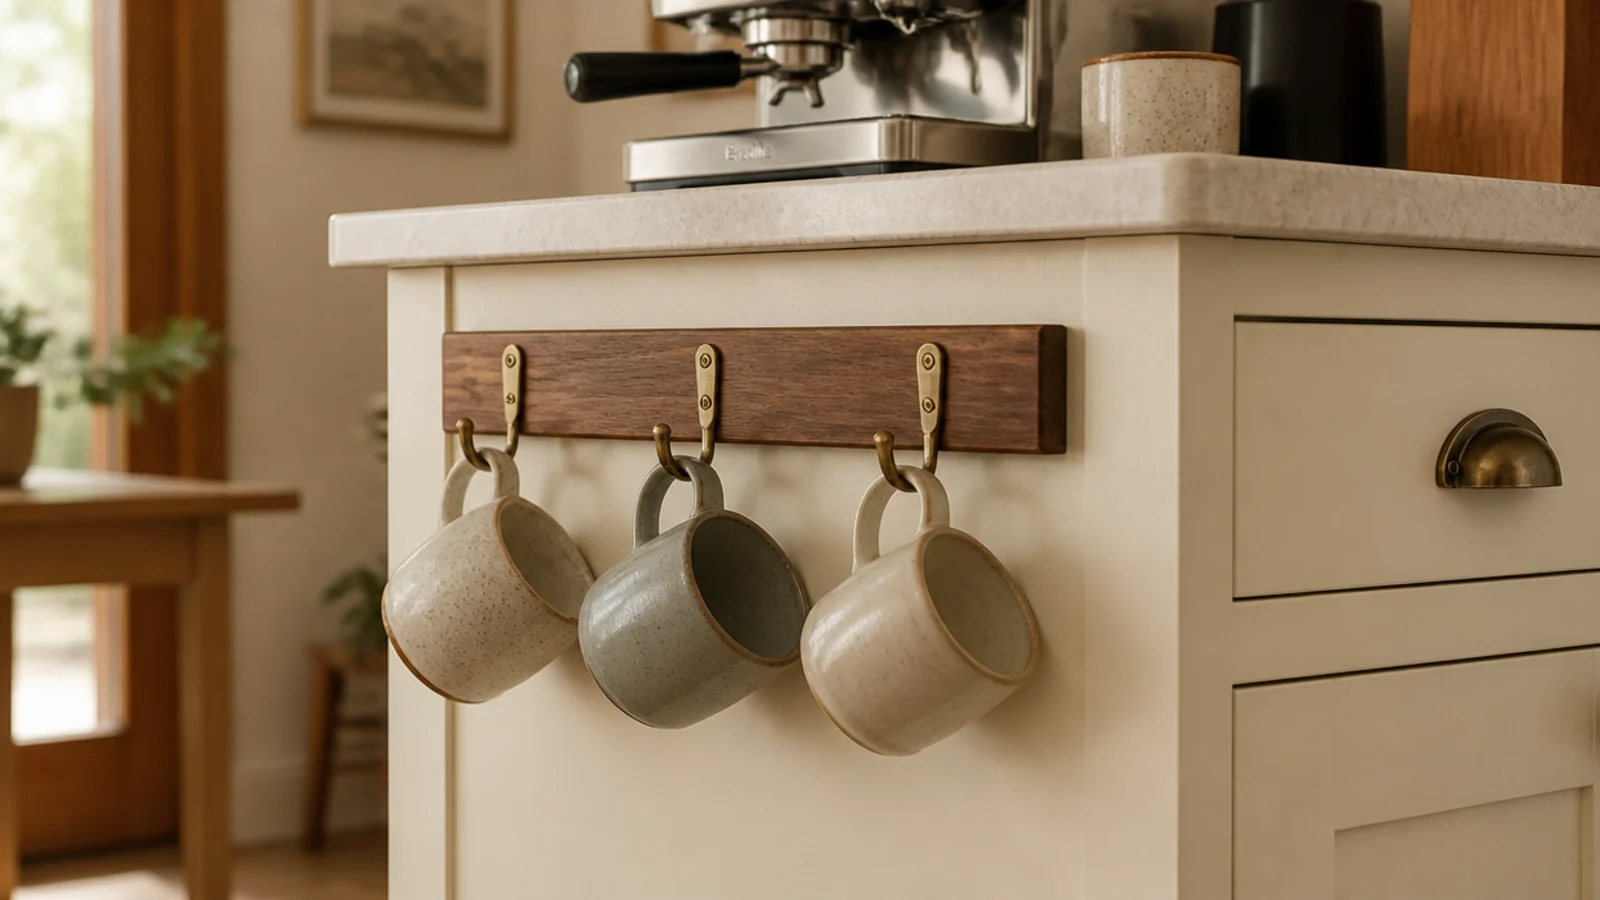
The exposed end panel of a base or upper cabinet is free vertical surface. A short rail with three hooks turns it into mug storage without touching a wall.
Fix into the panel with short screws so nothing comes through the inside face, and hang only light mugs. This is the trick I use most in galley kitchens, and it comes up again in coffee nook ideas where every vertical inch matters.
14. Under-cabinet light to make 24 inches feel generous
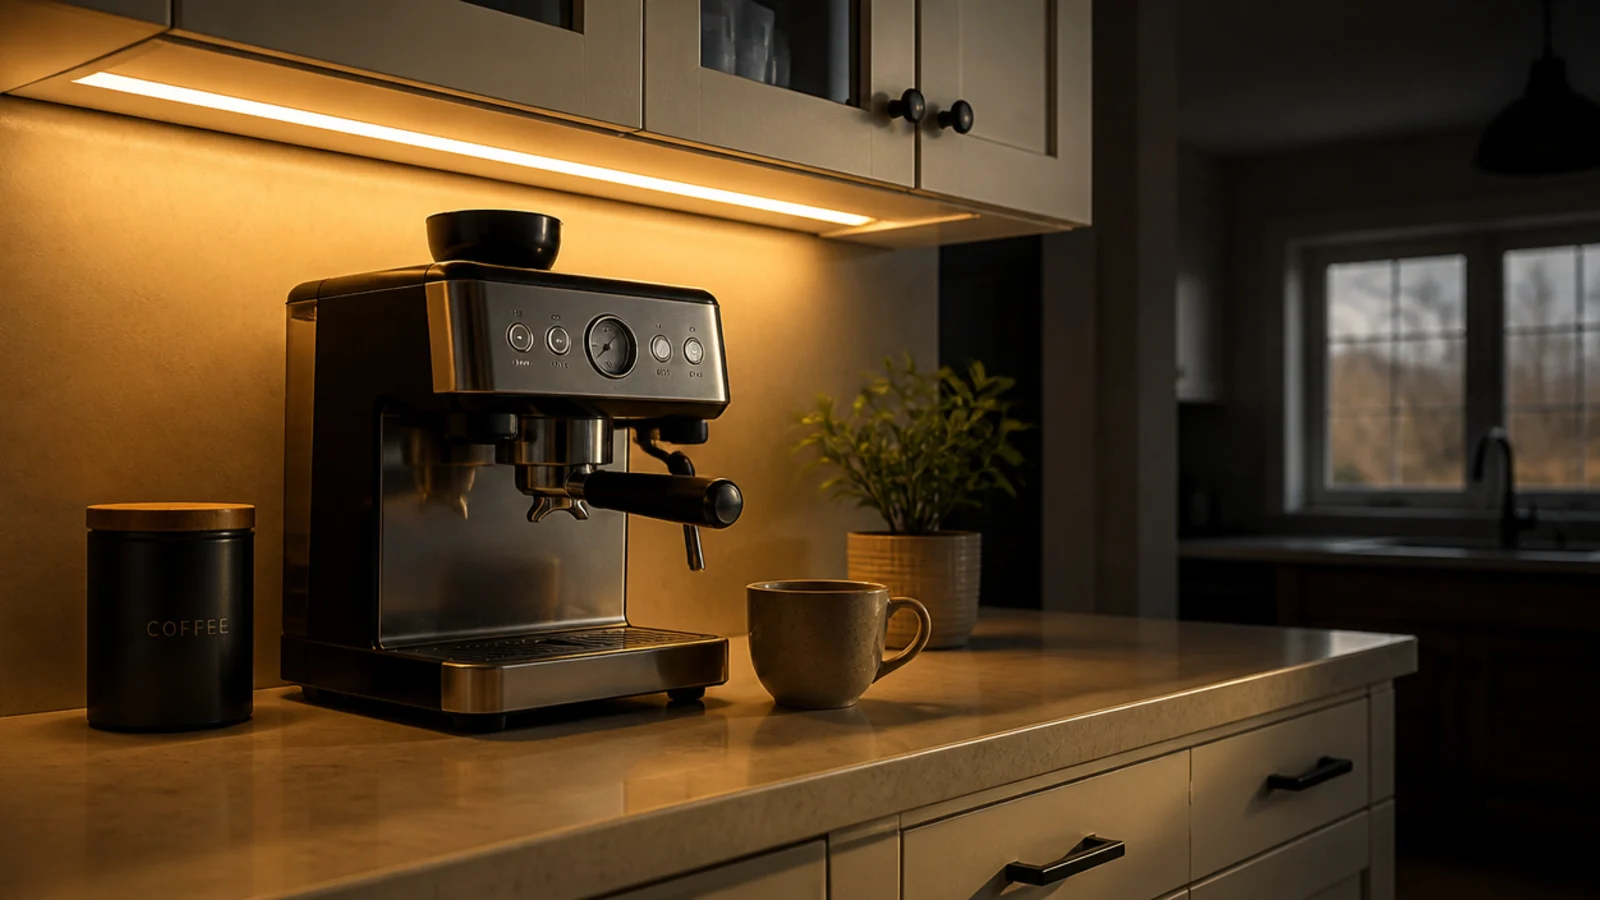
A narrow counter under a dim cabinet reads as a shadow. A warm 2700K strip or a battery puck under the upper cabinet makes the same 24 inches feel like a proper station.
Light does more for a small corner than paint, and it costs $12 to $40. Stick the strip to the front underside edge rather than the back, so the light falls on the counter instead of the backsplash and your hands stop casting shadows onto the cone.
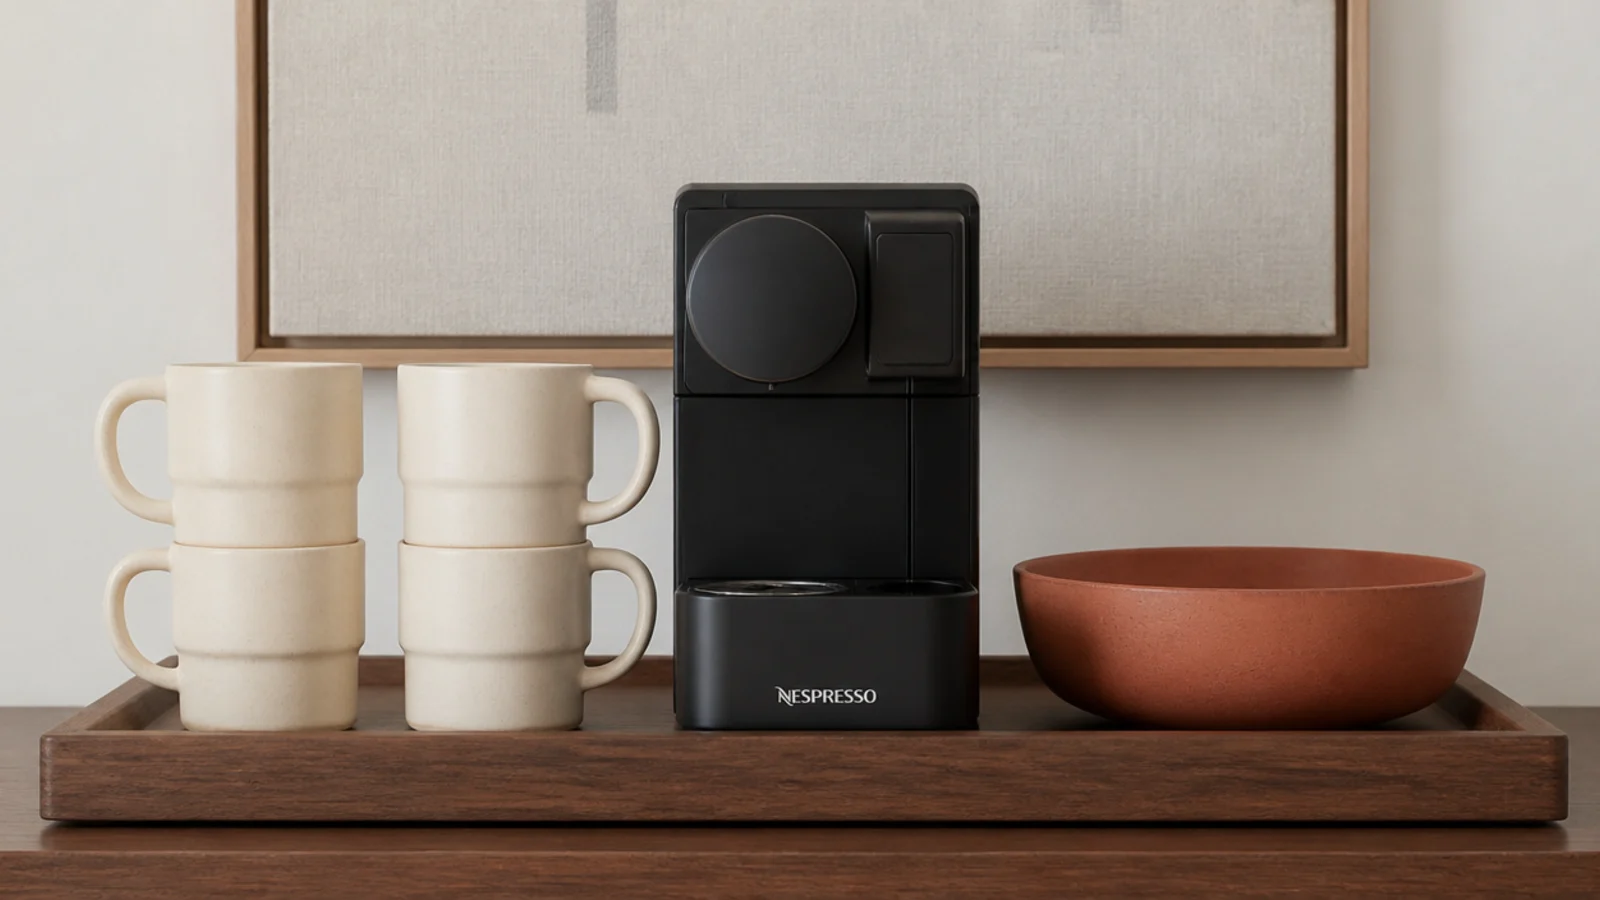
15. A stacking mug set instead of six different shapes
Six mismatched mugs need a shelf. Six mugs of one stackable shape need about a third of it. It is an unglamorous fix and it is the difference between a shelf that closes and one that does not.
Stoneware with a slight stepped foot stacks safely three high without chipping rims. Keep two favourites out for daily use and stack the rest. Sets run $30 to $60, and thrift shops are full of single-shape restaurant mugs for a dollar or two each.
16. Beans in a canister sized to two weeks
An opaque airtight canister at room temperature is the correct home for whole beans — not the fridge, where condensation gets in every time it comes out, and not a clear jar on a sunny sill.
In a small corner, size matters as much as material. A one-pound canister you finish in two weeks takes half the counter of a three-pound one that sits half empty. Look for a silicone gasket and a lid you can open one-handed while holding a mug.

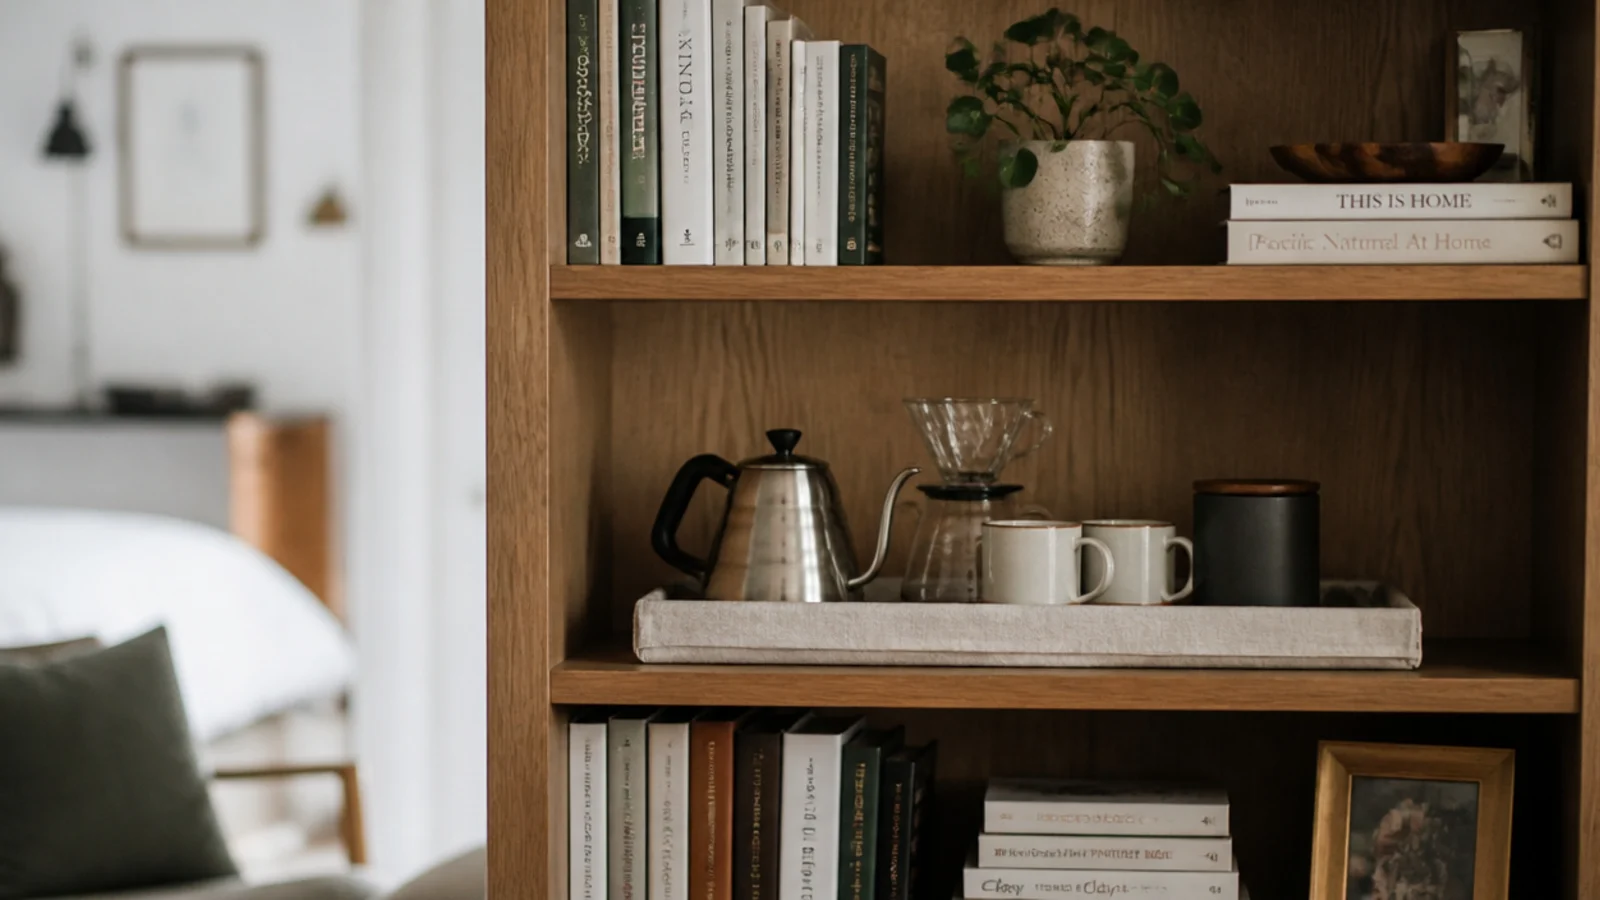
17. A coffee corner on one bookshelf shelf in a studio
In a studio with two feet of kitchen, the corner moves to the bookshelf. One shelf, a tray, a kettle, a cone and two mugs is a complete station.
Keep it to a single shelf and give the tray a lip, because a bookshelf has no backsplash to catch anything. Put it at 40 to 44 inches so you can pour standing up. It reads as decor rather than appliance storage, which matters when the kitchen is also the living room.
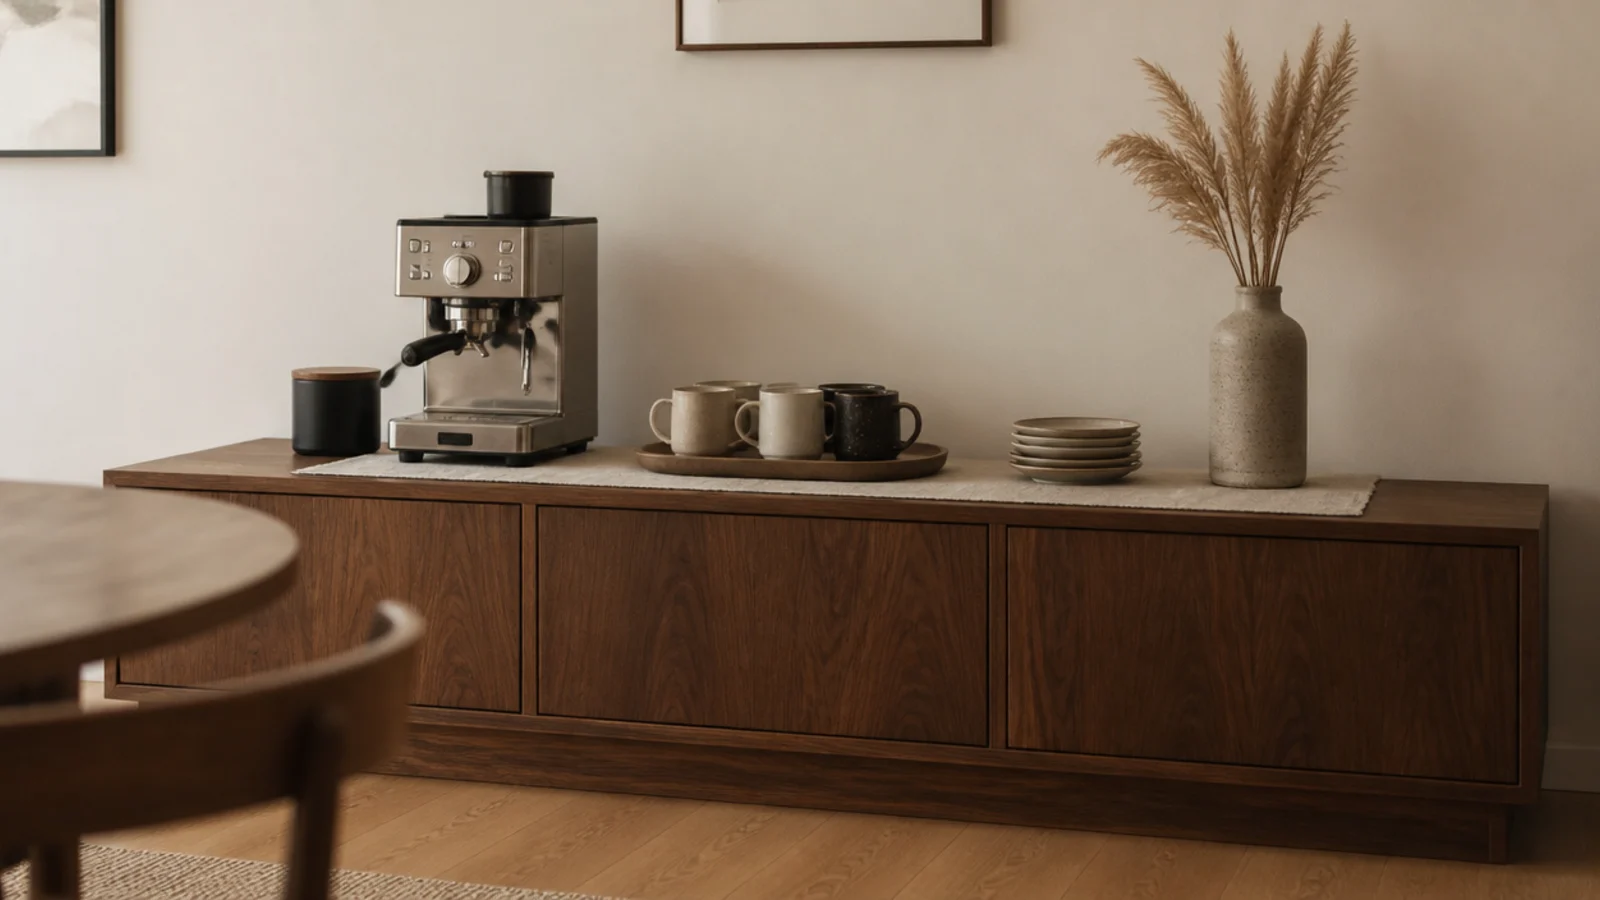
18. The dining sideboard as a weekend station
A sideboard at 32 to 34 inches tall is already the right height, already has storage, and is usually near an outlet. Give the top a linen runner and it becomes a coffee station in the morning and a drinks station at night.
Keep the machine at one end rather than centered, so there is a clear landing zone for cups and a carafe. This is also the easiest station to pack away entirely when you want the sideboard back.
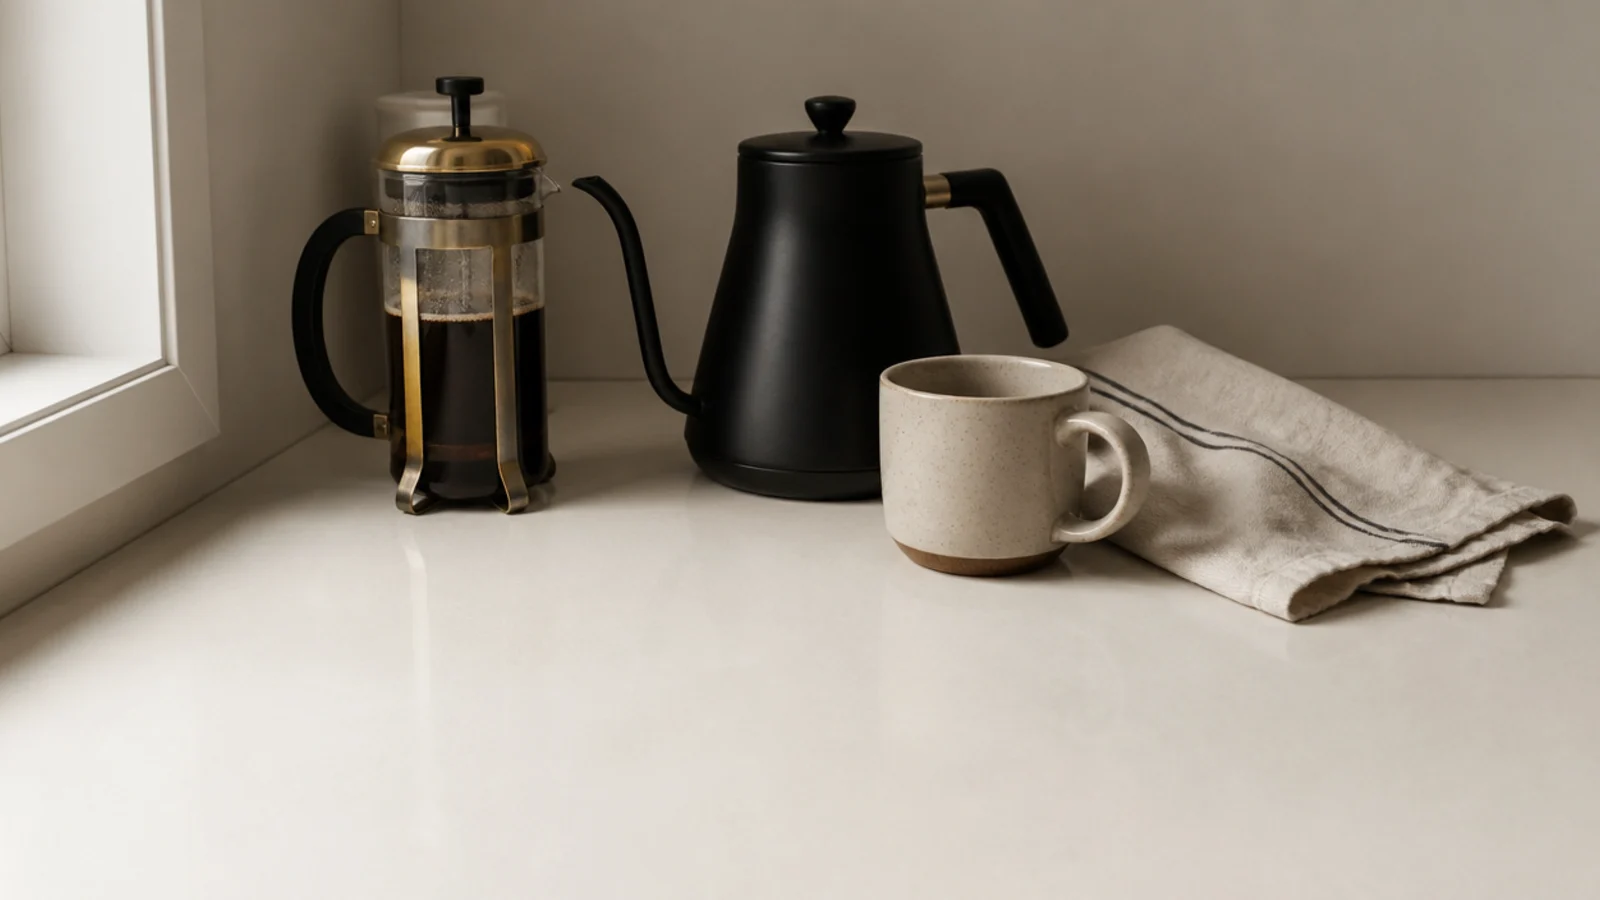
19. A kettle and a press for the smallest possible footprint
The absolute minimum viable coffee corner is a kettle and a press. A stovetop kettle needs no counter at all between uses, and a 12-ounce press stores with the filters inside it.
Total footprint when in use: about 8 by 14 inches. Total footprint when not: the inside of a cupboard. If you drink one cup a day and your kitchen is tiny, this beats every clever storage solution in the list, because the best small-space fix is owning less equipment.
20. Cables, plug and switch, solved before you style
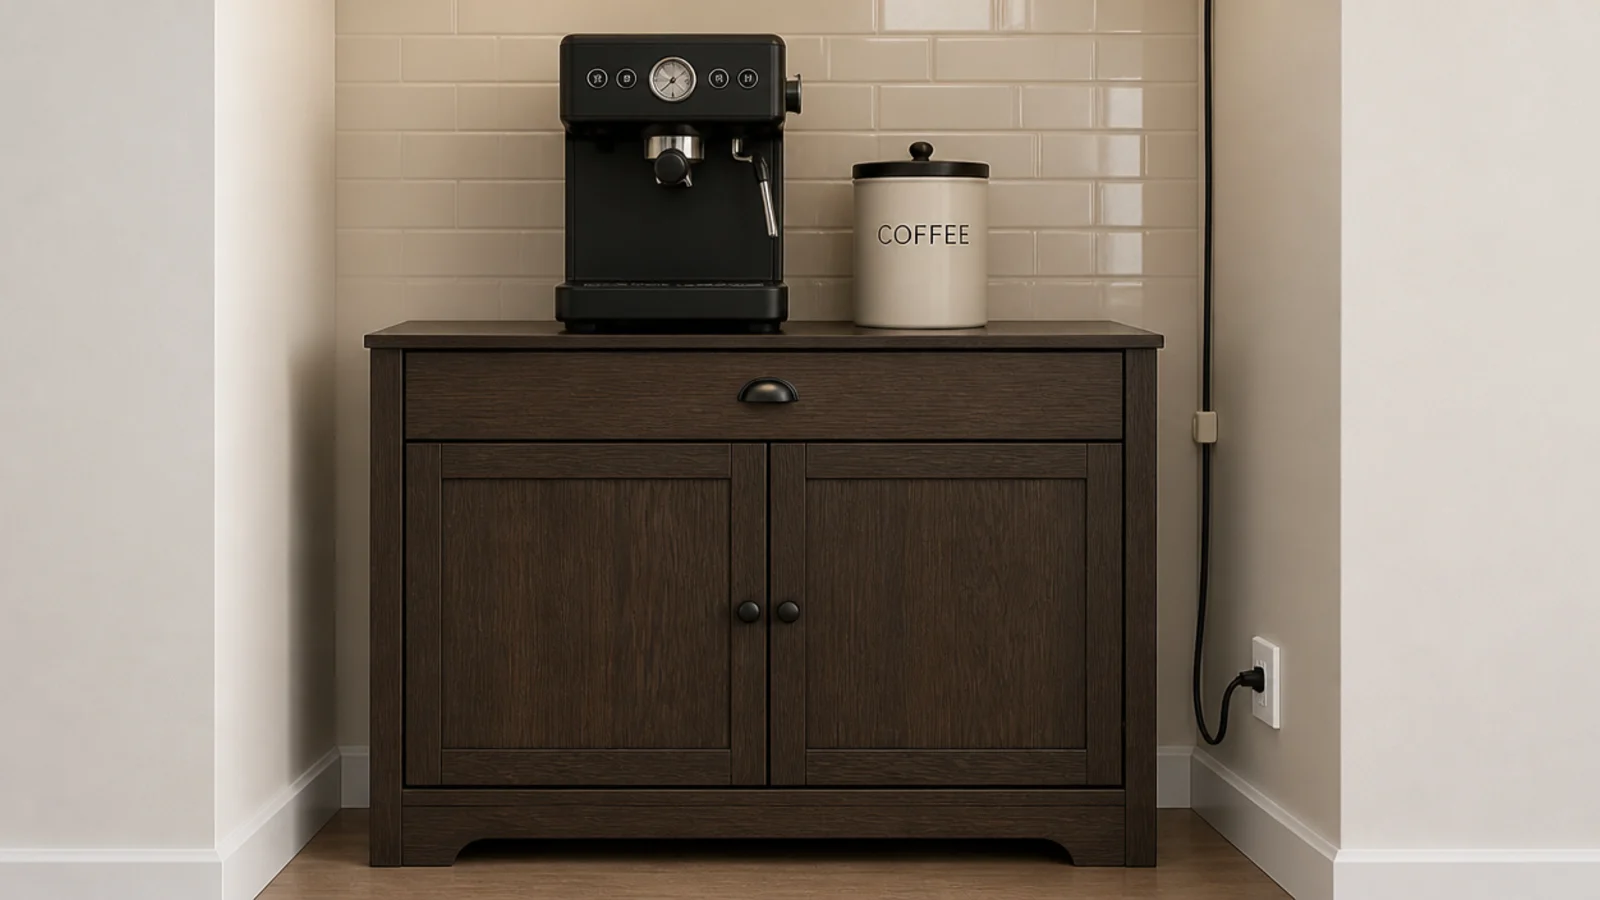
The last inch of a small corner is the cable. A white cord looping across a cream backsplash undoes every good decision on the counter.
Run it down the back corner, clip it once with an adhesive cable clip painted or matched to the wall, and coil the excess with a reusable tie behind the machine. If the outlet is a two-plug and you need three things, use a low-profile flat plug strip mounted on the cabinet side rather than a cord snaking to another wall.
Mistakes to Skip
- Buying the equipment before measuring the strip. A machine that is two inches too deep turns a tidy corner into a permanent shuffle, and it is the one mistake you cannot style around.
- Letting the coffee corner share its counter with the toaster. Shared counter always ends up being the toaster, and your station quietly stops existing within a month.
- Hanging the shelf at 14 inches because it looked balanced on the wall. The lid will not open, and you will end up sliding the machine forward and back every single morning.
Frequently asked questions
What is the smallest space a coffee corner can work in?
About 24 inches of counter width by 15 inches of depth is the realistic floor, and that assumes one machine and a small canister rather than a grinder, a kettle and a scale. Below 24 inches you are better off building the station inside a base cabinet or on a rolling cart that parks somewhere else between cups.
How high should the shelf above a coffee maker be?
Eighteen inches off the counter is the sweet spot. That clears the tallest common machine with room for steam, leaves space to lift a top-fill reservoir, and still lets you reach a mug on the shelf without stretching. Any lower and you are opening lids sideways; any higher and the shelf stops feeling like part of the station.
How do I store mugs when there is no cabinet space?
A peg rail under the shelf is the best storage math in a small kitchen: six mugs hang in the same width one mug takes standing on the counter. If drilling is out, a freestanding mug tree occupies about a seven-inch circle and holds the same six. Stacking mugs of a single shape also saves surprising amounts of room.
Can a coffee corner go inside a cabinet?
Yes, and it is one of the best small-space moves there is. Take out one shelf, run a short cord to a nearby outlet, and set the machine on a pull-out tray so it slides forward for steam and fills. Never brew with the door closed, and never run the cord through a drilled hole in a rental cabinet.
Does a small coffee corner need a grinder?
Only if you buy whole beans, and if you do, a hand burr grinder is the small-space answer. It takes up about the footprint of a large mug, needs no outlet, and stores in a drawer between uses. Whole beans in an opaque airtight canister at room temperature stay good for roughly two weeks after opening.
Start with the two decisions you cannot undo — the strip you claim and the outlet it sits beside — and then add exactly one storage move: a shelf, a rail, or a drawer. Most small corners need only one. For more layouts by kitchen type, coffee station ideas breaks them down by counter run, and small kitchen shelf ideas covers what else that shelf can carry. Save the pin so the clearances are with you when you measure.
Want more like this? Browse all 15 coffee corner ideas guides — they all use the same measurements and budget tiers.
Pin it for later
Save this to your Coffee Corner Ideas board
Pin it now so it is waiting for you when the tape measure comes out — and so the next person hunting for this idea can find it too.
Save this pinKeep going
More ideas worth saving while you have the tape measure out.