Coffee Corner Ideas · Listicle
15 Affordable Coffee Corner Ideas for Renters

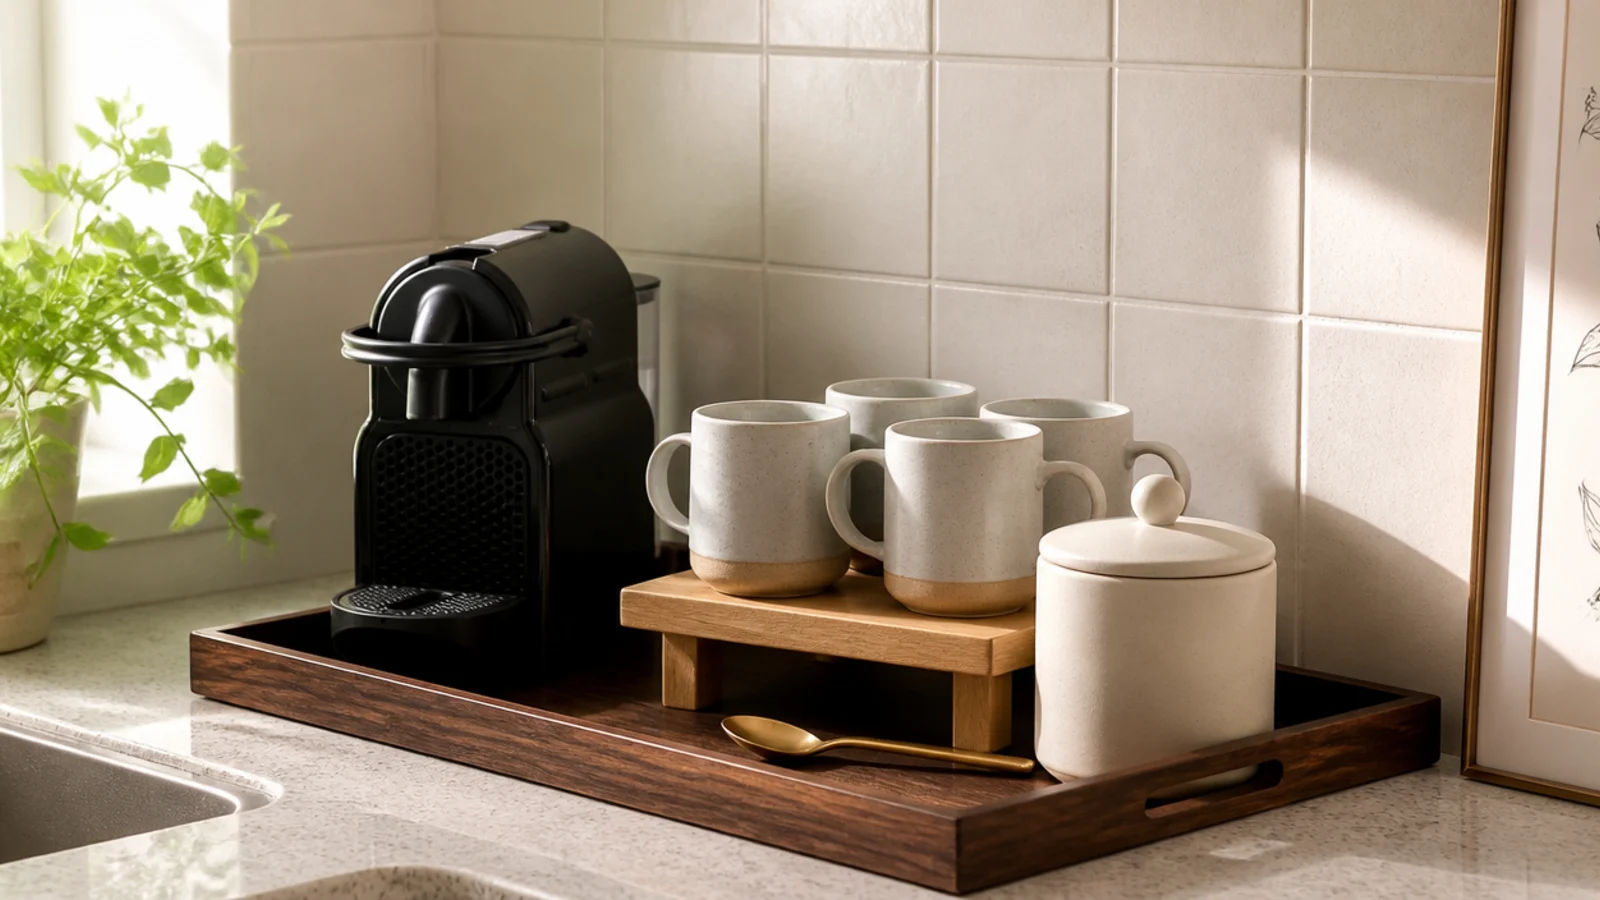
Coffee corner decor in a rental has one extra rule the pretty photos skip: nothing permanent. No drilled shelves, no mounted rails, no patched holes on the day you hand back the keys. I have built this corner in four apartments now, two of them for landlords who counted holes. Everything here sits on a counter, rolls on wheels, or comes off the wall clean — and it still makes a genuinely good cup at 6am.
In this guide17 sections — tap to openHide
- 1.What coffee corner decor has to do in a rental
- 2.The lift-out tray under the machine
- 3.A rolling cart that parks in the dead corner
- 4.An over-counter riser instead of a drilled shelf
- 5.A freestanding two-tier hutch
- 6.A tension rod between two cabinets, with honest limits
- 7.Adhesive hooks for mugs, and what they actually hold
- 8.A slim console table in the dining corner
- 9.Stacked crates you can unstack in five minutes
- 10.An opaque canister that keeps beans drinkable
- 11.A leaning ladder shelf beside the counter
- 12.A freestanding mug tree instead of a peg rail
- 13.A rolling drawer unit under the counter overhang
- 14.A wire grid panel on removable strips
- 15.One warm lamp instead of the overhead light
- 16.The move-out test: can it leave in one box
- 17.Mistakes to Skip
What coffee corner decor has to do in a rental
A rental station is judged on two things: whether it makes a cup without you crossing the kitchen, and whether it leaves the wall exactly as you found it.
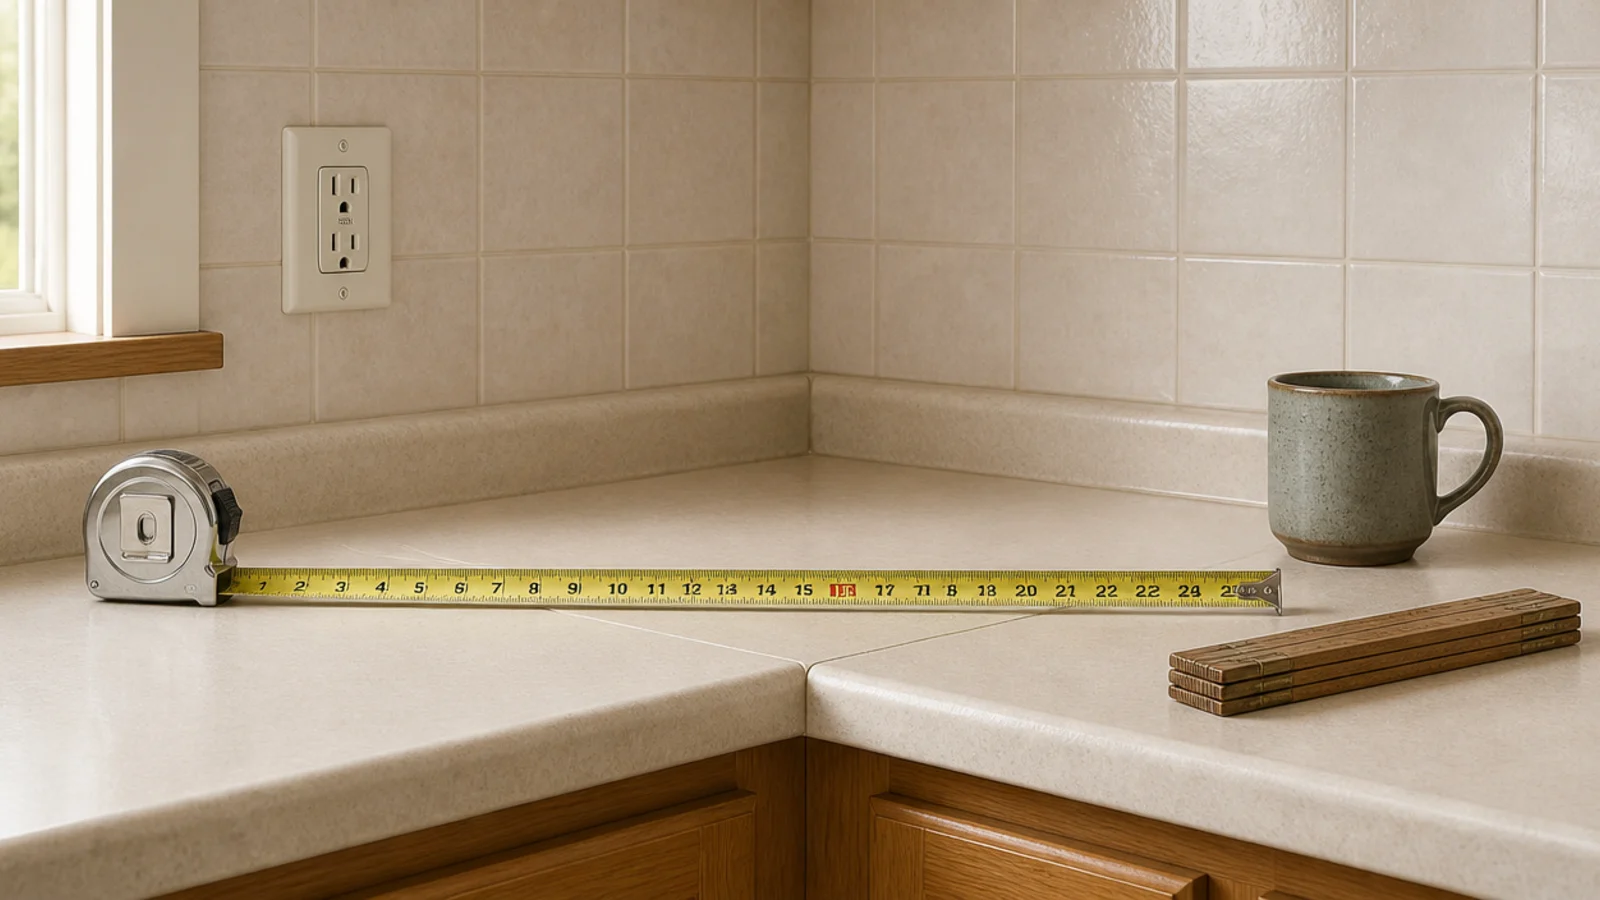
Start with the footprint. A workable corner needs about 24 to 30 inches of counter width and 15 to 18 inches of depth — that covers the machine, mugs, beans and a clear spot to set a hot cup down. Everything you touch for one cup should sit inside a single arm sweep, roughly a 30-inch reach zone. Stretch past that and you will start leaving things out on the counter instead of putting them back.
Then check the outlet, before you buy anything. The corner has to be an outlet corner. An extension cord run under a water source is the wrong answer, no matter how neat the cable management looks in the photo.
Leave at least 6 inches of clear air above the tallest machine for steam, and more if the lid lifts or the reservoir fills from the top. Measure that with the lid open, not closed.
Budget tiers: $ is under $50 for a tray, a riser and a canister. $$ is $50 to $150 for a rolling cart or a two-tier hutch. $$$ is $150 to $400 for a console or a freestanding cabinet you take with you.
1. The lift-out tray under the machine
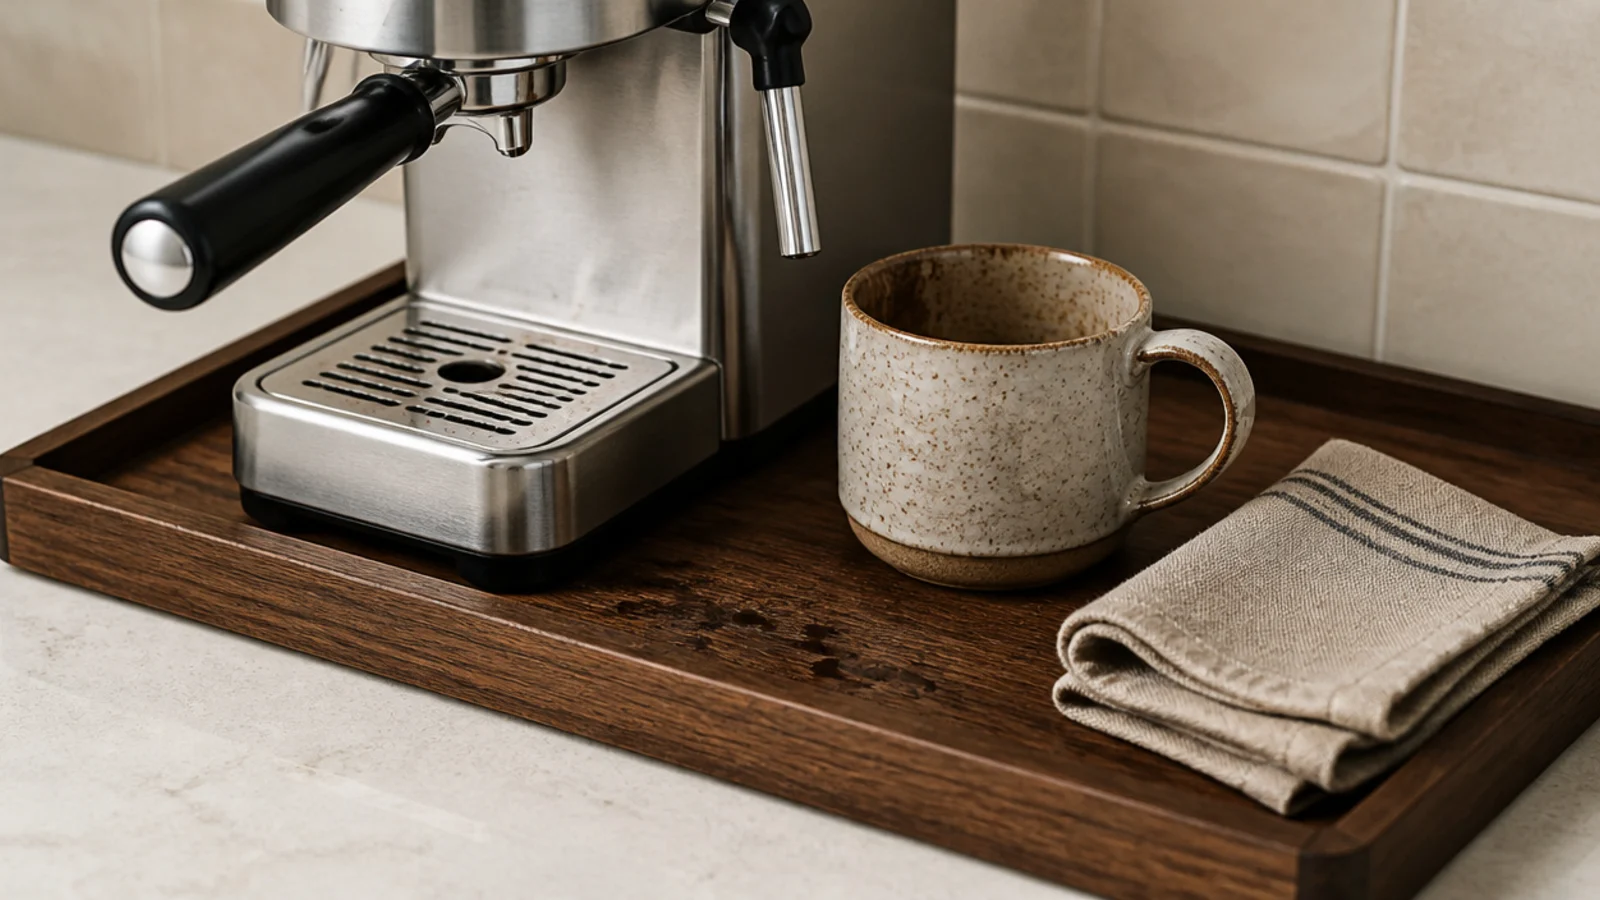
Before anything else, put a tray under the machine. A 12 by 18 inch wood or stoneware tray catches the drips that would otherwise stain a counter you do not own, and — the part that matters in a rental — it lets you lift the whole station out in one movement and wipe behind it.
Grounds and milk splatter migrate backward. Six months of that on a laminate counter is a real conversation at move-out. Look for a raised lip of at least half an inch and felt pads underneath so the tray does not scratch. Around $20 to $45 ($).
2. A rolling cart that parks in the dead corner
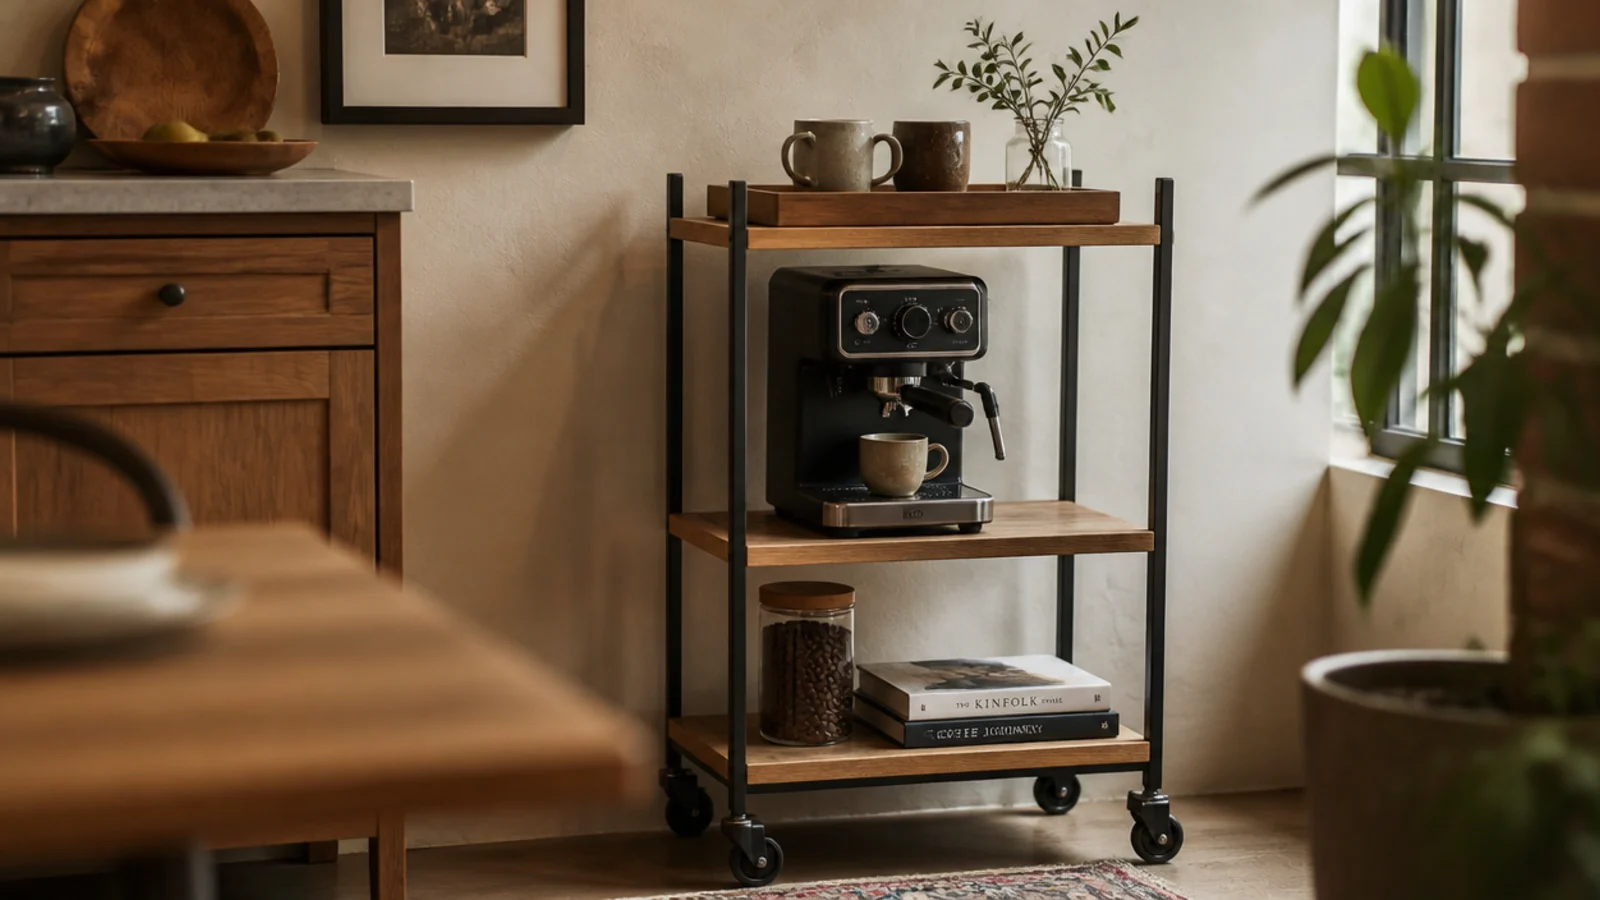
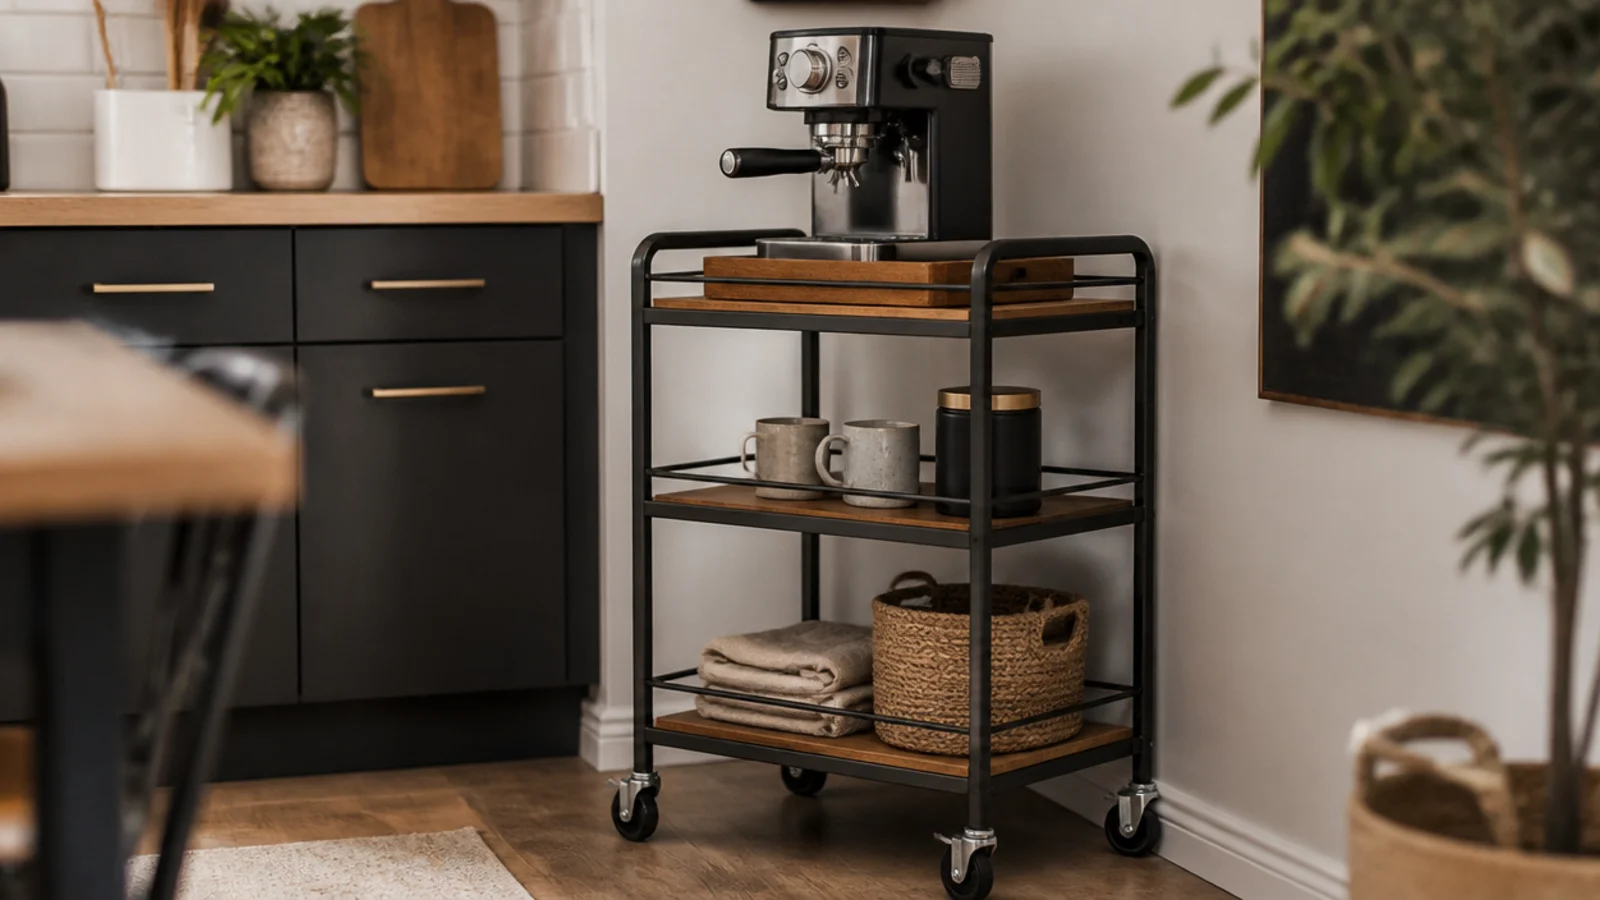
A three-tier cart on locking casters is the most renter-friendly coffee station there is. Standard ones run 16 to 18 inches wide and 30 to 34 inches tall, which puts the top shelf at working height without needing a counter at all.
Park it in the corner the table never reaches, roll it out to fill the reservoir, roll it back. Lock the casters once it is loaded. Expect $40 to $90 ($$) for steel, more for oak. There is a whole guide to coffee bar cart ideas if that is the route you take.
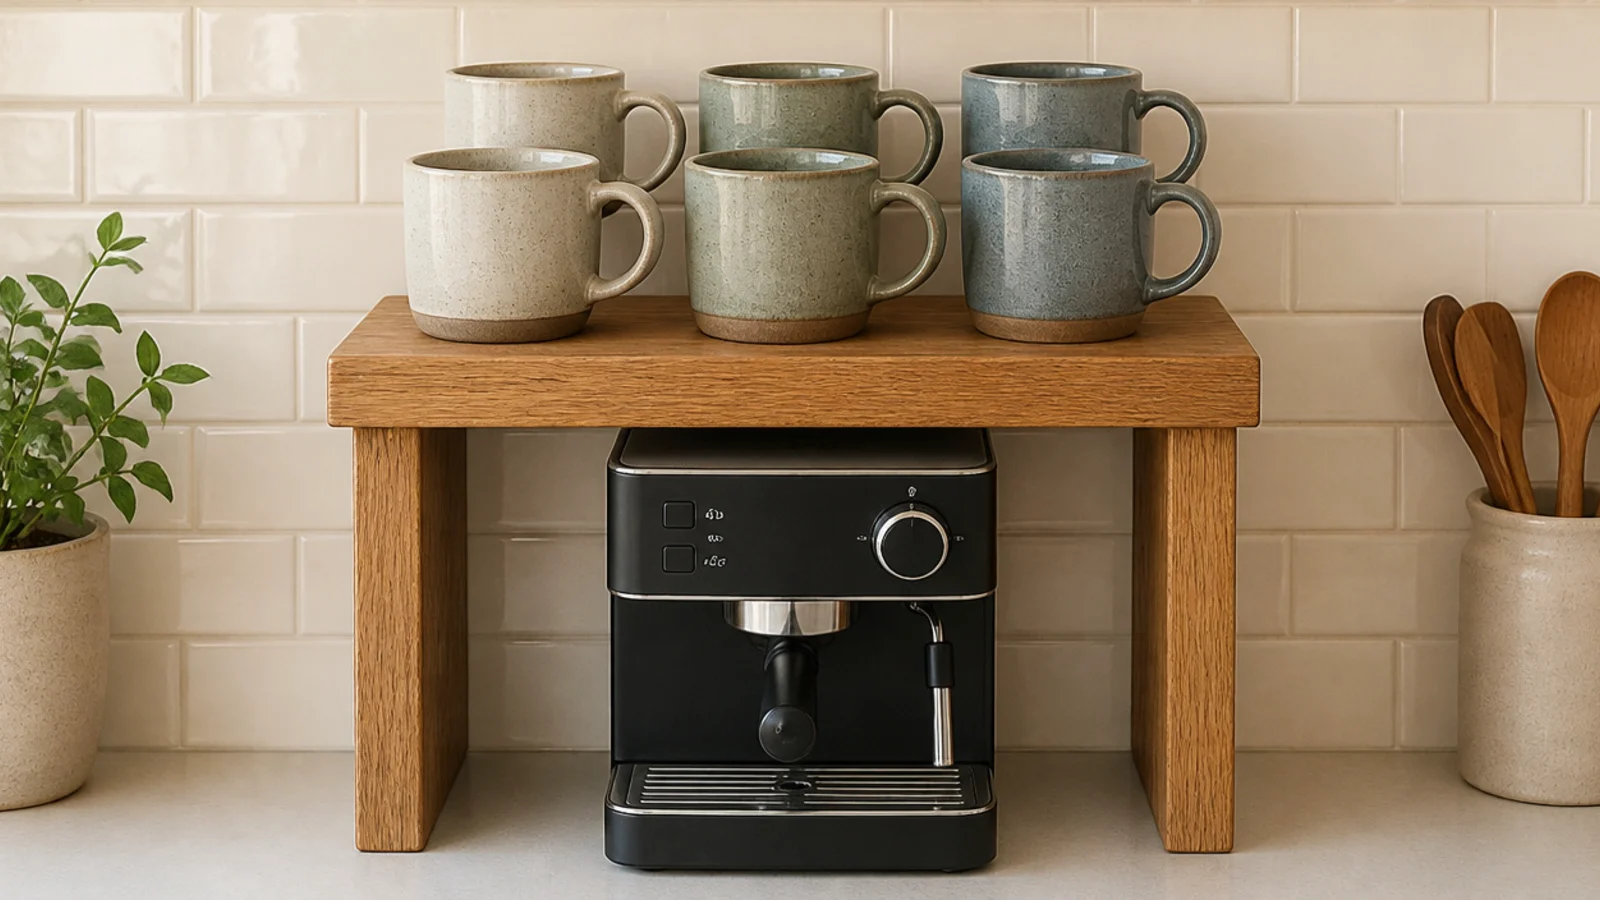
3. An over-counter riser instead of a drilled shelf
A riser is a shelf that needs no wall. Hardwood or powder-coated steel, about 24 inches wide and 6 to 8 inches tall, lifts mugs up off the counter and gives the machine its own level underneath.
The catch is clearance. Keep 6 inches of clear air above the tallest point of the machine for steam, and measure with the lid open — a top-fill reservoir often needs 10 inches. Risers run $20 to $45 ($). Mugs go on top and the machine underneath, never the reverse.
4. A freestanding two-tier hutch
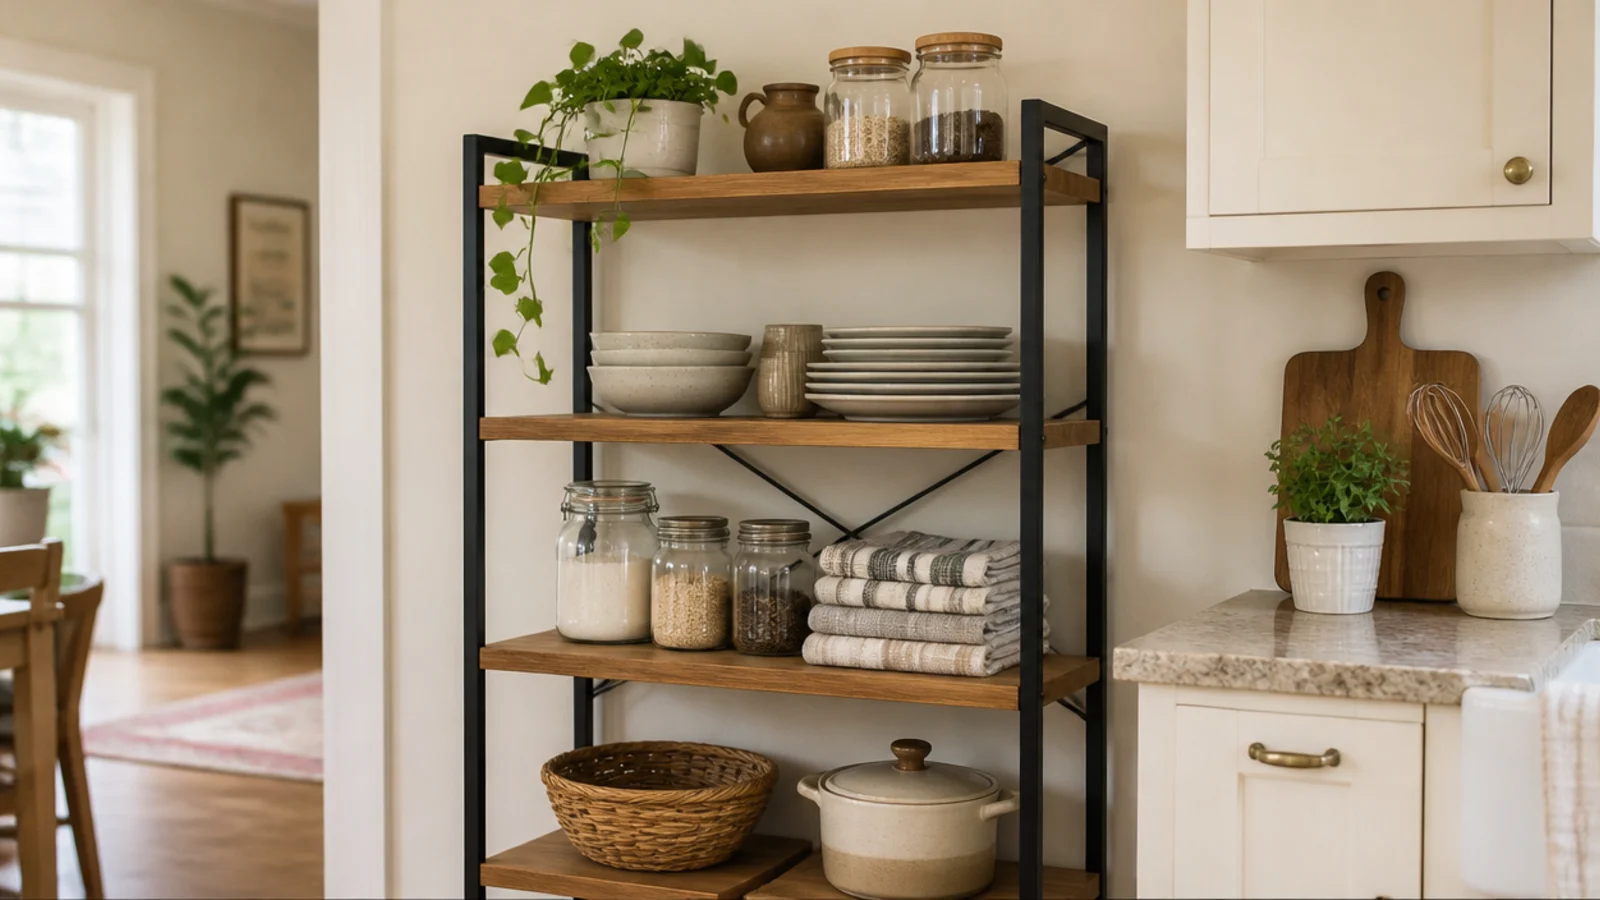
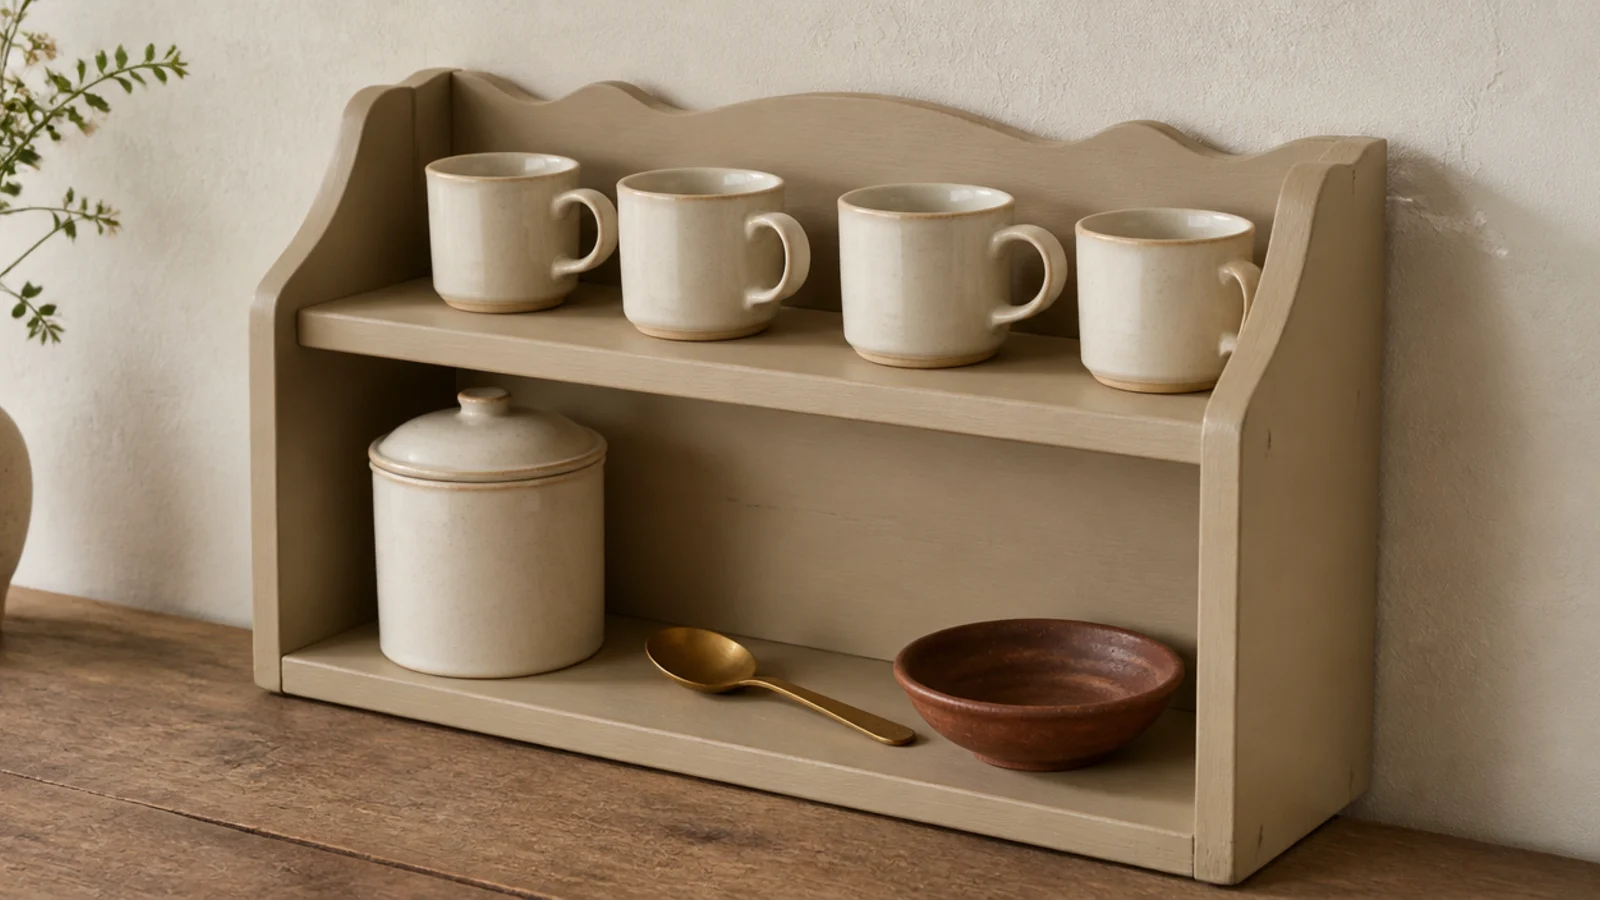
A small hutch, the kind sold for spice jars, sits on the counter and gives you two storage levels with zero fixings. Sixteen to 24 inches wide is the useful range.
Solid oak or painted pine reads far better than wire here, because the corner is already busy with a machine and a cord. Keep the upper deck for mugs and the lower for the canister and a spoon rest. Around $35 to $70 ($). If your counter is deeper than 24 inches, a hutch turns the dead back six inches into the best shelf in the kitchen.
5. A tension rod between two cabinets, with honest limits
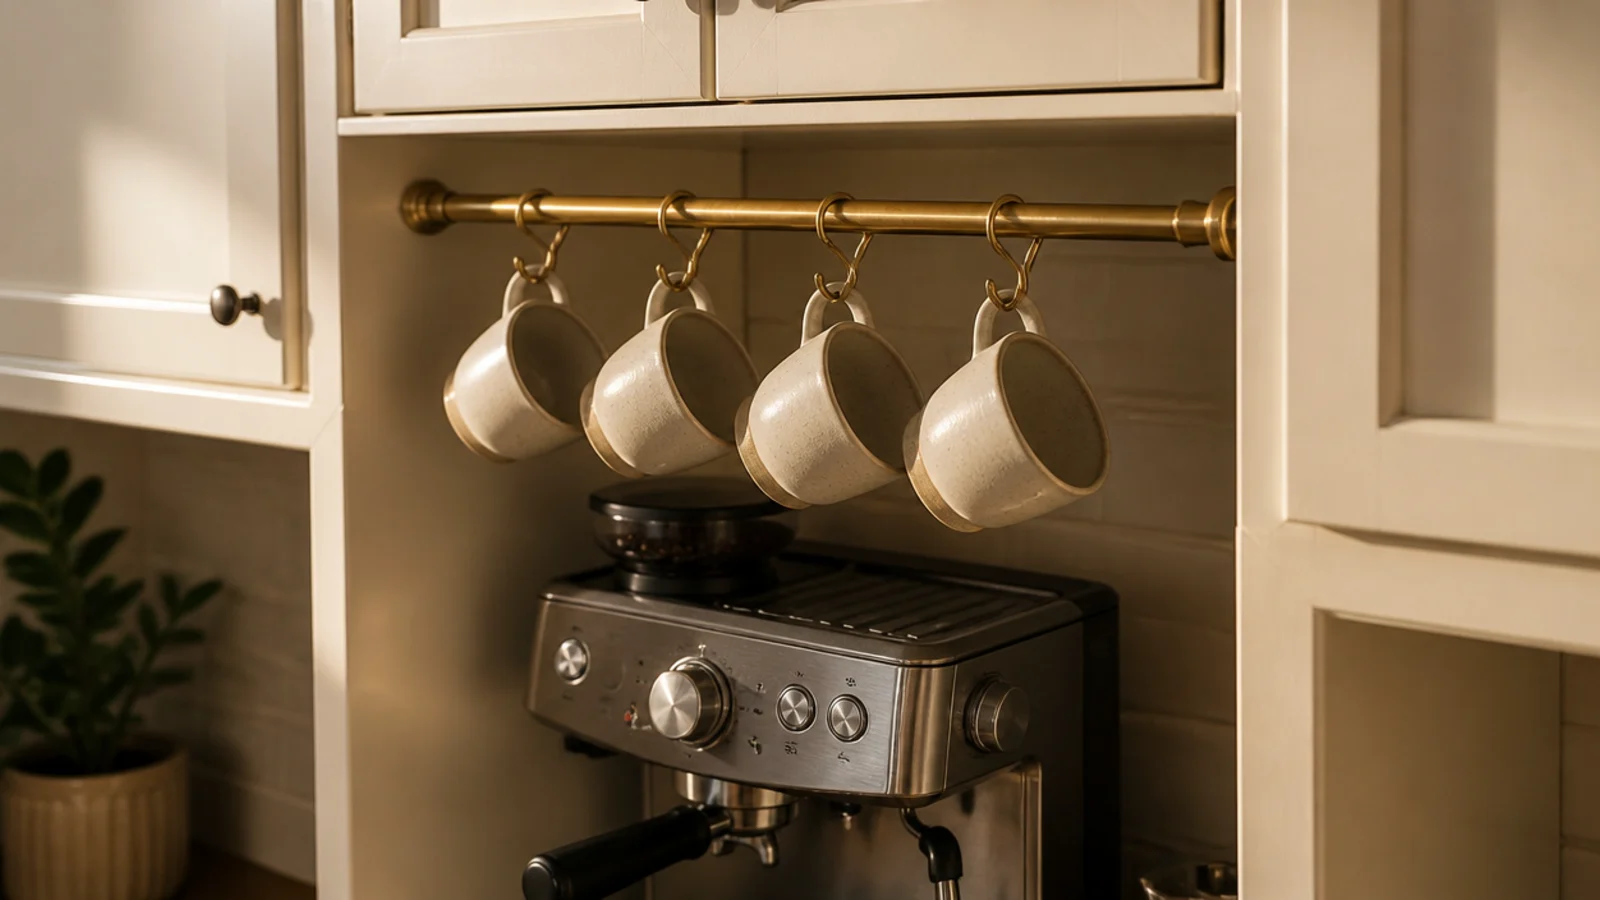
Between two upper cabinets, a spring-tension rod carries S-hooks, a folded towel and a few light mugs. Honest limit: a good rod holds maybe 10 to 15 pounds spread across its span, and only with both ends bearing on solid cabinet sides rather than drywall.
That is four light mugs, not a mug wall. Load it and test it before you trust it above a machine, and re-check the tension every few months because rods creep. Under $15 ($) and the cheapest vertical storage a renter can get, provided you respect what it is.
6. Adhesive hooks for mugs, and what they actually hold
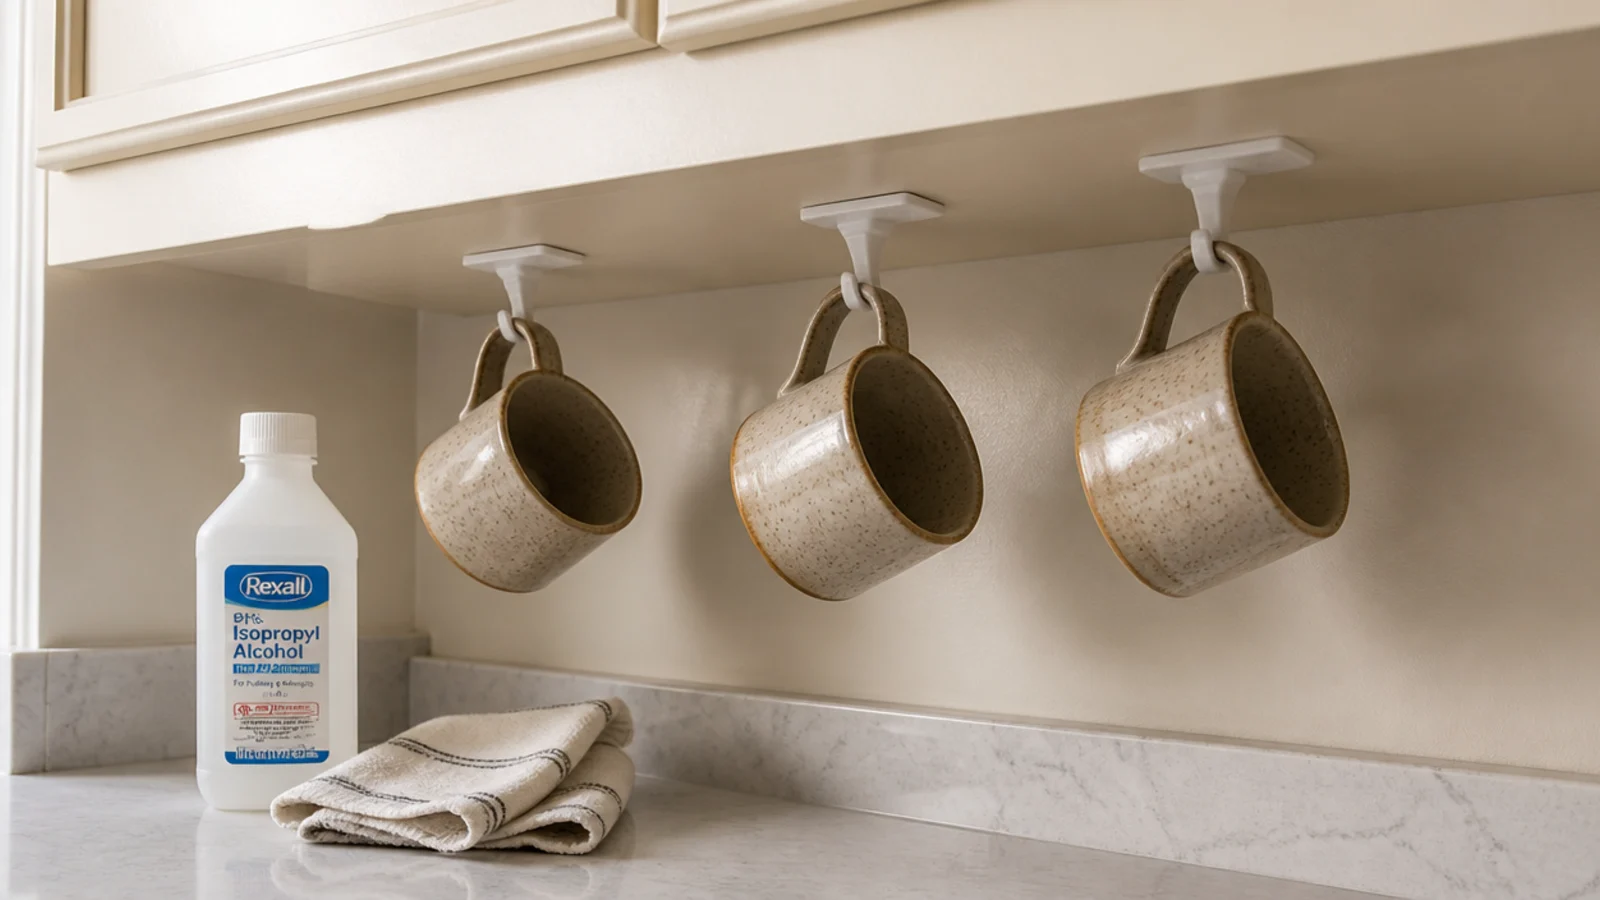
Heavy-duty adhesive hooks under a cabinet will hold a mug. They will not hold six. In practice the good ones top out around 5 to 7 pounds each, and a stoneware mug is one to one and a half pounds, so plan on one mug per hook and never stack.
Wipe the surface with rubbing alcohol, press for 30 seconds and wait an hour before hanging anything. Test on a hidden patch first: flat builder-grade paint and thermofoil cabinet doors both peel. Remove with a hair dryer on low and a slow 45-degree pull.
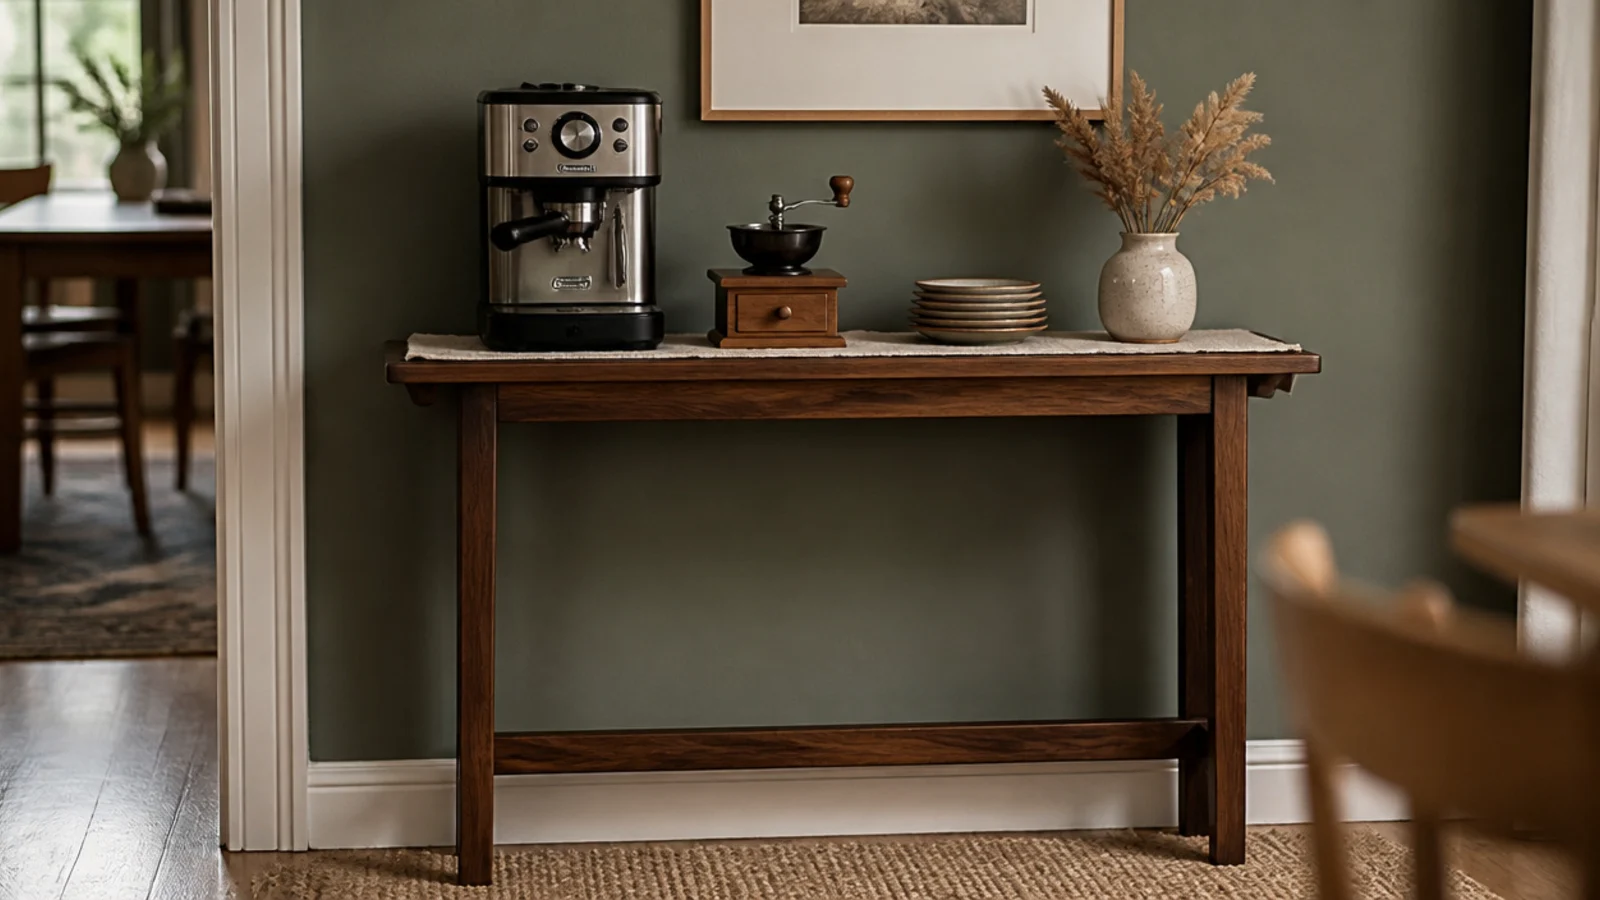
7. A slim console table in the dining corner
When the kitchen has no spare counter at all, the coffee corner moves rooms. A console 30 to 32 inches tall and 12 to 14 inches deep holds a machine, a grinder and a tray without narrowing the walkway.
Check the outlet first, always. The corner has to be an outlet corner, because running a cord across a doorway or under a sink is how a good idea becomes a bad one. Expect $70 to $180 ($$), and it doubles as a drinks station when people come over.
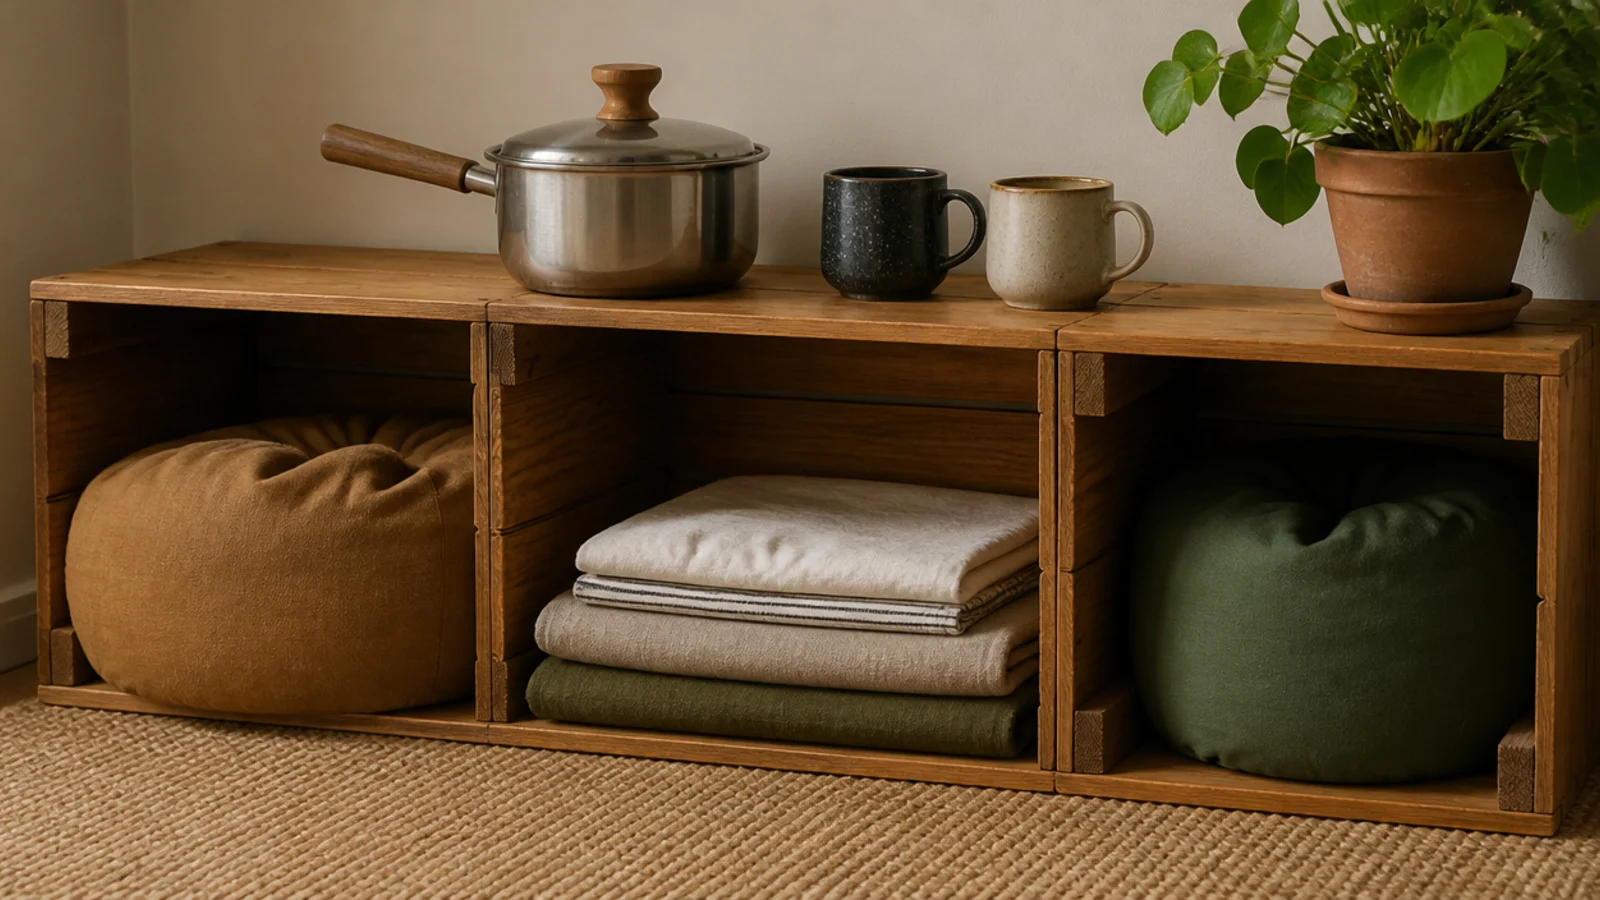
8. Stacked crates you can unstack in five minutes
Three wooden crates, the 18 by 12 inch kind, stacked two high and one wide give you a station for about $45 ($). Lay them on their sides so the openings face out, and the top surface lands near 26 inches, which is a comfortable pour height for a stovetop pot or a pour-over cone.
Sand the edges, rub in a little oil and add felt pads underneath. Nothing is fastened, so the whole thing comes apart into a flat stack on moving day. Weight the bottom crate with the bean supply so the tower does not shift.
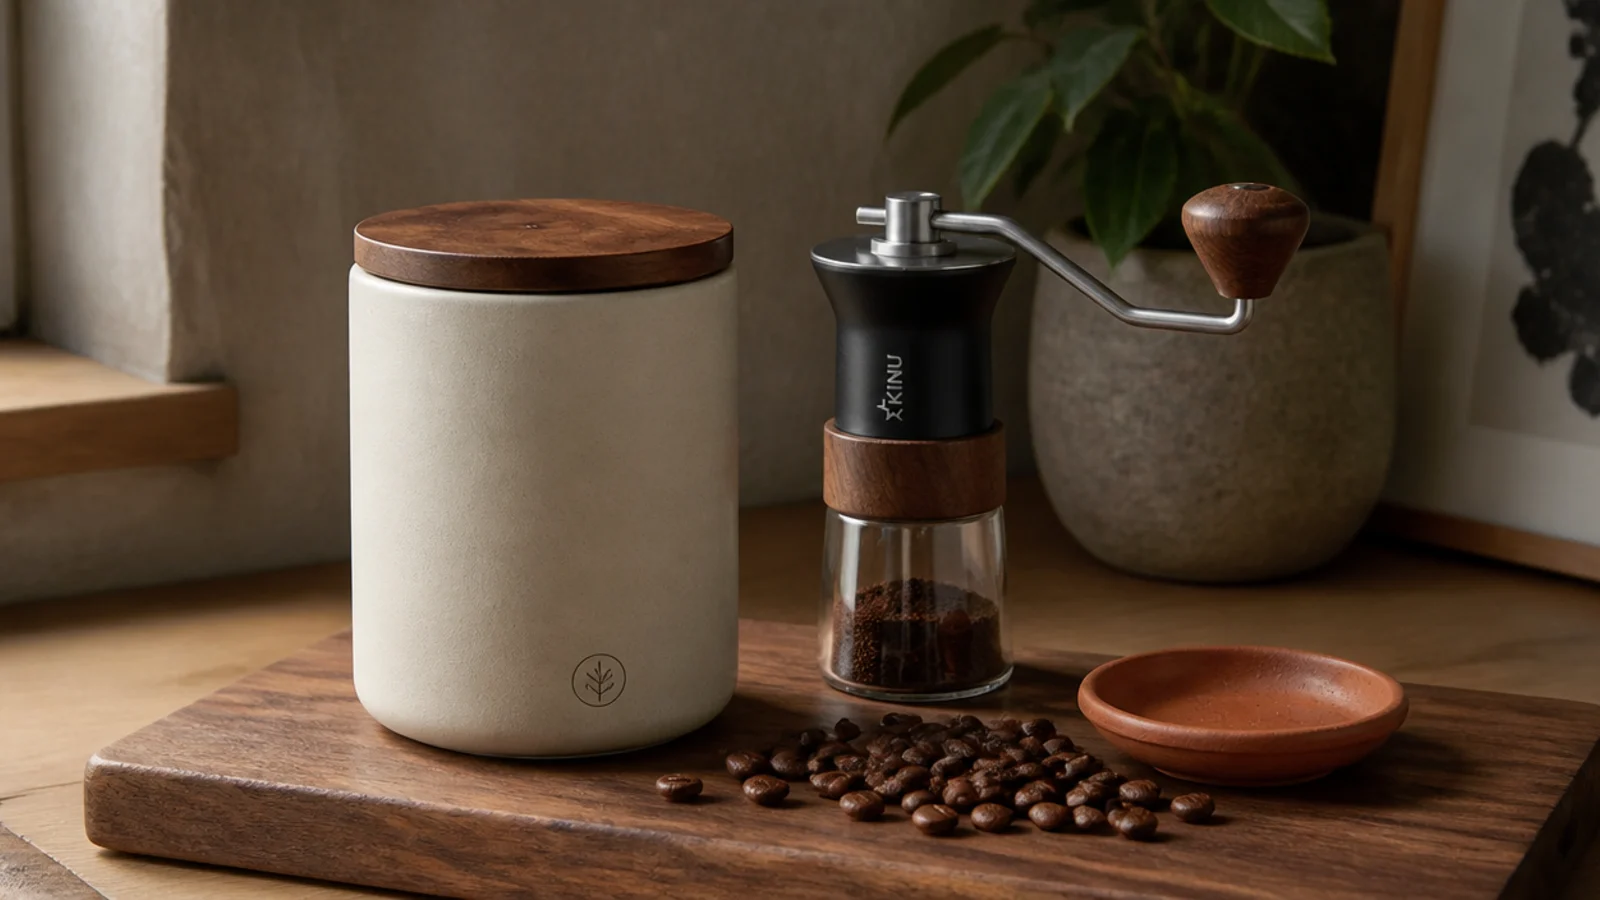
9. An opaque canister that keeps beans drinkable
The prettiest clear jar in the kitchen is the fastest route to stale coffee. Whole beans keep in an opaque airtight container at room temperature — not in the fridge, and not in a clear jar sitting in sunlight.
Stoneware or powder-coated steel with a silicone gasket runs $15 to $35 ($). Buy the size that matches how much you actually drink; a one-pound canister you empty in two weeks beats a three-pound one that sits half full for a month. Keep it on the tray so it travels with the station at cleaning time.
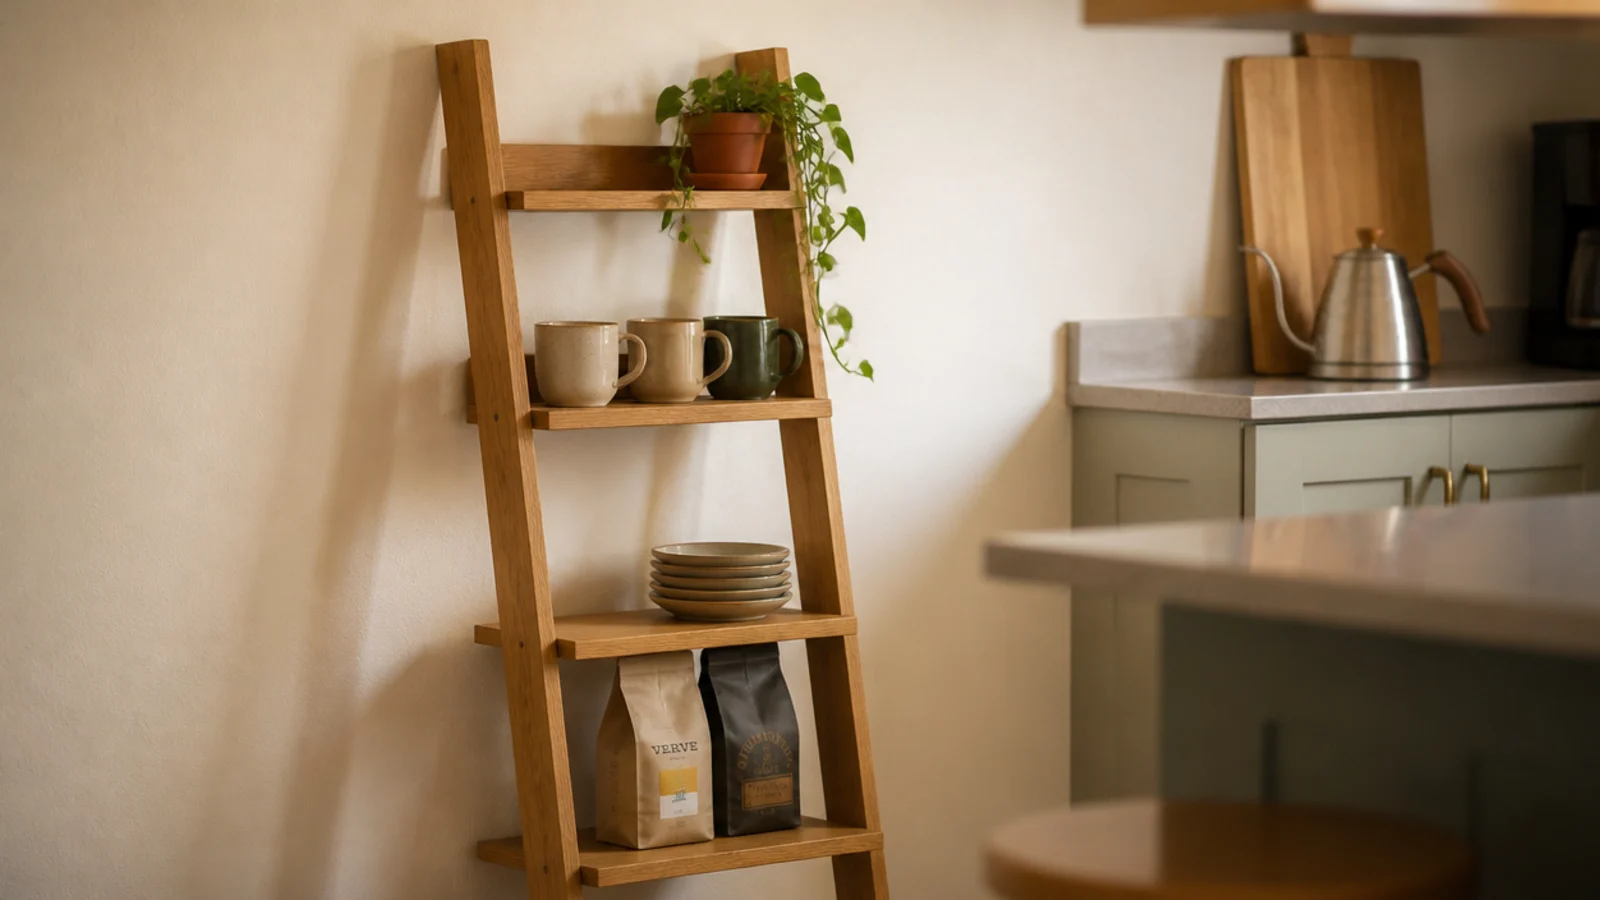
10. A leaning ladder shelf beside the counter
If the counter is full and the wall is off limits, lean a ladder shelf into the corner beside it. A four-rung oak ladder at roughly 15 degrees sits stable on two feet and needs nothing but felt pads.
Use the bottom two rungs for the heavy things — bean bags, spare filters, a stack of saucers — and the upper rungs for mugs and a small plant. Set it within arm's length of the machine so the whole station stays inside that 30-inch reach zone. Around $45 to $90 ($$), and it walks out with you.
11. A freestanding mug tree instead of a peg rail
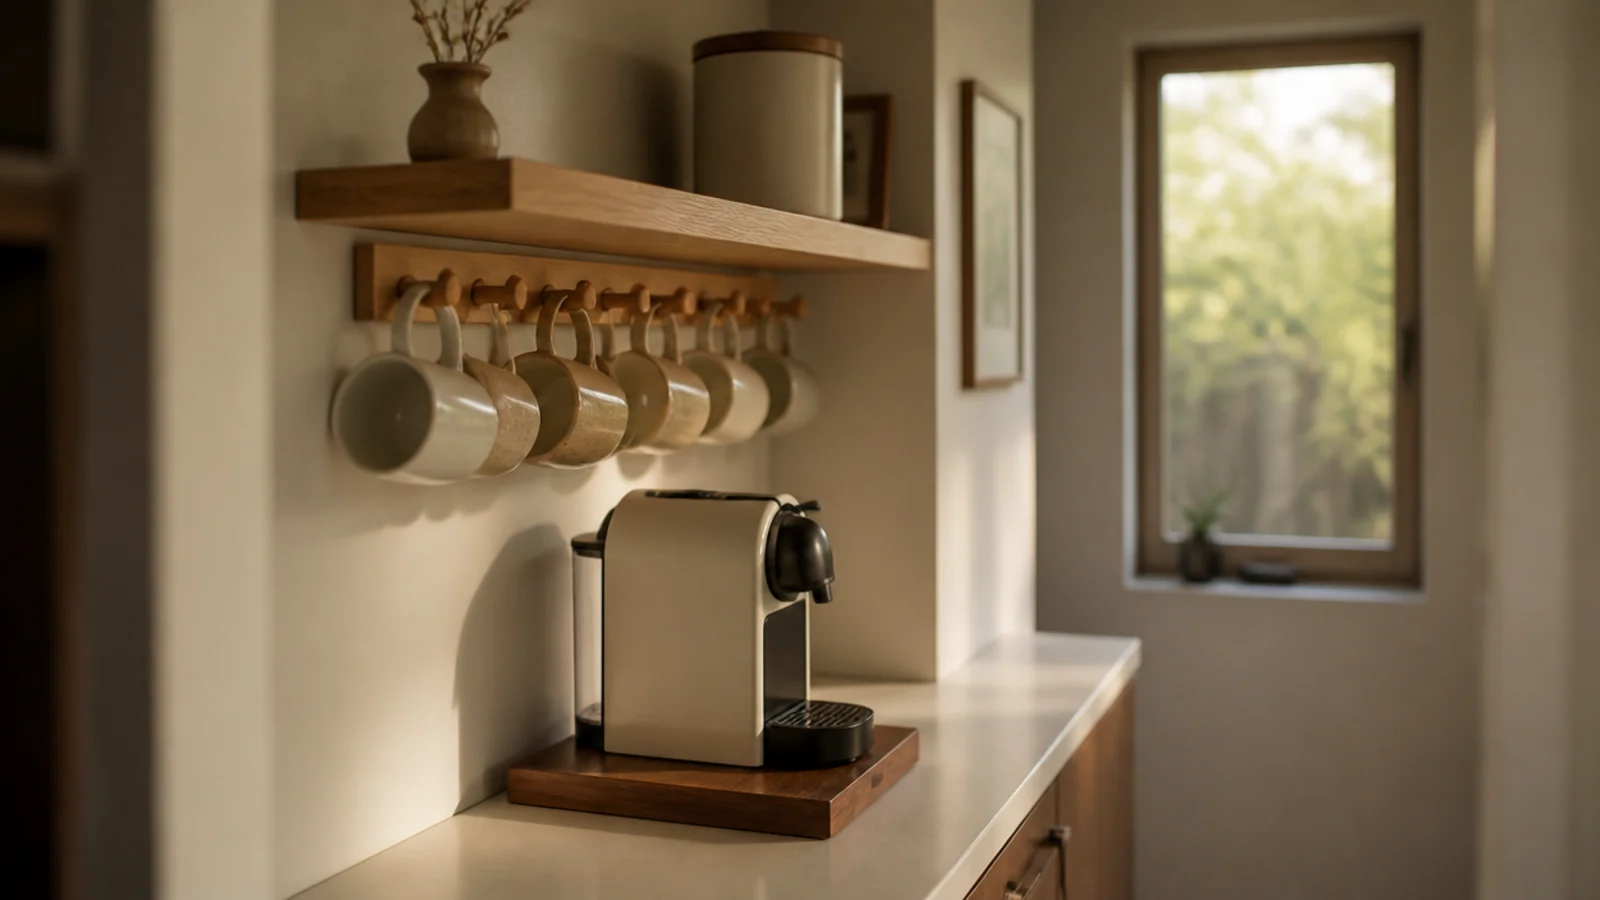
A mug peg rail under a shelf holds six mugs in the width one mug takes on a counter, which is the best storage math in this article — and it needs screws. The renter version is a freestanding mug tree.
A six-arm walnut or brass tree occupies about a 7-inch circle and carries the same six mugs vertically. Around $20 to $40 ($). Stand it at the outer edge of the tray so hanging a mug never means reaching across a hot machine.
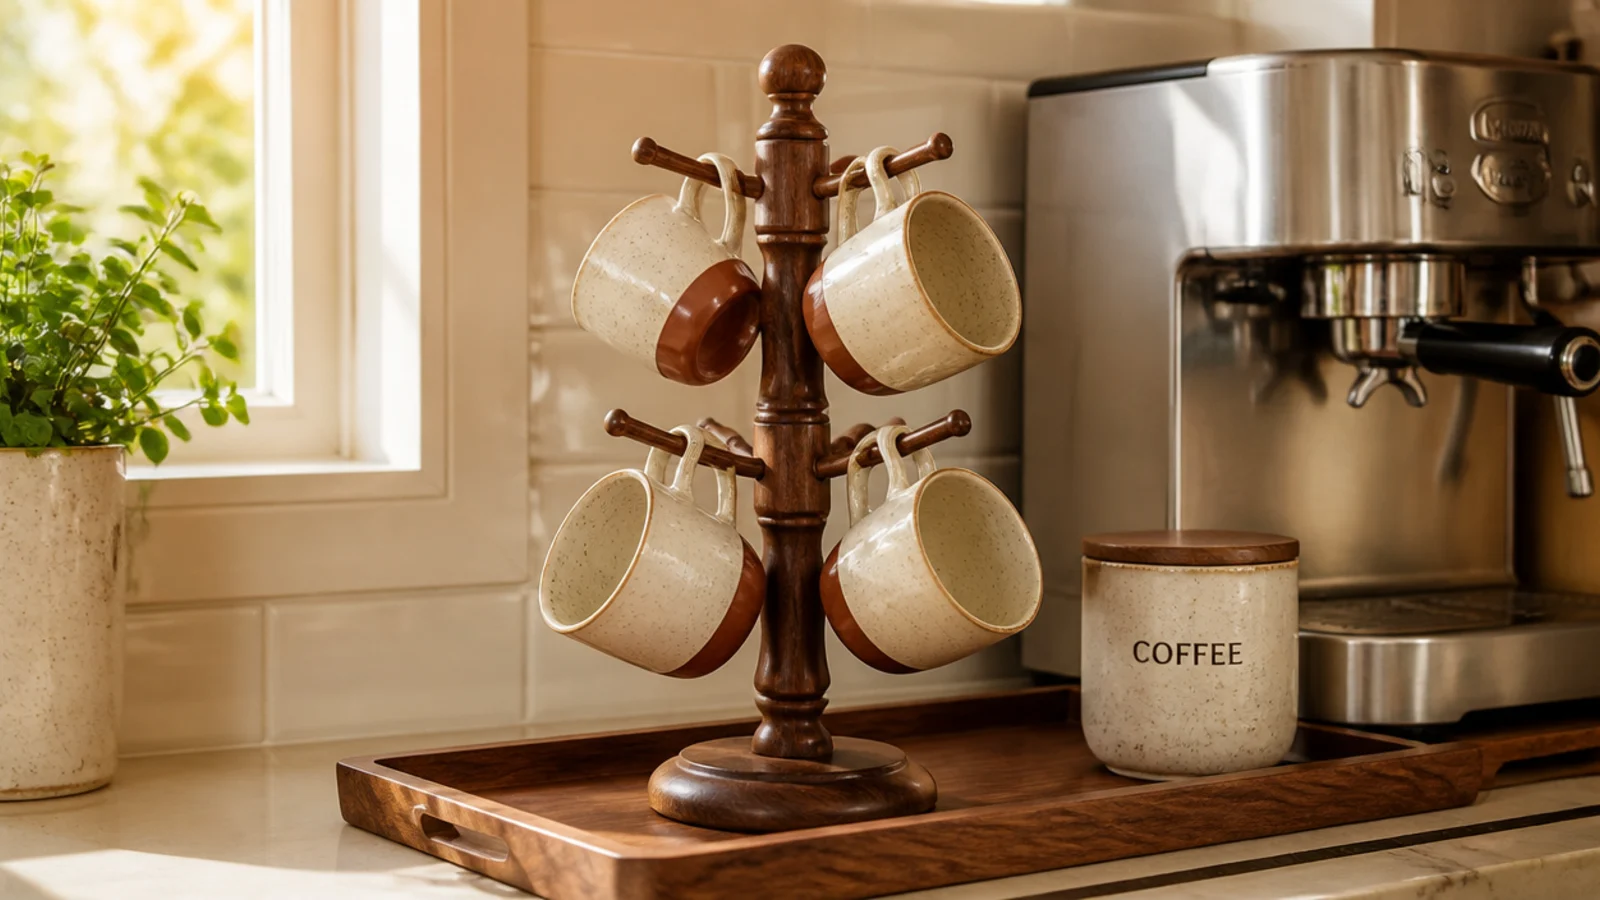
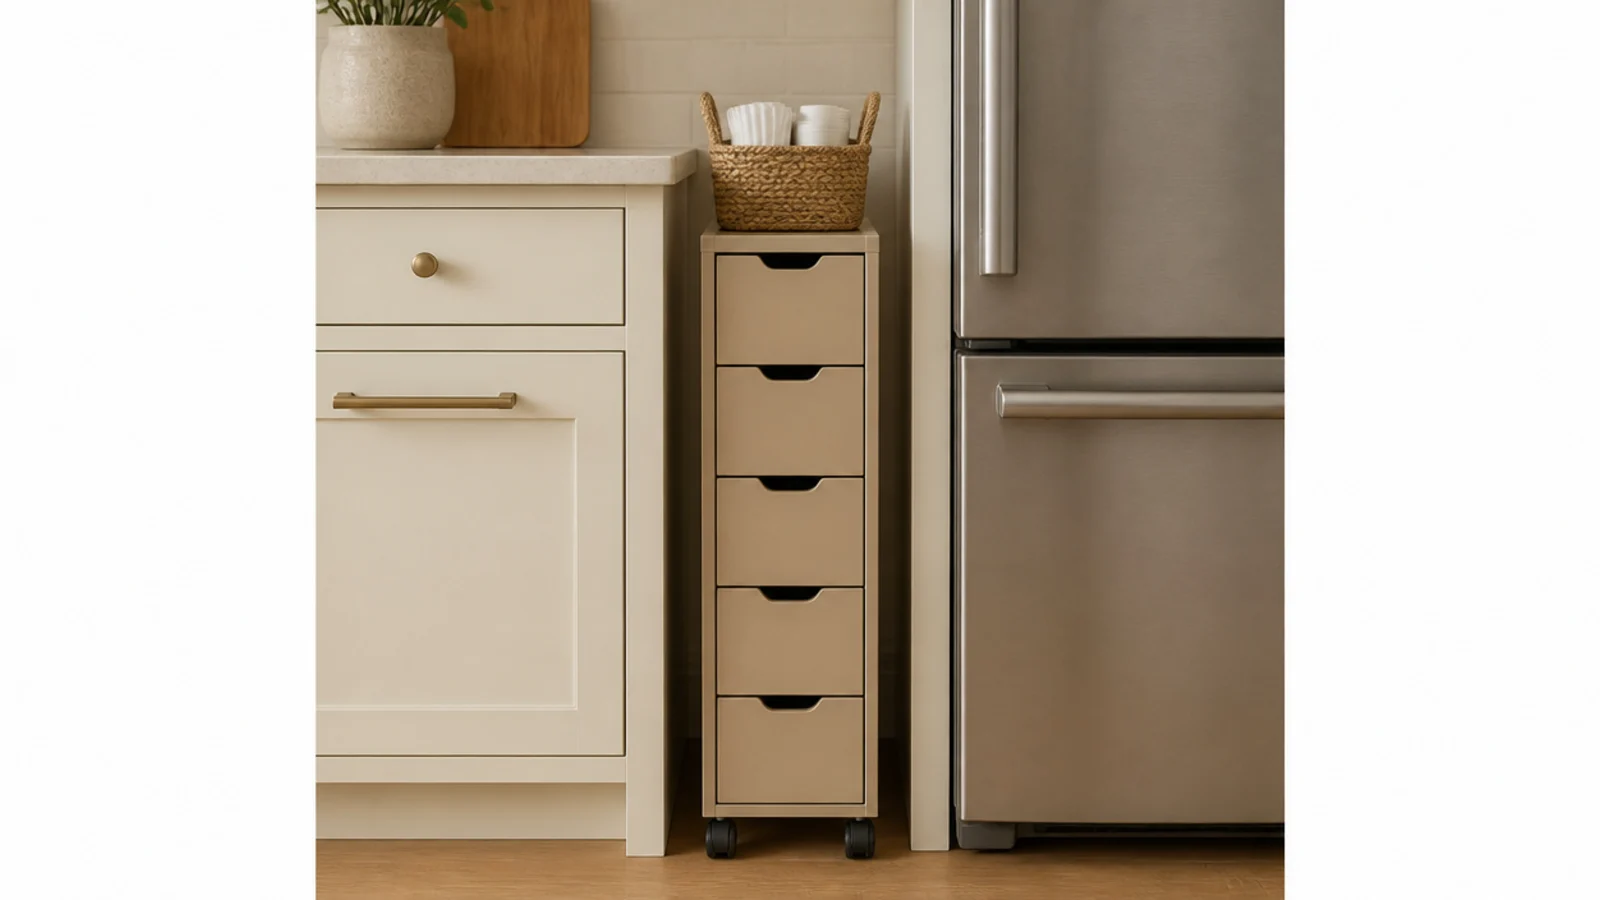
12. A rolling drawer unit under the counter overhang
Most rental kitchens have a gap beside the fridge or under an overhang that nothing quite fits. A narrow rolling drawer unit, 12 to 14 inches wide on casters, slides in and swallows everything the counter should not carry: filters, spare pods, the frother you use on Sundays.
Measure the gap at its narrowest point and subtract an inch, because fridge gaps taper. Around $30 to $60 ($). The rule that keeps a small corner working is simple — daily items on the counter, everything else one pull away.
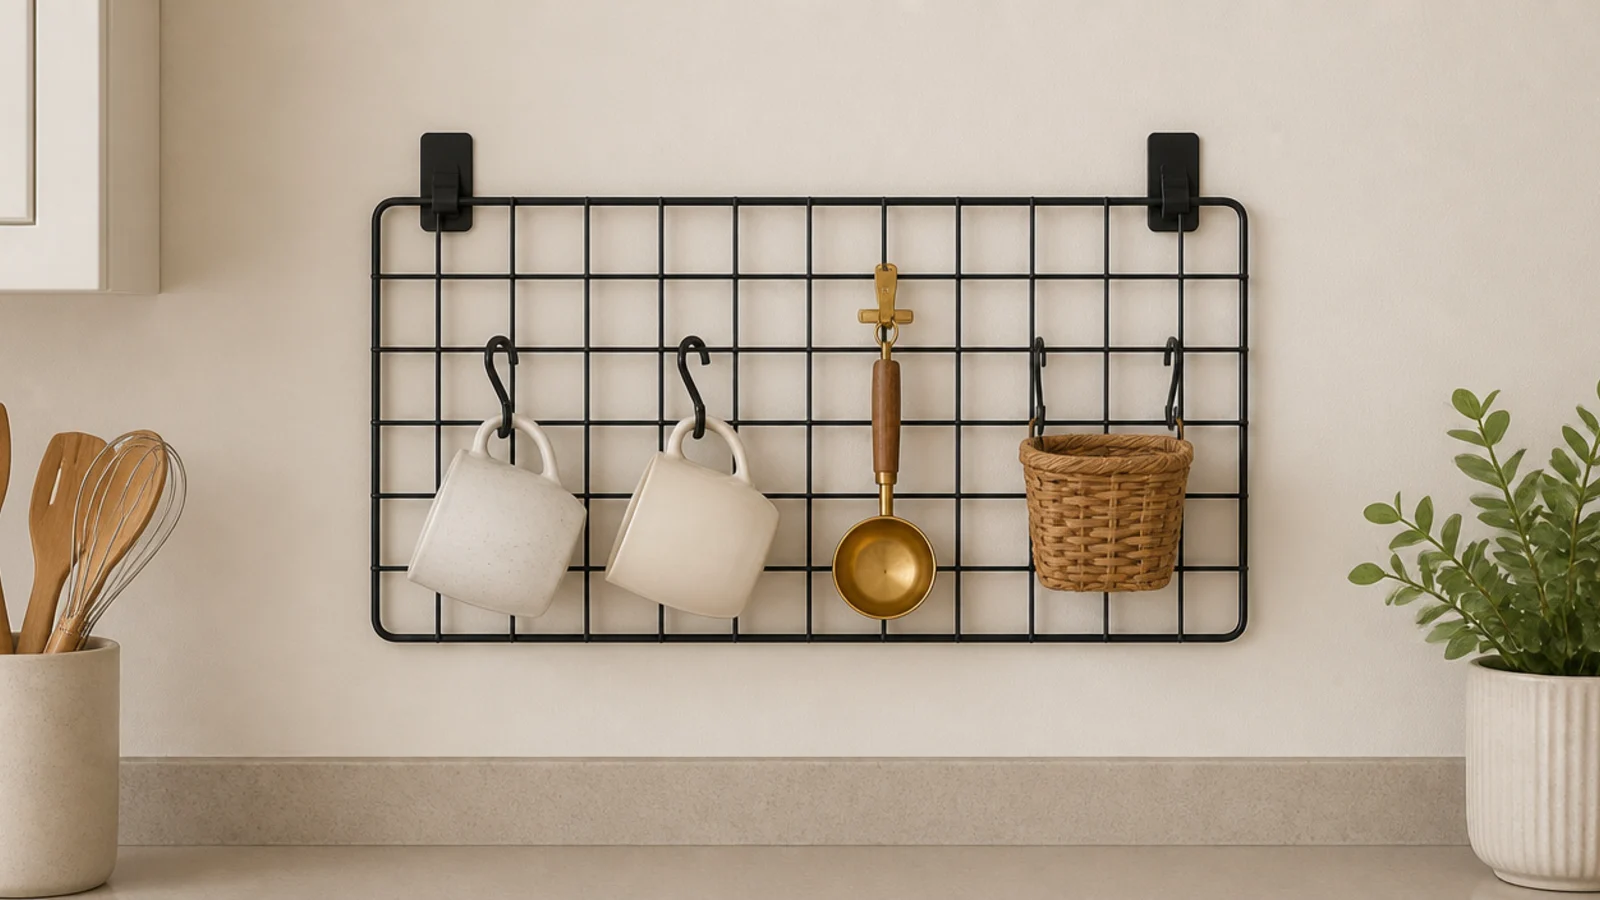
13. A wire grid panel on removable strips
A 12 by 16 inch wire grid panel on heavy-duty removable strips gives you a vertical surface for S-hooks, a small basket and a scoop. It fills the awkward wall between counter and cabinet and reads as decor rather than storage.
Load it light, under about 5 pounds total, and hang it where a dropped hook cannot land on the machine. Strips need a smooth, fully cured painted wall; textured or freshly painted surfaces will not hold. $15 to $30 ($), and removal takes ten seconds with a slow downward pull.
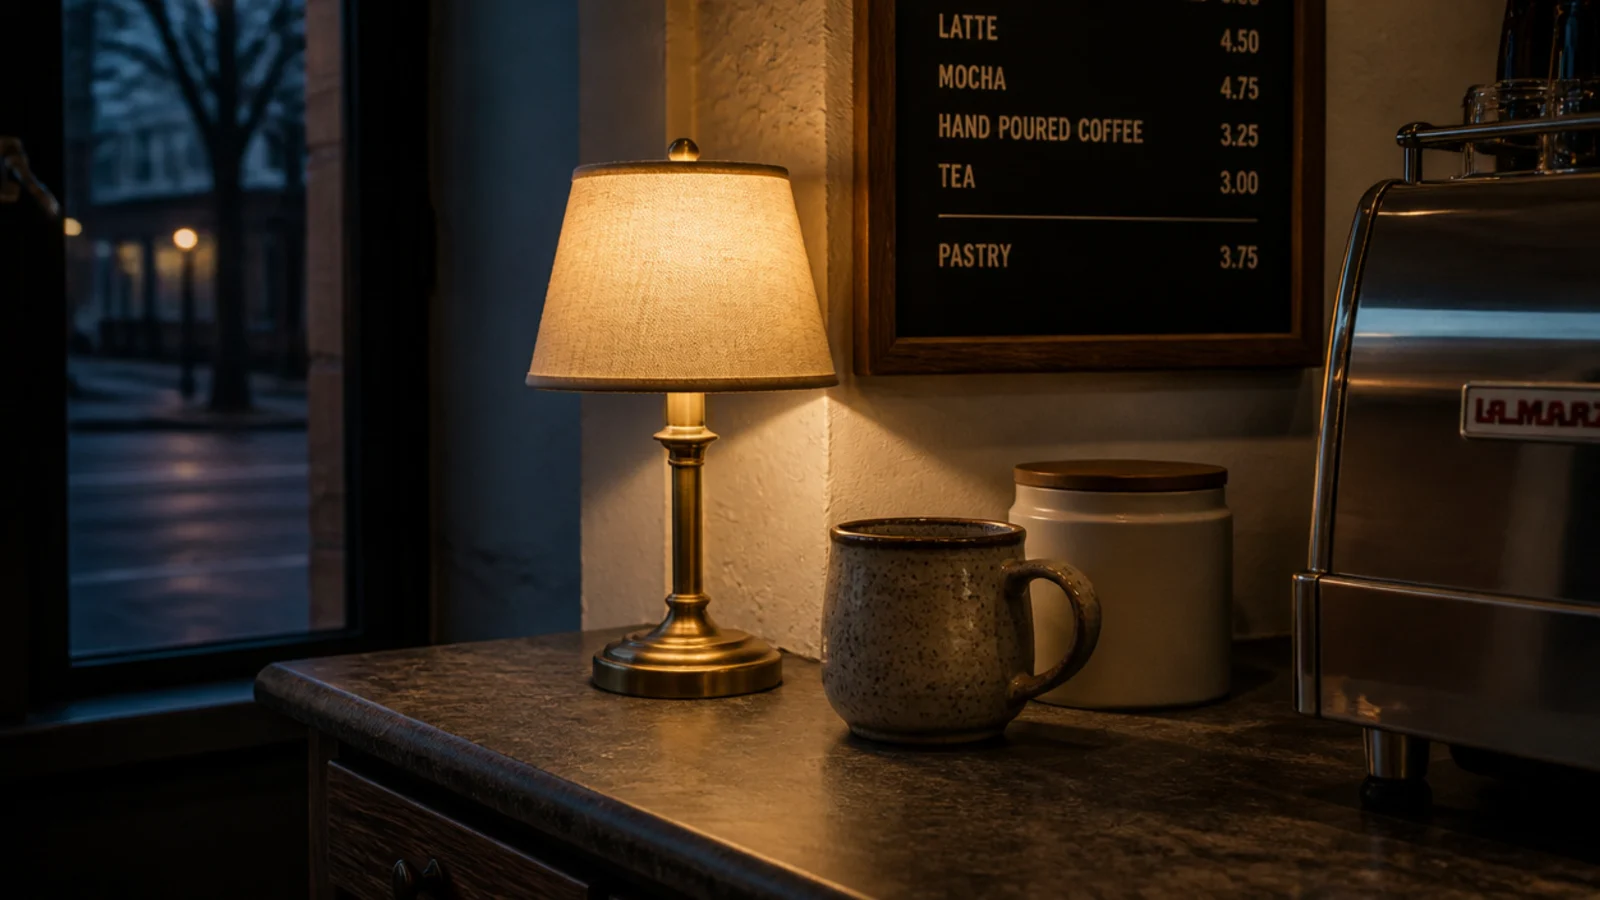
14. One warm lamp instead of the overhead light
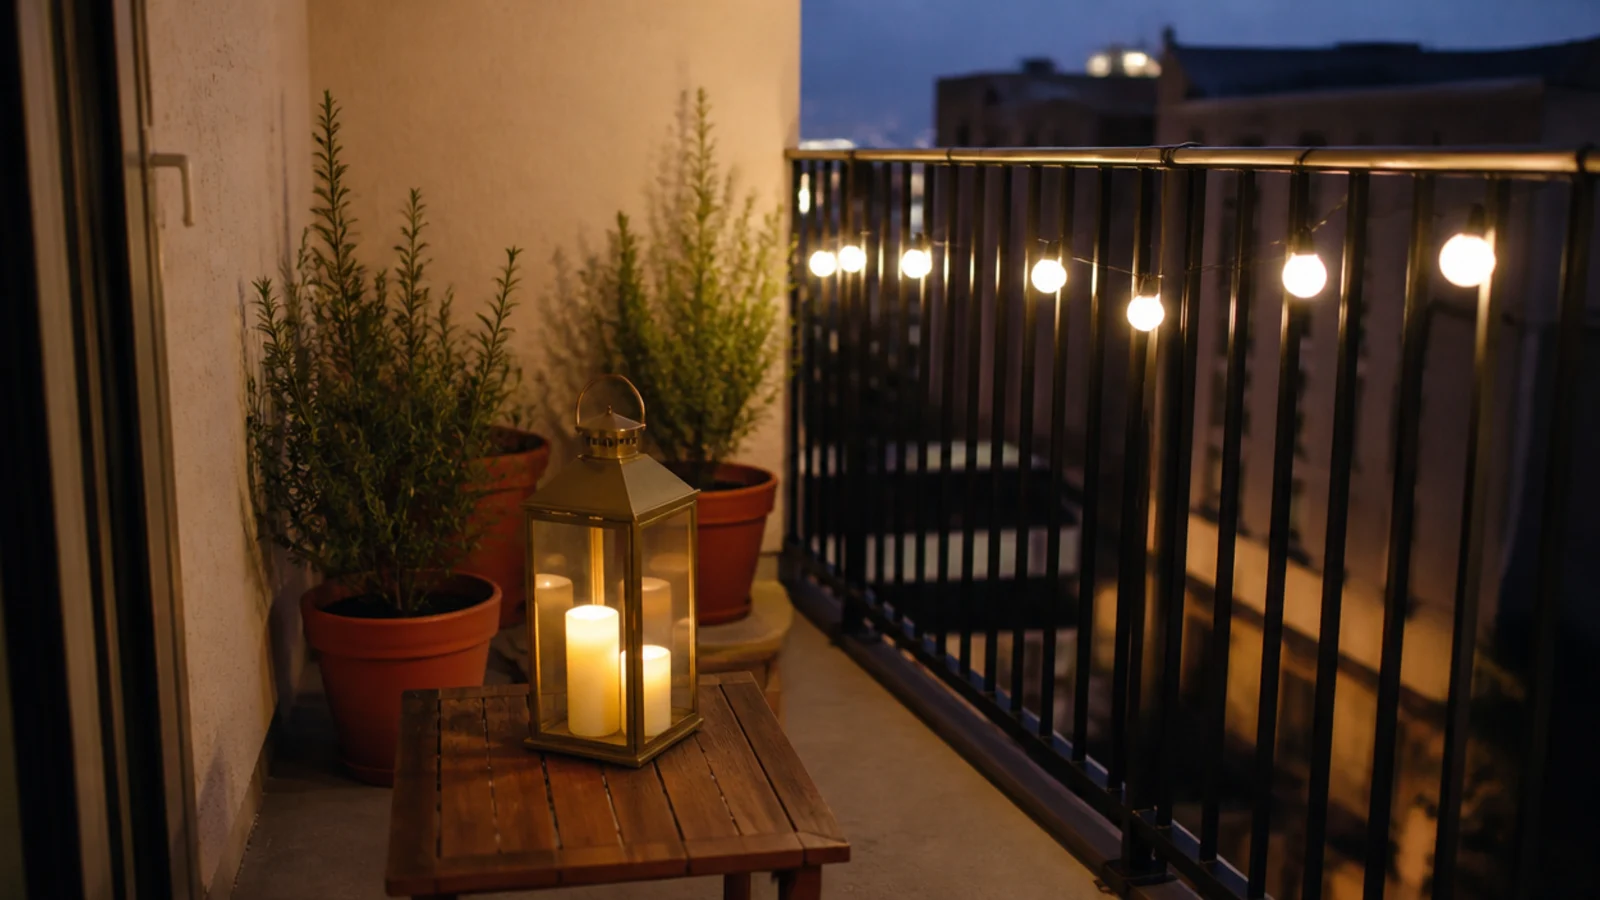
The cheapest upgrade here is a bulb. A small plug-in lamp with a 2700K bulb, set at the back of the corner, turns a functional counter into somewhere you want to stand before sunrise.
Cool white light makes stoneware and walnut read grey. Warm light brings the clay tones back. A compact brass or ceramic lamp runs $25 to $50 ($), and if the outlet is already taken by the machine, a battery puck light under the cabinet does most of the same work for about $12.
15. The move-out test: can it leave in one box
Before buying anything for a rental, ask whether it comes off the wall clean. My rule is that every piece either stands on the counter, rolls on wheels, or releases with a hair dryer and a slow pull.
Done properly, the whole station packs into one box and a cart. That constraint is not a compromise — rental corners tend to be tighter and better edited than built-in ones precisely because nothing can sprawl. The full range of permanent options is in 15 easy coffee corner ideas if you ever get the walls to yourself.
Mistakes to Skip
- Decanting beans into a clear jar on a sunny sill. Light and heat flatten them within days, and the jar you bought for looks is the reason your coffee tastes dull.
- Sliding the machine under a cabinet with two inches of headroom. Steam has to go somewhere, and where it goes is into the cabinet underside, which lifts and discolours permanently.
- Running an extension cord across the kitchen to a prettier corner. Choose the outlet corner and style around it; a cord near a reservoir and a sink is not a decorating decision.
Frequently asked questions
How much counter space does a coffee corner need?
About 24 to 30 inches of width and 15 to 18 inches of depth is the honest minimum for a machine, mugs, beans and a clear spot to set a hot cup down. Below that you start staging things on the stove. Everything you touch to make one cup should sit inside a single arm sweep, which is roughly a 30-inch reach zone.
Can I set up a coffee corner without drilling anything?
Yes, and most of mine have been. A rolling cart, a counter riser, a freestanding hutch and a lift-out tray cover height, storage and cleanup with zero fixings. Adhesive hooks and tension rods add a little vertical space if you respect their limits: roughly one mug per hook, and 10 to 15 pounds spread across a well-seated tension rod.
How much clearance does a coffee maker need under a cabinet?
At least 6 inches of clear air above the tallest point of the machine, measured with the lid open rather than closed. Anything with a lifting lid or a top-fill reservoir often needs 10 inches or more to open fully. Steam with nowhere to go softens cabinet undersides and lifts laminate edges within a couple of years.
Where should I store coffee beans in a small kitchen?
In an opaque airtight container at room temperature, standing right beside the machine. Not the fridge, where condensation reaches the beans every time the container comes out, and not a clear jar on a sunny sill. Buy a canister sized to about two weeks of drinking rather than the largest one on the shelf.
What does a renter-friendly coffee corner actually cost?
Under $50 gets a tray, a riser and a decent opaque canister, which is genuinely enough to work. Fifty to $150 adds a rolling cart or a two-tier hutch. Past about $200 you are buying furniture that happens to hold coffee, like a console table or a small cabinet, and that is a perfectly good thing to want.
Solve your actual constraint first: a cart if you have no counter, a riser if you have counter but no shelf, a tray either way. The rest can wait until you have lived with it for a month. For tighter footprints, small coffee corner layouts covers the sub-24-inch versions, and if your lease does allow a row of screws, kitchen shelf decor covers what belongs above the counter. Save the pin below so the measurements come shopping with you.
Want more like this? Browse all 15 coffee corner ideas guides — they all use the same measurements and budget tiers.
Pin it for later
Save this to your Coffee Corner Ideas board
Pin it now so it is waiting for you when the tape measure comes out — and so the next person hunting for this idea can find it too.
Save this pinKeep going
More ideas worth saving while you have the tape measure out.