Kitchen Shelf Ideas · Listicle
20 Creative Kitchen Shelf Ideas Anyone Can Do

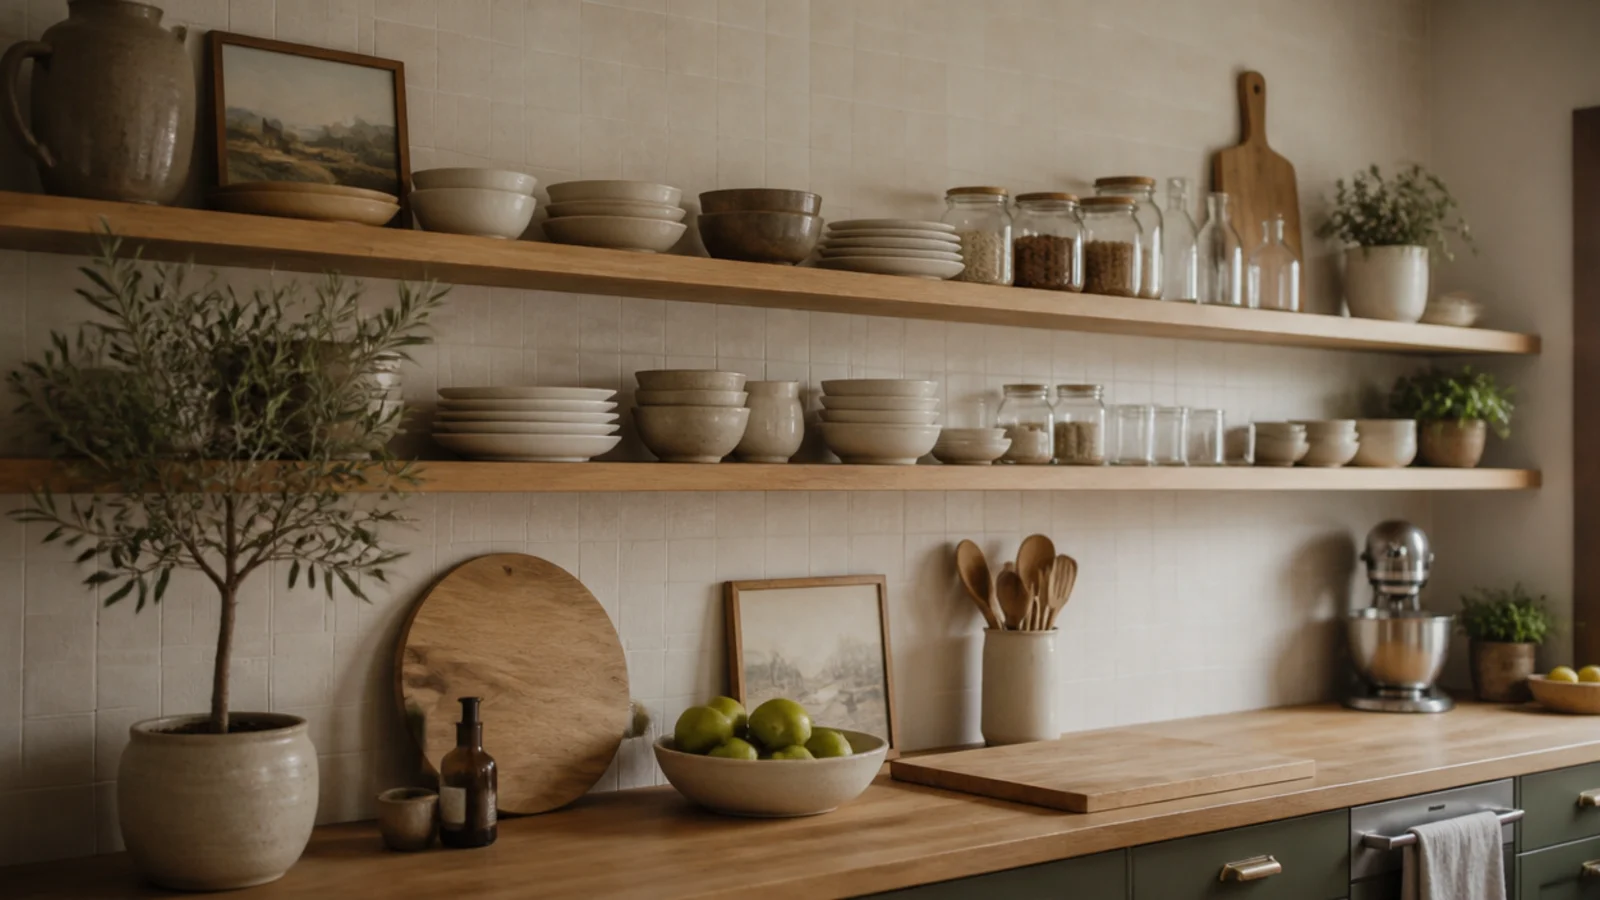
Kitchen wall shelves are the cheapest way to change how a kitchen feels, and the fastest way to wreck one if the numbers are wrong. Height, span, thickness and finish decide everything — the styling is the easy part that comes later. These 20 runs all use hardware you can buy at any hardware store, and every one names the measurement that makes it work.
In this guide22 sections — tap to openHide
- 1.What makes kitchen wall shelves work across a long run
- 2.One continuous board instead of two short shelves
- 3.A two-tier run the length of the backsplash
- 4.A scaffold board shelf an inch and a half thick
- 5.Black powder-coated L brackets as the design
- 6.Concealed steel rod brackets for a clean line
- 7.A brass gallery rail that stops plates sliding
- 8.A pipe and flange industrial run
- 9.A shelf spanning the gap between two upper cabinets
- 10.A shelf run above the kitchen window
- 11.A shallow shelf set inside the window reveal
- 12.A plate rail three inches deep
- 13.A shelf above the door frame
- 14.A shelf that fills the dead space above the fridge
- 15.A whole wall of open shelves instead of uppers
- 16.Shelves painted the exact cabinet color
- 17.Graduated depths, ten inches low and six inches high
- 18.An LED strip under the lower shelf
- 19.A shelf scribed to a wall that is not straight
- 20.A chunky mantel shelf above the range
- 21.A serving ledge on the dining side wall
- 22.Mistakes to Skip
What makes kitchen wall shelves work across a long run
Four numbers do the heavy lifting.
Height. Eighteen inches from the countertop to the underside of the first shelf clears a stand mixer and most small appliances. The second sits 12 to 14 inches above that. Measure your tallest counter item before you mark a thing.
Span and thickness. Three-quarter-inch stock is the minimum for anything holding dishes, with brackets no more than 32 inches apart. Ten dinner plates weigh about 12 pounds, so get at least one bracket into a stud on any shelf carrying a stack.
Distance from the stove. Anything within roughly 4 feet of a burner collects an airborne grease film. Put weekly-washed items in that zone and keep cookbooks and decorative pieces at the far end.
Finish. Water-based polyurethane or hardwax oil, on every face including the underside and the cut ends. Skip clear wax entirely — it softens near heat and lets grease through. An unsealed underside is the reason a board cups after one humid summer.
Budget: $ under $40 for a single board and brackets, $$ $40 to $150 for a two-tier run in solid hardwood, $$$ $150 and up for thick stock with concealed hardware across a full wall.
1. One continuous board instead of two short shelves
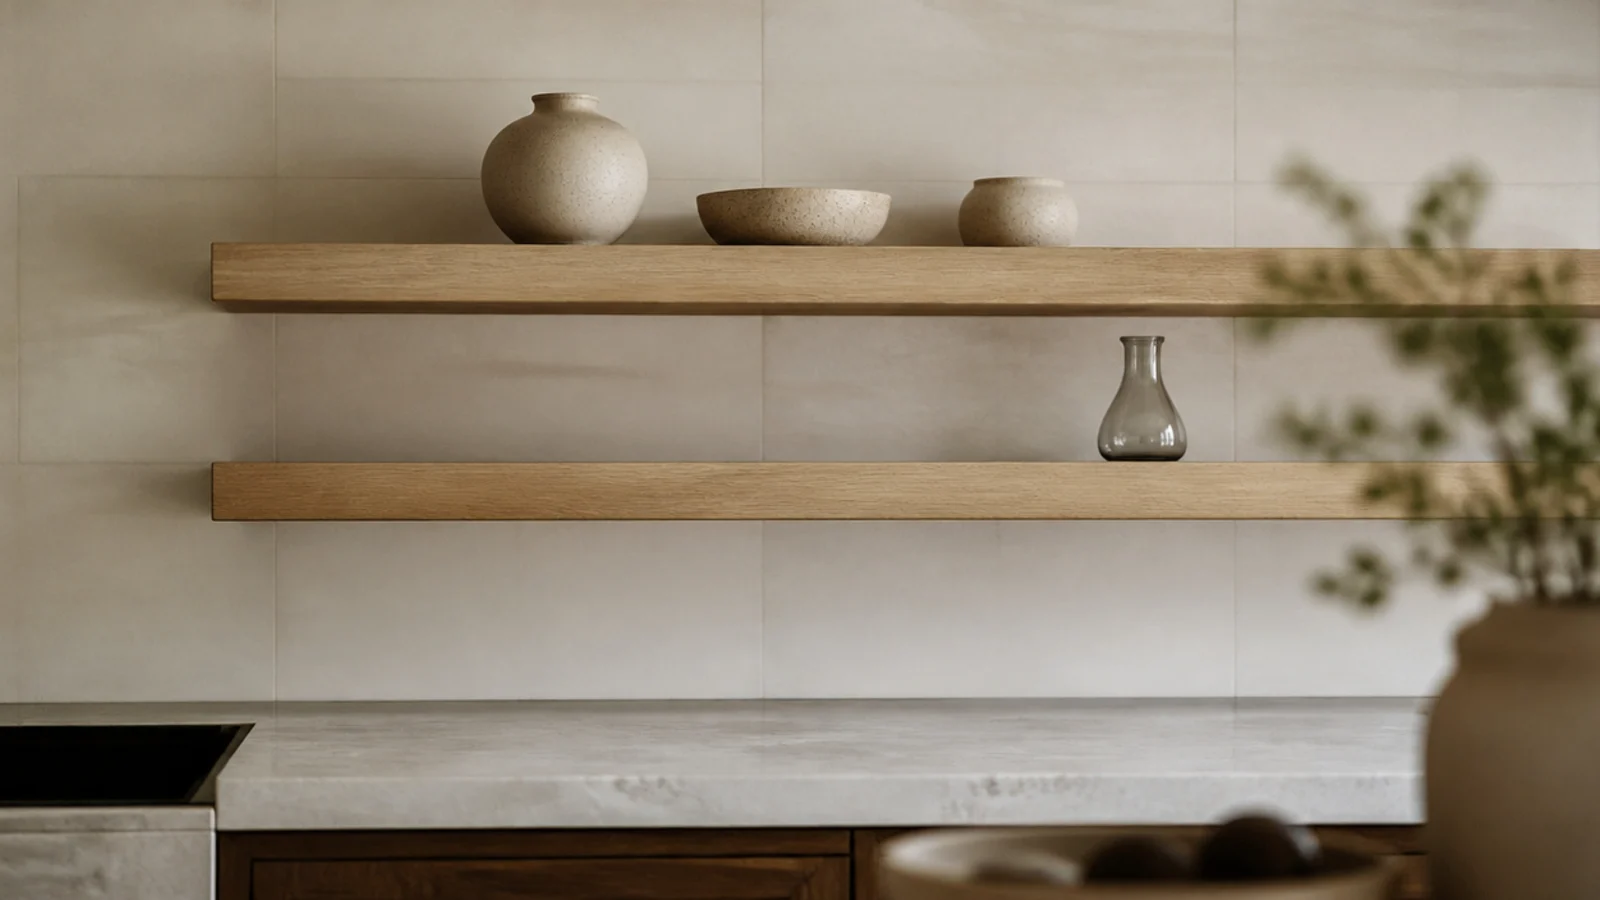
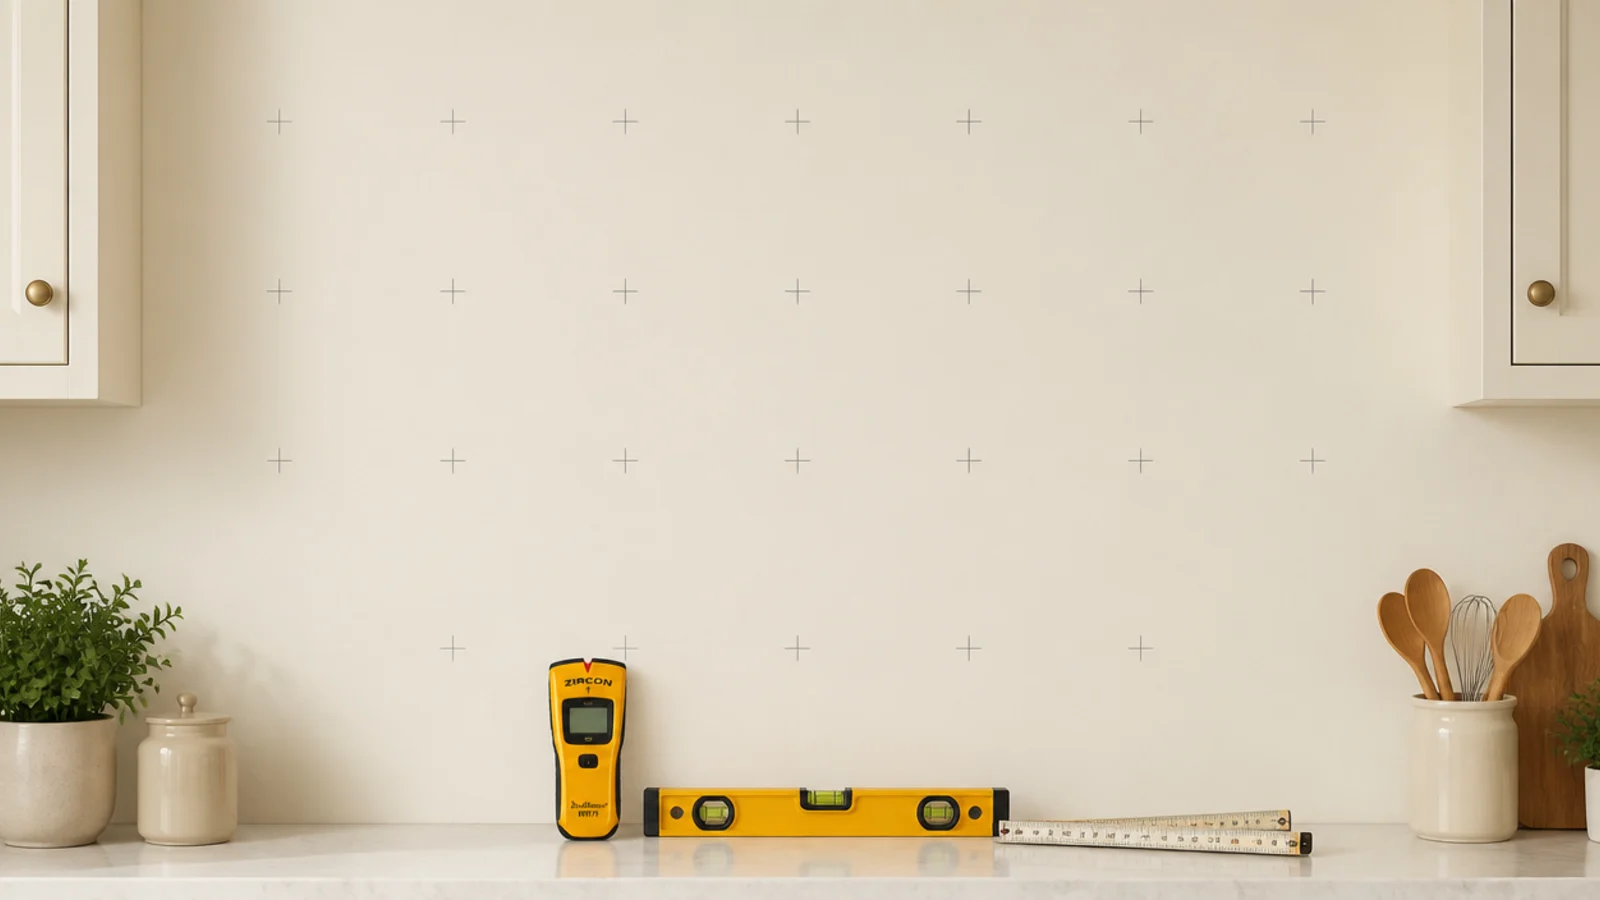
The single biggest visual upgrade costs nothing extra: run one board the full length of the wall rather than breaking it into sections.
An unbroken horizontal line makes a narrow kitchen read wider, and it removes the fussy gaps where crumbs collect. Boards come in 8-foot lengths, so most kitchen walls take one piece.
Support it every 32 inches, which usually means landing brackets on studs at 16-inch centers. Butt-joint two boards only where you genuinely cannot get one in the door.
2. A two-tier run the length of the backsplash
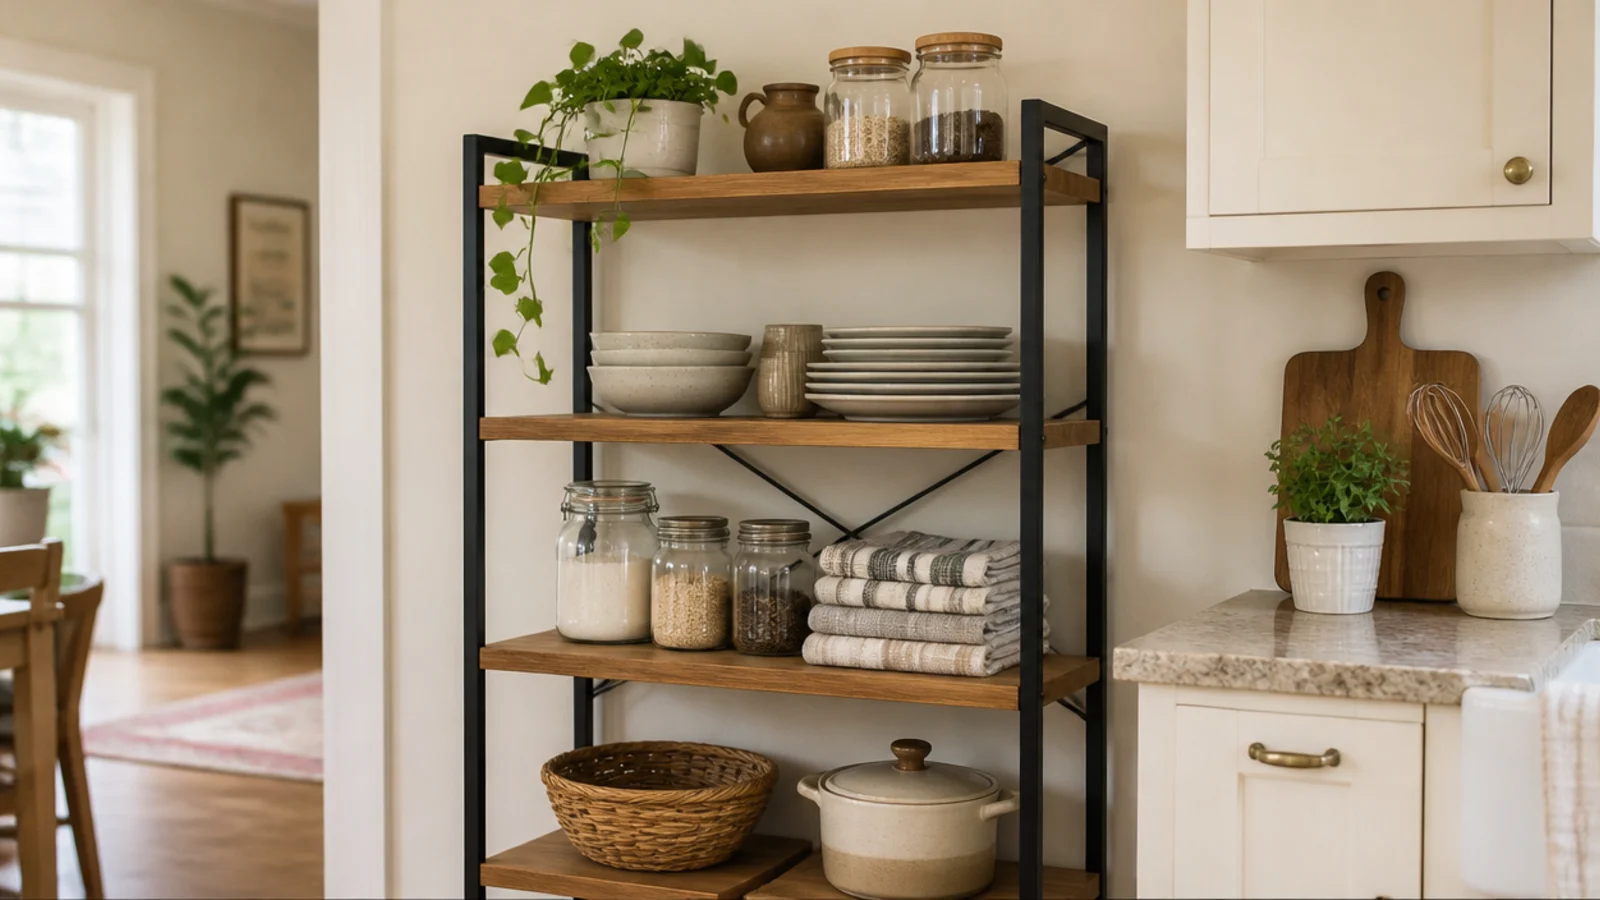
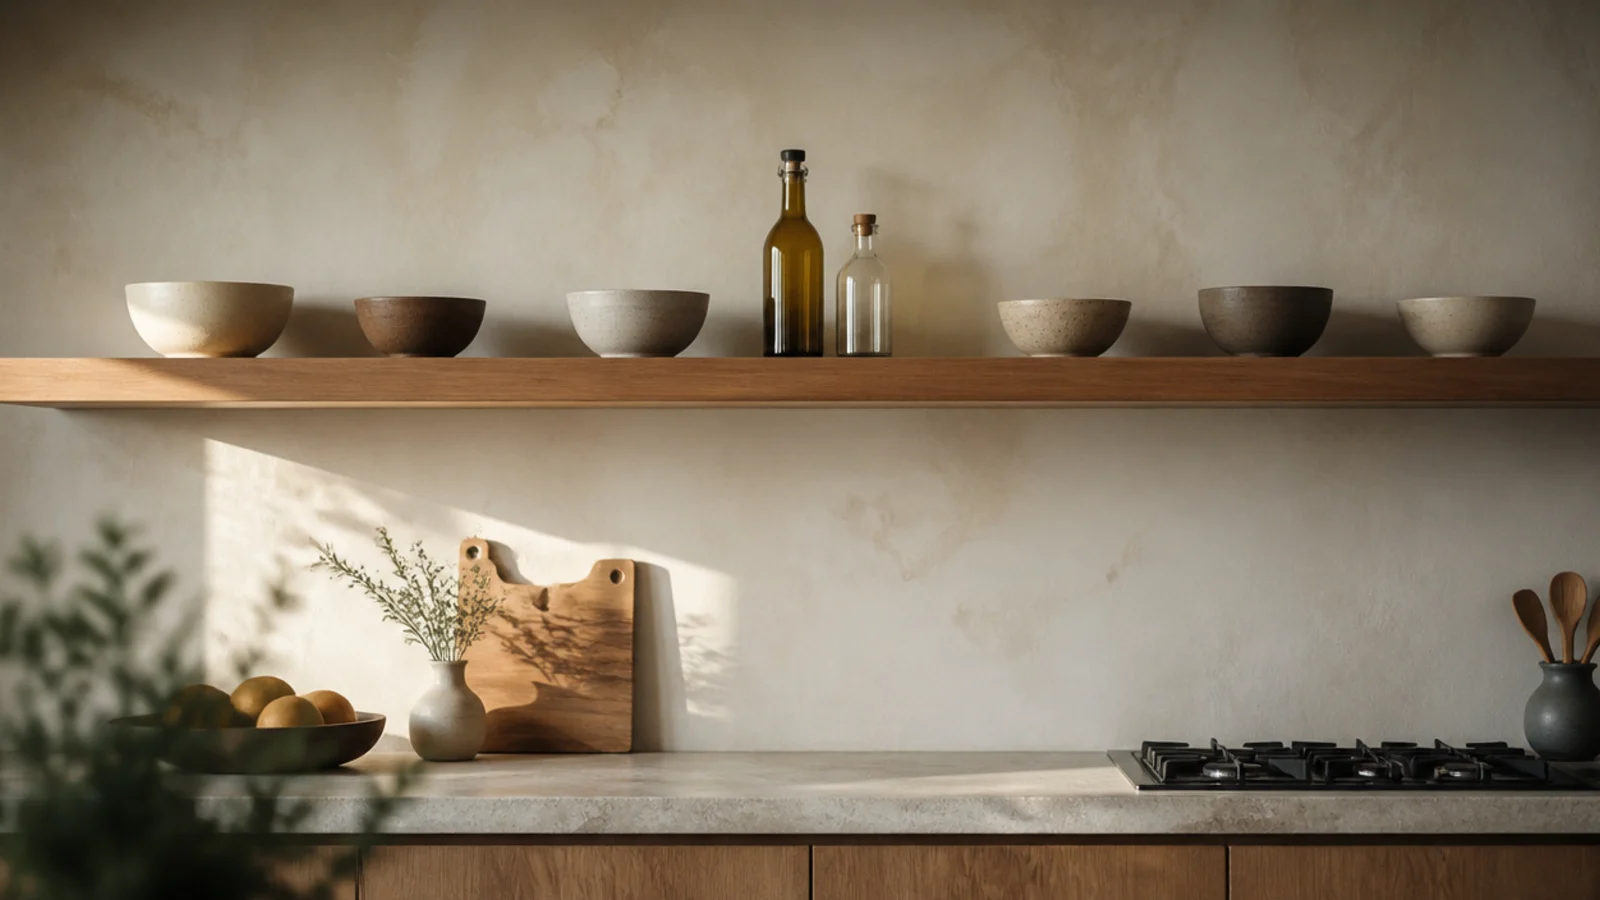
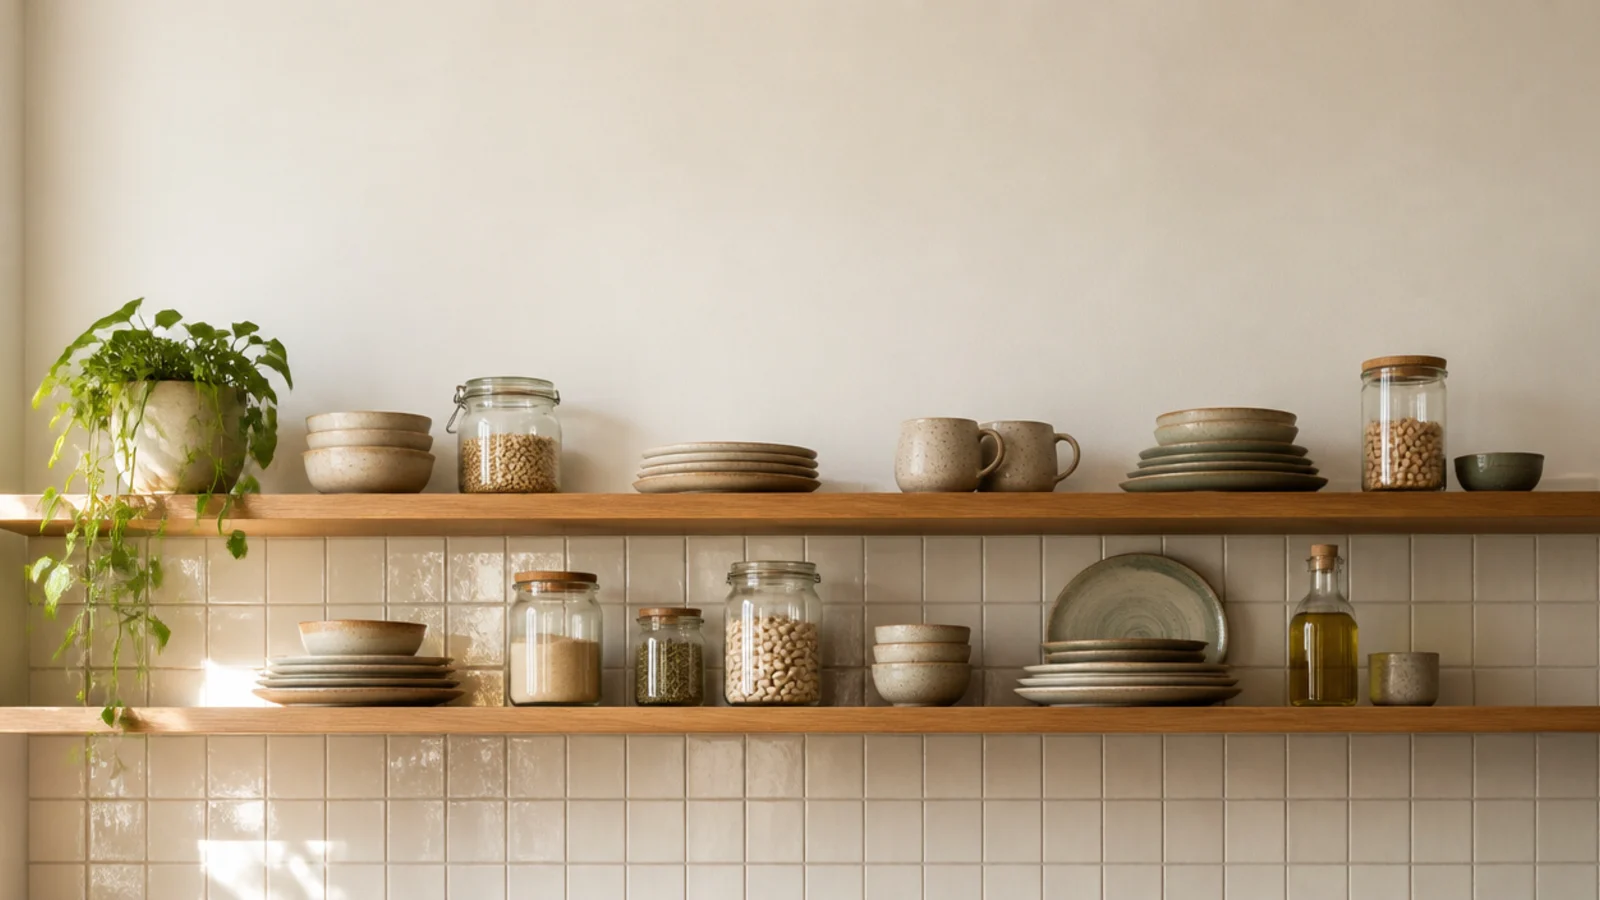
Two shelves running the full backsplash give you everyday storage without touching the cabinets you already have.
Lower shelf at 18 inches above the counter, upper 12 to 14 inches above that. Plates and mugs go low where you reach them; jars, bowls and a plant go high.
Keep the top shelf at least 12 inches below the ceiling so the wall does not feel compressed. Around $90 to $160 in hardwood and steel brackets ($$).
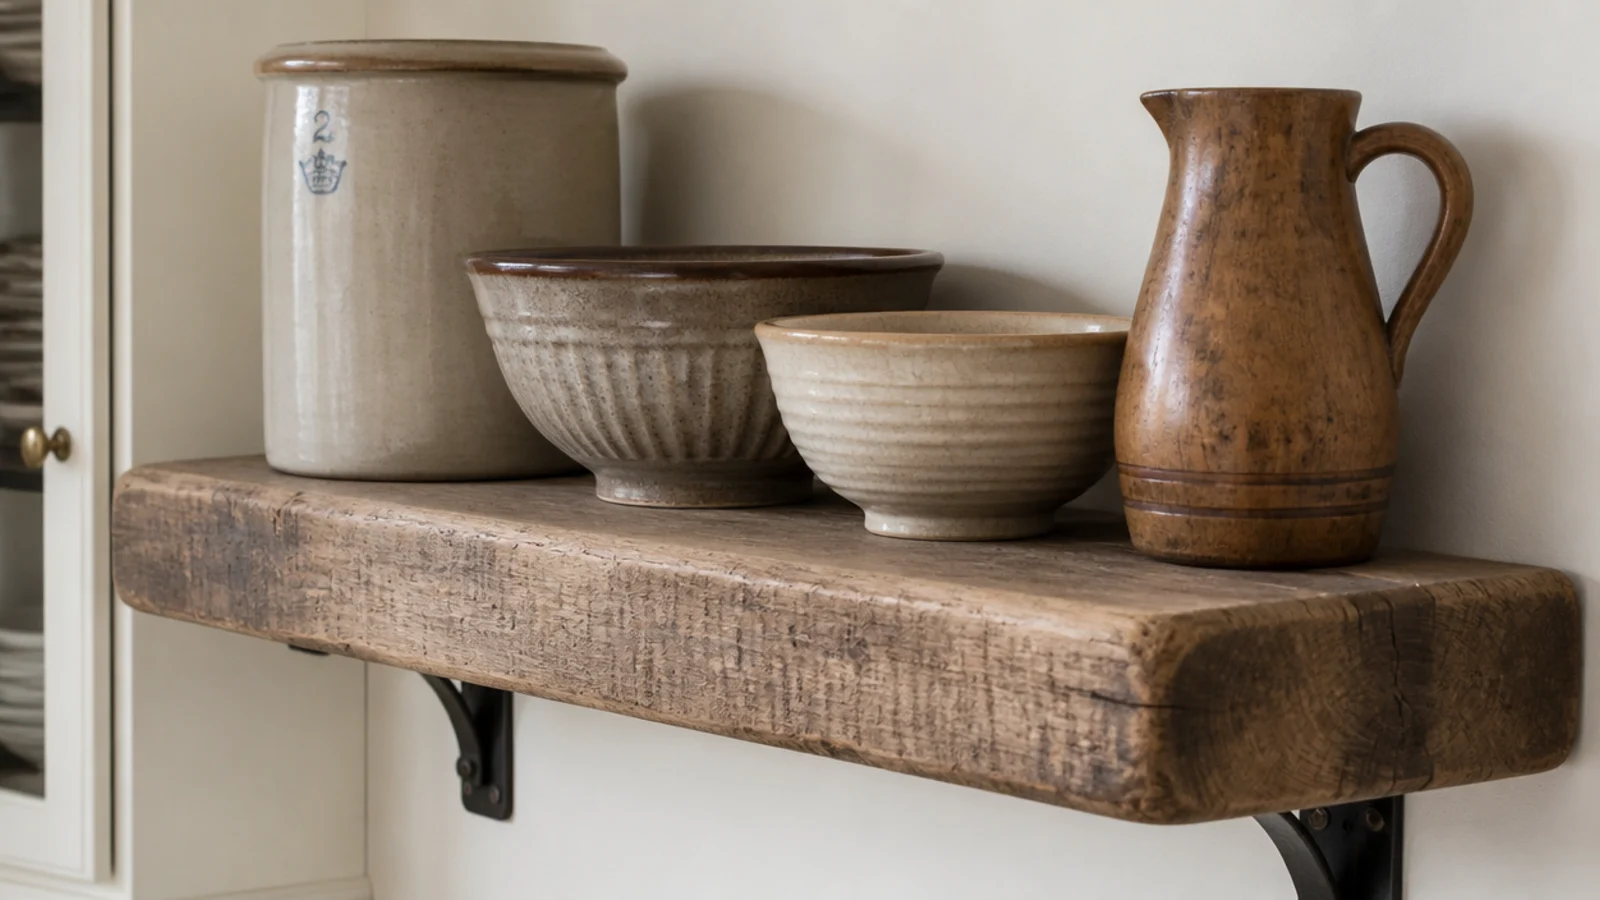
3. A scaffold board shelf an inch and a half thick
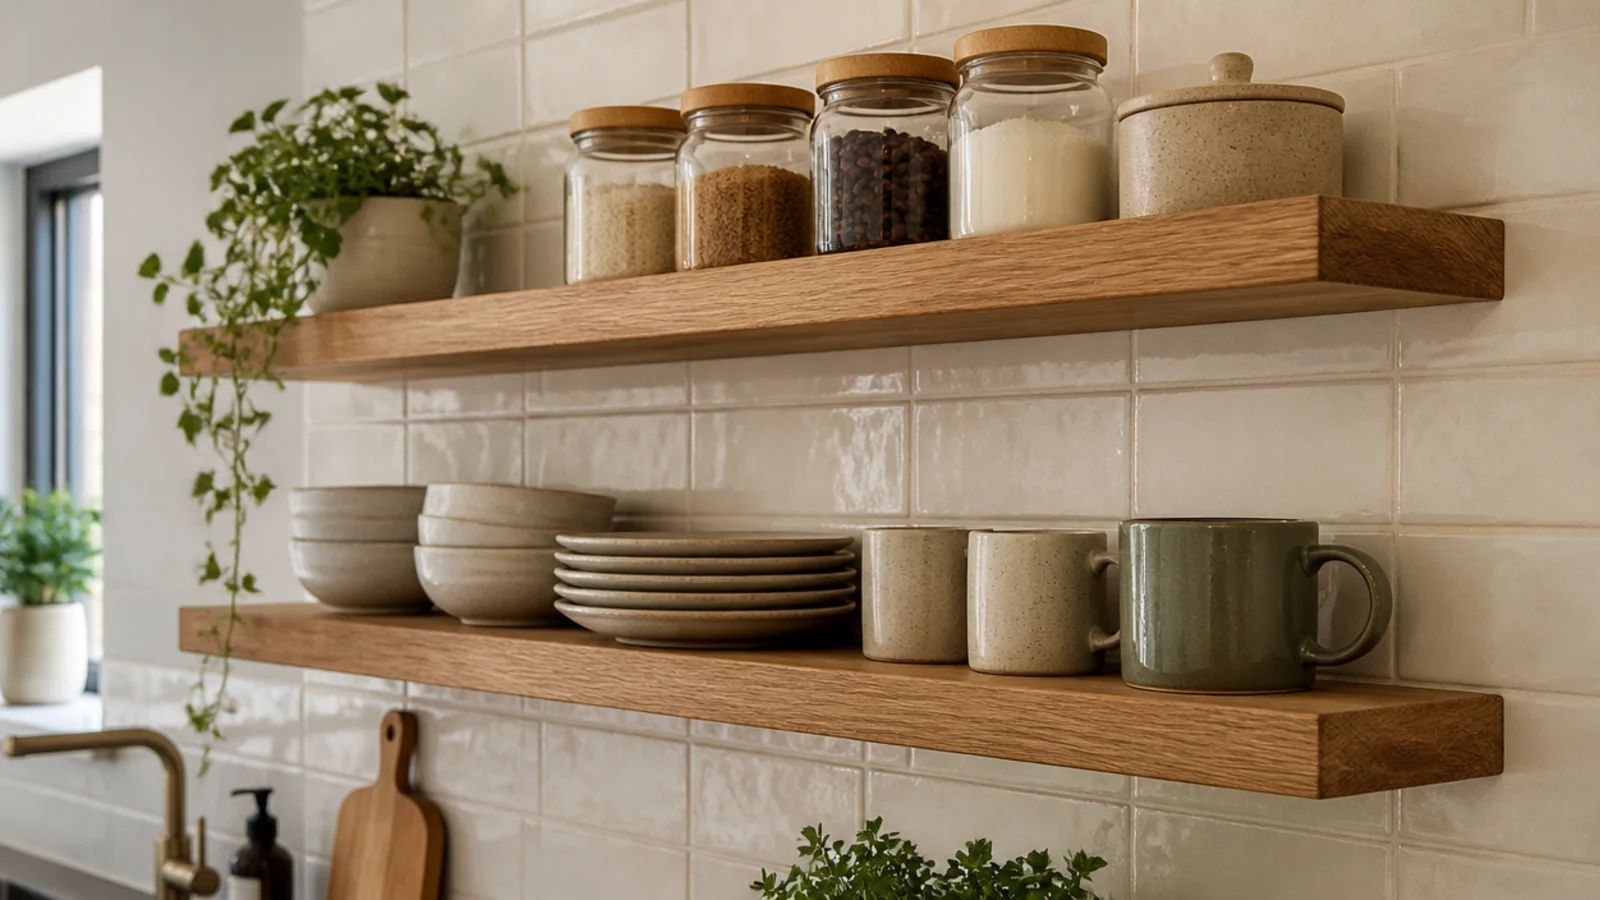
Reclaimed scaffold board is the cheapest way to get real thickness. At an inch and a half, it spans 48 inches between brackets without a whisper of sag.
Wash it, sand to 120 grit, and seal every face with hardwax oil. The saw marks and old nail holes are the point — do not sand them out.
Boards run $15 to $30 for a 7-foot length, which is a third of what furniture-grade oak costs at the same thickness.
4. Black powder-coated L brackets as the design
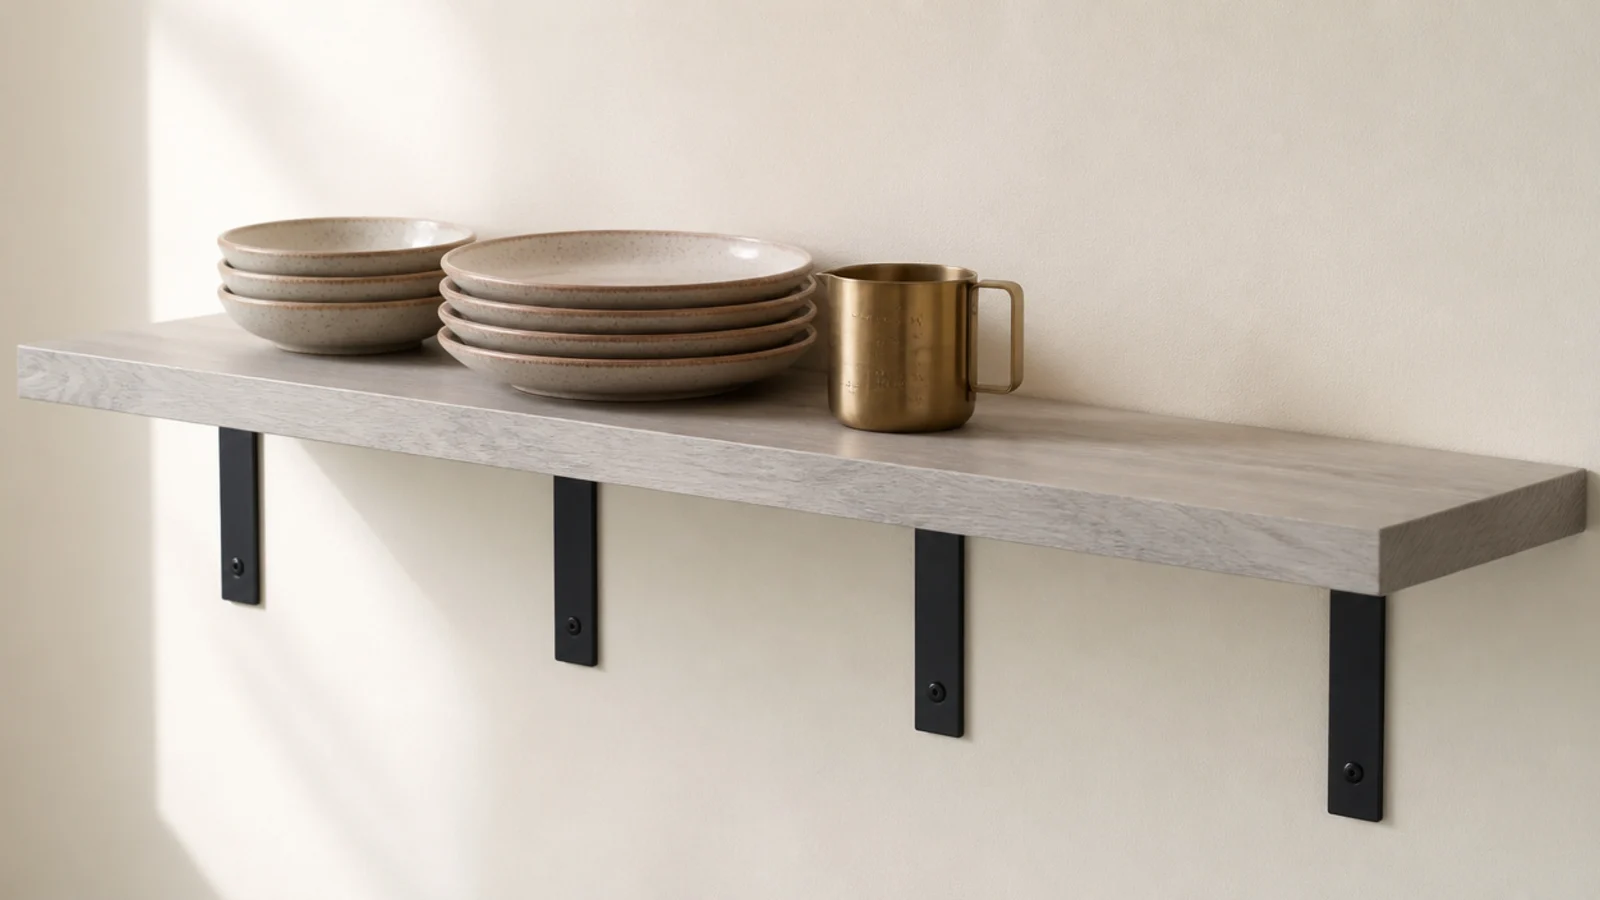
Visible brackets look deliberate when they repeat. Four identical black L brackets down an 8-foot run read as rhythm; two odd ones read as an afterthought.
Choose brackets with a vertical leg at least two-thirds the shelf depth, so a 10-inch board gets a 7-inch bracket. Anything shorter tips the front edge under load.
Powder coat survives kitchen humidity where raw steel spots. Expect $6 to $14 per bracket.
5. Concealed steel rod brackets for a clean line
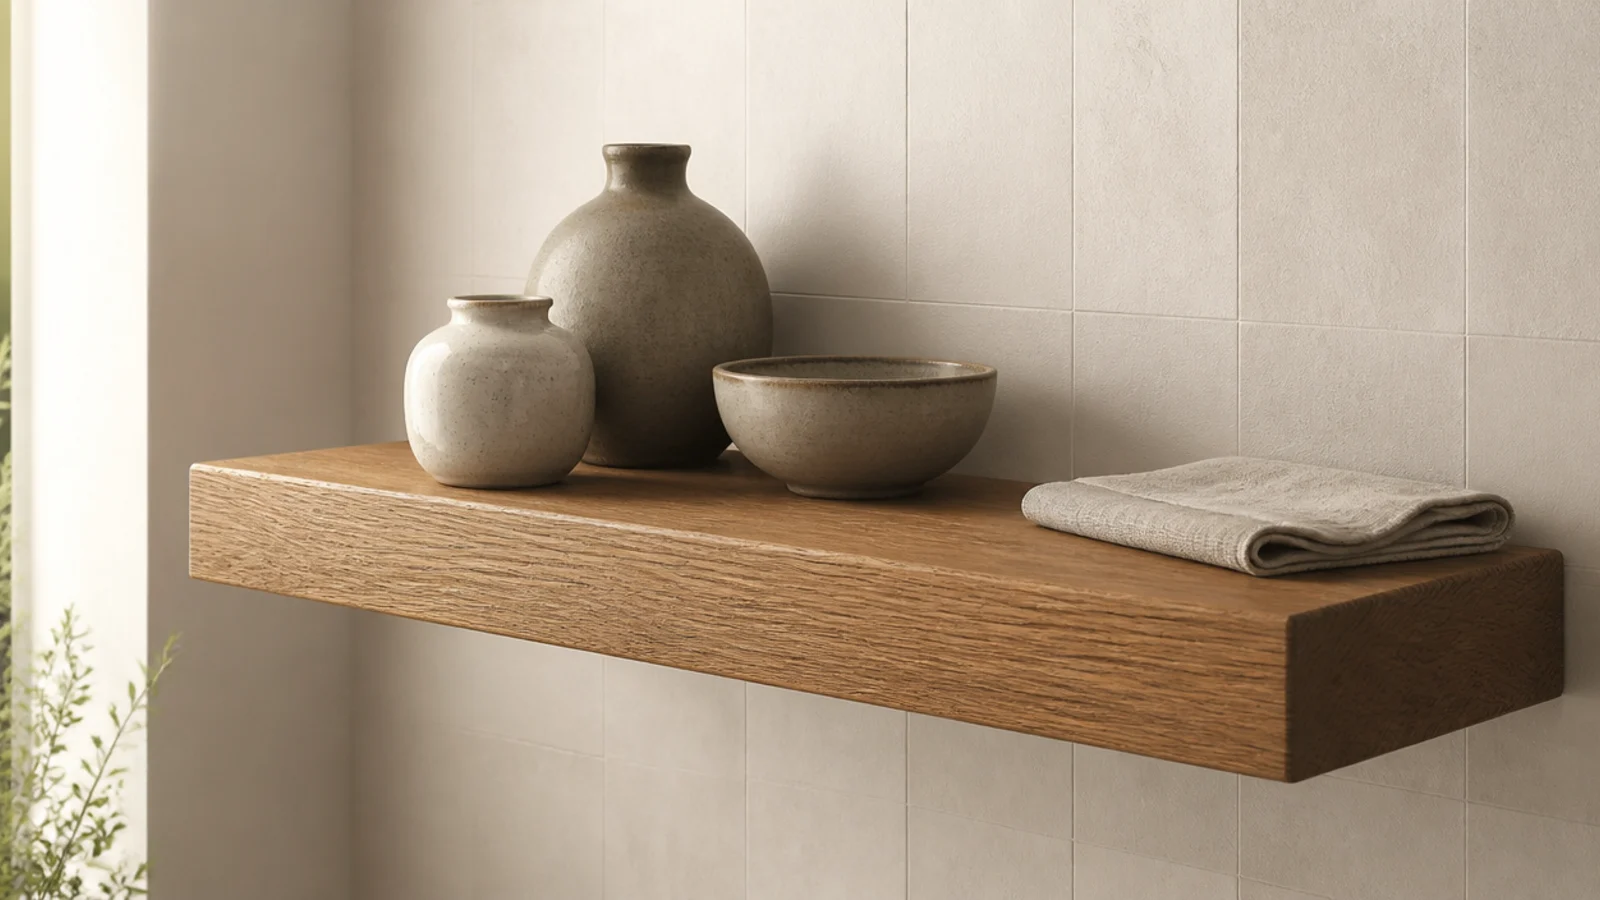
For the floating look, a concealed bracket is a steel plate with rods that slide into holes drilled in the back edge of the board.
They need thick stock — an inch and a half minimum — and they need studs. In drywall alone this is the weakest configuration in the whole article and the one most likely to droop.
Drill the board on a drill press or with a jig, not freehand. A rod hole out by two degrees means a shelf that will not sit flat.
6. A brass gallery rail that stops plates sliding
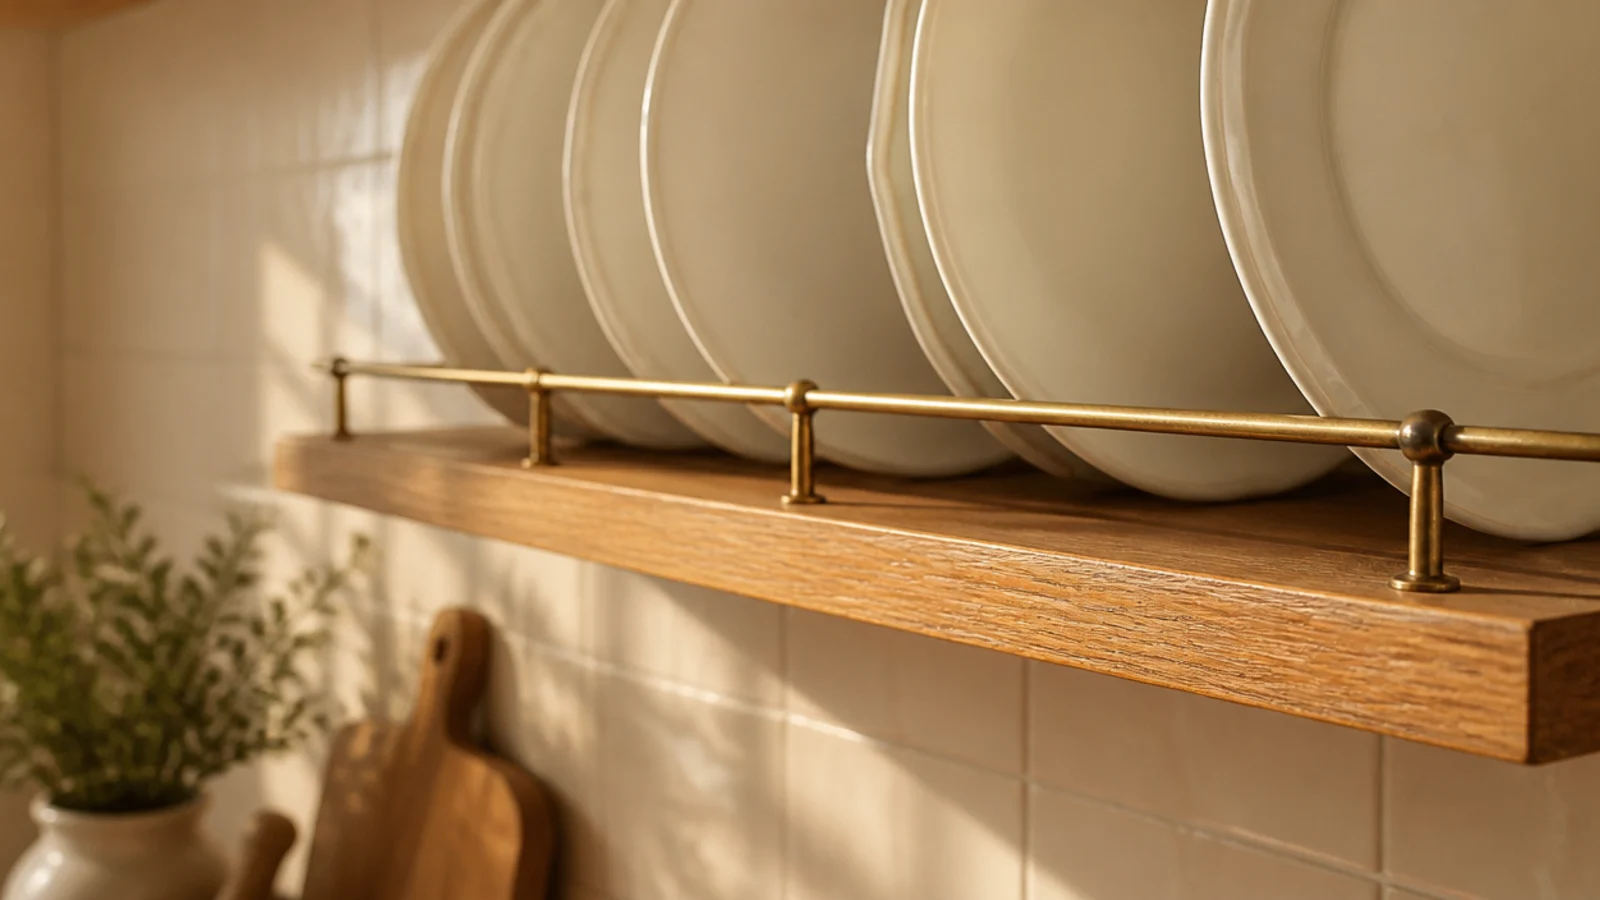
A slim rail along the front edge lets you stand plates on edge and lean boards without anything creeping forward every time a drawer slams.
Half an inch of rail height is enough for plates; an inch handles cookbooks. Fit it with two small end posts and keep it back a quarter inch from the shelf edge so you can still wipe the front.
Aged brass warms up a cool tiled kitchen better than any accessory. Around $20 to $40 a run.
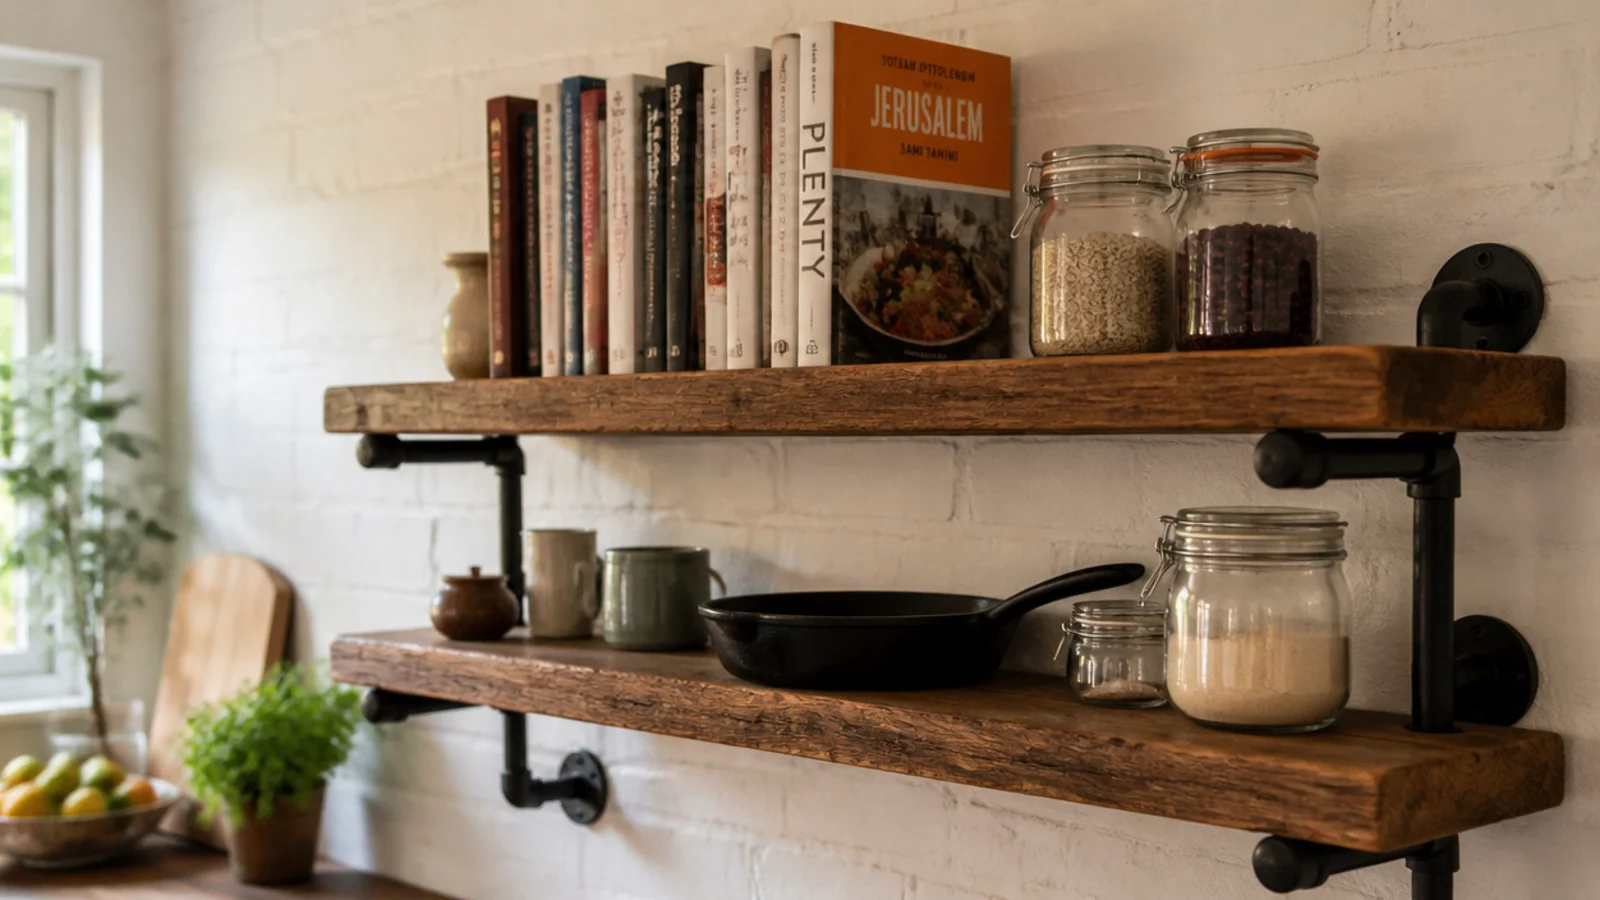
7. A pipe and flange industrial run
Threaded pipe, floor flanges and elbows build a shelf support with nothing but a wrench, and the fittings carry serious weight when screwed into studs.
Half-inch pipe suits a single shelf; three-quarter-inch is right for a two-tier run holding cast iron. Degrease the fittings with soapy water first, since they ship coated in oil that will mark everything.
The look reads best against brick or a matte painted wall rather than glossy tile.
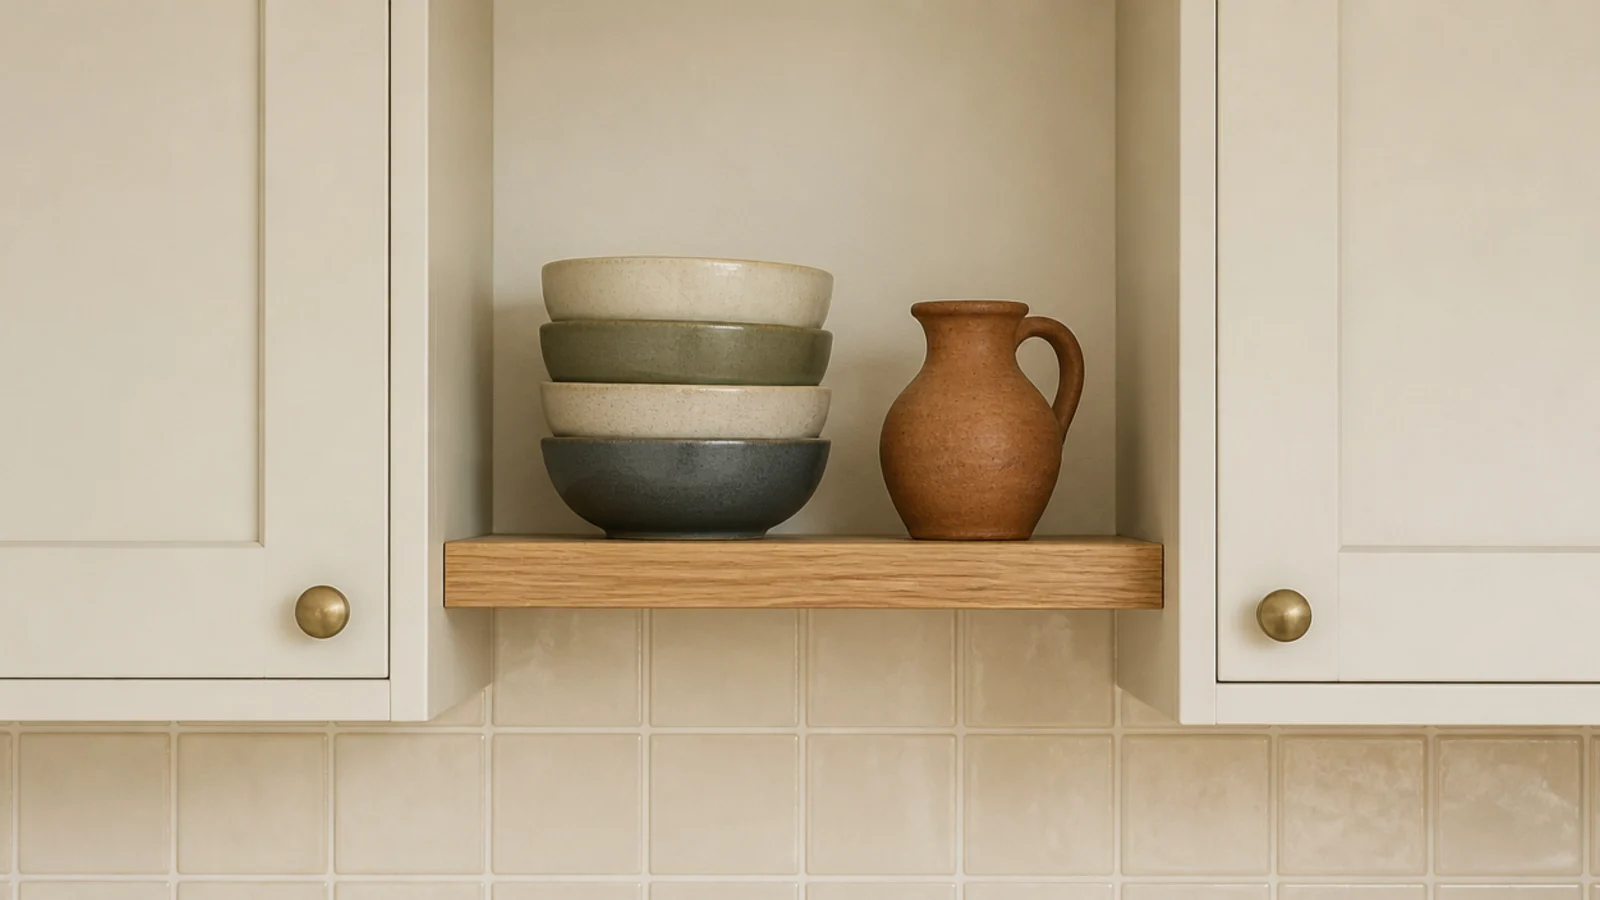
8. A shelf spanning the gap between two upper cabinets
Most kitchens have an awkward gap between cabinet runs, often above a window or a range. A shelf fitted into it uses a space that is already framed on both sides.
Cut the board to the exact opening, then use small under-shelf cleats screwed into the cabinet sides — no wall fixings needed and no visible brackets at all.
Match the shelf thickness to the cabinet side panel so the edges line up. Under $30 in materials.
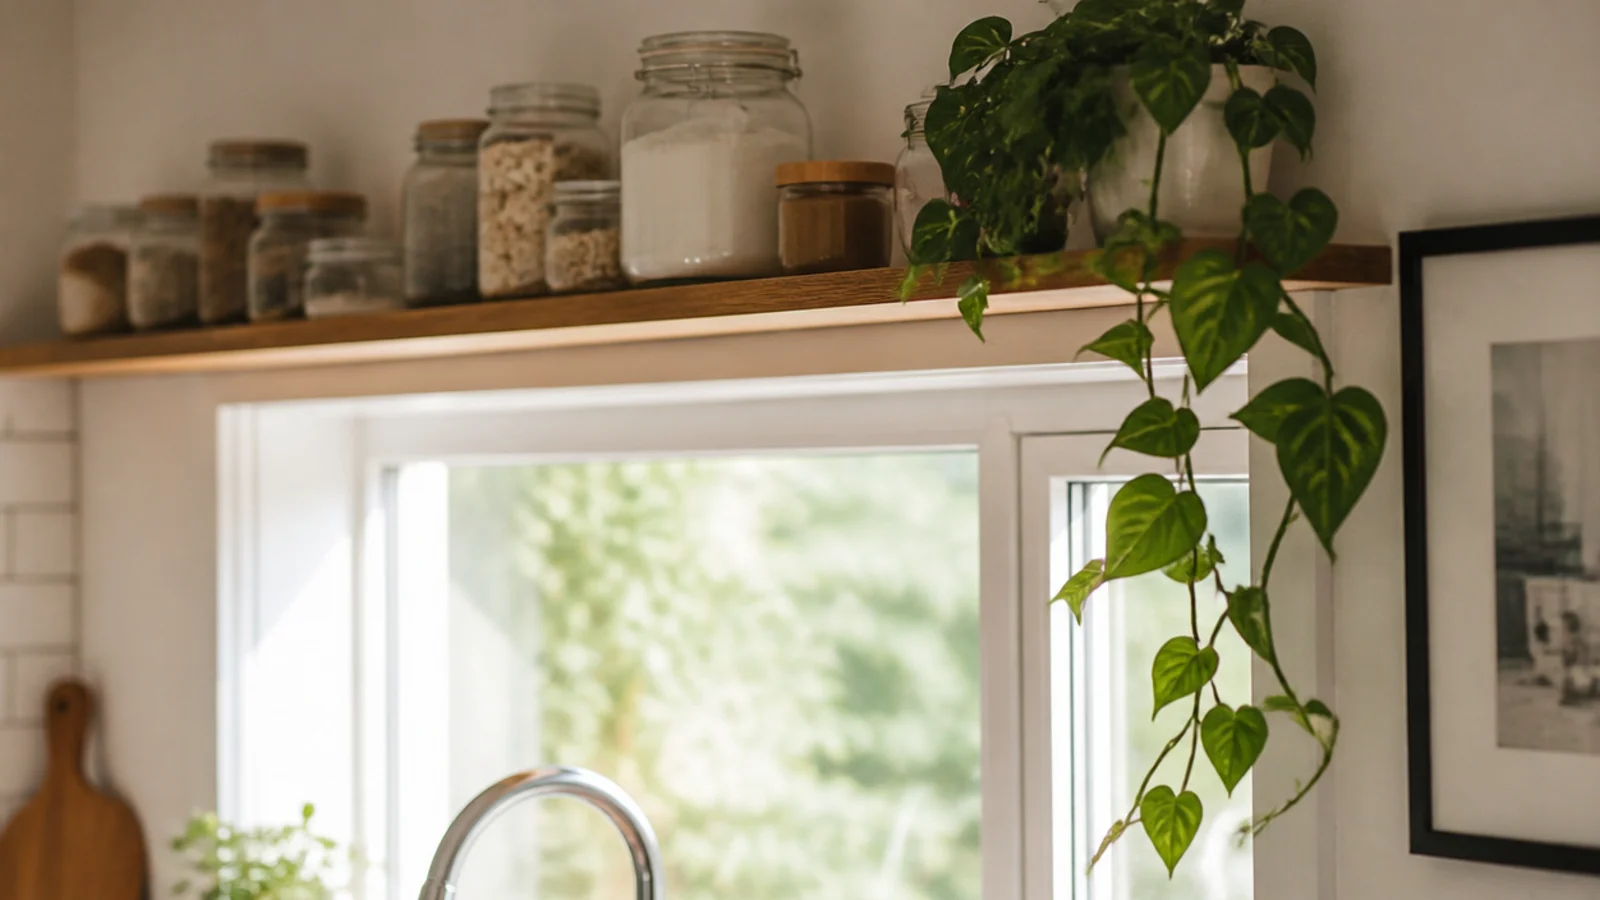
9. A shelf run above the kitchen window
The foot of wall above a window is the last unused surface in most kitchens, and a shelf there draws the eye up.
Keep it 4 inches above the trim so the frame still reads as a frame. Depth of 6 inches is plenty — anything deeper starts to shade the glass.
Put light, rarely-moved things here: jars, a trailing plant that spills down beside the reveal, a stack of small platters.
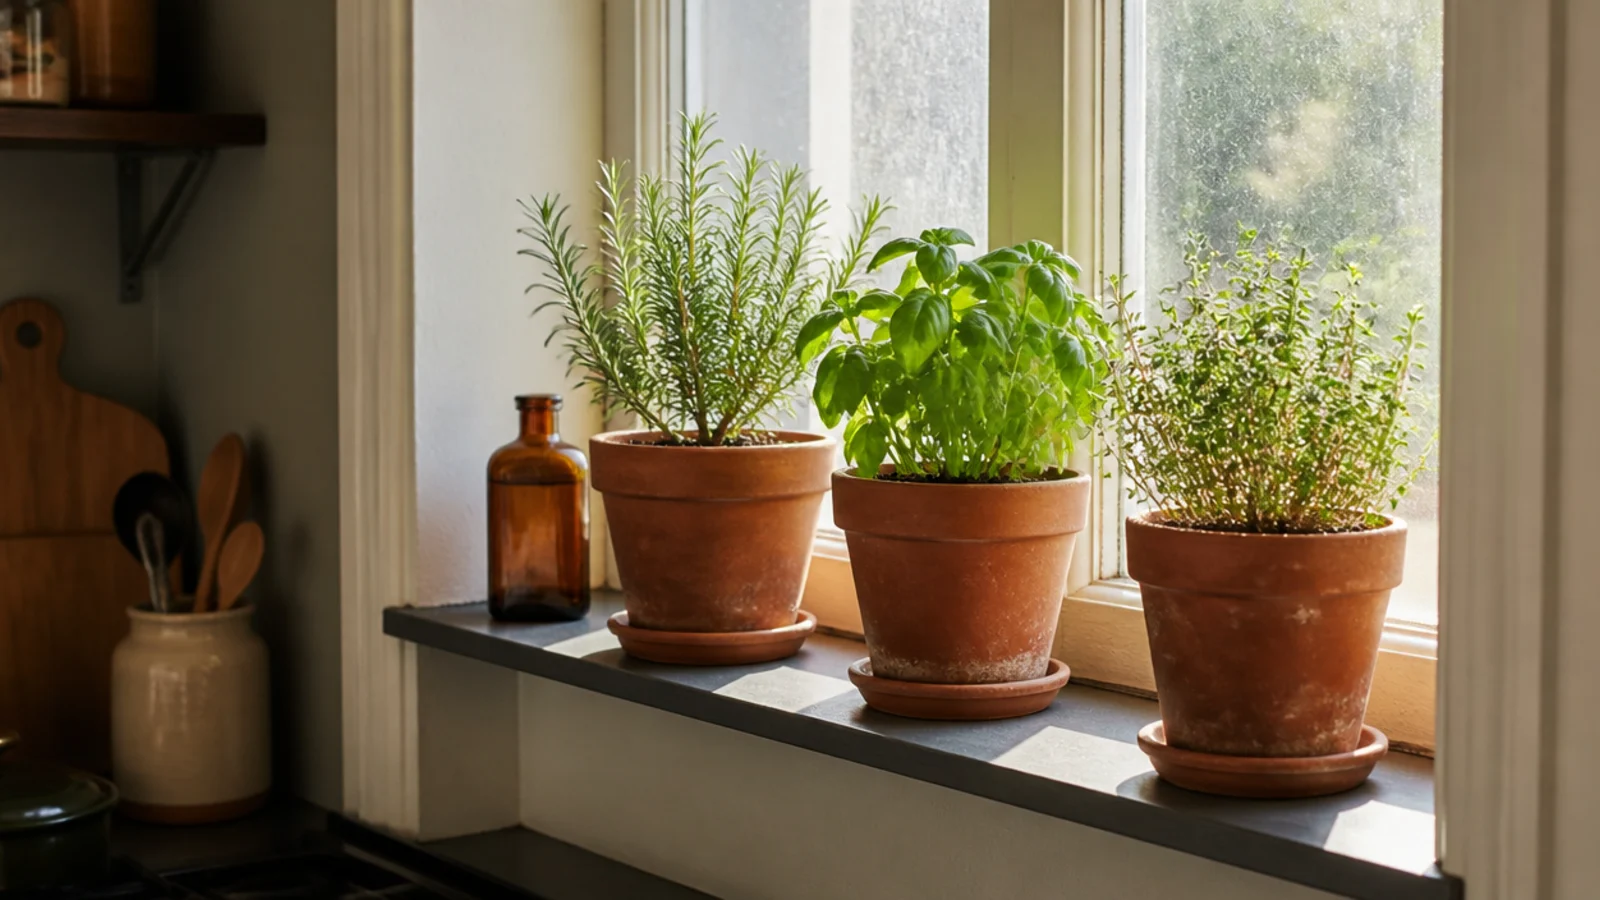
10. A shallow shelf set inside the window reveal
If your window sits in a deep reveal, a shelf fitted across it puts herbs in the only spot indoors where they get the four hours of direct light they need.
Cut to the exact reveal width and support on two small cleats screwed into the plaster returns. Depth is whatever the reveal gives you, usually 4 to 6 inches.
Paint it the wall color and it disappears into the architecture entirely.
11. A plate rail three inches deep
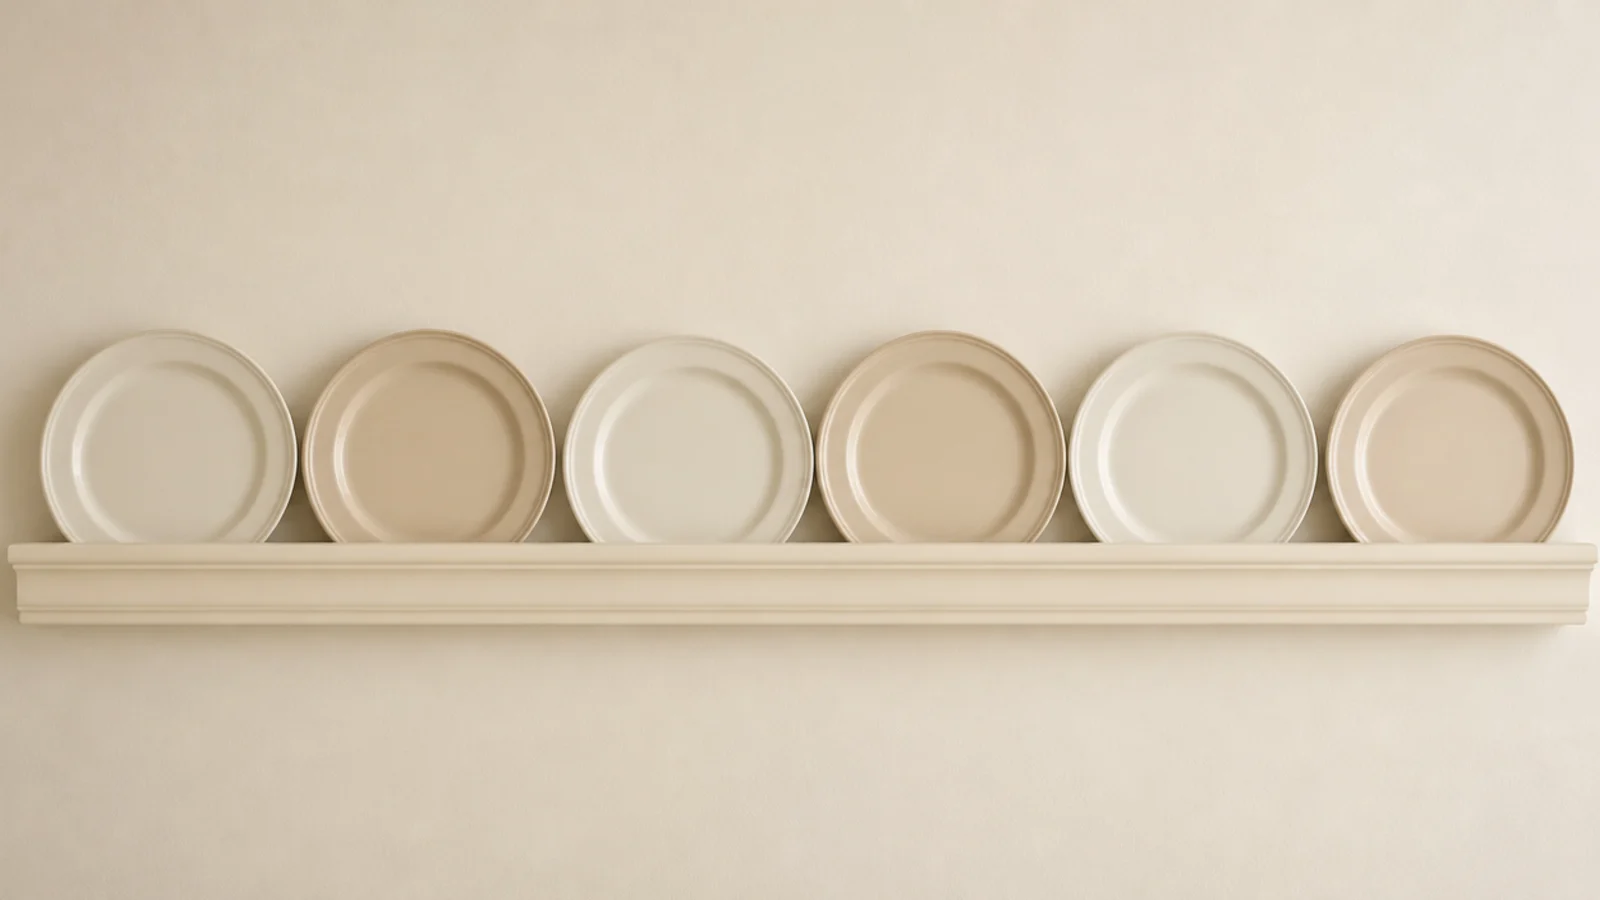
A 3-inch board with a routed groove an inch from the back holds plates standing on edge along a whole wall, at a depth that never intrudes on the room.
Set the groove a quarter inch deep and three-eighths wide for standard dinner plates. Mount at 60 inches so it sits above head height and reads as trim.
This is the traditional answer that predates cabinets, and it still costs under $40 for 8 feet.
12. A shelf above the door frame
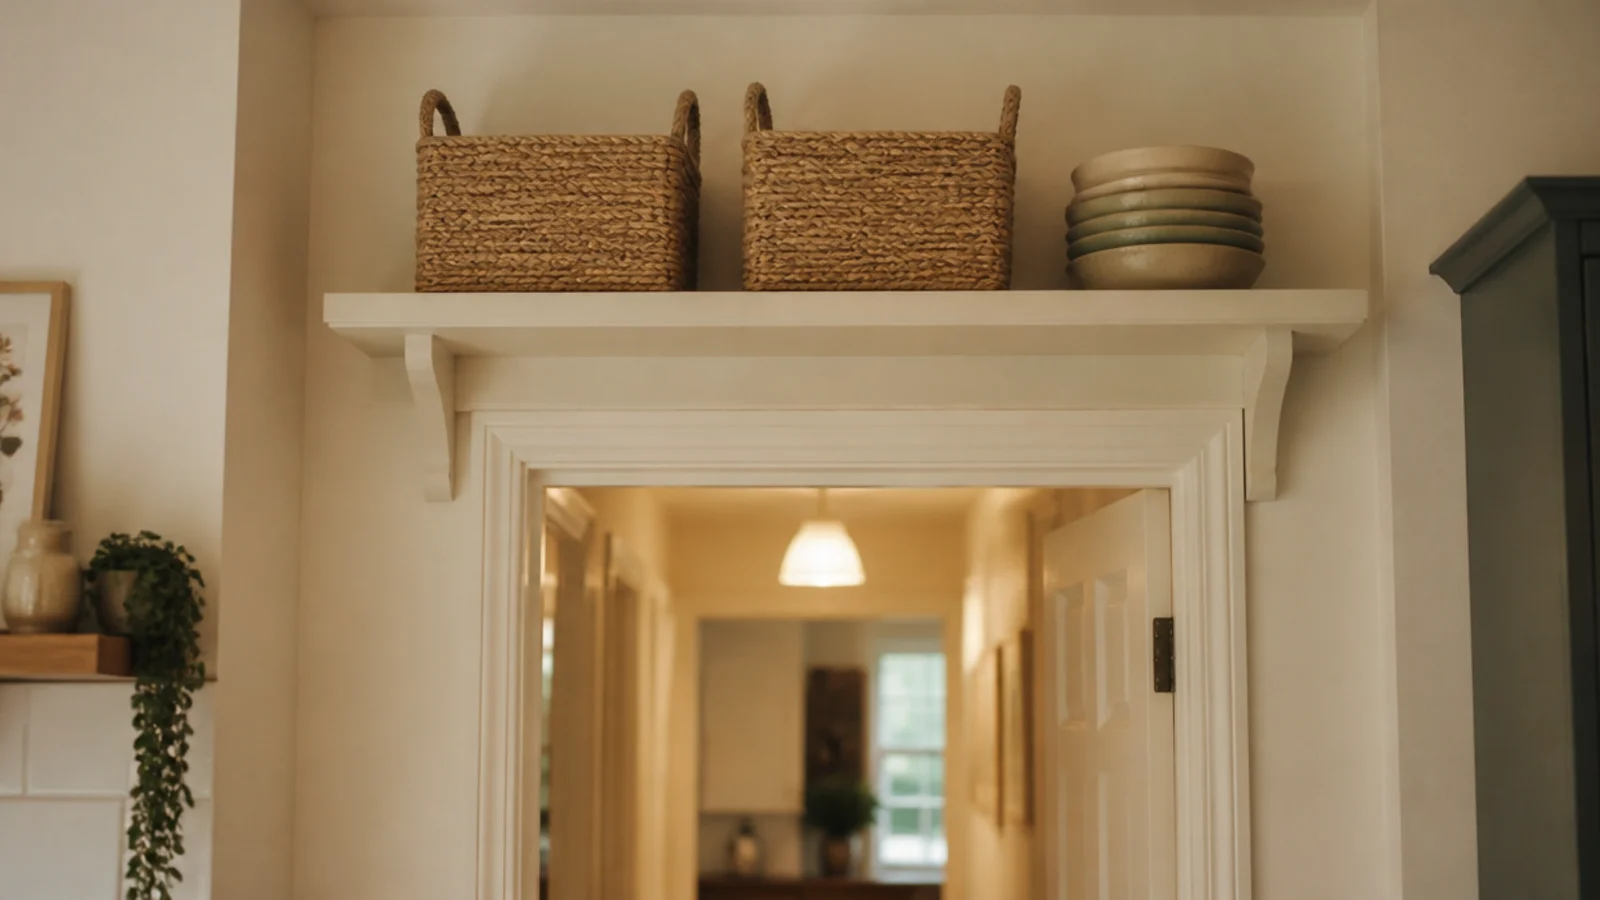
The 10 to 14 inches between a door frame and the ceiling is dead in every kitchen. A shelf there stores what you genuinely rarely need.
Keep it to 8 inches deep so nothing loads the head of the frame visually, and paint it the wall color so it reads as architecture rather than storage.
Baskets, spare bowls, the roasting tin used twice a year. Nothing you want at speed.
13. A shelf that fills the dead space above the fridge
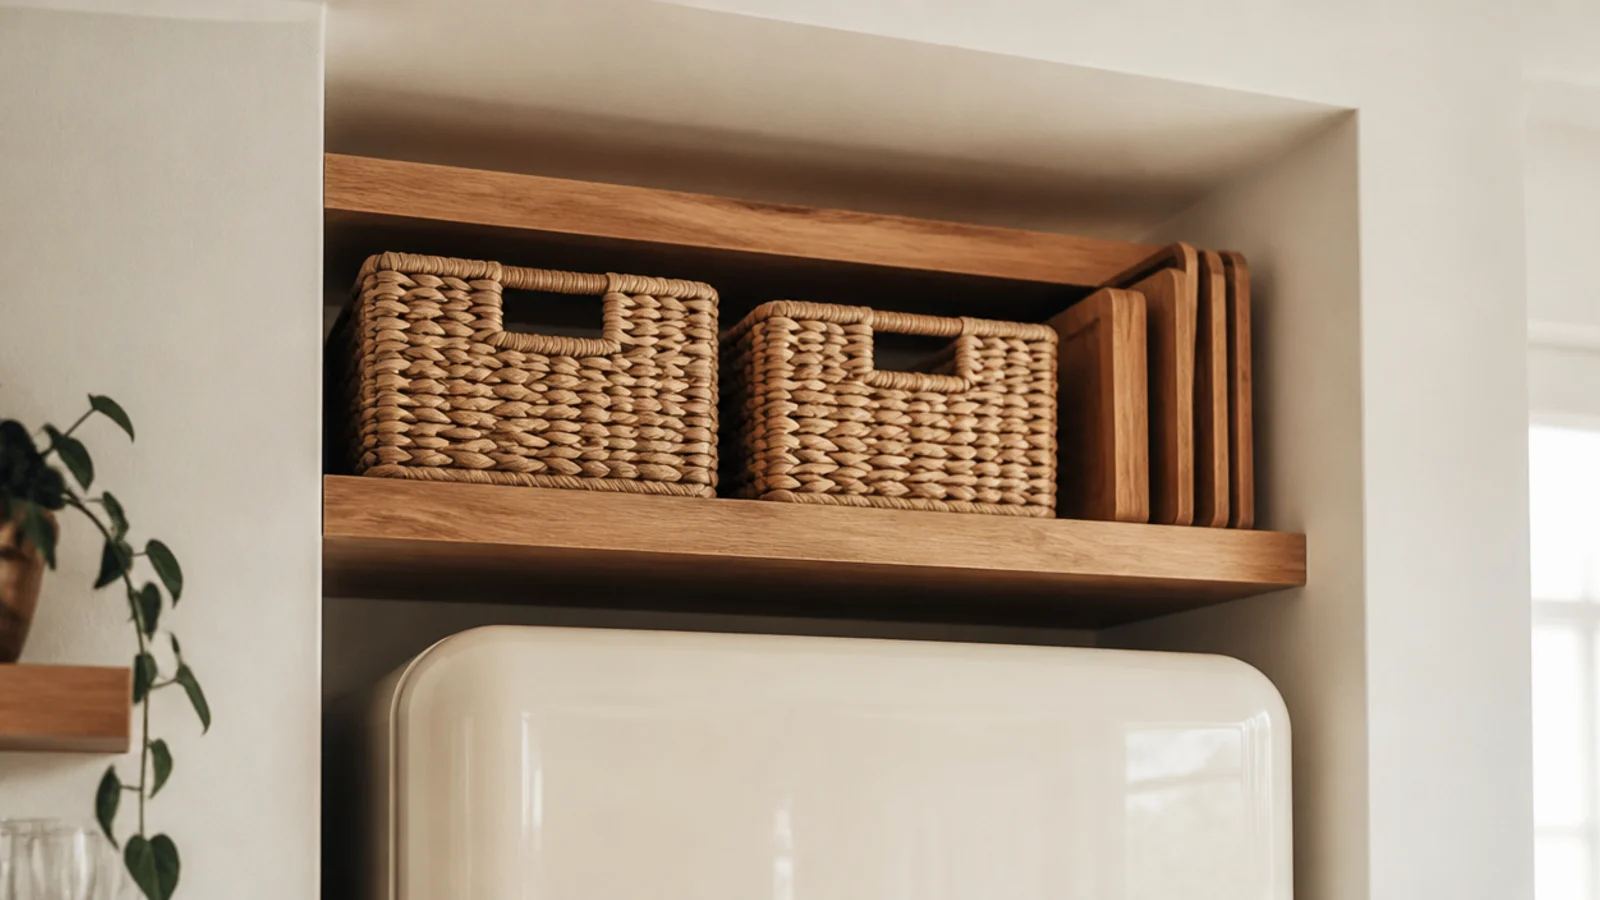
Most refrigerators leave 14 to 18 inches of open wall above them. A single sturdy shelf across it recovers real storage in a spot you already walk to.
Fix into studs — this shelf carries whatever will not fit anywhere else, and nobody ever loads it lightly. Leave 2 inches of clearance above the fridge for its heat exchange.
Baskets and trays on edge suit it better than jars, since you will be reaching blind.
14. A whole wall of open shelves instead of uppers
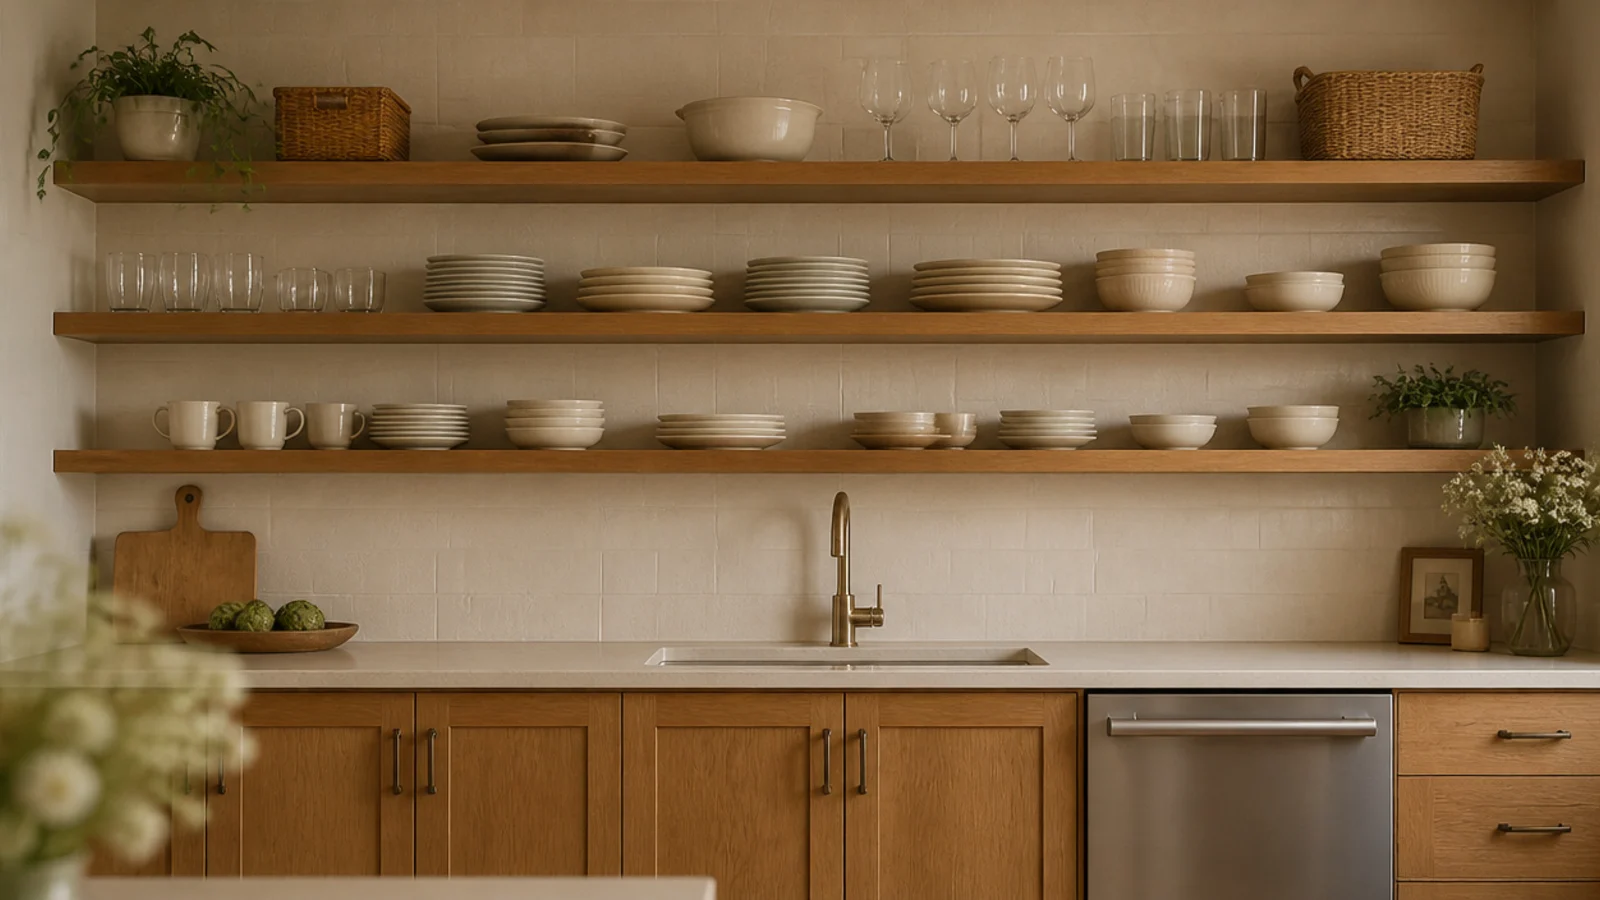
Taking down a full run of upper cabinets is the version everyone pins, and it works when you commit to only keeping what earns the space.
Do one wall, not the whole kitchen. Choose the wall furthest from the stove first. Three shelves at 18, 32 and 46 inches above the counter holds more than the cabinets did, because nothing hides at the back.
More on the trade-offs in kitchen shelves instead of cabinets.
15. Shelves painted the exact cabinet color
Painting shelves the same shade as the base cabinets makes them read as joinery rather than something added later, and it costs one sample pot.
Use a hardwearing eggshell or a cabinet-grade acrylic, not wall emulsion, which marks the first time you slide a plate across it.
Two thin coats on every face, including the underside and the cut ends. Sealed end grain is what keeps a painted shelf from swelling at the corners.
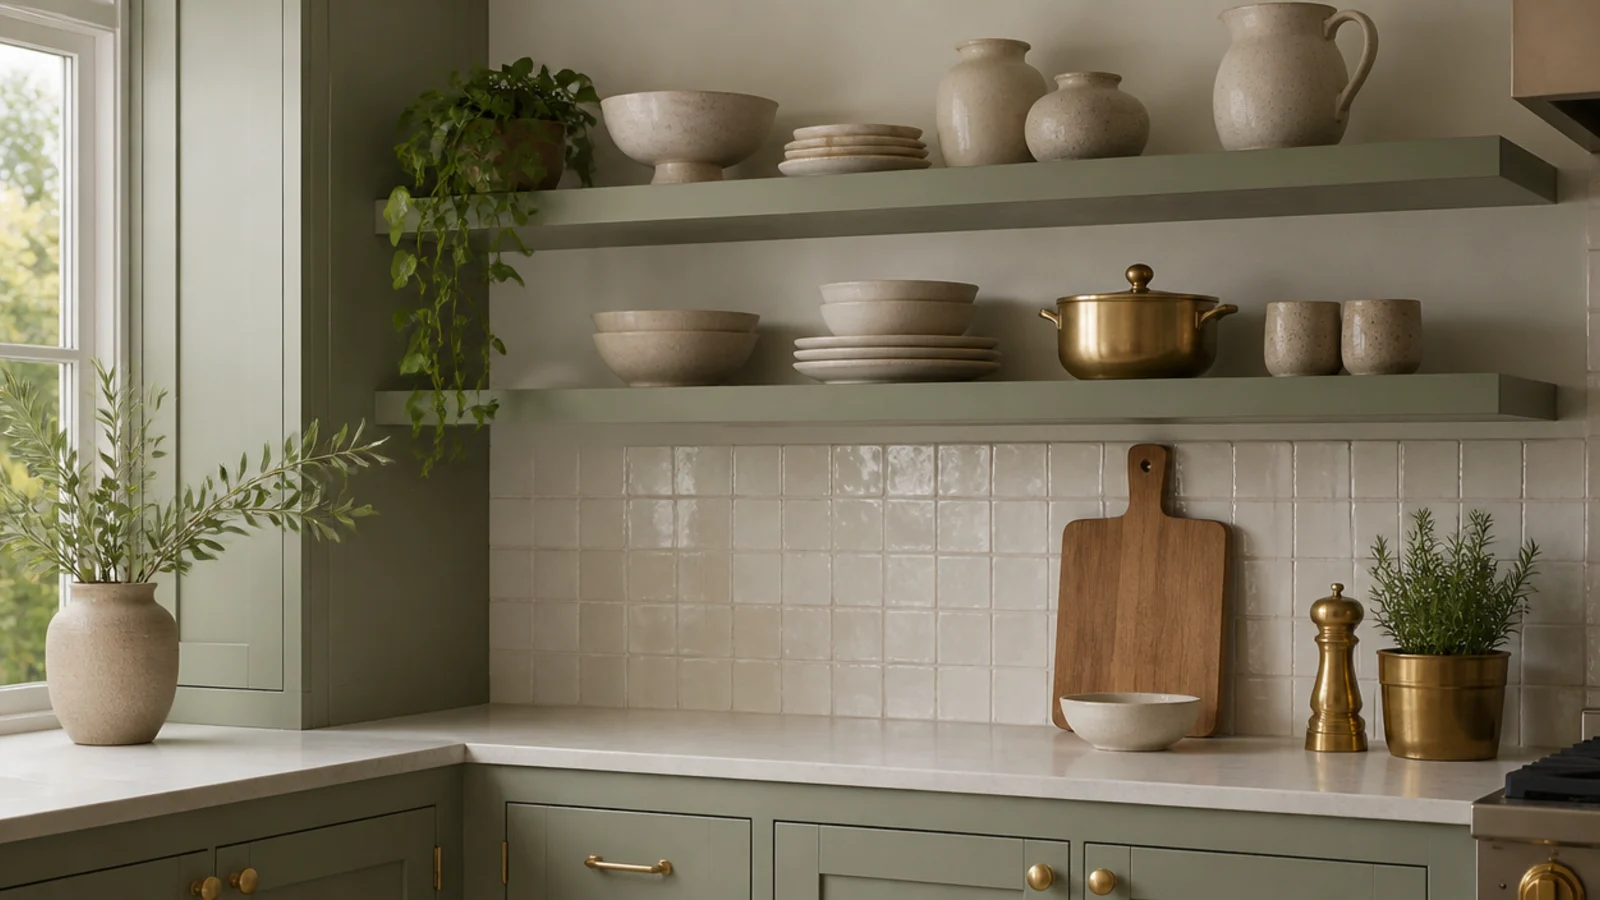
16. Graduated depths, ten inches low and six inches high
Shelves do not have to match. A deeper lower shelf and a shallower upper one gives you platter storage where you reach and keeps the wall from looming over the counter.
Ten inches low takes dinner plates and mixing bowls. Six inches high takes jars, mugs and small frames.
The taper also lets more light down onto the work surface, which matters enormously in a galley. Cut both from the same board and rip the top one narrower.
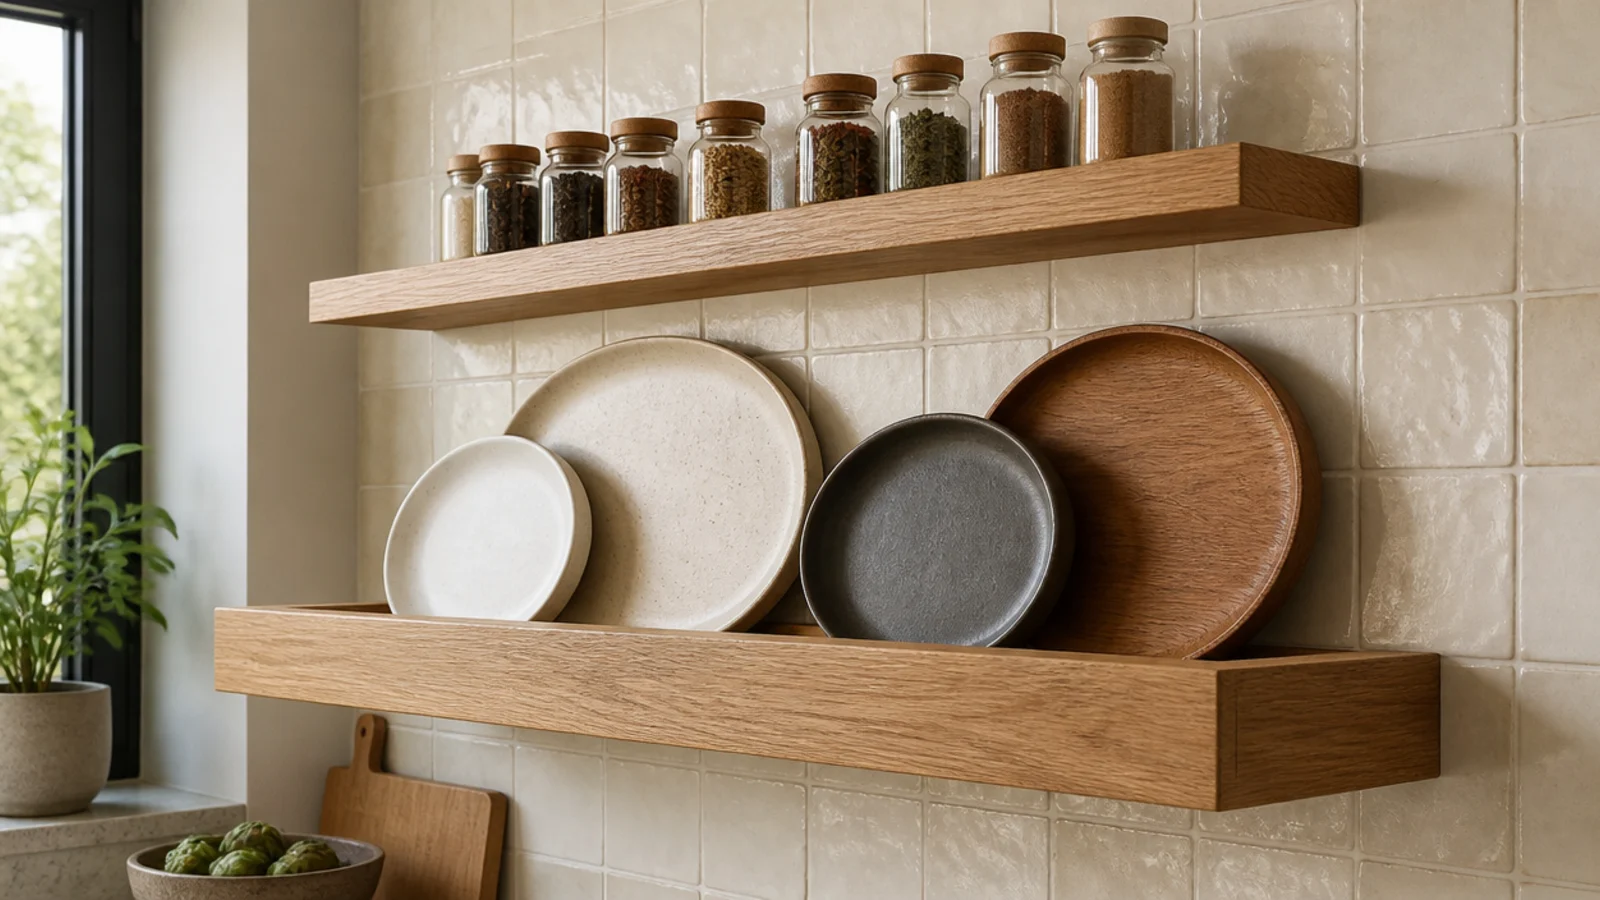
17. An LED strip under the lower shelf
A warm strip light tucked under the front lip turns a shelf into the task lighting the counter never had, for about $20.
Choose 2700K to 3000K. Cool white makes wood and terracotta read grey, which undoes every material decision you made. A dimmable strip on a plug-in driver needs no electrician.
Fit an aluminium channel with a diffuser so you see light rather than a row of dots.
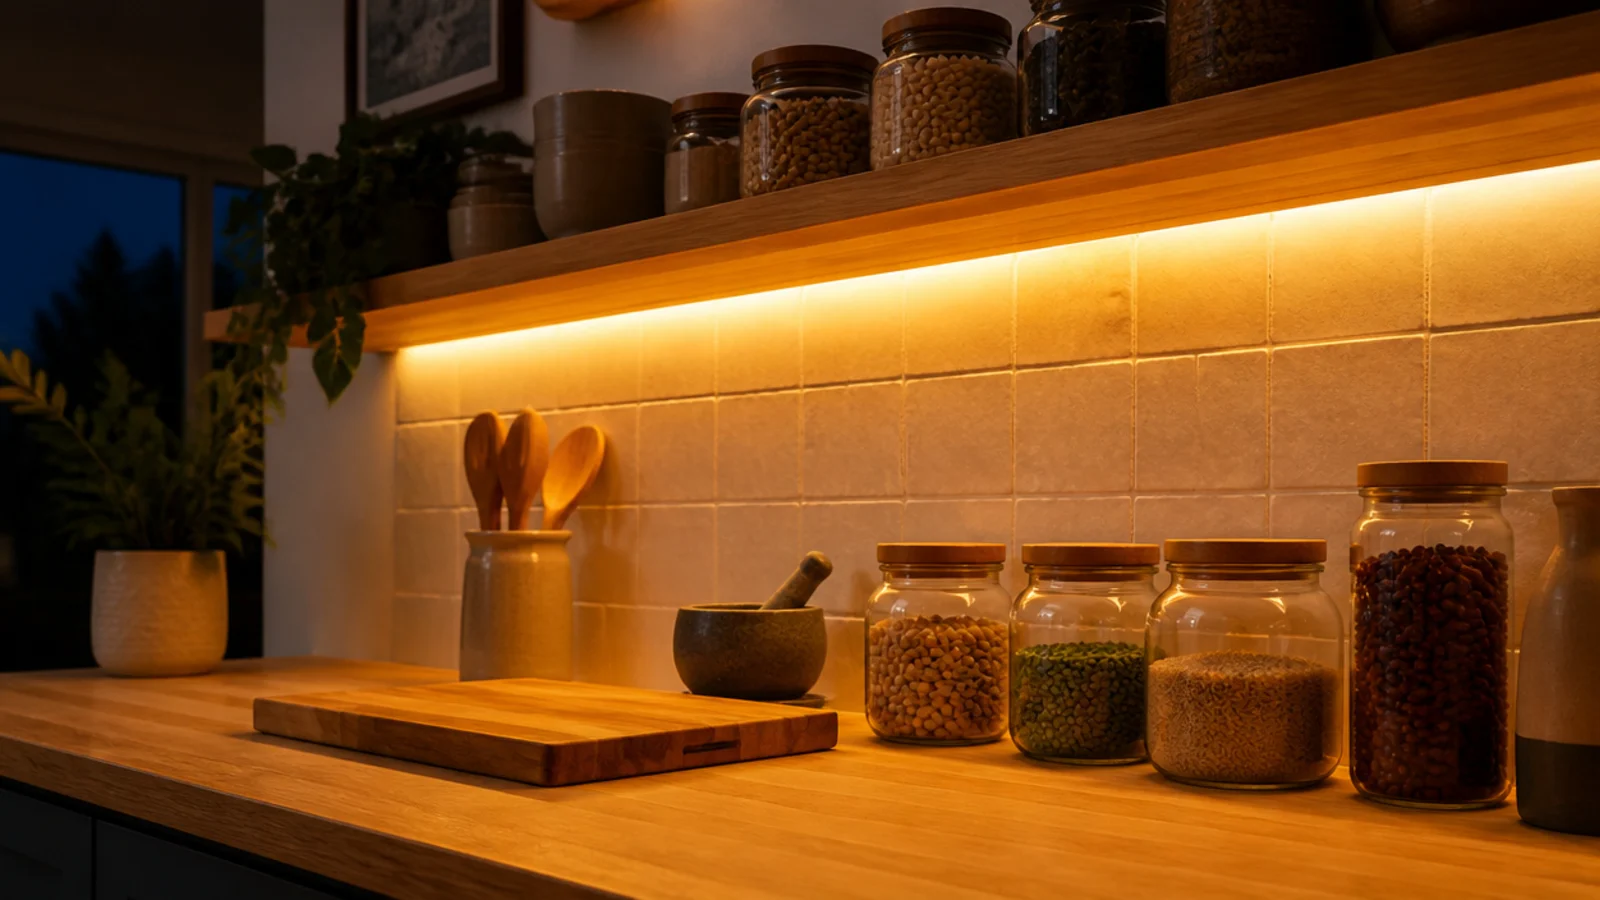
18. A shelf scribed to a wall that is not straight
Older kitchens have walls that wander half an inch across 6 feet, and a straight board against them leaves a gap that catches every crumb.
Hold the board in place, set a compass to the widest gap, and run it down the wall to trace the wall's shape onto the board. Cut to the line with a jigsaw and sand back.
Twenty minutes of work is the difference between a fitted shelf and a bought one.
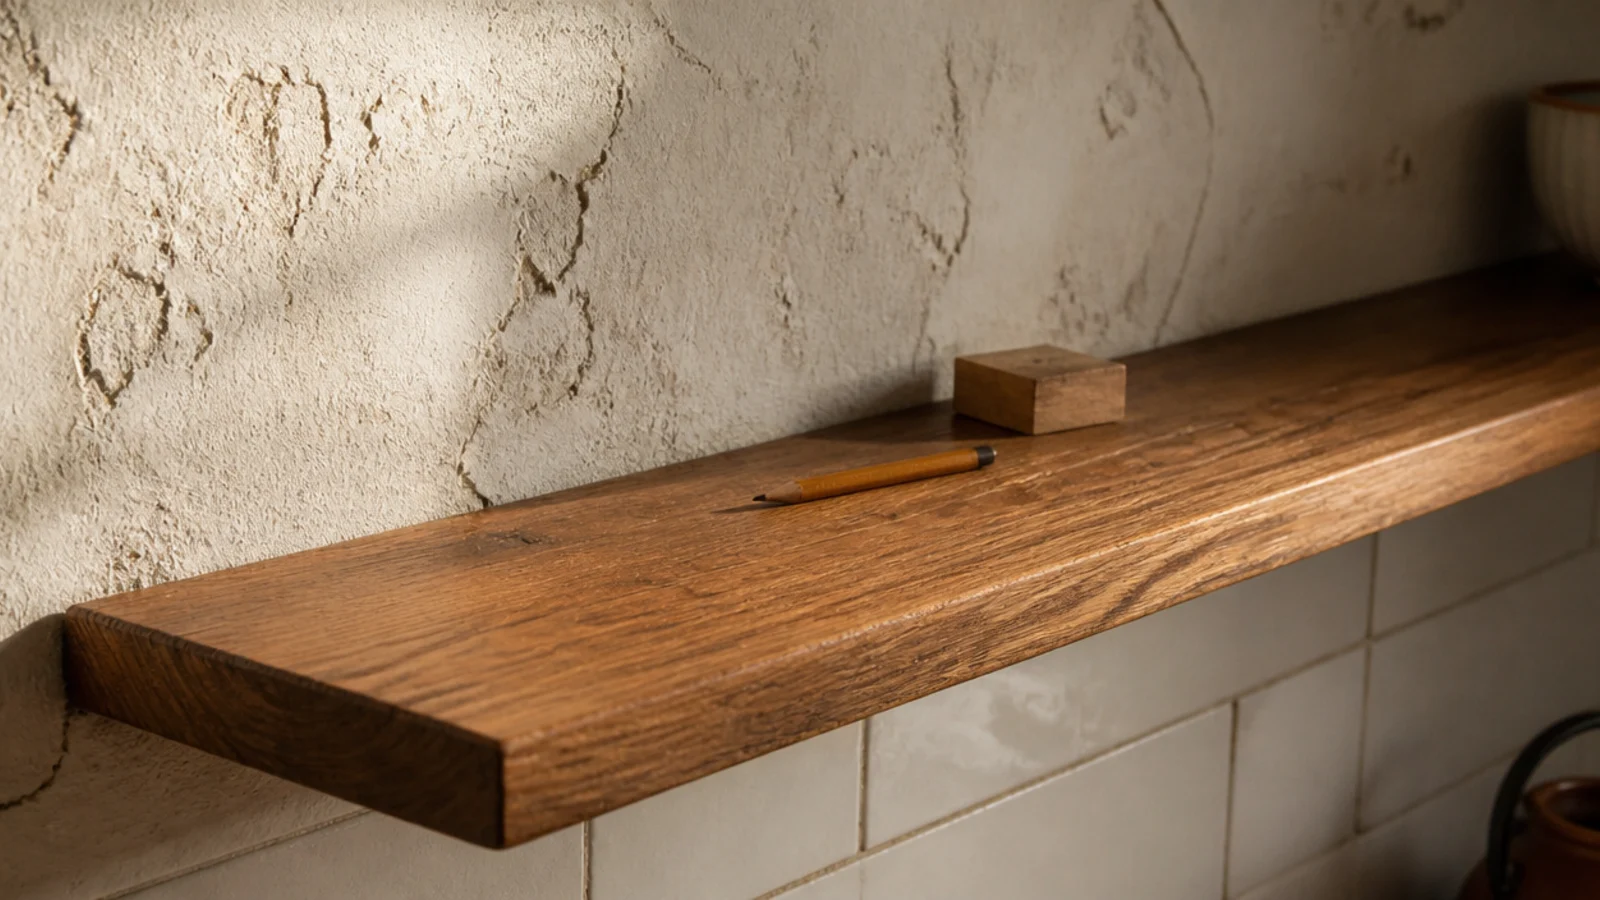
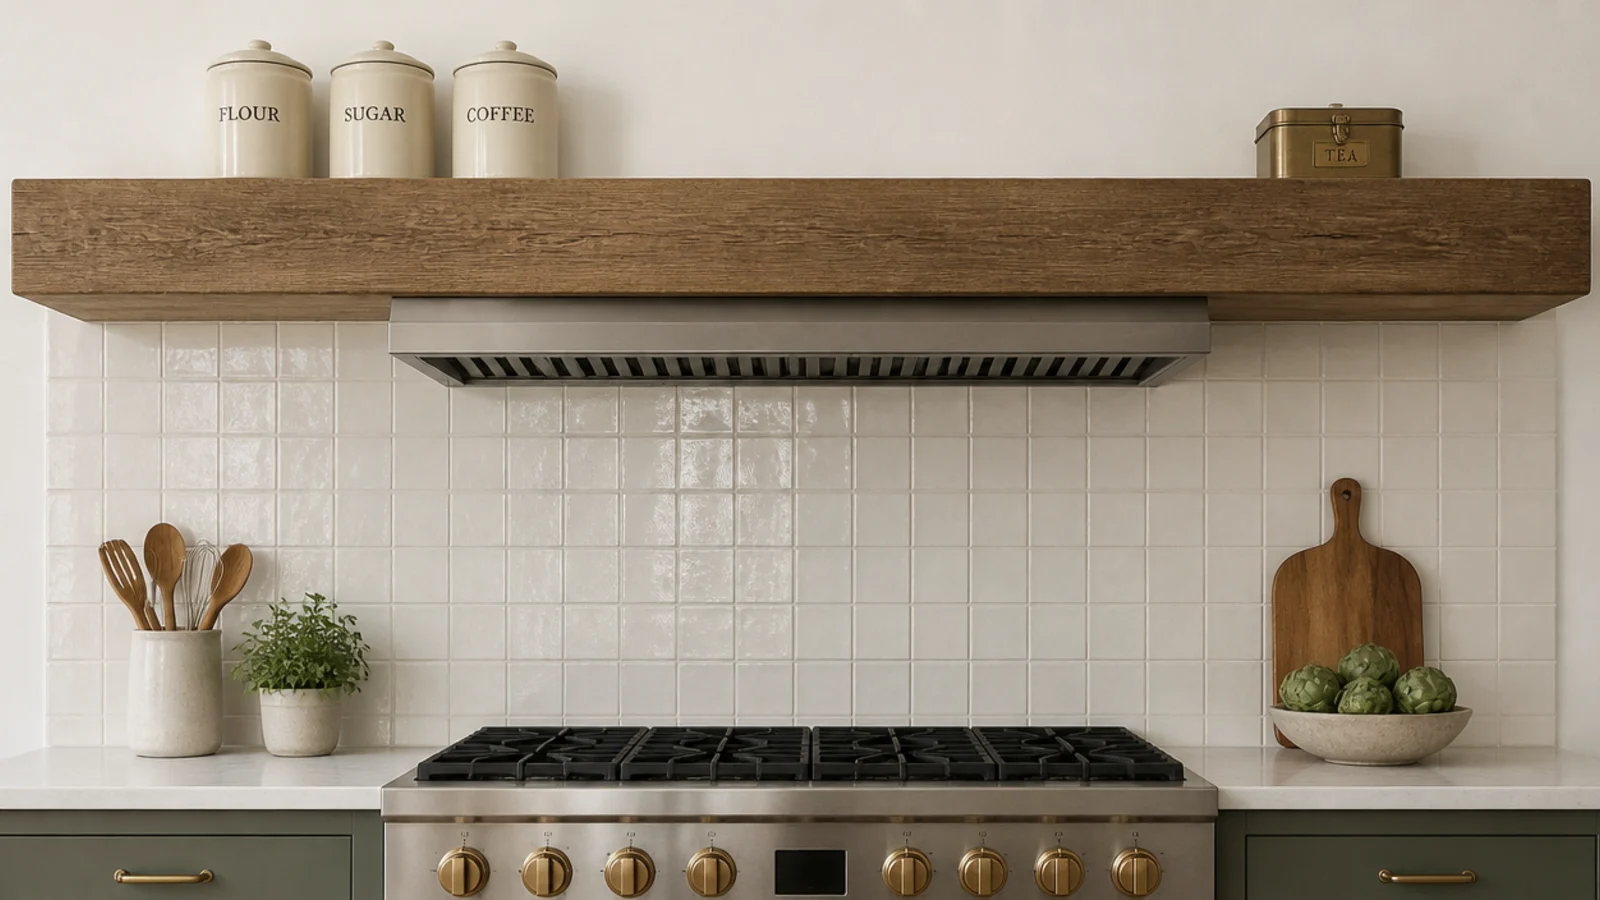
19. A chunky mantel shelf above the range
A thick board spanning the wall above the range and hood gives a kitchen the focal point a bare chimney breast never has.
Ceramic, metal and glass only up here — no wood boxes, no candles, nothing wax-based, because heat rises hard off a hood. Expect to wipe it more often than any other shelf in the room.
Keep it 12 inches above the hood and at least 30 inches above the burners.
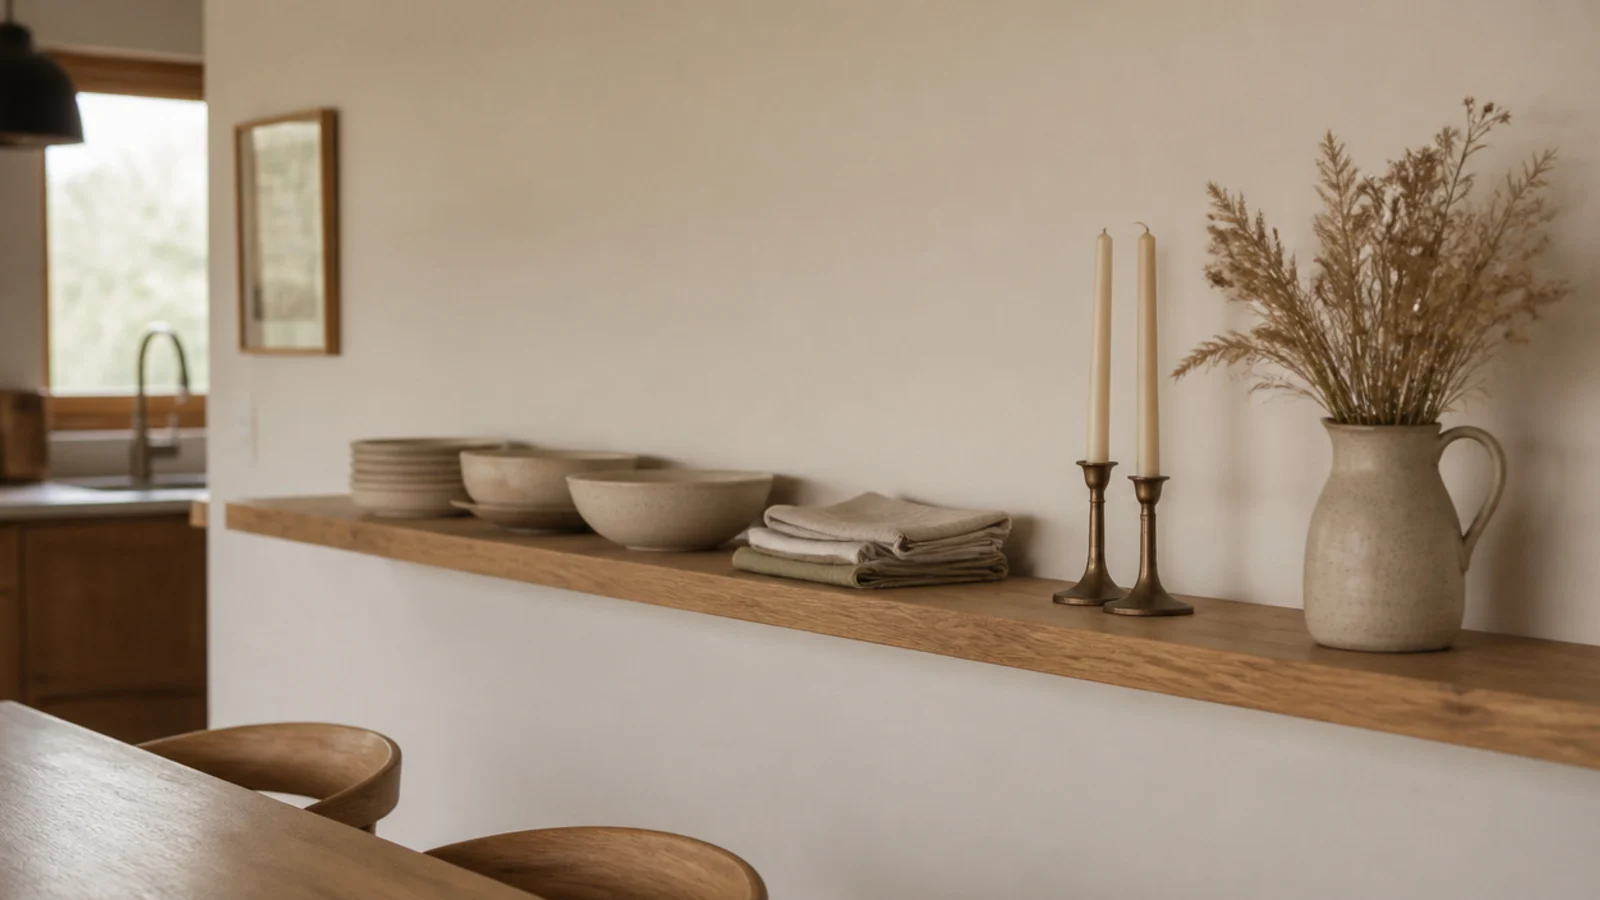
20. A serving ledge on the dining side wall
The wall where the kitchen meets the table is usually blank. One shelf at 40 inches turns it into a sideboard without any furniture footprint.
Serving bowls, folded napkins, candlesticks and a jug of dried grasses. Because it is well outside the 4-foot grease zone, decorative pieces genuinely survive here.
Ten inches deep is right — enough for a platter, shallow enough that nobody catches a chair on it. Around $45 in materials.
Mistakes to Skip
- Spacing brackets to suit the wall studs you found rather than the load. Four brackets on an 8-foot dish shelf is right; two looks cleaner and bows within a year.
- Mounting the first shelf at 14 inches when a stand mixer or a tall kettle lives underneath. Measure your tallest counter item, then add 2 inches of lifting room.
- Finishing only the top face because it is the only one you see. The underside and cut ends absorb moisture fastest, and an unsealed board cups toward the wall.
Frequently asked questions
How high should kitchen wall shelves be above the counter?
Eighteen inches from the countertop to the underside of the first shelf clears a stand mixer and most small appliances, and the second sits 12 to 14 inches above that. If nothing tall lives on that stretch of counter you can drop the first shelf to 14 inches and gain useful height above. Measure your own tallest appliance before you mark anything.
How thick should a kitchen wall shelf be?
Three-quarters of an inch is the working minimum for anything holding dishes, and a full inch or more looks better on a long run. A stack of ten dinner plates is about 12 pounds, so thin stock over a 30-inch span will bow visibly within a year. Scaffold boards at an inch and a half never sag and cost less than furniture-grade timber.
Do kitchen wall shelves need to hit a stud?
For anything carrying dishes, yes. A lag screw into framing carries 40 to 60 pounds per bracket, while a toggle bolt in half-inch drywall carries 25 to 35 pounds and the plastic plugs in the box carry roughly 10. Studs are usually 16 inches on center, so on a long run you can plan bracket spacing to land on them.
What finish should I use on kitchen wall shelves?
Water-based polyurethane or a hardwax oil. Both resist water and grease and wipe clean without marking. Skip clear wax in a kitchen — it softens near heat and offers almost no protection. Seal every face including the underside and the cut ends, or the board will absorb moisture unevenly and cup over a humid summer.
Can I put open shelves near the stove?
Yes, if you choose what goes there deliberately. Anything within about 4 feet of a burner picks up an airborne grease film, so that zone belongs to things you wash weekly — everyday plates, mugs, the oils you cook with. Keep cookbooks, dried flowers and purely decorative pieces at the far end of the run.
How long can a kitchen wall shelf span between brackets?
For three-quarter-inch hardwood, keep brackets no more than 32 inches apart when the shelf carries dishes. Inch-and-a-half stock stretches comfortably to 48 inches. On an 8-foot run that means four brackets rather than two, which also lets you land every one of them in a stud.
Pick one wall, one height and one bracket type, and put up a single shelf before you commit to a run — a month of living with it tells you more than any plan. The full kitchen shelf ideas guide covers placement room by room, the best kitchen shelf picks compares brackets and boards by load, and floating shelves in the kitchen covers the concealed-hardware version. Save the pin for the hardware aisle.
Want more like this? Browse all 15 kitchen shelf ideas guides — they all use the same measurements and budget tiers.
Pin it for later
Save this to your Kitchen Shelf Ideas board
Pin it now so it is waiting for you when the tape measure comes out — and so the next person hunting for this idea can find it too.
Save this pinKeep going
More ideas worth saving while you have the tape measure out.