Kitchen Shelf Ideas · Listicle
25 Gorgeous Kitchen Shelf Ideas Worth Trying

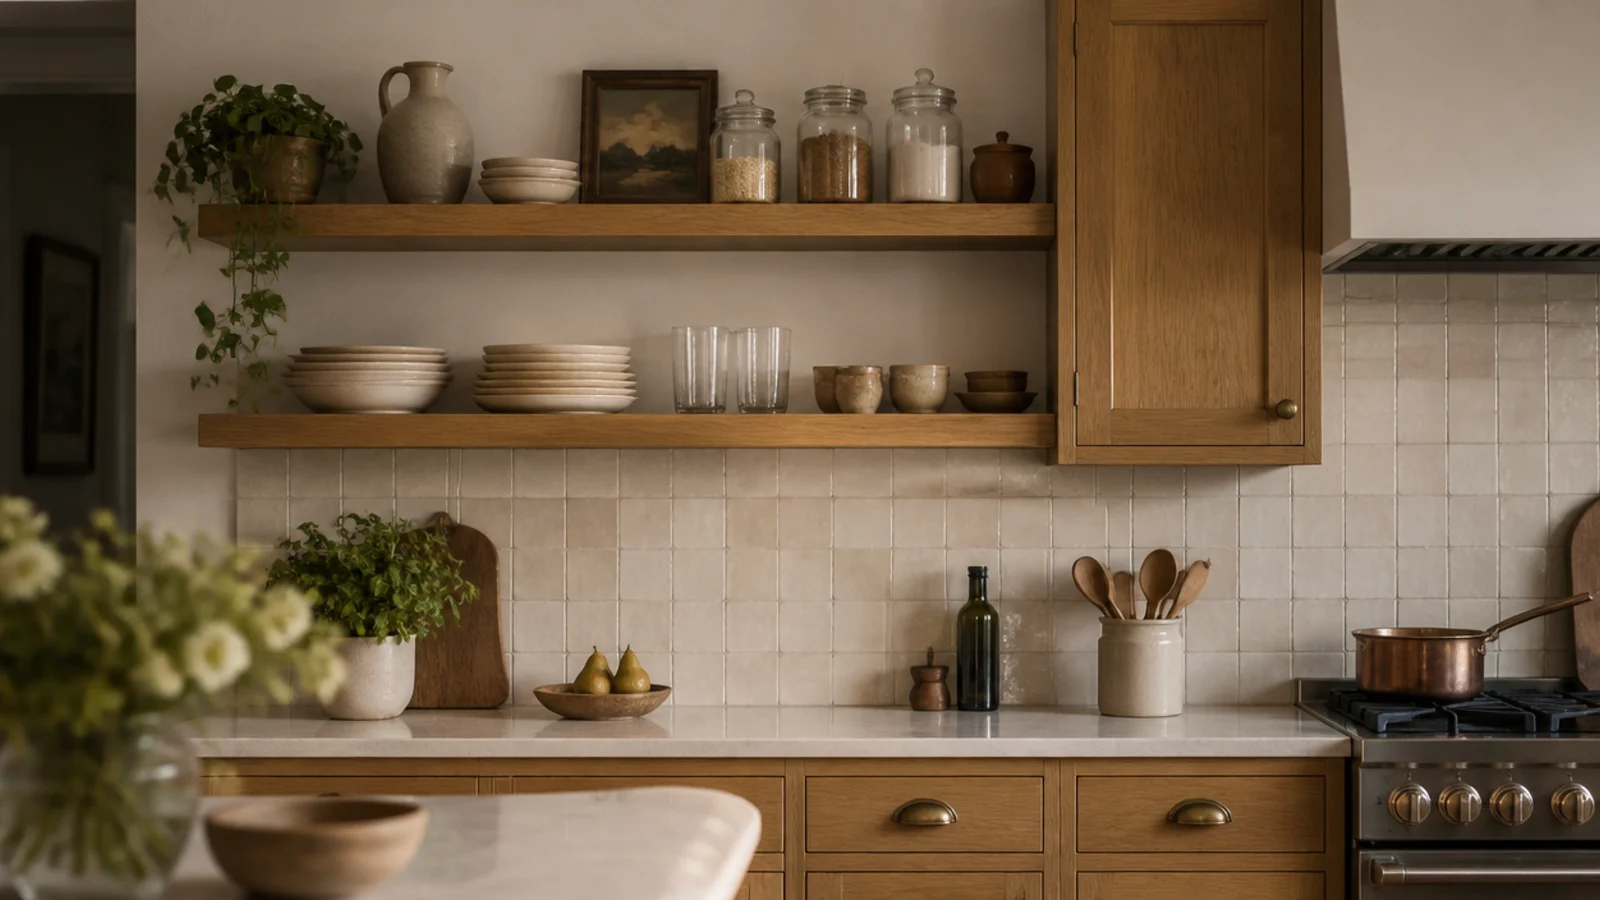
Kitchen shelves instead of cabinets is usually presented as a style decision, and it is really a storage decision with a style side effect. A wall cabinet holds about a third more than the shelves that replace it, and every kitchen has more rarely-used equipment than its owner admits. Do the arithmetic first and the swap is genuinely lovely. Skip it and you get a beautiful wall and a covered countertop. These 25 do it properly.
In this guide27 sections — tap to openHide
- 1.The math behind kitchen shelves instead of cabinets
- 2.Take down one cabinet, not the whole run
- 3.Keep the cabinet nearest the range
- 4.Do the storage math before demolition
- 5.Match the shelf heights to the old cabinet lines
- 6.Patch and skim the wall behind first
- 7.Tile all the way up where the cabinets were
- 8.Trade the uppers for one tall pantry cupboard
- 9.Swap uppers for shelves, add drawers below
- 10.Glass doors as a halfway step
- 11.Leave the boxes, lose the doors
- 12.Run the shelves past the old cabinet ends
- 13.Everyday set on shelves, the rest in base cabinets
- 14.Take the shelf run to the ceiling
- 15.One deep shelf where a whole cabinet was
- 16.Keep the microwave behind a door
- 17.Turn one cabinet into a plaster niche
- 18.Add a plate rack where a cabinet was
- 19.Open up the cabinet over the sink first
- 20.Cabinets on the stove wall, shelves everywhere else
- 21.Buy one built-in larder and open the rest
- 22.Add a rail below to recover hanging storage
- 23.Baskets on shelves for the closed storage you lost
- 24.Test with the doors off for a month
- 25.Budget the difference honestly
- 26.Keep every door, hinge and screw
- 27.Mistakes to Skip
The math behind kitchen shelves instead of cabinets
Empty one cabinet onto the counter and sort it into three piles: used weekly, used monthly, used twice a year. That exercise makes the decision for you.
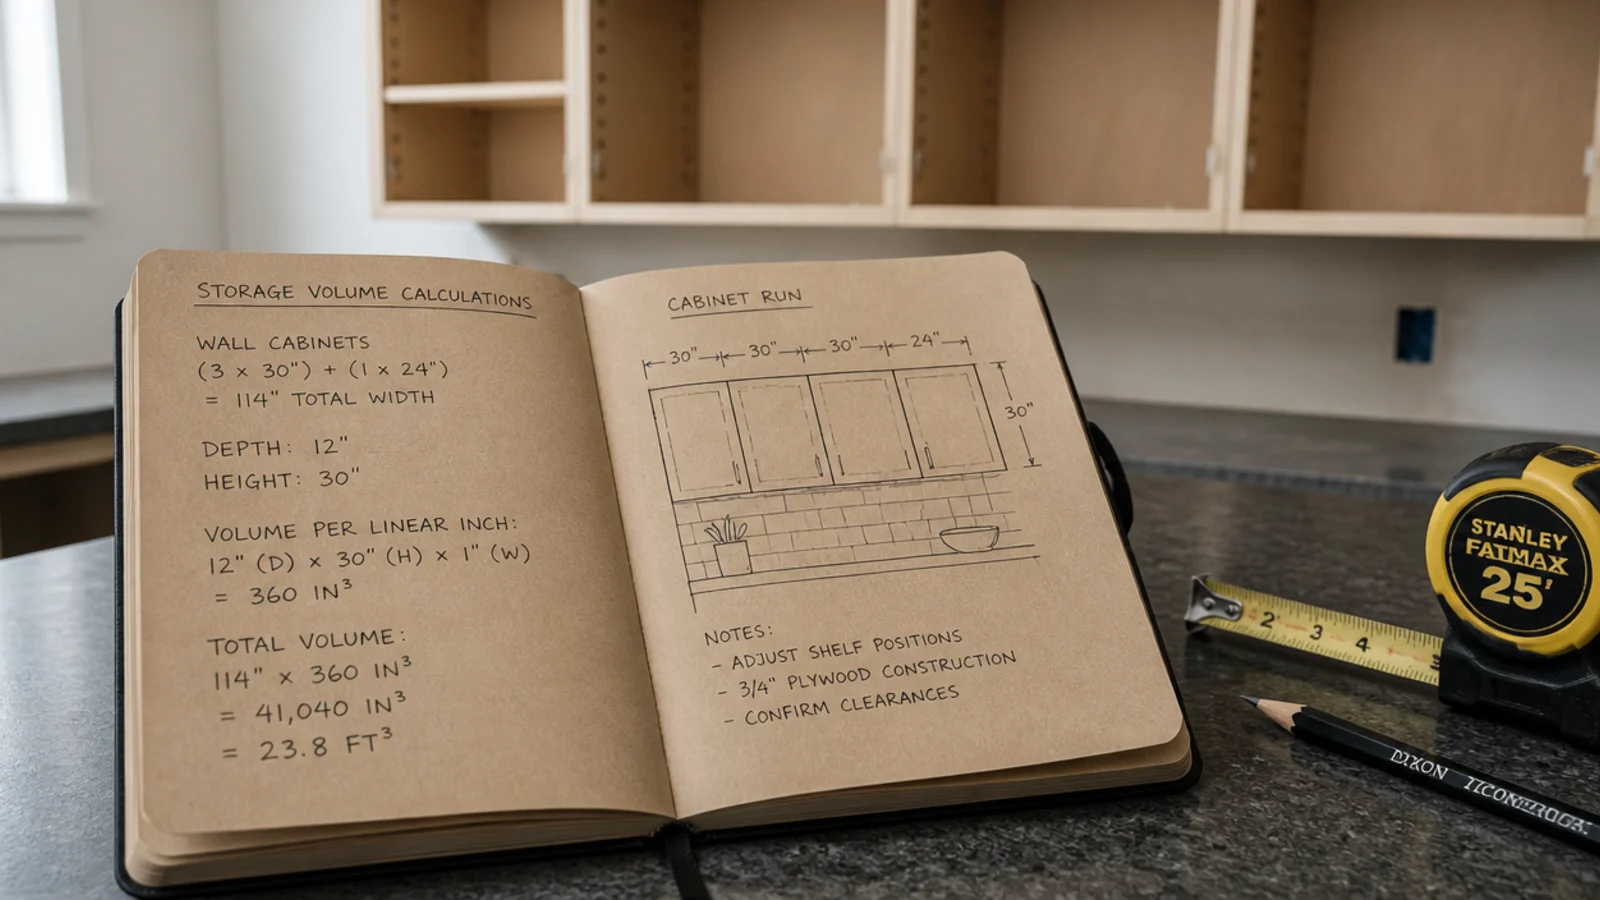
Volume. A standard 30-inch wall cabinet holds roughly 12 cubic feet across two internal shelves. Two open shelves in the same footprint give you about 8. Plan where the missing third goes before anything comes off the wall.
Grease. Anything within about four feet of a burner picks up an airborne film, so that stretch keeps its doors. Open shelving only works for things you use weekly, because use is what keeps them clean. Above a range hood, ceramic, metal or glass only — never wood or anything wax-based.
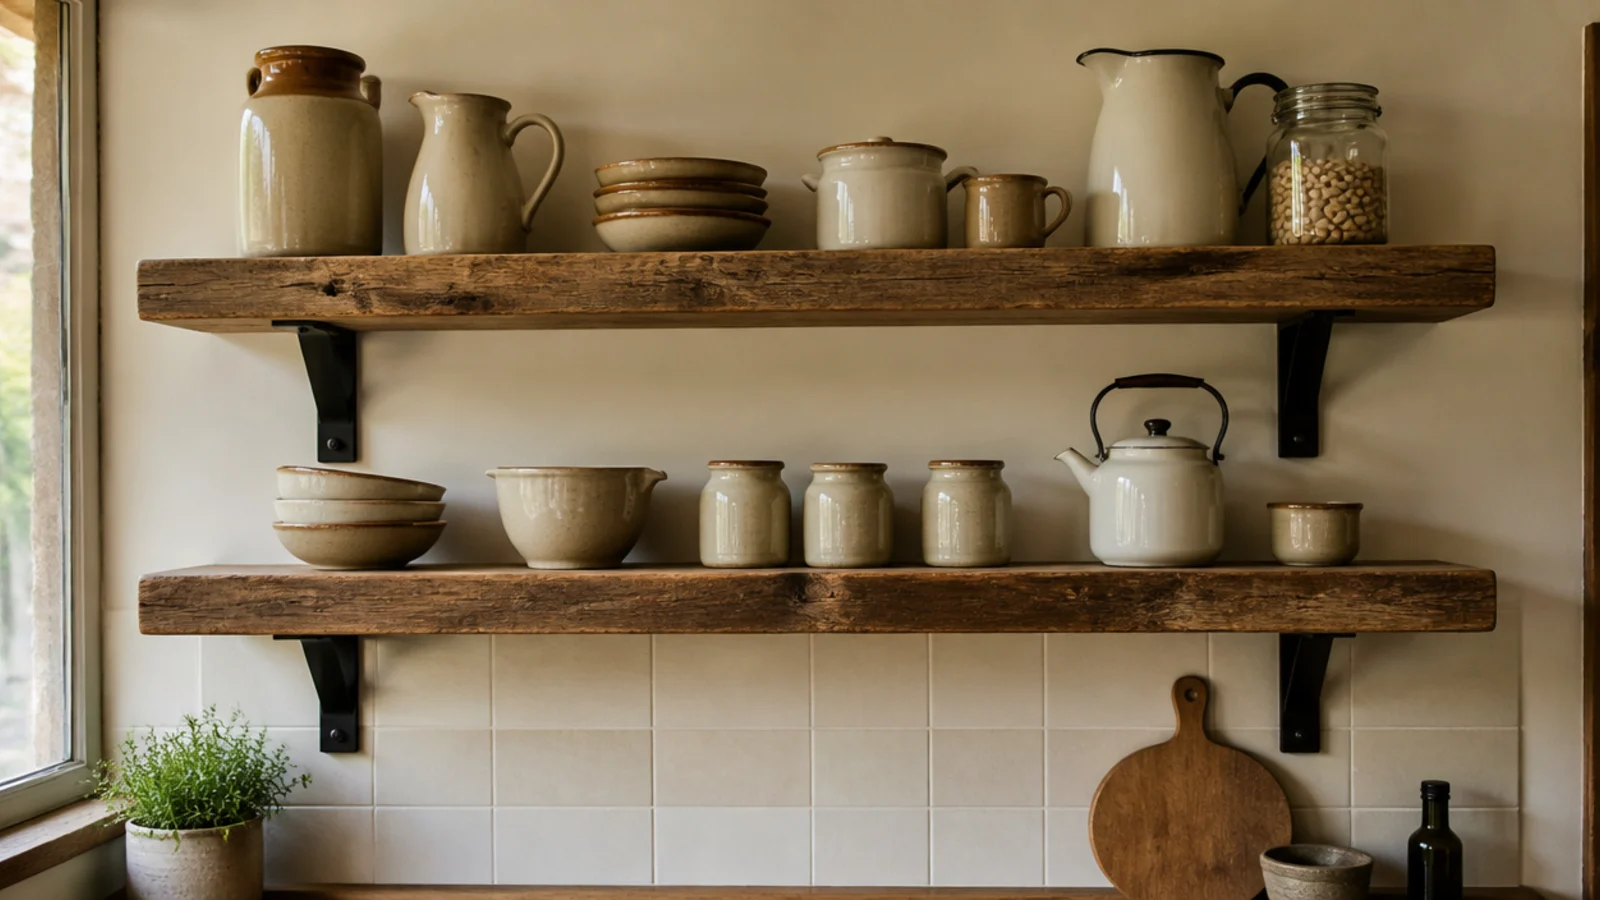
Heights. First shelf 18 inches above the countertop to clear a stand mixer, second 12 to 14 inches above that. A stack of ten dinner plates is around 12 pounds, so land at least one bracket in a stud and use three-quarter-inch stock minimum.
Finish. Water-based polyurethane or hardwax oil on every face, including the underside and the cut ends, or the board cups. Never clear wax in a kitchen.
Budget: doors off and boxes painted, $30 ($). One cabinet swapped for two solid shelves including wall repair, $180 to $320 ($$). A full wall in thick timber with new tile behind, $900 upward ($$$).
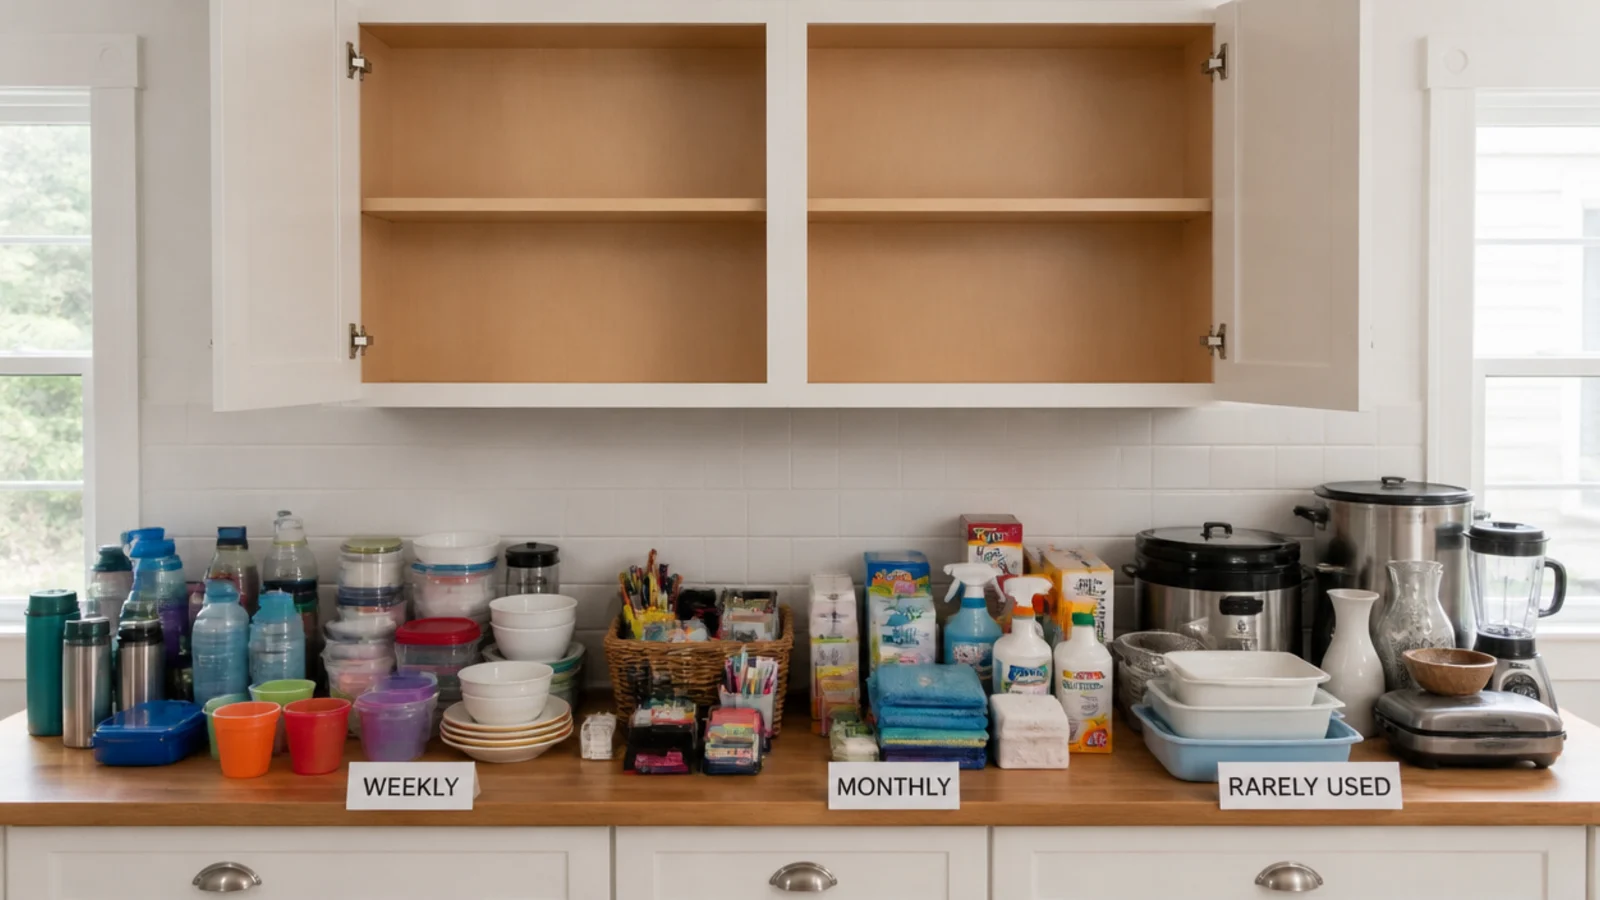
1. Take down one cabinet, not the whole run
The single most useful piece of advice here. One cabinet is a test you can reverse; a whole wall is a decision you live with.
Choose the one furthest from the range for the first attempt. Live with it for a month before touching the next. Most people stop at two.
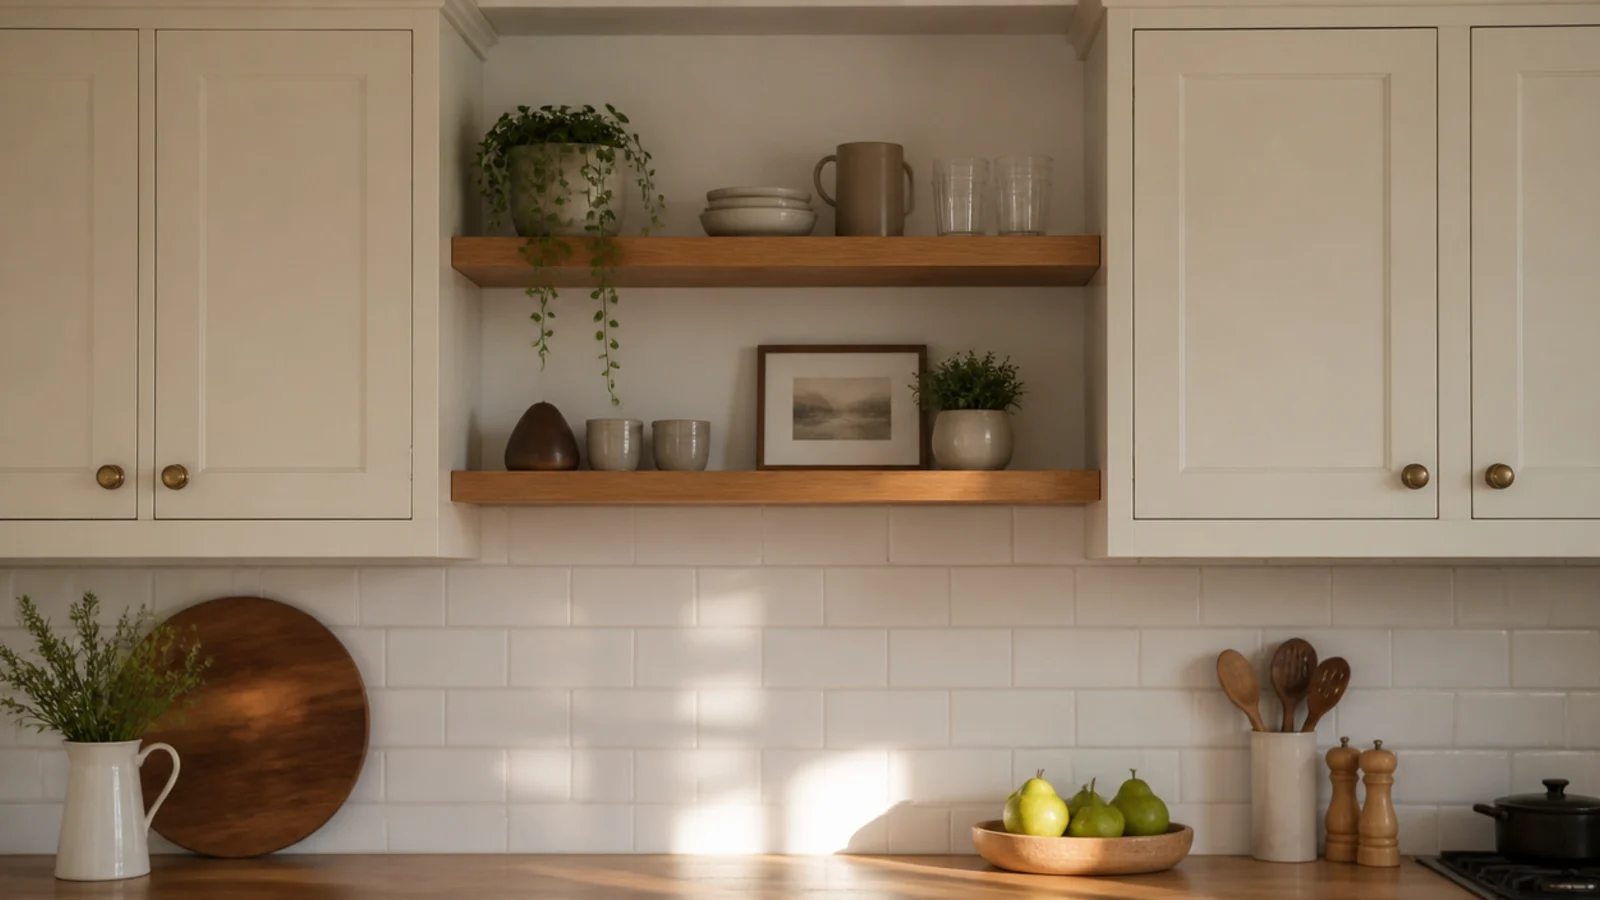
2. Keep the cabinet nearest the range
The four feet either side of a burner is where an airborne grease film lands hardest, and a closed door is the only genuine protection.
Keep that cabinet for the equipment you use monthly — the food processor, the big pans, the baking tins. It carries the awkward things so the open shelves can stay honest.
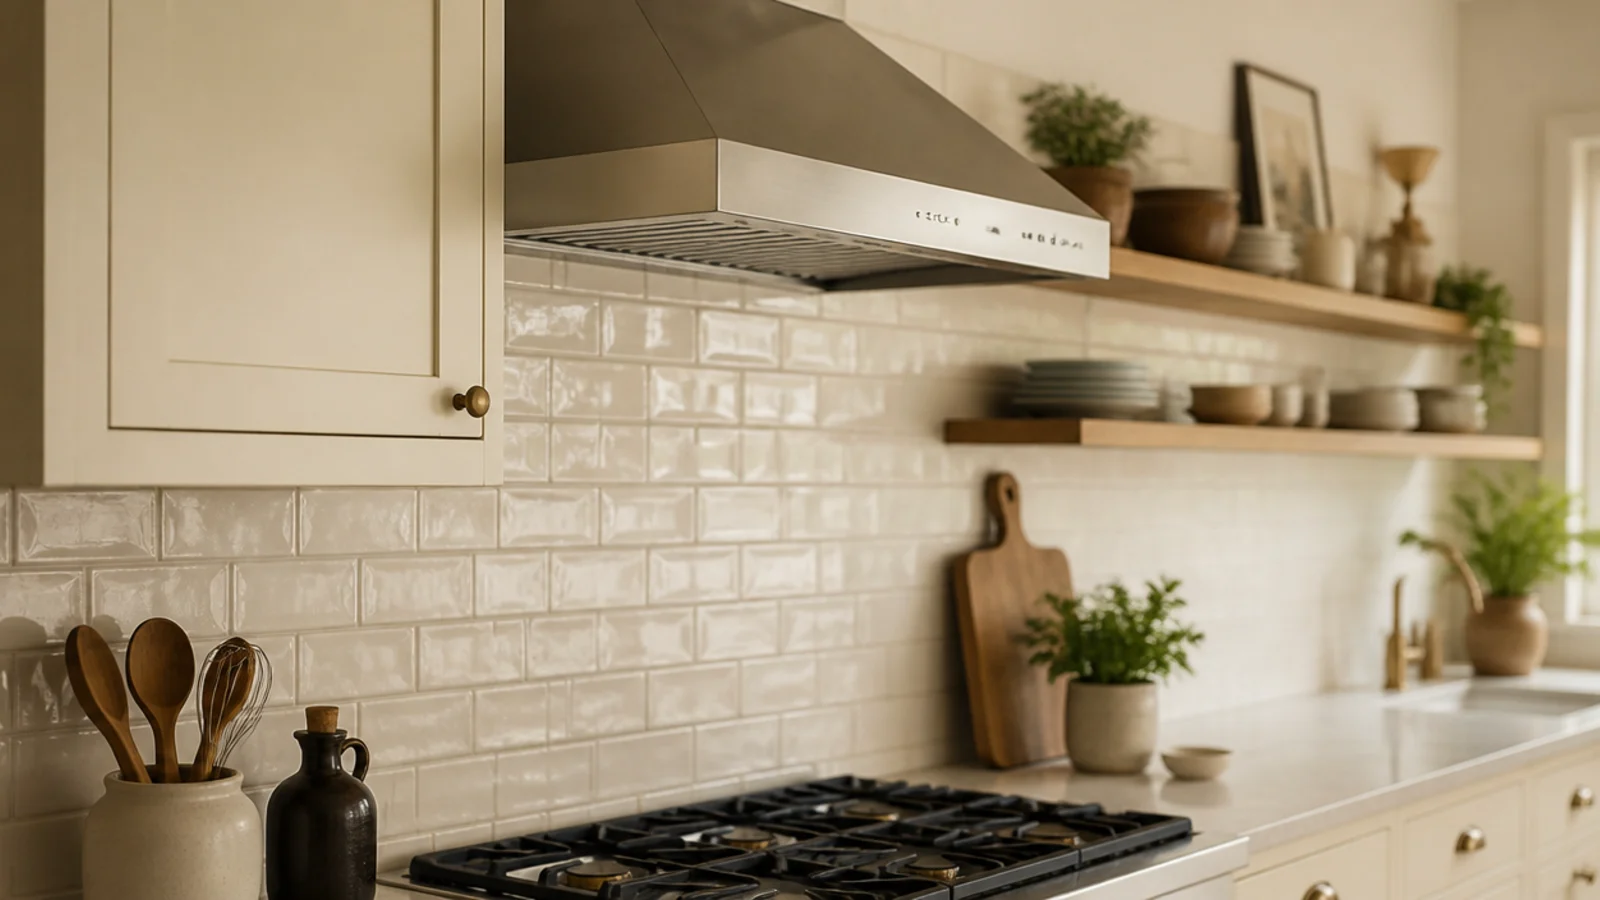
3. Do the storage math before demolition
Count internal shelf area, not cabinets. A 30-inch cabinet gives you roughly two full shelves plus the depth behind them; two open shelves in the same wall space give you two shelves and no depth.
Write the difference down as a number. It makes the next twenty decisions much easier.
4. Match the shelf heights to the old cabinet lines
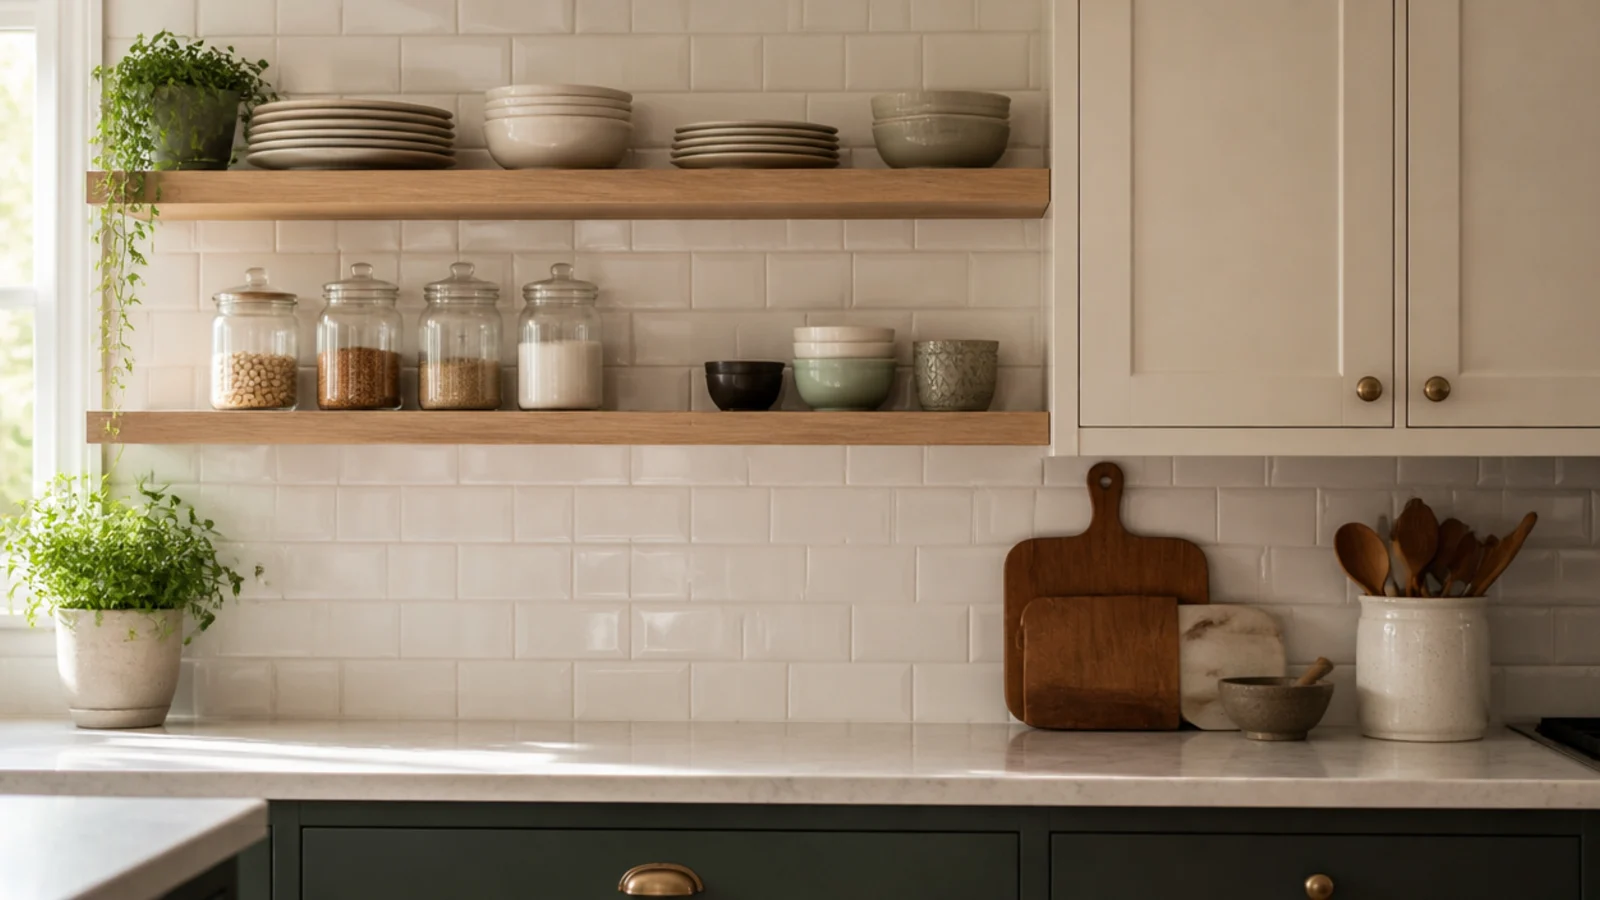
If any cabinets remain, land your shelf tops level with their tops or their mid rails. Borrowed alignment is what makes a partial swap look designed.
Measure to the cabinet carcass rather than the door, since doors are set with a reveal and will send you a quarter inch out.
5. Patch and skim the wall behind first
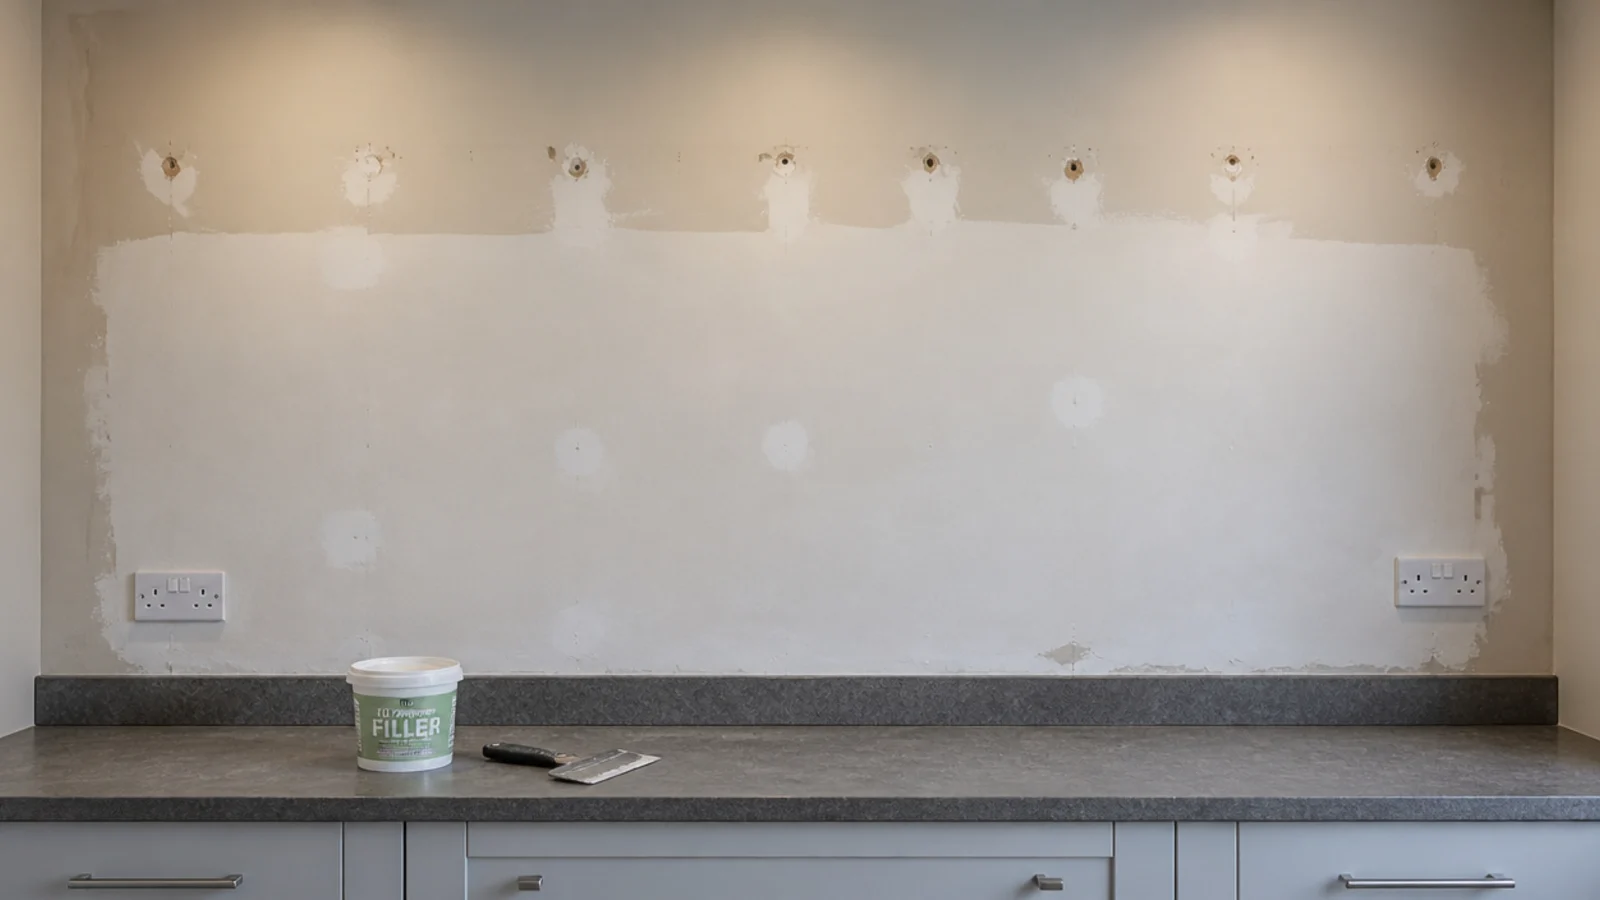
Cabinet backs conceal unpainted plaster, old tile edges and holes from two generations of fixings. All of it appears the moment the box comes off.
Budget a weekend for filling, skimming and painting. Doing it now is far easier than cutting in around finished shelves and a loaded run.
6. Tile all the way up where the cabinets were
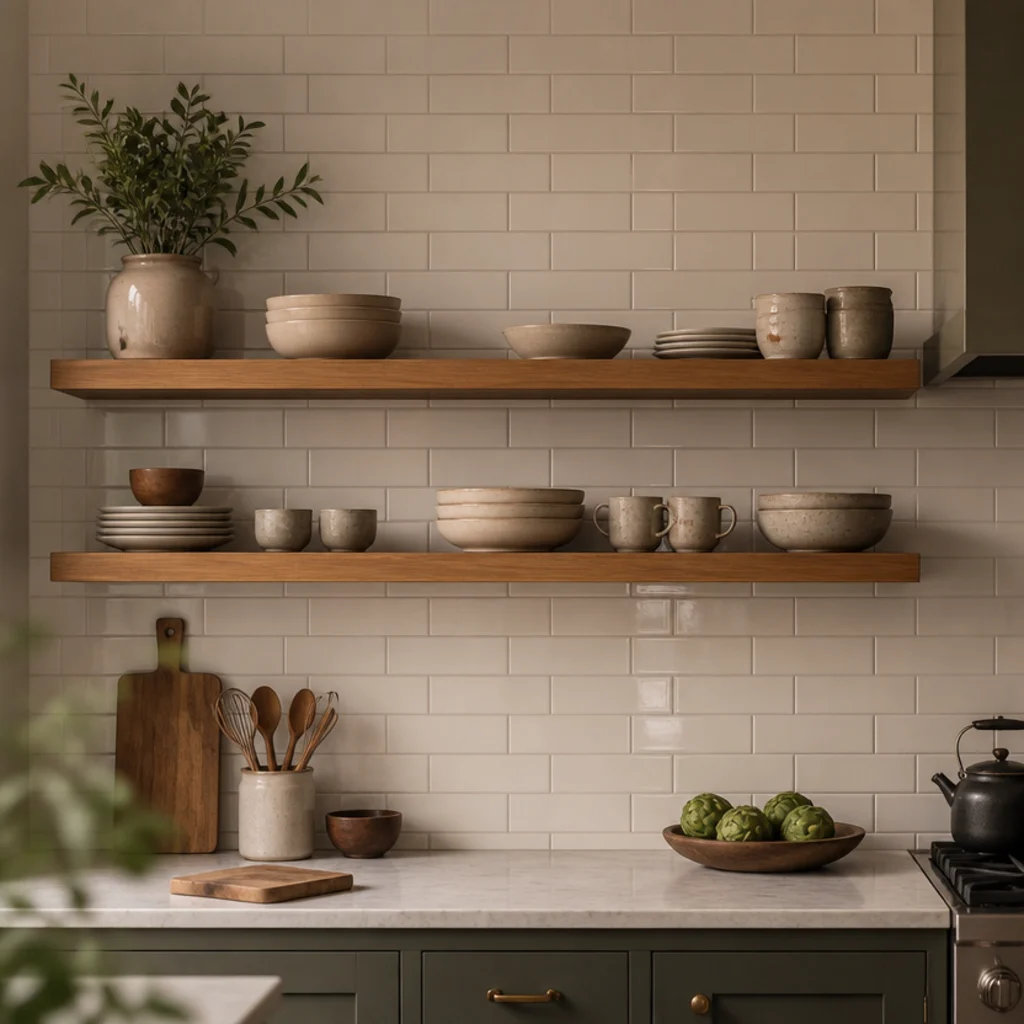
If the backsplash stops at the old cabinet line, carrying the tile to the ceiling is what turns a removal into a renovation.
It also gives you a wipeable surface exactly where an open shelf needs one. Match the grout to the tile rather than contrasting it, so the wall reads as one calm plane behind the shelves.
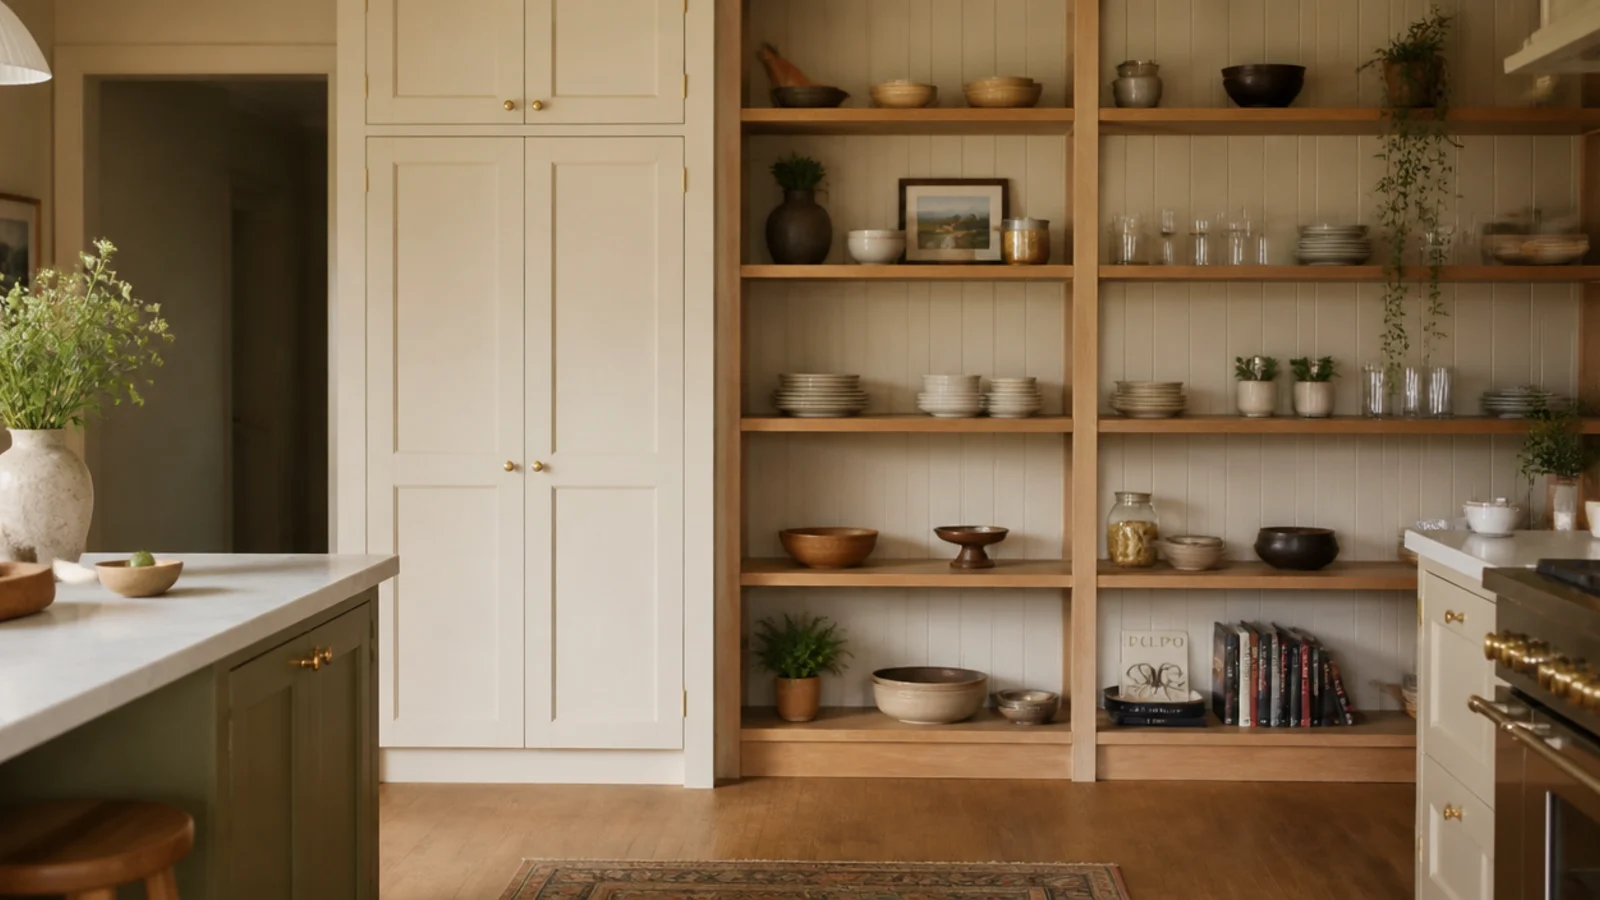
7. Trade the uppers for one tall pantry cupboard
The cleanest way to lose a wall of cabinets is to gain one full-height cupboard elsewhere. A 24-inch larder holds more than three wall cabinets.
Put it at the end of the run or in the corner nobody works in. One tall door buys you an entire open wall, and it is the trade that makes the whole plan add up.
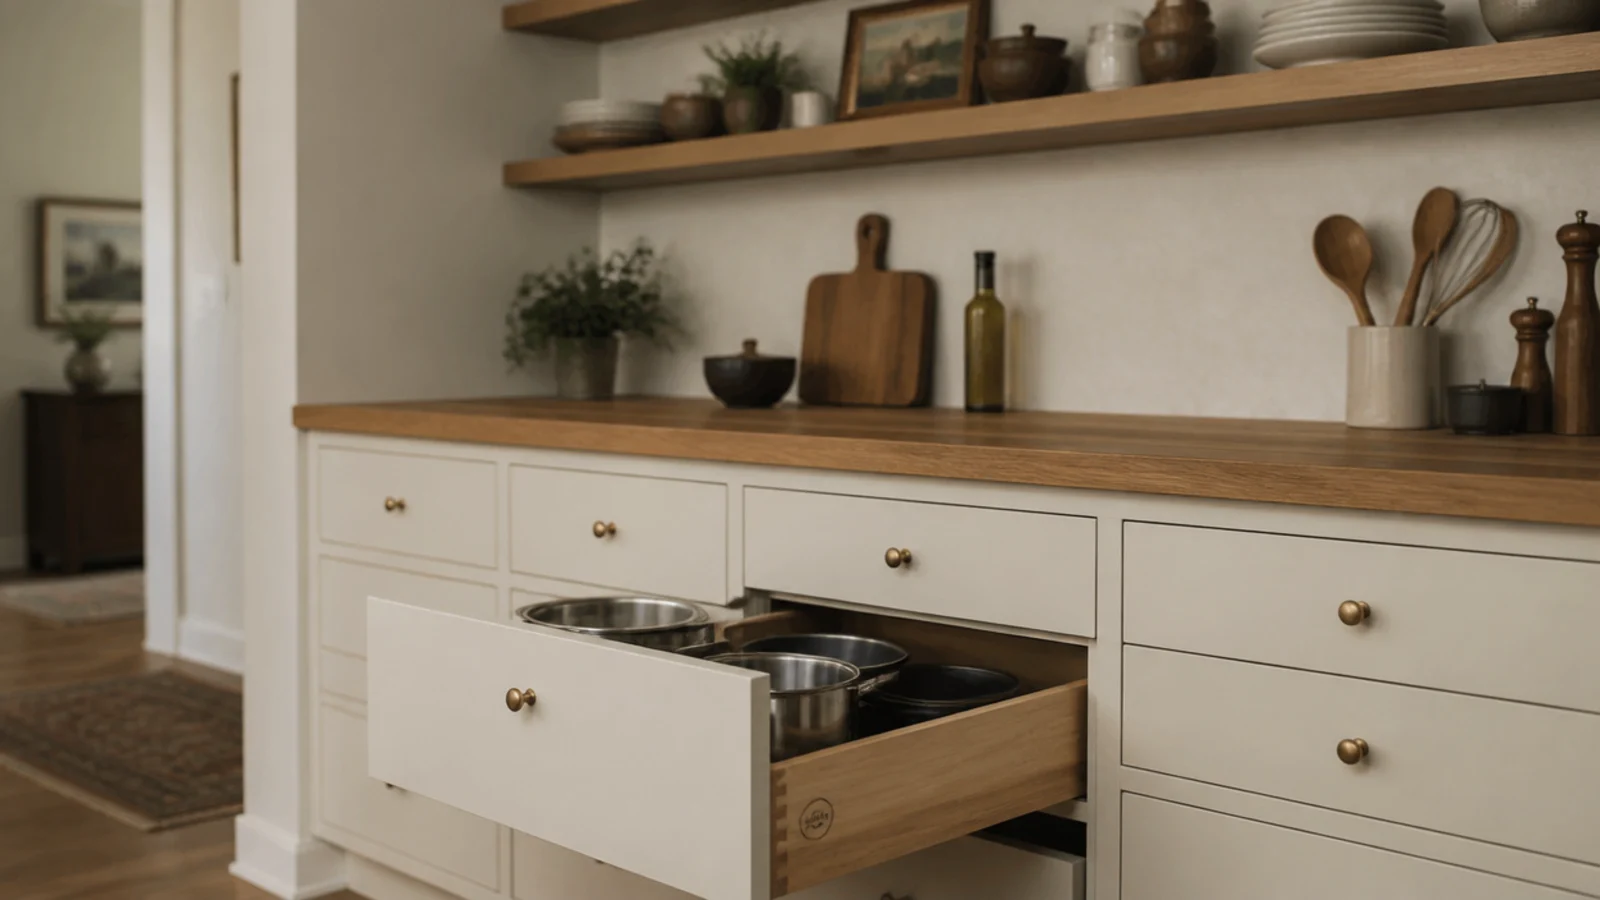
8. Swap uppers for shelves, add drawers below
Deep pan drawers hold far more than the base cabinets they replace, because nothing gets lost at the back.
Converting two base cabinets to drawers recovers most of what a wall cabinet held, at eye level you actually use. Do this at the same time as the uppers come down and the kitchen never feels short of storage.
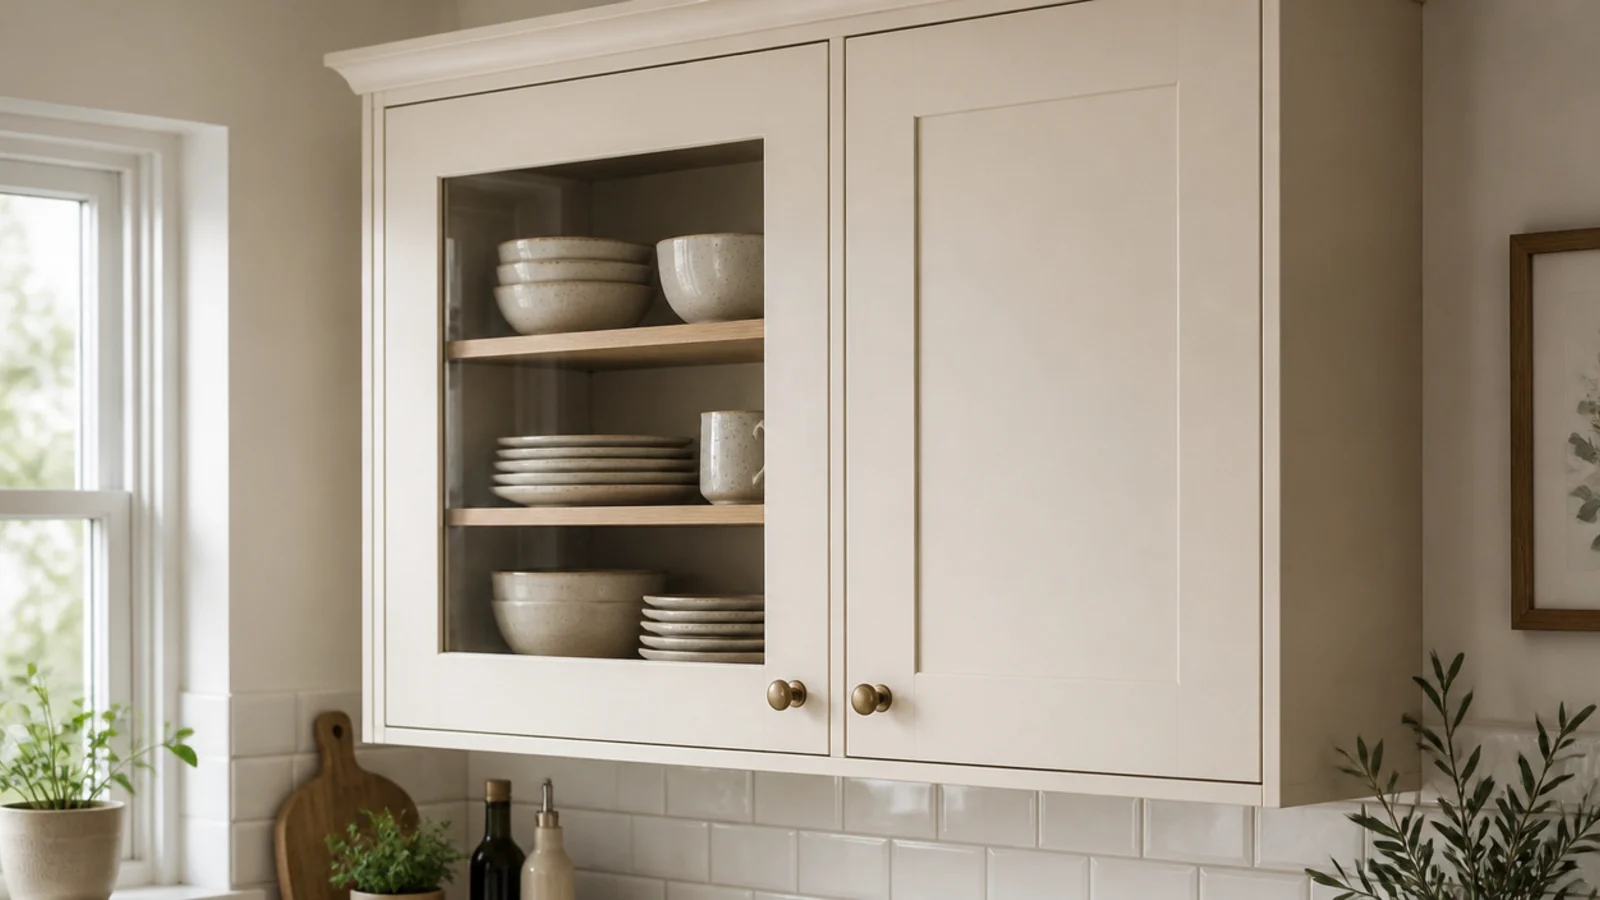
9. Glass doors as a halfway step
If open shelving worries you, glazed doors give you the visual lightness with none of the grease exposure.
It is also the honest option beside a range. Reeded or fluted glass hides the contents enough that a slightly untidy stack stops mattering, which is a real advantage in a working kitchen.
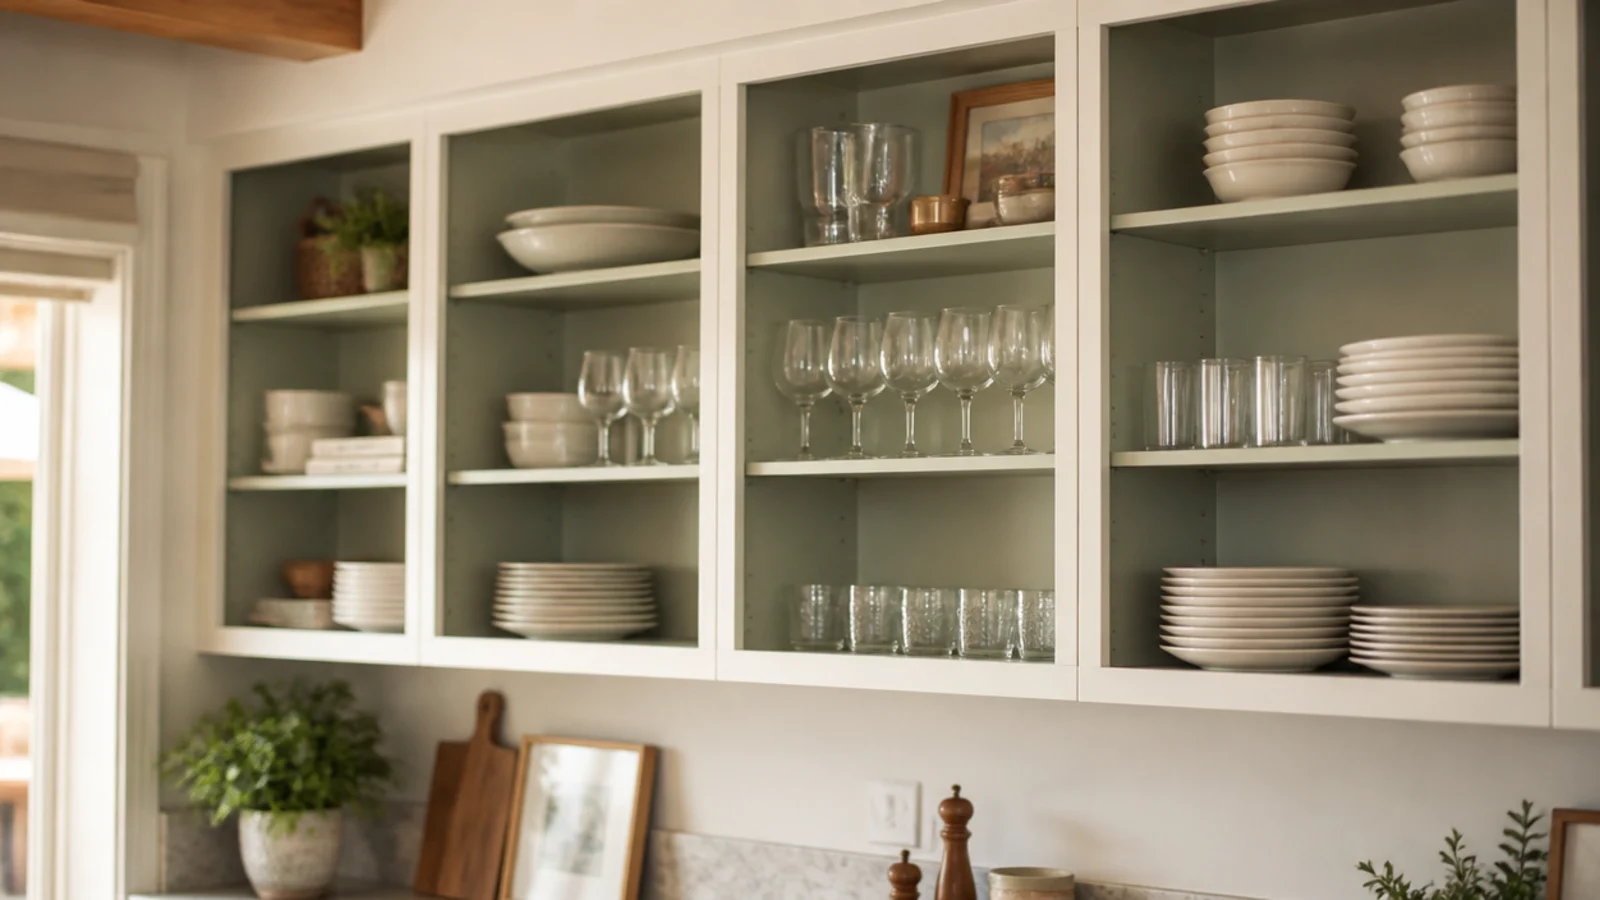
10. Leave the boxes, lose the doors
Unscrew the doors, fill the hinge holes, and paint the cabinet interiors a soft contrast color. It costs a sample pot and an afternoon.
You keep the full internal depth, which is the storage open shelves lose. And it is completely reversible, which matters in a rental. A no-drill version sits in kitchen shelf decor.
11. Run the shelves past the old cabinet ends
Cabinet runs stop where the carcasses stopped. Shelves have no such limit, so extend them a foot or two past the old edge.
That extension is what stops the new shelving reading as a cabinet-shaped hole. It also usually gives you back the storage volume the swap cost you.
12. Everyday set on shelves, the rest in base cabinets
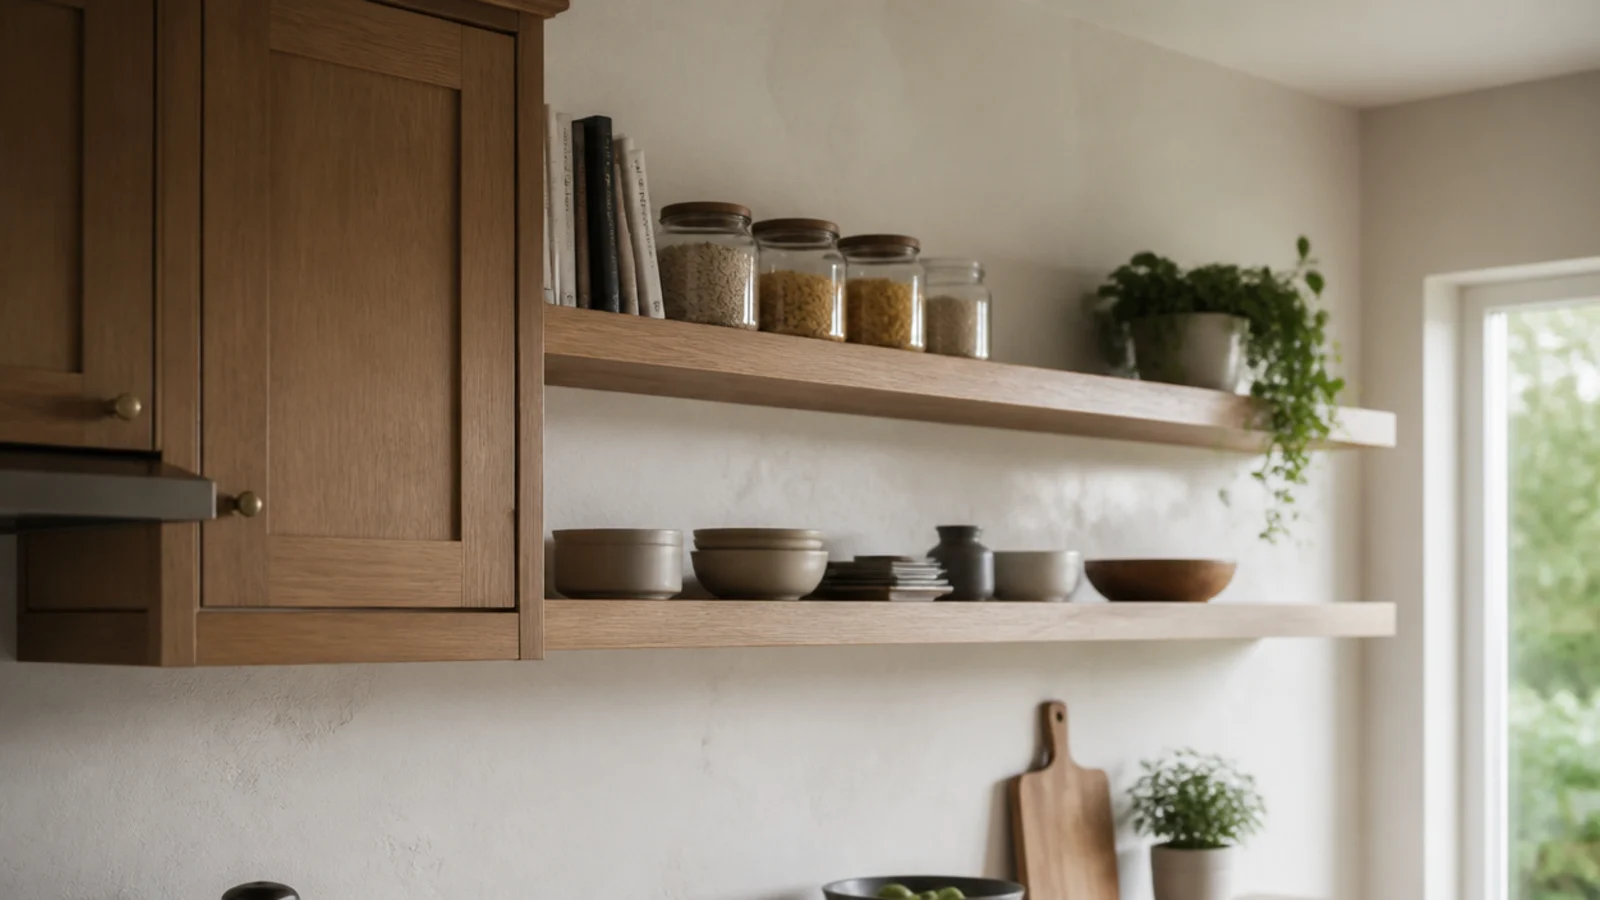
The sorting rule that keeps open shelving alive: one full set of the dishes you eat off goes up, and every duplicate, spare and special-occasion piece goes down.
Weekly use is what keeps an open shelf clean. Anything that sits still for a month starts collecting a film nobody has a reason to wipe.
13. Take the shelf run to the ceiling
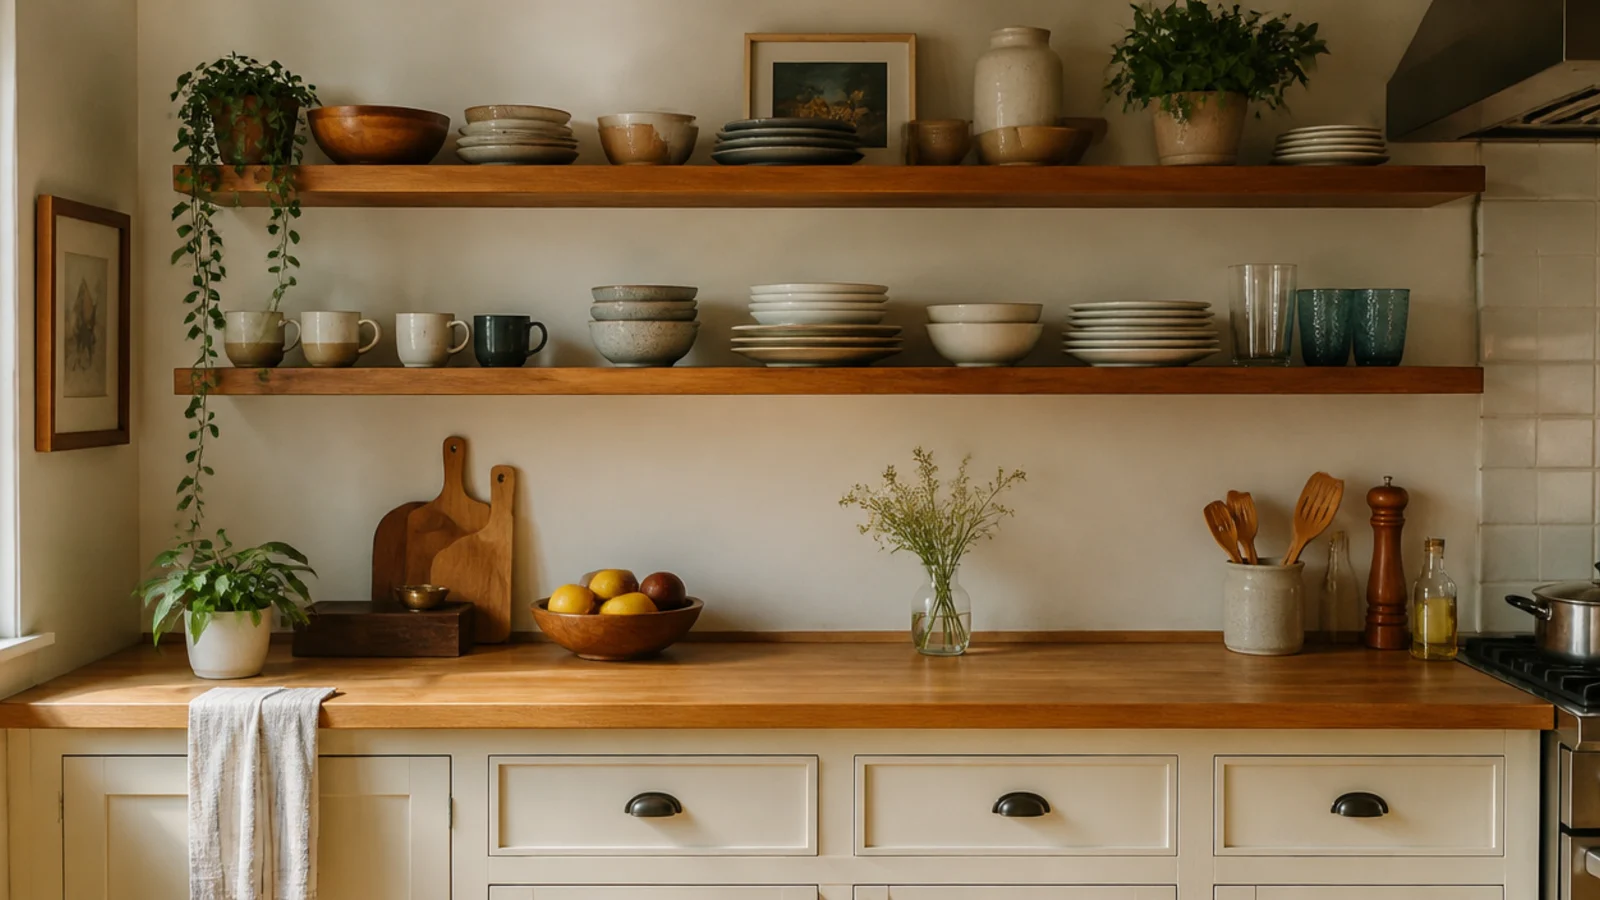
Stopping shelves where cabinets used to stop leaves a dead band above them. Running four shelves right up to the ceiling reads as joinery instead.
Dishes on the lower two, platters and seasonal pieces on the top two. It also recovers more volume than the cabinets held in the first place.
14. One deep shelf where a whole cabinet was
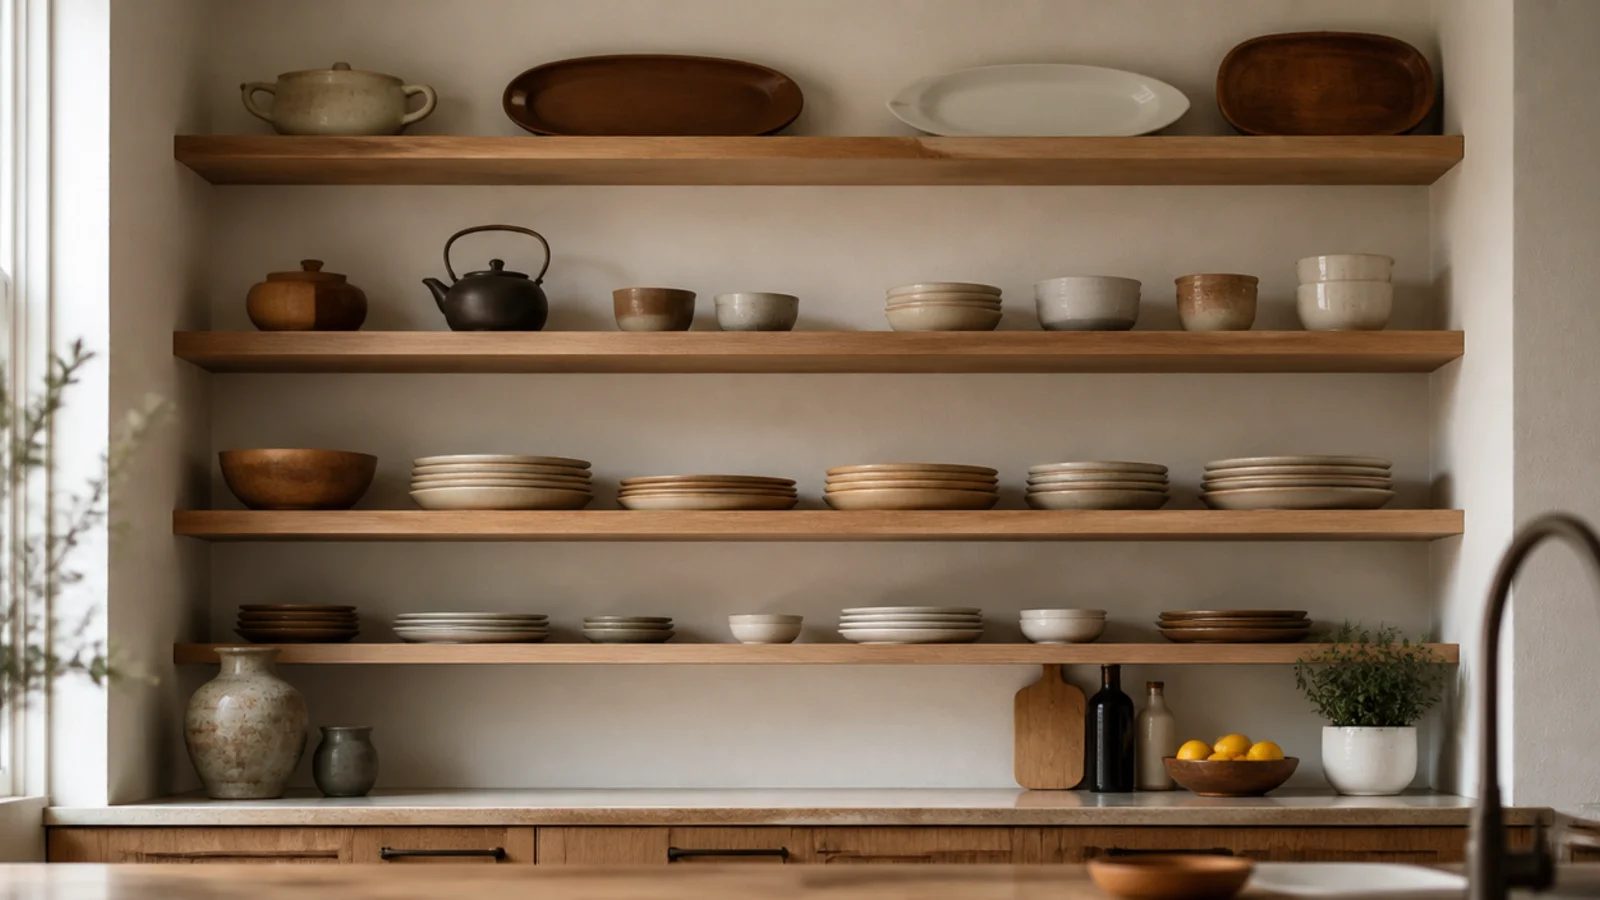
Instead of two shelves in the cabinet footprint, try one generous 12-inch board with real space above and below it.
Less storage, far more presence. This suits a wall you see from a dining table or a sofa, where the shelf is doing as much visual work as practical work.
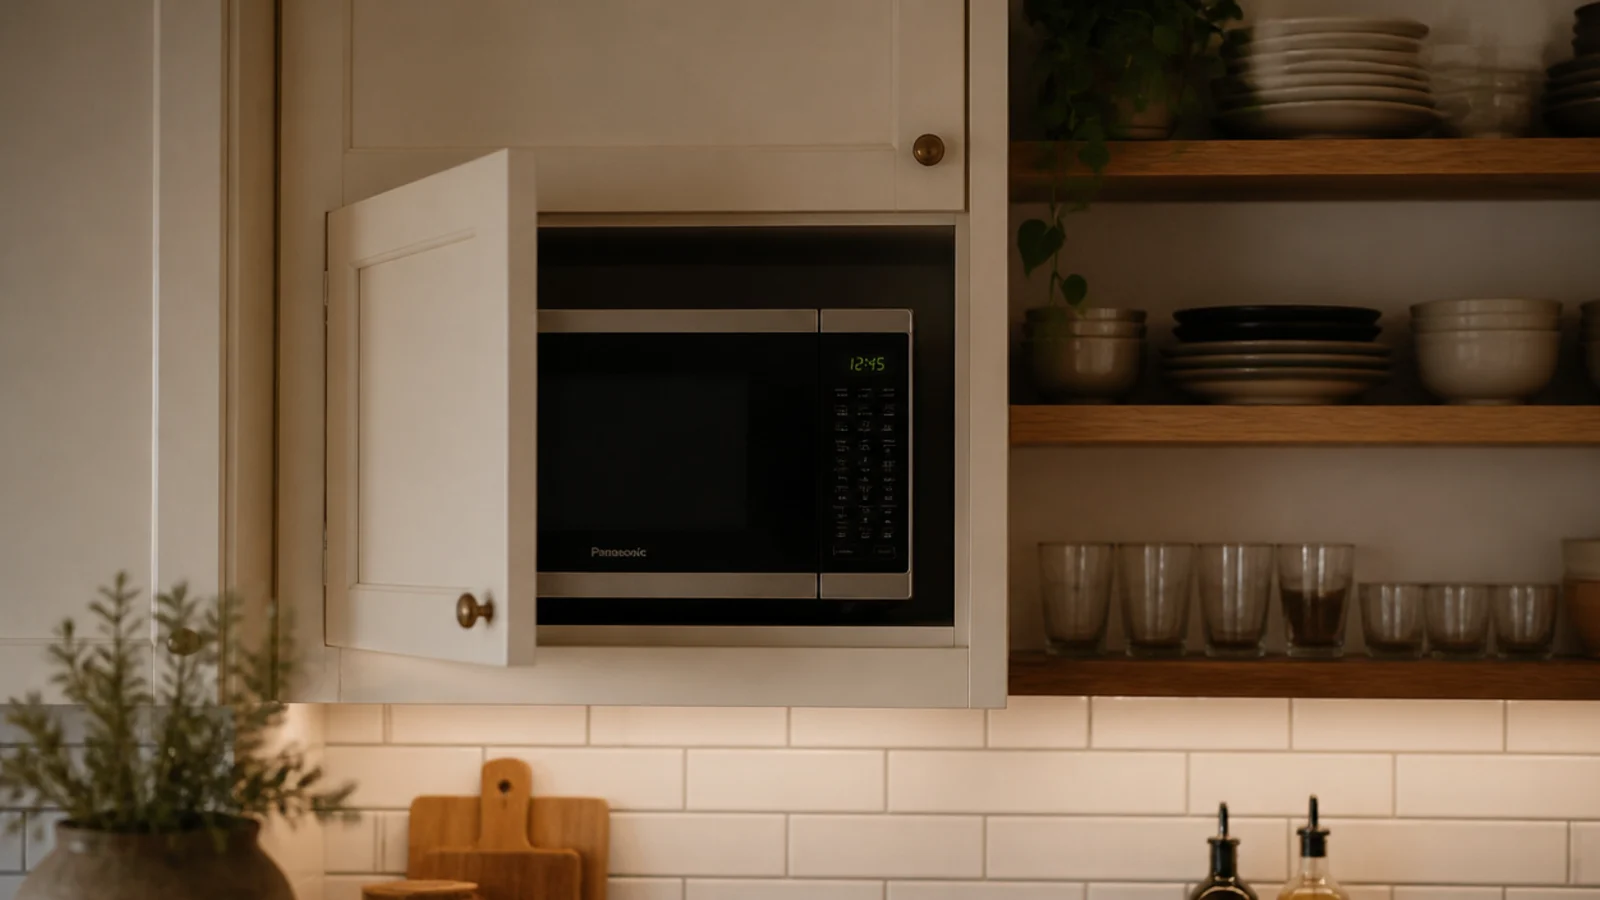
15. Keep the microwave behind a door
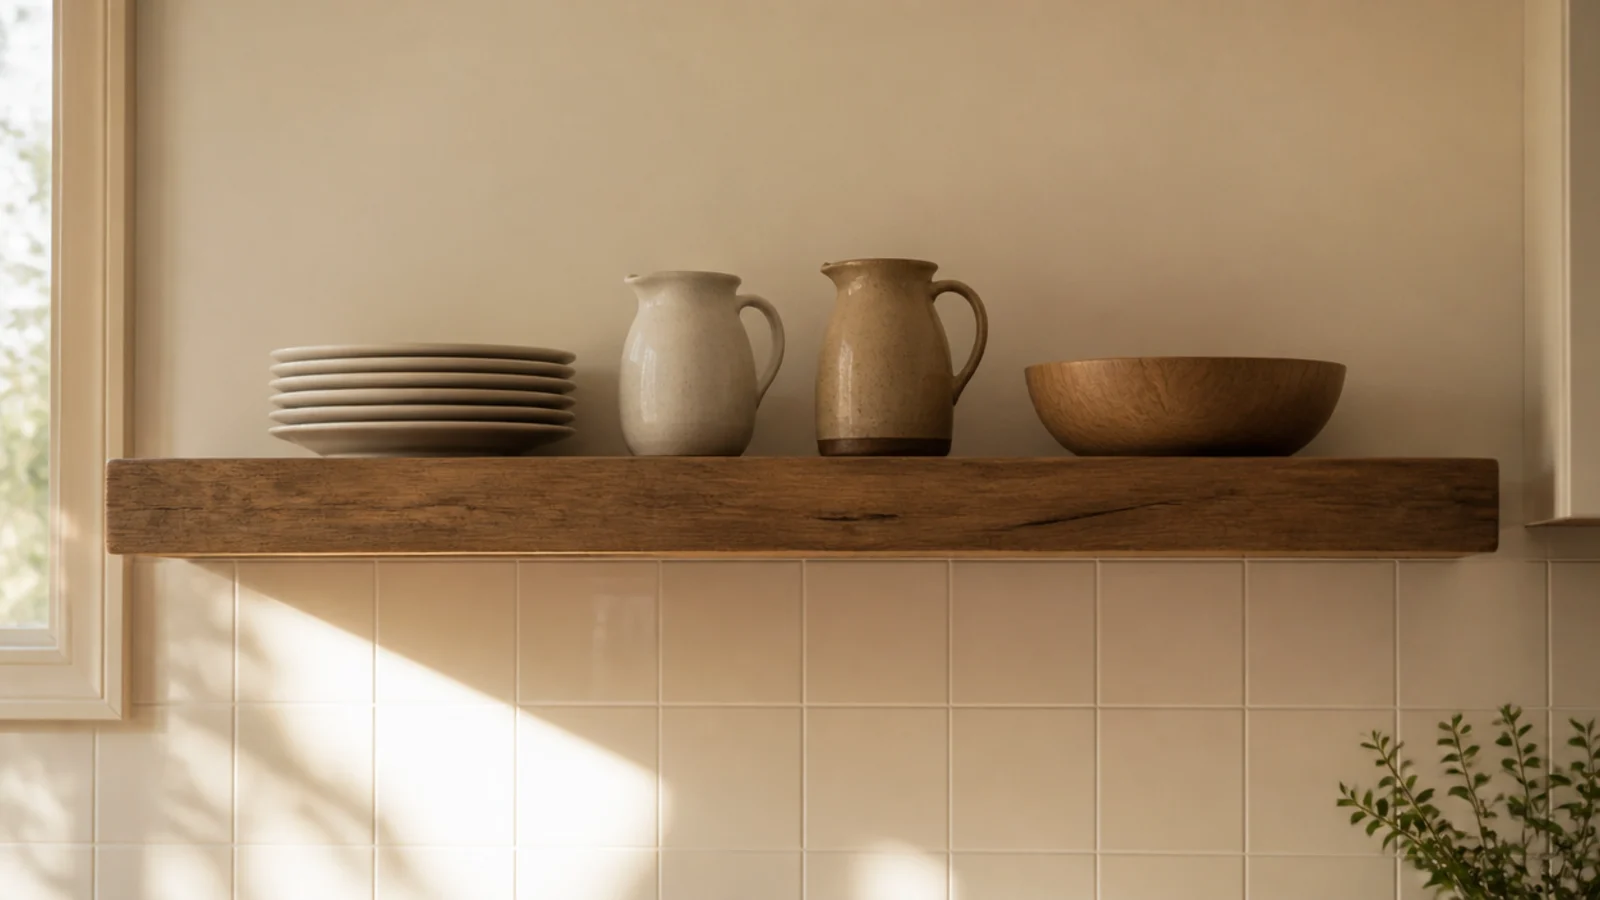
Appliances are the one thing open shelving never flatters. A microwave, a toaster oven or an air fryer on a shelf dominates the wall.
Keep a single cabinet or an appliance garage for them and let the shelves carry dishes and glass. This one decision does more for how the finished wall looks than any styling.
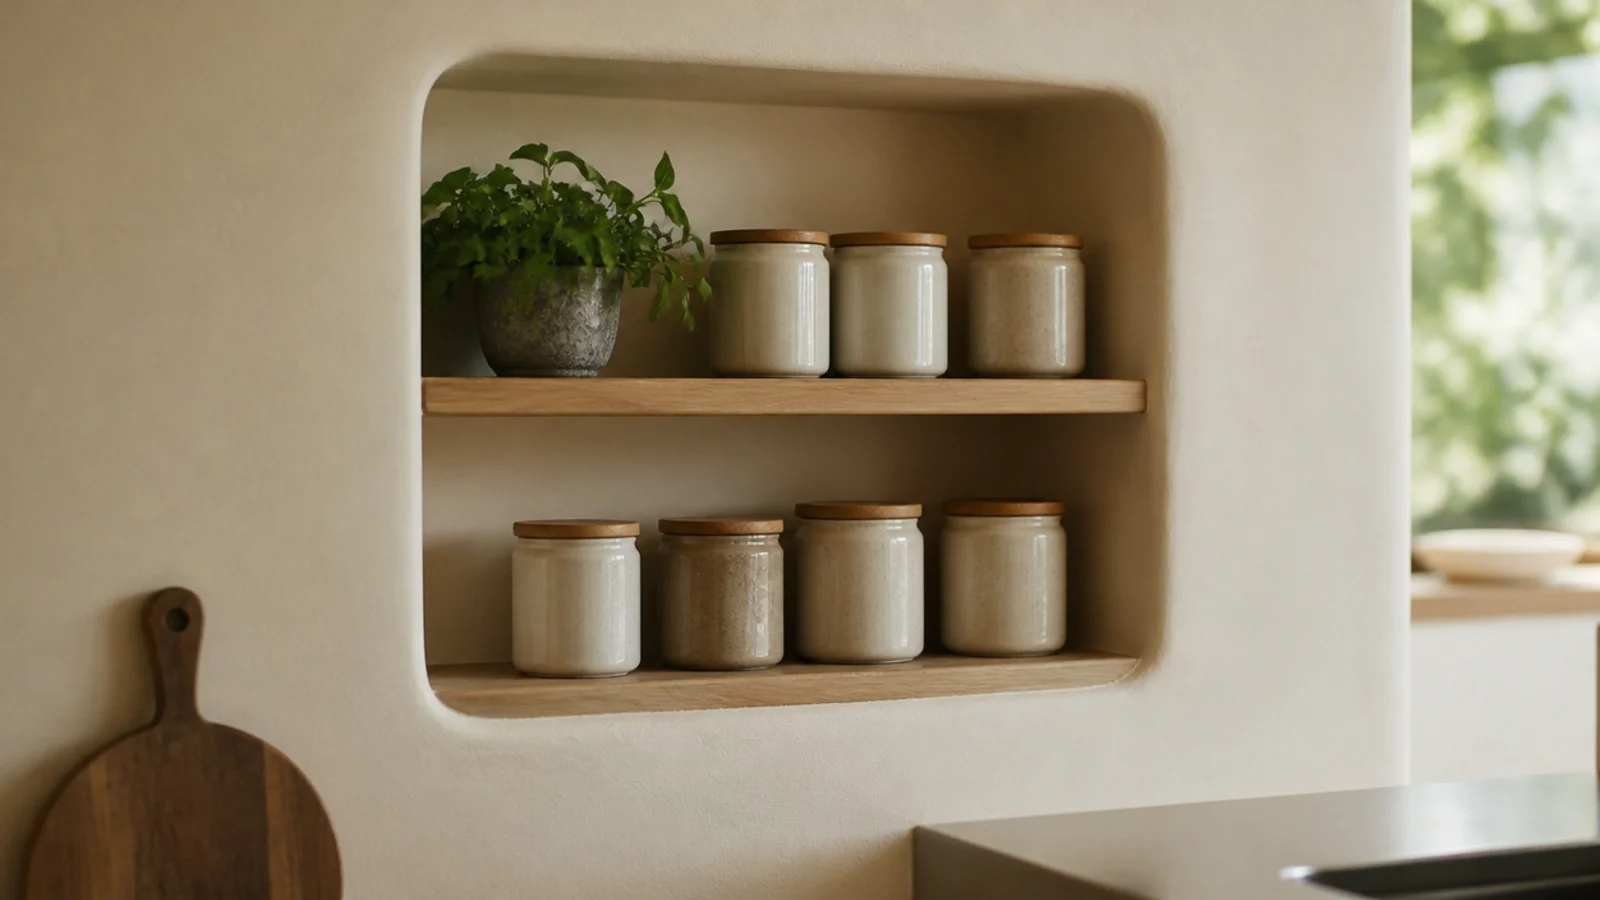
16. Turn one cabinet into a plaster niche
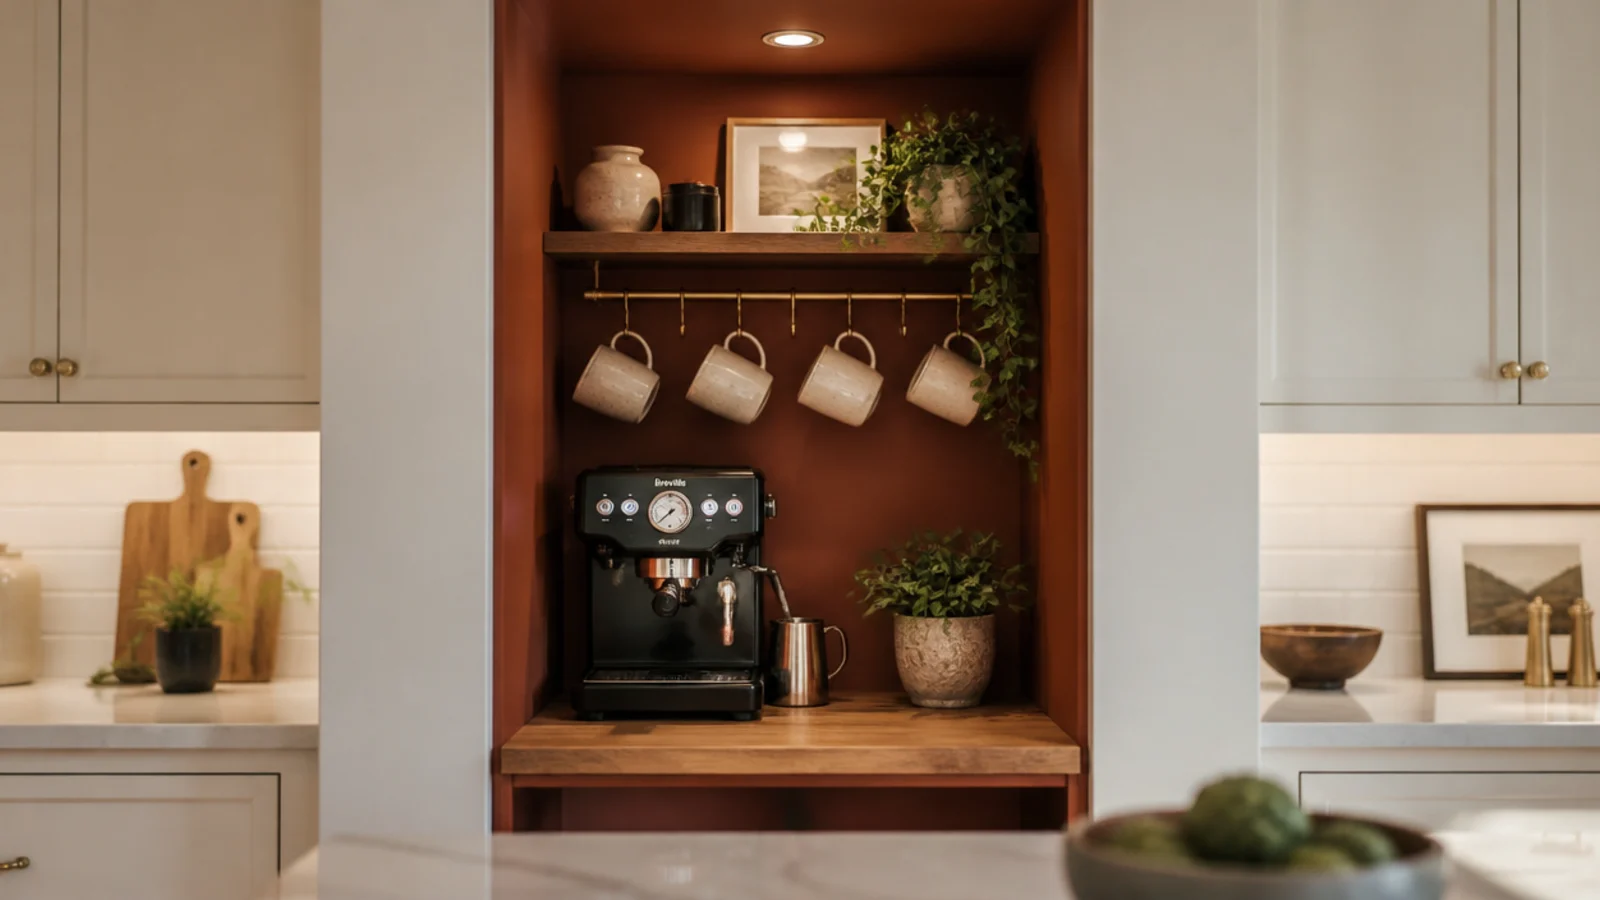
Where a cabinet sat between two projections, framing and plastering a shallow recess with shelves inside makes the storage look original to the house.
Soften the plaster edges rather than leaving them crisp, and paint the niche interior the wall color. It costs more than shelves and looks like it came with the building.
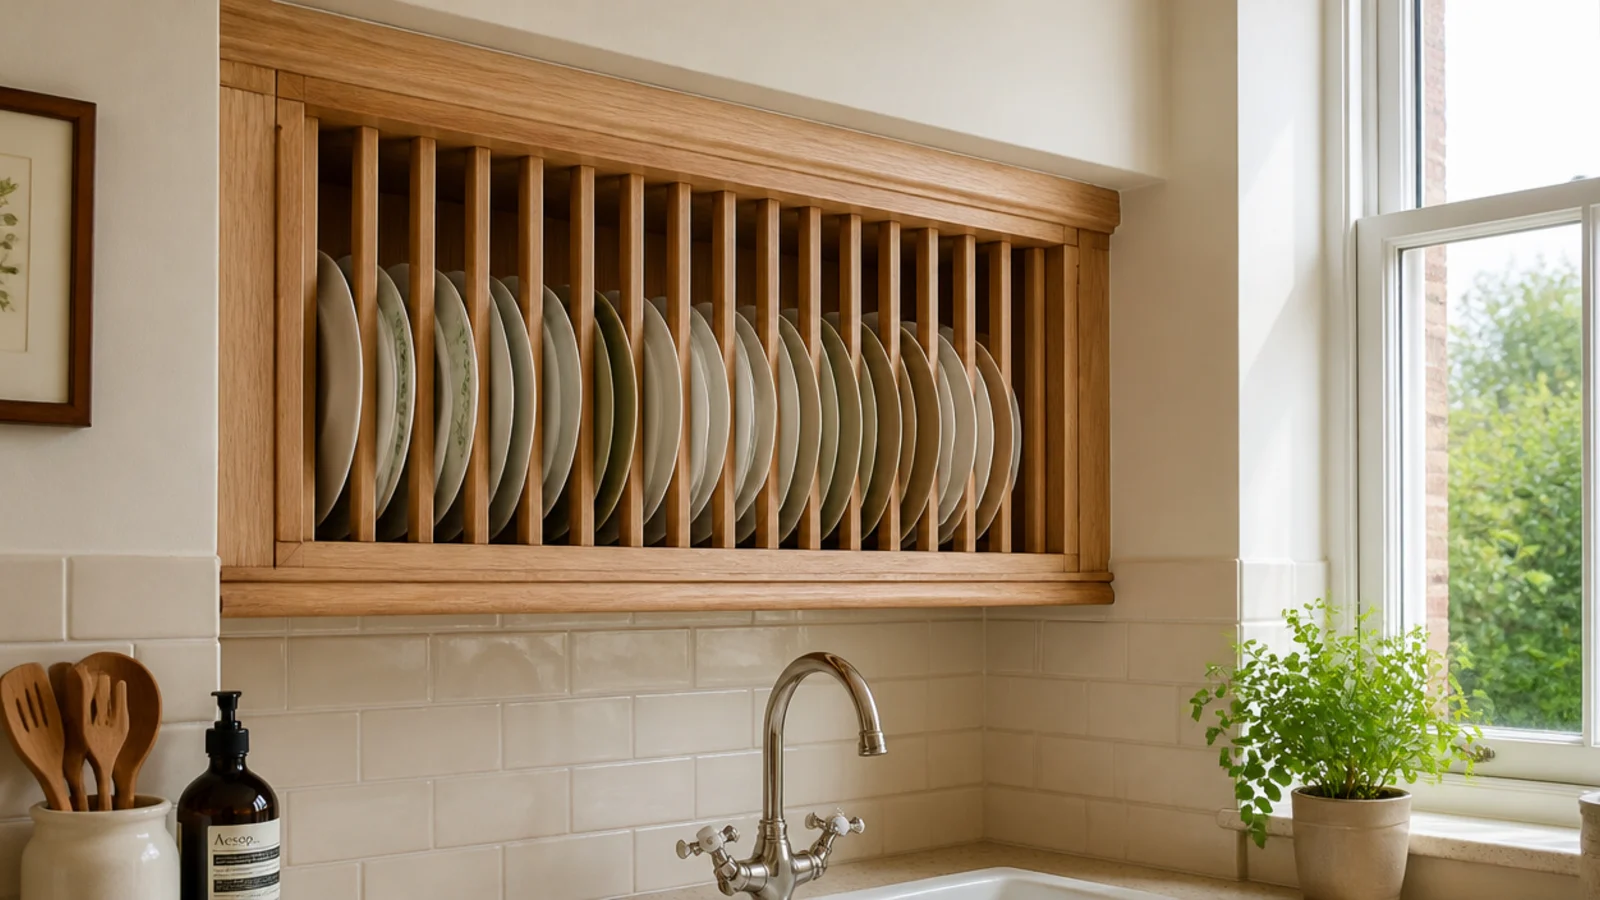
17. Add a plate rack where a cabinet was
A slatted plate rack above the sink stores and drains in one move, which is exactly the trick a cabinet cannot do.
Plates go in wet and come out dry, so the drainer leaves your counter permanently. Seal every face including the ends — this is the wettest woodwork in the house.
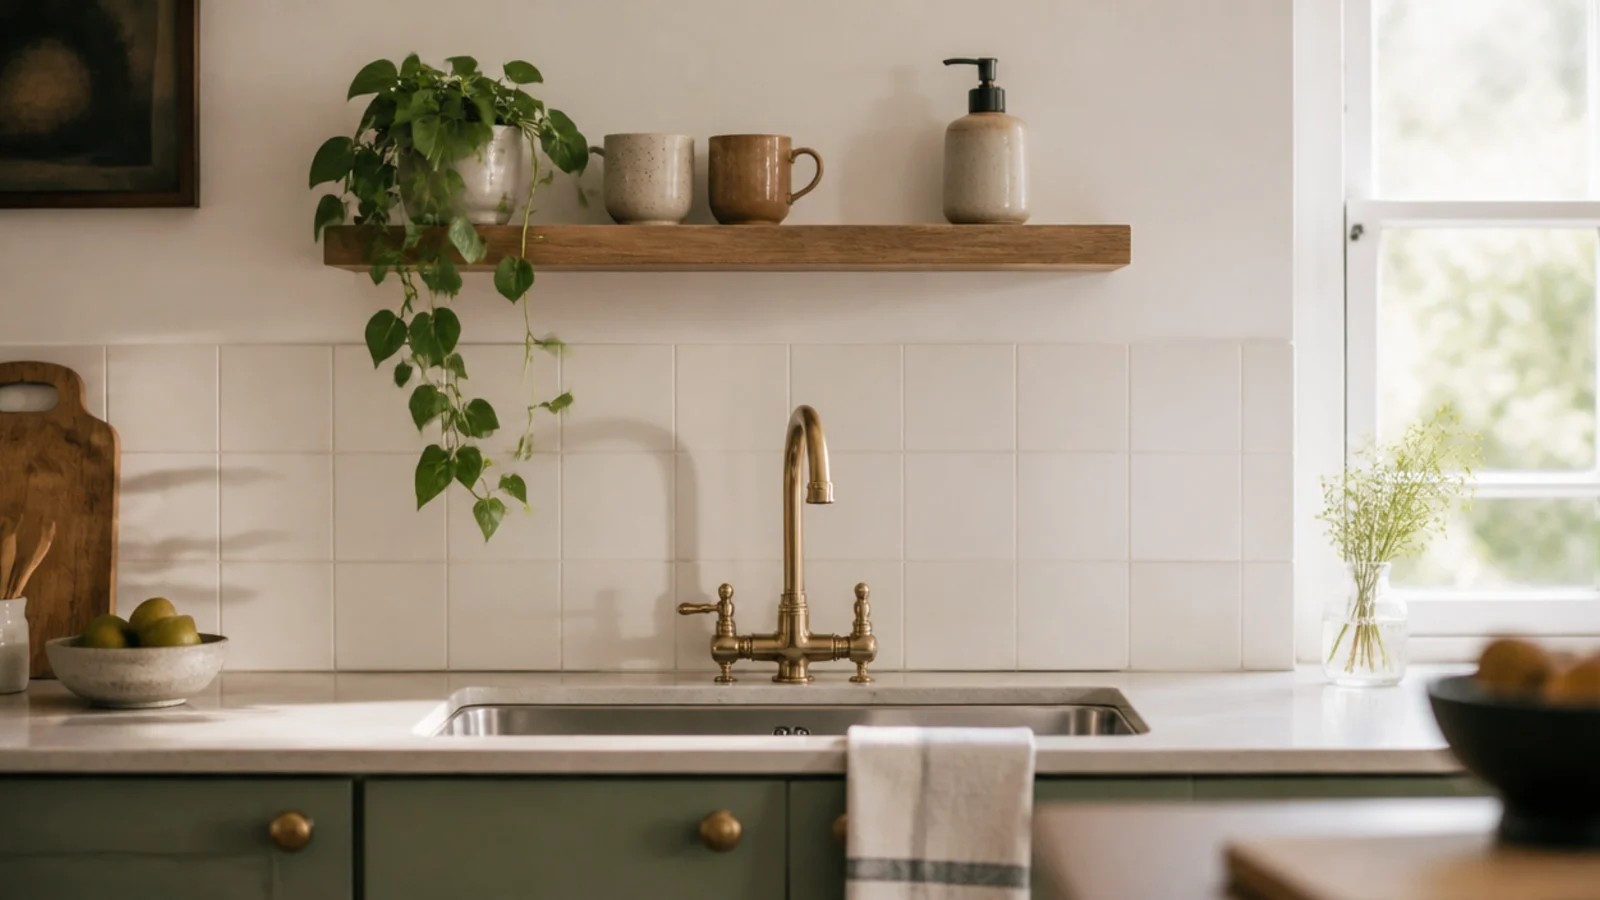
18. Open up the cabinet over the sink first
The cabinet above a sink is usually the least useful in the kitchen, because you are leaning over a bowl to reach it.
It is also the one place a shelf gets splashed rather than greased. Losing that door first gives you the biggest visual change for the smallest storage cost.
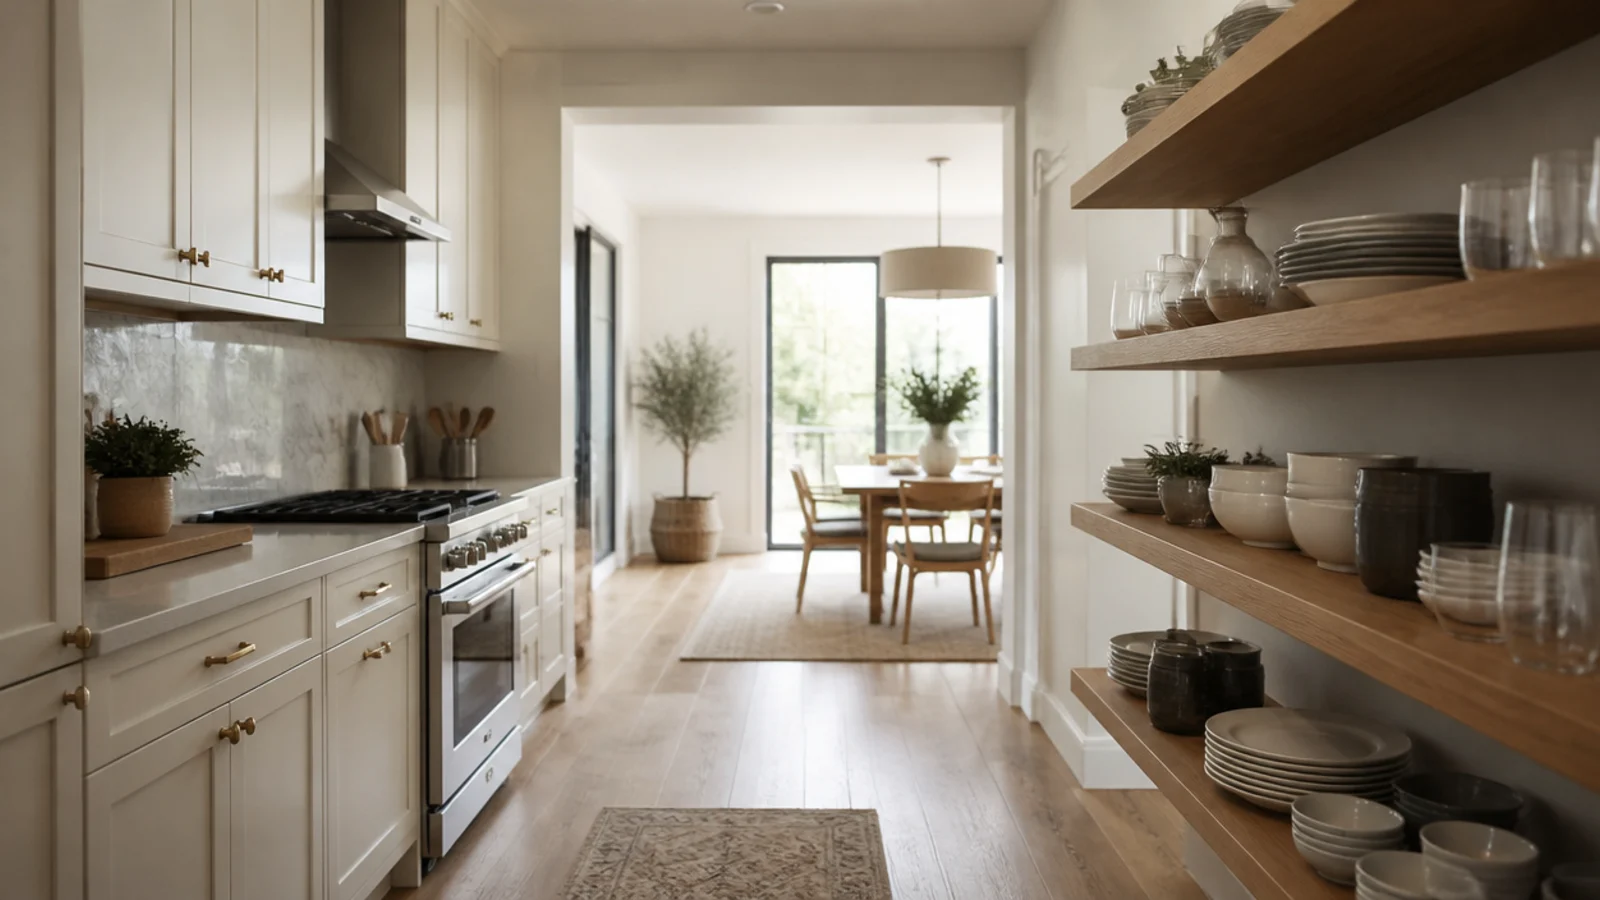
19. Cabinets on the stove wall, shelves everywhere else
In a kitchen with two facing runs, keep the cooking wall closed and open the other one entirely.
You get the airy look across the room you actually see, and the grease stays behind doors where it belongs. Full arrangements for the open wall live in kitchen shelf styling.
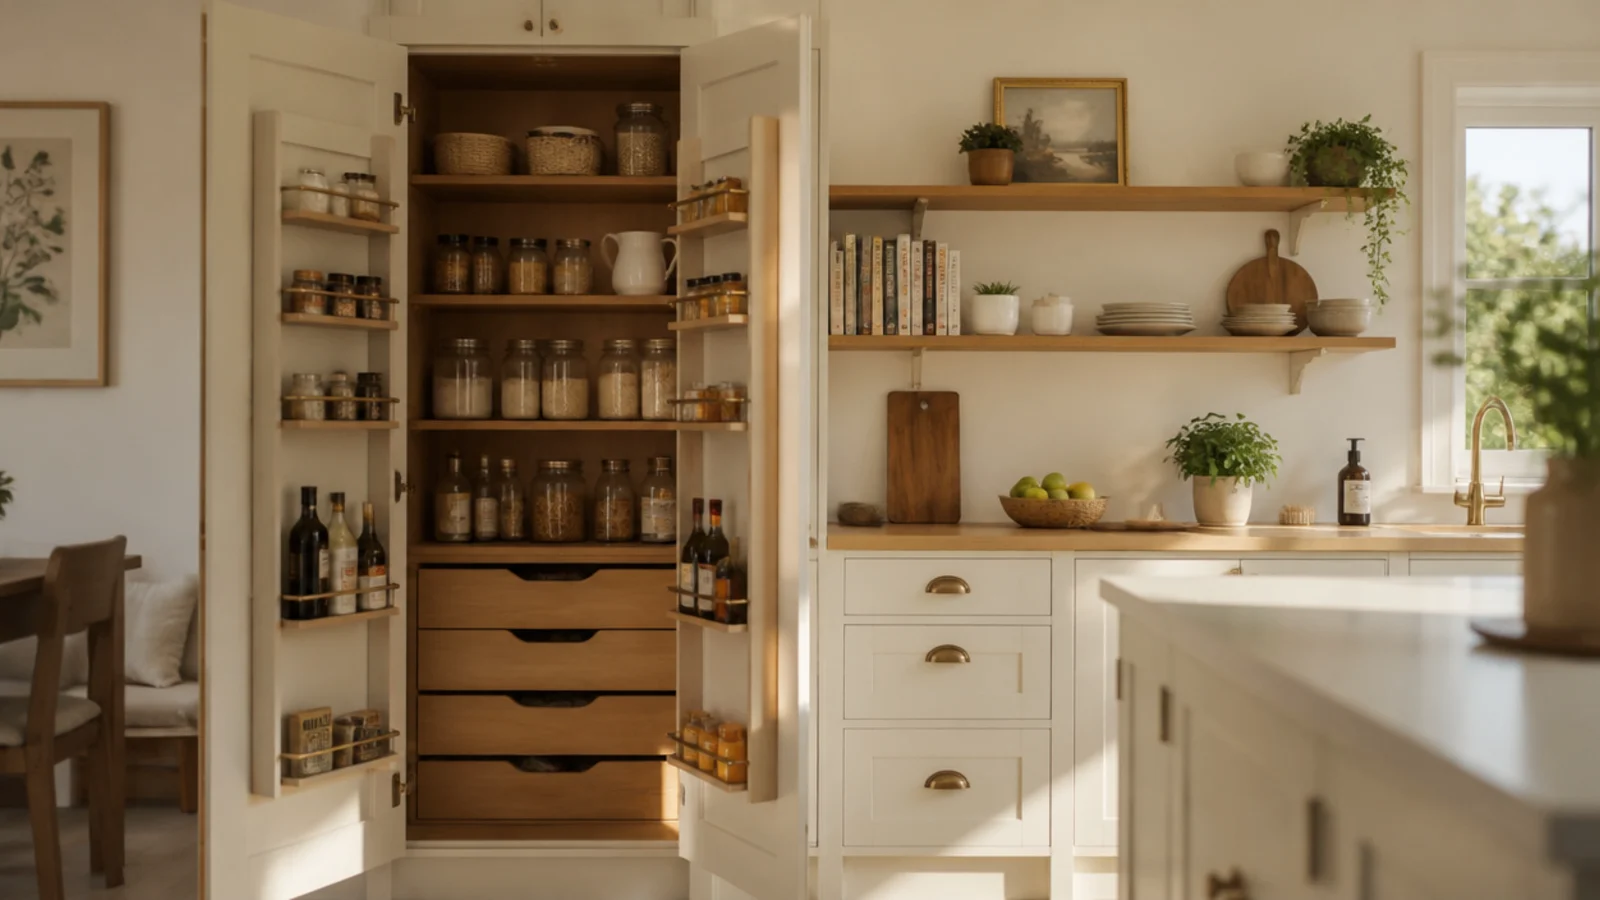
20. Buy one built-in larder and open the rest
If the budget was going on cabinet doors anyway, spend it on one very good larder with internal drawers and spice racks.
One excellent cupboard plus open shelves beats a wall of mediocre cabinets on both storage and looks. It is the single best value decision in this whole list.
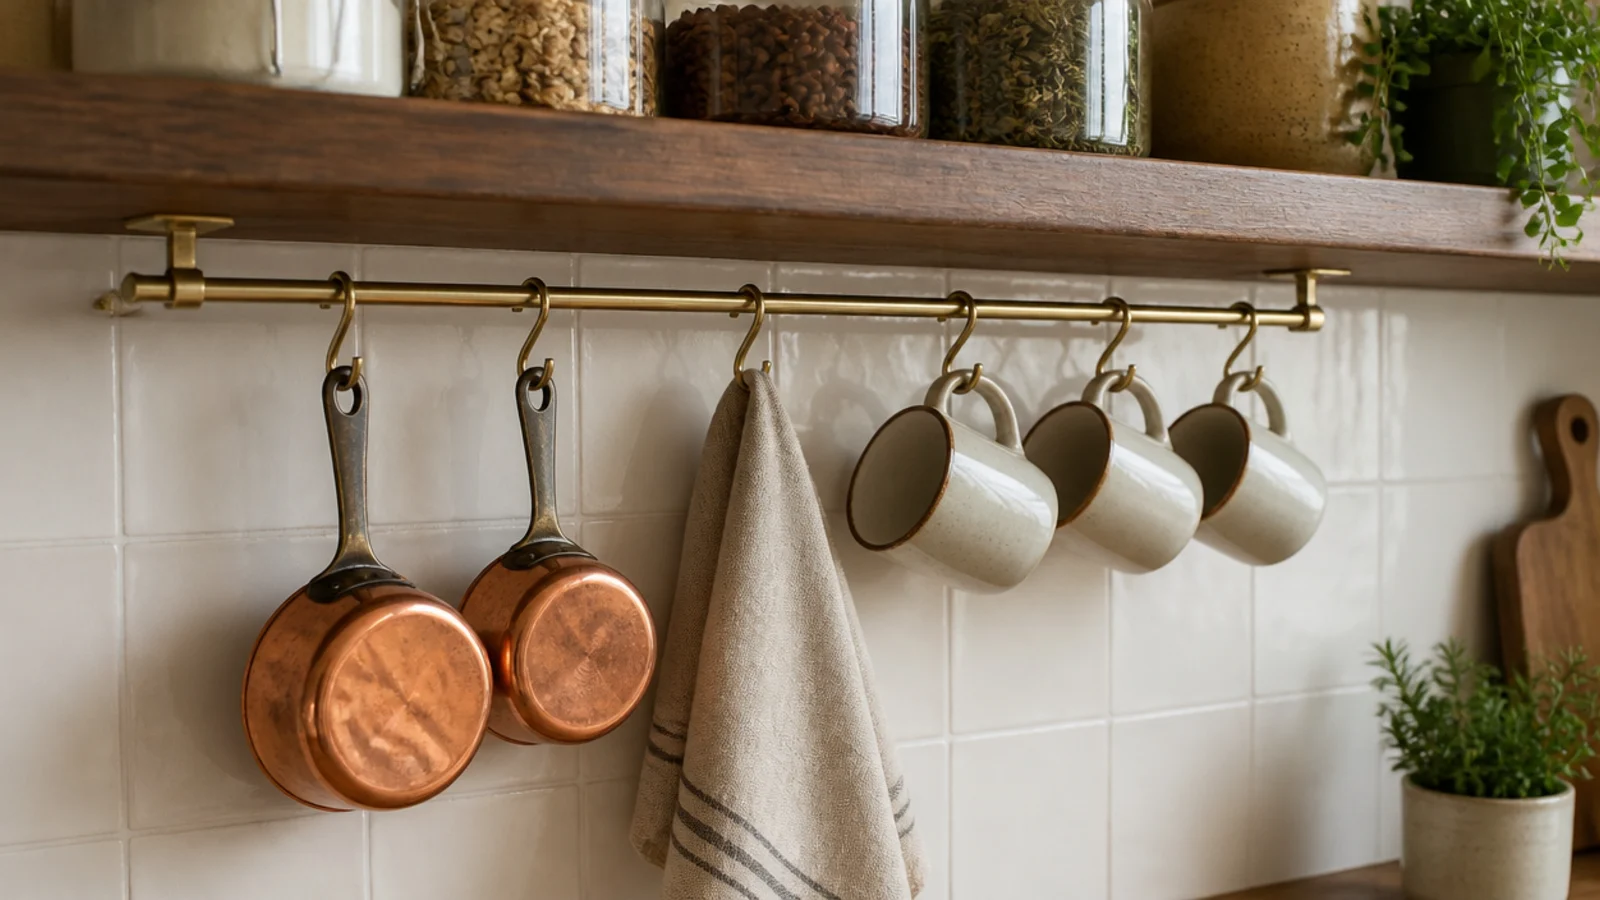
21. Add a rail below to recover hanging storage
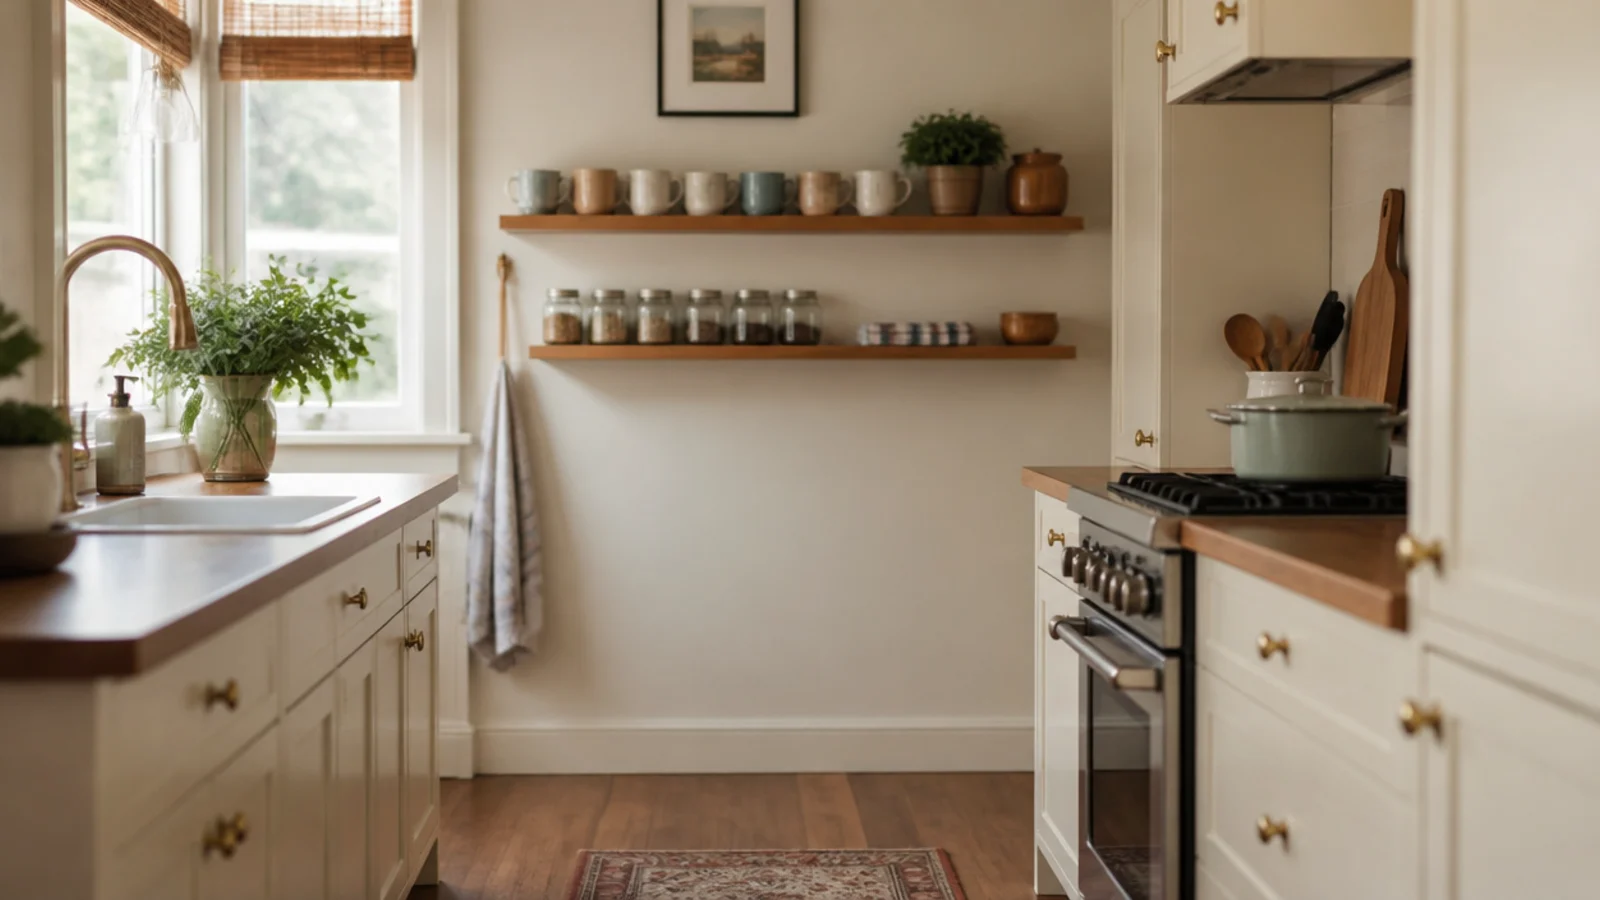
A brass or steel rail under a shelf with S-hooks holds cups, cloths and the pans you use weekly, all in space that was empty air.
Only hang what you use weekly. Anything hanging near a stove collects grease fastest of all, and the ones you never touch show it within a month.
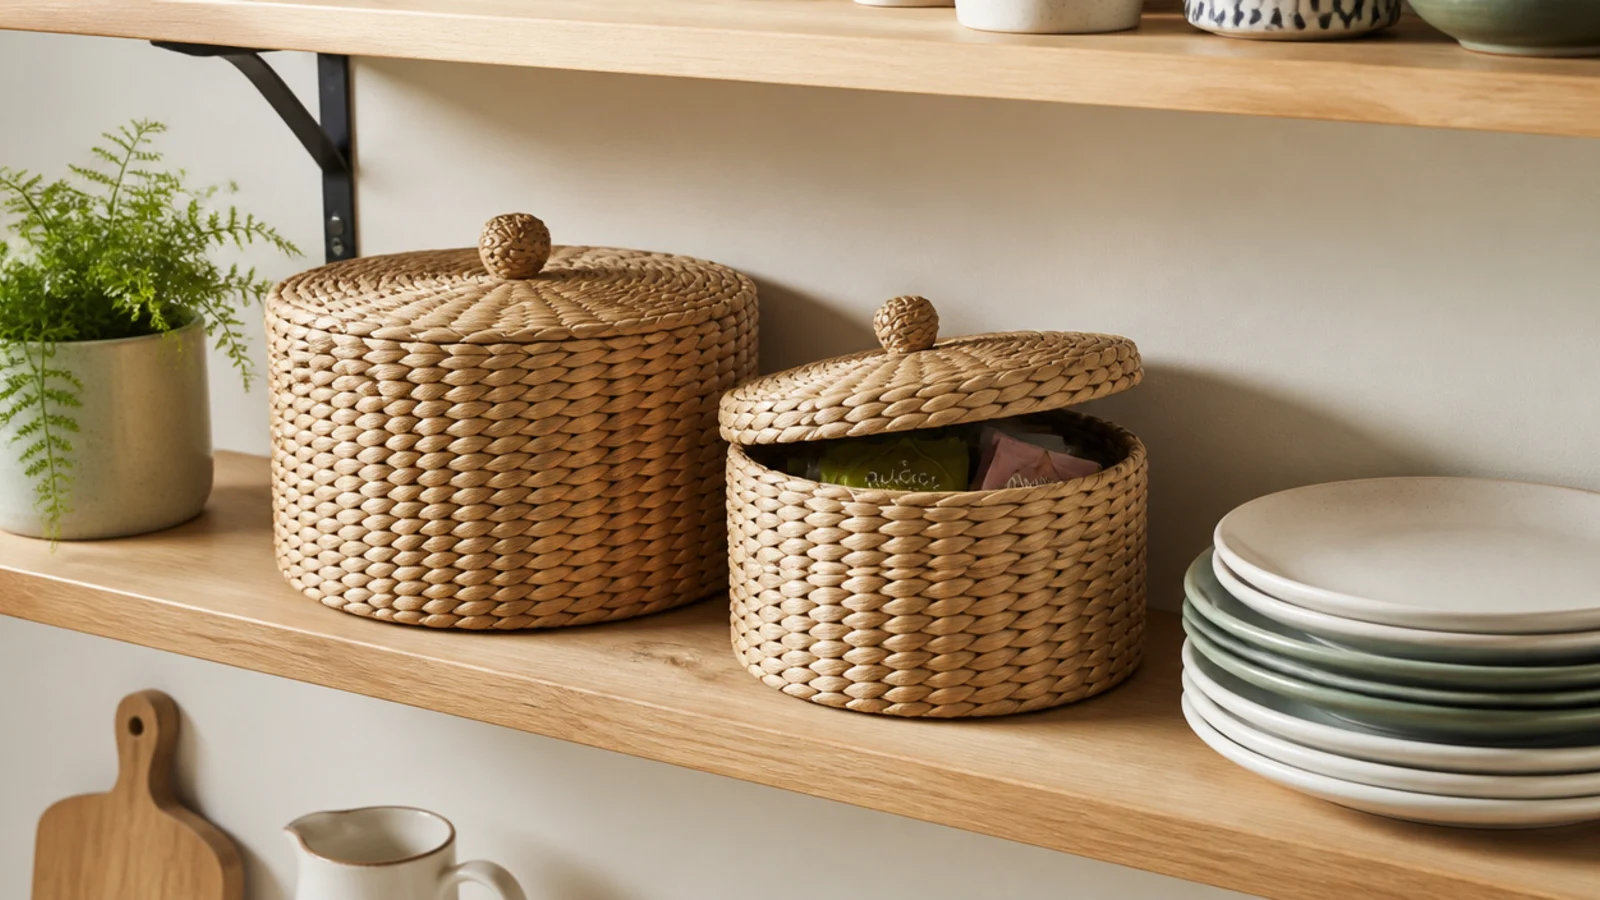
22. Baskets on shelves for the closed storage you lost
Two lidded baskets on an open shelf do the job of a cabinet for packets, bags and the awkward plastic every kitchen has.
Keep them the same material and tone so they read as texture rather than storage. Above eye level is where they work best, since you never see inside them anyway.
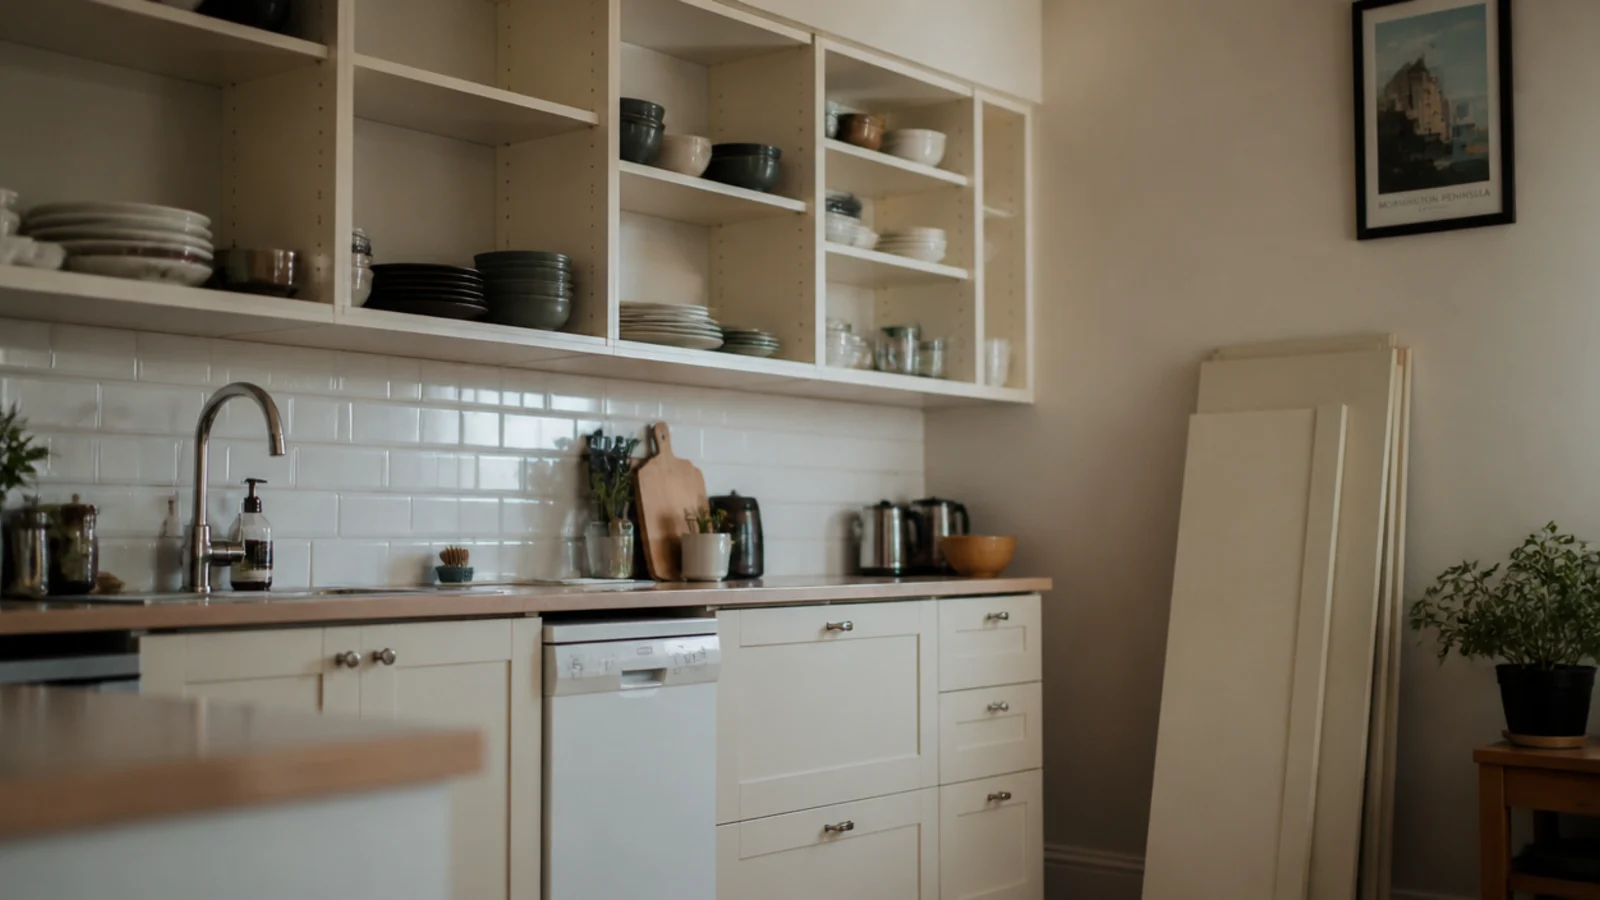
23. Test with the doors off for a month
Before any carcass comes off the wall, unscrew the doors and cook normally for four weeks. It costs nothing and answers everything.
You will find out whether the contents look tidy, whether they get dusty, and whether you like reaching for things in the open. Screw the doors back on if the answer is no.
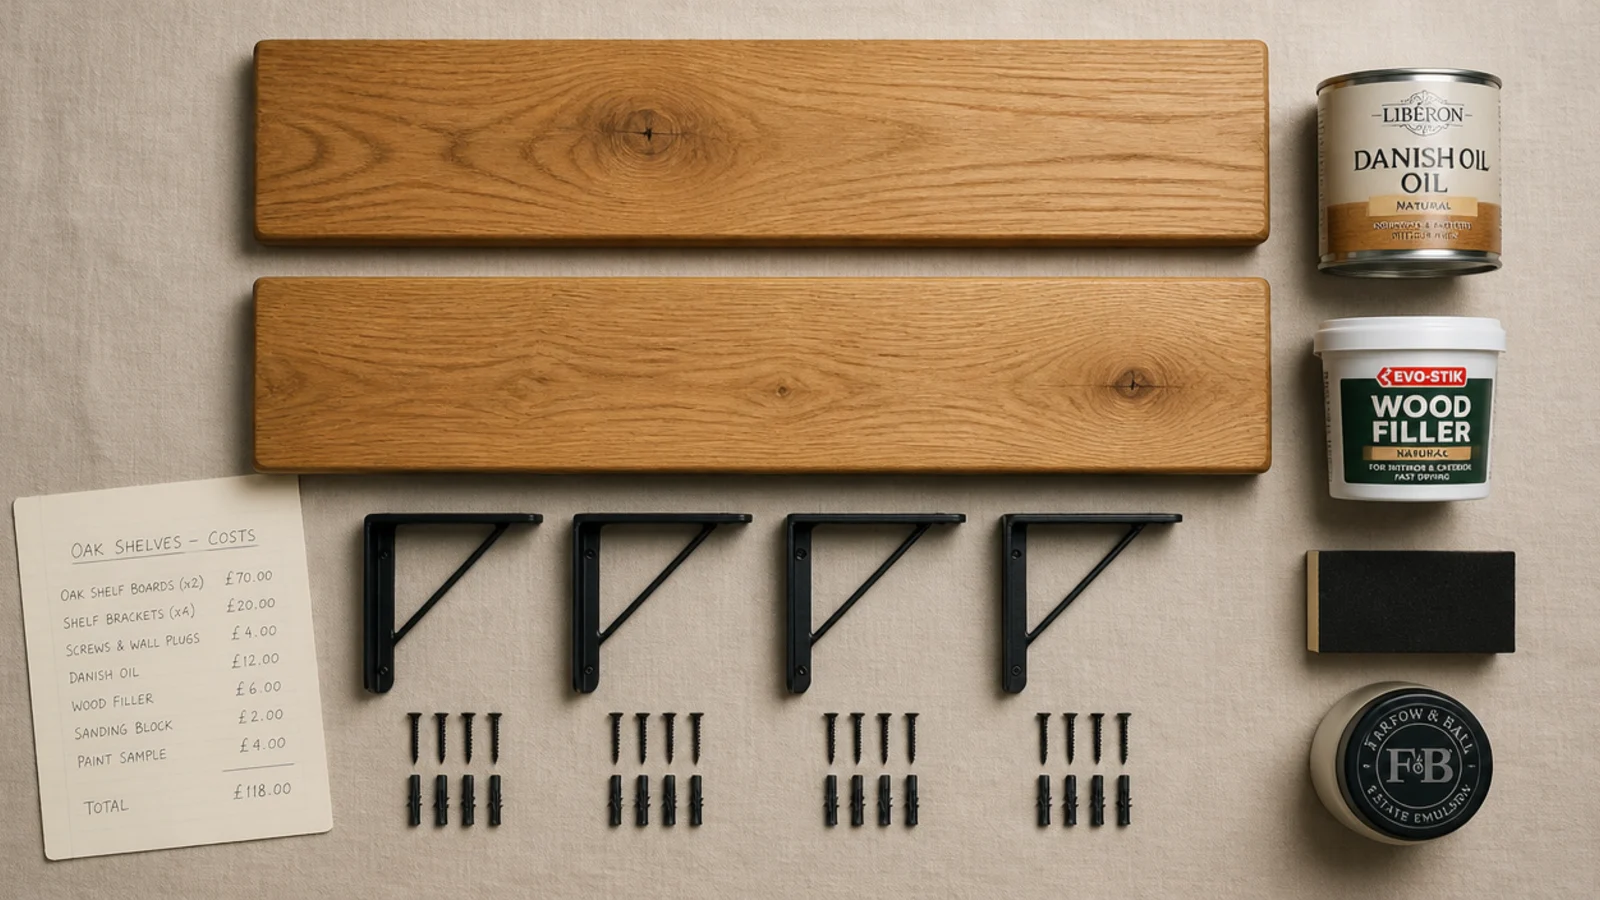
24. Budget the difference honestly
Shelves are cheaper than cabinets and the wall behind them is not. Filler, skim, paint, tile and possibly an electrician for a relocated socket all sit in the gap.
Price the whole job, not the boards. A realistic figure for one cabinet swapped properly is $180 to $320 including materials and finish.
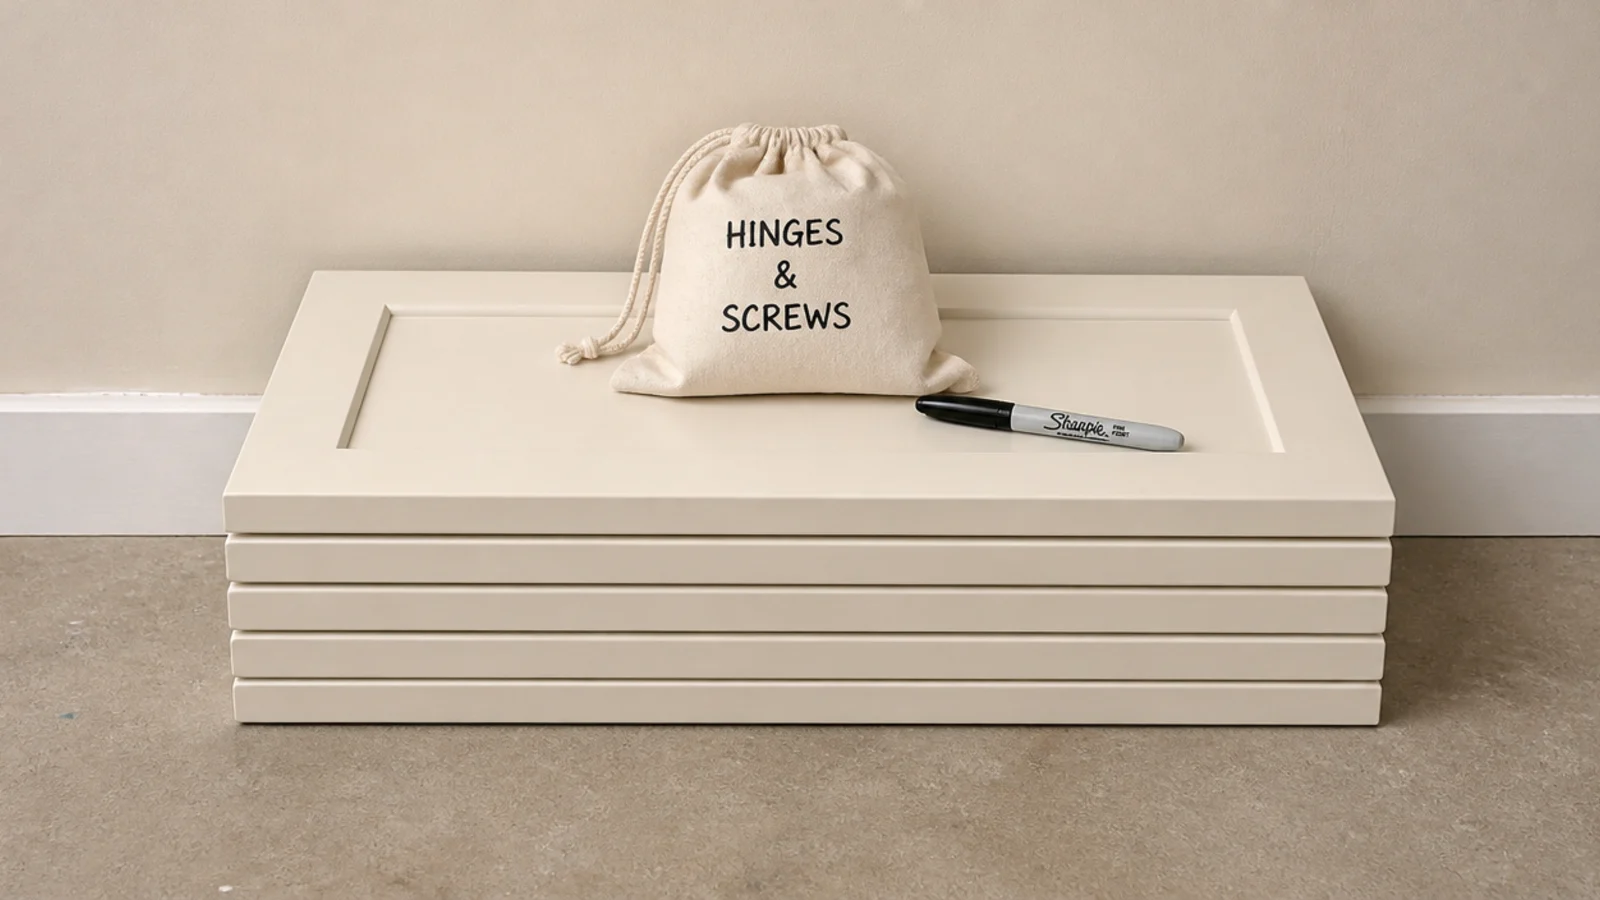
25. Keep every door, hinge and screw
Bag the hinges, label the bag, stack the doors flat somewhere dry. It takes ten minutes and it is what makes the whole project reversible.
Rental or not, tastes change and buyers vary. A kitchen you can put back is a kitchen you can experiment with, which is exactly the point.
Mistakes to Skip
- Taking down the whole run in one weekend. There is no way back, and most kitchens need one or two closed cabinets to stay livable.
- Opening up the wall beside the range. Everything within four feet of a burner picks up a grease film, and nothing decorative there ever gets washed.
- Forgetting the wall repair in the budget. The boards are the cheap part; filling, skimming, tiling and painting is where the real cost sits.
Frequently asked questions
Is it a mistake to replace kitchen cabinets with open shelves?
Only if you swap the whole run at once. Open shelving works for the things you use weekly, because use is what keeps them clean, and most kitchens hold more rarely-used equipment than people admit. Take down one cabinet, live with it for a month, and let the results decide whether the next one goes.
How much storage do you lose swapping cabinets for shelves?
Roughly a third by volume. A standard 30-inch wall cabinet holds about 12 cubic feet across two internal shelves; two open shelves in the same footprint give you around 8. The gap is real, so plan where the difference goes before demolition rather than discovering it with your countertop covered in pans.
Which kitchen cabinet should you keep if you open up the rest?
The one nearest the range. Everything within about four feet of a burner picks up an airborne grease film, and a closed door is the only genuine protection for anything stored there. Keep that cabinet for the equipment you use monthly and open up the walls further along the run instead.
Do you have to repair the wall after removing wall cabinets?
Almost always. Cabinet backs conceal unpainted plaster, old tile edges, and the holes from two generations of fixings. Budget a weekend for filling, skimming and painting, plus tile if the backsplash stopped at the cabinet line. Doing it properly first is far easier than working around finished shelves later.
Can you replace kitchen cabinets with shelves in a rental?
Often, yes, if you keep every door, hinge and screw in a labelled bag and fill the hinge holes when you leave. Removing a door and leaving the box is fully reversible in an afternoon. Taking the whole carcass off the wall is not, so ask before anything comes down permanently.
Do the sorting exercise this weekend before you touch a screwdriver — one cabinet emptied onto the counter and split into weekly, monthly and rarely tells you exactly how much of your kitchen can live in the open. Then take one door off and cook for a month. For heights and anchors, the twenty-step build covers everything, and budget open shelving covers the cheapest ways to fill the gap. The same swap on a living room wall appears in kitchen-style floating shelves. Save the pin before anything comes down.
Want more like this? Browse all 15 kitchen shelf ideas guides — they all use the same measurements and budget tiers.
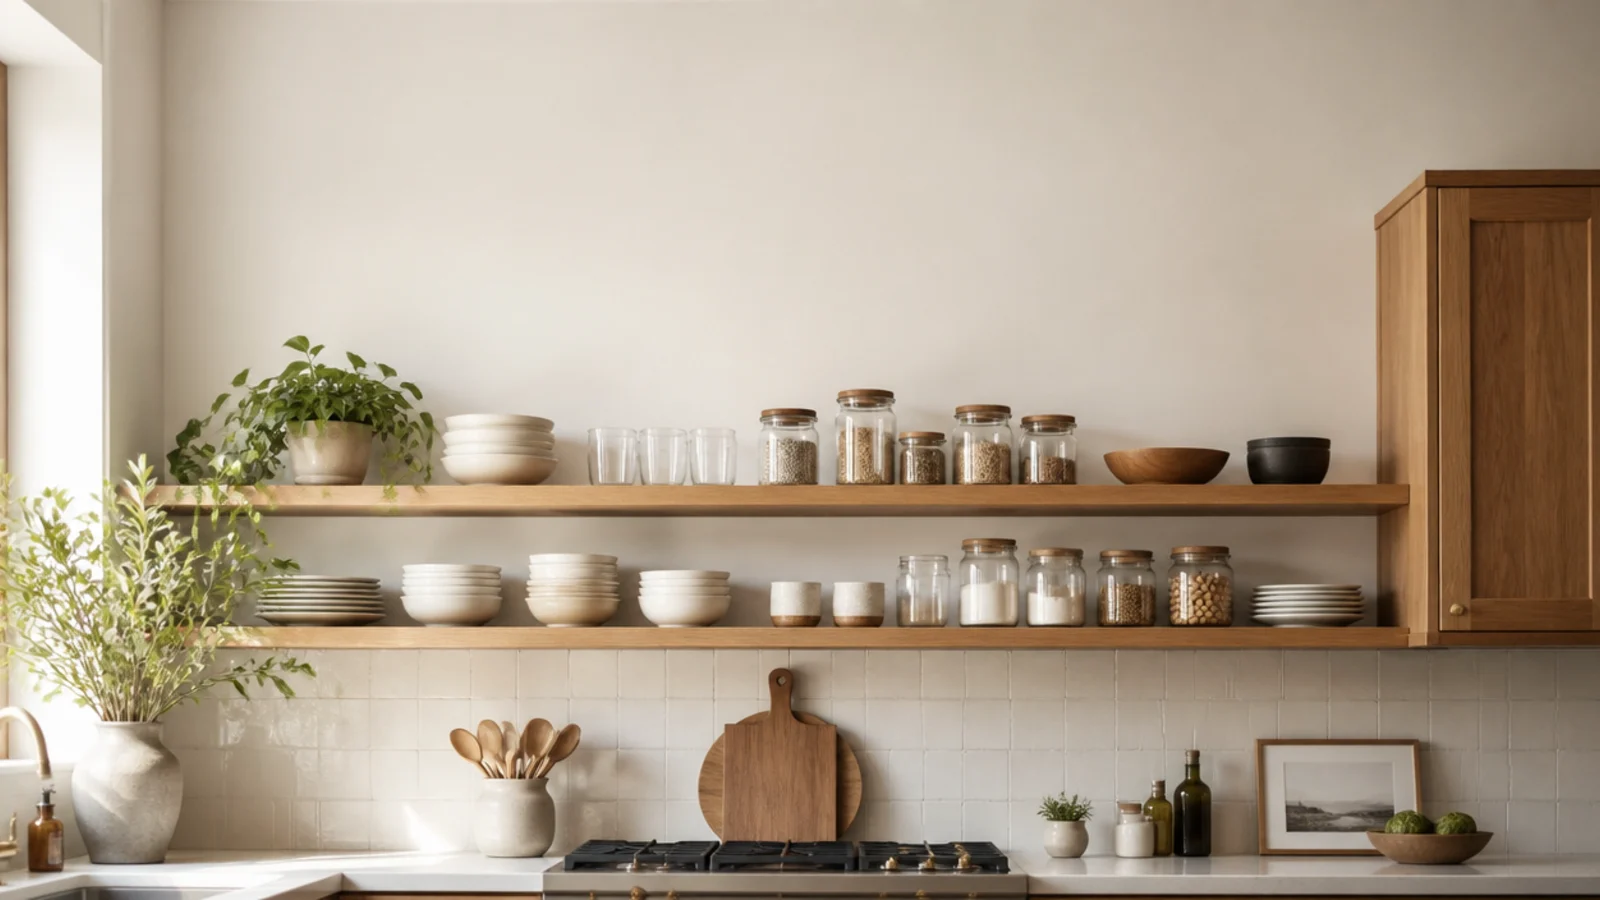
Pin it for later
Save this to your Kitchen Shelf Ideas board
Pin it now so it is waiting for you when the tape measure comes out — and so the next person hunting for this idea can find it too.
Save this pinKeep going
More ideas worth saving while you have the tape measure out.