Kitchen Shelf Ideas · How-To
20 Steps to Style a Stunning Kitchen Shelf

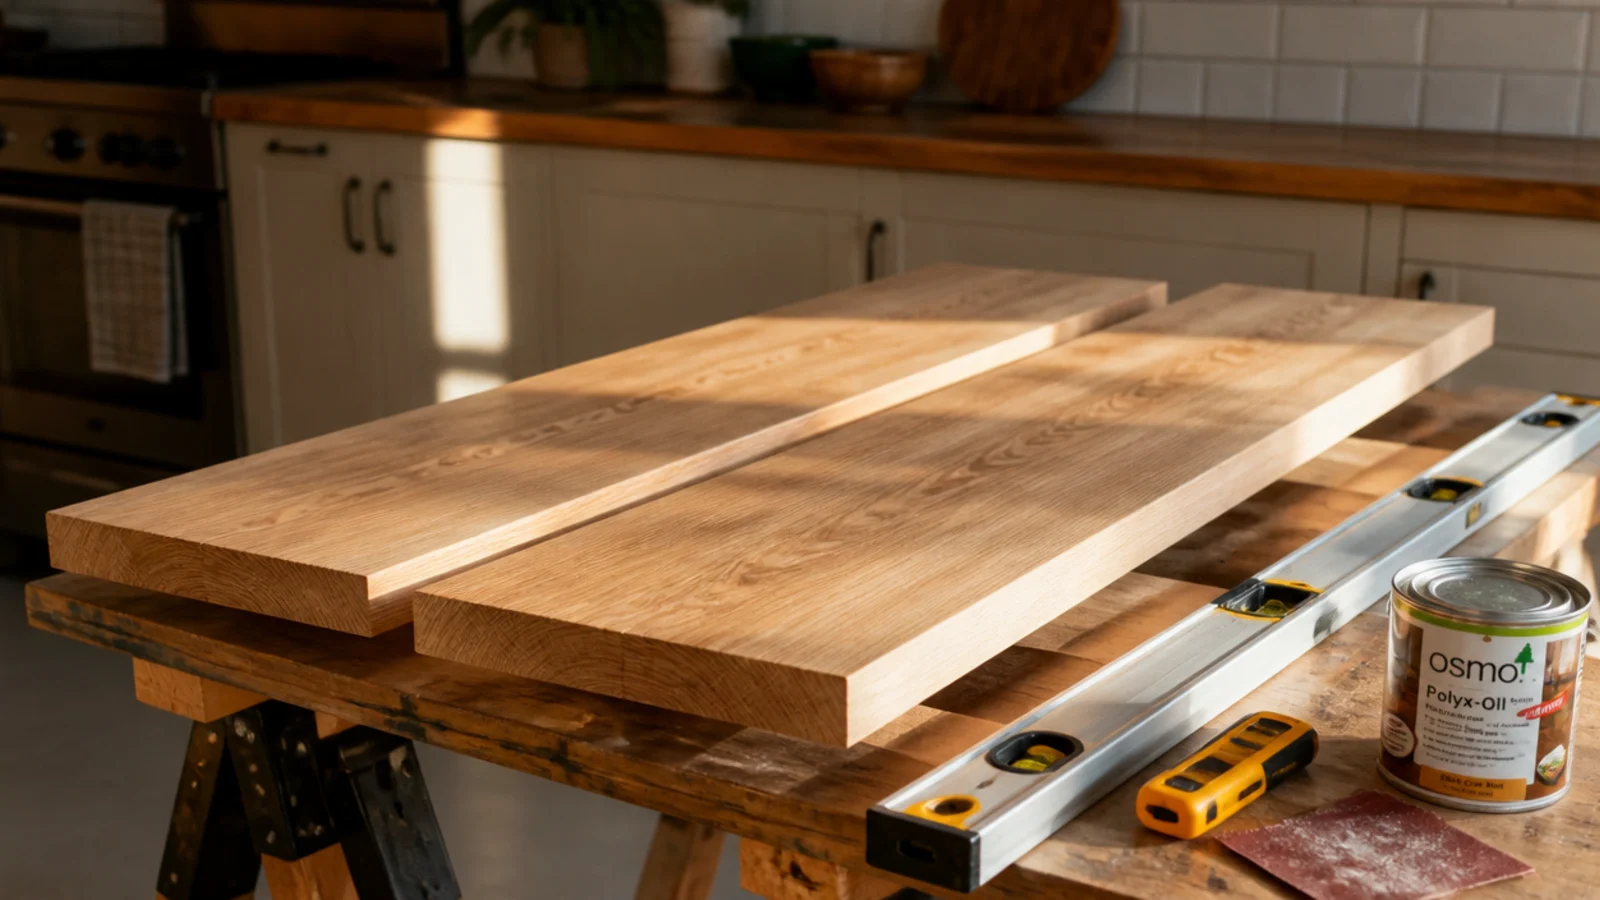
DIY kitchen shelves are an easy build with three genuinely unforgiving details: the height above the counter, the anchor behind the bracket, and the finish on the underside. Get those wrong and the shelf either fights your appliances, sags under a stack of plates, or cups within a season. I have built these runs in two rentals and one house. Twenty steps, one weekend, from bare wall to styled.
In this guide23 sections — tap to openHide
- 1.What You'll Need to Build DIY Kitchen Shelves
- 2.Step 1: Pick the wall that can afford to lose its cabinets
- 3.Step 2: Measure the tallest thing on that counter
- 4.Step 3: Tape the height on the wall and live with it
- 5.Step 4: Find every stud across the whole run
- 6.Step 5: Set depth from the counter, not the wall
- 7.Step 6: Choose thickness from the span
- 8.Step 7: Buy the species that suits a working kitchen
- 9.Step 8: Write the cut list before you buy anything
- 10.Step 9: Cut to length and test the wall for straightness
- 11.Step 10: Sand with the grain, raise it, sand again
- 12.Step 11: Soften the front edge with ten passes
- 13.Step 12: Seal every face including the cut ends
- 14.Step 13: Second coat, then let it cure properly
- 15.Step 14: Choose brackets rated for real kitchen weight
- 16.Step 15: Draw one level line down the whole run
- 17.Step 16: Anchor into studs and toggle the rest
- 18.Step 17: Set the boards and check level a second time
- 19.Step 18: Screw up through the brackets, never down
- 20.Step 19: Load-test with real weight before styling
- 21.Step 20: Style it, then edit it a week later
- 22.Pro Styling Rules
- 23.Mistakes to Skip
What You'll Need to Build DIY Kitchen Shelves
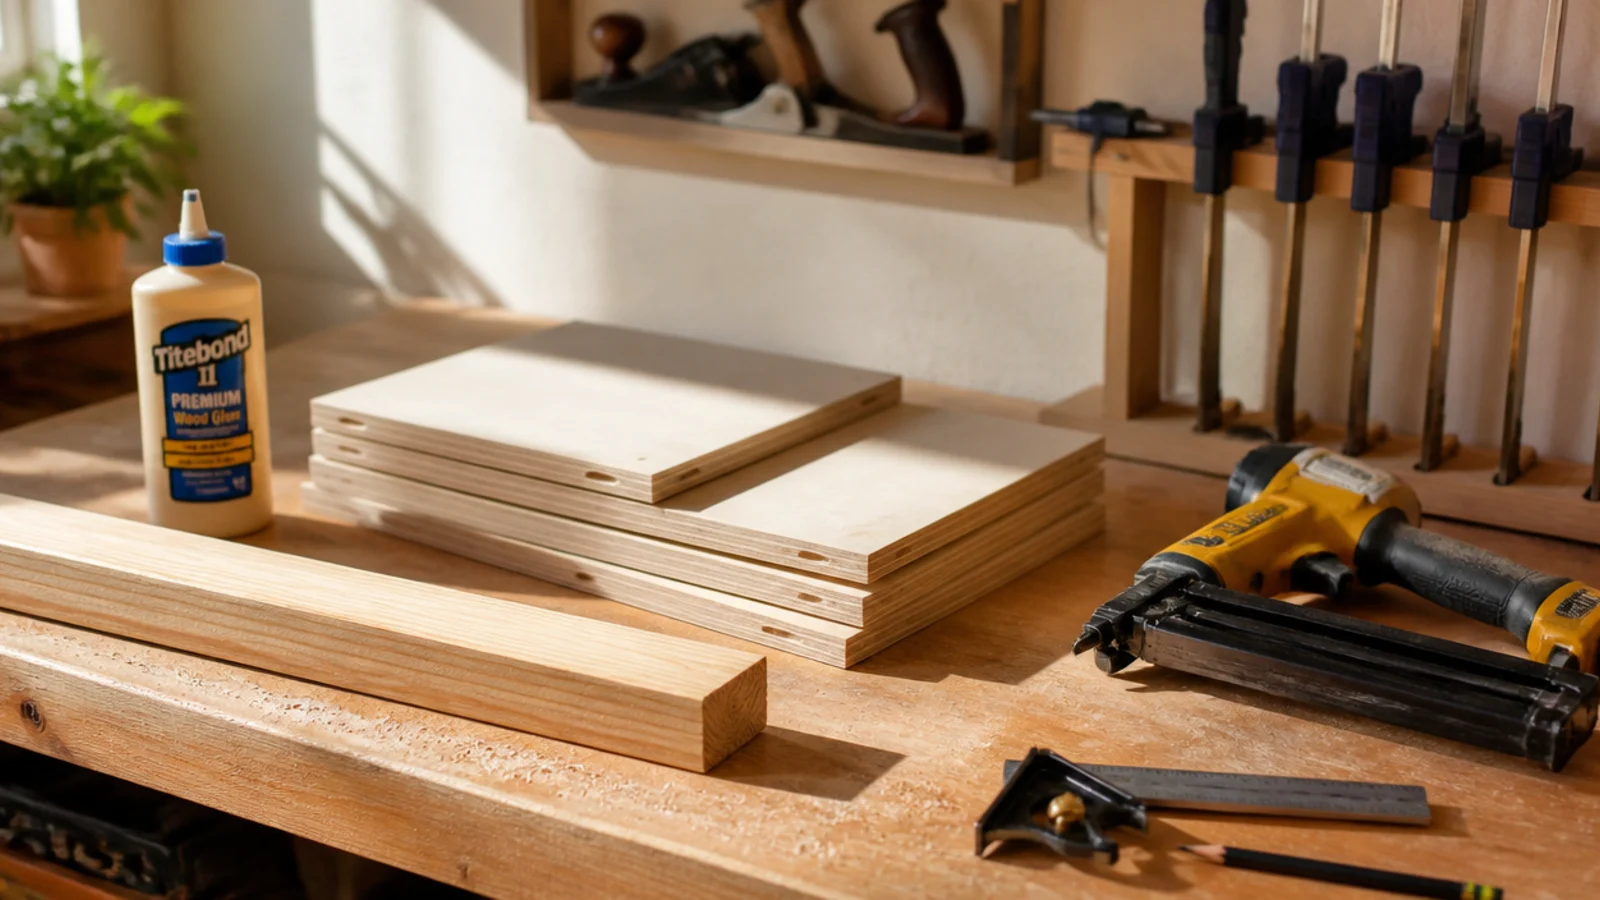
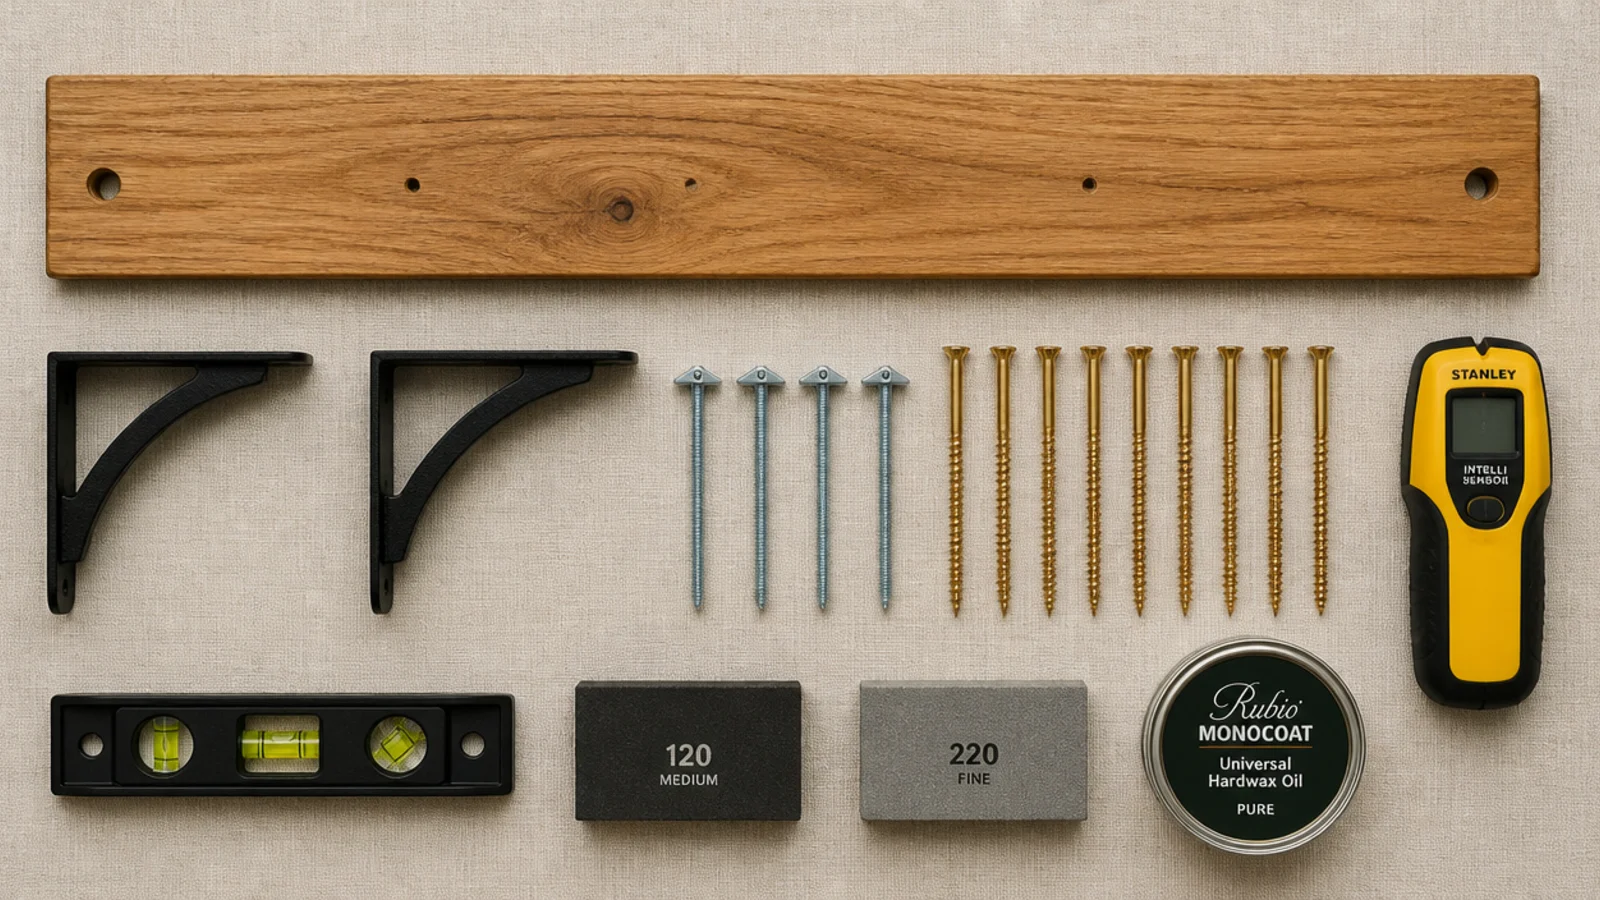
Nothing specialist. A six-foot two-tier run costs $55 to $85 in poplar or pine, or $130 to $210 in solid white oak, assuming you borrow a drill.
| Item | Spec that matters | Rough cost |
|---|---|---|
| Shelf boards | Solid oak, ash or poplar, 3/4 in thick, 10 in wide | $22–$60 |
| Brackets | Powder-coated steel, rated 40 lb or more per pair | $12–$26 |
| Wood screws | 2 1/2 in, for landing in studs | $4 |
| Toggle bolts | 1/8 in, for half-inch drywall between studs | $5 |
| Pan head screws | 3/4 in, bracket into shelf underside | $3 |
| Sandpaper | 120 grit and 220 grit | $6 |
| Finish | Water-based polyurethane or hardwax oil | $14–$28 |
| Tools | Drill, stud finder, 4 ft level, tape, miter box | borrowed |
Step 1: Pick the wall that can afford to lose its cabinets
Not every wall should go open. Choose the run furthest from the range for your first attempt, because everything within about four feet of a burner collects an airborne grease film.
Also check what that cabinet currently holds. If it is the everyday plates and glasses, perfect — those get used and washed constantly. If it is the slow cooker and a bread machine, pick a different wall.
Step 2: Measure the tallest thing on that counter
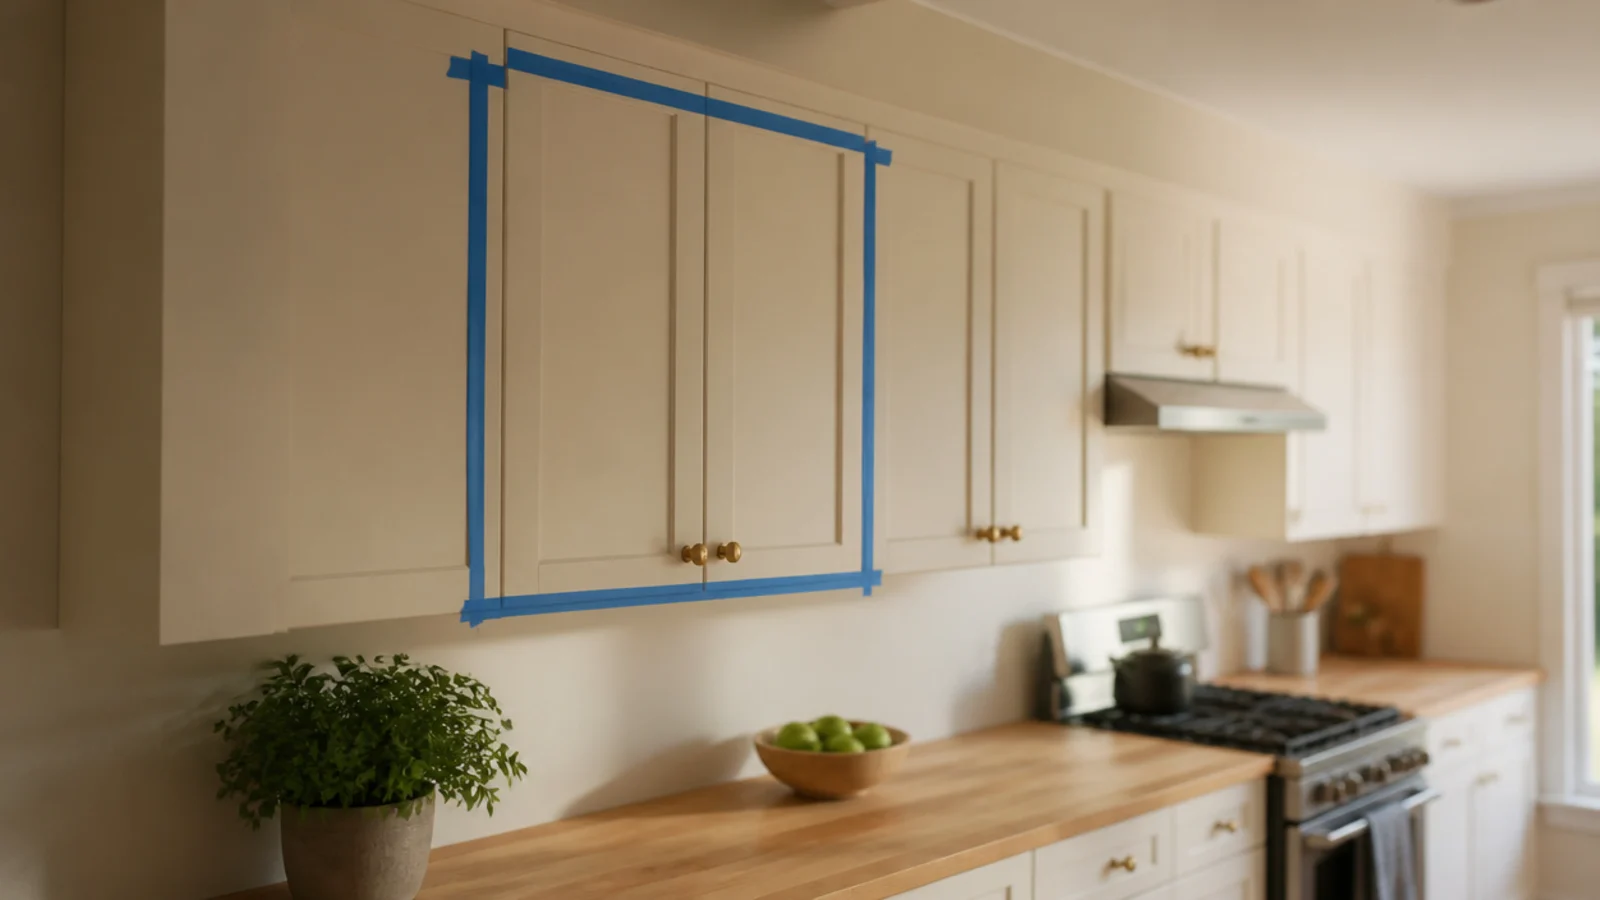
Stand your stand mixer, your kettle and your tallest storage jar on the counter and measure each one. The tallest sets your first shelf height.
Eighteen inches above the countertop clears a mixer and most small appliances, which is why it is the default. If nothing large lives on that stretch, you can drop to 14 inches and gain useful height above.
Step 3: Tape the height on the wall and live with it
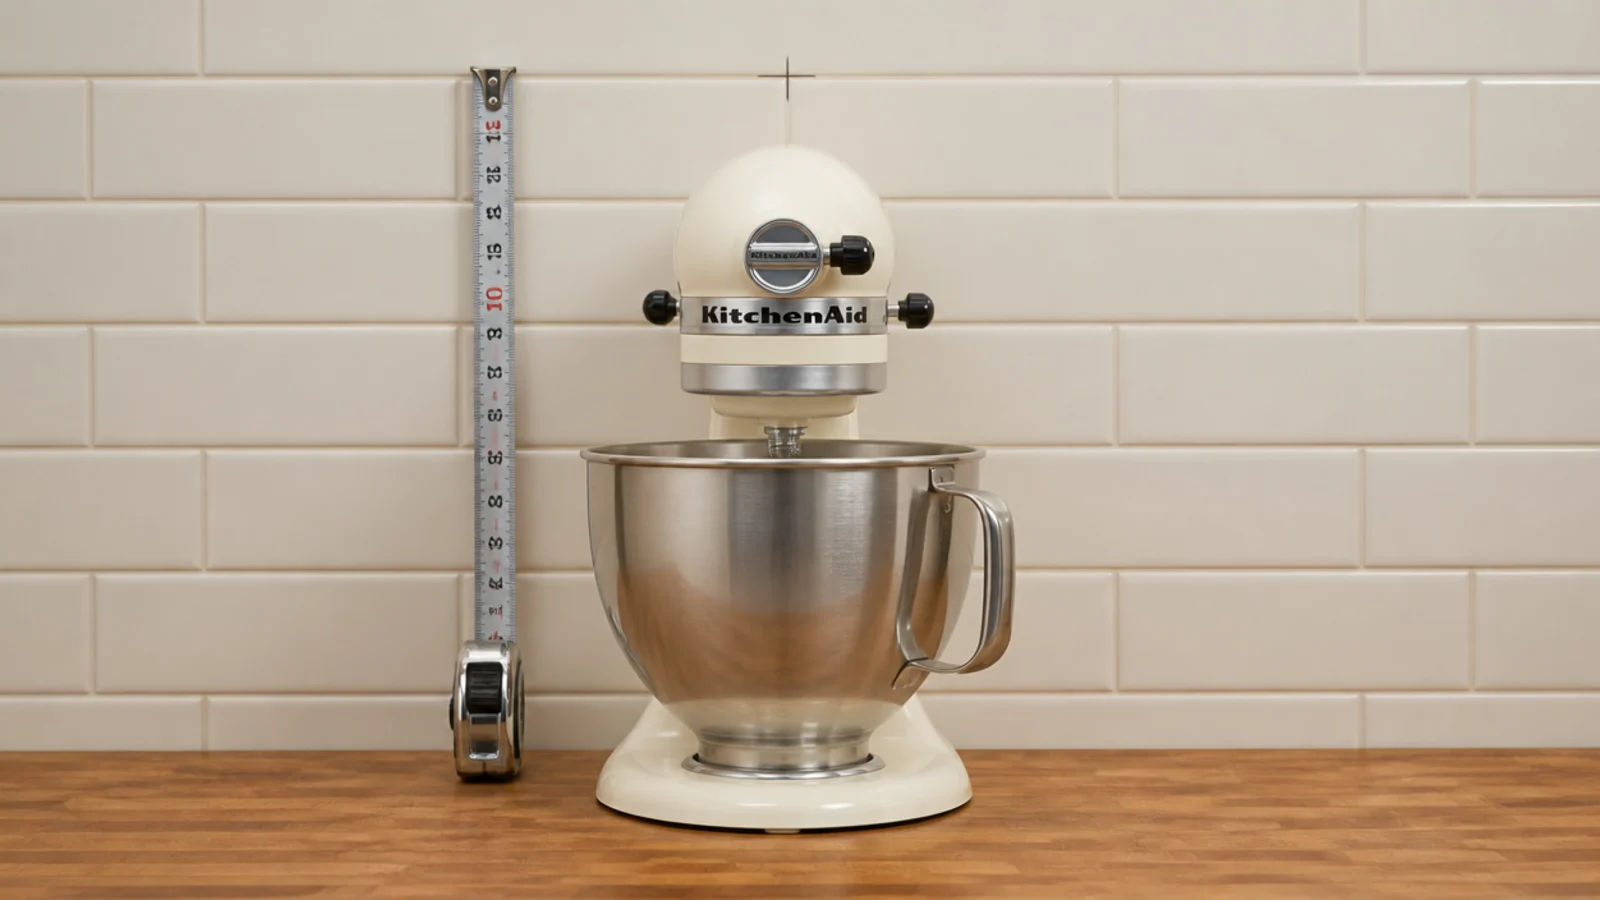
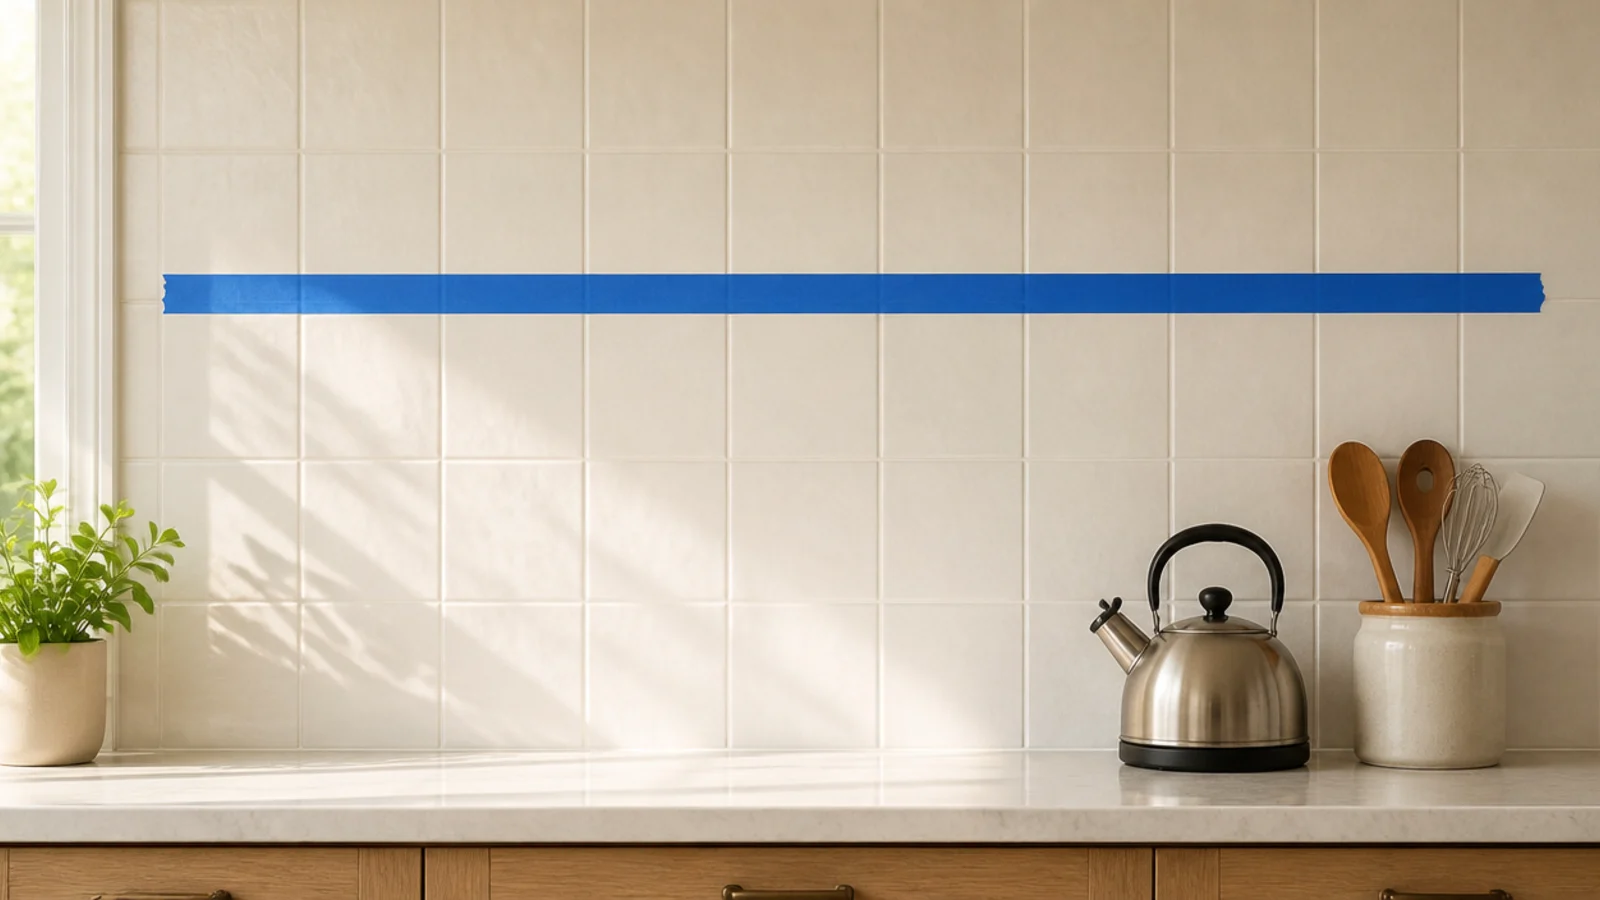
Run a strip of painters tape along the wall at your planned shelf line and leave it for a week. Cook normally.
You will discover things a tape measure cannot tell you — that you lift the kettle lid right there, or that the cabinet door swings into it. Moving tape costs nothing. Moving a mounted shelf costs a weekend and a can of touch-up paint.
Step 4: Find every stud across the whole run
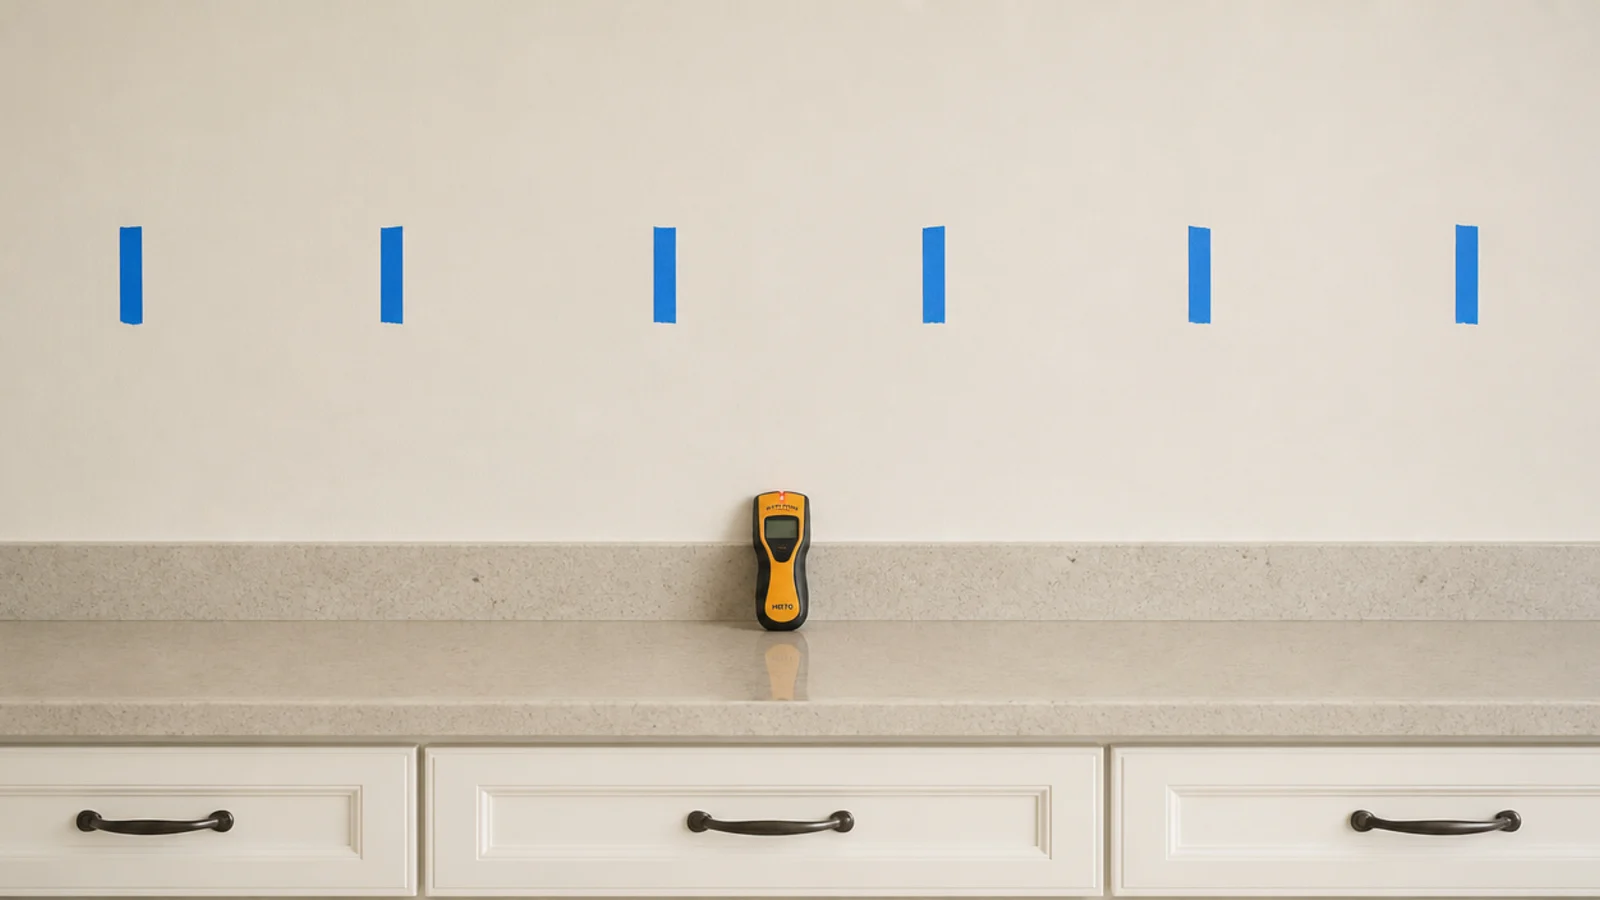
Sweep the stud finder along the entire wall, not just where you think the brackets go, and mark every hit with painters tape. Studs are usually 16 inches on center.
Then plan your bracket positions around the studs rather than spacing them evenly and hoping. Anything holding plates needs at least one bracket in solid framing. Confirm a doubtful stud with a finish nail somewhere the shelf will cover.
Step 5: Set depth from the counter, not the wall
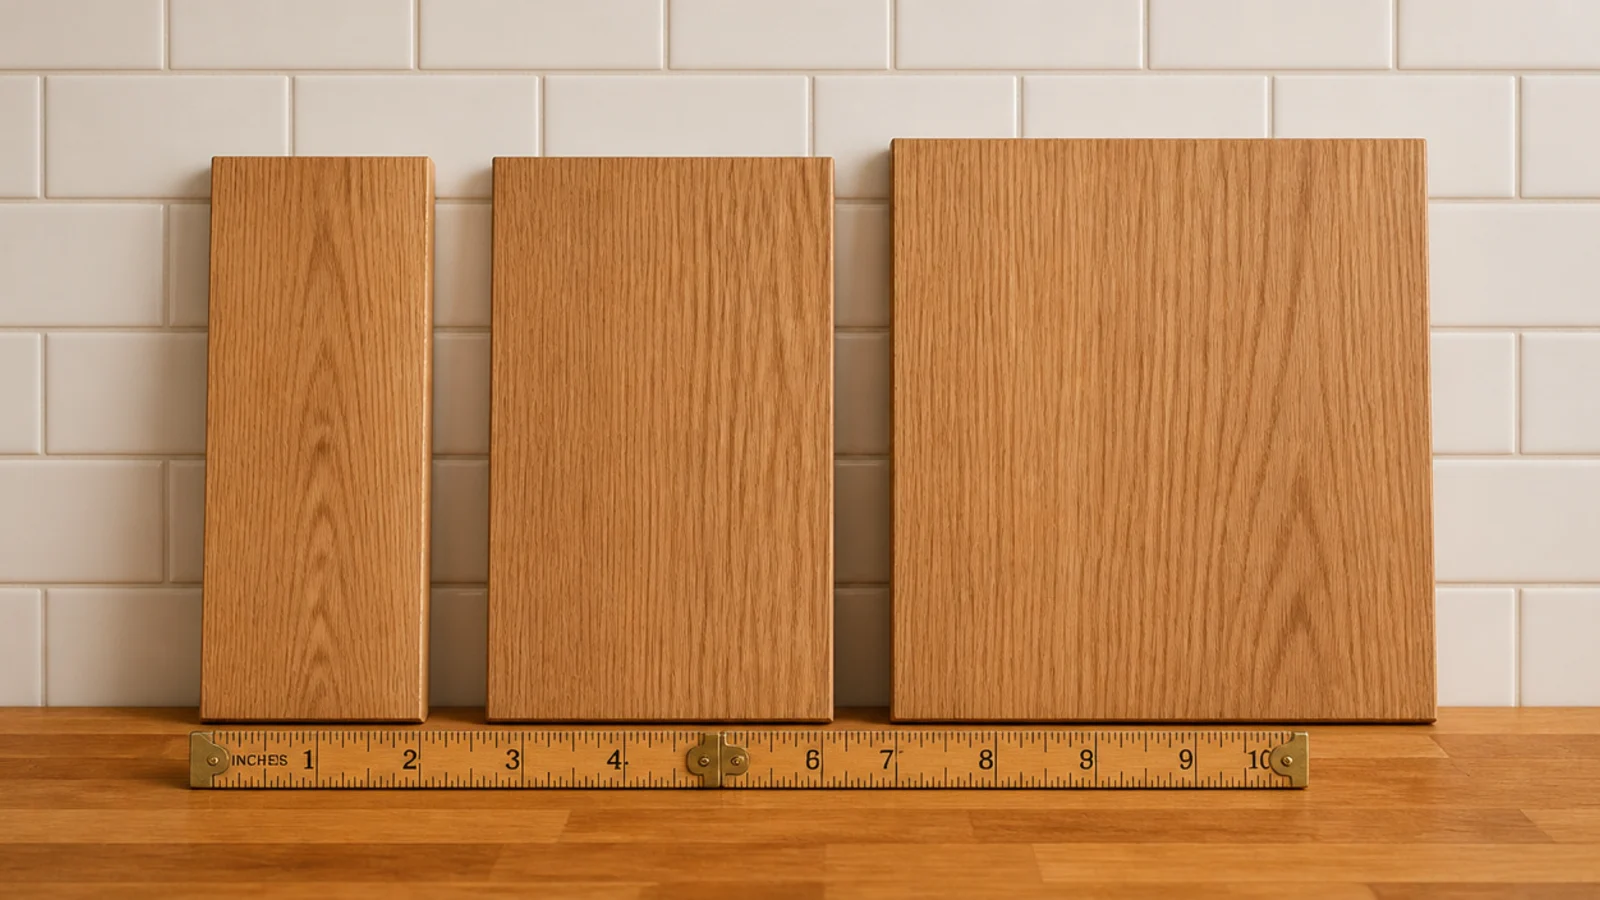
A standard counter is 25 inches deep. A 10-inch shelf leaves 15 inches of usable work surface underneath, which is about the minimum for chopping comfortably.
Go 8 inches if you prep heavily on that stretch, 10 if you mostly store there, and 6 if the shelf sits above a sink or in a walkway. Depth is the one number you cannot change later without new brackets.
Step 6: Choose thickness from the span
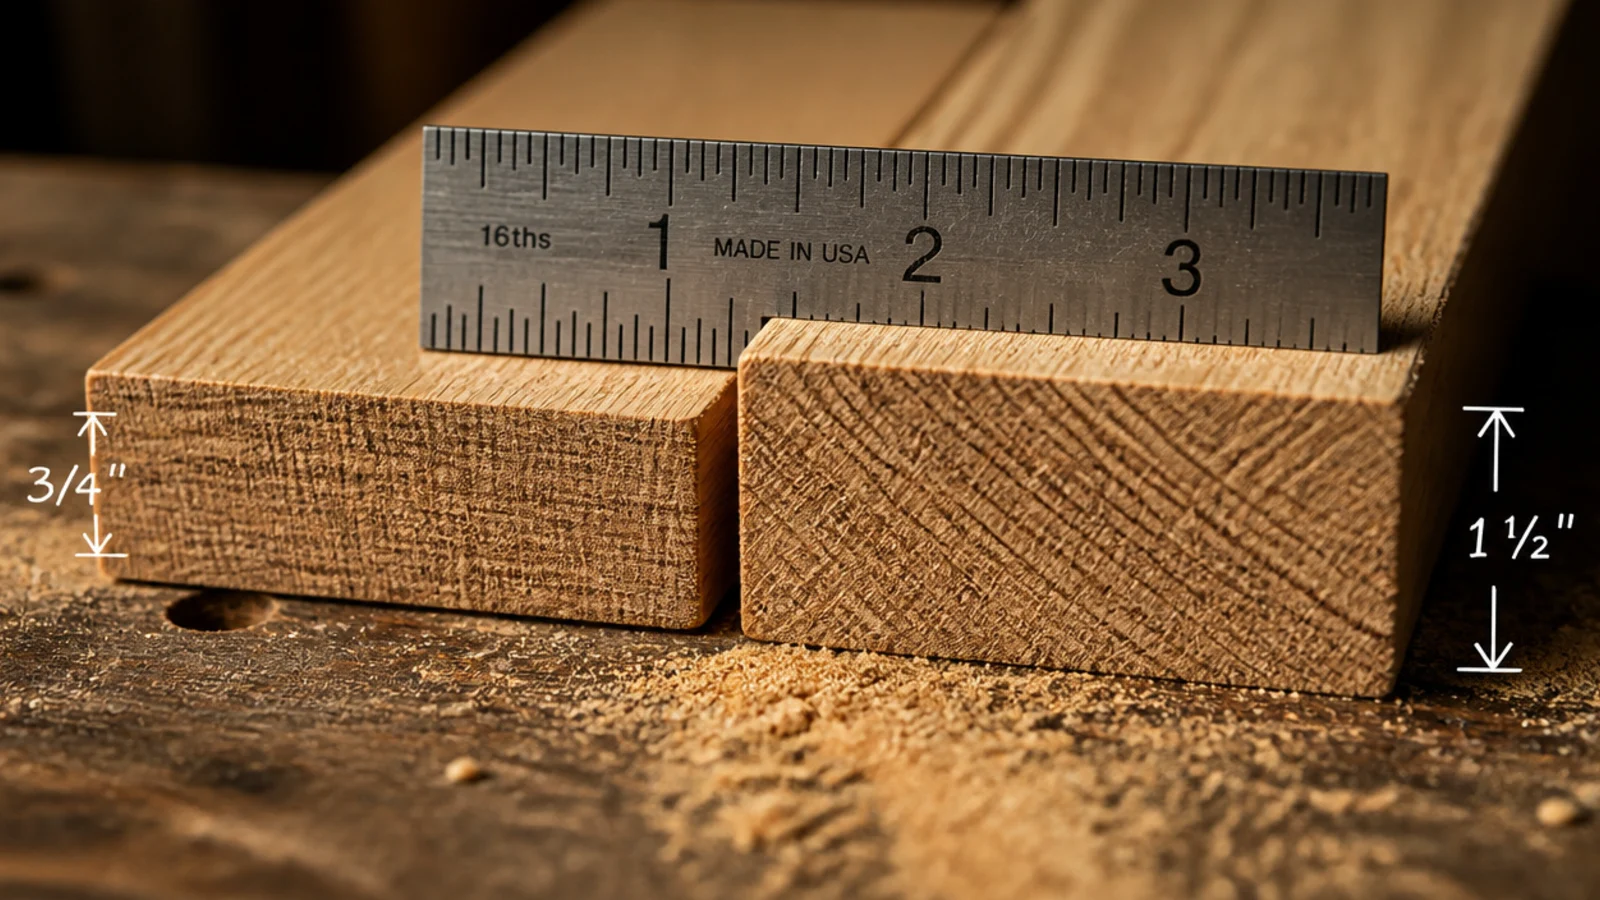
Three-quarter-inch stock is the minimum anywhere dishes will live. It carries a 32-inch span with plates on it without visible deflection.
Past 40 inches, or under heavy stoneware, move to an inch and a half — either solid stock or two boards glued into a built-up box. Half-inch boards look elegant in photographs and bow within two months in a real kitchen. That is not a maybe.
Step 7: Buy the species that suits a working kitchen
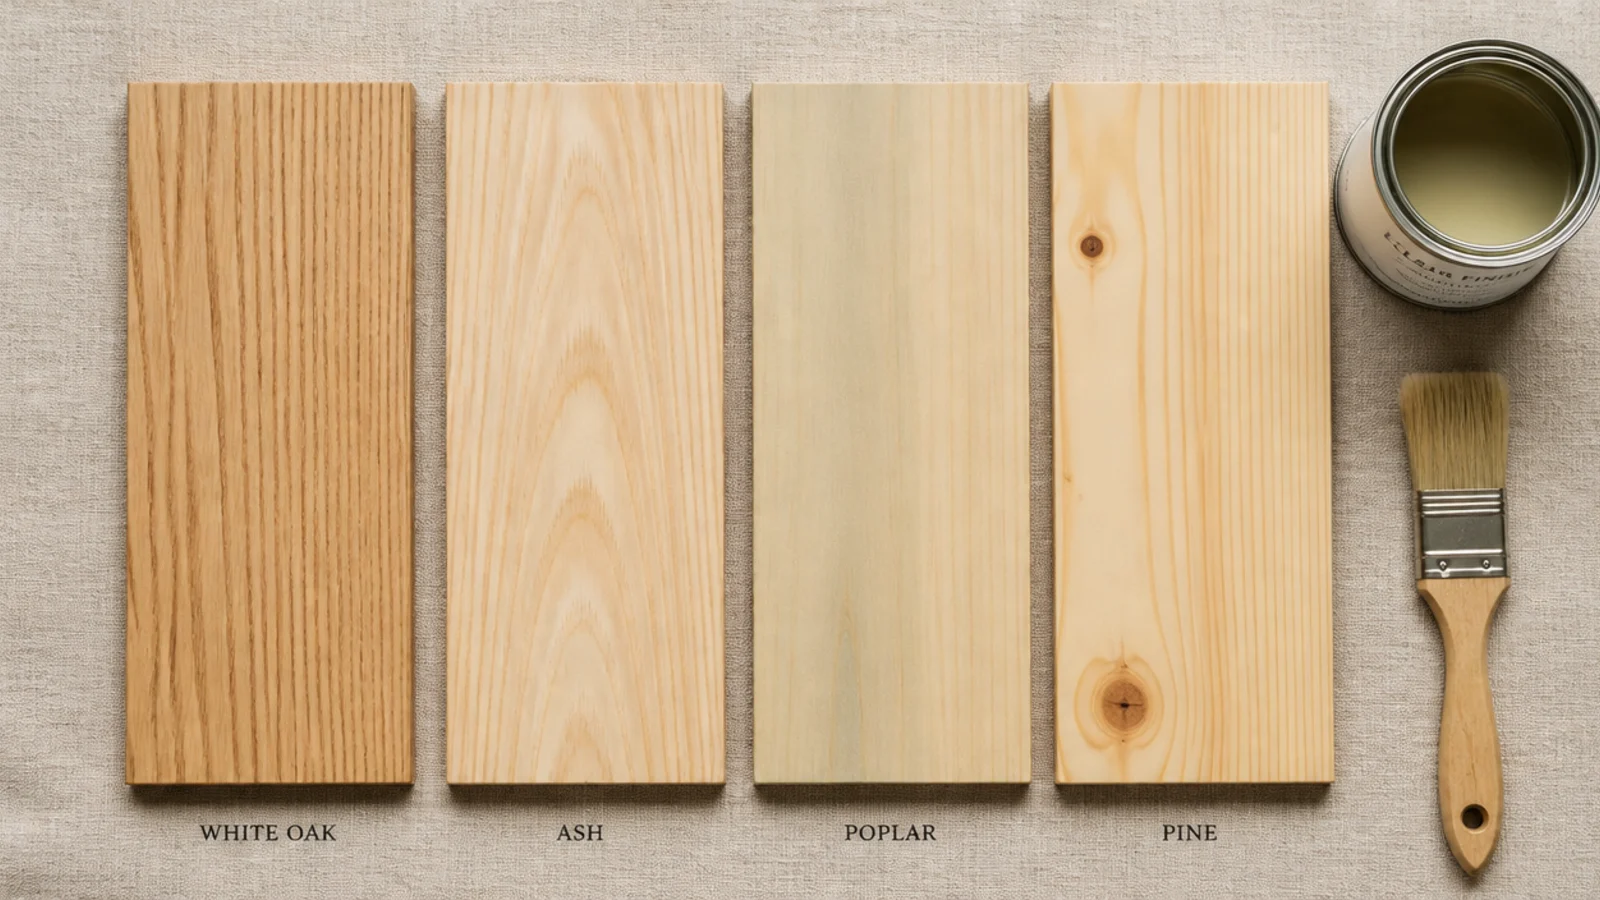
White oak and ash are the sweet spot: hard enough to resist dents from a dropped pan lid, open-grained enough to look warm rather than flat.
Poplar is cheap and takes paint beautifully but dents easily. Pine blotches under stain and marks with every mug. Skip MDF and veneered particle board entirely near a sink — the edges swell the first time water runs down the wall.
Step 8: Write the cut list before you buy anything
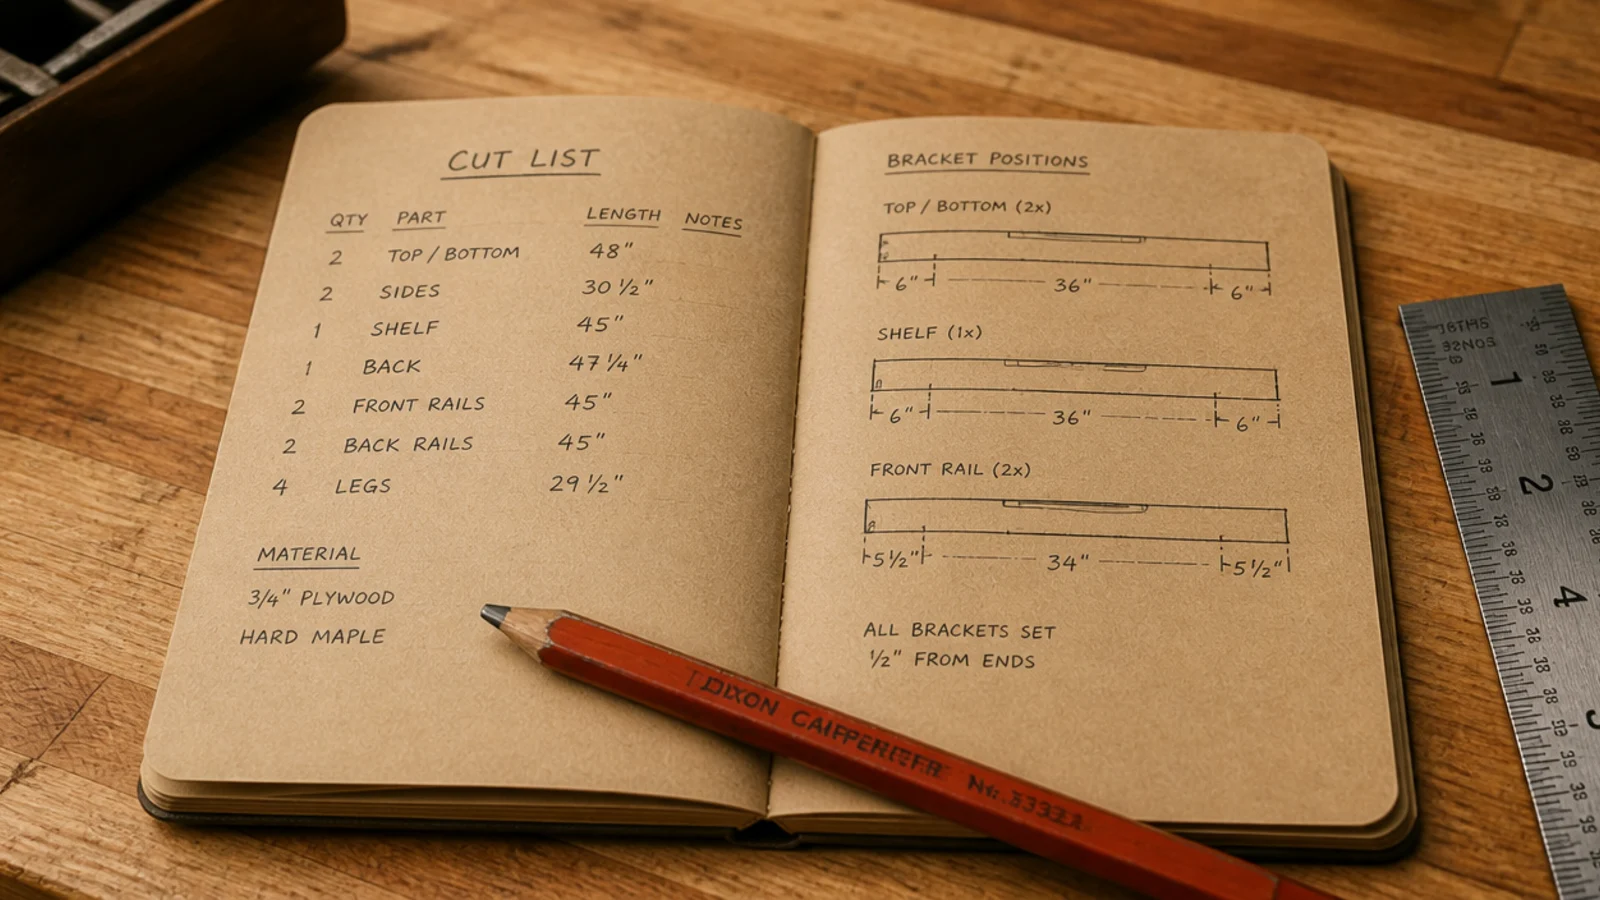
Sketch the wall from the front and write every finished length on it, plus the bracket positions you worked out in Step 4.
Add half an inch per board for the saw kerf and the trim you will inevitably need. Take the sketch to the store. Most home centers cut to length free or for a dollar a cut, so an honest list means you leave with finished pieces.
Step 9: Cut to length and test the wall for straightness
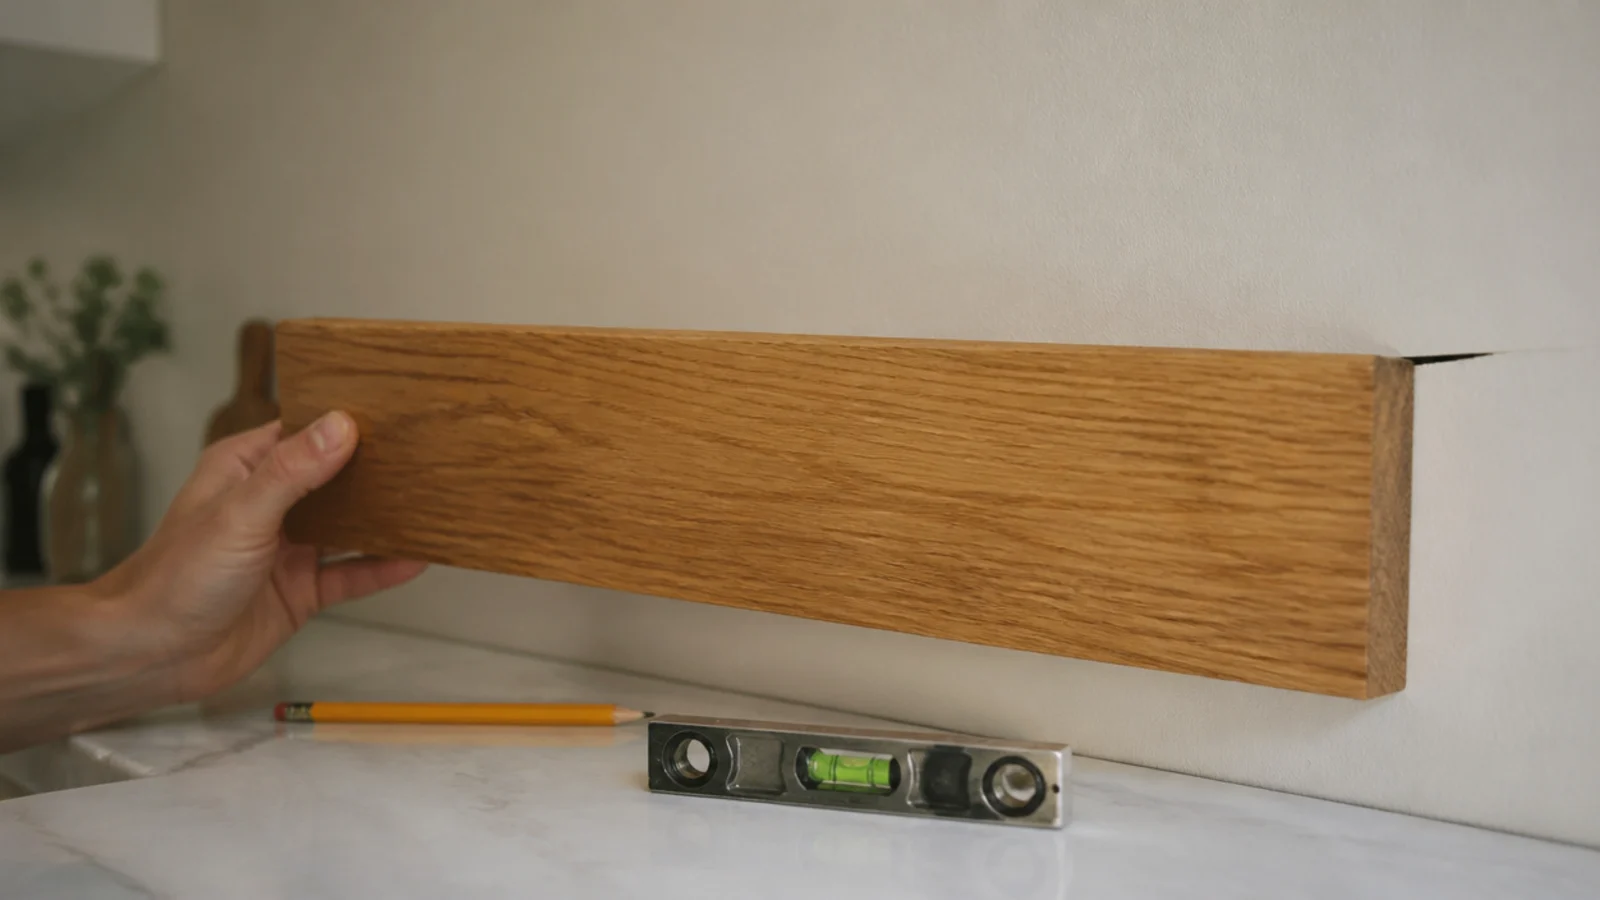
Hold each cut board flat against the wall at its final position and look behind it. Kitchen walls bow, especially over a long run.
A gap under a quarter inch gets closed with a bead of paintable caulk once the shelf is up and is genuinely invisible. Anything larger wants the back edge scribed with a block plane. Mark what needs adjusting in pencil on the board itself.
Step 10: Sand with the grain, raise it, sand again
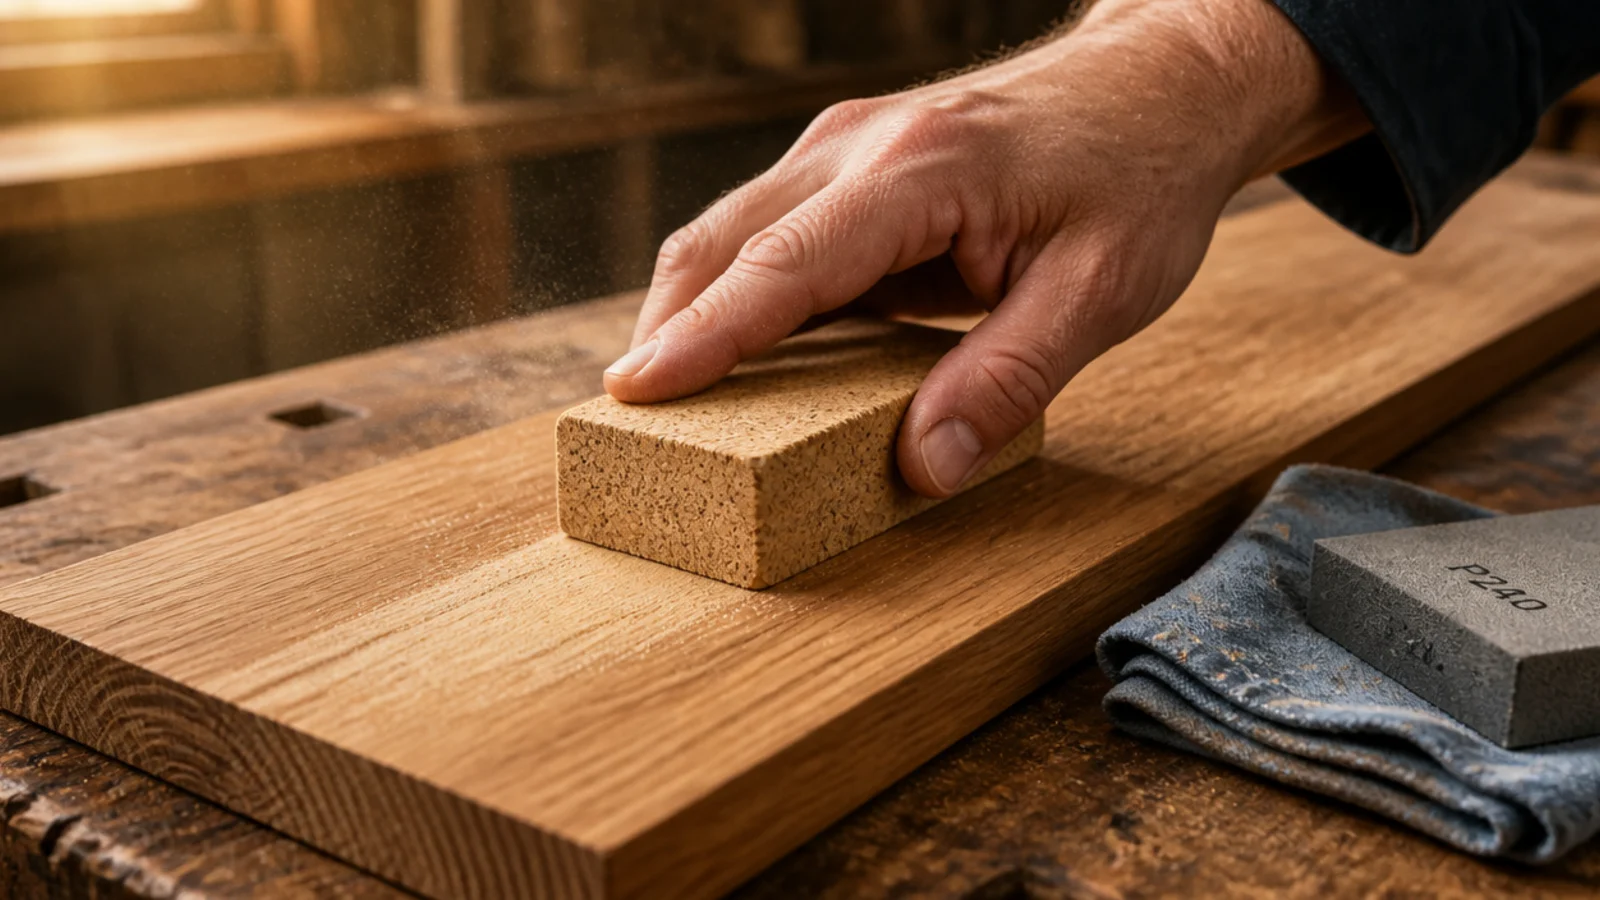
Start at 120 grit and work along the grain, never across it. Cross-grain scratches only show up once finish goes on, which is exactly too late to fix them.
Then wipe the board with a damp cloth and let it dry. That raises the grain deliberately. Sand again at 220 and the surface stays smooth instead of turning fuzzy the first time a wet jar sits on it.
Step 11: Soften the front edge with ten passes
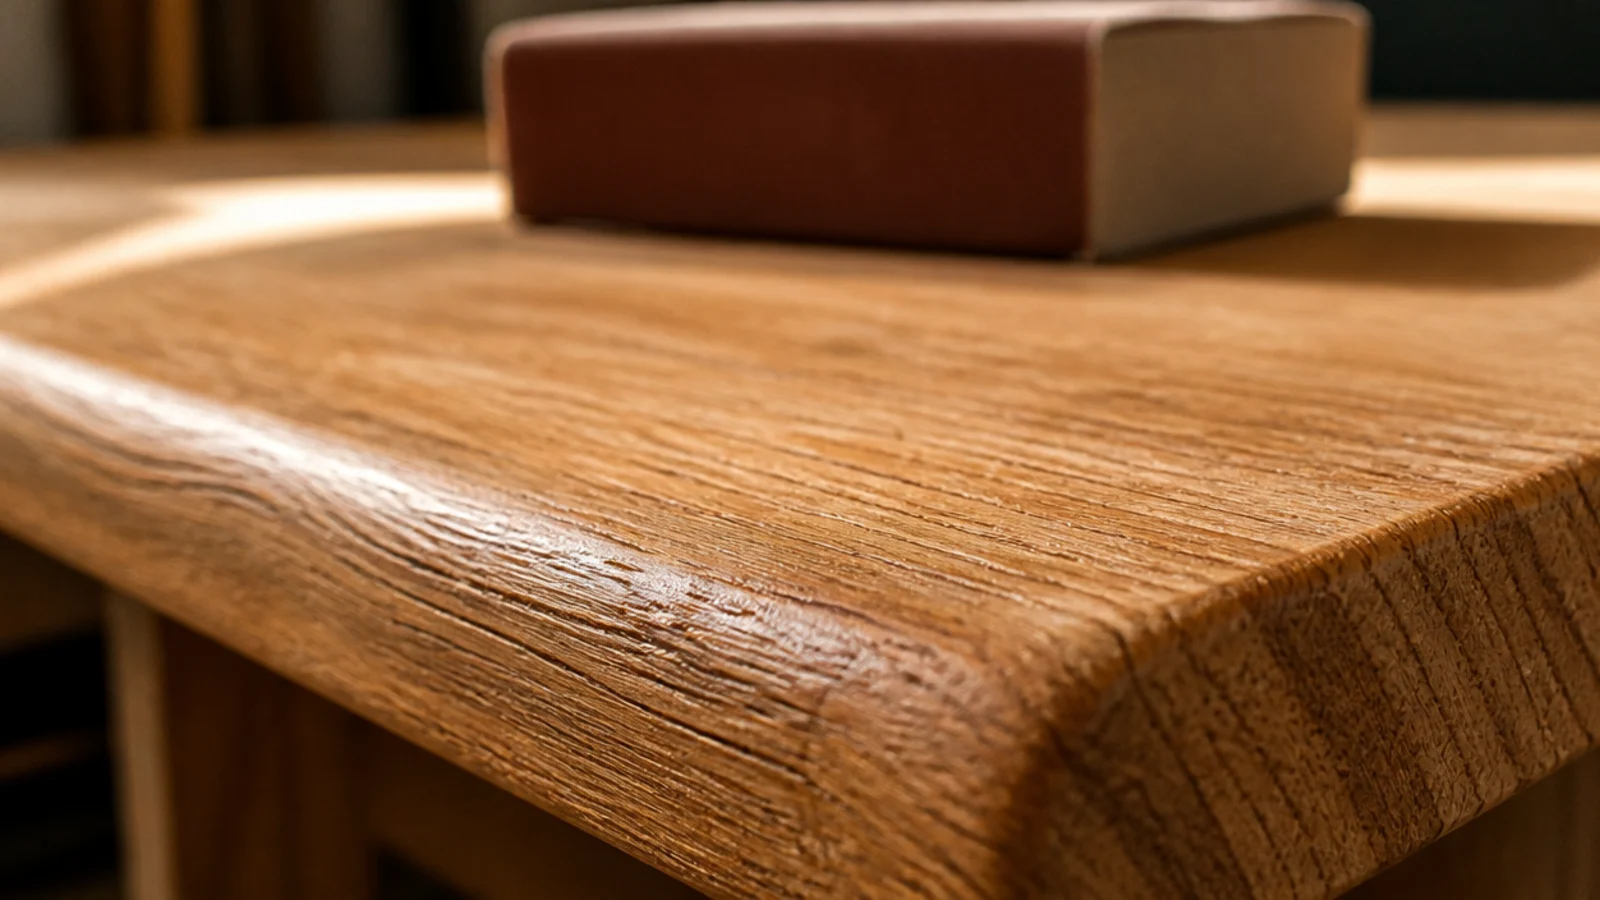
Run 220 grit along the top and bottom front edges at roughly 45 degrees, about ten passes each, until the edge feels rounded under your thumb.
This is the single highest-value two minutes in the whole build. A sharp machine edge reads as raw lumber. A softened edge reads as furniture, and in a kitchen it also stops the corner chipping every time a pan handle catches it.
Step 12: Seal every face including the cut ends
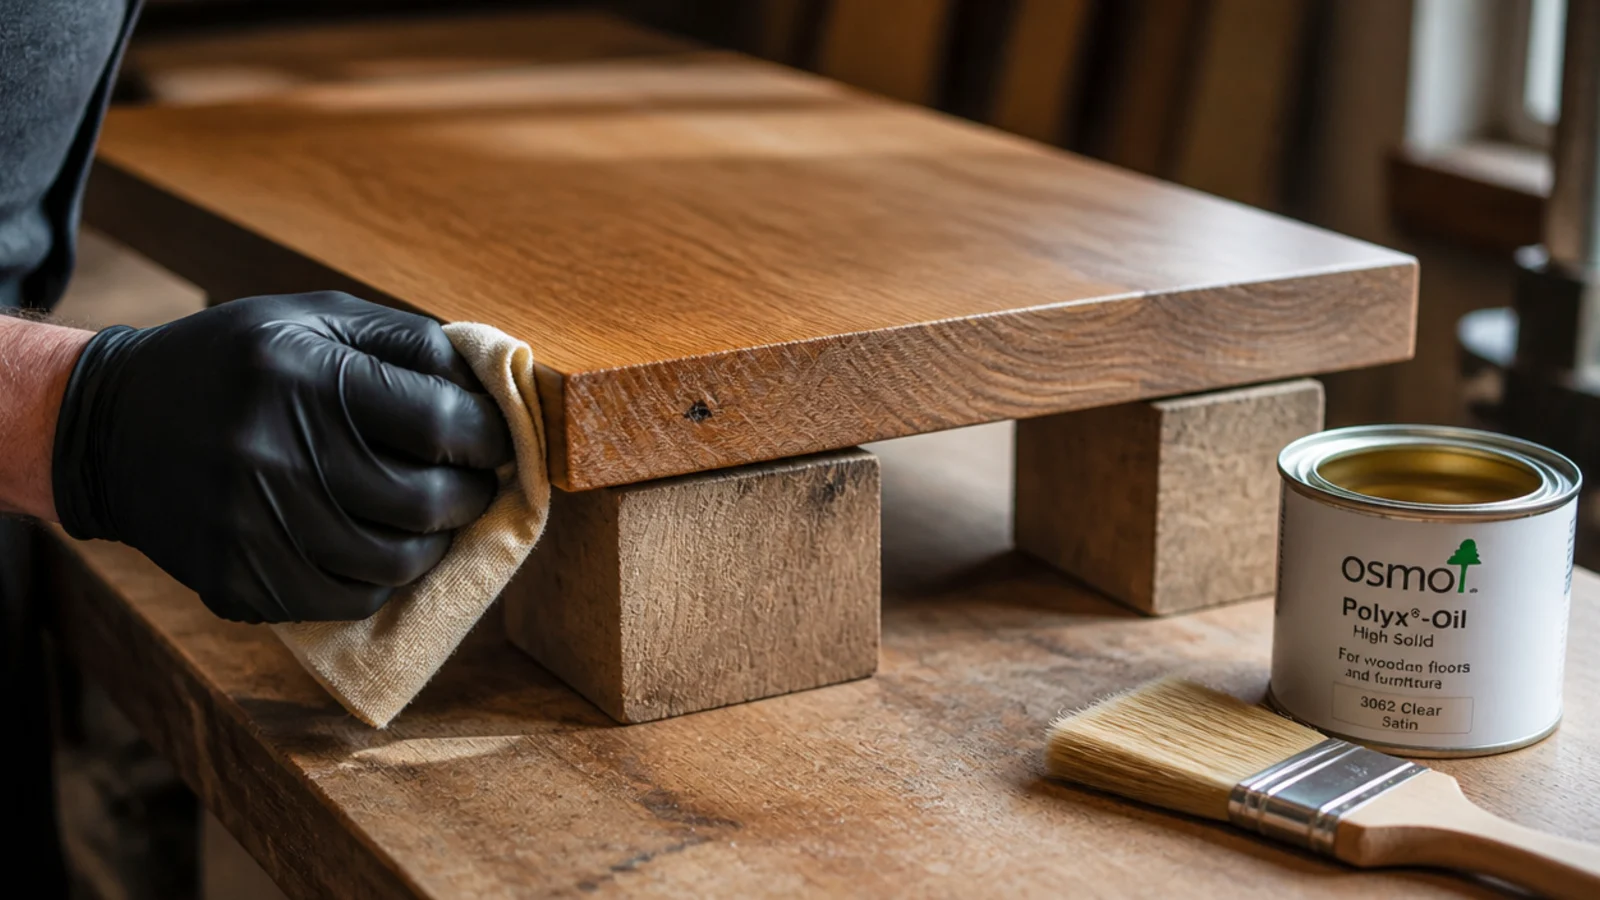
Water-based polyurethane or hardwax oil, and never clear wax — wax gives almost no protection against grease and softens near heat.
Coat the underside and the end grain as thoroughly as the top. End grain drinks finish and is exactly where moisture enters. A board sealed on one face only draws moisture unevenly and cups upward within a humid season, usually after it is loaded with your plates.
Step 13: Second coat, then let it cure properly
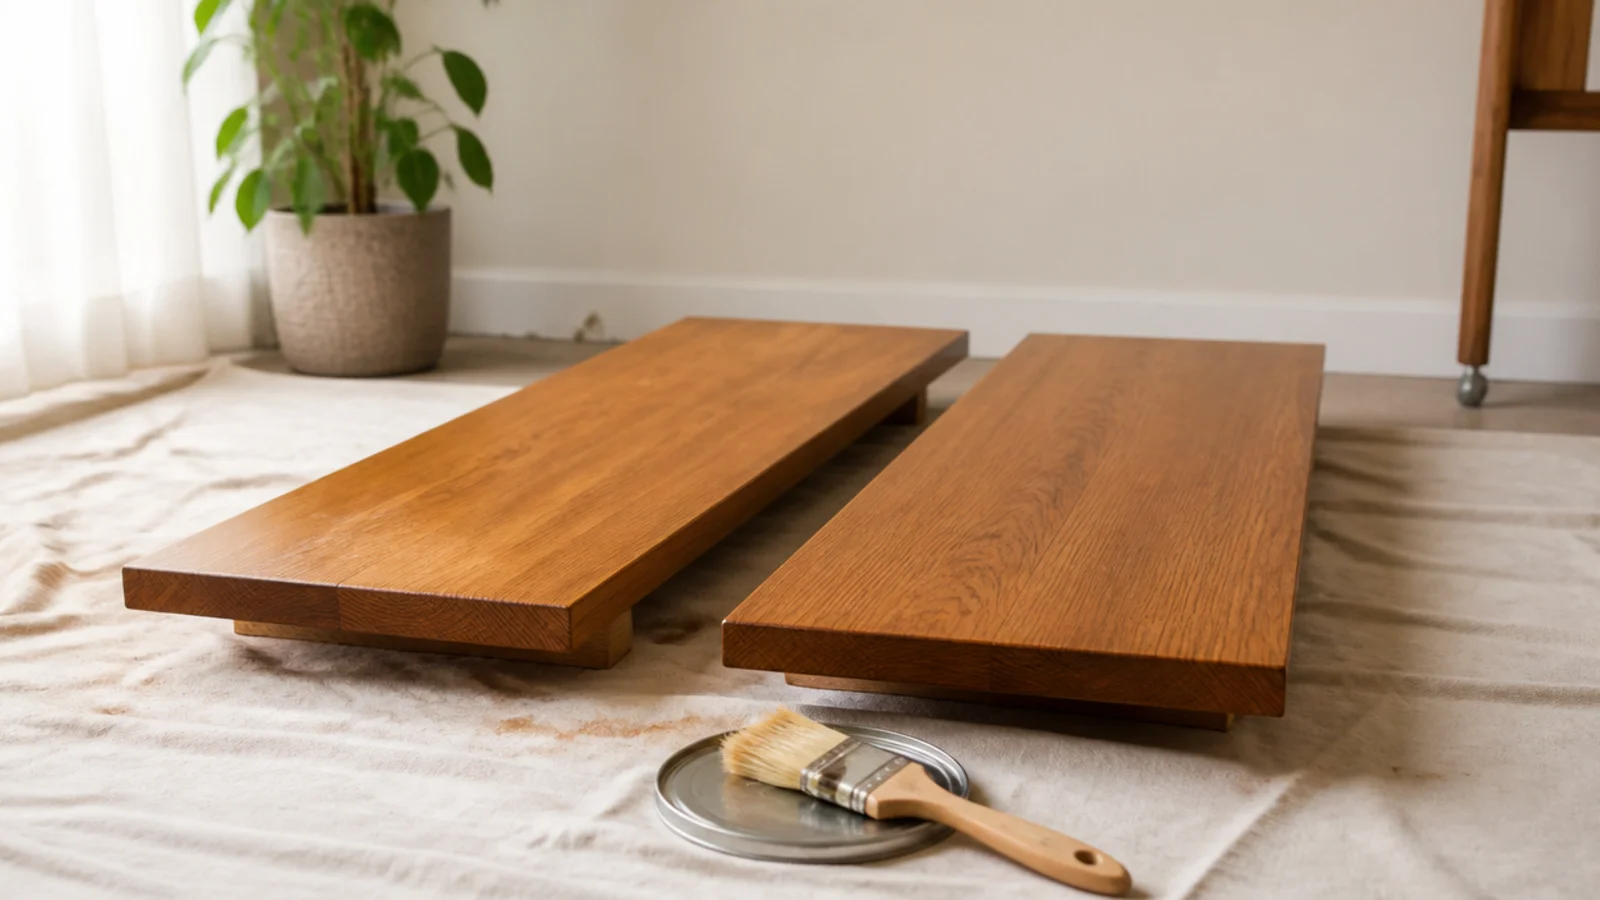
Sand very lightly with 320 between coats, wipe the dust off with a dry cloth, and apply the second coat thin.
Two thin coats beat one heavy one every time. Then leave it. Water-based poly is touch-dry in two hours and properly cured in about seven days, and a shelf loaded on day one keeps the print of every jar base on it permanently.
Step 14: Choose brackets rated for real kitchen weight
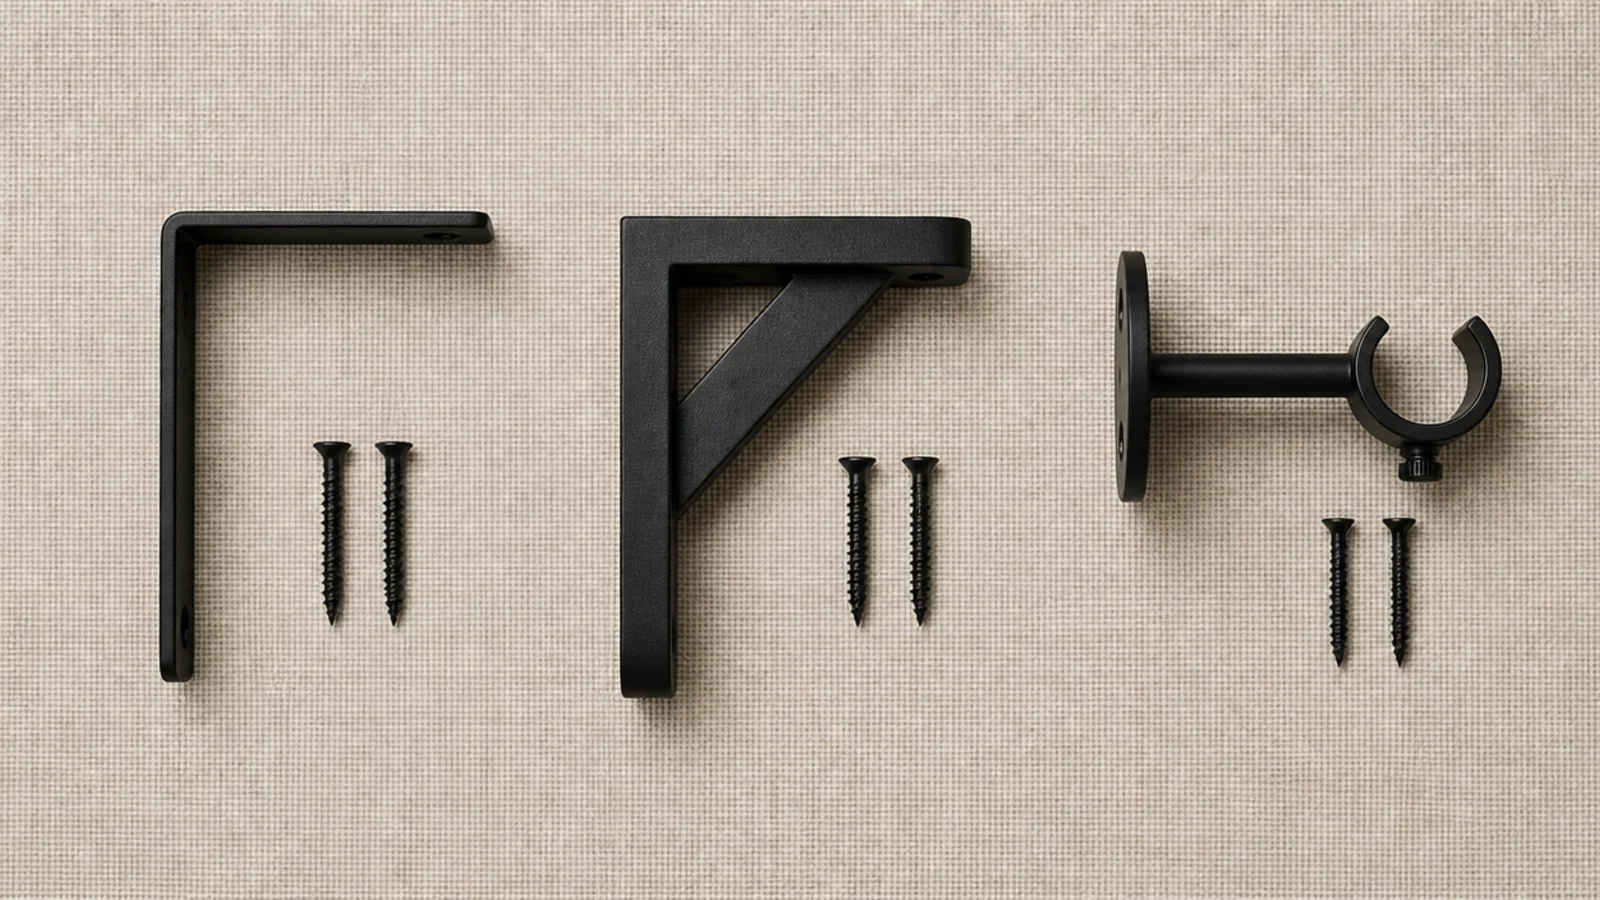
A stack of ten dinner plates is around 12 pounds, and nobody stacks ten. Buy brackets rated 40 pounds or more per pair and treat the box rating as optimistic.
Concealed rod brackets look best but need a stud or a very solid anchor at every rod. Visible L brackets are more forgiving and easier to add to later. There is a full comparison in the kitchen shelf bracket guide.
Step 15: Draw one level line down the whole run
Use a four-foot level, not a torpedo, and draw a single continuous pencil line the length of the run.
Level to the counter rather than the wall cabinets above, because counters are installed level and cabinet runs sometimes are not. Where the two disagree, side with the counter — your eye compares the shelf to the surface directly beneath it far more than to anything overhead.
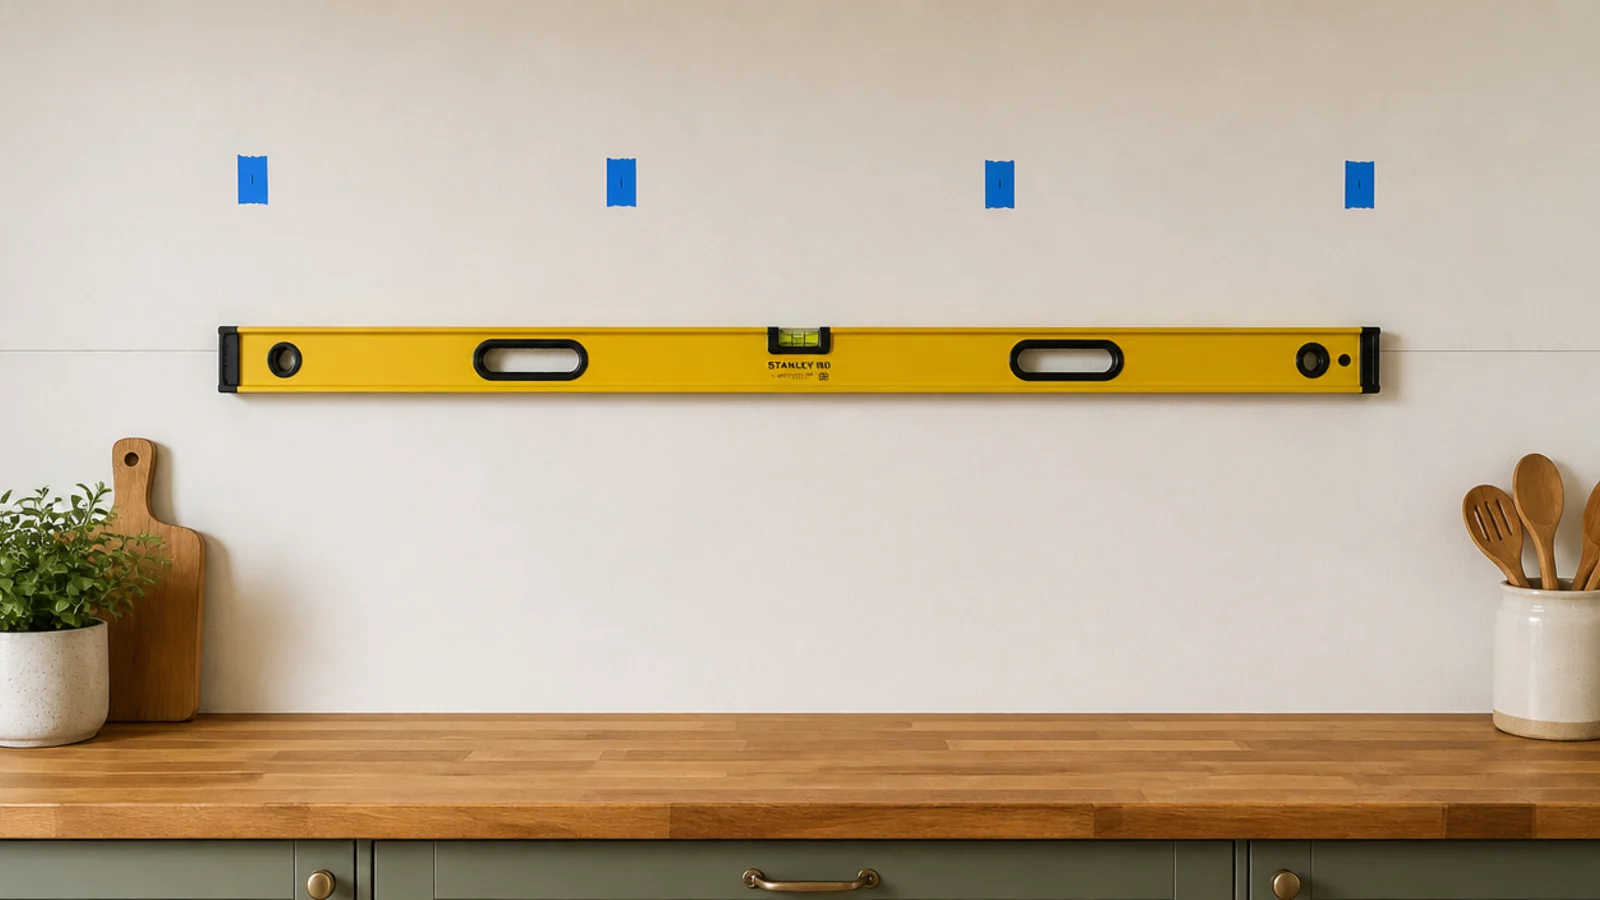
Step 16: Anchor into studs and toggle the rest
Into a stud, a two-and-a-half-inch wood screw carries 40 to 50 pounds per bracket. Between studs, throw away the plastic plugs that came in the box.
Those plugs are rated around 10 pounds and they are the reason most homemade shelves sag. Toggle bolts in half-inch drywall carry 25 to 35 pounds each for about a dollar. Tighten until snug, then a quarter turn, and stop.
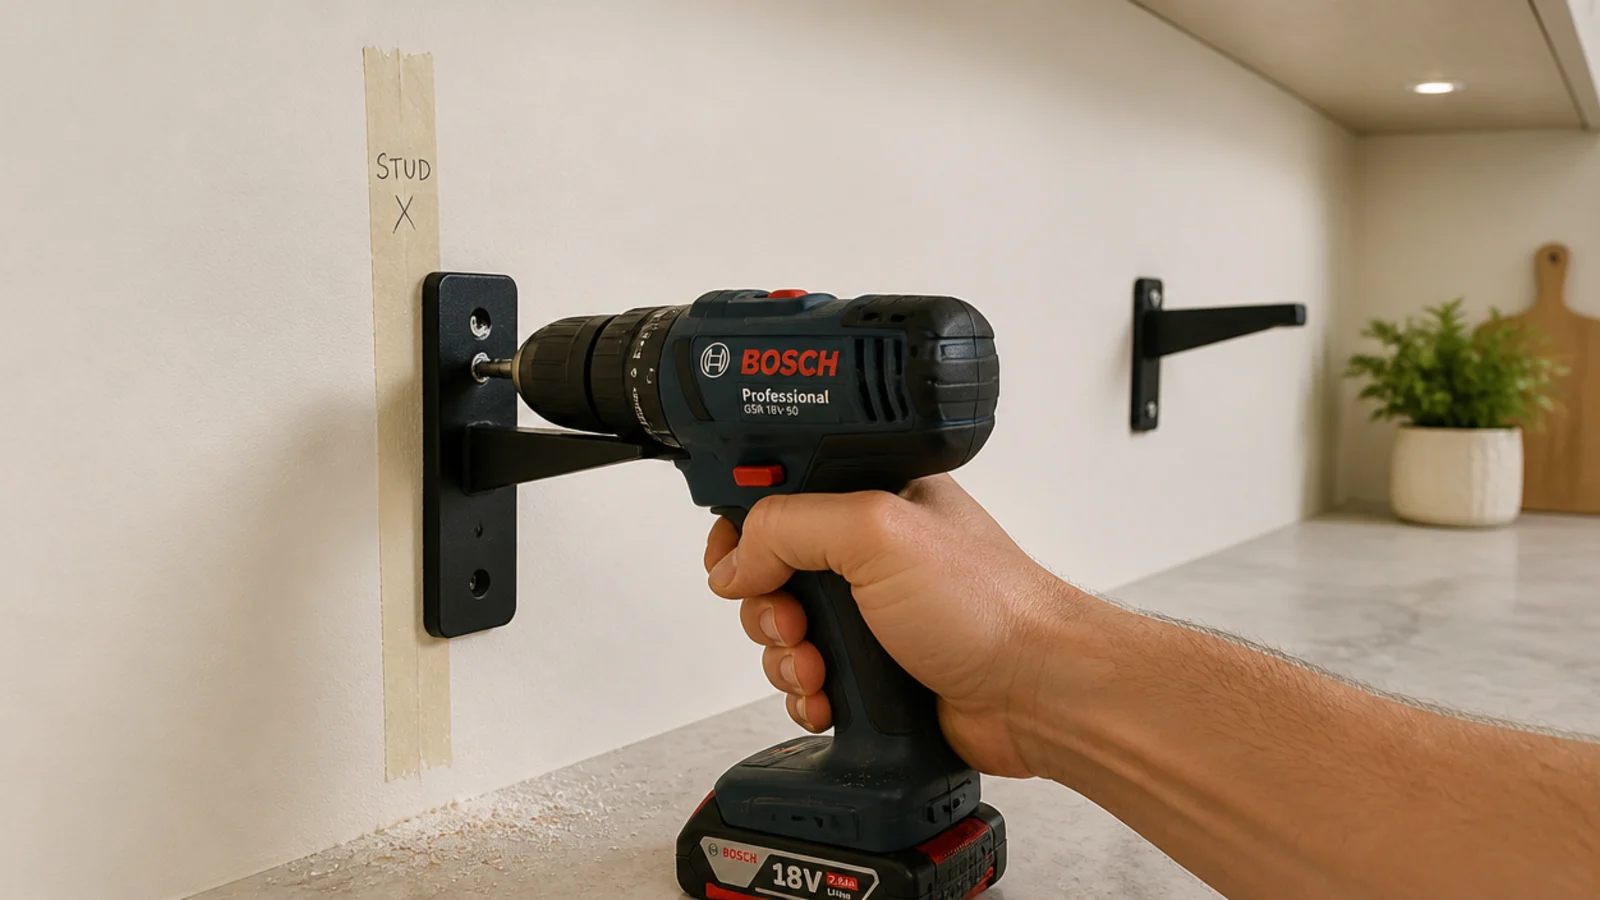
Step 17: Set the boards and check level a second time
Rest the boards on the mounted brackets before you fix anything into the wood, and put the level back on top.
Boards are never perfectly flat and brackets flex slightly. If the bubble has moved, shim the low bracket with a washer behind the wall plate rather than redrilling. One washer corrects about a sixteenth of an inch, which is almost always exactly what is needed.
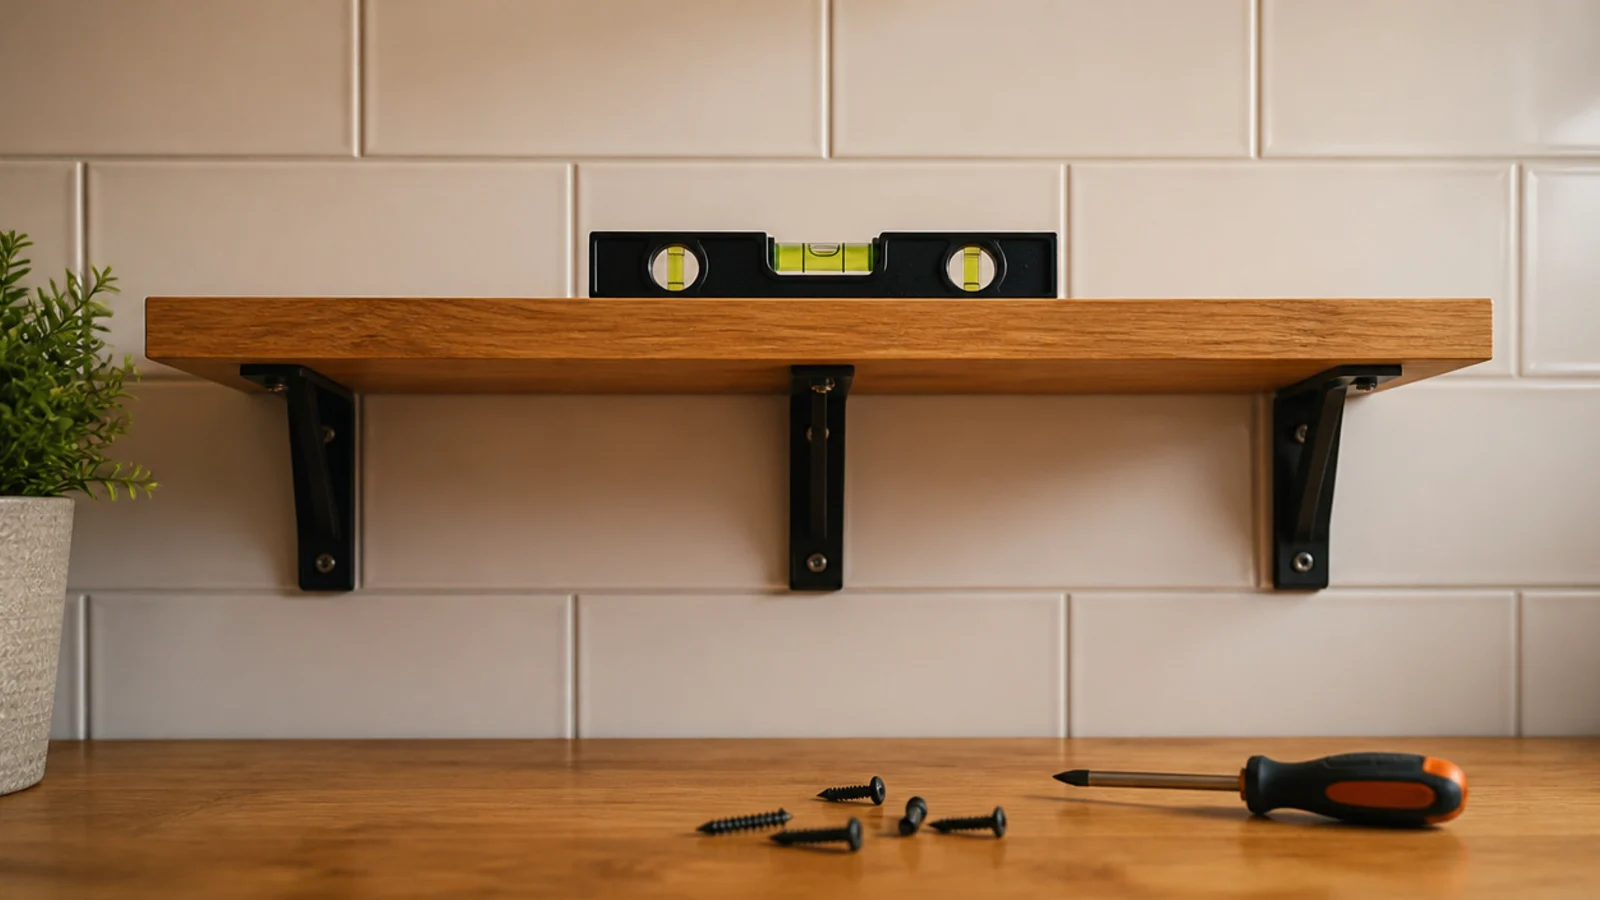
Step 18: Screw up through the brackets, never down
Drive three-quarter-inch pan head screws upward through the bracket holes into the underside of the board. Anything longer comes through the top face and there is no fixing that.
Hold the board down firmly while you drive, because the drill wants to lift it. Two screws per bracket is plenty, and if the bracket has four holes use the two furthest apart to resist twisting.
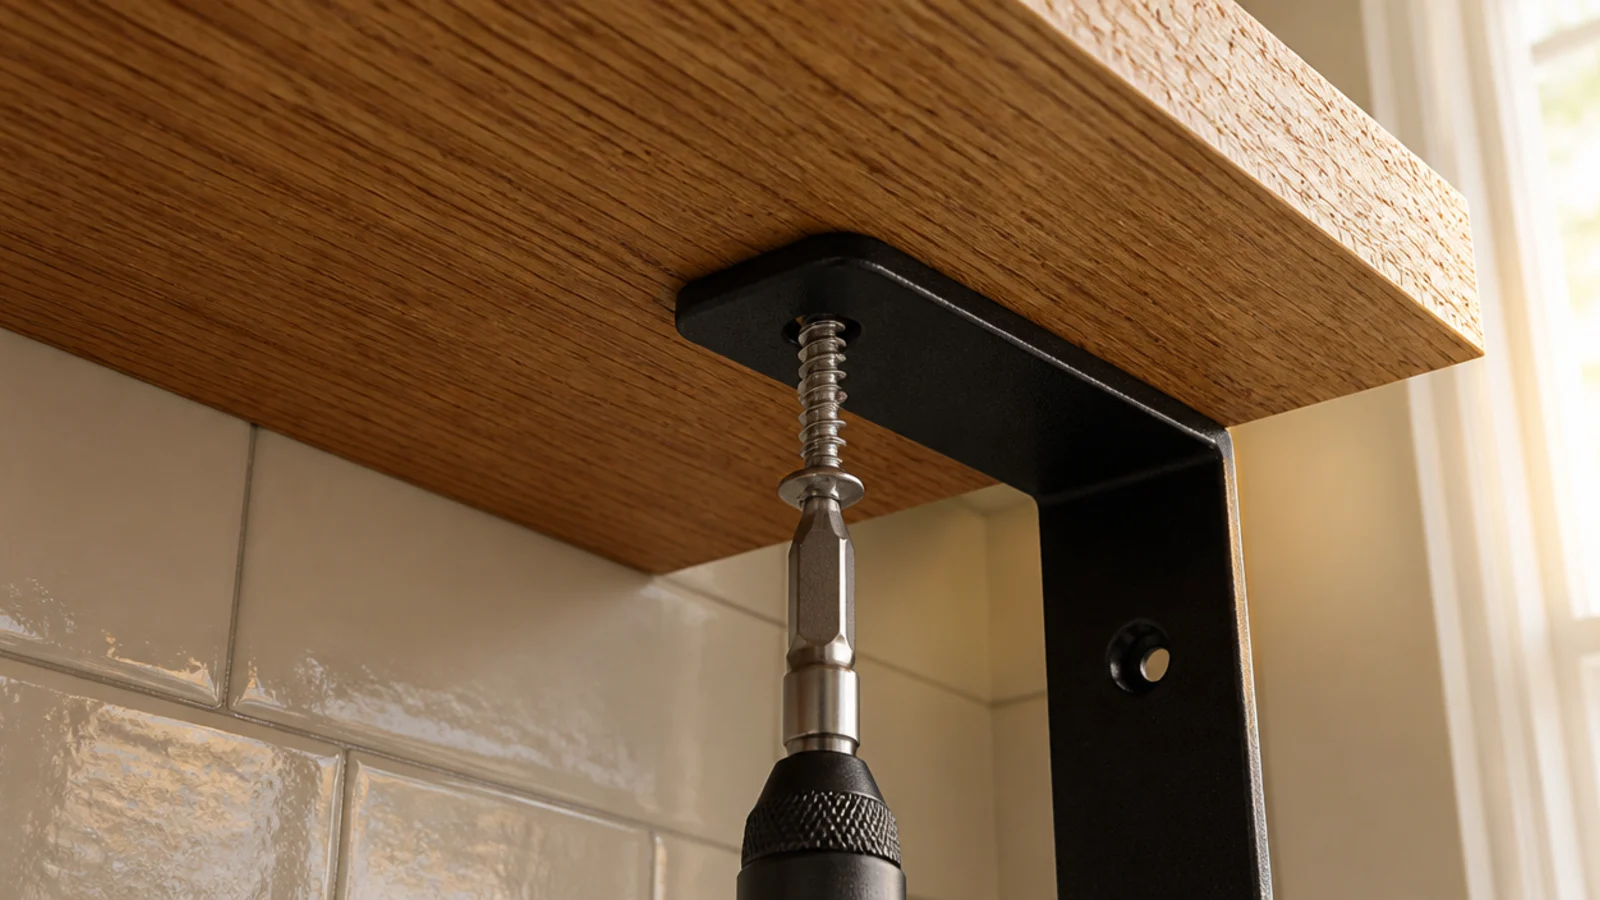
Step 19: Load-test with real weight before styling
Stack twelve pounds of plates on the lowest shelf, leave it an hour, then look hard at the bracket plates and the paint around every anchor.
Any hairline crack, any movement, and you add a bracket now rather than after the shelf is full of stoneware. This hour is why my shelves survive a house where cupboard doors get shut with a hip.
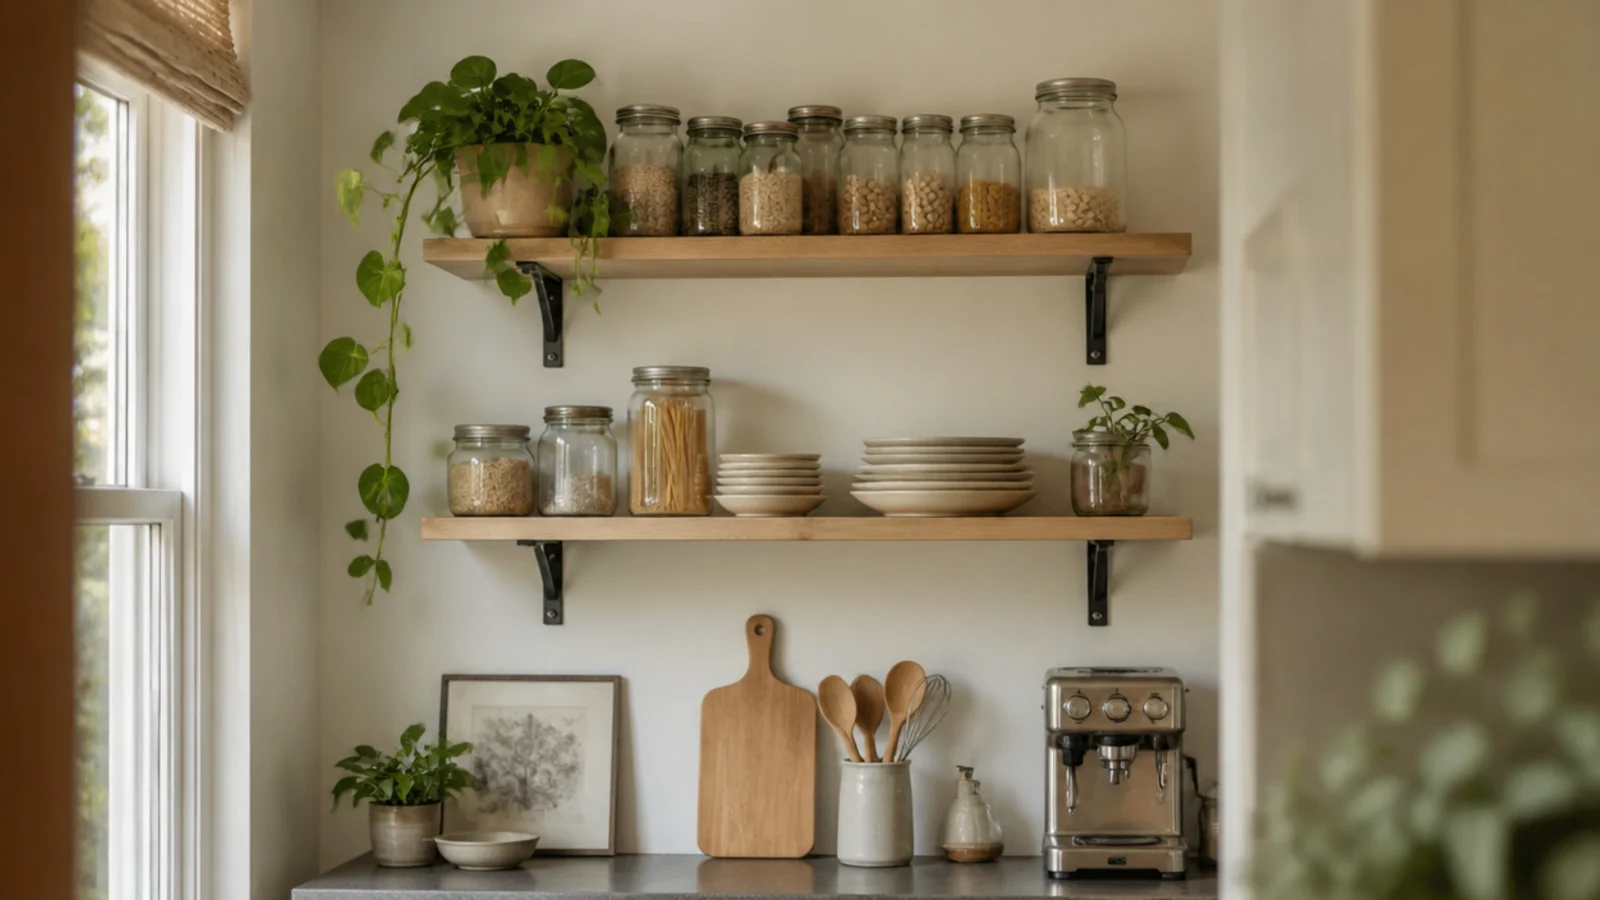
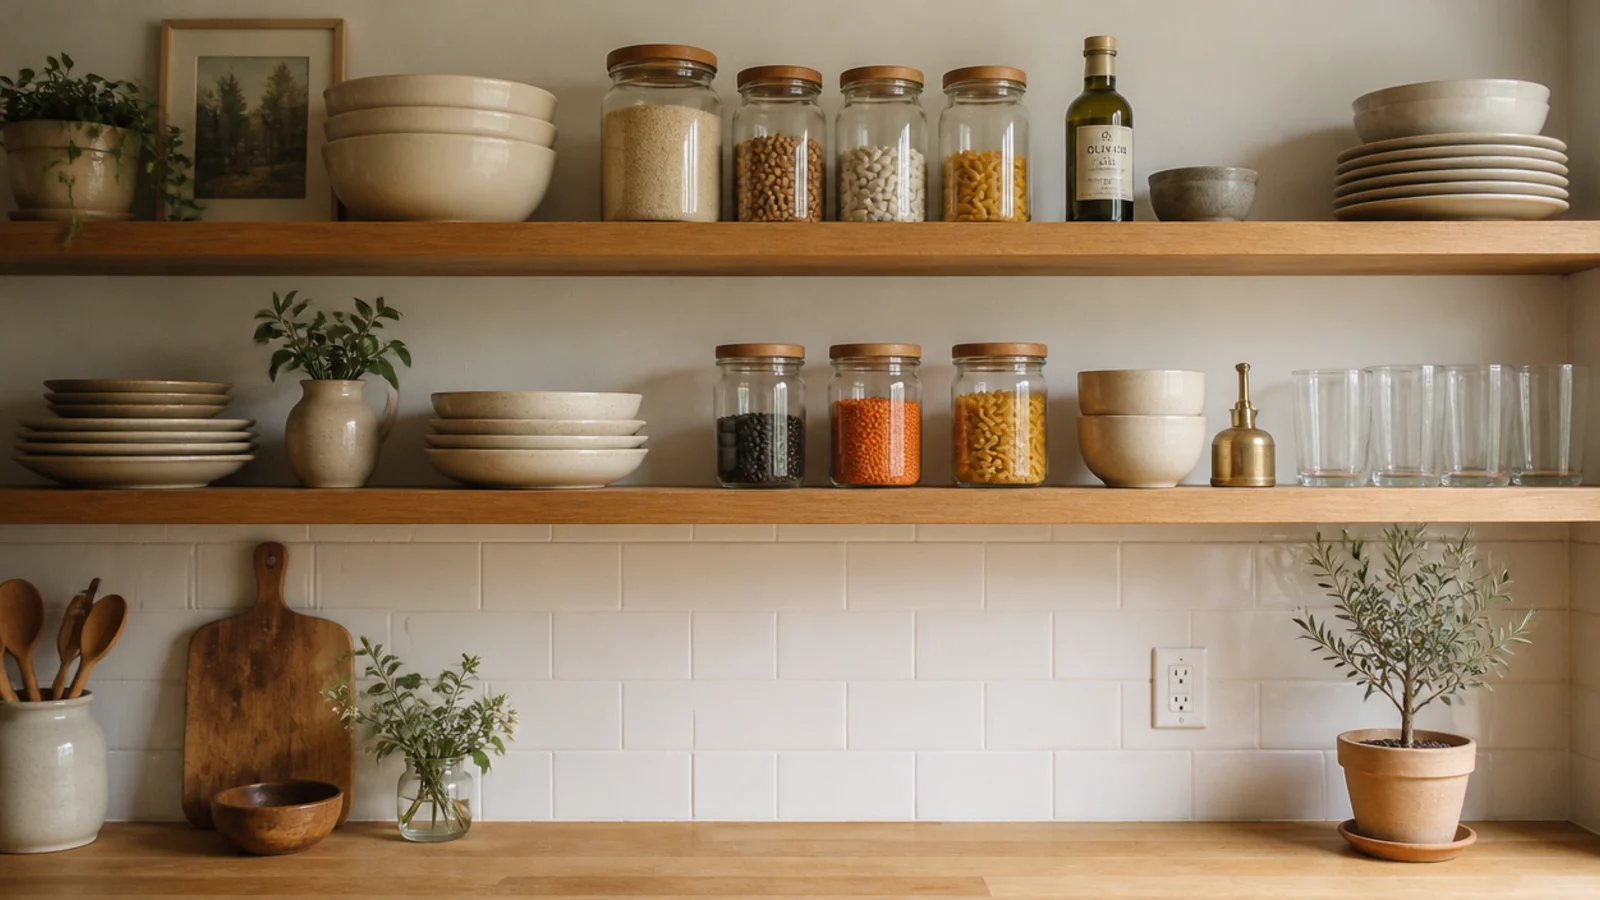
Step 20: Style it, then edit it a week later
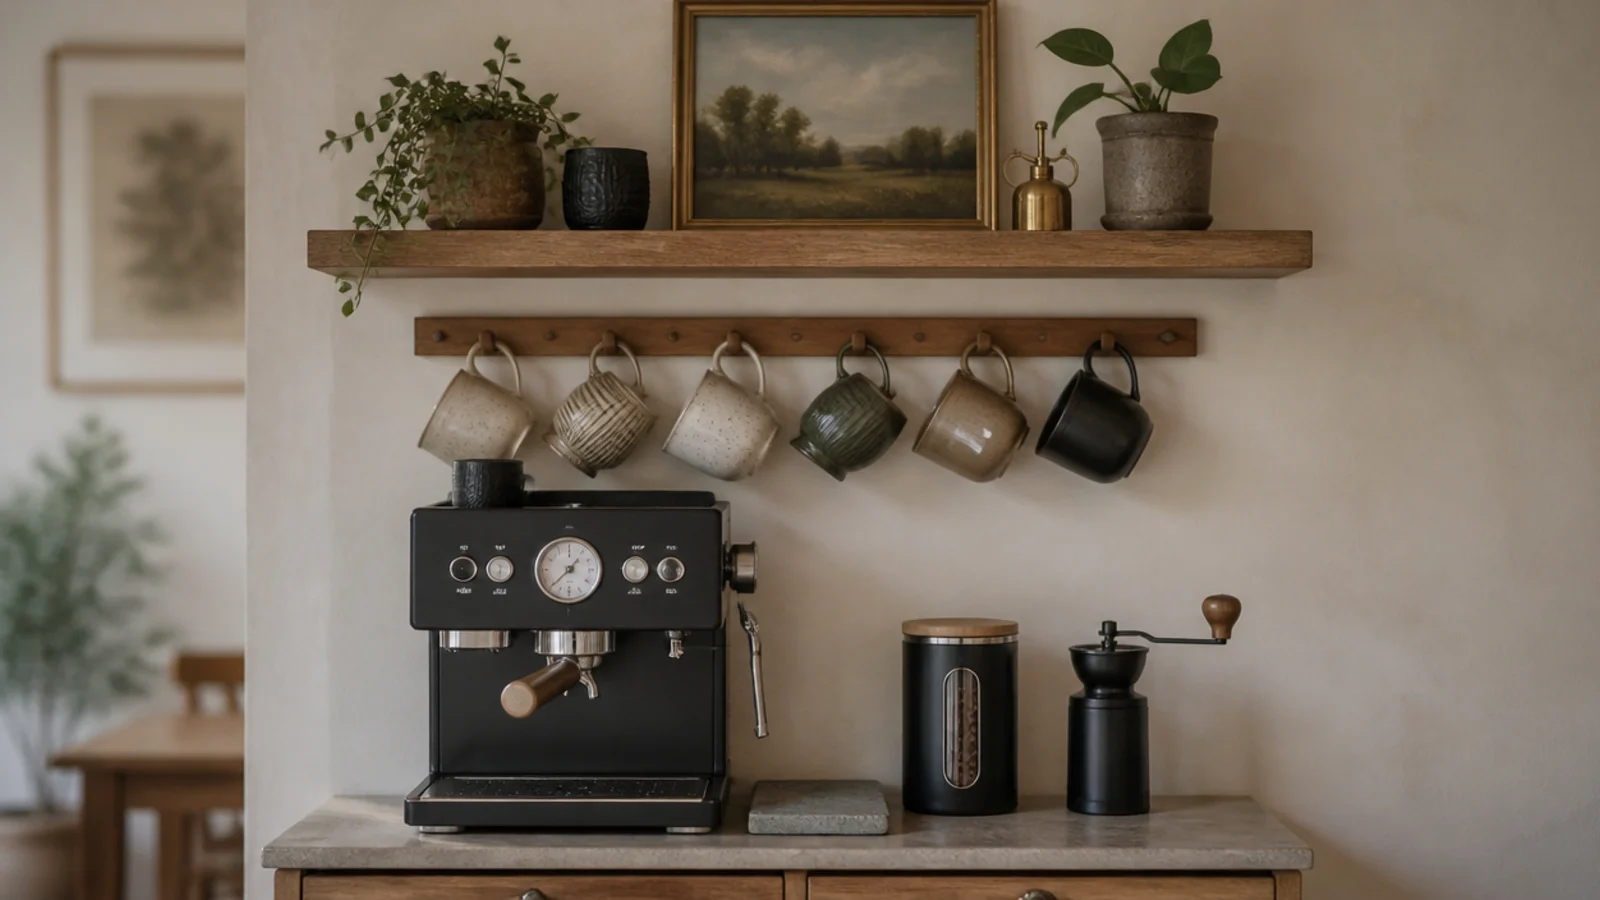
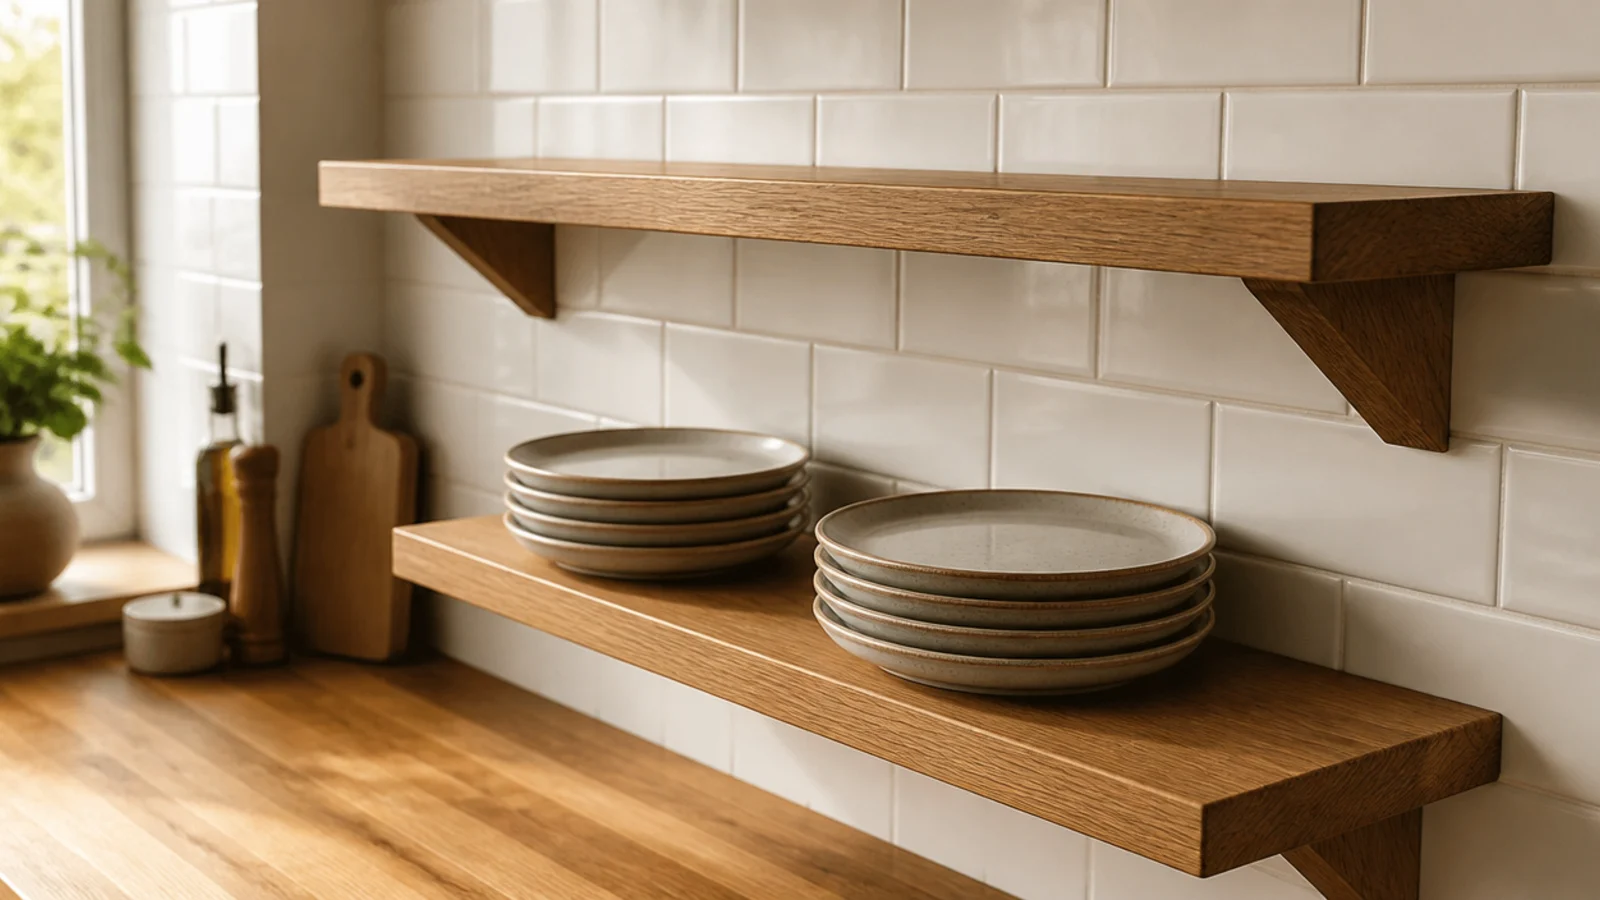
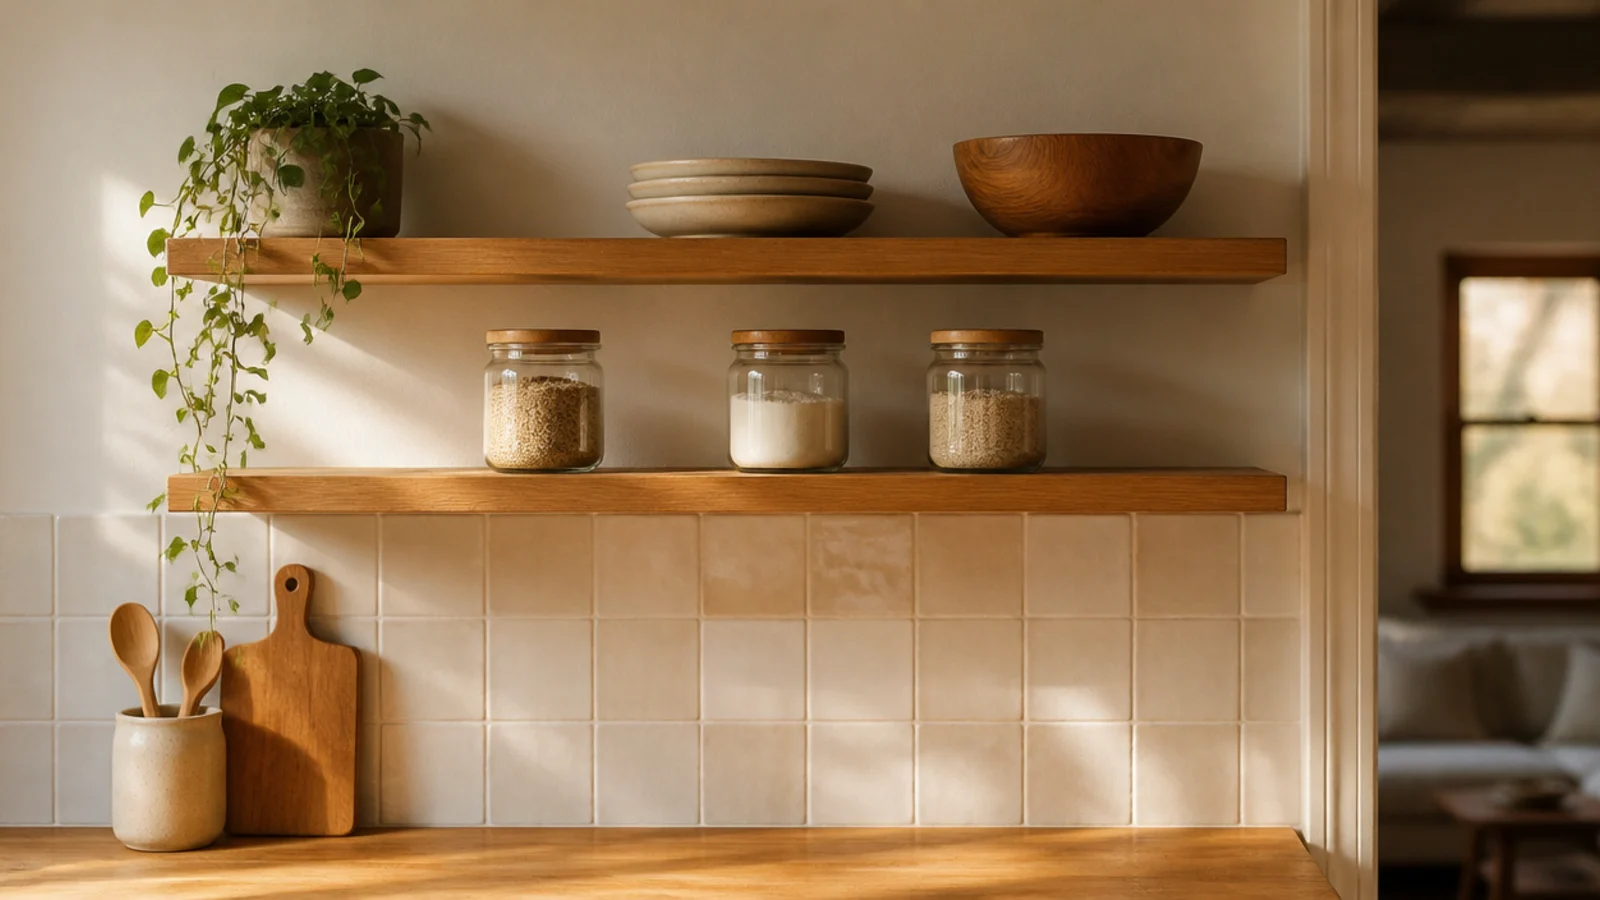
Load the things you use weekly first — plates, mugs, the oils you cook with. Only then add the two or three pieces that are simply nice to look at.
Live with it for seven days, then take two things off. Every shelf I have styled is better a week later with less on it, and a kitchen shelf especially, because the empty space is what stops it reading as storage.
Pro Styling Rules
Mistakes to Skip
- Sealing only the top face. The underside draws moisture at a different rate and the board cups upward within a season, by which time it is mounted and loaded.
- Trusting the plastic plugs in the bracket box. Rated around 10 pounds, and the reason most homemade shelves end up on the counter.
- Loading the shelf the day it goes up. Water-based finish needs about a week to cure fully, and every jar base leaves a permanent ring before then.
Frequently asked questions
How thick should DIY kitchen shelves be?
Three-quarter-inch solid stock is the minimum anywhere dishes will live, because a stack of ten dinner plates is around 12 pounds and most people stack twenty. Go to an inch and a half on spans over 40 inches or under heavy stoneware. Half-inch boards photograph beautifully and bow within two months in a working kitchen.
What finish should I use on kitchen shelves?
Water-based polyurethane or a hardwax oil. Both resist water and airborne grease and wipe clean without clouding or marking. Skip clear wax entirely in a kitchen — it gives almost no protection and softens near heat. Seal every face including the underside and the cut ends, or the board absorbs moisture unevenly and cups.
How far apart should kitchen shelf brackets be?
No more than 32 inches between brackets on three-quarter-inch stock, and closer if the shelf holds dishes. At least one bracket must land in a stud for anything carrying plates. Studs are typically 16 inches on center, so a six-foot run usually gives you three or four chances to hit solid framing.
How high should the first kitchen shelf go above the counter?
Eighteen inches above the countertop. That clears a stand mixer and most small appliances, which is the measurement people discover only after the shelf is up. The second shelf sits 12 to 14 inches above the first, which is enough to stand a tall bottle or a jar of pasta upright without tilting it.
Can I build kitchen shelves without owning a saw?
Yes. Most home centers cut boards to length for free or for a dollar a cut, so you can arrive with a written cut list and leave with finished lengths to sand and seal at home. The only tools you genuinely need are a drill, a stud finder, a four-foot level and a sanding block.
Build one shelf first and cook under it for a fortnight before you commit to a second — the height that looks right on paper and the height that works with your kettle are not always the same. For what goes on the finished run, kitchen shelf styling has thirty arrangements, and the same anchors on a living room wall are covered in the floating shelf build. Save the pin so the cut list is with you at the lumber counter.
Want more like this? Browse all 15 kitchen shelf ideas guides — they all use the same measurements and budget tiers.
Pin it for later
Save this to your Kitchen Shelf Ideas board
Pin it now so it is waiting for you when the tape measure comes out — and so the next person hunting for this idea can find it too.
Save this pinKeep going
More ideas worth saving while you have the tape measure out.