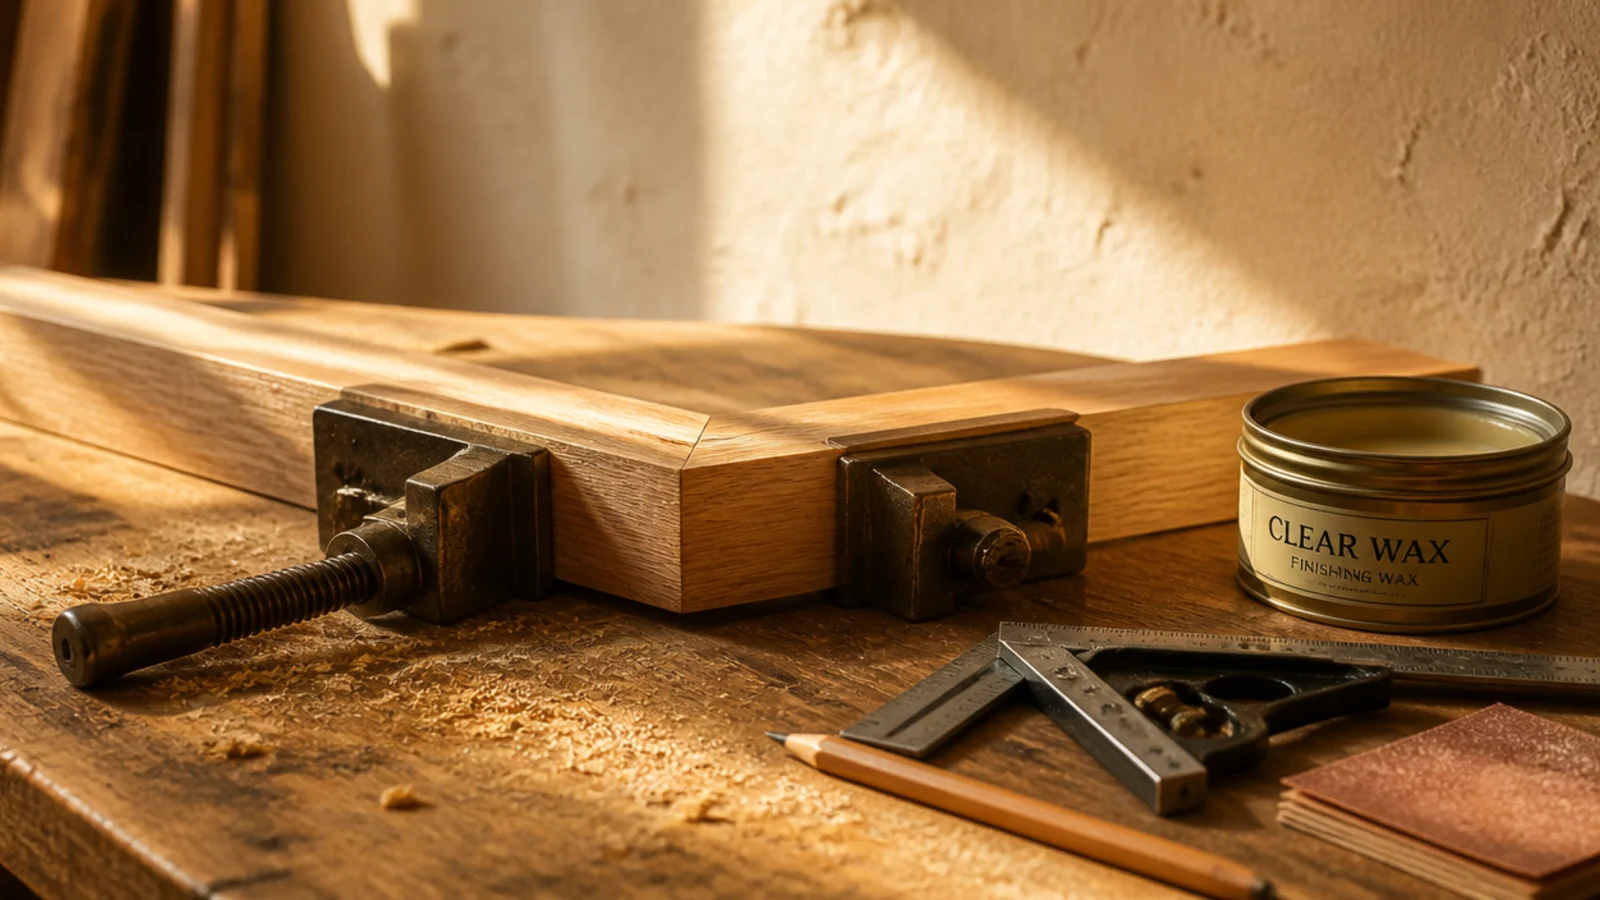
Floating Shelves · How-To
20 Steps to Style a Stunning Floating Shelf

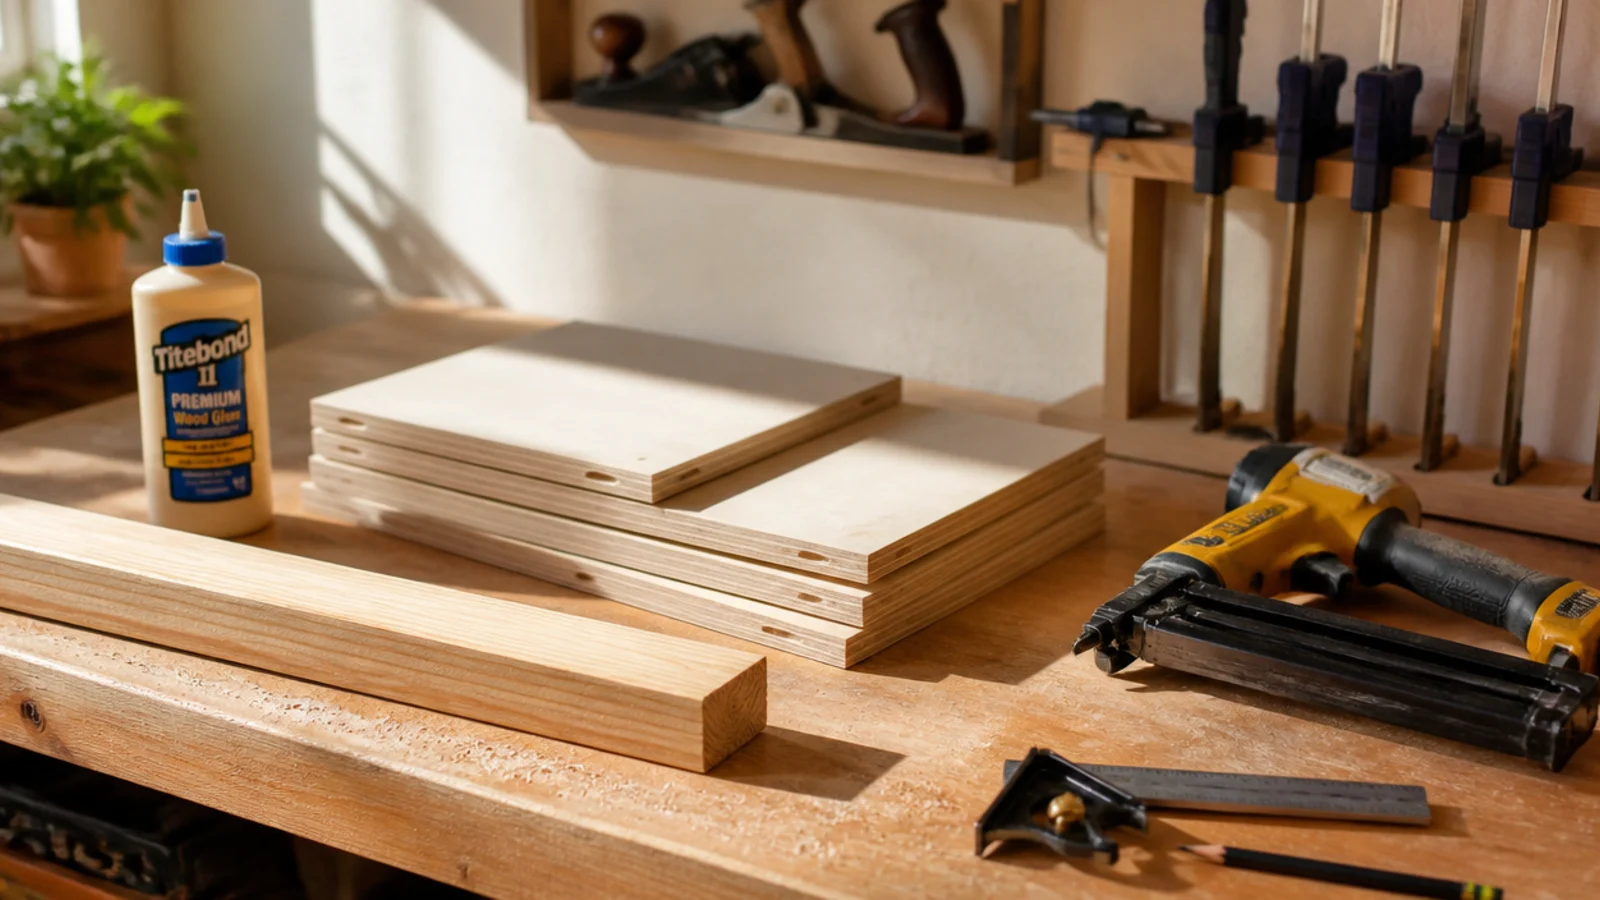
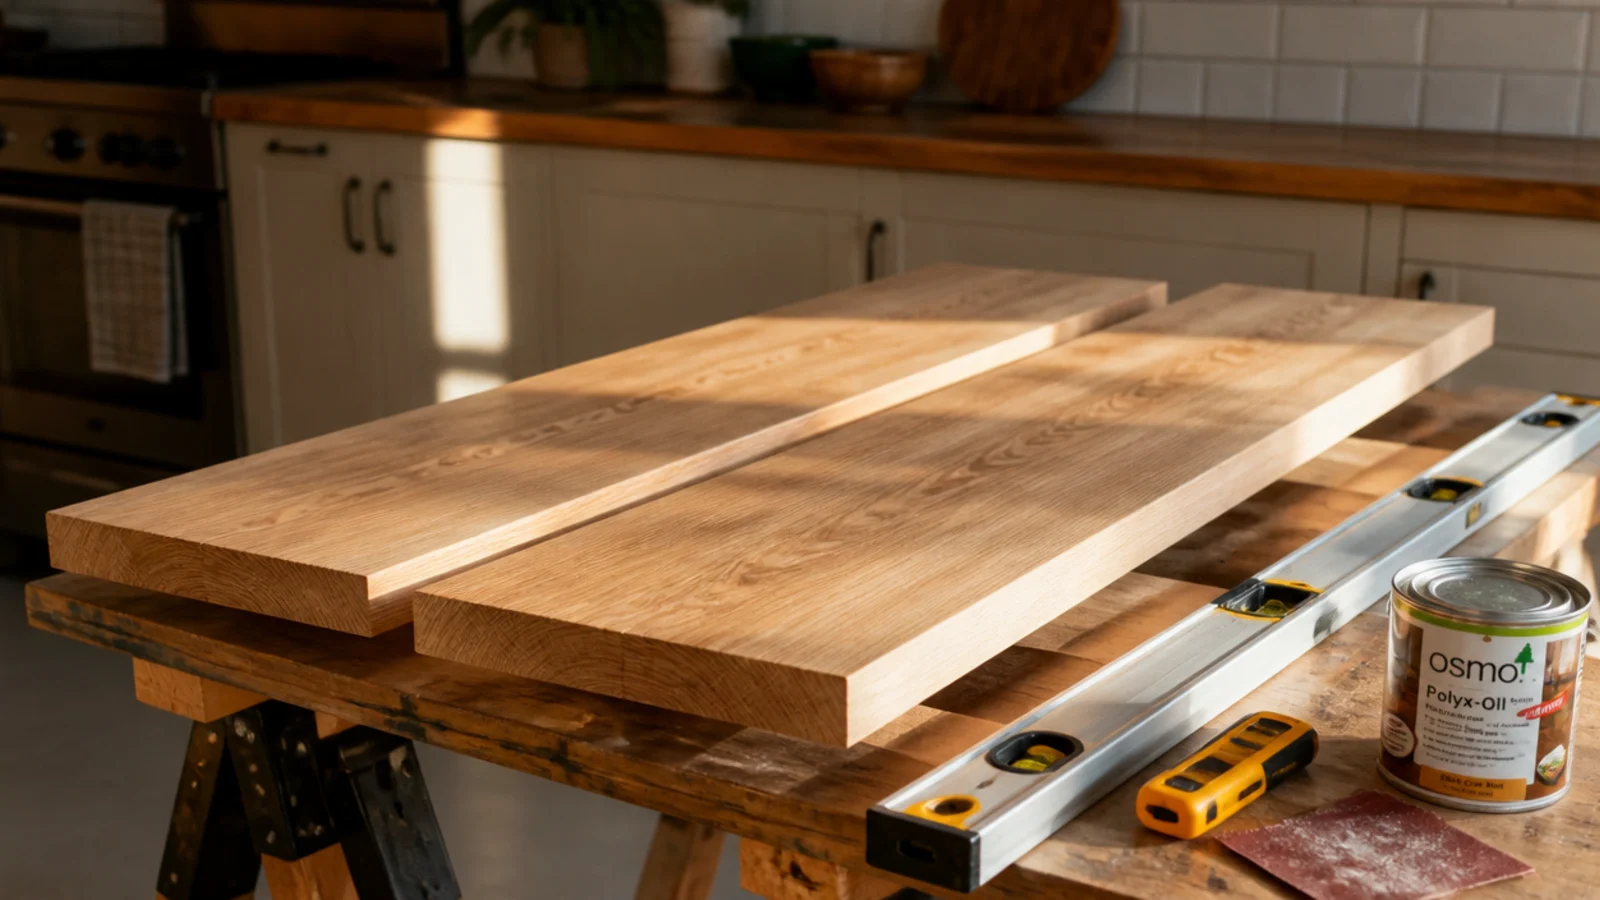
DIY floating shelves look like a woodworking project and are really an anchoring project. The cutting is easy; the two things that decide whether the shelf is still level in three years are the span you choose and the fixing you use. These twenty steps build a hollow box shelf with a chunky front edge on a straight wall, in one evening and one morning.
In this guide23 sections — tap to openHide
- 1.What You'll Need to Build DIY Floating Shelves
- 2.Step 1: Measure the wall and pick a length that lands on studs
- 3.Step 2: Map the studs and mark every hit with tape
- 4.Step 3: Set your depth with the leverage rule
- 5.Step 4: Choose the support system before you cut anything
- 6.Step 5: Write a cut list before you buy the wood
- 7.Step 6: Cut the internal frame stock
- 8.Step 7: Cut the two skins and the front edge
- 9.Step 8: Assemble the frame square
- 10.Step 9: Dry-fit the box over the frame
- 11.Step 10: Glue and pin the skins
- 12.Step 11: Fill, sand and round the front edge
- 13.Step 12: Test your finish on an offcut
- 14.Step 13: Finish every face, including the underside
- 15.Step 14: Snap a level line on the wall
- 16.Step 15: Choose the anchor for the wall you actually have
- 17.Step 16: Fix the frame and check it level and square
- 18.Step 17: Slide the box on and pin it from underneath
- 19.Step 18: Load test with real weight for an hour
- 20.Step 19: Style in threes at three heights
- 21.Step 20: Live with it a week, then remove two things
- 22.Pro Styling Rules
- 23.Mistakes to Skip
What You'll Need to Build DIY Floating Shelves
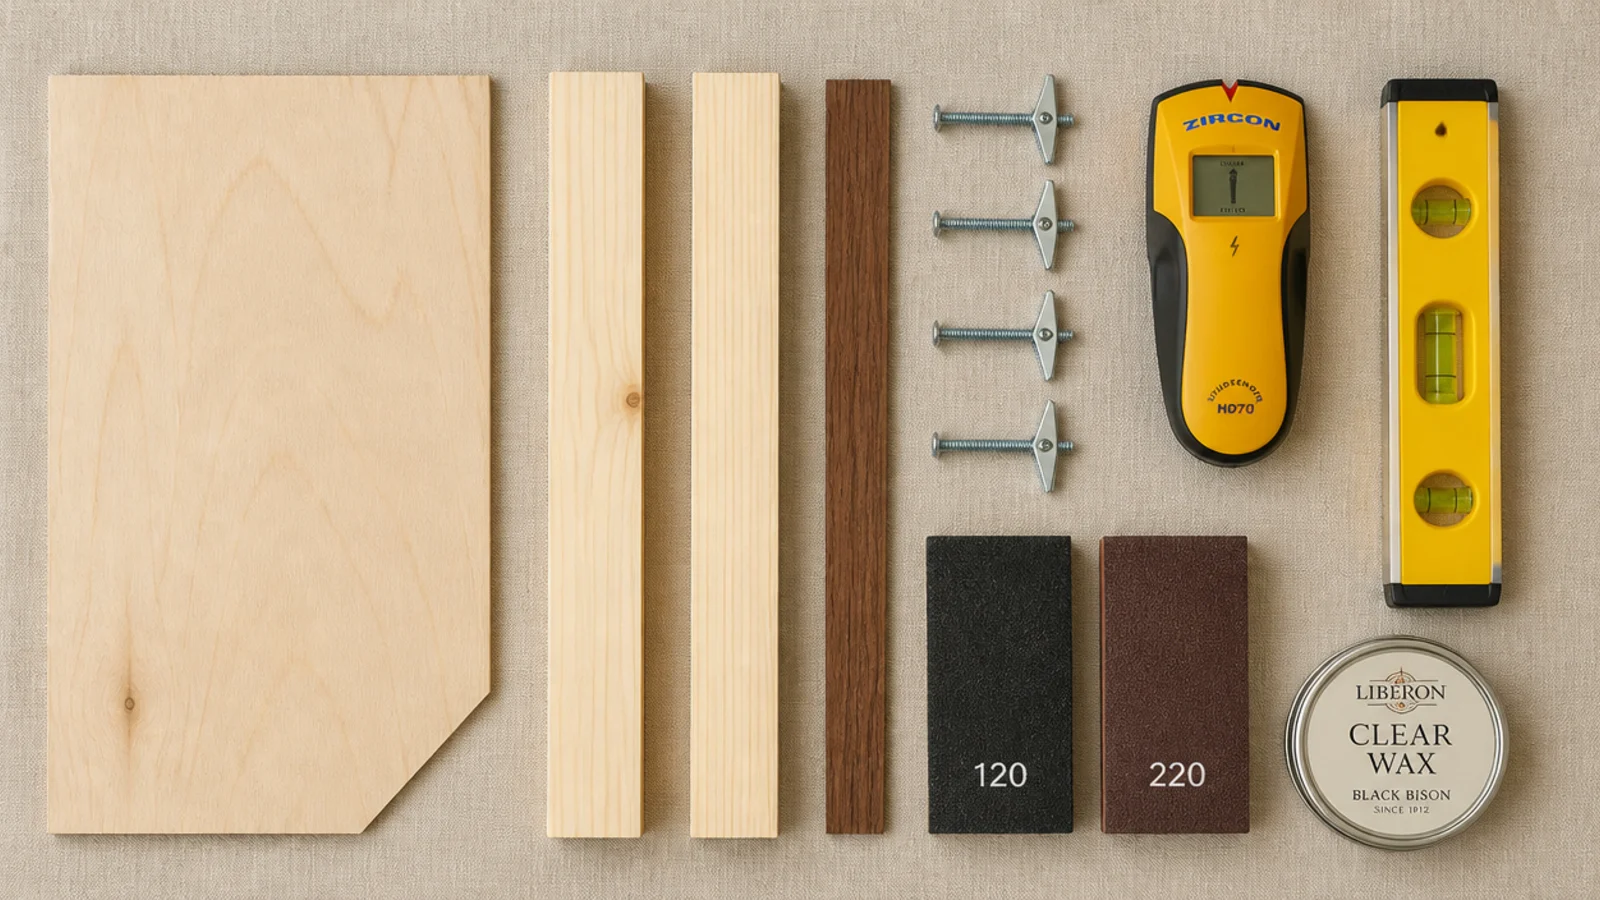
Nothing here is specialist. A pair of 32-inch shelves runs about $45 in pine and plywood, or $70 to $90 with an oak front edge and a proper rod bracket.
| Item | Spec that matters | Rough cost |
|---|---|---|
| Plywood skins | Birch ply, 1/2 in, for top and bottom | $22–$38 |
| Frame stock | Pine 2x2, straight not bowed | $8 |
| Front edge | Solid oak or poplar strip, 1.5–2 in tall | $7–$14 |
| Fixings | 3 in wood screws for studs, toggle bolts for drywall | $6 |
| Pins and glue | 1 in brads, PVA wood glue | $9 |
| Sandpaper | 120 grit and 220 grit | $5 |
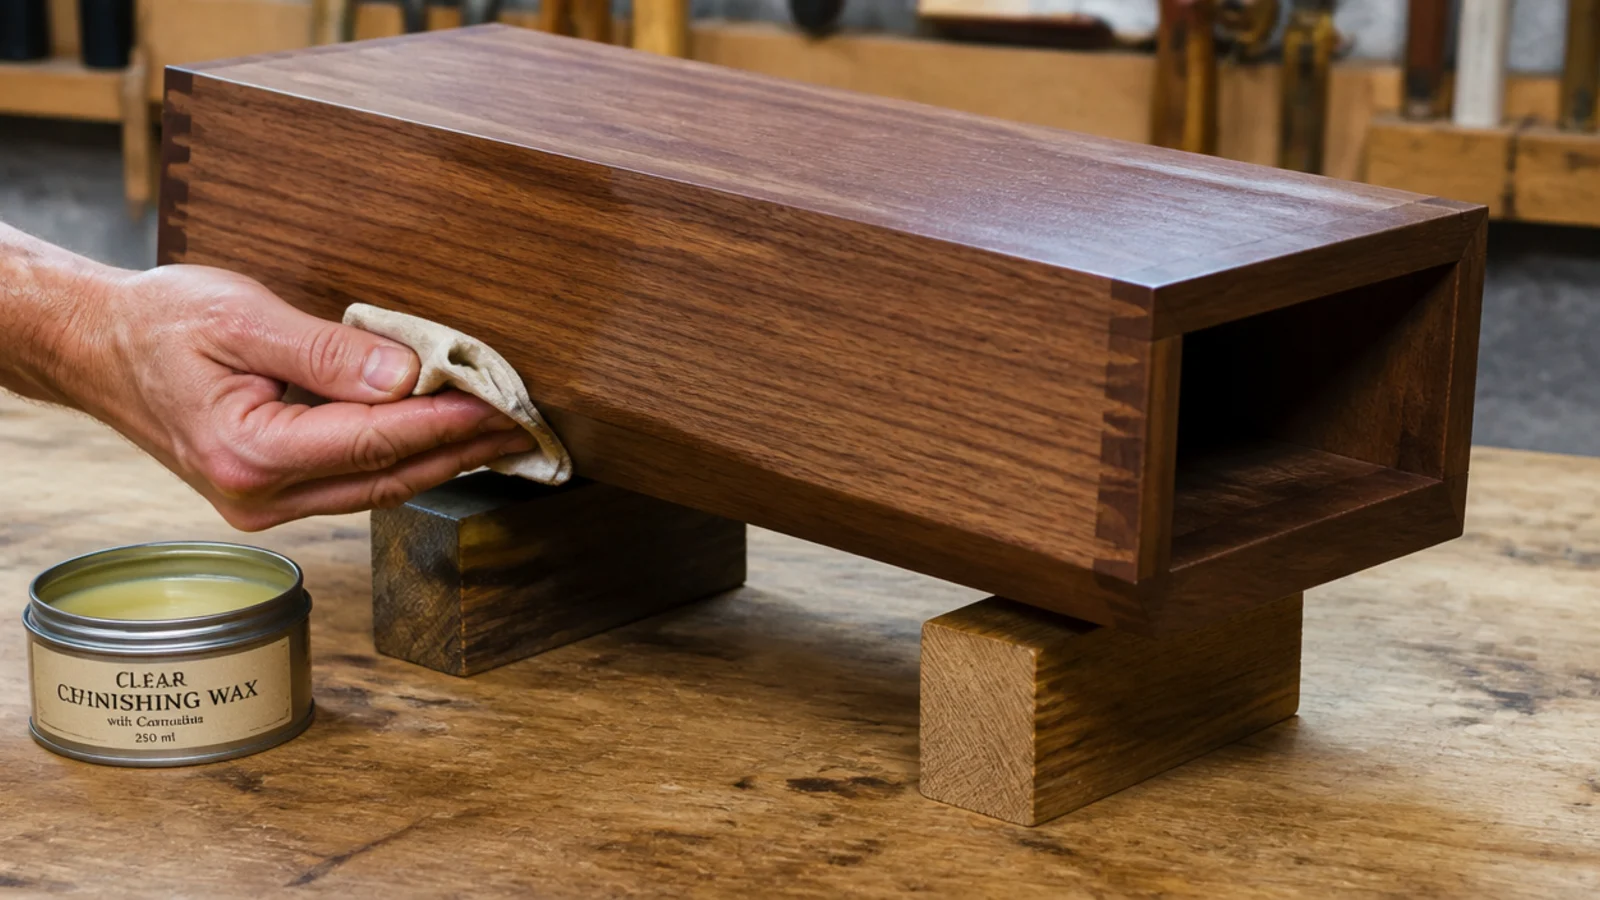
| Finish | Clear wax, hardwax oil or water-based poly | $9–$16 |
| Tools | Drill, stud finder, level, saw, brad nailer or hammer | borrowed |
Step 1: Measure the wall and pick a length that lands on studs
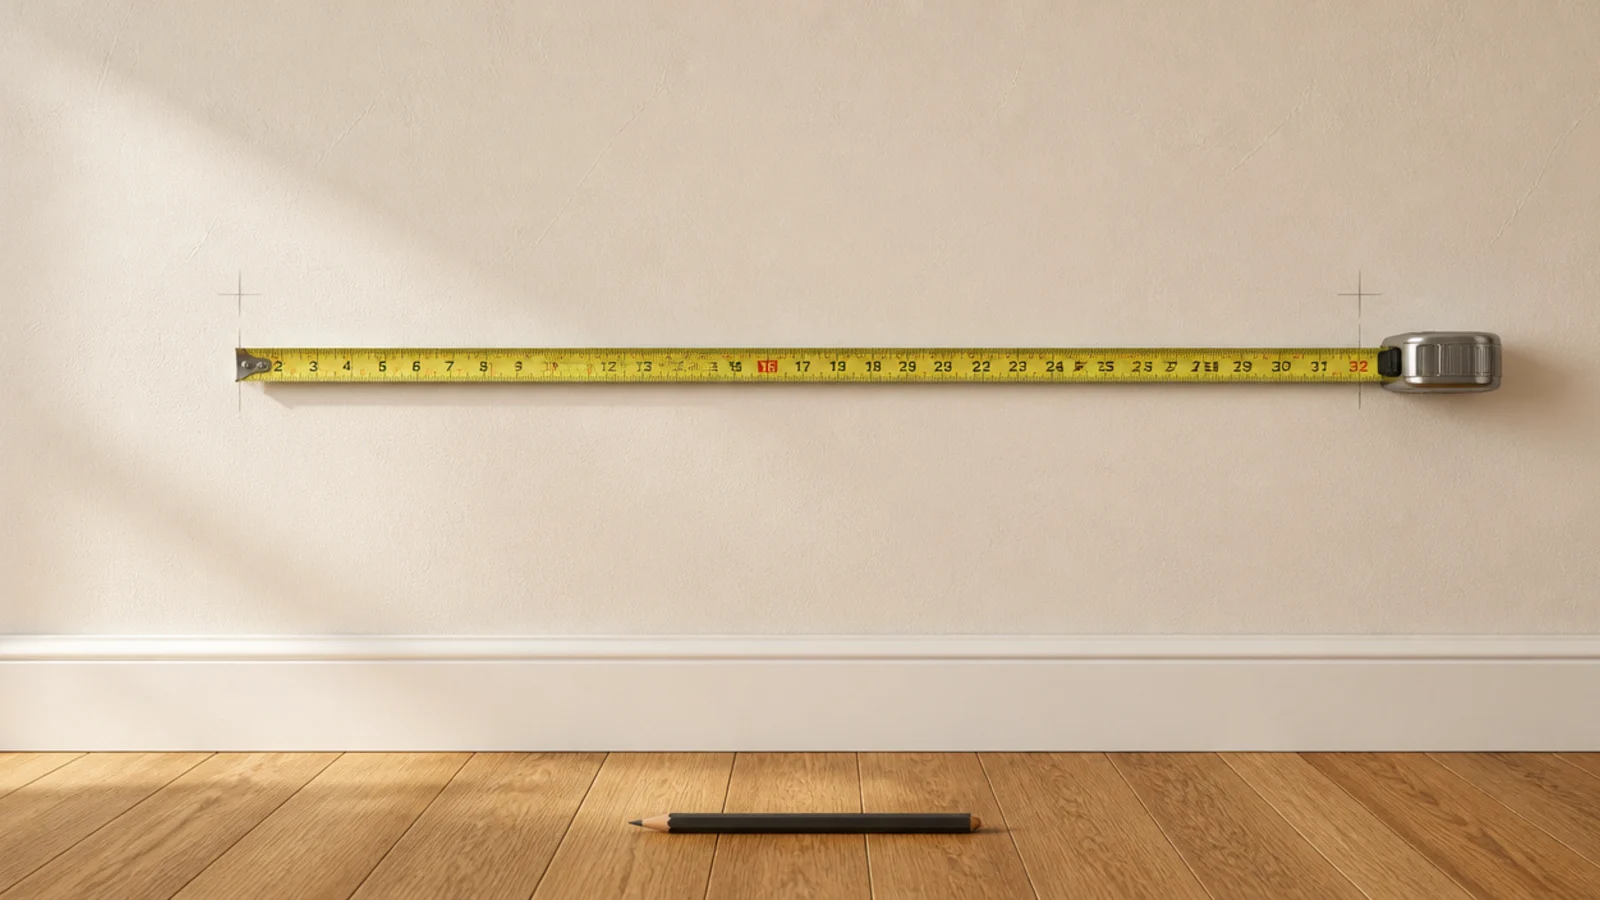
Measure the wall, then measure the furniture underneath it. A shelf above a sofa wants to be roughly two thirds of the sofa width; a shelf on a bare wall wants to relate to a window or a door casing.
Then let the framing make the final call. Studs sit 16 inches on center in most US homes, so 32 and 48 inches are the lengths that land both ends on solid wood.
Step 2: Map the studs and mark every hit with tape
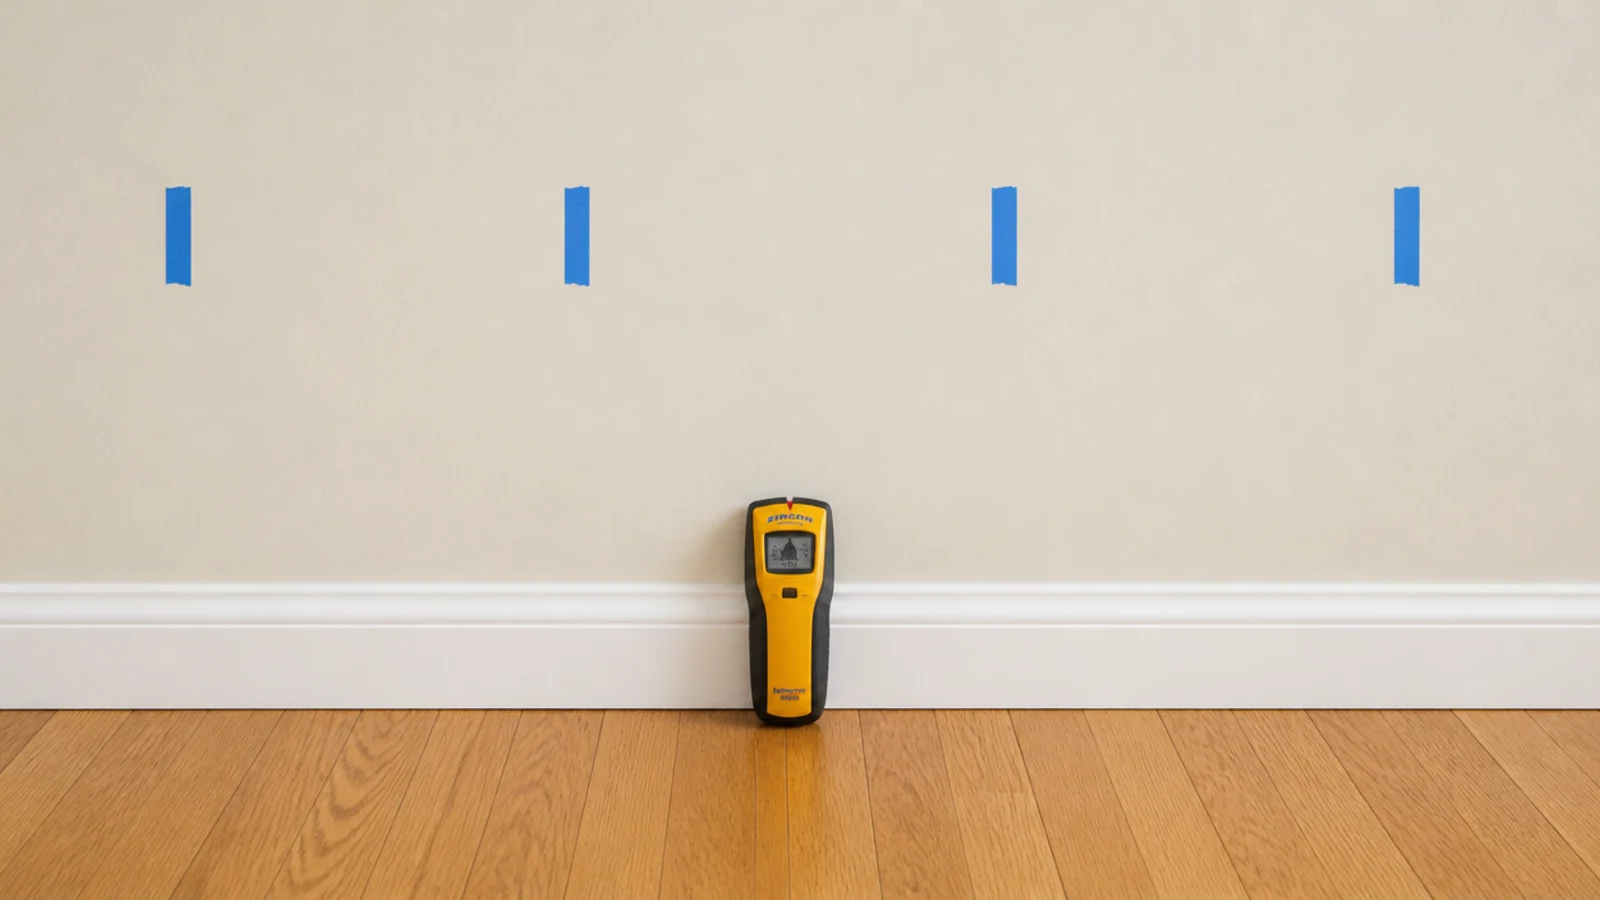
Sweep the stud finder horizontally across the whole run and mark each hit with a strip of painter's tape. Then check the spacing: even 16-inch gaps mean you have found real framing rather than a pipe or a nail plate.
Confirm one with a small finish nail somewhere the frame will cover. Tape survives the entire build; pencil marks disappear the moment the cleat goes up.
Step 3: Set your depth with the leverage rule
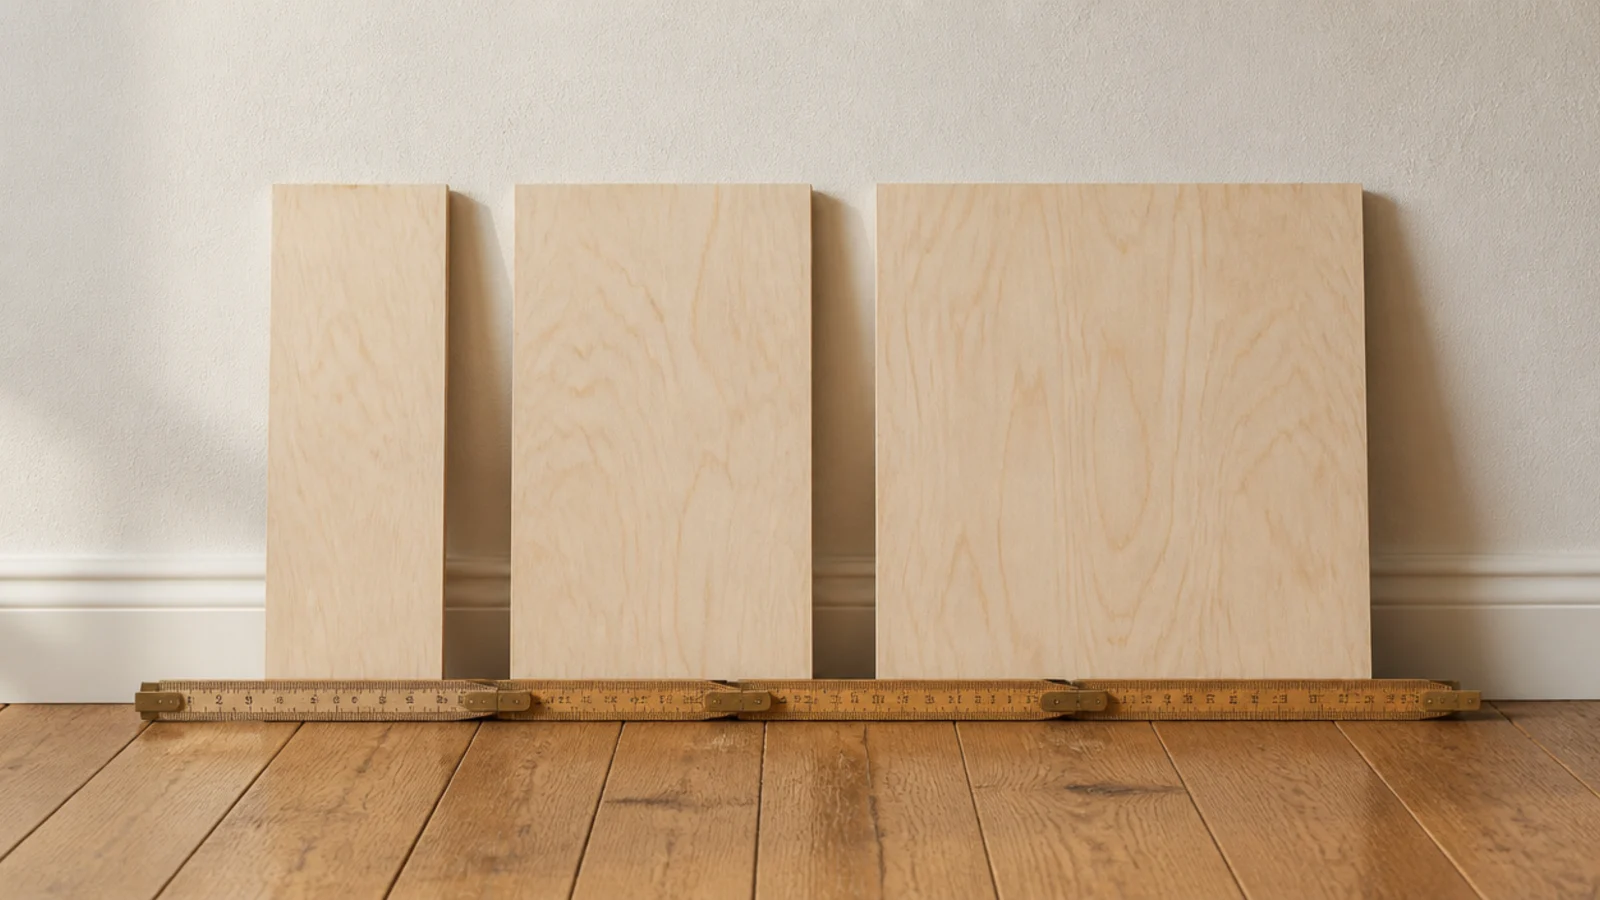
Depth is a structural decision. Leverage rises with depth, so a 12-inch floating shelf puts roughly twice the pull-out force on its fixings as a 6-inch one carrying the same weight.
Six inches anywhere you walk past, eight where you do not, and 12 only when every fixing reaches framing. Hold three offcuts against the wall before you commit — depth always looks smaller on paper than it does on the wall.
Step 4: Choose the support system before you cut anything
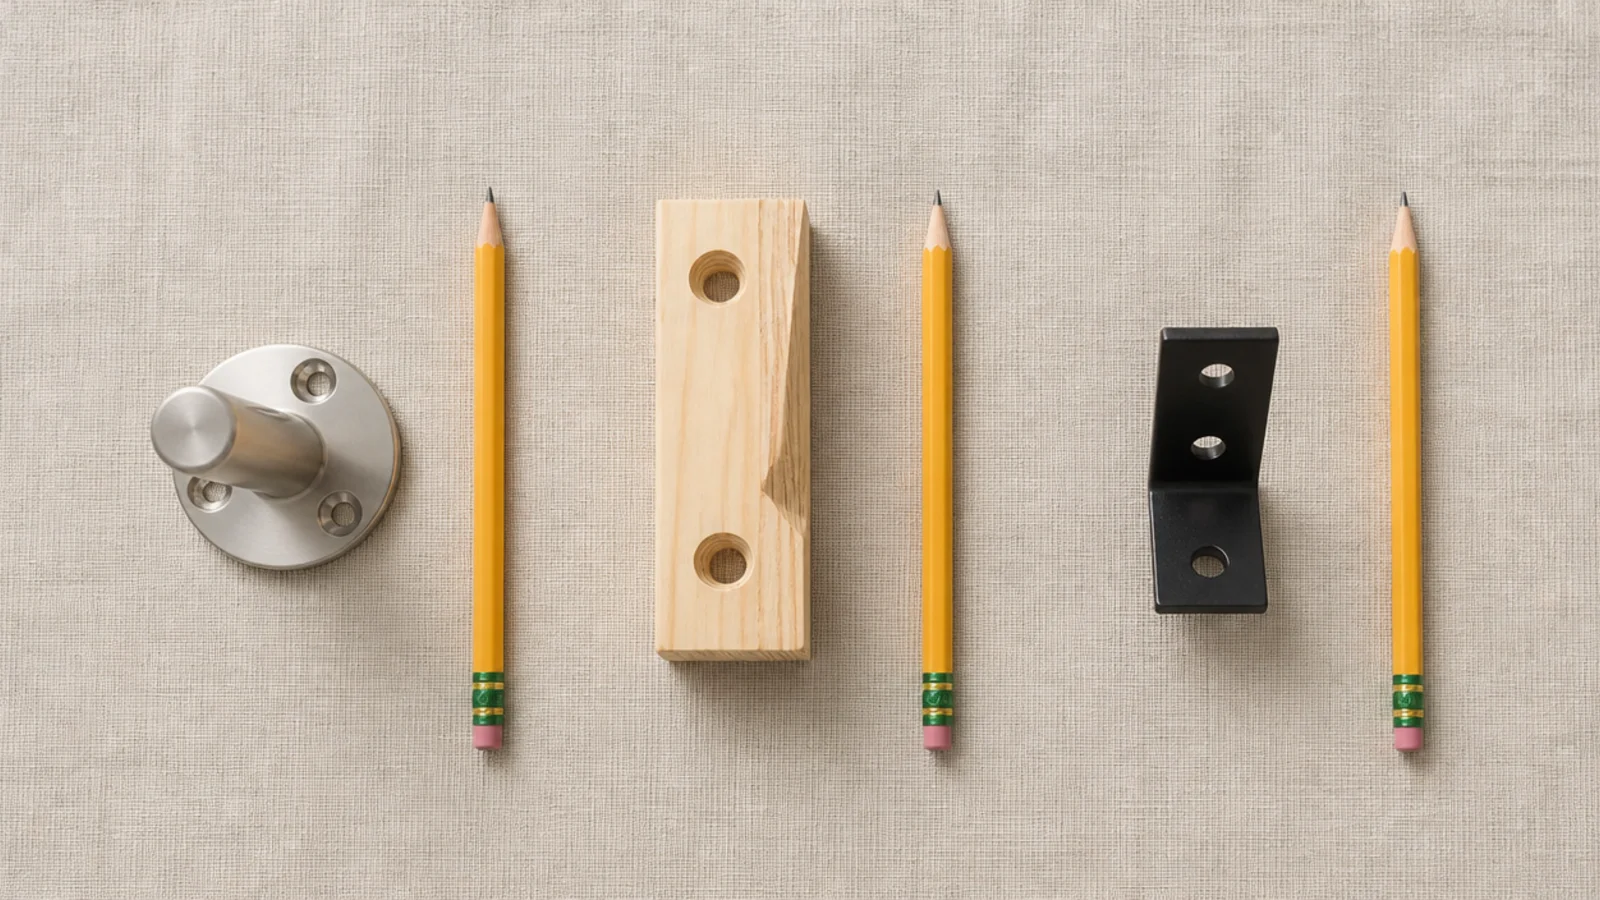
Three options, three prices. Concealed rod brackets cost $20 to $35 a pair and carry 30 to 40 pounds on a 24-inch shelf when the rods land in a stud.
A shop-made plywood cleat inside a hollow box does the same job for the price of an offcut, which is the route these steps take. Painted-out L brackets read as floating from every normal viewing angle for about a third of the price of a rod system, and nobody crouches to check.
Step 5: Write a cut list before you buy the wood
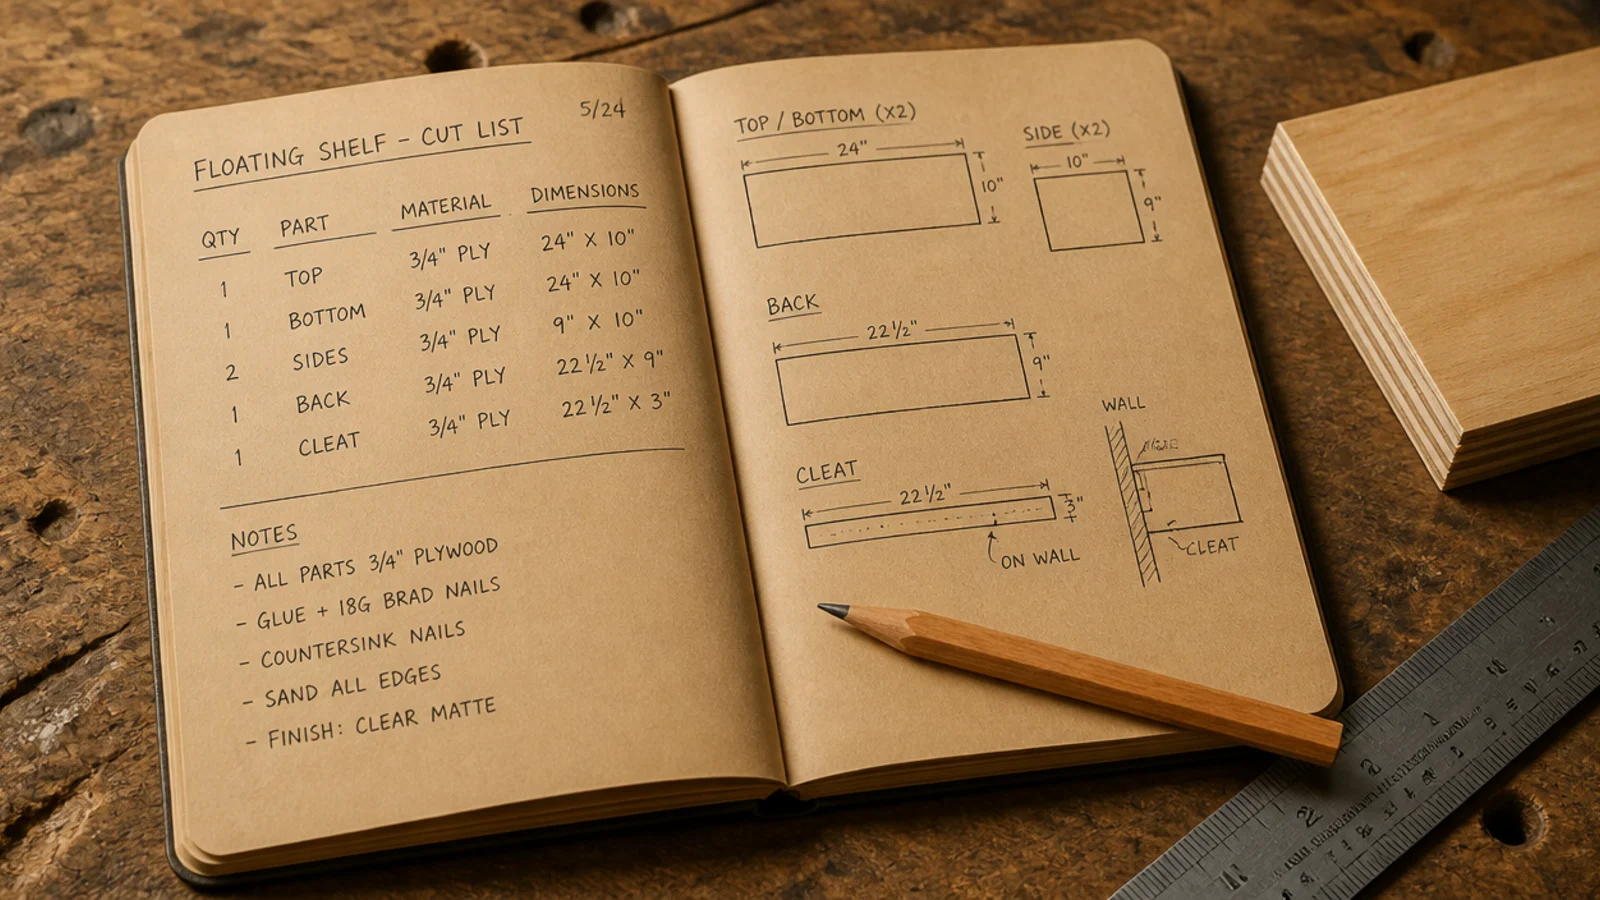
Sketch the box in section and write every finished dimension next to it: two skins, one back cleat, three ribs, one front edge.
Make the skins a quarter inch narrower than the finished depth so the front edge strip makes up the difference. Add half an inch to every length for saw kerf and trimming, and take the sketch to the store. Most home centers will break a sheet down for free.
Step 6: Cut the internal frame stock
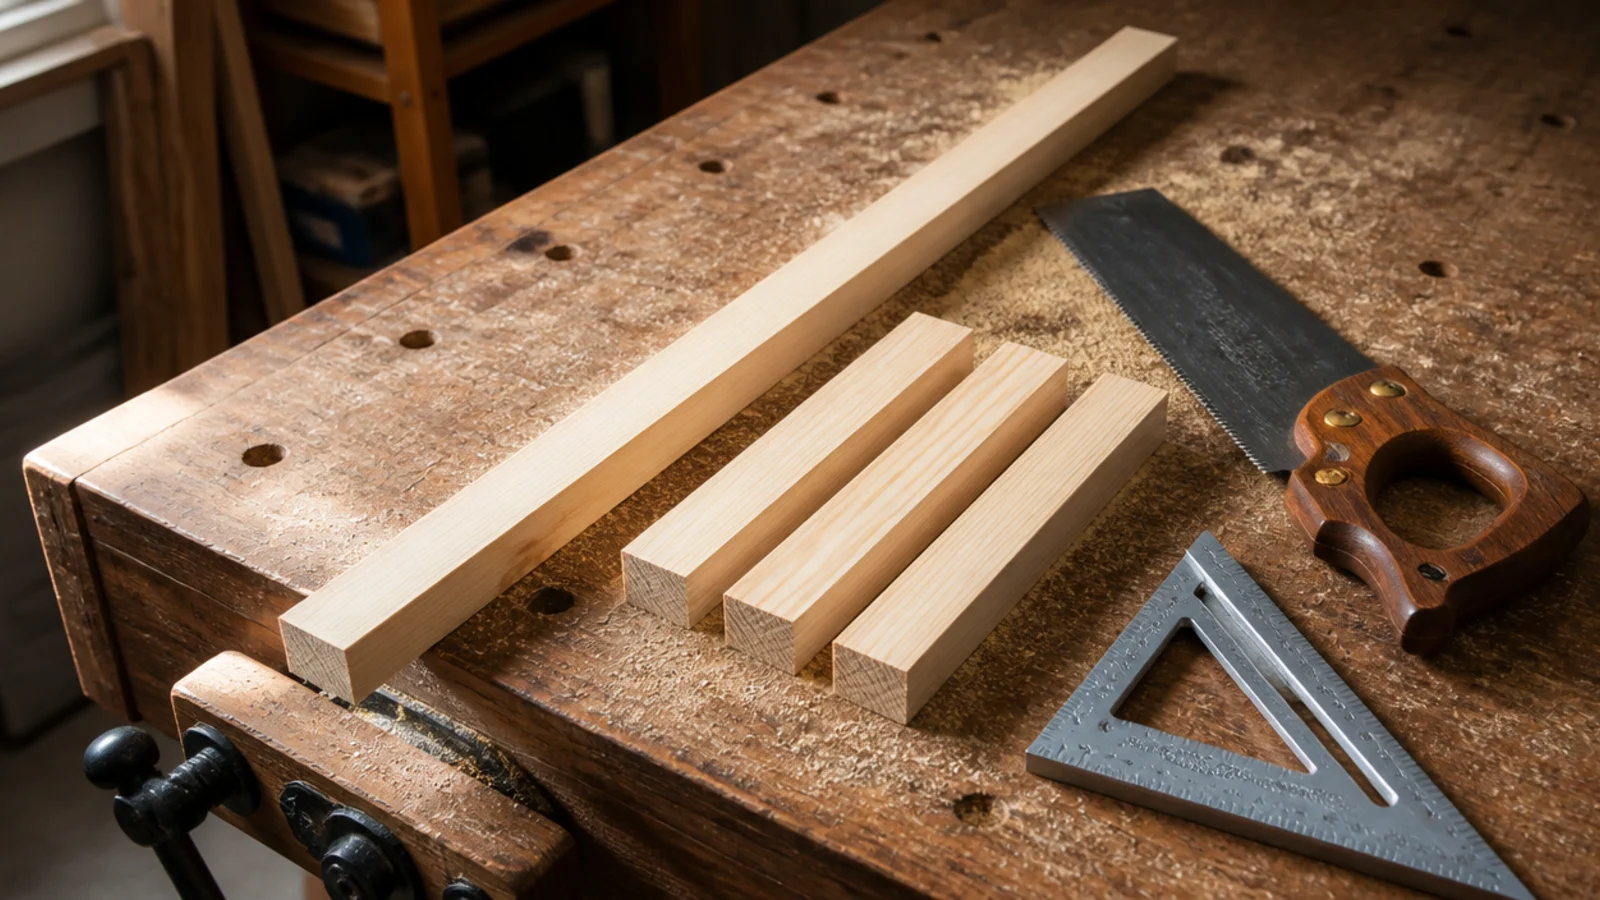
The frame is what carries the load, so cut it from straight stock and sight down every piece before it goes in the pile. A bowed 2x2 telegraphs right through a half-inch skin.
You need one back cleat the full length of the shelf and a rib every 12 inches. Cut the ribs a quarter inch shy of the finished depth so the front edge sits proud of them.
Step 7: Cut the two skins and the front edge
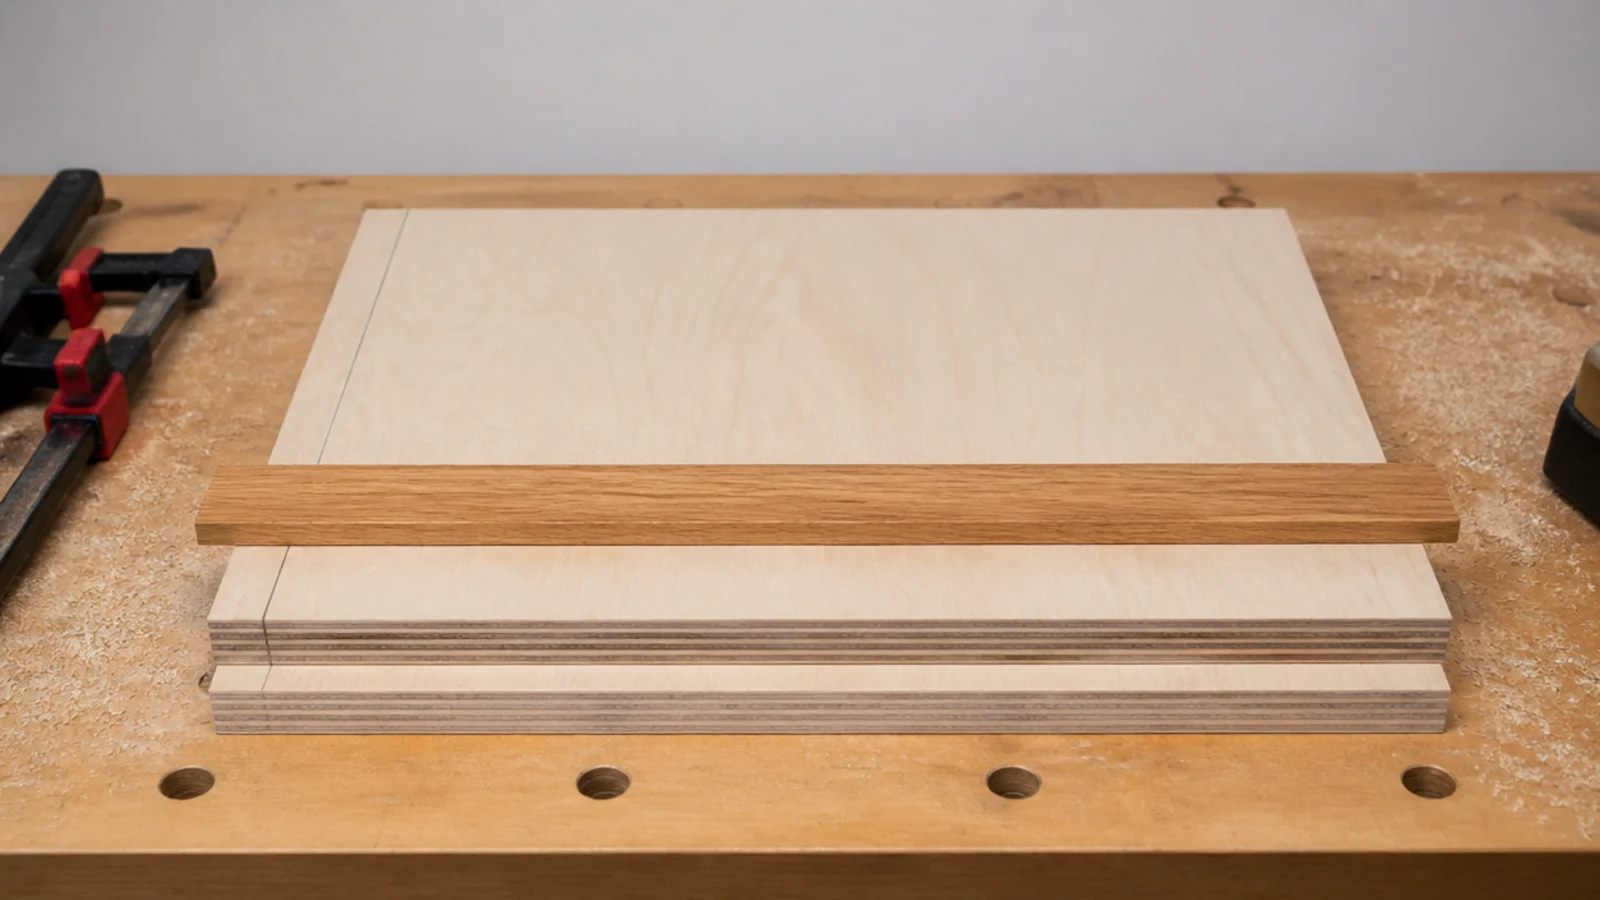
Cut both skins at the same fence setting so they are identical. Any difference shows as a step at the front edge, which is precisely where the eye lands.
The front edge strip is the piece that sells the whole build. Solid oak or poplar 1.5 to 2 inches tall hides the plywood layers and gives you the thick slab look at half the weight and cost of solid timber.
Step 8: Assemble the frame square
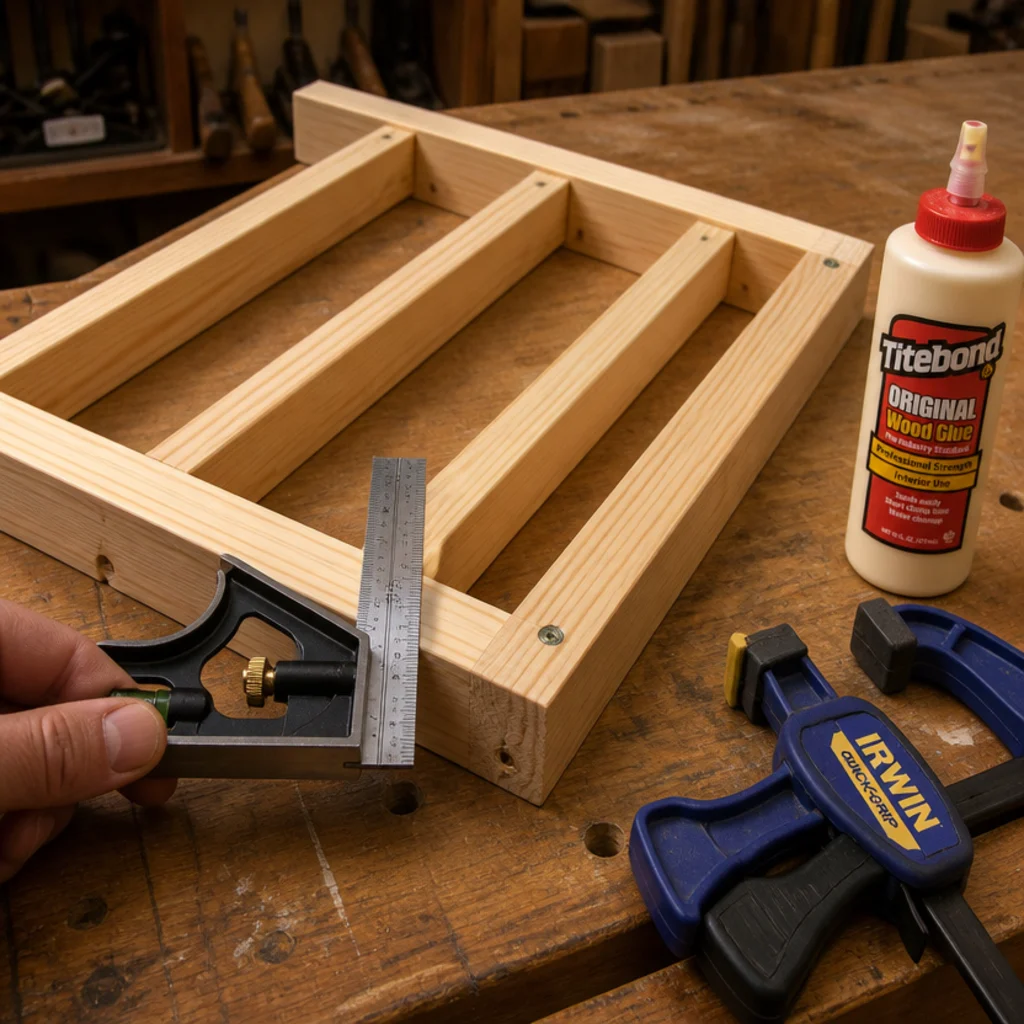
Glue and screw the ribs into the back cleat so the whole thing reads as a flat ladder. Check the corners with a square as you go, not at the end.
Lay it on a flat surface and press down on each corner. If it rocks, you have a twist, and a twisted frame means the box will never slide on evenly. Fix it now while the glue is still open.
Step 9: Dry-fit the box over the frame
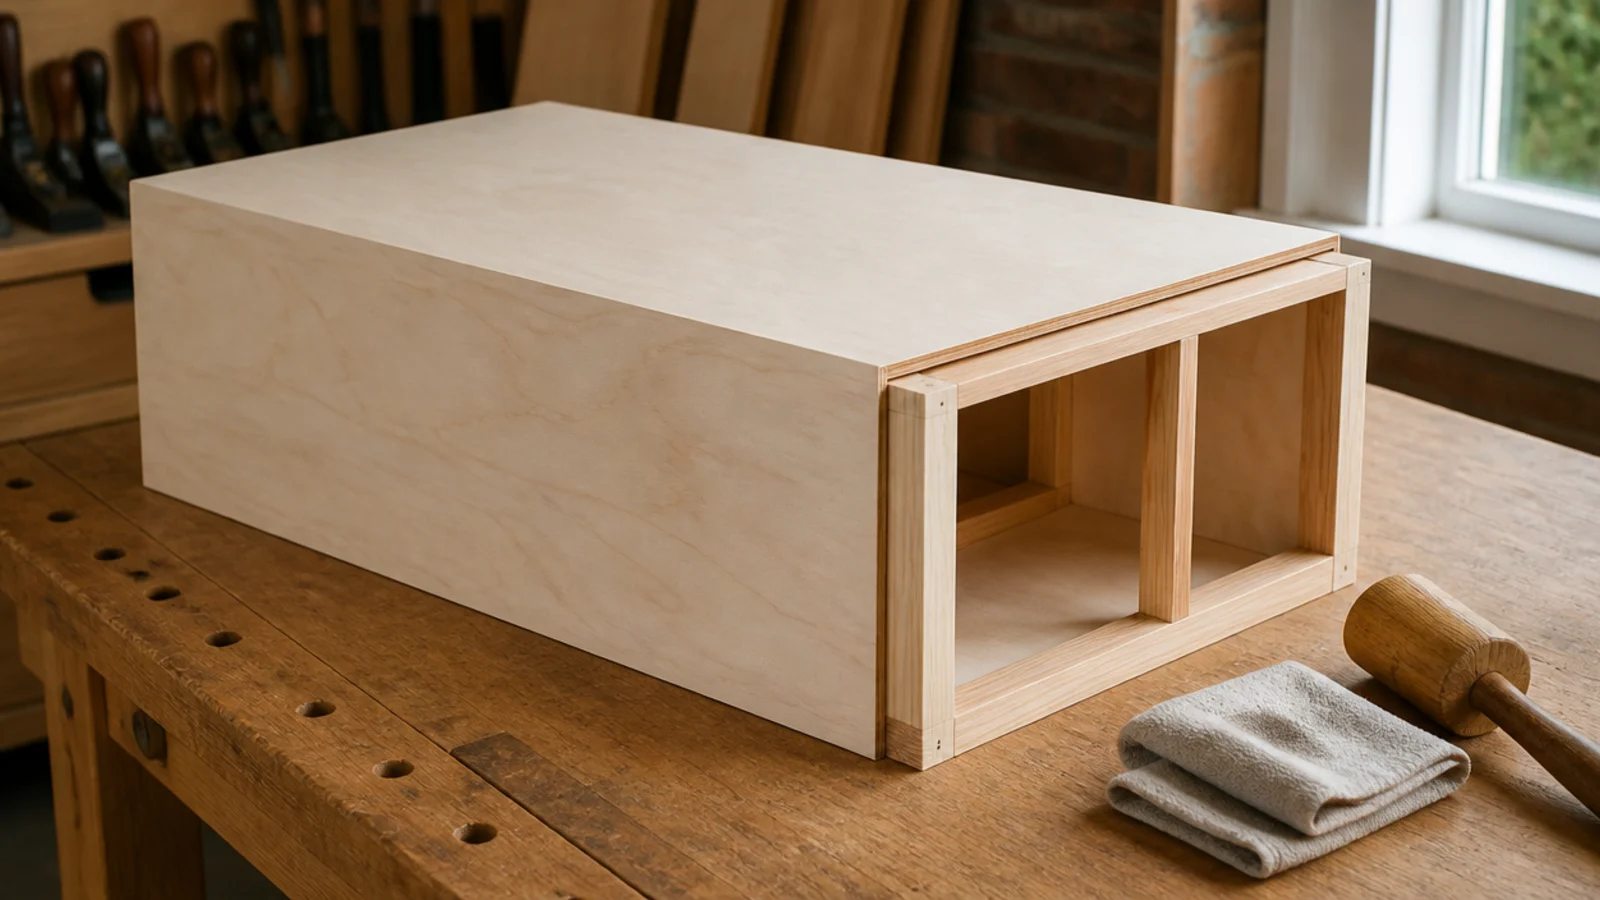
Slide the skins and front edge over the frame with no glue and look at the reveal along the top and bottom. You want snug, not tight.
Glue swells a tight joint just enough to jam it, and there is no graceful recovery once it is stuck halfway on. Sand a rib down an eighth of an inch if you have to. This dry fit is thirty seconds that saves the build.
Step 10: Glue and pin the skins
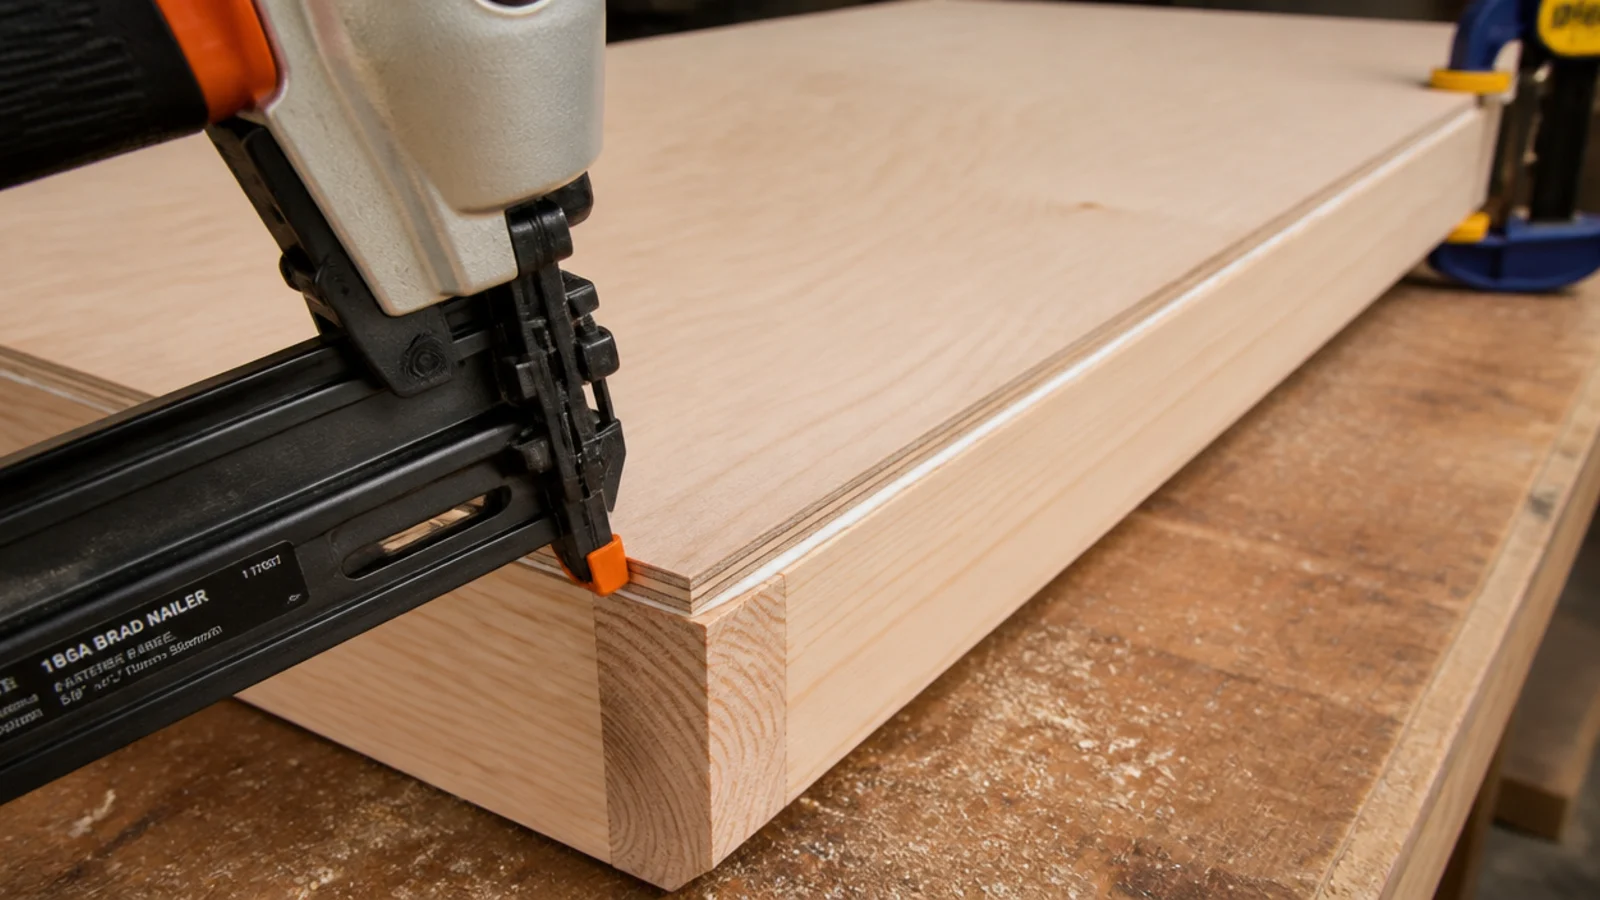
Run a thin bead of PVA along every rib and the cleat, seat the bottom skin, then the front edge, then the top. Pin with 1-inch brads about every eight inches.
Glue does the holding; pins only stop things sliding while it cures. Wipe squeeze-out immediately with a damp cloth, because dried glue rejects finish and shows as a pale patch under stain forever.
Step 11: Fill, sand and round the front edge
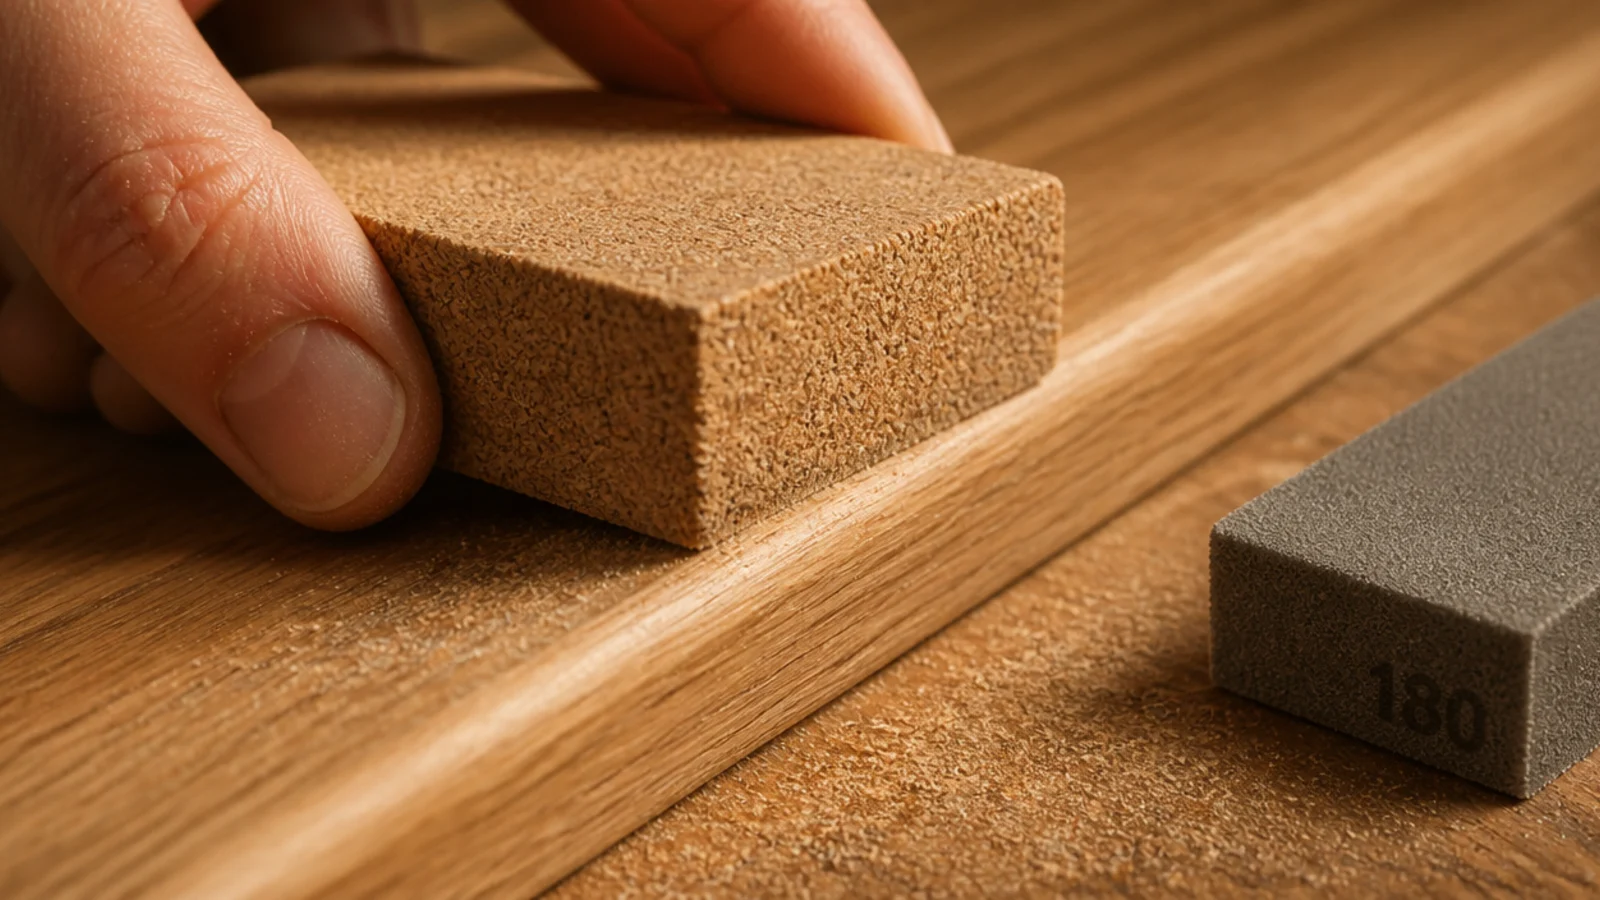
Fill the pin holes, let them dry hard, then sand at 120 with the grain and finish at 220. Never sand across the grain — those scratches only appear once the finish goes on.
Then round the top and bottom front edges with about ten passes of 220 at 45 degrees, until they feel soft under your thumb. This one detail is the difference between homemade and bought.
Step 12: Test your finish on an offcut
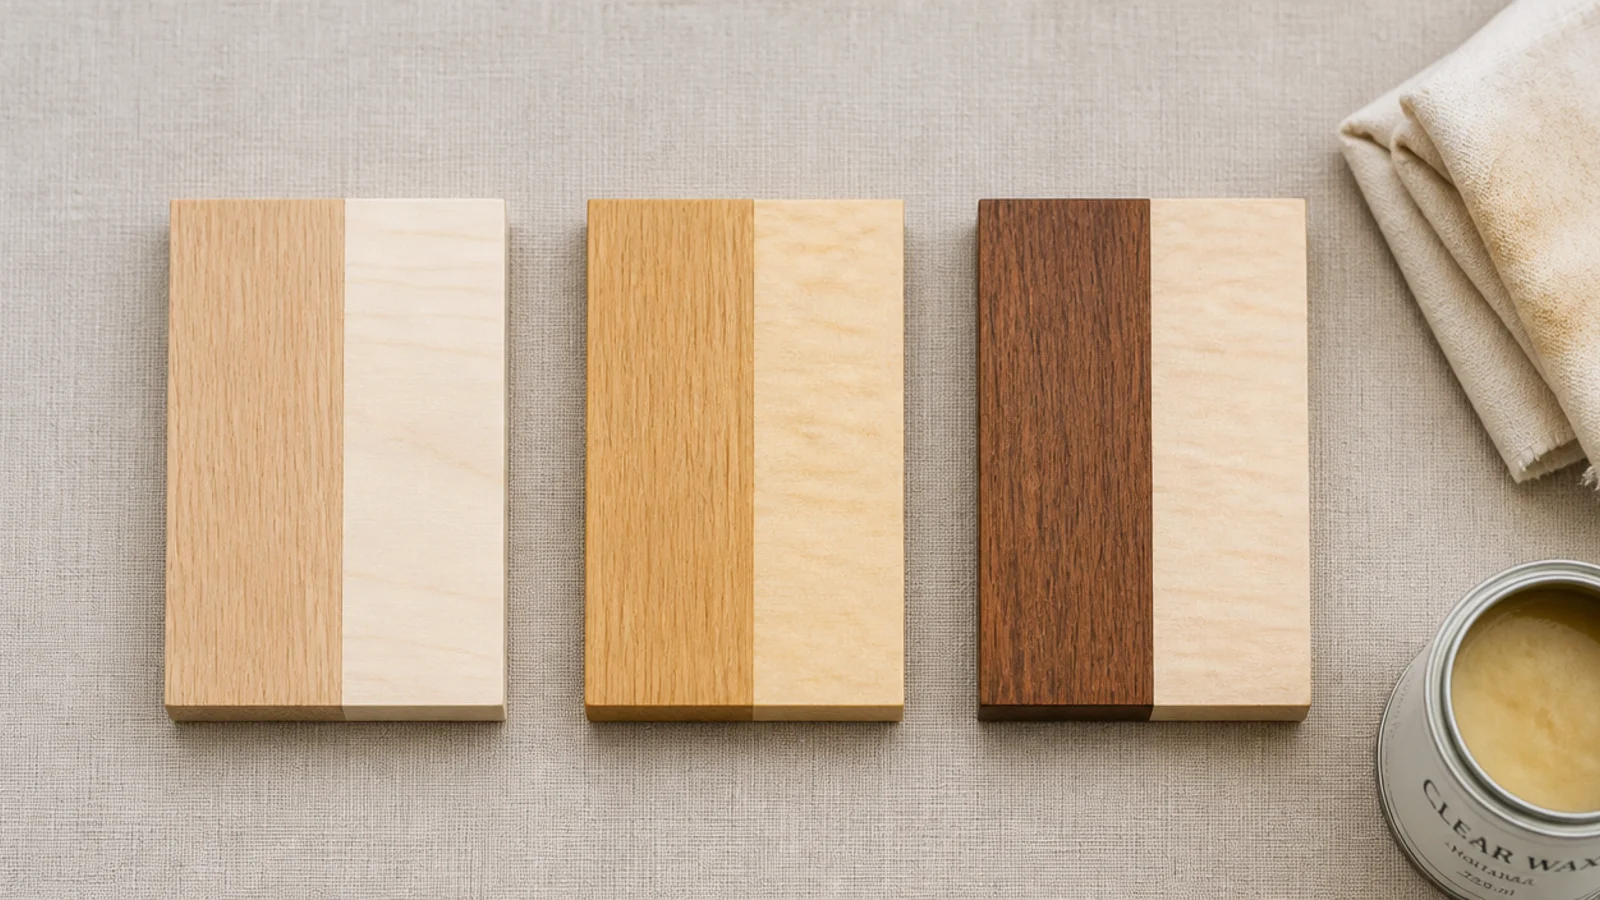
Brush your finish onto a scrap of the same material, let it dry completely, and look at it in the actual room at the time of day you use that room.
Birch ply and pine both blotch under stain unless you use a pre-stain conditioner. Oak darkens more than the sample chip promises. If you like the raw color, clear hardwax oil holds it almost exactly.
Step 13: Finish every face, including the underside
Coat the underside and both ends as thoroughly as the top. Wood moves through unfinished faces, and a box sealed on one side will cup within a season.
Two thin coats beat one heavy one. Sand lightly with 320 between coats, wipe the dust with a dry cloth, and let the last coat cure overnight before anything touches it.
Step 14: Snap a level line on the wall
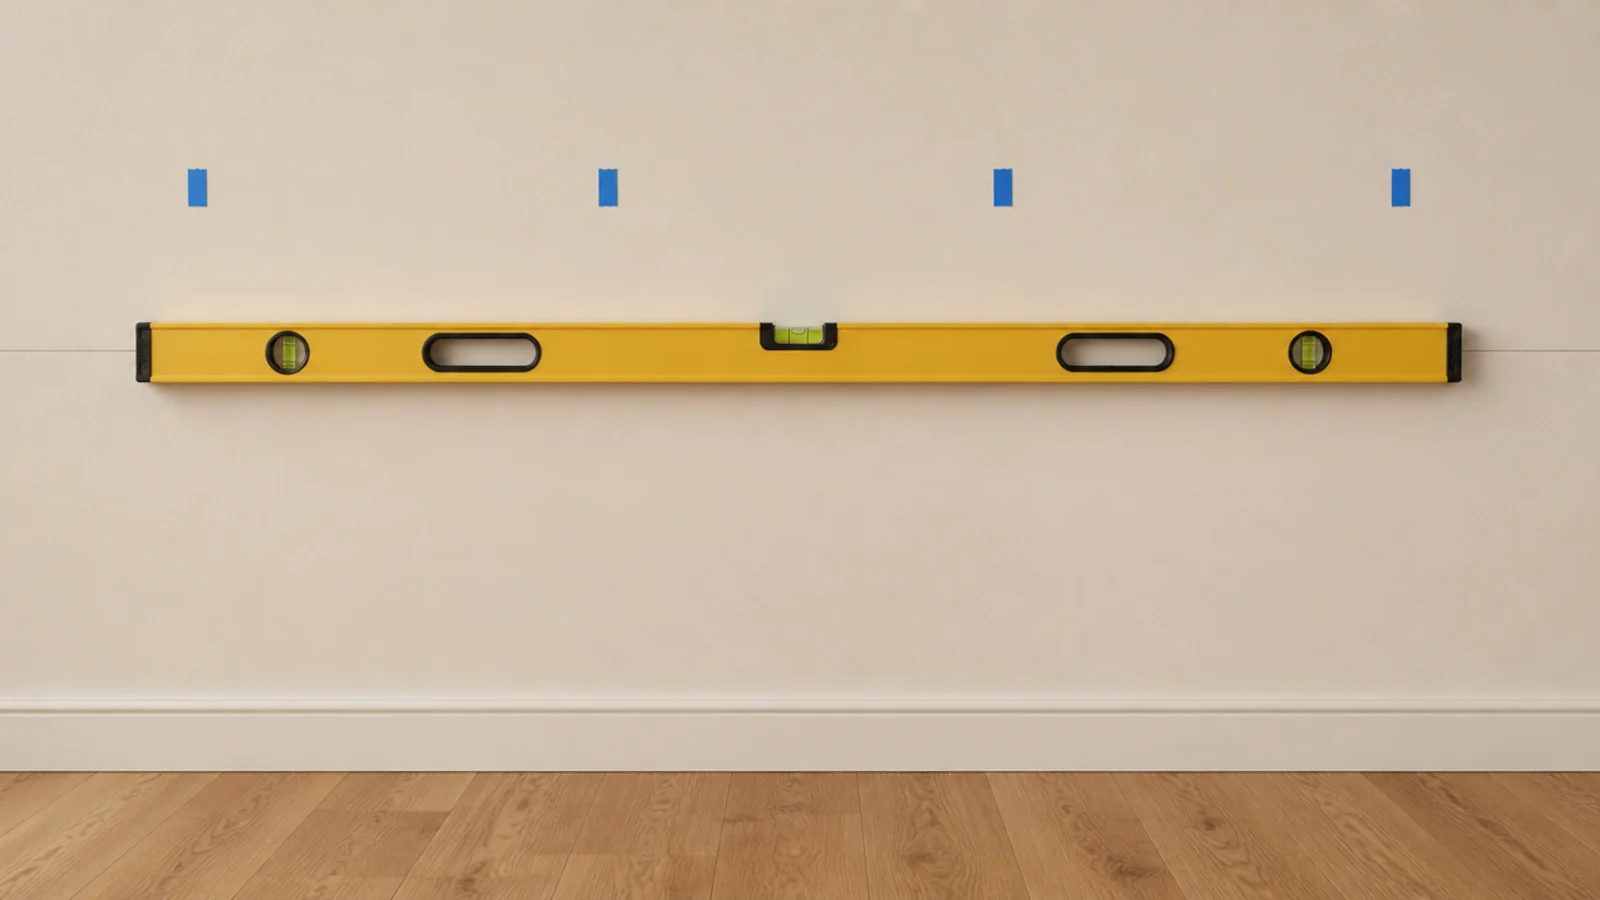
Decide the height first: 10 to 12 inches above a sofa back, 20 inches above a desktop, level with the mattress top beside a bed.
Then level to the floor, not the ceiling. Ceilings in older homes slope, and a shelf leveled to a sloping ceiling looks wrong next to every piece of furniture in the room. Draw a light pencil line the full length of the shelf.
Step 15: Choose the anchor for the wall you actually have
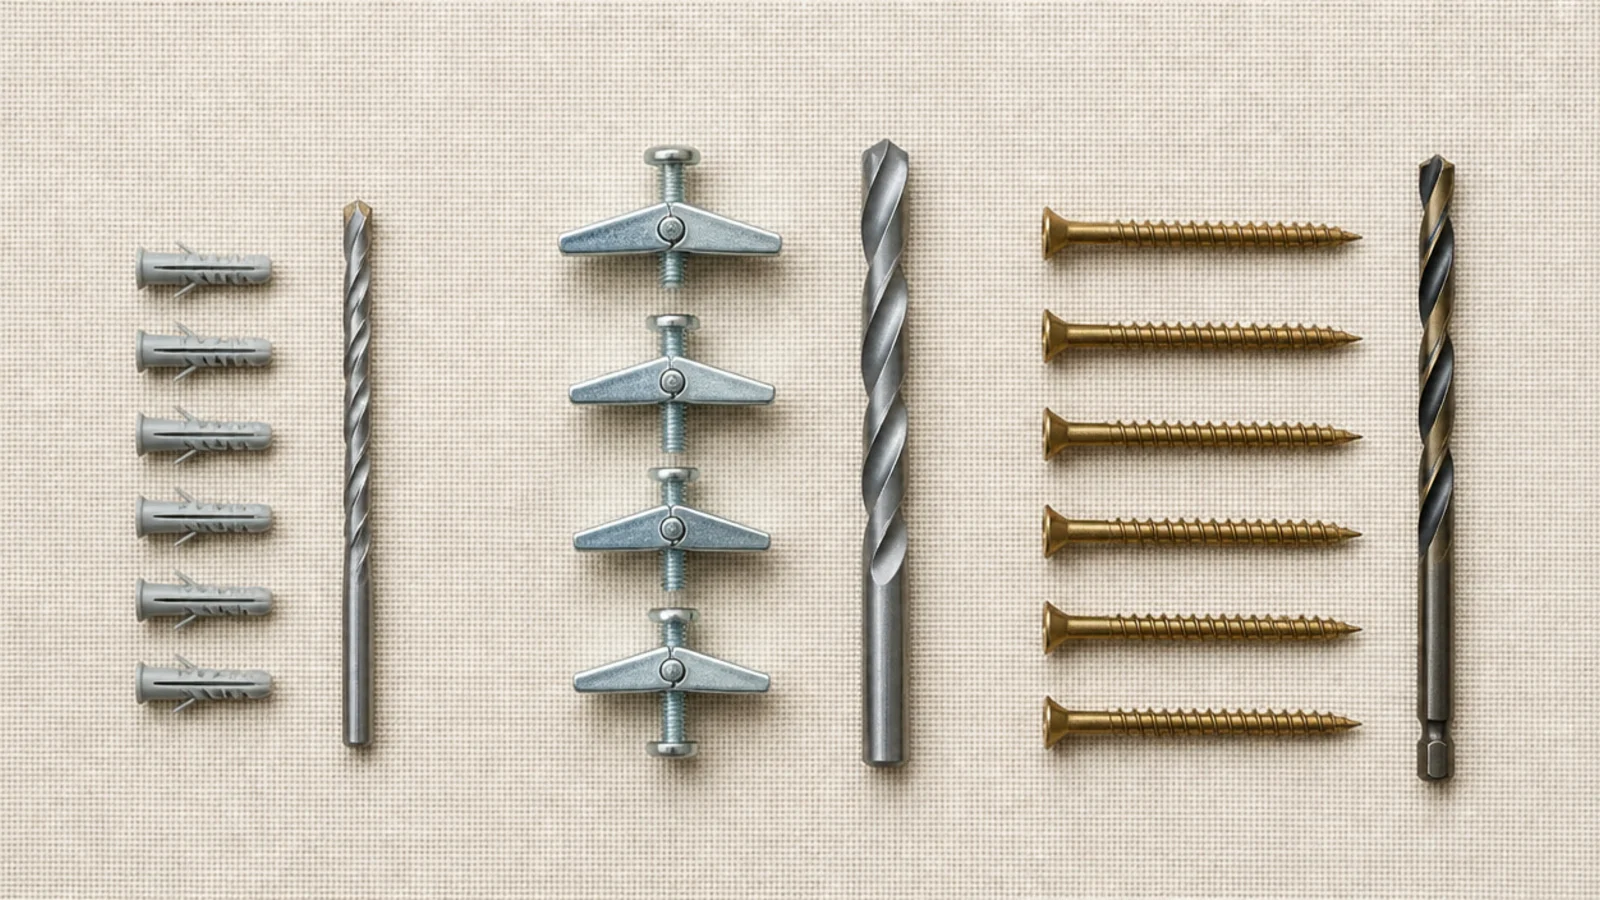
Into a stud, a 3-inch wood screw is all you need. Into bare drywall, throw away the plastic plugs in the kit — they carry about 10 pounds and they are the usual cause of sagging.
Toggle bolts carry 25 to 35 pounds each in half-inch drywall for about a dollar apiece. Masonry needs a sleeve anchor and a hammer drill, and it carries more than the shelf ever will.
Step 16: Fix the frame and check it level and square
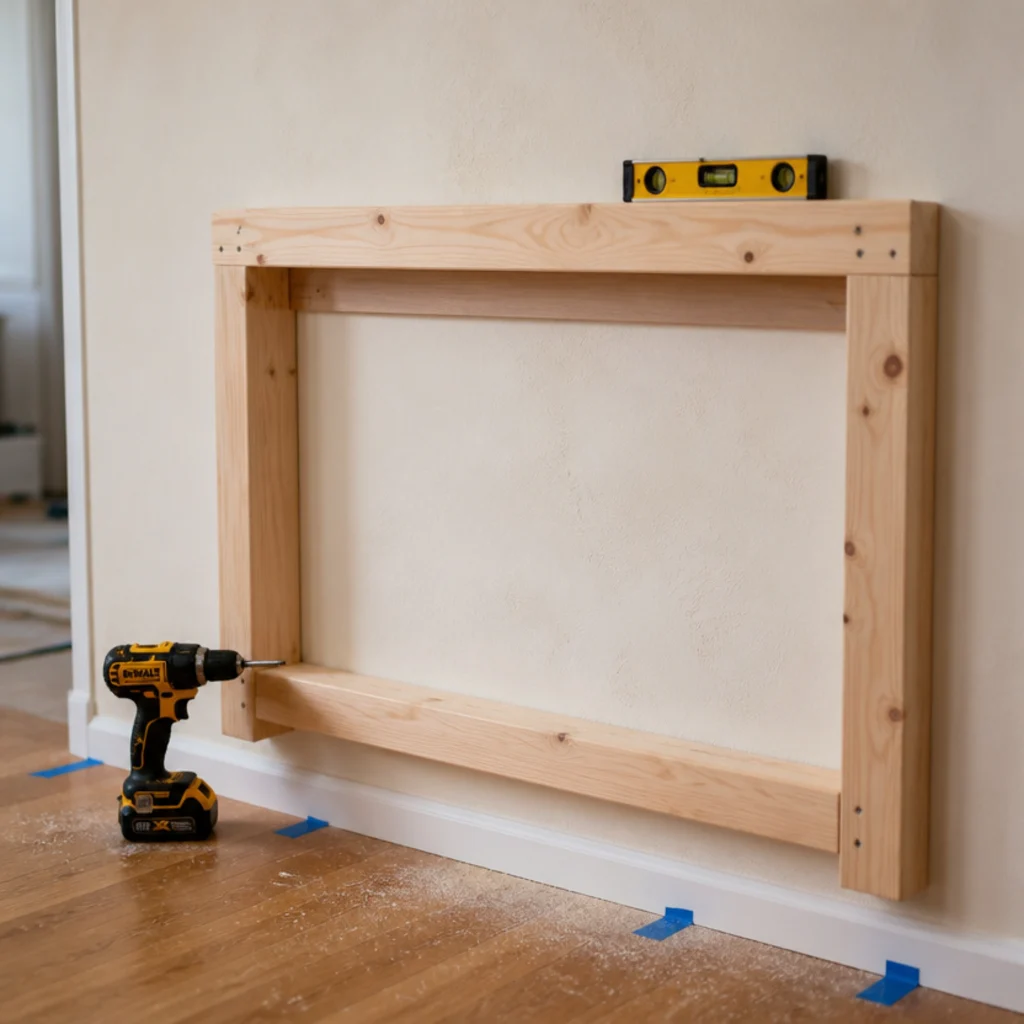
Screw the cleat through your tape marks into the studs, starting at one end and working across. Tighten until snug, then a quarter turn and stop.
Now check two things: that the cleat is level along its length, and that the ribs sit square to the wall. A rib pointing slightly downhill tips the whole shelf forward, and it is far easier to shim the cleat with a washer than to fix it afterwards.
Step 17: Slide the box on and pin it from underneath
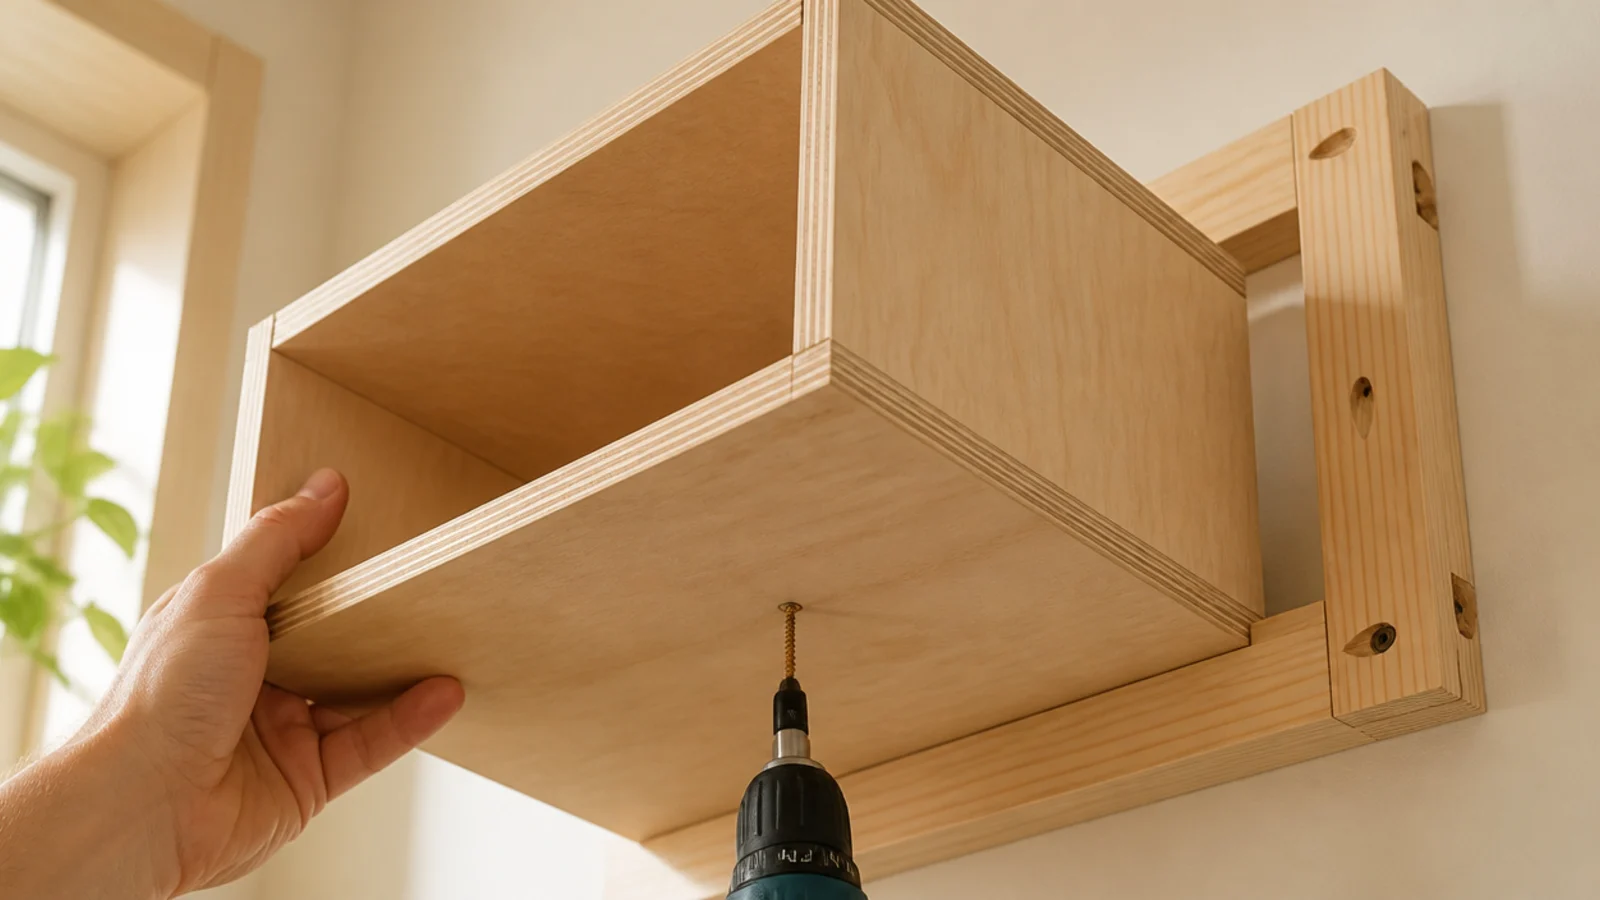
Push the box on evenly with both hands. If it fights you, stop and find the high spot instead of hitting it.
Secure it with three-quarter-inch screws driven up through the bottom skin into the ribs. Anything longer comes through the top face and there is no fixing that. Two screws per rib is plenty.
Step 18: Load test with real weight for an hour
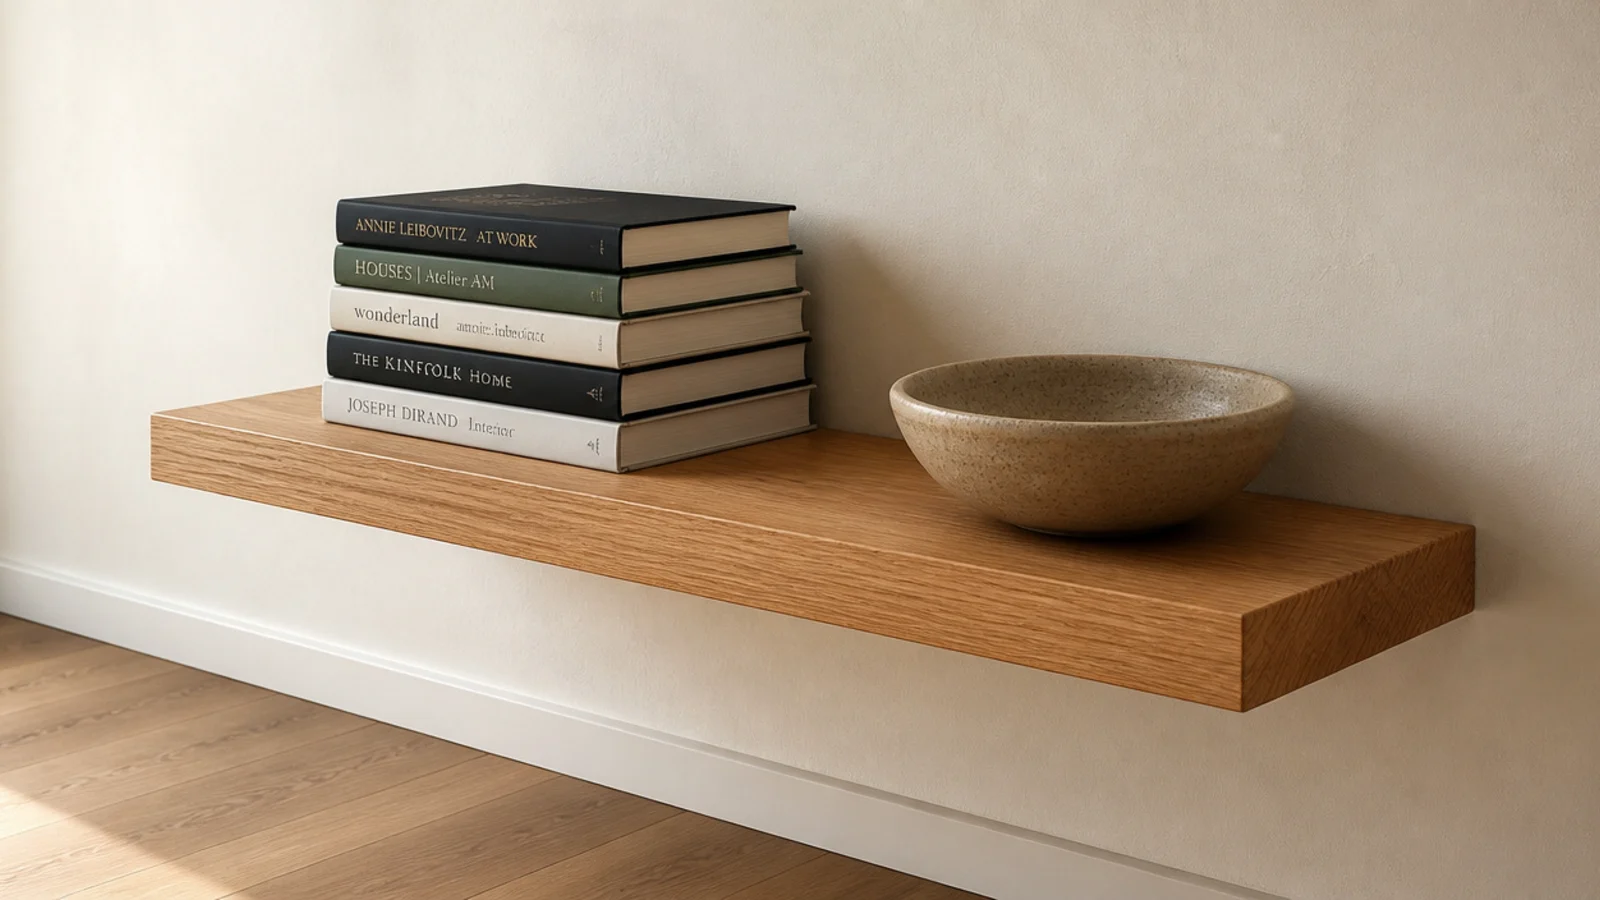
Before anything decorative goes near it, stack real weight on the shelf — a pile of hardbacks, a heavy bowl — and leave it for an hour.
Then look at the wall around every fixing. Any hairline crack in the paint, any downward tilt at the front edge, and you add a fixing now rather than after a shelf of pottery comes down. This hour is the reason my shelves survive a house with two kids in it.
Step 19: Style in threes at three heights
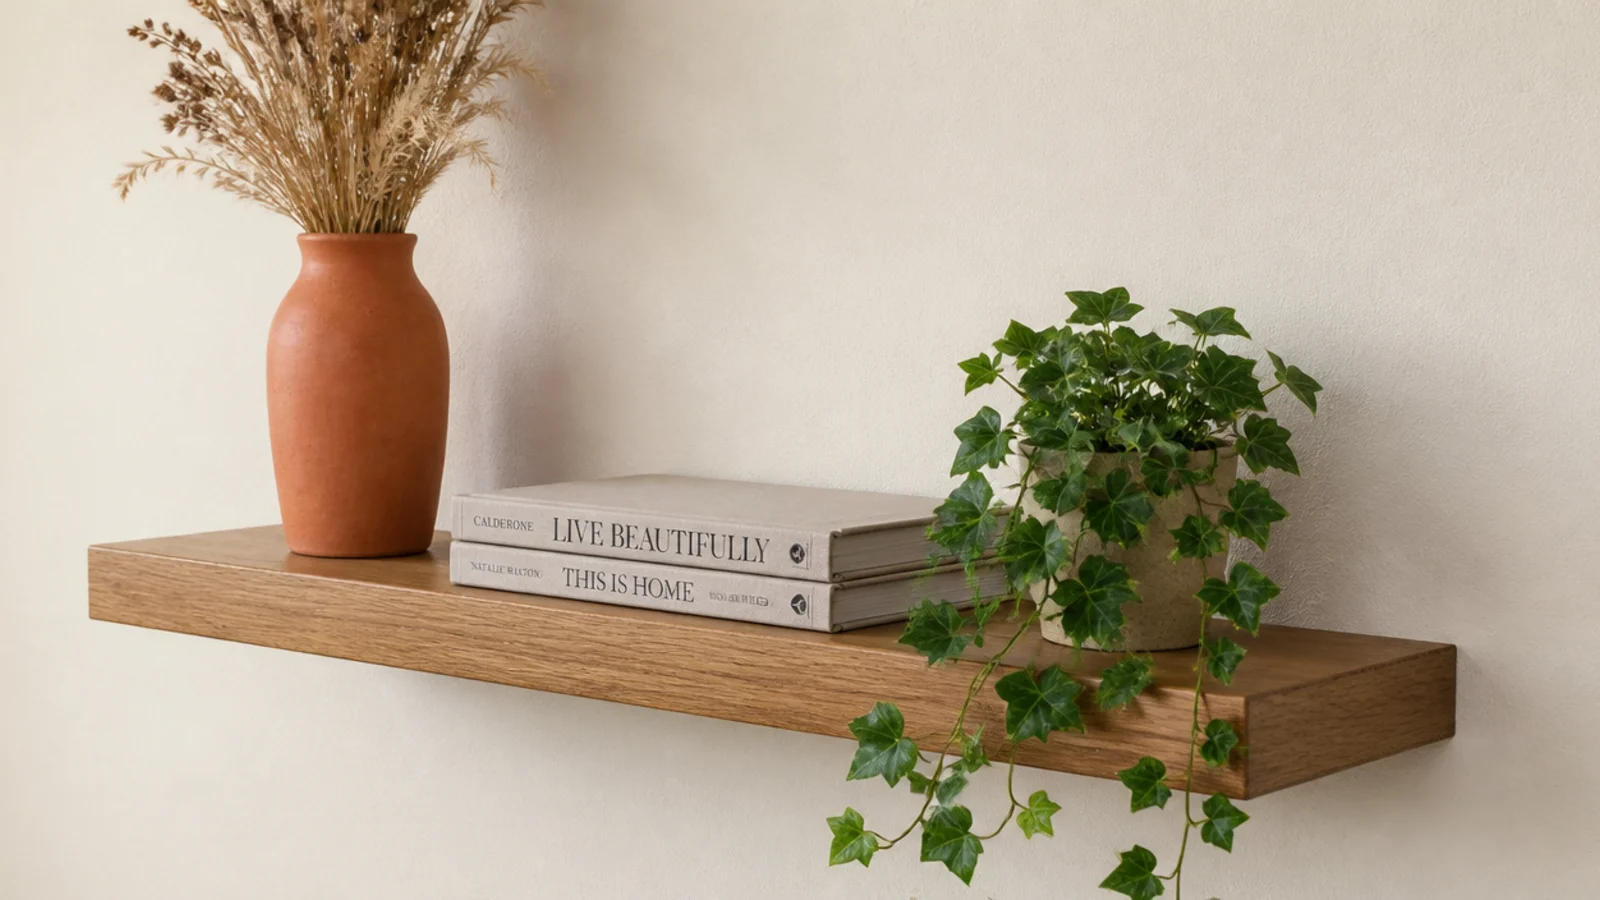
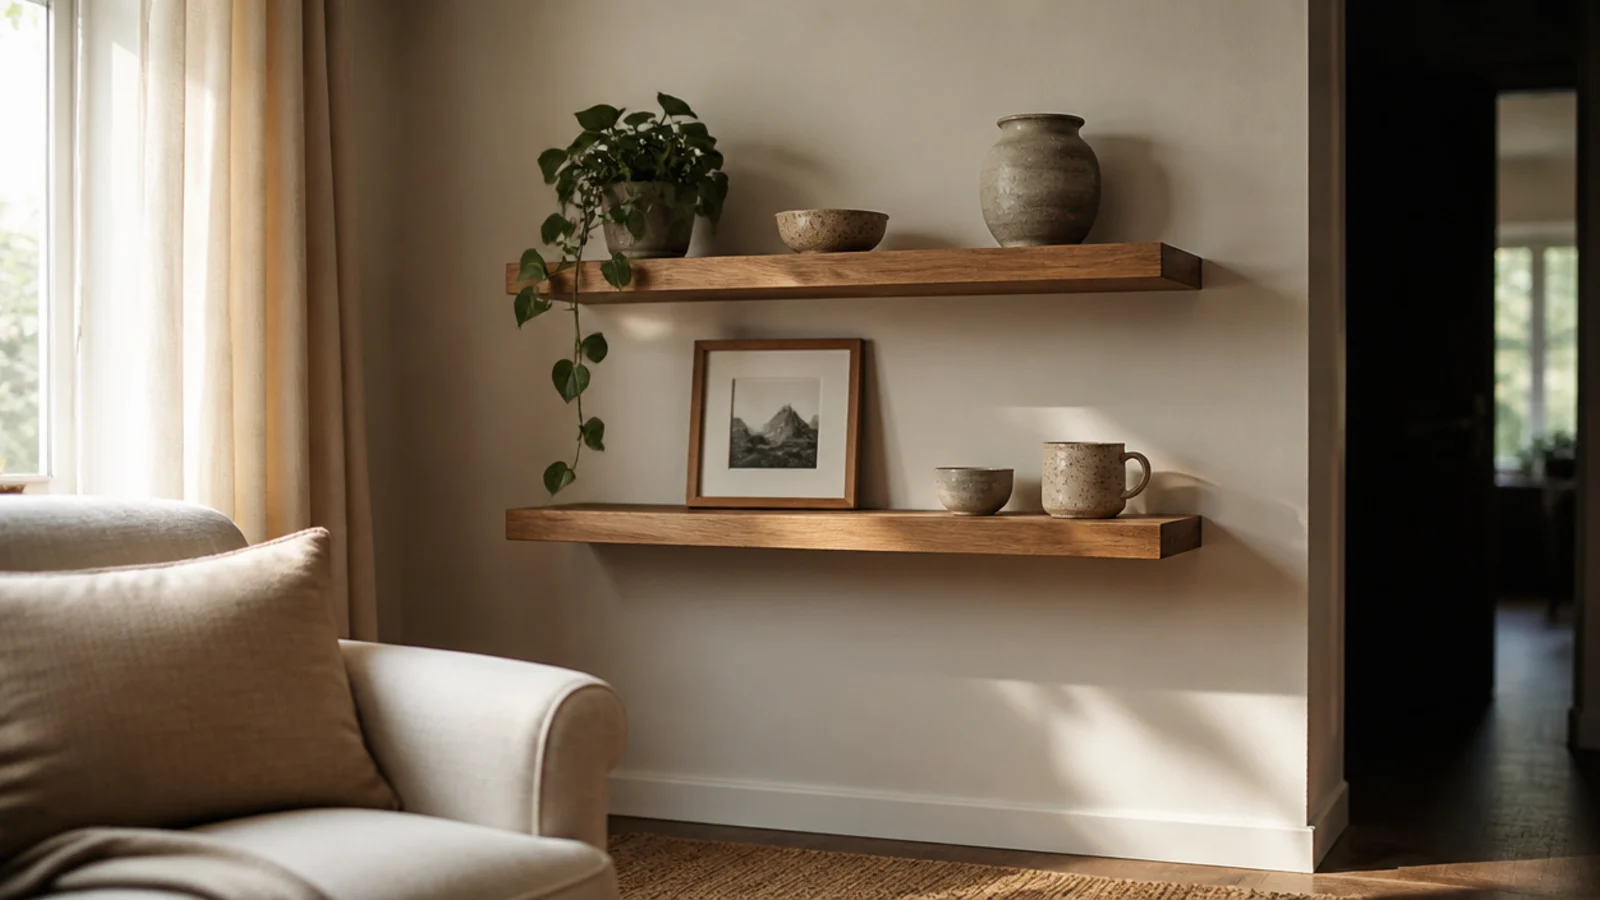
Three objects per shelf at three clearly different heights: something tall like a vase, something low and wide like two books lying flat, and something soft that trails over the front edge.
Leave roughly a third of the surface empty. That empty third is doing more work than any object on the shelf. There is a full guide to floating shelf styling if you want to push it further.
Step 20: Live with it a week, then remove two things
Style it, then leave it completely alone for seven days. Notice what you actually reach for and what you have already stopped seeing.
Then take two things off. Almost every shelf I style is better a week later with two fewer objects on it, and mine are no exception. This step costs nothing and improves the result more reliably than anything you can buy.
Pro Styling Rules
Mistakes to Skip
- Skipping the load test because the shelf feels solid empty. Fixings fail slowly under weight, and the failure always happens with the pottery on.
- Building the box tight to the frame. Glue swells the joint, the box jams halfway on, and the only way off is a chisel.
- Finishing only the visible faces. The box cups within a season, and by then it is mounted, loaded and impossible to fix.
Frequently asked questions
What wood is best for DIY floating shelves?
For a solid board, red oak or poplar at three-quarter inch thickness holds a 24-inch span and takes finish evenly. For a built-up box, half-inch birch plywood skins over a pine frame give a cleaner, straighter result than solid stock and cost less. Avoid raw MDF anywhere the front edge shows or the room gets damp.
How thick should a floating shelf be?
Three-quarter-inch stock spans 24 inches without visible deflection, and half-inch stock starts to bow at about 18. If you want the chunky look, build a hollow box: it gives a 1.5 to 2-inch front edge at half the weight and half the cost of solid timber, and the internal frame does the carrying.
Do I need special brackets for floating shelves?
Not necessarily. Concealed rod brackets are the real thing at $20 to $35 a pair, and they carry 30 to 40 pounds into a stud. A shop-made plywood cleat inside a hollow box does the same job for the price of an offcut. Painted-out L brackets read as floating from every normal viewing angle for about a third of the cost.
How do I find studs for a floating shelf?
Sweep an electronic stud finder horizontally and mark every hit with painter's tape, then check the spacing — studs sit 16 inches on center in most US framing, so a confirmed one tells you where the next should be. Confirm with a small finish nail where the shelf will cover the hole before you commit to the layout.
How long does it take to build a floating shelf?
One evening and one morning for a pair. Cutting, assembly and the first coat take about three hours, then the finish needs to cure overnight. Mounting and leveling runs 30 to 45 minutes per shelf the next day. The load test adds an hour of waiting, and it is the hour that saves the project.
Build one shelf before you commit to a pair — the second goes up in half the time once you know how your walls behave. For placement room by room, fifteen floating shelf ideas covers where each one earns its holes, floating shelves in the living room handles the sofa wall, and if your project is actually an inside corner, the corner shelf build covers the mitered version. Save the pin so the cut list is with you at the lumber counter.
Want more like this? Browse all 15 floating shelves guides — they all use the same measurements and budget tiers.

Pin it for later
Save this to your Floating Shelves board
Pin it now so it is waiting for you when the tape measure comes out — and so the next person hunting for this idea can find it too.
Save this pinKeep going
More ideas worth saving while you have the tape measure out.