Corner Shelf Ideas · How-To
20 Steps to Style a Stunning Corner Shelf

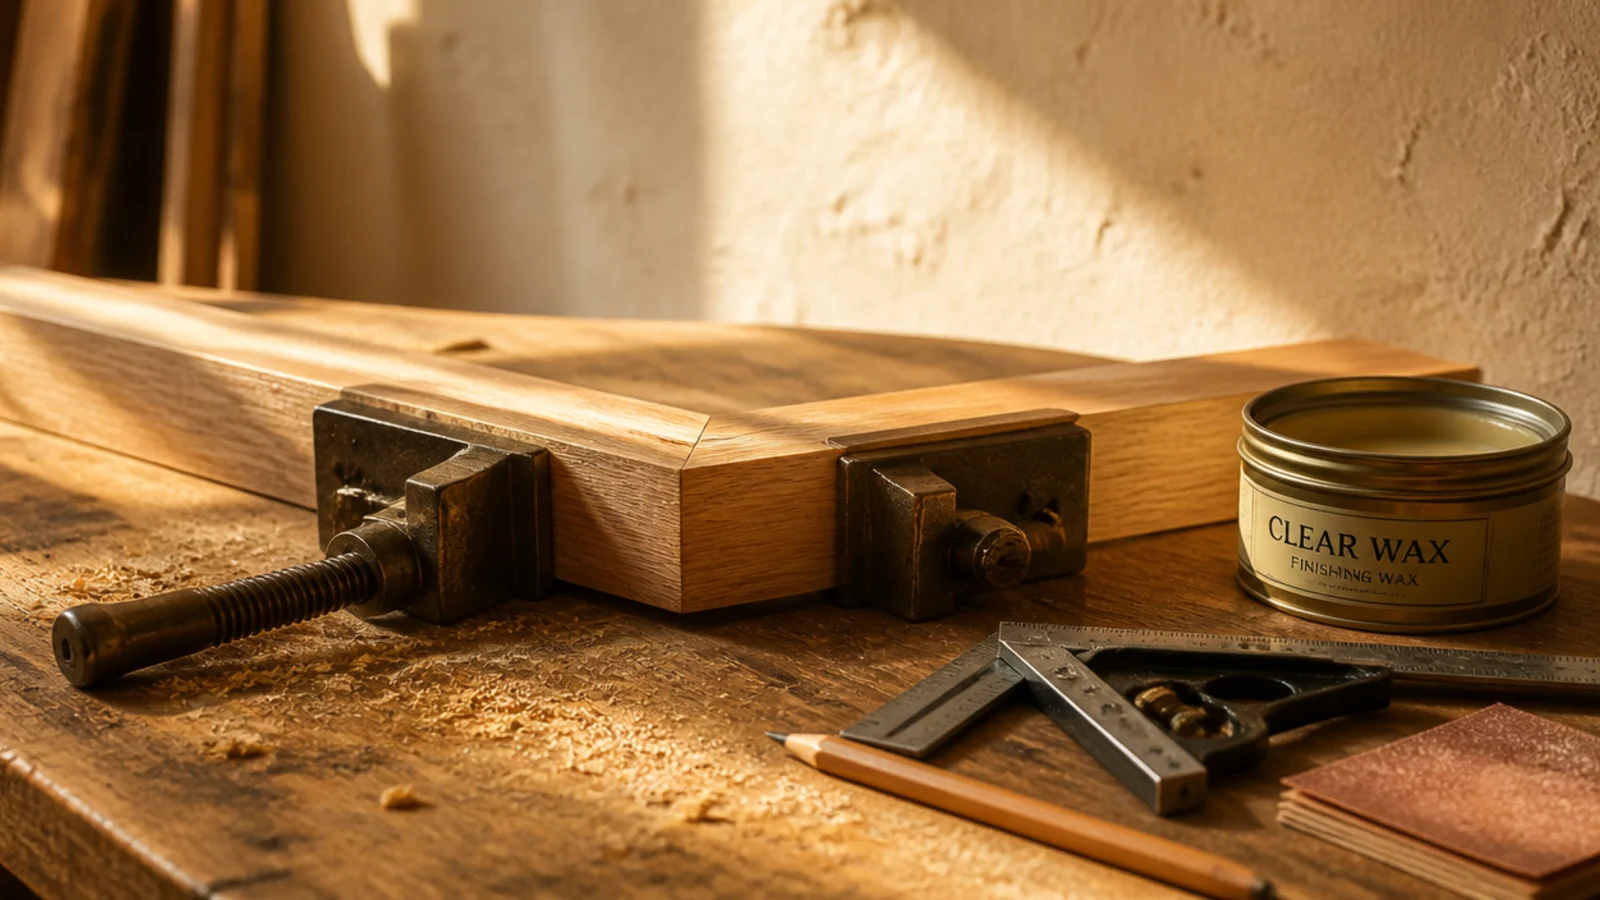
DIY corner shelves are the rare build where the hard part is not the woodworking — it is the two measurements almost everyone skips and the anchors almost everyone gets wrong. I have built these in three rentals and two houses. These twenty steps take you from an empty corner to a finished, styled shelf that looks like it came with the room, in one evening and one morning.
In this guide23 sections — tap to openHide
- 1.What You'll Need to Build DIY Corner Shelves
- 2.Step 1: Measure the corner, not the wall
- 3.Step 2: Check the corner is actually square
- 4.Step 3: Pick your depth and thickness
- 5.Step 4: Draw a cut list before you buy wood
- 6.Step 5: Cut the two boards to length
- 7.Step 6: Cut the 45-degree corner joint
- 8.Step 7: Dry-fit the joint in the actual corner
- 9.Step 8: Sand with the grain, twice
- 10.Step 9: Soften the front edge
- 11.Step 10: Test your stain on an offcut
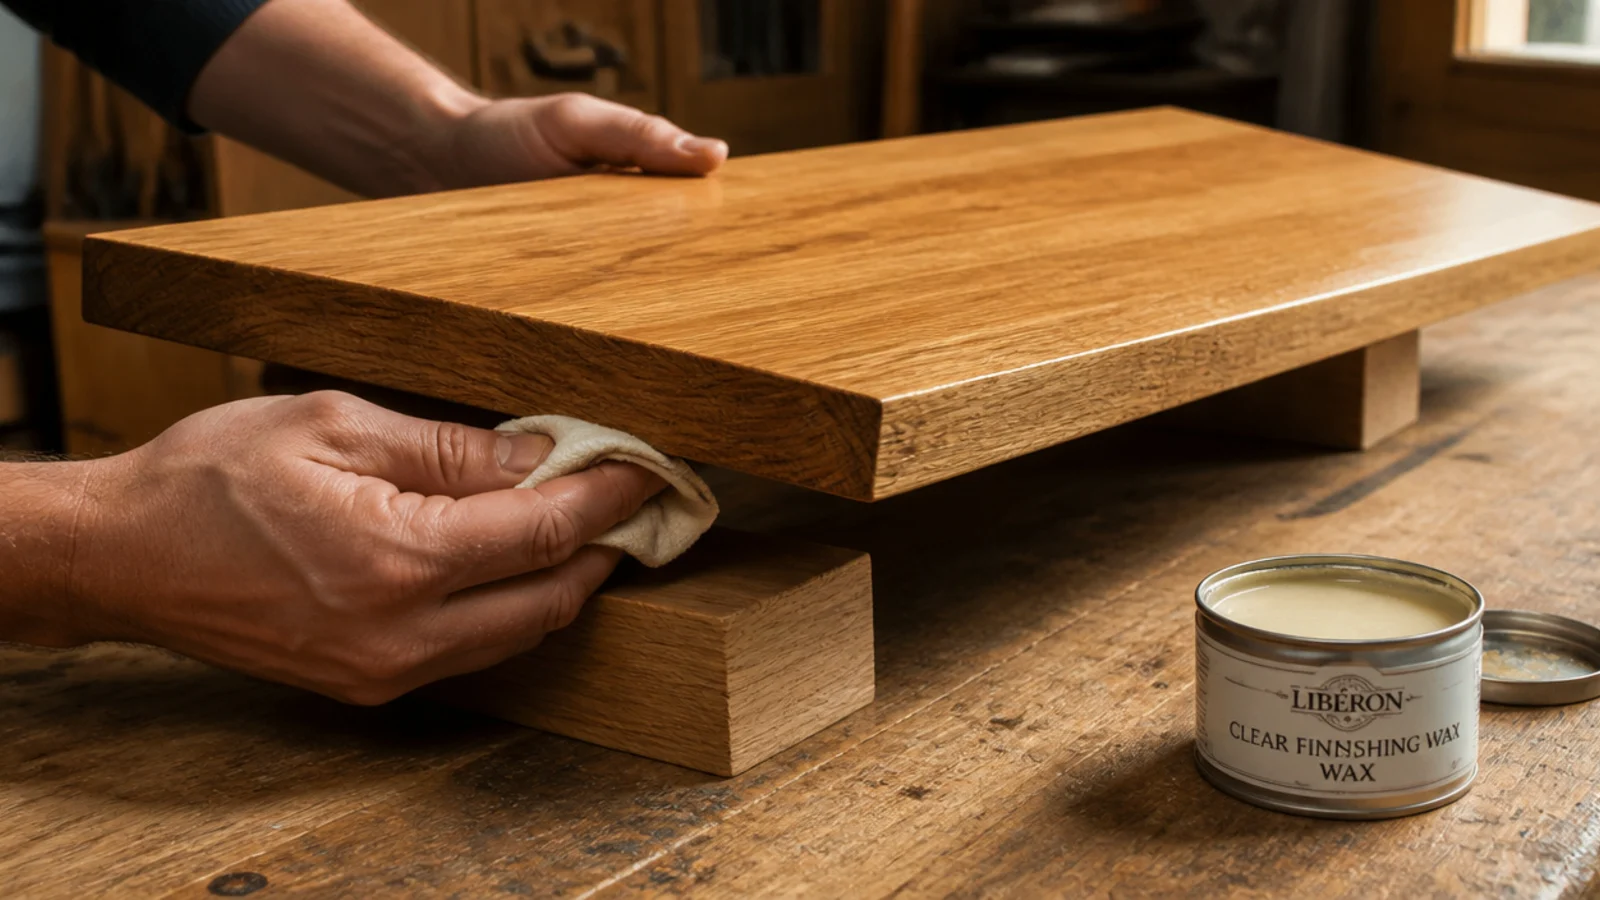
- 12.Step 11: Finish both faces, not just the top
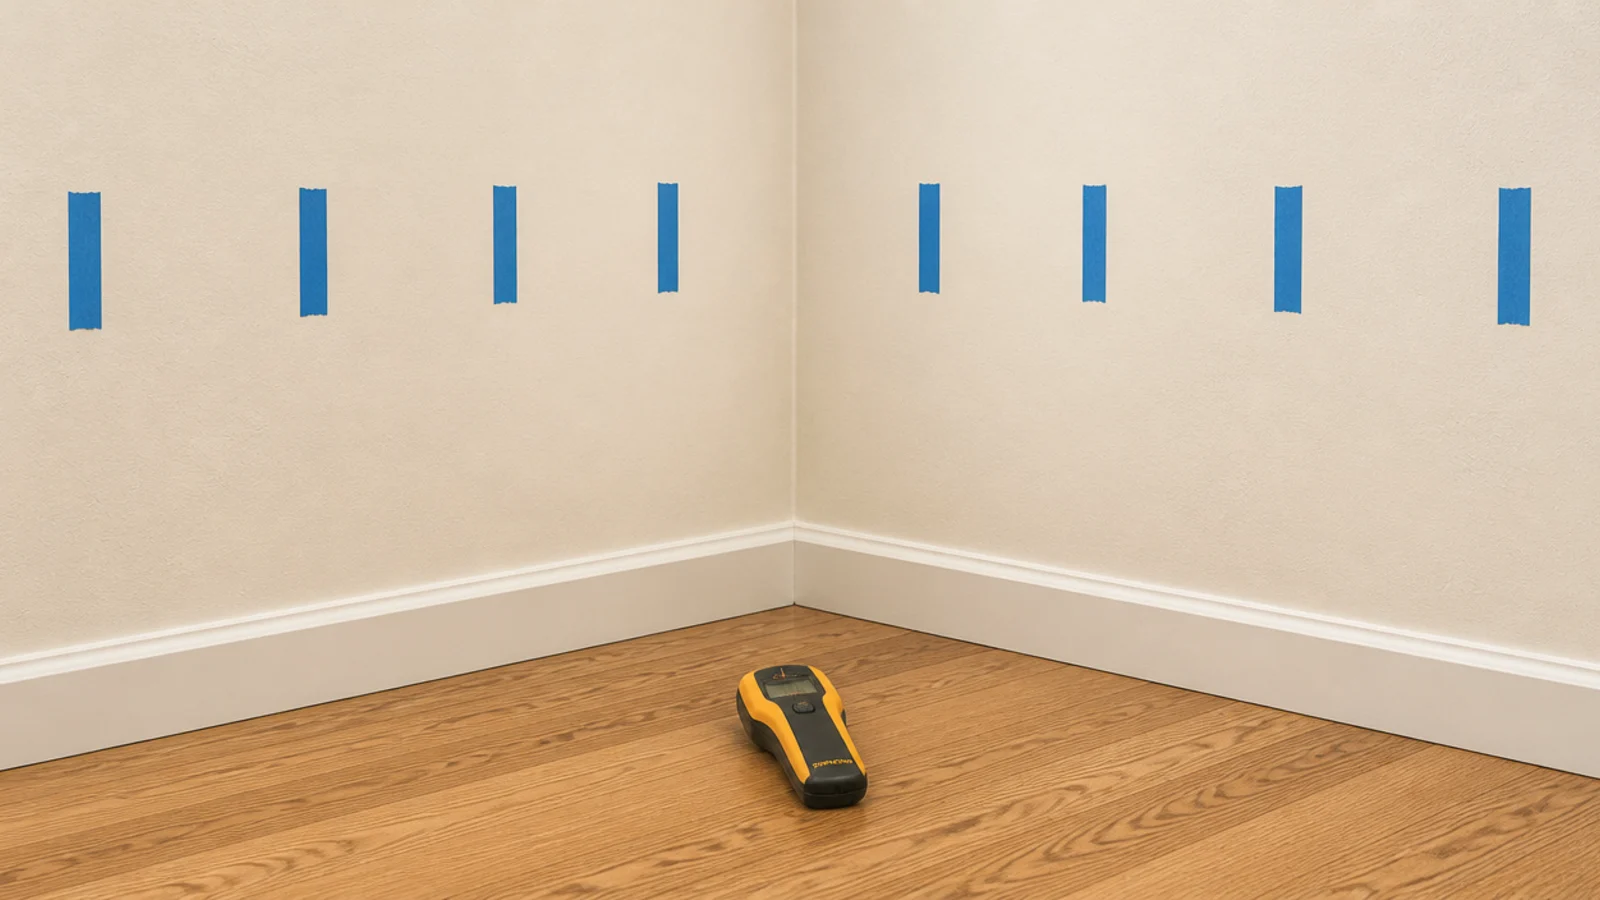
- 13.Step 12: Locate the studs on both walls
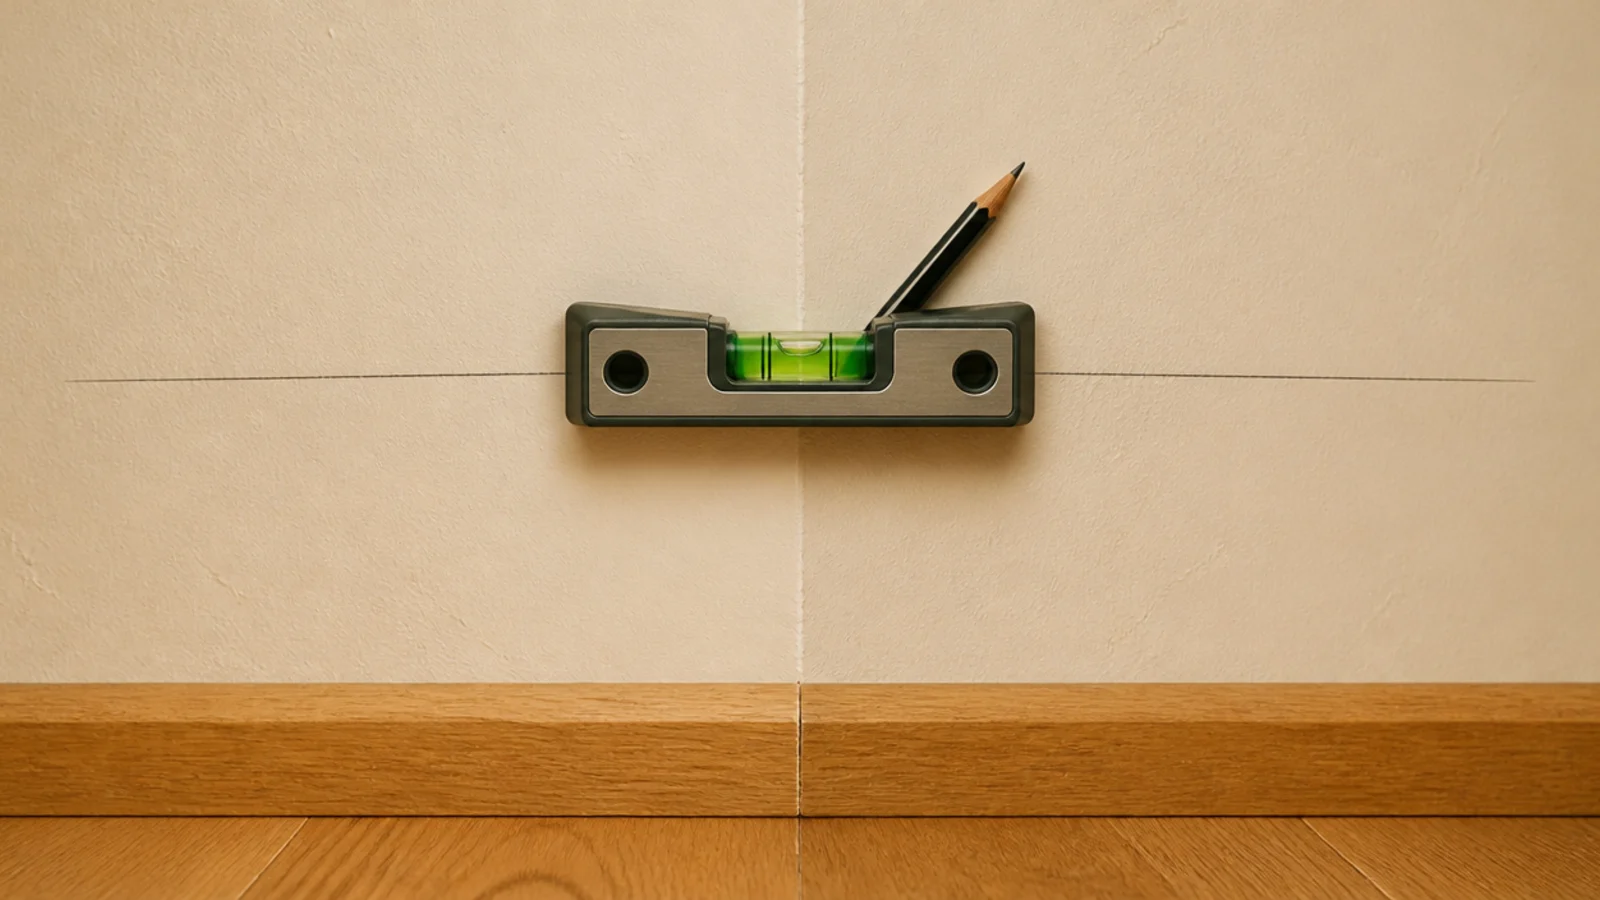
- 14.Step 13: Mark your mounting height with a level
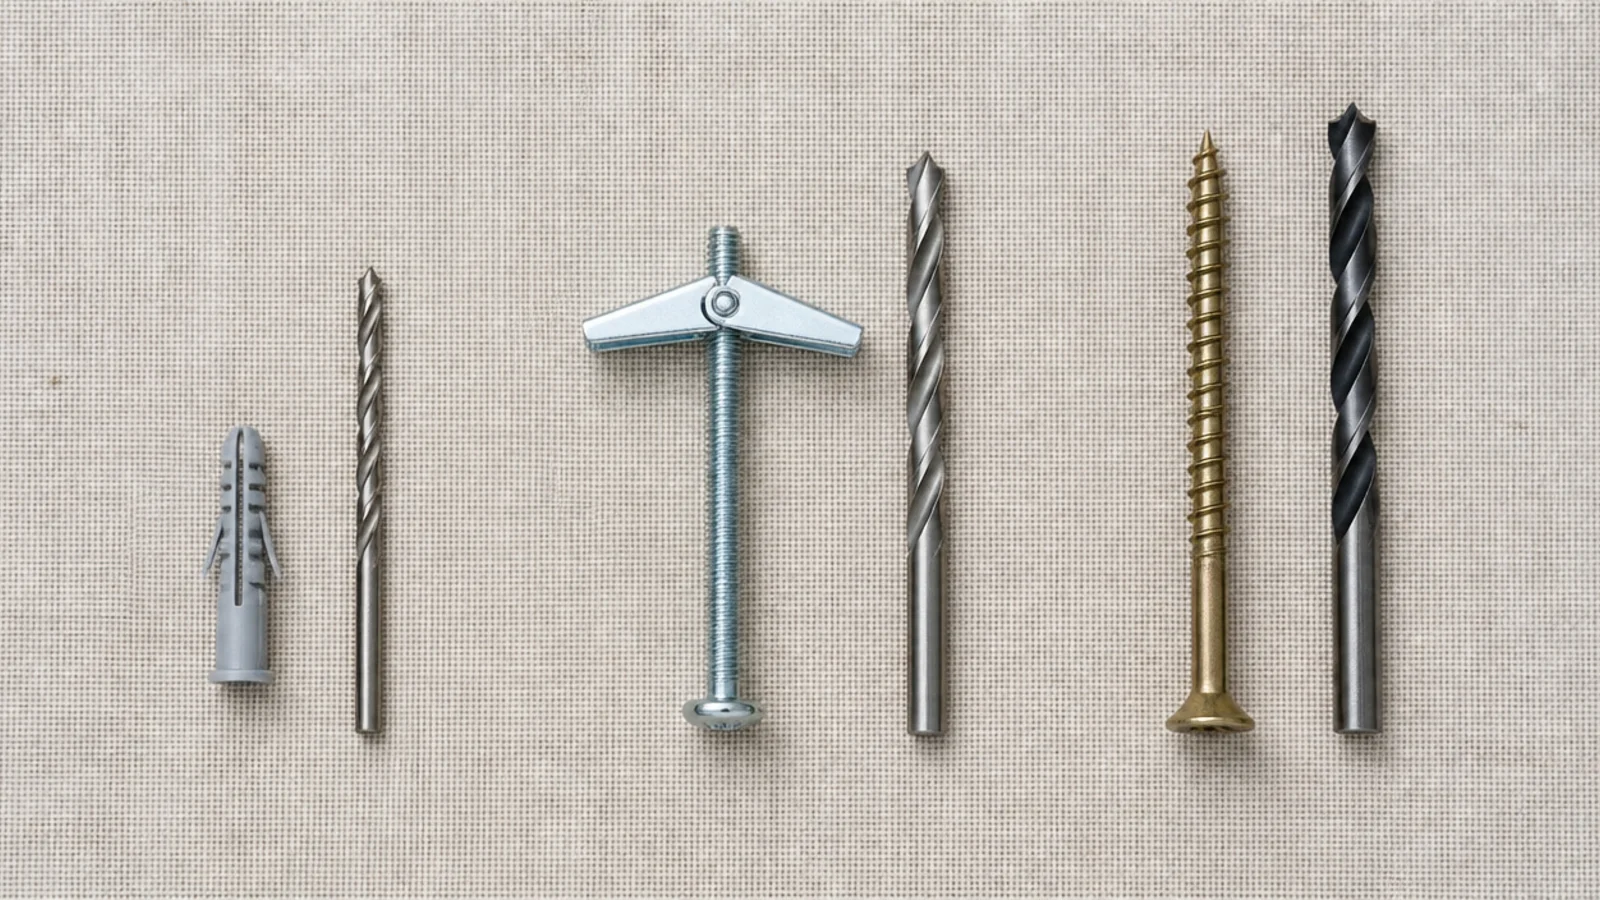
- 15.Step 14: Choose the right anchor for the wall
- 16.Step 15: Drill pilot holes and mount the brackets
- 17.Step 16: Set the boards and check level again
- 18.Step 17: Secure the boards from underneath
- 19.Step 18: Load the heaviest things first
- 20.Step 19: Style in threes at three heights
- 21.Step 20: Live with it for a week, then edit
- 22.Pro Styling Rules
- 23.Mistakes to Skip
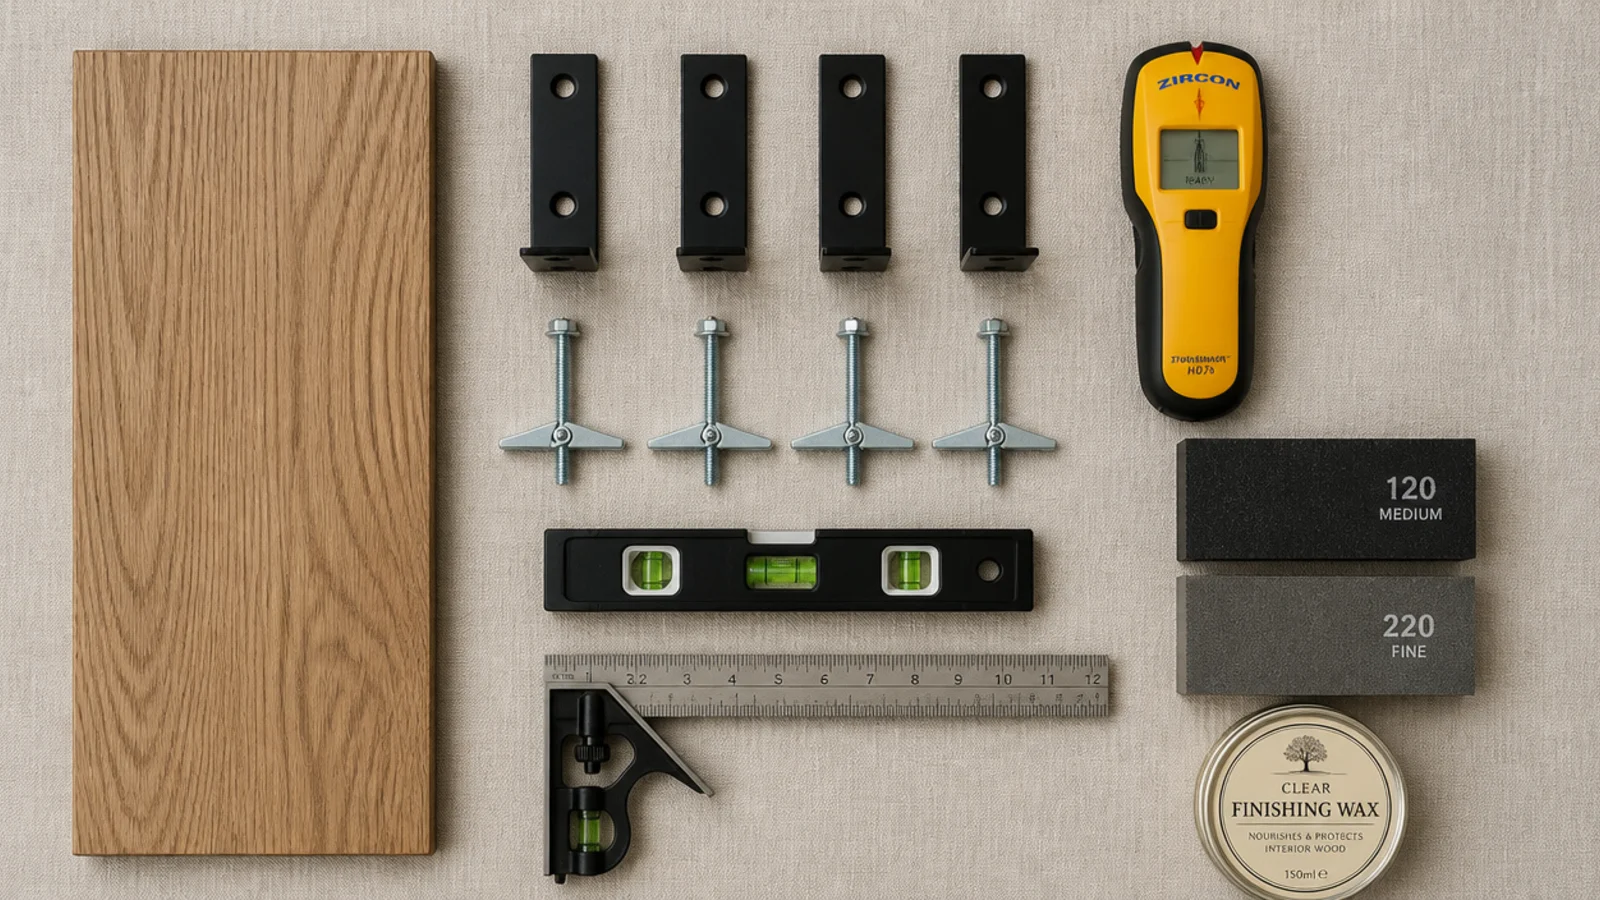
What You'll Need to Build DIY Corner Shelves
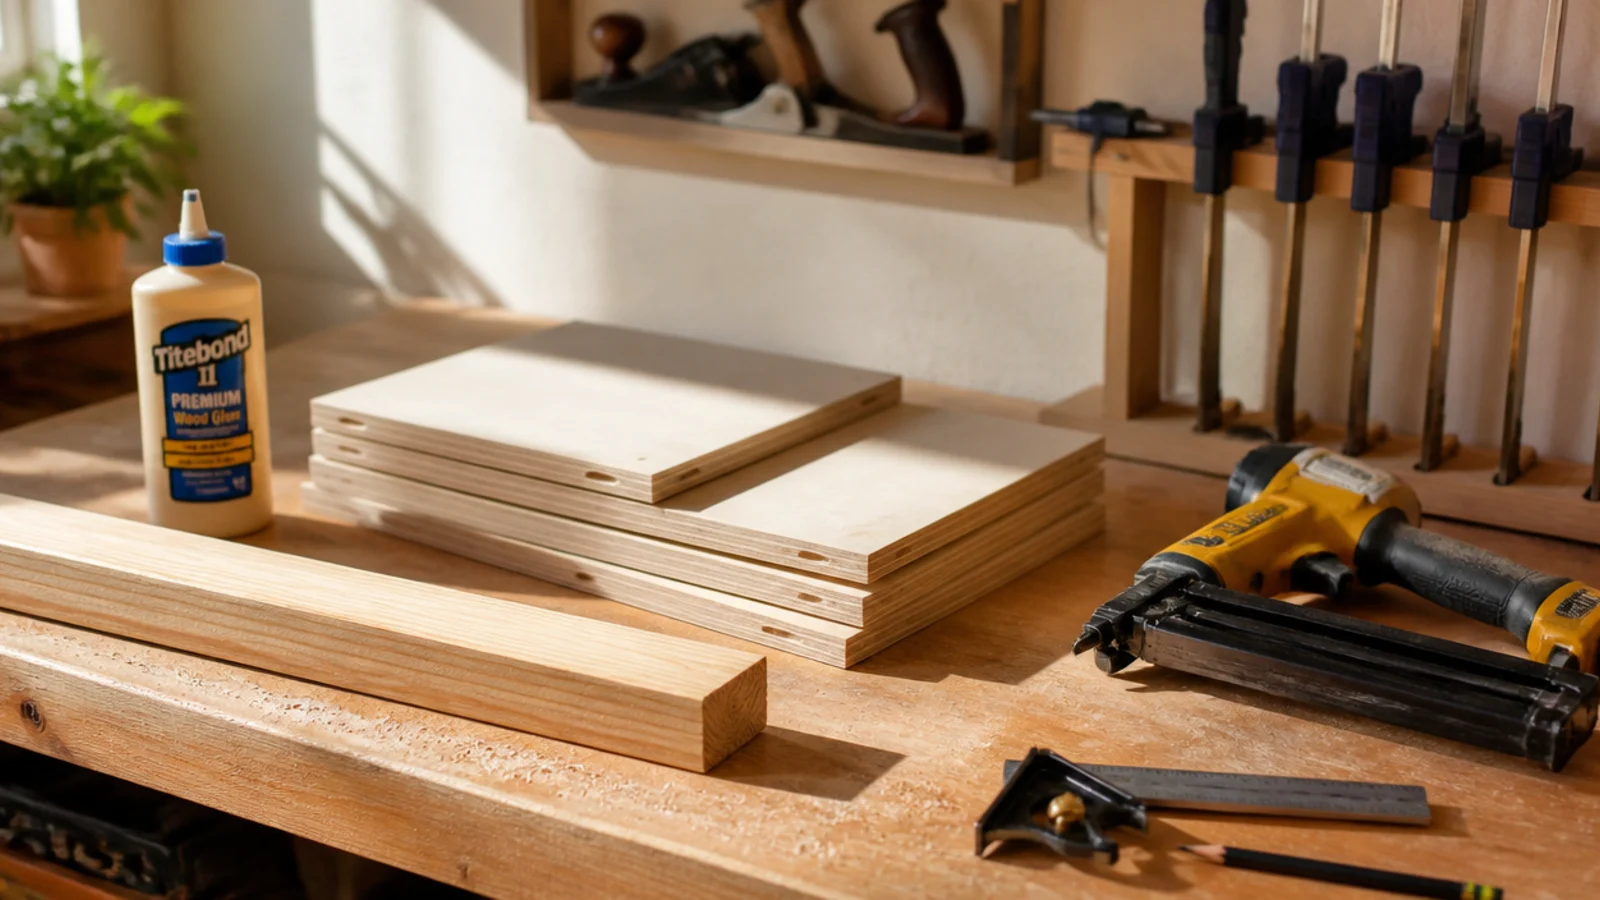
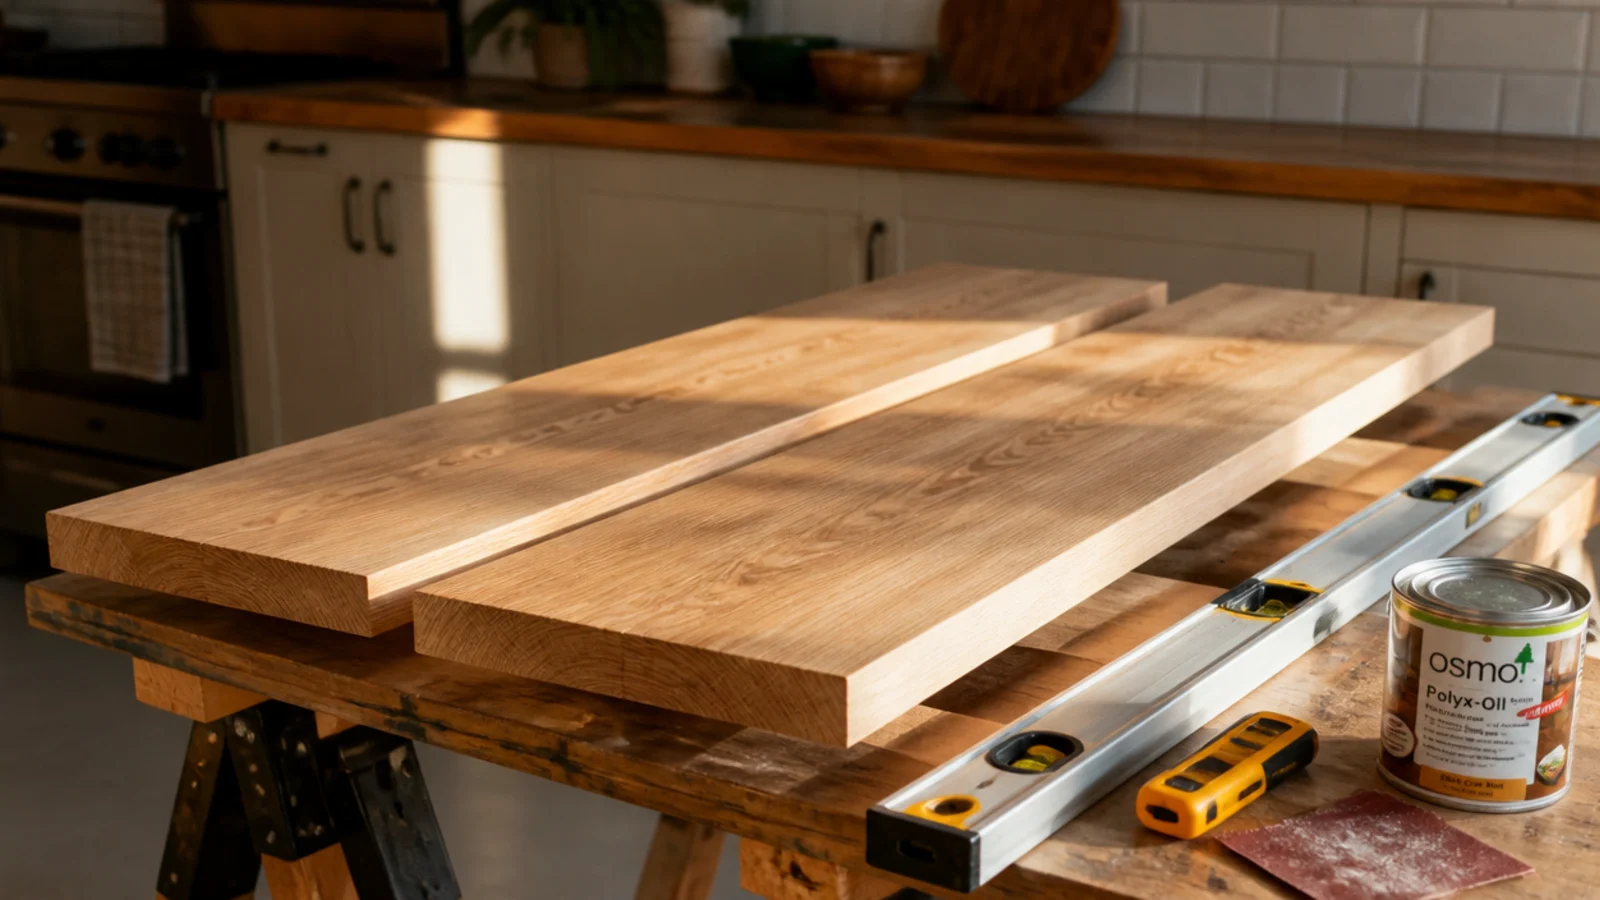
Nothing here is specialist. If you own a drill and can borrow a level, the whole build runs $35 to $60 for a three-tier set in pine, or $70 to $110 in solid oak.
| Item | Spec that matters | Rough cost |
|---|---|---|
| Shelf boards | Solid oak or poplar, 3/4 in thick, 8 in wide | $18–$45 |
| Corner brackets | Powder-coated steel, rated 30 lb+ per pair | $9–$18 |
| Toggle bolts | 1/8 in, for half-inch drywall | $4 |
| Wood screws | 3/4 in pan head, for bracket-to-shelf | $3 |
| Sandpaper | 120 grit and 220 grit | $5 |
| Finish | Clear wax, hardwax oil or water-based poly | $9–$16 |
| Tools | Drill, stud finder, spirit level, combination square, miter box | borrowed |
Step 1: Measure the corner, not the wall
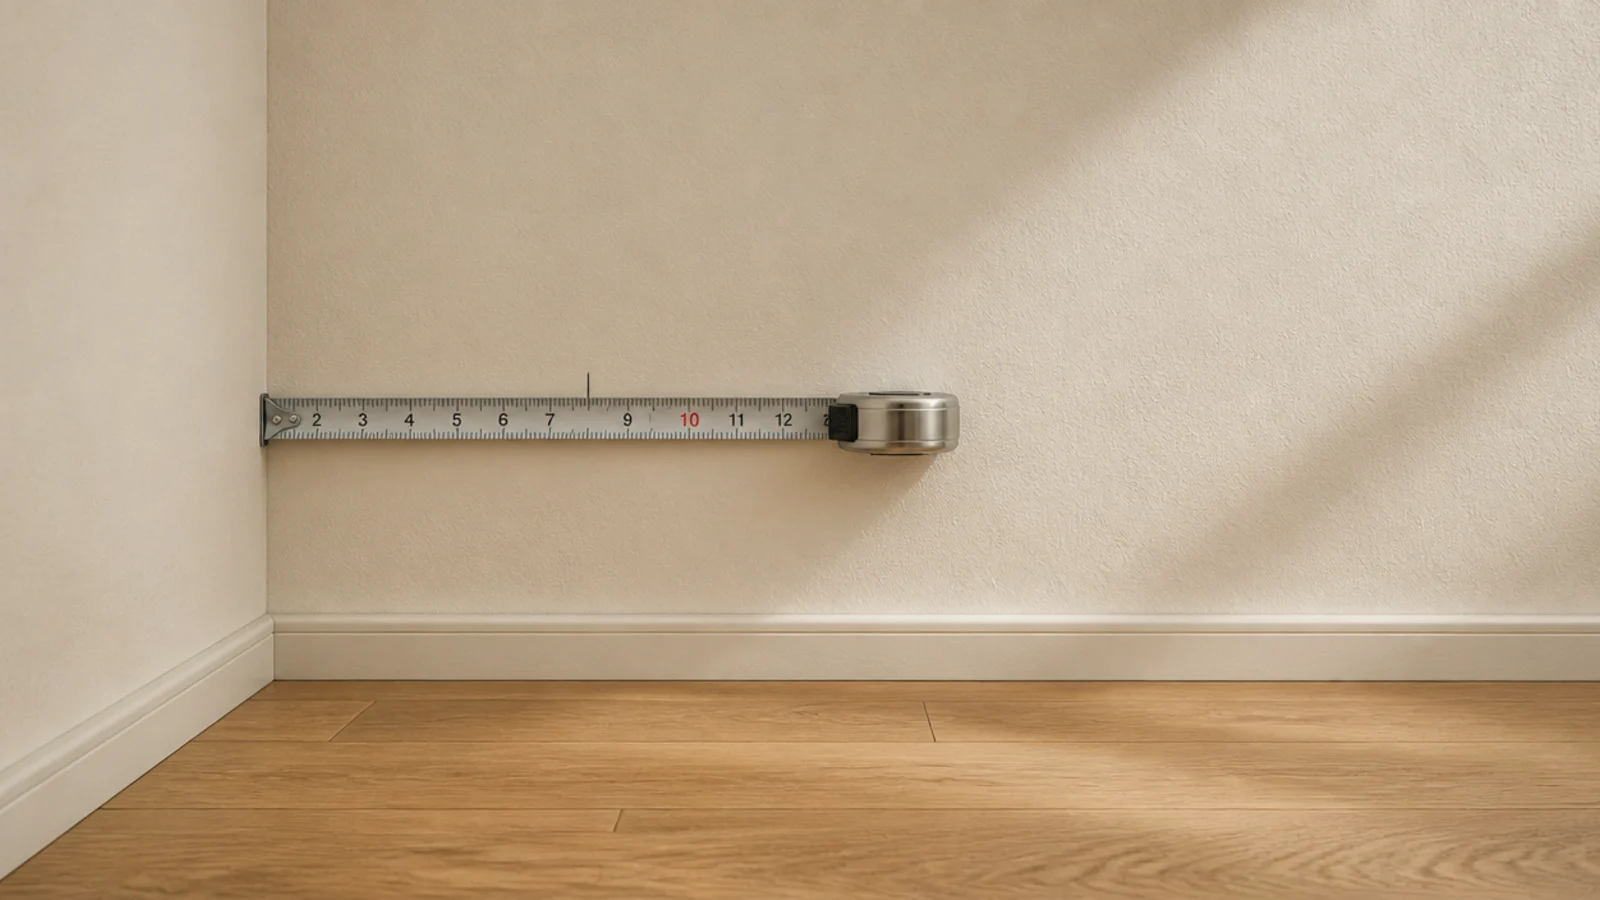
Stand in the corner and take three numbers. Measure out along the left wall to where you want the shelf to end, then the same on the right wall, then measure the walkway — the distance from the corner to the nearest thing you walk around.
That third number sets your depth. Under 30 inches of walkway means a six-inch shelf. Thirty to forty inches allows eight. Over forty and you can run ten or twelve. Write all three down; you will use them again at the lumber counter.
Step 2: Check the corner is actually square
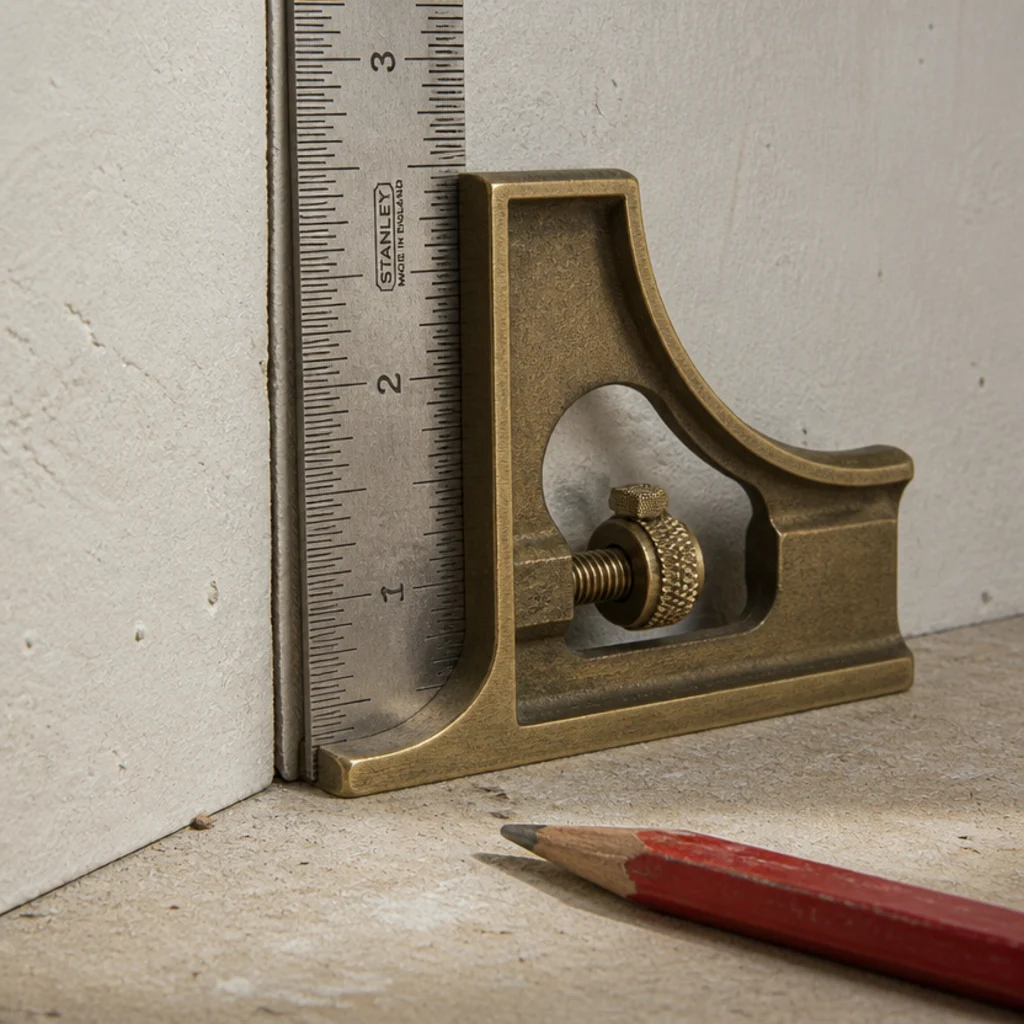
Press a combination square into the corner and look for daylight. Almost no wall corner is a true 90 degrees, and in older homes the gap can be a quarter inch or more.
If you see a gap, you have two options. Scribe the back edge of the boards to match the wall, which is fussy but invisible. Or accept a small gap and cover it with a bead of paintable caulk once the shelf is up. On a painted wall, caulk is genuinely undetectable and takes two minutes.
Step 3: Pick your depth and thickness
Depth comes from Step 1. Thickness comes from span. Three-quarter inch stock holds a 24-inch run with books on it without visible sag. Past 30 inches, go to an inch and a half — either solid stock or two boards glued into a built-up box.
Half-inch boards look elegant in photographs and bow within a month under anything real. If you want that thin look on a long span, build a hollow box shelf around a plywood core instead.
Step 4: Draw a cut list before you buy wood
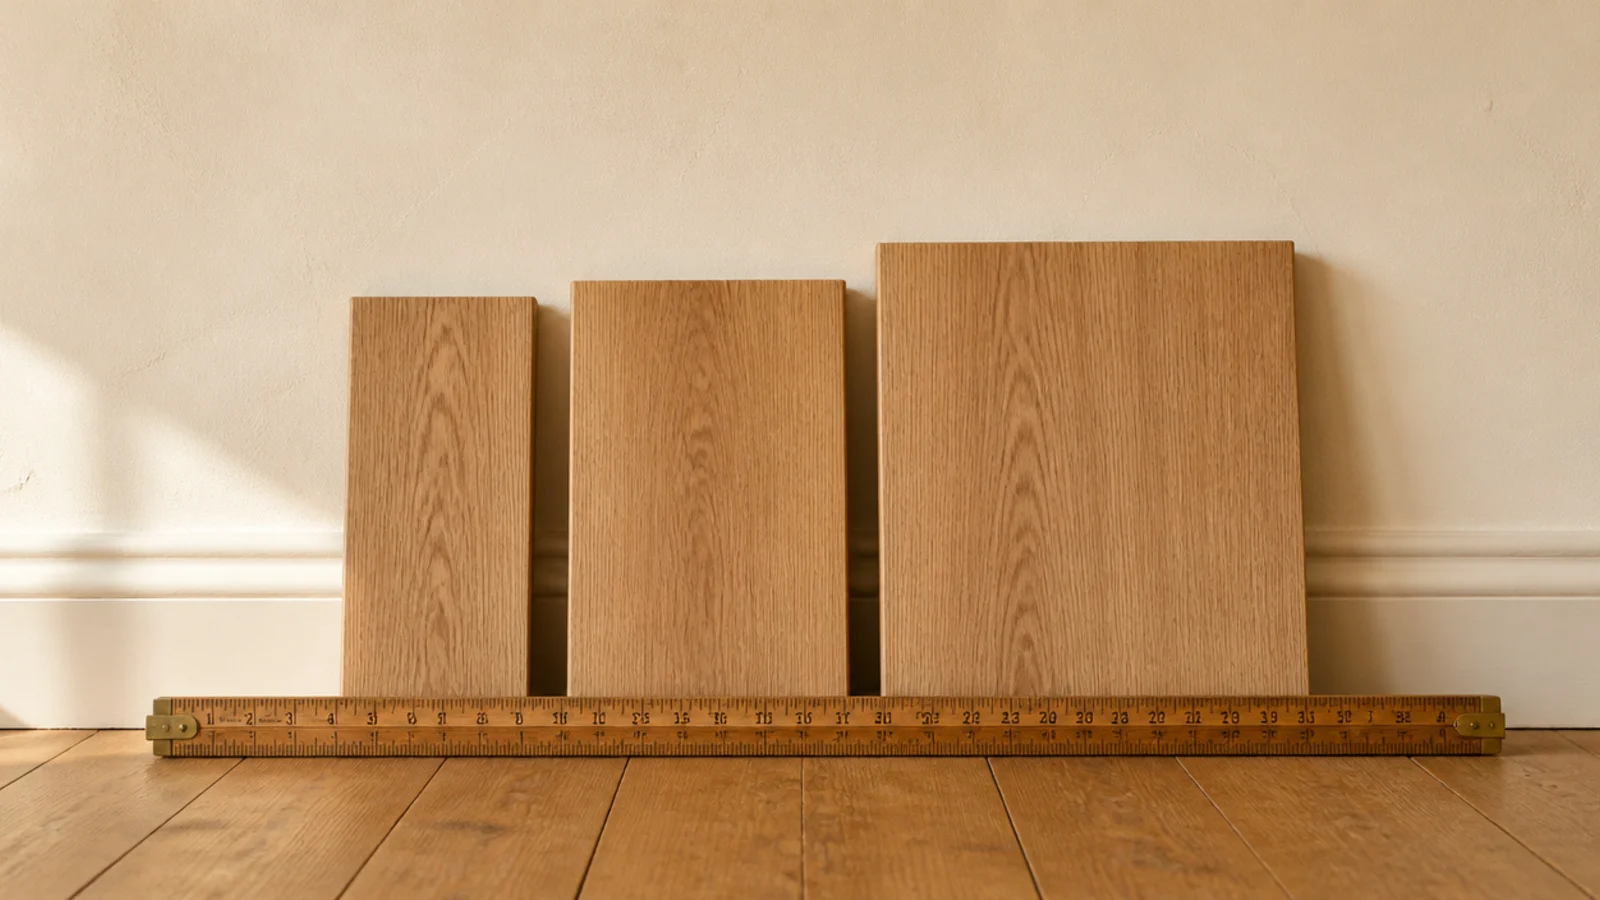
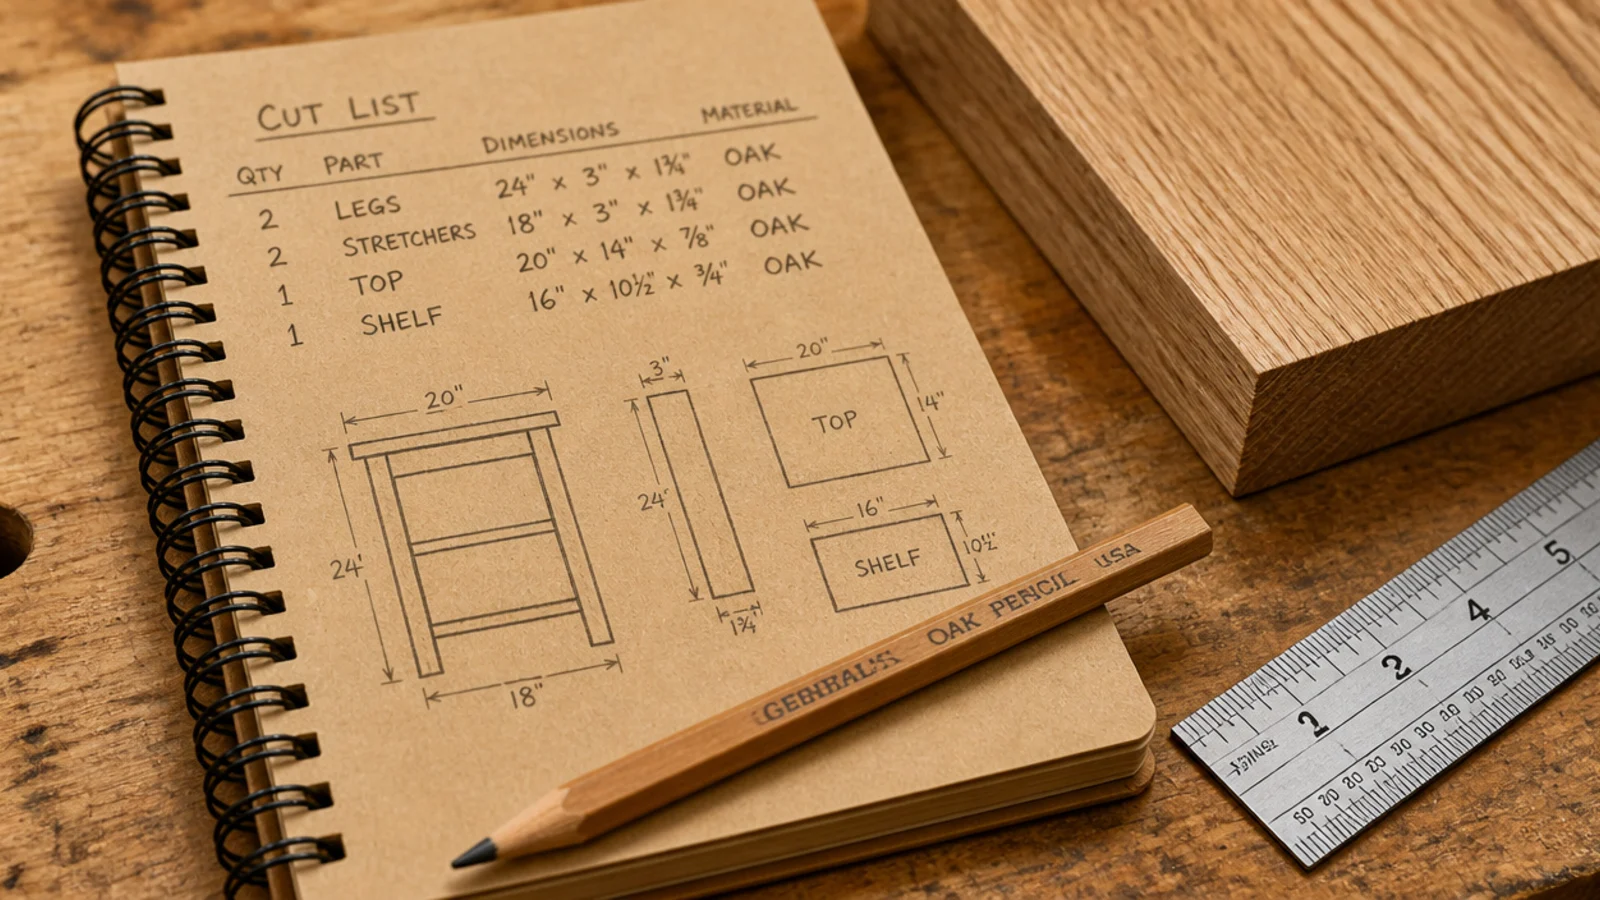
Sketch the corner from above and write the finished length of every board next to it. For a three-tier set, stagger the lengths — 24, 20 and 16 inches works in most rooms, shortest on top.
Add half an inch to each board for the saw kerf and the trimming you will inevitably do. Take the sketch to the store. Ten minutes with a pencil is the difference between one trip and three.
Step 5: Cut the two boards to length
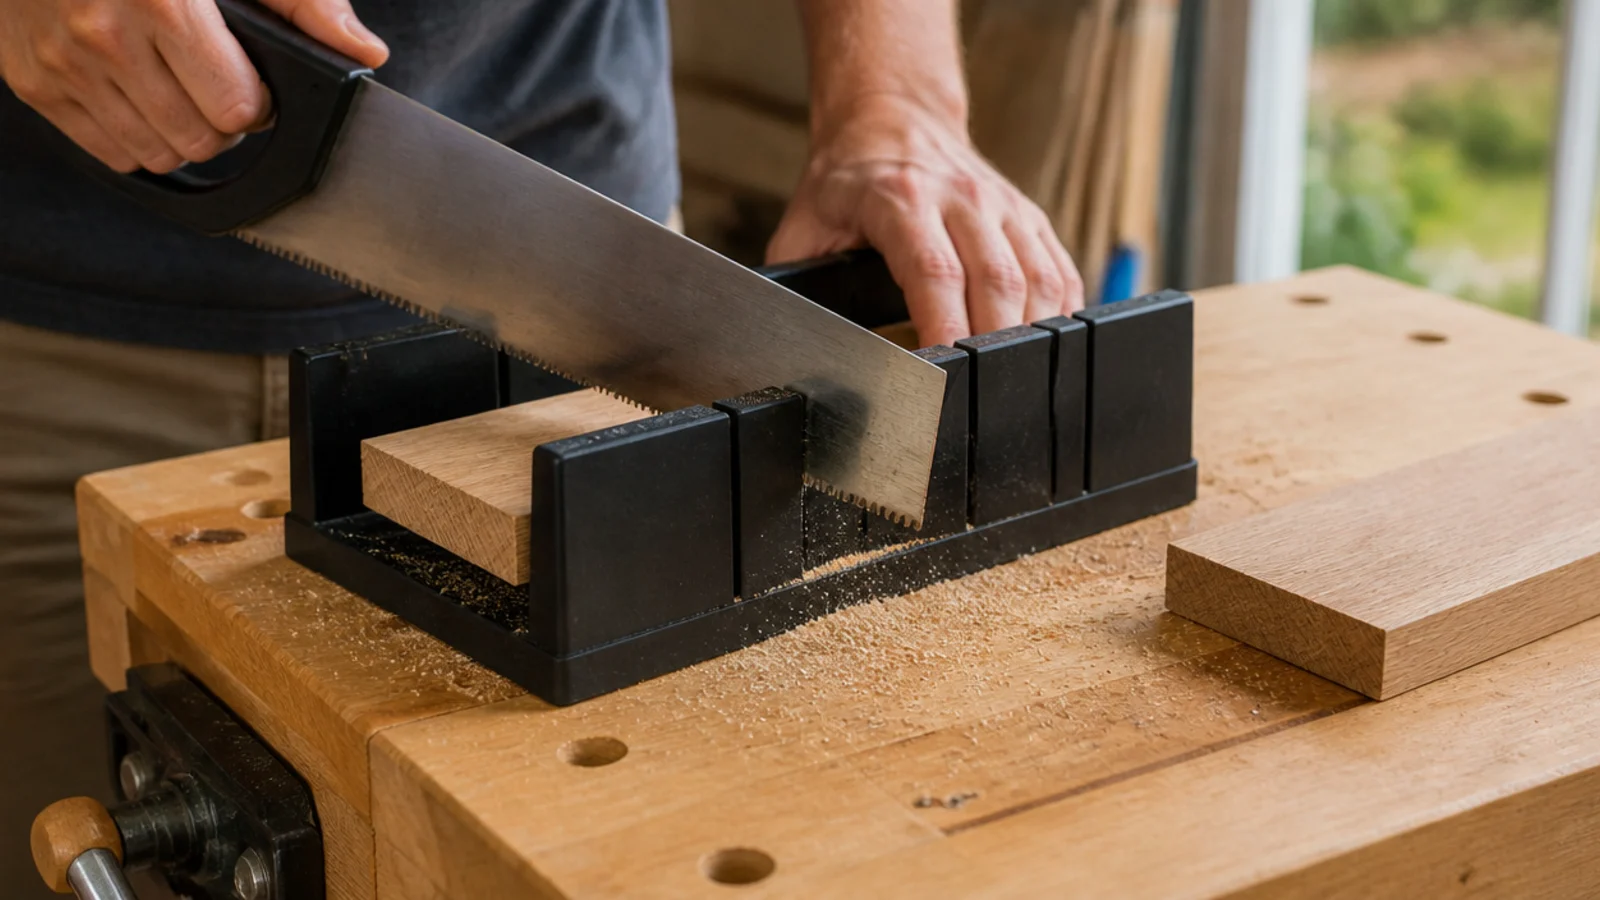
Clamp the board to the bench before the saw touches it. A board that shifts mid-cut gives you an edge that is out of square, and an out-of-square edge shows at the joint forever.
Cut slightly long, then trim. If you are using a hand saw and a miter box, let the saw do the work at a shallow angle and keep the cut just outside your pencil line. Most home centers will also make straight cuts for free if you arrive with your list.
Step 6: Cut the 45-degree corner joint
The two boards meet at the corner, so each needs a 45-degree cut where they join. Two 45s make the 90.
Cut one, hold it in the corner, and only then cut the second to match. Wall corners that are 88 or 92 degrees will need one of those angles adjusted a degree or two, and you can only tell by testing. A miter box and a clamp do this accurately for about $12.
Step 7: Dry-fit the joint in the actual corner
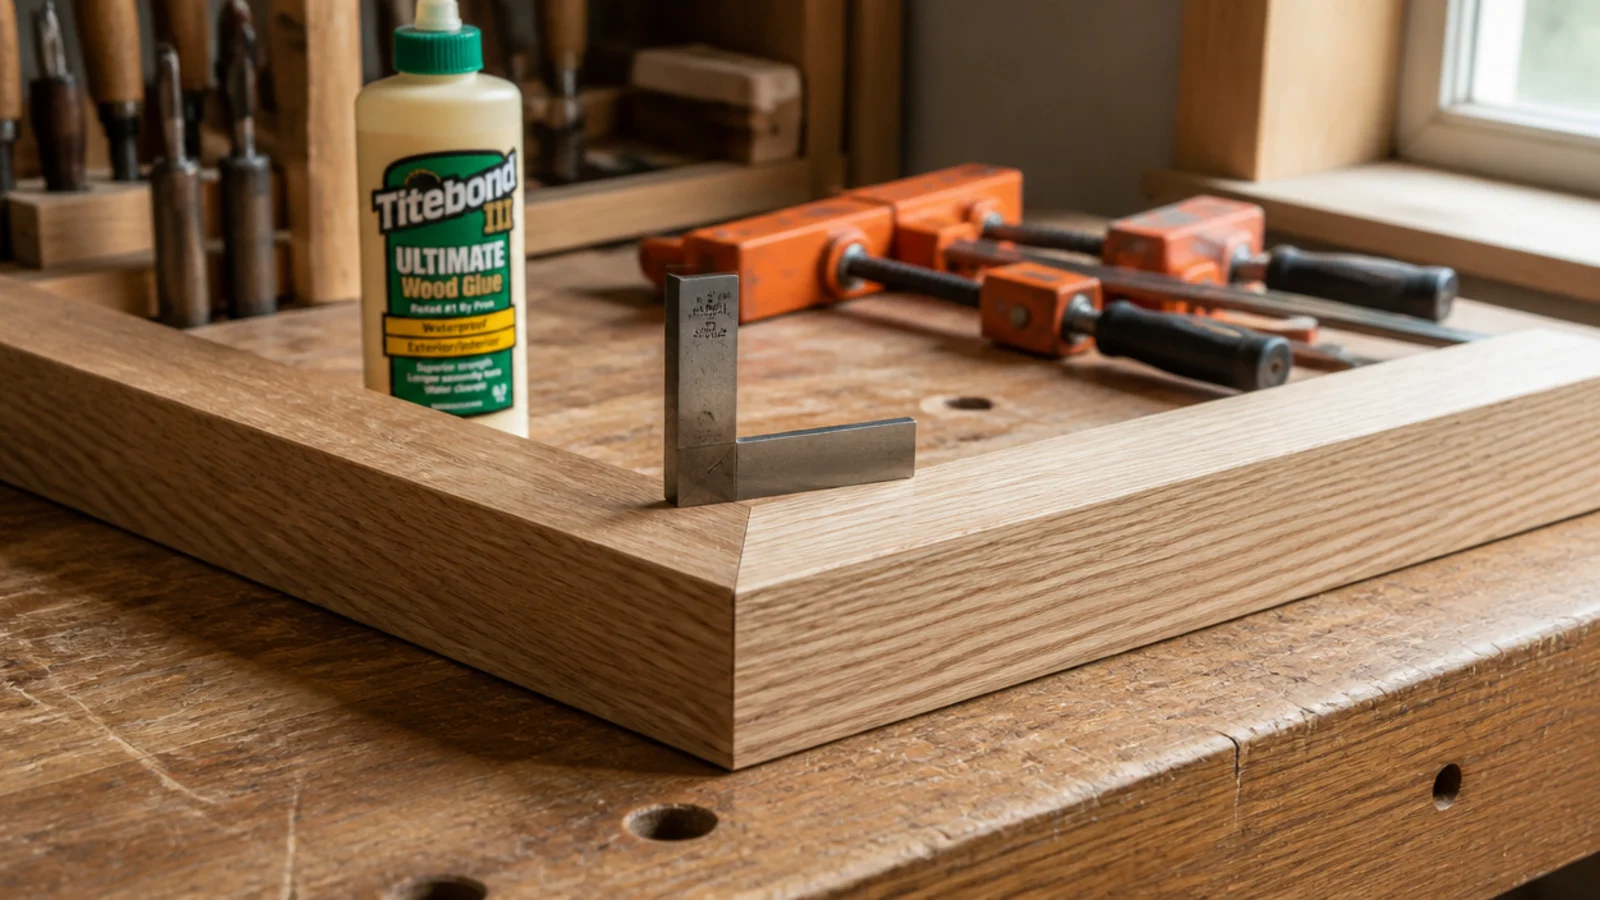
Hold both boards up in the real corner with no brackets and no glue. Look at the joint line, then the back edges against each wall.
This is your last cheap chance to fix anything. Small gaps at the back get caulked. A visible gap at the joint itself means one of the 45s needs a shave. Mark what needs adjusting in pencil directly on the board — you will not remember it in an hour.
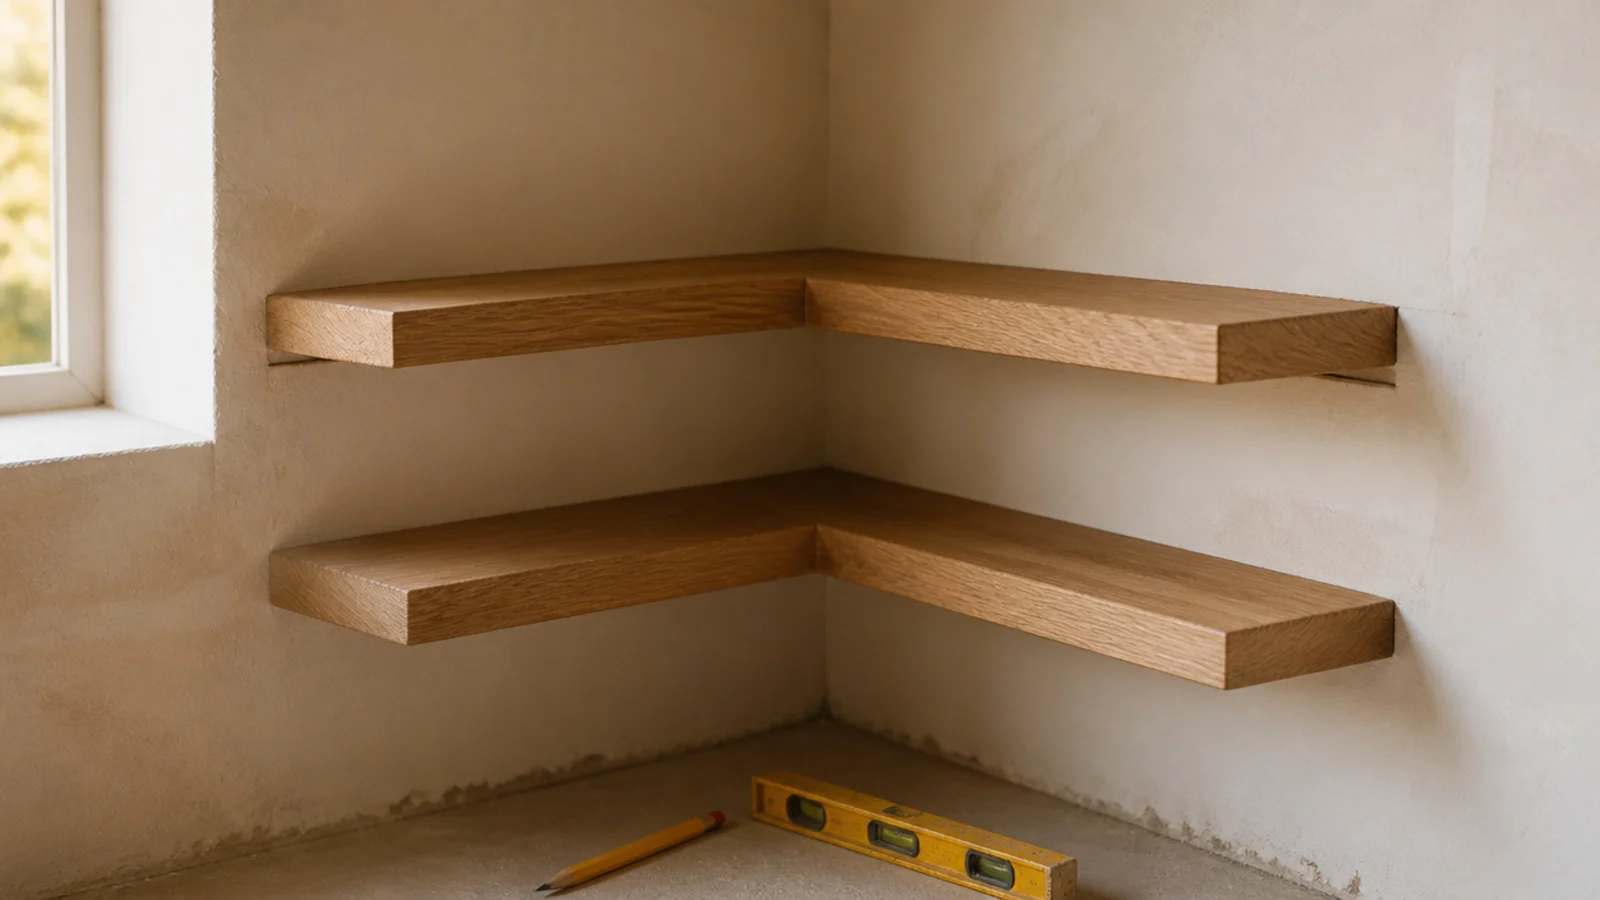
Step 8: Sand with the grain, twice
Start at 120 grit and work along the grain, never across it. Cross-grain scratches only appear once stain goes on, which is exactly too late.
Then do something that feels wrong: wipe the board with a damp cloth and let it dry. That raises the grain. Sand again at 220 and the surface stays smooth after finishing instead of turning fuzzy the first time it meets a wet coaster.
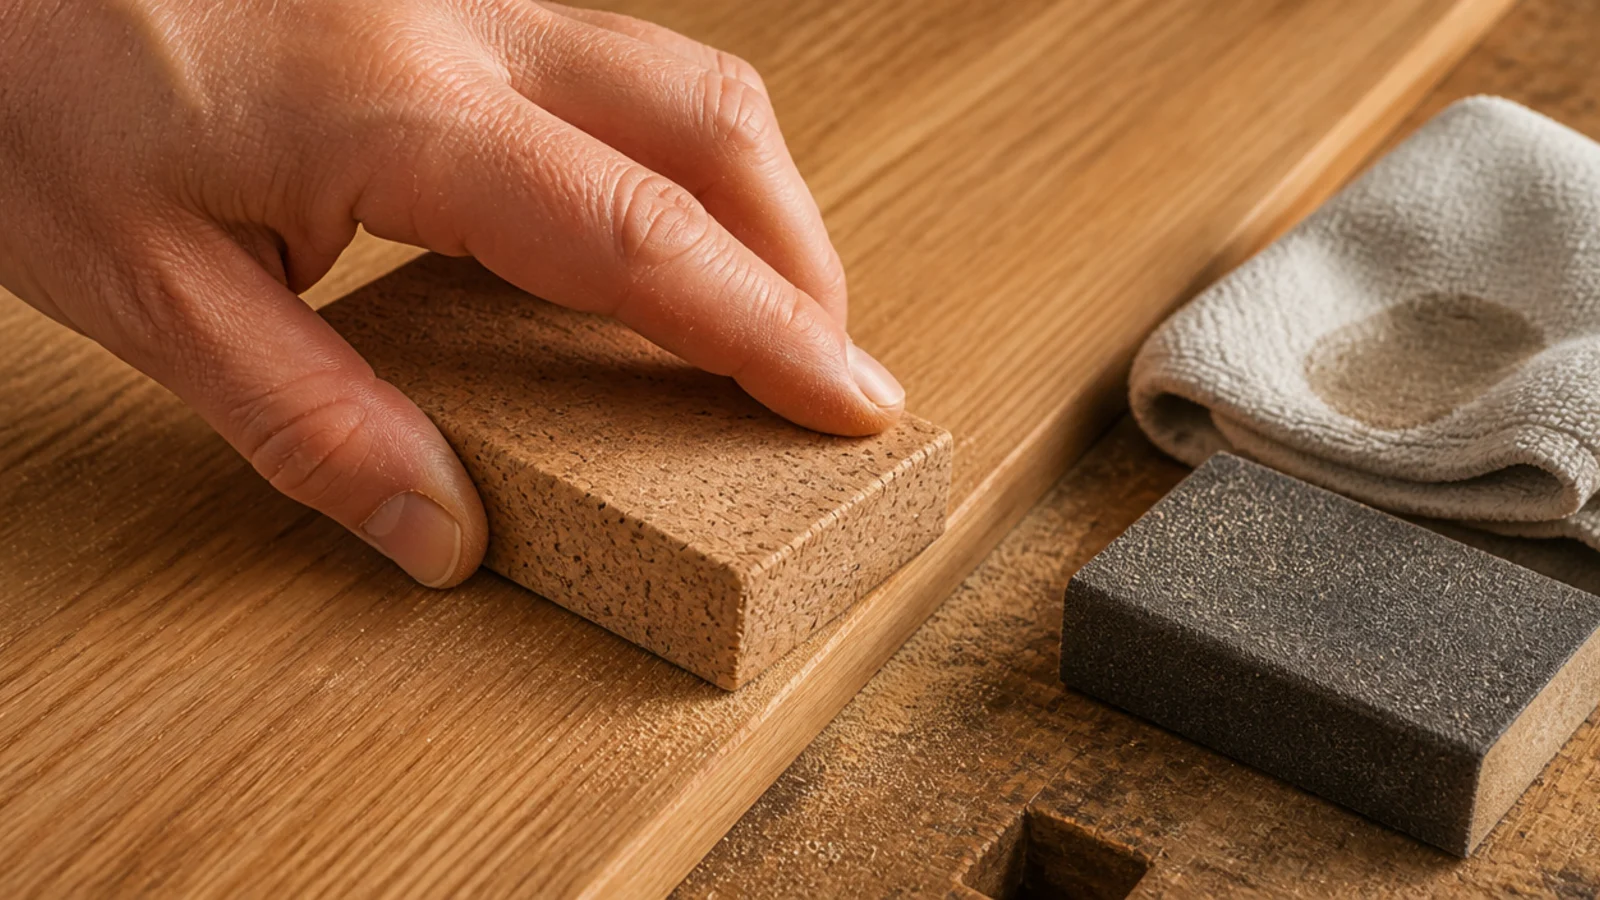
Step 9: Soften the front edge
Run 220 grit along the top and bottom front edges at 45 degrees, about ten passes each, until the edge feels rounded under your thumb rather than sharp.
This one detail separates a shelf that looks homemade from one that looks bought. Sharp machine edges read as raw lumber; a softened edge reads as furniture. It costs two minutes per board and it is the highest-value thing you will do all day.
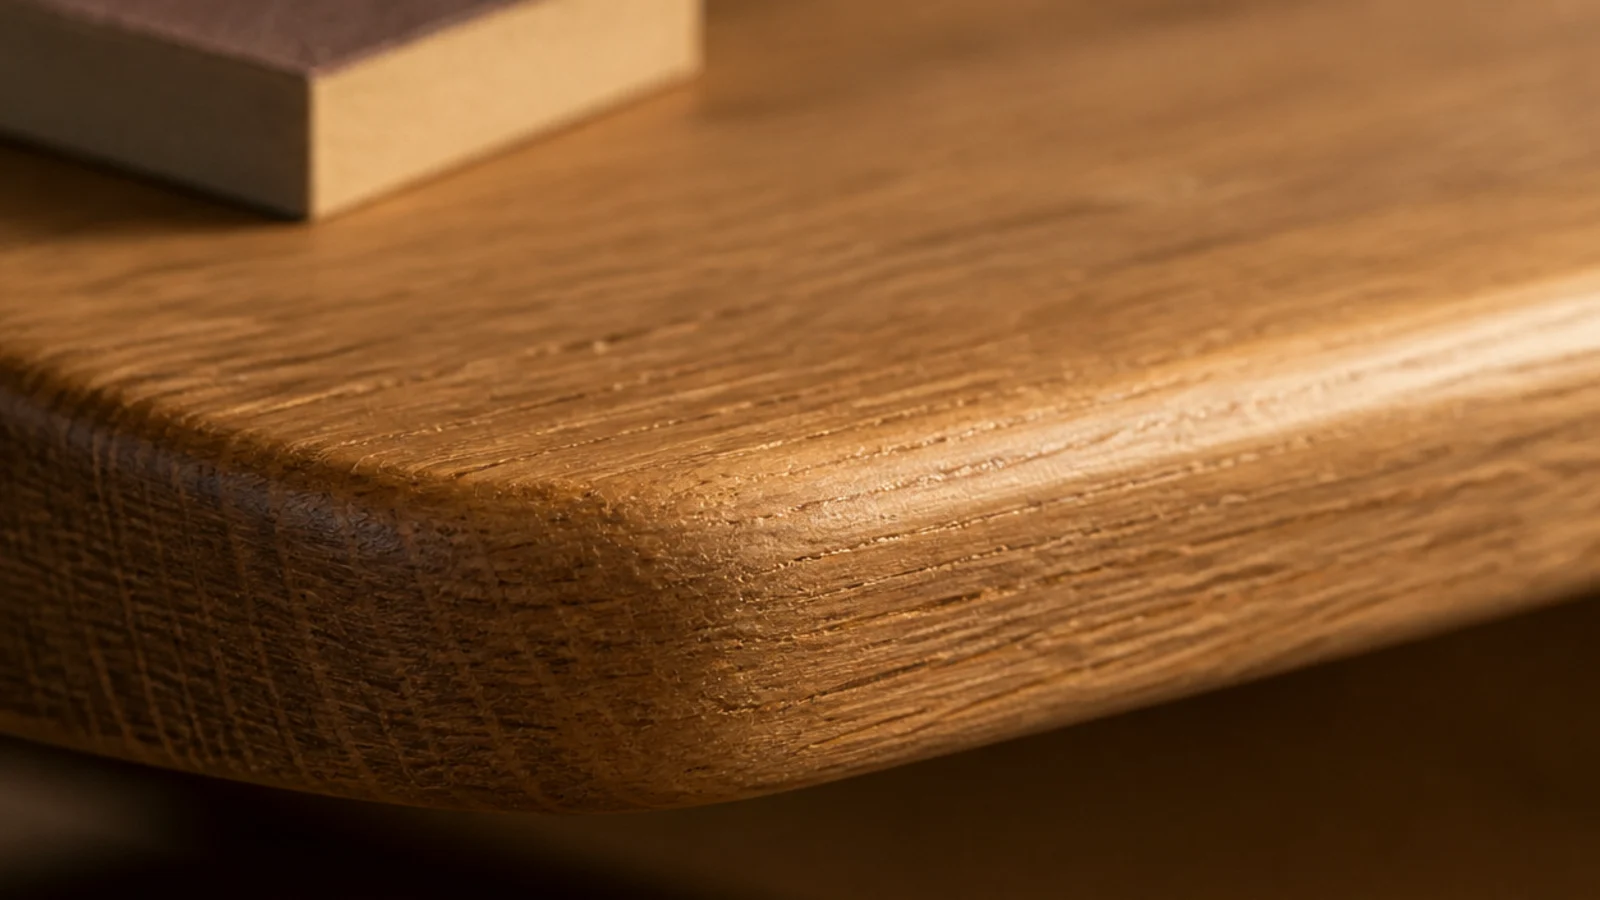
Step 10: Test your stain on an offcut
Wood lies about color while it is wet. Brush your finish onto a scrap from the same board, wait for it to dry fully, and look at it in the actual room at the time of day you use that room most.
Pine especially needs a pre-stain conditioner or it goes blotchy. Oak takes stain evenly but darkens more than the sample chip suggests. If you love the raw color, clear hardwax oil keeps it almost exactly as it is.
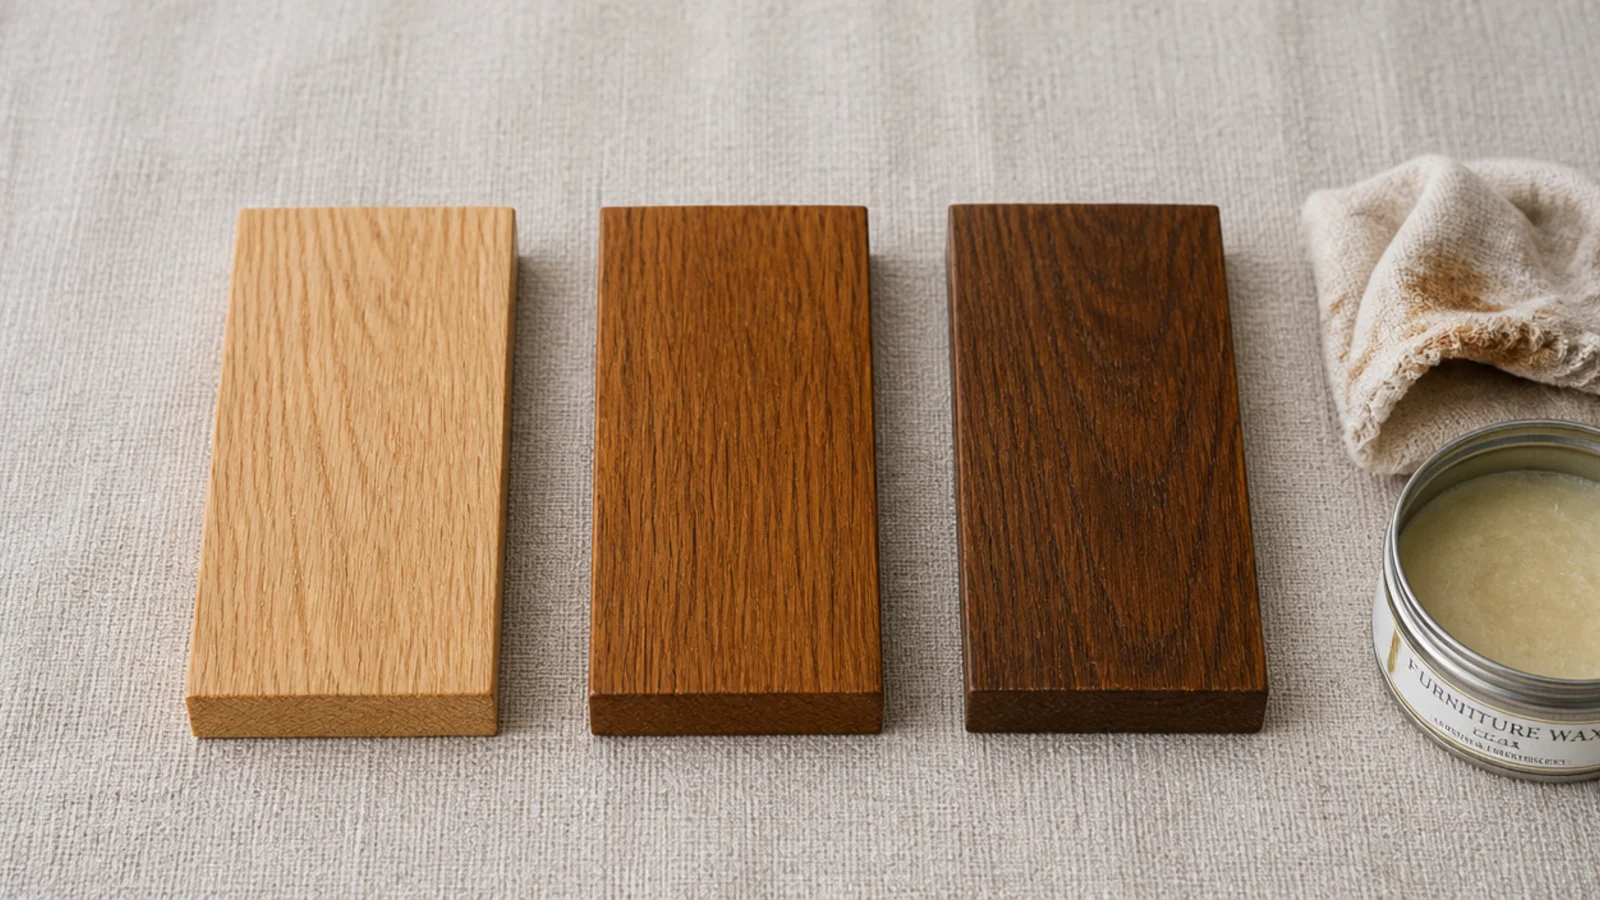
Step 11: Finish both faces, not just the top
Coat the underside and the edges as thoroughly as the top. Wood absorbs and releases moisture through unfinished faces, and a board sealed on one side only will cup upward over a season.
Two thin coats beat one heavy one every time. Sand very lightly with 320 between coats, wipe the dust off with a dry cloth, and let the final coat cure overnight before anything touches it.
Step 12: Locate the studs on both walls
Run the stud finder outward from the corner in six-inch sweeps along both walls and mark every hit with painter's tape. Framing usually puts a stud within an inch and a half of an inside corner, but older homes vary enough that you must check.
Confirm a suspected stud with a small finish nail somewhere the shelf will hide. Tape survives the whole build; pencil marks vanish under a bracket and you will re-find them twice.
Step 13: Mark your mounting height with a level
Decide the height of the lowest shelf first, then work up in 13-inch increments. For a living room corner, 42 inches off the floor for the bottom tier sits comfortably above furniture.
Level to the floor, not the ceiling. Ceilings in older homes slope, and a shelf leveled to a sloping ceiling looks drunk next to every piece of furniture in the room. Draw a light pencil line the full length of each shelf.
Step 14: Choose the right anchor for the wall
Into a stud, a two and a half inch wood screw is all you need and carries 40 to 50 pounds per bracket.
Into bare drywall, throw away the plastic plugs in the bracket box. They are rated around 10 pounds and they are the single most common reason DIY shelves end up on the floor. Toggle bolts carry 25 to 35 pounds each in half-inch drywall and cost about a dollar apiece.
Step 15: Drill pilot holes and mount the brackets
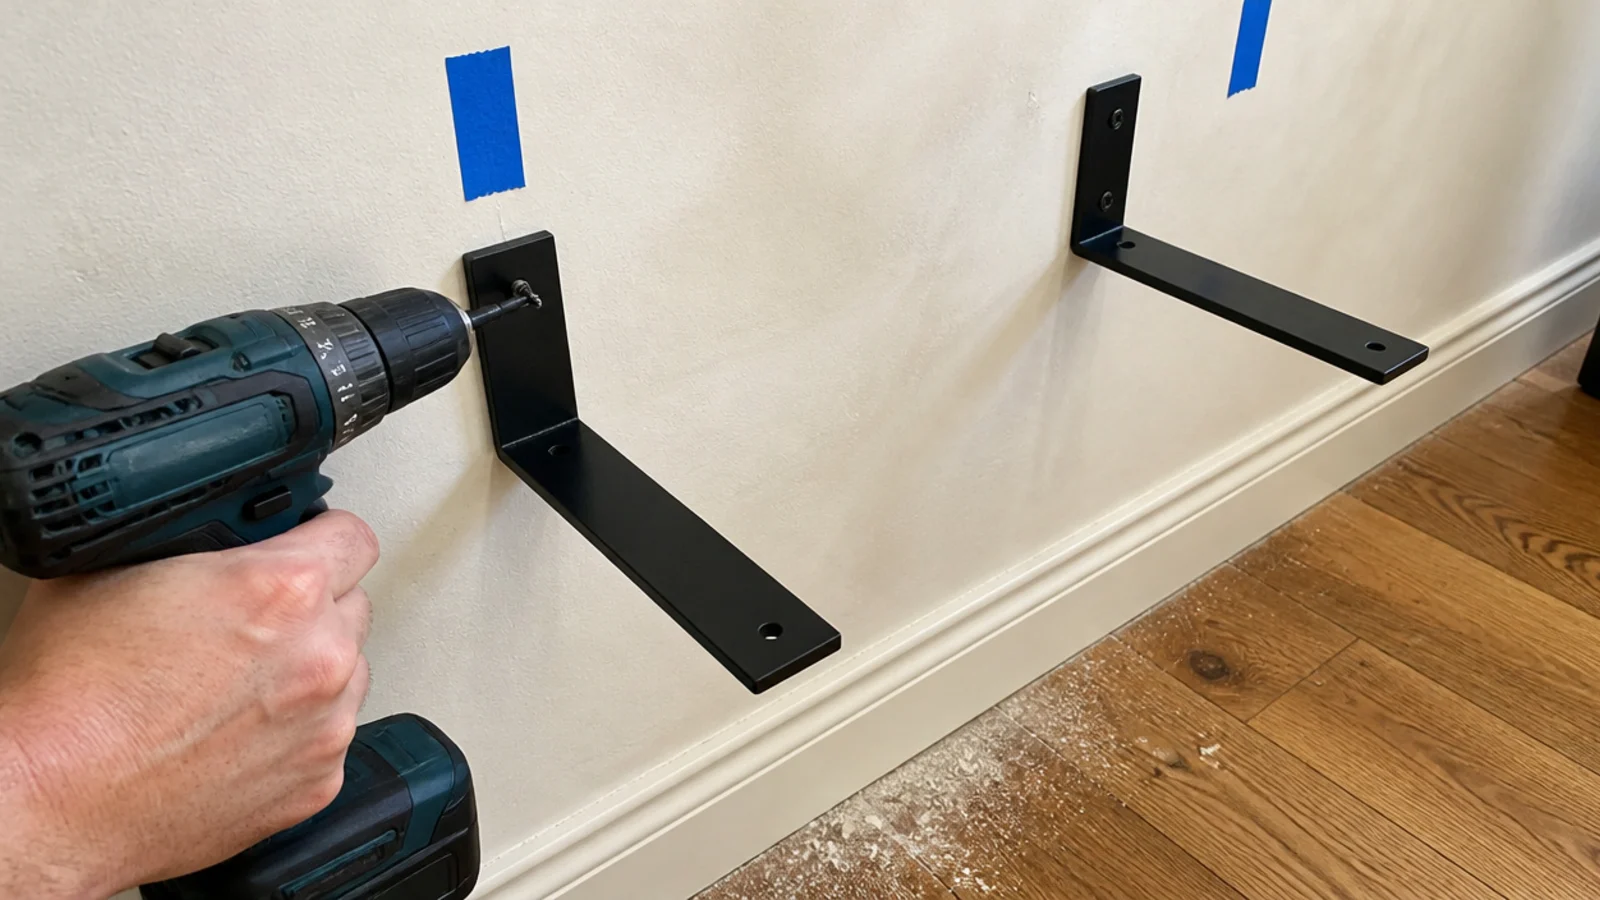
Drill pilots a size under your screw diameter, straight in, no angle. Mount the two outer brackets first and leave the middle one until the board is on.
Tighten until snug, then give it a quarter turn more and stop. Overtightening a toggle bolt crushes the drywall face and the anchor loses most of its grip — you will feel it go soft, and at that point the hole is done and you move over two inches.
Step 16: Set the boards and check level again
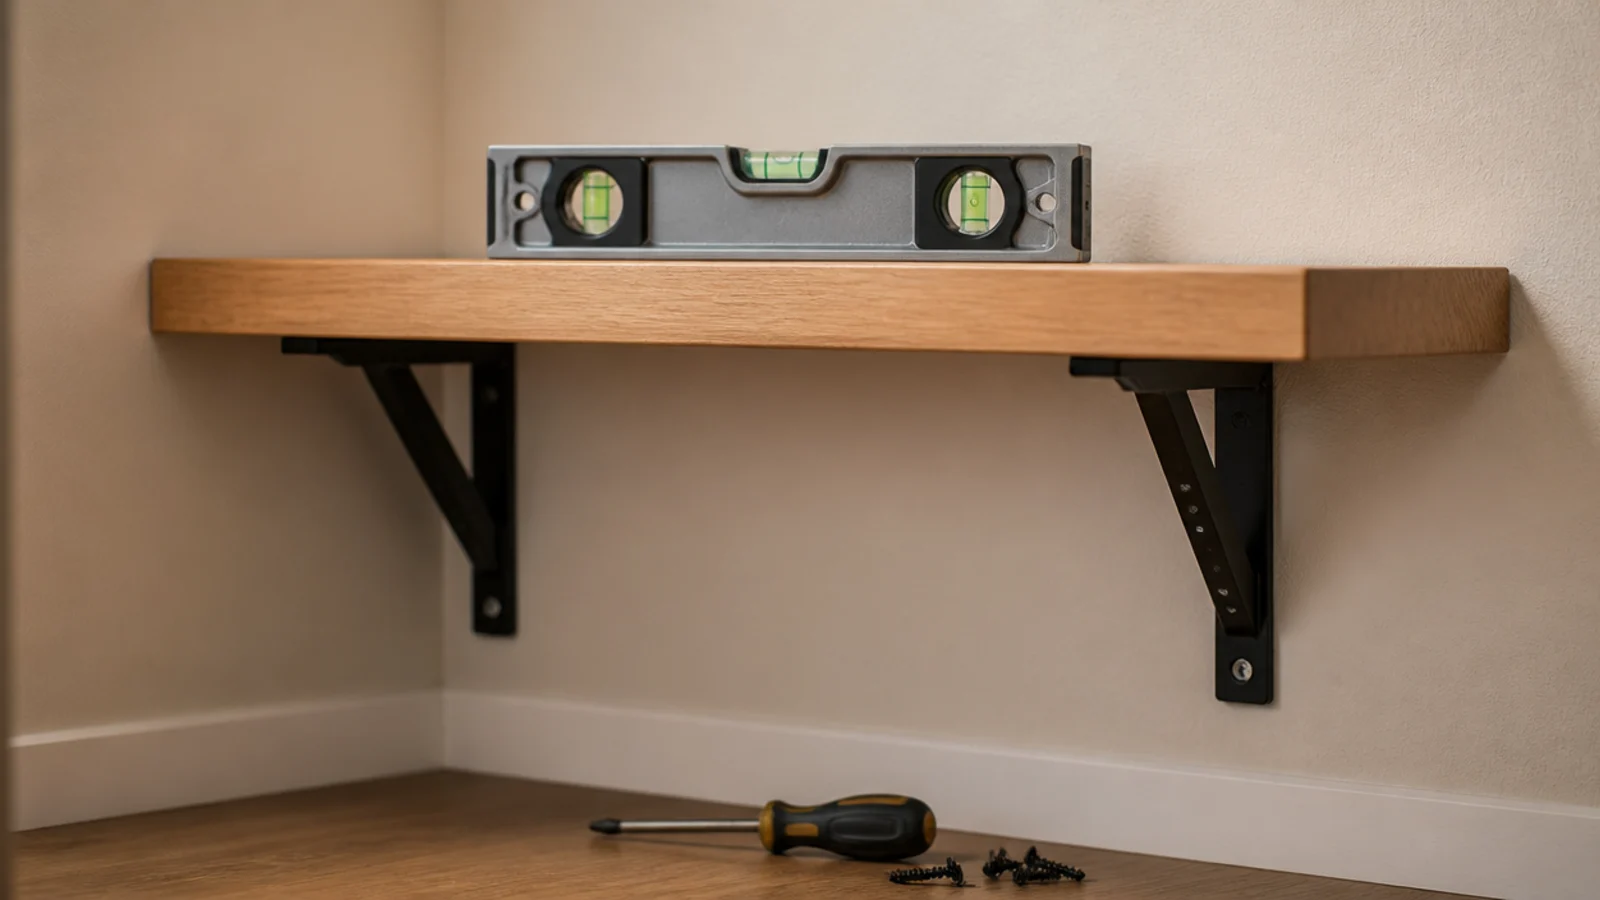
Rest the boards on the mounted brackets before you screw anything into the wood, and put the level back on top.
Boards are not perfectly flat, and brackets flex slightly under load. If the bubble has moved, shim the low bracket with a washer behind the wall plate rather than re-drilling. A single washer corrects about a sixteenth of an inch, which is almost always all you need.
Step 17: Secure the boards from underneath
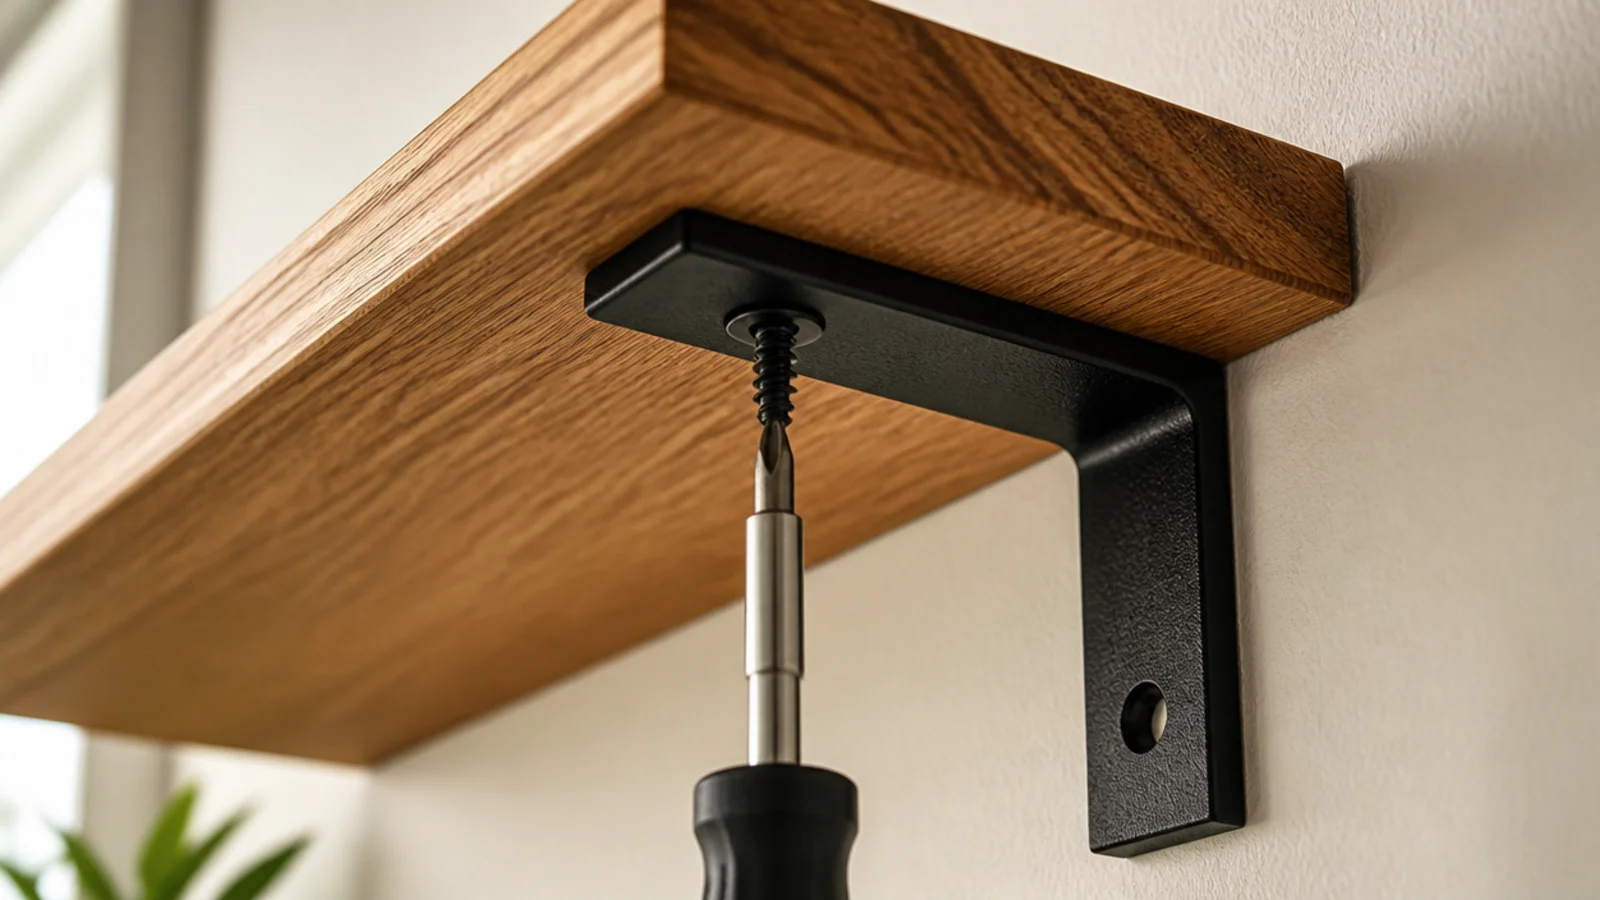
Drive three-quarter inch screws up through the bracket holes into the underside of the board. Longer screws come through the top face, and there is no fixing that.
Hold the board firmly down while you drive, because the drill wants to lift it. Two screws per bracket is plenty. If your brackets have four holes, use the two furthest apart to resist twisting rather than the two closest together.
Step 18: Load the heaviest things first
Before you style anything, stack real weight on the lowest tier — a pile of hardbacks, a heavy bowl — and leave it for an hour.
Then look at the joint and the bracket plates. Any movement, any hairline crack in the paint around an anchor, and you add a bracket now rather than after a shelf full of pottery comes down. This test takes an hour and it is the reason my shelves survive a house with two kids in it.
Step 19: Style in threes at three heights
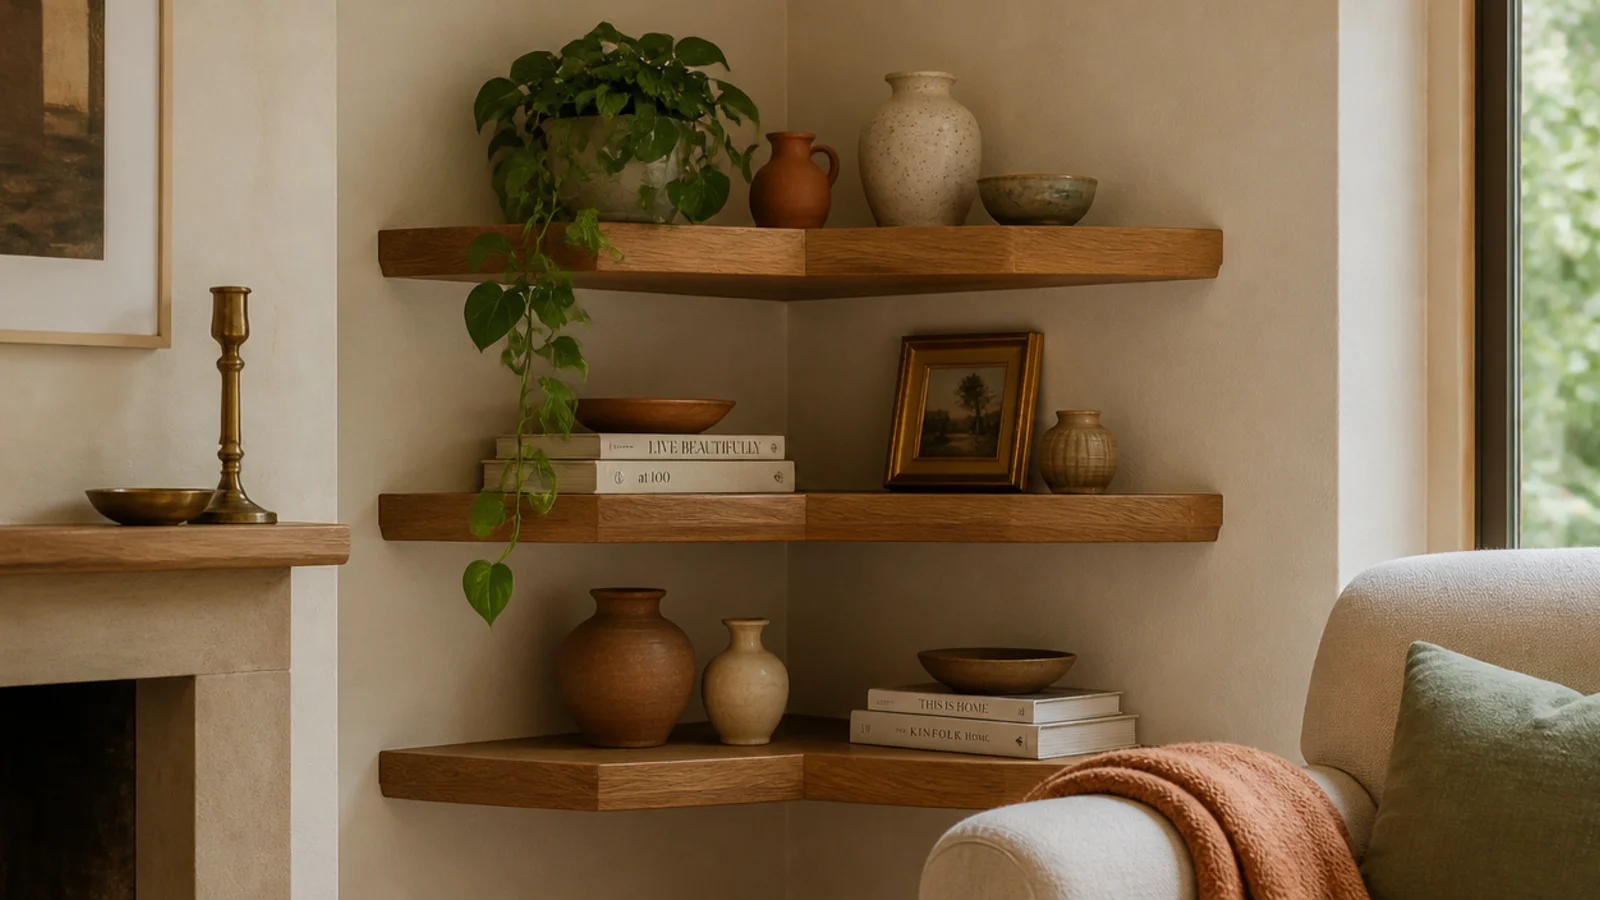
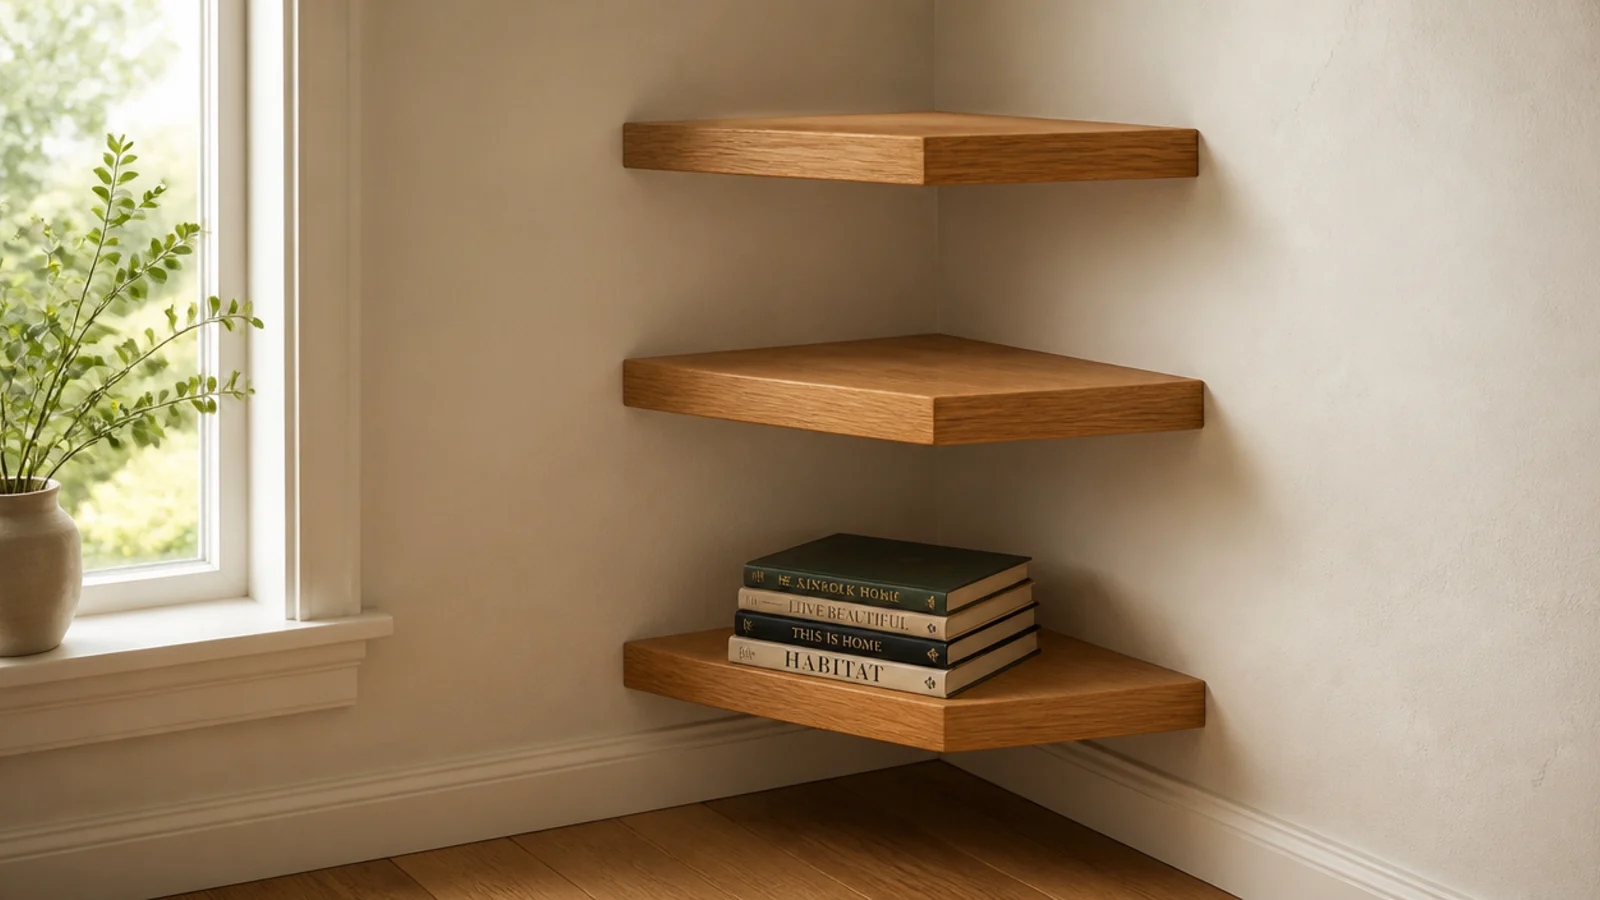
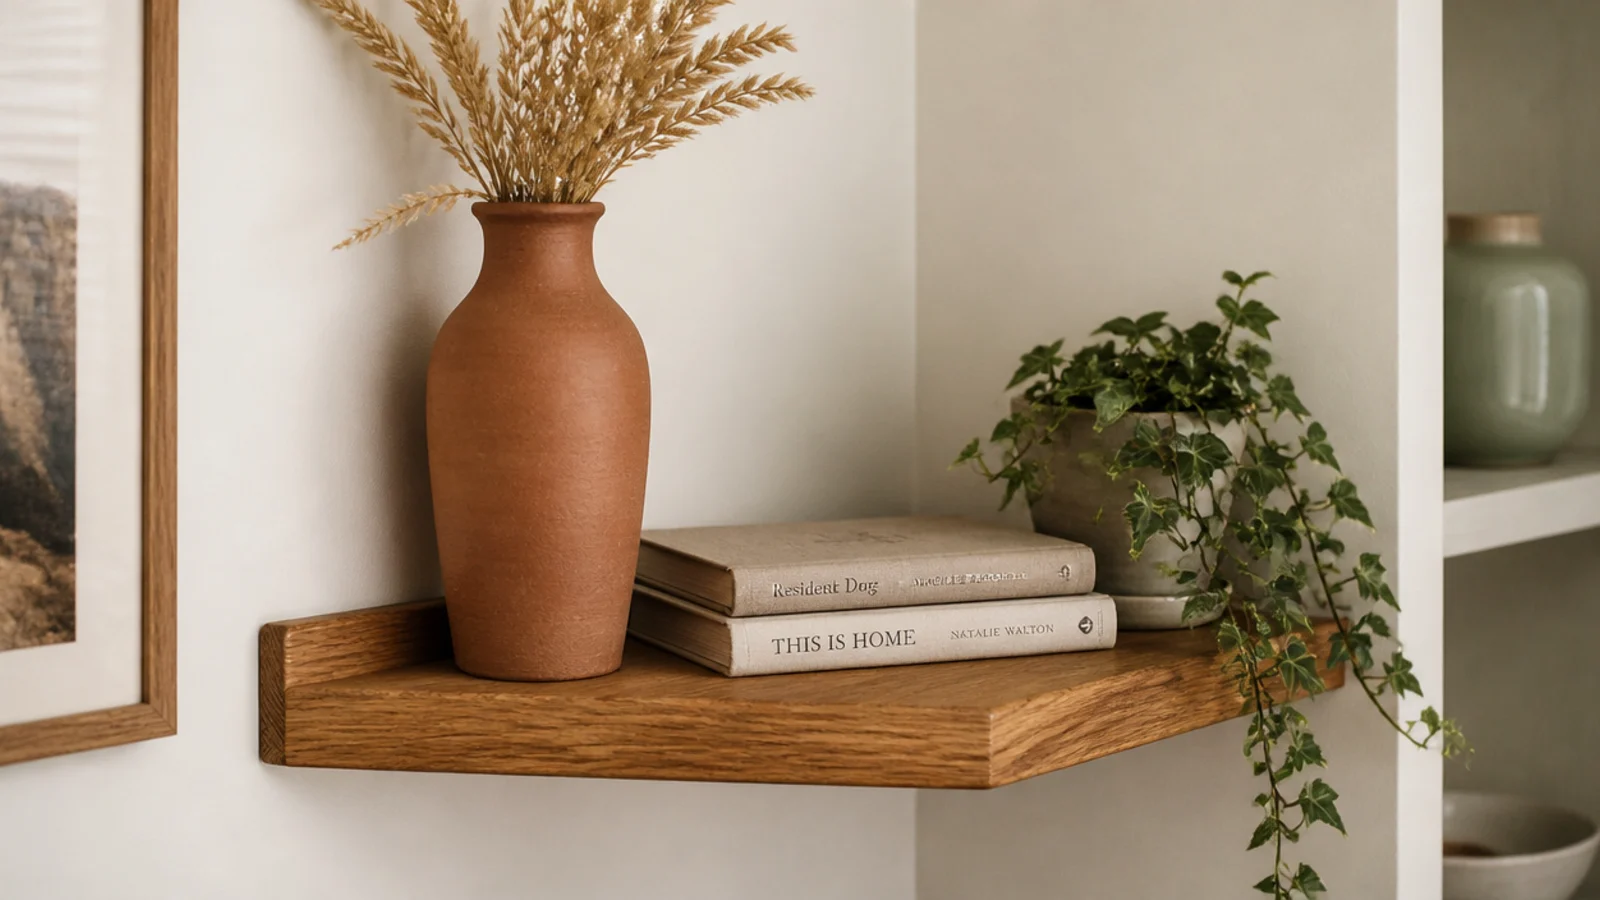
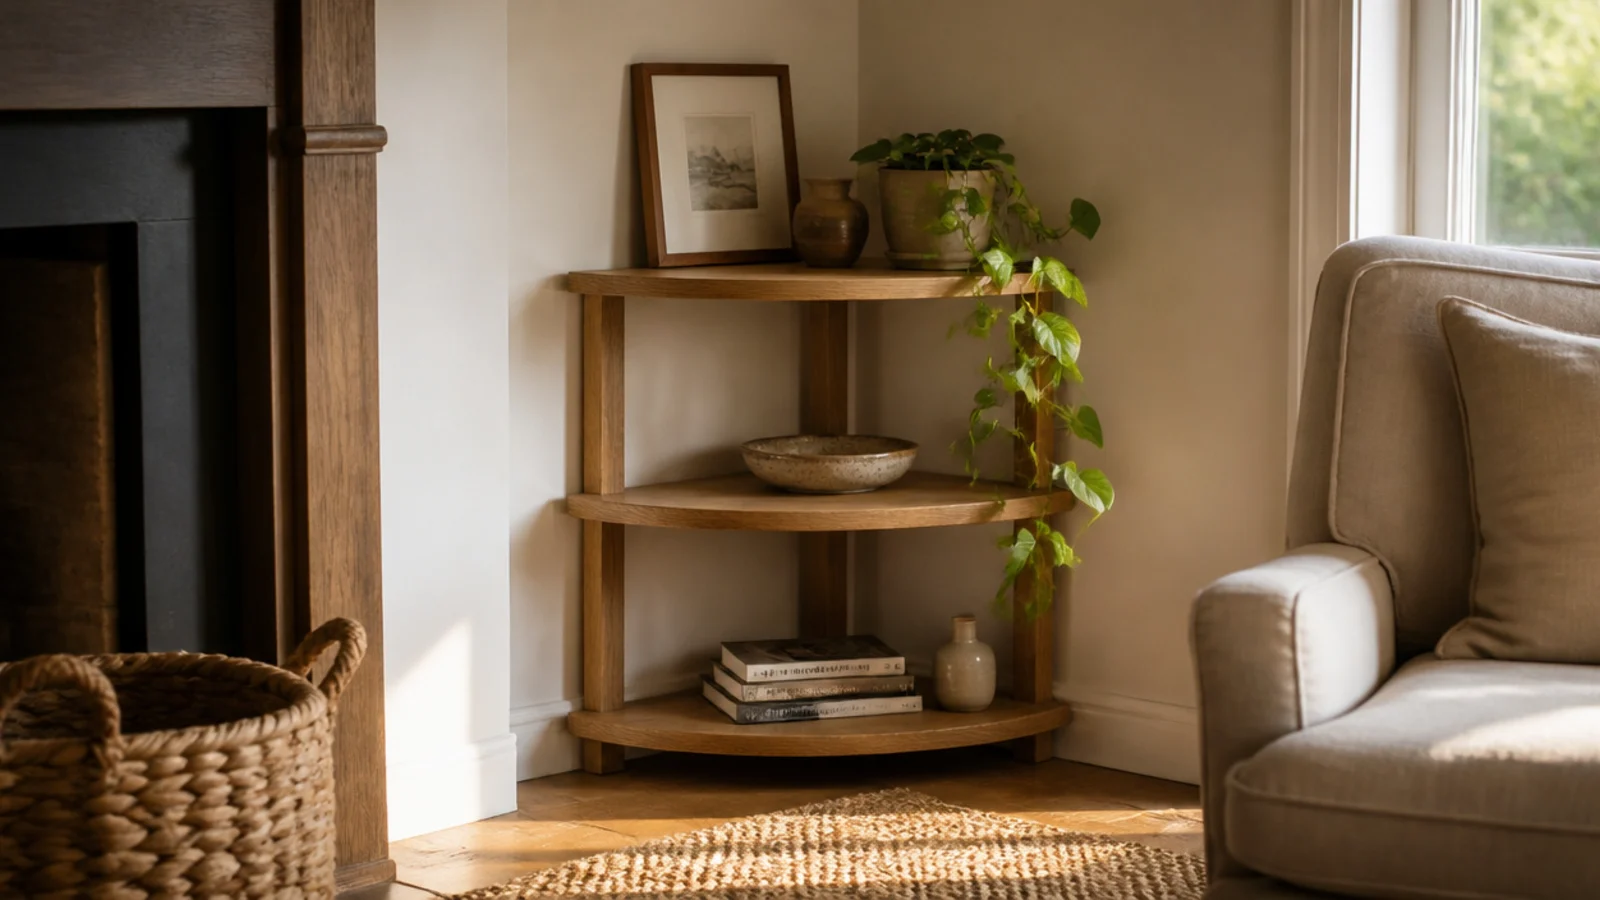
Three objects per shelf, at three different heights: something tall like a vase or a taper, something low and wide like two books lying flat, and something soft that trails over the edge.
Leave about a third of every shelf empty. The empty third is doing more work than any object on the shelf — it is precisely what separates styled from stacked. There is a full guide to corner shelf styling if you want to go deeper.
Step 20: Live with it for a week, then edit
Style it, then leave it alone for seven days and notice what you actually reach for and what you stopped seeing.
Then remove two things. Almost every corner I style is better one week later with two fewer objects on it, and mine are no exception. This last step costs nothing and improves the result more reliably than anything you can buy.
Pro Styling Rules
Mistakes to Skip
- Using the plastic plugs from the bracket box. Rated for about 10 pounds, and the reason most DIY shelves sag. Toggle bolts cost a dollar and carry three times as much.
- Finishing only the top face. The board cups upward within a season, and by then the shelf is loaded and mounted.
- Leveling to the ceiling instead of the floor. Ceilings slope; furniture does not. The shelf will look wrong next to everything in the room.
Frequently asked questions
What wood is best for DIY corner shelves?
Solid red oak or poplar at three-quarter inch thickness is the reliable choice — both take stain evenly and hold a straight edge over a 24-inch span. Pine is cheaper and fine for painted shelves, but it dents easily and blotches under stain unless you condition it first. Avoid MDF and veneered particle board anywhere the front edge will show.
How thick should a DIY corner shelf be?
Three-quarters of an inch handles a 24-inch span with books on it without visible sag. Go to one and a half inches, either solid or a built-up box, if the span is over 30 inches or the shelf will carry heavy pottery. Half-inch stock is only safe under 18 inches and with light objects.
Do I need a miter saw to build corner shelves?
No. The only angled cut is the 45-degree corner joint, and a $12 miter box with a hand saw cuts it accurately if you clamp the board down. Many home centers will also make straight cuts for free, so you can arrive with a cut list and leave with finished pieces to sand and join at home.
How do I find studs near a corner?
Framing usually puts a stud within an inch and a half of an inside corner on both walls, but older homes vary. Scan outward from the corner in six-inch sweeps, mark every hit with painter's tape, then confirm with a small finish nail in a spot the shelf will cover. If you find nothing usable, toggle bolts in half-inch drywall carry 25 to 35 pounds each.
How long does a DIY corner shelf take to build?
Plan on one evening and one morning. Cutting, sanding and the first coat of finish take about two hours, then the finish needs to cure overnight. Mounting and leveling takes 30 to 45 minutes per shelf the next day, and styling takes as long as you let it.
Build one tier first and live with it before committing to three — the second and third go up in half the time once you know how your walls behave. If you would rather buy than build, fifteen corner shelf ideas covers ready-made options with the same measurements, and the floating shelf build uses the same anchors on a straight wall. Save the pin so the cut list is with you at the lumber counter.
Want more like this? Browse all 15 corner shelf ideas guides — they all use the same measurements and budget tiers.

Pin it for later
Save this to your Corner Shelf Ideas board
Pin it now so it is waiting for you when the tape measure comes out — and so the next person hunting for this idea can find it too.
Save this pinKeep going
More ideas worth saving while you have the tape measure out.