Coffee Corner Ideas · Listicle
30 Stylish Coffee Corner Ideas to Copy Now

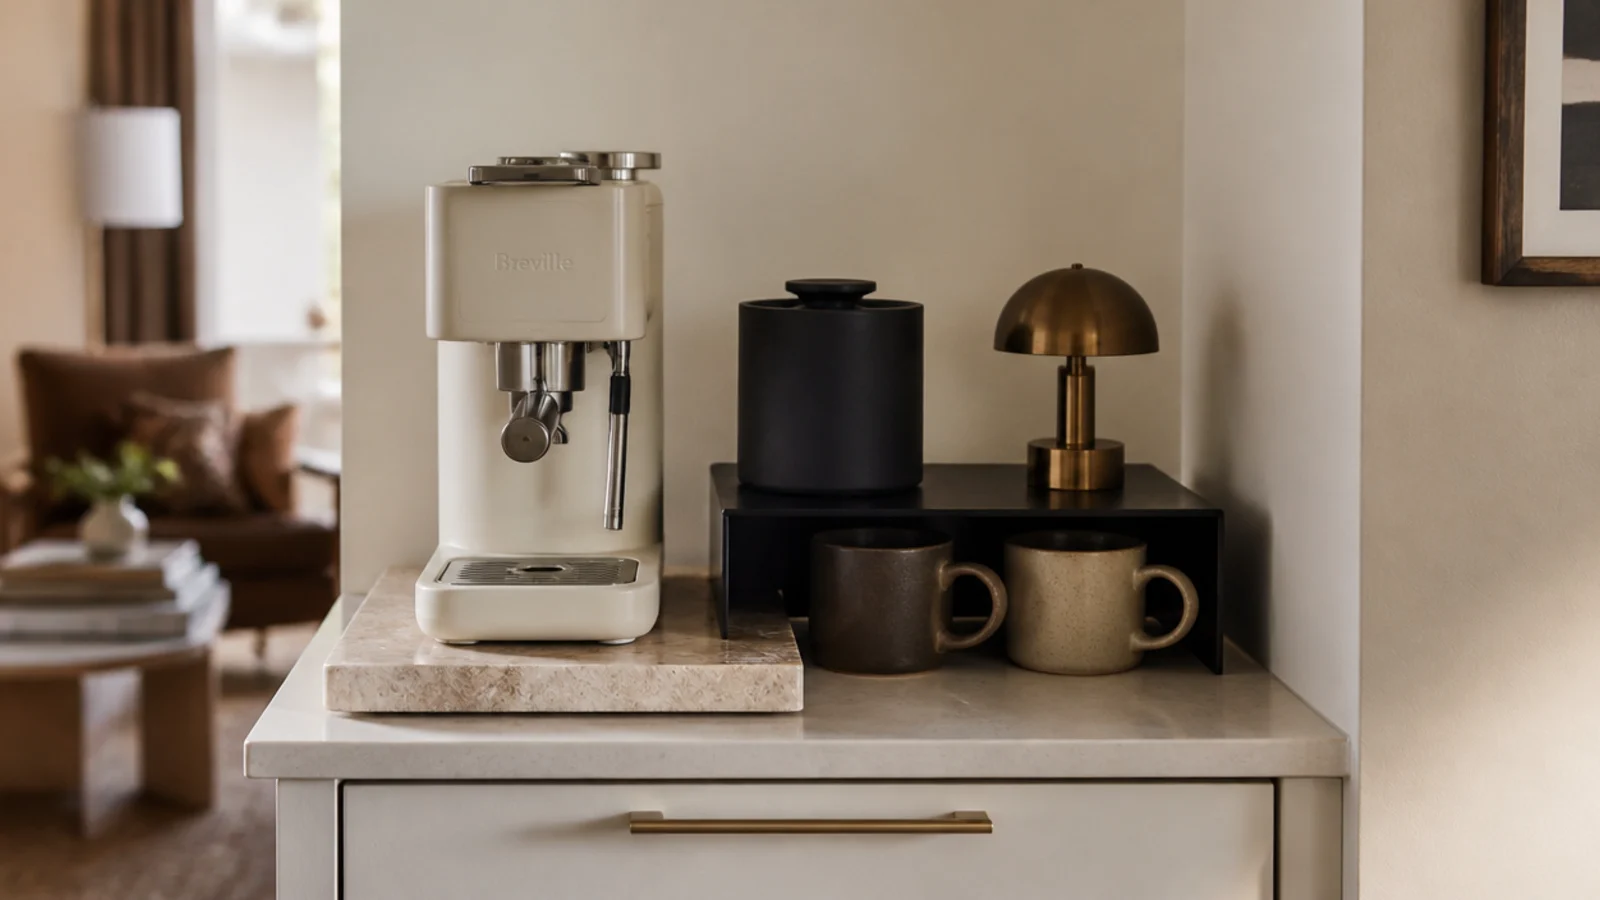
An apartment coffee bar has to survive a real morning in a kitchen you did not design. Mine have lived on a counter end, on a cart, behind a sofa and inside a cabinet, and the ones that lasted all obeyed the same handful of numbers. These thirty setups are the ones I would copy, each with the clearance, storage or renter-safe detail that makes it work rather than just photograph well.
In this guide32 sections — tap to openHide
- 1.How an apartment coffee bar earns its counter
- 2.Start at the outlet and work outward
- 3.A rolling cart that becomes a drinks bar at night
- 4.A matte black riser to lift the mugs
- 5.One shelf at 18 inches, painted the wall colour
- 6.A peg rail that holds six mugs
- 7.An espresso setup in 18 inches of counter
- 8.A milk and foam tray beside the machine
- 9.Syrups on a wipeable stone coaster
- 10.A tea shelf next to the coffee shelf
- 11.A slim cabinet with doors that close on the mess
- 12.A wall rail with S-hooks instead of a shelf
- 13.A stone offcut as an instant counter upgrade
- 14.Two tones: dark base, cream wall
- 15.A glass-front cabinet for the good mugs
- 16.An oak pegboard panel
- 17.Warm under-cabinet light on a dimmer
- 18.Keep 18 inches between the machine and the sink
- 19.Use the counter overhang as bar seating
- 20.A console behind the sofa in an open-plan apartment
- 21.A flat plug strip on the cabinet side
- 22.Pods in an opaque box, not a carousel
- 23.A cork mat under the grinder
- 24.A scale that stores on its edge
- 25.A filter jug that lives in the fridge door
- 26.A stone drip tray under the machine
- 27.A mug grid in threes
- 28.A dark bar in a light kitchen
- 29.Descale on a schedule you will remember
- 30.A rug to draw the zone in open plan
- 31.The pack-down test before the next lease
- 32.Mistakes to Skip
How an apartment coffee bar earns its counter
Three constraints decide everything, and none of them are about style.
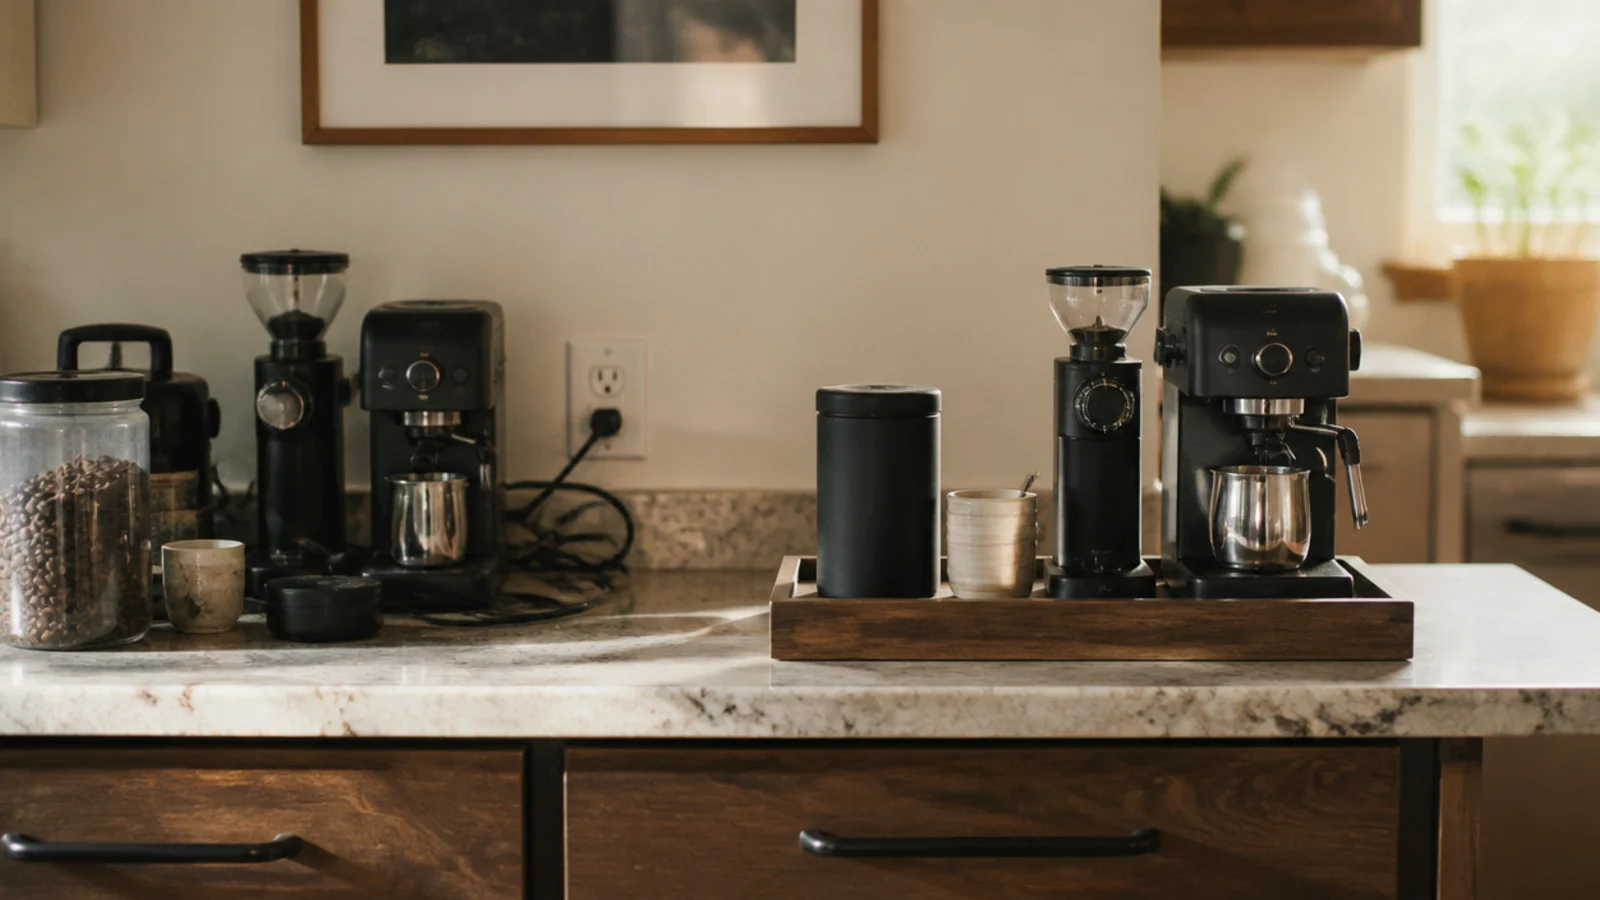
Power. Check the outlet before you plan anything else. The station has to sit beside one, because an extension cord run under a water source is the wrong answer regardless of how tidy the cable looks.
Footprint. A workable corner needs about 24 to 30 inches of counter width and 15 to 18 inches of depth. Everything you touch for one cup should sit inside a single arm sweep, roughly a 30-inch reach zone. Keep the machine at least 18 inches from the sink so splashes and steam stay apart.
Headroom. Leave at least 6 inches of clear air above the tallest machine for steam, and more if the lid lifts or the reservoir fills from the top. A shelf above the machine sits 18 inches off the counter, which handles both at once.
Two habits carry the rest: whole beans in an opaque airtight container at room temperature, never the fridge or a clear jar in sunlight, and a tray under the machine so you can lift the whole station out and clean behind it.
Budget tiers: $ under $50, $$ $50 to $150, $$$ $150 to $400.
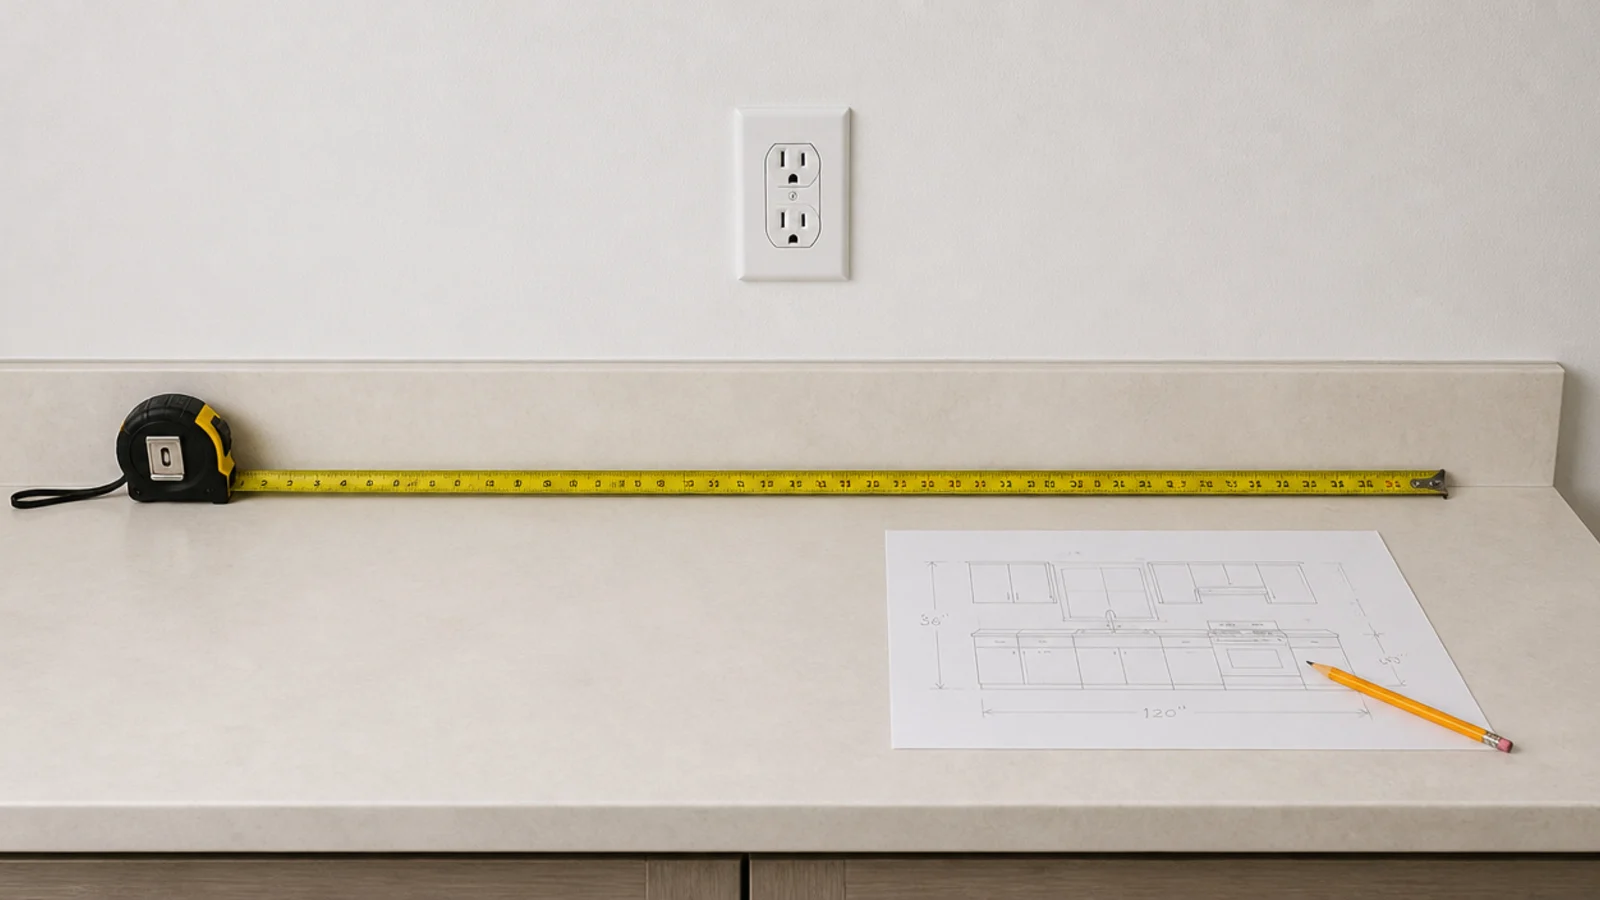
1. Start at the outlet and work outward
Stand in the kitchen and find every outlet before you choose a spot. The one you pick decides the whole layout, and no amount of styling fixes a cord crossing a wet counter.
If the only outlet sits behind a cabinet, a cart parked beside a living-room outlet beats a beautiful corner you cannot power.
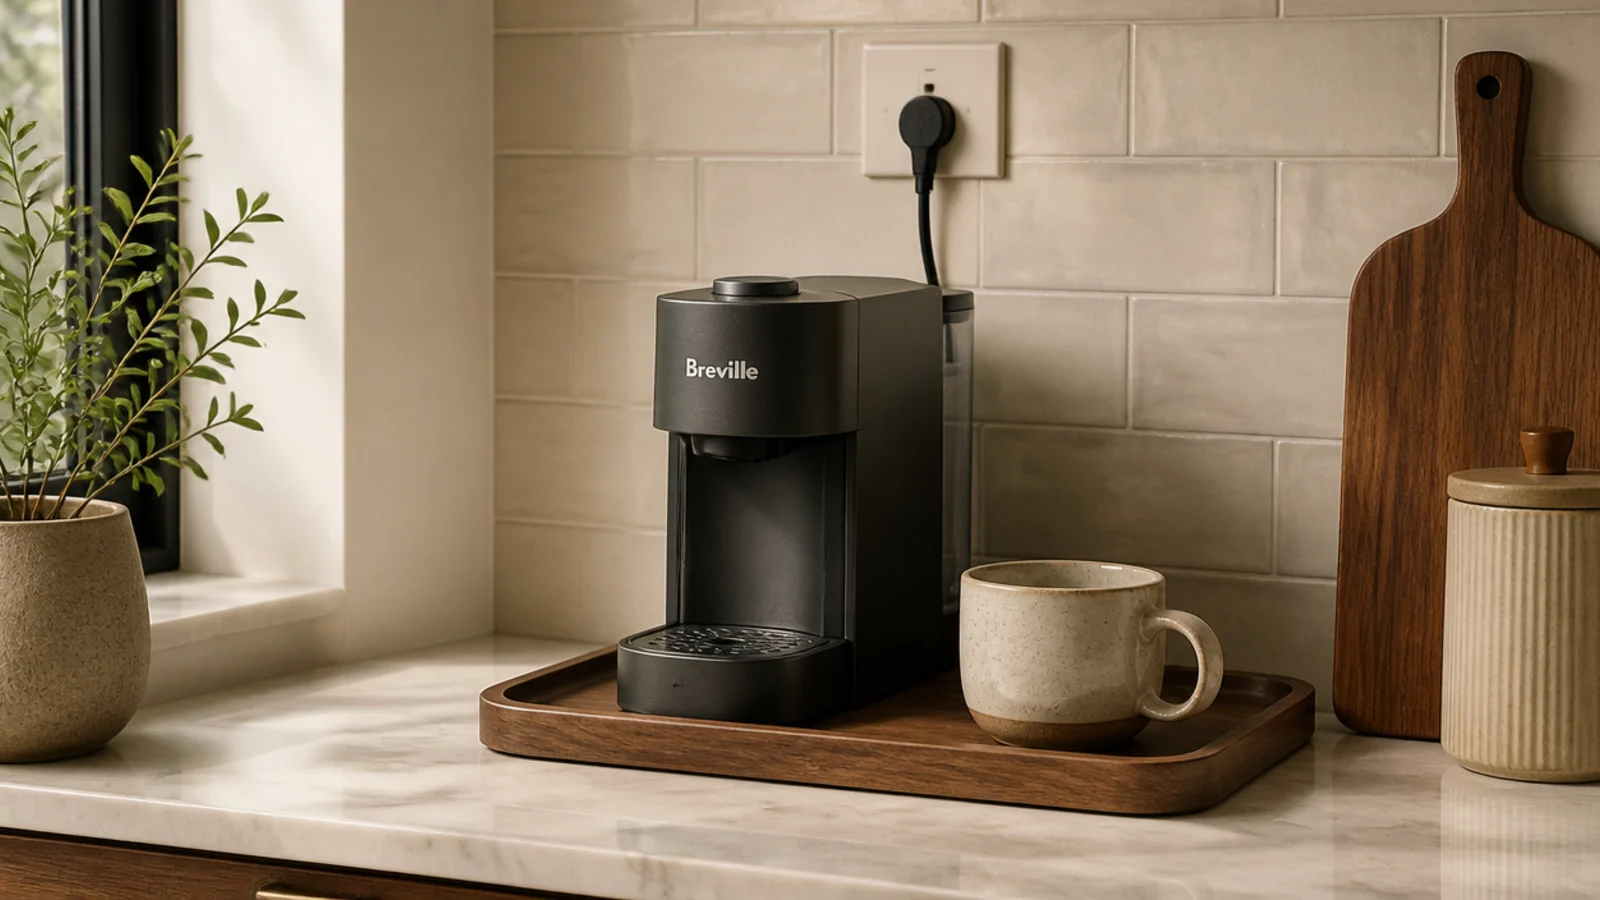
2. A rolling cart that becomes a drinks bar at night
A three-tier cart, 16 to 18 inches wide and 30 to 34 inches tall, gives you working height without a counter and swaps roles in about two minutes.
Machine and tray stay on top. The middle tier changes from mugs and beans to glasses and a bottle. $40 to $90 ($$), and there is more on styling one in coffee bar cart ideas.
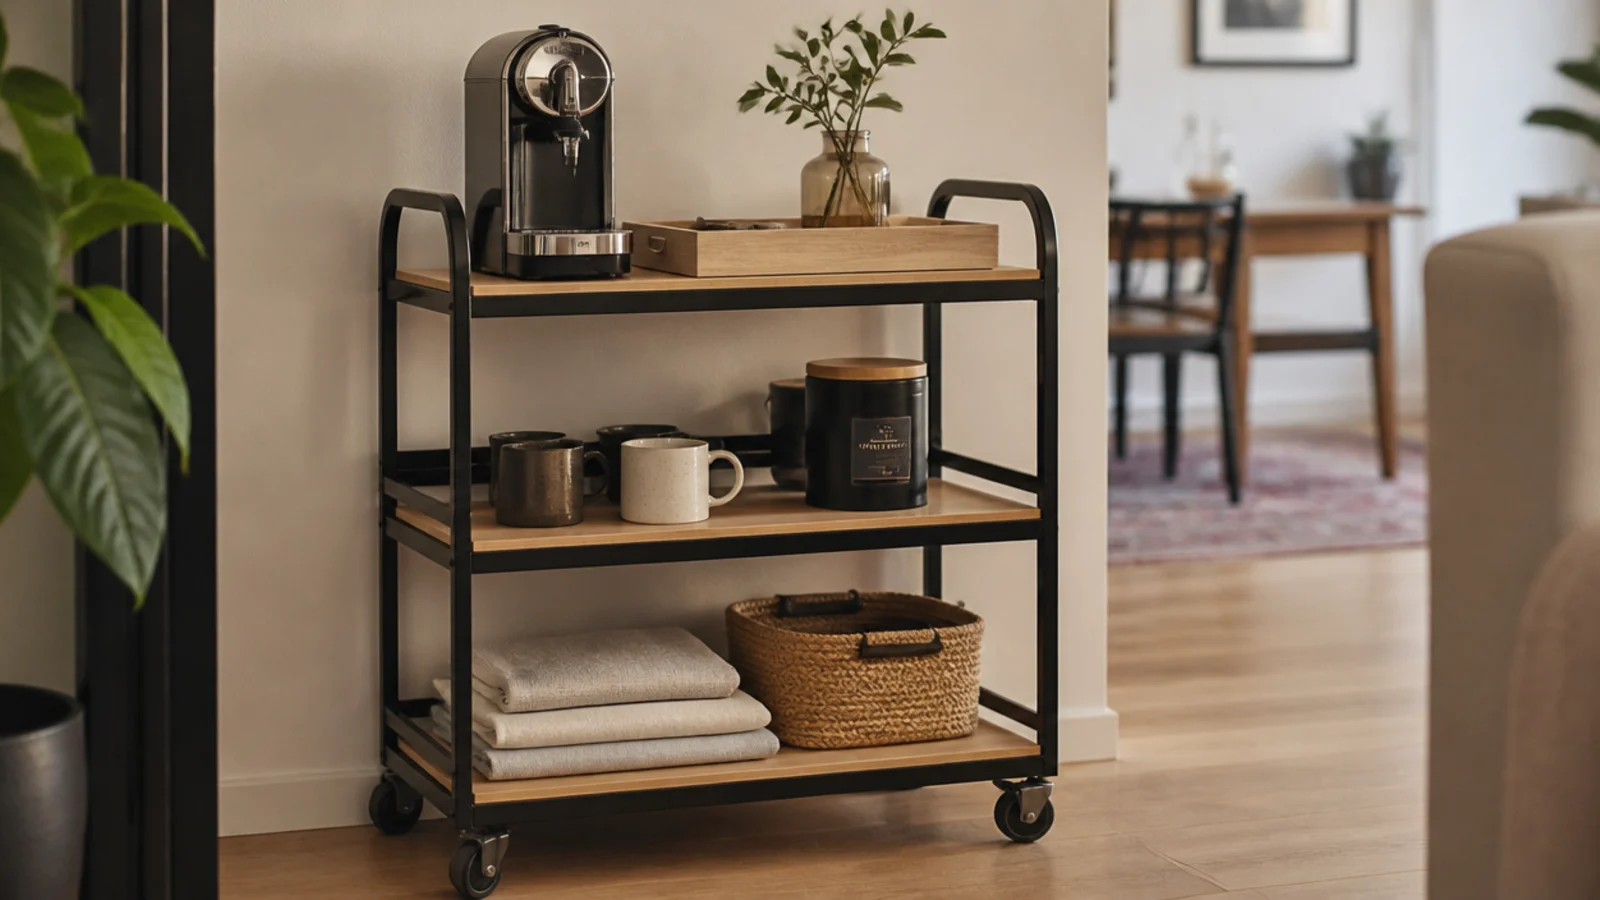
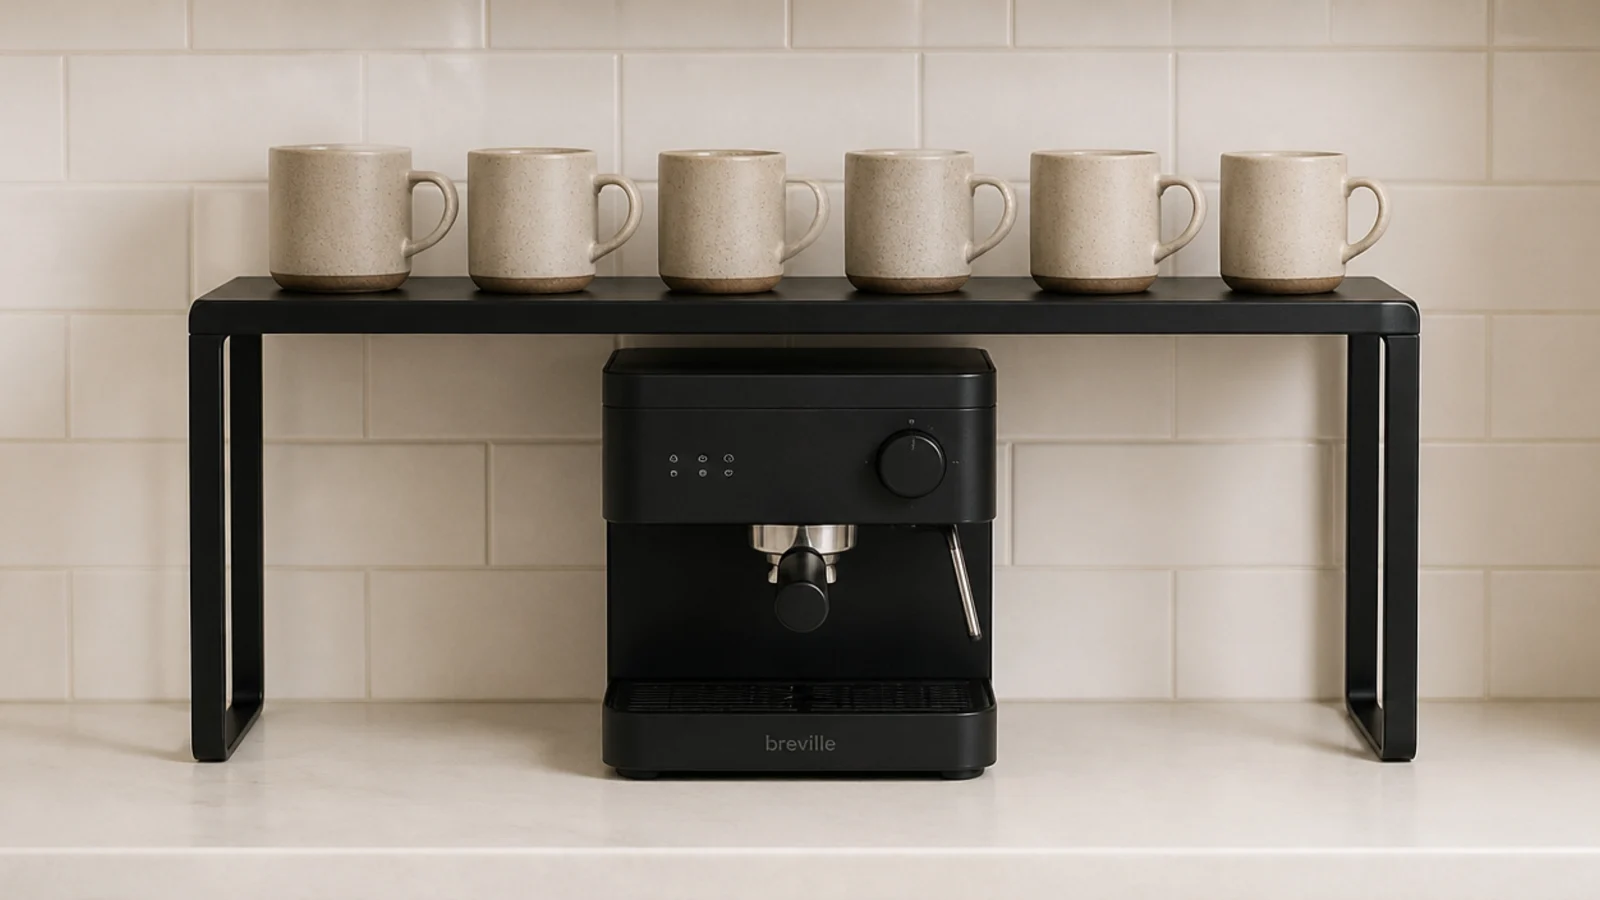
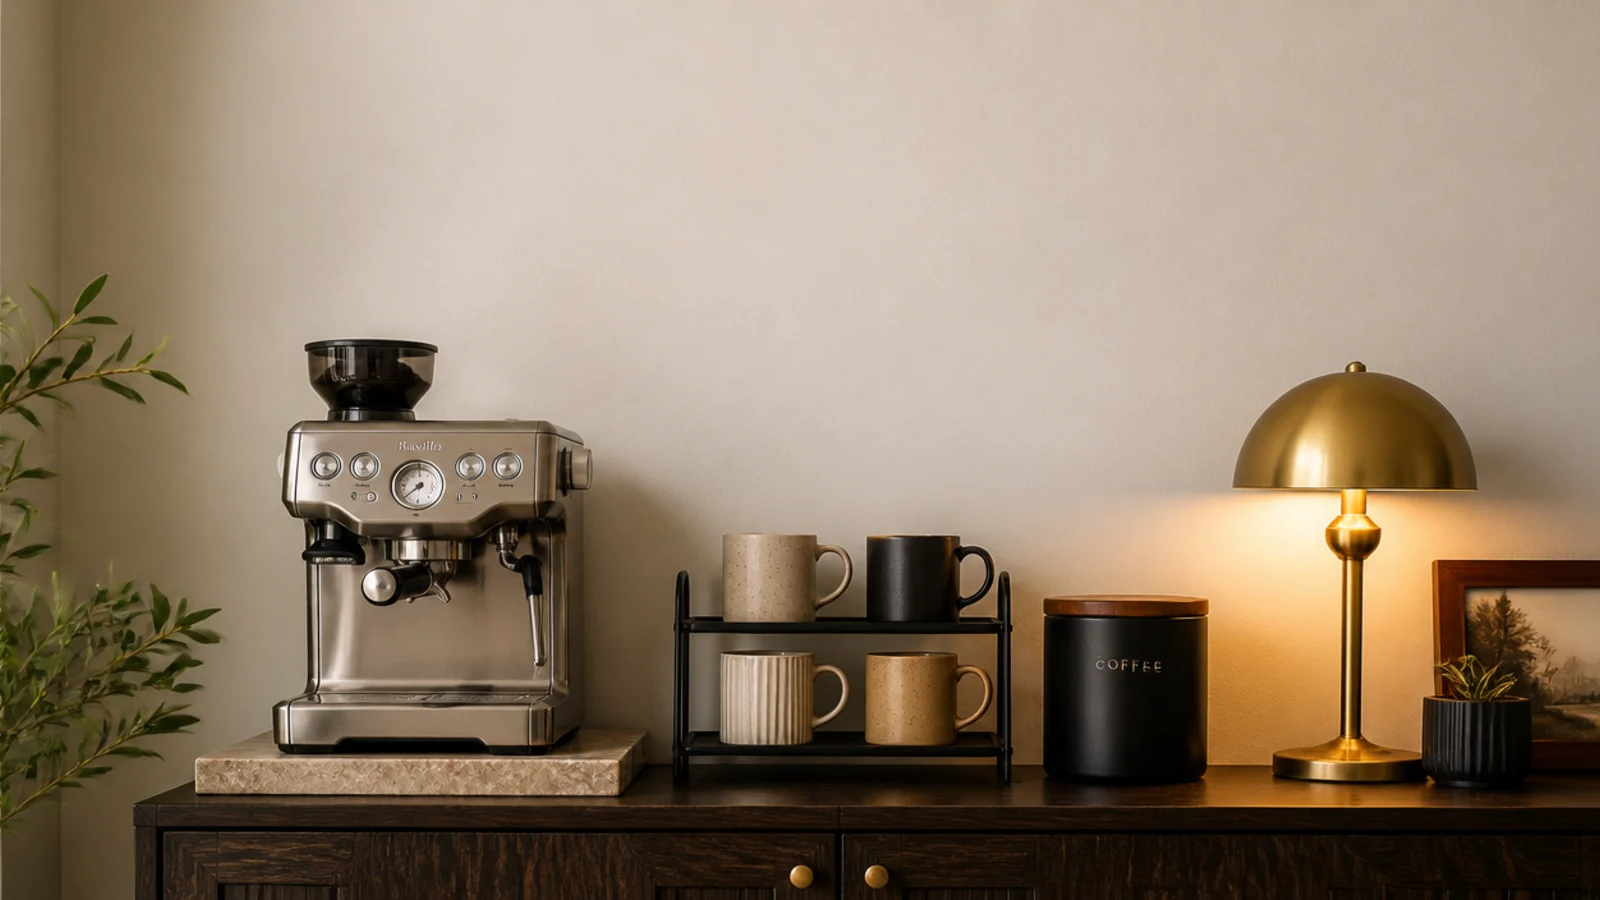
3. A matte black riser to lift the mugs
A powder-coated steel riser about 24 inches wide and 6 to 8 inches tall gives you a second level with zero fixings.
Mugs on top, machine underneath, and measure the machine with its lid open before you buy — a top-fill reservoir often needs 10 inches. Around $25 to $50 ($).
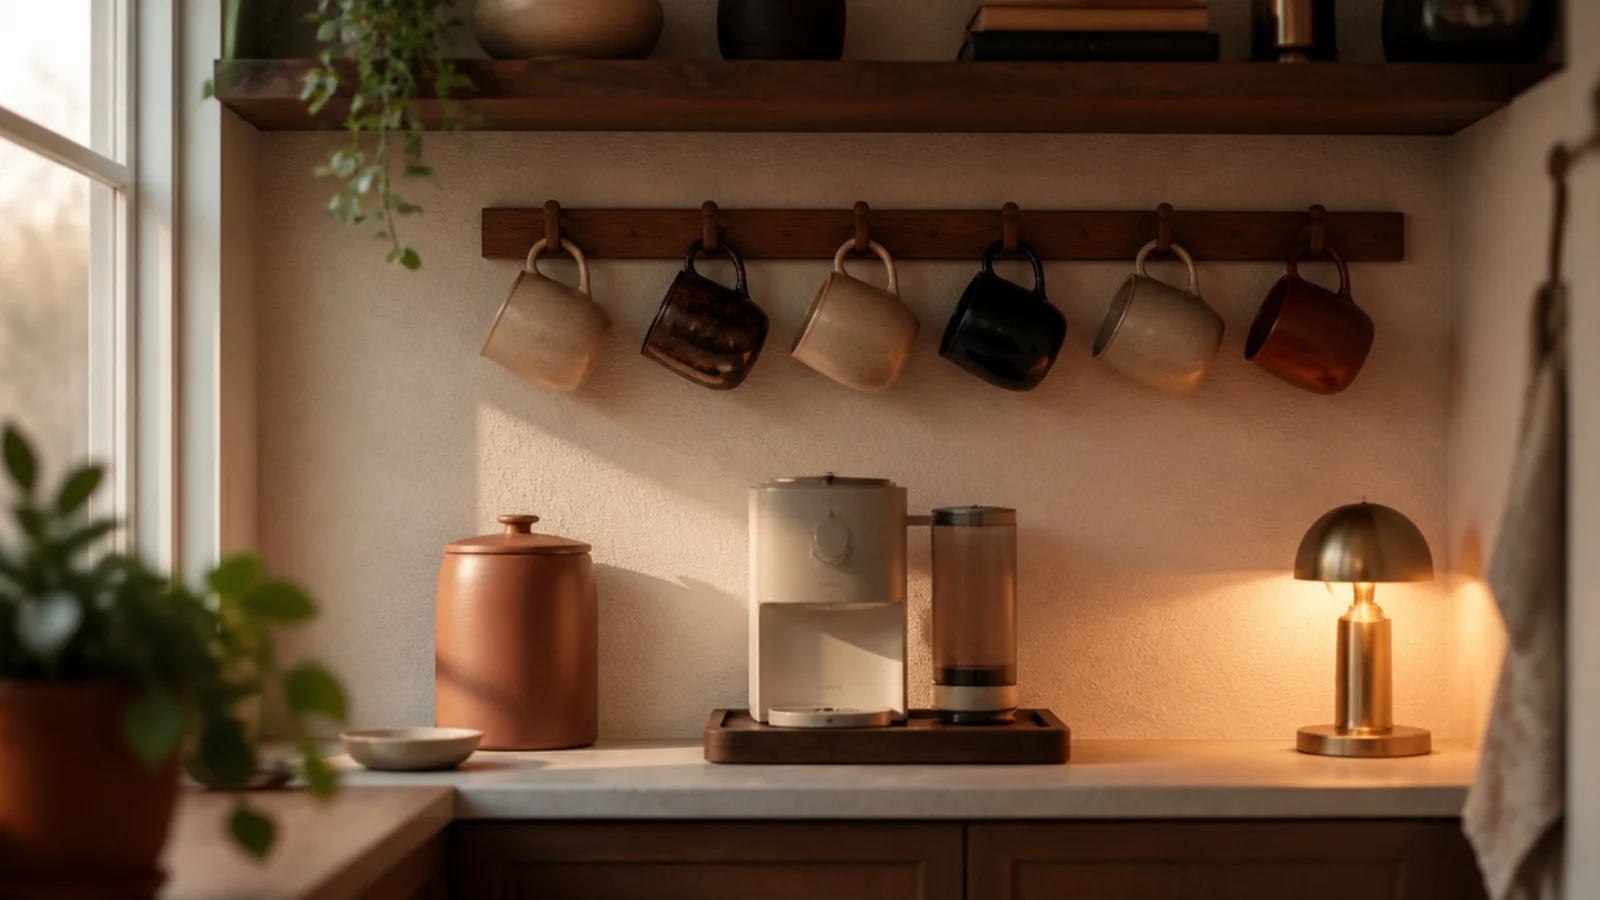
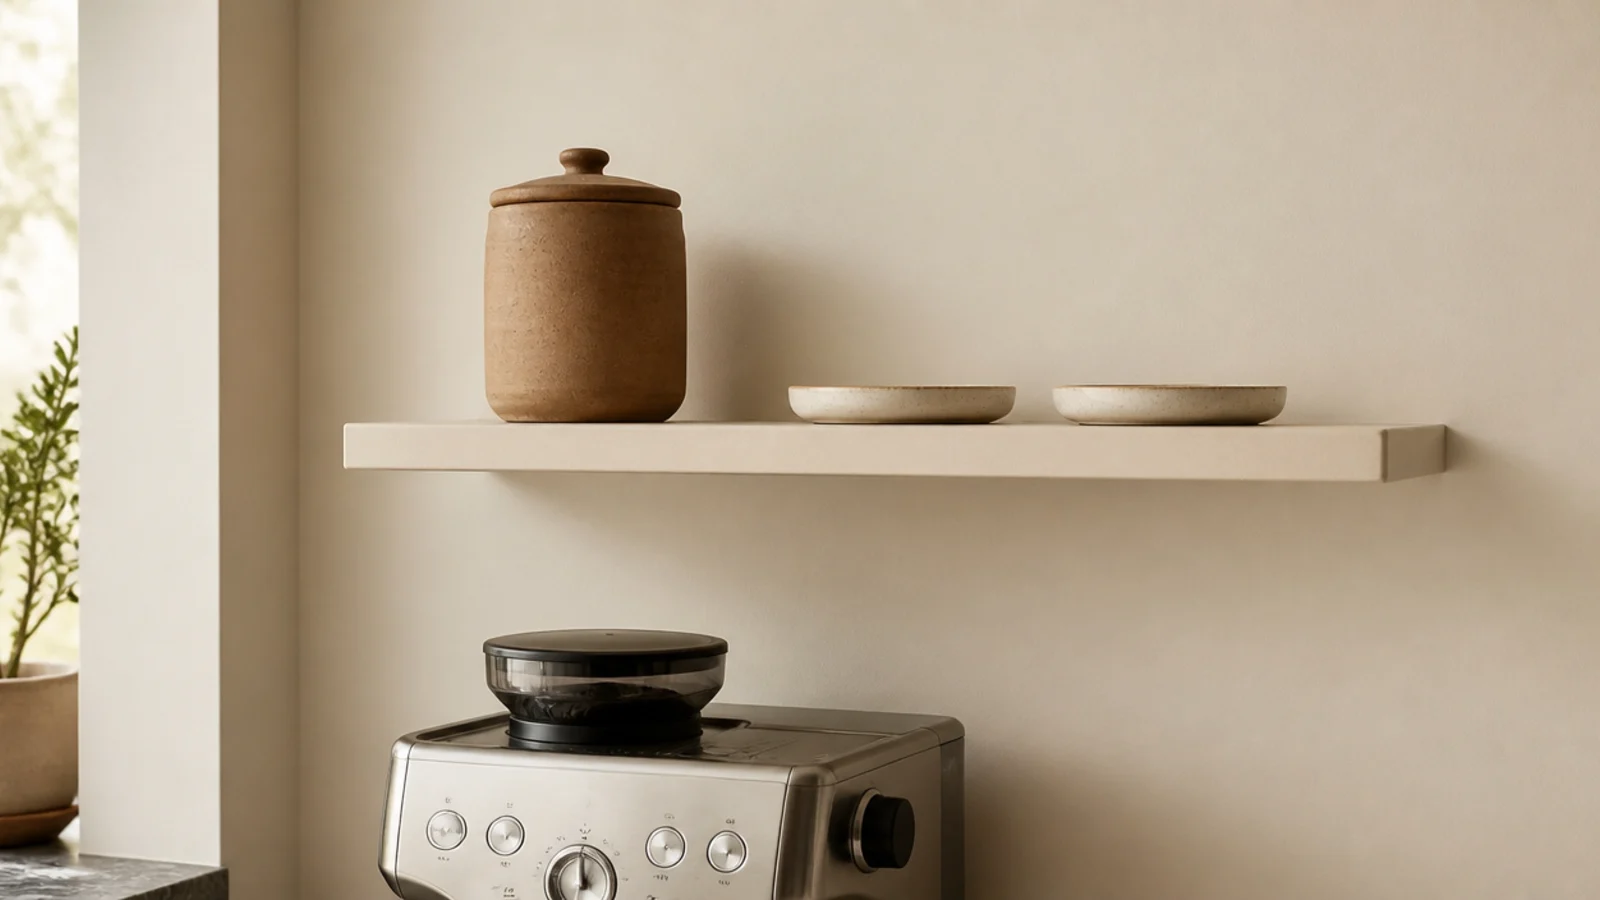
4. One shelf at 18 inches, painted the wall colour
If you can drill, one shelf 18 inches above the counter is the highest-value fixture in the kitchen. Paint it the exact wall colour and it stops reading as an object stuck to the wall.
Three-quarter-inch solid pine spans 24 inches without sag. Sample pot, $9, and the mugs appear to float.
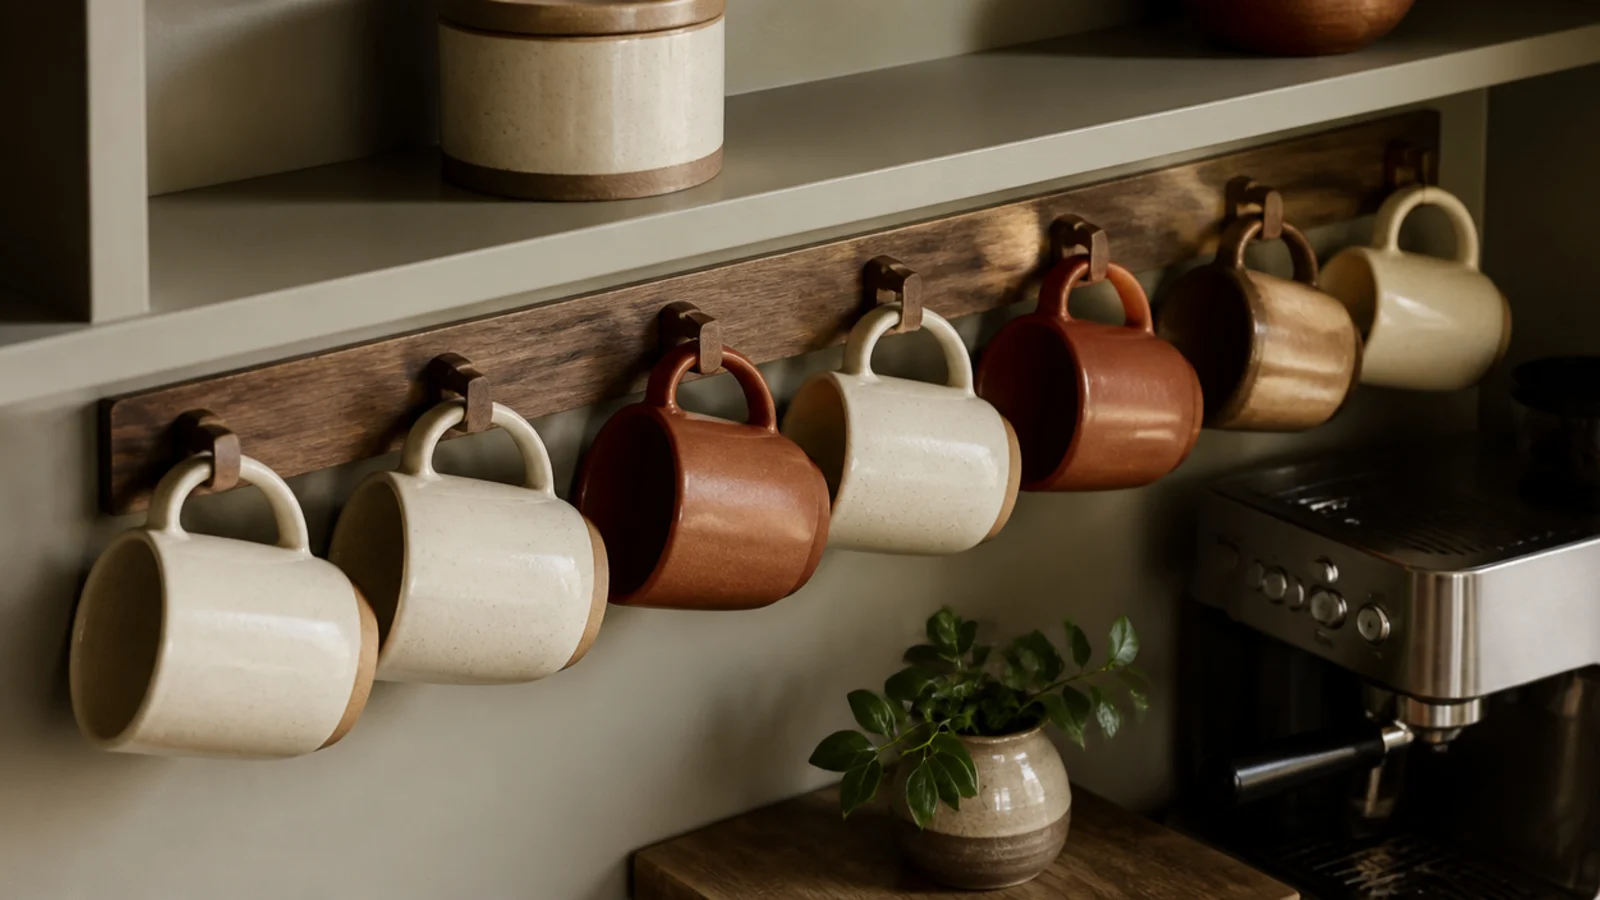
5. A peg rail that holds six mugs
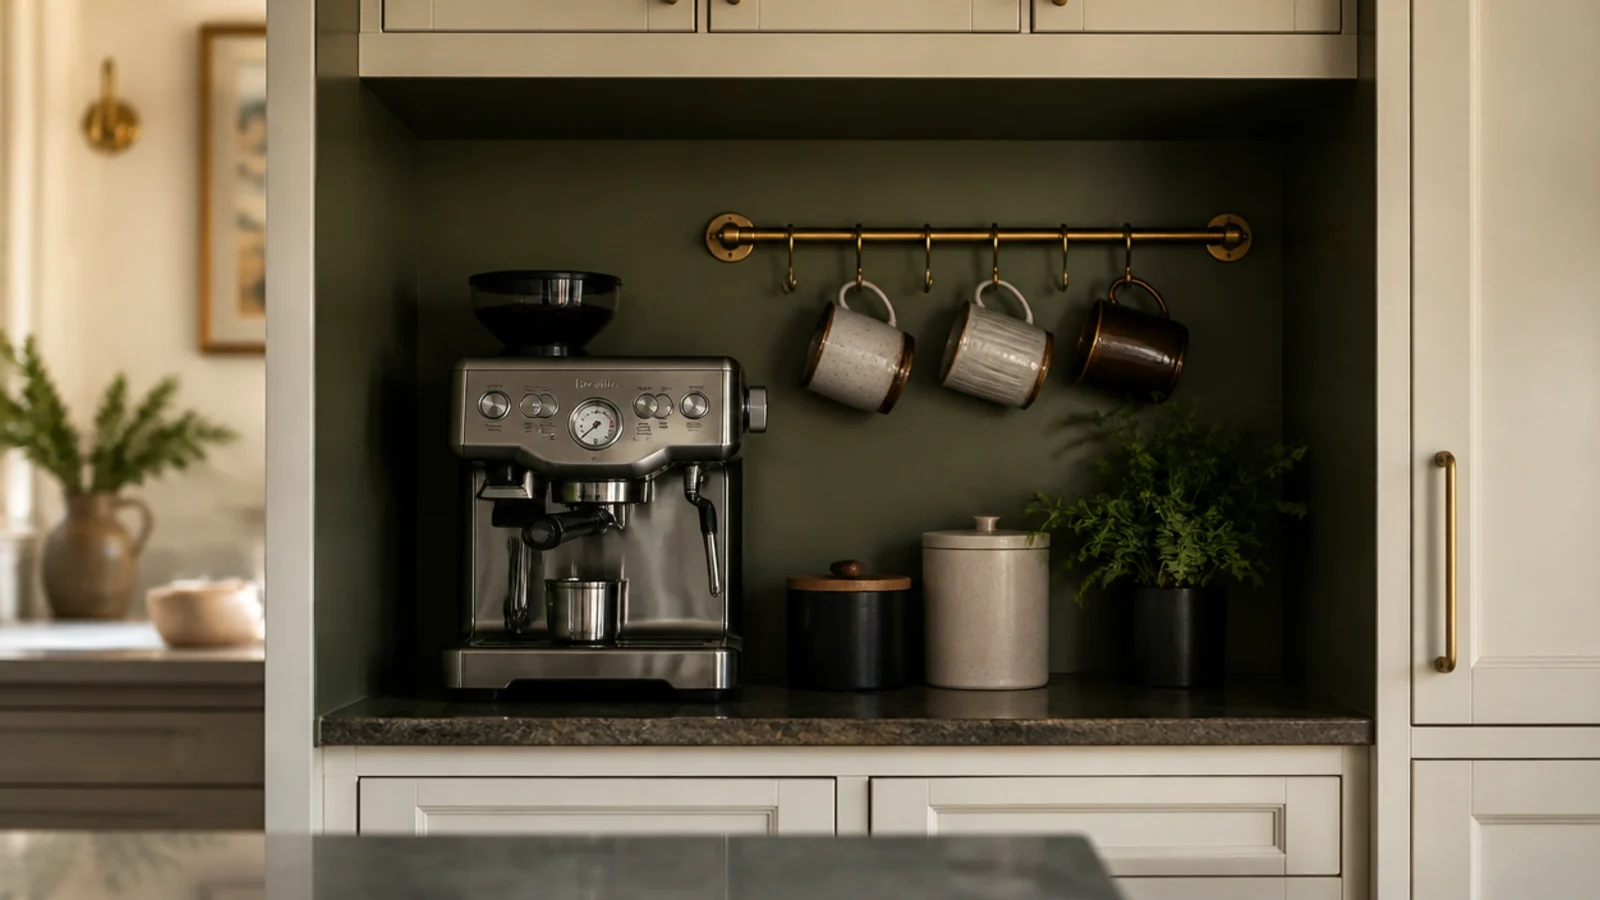
A mug peg rail under the shelf holds six mugs in the width one mug takes standing on the counter. Space the pegs 4 inches apart so the handles clear each other.
Set it high enough that a hanging mug never brushes the machine top. About $18 to $35 for a solid wood rail ($).
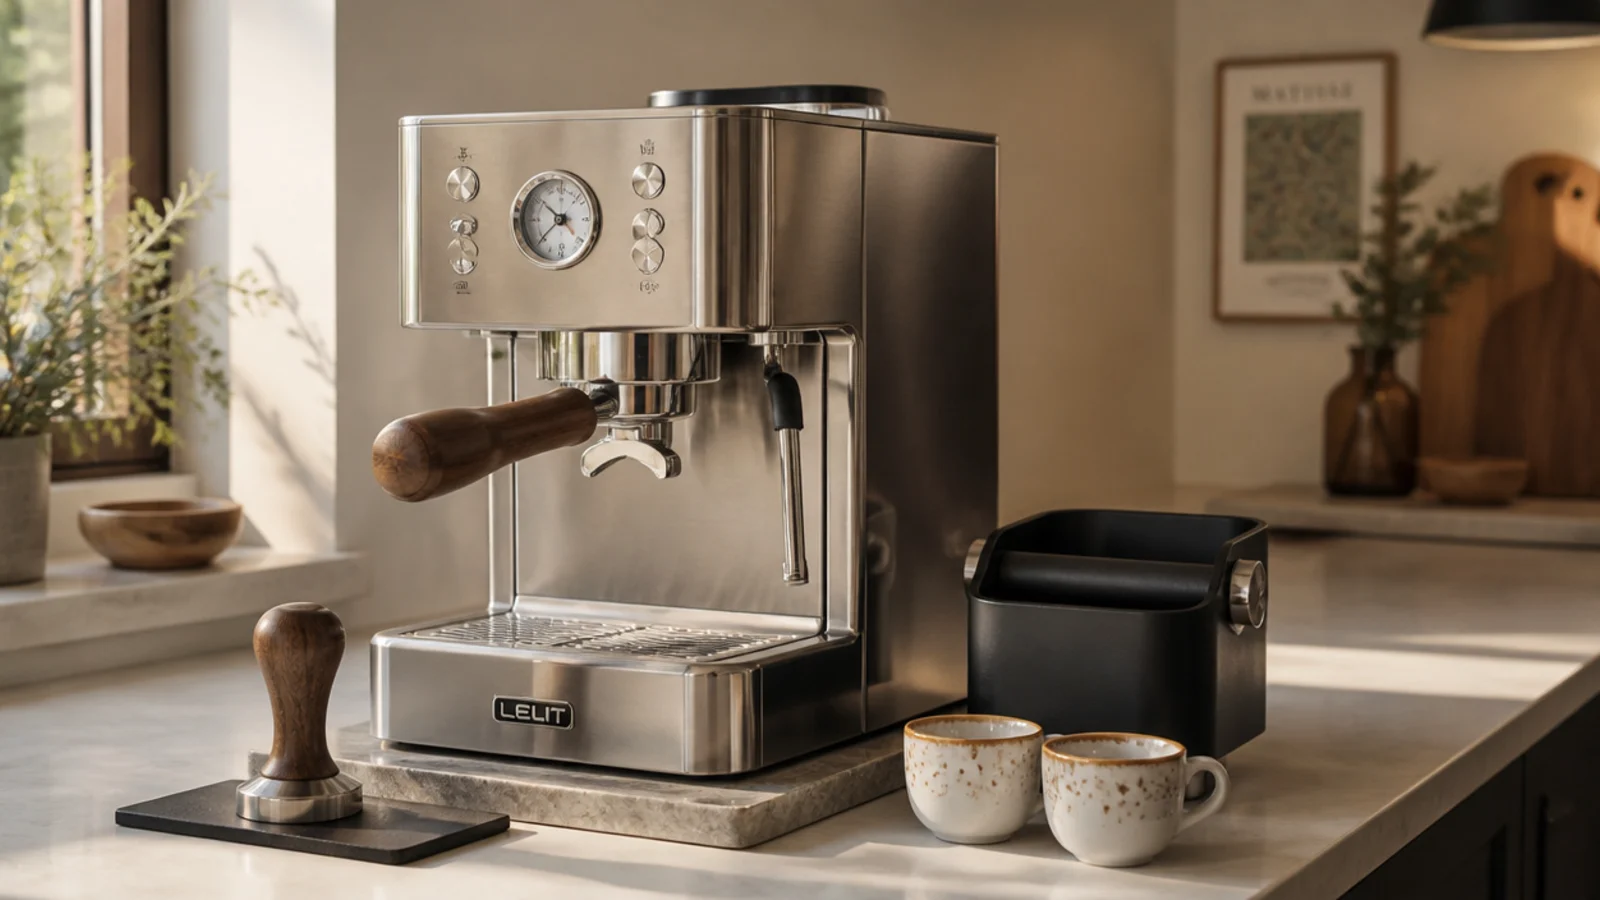
6. An espresso setup in 18 inches of counter
A compact machine fits 18 inches of width, but you still need a tamping spot and somewhere to knock out the puck.
Give it a stone board, a small tamping mat and a knock box, and keep the grinder immediately beside it. Realistically 24 to 30 inches makes this pleasant rather than a daily shuffle.
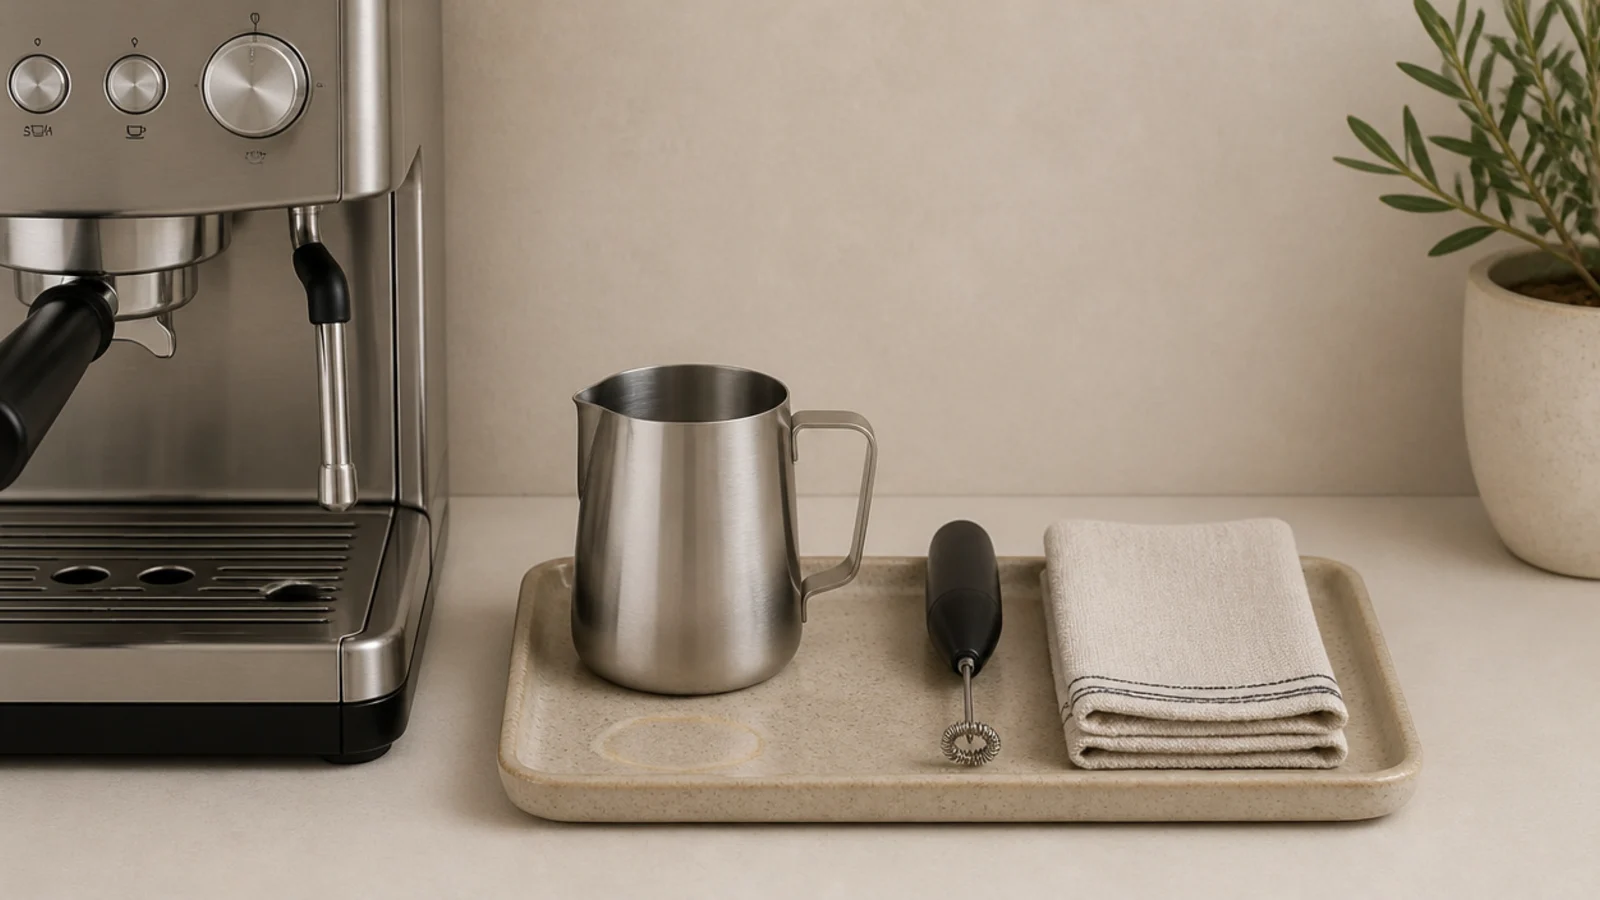
7. A milk and foam tray beside the machine
Milk is the messiest part of any coffee bar. Put the pitcher, the handheld frother and a folded cloth on their own small tray so the drips land in one contained place.
An 8 by 10 inch stoneware tray with a lip costs about $15 and saves the counter finish.
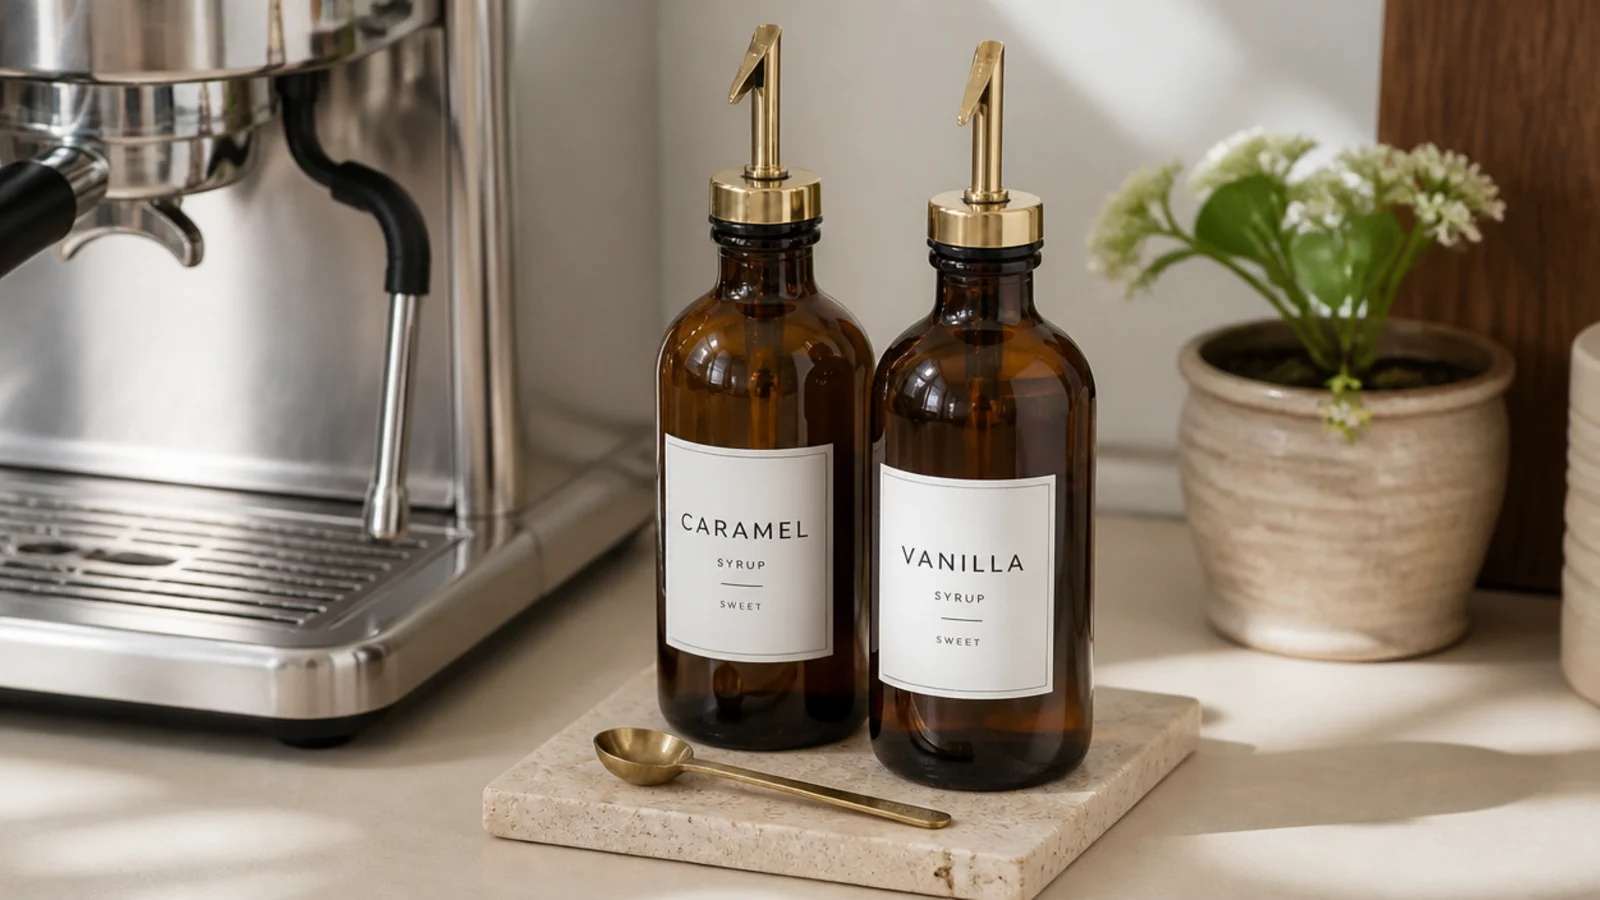
8. Syrups on a wipeable stone coaster
Syrup bottles leave rings that laminate never forgets. A small offcut of stone or a glazed tile under them turns a permanent stain into a ten-second wipe.
Keep it to two bottles on display and the rest in a cupboard. Tile offcuts are often free from a tile shop remnant bin.
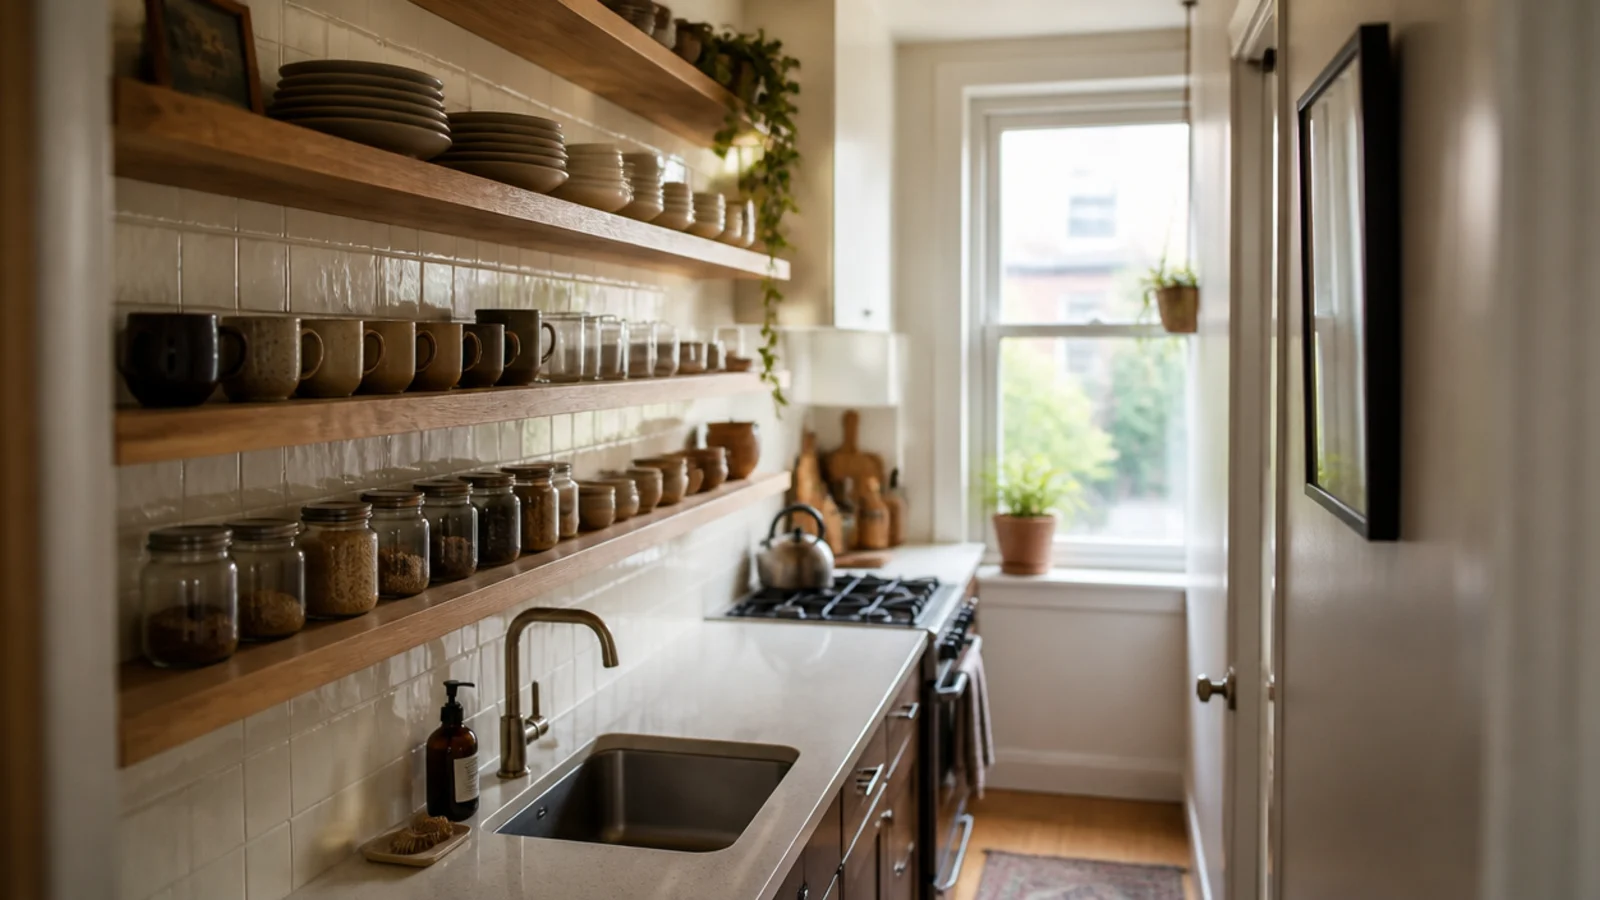
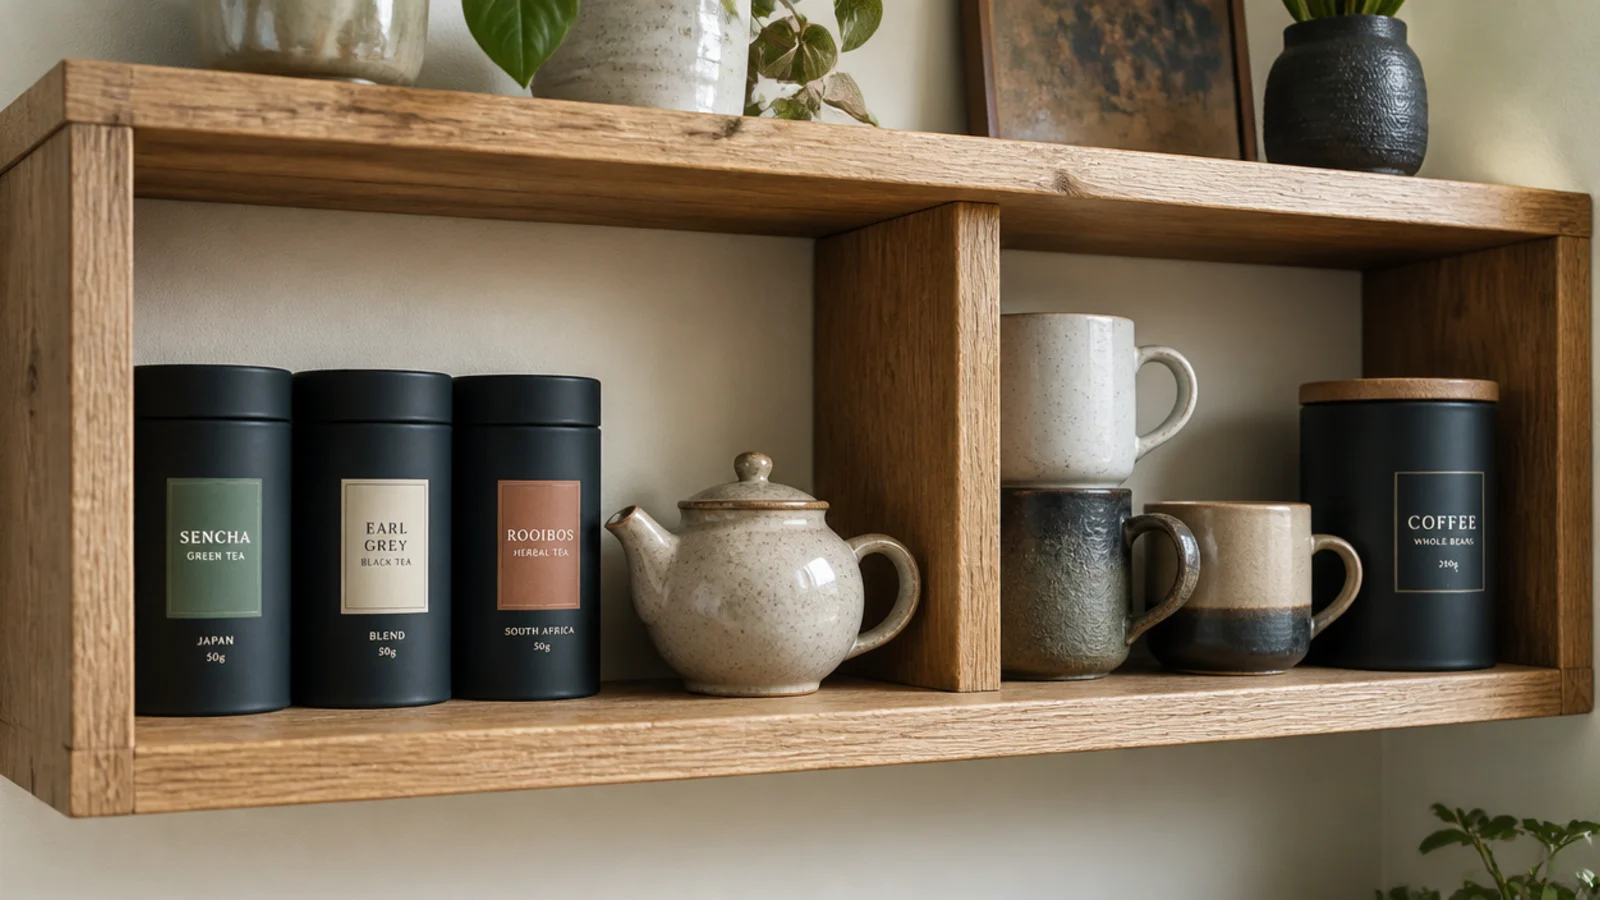
9. A tea shelf next to the coffee shelf
Most apartments have one tea drinker and one coffee drinker. Give tea its own 8 to 10 inches — three tins and a small pot — rather than letting it colonise the coffee tray.
Separate zones stop both from spreading, which is the actual space saving here.
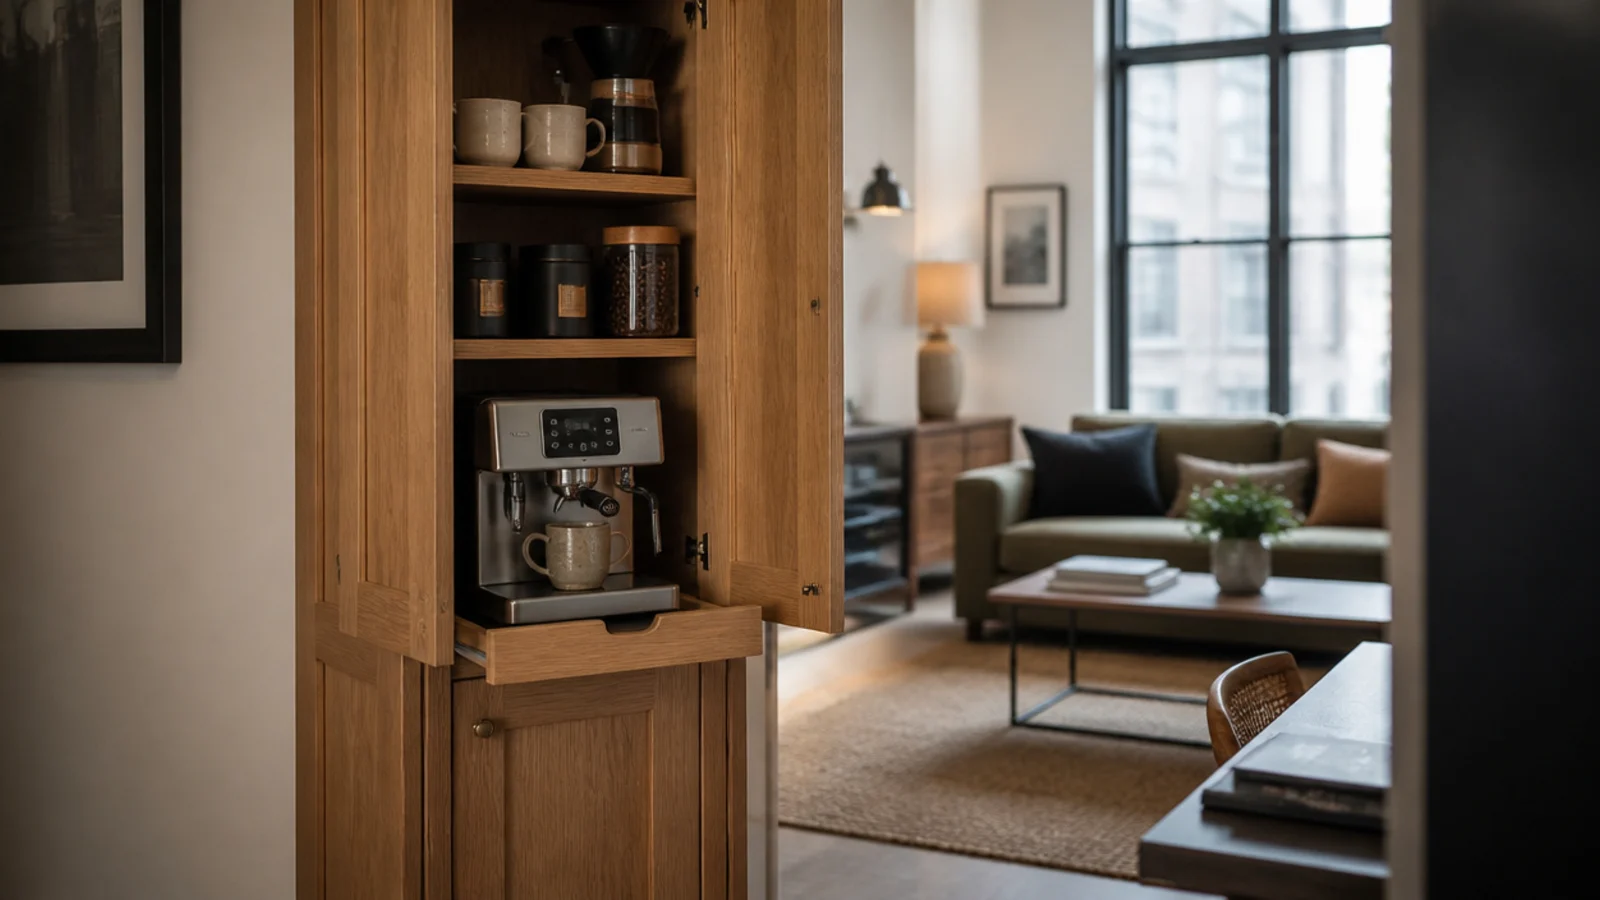
10. A slim cabinet with doors that close on the mess
A narrow cabinet with a pull-out shelf hides the whole station behind a door. Slide the machine forward to brew, never run it with the door shut, and route the cord out of the back gap rather than drilling a rental carcass.
Expect $150 to $350 ($$$), and a permanently clear counter in exchange.
11. A wall rail with S-hooks instead of a shelf
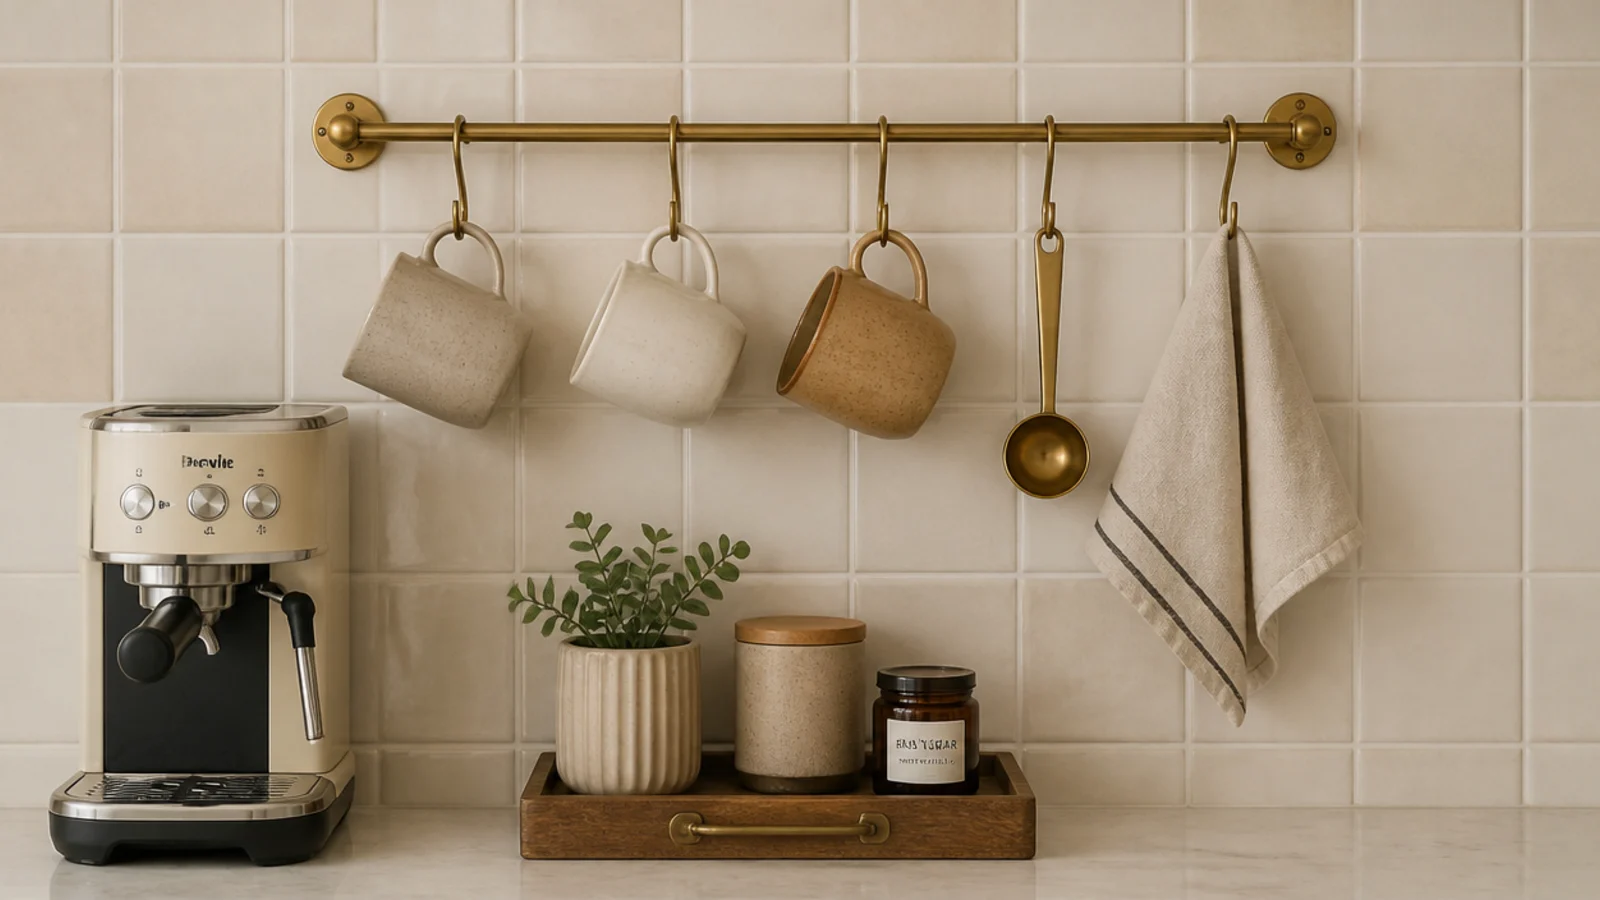
A single brass or steel rail on the backsplash carries mugs, a scoop and a cloth without the visual weight of a shelf.
It suits narrow counters where an 8-inch shelf would loom. Two fixings, both patchable in five minutes. Around $20 to $40 ($) including hooks.
12. A stone offcut as an instant counter upgrade
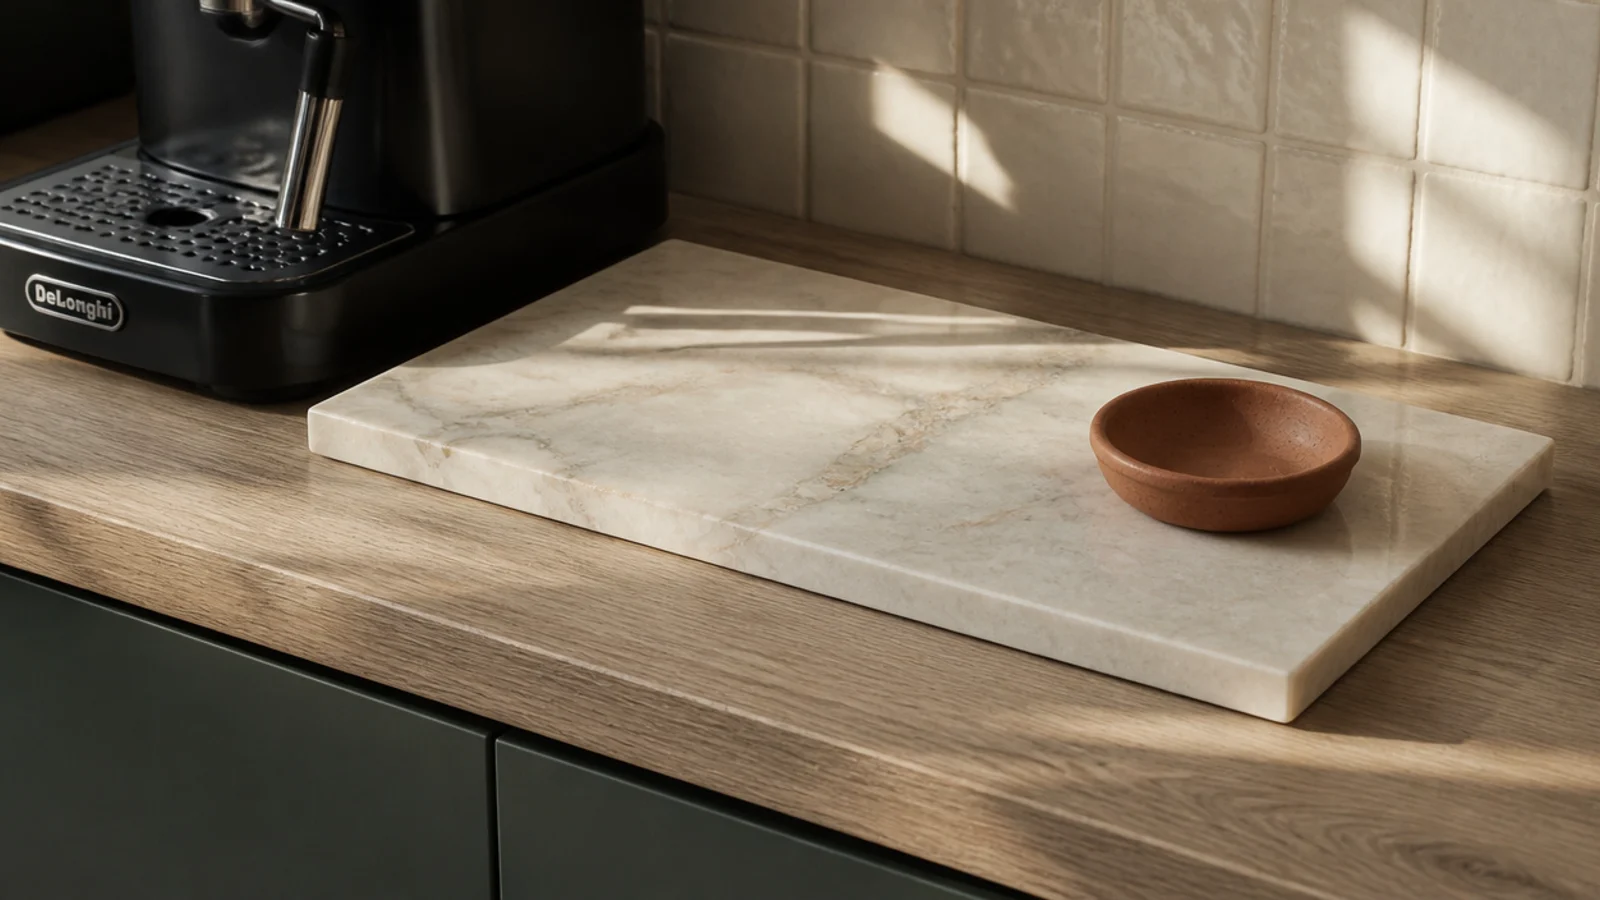
A honed marble or slate remnant, 12 by 18 inches, sits on top of a tired laminate counter and instantly changes the material story of the corner.
Stone yards sell offcuts for $20 to $60. Add felt pads underneath, and it doubles as the drip tray you needed anyway.
13. Two tones: dark base, cream wall
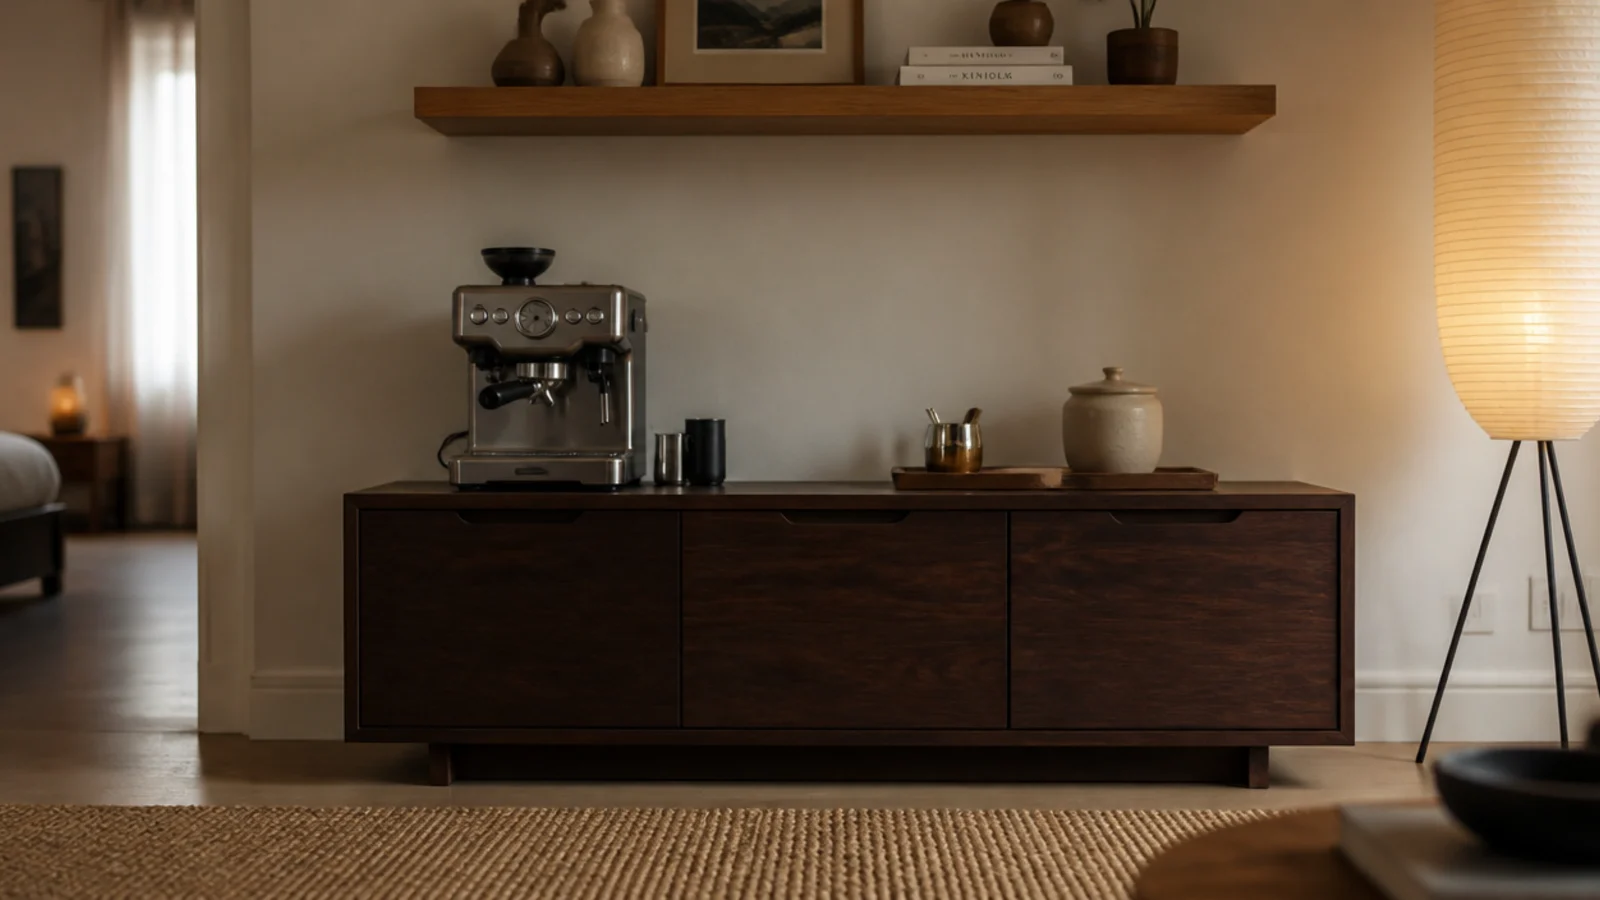
Dark at counter level and light above is the most reliable way to make a small bar look deliberate. A walnut cabinet or a deep-painted alcove grounds the corner; the pale wall above keeps it from closing in.
Reverse it and a small kitchen feels top-heavy.
14. A glass-front cabinet for the good mugs
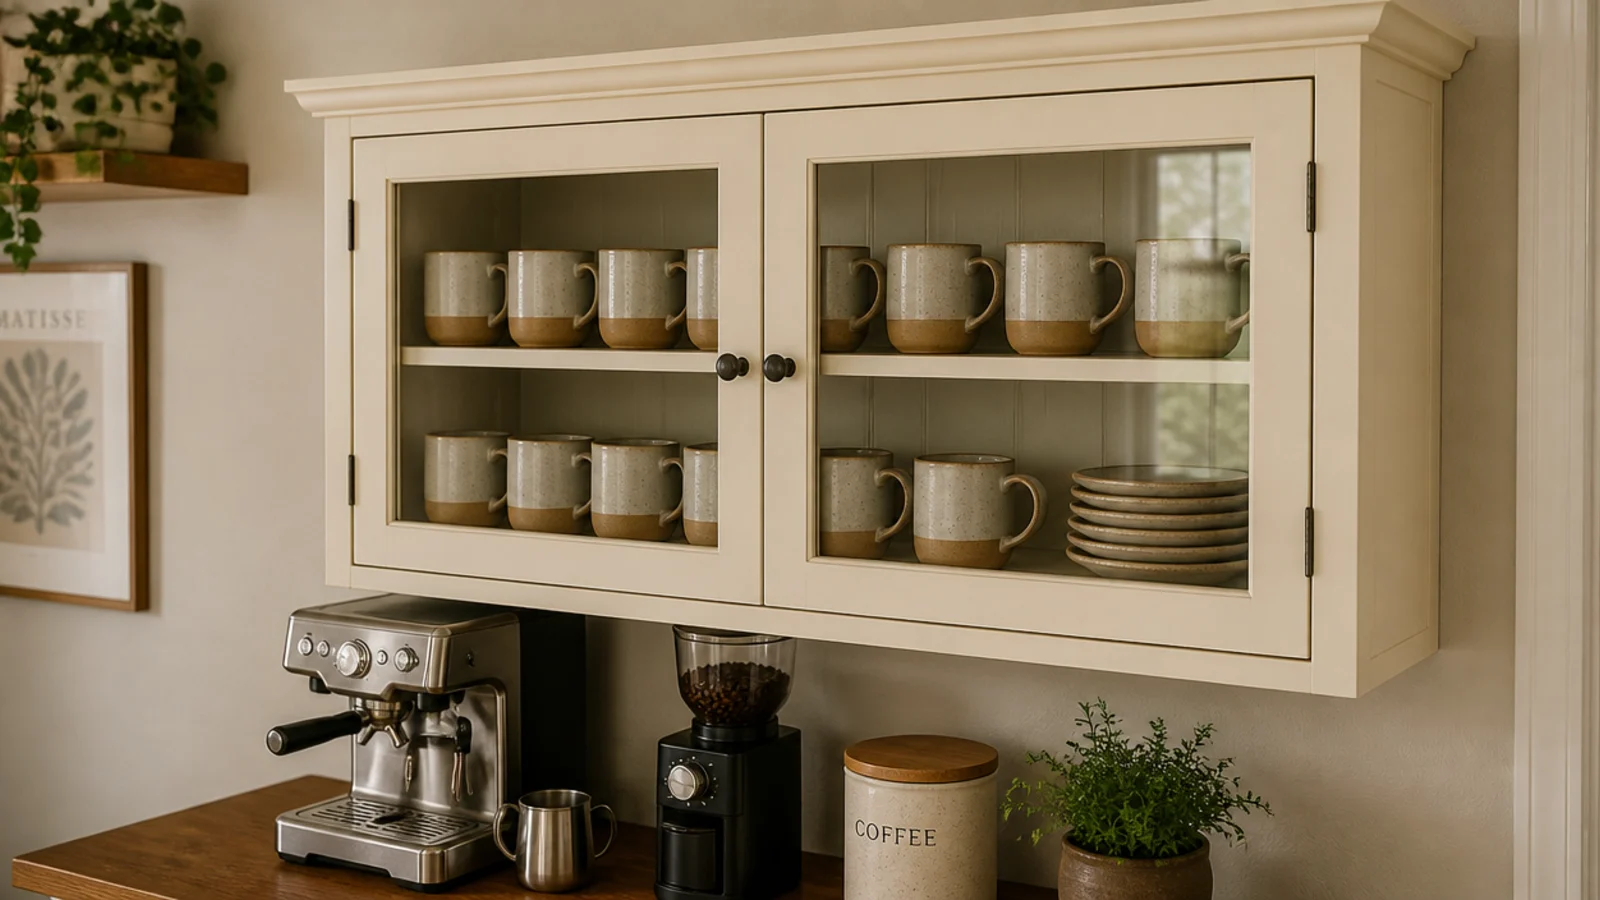
If you already have an upper cabinet above the station, swapping one solid door for a glass one turns storage into display without adding a shelf.
It keeps dust off the mugs, which open shelving does not. Replacement glass-front doors run $40 to $90 in standard sizes.
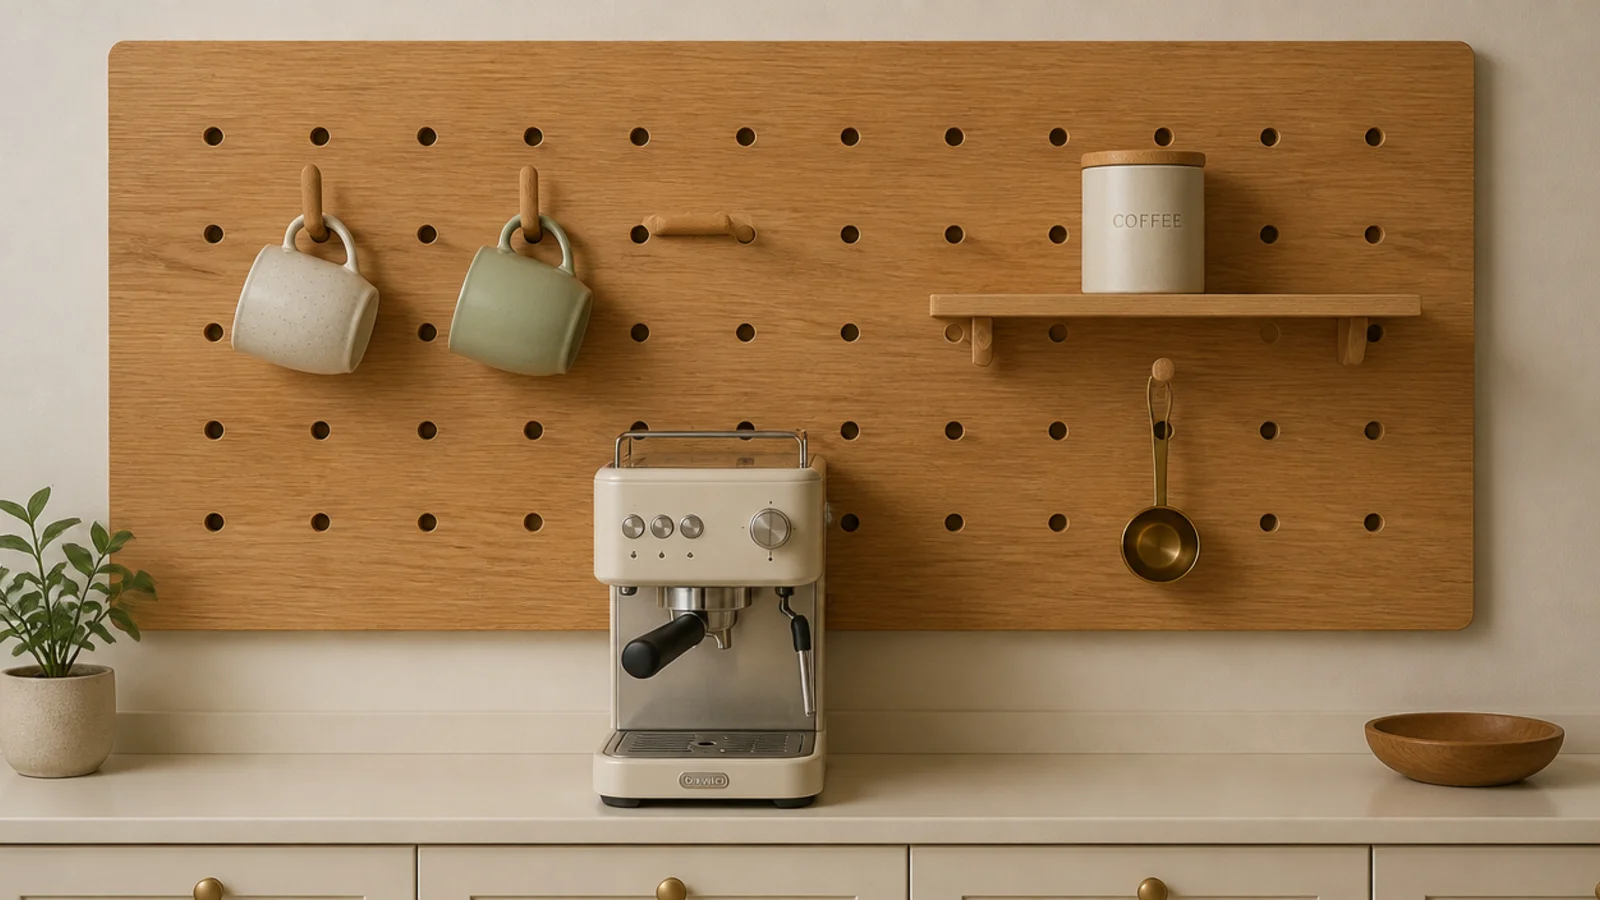
15. An oak pegboard panel
A 16 by 24 inch pegboard in oak gives you a movable system: pegs for mugs, a small shelf for the canister, a hook for the scoop.
It costs about $45 to $80 and it earns its place because coffee setups change more often than kitchens do.
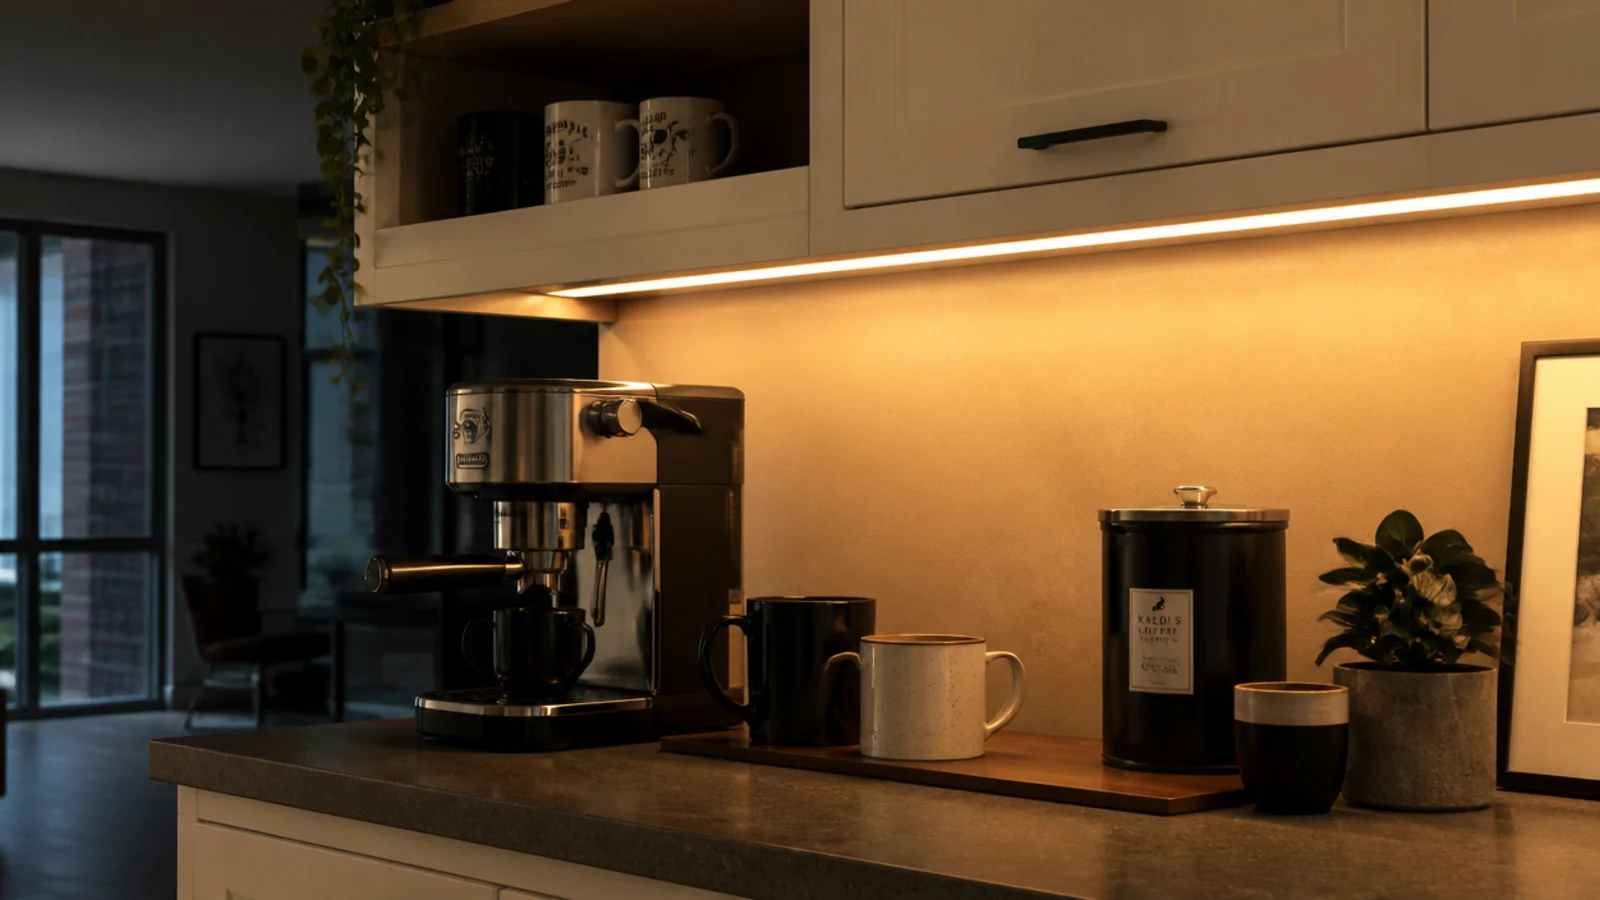
16. Warm under-cabinet light on a dimmer
A 2700K strip on a dimmer under the upper cabinet is the single most flattering light a coffee bar can have. Dim at dawn, brighter for grinding and cleaning.
Stick it to the front underside edge so the light falls on the counter, not the backsplash. $20 to $60.
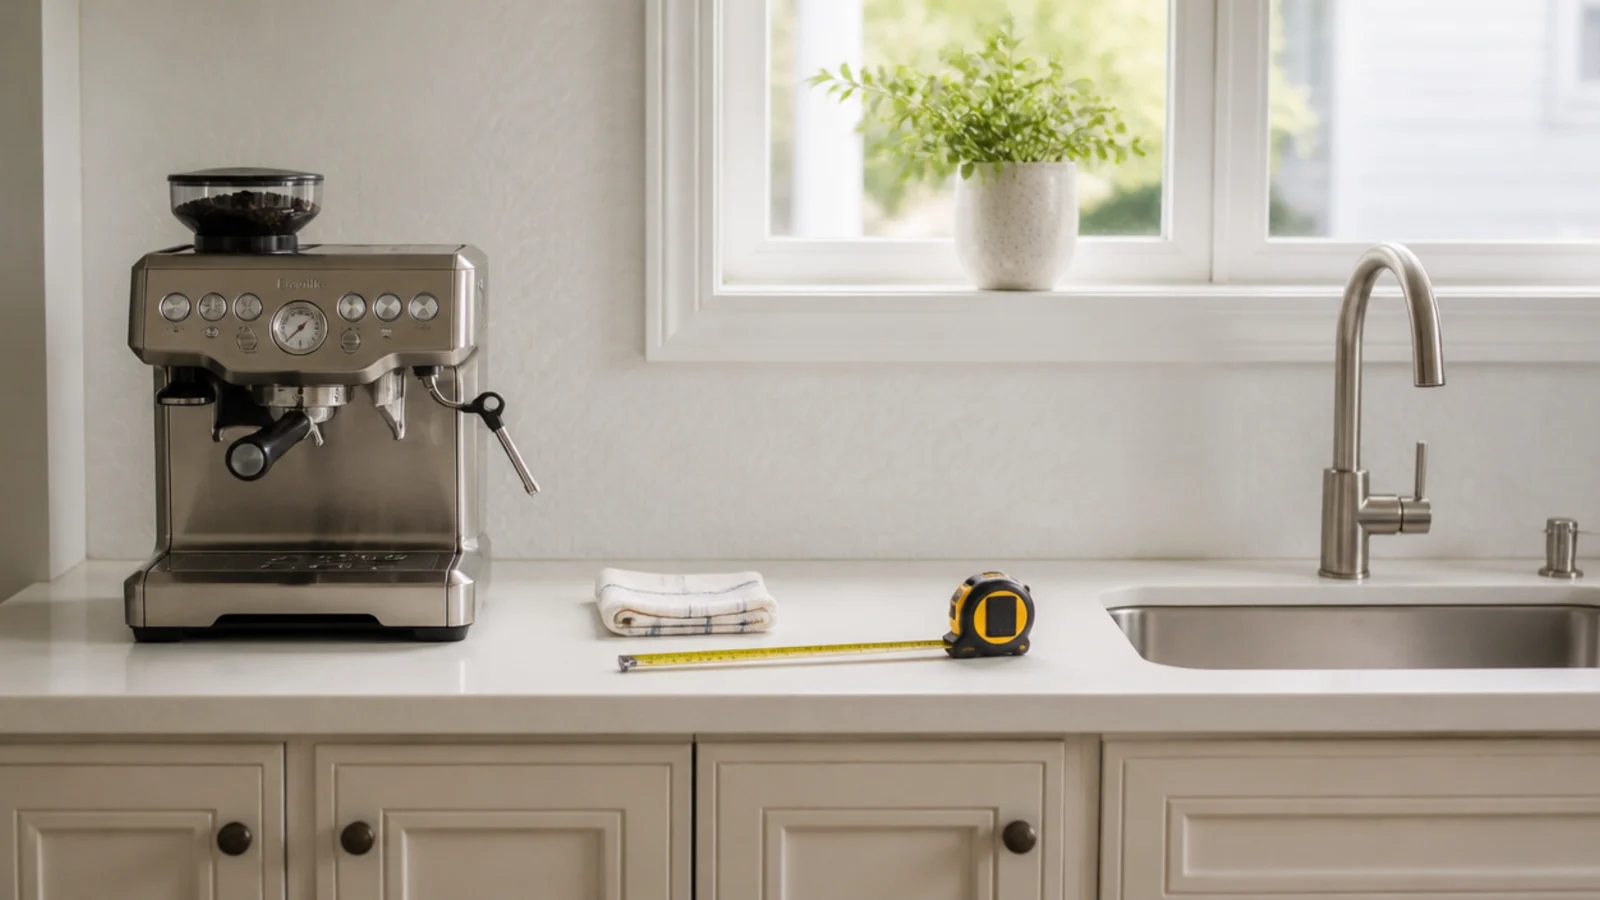
17. Keep 18 inches between the machine and the sink
Sink splashes reach further than people think, and a machine parked beside a tap collects water spots and hard-water crust on its casing.
Eighteen inches of clear counter between them is the minimum I would accept, and it also gives you the rinse-and-set-down space you need anyway.
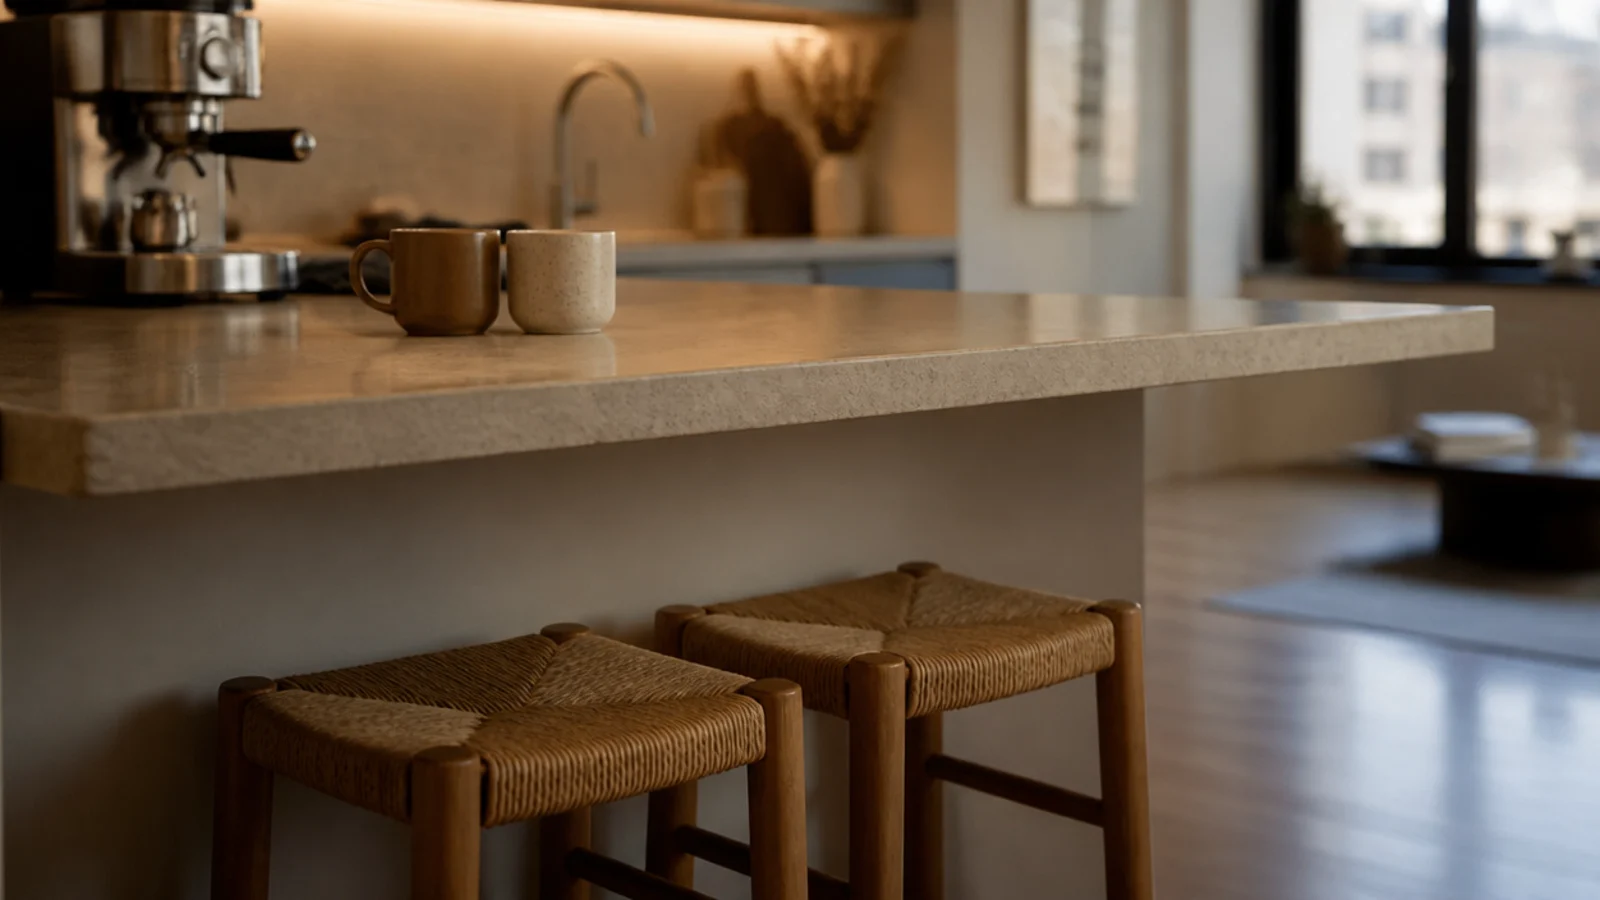
18. Use the counter overhang as bar seating
If the counter overhangs by 10 to 12 inches, two counter stools turn the coffee bar into somewhere people sit. Allow 24 inches of width per stool.
Seat height for a 36-inch counter is 24 to 26 inches. It is the cheapest way to make an apartment kitchen sociable.
19. A console behind the sofa in an open-plan apartment
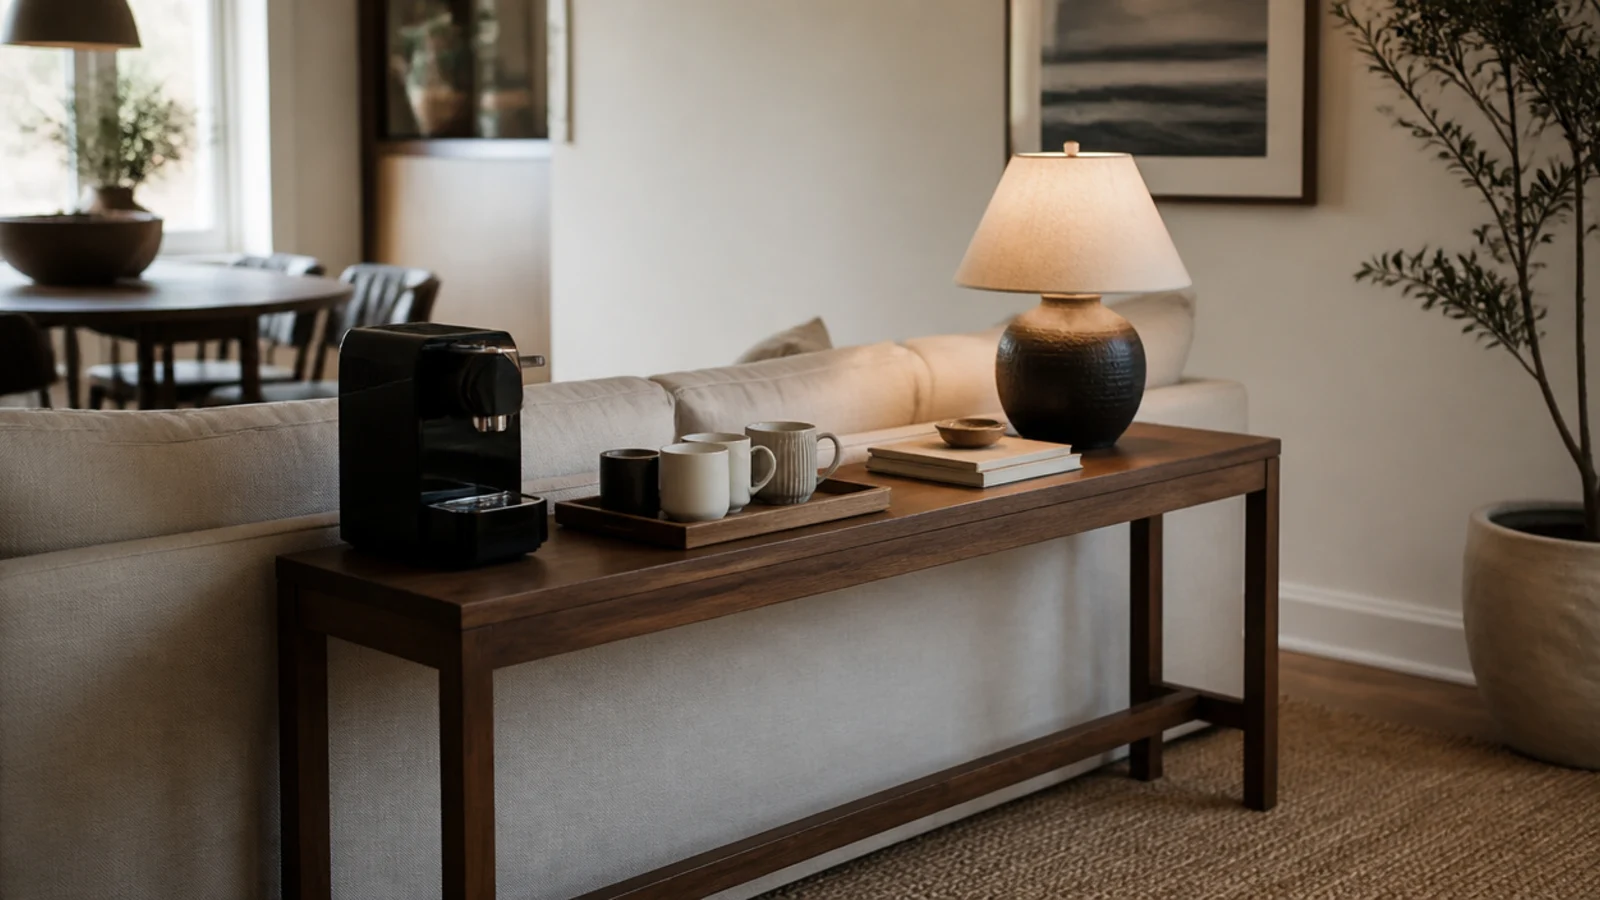
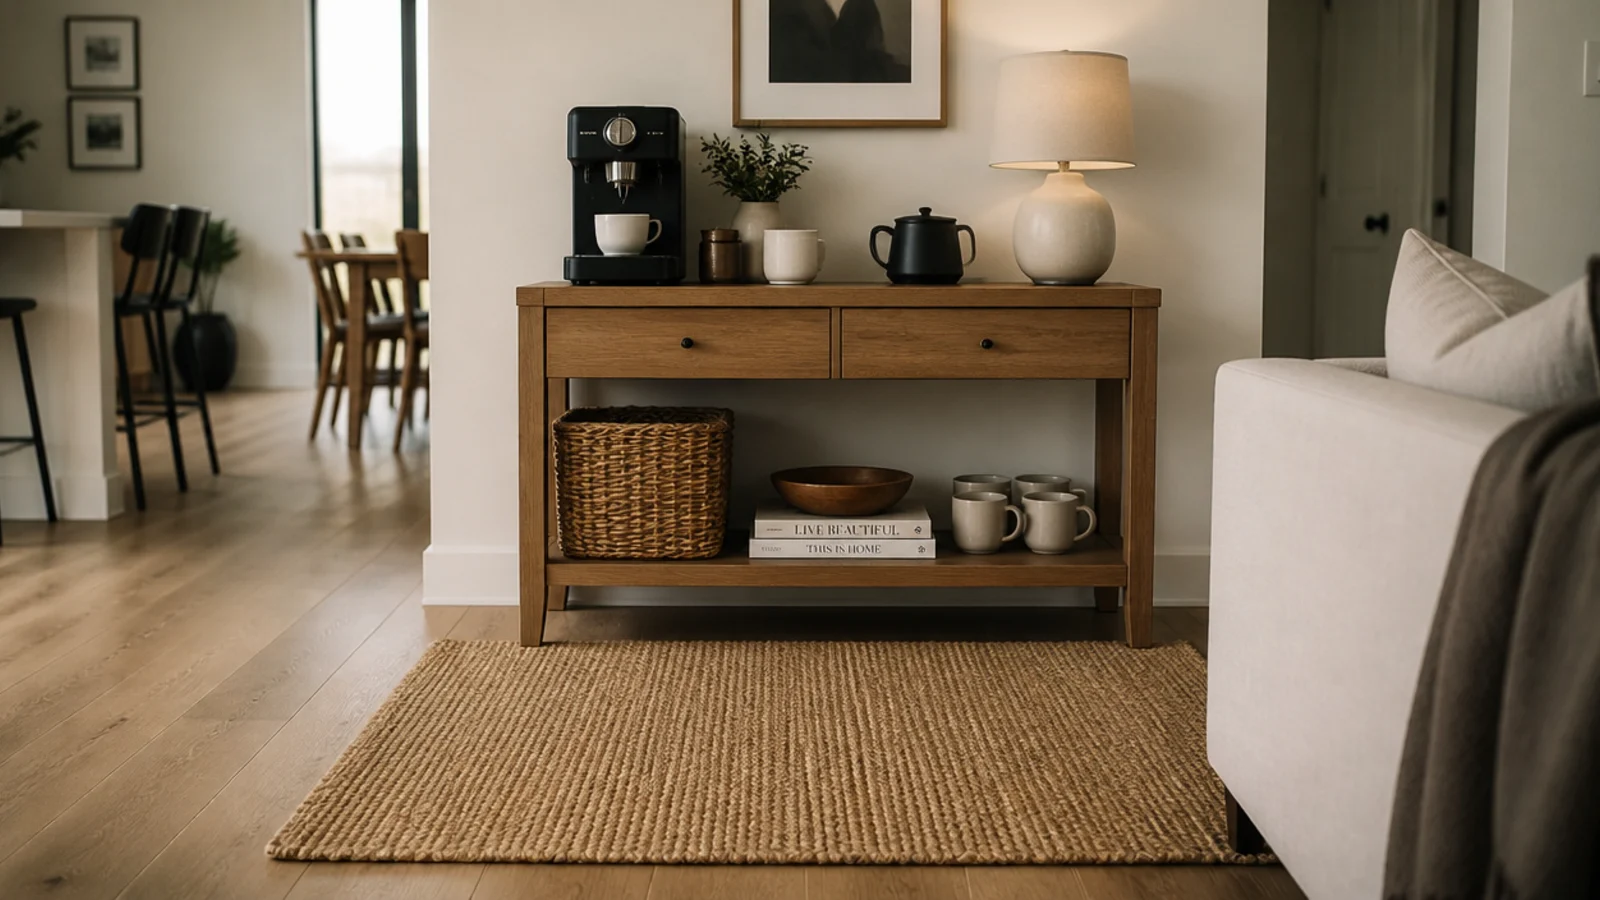
The dead 12 inches behind a floating sofa is the most underused surface in open-plan apartments. A console 30 to 32 inches tall and 12 to 14 inches deep fits a machine, a tray and a lamp.
Check the outlet on that wall before you commit to it.
20. A flat plug strip on the cabinet side
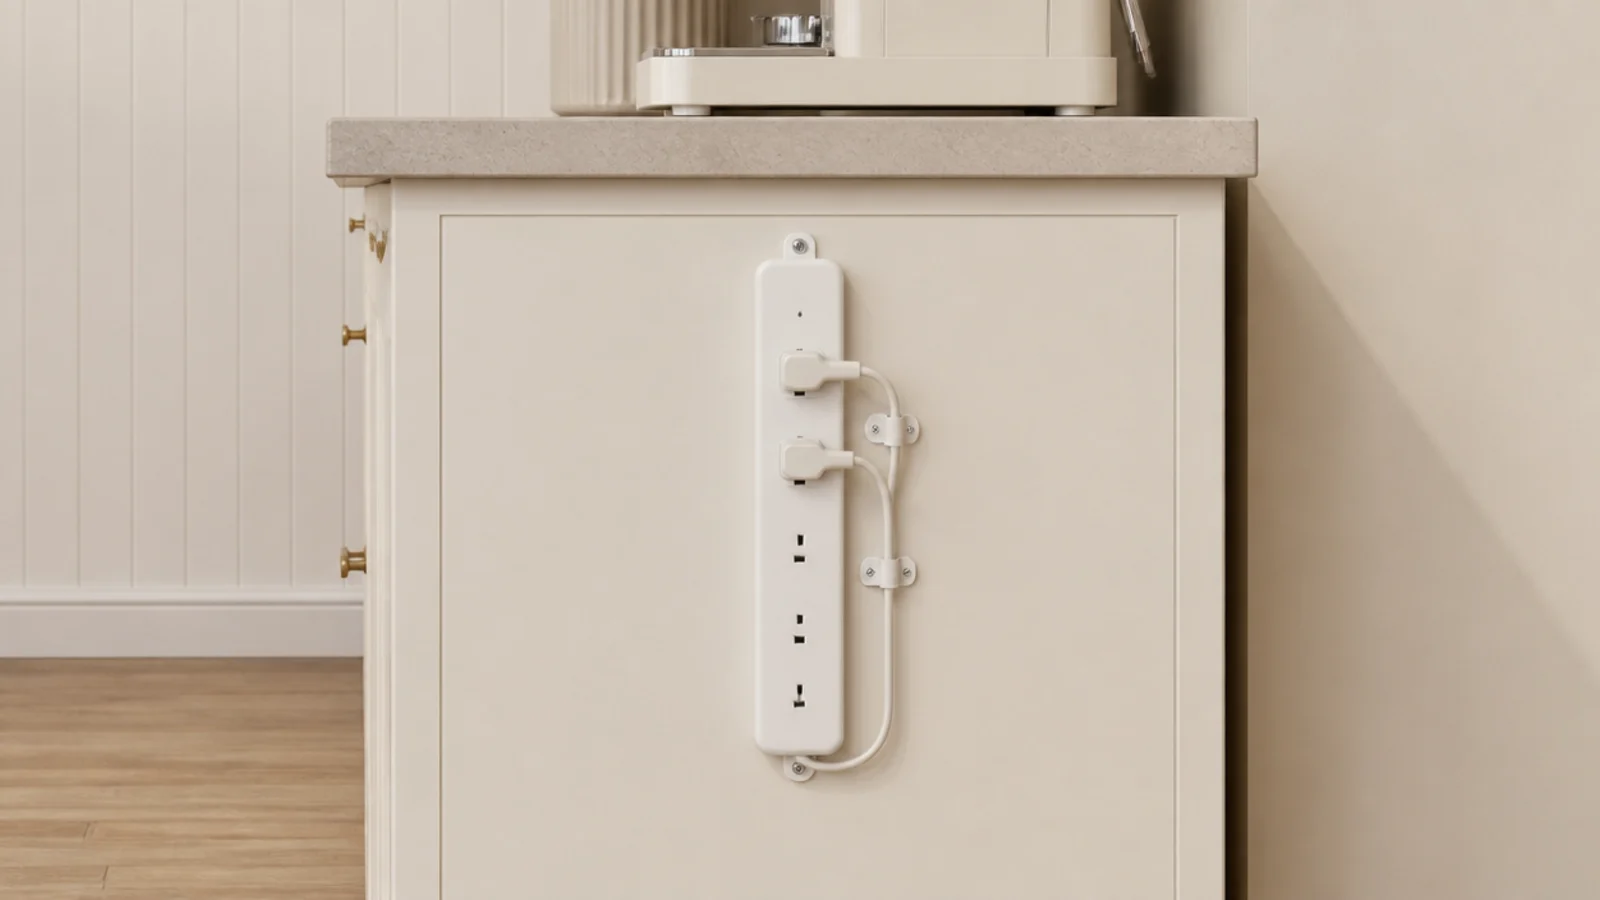
Three appliances and one outlet is the normal apartment situation. A low-profile plug strip mounted vertically on the exposed cabinet side keeps every cord short and off the counter.
Use adhesive mounting blocks rather than screws in a rental, and keep it well clear of the sink.
21. Pods in an opaque box, not a carousel
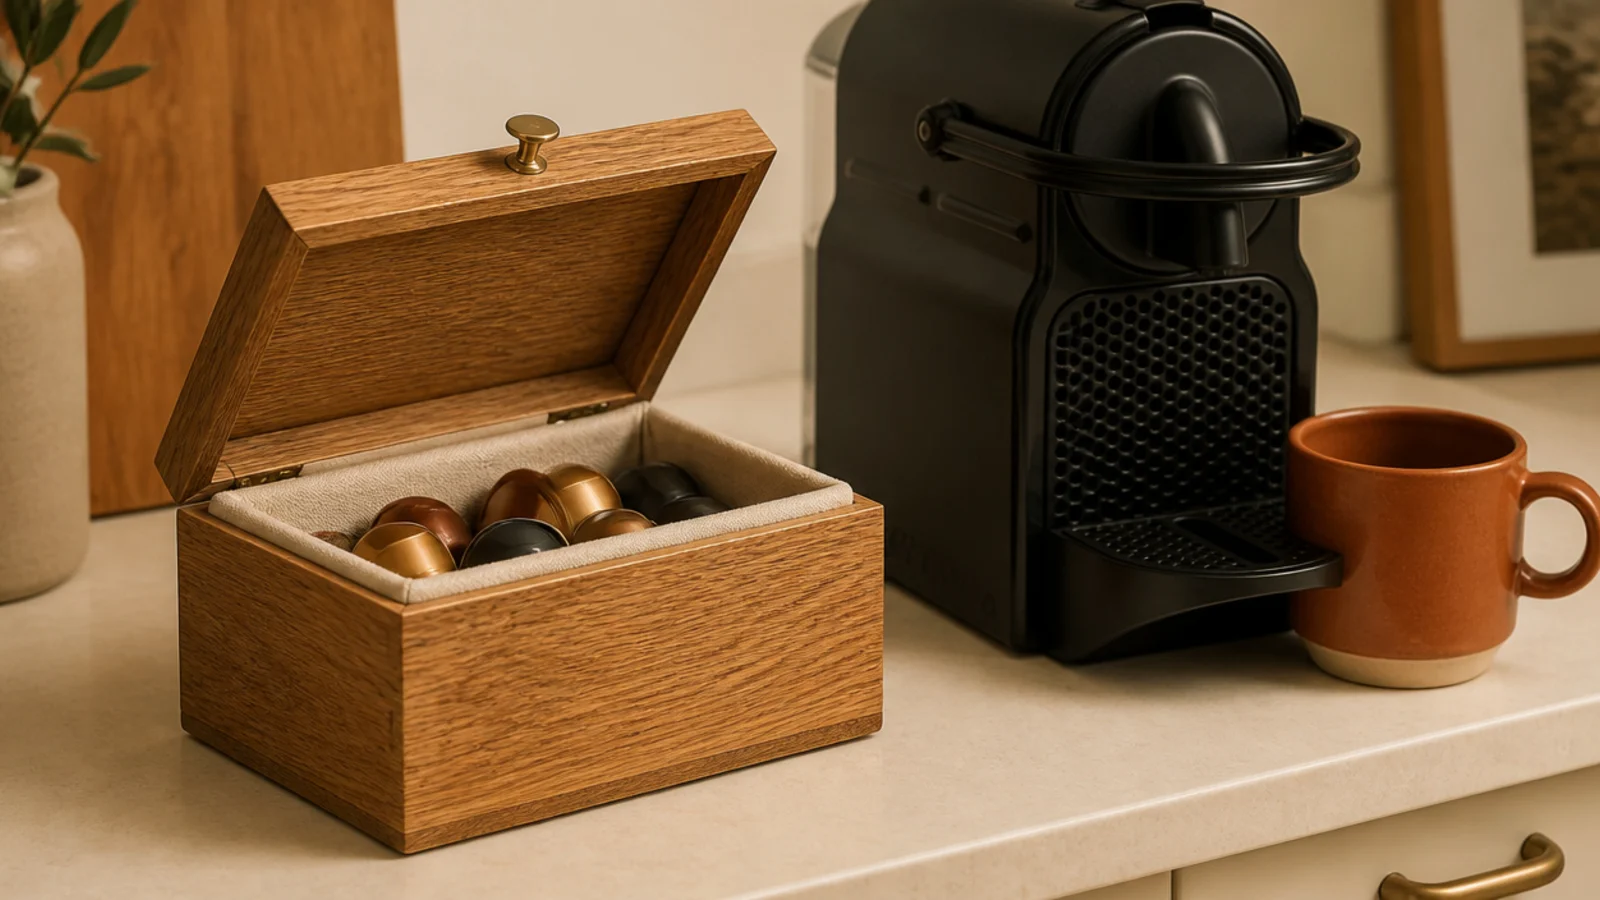
Spinning plastic carousels take a surprising amount of counter and make the corner look like a vending machine. A small lidded box with a canvas liner holds the same number in half the footprint.
It also keeps light off the pods. About $20 to $35 in oak.
22. A cork mat under the grinder
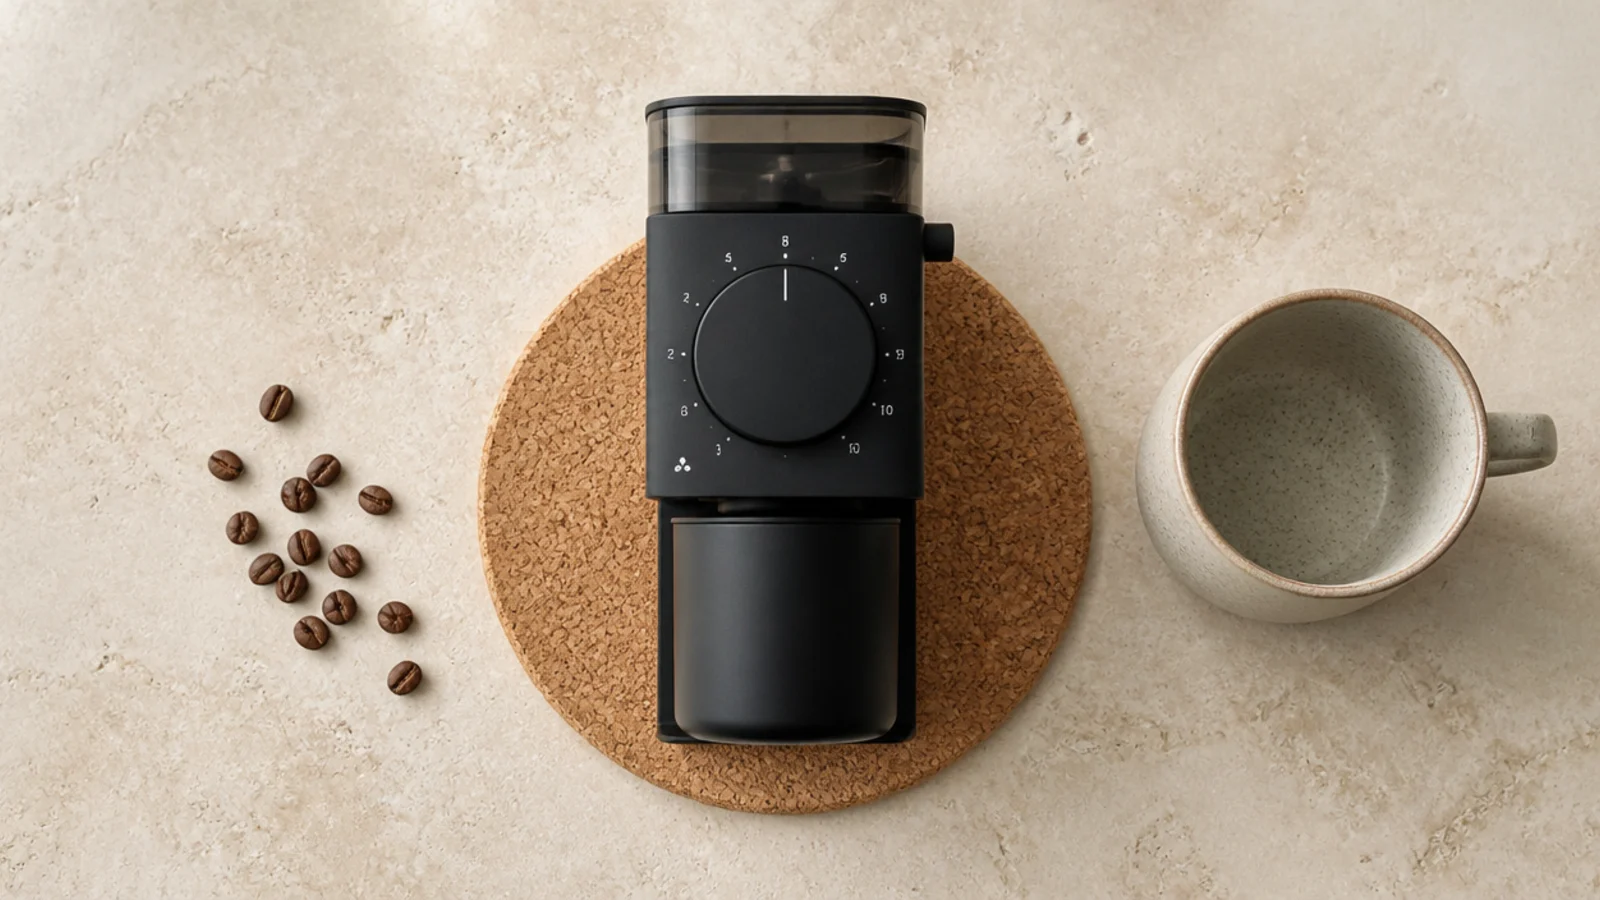
An electric burr grinder on a stone counter at 6am sounds like roadworks. A cork round under it takes the rattle out and protects the surface.
Cork packs cost about $8. Add felt dots under the kettle base while you are at it, especially if the kitchen is close to a bedroom.
23. A scale that stores on its edge
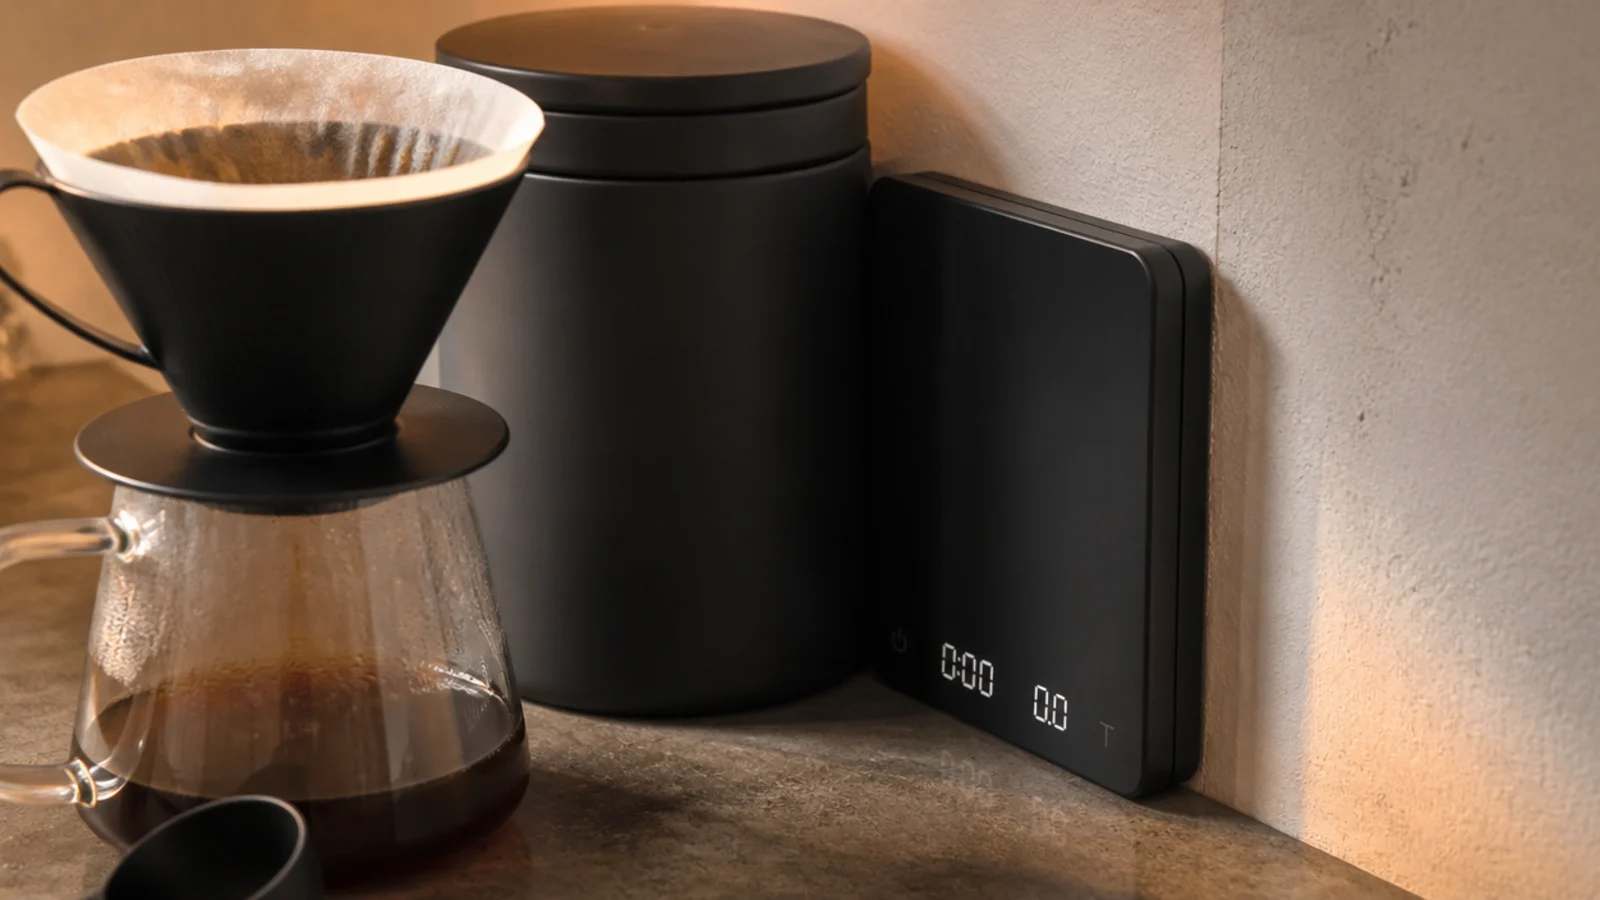
A brewing scale is 6 by 6 inches of permanent counter unless you buy one you can stand upright.
Slim models stand in the gap between the canister and the wall and cost $25 to $50. Small decision, and it buys back a genuinely useful corner of the tray.
24. A filter jug that lives in the fridge door
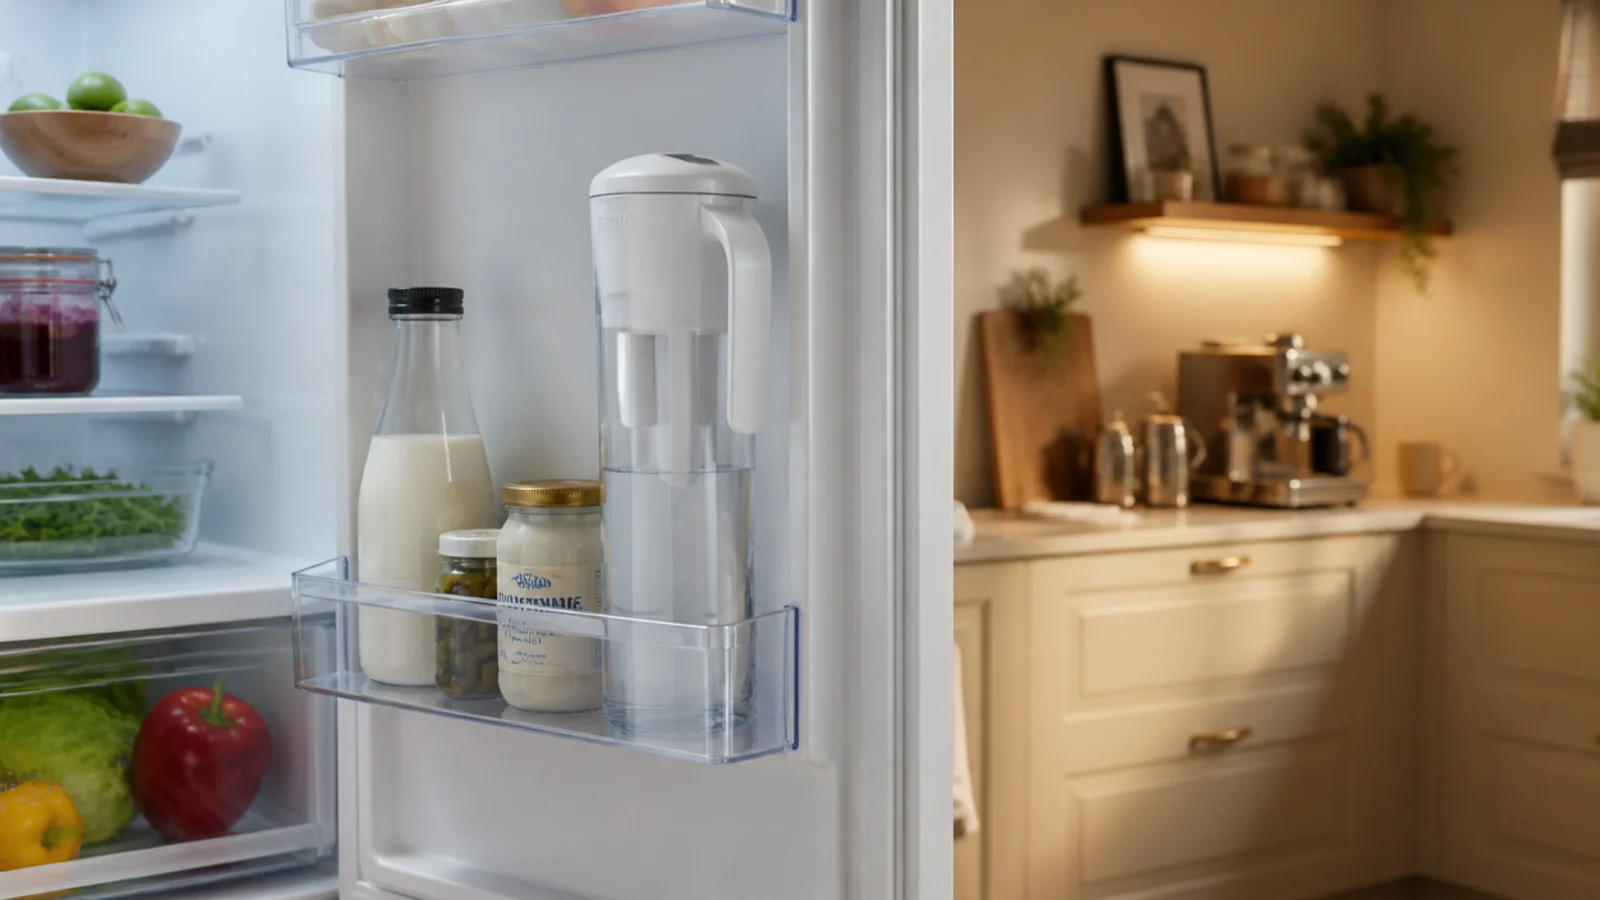
In hard-water cities, filtered water changes the cup more than a better machine does, and it slows the scale that kills apartment machines.
A slim jug fits most fridge door racks. $25 to $40, plus filters. The machine reservoir stays cleaner too.
25. A stone drip tray under the machine
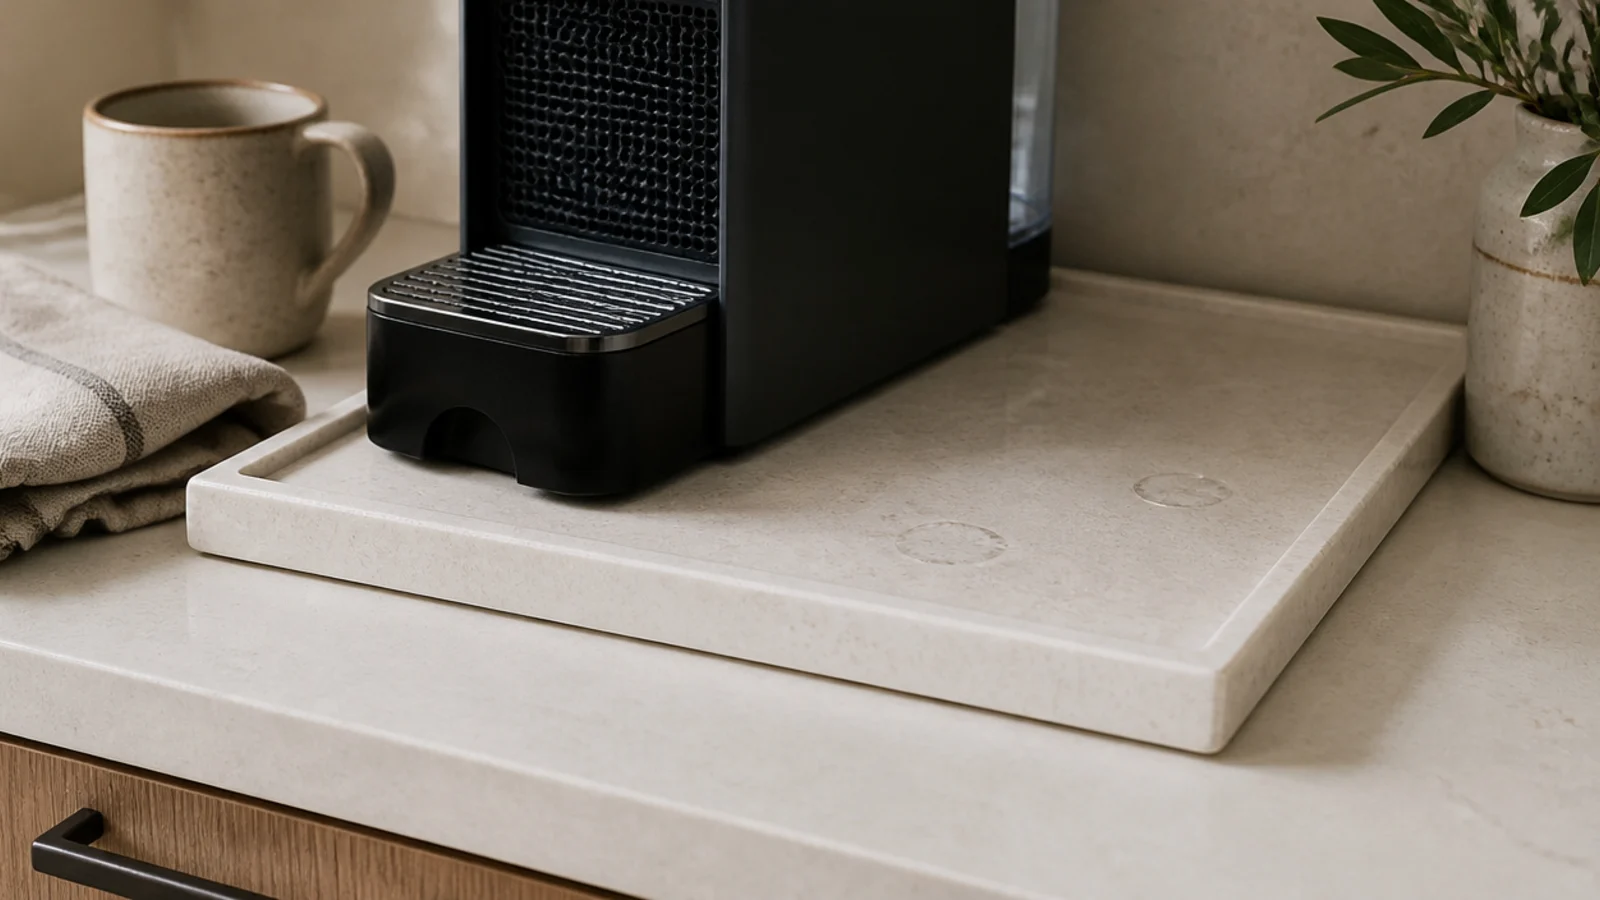
A tray under the machine catches drips and lets you lift the whole station out to clean behind it, which is where grounds and milk splatter actually go.
Stone, stoneware or oiled wood, 12 by 18 inches with a half-inch lip, felt pads underneath. $20 to $50.
26. A mug grid in threes
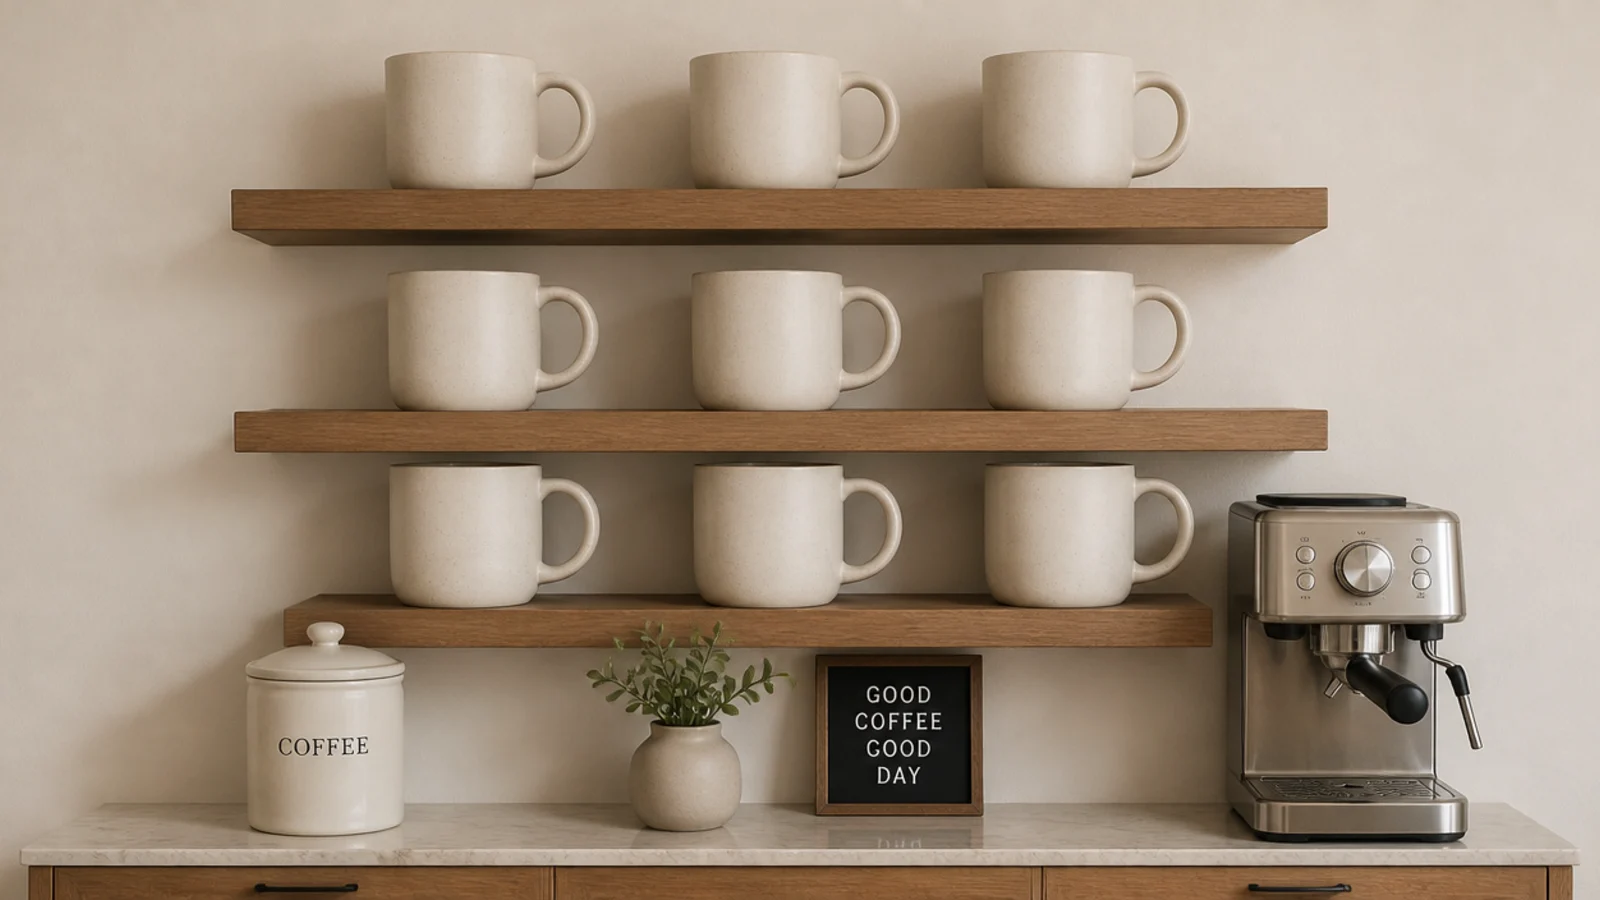
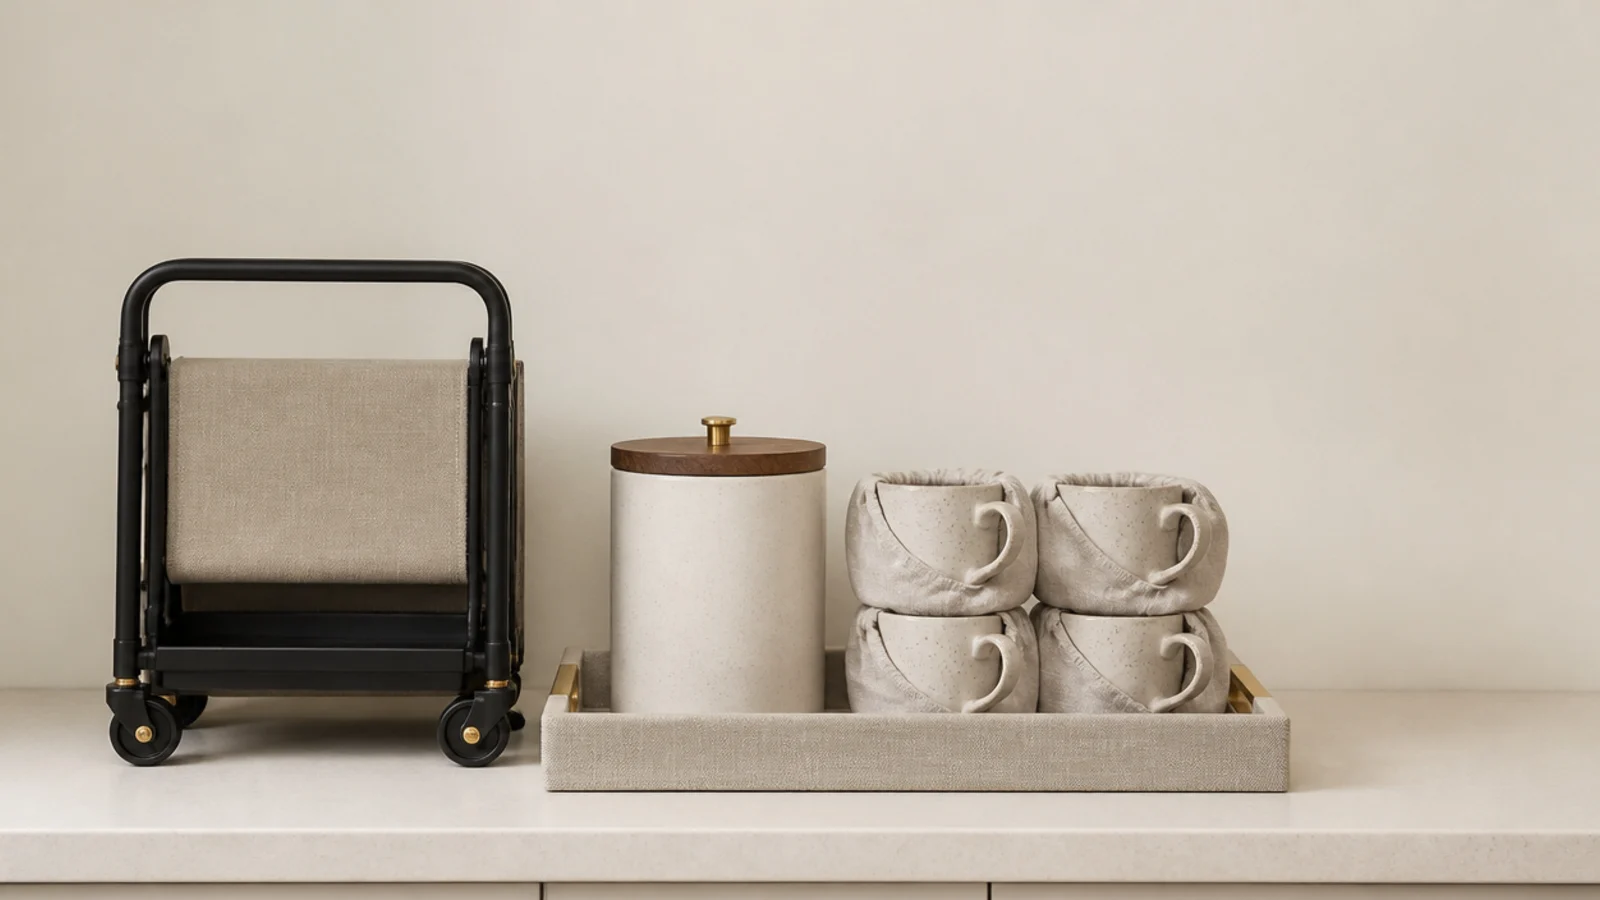
Nine matching mugs in a three-by-three grid read as a pattern. Nine assorted mugs in a heap read as a cupboard nobody sorted.
If you have open shelves, buy into one shape and let the arrangement do the styling. Restaurant-supply stoneware is cheap and stacks beautifully.
27. A dark bar in a light kitchen
Painting only the alcove behind the station in a deep olive, clay or charcoal is a two-hour job that makes a whole pale kitchen look designed.
Use a scrubbable finish, since this wall gets splashed. A sample pot covers it, and it repaints in an hour when the lease ends.
28. Descale on a schedule you will remember
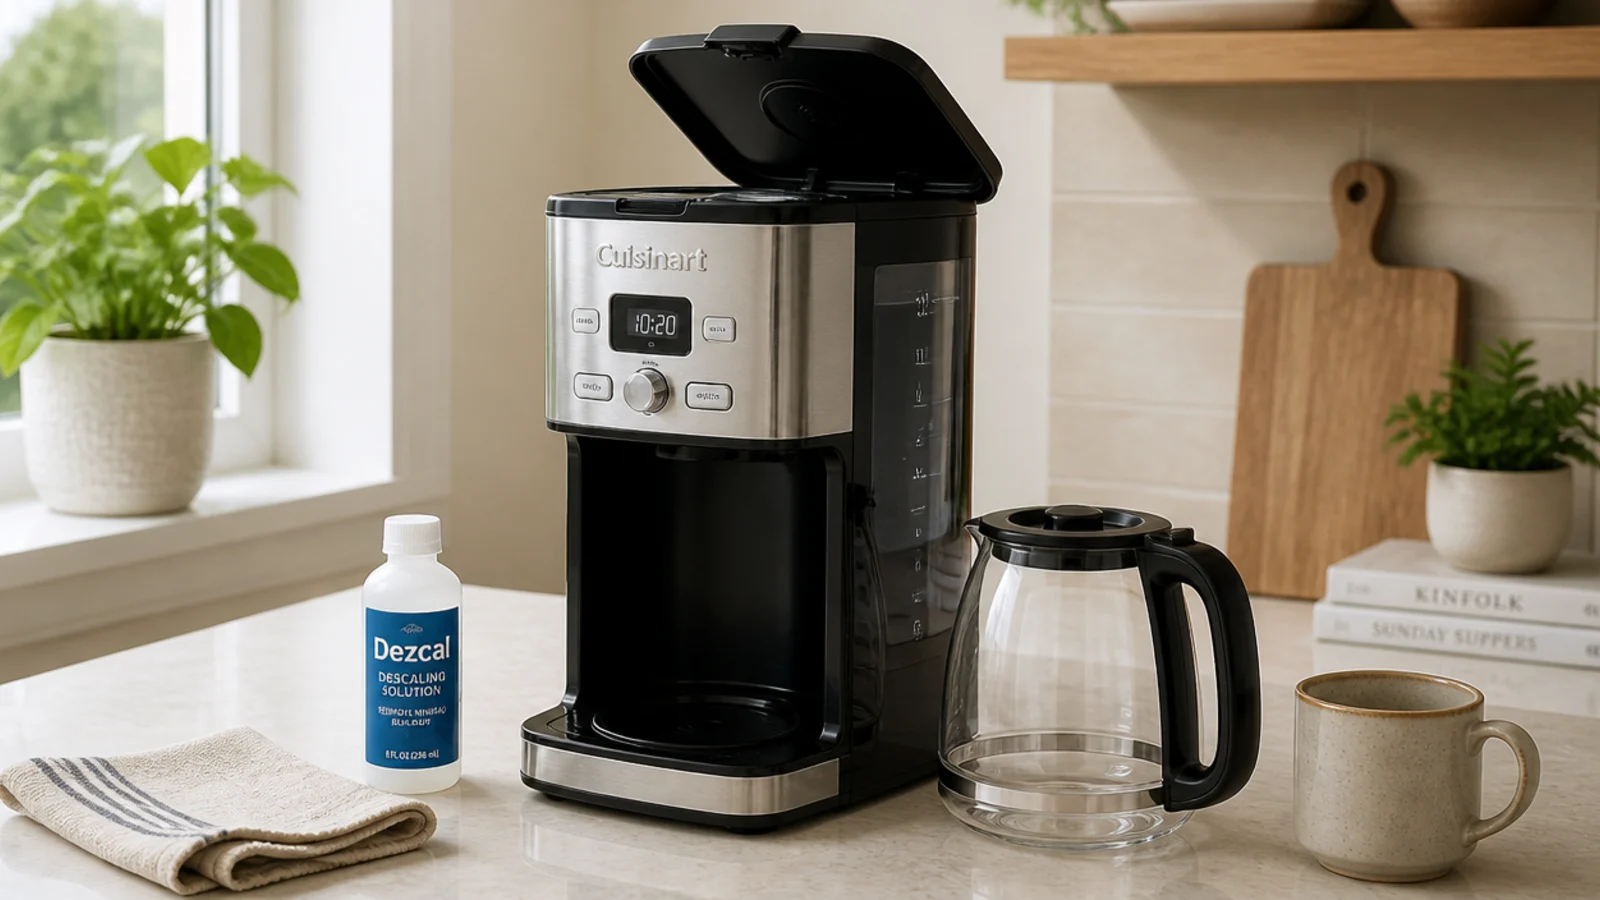
Scale ruins more apartment machines than heavy use ever does. Pick a fixed date — the first of every second month in hard water — and keep the solution in the same cupboard as the filters.
Ten minutes, about $8 a year, and the machine keeps its temperature.
29. A rug to draw the zone in open plan
In a studio or open-plan apartment, a small flatweave rug under the console tells the eye that this corner has a purpose.
Keep it flat and washable, since ground coffee lands on it. Around $40 to $90, and it does the same job a backsplash does in a kitchen.
30. The pack-down test before the next lease
Before you buy anything, ask whether it packs. My whole station has moved four times in a single box and a cart, and that constraint is why it stayed edited.
If you do want the built-in version one day, the step-by-step coffee bar build covers it properly.
Mistakes to Skip
- Choosing the prettiest corner and running a cord to it. Power comes first, and a cord crossing a walkway or sitting near a sink is a genuine hazard rather than a styling compromise.
- Buying the machine before measuring the headroom. Two inches of clearance under a cabinet means steam with nowhere to go, a lid you cannot lift, and a swollen cabinet underside within two years.
- Letting the pods, syrups and spare bags stay on the counter because they are used daily. Daily does not mean visible — one opaque box and one basket keep the same things within reach and out of sight.
Frequently asked questions
Where should an apartment coffee bar go?
Beside an outlet, out of the main cooking path, and at least 18 inches from the sink so splashes stay away from the machine. In practice that is usually the end of a counter run or a cart parked against the nearest wall. Choose the outlet first and style around it rather than the other way round.
How do I fit a coffee bar in a rental kitchen with no counter?
Move it off the counter entirely. A three-tier rolling cart at 30 to 34 inches tall gives you working height anywhere in the apartment, and a console table or sideboard does the same in a dining or living corner. Both leave the kitchen counter free and both walk out with you at the end of the lease.
What is the minimum counter for an espresso setup?
About 18 inches of width will hold a compact machine and a tamping spot, but you also need somewhere to put the grinder, a scale and a knock bin. Realistically 24 to 30 inches of width and 15 to 18 inches of depth makes an espresso corner pleasant rather than a daily game of shuffling equipment.
How do I hide the clutter on a coffee bar?
Give the ugly things one container each and close a door on the rest. Pods live in an opaque box rather than a carousel, spare bags go in a basket, and filters and tools go in a drawer. What stays visible should be the three or four objects you actually like looking at, and nothing else.
Can a coffee bar double as a drinks bar?
A cart does this best, because you can restock the lower tiers without touching the top. Keep the machine and tray permanent on top, and swap the middle tier from mugs and beans to glasses and a bottle in the evening. A tray on each tier makes the changeover about a two-minute job.
Pick the three that fix your actual kitchen — usually the outlet, the second level and the container that hides the clutter — and ignore the rest until those are working. The list of what I got wrong first is in coffee bar mistakes, and if you want the shelf above the counter to carry more than mugs, modern kitchen shelves covers depths and brackets. Save the pin so the clearances are with you when you measure.
Want more like this? Browse all 15 coffee corner ideas guides — they all use the same measurements and budget tiers.
Pin it for later
Save this to your Coffee Corner Ideas board
Pin it now so it is waiting for you when the tape measure comes out — and so the next person hunting for this idea can find it too.
Save this pinKeep going
More ideas worth saving while you have the tape measure out.