Apartment Balcony Ideas · How-To
20 Steps to Style a Stunning Apartment Balcony

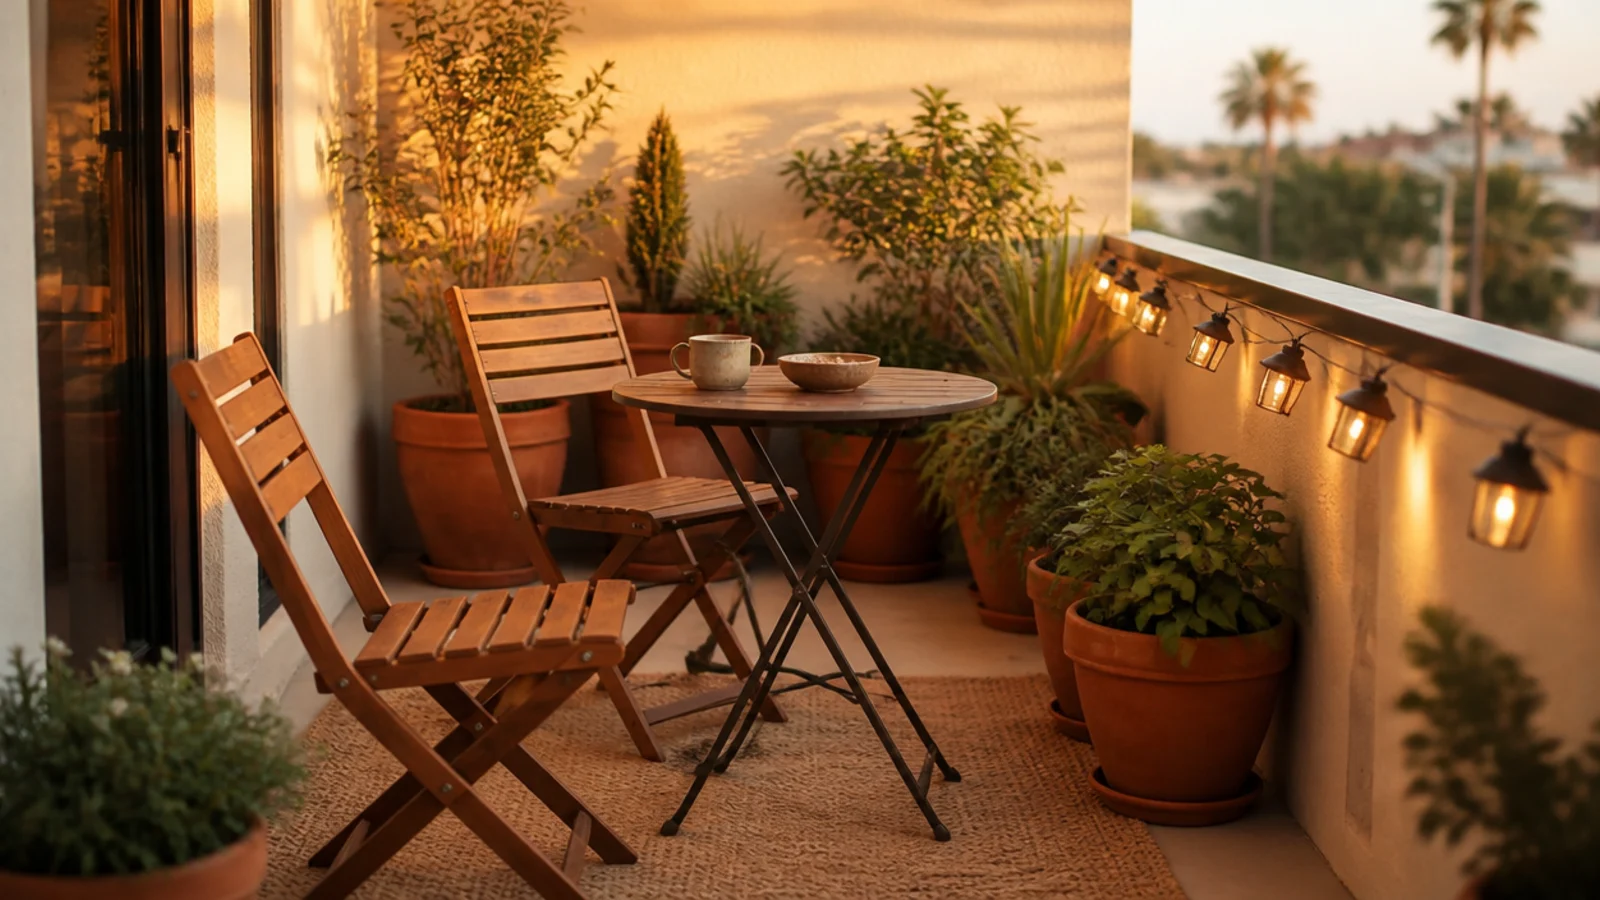
Small apartment balcony decor goes wrong in a predictable order: people buy the furniture first, discover the door will not open, and end up with a slab full of things nobody sits on. These twenty steps run in the sequence that actually works — measure, read the rules, clear it, then style it — and they assume a real balcony, which means wind, a lease and someone living directly underneath.
In this guide23 sections — tap to openHide
- 1.What You'll Need for Small Apartment Balcony Decor
- 2.Step 1: Read the balcony clause before you buy anything
- 3.Step 2: Measure the slab and the door swing
- 4.Step 3: Empty it completely and scrub the concrete
- 5.Step 4: Find the drain and check which way water runs
- 6.Step 5: Time the sun on one free Saturday
- 7.Step 6: Tape out the 24-inch walkway first
- 8.Step 7: Decide the one thing the balcony is for
- 9.Step 8: Choose the anchor piece before the extras
- 10.Step 9: Buy folding and stackable, never fixed
- 11.Step 10: Lay the floor with deck tiles or a quick-dry rug
- 12.Step 11: Set the furniture inside a 4 by 4 foot zone
- 13.Step 12: Put the weight where the slab is strongest
- 14.Step 13: Hook planters over the inside of the rail only
- 15.Step 14: Put a saucer under every single pot
- 16.Step 15: Match the plants to your aspect, not the photo
- 17.Step 16: Screen only the sight line that bothers you
- 18.Step 17: Wind-proof everything above the third floor
- 19.Step 18: Light it with solar and battery, never flame
- 20.Step 19: Give the cushions and throws a ten-second home
- 21.Step 20: Live with it a week, then edit
- 22.Pro Styling Rules
- 23.Mistakes to Skip
What You'll Need for Small Apartment Balcony Decor
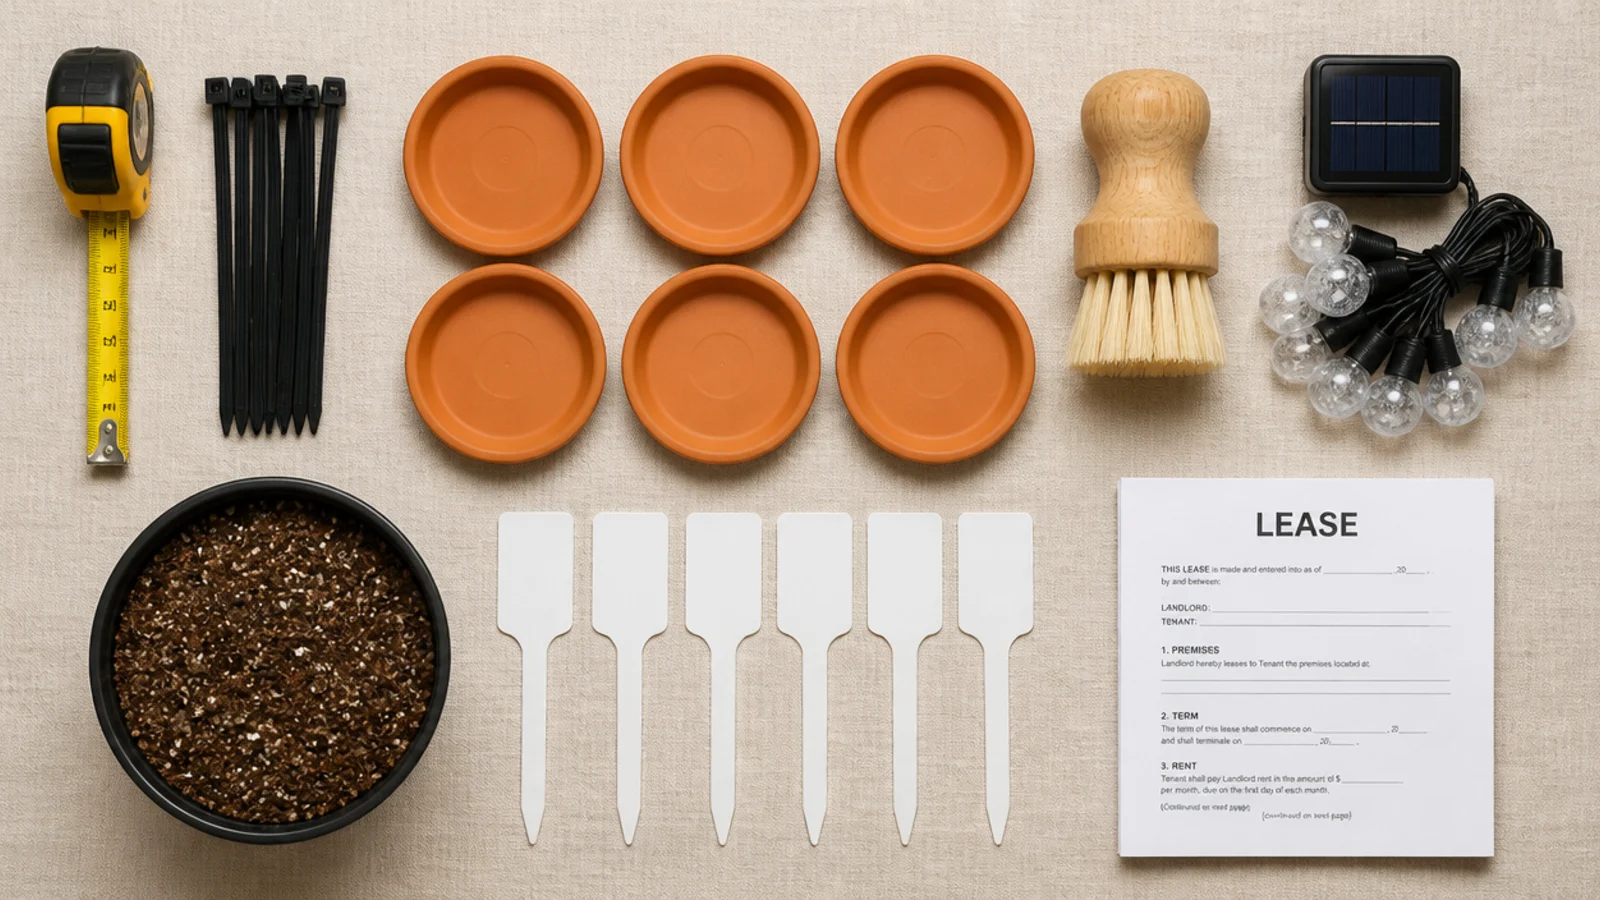
Nothing here is specialist, and most of it you can borrow. A full balcony refresh runs about $120 to $200 if you already own the furniture, or $250 to $400 starting from an empty slab.
| Item | Spec that matters | Rough cost |
|---|---|---|
| Tape measure | 12 ft minimum, for slab and door swing | borrowed |
| Outdoor rug or deck tiles | Open-weave flatweave, or interlocking tiles | $30–$90 |
| Folding seating | Powder-coated steel or acacia, wide foot | $60–$140 |
| Hook-over rail planters | Inside-mount bracket, shallow depth | $12–$30 |
| Saucers or trays | Wider than each pot base, one per pot | $2–$5 each |
| Potting mix | Container mix, never garden soil | $10–$18 |
| Solar string lights | 30 ft strand, warm white around 2700K | $15–$30 |
| Flameless LED lanterns | Rechargeable, real flicker, weighted base | $20–$45 |
| Zip ties and strap | UV-stable, for lights and tethering | $6 |
Step 1: Read the balcony clause before you buy anything
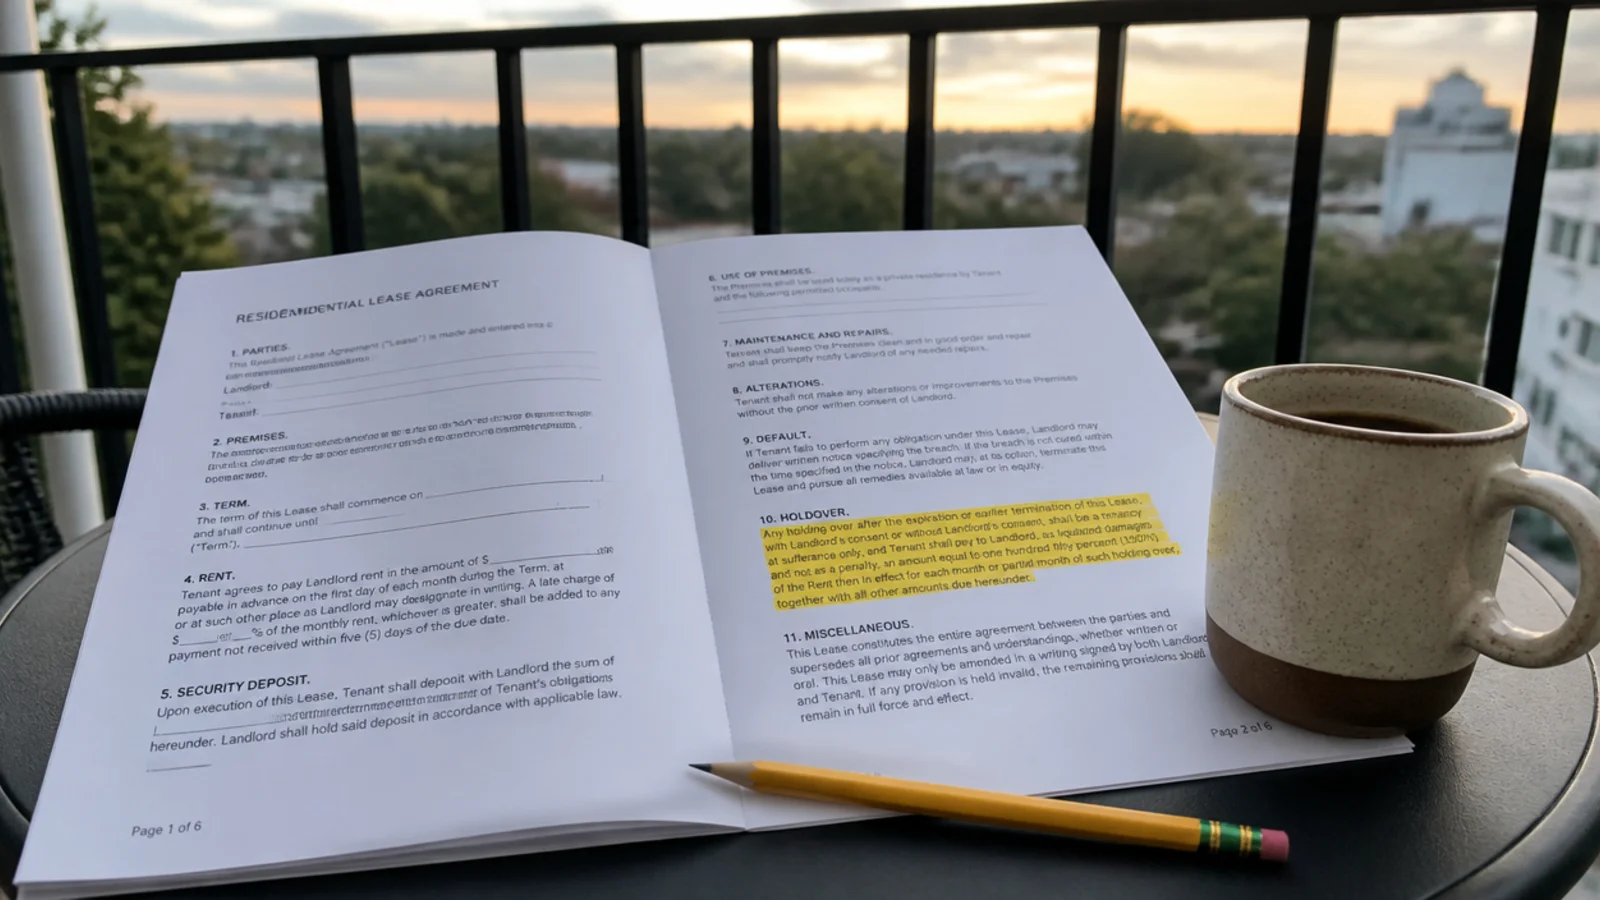
Find your lease and read the outdoor section properly. You are looking for four things: whether you may drill into the wall, ceiling or slab, whether anything may attach to the railing, whether screens are permitted, and what the building says about grills and open flame.
Most buildings ban all four, and many cities back that up with fire code that requires the balcony to stay clear as an egress route.
Step 2: Measure the slab and the door swing
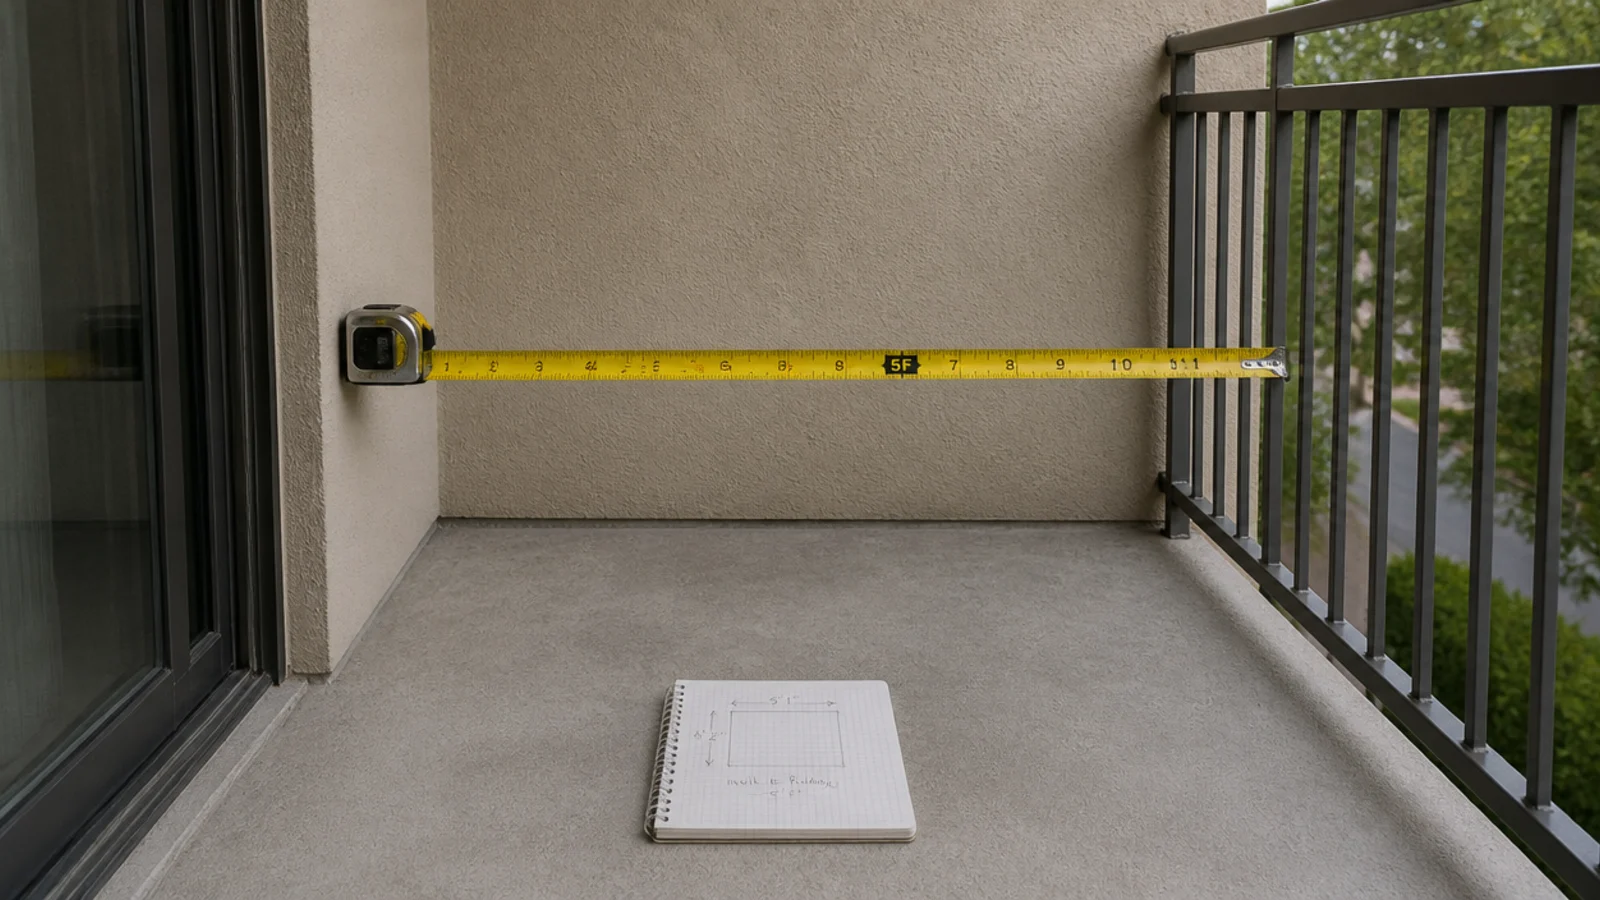
Three numbers: depth from the building wall to the railing, width end to end, and the arc the door needs to open fully. Typical apartment balconies run 4 to 6 feet deep.
Write them on your phone. Depth under 4 feet rules out a table with chairs on both sides, and the door arc is the number people forget until a chair is wedged against the glass.
Step 3: Empty it completely and scrub the concrete
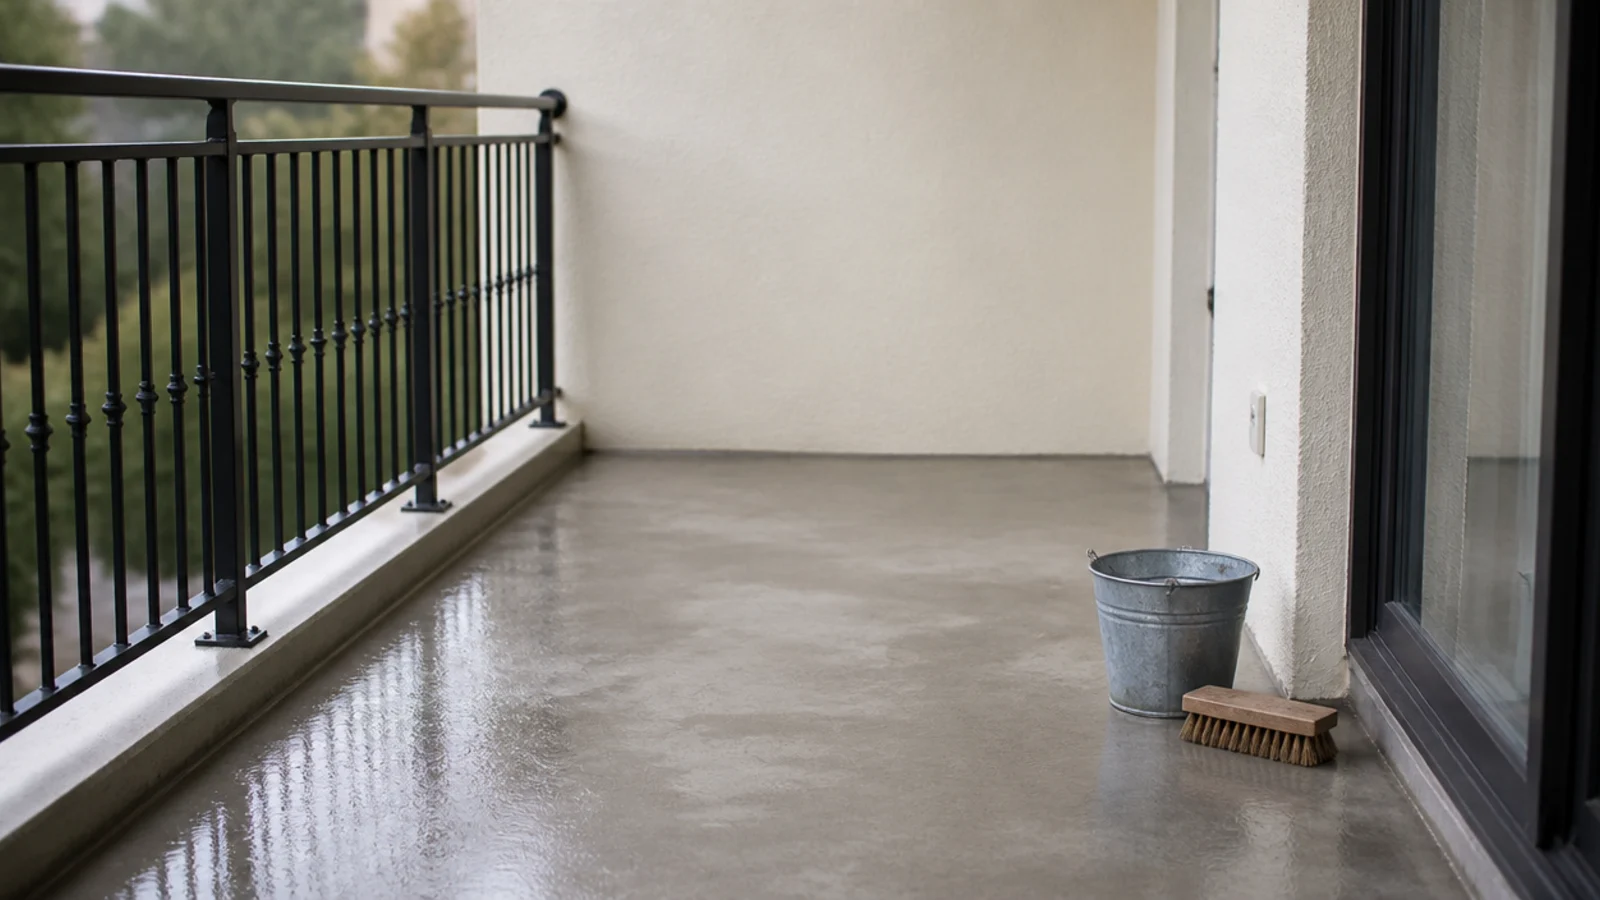
Take everything off, including the things that have lived out there since you moved in. Sweep, then scrub the slab with warm water and a stiff brush.
A clean slab makes the space feel a foot wider and tells you what you are actually working with — cracks, stains, a lip at the door. Skip pressure washers unless you know where the runoff goes; it lands on the neighbour below.
Step 4: Find the drain and check which way water runs
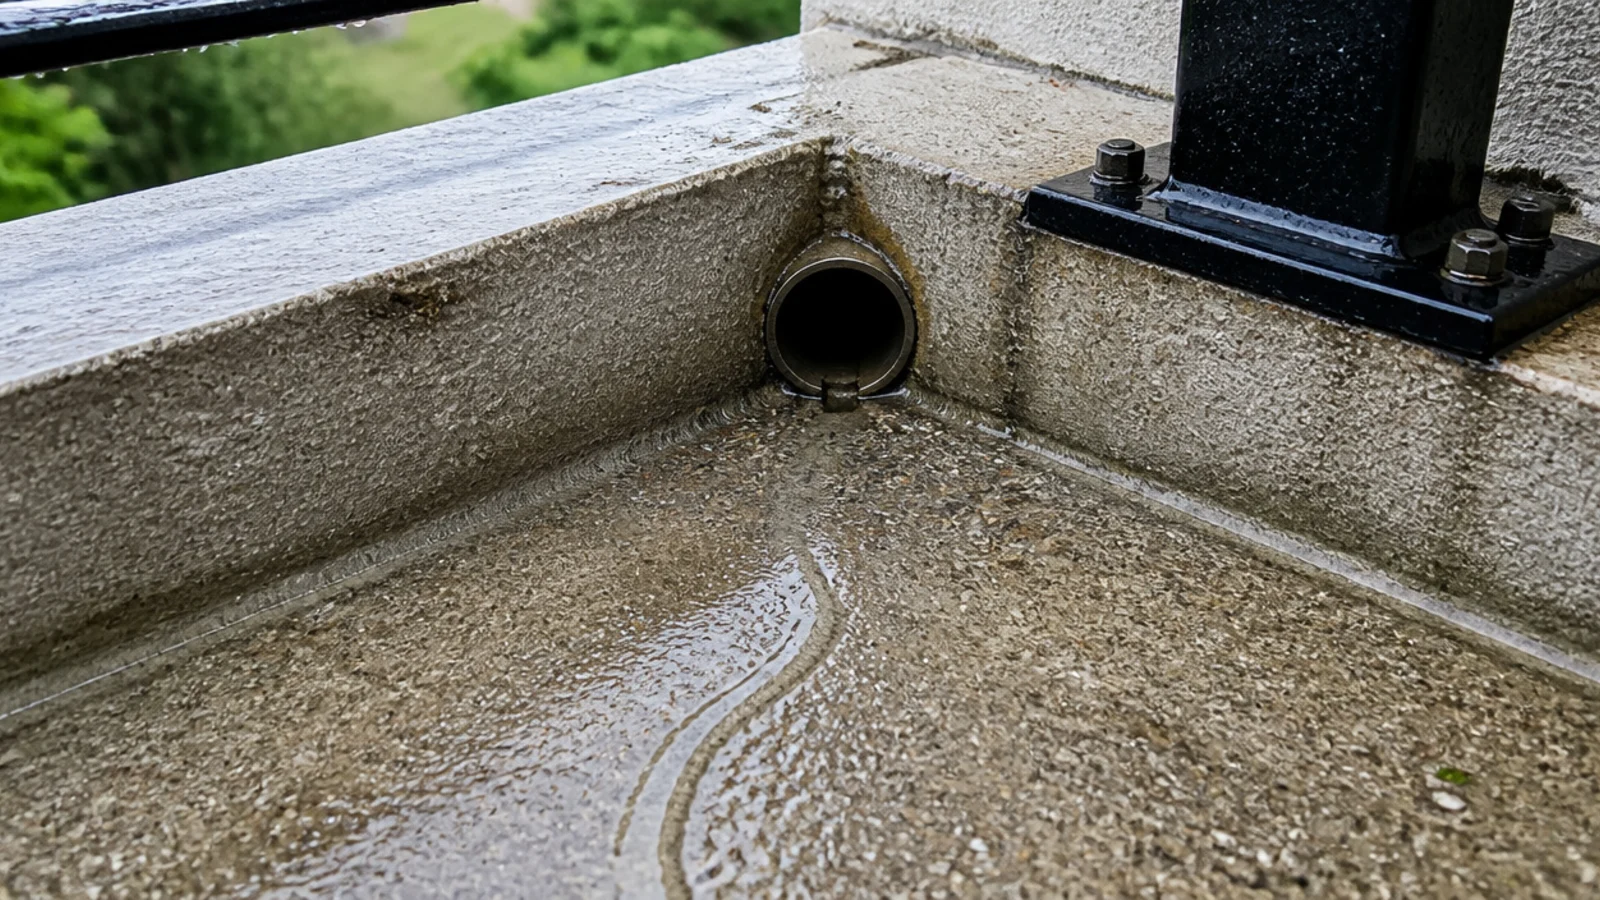
Every balcony sheds water somewhere: a scupper in the wall, a small drain in the slab, or a deliberate slope to the outer edge. Find yours and pour a cup of water to watch where it goes.
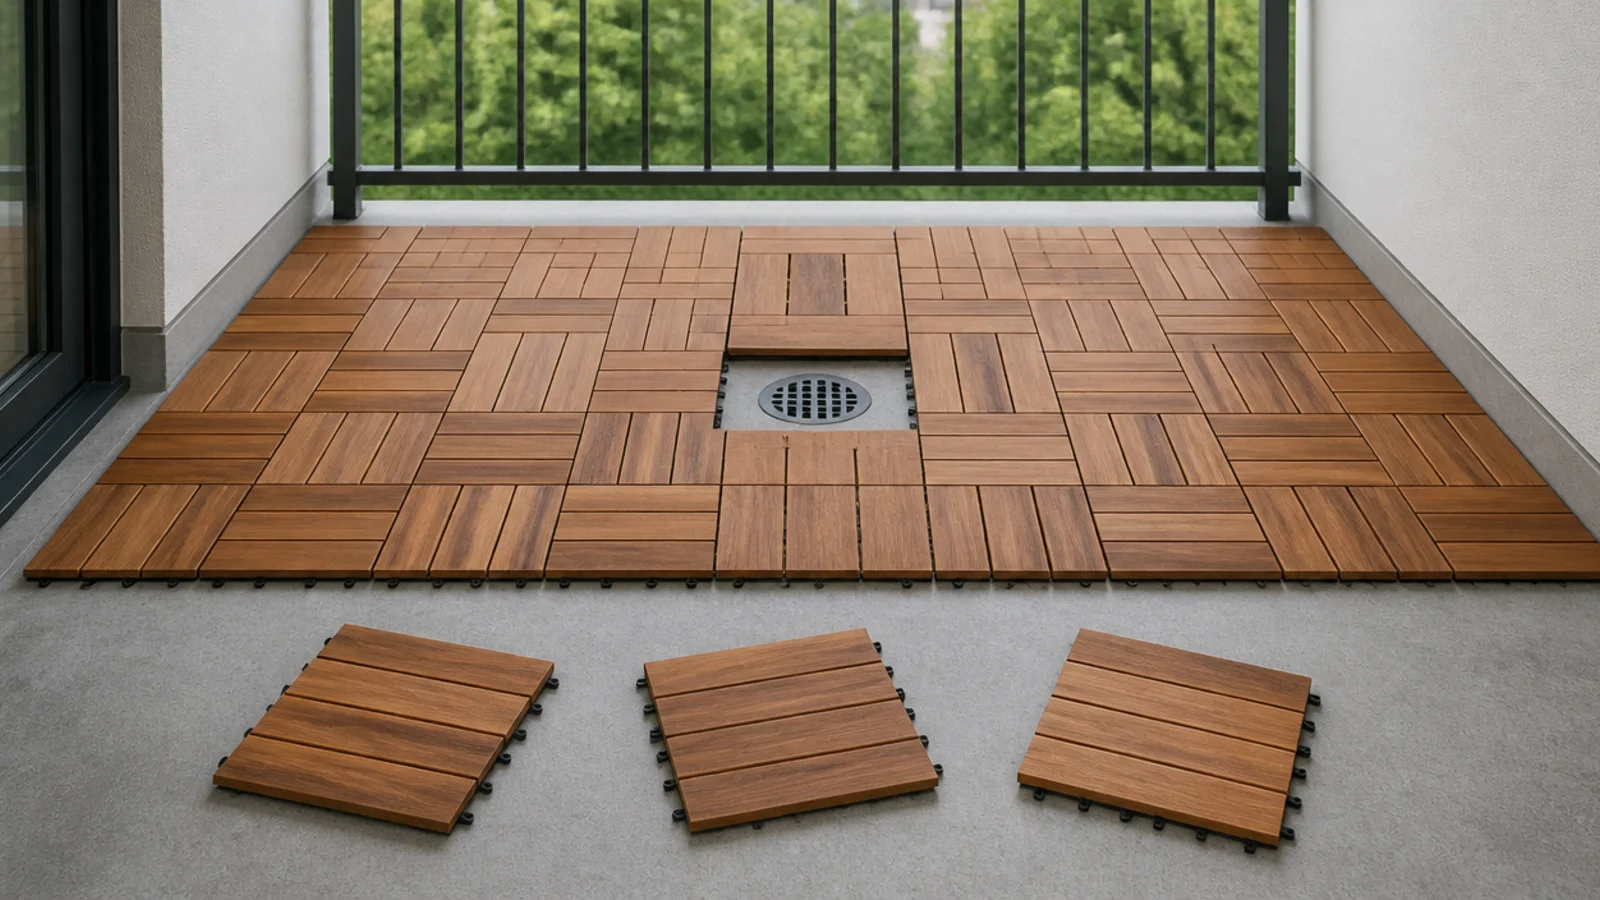
This decides your flooring. Whatever you lay down must leave that route open, which is why deck tiles and open-weave rugs work and adhesive flooring does not.
Step 5: Time the sun on one free Saturday
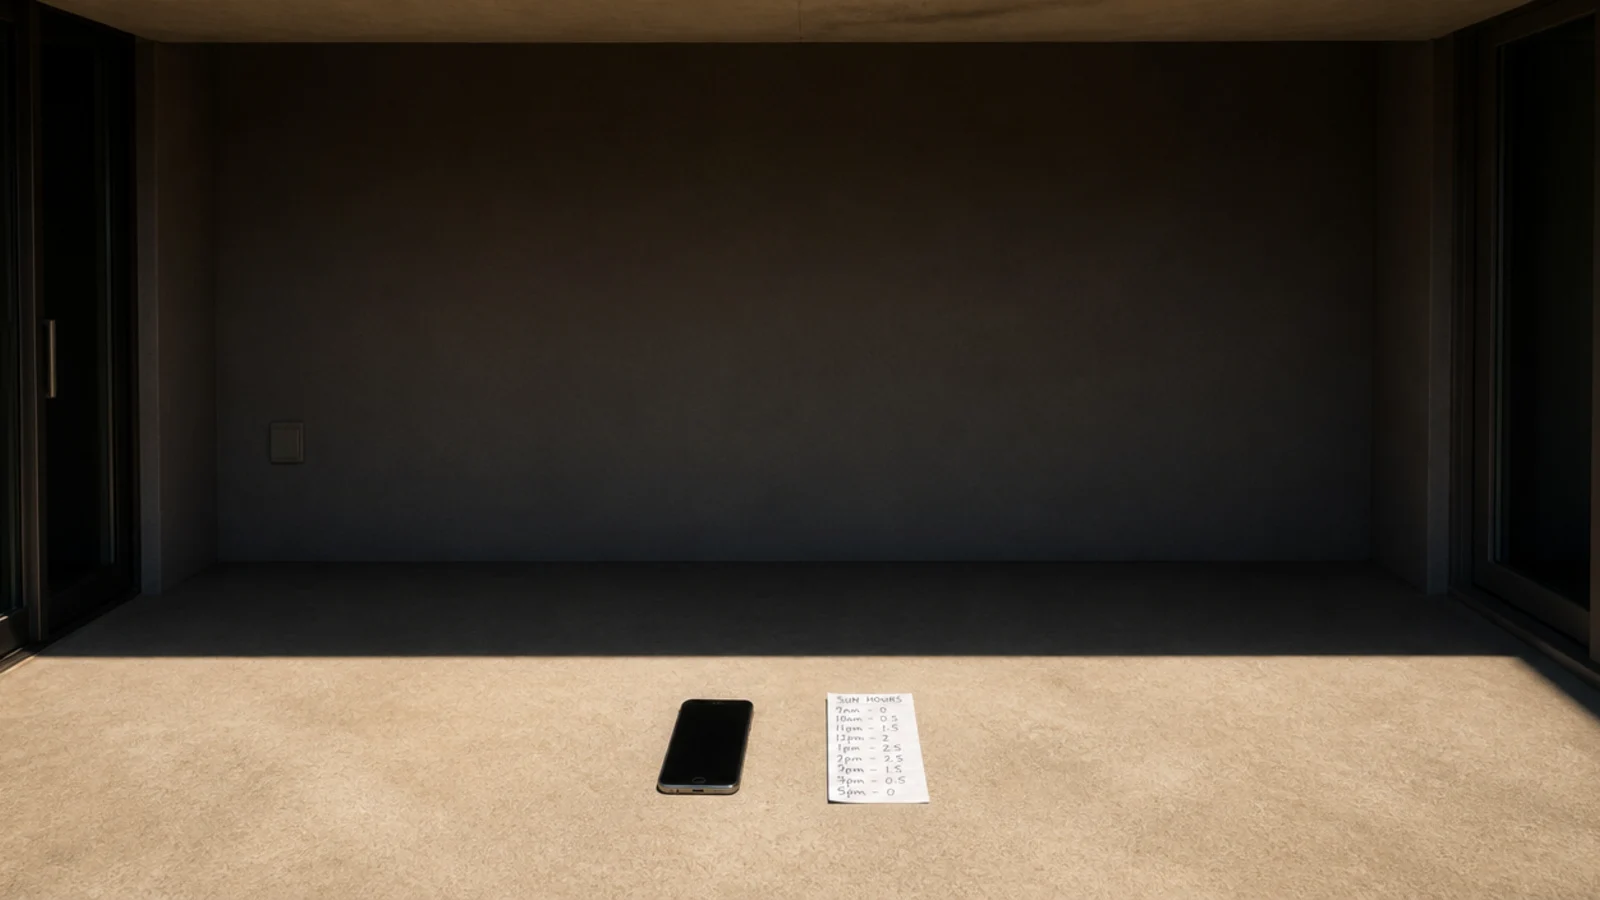
Balconies get extremes. Some are in brutal direct sun all day with heat bouncing off the concrete; others sit in near-total shade under the balcony above and never dry out.
Note the hours direct sun starts and stops on one clear day. That single measurement decides your plant list, whether you need shade, and how often you will be watering.
Step 6: Tape out the 24-inch walkway first
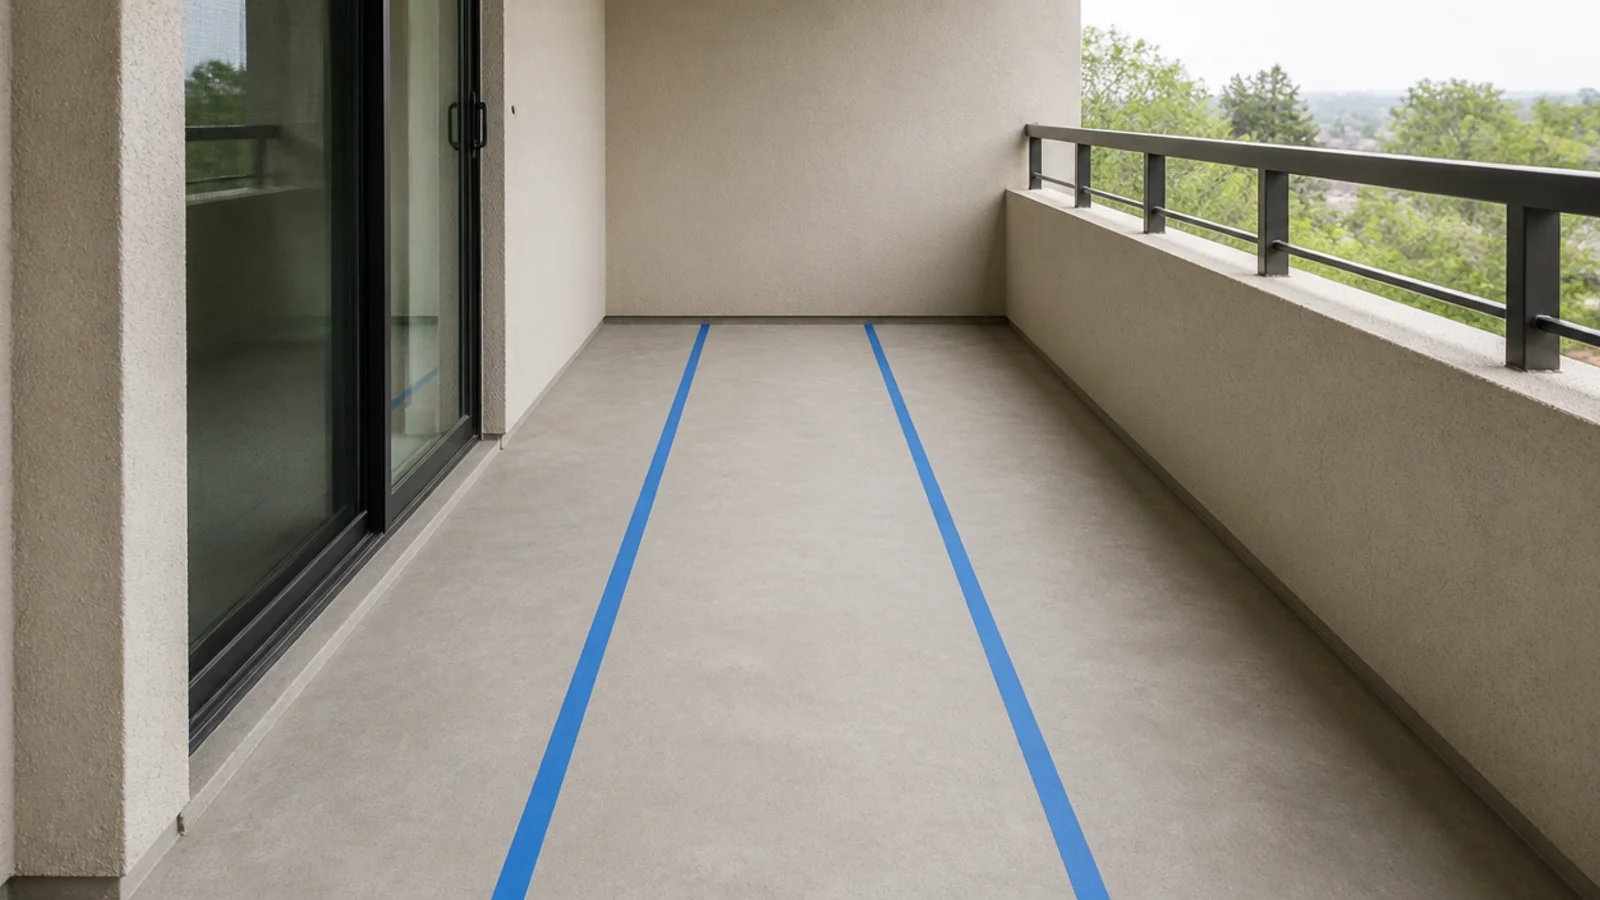
Before any furniture arrives, run two lines of painter's tape marking a clear 24-inch path from the door to the far end. Design everything else around that channel.
It is a fire code requirement in most buildings, and it is also the difference between a balcony you use and a balcony you edge sideways into. Protecting it first stops you negotiating with yourself later.
Step 7: Decide the one thing the balcony is for
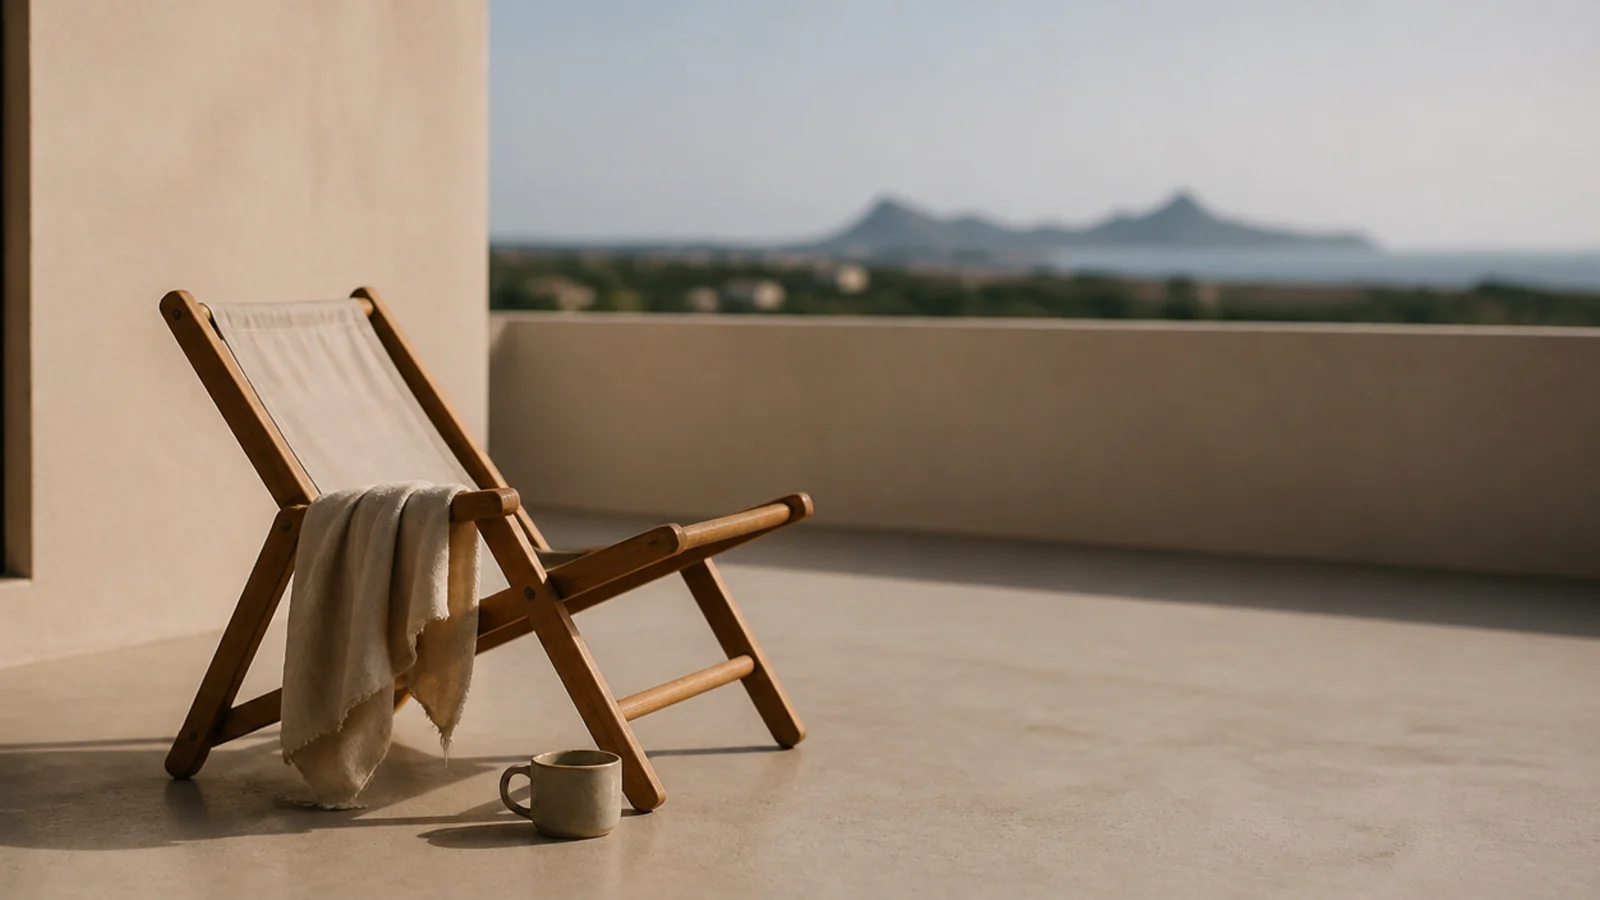
Coffee in the morning. Reading. Herbs. Somewhere to sit with a friend. Pick one and let it own the space, because 30 square feet cannot serve three purposes without failing at all of them.
The choice sets the furniture. Coffee for one needs a lounge chair and an 18-inch side table; dinner for two needs a 24-inch bistro table at 28 inches high.
Step 8: Choose the anchor piece before the extras
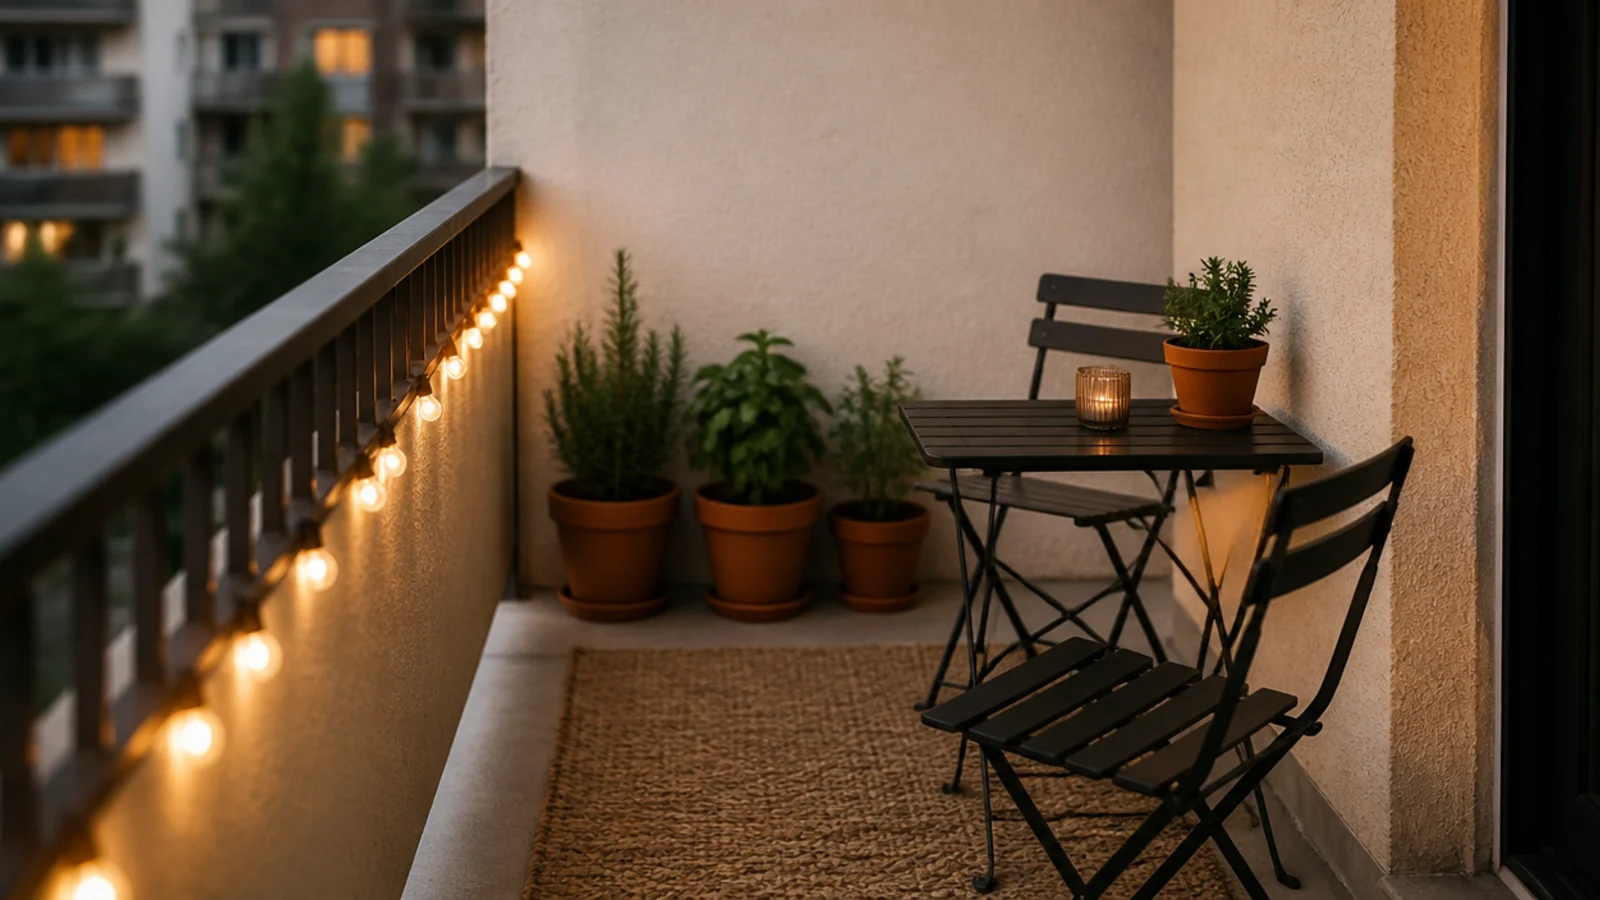
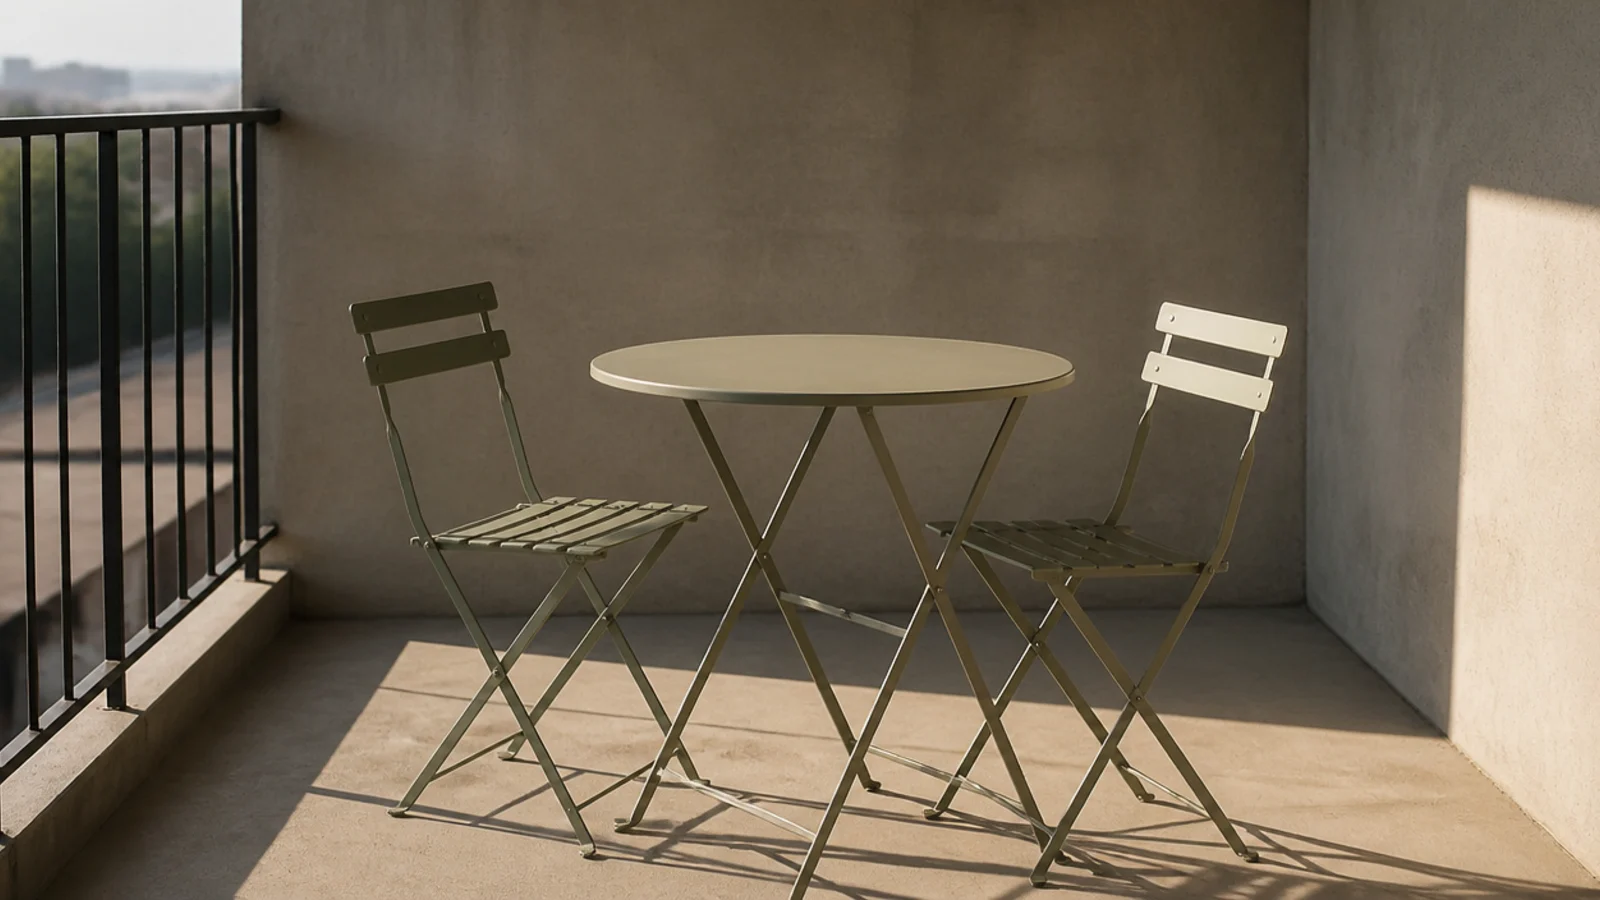
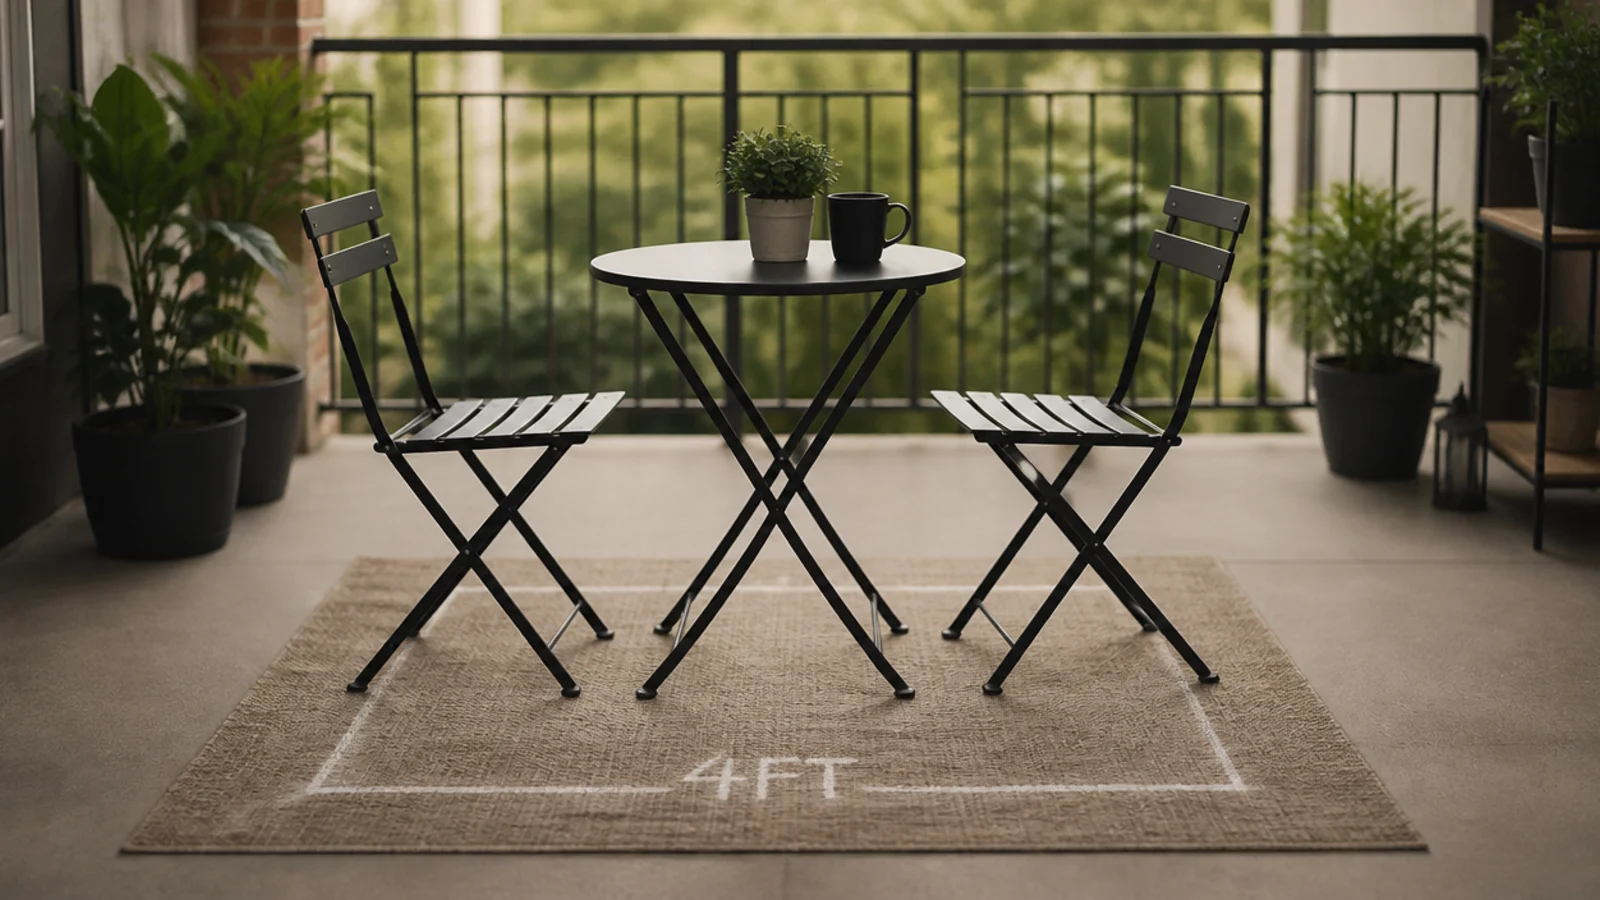
Buy the seating first and let everything else negotiate around it. A bistro set with the chairs pulled out needs roughly 4 feet by 4 feet to be usable.
Put the actual pieces on the slab, or cardboard cut to the same footprint, before committing. Furniture that photographs small in a listing is routinely 6 inches wider than the space you left for it.
Step 9: Buy folding and stackable, never fixed
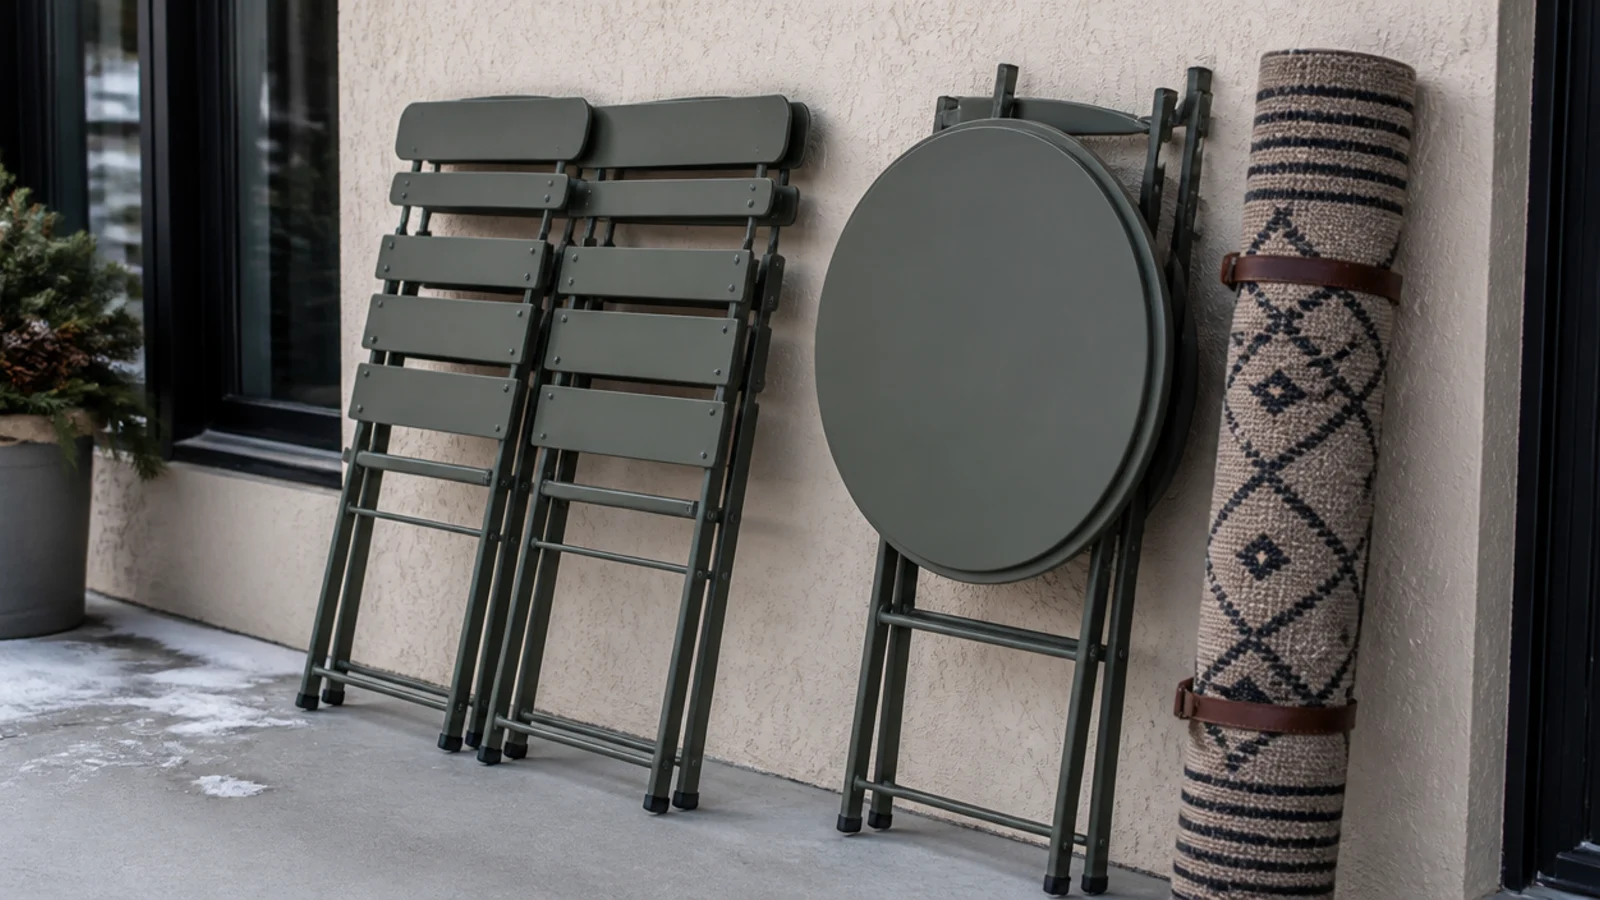
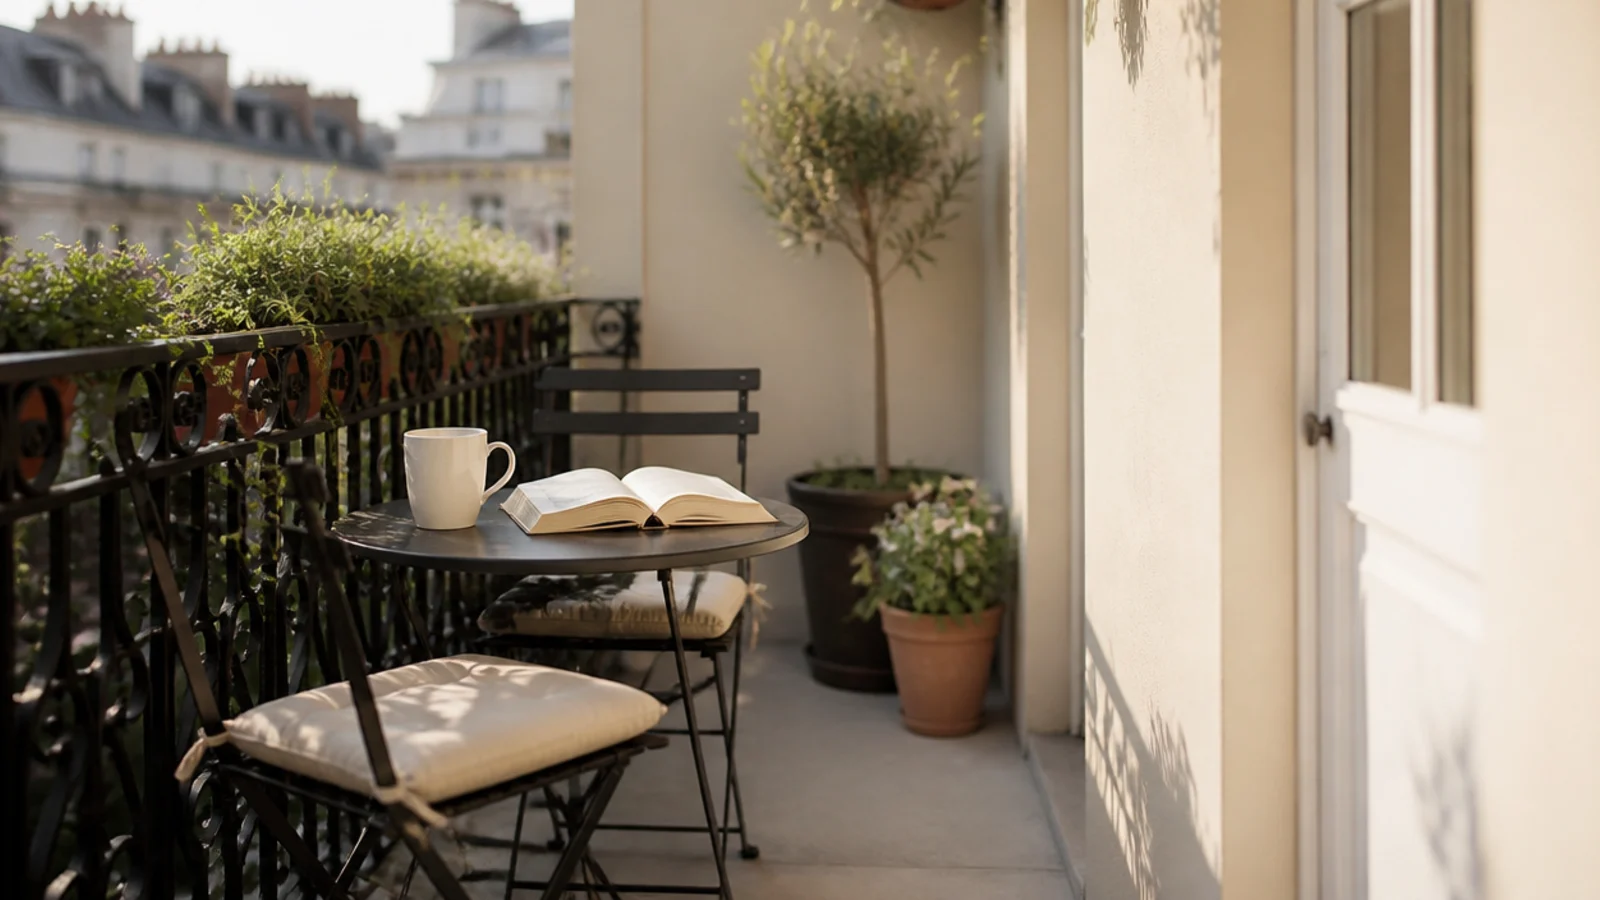
Foldable and stackable furniture is what makes a small balcony work year round. Two folding chairs collapse to about 5 inches and store flat against the wall through winter.
Look for powder-coated steel or acacia with a wide foot. Avoid hollow resin, which is both the lightest thing in the wind and the first to crack in cold.
Step 10: Lay the floor with deck tiles or a quick-dry rug
Flooring is the single biggest visual change available to a renter. Interlocking deck tiles clip over concrete in an afternoon and lift out at move-out.
If you prefer a rug, it must be the open-weave flatwoven kind you can see light through. Dense pile traps water against the slab, stains it, and smells within a month. Leave 4 to 6 inches of bare concrete at the edges either way.
Step 11: Set the furniture inside a 4 by 4 foot zone
Place the anchor piece and pull the chairs out as if someone were sitting down. That is the real footprint, and it is where most balcony plans fail.
If the square does not fit, drop from two chairs to one chair plus a stool, or move to a rail-mounted folding table with stools that push underneath. Both give you back a foot of floor.
Step 12: Put the weight where the slab is strongest
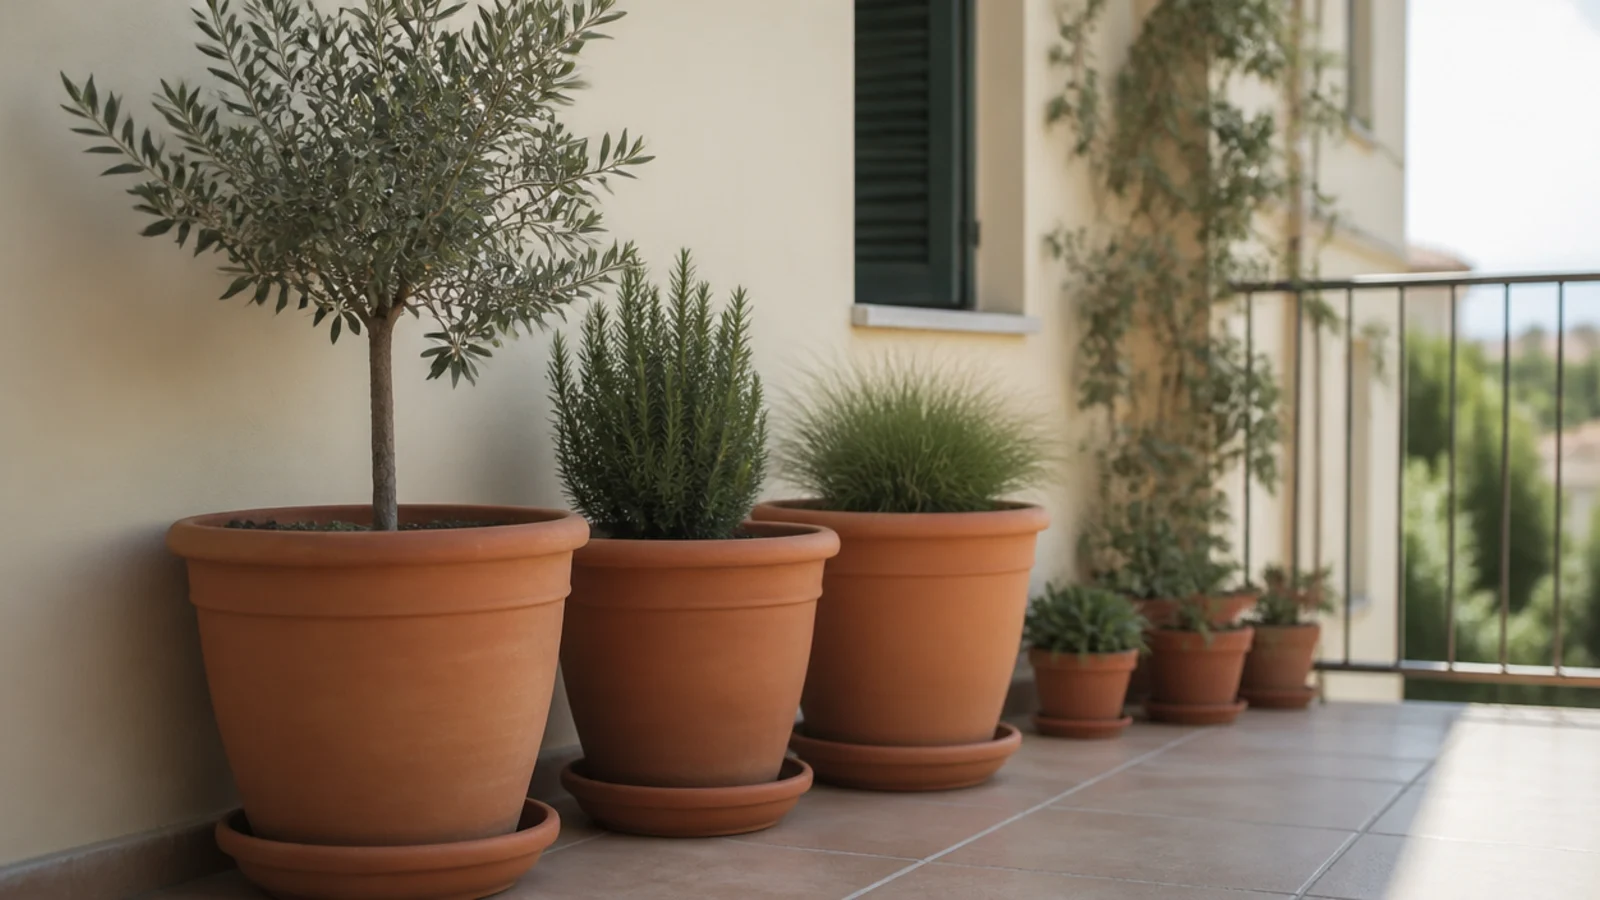
Balconies are designed for distributed load, and a large planter full of wet soil can pass 100 pounds. Concentrating that along the outer rail is exactly the wrong place for it.
Cluster the heavy containers against the building wall or over the structural edges, then step down in pot size as you move outward. It reads better as well: height at the back, low at the front.
Step 13: Hook planters over the inside of the rail only
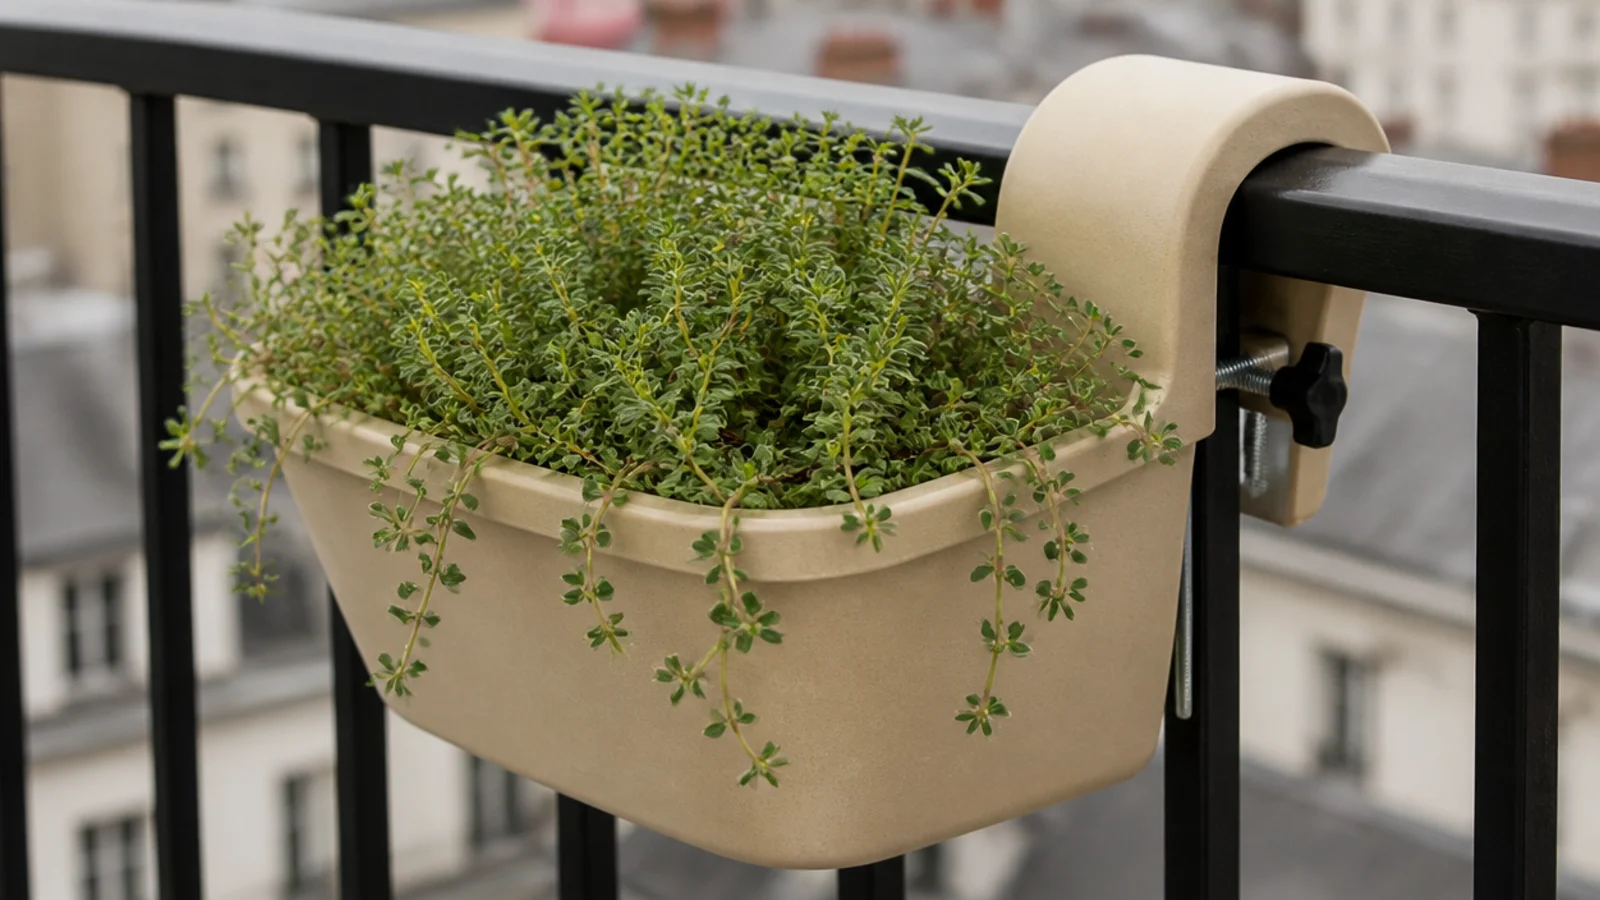
Nothing mounts on the outside face of a railing, ever. A pot that works loose several floors up can kill someone below, which is why leases prohibit it and why I will not describe a workaround.
Use hook-over boxes that sit inboard, clamp the bracket tight against the top rail, plant them shallow with herbs or sedum, and check the fixings once a month.
Step 14: Put a saucer under every single pot
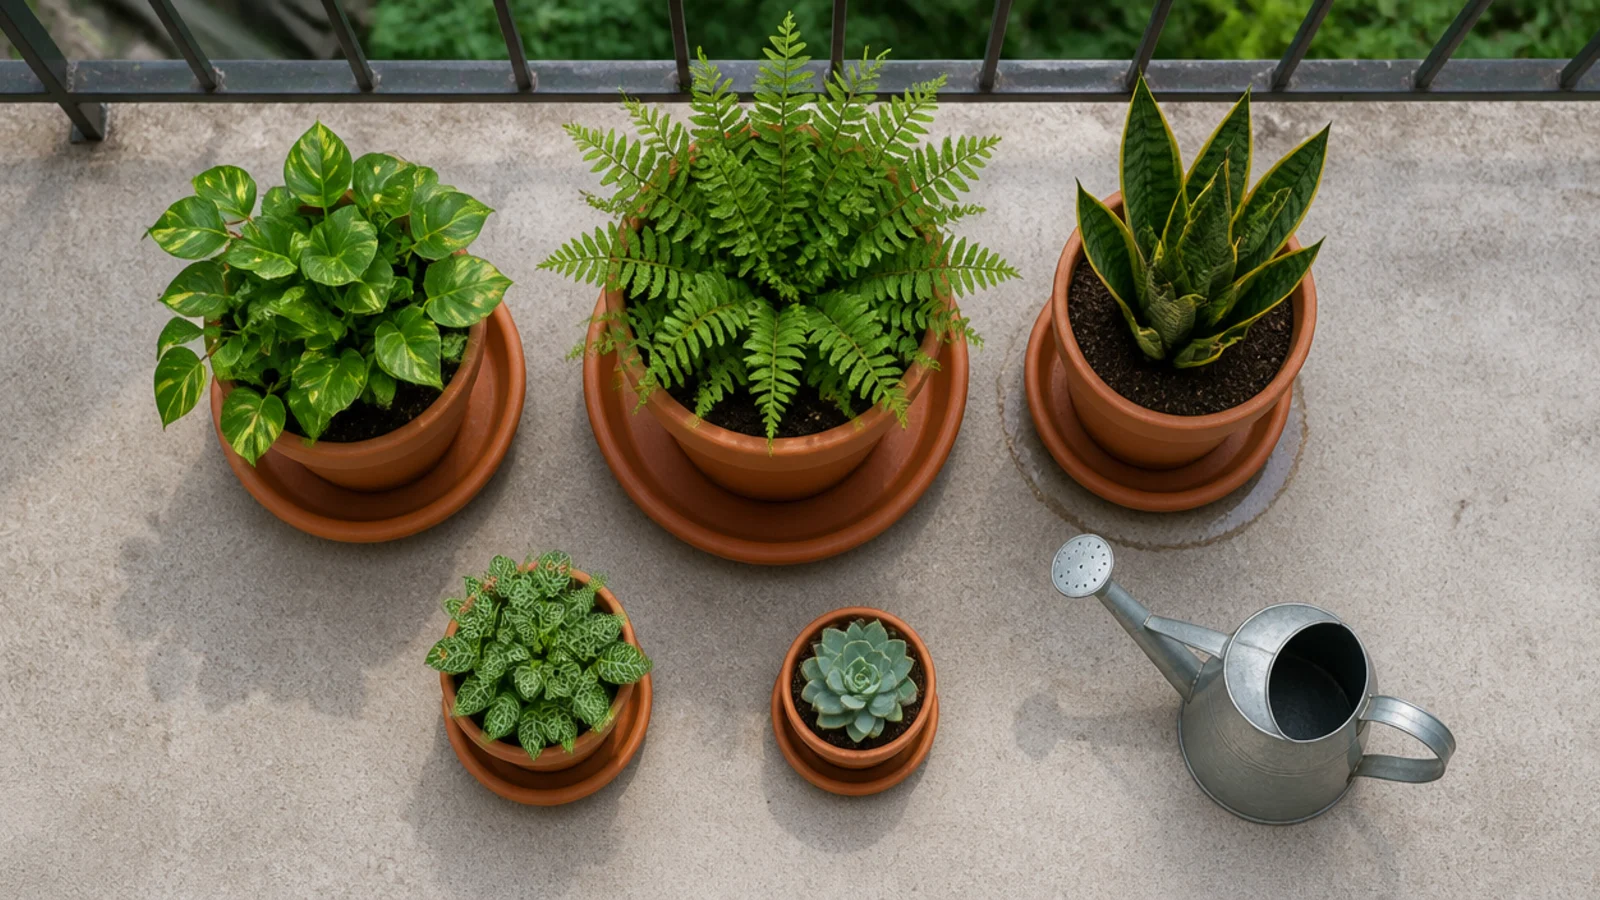
Watering on a balcony drains straight through and off the edge onto whoever lives below. A saucer wider than the pot base catches it.
Water in two slow passes so the mix absorbs rather than channeling through, and empty saucers after heavy rain so they do not sit as mosquito trays. This one habit prevents most balcony neighbour complaints.
Step 15: Match the plants to your aspect, not the photo
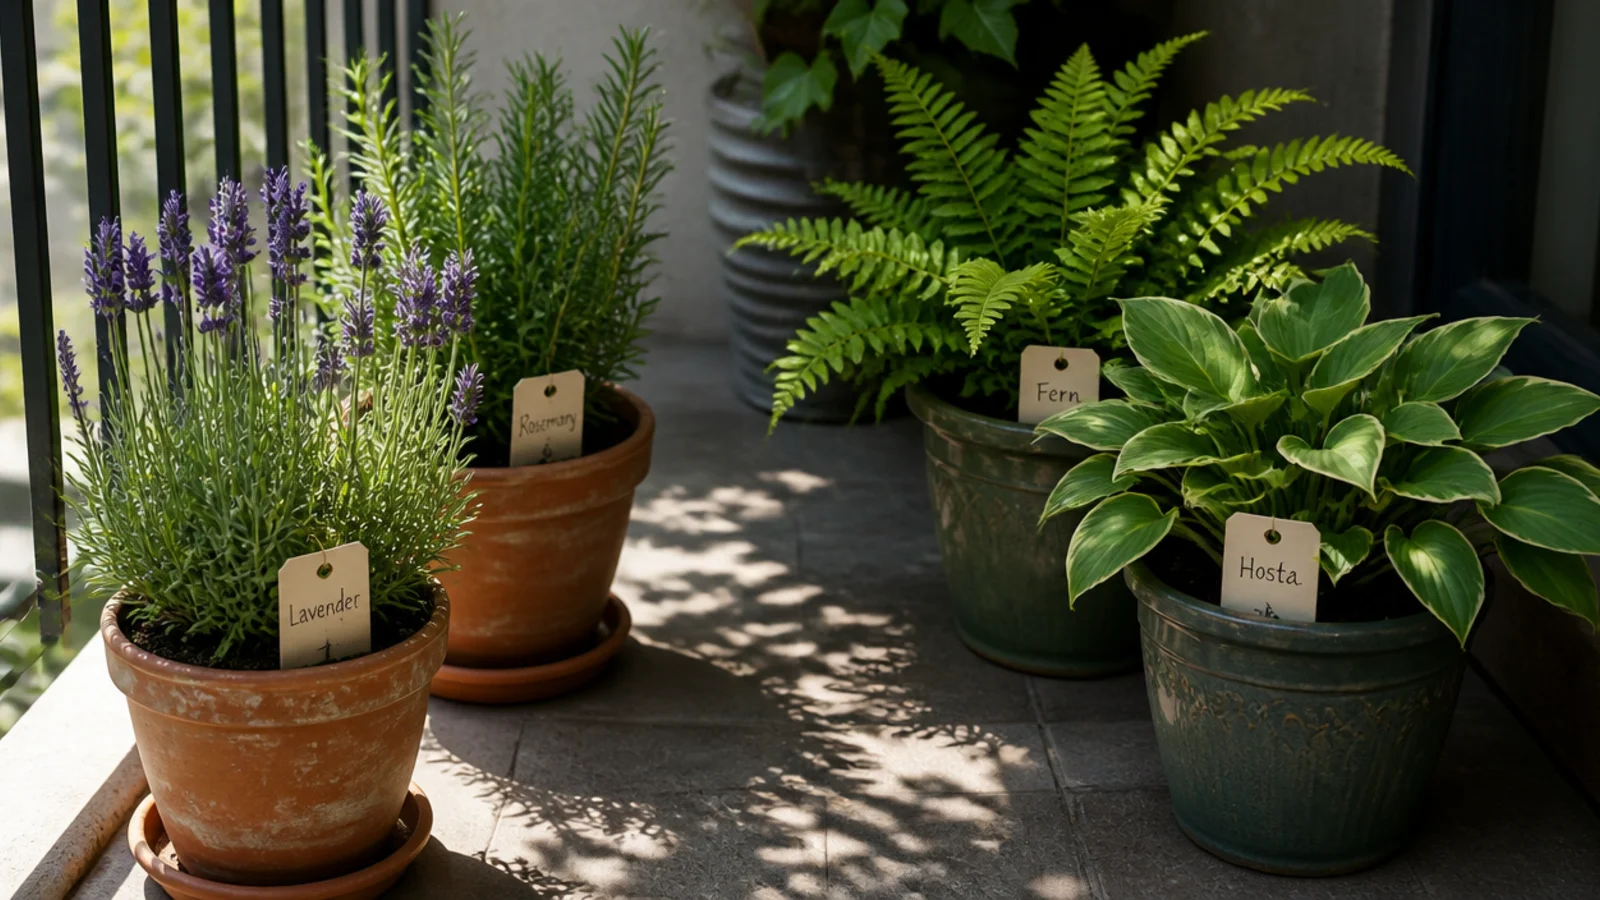
Use the sun hours from Step 5. Six or more hours of direct sun suits lavender, rosemary, thyme, pelargonium and ornamental grasses. Under three hours means ferns, hosta, begonia and ivy.
Containers on concrete dry out several times faster than beds, so size up — a 12-inch pot survives a missed day when an 8-inch one will not. More detail in apartment balcony plants.
Step 16: Screen only the sight line that bothers you
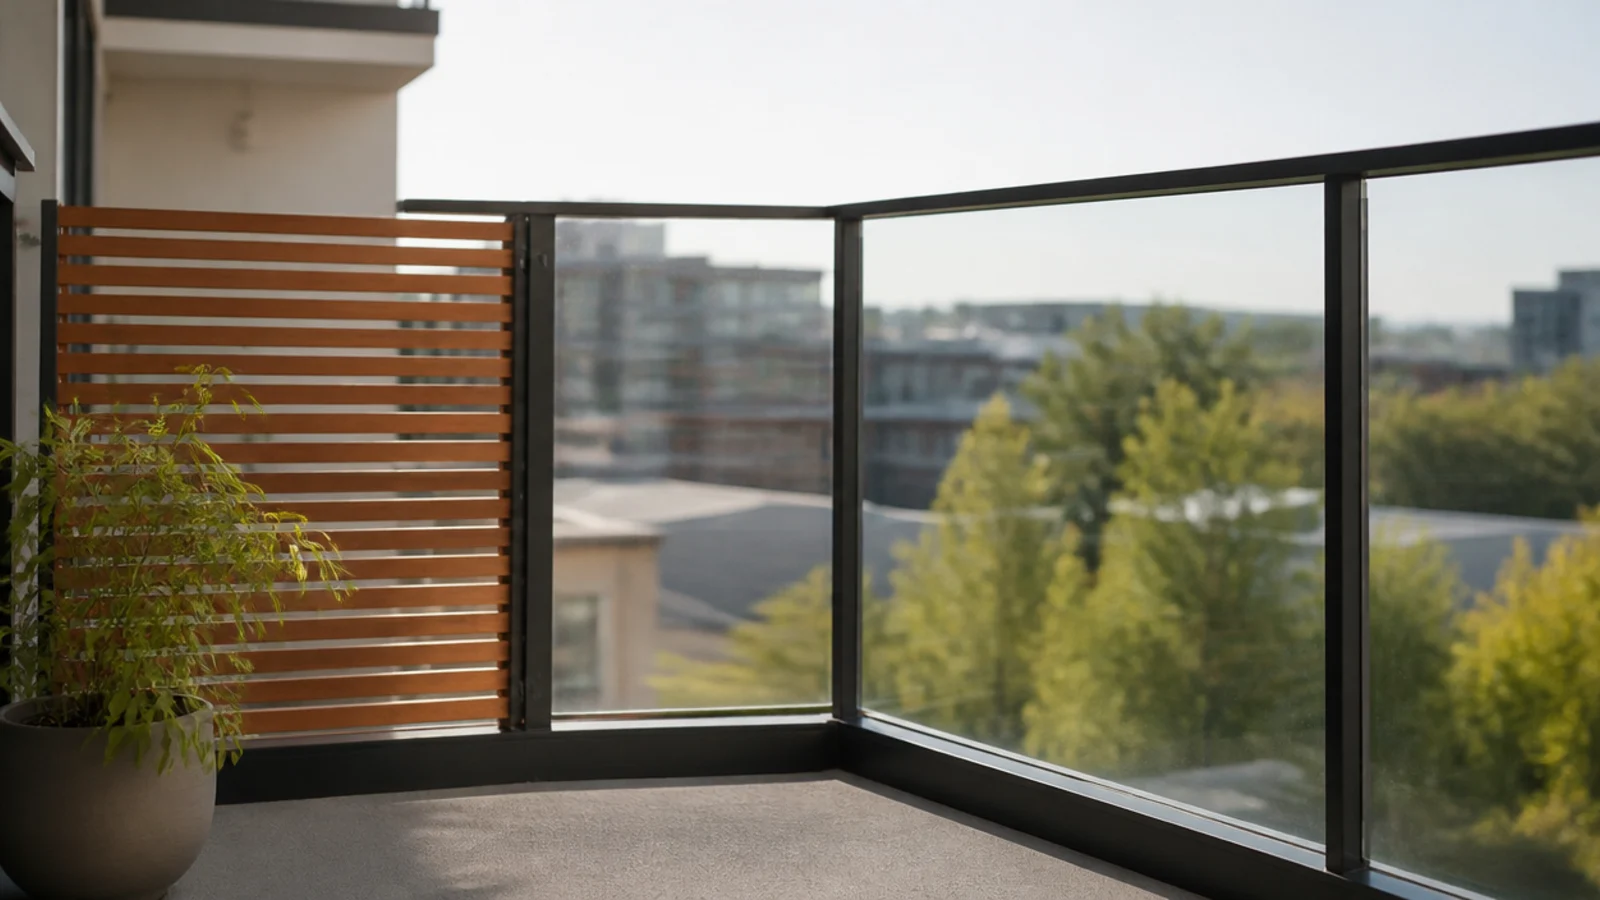
Sit in the chair before you buy screening. The problem is almost always one specific view rather than the whole railing.
Fit a slatted or reed panel about 40 to 48 inches tall on the inside face of that section only. Slatted lets wind through; solid panels act as sails and stress both the railing and the fixings. Confirm your building allows screens above rail height first.
Step 17: Wind-proof everything above the third floor
Wind is the constraint people ignore until something goes over. Above the third floor, treat every light object as a projectile in waiting.
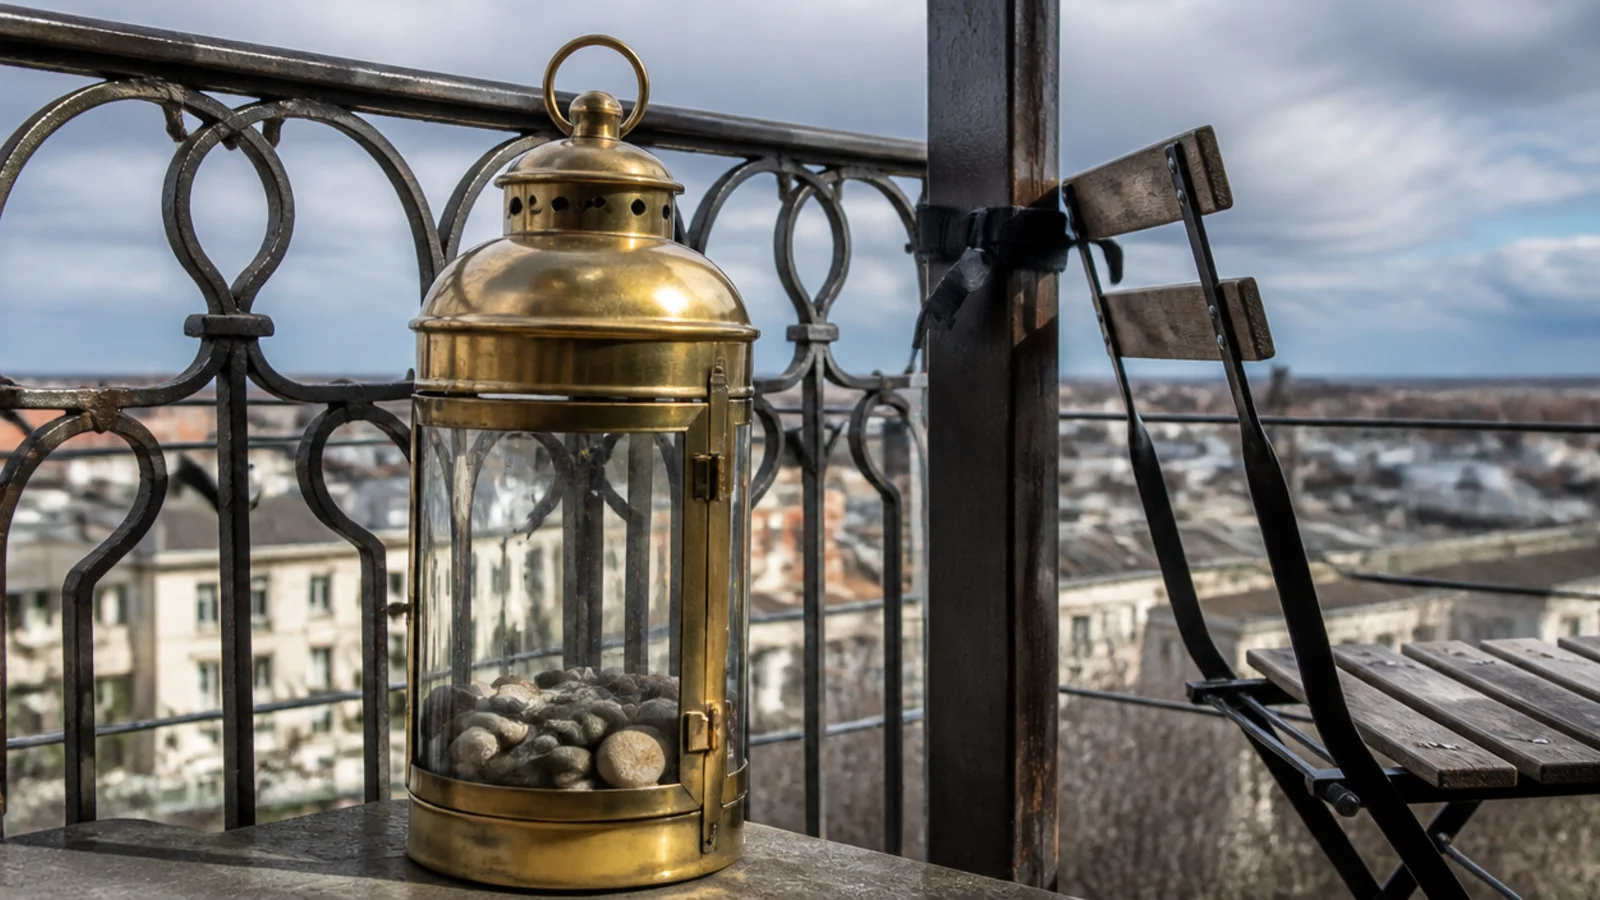
Fill lantern bases with stones, choose chairs with a wide low stance, tether umbrellas to the railing and take them down when you leave. Anything tall and light — a lattice panel, a slim planter, a folded parasol — gets weighted at the base or stored inside.
Step 18: Light it with solar and battery, never flame
Candles, fire pits and chimineas are prohibited on most balconies, and wind makes them genuinely dangerous next to fabric and dry foliage. Flameless LED and solar is the default.
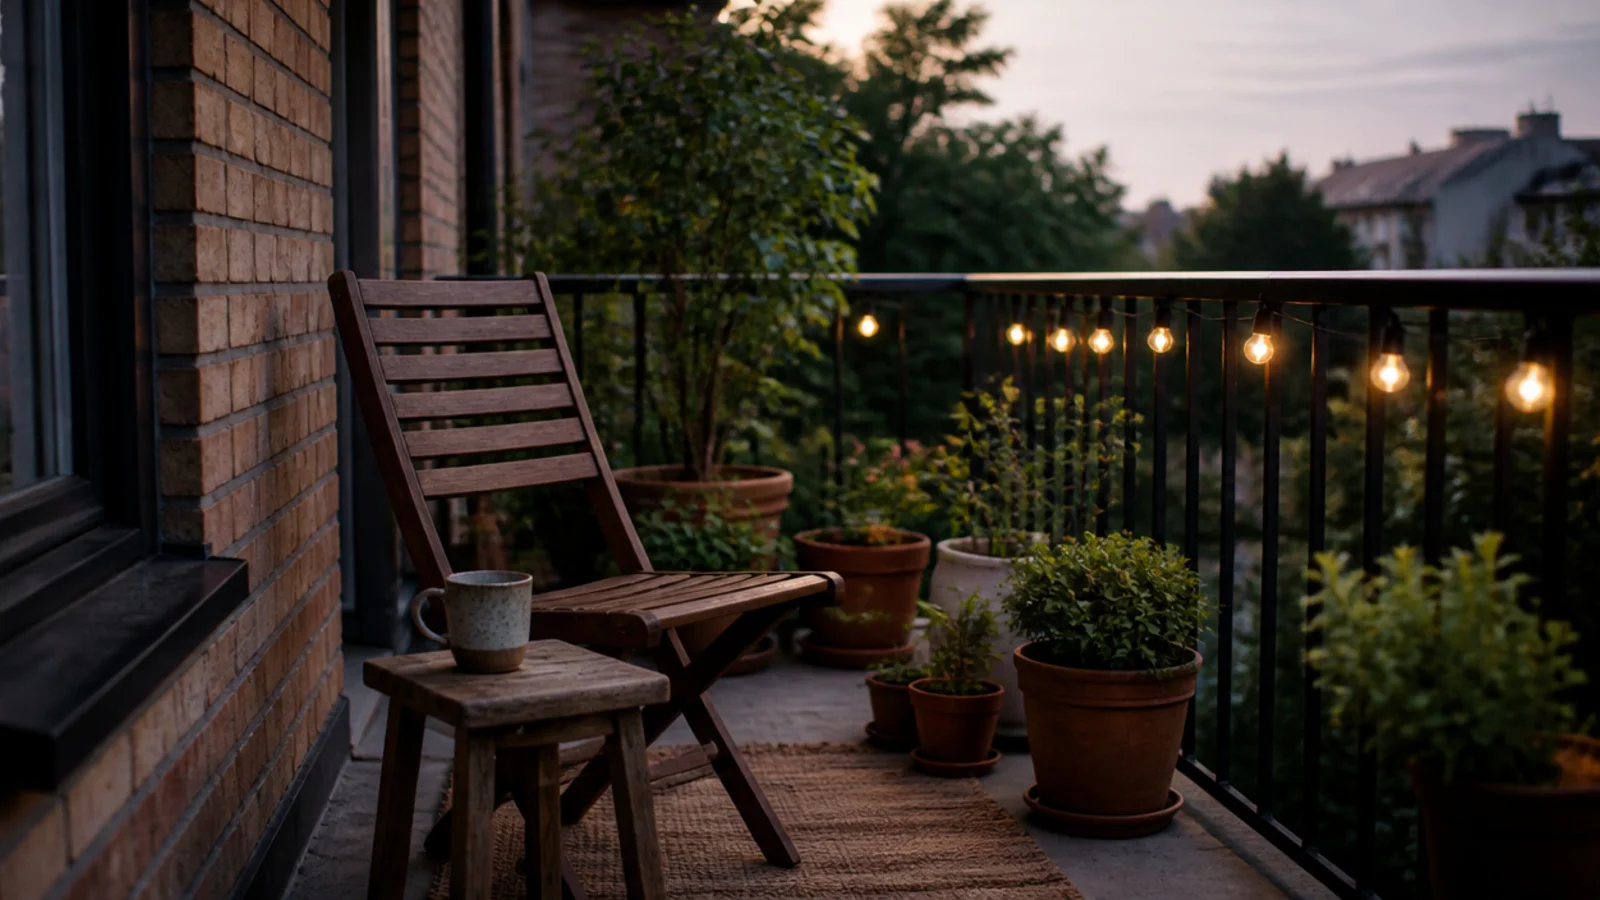
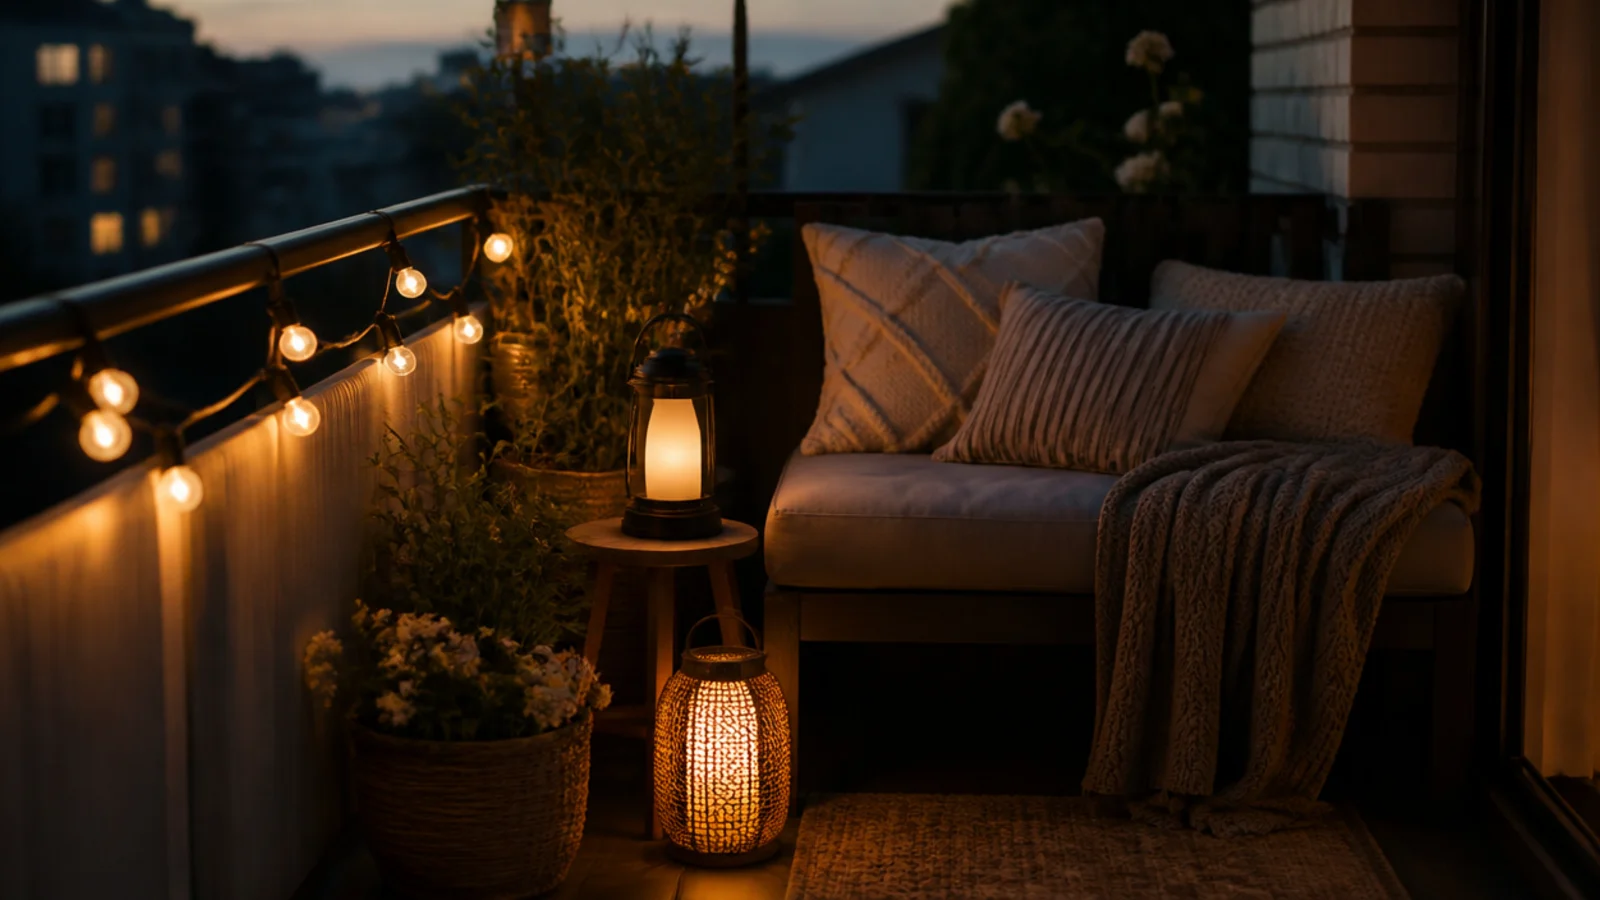
Use two sources at different heights: a string along the inner rail for the wash, and a lantern at floor or table height for the pool of warm light. Buy 2700K, never cool white — cool light turns terracotta grey and makes the whole slab look institutional.
Step 19: Give the cushions and throws a ten-second home
Soft goods make the balcony, and rain destroys them. The deciding factor is not fabric quality but how fast you can put them away.
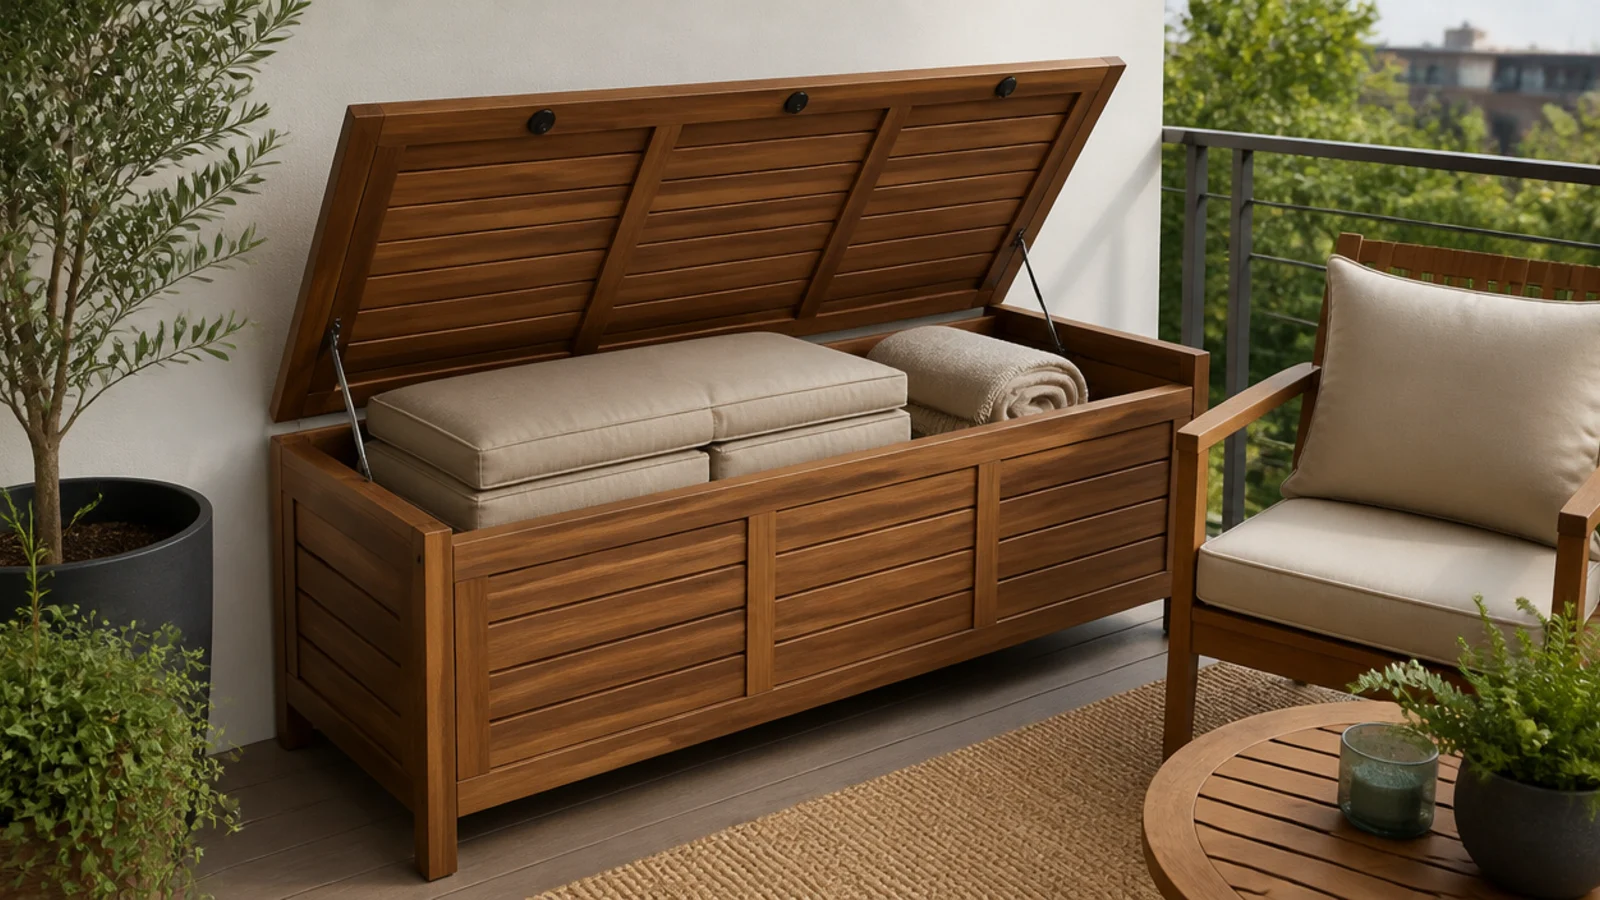
A lidded storage bench against the wall or a lidded basket just inside the door means everything is rescued in one trip. Solution-dyed acrylic covers hold color for years; printed polyester fades in a single summer.
Step 20: Live with it a week, then edit
Use the balcony every day for a week and pay attention to what you move to sit down. That object is in the wrong place, and usually it should be gone.
Then remove two things. Every balcony I have styled has been better seven days later with two fewer objects on it, and mine was no exception.
Pro Styling Rules
Mistakes to Skip
- Attaching anything to the outside face of the railing. It is banned in most leases, and a falling planter from any height is a life-changing accident for a stranger.
- Covering the drain with flooring. Deck tiles and rugs must leave the water route clear, or the slab holds standing water and the stain becomes permanent.
- Buying the furniture before measuring the door swing. A chair wedged against the glass makes the whole balcony unusable, and outdoor furniture is awkward to return.
Frequently asked questions
Where do I start with a small apartment balcony?
Start with measurements and the lease, not with shopping. Get the slab depth, the width and the door swing, then read the balcony clause for rules on drilling, railings, screens and open flame. Only after that pick one anchor piece, usually seating. Buying furniture first is how people end up with a set that blocks the door and cannot be returned.
How do I make a tiny balcony feel bigger?
Keep the floor visible and the sight lines long. A flatweave rug with bare concrete showing at the edges, furniture that stops below rail height, and plants massed at one end rather than scattered all around will read as more space. Folding pieces help most, because the balcony returns to its full size whenever you are not using it.
What flooring can renters use on a balcony?
Interlocking deck tiles and open-weave outdoor rugs, both fully removable. Tiles clip together over concrete in an afternoon and lift out at move-out, though you must leave the drain clear and take them up twice a year to sweep underneath. Avoid anything adhesive, painted or dense-pile, all of which trap water and cost you the deposit.
How often do balcony containers need watering?
In full sun on concrete, daily through summer, and twice on the hottest days for anything in a pot under 10 inches. Containers dry out far faster than garden beds because heat comes at them from the slab as well as the sky. Larger pots hold moisture longer, so size up rather than adding more small ones.
Can I put a privacy screen on my balcony railing?
Check the lease and the building rules first. Many buildings prohibit attaching anything to a railing, and plenty ban screens that rise above rail height for wind and appearance reasons. Where screening is allowed, fit slatted or reed panels on the inside face only so wind passes through, and never fasten anything to the outer face.
Work these in order and the balcony comes together in two weekends: measuring and clearing on the first, floor, furniture and plants on the second. If you want the shorter version, fifteen apartment balcony ideas covers the same ground faster, and cozy apartment balcony ideas handles it on a tight budget. For the glow after dark without an open flame, the layering rules in aesthetic candle decor translate straight to LED. Save the pin so the step order is with you on the day.
Want more like this? Browse all 15 apartment balcony ideas guides — they all use the same measurements and budget tiers.
Pin it for later
Save this to your Apartment Balcony Ideas board
Pin it now so it is waiting for you when the tape measure comes out — and so the next person hunting for this idea can find it too.
Save this pinKeep going
More ideas worth saving while you have the tape measure out.