Aesthetic Candle Decor · How-To
20 Steps to Style a Stunning Aesthetic Candle

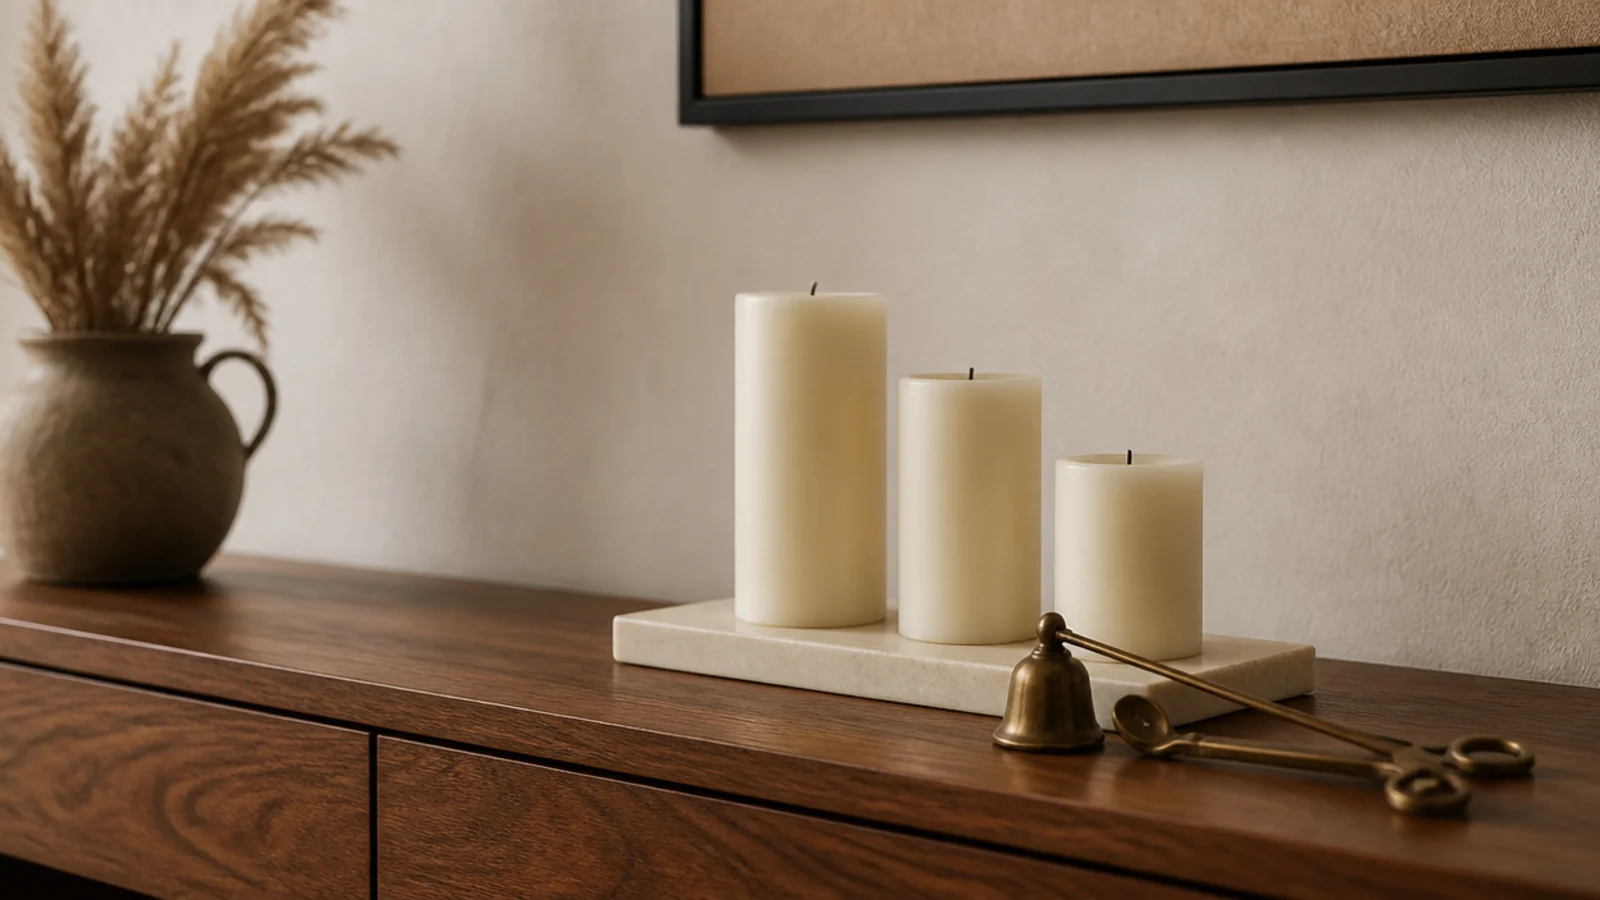
Candle styling ideas usually stop at the pretty part, which is why so many beautiful groupings sit under a shelf or a foot from a curtain. The method below runs in the order I actually use: surface first, clearance second, composition third, and the flame last. Twenty steps, about an hour, and the result works whether your candles cost $4 or $40.
In this guide23 sections — tap to openHide
- 1.What You'll Need for These Candle Styling Ideas
- 2.Step 1: Pick the surface before you pick the candle
- 3.Step 2: Measure twelve inches of clear air
- 4.Step 3: Find the draught before you light anything
- 5.Step 4: Choose an odd number
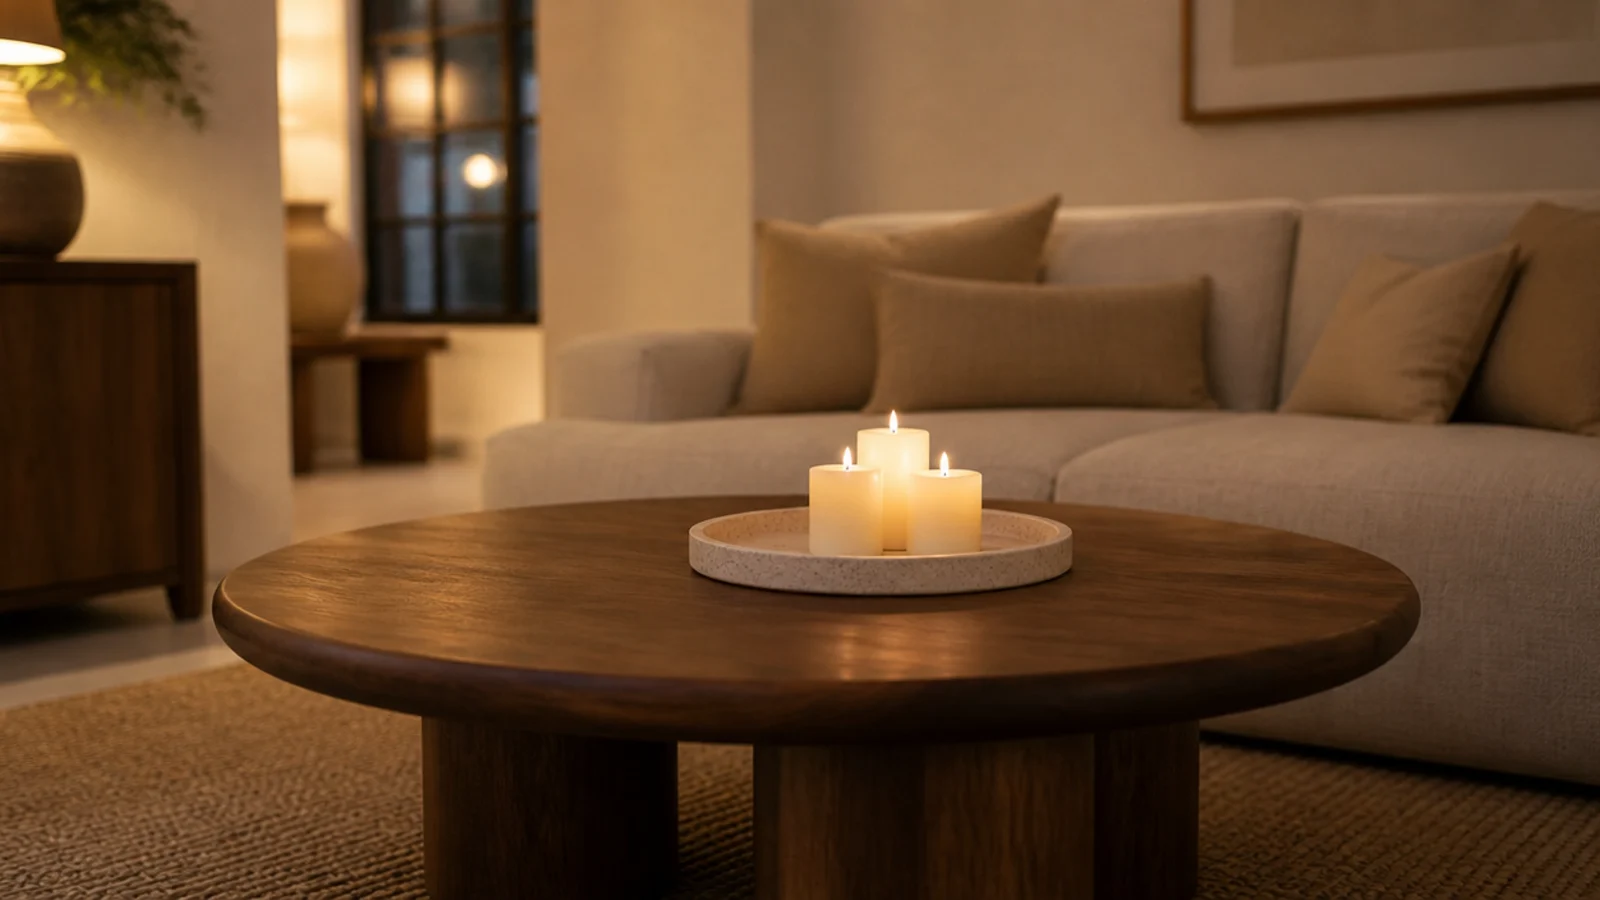
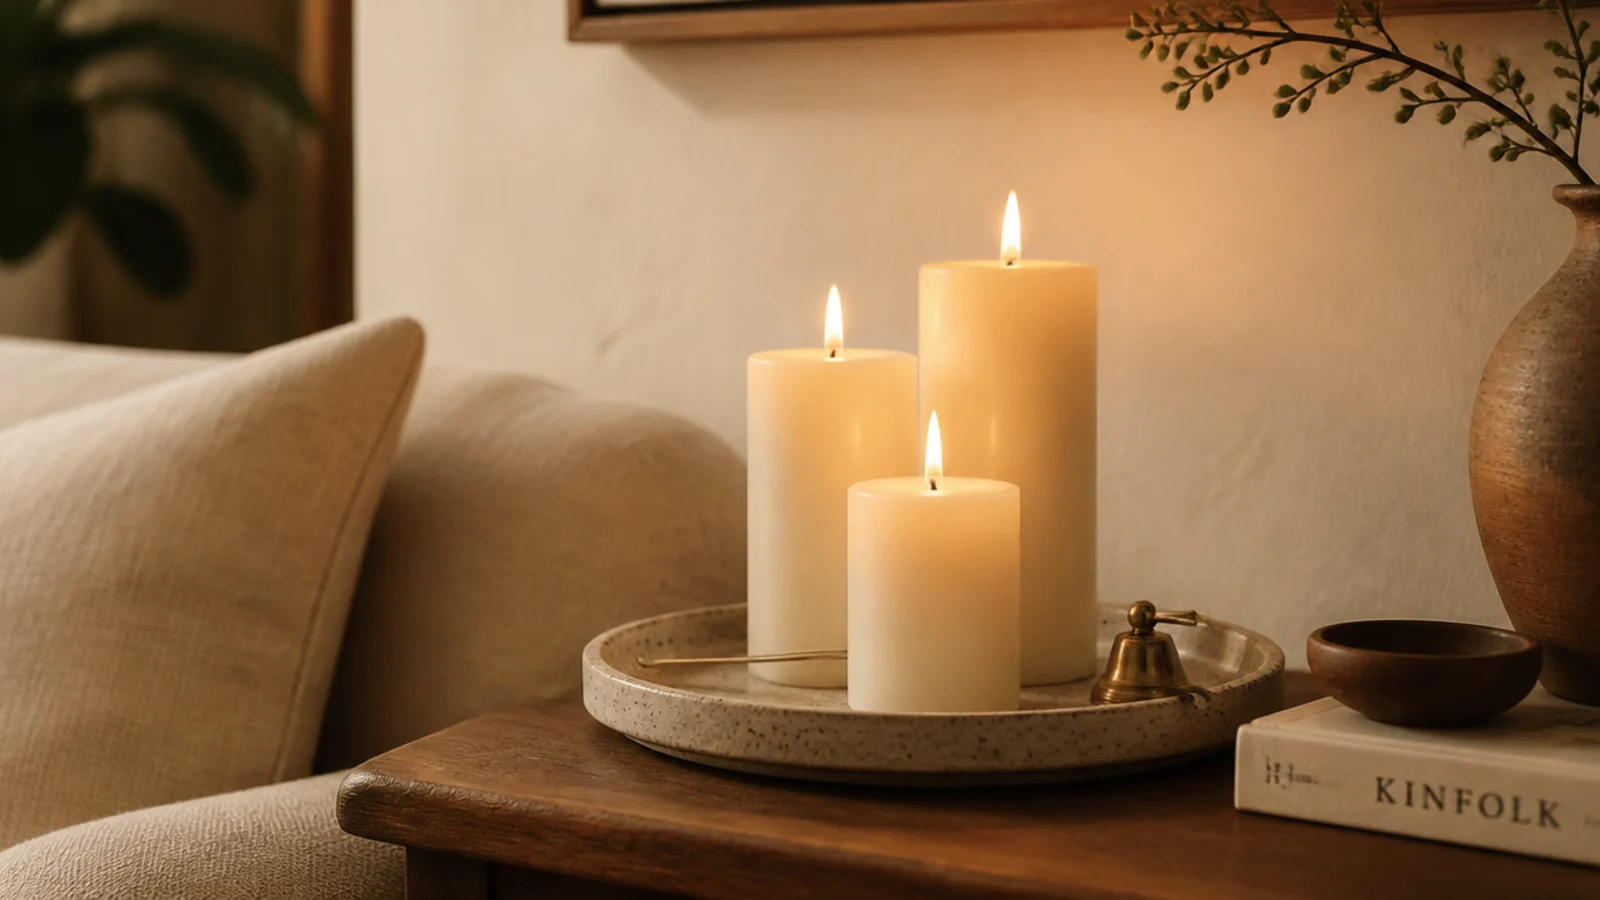
- 6.Step 5: Set three different heights
- 7.Step 6: Buy diameter, not fragrance
- 8.Step 7: Keep one color family, vary the shapes
- 9.Step 8: Decide scented or unscented by room
- 10.Step 9: Slide a tray under the whole group
- 11.Step 10: Anchor the group with something low and heavy
- 12.Step 11: Add one soft element, twelve inches out
- 13.Step 12: Mix three materials, no more
- 14.Step 13: Trim every wick to a quarter inch
- 15.Step 14: Give the first burn a full melt pool
- 16.Step 15: Cap every burn at four hours
- 17.Step 16: Swap in flameless where a flame does not belong
- 18.Step 17: Check the seated sight line
- 19.Step 18: Style the unlit look as carefully
- 20.Step 19: Snuff it, never blow it
- 21.Step 20: Reset the group every week
- 22.Pro Styling Rules
- 23.Mistakes to Skip
What You'll Need for These Candle Styling Ideas
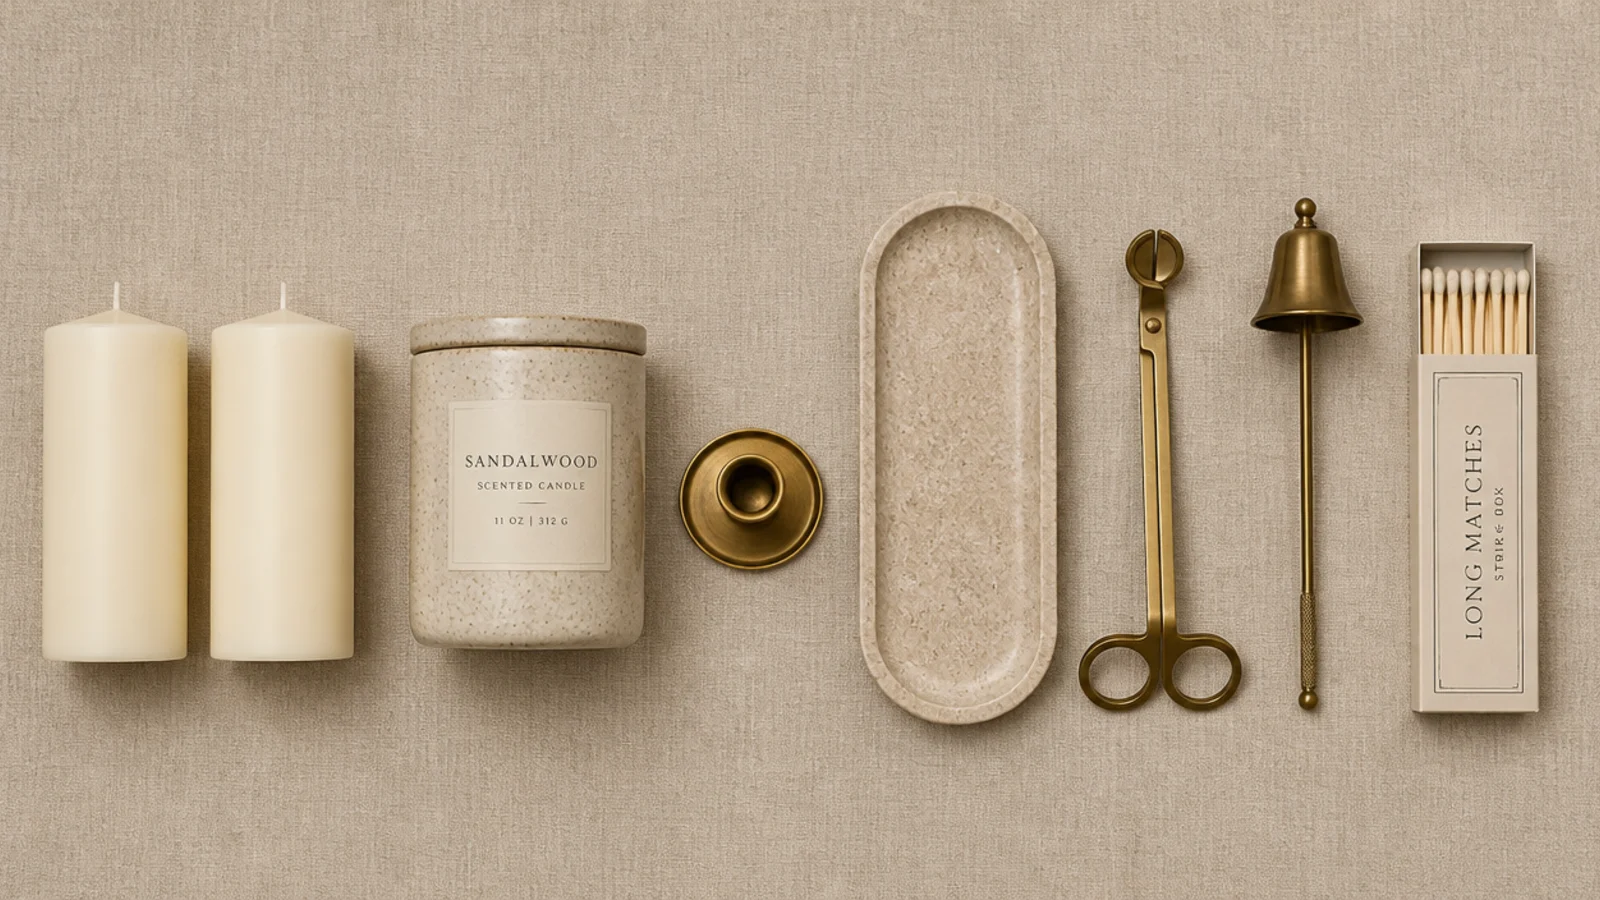
Nothing here is specialist, and the tools cost less than one good jar candle. A full setup for a console or coffee table runs $35 to $70 depending on whether you buy brass or stoneware.
| Item | Spec that matters | Rough cost |
|---|---|---|
| Pillar candles | Unscented, 3 in diameter or wider | $4–$12 each |
| Scented jar | Soy or coconut blend, single wick | $18–$40 |
| Flameless pillars | Real wax shell, warm flicker, timer | $18–$35 for 3 |
| Tray | Stone, ceramic or metal, 9–12 in, lipped | $12–$30 |
| Holders | Solid brass or stoneware, weighted base | $10–$45 |
| Wick trimmer | Angled blade, quarter-inch gauge | $9 |
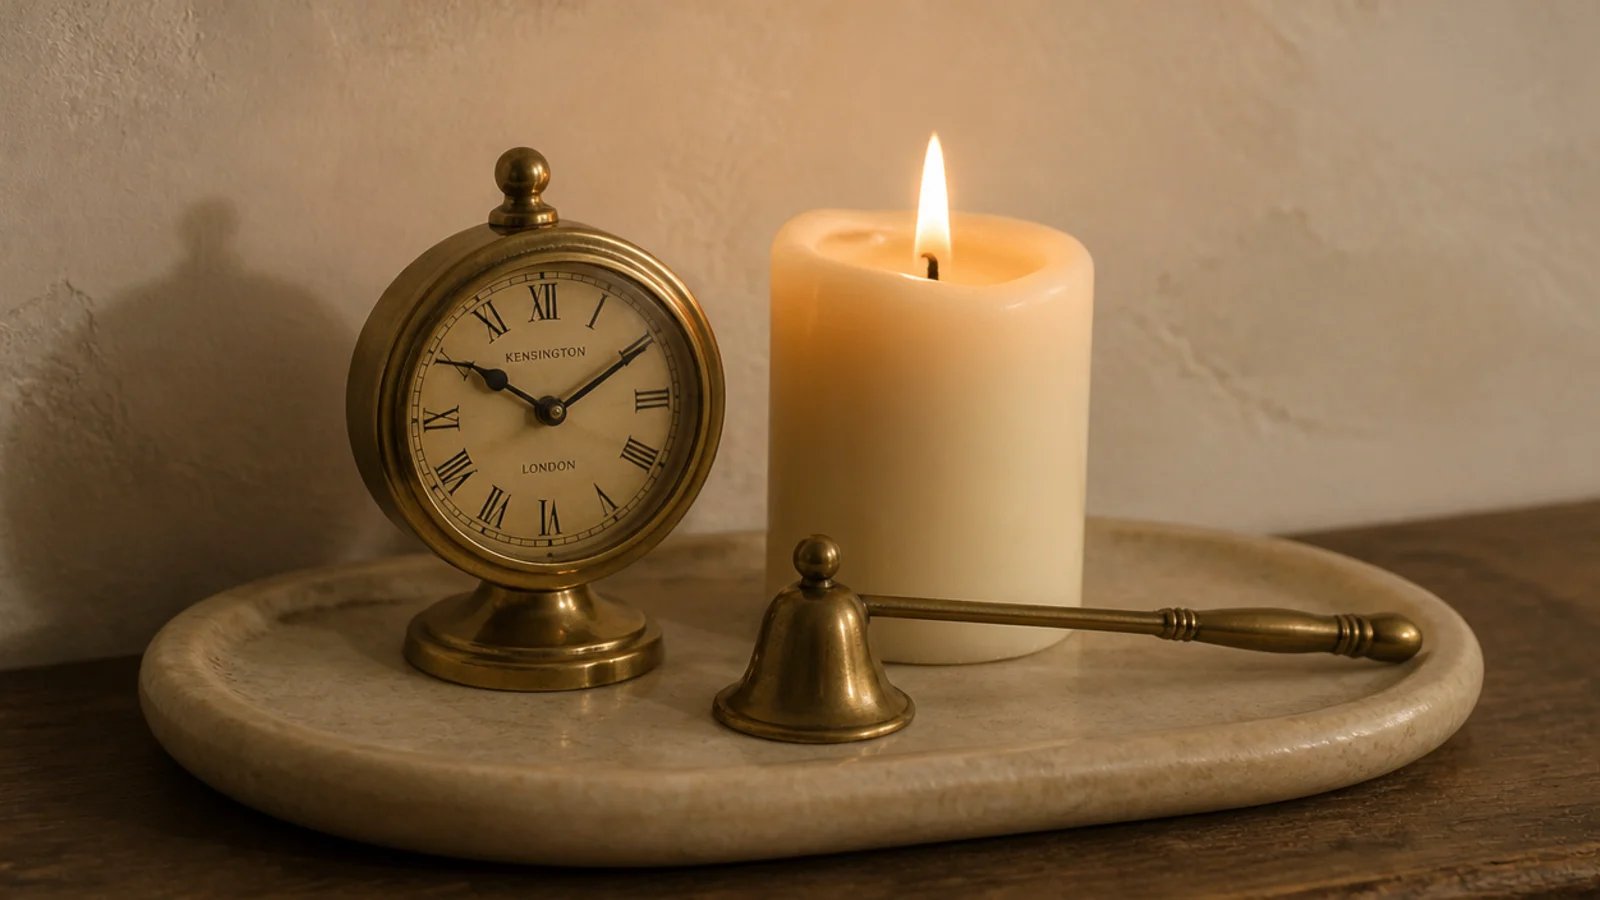
| Snuffer | Long-handled bell, or a wick dipper | $8–$14 |
| Hurricane glass | Open top, 4 in taller than the flame | $15–$30 |
Step 1: Pick the surface before you pick the candle
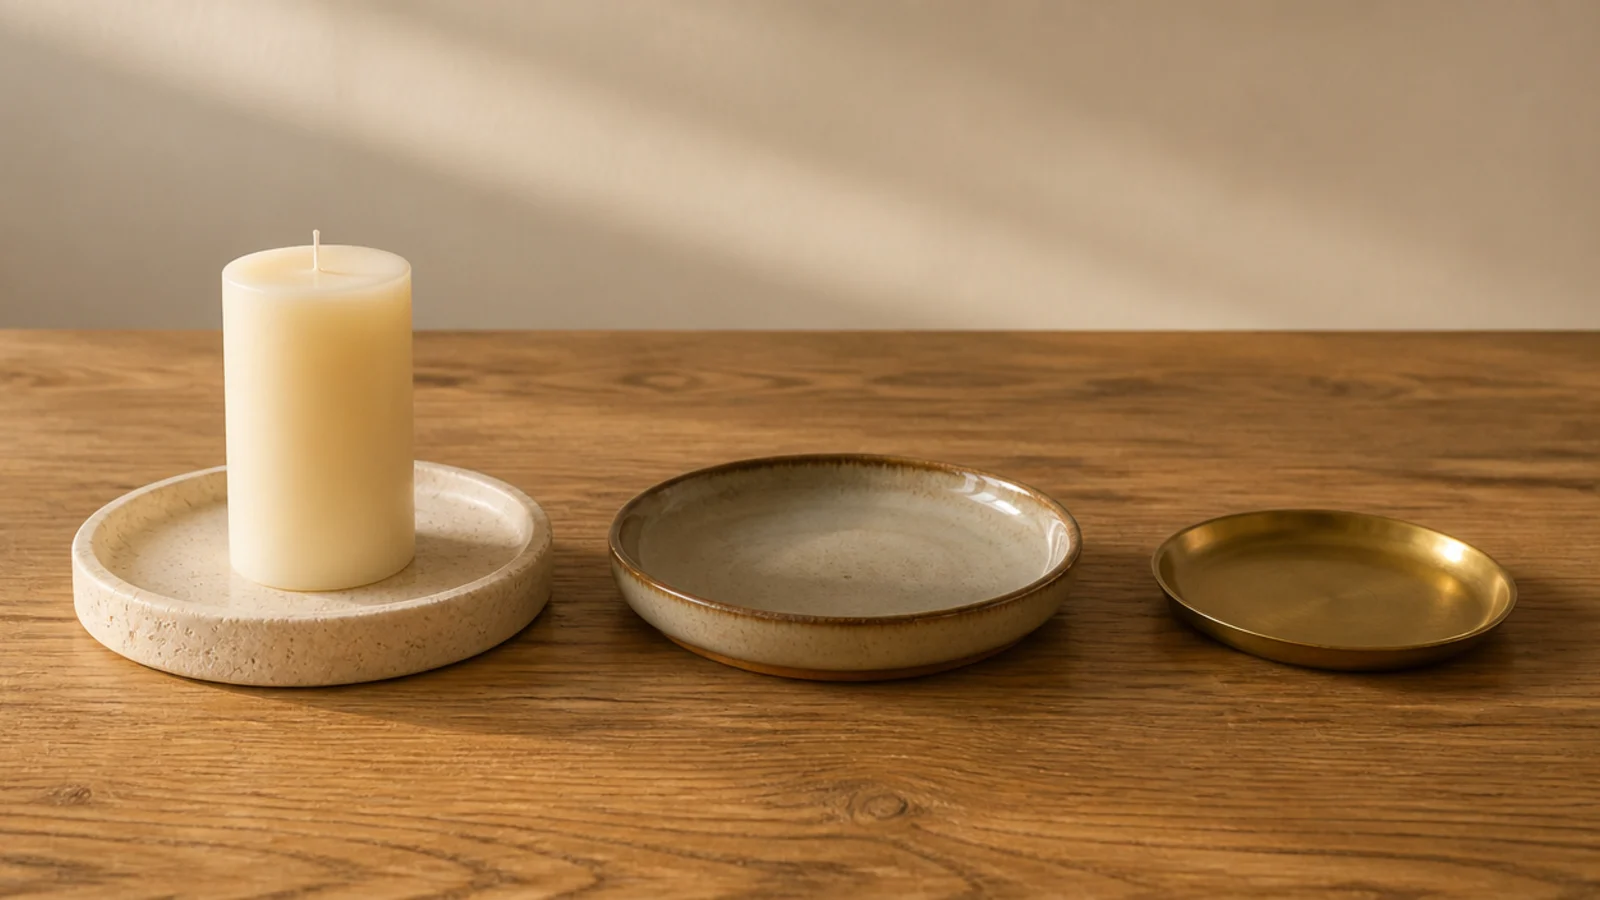
Stone, ceramic, glass, porcelain, metal, or a lipped tray made from any of them. That is the entire list of safe surfaces.
Bare wood scorches and rings, woven placemats and jute are fuel, and a paper doily under a jar is asking for it. Glass containers get genuinely hot at the base after two hours, hot enough to mark a waxed oak tabletop permanently.
Step 2: Measure twelve inches of clear air
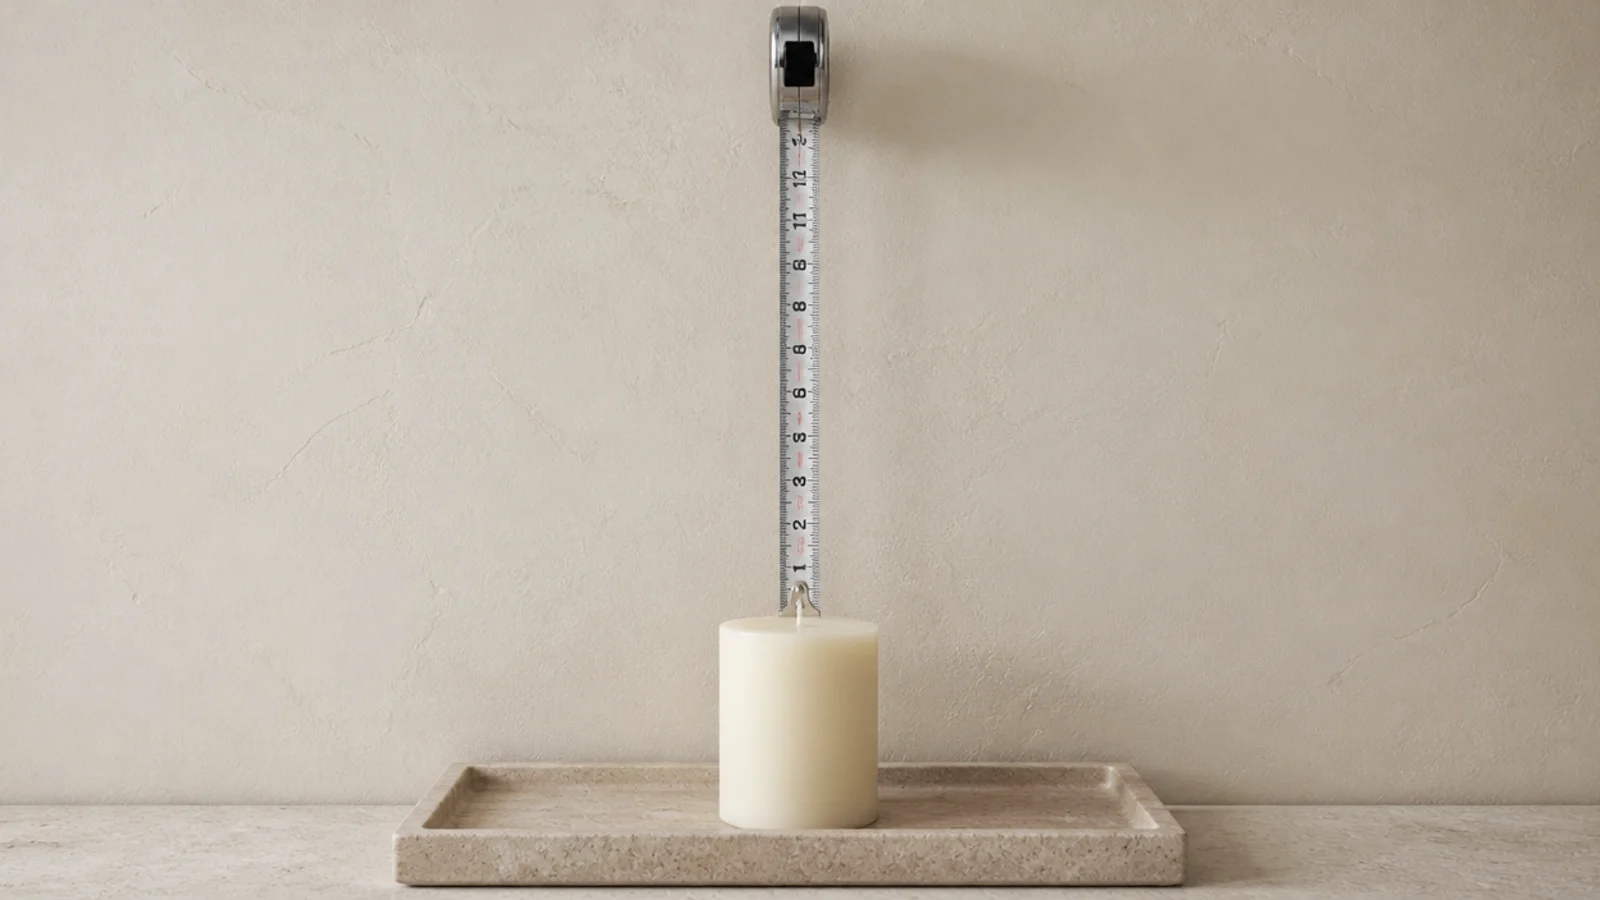
Hold a tape measure up from where the wick will sit and look for twelve inches of nothing in every direction — no shelf underside, no curtain, no lampshade, no hanging art, no dried stems.
Measure it once in each room and you will stop guessing. If a spot cannot give you twelve inches, it does not lose the candle, it just gets a flameless one at Step 16.
Step 3: Find the draught before you light anything
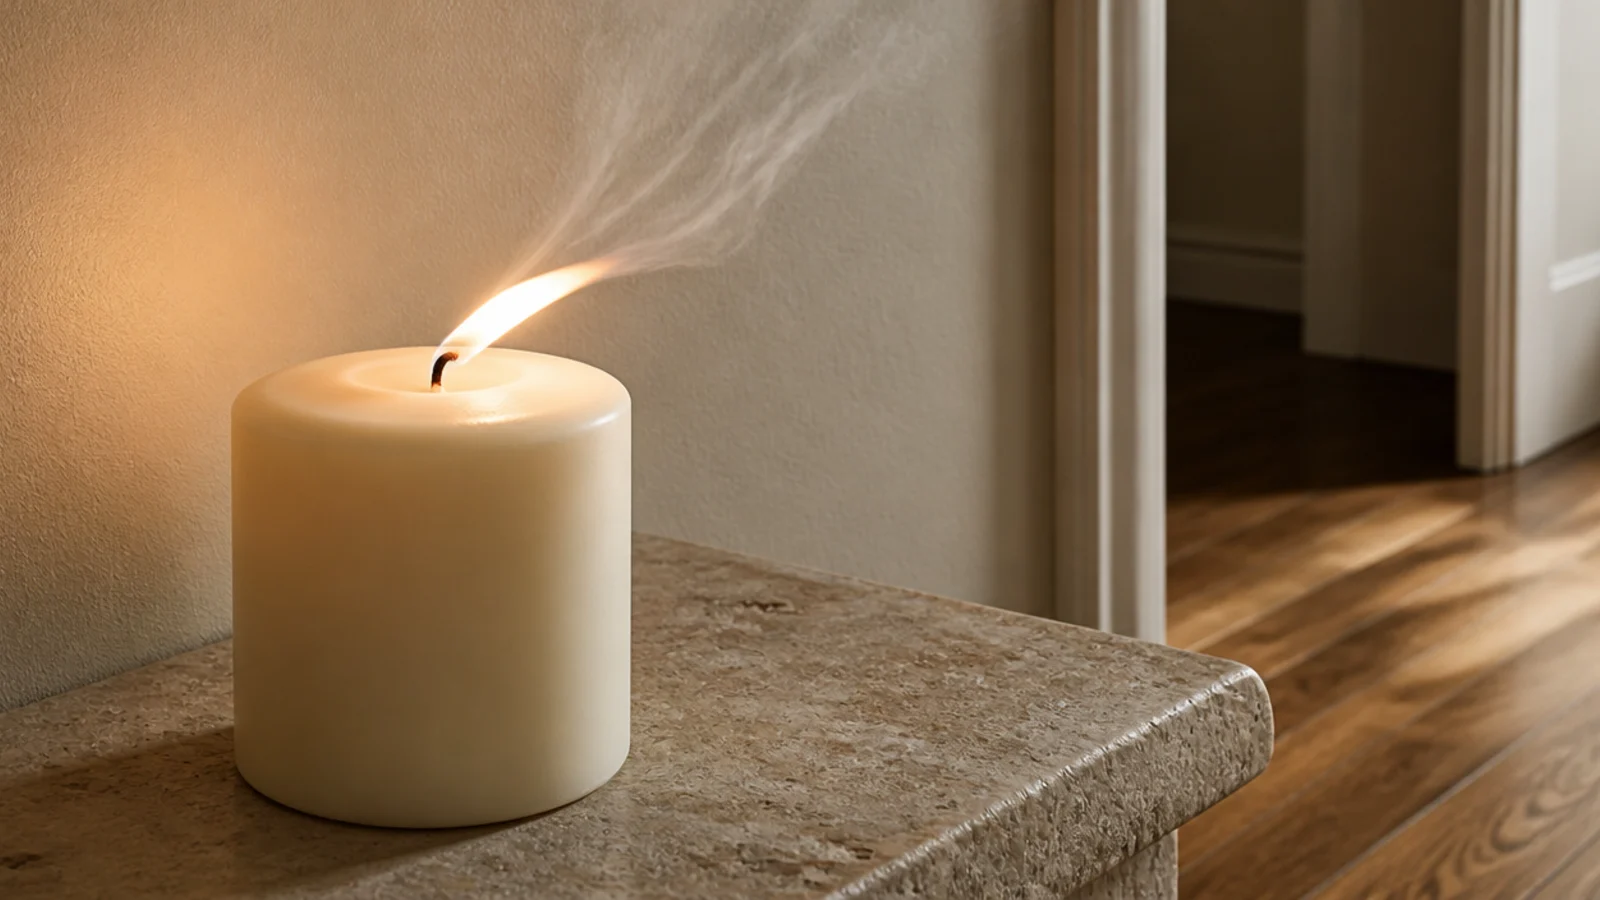
Light a candle in the intended spot and watch the flame for two minutes. A flame that leans, flickers hard or throws a black smoke trail is sitting in moving air.
A draught makes candles tunnel, soot the glass and drip sideways. Move the candle a foot, or shelter it in an open-topped hurricane glass four inches taller than the flame. Never shelter it in a closed lantern — enclosed flames starve, smoke and crack glass.
Step 4: Choose an odd number
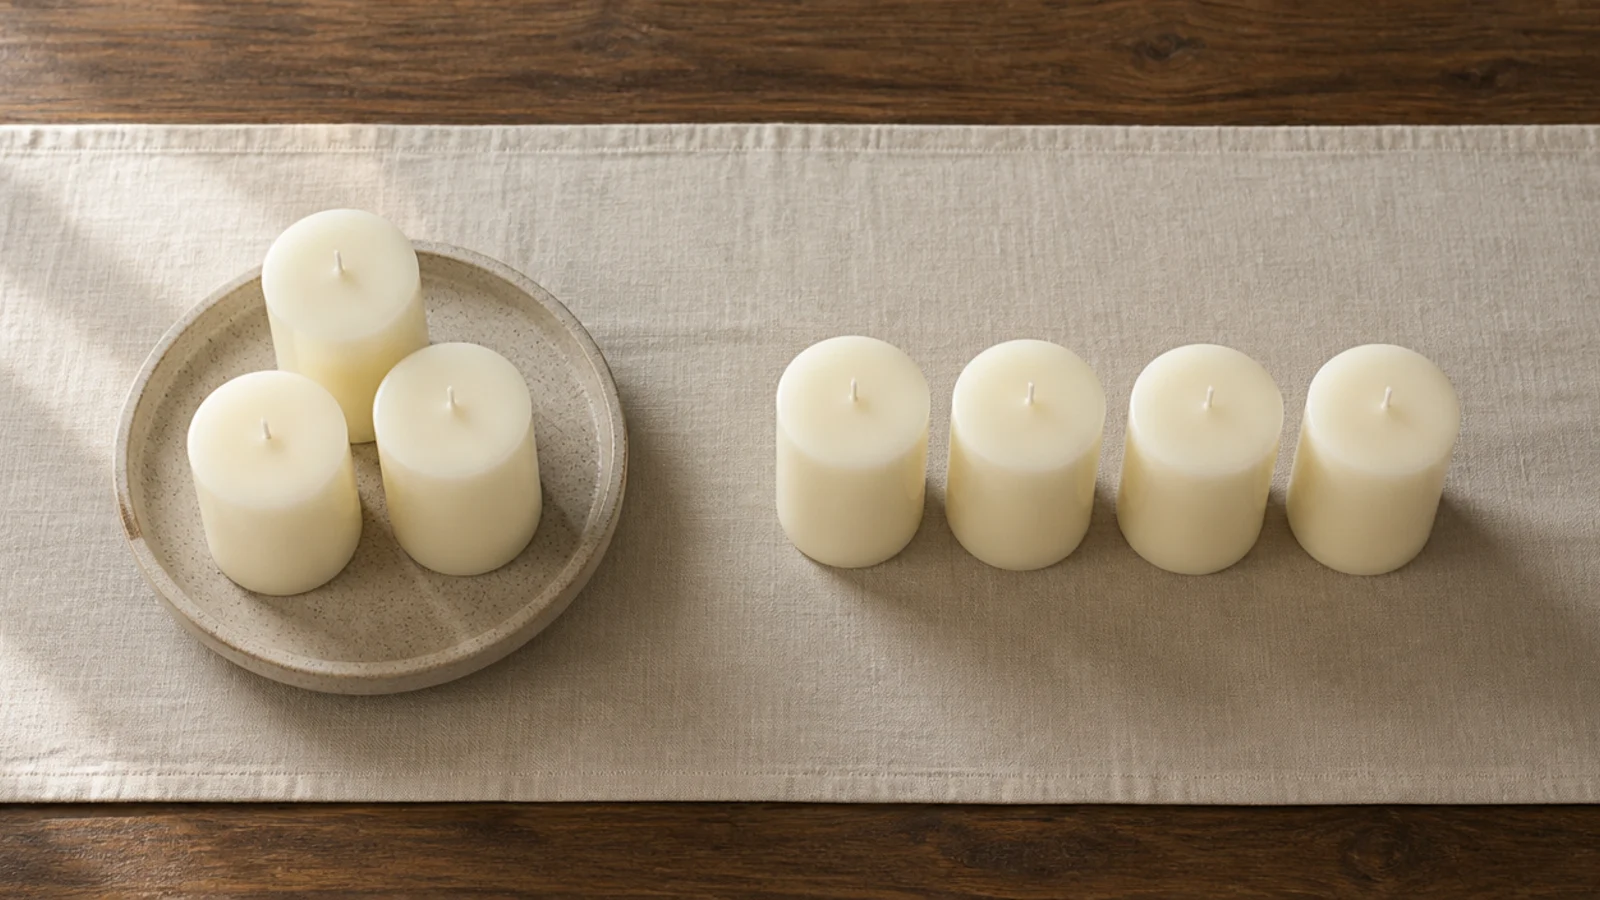
Three is the number that works on almost every surface. Five suits a wide mantel or a fireplace opening, one suits a small bathroom ledge.
Even numbers read as a pair of things rather than one arrangement, and four identical candles in a row look like the shop shelf you bought them from. Odd numbers force your eye to move around the group instead of straight across it.
Step 5: Set three different heights
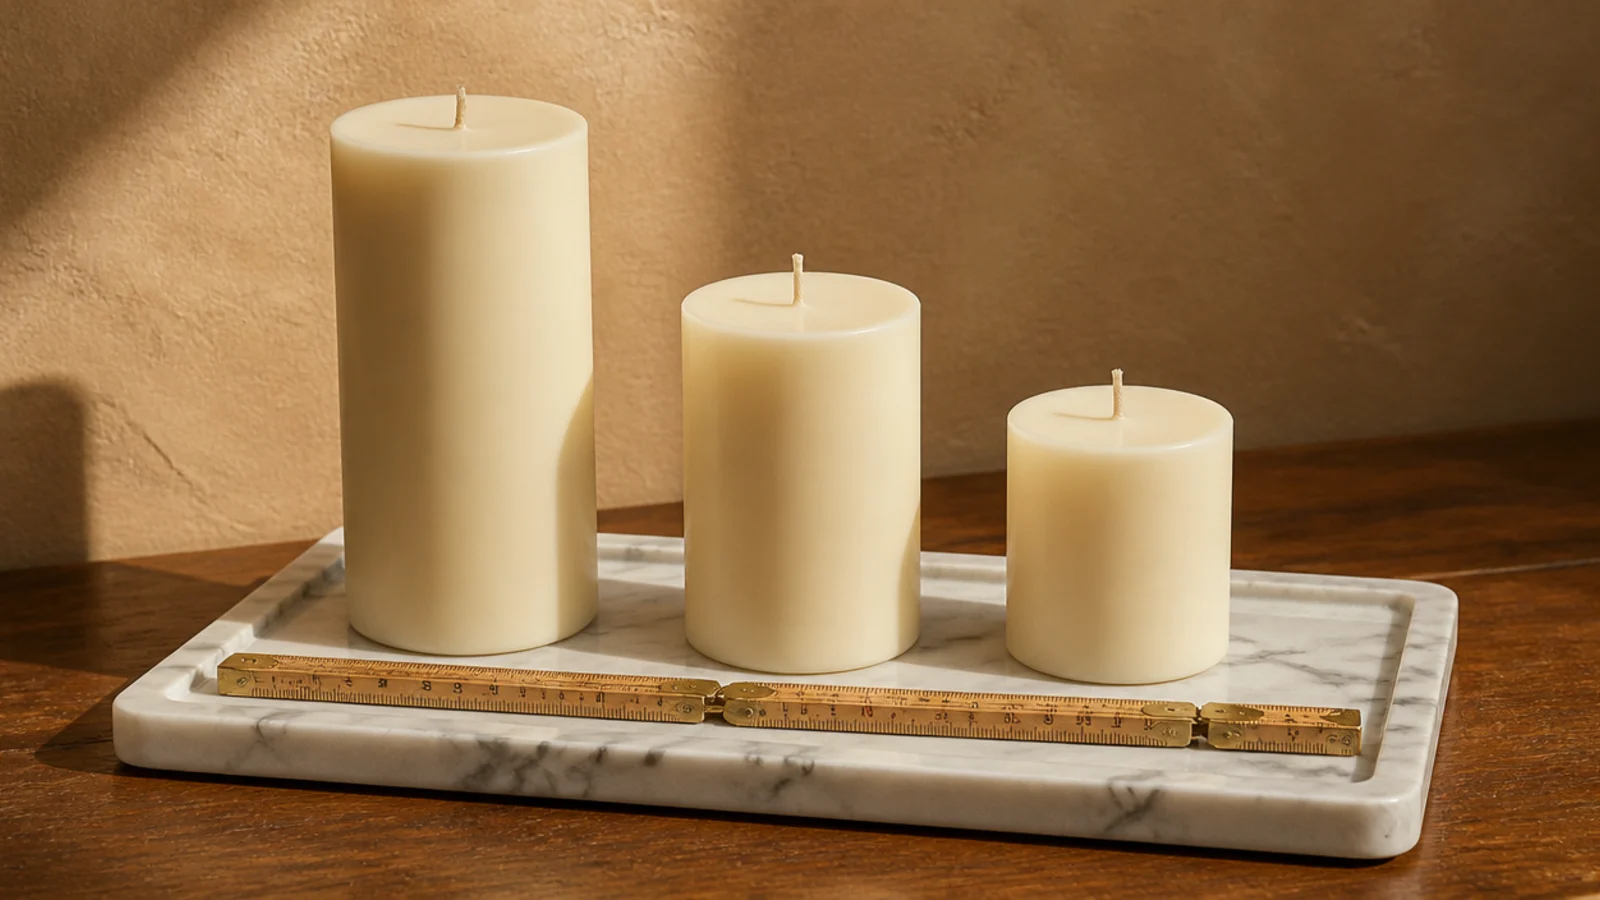
Six inches, four inches and three inches is the ladder I reach for by default. The difference between steps needs to be obvious — an inch of variation reads as a mistake rather than a decision.
If your candles are all the same height, raise one on a small stoneware dish or a flat stone. Height variation is what separates a styled group from three candles someone put down.
Step 6: Buy diameter, not fragrance
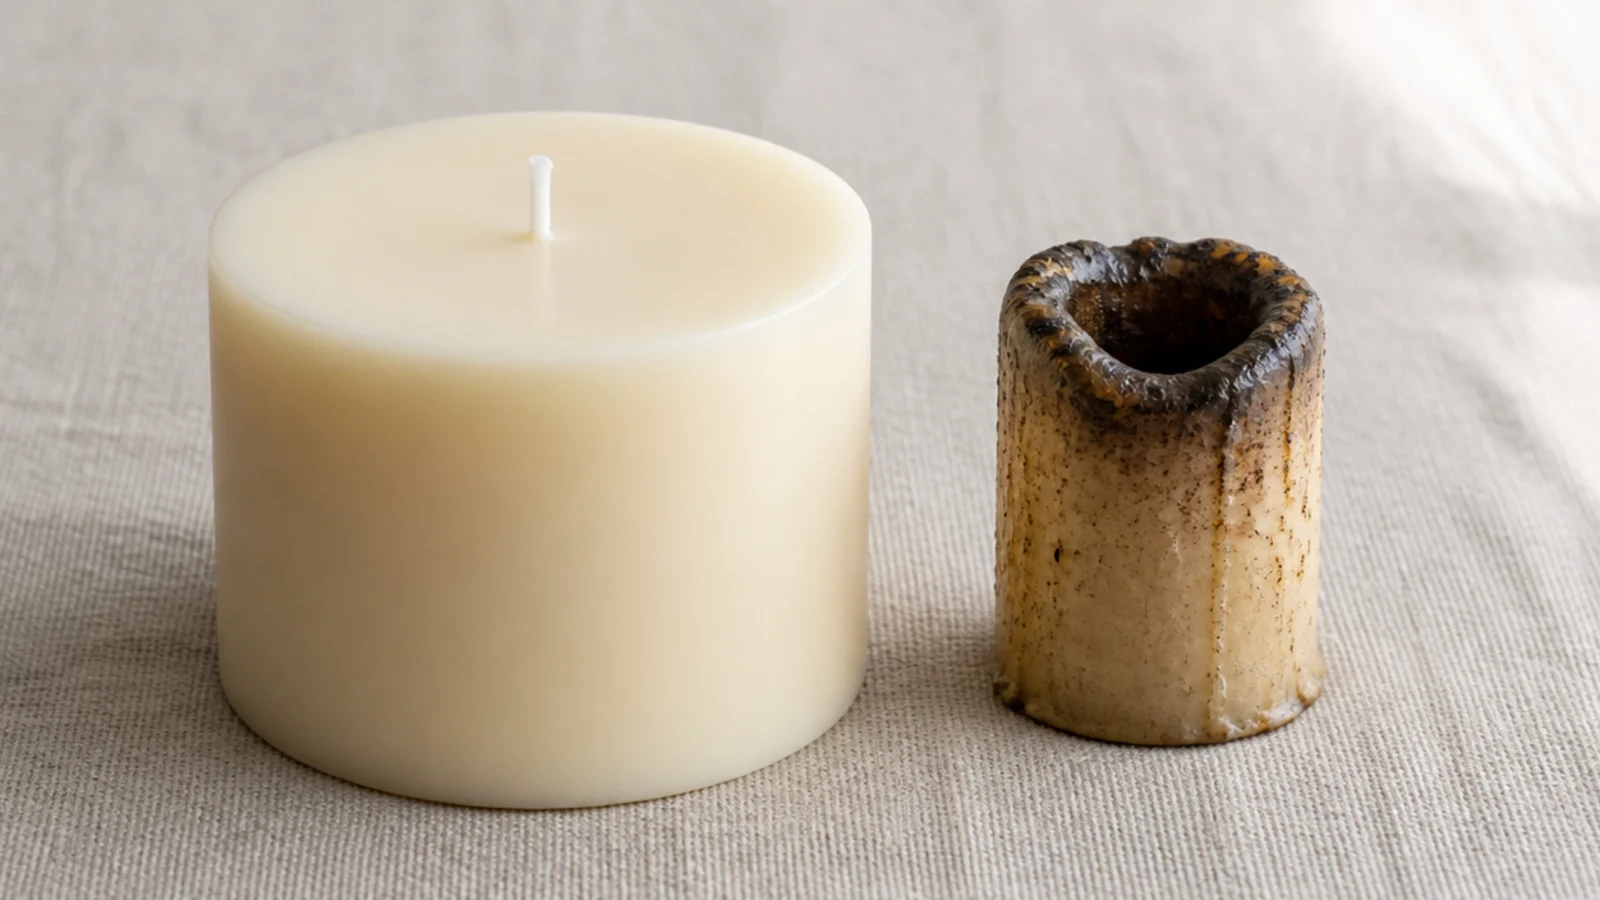
A pillar three inches across or wider melts right to its own edges and burns down evenly. Anything narrower tunnels, leaving a wax cylinder with a hole down the middle and a flame you cannot see.
The same logic applies to jars: a single wick handles about three inches of width, so a wide jar needs two or three wicks or it will tunnel no matter how you burn it.
Step 7: Keep one color family, vary the shapes
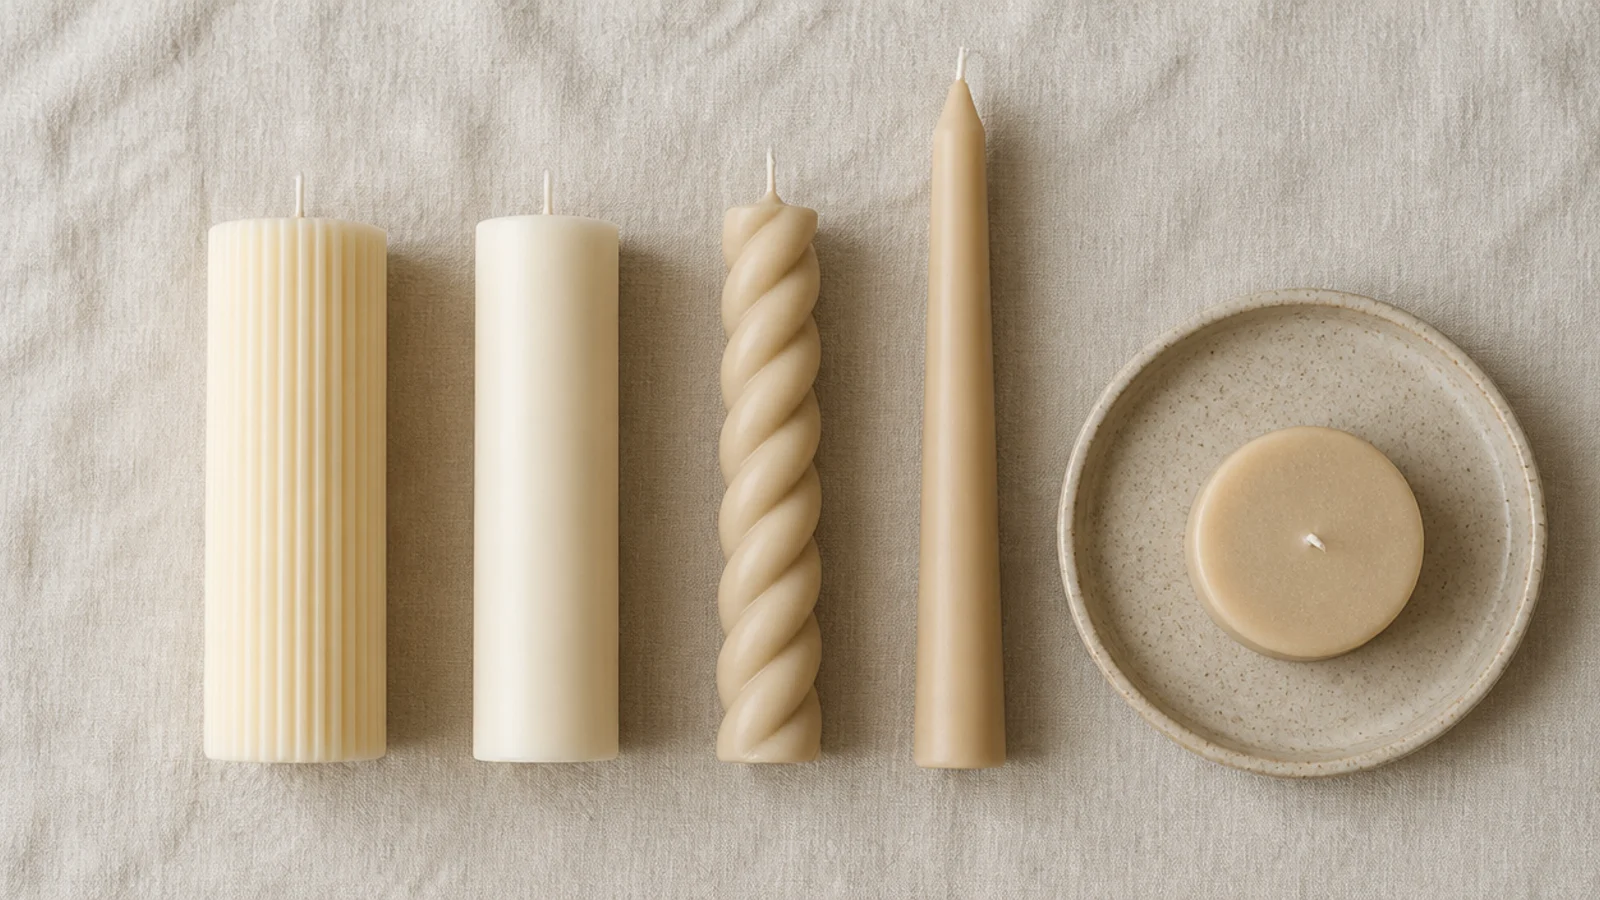
Cream, ivory and warm sand in ribbed, smooth and twisted forms will always look more expensive than five colors in one shape.
Color is the loud variable and shape is the quiet one. Let the shapes carry the interest and the palette stay calm, and cheap supermarket pillars start reading as a considered set. This is the whole basis of a neutral candle aesthetic.
Step 8: Decide scented or unscented by room
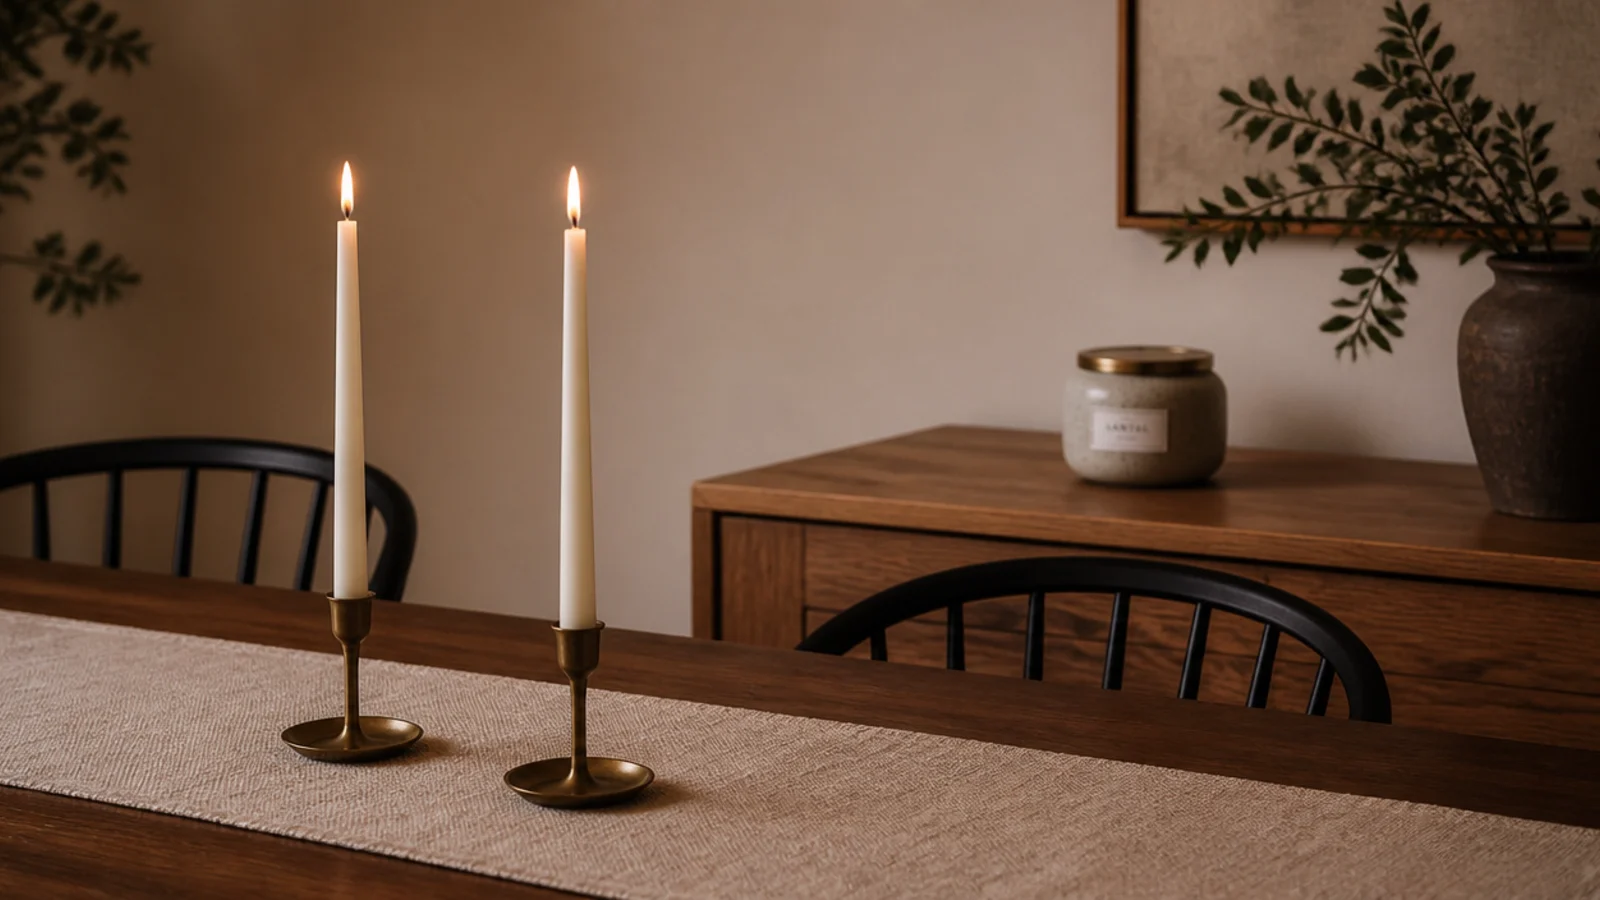
Scent belongs where smell is the point: entryway, living room, bathroom. One scent per room, never two competing.
Dining tables get unscented candles only. A fragrance burning eighteen inches from a plate argues with whatever you cooked, and your guests will notice without knowing why. Unscented pillars and tapers cost less anyway, which is a rare piece of good news.
Step 9: Slide a tray under the whole group
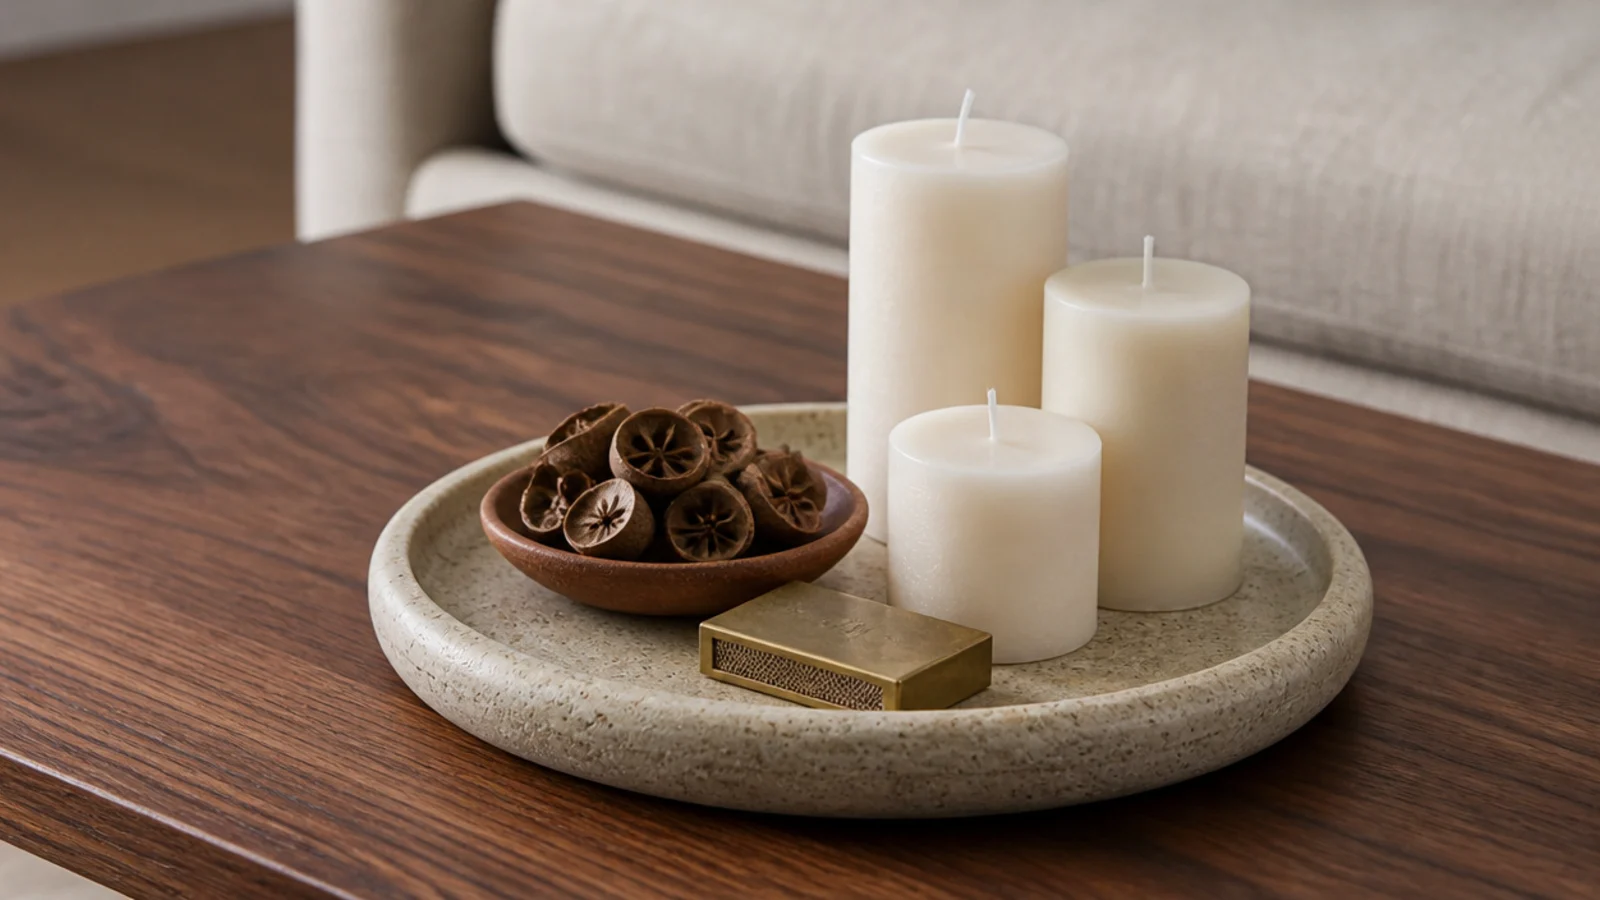
A tray does three jobs. It gives the group a defined edge, it catches wax drips and soot, and it lets you lift the entire arrangement off in one movement when you need the table.
Nine to twelve inches across with a small lip suits a coffee table or console. Stone, glazed ceramic and metal all work. A tray is also the single fastest way to make five separate objects read as one.
Step 10: Anchor the group with something low and heavy
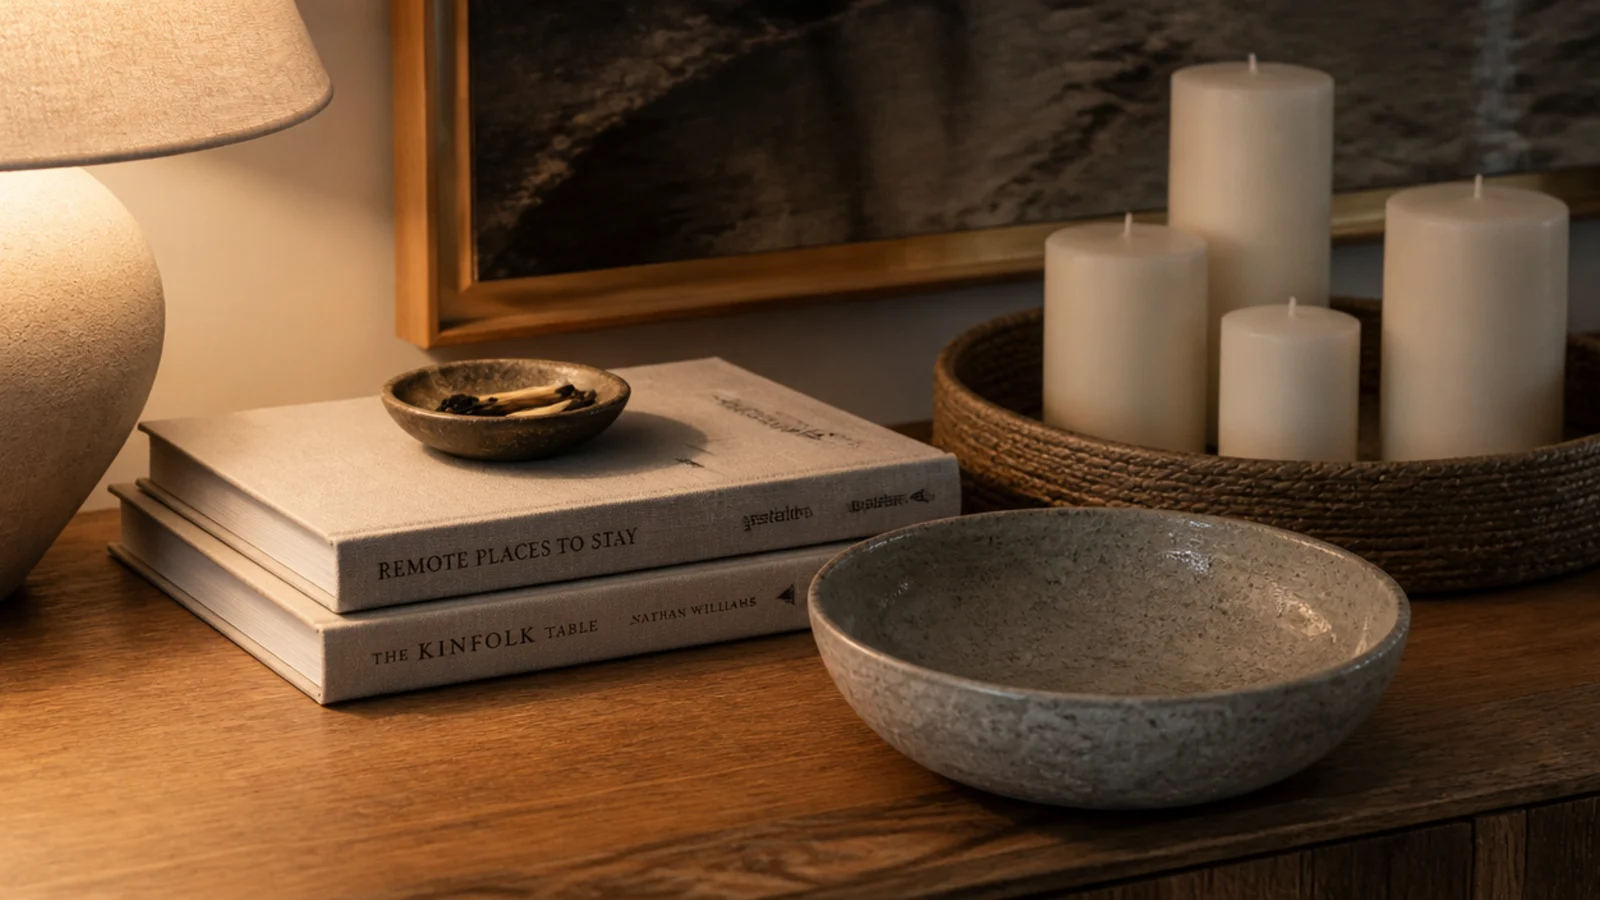
Candles are tall and thin, so a group of them alone looks spindly. Add one low, heavy object at the base: two flat stacked books, a squat stoneware bowl, a flat river stone.
The anchor sits at the front or the side, never behind. It gives your eye a place to rest before it climbs, and physically it makes a knocked tray less likely to send everything sideways.
Step 11: Add one soft element, twelve inches out
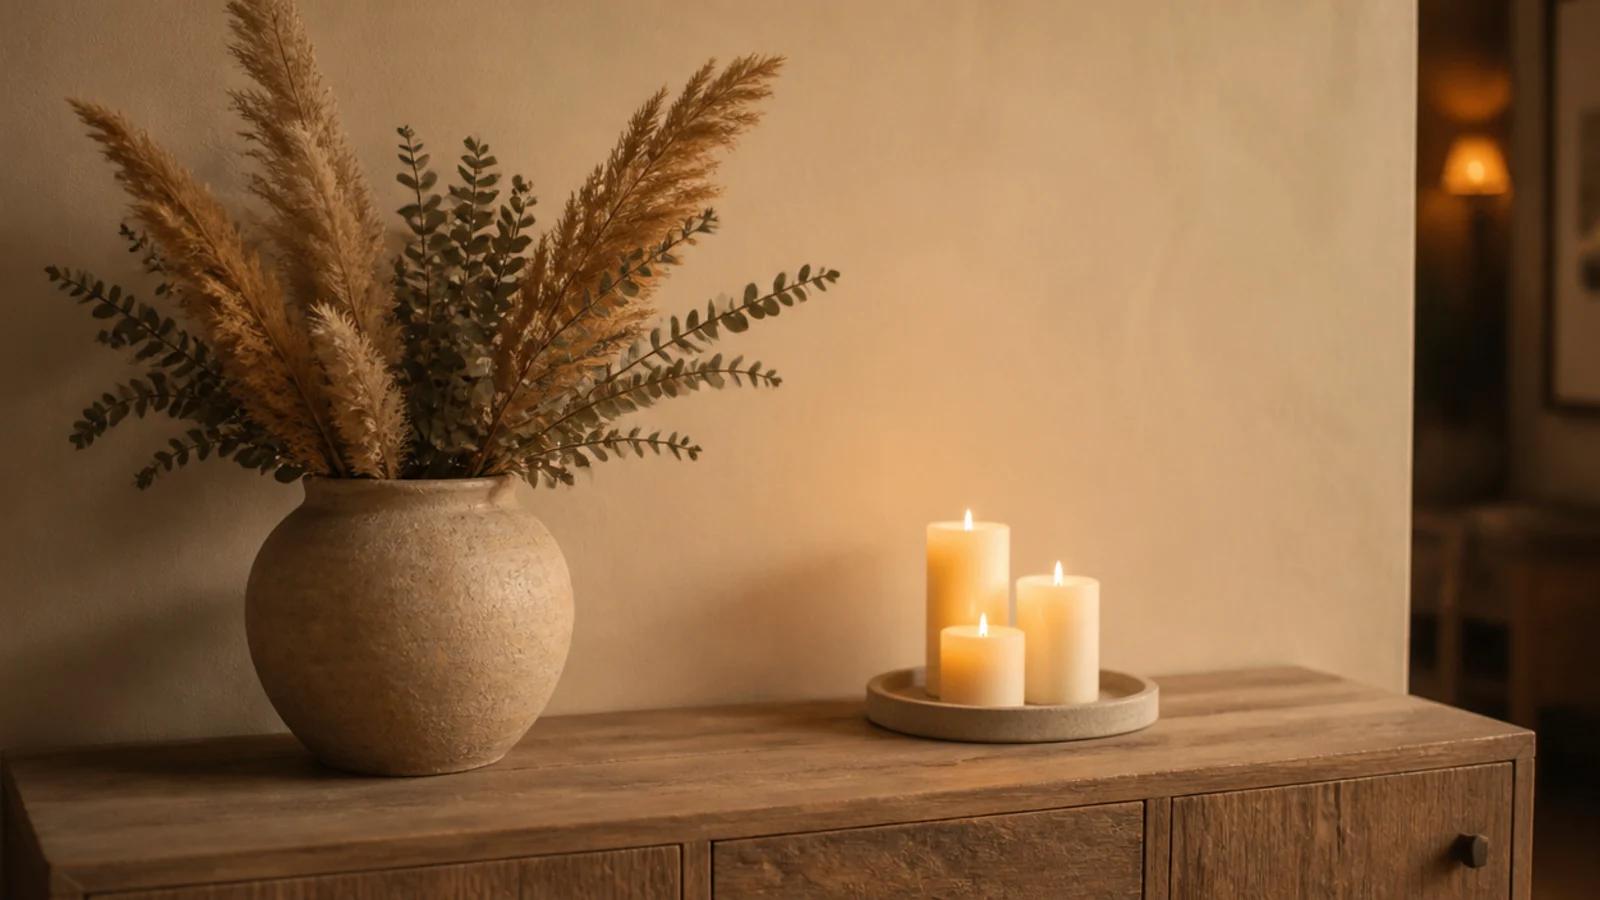
Every candle grouping wants something organic near it — dried grasses, a small trailing plant, a branch in a clay vessel. Every one of those things is also fuel.
So it goes near, not in. Place the vessel a full foot from the nearest flame and check it again after you light, because stems shift and lean. Dried botanicals catch faster than fresh ones and are the most common cause of a styled vignette going badly wrong.
Step 12: Mix three materials, no more
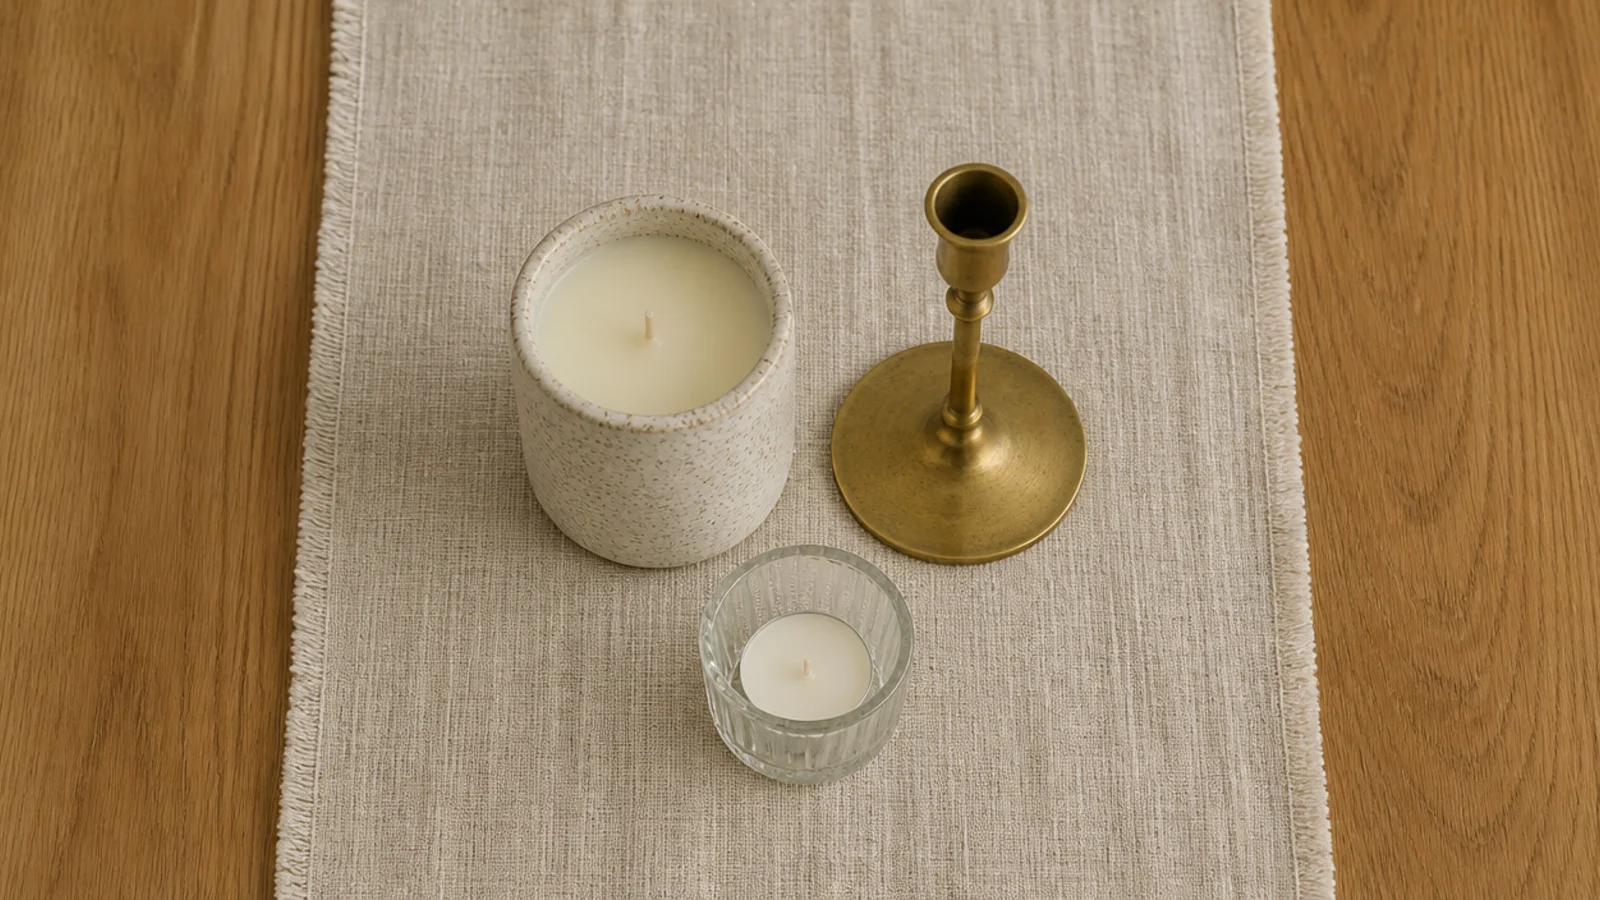
Stoneware, brass and glass is a complete palette. Add walnut or oak from the furniture underneath and you already have four textures working.
Past three materials the group turns into a collection rather than an arrangement. If you love a fourth, swap something out rather than adding — restraint reads as intention, and it costs nothing.
Step 13: Trim every wick to a quarter inch
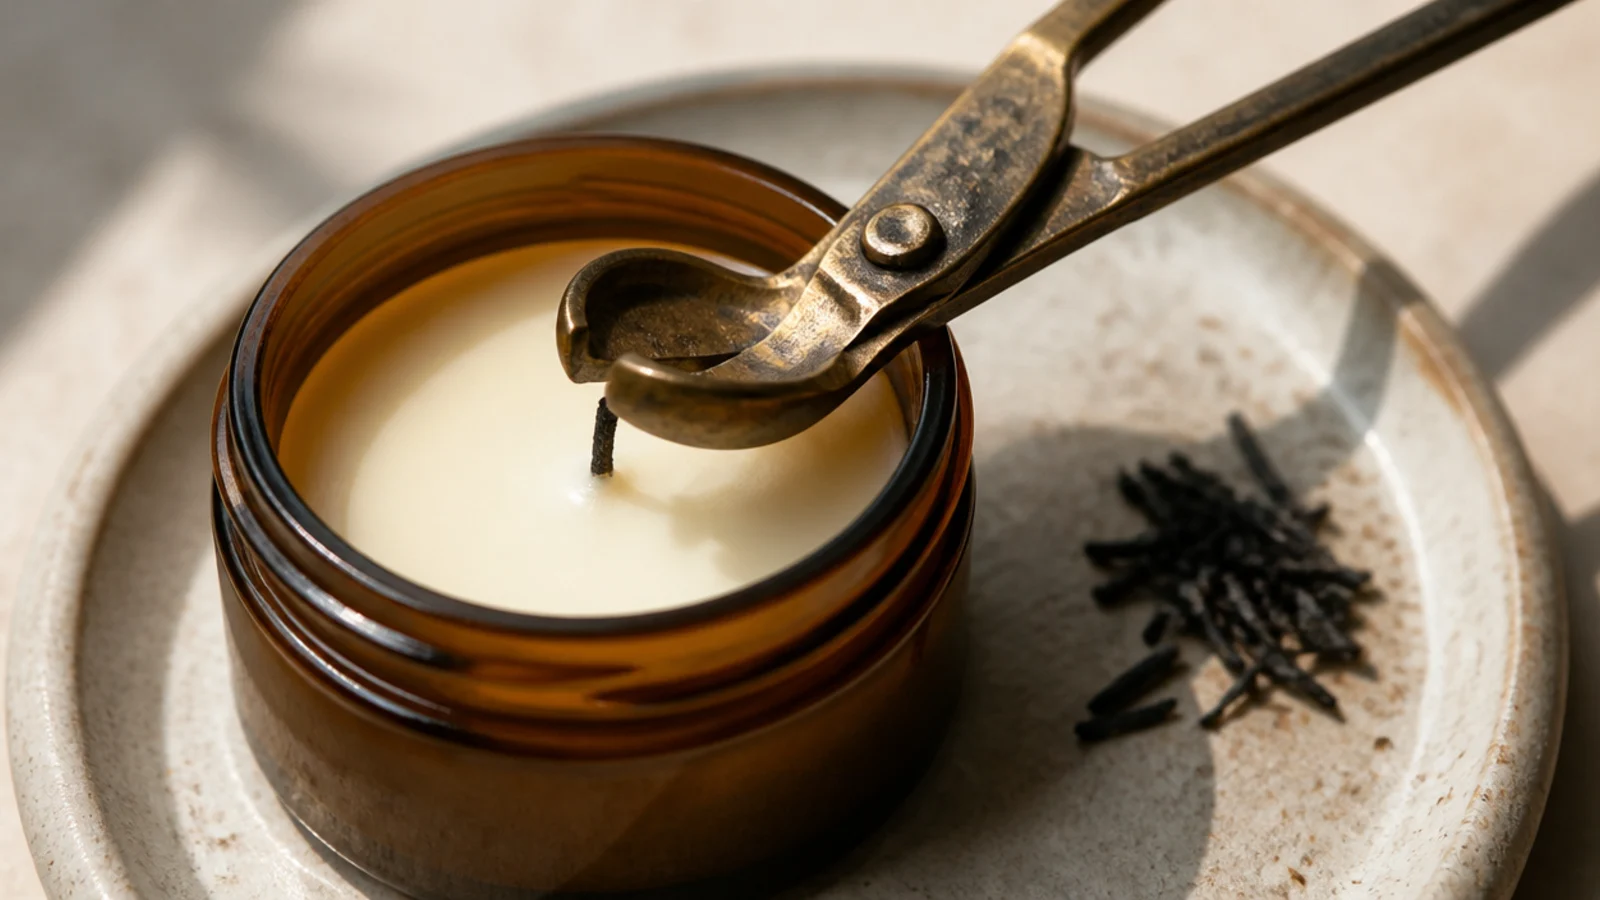
Before every burn, on cold wax, with an angled trimmer. A quarter inch is short enough to keep the flame low and stable.
A long wick makes a tall flame, and a tall flame means soot on the glass, a grey halo on your ceiling and wax burning through in half the hours you paid for. This one $9 tool changes how every candle in the house performs.
Step 14: Give the first burn a full melt pool
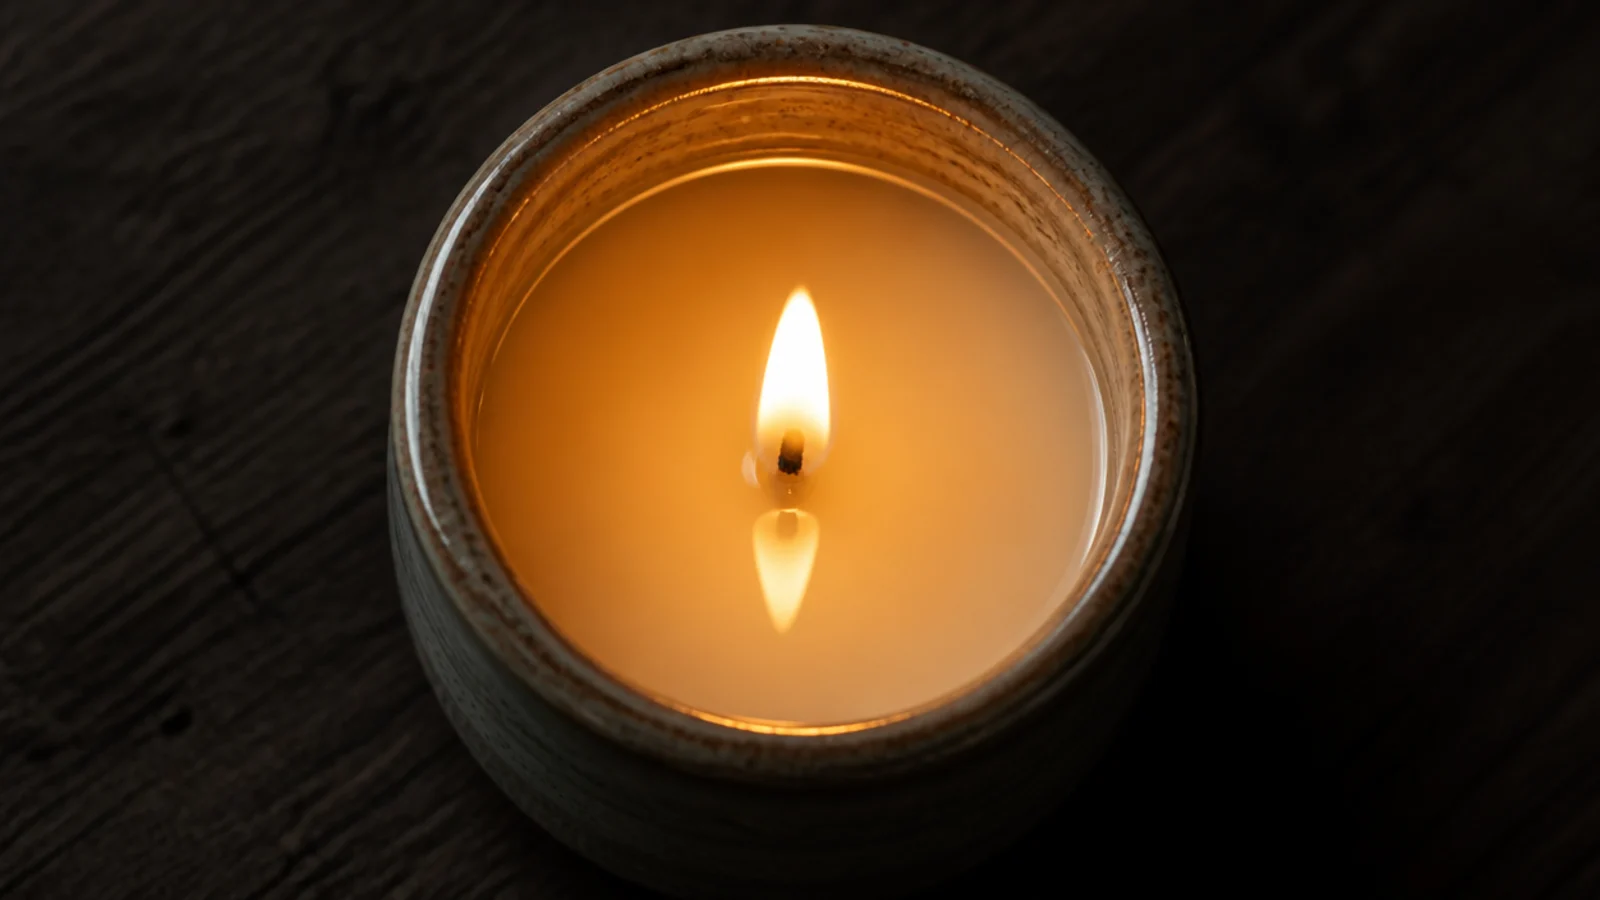
The first time you light a candle, leave it until the melted wax reaches the full diameter of the container. Roughly one hour per inch of container width, so about three hours for a three-inch jar.
Wax has memory. Whatever width melted the first time is the width that will melt forever, and a short first burn creates a tunnel that no later burning ever repairs.
Step 15: Cap every burn at four hours
Past about four hours the container is hot, the wick has mushroomed, and the flame starts to climb. Snuff it, let the wax set, trim the wick, and light it again later if you want.
A burning candle stays in a room with a person in it. Not the next room, not while anyone is asleep, and never overnight — it goes out on your way out, every single time.
Step 16: Swap in flameless where a flame does not belong
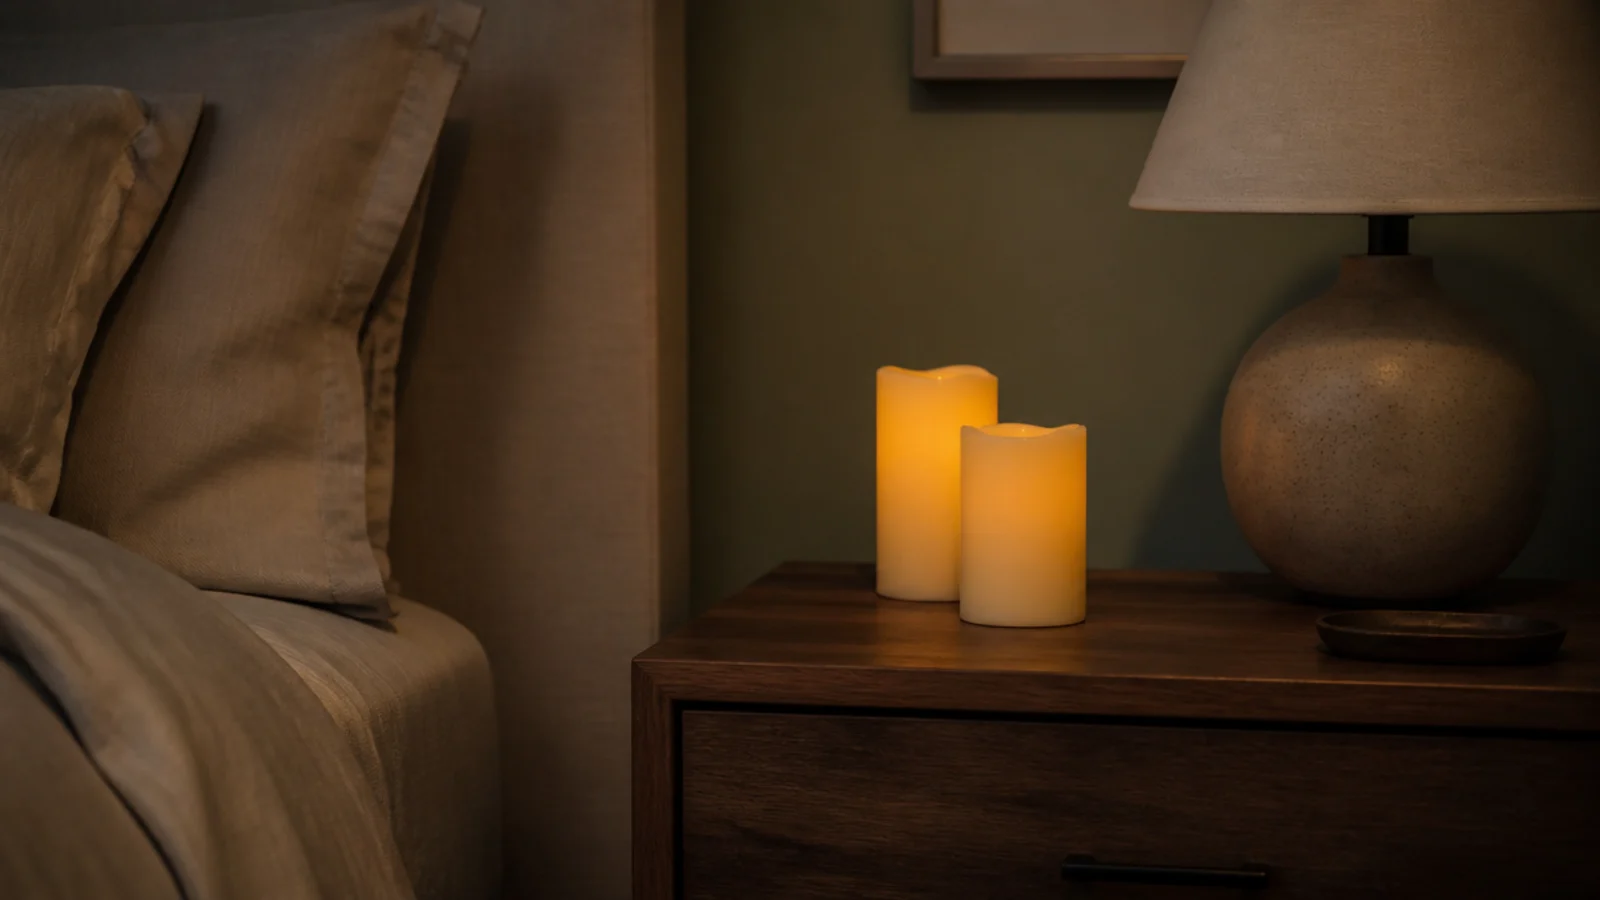
Any tiered shelf, any bedside table, any spot near curtains or within reach of a child or a cat gets a flameless candle instead. This is not a compromise, it is what makes the whole room styleable.
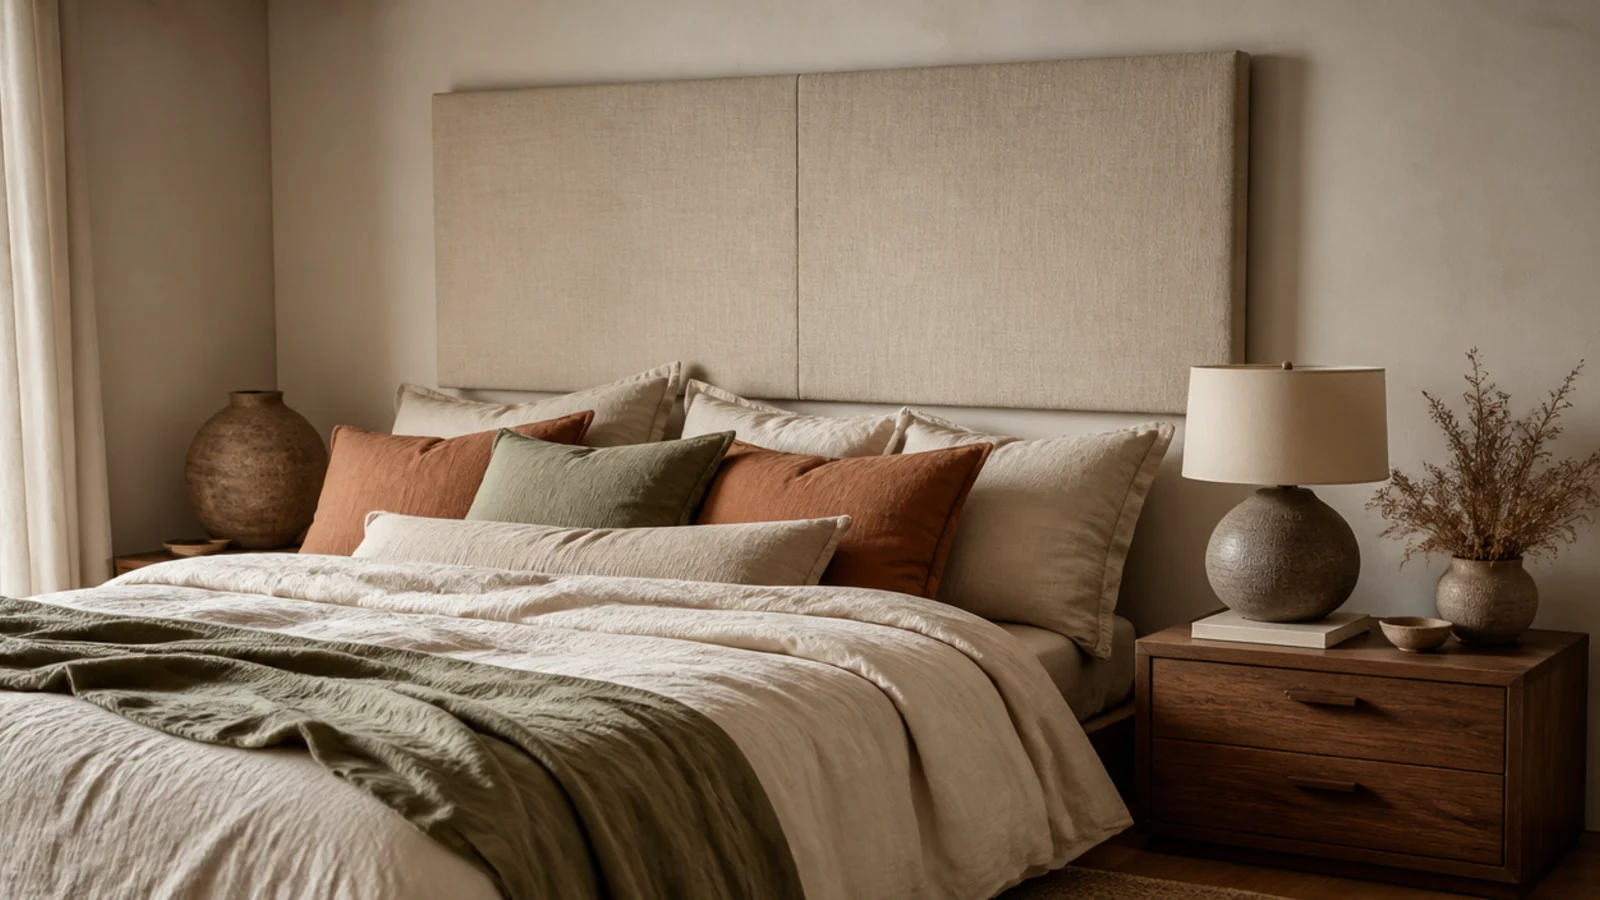
Buy real wax shells with a warm flickering LED and a built-in timer — $18 to $35 for three. Set a two-hour timer on a nightstand pair and the glow ends itself. Pair them with a soft headboard and bedside setup and a bedroom looks lit without anything burning near bedding.
Step 17: Check the seated sight line
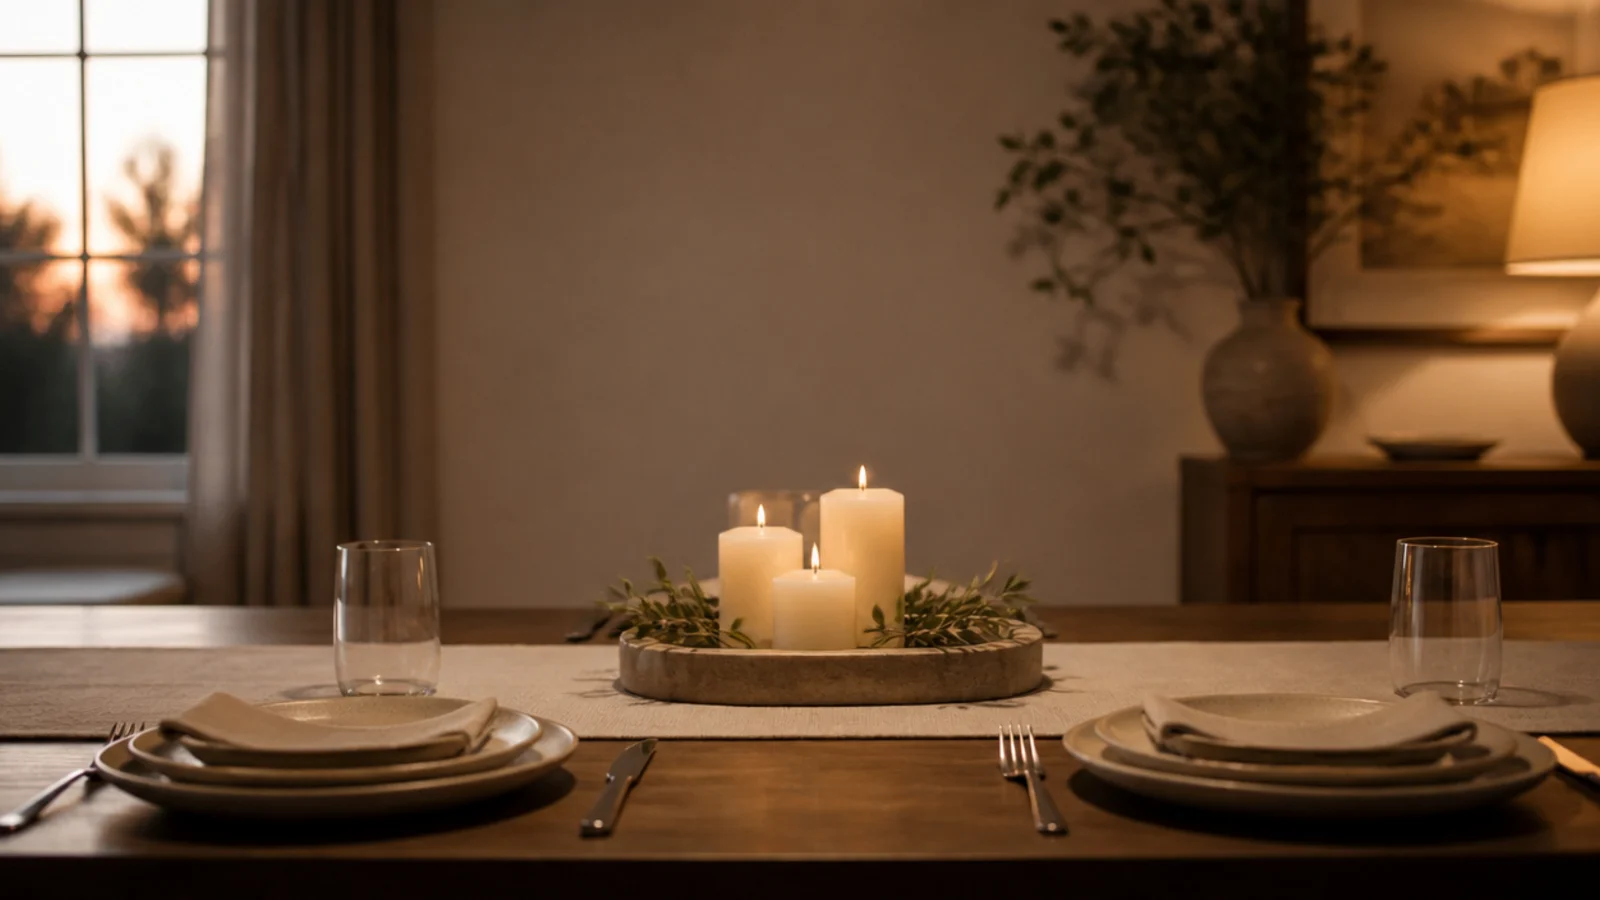
Sit down at the table before you call a centerpiece finished. Anything between about twelve and eighteen inches tall lands exactly in the sight line between two faces.
Go low, under twelve inches, or go tall and slim above eighteen so people look under it. Tapers are the exception to nothing here: measure from the tabletop to the top of the lit wick, not to the holder.
Step 18: Style the unlit look as carefully
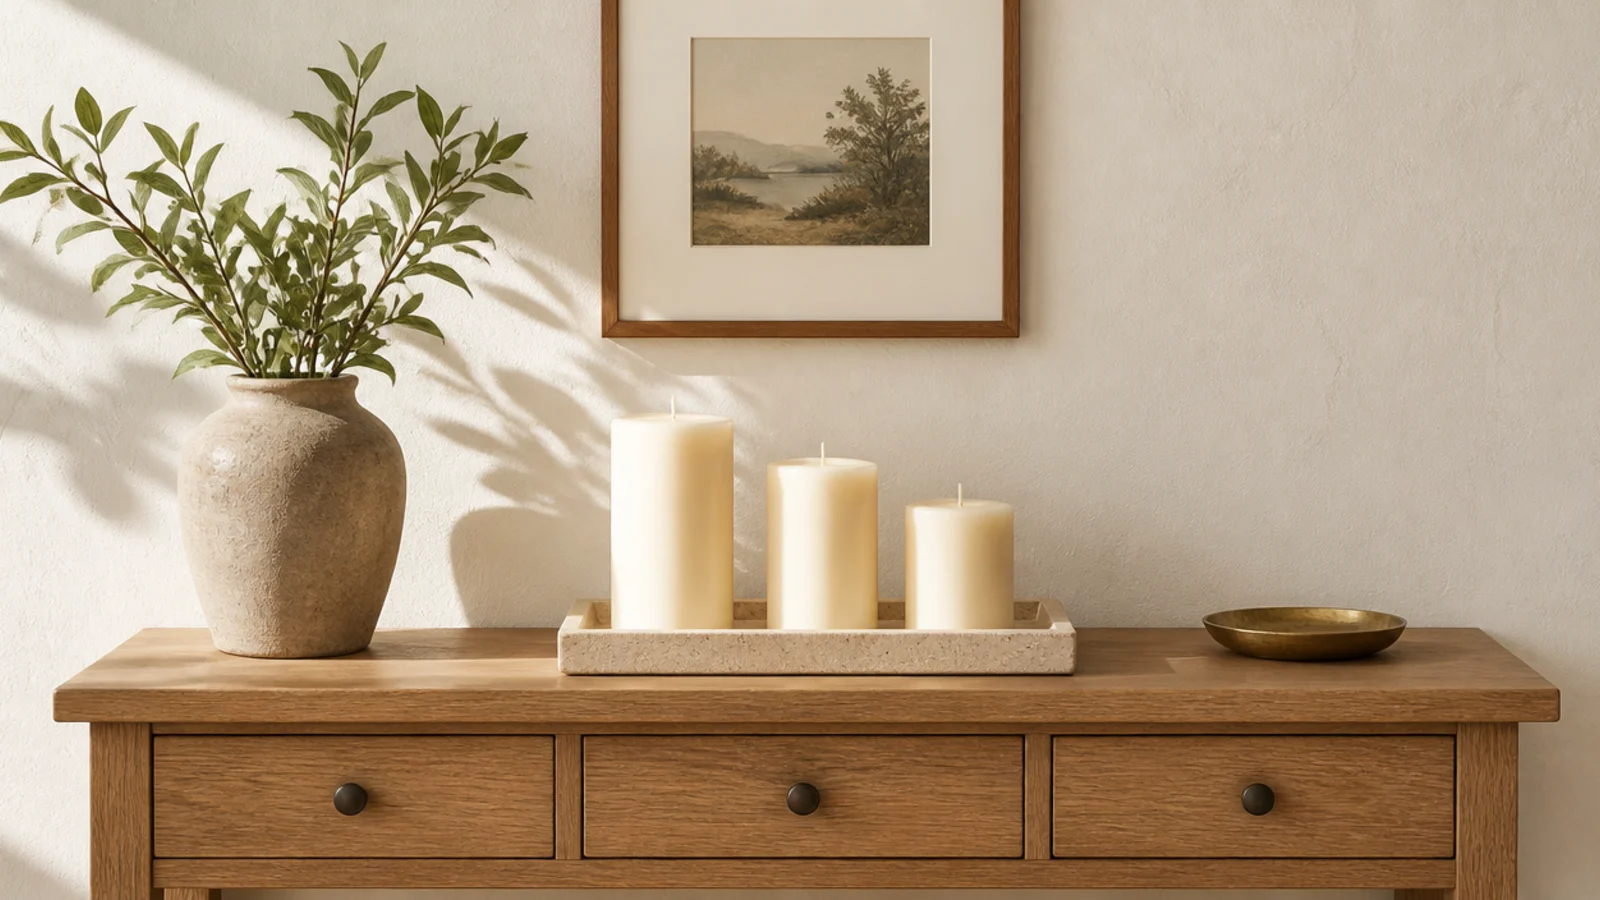
Your candles are unlit roughly 95 percent of the time, so the daytime arrangement is the one that matters most.
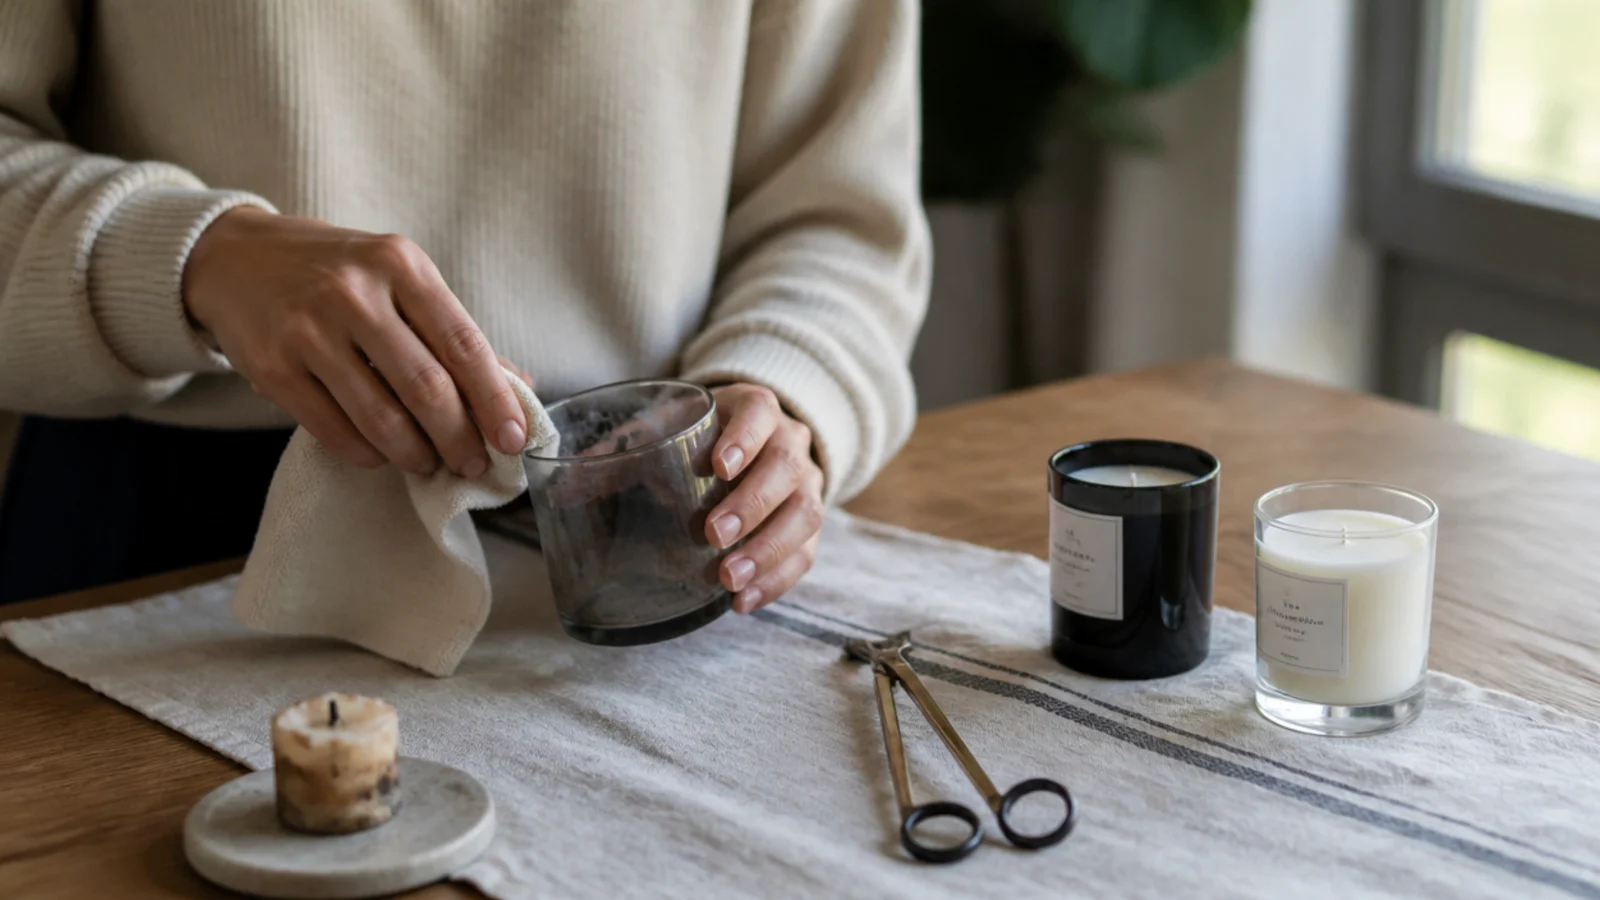
Wipe soot off the glass, trim the wicks so they read as clean black dots rather than blackened stubs, and turn any label or logo to the back. Unlit candles are sculpture: shape, texture and shadow are doing all the work.
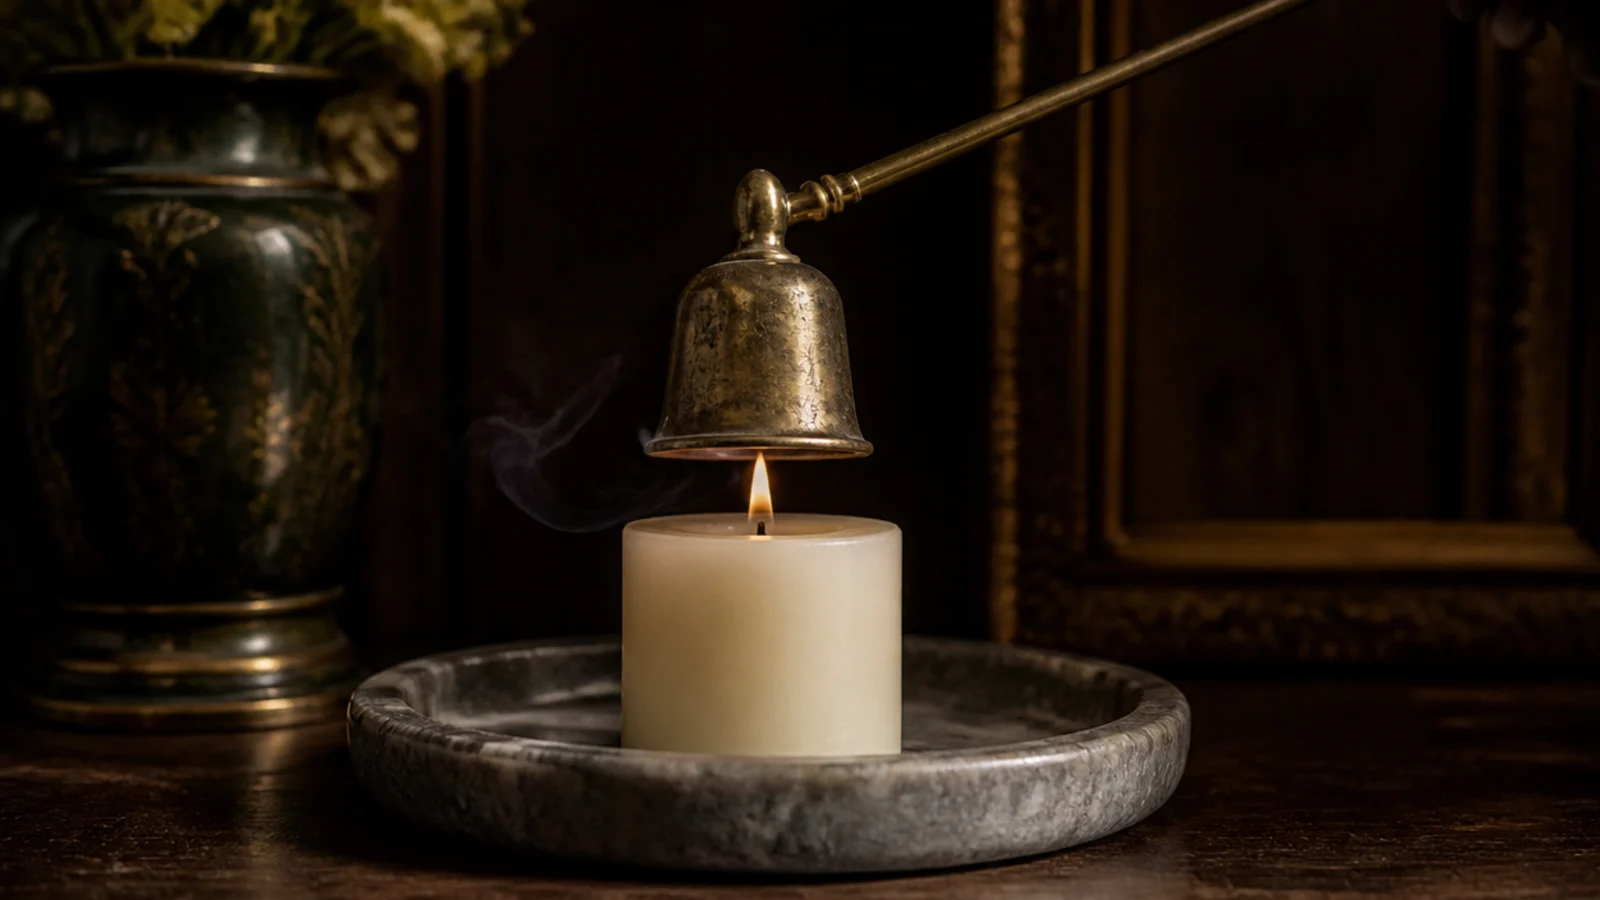
Step 19: Snuff it, never blow it
Blowing a candle out sends a plume of soot up the nearest wall and sprays melted wax across the tray you just styled.
A bell snuffer starves the flame quietly for about $10. A wick dipper is better still — bend the wick into the melt pool, and the flame goes out with no smoke at all, then lift the wick upright for next time.
Step 20: Reset the group every week
Once a week, wipe the soot ring off the glass with a dry cloth, trim every wick, and rotate which candle sits at the front so they burn down at different rates and keep their height ladder.
Retire any candle with less than half an inch of wax left. Burning past that heats the base of the container hard enough to crack glass or mark the surface underneath. See candle centerpiece ideas for the table version of this reset.
Pro Styling Rules
Mistakes to Skip
- Styling first and checking clearance after. Twelve inches of clear air above and around the flame decides where a grouping can go, so it comes before the pretty part, not after.
- Putting a burning candle inside a closed lantern or under a cloche. It starves for oxygen, smokes heavily and can crack the glass. Closed glass is for unlit or flameless candles only.
- Cutting the first burn short. Ten minutes of glow before dinner sets a narrow melt pool, and that candle will tunnel down a shaft for the rest of its life.
Frequently asked questions
How do you style candles so they look professionally arranged?
Odd numbers, three different heights, one tray underneath. That is most of it. Three candles at six, four and three inches on a single stone tray read as a composed group, while four matching candles in a row read as inventory. Leave about a third of the tray empty so the arrangement has somewhere to breathe.
How long should you burn a candle the first time?
Until the melted wax reaches the full diameter of the container, which takes roughly one hour per inch of container width. A three-inch jar needs about three hours. Wax remembers its first melt pool, so cutting that first burn short is what creates a tunnel down the middle that no amount of later burning fixes.
What surface can you safely put a candle on?
Stone, ceramic, glass, porcelain, metal or a lipped tray made of any of those. Never bare wood, never a woven placemat, never paper or a fabric runner. Glass containers get genuinely hot at the base after two hours of burning, and a tray also catches drips so a tipped candle does not run onto a rug.
How far apart should candles be in a group?
About an inch and a half between pillars, close enough to read as one arrangement without the flames influencing each other. Two flames set very close soften the wax between them and start to lean, which drips sideways. Keep the whole group at least twelve inches from anything flammable in every direction.
Is it better to snuff or blow out a candle?
Snuff it. Blowing sends a plume of soot up the nearest wall and sprays melted wax across whatever you just styled. A bell snuffer costs around $10 and starves the flame quietly. A wick dipper is even neater, since pushing the wick into the wax puts it out with no smoke at all.
Run these steps once on a single tray and the rest of the house gets easier, because the method transfers to every surface you own. If you want the finished setups rather than the process, fifteen aesthetic candle groupings covers a room at a time with the same clearances built in. Save the pin below so the trim, the tray size and the twelve inches are with you next time you are rearranging.
Want more like this? Browse all 15 aesthetic candle decor guides — they all use the same measurements and budget tiers.
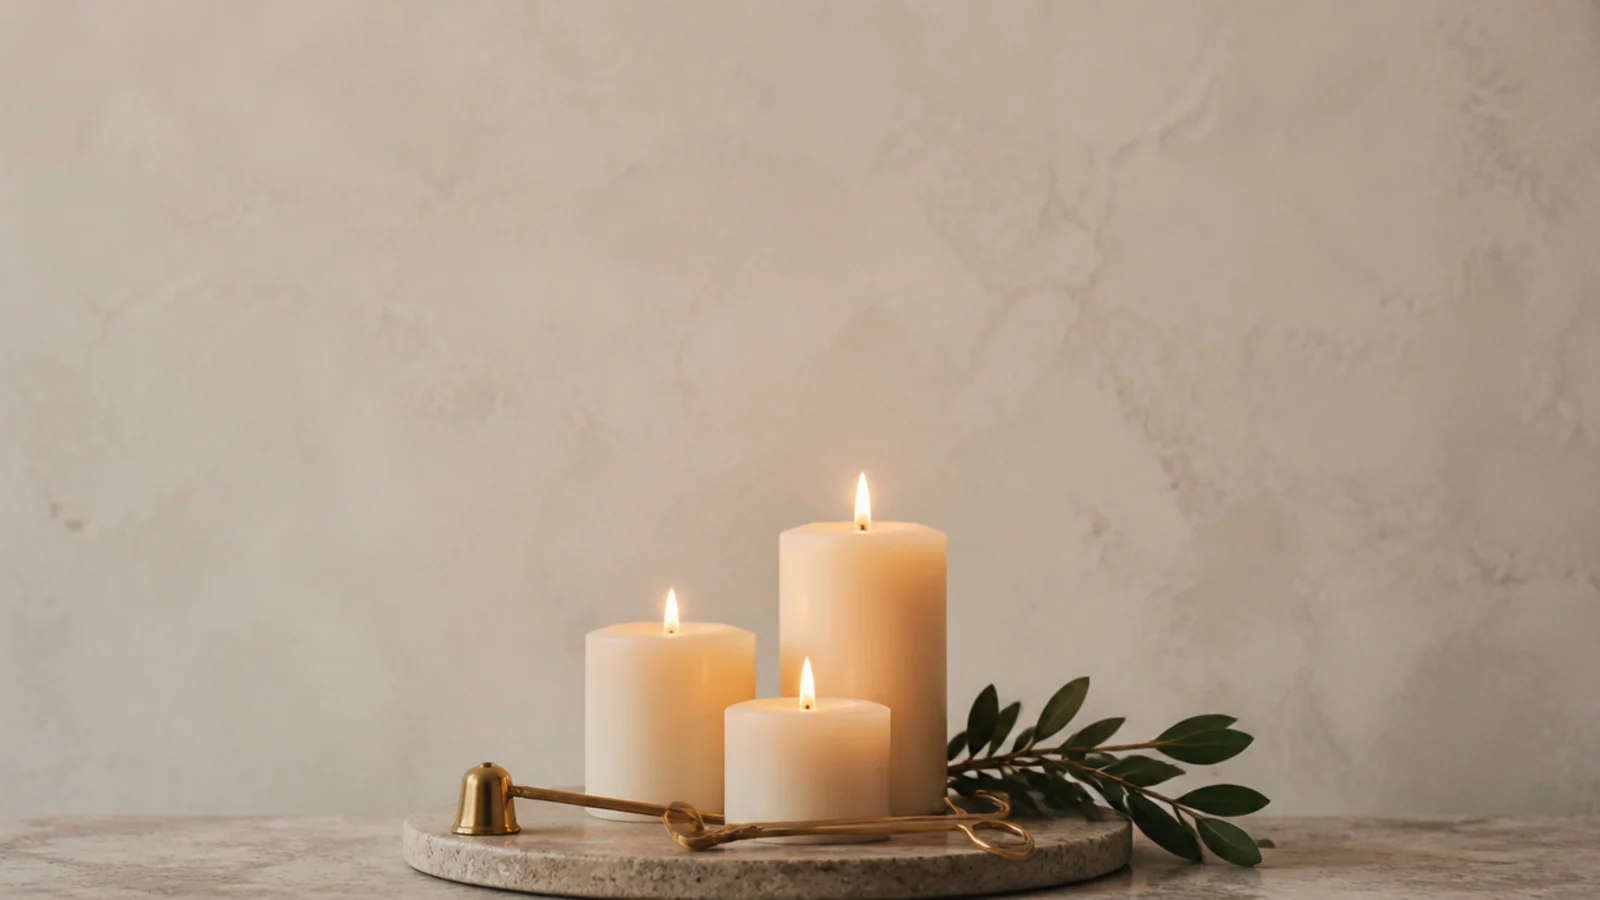
Pin it for later
Save this to your Aesthetic Candle Decor board
Pin it now so it is waiting for you when the tape measure comes out — and so the next person hunting for this idea can find it too.
Save this pinKeep going
More ideas worth saving while you have the tape measure out.