Headboard Ideas · Listicle
20 Stunning Headboard Ideas to Copy Now

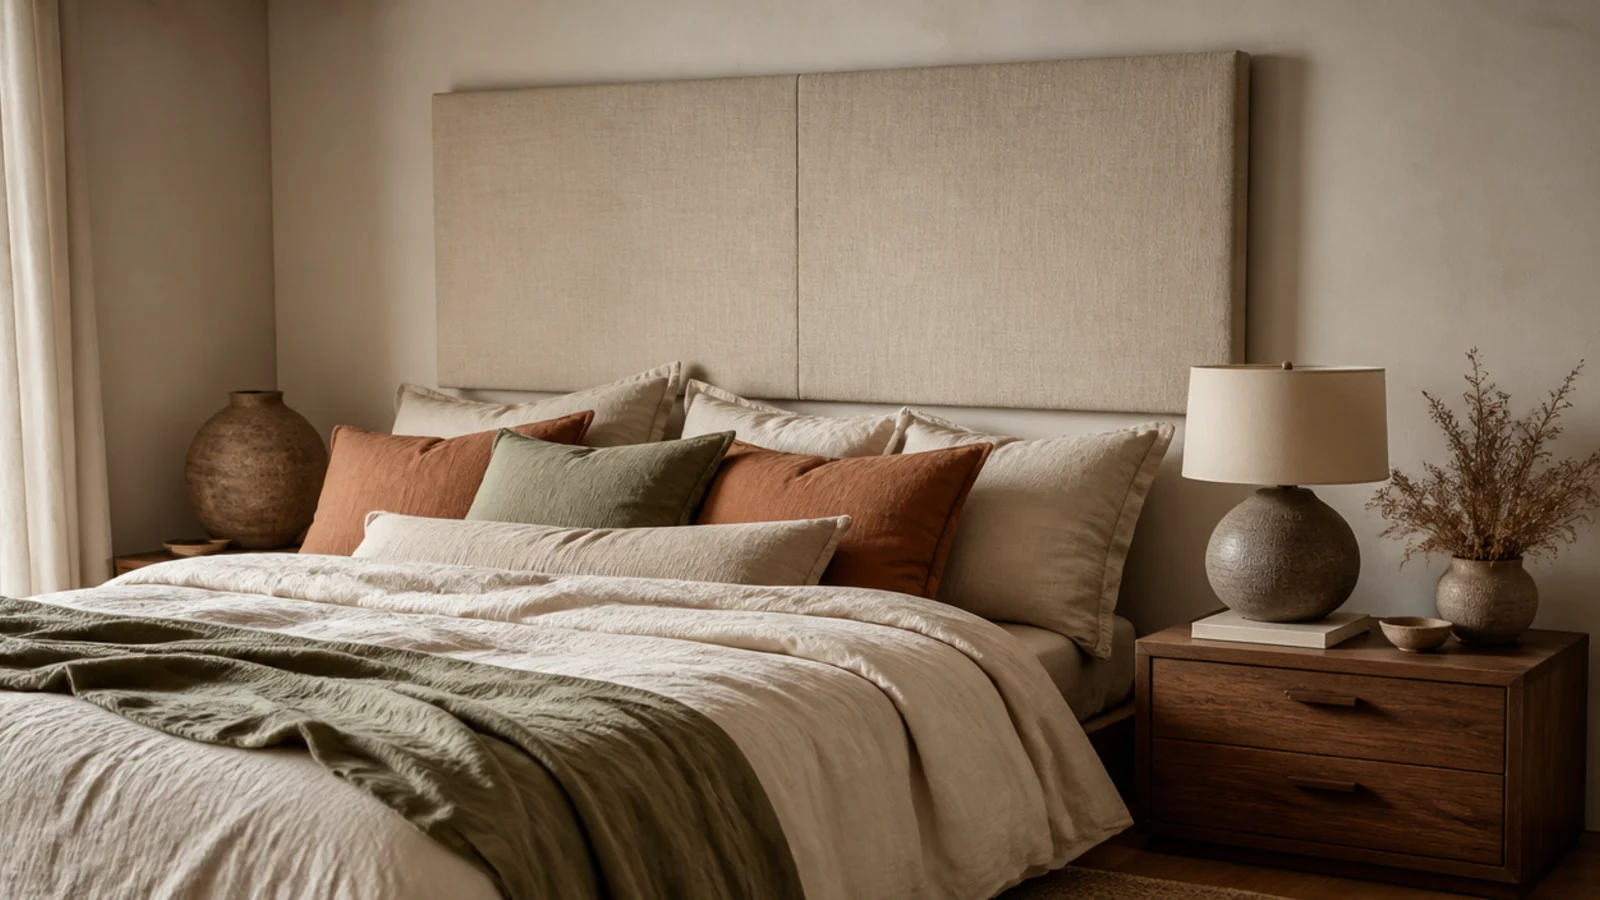
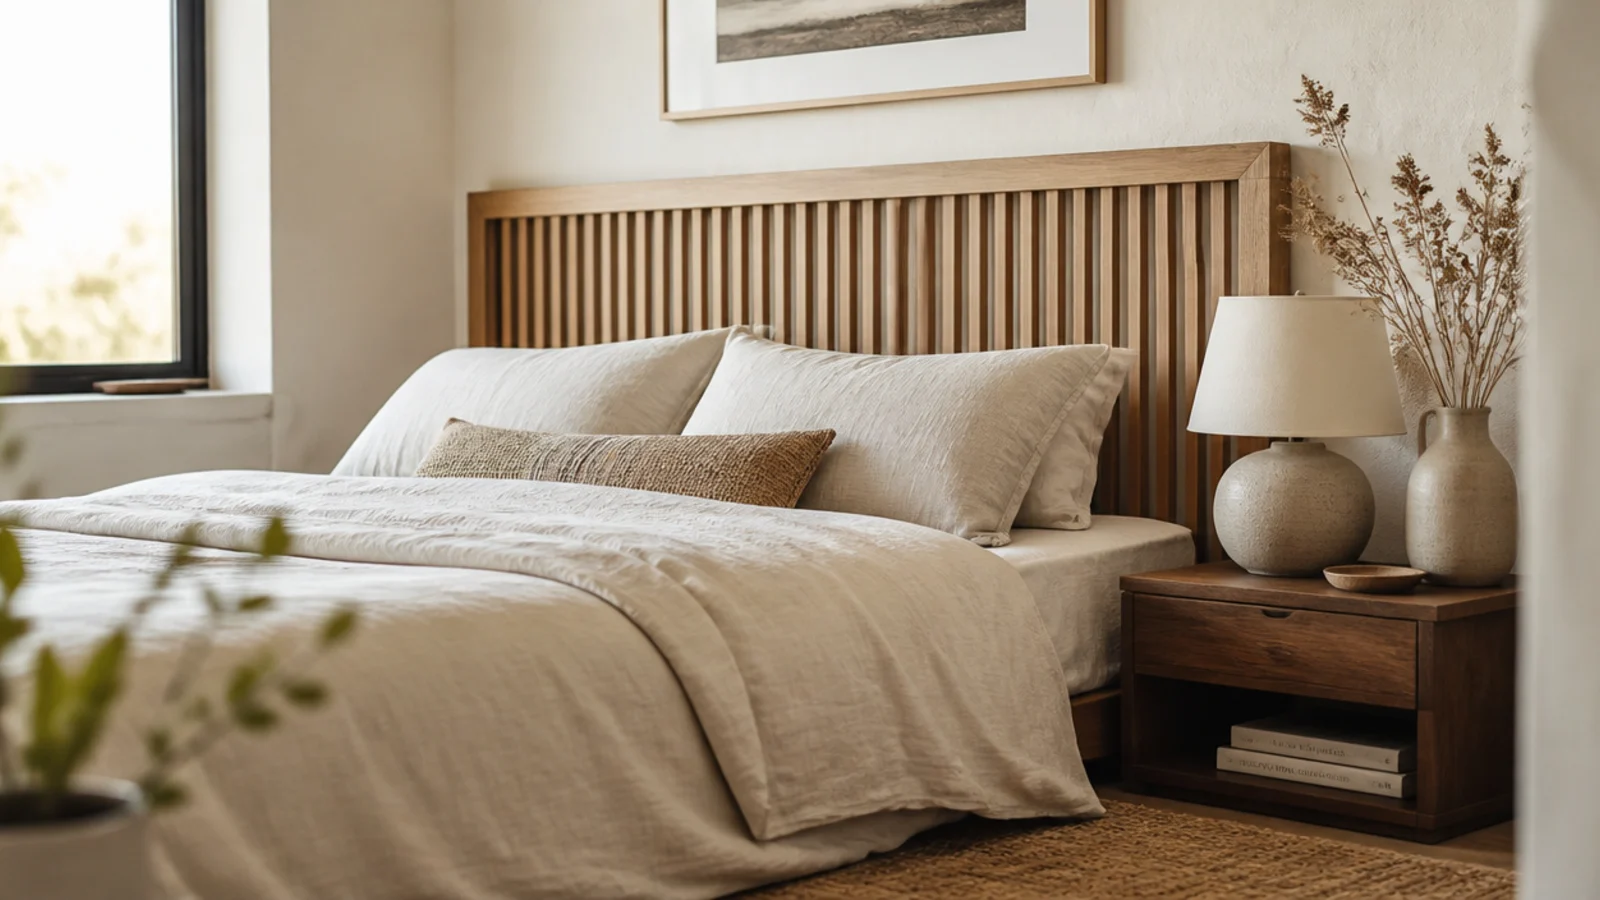
Upholstered headboard ideas sell the bedroom before anything else in it does — a soft panel behind the pillows is the single change that makes a rented room read as furnished. I have made, bought and re-covered eight of them now. The ones that still look good years later share three specs, and the twenty below all respect them.
In this guide22 sections — tap to openHide
- 1.What separates upholstered headboard ideas that last from ones that sag
- 2.The plain rectangle in oatmeal linen
- 3.A shallow arch that softens a square room
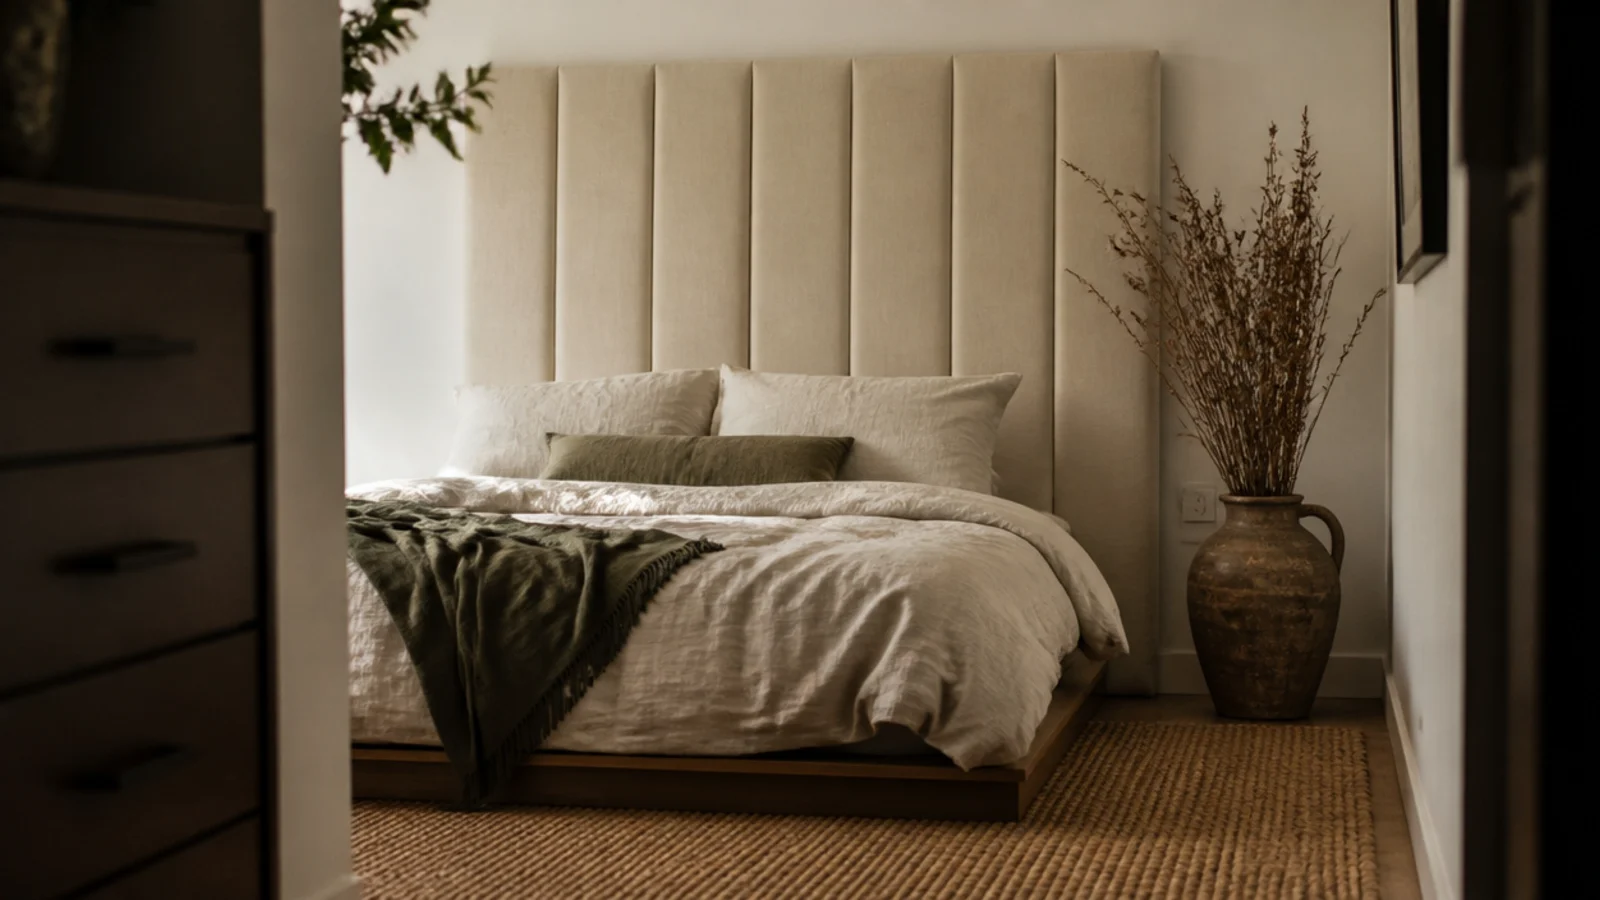
- 4.Vertical channel tufting
- 5.Horizontal channels for a wide low room
- 6.Diamond button tufting done properly
- 7.A wingback panel with side returns
- 8.A padded panel that runs wall to wall
- 9.Contrast piping on a plain panel
- 10.Deep clay velvet for a north-facing room
- 11.Performance weave for a bed that gets used hard
- 12.A slipcovered headboard you can actually wash
- 13.A padded panel with a built-in ledge
- 14.Three padded squares instead of one panel
- 15.A padded frame around a rattan center
- 16.A curved cloud top for a soft bedroom
- 17.Nailhead trim on an otherwise plain panel
- 18.A statement panel that runs to 50 inches
- 19.Twin panels for a guest room with two beds
- 20.A slip-on cover for an existing headboard
- 21.A leaning panel that touches no wall fixings
- 22.Mistakes to Skip
What separates upholstered headboard ideas that last from ones that sag
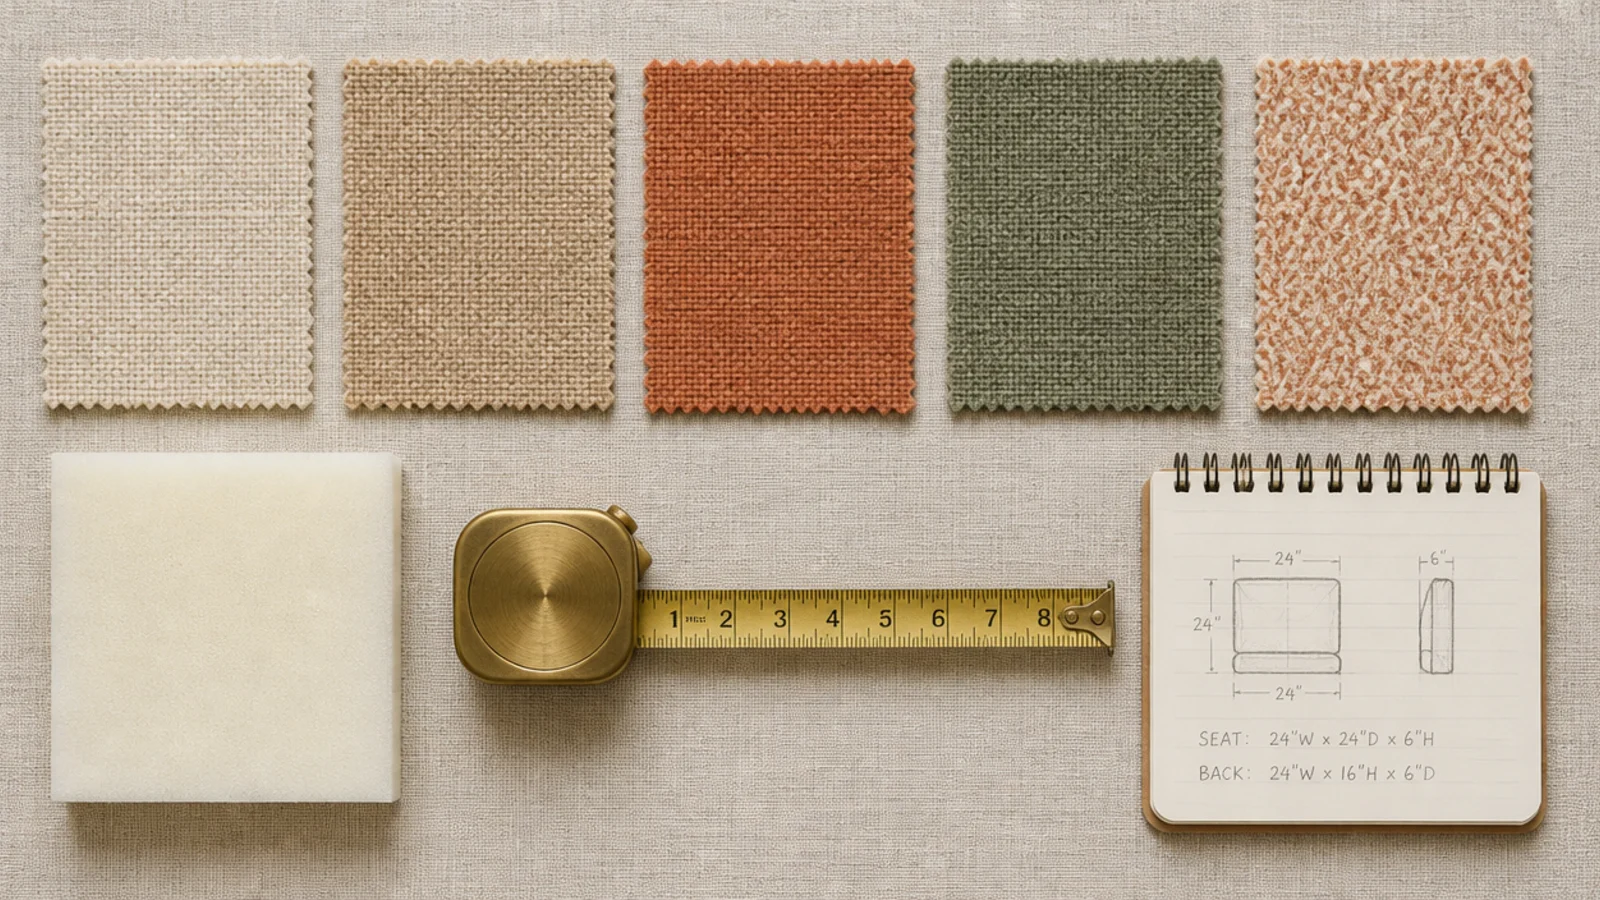
Foam depth comes first. Two inches of high-density upholstery foam is the working minimum for a panel people lean on nightly; one inch telegraphs the backing board within a month and feels hard exactly where your shoulders land. Go to three inches for anything tufted, because deep folds need depth to hold their shape.
Height comes second, and it is measured from the top of the mattress. Low profile means 24 to 28 inches above the mattress. A statement panel means 40 to 50 inches. The range between reads as indecision.
Width is fixed by your mattress: twin 38 inches, full 54, queen 60, king 76. Match that width or add up to 4 inches on each side. Set the bottom edge 2 to 3 inches below the mattress top so shifting pillows never expose a gap.
Then mounting. Hang the panel on a French cleat screwed into two studs rather than bolting it to the bed frame — a headboard takes lateral load every night, and a cleat carries it while leaving the bed free to move.
Budget-wise, a slipcovered or leaning panel runs $60 to $120 ($), a made-to-size upholstered panel $150 to $400 ($$), and a tufted wingback with returns $500 and up ($$$).
1. The plain rectangle in oatmeal linen
The version that never dates. A flat rectangle, 60 to 64 inches wide for a queen, 26 inches above the mattress, in a washed oatmeal linen with a visible slub.
It works because nothing about it competes. Pattern, tufting and shape all draw attention; a plain panel lets bedding and lighting carry the room instead. Choose a fabric one shade deeper than your wall rather than an exact match, or the panel dissolves into the plaster and you lose the frame you paid for.
2. A shallow arch that softens a square room
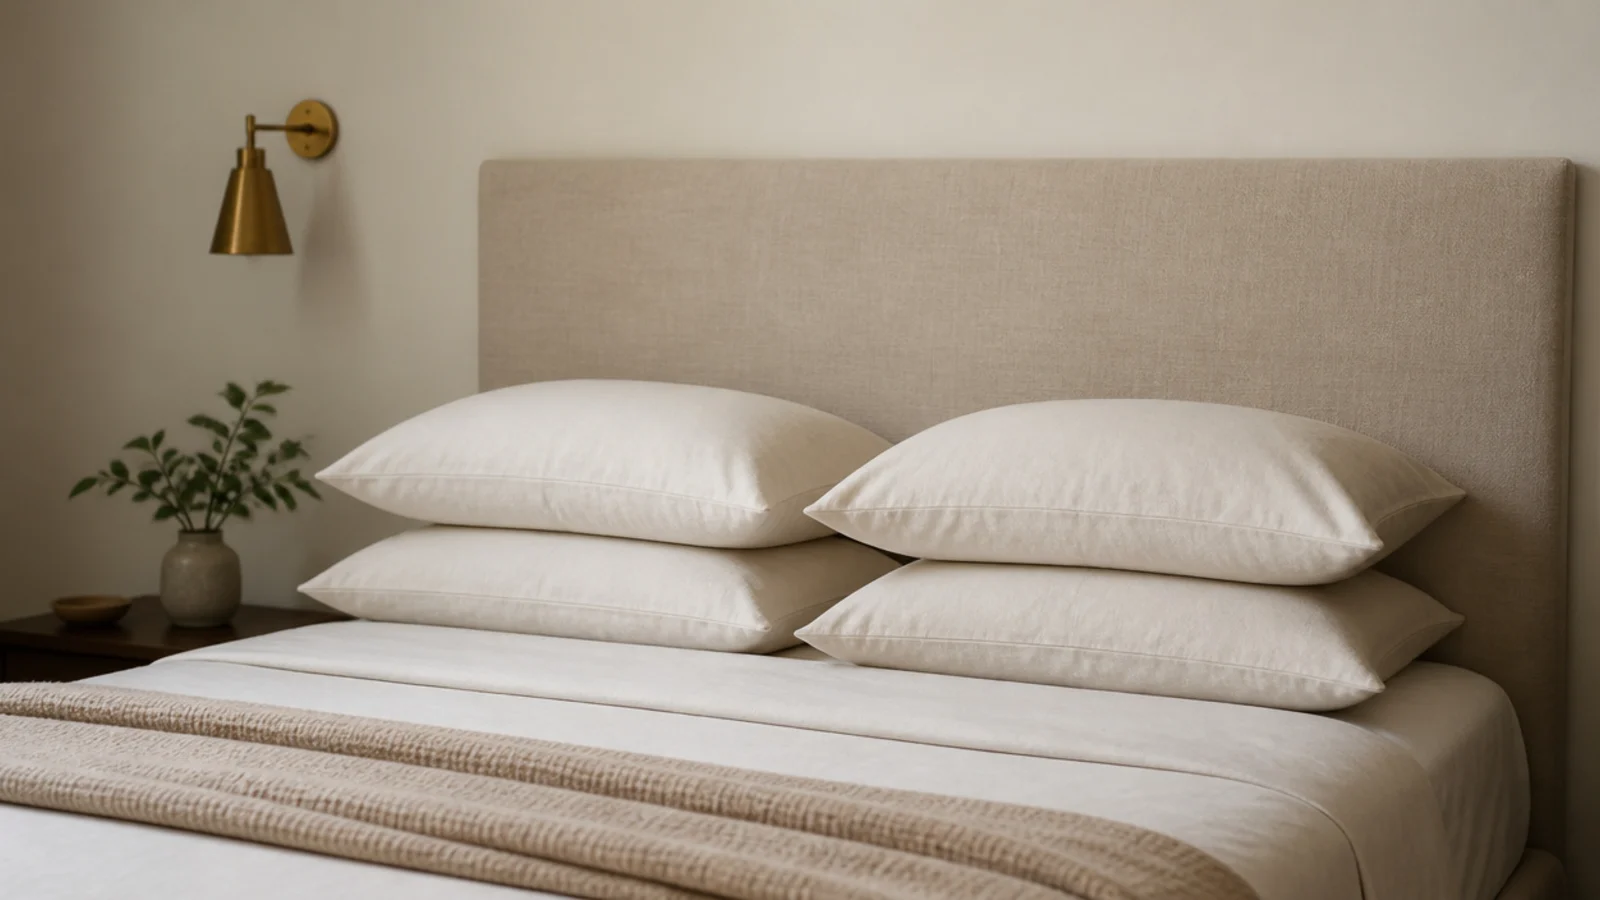
Bedrooms are boxes: rectangular bed, rectangular window, rectangular door. One curve resets the whole thing.
Keep the rise modest — 3 to 4 inches from the shoulder to the center point on a 60-inch panel. A dramatic arch dominates a small room, while a shallow camel curve reads as soft without becoming the story. Cut the shape with a jigsaw and notch the seam allowance every two inches before upholstering, or the fabric puckers along the curve.
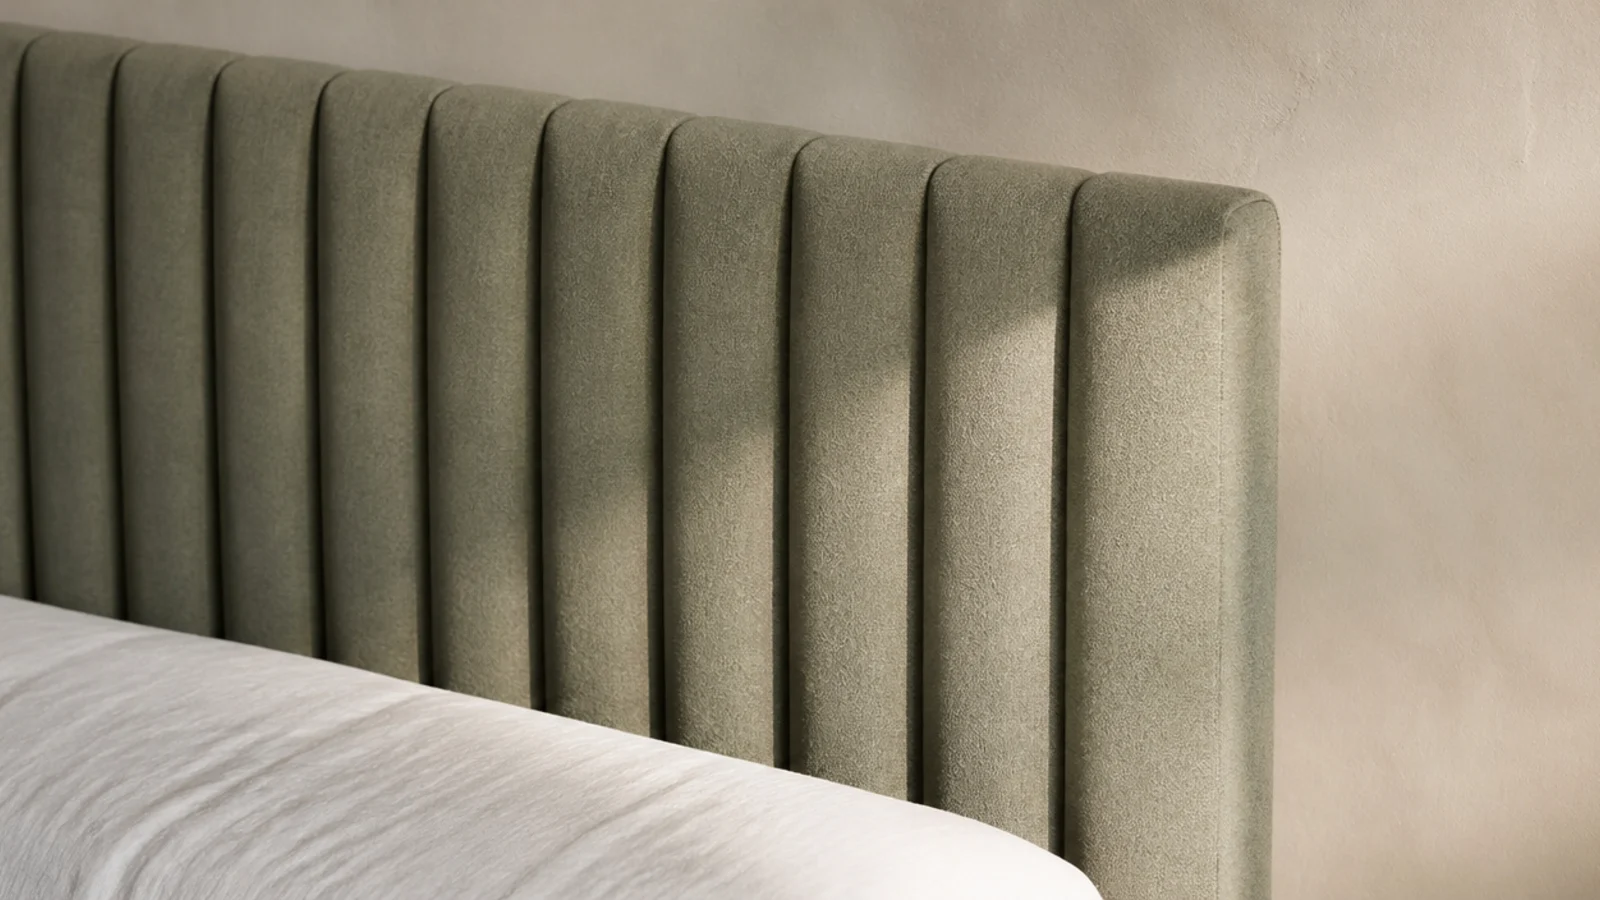
3. Vertical channel tufting
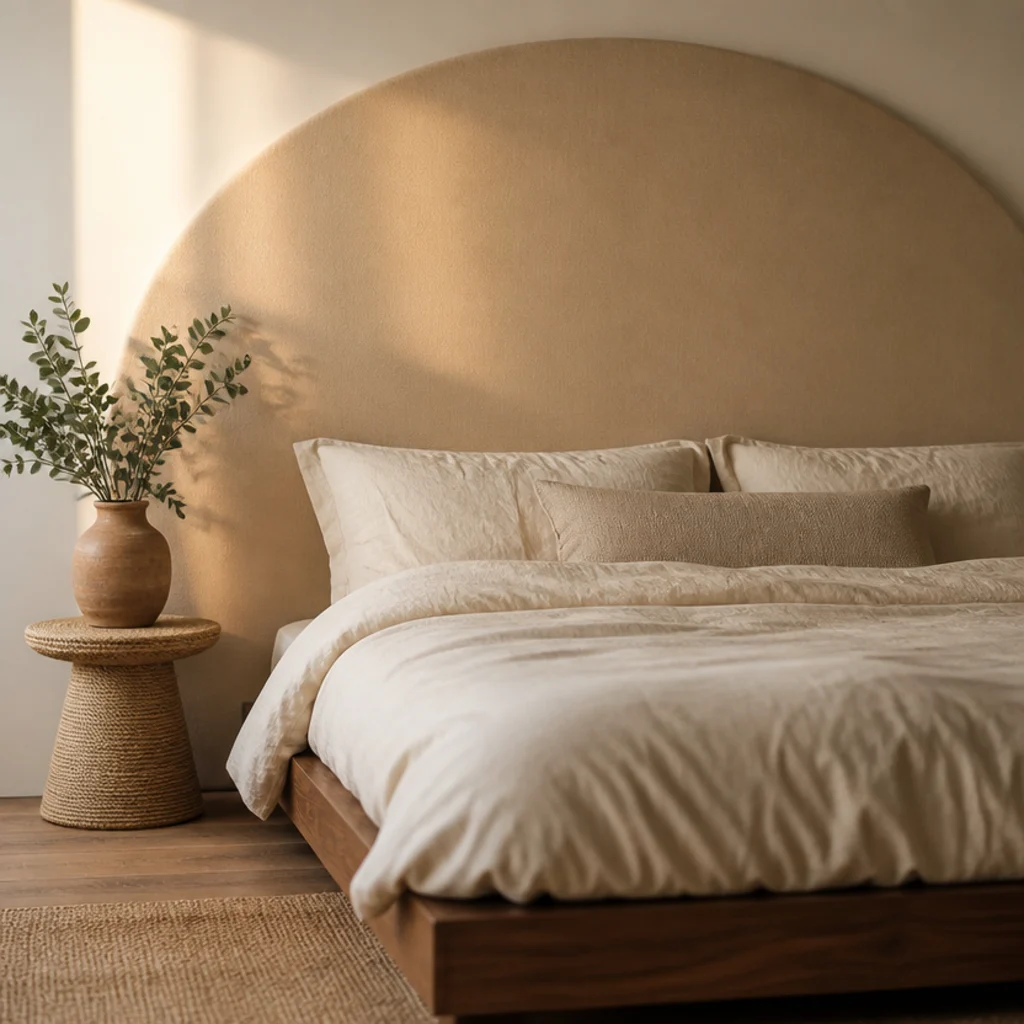
Channels are the easiest tufting to get right because there are no buttons to space evenly. Foam strips run floor-to-top under the fabric, and the stitched valleys between them do the work.
Six inches is the channel width that looks intentional. Narrower than four and the panel starts to read as corrugated packaging; wider than eight and the channels disappear. Vertical channels add apparent height, so they suit a low-ceilinged room better than anything horizontal. Expect $200 to $350 made to size ($$).
4. Horizontal channels for a wide low room
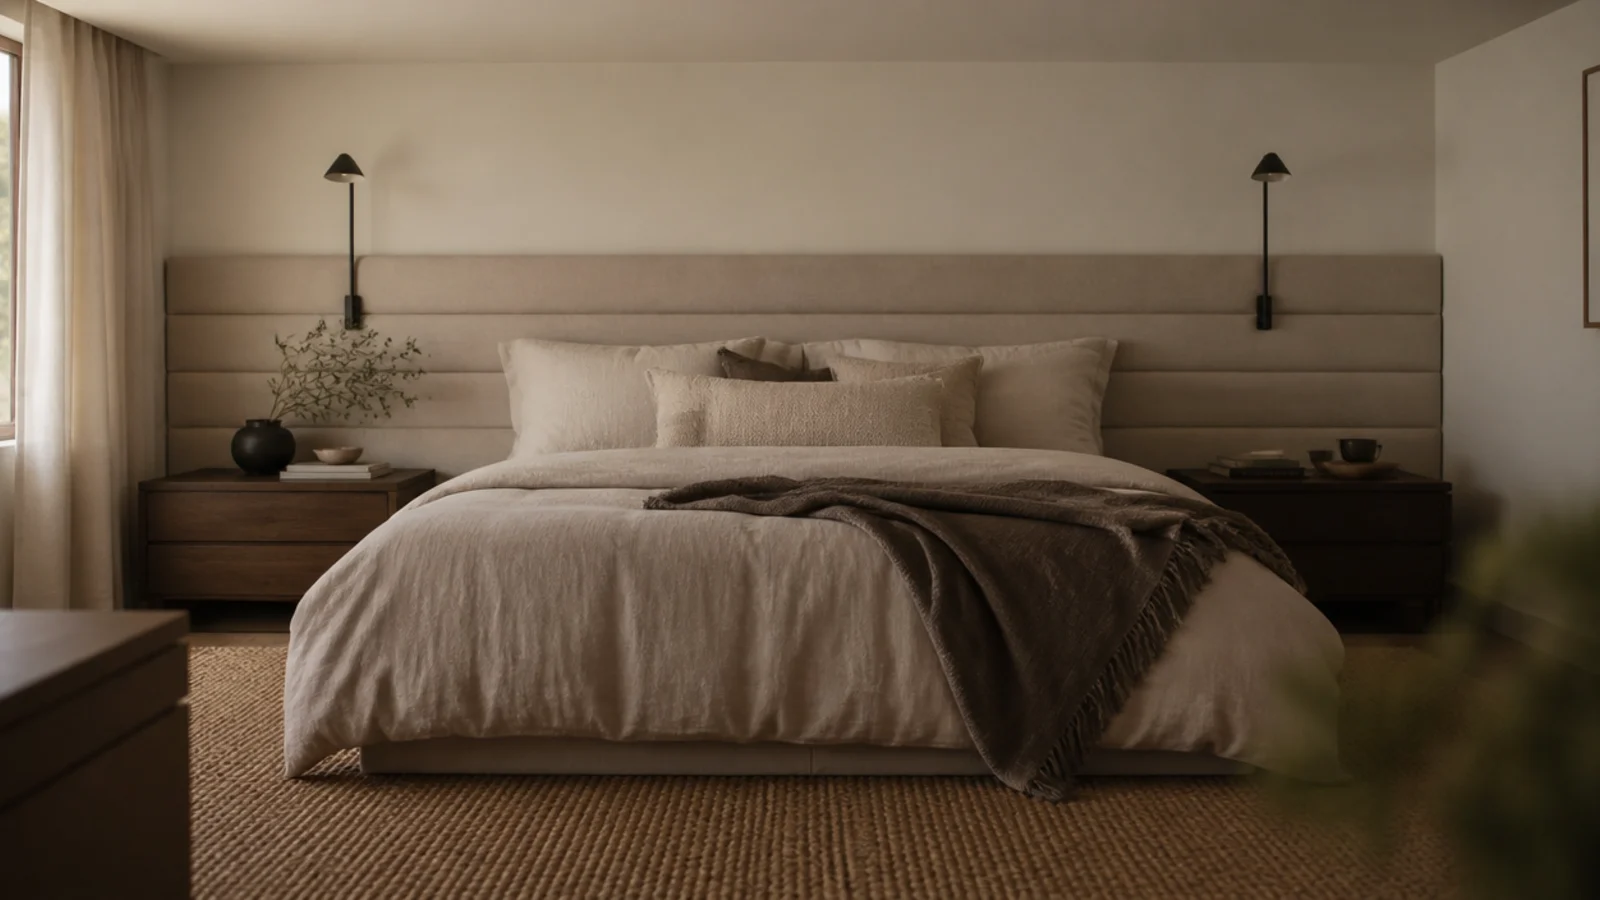
Turn the same construction sideways and it stretches the wall instead of the ceiling. In a narrow bedroom where the bed sits on the long wall, horizontal channels visibly widen the room.
Run the panel 4 inches past the mattress on each side to exaggerate the effect — 68 inches on a queen. Keep it low, 24 to 26 inches above the mattress, so the horizontal lines stay below eye level when you walk in. This is the version I recommend most often for basement and attic bedrooms.
5. Diamond button tufting done properly
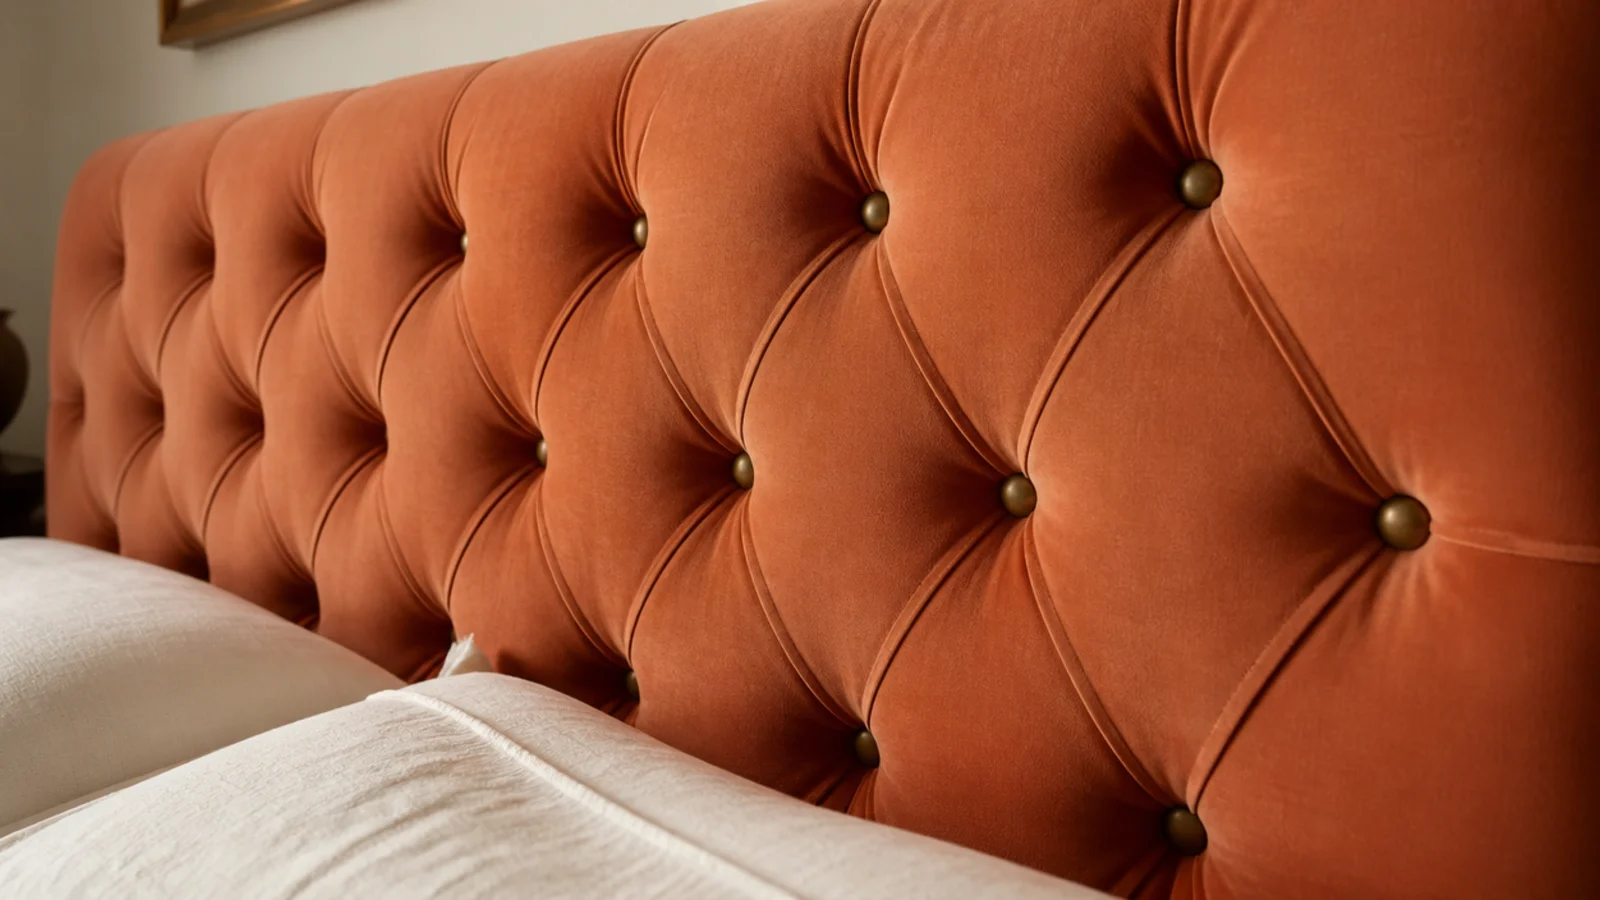
Diamond tufting is the look most people picture when they think expensive, and it is the one most often executed badly.
It needs 3-inch foam minimum. On 2-inch foam the buttons pull flat within a year and the diamonds fade into vague dimples. Space buttons 7 to 9 inches apart on a queen panel; tighter spacing looks fussy at this scale. Velvet and heavy linen both hold the folds well. Skip cotton sateen, which creases at every pull point and never recovers.
6. A wingback panel with side returns
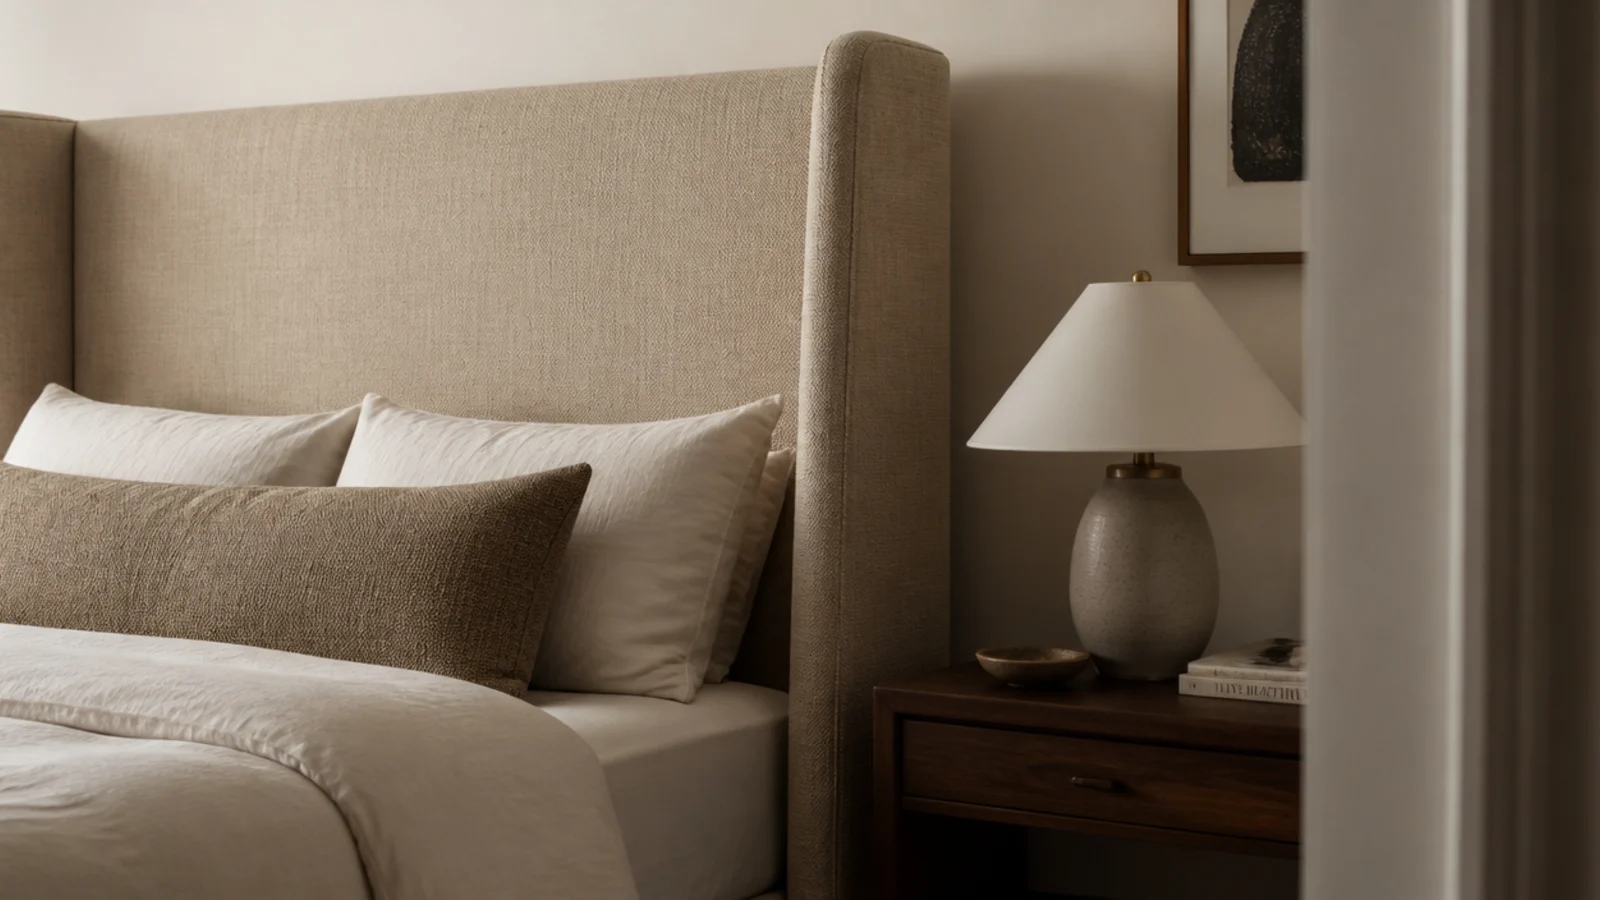
Padded returns that come forward 6 to 8 inches on each side turn a bed into a defined space. In a large master bedroom this stops the bed floating on a big wall.
The returns need their own cleats or a floor-standing frame, since they cantilever off the main panel. Keep the total height at 45 to 50 inches so the wings read deliberately. In a room under 11 feet wide, skip it — the returns eat walking space you actually need beside the bed.
7. A padded panel that runs wall to wall
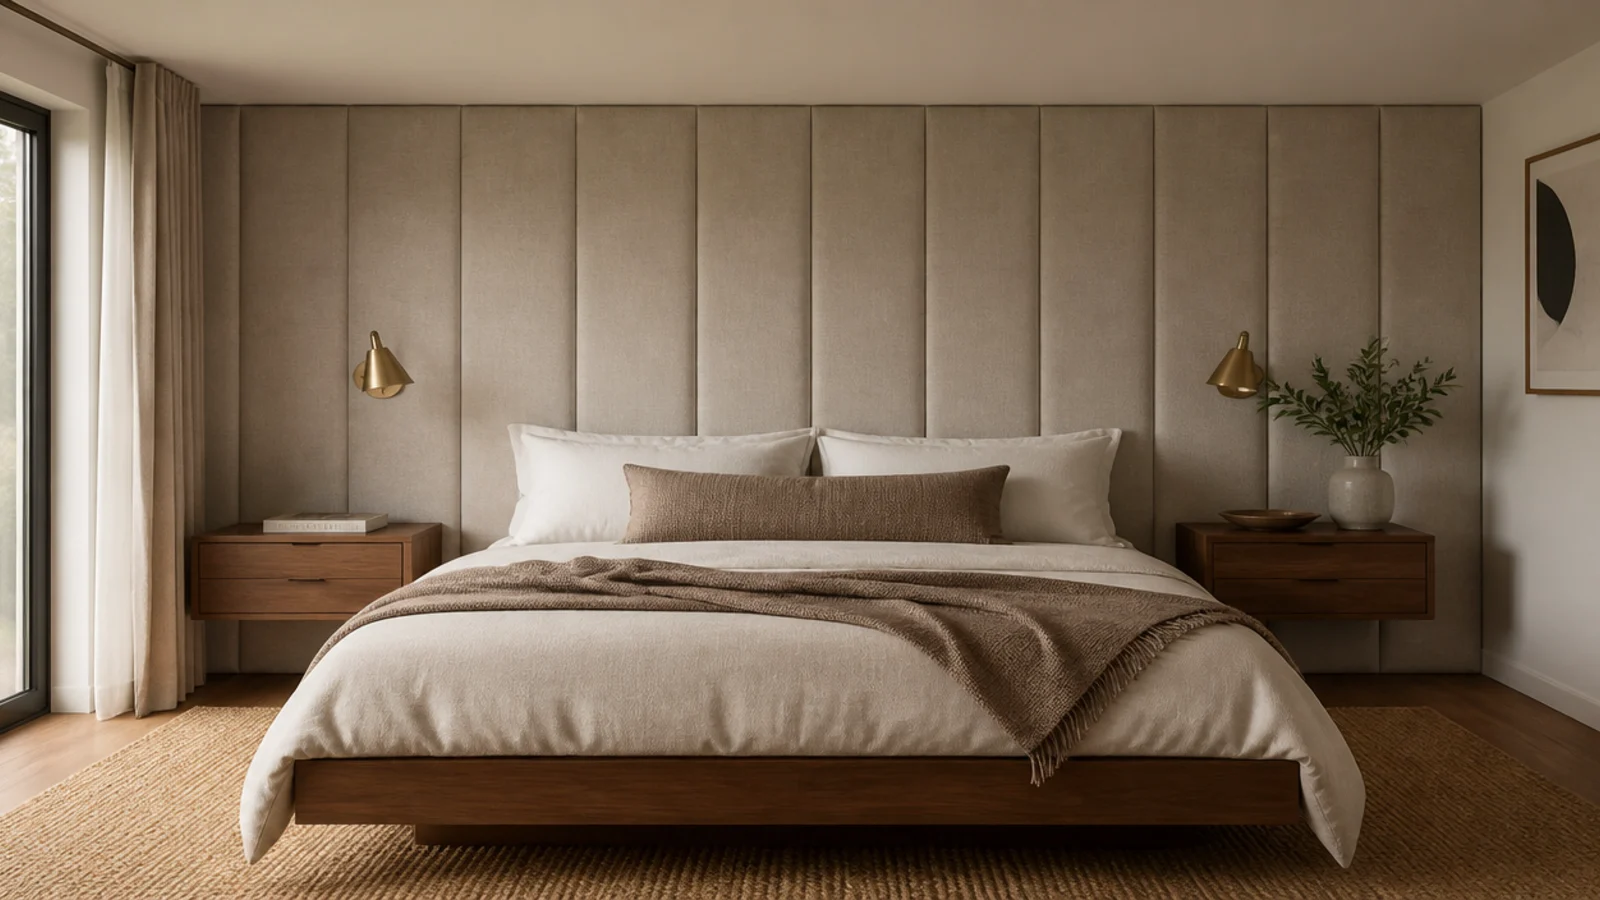
Instead of a headboard sized to the bed, upholster the whole wall behind it. A run of 96 to 120 inches, 40 inches tall, mounted on three cleats.
It sounds extravagant and costs less than most people assume, because plain panels are cheap per square foot. The payoff is acoustic as well as visual: a padded wall noticeably deadens a hard-floored bedroom. Mount floating nightstands directly over it, and keep sconces on the flanking wall so you never drill through the fabric.
8. Contrast piping on a plain panel
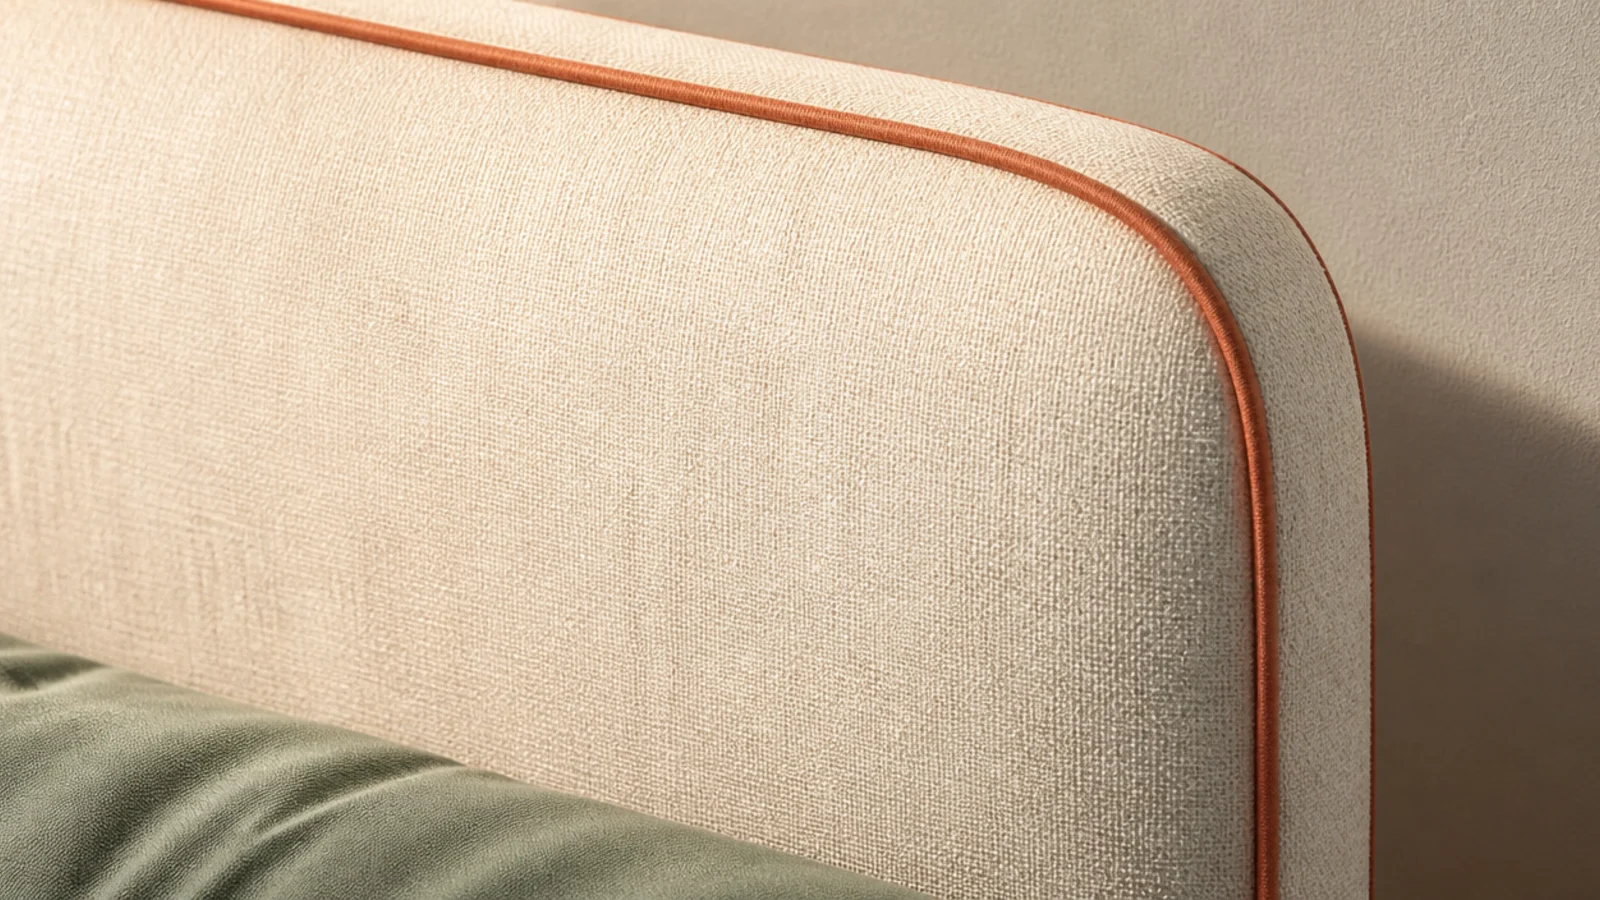
A fine piped cord following the perimeter costs about $30 extra and changes a plain rectangle into something that looks specified.
Choose a piping tone that already appears somewhere in the room — the rug binding, a cushion, the curtain header. Terracotta cord on cream linen, or cream cord on sage, both read as considered. Keep it thin: 5/32 inch cord. Anything chunkier starts to look like a sofa cushion from a catalog rather than a headboard.
9. Deep clay velvet for a north-facing room
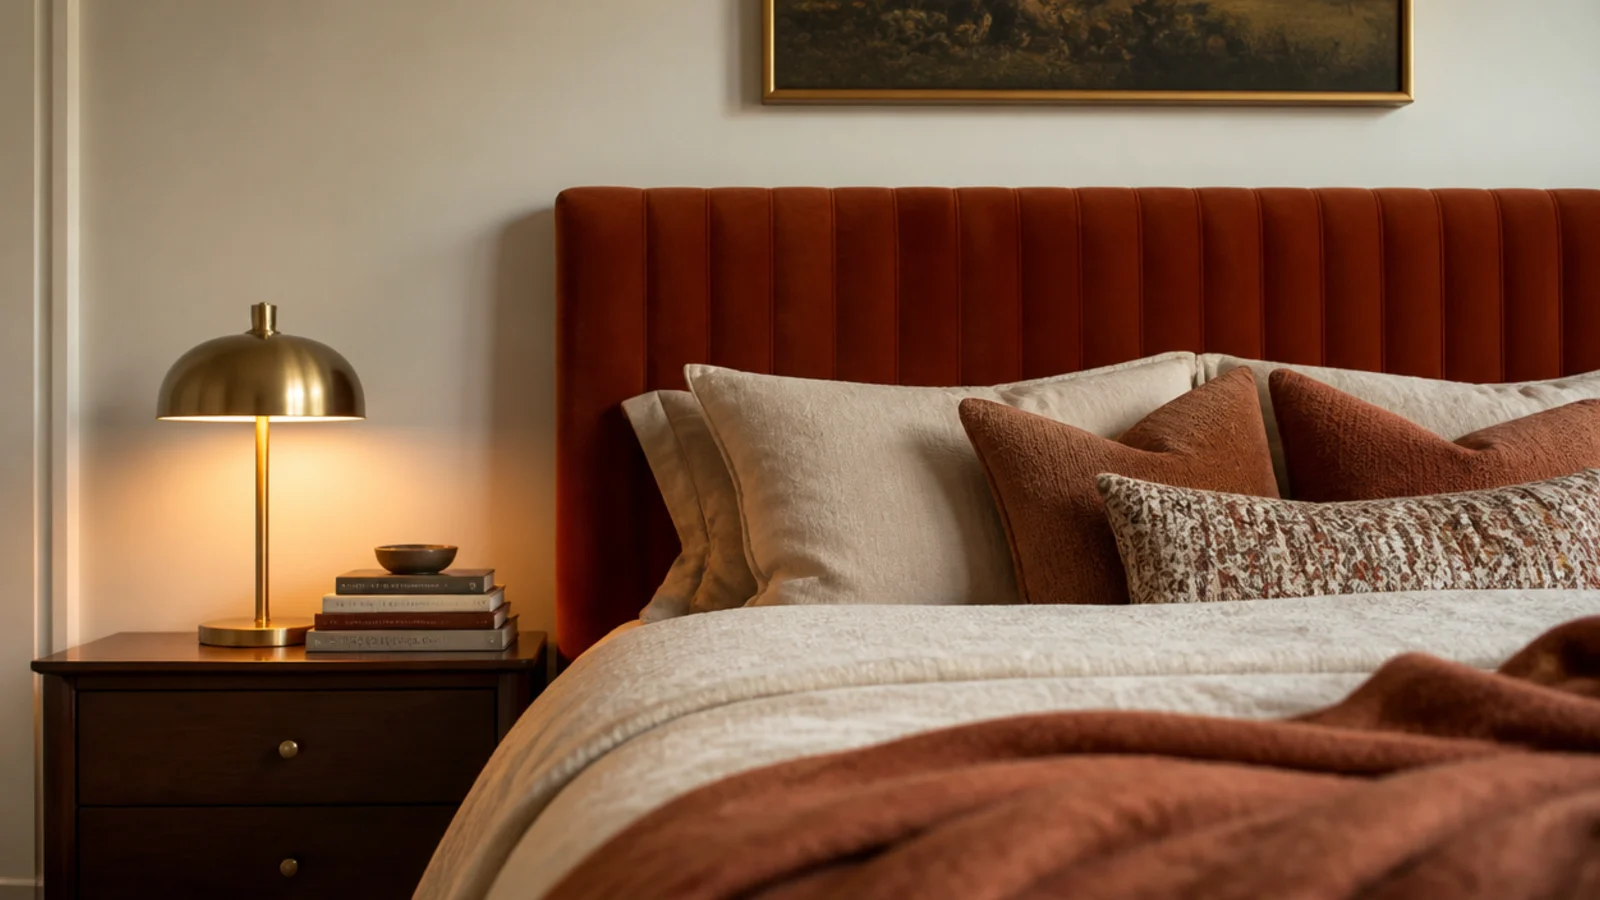
Cool north light drains warmth out of pale fabric. Velvet solves it, because the pile catches whatever light there is and gives some of it back.
Terracotta clay, rust and muted ochre all warm a cold room without going loud. Use cotton or performance velvet rather than silk-look polyester, which flattens into shiny patches where people lean. Vacuum monthly with an upholstery brush and brush the pile in one direction afterward; that single habit keeps velvet looking new for years.
10. Performance weave for a bed that gets used hard
If breakfast happens in bed, or a dog sleeps on it, buy performance fabric and stop worrying. Solution-dyed acrylics and treated polyesters now come in convincing linen textures at $30 to $50 a yard.
Look for a rub count above 30,000 double rubs and a bleach-cleanable rating. Mid-tone colors in oatmeal, clay or sage hide oil marks far better than white or pale grey. This is the single most practical upgrade in the list and nobody who visits will ever notice.
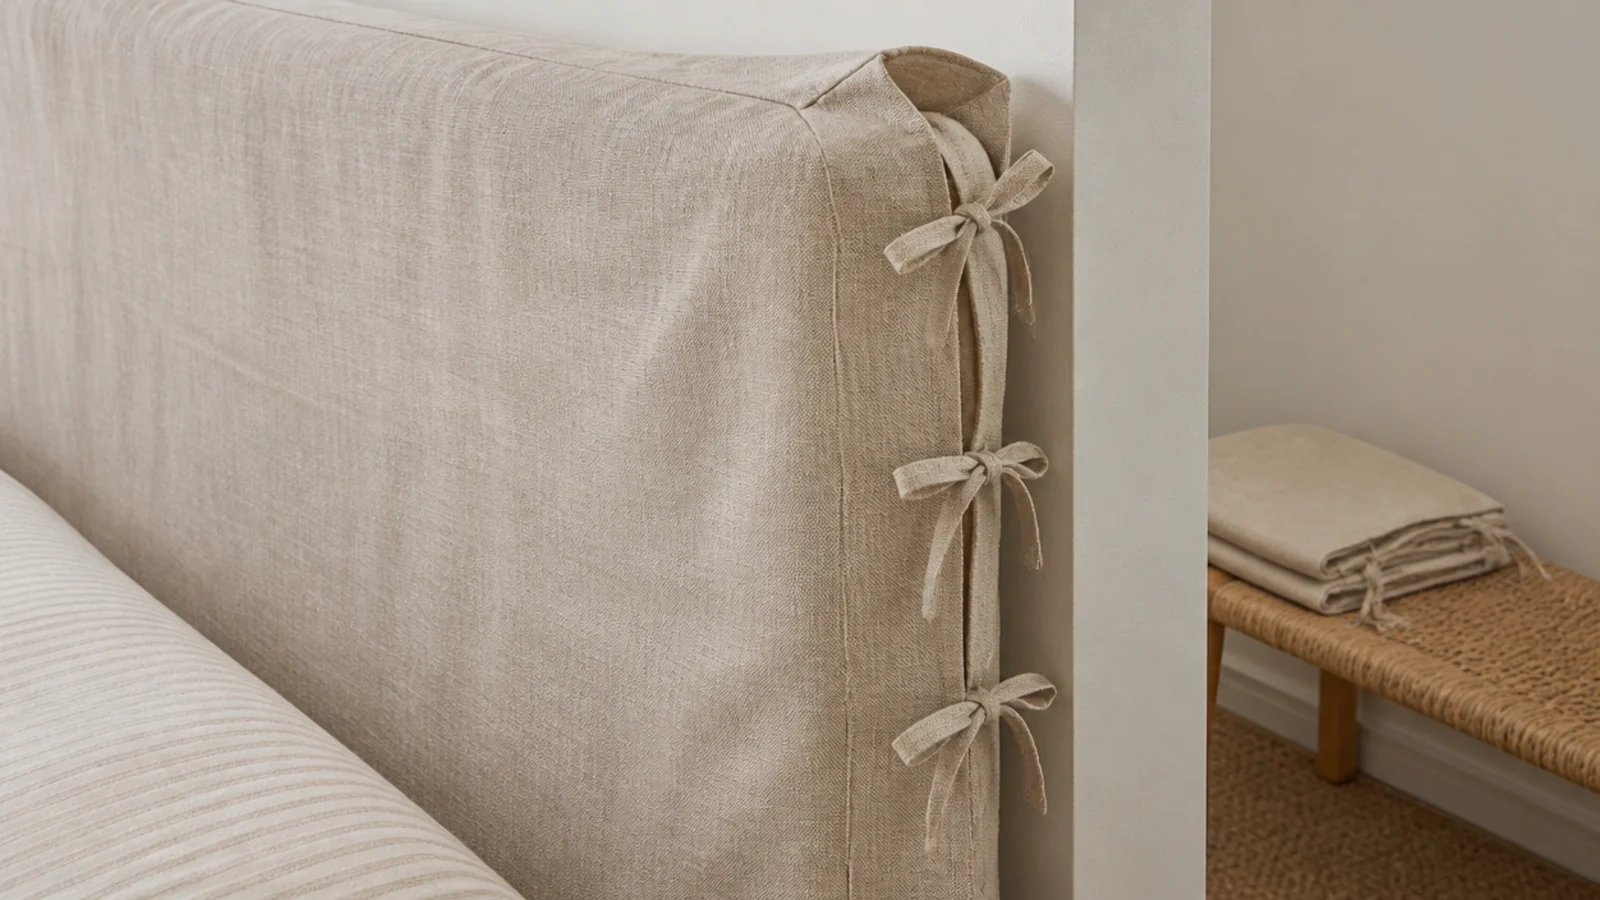
11. A slipcovered headboard you can actually wash
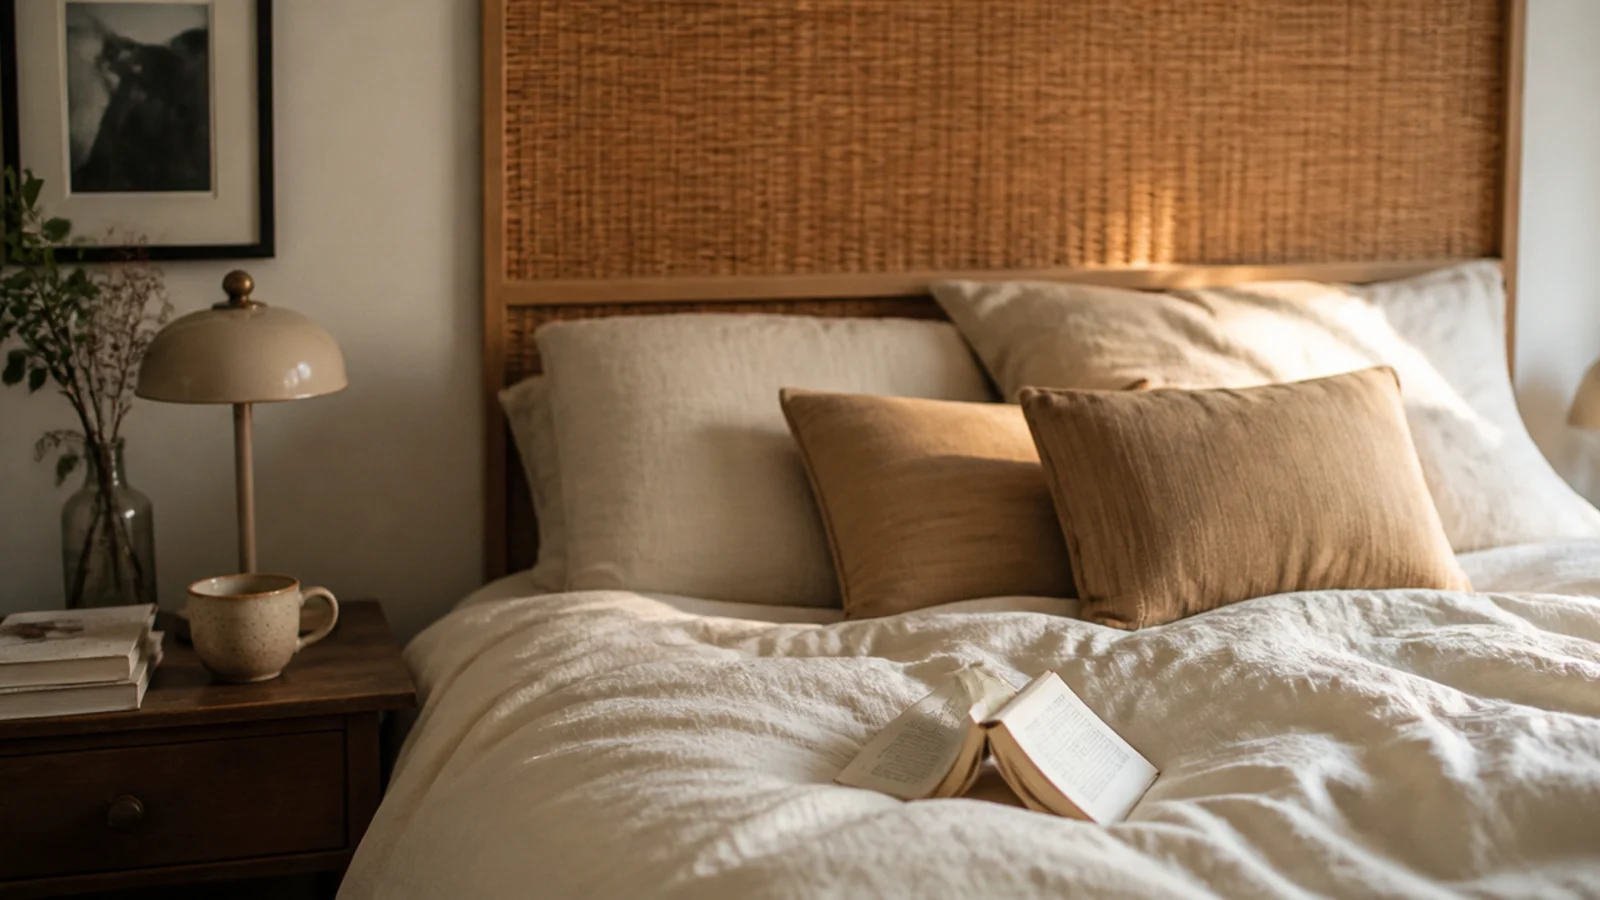
A fitted cover over a plain padded panel gives you the one thing upholstery normally cannot offer: a wash cycle.
Have two covers made in washed linen with ties or a hidden zip along one side seam. Pre-wash the fabric before it is cut, since linen shrinks 3 to 5 percent on the first hot wash and a shrunken cover will not go back on. This is the version I recommend for kids rooms and for anyone in a small apartment where the bed doubles as a sofa.
12. A padded panel with a built-in ledge
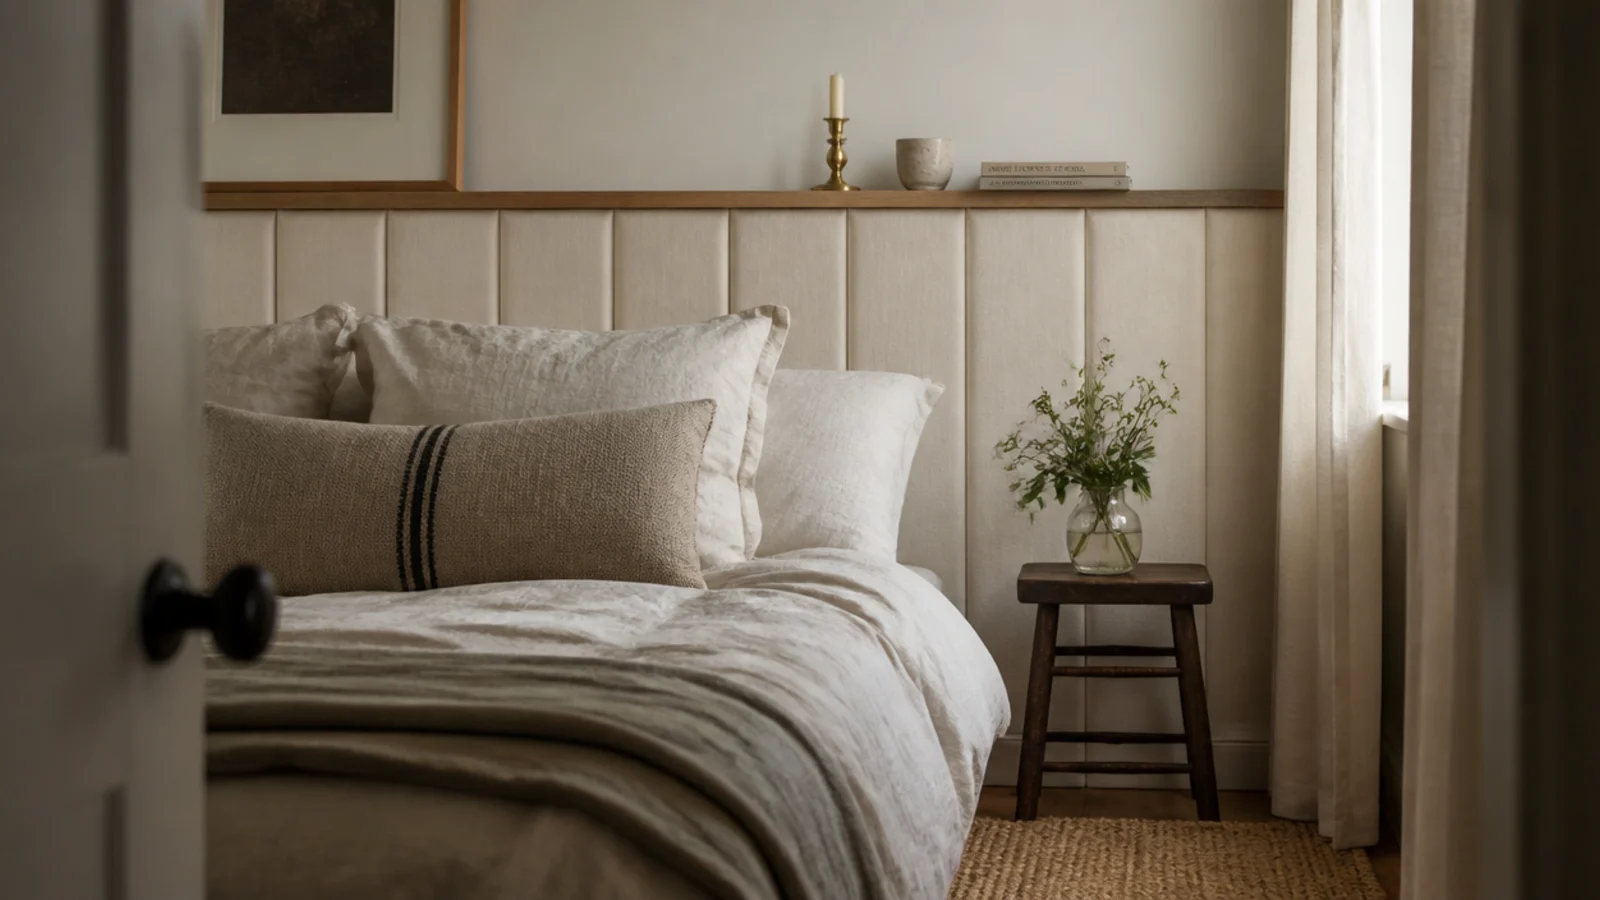
Add a 4-inch solid oak ledge across the top of the panel and a tight bedroom stops needing nightstands.
The ledge holds a glass, a book, a small candle and a phone, and it sits above the pillows rather than beside the bed, which is where the floor space actually is. Cap it with a shallow lip so nothing rolls off, and mount the whole assembly on a cleat rated for the extra load. In a room under 10 by 10 feet this single detail buys back both bedside footprints.
13. Three padded squares instead of one panel
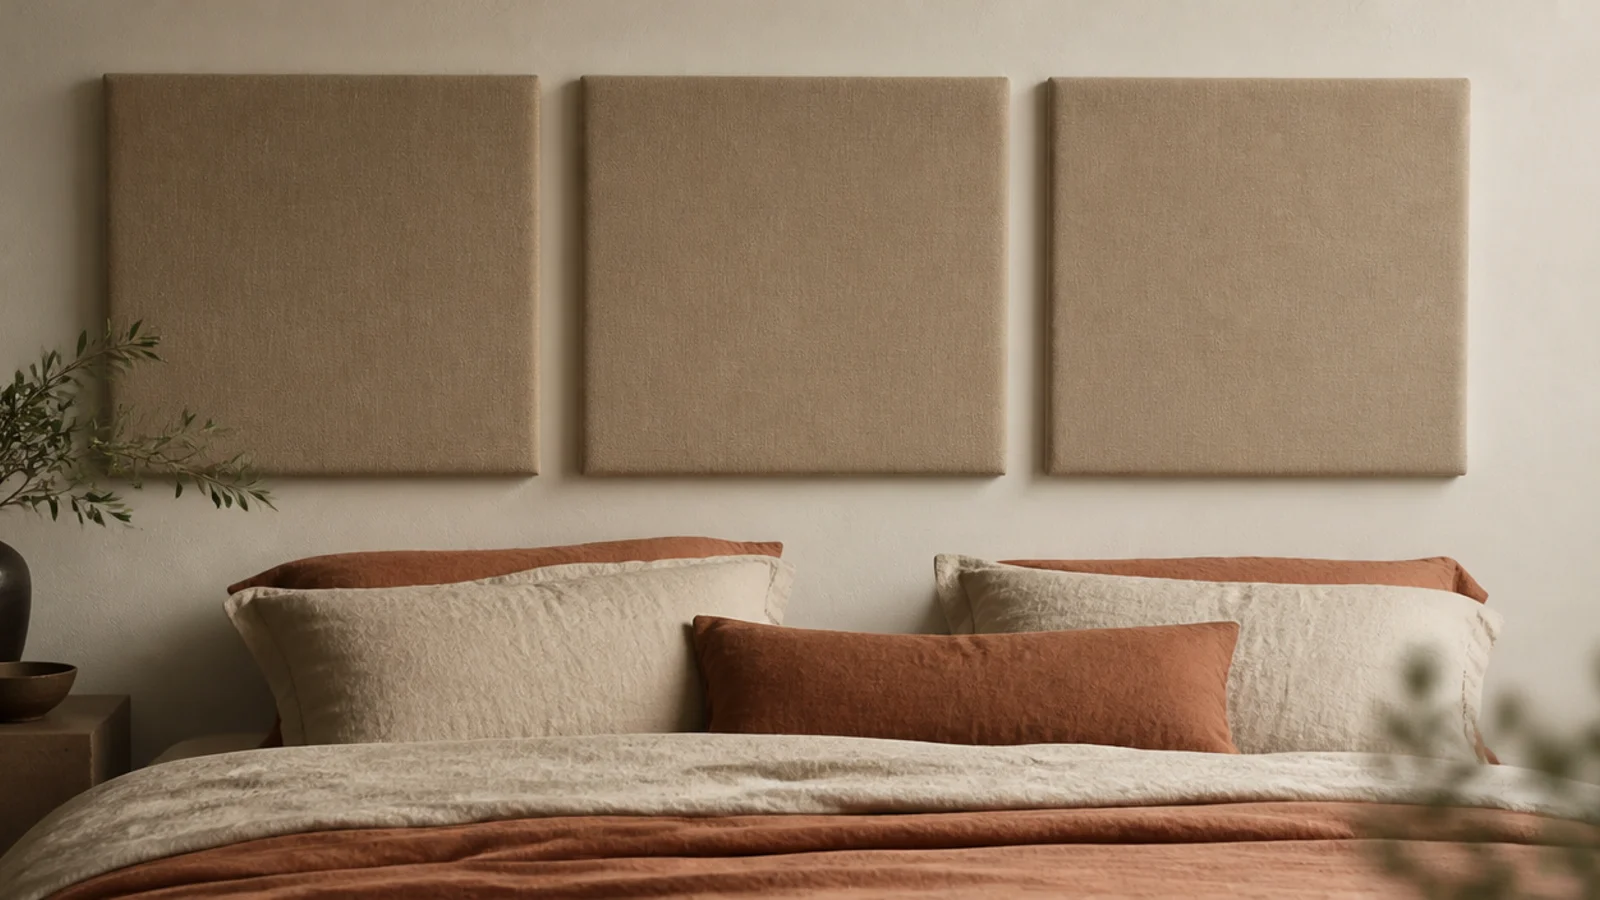
Three separate 22-inch squares, mounted in a row with a 2-inch gap between them, read as intentional and solve a real logistics problem: a 64-inch panel does not go up a tight stairwell, and three squares do.
Hang each on its own small cleat and level them off one continuous pencil line. Keep the gaps even to the sixteenth of an inch, because unequal gaps are the only thing anyone will see. This modular approach is also the cheapest way to cover a king-width wall.
14. A padded frame around a rattan center
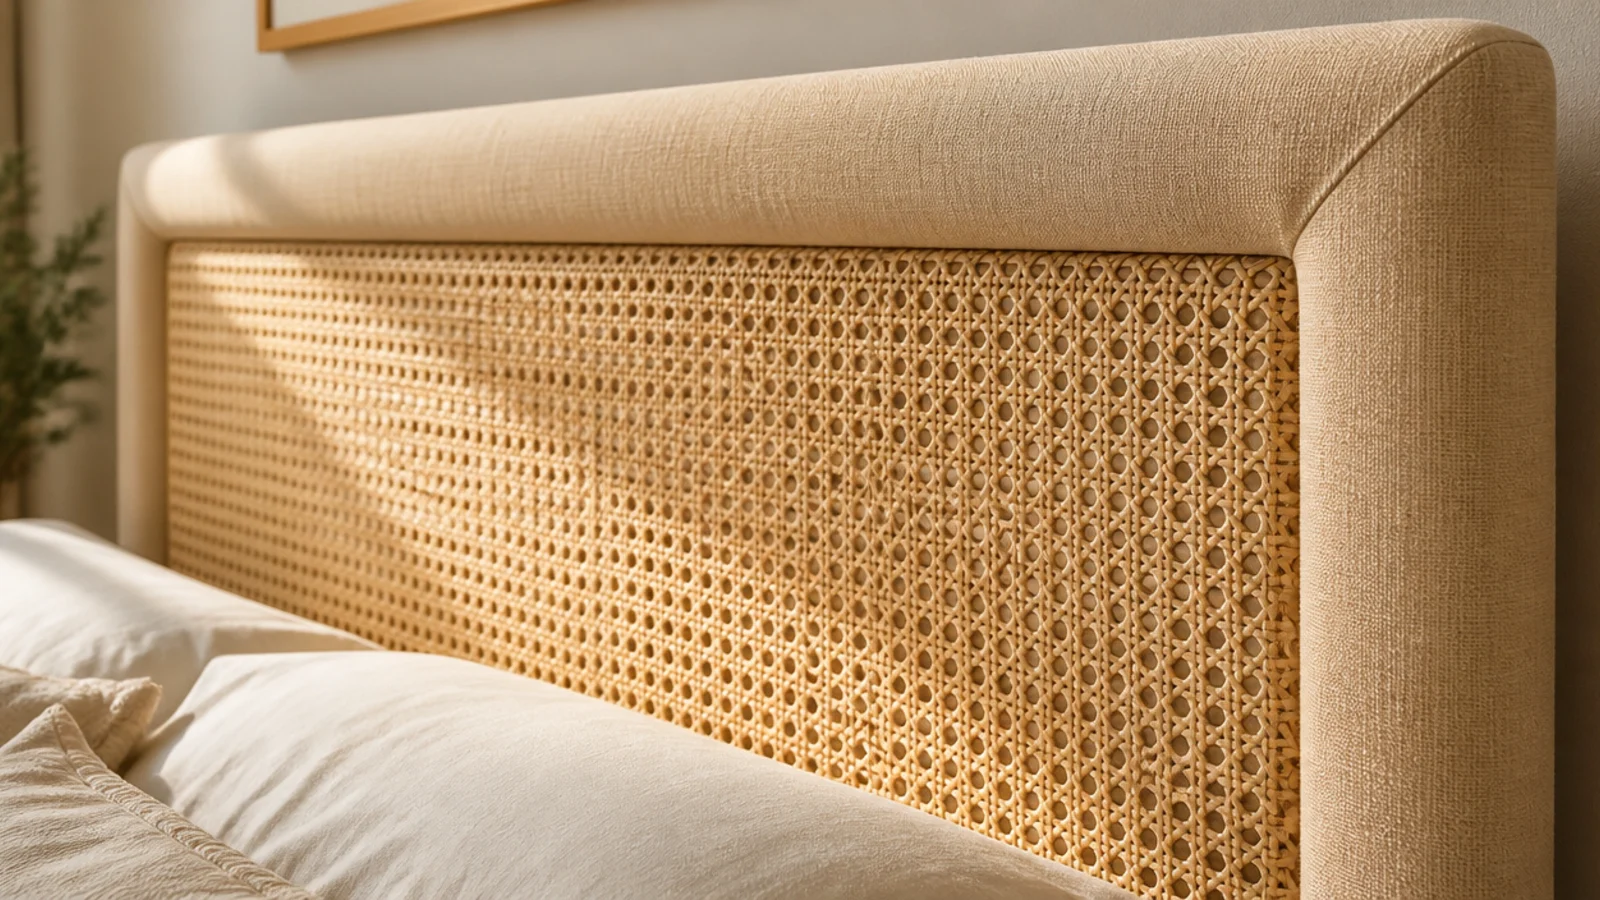
Combining a padded border with a woven cane center gives you softness where your back lands and texture where your eye lands.
Run the upholstered frame 5 to 6 inches wide around a cane webbing insert. Cane costs about $20 a running foot and installs in a rabbeted groove with spline and glue. Keep the panel out of direct sun, since cane dries and cracks over a couple of summers in a south-facing window. Pair it with rustic wood headboard styling if the rest of the room leans natural.
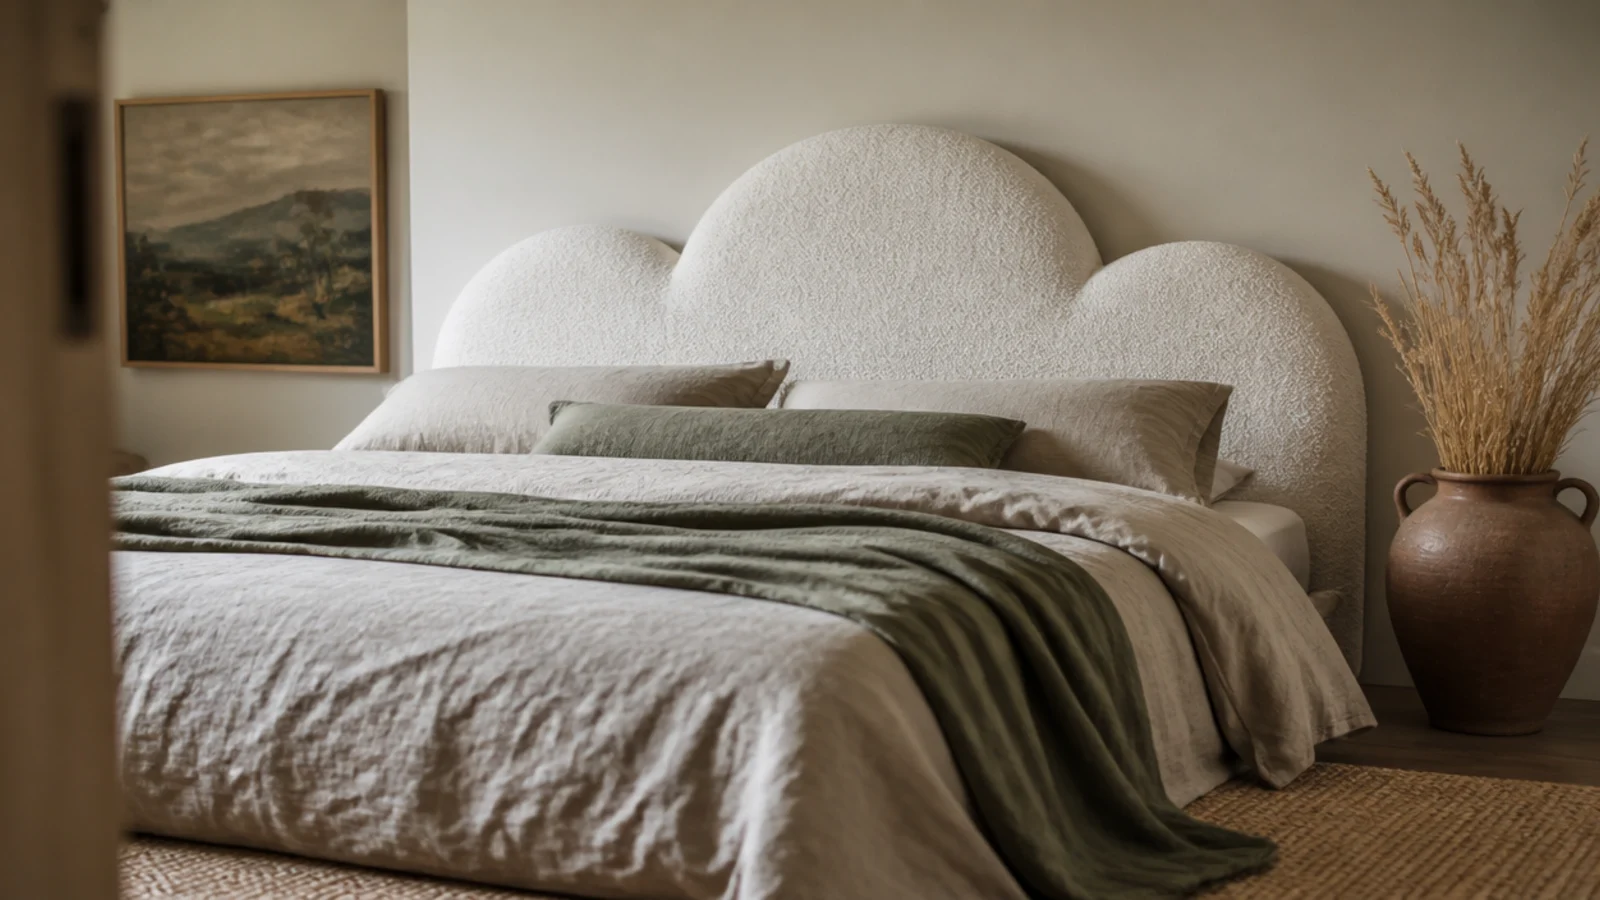
15. A curved cloud top for a soft bedroom
Three gentle lobes across the top edge, each rising about 5 inches, give a bedroom a softness no rectangle can.
Three lobes is the number. Five starts to look like a cartoon, and one is just an arch. Cream boucle suits the shape better than flat linen because the texture reads as cloud too. Draw the curves on kraft paper first and tape the template to the wall for a day — shapes like this look very different at full scale than they do on a screen.
16. Nailhead trim on an otherwise plain panel
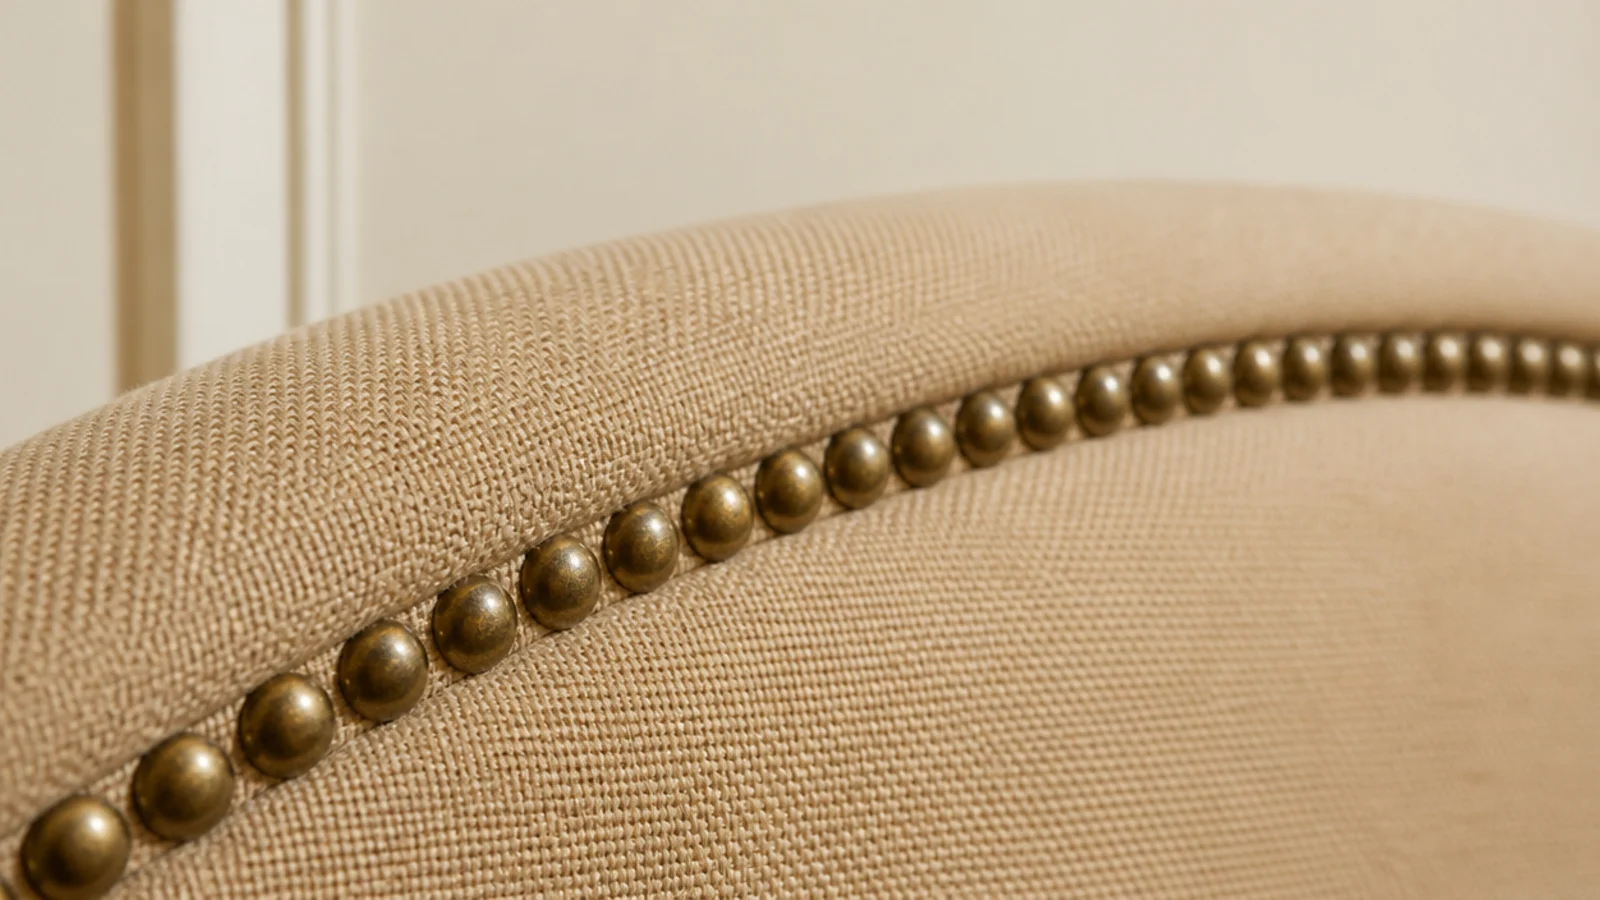
Nailheads are the cheapest way to add a hard edge to something soft. A strip of pre-spaced trim costs about $15 for 10 feet and installs with a rubber mallet in an hour.
Aged brass on oatmeal linen is the safe pairing; polished chrome on velvet is not. Space individual studs at a consistent 1.5 inches and mark the line with tape first, because the eye catches every wobble along a straight run. Keep trim off any curved edge unless you have done it before.
17. A statement panel that runs to 50 inches
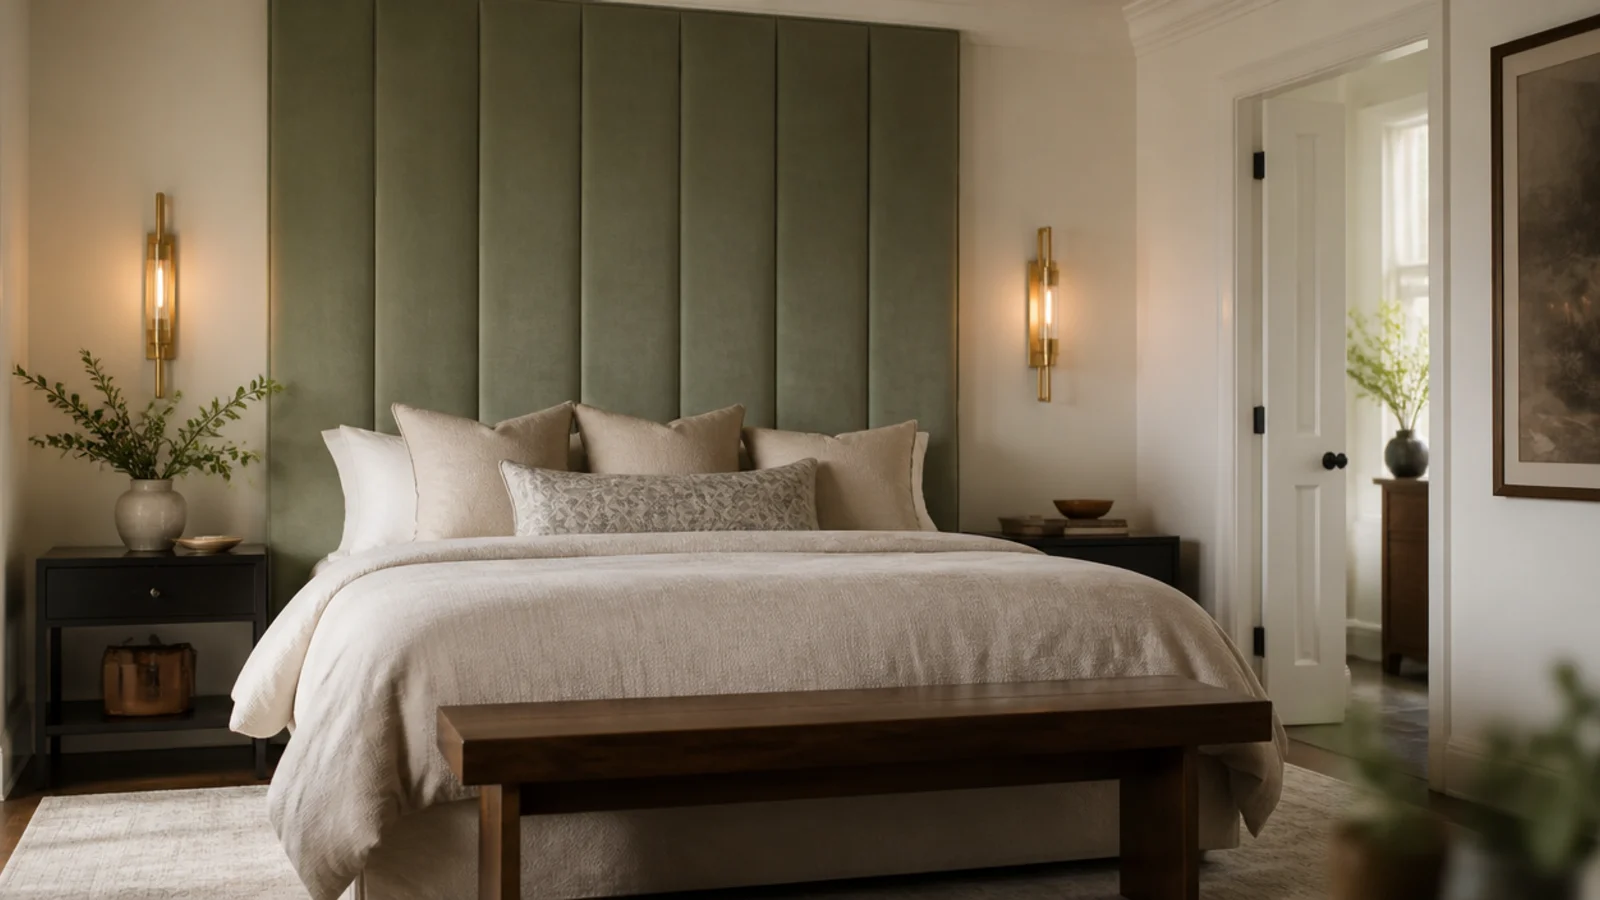
In a room with 9-foot ceilings, a panel that stops at 26 inches above the mattress leaves an awkward acre of wall. Take it up to 45 or 50 inches instead.
Leave at least 12 inches of clear wall between the panel top and any crown molding. A tall panel needs two cleats, one at the top and one low, or it bows away from the wall at the center. This is the layout used in almost every hotel room you have liked. Pair it with master bedroom headboard styling for the rest of the wall.
18. Twin panels for a guest room with two beds
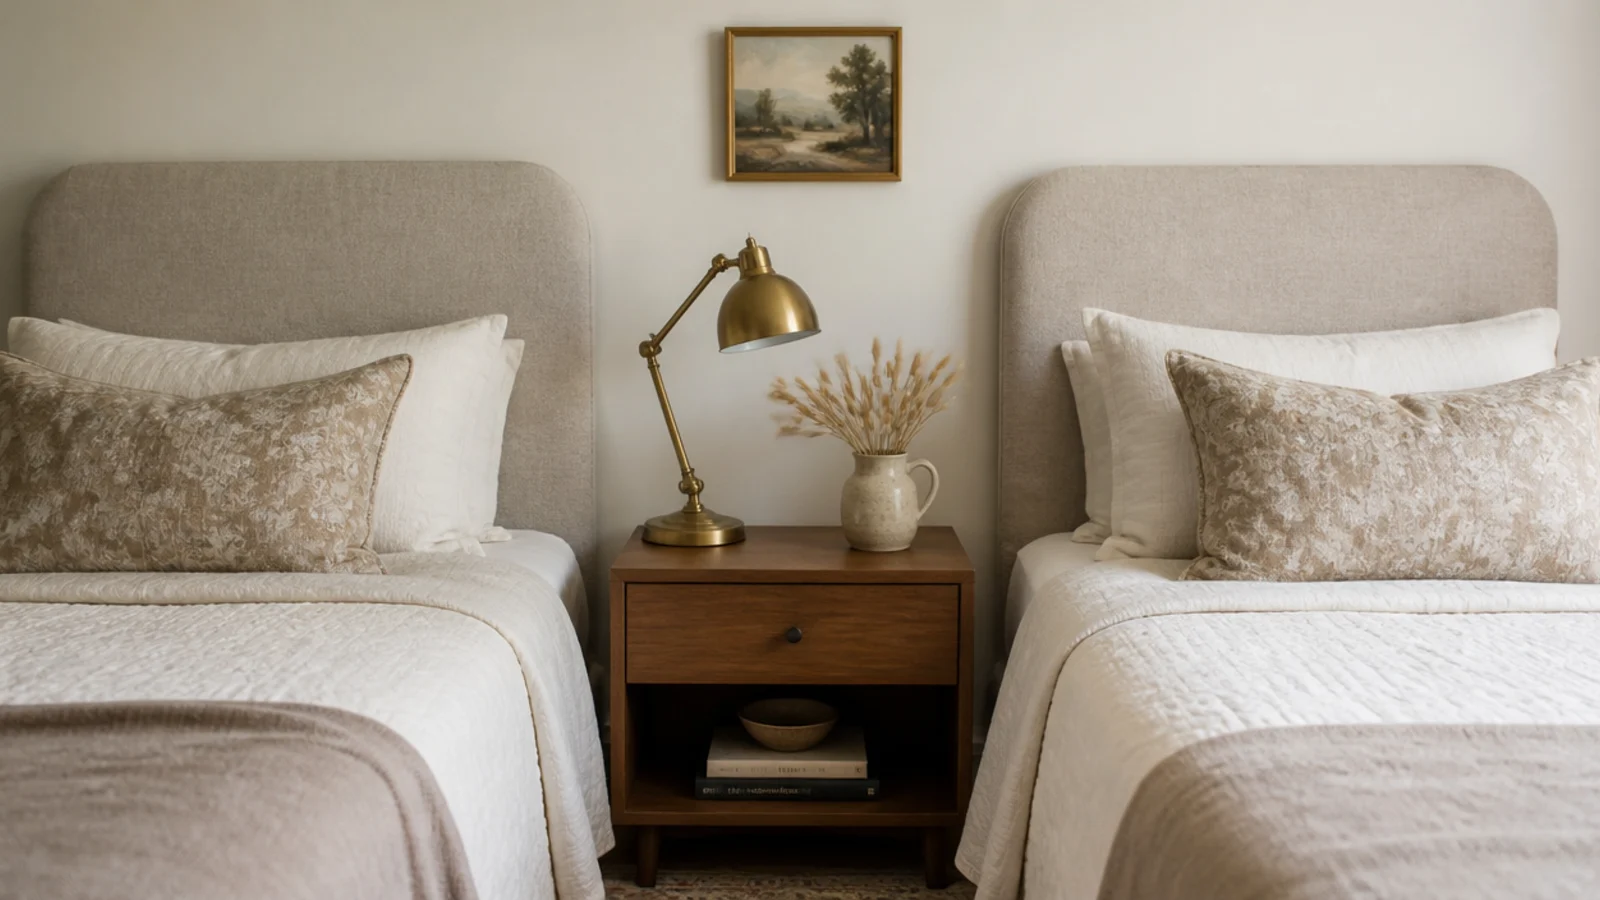
Two 38-inch panels above two twin beds, with 18 to 24 inches of wall between them, look far more considered than one long shared panel.
Match the height exactly — 26 inches above each mattress — and level both from a single line. A shared nightstand between them holding one lamp does the rest. Compact panels also cost roughly 40 percent less per bed than a queen-width piece, which makes a guest room refresh genuinely cheap ($).
19. A slip-on cover for an existing headboard
If you already own a plain wooden or metal headboard, do not replace it. Pad it.
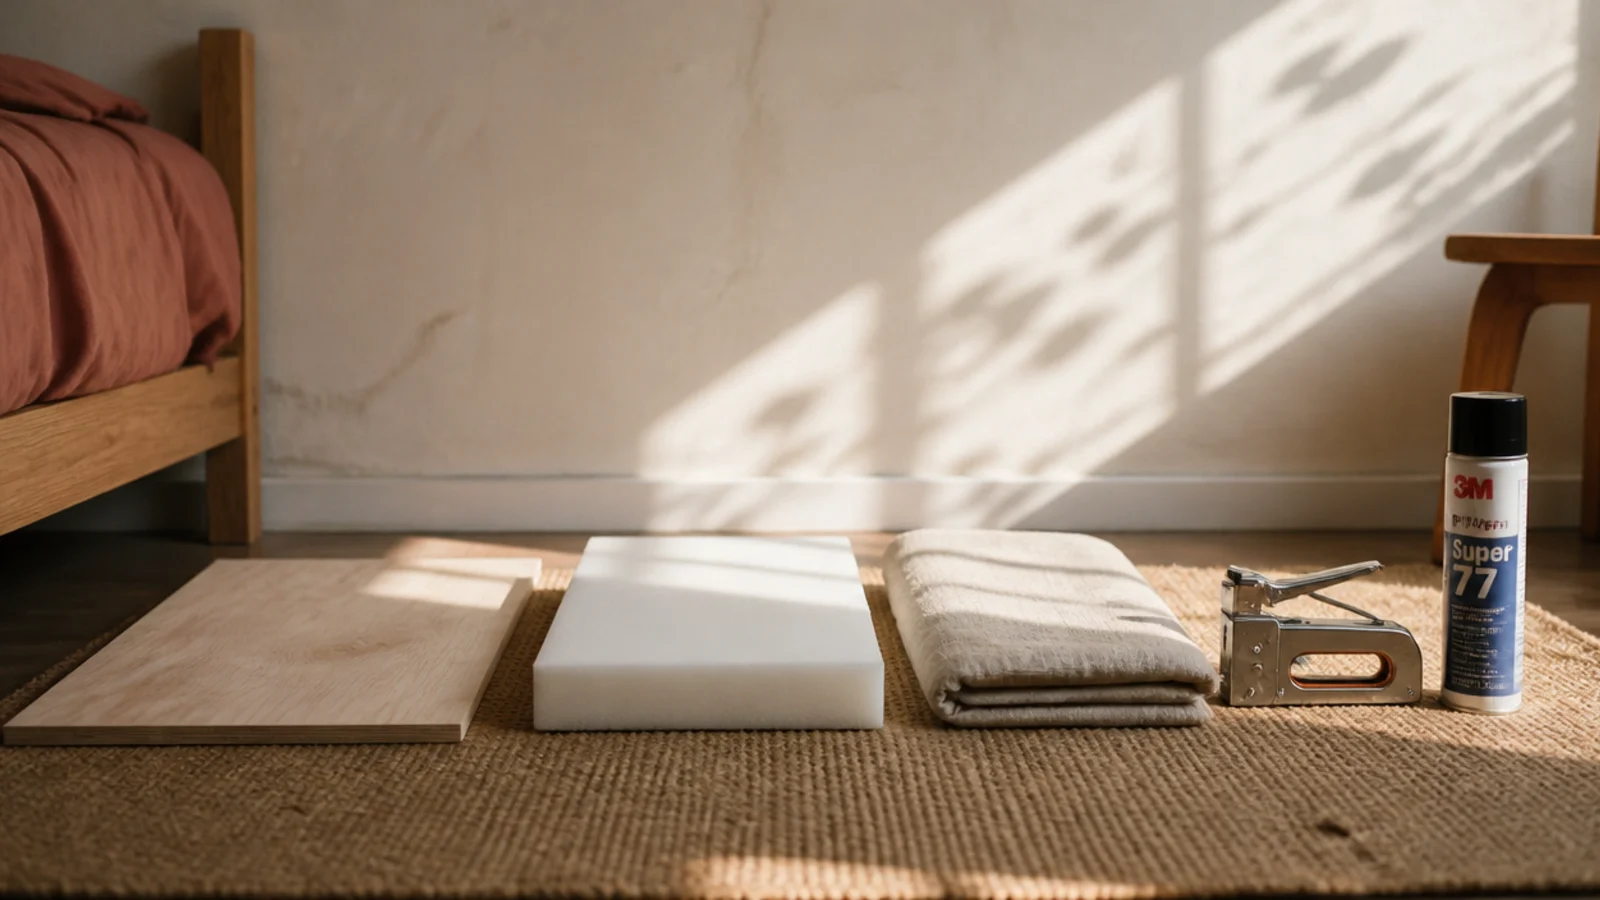
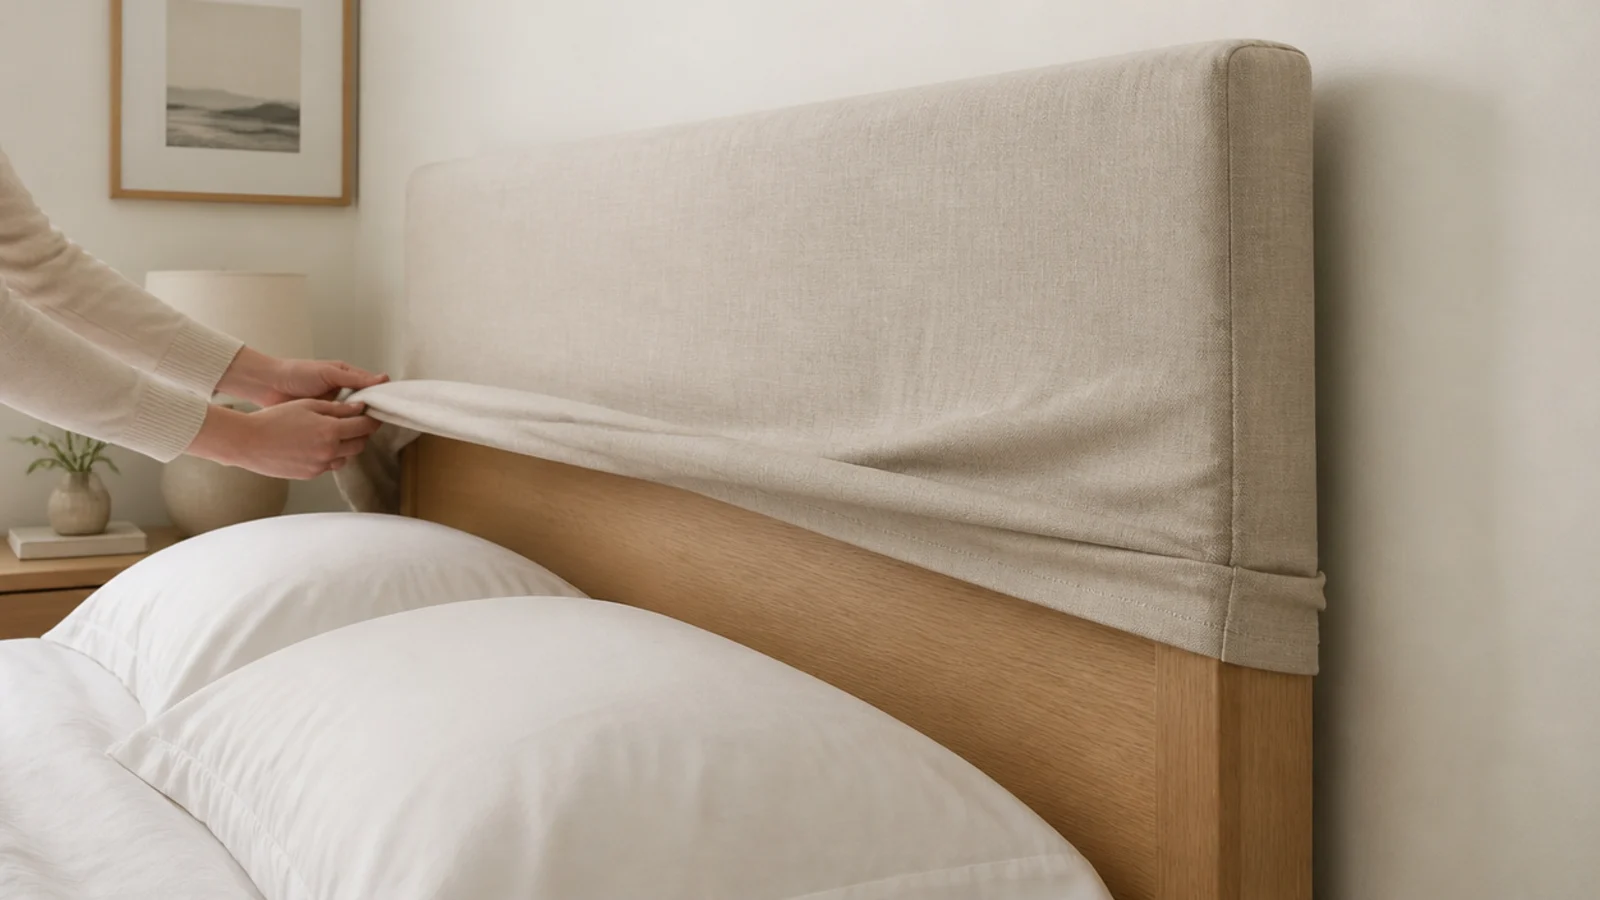
A layer of 1-inch foam and batting stapled to a thin plywood front, then a fitted fabric sleeve that slides down over the whole thing, converts it in an afternoon for $40 to $70 ($). Nothing is drilled and nothing is permanent, so it comes off intact when the lease ends. The full build sequence covers the stapling order and corner folds step by step.
20. A leaning panel that touches no wall fixings
The renter answer in its purest form: a padded panel that leans against the wall and is held upright by the bed pushed against it.
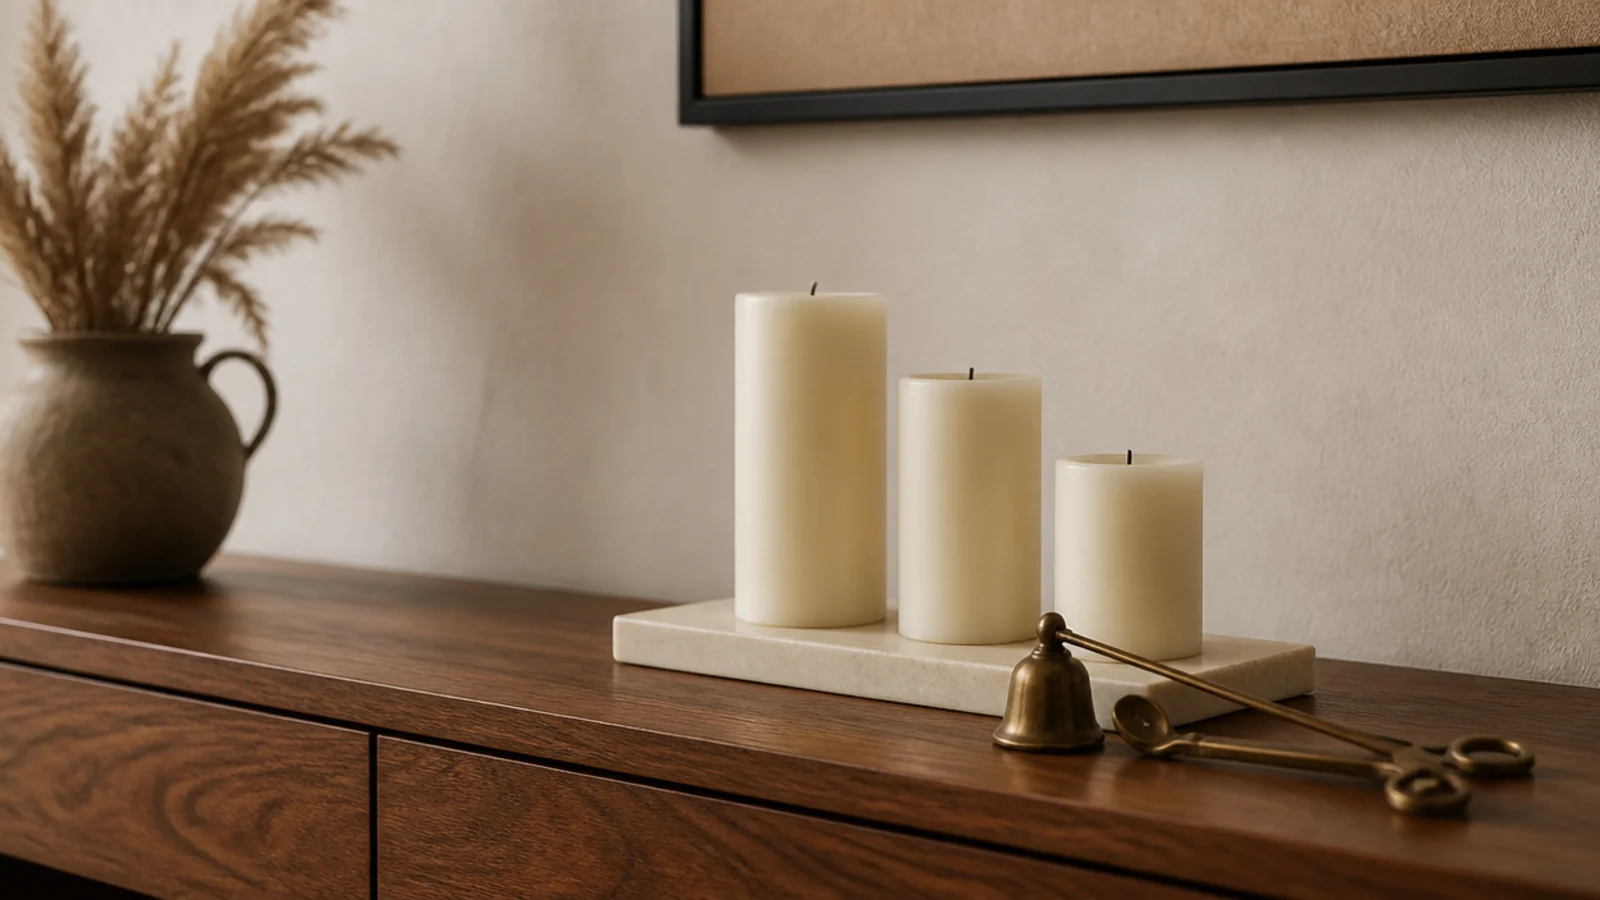
Make it 4 inches taller than you would if it were hung, since the bottom edge sits on the floor rather than at mattress height. Add felt pads along the back edge to protect the paint, and check the lean is under 5 degrees so nothing slides. Zero holes, zero patching, and it comes with you. Add candlelight on the nightstand and the room is done.
Mistakes to Skip
- Choosing pale cotton for a bed people read in. It absorbs hair oil at shoulder height and shows a permanent shadow line within two years.
- Building at exactly mattress width. Bedding shifts and mattresses sit proud of frames, so a flush panel always looks slightly undersized.
- Bolting the panel to the bed frame. It loosens over a season, knocks against the wall, and locks you into that one frame forever.
Frequently asked questions
What fabric is best for an upholstered headboard?
A mid-weight textured weave in the 12 to 20 ounce range wears best. Performance fabric or washable linen is worth the upgrade if anyone reads in bed nightly, because hair oil at shoulder height is what makes pale headboards look grubby by year two. Velvet looks rich but shows every crush mark, so save it for a guest room.
How thick should the foam on a headboard be?
Two inches of high-density upholstery foam is the working minimum for a panel people lean against. One inch telegraphs the backing board within weeks. Three inches gives a genuinely plush feel and suits channel or button tufting, since deeper foam holds the shape of a fold instead of flattening out after a few months of use.
How high should an upholstered headboard sit above the mattress?
Twenty-four to 28 inches above the mattress top for a low-profile panel, and 40 to 50 inches for a statement piece. Heights in between usually look accidental. Set the bottom edge 2 to 3 inches below the mattress top so shifting pillows never reveal a gap between the panel and the bed.
Can you clean an upholstered headboard?
Vacuum the panel monthly with an upholstery brush, which removes most of what dulls the color. Spot-clean with a barely damp microfiber cloth and a drop of mild detergent, blotting rather than rubbing. For anything more than that you want a removable slipcover version, because saturating a foam panel takes days to dry and can leave a tidemark.
Are upholstered headboards a bad idea for renters?
Not at all, as long as it hangs rather than bolts. A French cleat into two studs leaves four screw holes you can fill in ten minutes on move-out day, and the panel lifts off in seconds. Freestanding versions that sit behind the bed and lean on the wall leave no holes whatsoever.
Start with fabric, not shape — the weave decides how the panel wears, and shape is only a jigsaw cut away. If you would rather build than buy, the step-by-step headboard build covers foam, yardage and cleats in order, and wood headboard ideas is where to go if fabric is not your material at all. Save the pin so the foam and height specs are with you when you order.
Want more like this? Browse all 15 headboard ideas guides — they all use the same measurements and budget tiers.
Pin it for later
Save this to your Headboard Ideas board
Pin it now so it is waiting for you when the tape measure comes out — and so the next person hunting for this idea can find it too.
Save this pinKeep going
More ideas worth saving while you have the tape measure out.