Headboard Ideas · Listicle
20 Creative Headboard Ideas Anyone Can Do

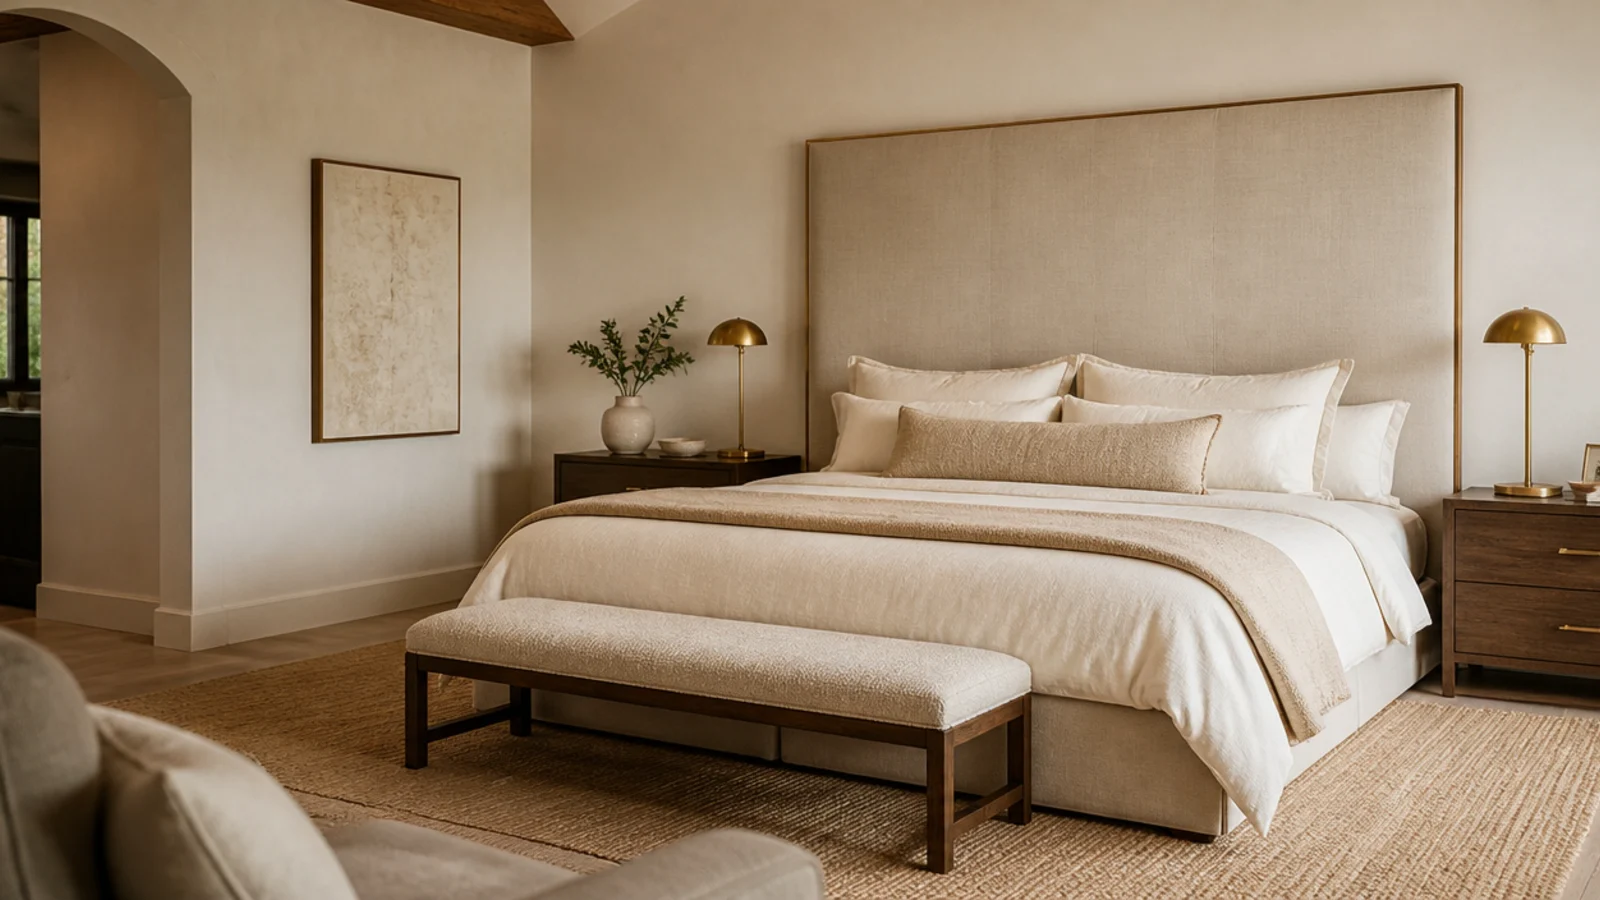
Headboard ideas for a master bedroom have to do something a spare-room headboard never does: hold the largest wall in the house. A queen or king bed already takes 60 to 76 inches of floor, and a panel that is even slightly undersized behind it reads as a mistake from the doorway. Every option below is sized, mounted and lit for a big wall — and most of them take one weekend.
In this guide22 sections — tap to openHide
- 1.Master bedroom headboard ideas that suit a big wall
- 2.A fifty-inch upholstered statement panel
- 3.A slatted oak wall behind the bed
- 4.An extra-wide panel with floating nightstand ledges
- 5.A channel-tufted linen panel
- 6.Sconces flanking a low panel
- 7.Reclaimed barnwood planks
- 8.A limewashed arch behind the bed
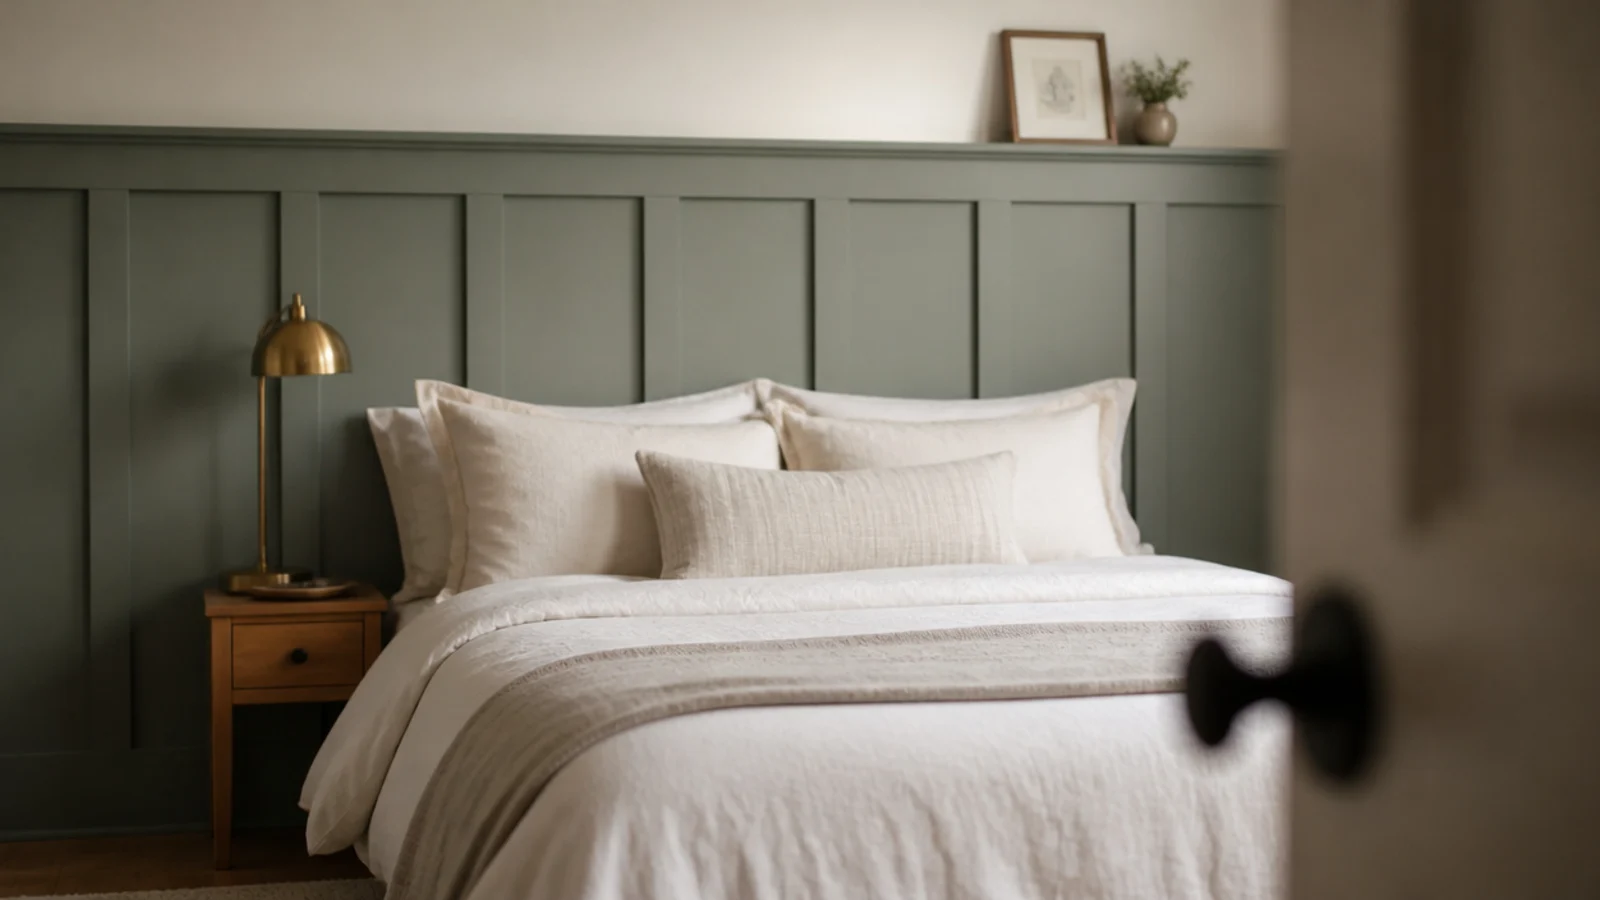
- 9.Board and batten across the bed wall
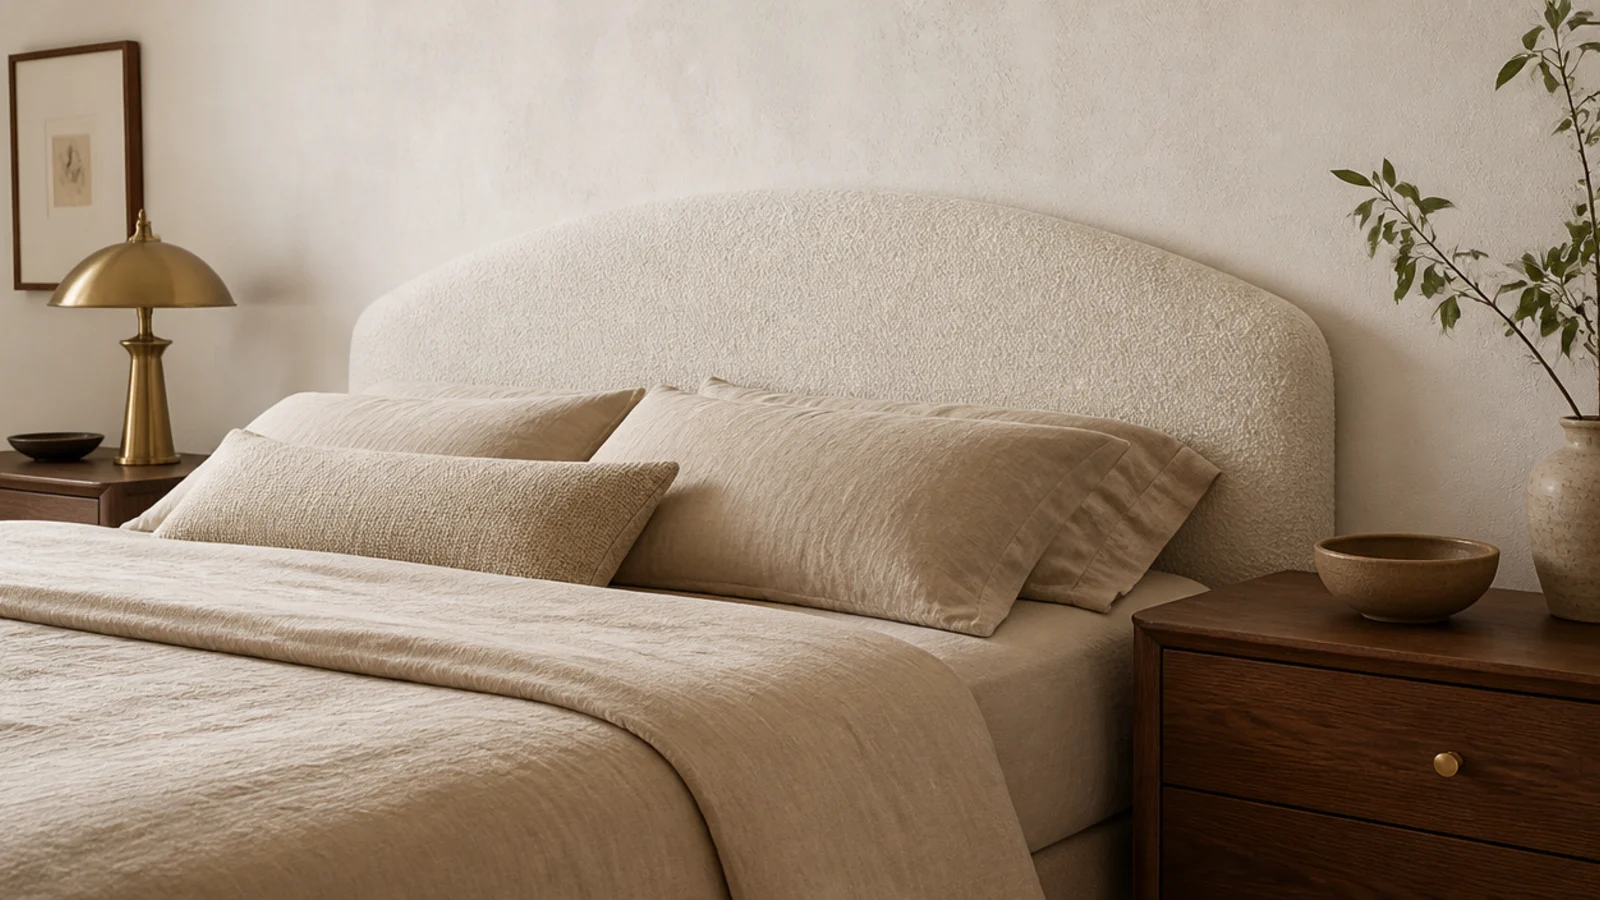
- 10.A curved crescent panel
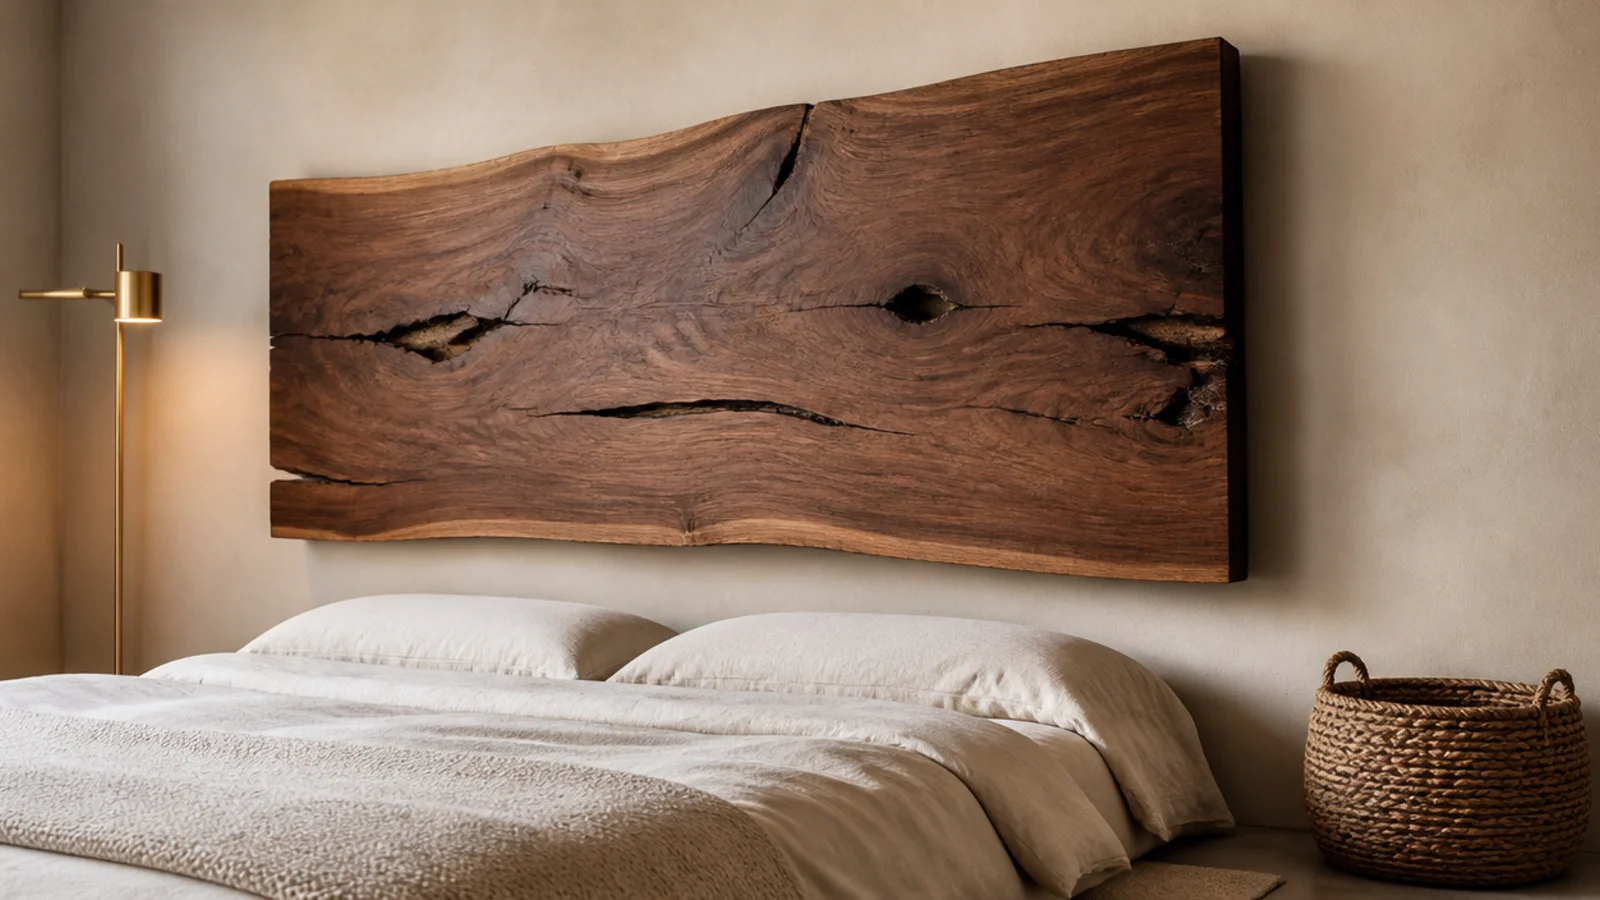
- 11.A floating wood slab on a french cleat
- 12.A slim blackened metal frame
- 13.A fluted wood panel
- 14.Picture frame moulding as a headboard
- 15.A canopy frame instead of a panel
- 16.A headboard with an integrated ledge
- 17.Padded fabric panels across the whole wall
- 18.Shiplap painted the wall color
- 19.A stitched leather-look panel
- 20.A removable wallpaper arch
- 21.A wood frame with an upholstered insert
- 22.Mistakes to Skip
Master bedroom headboard ideas that suit a big wall
Scale is the whole game here. Two numbers set it, and neither has anything to do with taste.
Height first. A low profile panel finishes 24 to 28 inches above the mattress top, which stays calm under a low ceiling. A statement panel runs 40 to 50 inches up, and in a primary bedroom with a tall wall that is usually the right call. Measure from the mattress surface, not the floor — frames differ by six inches and the floor lies.
Width second. Match the mattress or run up to 4 inches past it on each side. Twin is 38 inches, full 54, queen 60, king 76. Behind a king, a 60-inch panel leaves a visible step at both corners, and your eye finds it every time you walk in.
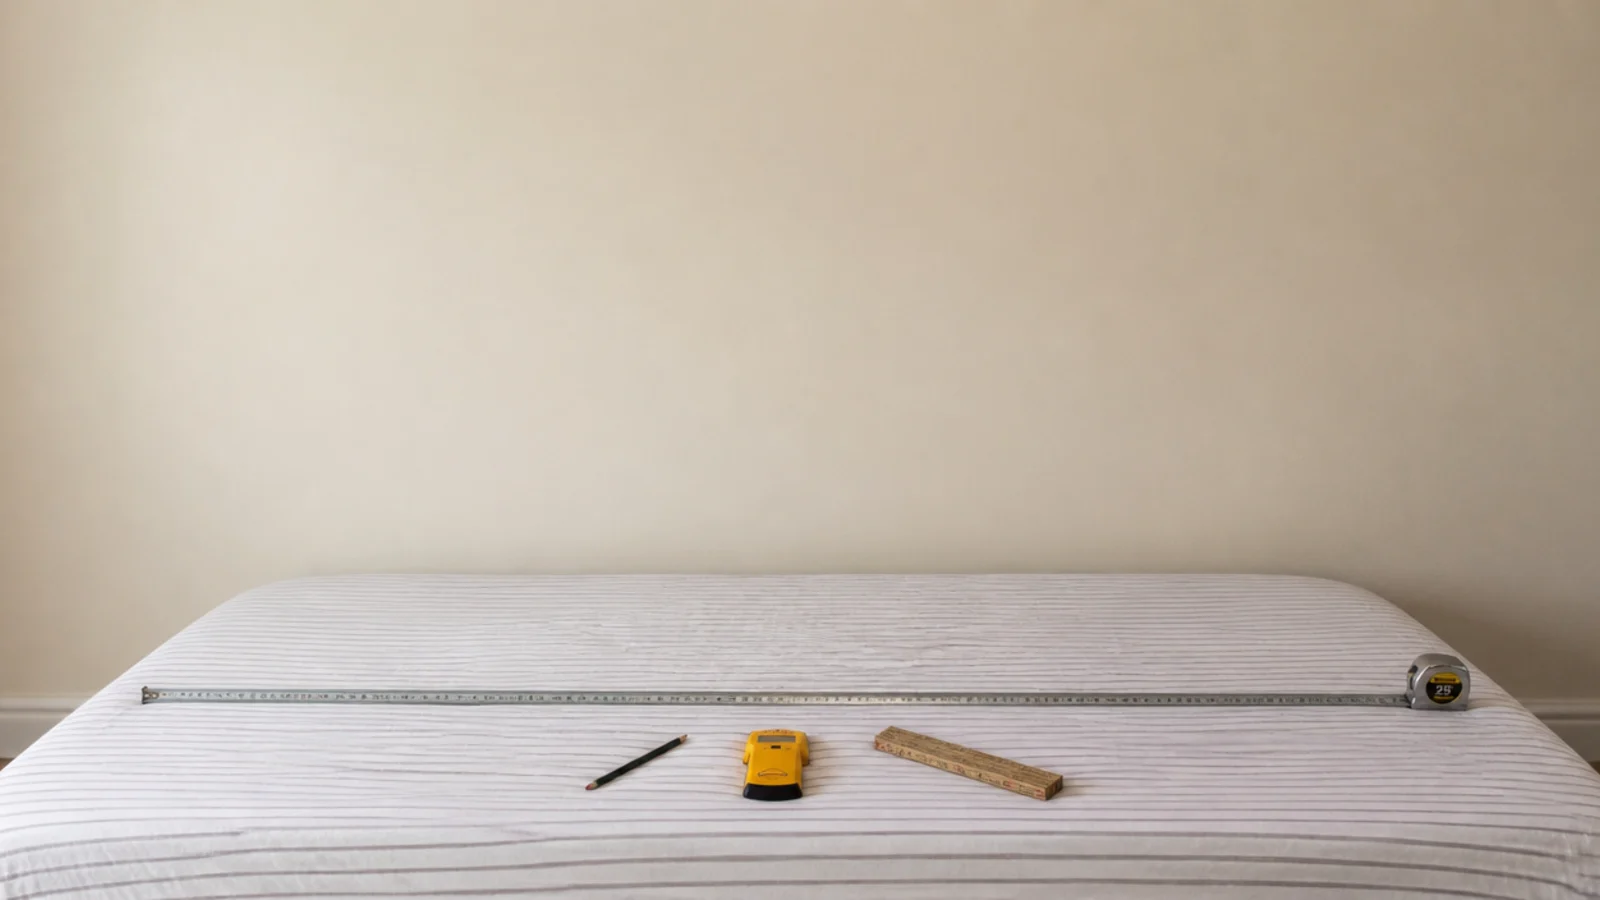
Mounting is where big panels go wrong. A french cleat is still the right system — two interlocking strips, one on the wall, one on the panel — but the wall cleat has to hit studs. A headboard absorbs lateral load nightly as people sit back against it, and no drywall anchor survives that indefinitely.
Budget tiers: $ under $50 for paint, trim and thrifted wood, $$ $50 to $150 for slats, cane and foam-backed upholstery, $$$ $150 and up for a made-to-size panel or a full paneled wall.
1. A fifty-inch upholstered statement panel
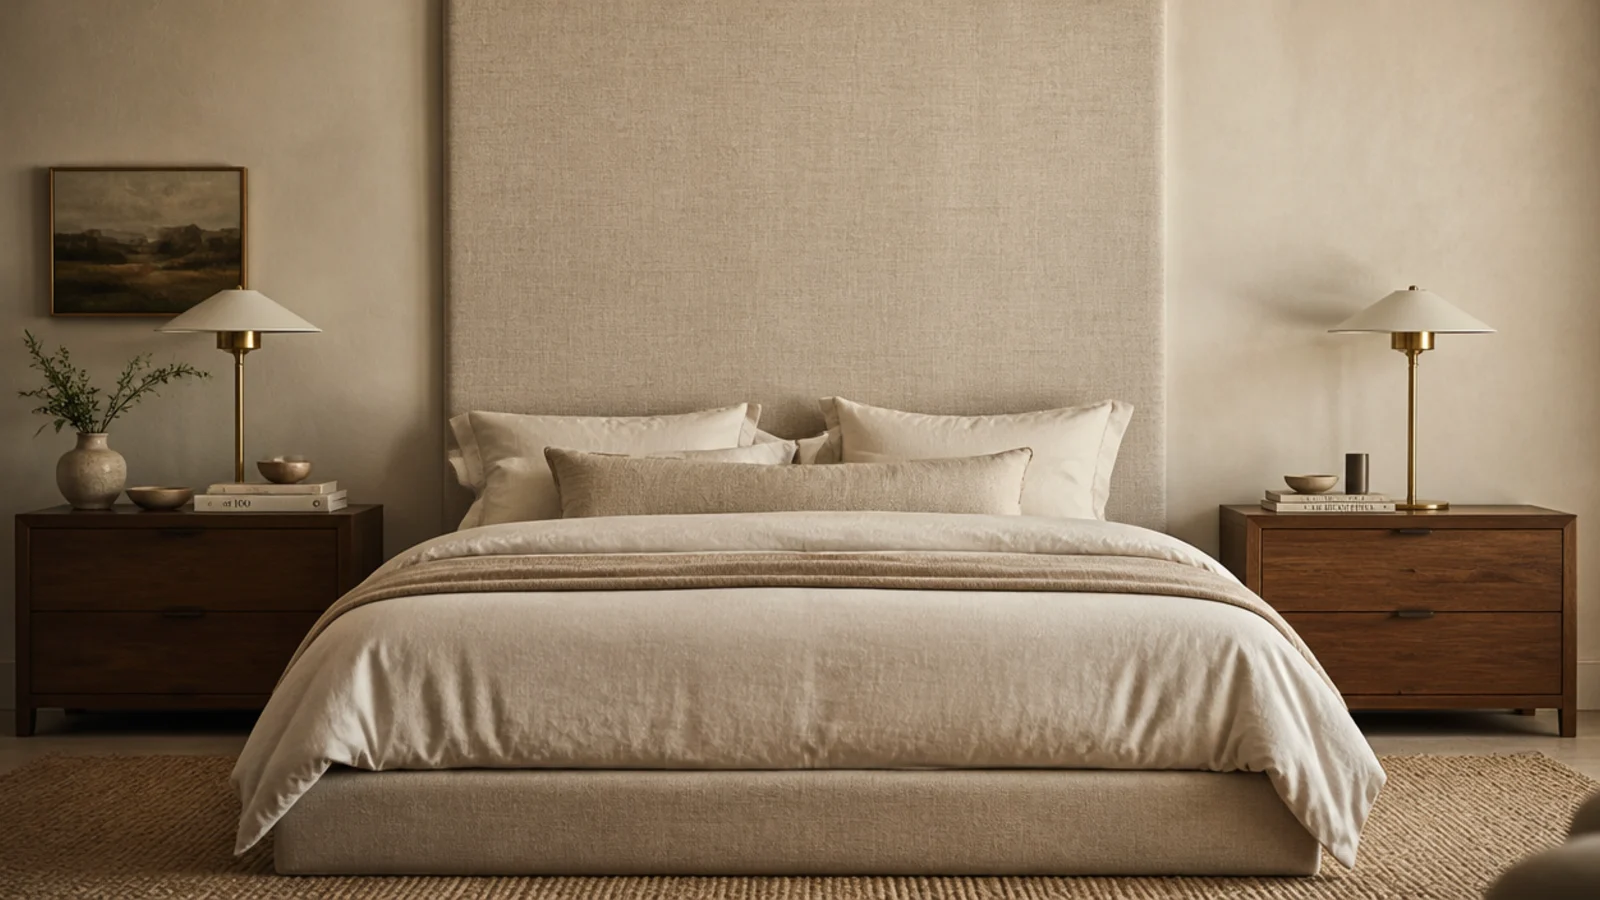
The classic primary-bedroom move, and it works because of one number: 50 inches above the mattress. That height puts the top edge above the eyeline of anyone standing, so the panel carries the wall instead of floating in the middle of it.
Build it on half-inch plywood with 2 inches of high-density foam, a layer of batting and a washable linen or performance weave. Expect $180 to $320 in materials at king width ($$$). It is the single biggest visual change you can make in a bedroom without touching the floor plan.
2. A slatted oak wall behind the bed
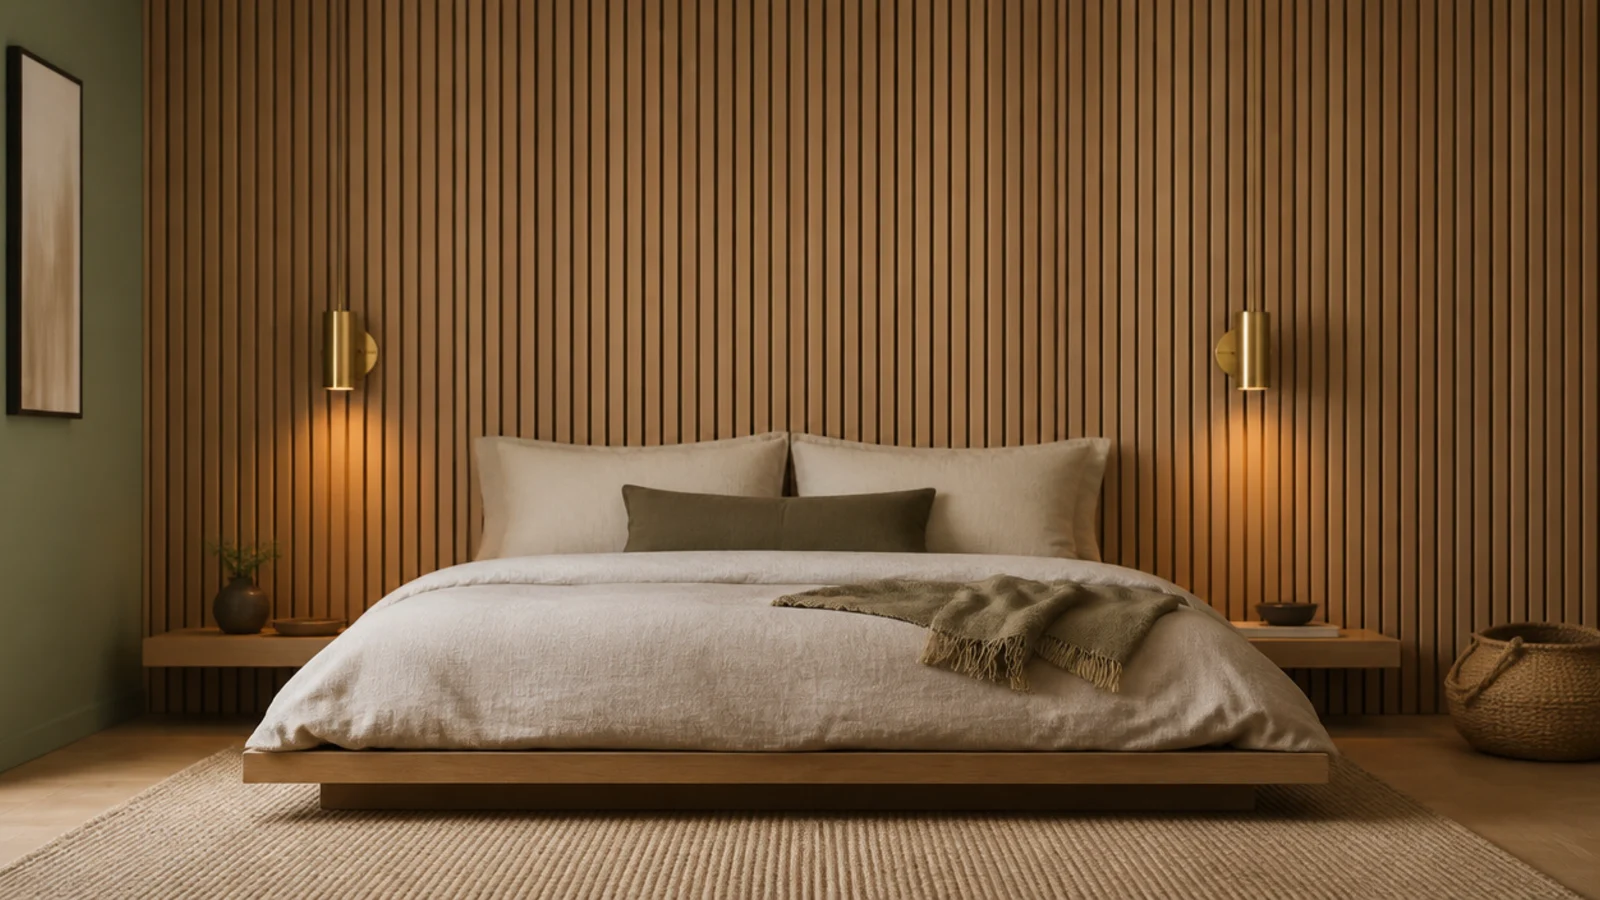
Instead of a panel, run vertical oak slats across the whole wall from baseboard to ceiling. Use 1 by 2 stock with a 1-inch gap, screwed to horizontal furring strips.
The vertical lines stretch a low ceiling upward, which is why this works so well in newer builds with 8-foot walls. Budget $250 to $450 for a 12-foot wall ($$$). Paint the wall behind the slats a shade darker than the slats themselves — that shadow gap is what gives the whole thing depth.
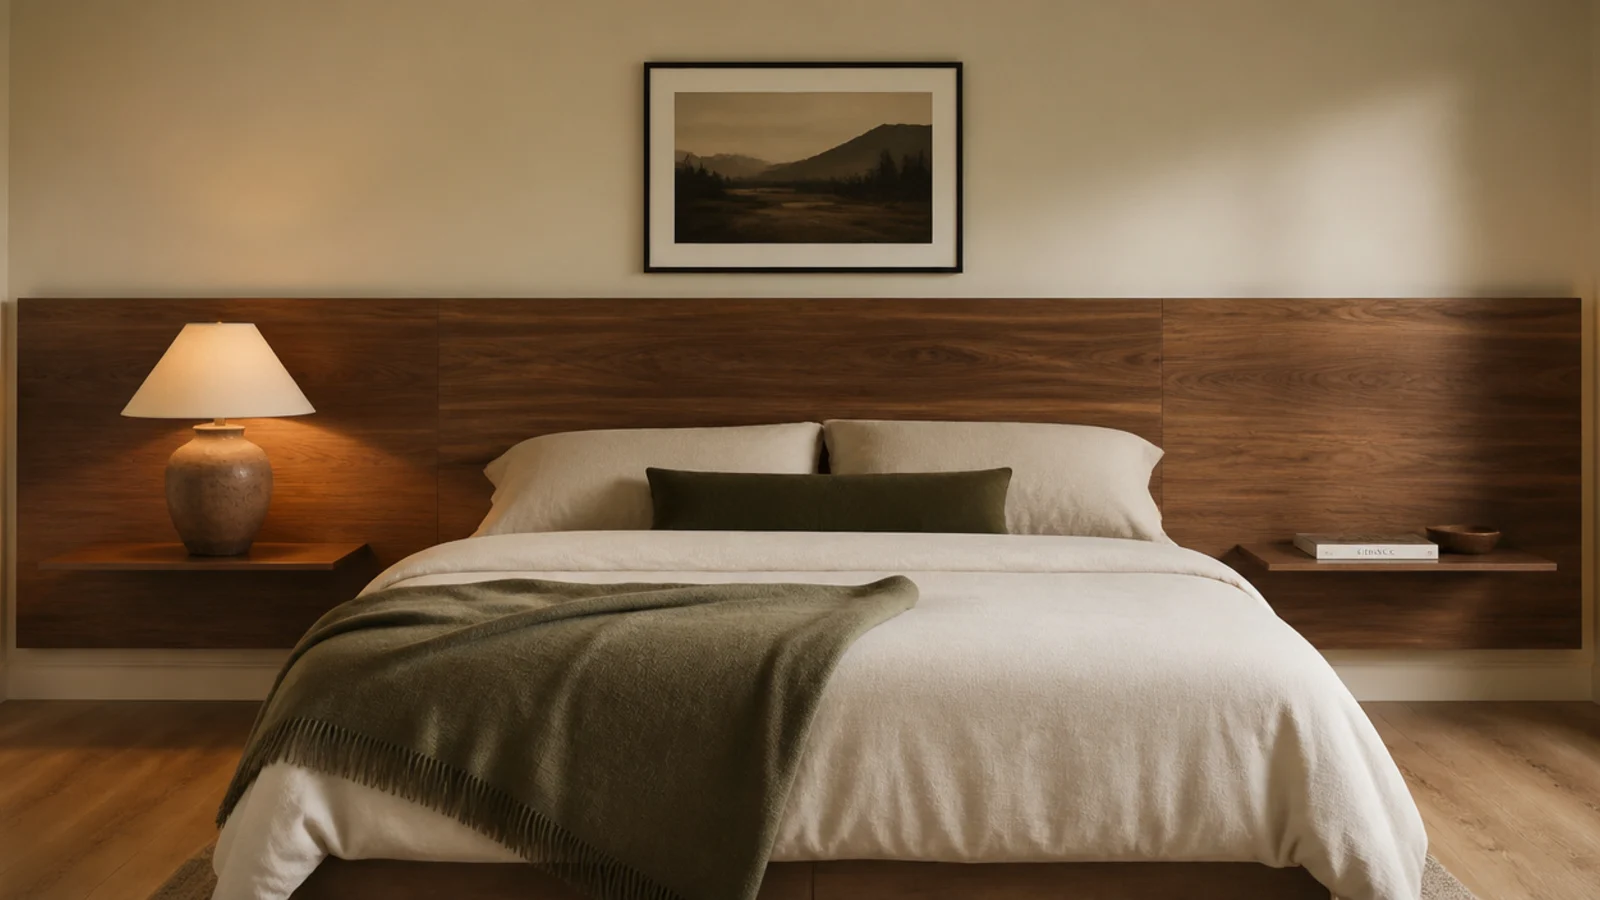
3. An extra-wide panel with floating nightstand ledges
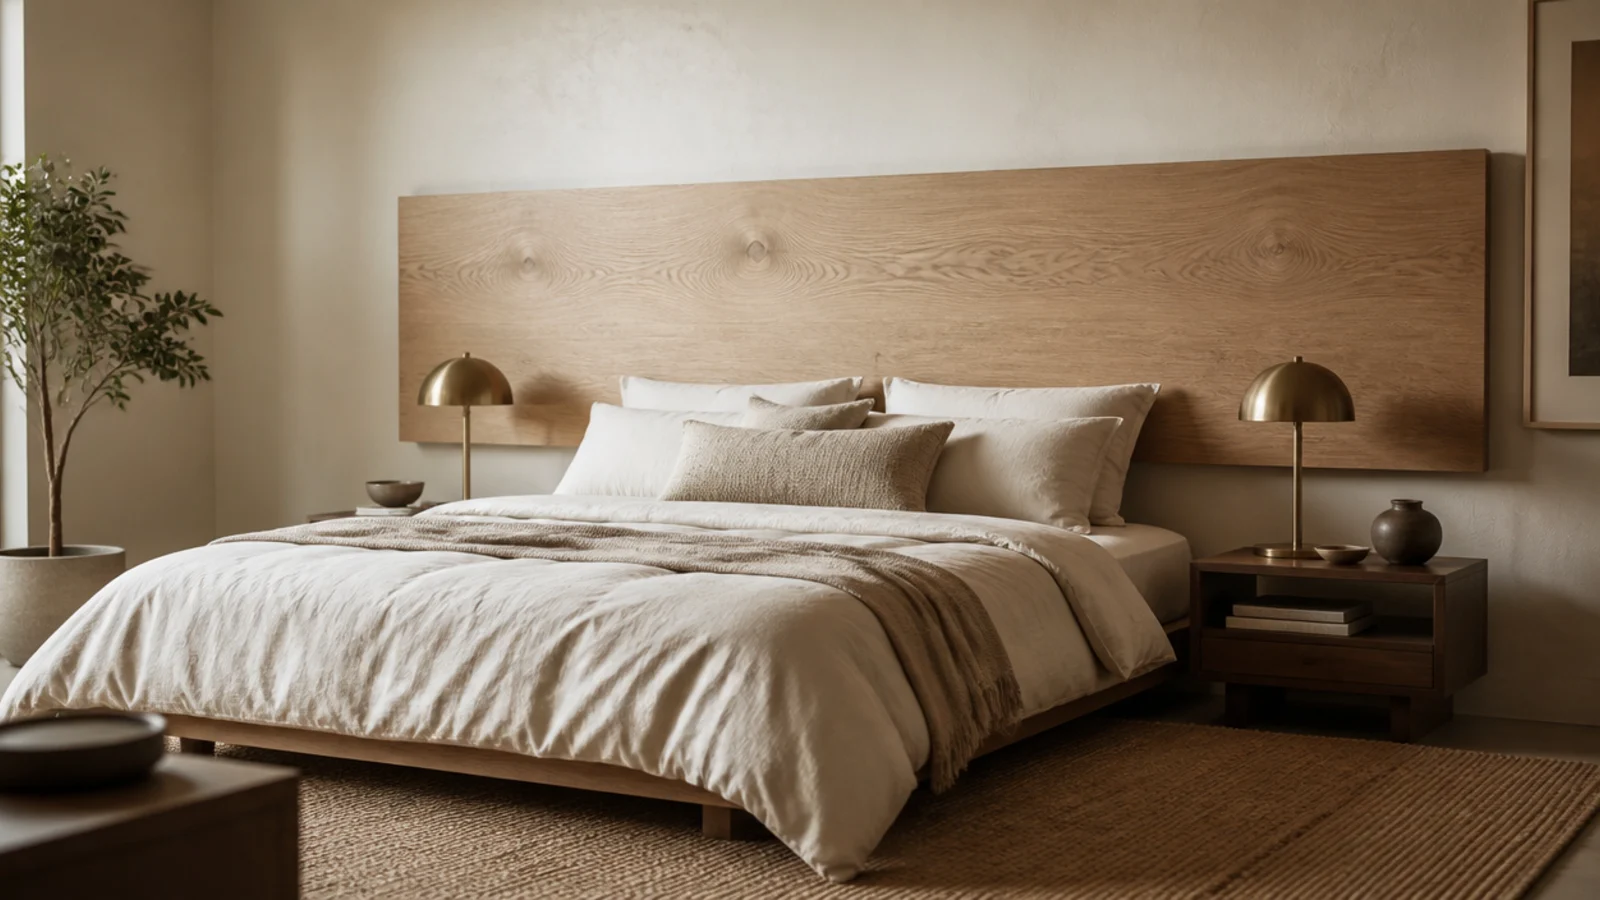
Run the headboard past the mattress on both sides — 84 inches behind a king — then continue slim floating ledges out from it as nightstands.
The panel and the ledges become one horizontal line, which makes a busy corner read quiet. Keep the ledges 12 inches deep and mount them 26 inches from the floor, level with the mattress top. Both ledges and the panel share the same cleat run, so the whole assembly hangs on one level line. Materials run $200 to $400 ($$$).
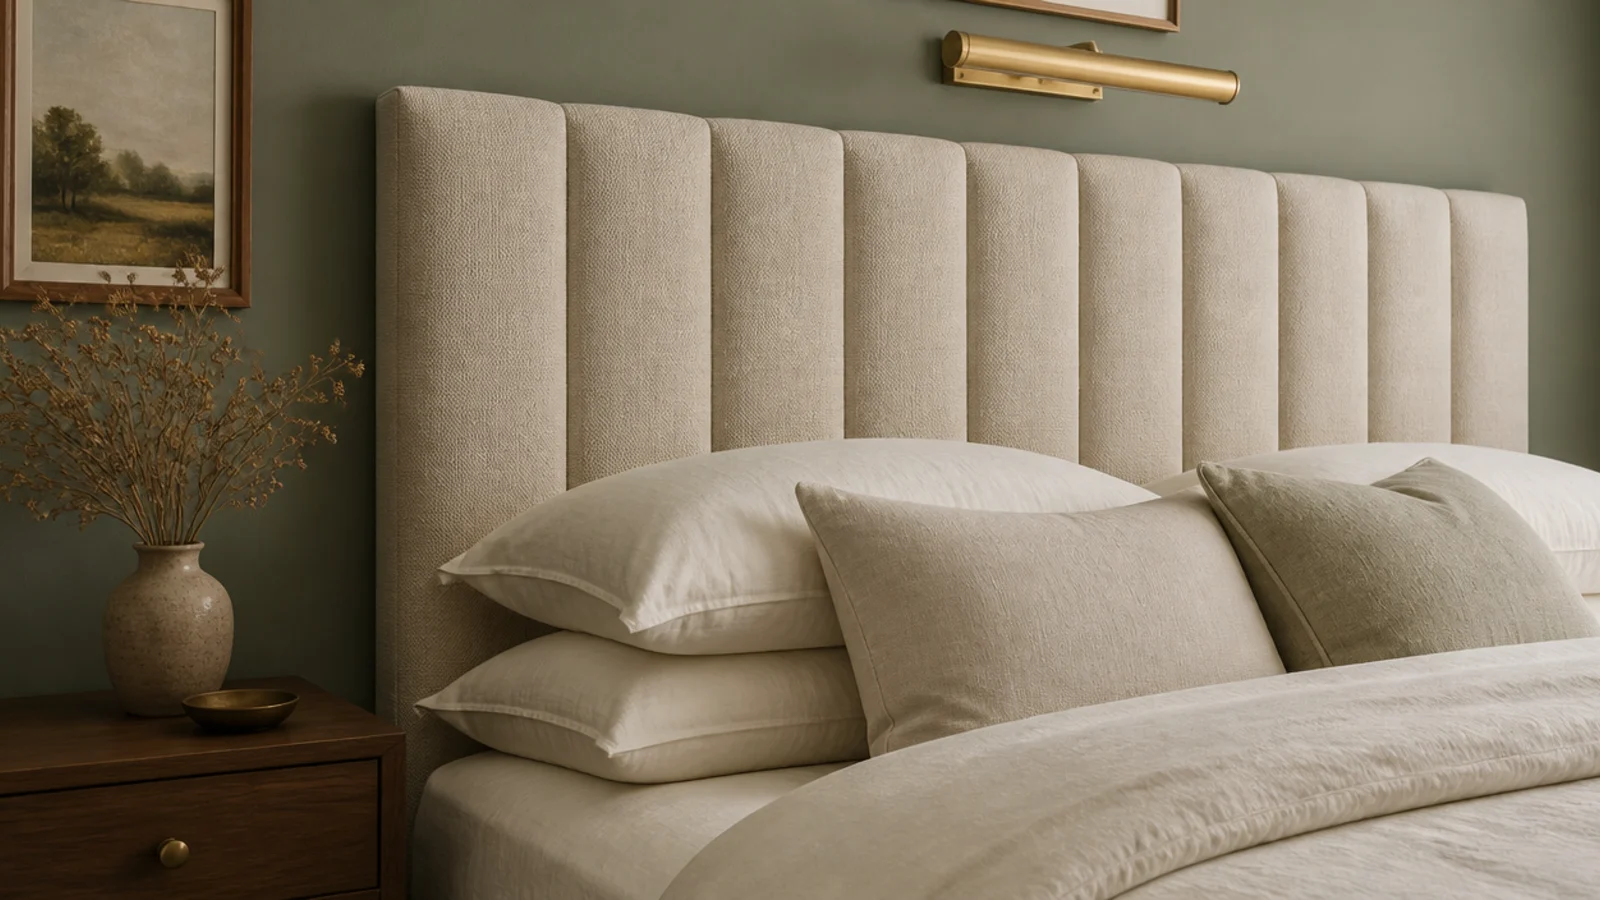
4. A channel-tufted linen panel
Vertical channels are the practical version of tufting. Instead of buttons that collect dust, you get padded columns 5 to 7 inches wide, each stuffed separately over a plywood back.
The advantage is real: channels hide the soft creases a flat panel shows after six months of leaning. Use 2 inches of high-density foam per channel and a washable linen. It costs about 20 percent more fabric than a flat panel because of the depth. There is more on foam and fabric in upholstered headboard ideas.
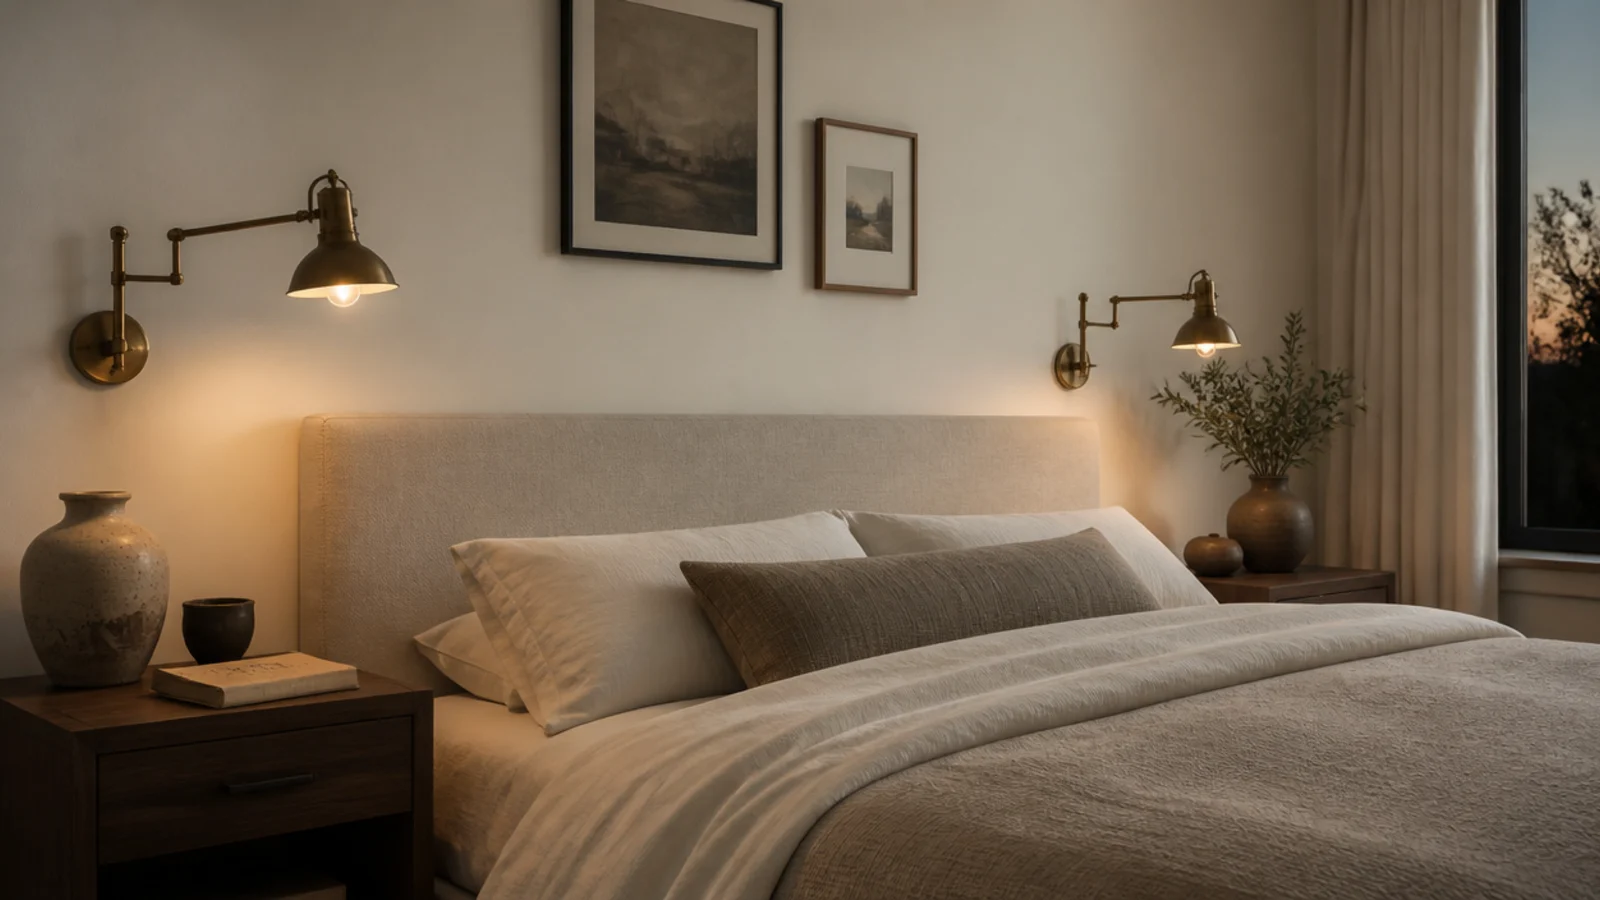
5. Sconces flanking a low panel
If the panel is staying low at 26 inches, the wall above it needs a job. Two swing-arm sconces, mounted 60 inches from the floor and 8 to 10 inches outside the mattress edge, do it better than art.
They also clear both nightstands completely, which in a shared bedroom is the actual win. Plug-in versions with a cord cover cost $50 to $120 a pair ($$) and need no electrician. Put them on separate switches or pull chains so one of you can read.
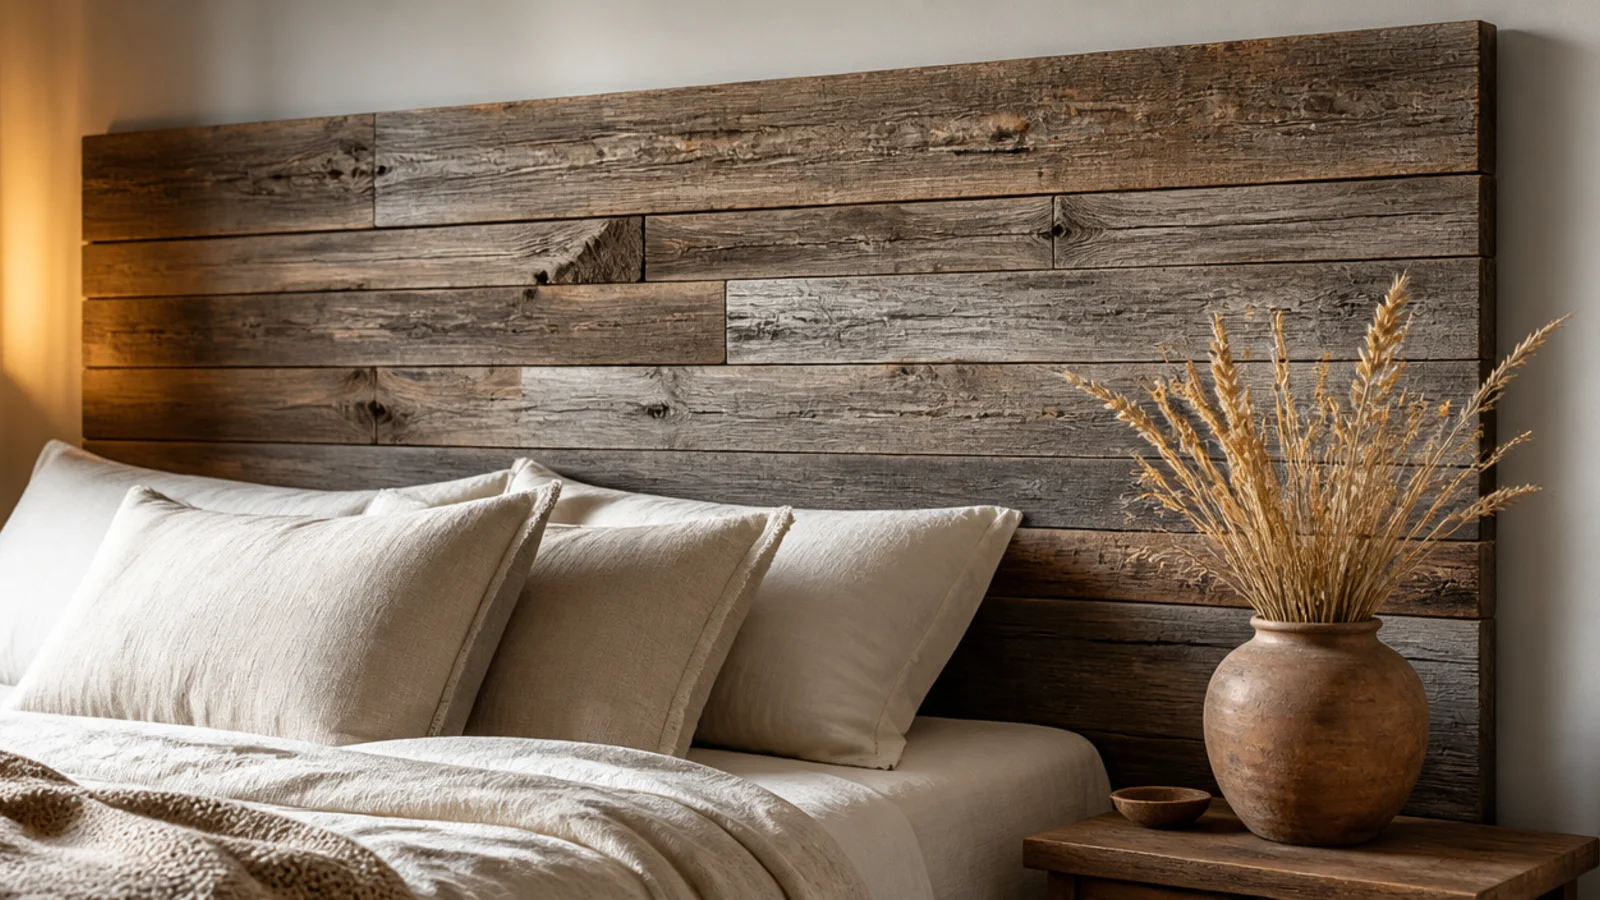
6. Reclaimed barnwood planks
Horizontal reclaimed planks bring age into a room that new furniture cannot. Mix widths — a 6-inch board next to a 4-inch next to an 8-inch — because uniform planks read as flooring stuck to a wall.
Build on a plywood back so the assembly hangs as one piece on a cleat rather than as thirty individual boards. Seal with a matte water-based finish to stop splinters and dust. Reclaimed stock runs $4 to $9 a board foot ($$). Check for old nails before any blade touches it.
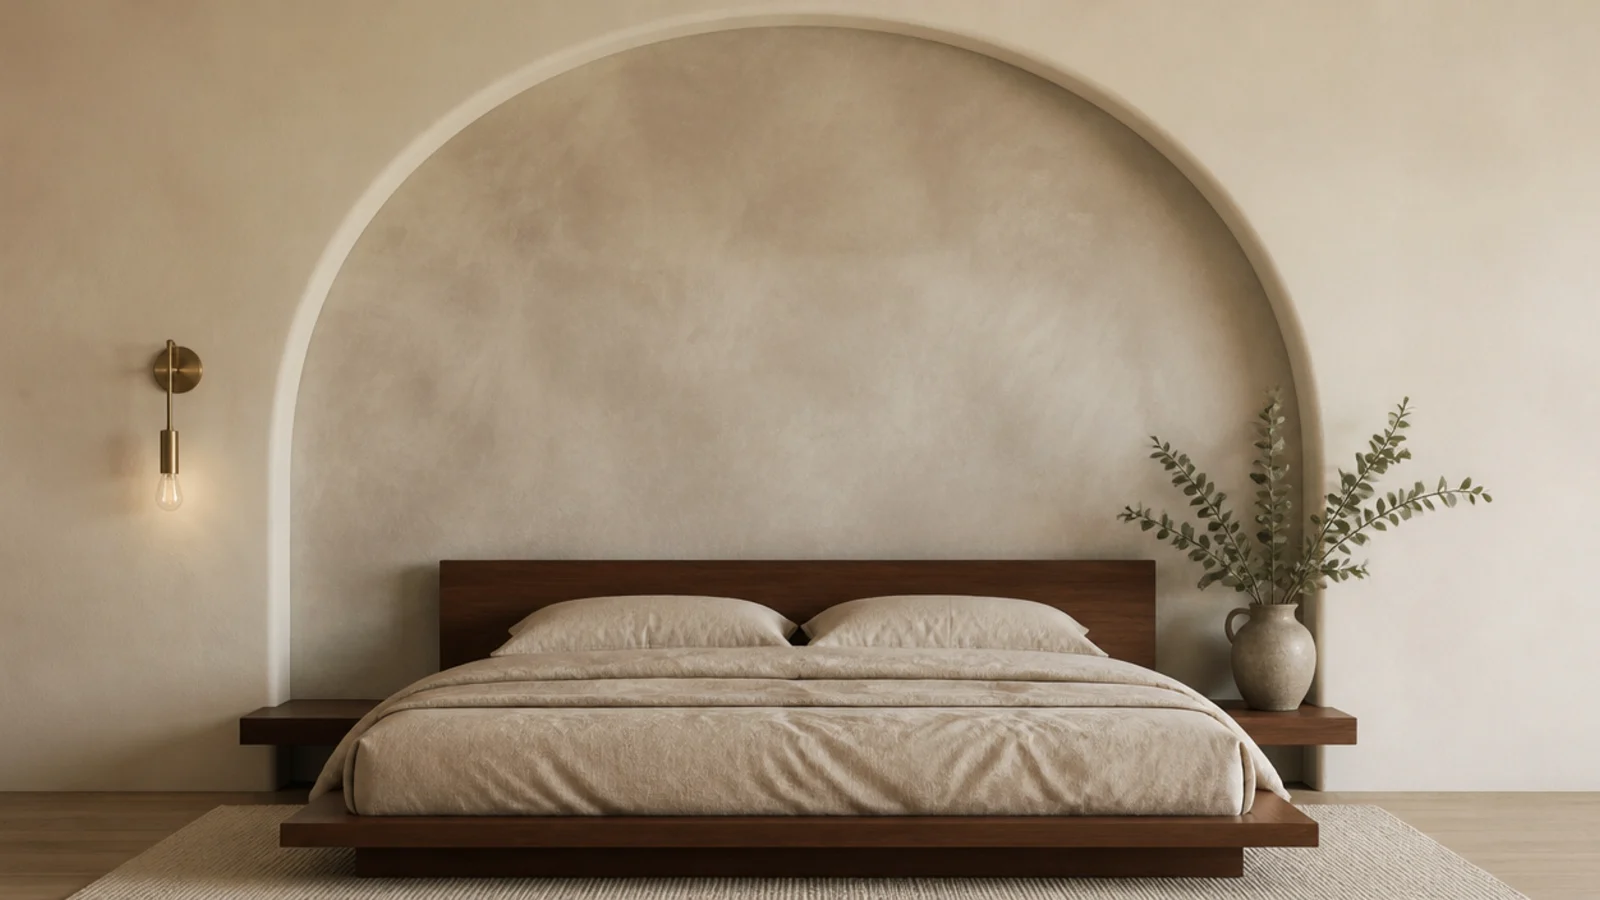
7. A limewashed arch behind the bed
Paint again, but with texture. A limewashed arch, drawn 4 inches wider than the mattress on each side and rising 46 to 50 inches above it, gives the cloudy depth flat paint never manages.
Limewash goes on with a wide oval brush in loose crosshatch strokes and dries a shade lighter than it looks wet. A quart covers an arch twice with plenty left. Budget $35 to $60 ($). It suits plaster and drywall equally, though it wants a mineral primer over glossy paint.
8. Board and batten across the bed wall
Battens running vertically from the baseboard to a capped rail at 54 inches give the bed a built-in backdrop and hide any wall damage underneath.
Space the battens 16 inches apart so they land on the studs, which makes nailing straightforward and gives an even rhythm. Prime and paint the whole assembly one color, walls included — contrast between batten and wall makes a bedroom feel busy. Materials run $120 to $220 for a standard wall ($$).
9. A curved crescent panel
A gentle curve across the top of an upholstered panel softens a room otherwise made entirely of rectangles. Cut the curve with a jigsaw from a string-and-pencil arc, rising about 6 inches from the shoulders to the center.
Keep the shoulders at 40 inches and let the crown reach 46 so it still counts as a statement height. Curves eat fabric, so add 20 percent to your yardage. A boucle or textured weave suits the shape better than a smooth linen, which shows every ripple on a curved edge.
10. A floating wood slab on a french cleat
One thick slab of walnut or white oak, 2 inches deep and cut to mattress width, hung on a hidden cleat so it appears to float above the bed.
Nothing else. No frame, no legs, no fabric. It is the most modern option here and the most demanding, because a slab shows every measurement error. Slab stock runs $200 to $500 depending on species and width ($$$). Set the bottom edge 4 inches above the mattress so bedding tucks behind it cleanly.
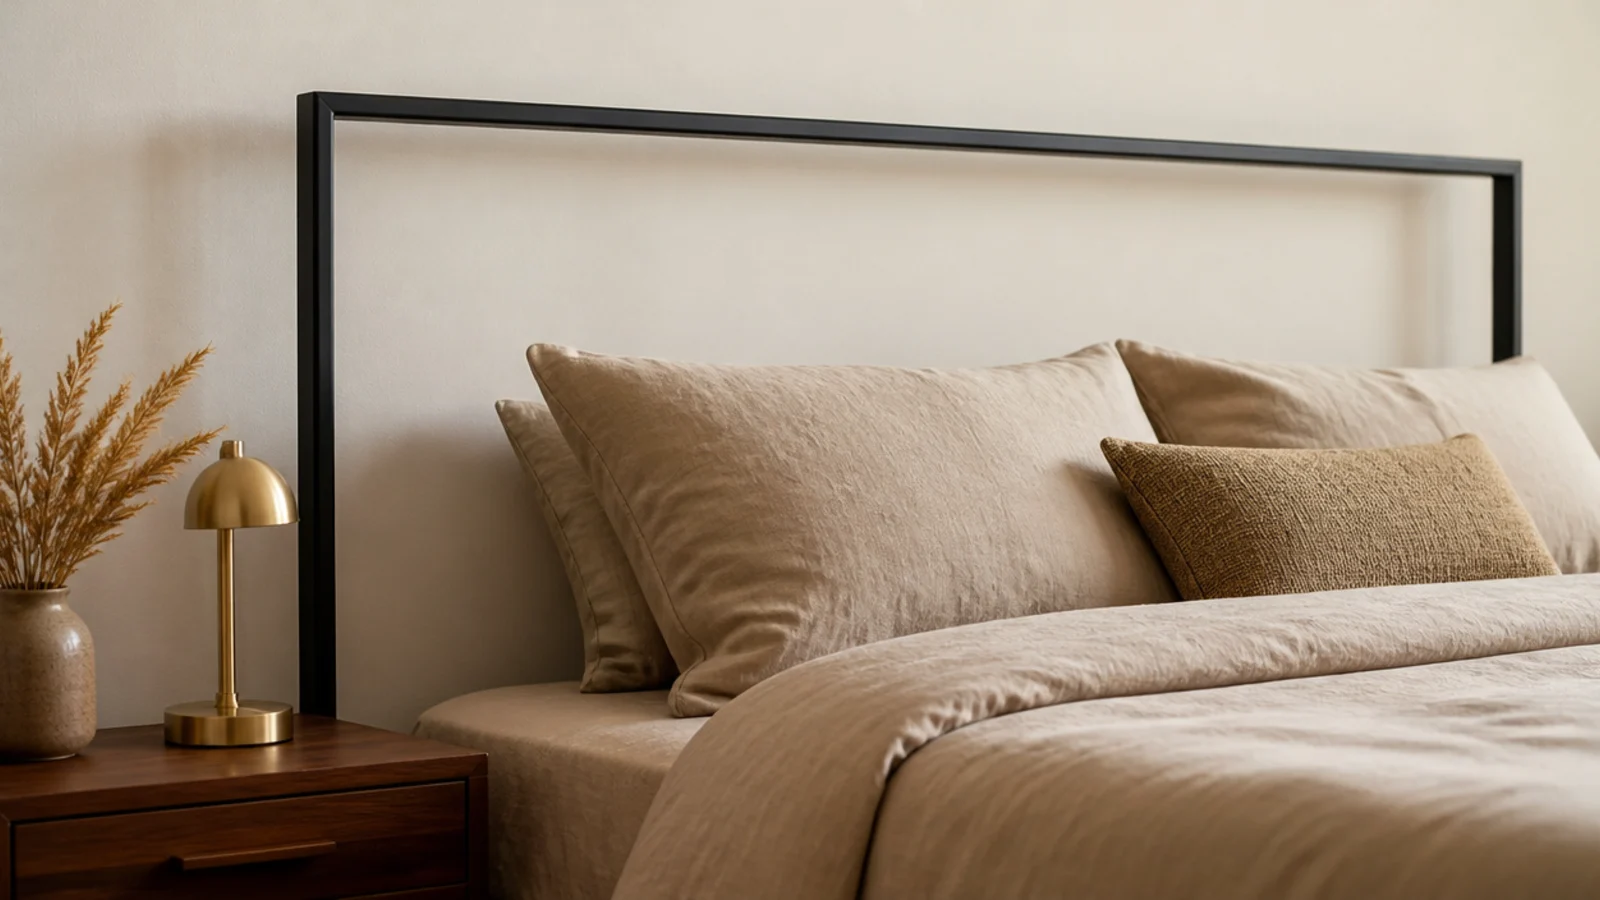
11. A slim blackened metal frame
An open rectangular frame in matte black steel, standing behind the bed with the wall showing through it, adds a graphic line without adding visual bulk.
This is the right choice in a small primary bedroom where a solid panel would close the room down. Have one welded to your mattress width plus 2 inches at a local shop for $150 to $300 ($$$), or find flat-pack versions for less. Bolt the uprights to the bed frame or wall — an unsecured frame walks forward over time.
12. A fluted wood panel
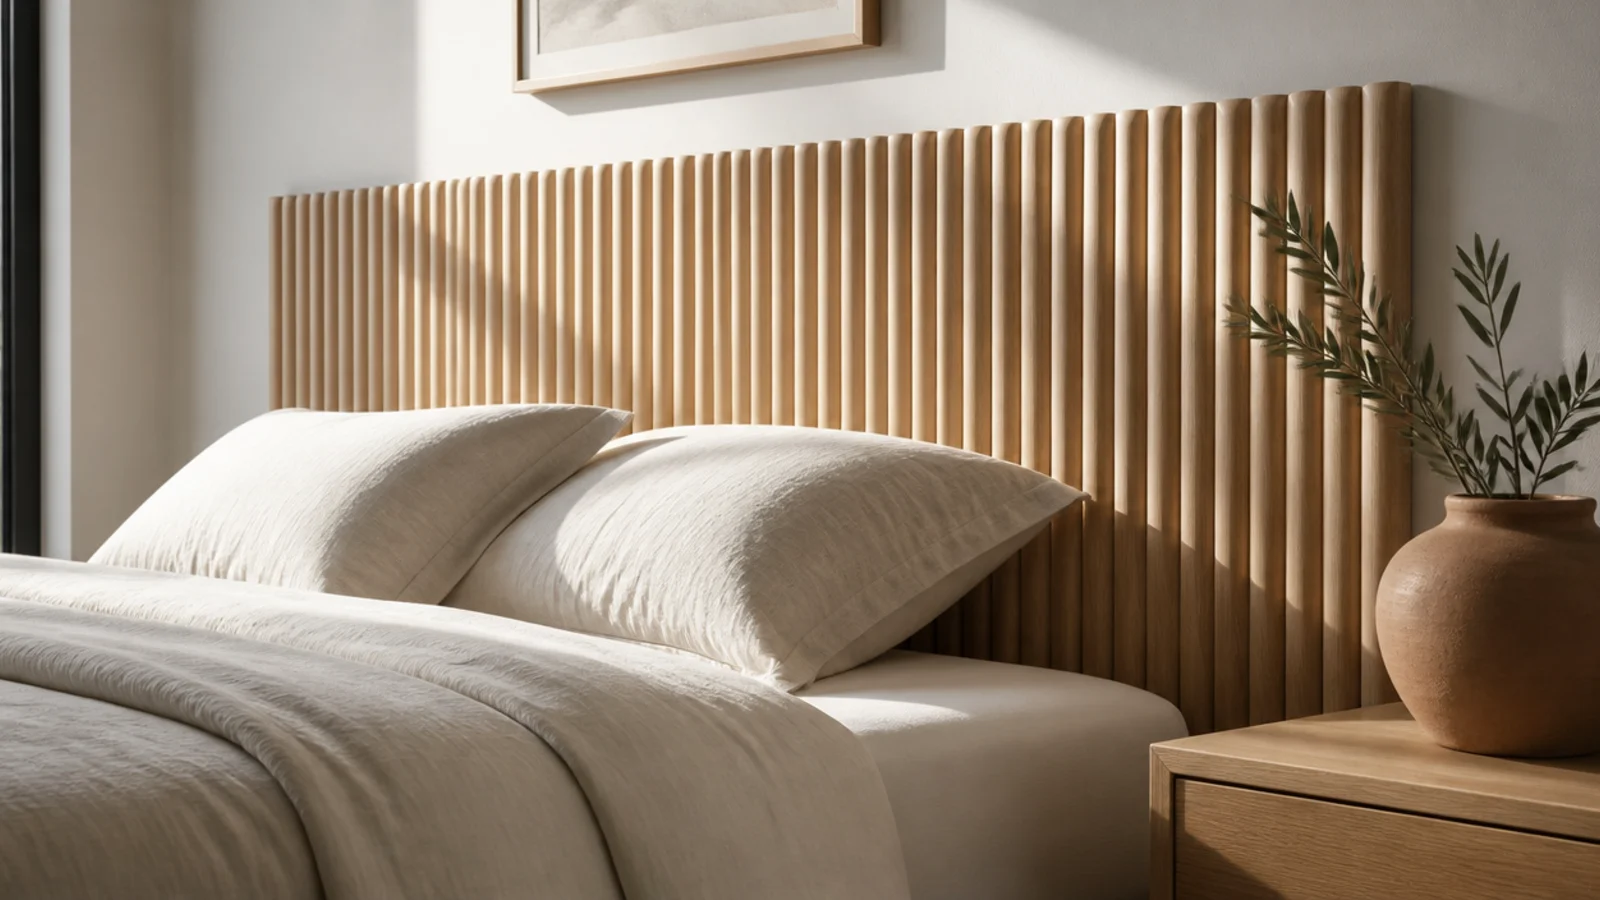
Half-round dowels glued side by side onto a plywood backer create a fluted panel that catches light in soft vertical stripes. Use 1-inch half-rounds with no gap between them for the classic reeded look.
Prime and paint in a soft cream, or oil the oak and leave it. A queen-width panel takes about 60 dowels and a lot of glue — budget $120 to $200 ($$) and an entire Saturday. Cut every dowel to identical length on a stop block, because unevenness at the top edge is very visible.
13. Picture frame moulding as a headboard
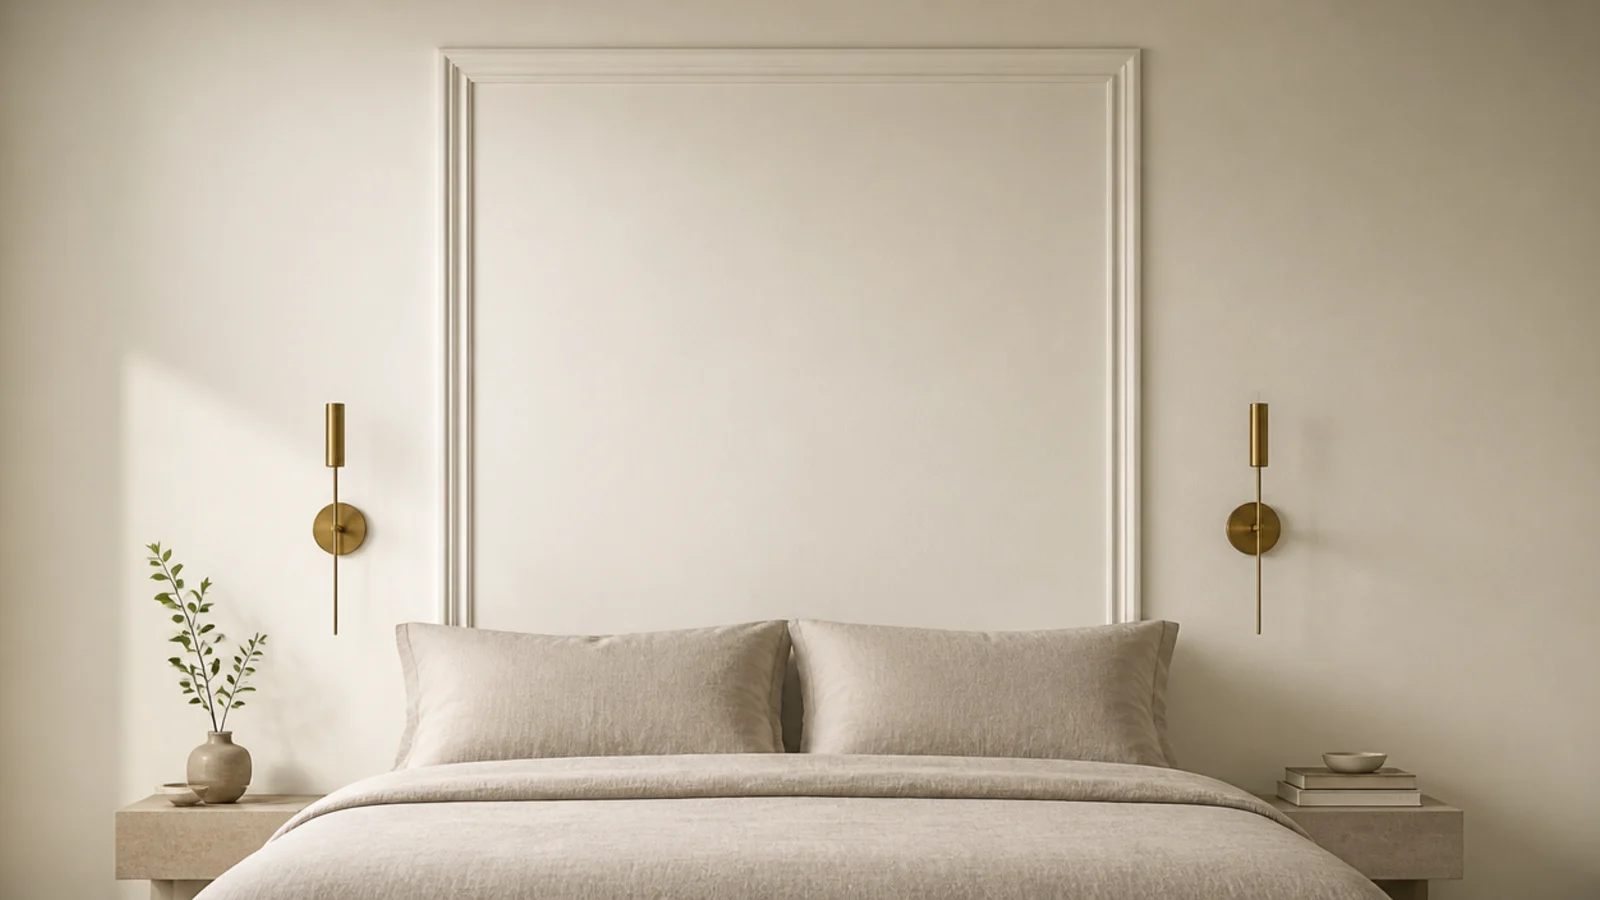
The cheapest idea in this article and one of the most convincing. Applied pine moulding, mitered into a tall rectangle behind the bed and painted the exact wall color, reads as original architecture.
Size it 4 inches wider than the mattress on each side and 50 inches tall, centered on the bed rather than the wall. Caulk every joint and every outside edge — the caulk line is what sells it. About $15 to $30 of trim ($) plus paint you already own.
14. A canopy frame instead of a panel
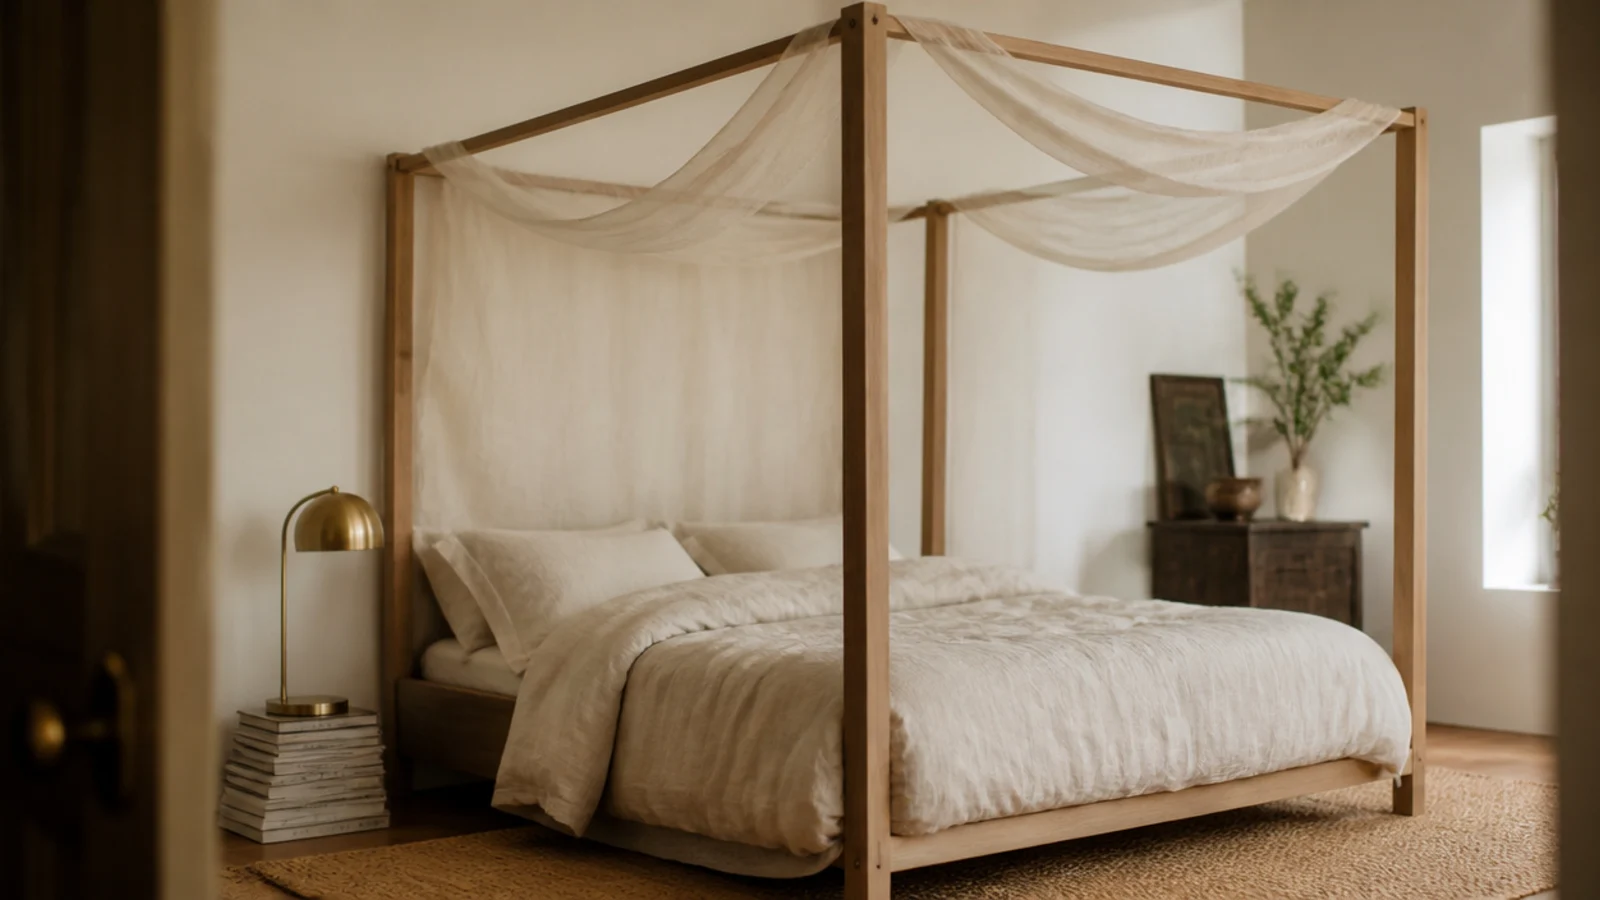
Some bedrooms want height rather than backing. A slim four-poster frame in oak or black steel draws the eye up the full wall and turns the bed into the room's architecture.
You still want something behind the pillows for comfort, so pair it with a low 24-inch panel or a bolster. Drape loose sheer linen along the top rails only, never down the sides, or the bed reads heavy. Frames run $300 and up ($$$), and they need 12 inches of ceiling clearance above the top rail.
15. A headboard with an integrated ledge
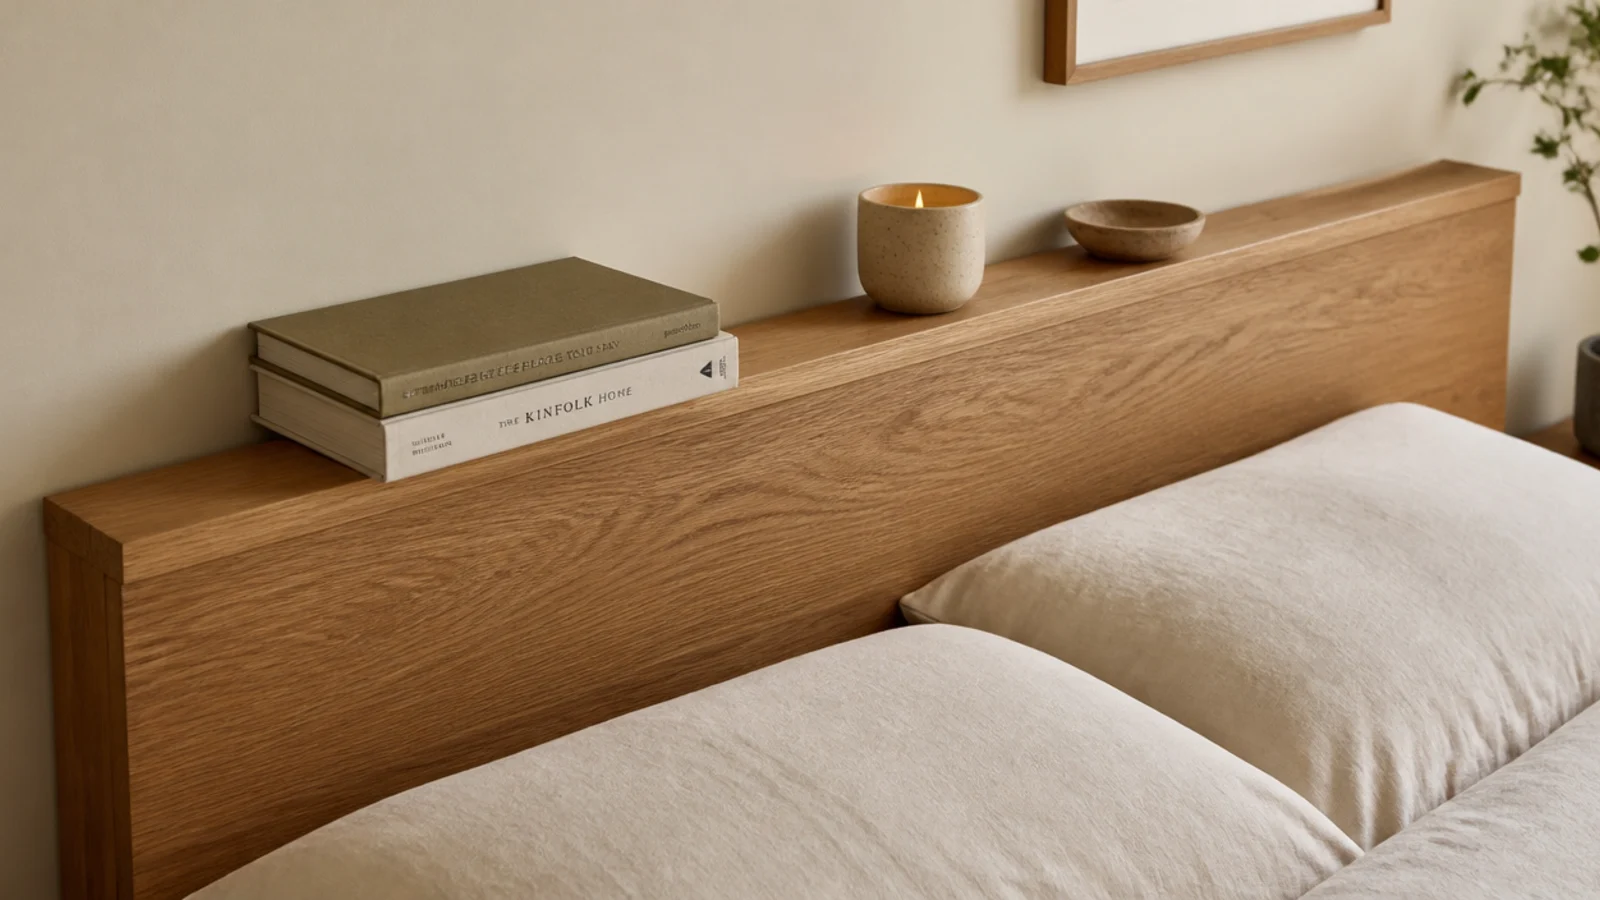
A narrow shelf built into the top edge of a wood panel gives you a surface for books, a glass and a candle without either nightstand carrying it all.
Keep the ledge 4 inches deep with a small front lip and set it at 40 inches above the mattress so nobody hits it sitting up. Anything deeper becomes a place things fall from. It suits small primary bedrooms especially well, and it pairs beautifully with a low candle grouping in the bedroom.
16. Padded fabric panels across the whole wall
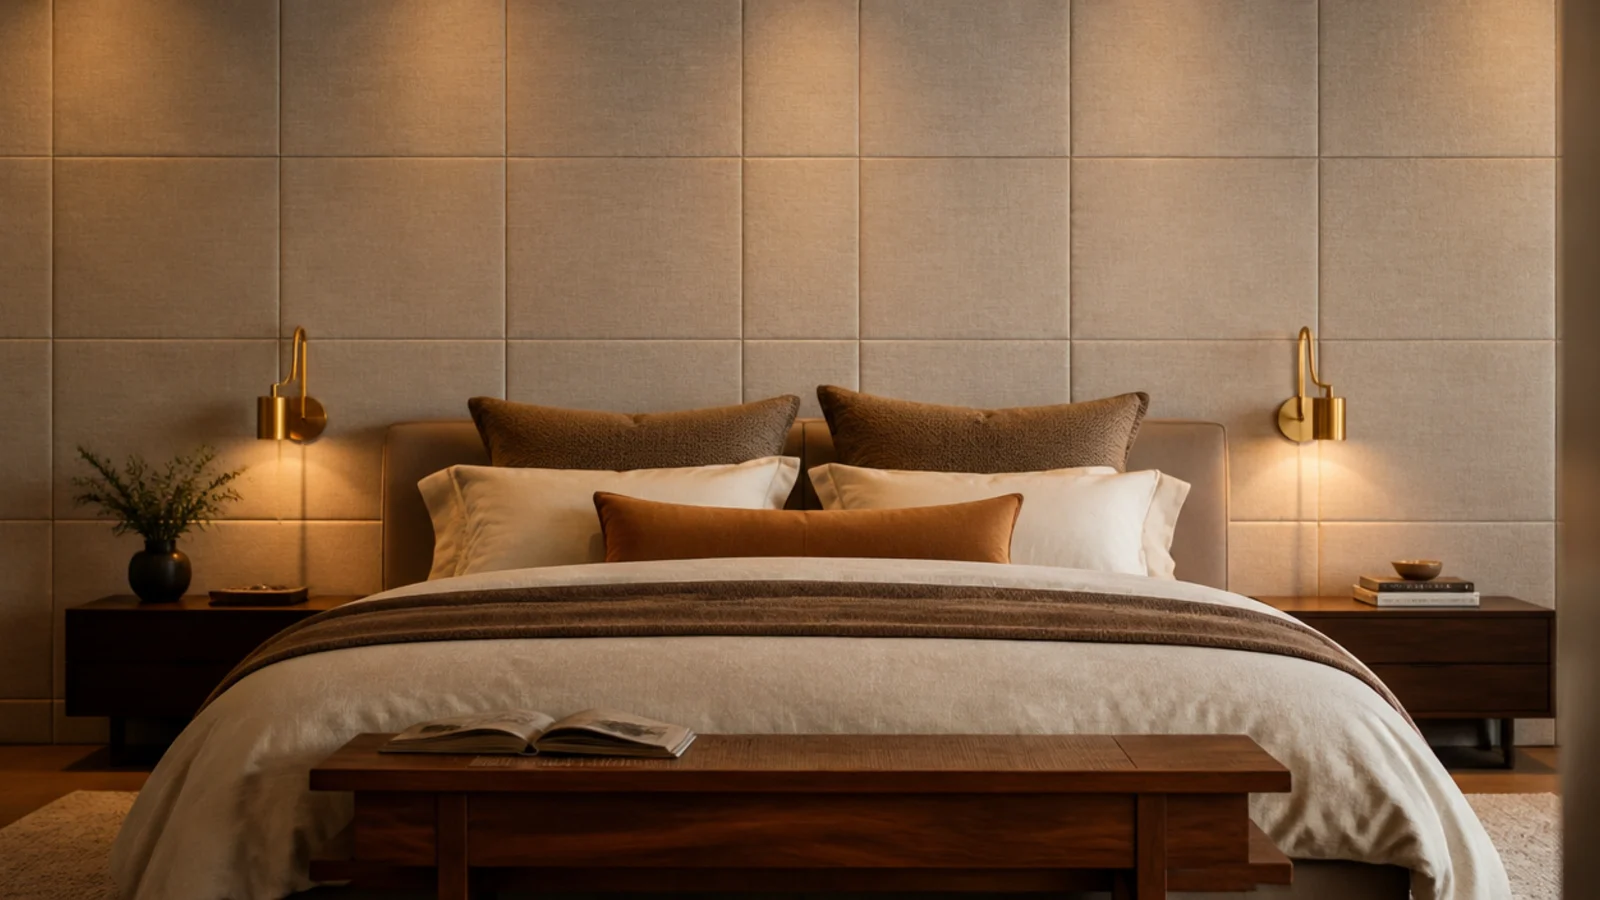
Instead of one headboard, upholster the entire wall in square padded panels from mattress height to picture rail. Each panel is a plywood square with 2 inches of foam and stretched linen, hung on its own small cleat.
The room gets noticeably quieter — fabric on a large wall absorbs more sound than any rug. It is the most expensive idea here at $400 to $900 for a full wall ($$$), and the most transformative in a bedroom that echoes.
17. Shiplap painted the wall color
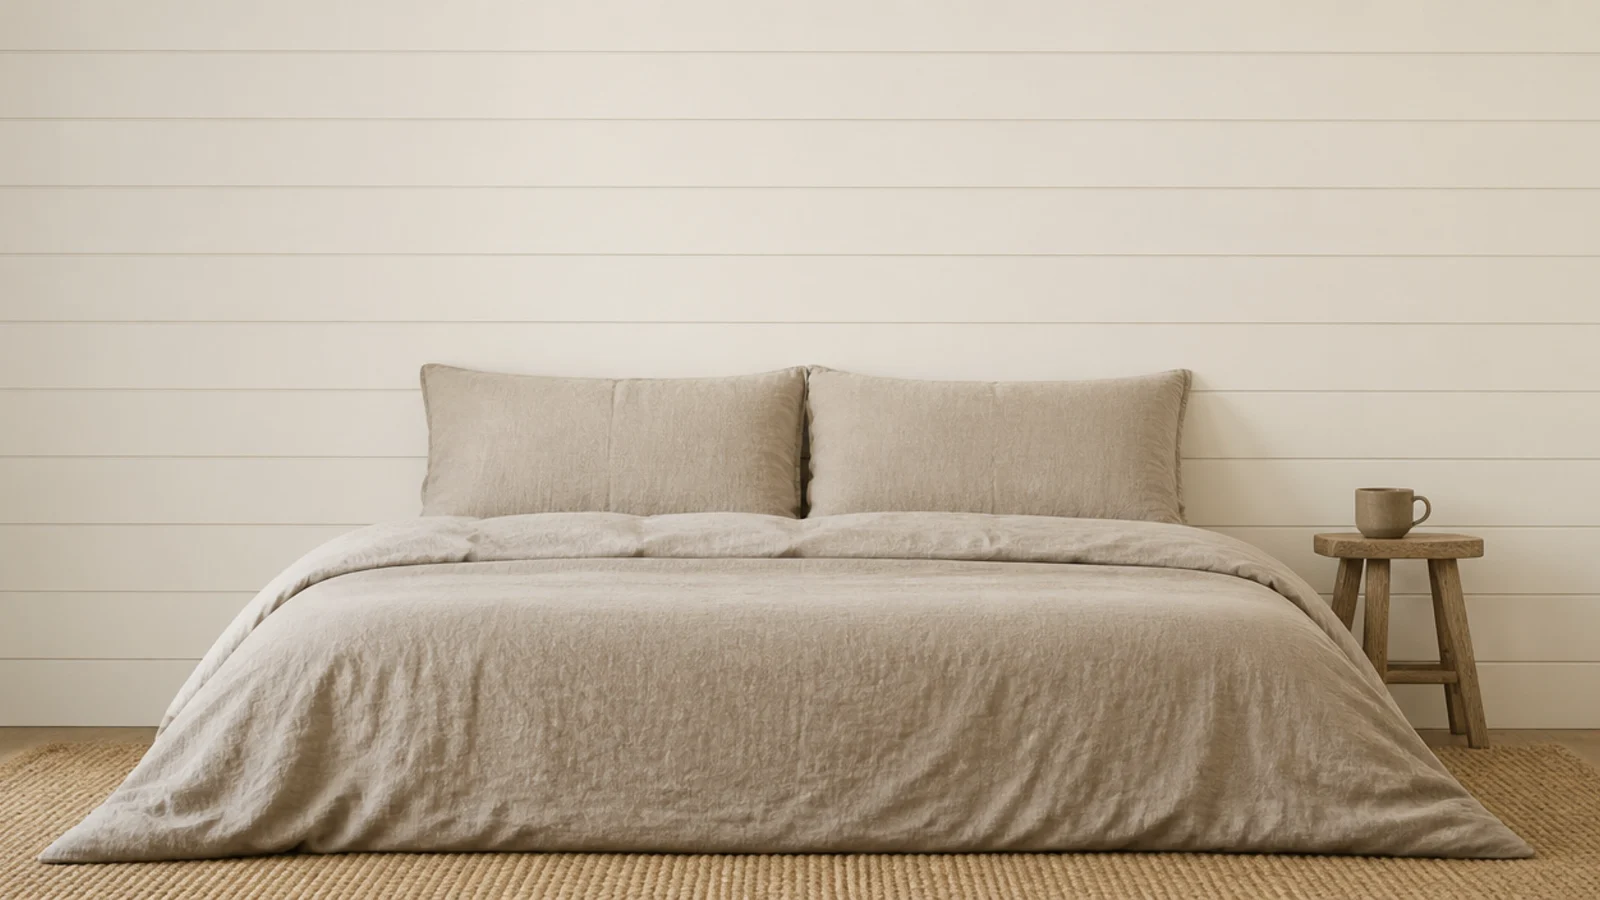
Horizontal shiplap behind the bed, painted the same color as the surrounding wall, gives texture without introducing a second material to coordinate.
The shadow lines between boards do all the work, which is why matching the color matters — contrast turns it into a feature wall, and a feature wall in a bedroom rarely ages well. Prefinished boards cost $2 to $4 per square foot ($$). Run them past the mattress width by at least a foot on each side.
18. A stitched leather-look panel
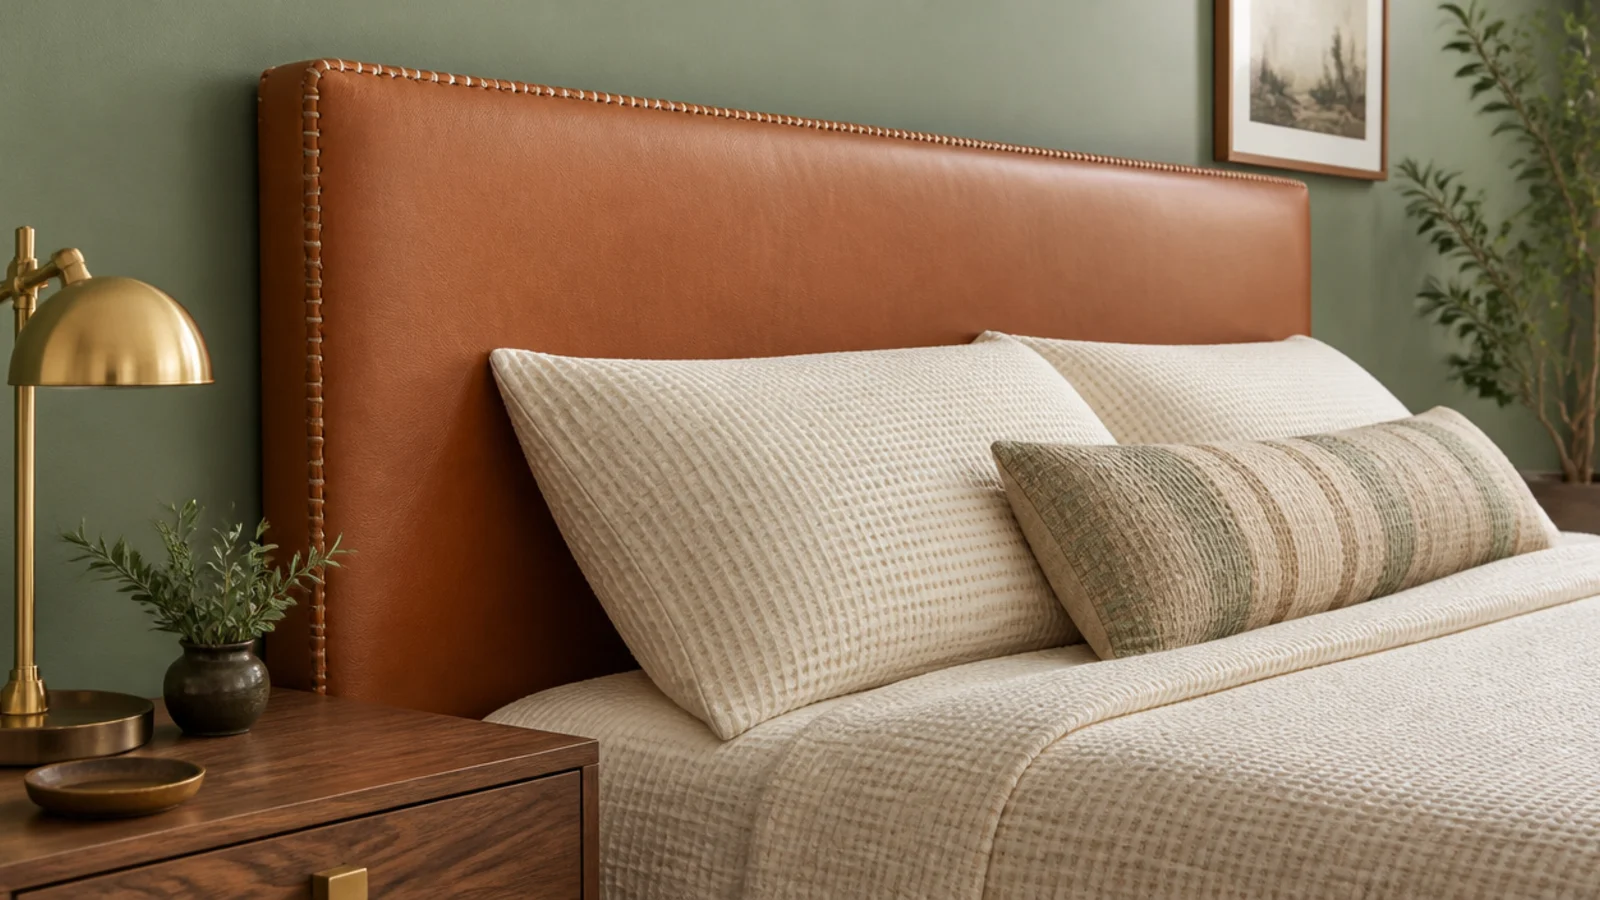
Warm tan leather or a good faux leather brings a different kind of softness, and visible saddle stitching along the edges is what stops it looking like a car seat.
Build it exactly like a fabric panel — plywood, 2 inches of foam, batting — but staple more slowly, because leather does not forgive a pucker. It wipes clean, which makes it the practical choice if anyone eats breakfast in bed. Materials run $150 to $350 ($$$) at queen width.
19. A removable wallpaper arch
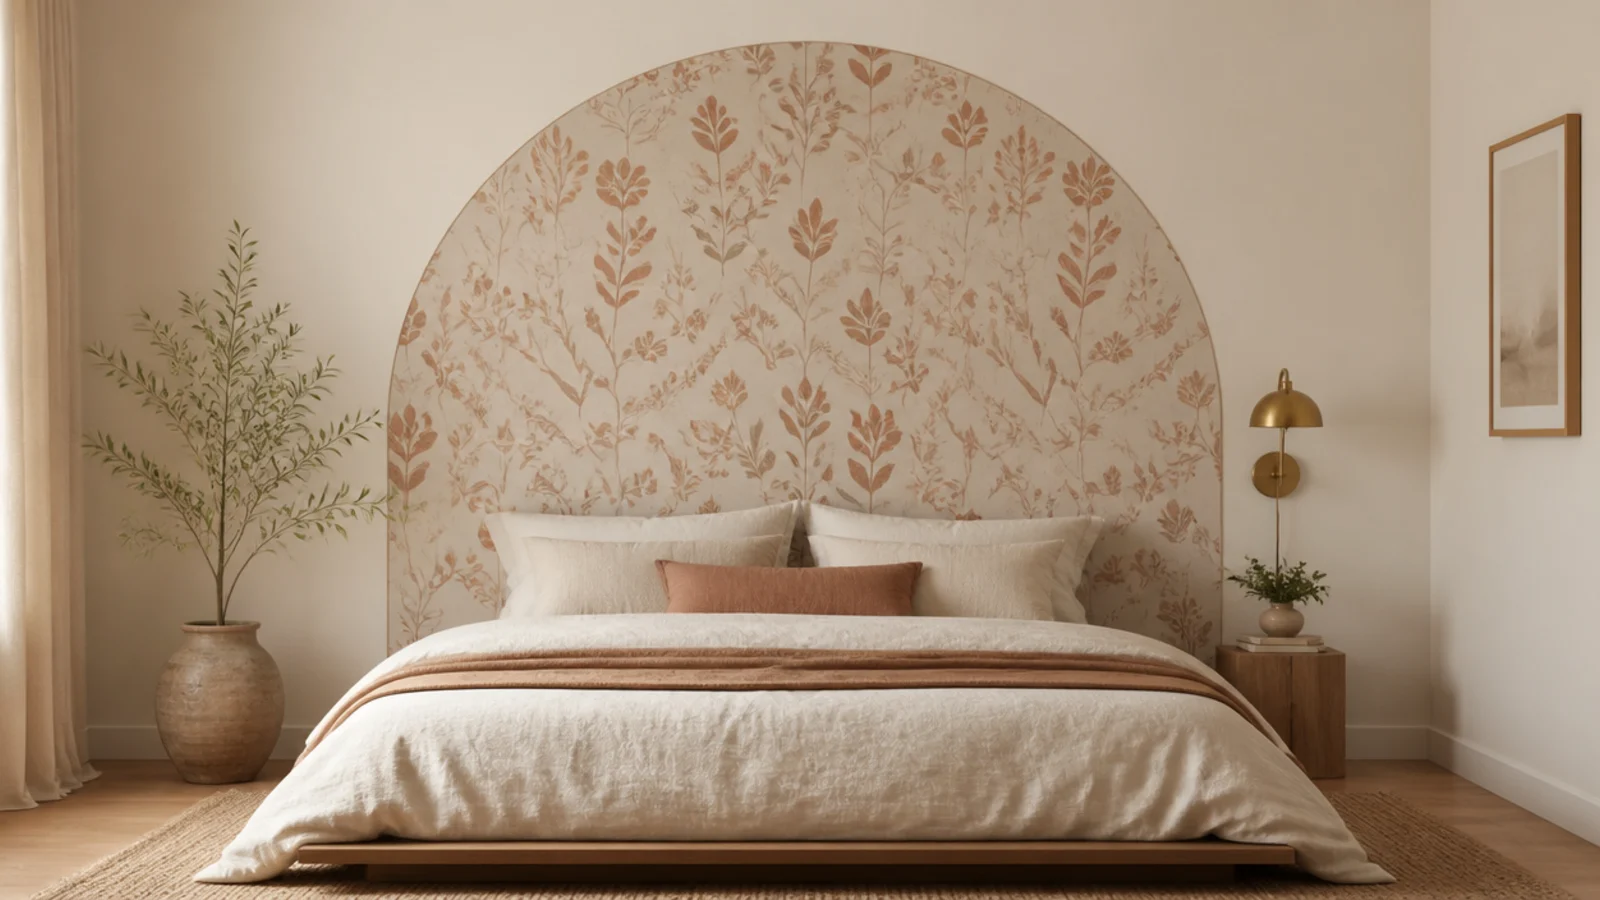
Cut removable wallpaper into an arch shape behind the bed for the pattern of a paneled wall with none of the commitment. Draw the arc with a pencil on a string, cut the paper on a cutting mat, then smooth from the center out.
Choose a subtle print in clay and sand tones — a large repeat inside an arch fights itself. A roll covers a queen-width arch for $40 to $80 ($$). It peels off in one piece when the lease ends.
20. A wood frame with an upholstered insert
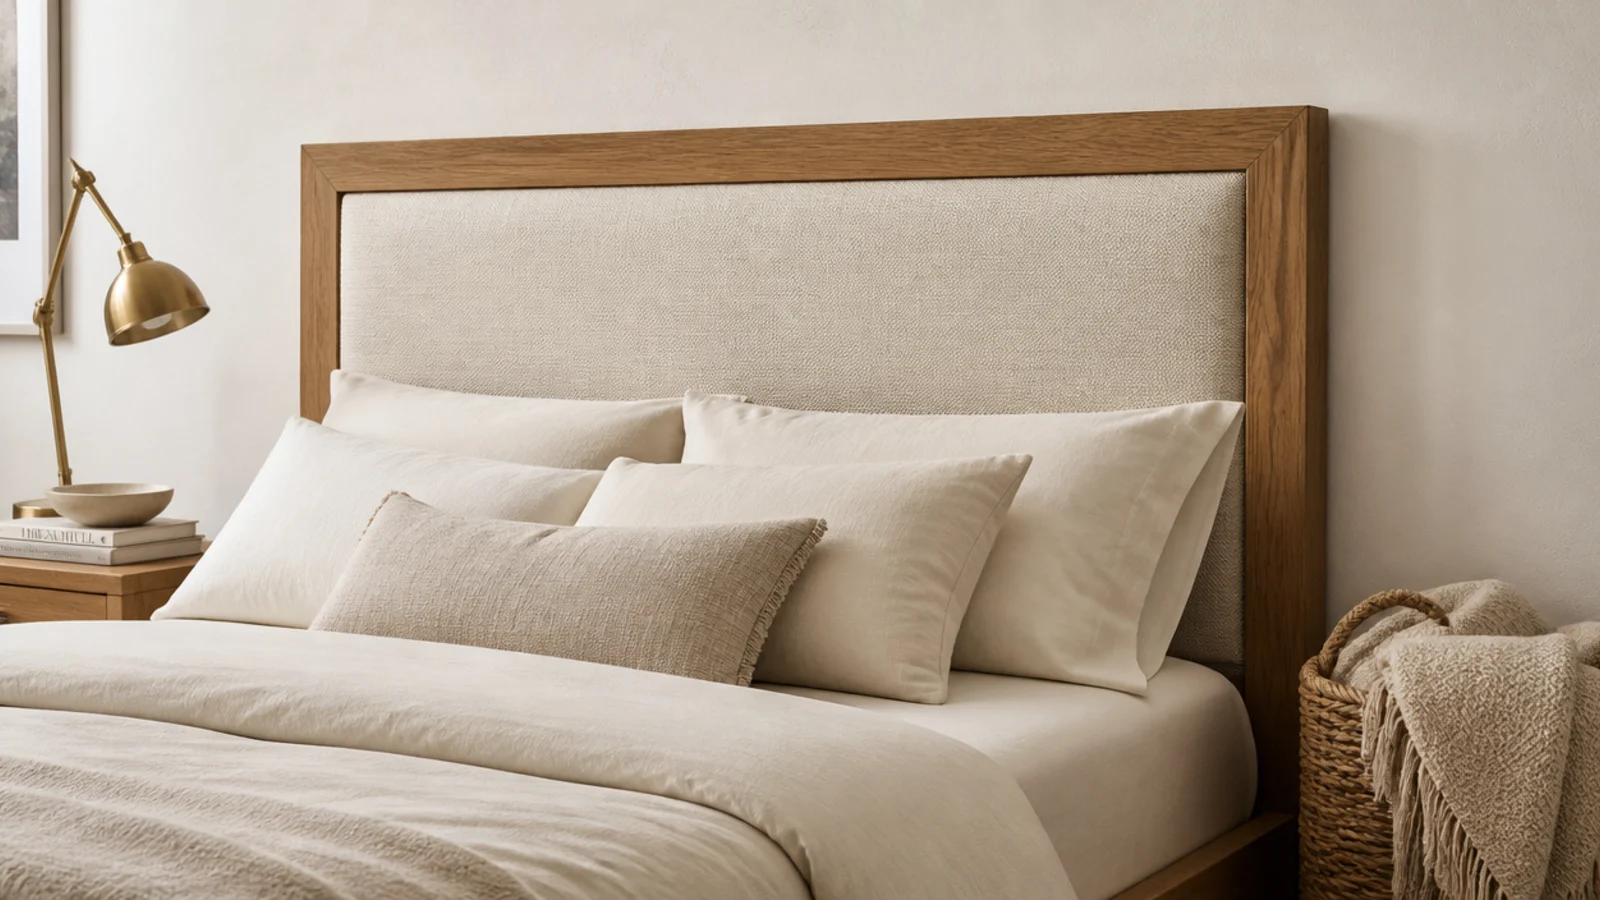
The hybrid that solves the argument between wood and fabric: a warm oak frame, 3 inches wide, with a padded linen insert seated inside it.
The frame gives the edges a crisp line and protects the fabric where hands and bedding rub. The insert gives you something soft where you actually lean. Build the insert as a separate padded panel and drop it in, so it can be recovered later without dismantling the frame. Materials run $180 to $300 ($$$). More build sequencing lives in diy headboard ideas.
Mistakes to Skip
- Sizing a king panel to a queen dimension. Seventy-six inches is the number, and a 60-inch panel behind a king leaves a step at each corner that reads as an error from the doorway.
- Cleating into drywall anchors alone on a heavy panel. Nightly lateral load walks anchors loose; a padded plywood panel needs structural screws into studs.
- Mounting the panel to the bed frame legs on a floating build. If the panel hangs on the wall, keep it off the frame entirely — otherwise every time the bed shifts, the wall takes the strain.
Frequently asked questions
How tall should a headboard be in a master bedroom?
For a calm, low profile look, 24 to 28 inches above the mattress top. For a statement panel that carries a large wall, 40 to 50 inches. In a master bedroom with a king bed and a tall ceiling, the higher range usually wins, because a 24-inch panel behind a 76-inch mattress reads undersized from across the room.
How wide should a headboard be for a king bed?
A king mattress is 76 inches wide, so the panel should be 76 inches, or up to 84 inches if you want it to extend 4 inches past each side. Going wider than that starts to swallow the nightstands. Going narrower leaves a visible step at each corner of the mattress that your eye reads as a mistake.
Does a master bedroom headboard have to match the bed frame?
No, and some of the best bedrooms deliberately break that link. A wall-mounted panel in a completely different material than the frame reads as architecture rather than furniture. What does need to match is the tone temperature: keep warm woods with warm neutrals and cool greys with cool whites, or the room feels slightly off without an obvious reason.
Can I mount a heavy headboard panel on drywall?
Only with the cleat screwed into studs. A headboard takes lateral load every night as people sit up against it, and that repeated nudging walks drywall anchors loose over months. Find the studs, mark them, and run at least two lag screws or heavy structural screws into framing. Toggle bolts are a fallback for a light panel, never for a padded plywood one.
What is the cheapest way to upgrade a master bedroom bed wall?
Applied picture frame moulding painted the same color as the wall. About $15 of pine trim, a miter box and an afternoon gives a tall rectangle behind the bed that reads as period architecture. The second cheapest is a pair of plug-in sconces at 60 inches from the floor, which changes the room more at night than any panel does.
Decide the height first, because everything else follows from it — 26 inches for calm, 46 for drama, and no useful option in between. Then get the width right and let the material be the easy decision. For sharper, more graphic versions of these builds, modern headboard ideas goes further, and headboard decor ideas covers what goes on the wall around them. Save the pin so the numbers travel with you.
Want more like this? Browse all 15 headboard ideas guides — they all use the same measurements and budget tiers.
Pin it for later
Save this to your Headboard Ideas board
Pin it now so it is waiting for you when the tape measure comes out — and so the next person hunting for this idea can find it too.
Save this pinKeep going
More ideas worth saving while you have the tape measure out.