Headboard Ideas · How-To
15 Steps to Style an Easy Headboard

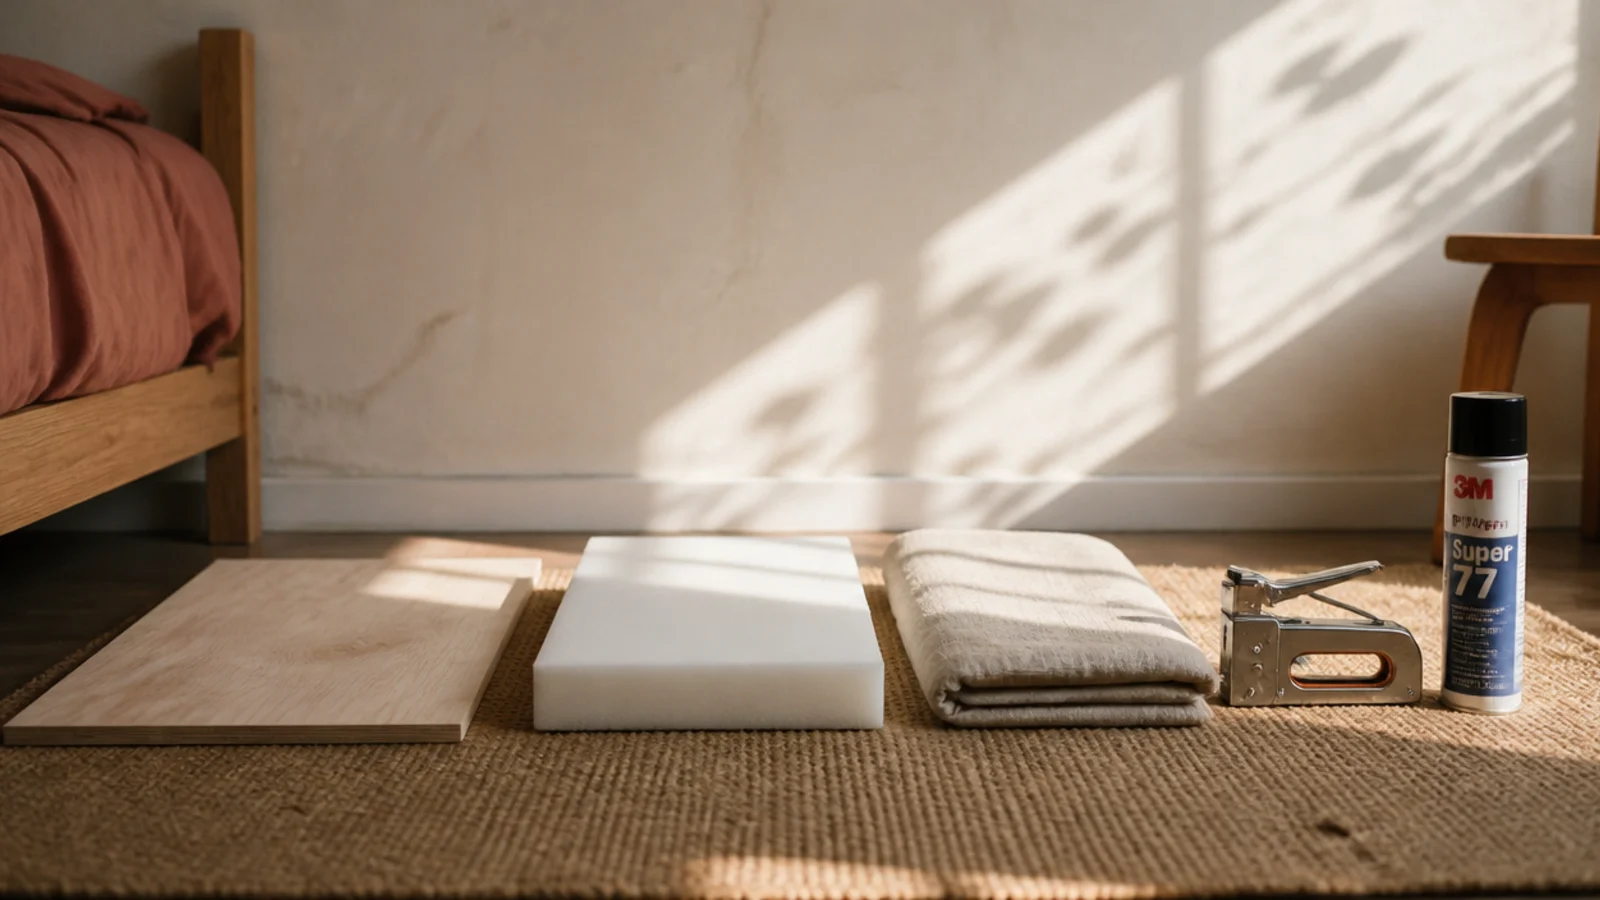
DIY headboard ideas usually fail at one of two points: the height gets guessed, or the panel is bolted to a bed frame that then rocks a little more every month. I have built four of these across three rentals, two upholstered and two slatted. This is the version I keep coming back to — one plywood panel, two inches of foam, and a French cleat that carries the whole thing off the wall.
In this guide18 sections — tap to openHide
- 1.What You'll Need for These DIY Headboard Ideas
- 2.Step 1: Measure the mattress, not the wall
- 3.Step 2: Set the height before anything else
- 4.Step 3: Choose the panel material
- 5.Step 4: Cut the panel and shape the top
- 6.Step 5: Sand every edge you will feel through fabric
- 7.Step 6: Cut two-inch high-density foam to size
- 8.Step 7: Glue the foam and let it cure
- 9.Step 8: Wrap the foam in batting
- 10.Step 9: Choose fabric and calculate yardage
- 11.Step 10: Staple the fabric in an opposing order
- 12.Step 11: Fold the corners like a gift box
- 13.Step 12: Finish the back so it looks bought
- 14.Step 13: Build the French cleat and find the studs
- 15.Step 14: Hang the panel and check the height
- 16.Step 15: Style the bed around the headboard
- 17.Pro Styling Rules
- 18.Mistakes to Skip
What You'll Need for These DIY Headboard Ideas
Nothing on this list is specialist. A queen-size upholstered panel runs $70 to $120 in materials ($), or $150 to $260 if you choose a designer performance fabric ($$). A solid oak slat version lands around $180 to $300 ($$$).
| Item | Spec that matters | Rough cost |
|---|---|---|
| Plywood panel | 3/4 in birch or maple ply, cut to size | $32–$55 |
| Upholstery foam | 2 in high-density, panel size | $28–$60 |
| Polyester batting | One layer, 6 in oversize all round | $12 |
| Fabric | Performance weave or washable linen, 2 yd for a queen | $24–$90 |
| Cambric backing | 1 yd, black or natural | $6 |
| French cleat stock | 3/4 in ply ripped into two 4 in strips | $10 |
| Fixings | 3 in wood screws into studs, 3/8 in staples | $8 |
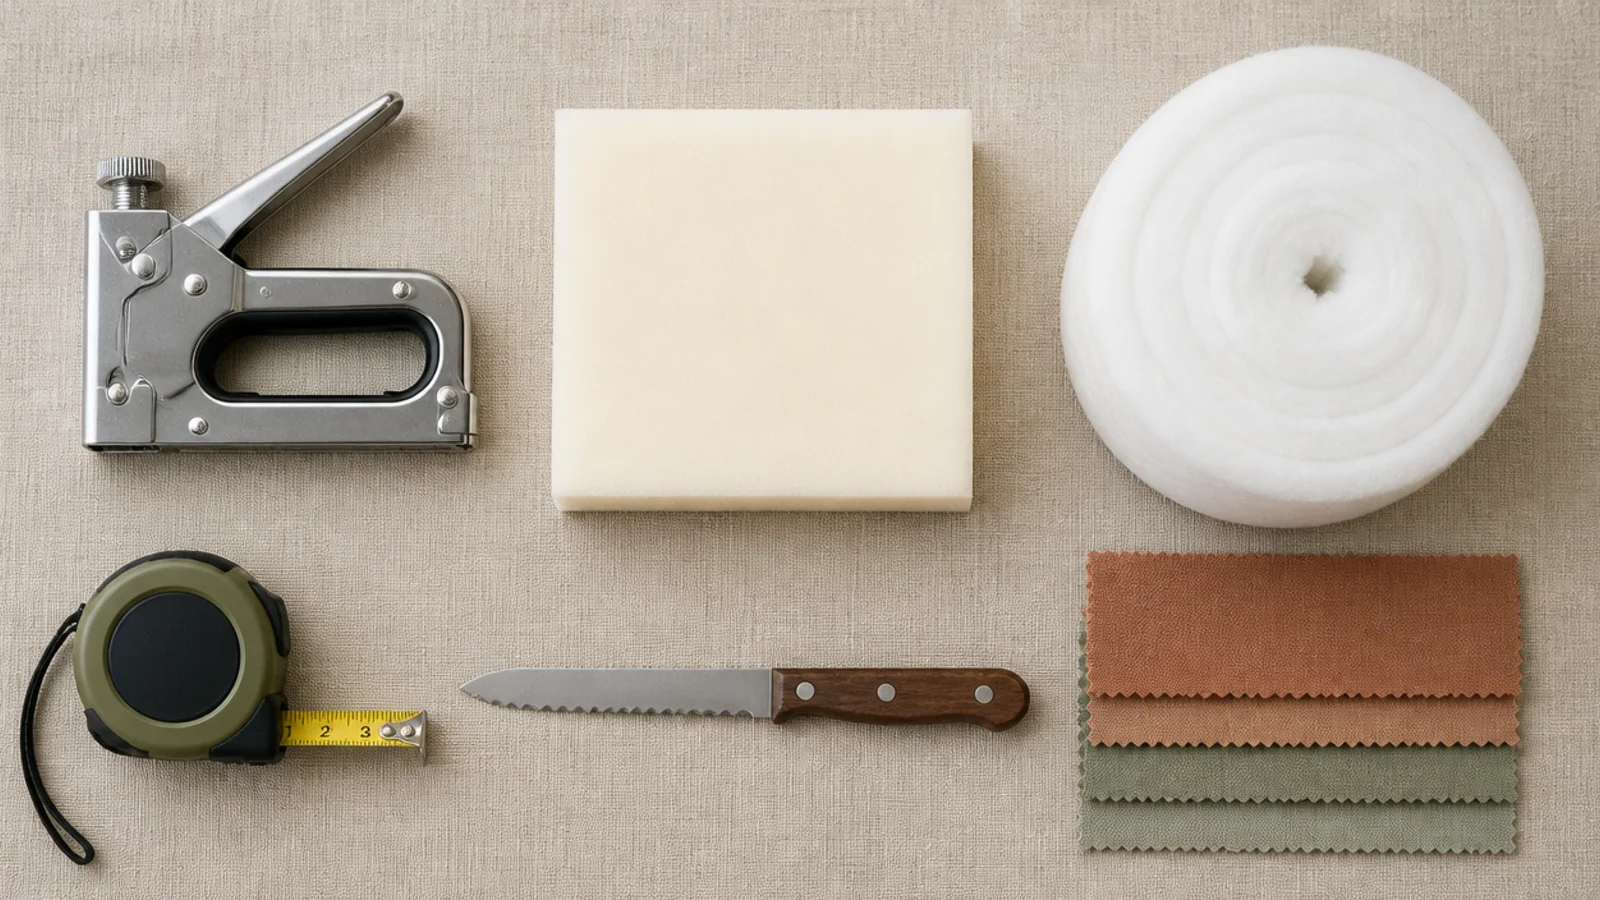
| Tools | Staple gun, jigsaw, drill, stud finder, level, bread knife | borrowed |
Step 1: Measure the mattress, not the wall
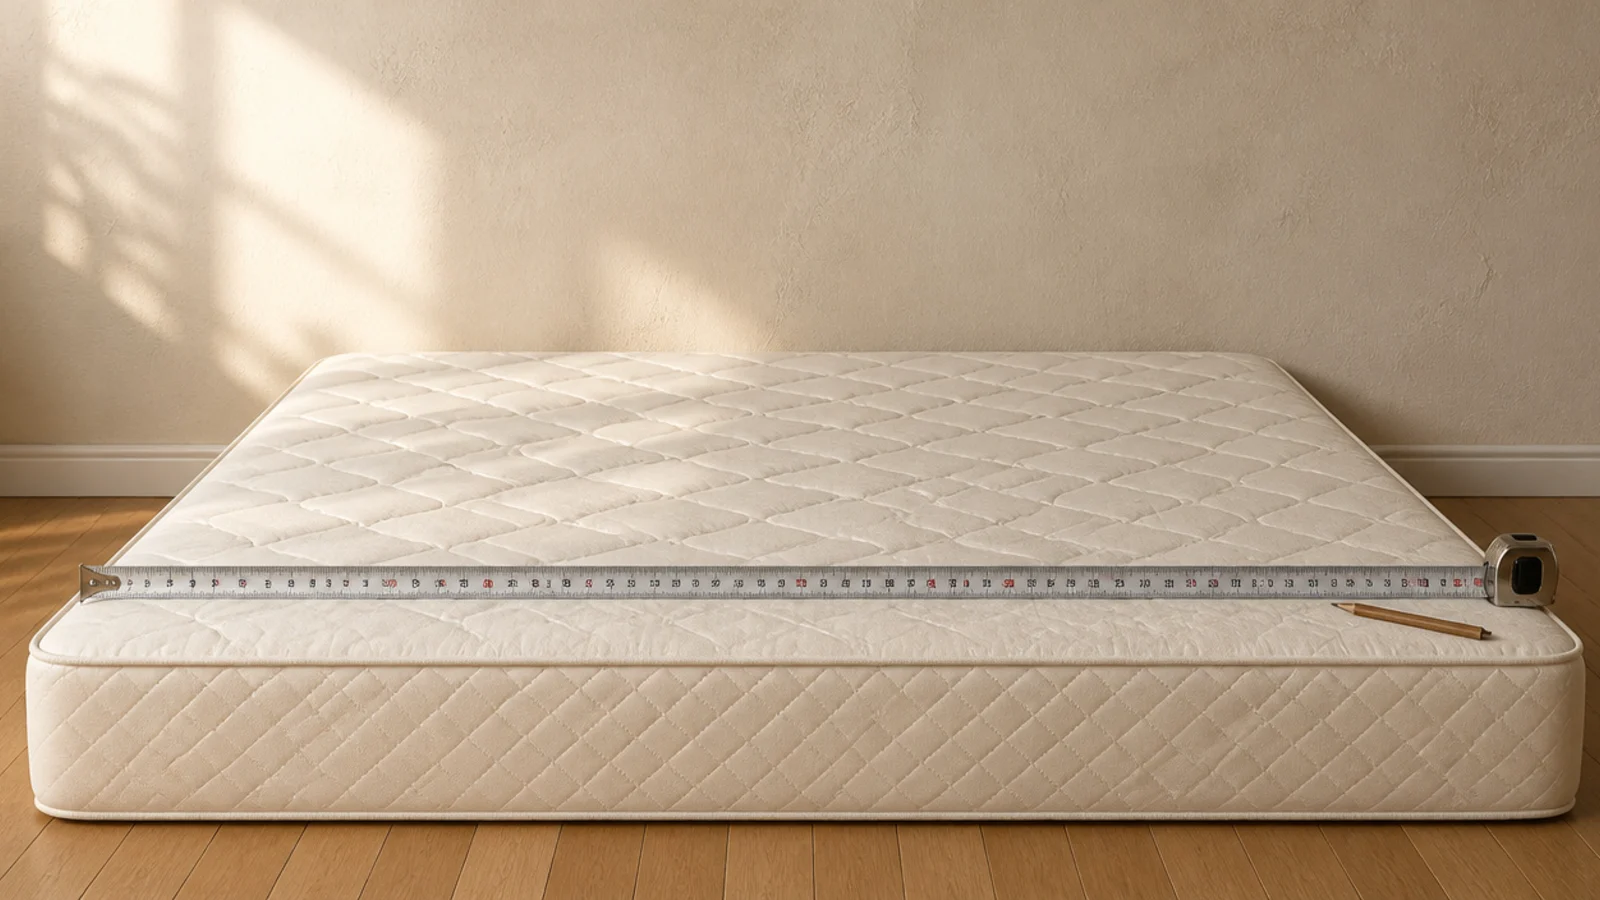
Every dimension starts at the mattress, because the mattress is the only fixed thing in the room. Twin is 38 inches wide, full 54, queen 60, king 76 — measure yours anyway, since older frames and deep pillow-tops drift by an inch.
Your panel should match that width, or run up to 4 inches wider on each side. For a queen that means anything from 60 to 68 inches. Write the number on your phone before you leave for the store, because you will absolutely second-guess it standing in the aisle.
Step 2: Set the height before anything else
Height is the single decision that makes a headboard look designed rather than accidental. Measure up from the top of the mattress, not from the floor.
Low profile sits 24 to 28 inches above the mattress and frames the pillows without shouting. A statement panel runs 40 to 50 inches and becomes the focal point of the whole room. Between 30 and 38 inches is the dead zone — too tall to read as modest, too short to read as deliberate.
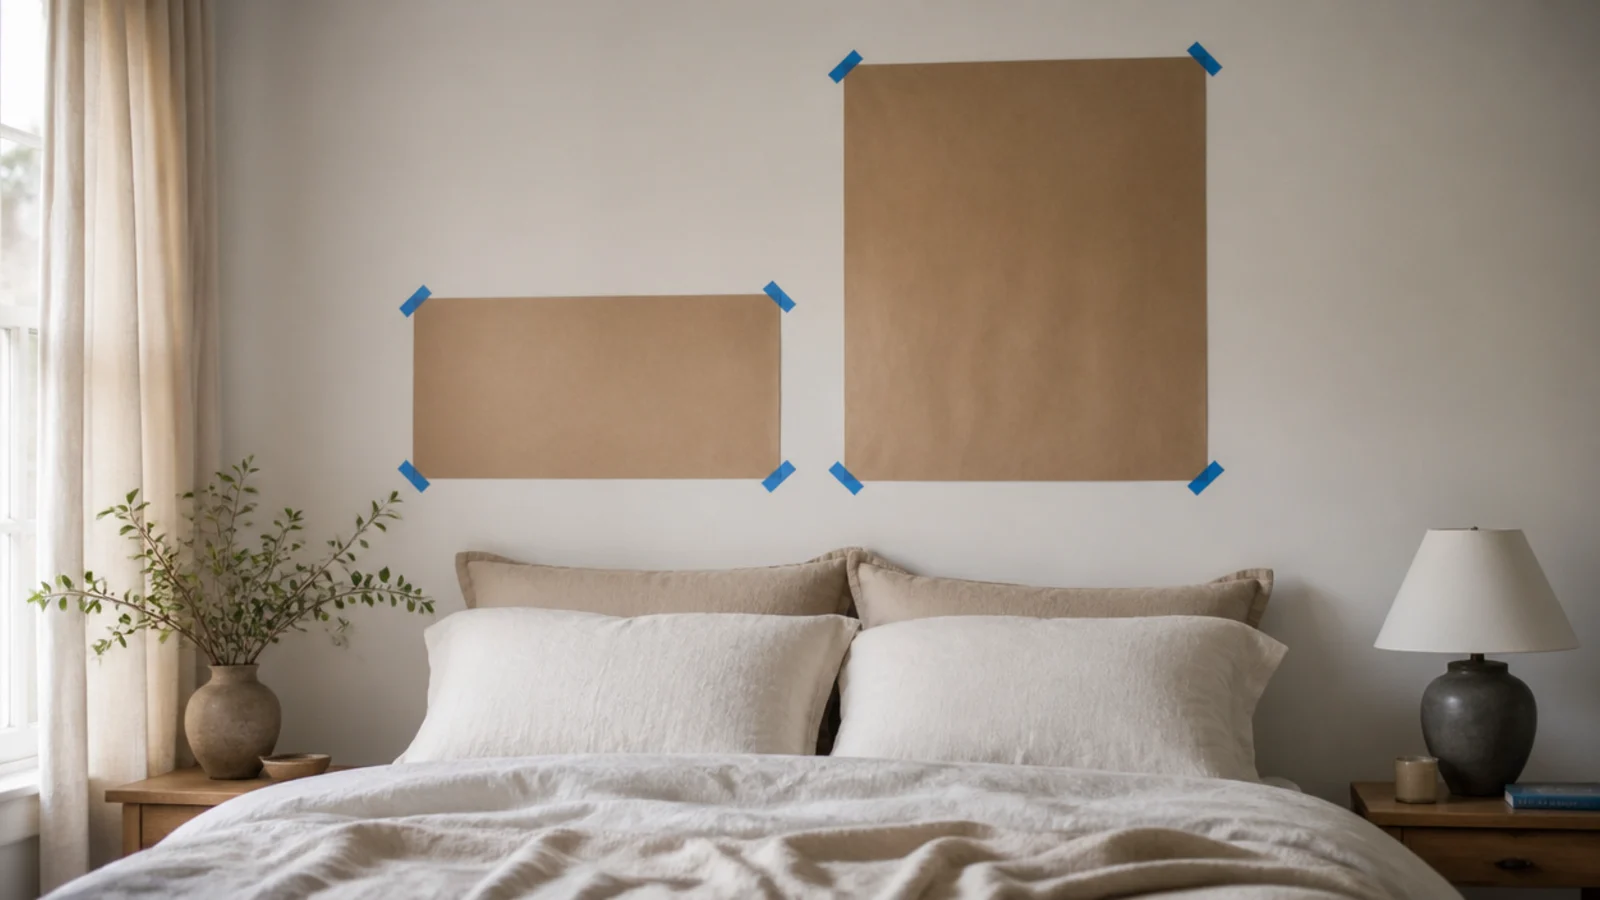
Tape kraft paper to the wall at both heights and live with it overnight.
Step 3: Choose the panel material
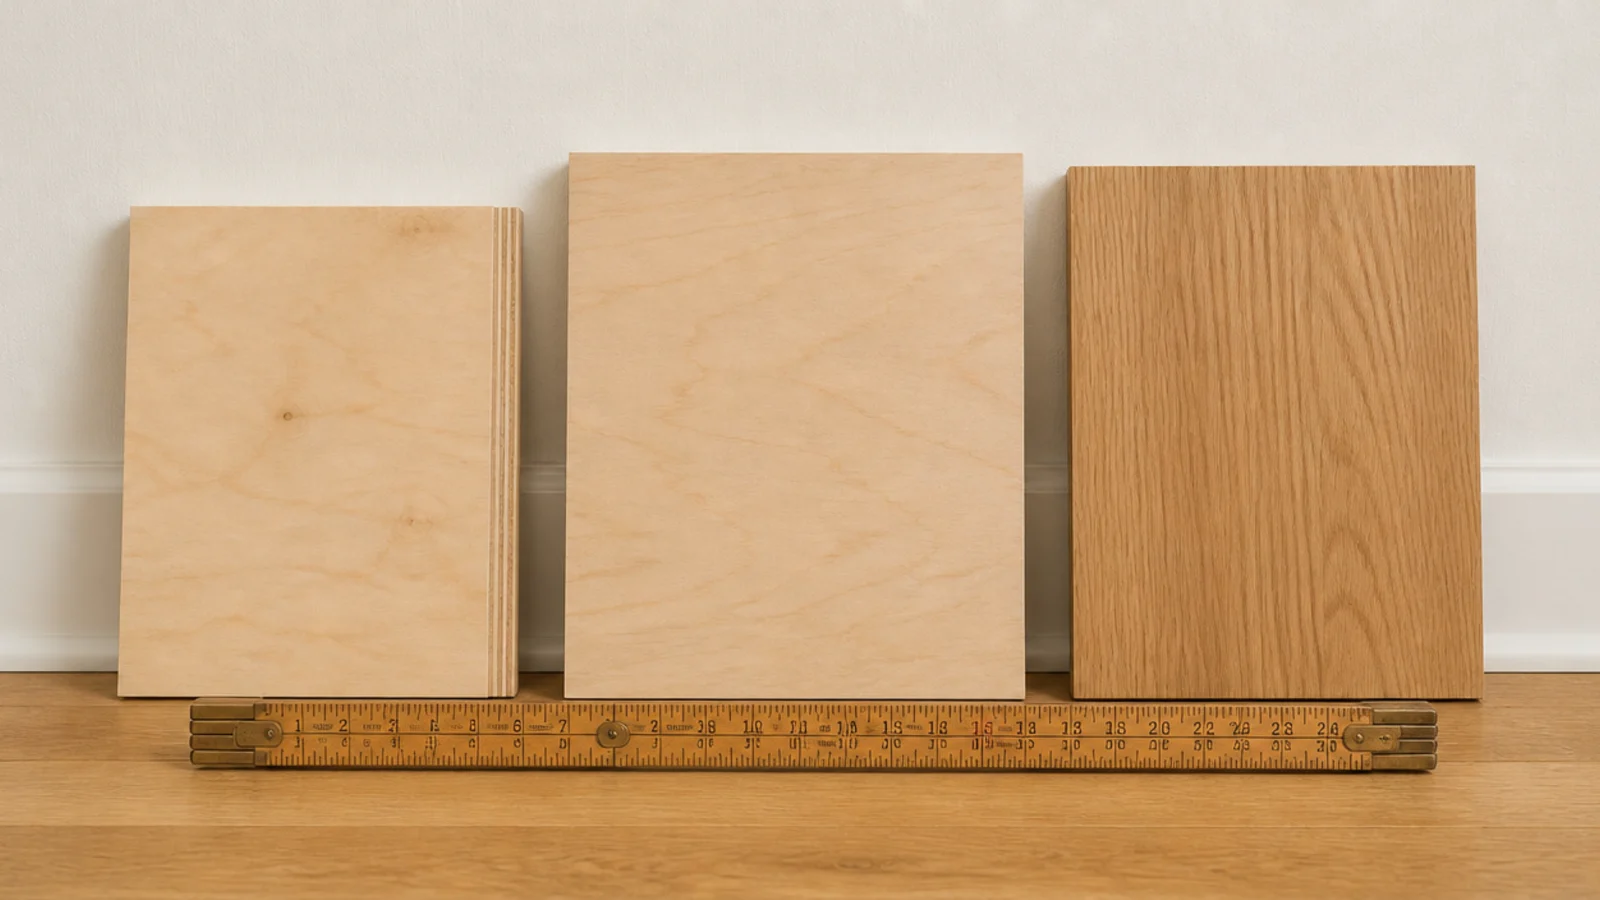
Three-quarter inch plywood is the right answer for anything upholstered. It takes staples without splitting, holds a cleat securely, and does not flex when someone leans back hard against it.
Half-inch ply is acceptable only under 48 inches wide. MDF is heavy, sags across a queen span, and swells irreversibly if the wall behind it ever gets damp. If you want visible grain instead of fabric, use solid boards — the wood headboard guide covers species, finishes and slat spacing in detail.
Step 4: Cut the panel and shape the top
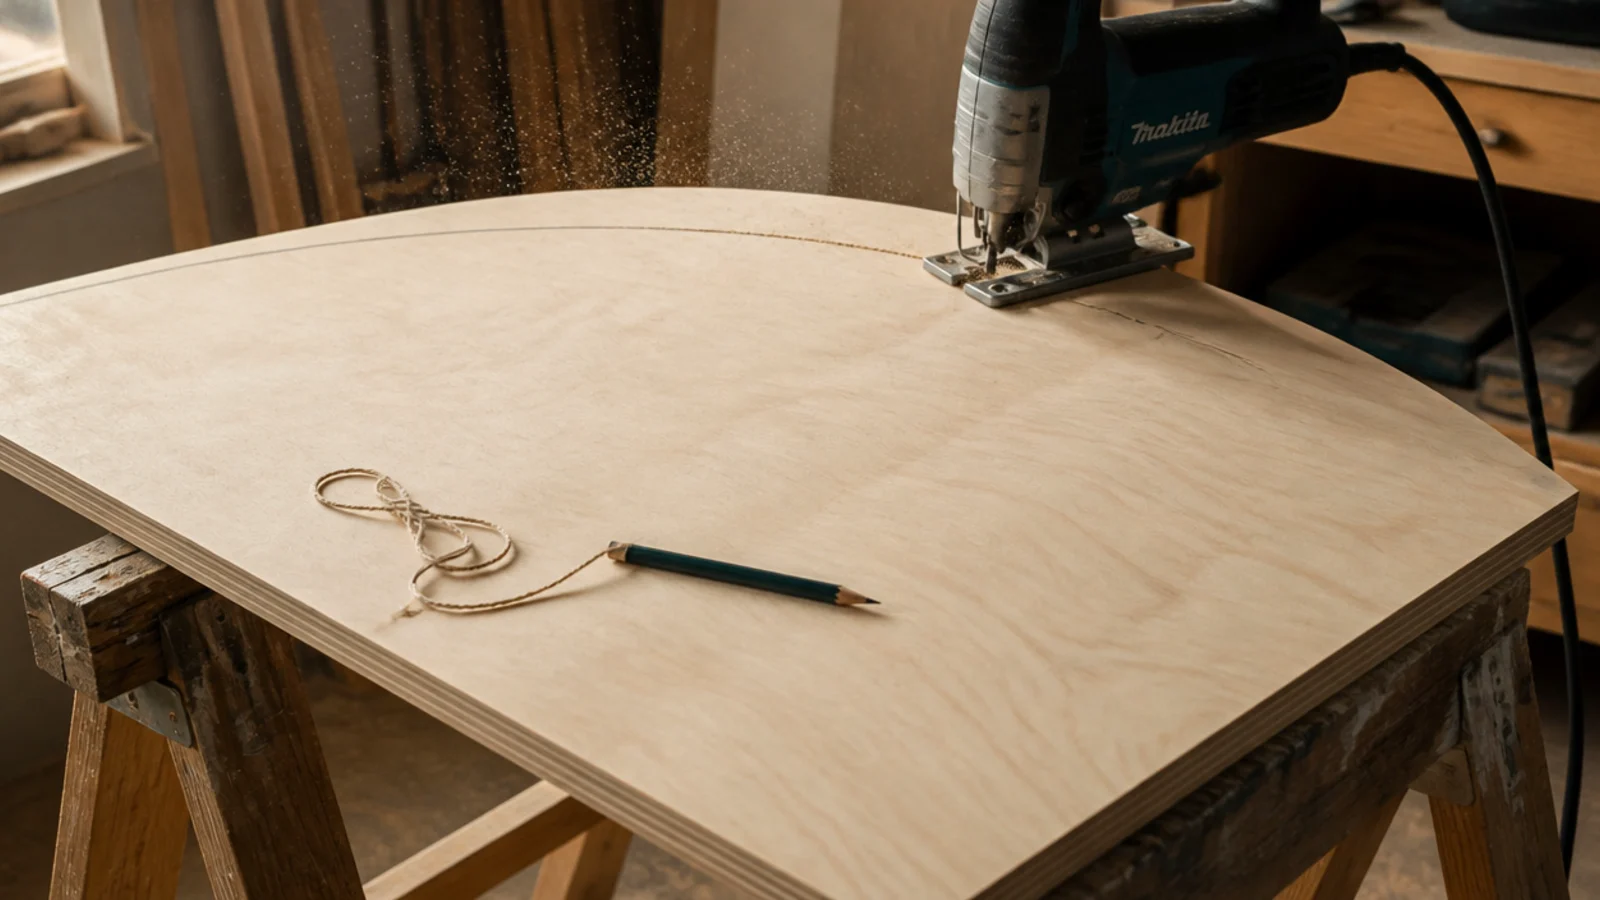
Most home centers cut sheet goods for free, and a straight factory cut beats anything you will manage with a circular saw on a garage floor. Arrive with two numbers: width and height.
The top edge is where the style actually lives. A straight top reads modern, a full arch reads traditional, and a shallow camel curve rising 3 to 4 inches at the center flatters almost every bedroom. Draw the curve with a length of string pinned at the center, then cut it with a jigsaw and a fresh blade.
Step 5: Sand every edge you will feel through fabric
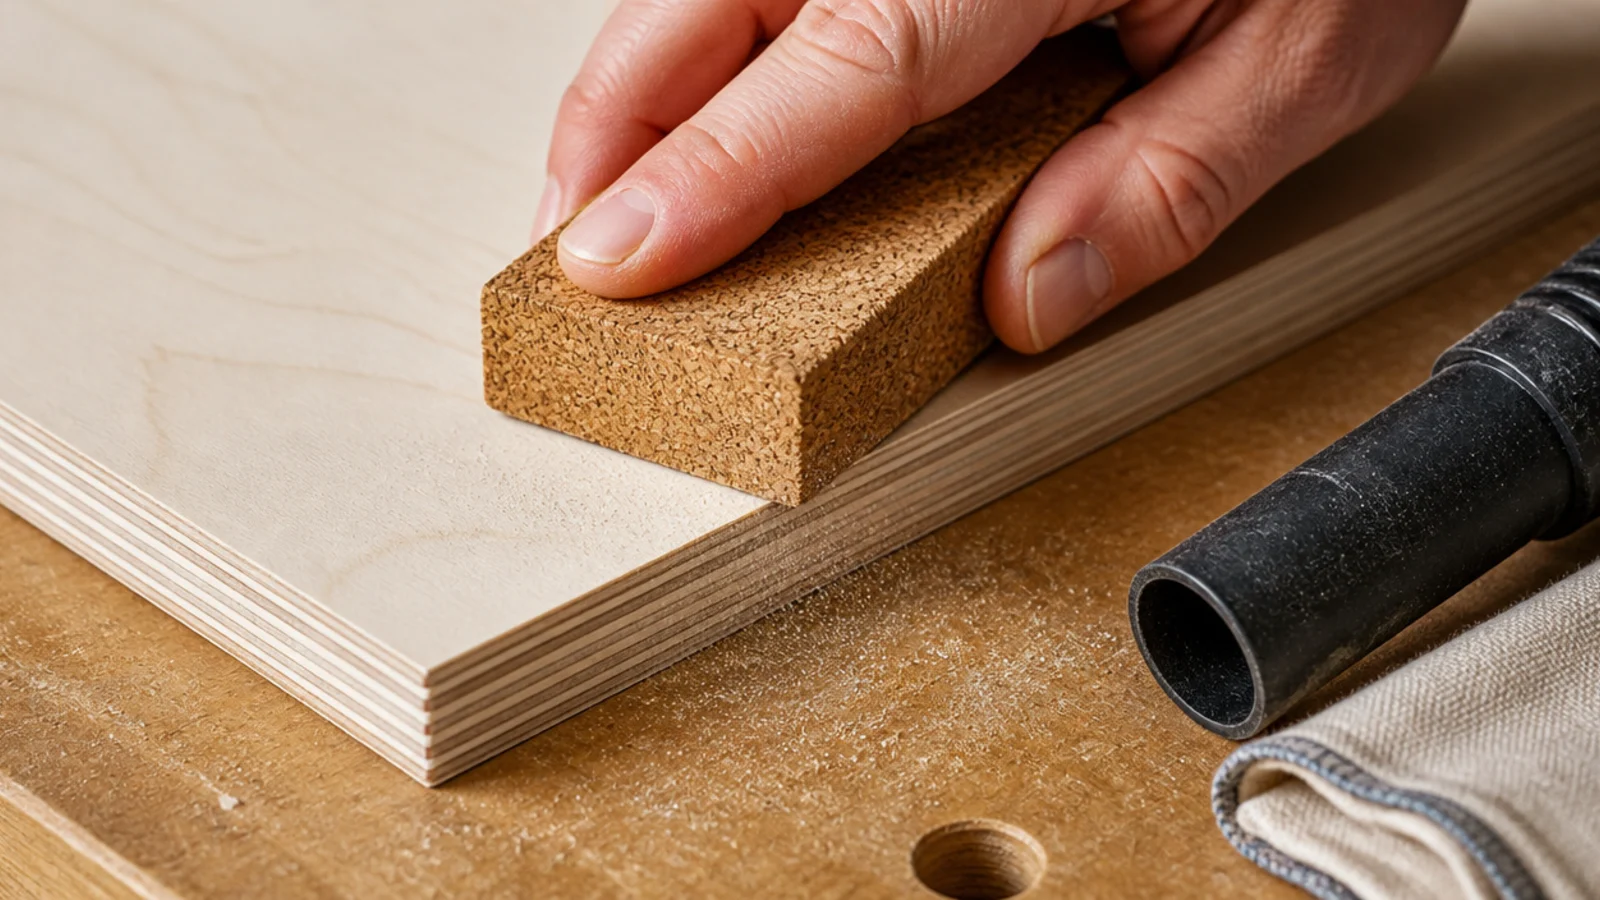
Run 120 grit along all four edges until they feel rounded under your thumb, then lightly sand the face to knock off splinters.
This feels skippable and is not. A sharp plywood edge presses a visible hard line through two inches of foam and fabric within weeks, and once the panel is upholstered there is no fixing it without stripping everything back. Vacuum the dust off before any glue goes down, because foam adhesive bonds beautifully to dust and poorly to wood.
Step 6: Cut two-inch high-density foam to size
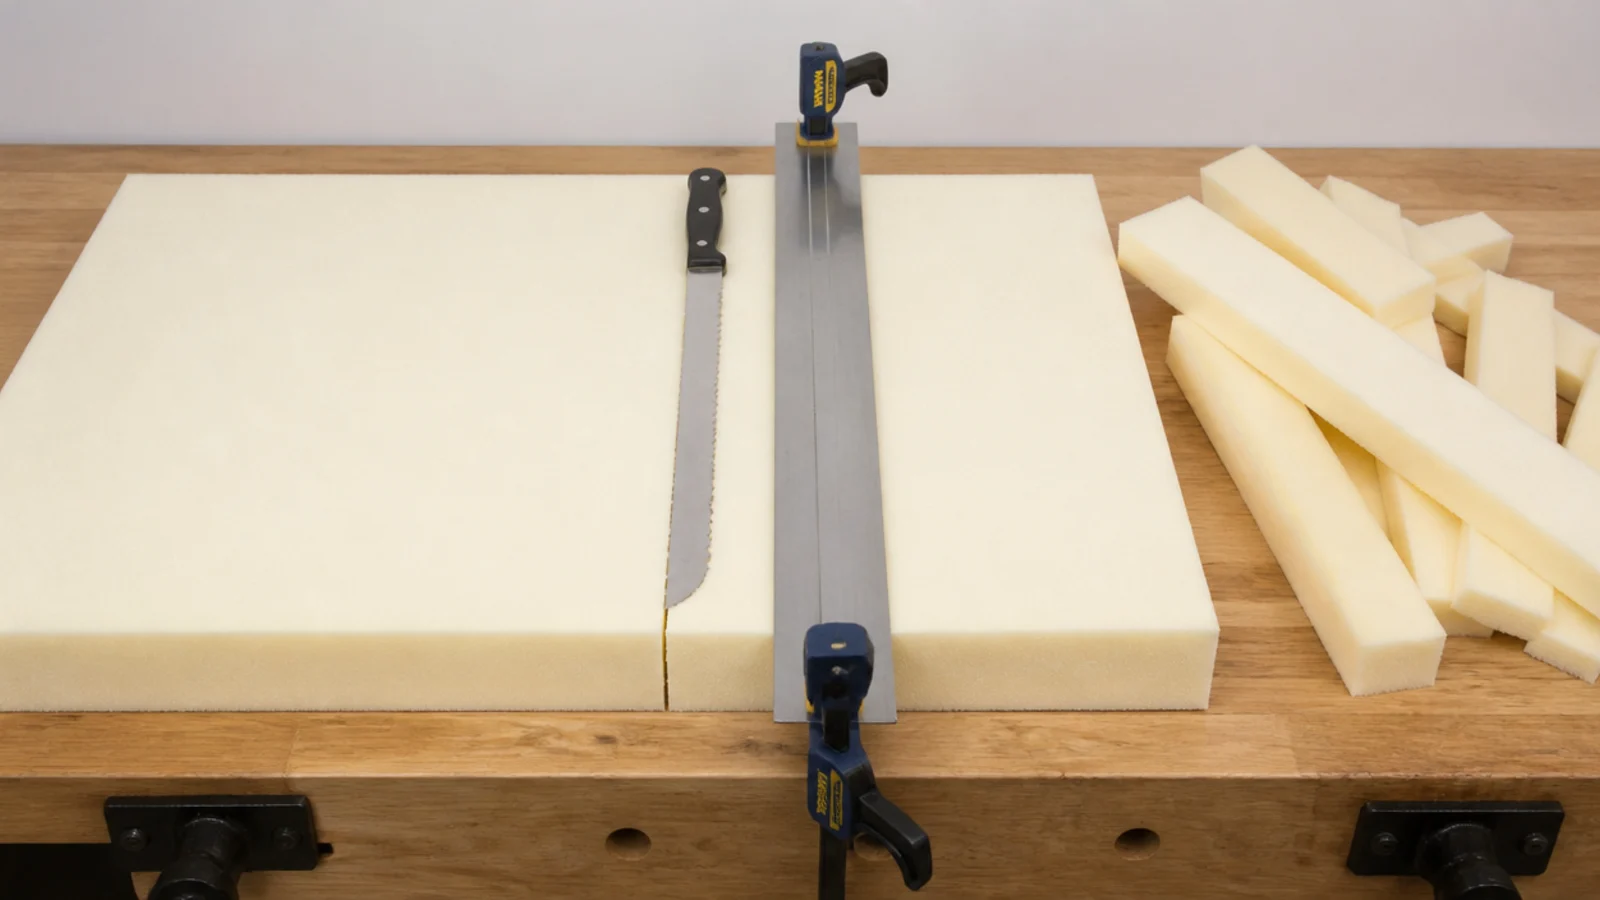
Two inches of high-density foam is the minimum for a headboard people genuinely lean on. One-inch foam telegraphs the plywood underneath inside a month and feels hard exactly where your shoulders land.
Cut the foam a half inch larger than the panel on every side using a long serrated bread knife, drawn through in one continuous stroke. Sawing leaves a ragged edge that shows through fabric. That half inch of overhang compresses into a soft rounded profile once the fabric pulls it down, which is precisely what a bought headboard looks like.
Step 7: Glue the foam and let it cure
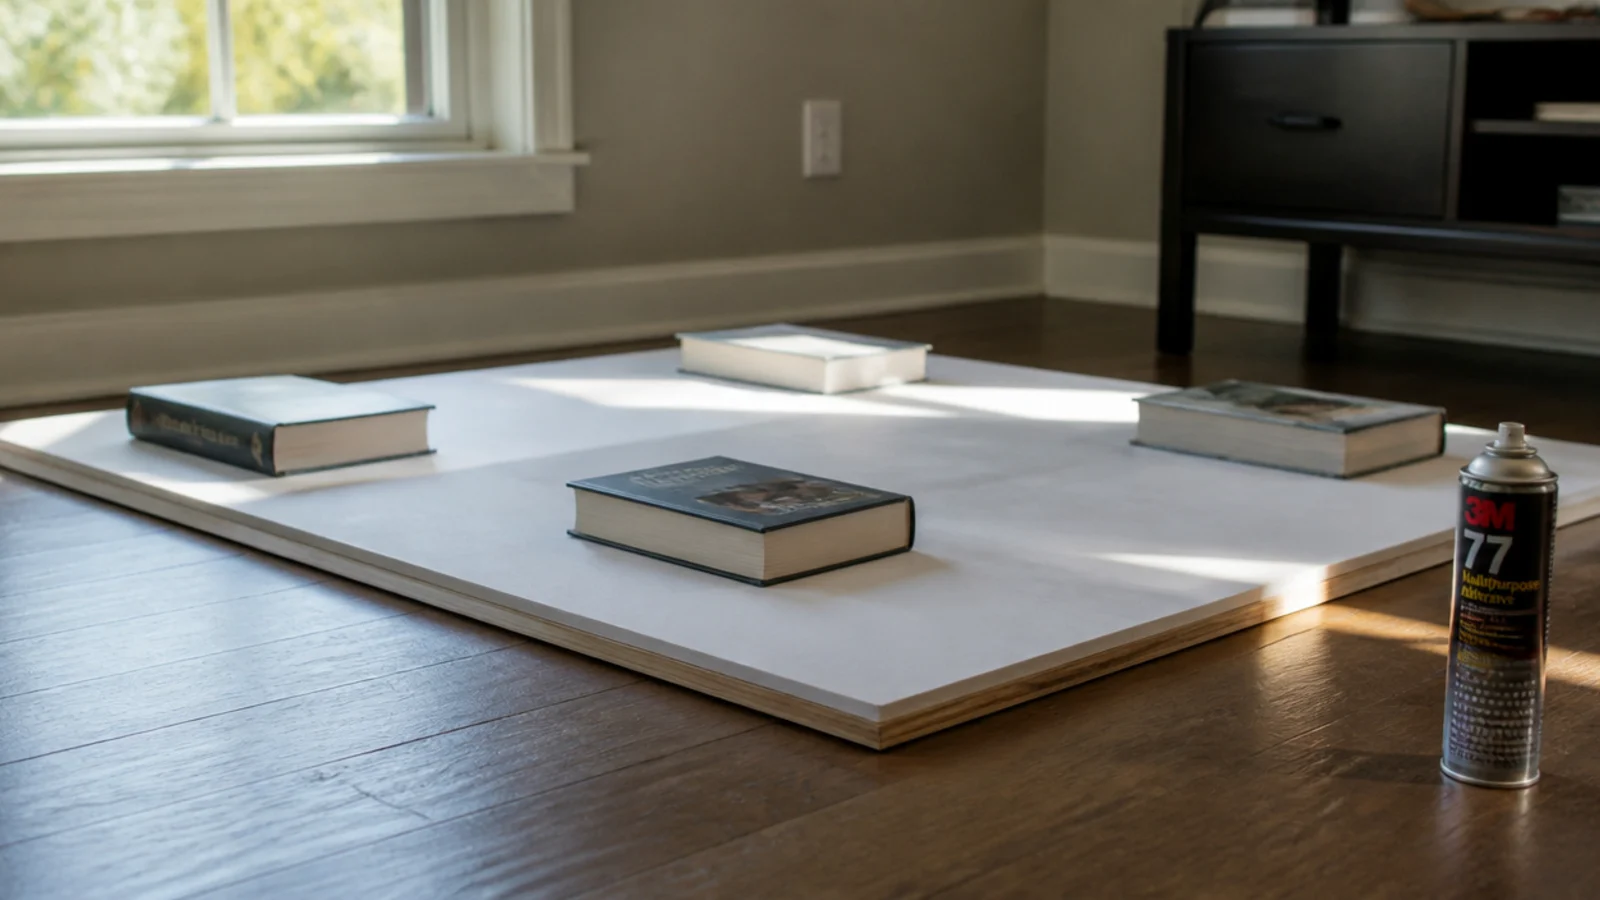
Spray adhesive onto both the plywood and the back of the foam, wait until both surfaces are tacky rather than wet, then set the foam down once. Foam does not slide, and it does not forgive a second attempt.
Weight it with a few hardbacks and give it a full hour. Rushing this is why foam lifts at the corners two years later. A 17-ounce can covers a queen panel with plenty left over and costs about $10. Open a window — the solvent smell hangs around a closed bedroom all evening.
Step 8: Wrap the foam in batting
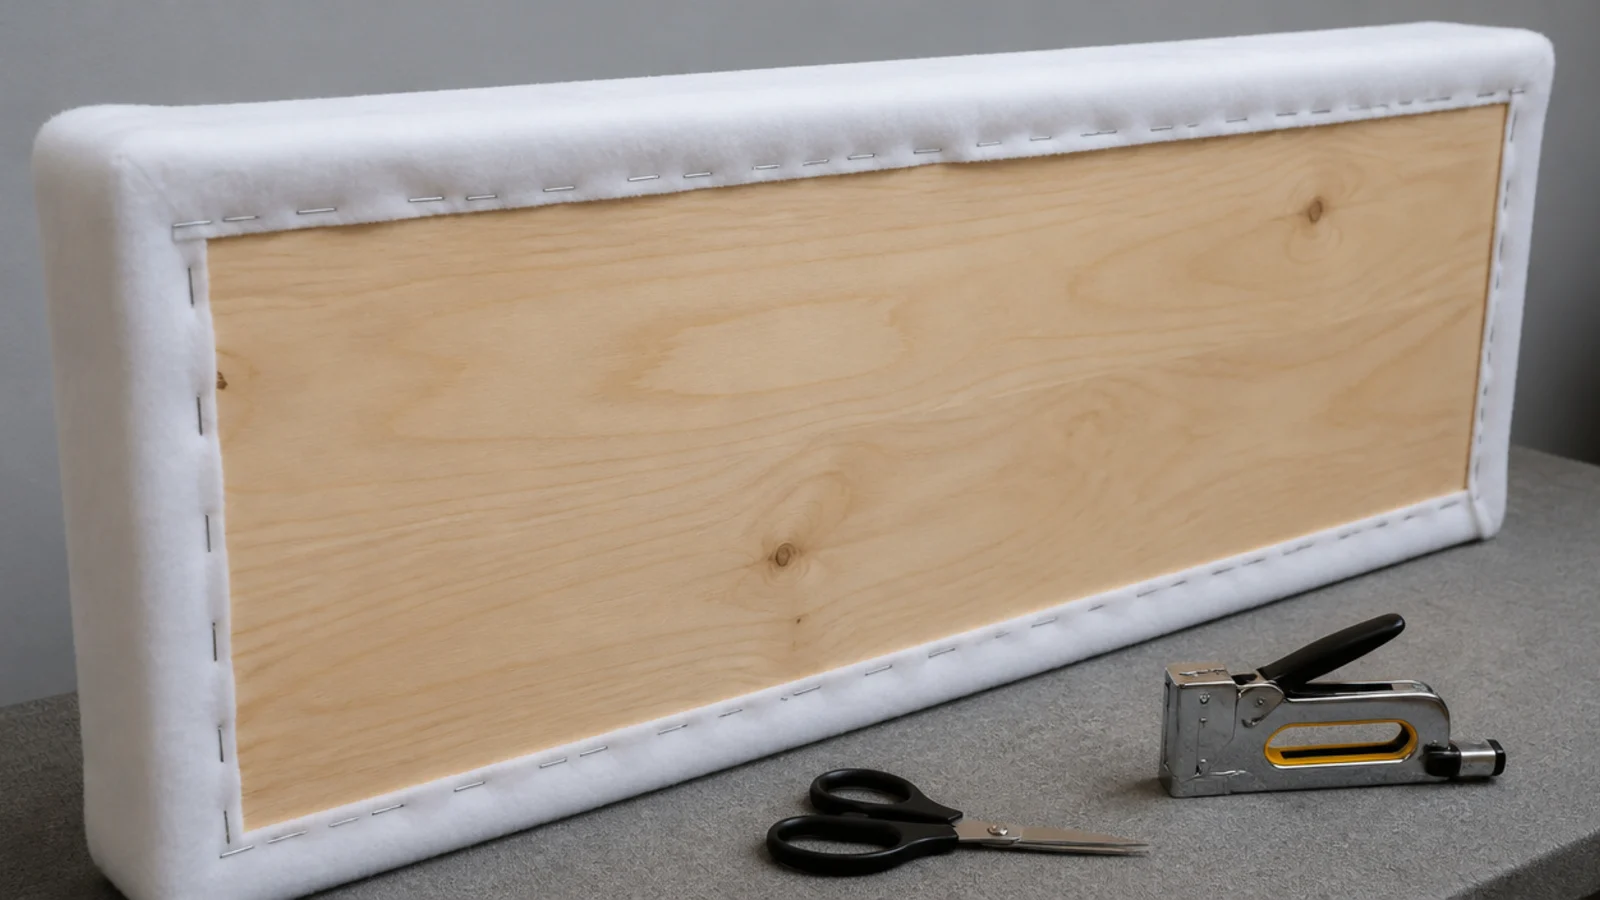
Polyester batting is the layer that separates homemade from upholstered. It softens the foam edge, hides small imperfections in the cut, and stops the fabric gripping the foam while you pull it into tension.
Drape one layer over the foam, wrap it around to the back, and staple with light tension — snug, never stretched. Trim the excess an inch past the staple line. Batting costs about $12 for a queen panel and it is the cheapest quality upgrade in the whole build. Use two layers if your foam is on the firm side.
Step 9: Choose fabric and calculate yardage
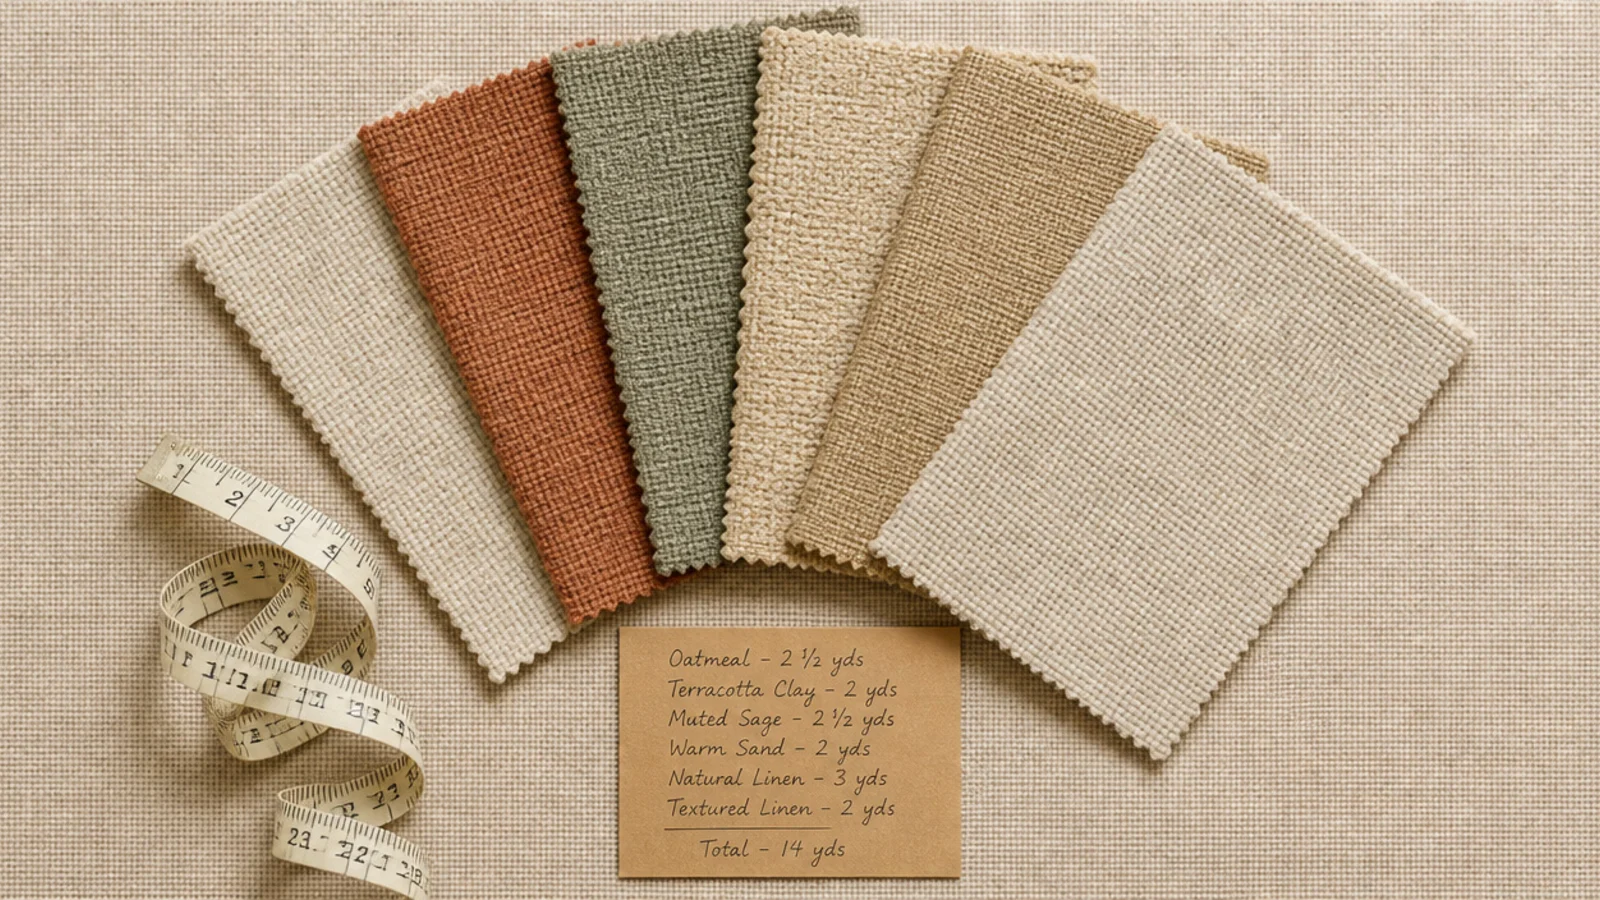
Take the panel width, add twice the panel thickness, then add 6 inches for stapling room. Repeat for the height. Standard 54-inch upholstery fabric covers a queen panel in roughly two yards; a king needs a wider bolt or a center seam.
If anyone reads in bed nightly, buy performance fabric or a washable linen. Hair oil at shoulder height is exactly why pale headboards look grubby by year two. Mid-tone textured weaves in oatmeal, clay or muted sage hide daily wear far better than flat pale cotton.
Step 10: Staple the fabric in an opposing order
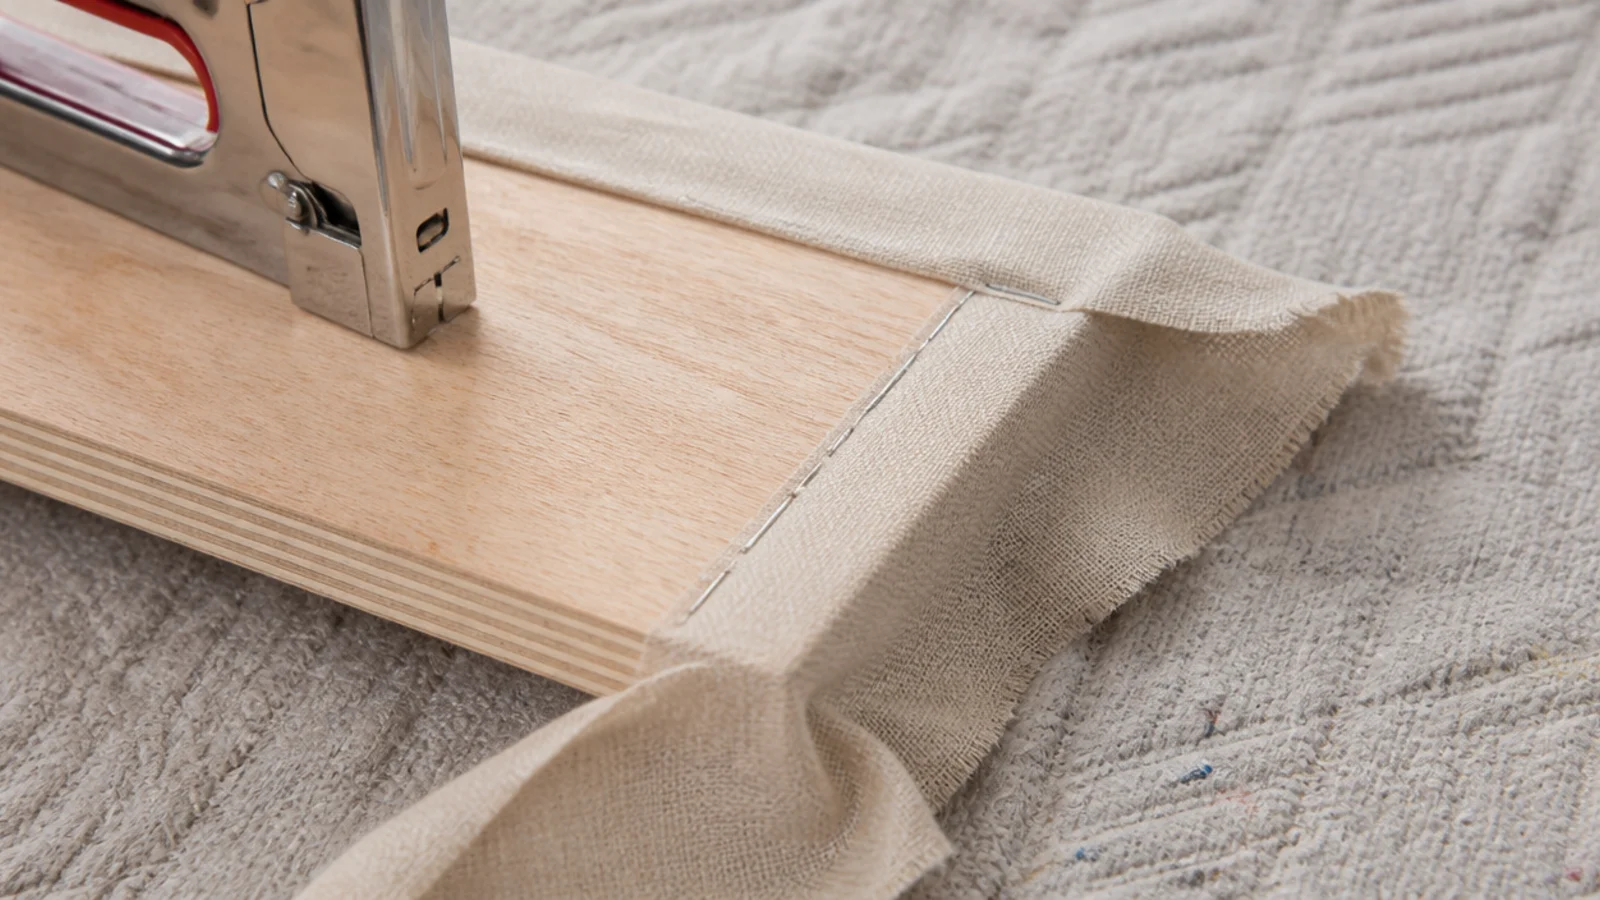
Lay the fabric face down, center the panel on it foam-side down, and start with one staple at the middle of the top edge. Then the middle of the bottom, then the middle of each side.
Always work opposite: one staple top, one bottom, moving outward about three inches at a time. That rhythm keeps tension even and stops the weave drifting into a diagonal you cannot correct later. Pull firmly enough to compress the foam slightly, not hard enough to distort the grain. Stop 6 inches short of every corner.
Step 11: Fold the corners like a gift box
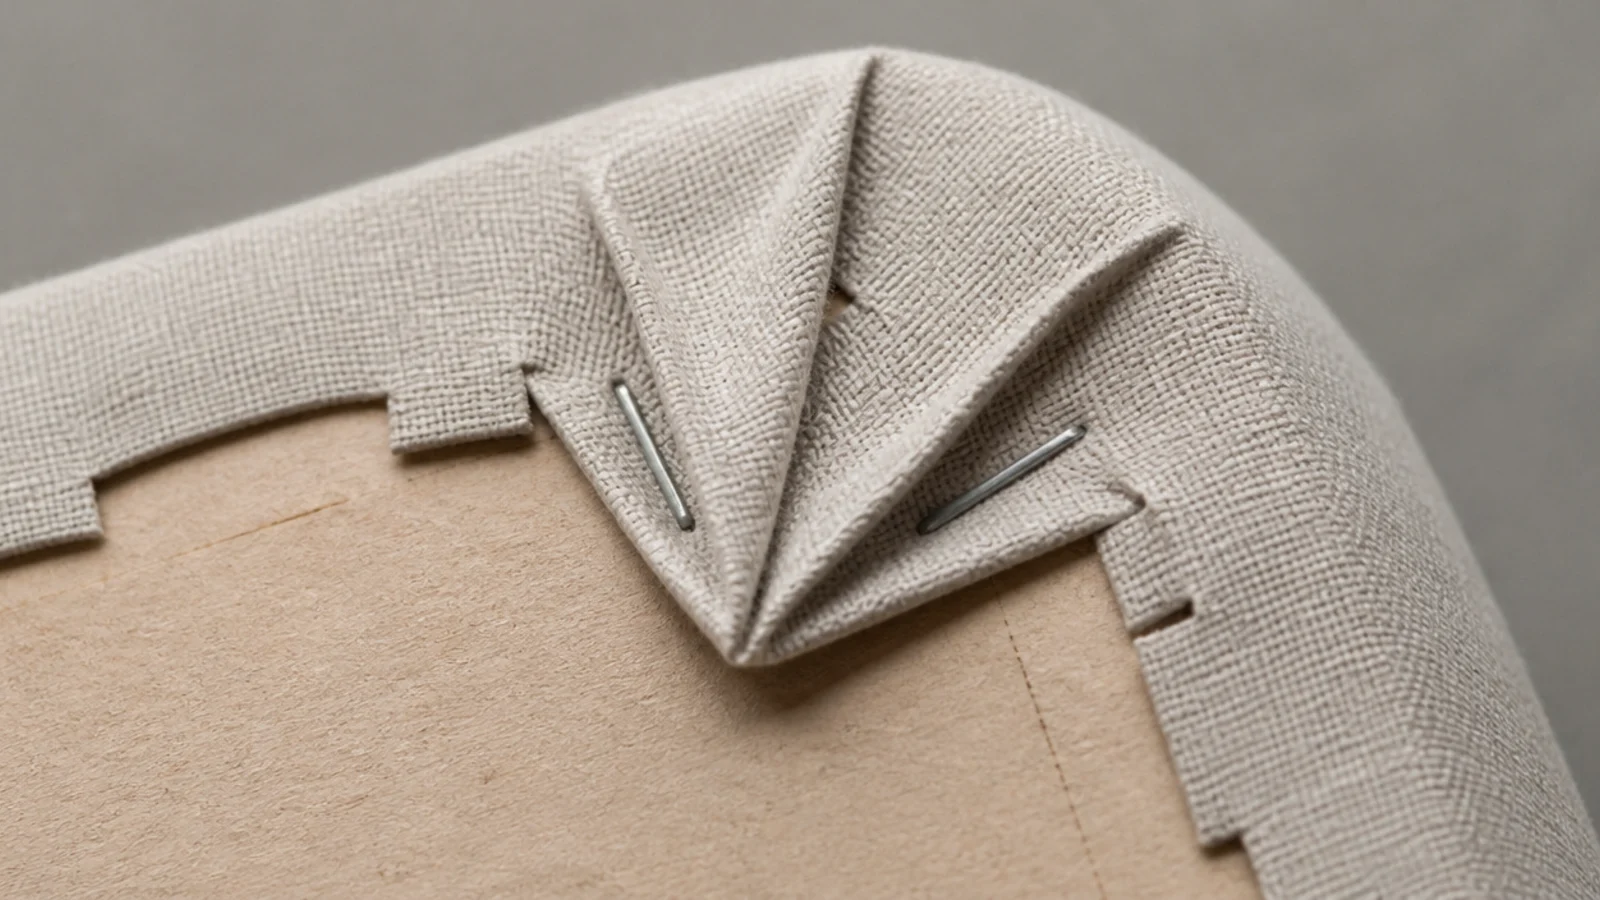
Corners are the only part of this build that reveals skill, so slow right down. Pull the fabric straight up at the corner, staple it once at the center point, then fold each side in against the panel edge to form a clean vertical pleat.
Two mirrored folds per corner, and keep them identical on both ends of the panel. On a curved top edge, cut small relief notches into the seam allowance every two inches before folding. Without those notches the fabric puckers, and no amount of pulling will flatten it.
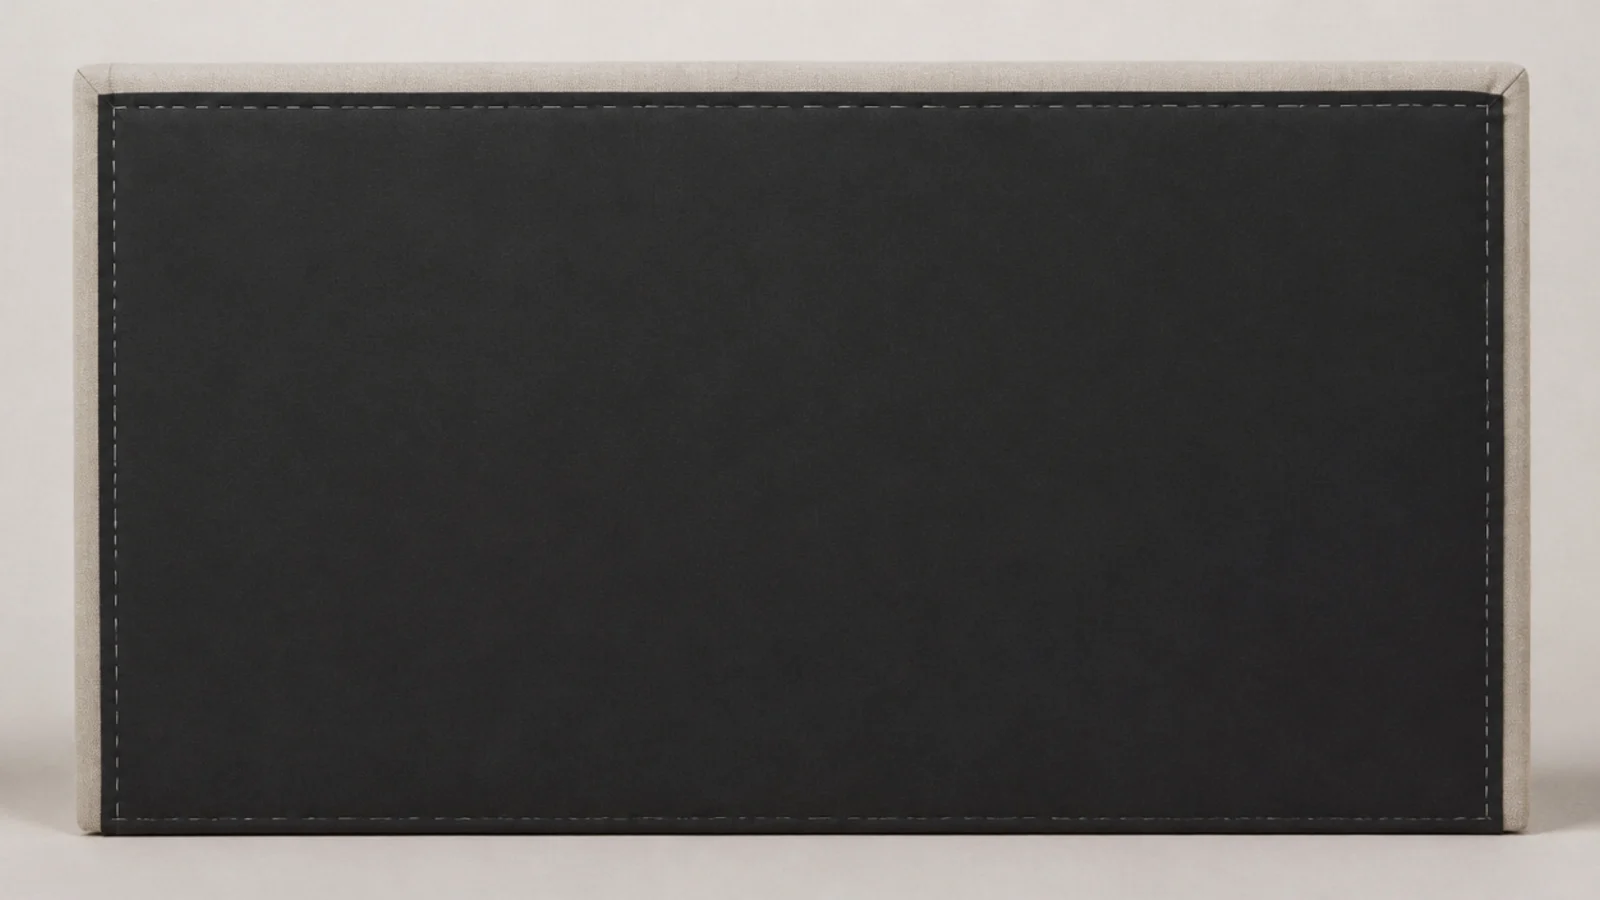
Step 12: Finish the back so it looks bought
Staple a rectangle of black cambric or felt across the entire back, folding the raw edges under a half inch as you go.
Nobody sees the back of a headboard until moving day, but this layer keeps dust out of the foam, stops staple points snagging the wall paint, and takes ten minutes. It is also the difference between something you would happily sell and something you would apologize for. A yard of cambric runs about $6. Trim it a half inch shy of the panel edge so it never peeks around the front.
Step 13: Build the French cleat and find the studs
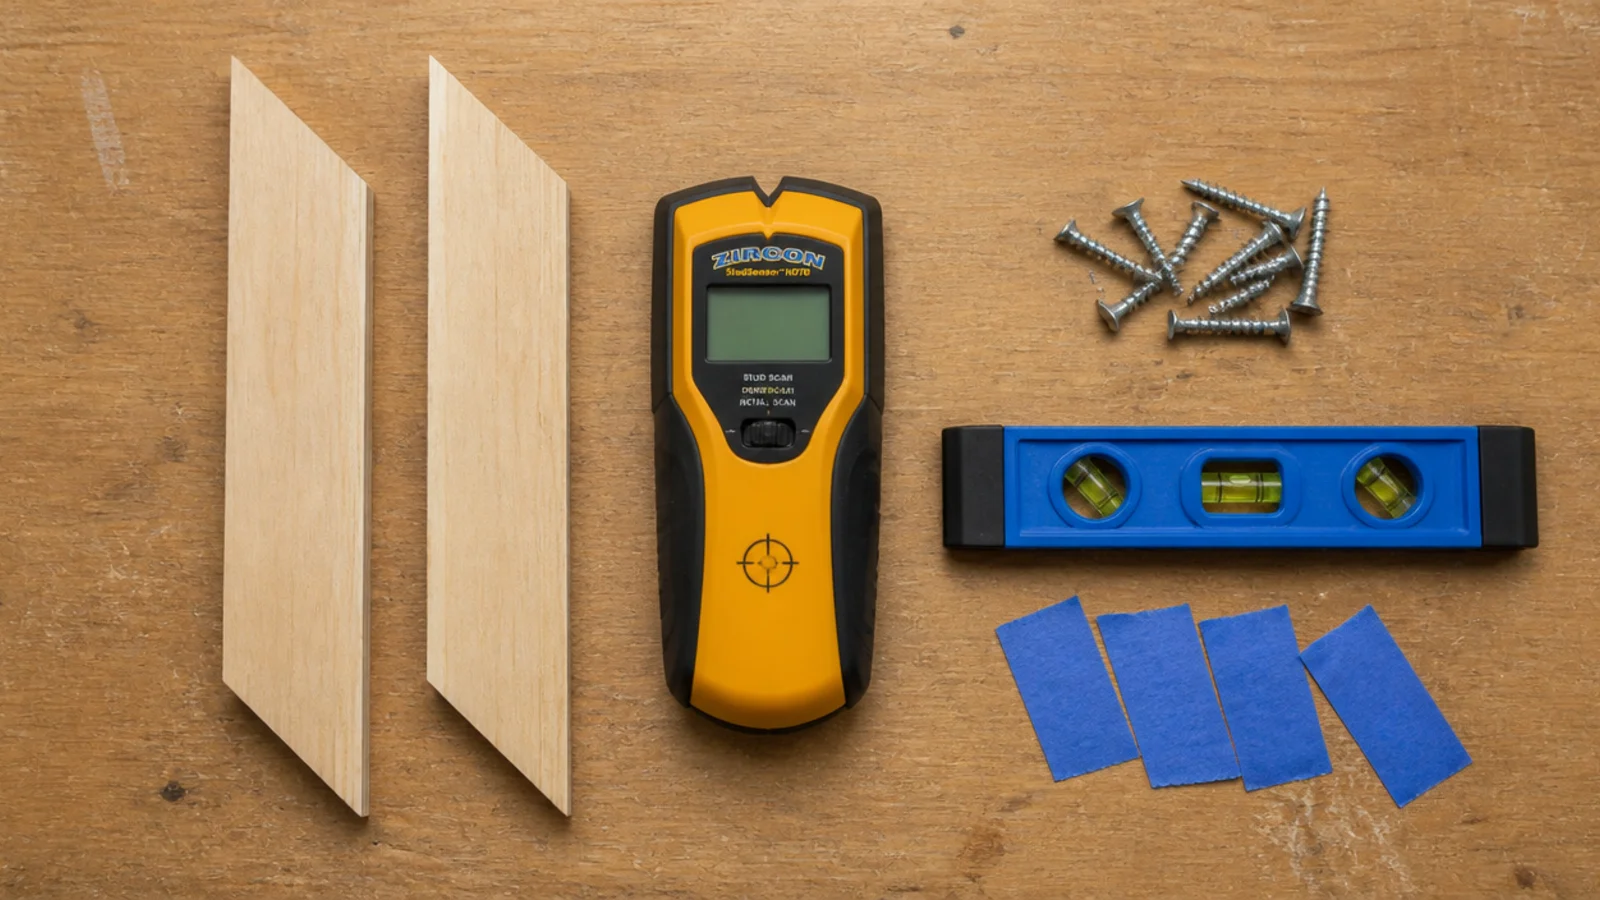
Rip a length of three-quarter inch plywood into two strips, 4 inches tall, with the mating edges cut at 45 degrees. One strip screws to the wall with the bevel facing up and inward; the mirrored strip screws to the panel back with the bevel facing down.
Find the studs and mark every hit with painters tape. A headboard takes lateral load every night — people sit up, lean back, push off it getting out of bed — so the wall cleat must catch at least two studs with 3-inch screws. Drywall anchors alone will not survive that.
Step 14: Hang the panel and check the height
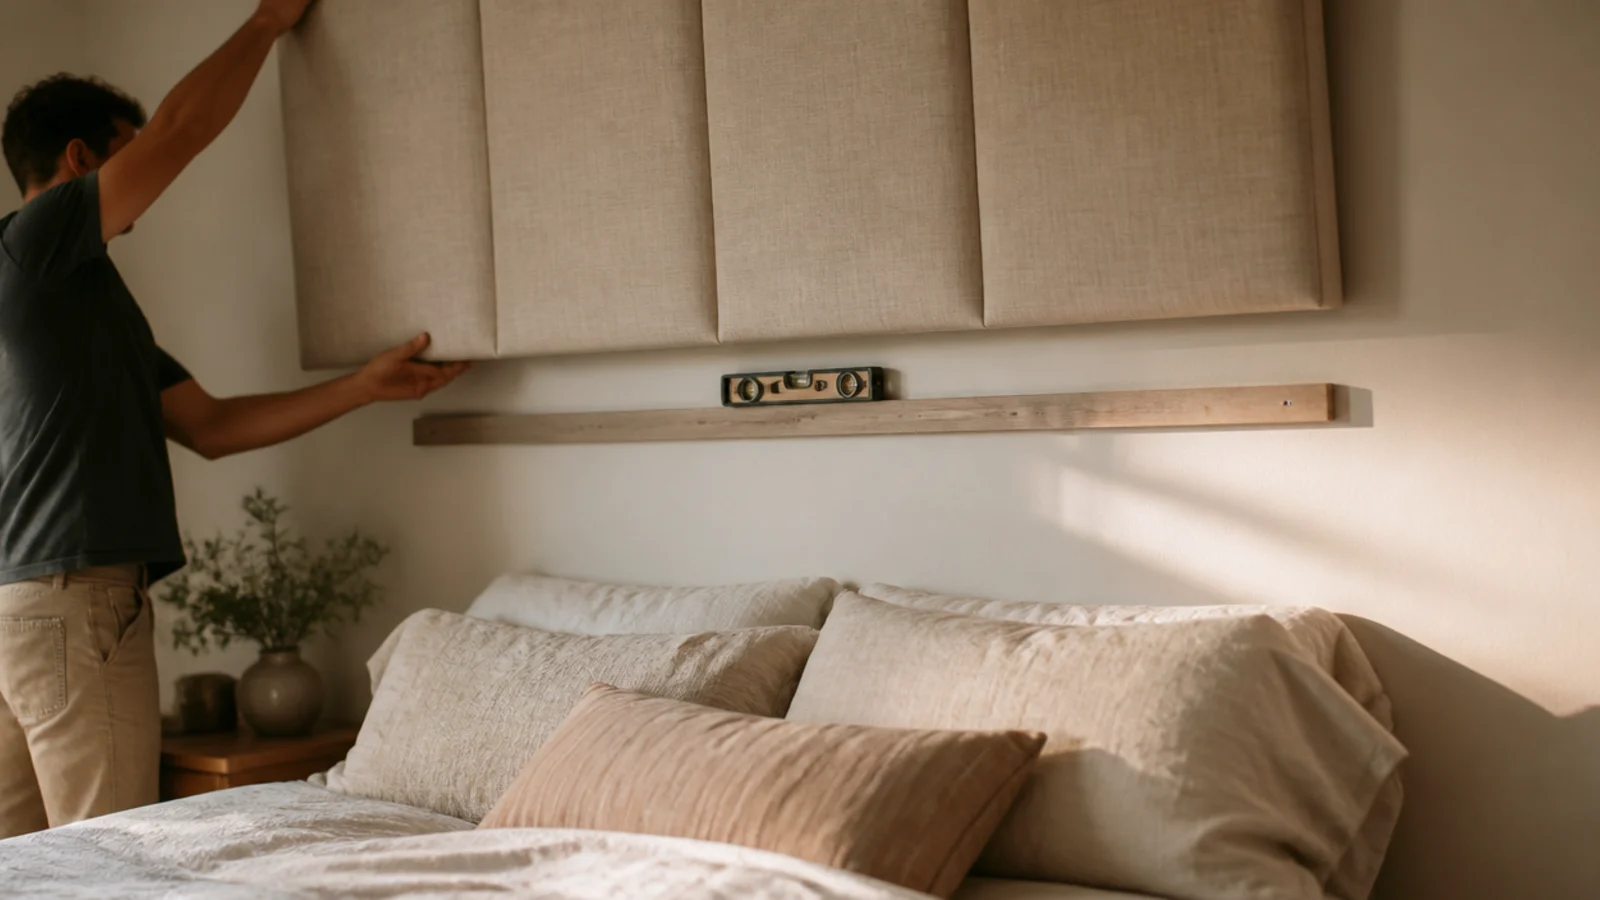
Level the wall cleat carefully. A headboard one degree out of level looks broken next to a bed frame, and the eye catches it instantly.
Position the cleat so the finished panel bottom sits 2 to 3 inches below the top of the mattress, which hides the gap when pillows shift overnight. Then lift the panel on. It drops into the cleat and locks under its own weight, so you can lift it off in seconds to paint, move house or reupholster. Slide the bed back until it just touches — never bolted.
Step 15: Style the bed around the headboard
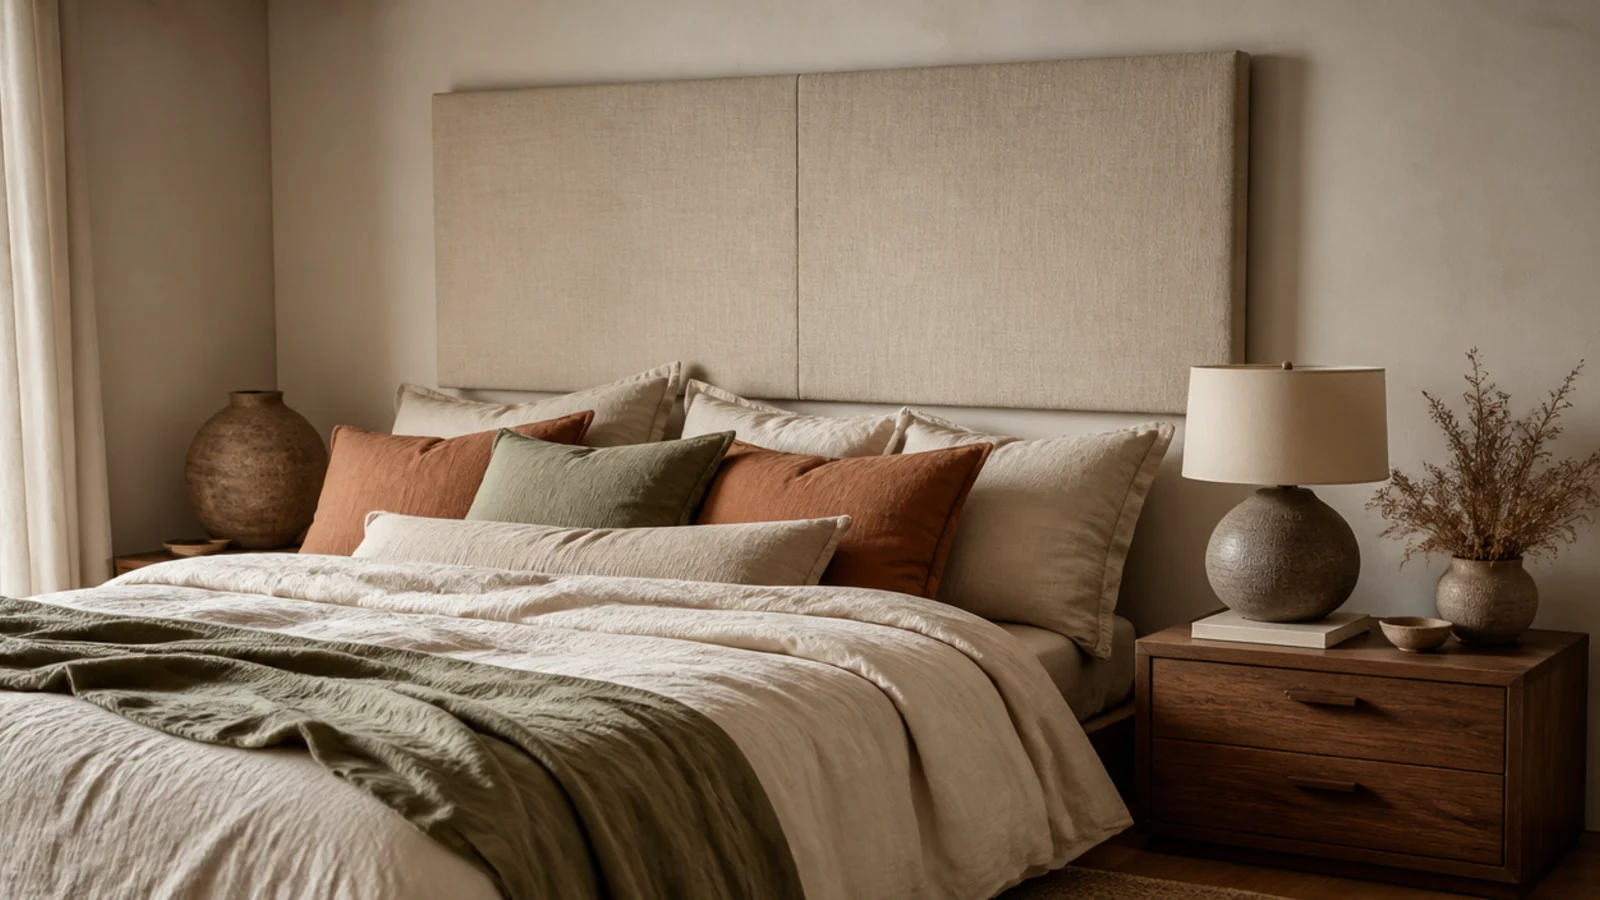
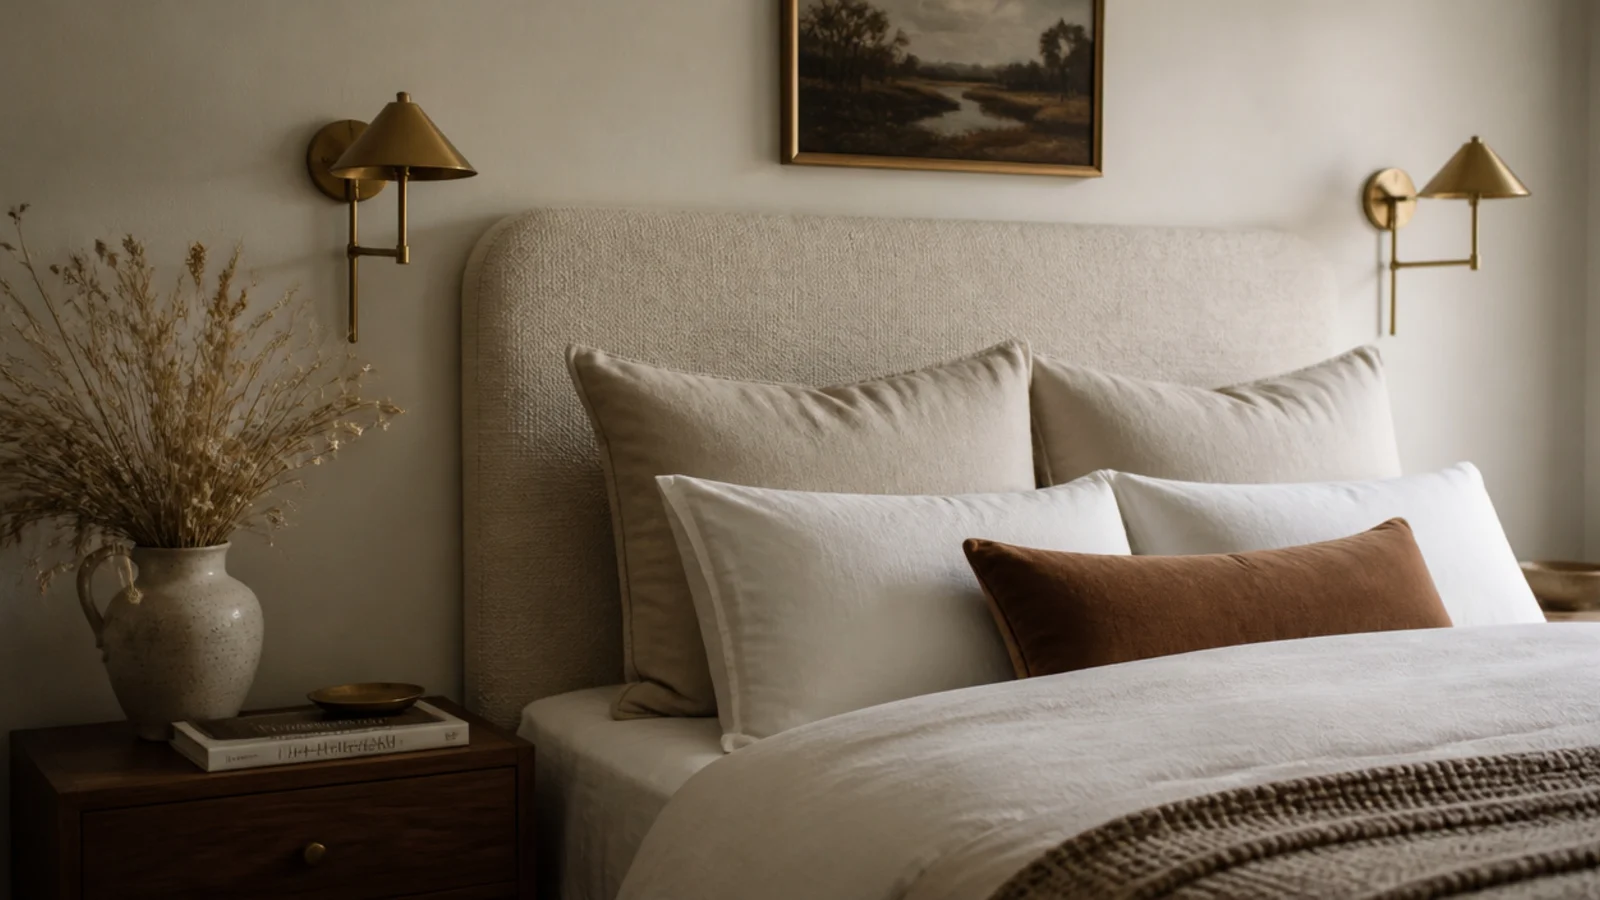
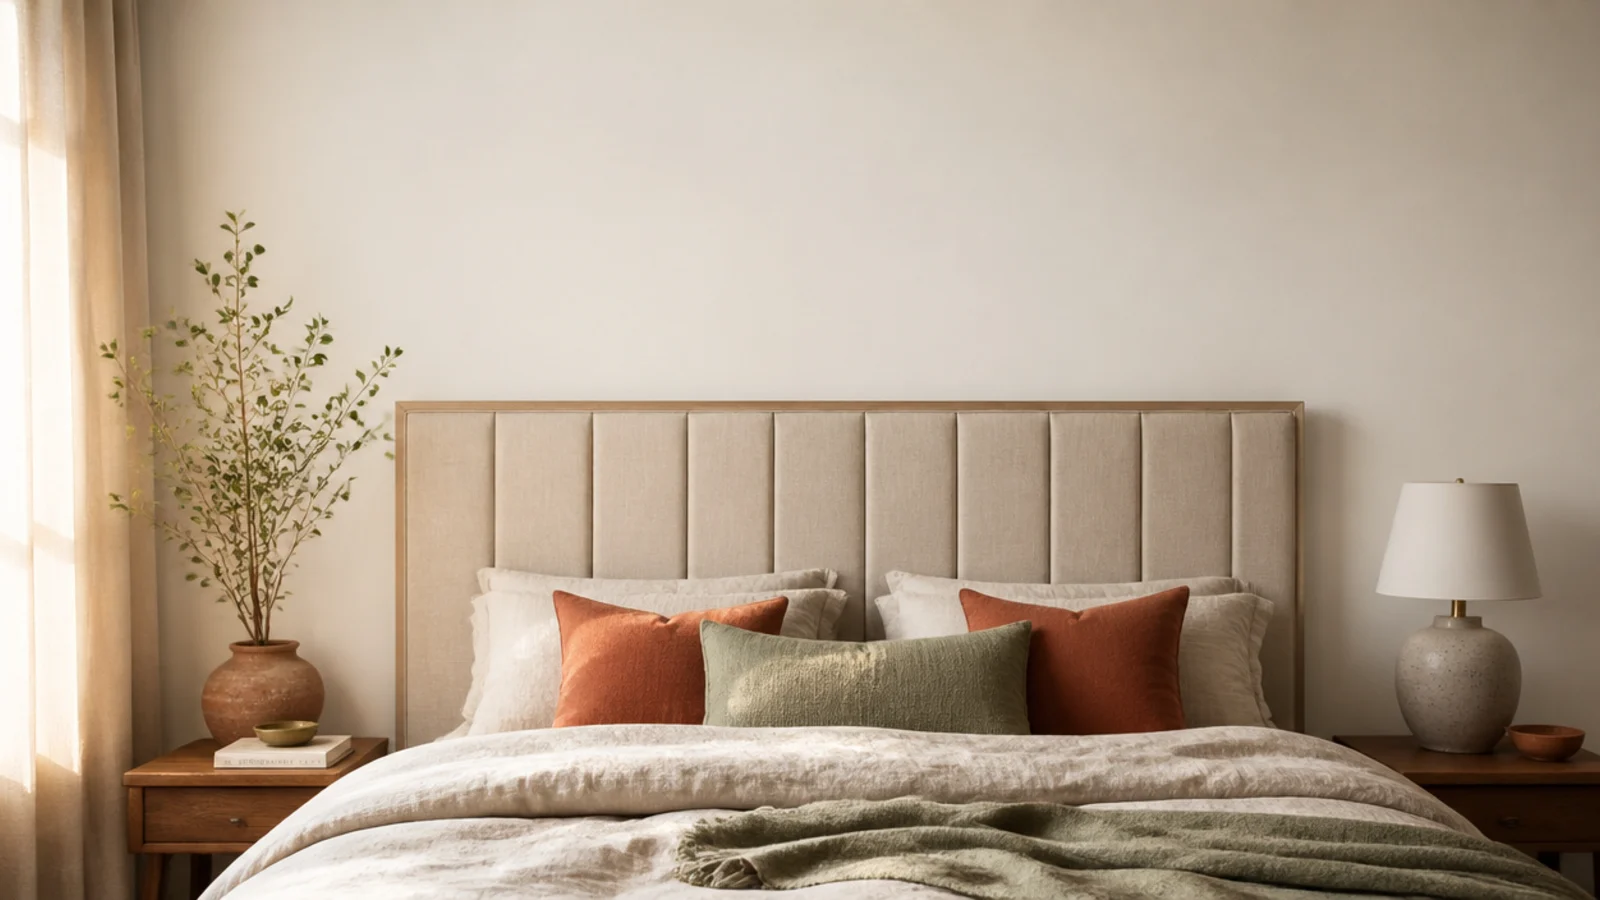
A headboard changes the pillow math. With a low-profile panel, two euro shams plus two standard pillows fill the frame neatly. With a 40-inch statement panel, add a lumbar cushion so the wall does not read empty above the sleeping pillows.
Hang art no closer than 8 inches above the top edge, or skip art entirely and let the panel be the focal point. Sconces mounted 30 inches above the mattress on each side free up both nightstands. A pair of bedroom candles finishes the corner after dark.
Pro Styling Rules
Mistakes to Skip
- Bolting the headboard to the bed frame. It works loose over a season, rocks against the wall, and locks you into that one frame forever. Hang it on a cleat instead.
- Using one-inch foam to save $20. You feel the plywood through it within a month, and the only fix is stripping the fabric and starting again.
- Building the panel exactly the mattress width. Bedding shifts, mattresses sit slightly proud of frames, and a flush panel always looks half an inch too small in photographs.
Frequently asked questions
How tall should a DIY headboard be?
Measure from the top of the mattress, never the floor. A low-profile panel sits 24 to 28 inches above the mattress and quietly frames the pillows. A statement panel runs 40 to 50 inches and becomes the focal point of the room. Heights between 30 and 38 inches tend to look accidental, so pick a lane and commit to it.
What thickness of plywood works for a headboard?
Three-quarter inch plywood is the reliable choice for any upholstered panel. It takes staples without splitting, carries a French cleat, and does not flex when somebody leans back hard. Half-inch is acceptable only under 48 inches wide with light use. Skip MDF entirely — it is heavy, it sags across a queen span, and it swells if the wall ever gets damp.
How much fabric do I need to upholster a headboard?
Take the panel width, add twice the panel thickness, then add 6 inches of stapling allowance, and repeat for the height. Standard 54-inch upholstery fabric covers a queen panel in about two yards. A king usually needs a wider bolt or a center seam, so buy the wider bolt if the pattern allows it.
Should a headboard attach to the bed frame or the wall?
The wall, in almost every case. A frame-mounted headboard rocks a little more every month as the bolts work loose, and it limits you to headboards that match your frame bolt pattern. A French cleat into two studs holds far more lateral load, lets you set any height you want, and leaves the bed free to slide out for cleaning.
What foam should I use for an upholstered headboard?
Two inches of high-density upholstery foam is the minimum for a headboard people actually lean against. One-inch foam telegraphs the plywood underneath within a month and feels hard at shoulder height. Cut it a half inch oversized on every side so the fabric pulls it down into a soft rounded edge, the way a bought headboard looks.
Build the panel on a Saturday morning and hang it after lunch — the only step with real waiting in it is the adhesive. If fabric is not your material, twenty upholstered panels worth copying shows how the finished versions read in a real room, and headboard alternatives covers the no-build options for anyone who would rather hang something than staple it. Save the pin so the cut list and the foam spec are with you at the store.
Want more like this? Browse all 15 headboard ideas guides — they all use the same measurements and budget tiers.
Pin it for later
Save this to your Headboard Ideas board
Pin it now so it is waiting for you when the tape measure comes out — and so the next person hunting for this idea can find it too.
Save this pinKeep going
More ideas worth saving while you have the tape measure out.