Headboard Ideas · Listicle
25 Budget-Friendly Headboard Ideas for Small Spaces

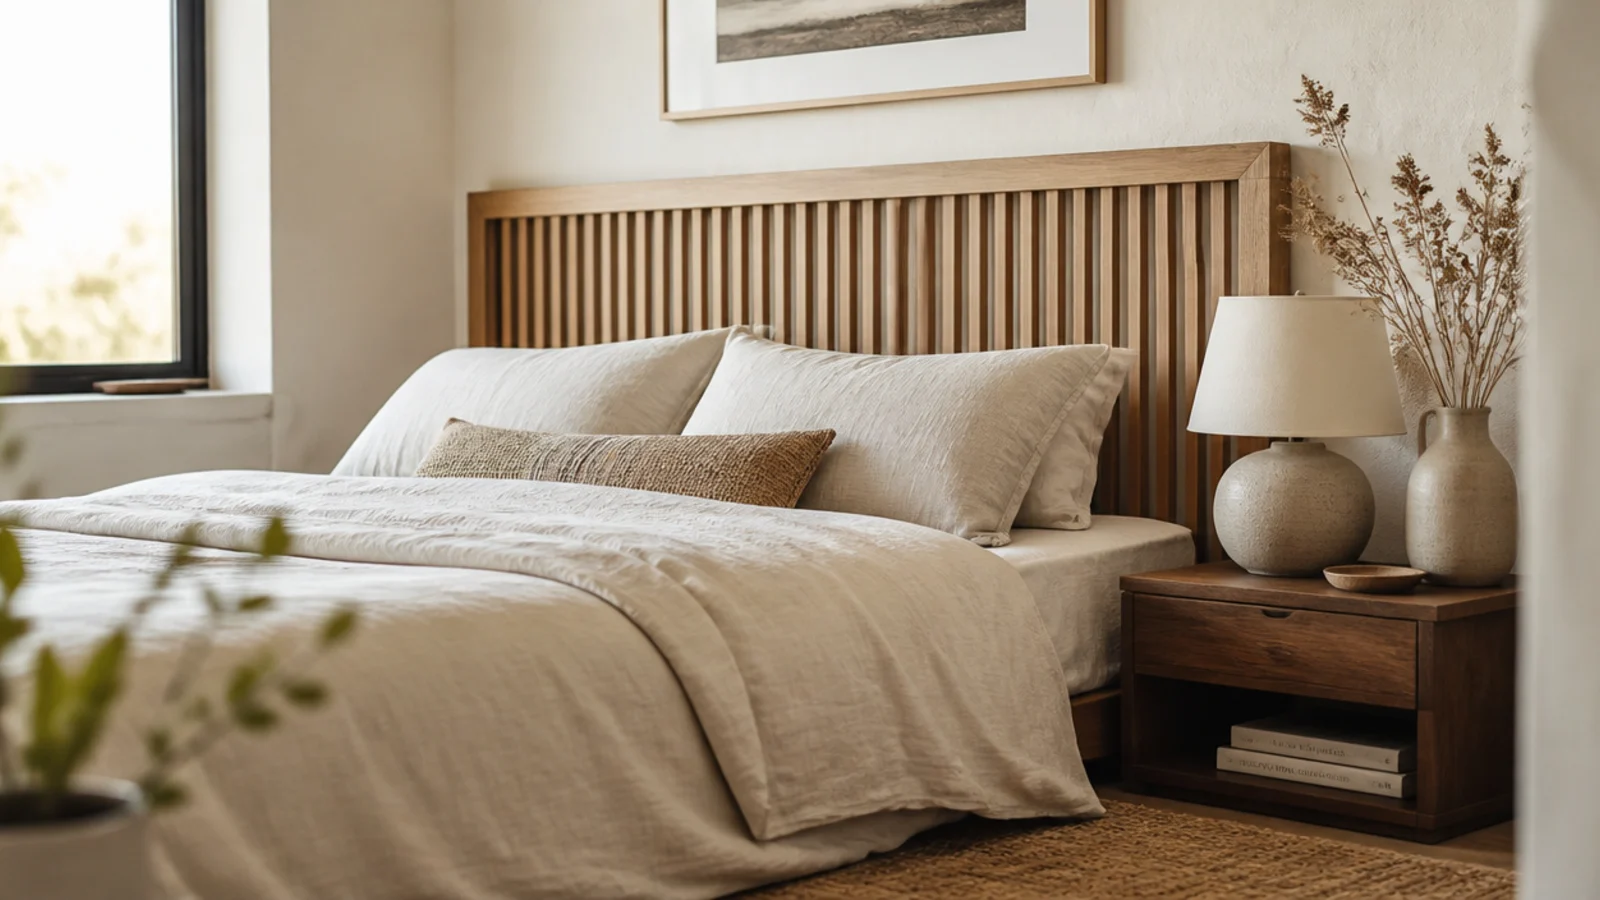
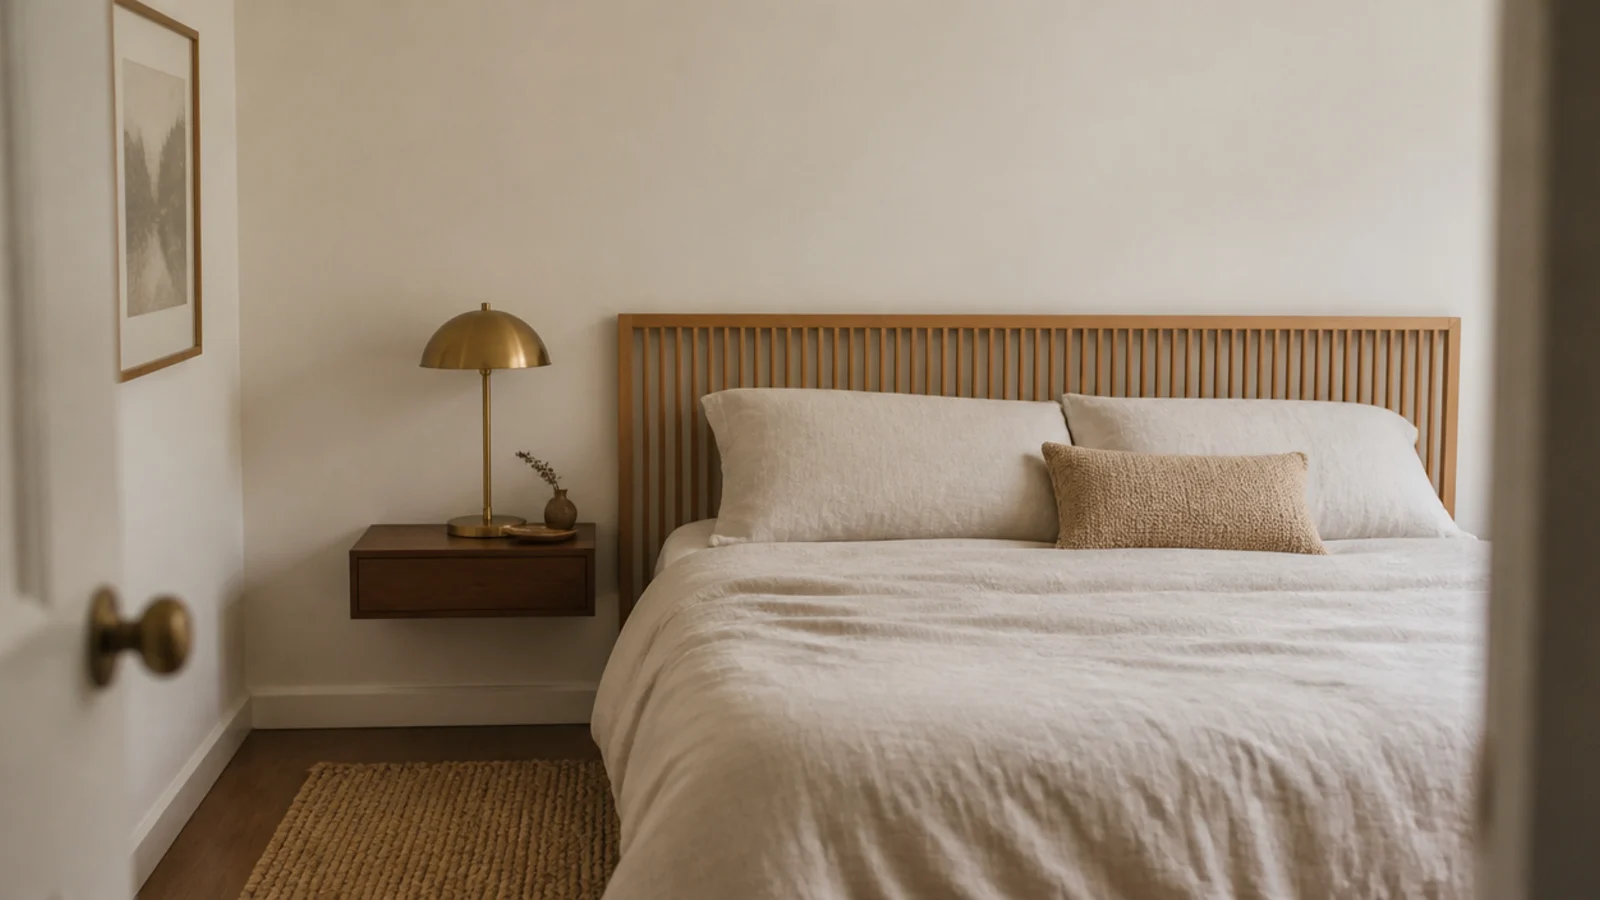
Wood headboard ideas earn their place in a small bedroom because timber does something fabric cannot: it adds warmth without adding bulk. A slatted panel is an inch and a half thick and still changes the whole wall. I have built or hung nine of these in rooms between 9 and 12 feet wide, and the sizing rules below are what kept them from swallowing the space.
In this guide27 sections — tap to openHide
- 1.How to size wood headboard ideas for a small bedroom
- 2.A horizontal shiplap panel
- 3.A vertical slat wall behind the bed
- 4.Reclaimed barn board across a plywood backer
- 5.A single live-edge slab
- 6.Solid oak planks on a cleat
- 7.Pine boards stained to look like walnut
- 8.A half-lap grid panel
- 9.An old door turned sideways
- 10.Two shutters mounted side by side
- 11.Fence pickets with the tops squared off
- 12.A fluted panel routed into plywood
- 13.Round dowels instead of flat slats
- 14.A slim wood frame around cane webbing
- 15.Board and batten painted the wall color
- 16.A herringbone panel in mixed offcuts
- 17.A floating oak ledge instead of a full panel
- 18.Pallet boards, properly cleaned up
- 19.Two-tone stained blocks
- 20.A wood frame laced with jute rope
- 21.Tall slats that run to the ceiling
- 22.A butcher block offcut panel
- 23.A salvaged window frame with the glass out
- 24.A dowel ladder that holds throws
- 25.A slatted divider for a bed away from the wall
- 26.A leaning plank panel with no fixings
- 27.Mistakes to Skip
How to size wood headboard ideas for a small bedroom
Width first. Match the mattress exactly in a small room — twin 38 inches, full 54, queen 60, king 76 — rather than adding the 4 inches per side that a larger bedroom can carry. Every extra inch of timber reads as weight.
Height second, measured up from the top of the mattress. Low profile is 24 to 28 inches and it is usually the right call under an 8-foot ceiling. A statement panel at 40 to 50 inches works in a small room only if it is slatted or open, because gaps let the wall show through and the panel stops feeling solid.
Then the gaps themselves. Three-quarters of an inch to 1 inch between slats is the spacing that reads as designed. Under a half inch it looks like a solid panel someone scored; over an inch and a half it starts to look like fencing.
Mount everything on a French cleat screwed into two studs. A headboard takes lateral load every night as people sit up and lean back, and a cleat handles that while leaving the bed free to slide out. It is also the renter answer, since four filled screw holes patch in ten minutes.
Budget tiers here: fence pickets, pallet boards and leaning planks run $15 to $60 ($). Pine or poplar builds land at $70 to $150 ($$). Solid oak, walnut and live-edge slabs start around $200 and climb fast ($$$).
1. A horizontal shiplap panel
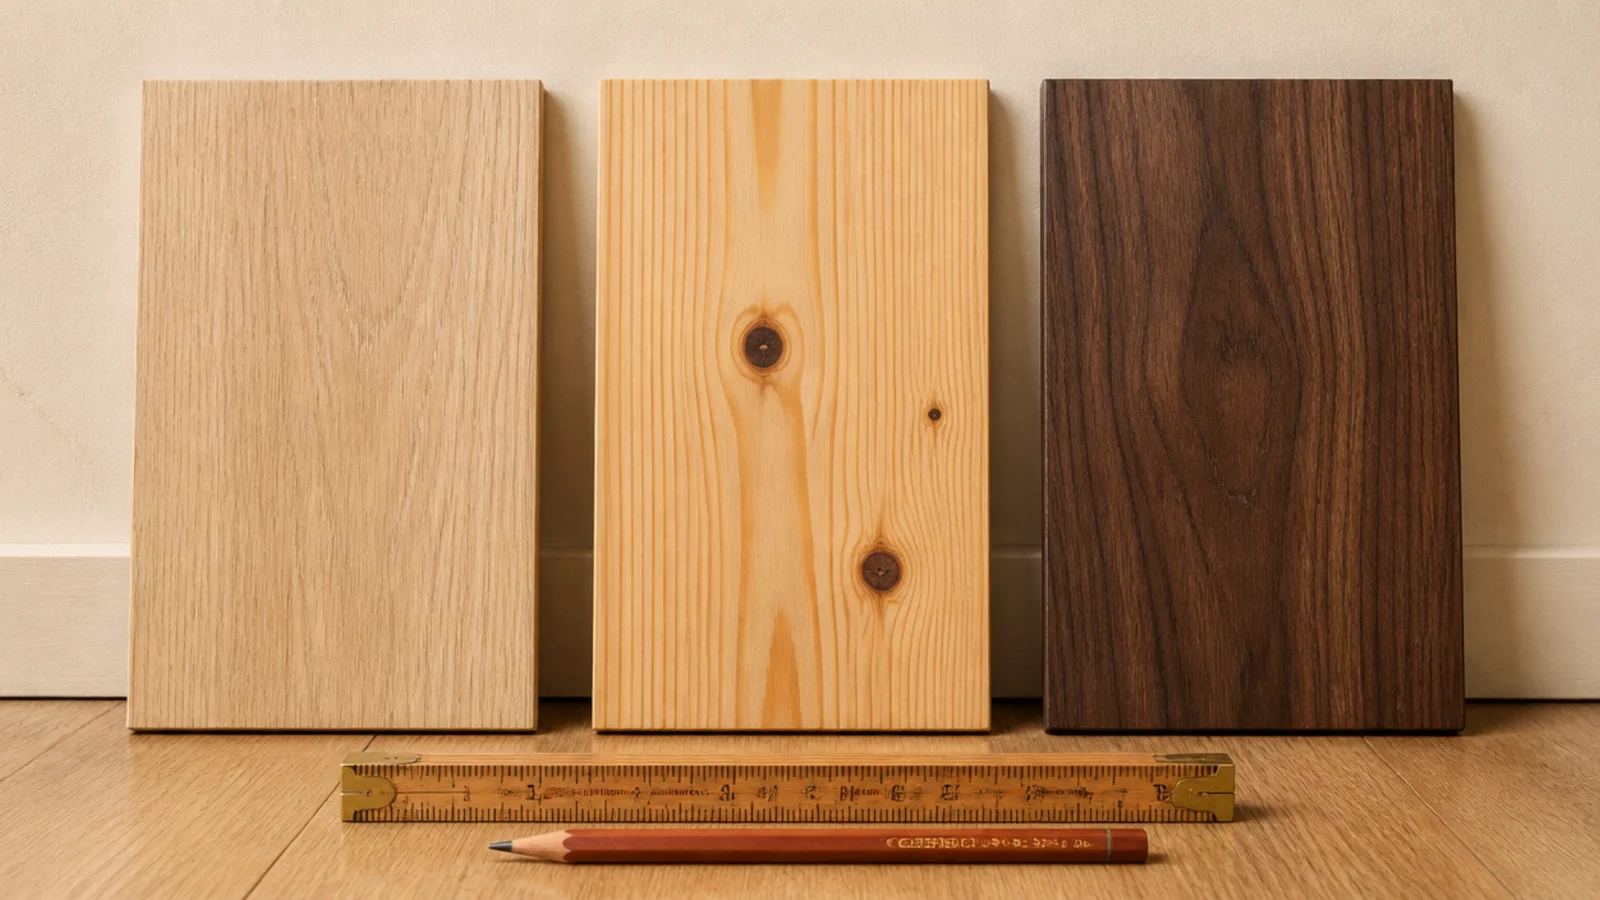
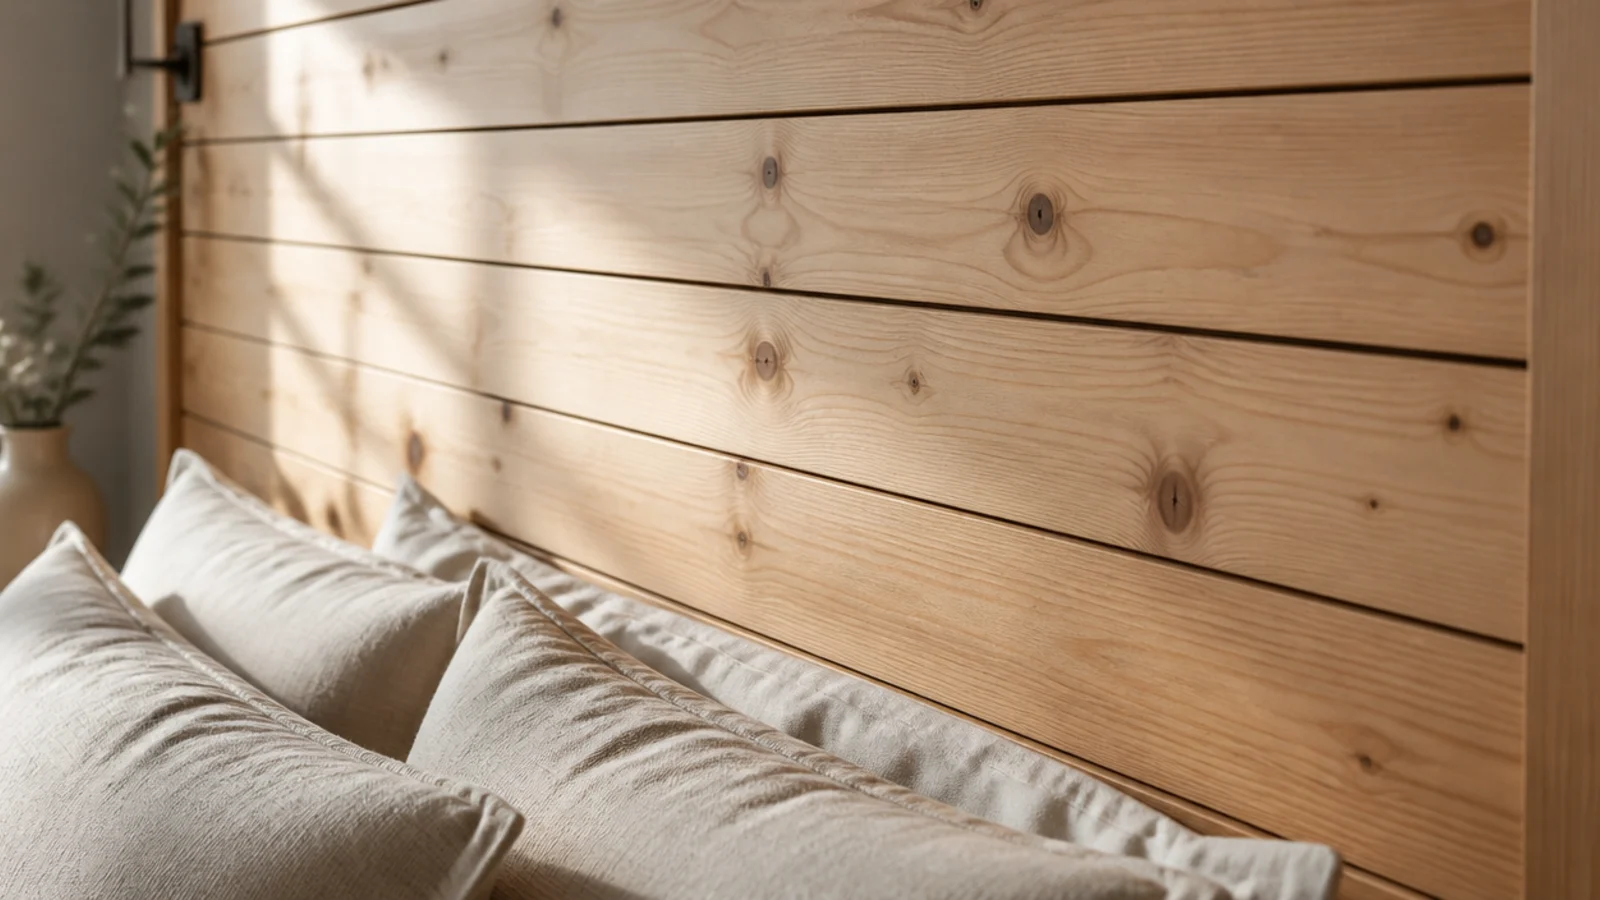
Six-inch boards with a quarter-inch shadow gap between them, screwed to a plywood backer and hung as one piece. The gaps are the whole design.
Run it 60 inches wide and 30 inches tall for a queen. Prime and paint the backer the same color as the boards so the shadow lines read as lines rather than as gaps to something else. Around $55 in primed pine ($).
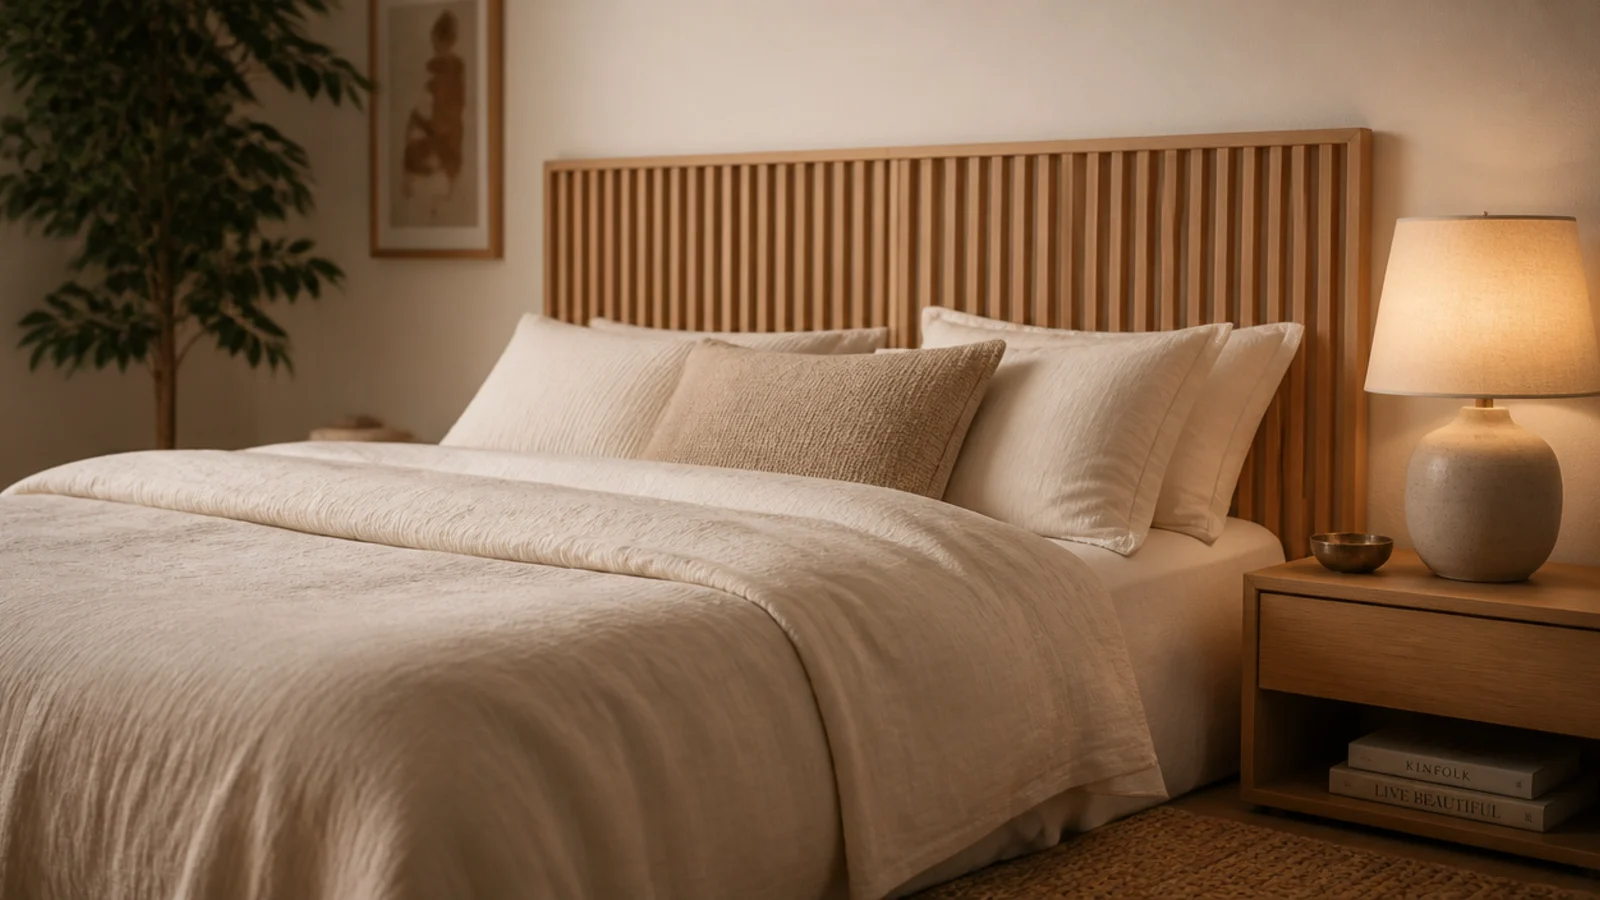
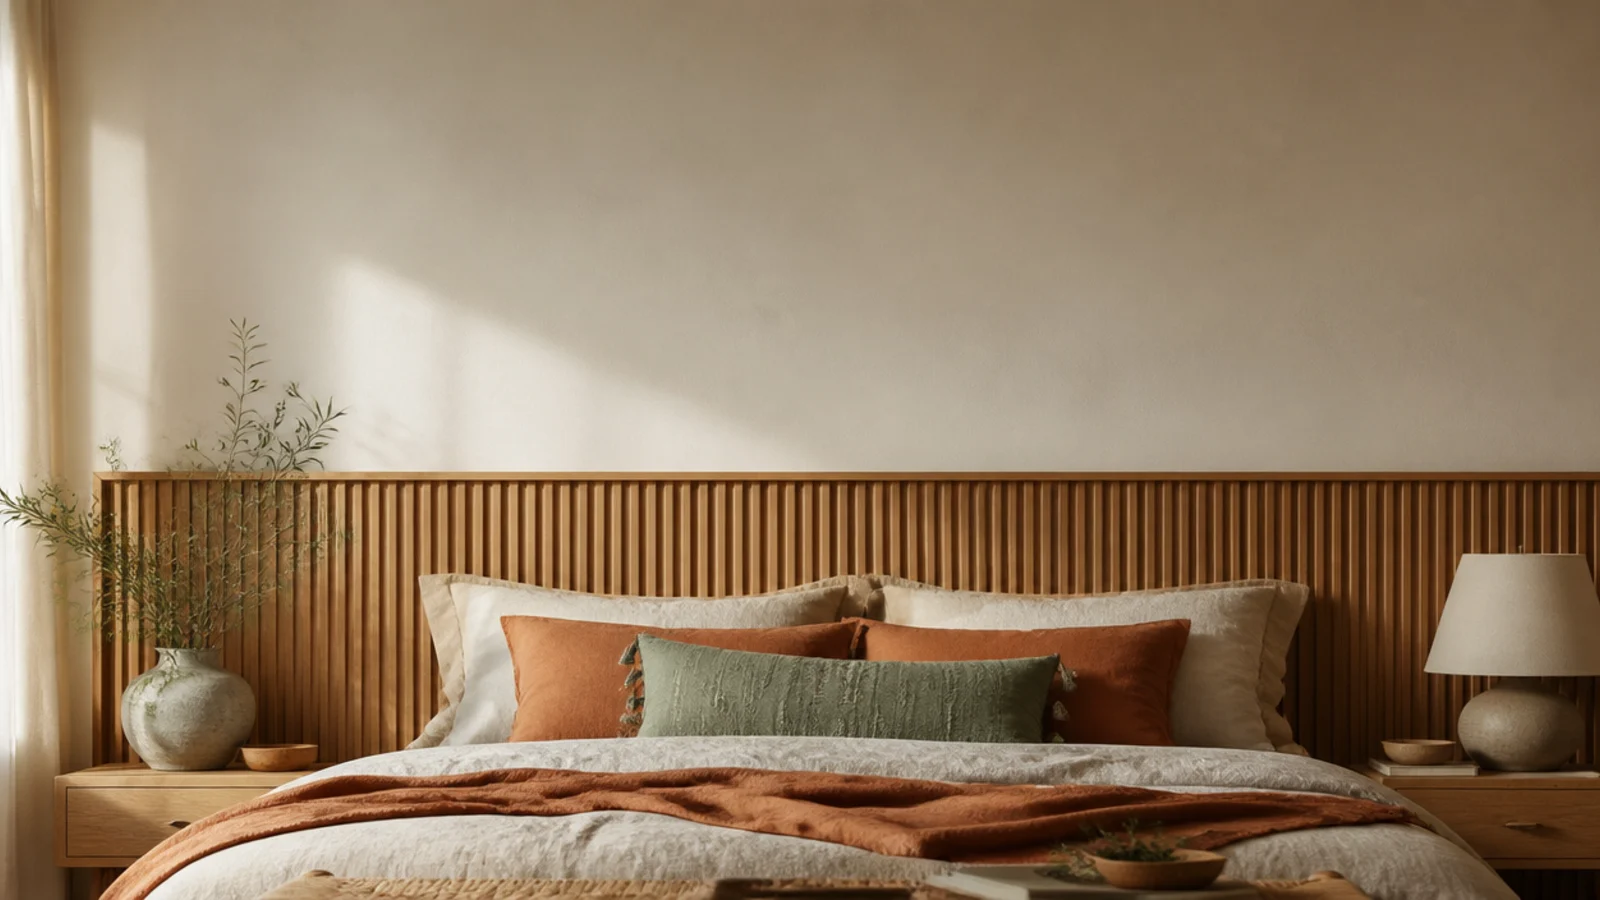
2. A vertical slat wall behind the bed
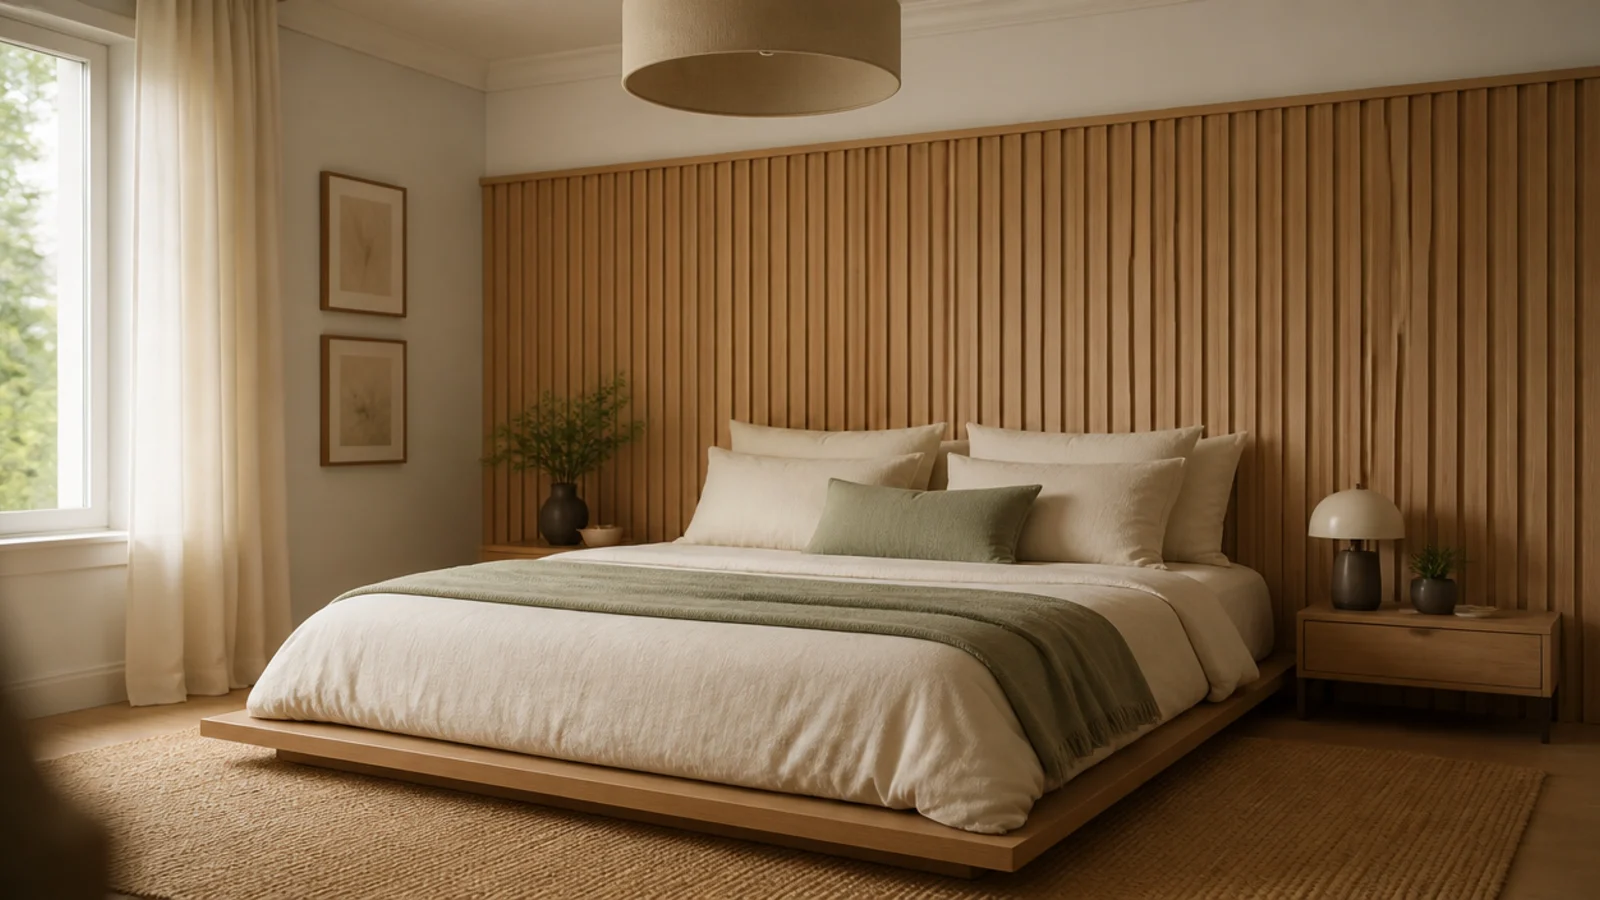
1x2 poplar slats, spaced 1 inch apart, running from the skirting board up to about 60 inches, across a width 12 inches wider than the bed on each side.
Vertical lines buy apparent height, which is exactly what a low-ceilinged bedroom needs. Glue and pin each slat to a painted backer board rather than to the wall itself, so the whole thing lifts off in one piece on moving day.
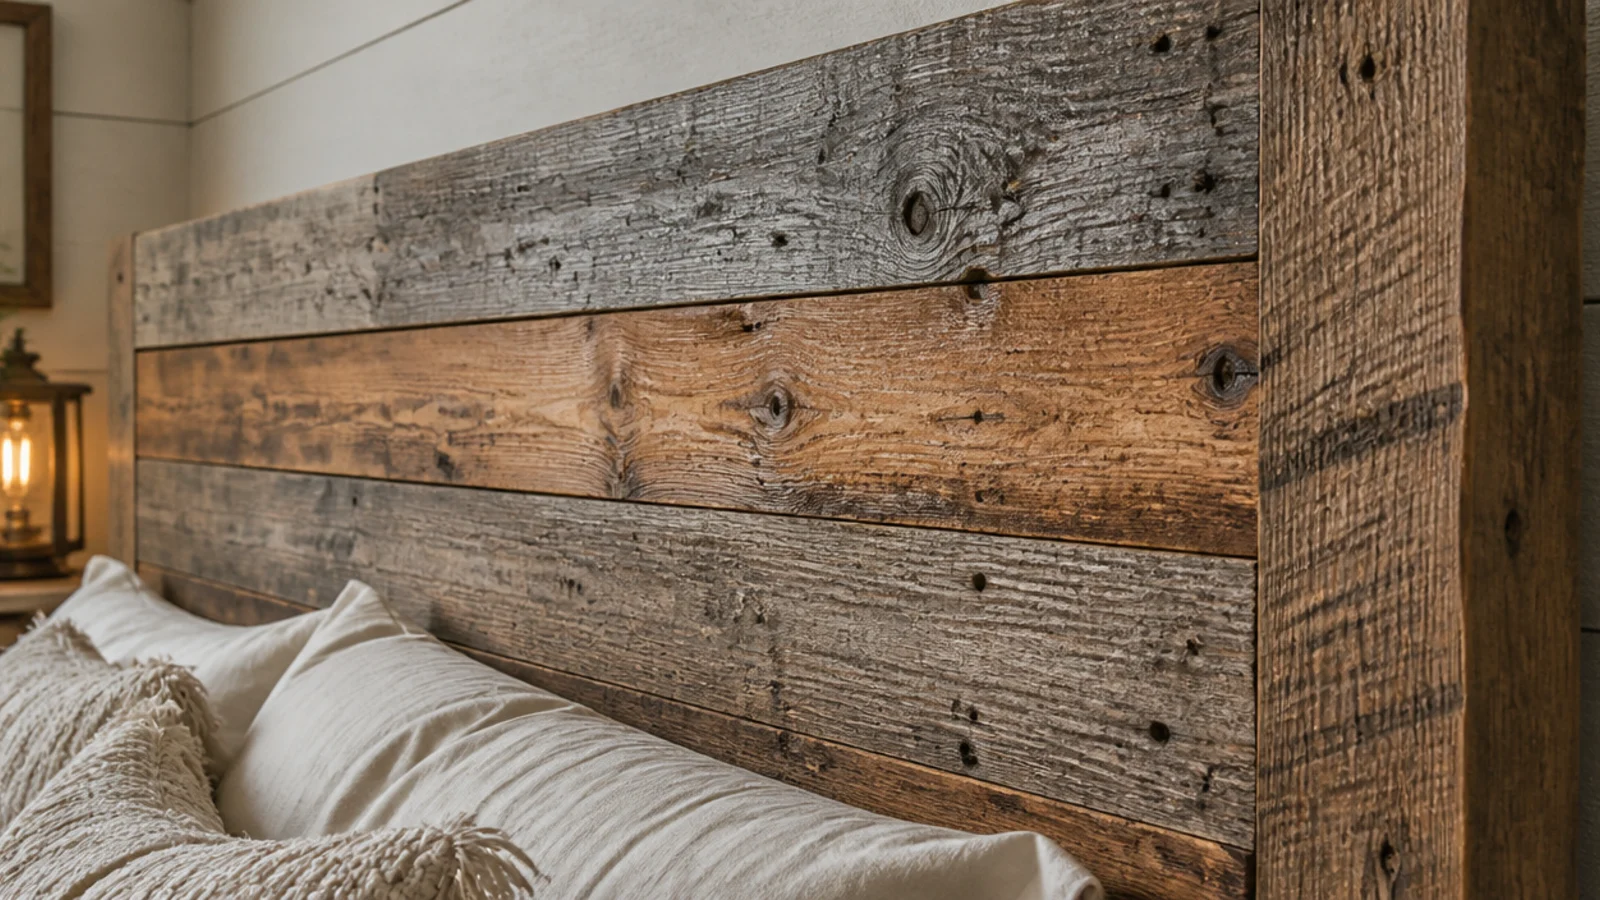
3. Reclaimed barn board across a plywood backer
Old boards move. Screw them to a half-inch plywood backer instead of joining them edge to edge, and the panel stays flat through every season.
Mix at least three tones — grey, honey and mid brown — or the panel flattens into one muddy color from across the room. Seal every face with a clear water-based finish, because reclaimed timber sheds a surprising amount of dust behind your pillows.
4. A single live-edge slab
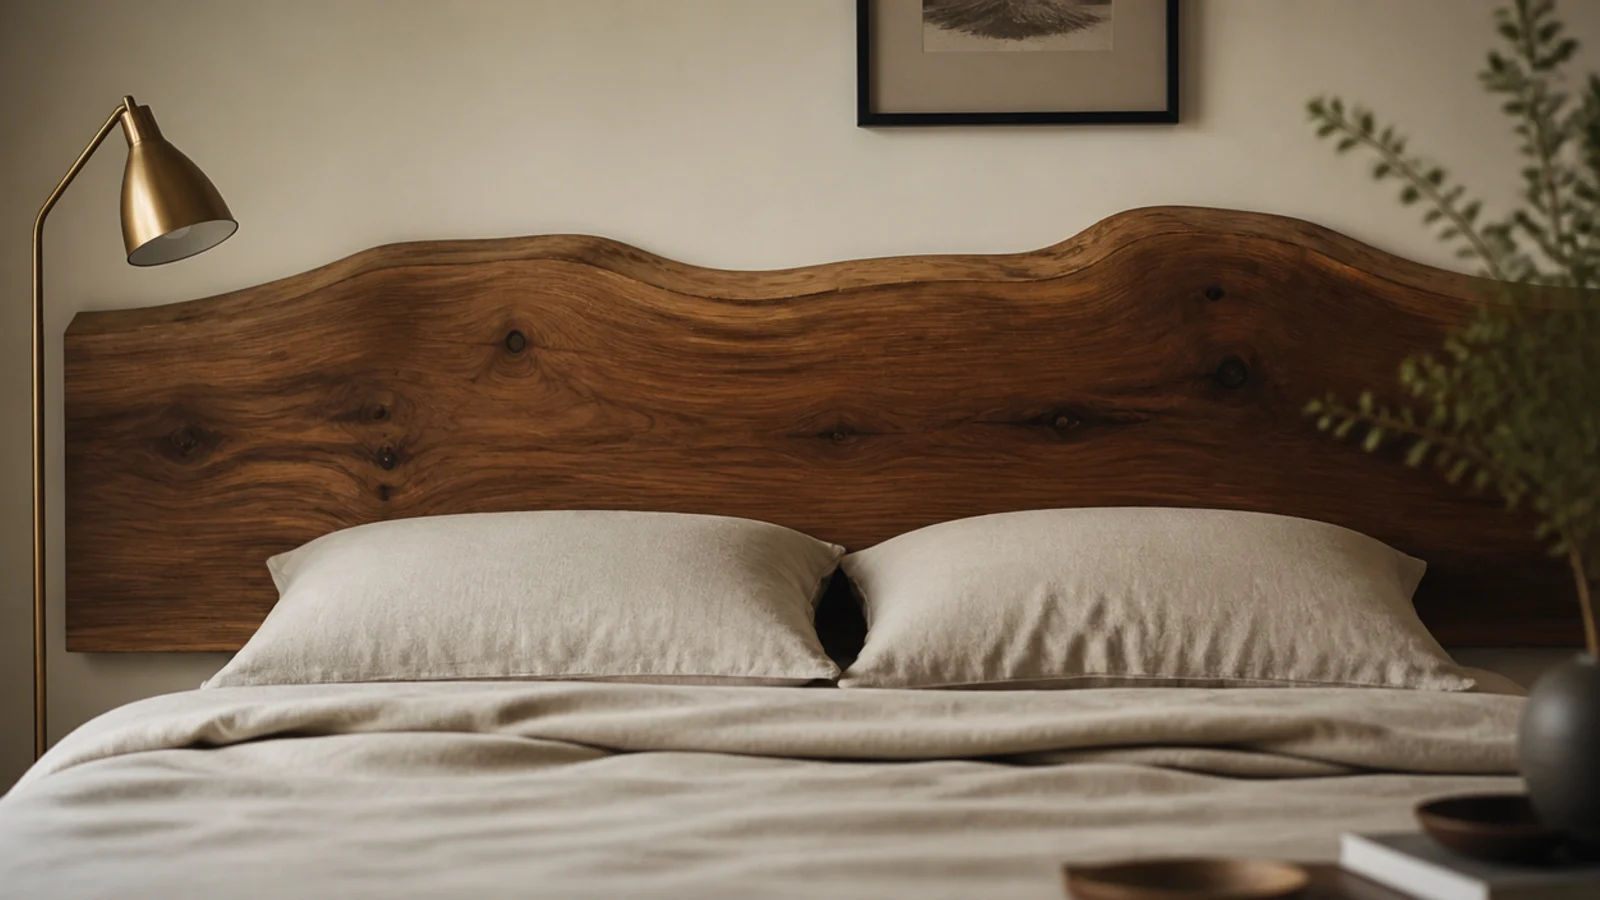
The most expensive idea here and the one that needs the least work. A 2-inch walnut or maple slab, 60 to 68 inches long, hung with its natural edge up.
Expect $250 to $600 depending on species and figure ($$$). Ask the mill for a kiln-dried slab; air-dried timber keeps moving and will twist off a cleat. One slab needs no styling around it at all.
5. Solid oak planks on a cleat
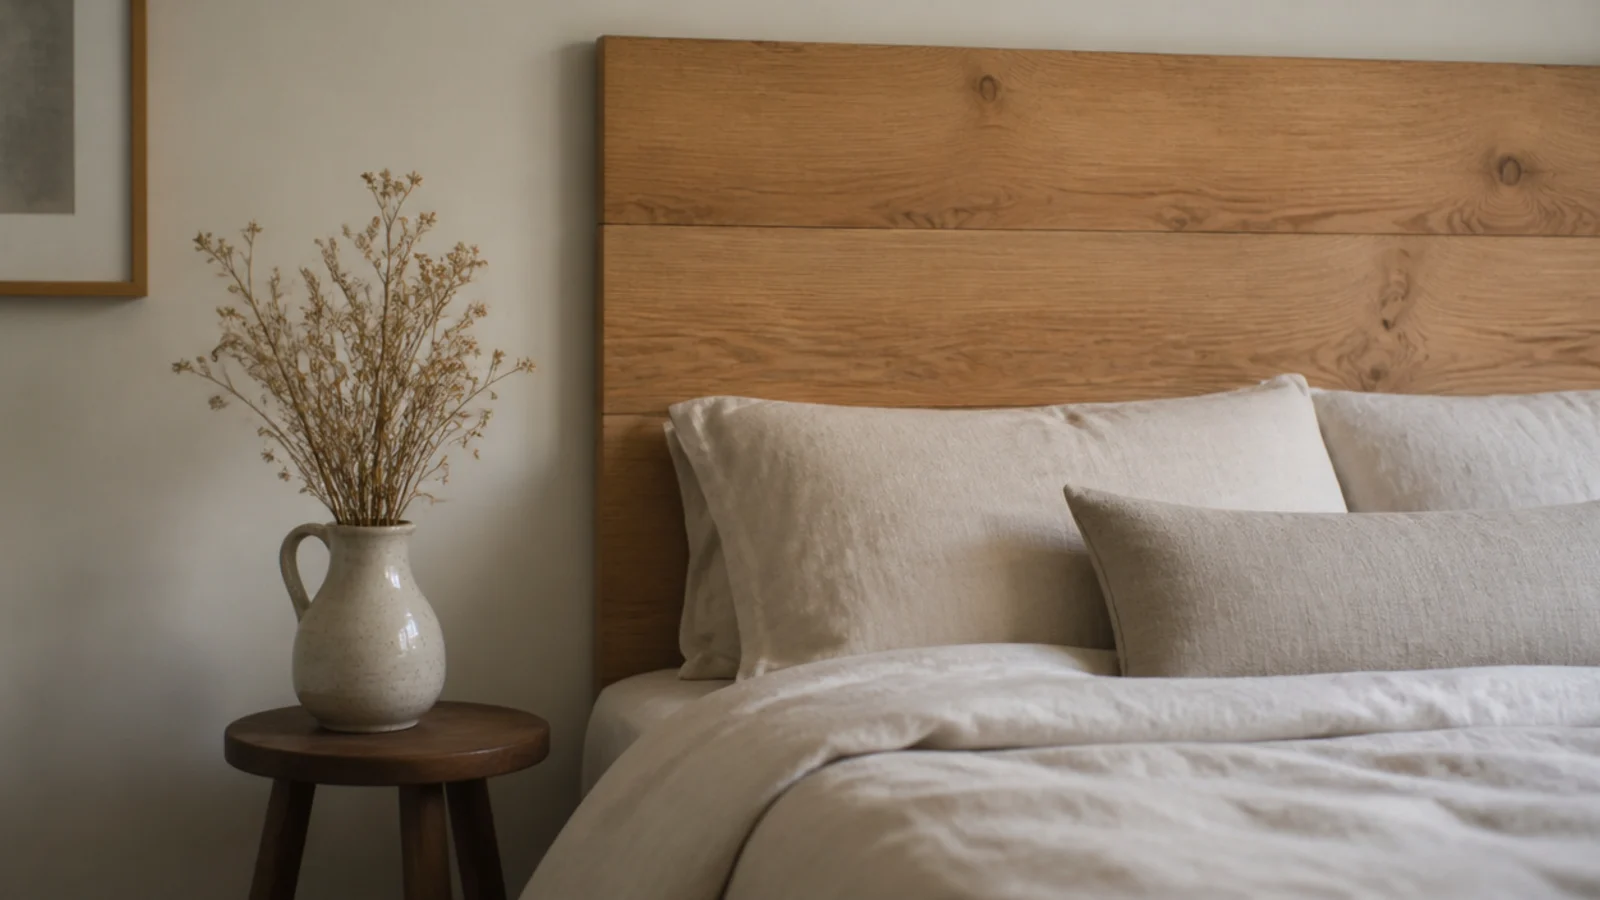
Three 10-inch white oak boards joined edge to edge with biscuits or dowels, finished in hardwax oil, hung on a French cleat. Total height about 30 inches above the mattress.
This is the version that reads most like furniture rather than like a project. Alternate the growth rings board to board so the panel resists cupping. Around $180 in oak ($$).
6. Pine boards stained to look like walnut
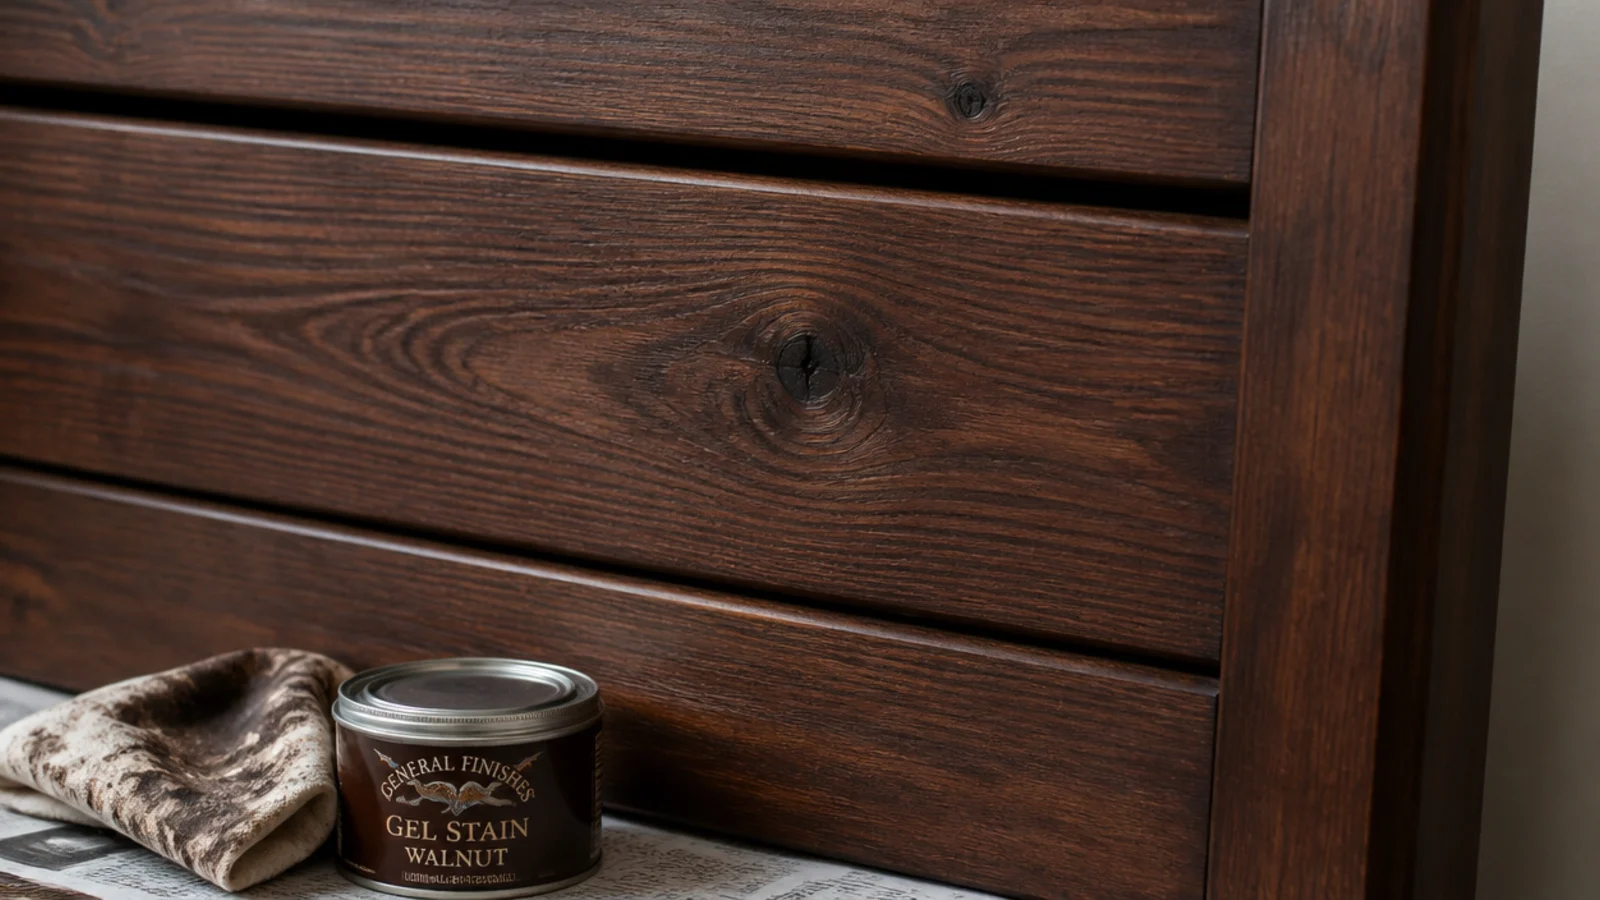
Pine costs half what oak does and takes a convincing dark finish, provided you use a pre-stain conditioner first. Skip it and the boards blotch permanently.
Use a gel stain rather than a liquid one — gel sits on the surface and evens out pine's uneven absorption. Two thin coats, wiped back hard after four minutes each. About $60 for a queen panel ($).
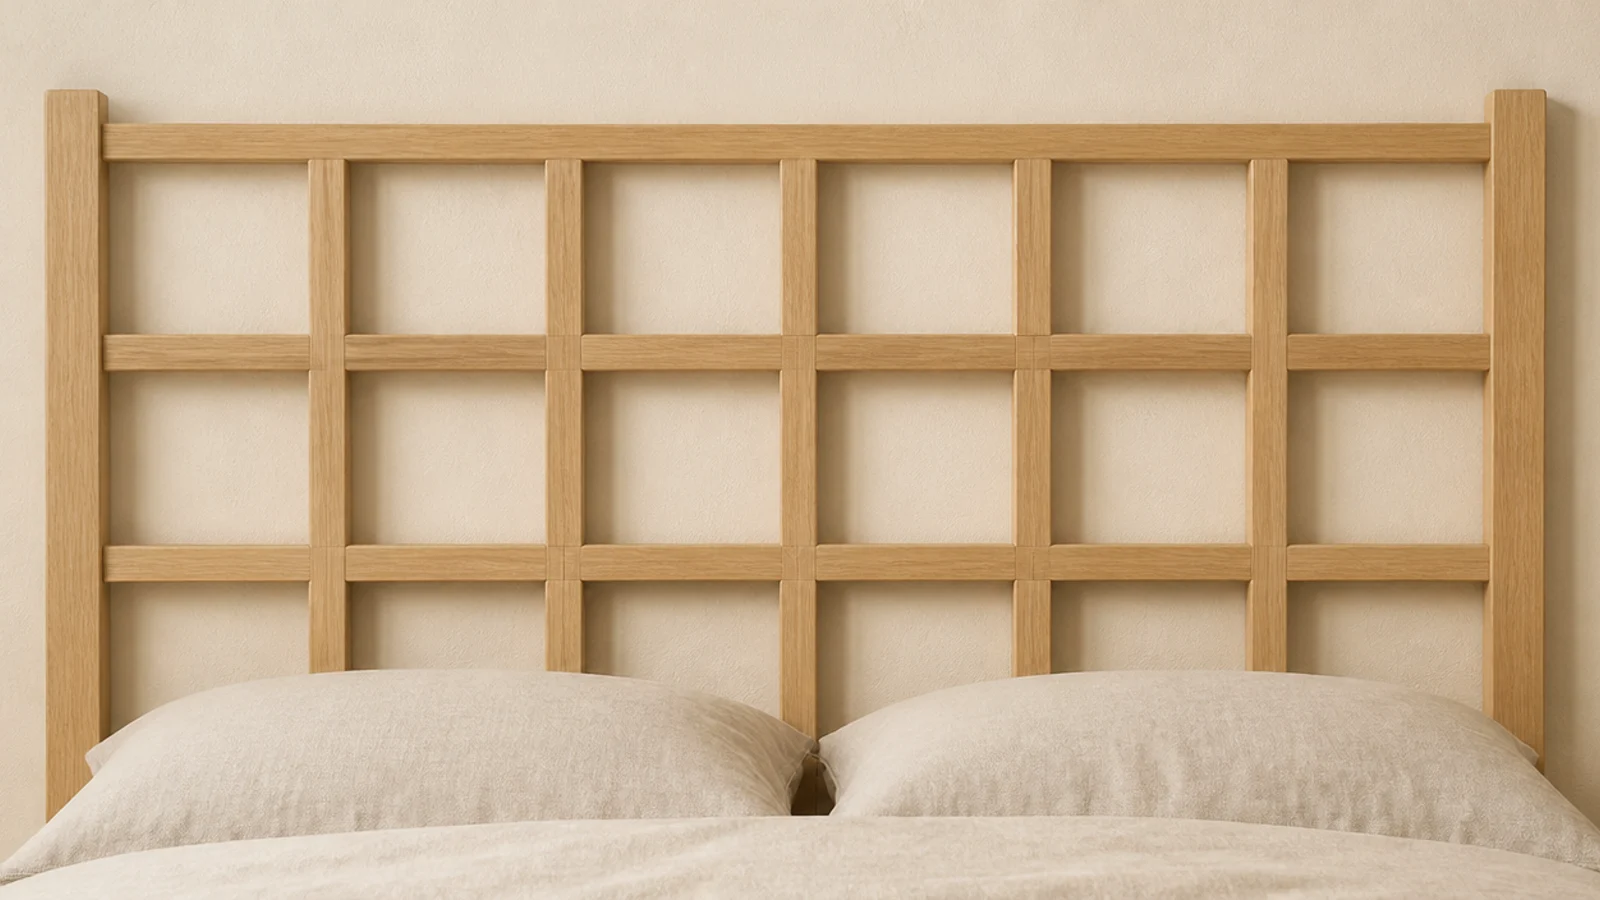
7. A half-lap grid panel
Timber strips notched halfway through where they cross, forming an open grid that hangs like a screen. Twelve-inch squares are the right scale for a headboard.
Smaller squares turn into lattice and start to look like garden trellis. Cut the laps with a circular saw and a stop block, which is faster and more accurate than any hand method. It shows the wall color through, so it barely weighs on a small room.
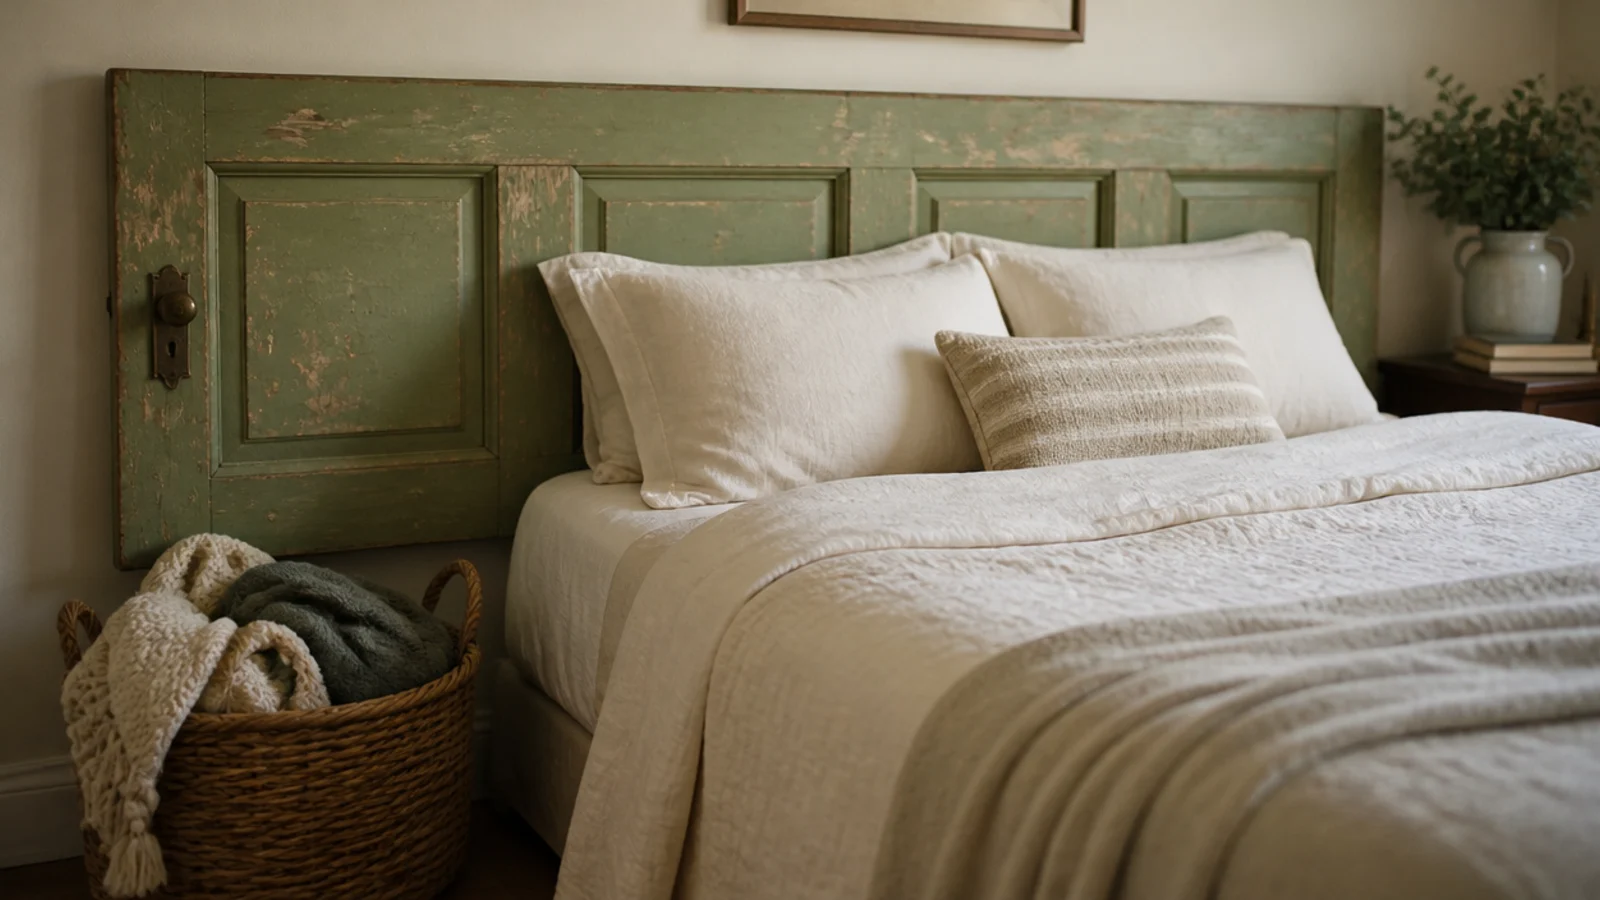
8. An old door turned sideways
A standard 30-inch interior door laid horizontally is 80 inches long — trim it to 64 and it fits a queen almost exactly, with its panel moldings doing all the decoration.
Check for lead paint on anything pre-1978 and either seal it or strip it properly. Salvage yards price these at $20 to $50. Leave the chipped paint if it is stable; that patina is the entire reason to use a door.
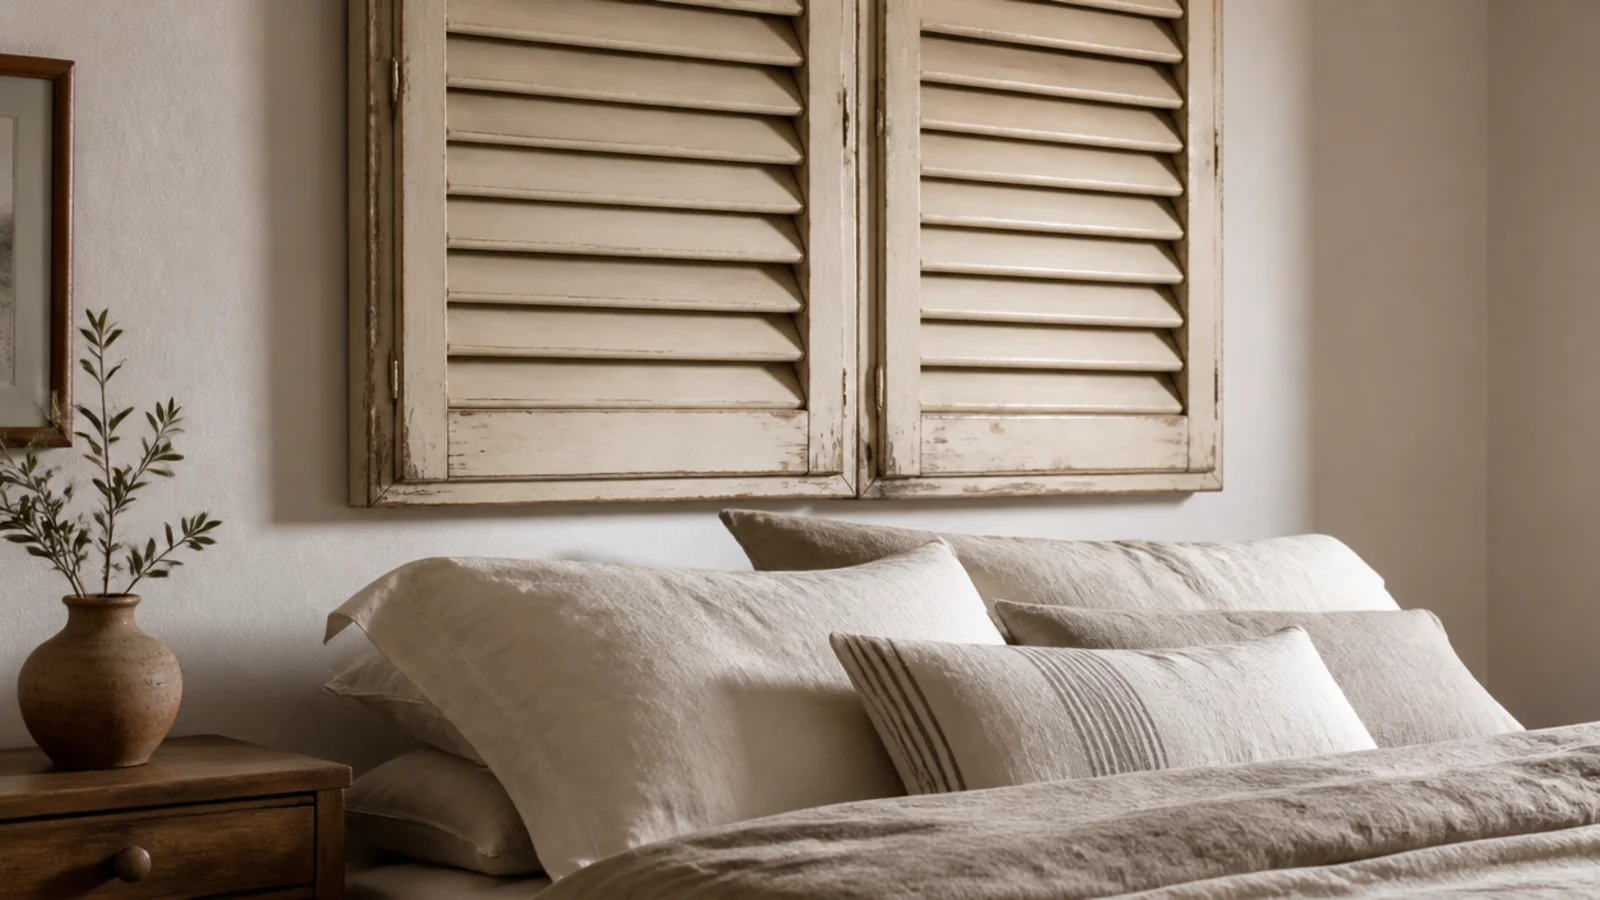
9. Two shutters mounted side by side
Louvered shutters give you texture with almost no visual mass, which makes them one of the better choices for a genuinely tiny room.
Two 30-inch panels butted together cover a queen. Hang them on a shared cleat so the pair stays aligned. Vacuum the louvers with a brush attachment twice a year, since slats collect dust faster than a flat panel does.
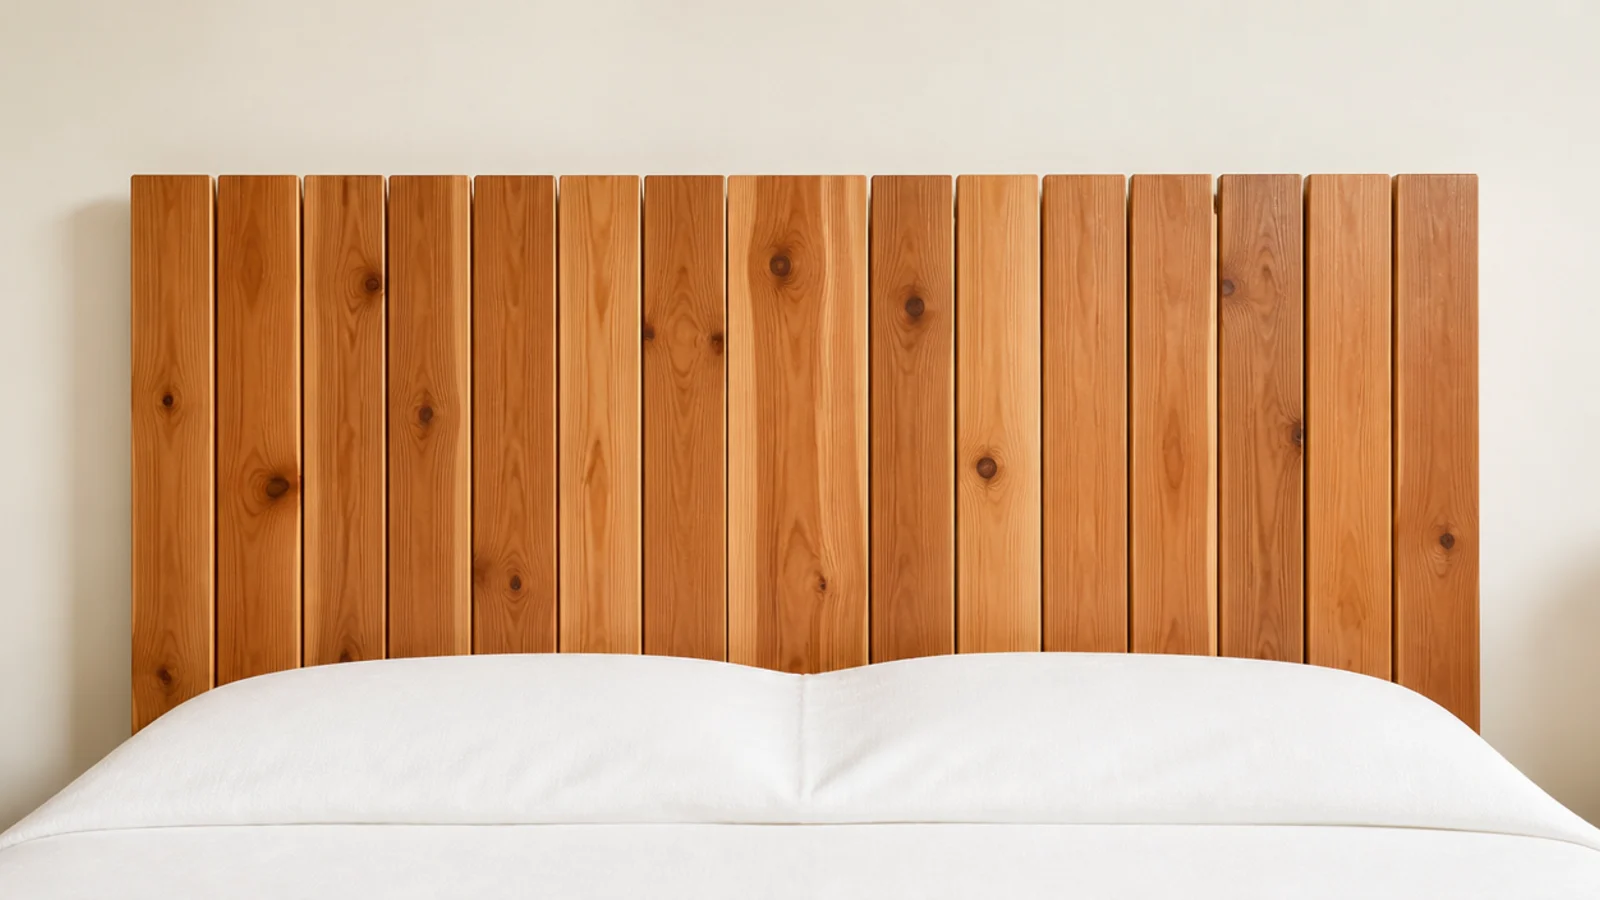
10. Fence pickets with the tops squared off
Cedar or pine pickets cost about $3 each. Cut the pointed tops flat, sand hard through 120 and 220 grit, then finish with clear wax.
Eleven pickets side by side make a 60-inch panel for roughly $35 ($). Sanding is the whole job — rough picket stock splinters, and anything within reach of bare shoulders needs to be genuinely smooth.
11. A fluted panel routed into plywood
Fluting turns a flat sheet into something that reads as custom millwork. Half-inch round-nose grooves routed at 1-inch centers, running the full panel height.
Use oak or birch veneered plywood and a router with an edge guide. Seal the grooves before staining or they go darker than the flat faces. Roughly $110 for a queen panel ($$), and it looks like three times that.
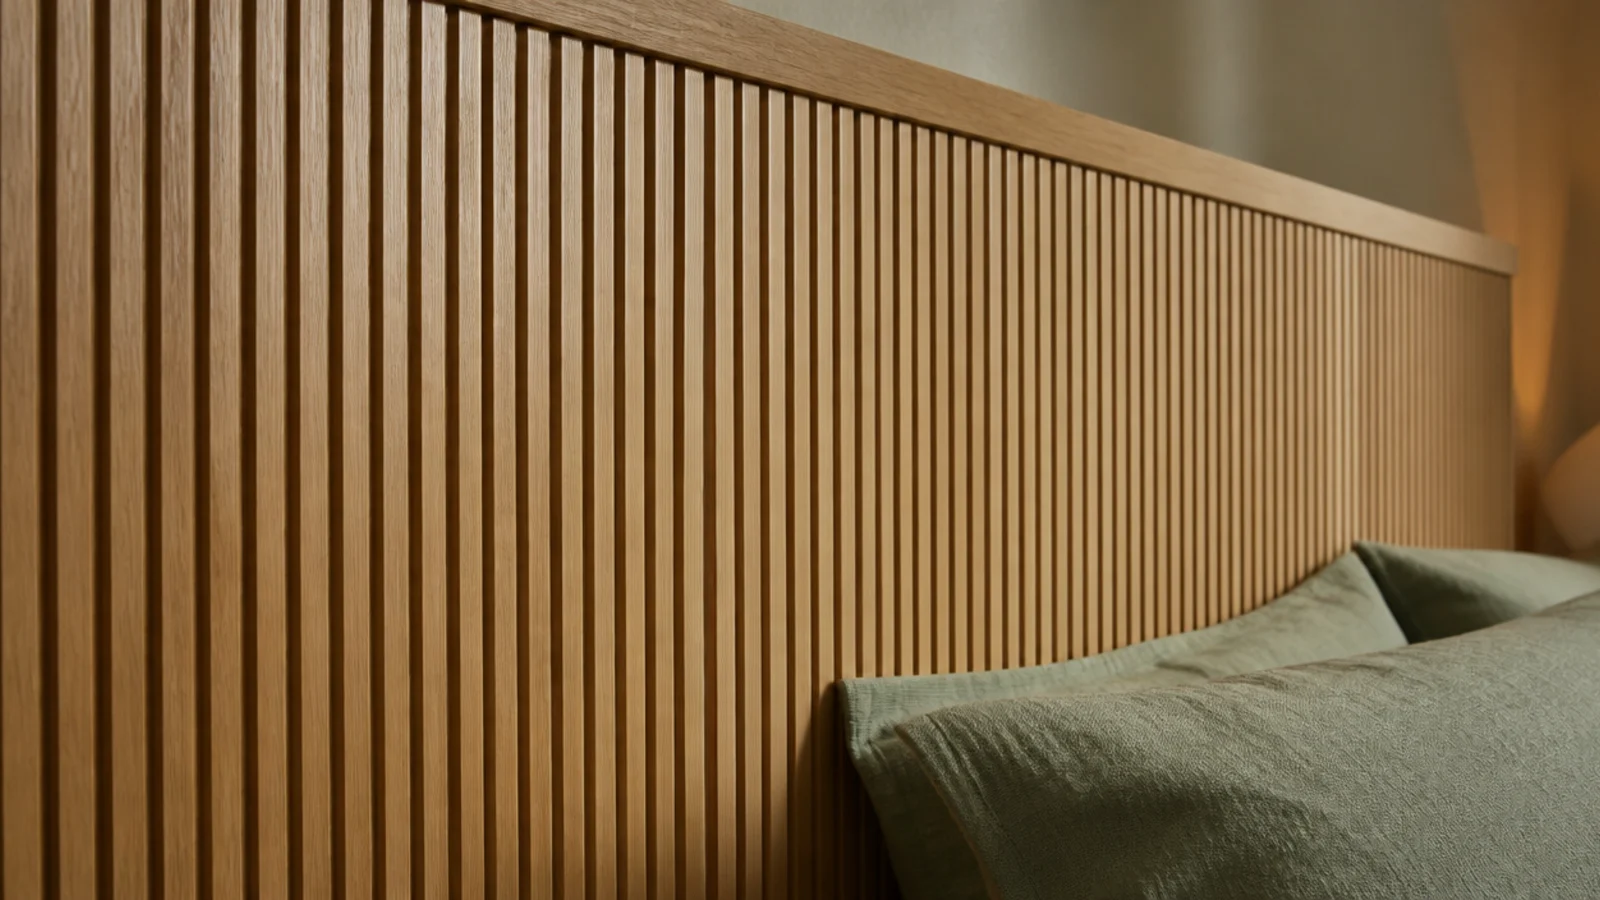
12. Round dowels instead of flat slats
Inch-and-a-quarter oak dowels set into a slim top and bottom rail, spaced an inch apart. The round profile softens a room otherwise full of hard corners.
Drill the rails on a drill press or with a doweling jig, because eyeballed holes leave the rods visibly out of parallel. Dowels run about $4 a foot in oak, so a queen panel lands near $90 ($$).
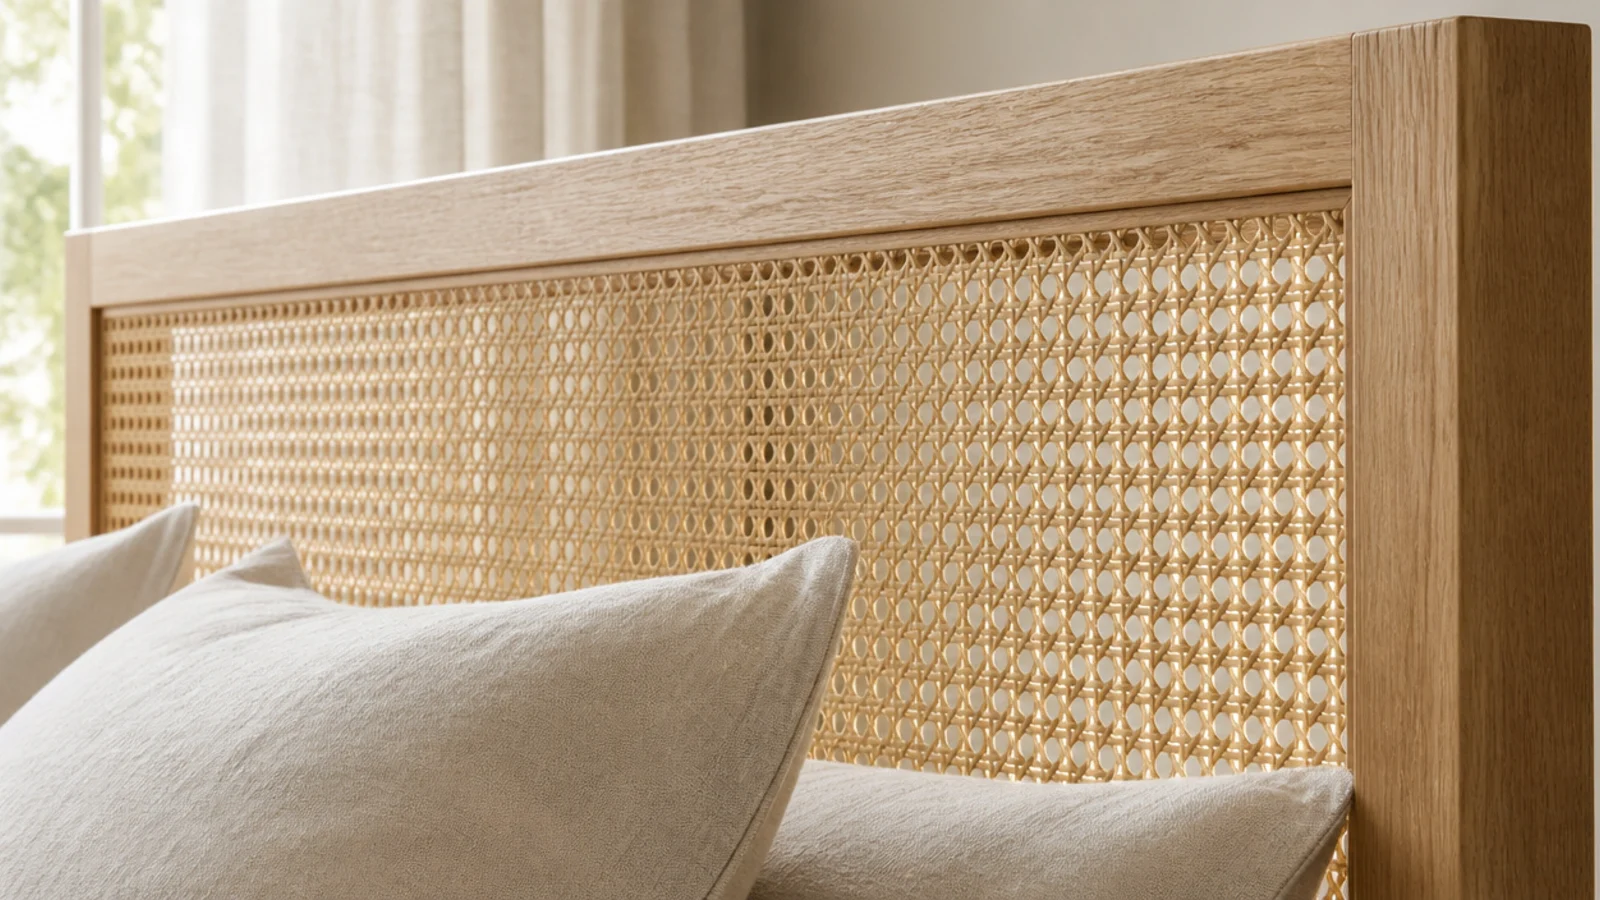
13. A slim wood frame around cane webbing
A 3-inch white oak frame with cane webbing stretched across the middle gives you texture and lets light straight through, which matters in a small room with one window.
Cane costs about $20 a running foot and sets into a routed groove with spline and glue. Soak the webbing for an hour before fitting; it shrinks tight as it dries. Keep it out of direct afternoon sun.
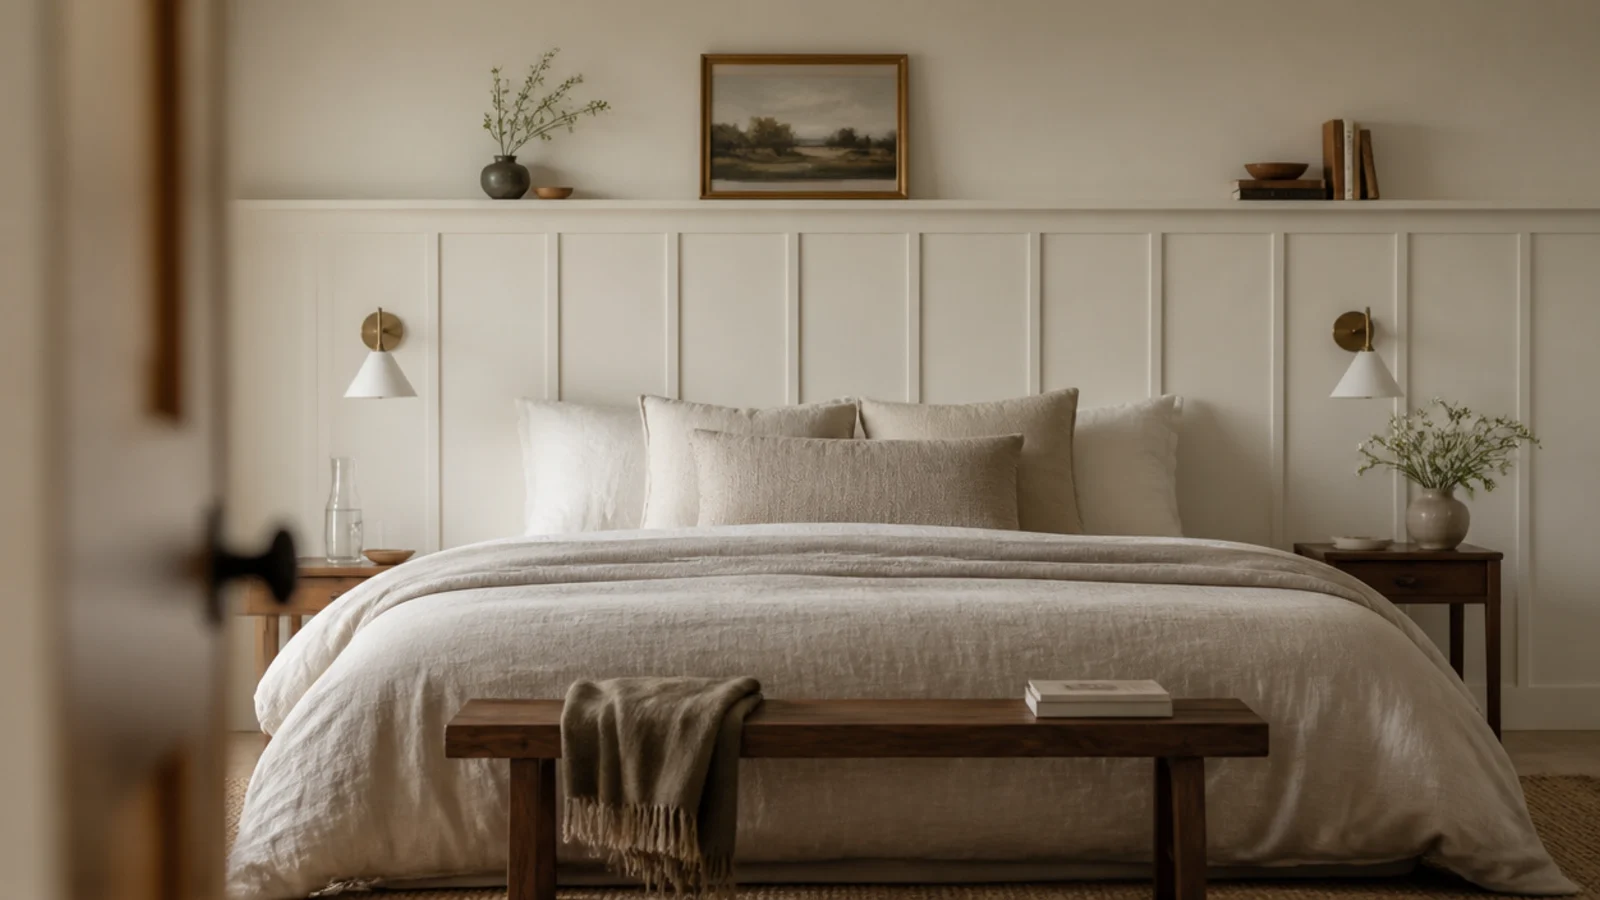
14. Board and batten painted the wall color
Battens 2.5 inches wide at 16-inch centers, running from skirting to 54 inches, painted the exact wall color. Only the shadow lines show.
This is the cheapest way to make a small bedroom feel considered — about $45 in primed MDF batten ($). Because it disappears into the wall color it adds zero visual weight, which is why it works where a timber panel would not.
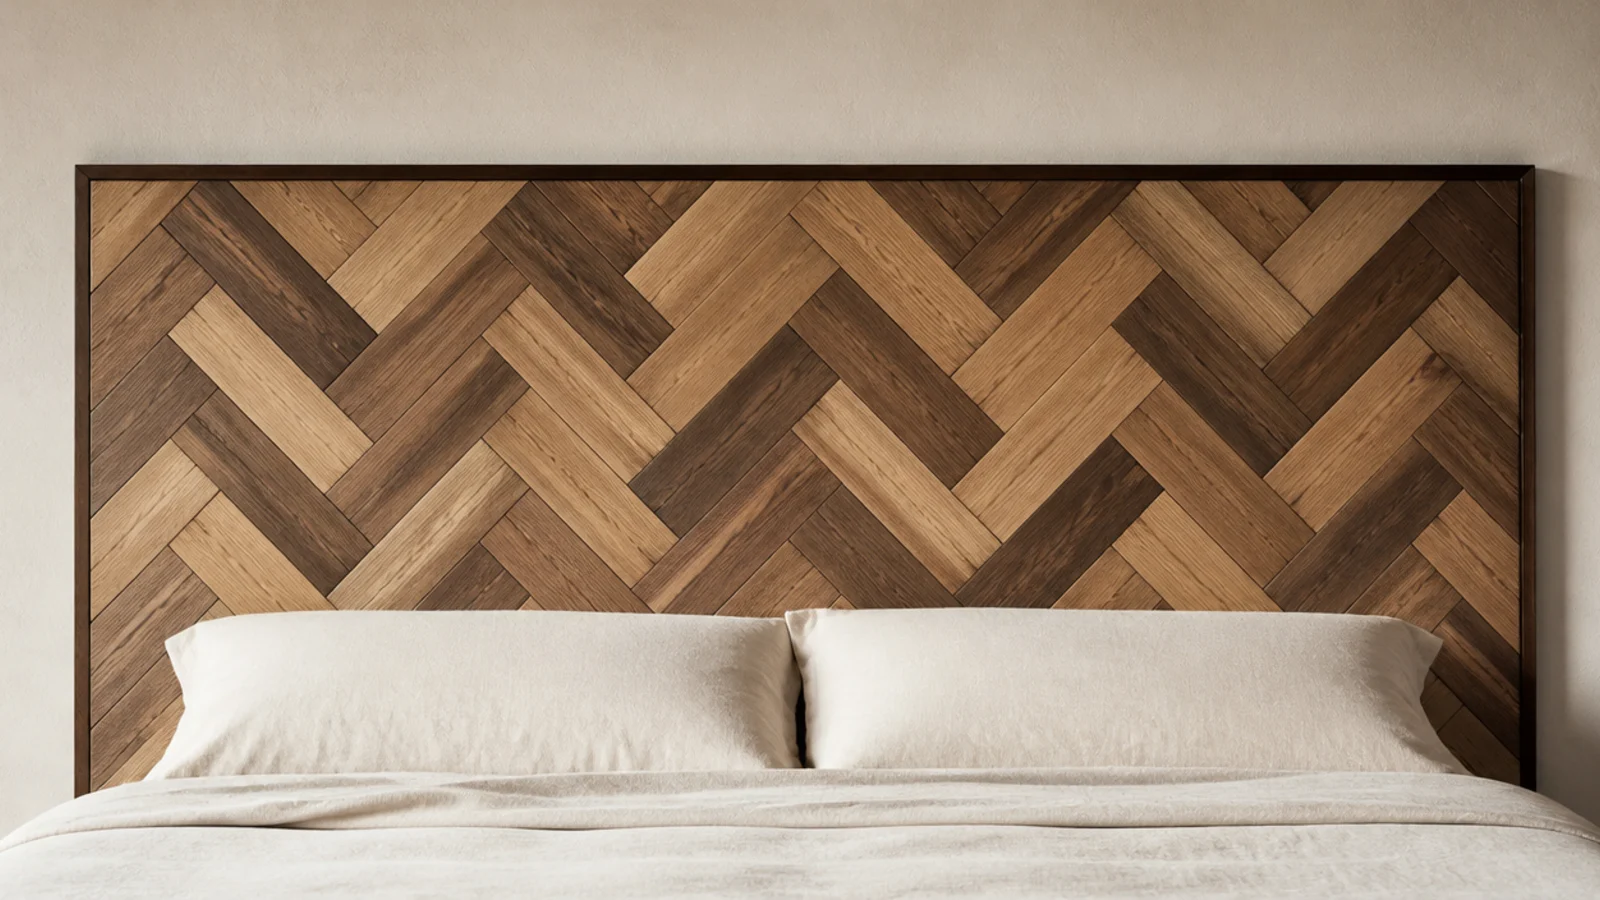
15. A herringbone panel in mixed offcuts
Offcuts laid at 45 degrees into a herringbone, glued and pinned to a plywood backer, then trimmed with a thin dark border.
Only do this with genuine offcuts. Buying new lumber to cut into short pieces costs more than a solid panel and wastes a third of it. Mixed tones look intentional here, so raid the scrap bin at a local cabinet shop, where offcuts are often free.
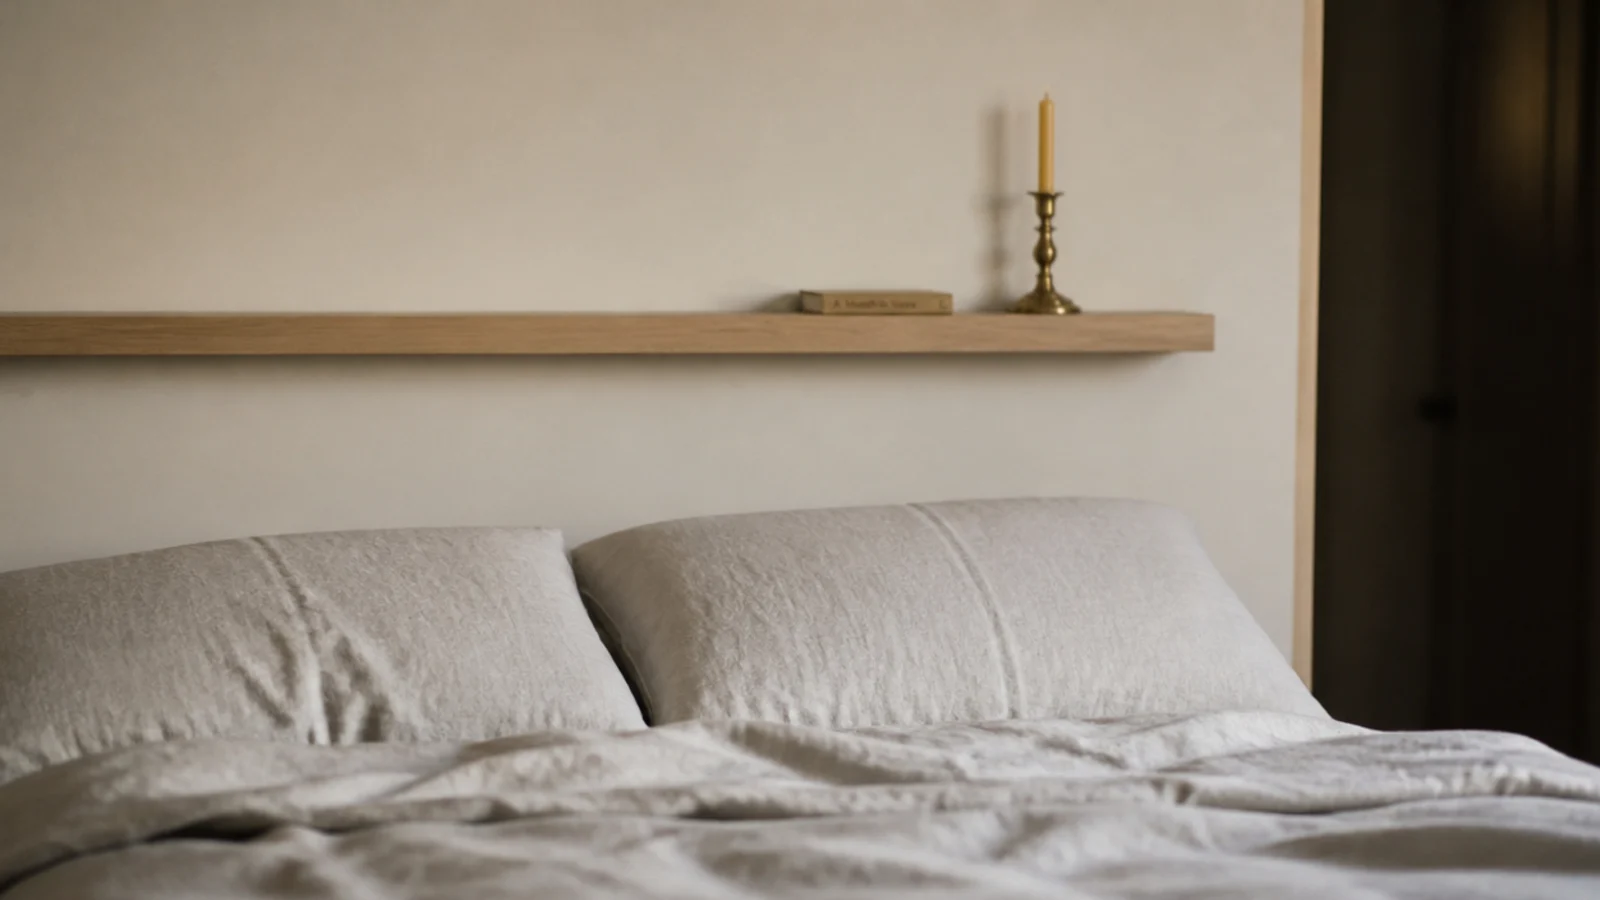
16. A floating oak ledge instead of a full panel
Sometimes the answer is one board. A 6-inch deep white oak ledge mounted at pillow-top height, running the mattress width, gives the bed a top line and a surface without any panel at all.
It suits floating headboard styling and rooms where the wall behind the bed is already doing something. Two brackets into studs, about $45 ($).
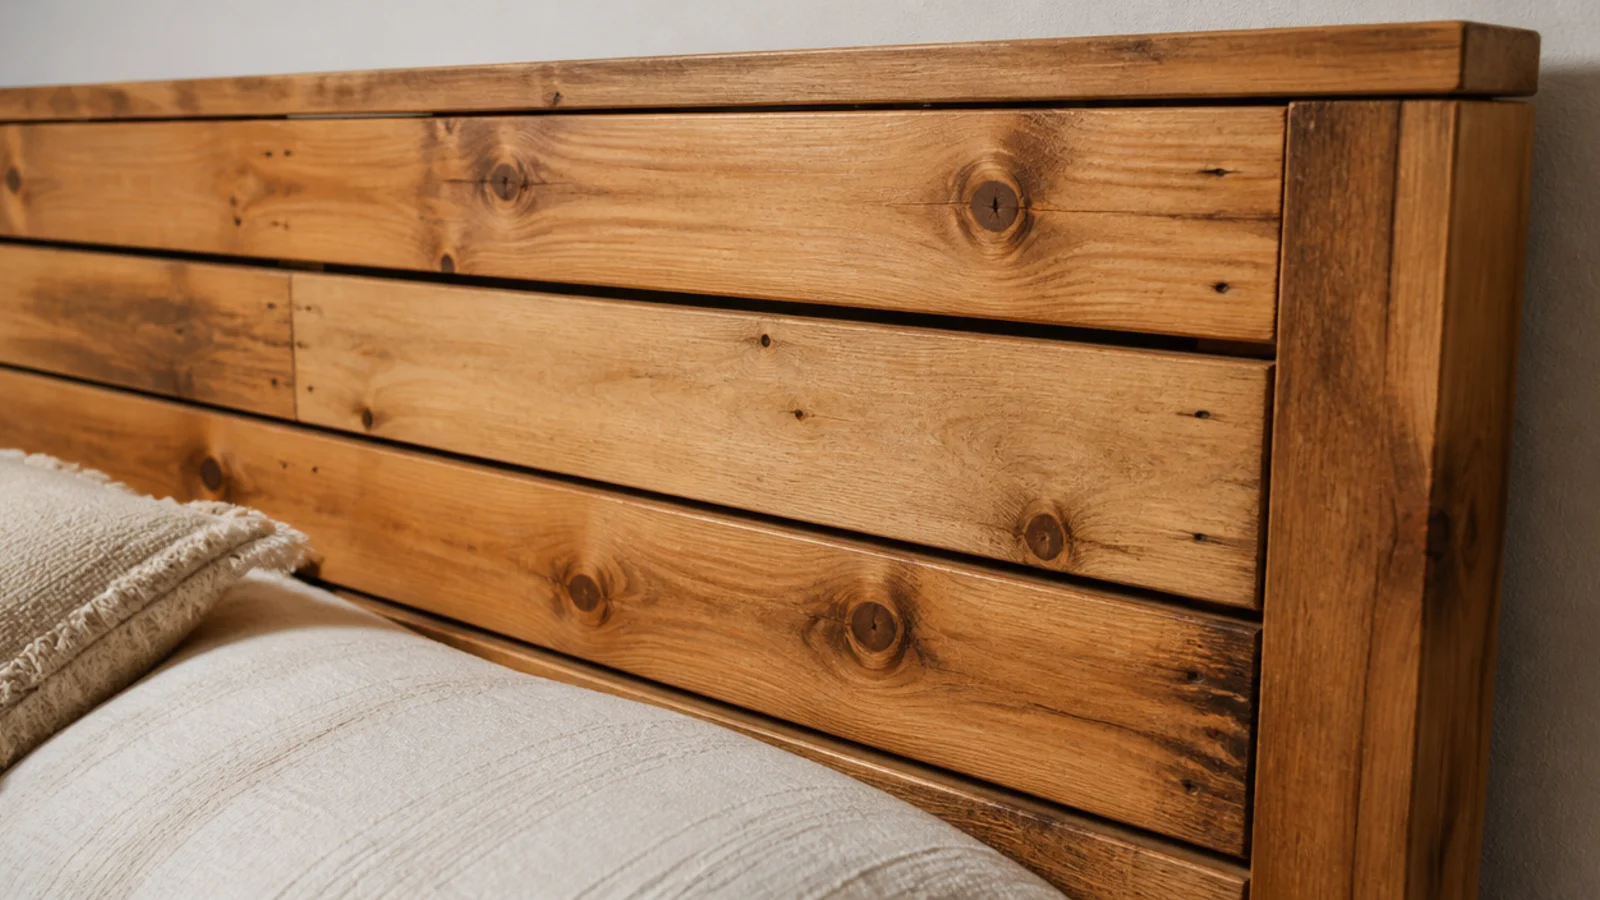
17. Pallet boards, properly cleaned up
Pallet wood is free and it looks free unless you put the hours in. Use only pallets stamped HT for heat treated, never MB.
Pull the boards carefully, sand through three grits until nothing splinters, then seal with a clear matte finish. The result costs about $12 in sandpaper and finish, and the difference between a good pallet headboard and a bad one is entirely in the sanding.
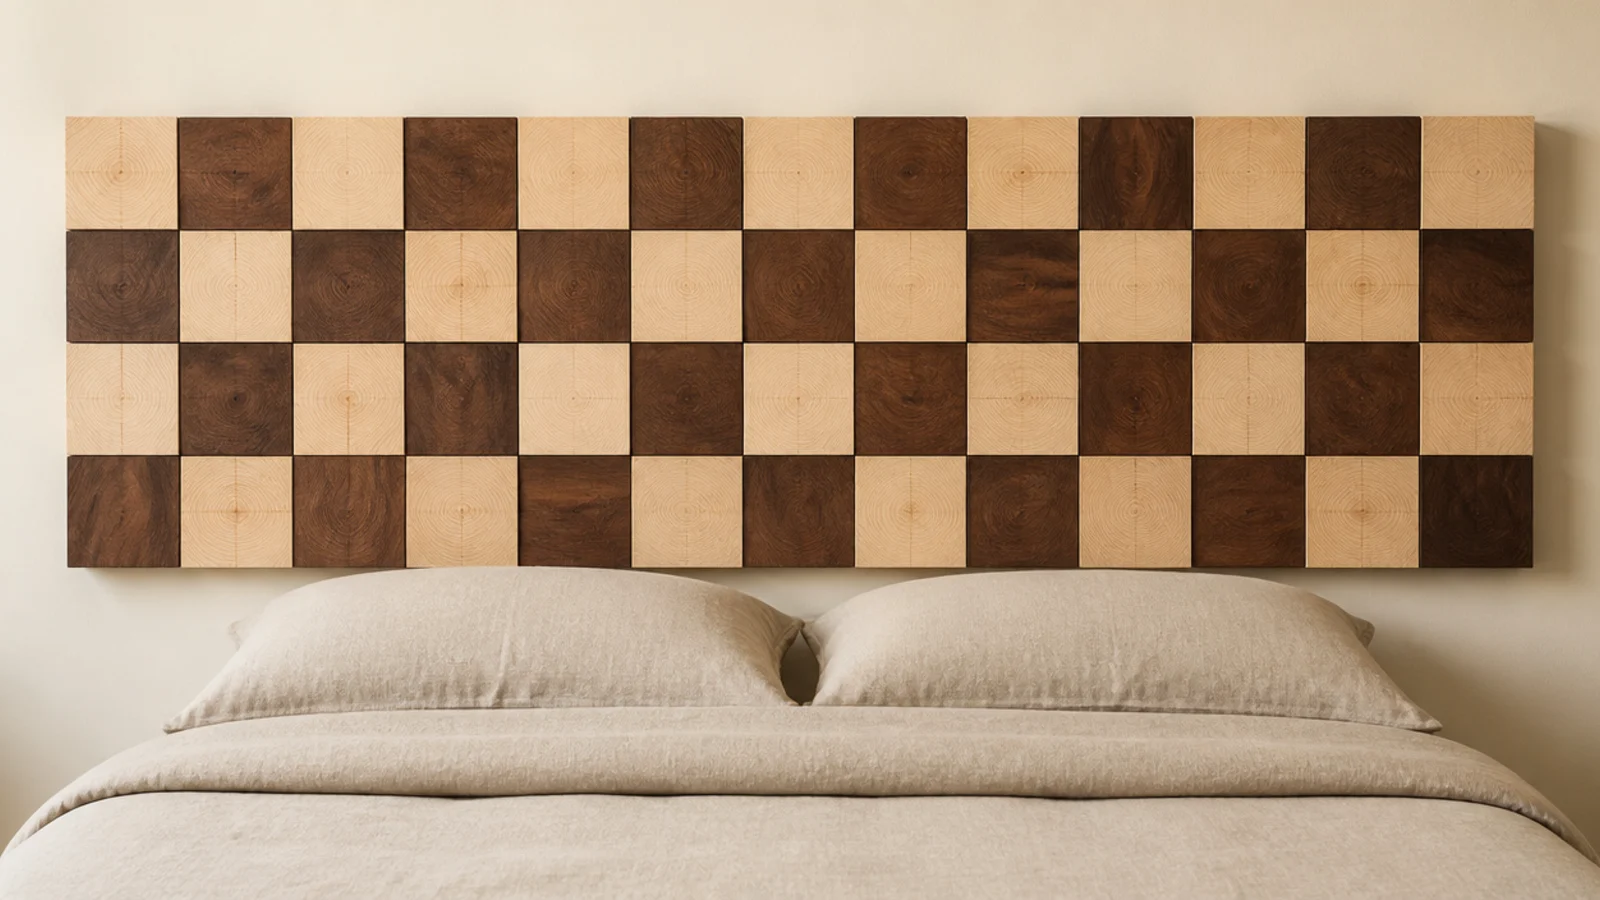
18. Two-tone stained blocks
Square timber blocks stained alternately pale and dark, laid in a checkerboard across a backer. It reads graphic rather than rustic.
Tape and seal every edge before the second stain goes on, since dark stain bleeds into pale end grain instantly. Keep the blocks at 6 inches or larger; smaller squares turn busy at bed scale. Around $70 in poplar ($).
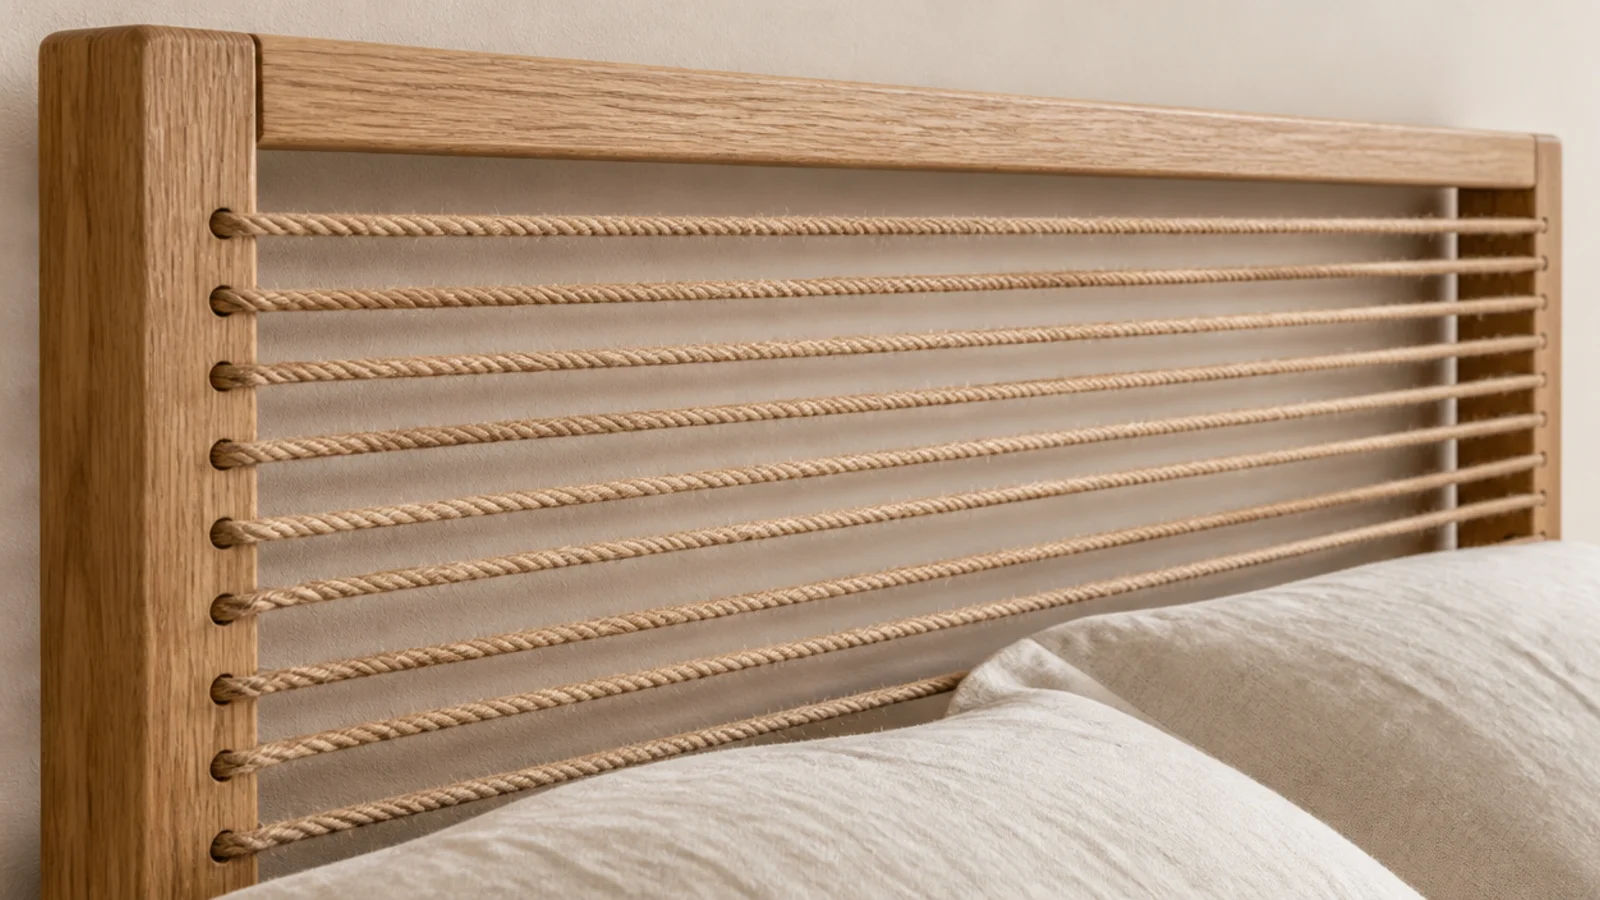
19. A wood frame laced with jute rope
Natural jute rope laced horizontally across a slim oak frame, pulled taut through drilled holes in each stile. Warm, tactile and about $12 of rope.
Lace it tighter than feels necessary, because jute relaxes over the first few weeks. Re-tension it once after a month and it stays put. This pairs particularly well with rustic headboard styling and a jute rug underfoot.
20. Tall slats that run to the ceiling
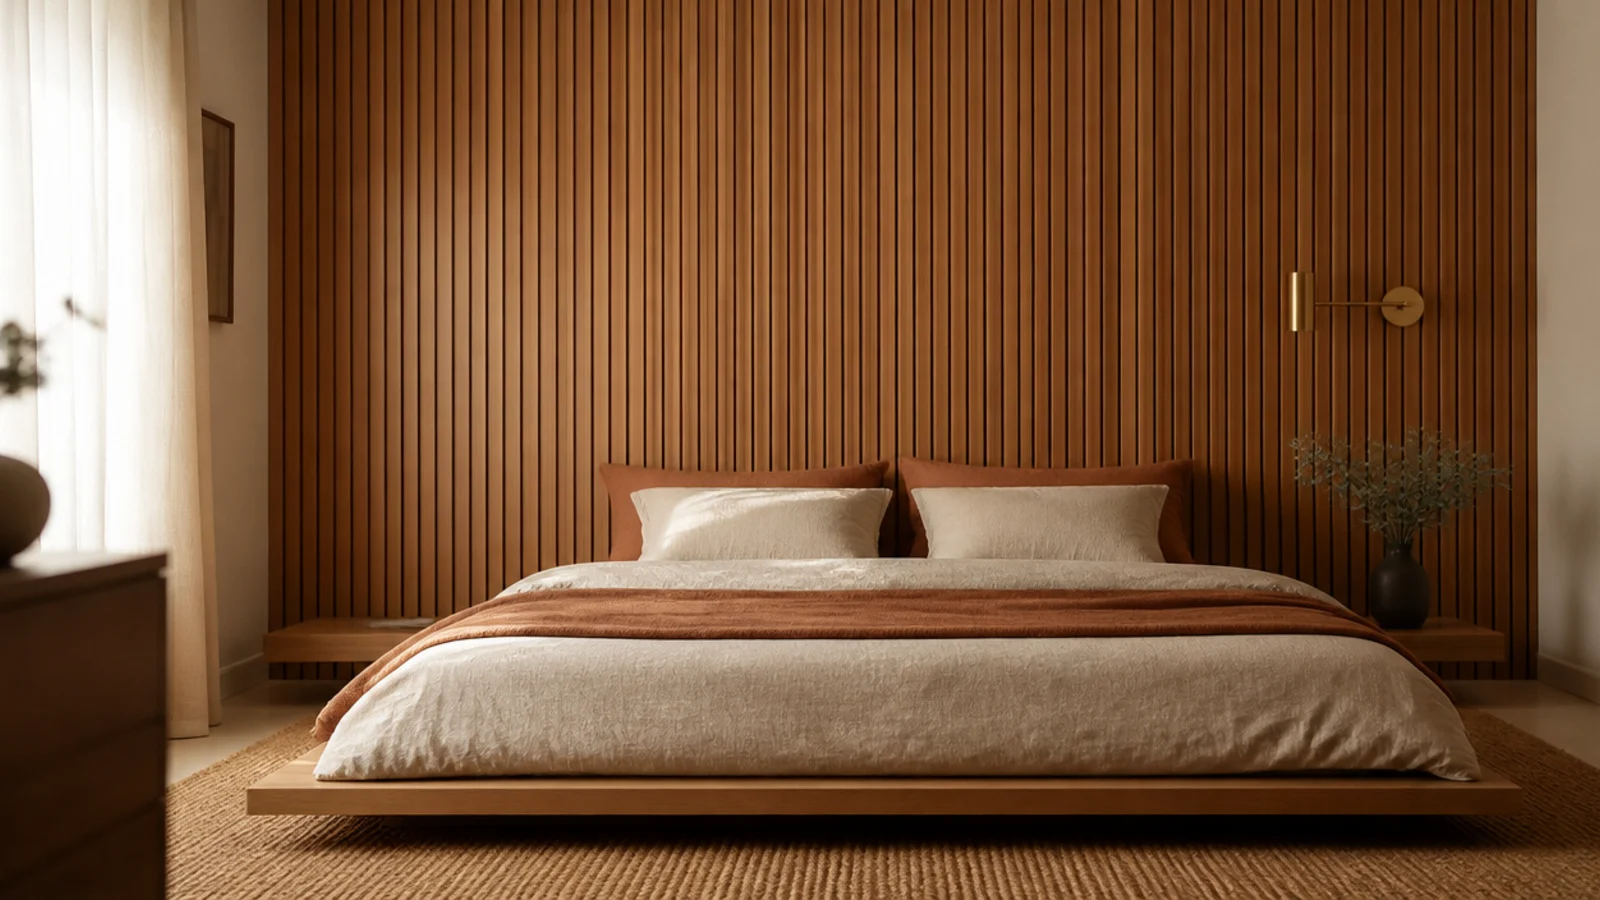
Take vertical slats past headboard height and up to the ceiling, and the wall stops reading as furniture and starts reading as architecture.
Keep the gaps at 1 inch and run the slats behind the bed only, not across the whole room, or the effect turns into a sauna. In an 8-foot room that is 96 inches of slat per run — buy 8-foot stock and skip every joint.
21. A butcher block offcut panel
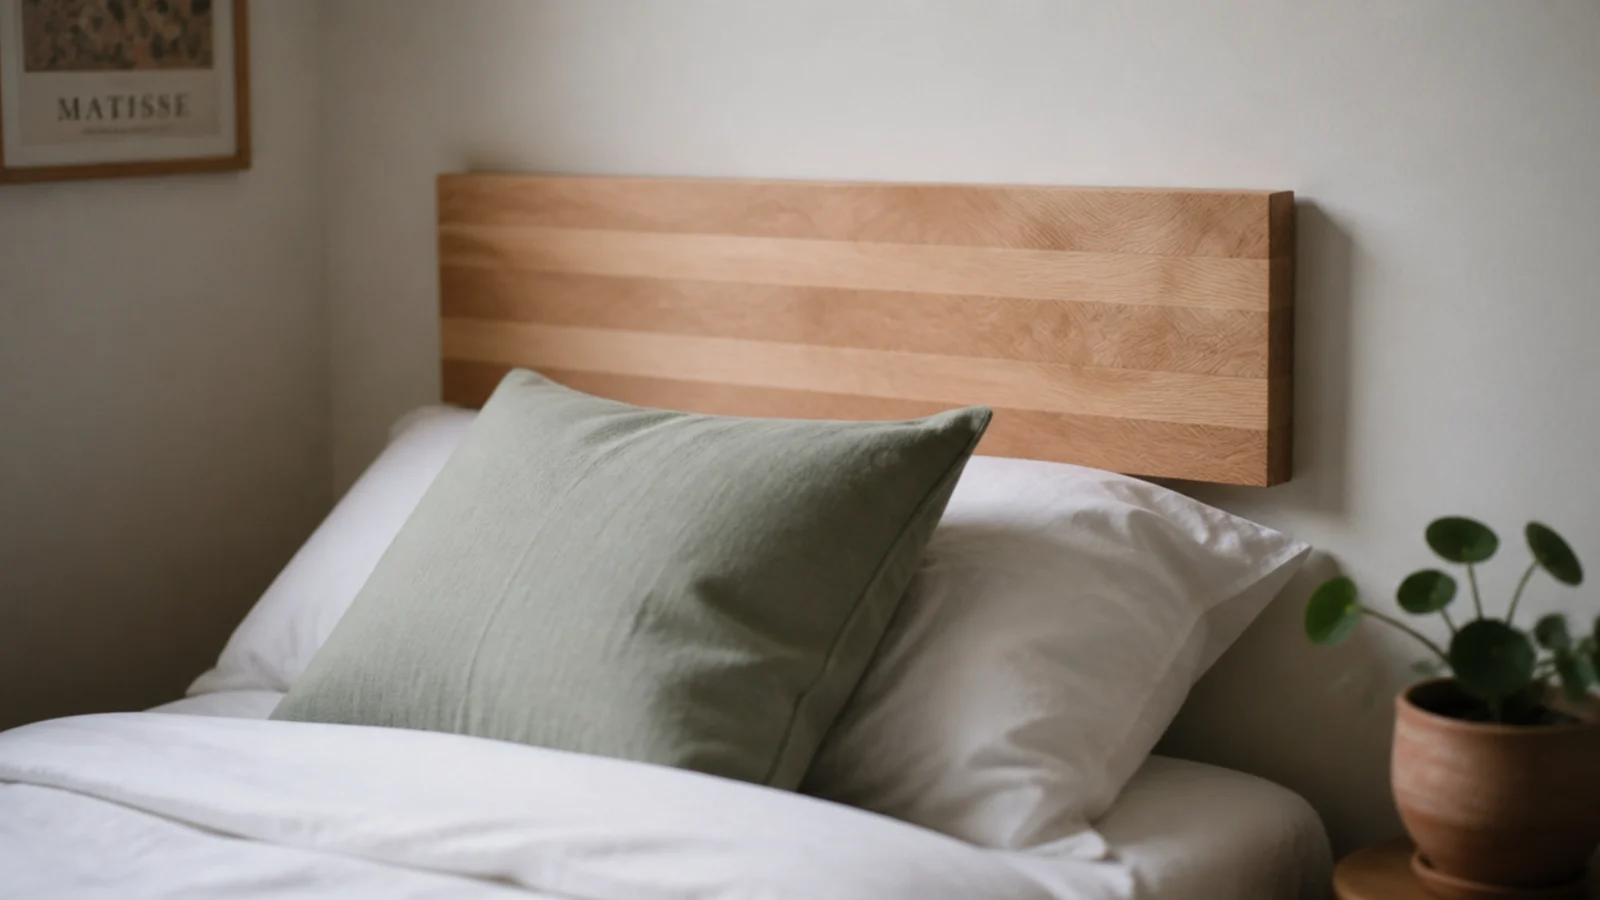
Countertop offcuts sell for a fraction of panel prices at cabinet shops and salvage yards, and the end-grain stripes make a beautiful compact headboard for a twin or full.
A 38 by 30 inch beech offcut runs $40 to $80. Sand the machined edges round, oil it, and hang it on a cleat. Heavy for its size, so use 3-inch screws into two studs.
22. A salvaged window frame with the glass out
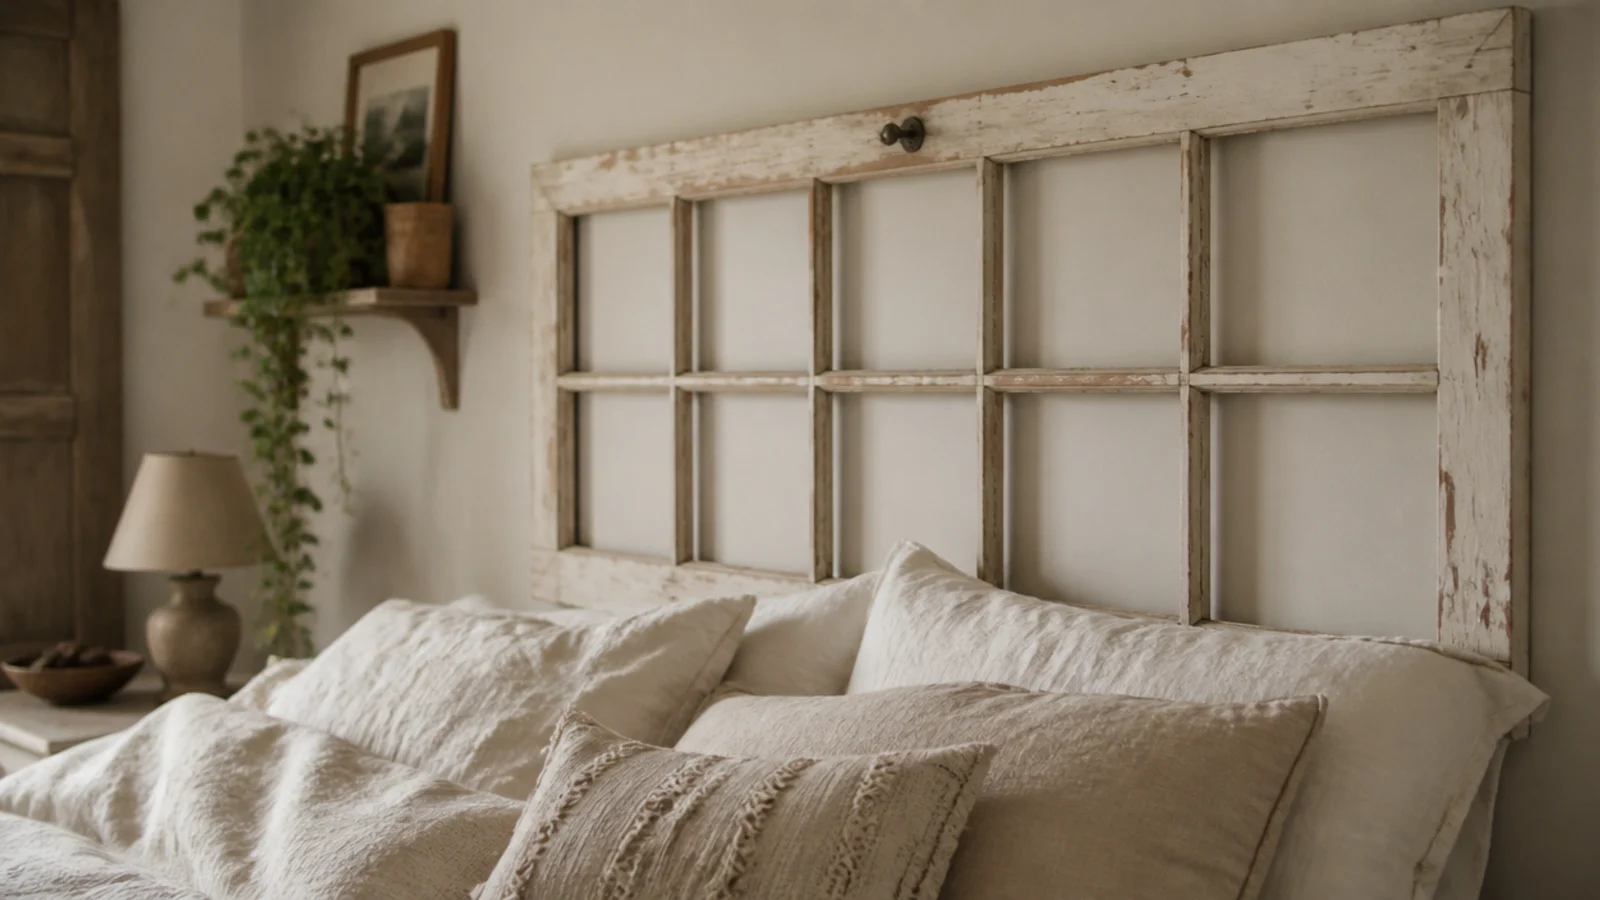
An old six-pane sash hung behind the bed gives you pattern, age and almost no mass. Remove the glass entirely — nobody wants glazing above a pillow.
Stabilize flaking paint with a matte clear sealer so it stops shedding. Salvage sashes cost $15 to $40. Hang from two D-rings into studs, and check the frame is not racked before you commit to a level line.
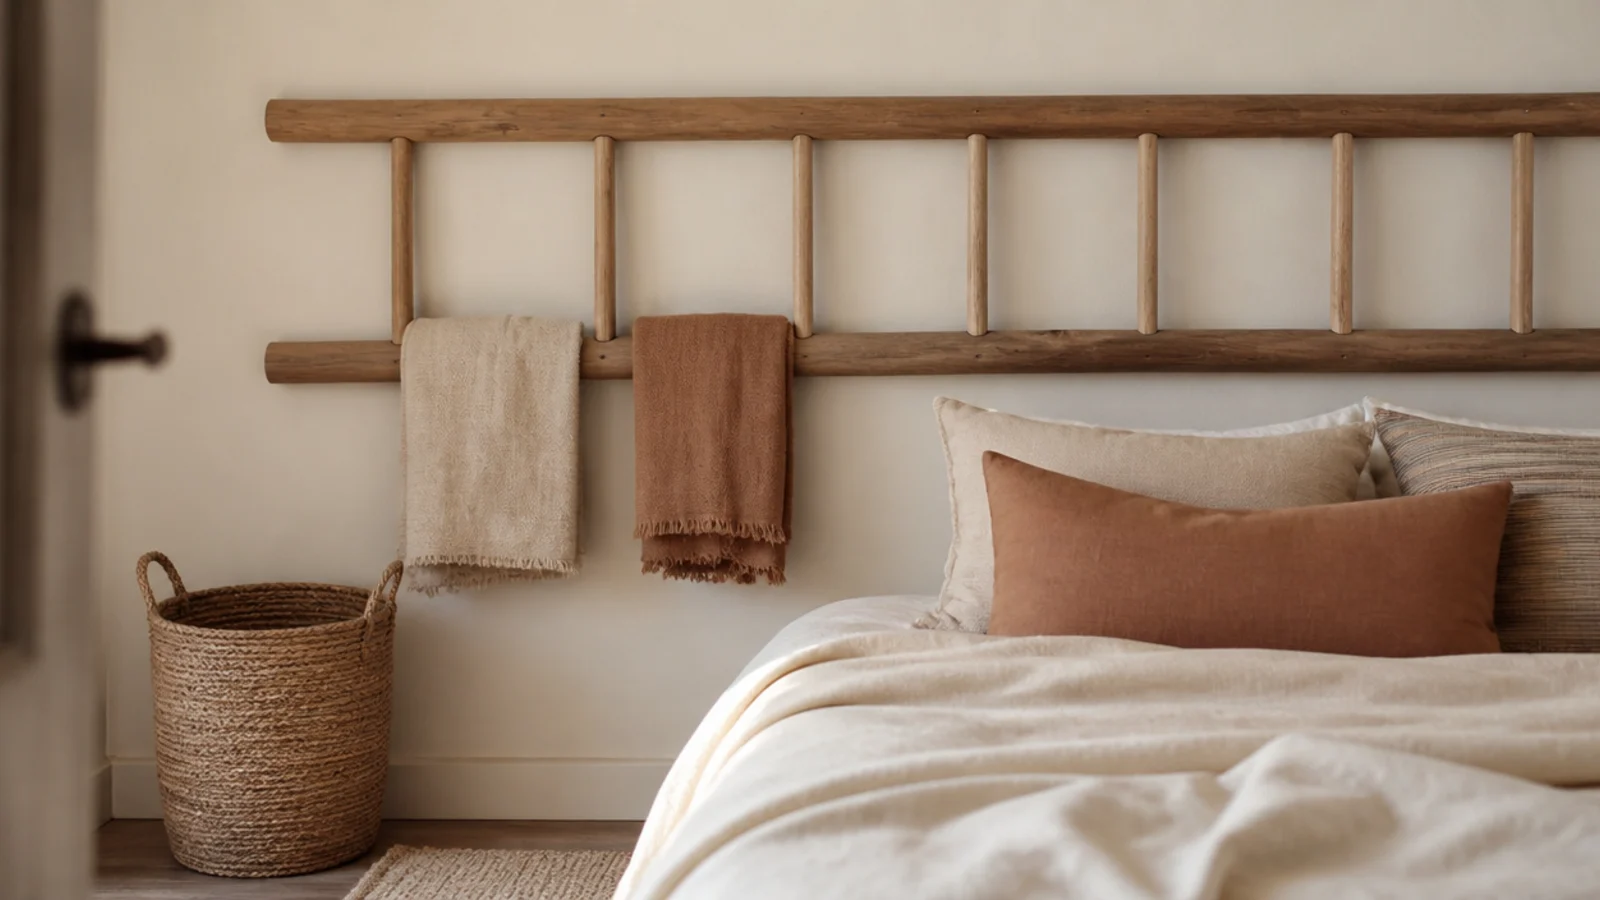
23. A dowel ladder that holds throws
A horizontal ladder with 1.5-inch round rungs, mounted behind the bed, doubles as blanket storage in a room with no linen closet.
Use two rungs for folded throws and leave the rest empty, or it turns into a drying rack. Rungs at 8-inch centers, panel height 36 inches. Around $50 in pine ($), and genuinely useful in a small bedroom.
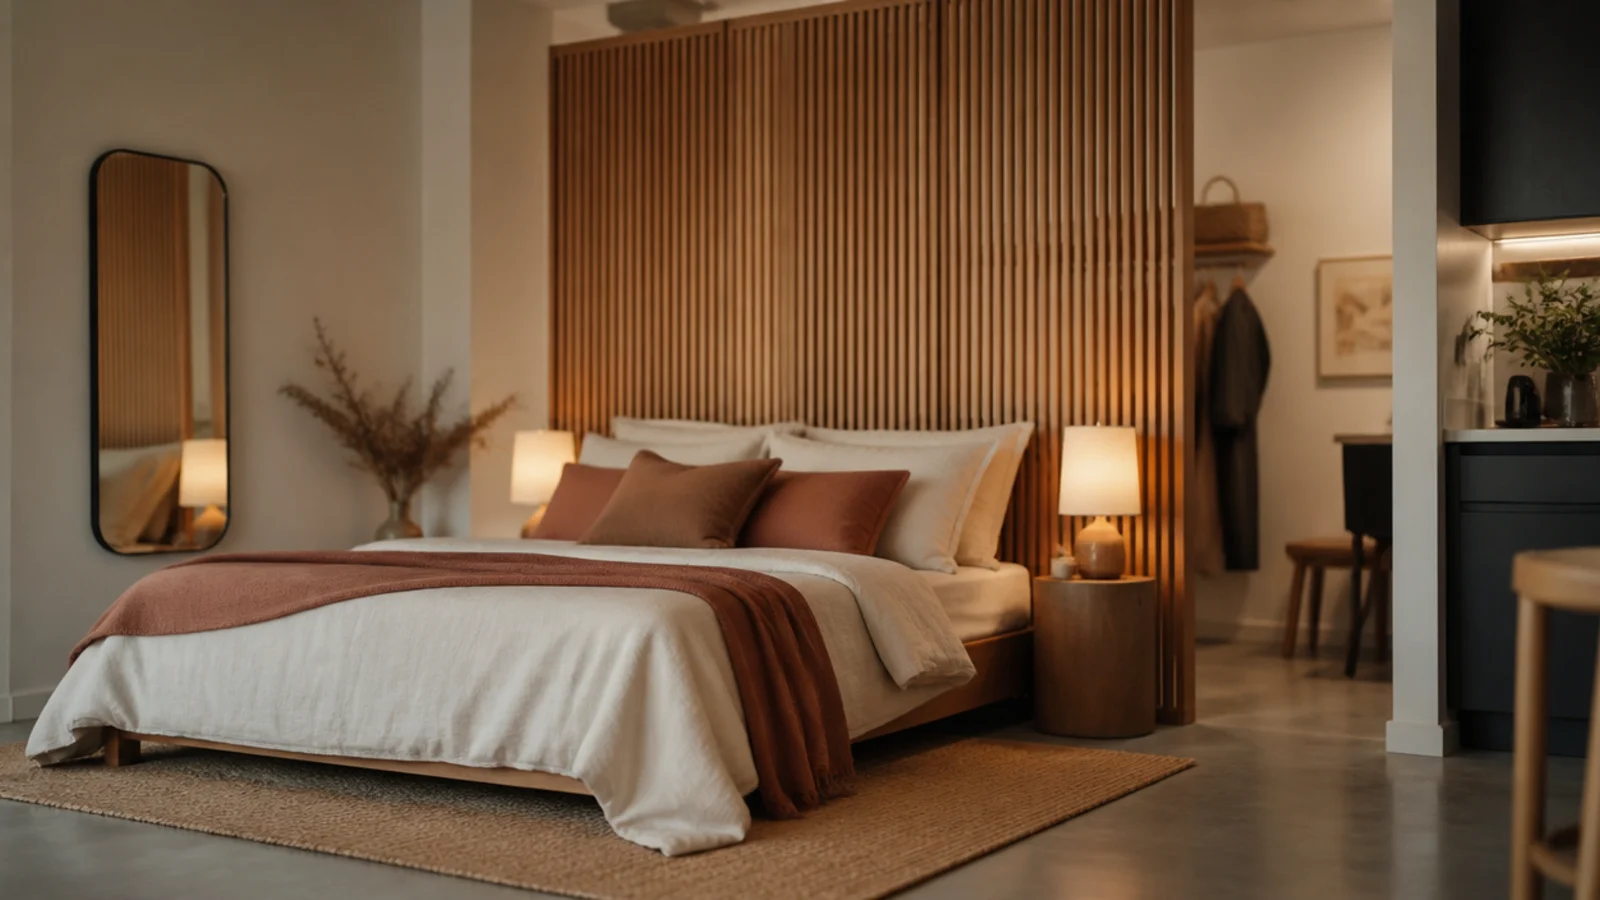
24. A slatted divider for a bed away from the wall
In a studio or a long narrow bedroom, floating the bed off the wall creates a walkway behind it. A freestanding slatted divider becomes the headboard and the room divider at once.
Build it 60 inches tall on a weighted base at least 14 inches deep, and add an anti-tip strap if there are kids around. Slats at 1-inch gaps keep light moving through.
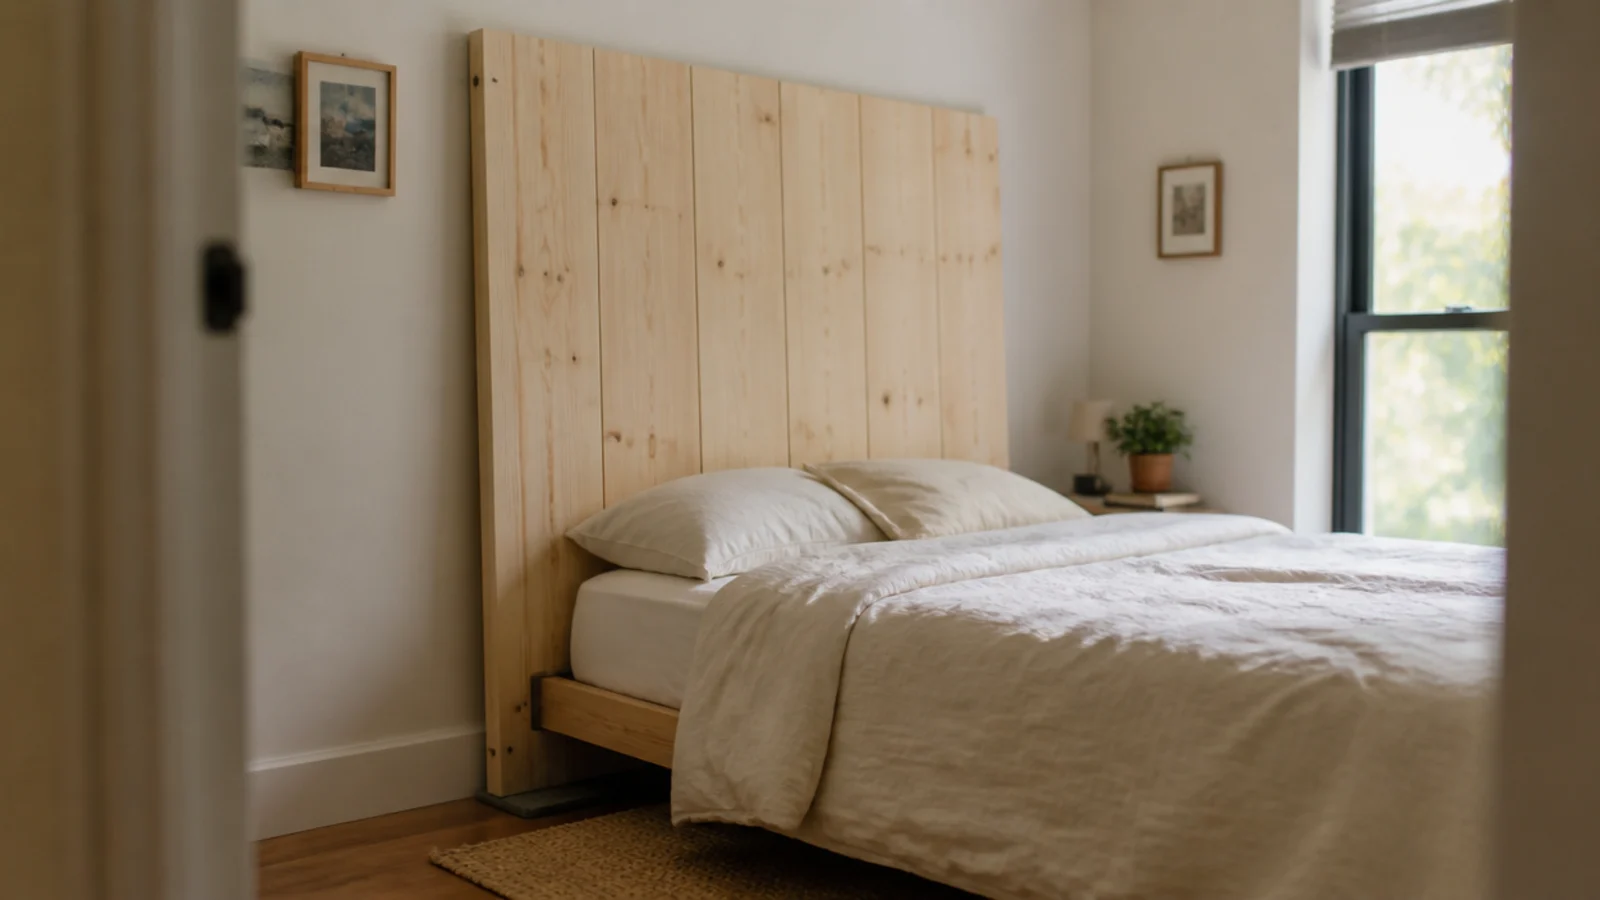
25. A leaning plank panel with no fixings
The zero-hardware option. Joined pine or oak planks, 4 inches taller than a hung panel would be because the bottom sits on the floor, leaned against the wall and pinned in place by the bed.
Felt pads along the top back edge protect the paint, and a lean under 5 degrees keeps it stable. Around $60, no holes, and it walks out with you. Add a reading light and a stack of books beside it and the corner is finished.
Mistakes to Skip
- Joining reclaimed boards edge to edge with no backer. Old timber twists as humidity changes, and by spring the panel has gaps you cannot close.
- Spacing slats by eye. Uneven gaps are the first thing anyone notices, and a spacer block cut from scrap fixes it in seconds.
- Leaving pallet or picket wood under-sanded. Rough stock at shoulder height snags bedding and skin, and no finish hides a splintery edge.
Frequently asked questions
What wood is best for a headboard?
White oak and poplar are the reliable choices. Oak takes stain evenly, resists dents and holds a straight edge across a queen span. Poplar is cheaper and paints beautifully but blotches under stain unless you condition it first. Pine works for painted or heavily distressed finishes and costs about half as much, though it marks easily behind pillows.
How wide should a wood headboard be?
Match the mattress width or add up to 4 inches on each side. Mattress widths are fixed at twin 38 inches, full 54, queen 60 and king 76, so a queen panel lands between 60 and 68 inches. In a small bedroom, stay at the mattress width exactly, because every extra inch of timber makes the wall read heavier than it is.
What gap should I leave between headboard slats?
Three-quarters of an inch to 1 inch between slats reads as designed. Anything under a half inch looks like a solid panel with lines scratched into it, and anything over an inch and a half starts to feel like fencing. Keep the gaps identical to the sixteenth of an inch, since uneven spacing is the first thing the eye finds.
Can you use reclaimed wood for a headboard?
Yes, with two precautions. Seal reclaimed boards on all faces with a clear water-based finish so old dust and residue stay put behind your pillows, and check for lead paint on anything painted before 1978. Screw the boards to a plywood backer rather than joining them edge to edge, which keeps the panel flat as the old timber moves.
How do you hang a wood headboard without damaging a rental wall?
Use a French cleat into two studs, which leaves four filled screw holes rather than a bolted frame and a scuffed wall. Or skip fixings entirely: a plank panel leaning against the wall and held upright by the bed pushed against it needs no hardware at all, just felt pads along the back edge to protect the paint.
Pick the version that matches how much sanding you are honestly willing to do — that single answer eliminates half this list. For the full construction sequence, the step-by-step headboard build covers cleats, cuts and finishes in order, and cheap headboard ideas collects the versions that land under $60. Save the pin so the slat gaps and board widths are with you at the lumber counter.
Want more like this? Browse all 15 headboard ideas guides — they all use the same measurements and budget tiers.
Pin it for later
Save this to your Headboard Ideas board
Pin it now so it is waiting for you when the tape measure comes out — and so the next person hunting for this idea can find it too.
Save this pinKeep going
More ideas worth saving while you have the tape measure out.