Headboard Ideas · Listicle
25 Dreamy Headboard Ideas for Any Home

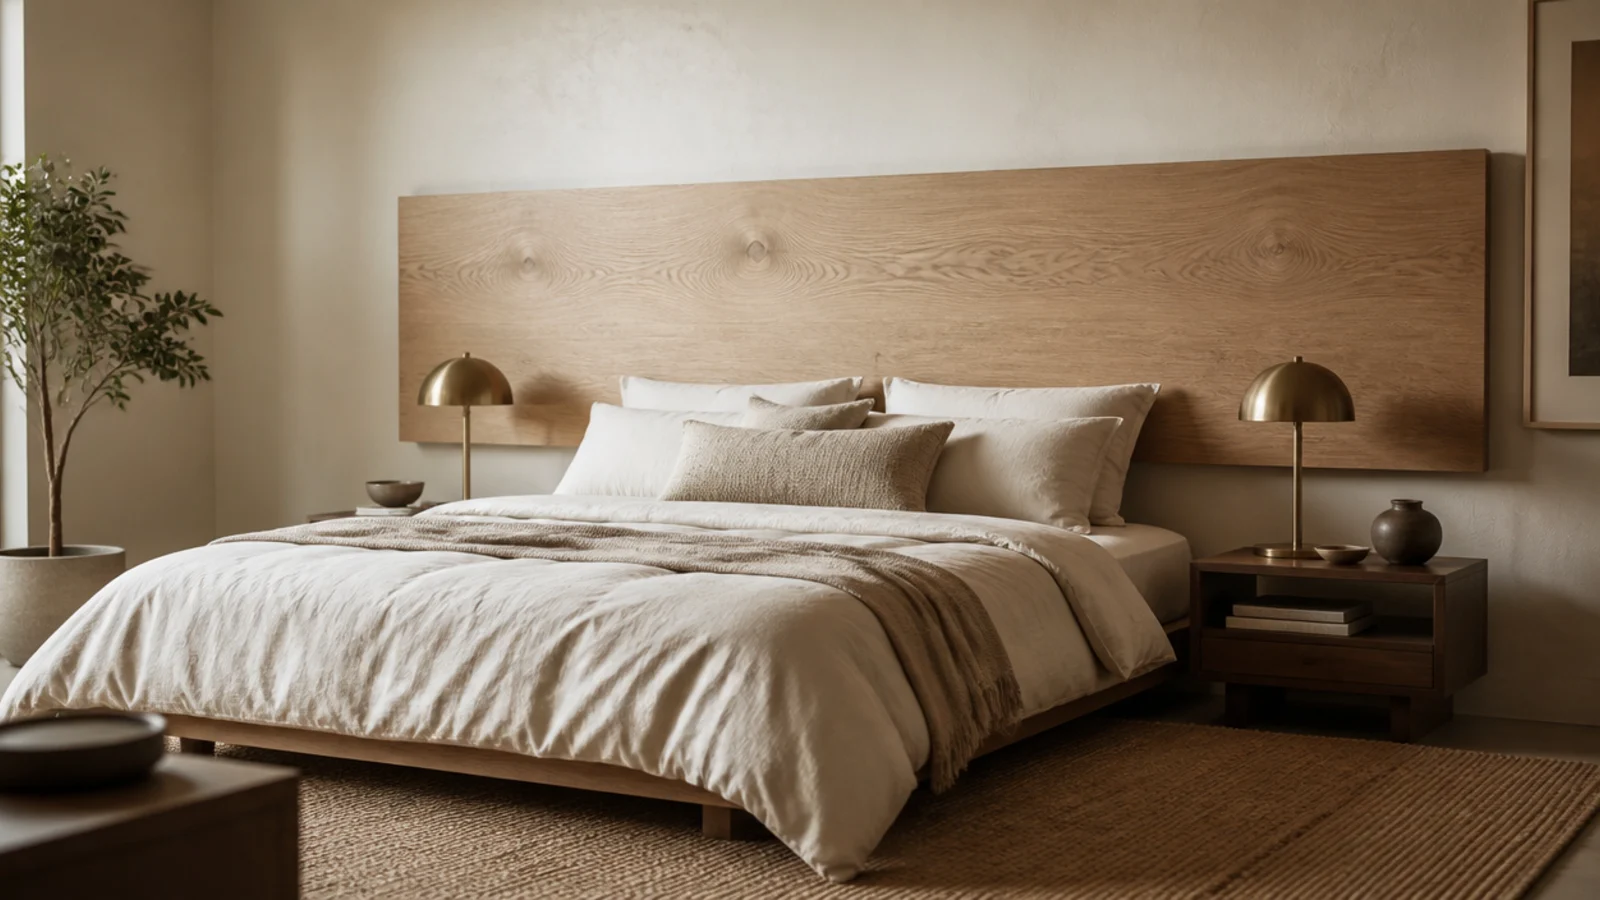
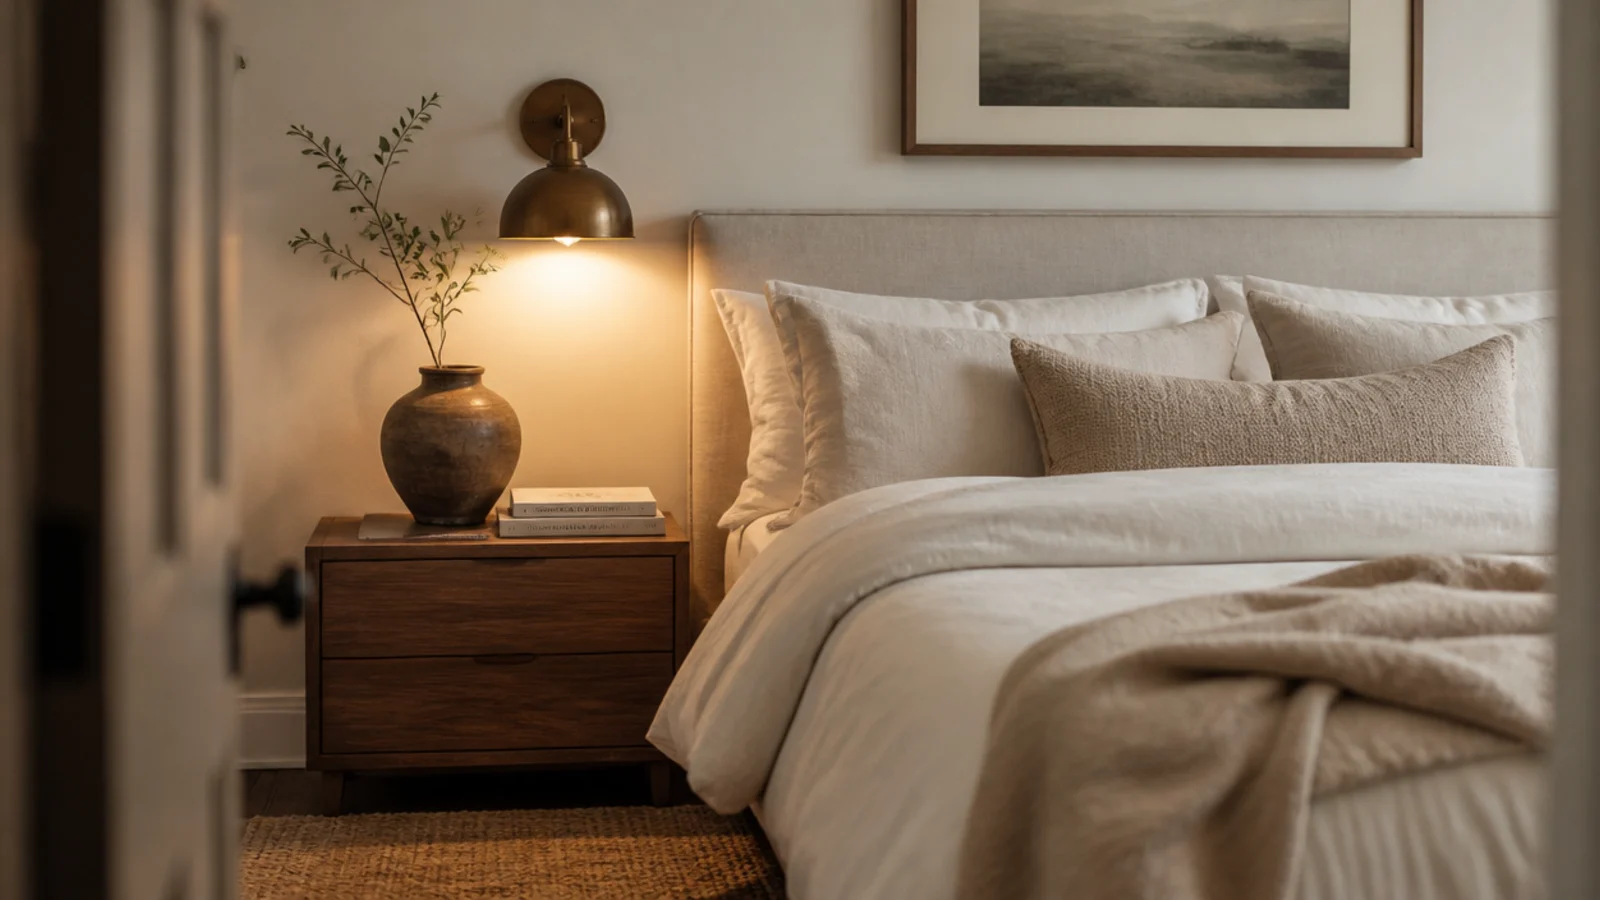
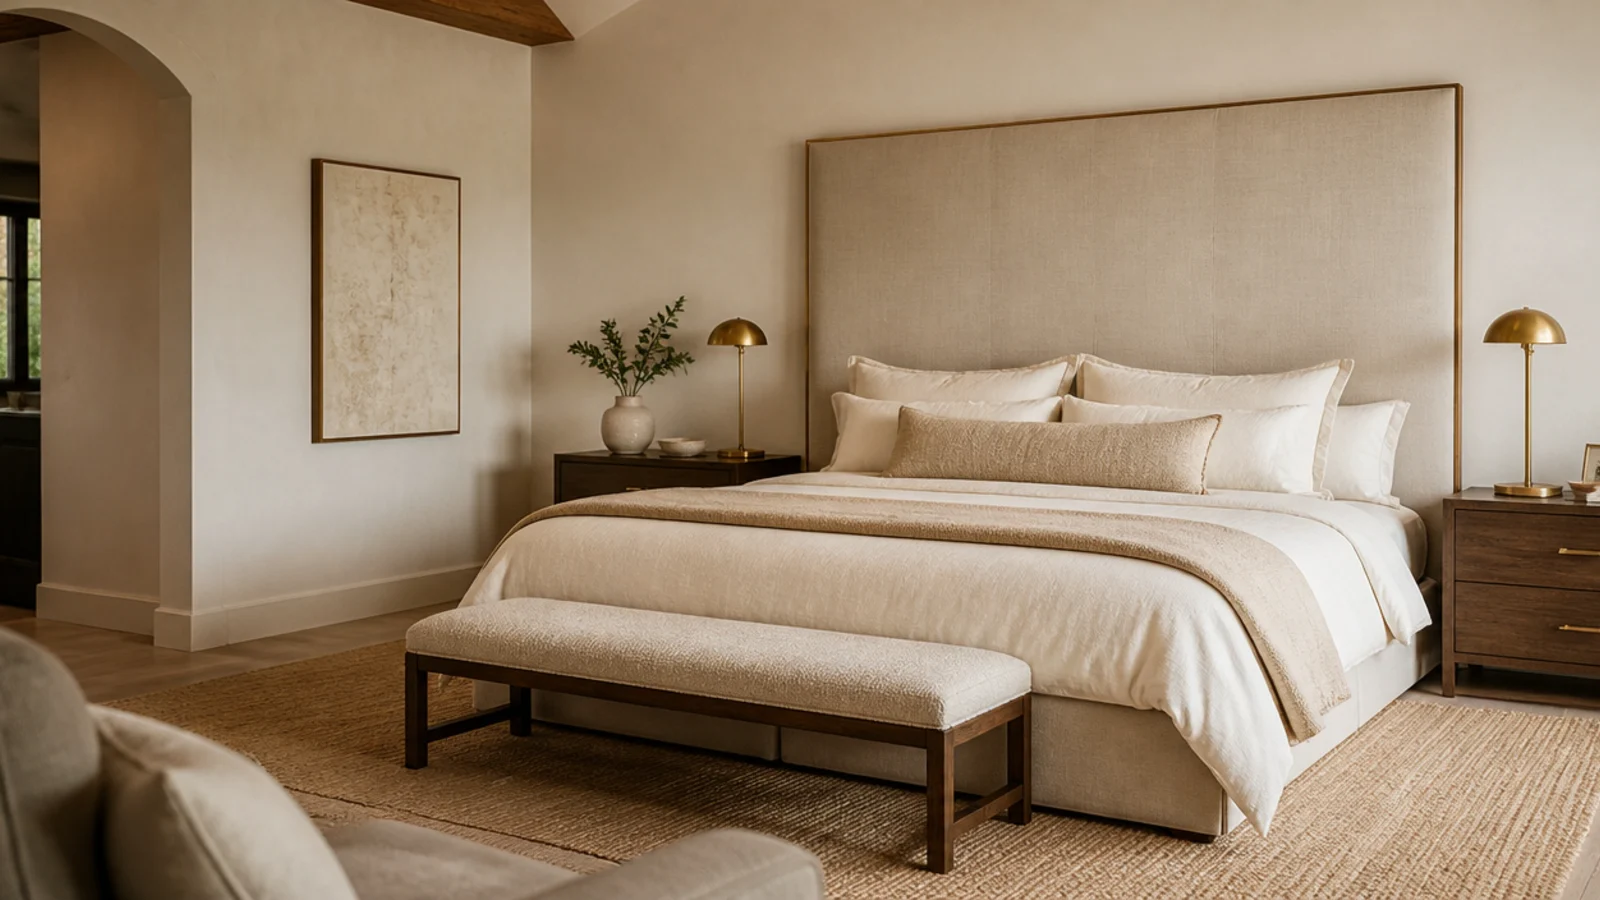
Floating headboard ideas fix two problems at once: the bed gets a proper back, and the floor underneath stays completely clear. Every version here hangs on the wall rather than bolting to a frame, which means you can vacuum under it, move the bed six inches without dismantling anything, and take the whole panel down in one motion. Twenty-five of them, sized and mounted for real bedrooms.
In this guide27 sections — tap to openHide
- 1.Why floating headboard ideas suit small bedrooms
- 2.A single floating oak slab
- 3.An upholstered panel with a shadow gap
- 4.Three floating panels with gaps between
- 5.A panel that runs past the nightstands
- 6.A floating ledge instead of a panel
- 7.A backlit floating panel
- 8.A floating cane panel in a slim frame
- 9.Two slim slabs stacked with a gap
- 10.A panel with built-in reading lights
- 11.A compact panel cut to twin width
- 12.A cushion hung on leather straps
- 13.A floating slat panel over a dark backer
- 14.An arch cut from plywood
- 15.A panel with a hidden cable channel
- 16.A floating panel above a radiator
- 17.A panel that wraps a corner
- 18.A picture light above the panel
- 19.A low floating panel in a kids room
- 20.One long panel behind two guest beds
- 21.A headboard hung from a rod on straps
- 22.A panel on a half-height divider wall
- 23.Rounded corners on a soft panel
- 24.A panel painted the wall color
- 25.A bolster strapped across the panel
- 26.A wide low panel under a sloped ceiling
- 27.Mistakes to Skip
Why floating headboard ideas suit small bedrooms
Wall-hung panels win in tight rooms for a reason that has nothing to do with style. Your eye reads visible floor as room size, so removing legs and a bulky frame opens the space more than the panel itself fills it.
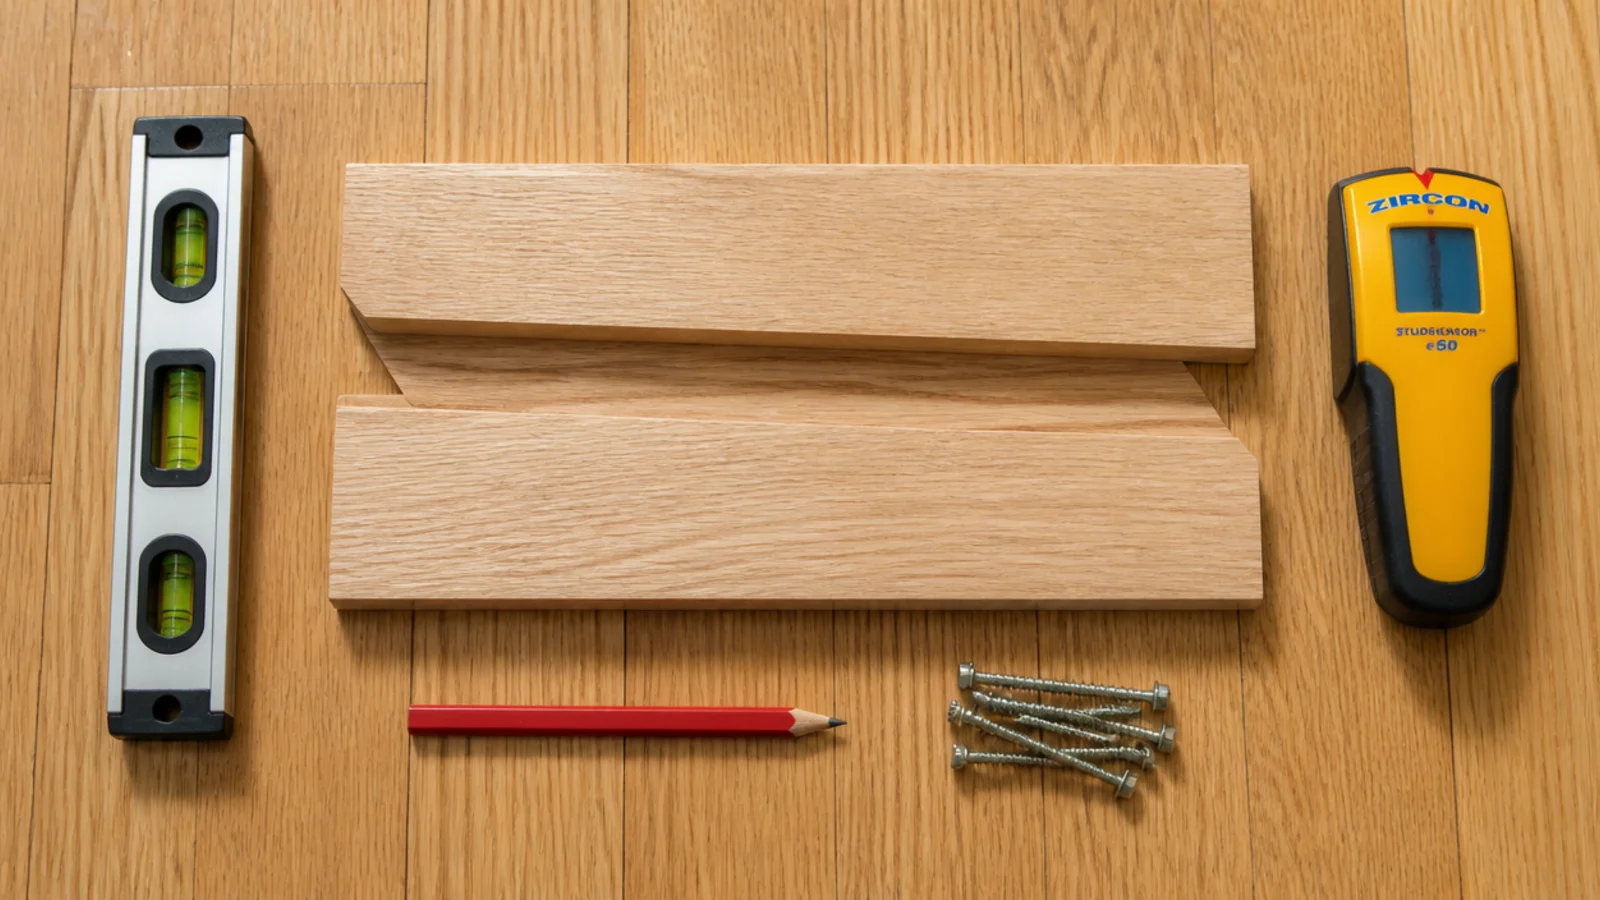
The mounting is one system, used over and over: a french cleat. Two strips ripped at 45 degrees, one screwed to the wall and one to the back of the panel, interlocking so gravity pulls everything tight. Run the wall cleat into studs with structural screws — a headboard takes lateral load every single night as people sit back against it, and that steady nudging works drywall anchors loose within months.
Heights are unchanged from any other headboard. Low profile finishes 24 to 28 inches above the mattress top; a statement panel runs 40 to 50 inches. Set the bottom edge 2 to 4 inches above the mattress so bedding tucks behind it.
Widths match the mattress or extend up to 4 inches past it on each side. Twin is 38 inches, full 54, queen 60, king 76.
Budget tiers: $ under $50 for painted plywood and thrifted boards, $$ $50 to $150 for cane, slats and foam-backed panels, $$$ $150 and up for hardwood slabs or a full upholstered build.
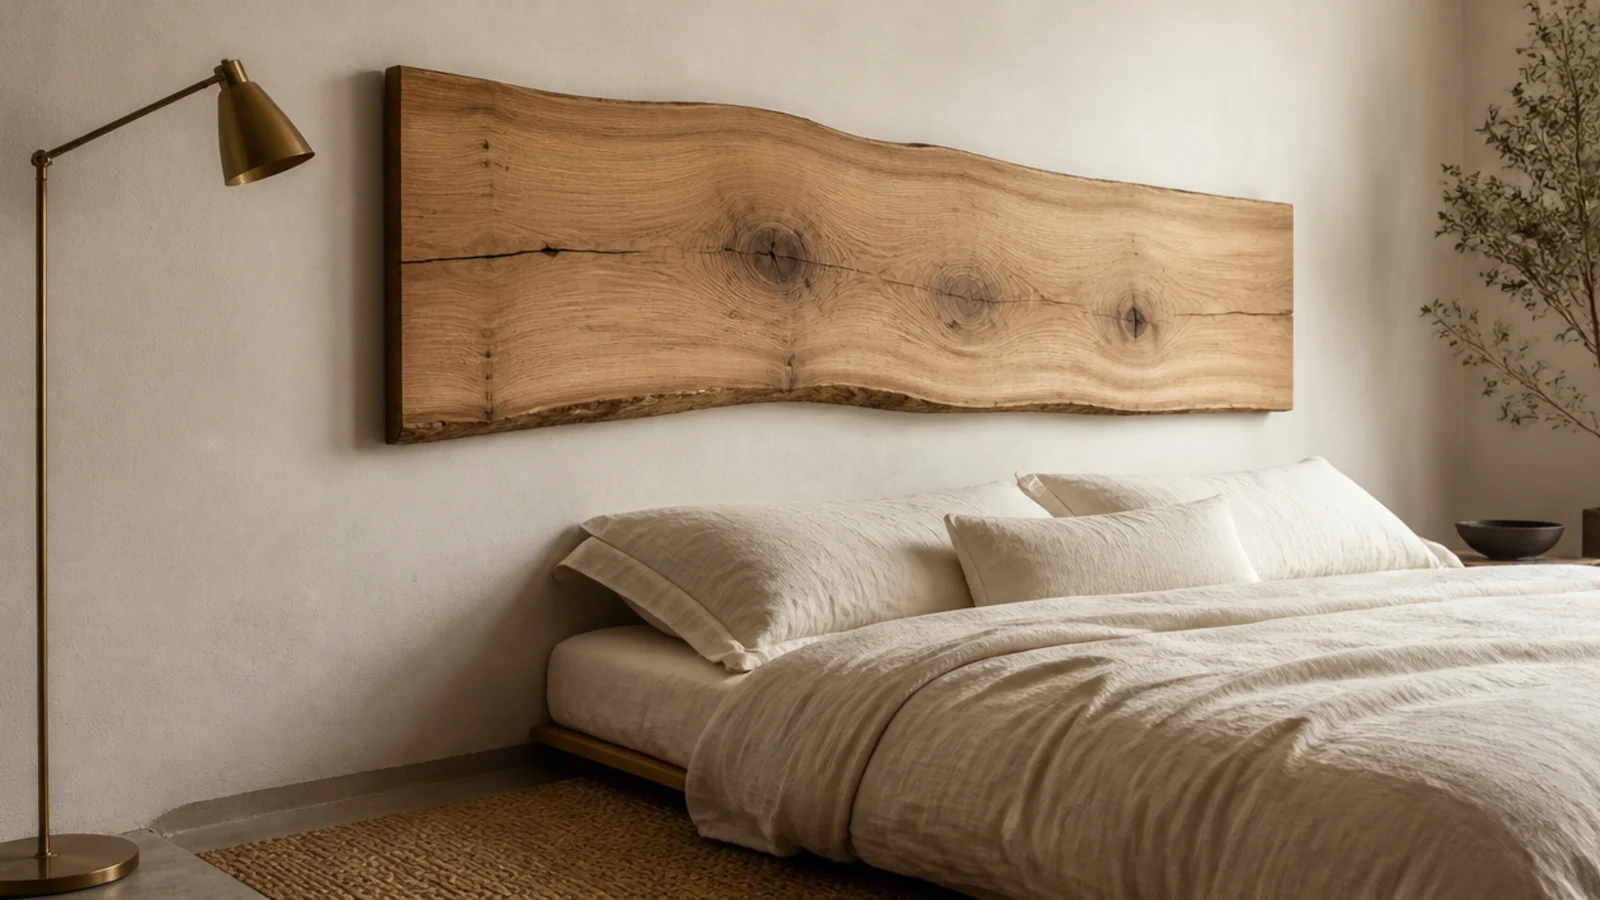
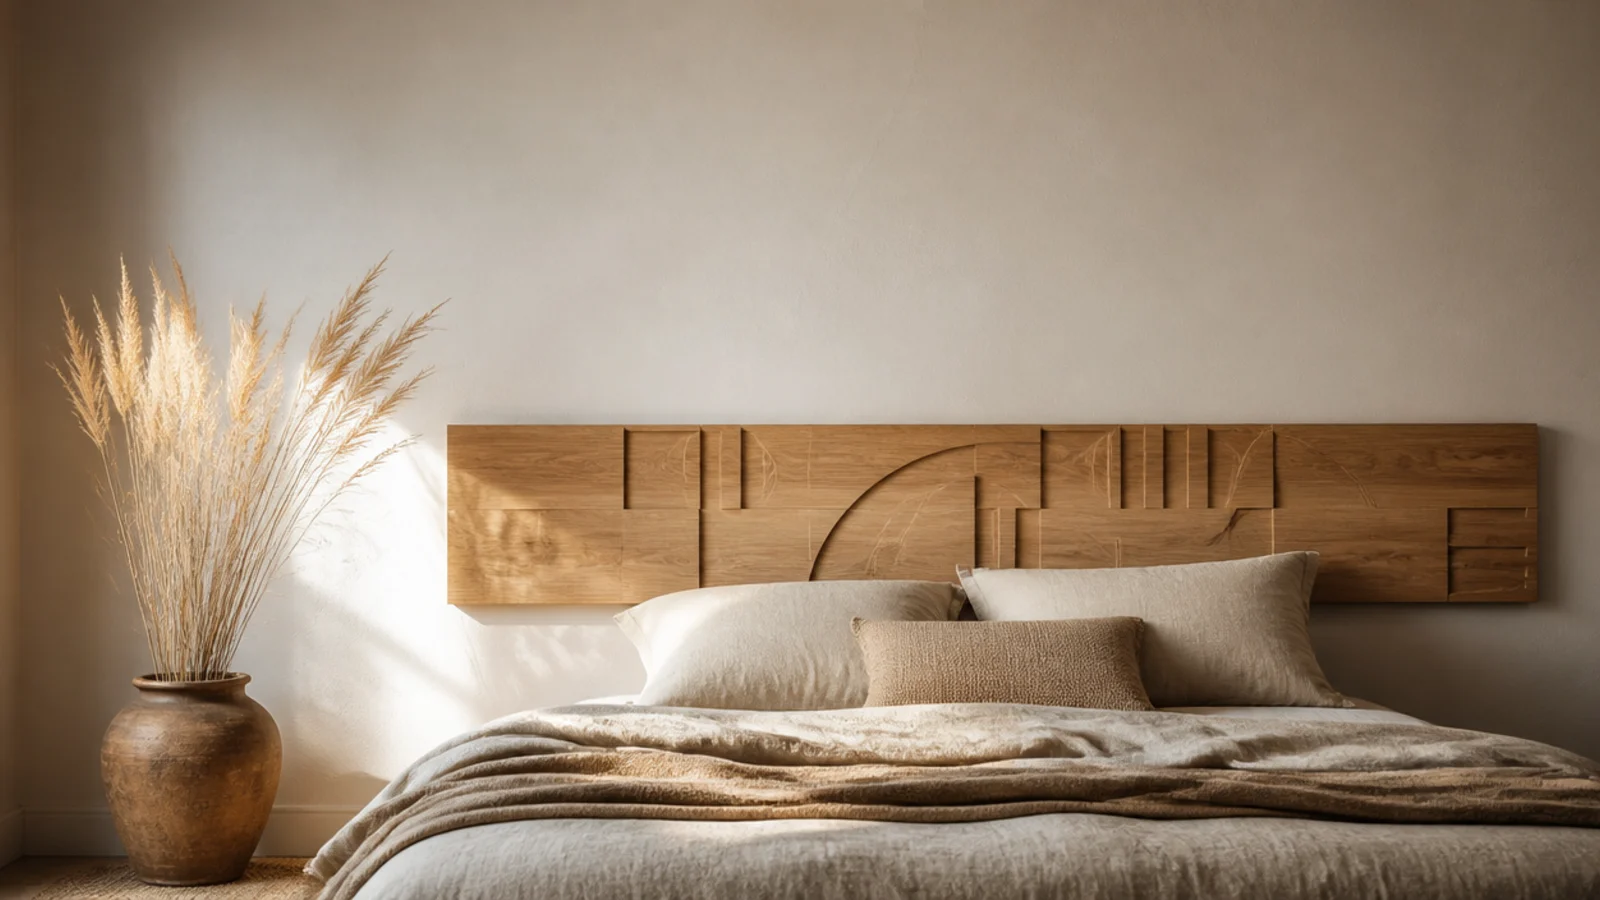
1. A single floating oak slab
The purest version. One slab of white oak or walnut, roughly 2 inches thick, cut to mattress width and hung on a cleat routed into its back.
The whole effect comes from the shadow beneath it, so keep the panel at least an inch off the wall. Slab stock runs $200 to $500 ($$$). It shows every measurement error, which is why the cutting matters more than the finishing here.
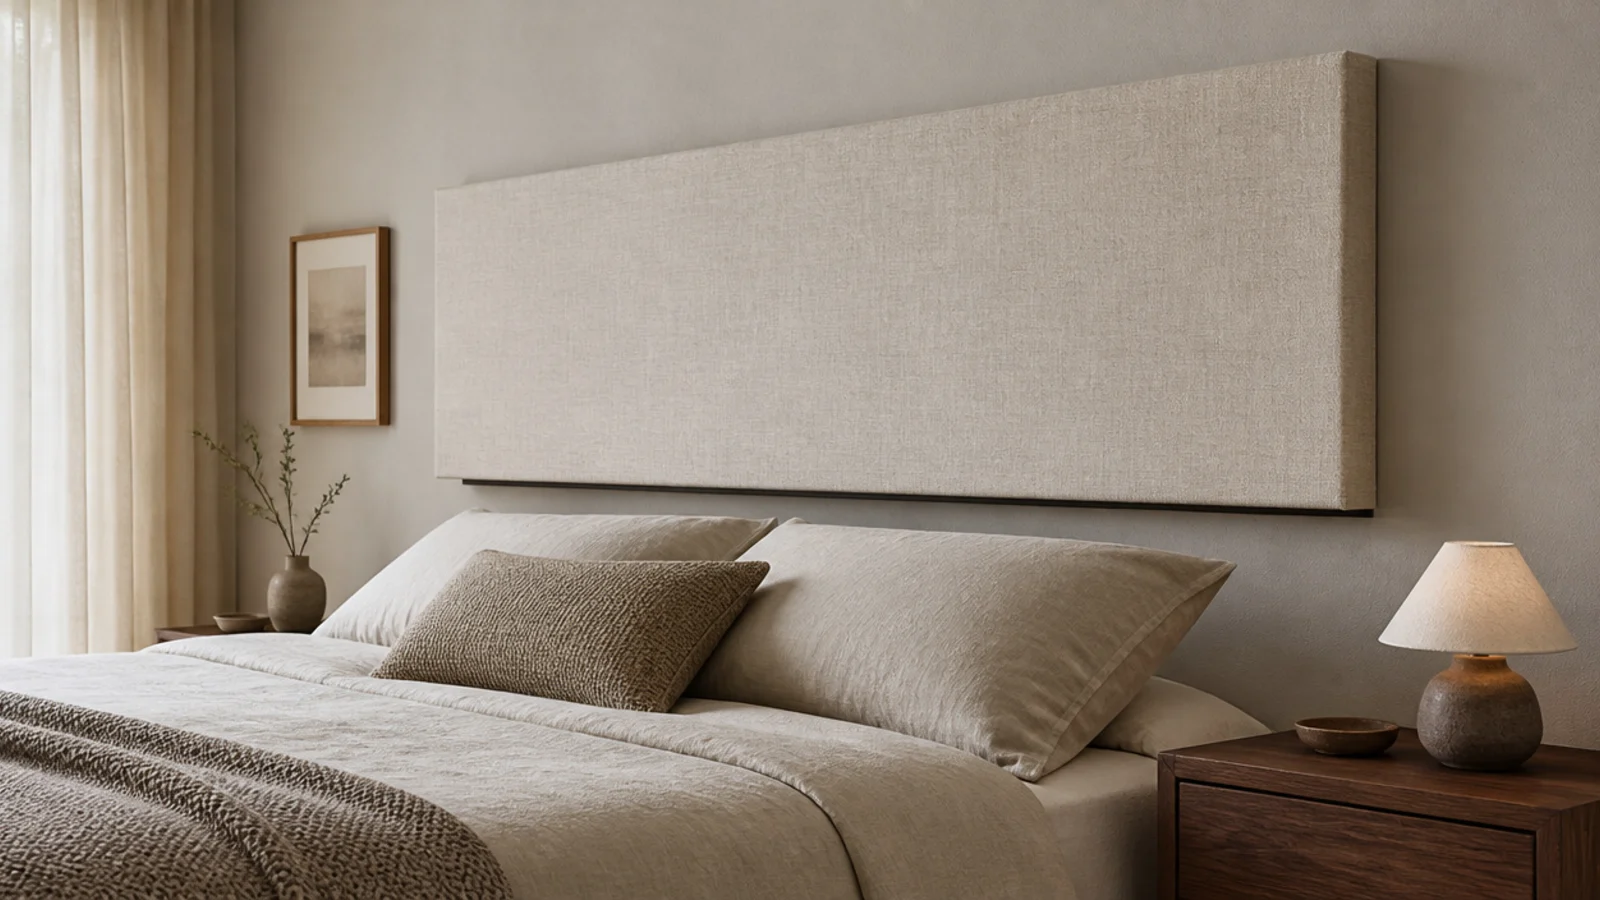
2. An upholstered panel with a shadow gap
Build a standard padded panel — plywood, 2 inches of high-density foam, batting, washable linen — then set the cleat back 2 inches from the bottom edge.
That recess throws a dark line under the panel that reads as float rather than fixture. It is a five-minute decision at build time and the single biggest difference between a wall-hung panel and one that looks stuck on. Materials run $90 to $180 ($$).
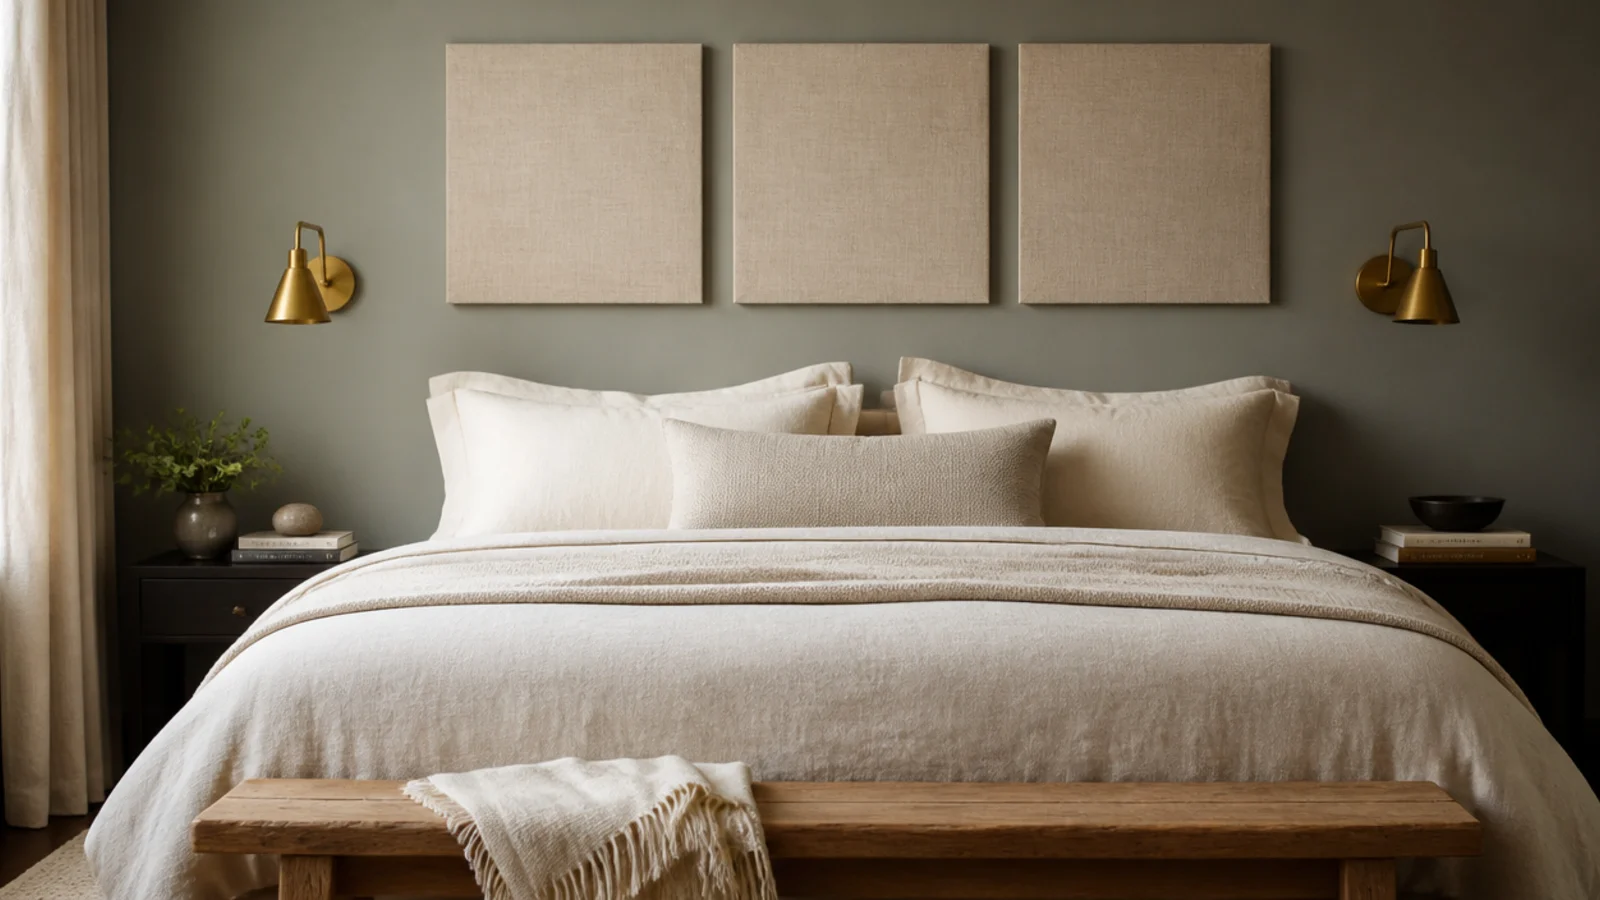
3. Three floating panels with gaps between
Split a king-width headboard into three squares, each about 26 inches wide, hung with 2-inch gaps between them.
Three smaller panels are far easier to carry, lift and level than one 76-inch monster, and each hangs on its own short cleat. The gaps let the wall color through, which keeps a big installation light. Same materials, same cost as one panel, half the swearing.
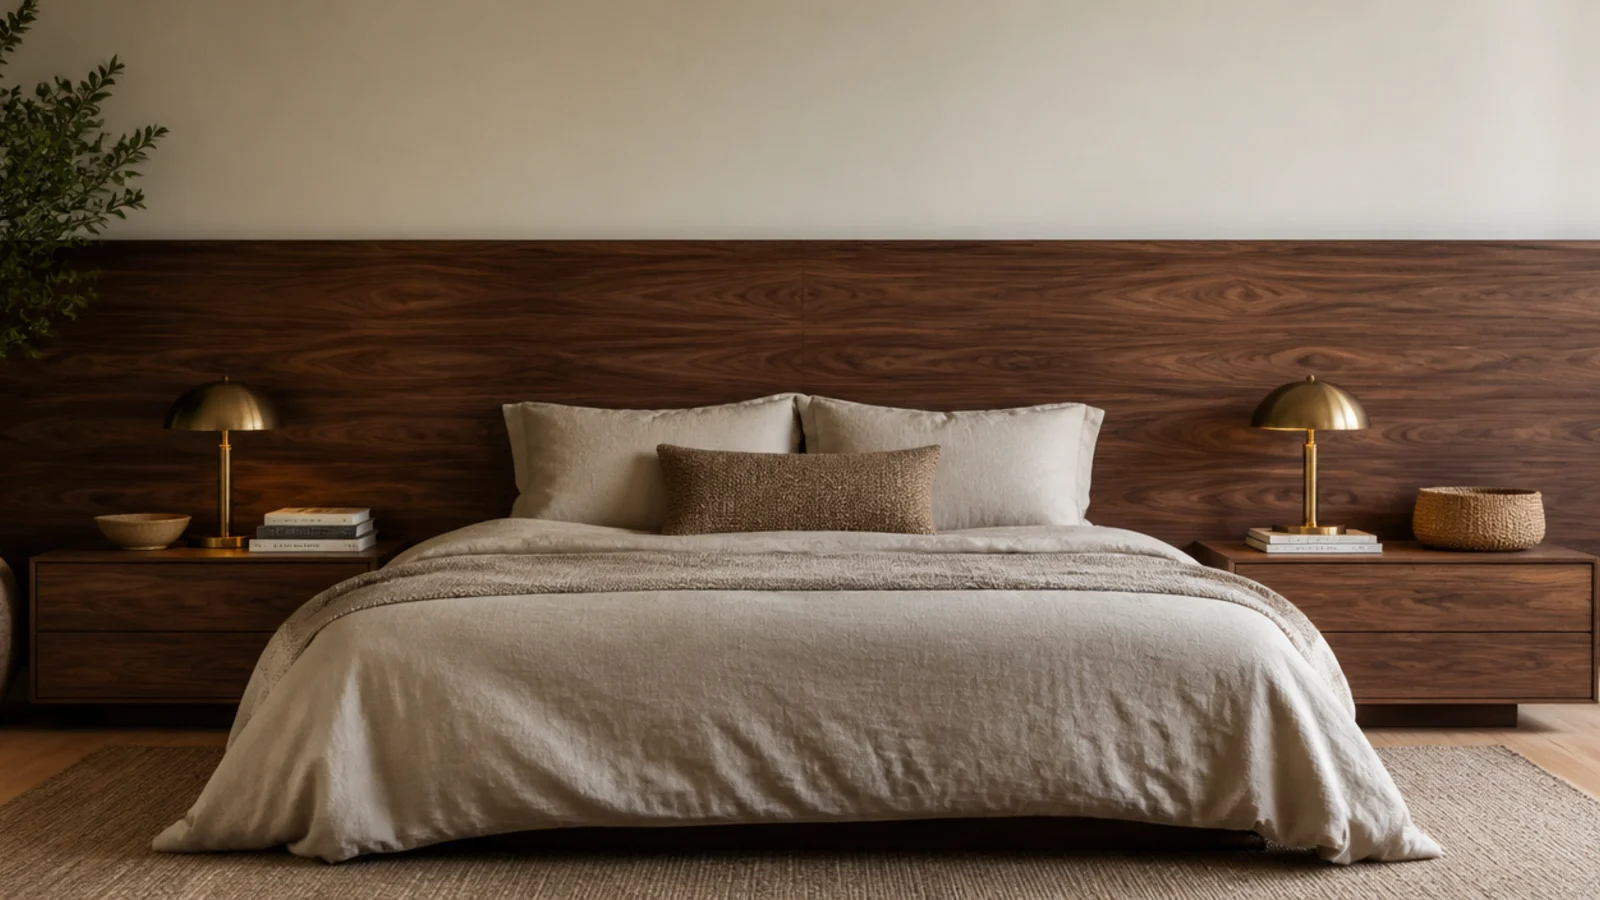
4. A panel that runs past the nightstands
Extend the panel to 84 or 90 inches so it passes behind both bedside tables. The corners of the room stop being three separate objects and become one horizontal line.
Cut it from a single sheet of plywood where you can, since a seam behind a nightstand still telegraphs through fabric. Materials at that width land near $150 to $250 ($$$). It suits a wide wall with no window competing.
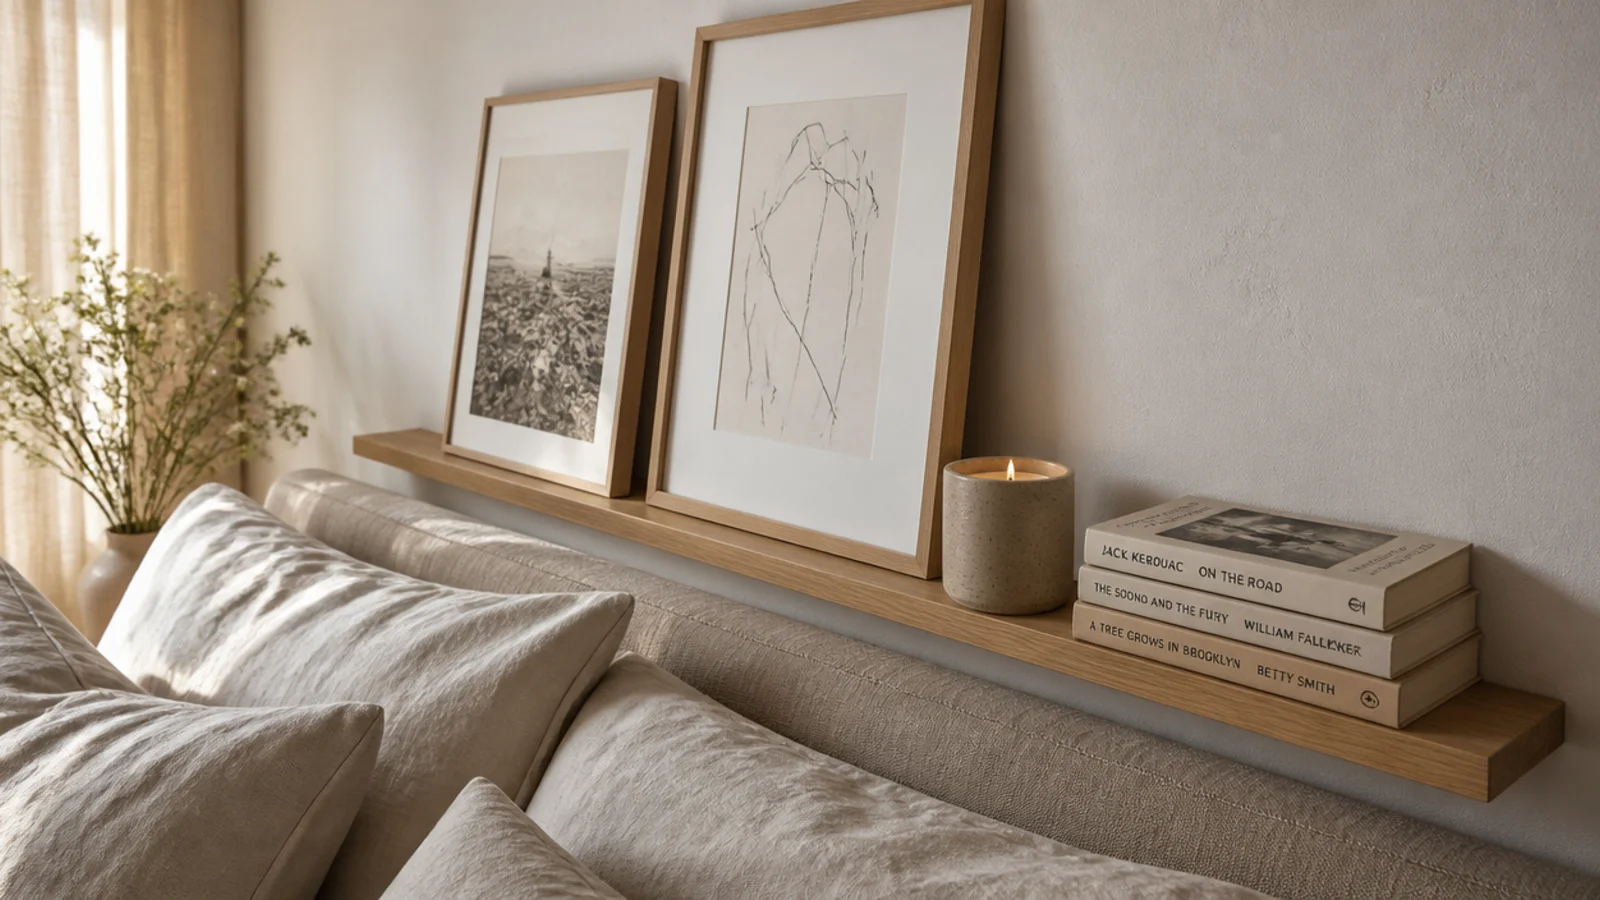
5. A floating ledge instead of a panel
The minimum viable floating headboard is one 4-inch ledge, mounted 26 inches above the mattress top, holding two leaning prints and a candle.
Keep the depth under 4 inches so nobody knocks their head sitting up, and add a small front lip. It costs $20 to $45 ($), takes two screws into studs, and gives the bed a defined top edge for less than a takeaway.
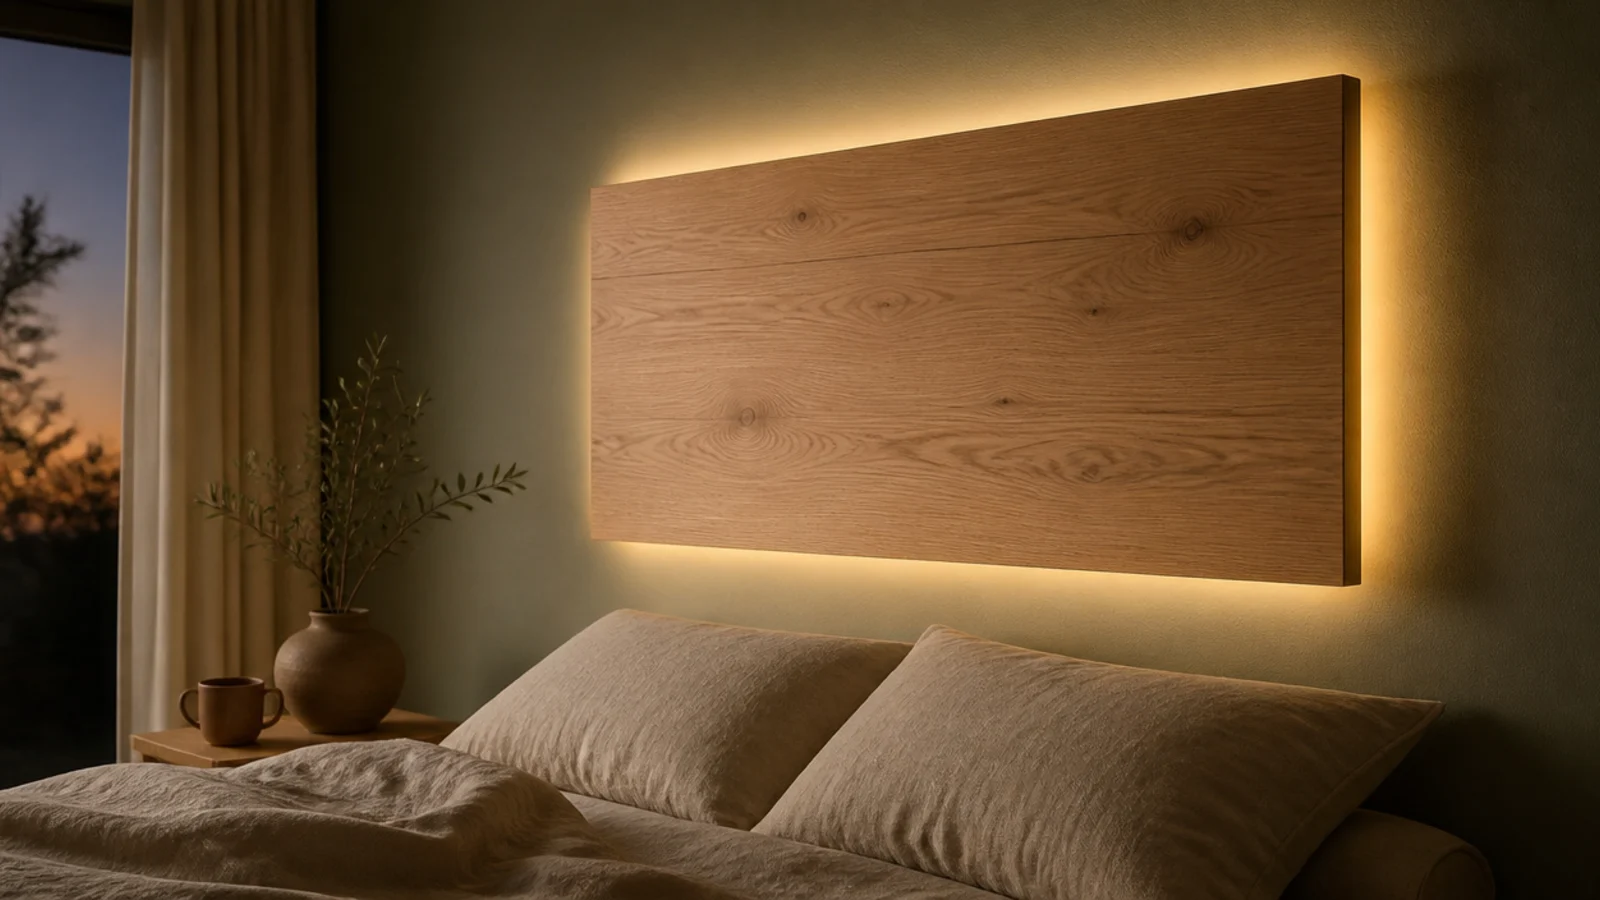
6. A backlit floating panel
Run warm LED tape around the back edge of a cleated panel and the whole thing glows against the wall at night.
Use 2700K tape only. Cool white behind a bed makes even a beautiful oak panel read grey and clinical. Tape, a dimmer and a plug-in driver run $30 to $70 ($$). Keep the tape 2 inches in from the panel edge so you see the halo rather than the diodes.
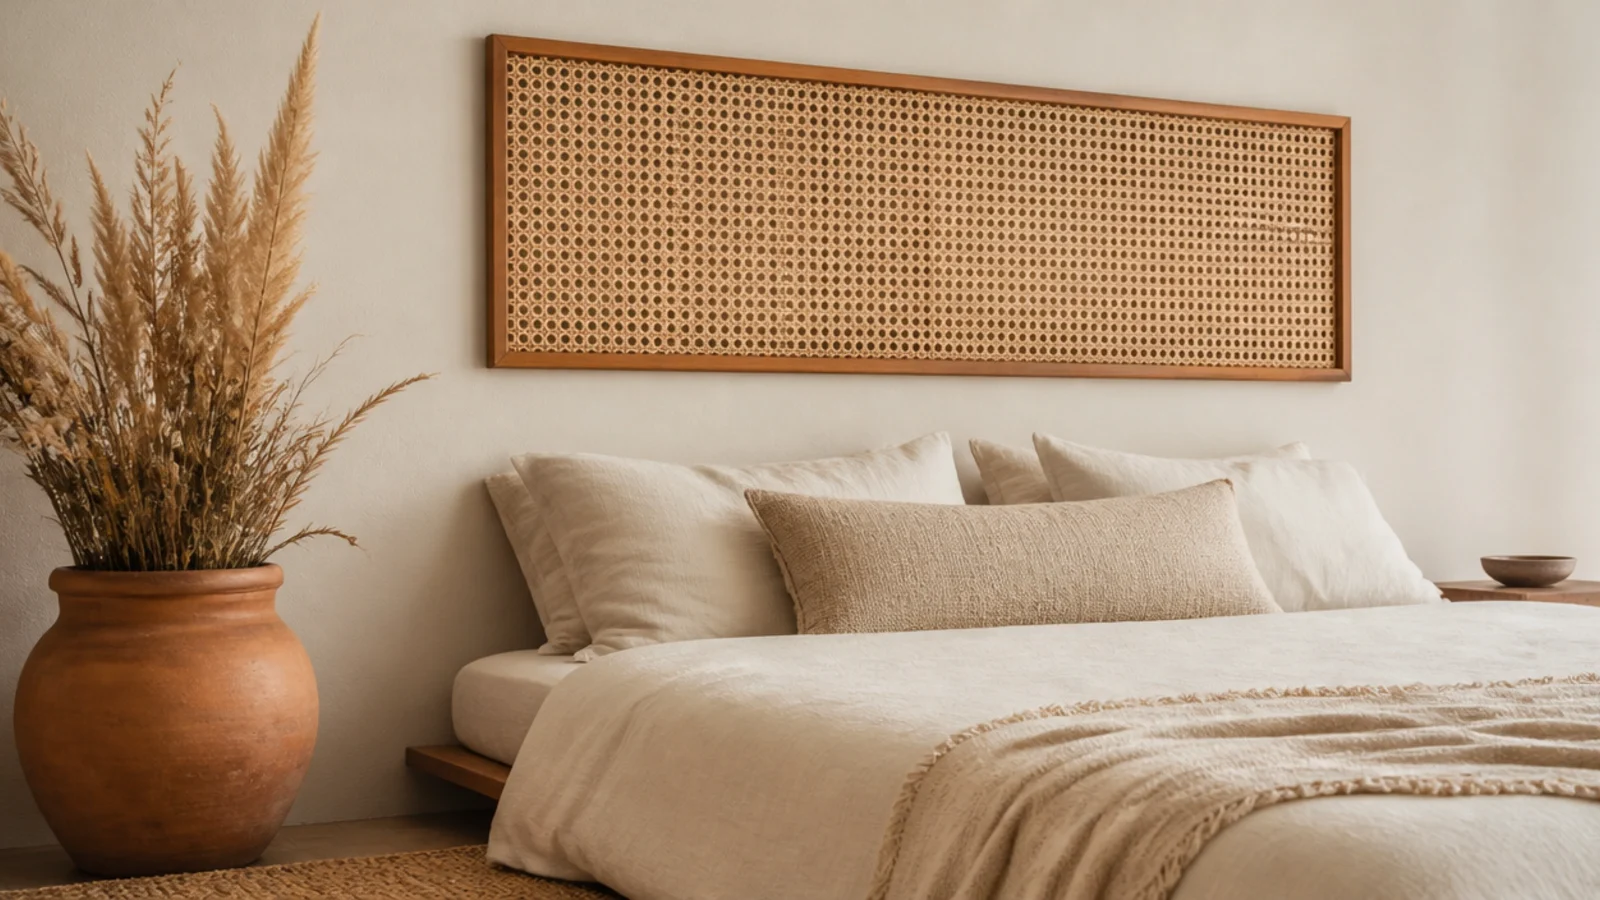
7. A floating cane panel in a slim frame
Cane webbing stretched in a 1.5-inch oak frame weighs under 10 pounds at queen width, which makes it the lightest real headboard you can hang.
One cleat into a single stud carries it comfortably. Stretch pre-woven cane damp and let it dry taut. Ready-made panels run $80 to $130 ($$). More warm-wood versions of this look sit in wood headboard ideas.
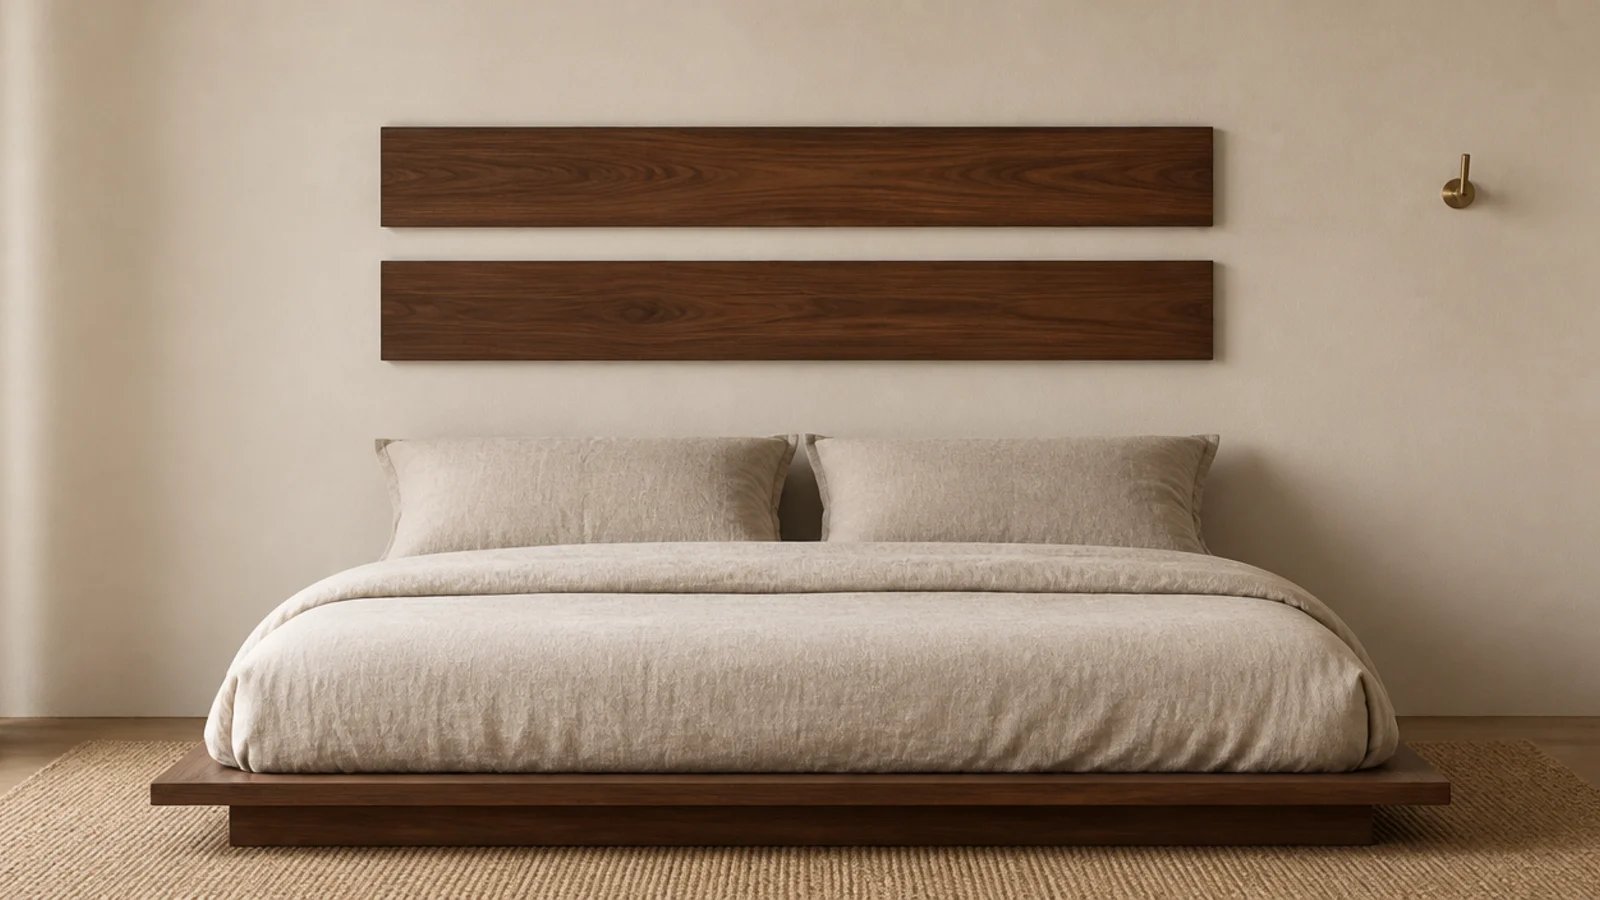
8. Two slim slabs stacked with a gap
Instead of one deep board, hang two narrow ones — say 10 inches each — with a 4-inch gap between them.
The gap breaks up the mass, so the wall reads lighter than a solid panel of the same height. Each board gets its own cleat, and you can level them independently, which is far more forgiving. Two 10-inch oak boards run $80 to $160 ($$).
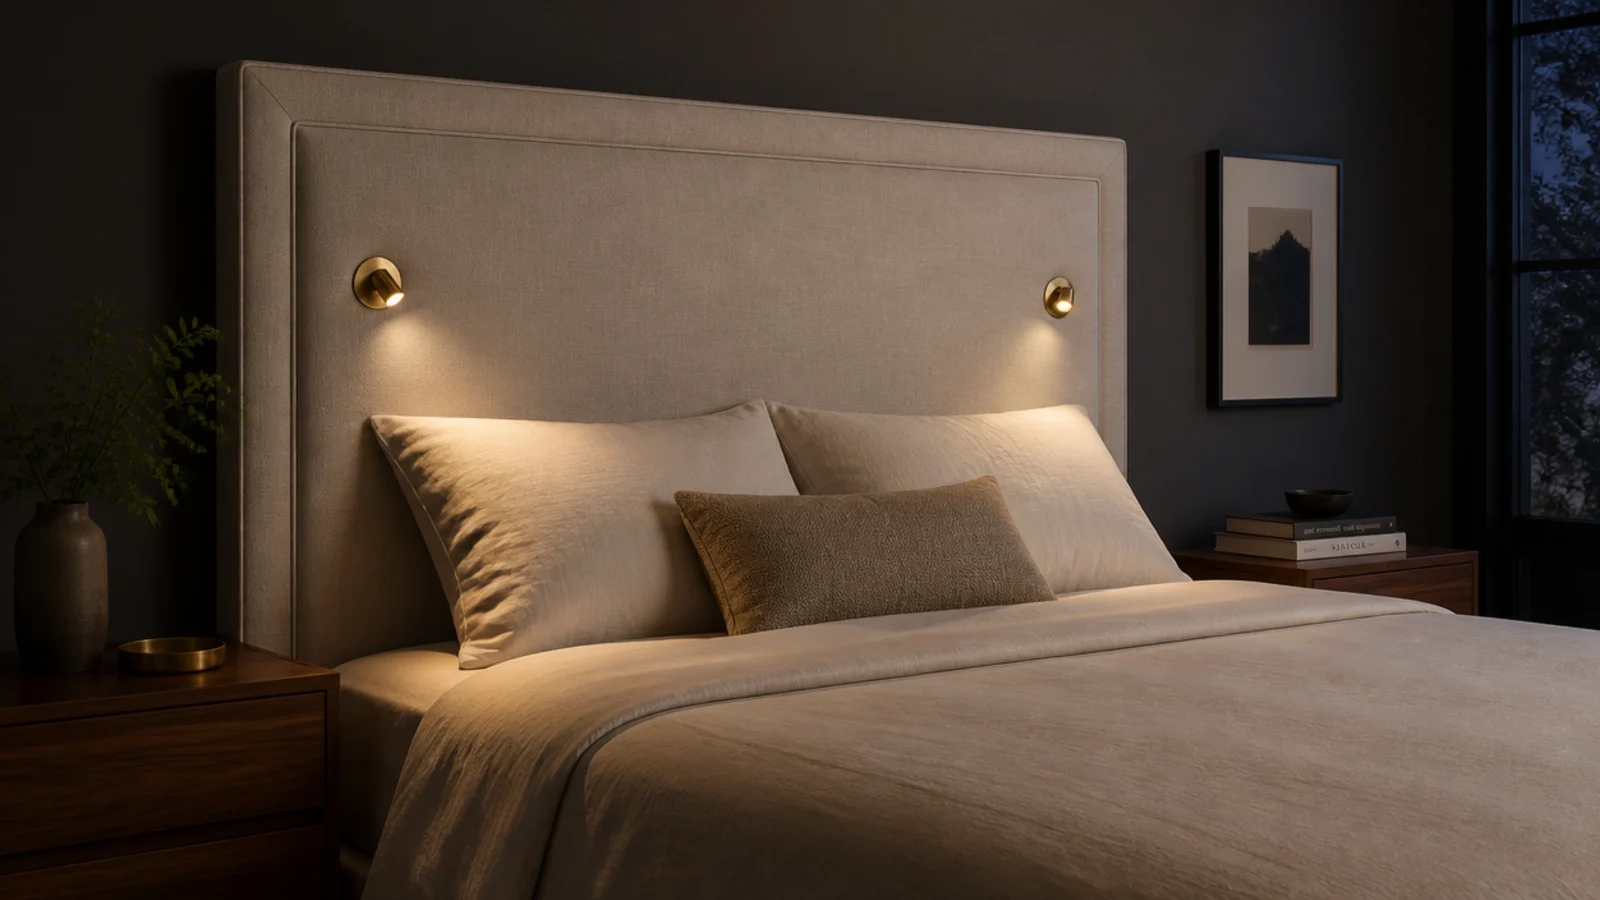
9. A panel with built-in reading lights
Recess two small brass reading lights into the face of an upholstered panel, 24 inches either side of center, at about 40 inches above the mattress.
You clear both nightstands completely and get proper directional light for reading. Plug-in fixtures with a cord channel routed down the back avoid an electrician entirely. Budget $80 to $180 for the pair ($$), and put each on its own switch.
10. A compact panel cut to twin width
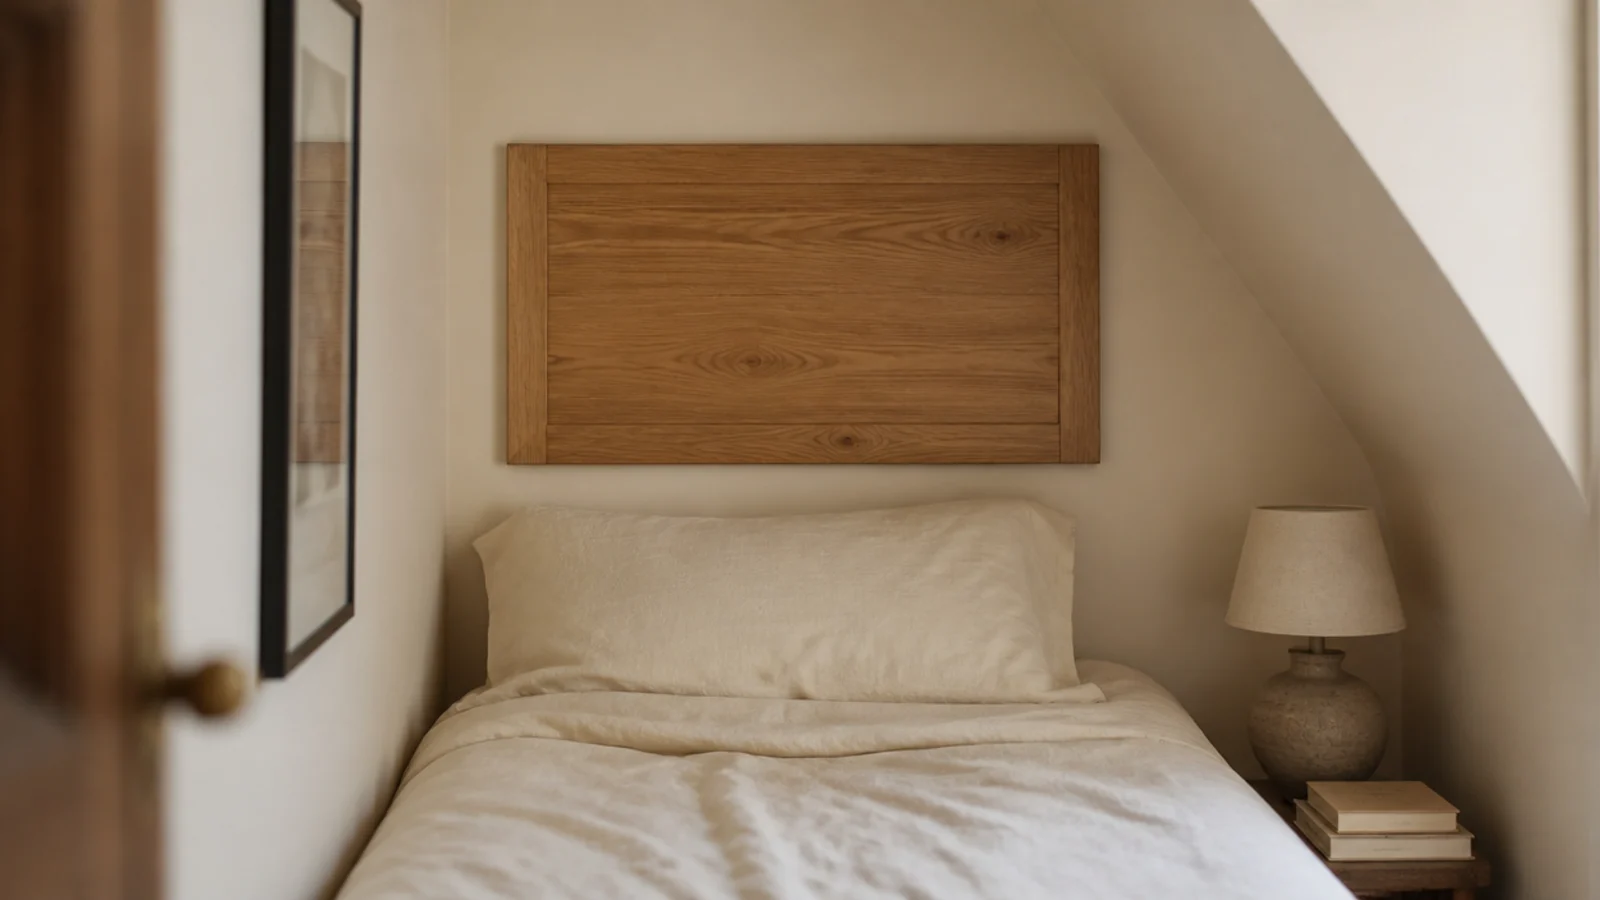
A twin mattress is 38 inches wide, so the panel is 38 inches, or 46 if you want the 4-inch overhang on each side.
Small panels are where cheap materials stop mattering — a single offcut of plywood, half a yard of linen and one cleat is the whole build for under $40 ($). It suits a box room, a bunk or a daybed against a wall.
11. A cushion hung on leather straps
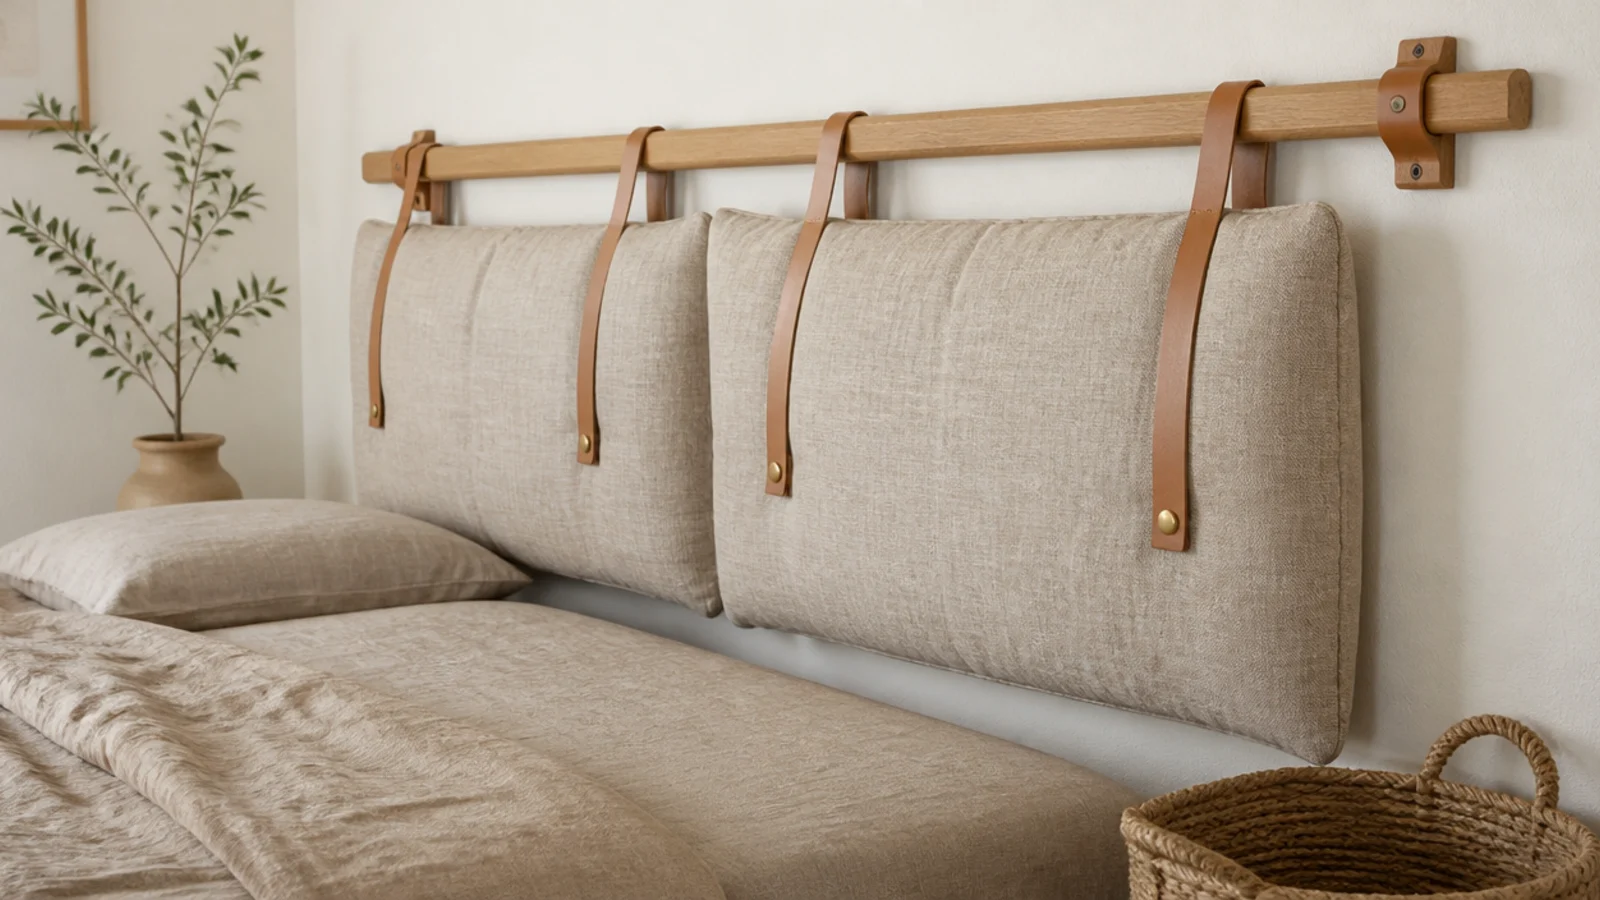
Loop two tan leather straps over a slim oak rail and hang a thick 8-inch linen cushion from them behind the pillows.
Nothing is stapled, so the cover comes off and goes in the wash, which matters more than people expect behind a bed. Straps, rail and a cushion insert run $60 to $120 ($$). Set the rail so the cushion top lands 30 inches above the mattress.
12. A floating slat panel over a dark backer
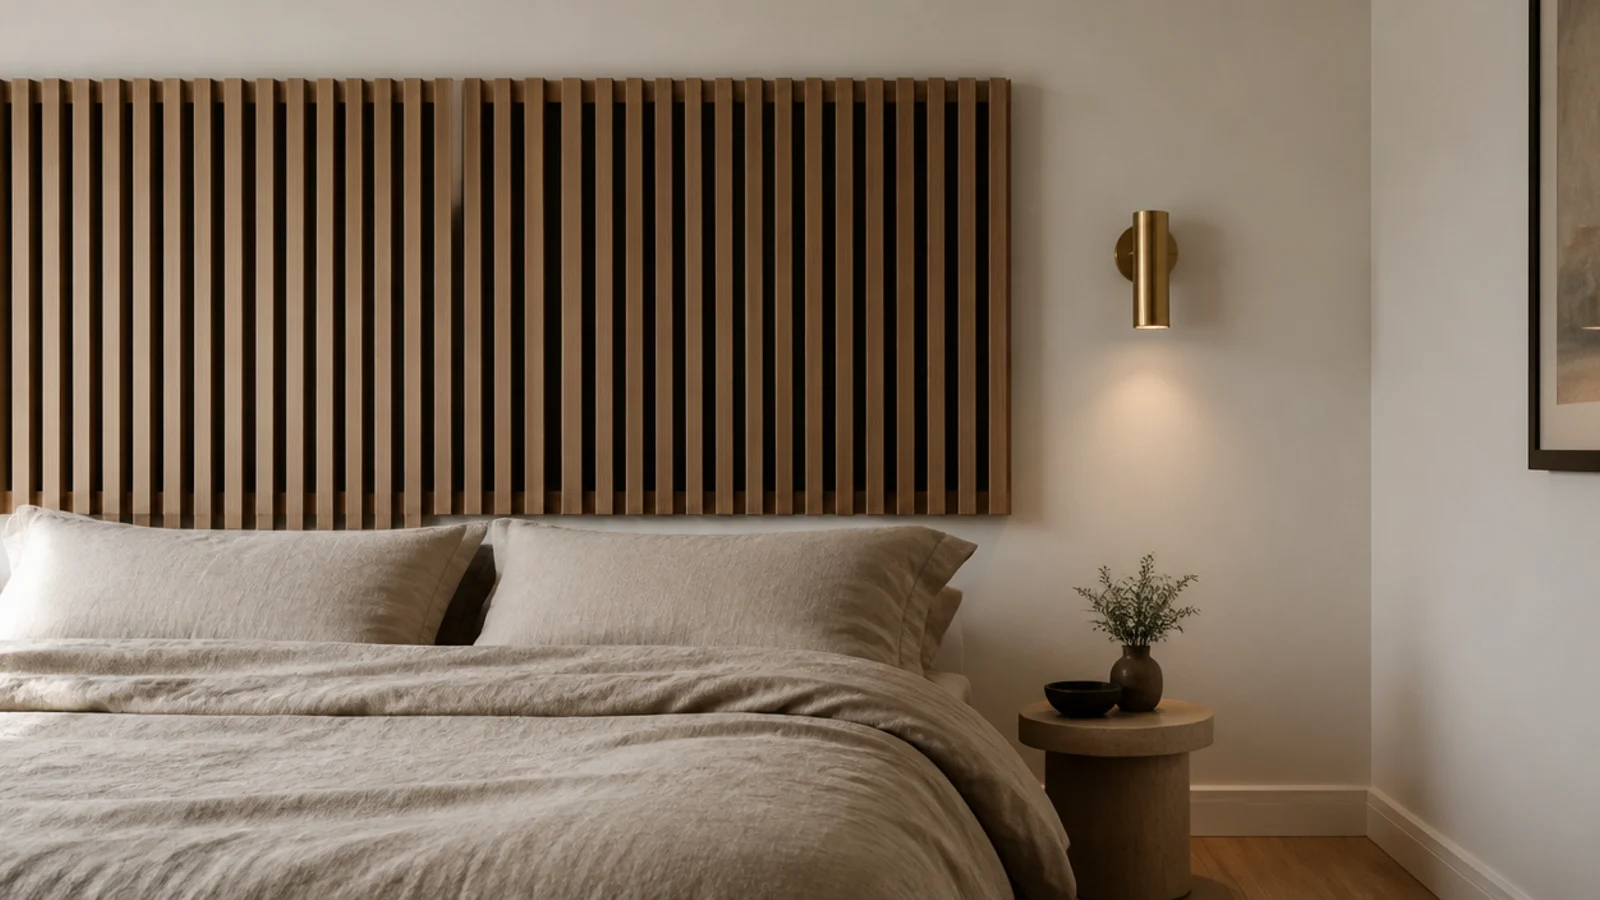
Vertical slats over a backer board painted dark charcoal or deep clay reads far richer than slats over bare drywall, because the gaps become shadow instead of wall.
Use 1 by 2 stock with a 1-inch space, glued and pinned to the backer, then hang the whole assembly on one cleat. Materials for a queen-width panel run $70 to $140 ($$).
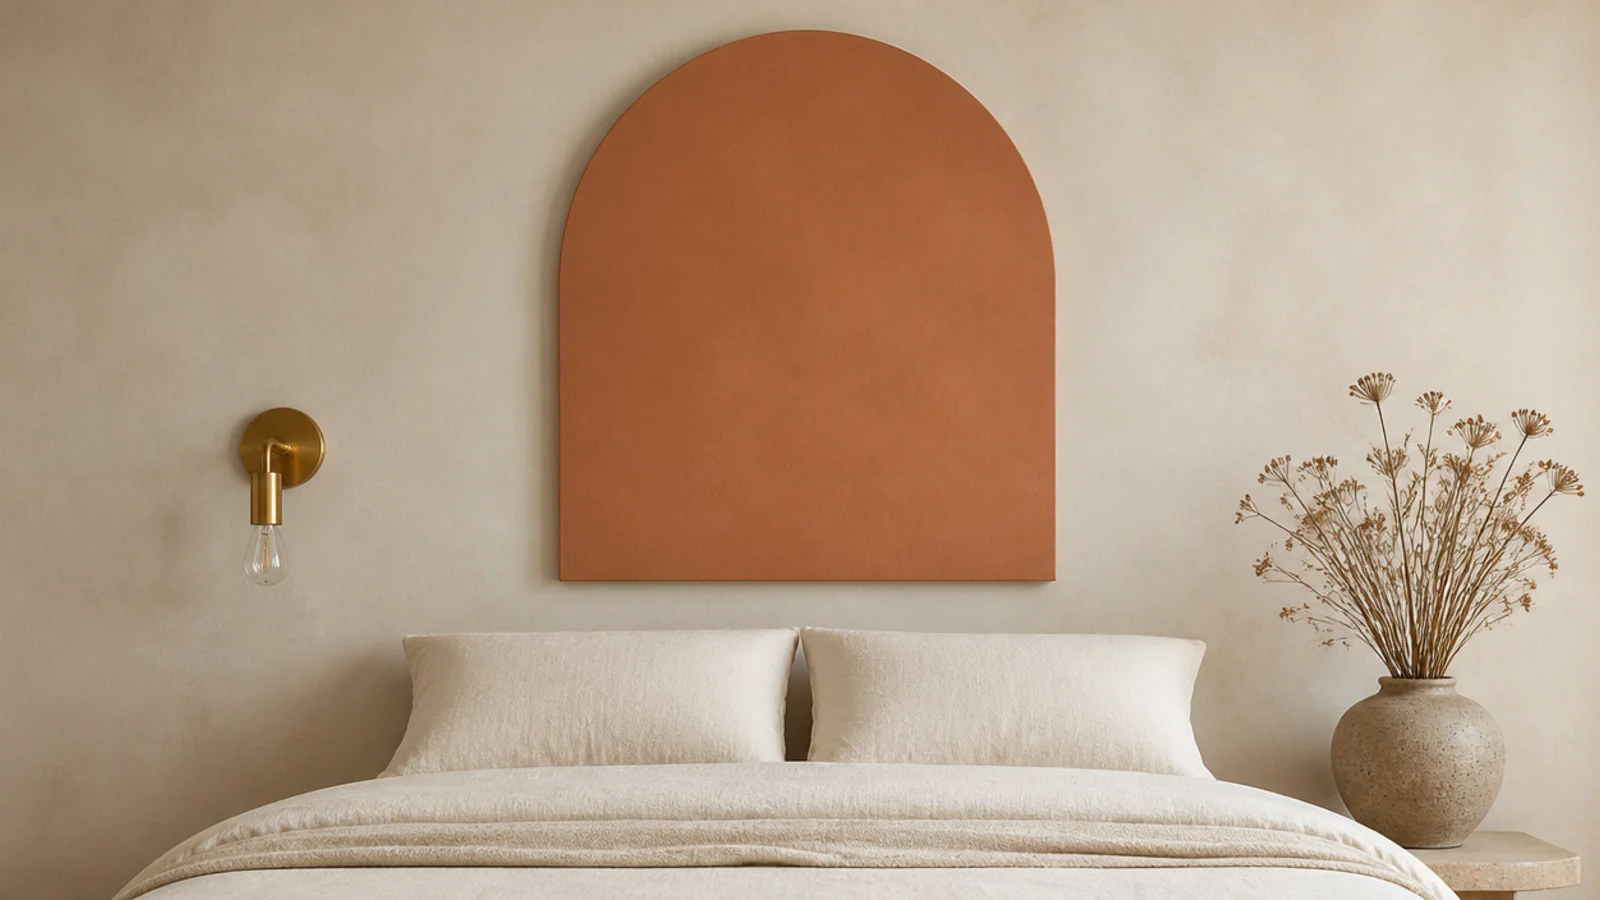
13. An arch cut from plywood
Draw an arc with a pencil on a string, cut three-quarter-inch plywood with a jigsaw, sand the edge, prime and paint in a soft clay or sage.
A painted plywood arch delivers the shape everyone wants for a fraction of a curved upholstered build. One sheet costs $45 to $70 ($$) and makes two. Round the cut edge slightly with sandpaper so the paint holds on the corner.
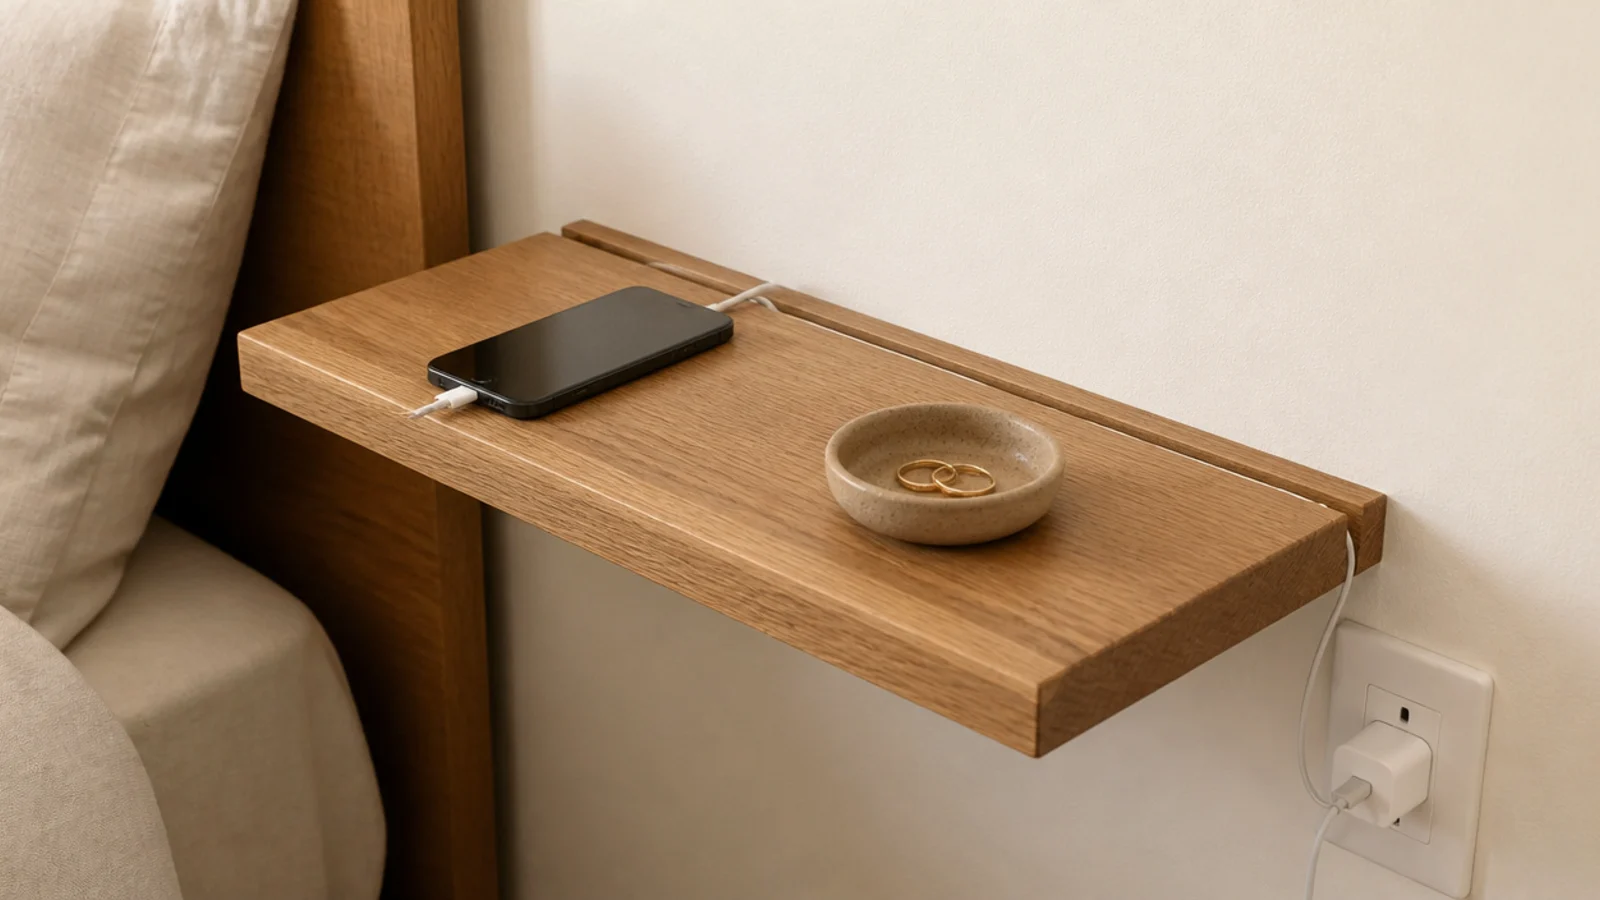
14. A panel with a hidden cable channel
Route a shallow channel down the back of a wood panel and the charging cables that ruin every bed wall disappear into it.
Cut a small notch at the bottom edge for the cable to exit near the outlet. This is a ten-minute addition at build time and impossible to retrofit neatly, which is why it belongs on the plan rather than the wish list. It costs nothing but the router pass.
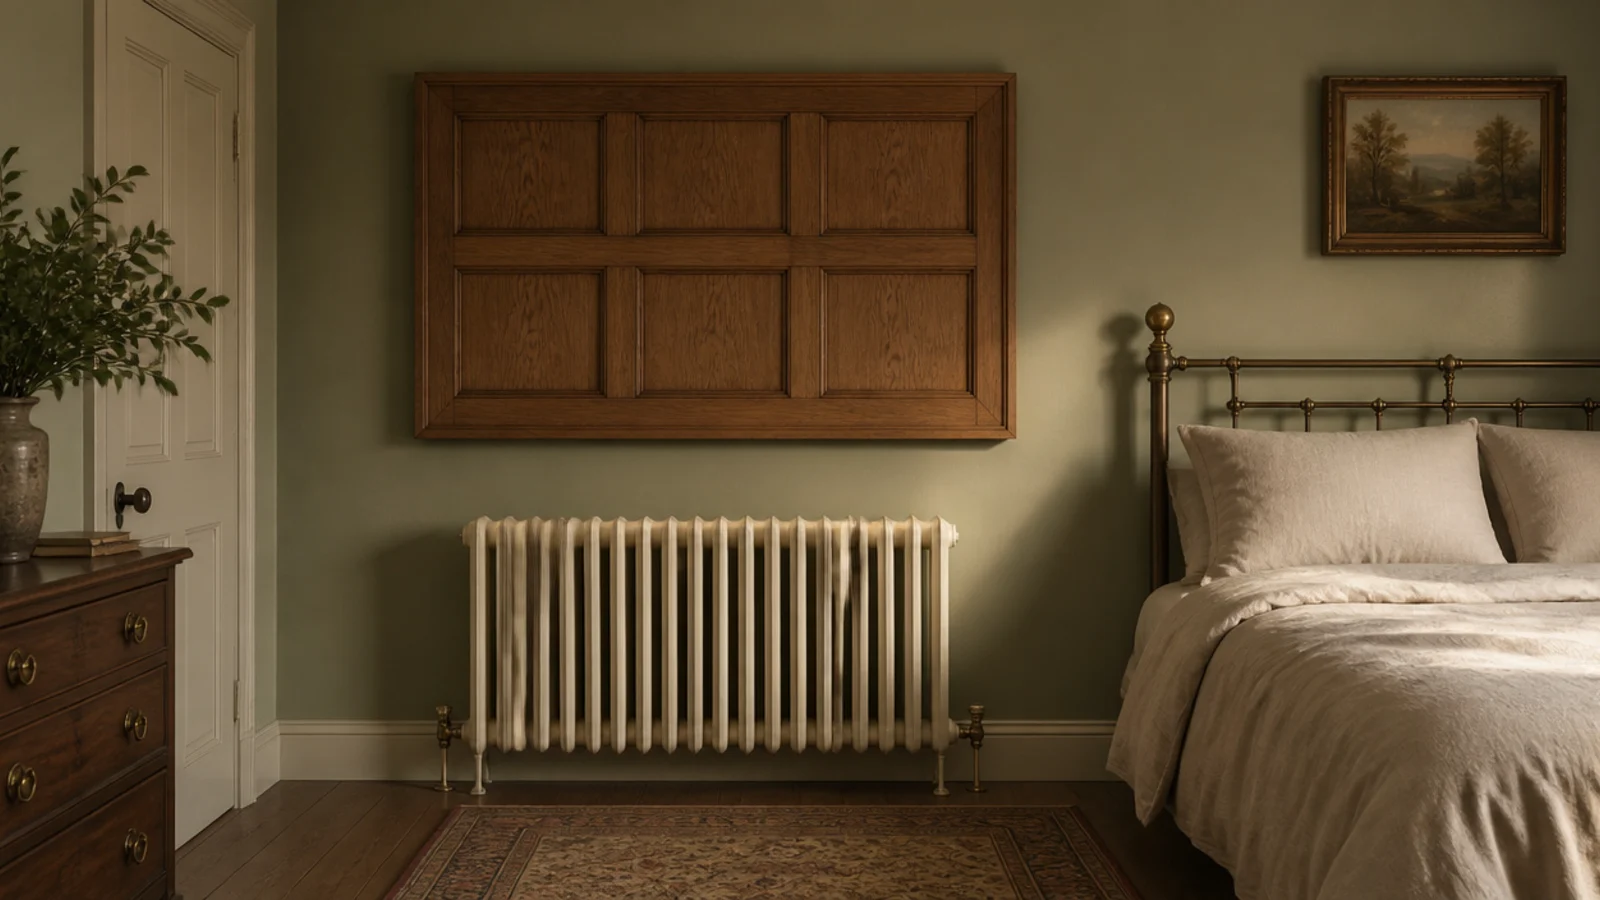
15. A floating panel above a radiator
Where a radiator sits under the bed wall, a wall-hung panel is the only headboard that works, because nothing has to stand on the floor in front of it.
Leave at least 4 inches of clear air between the radiator top and the panel underside, and use solid wood rather than anything laminated — repeated heat cycles lift laminate edges permanently. Keep fabric panels away from radiators entirely.
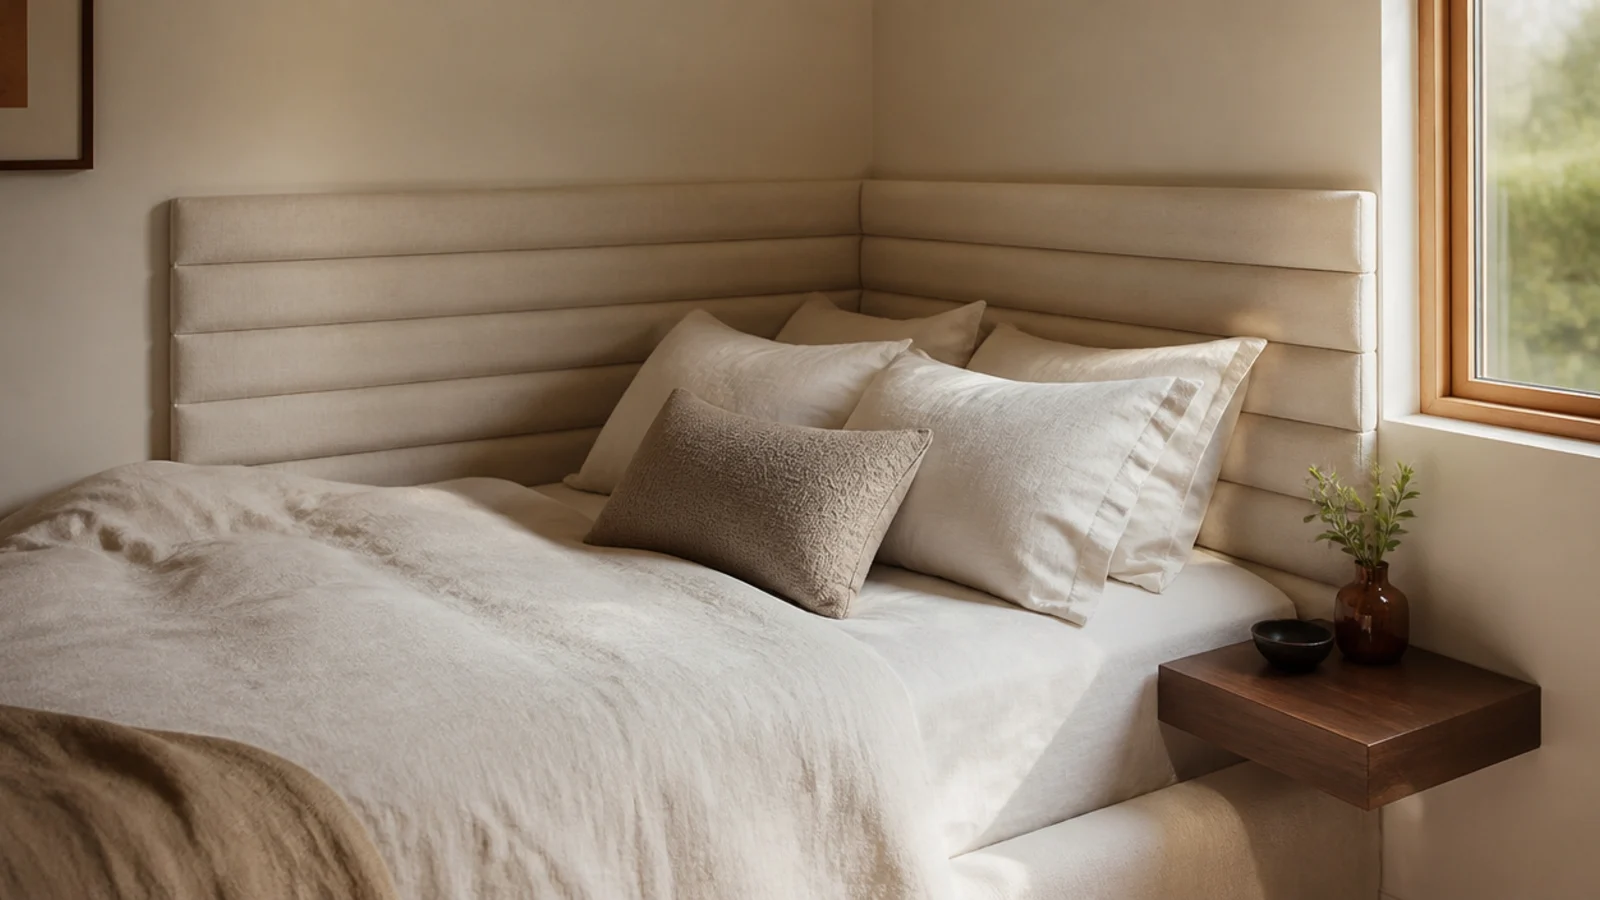
16. A panel that wraps a corner
For a bed pushed into a corner, run a continuous padded panel across both walls behind it. The corner stops being an awkward junction and becomes the point of the design.
Build two panels and butt them at the corner rather than trying to bend one. Add a small floating ledge at mattress height on the side wall to replace the nightstand you cannot fit. Small bedroom headboards covers more of these tight layouts.
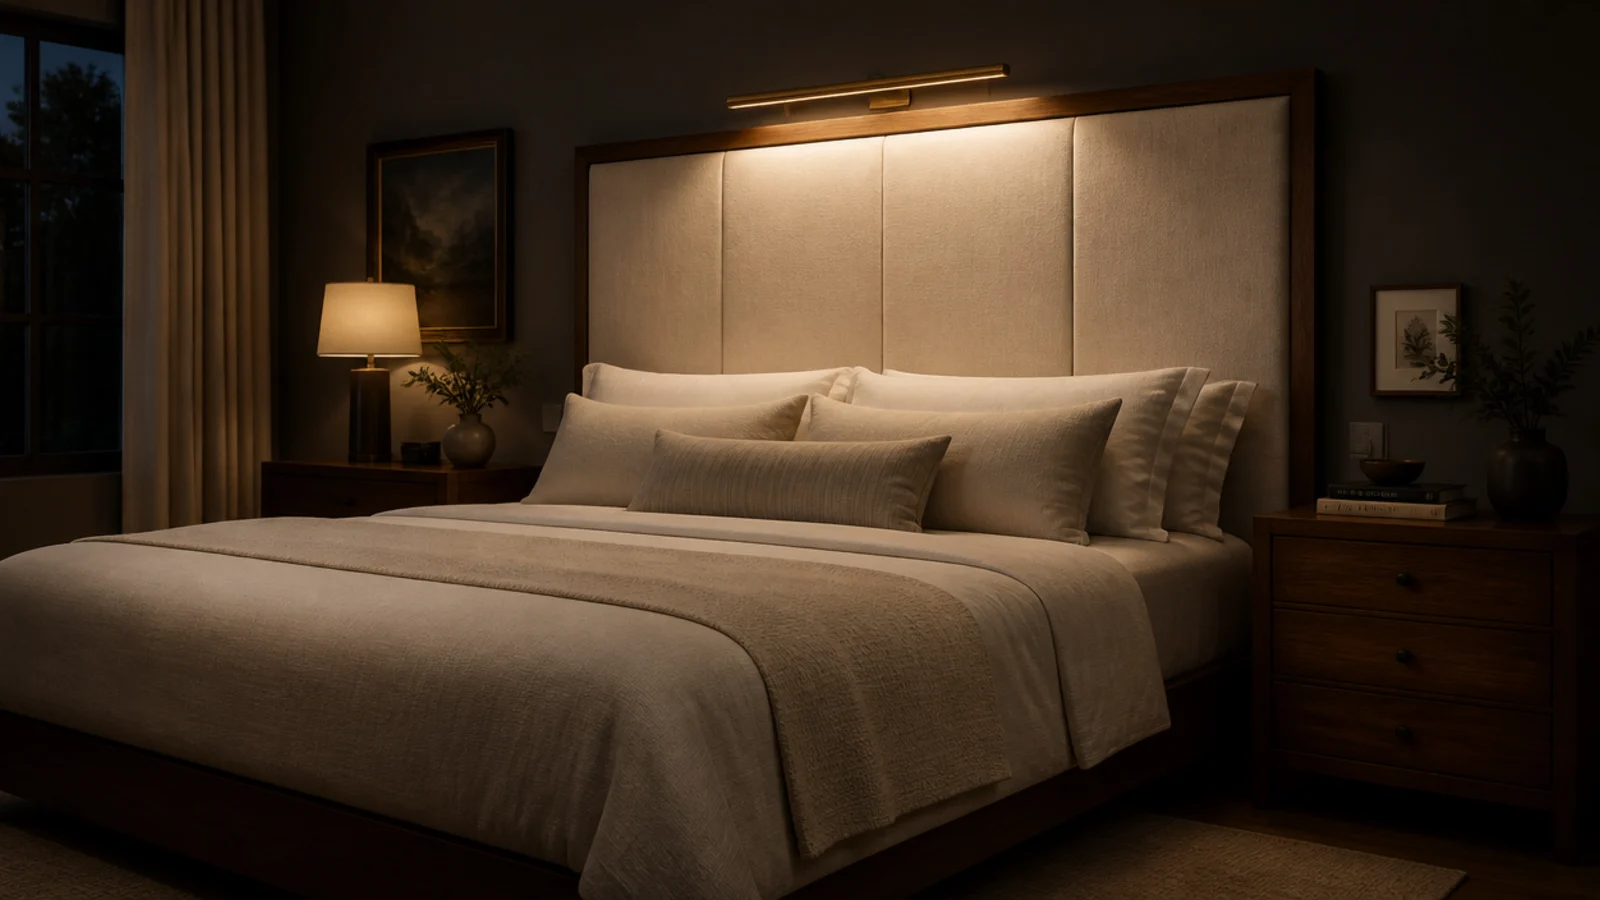
17. A picture light above the panel
A slim brass picture light mounted 6 inches above the panel washes light down its face, which makes texture — cane, slats, boucle — visible at night when the room actually gets used.
Battery and plug-in versions both work and need no wiring. Expect $40 to $110 ($$). This is the cheapest way to make a plain panel look considered, and it doubles as a soft night light.
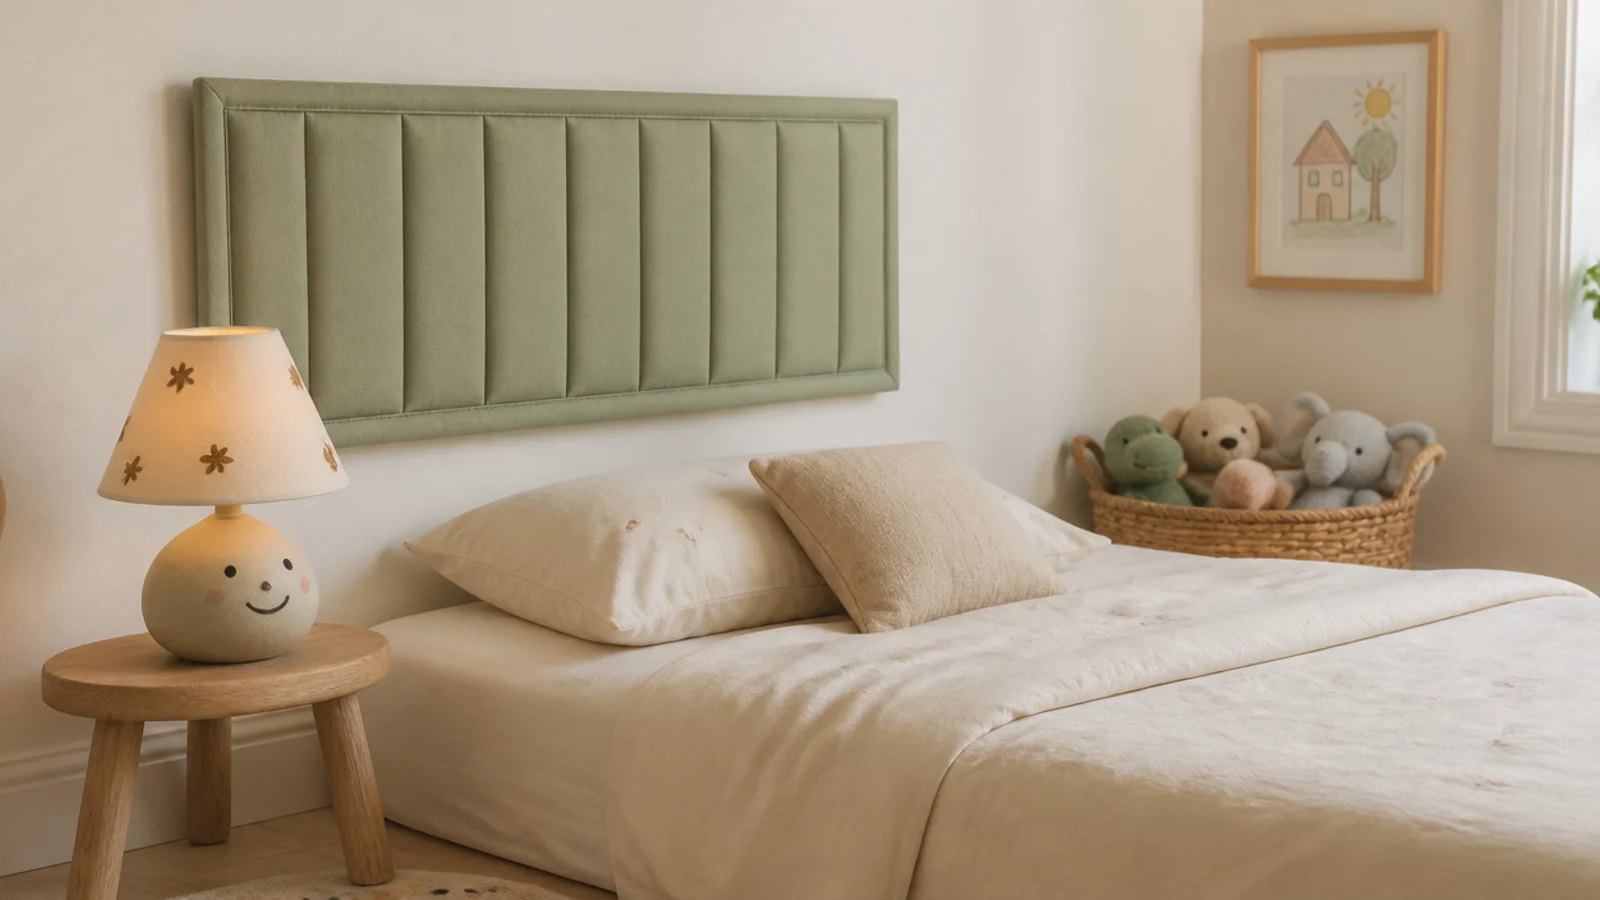
18. A low floating panel in a kids room
Cap the panel at 24 inches above the mattress in a child's room so there is no hard edge at head height, and round every corner.
Use a wipeable performance fabric or painted wood, never a delicate linen. Hang it on a cleat into studs rather than anything adhesive, because children lean, climb and test furniture in ways adults do not. Materials run $40 to $90 ($$).
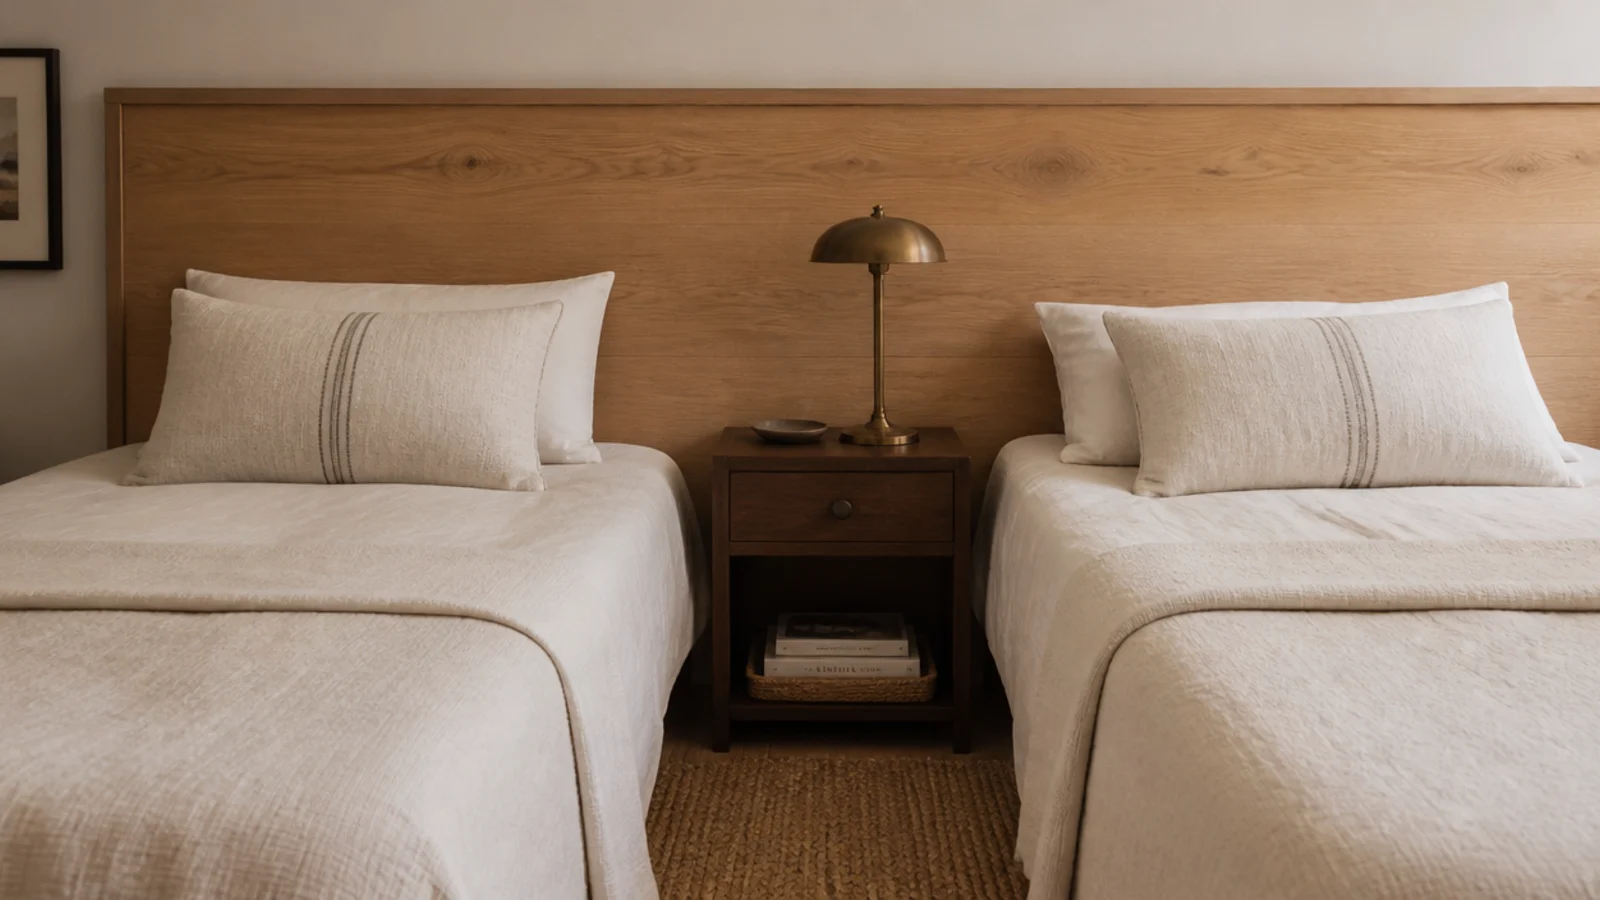
19. One long panel behind two guest beds
In a guest room with two twins, a single panel spanning both beds plus the table between them ties the whole wall together.
Total width is usually 38 plus 38 plus a 20-inch table, so around 96 inches. Build it in two halves that meet behind the table, hung on one continuous cleat line so the seam lands where nobody looks. Materials run $150 to $260 ($$$).
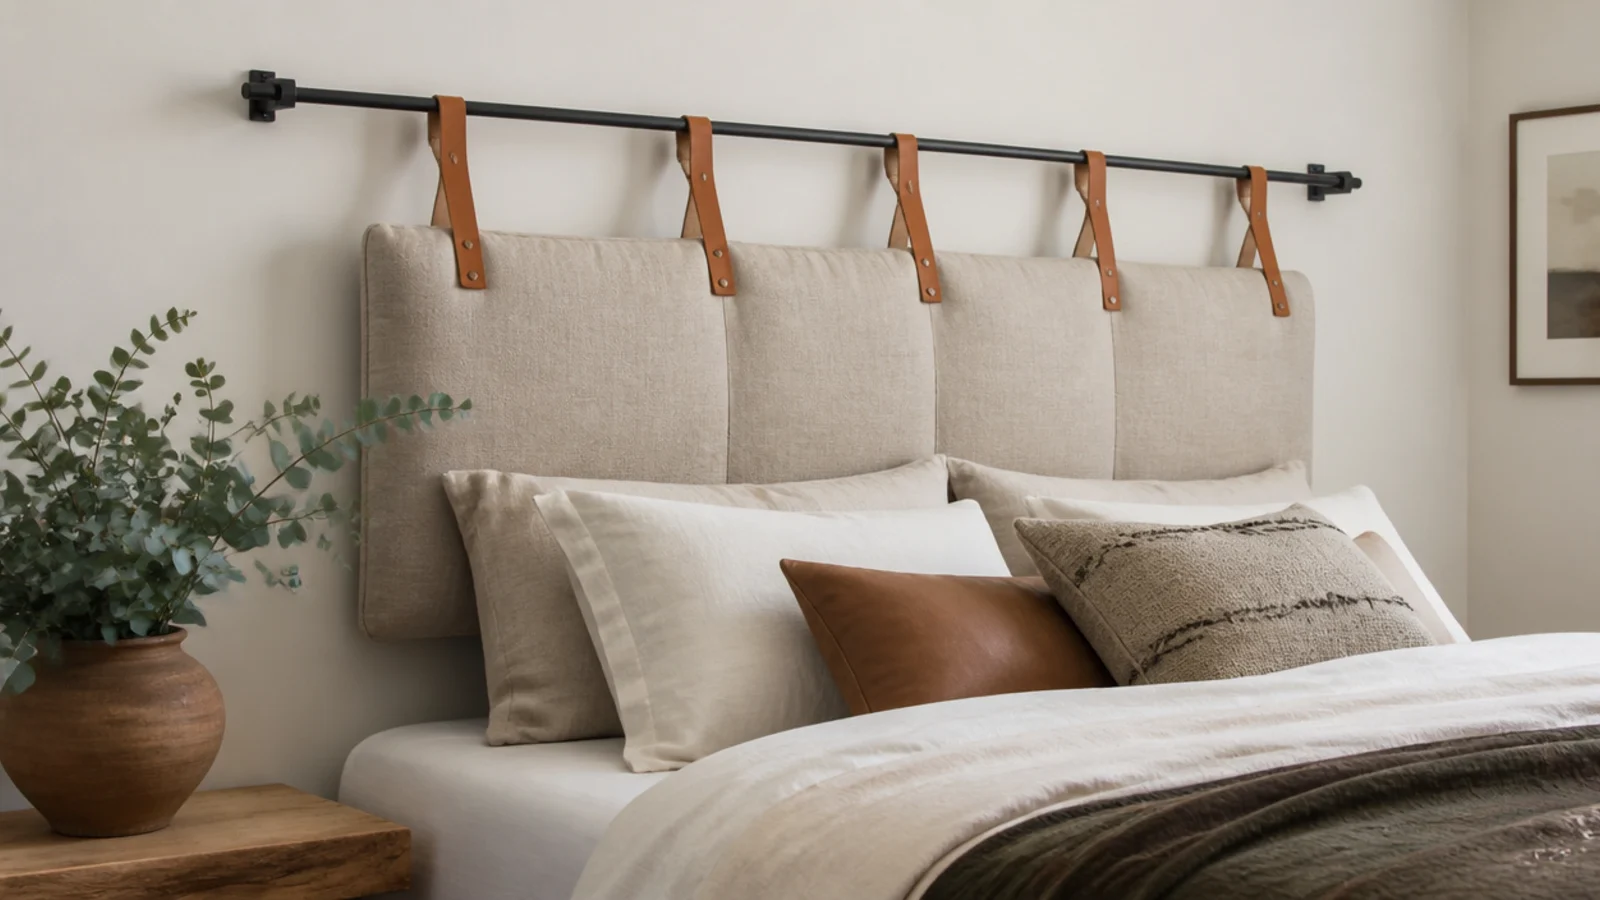
20. A headboard hung from a rod on straps
Fix a slim black rod to the wall at 48 inches and hang a padded panel from it on two leather straps. The panel swings slightly, which sounds like a flaw and reads as intentional softness.
Two anchor points carry everything, so the rod brackets must hit studs. Straps let you drop the panel for washing or repainting behind it. Rod, straps and panel run $90 to $170 ($$).
21. A panel on a half-height divider wall
In a studio or an open-plan loft, a half-height divider wall behind the bed gives you something to hang a headboard on where no wall exists.
Build the divider at 48 inches, cap it with a 6-inch oak shelf, and cleat the padded panel to the bed side. The far side becomes a desk wall or a plant ledge. It is a real construction project at $300 and up ($$$).
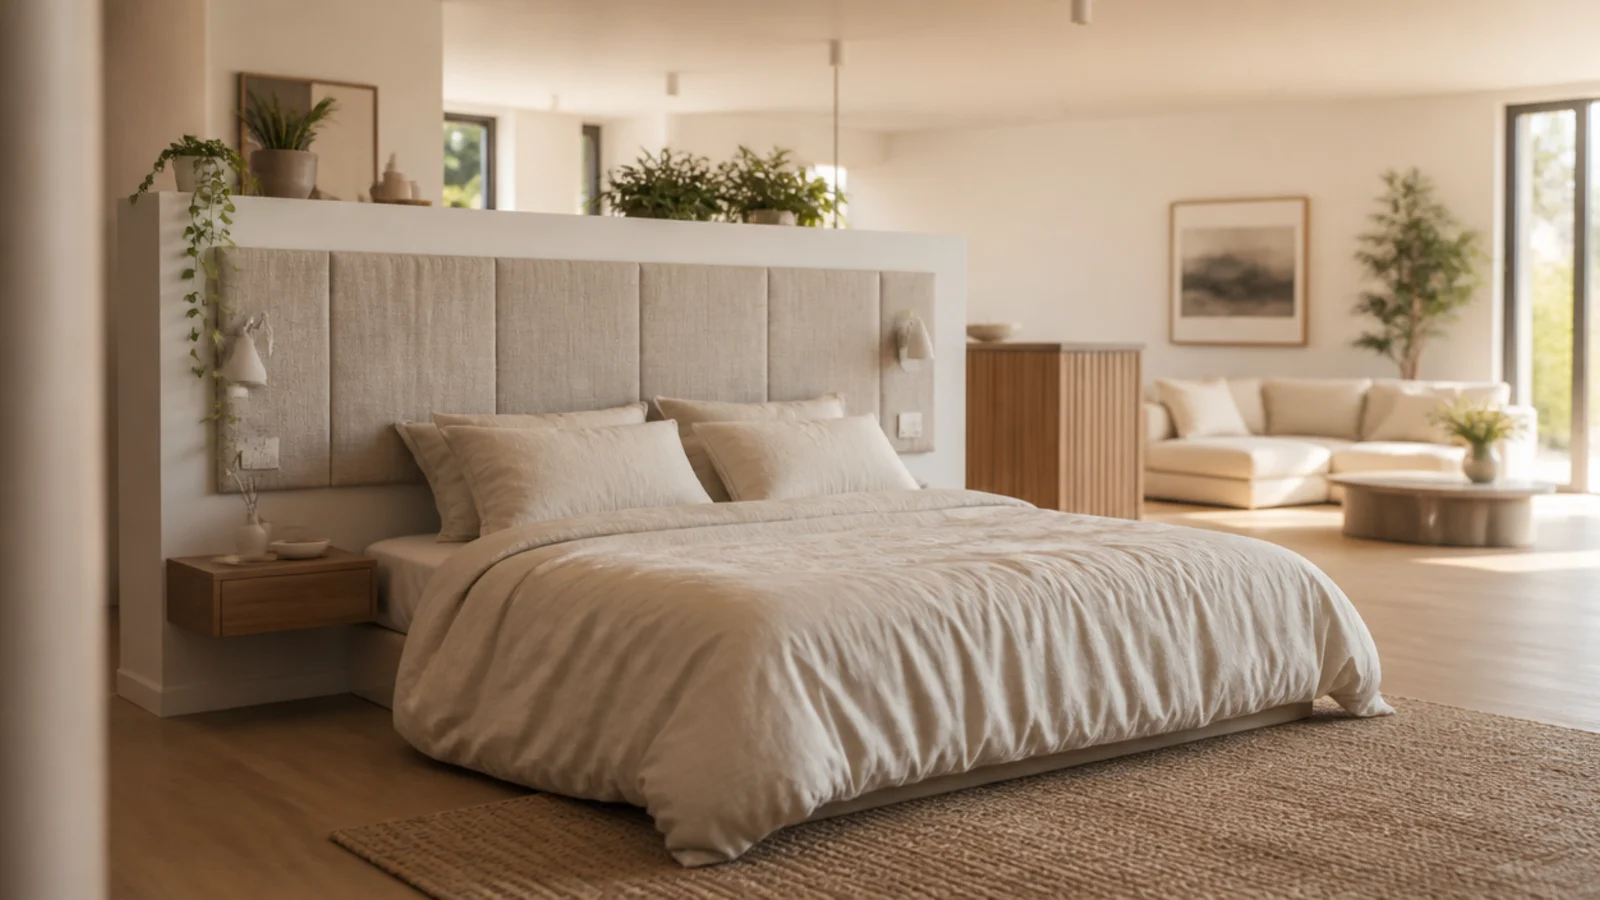
22. Rounded corners on a soft panel
Take a standard rectangular upholstered panel and round the top two corners to a 1-inch radius before you upholster. That single change removes the flat-pack look completely.
Cut the radius with a jigsaw, sand smooth, and pleat the fabric around the curve in small even folds rather than one big fold. It adds twenty minutes to the build and nothing to the cost.
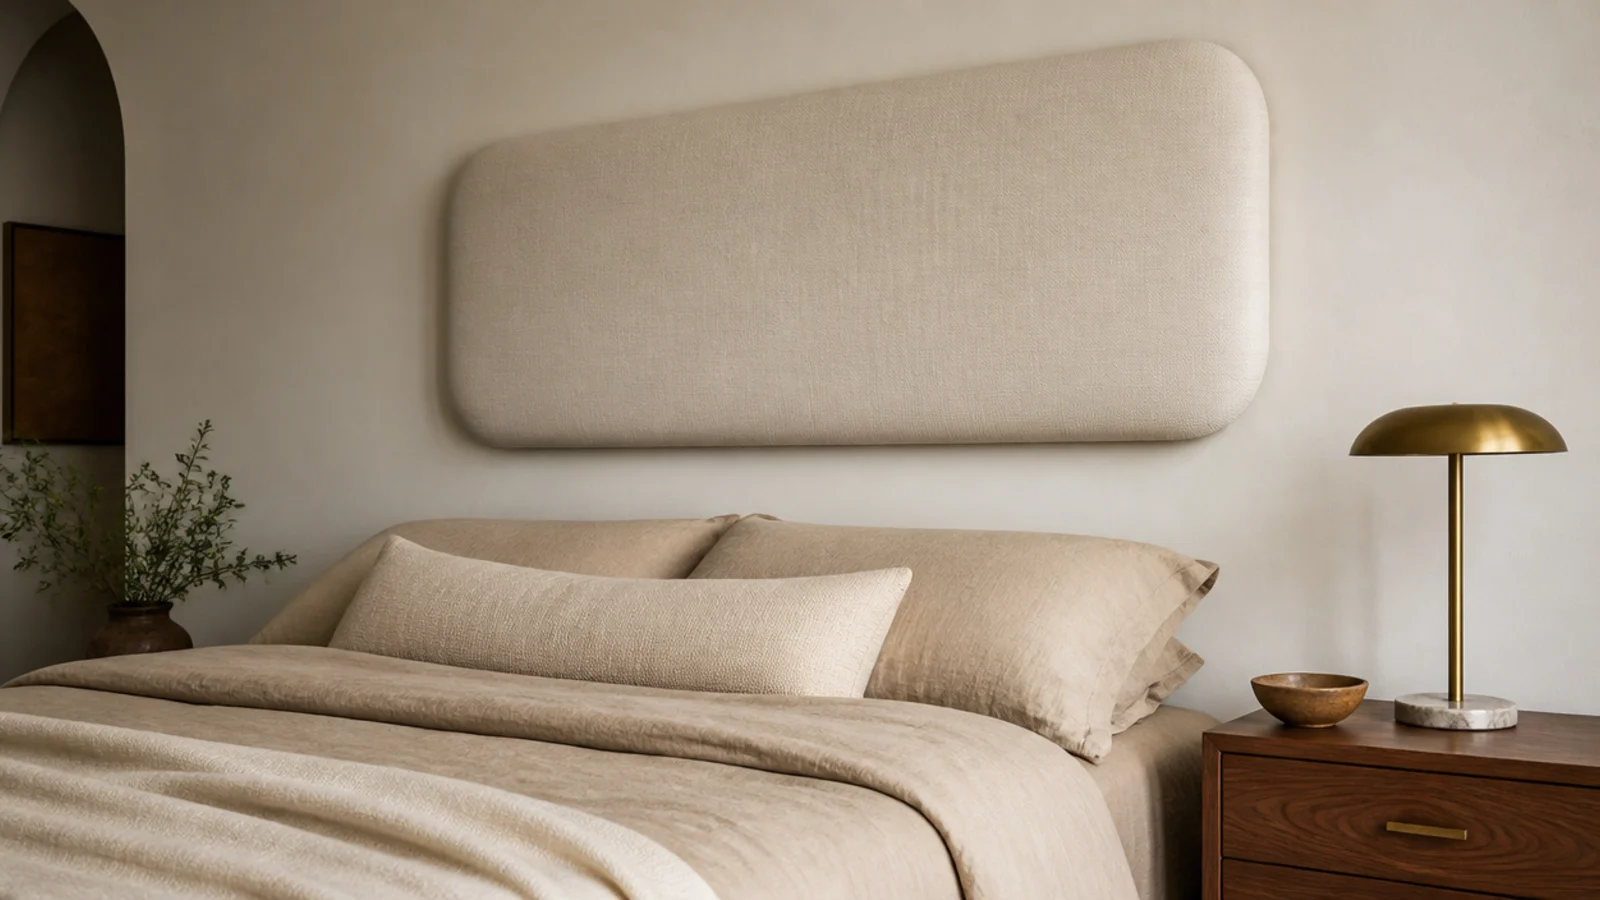
23. A panel painted the wall color
Paint a flat wood panel the exact color of the wall behind it and only the shadow line reads. In a very small bedroom this gives you a real headboard that visually takes up no space.
Match sheen as well as color — a satin panel on a matte wall still stands out. Half a sample pot covers a queen panel, so this is a $12 to $25 finish ($).
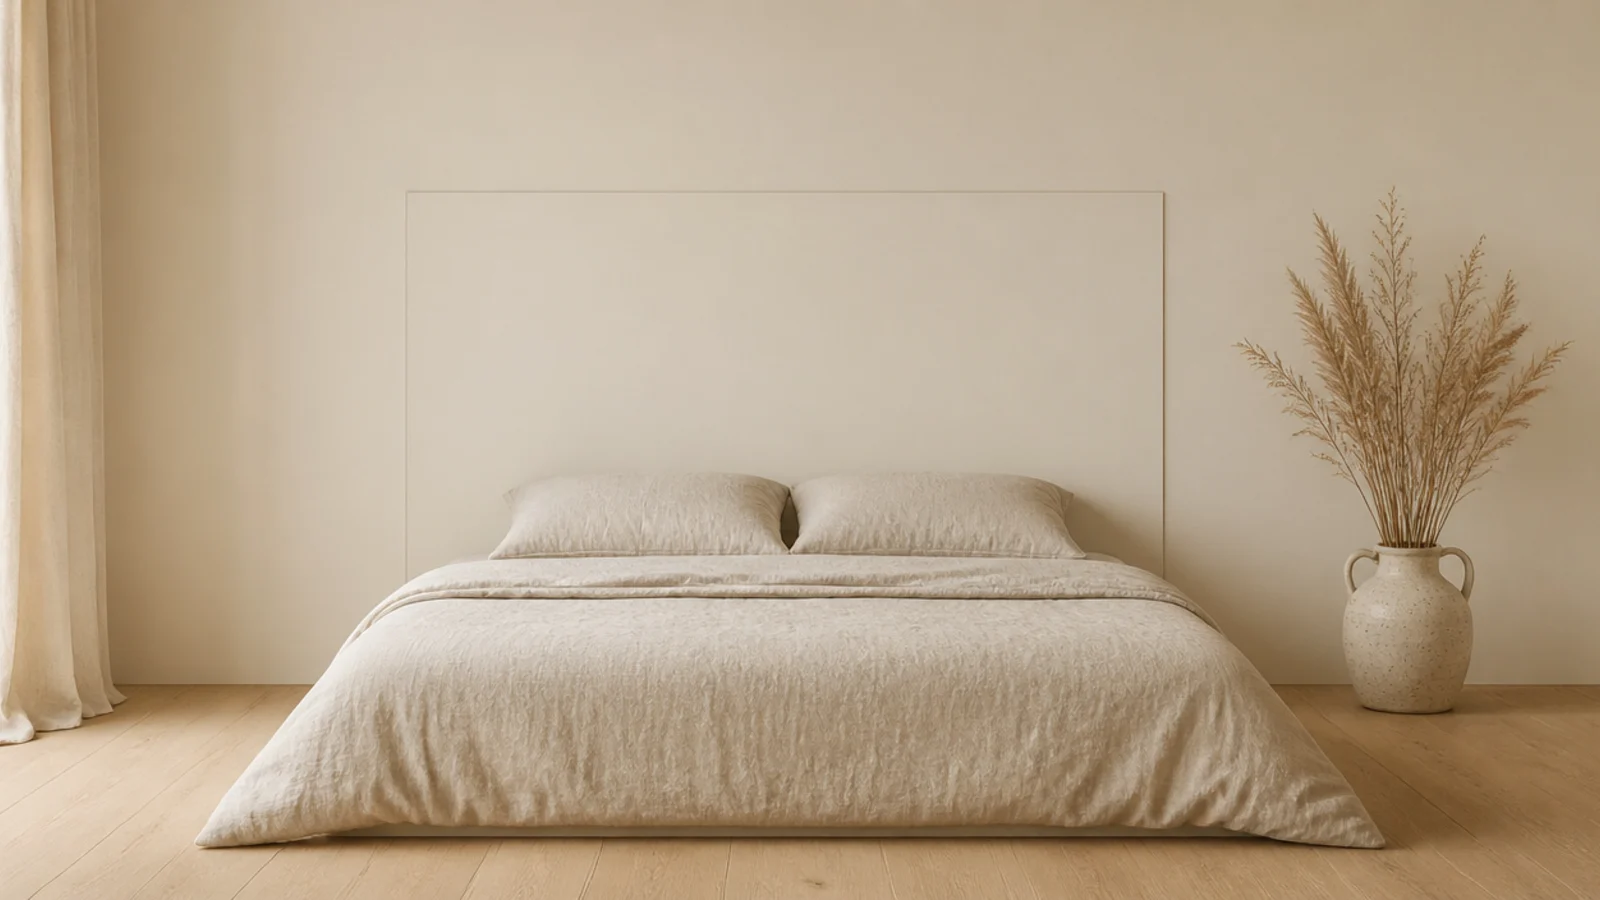
24. A bolster strapped across the panel
A slim floating panel looks good and gives no back support. Strap a long linen bolster across it at pillow height and it becomes somewhere you can actually read.
Two leather straps with buckles let you slide the bolster up or down. Choose a removable cover, because this is the piece your head touches most. Bolster and straps run $50 to $110 ($$).
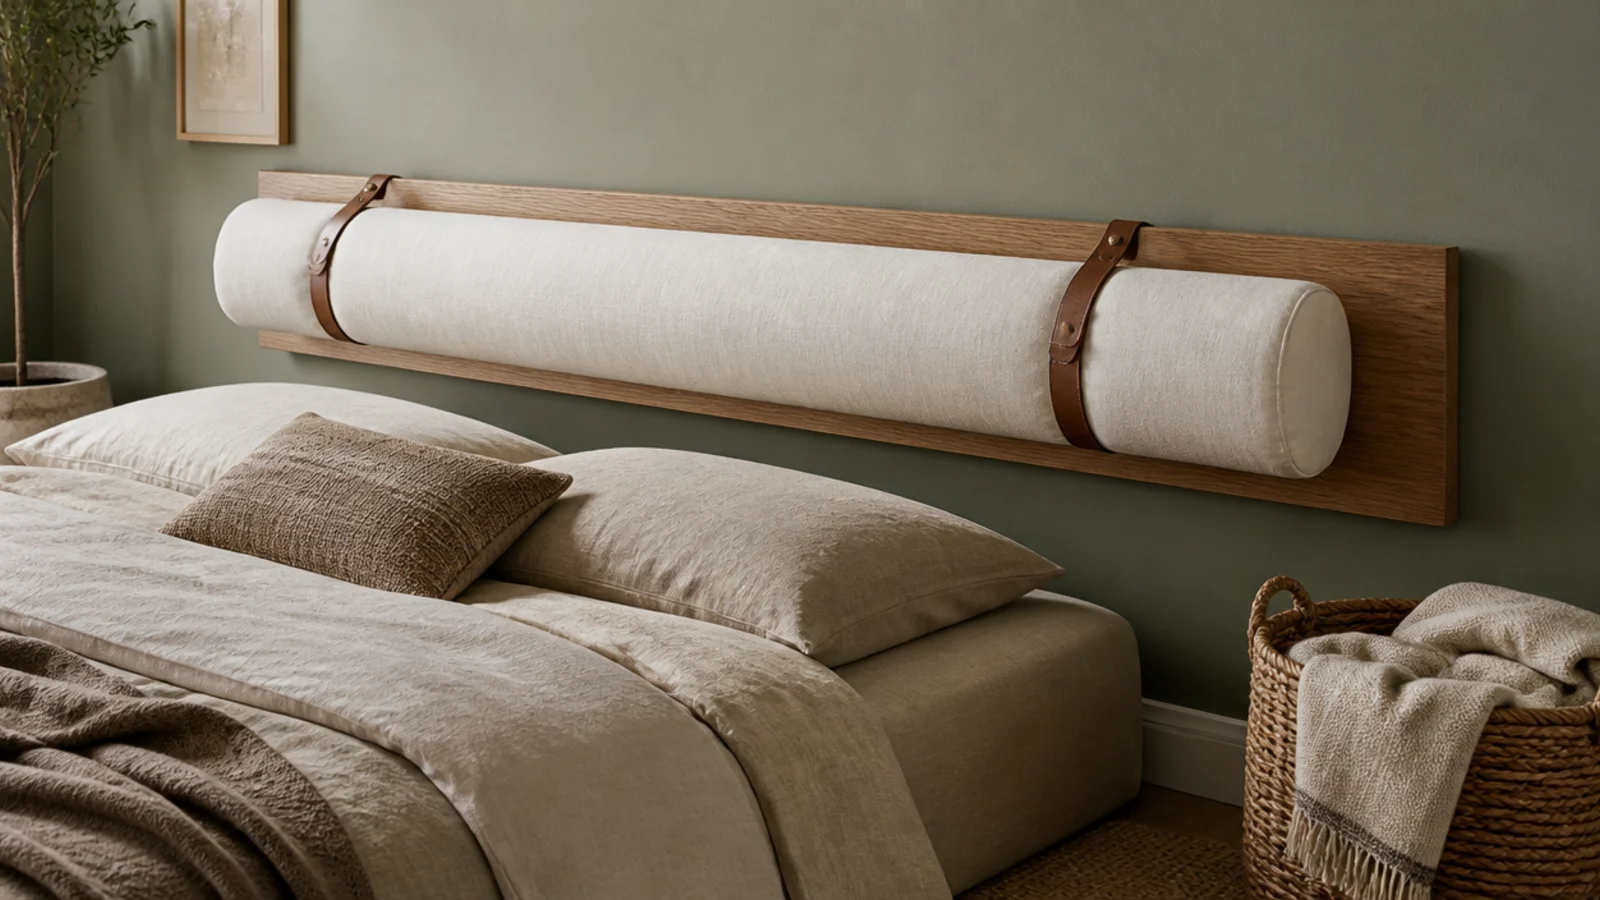
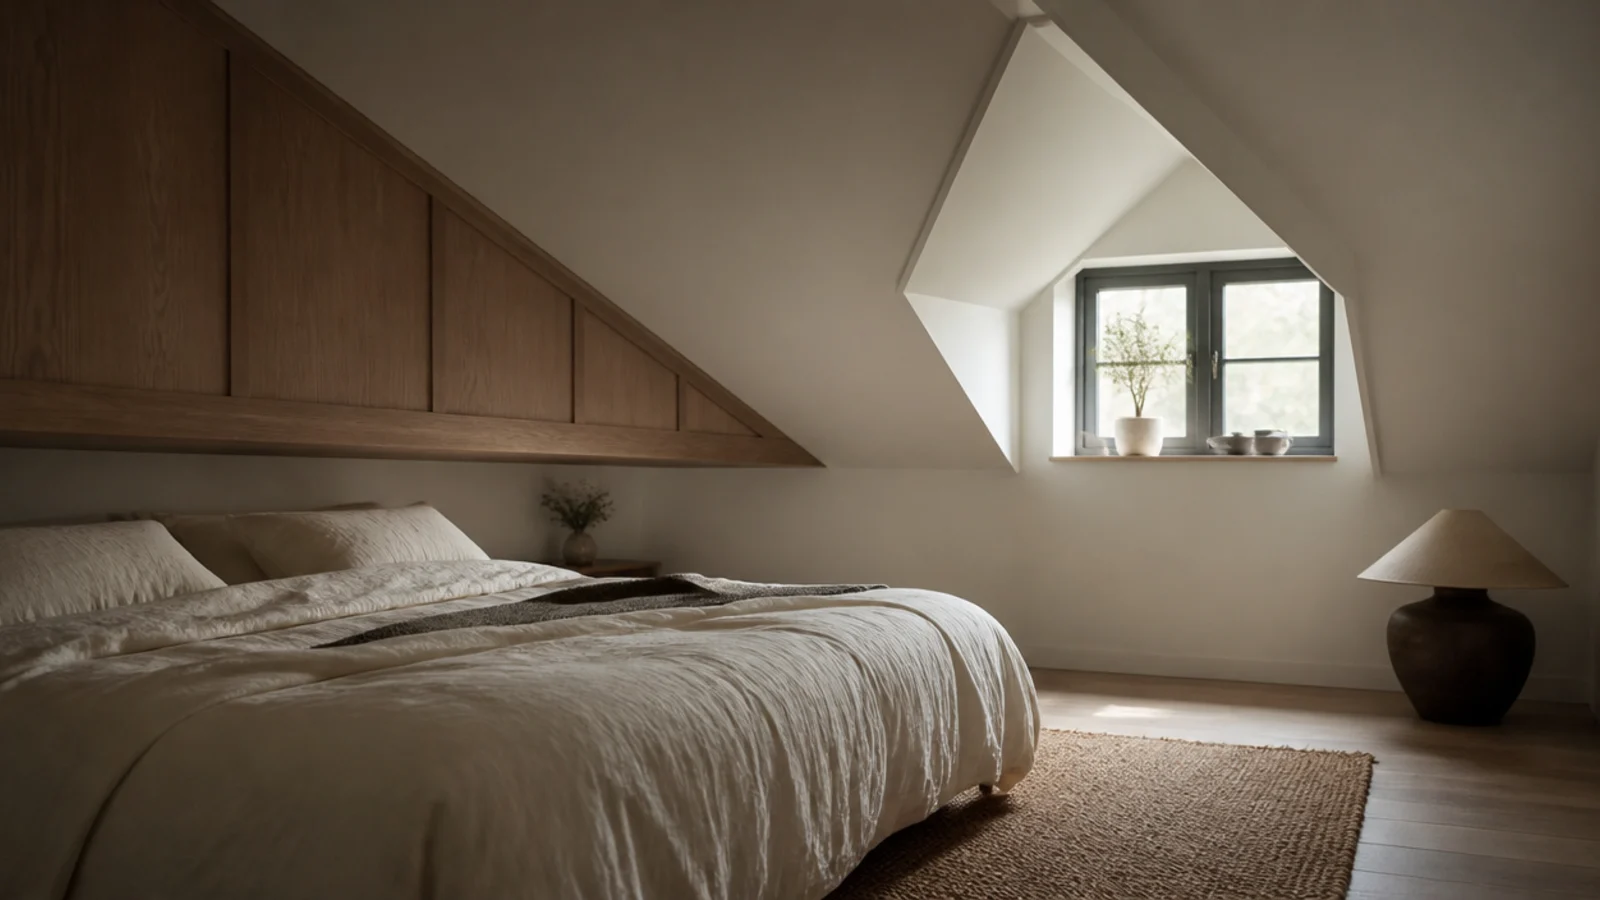
25. A wide low panel under a sloped ceiling
Attic bedrooms punish tall headboards. Under a slope, run the panel wide and low — mattress width plus 8 inches, finishing 24 inches above the mattress top.
Hang it on the short vertical knee wall rather than the slope itself, where a cleat has almost nothing to bite into. A pair of clip-on reading lights beats sconces here, since the slope leaves no room for a swing arm.
Mistakes to Skip
- Hanging the cleat on drywall anchors. Nightly lateral load walks them out within months. Two structural screws into studs cost nothing extra and end the problem permanently.
- Setting the bottom edge flush with the mattress. Bedding then bunches in front of the panel instead of behind it. Leave 2 to 4 inches of clearance.
- Cutting to the bed frame width. Frames vary; mattresses do not. Twin 38, full 54, queen 60, king 76 are the numbers your saw should see.
Frequently asked questions
How do you hang a floating headboard on the wall?
With a french cleat: two strips of plywood cut at 45 degrees, one screwed to the wall and one to the back of the panel, interlocking so the weight pulls the panel tight to the wall. Run the wall cleat into studs with structural screws. The panel then lifts straight off whenever you need to paint or move.
How high should a floating headboard hang above the mattress?
Set the bottom edge 2 to 4 inches above the mattress top so bedding tucks behind it cleanly, then let the panel finish 24 to 28 inches up for a low profile look or 40 to 50 inches for a statement. Measure from the mattress surface every time, because bed frame heights vary by as much as six inches.
Is a floating headboard strong enough without legs?
Yes, provided the cleat reaches framing. A wall-hung panel takes lateral load nightly as people sit back against it, and that repeated push is what walks drywall anchors loose over a few months. Two structural screws into studs carry a padded plywood panel comfortably. Skip the plastic plugs that come in the hardware pack.
Can a floating headboard work in a rental?
It is one of the better rental options. A cleat leaves four small screw holes that patch in about a minute with lightweight spackle, and the panel comes off in one motion on move-out day. Lighter versions in cane or bamboo need even less. Photograph the wall before you drill so you can match the paint later.
Does a floating headboard make a small bedroom look bigger?
It genuinely helps, because the floor stays visible underneath. Floor area is what your eye reads as room size, so removing headboard legs and a bulky frame opens up a tight bedroom more than the panel itself takes away. Painting the panel the wall color pushes the effect further in a very small room.
Get the cleat right and every one of these becomes a weekend job rather than a project — height, width and studs are the only decisions that are hard to undo. For the padded versions in more detail, upholstered headboard ideas covers foam and fabric, and a bedroom bookshelf is the natural companion on the opposite wall. Save the pin so the measurements come with you.
Want more like this? Browse all 15 headboard ideas guides — they all use the same measurements and budget tiers.
Pin it for later
Save this to your Headboard Ideas board
Pin it now so it is waiting for you when the tape measure comes out — and so the next person hunting for this idea can find it too.
Save this pinKeep going
More ideas worth saving while you have the tape measure out.