Bookshelf Ideas · Listicle
25 Dreamy Bookshelf Ideas for Any Home

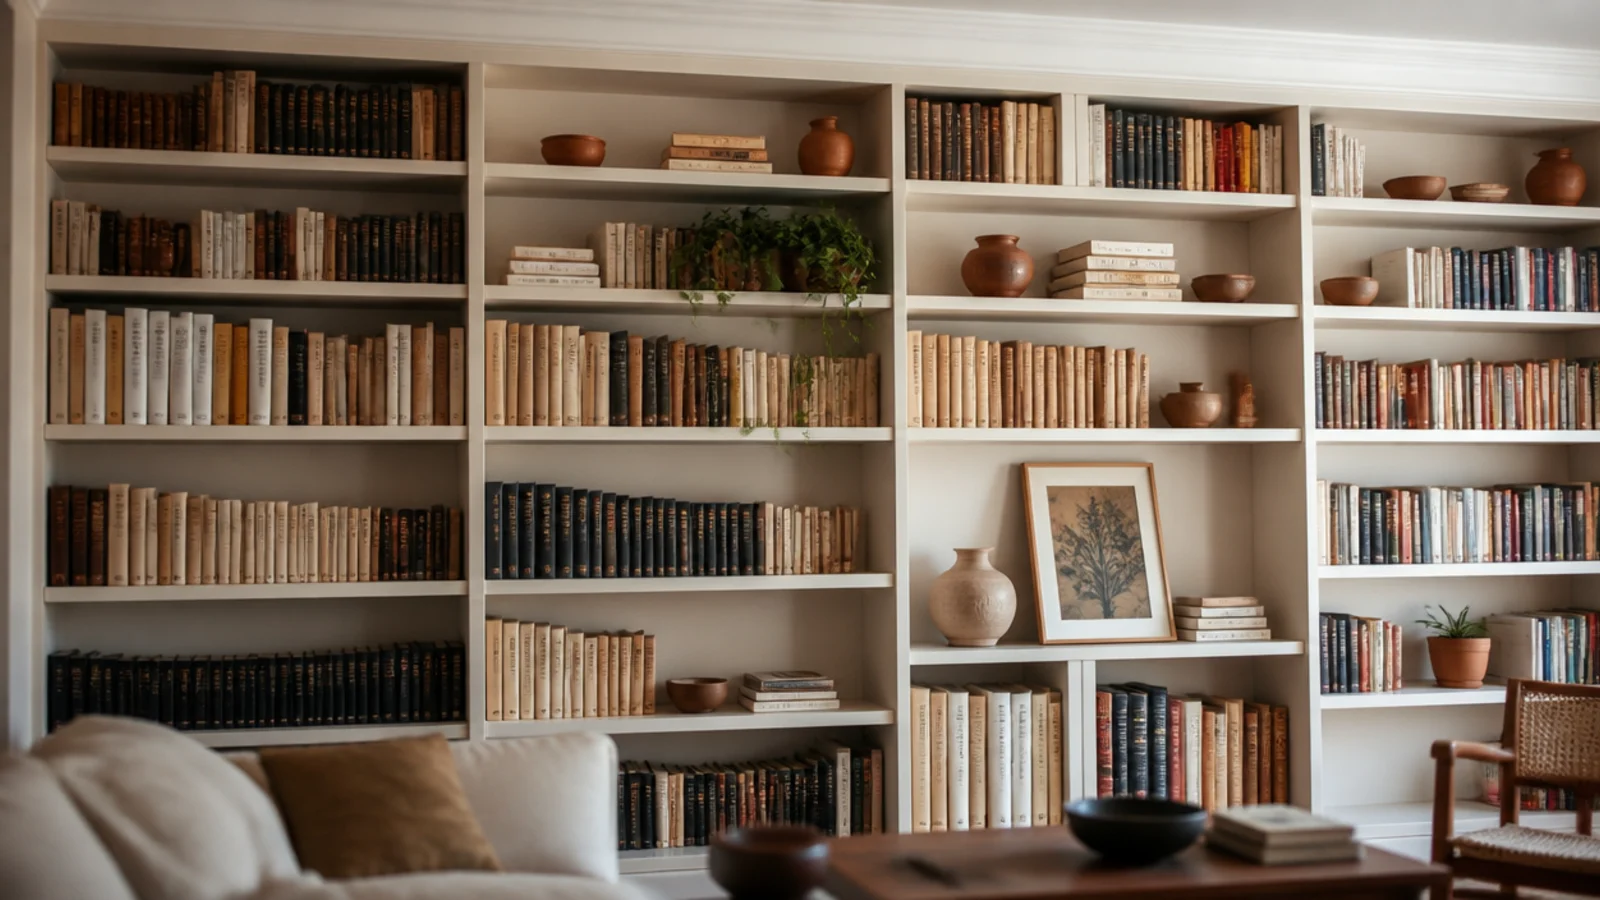
Bookshelf wall ideas fail for one boring reason far more often than any other: the span. People build a beautiful nine-foot run, load it with hardbacks, and watch every board bow within a season. Get the structure right and the styling is almost easy, because a wall of books provides its own pattern. Here are twenty-five ways to give a whole wall over to shelving, from full built-ins to a rental version that leaves nothing behind.
In this guide27 sections — tap to openHide
- 1.Planning bookshelf wall ideas that fit the wall you have
- 2.Take one wall floor to ceiling and leave the rest alone
- 3.Fill both chimney alcoves and leave the breast bare
- 4.Frame a doorway with shelving over the top
- 5.Flank a window and run a bench between
- 6.Build a grid of floating shelves instead of a case
- 7.Use a track-and-bracket system you can move
- 8.Run picture ledges across the wall above a sofa
- 9.Line the stairwell wall
- 10.Turn a hallway into a shallow library
- 11.Pair two low cases under a gallery wall
- 12.Fill a cube wall and put baskets on the bottom row
- 13.Wrap shelving around the bed
- 14.Build the television into the run
- 15.Let the desk become part of the shelf wall
- 16.Give a small dining wall over to shelving
- 17.Fill a low wall with forward-facing ledges
- 18.Cut a reading nook into the wall of shelves
- 19.Use open shelving as a room divider
- 20.Step shelving under the stairs
- 21.Paint the whole run the wall color
- 22.Backlight the shelves with a warm strip
- 23.Work around the radiator instead of over it
- 24.Build a renter version from adhesive ledges
- 25.Run a low bookshelf wall at thirty inches
- 26.Add a library ladder if the wall is tall
- 27.Mistakes to Skip
Planning bookshelf wall ideas that fit the wall you have
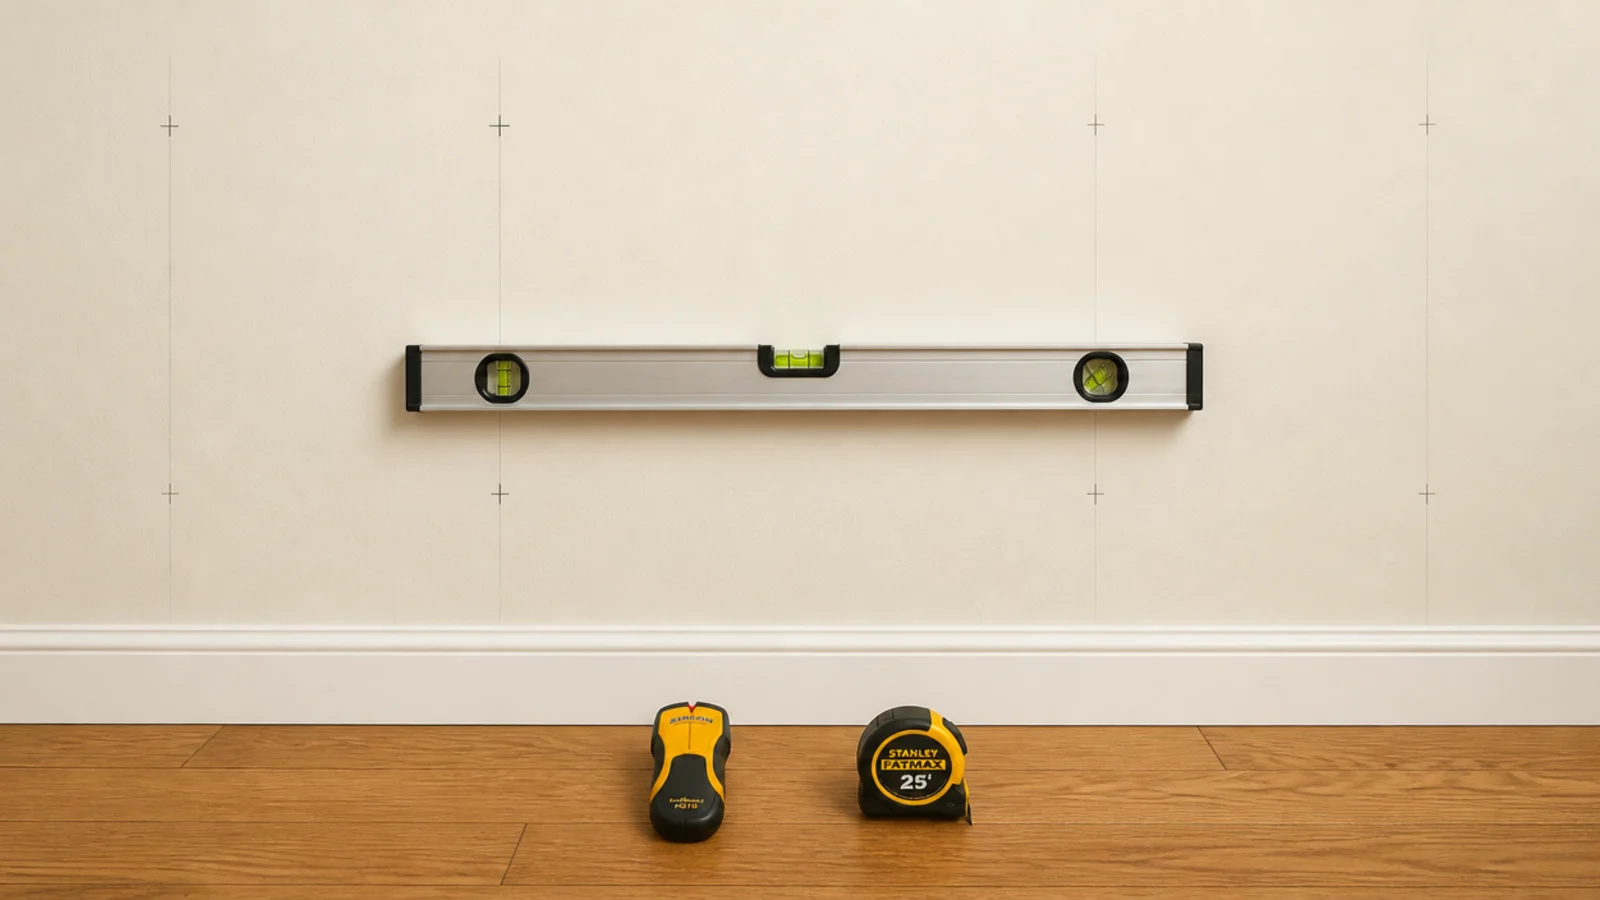
Start with three numbers and everything else follows.
Span. Three-quarter-inch stock sags visibly past a 32-inch span once books go on it. So set your uprights or brackets 30 to 32 inches apart across the whole wall. Longer bays need thicker boards, a mid support, or a strip glued under the front edge to stiffen the run.
Weight. A linear foot of hardbacks is 20 to 25 pounds. A 36-inch shelf of them is 60 to 75 pounds, and a six-shelf wall is several hundred. Every fixing wants a stud. On a book wall specifically, drywall anchors are not a shortcut, they are a countdown.
Depth and height. Eleven to twelve inches deep for hardbacks, nine to ten for paperbacks, with 11 to 13 inches of clear height so a hardback stands upright with a little air above it. Deeper than twelve invites double-stacking, and a double-stacked wall is storage you cannot search.
Budget tiers here: $ under $50, $$ $50 to $150, $$$ $150 and up.
1. Take one wall floor to ceiling and leave the rest alone
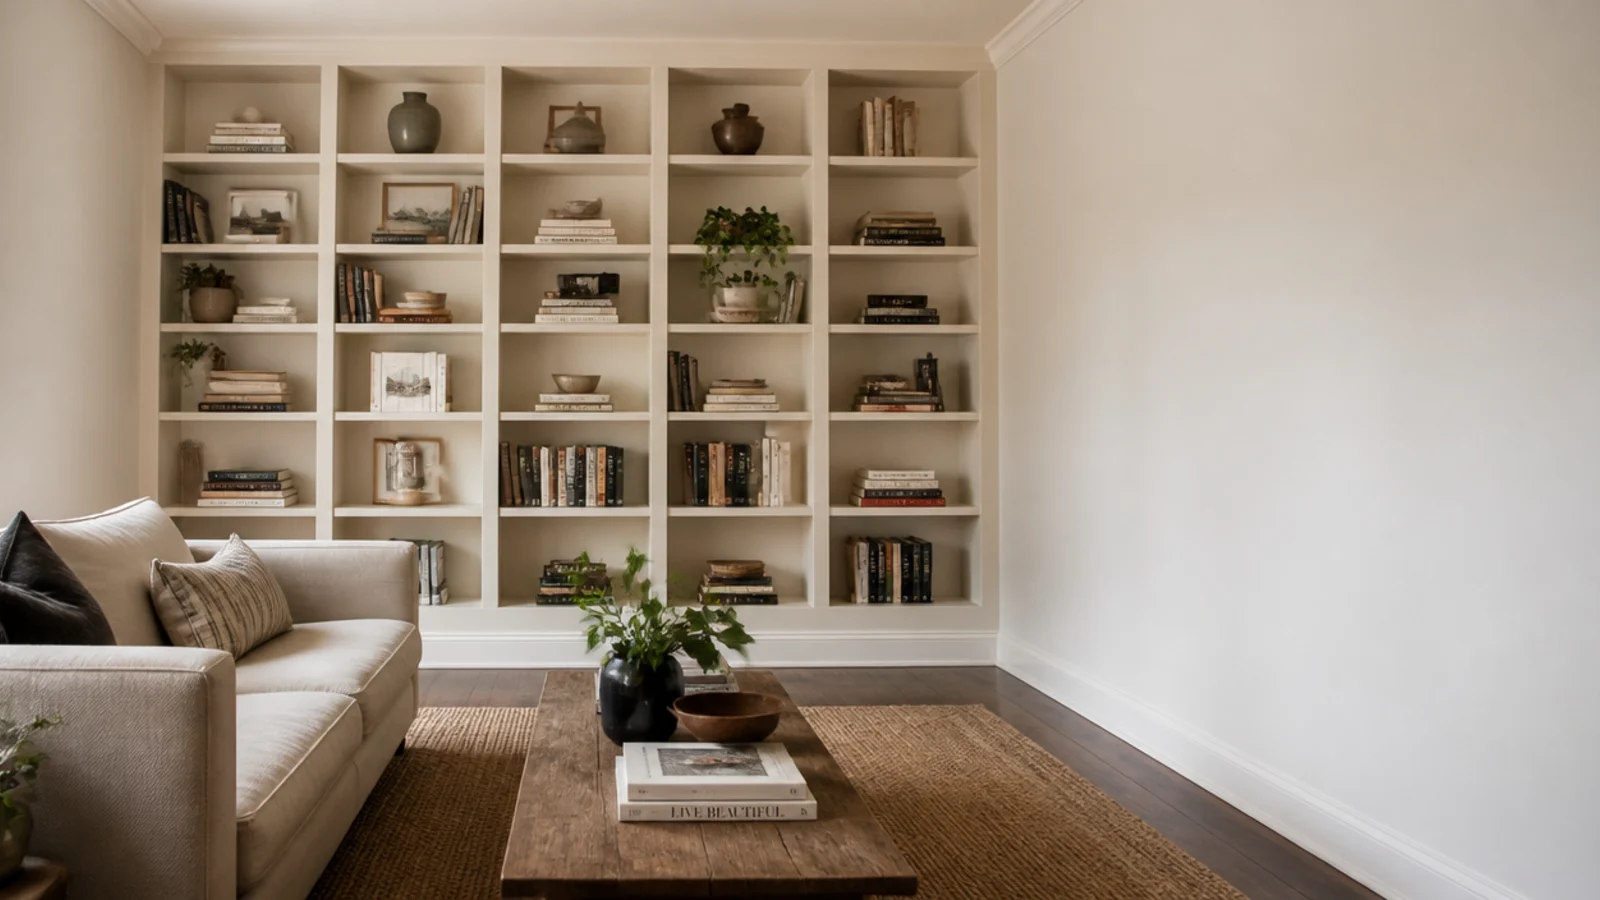
The most effective version is also the most restrained. One wall, skirting to cornice, and the other three left bare.
Half-height shelving on three walls makes a room feel nibbled at. One committed wall reads as a library and gives the eye somewhere clear to rest everywhere else. Keep the top shelf about 12 inches below the ceiling line unless you are running all the way up on purpose.
2. Fill both chimney alcoves and leave the breast bare
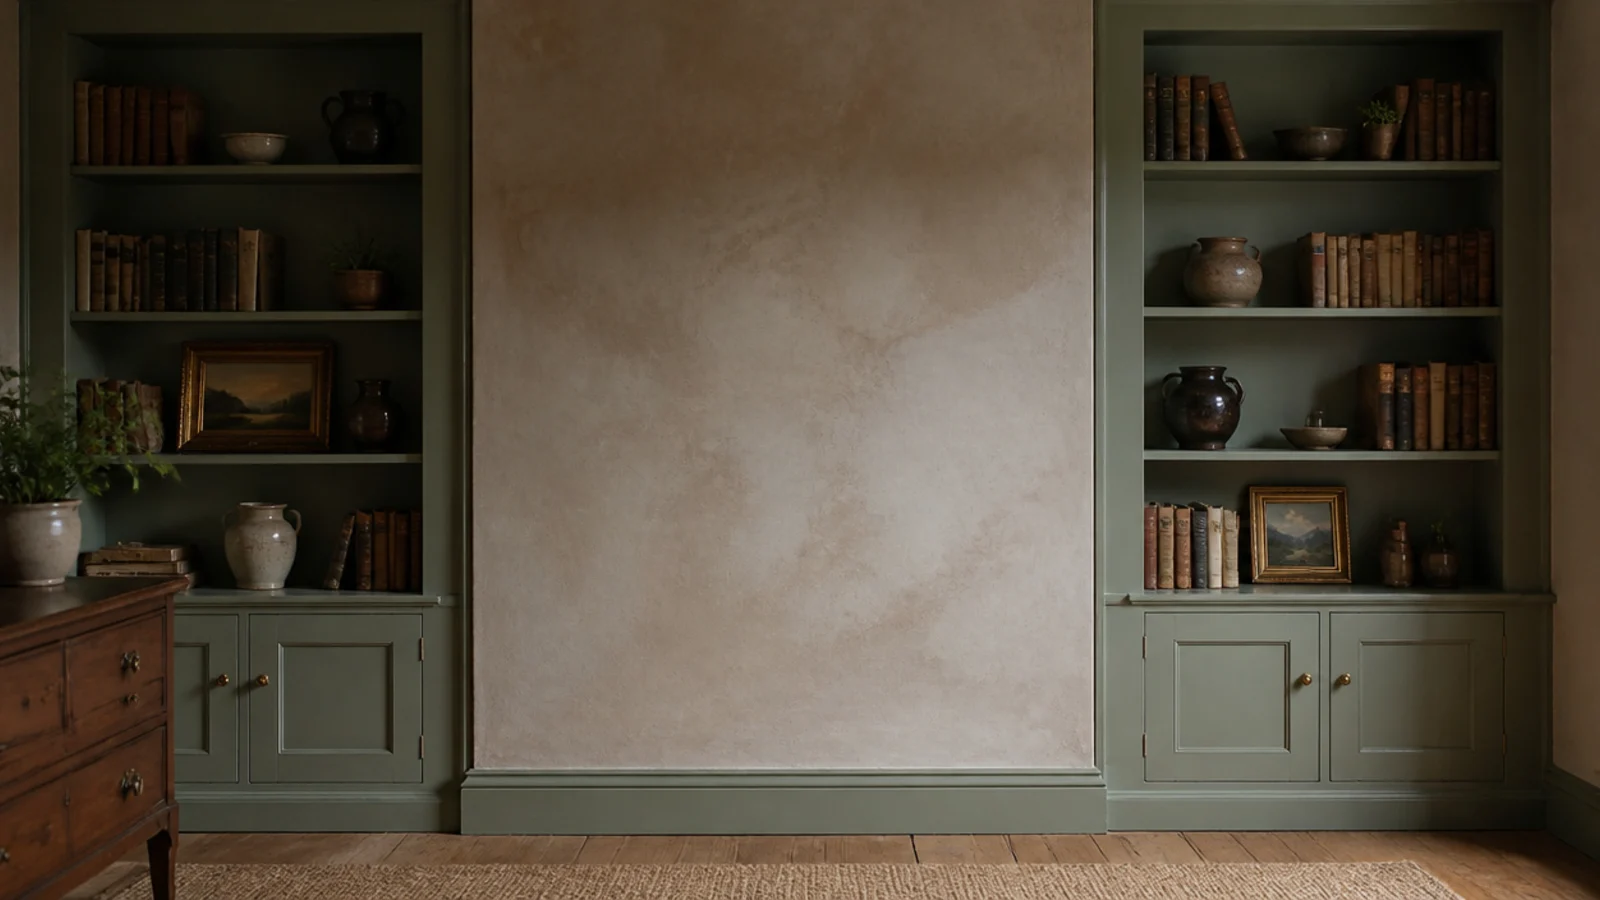
In a period room the alcoves are already the right depth — usually 10 to 13 inches — and already framed by structure.
Fit both sides identically and leave the chimney breast completely clear. That bare plaster in the middle is what makes the two runs read as architecture rather than as two bookcases pushed into gaps. Paint the shelving the wall color and the effect doubles.
3. Frame a doorway with shelving over the top
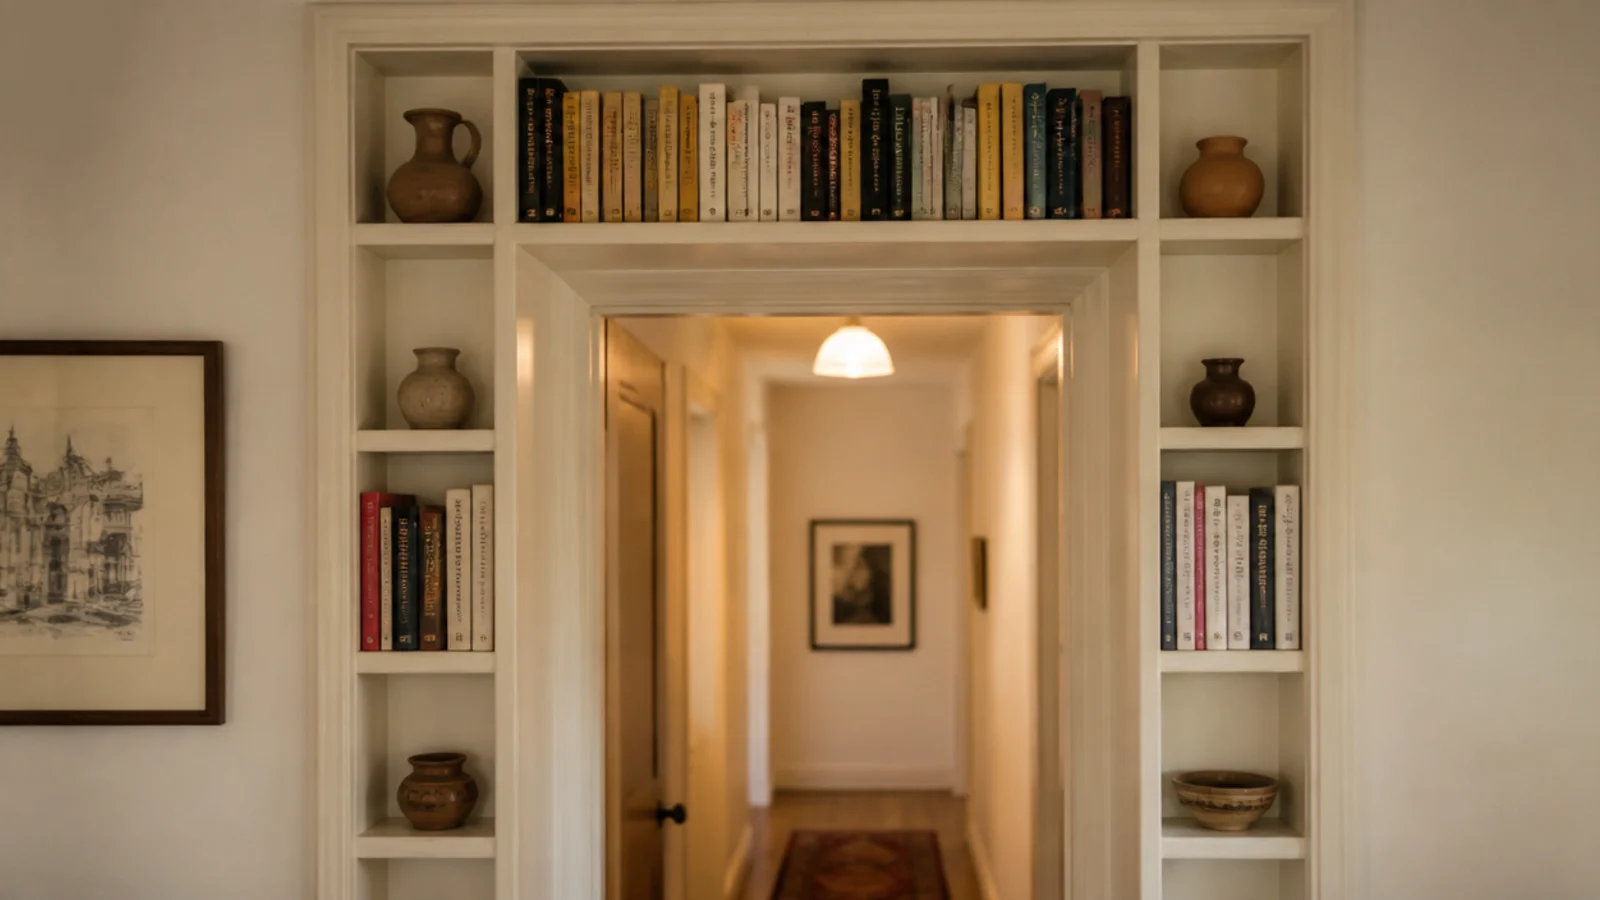
The wall around an interior door is dead space that a bridge of shelving turns into storage. Run narrow uprights up both jambs and one shelf across the head.
Keep the bridging shelf at least 4 inches above the door casing so the frame is not visually crushed, and cap the depth at 8 inches so nobody clips it walking through. Paperbacks only up there — you do not want a hardback falling as a door slams.
4. Flank a window and run a bench between
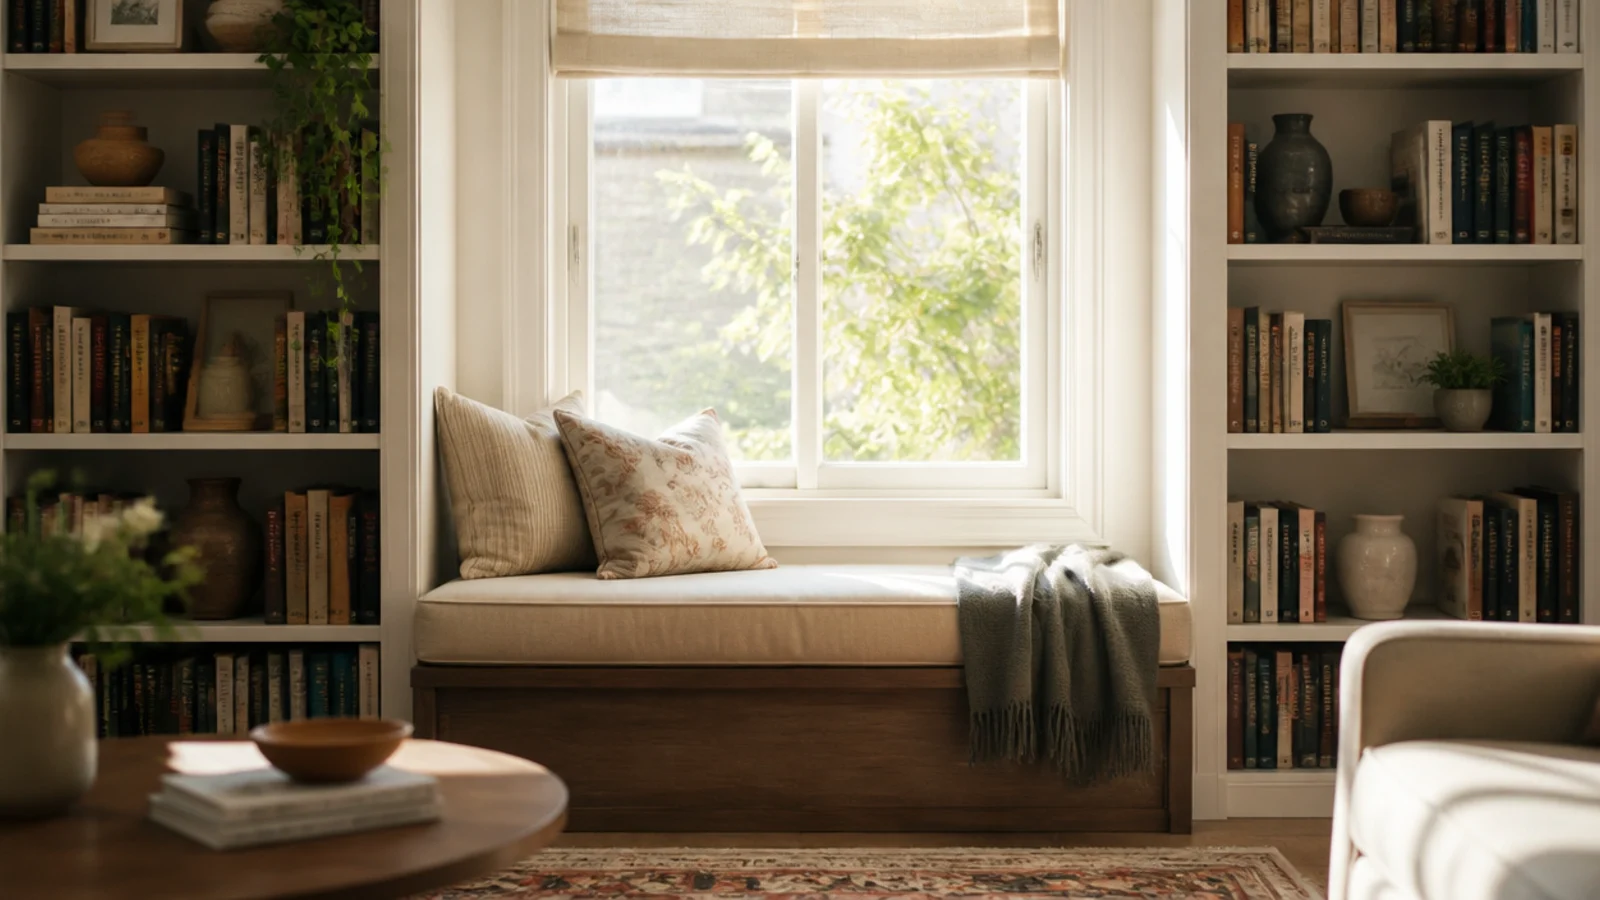
Two tall runs either side of a window with a padded bench spanning the gap under the sill. It is the layout that turns an ordinary room into one people want to sit in.
Set the bench at 17 to 19 inches high, the same as a dining chair. Keep the shelving depth to the wall reveal so it does not crowd the glass. Storage underneath the bench with a hinged lid gives you back the floor space you just used.
5. Build a grid of floating shelves instead of a case
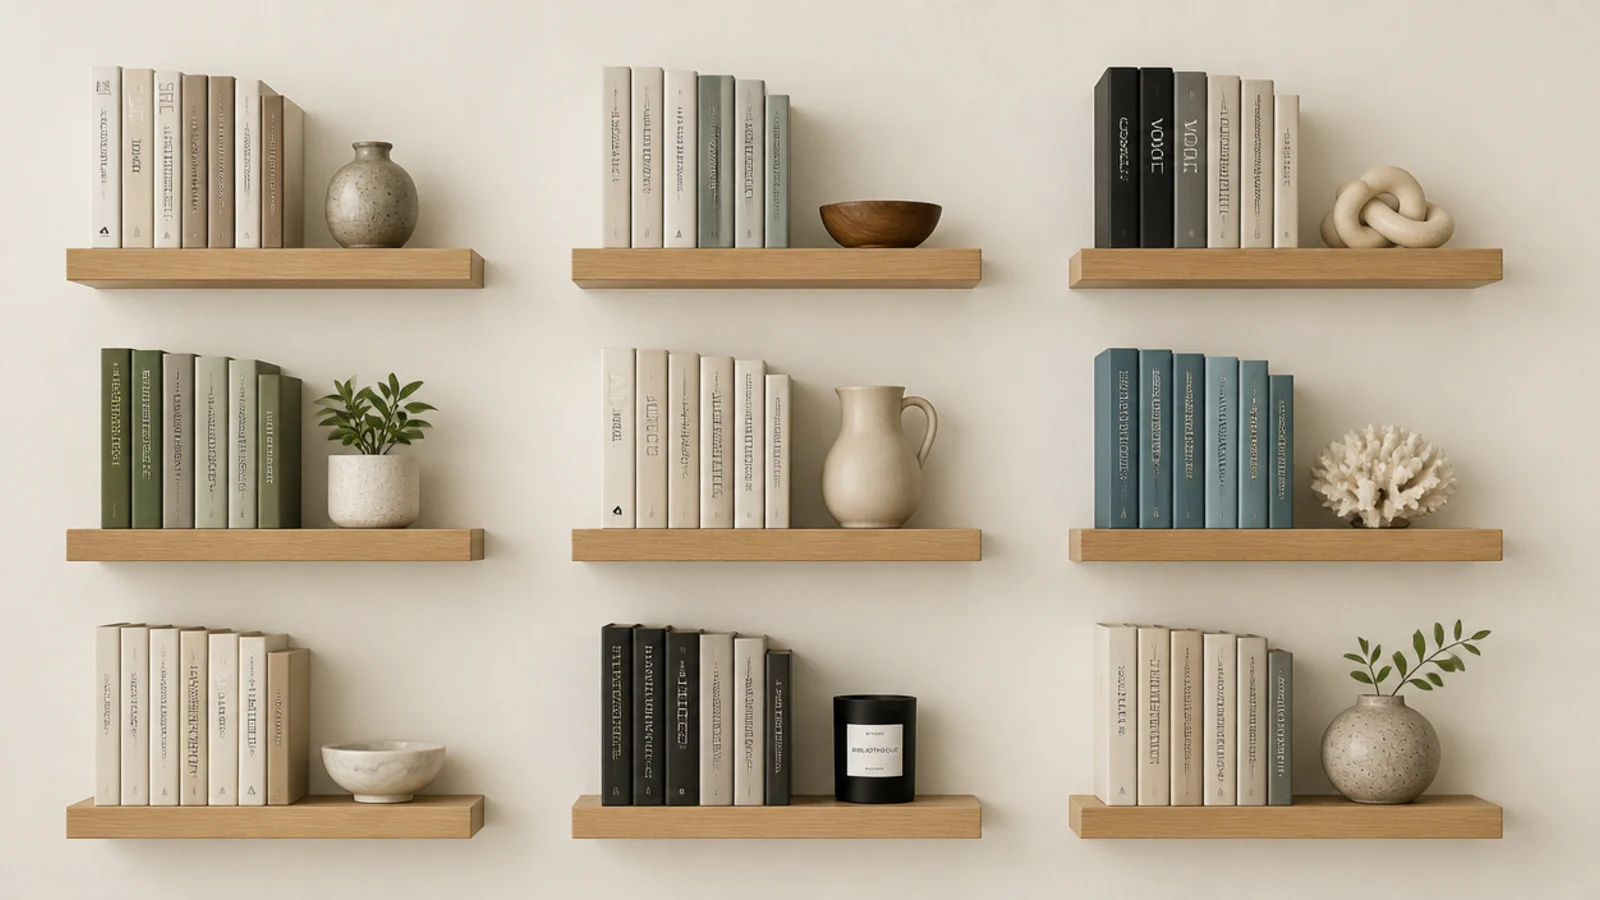
Where a full case is too heavy for a room, an even grid of floating shelves gives structure with no visible frame at all.
Three rows of three, each shelf 30 inches long, is a reliable layout. Keep the gaps between shelves identical — a grid only works if it is genuinely regular. Every bracket into a stud, no exceptions, because there is no side panel sharing the load here. Expect $120 to $250 ($$) for nine solid shelves.
6. Use a track-and-bracket system you can move
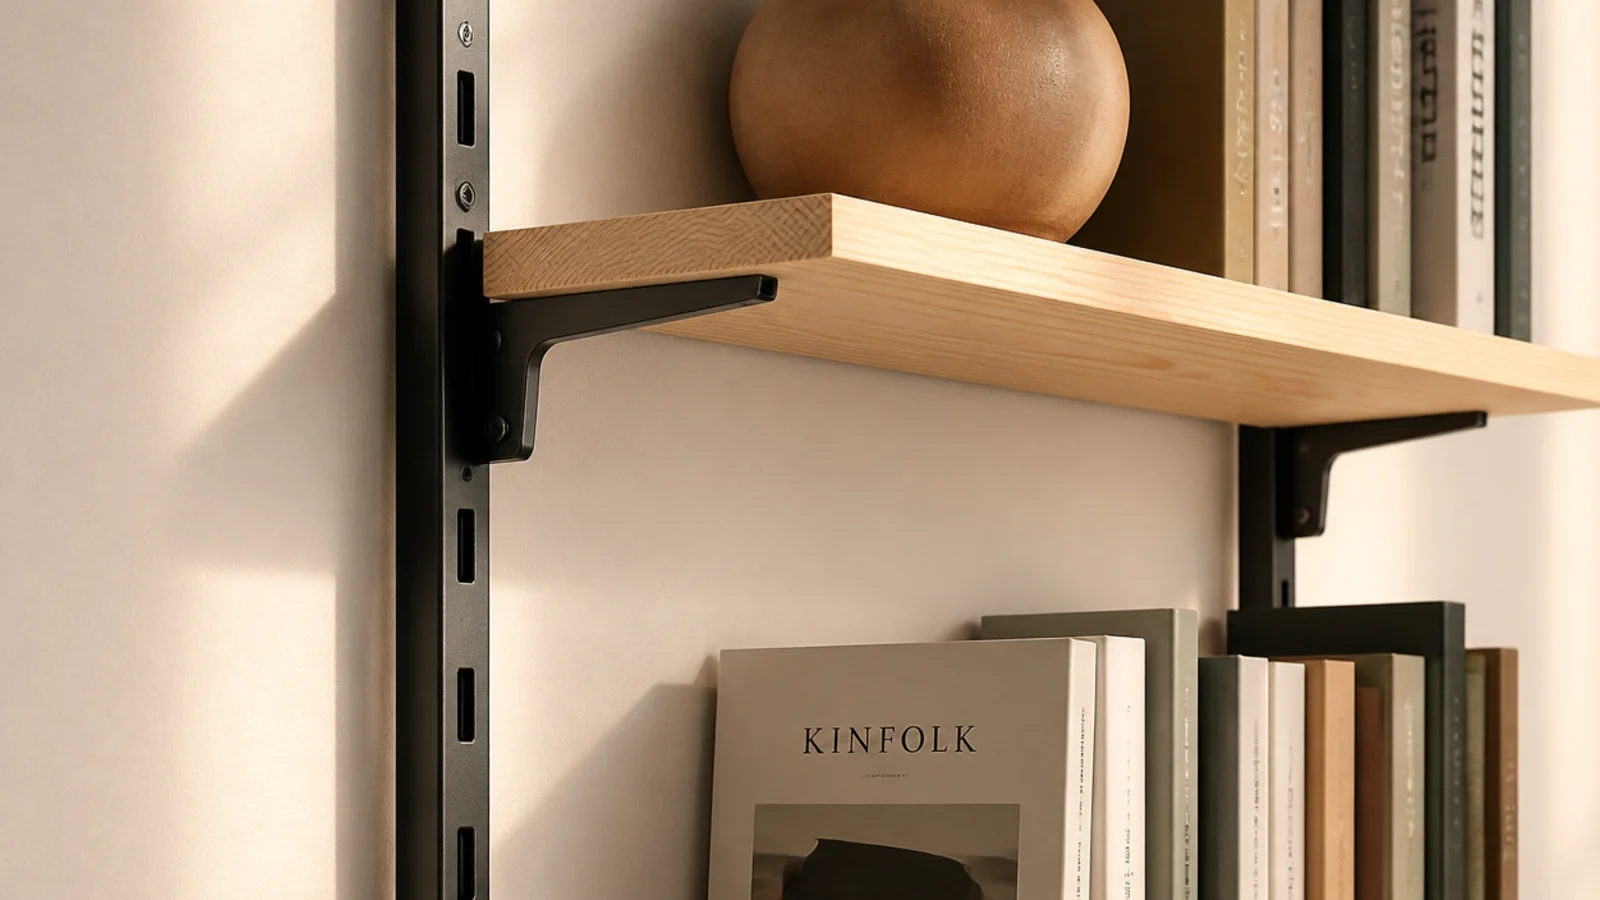
Slotted vertical tracks screwed into studs, with brackets that hook in wherever you want them. It looks utilitarian in a way that reads as considered, and the whole wall reconfigures in an hour.
Space the tracks 30 to 32 inches apart, use boards at least 3/4 inch thick, and set the lowest gaps taller for oversized art books. A three-track wall runs $90 to $180 ($$).
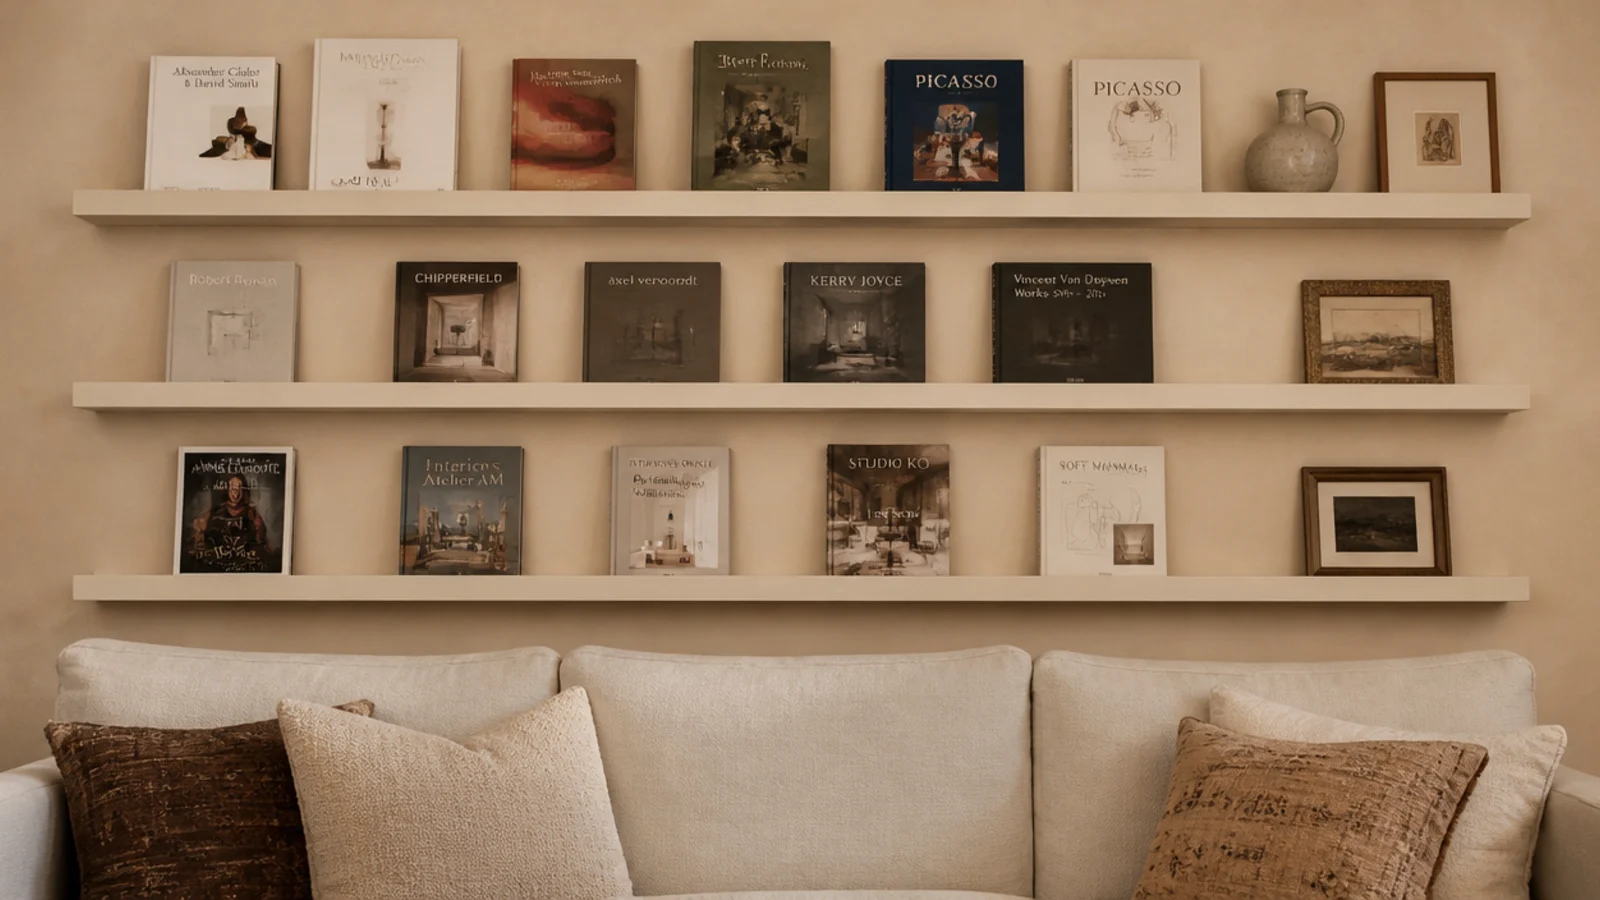
7. Run picture ledges across the wall above a sofa
Above a sofa you want depth of 4 inches or less, so nobody's head meets a shelf edge. A stack of three long picture ledges holds books face out and reads as art.
Start the lowest ledge 12 inches above the sofa back and space them 13 inches apart. Forward-facing covers make people pick books up, which is more than a spine ever does. Ledges cost $20 to $40 each ($) and take twenty minutes.
8. Line the stairwell wall
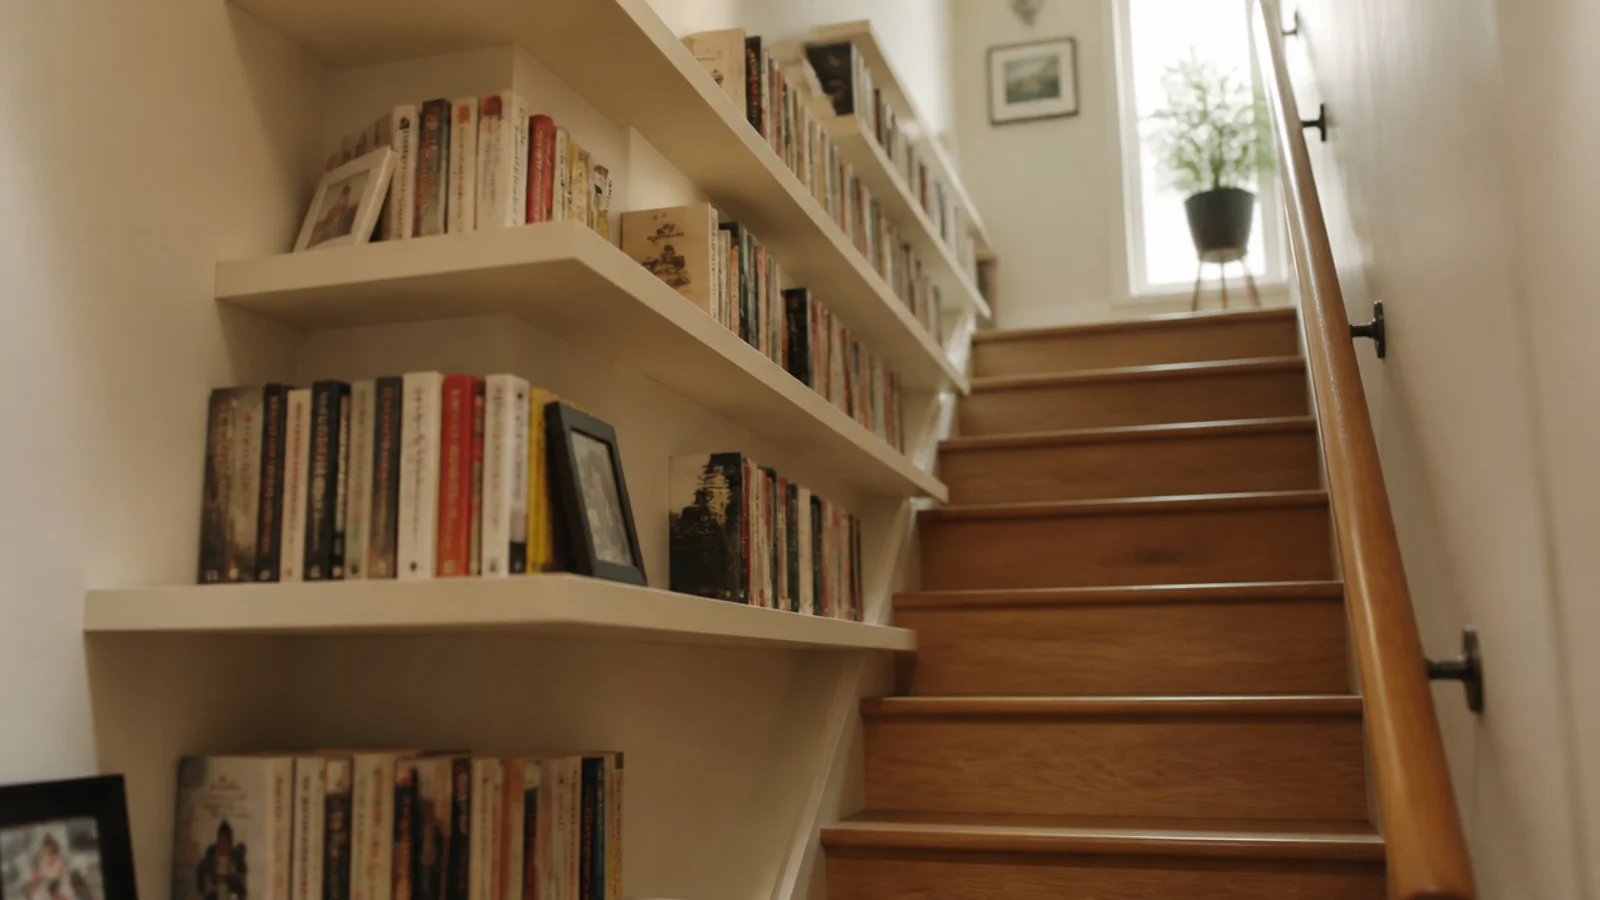
A stairwell wall is huge, permanently underused and almost never in anyone's way. Shallow shelves stepping upward alongside the handrail turn it into a library.
Keep them 6 inches deep and set each shelf parallel to the stair pitch rather than level with the one below. Do not overhang the treads, and light it — unlit spines are invisible from below.
9. Turn a hallway into a shallow library
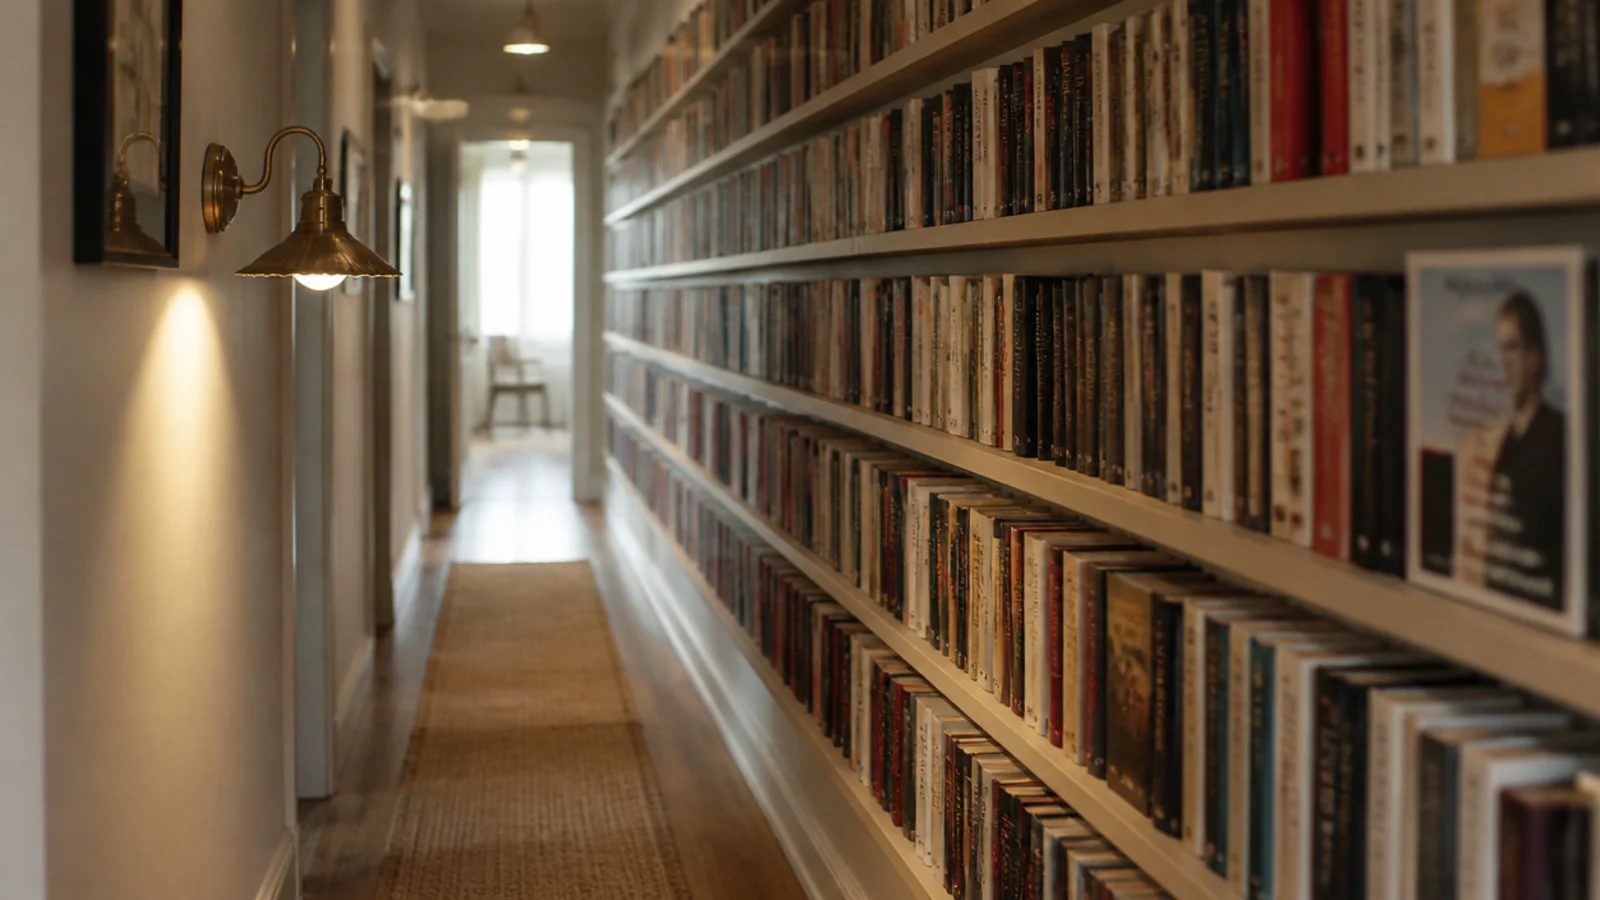
Six inches of depth costs a hallway almost nothing and holds every paperback you own. In a corridor at least 36 inches wide, this is free storage.
Run the shelves at a consistent height along the whole wall so the corridor reads longer rather than narrower. Avoid anything protruding at shoulder height on the side you naturally walk. This is the same logic behind bookshelf for small spaces, applied to the room nobody thinks of as a room.
10. Pair two low cases under a gallery wall
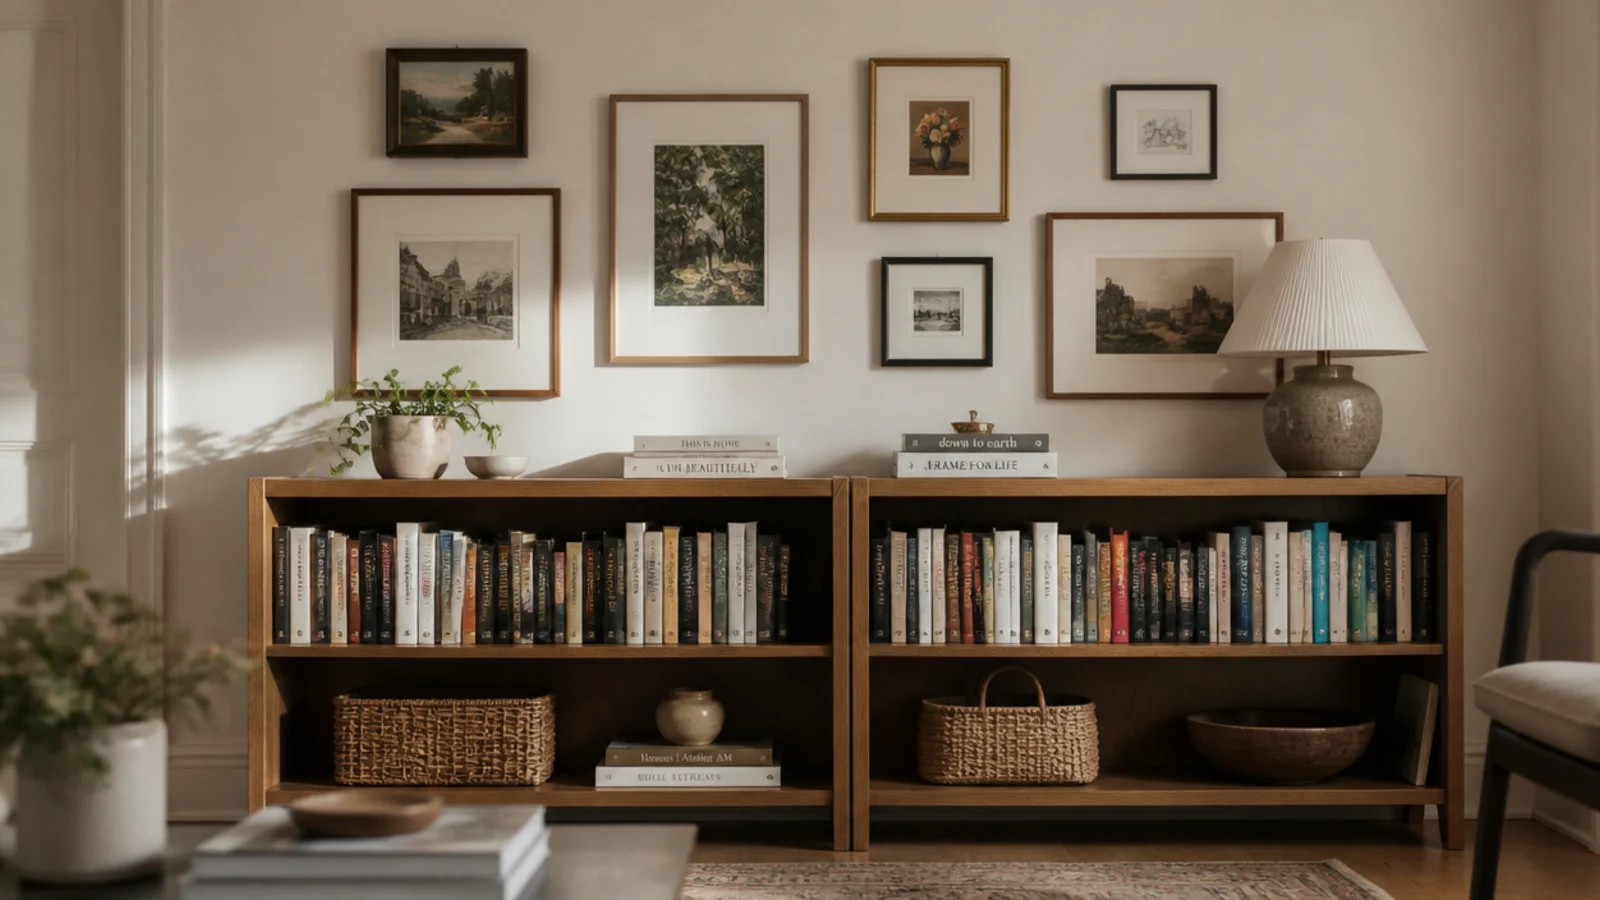
Two matching low bookcases pushed together read as one long run, and the wall above them takes framed art without competing.
Cap them at 30 to 36 inches so the top becomes a display surface at a comfortable height. Hang the lowest frame 8 to 10 inches above that surface. Two flat-pack cases and a set of thrifted frames comes in around $150 to $250 ($$) for a whole wall.
11. Fill a cube wall and put baskets on the bottom row
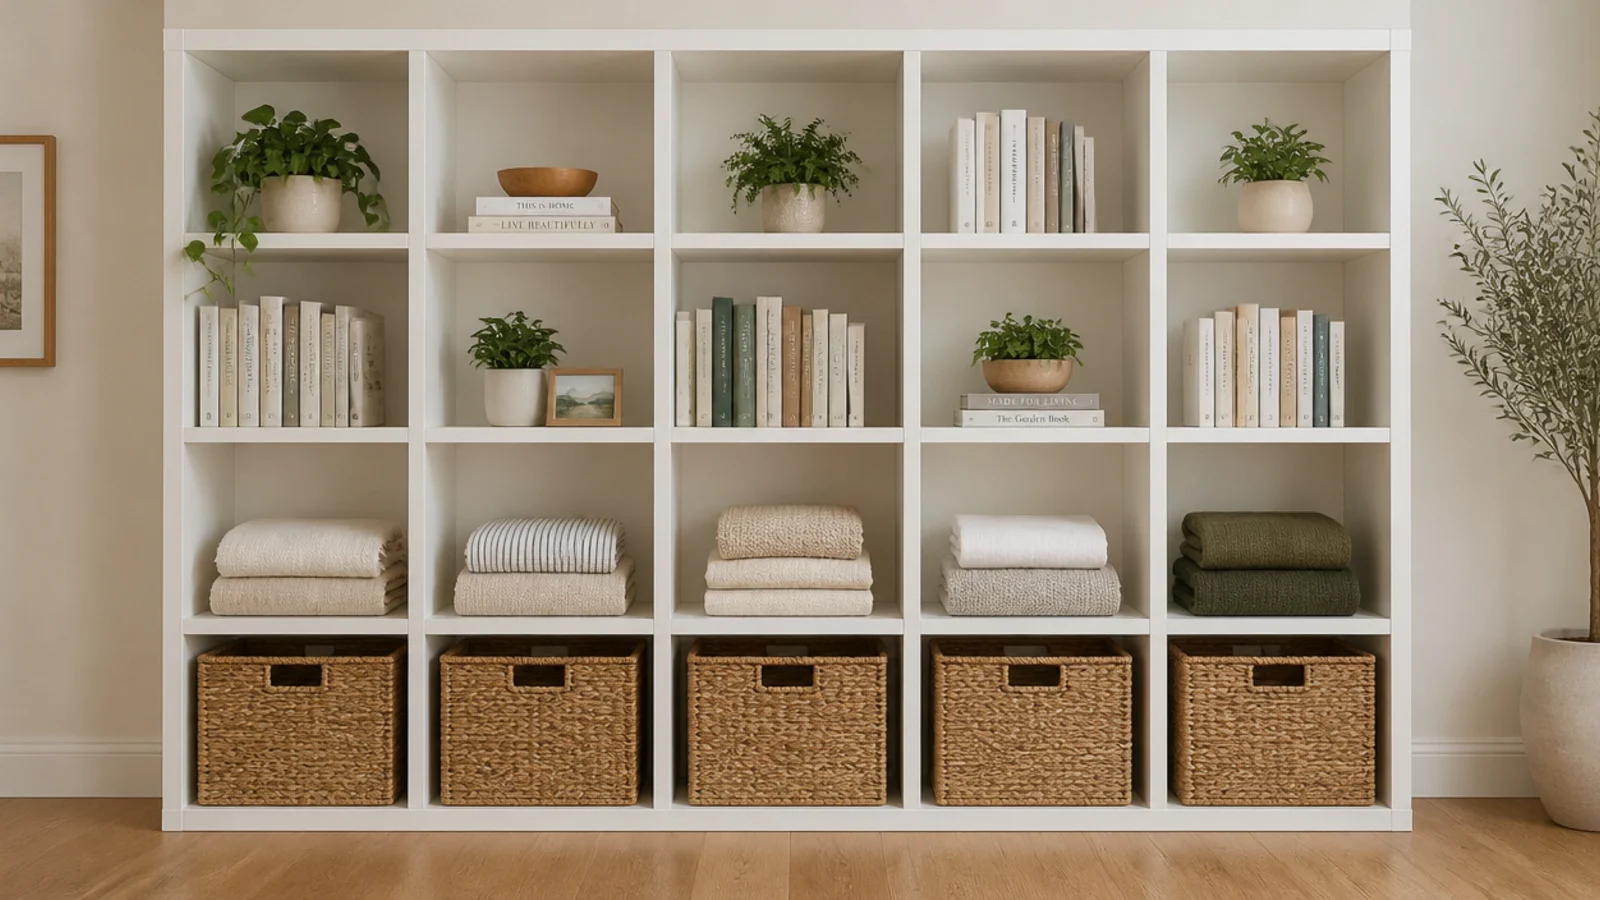
A wall-sized cube grid is the cheapest way to a full book wall, and the fix for how blunt it looks is to fill the bottom row with woven baskets.
Baskets low, books in the middle, plants and pottery high. That gradient gives the grid a rhythm it does not have on its own. Strap it to the wall — a tall cube unit is exactly the shape a child climbs, and an anti-tip strap is non-negotiable in any home with kids.
12. Wrap shelving around the bed
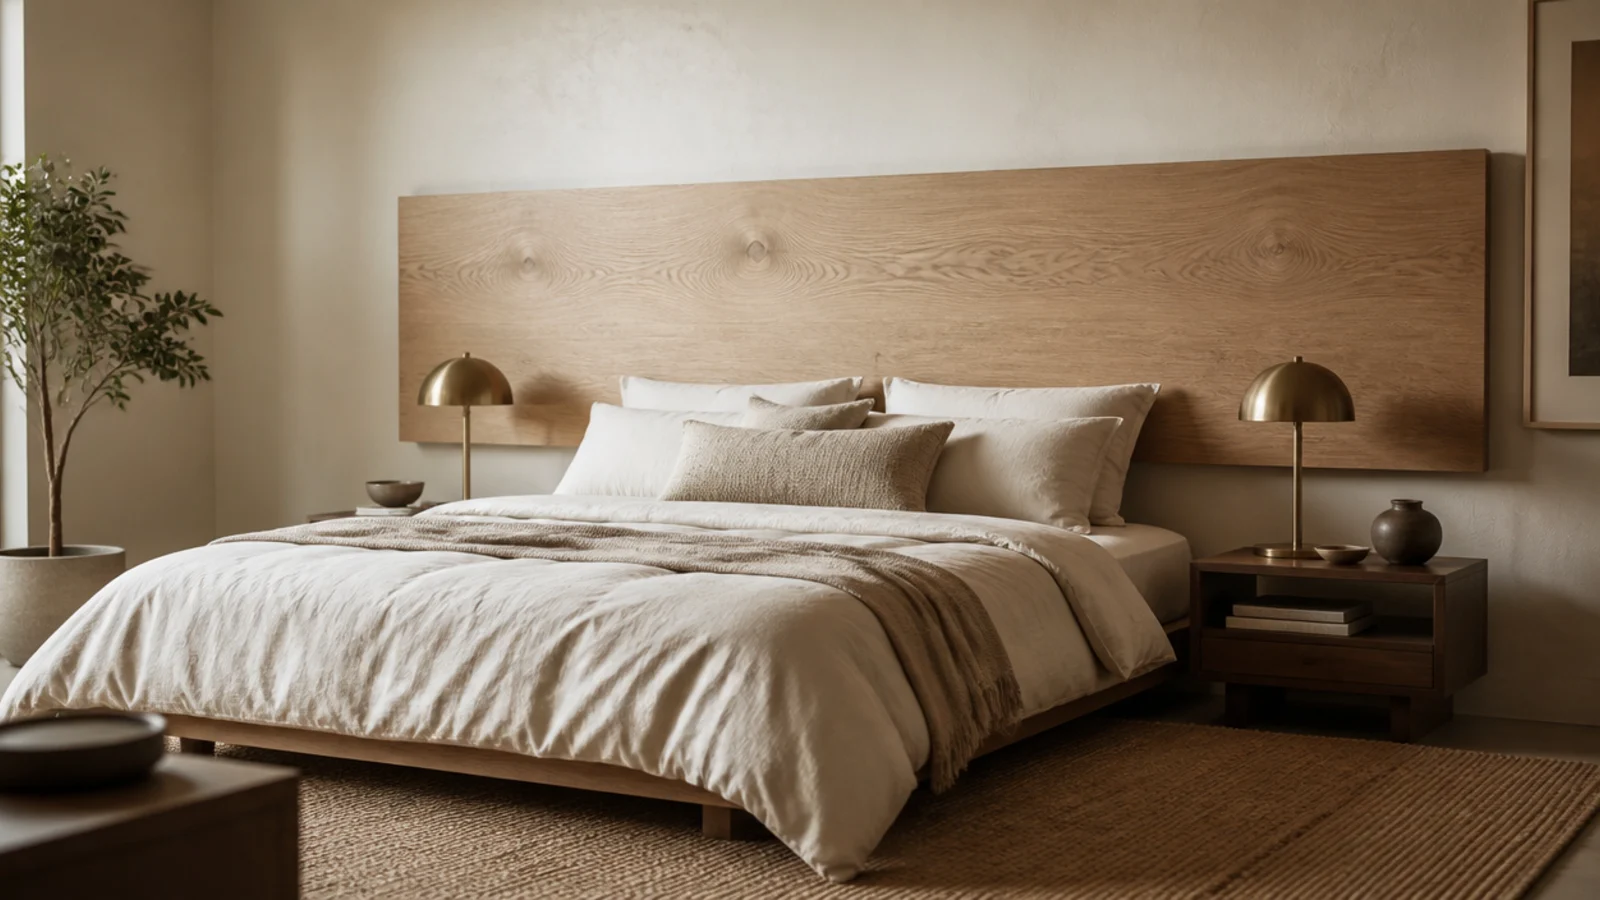
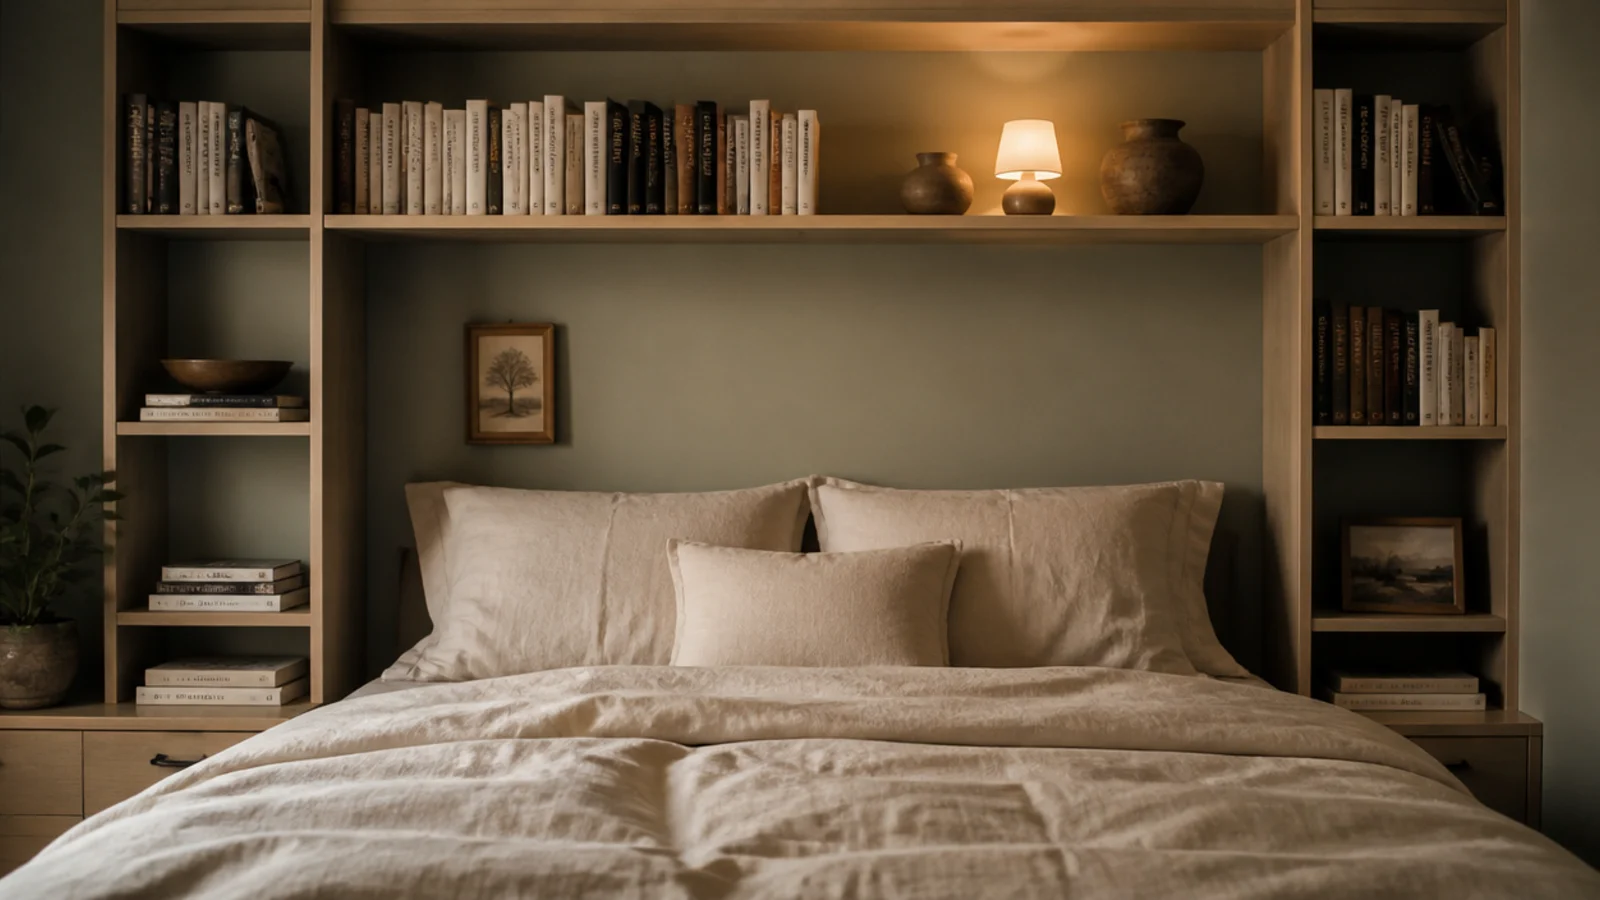
In a bedroom, the wall behind the bed is usually the largest unused surface in the house. Uprights either side of the mattress with a bridging run above the pillows gives you nightstands and a headboard in one.
Keep the bridge at least 12 inches above the tallest pillow so nobody sits up into it. Nothing heavy or breakable directly overhead. If you want the softer version instead, floating headboard ideas covers the same wall without the books.
13. Build the television into the run
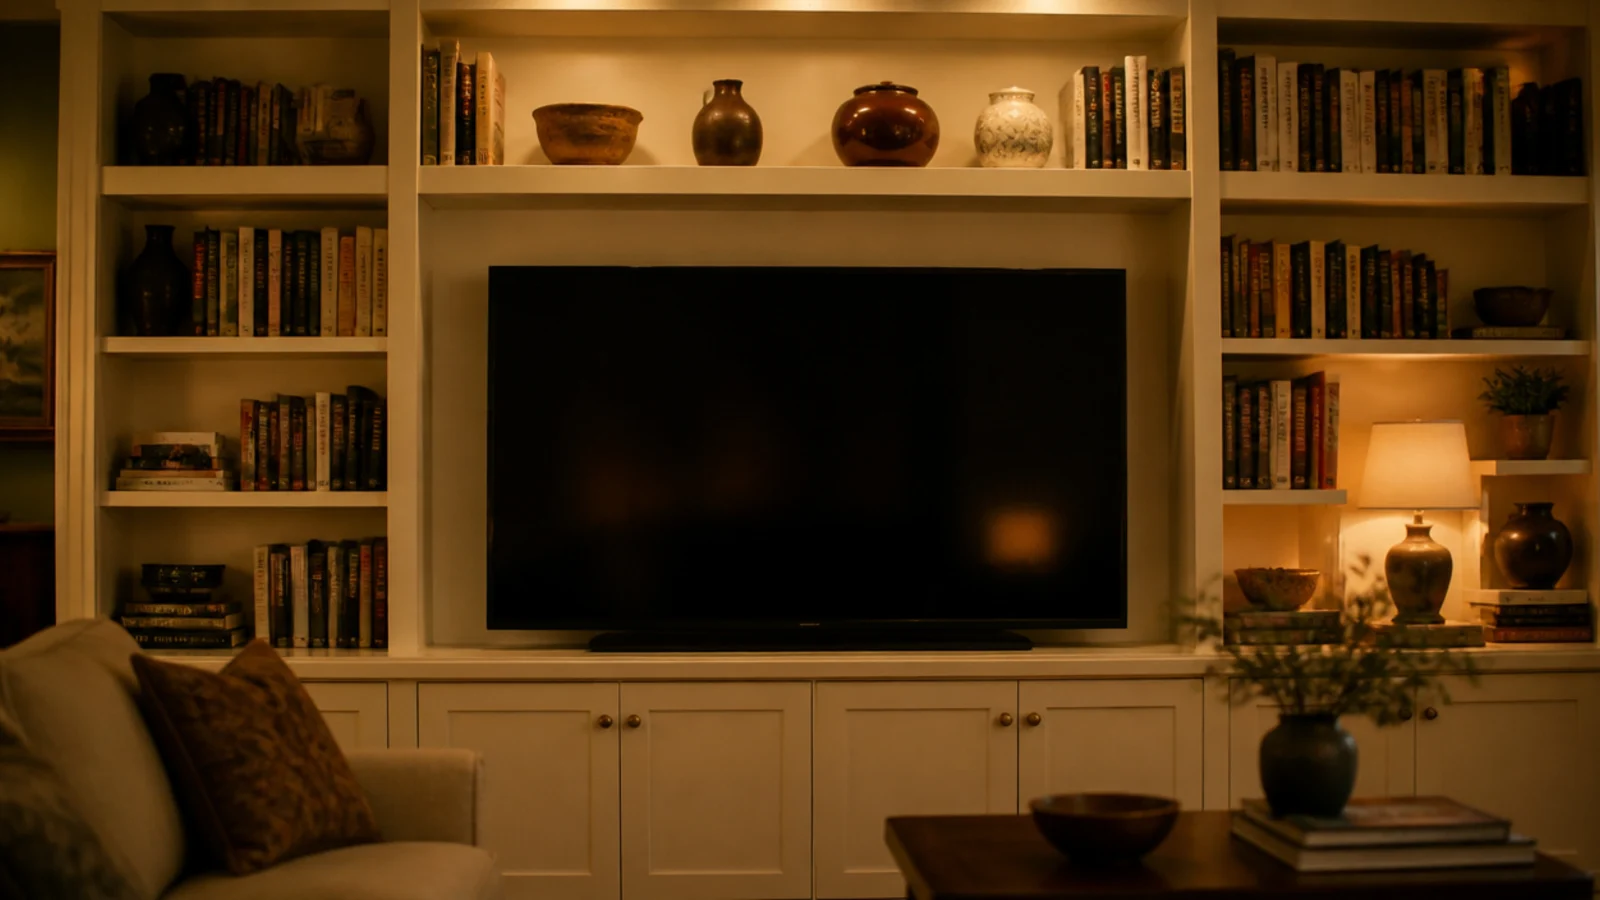
A screen surrounded by books stops being the focal point, which is the entire aim. Leave a central bay 4 inches wider and 6 inches taller than the television.
Run a cable channel down behind the back panel before anything is fixed, because retrofitting one is miserable. Keep the shelves either side slightly shallower than the bay so the screen sits back and the books step forward. Painted MDF for the carcass keeps this in the $$ range.
14. Let the desk become part of the shelf wall
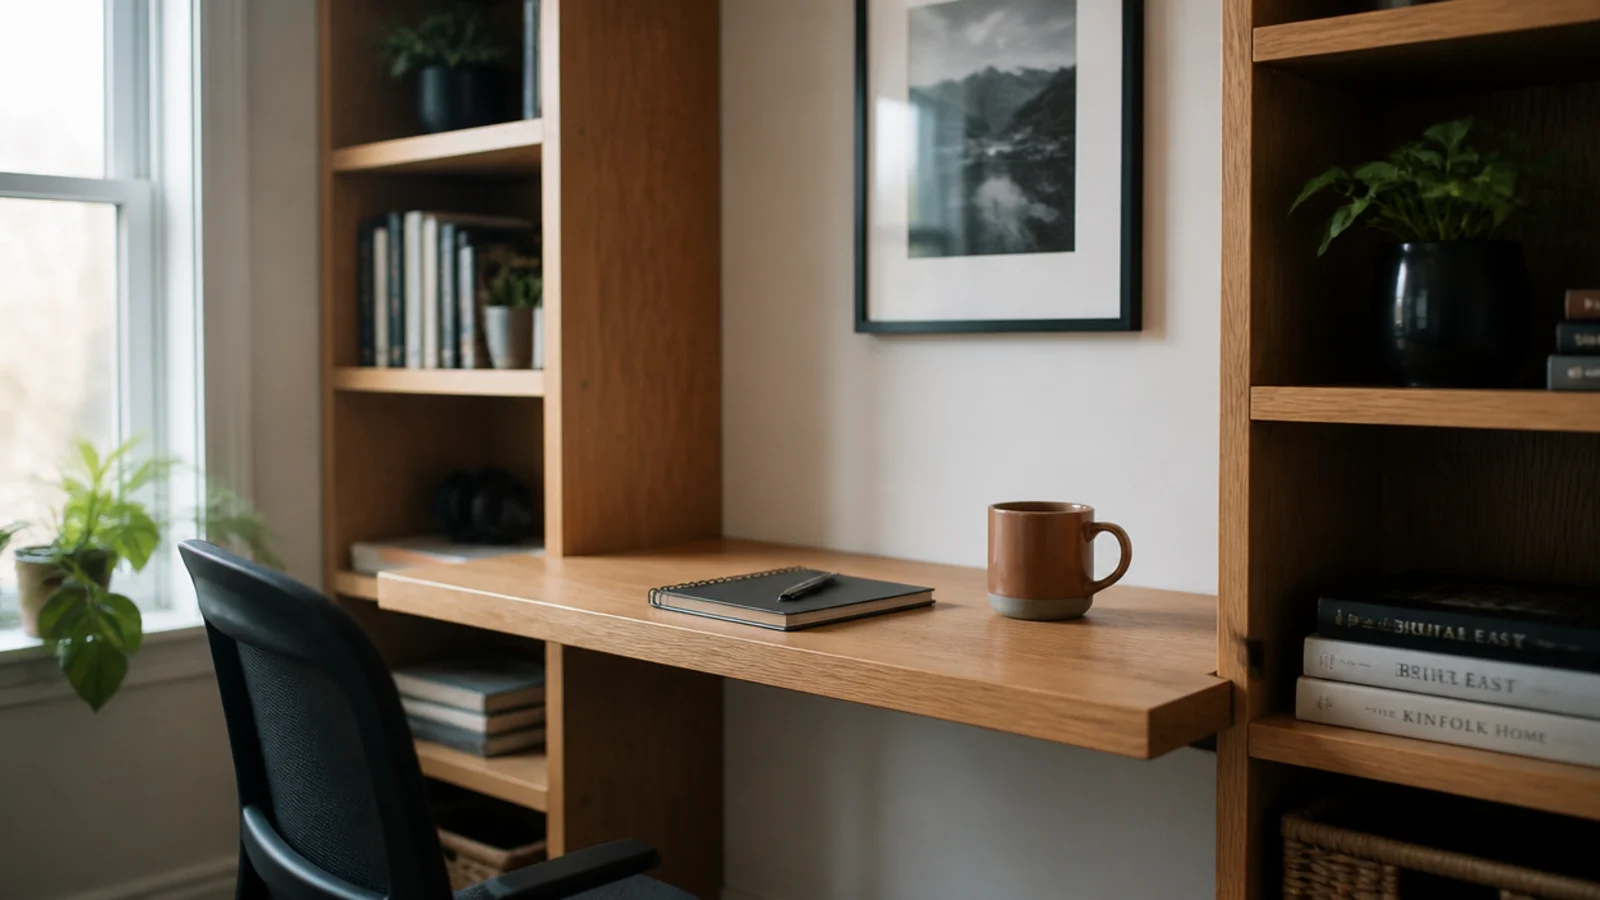
Span a solid board between two uprights at 29 inches high and the shelving wall becomes a home office without adding a single piece of furniture.
Desk surfaces get leaned on, so use 1-inch stock minimum here and support it at both ends plus the middle if the bay is wider than 32 inches. Leave 24 to 26 inches of clear height above the desk for a monitor, and put a shallow shelf at 40 inches for everything else.
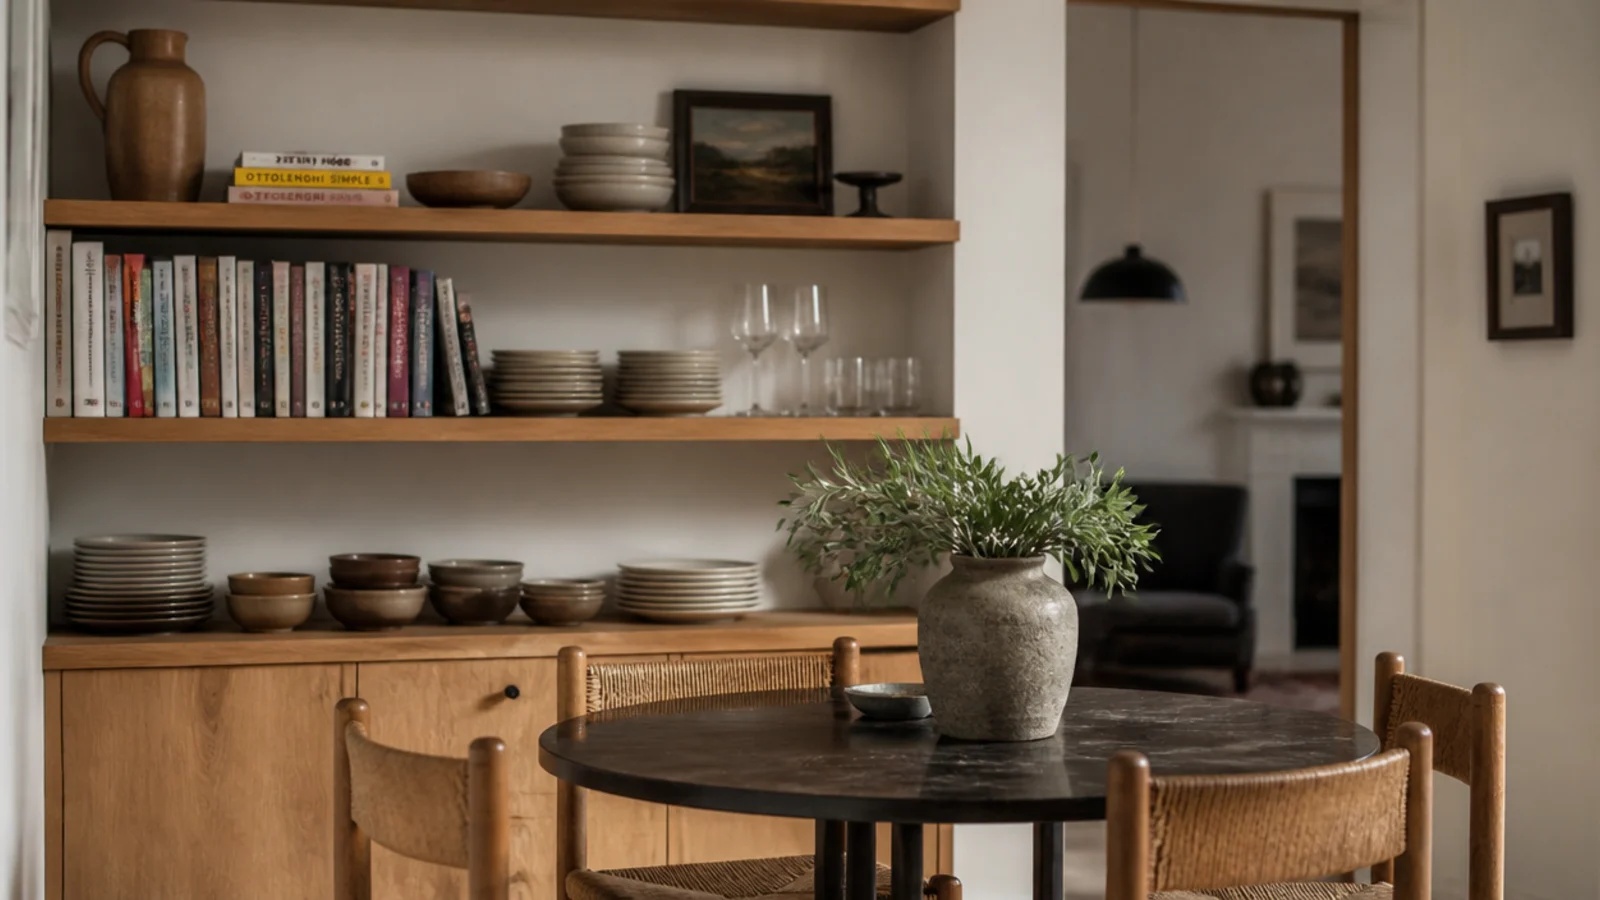
15. Give a small dining wall over to shelving
In a small apartment, the dining wall does double duty beautifully. Cookbooks, stacked stoneware, glassware and a jug all live together without looking like a kitchen.
Keep the lowest shelf above chair-back height, around 36 inches, so nothing gets knocked. Mixing tableware into a book wall also solves the problem of a run that is all spines and no shape, because plates and bowls bring curves.
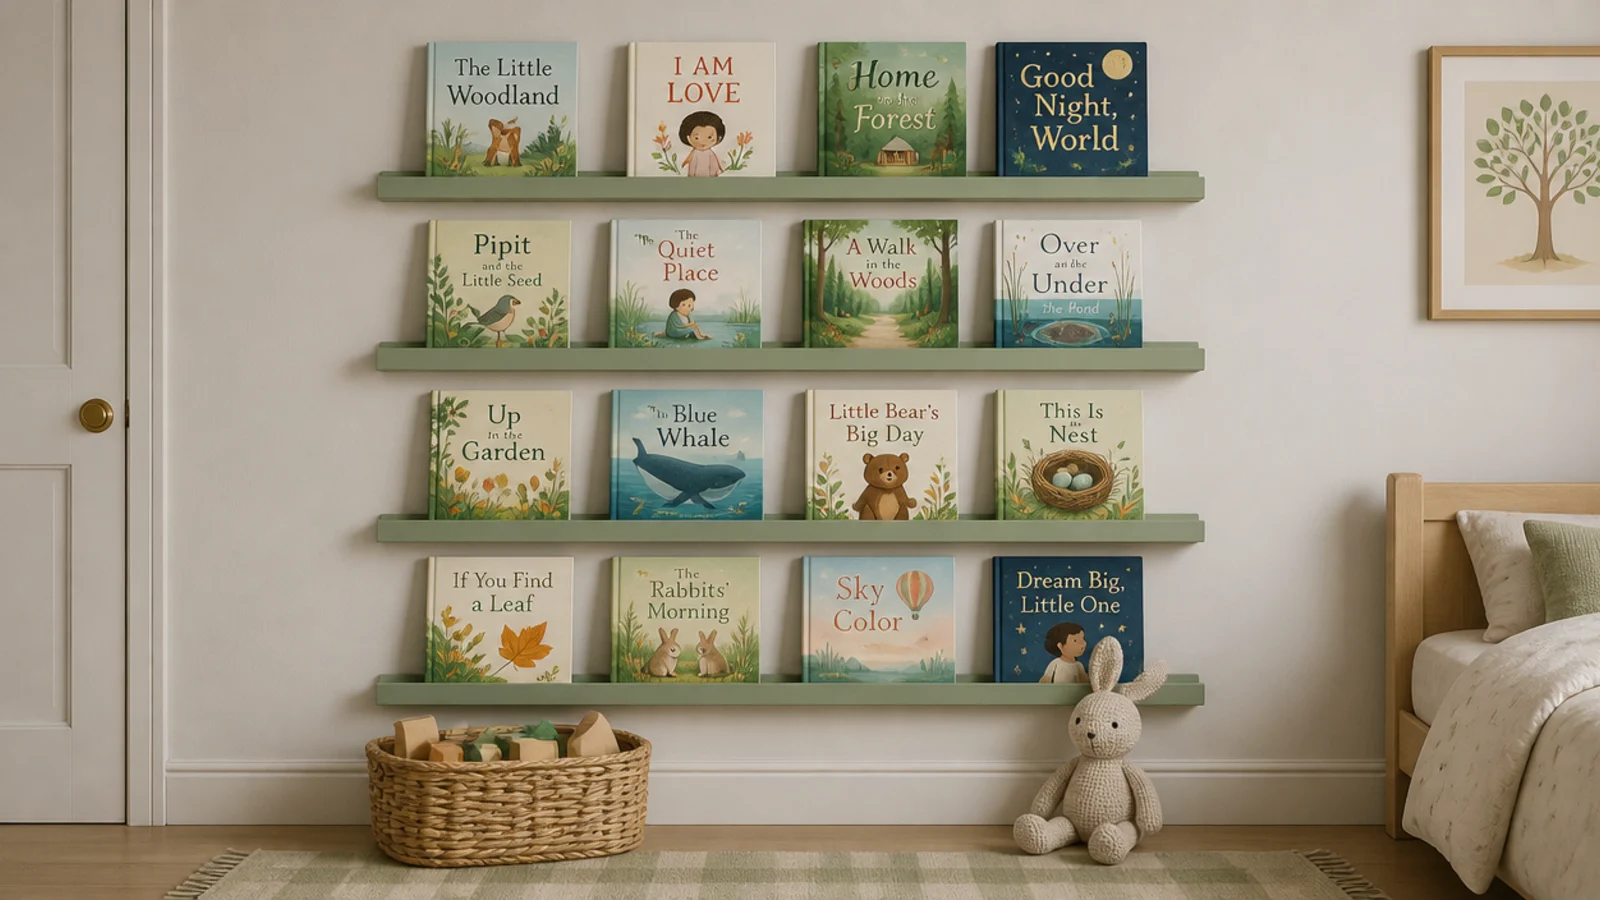
16. Fill a low wall with forward-facing ledges
For anyone under six, spine-out shelving may as well be a locked cupboard. Four shallow ledges filling the wall from skirting to 36 inches puts every cover in view.
Cap the top ledge at three feet so no climbing is involved. Round the front edges, fix every ledge into a stud, and accept that this wall will look chaotic — a child choosing their own book is the whole point of it.
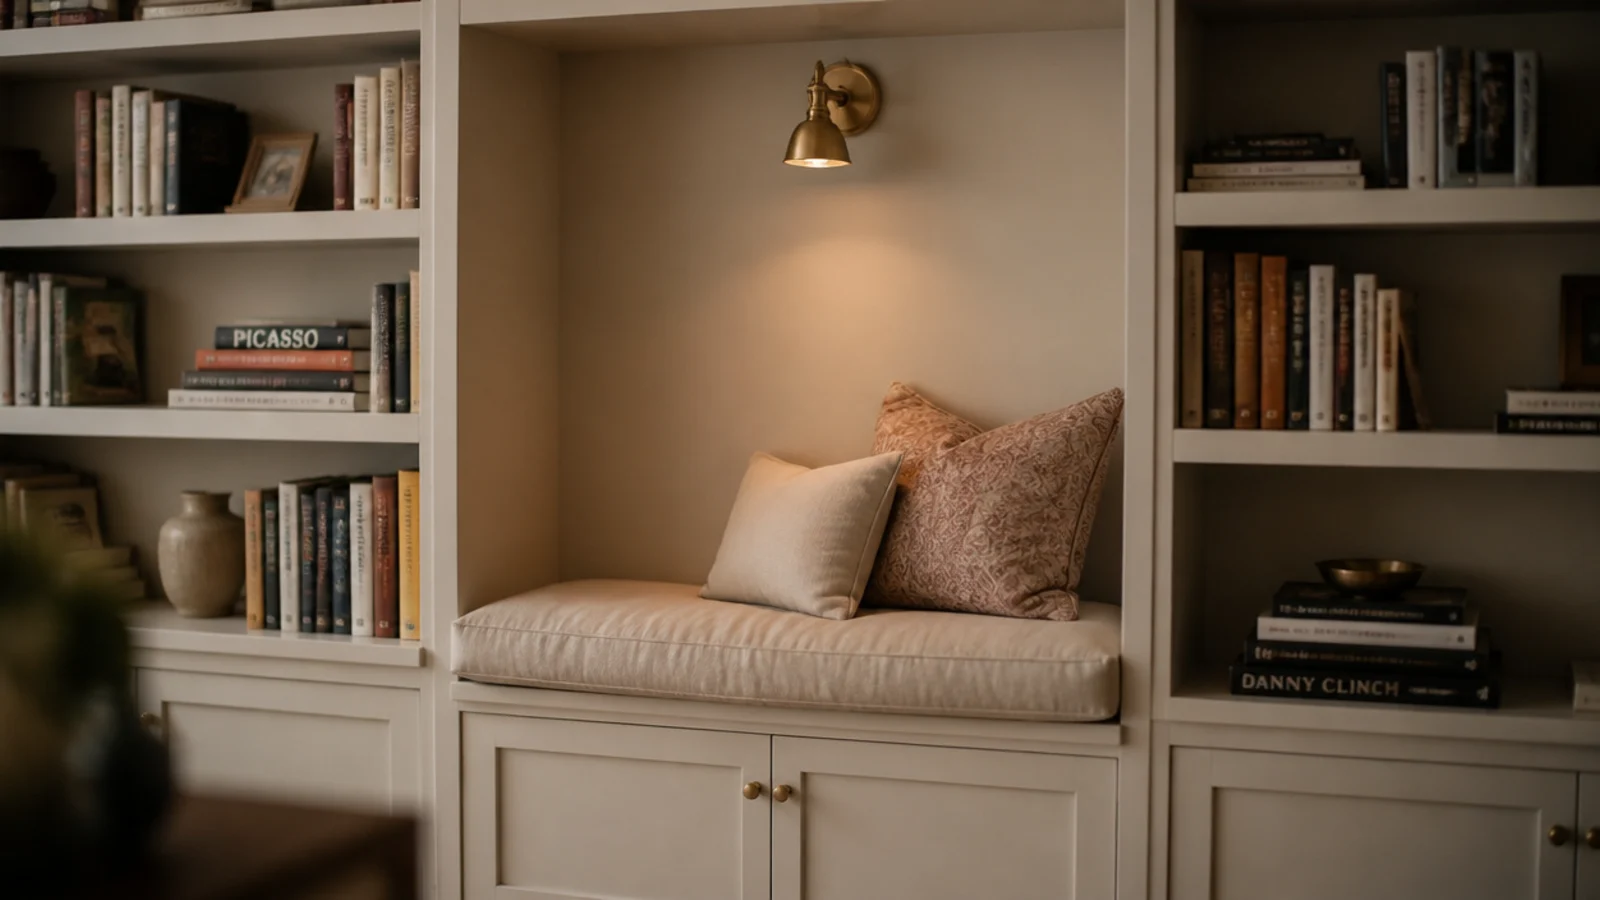
17. Cut a reading nook into the wall of shelves
Leave one bay empty, 30 to 36 inches wide and about 40 inches tall, and fit a padded seat at 17 inches. A wall of books with a hole in it is far better than a wall of books.
The empty bay is what stops a full-height run feeling like a barricade. Add a small brass reading light on the side panel.
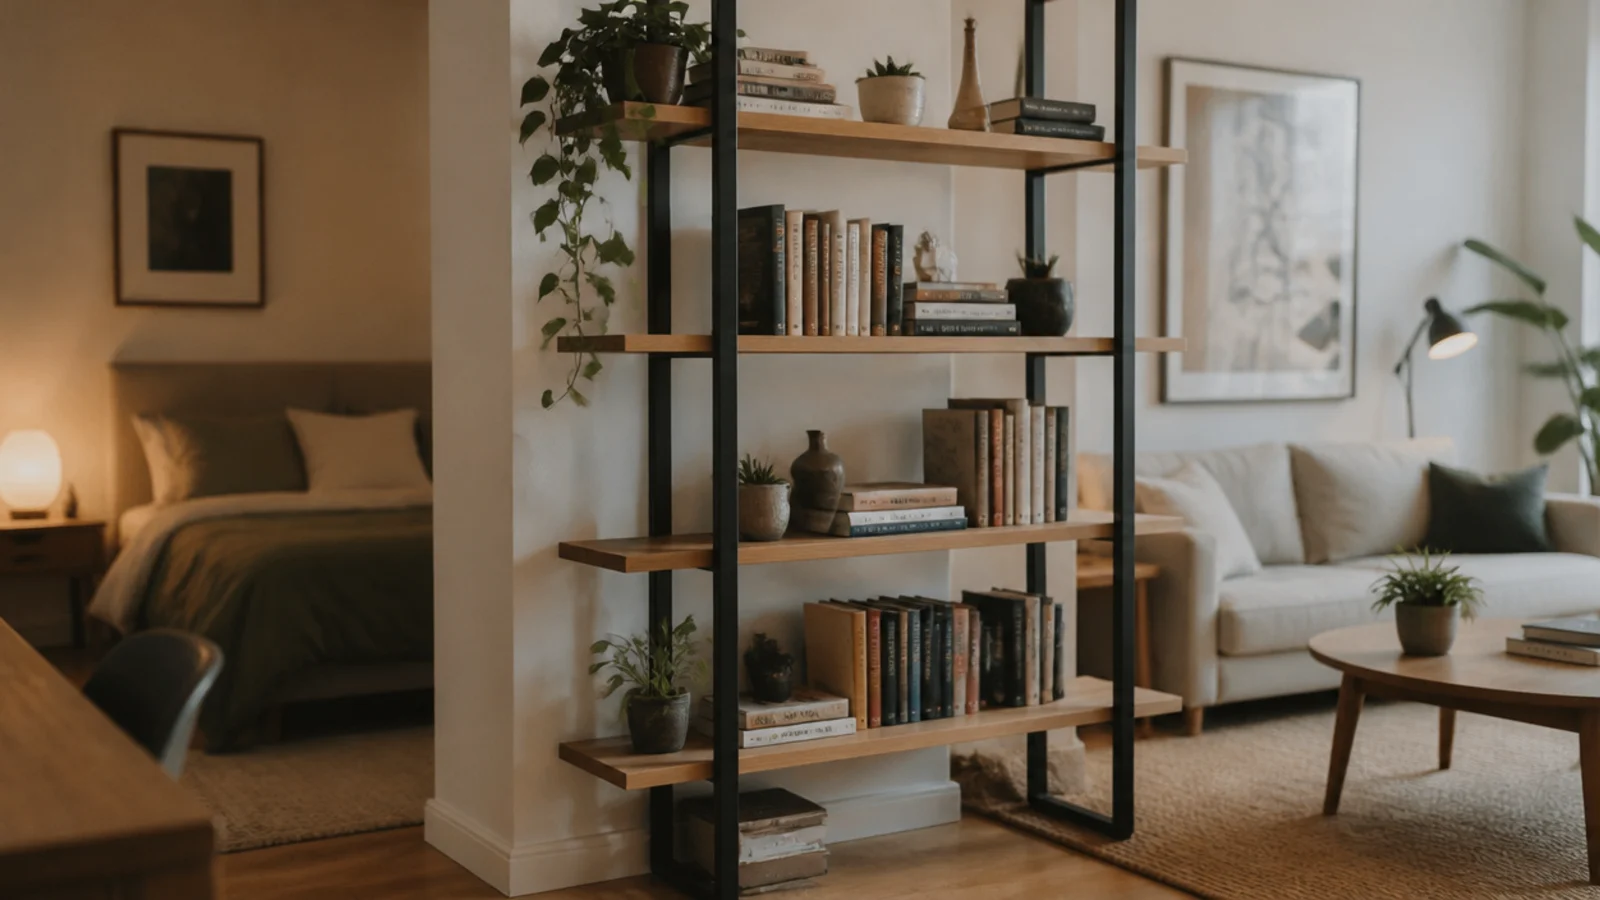
18. Use open shelving as a room divider
In a studio, a backless run standing perpendicular to the wall makes a second room without blocking a single window.
Choose a unit no more than 12 inches deep and open on both faces, so light and sightlines pass through. Load the bottom two shelves heaviest for stability and strap the top to the nearest wall or ceiling joist.
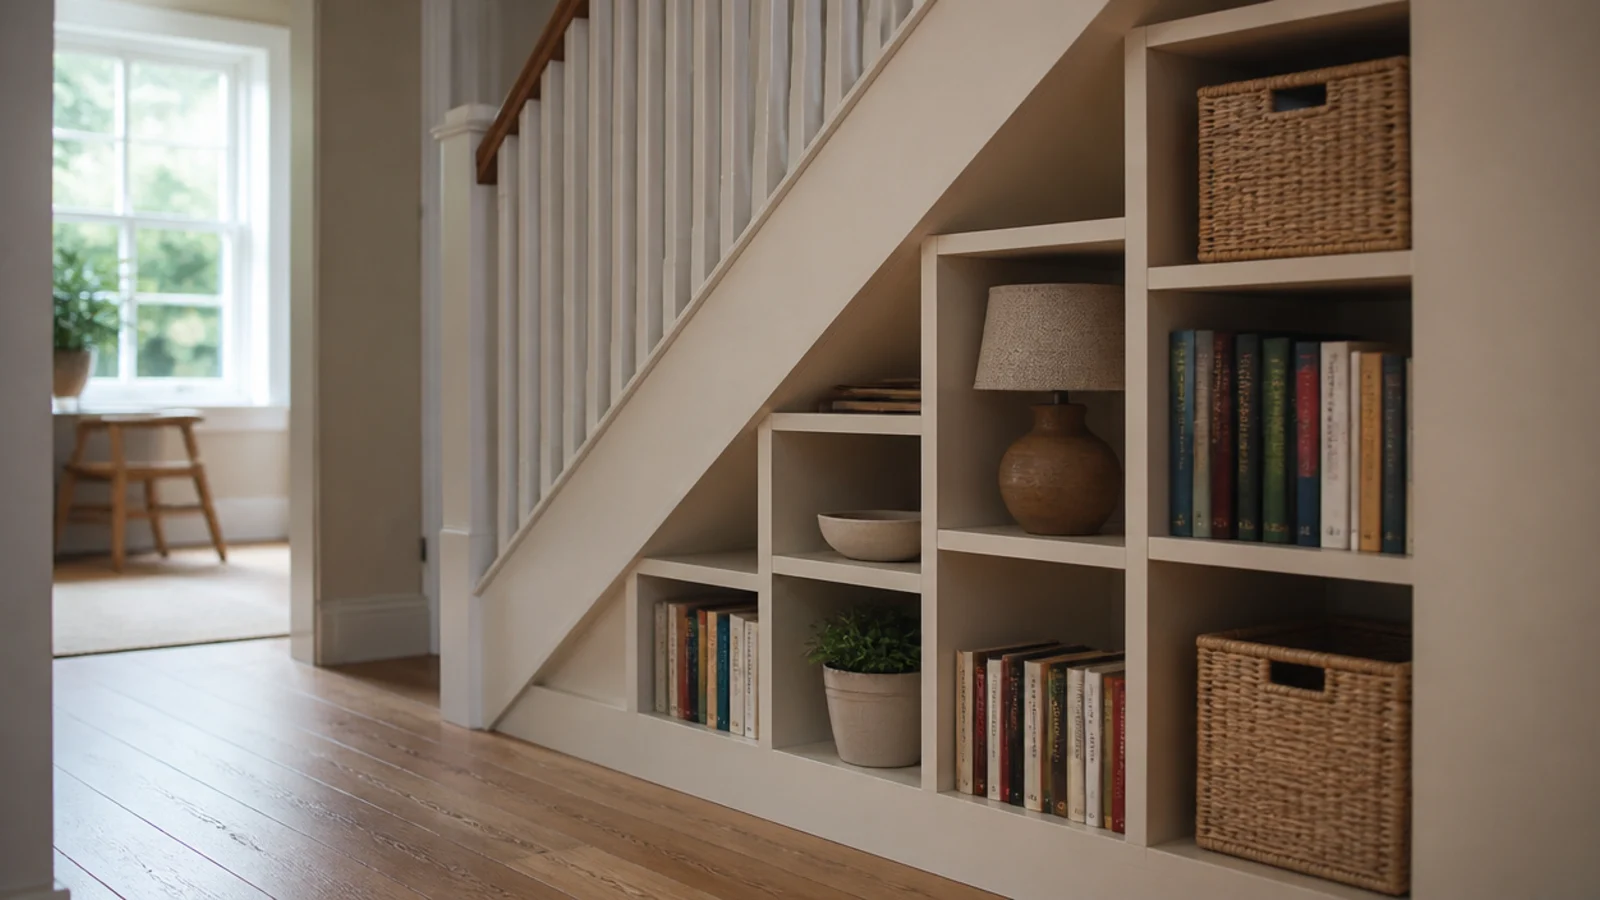
19. Step shelving under the stairs
The triangle under a staircase is the most wasted volume in most houses. Stepped shelving following the diagonal turns it into a genuinely large library.
Build the tallest bay at the high end for art books and let the shelves shorten as the ceiling drops. Keep everything 11 inches deep. It is fiddly carpentry and cheap materials — painted MDF and a Saturday, roughly $80 to $150 ($$).
20. Paint the whole run the wall color
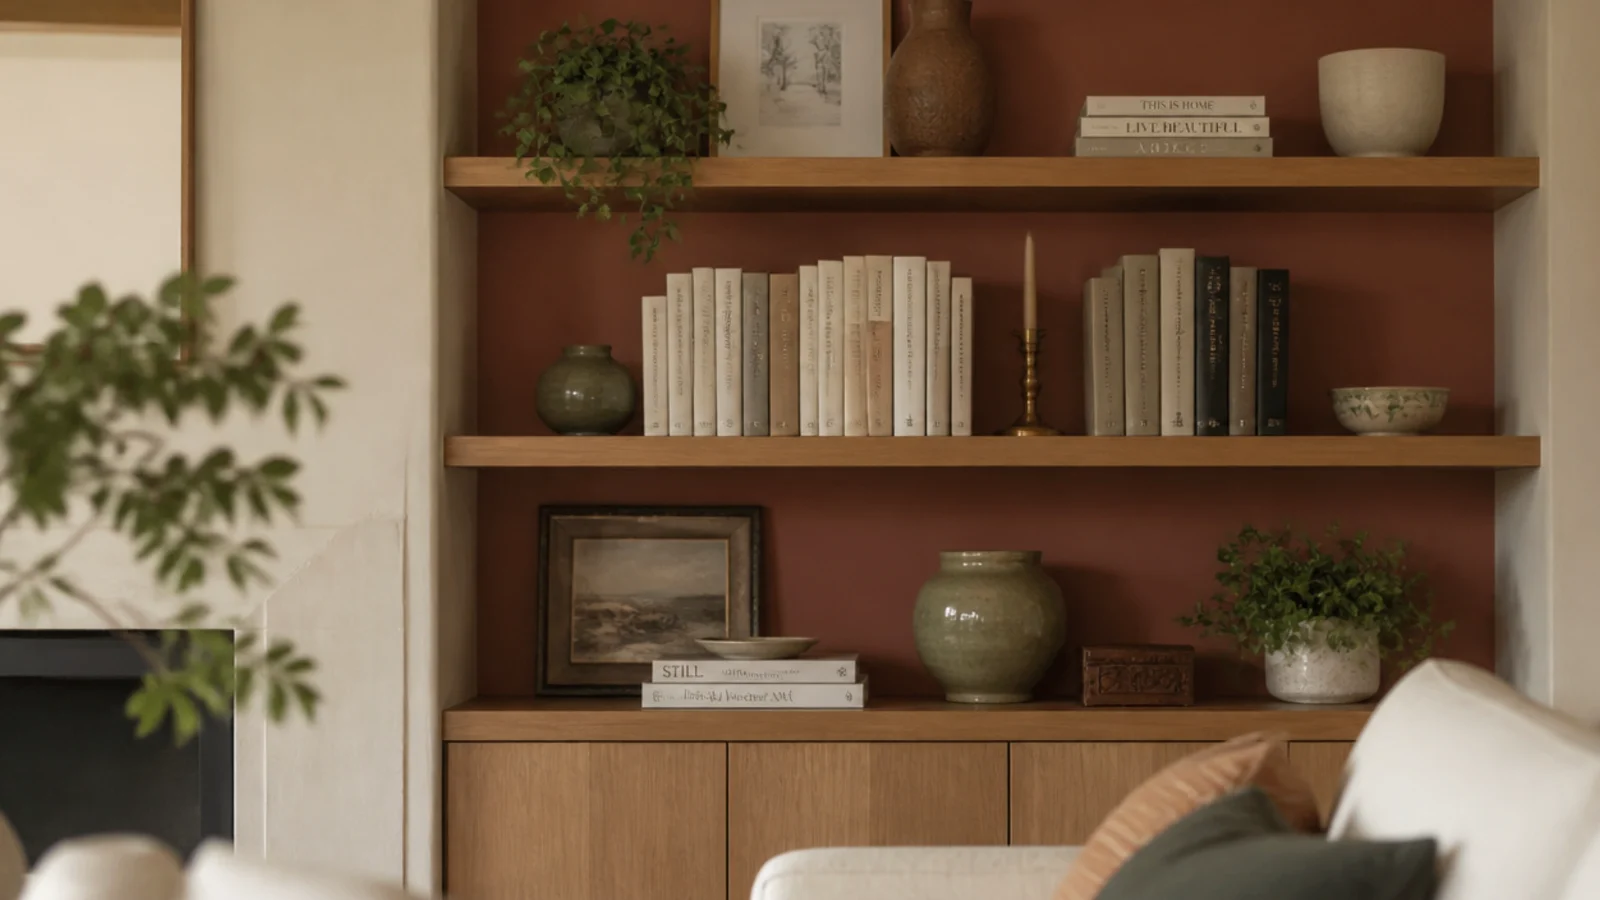
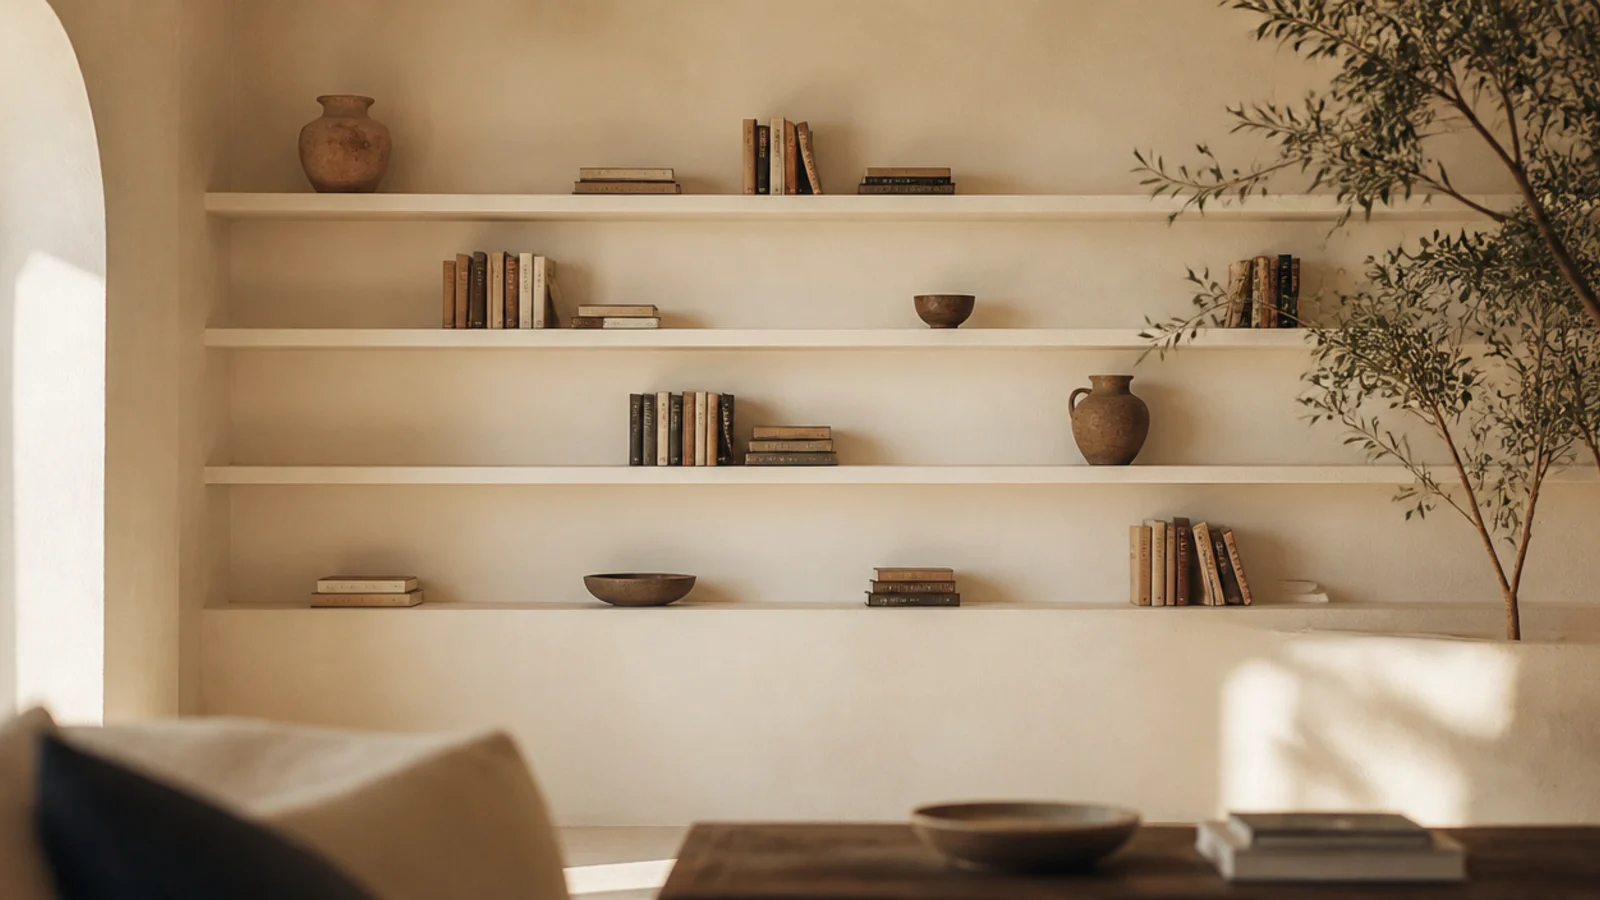
The single change that most reliably makes a shelving wall look built rather than bought. Same color on the case, the wall and the trim.
Use eggshell on the joinery and matte on the plaster so the sheen difference does the outlining for you. A contrasting case will always read as furniture pushed against a wall. This one decision is worth more than the difference between MDF and oak, and it costs about $40 ($).
21. Backlight the shelves with a warm strip
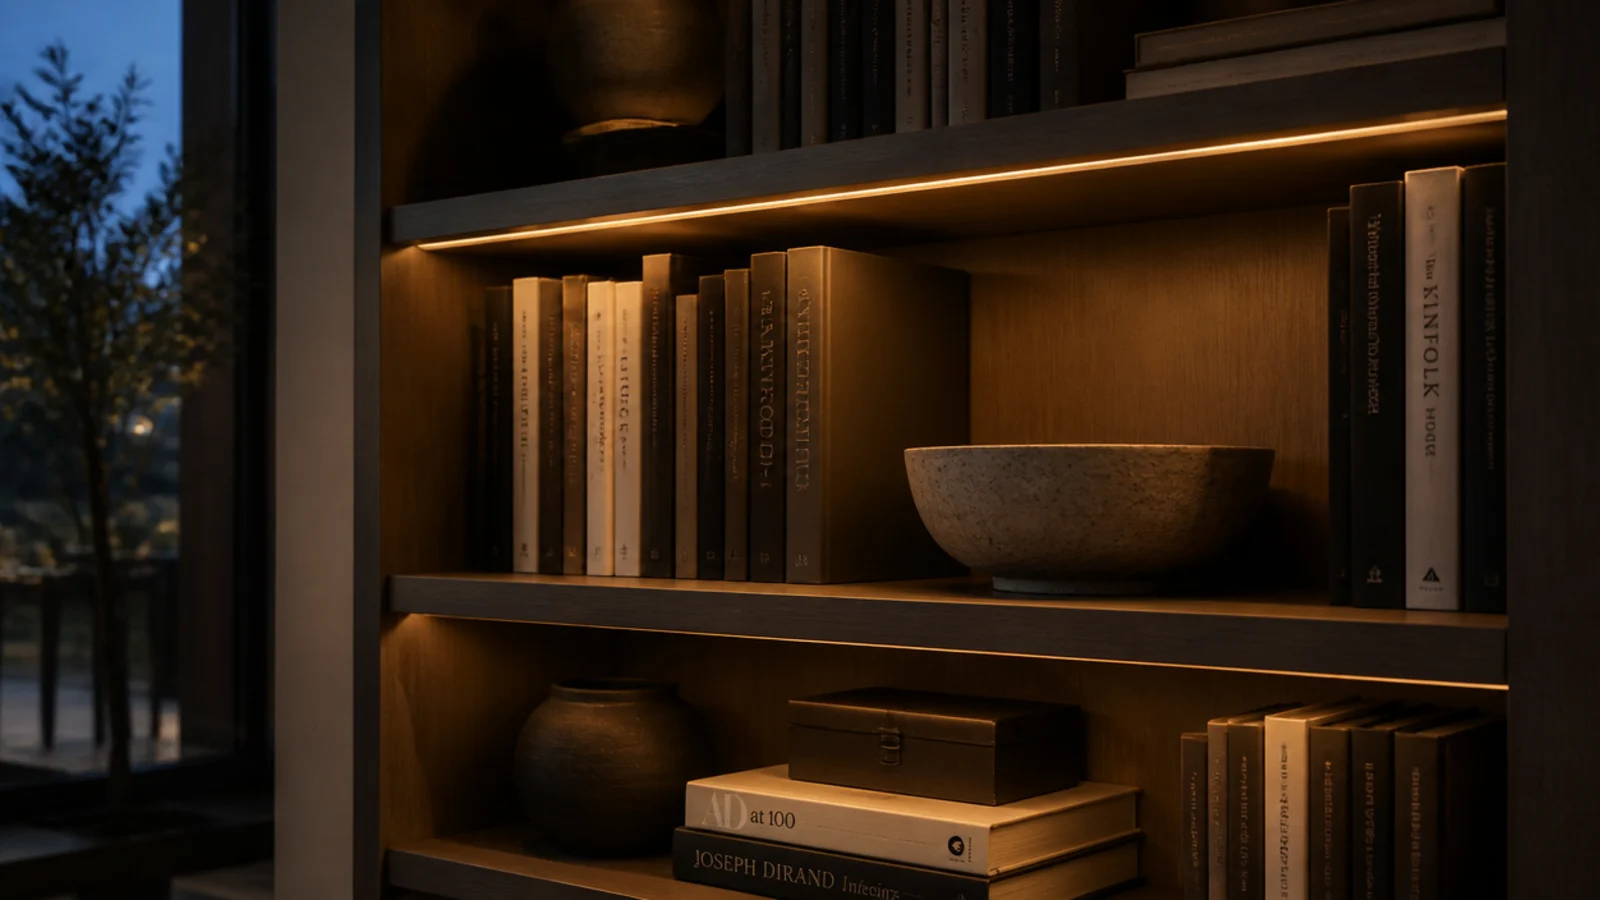
Concealed LED strip behind the front edge of each shelf, at 2700K, turns a book wall into the light source for the whole room after dark.
Fix the strip behind the lip so you never see the diodes. Check the number on the box: 4000K strips make oak look gray. A dimmable set for a full wall runs $40 to $90 ($).
22. Work around the radiator instead of over it
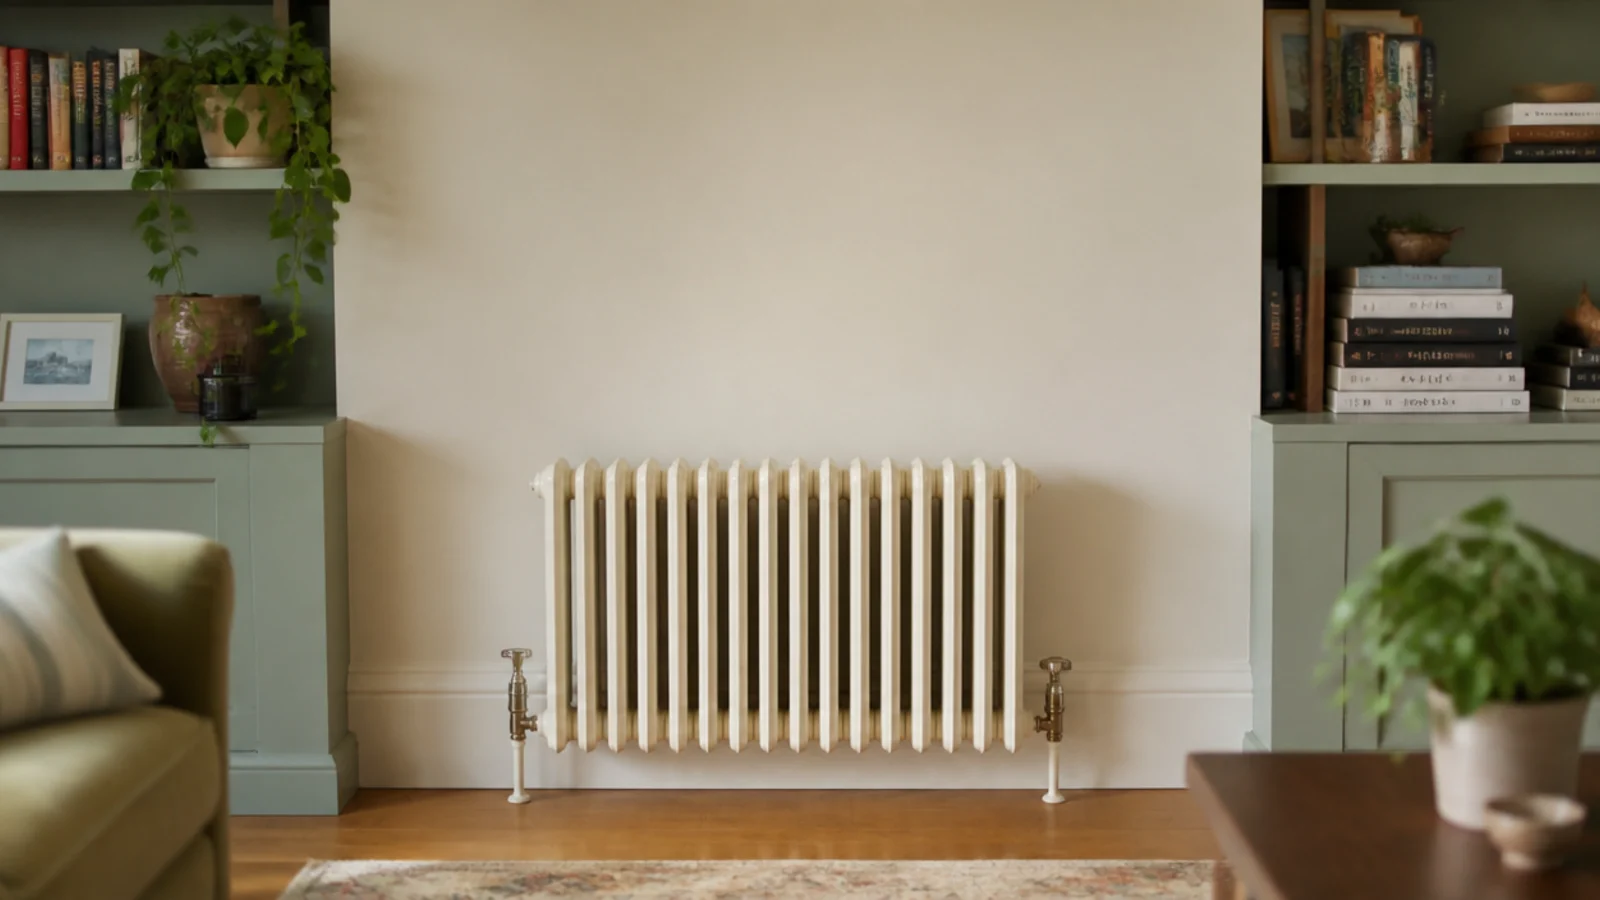
Where a radiator sits mid-wall, stop the shelving short on both sides and leave the space above it clear.
Four inches of clear air above a radiator is the minimum, and honestly a book wall wants more, because paper dries out and warps in a rising heat column. The asymmetry looks deliberate as long as both runs stop at the same height. Nothing laminated goes anywhere near, since heat cycles lift the edges permanently.
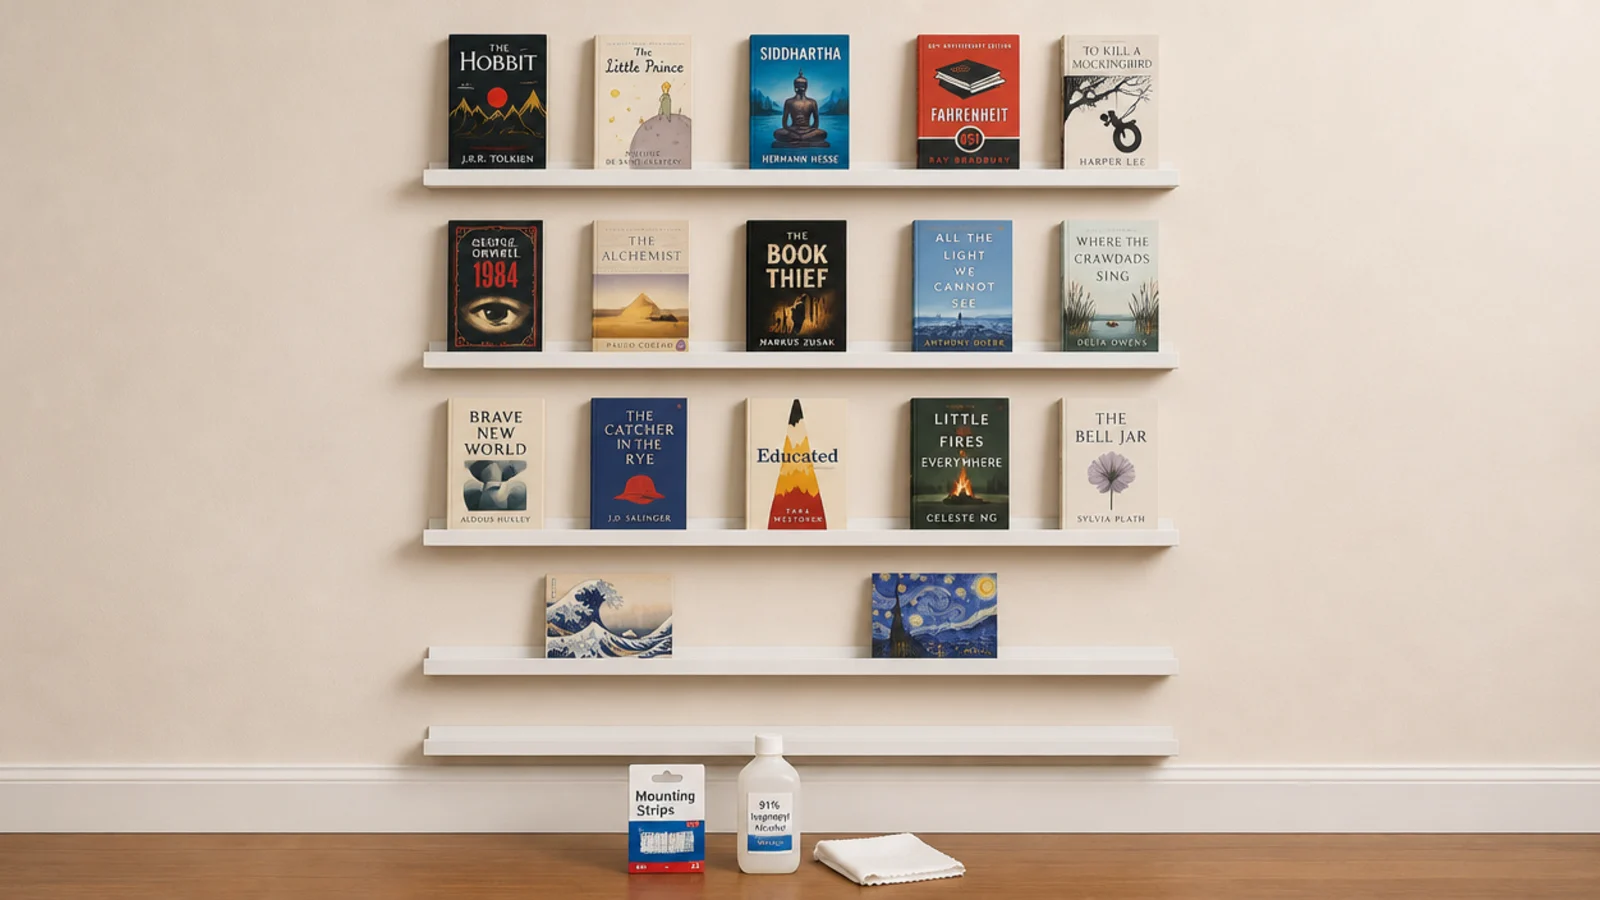
23. Build a renter version from adhesive ledges
A whole wall of shallow ledges on heavy-duty adhesive strips gives you the look with zero holes, as long as you respect the 15-pound-per-pair rating.
Clean with rubbing alcohol, press 30 seconds, wait an hour before loading, and test on hidden paint first — flat builder-grade rental paint peels off with the strip. Paperbacks and small frames only. A five-ledge wall costs $60 to $120 ($$) and comes down with a hair dryer.
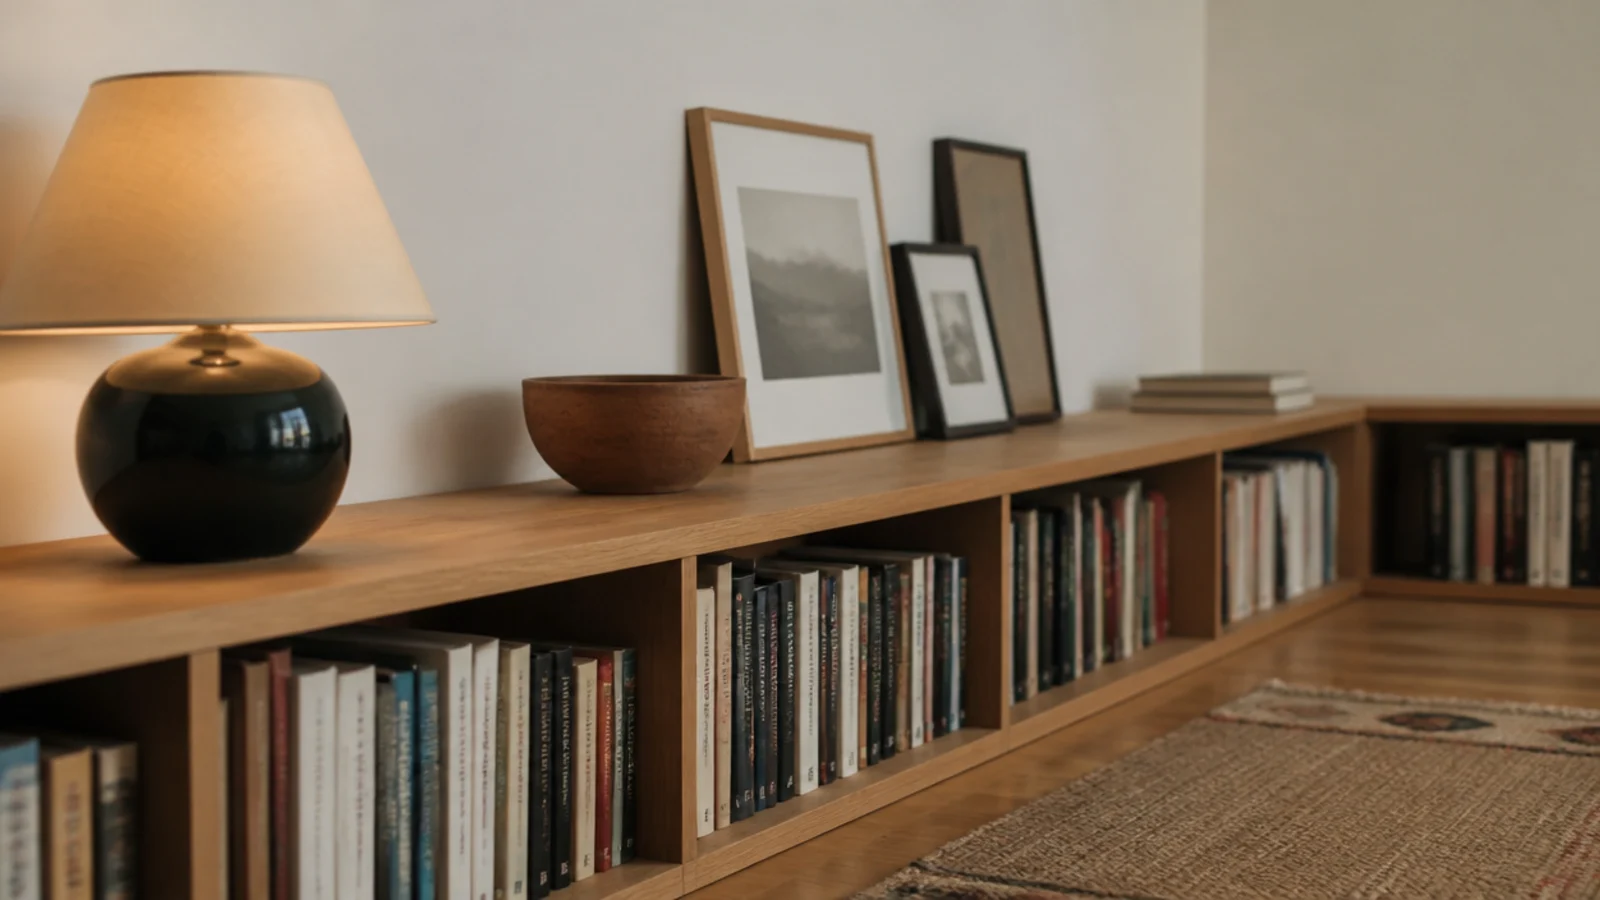
24. Run a low bookshelf wall at thirty inches
Not every book wall needs height. A run capped at 30 inches, corner to corner, gives you storage below and one long continuous surface on top.
That surface is the real prize: lamps, framed pictures, a tray, a plant, all at a height you actually see them. It also keeps a low-ceilinged room feeling wide.
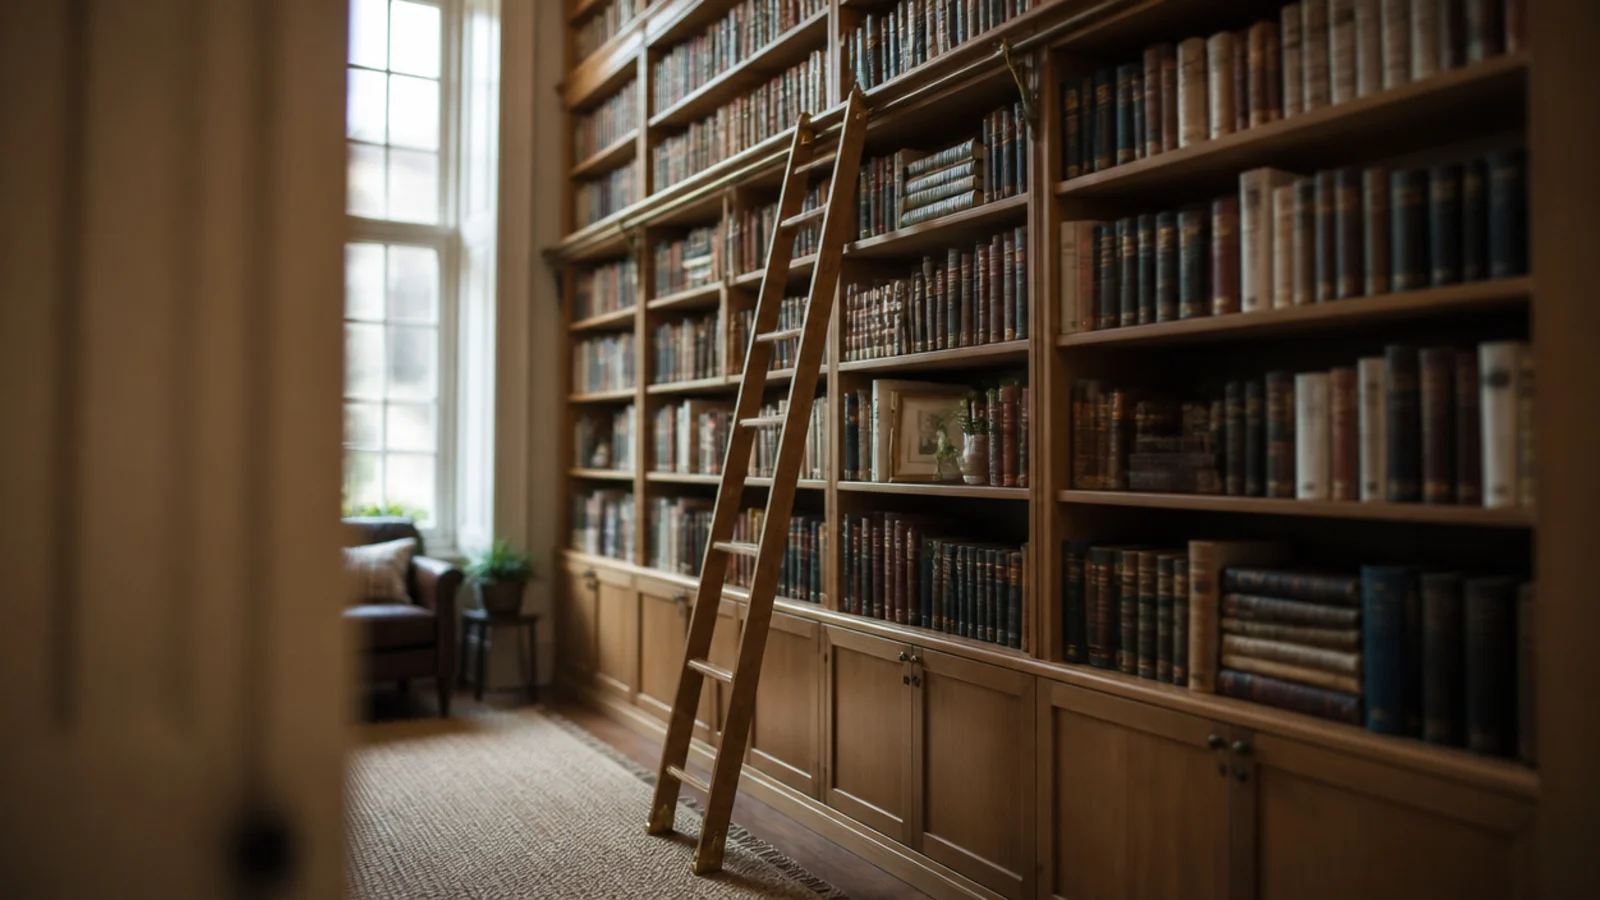
25. Add a library ladder if the wall is tall
Above about 78 inches, shelves become storage for things you have forgotten. A leaning or rail-mounted ladder changes that permanently.
A rail-mounted version needs blocking behind the drywall and costs $200 and up ($$$); a simple leaning oak ladder does most of the job for $80 to $140 ($$). Either way, put the reference books and the beautiful objects up high and the ones you reread within arm's reach.
Mistakes to Skip
- Spanning more than 32 inches in 3/4-inch stock. It will bow under books within a season and there is no styling fix for a curved shelf.
- Fixing a book wall to drywall anchors. Several hundred pounds across one wall needs studs, and the failure when it comes is sudden rather than gradual.
- Making every shelf the same height. Art books, hardbacks and paperbacks are different sizes, and a wall of identical 11-inch gaps forces the big ones to lie down permanently.
Frequently asked questions
How long can a bookshelf span before it sags?
Three-quarter-inch stock starts to sag visibly past a 32-inch span once it is loaded with books. Beyond that you need a mid support, a thicker board, or a front lip glued under the leading edge to stiffen it. On a full wall, plan your uprights at 30 to 32 inches apart and the whole run stays straight for decades.
How much weight does a wall of books actually put on the shelves?
A linear foot of hardbacks weighs roughly 20 to 25 pounds. A 36-inch shelf packed with them carries 60 to 75 pounds, which is why every bracket on a book wall needs a stud or a proper mid support. Across a nine-foot wall with six shelves you are asking the structure to hold several hundred pounds.
How deep should a full wall of bookshelves be?
Eleven to twelve inches for hardbacks, nine to ten for paperbacks. Deeper than twelve and people start double-stacking, which turns a library wall into a storage wall you cannot search. Leave 11 to 13 inches of clear height between shelves so a hardback stands upright with a little air above it.
Can renters do a bookshelf wall without drilling?
Partly. A row of freestanding cases lined up along one wall reads as a single run once you paint the wall behind them, and each one takes an anti-tip strap with a single small screw. Adhesive picture ledges cover the rest of the wall for lighter books, capped honestly at about 15 pounds per pair of strips.
Should a bookshelf wall be painted the same color as the room?
Usually yes. A run painted to match the wall and trim reads as architecture and lets the books provide all the pattern. A contrasting case reads as furniture pushed against a wall, which visually shortens the room. The exception is the back panel, which can take a deeper tone since you only see it in slivers.
What goes on a bookshelf wall besides books?
Baskets on the lowest shelves for the things you want hidden, three or four pieces of pottery spread through the run for punctuation, one leaning artwork, and a plant every second shelf. Keep about a third of each shelf empty. On a wall this size, that empty third is the only thing preventing visual overload.
Measure the wall, find the studs and pick your bay width before you look at a single photograph of somebody else's library. Structure first is what separates a wall you keep from a wall you rebuild. For the shelves themselves, floating bookshelf ideas covers bracket-free runs, and bookshelf organization ideas covers what goes where once the boards are up. Save the pin so the spans and depths come with you.
Want more like this? Browse all 15 bookshelf ideas guides — they all use the same measurements and budget tiers.
Pin it for later
Save this to your Bookshelf Ideas board
Pin it now so it is waiting for you when the tape measure comes out — and so the next person hunting for this idea can find it too.
Save this pinKeep going
More ideas worth saving while you have the tape measure out.