Bookshelf Ideas · How-To
15 Steps to Style an Easy Bookshelf

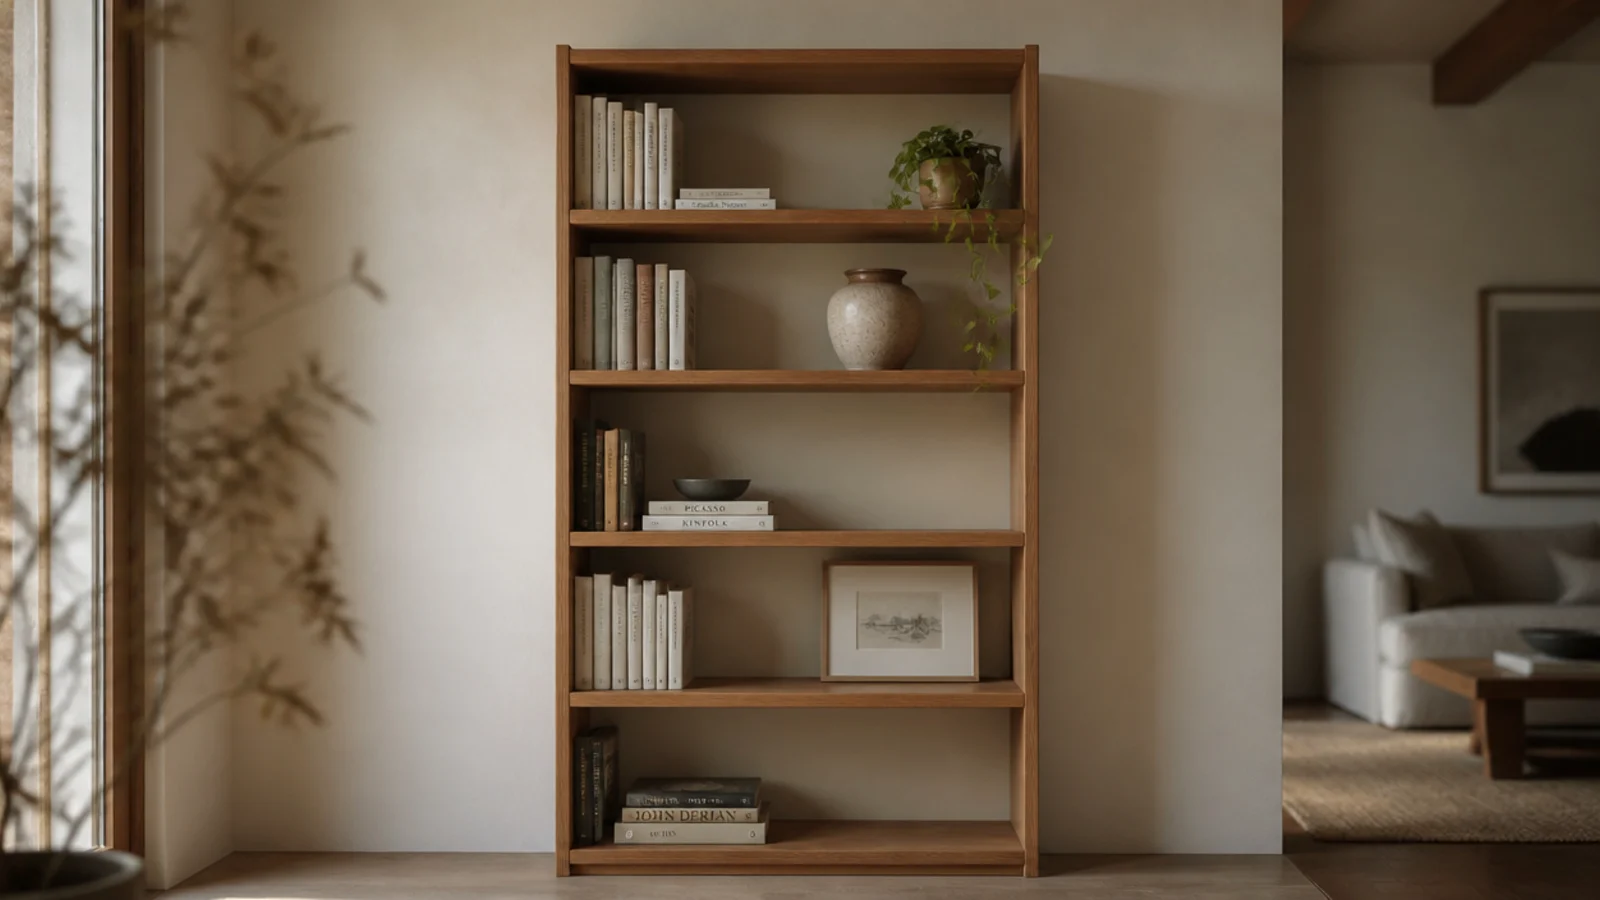
Most bookshelf styling ideas fail on arithmetic rather than taste. A shelf holding 36 inches of hardbacks is carrying 60 to 75 pounds, and no amount of clever grouping rescues a unit that is bowing or unstrapped. So these fifteen steps start with clearances and weight, then move to the grouping rules I use on every job. Total spend is $0 to about $80, and most of it is optional.
In this guide18 sections — tap to openHide
- 1.What You'll Need for These Bookshelf Styling Ideas
- 2.Step 1: Take everything off the shelf
- 3.Step 2: Measure clear height and depth before you plan
- 4.Step 3: Weigh what you are asking the shelf to carry
- 5.Step 4: Strap the unit to the wall first
- 6.Step 5: Sort the whole pile by height
- 7.Step 6: Send the heaviest books to the bottom two shelves
- 8.Step 7: Set the ratio at two-thirds books, one-third air
- 9.Step 8: Build vertical rows and give each one a stop
- 10.Step 9: Add one horizontal stack for every two vertical rows
- 11.Step 10: Pull every spine to a single front line
- 12.Step 11: Place one oversized anchor object per unit
- 13.Step 12: Layer one leaning piece at the back
- 14.Step 13: Repeat one material exactly three times
- 15.Step 14: Let one thing break the top line
- 16.Step 15: Photograph it, then remove two things
- 17.Pro Styling Rules
- 18.Mistakes to Skip
What You'll Need for These Bookshelf Styling Ideas
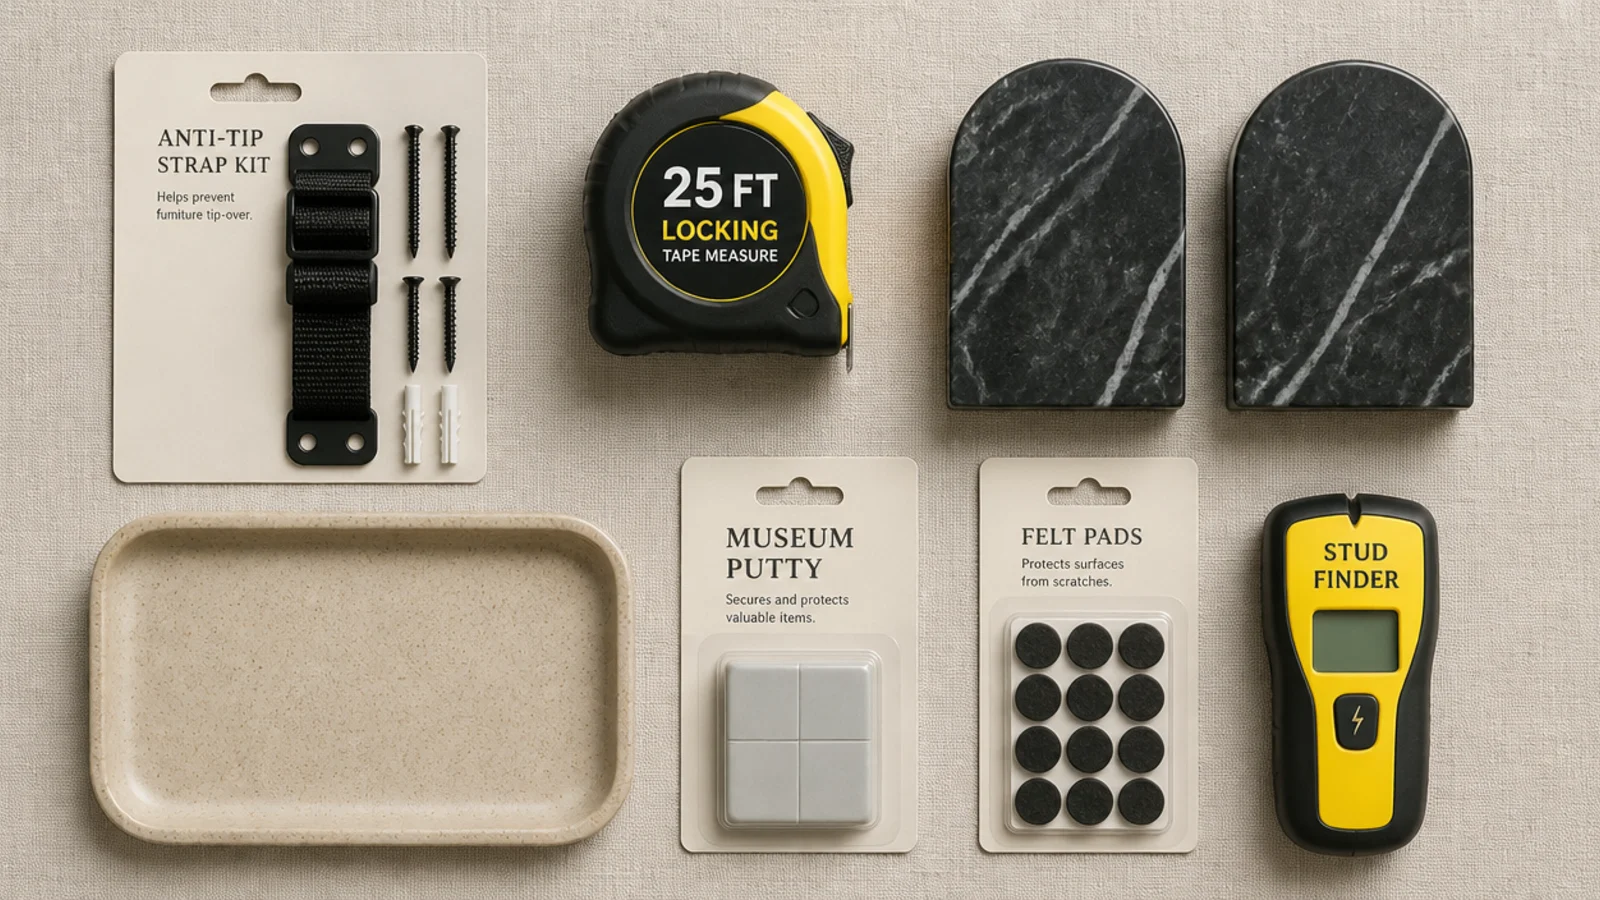
None of this is specialist. If you already own a tape measure, the only thing I would call non-negotiable is the anti-tip strap, and it costs less than lunch.
| Item | Spec that matters | Rough cost |
|---|---|---|
| Anti-tip strap kit | Steel cable or heavy nylon, 100 lb rated | $8–$14 |
| Tape measure | 12 ft, locking blade | $6 |
| Stud finder | Any electronic model | $15–$25 |
| Bookends | Heavy: marble, stone or cast iron, 4 lb per pair | $12–$30 |
| Shallow tray | 8–10 in stoneware, rattan or clay saucer | $6–$18 |
| Museum putty | Clear, removable, for small objects | $5 |
| Felt pads | 1 in self-adhesive, under heavy pottery | $4 |
| Three objects | One tall, one low and wide, one soft | thrift $3–$15 |
Budget tiers through this guide: $ is styling with what you own, $$ is $20 to $60 of trays, bookends and one thrifted vessel, and $$$ is $100 to $250 for a lamp, real marble ends and a large piece of pottery.
Step 1: Take everything off the shelf
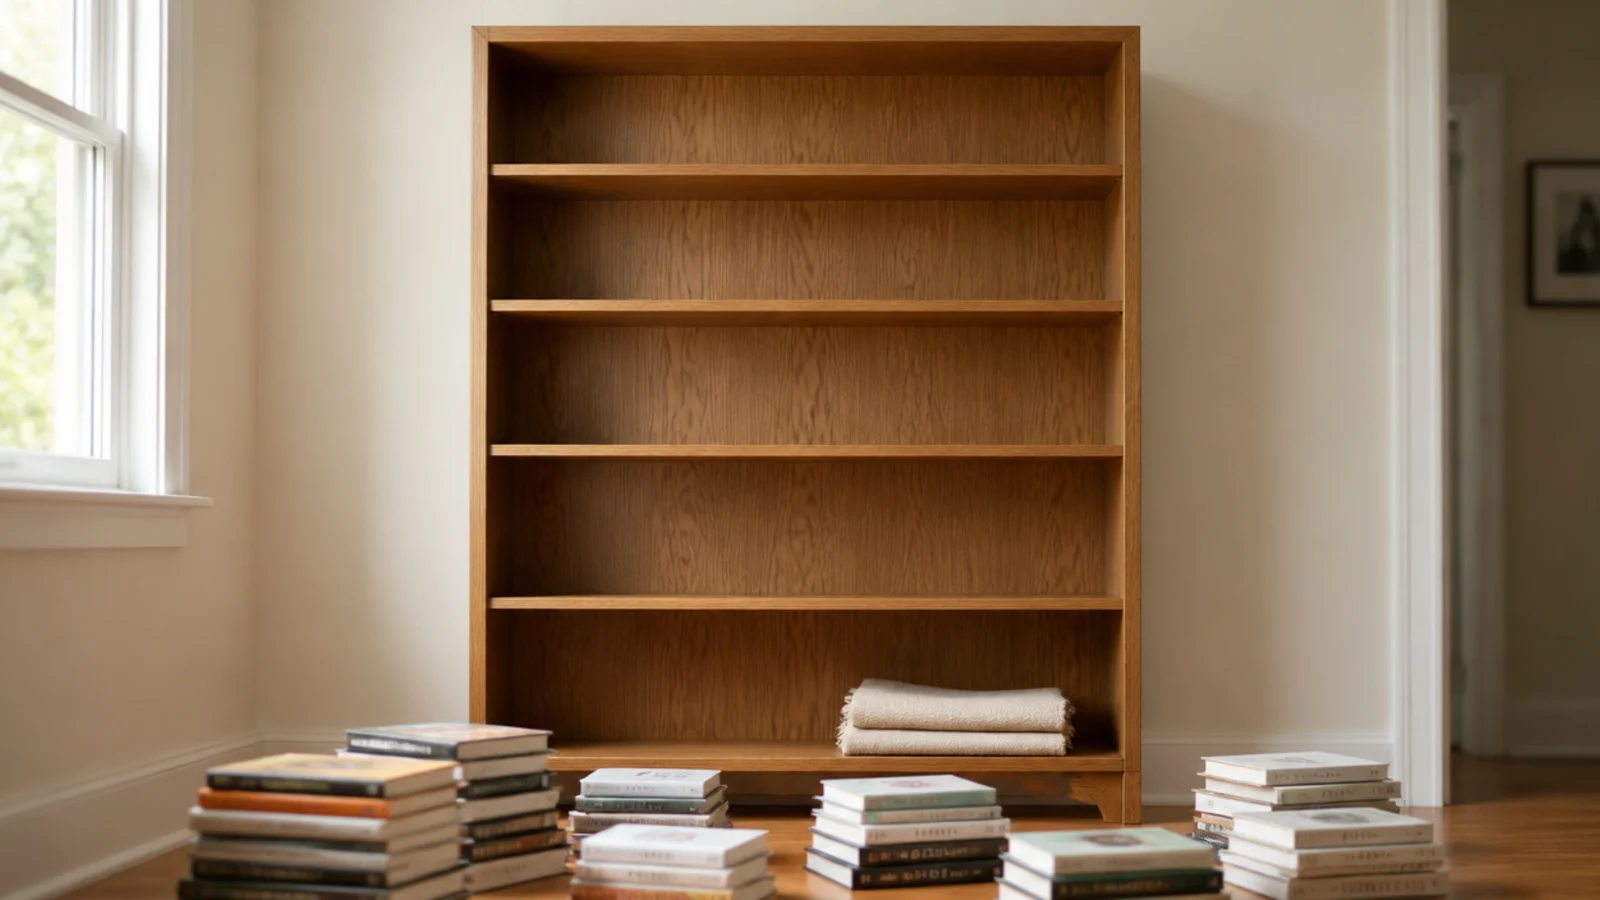
Empty it completely — books, frames, the router, all of it — into piles on the floor. Restyling around what is already there just relocates the problem, and you keep every decision you made two years ago without ever examining it.
Wipe the shelves while they are bare. Then sight along the front edge of each one from the end, at eye level. A shelf that already curves will only curve further once the books go back, and you want to know that now rather than after an hour of arranging.
Step 2: Measure clear height and depth before you plan
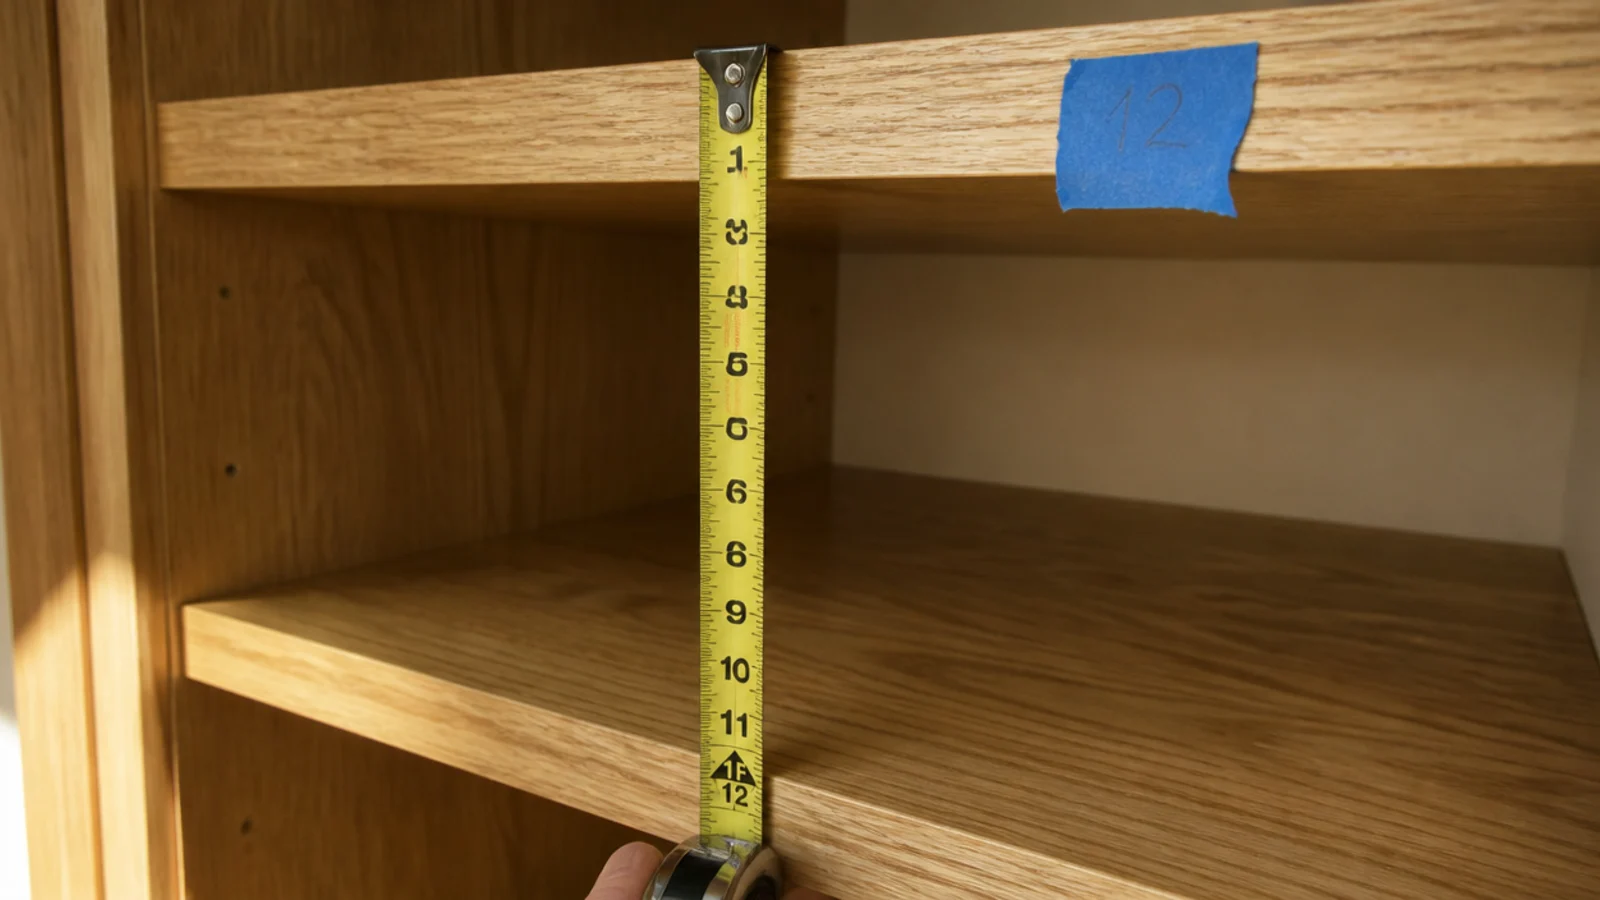
Write two numbers on painter's tape and stick it to the side of the unit: clear height between shelves, and depth front to back.
Hardbacks want 11 to 13 inches of clear height. Paperbacks are comfortable at 9 to 10. Depth of 11 to 12 inches suits hardbacks and most art books; 9 to 10 inches is plenty for paperbacks and makes a narrow room feel wider.
If your shelves sit on adjustable pins, move them now. Moving one pin after the unit is loaded means unloading three shelves to get to it.
Step 3: Weigh what you are asking the shelf to carry
A linear foot of hardbacks weighs 20 to 25 pounds. A 36-inch shelf packed end to end is holding 60 to 75 pounds, which is roughly double what most people guess.
That single number decides the rest. Three-quarter-inch shelving sags past a 32-inch span under book weight, and the sag is permanent. Shorten the run with a vertical divider, glue a solid one-inch lip along the front edge, or move up to one-inch stock.
If the shelf already dips, do not style it — fix the span first, or leave that shelf for light objects only.
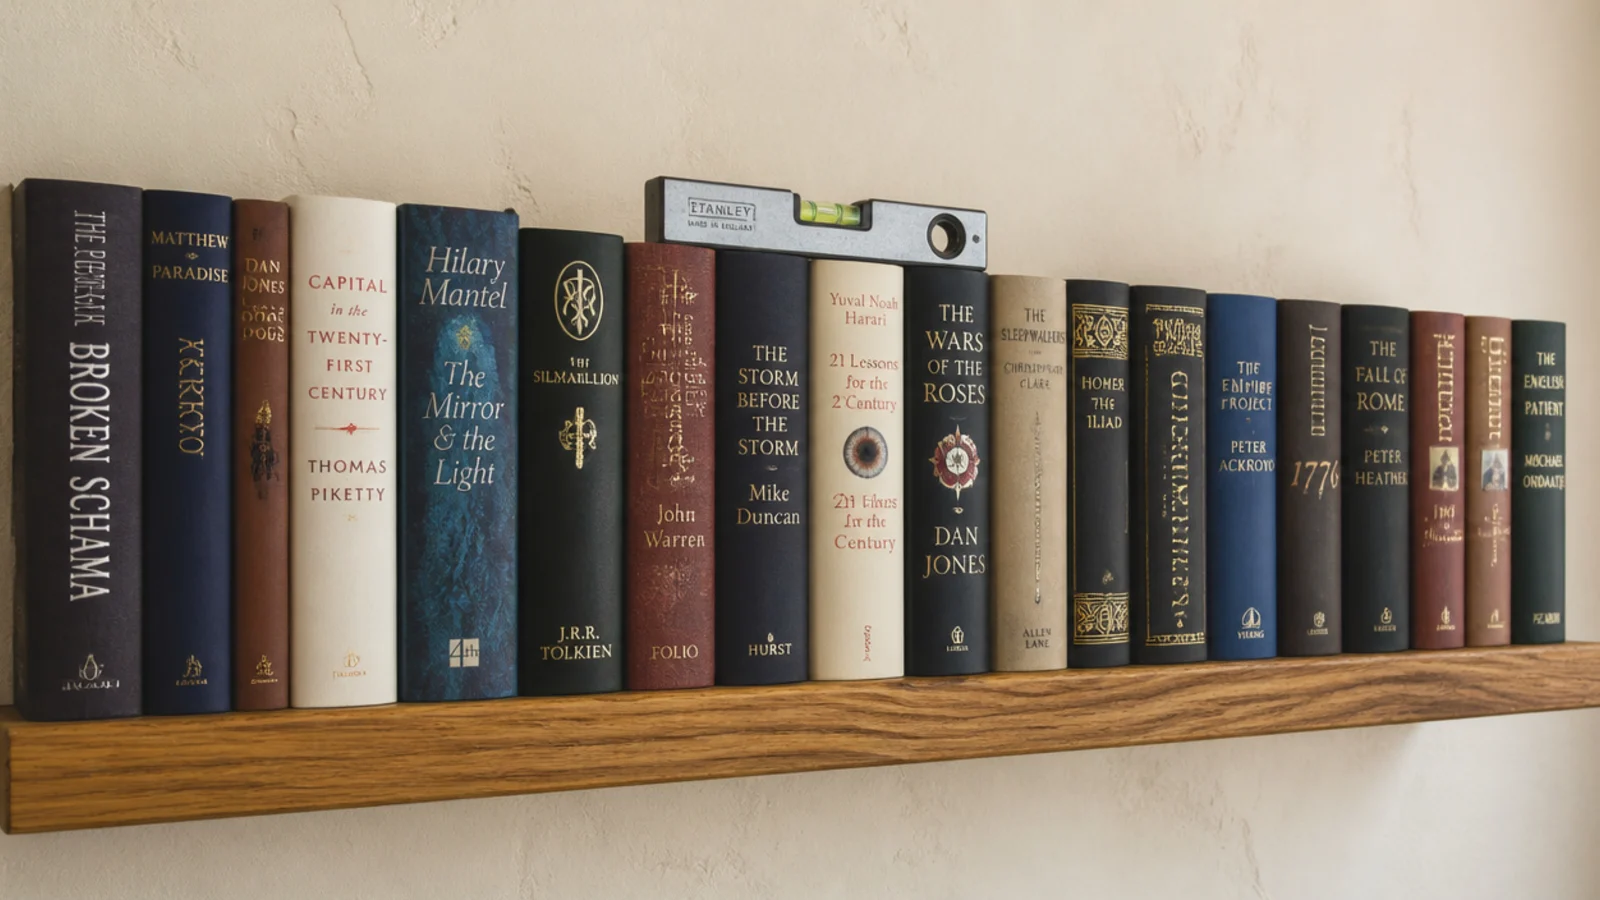
Step 4: Strap the unit to the wall first
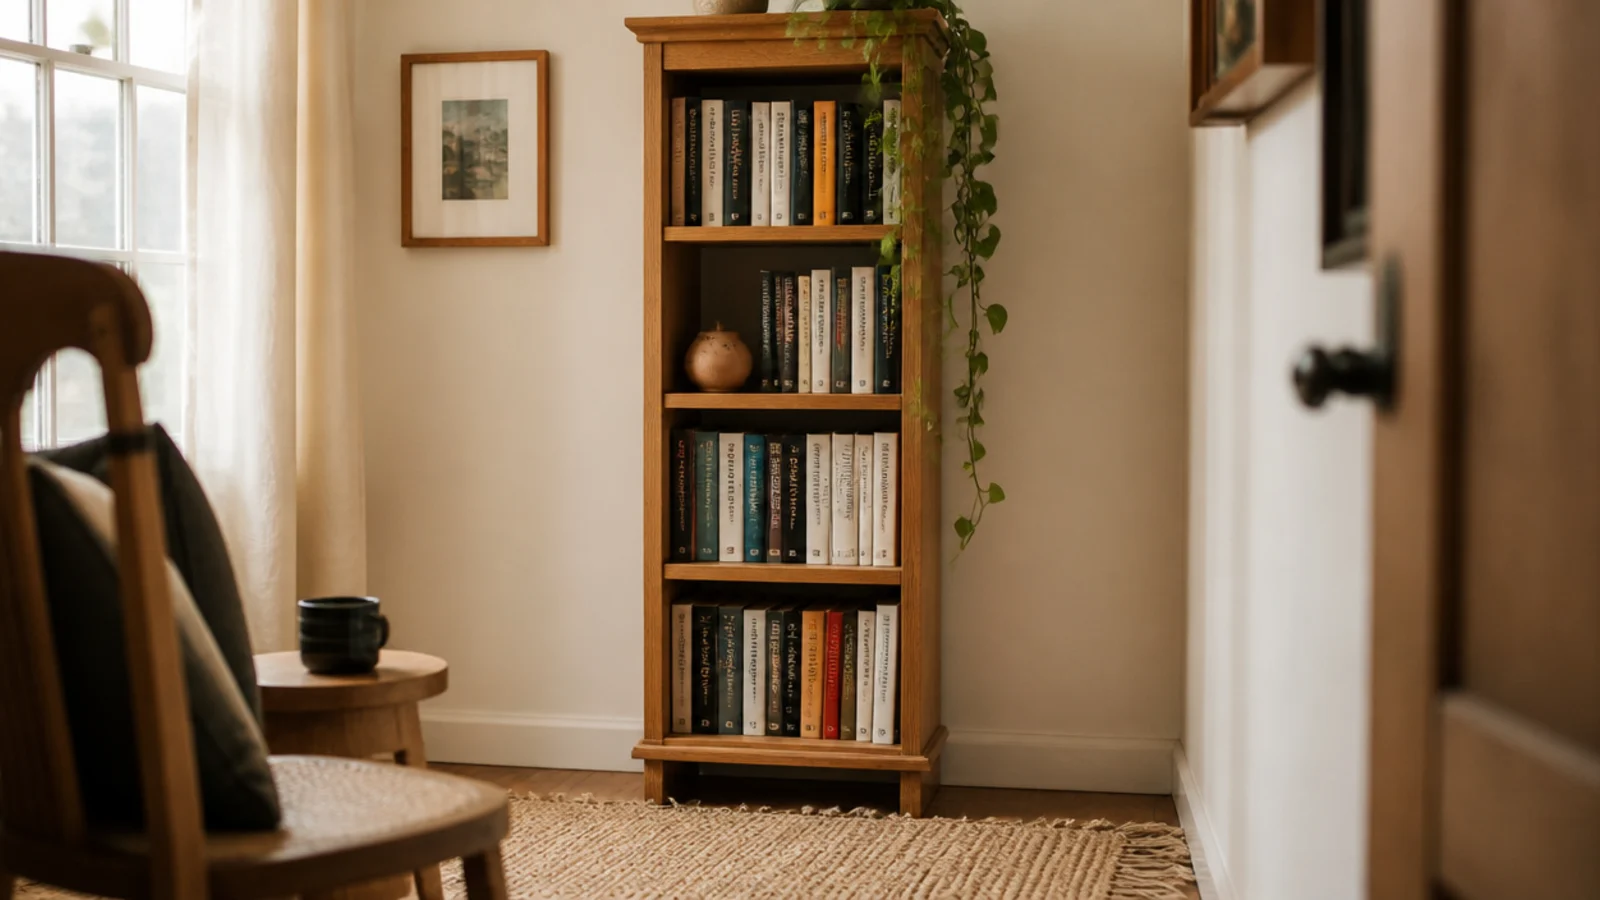
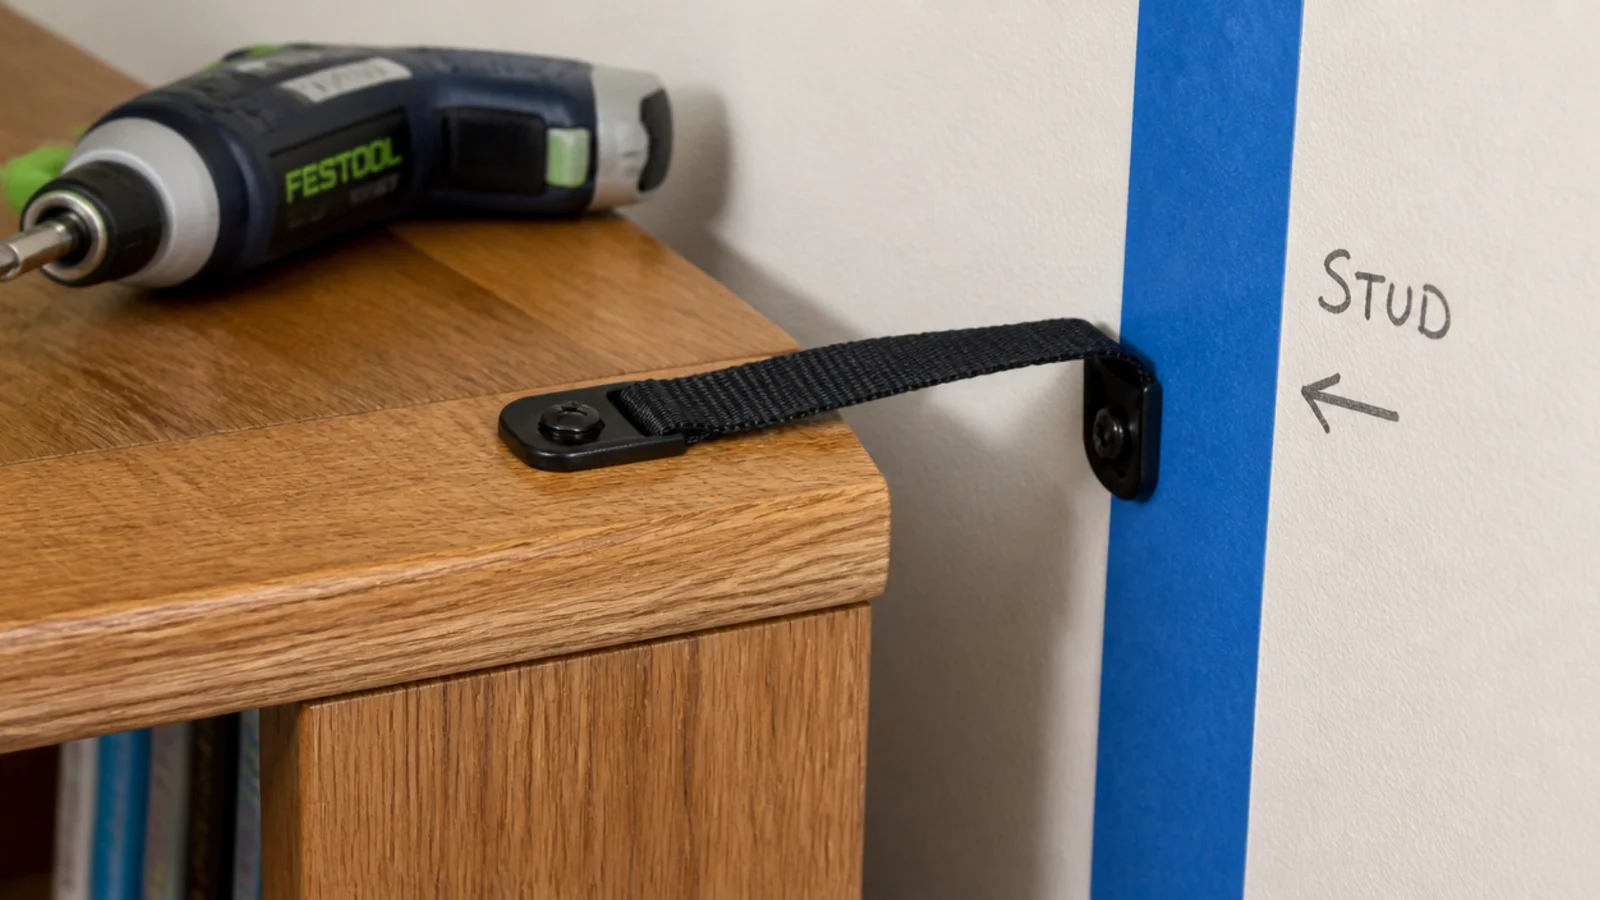
Before one book goes back, run an anti-tip strap from the top rail of the unit into a wall stud. Every freestanding bookcase, without exception, in any home where a child could climb.
The kit is $8 to $14 and takes ten minutes with a stud finder and a screwdriver. Use the stud, not a plastic drywall plug — a loaded bookcase can pass 200 pounds and a plug rated for ten will not slow it down.
On carpet, slip a thin shim under the front feet so the unit leans very slightly back into the wall.
Step 5: Sort the whole pile by height
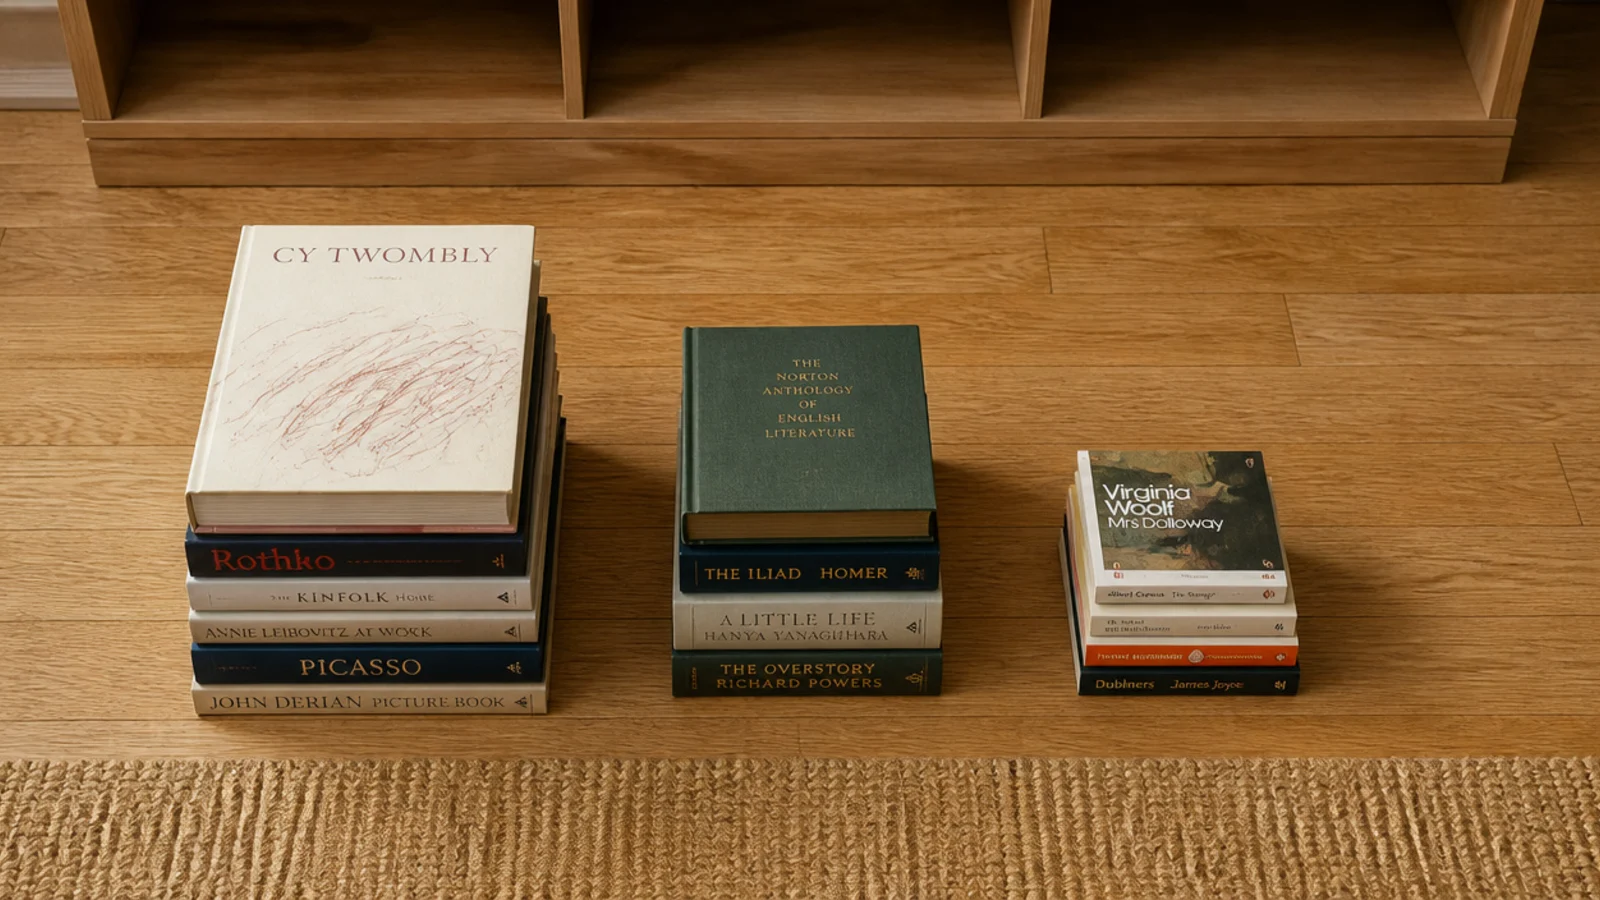
On the floor, split the books into three rough piles: tall art books over 10 inches, medium hardbacks, and paperbacks. Ignore the covers entirely at this stage.
Height sorting is what makes a shelf read calm from the doorway. A color-blocked rainbow photographs beautifully and looks busy in the room, and it scatters series and reference across six shelves so nothing is where you expect it.
Sort by height first, then let subject decide the order inside each pile. That gives you a tidy horizontal line and books you can still find.
Step 6: Send the heaviest books to the bottom two shelves
Large-format art books, atlases and anything over about four pounds goes on the lowest two shelves, mostly stacked flat.
There are two reasons and both matter. A low center of gravity makes a freestanding unit far harder to tip, which is your second line of defense after the strap. And visually, weight at the bottom makes a tall unit look grounded rather than top-heavy under an eight-foot ceiling.
Keep the top shelf for the lightest things you own. Nothing heavy should ever live above shoulder height.
Step 7: Set the ratio at two-thirds books, one-third air
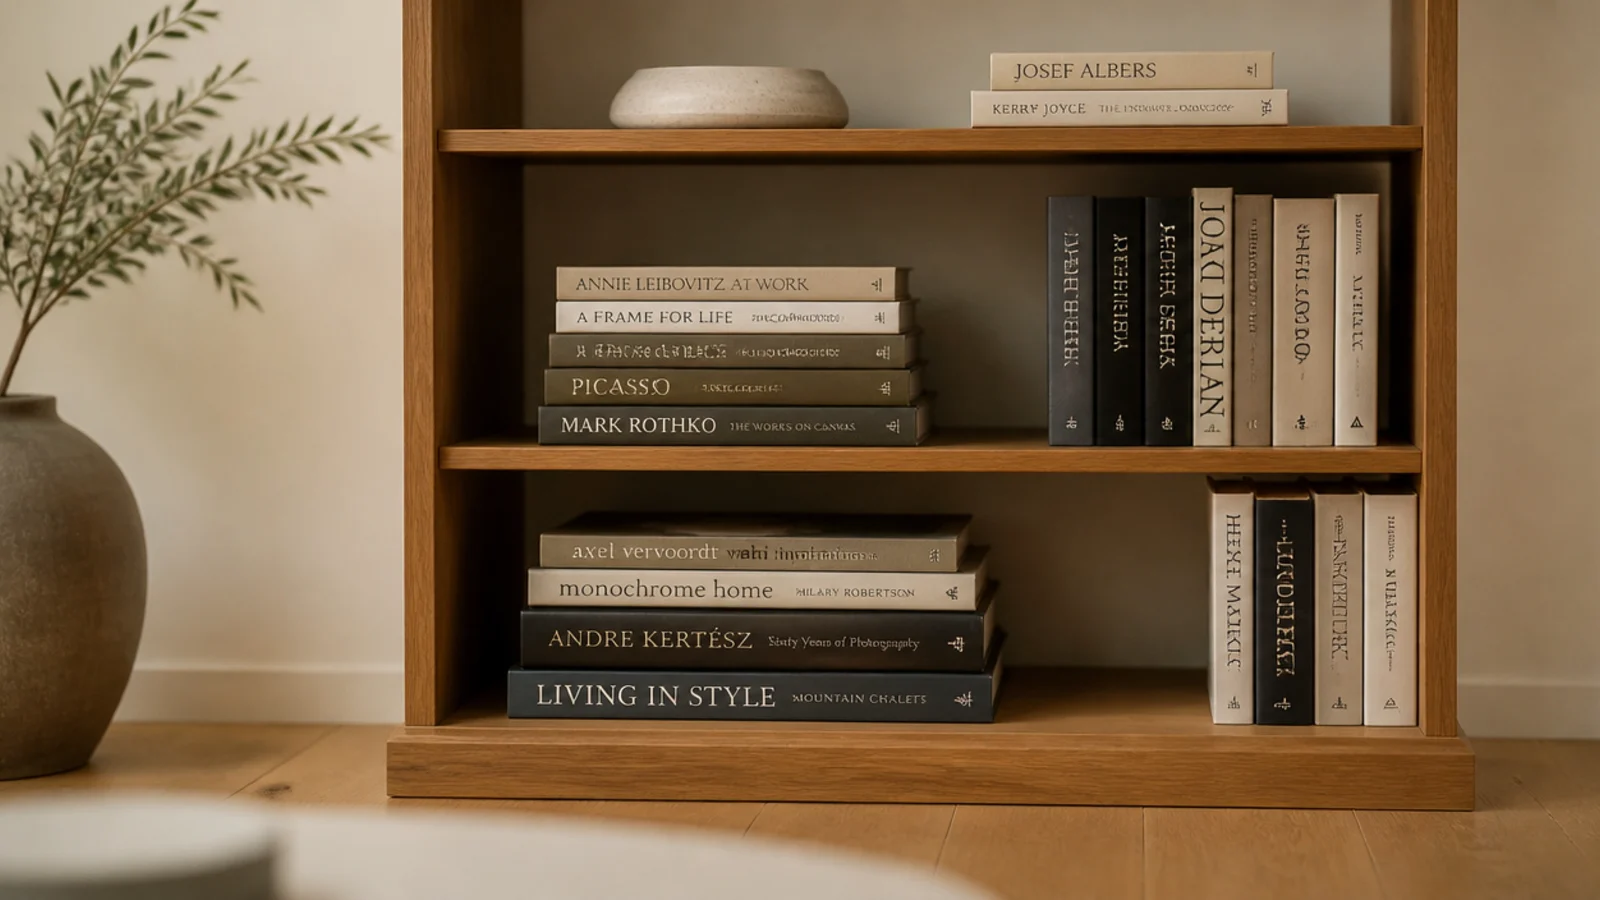
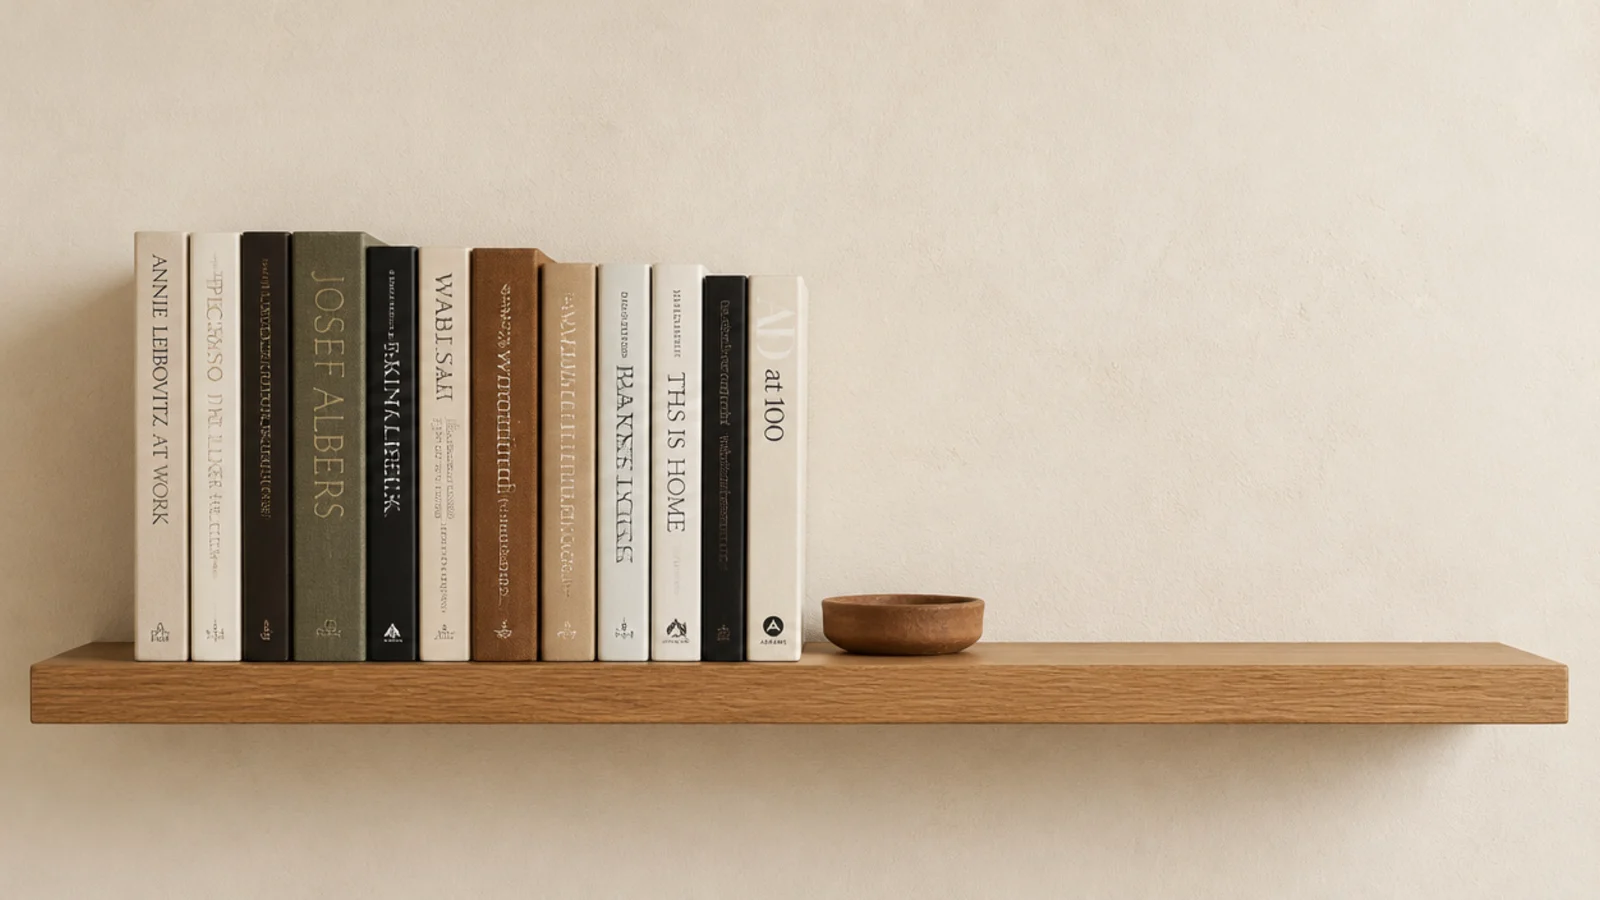
Fill about two-thirds of each shelf and leave the remaining third genuinely empty. Not a polite two-inch gap — a real one, six inches or more on a 30-inch shelf.
Empty space is the single clearest signal that books were chosen rather than stored. It is also free, which makes it the highest-value move in this whole guide.
In a small room, push closer to half empty. Tight spaces register visual density much more harshly than large ones, and a packed unit shrinks the room around it.
Step 8: Build vertical rows and give each one a stop
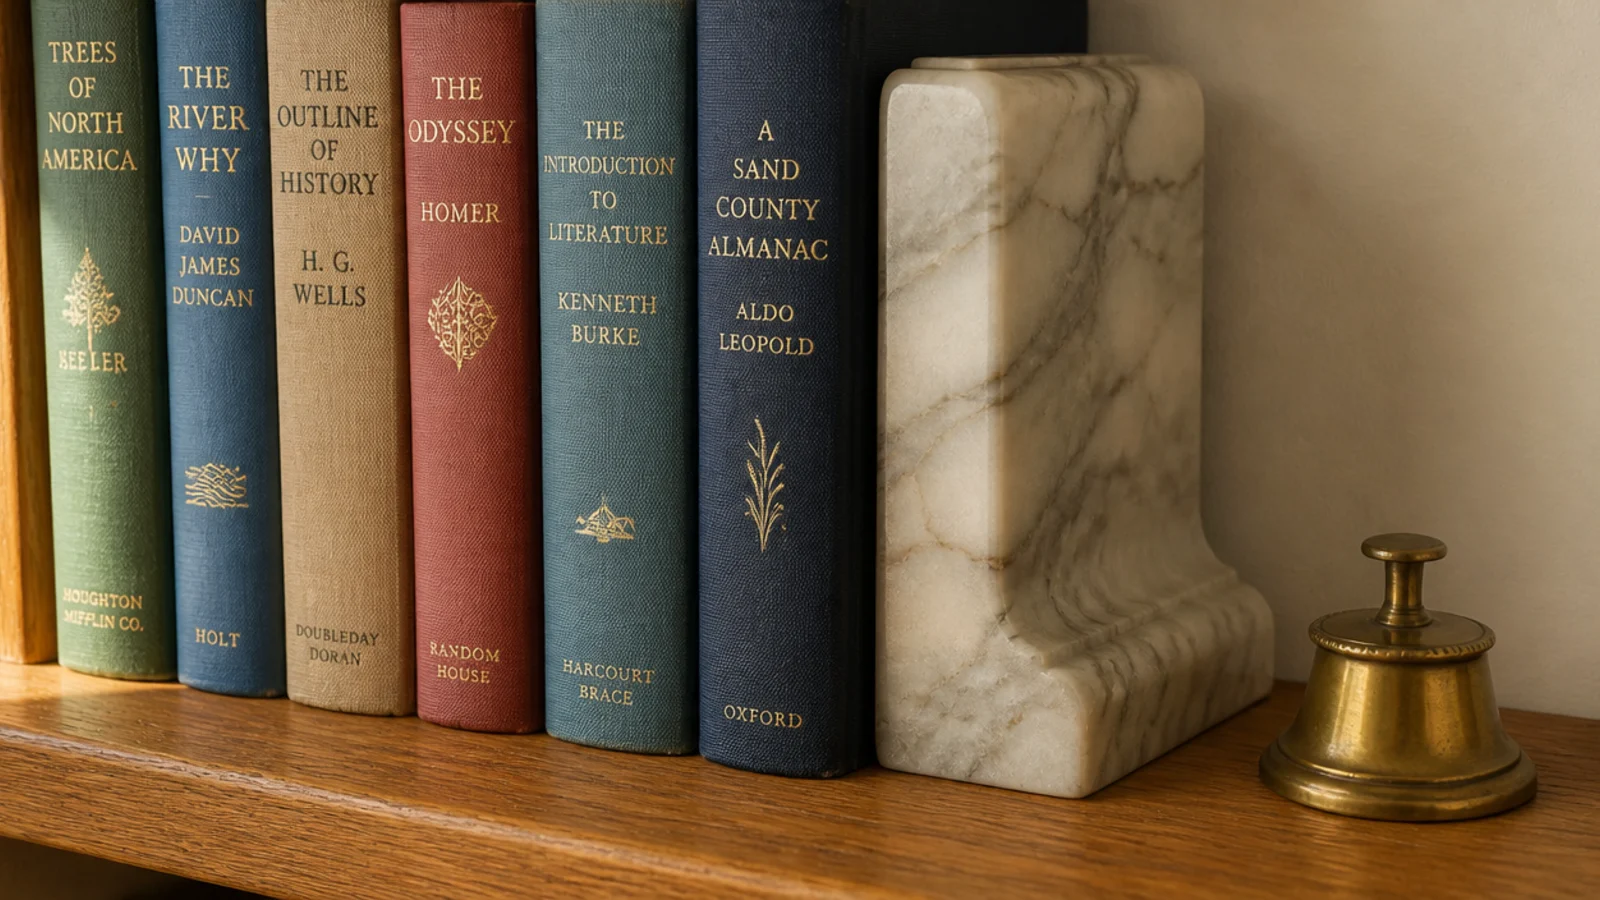
Stand books upright in runs of eight to twelve, then end the run with something solid: a heavy bookend, a squat vessel, or the wall of the unit itself.
A row that trails off into empty space slumps within a week, and slumped spines are the fastest way to make a careful arrangement look neglected. Marble and cast iron ends hold; the folded sheet-metal ones slide under real weight.
Leave the tallest book of each run at the outside edge and step down inward. Your eye follows that line automatically.
Step 9: Add one horizontal stack for every two vertical rows
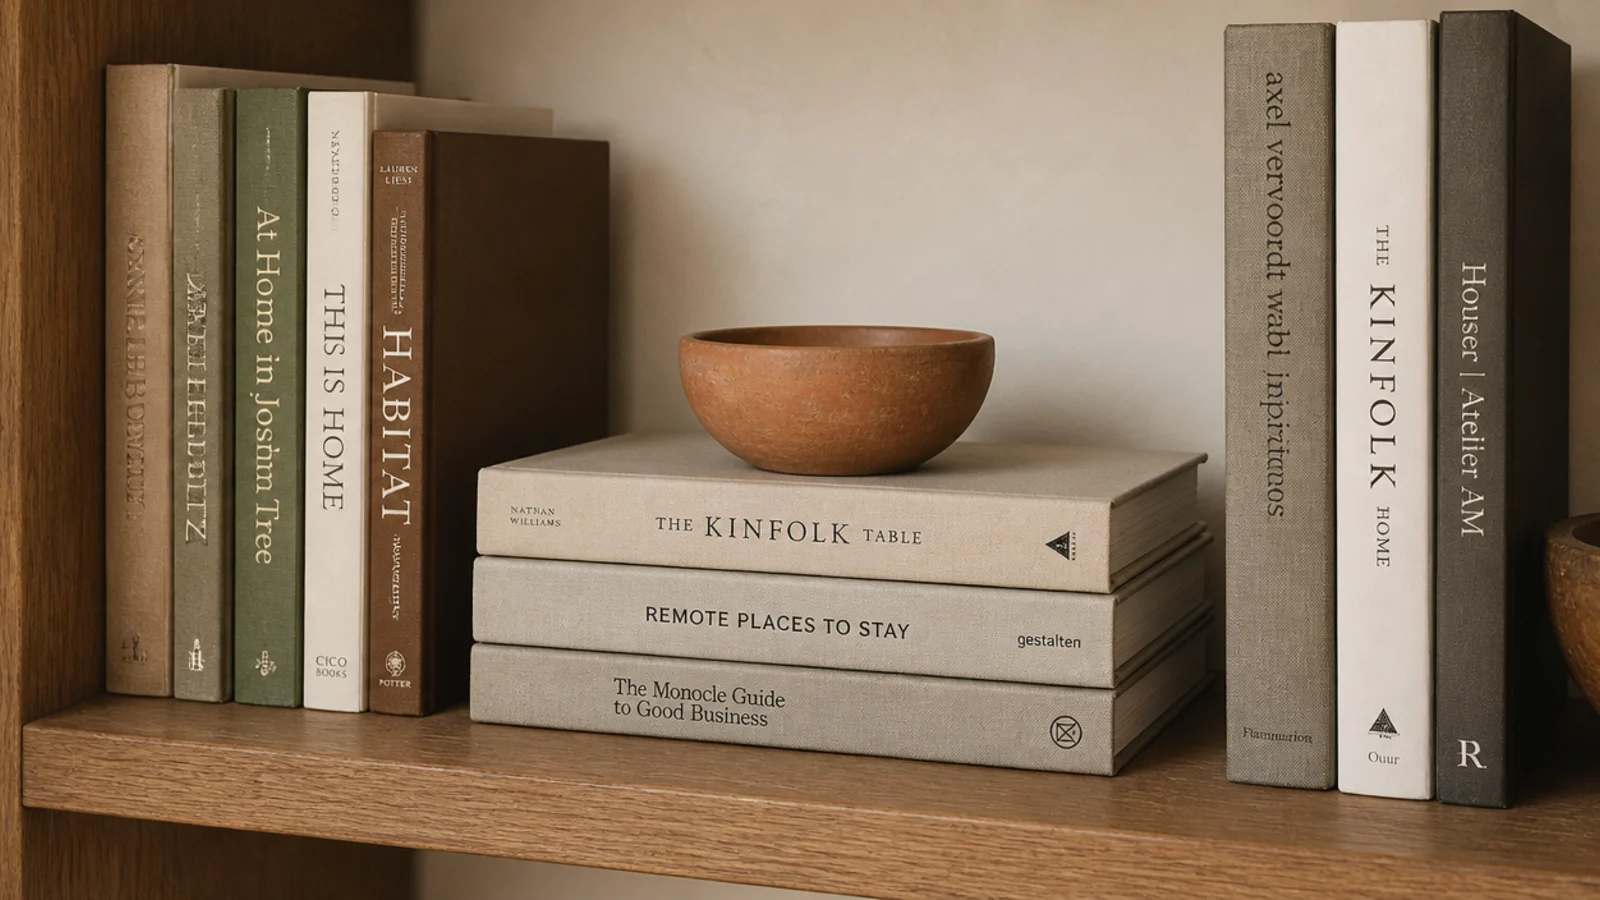
Lay three or four books flat beside an upright row. The stack breaks the rhythm before a wall of spines turns into visual noise, and it gives you a plinth about three inches tall.
Put a small object on top of the stack — a clay dish, a stone, a tiny frame. That is the cheapest way to introduce a third height on a shelf that would otherwise be all verticals.
Alternate which side of the shelf the stack sits on as you move up the unit.
Step 10: Pull every spine to a single front line
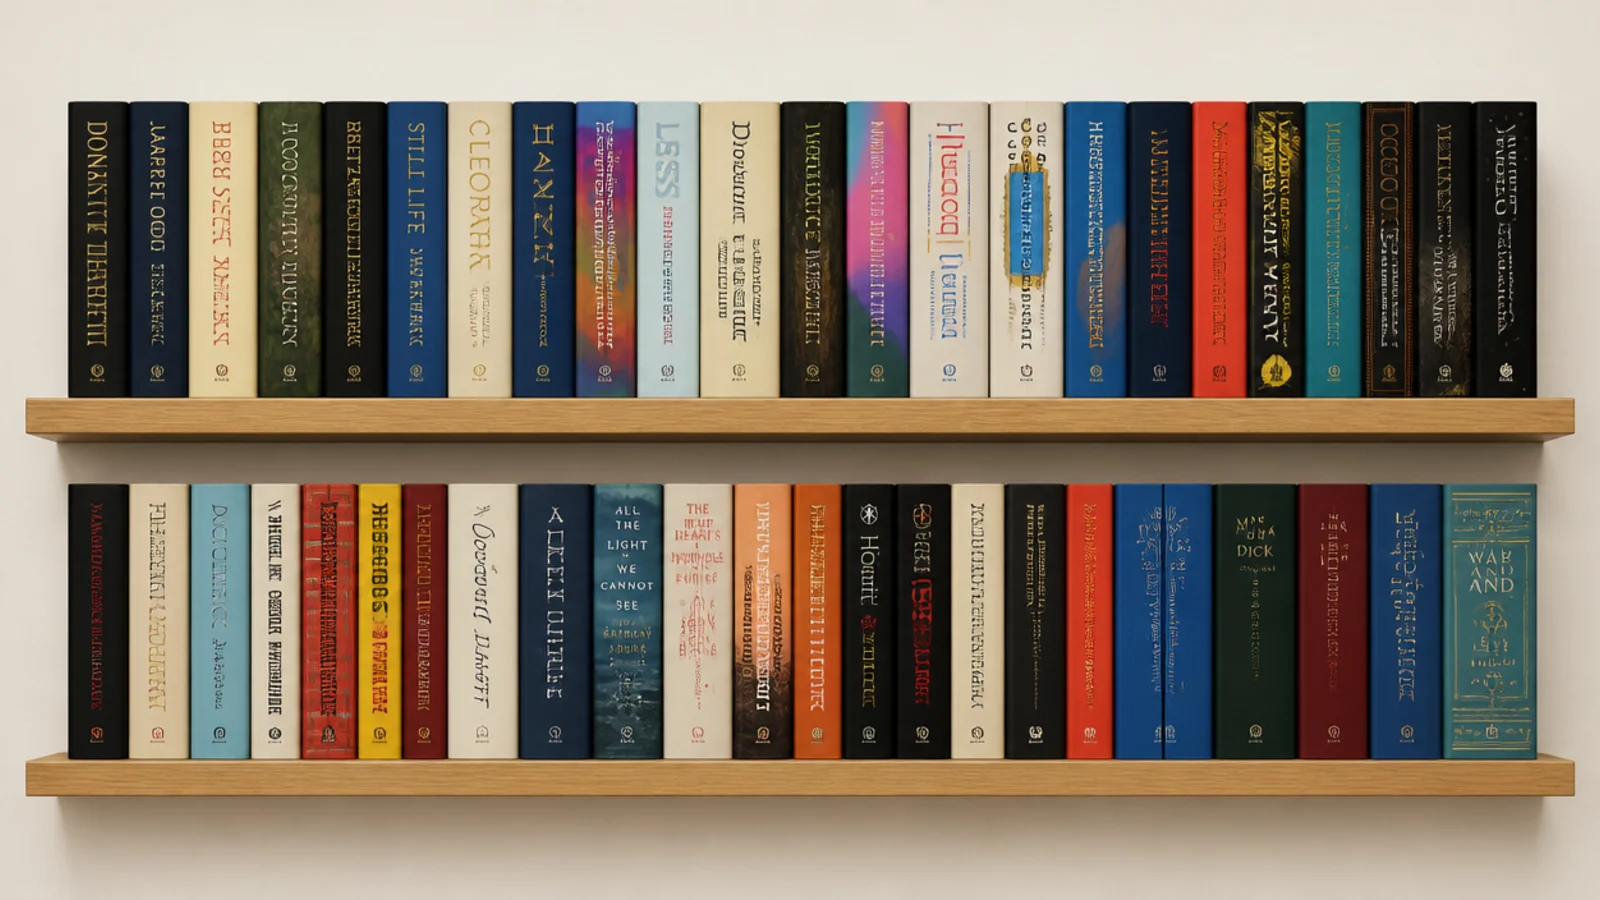
Push nothing to the back. Pull every book forward until its spine sits about an inch behind the shelf edge, then line them all up on that same imaginary plane.
This one move is what separates a styled bookcase from a stored one, and it takes about four minutes per shelf. The uniform front face reads as deliberate even when the books themselves are a jumble of sizes and colors.
It also hides the dust line, since nothing sits where the shelf is dirtiest.
Step 11: Place one oversized anchor object per unit
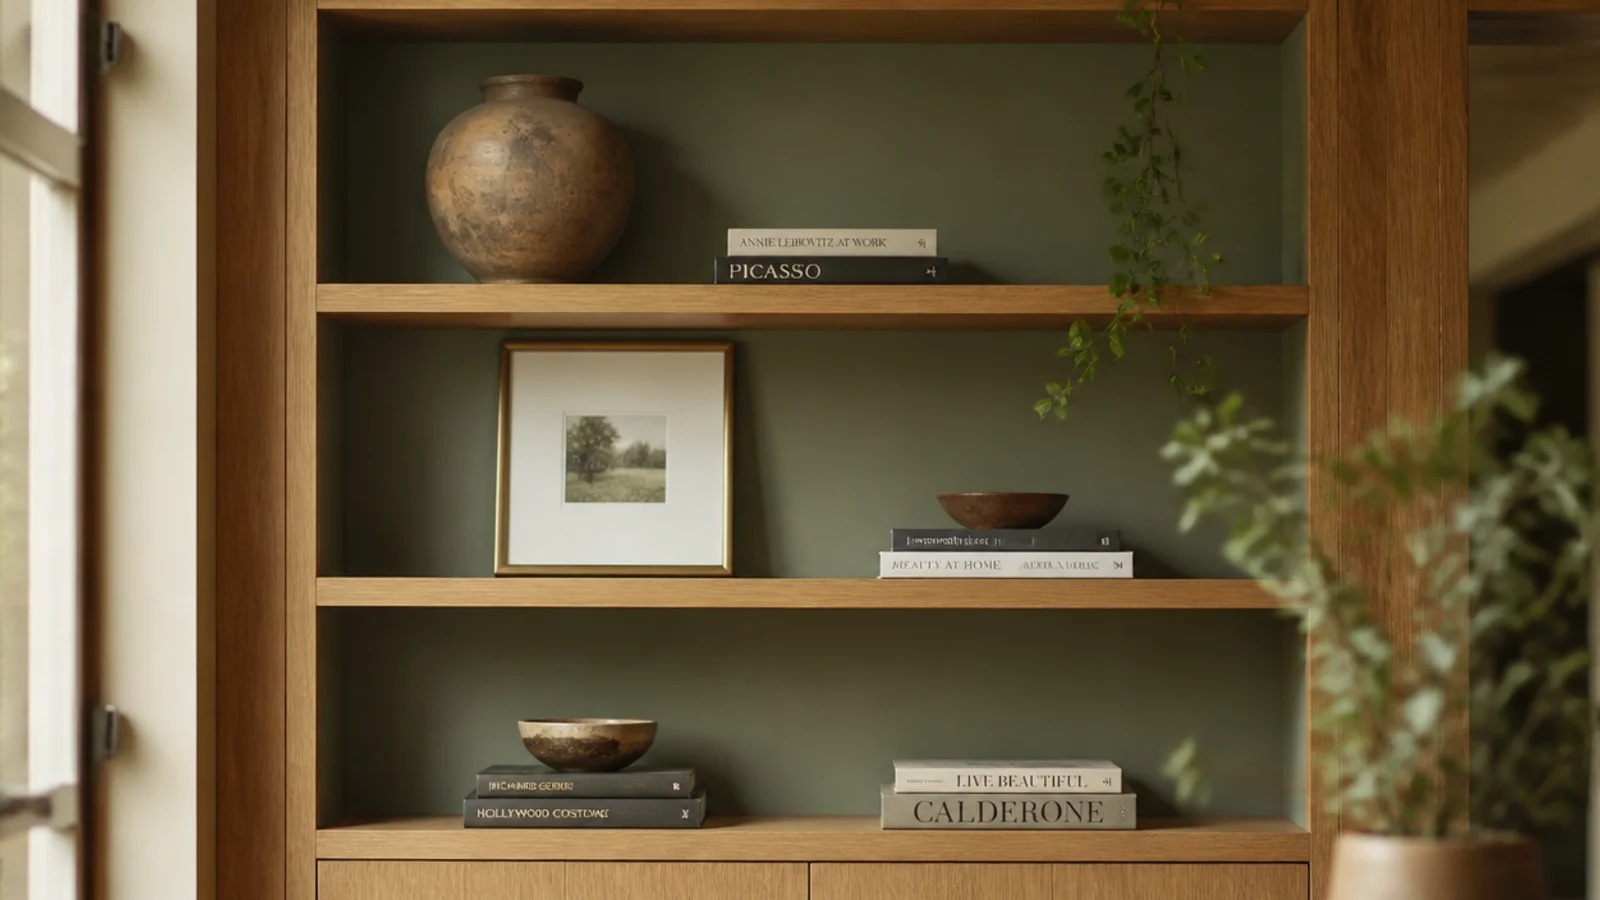
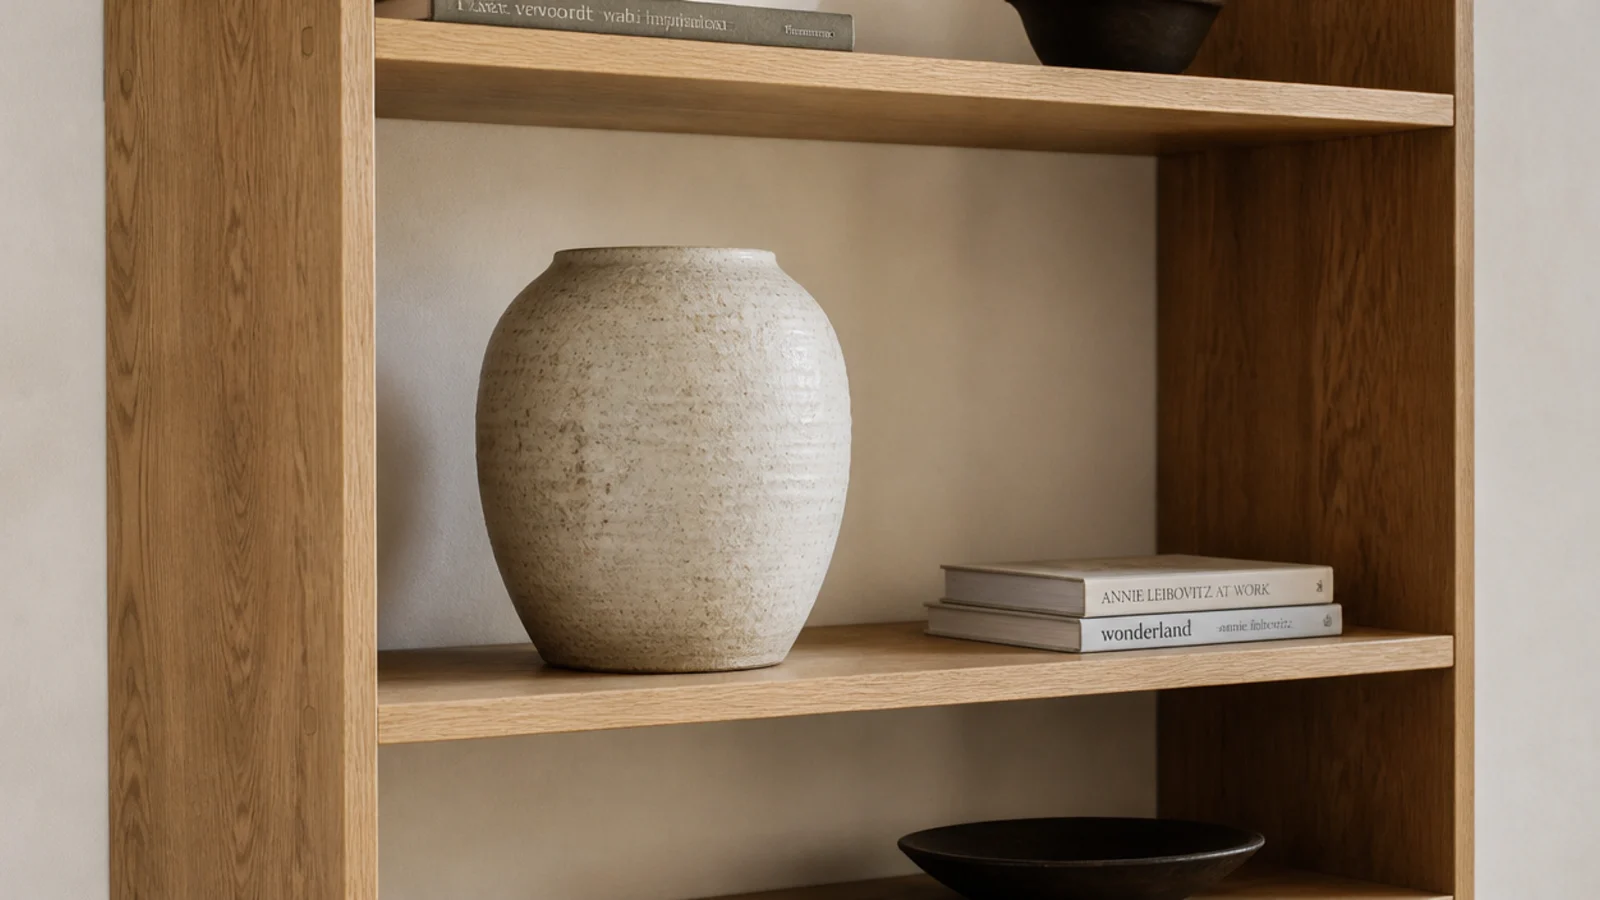
One piece noticeably larger than feels comfortable — on a 12-inch-deep shelf that means roughly 10 to 14 inches tall. A big stoneware vessel, a chunky lidded jar, a substantial bowl.
One per unit, not one per shelf. Put it slightly off-center on a shelf near eye level and build the rest of the styling outward from there.
Large pottery is cheaper secondhand than people expect, because most homes have nowhere to put it. Thrift and estate sales run $8 to $30 for pieces that cost $90 new.
Step 12: Layer one leaning piece at the back
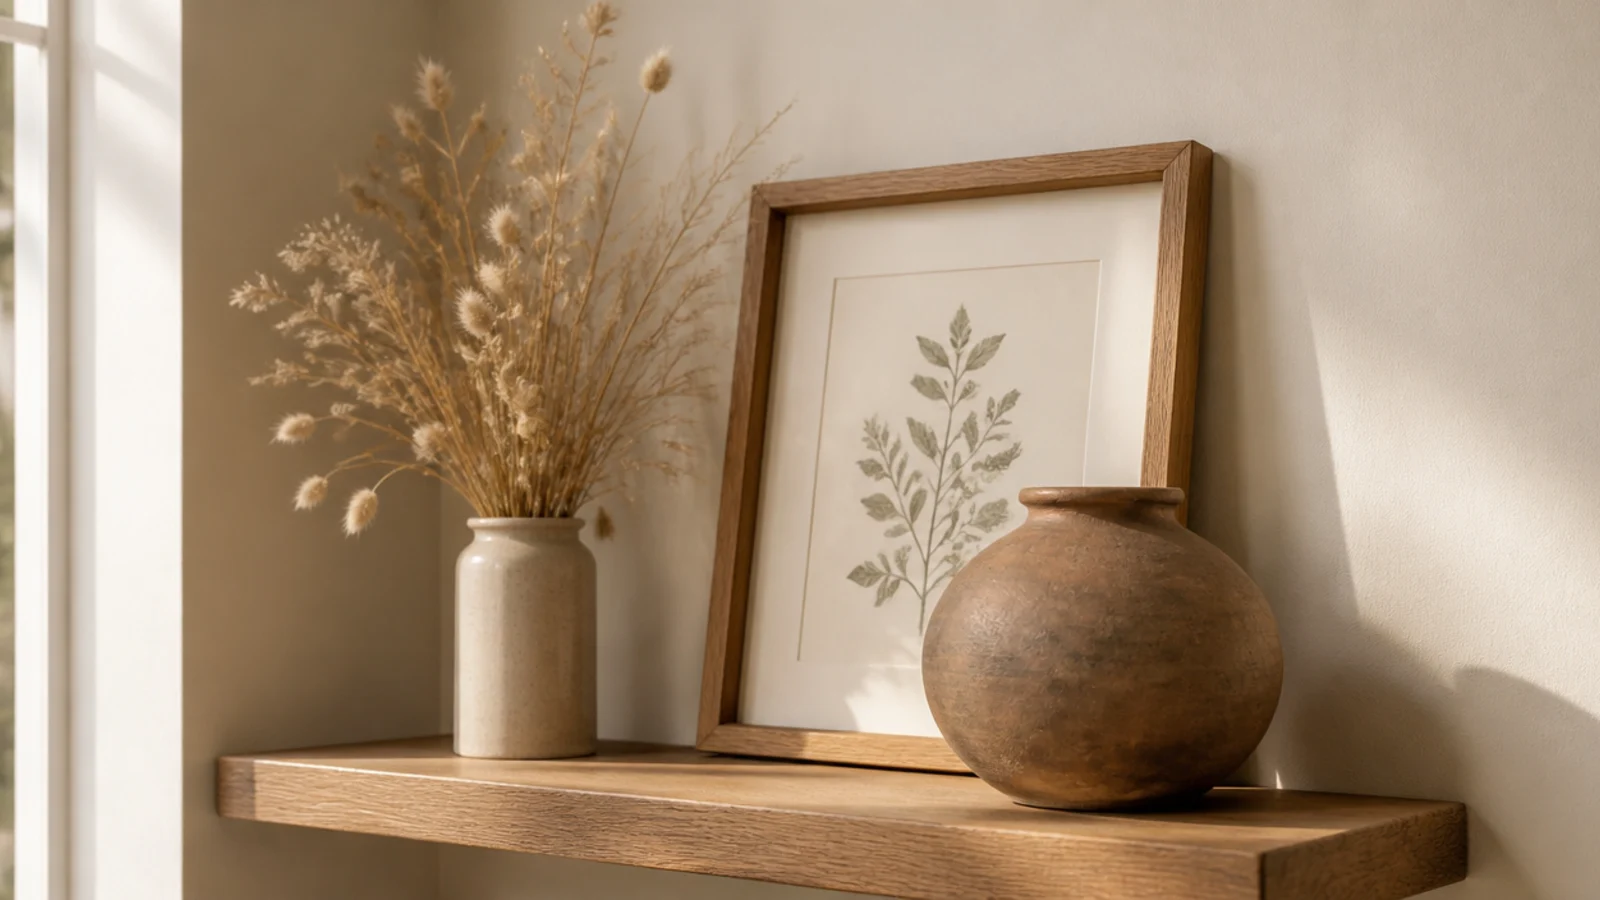
Lean a small framed print or a flat wooden board against the back of one shelf, then stand a pot or a short book stack partly in front of it so the two overlap.
Depth is what photographs as designed. A shelf styled in overlapping layers looks deeper than it measures; the same shelf styled in one flat row looks like a ledge.
Two leaning pieces per unit is the limit. More than that and the whole thing reads as a mantel rather than a bookcase.
Step 13: Repeat one material exactly three times
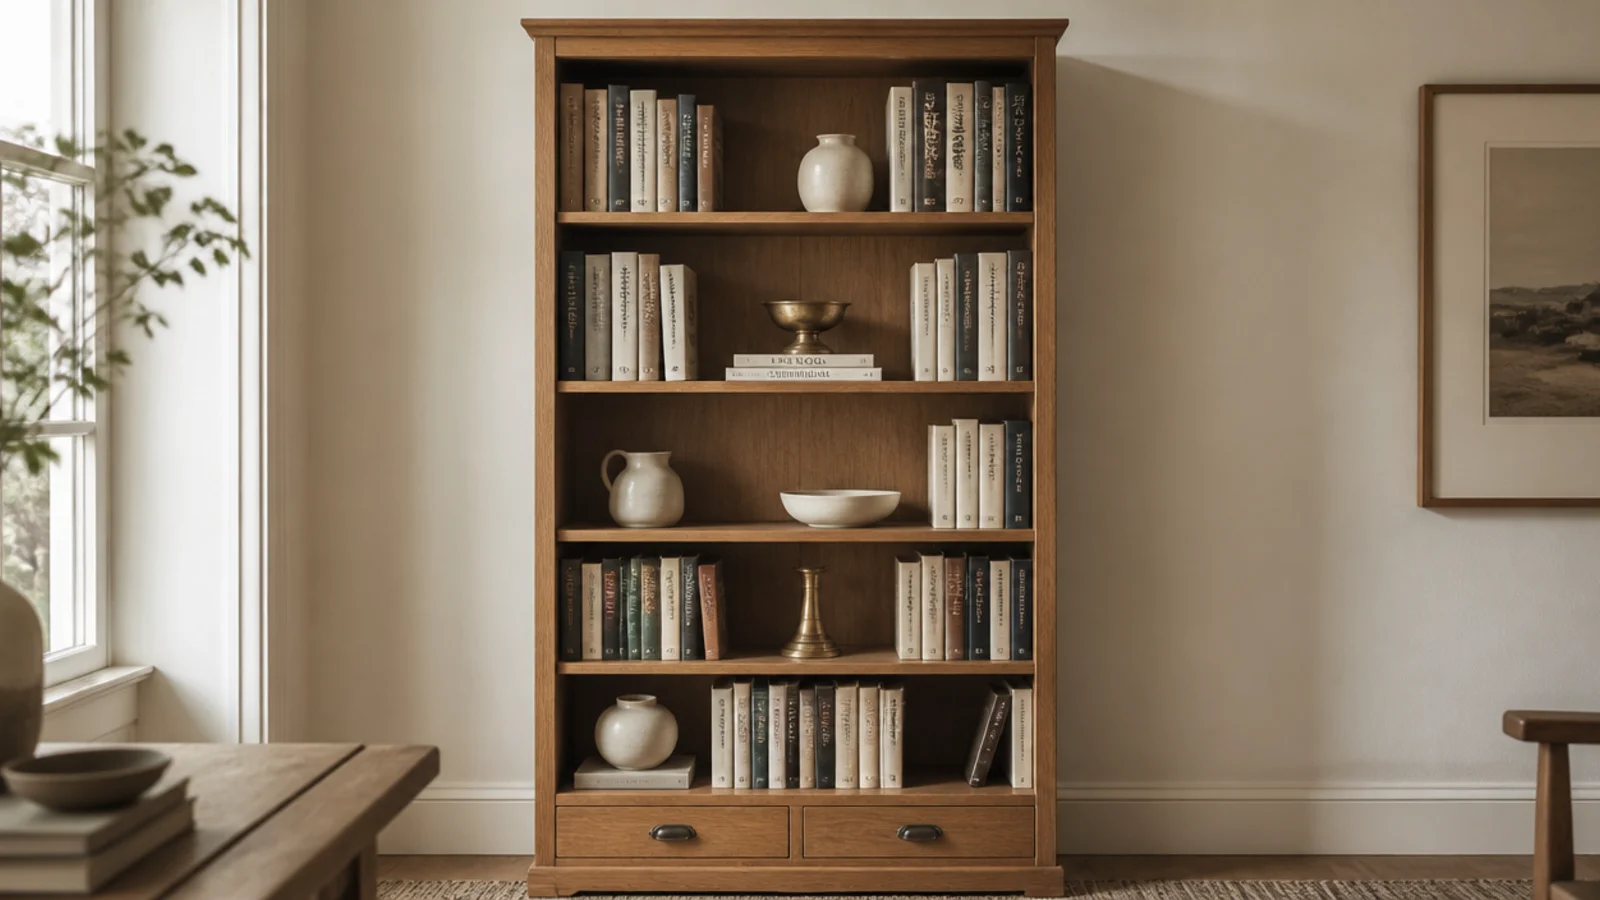
Pick brass, black metal, pale ceramic or raw clay, and let it appear three times, spread widely across different shelves.
Three is the number. Twice reads as coincidence, four times starts to read as a matched set, and a matched set is the thing that makes styling look bought rather than collected.
The books themselves stay as mixed as they like. The repeated material is the quiet rhythm underneath, and it does the work your eye reads as intentional.
Step 14: Let one thing break the top line
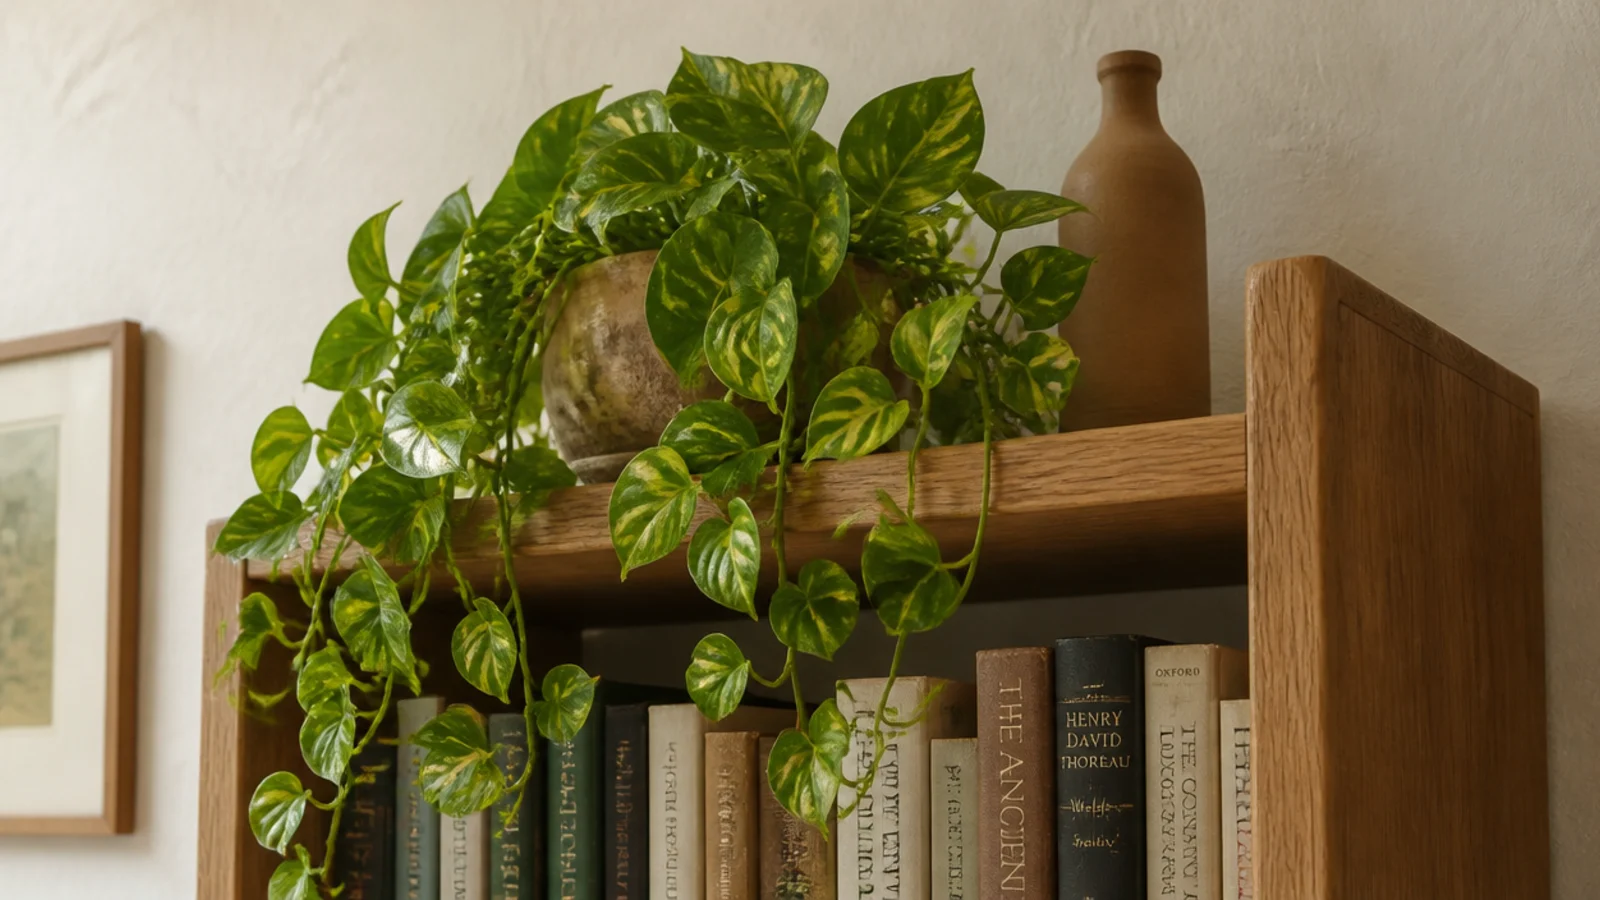
Every unit needs one soft thing that interrupts a hard horizontal edge — a trailing pothos, a length of linen, dried stems rising past the top shelf.
Without it the front edges read as a grid, which is exactly what a bookcase is and exactly what you do not want it to look like. A single trailing plant on the second shelf from the top solves it for about $12.
Keep it to one or two. A plant on every shelf turns a bookcase into a greenhouse shelf and buries the spines.
Step 15: Photograph it, then remove two things
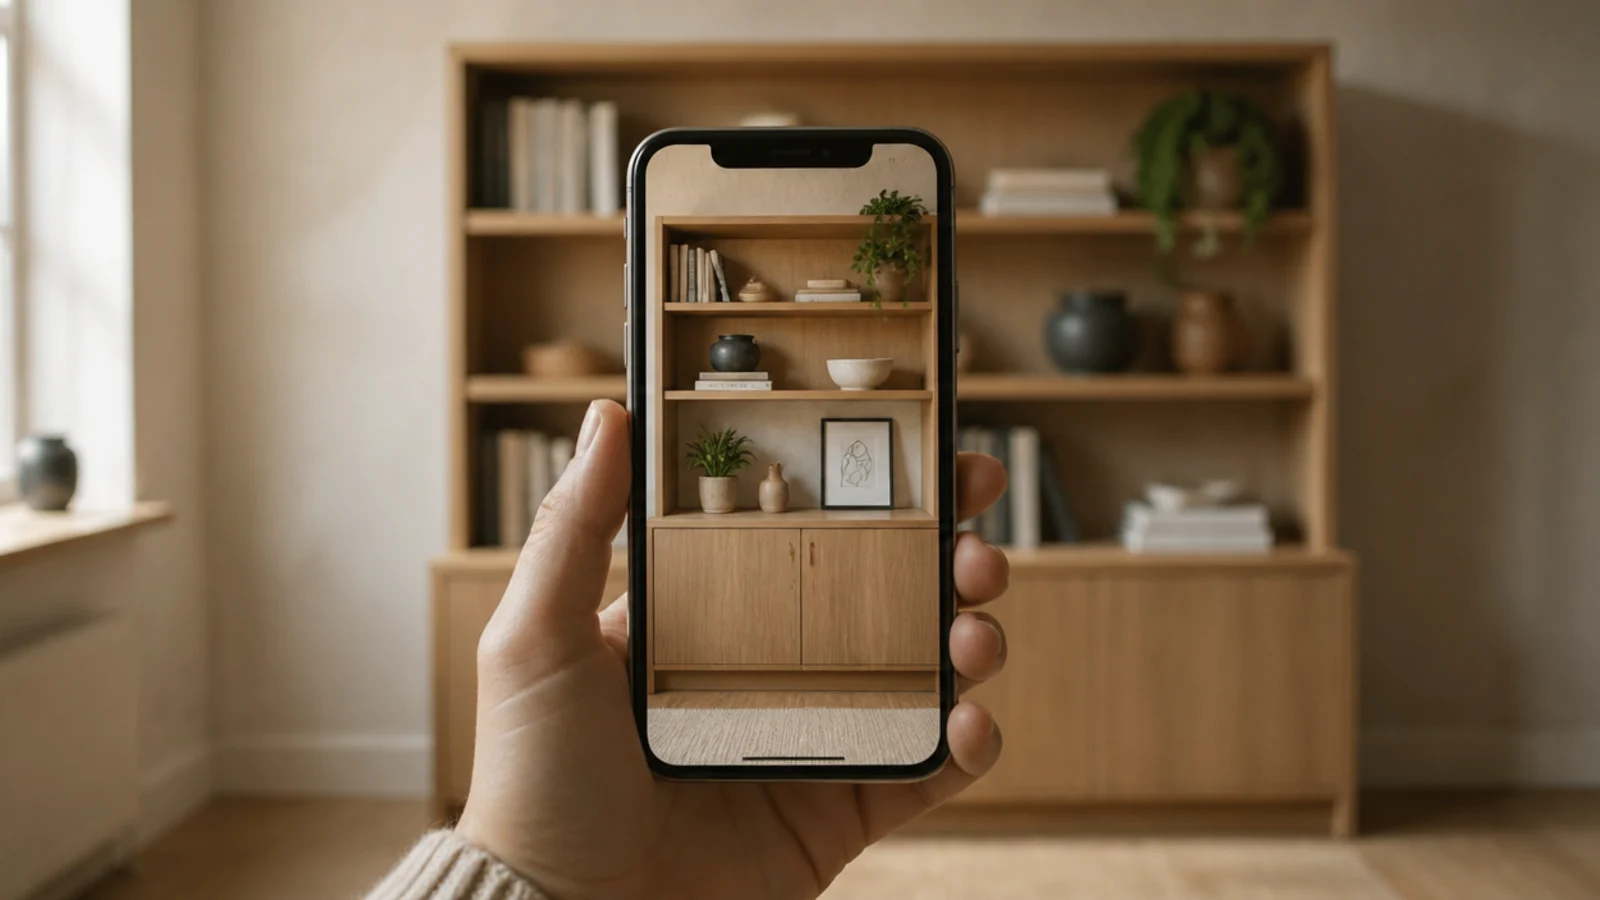
Take a photo on your phone and look at that instead of the shelf. Switch it to greyscale for an even harsher read.
The camera flattens depth and shows you in two seconds what standing in the room takes twenty minutes to notice: two objects at identical heights, a gap that is not quite a gap, a leaning frame that has drifted.
Then remove two things and live with it for a week. Almost every unit I style is better seven days later with two fewer objects on it, and mine are no exception.
Pro Styling Rules
Mistakes to Skip
- Styling before strapping. An anti-tip strap into a stud takes ten minutes and is the only step here that is genuinely about safety rather than looks.
- Filling every shelf edge to edge. A packed unit reads as storage no matter how good the objects are, and it makes a small room feel smaller.
- Loading a 36-inch span with hardbacks on 3/4-inch shelving. That is 60 to 75 pounds on a board rated for far less, and the bow it creates never comes out.
Frequently asked questions
How do I style a bookshelf without it looking cluttered?
Take a third of the books off. Most cluttered shelves are not badly arranged, they are simply full to the edges. Aim for roughly two-thirds books and one-third empty space on every shelf, group the books by height instead of color, and break every second vertical row with a flat stack. That ratio does more than any object you could buy.
Should I organize books by color or by height?
By height, in almost every room. Color-blocked shelves photograph beautifully and read as busy in person, and they scatter series and reference books across six shelves. Height grading gives you a calm horizontal line from the doorway and still lets you group by subject inside each pile. Save the rainbow for a single small accent shelf if you love it.
How much weight can a bookshelf hold?
Books run 20 to 25 pounds per linear foot in hardback, so a 36-inch shelf filled end to end holds 60 to 75 pounds. Three-quarter-inch shelving sags past a 32-inch span under that load. Shorten the span with a divider, glue a solid one-inch lip along the front edge, or step up to one-inch stock before you style anything.
Do I really need to anchor a bookcase to the wall?
Yes, without exception, in any home where a child could climb. A loaded bookcase can weigh over 200 pounds and tips forward faster than an adult can react. An anti-tip strap kit costs $8 to $14 and screws into a wall stud in about ten minutes. Plastic drywall plugs are not an acceptable substitute here.
What do I put on a bookshelf besides books?
One oversized anchor object per unit, a shallow tray to corral small things, one leaning frame for depth, and something soft that trails over an edge. Keep the object count low and let the books do most of the work. Three well-chosen pieces spread across five shelves look far better than fifteen small ones.
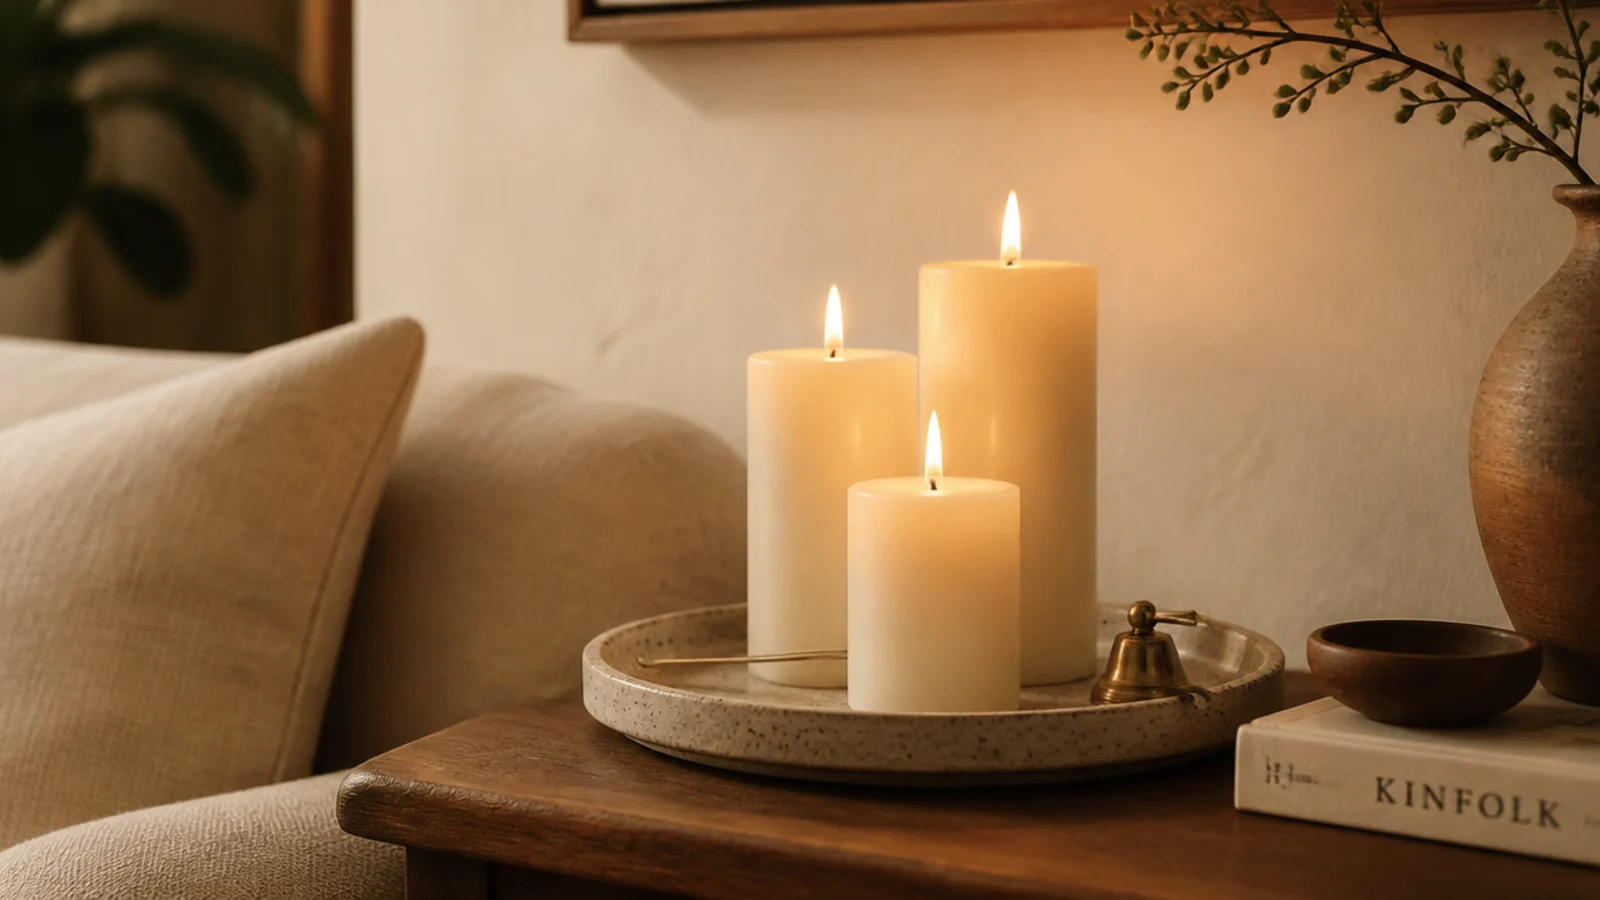
Do steps two, three and four tonight even if you never style a thing — clearances, weight and a strap are the difference between a bookcase and a hazard. For objects to fill the gaps, work through bookshelf decor ideas; for the sorting systems underneath the styling, see bookshelf organization ideas. The same height-and-gap rules style a candle shelf exactly the same way. Save the pin so the clearances are with you at the shelf.
Want more like this? Browse all 15 bookshelf ideas guides — they all use the same measurements and budget tiers.
Pin it for later
Save this to your Bookshelf Ideas board
Pin it now so it is waiting for you when the tape measure comes out — and so the next person hunting for this idea can find it too.
Save this pinKeep going
More ideas worth saving while you have the tape measure out.