Mirror Wall Decor · Listicle
30 Beautiful Mirror Wall Decor Ideas to Steal Today

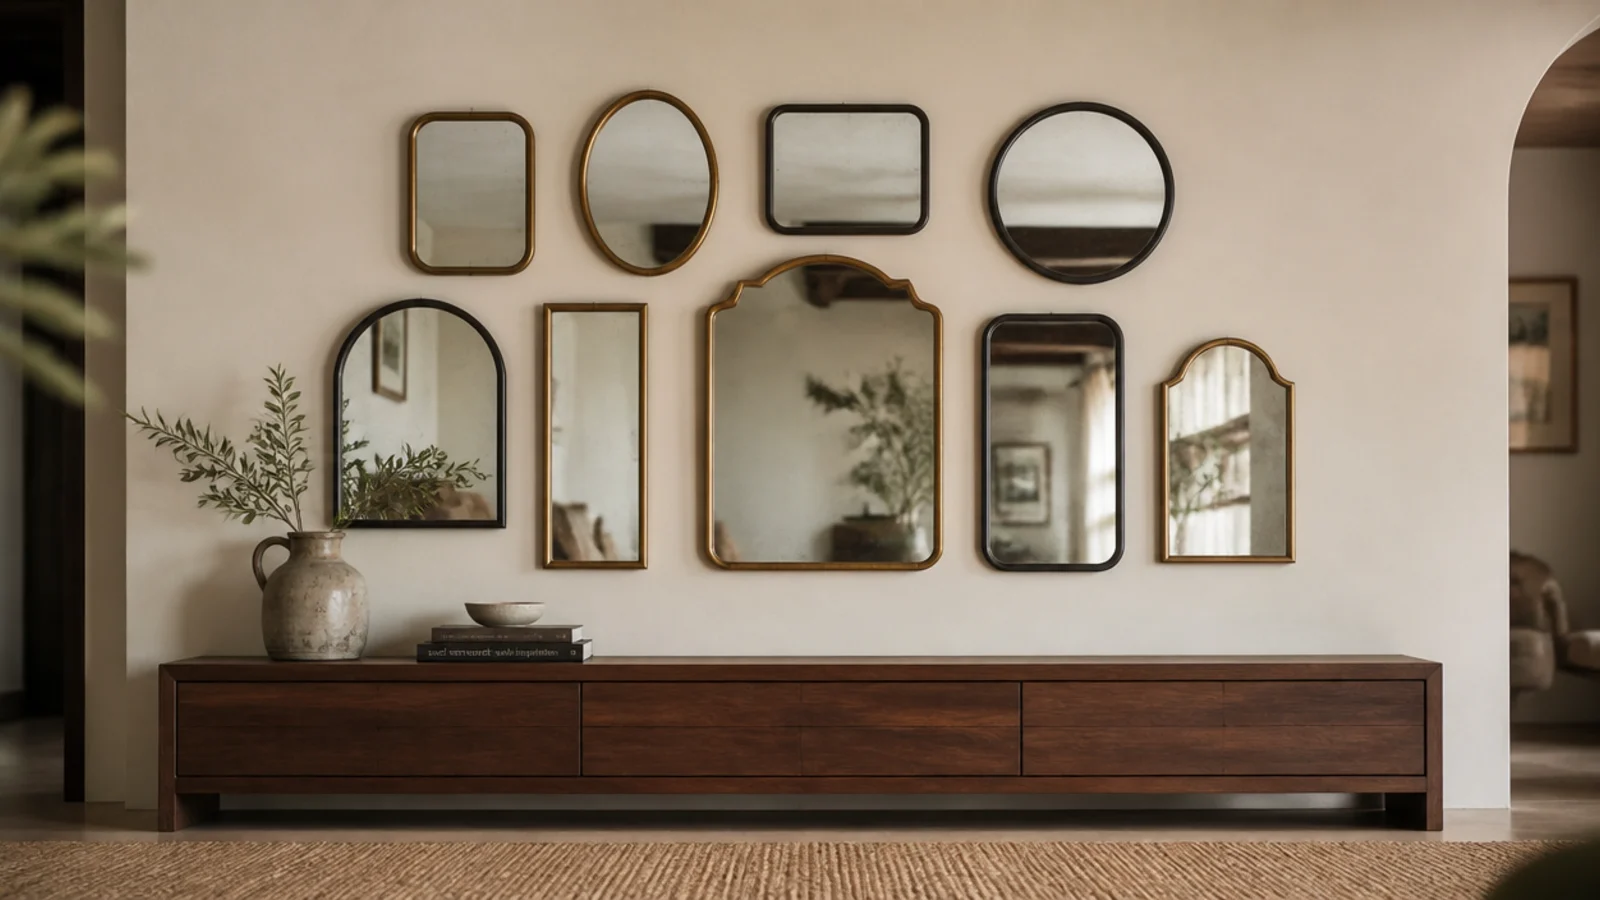
A mirror cluster wall either reads as one composition or as a pile of frames someone could not decide about, and the difference is almost entirely geometry. Spacing, boundary and weight distribution do more than any individual mirror in the group. These thirty layouts cover the patterns that work, the walls they suit, and the hardware that keeps a lot of glass safely off the floor.
In this guide32 sections — tap to openHide
- 1.How a mirror cluster wall holds together
- 2.The tight nine-round grid
- 3.The salon hang
- 4.One anchor mirror with satellites
- 5.The descending triangle
- 6.The radiating sunburst
- 7.The horizontal band
- 8.The vertical column
- 9.Twin columns flanking a window
- 10.The arc over a console
- 11.The stair diagonal
- 12.Wrap an inside corner
- 13.A halo around a doorway
- 14.Frame a television
- 15.Bury a thermostat or switch plate
- 16.Run the cluster to the ceiling line
- 17.Sit the cluster on a chair rail
- 18.Float above a picture ledge
- 19.Weight the arrangement to one side
- 20.Offset a checkerboard of squares
- 21.Keep one shape family and one outlier
- 22.Graduate the sizes across the wall
- 23.Repeat one finish through the whole group
- 24.Scatter one repeated small size
- 25.Add one thing that is not a mirror
- 26.Set the outer boundary before you start
- 27.Cut a spacer card and never measure again
- 28.Put the heaviest mirror low and centred
- 29.Give every piece two hanging points
- 30.Test the layout in greyscale
- 31.Live with it a week, then remove one
- 32.Mistakes to Skip
How a mirror cluster wall holds together
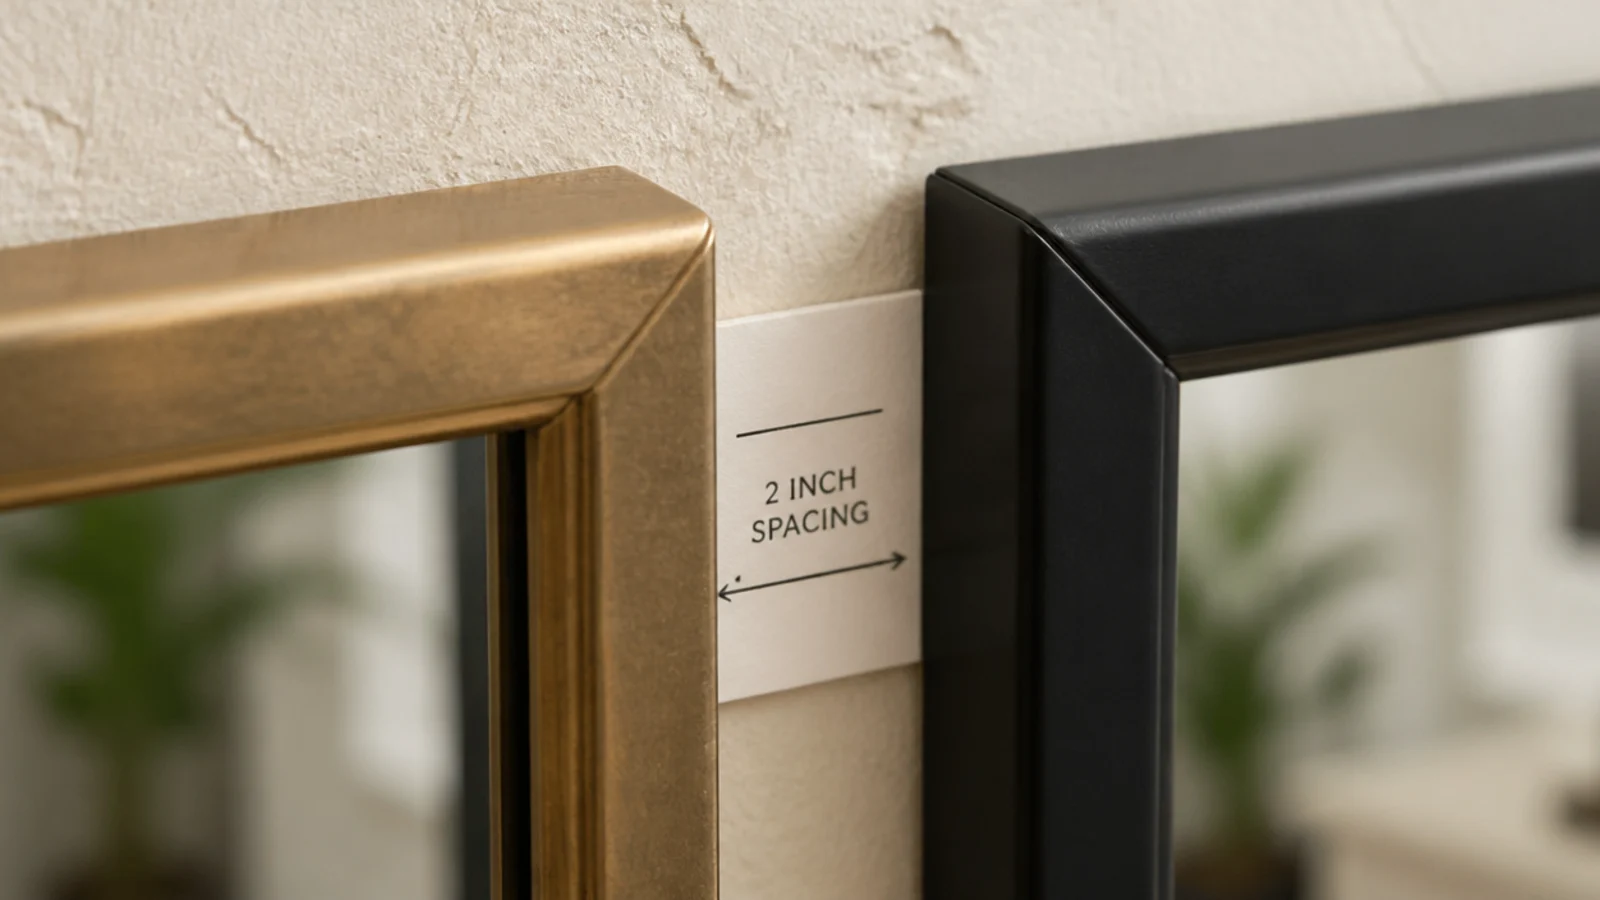
Four rules run underneath every arrangement below. Keep 2 to 3 inches between every frame edge, held identically throughout. Work in odd numbers. Make size differences obvious rather than slight. And hold the whole wall to two frame finishes at most, letting shapes and sizes vary freely instead.
Cost stays low if you thrift. $ is $40 to $120 for a five to seven piece cluster of secondhand frames plus a can of spray paint. $$ is $150 to $350 for a mix of new rounds and multi-packs. $$$ runs $400 and up once antique gilt or convex pieces enter the group.
The safety maths is where clusters differ from a single mirror, because the weight adds up quietly. Nine pieces at 6 pounds each is 54 pounds on one wall section. Spread that across at least two studs rather than concentrating it in one small area, particularly in older lath and plaster. Keep individual pieces under about 5 pounds and one well-set hollow anchor per point is genuinely adequate; past 15 pounds any single mirror goes into a stud or onto toggles rated at least double its actual weight — never the plastic plugs from the packet, and never adhesive strips. Give every piece two hanging points, small ones included, or they pivot out of line every time a door closes.
1. The tight nine-round grid
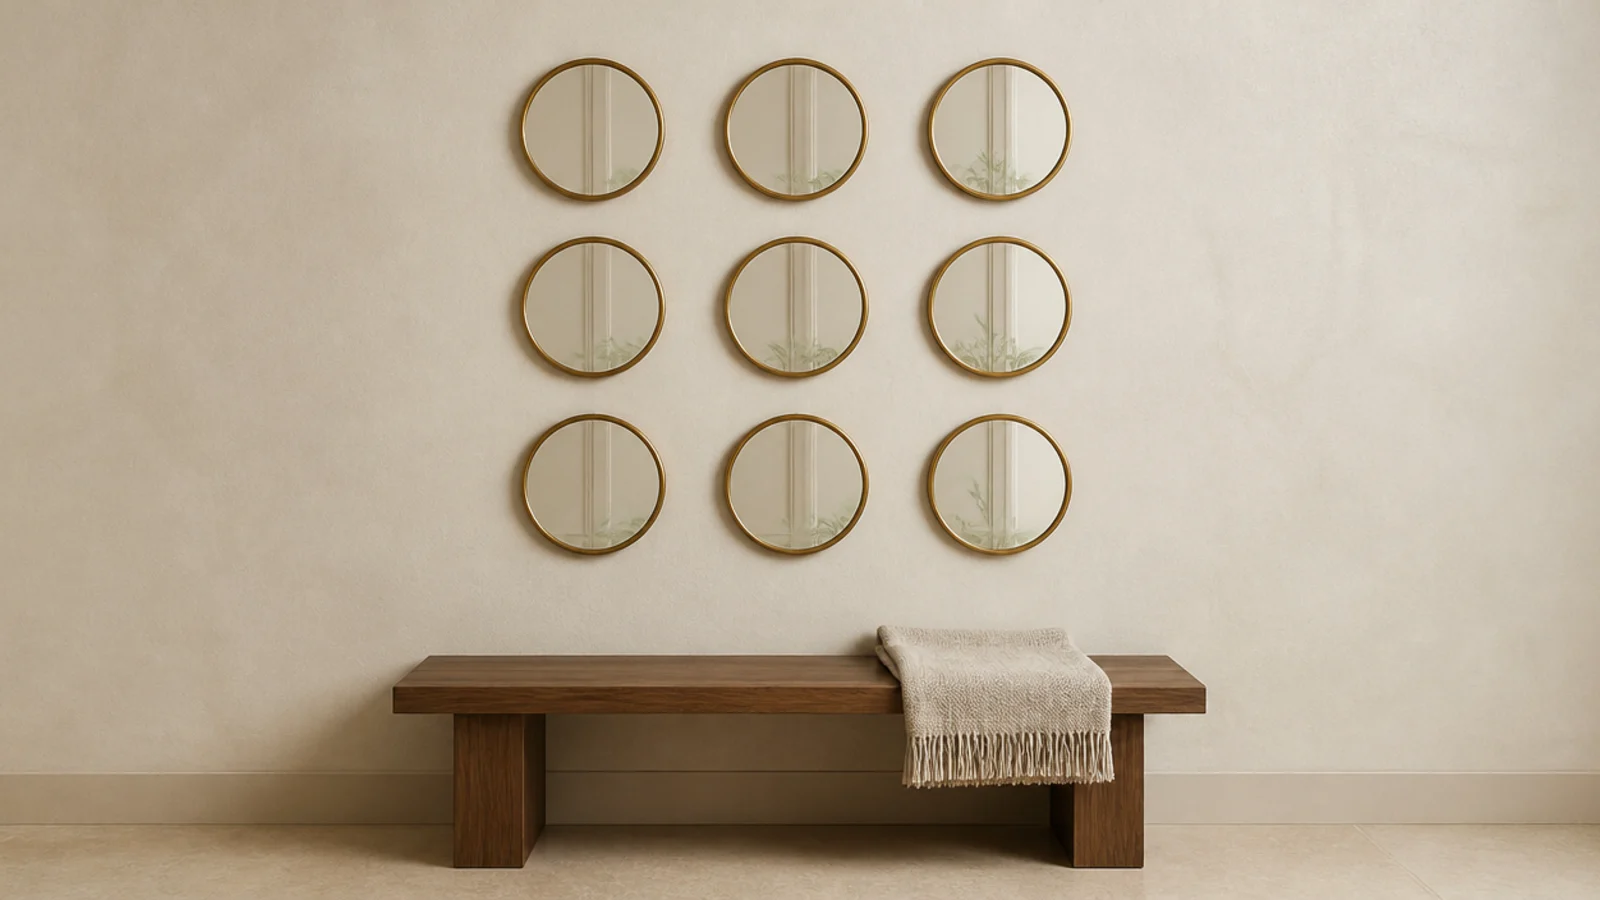
Nine identical small rounds in a precise three-by-three grid, 3-inch gaps, every centre dead level. It is the most graphic option here and the least forgiving — one mirror off by a quarter inch shows immediately. Use a laser level or a taped guide line, and buy the whole set at once so the finishes match exactly.
2. The salon hang
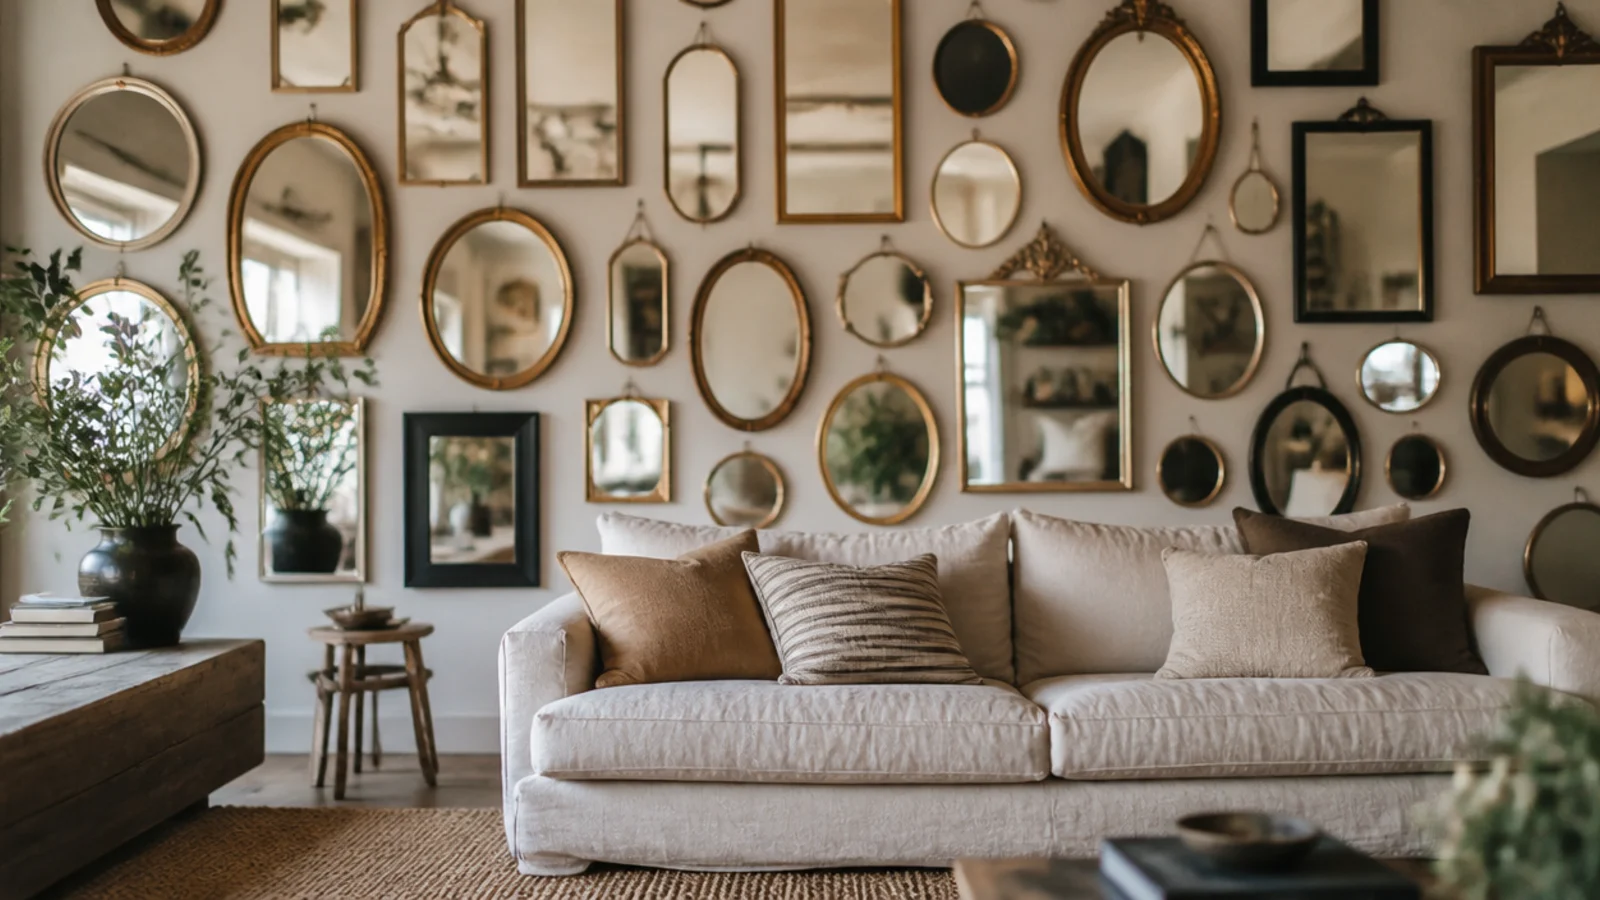
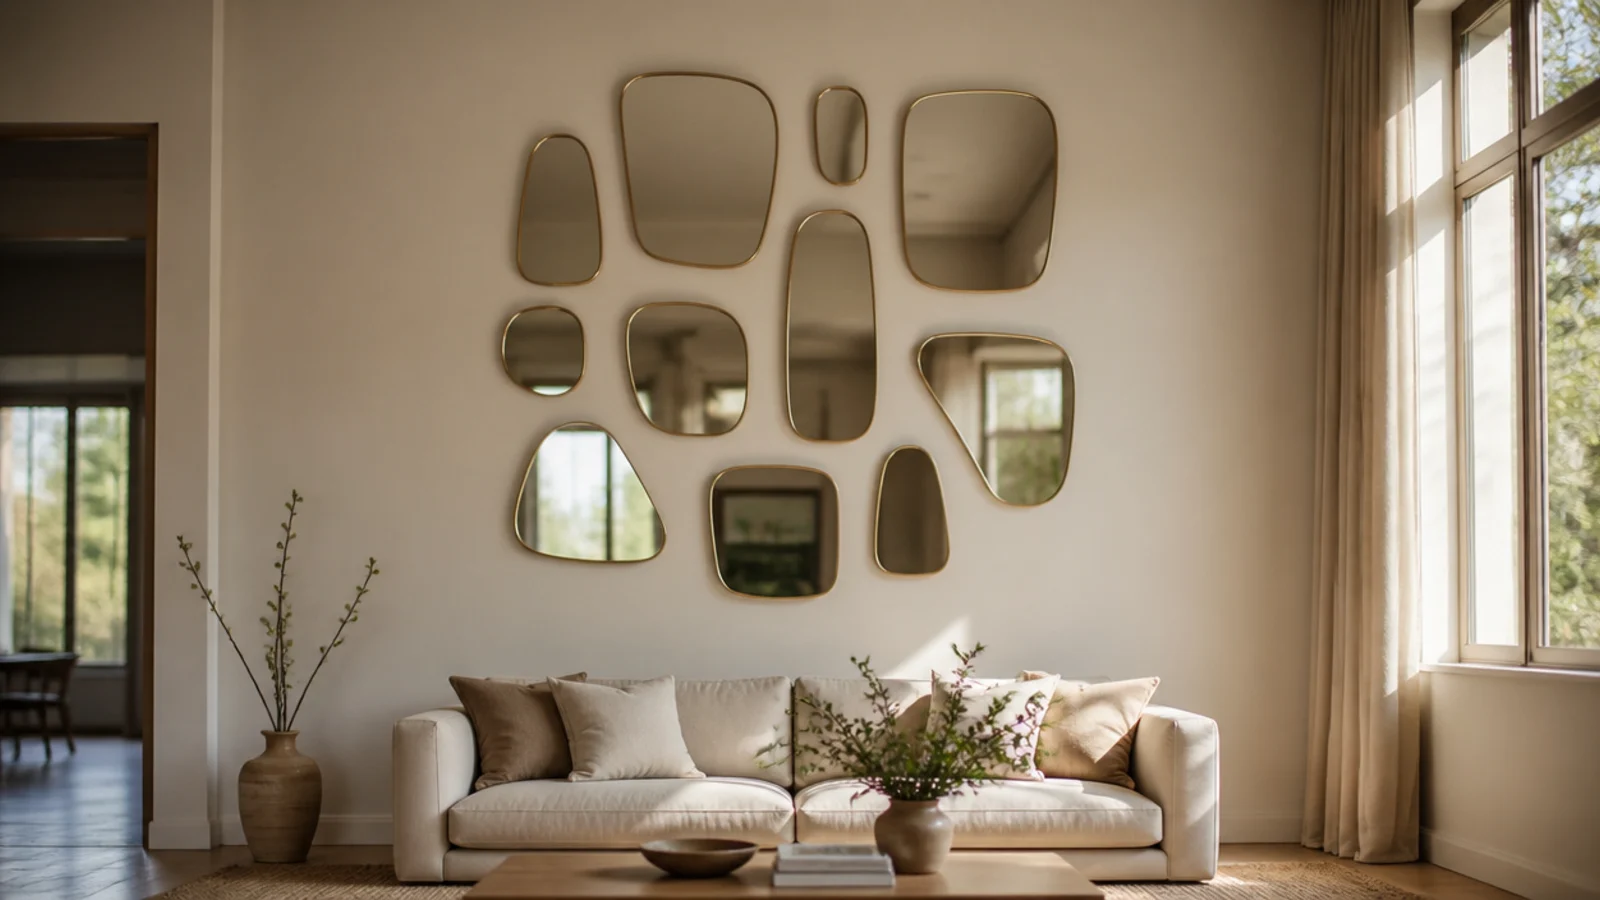
Dense, irregular, filling a whole wall edge to edge. Salon hangs only work when you commit fully — a half-hearted version just looks unfinished. Plan on 11 to 15 pieces for a standard wall, keep the outer boundary a clean rectangle, and let the internal spacing tighten to 2 inches.
3. One anchor mirror with satellites
Place the largest piece low and slightly off centre, then orbit five or six smaller ones around it. Dead centre is the instinct and it is the wrong one, because a centred anchor makes the group static. Off centre lets the arrangement read as collected rather than installed.
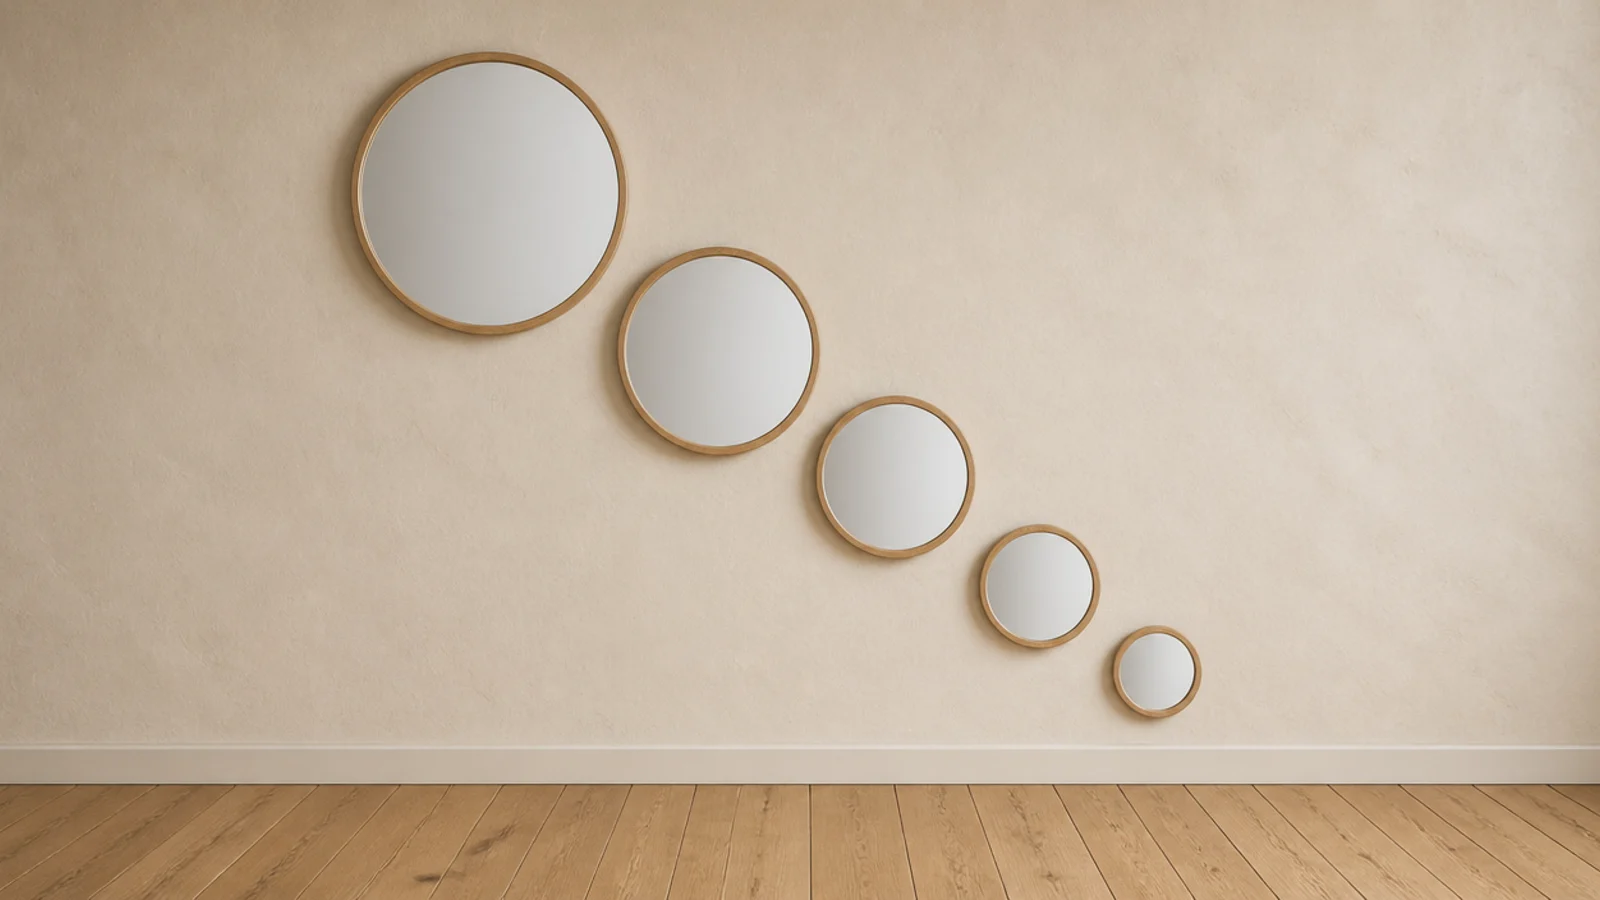
4. The descending triangle
Largest at the upper left, sizes stepping downward to the smallest at the lower right. The implied diagonal gives a static wall a direction to travel in. Keep the size drops obvious — 24, 18, 12 inches — because gradual steps read as an accident rather than a plan.
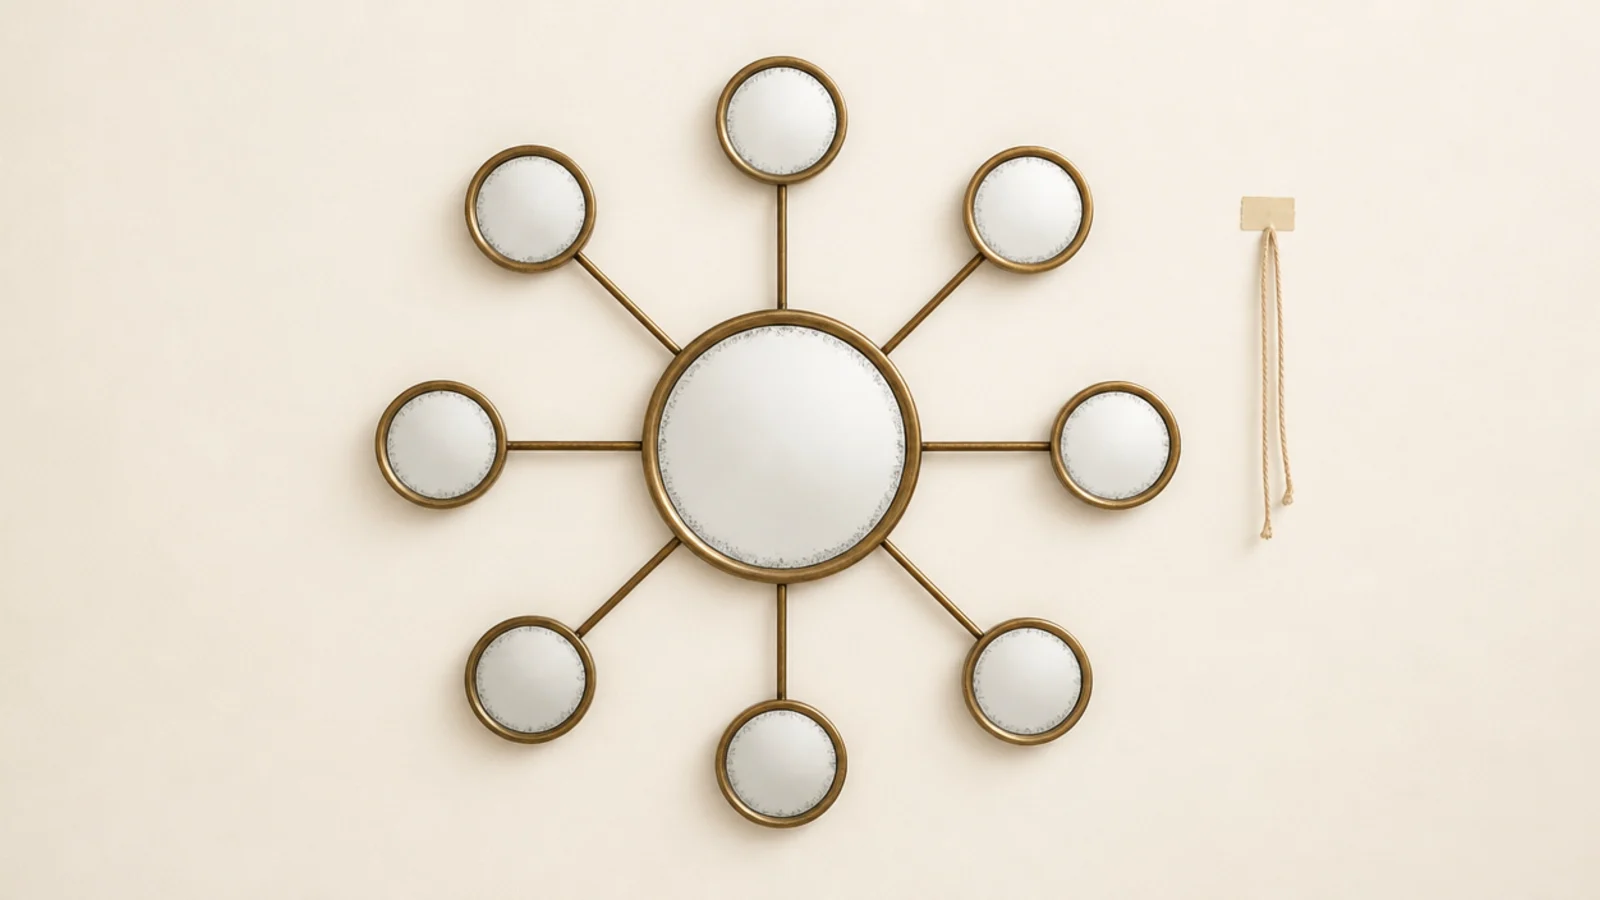
5. The radiating sunburst
One medium round at the centre with eight small rounds radiating outward at even angles, 3 inches apart. Use a pin and a length of string as a compass to mark the ring, then space the outer mirrors by measuring around it. From across a room it reads as one large expensive object.
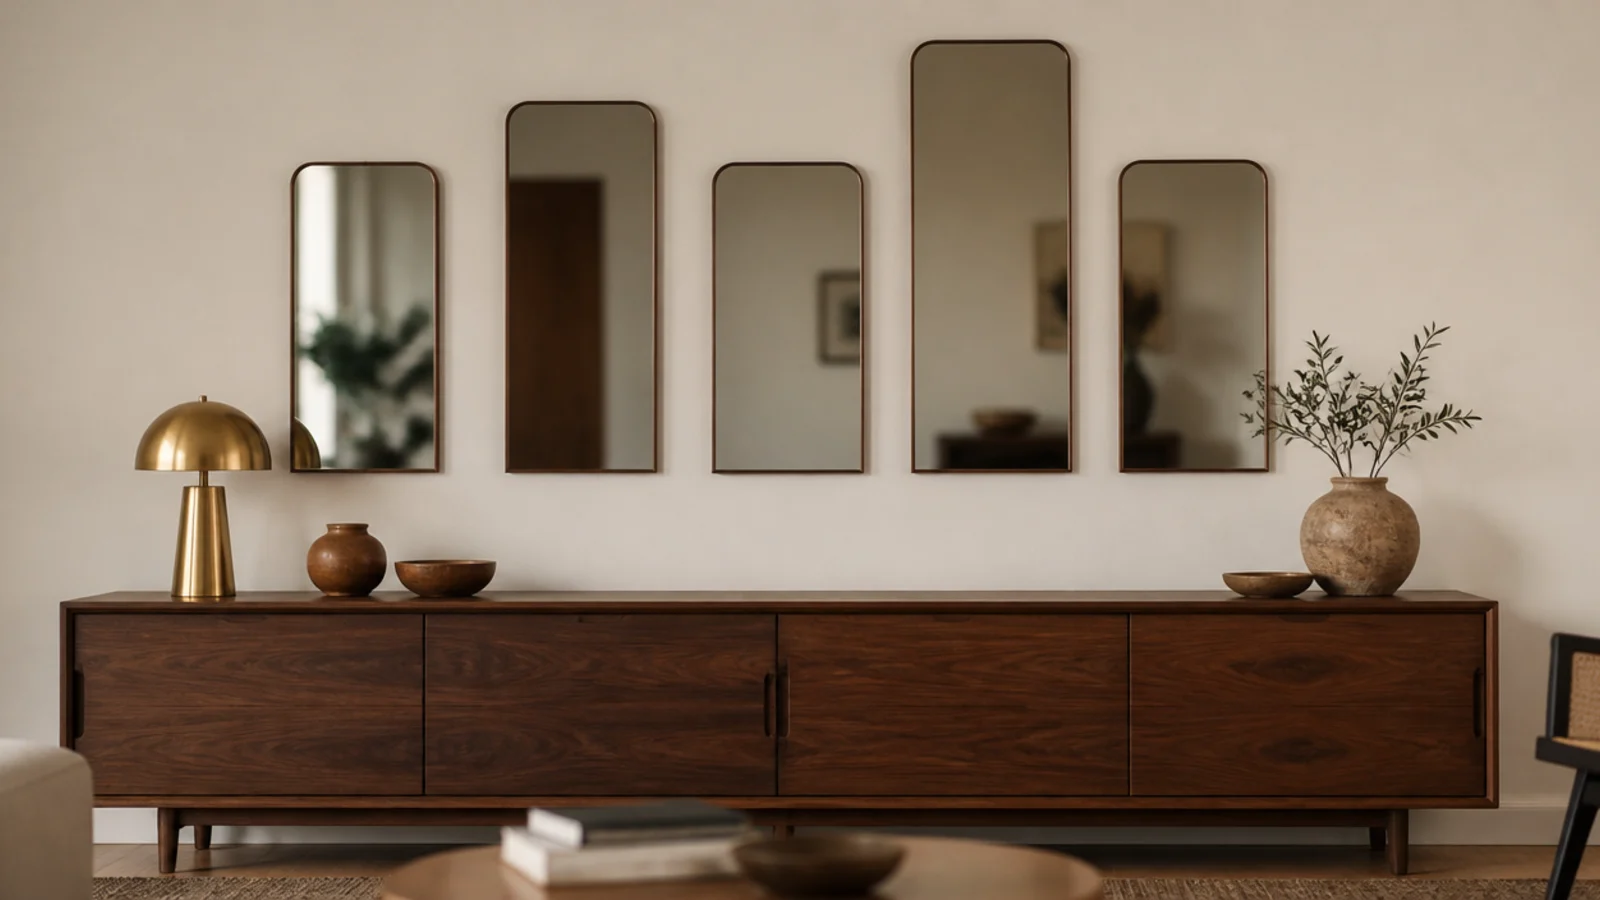
6. The horizontal band
Mirrors of differing heights hung in a level band with their bottom edges aligned and the tops left ragged. This is the arrangement that stretches a short wall. Pick one edge to be honest and let the other be loose — level bottoms with jagged tops always reads better than the reverse.
7. The vertical column
On a wall strip under 20 inches wide, stack three or four small mirrors with equal gaps. A column draws the eye upward and makes a low-ceilinged room feel taller. Keep the pieces under 12 inches wide so the column reads as deliberate rather than squeezed into the only space left.
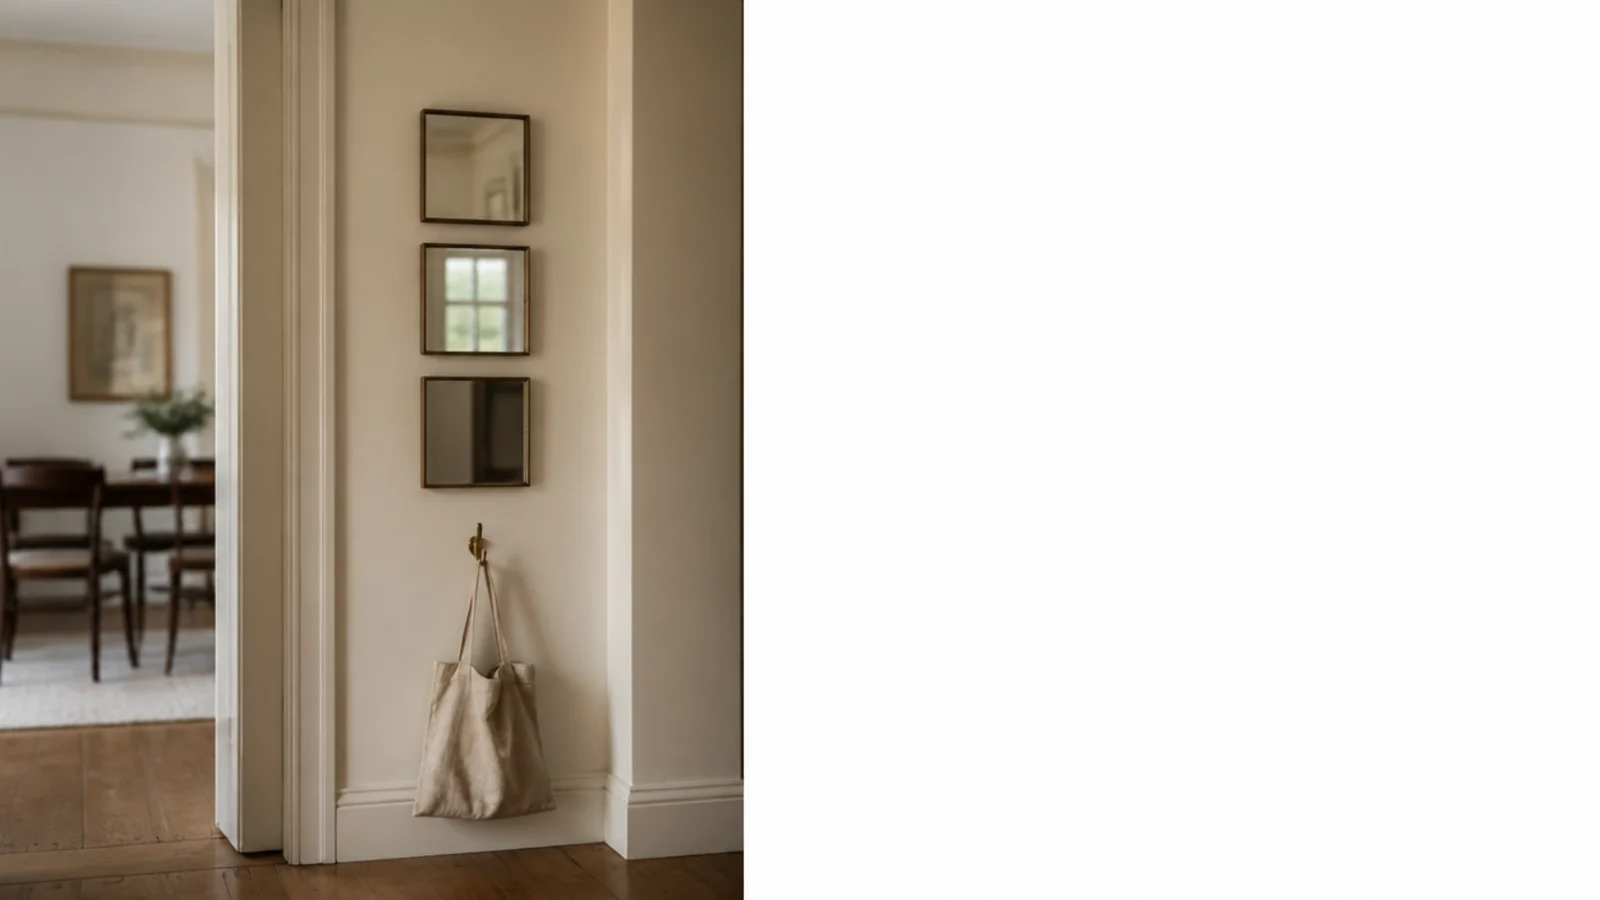
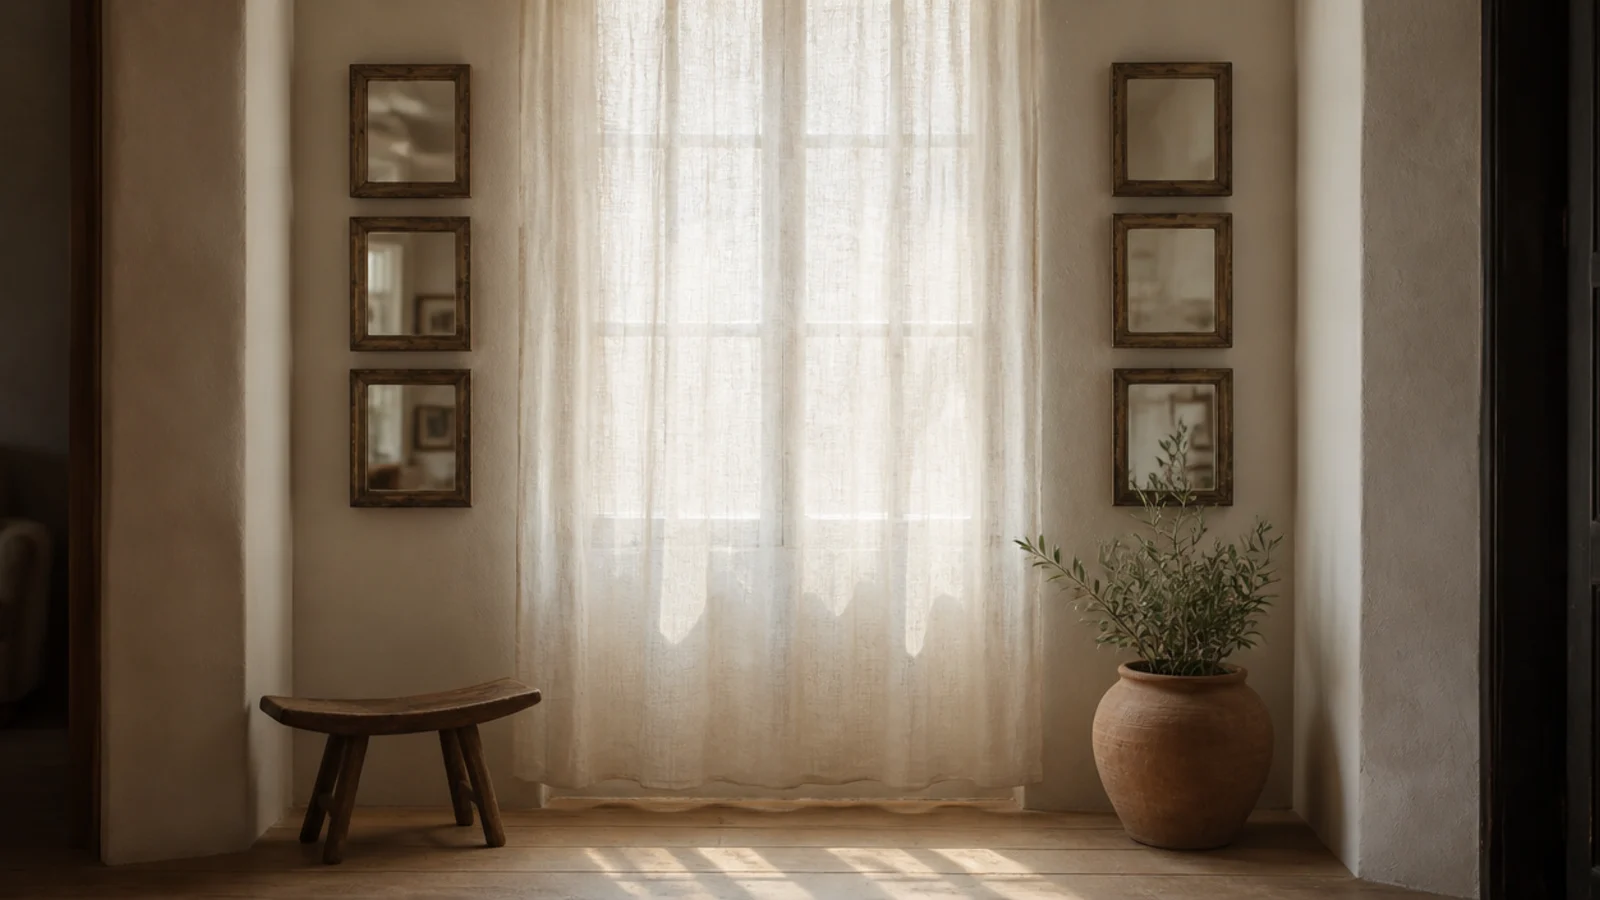
8. Twin columns flanking a window
Two matching vertical columns either side of a window turn the opening into the centrepiece it should already be. Match the number of mirrors and the gaps exactly, and align the top of each column with the top of the window casing so the whole wall shares one line.
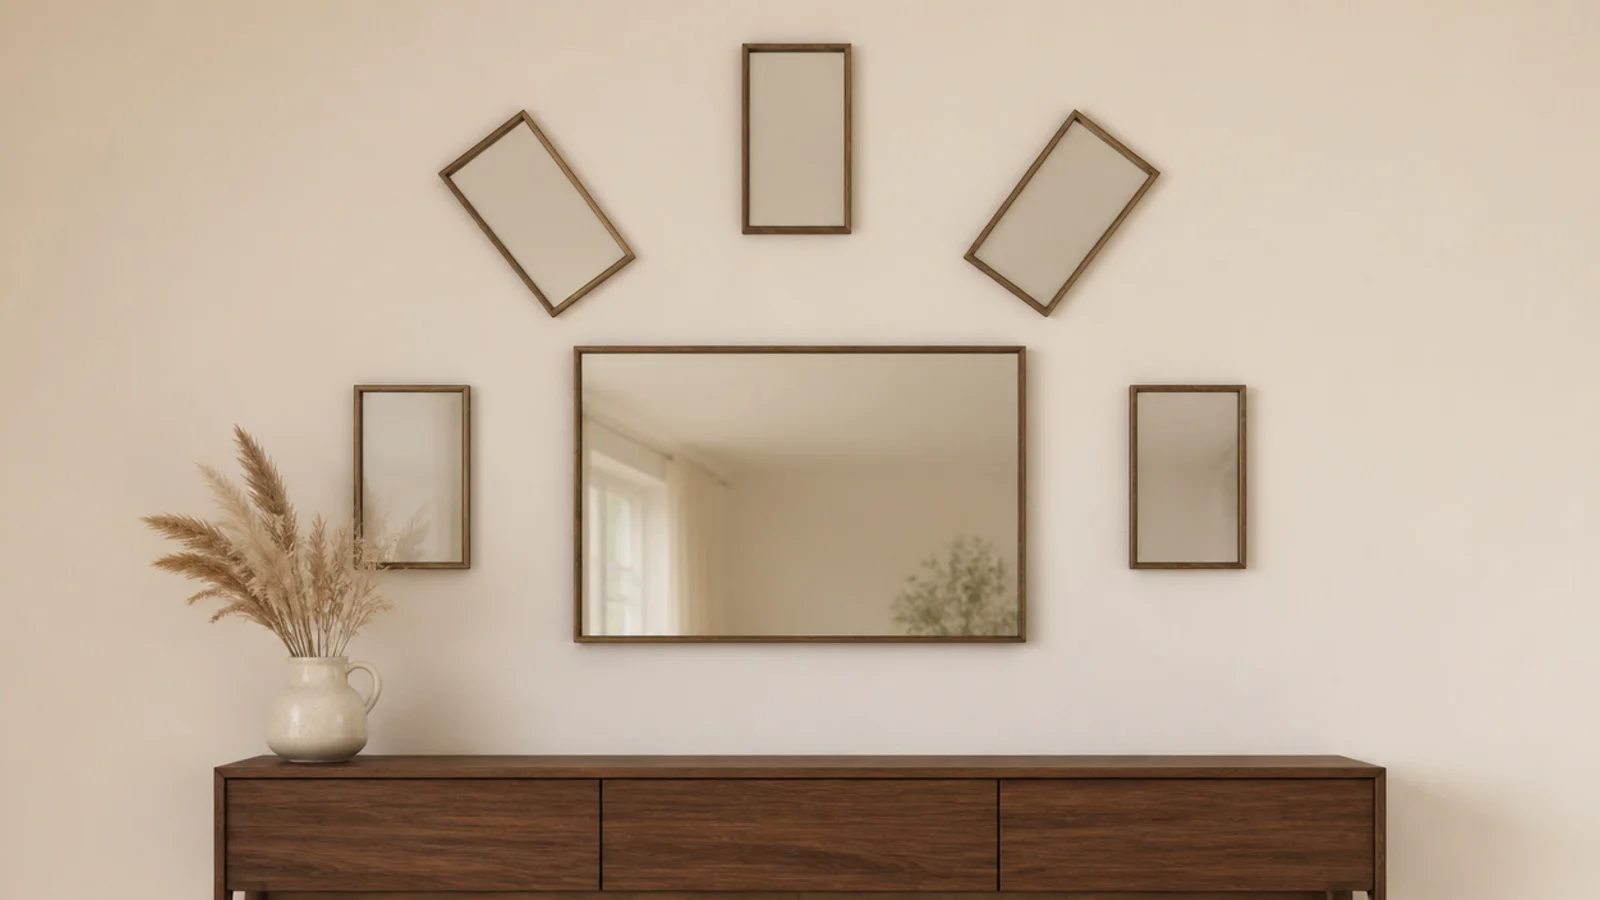
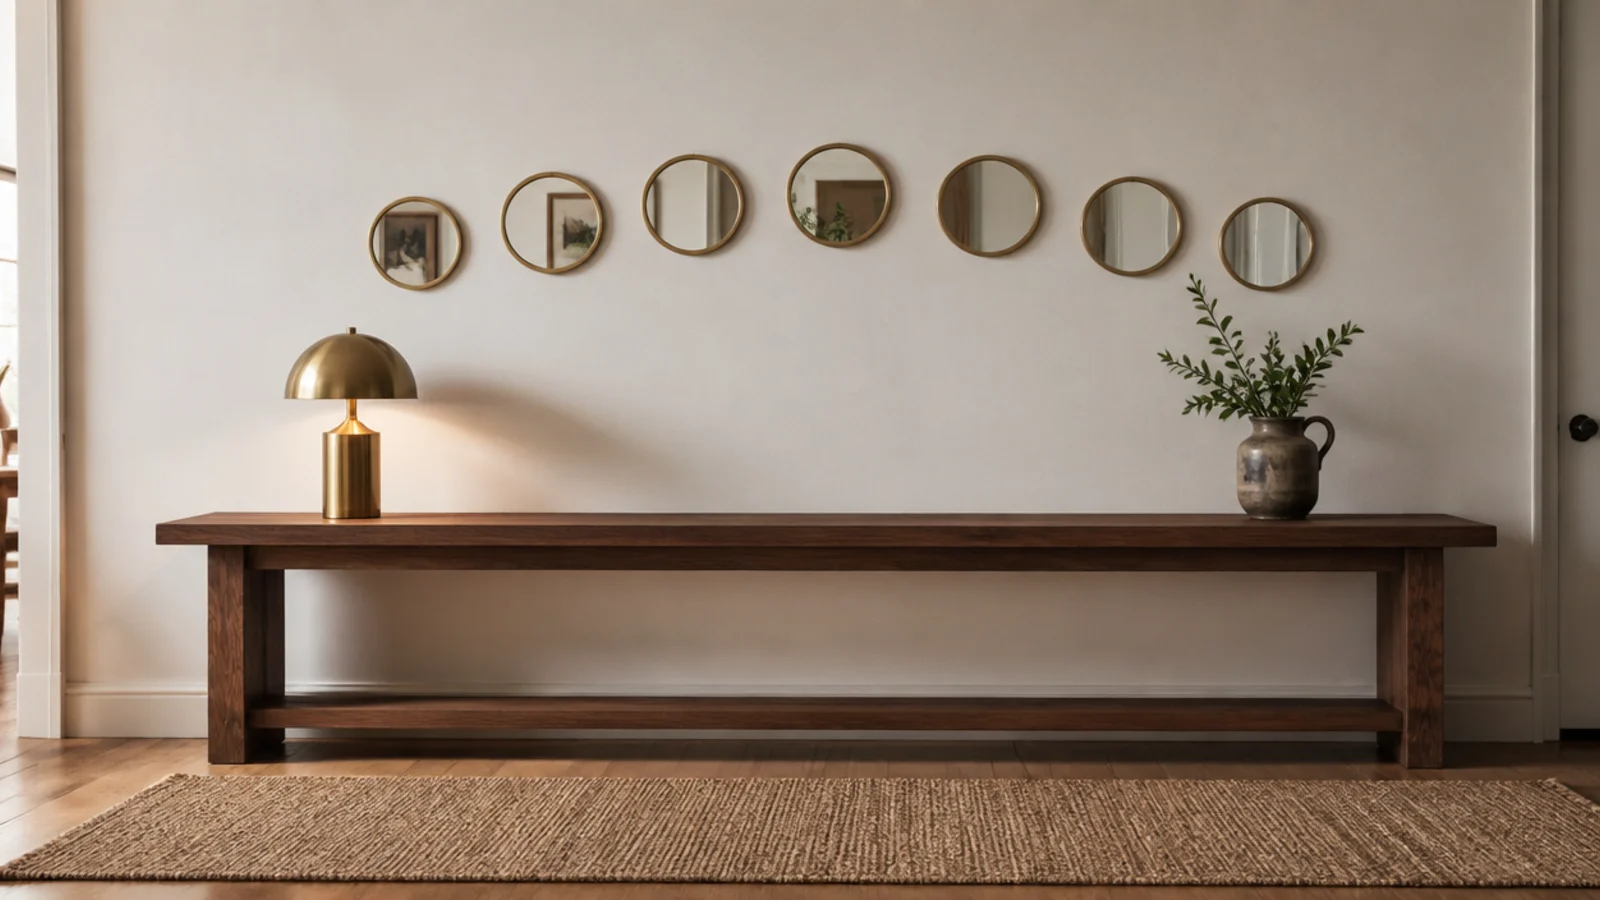
9. The arc over a console
Seven small mirrors in a shallow upward arc above a long console soften a hard straight run of furniture. Mark the arc with a string compass rather than eyeballing it, since a slightly wobbly curve reads as a mistake where a slightly loose grid does not.
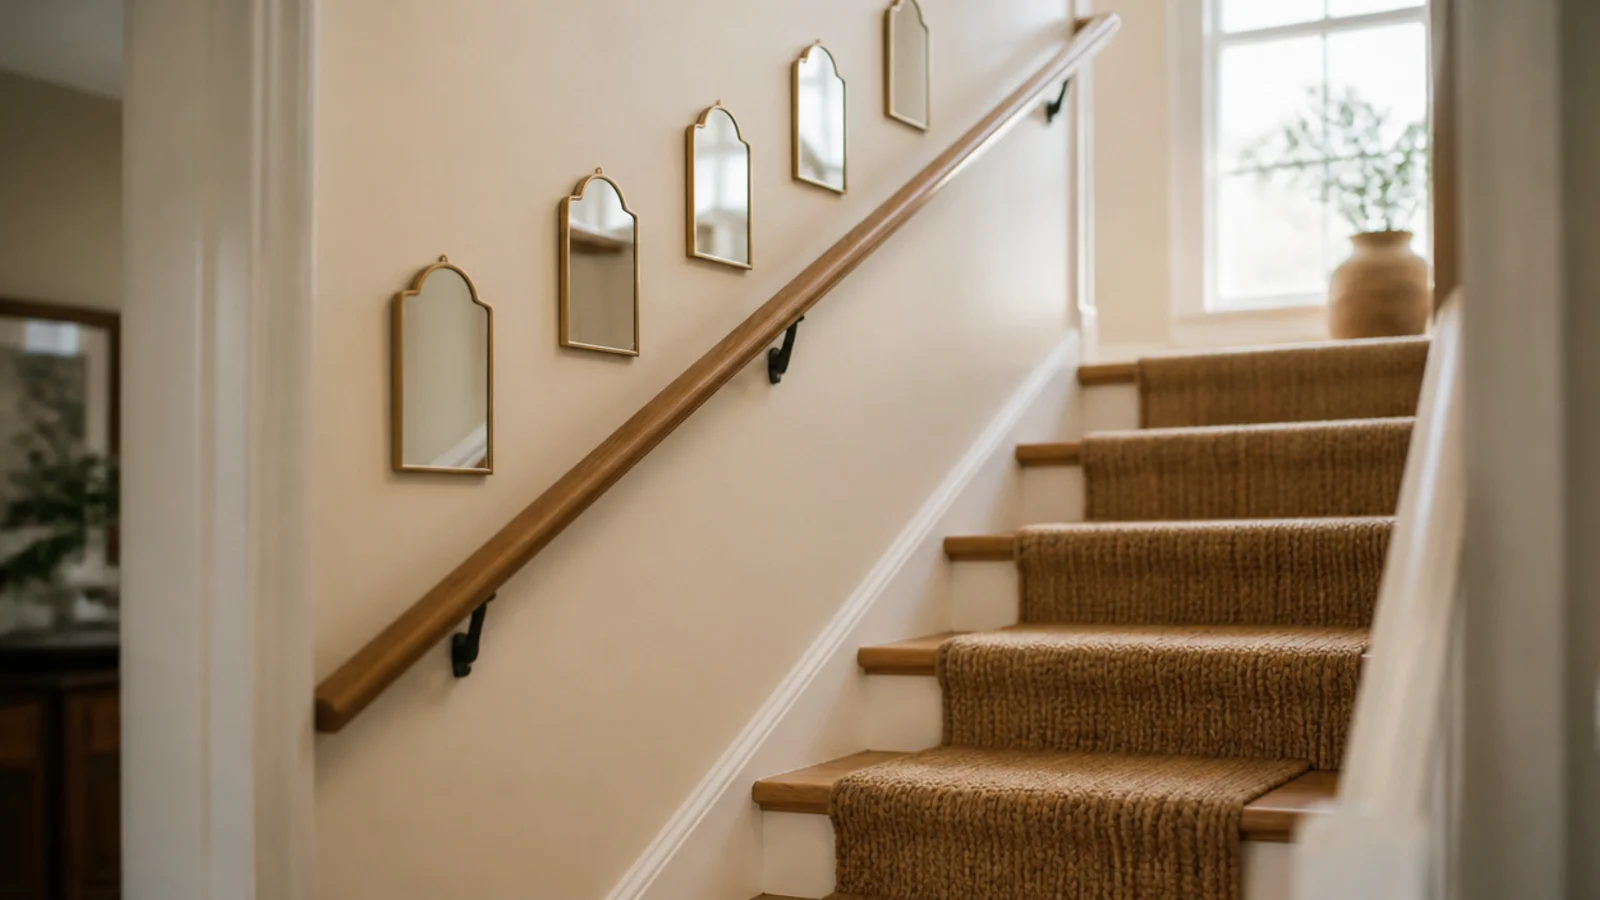
10. The stair diagonal
Step the mirror centres so they run parallel to the handrail, keeping the same perpendicular distance from it. Measure up from each tread nose rather than across from the last mirror. Levelling a stair arrangement is the classic error and it looks wrong from the bottom step.
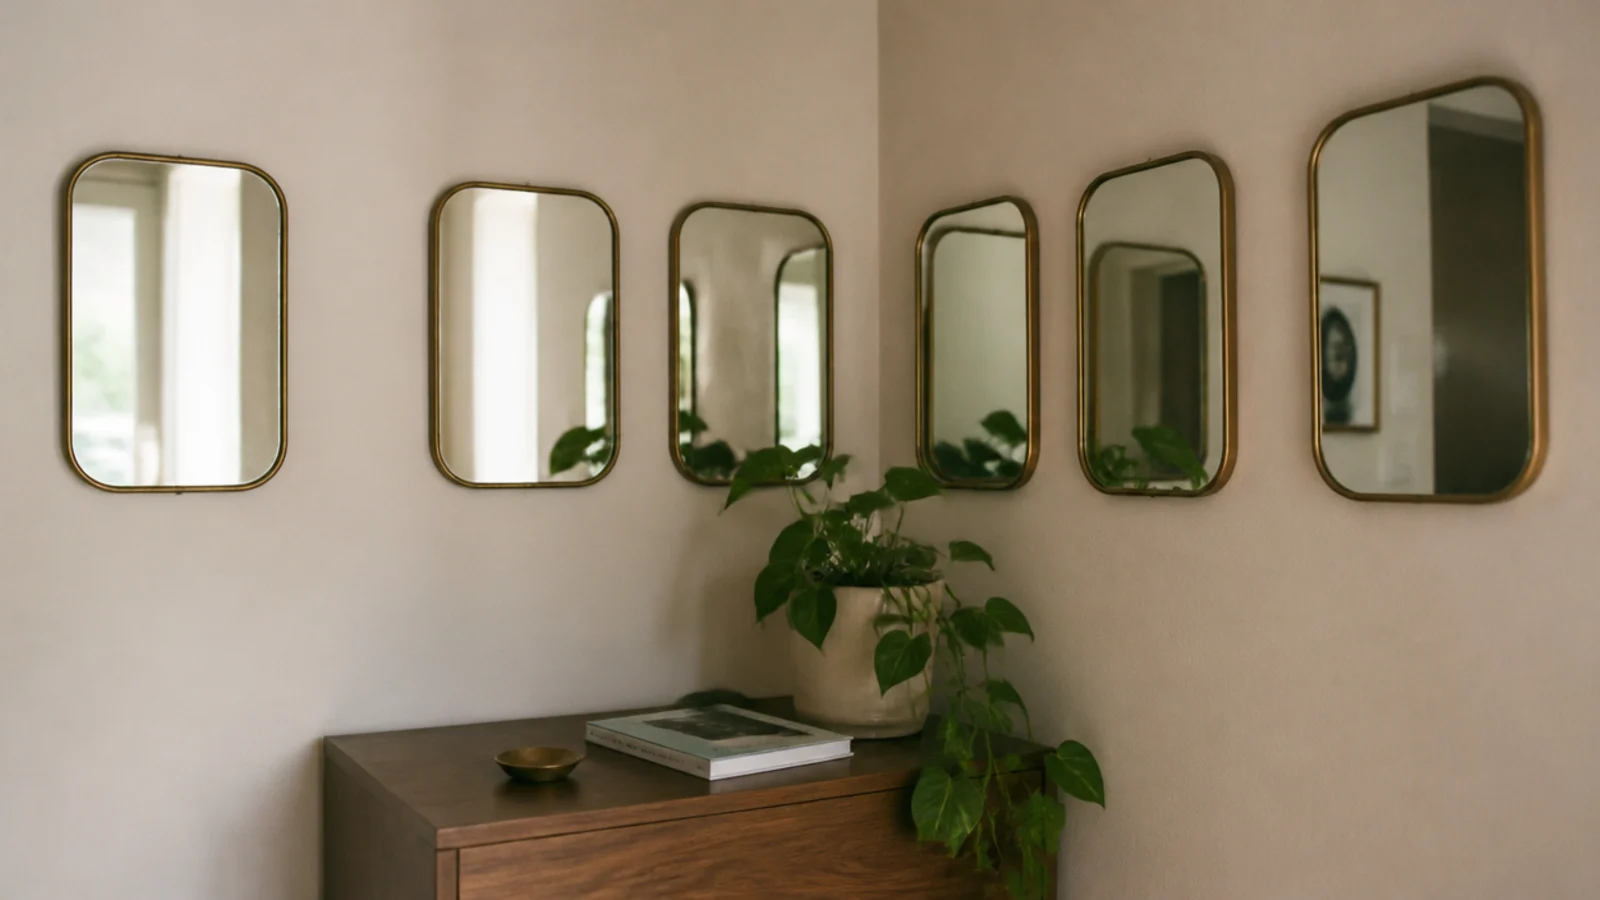
11. Wrap an inside corner
Carry the cluster around an inside corner, holding the same gap as it turns. It makes a room feel enclosed rather than flat, and it uses the awkward foot of wall either side of a corner that nothing else suits. Keep the corner pieces small and light.
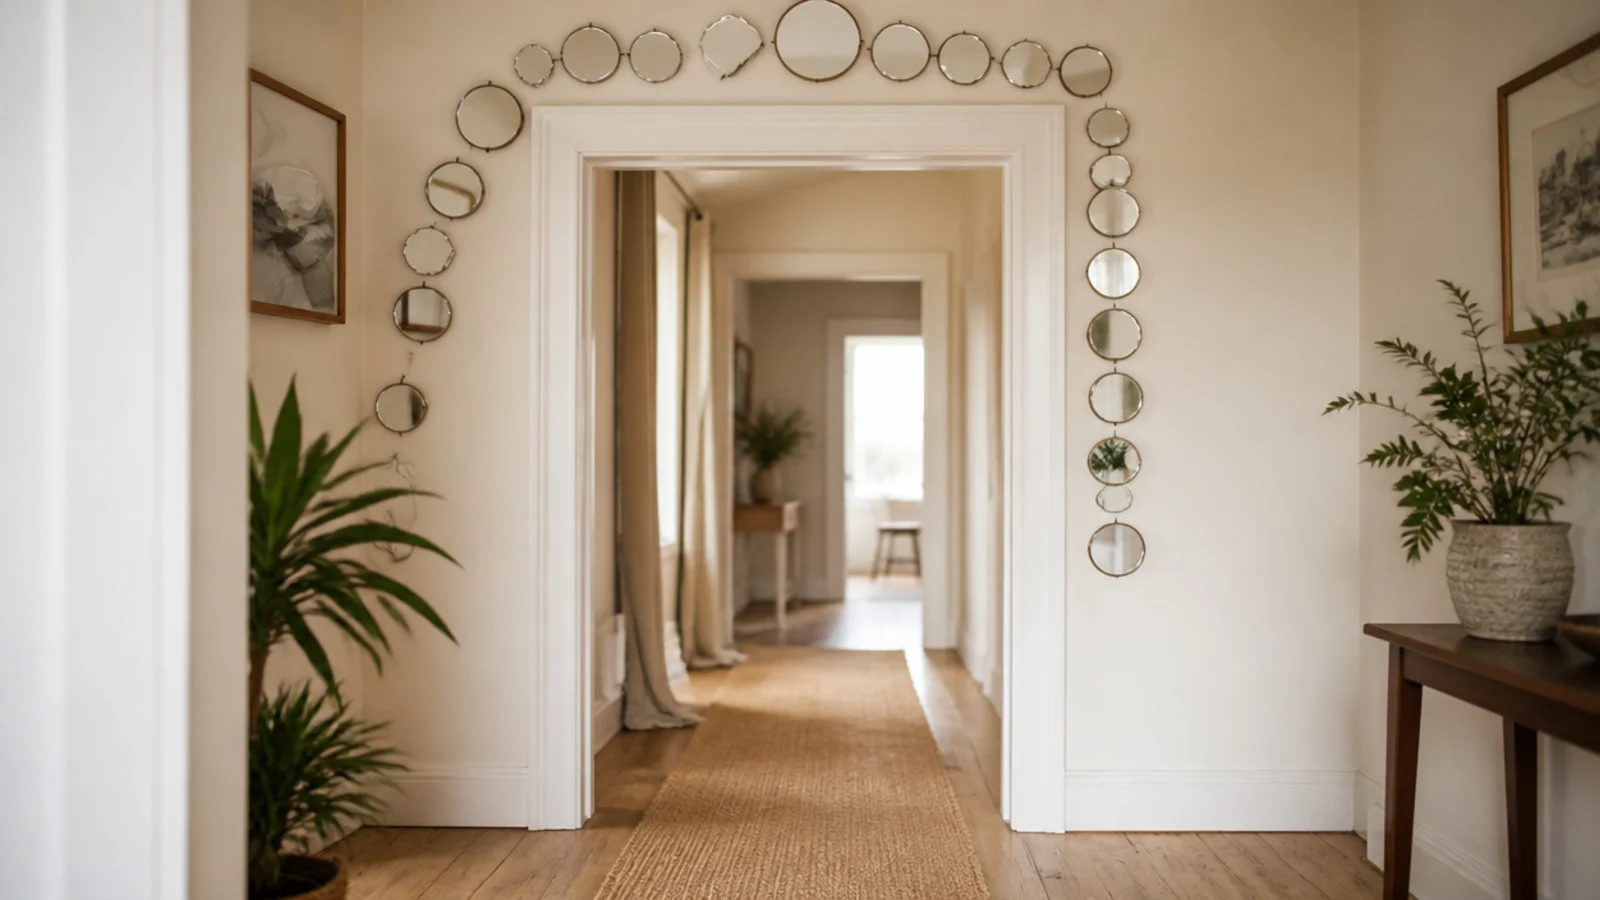
12. A halo around a doorway
Arc small mirrors over the top corners of a doorway and partway down one side. Keep everything at least 3 inches clear of the casing so it does not look jammed against the trim, and use the lightest pieces here, because a slamming door is the hardest test any hanging gets.
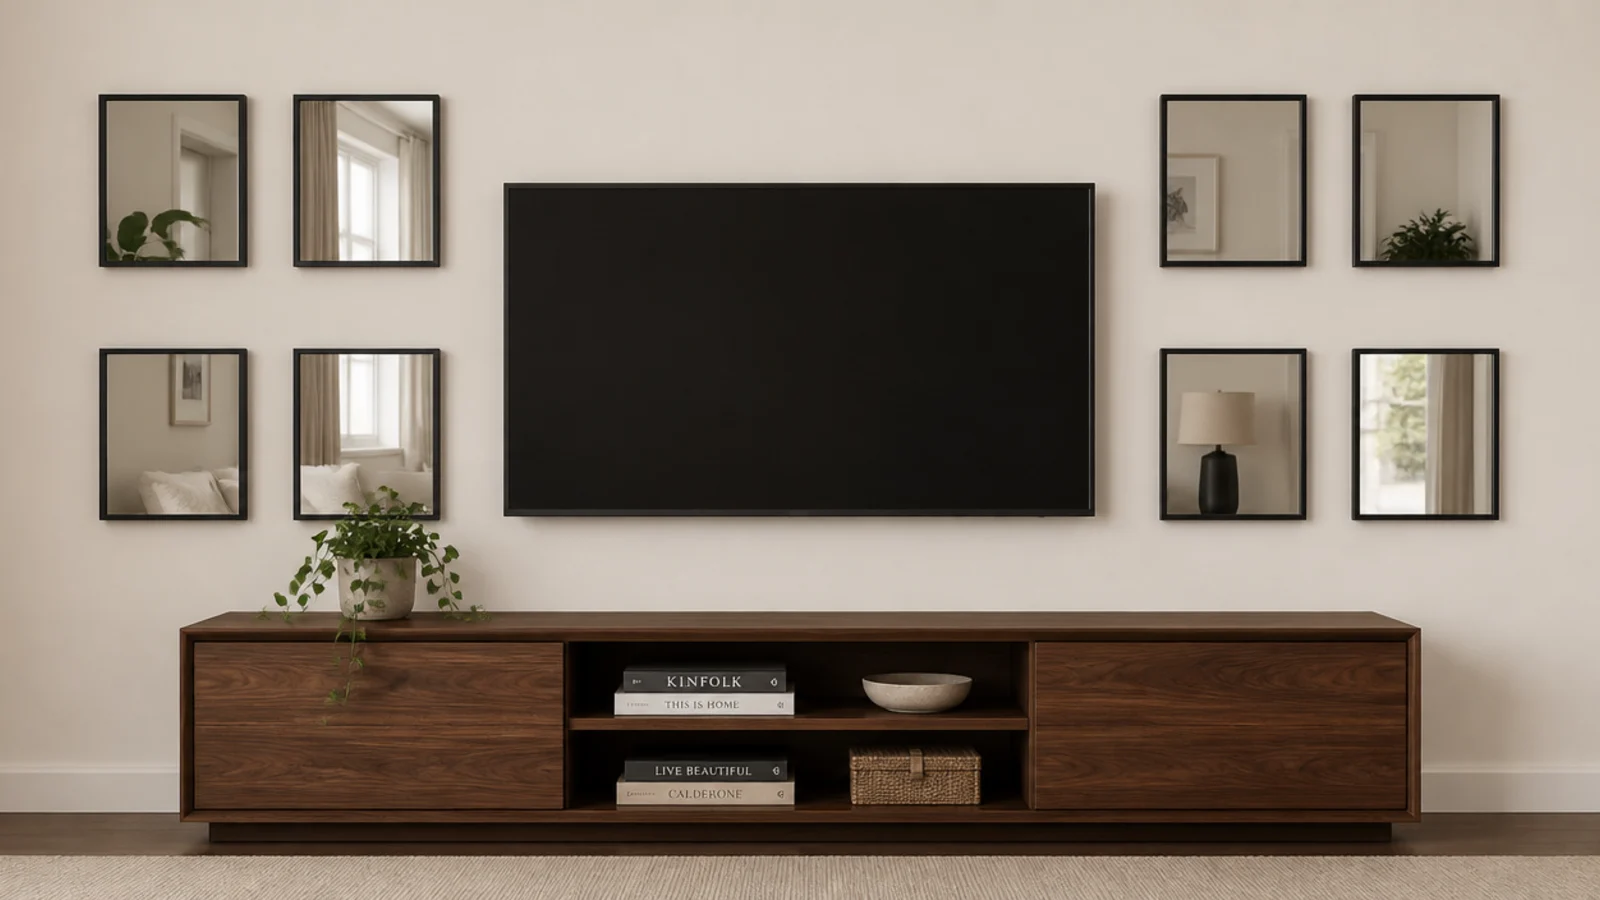
13. Frame a television
Small mirrors surrounding a wall-mounted TV stop the screen reading as a black hole when it is off. Match the frames to the TV bezel — matte black — and keep 4 inches clear all round for ventilation and for the cable arm to swing.
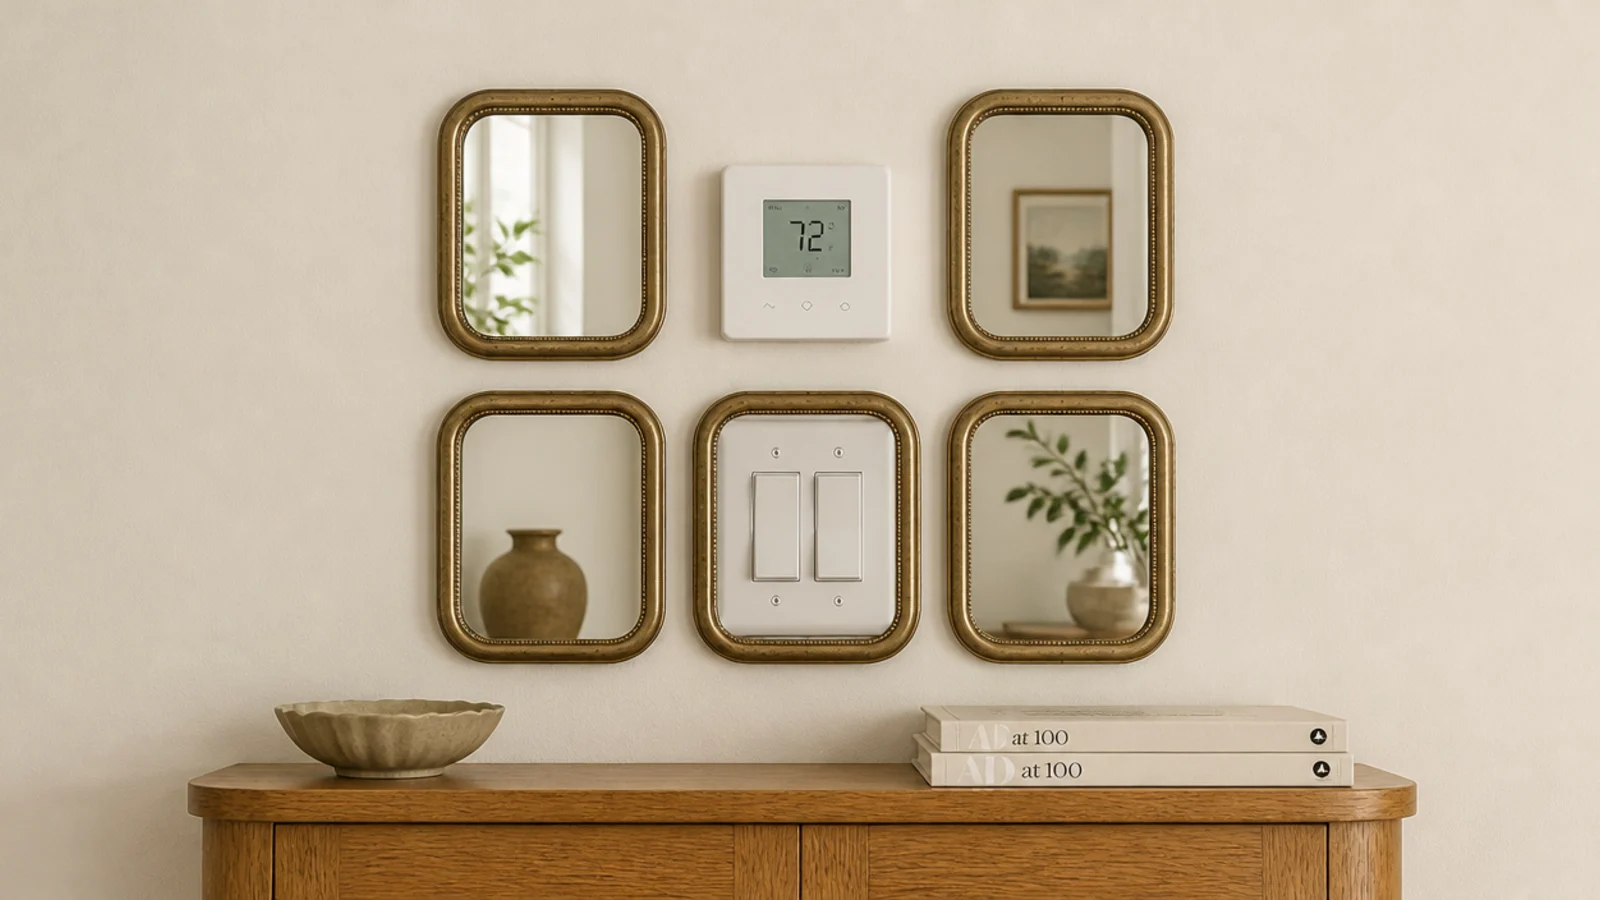
14. Bury a thermostat or switch plate
Rather than fighting an ugly wall control, surround it closely with small mirrors so it reads as part of the arrangement. Keep 2 inches clear so the plate stays serviceable, and never cover a smoke alarm, an access panel or an isolator switch.
15. Run the cluster to the ceiling line
Taking an arrangement well above eye level makes a room feel taller, but stop about 12 inches short of the ceiling. Running the whole way up compresses the wall even in a tall room, and the top pieces become impossible to dust or straighten.
16. Sit the cluster on a chair rail
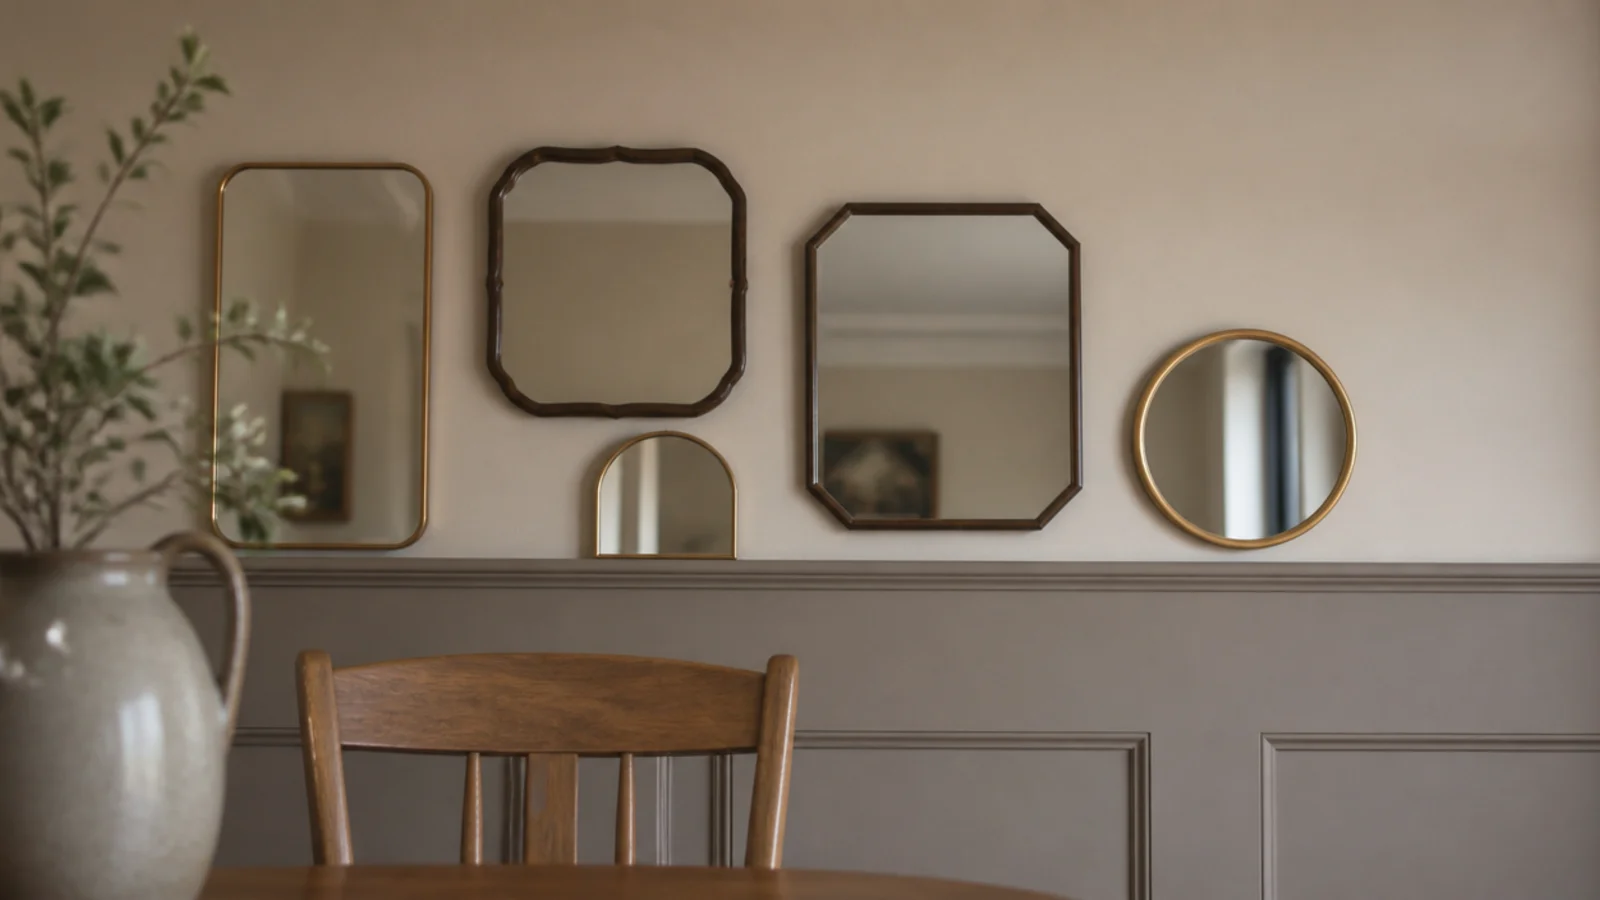
Where a wall has panelling or a chair rail, use the rail as a baseline and build upward from it. The horizontal already exists, so the arrangement inherits structure for free. Leave 3 to 4 inches of clear wall between the rail and the lowest frames.
17. Float above a picture ledge
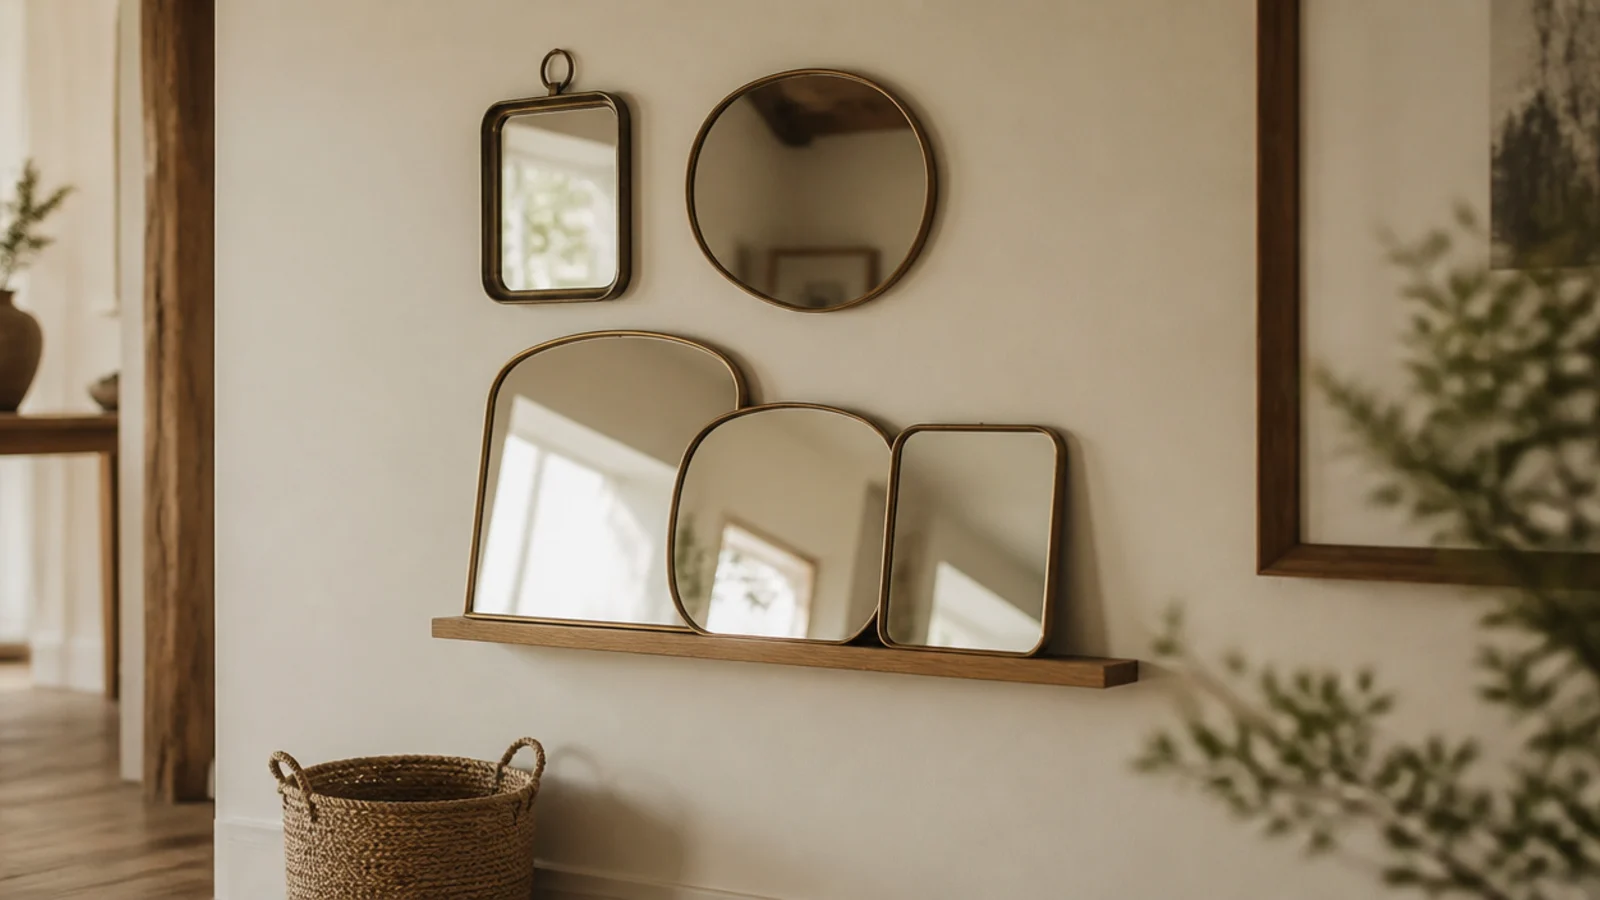
A narrow 3-inch oak ledge screwed into two studs lets the lower mirrors lean and overlap, with two or three more hung above. One set of anchors carries several pieces, the lower row stays rearrangeable, and the overlap adds depth a flat hung wall never has.
18. Weight the arrangement to one side
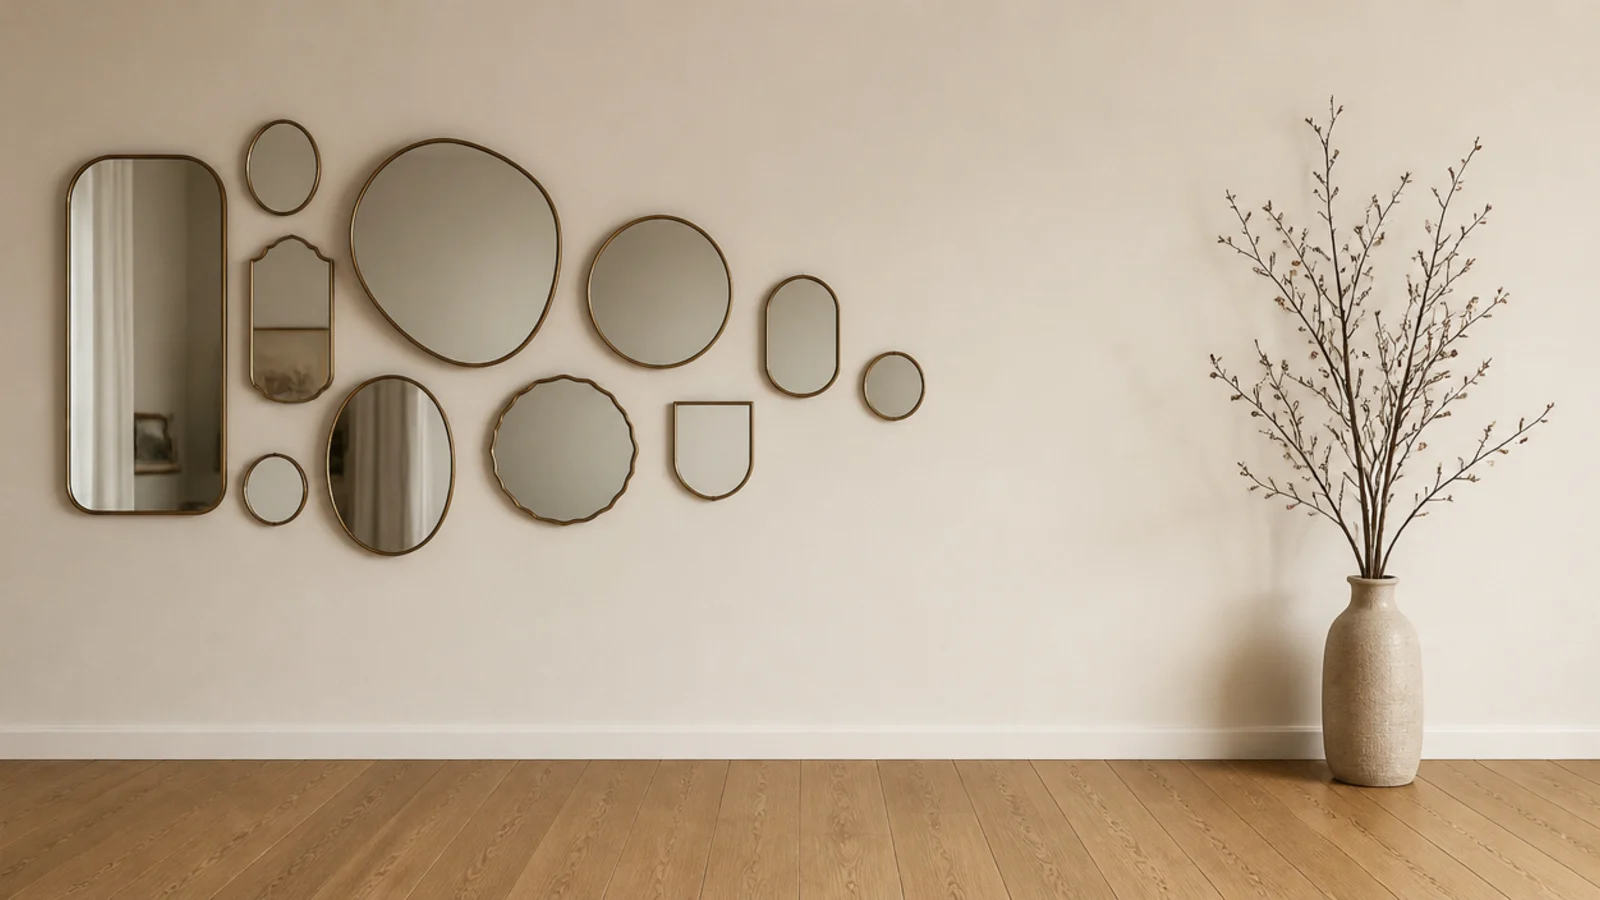
Load the cluster clearly toward one end of the wall and balance the empty side with a floor object — a tall branch in a vase, a floor lamp. Deliberate asymmetry looks composed; a cluster that is almost but not quite centred looks like a measuring error.
19. Offset a checkerboard of squares
Identical square mirrors arranged in offset rows, like brickwork rather than a grid, keeps the rhythm of a grid without the rigidity. Offset each row by half a mirror width and hold the gaps at 2 inches so the pattern stays legible from across the room.
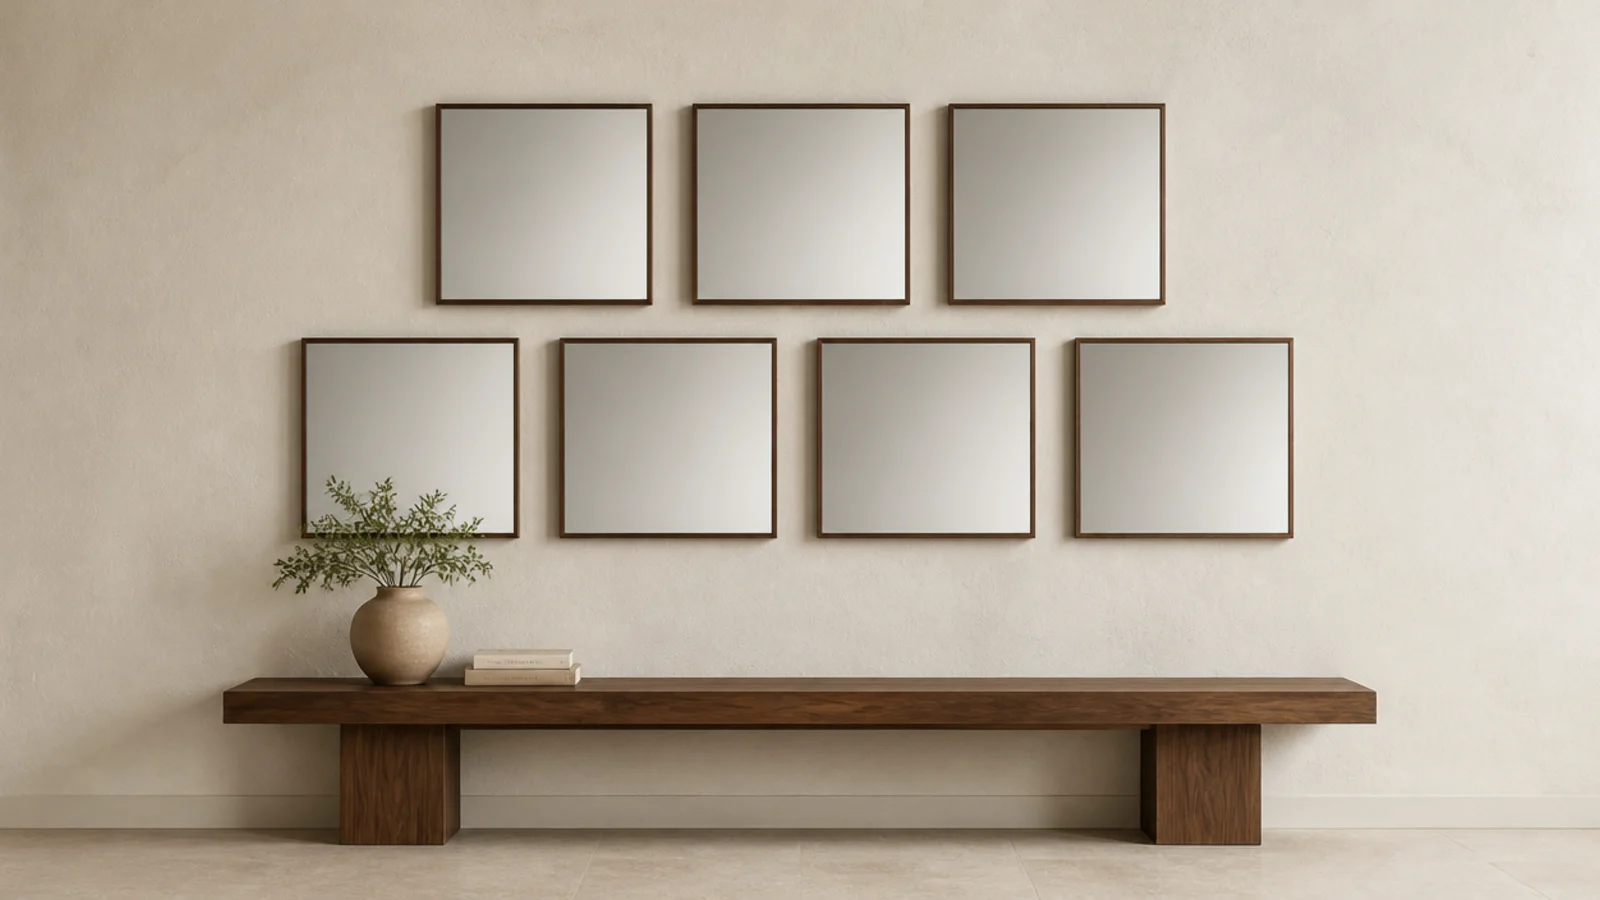
20. Keep one shape family and one outlier
Six rectangles and one circle. The single break is what stops a cluster reading as a set, and one outlier is far more effective than three. Put the odd shape low and off centre rather than in the middle, where it would simply become a new focal point.
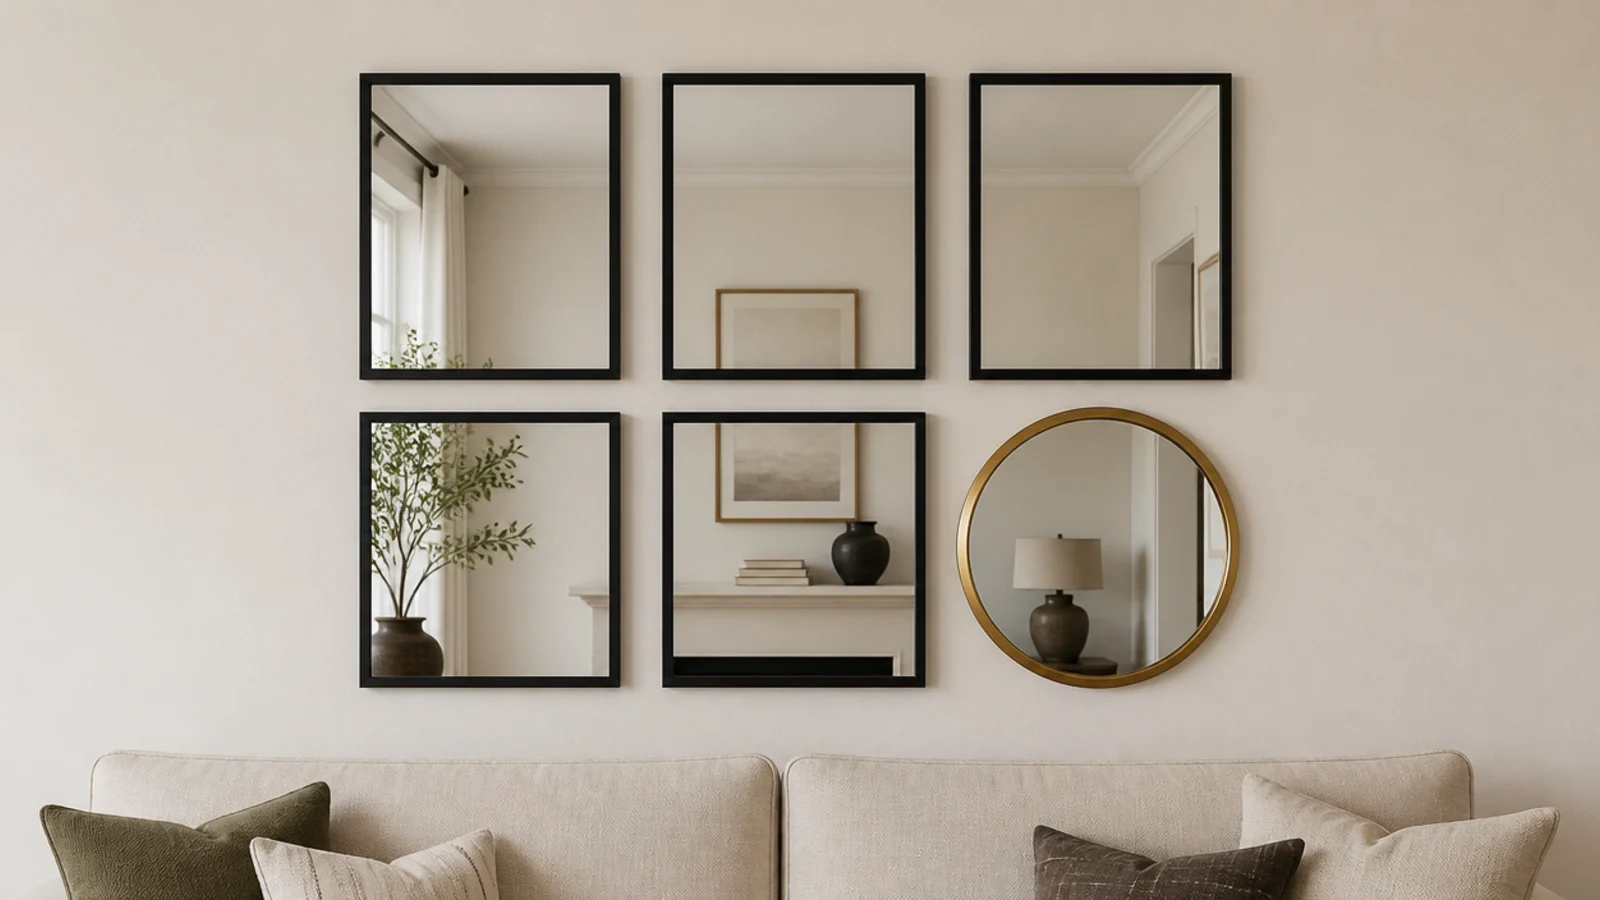
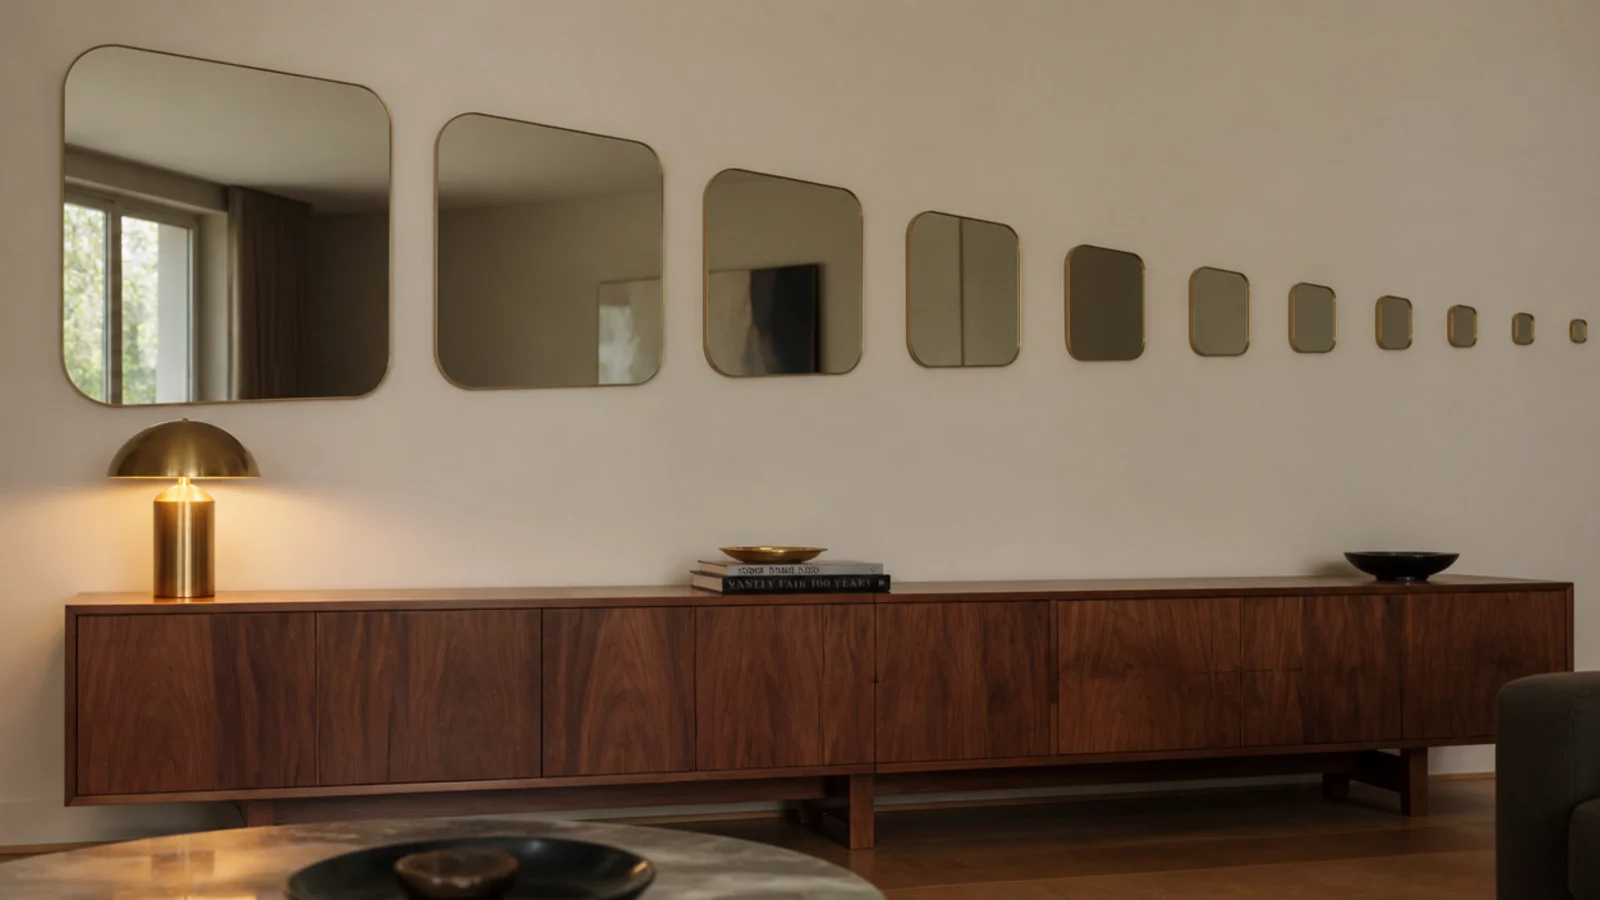
21. Graduate the sizes across the wall
Large at one end, steadily smaller toward the other, gaps held constant. The graduation builds movement into a wide wall and works especially well above a long credenza. Make each step obvious: 30, 22, 16, 12 inches rather than four sizes within an inch of each other.
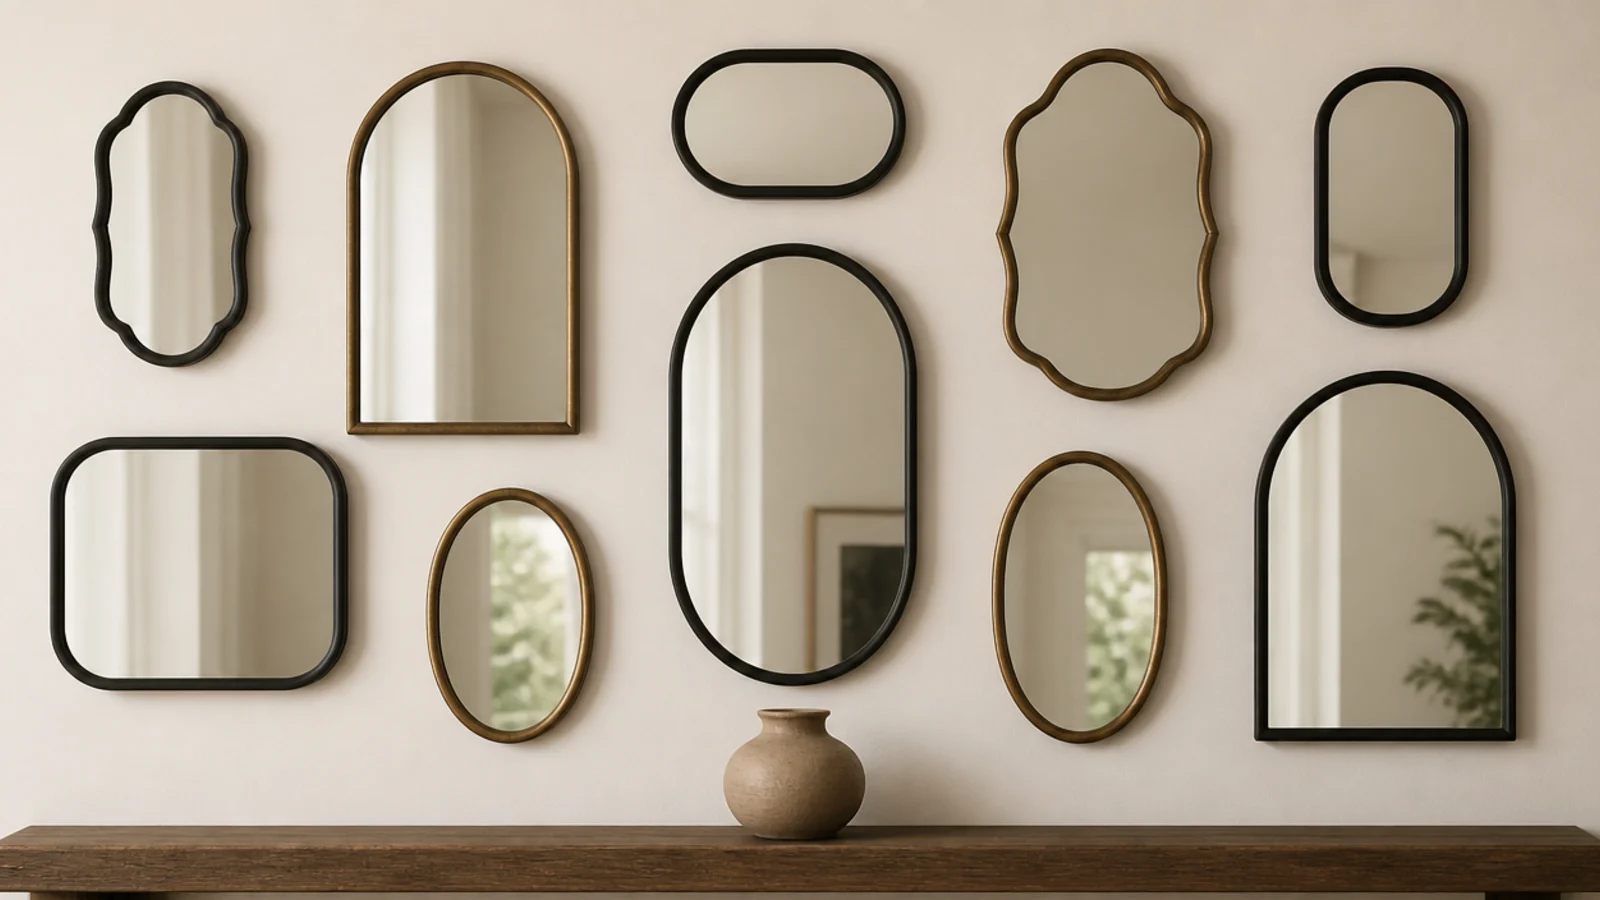
22. Repeat one finish through the whole group
Aged brass appearing at four widely spaced points among matte black frames creates a rhythm your eye reads as intentional, while the mirrors themselves stay completely mixed. Repetition rather than matching is the principle, and it is the same one that makes styled shelves work.
23. Scatter one repeated small size
If you buy a multi-pack of four identical rounds, do not hang them together. Separate them across the arrangement so the same size recurs at intervals. The set becomes a rhythm instead of a block, and nobody reads it as a shortcut.
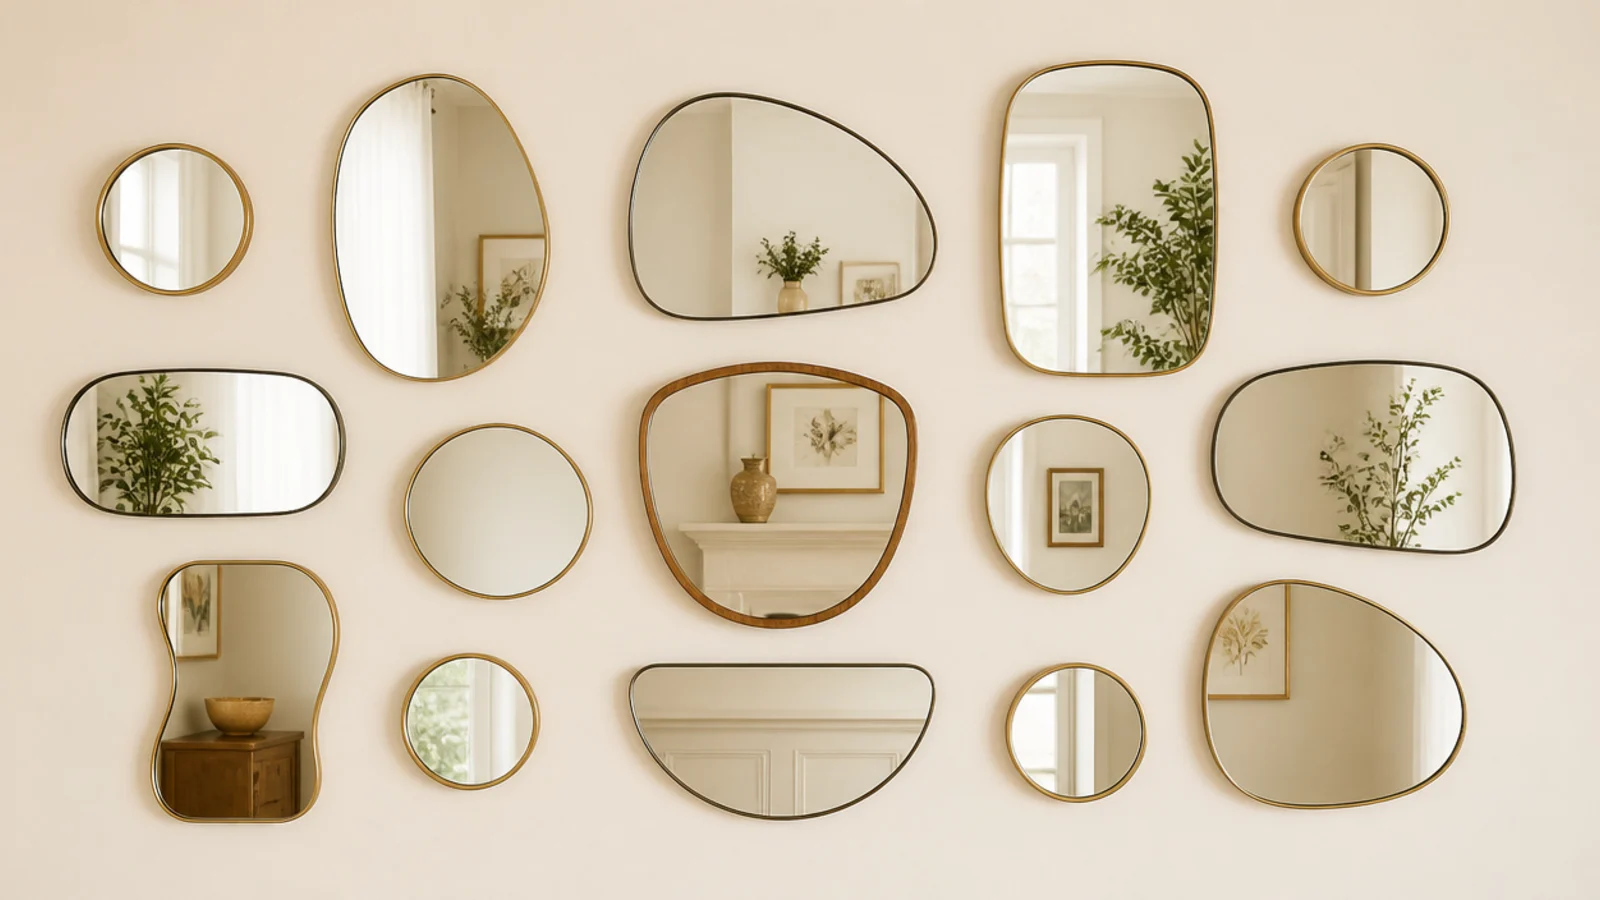
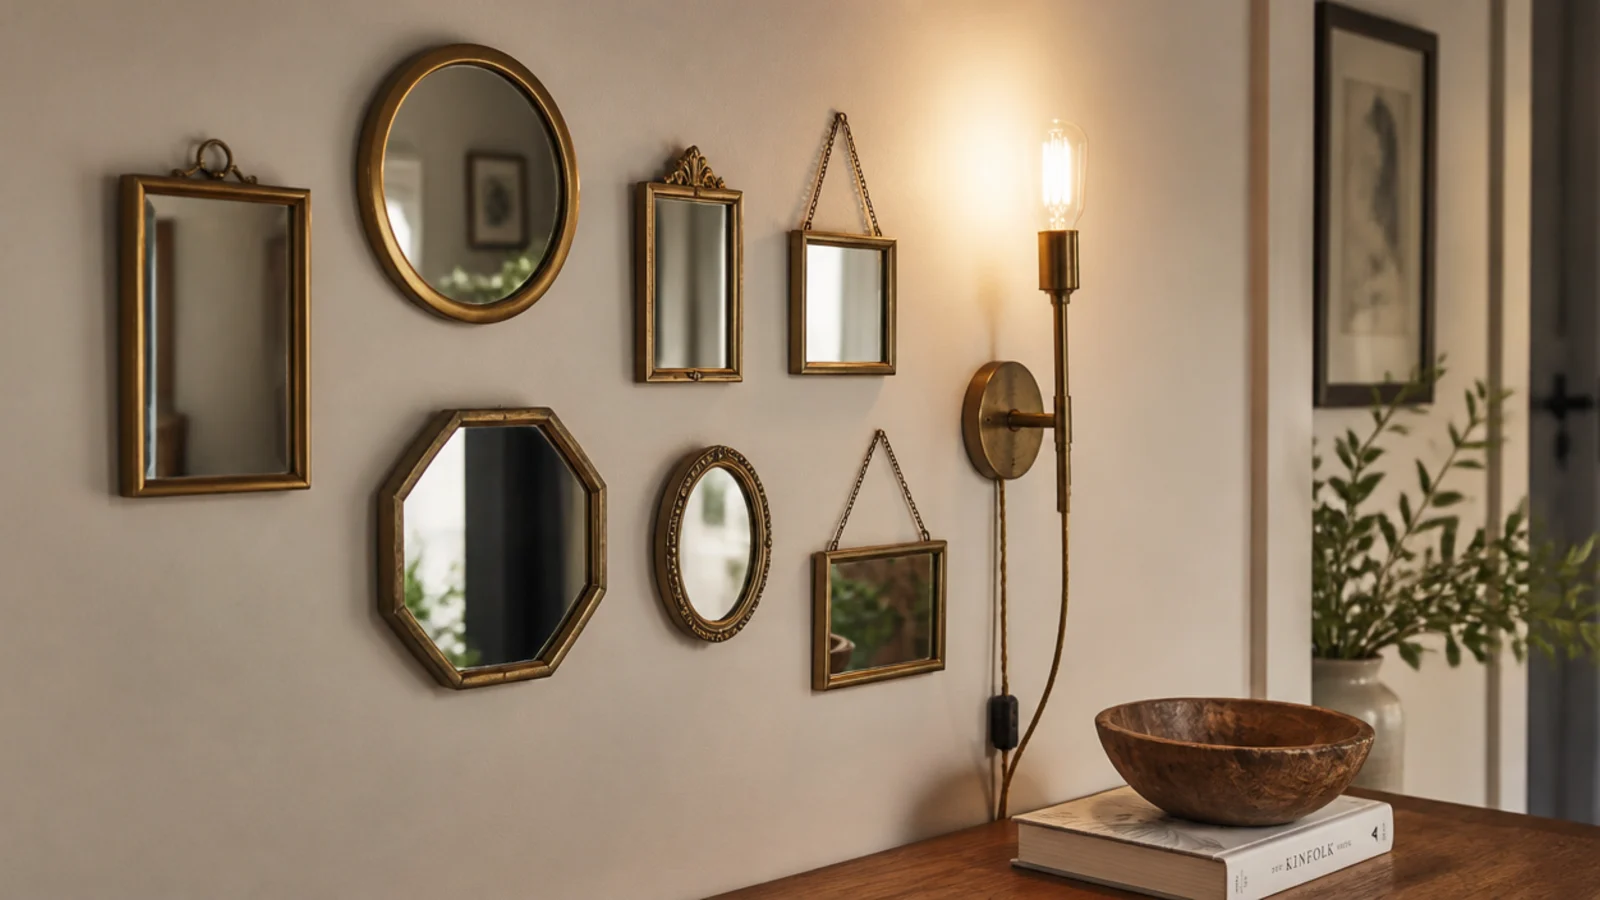
24. Add one thing that is not a mirror
A slim plug-in sconce, a tiny shelf, one framed print. A single non-mirror element stops a wall of glass reading as a showroom display. A sconce also rakes light across the frames, which brings out the profiles that flat frontal light flattens.
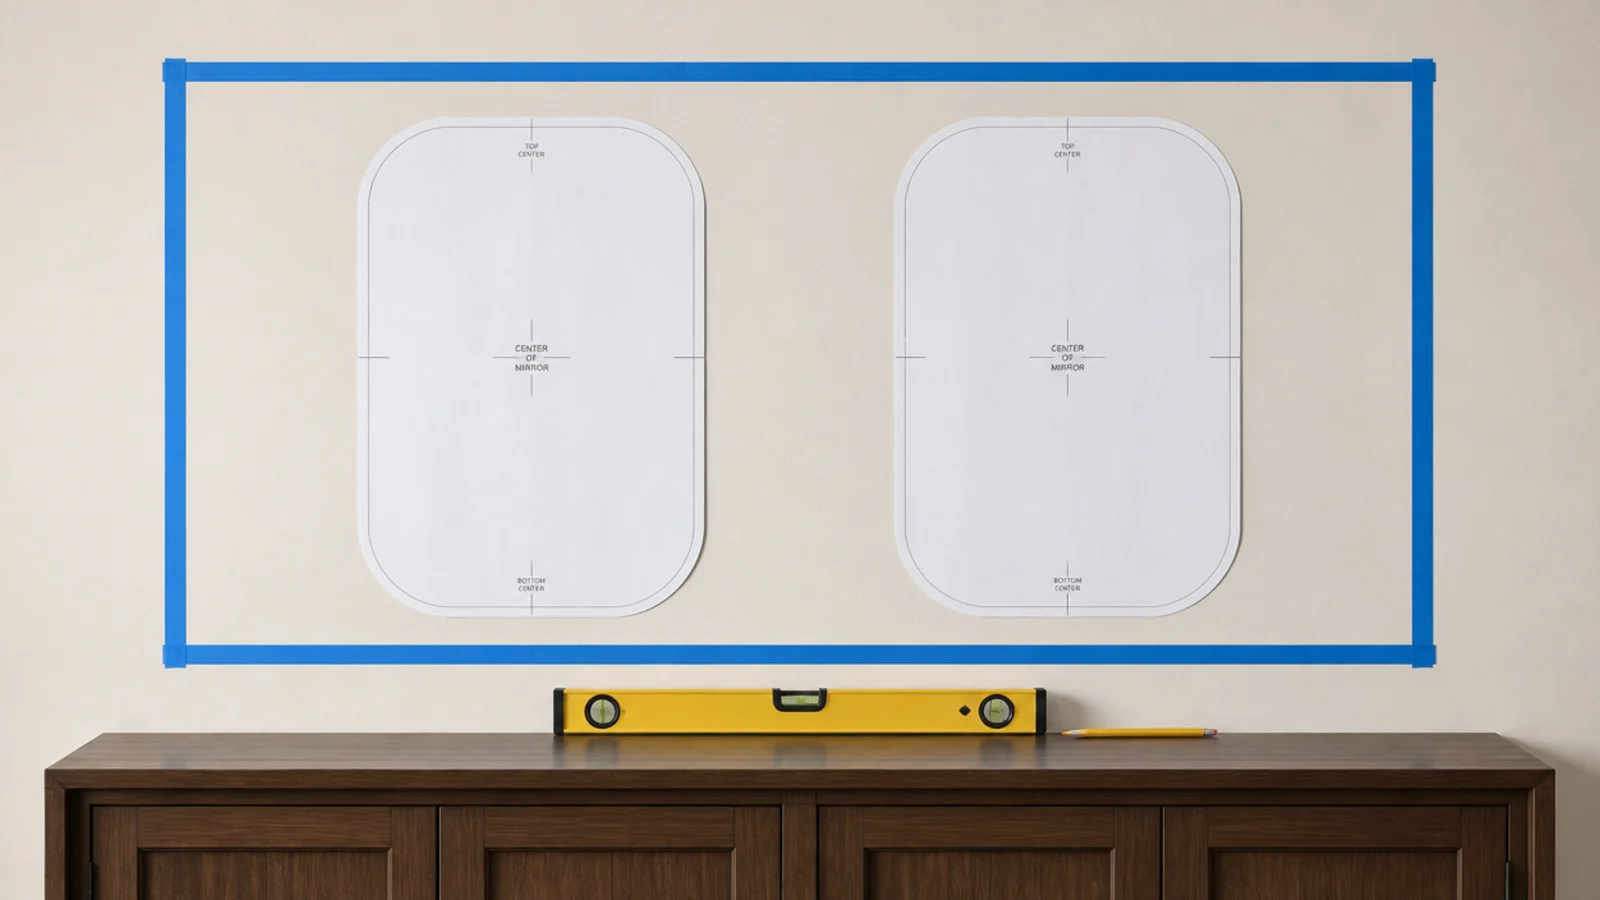
25. Set the outer boundary before you start
Tape a rectangle on the wall marking the outer edge of the whole arrangement, then fill it. Leave at least 8 inches of clear wall around it. Clusters go wrong far more often from a vague outline than from bad internal spacing.
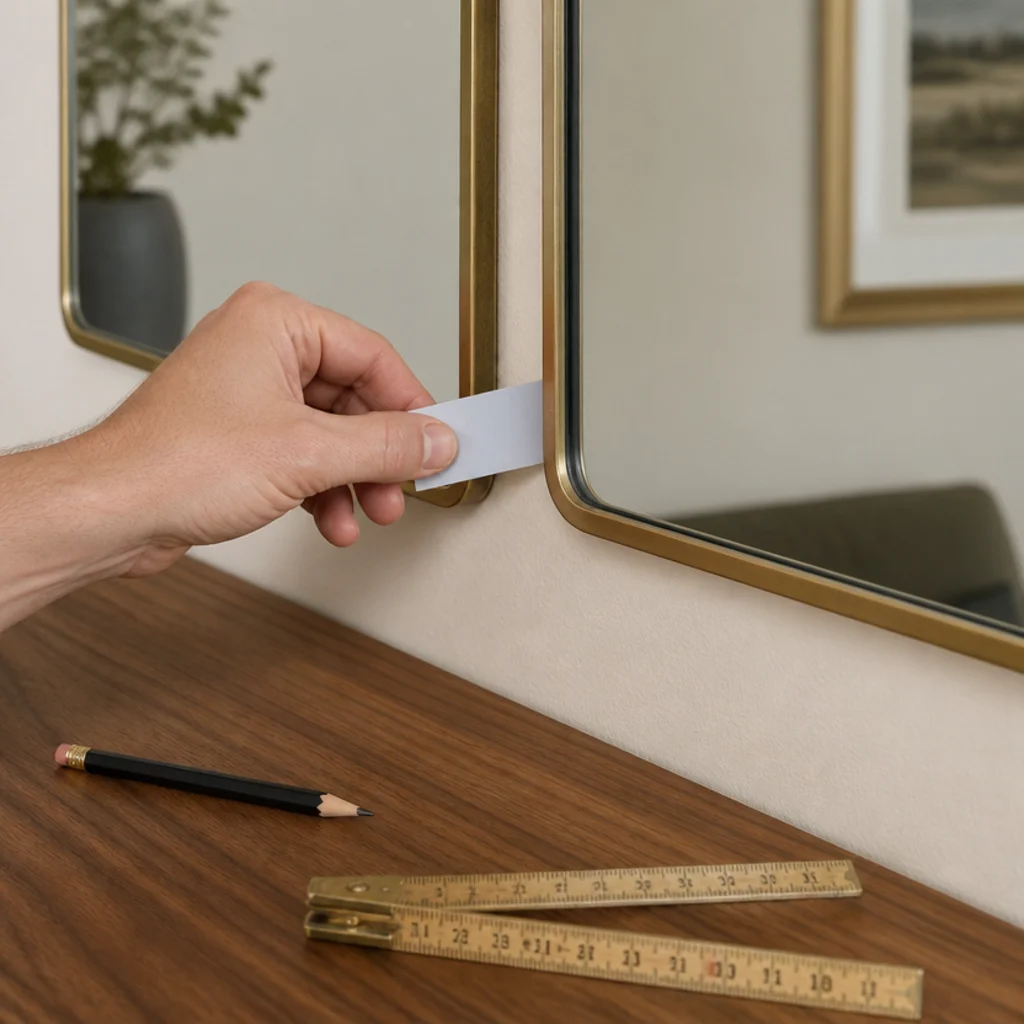
26. Cut a spacer card and never measure again
Cut a stiff card to your chosen 2 or 3 inch gap and slide it between frames as you hang. It is faster than measuring and far more consistent than eyeballing, and one inconsistent gap is the first thing anyone notices from across the room.
27. Put the heaviest mirror low and centred
Weight low keeps the visual balance right and puts the biggest load on the anchor you set most carefully. Structurally it also keeps the heaviest piece nearest a stud, where you want it. Style follows structure here rather than the other way around.
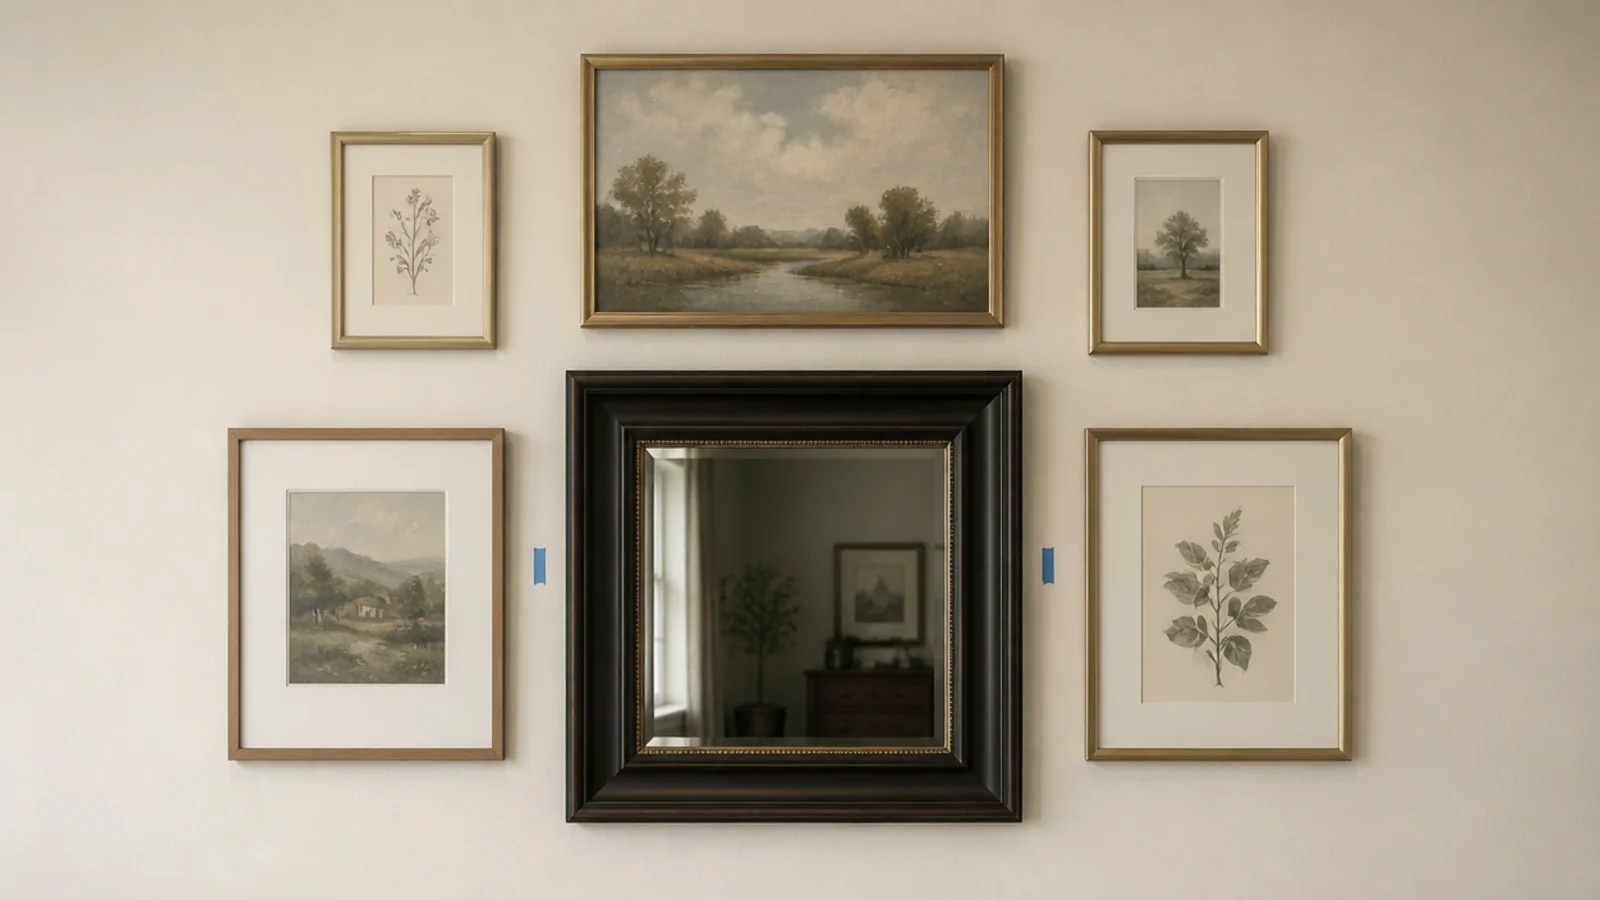
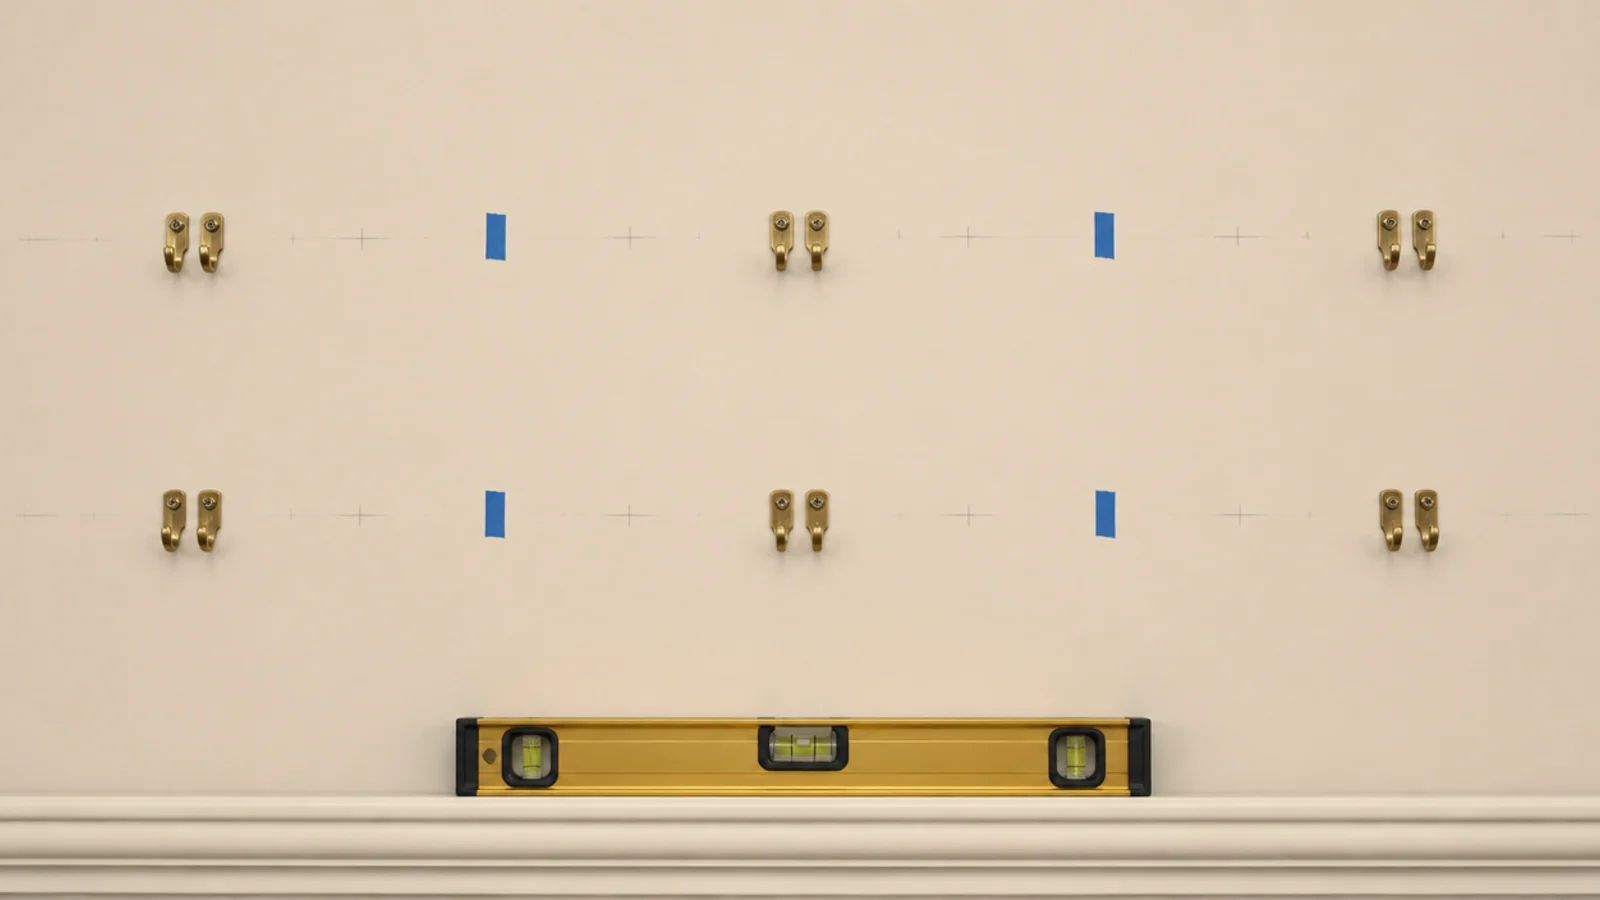
28. Give every piece two hanging points
Two hooks set level, an inch or two in from each side of the frame, on every single mirror including the small ones. It adds ninety seconds per piece. A cluster hung on single hooks needs straightening every week, and with nine mirrors that becomes a chore.
29. Test the layout in greyscale
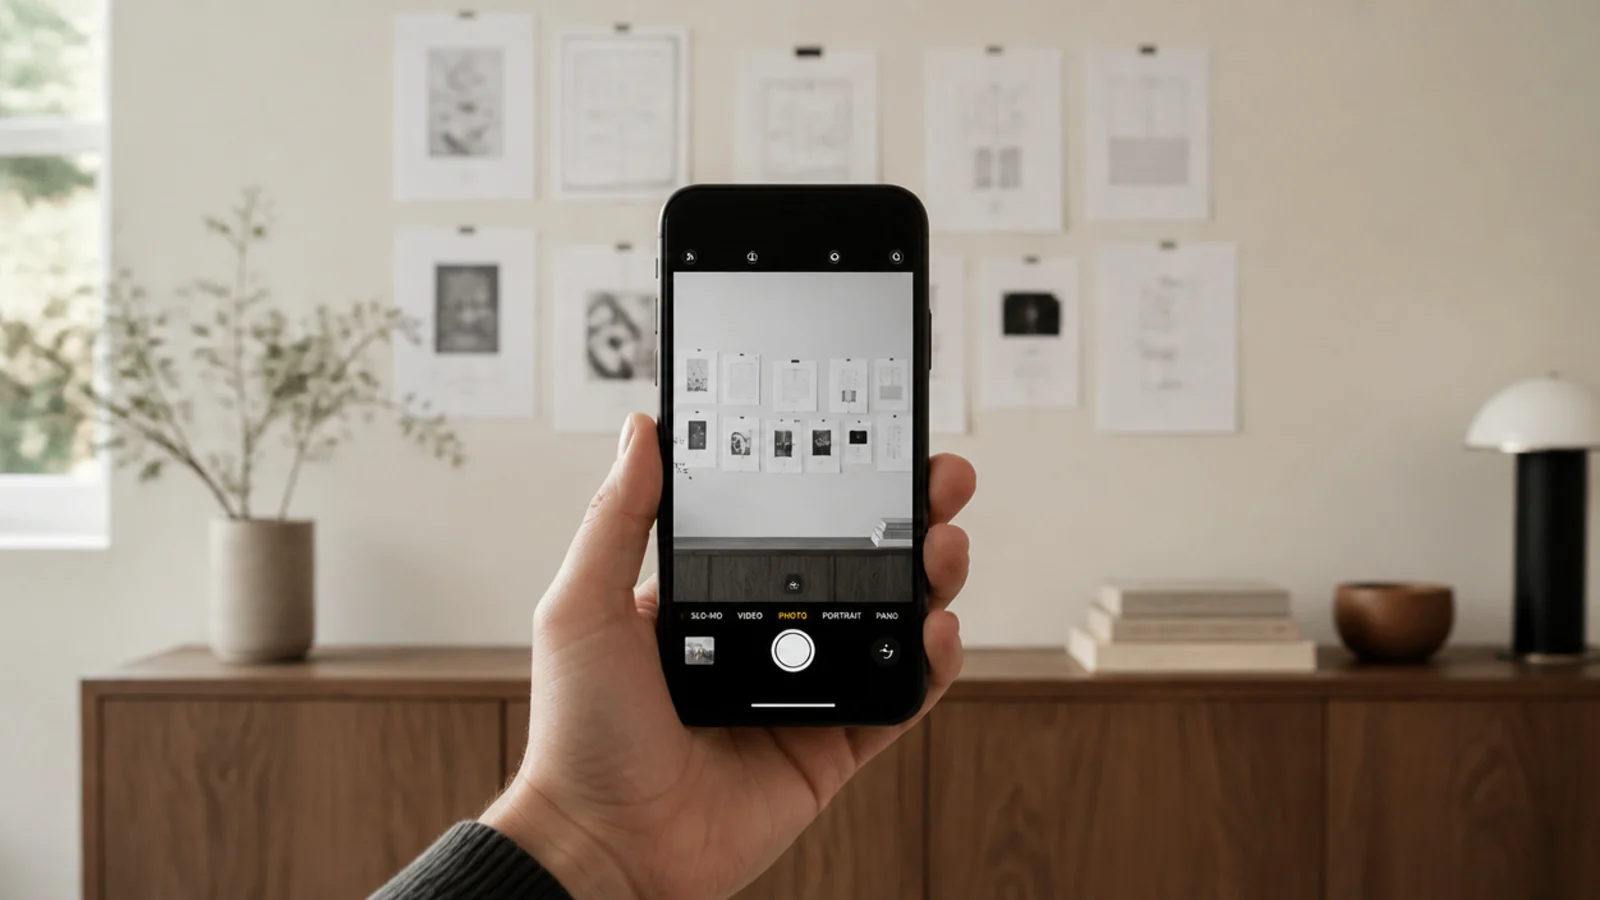
With the paper templates taped up, photograph the wall and switch the image to greyscale. Colour hides uneven gaps and lopsided weight. Greyscale shows the arrangement as pure shape, and it reveals in two seconds what standing in the room takes twenty minutes to notice.
30. Live with it a week, then remove one
Hang it, then leave it alone for seven days. Almost every cluster I have ever built is better one mirror lighter, and you cannot tell which one until you have walked past it fifty times. Patch the two small holes and move on.
Mistakes to Skip
- Inconsistent gaps. One 5-inch space among 2-inch spaces reads as a mistake from across the room and undermines an otherwise good layout.
- Concentrating a lot of weight in one small wall area. Spread a heavy cluster across two or more studs, especially in older lath and plaster.
- Hanging straight from the floor layout without paper templates. Wall proportions are not floor proportions, and you will drill the whole thing twice.
Frequently asked questions
How do you arrange a mirror cluster wall?
Decide the outer boundary first, as an imaginary rectangle on the wall, then fill it. Place the largest mirror low and slightly off centre, build outward in odd-numbered groups, and hold a consistent 2 to 3 inch gap between every frame edge. Lay the whole thing on the floor, photograph it from above, then cut paper templates before drilling.
How much weight can one wall take?
A single stud fixing with a 2.5-inch screw carries 50 pounds or more, and a well-set toggle bolt carries 25 to 50 pounds in half-inch drywall. The number that matters is distribution: spread a heavy cluster across two or more studs rather than concentrating nine mirrors on one small area, particularly in older lath and plaster.
Should mirrors in a cluster match?
Sizes should differ obviously, finishes should repeat. Hold the whole group to two frame finishes at most and let diameters, shapes and proportions vary freely. Matching sets look flat because nothing varies, while five random finishes read as accumulation. Repetition of one finish is what makes mismatched pieces feel like a single composition.
How far apart should mirrors in a cluster be?
Two to three inches between frame edges, identical across the whole arrangement. Cut a scrap of card to that width and use it as a physical spacer rather than measuring each gap. Wider than four inches and the pieces drift apart visually; tighter than two and the wall starts to read as crowded rather than composed.
Can a mirror cluster go above a sofa?
Only with light pieces and real clearance. Keep every mirror under about 8 pounds, use safety-backed glass, hang each one on two points into studs or rated anchors, and leave at least 10 inches between the sofa back and the lowest frame. If any piece is heavy, move the whole arrangement to a wall where nobody sits underneath it.
Tape the outer rectangle, cut a spacer card, and lay everything on the floor before a drill comes out — those three moves prevent most cluster failures. For sourcing frames cheaply, mirror gallery wall covers thrifting and spray paint, round mirror wall decor handles circles, and the same composition logic runs through built-in shelf styling. Save the pin before your next layout.
Want more like this? Browse all 15 mirror wall decor guides — they all use the same measurements and budget tiers.

Pin it for later
Save this to your Mirror Wall Decor board
Pin it now so it is waiting for you when the tape measure comes out — and so the next person hunting for this idea can find it too.
Save this pinKeep going
More ideas worth saving while you have the tape measure out.