Living Room Built-In Shelves · Listicle
25 Dreamy Living Room Built-Ins Ideas for Any Home

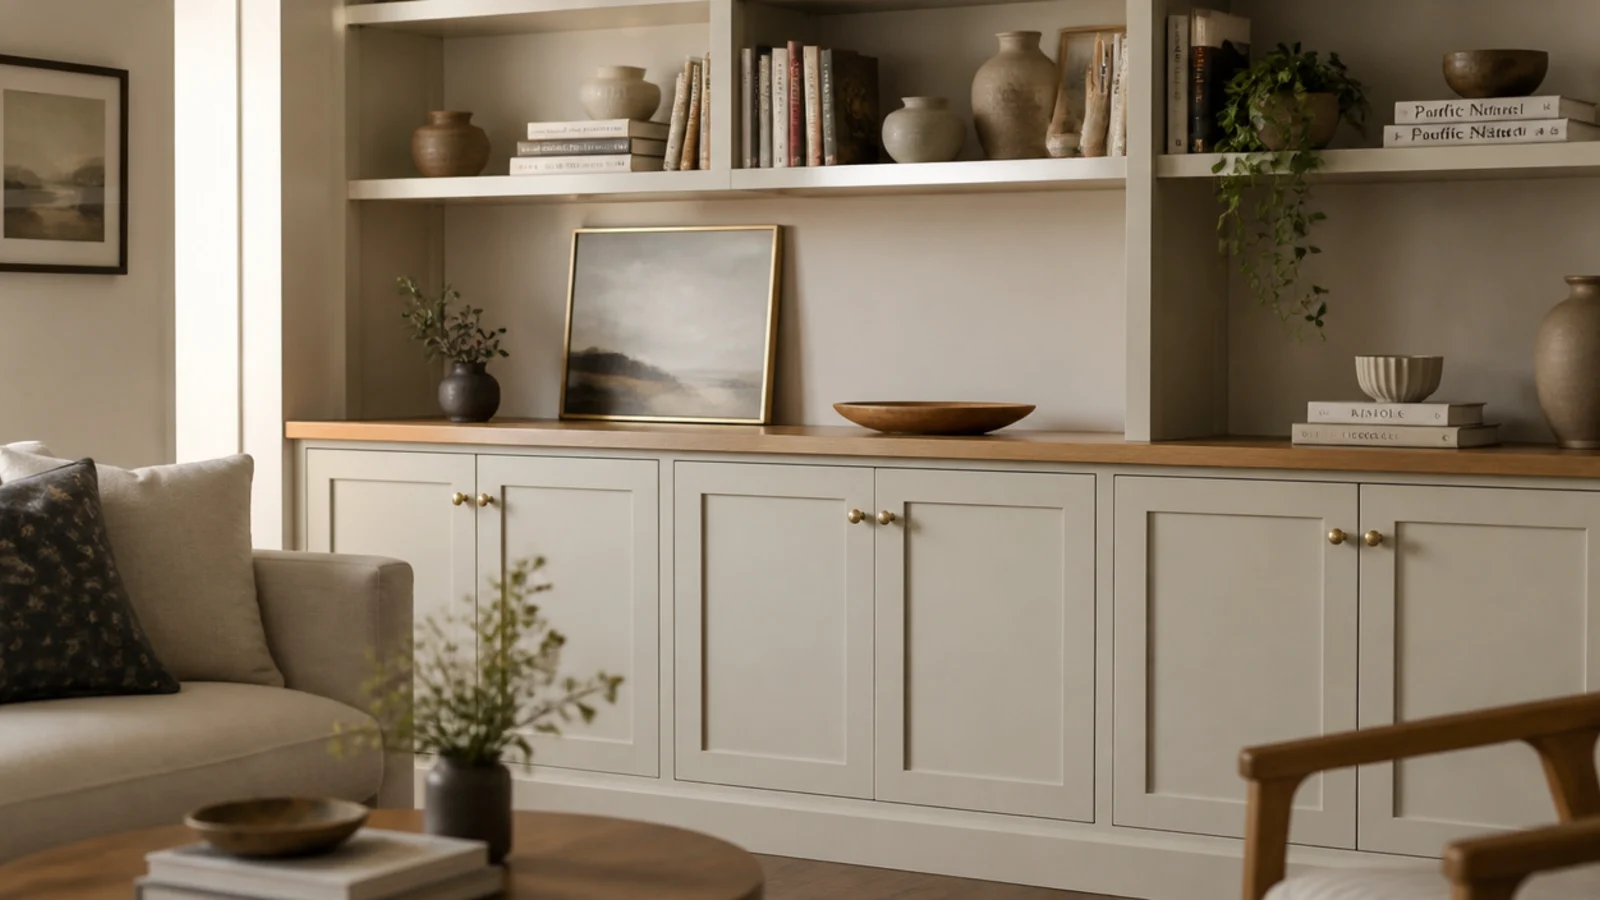
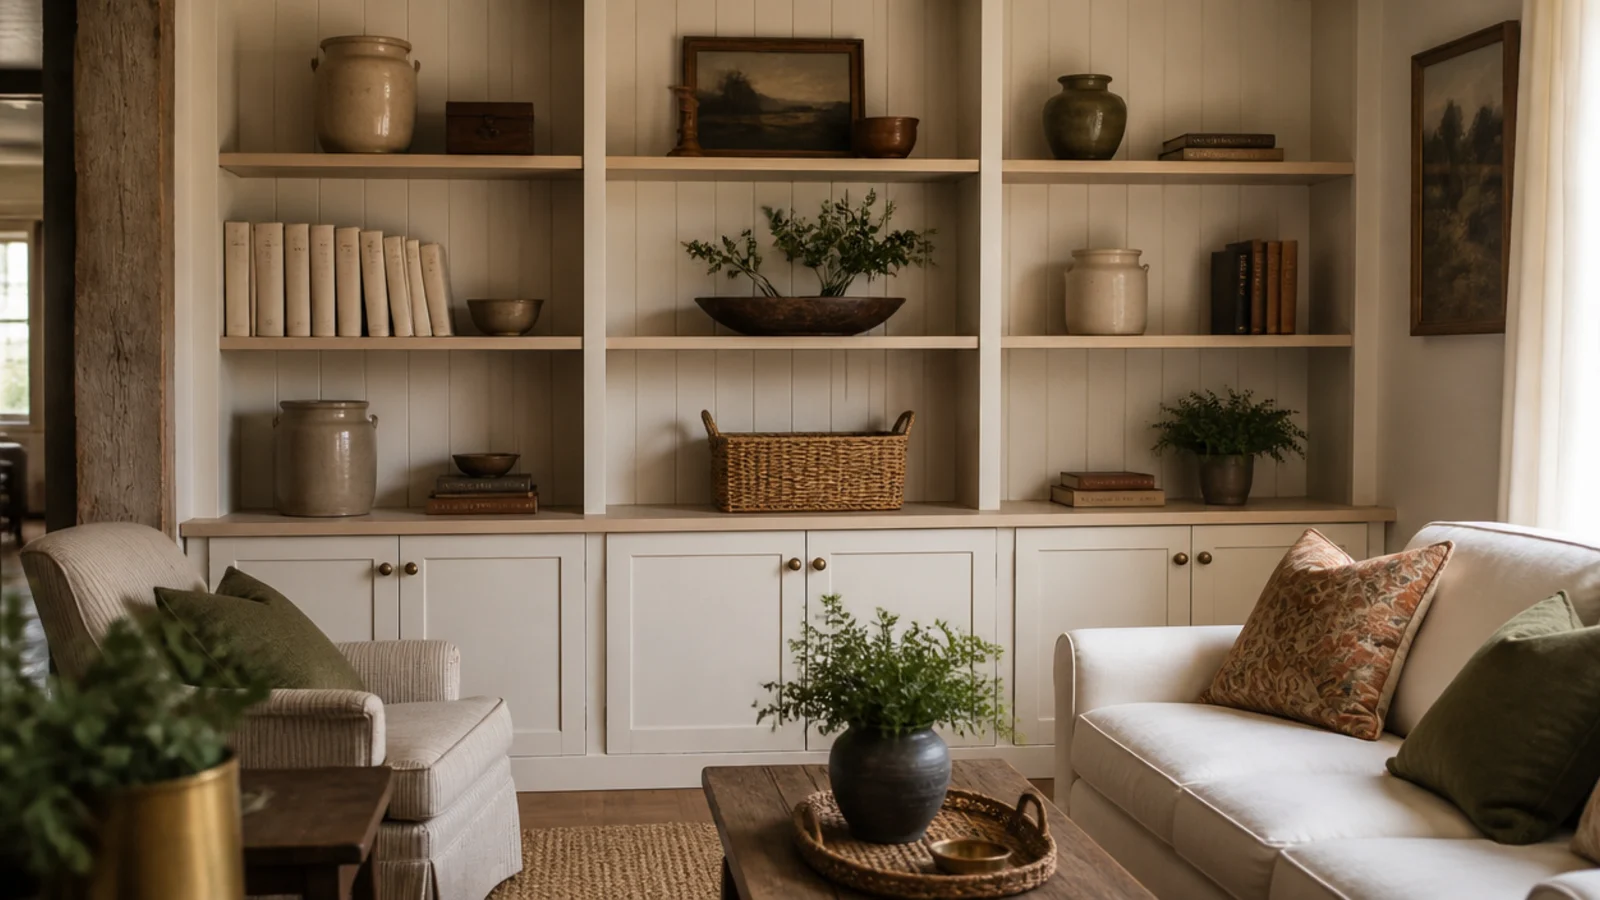
Built ins with cabinets are the version that still looks good in year three. Open shelving photographs beautifully on day one and then quietly fills with routers, chargers and paperwork, because a living room generates more ugly objects than any other room in the house. Give the ugly ones a door and the pretty ones a shelf, and the whole wall stops being a maintenance job.
In this guide27 sections — tap to openHide
- 1.How built-ins with cabinets change what a living room can hold
- 2.The classic split: closed base, open uppers
- 3.Cabinets flanking the fireplace, open middle
- 4.A media base sized to the gear
- 5.A window seat between two cabinet bases
- 6.Full-height towers at each end
- 7.A half-height run with cabinets underneath
- 8.A dry bar bay in the middle
- 9.The step back: deep base, shallow uppers
- 10.Shaker fronts on a plain base
- 11.Slab fronts for a modern room
- 12.Fluted door fronts
- 13.Cane panel doors
- 14.Glass fronts on the uppers
- 15.A drawer bank instead of doors
- 16.Toe-kick drawers under everything
- 17.Push-latch doors with no hardware
- 18.Brass cup pulls and knobs
- 19.Two colors: darker base, wall-color uppers
- 20.A wood counter between base and uppers
- 21.Vented doors for anything that runs hot
- 22.Pull-out trays behind the doors
- 23.Lighting inside the glass bays
- 24.Cable management through the base
- 25.Soft-close hinges as a retrofit
- 26.Adjustable uppers over a fixed base shelf
- 27.Mistakes to Skip
How built-ins with cabinets change what a living room can hold
The split is the design. Two to three feet of closed storage at the bottom, open shelves above, and a horizontal line between them that your eye can rest on.
Depth is where most plans go wrong. Base cabinets want 14 to 16 inches so baskets, board games, a receiver and a record crate actually fit. The open shelves above want 11 to 12 inches so books sit flush at the front edge instead of floating in a cave. That four-inch step back also gives you a usable counter rather than a ledge.
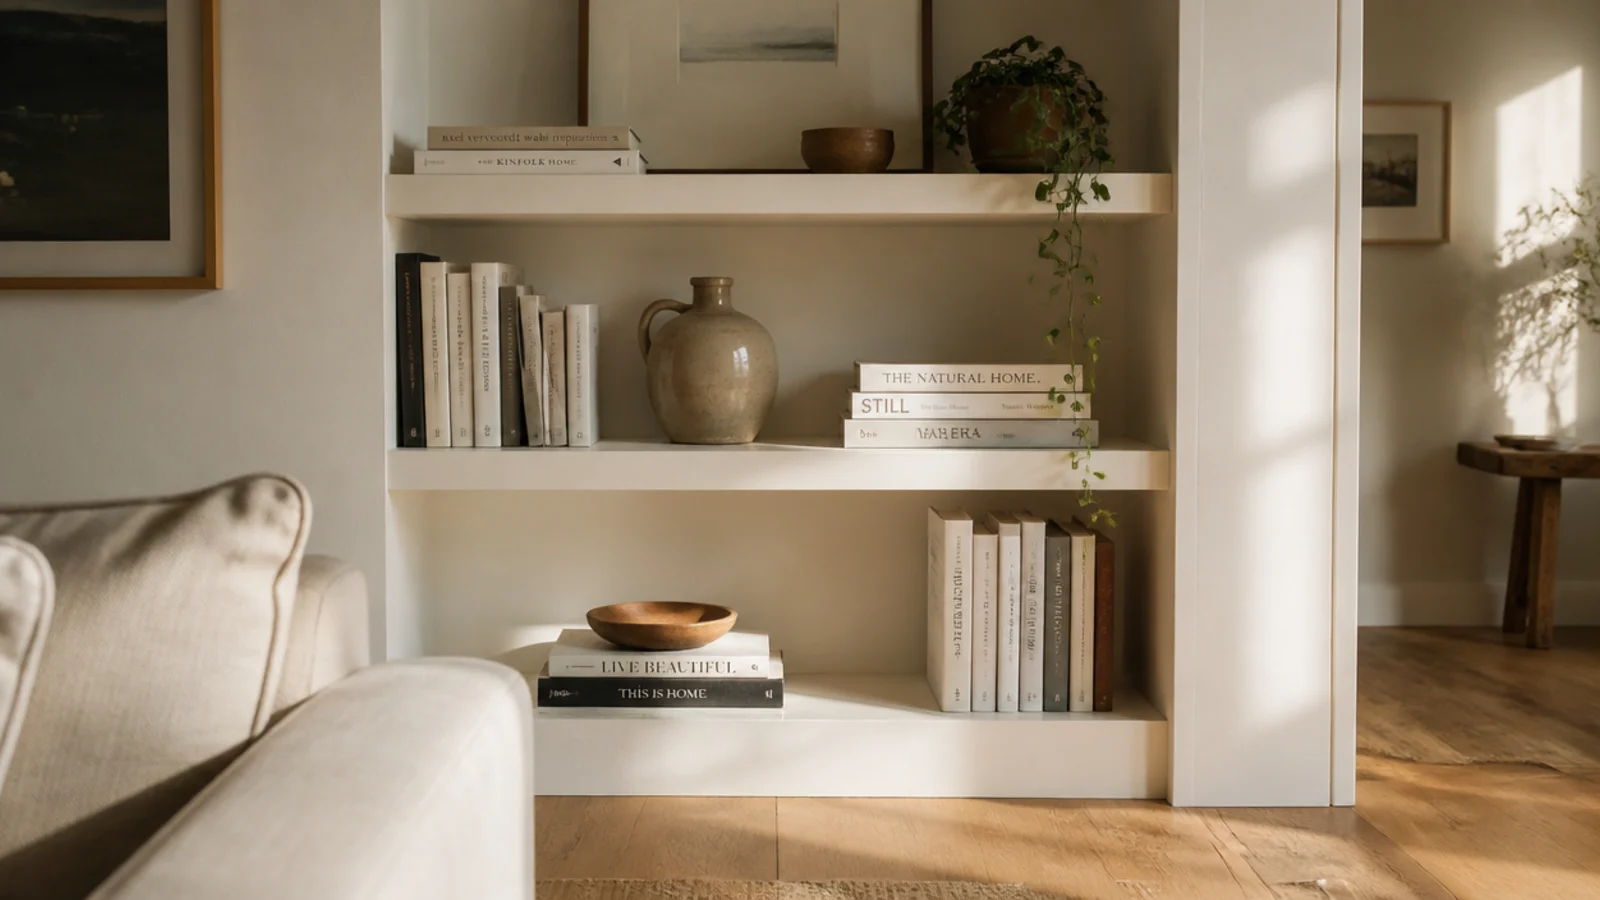
Spacing on the uppers stays at 11 to 13 inches of clear height for hardbacks. And any shelf longer than 32 inches in three-quarter-inch plywood needs a front lip or a mid support, because it will bow under books otherwise.
Budget tiers: a single base cabinet with shelves above runs $250 to $400 in materials ($), a flanking pair with doors runs $700 to $1,200 ($$), and a full wall with counter, doors and lighting runs $1,500 and up ($$$).
1. The classic split: closed base, open uppers
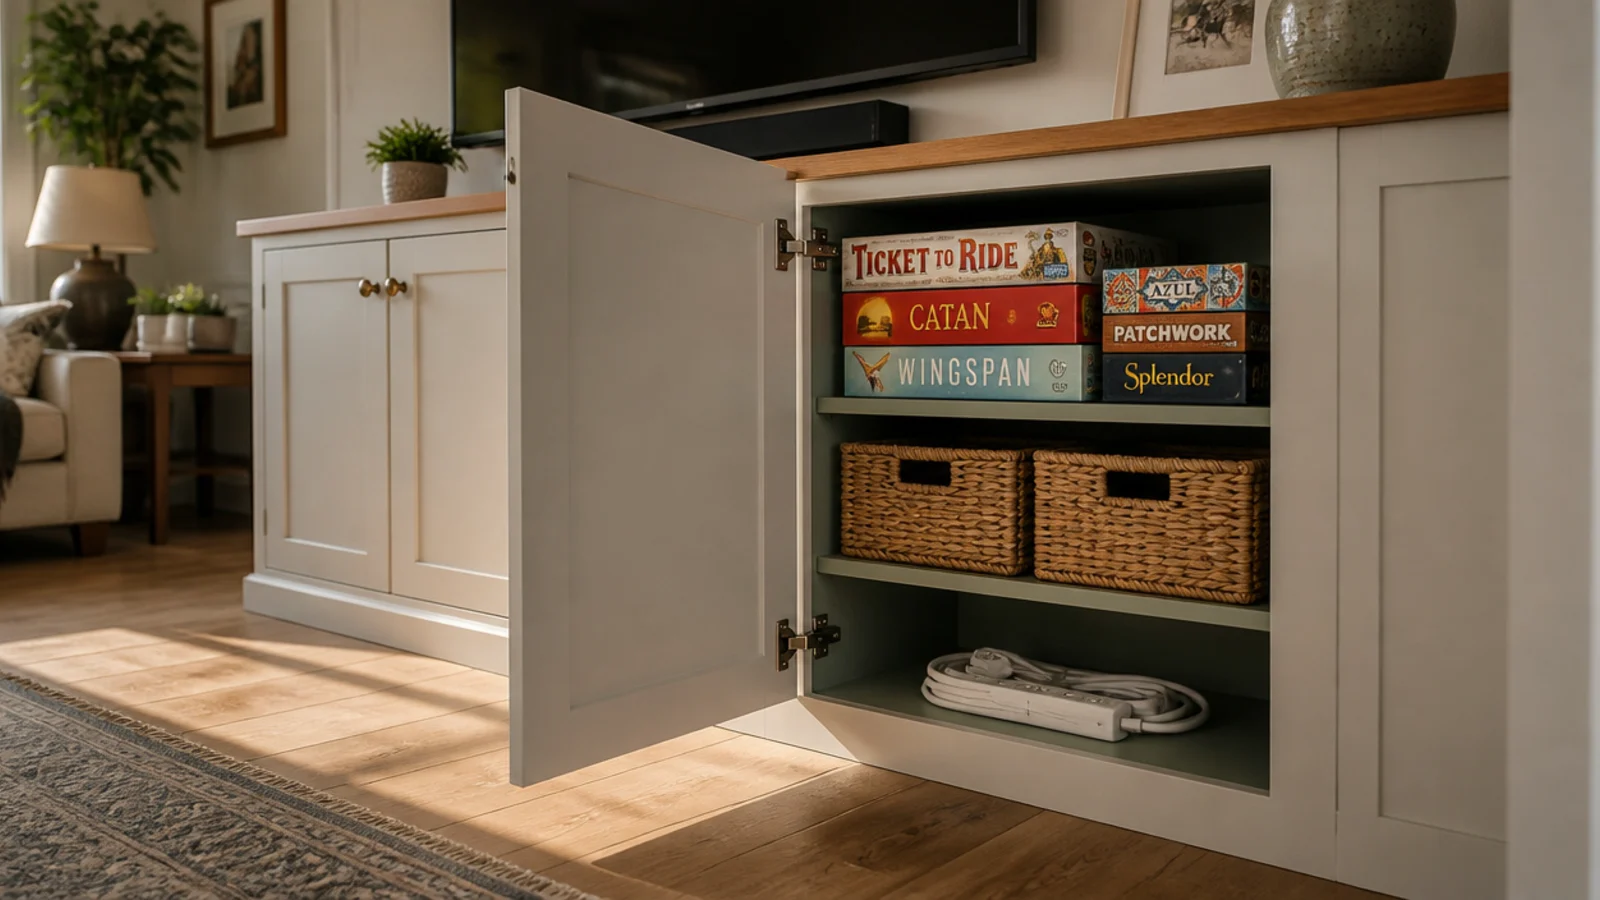
Cabinets to 30 inches, counter, then four open shelves. It is the default for a reason.
Thirty inches is the height where a cabinet top becomes a surface you use rather than one you reach over. Keep the doors full-height on the base rather than splitting them, so the lower third of the wall reads as one solid mass. Everything above can then be as light and open as you like.
2. Cabinets flanking the fireplace, open middle
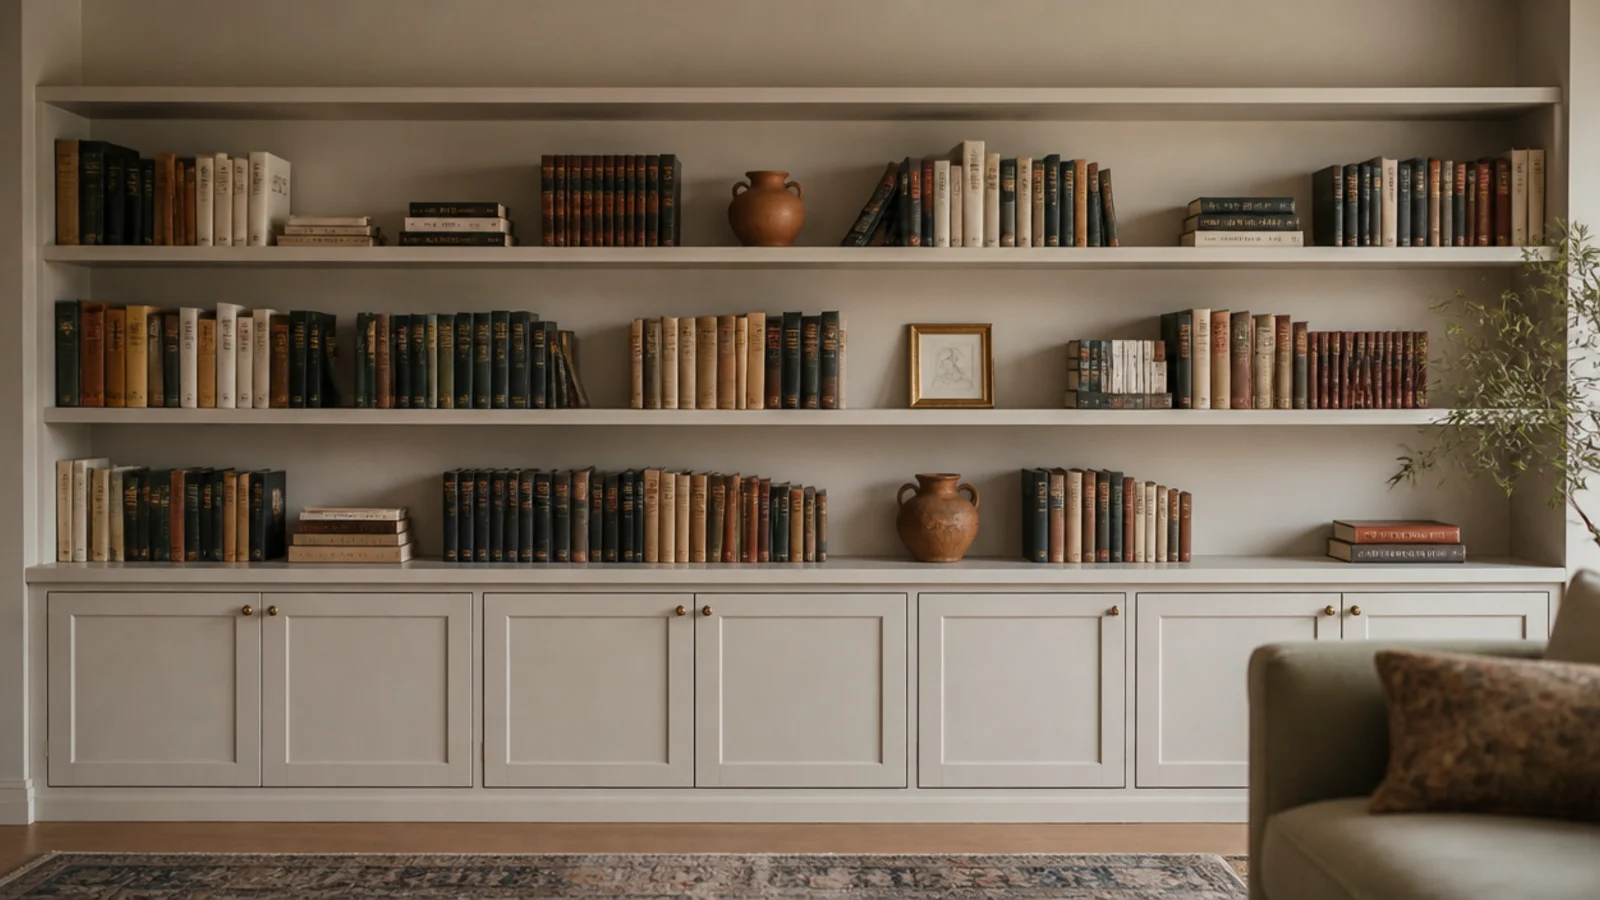
Two closed towers either side, open shelving or a mantel between, and the room finally has symmetry.
Keep combustible material at least 6 inches from the firebox opening and follow the clearance label on the appliance itself. Set the cabinet faces back from the mantel line by an inch or two so the fireplace keeps the focus. The full fireplace layout guide covers the hearth measurements properly.
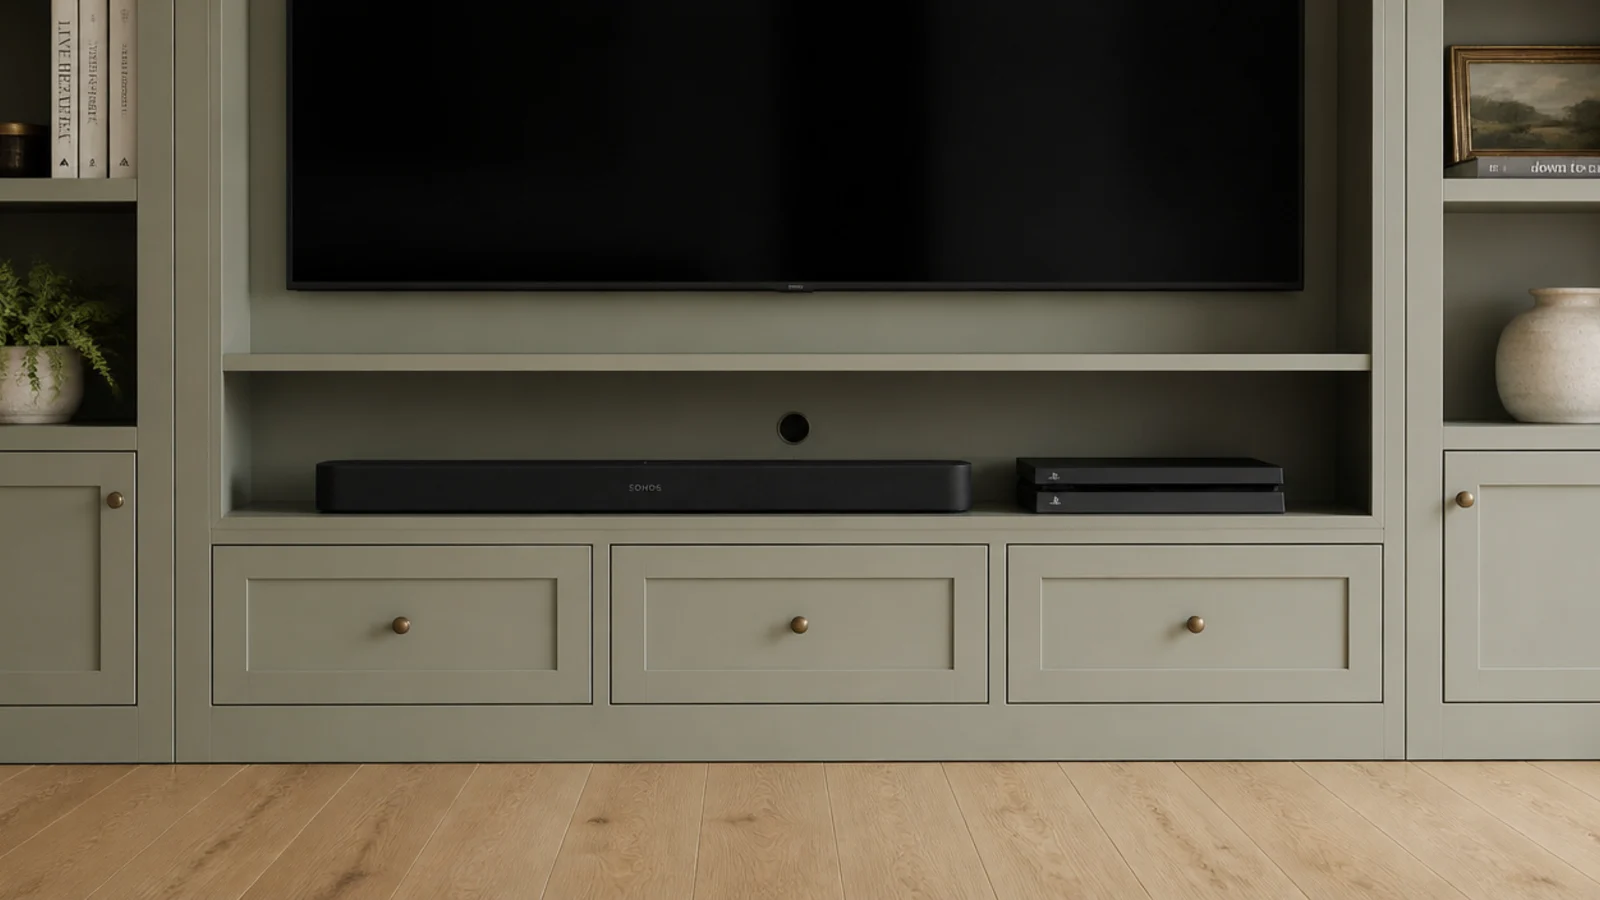
3. A media base sized to the gear
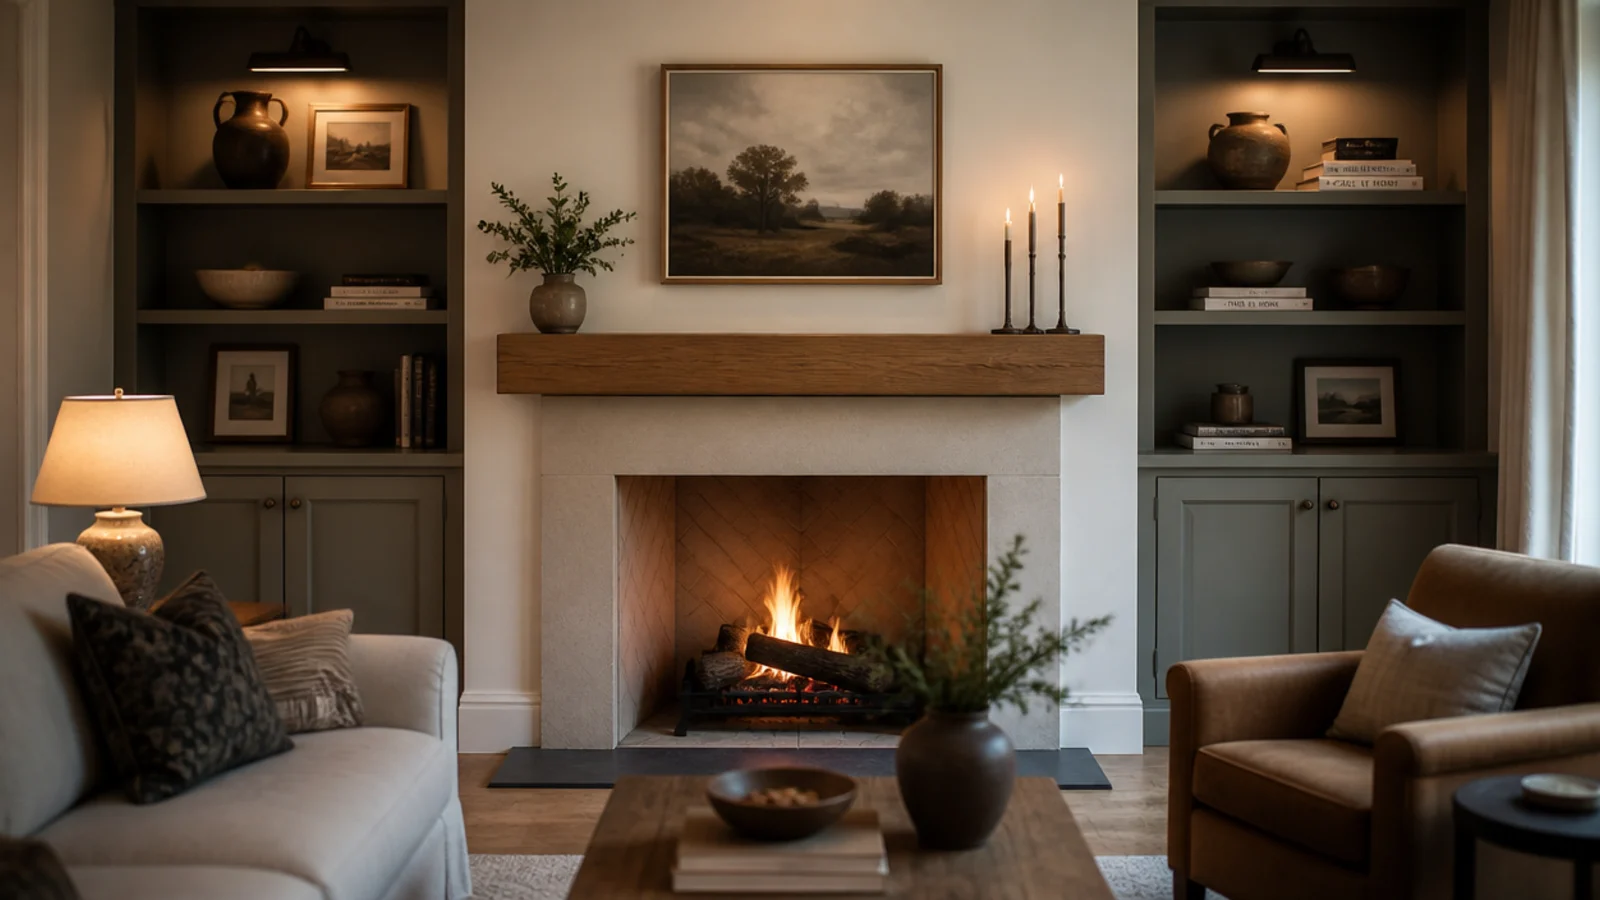
Measure the deepest thing you own before you pick a cabinet depth. Receivers commonly run 15 inches deep, and a 12-inch cabinet turns that into a permanent problem.
Sixteen inches covers almost everything with room for cables behind. Leave one bay doorless or fit a vented door so the remote signal gets through, and put the power strip inside the base rather than behind the whole unit.
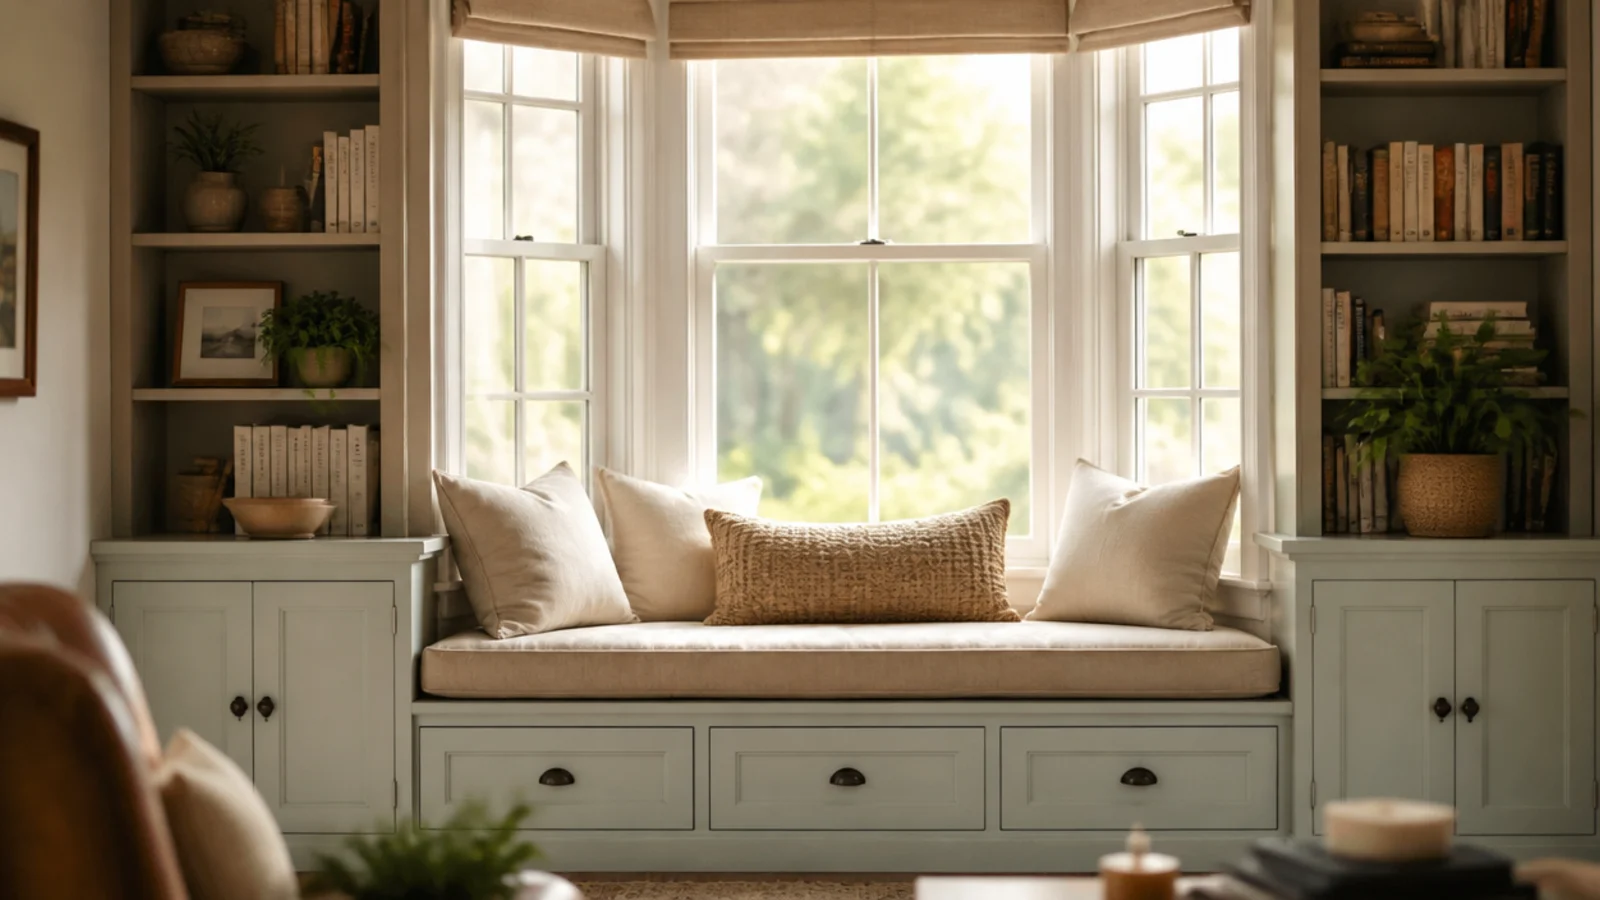
4. A window seat between two cabinet bases
Two base cabinets either side of a window, a plank across the gap, and a cushion. It is the cheapest custom-looking move in this entire list.
Set the seat at 17 to 18 inches finished height including the cushion, which is chair height. Use the cabinets for throws and games, and keep the seat itself hinged only if you genuinely will lift it — most people never do.
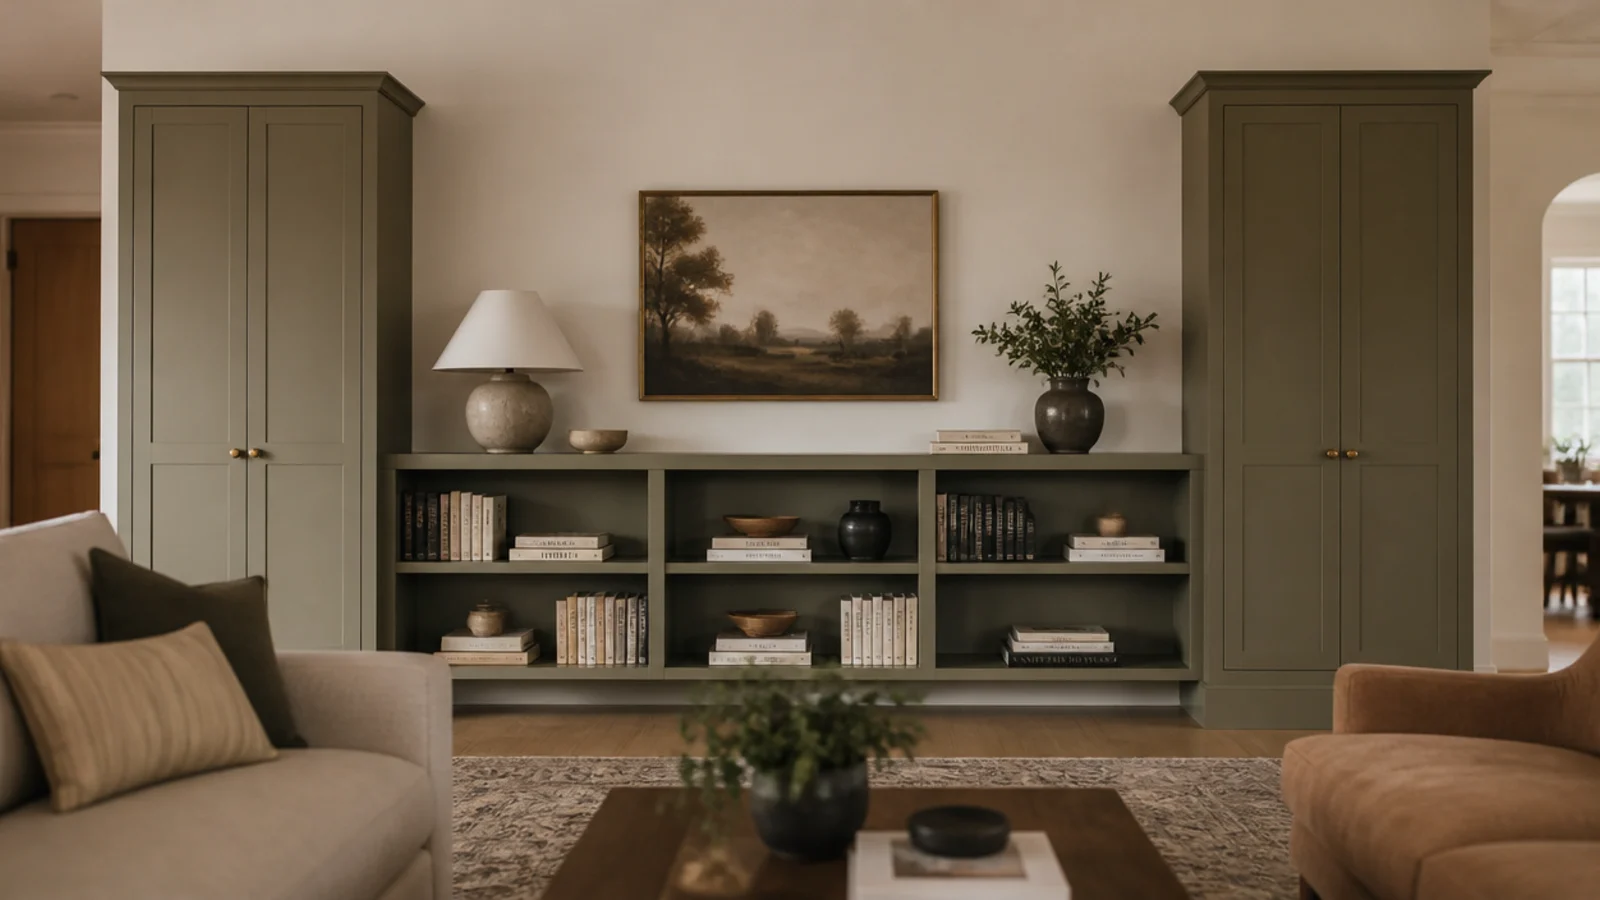
5. Full-height towers at each end
Two closed towers running floor to ceiling at the ends of a run give you somewhere to put the vacuum, the folding chairs and the box of cables.
They also frame the middle section visually, which makes an ordinary wall read as a designed composition. Keep the towers 16 inches deep and no wider than 24 inches, or the doors get heavy and start to sag on their hinges.
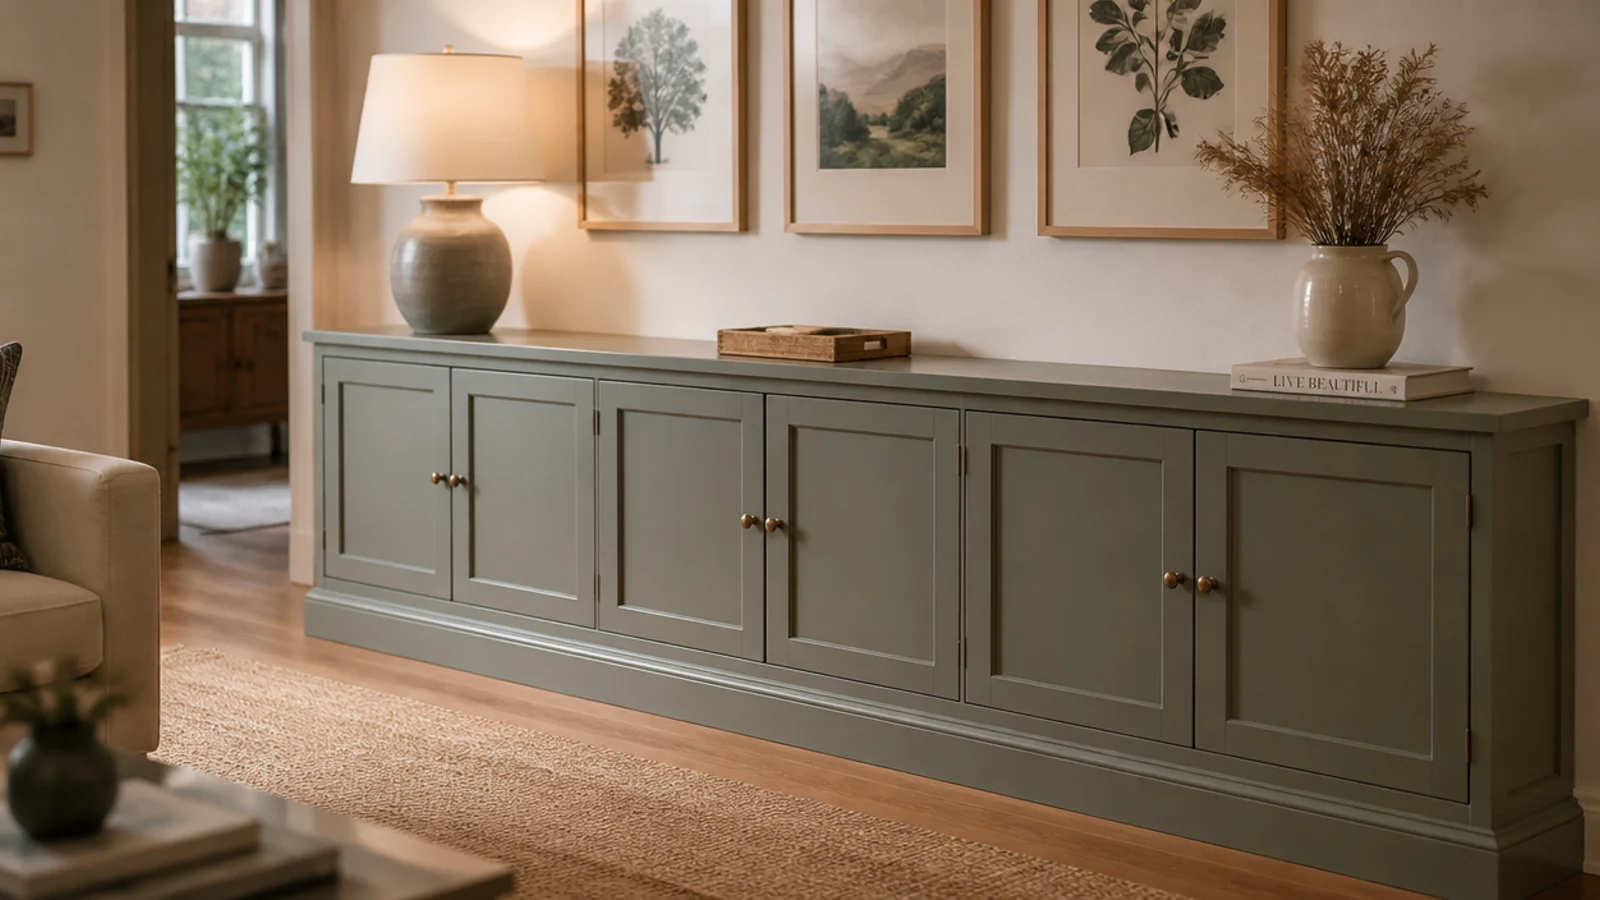
6. A half-height run with cabinets underneath
Not every wall wants to go to the ceiling. A run capped at 34 to 36 inches gives you closed storage plus a long display surface and leaves the wall above free.
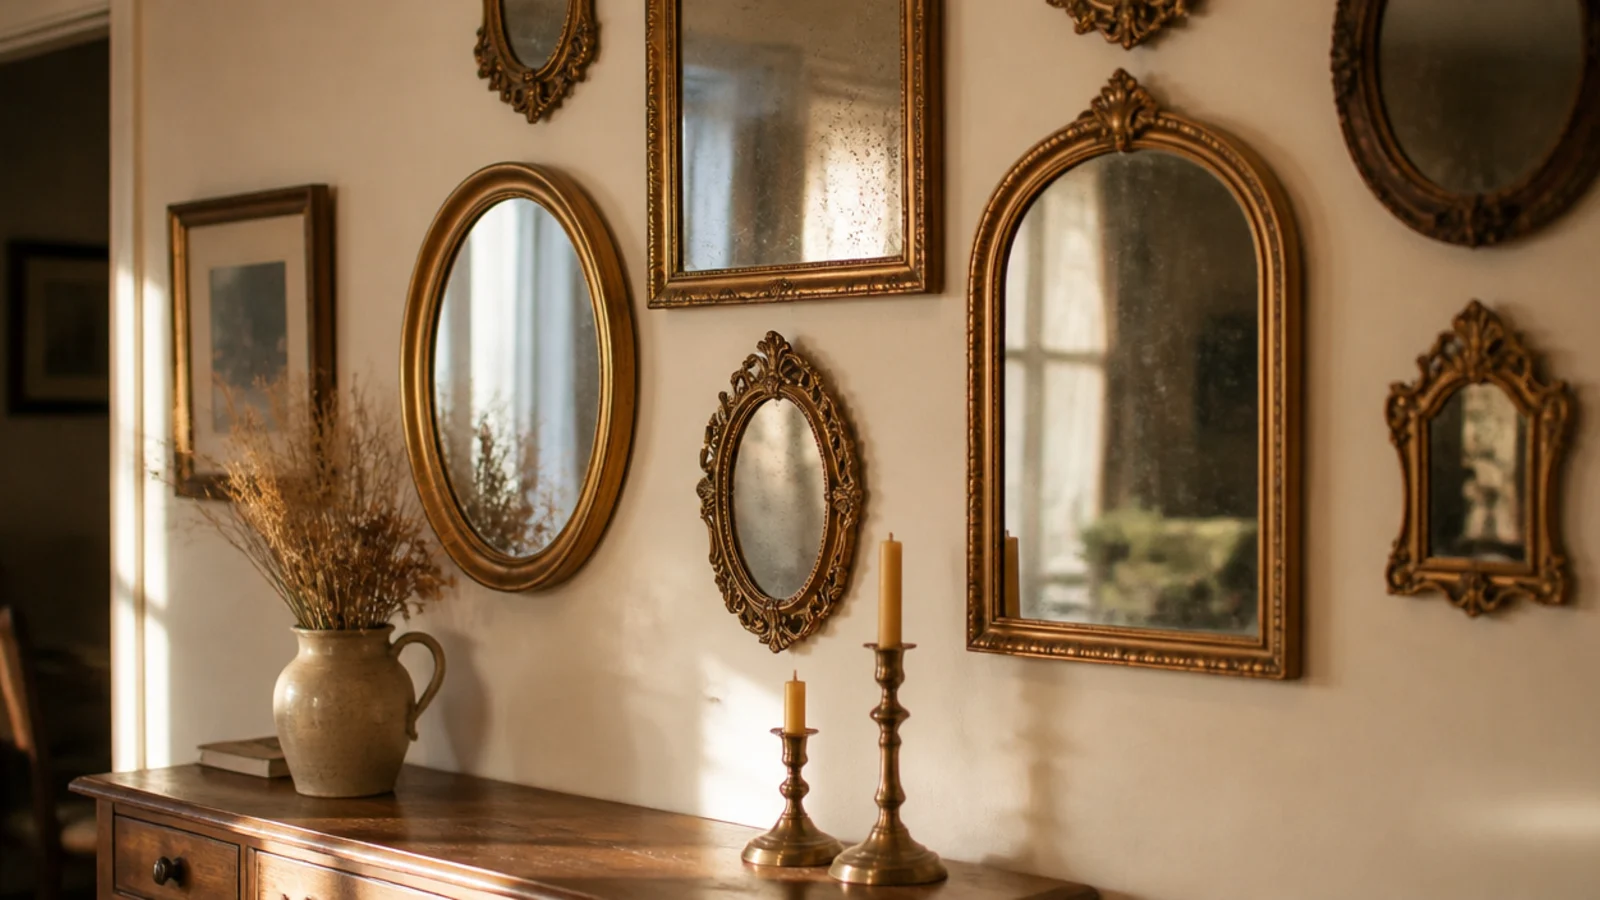
That height lines up with a sofa back, so the room reads calm rather than crowded. Hang art or a mirror above it and the whole arrangement looks deliberate for a fraction of a full-height build.
7. A dry bar bay in the middle
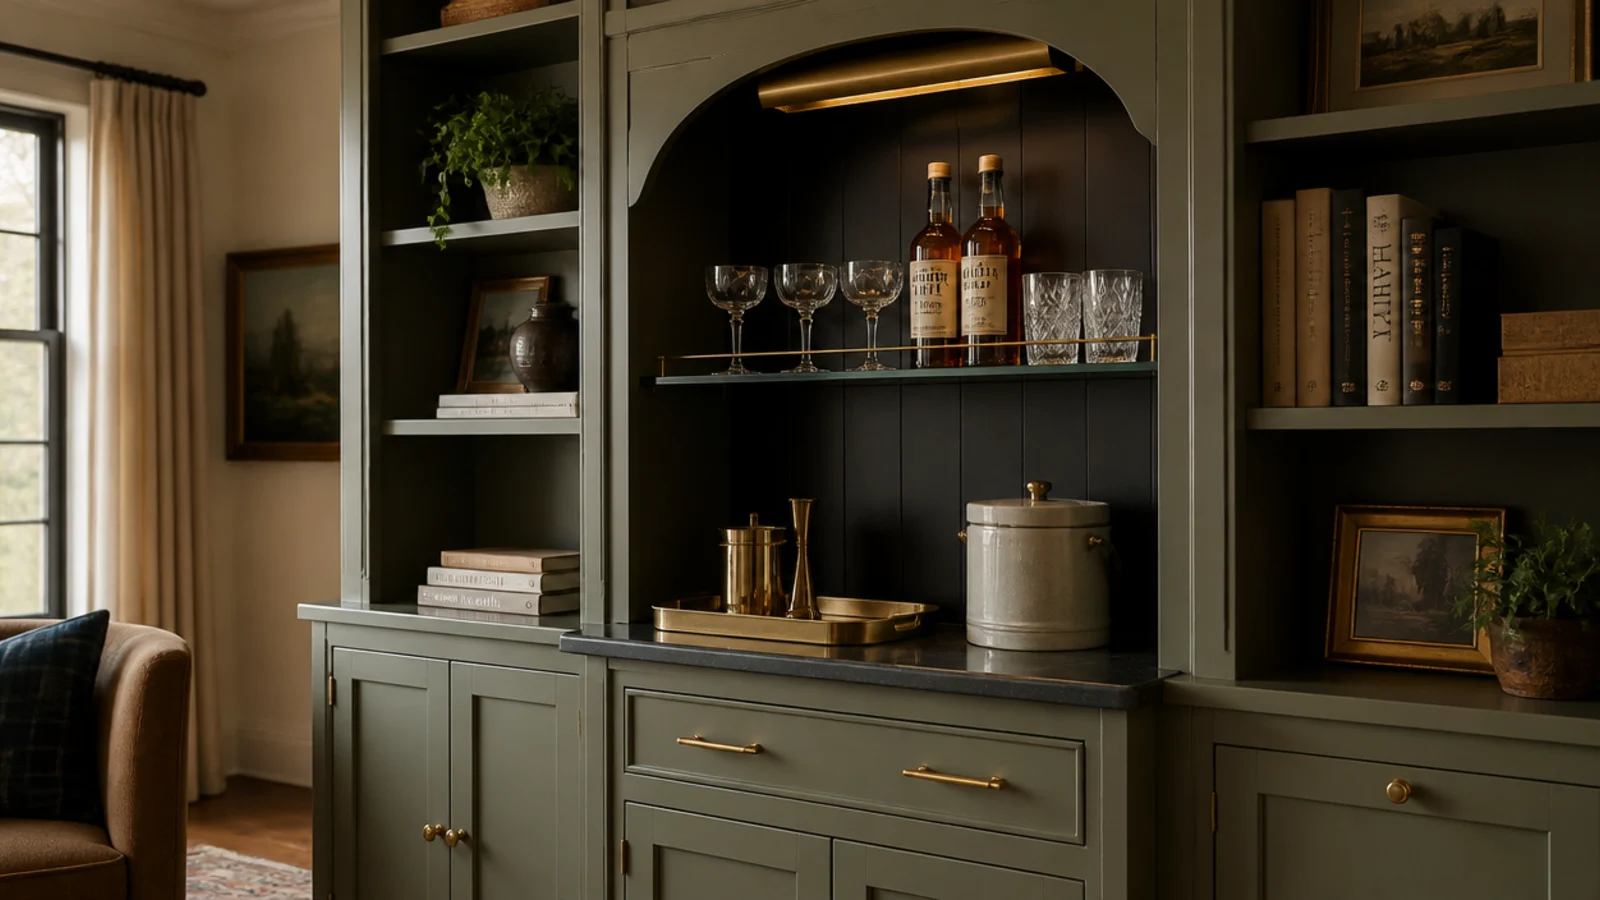
Give one bay a different job. Paint the back panel a deeper tone, add a shelf for glassware and a small tray on the counter, and it reads as a designed feature rather than storage.
A 24-inch bay is plenty. Keep bottles to one row and glasses to one shelf, because a crowded bar bay stops looking like a bar and starts looking like a cupboard with the door off.
8. The step back: deep base, shallow uppers
The four-inch difference between a 16-inch base and a 12-inch upper is what makes built-ins look architectural rather than boxy.
It throws a horizontal shadow across the wall, gives you a counter, and stops the top-heavy look you get when a deep cabinet hangs above a deep cabinet. If you build nothing else from this article, build the step.
9. Shaker fronts on a plain base
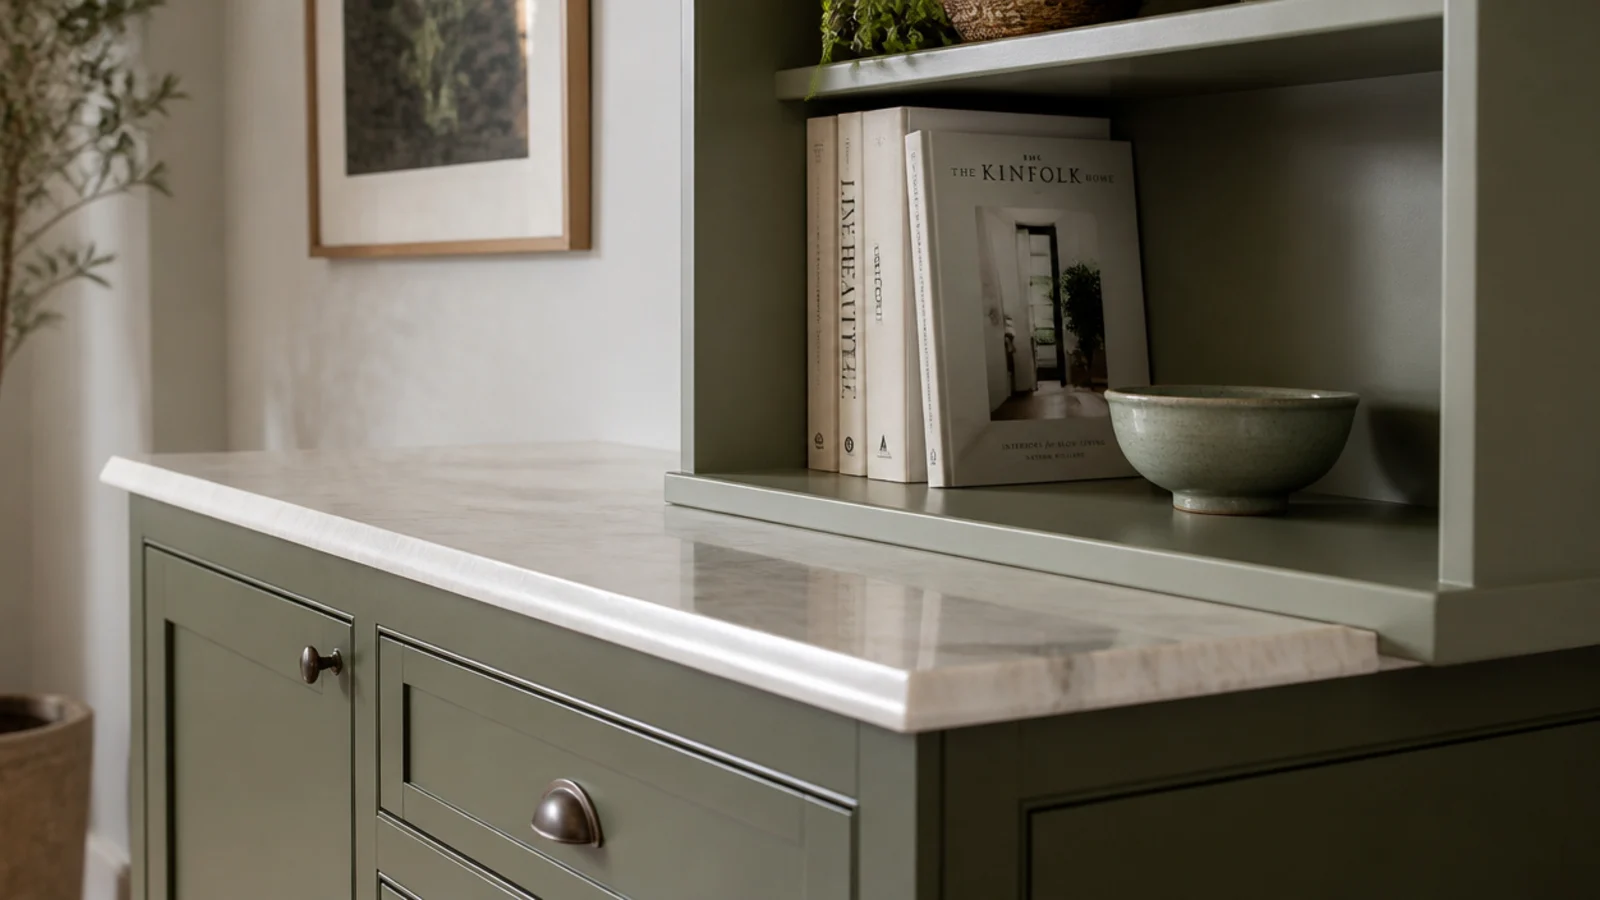
A shaker door is a flat panel inside a simple frame, and it looks correct in a 1920s house and a new build equally.
Buy ready-made fronts at $40 to $70 each, or make them by gluing slim moulding onto slab blanks for about $12 a door. Keep the reveals even with a spacer block at every corner — uneven gaps are what read as homemade.
10. Slab fronts for a modern room
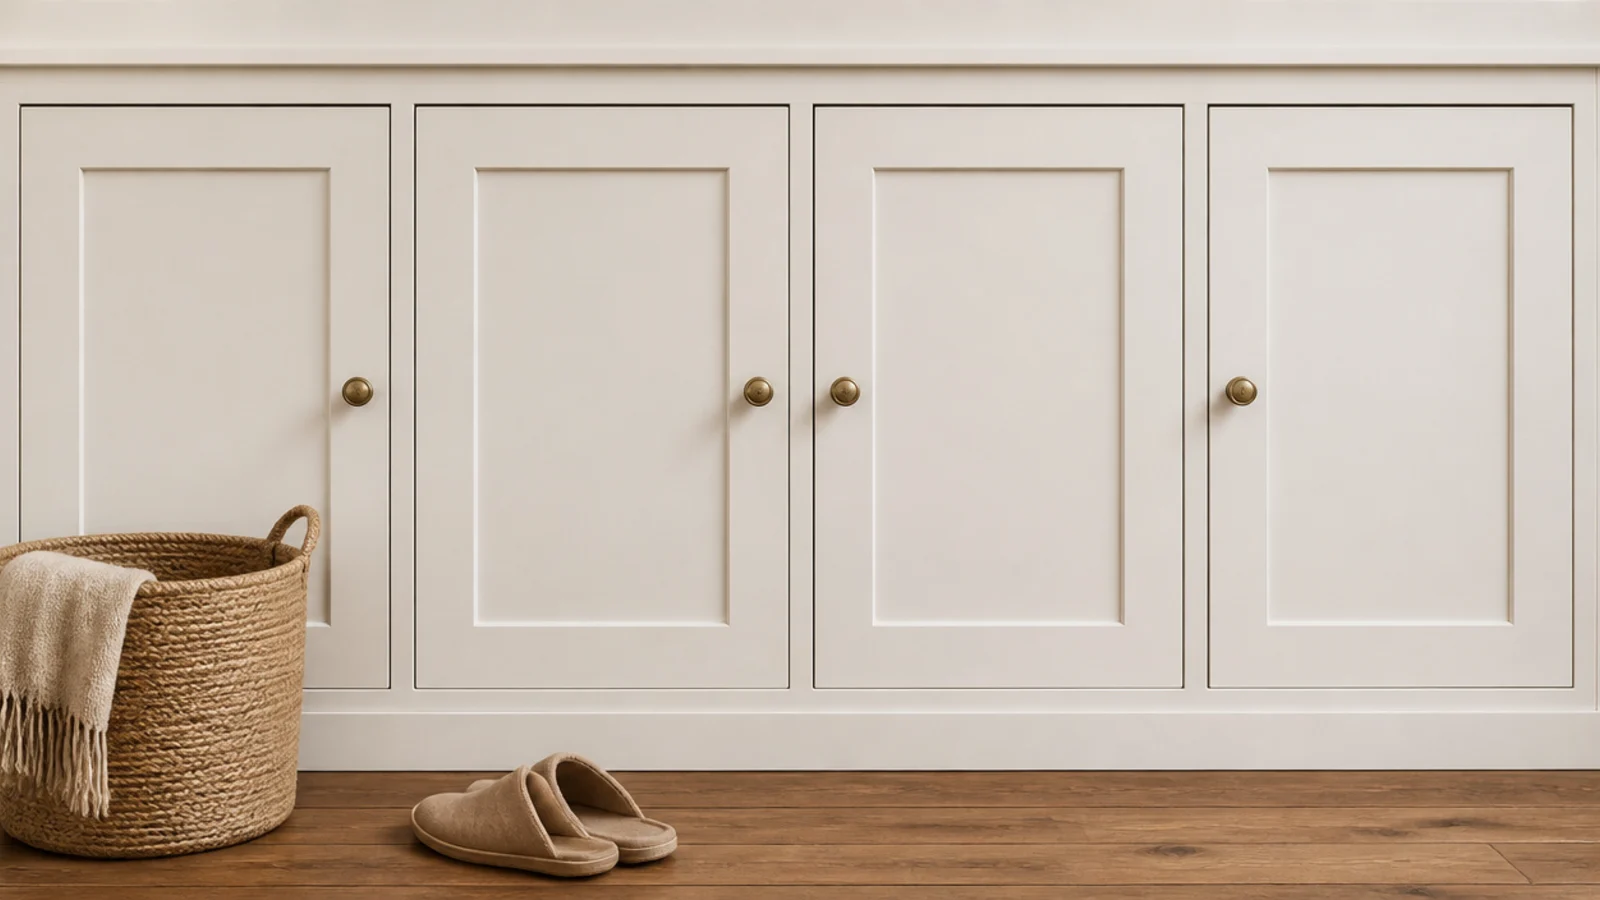
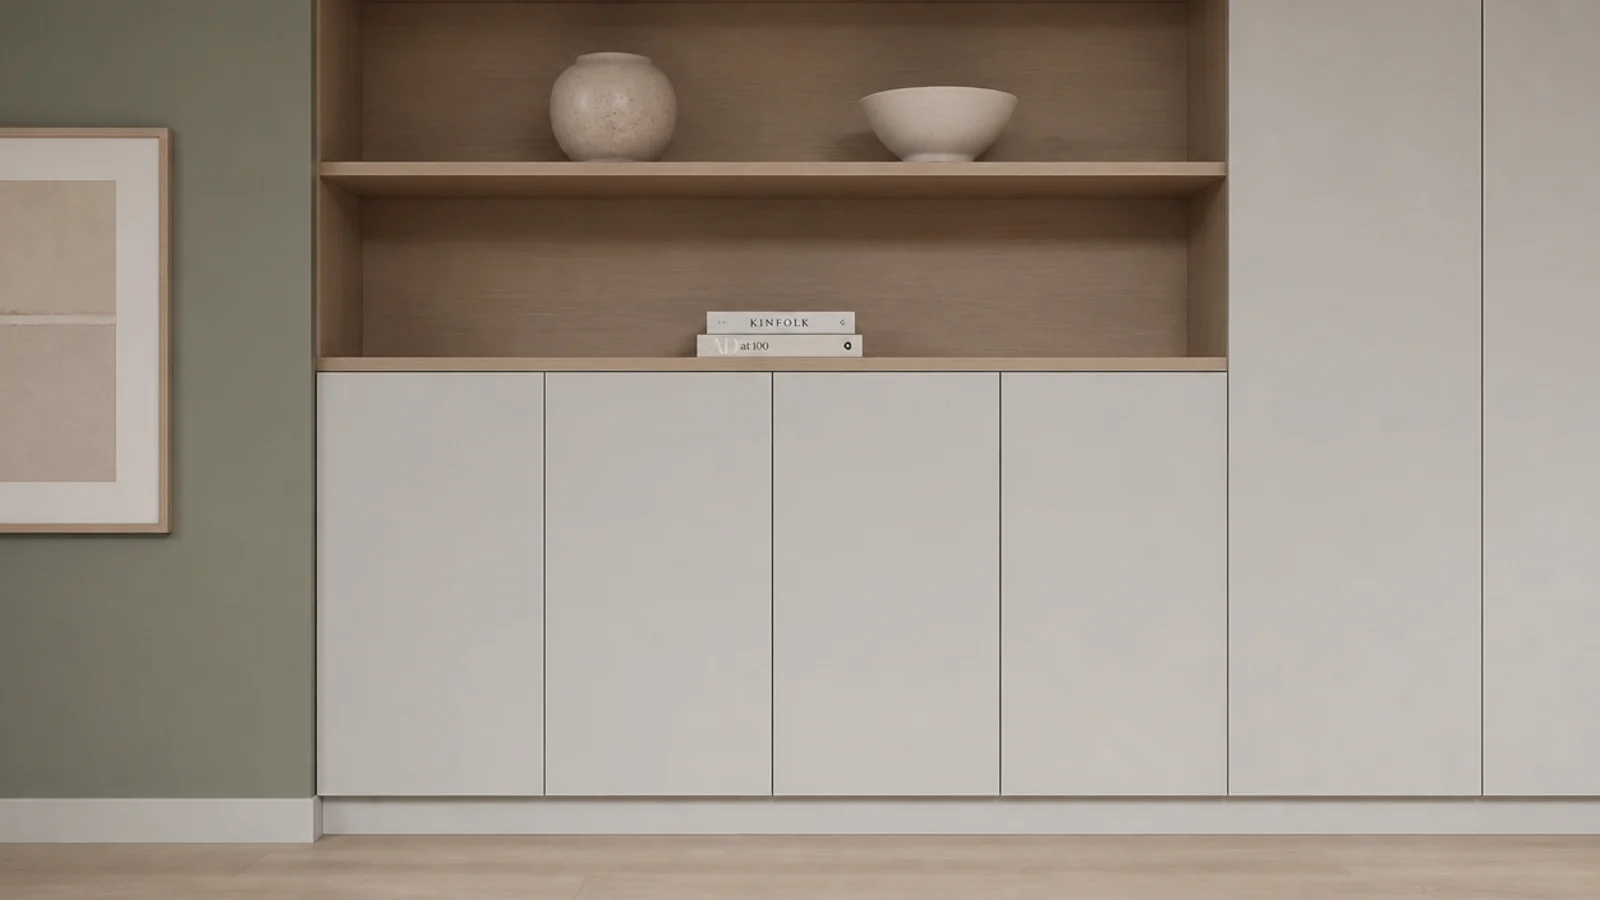
Flat fronts with fine even gaps suit modern rooms and cost the least of any door style.
The whole effect depends on the gaps. Aim for an even three-sixteenths of an inch all around, and use adjustable European hinges so you can correct each door after hanging. Paint them in satin rather than matte, because a flat sheen on a large flat plane shows every fingerprint.
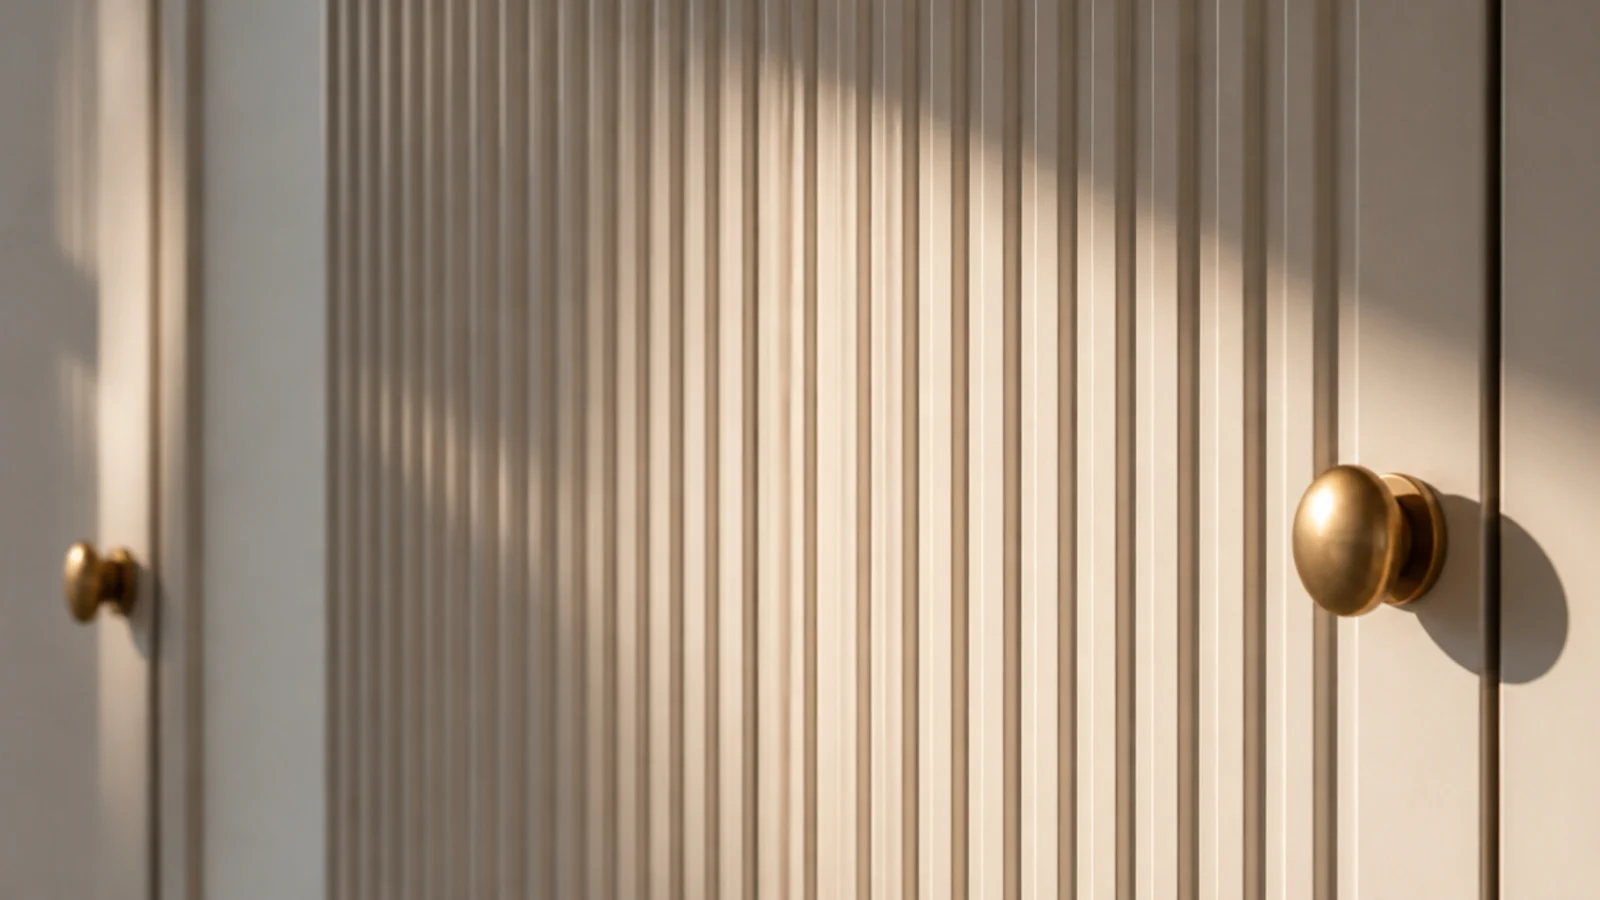
11. Fluted door fronts
Fine vertical grooves across a door front catch raking light and give a painted run some depth without adding color.
Fluted panelling comes in peel-and-stick sheets or applied half-round moulding at $25 to $50 a door. Run the flutes vertically, always, and stop them cleanly at a plain rail top and bottom so the door still reads as a door.
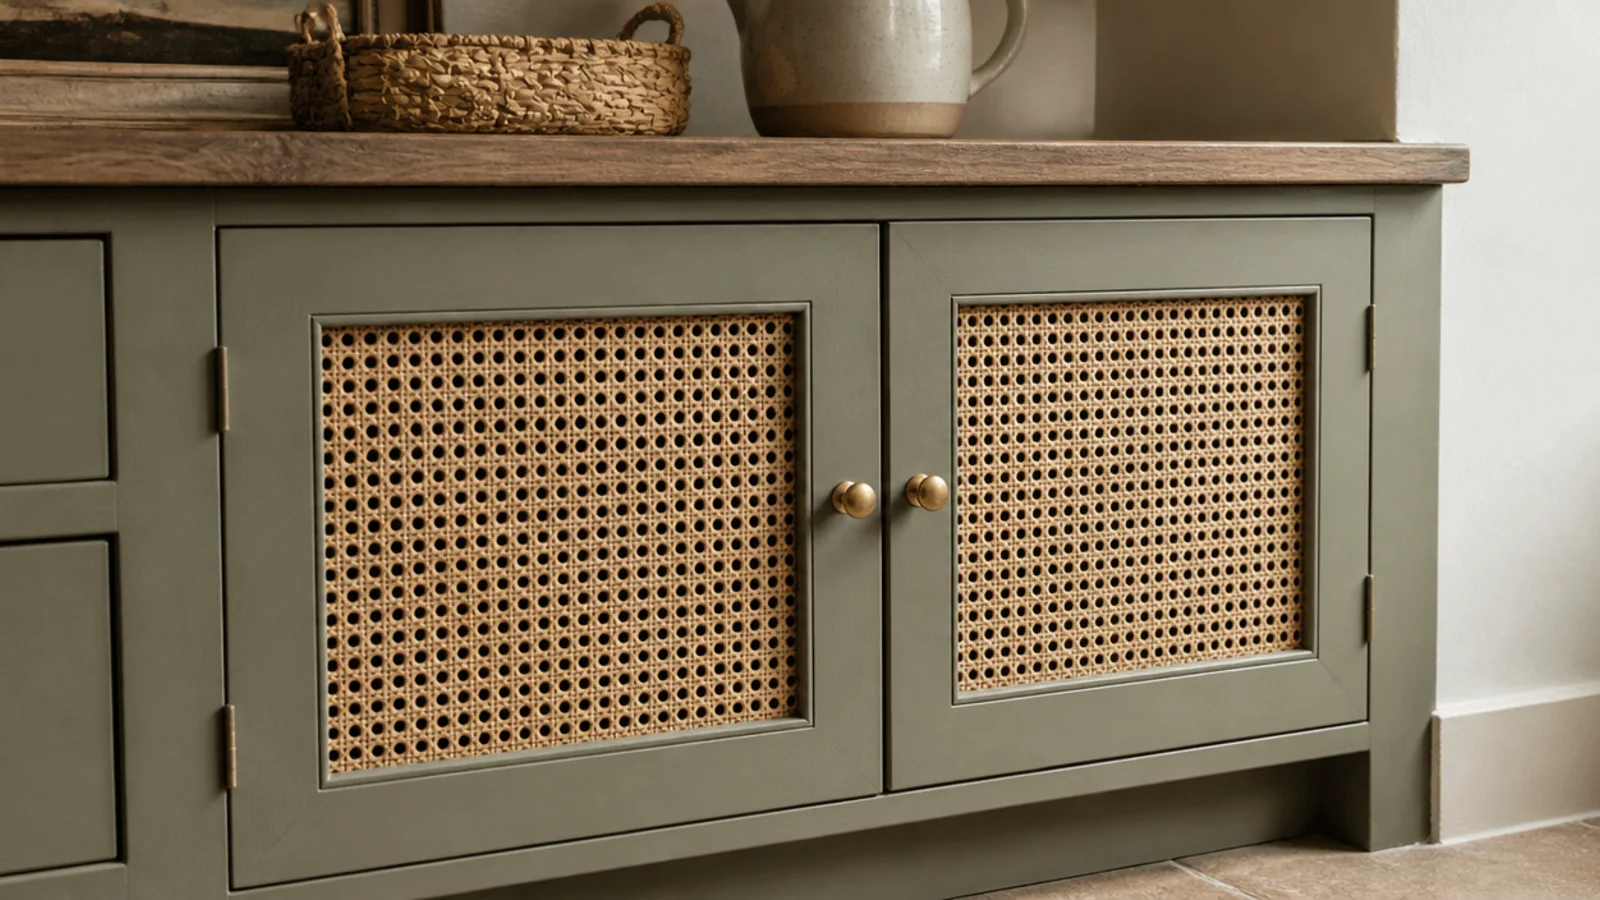
12. Cane panel doors
Cane webbing set into a door frame brings warmth and lets air move, which matters for anything electronic inside.
Buy pre-woven webbing by the yard for $15 to $30, soak it, and staple it to the back of the frame so it dries drum-tight. It hides contents without hiding them completely, which suits a bay holding baskets rather than paperwork.
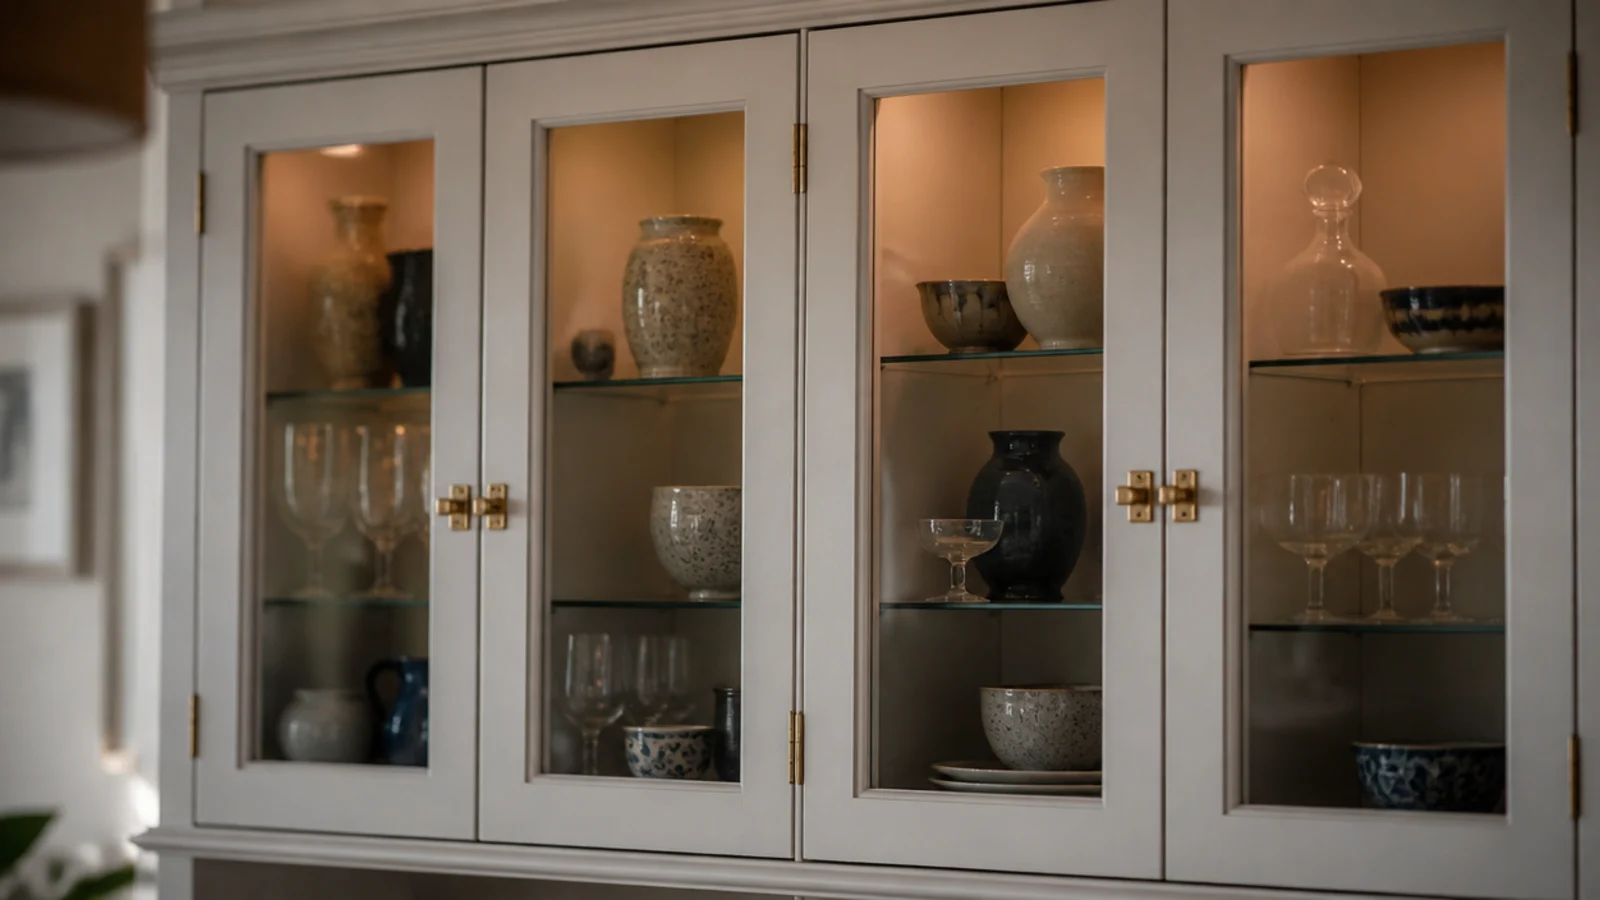
13. Glass fronts on the uppers
Glass belongs over things worth looking at — ceramics, glassware, a small collection. Never over paperwork.
Framed glazed doors cost $70 to $120 each ready made. Keep the contents to about two-thirds of the shelf so each piece has air around it, and light the bay from inside rather than relying on room light, which only reflects off the glass.
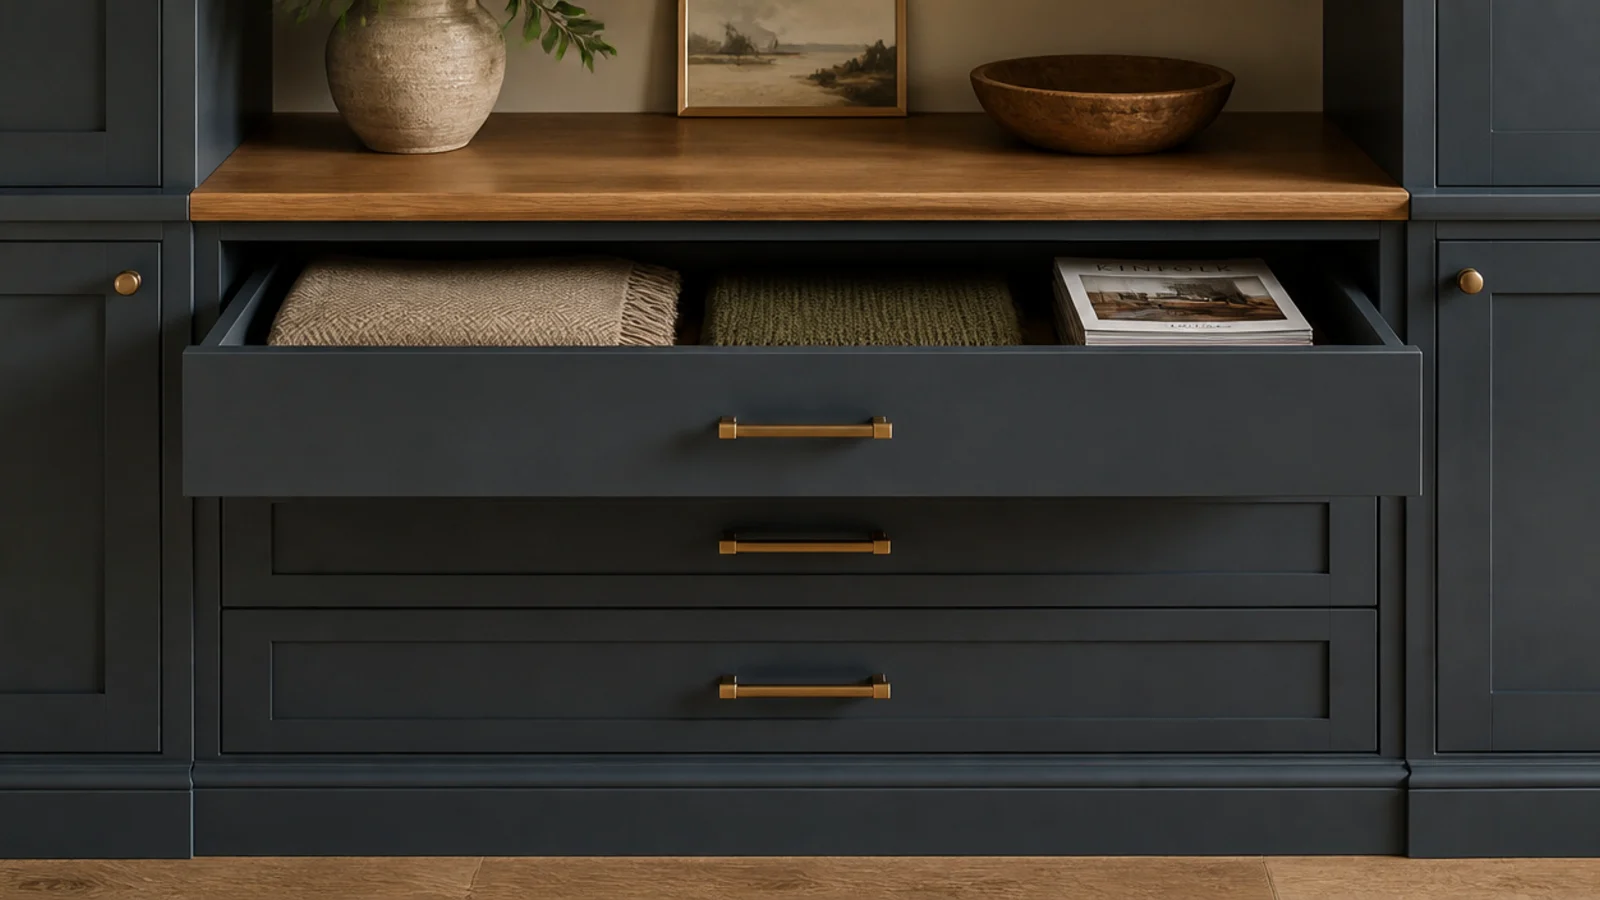
14. A drawer bank instead of doors
For anything you reach for weekly, drawers beat doors. Nothing gets lost at the back, and you never kneel to find it.
Three deep drawers in a 24-inch bay hold throws, magazines and games far better than a cupboard of the same volume. Full-extension runners cost $15 to $25 a pair and are worth every cent on anything over 14 inches deep.
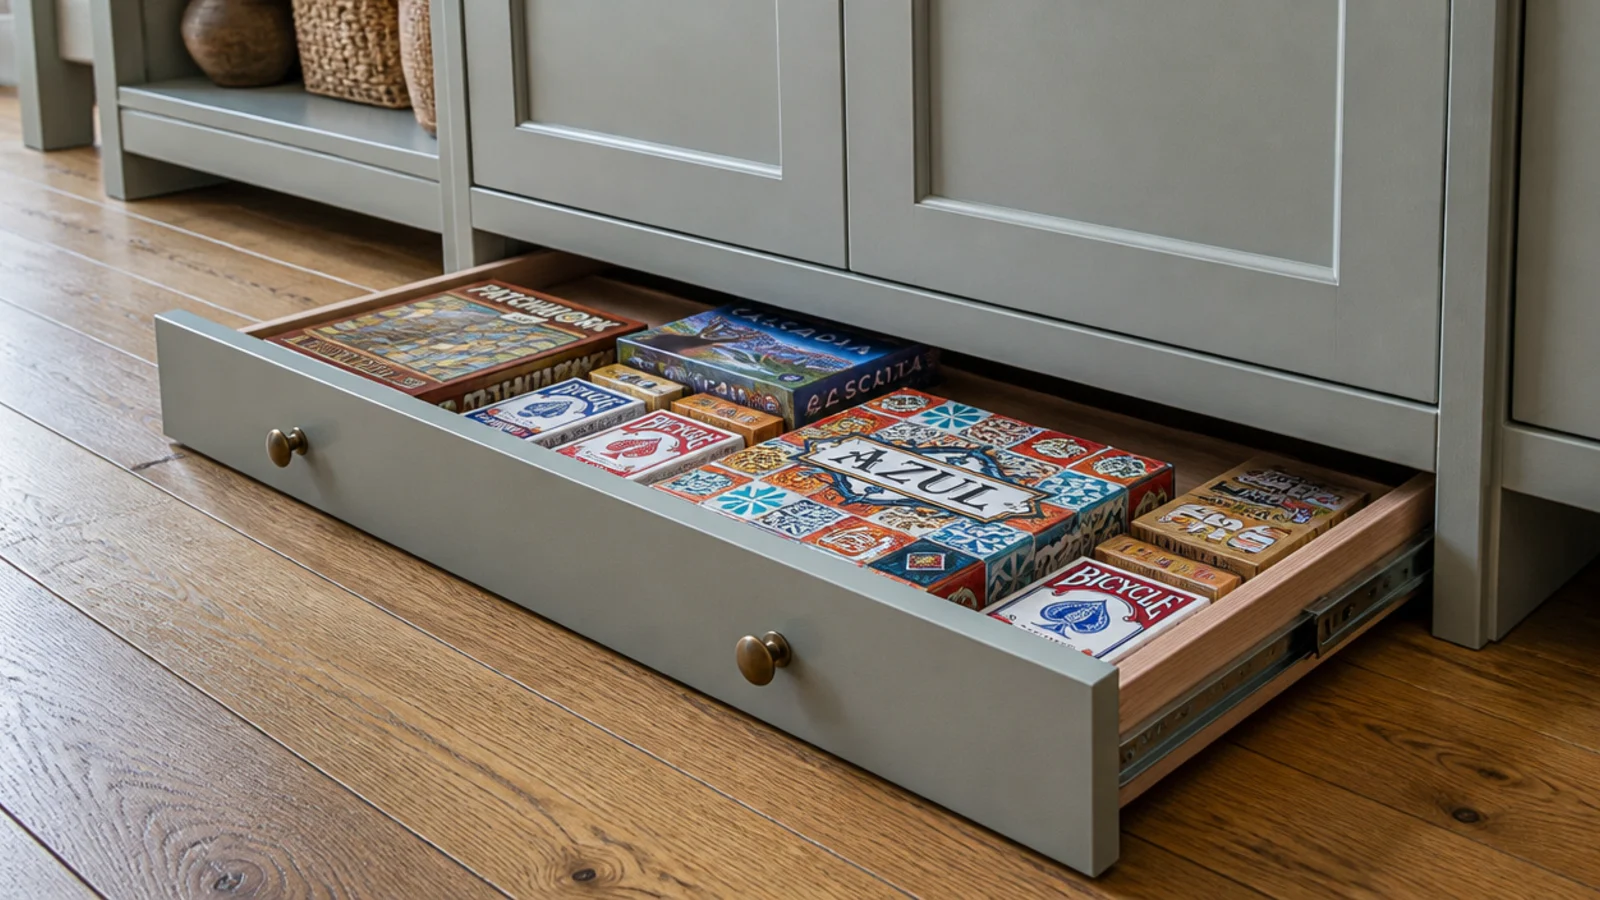
15. Toe-kick drawers under everything
The four inches of dead space under a base cabinet is real storage nobody uses.
A shallow toe-kick drawer swallows board games, playing cards, gift wrap and flat things generally. Kits run $40 to $80, or you can build one from plywood scraps for almost nothing. Use touch-latch openers so no handle interrupts the base line.
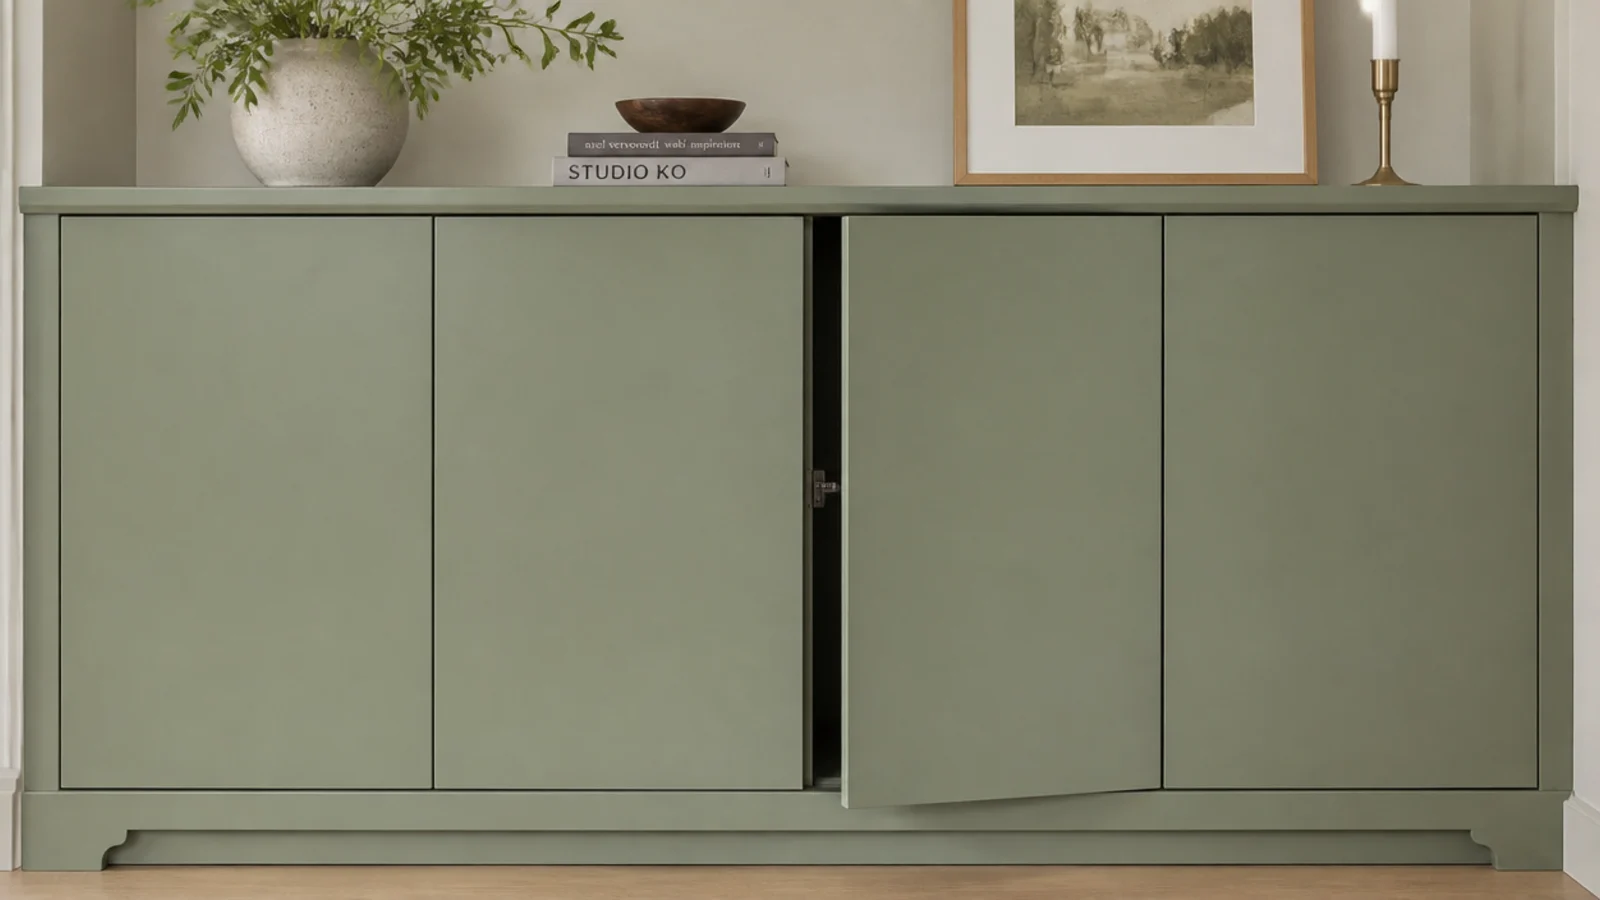
16. Push-latch doors with no hardware
Removing handles entirely turns a run of doors into one continuous painted plane, which suits modern rooms and small living rooms especially.
Push latches cost about $3 each and need careful hinge adjustment to work smoothly. Test every door twenty times before you call it finished, because a latch that needs two pushes becomes genuinely annoying by week two.
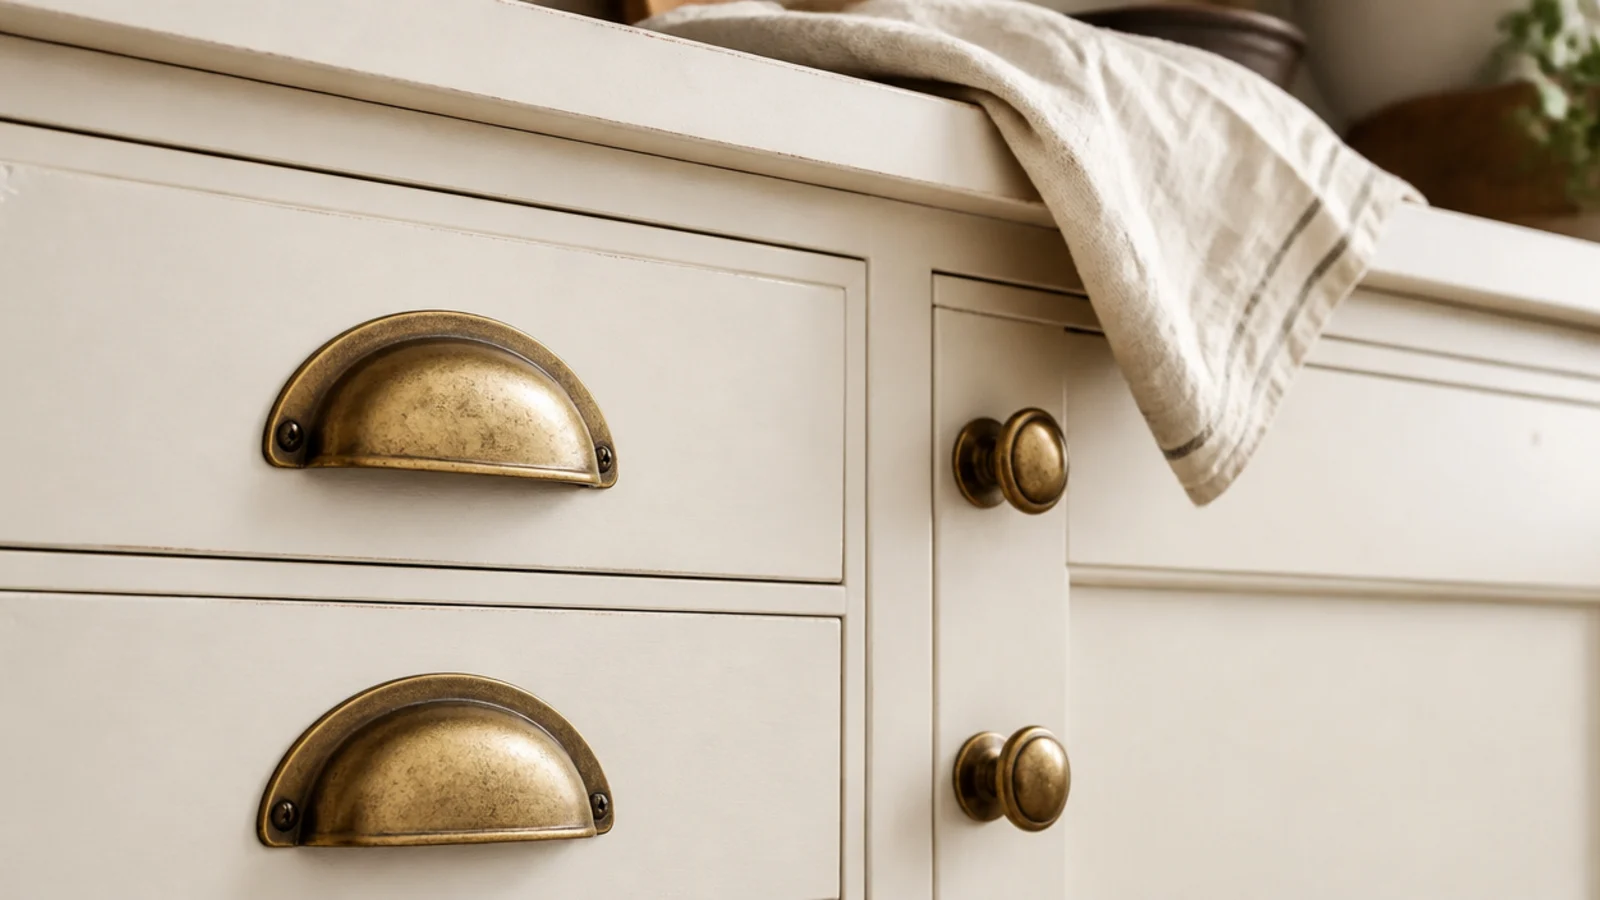
17. Brass cup pulls and knobs
Hardware is the jewelry, and it is the cheapest way to change how a whole run of cabinets reads.
Aged or unlacquered brass warms up white paint beautifully and develops a patina rather than wearing through. Budget $6 to $14 a piece. Keep to one finish across the entire wall, including hinges if they are visible, or the run looks assembled from parts.
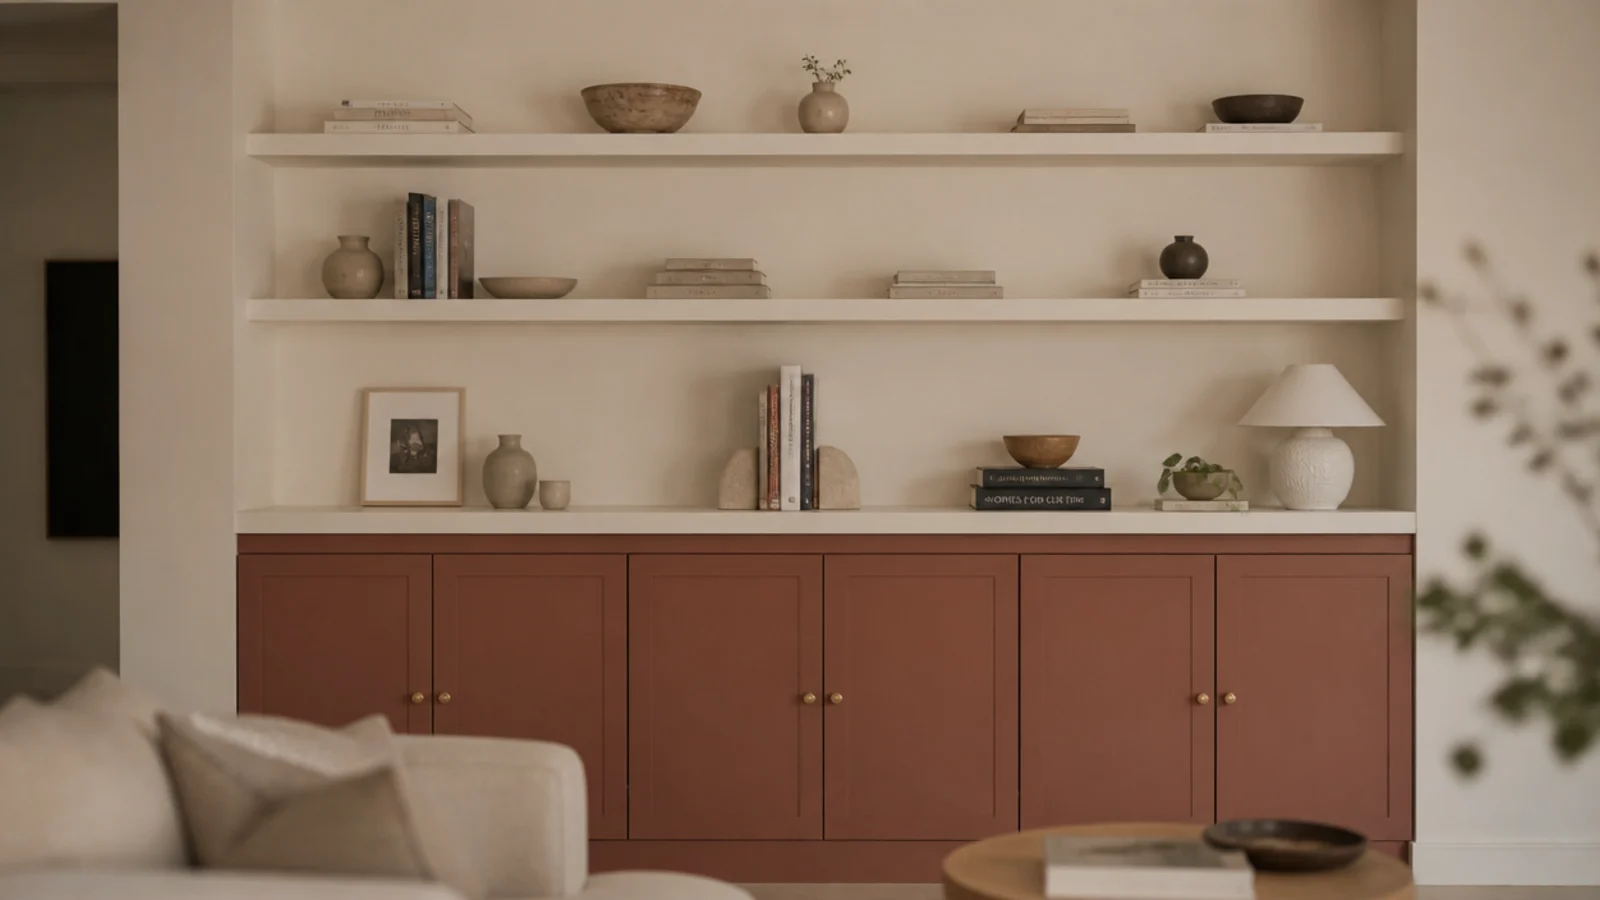
18. Two colors: darker base, wall-color uppers
Painting the base cabinets a deeper tone and the uppers the wall color puts visual weight at the bottom, which is where your eye expects it.
Muted clay, deep sage and warm greige all work against cream walls. Keep the counter a natural wood tone to link the two. This is the trick that makes a modest run read as designed, and it costs one extra sample pot.
19. A wood counter between base and uppers
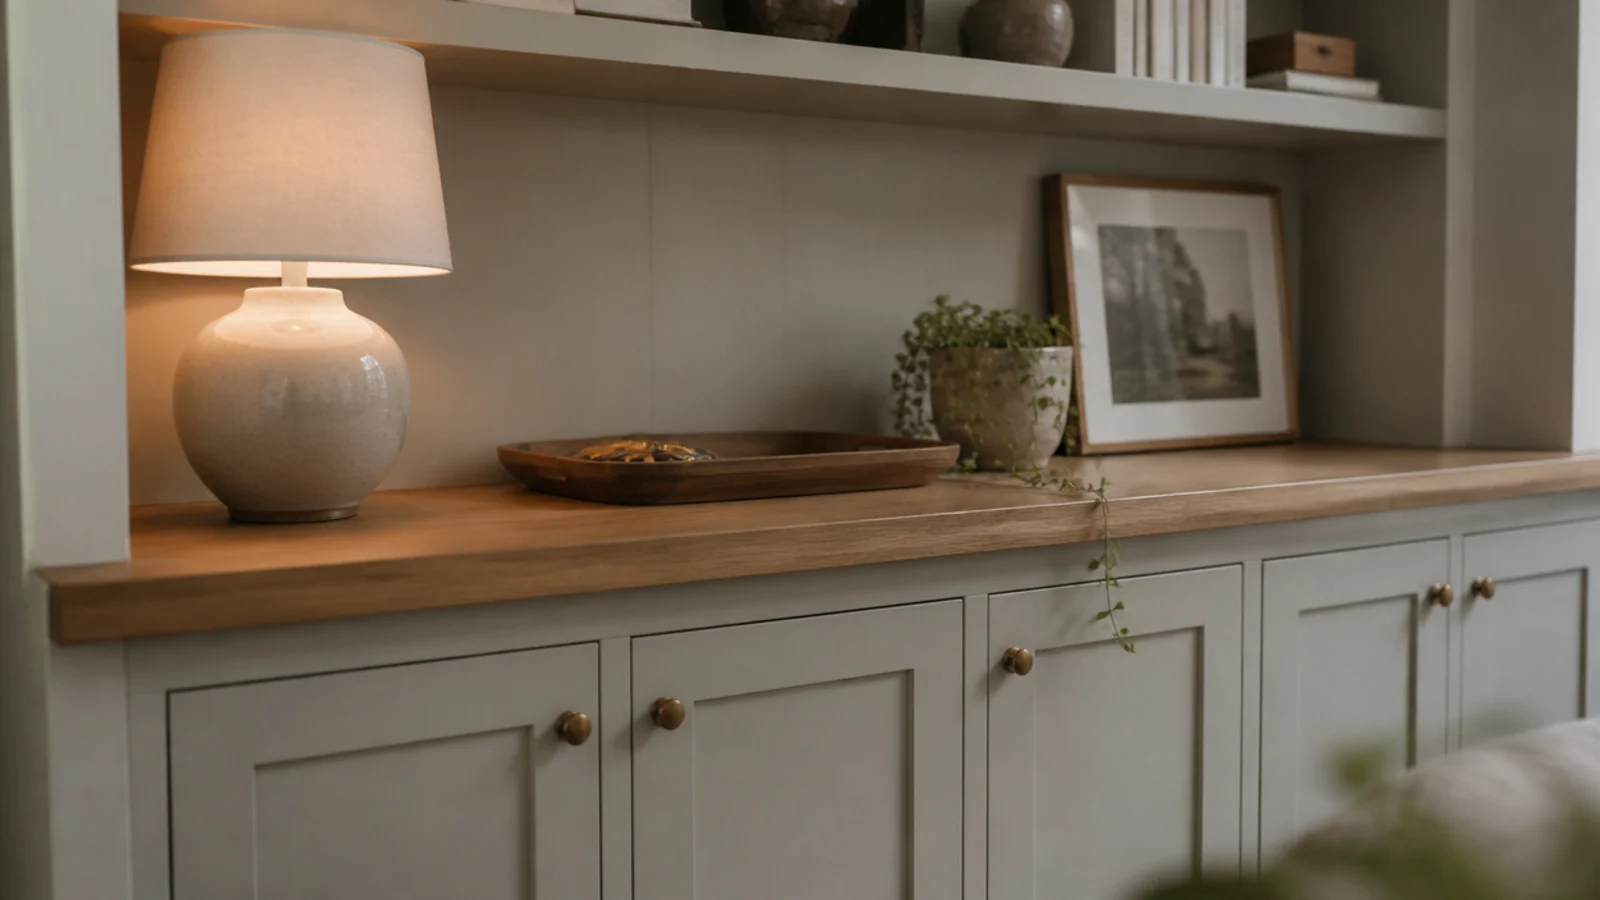
One continuous plank running the full width is what turns separate cabinets into a single built-in.
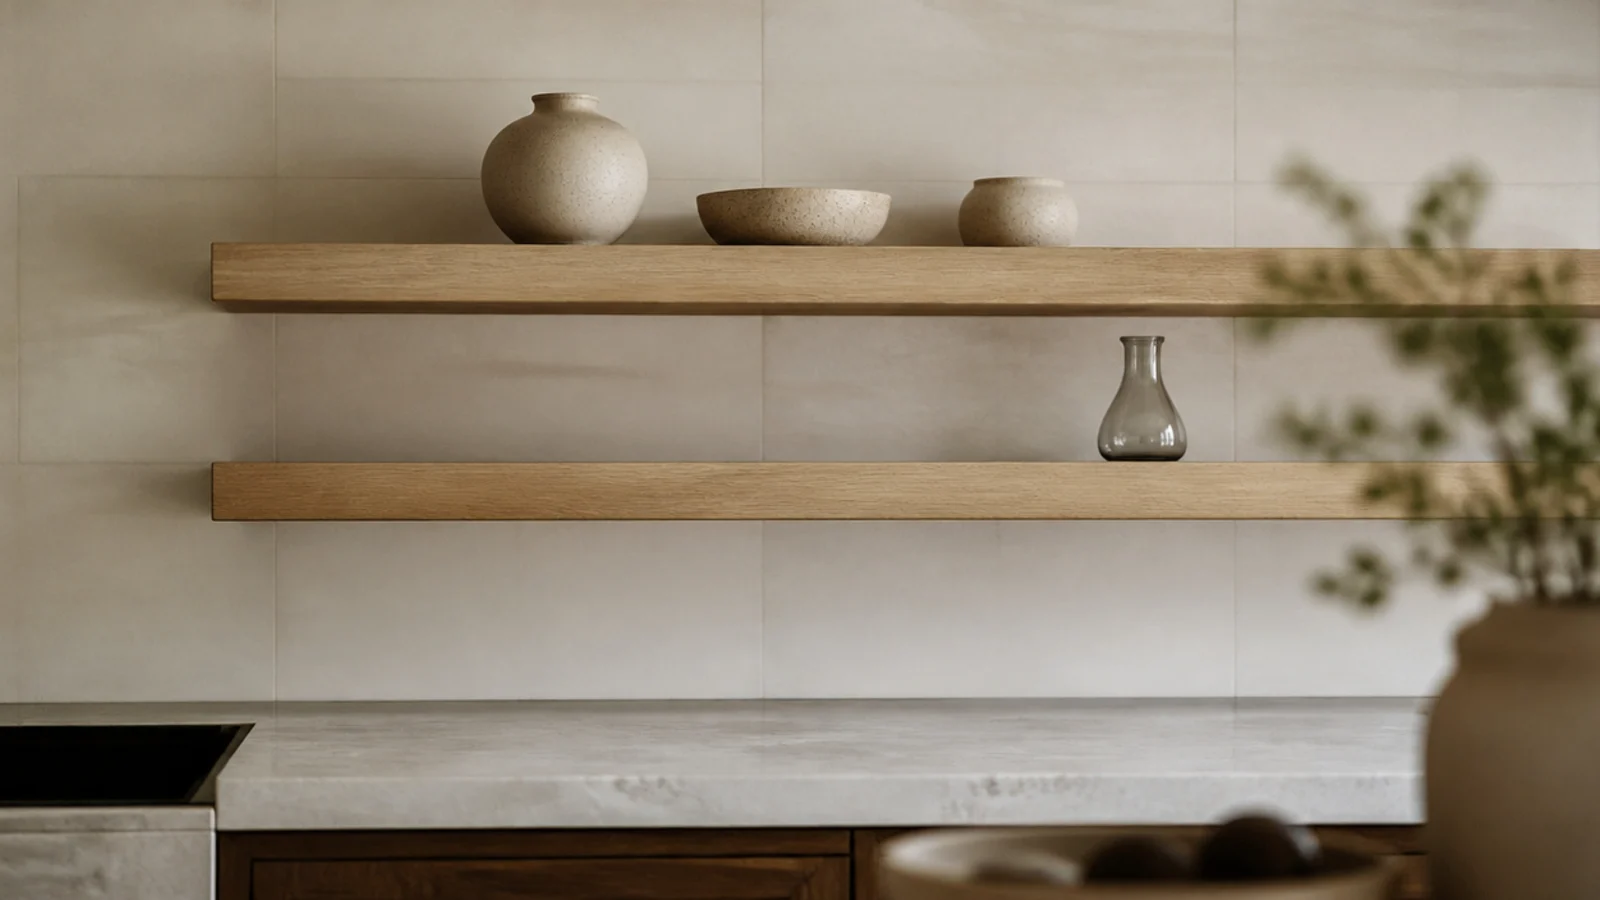
Oak or birch worktop at 1.25 inches thick reads substantial and costs $60 to $150 for a typical run. Overhang the cabinet fronts by three-quarters of an inch so the edge throws a shadow, and oil it twice before anything goes on top.
20. Vented doors for anything that runs hot
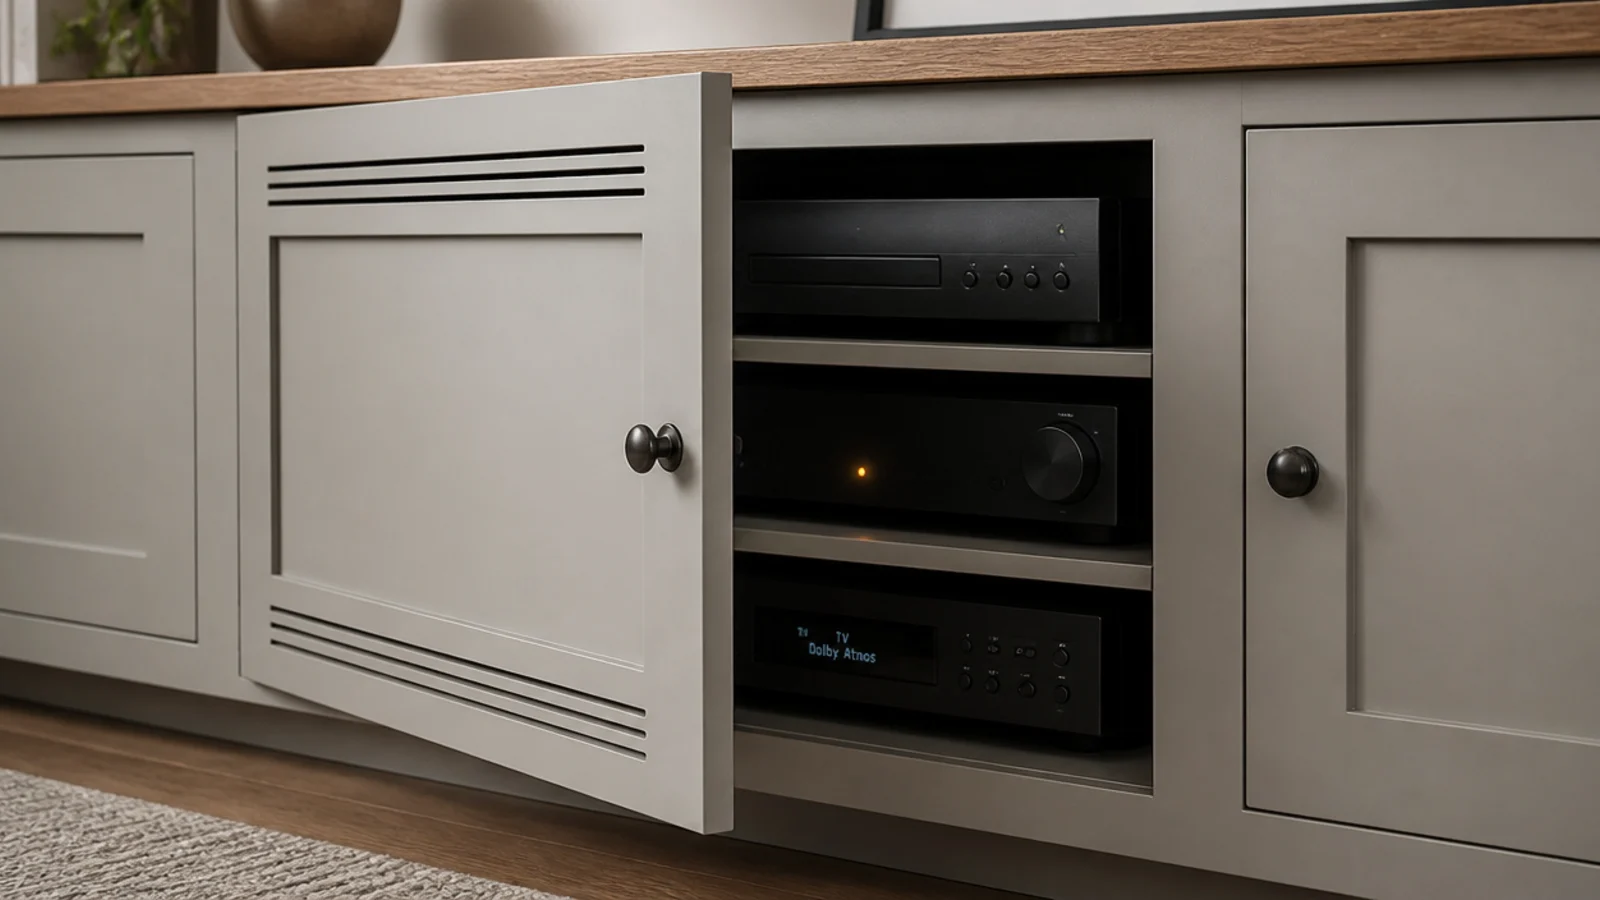
Media gear inside a sealed cabinet cooks itself. Give it airflow.
Slots cut into the top and bottom rails of a door create a convection path, and a cane or fabric panel does the same job more decoratively. Leave at least two inches of clear air above any component, and drill a two-inch hole through the back panel while you are at it.
21. Pull-out trays behind the doors
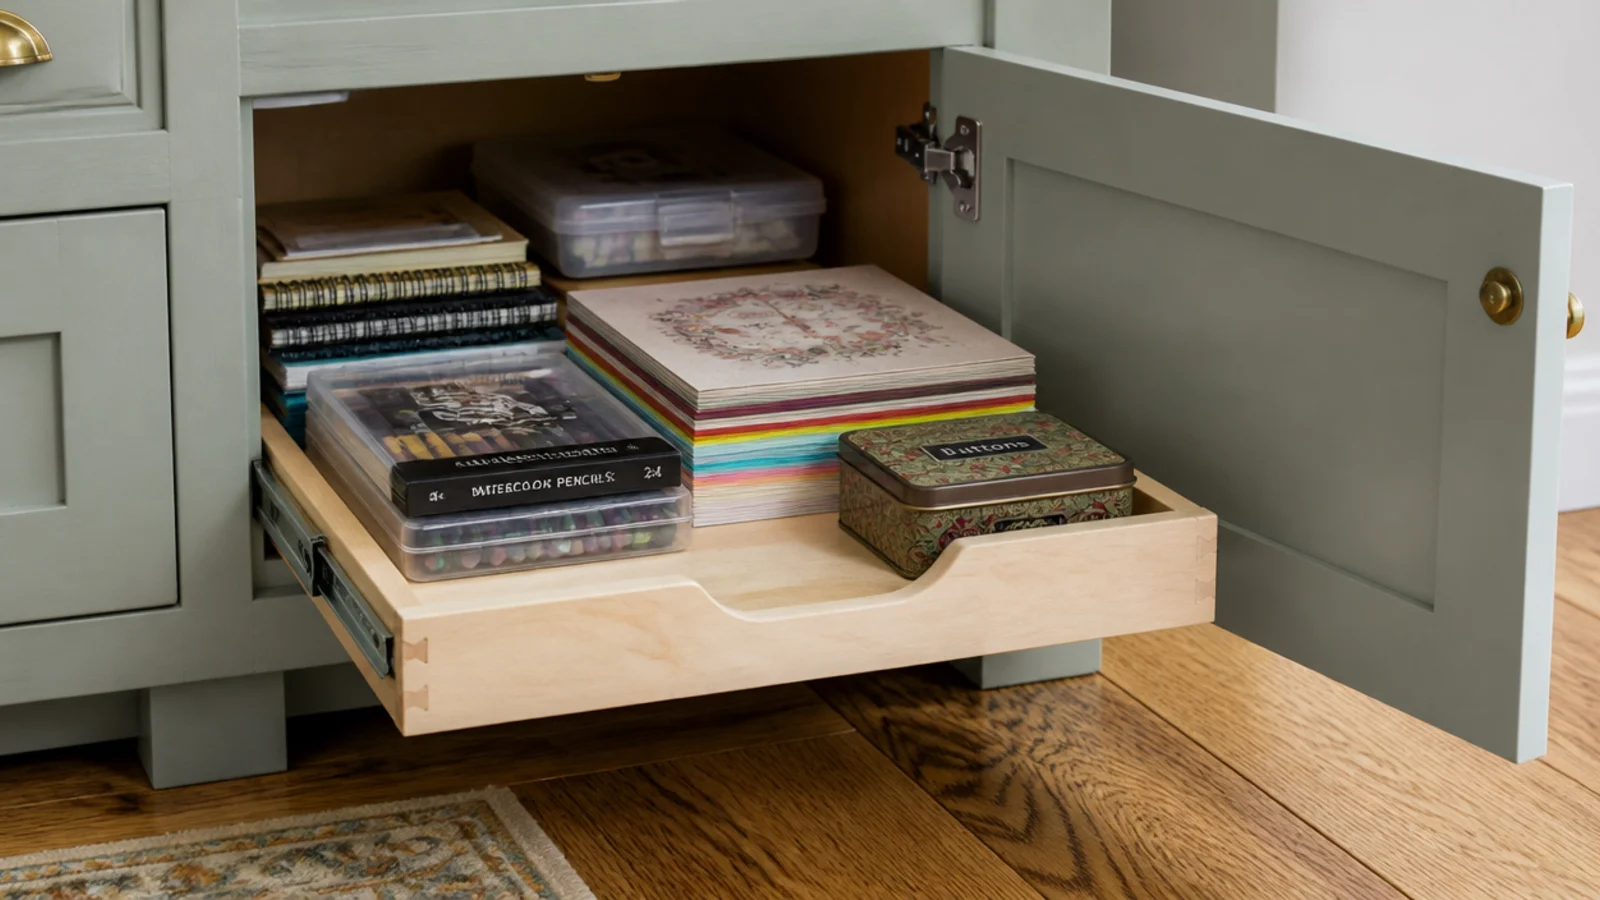
The back half of a deep cabinet is where things go to be forgotten. A pull-out tray fixes that permanently.
A simple plywood tray on side-mount runners costs about $30 a bay and doubles what you can actually use. Keep the tray sides low at two inches so you can see the contents from above without pulling it fully out.
22. Lighting inside the glass bays
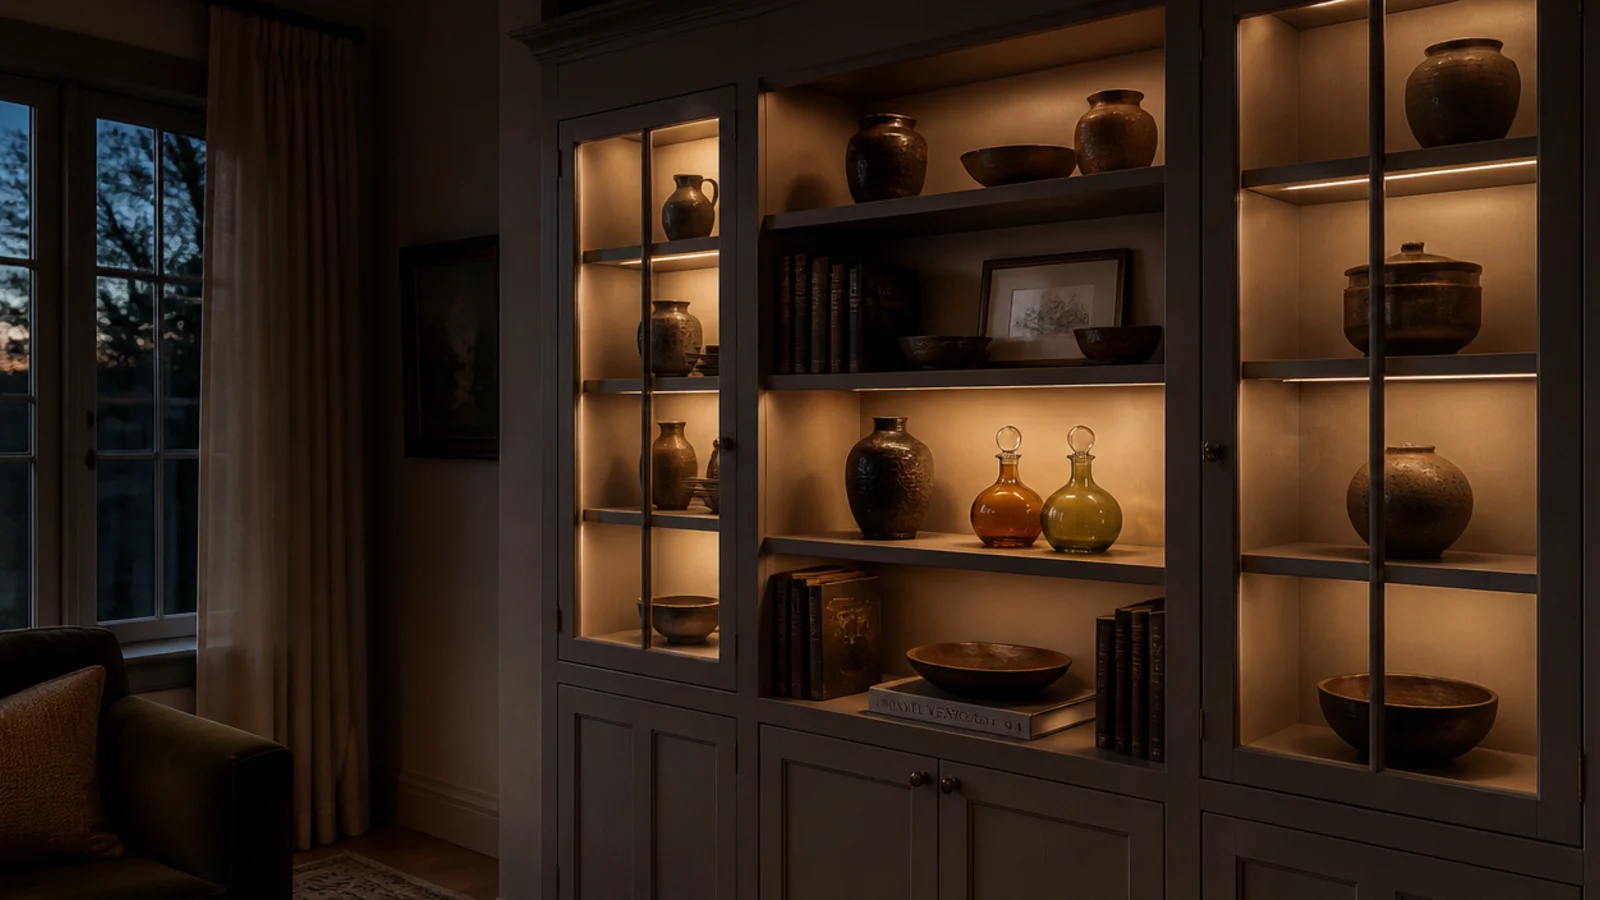
A glazed cabinet lit only by room light shows you a reflection of the room. Lit from inside, it shows you the contents.
Slim rechargeable strips or puck lights at 2700K, mounted at the front underside of each shelf, do this for $12 to $25 a bay. Aim the light down over the objects rather than out through the glass at the sofa.
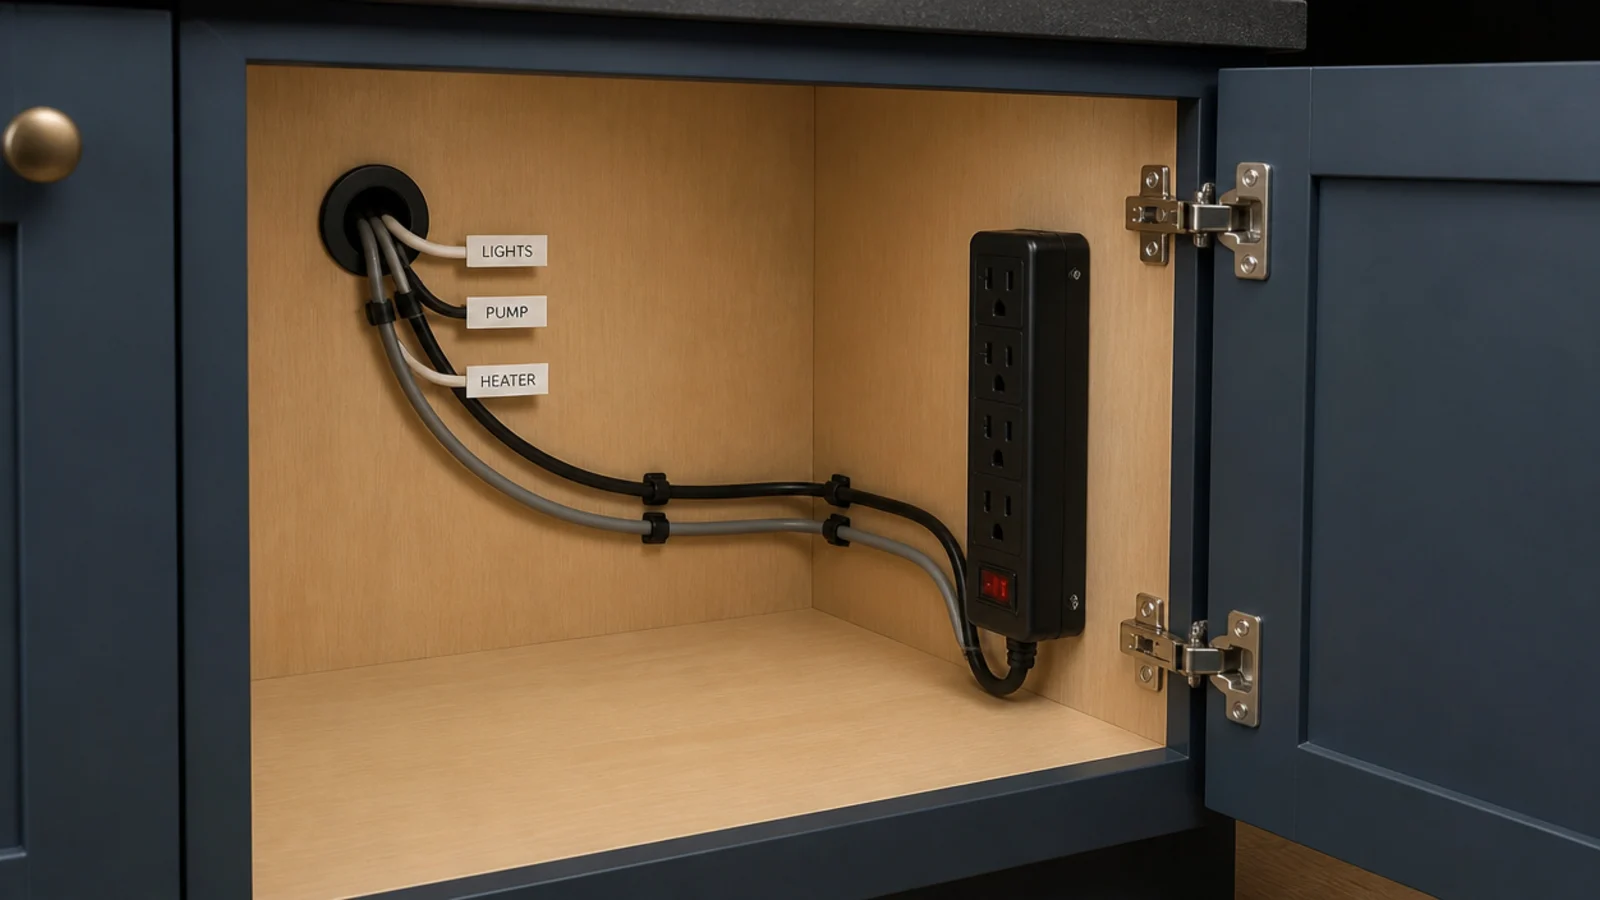
23. Cable management through the base
Drill one two-inch grommet hole through the back of each cabinet, plus a matching hole through any shelf a device sits on, and run everything down to a single power strip fixed inside the base.
Label both ends of every cable with masking tape before you push them through. Ten minutes of labelling saves an hour every time something needs unplugging.
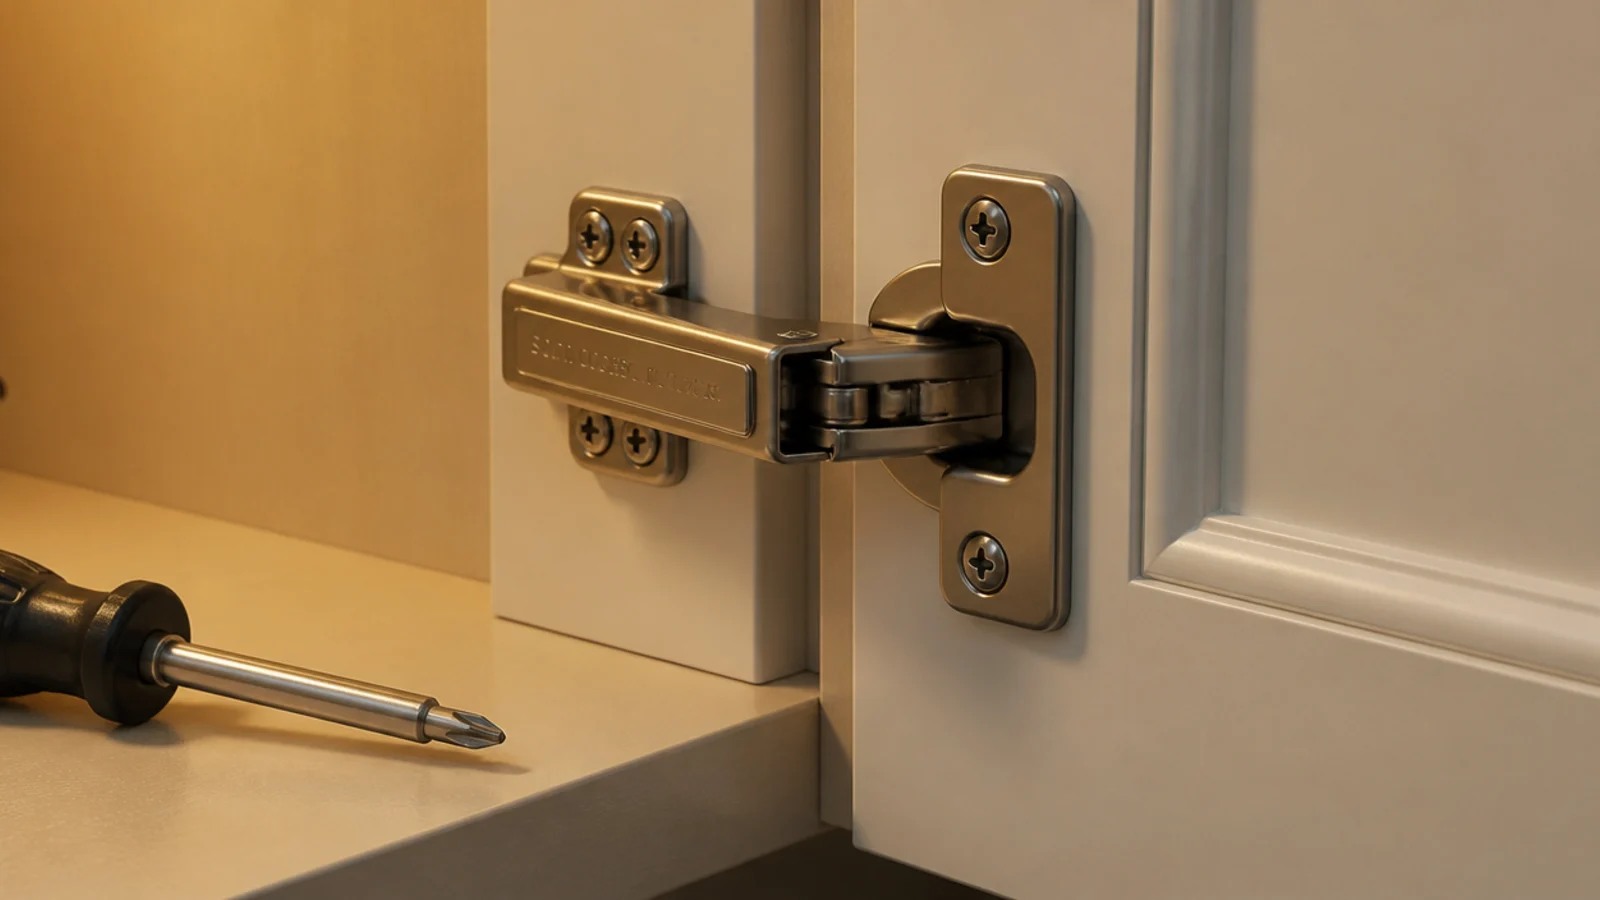
24. Soft-close hinges as a retrofit
If you built on flat-pack carcasses or reused old cabinets, swapping the hinges is the upgrade that makes them feel expensive.
Soft-close hinges cost $8 to $14 a pair and fit the same 35mm cup hole as standard ones, so it is a five-minute job per door. Adjust the door after fitting — the third screw on the hinge arm controls the in-and-out position most people never touch.
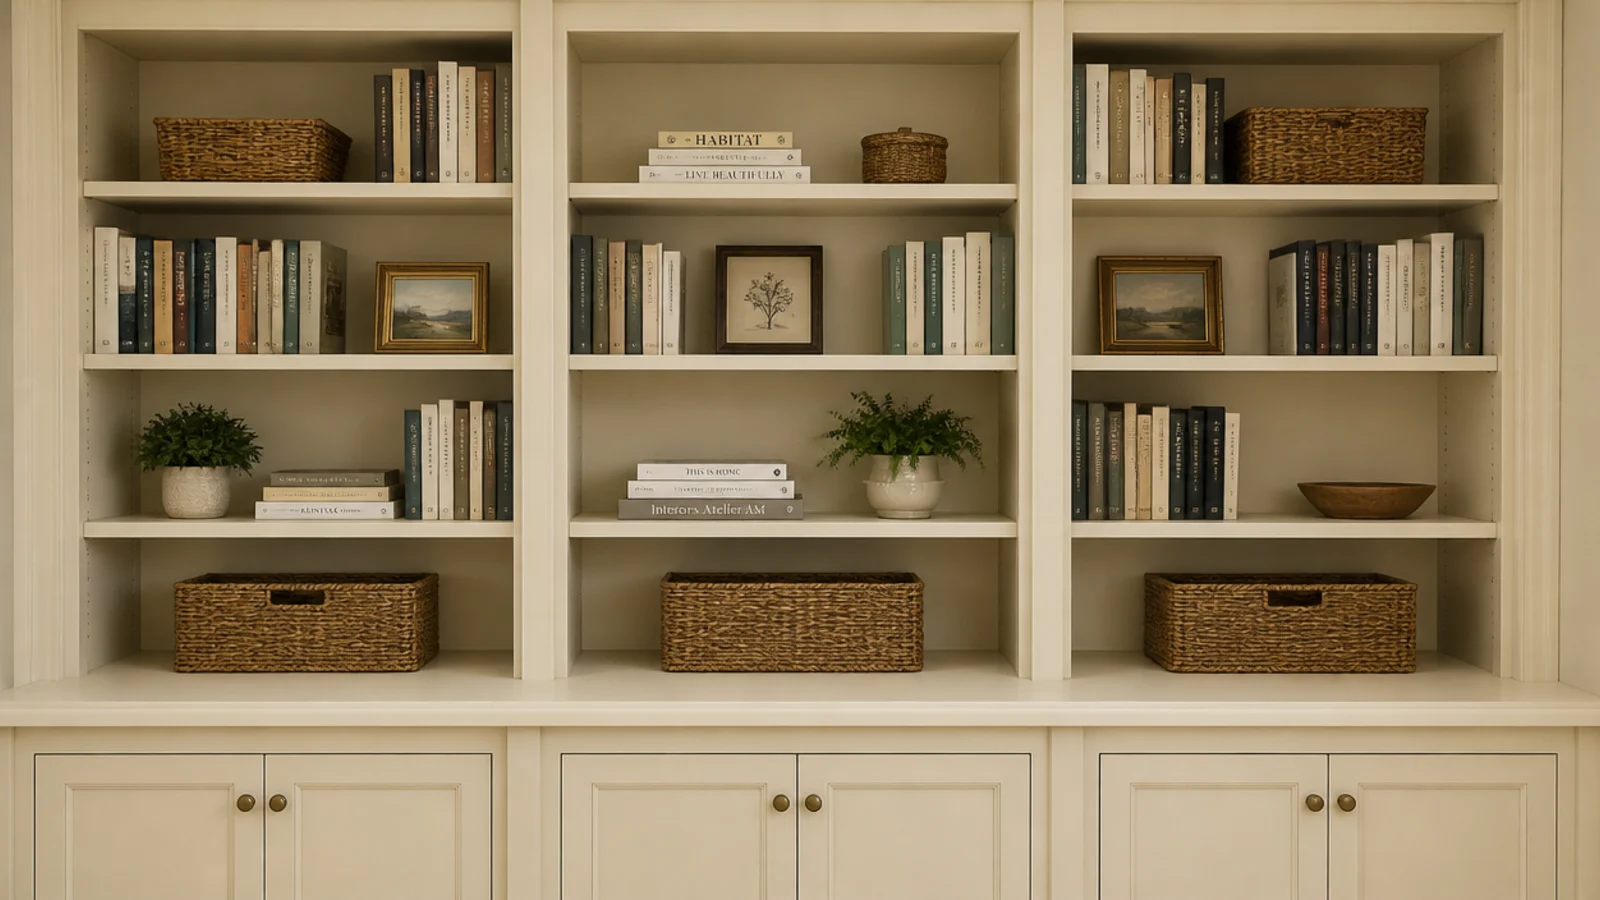
25. Adjustable uppers over a fixed base shelf
Keep one thick fixed shelf at counter height to hold the carcass square, then make everything above it adjustable on pins.
The fixed shelf does structural work, the adjustable ones adapt as your books and objects change. Set the pin holes 1.25 inches apart so you have real choice, and start the first bay at 13 inches of clear height. More on arranging them lives in built-in shelf styling.
Mistakes to Skip
- Building base cabinets shallower than 14 inches. Baskets, receivers and record crates all need that depth, and a 12-inch base quietly becomes storage for nothing but paperwork.
- Running doors all the way up the wall. A fully closed run reads as a wardrobe in a living room, and you lose every chance to show the things worth seeing.
- Choosing hardware last, after the paint is dry. Handle position affects rail widths and door reveals, and retrofitting cup pulls onto narrow rails leaves you drilling through a mitre.
Frequently asked questions
How deep should base cabinets be in living room built-ins?
Fourteen to sixteen inches, which swallows baskets, board games, a receiver or a record crate. The open shelves above want to be shallower at 11 to 12 inches so books sit flush at the front edge. That step back also keeps the top of the base cabinet usable as a surface rather than a ledge you knock things off.
Should living room built-ins have doors on the bottom?
Almost always. A run of entirely open shelving means every unattractive object you own is permanently on display, and living rooms accumulate cables, chargers and paperwork faster than any other room. Two to three feet of closed base storage under open uppers is the layout that keeps working after the first month.
What door style suits living room cabinets best?
Shaker is the safe answer because it reads correctly in almost any house, old or new. Slab fronts suit modern rooms and cost the least. Cane or fluted panels add texture where a run of solid doors would look heavy. Glass fronts belong on uppers holding things you actually want visible.
How much do built-ins with cabinets cost?
A single base cabinet with open shelves above runs $250 to $400 in materials. A flanking pair with doors below runs $700 to $1,200. A full wall with a counter, doors and lighting runs $1,500 and up. Using stock kitchen base cabinets as the carcass typically saves 30 to 40 percent over building boxes.
Can built-in cabinets sit next to a fireplace?
Yes, with clearance. Keep combustible material at least 6 inches from the firebox opening, and follow the clearance label on the appliance if you have an insert or a stove, because that label overrides any general rule. Set the cabinet faces back from the mantel line so the fireplace keeps reading as the focal point.
How do I hide TV cables in built-in cabinets?
Drill a two-inch hole through the back panel of each cabinet and a matching one through the shelf above, then run everything down into the base where a power strip lives. Add a vented door or a slotted back for anything that generates heat. Label both ends of every cable before you push it through.
Start by measuring the deepest object you own and the wall you actually walk past, then draw the base cabinets first and let the shelves follow. If the budget is tight, budget built-in shelves has the cheaper route to the same layout, modern built-in shelves covers slab fronts and minimal detailing, and kitchen shelves instead of cabinets argues the opposite case well. Save the pin so the depths are with you when you draw it up.
Want more like this? Browse all 15 living room built-in shelves guides — they all use the same measurements and budget tiers.
Pin it for later
Save this to your Living Room Built-In Shelves board
Pin it now so it is waiting for you when the tape measure comes out — and so the next person hunting for this idea can find it too.
Save this pinKeep going
More ideas worth saving while you have the tape measure out.