Living Room Built-In Shelves · Listicle
25 Budget-Friendly Living Room Built-Ins Ideas for Small Spaces

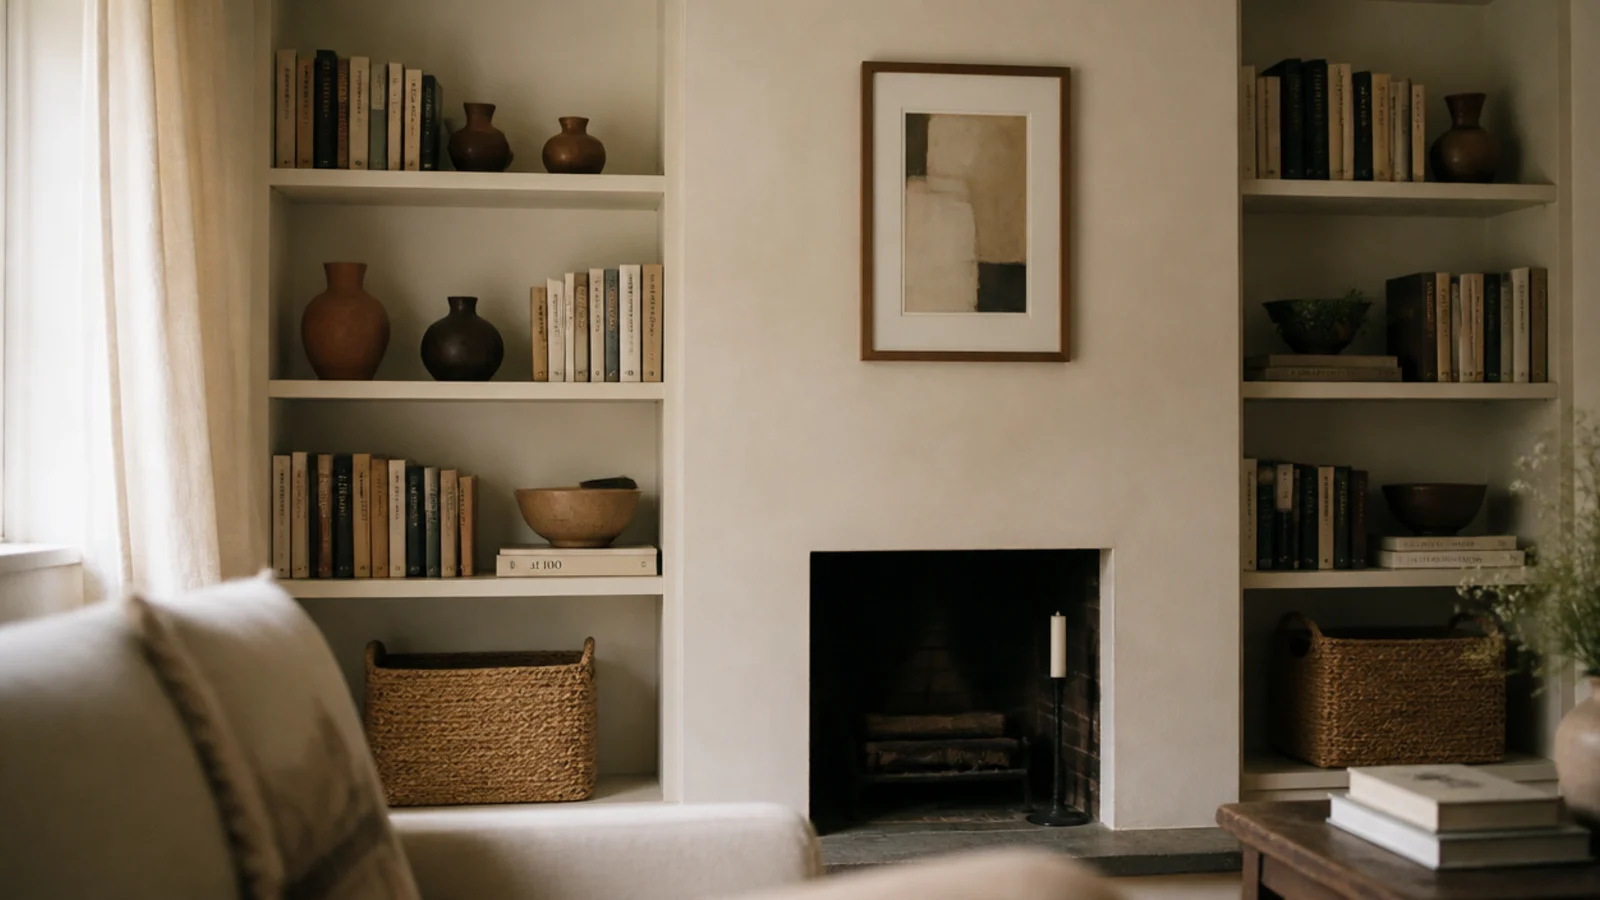
Built-ins around a fireplace are the highest-return carpentry in a small living room, because the alcoves either side of a chimney breast are dead space with three walls already built for you. I trimmed bookcases into a rental alcove for under $300, then built a proper pair in a house, and the cheap version was the one people asked about. Here are twenty-five ways to do it without spending five figures.
In this guide27 sections — tap to openHide
- 1.What built-ins around a fireplace really cost in a small room
- 2.The matched alcove pair
- 3.Shallow ten-inch flanks when the alcoves are tiny
- 4.Closed cabinets below, open shelves above
- 5.Two stock bookcases, trimmed in
- 6.A single-sided built-in for an off-center chimney
- 7.Floor-to-ceiling on both sides to lift a low ceiling
- 8.A hearth-height bench linking both sides
- 9.A screen in one alcove instead of over the mantel
- 10.Paint the brick, the shelves and the wall one color
- 11.Line one shelf up with the mantel
- 12.Respect the six-inch clearance zone
- 13.A thick floating mantel instead of a full build
- 14.Slim vertical bays for a narrow chimney breast
- 15.Doors on the bottom third
- 16.A log store built into the base
- 17.Picture lights over both alcoves
- 18.Painted back panels inside the bays
- 19.A beadboard back for a cottage room
- 20.Baskets cut to the alcove width
- 21.An arched opening in the top bay
- 22.Glass on one bay only
- 23.A mirror in one alcove bay
- 24.A shallow return across the chimney breast
- 25.Hide the media box and every cable
- 26.The renter version, anchored and reversible
- 27.Mistakes to Skip
What built-ins around a fireplace really cost in a small room
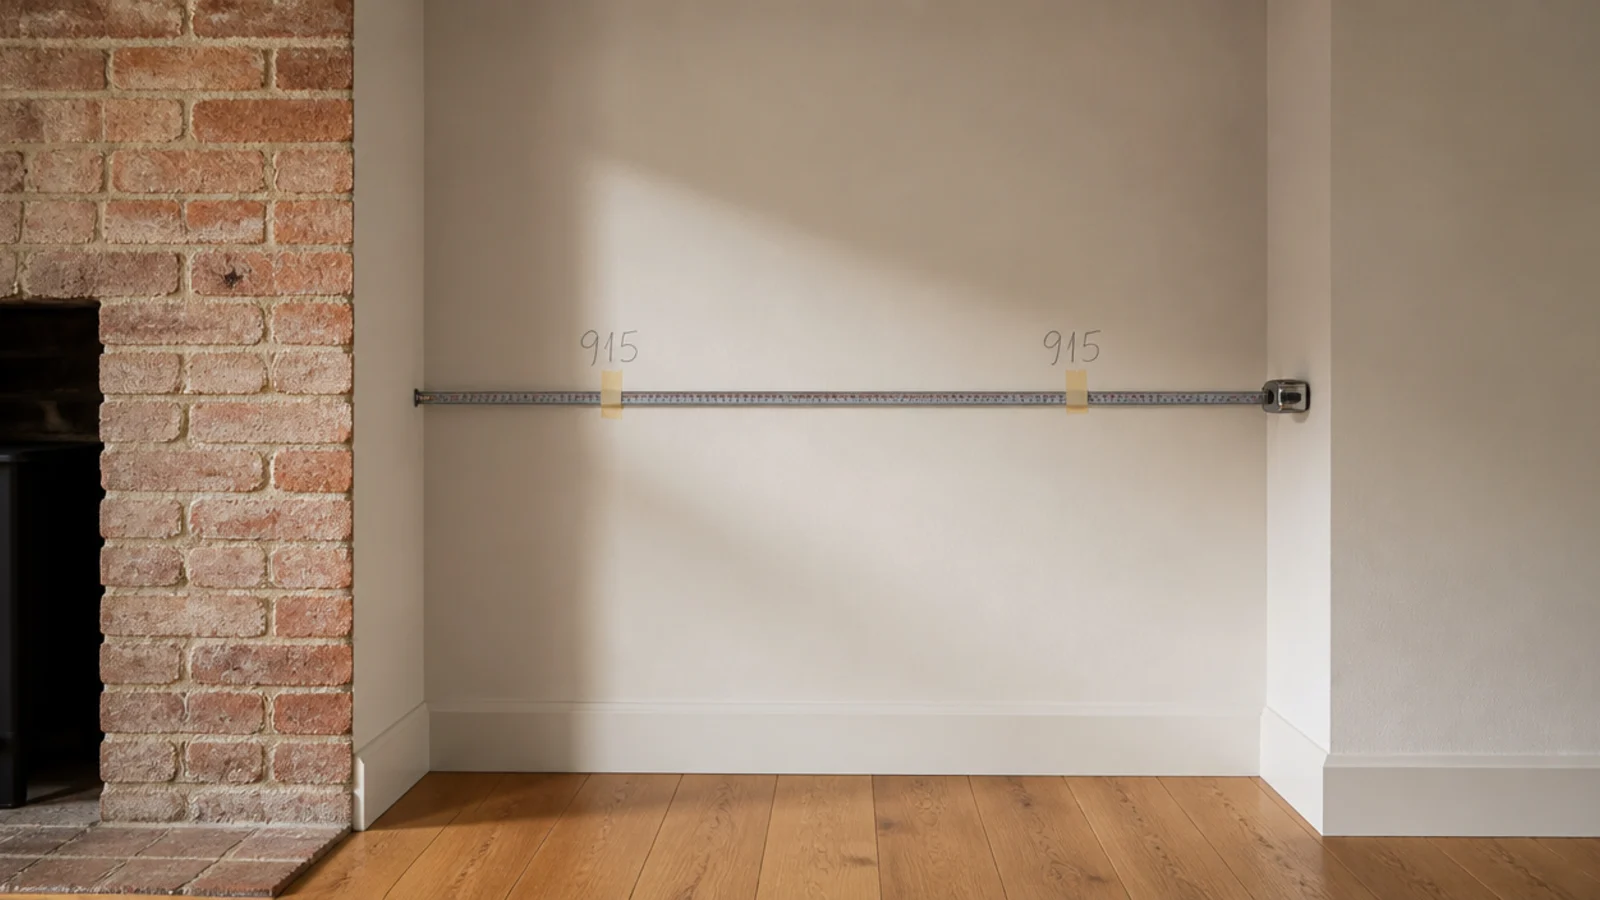
Measure both alcoves separately, at floor level, at 40 inches and near the ceiling. They are almost never the same width, and in older houses they can differ by an inch. Most run 24 to 40 inches wide, which is convenient: that sits inside the 32-inch span limit where a 3/4-inch plywood shelf starts to sag under books.
Depth comes next. Eleven to twelve inches holds hardbacks properly. Fourteen to sixteen inches is only for baskets or media gear, and in a small room that depth belongs in the closed base rather than the open shelves. Ten inches is a legitimate choice when the alcoves are shallow to begin with.
Then the safety number that is not negotiable: keep combustible material at least 6 inches from the firebox opening, and follow the clearance label on the appliance, which overrides any general rule.
Budget tiers run $ at $150 to $400 per alcove to trim in stock bookcases, $$ at $500 to $1,200 in materials for a plywood pair with doors, and $$$ at $2,500 to $6,000 and up for a cabinetmaker to build and spray them.
1. The matched alcove pair
The default for a reason. Two identical units, same shelf heights, same paint, same styling weight on each side.
Your eye forgives a two-inch width difference between alcoves without noticing, but it catches a shelf that sits an inch higher on one side instantly. Set your shelf heights with a laser or a long level running across the chimney breast, not by measuring up from each floor separately — floors slope.
2. Shallow ten-inch flanks when the alcoves are tiny
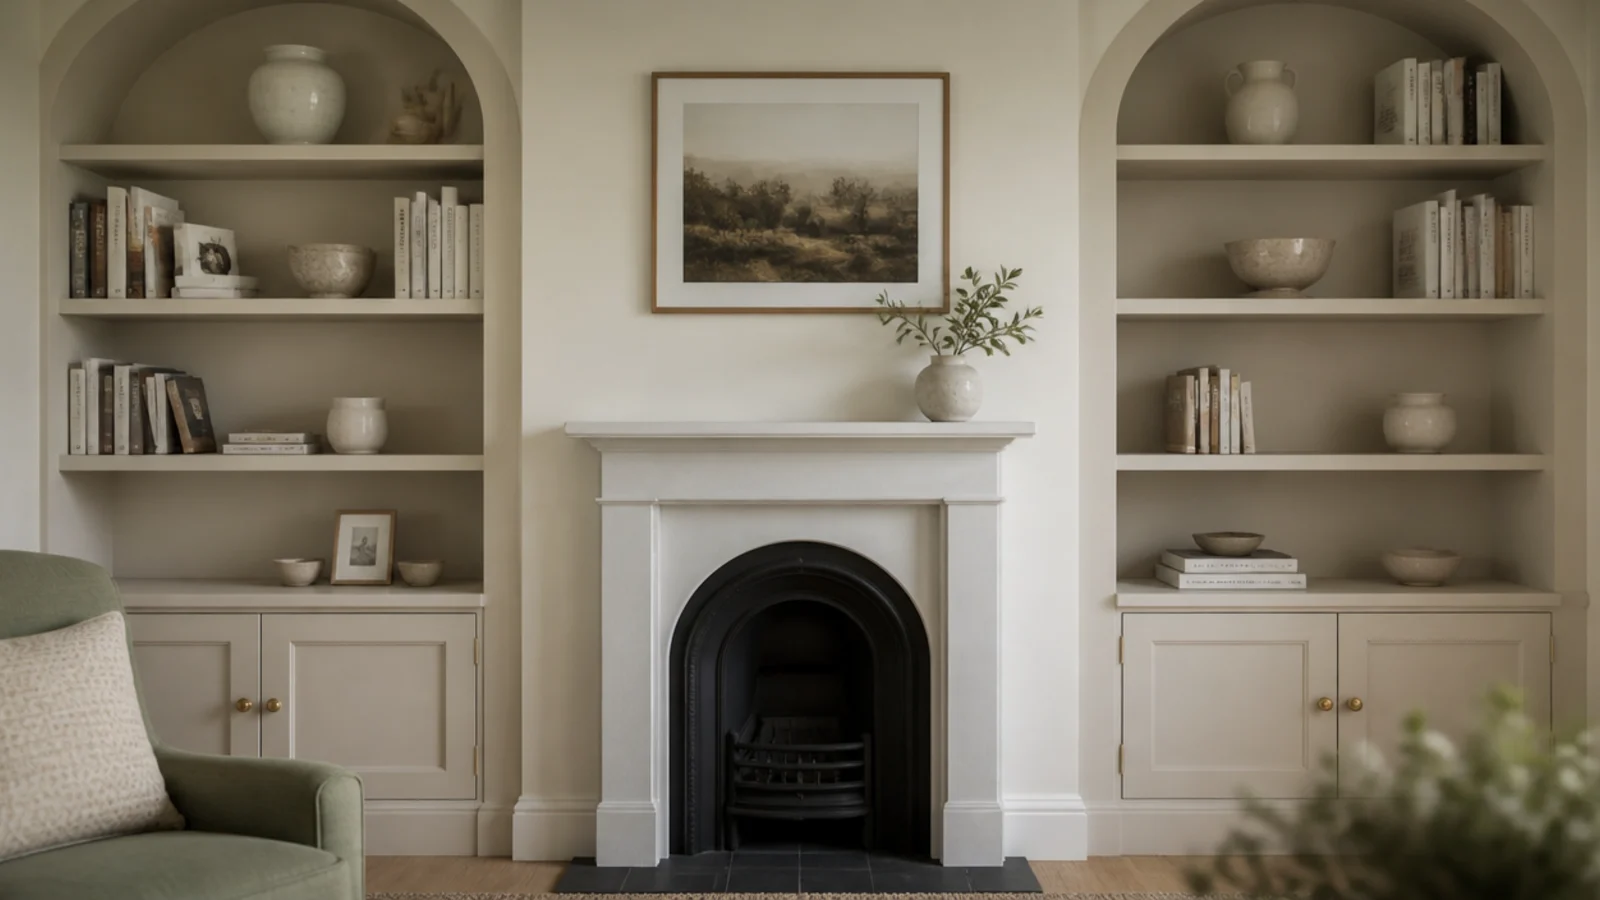
Old chimney breasts sometimes leave alcoves only 9 or 10 inches deep. Build to the depth you have rather than boxing forward into the room.
Ten inches still takes paperbacks, most hardbacks and small pottery, and it keeps the walkway past the fireplace intact. A shallow run painted the wall color practically disappears, which is exactly what you want in a room under 12 feet wide.
3. Closed cabinets below, open shelves above
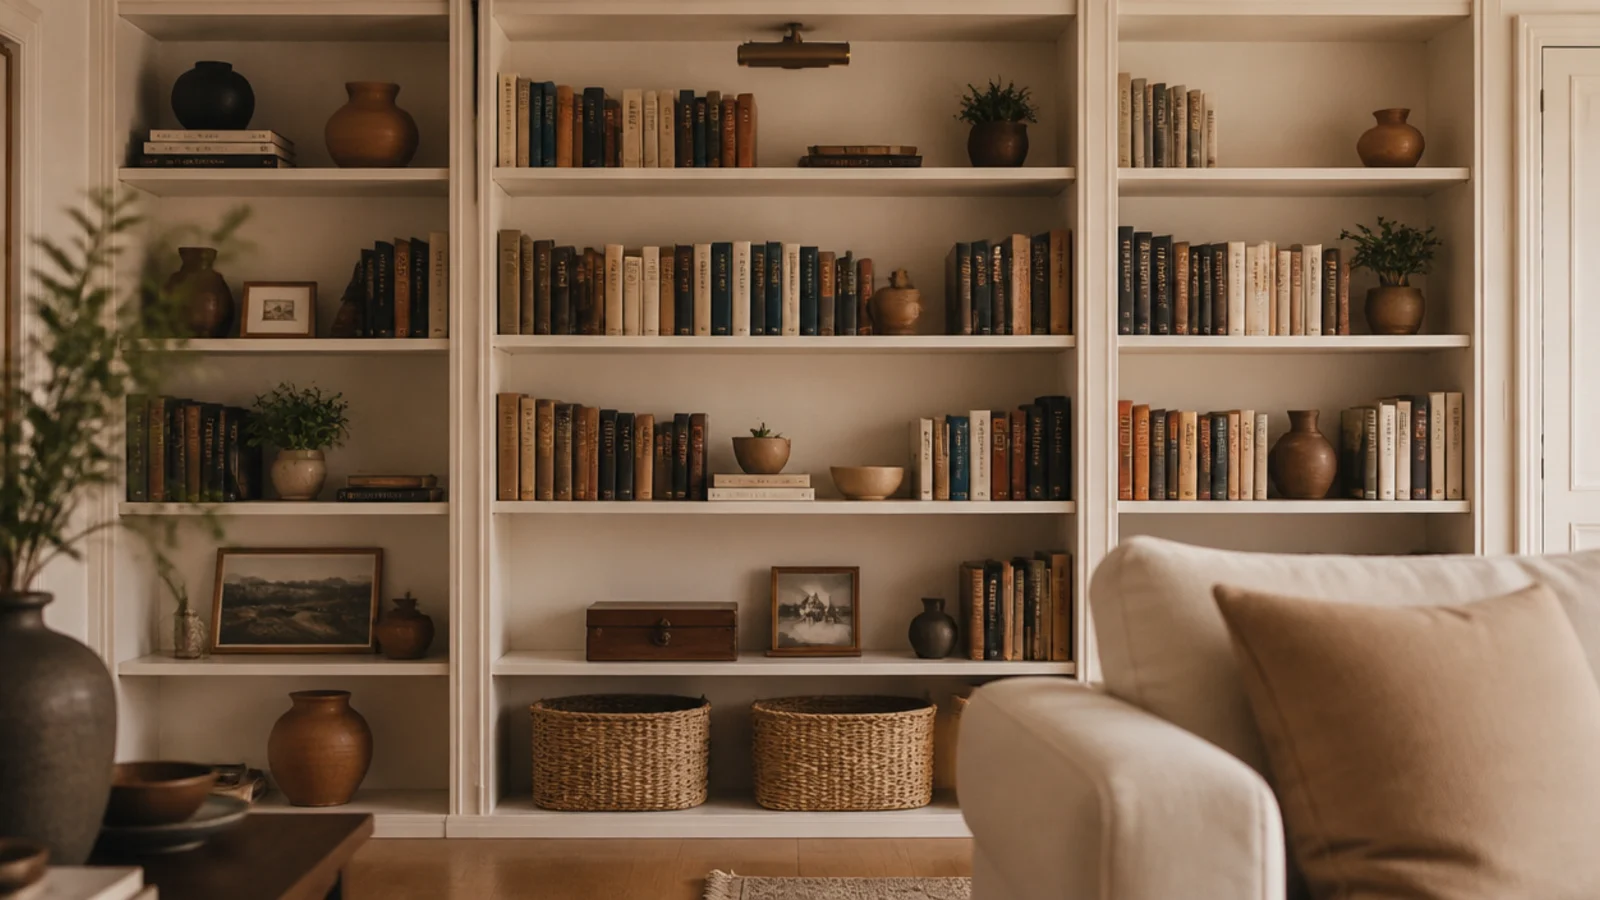
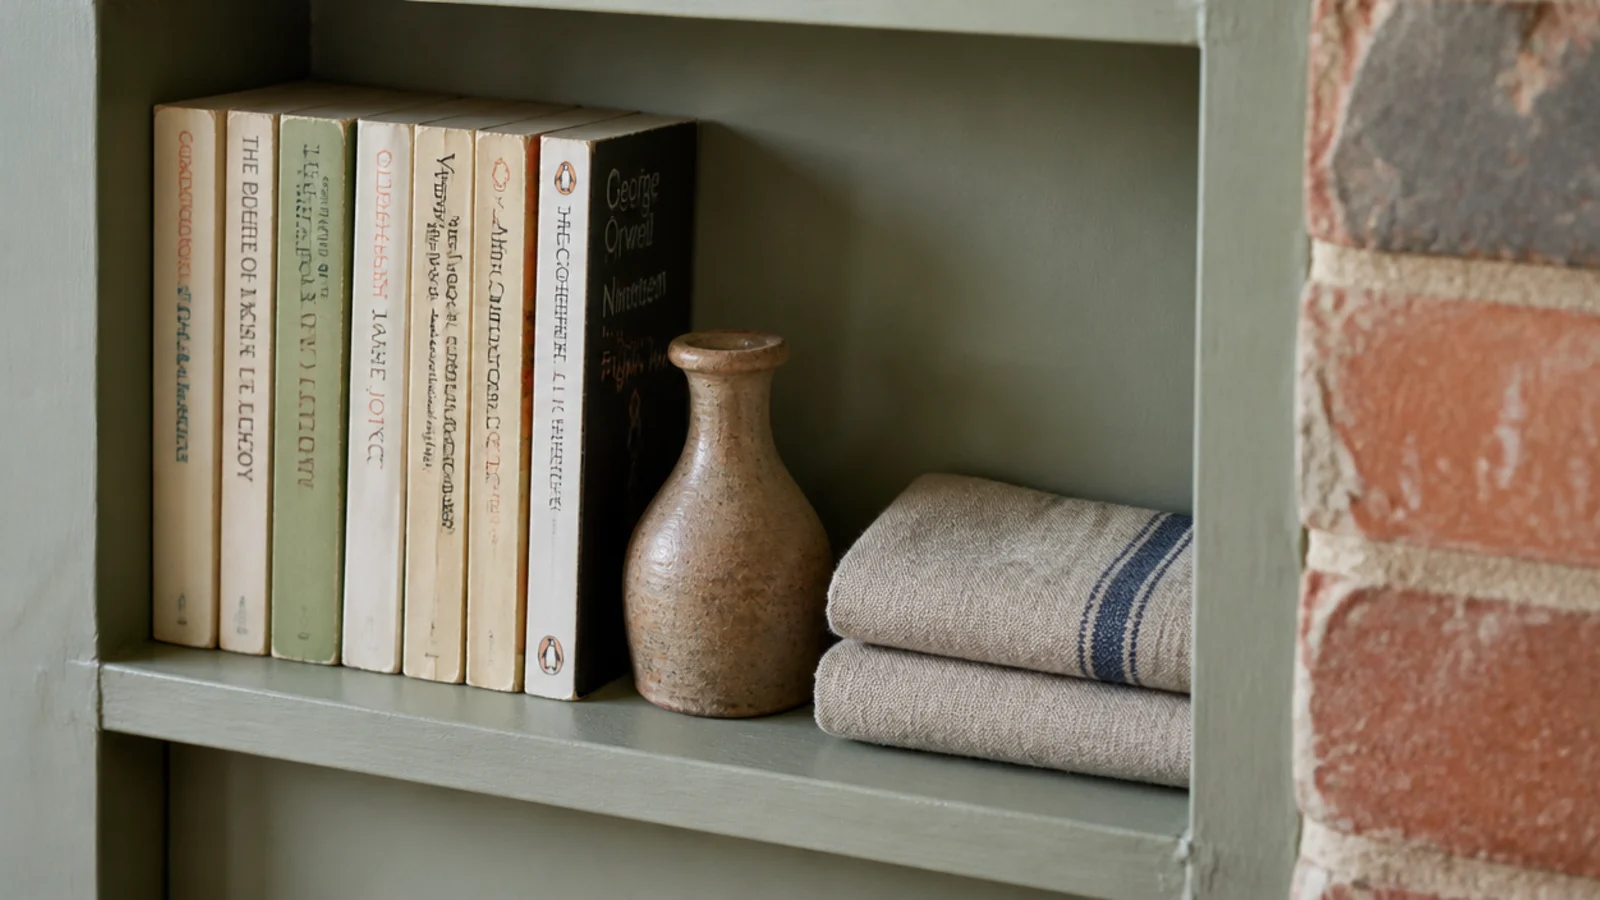
The ratio that makes a small room calm: closed storage for the lower 30 inches, open shelves above.
Everything visually noisy lives behind a door, and the part you actually see stays sparse. Base cabinets want 15 to 16 inches of depth if the alcove allows it; the open shelves above step back to 11. Budget tier $$, and the doors are the single biggest cost after sheet goods.
4. Two stock bookcases, trimmed in
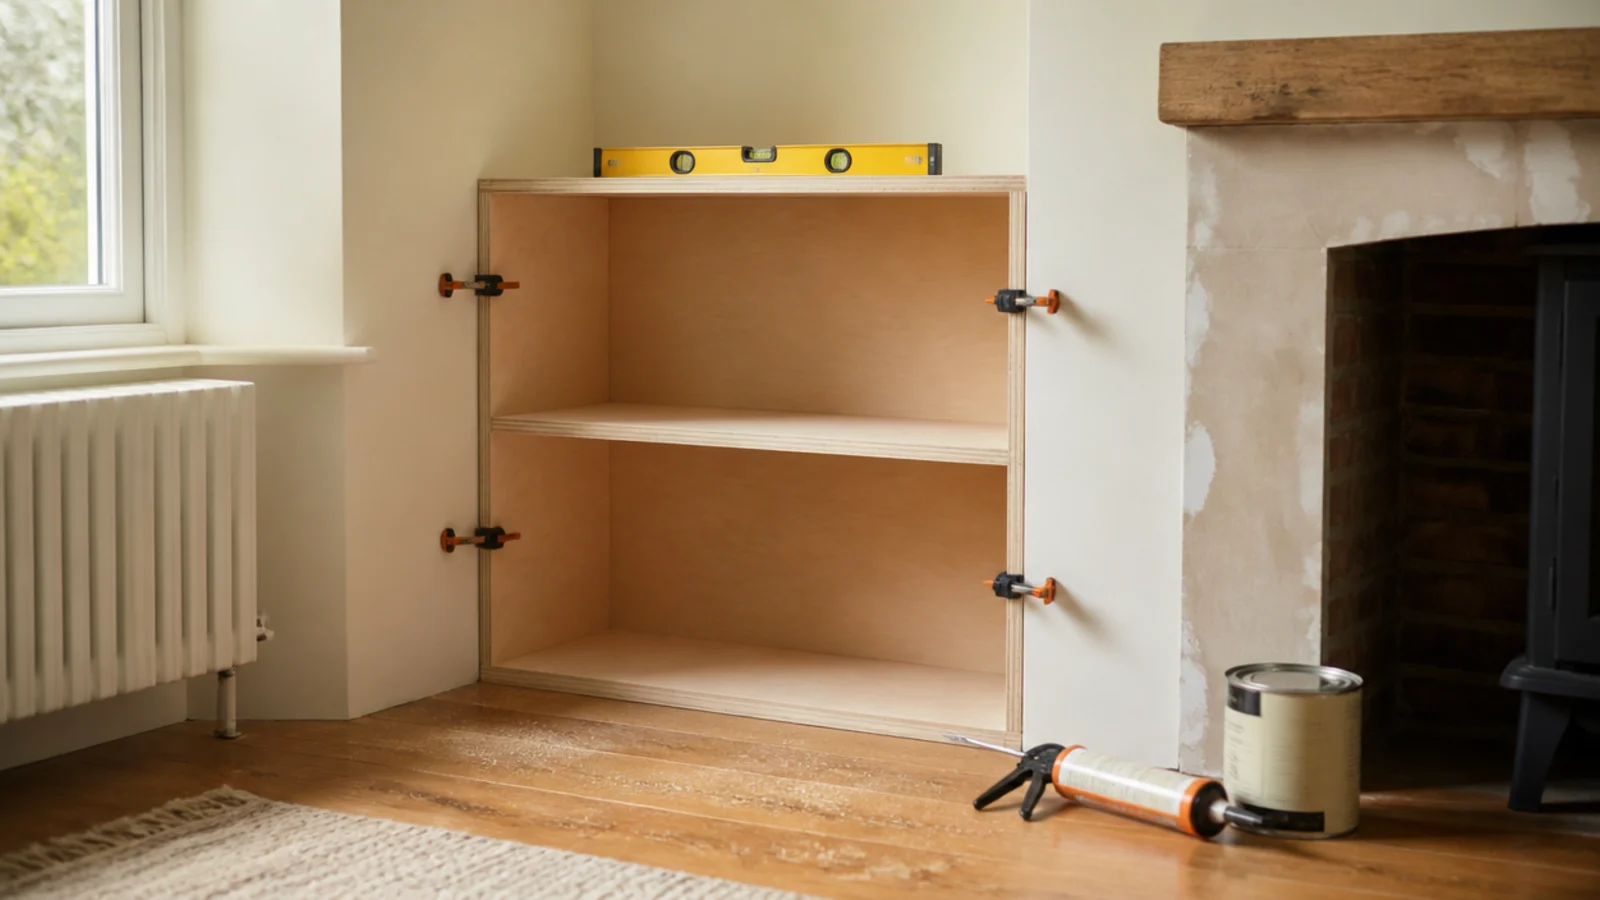
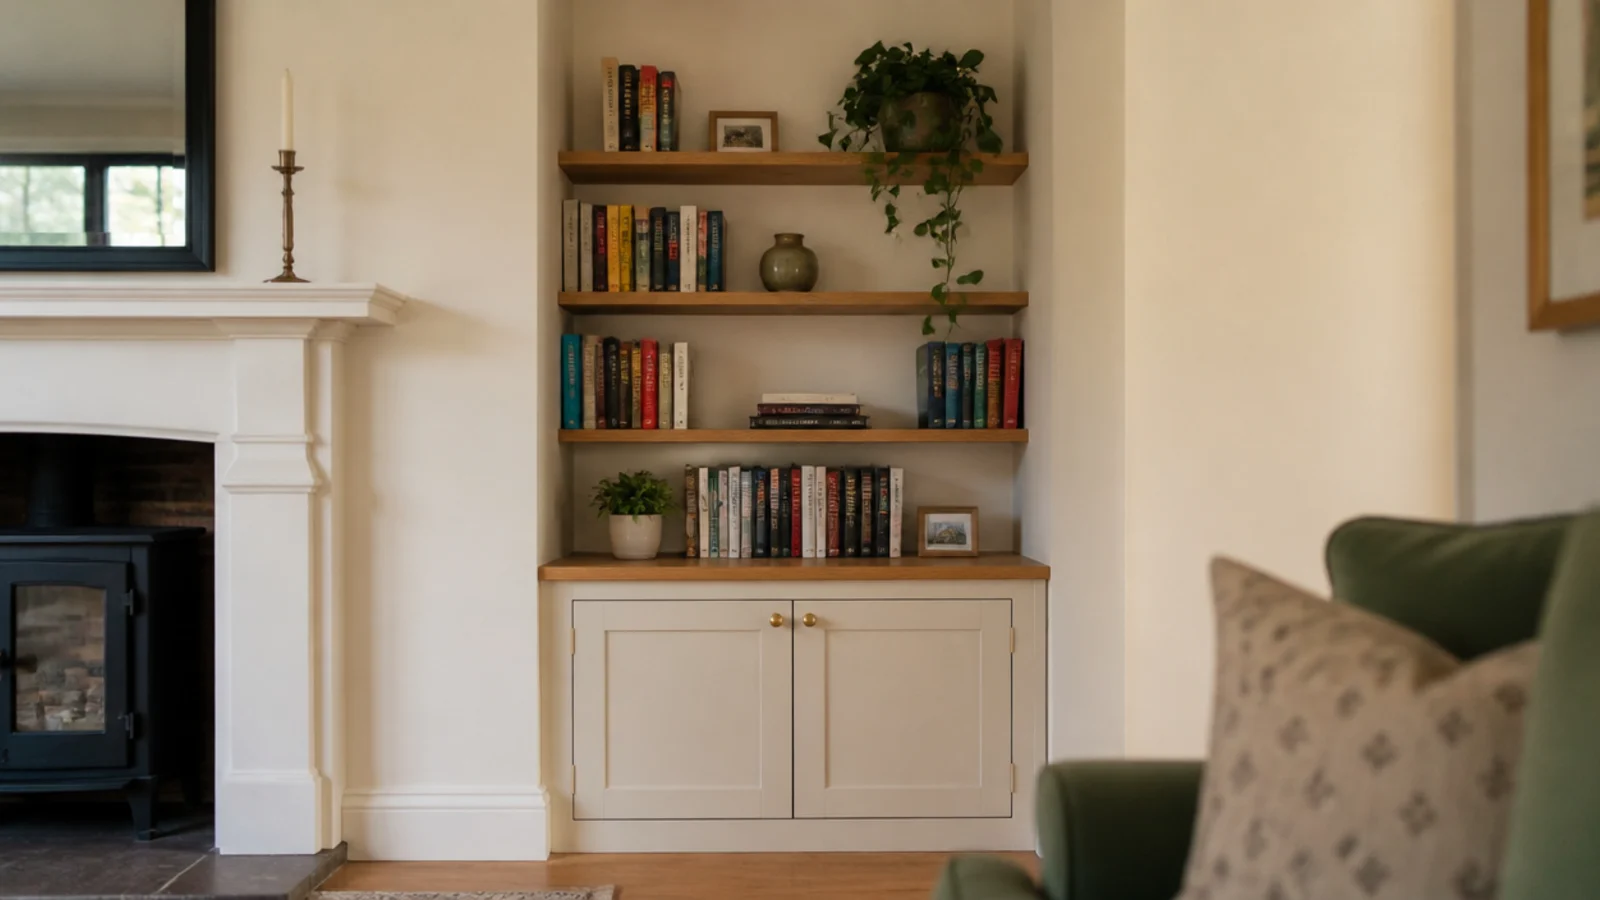
The cheapest convincing version. Push a stock bookcase into each alcove, run the room baseboard across the fronts, add a scribed filler strip where each unit meets the wall, and caulk.
Total spend lands around $150 to $400 per side including trim and paint. Paint the bookcases and the trim the same color as the walls and, from the sofa, the join genuinely disappears.
5. A single-sided built-in for an off-center chimney
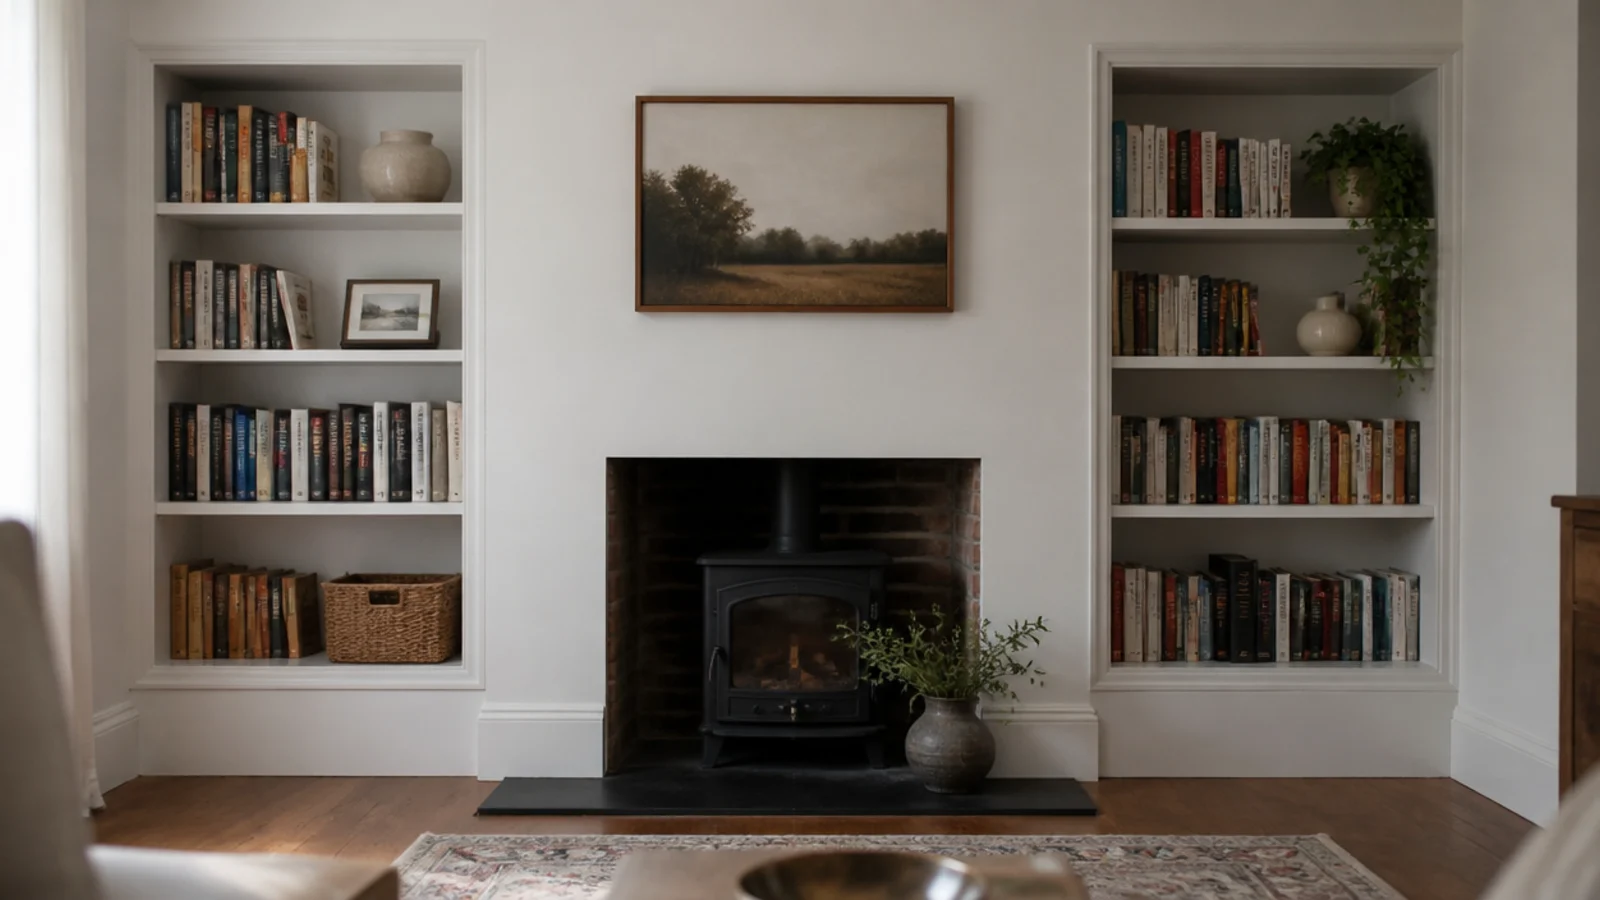
Some chimney breasts sit off-center, leaving one usable alcove and one that is 14 inches wide.
Fit the wide side properly and leave the narrow one bare with a single leaning artwork or a floor plant. A cramped unit shoved into a too-narrow alcove looks worse than an empty wall, and you save half the budget for the side that earns it.
6. Floor-to-ceiling on both sides to lift a low ceiling
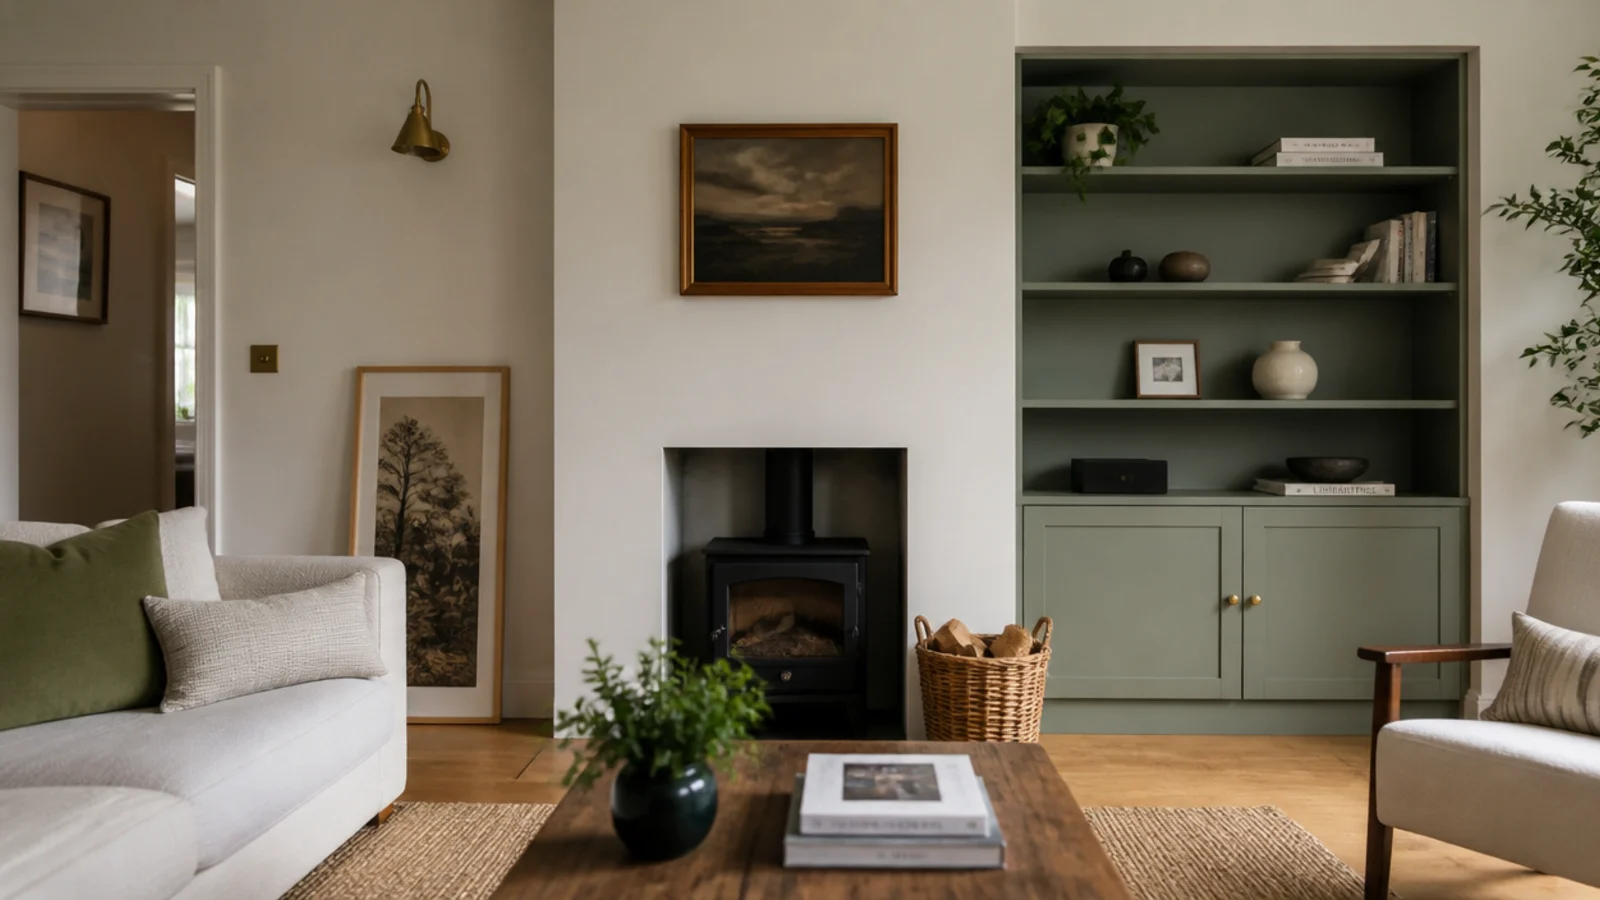
Stopping shelving at 6 feet in a room with an 8-foot ceiling leaves a stripe of dead wall that makes the room feel shorter.
Run the bays to the ceiling and close the gap with a flat band or a small crown. Your eye travels the full height and reads the room as taller. Keep the top bay light — dark spines up high push a low ceiling back down.
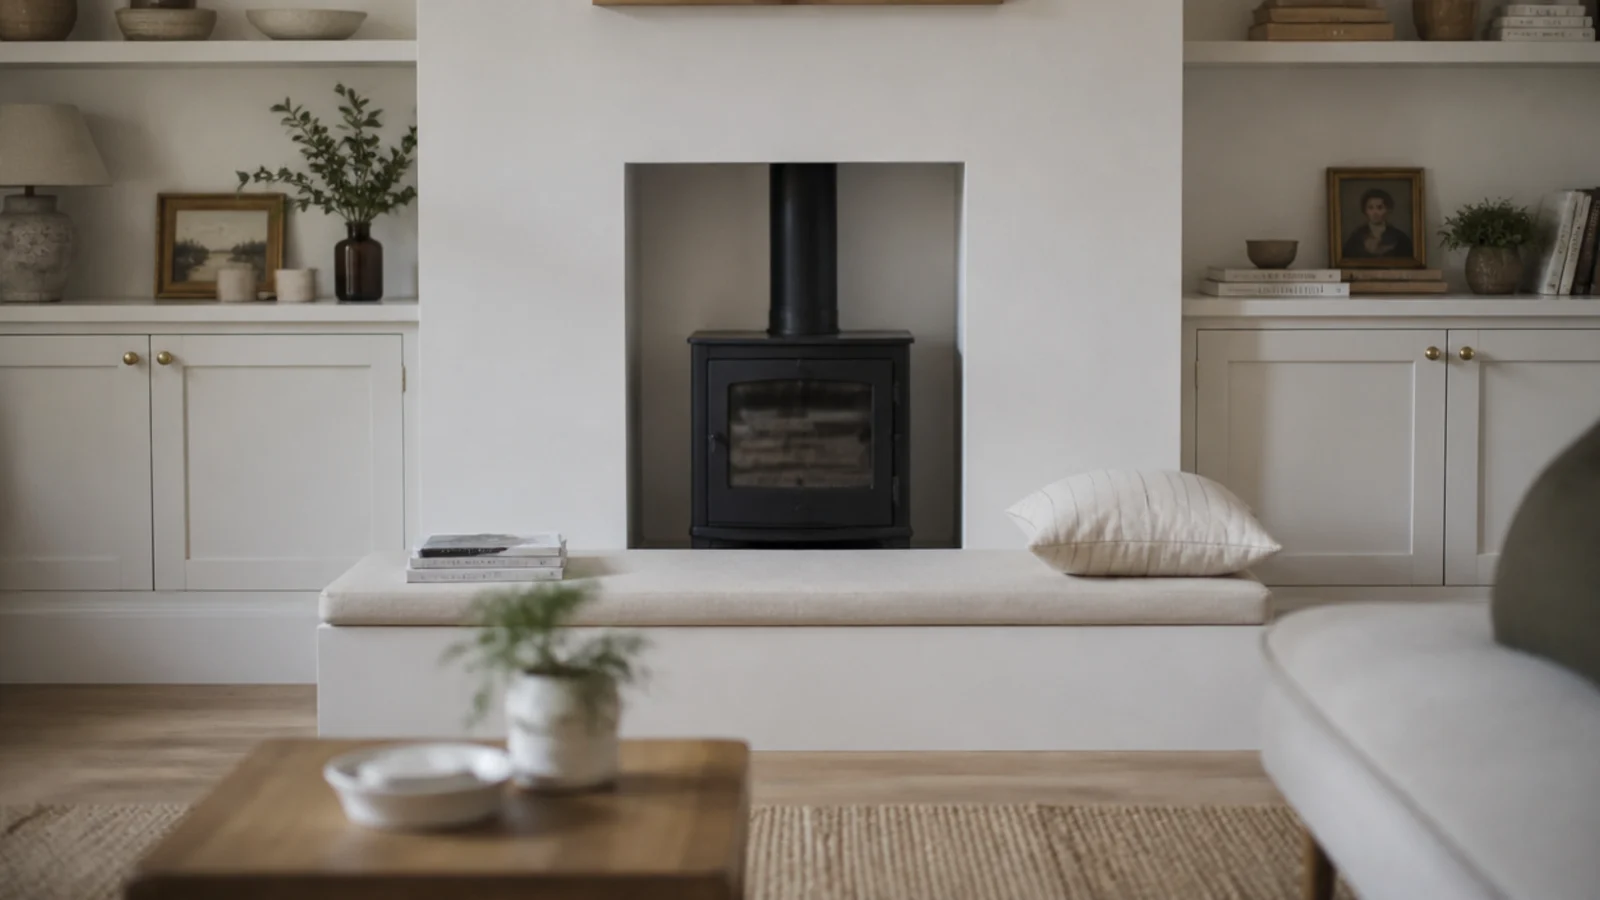
7. A hearth-height bench linking both sides
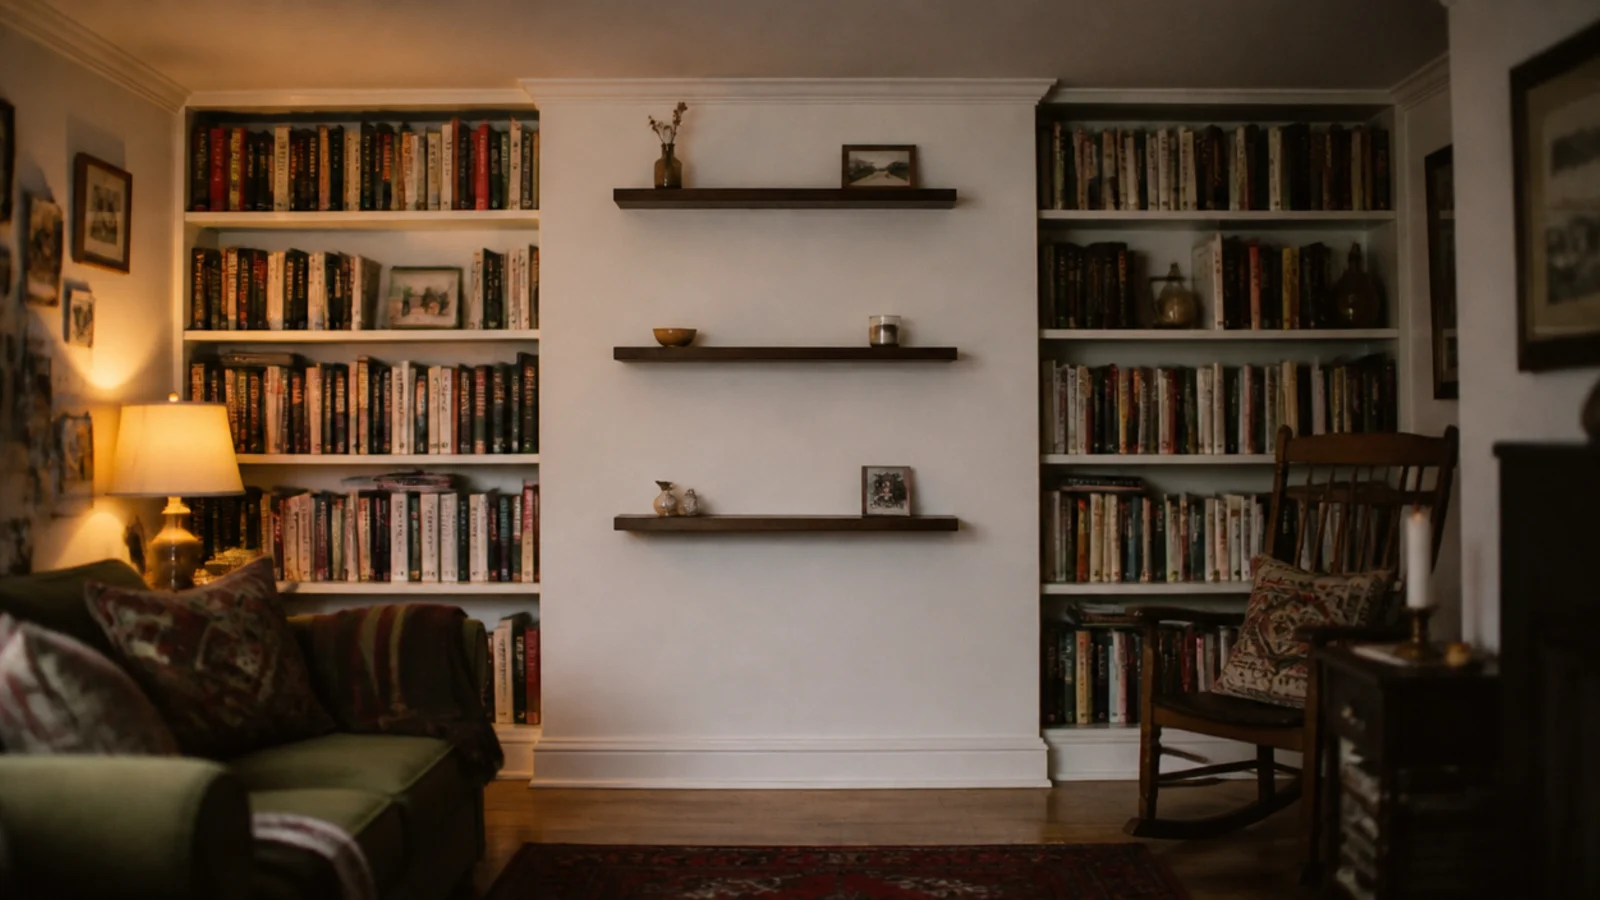
A low run across the front of the chimney breast, level with the base cabinets either side, ties the whole wall into one piece of joinery.
Build it 18 inches high with a cushion for extra seating, or 16 inches as a plain ledge. Keep the front face at least 6 inches clear of the firebox opening, and use a non-combustible top if it sits close to the hearth.
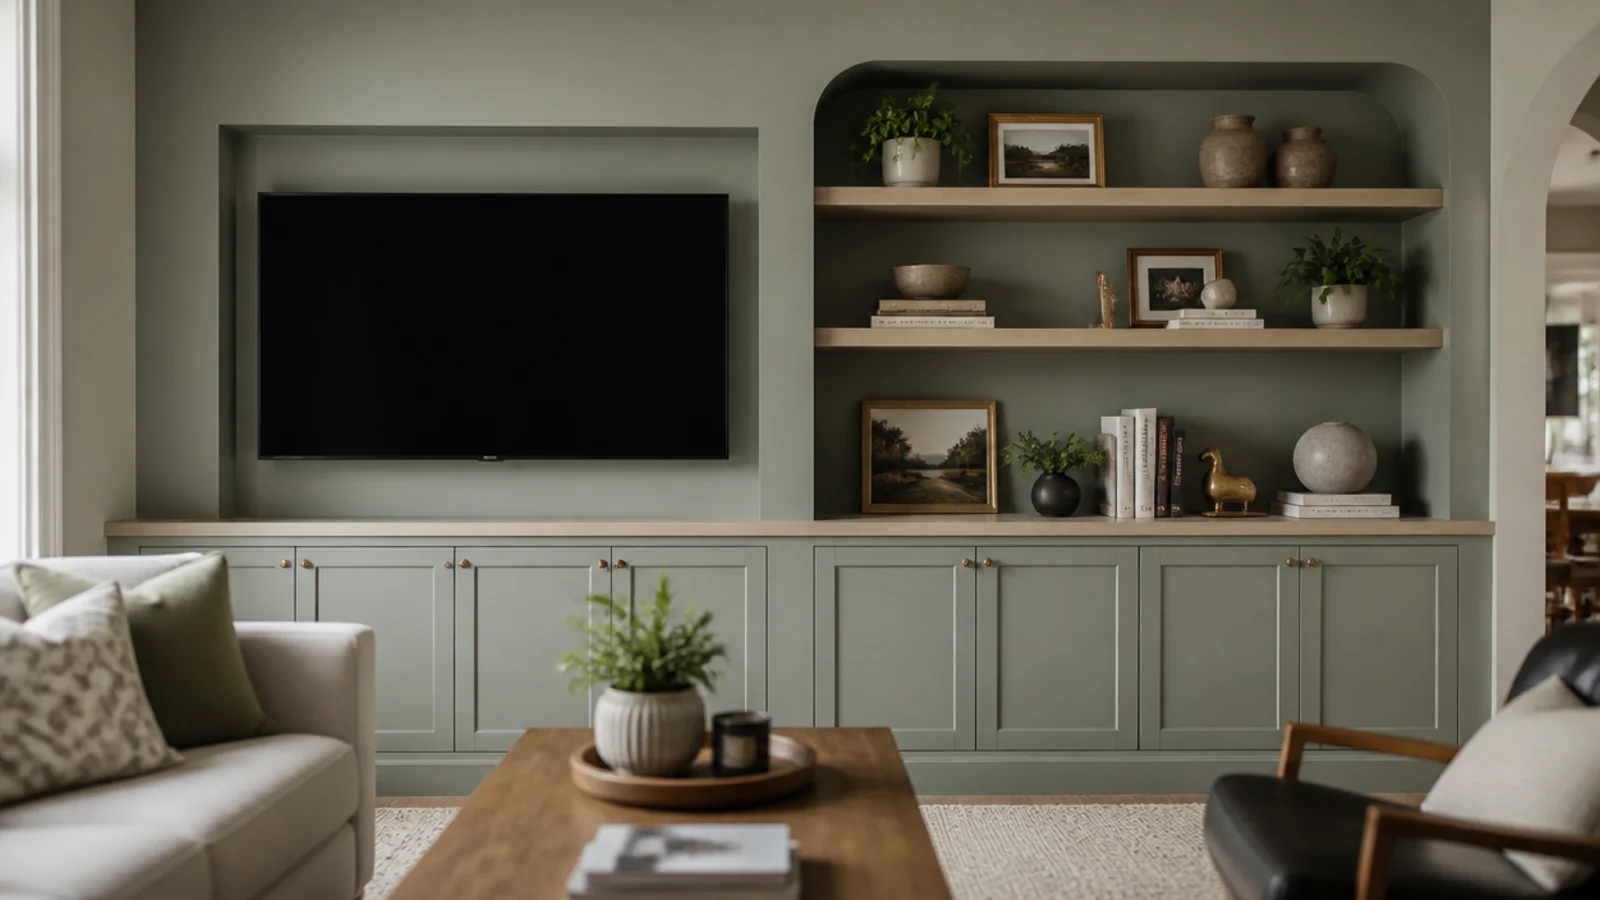
8. A screen in one alcove instead of over the mantel
Mounting a television above a fireplace puts it above comfortable eye level and into the hottest part of the wall.
Setting it into one alcove at seated height, around 42 inches to the center of the screen, is easier on your neck and far easier to wire. Give that alcove 14 to 16 inches of depth for the components and a vented cabinet below.
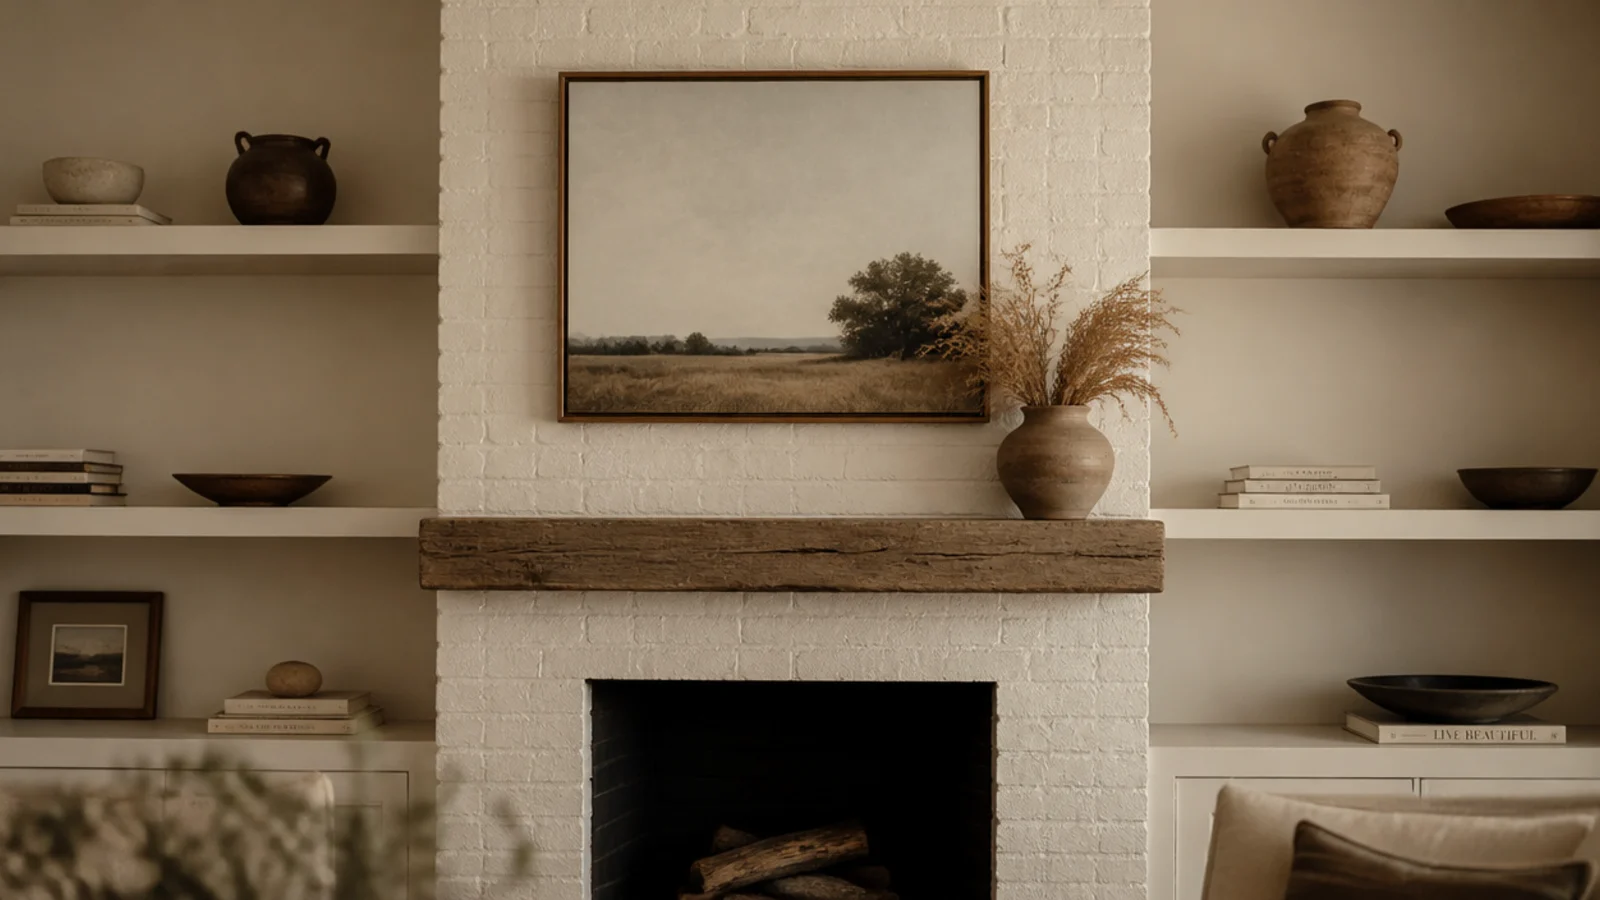
9. Paint the brick, the shelves and the wall one color
Three materials, one color, and a busy fireplace wall goes quiet immediately.
Use a masonry primer on bare brick, then the same paint you used on the shelves and walls in a satin or eggshell finish. The texture stays, the visual noise goes. This is a weekend and about $120 of materials, and it makes a cheap build look considered.
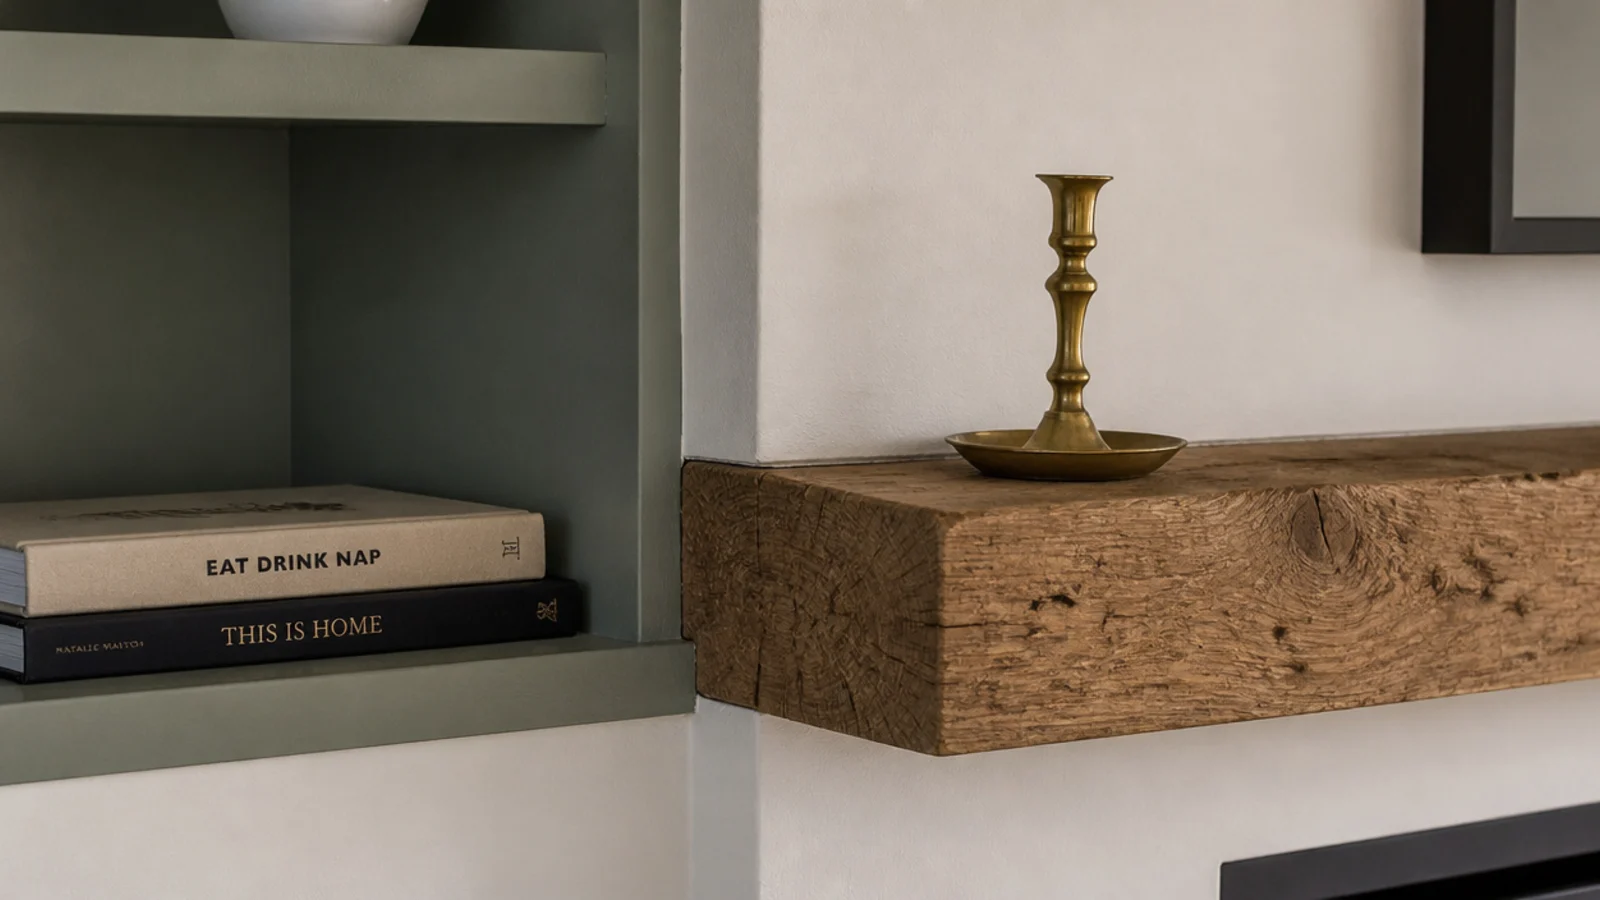
10. Line one shelf up with the mantel
Pick one shelf in each alcove and set it at exactly mantel height. That single continuous line across the wall is what makes a fireplace wall look designed rather than assembled.
Everything else can be adjustable and irregular. If your mantel sits at an awkward height, align to it anyway — the eye reads the alignment long before it questions the height.
11. Respect the six-inch clearance zone
The rule that keeps this project safe: combustible material stays at least 6 inches from the firebox opening, and the appliance clearance label overrides any general guidance.
Anything that projects toward the room needs more clearance again, not less. That means the shelving stops at the edge of the surround, and any shelf crossing the chimney breast sits well above the opening. Check the label before you cut, not after.
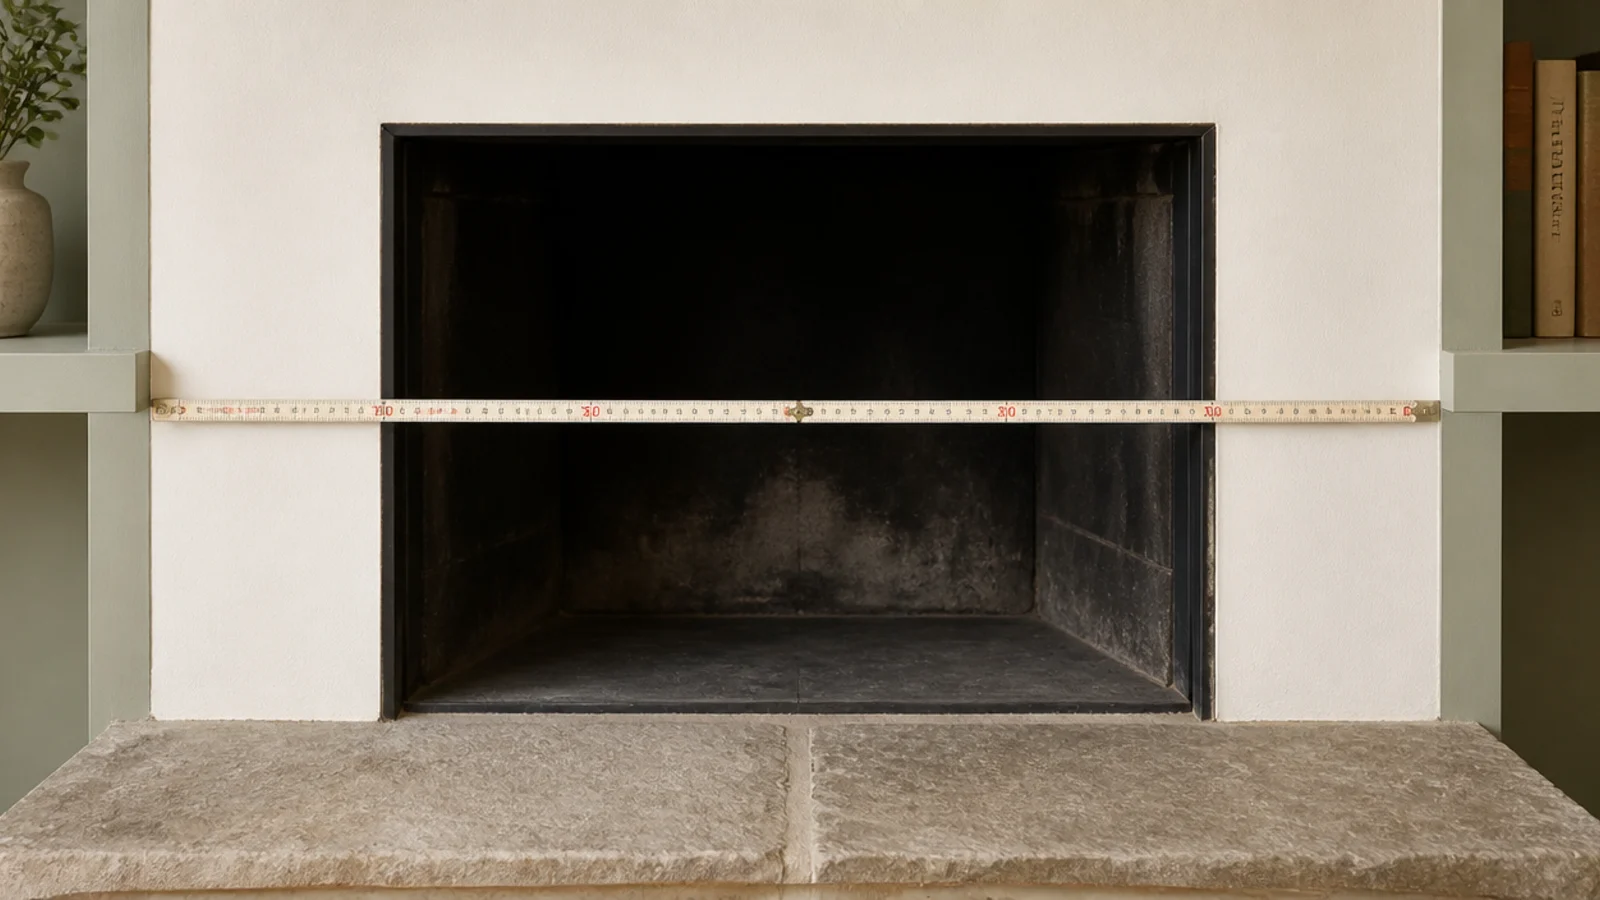
12. A thick floating mantel instead of a full build
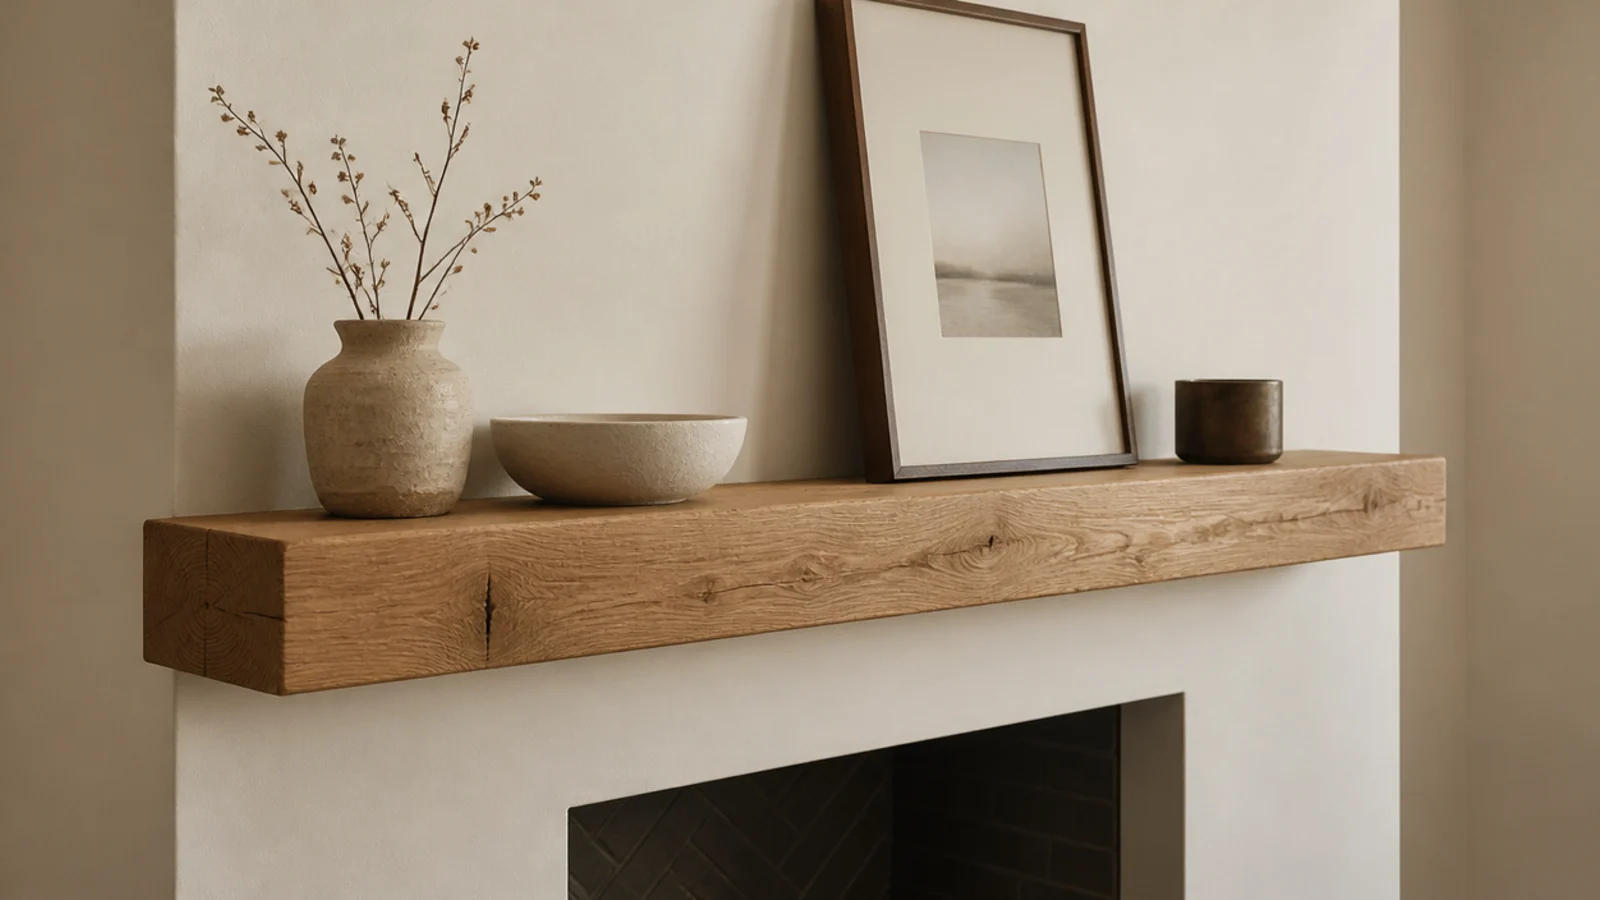
If the budget is genuinely tight, skip the alcoves and put everything into one solid slab mantel.
A 2 to 2.5-inch thick oak beam on hidden steel rods drilled 4 to 5 inches into the back reads as expensive, costs $90 to $200, and takes an afternoon. Style it with three objects at three heights and leave the alcoves for next year.
13. Slim vertical bays for a narrow chimney breast
When an alcove runs 40 inches wide or more, split it with a vertical divider rather than spanning it.
Two 19-inch bays hold more than one 40-inch shelf that bows in the middle, and they style better because each bay becomes its own small composition. The divider costs a strip of plywood and adds real rigidity to the whole carcass.
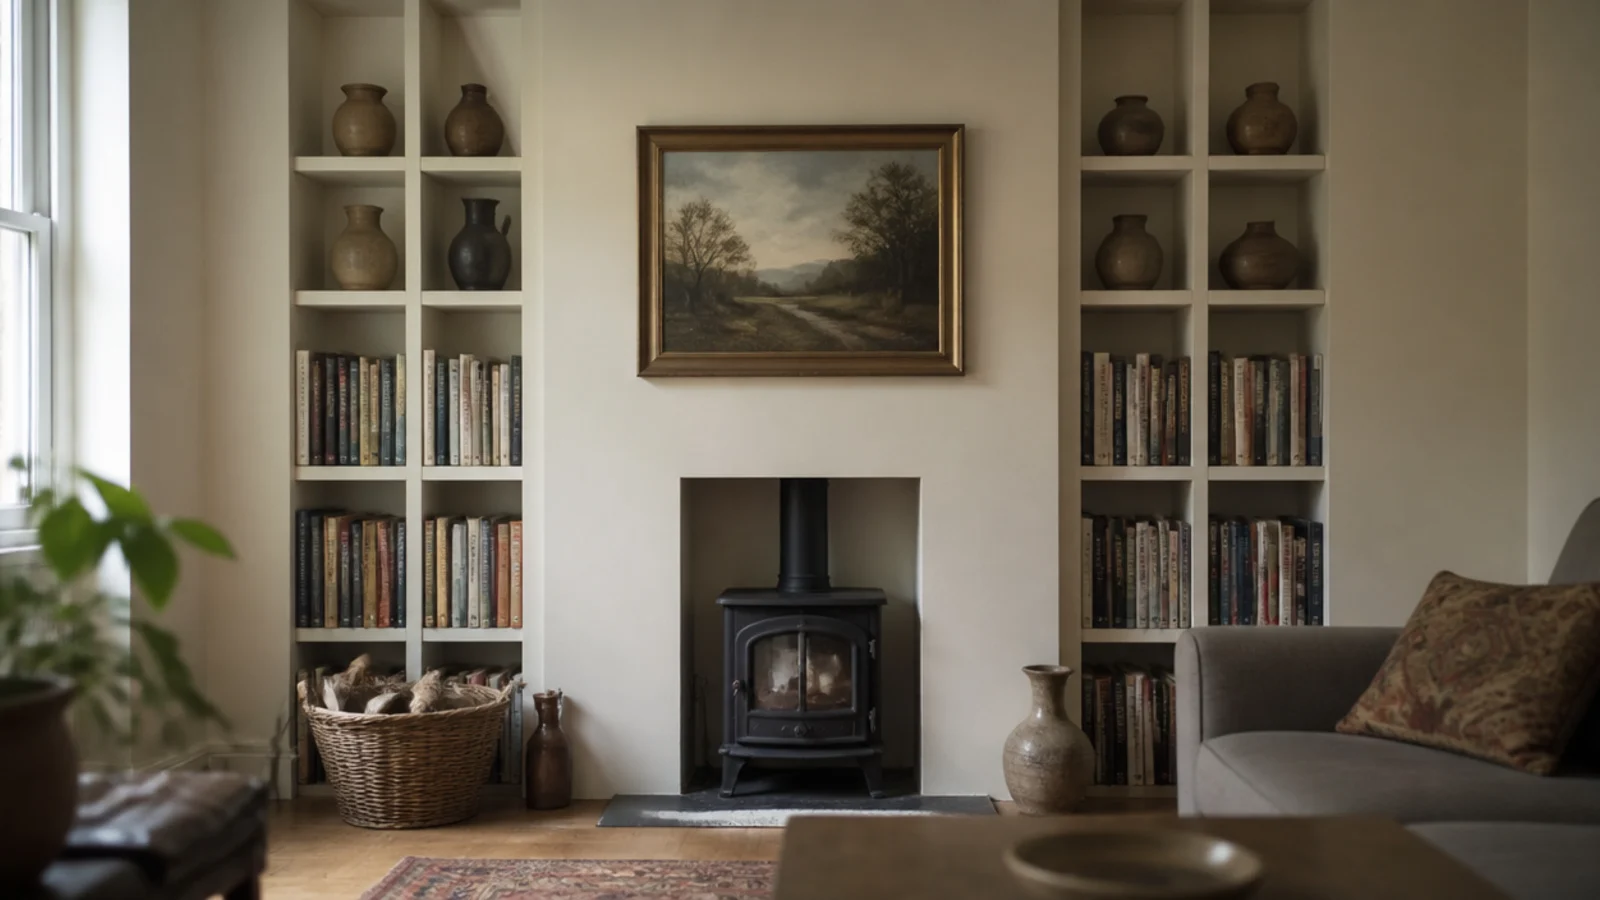
14. Doors on the bottom third
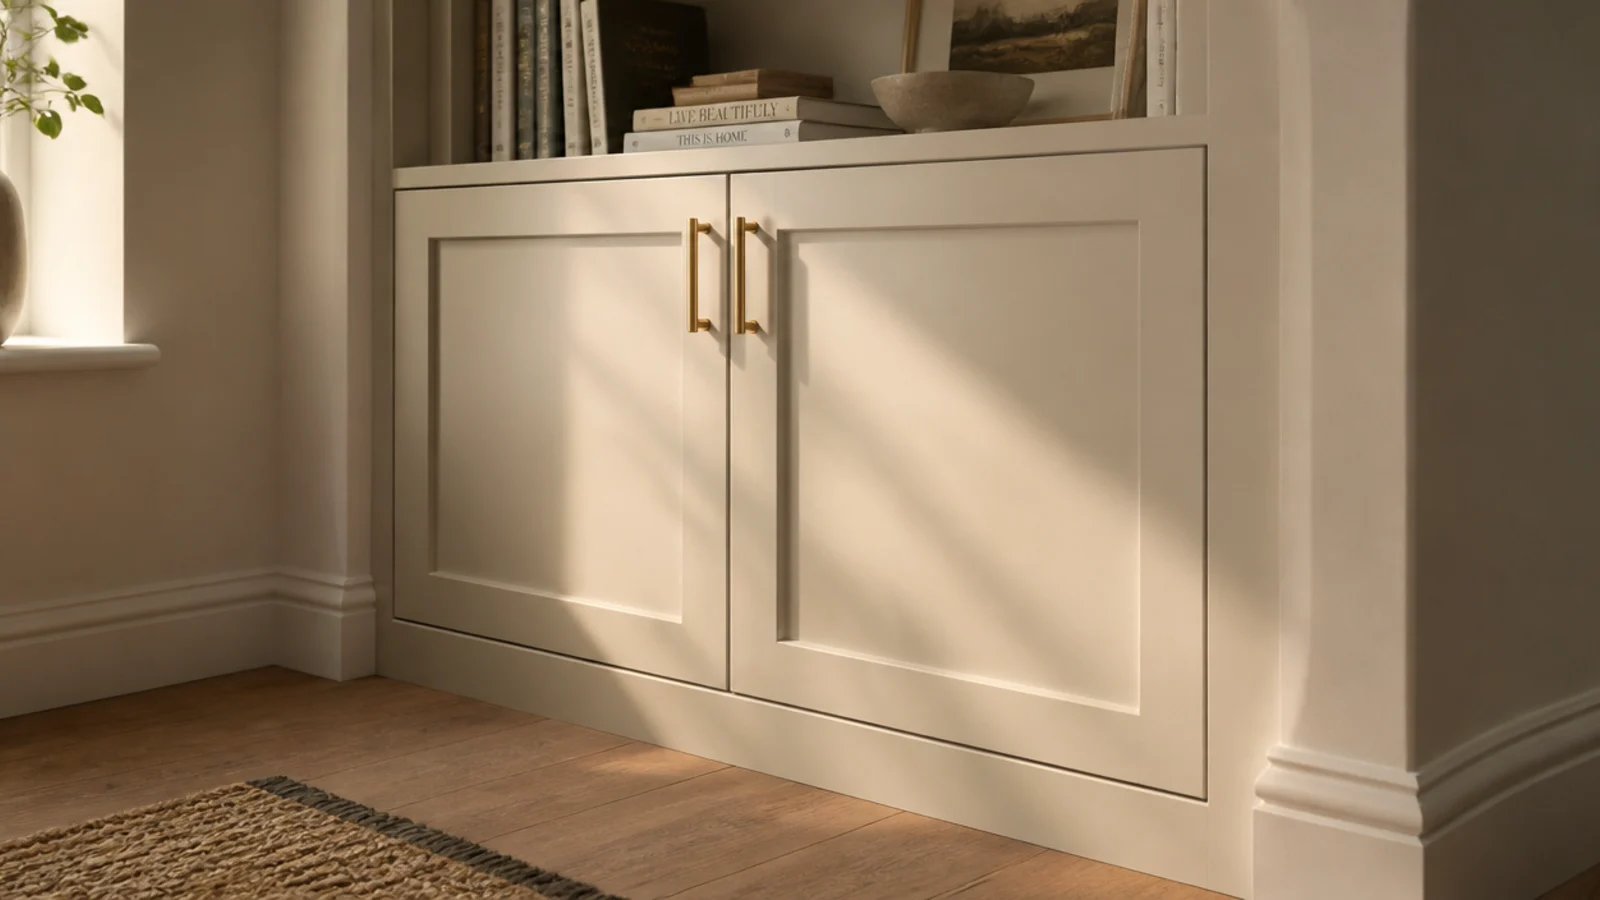
Doors are what separate a built-in from a bookcase. Even flat plywood fronts with a slim brass pull change the read of the whole unit.
Budget about $60 to $120 per bay in materials for shaker doors and soft-close hinges. If you want the full cabinet treatment, built ins with cabinets goes deeper on door styles, inset reveals and hardware.
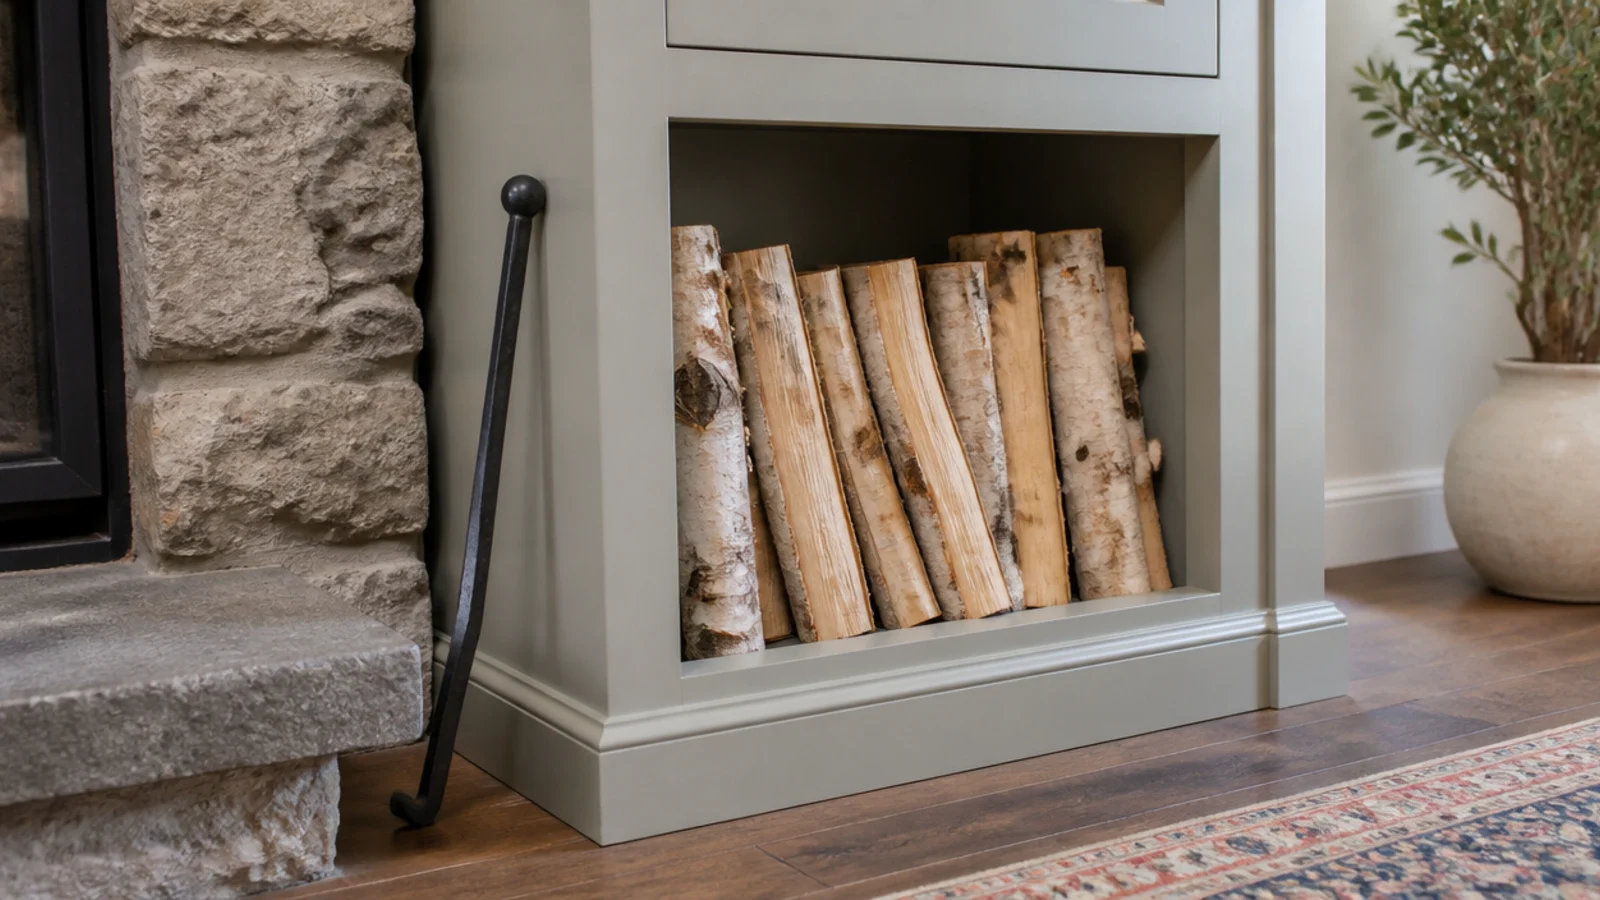
15. A log store built into the base
An open cubby at the base of one alcove, 14 inches deep and 16 inches tall, holds a week of split logs and looks like styling rather than storage.
Stack logs on end rather than lengthways — the cut faces make a pattern and the stack stays tidy. Line the cubby with sheet metal or leave it unpainted plywood, and keep it clear of the 6-inch clearance zone.
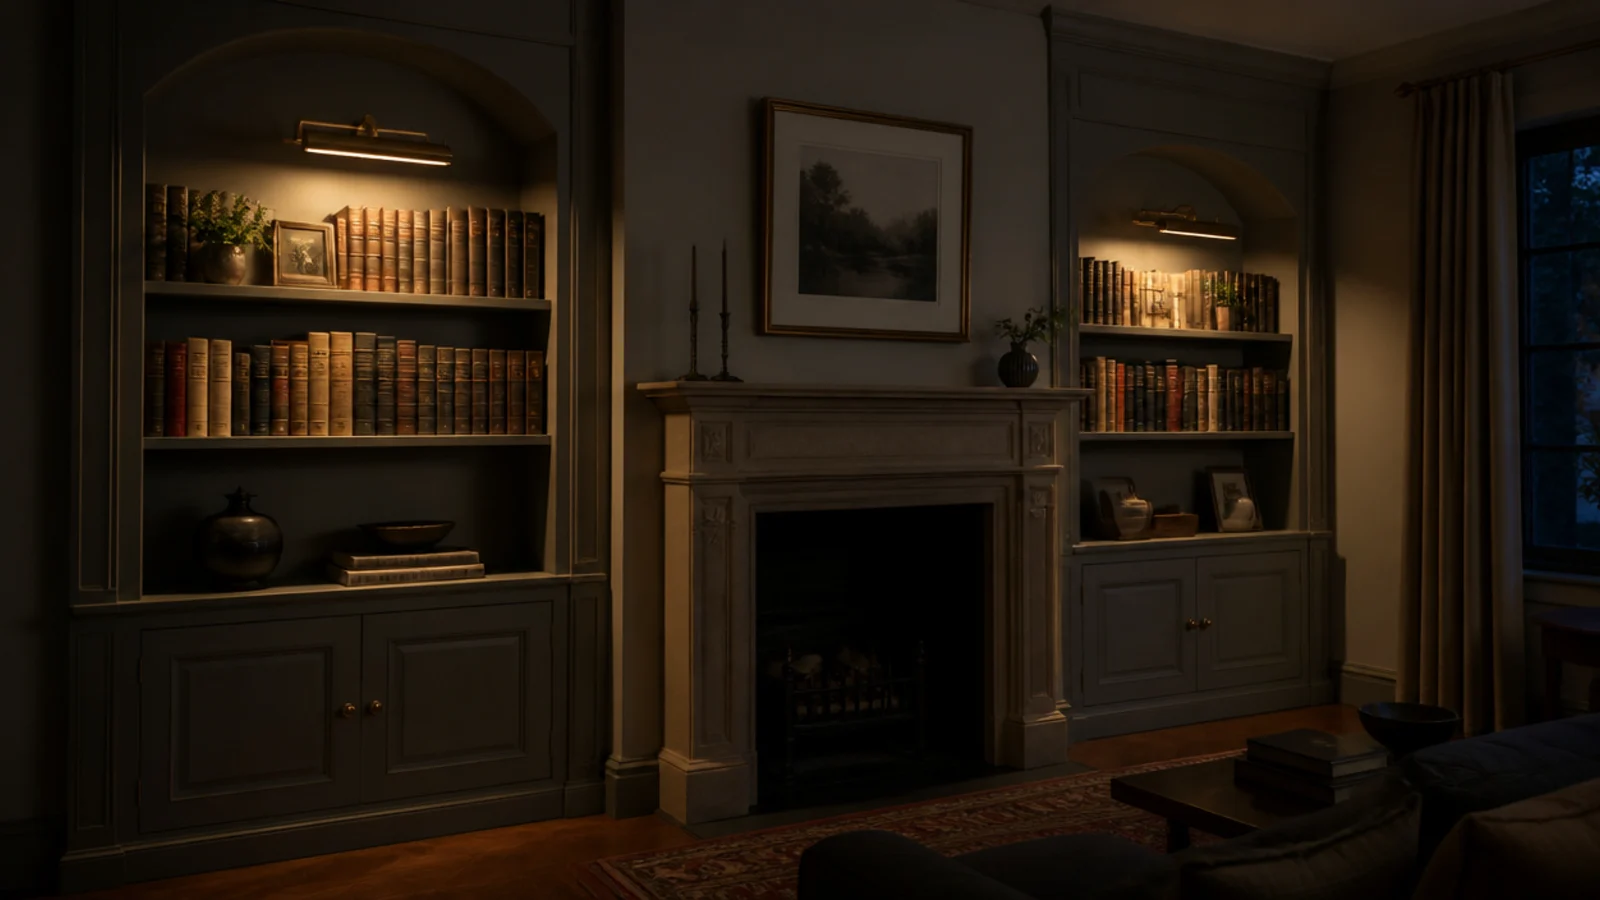
16. Picture lights over both alcoves
Light is the cheapest luxury on a fireplace wall. A pair of slim brass picture lights above the alcoves gives the room a second layer after dark.
Battery versions cost about $30 each and need no wiring, which makes them renter-safe. Hardwired ones with a dimmer run $120 to $250 installed. Use 2700K warm bulbs so the shelves never read blue.
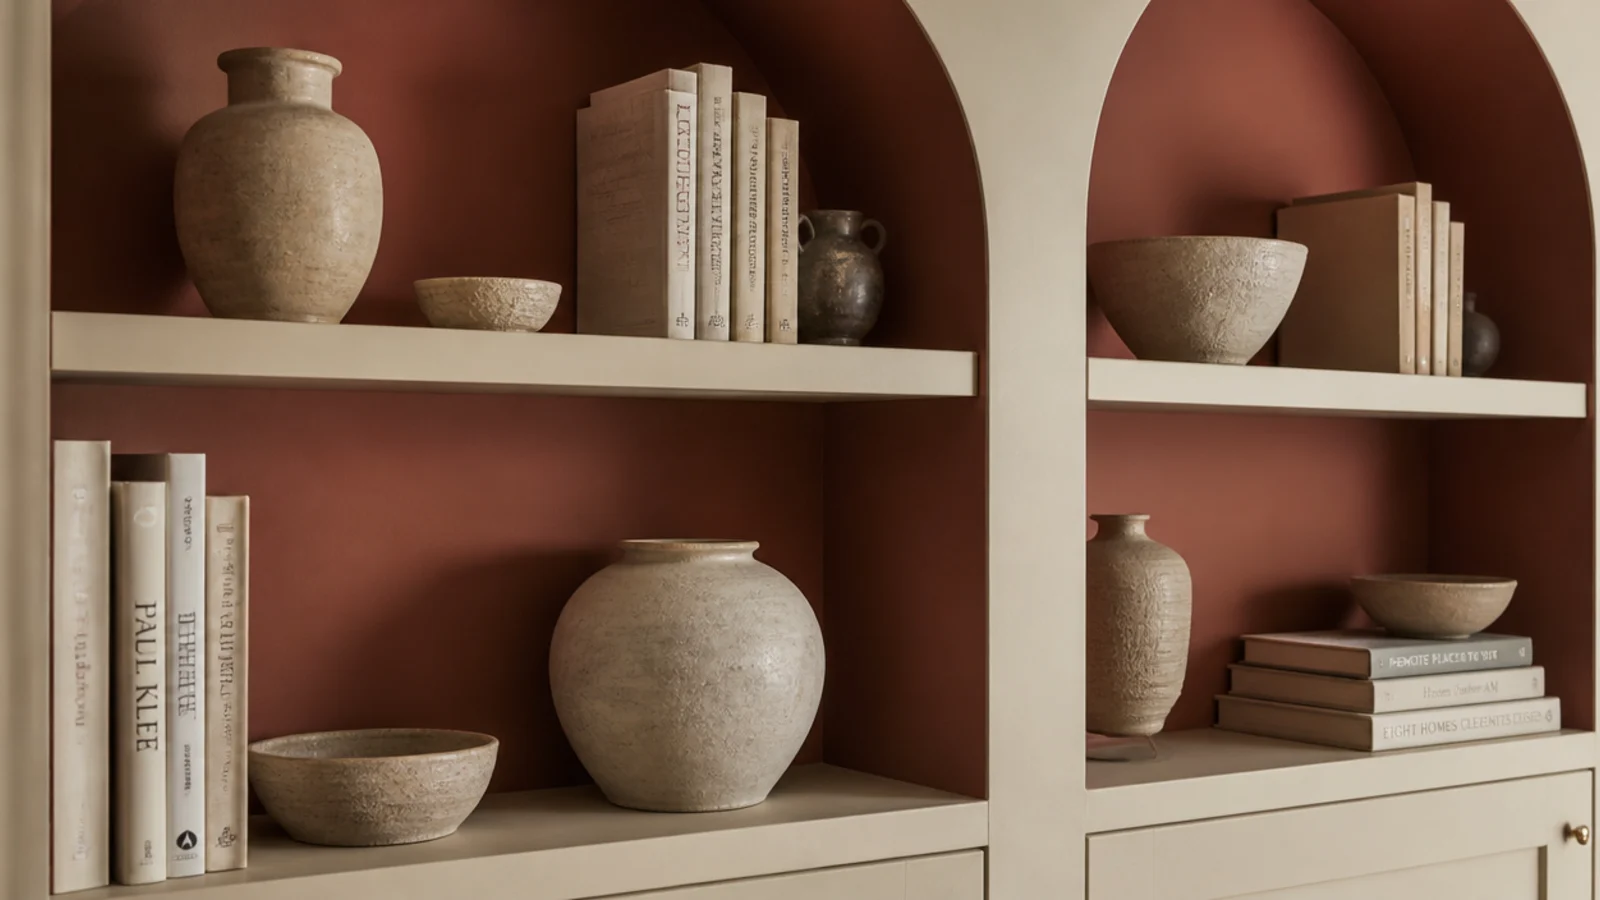
17. Painted back panels inside the bays
Color belongs behind the objects. Paint the back panels a deep clay, a muted sage or a soft charcoal and leave the frame, shelves and face the wall color.
Pale stoneware and book spines gain depth against it, and the unit still reads as architecture. One sample pot covers both alcoves. This is the single cheapest upgrade in the entire list.
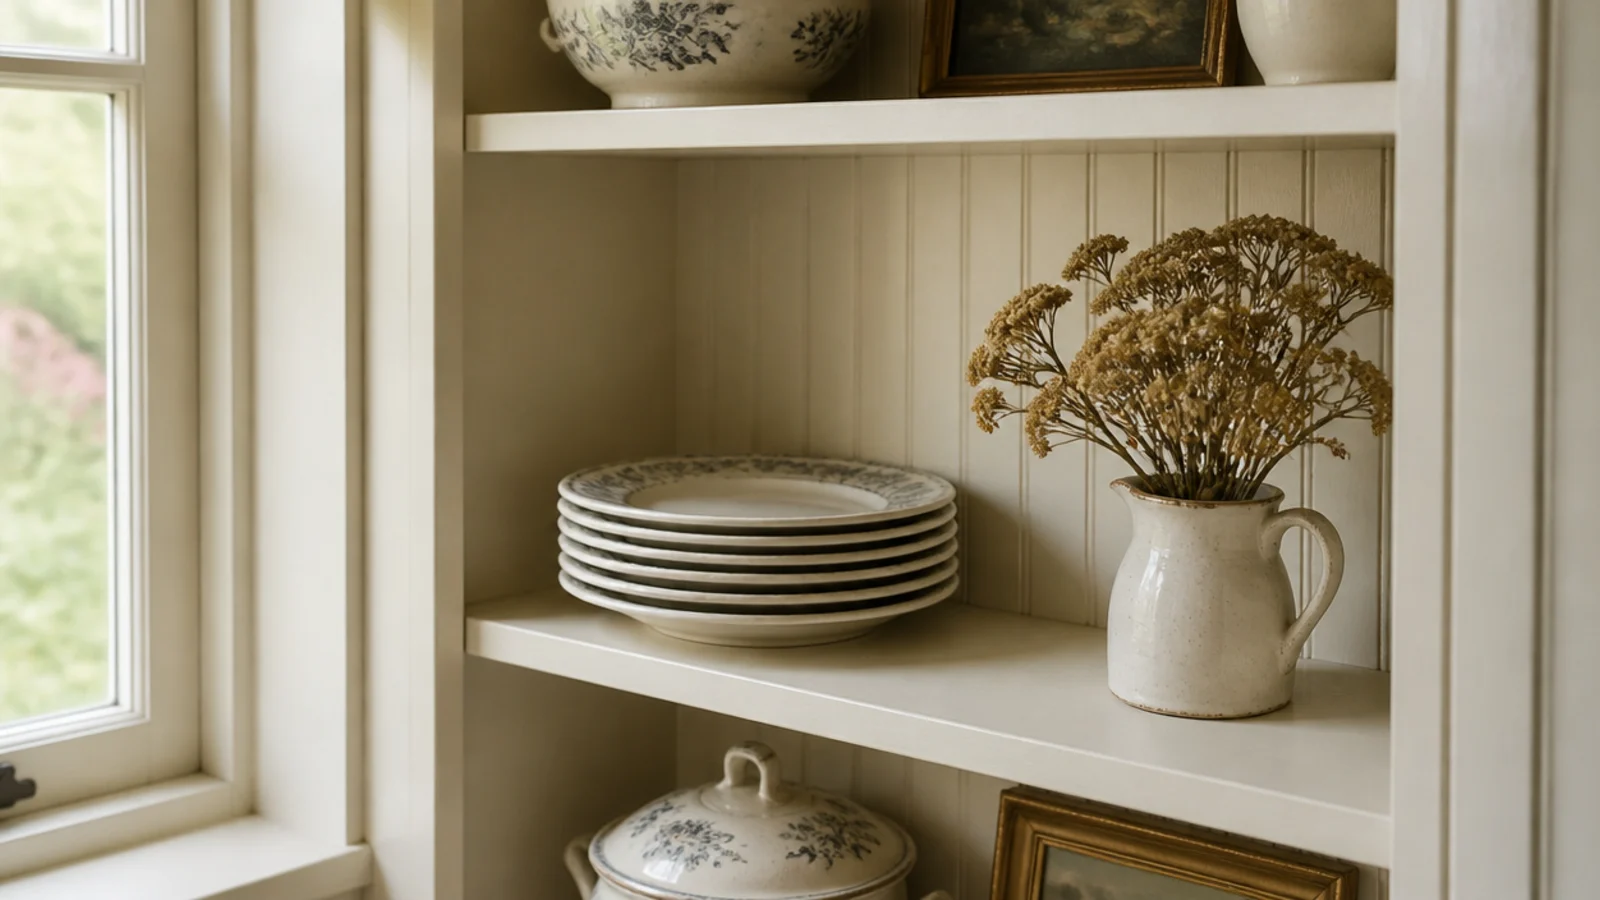
18. A beadboard back for a cottage room
Narrow beadboard panelling on the back of each bay adds texture and hides the wavy plaster you would otherwise be trying to skim flat.
A sheet costs about $18 and cuts with a utility knife. Paint it the same color as the shelves for a quiet farmhouse look, or the accent color if you want more contrast. It hides a multitude of old-wall problems.
19. Baskets cut to the alcove width
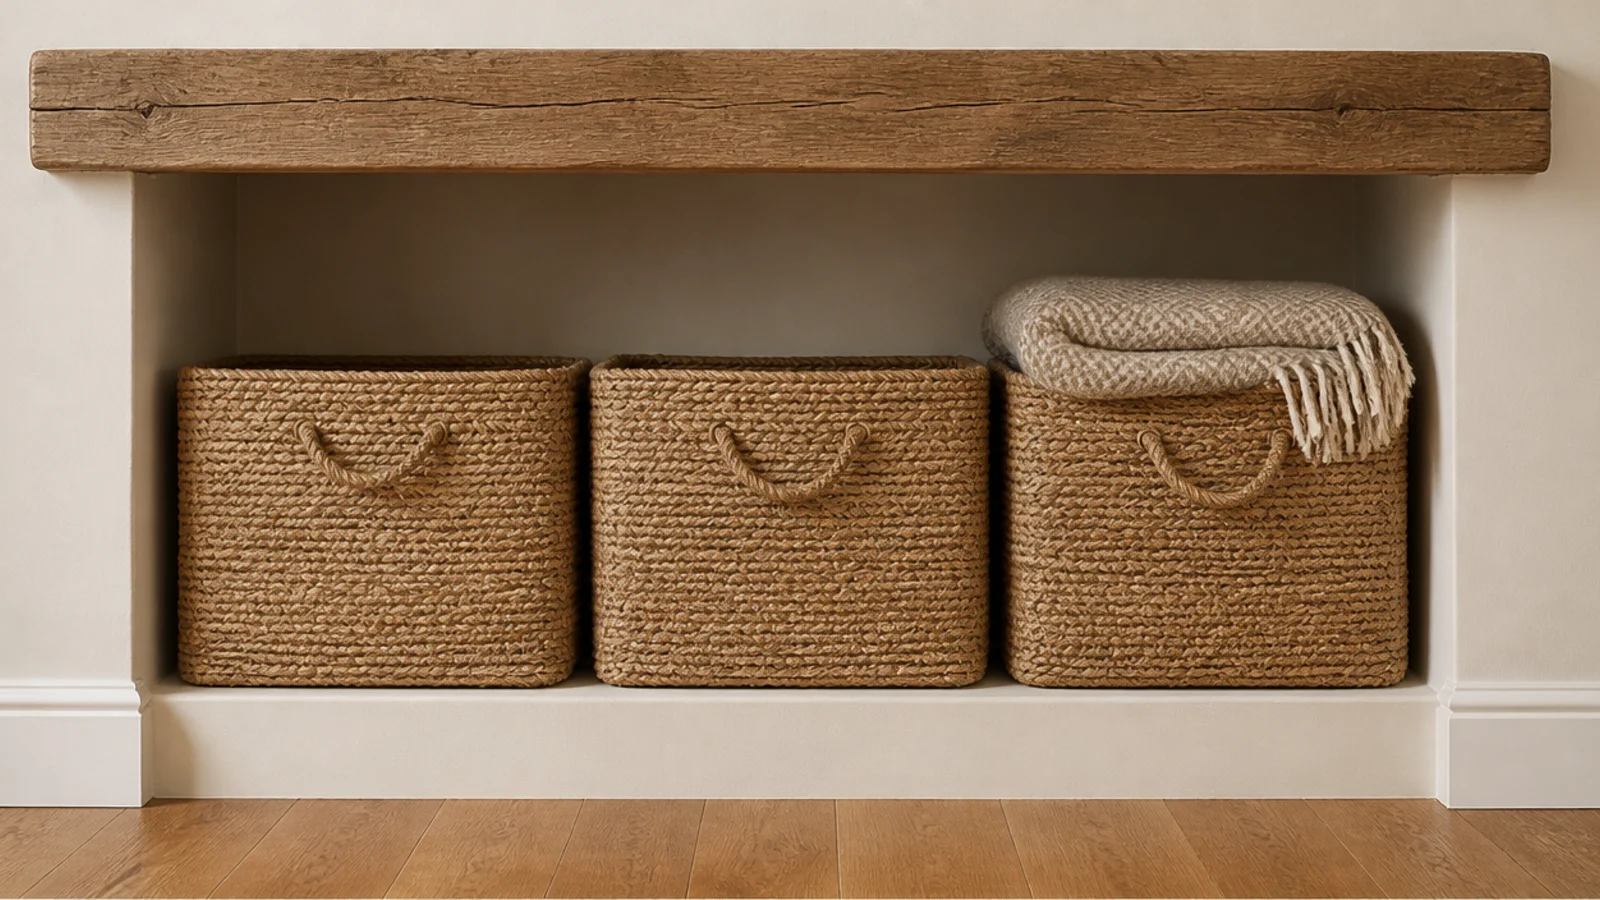
Fill the lowest bay with matching jute or seagrass baskets sized to leave about half an inch of air each side.
Measure the bay opening and take that number shopping. Baskets two inches too wide are why people give up and stack things on the floor instead. Three matching baskets at $15 to $30 each turn cables, throws and toys into one calm horizontal band.
20. An arched opening in the top bay
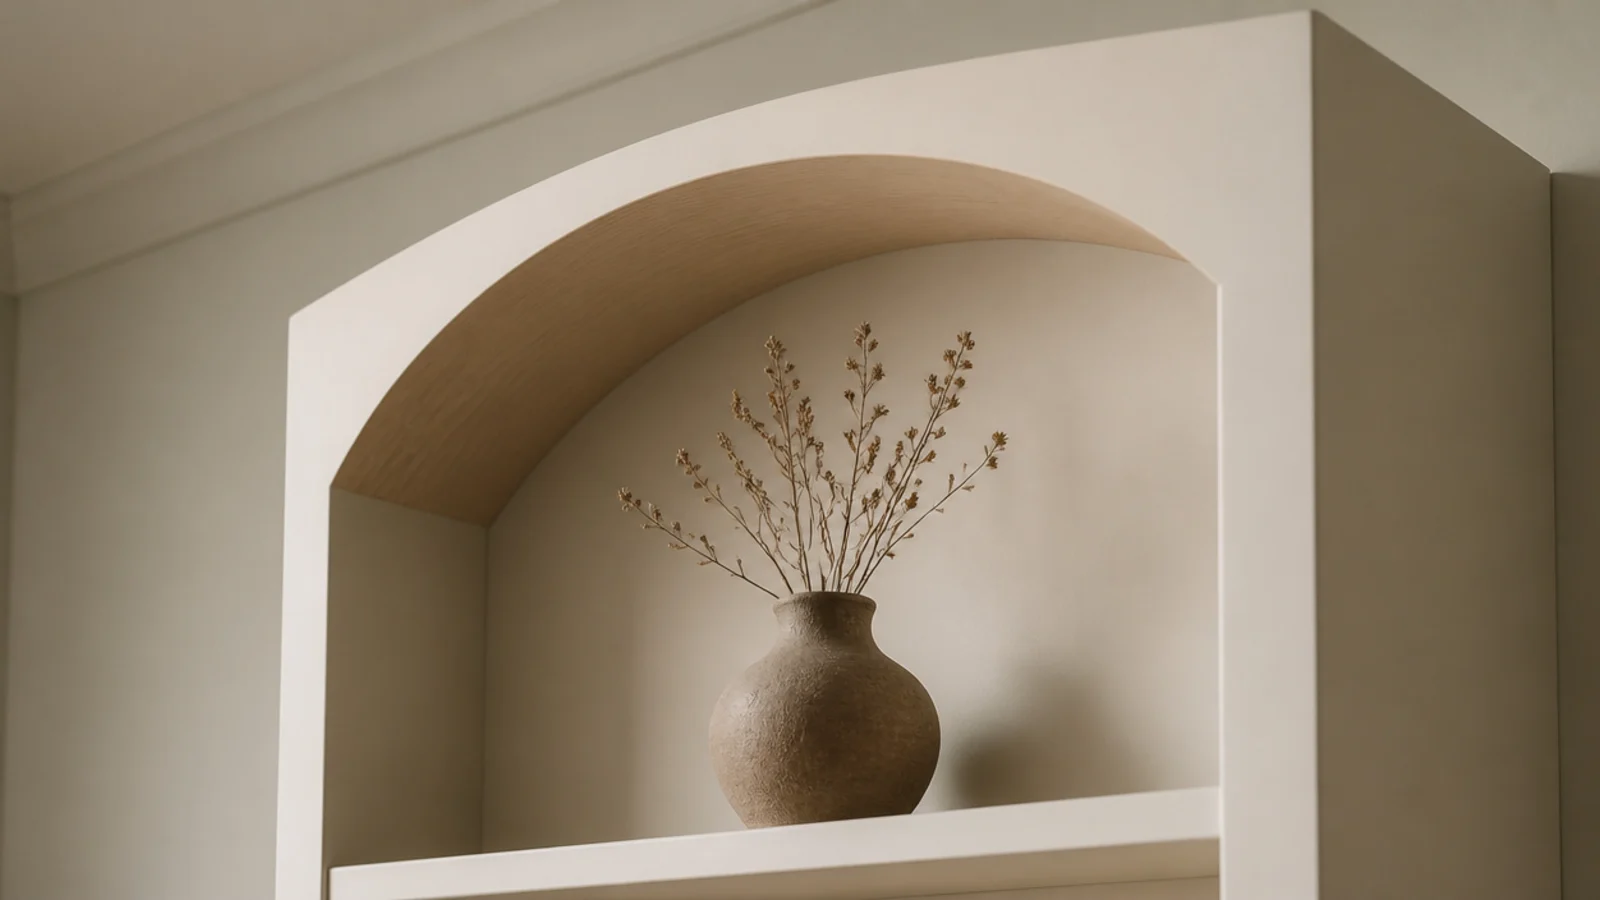
An arch cut into the top of each opening turns square boxes into joinery, and it costs a scrap of plywood and a jigsaw.
Draw the curve with a string compass, cut one, then use it as a template for the second so both match exactly. Keep the rise shallow — about a sixth of the opening width — or it starts to look like a fairground booth.
21. Glass on one bay only
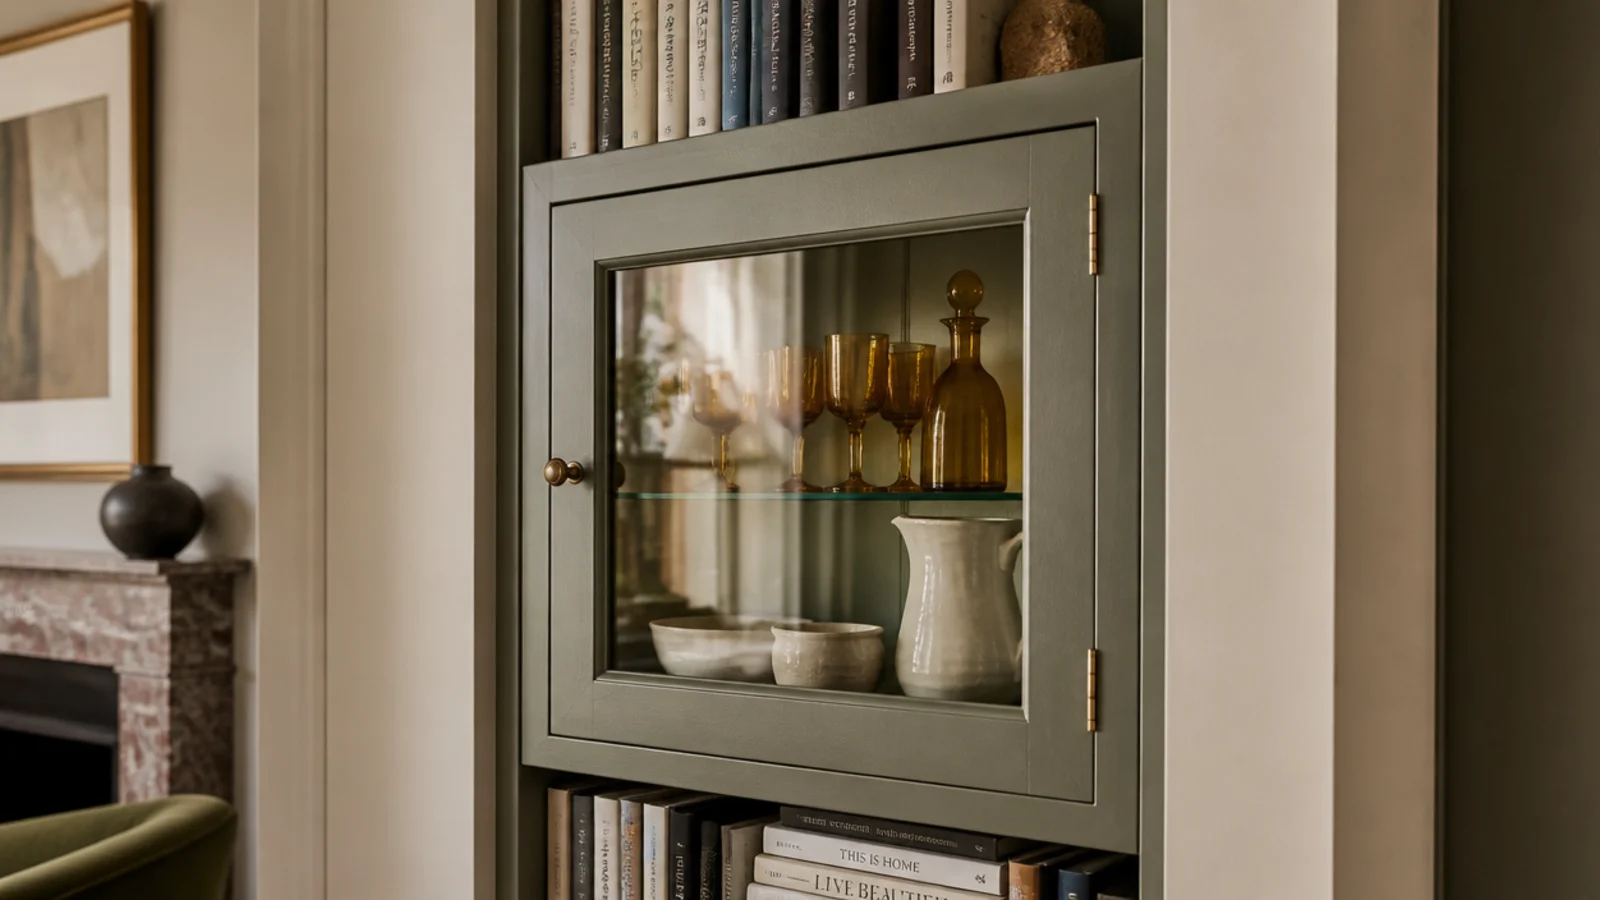
Glass doors everywhere turn a built-in into a display cabinet. Glass on one bay reads as a choice.
Use it for the things that suffer in the open near a fireplace: glassware, paper, anything that hates dust and soot. Simple clear panes in a shaker frame stay calm; reeded glass is for the bay whose contents you want blurred rather than shown.
22. A mirror in one alcove bay
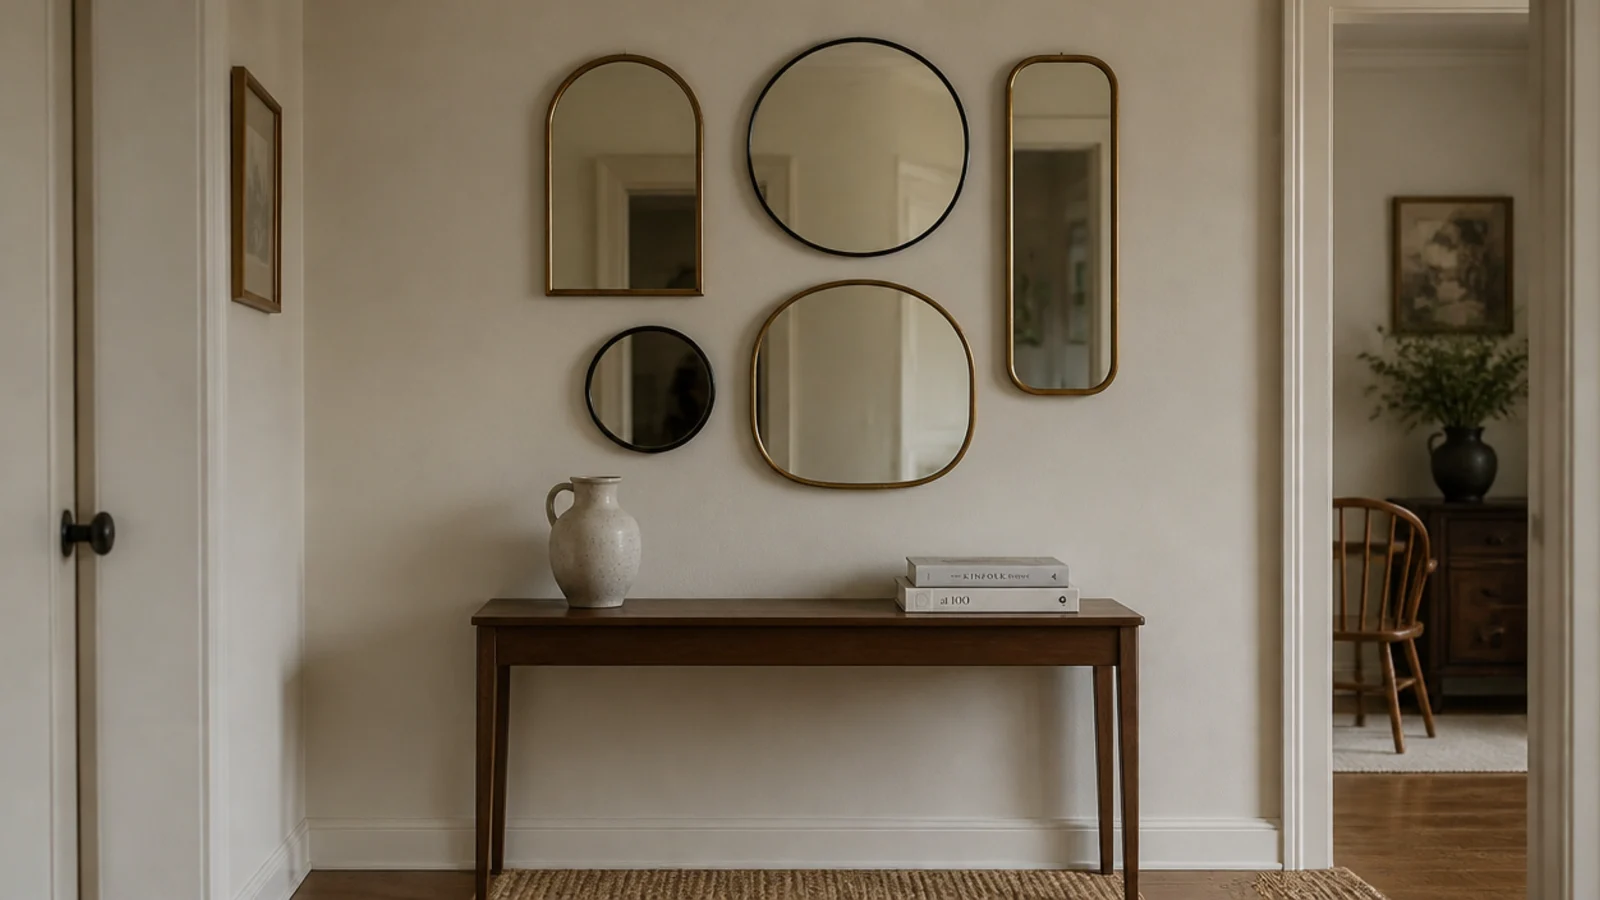
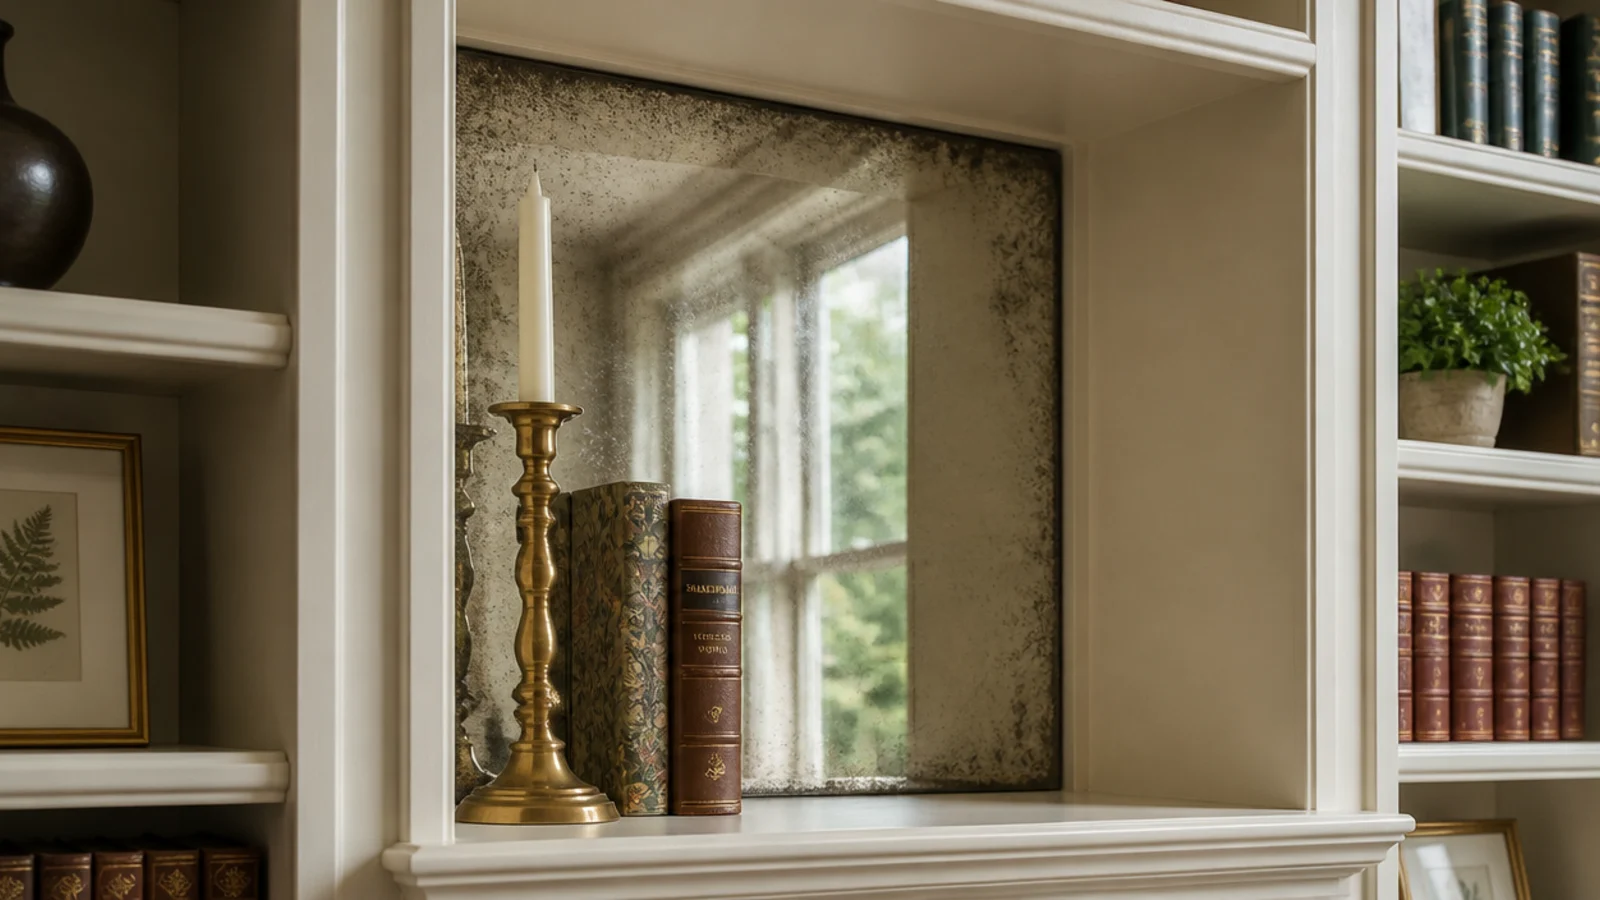
An antiqued mirror panel in the back of a single bay bounces light back into a dark room and makes a small space read wider.
Keep it to one bay, at or above eye level, and put low objects in front so it never becomes a mirror you check yourself in. If you like this trick, mirror wall decor ideas covers sizing and placement in more depth.
23. A shallow return across the chimney breast
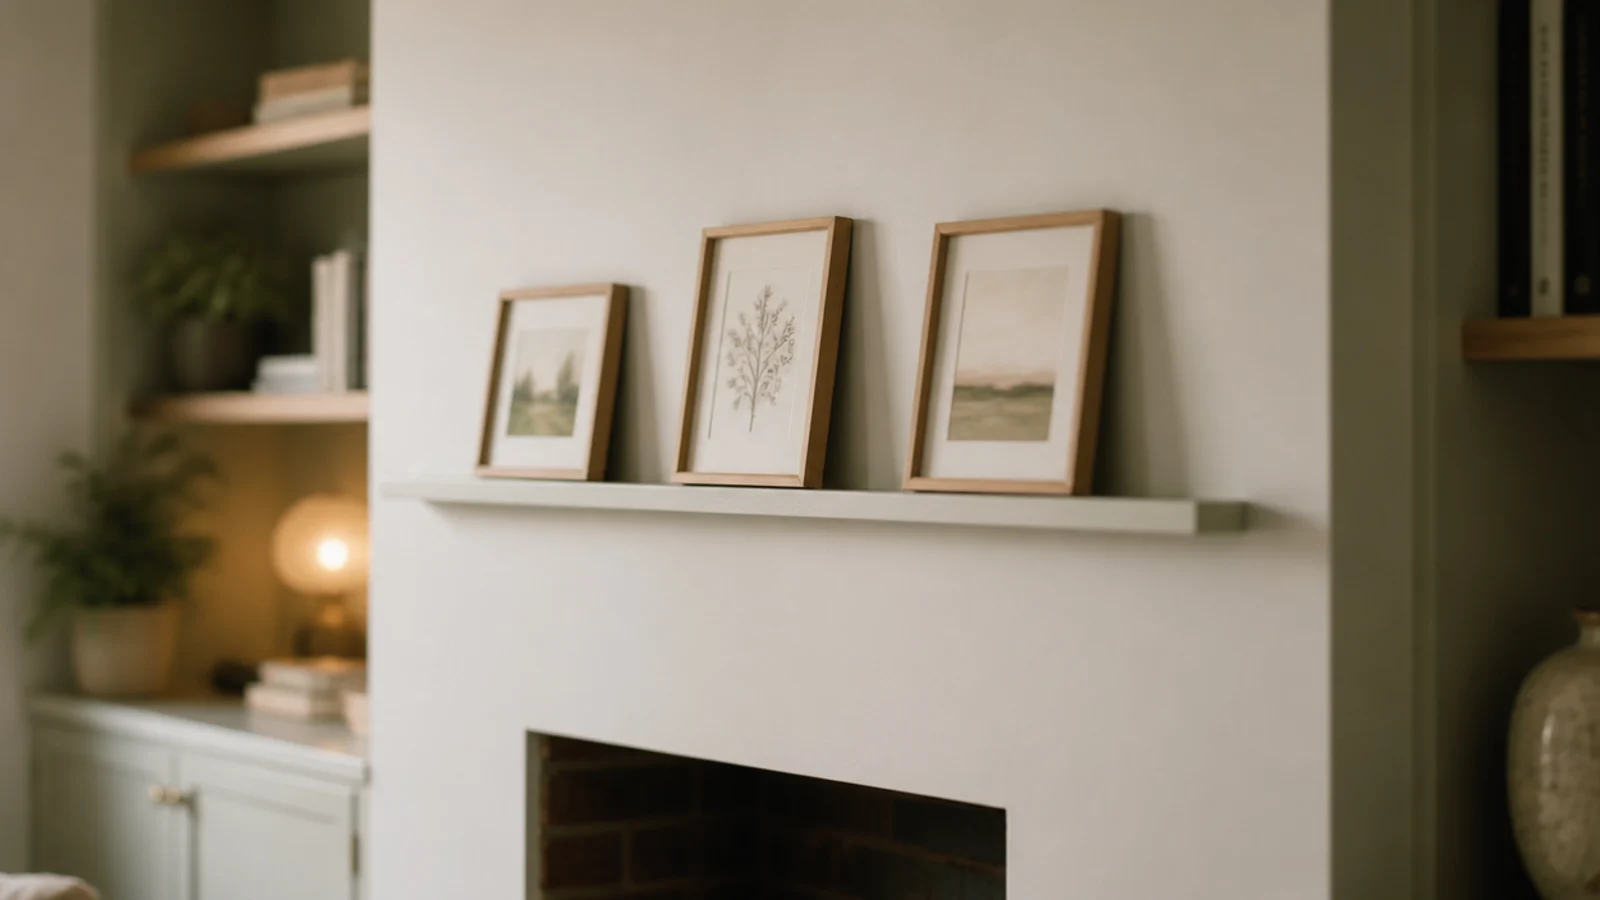
A narrow ledge, 3 to 4 inches deep, running across the chimney breast well above the firebox connects the two alcove units into one piece.
Use it for leaning frames and postcards, nothing breakable. Keep it clear of the 6-inch clearance zone and well above the mantel, and paint it the same color as everything else so it reads as a line rather than an object.
24. Hide the media box and every cable
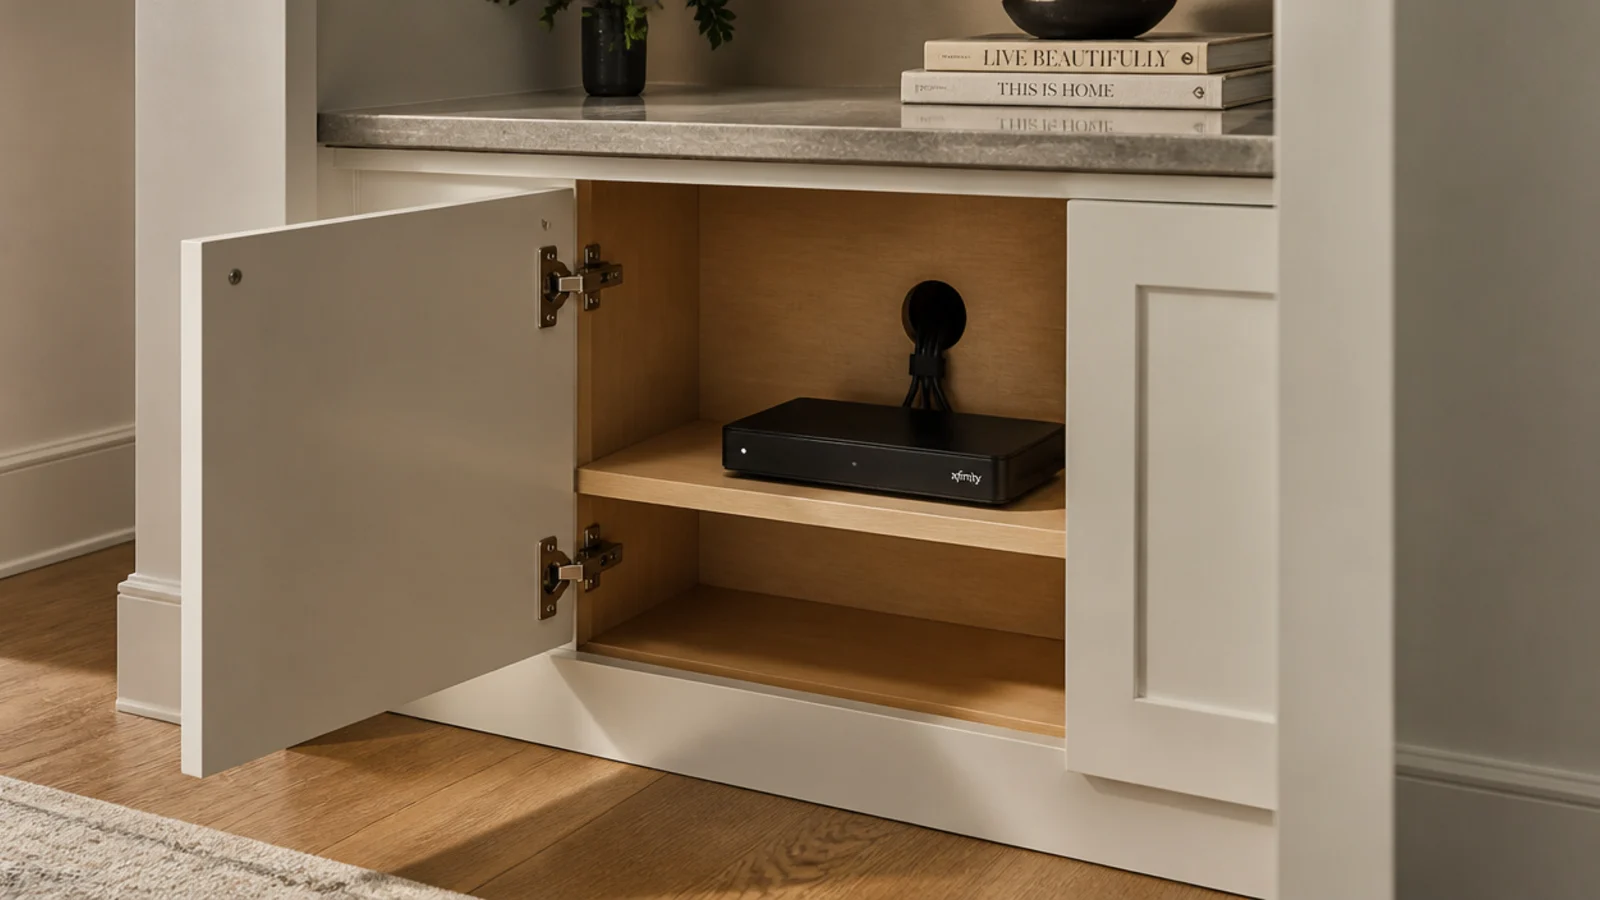
Fireplace walls attract cables. Drill a 2-inch grommet in the back panel of the base cabinet before you load it, and vent the cabinet back so a media box can breathe.
Tie cords into one bundle behind the unit and run them down to a single outlet. Doing this after the shelves are full is an hour of misery I have earned twice.
25. The renter version, anchored and reversible
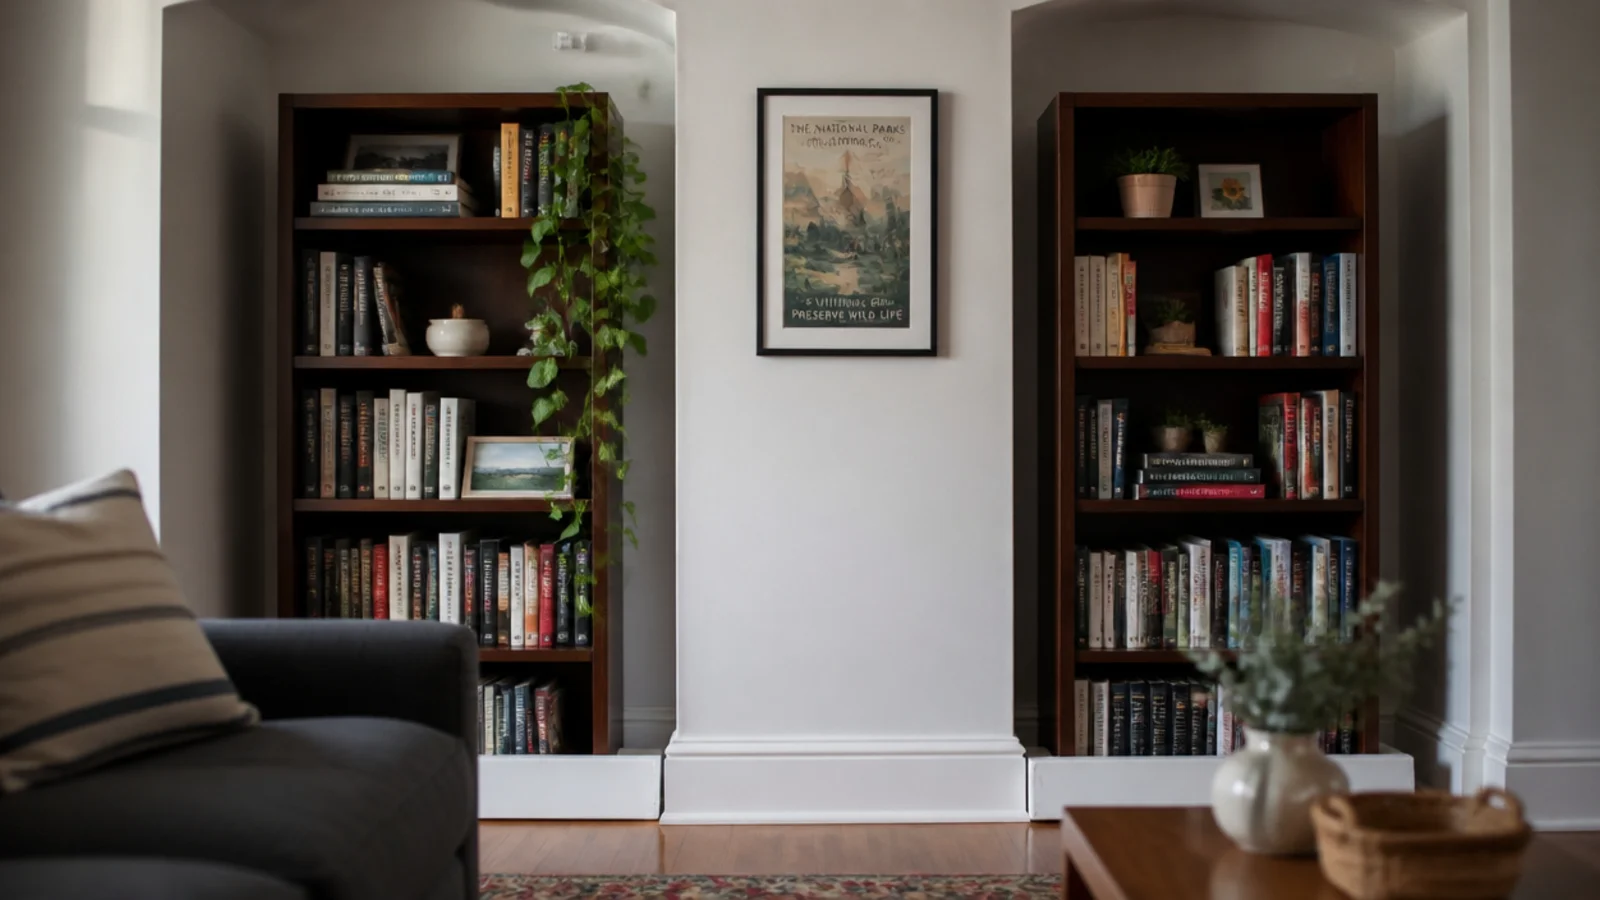
If the walls are not yours, stand a freestanding bookcase in each alcove, lay loose baseboard across the fronts, add a filler strip at each wall and anchor both units to a stud with the strap in the box.
Two small screw holes, patched in five minutes. Keep everything at least 6 inches from the firebox opening. For more no-build options, budget built in shelves covers cheap materials that still look right.
Mistakes to Skip
- Ignoring the appliance clearance label because the general rule says 6 inches. The label is specific to your firebox and it overrides everything else.
- Measuring one alcove and building two identical boxes. Old chimney breasts are rarely centered, and the second unit will not go in.
- Spanning a 40-inch alcove with a single bare 3/4-inch shelf. It bows under books within a year — split it with a divider or glue a solid 1x2 lip to the front edge.
Frequently asked questions
How close can built-ins be to a fireplace?
Keep combustible material at least 6 inches from the firebox opening, and follow the clearance label on the appliance itself, which overrides any general rule. Shelves and mantels that project further need more clearance again. In practice this means the built-in stops at the edge of the surround, and any return shelf across the chimney breast sits well above the opening.
Do built-ins around a fireplace have to be symmetrical?
Not identical, but they should be balanced. If one alcove is 8 inches narrower, keep the same shelf heights, the same paint and the same styling weight on both sides so your eye reads a pair. Asymmetry only works deliberately, such as open shelves one side and closed cabinets on the other, repeated exactly at the same heights.
Can you put a TV above a fireplace with built-ins?
You can, but check two things first. The area above a firebox runs hot, so confirm the appliance clearance label allows it and leave the manufacturer stated gap. Then check viewing height, because most mantels put a screen above comfortable eye level. A screen in one alcove at seated height is easier on your neck and cheaper to wire.
How much do built-ins around a fireplace cost?
Roughly $150 to $400 per alcove to trim in stock bookcases, $500 to $1,200 in materials to build plywood boxes with doors for a pair, and $2,500 to $6,000 and up for a cabinetmaker to build and spray them. The alcoves either side of a chimney breast usually run 24 to 40 inches wide, which keeps material costs low.
Can renters build around a fireplace?
Only the removable version. Stand a stock bookcase in each alcove, run loose baseboard across the front, add a slim filler strip at each wall and anchor the units to a stud with the strap supplied. Keep everything at least 6 inches from the firebox opening. Two small screw holes come out with filler and a touch-up brush.
Start with the cheap version and live with it for a season before you commit to plywood — trimmed-in bookcases tell you exactly which shelf heights you actually use. When you are ready to build, the twenty-step shelf build covers scribing and spans in order, and fifteen living room built-in ideas has the depth and layout options for the rest of the room. Save the pin so the clearances are with you when you measure.
Want more like this? Browse all 15 living room built-in shelves guides — they all use the same measurements and budget tiers.
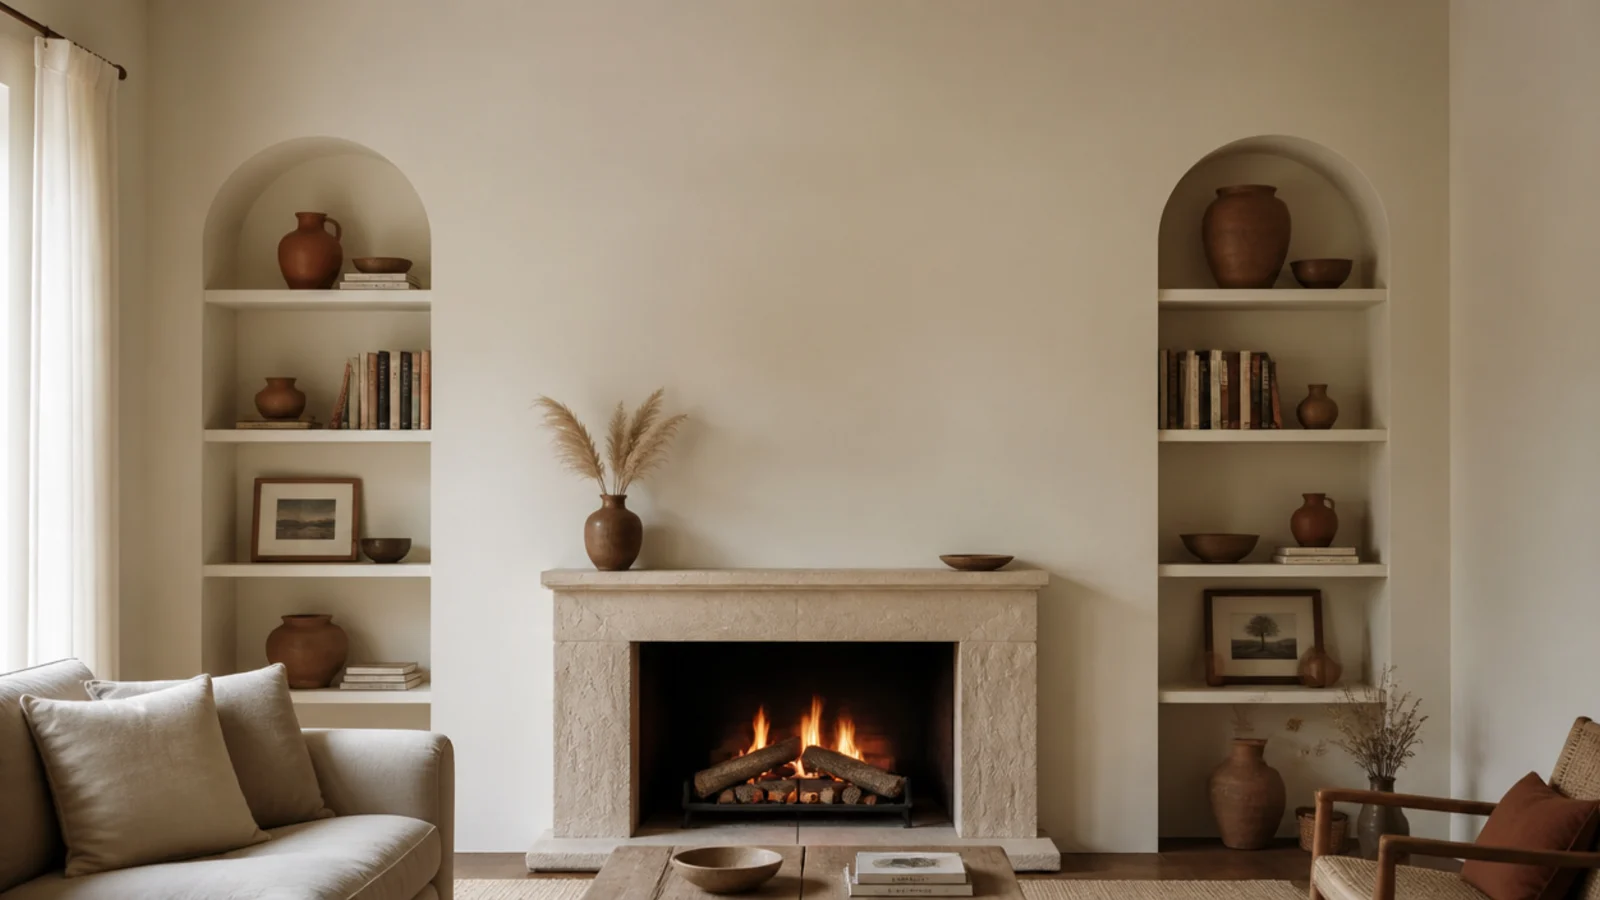
Pin it for later
Save this to your Living Room Built-In Shelves board
Pin it now so it is waiting for you when the tape measure comes out — and so the next person hunting for this idea can find it too.
Save this pinKeep going
More ideas worth saving while you have the tape measure out.