Living Room Built-In Shelves · Listicle
30 Simple Living Room Built-Ins Ideas on a Budget

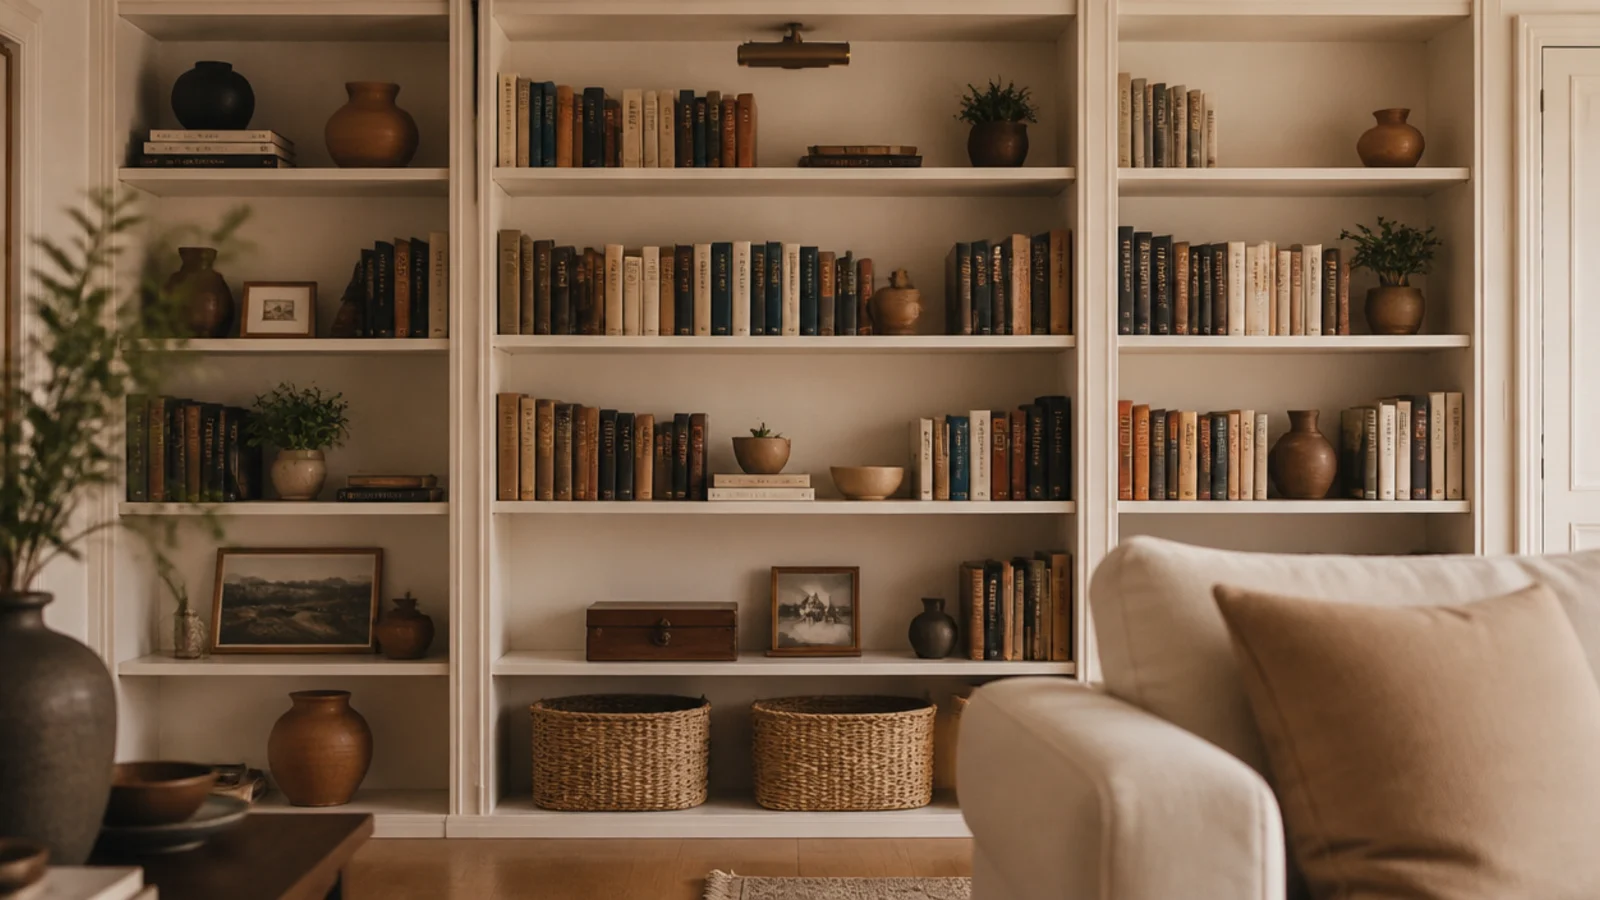
Built-in bookshelves in a living room do not have to start with a cabinetmaker's quote. Almost every version I have built began as a stock bookcase, a sheet of plywood and about forty dollars of trim. The trick is knowing which three numbers actually matter — shelf depth, clear spacing, and the span before a loaded shelf starts to bow — and then hiding the seams so nobody guesses what it cost. Here are thirty that stay cheap on purpose.
In this guide32 sections — tap to openHide
- 1.What built-in bookshelves in a living room really cost
- 2.Trim stock bookcases into an alcove
- 3.Bridge two bookcases over a doorway
- 4.A face frame that fakes cabinetry
- 5.Take the run floor to ceiling
- 6.Half height under a window
- 7.Flank a doorway with matching towers
- 8.Frame a reading nook between two runs
- 9.Paint the back panel a deep tone
- 10.Back the bays with cheap beadboard
- 11.Drill pin holes instead of fixing shelves
- 12.Glue a solid lip onto long spans
- 13.Close the ceiling gap with crown
- 14.Match the plinth to your baseboard
- 15.Cabinet doors on the bottom third
- 16.Puck lights on a dimmer
- 17.Sort the books by height, not color
- 18.One media bay with cable management
- 19.A basket row for the clutter
- 20.A library ladder if it earns the wall
- 21.Turn the corner with a short return
- 22.Fill the under-stair wall with shelves
- 23.A bookshelf bench with storage under
- 24.Shelves above a low console
- 25.Glass doors on a single bay
- 26.Leave one bay open for art
- 27.Shallow 8-inch shelves for paperbacks
- 28.A low shelf for the kids
- 29.Save the window bay for plants
- 30.Trim the run around a radiator
- 31.Freestanding, trimmed and anchored for renters
- 32.Mistakes to Skip
What built-in bookshelves in a living room really cost
Almost every shelf wall you have saved sits in one of three brackets, and knowing which one you are shopping for saves a lot of disappointment at the lumber counter.
$ is $150 to $400 in materials to trim a pair of stock bookcases into an alcove — filler strips, a face frame, crown, paint. $$ is $500 to $1,200 for a plywood alcove build with doors, which is a weekend of cutting plus hardware. $$$ is $2,500 to $6,000 and up for a cabinetmaker-built wall, where most of the money is labor and door fronts.
Then the three numbers. Depth: 11 to 12 inches for books, 14 to 16 inches only where a shelf carries baskets or media gear. Clear spacing: 11 to 13 inches for hardbacks, which is more than most flat-pack units give you. Span: a 3/4-inch plywood shelf sags past a 32-inch run, so anything longer needs a glued solid lip or a mid support.
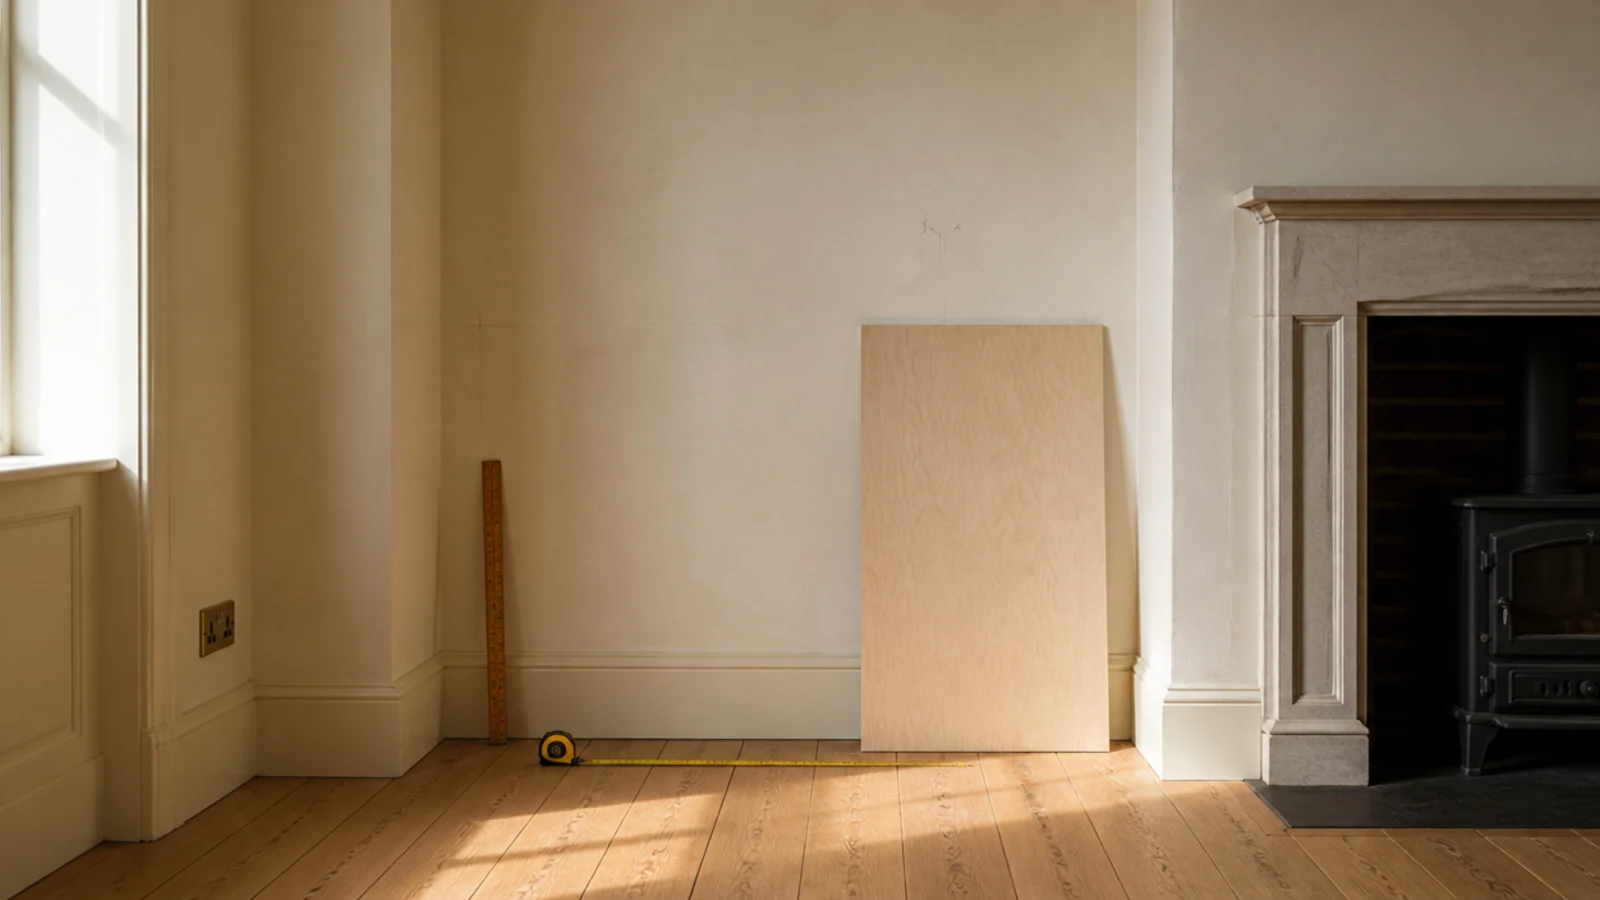
Alcoves beside a chimney breast usually measure 24 to 40 inches wide, which is exactly why stock bookcases fit them so well. If yours sits beside the firebox, keep combustible material at least 6 inches from the opening and follow the appliance clearance label — built-ins around a fireplace covers that build properly.
1. Trim stock bookcases into an alcove
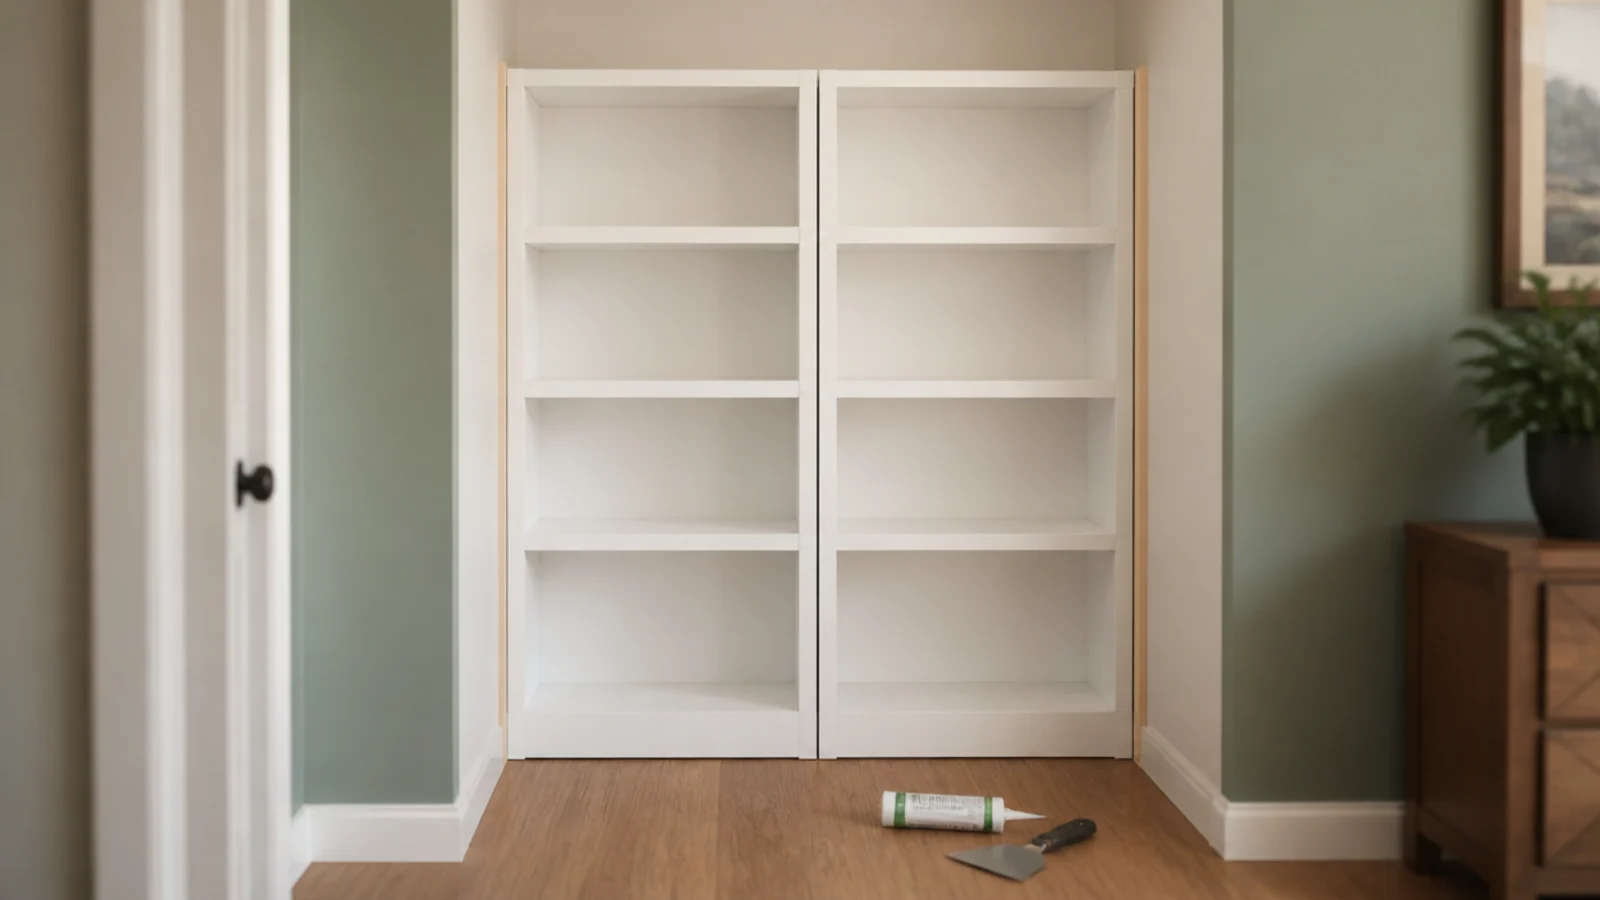
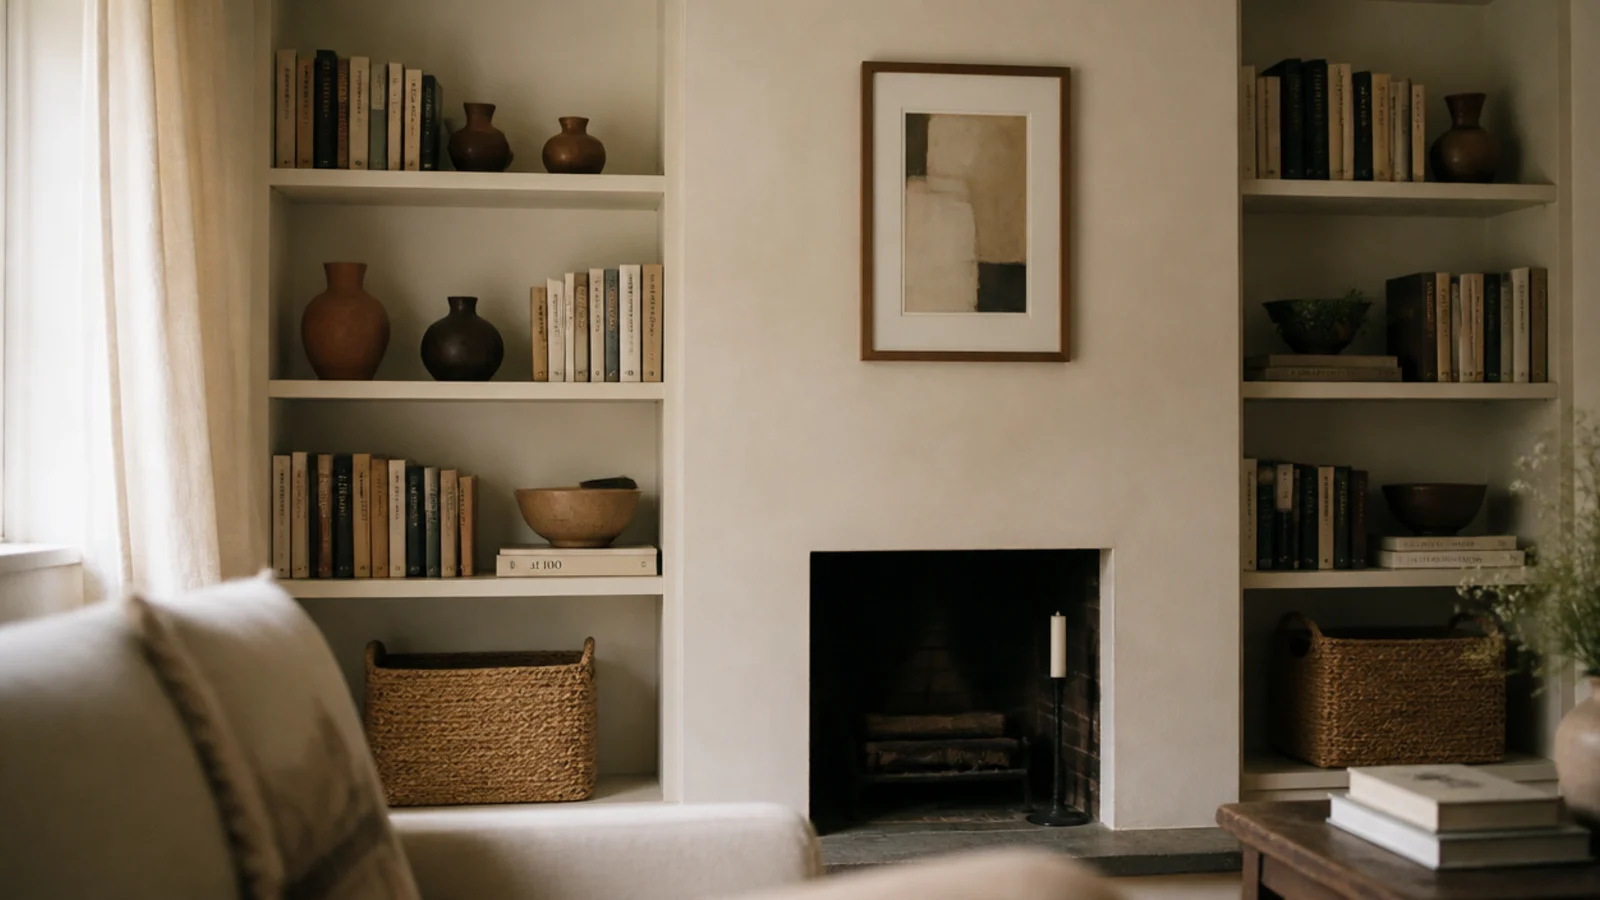
The cheapest honest built-in starts with two stock bookcases pushed into an alcove, screwed into the studs, then closed off with 1x2 filler strips scribed to the wall. Materials land at $150 to $400 per alcove ($). Caulk that joint, paint it out, and the run reads as framing rather than furniture.
2. Bridge two bookcases over a doorway
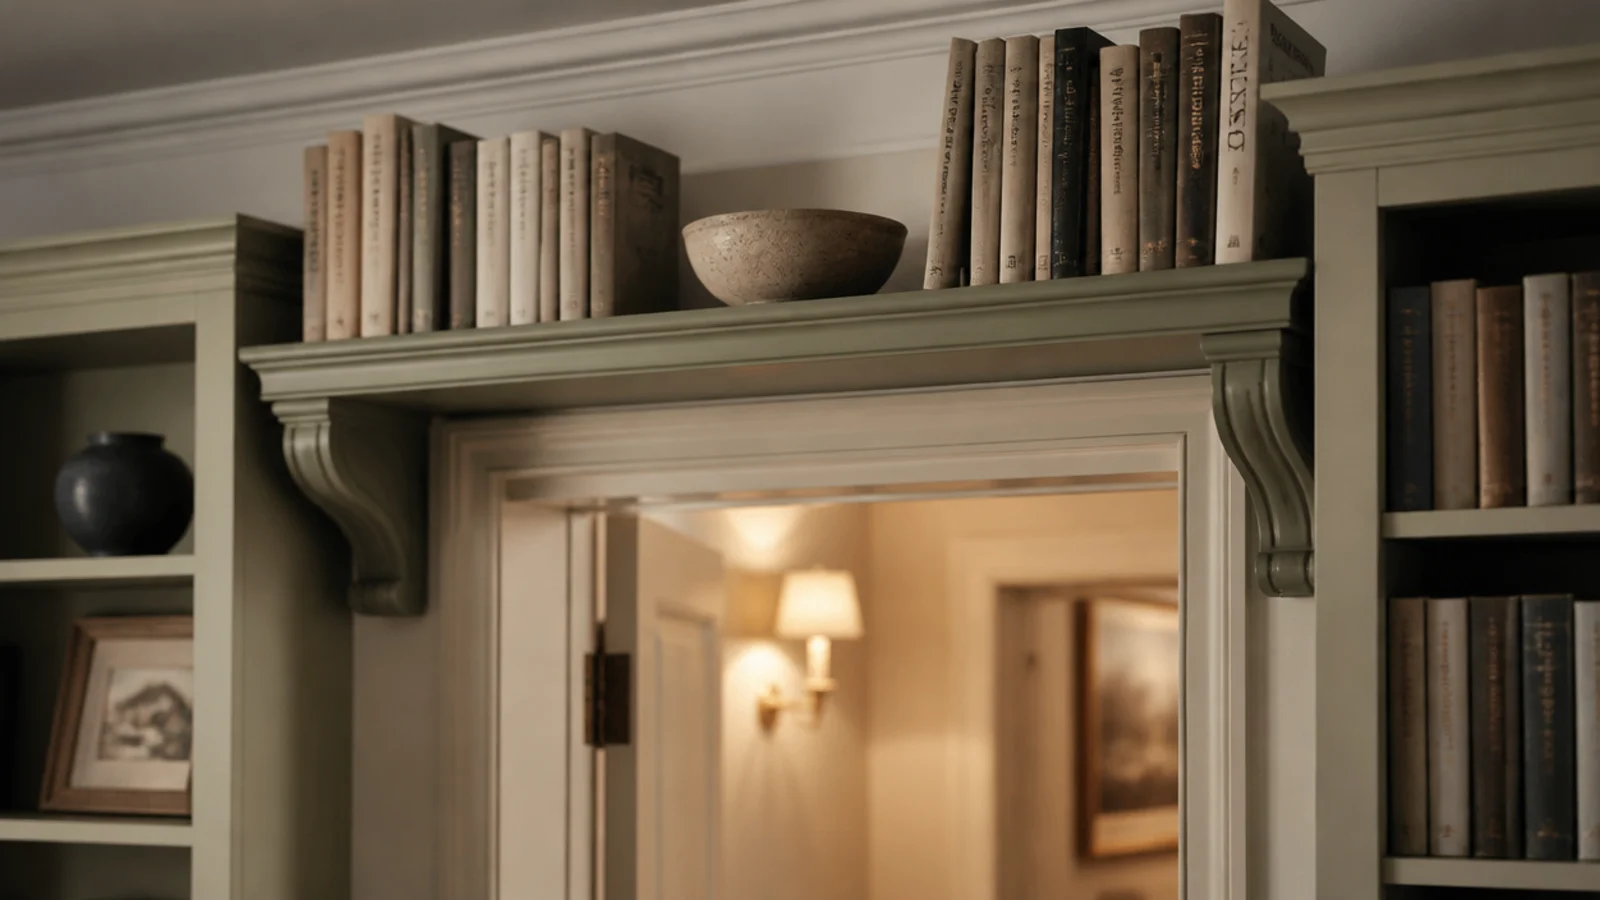
A matching bookcase either side of a doorway, plus a bridging shelf across the header, turns dead wall into storage. Keep 84 inches of clear height under the bridge so nobody ducks, and support the span with a 1x2 lip if it runs past 32 inches. Two stock units and trim: roughly $300 ($).
3. A face frame that fakes cabinetry
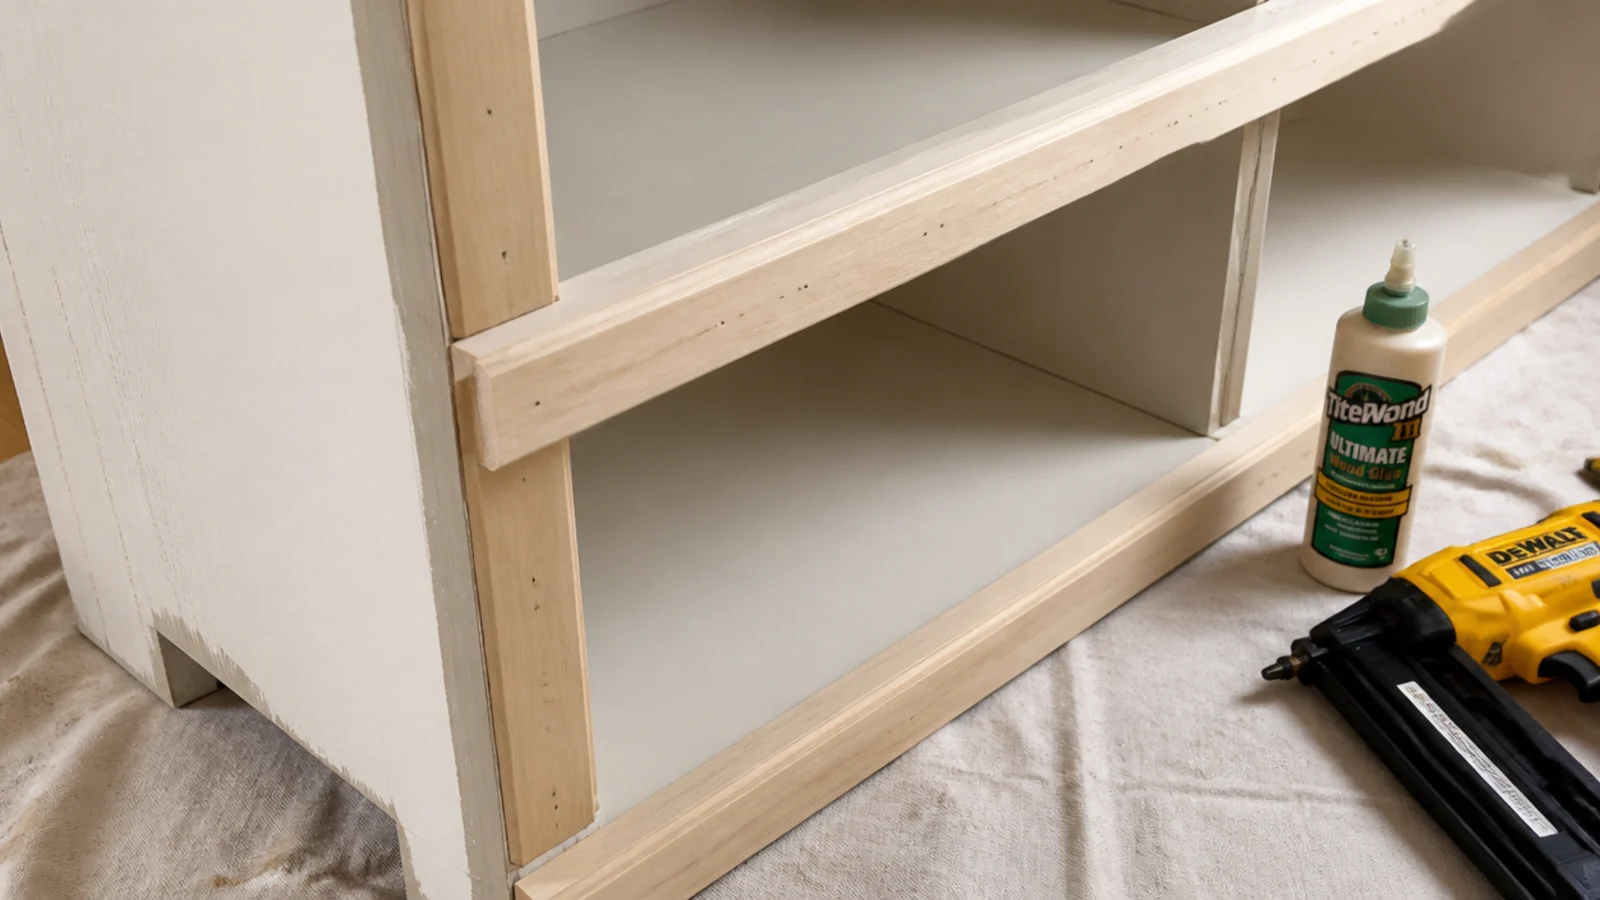
A face frame is the single detail separating flat-pack from built-in. Rip poplar into 1.5-inch stiles, glue and pin them over the raw front edges, then fill the nail holes and sand flush. Twenty dollars of lumber and one afternoon. It covers the melamine edge that gives every budget bookcase away.
4. Take the run floor to ceiling
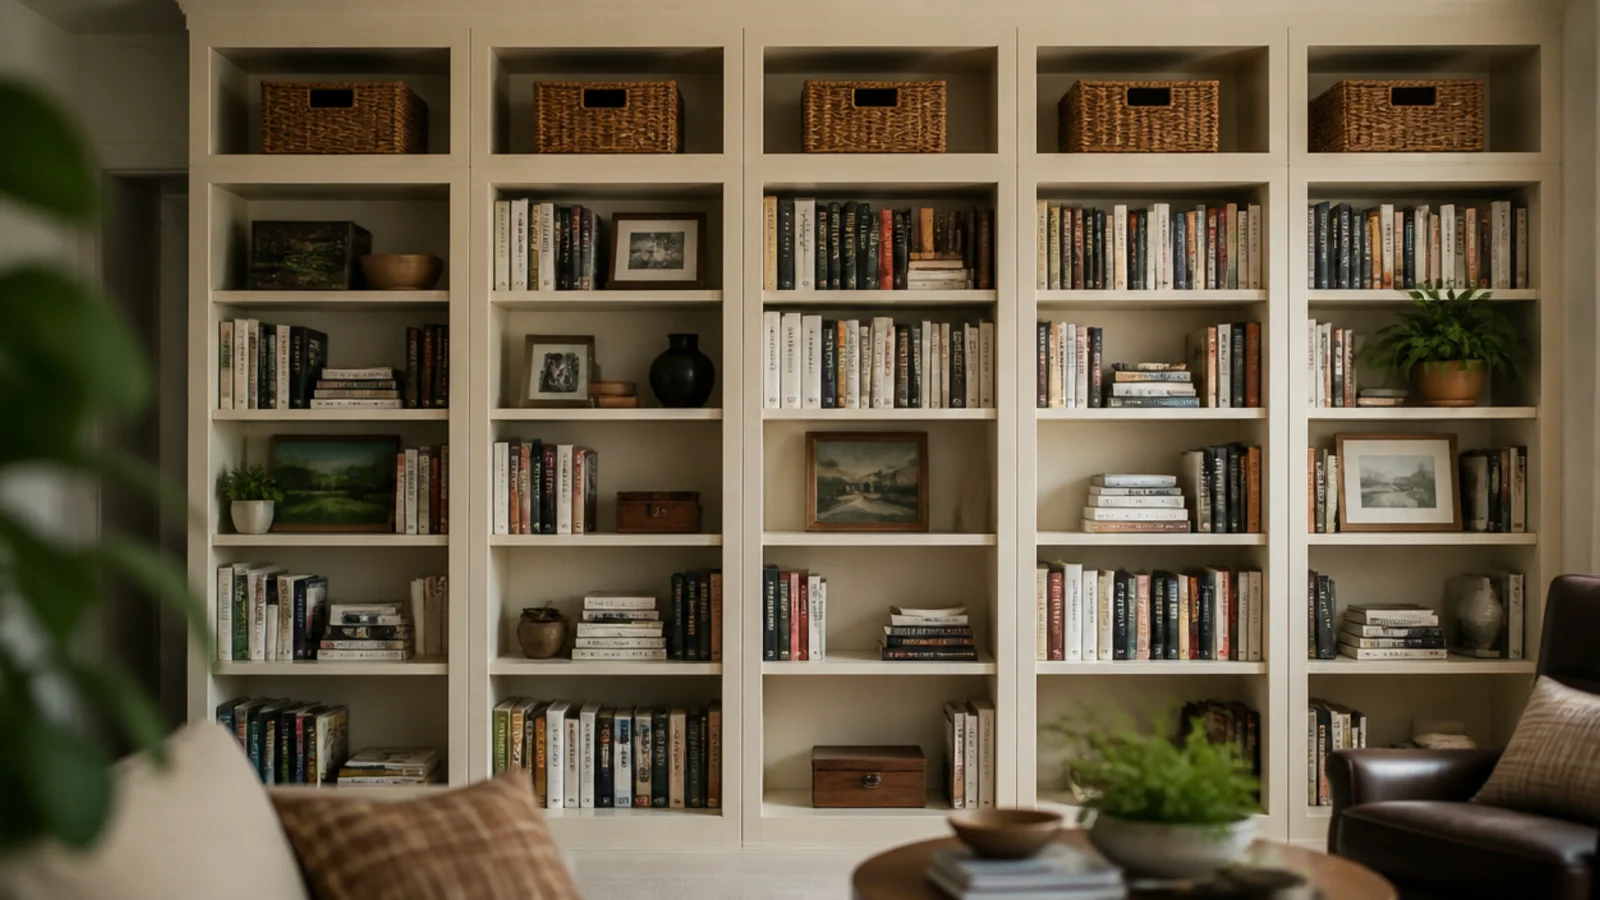
Stopping at 84 inches wastes the best two feet of wall you own. Stack a shallow plywood box on top of each standard bookcase, then trim the seam so it disappears. The upper tier holds what you touch twice a year, and full height makes an 8-foot ceiling read taller instead of shorter.
5. Half height under a window
Below a window, cap the run at 30 inches — the same height as a base cabinet — so the sill stays clear and the top becomes a display ledge. Two 30-inch bookcases plus a continuous 3/4-inch plywood top edged with 1x2 runs about $250 ($). Keep it 15 to 16 inches deep.
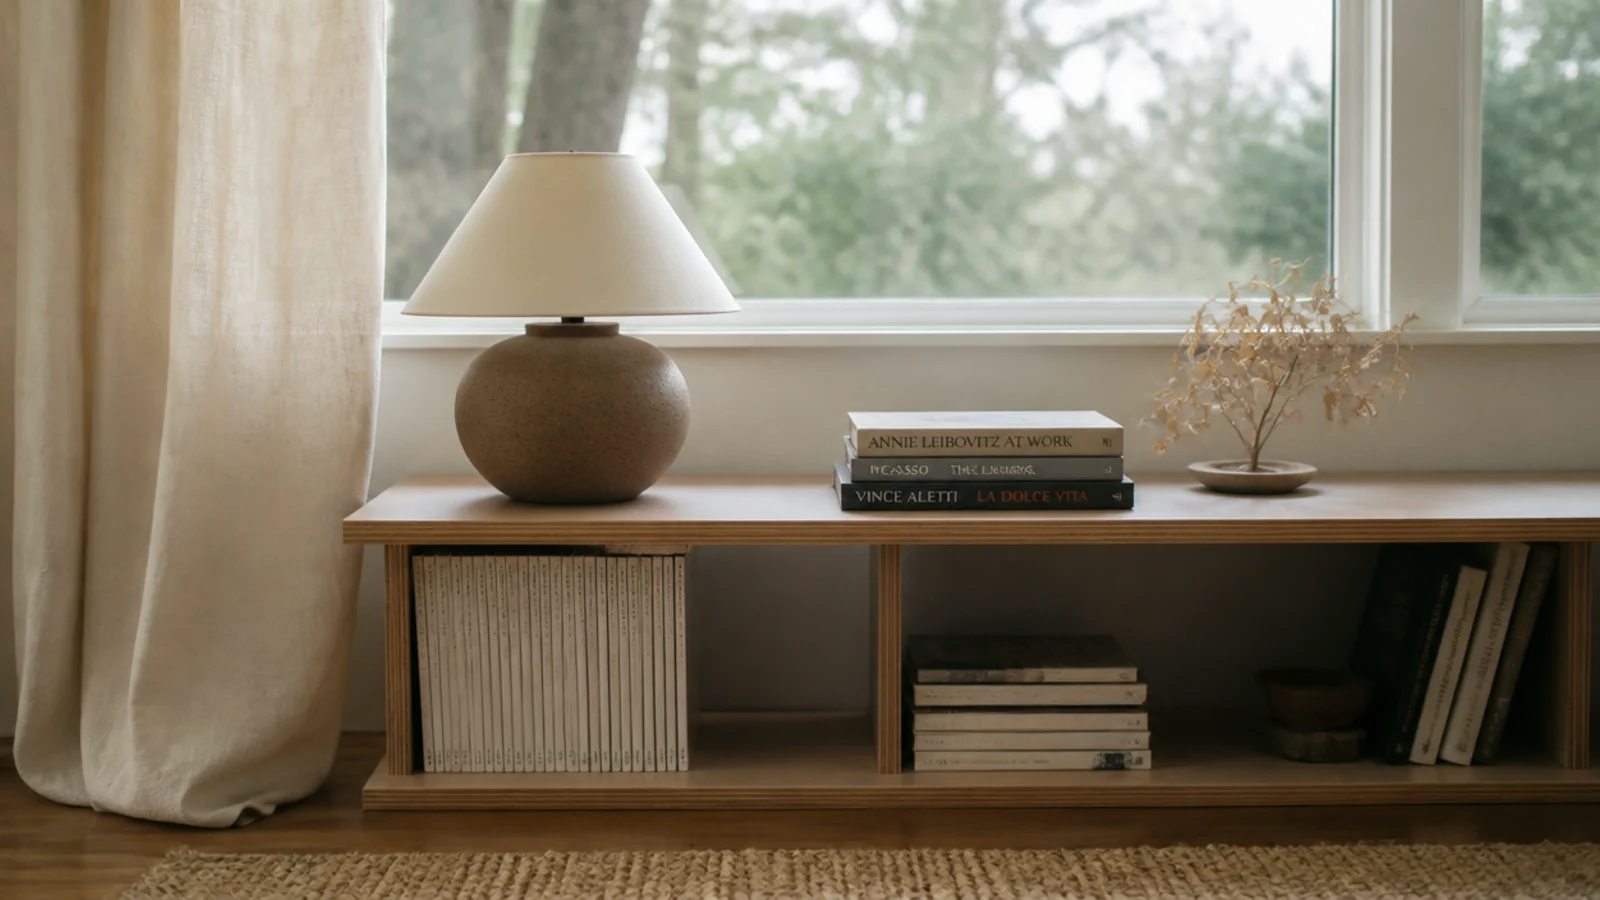
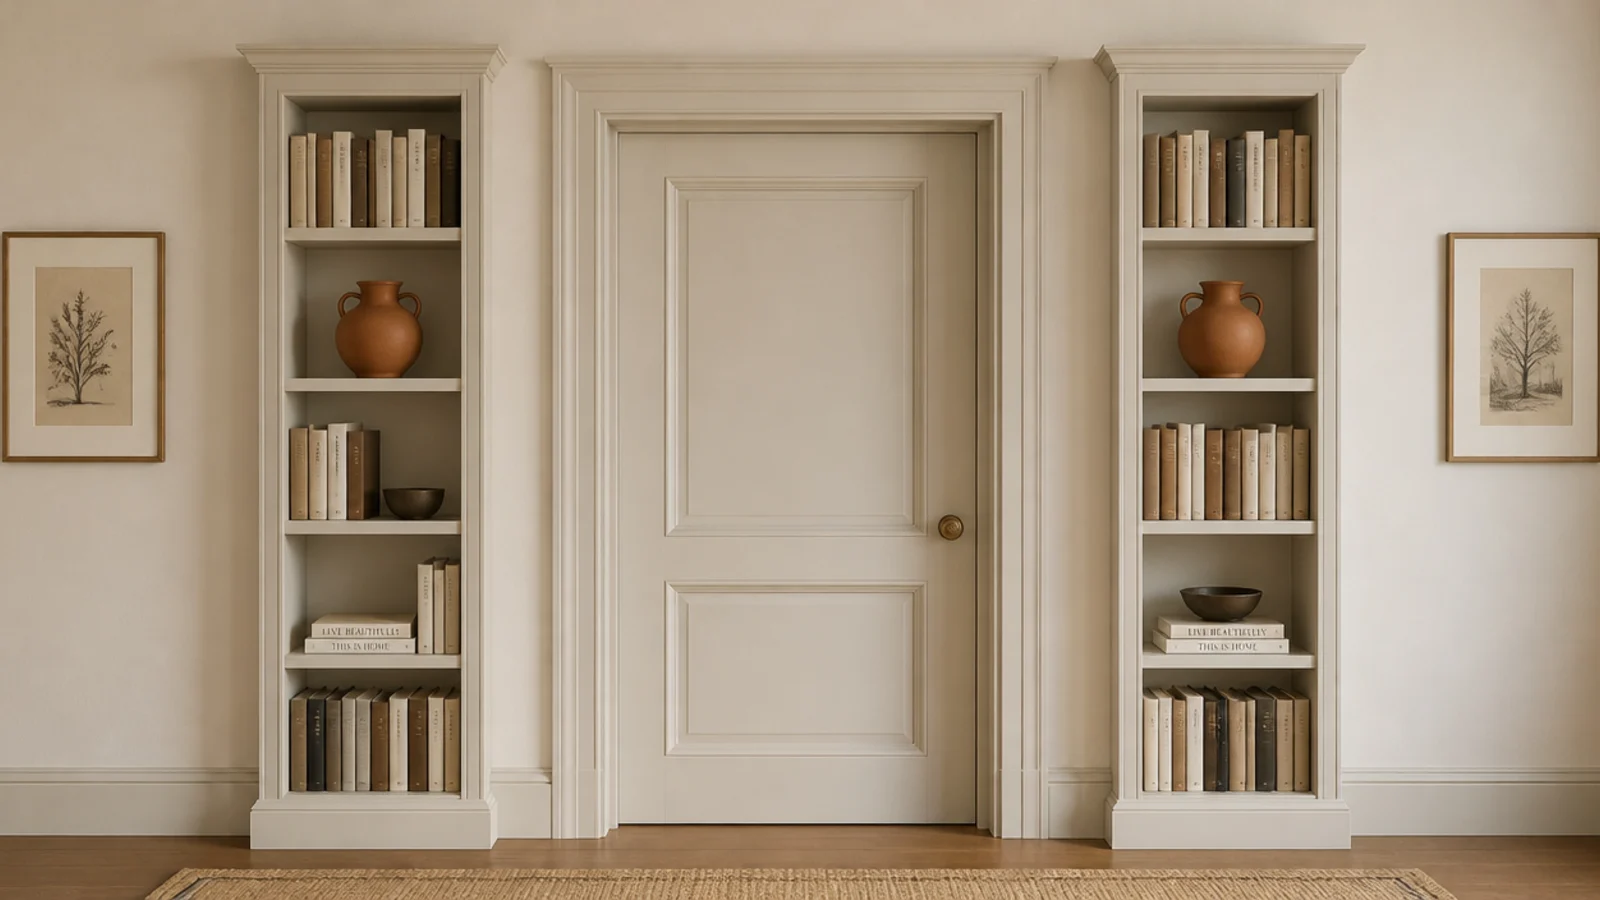
6. Flank a doorway with matching towers
Twin 11-inch-deep towers either side of a doorway make the opening look intentional instead of accidental. Line the outer edge of each tower up with the door casing, then paint everything the trim color so the whole wall reads as architecture. Two flat-pack towers plus molding lands near $400 ($).
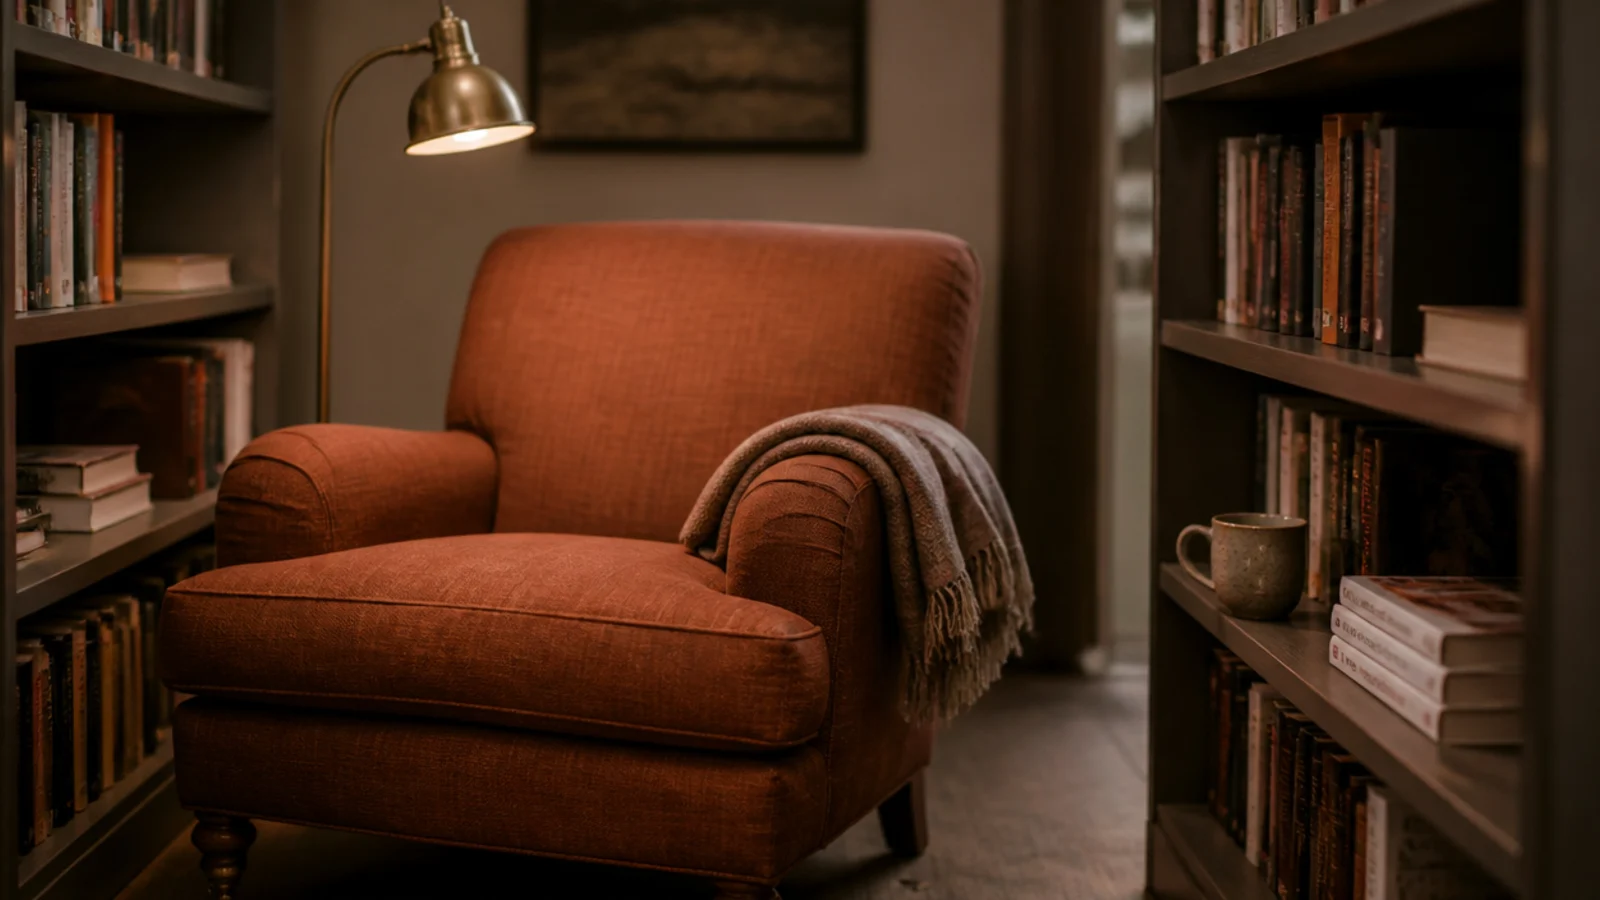
7. Frame a reading nook between two runs
Leave a 36- to 42-inch gap between two shelf runs and drop a chair into it. The shelves become walls and the gap becomes a room. Keep the flanking runs 11 inches deep so nothing catches your shoulder, and add a plug-in sconce inside the nook rather than wiring anything new.
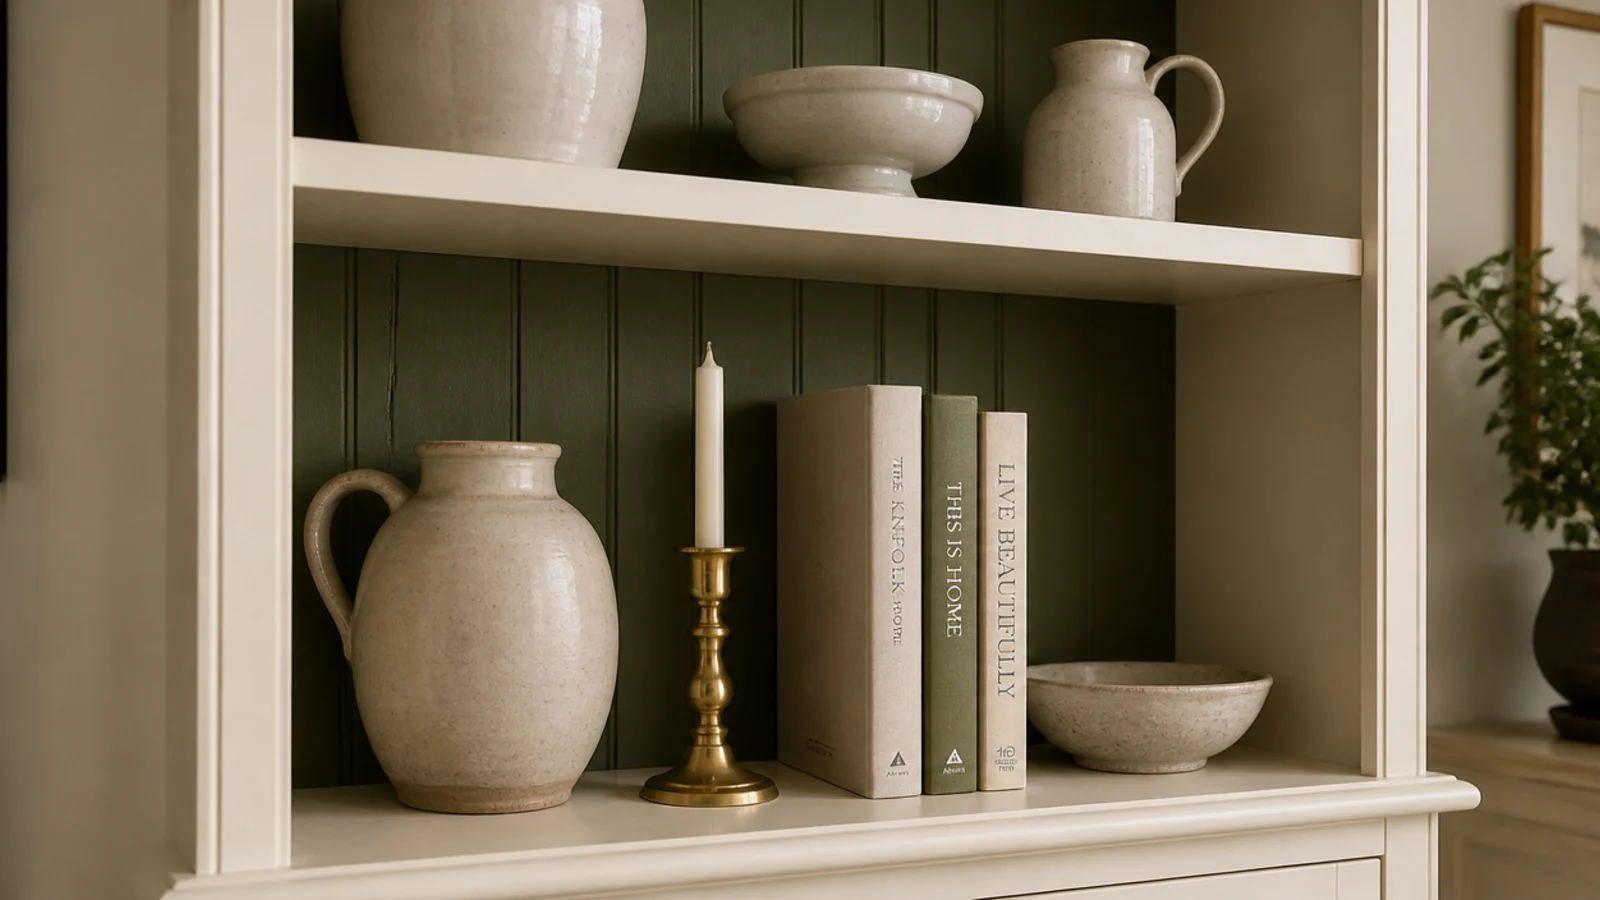
8. Paint the back panel a deep tone
The back panel is the cheapest drama in the house. A quart of deep olive, ink blue or clay brown on the back boards, with shelves and frame left in the wall color, costs about $25 and pushes every object forward. Prime melamine backs first or the color will scratch off within a year.
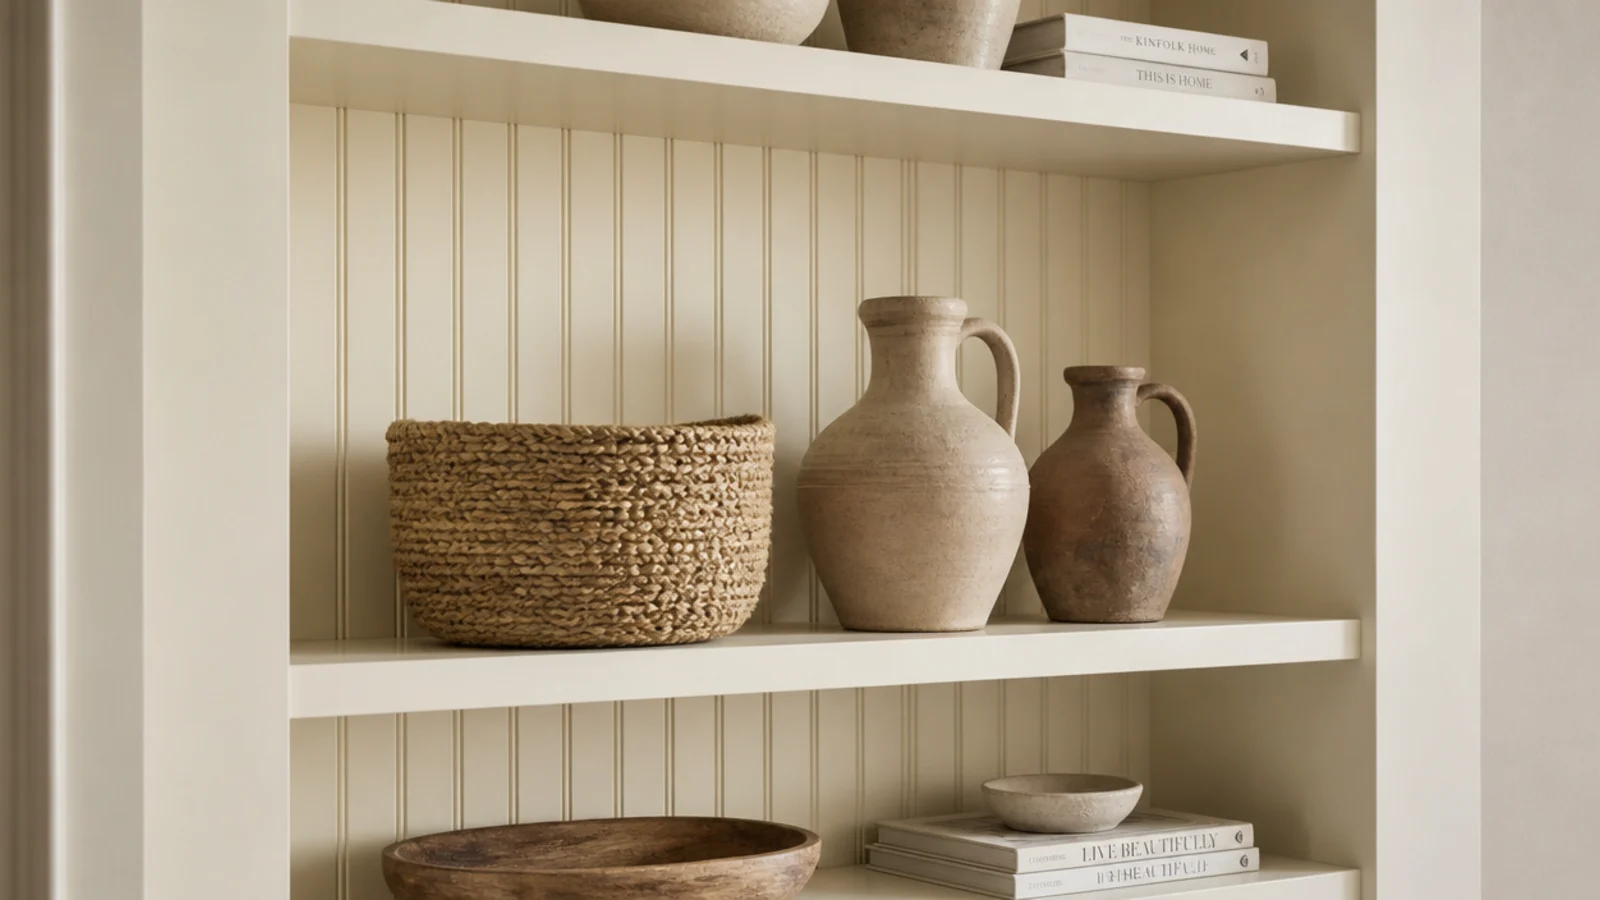
9. Back the bays with cheap beadboard
If your bookcase backs are flimsy 1/8-inch hardboard, staple 1/4-inch beadboard over them. A 4x8 sheet costs around $30, covers three bays, adds texture and stiffens the whole carcass against racking. Paint the beadboard the same color as the shelves so the grooves read as shadow rather than pattern.
10. Drill pin holes instead of fixing shelves
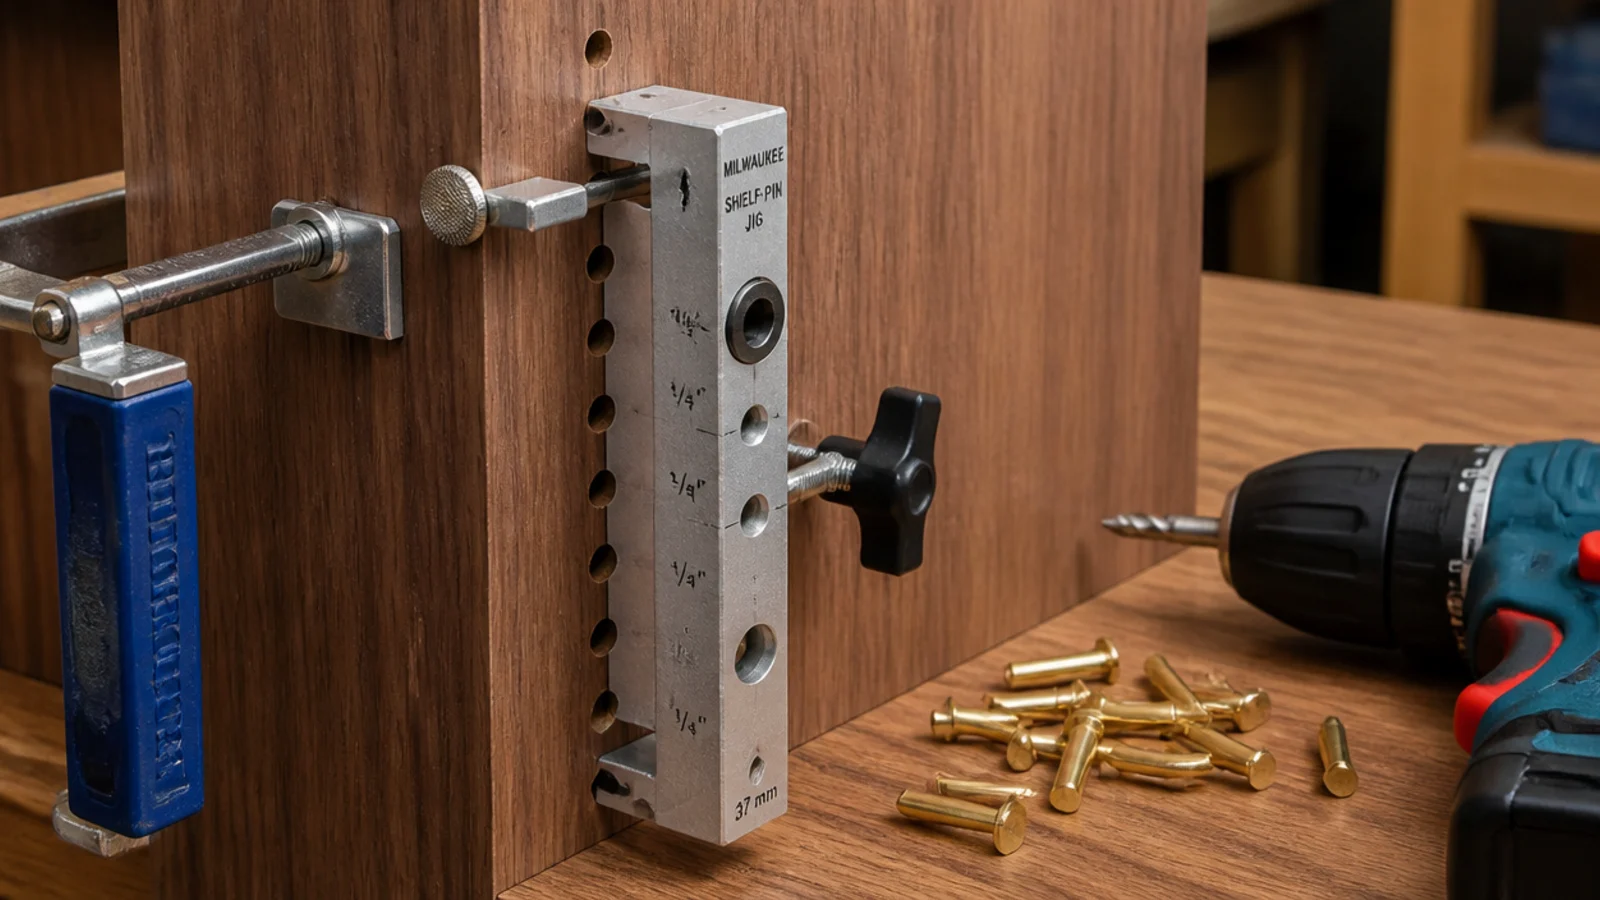
Fixed shelves lock you into one book height forever. Drill 5 mm shelf pin holes at 32 mm centers with a $20 jig, then set each shelf where you need it — 11 to 13 inches clear for hardbacks, about 9 inches for paperbacks. Best hour you will spend on a budget build, easily.
11. Glue a solid lip onto long spans
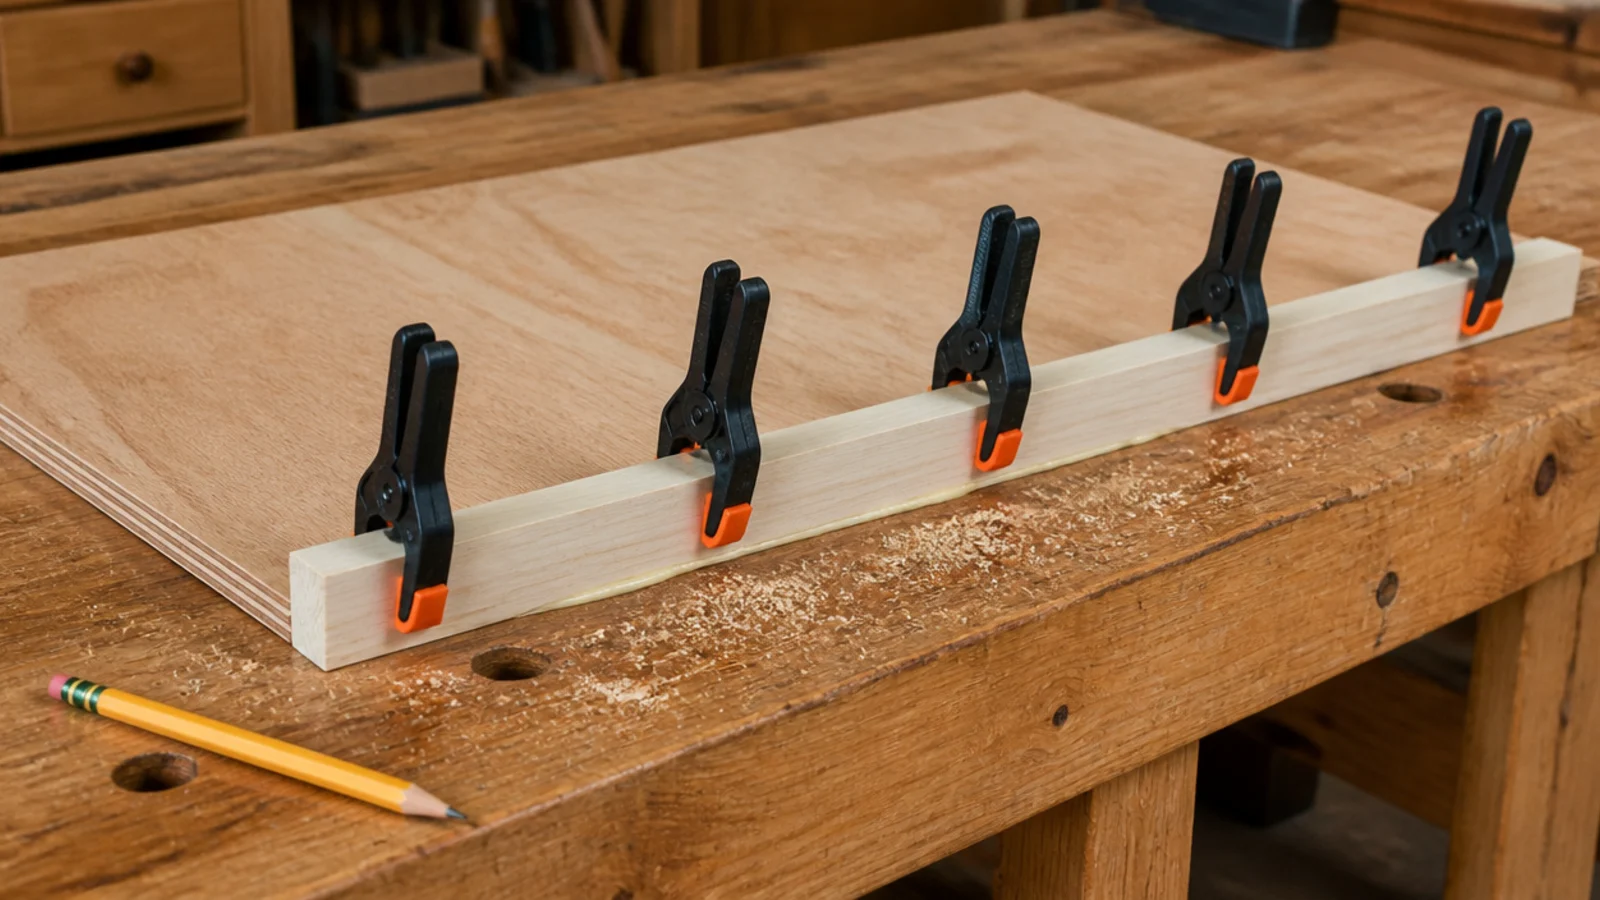
A 3/4-inch plywood shelf sags past a 32-inch span, and it happens slowly enough that you blame the books instead of the shelf. Glue and clamp a solid 1x2 lip along the front edge and the same shelf carries a full run. No lip? Add a vertical divider at the midpoint.
12. Close the ceiling gap with crown
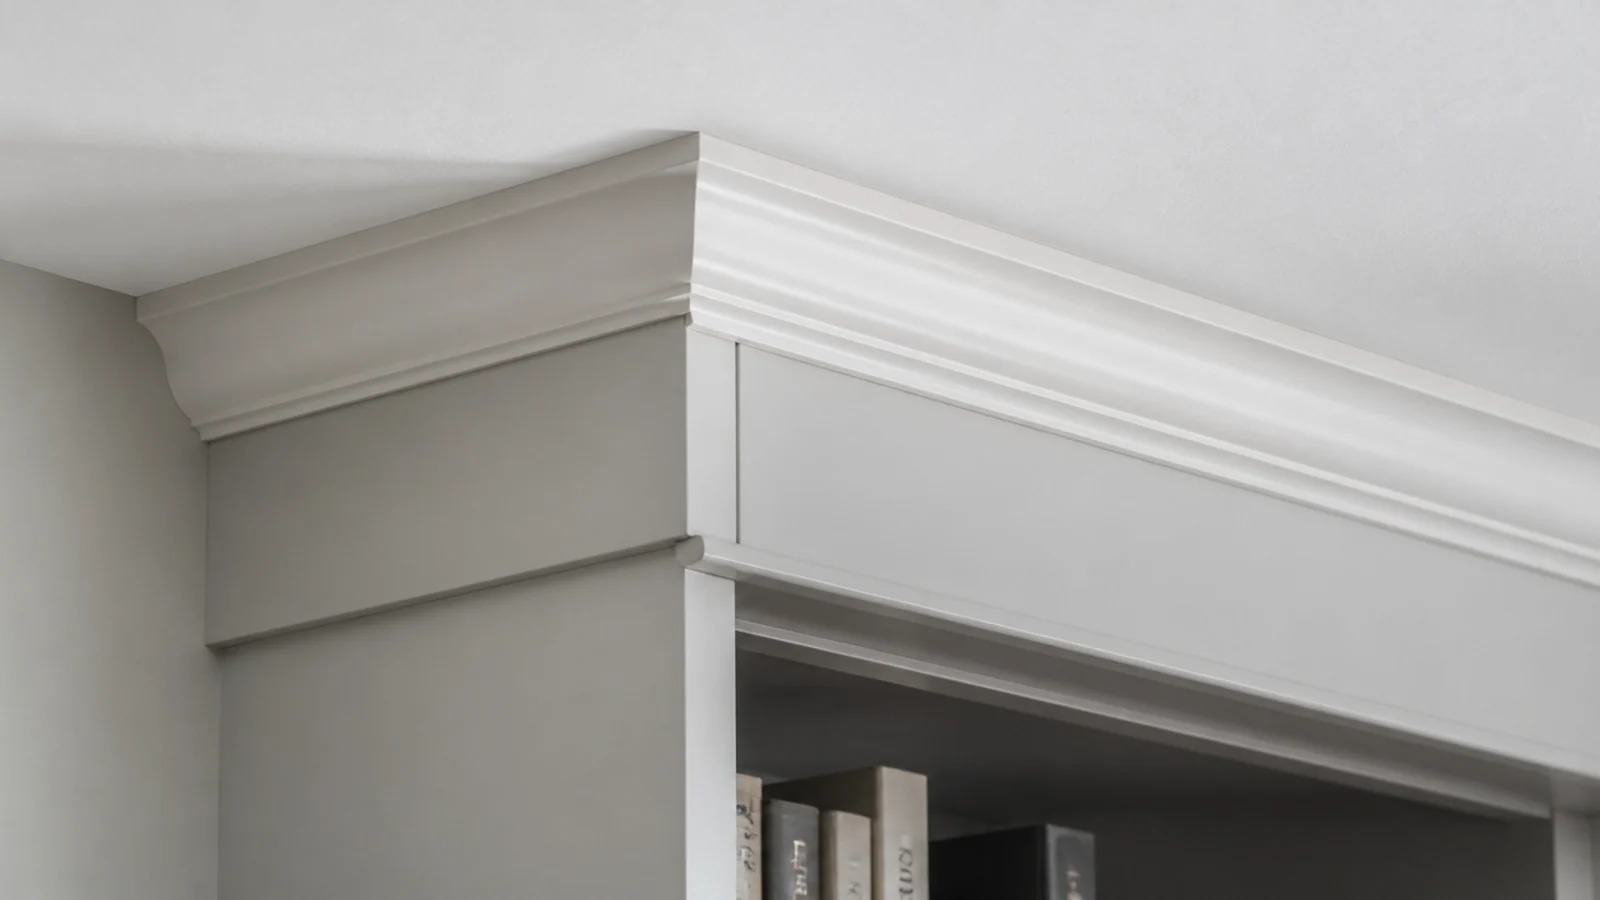
The number one giveaway of a DIY built-in is a gap at the wall or ceiling. Run a simple 2.5-inch crown, or even a flat 1x4 with a small cap, across the top. Scribe it to the ceiling, caulk the joint, and about ten dollars of molding erases the whole tell.
13. Match the plinth to your baseboard
Build a toe kick 4 inches tall and 3 inches deep under the run, then wrap the front with a scrap of your existing baseboard profile. The shelves land on the same line as every other wall in the room, and that one detail is what makes people assume the house came this way.
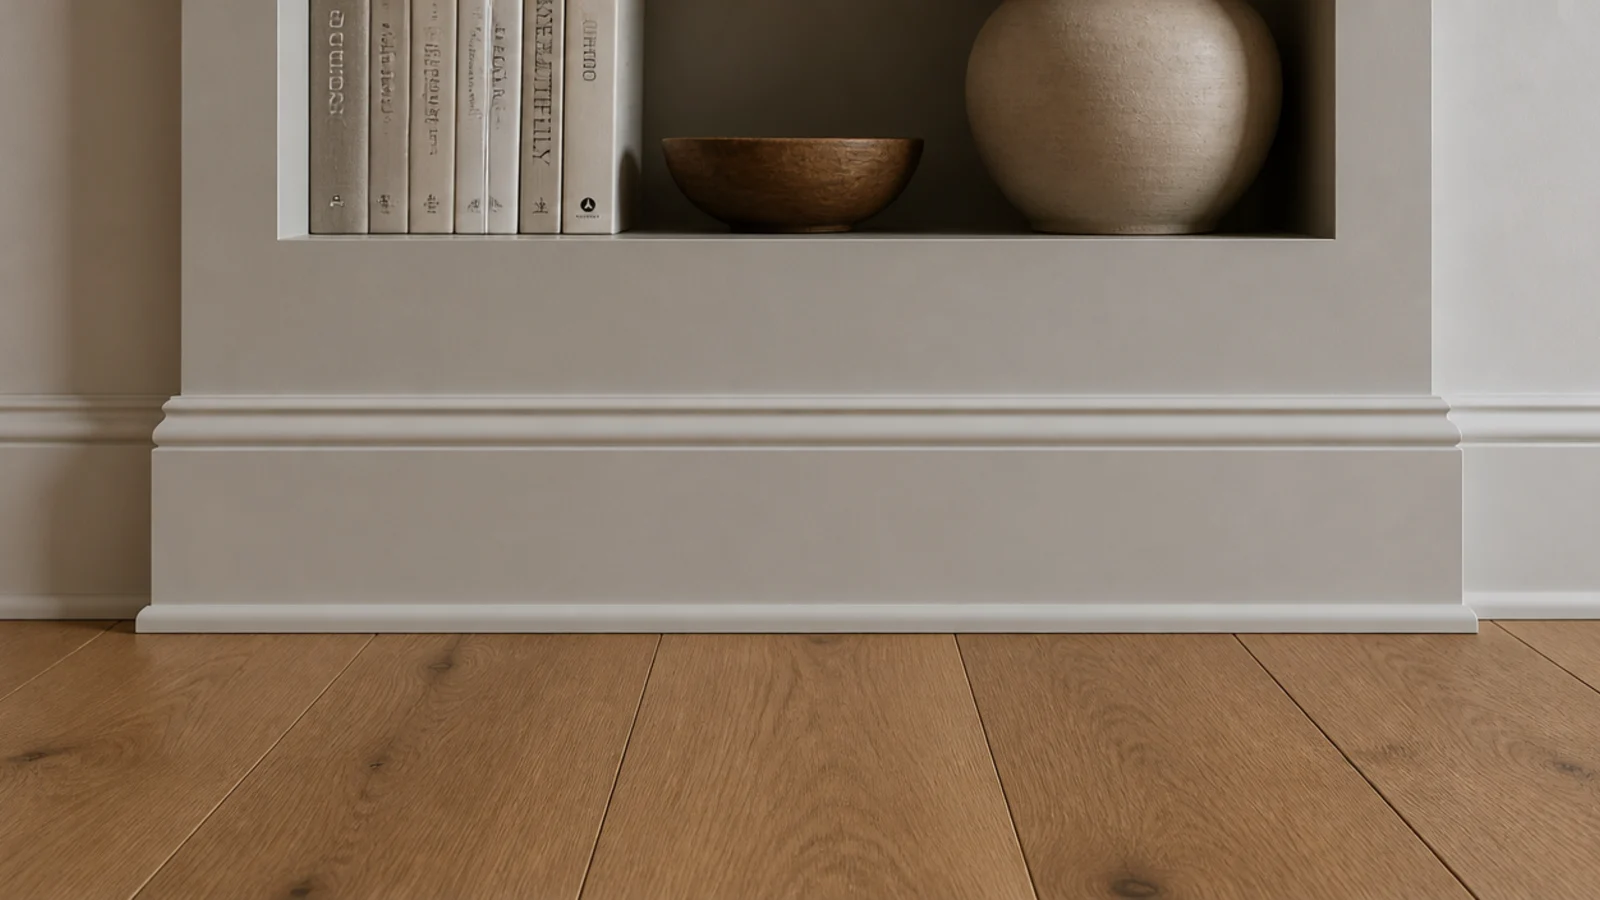
14. Cabinet doors on the bottom third
Slab doors across the bottom 30 inches hide the router, the board games and the recycling. Cut them from 3/4-inch plywood with iron-on edge banding for about $18 a door, or buy stock fronts. Everything above that line stays open — built-ins with cabinets breaks down the ratio.
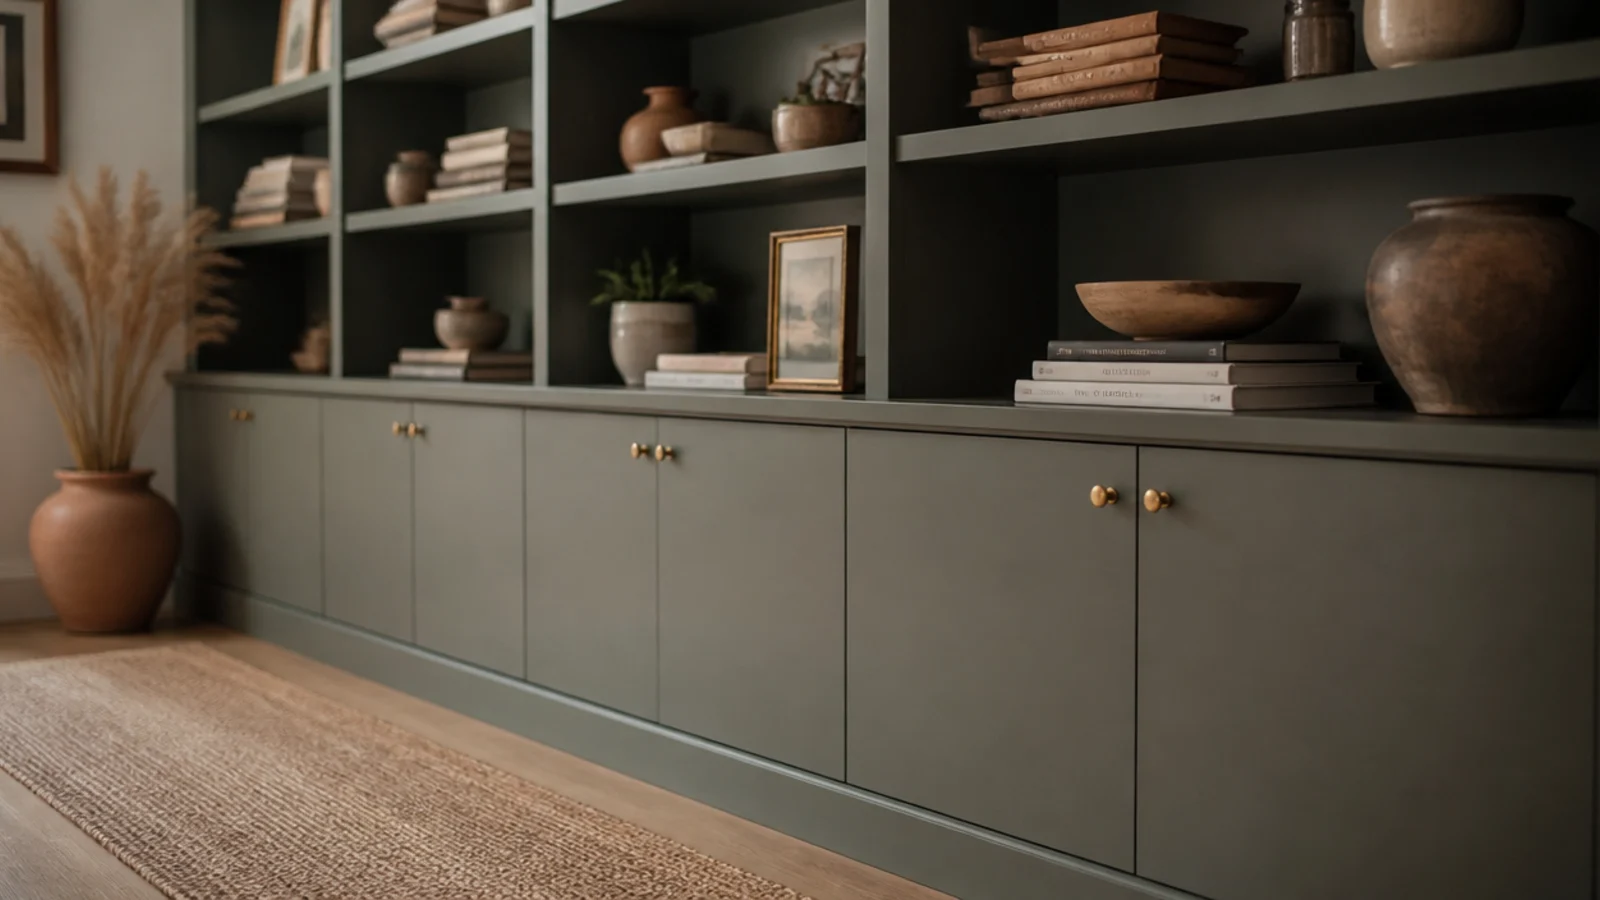
15. Puck lights on a dimmer
Three or four warm 2700K puck lights per bay, stuck under the shelf front and run to a plug-in dimmer, cost about $35 a set and do more for a book wall at night than anything you could put on it. Route the wire in a shallow groove behind the back panel.
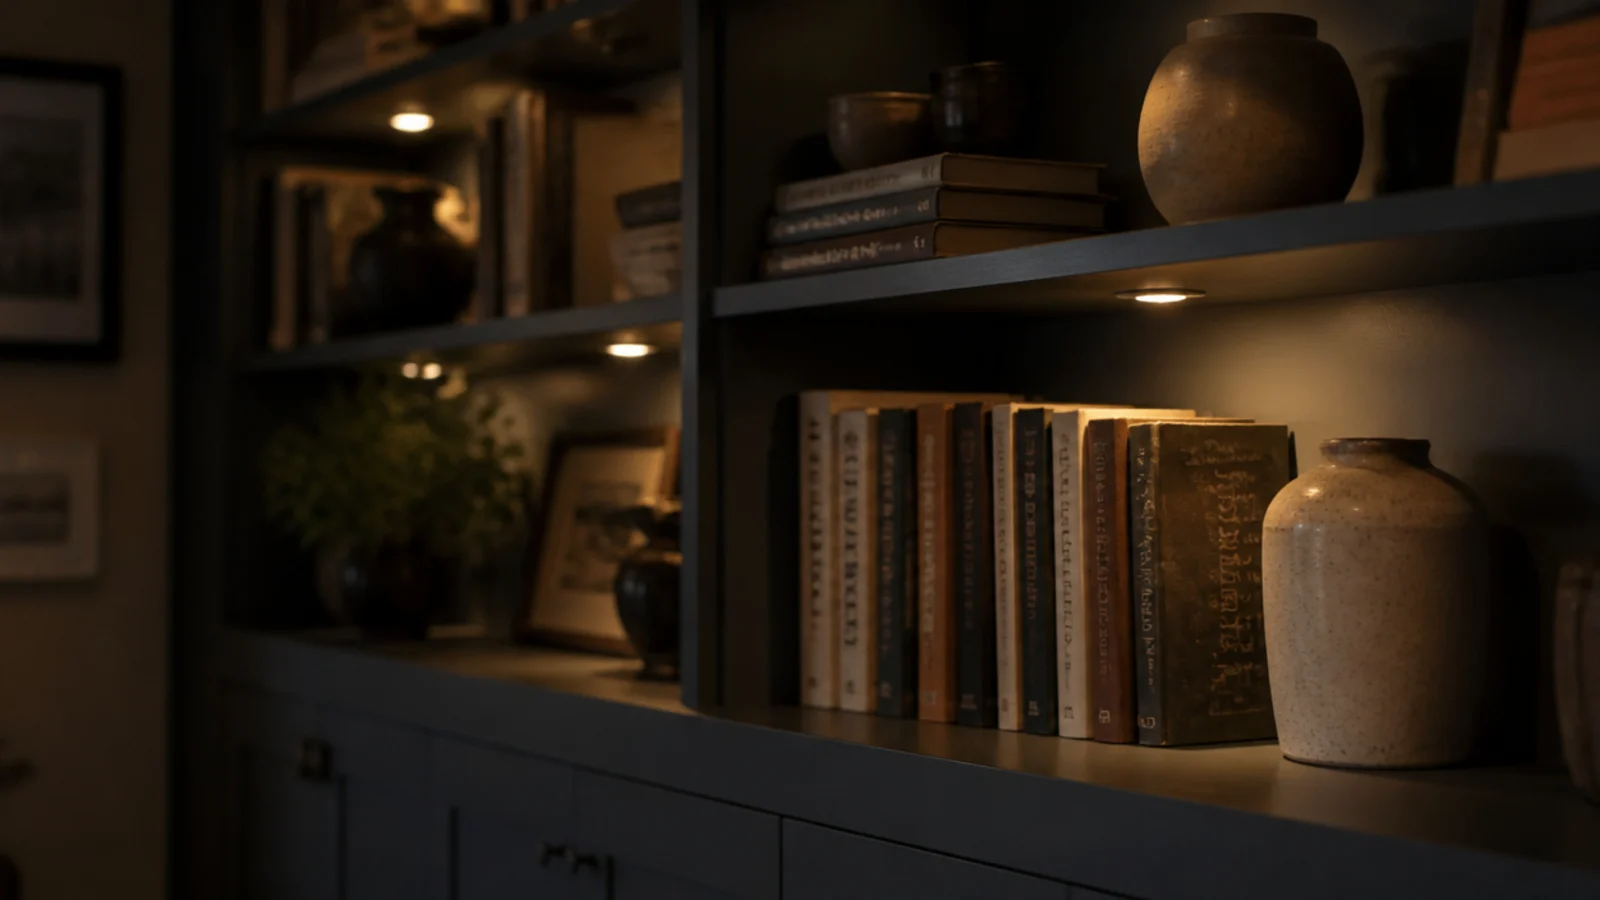
16. Sort the books by height, not color
Rainbow shelves photograph beautifully and read as noise in person. Group by height instead, tallest at the outer edges of each bay, and a $200 bookcase run suddenly looks deliberate. Leave about a third of every shelf empty — that gap is doing more styling work than any object on there.
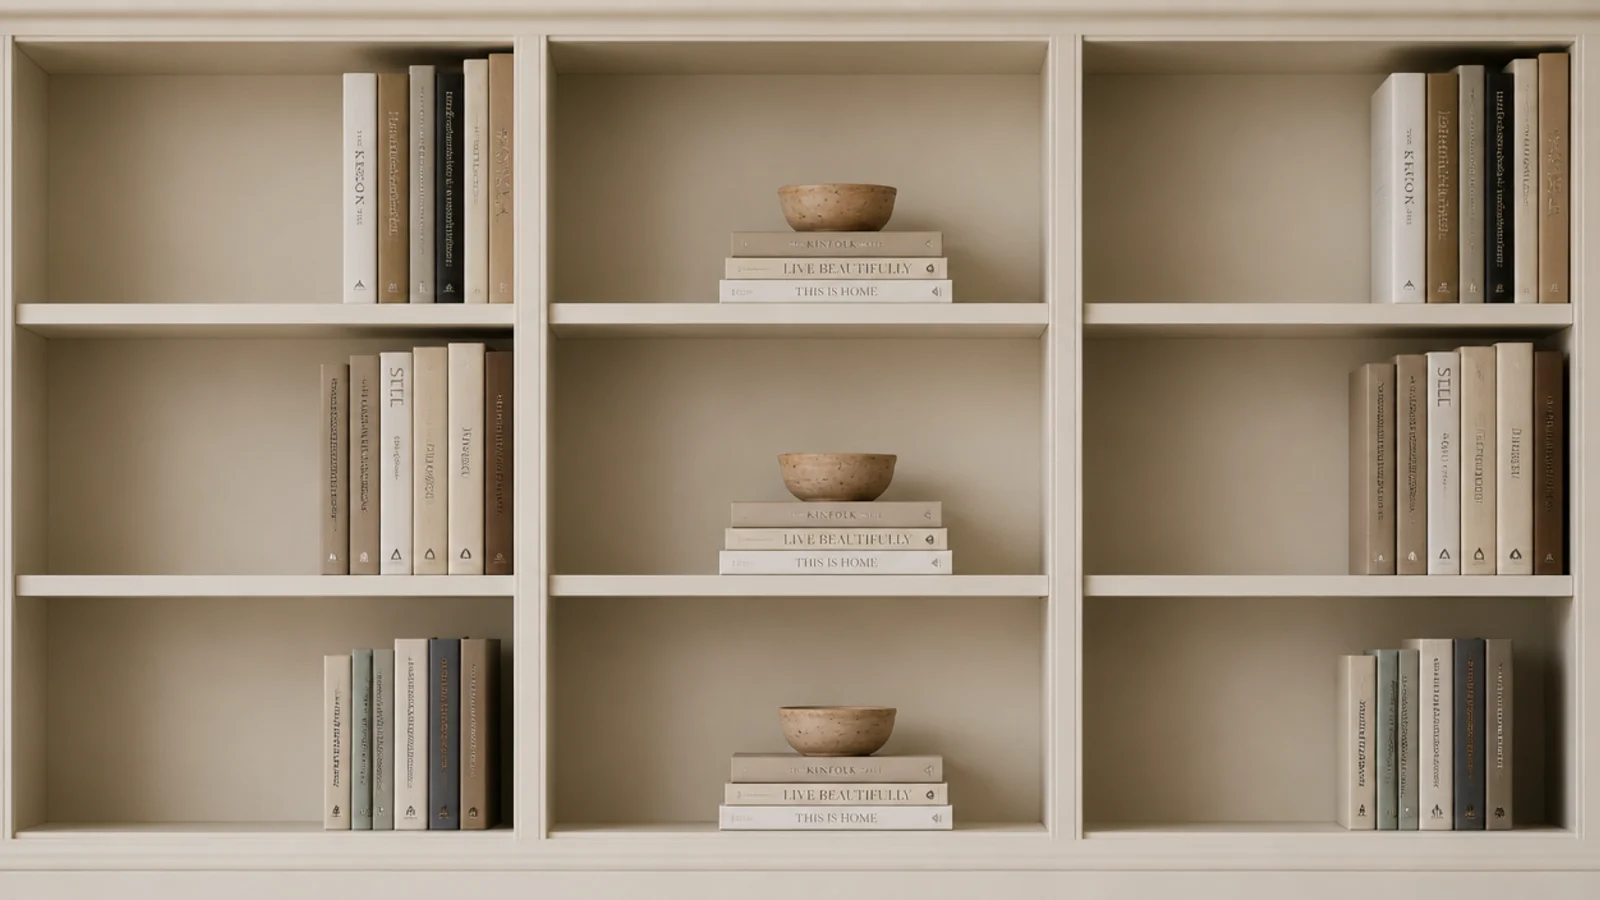
17. One media bay with cable management
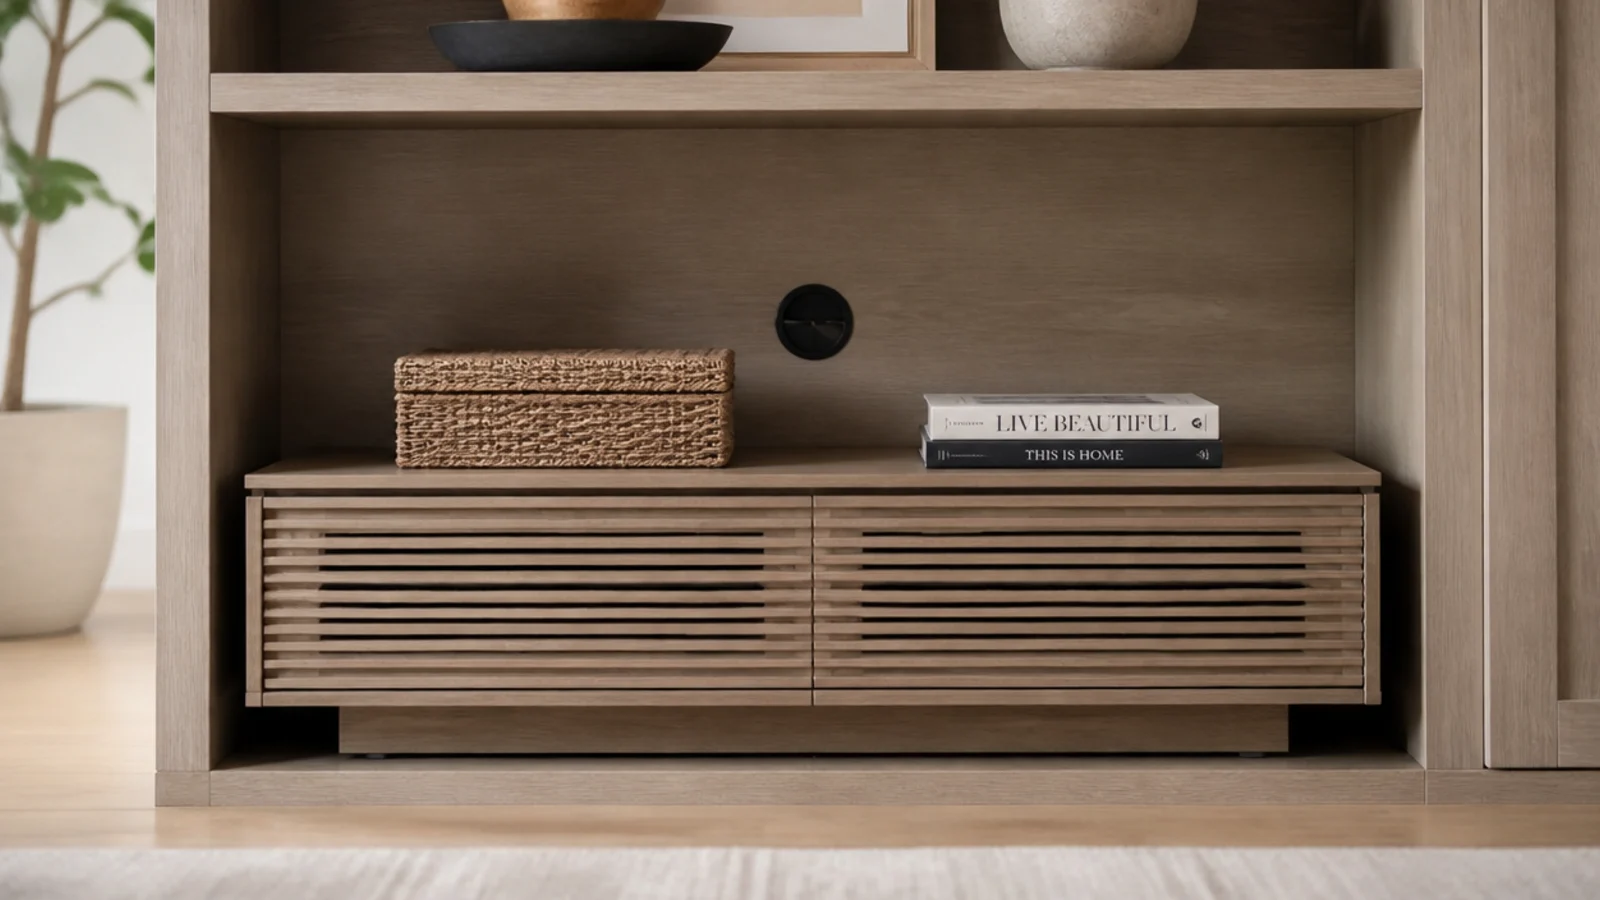
Give the TV gear one 16-inch-deep bay instead of scattering it across five. Drill a 2-inch grommet hole through the back panel at the rear of each gear shelf, mount a power strip inside the plinth, and leave 3 inches of air behind a receiver so it does not cook.
18. A basket row for the clutter
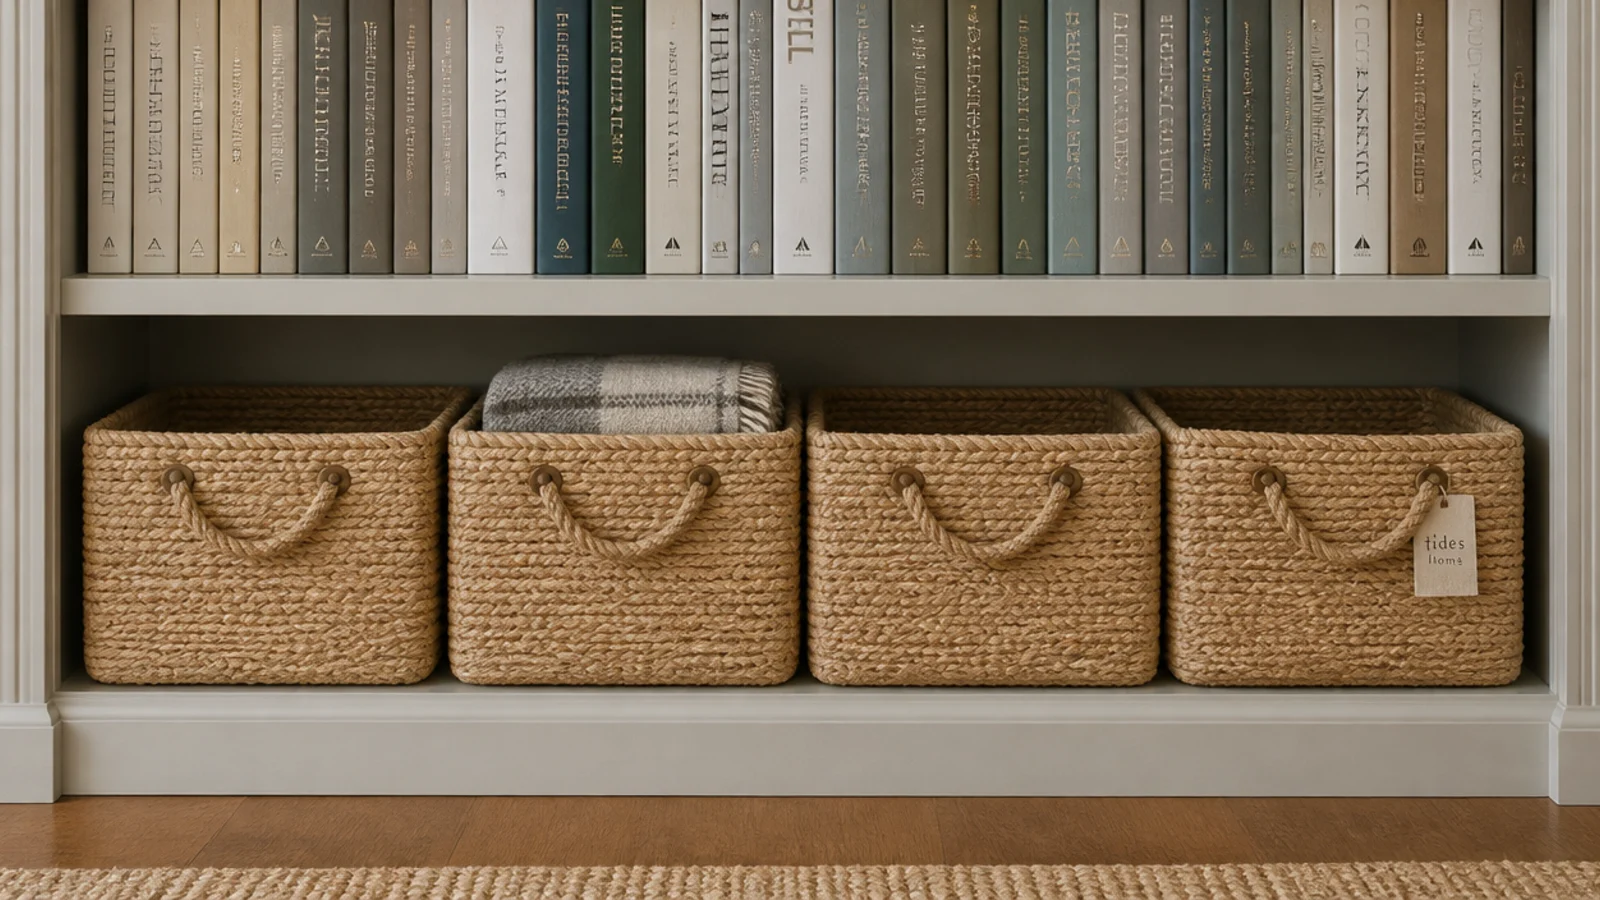
Give the lowest open shelf to four matching jute or seagrass baskets. Size that shelf 14 to 16 inches deep so a real basket actually fits, and set the clear height at 13 inches. Baskets run $12 to $20 each and quietly swallow the mail, the cords, the remotes and the charging bricks.
19. A library ladder if it earns the wall
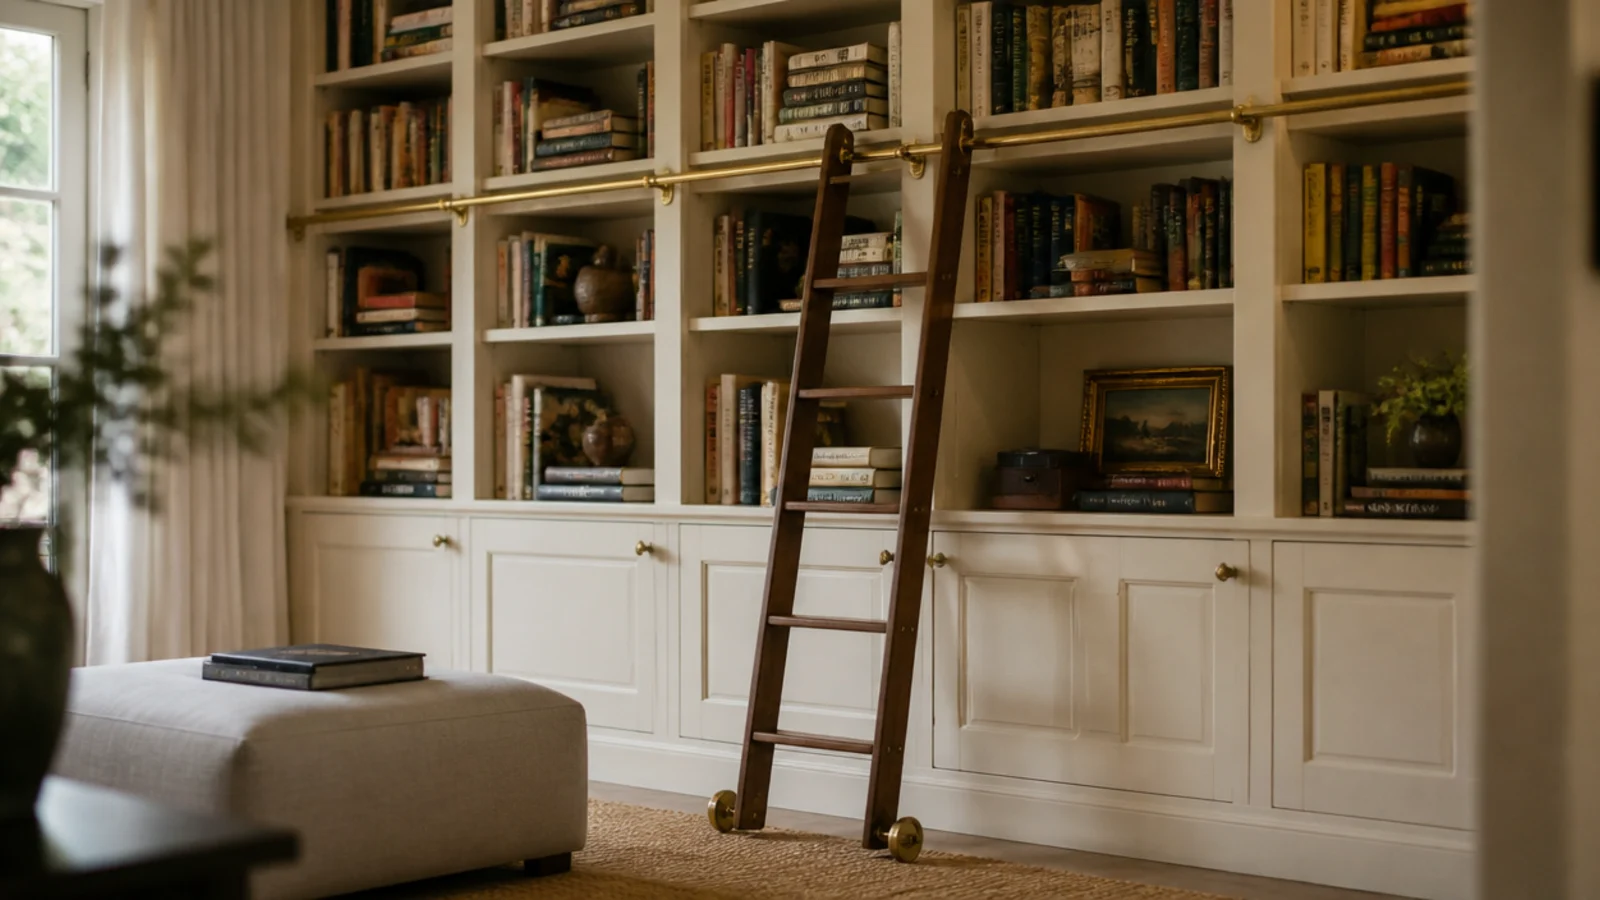
A rolling ladder is the one splurge worth making on a tall run. Hardware kits start near $250 ($$) and need blocking behind the drywall, so screw a 2x6 across the studs before you close anything up. Under 8 feet of shelving, skip it and buy a good wooden step stool.
20. Turn the corner with a short return
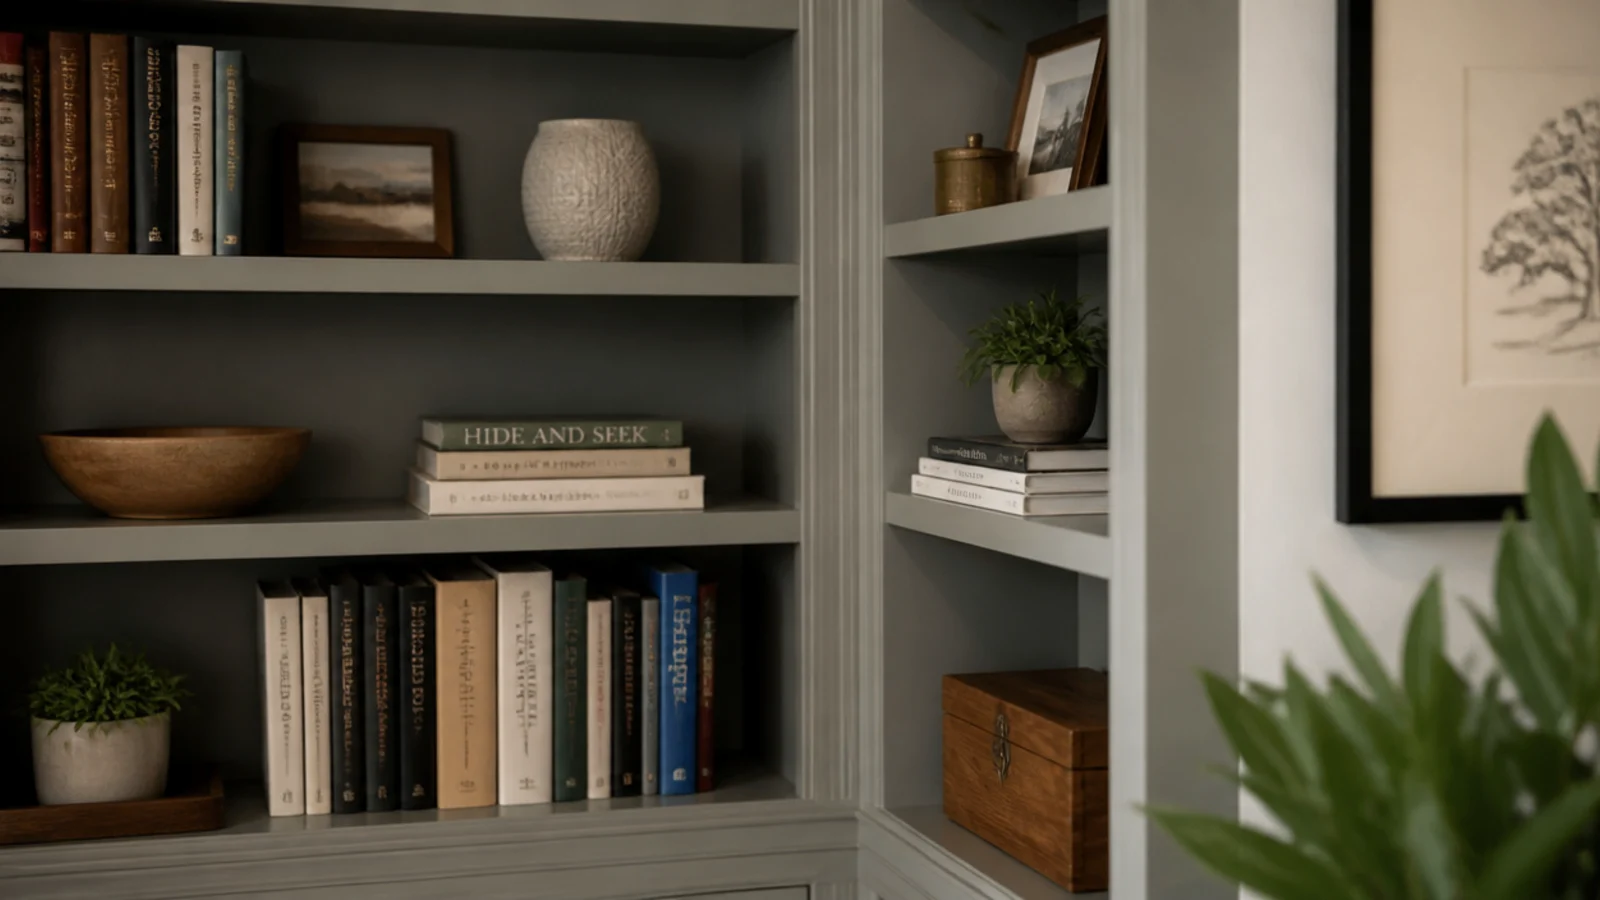
Where a run hits a corner, carry a 16-inch return around it rather than stopping dead at the wall. Set the return shelves about 2 inches shallower so the corner does not swallow books, and mitre the face frame at the angle. One extra bookcase, and the wall looks planned.
21. Fill the under-stair wall with shelves
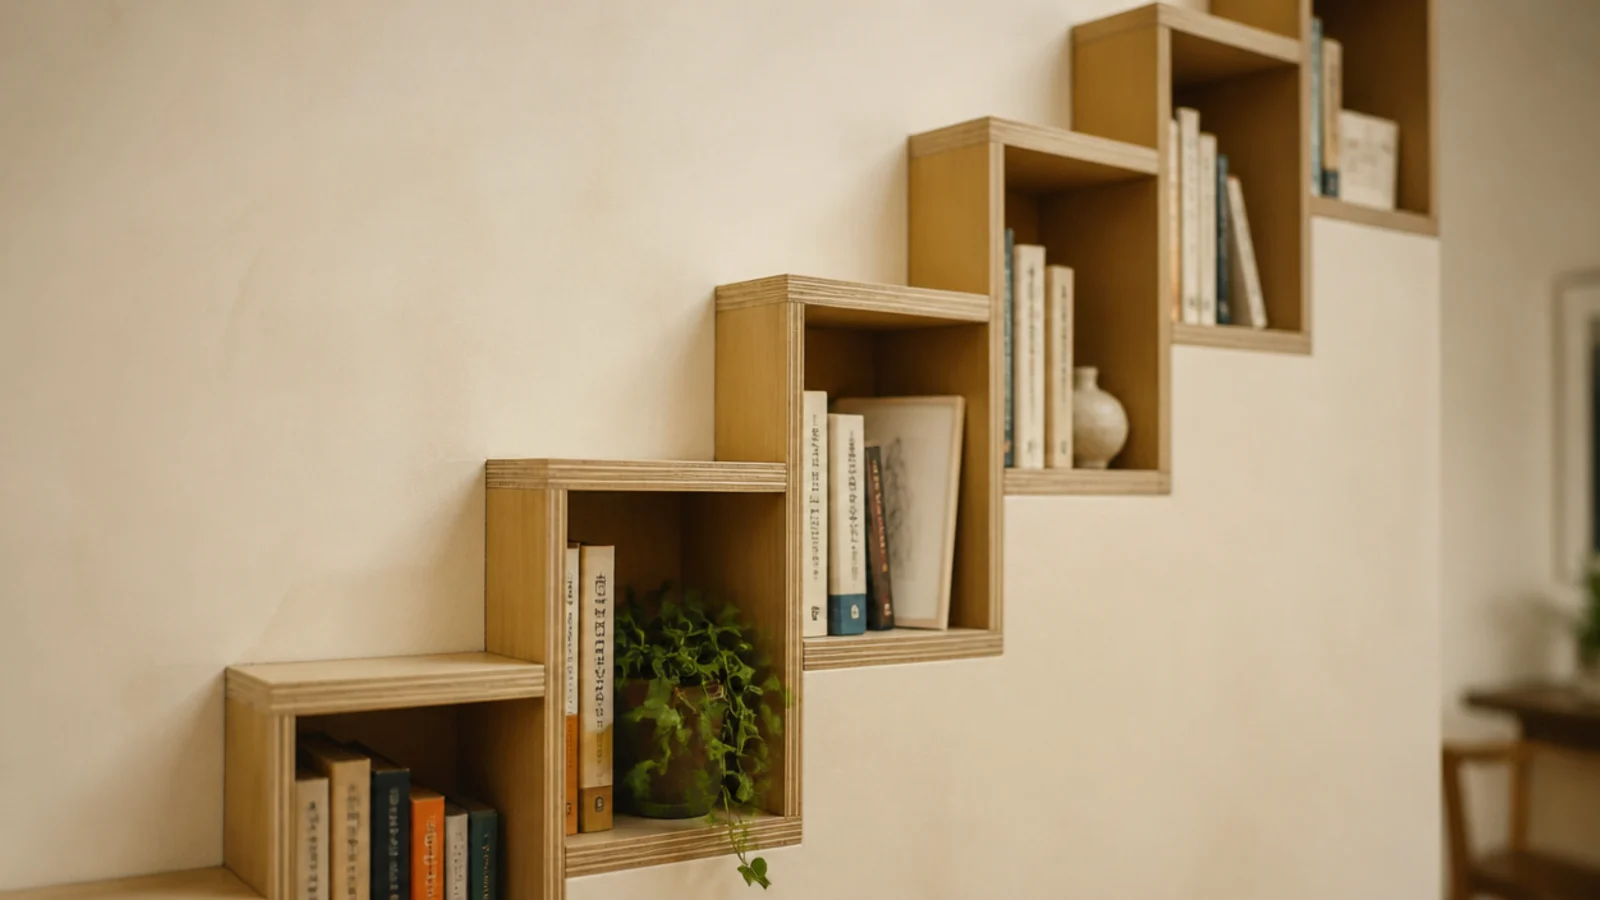
The stepped wall under a staircase takes graduated shelves beautifully. Cut plywood boxes that follow the rake, keep every box 11 inches deep so the depth stays consistent, and let the tallest bay sit at the high end. One sheet of plywood and a weekend, about $70 in materials ($).
22. A bookshelf bench with storage under
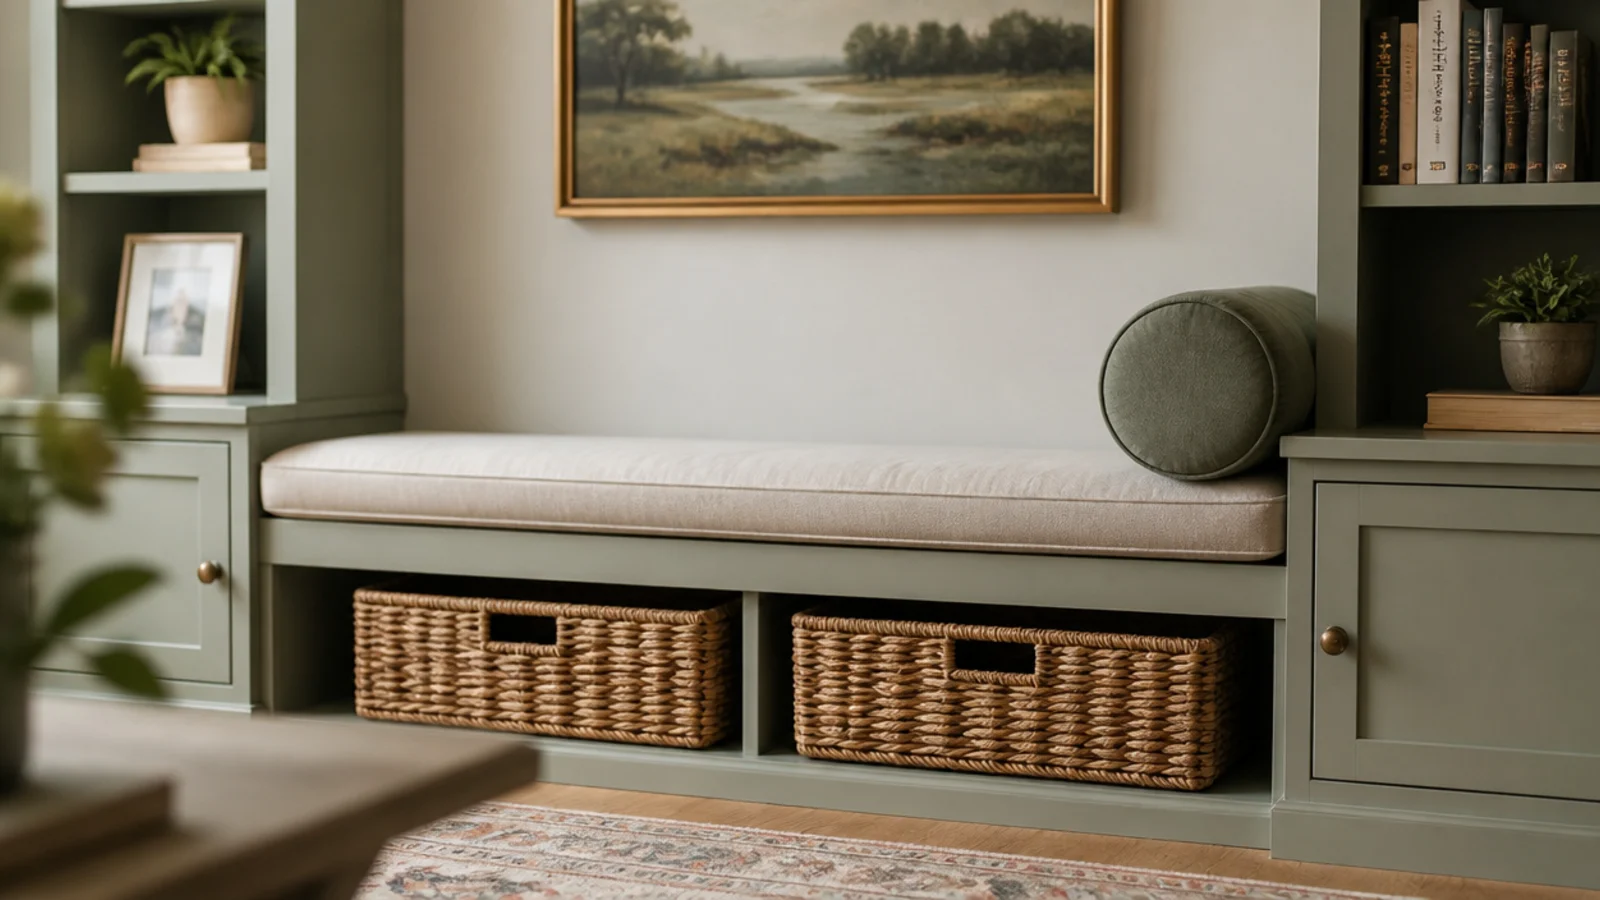
Run an 18-inch-deep bench at 18 inches high between two shelf towers and you have gained seating without buying a chair. Build it from 3/4-inch plywood with a 1x3 apron, add a foam cushion in linen, and park baskets or a firewood stack underneath. Materials land near $120 ($).
23. Shelves above a low console
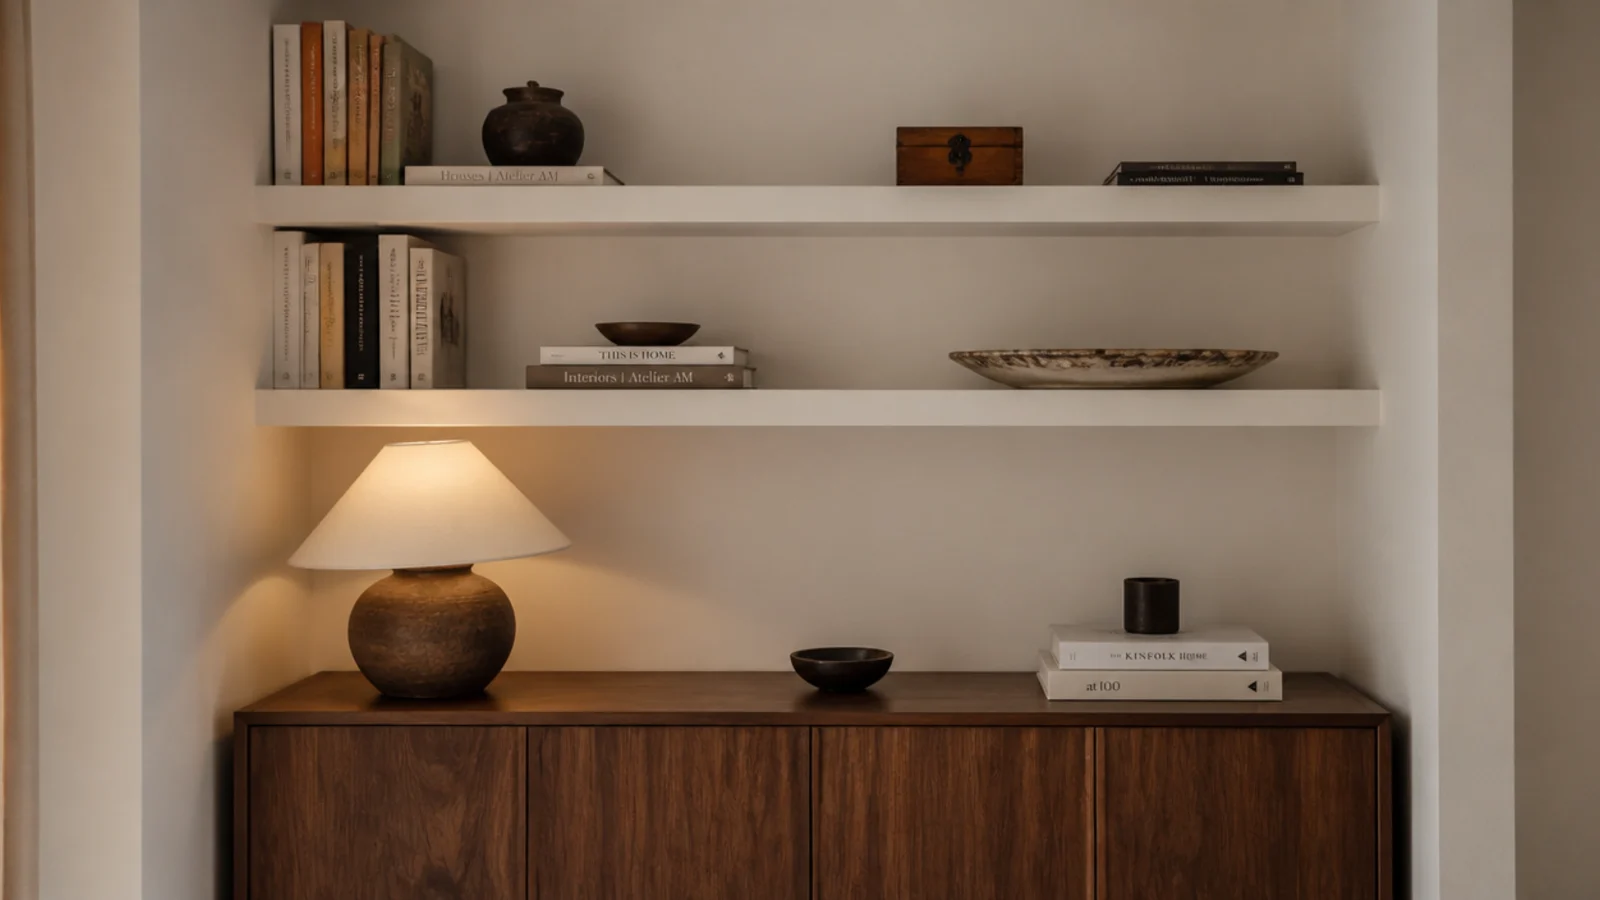
No budget for a full build yet? Set a thrifted 30-inch console against the wall and fix three 11-inch-deep shelves above it at 13-inch spacing. Trim the shelf ends into the side walls, paint everything one color, and the pair reads as one built-in for well under $200 ($).
24. Glass doors on a single bay
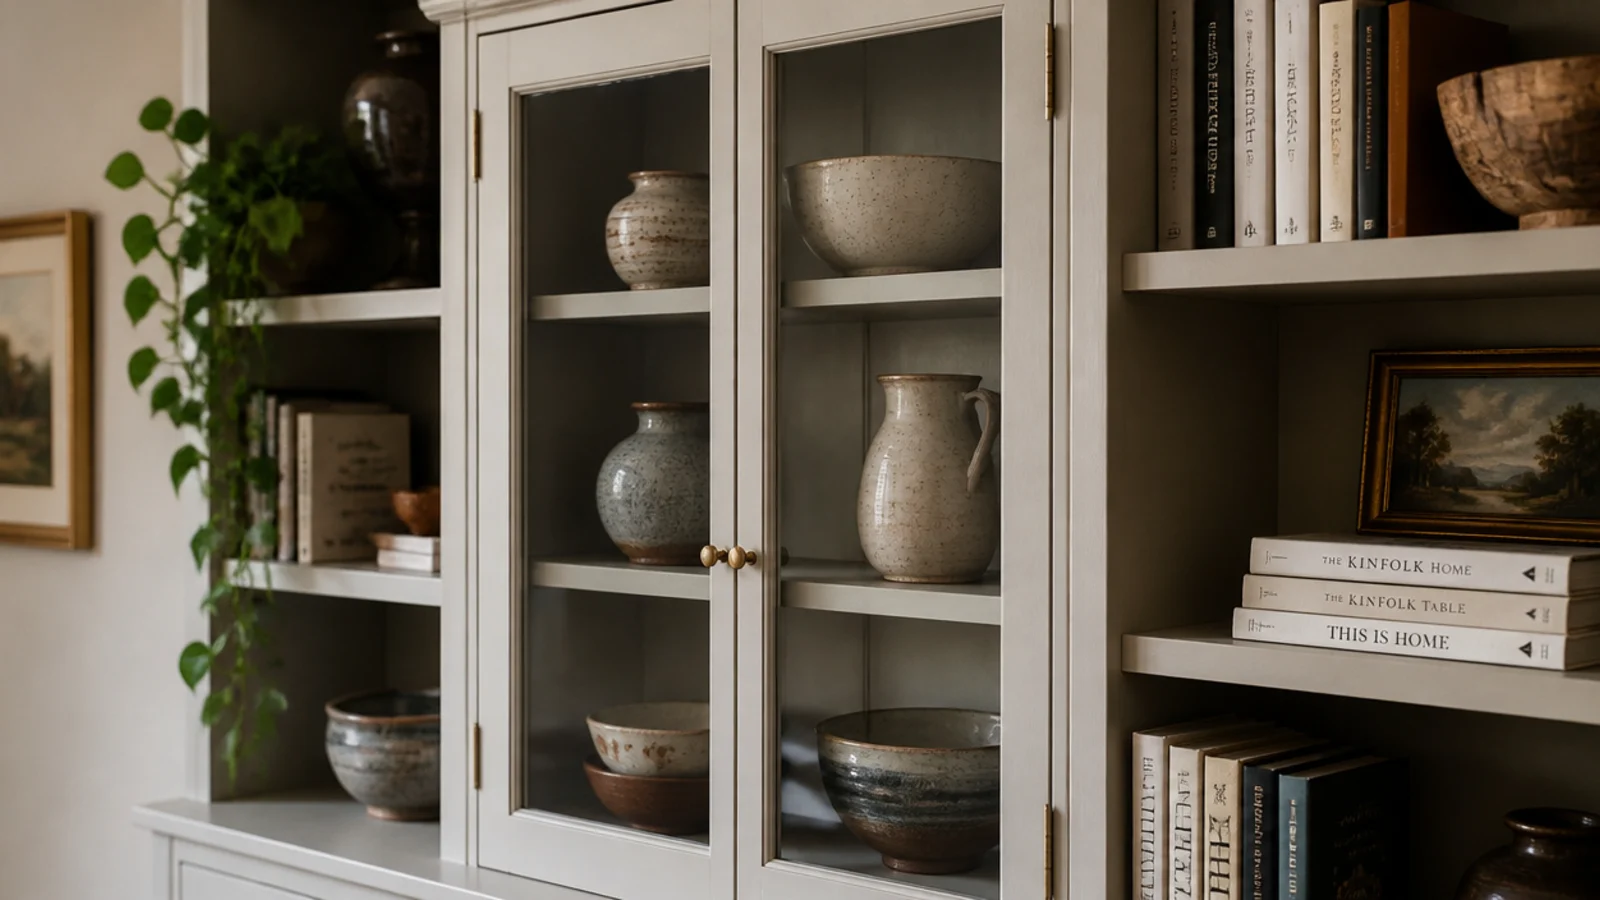
One bay with glass doors makes an entire budget run look commissioned. A pair of ready-made 15-inch cabinet doors with clear glass panels runs $60 to $110 ($$), plus about $6 for soft-close hinges. Put the good ceramics behind the glass and let the paperbacks live everywhere else.
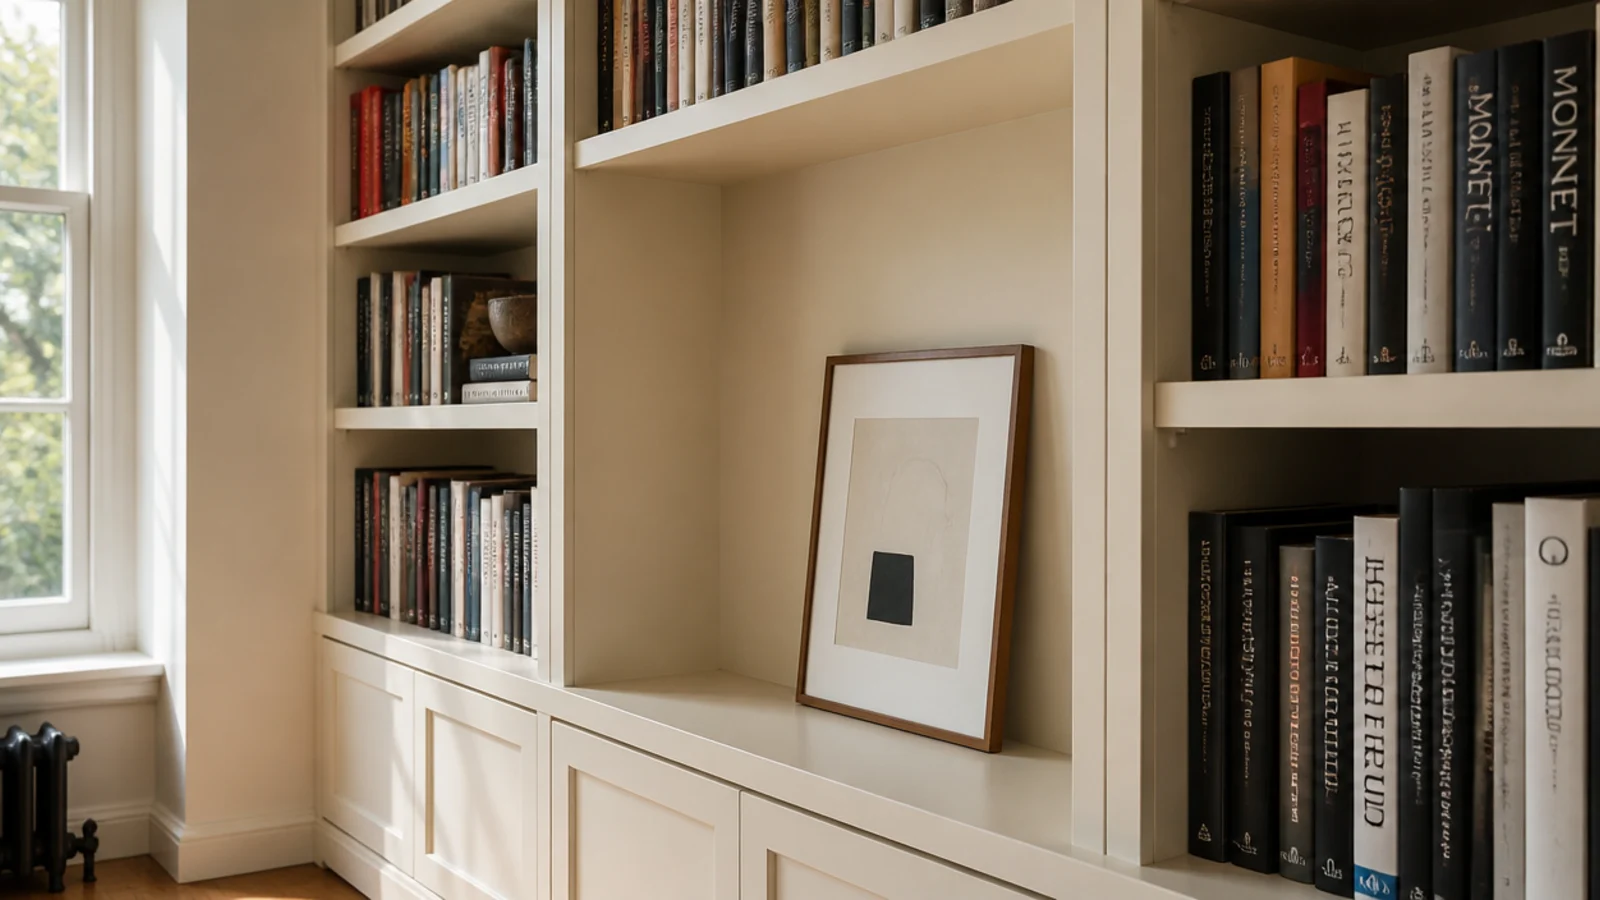
25. Leave one bay open for art
Pull the shelves out of one central bay entirely and hang a single framed piece inside it, or lean one on the base. The empty bay gives your eye somewhere to rest in a wall of spines, and it is genuinely free — you are removing material rather than buying more of it.
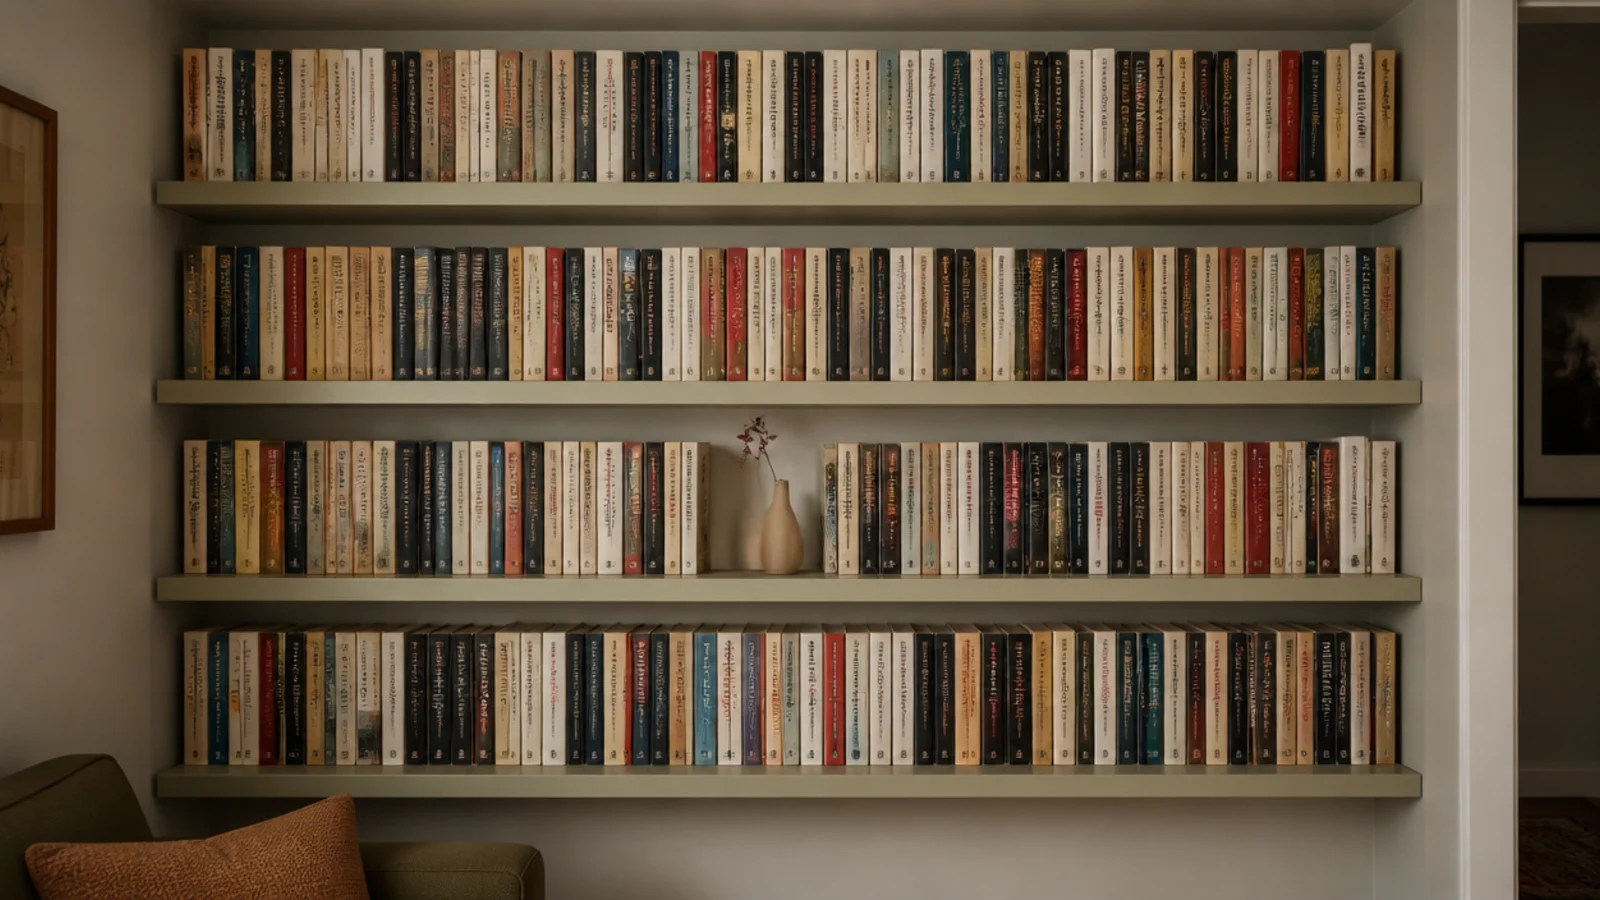
26. Shallow 8-inch shelves for paperbacks
Paperbacks are about 4.25 inches deep, so an 11-inch shelf holding only paperbacks wastes six inches of a narrow room. Build that run 8 inches deep with 9 inches of clear spacing instead. It takes three inches off the wall and holds noticeably more books per running foot.
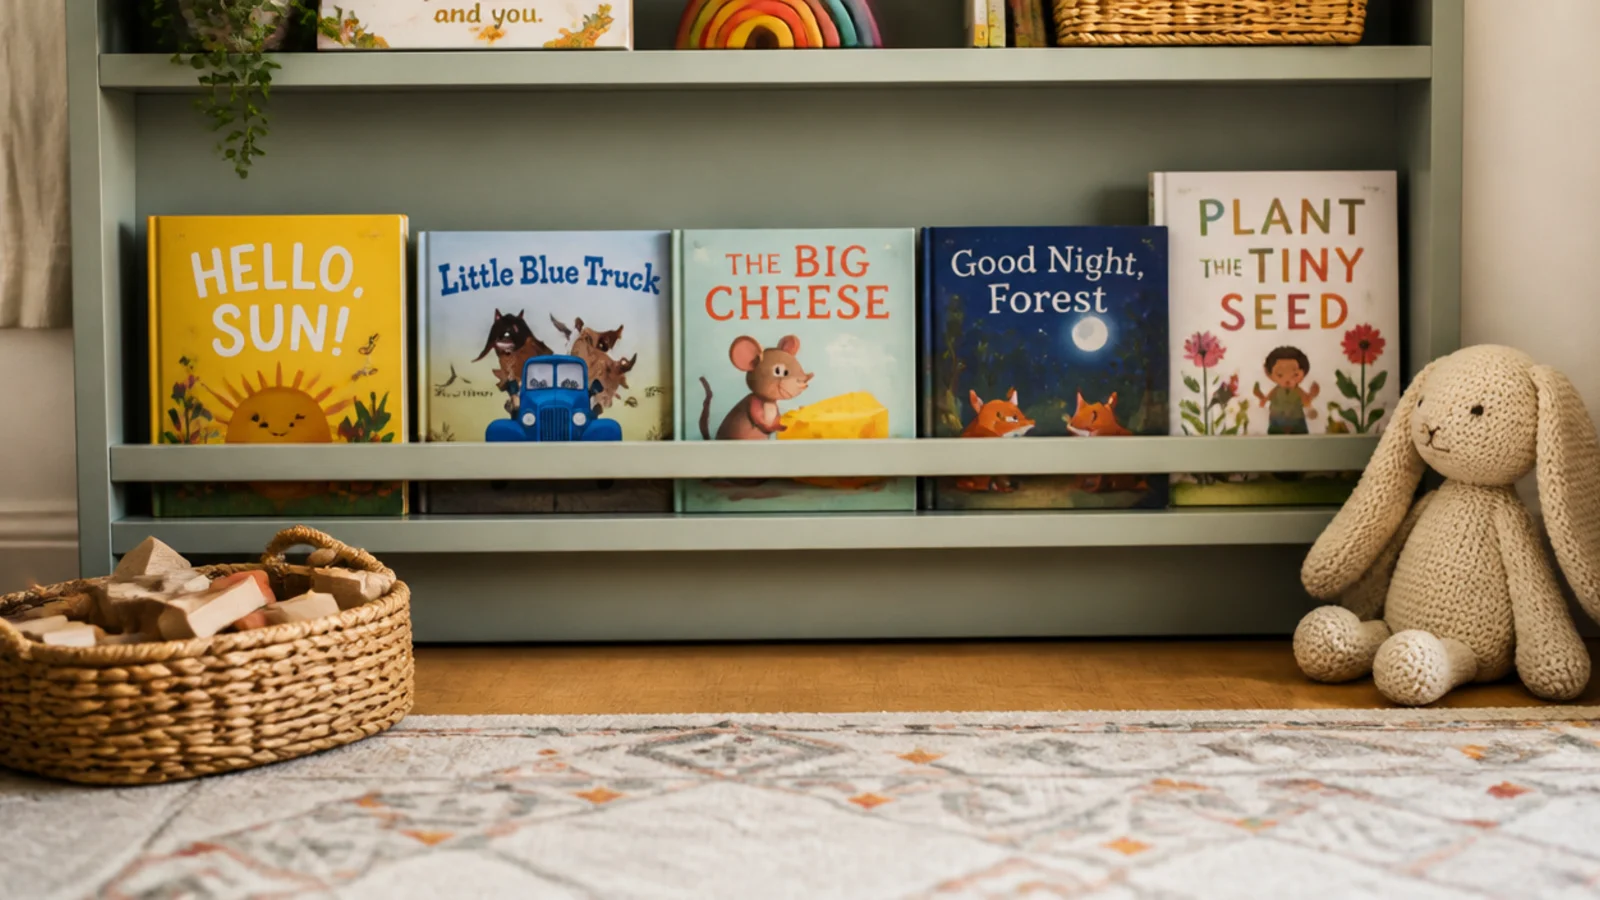
27. A low shelf for the kids
Fit the bottom 30 inches with forward-facing ledges, 4 inches deep with a 1-inch lip, so small kids choose books by cover rather than spine. Anchor the whole run into studs regardless of weight. Everything breakable moves above 48 inches, which is the honest reach line for most four-year-olds.
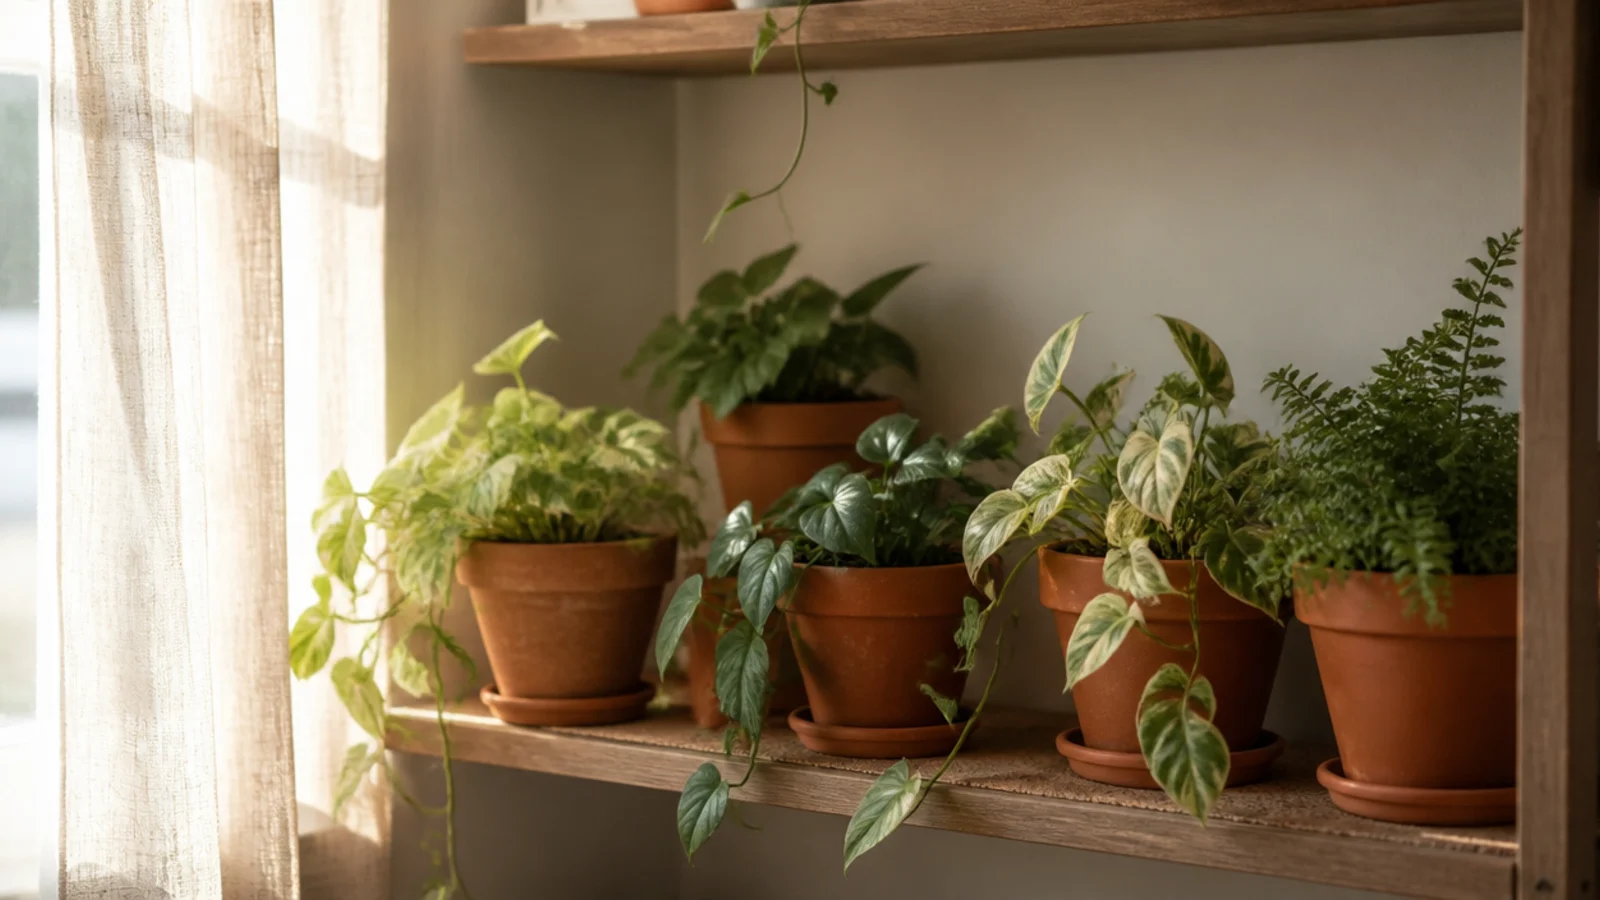
28. Save the window bay for plants
The bay nearest the window is the only one with real light, so give it to plants instead of books — direct sun bleaches spines within a season. Line those shelves with 1/8-inch cork or a cut acrylic sheet so watering never leaves a ring in the paint.
29. Trim the run around a radiator
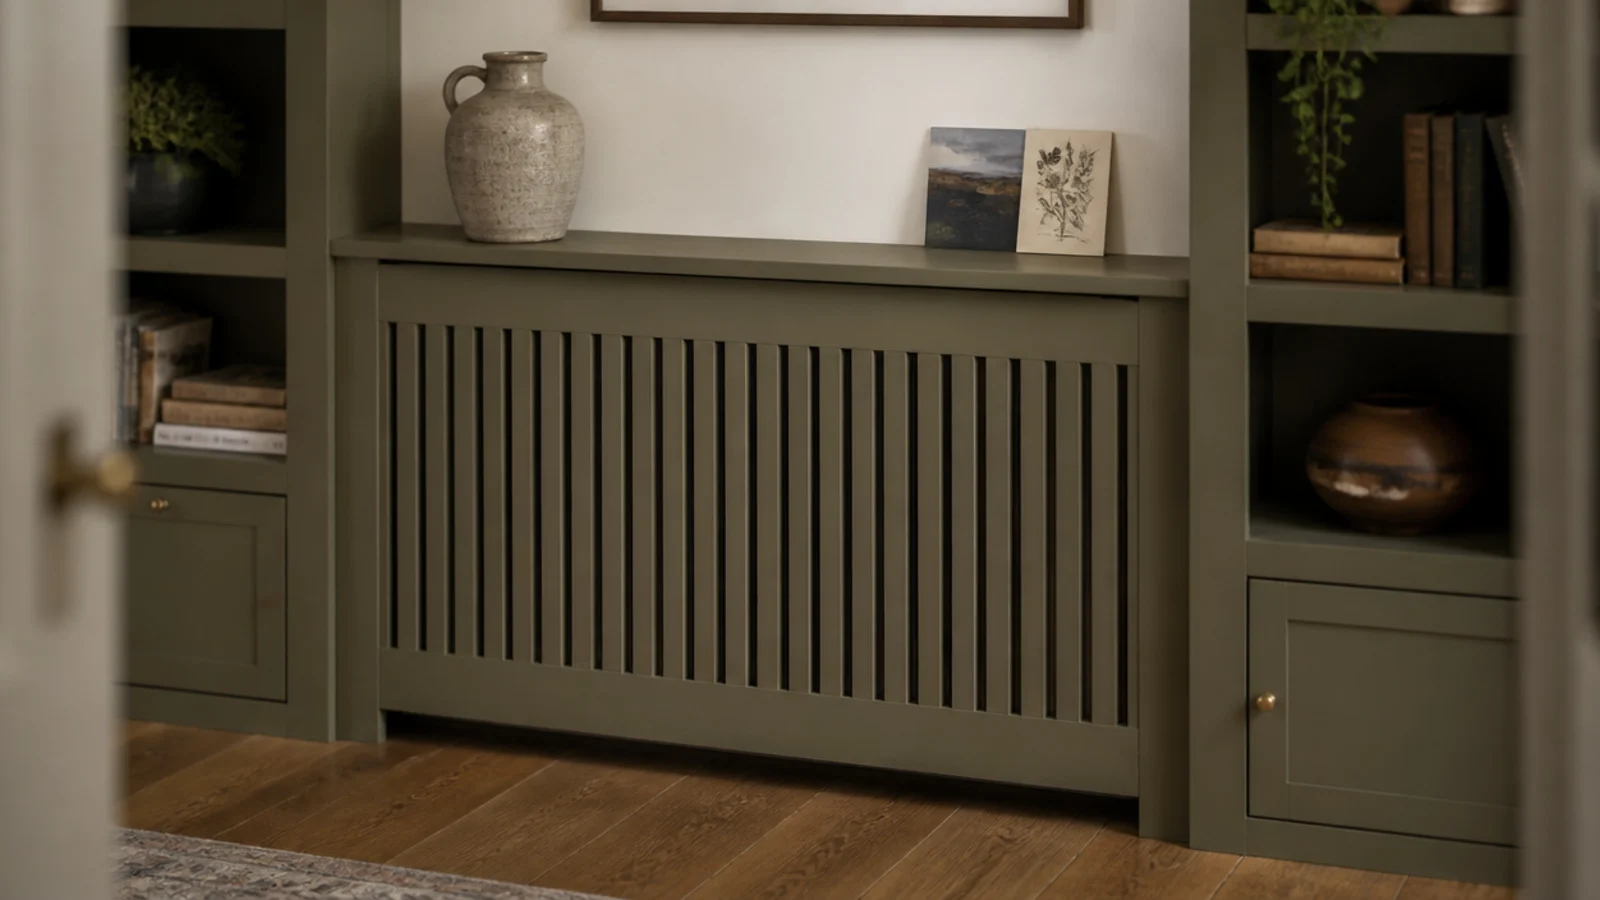
A radiator does not kill the wall. Stop the shelving 4 inches clear on each side, box the radiator with a slatted front painted to match the face frame, and use its top as a 12-inch-deep display ledge. Never seal it tight — the heat has to get out somewhere.
30. Freestanding, trimmed and anchored for renters
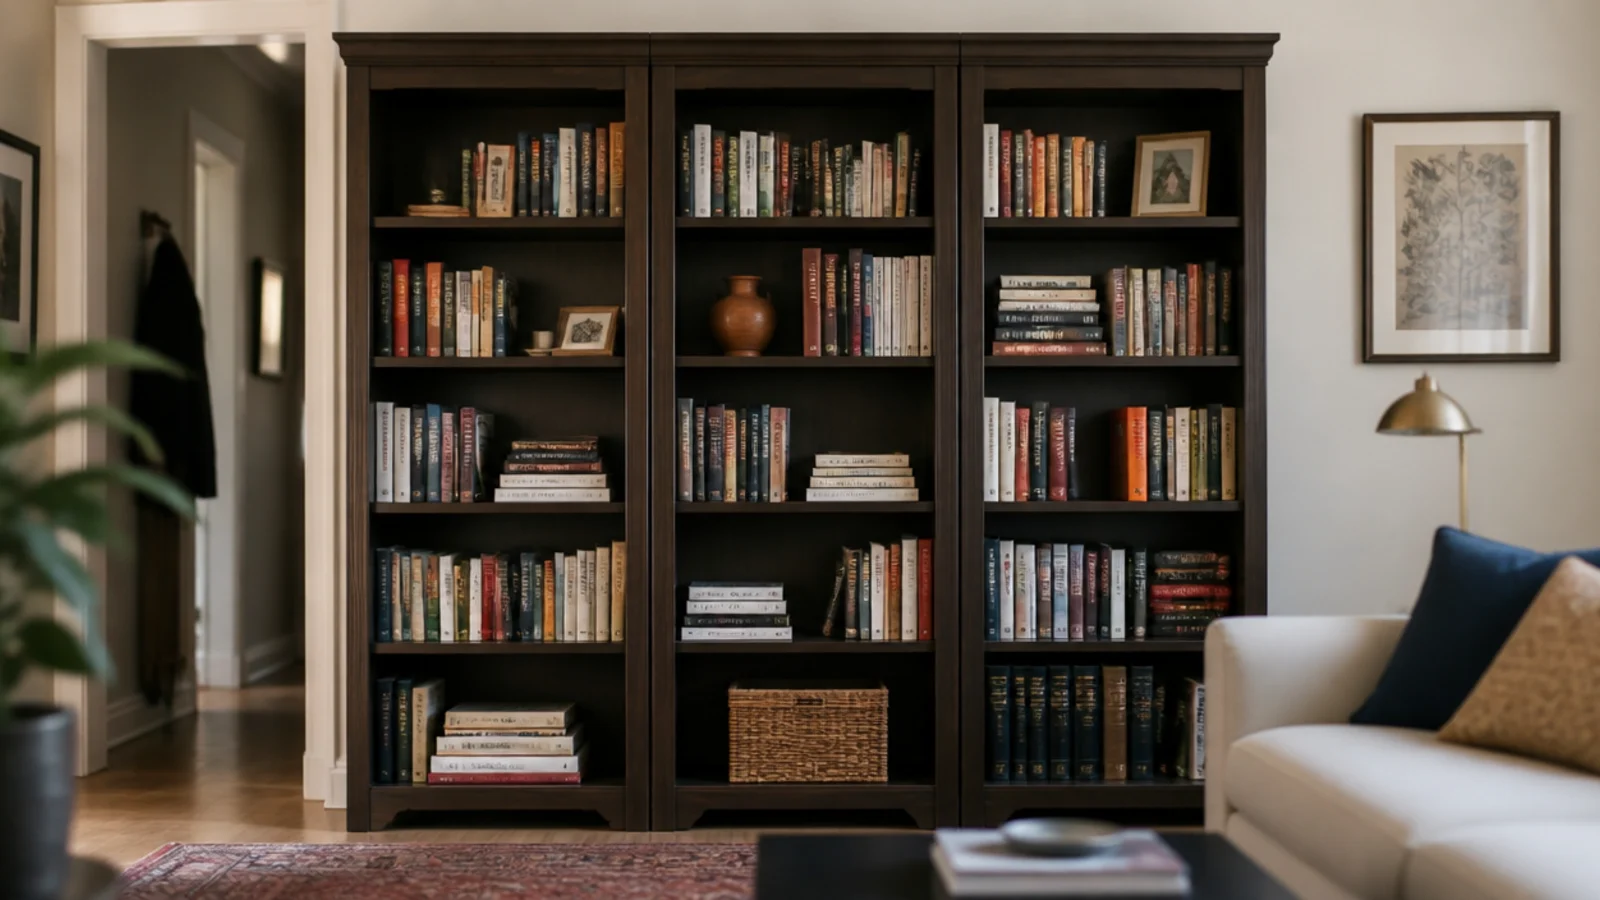
For a rental, keep every move reversible. Push freestanding bookcases together, close the gaps with loose filler strips held by removable adhesive, add a floor-standing plinth and a crown that friction-fits under the ceiling. Anchor each unit with a tip strap — one small screw hole, patched with spackle on move-out day.
Mistakes to Skip
- Leaving the gap at the wall or ceiling. That shadow line is the number one giveaway of a DIY built-in — scribe the filler strips to the wall, then caulk the joint before you prime.
- Spanning 36 or 48 inches in bare 3/4-inch plywood. It will bow within a year under hardbacks. Glue a solid 1x2 front lip on, or drop a vertical divider in at the midpoint, before you load it.
- Setting every shelf 9 inches apart because it looks tidy empty. Hardbacks need 11 to 13 inches clear, and a run that cannot hold your actual books turns into a trinket display by default.
Frequently asked questions
How much do built in bookshelves cost in a living room?
Three tiers, roughly. Trimming stock bookcases into an alcove runs $150 to $400 in materials per alcove. A plywood alcove build with doors and a face frame runs $500 to $1,200. A cabinetmaker-built wall starts near $2,500 and climbs past $6,000 for a full room. Most of the difference is labor and door fronts, not the shelves themselves.
How deep should built in bookshelves be?
Eleven to twelve inches handles almost every book you own, including oversized art titles, without eating the room. Go to fourteen or sixteen inches only where a shelf carries real baskets or media gear, since a receiver needs air behind it. For paperbacks alone, eight inches is plenty and gives three inches back to a narrow living room.
Can flat-pack bookcases really look built in?
Yes, and the tell is never the box itself. Three details do the work: filler strips scribed to the wall so there is no gap, a poplar face frame covering the raw front edges, and crown molding closing the ceiling line. Paint everything one color, caulk every joint, and add a plinth that matches your baseboard.
How long can a bookshelf span before it sags?
A bare three-quarter-inch plywood shelf starts to bow past a thirty-two-inch span once it is full of hardbacks, and it happens slowly enough that most people blame the books. Glue and clamp a solid one-by-two lip along the front edge and the same shelf carries a much longer run, or drop a vertical divider in at the midpoint.
Can renters add built in bookshelves?
Yes, if nothing permanent happens. Push freestanding bookcases together, close the gaps with loose filler strips held by removable adhesive, and add a floor-standing plinth plus a crown that friction-fits against the ceiling. Anchor every unit with a tip strap, which costs one small screw hole per bookcase. On move-out day it lifts out and a dab of spackle finishes the job.
Start with the cheapest version that suits your wall — two stock bookcases, scribed filler strips and a painted back panel get you most of the way for under $400. If you want the full cut list and assembly order, the step-by-step built-in shelf build walks through it, and kitchen shelf styling covers the object-grouping rules that work just as well on a book wall. Save the pin so the depths and spans are with you at the lumber counter.
Want more like this? Browse all 15 living room built-in shelves guides — they all use the same measurements and budget tiers.
Pin it for later
Save this to your Living Room Built-In Shelves board
Pin it now so it is waiting for you when the tape measure comes out — and so the next person hunting for this idea can find it too.
Save this pinKeep going
More ideas worth saving while you have the tape measure out.
Living Room Built-In Shelves
25 Budget-Friendly Living Room Built-Ins Ideas for Small Spaces
11 min read