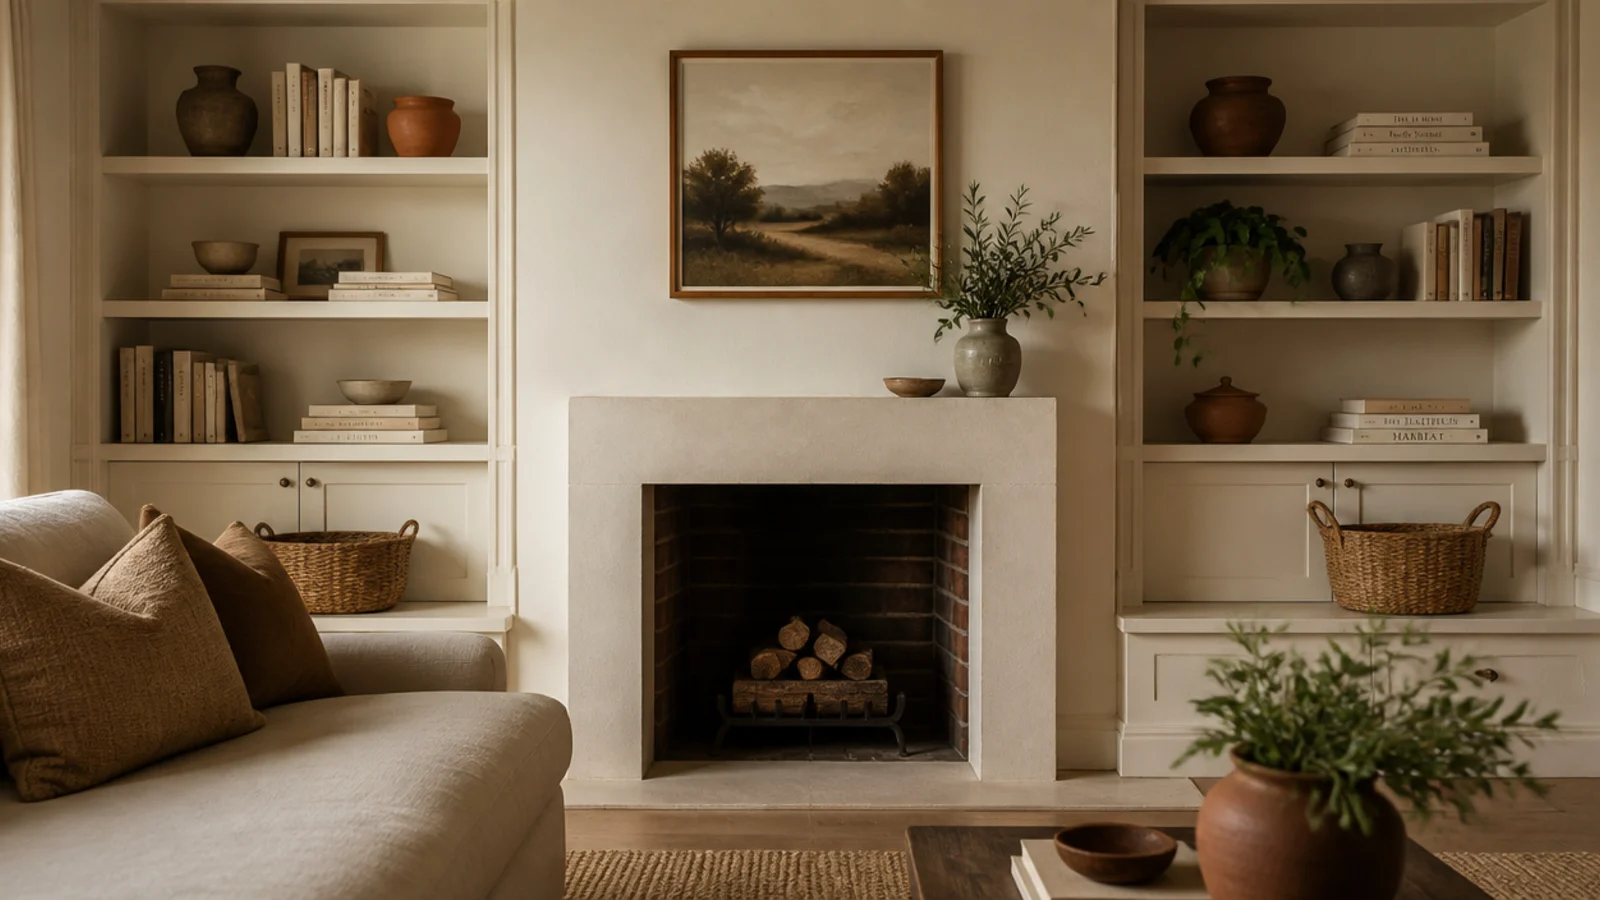
Living Room Built-In Shelves · How-To
20 Steps to Style a Stunning Living Room Built-Ins

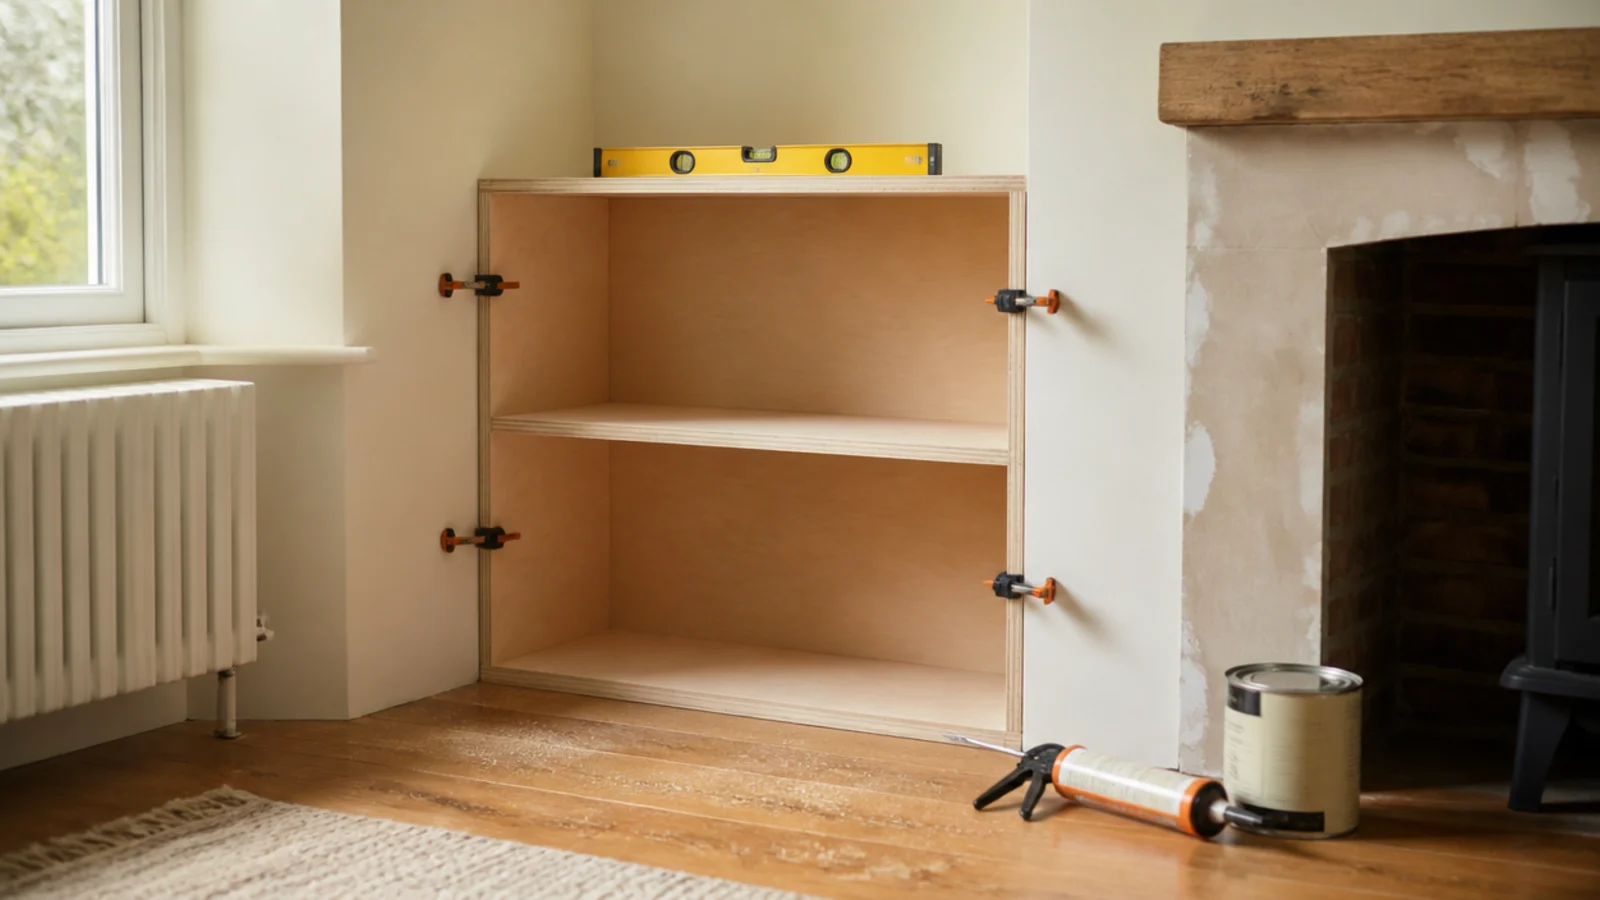
DIY built in shelves are less about woodworking than about four numbers and one wall that is not straight. I have built these in two houses and trimmed bookcases into a rental, and every single time the hard part was the scribe, not the saw. These twenty steps take an empty alcove to a painted, loaded, styled run over two weekends, with the measurements written down where you need them.
In this guide23 sections — tap to openHide
- 1.What You'll Need for DIY Built-In Shelves
- 2.Step 1: Measure the alcove at three heights
- 3.Step 2: Check plumb, square and the floor
- 4.Step 3: Decide your depths before anything else
- 5.Step 4: Draw the bays and keep every span under 32 inches
- 6.Step 5: Set your shelf spacing with real books
- 7.Step 6: Write the cut list and buy sheet goods
- 8.Step 7: Break the sheets down with a guided cut
- 9.Step 8: Build and level the plinth first
- 10.Step 9: Assemble the carcasses on the floor
- 11.Step 10: Scribe the filler strips to the wall
- 12.Step 11: Set the boxes, shim them and screw into studs
- 13.Step 12: Drill shelf pin holes with a jig
- 14.Step 13: Glue a solid lip on any long shelf
- 15.Step 14: Fit the face frame
- 16.Step 15: Close the gaps at the floor and ceiling
- 17.Step 16: Fill, sand and caulk every joint
- 18.Step 17: Prime, then paint the wall or trim color
- 19.Step 18: Add doors on the base bays
- 20.Step 19: Wire the lighting and hide the cables
- 21.Step 20: Load heavy low, then edit after a week
- 22.Pro Styling Rules
- 23.Mistakes to Skip
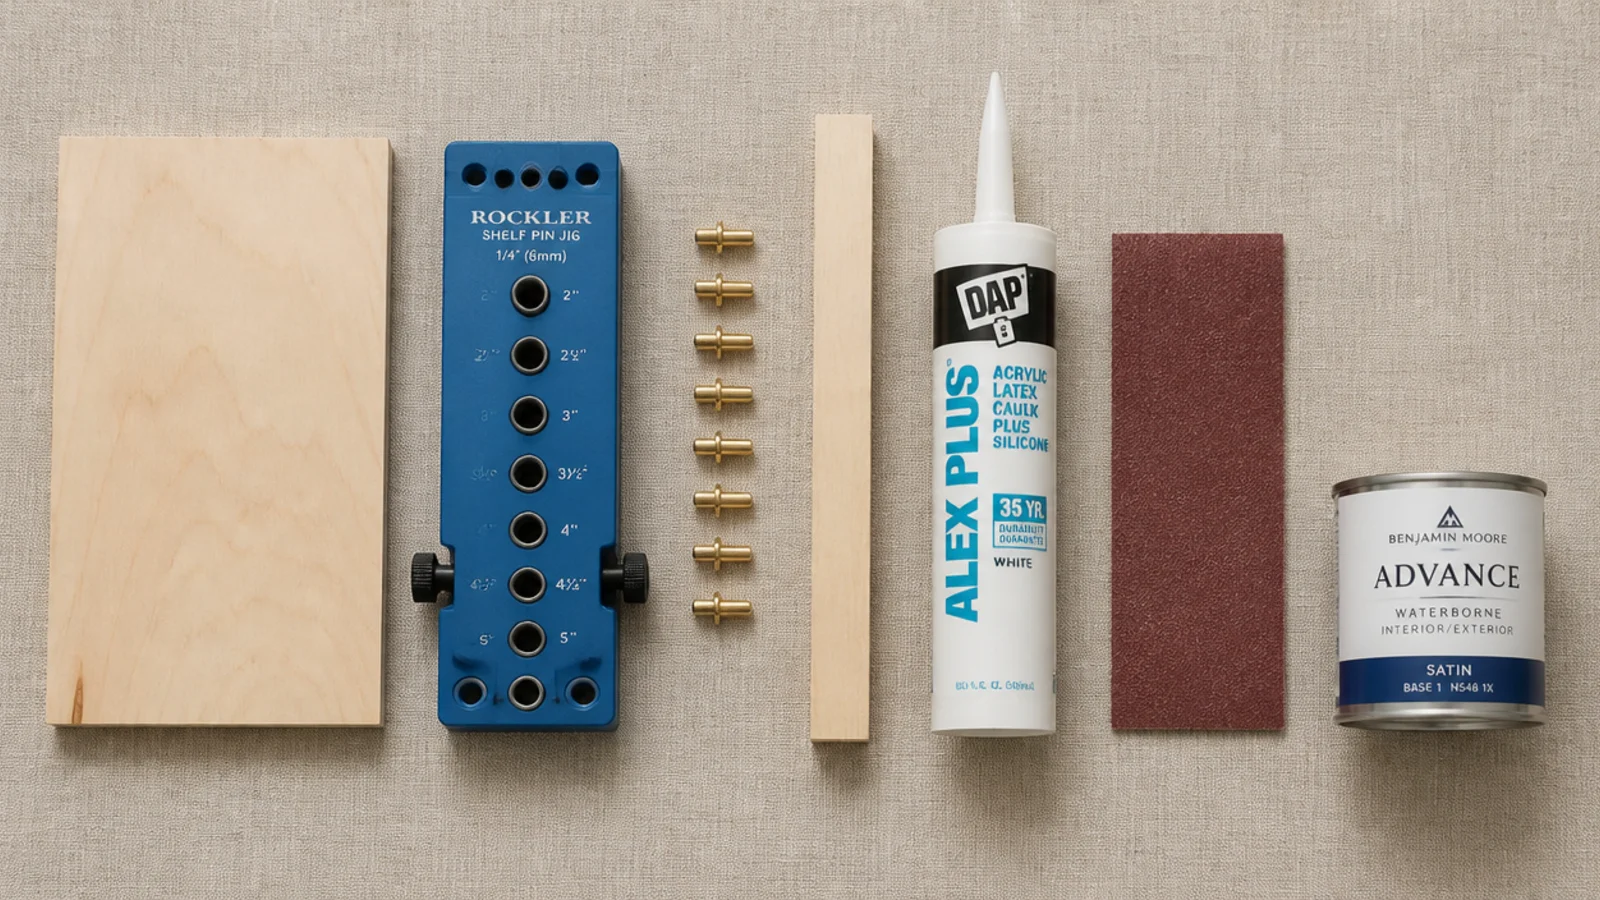
What You'll Need for DIY Built-In Shelves
Nothing on this list is specialist. Budget tier $ is $150 to $400 per alcove if you trim in stock bookcases instead of building boxes, which is also the renter-safe route since nothing is permanent. Tier $$ is $500 to $1,200 in materials for a plywood run with doors. Tier $$$ is $2,500 and up for a cabinetmaker to build and spray it.
| Item | Spec that matters | Rough cost |
|---|---|---|
| Sheet goods | 3/4 in birch or maple plywood, sanded both faces | $65–$95 per sheet |
| Shelf lips | Solid 1x2 poplar, glued to the front edge | $12–$20 |
| Face frame | 1x2 poplar, 1.5 in finished stiles | $18–$30 |
| Filler strips | 1x4 poplar, wide enough to scribe | $8 |
| Shelf pins | 5 mm brass pins plus a 32 mm hole jig | $18–$30 |
| Fasteners | Pocket screws, 2 1/2 in cabinet screws, cedar shims | $15 |
| Finish | Primer plus two coats of satin trim paint | $45–$70 |
| Filler and caulk | Wood filler and paintable acrylic caulk | $12 |
| Tools | Circular saw with a straightedge guide, drill, 4 ft level, stud finder, orbital sander, caulk gun | borrowed |
Step 1: Measure the alcove at three heights
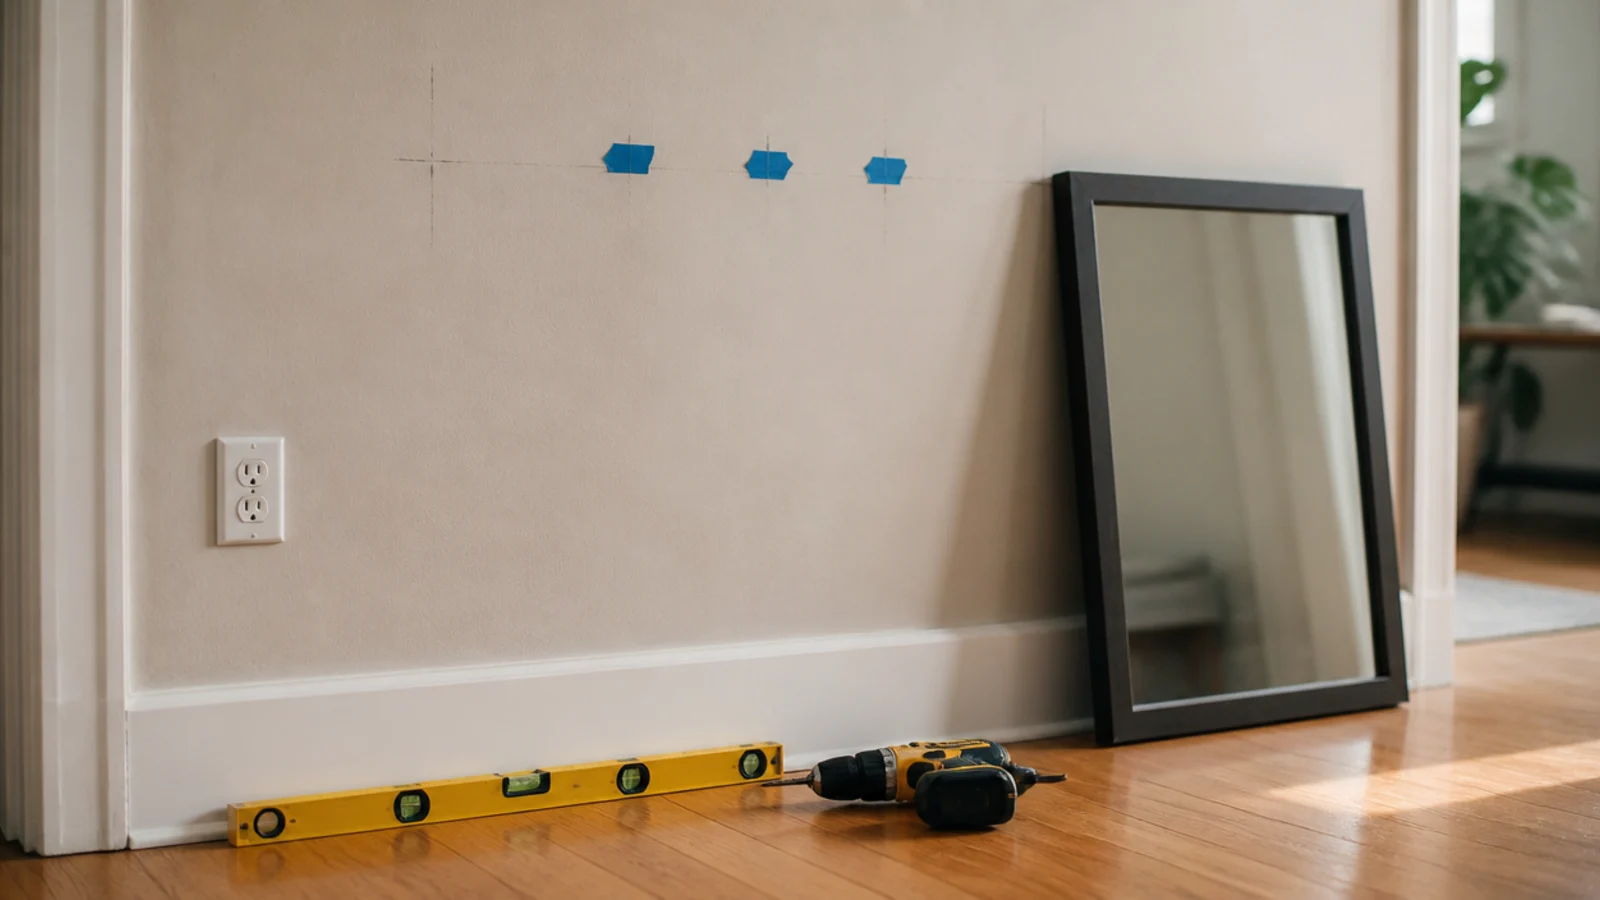
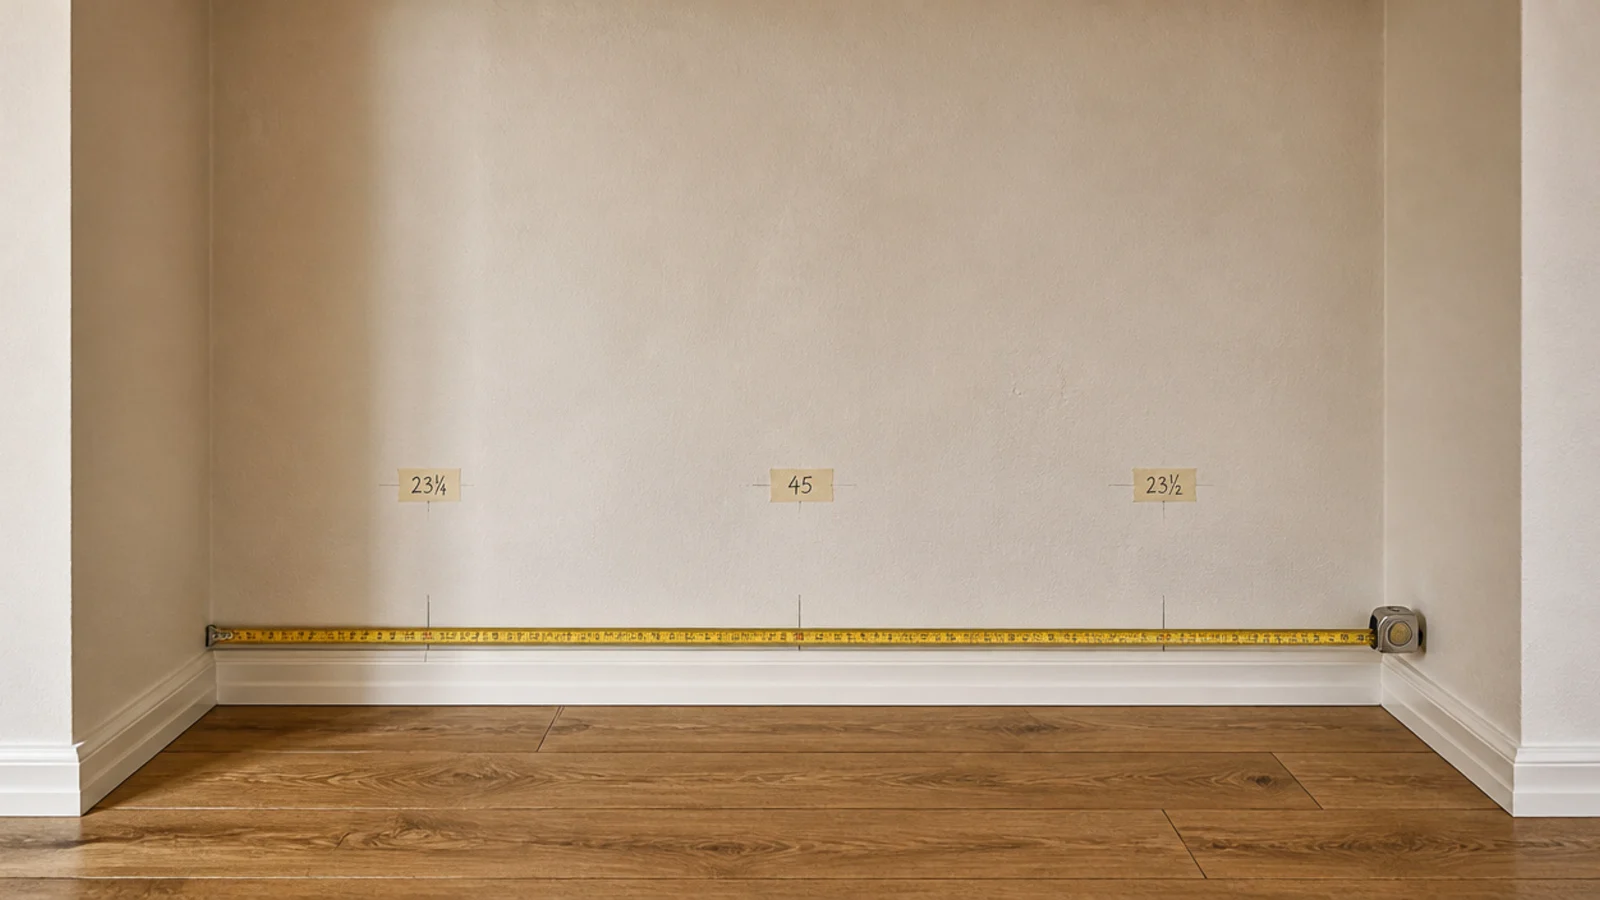
Measure wall to wall at the floor, at 40 inches, and just under the ceiling. Write all three on painters tape stuck to the wall.
Old plaster tapers, and in a 1930s house I found three-quarters of an inch of difference between floor and ceiling. Your carcass gets built to the narrowest number, and the fillers absorb the rest. Skipping this step is how people end up with a box that will not go in.
Step 2: Check plumb, square and the floor
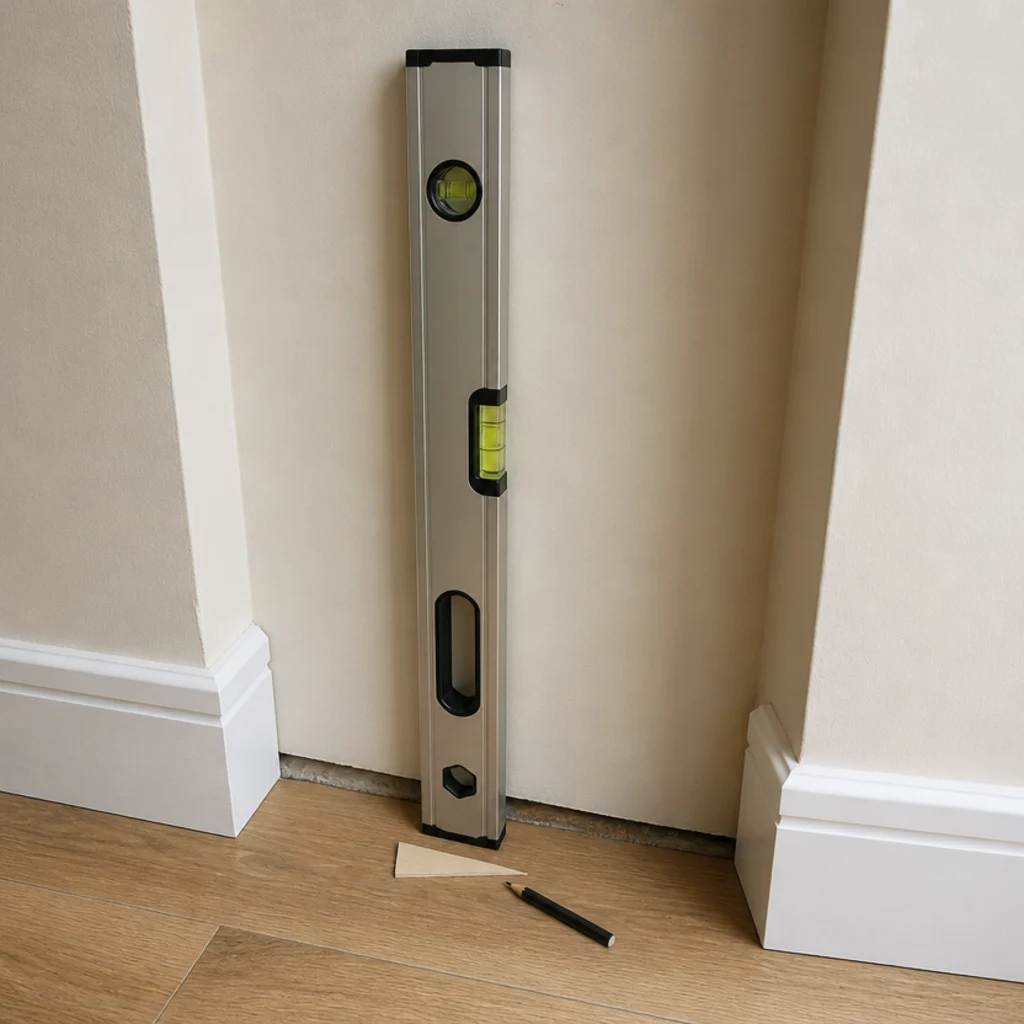
Hold a long level vertically against each side wall, then across the floor. Note which way each wall leans and whether the floor drops toward the middle of the room.
None of this is a problem — it is information. A leaning wall means a wider scribe. A sloping floor means the plinth gets shimmed level rather than following the boards. Both are five-minute fixes now and impossible fixes later.
Step 3: Decide your depths before anything else
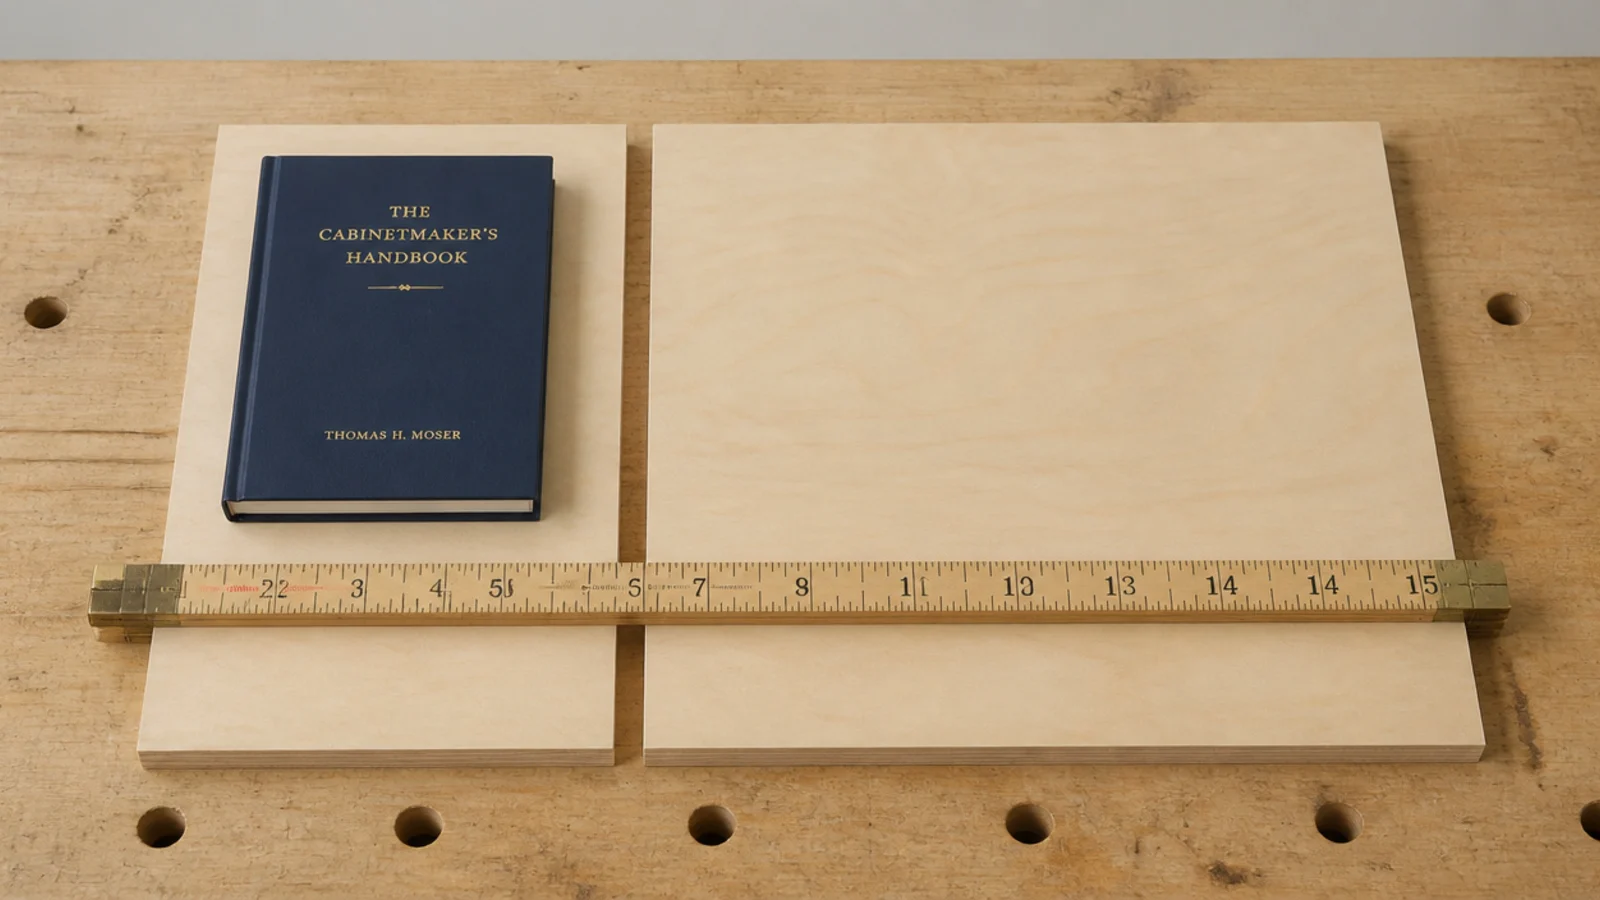
Books want 11 to 12 inches. Baskets, a receiver or a console want 14 to 16. Choose per bay, not for the whole unit.
The build I would repeat every time is a 15-inch closed base with 11-inch open shelves stepping back above it. That step also gives you a small ledge for lamps. Going full depth top to bottom makes the run loom in anything under a 12-foot room.
Step 4: Draw the bays and keep every span under 32 inches
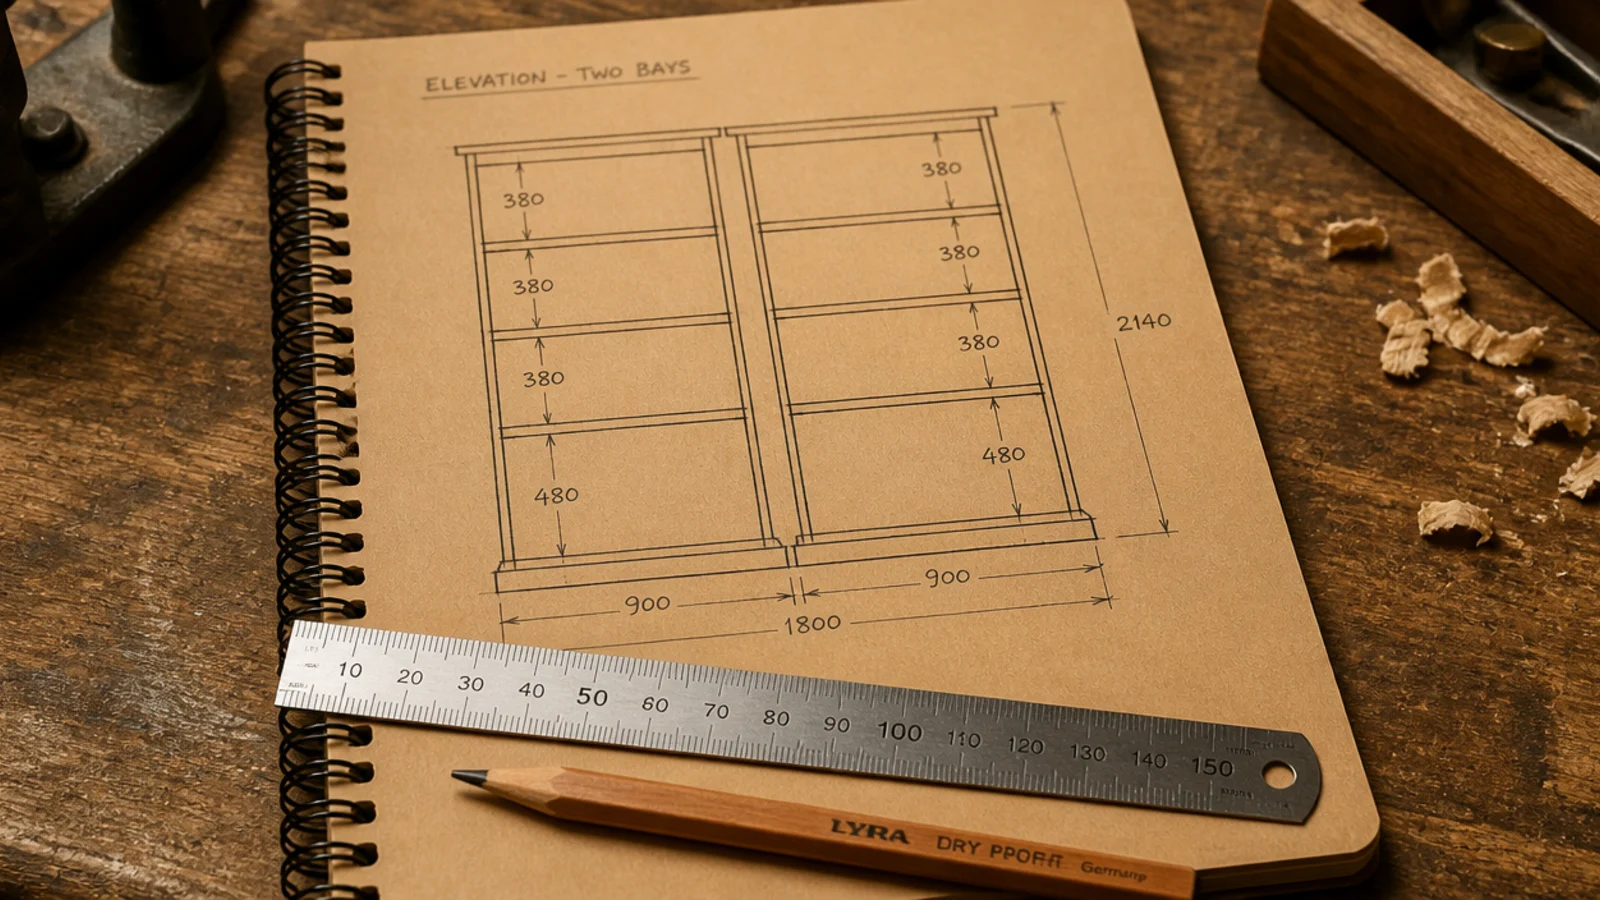
Sketch the elevation and mark each opening width. A 3/4-inch plywood shelf starts to sag past a 32-inch span with books on it, so a 60-inch alcove becomes two bays with a divider, not one heroic shelf.
Dividers are cheap and they add rigidity to the whole carcass. Two narrow bays also style far better than one wide one, because each bay becomes its own small composition.
Step 5: Set your shelf spacing with real books
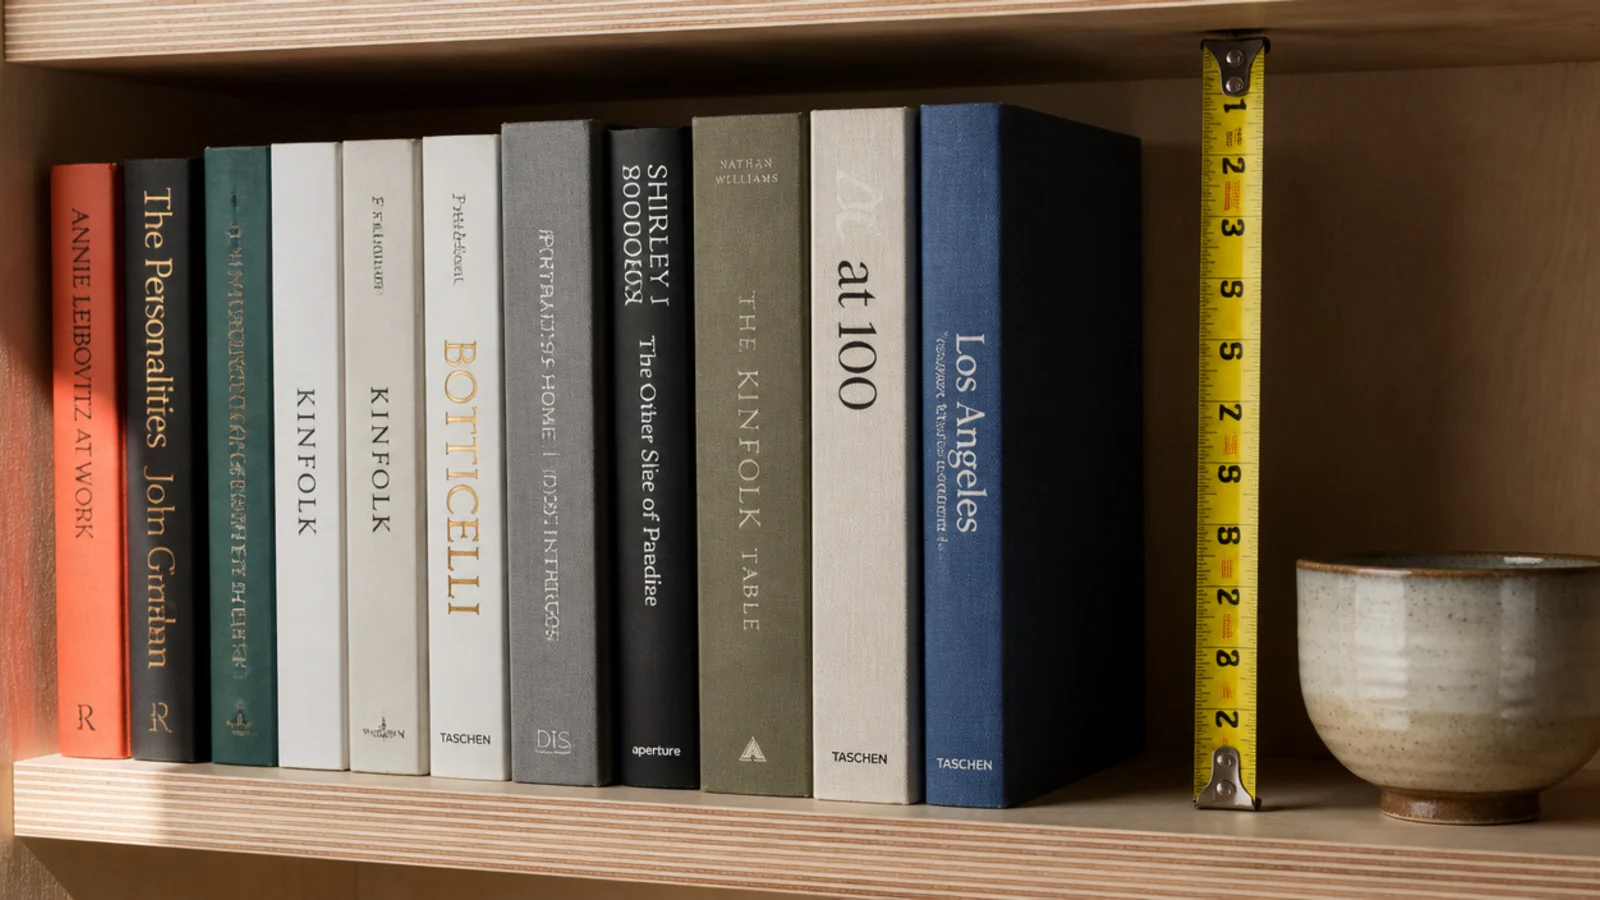
Stand your tallest hardback on the floor and measure it, then add two inches of clearance. For most people that lands at 11 to 13 inches clear between shelves.
Plan one taller bay at 16 to 18 inches for oversized art books, a lamp or a plant. That single irregular opening is what stops a wall of shelves reading like a filing system.
Step 6: Write the cut list and buy sheet goods
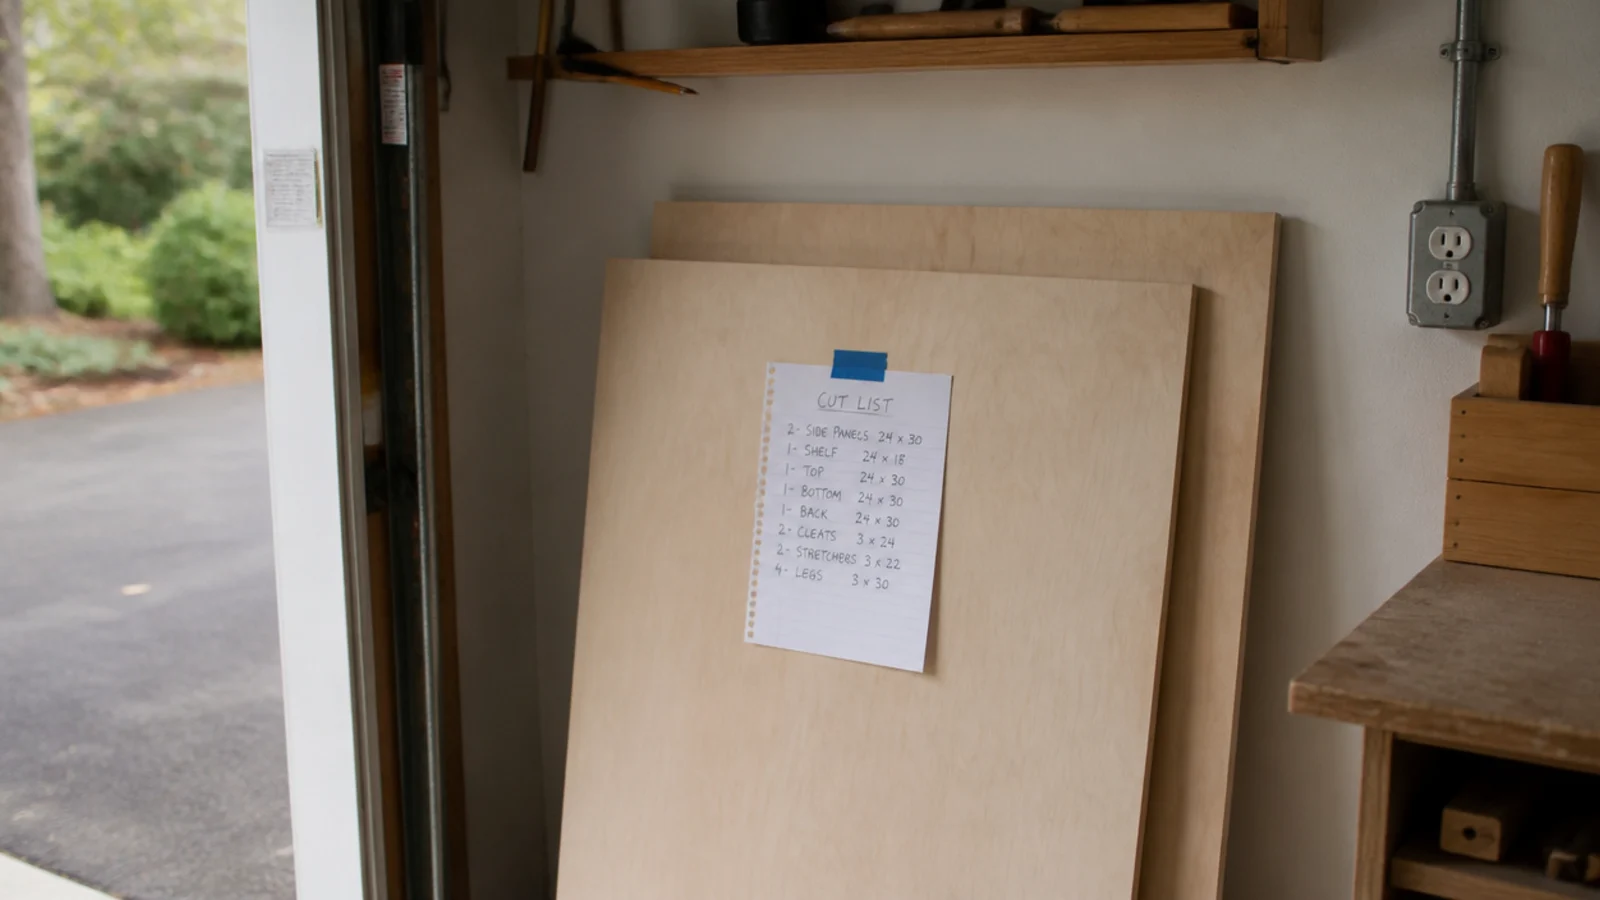
List every piece with its finished dimension and how many you need: sides, fixed shelves, adjustable shelves, back panel, plinth parts. One sheet of plywood covers roughly a bay and a half.
Buy one extra shelf blank. You will mis-cut something, and a mid-project return trip on a Sunday afternoon costs more than $30 of plywood ever will.
Step 7: Break the sheets down with a guided cut
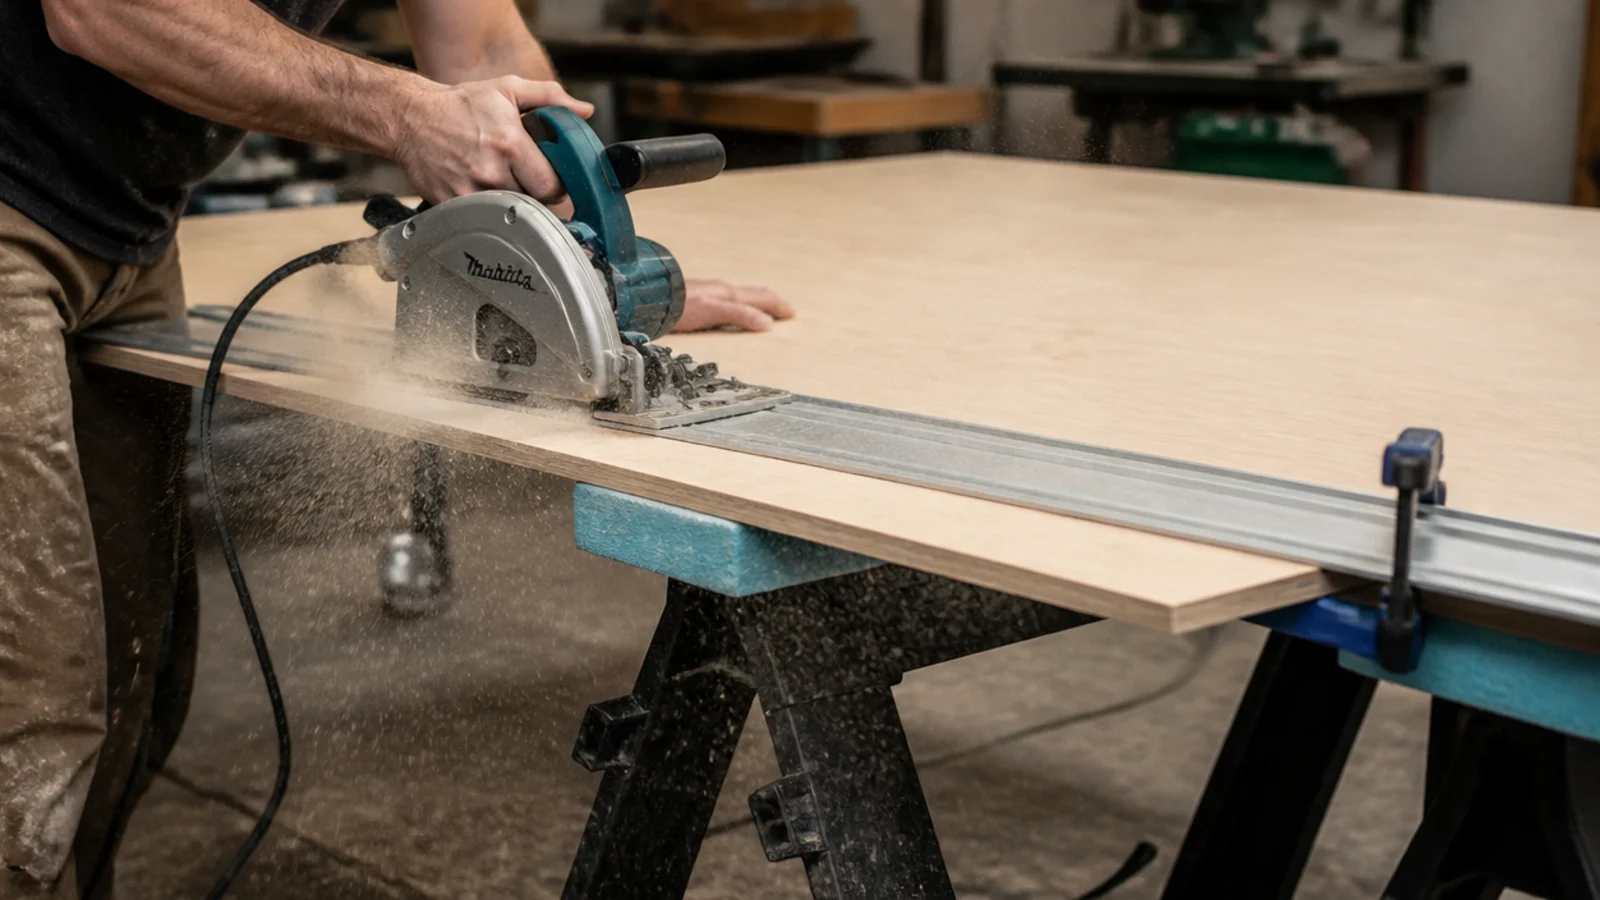
Clamp a straightedge to the sheet and run a circular saw along it. That is as accurate as a table saw for cabinet parts, and far safer with a full sheet.
Score the cut line with a utility knife first to stop the top veneer chipping, and support the sheet on foam or two-by-fours so the offcut cannot drop and tear the last inch. Most lumber yards will also break sheets down to your list for a couple of dollars a cut.
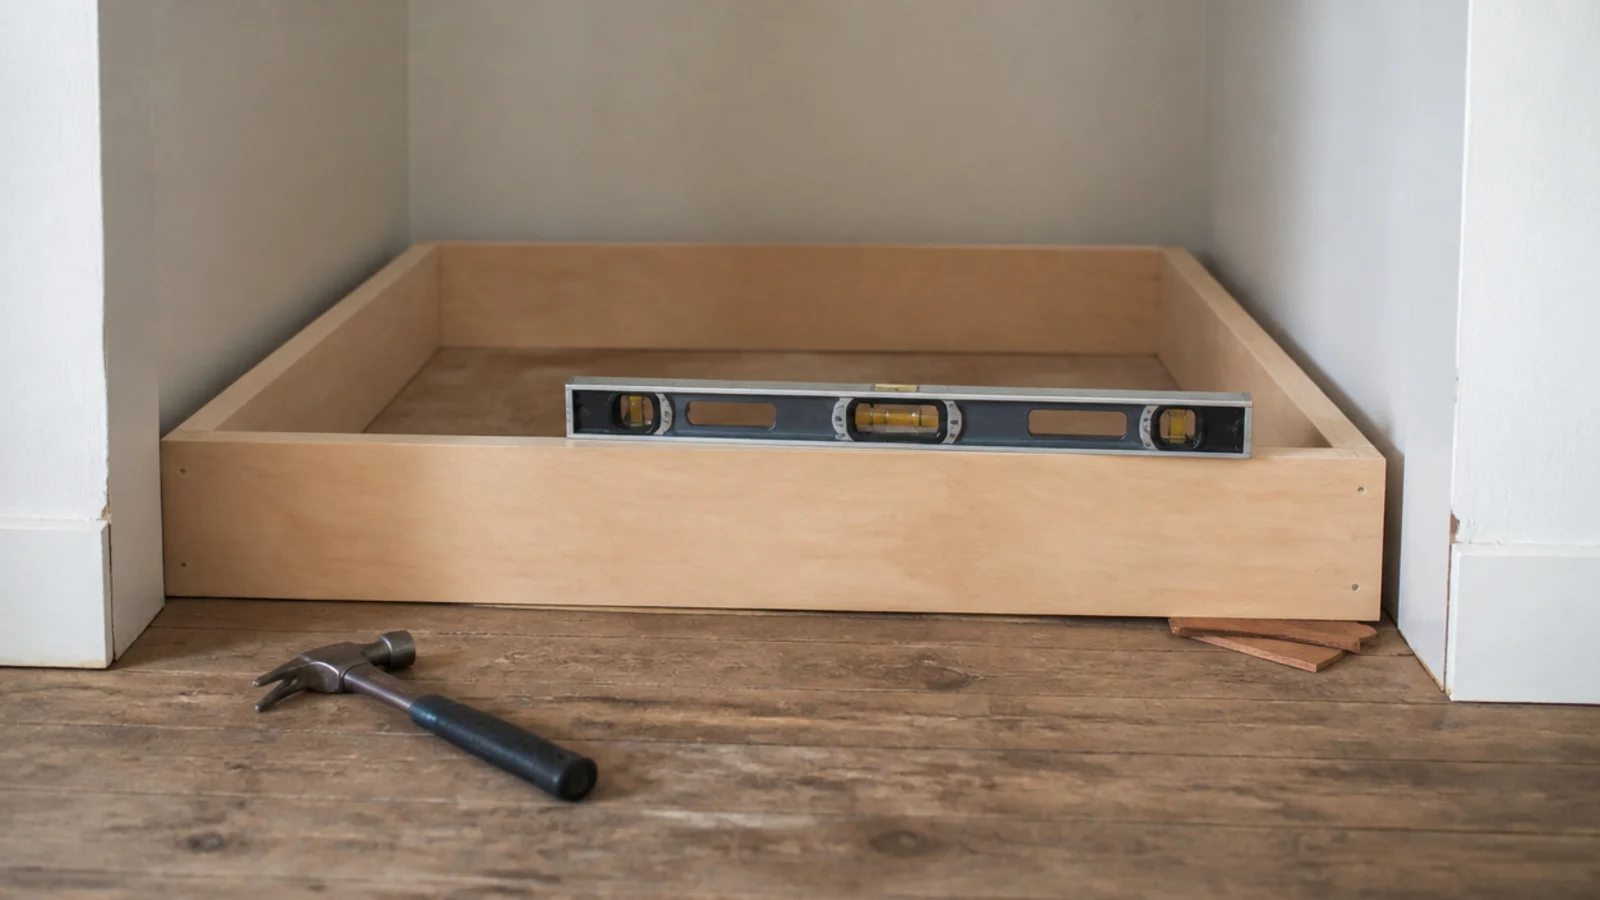
Step 8: Build and level the plinth first
Make a simple ladder frame 4 inches tall and 3 inches shallower than the carcass, set it in the alcove and shim it dead level in both directions.
Everything above is only as level as this frame. Getting it right takes fifteen minutes and saves you from a unit that leans a quarter inch by the top shelf, which is exactly where the eye reads it.
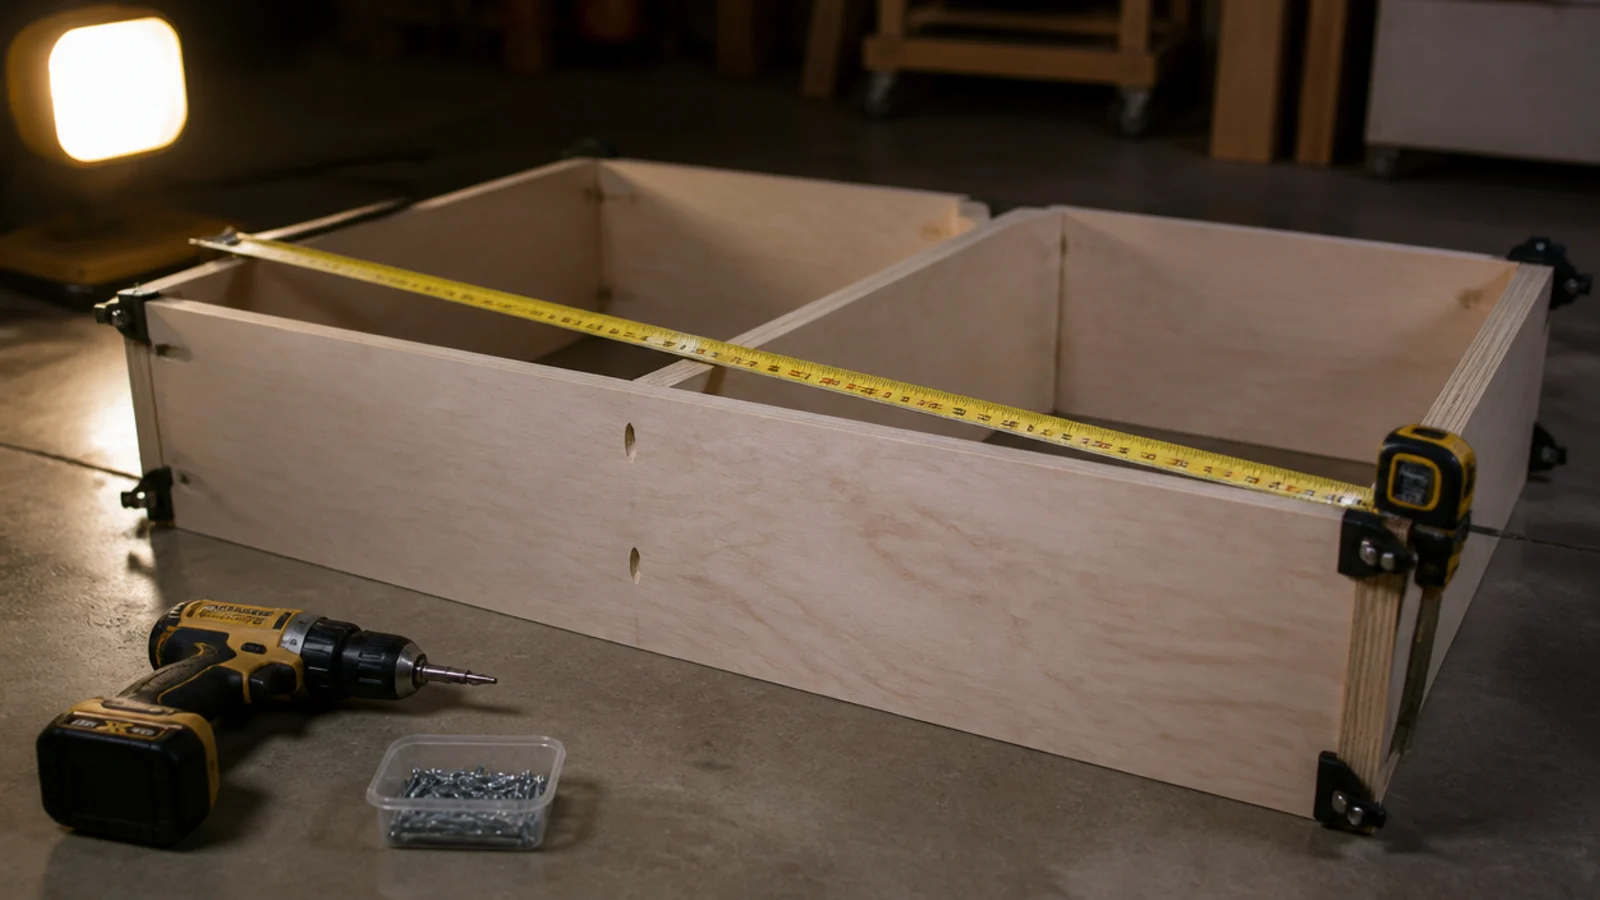
Step 9: Assemble the carcasses on the floor
Glue and screw the sides to the fixed shelves flat on the floor, where gravity helps you. Pocket screws are the fastest joint that stays tight.
Check square by measuring both diagonals before the glue grabs — they should match within an eighth of an inch. Add the thin back panel while it is still flat; that panel is what keeps the box square forever.
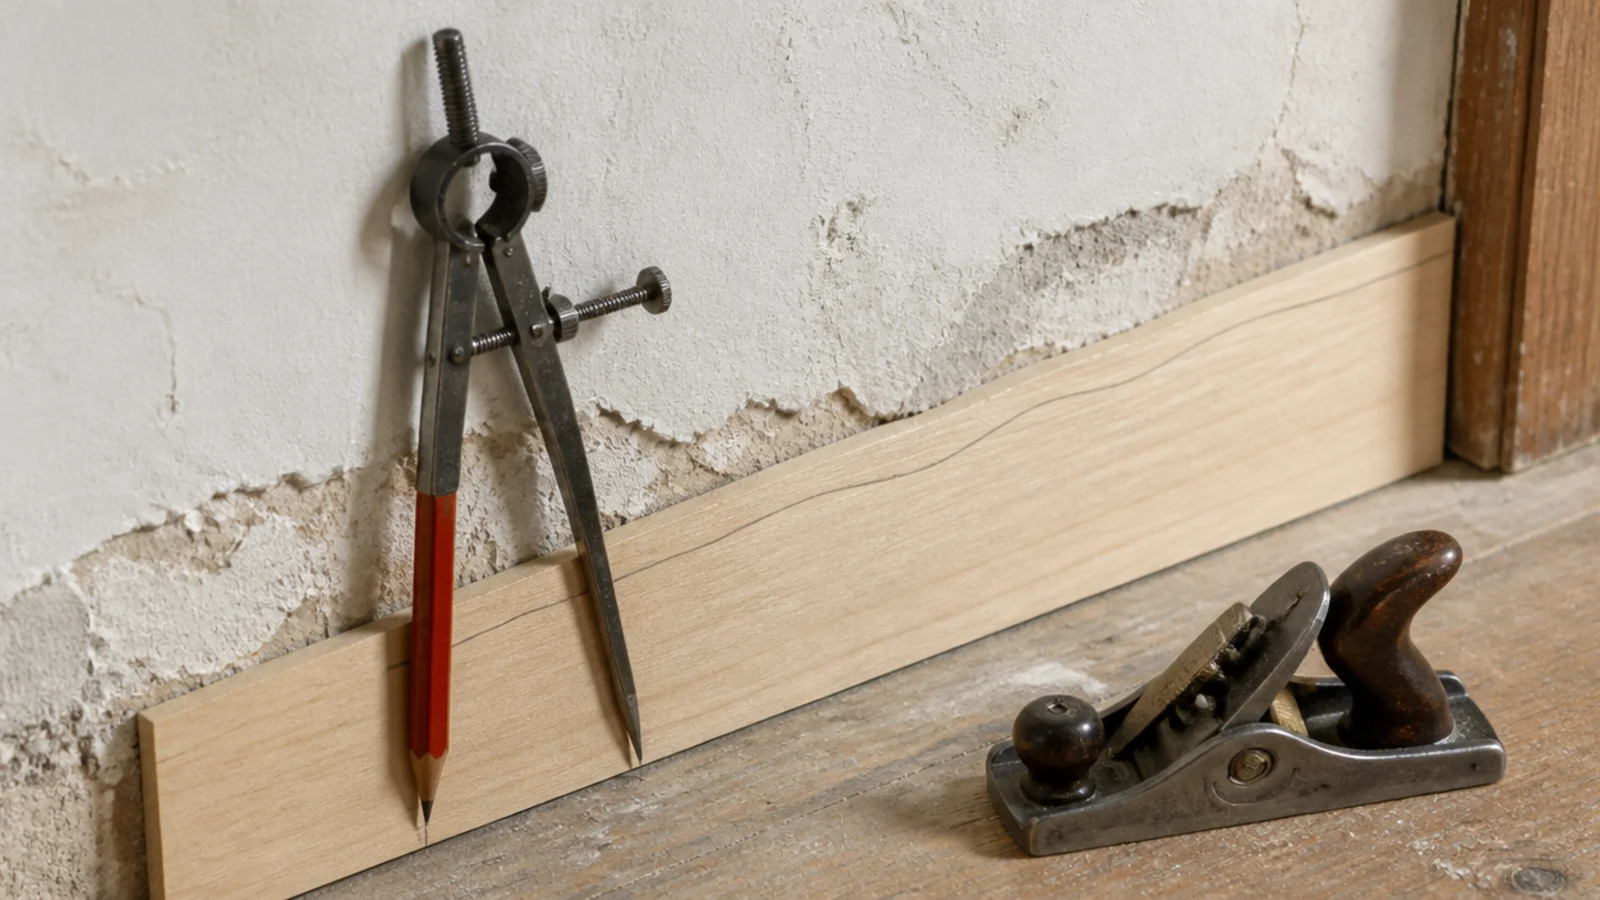
Step 10: Scribe the filler strips to the wall
Set a wide poplar filler strip against the wall, open a compass to the widest gap, and run it down the wall so the pencil leg traces the wall profile onto the strip. Cut and plane to that line.
This is the step that separates built-in from bolted-on. A scribed filler follows every bulge in old plaster, and caulk closes the last hairline. Do it on both sides.
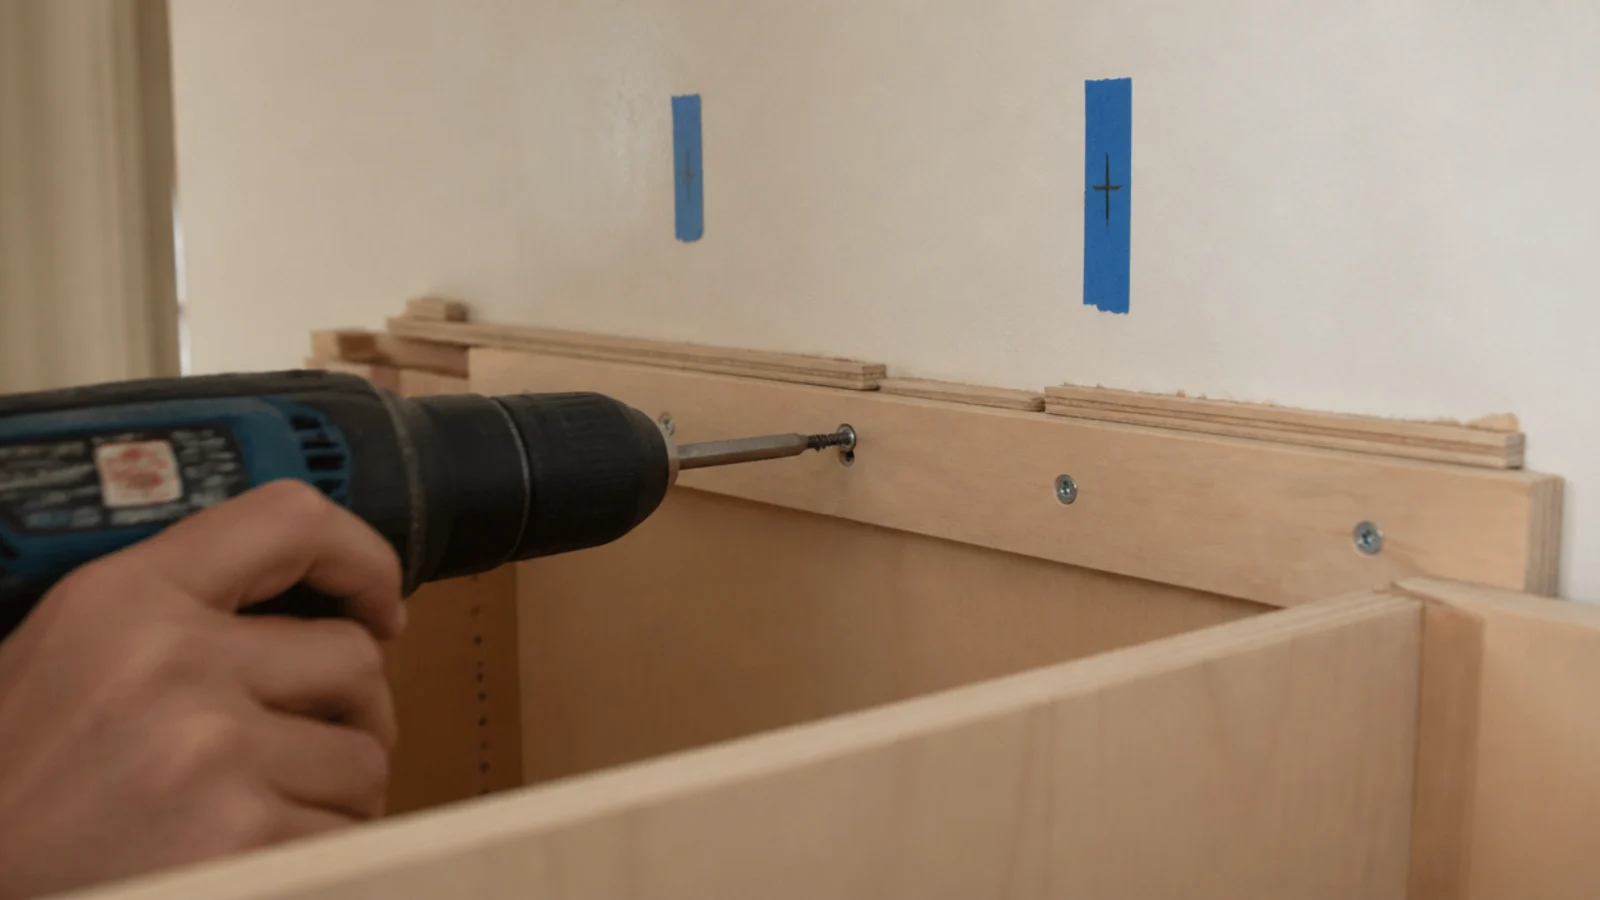
Step 11: Set the boxes, shim them and screw into studs
Slide the carcass onto the plinth, check plumb, then shim behind each fixing point before you drive a screw. Screwing a box tight to a wavy wall pulls it out of square and every door you hang afterward will show it.
Use 2 1/2-inch cabinet screws into studs through the back rails. Two per stud is plenty; this thing is carrying books, not a car.
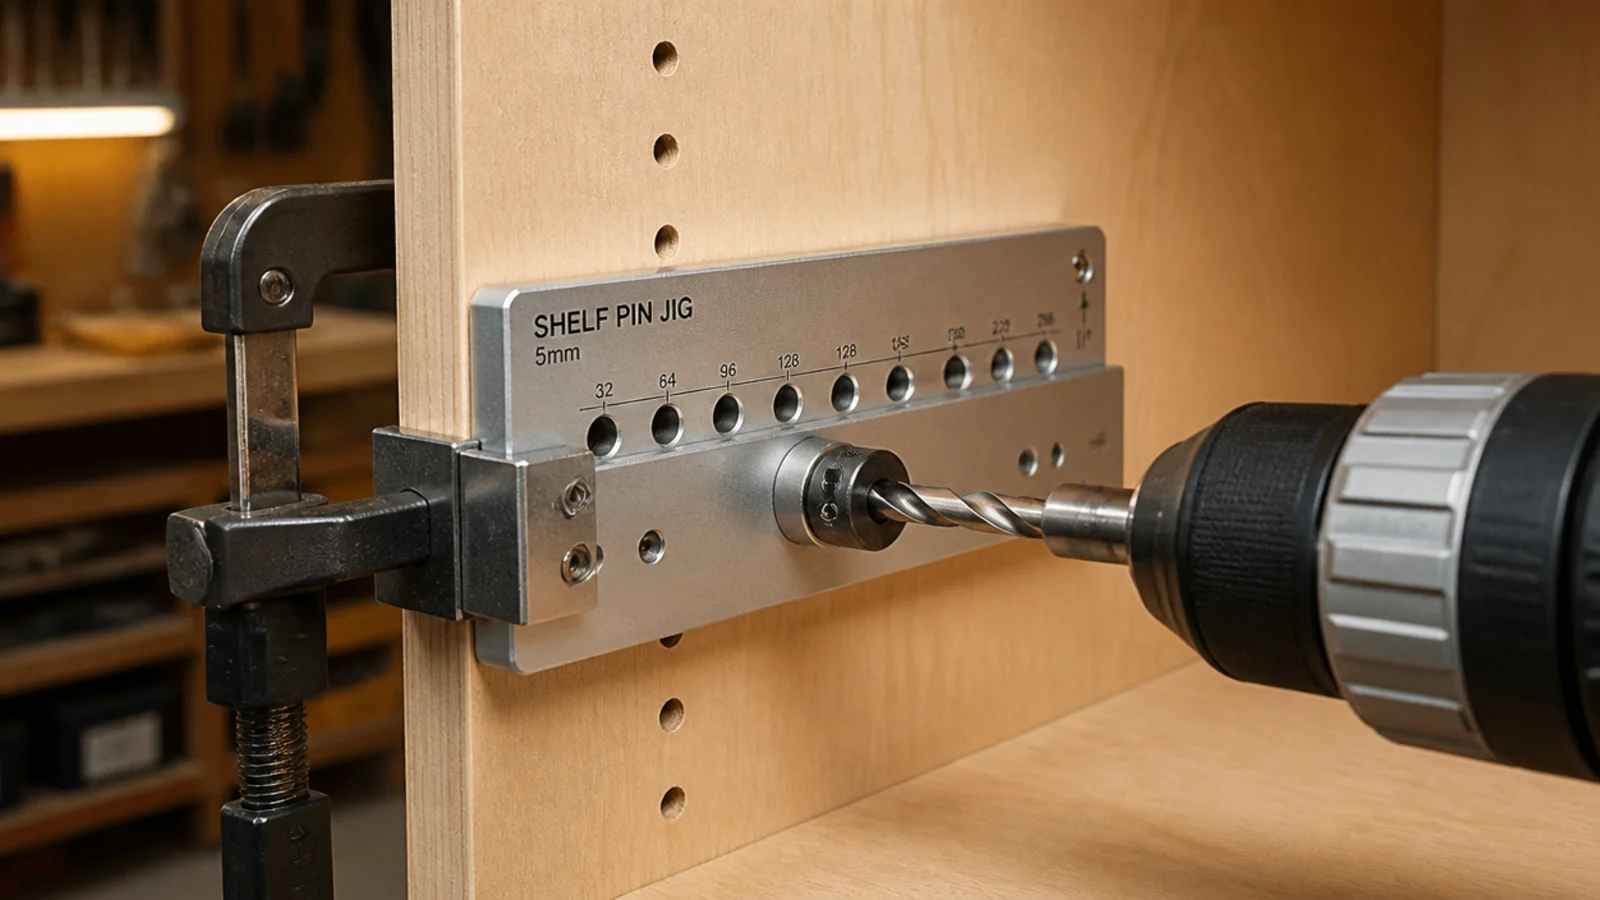
Step 12: Drill shelf pin holes with a jig
Use a shelf pin jig with a depth collar on the bit, referencing the same end stop on every panel. Holes at 32 mm centers give you adjustment in useful increments.
Drill before final paint, always. Doing it afterward means chipped paint and dust settling in fresh finish, and you will not get the touch-up perfect. Adjustable shelves are the feature you will thank yourself for in five years.
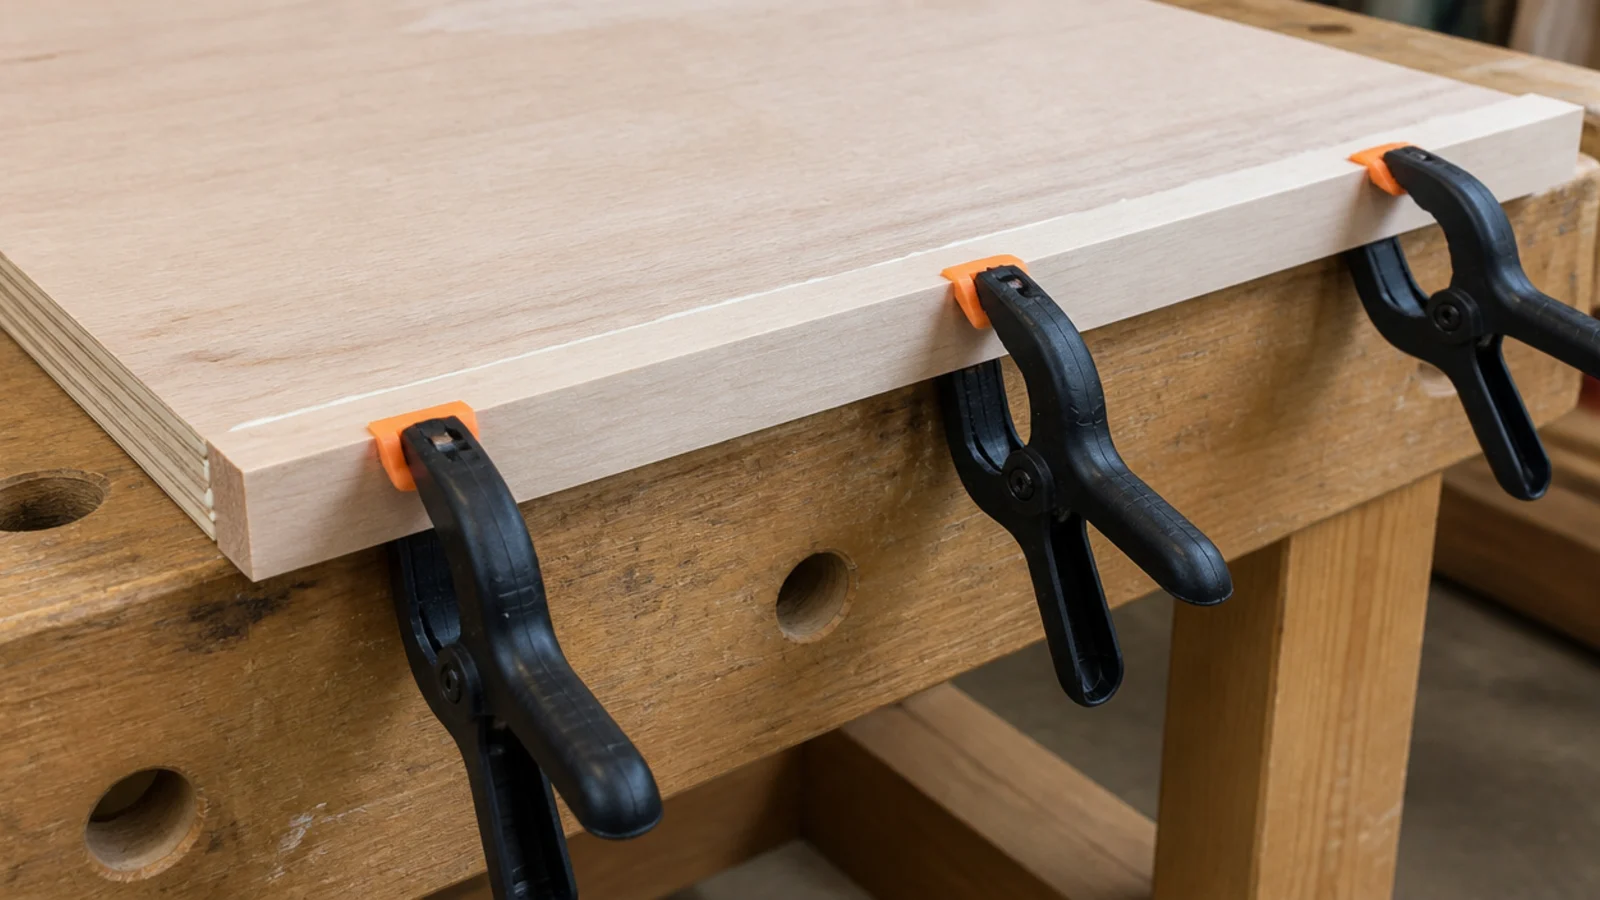
Step 13: Glue a solid lip on any long shelf
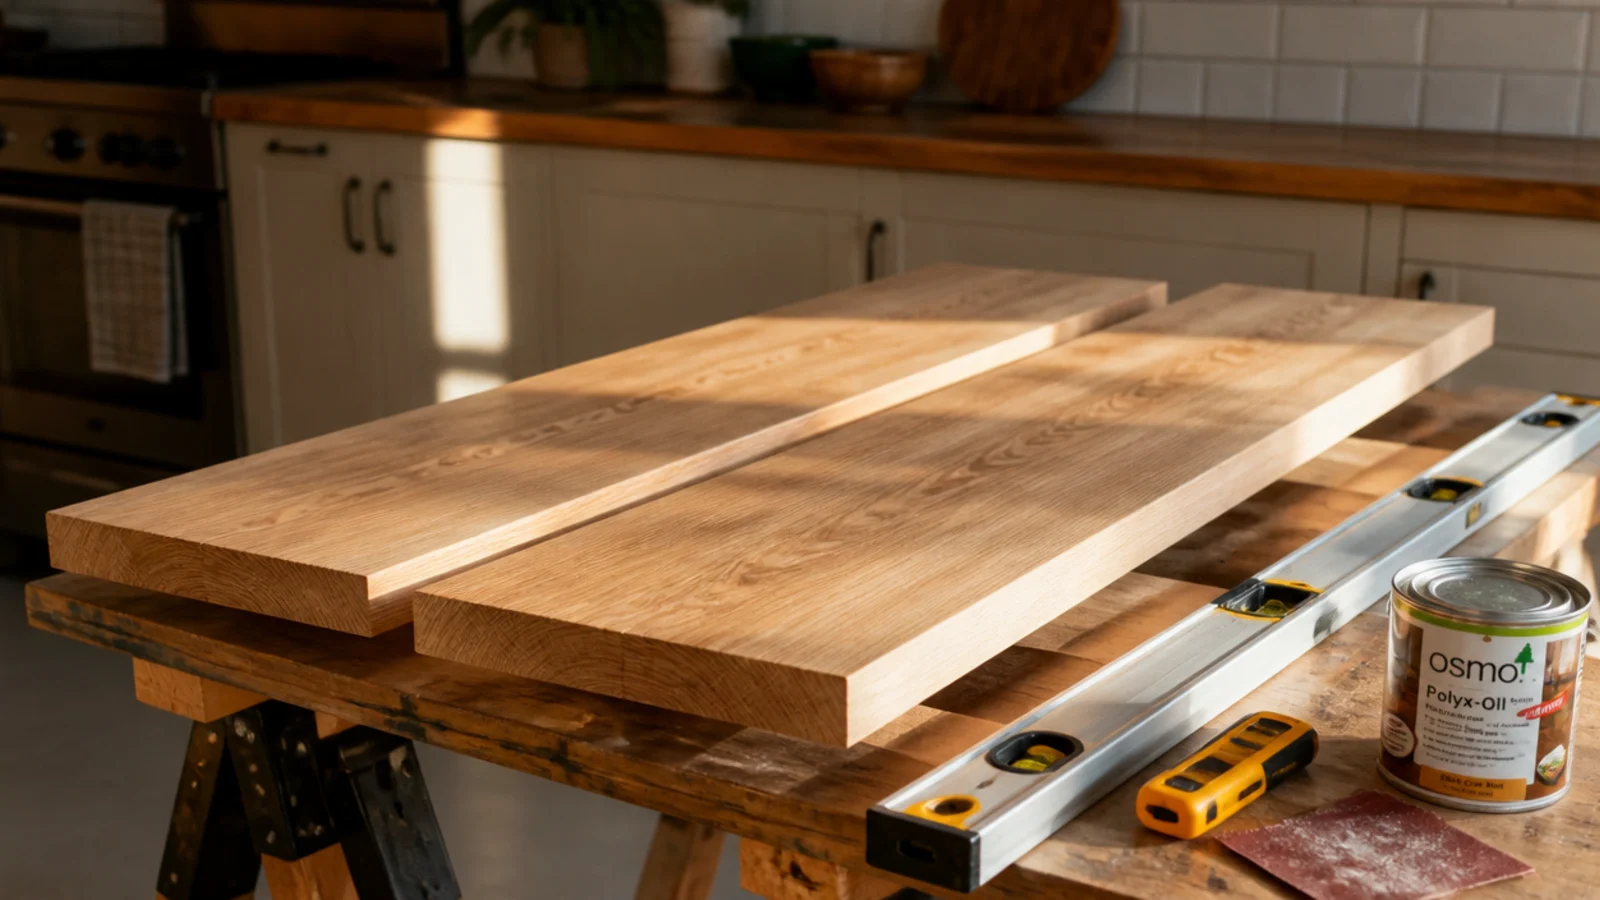
Any shelf over 30 inches gets a solid 1x2 poplar strip glued and clamped along the front edge. It stiffens the shelf enormously and gives the front a chunky, cabinet-made profile.
It also hides the plywood core, which is the other thing that gives a homemade build away. Four dollars and twenty minutes of clamping per shelf. There is no better value step in the whole project.
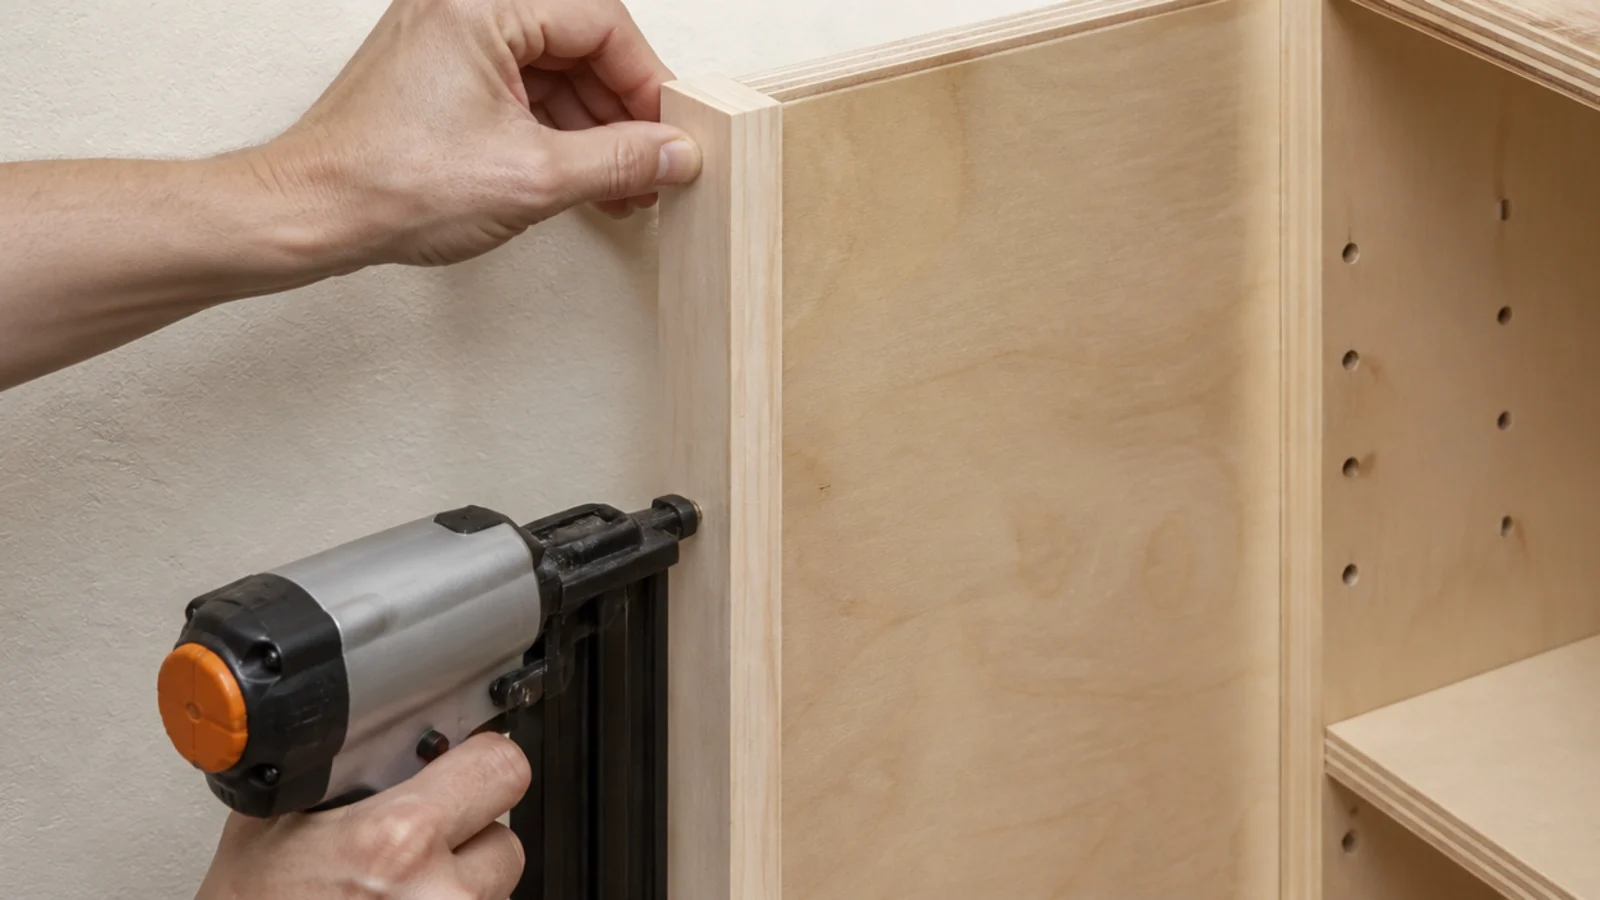
Step 14: Fit the face frame
Poplar 1x2 stiles pinned and glued to the front edges hide every raw plywood edge and give the unit its finished proportions. Keep stiles 1.5 inches wide — wider starts to eat the opening.
Pin with brads, set the heads below the surface, and fill. If you are matching existing joinery in the room, copy the width of the door casing rather than inventing a new number.
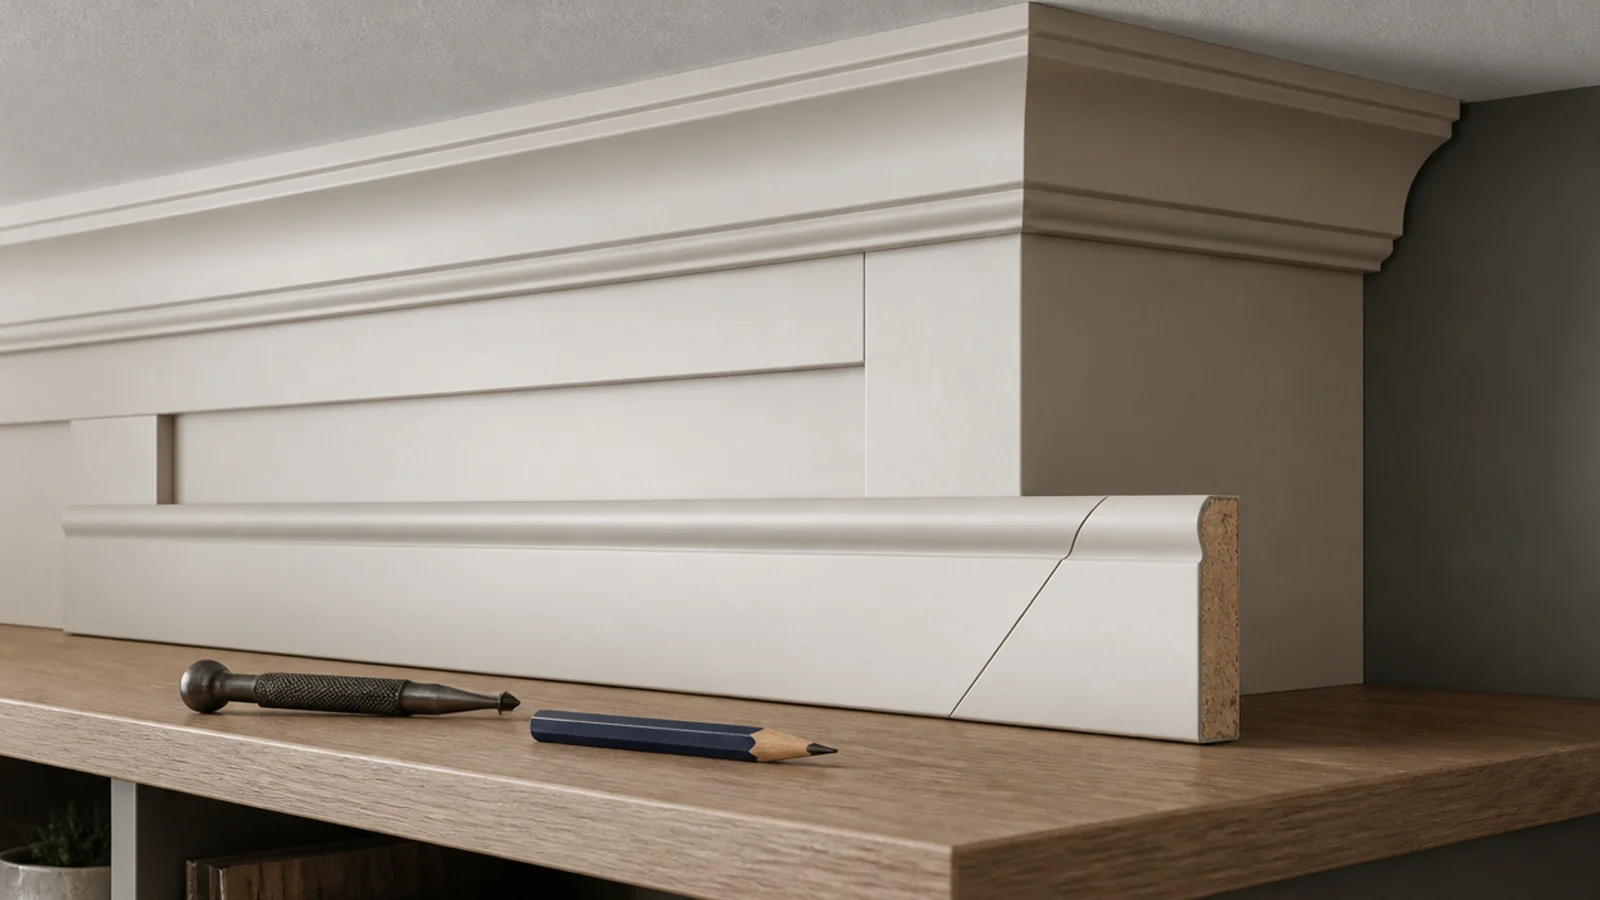
Step 15: Close the gaps at the floor and ceiling
Run the room baseboard across the plinth so the unit grows out of the floor, and close the ceiling line with a crown profile or a simple flat band.
A gap at the wall or ceiling is the number one giveaway of a DIY built-in, and trim plus caulk erases it. Match the existing baseboard profile if the room has one; contrast here reads as a mistake rather than a choice.
Step 16: Fill, sand and caulk every joint
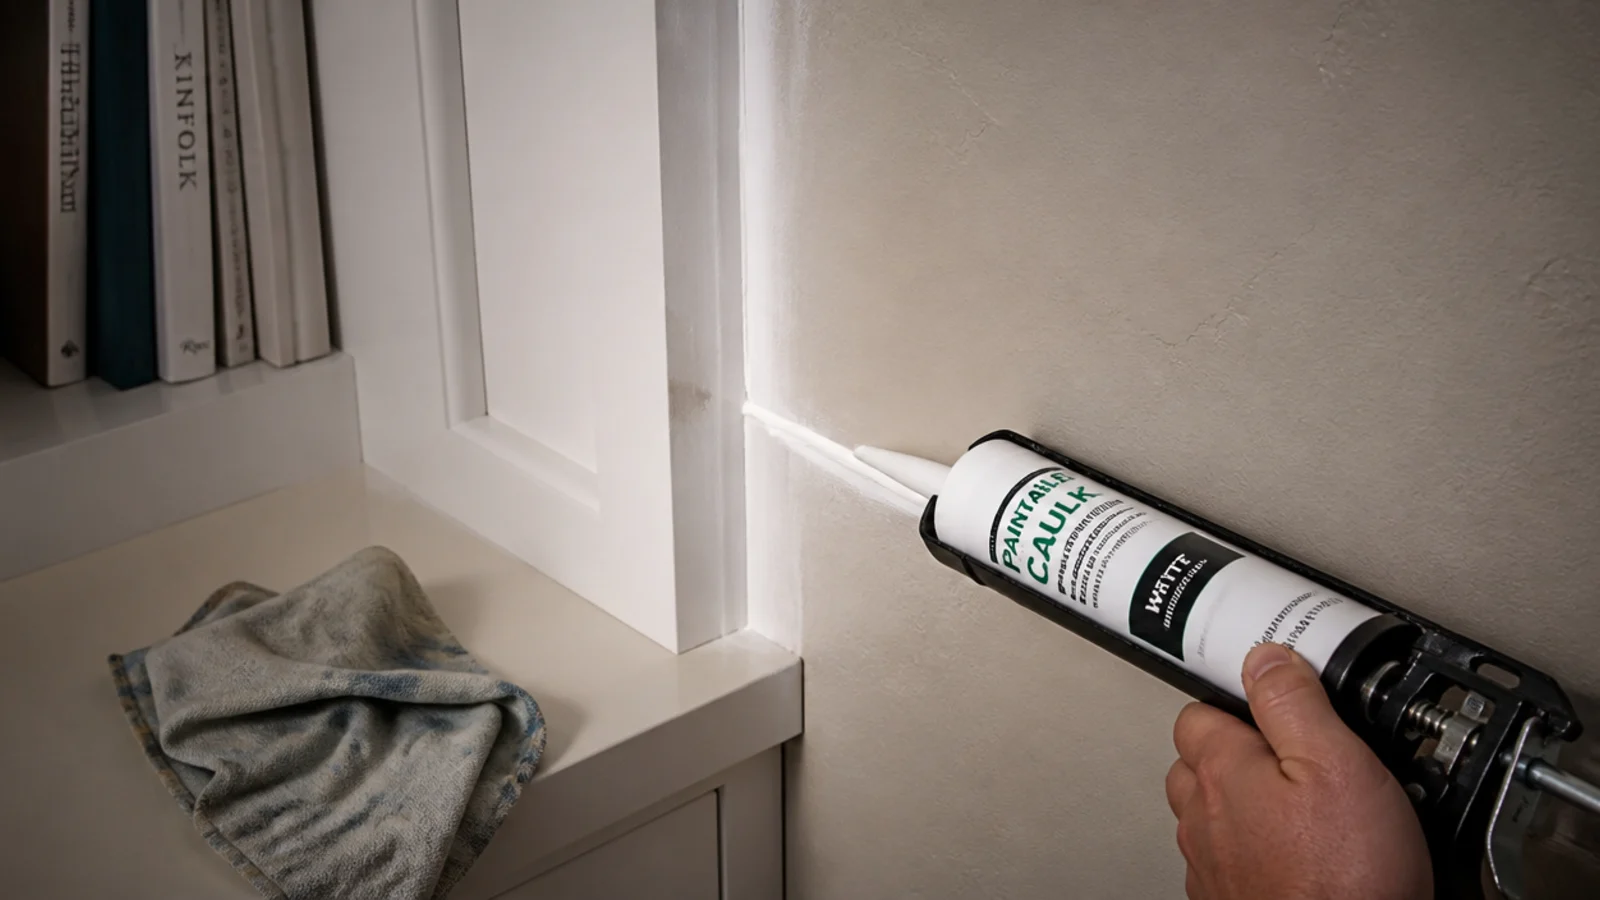
Fill nail holes and any plywood voids on cut edges, sand at 180 grit, then run a bead of paintable caulk along every joint where the unit meets the wall, ceiling and floor.
Smooth each bead with a wet fingertip in one continuous pass. Caulk before primer, never after — a hairline crack shows straight through two coats under afternoon light.
Step 17: Prime, then paint the wall or trim color
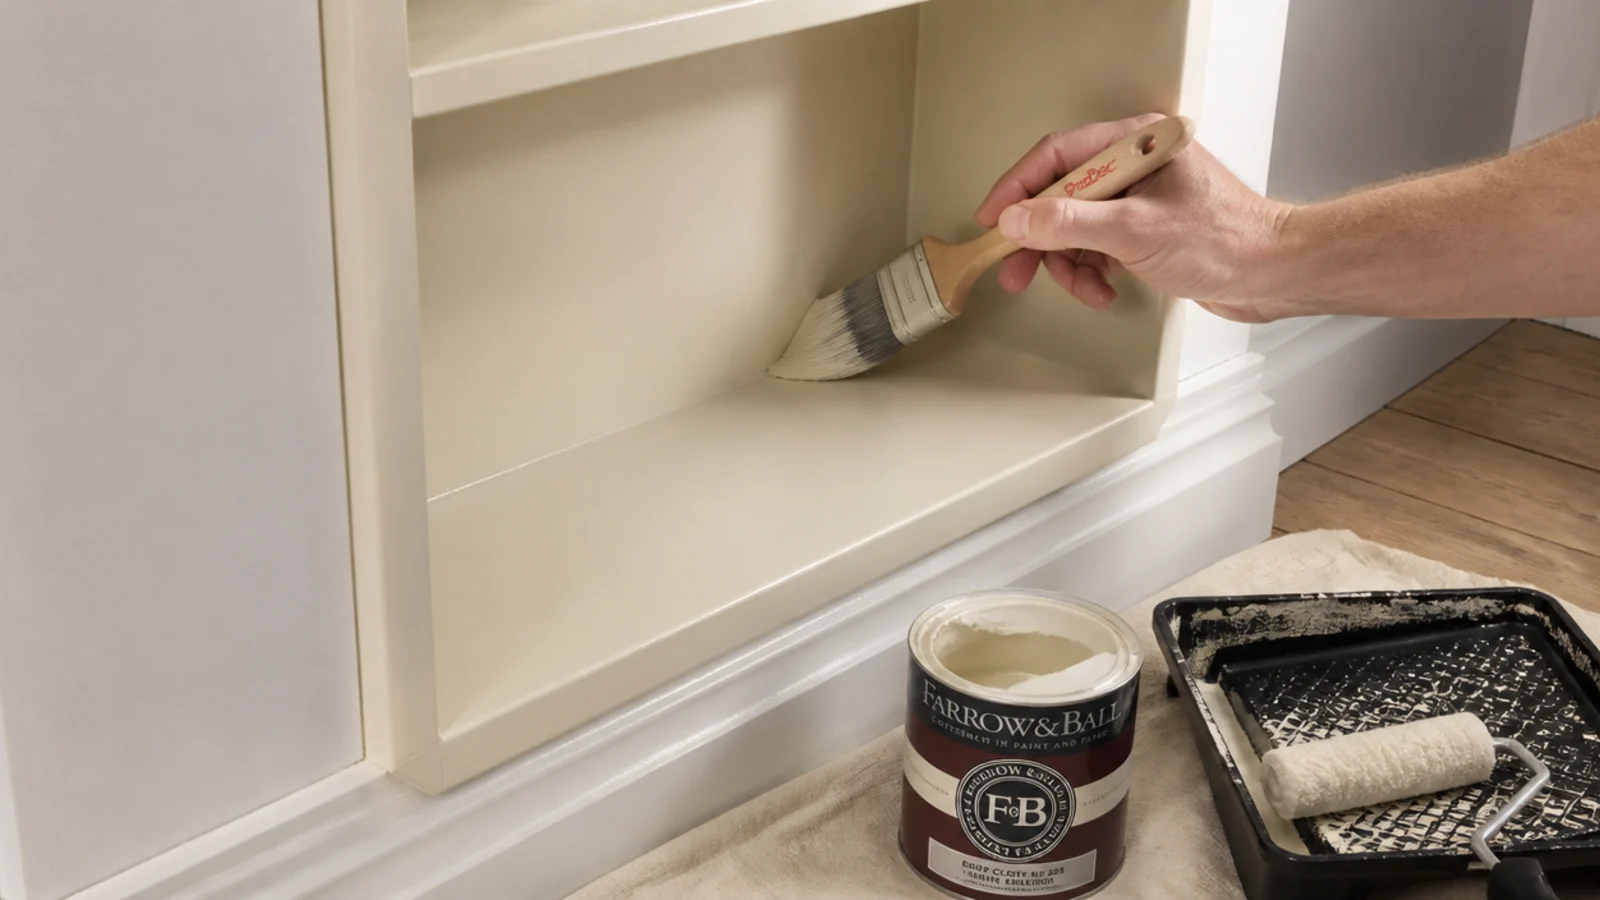
Prime everything, including the inside faces and the shelf edges, then two thin coats of satin trim paint. Satin wipes clean and reflects just enough to show the profiles.
Paint the built-ins the same color as the wall, or the same color as the trim. Either reads as architecture. If you want color, put it on the back panels inside the bays instead. That one decision does more for the finished look than any hardware you can buy.
Step 18: Add doors on the base bays
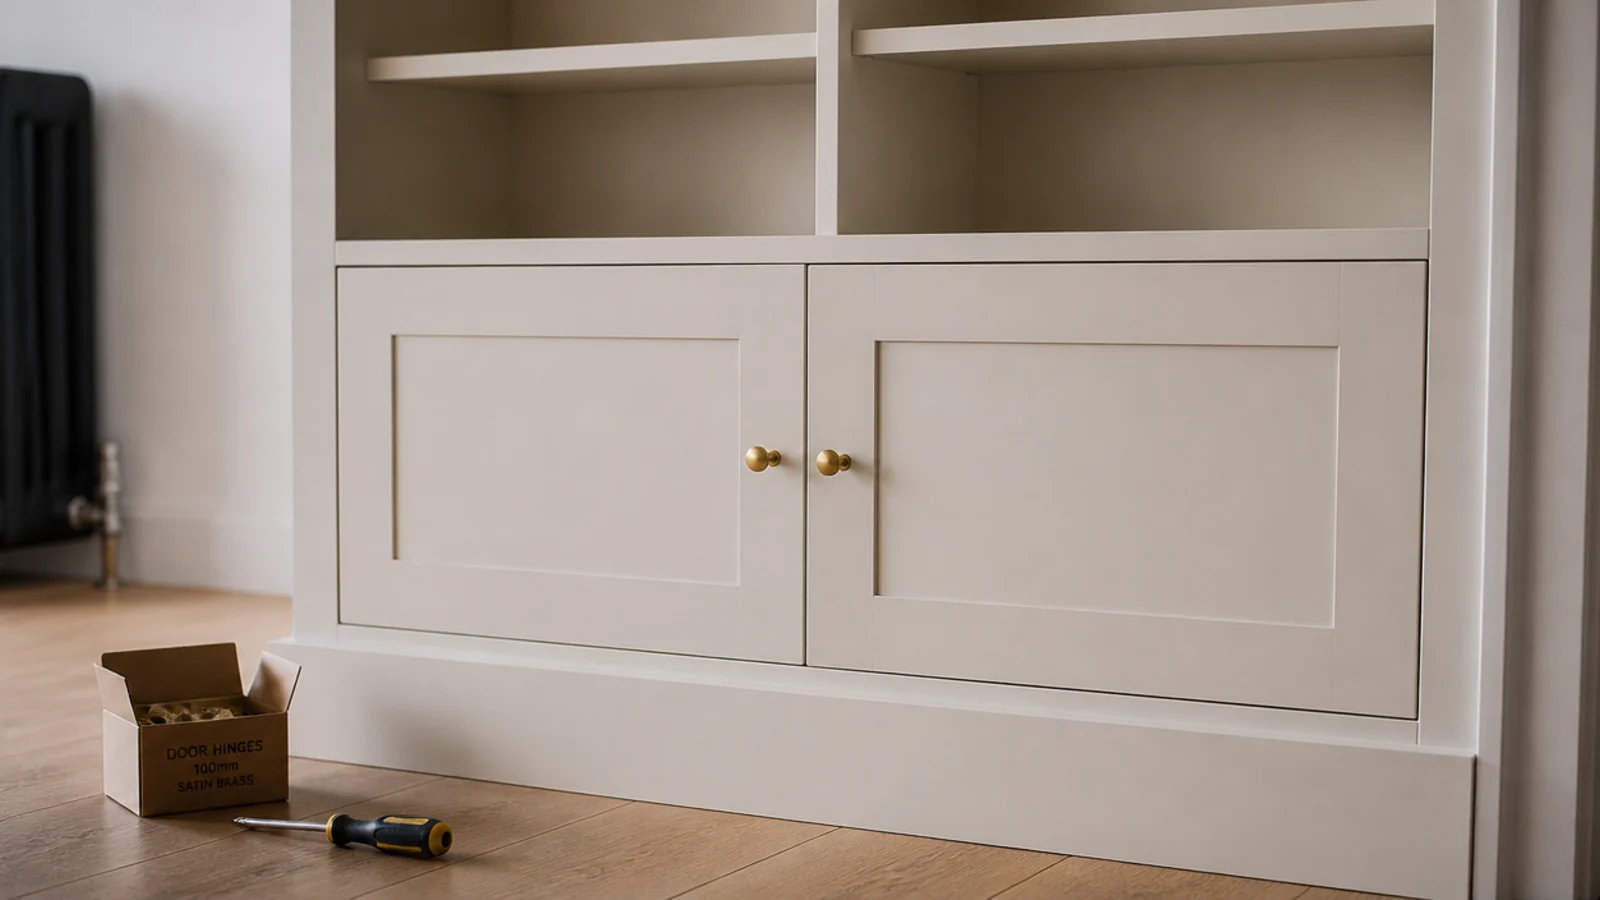
Doors on the lower third hide the things that make a room look busy. Simple shaker doors, inset or overlay, plus soft-close hinges and a slim brass knob, run about $60 to $120 per bay in materials.
Hang them last, after paint, and adjust the hinges with the doors closed so the reveals are even. If you want the full cabinetry version, built ins with cabinets goes deeper on door styles and hardware.
Step 19: Wire the lighting and hide the cables
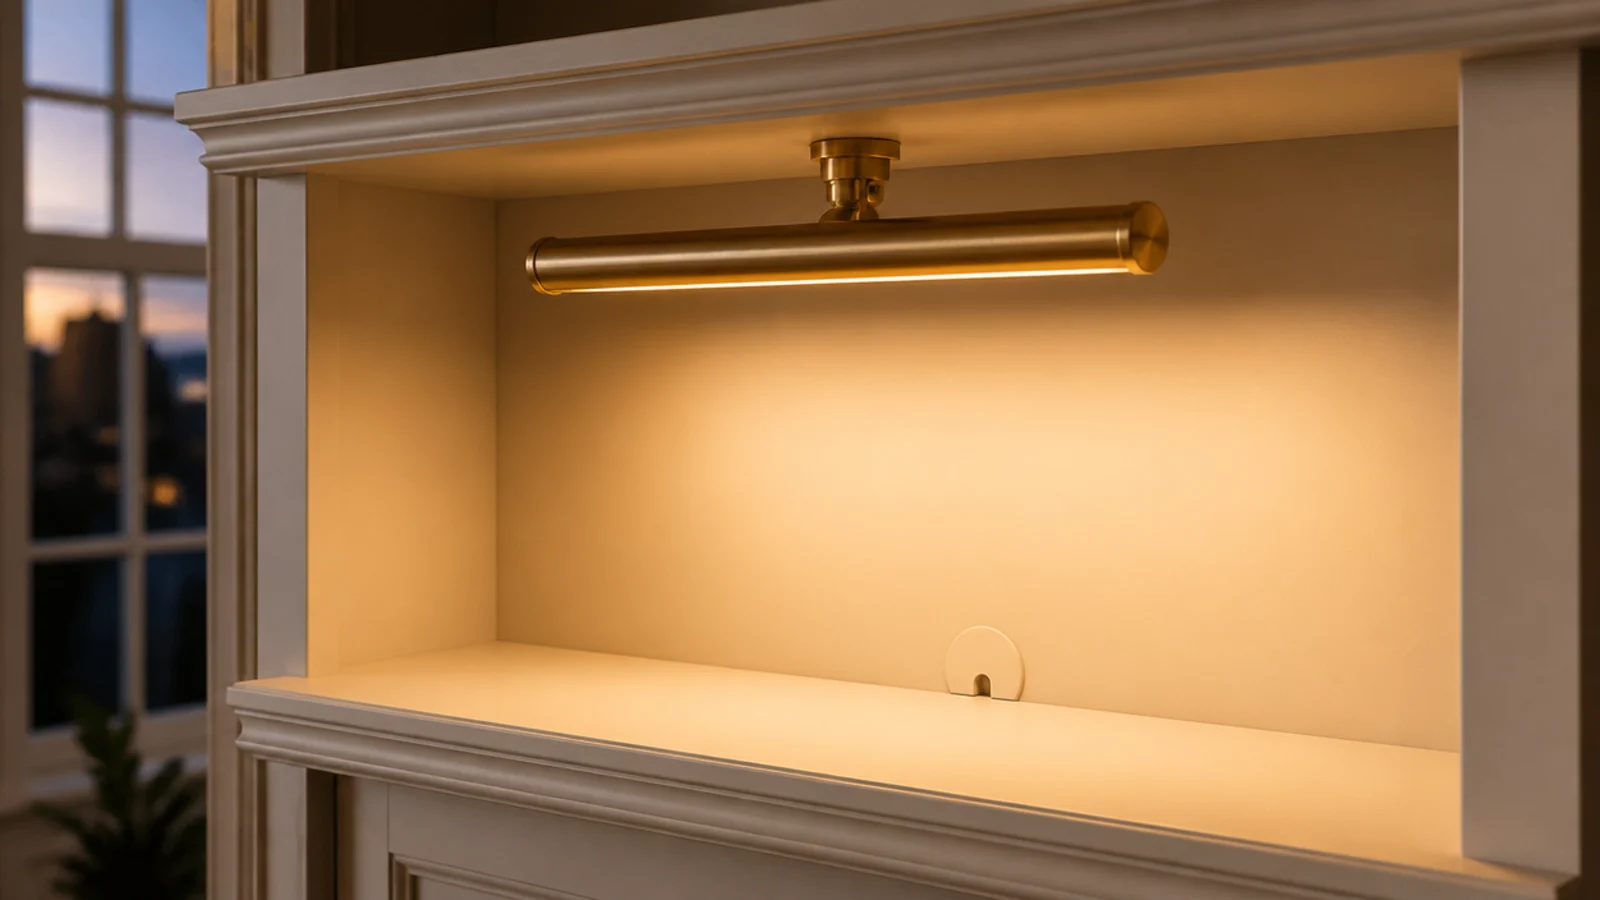
Fit a picture light or a slim LED strip above the top bays and run the cable behind the back panel to a grommet near an outlet. Warm 2700K light on a dimmer, always.
Drill a 2-inch grommet in the back of any media bay before you load it. Chasing a cable through a full bookcase later is a genuinely miserable hour, and I have done it twice.
Step 20: Load heavy low, then edit after a week
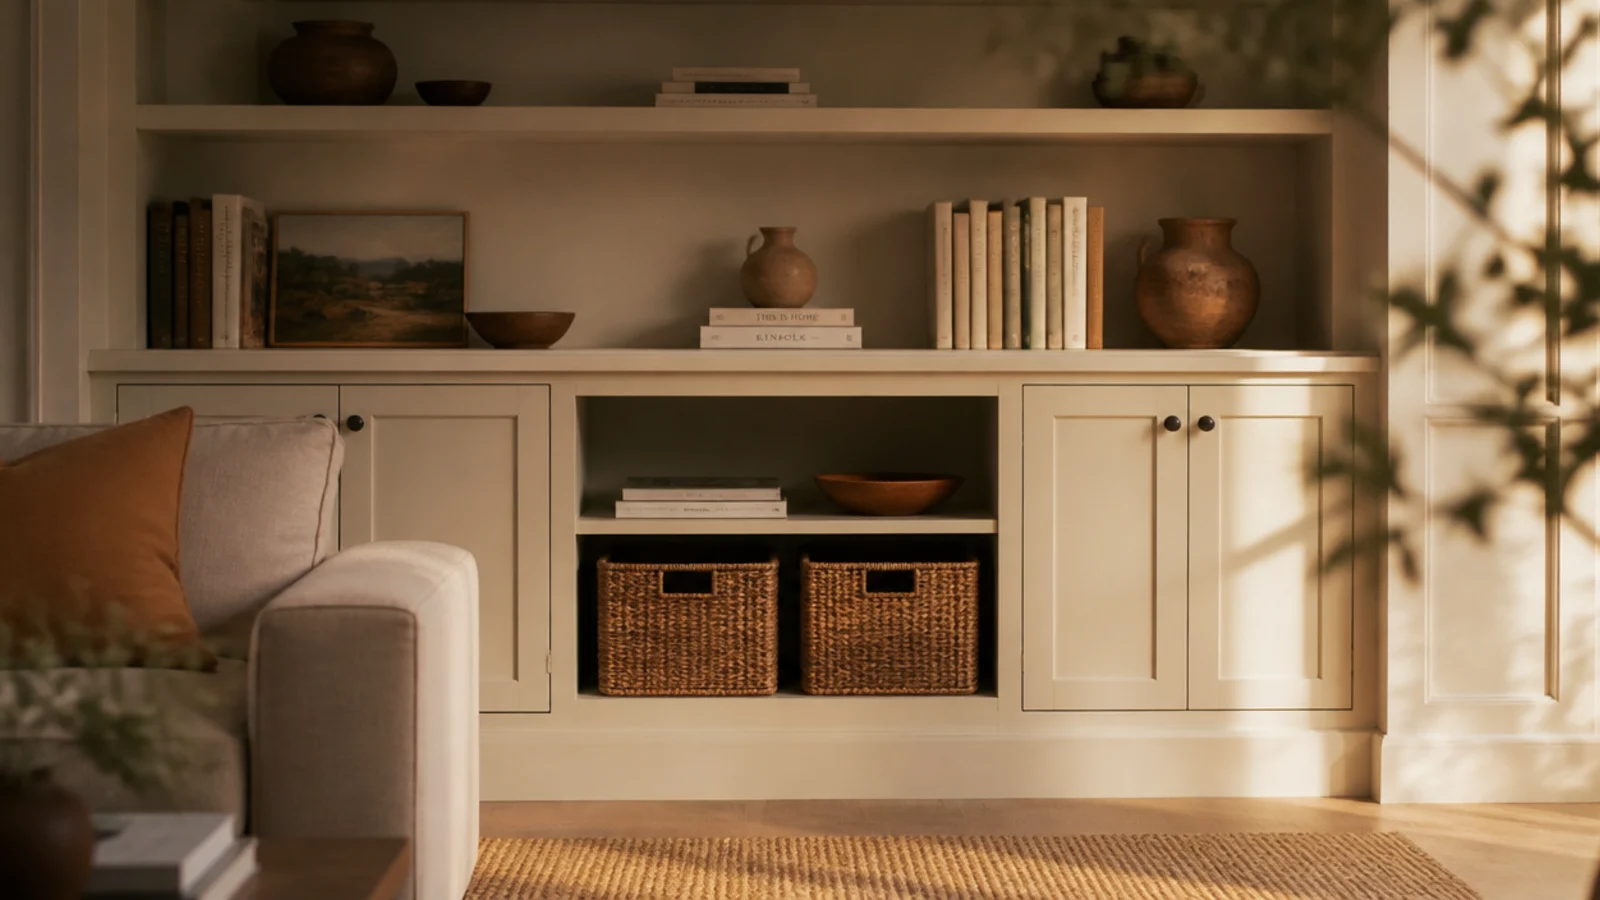
Put the heaviest books and baskets on the lowest shelves, leave a bay noticeably sparse, and live with it for seven days before you decide it is finished.
Then take two things off. Almost every shelf I style is better a week later with less on it, and mine are no exception. If you want the full arrangement logic, built in shelf styling covers ratios, heights and what to hide.
Pro Styling Rules
Mistakes to Skip
- Spanning more than 32 inches with bare 3/4-inch plywood. It sags with books, and a glued 1x2 front lip or a mid divider prevents it for about four dollars.
- Building the carcass to the alcove width instead of building narrow and scribing fillers. Nothing fits a wavy wall, and the fillers are what make it look original.
- Skipping the shelf pin holes because fixed shelves are quicker. You will want a taller bay within a year and drilling a painted, loaded unit is a bad afternoon.
Frequently asked questions
What plywood should I use for DIY built-in shelves?
Three-quarter-inch birch or maple plywood, sanded both faces, is the right sheet for painted built-ins. It holds a screw at the edge, takes primer evenly and stays flat. Skip MDF for shelves over 30 inches because it sags badly under books, and skip construction-grade plywood because the voids in the core show as dents along every cut edge.
How much do DIY built-in shelves cost to build?
Budget $500 to $1,200 in materials for a plywood run with doors in one alcove, and $150 to $400 if you trim in stock bookcases instead. Sheet goods are the biggest line at roughly $65 to $95 a sheet, then about $70 for paint and primer. A cabinetmaker doing the same wall starts around $2,500.
Do I need a table saw to build built-in shelves?
No. A circular saw with a clamped straightedge guide cuts sheet goods accurately enough, and most lumber yards will break sheets down to your cut list for a couple of dollars a cut. What you genuinely need is a good level, a shelf pin jig and patience with scribing, because the wall is what makes or breaks the fit.
How do I deal with walls that are not straight?
Scribe a filler strip rather than fighting the wall. Set the carcass plumb, run a wide filler strip past the edge, then use a compass to trace the wall profile onto it and cut to that line. Caulk closes the last hairline. This is the difference between a build that looks original and one that looks recently added.
How long does a DIY built-in take?
Plan two weekends for one alcove. The first covers measuring, cutting, assembling and setting the boxes, which is the physical day. The second covers filling, sanding, caulking, priming and two coats of paint, with drying time between. Styling happens the following week once the paint has hardened enough to take weight.
Build one alcove before you commit to the pair — the second goes up in half the time because your walls have already told you what they do. For finished-look inspiration before you cut anything, fifteen living room built-in ideas covers depths and layouts, and open kitchen shelves uses the same span and lip rules on a shorter run. Save the pin so the cut list and the 32-inch span limit are with you at the lumber counter.
Want more like this? Browse all 15 living room built-in shelves guides — they all use the same measurements and budget tiers.
Pin it for later
Save this to your Living Room Built-In Shelves board
Pin it now so it is waiting for you when the tape measure comes out — and so the next person hunting for this idea can find it too.
Save this pinKeep going
More ideas worth saving while you have the tape measure out.
Living Room Built-In Shelves
25 Budget-Friendly Living Room Built-Ins Ideas for Small Spaces
11 min read