Mirror Wall Decor · How-To
20 Steps to Style a Stunning Mirror Wall Decor

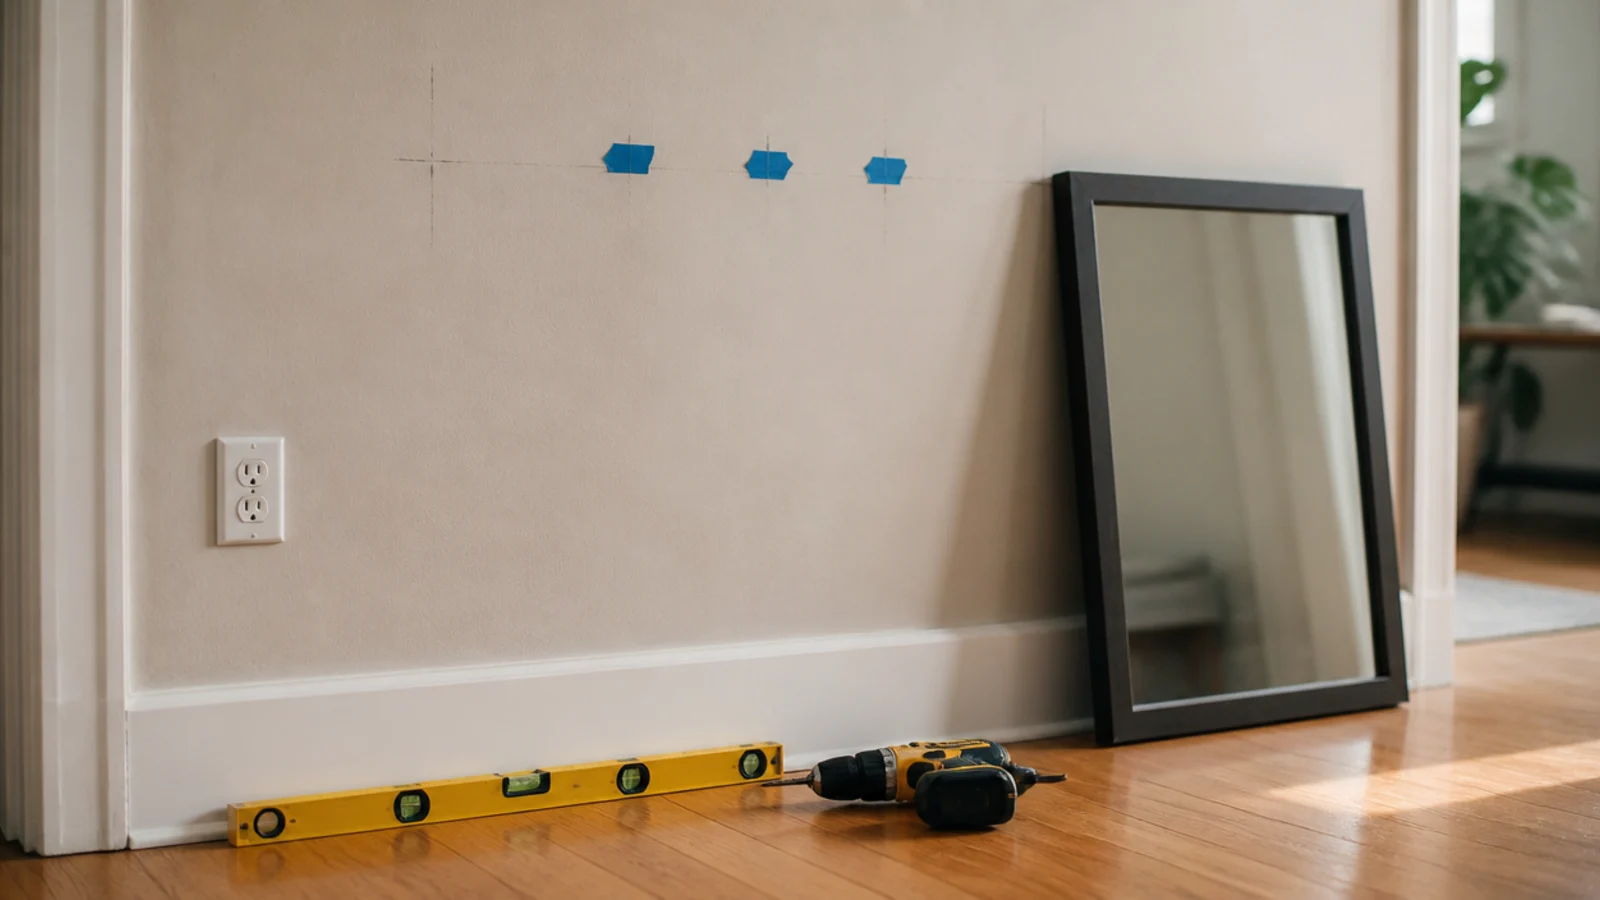
DIY mirror wall decor goes wrong at the hardware stage, almost never at the styling stage. The glass is heavy, the anchors supplied in the box are not, and one hook lets a mirror pivot every time the front door closes. These twenty steps run from bathroom scale to final level check. Follow them in order and the mirror goes up once, sits square, and stays there.
In this guide23 sections — tap to openHide
- 1.What You'll Need for DIY Mirror Wall Decor
- 2.Step 1: Weigh the mirror before you plan anything
- 3.Step 2: Decide what the mirror will reflect
- 4.Step 3: Check what is inside the wall first
- 5.Step 4: Cut a paper template and tape it up
- 6.Step 5: Set the centre at 57 to 60 inches
- 7.Step 6: Over furniture, measure the gap instead
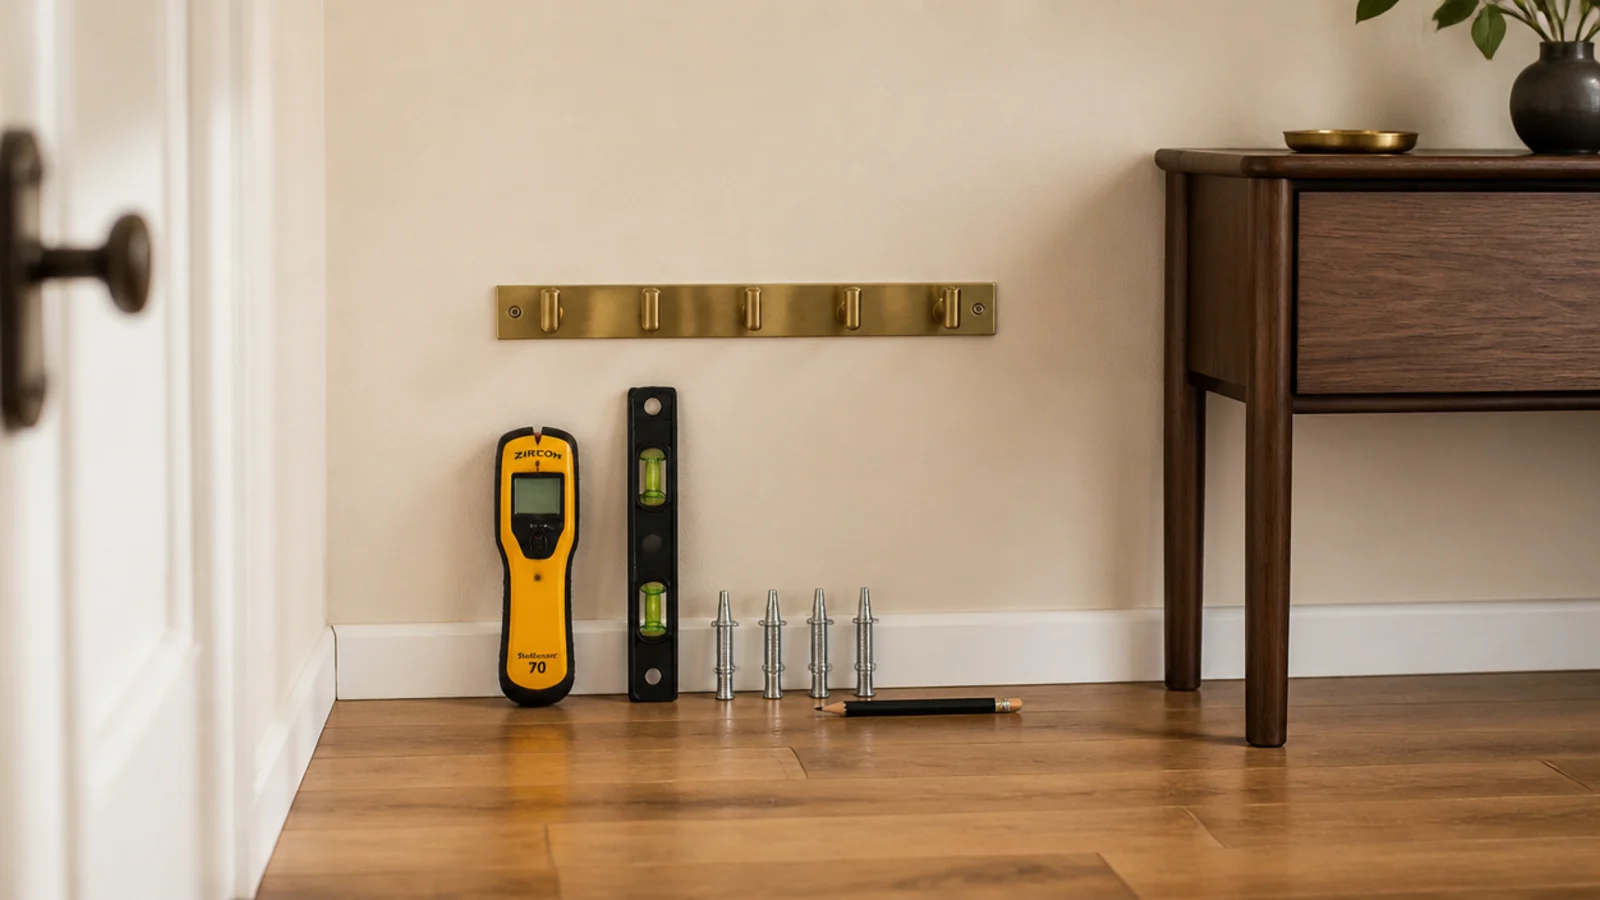
- 8.Step 7: Find the studs and mark them with tape
- 9.Step 8: Match the anchor to the weight
- 10.Step 9: Use two hanging points, never one
- 11.Step 10: Inspect the hardware on the back
- 12.Step 11: Fit D-rings on anything heavy
- 13.Step 12: Measure from frame top to hook point
- 14.Step 13: Transfer the marks with a level
- 15.Step 14: Drill the holes and set the anchors
- 16.Step 15: Lift it with a second pair of hands
- 17.Step 16: Level it, then bump the low side
- 18.Step 17: Add felt bumpers at the bottom corners
- 19.Step 18: Tether anything that leans
- 20.Step 19: Test it before you walk away
- 21.Step 20: Style around it, then edit a week later
- 22.Pro Styling Rules
- 23.Mistakes to Skip
What You'll Need for DIY Mirror Wall Decor
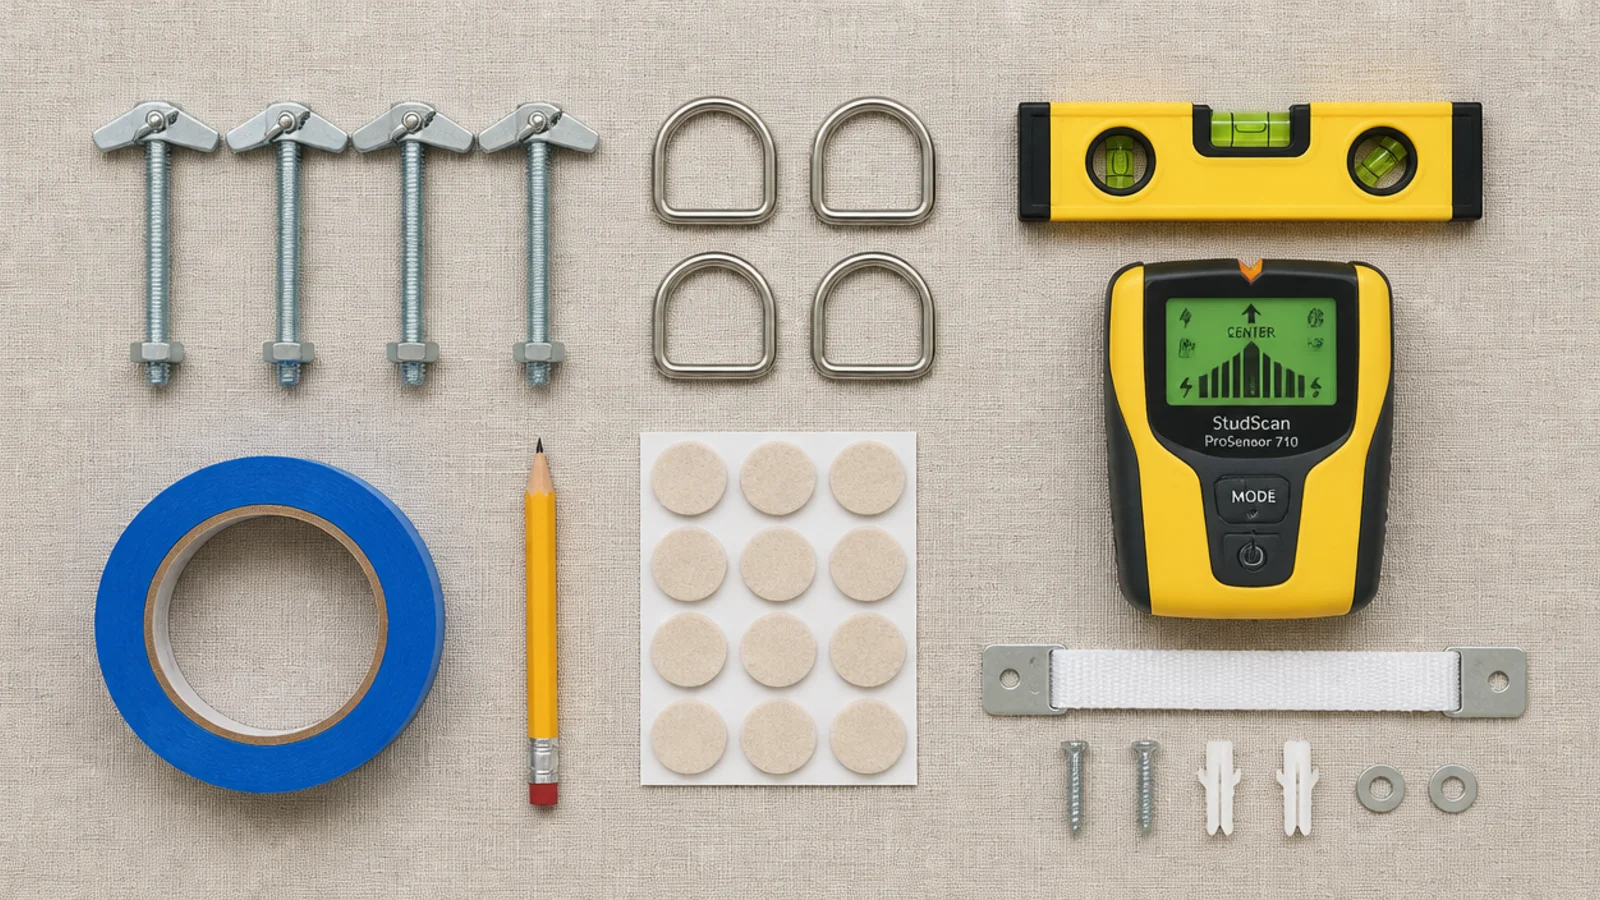
Nothing here is specialist and most of it lives in a kitchen drawer already. Budget $20 to $35 for hardware if you own a drill, or add $40 for a basic cordless if you do not.
| Item | Spec that matters | Rough cost |
|---|---|---|
| Toggle bolts | 1/8 in, rated 50 lb+ each in half-inch drywall | $5 |
| Wood screws | 2.5 in, for hanging into studs | $4 |
| D-rings | Steel, two per mirror, with short screws | $6 |
| Stud finder | Electronic, edge-marking | borrowed |
| Spirit level | 9 in torpedo minimum | $8 |
| Anti-tip strap | Furniture kit, for any leaner | $10 |
| Felt pads | Self-adhesive, for the bottom corners | $3 |
| Other | Painter tape, pencil, kraft paper, tape measure, drill | on hand |
Step 1: Weigh the mirror before you plan anything
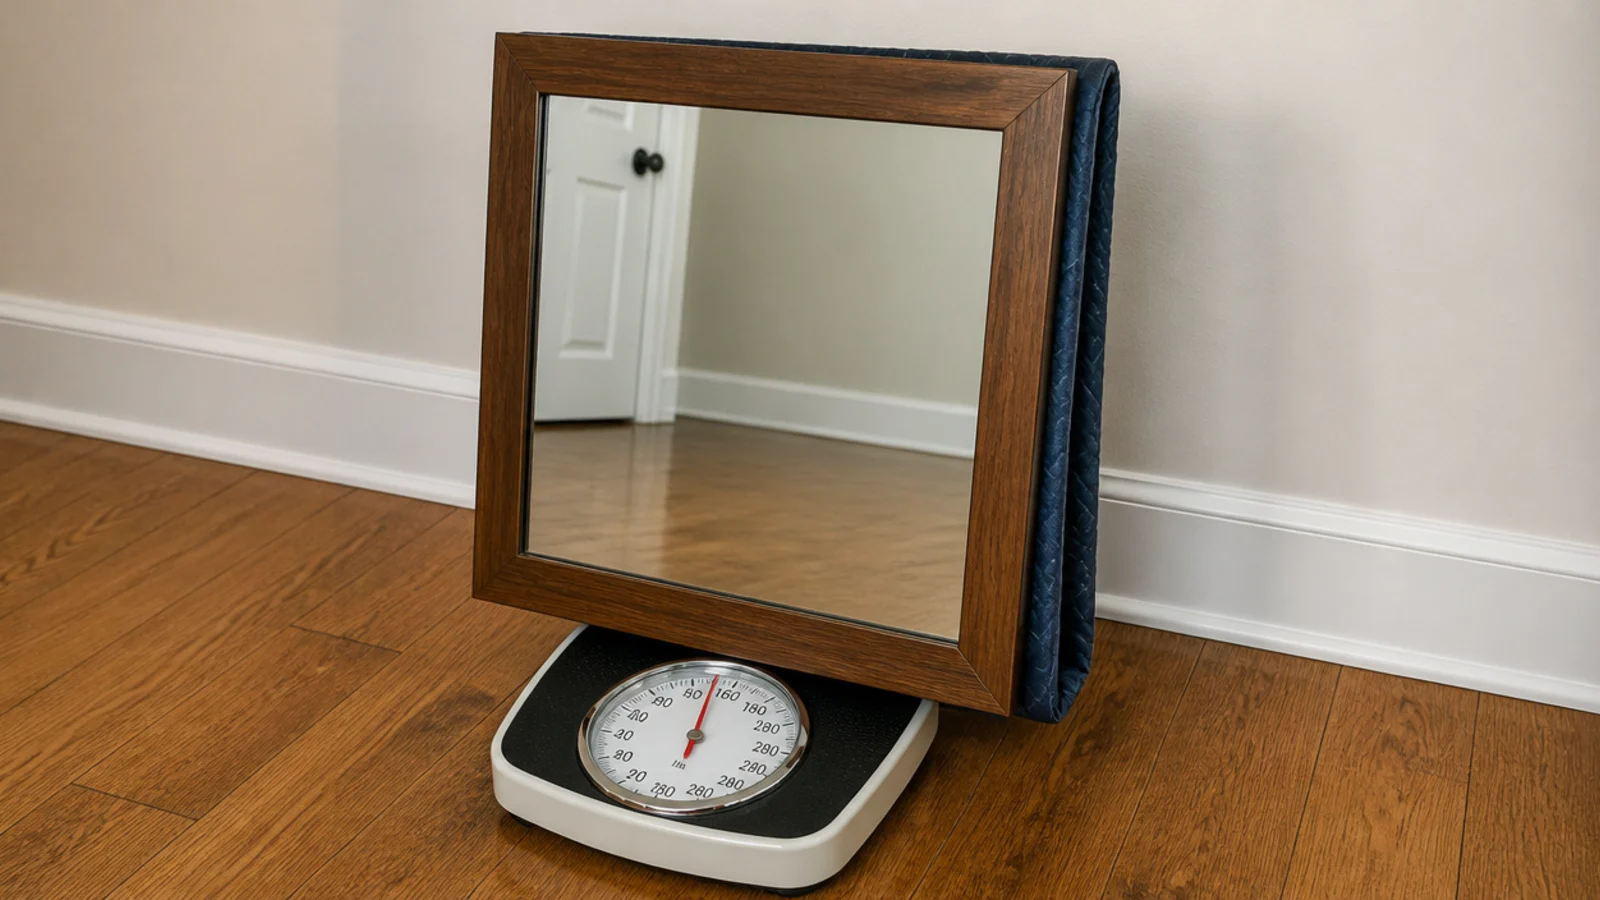
Stand the mirror on a bathroom scale with a folded blanket under the bottom edge. Write the number on painter tape and stick it to the back.
Everything downstream depends on this. Frame material swings the weight far more than size does — a 30-inch round in thin steel is around 15 pounds, the same diameter in solid oak with thick glass can hit 30.
Step 2: Decide what the mirror will reflect
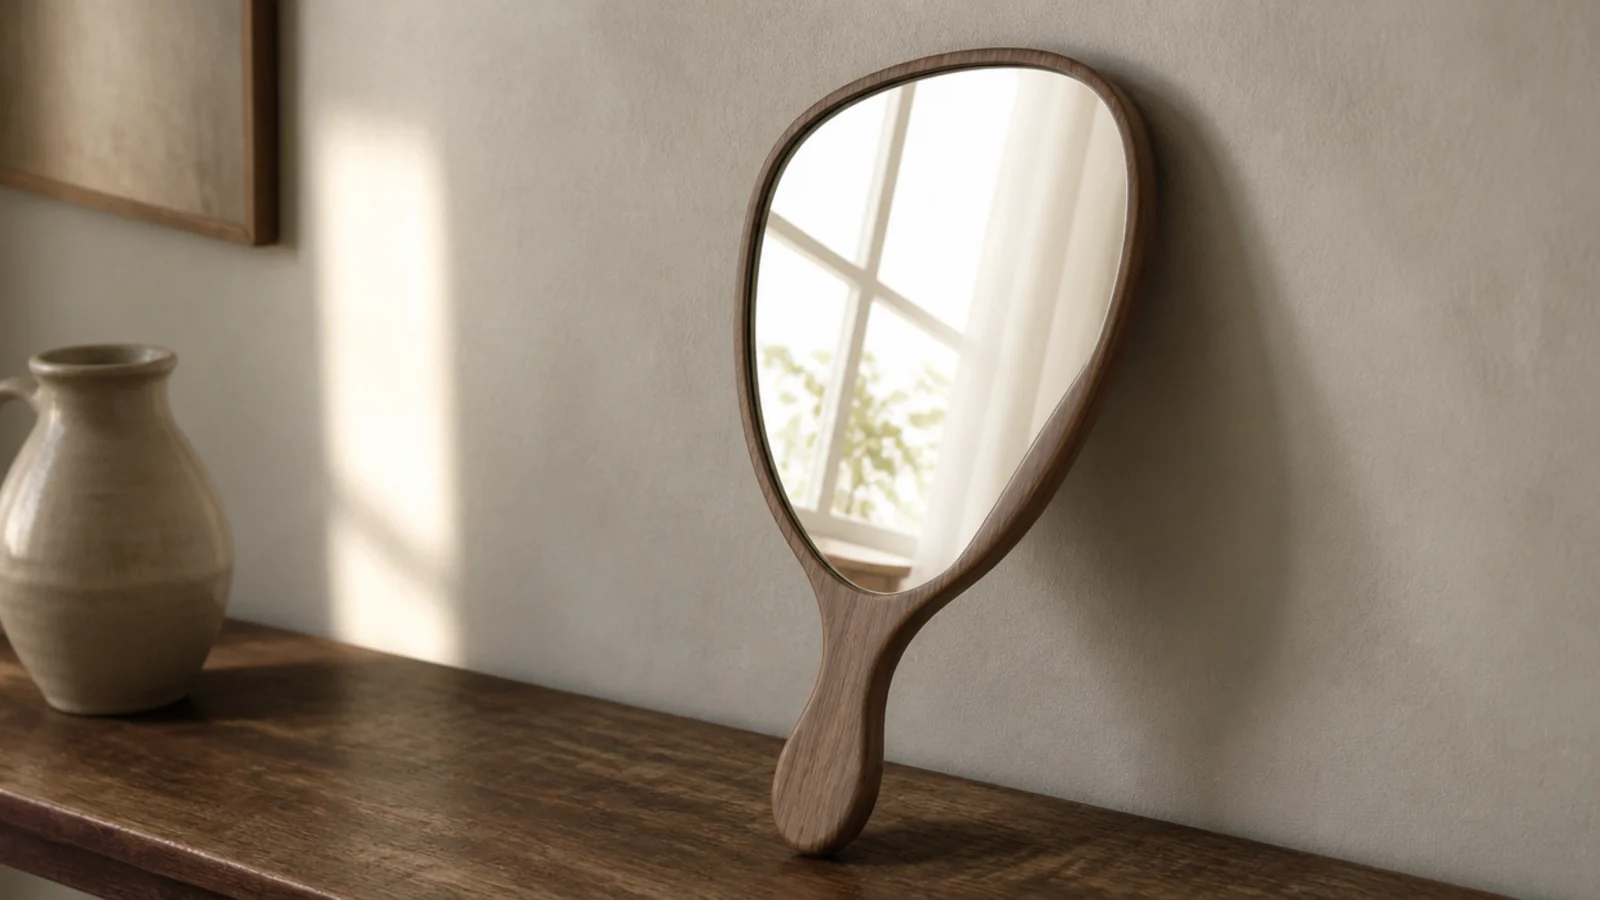
Hold a hand mirror up at the planned position and look at the image, not the wall.
A mirror opposite a window bounces real daylight into the room. The same mirror perpendicular to that window mostly reflects the wall across from it. Placement beats size, so spend this five minutes before you spend money on more glass.
Step 3: Check what is inside the wall first
Run the stud finder in its live-wire mode across the whole area at the intended height, plus 12 inches above and below.
Kitchens, bathrooms and any wall under a window are the usual homes for pipework and cable runs. If you get a warning tone, shift the mirror sideways rather than gambling on the drill.
Step 4: Cut a paper template and tape it up
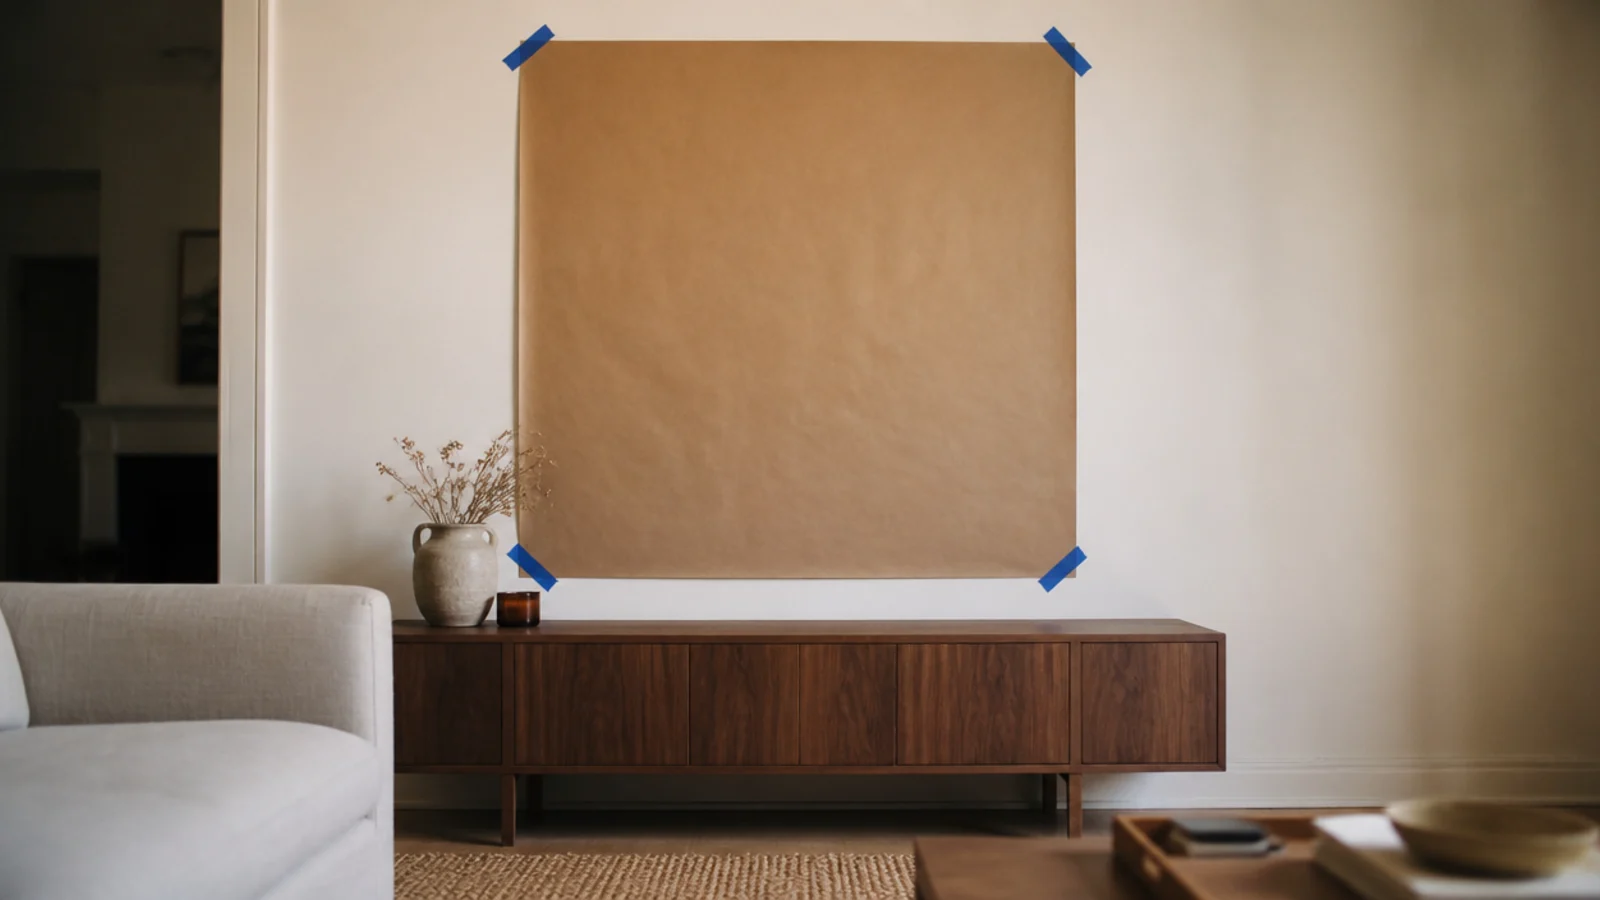
Trace the mirror onto kraft paper or grocery bags, cut it out, and tape it to the wall with painter tape.
Live with it for two days. Height instincts are wrong more often than they are right, and a paper rectangle you have walked past ten times tells you more than any rule of thumb. Mark the anchor positions on the paper itself so you can drill straight through it.
Step 5: Set the centre at 57 to 60 inches
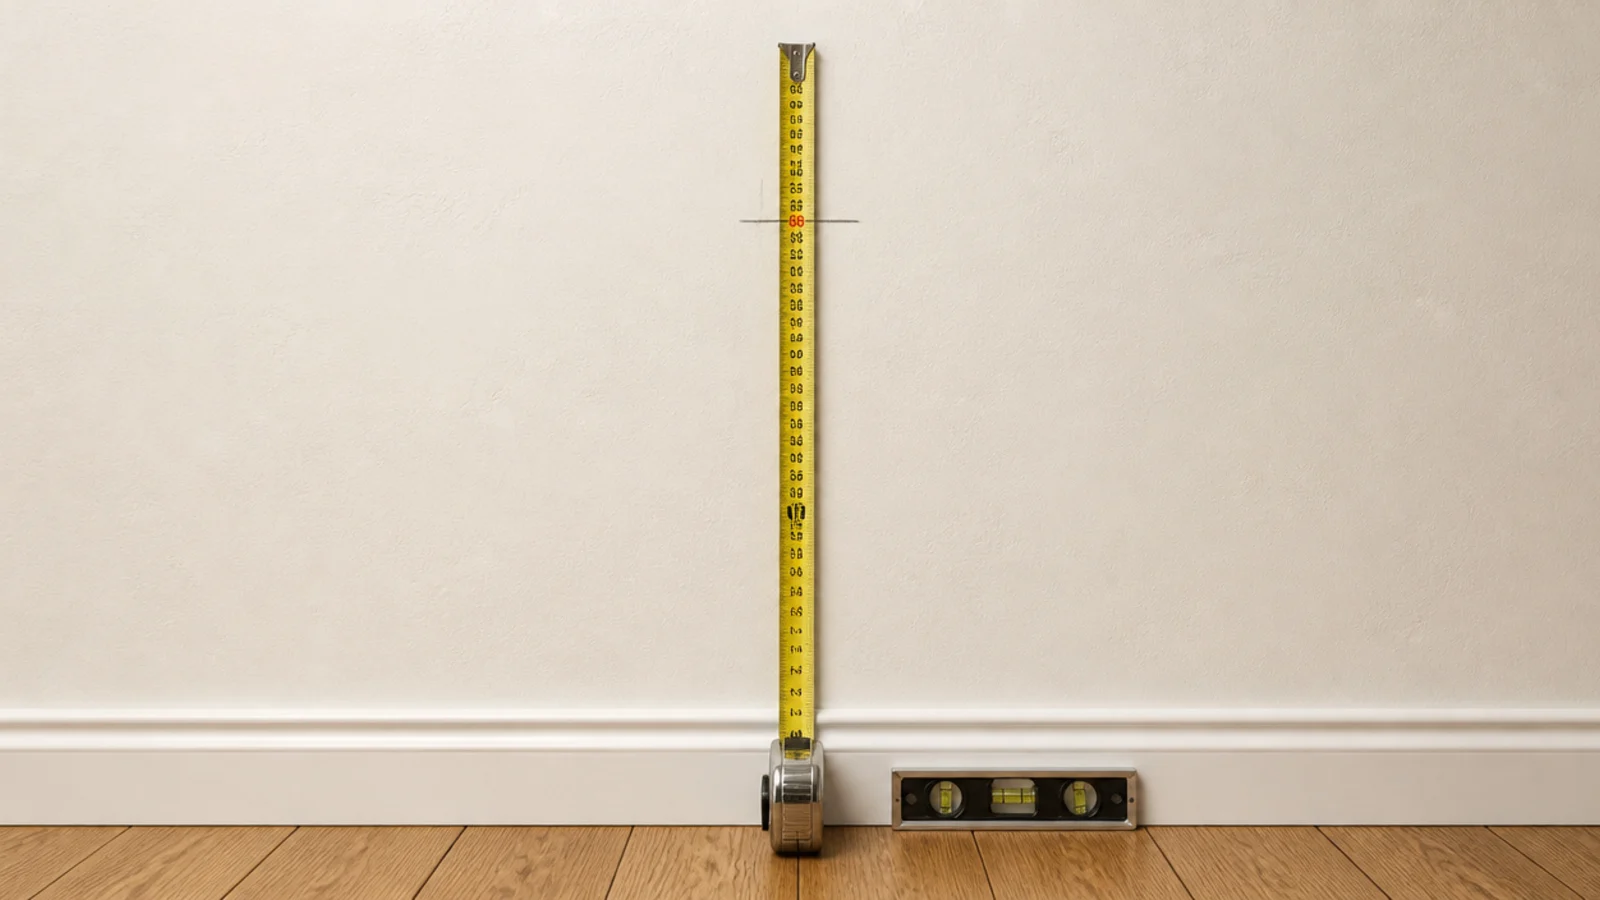
On an empty wall, the centre of the glass belongs 57 to 60 inches off the floor. That is gallery eye level, and it reads correctly to a standing adult regardless of ceiling height.
Resist the instinct to go higher. Almost every mirror I have been asked to fix was hung four to six inches too high, usually because it was aligned to a door casing instead of to people.
Step 6: Over furniture, measure the gap instead
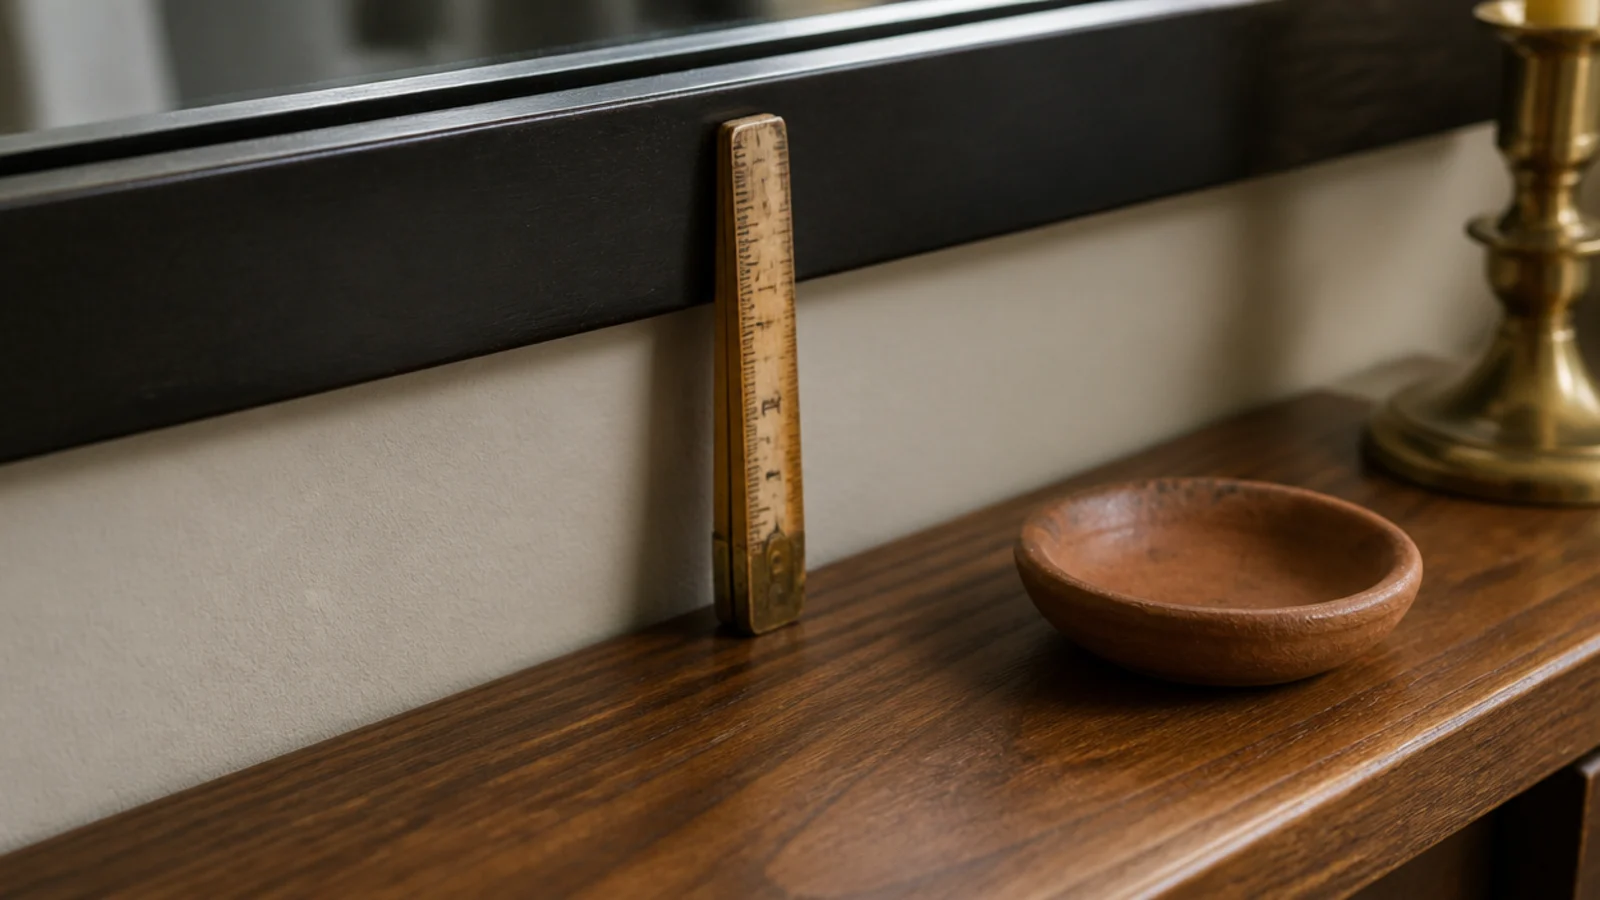
Above a console, a dresser or a mantel, the furniture sets the height and the eye-level rule steps aside.
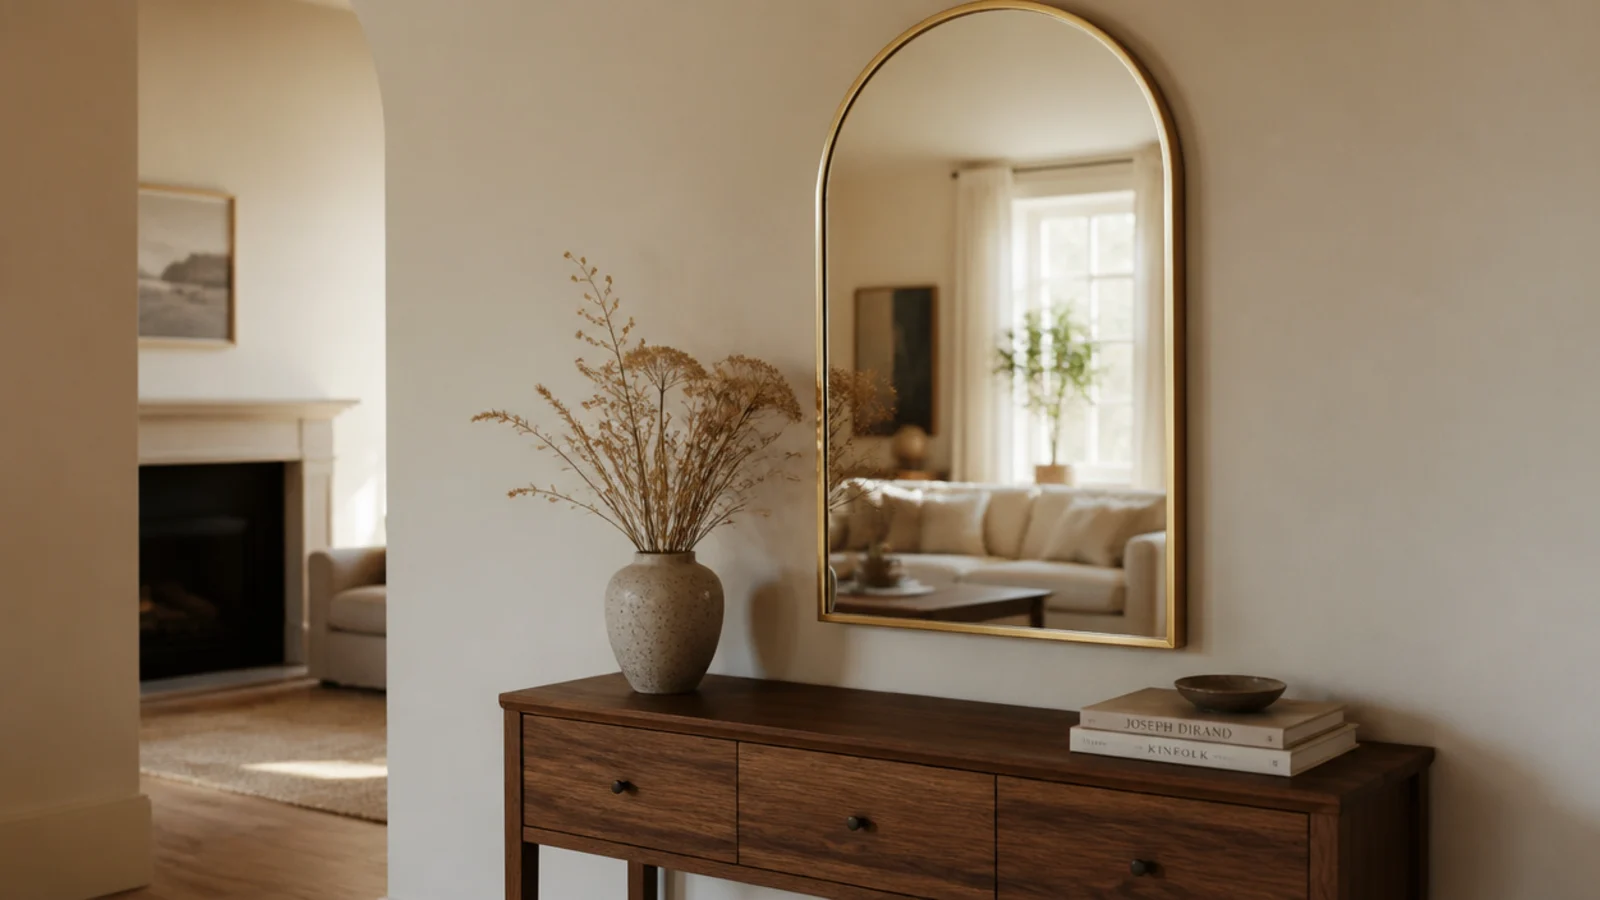
Leave 6 to 8 inches between the top of the furniture and the bottom edge of the frame. Less and the two pieces fuse into one heavy block; more and the mirror floats off on its own. Over a mantel, 4 to 6 inches is the equivalent.
Step 7: Find the studs and mark them with tape
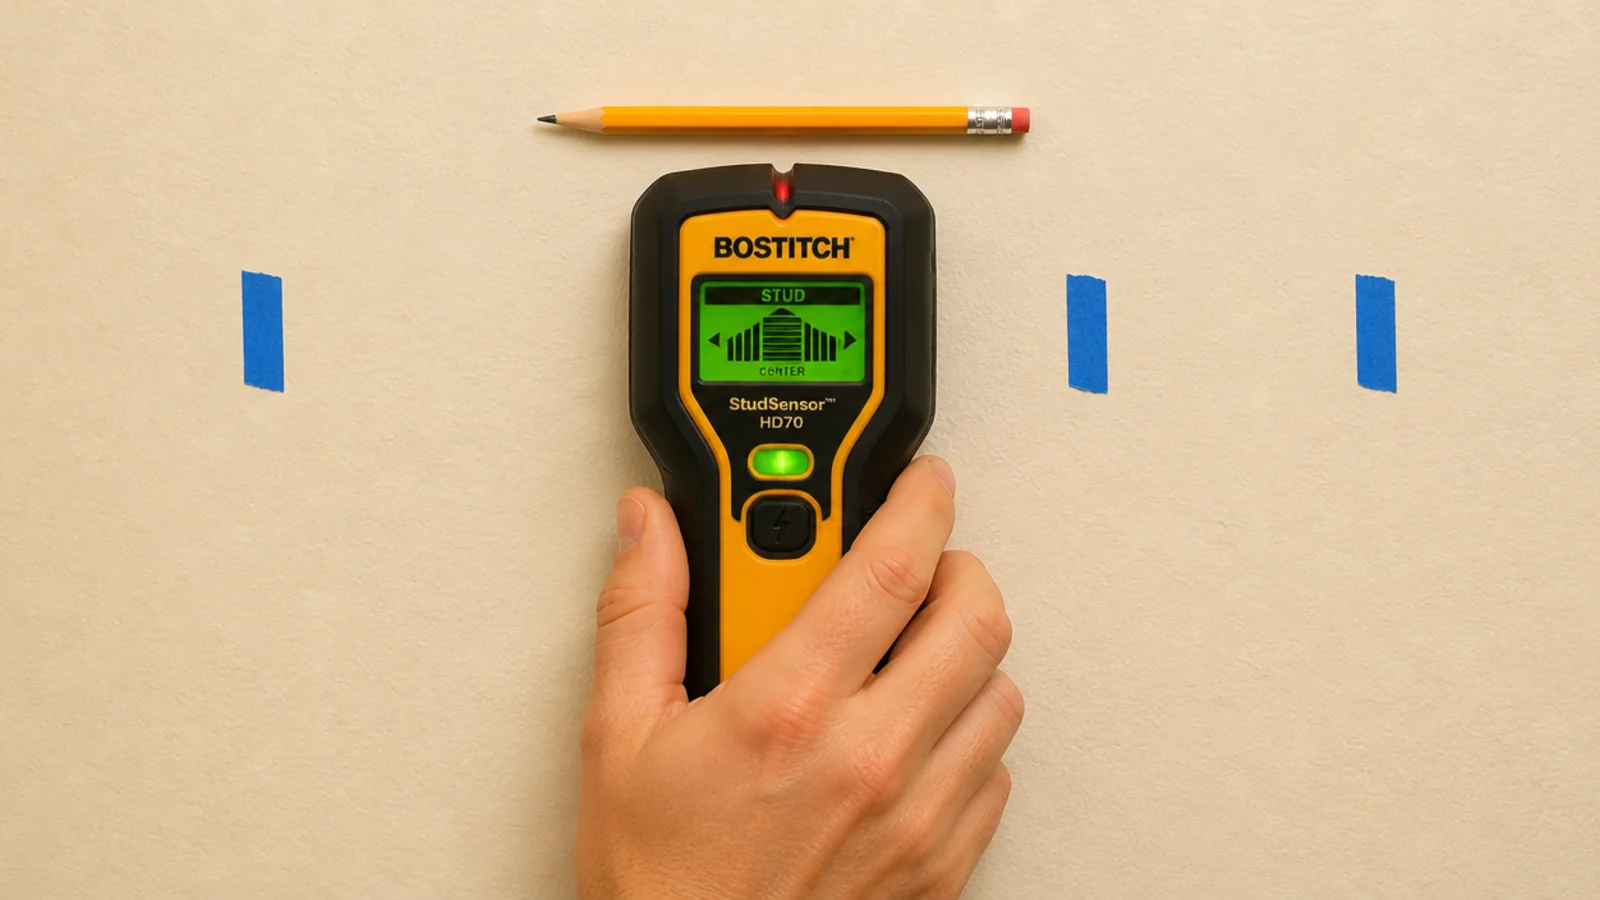
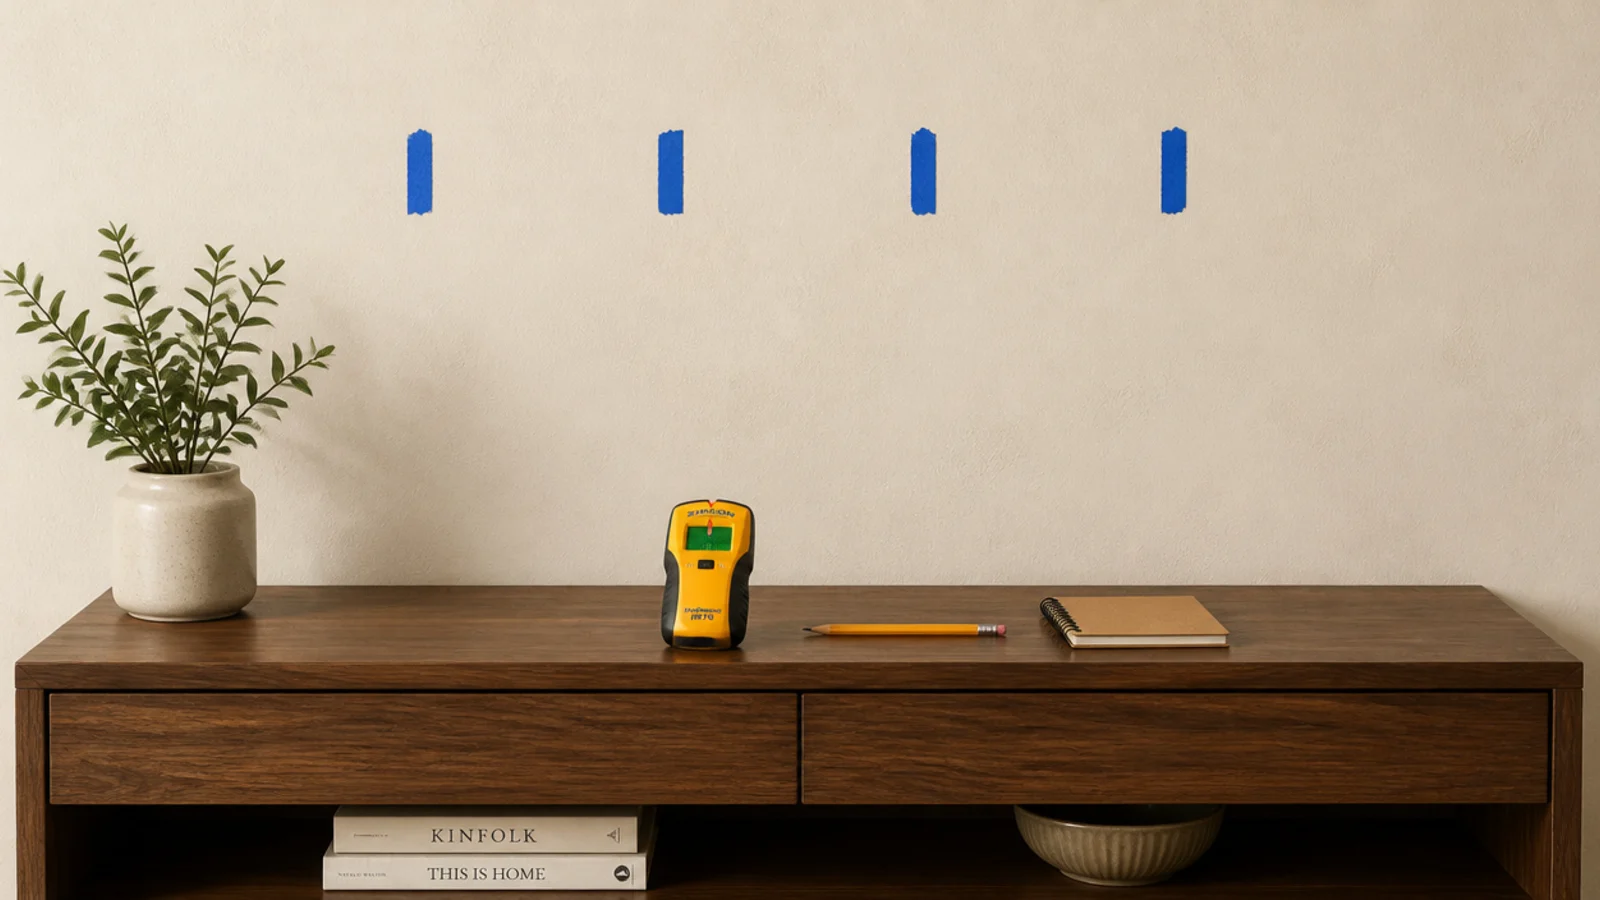
Sweep horizontally at the hanging height and mark both edges of every stud with painter tape, then take the centre between them. Studs usually sit 16 inches apart, sometimes 24.
Tape survives the whole job. Pencil marks vanish behind the frame at exactly the moment you need them, and you will re-find them twice.
Step 8: Match the anchor to the weight
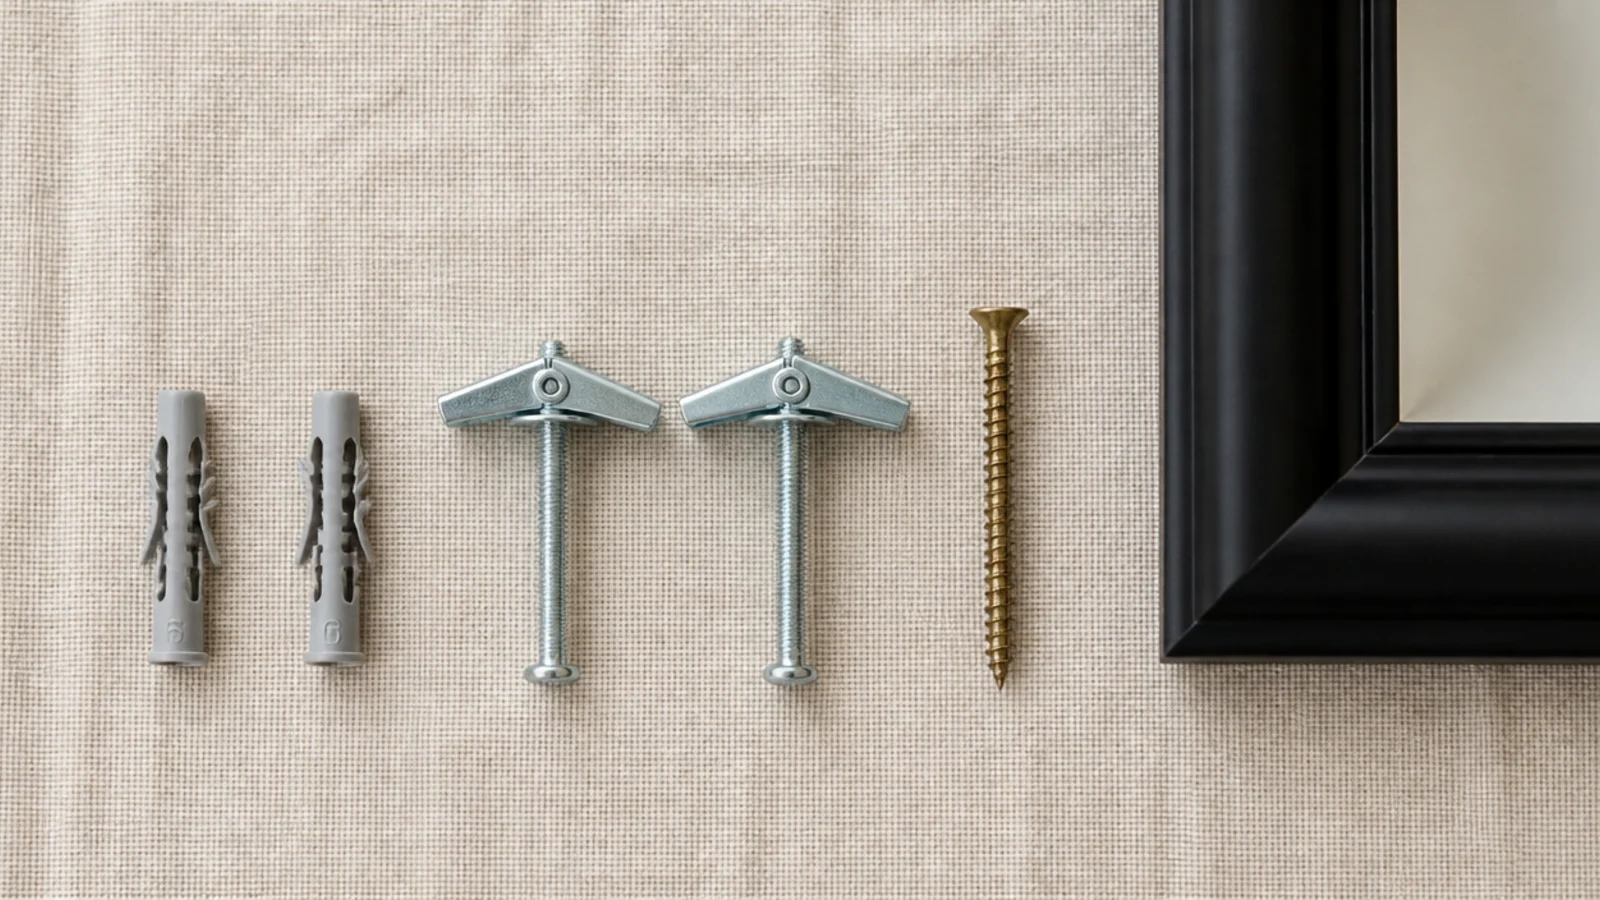
Into a stud, one 2.5-inch wood screw carries 50 pounds or more. Into hollow drywall, use toggle bolts rated at least double the actual mirror weight, because published ratings assume a perfect installation.
Throw away the small plastic plugs that came in the box. They are rated around 10 pounds and they are the single most common reason mirrors end up on the floor.
Step 9: Use two hanging points, never one
Two anchors, spaced as wide as the frame hardware allows, is the rule for every mirror heavier than a picture frame.
A single hook lets the mirror pivot each time a door slams, so you straighten it weekly forever, and it puts the entire load on one anchor. Two points halve the load and hold the frame square permanently.
Step 10: Inspect the hardware on the back
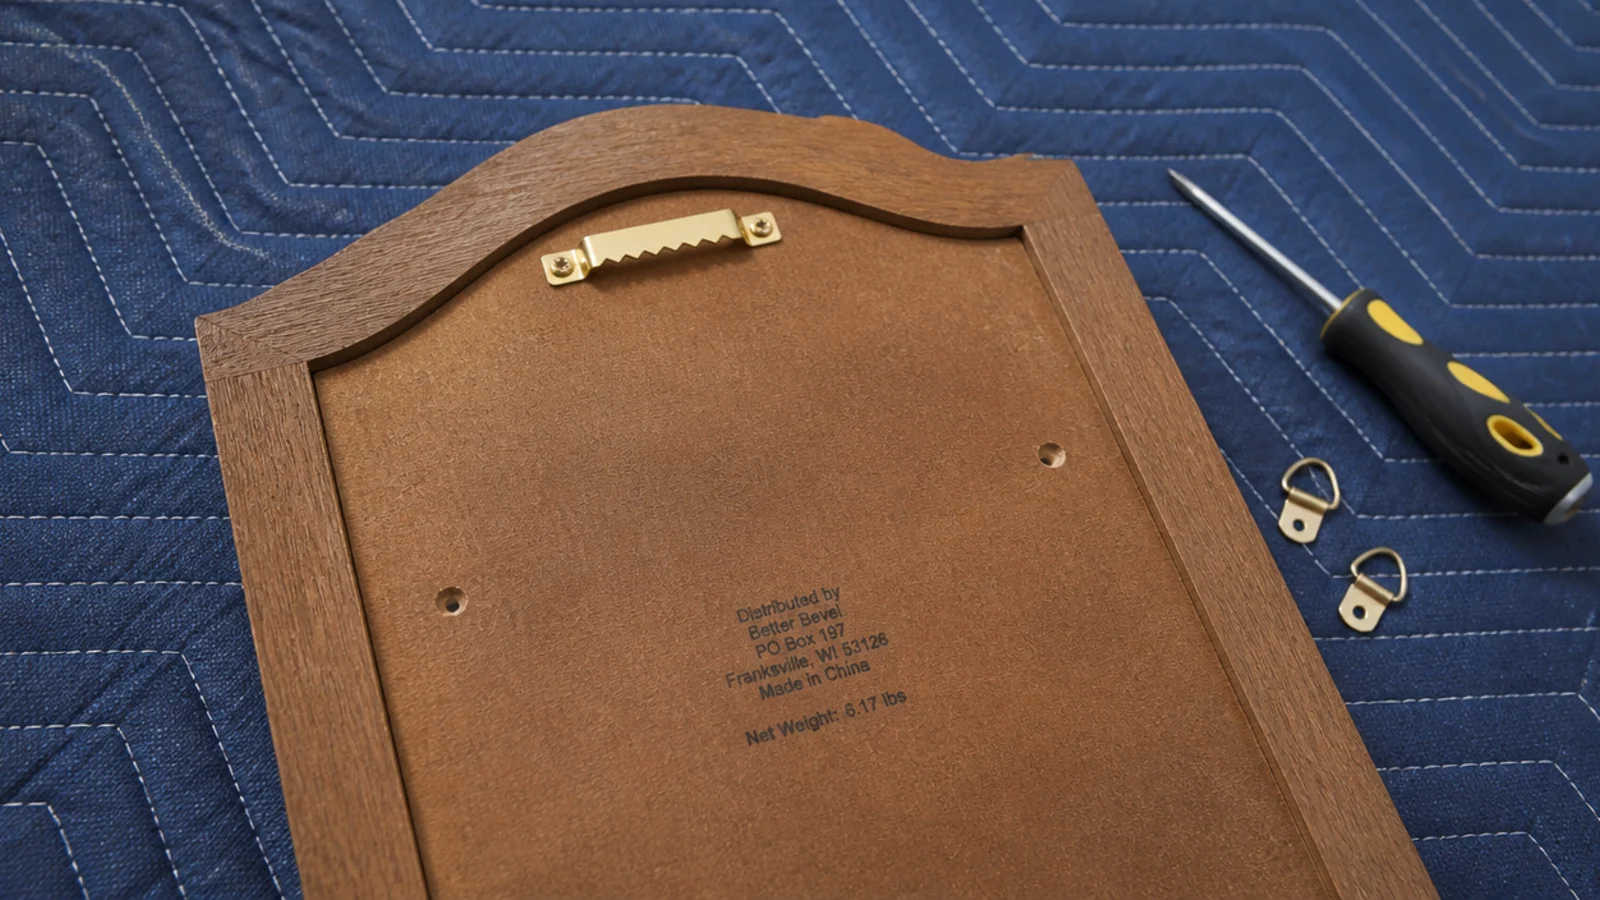
Turn the mirror face down on a blanket and look at what the factory actually gave you. A single sawtooth hanger stapled into thin backing board is common on inexpensive mirrors and is not adequate for real weight.
Check for a printed weight rating too. If the hardware is stapled rather than screwed, replace it before it goes anywhere near a wall.
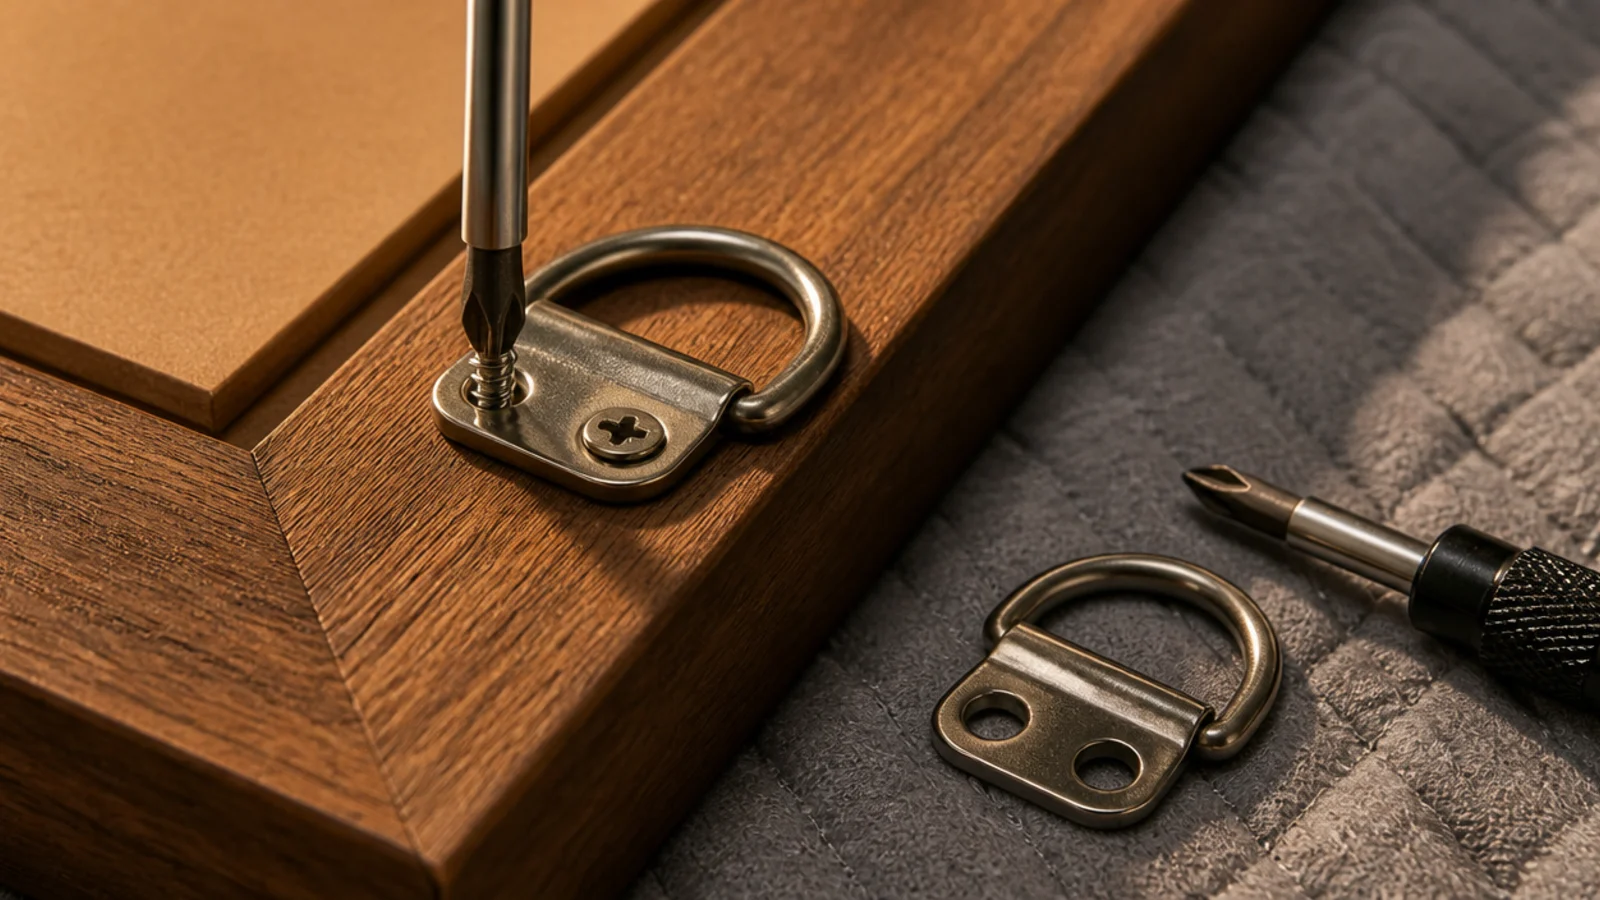
Step 11: Fit D-rings on anything heavy
Screw a steel D-ring onto each side stile, roughly a third of the way down from the top, using screws short enough not to break through the frame face.
Measure both positions from the top edge so they match within a sixteenth of an inch. D-rings hook directly onto two anchors, which is what keeps a heavy mirror level and stops it swinging.
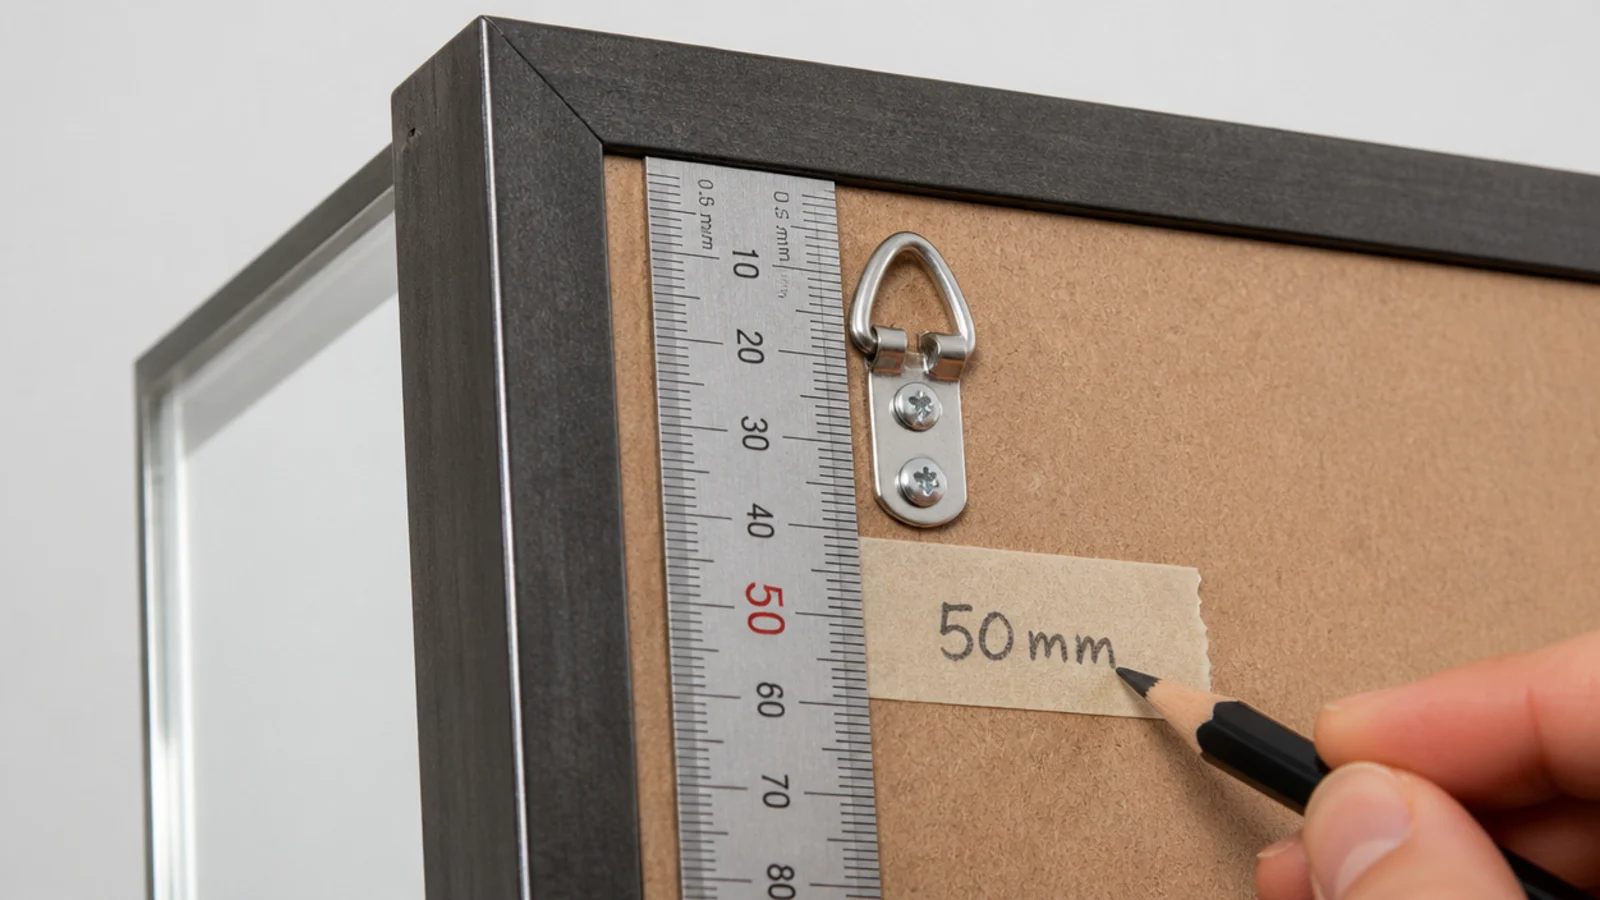
Step 12: Measure from frame top to hook point
With the D-rings fitted, measure the drop from the top edge of the frame down to the hook point of each ring. Write it on the tape with the weight.
Subtract that number from where you want the top of the mirror to sit, and you have the exact anchor height. This is the step that stops mirrors ending up two inches higher than planned.
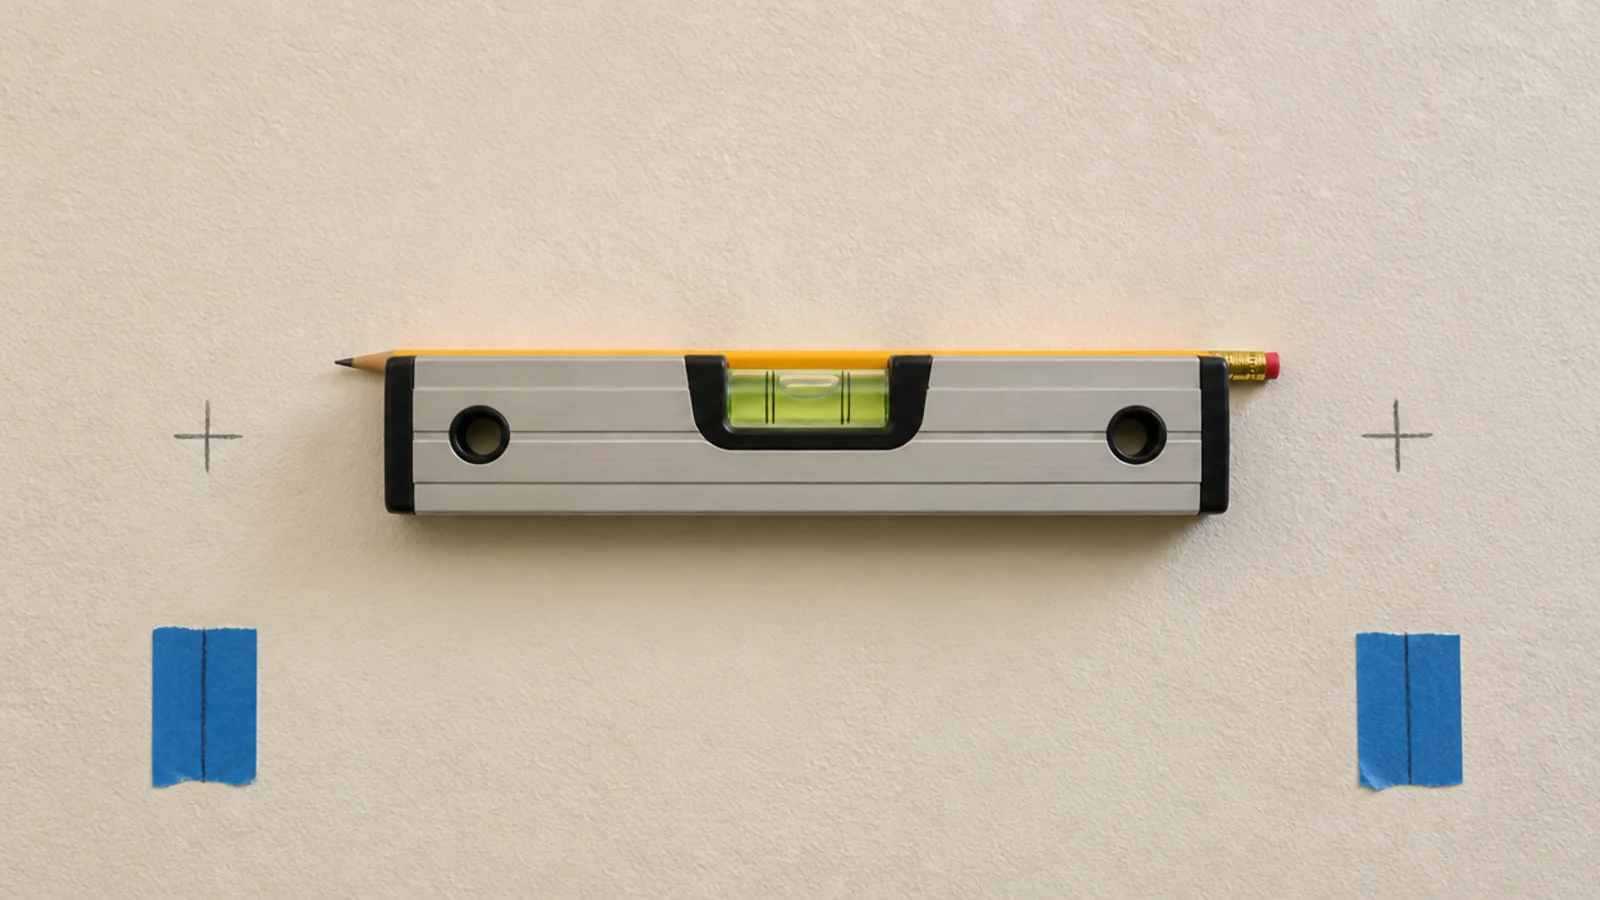
Step 13: Transfer the marks with a level
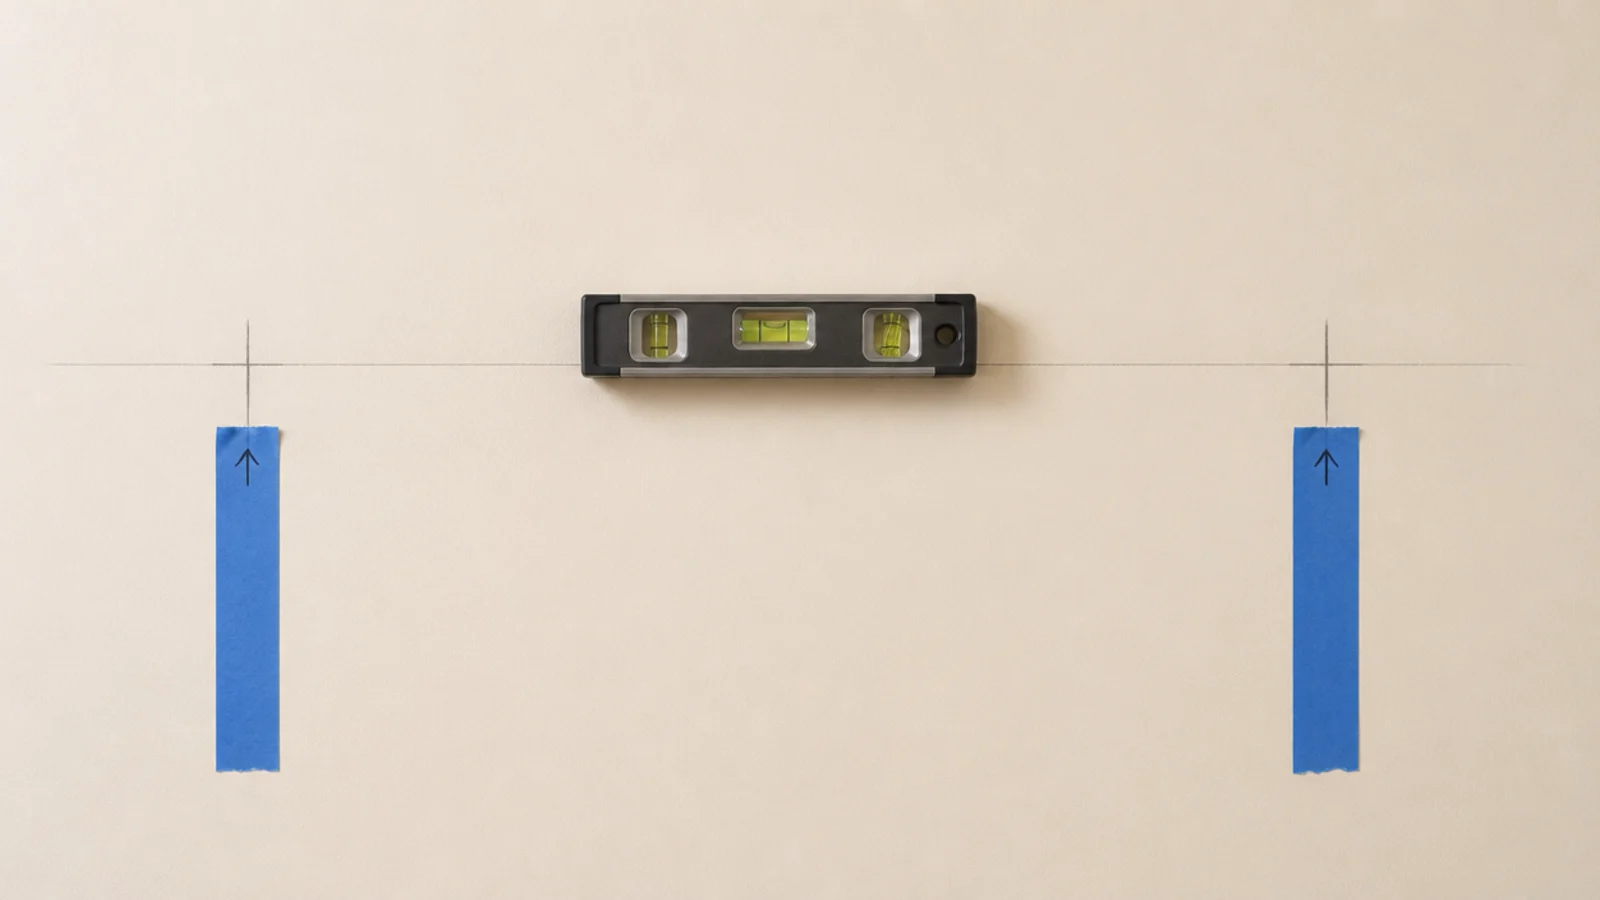
Mark the first anchor point, then use a torpedo level to carry a horizontal line across to the second. Measure the D-ring spacing on the frame and match it exactly.
Level to the floor rather than the ceiling. Ceilings in older homes slope, and a mirror levelled to a sloping ceiling looks wrong against every piece of furniture in the room.
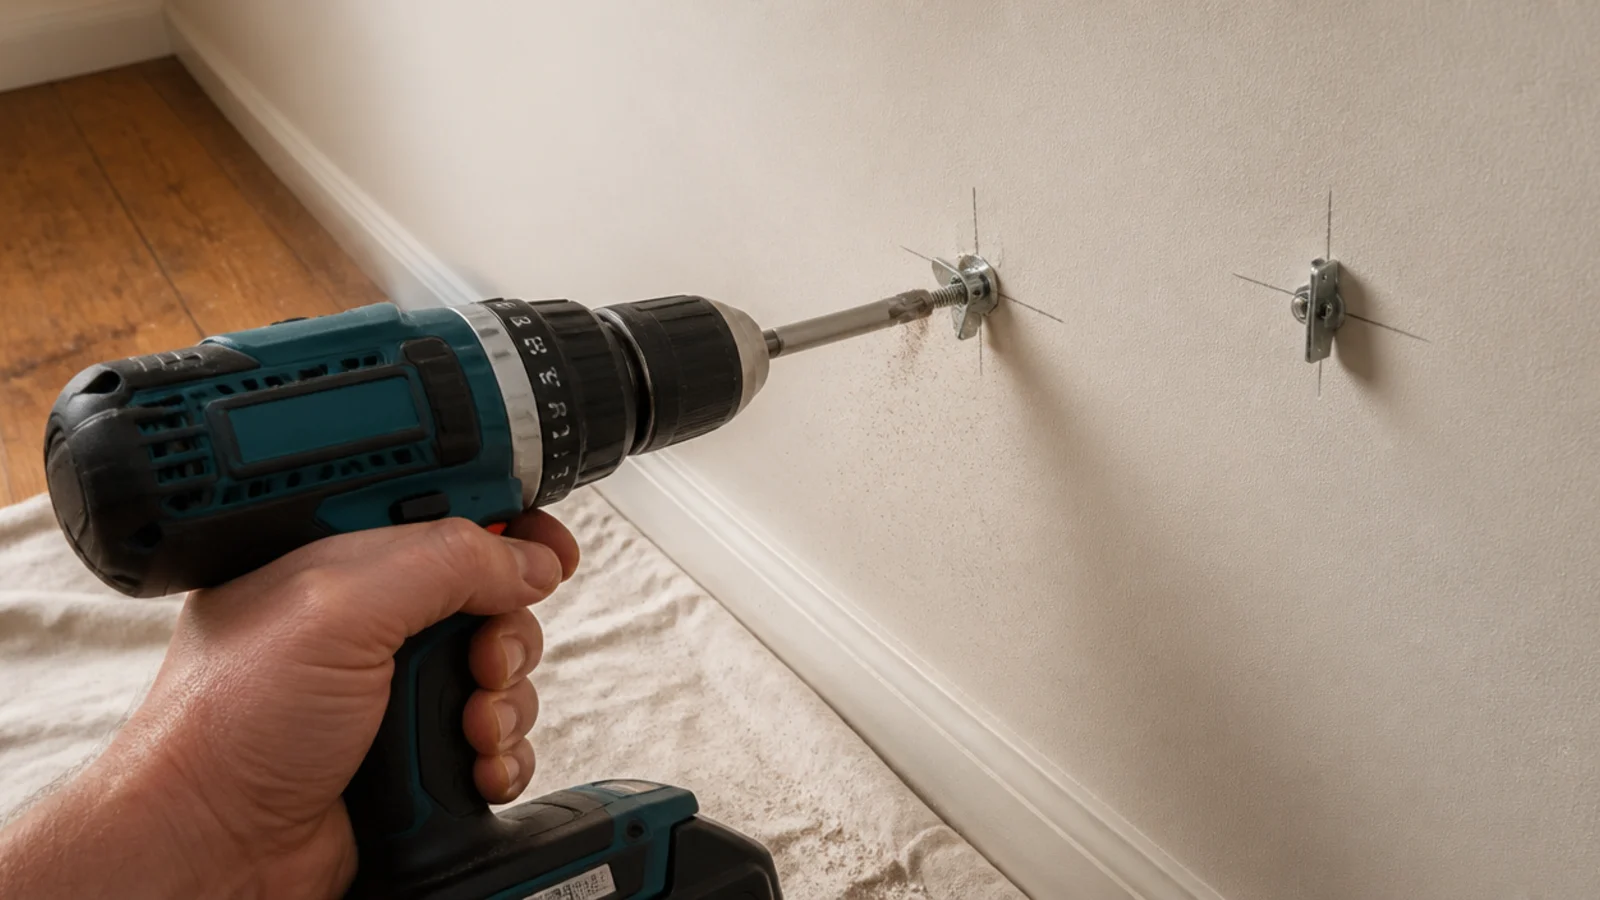
Step 14: Drill the holes and set the anchors
Drill straight in, no angle, using the bit size the anchor packaging specifies rather than the one already in the drill.
Tighten until snug, then a quarter turn more, and stop. Overtightening a toggle crushes the drywall face and the anchor loses most of its grip — you will feel it go soft, and at that point move over two inches and start again.
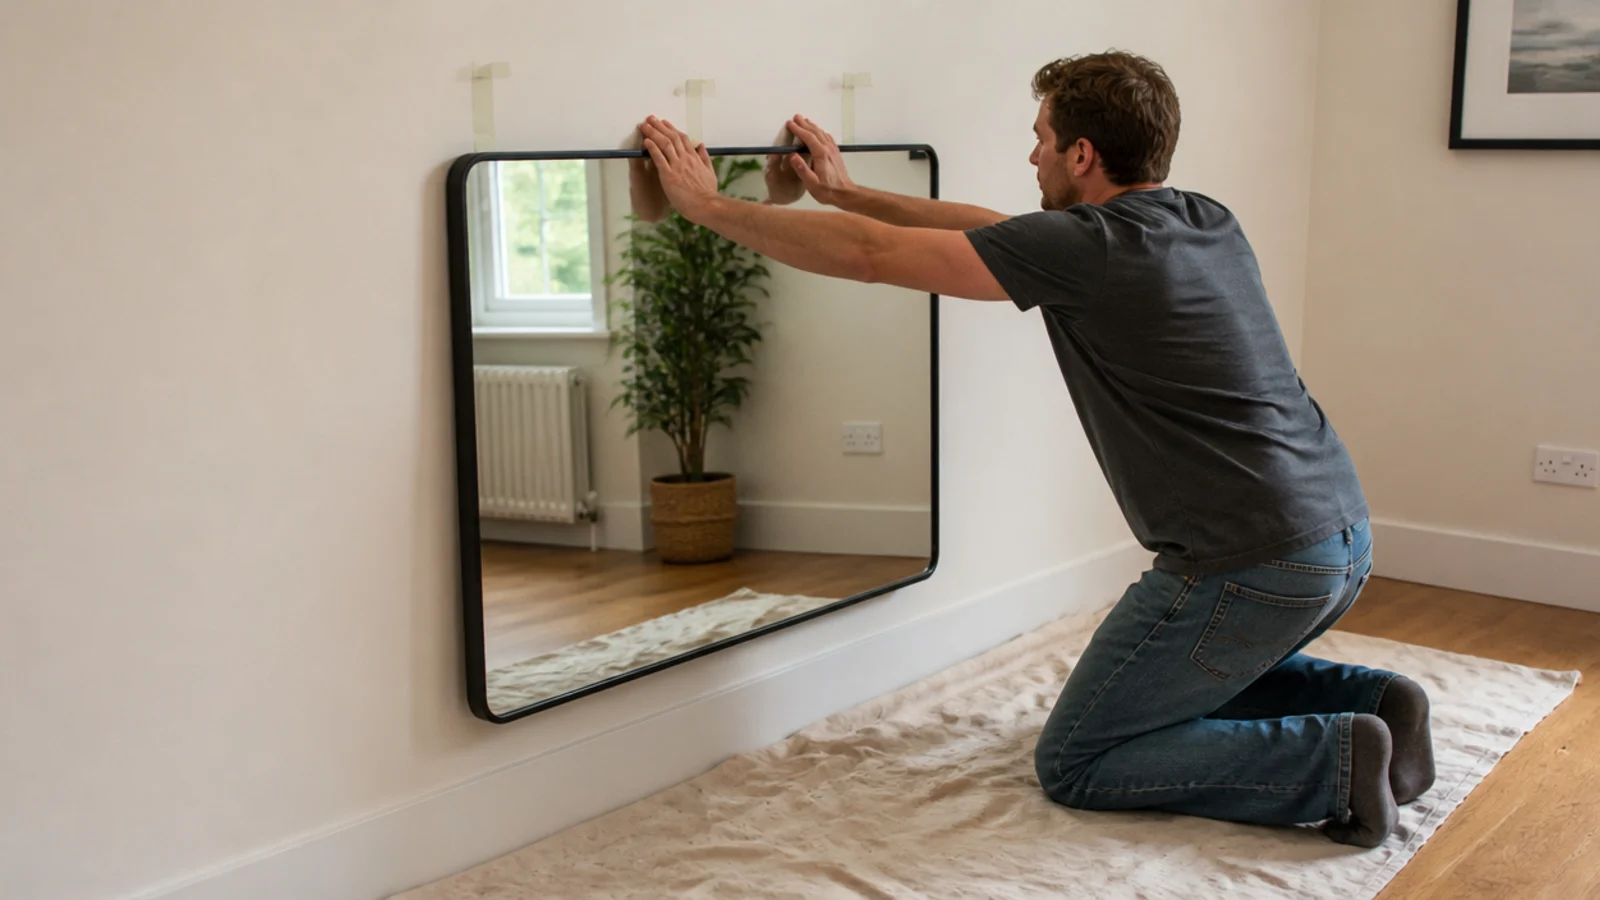
Step 15: Lift it with a second pair of hands
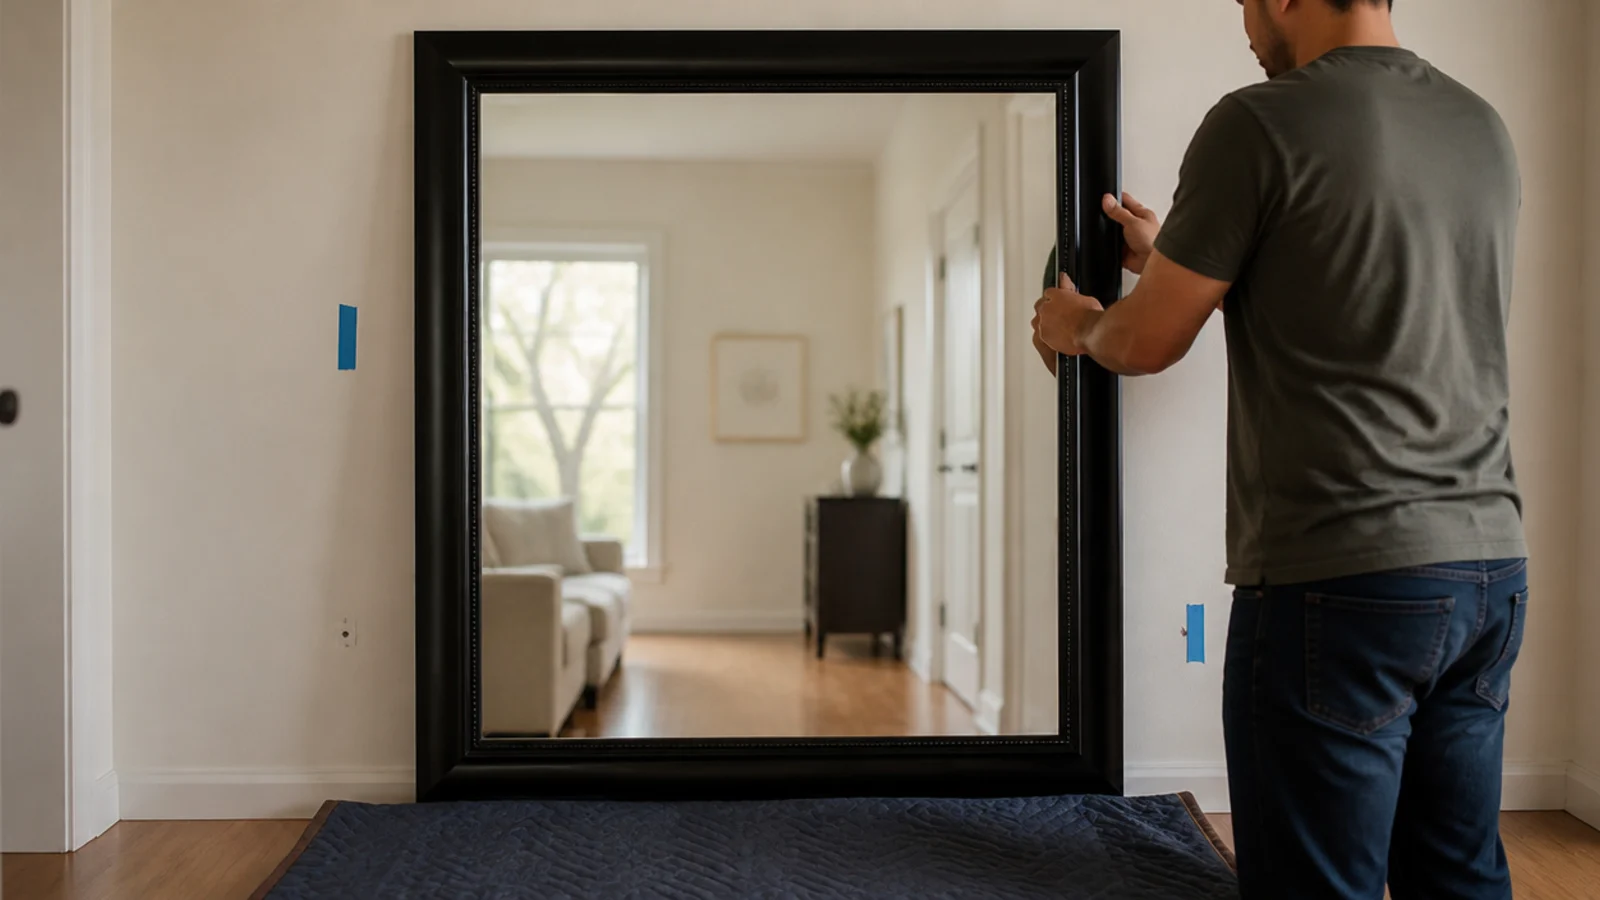
Put a folded blanket on the floor against the baseboard, then lift with someone else. One person guides the D-rings onto the anchors while the other holds the weight.
Solo lifting is how corners get chipped and backs get hurt. A 40-pound mirror at arm height above your face is not a one-person job, whatever the product photo suggests.
Step 16: Level it, then bump the low side
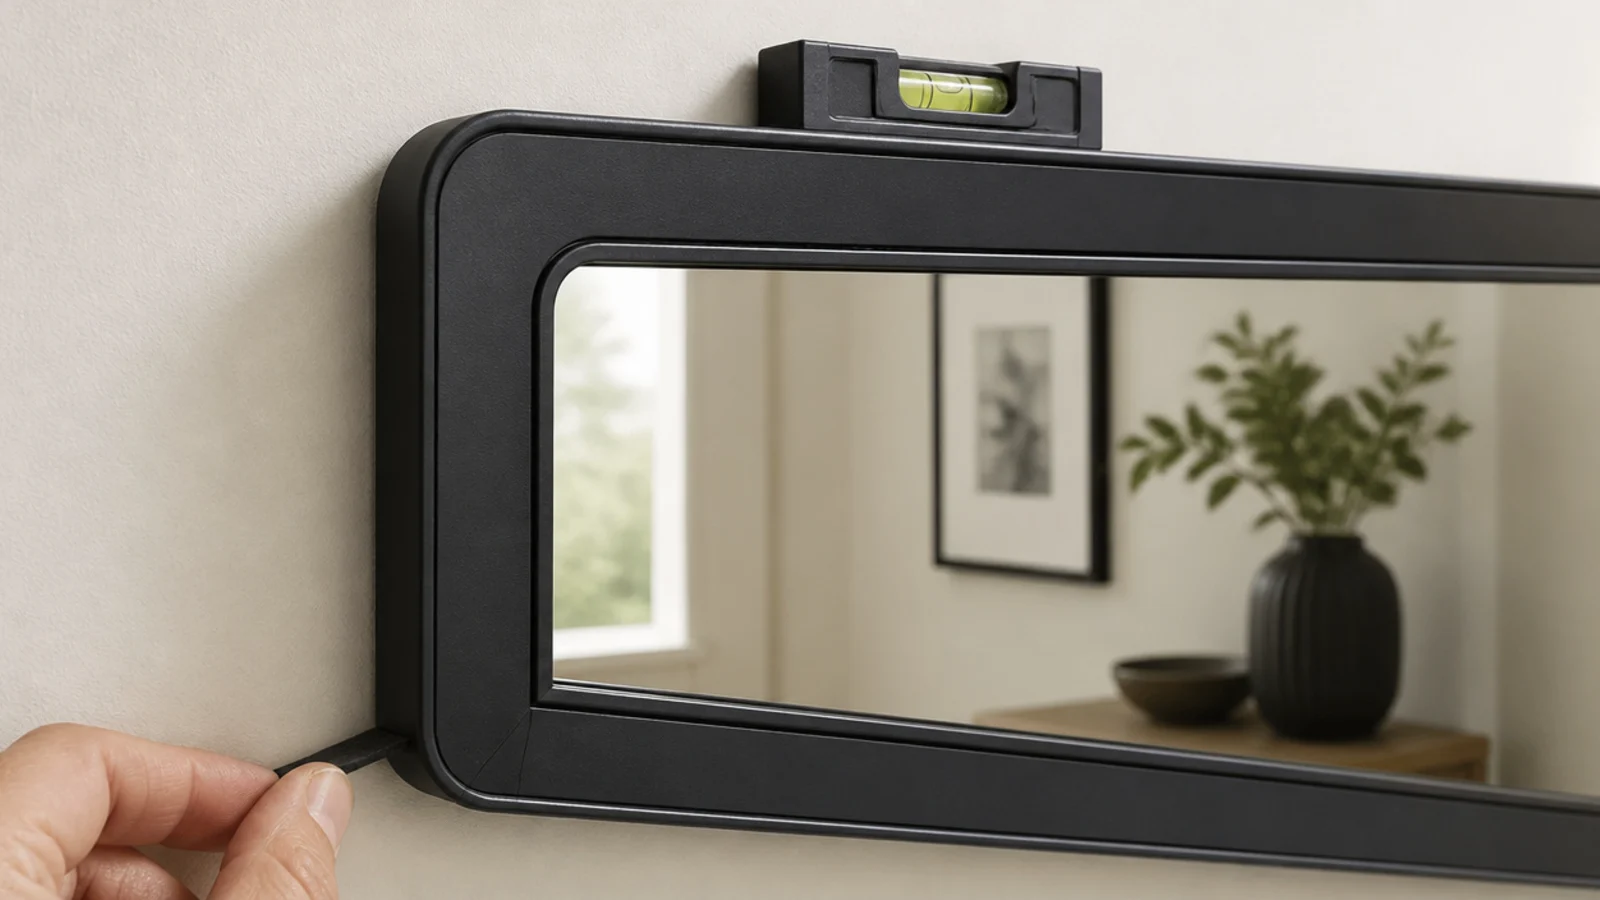
Rest the level on the top edge once the mirror is hanging. Frames are rarely perfectly square and walls are rarely perfectly flat.
If the bubble sits off, slide a thin felt shim behind the low bottom corner rather than re-drilling. A single felt pad corrects about a sixteenth of an inch, which is almost always exactly what is needed.
Step 17: Add felt bumpers at the bottom corners
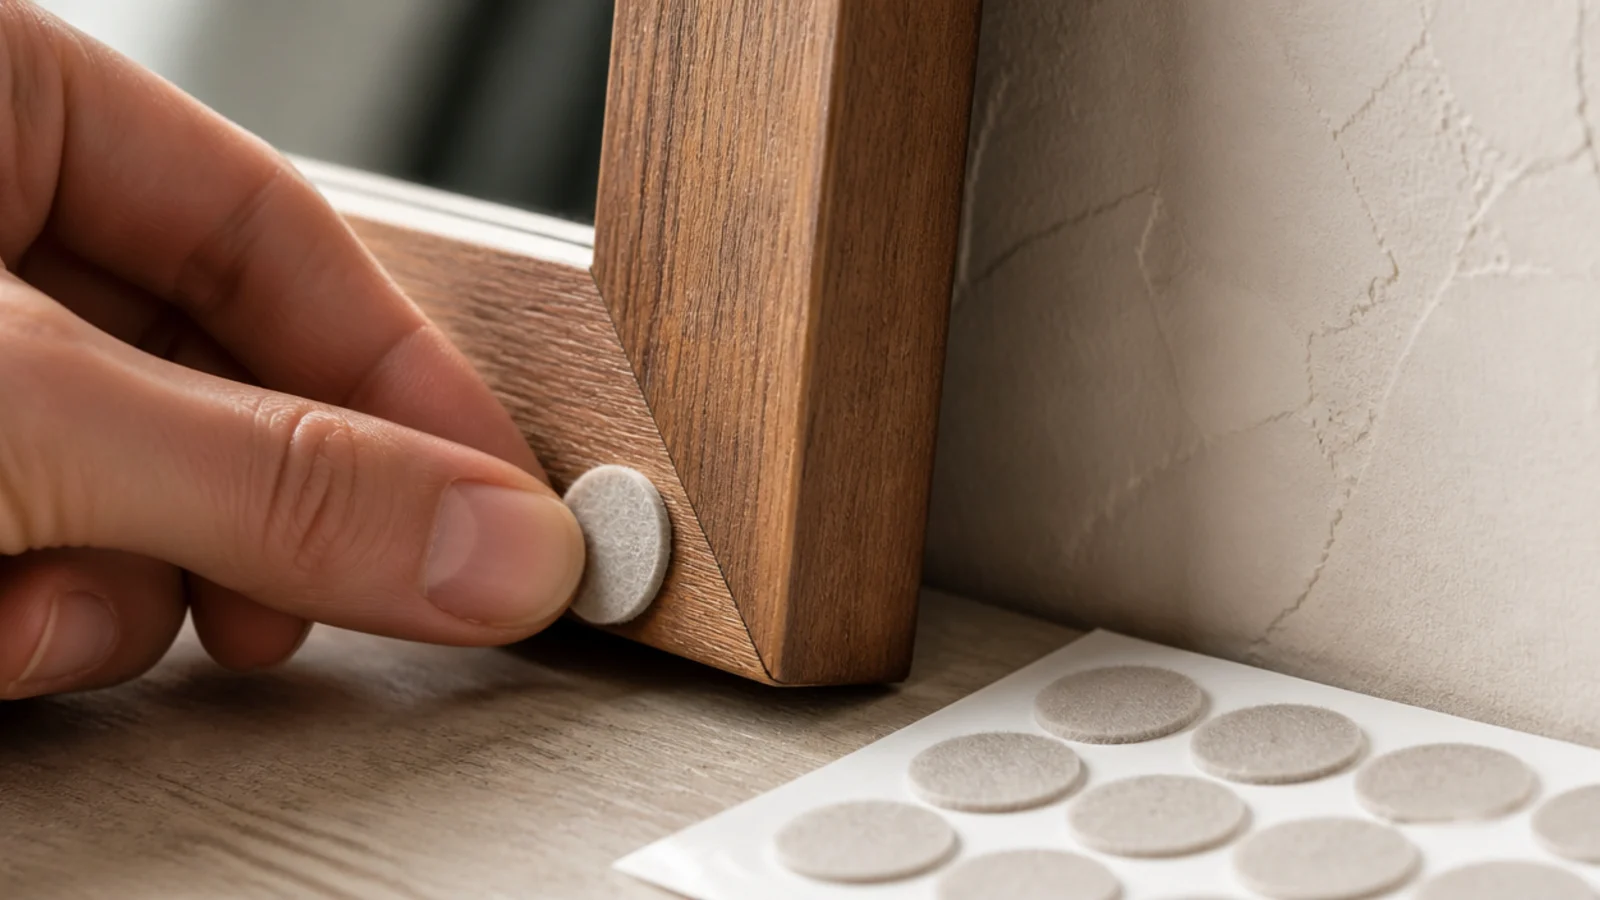
Stick a self-adhesive felt pad on each lower back corner of the frame.
They stop the frame scuffing the paint, let air move behind the glass so damp does not sit against the backing, and hold the mirror dead flat instead of rocking on a texture bump. Three dollars, thirty seconds, and it prevents the grey rub mark that shows on every wall behind an unpadded frame.
Step 18: Tether anything that leans
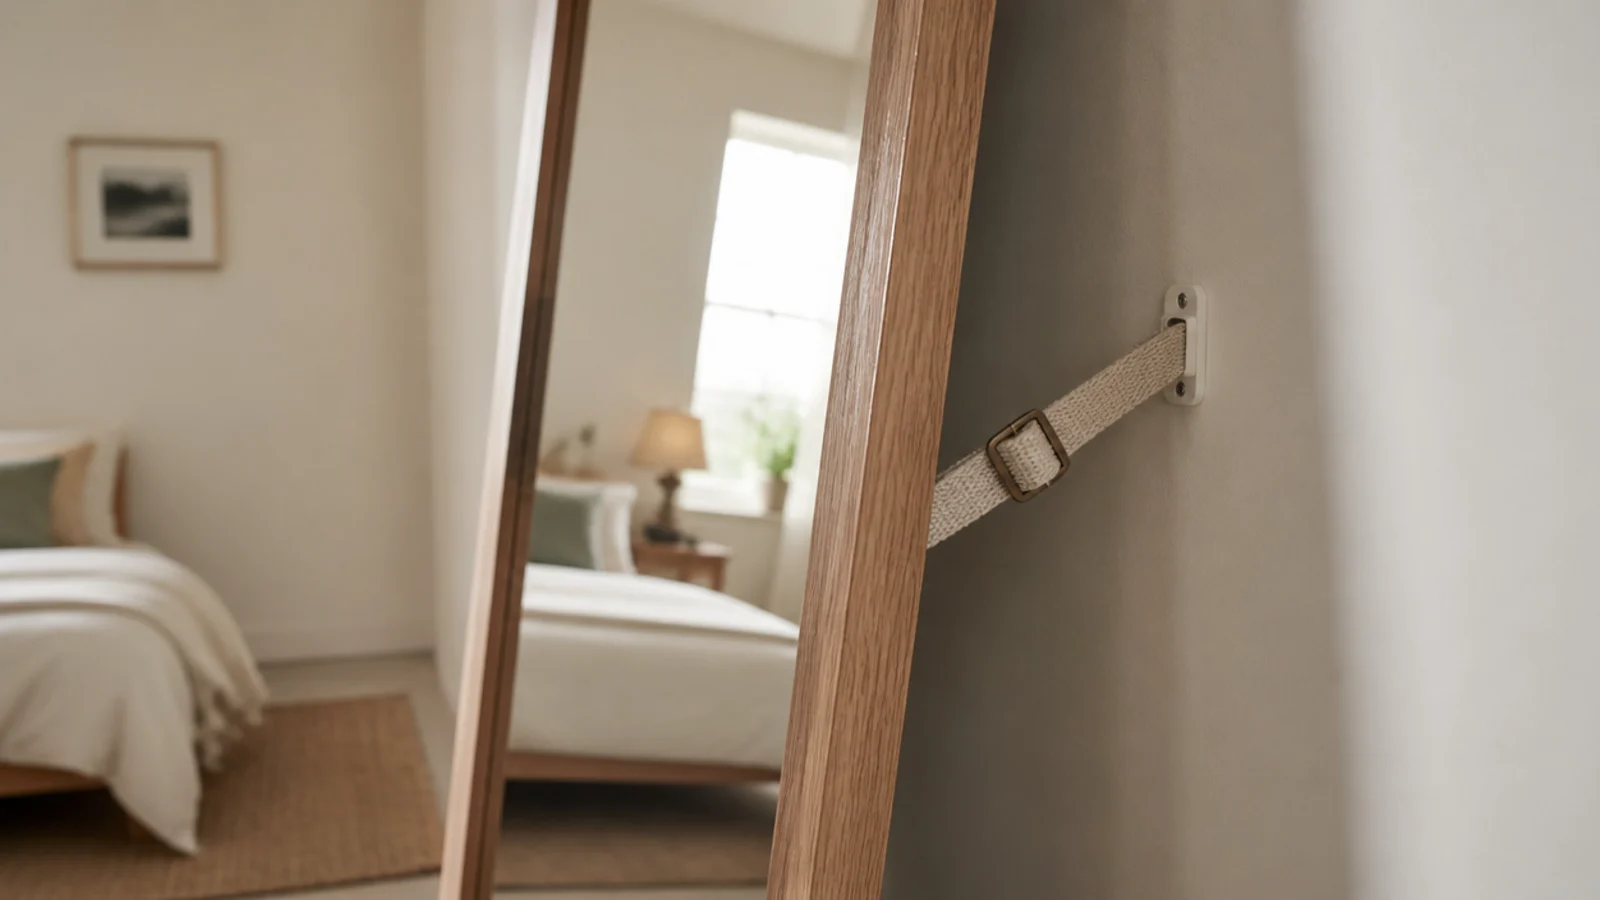
A leaning mirror is the best renter-friendly option there is, and it is also the one that falls. Fit a furniture anti-tip strap from the back of the frame to a single screw in a stud.
In a home with children this is not optional and there is no version of the argument where it is. The strap costs about $10 and disappears completely behind the frame.
Step 19: Test it before you walk away
Press firmly down and outward on the top rail, then close the nearest door hard and watch the frame.
Any movement at the anchor, any hairline crack in the paint around a hole, and you add a third fixing point now rather than after the glass is on the floor. This test takes twenty seconds and it is the whole reason my mirrors survive a house with kids in it.
Step 20: Style around it, then edit a week later
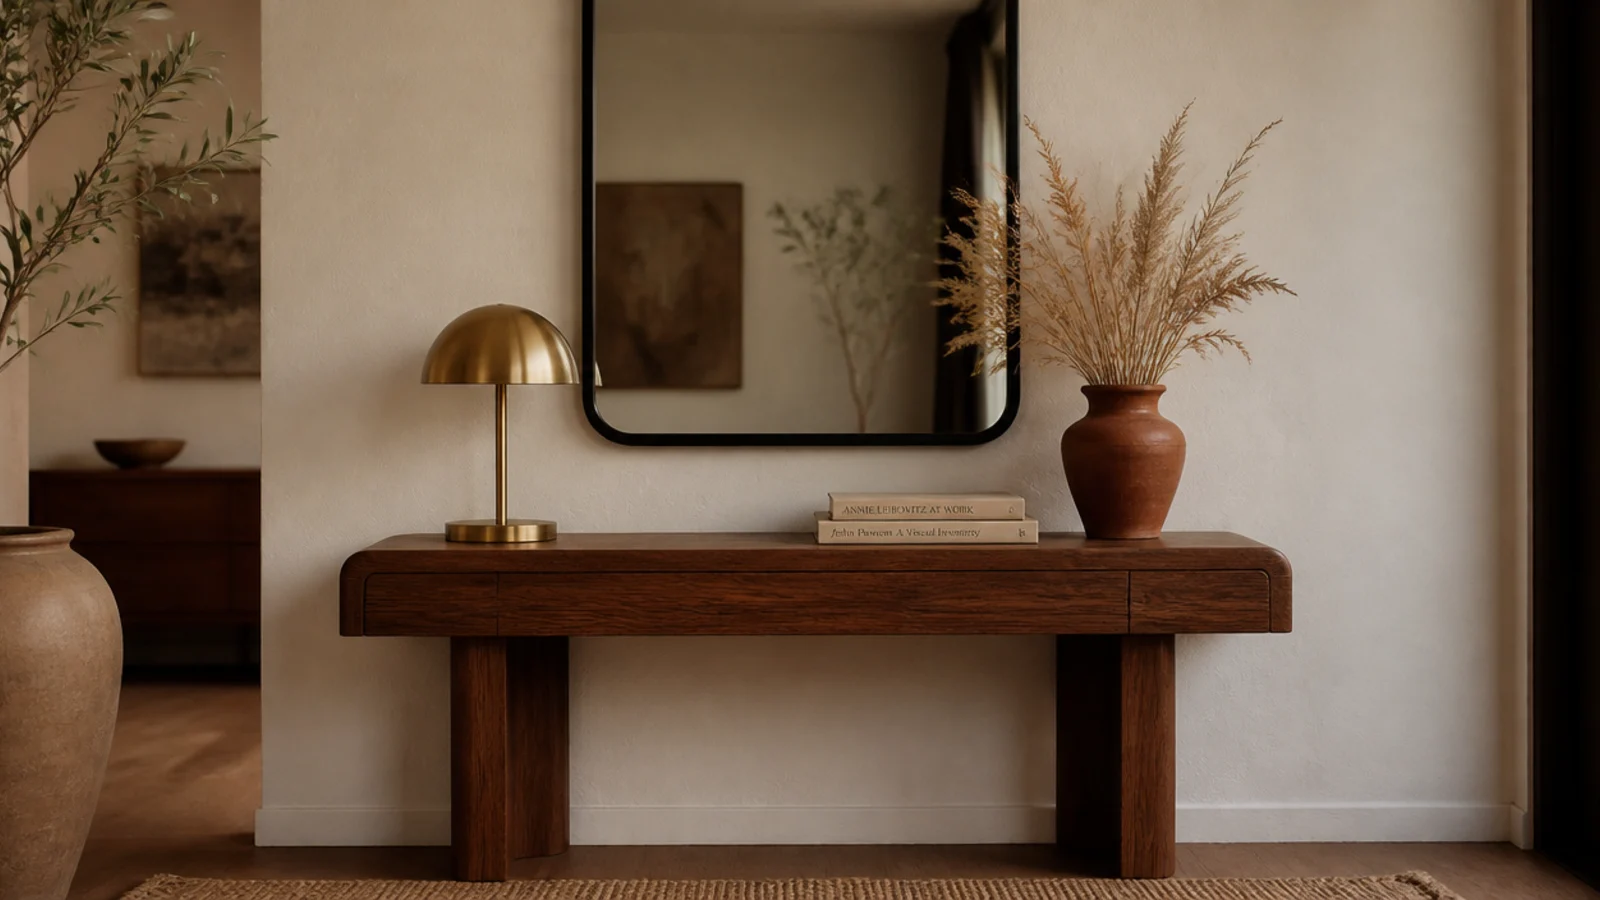
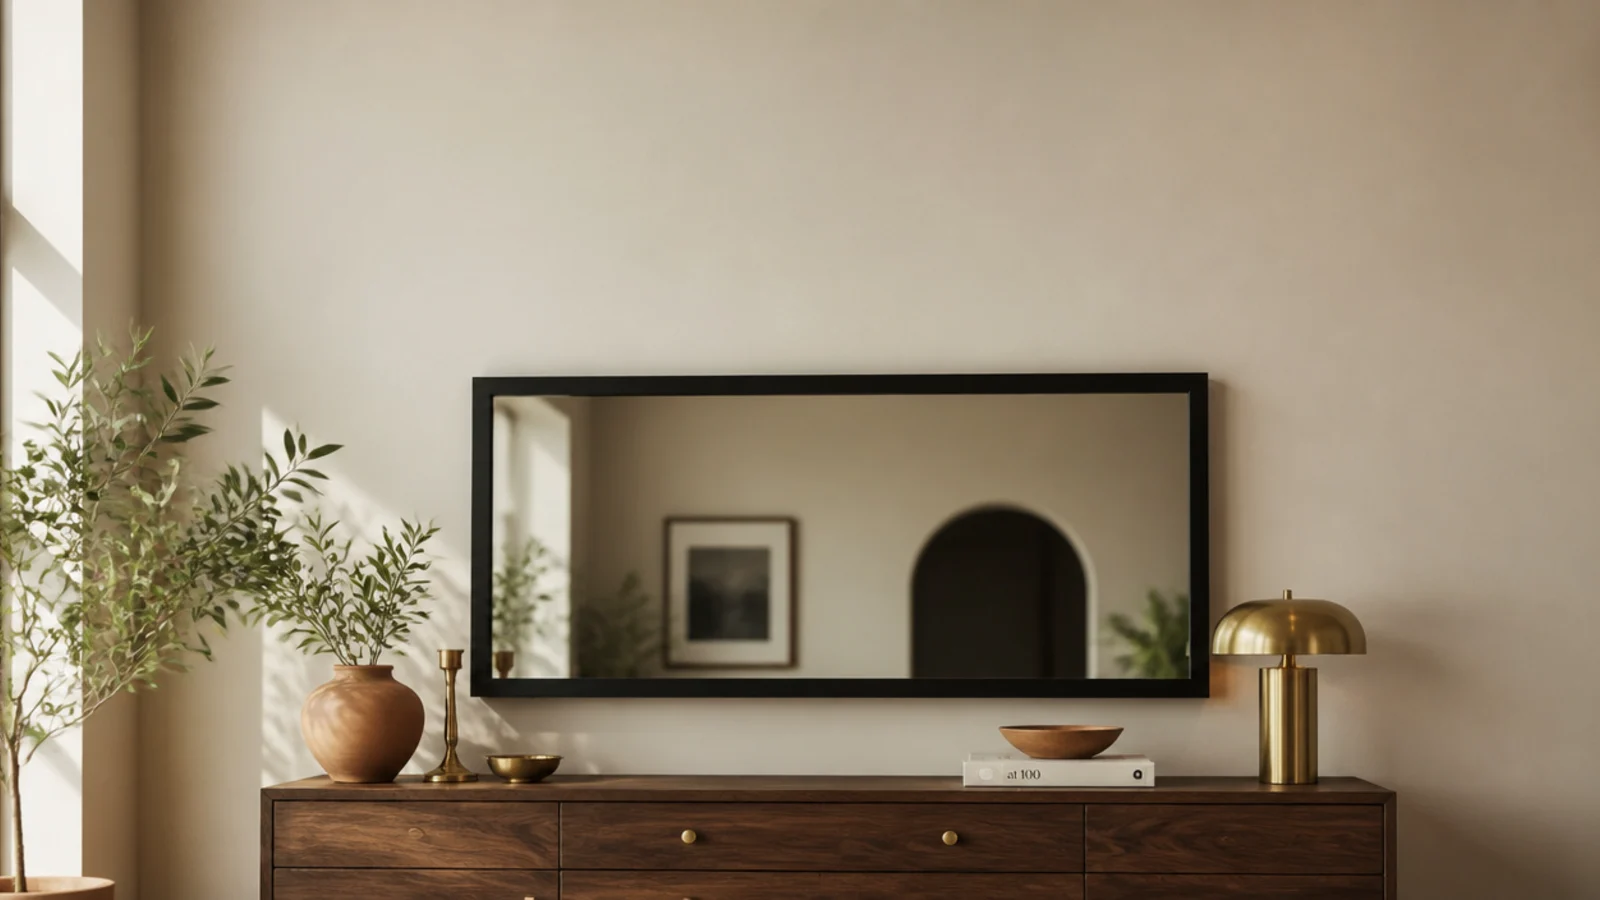
Style the surface beneath the mirror in an asymmetric group of three — something tall like a lamp, something low like stacked books, something soft like dried stems — pushed to one side rather than centred.
Then leave it alone for seven days and remove two objects. Almost every wall I style is better a week later with less on it.
Pro Styling Rules
Mistakes to Skip
- Hanging mirror glass on adhesive strips. They are rated for lightweight frames, they creep slowly under sustained load, and they fail without warning.
- Trusting the factory sawtooth hanger on a heavy mirror. It is usually stapled into thin backing board, and it is the part that lets go first.
- Hanging above a bed, a crib or the head end of a sofa. Choose a different wall rather than a better anchor, because no fixing makes that placement a good idea.
Frequently asked questions
What anchor do I need to hang a heavy mirror?
Into a stud, a 2.5-inch wood screw carries 50 pounds or more per point. Into hollow drywall, use toggle bolts or metal self-drilling anchors rated at least double the mirror weight, because published ratings assume perfect installation and yours will not be. Throw away the small plastic plugs supplied in the box; they hold around 10 pounds at best.
How do I find the studs behind a mirror wall?
Run an electronic stud finder horizontally at the planned height and mark every edge with painter tape, then confirm the centre by tapping. Studs usually sit 16 inches apart, occasionally 24 in newer builds. If neither stud lands where the hardware does, use a French cleat screwed across two studs and hang the mirror off that instead.
Should a mirror hang on wire or D-rings?
D-rings for anything heavy. Wire concentrates the whole load on one hook and lets the mirror swing out of level every time a door closes. Two D-rings set on opposite stiles roughly a third down from the top give you two independent hanging points, spread the load across two anchors, and hold the frame square permanently.
How long does it take to hang a mirror properly?
Allow an hour for a single mirror if you include templating and finding studs, and most of that hour is measuring. The drilling and hanging take about ten minutes. A cluster of five or more takes an afternoon, mainly because every template gets moved twice before the layout finally looks right on the wall.
Can renters do a mirror wall without drilling?
Partly. A strapped floor leaner needs one small screw for the safety anchor and nothing else, and a mirror hooked over a picture rail or door top needs none. Beyond that, honest answer: heavy glass on adhesive is not a renter workaround, it is a hazard. Two patched anchor holes cost a dab of filler at move-out.
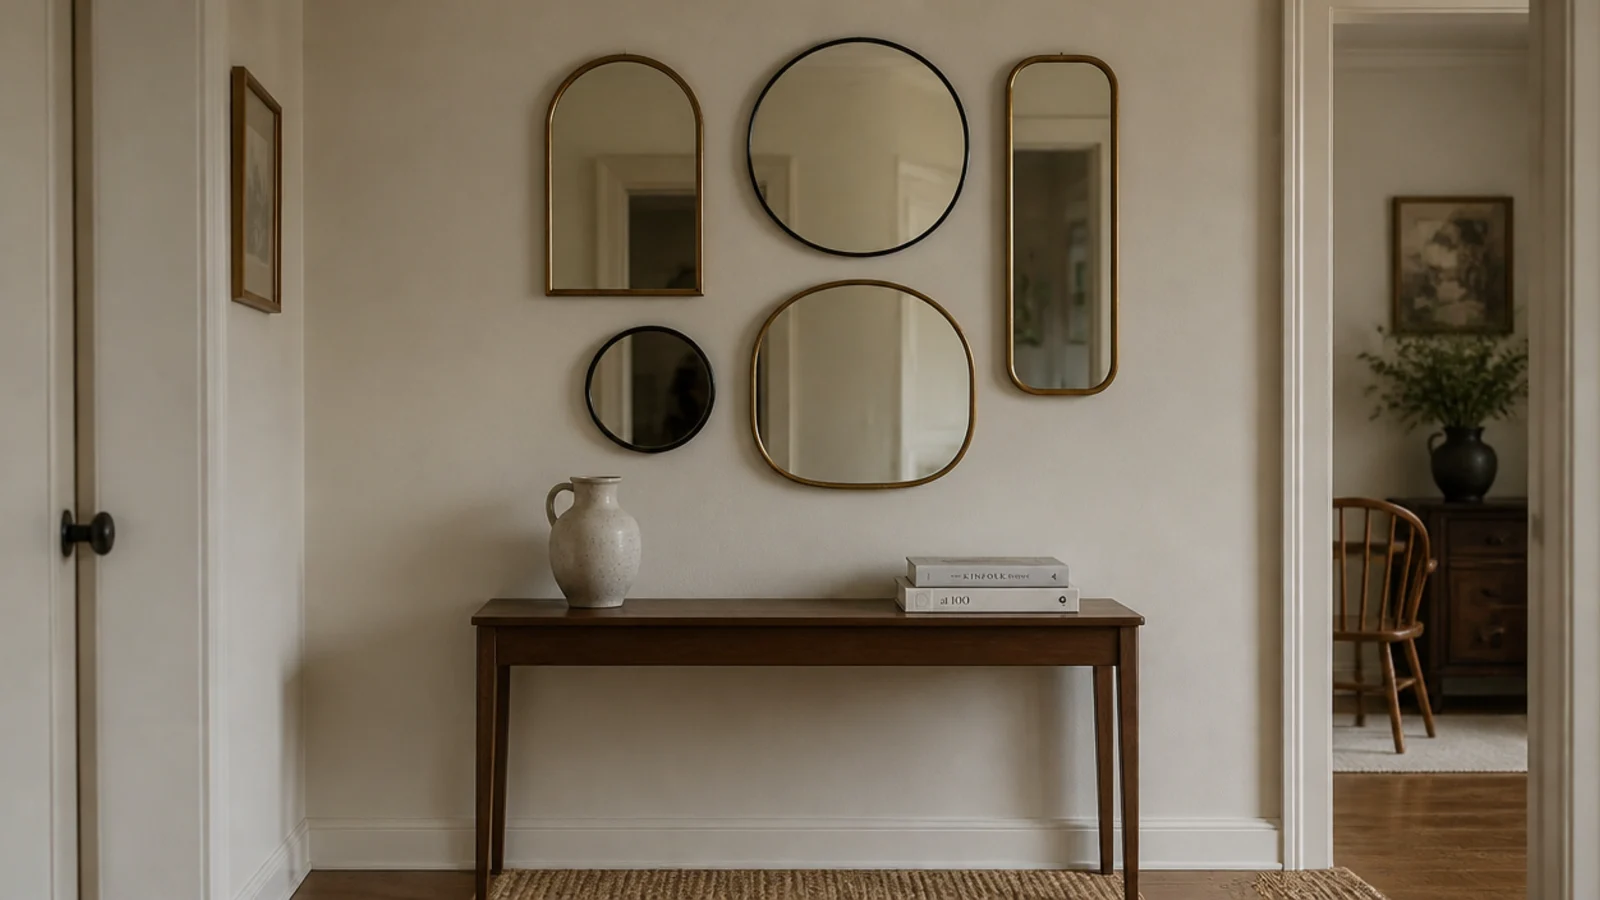
Do steps one, four and nine even if you skip everything else — weigh it, template it, and hang it on two points. That trio prevents almost every mirror failure I have been called to fix. For placement inspiration once the hardware is sorted, mirror wall decor ideas covers fifteen spots, mirror cluster wall handles multi-mirror layouts, and the same anchors work for the console setup in entryway wall decor. Save the pin so the ratings are with you at the store.
Want more like this? Browse all 15 mirror wall decor guides — they all use the same measurements and budget tiers.
Pin it for later
Save this to your Mirror Wall Decor board
Pin it now so it is waiting for you when the tape measure comes out — and so the next person hunting for this idea can find it too.
Save this pinKeep going
More ideas worth saving while you have the tape measure out.