Entryway & Foyer Ideas · Listicle
15 Affordable Entryway Ideas for Renters

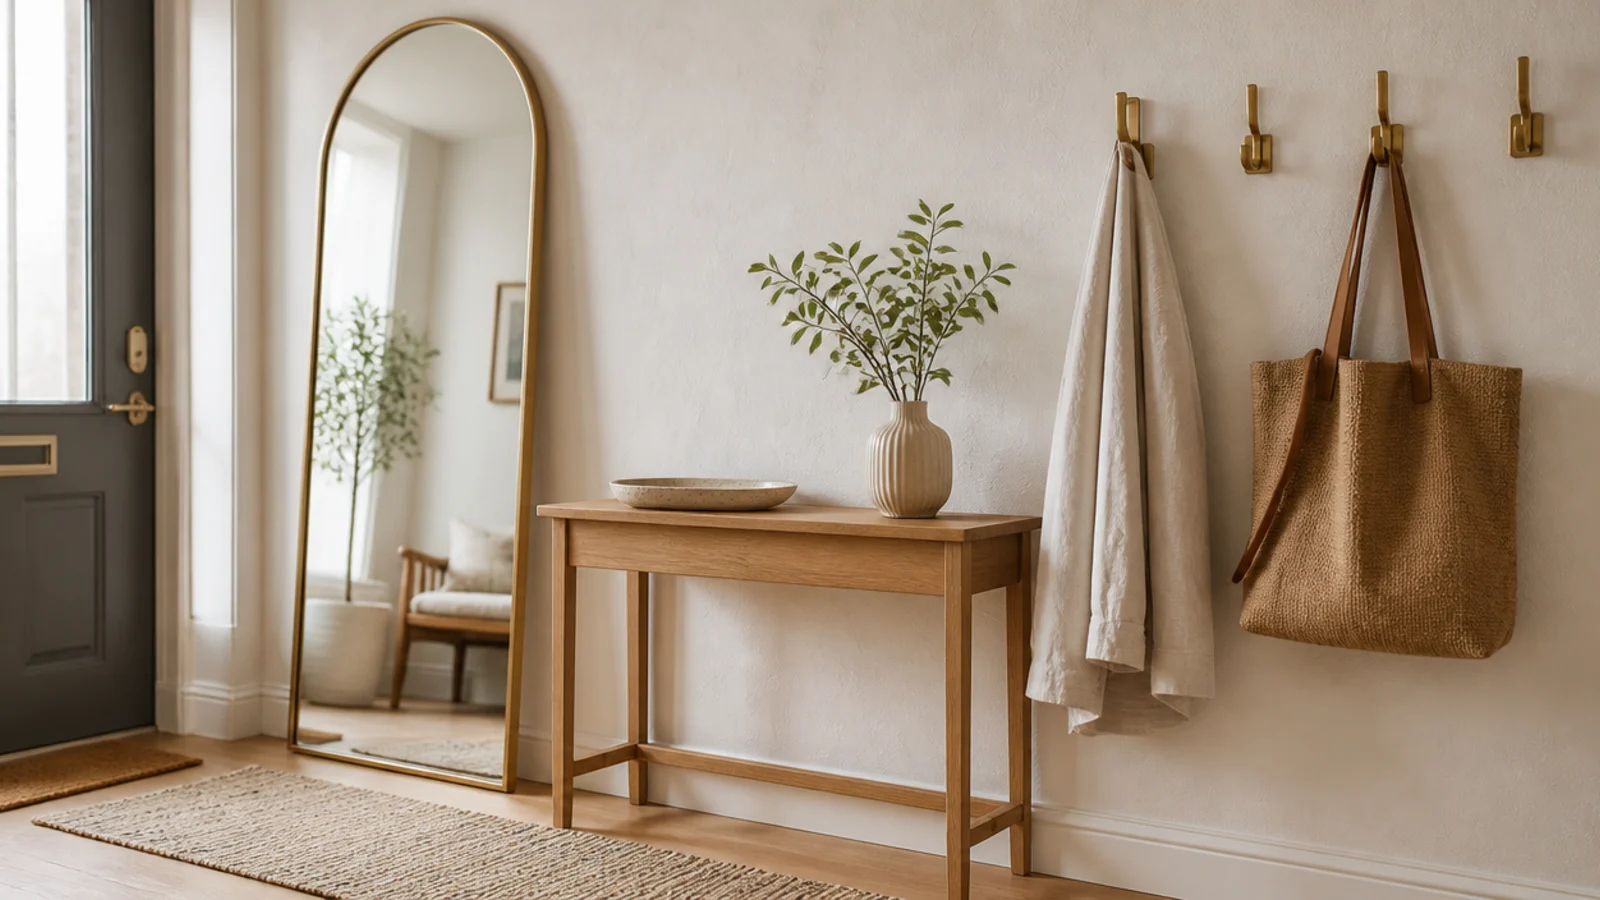
Entryway wall decor is the first thing I want to fix in a rental and the thing I am least allowed to touch. Every hole is a deposit conversation, and the wall by the front door takes more abuse than any other wall in the place. These 15 ideas need a screwdriver at most, most of them need nothing at all, and every one comes back off the wall in a single afternoon.
In this guide17 sections — tap to openHide
- 1.What entryway wall decor has to do in a rental
- 2.Lean the mirror instead of hanging it
- 3.A no-drill hook rail with honest weight limits
- 4.A picture ledge that leans art instead of hanging it
- 5.An over-the-door hook bar for coat overflow
- 6.A freestanding coat stand that carries real weight
- 7.A slim console at 12 inches deep with one tray
- 8.A leaning ladder for scarves and totes
- 9.Removable wallpaper on the one wall you actually see
- 10.A plug-in sconce with the cord run down the corner
- 11.Stick-on puck lights above the door and inside the closet
- 12.A flat-weave washable runner instead of deep pile
- 13.A freestanding bench with a shelf underneath
- 14.A stack of leaning art straight on the floor
- 15.A tension rod and curtain to hide the coat wall
- 16.The move-out patch kit you buy on day one
- 17.Mistakes to Skip
What entryway wall decor has to do in a rental
An entryway has five jobs: somewhere to sit, somewhere for shoes, somewhere for coats, a landing surface, and a mirror. A working entry does at least three of them. Renting does not change the list — it only changes how you attach things to the wall.
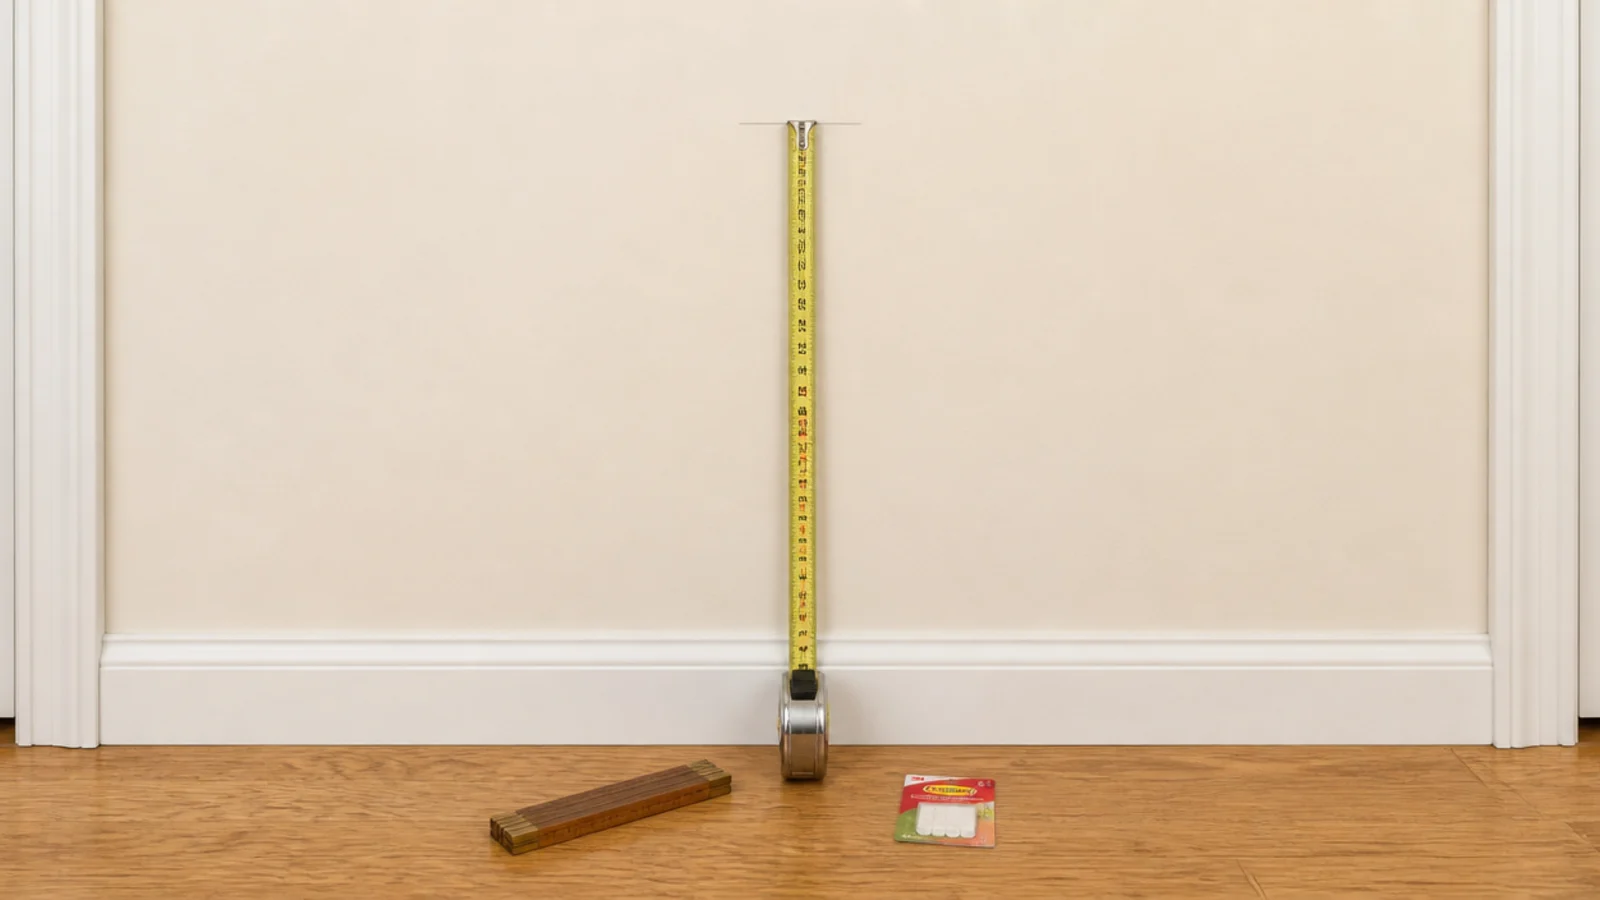
Start with three numbers. Hooks go at 52 inches for adults, with a second rail at 40 inches if there are children, because a coat hung above a child is a coat on the floor. A console sits 30 to 32 inches high and 12 inches deep, which is the maximum most halls will take. If your walkway measures under 36 inches from wall to opposite wall, skip the console entirely and go wall-mounted or freestanding-slim instead.
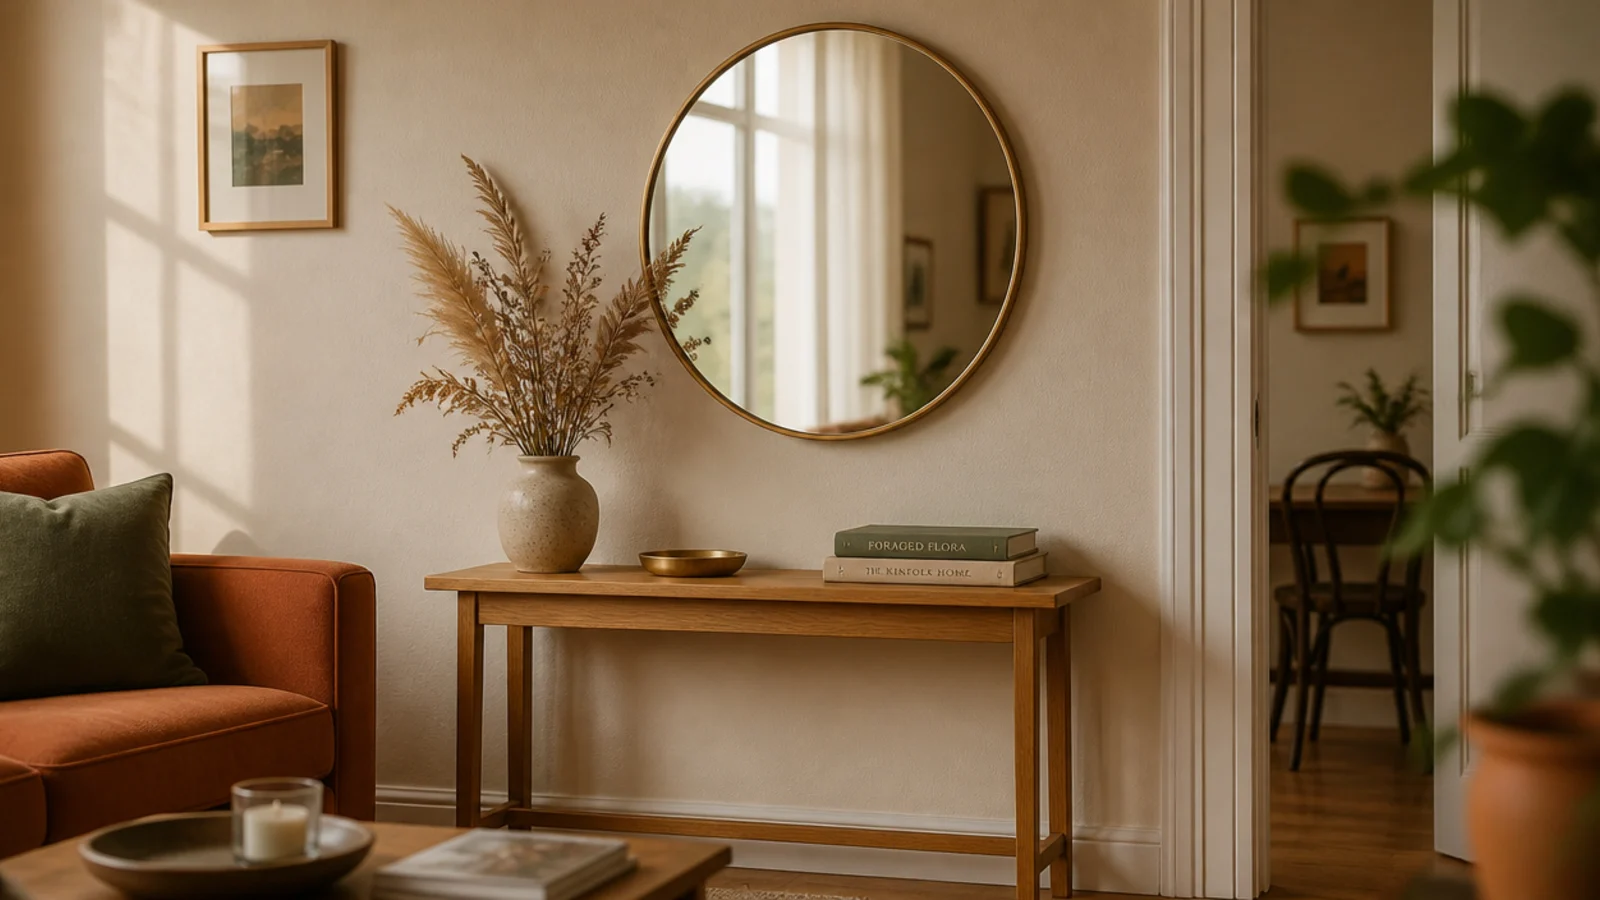
Then the mirror. Centre it at 57 to 60 inches from the floor, and if it hangs above a console leave 6 to 8 inches between the console top and the mirror bottom. Closer than that and the two read as one lumpy object.
The renter-specific rule is about adhesives. Heavy-duty strips are honestly rated around 15 pounds per pair, and a soaked wool coat is 6 to 8 pounds. Believe the rating, not the packaging photo.
Budget tiers below: $ under $25 · $$ $25–$75 · $$$ $75+.
1. Lean the mirror instead of hanging it
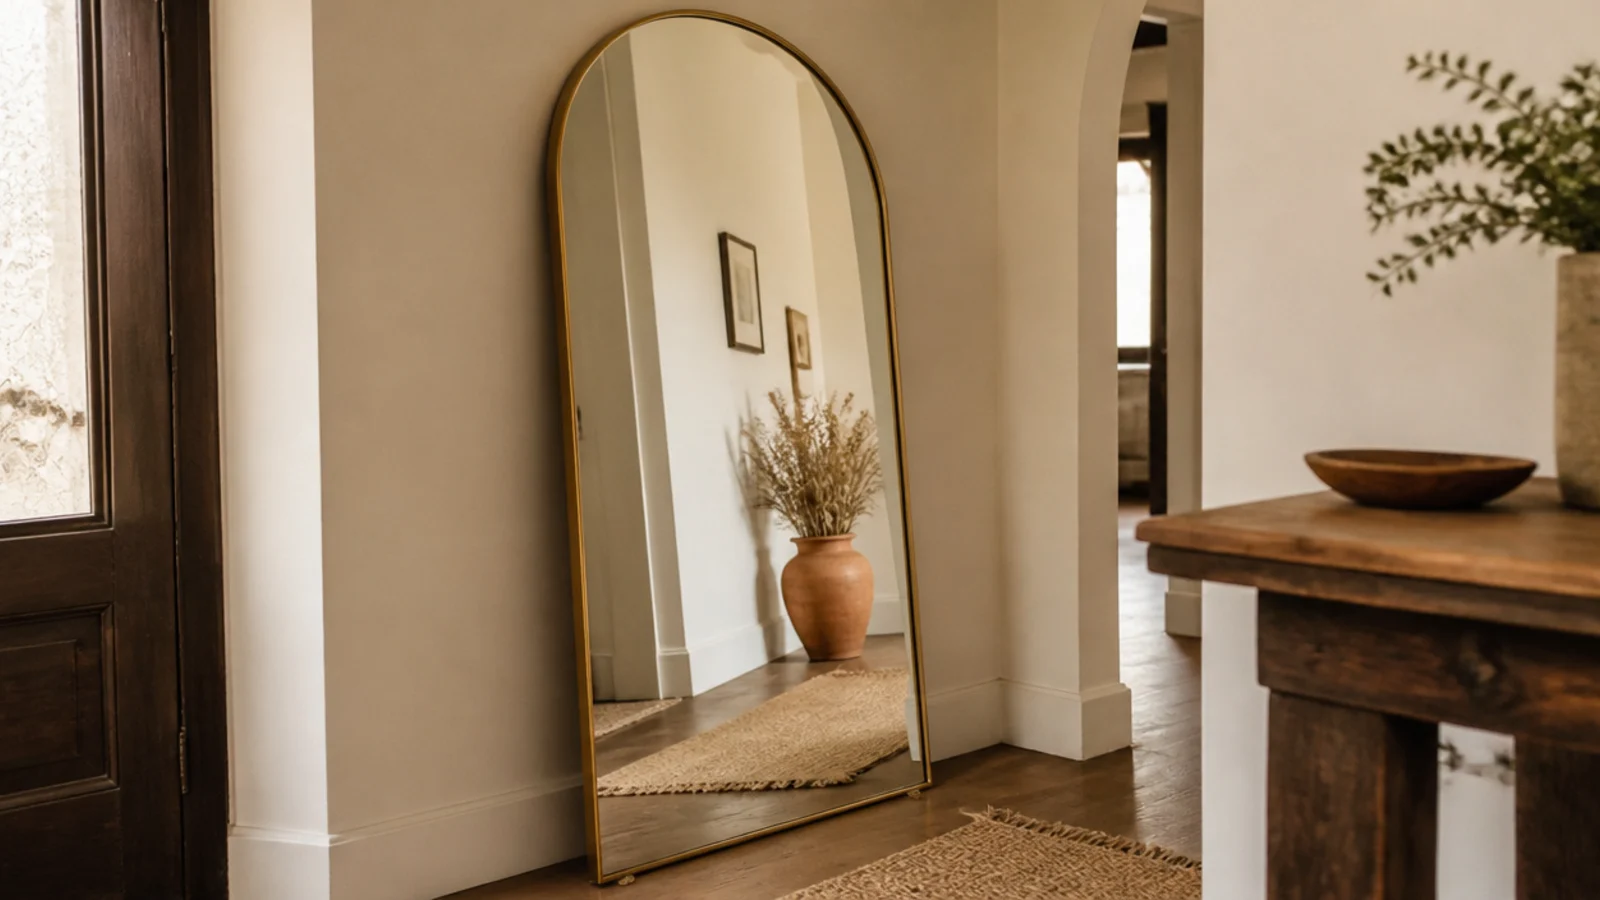
A leaning mirror gives you the whole mirror job with no fixings at all. Rest a full-length mirror against the wall at roughly a 5-degree tilt and stick felt pads under both feet so it cannot slide on wood or tile.
The tilt matters more than people expect: too upright and it creeps forward, too raked and you get a reflection of the ceiling. If there are children or a dog in the house, run one anti-tip strap into the wall. That is a single hole against a full-length mirror going over, which is not a real debate. $$–$$$
2. A no-drill hook rail with honest weight limits
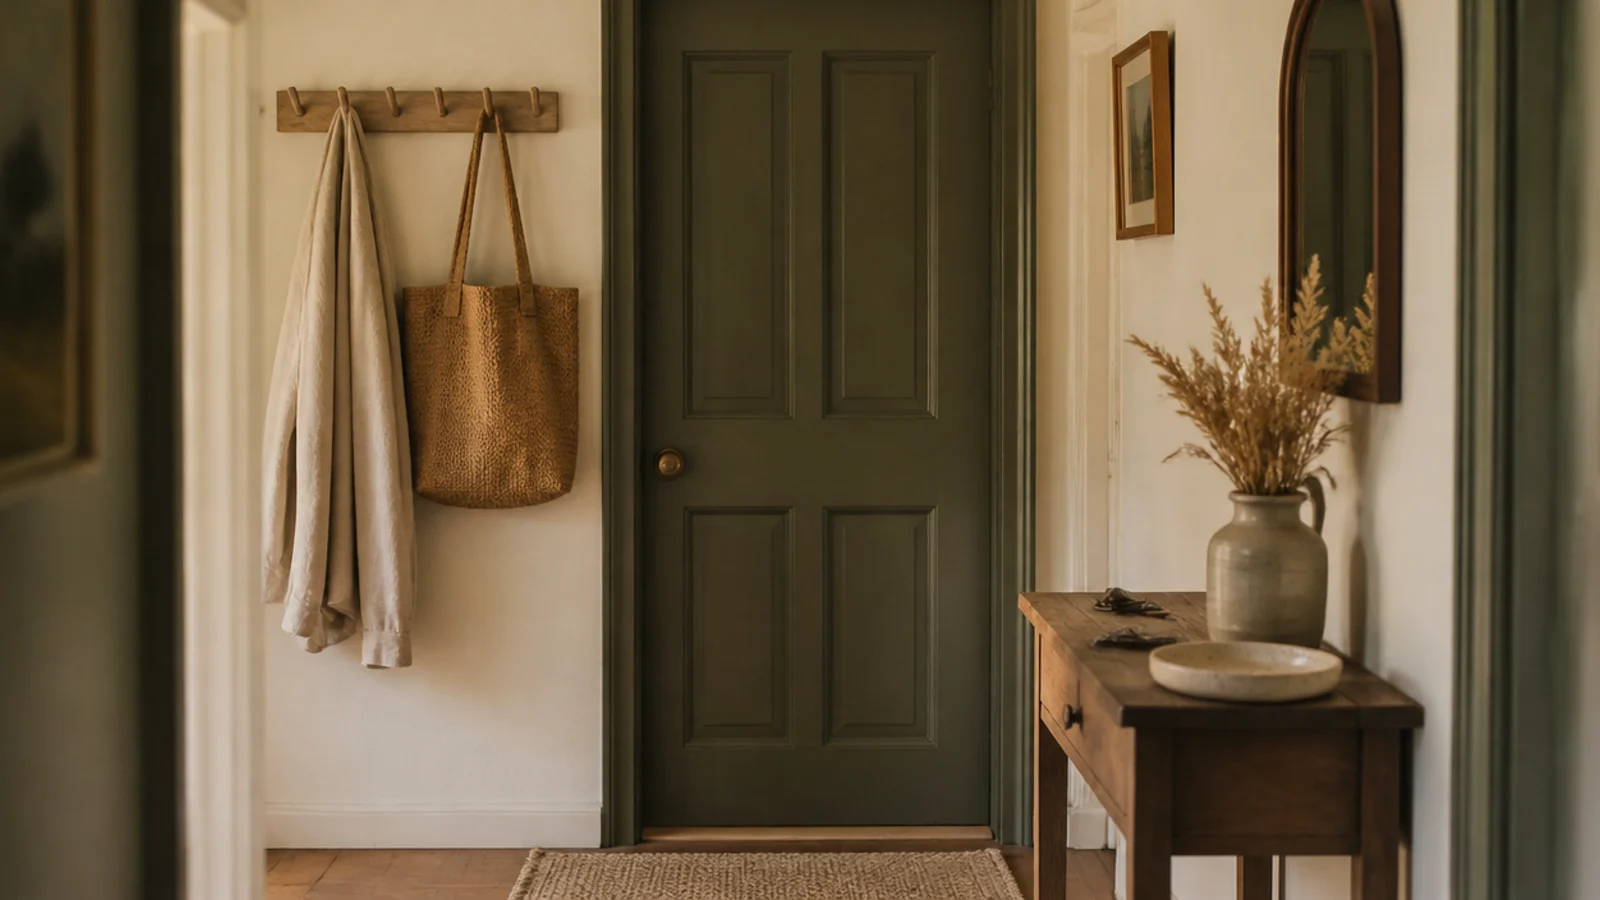
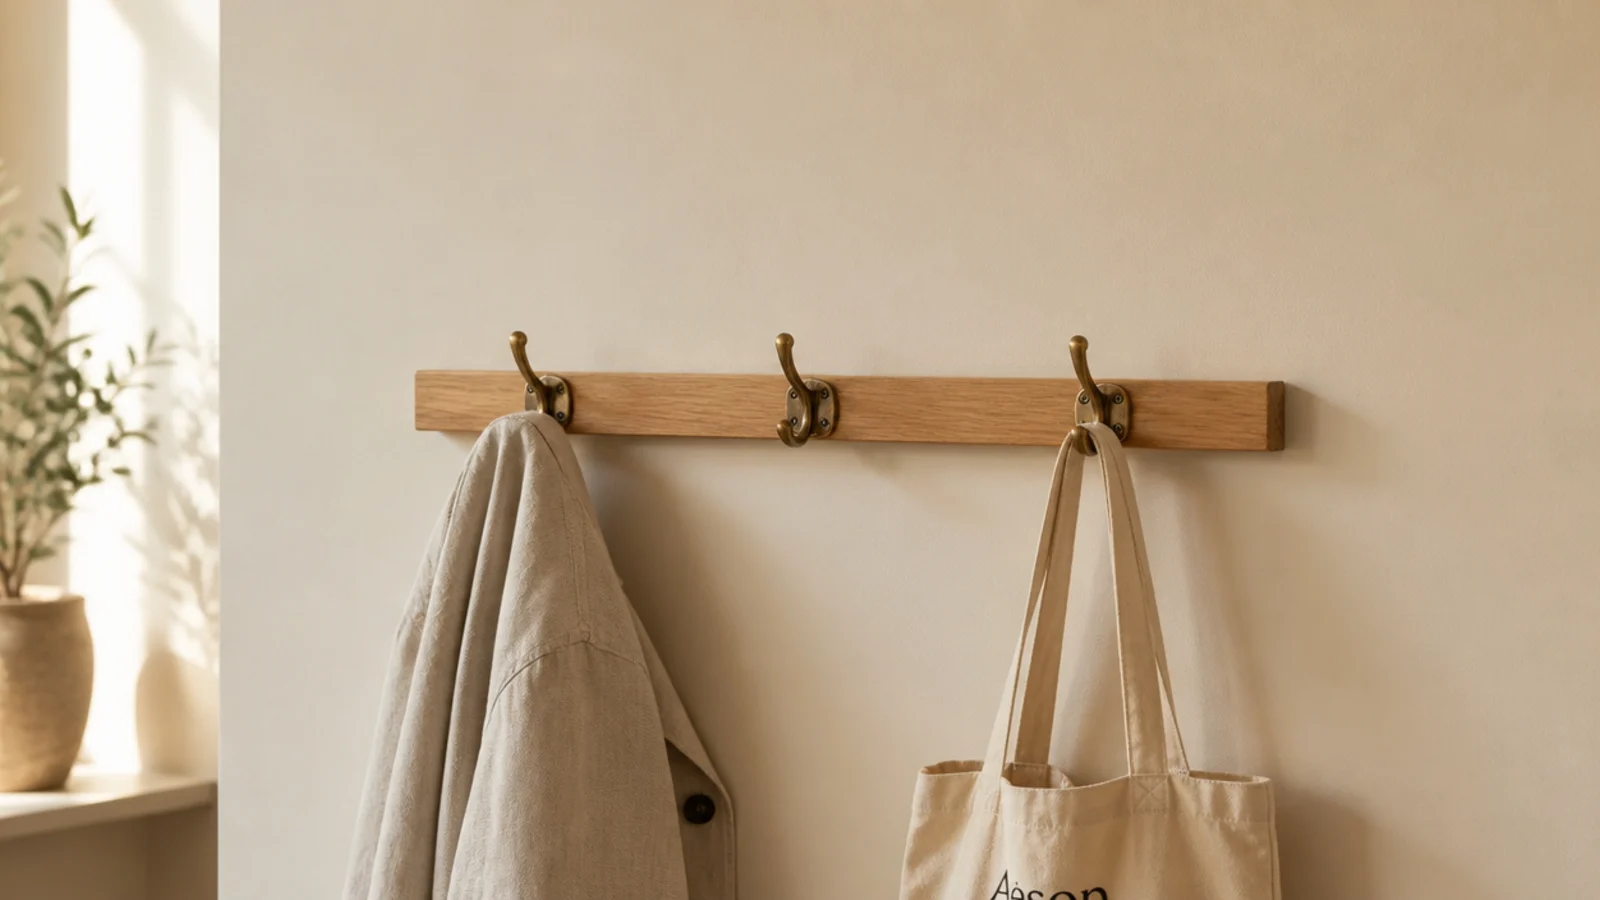
Mount a short oak or metal rail on heavy-duty adhesive strips rather than sticking six individual hooks in a wobbly line. The rail spreads the load and looks intentional.
Two pairs of strips carry about 30 pounds, which is two winter coats — not four, and definitely not a wet parka plus a backpack. Clean the wall with rubbing alcohol, press hard for 30 seconds, and wait an hour before hanging anything. Then leave the wall above the rail emptier than feels right, because coats fill that space every single day. $
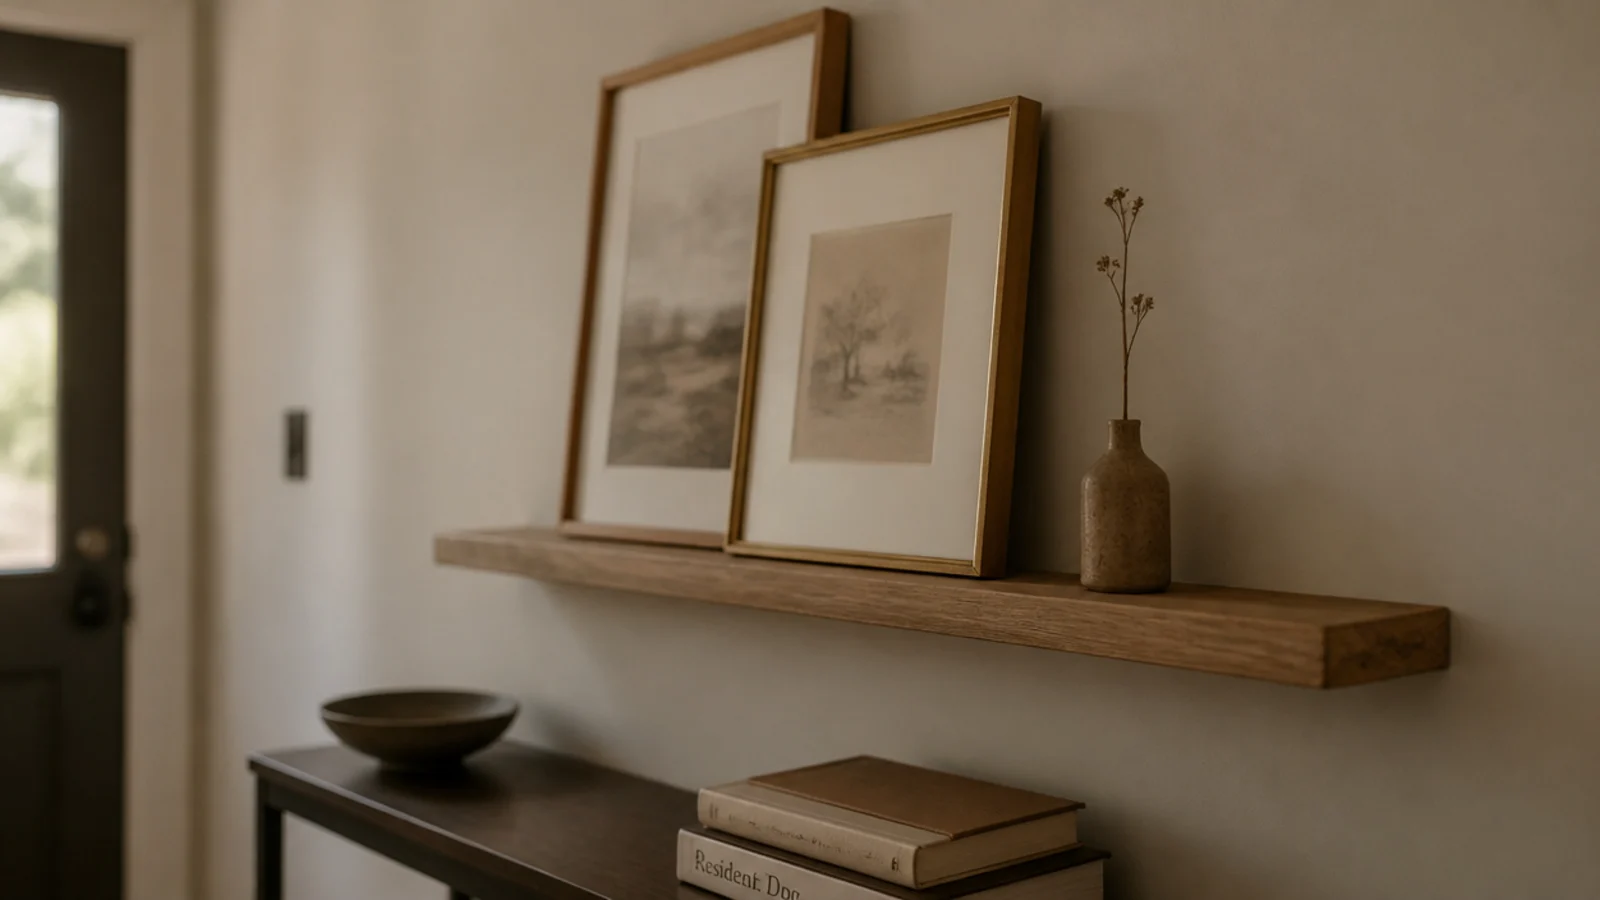
3. A picture ledge that leans art instead of hanging it
One narrow ledge, 3 inches deep with a front lip, replaces a whole gallery wall of nail holes. Frames lean, overlap slightly, and swap out in five minutes.
On adhesive strips, cap the ledge at 24 inches long and keep the total load under 10 pounds — that is two small frames and one clay bottle, not a stack of glass. Mount it at 60 inches so the art sits at eye level as you come in. Two frame finishes maximum, usually oak and brass. $
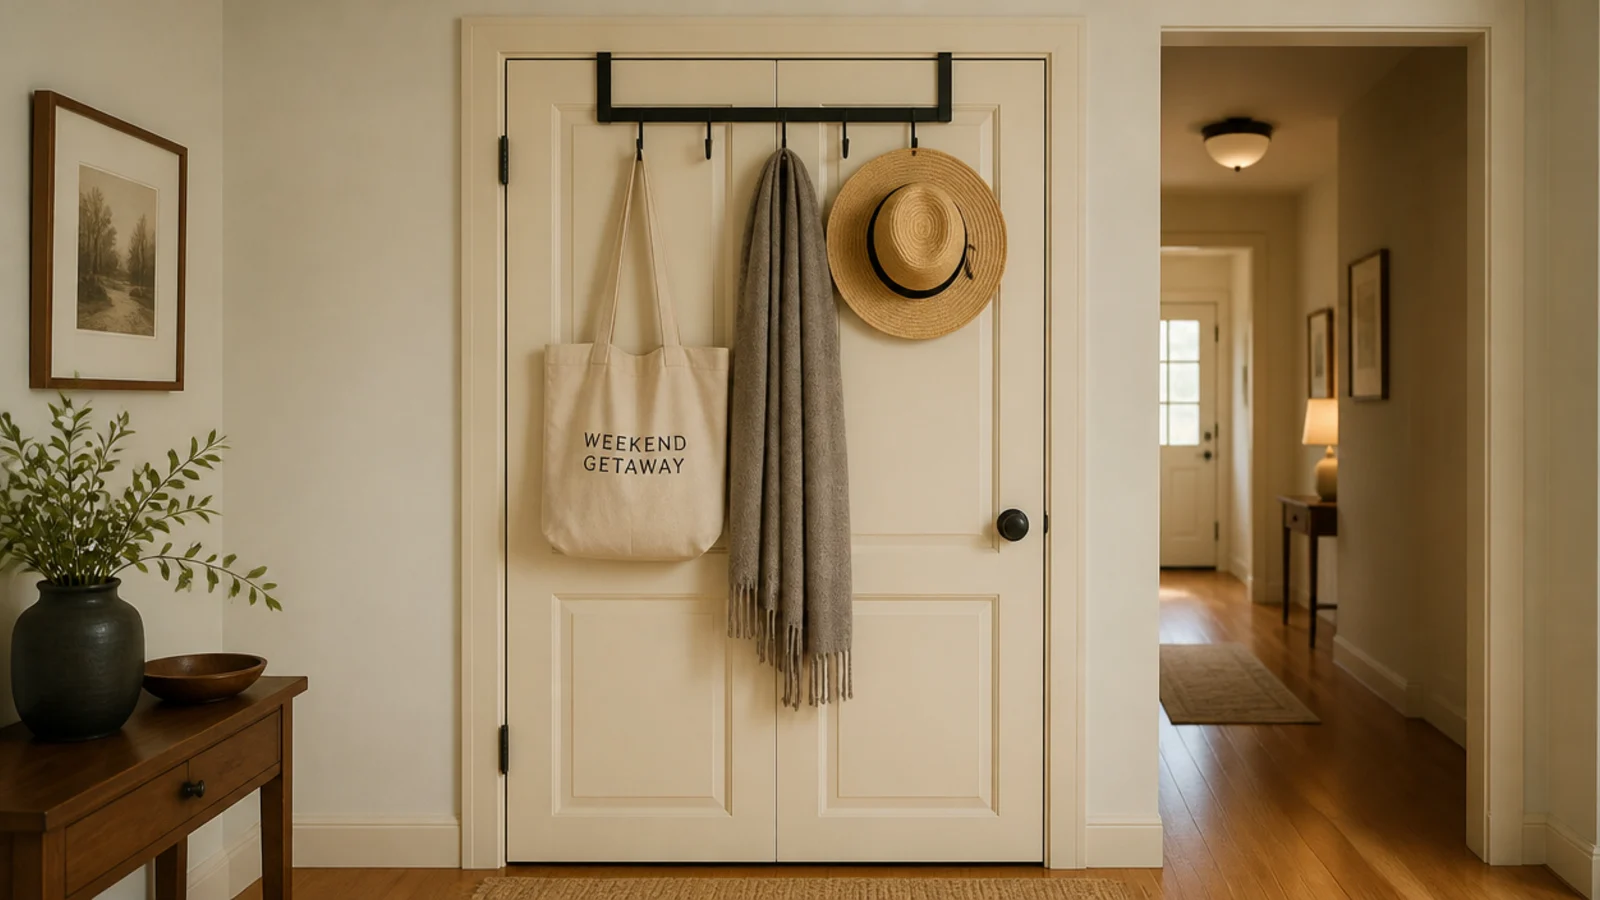
4. An over-the-door hook bar for coat overflow
The closet door in an entry is doing nothing on both faces. A slim over-the-door bar adds six hooks with zero holes and lifts straight off on move-out day.
Check the door still closes before you commit — some interior doors have barely a quarter inch of clearance at the top, and a hook bar that stops the door latching is worse than no hooks. Put the bags and hats here, not the daily coats, because the door swing is doing the carrying. $
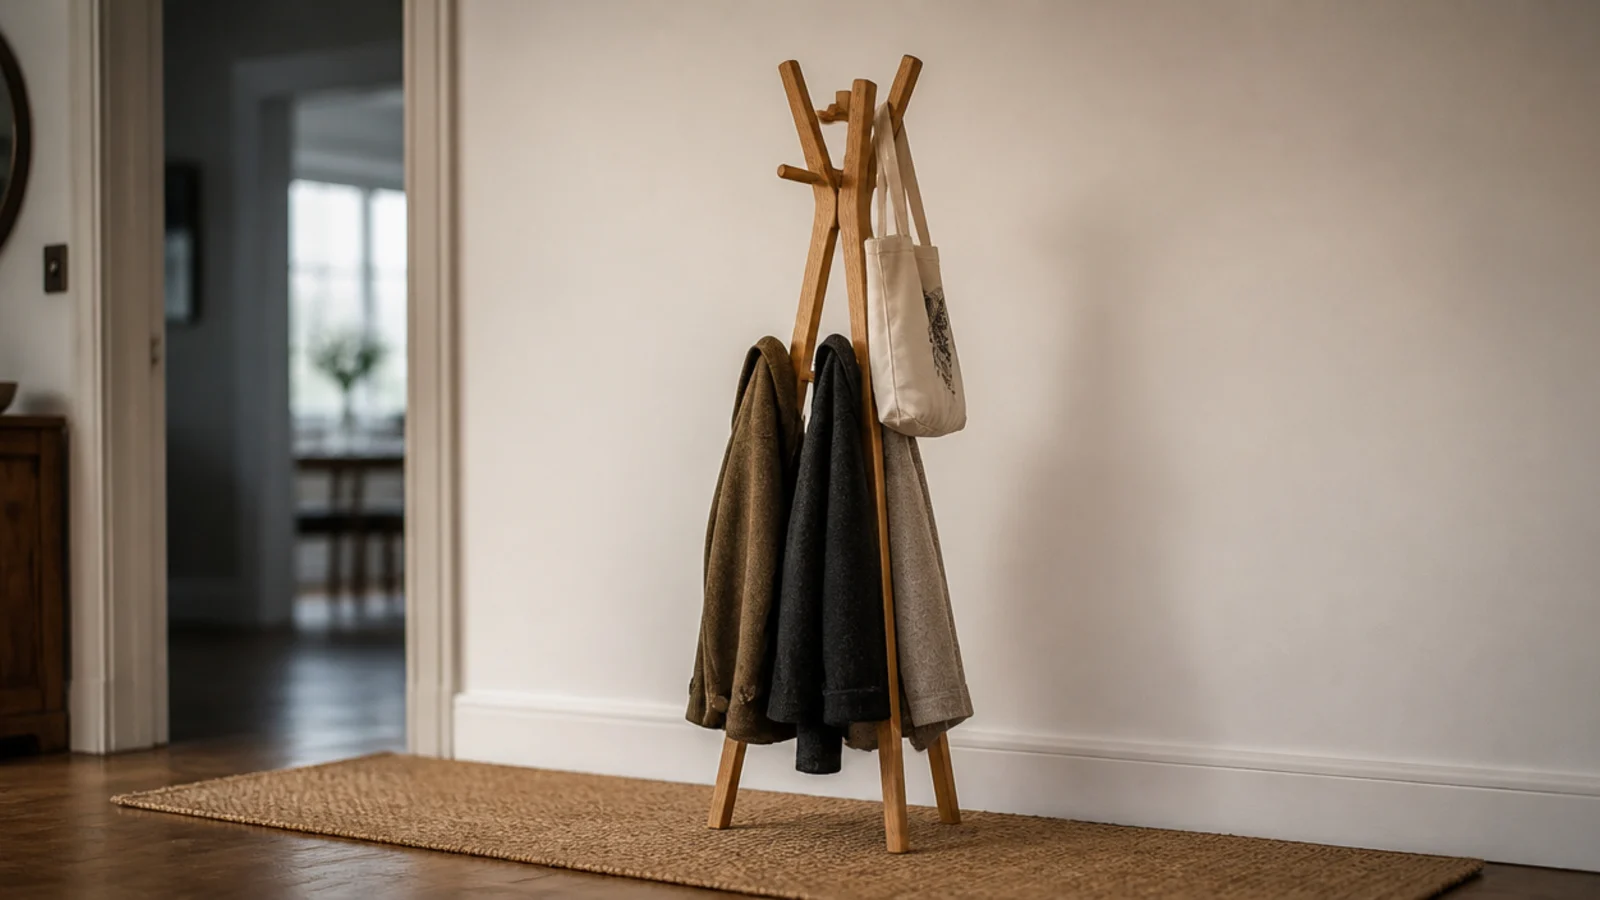
5. A freestanding coat stand that carries real weight
When you genuinely need to hang four coats and adhesives cannot do it, stop fighting the wall. A tripod coat stand holds a real winter load and touches nothing.
Load the lower pegs heaviest so the centre of gravity stays down; a stand loaded only at the top walks across the floor and eventually tips. Look for a base that spans at least 18 inches, and put it on a runner rather than a bare floor so the feet stay put. $$
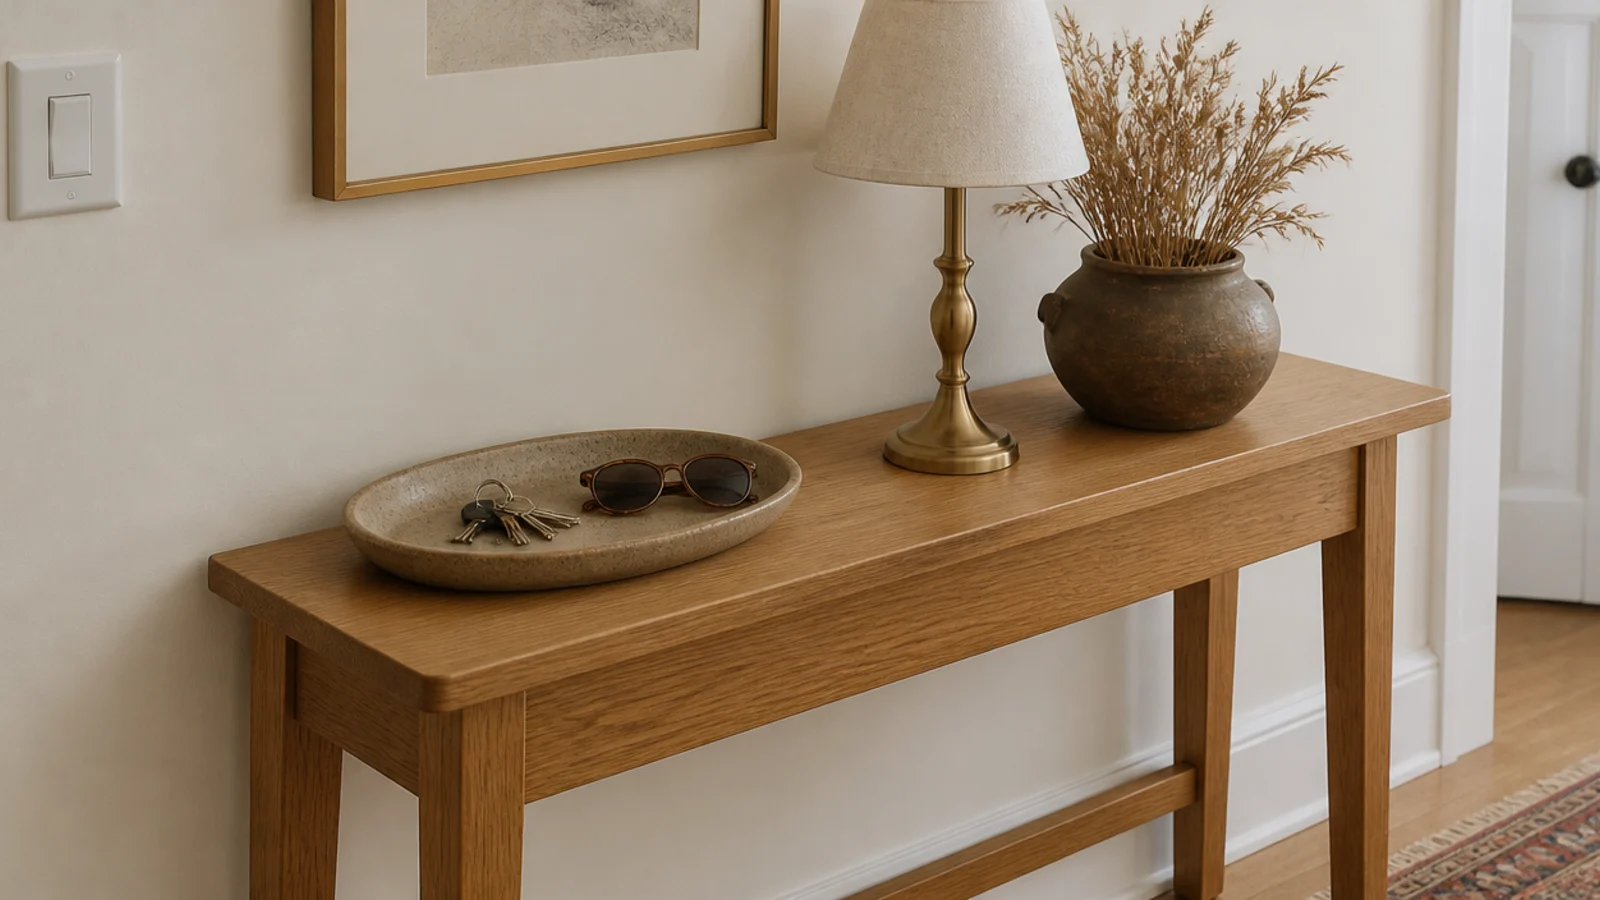
6. A slim console at 12 inches deep with one tray
Twelve inches is the maximum depth most halls take, and 30 to 32 inches is the working height. Anything deeper and you turn sideways past it every day.
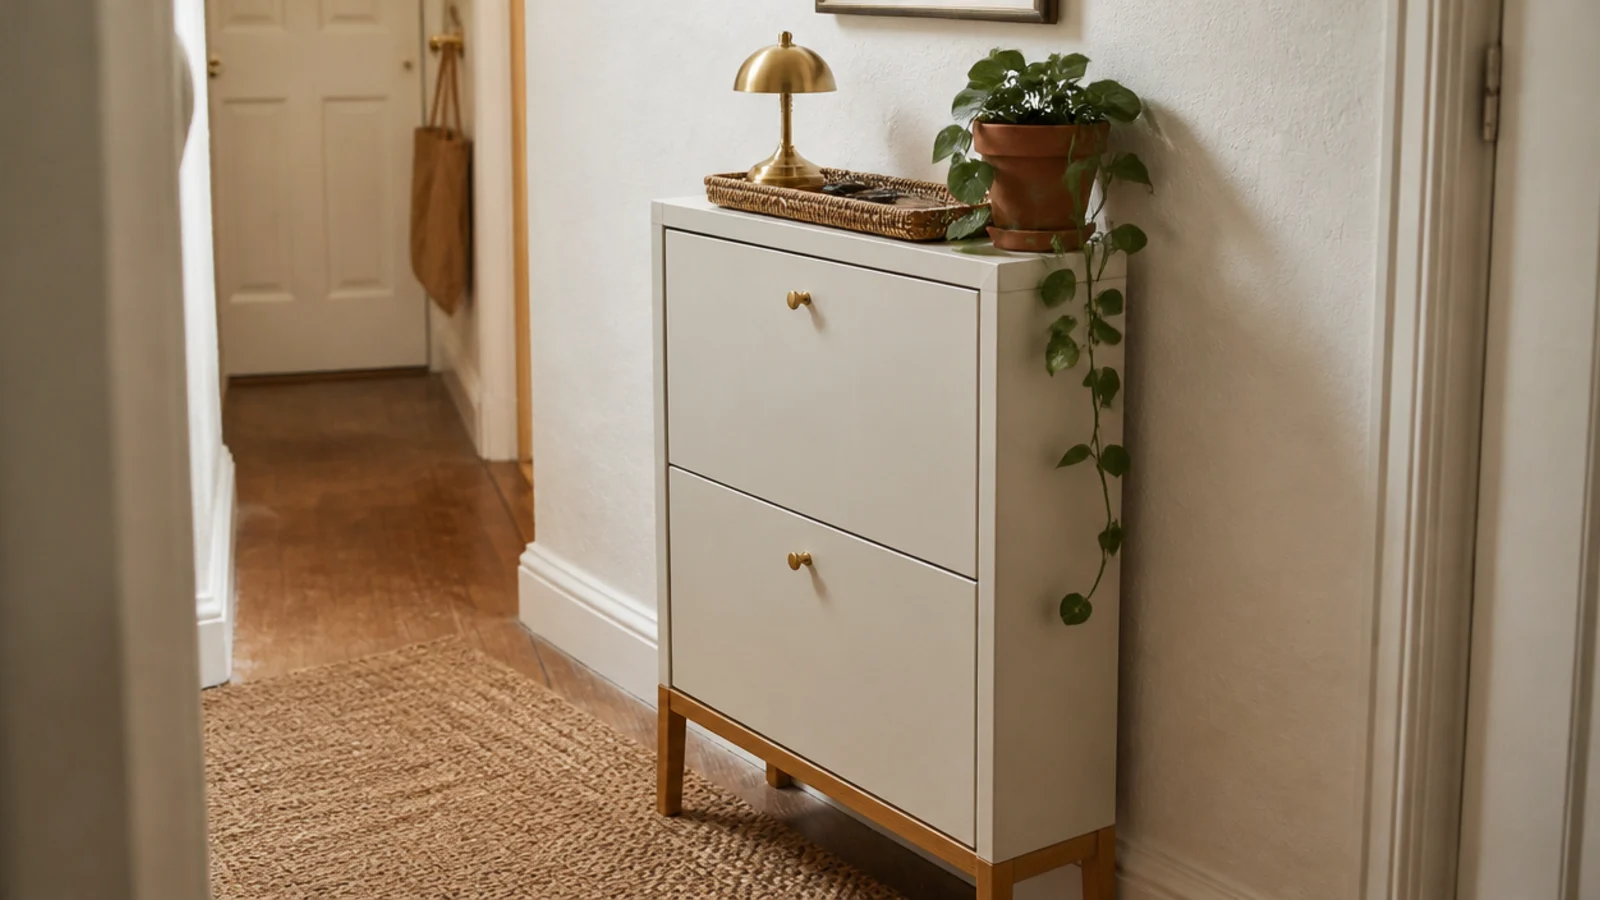
One tray on top is what stops mail and keys spreading across the surface within a week. A raised edge is the whole point — a flat plate does not contain anything. Keep the rest of the top to a small lamp and one pot of dried stems. If your hallway is tighter than 36 inches, the narrow entryway layout guide covers the wall-mounted version instead. $$–$$$
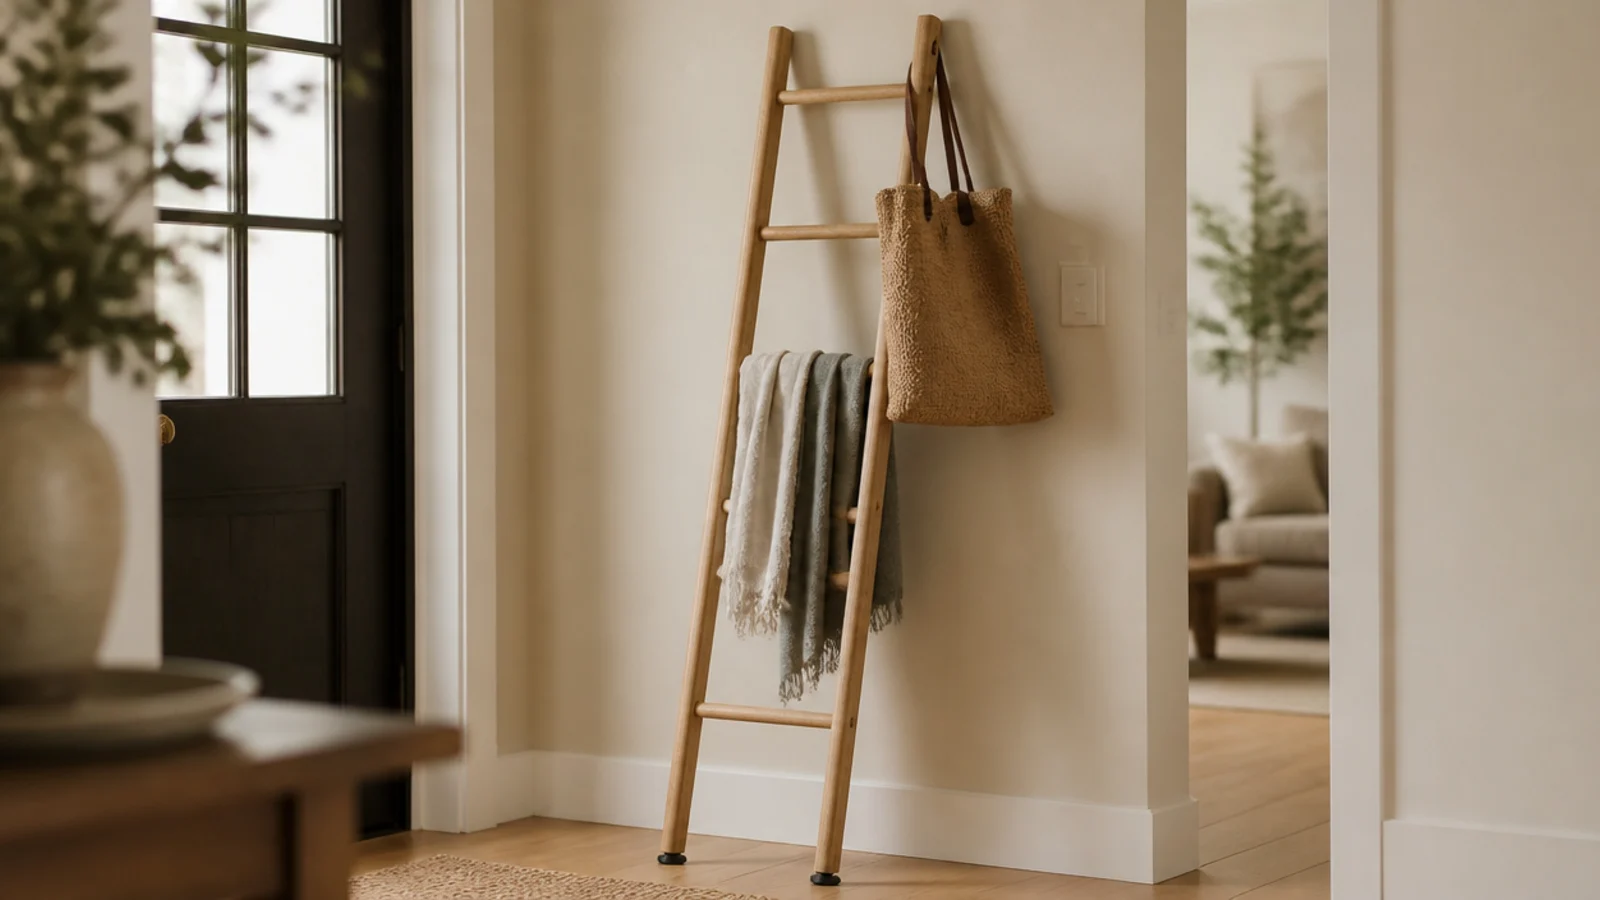
7. A leaning ladder for scarves and totes
A slim ladder leaned at about 15 degrees holds scarves, totes and a hat without a single fixing, and it takes up 11 inches of floor depth.
Drape rather than hang: rungs are terrible at holding anything with weight, so this is the scarf-and-bag solution, not the coat solution. Felt pads under the feet stop it walking on wood floors. Cheapest version is a $20 thrifted wooden ladder sanded and left raw. $
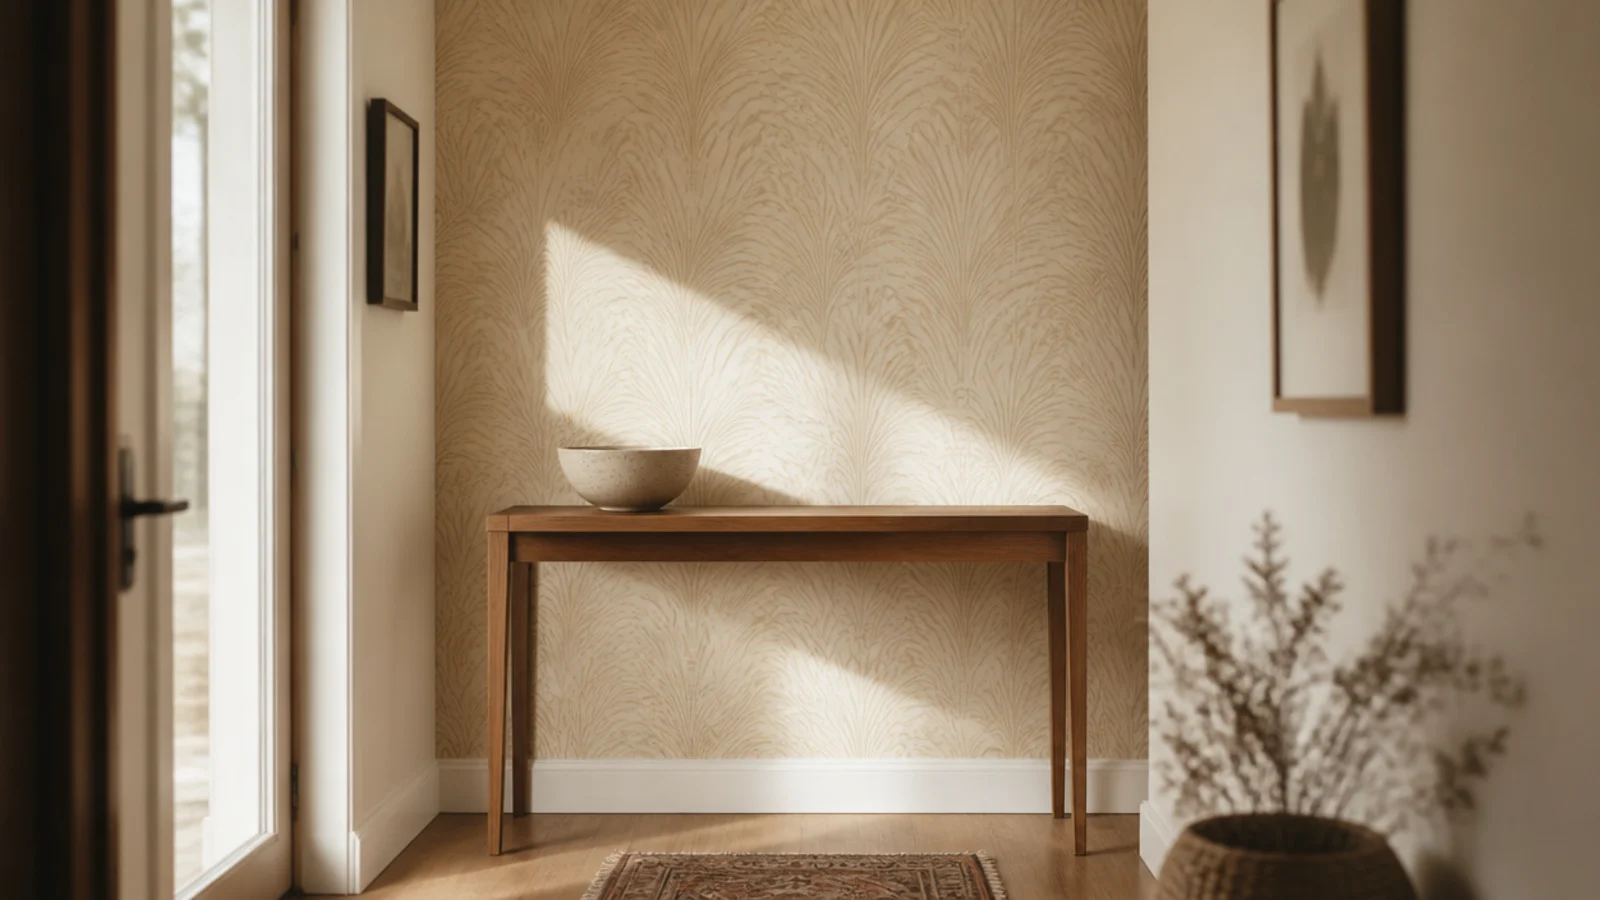
8. Removable wallpaper on the one wall you actually see
Peel-and-stick paper on the single wall you face walking in changes an entry more than any object on it. One wall reads deliberate; four walls read like a decision you cannot undo quickly.
Test a small piece on a hidden patch first. Flat builder-grade paint can lift with the paper, which is the one failure mode that costs real money. Smooth walls only — textured plaster and orange peel will not hold it past a humid week. $$
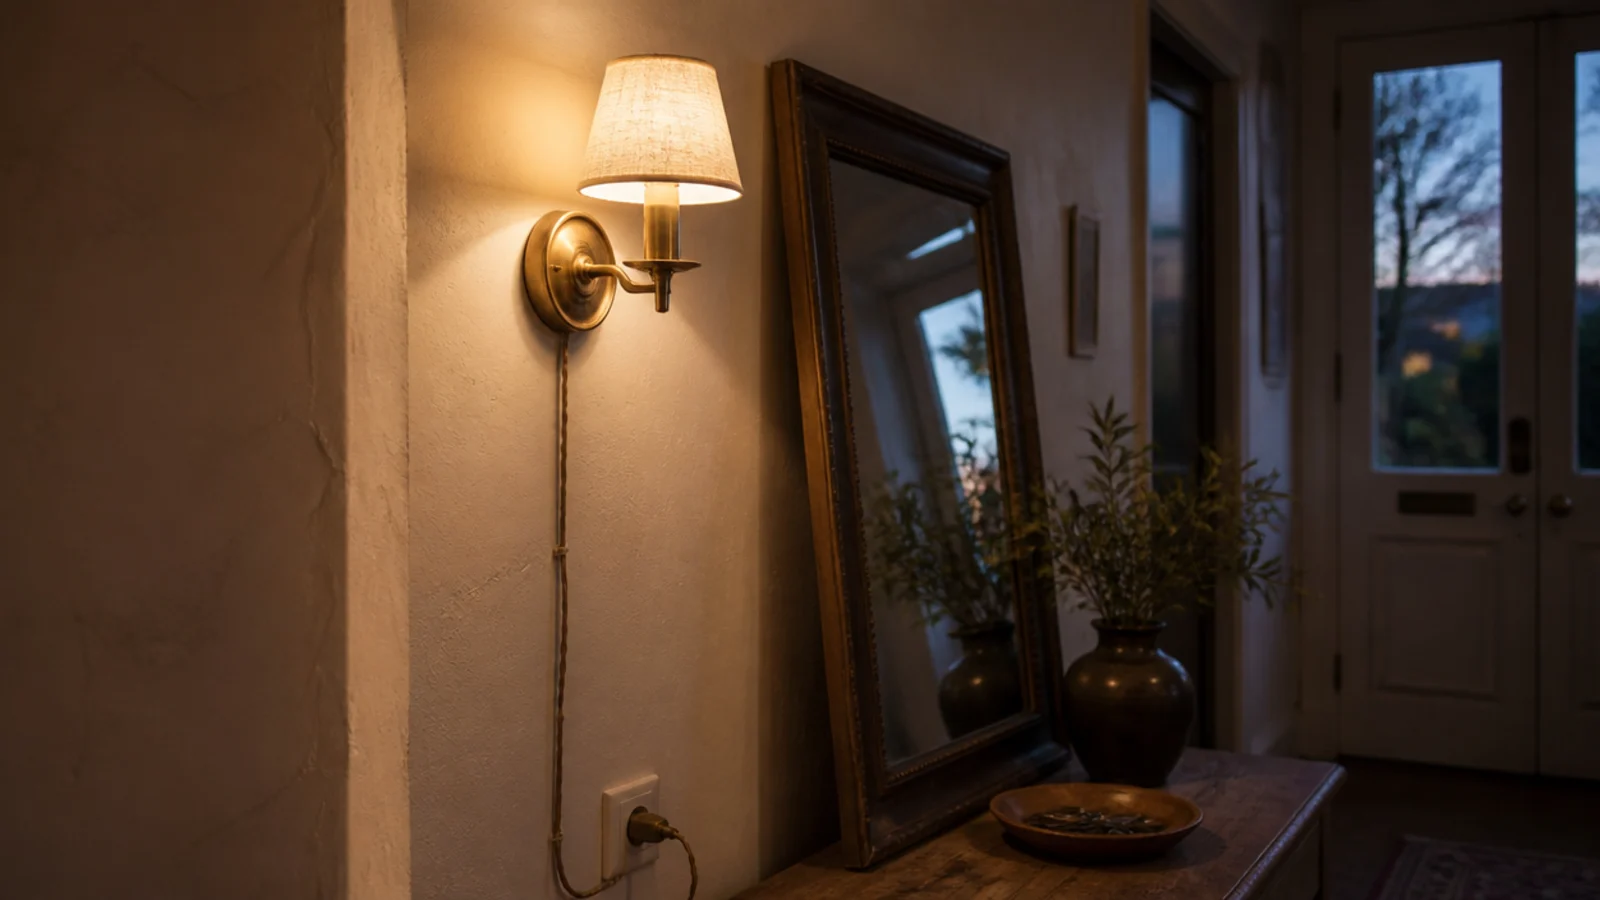
9. A plug-in sconce with the cord run down the corner
One ceiling fixture flattens an entry completely, so layer the light. A plug-in sconce at 60 inches puts warm light on faces and on whatever is on the console.
Run the cord straight down the wall corner line in a paintable adhesive channel and it effectively vanishes. Use a 2700K bulb — the same clay pot and oak console read warm and expensive at 2700K and grey and cheap at 4000K. Cost is under $50 for both the sconce and the channel. $$
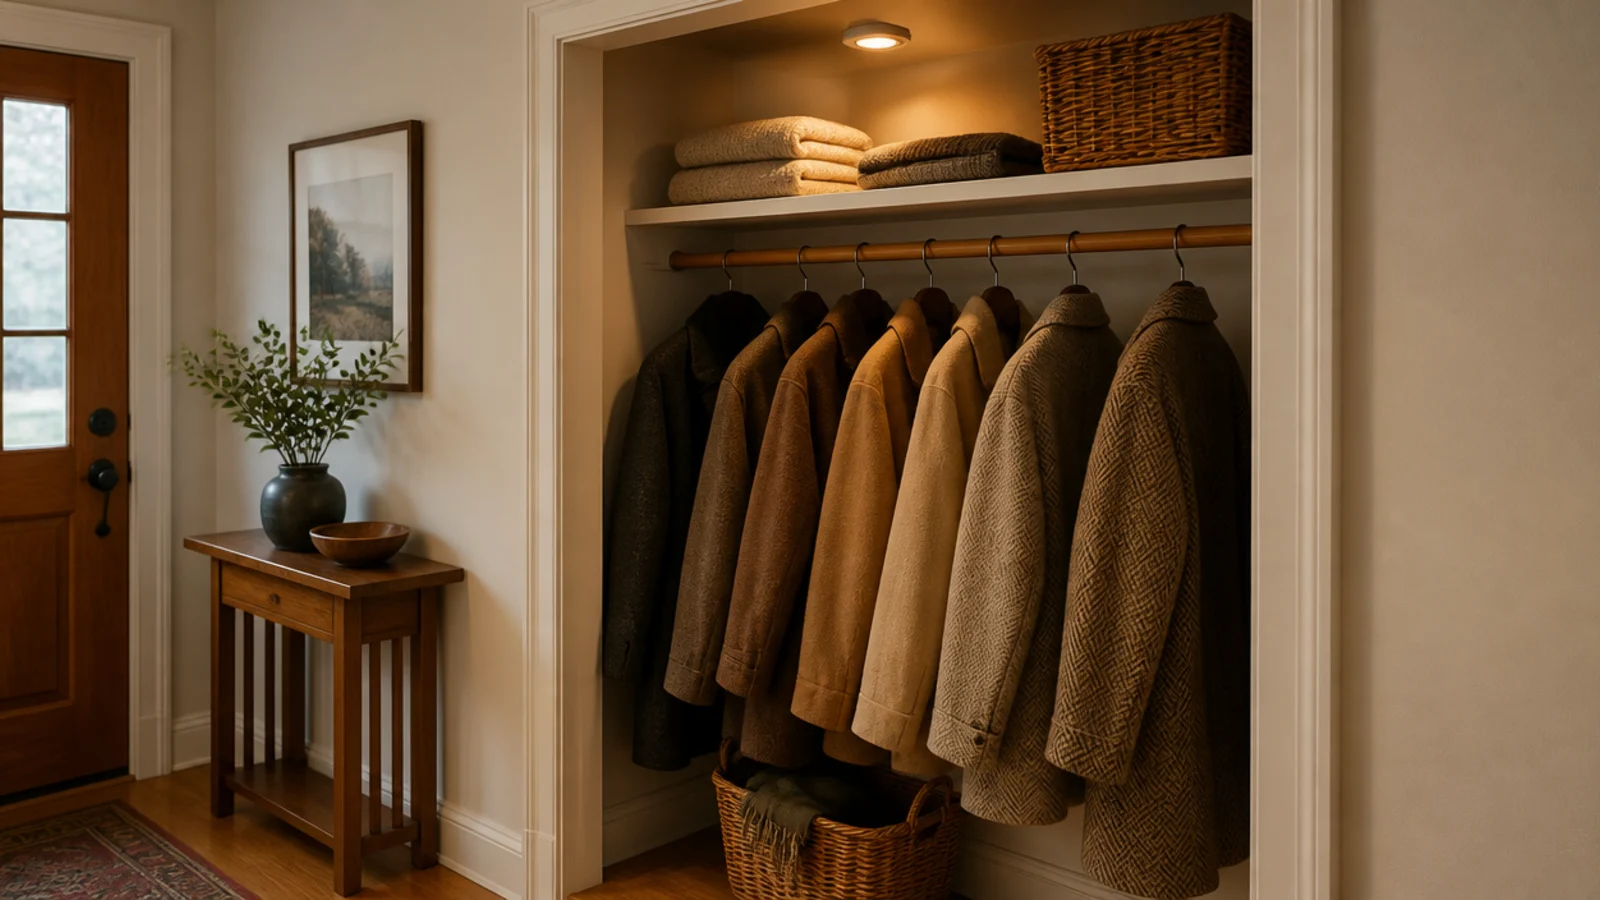
10. Stick-on puck lights above the door and inside the closet
The coat closet in a rental is almost always a black hole. Two rechargeable puck lights, one under the top shelf and one above the rail, fix that for about $20.
Choose warm white and magnetic bases so you can lift them off to charge. Outside the closet, one puck above the door frame washes light down the wall you see first, which makes a windowless entry read far less like a corridor. $
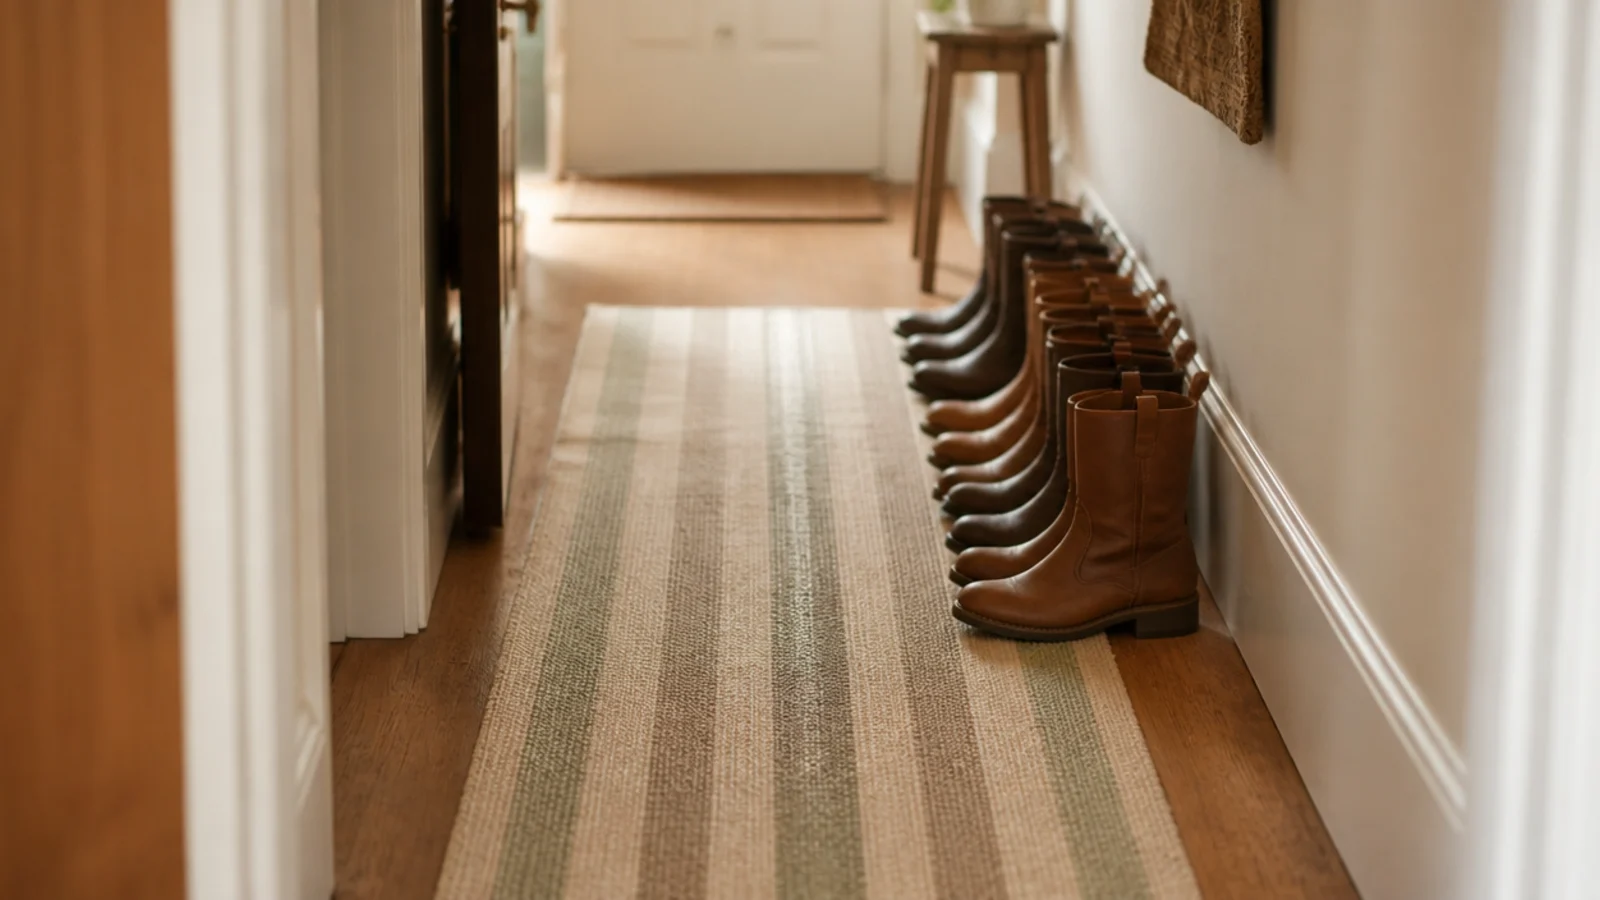
11. A flat-weave washable runner instead of deep pile
The floor is the part of an entry that decides whether the whole thing looks cared for. Flat-weave washable runners survive grit and go in a machine; deep pile does not and never recovers.
Size it to leave 4 to 6 inches of bare floor on each side so the hall does not read wall-to-wall carpeted. Add a thin non-slip pad underneath — a runner that slides is a genuine hazard where people are pulling boots off. Sand, muted sage and terracotta hide the most between washes. $–$$
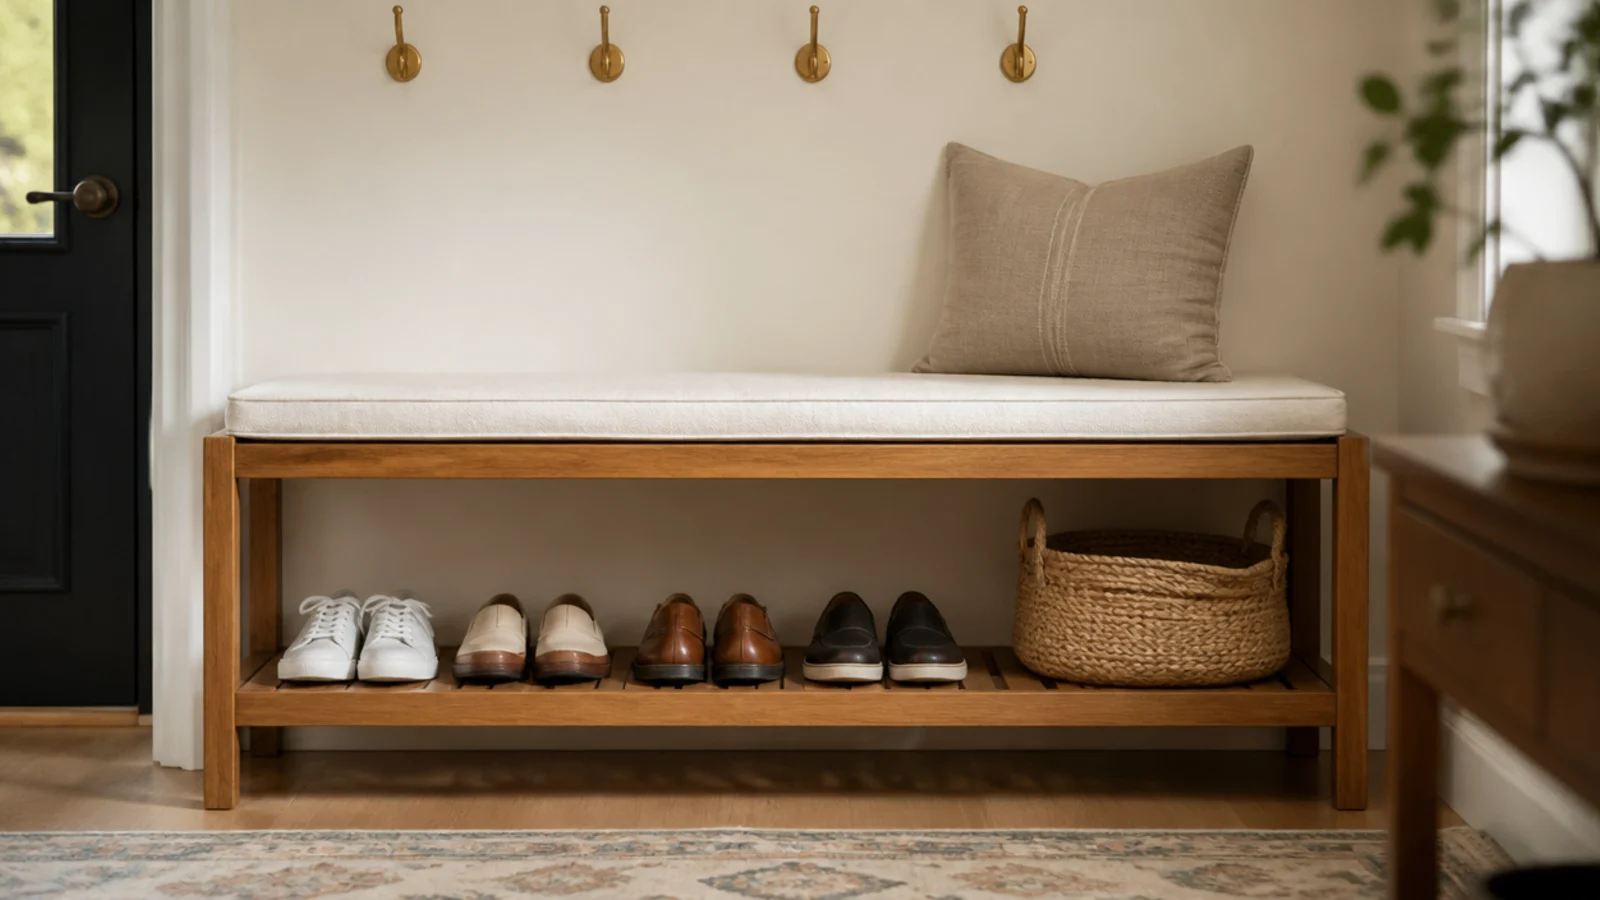
12. A freestanding bench with a shelf underneath
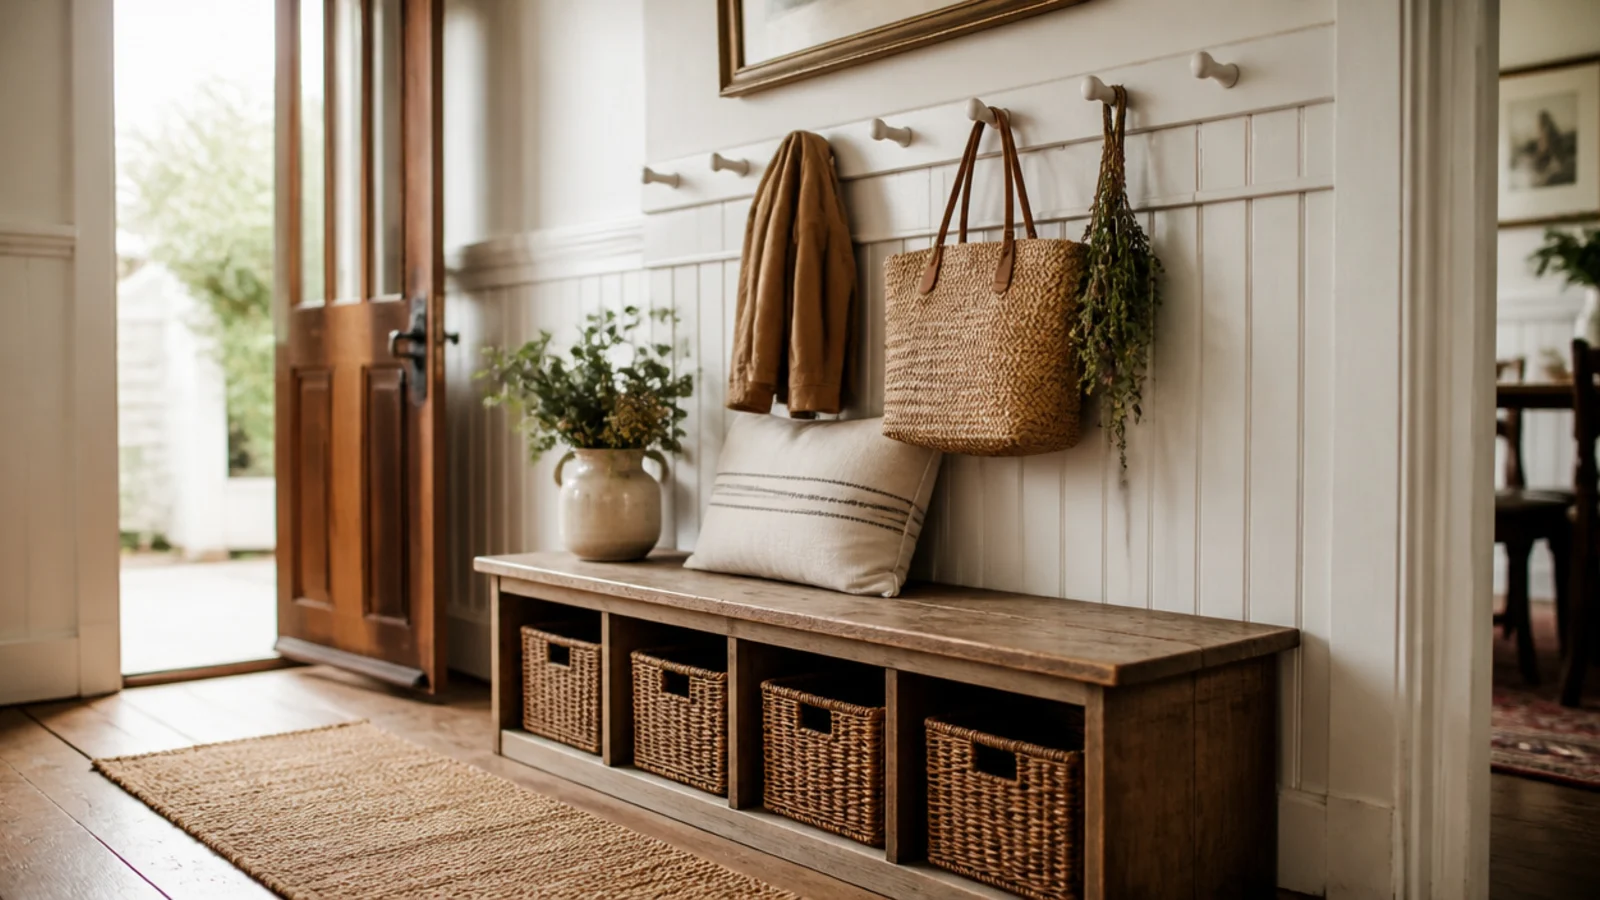
Somewhere to sit is the job people skip first and miss most. A slatted bench at 18 inches high, with an open shelf below, gives you the seat and the shoe landing in one footprint.
Keep the bench under 40 inches long in a small entry so the walkway survives. Four pairs on the lower shelf reads tidy; eight pairs reads like storage overflow. For a system that actually holds the whole household, the entryway shoe storage guide has honest pair counts by depth. $$
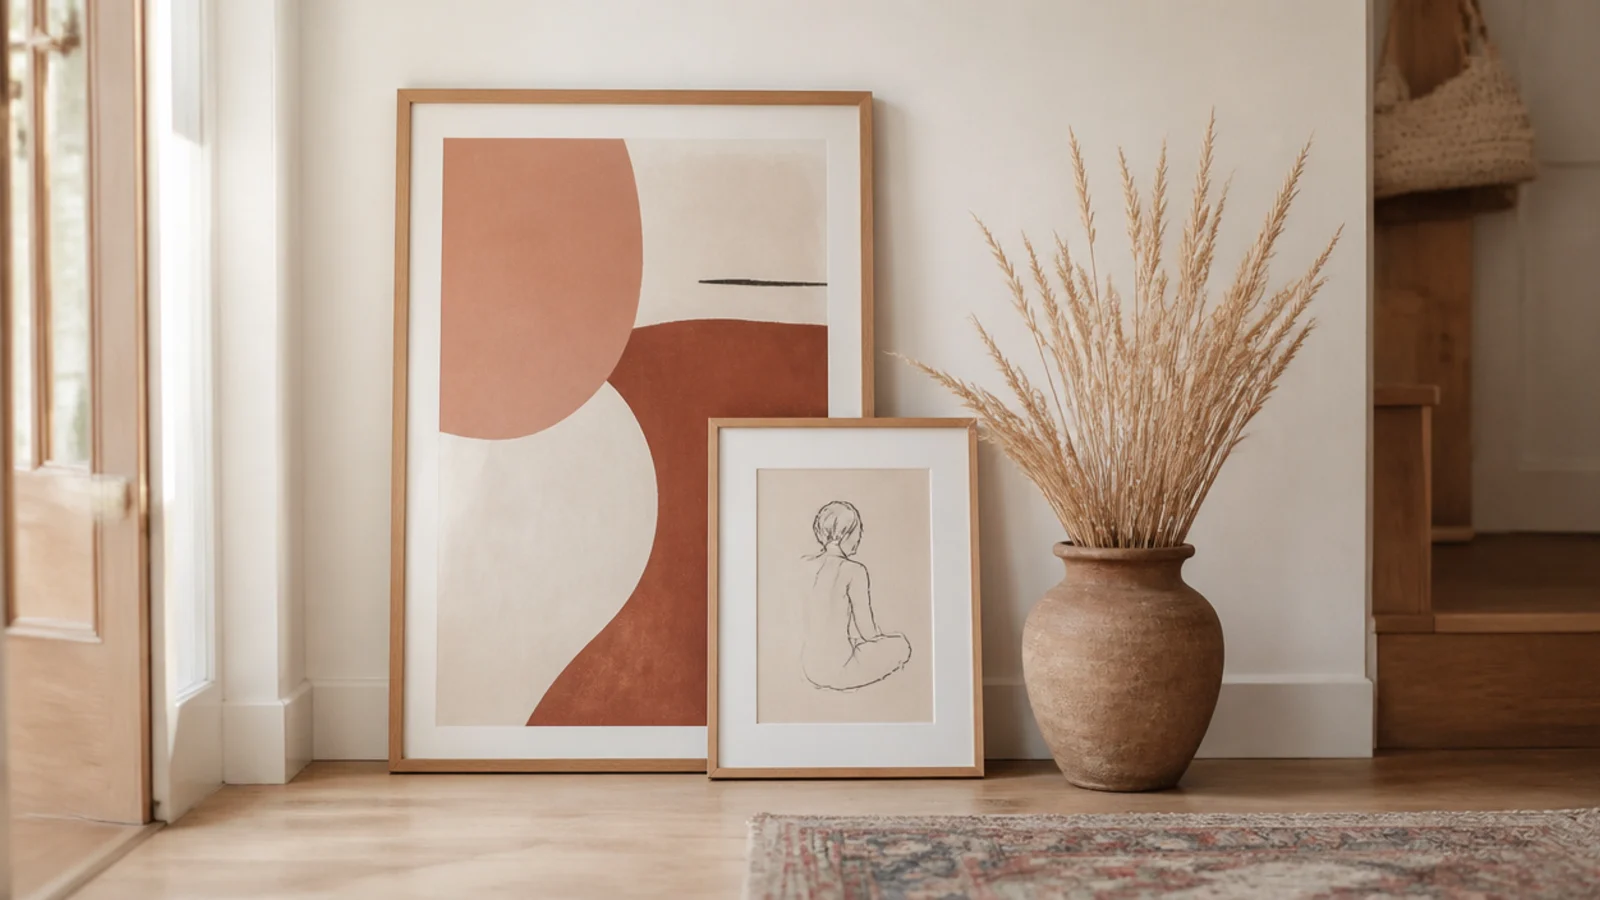
13. A stack of leaning art straight on the floor
One large frame leaning on the floor, with a smaller one overlapping it, is the cheapest scale trick I know. Big art low makes a narrow entry read taller, because your eye travels the whole height of the wall.
Buy one oversized print rather than five small ones — five small frames on the floor look like moving day. Lean it against a wall with nothing else on it, and keep the bottom edge clear of the door swing by at least 4 inches. $–$$
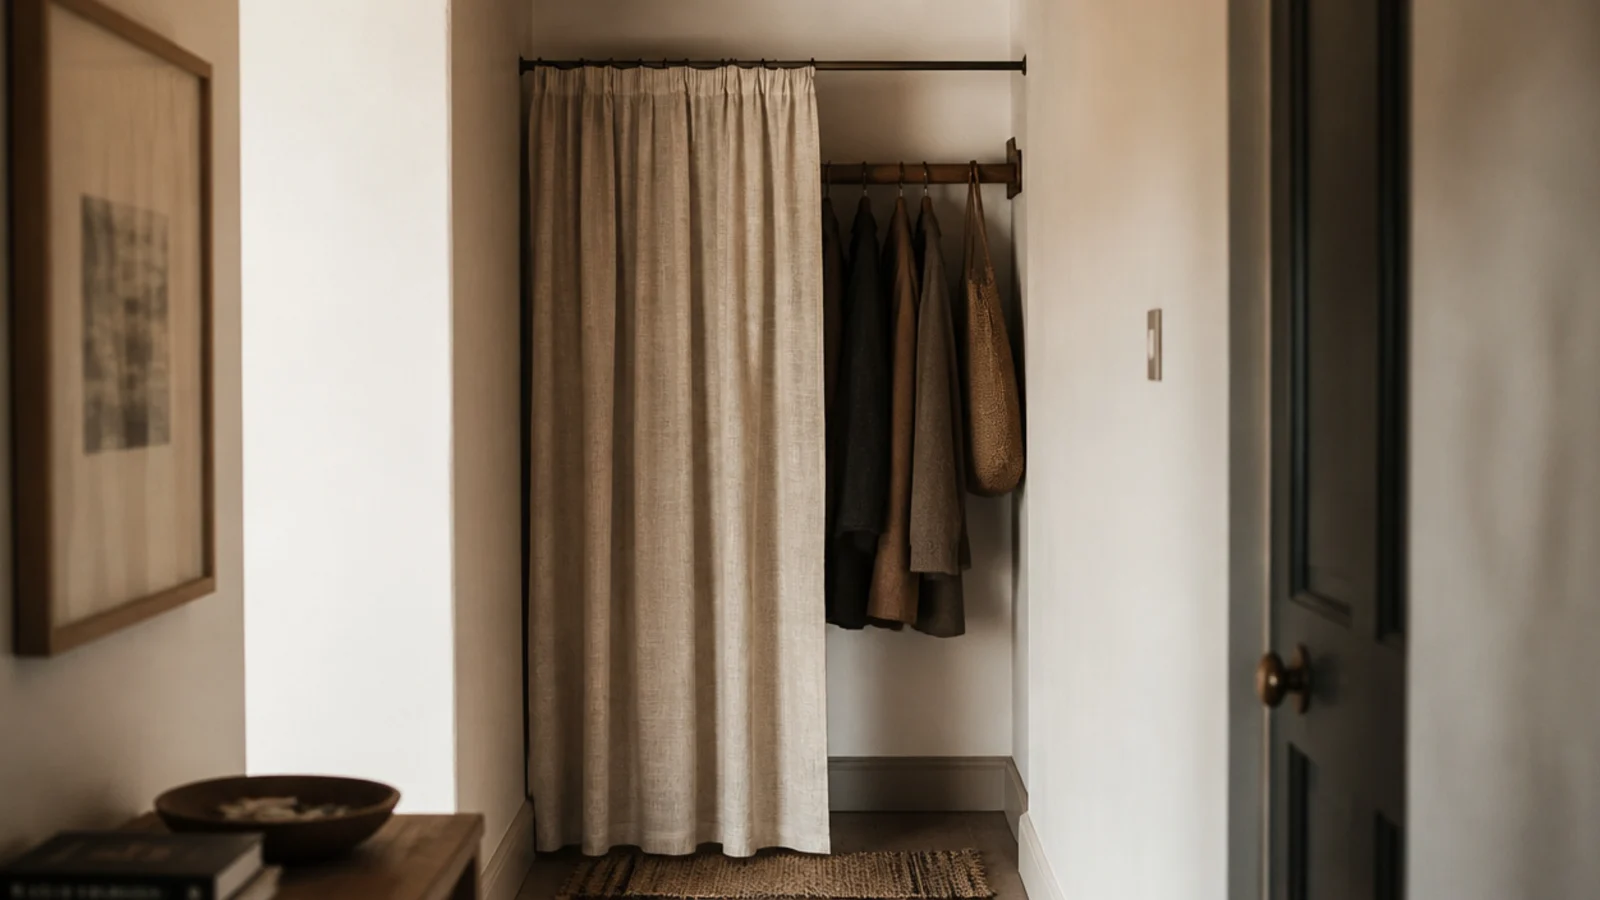
14. A tension rod and curtain to hide the coat wall
In a rental where the coat rail is the first thing you see from the sofa, a linen curtain on a tension rod solves it in ten minutes. Pull it across and the winter pile disappears.
Tension rods need two solid opposing walls within about 48 inches and they need to be set dead level, or they creep down over a fortnight. Natural linen or cotton in sand or cream; anything heavy sags the rod. This also works across a shallow alcove to make an instant closet. $
15. The move-out patch kit you buy on day one
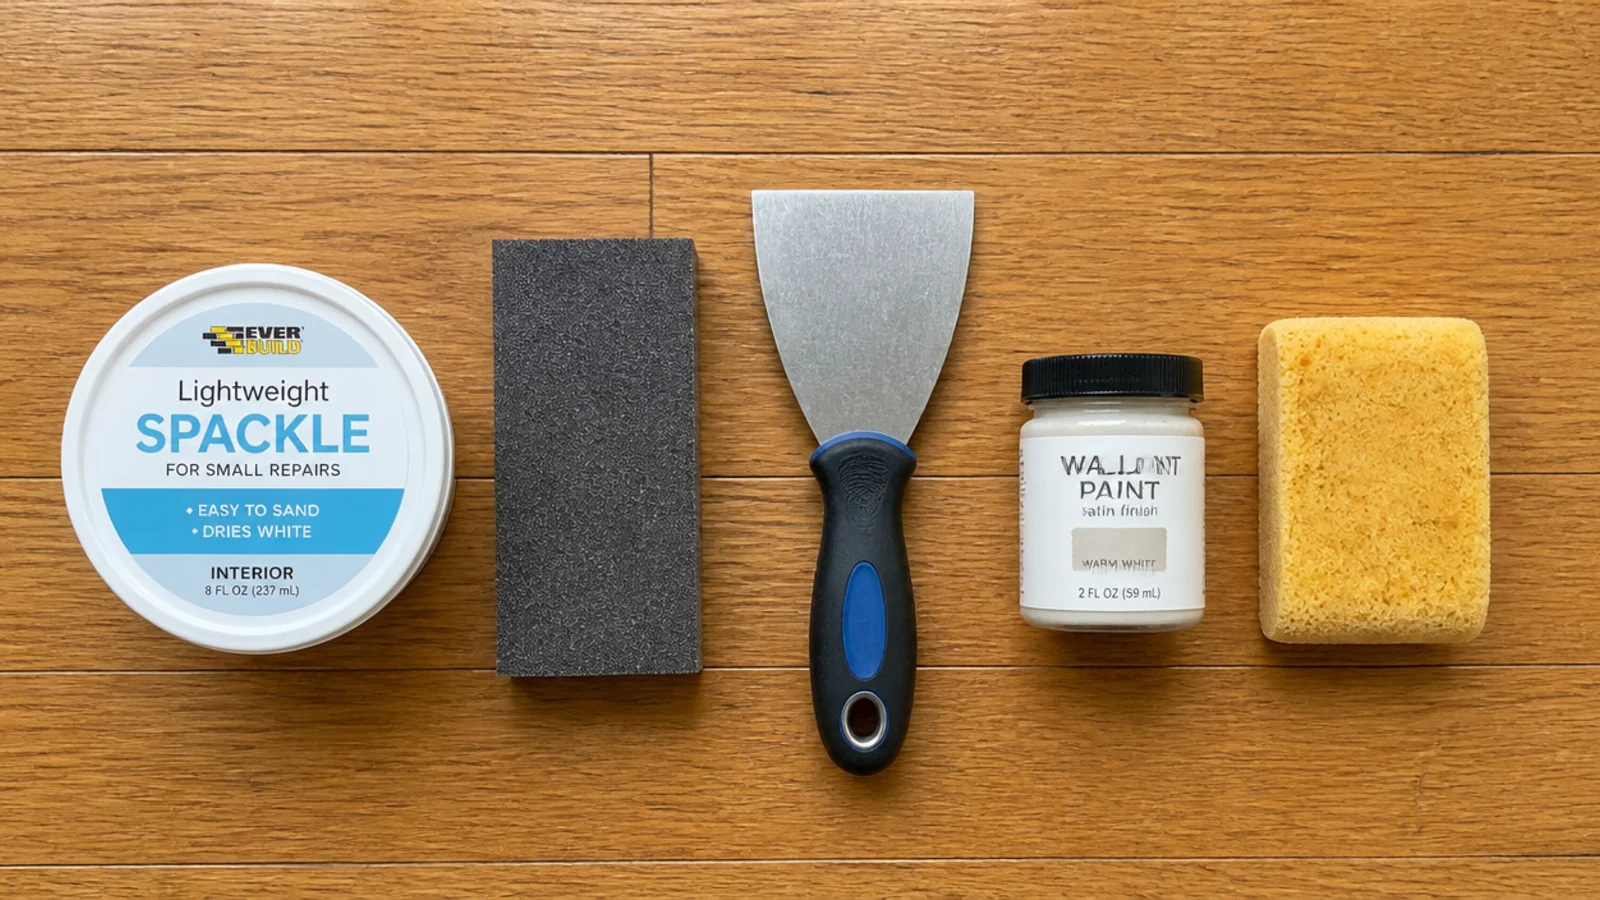
Buy the repair kit at the same time as the hooks, not eighteen months later in a panic. Lightweight spackle, a fine sanding block, a putty knife and a sample pot matched to the wall paint runs about $20 total.
Fill in two thin passes rather than one thick one, because a deep single fill shrinks and dimples as it cures. Sand flush, then feather the touch-up paint outward with a damp sponge instead of a brush edge so there is no visible rectangle. Adhesive strip marks usually need nothing but a wipe. $
Mistakes to Skip
- Trusting adhesive strips with a wet winter coat. The strips are rated for 15 pounds per pair in dry conditions, and they creep rather than fail cleanly, so the rail comes down at 2am.
- Sticking anything adhesive to textured plaster, brick or freshly painted walls. It needs a smooth sealed surface, and fresh paint needs a full three weeks to cure first.
- Filling a deep hole in one thick pass. It shrinks as it dries and leaves a visible dimple that catches side light exactly where the inspector stands.
Frequently asked questions
How much weight can no-drill entryway hooks really hold?
Heavy-duty adhesive strips are honestly rated at about 15 pounds per pair, and a soaked wool coat is 6 to 8 pounds. That means two pairs of strips per rail and two coats maximum, not a family of four. Clean the wall with rubbing alcohol first, press for 30 seconds, and wait a full hour before hanging anything.
Can I lean a mirror in an entryway instead of hanging it?
Yes, and it is the best renter move there is. Lean a full-length mirror against the wall at roughly a 5-degree tilt with felt pads under the feet so it cannot slide on a hard floor. Run one anti-tip strap into the wall if you have children or pets. That is a single small hole against a mirror falling forward.
What entryway wall decor works on plaster or brick?
Adhesive strips fail on textured plaster and brick because they need a smooth, sealed surface to bond to. Go freestanding instead: a coat stand, a leaning ladder, a slim console with a leaning mirror on top. If you must fix something, ask about masonry anchors in writing before you drill, since brick holes cannot be patched invisibly.
How do I patch entryway holes when my lease ends?
Lightweight spackle in two thin passes beats one thick one, because a single deep fill shrinks and dimples as it dries. Sand flush with a fine block, then feather a small touch-up of the original wall paint outward with a damp sponge rather than a brush edge. Adhesive strip marks usually need a wipe and a paint touch-up, nothing more.
What is the cheapest entryway upgrade that actually shows?
A tray and a warm bulb, for under $25 together. One tray with a raised edge stops keys and mail spreading across every surface, and swapping a cool 4000K bulb for a 2700K one makes oak, jute and clay read warm instead of grey. Both take five minutes and neither leaves a mark on anything.
Start with the mirror and the hooks, because those two carry most of the daily load, and leave the pretty layers for after you know how the space actually gets used. For tighter footprints, apartment entryway ideas covers small-scale layouts, entryway ideas on a budget keeps the whole thing under $150, and entryway mirror walls goes deeper on sizing the reflection. Save the pin so the measurements are with you at the hardware store.
Want more like this? Browse all 15 entryway & foyer ideas guides — they all use the same measurements and budget tiers.
Pin it for later
Save this to your Entryway & Foyer Ideas board
Pin it now so it is waiting for you when the tape measure comes out — and so the next person hunting for this idea can find it too.
Save this pinKeep going
More ideas worth saving while you have the tape measure out.