Shoe Cabinet Ideas · Listicle
15 Affordable Shoe Cabinet Ideas for Renters

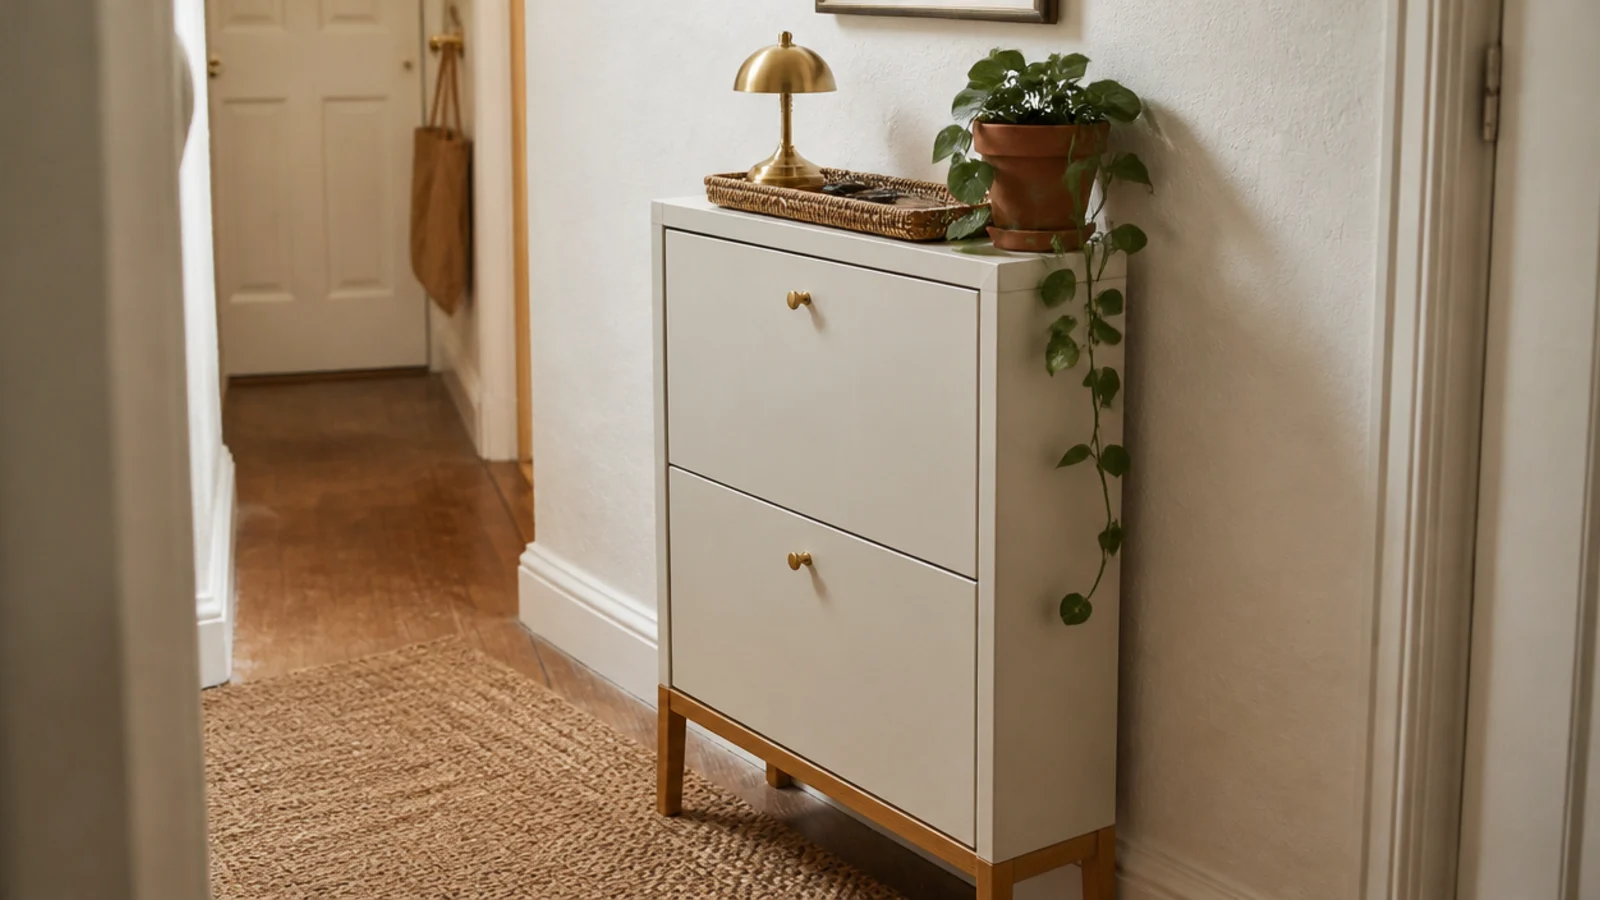
Shoe cabinet decor is the part renters talk themselves out of, usually because every version they have seen involves four anchors and a landlord conversation. It does not have to. Everything below stands on its own feet, comes apart for a moving van, and names the depth, the height or the dollar figure that makes it work. I have done this in four rentals and never lost a cent of deposit to it.
In this guide17 sections — tap to openHide
- 1.Where shoe cabinet decor pays off in a rental
- 2.Choose a freestanding tilt-out over a wall unit
- 3.Weight it low instead of anchoring it
- 4.One tray on top and everything small lands in it
- 5.Lean the mirror rather than hanging it
- 6.A small warm lamp beats the ceiling light
- 7.Peel-and-stick fronts you can take back off
- 8.Swap the knobs and bag the originals
- 9.Lay a solid timber top over the laminate one
- 10.Drill vent holes in the back panel
- 11.A boot tray on the floor for the wet pairs
- 12.A lidded basket for gloves leashes and hats
- 13.A runner that marks the drop zone
- 14.Adhesive hooks above, rated honestly
- 15.A leaning ladder beside it for the overflow
- 16.Three objects on top, then stop
- 17.Mistakes to Skip
Where shoe cabinet decor pays off in a rental
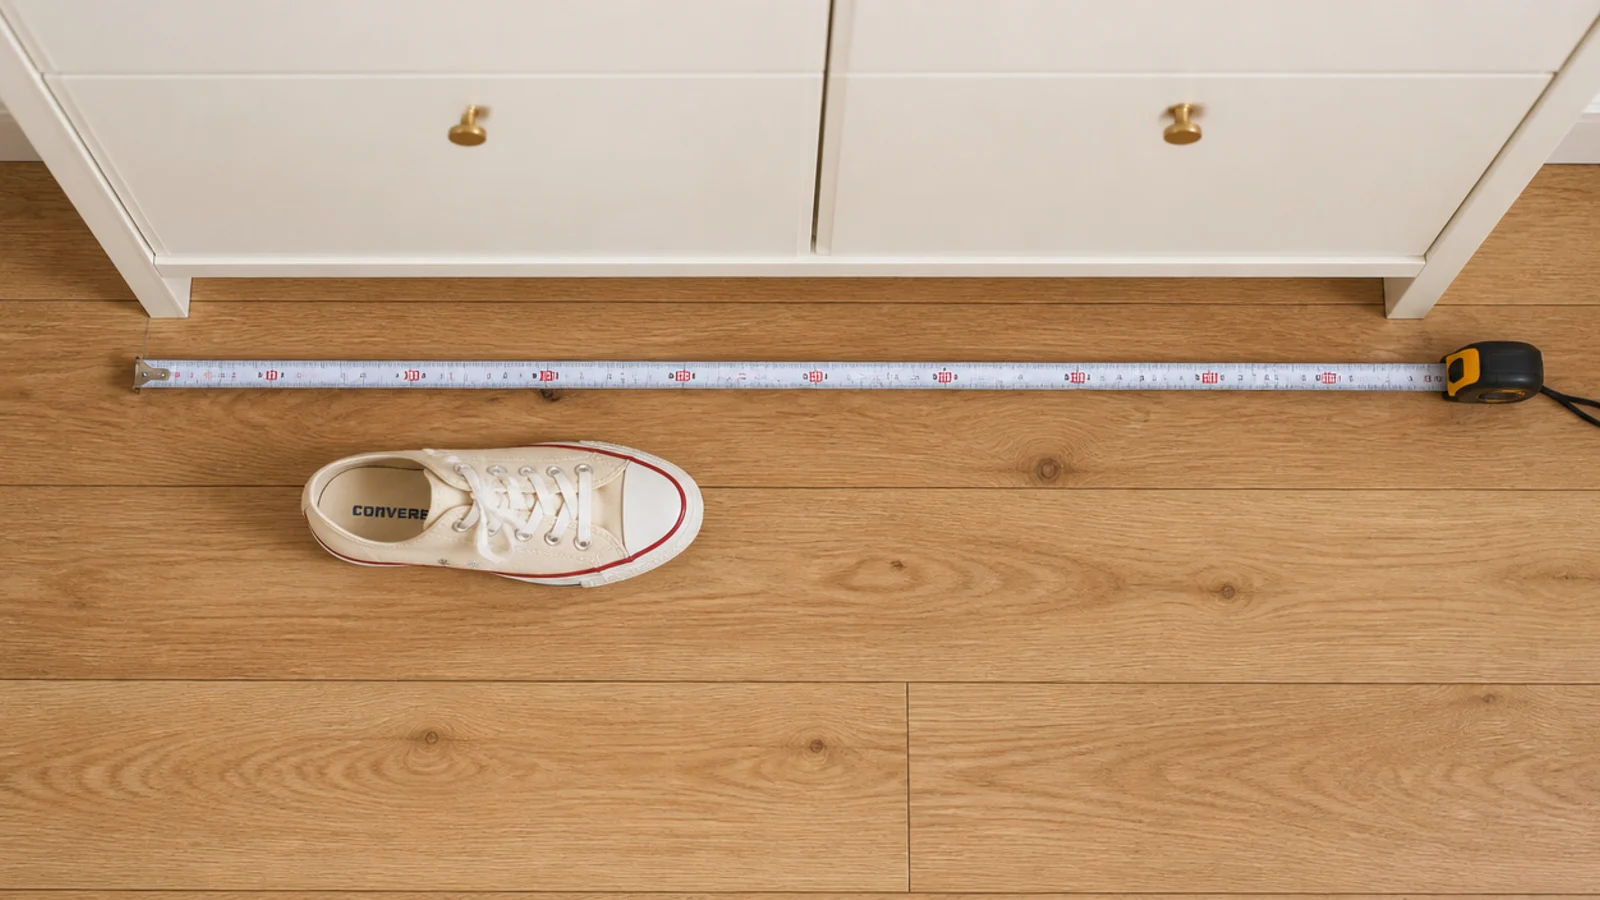
Start with the hallway, not the cabinet. Stand where you take your shoes off and measure from the wall to the nearest thing you walk around. You want 36 inches of clear walkway left once the cabinet is in place, and you want it after the drawer swings open, not before.
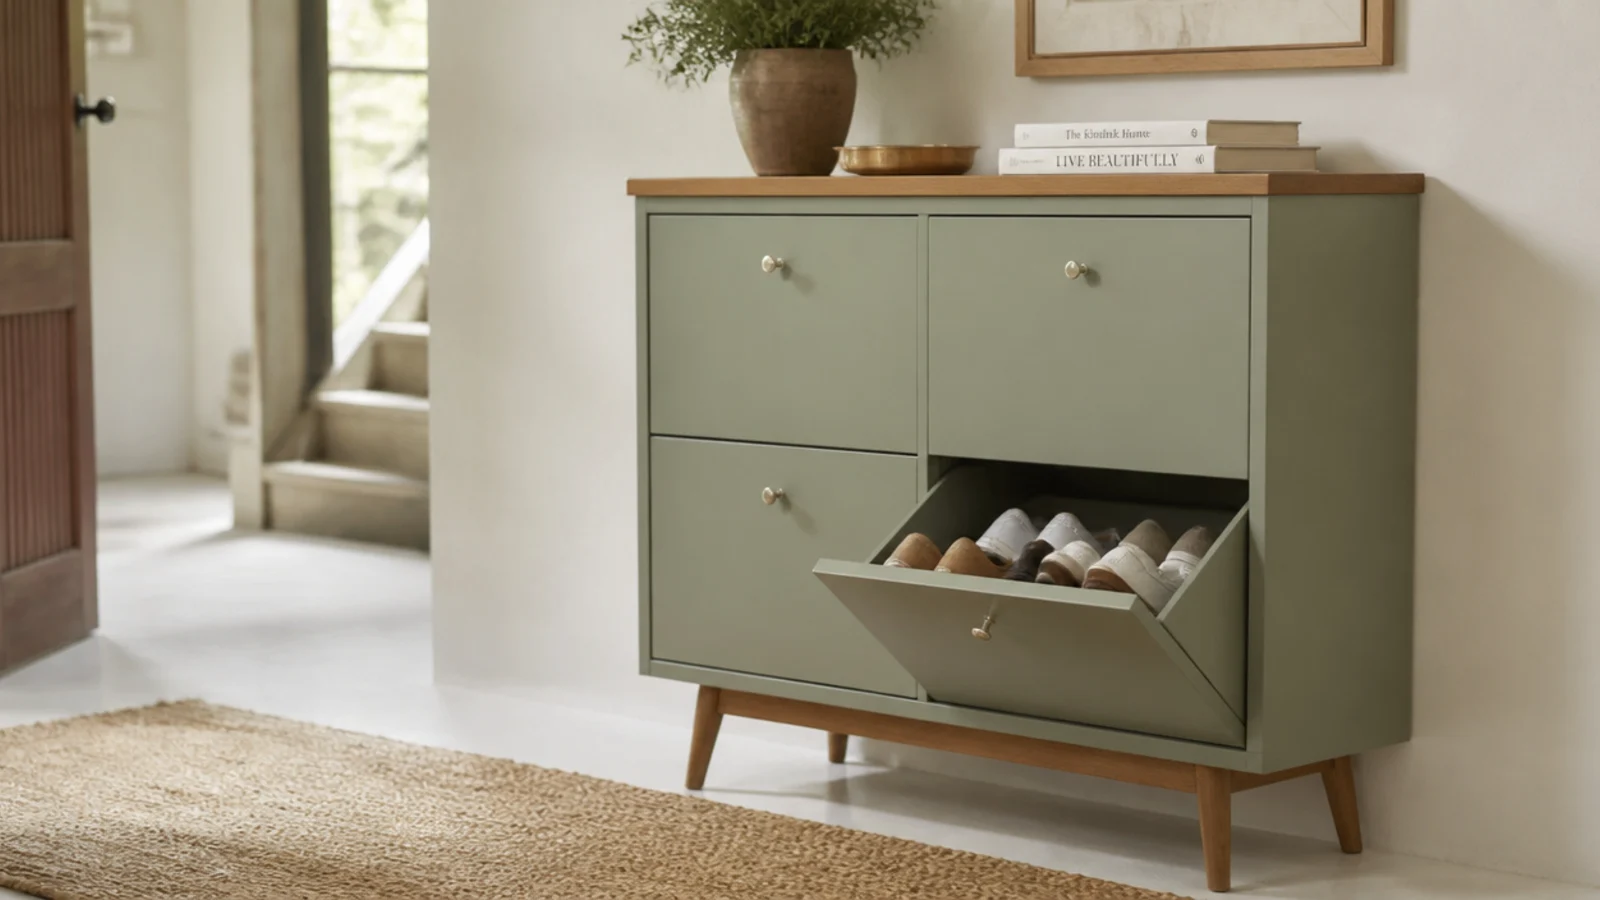
Then measure your largest shoe. A men's size 12 sneaker runs about 12.5 inches long, which means a cabinet with flat internal shelves needs 13 inches of depth. Tilt the same shoe to 45 degrees inside a drawer and 9 inches is enough. That four-inch gap is the whole reason tilt-out cabinets fit halls where flat-shelf units simply cannot.
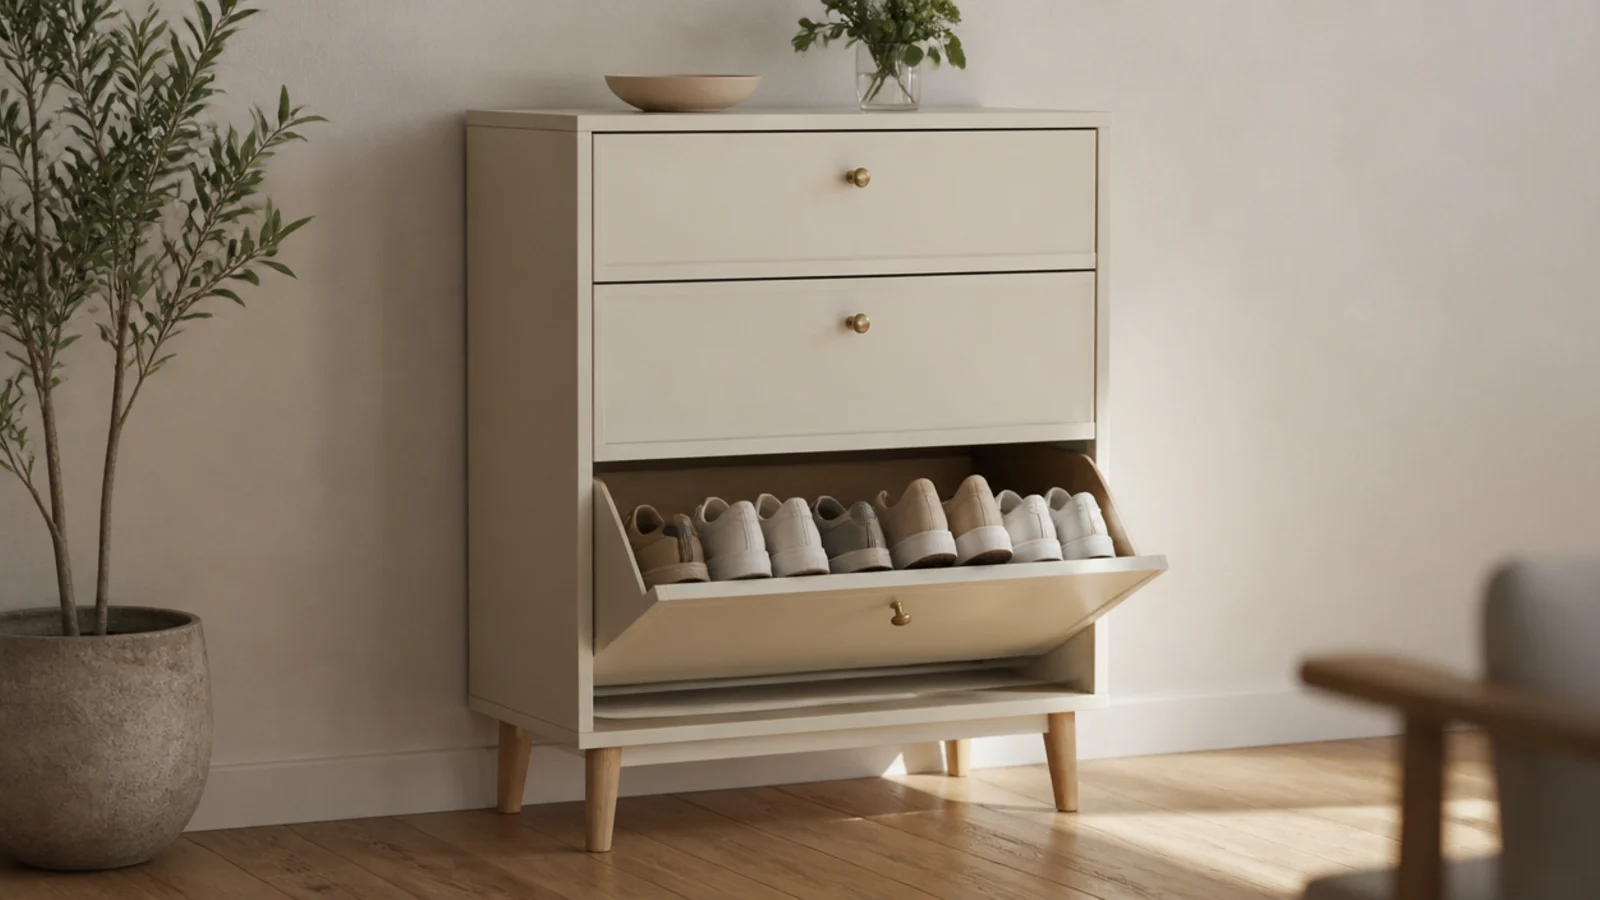
Two more numbers matter in a rental. Anything over 40 inches tall genuinely wants a wall strap, so shopping under that height keeps you honest and hole-free. And each tilt-out drawer holds six to eight pairs of flats and sneakers — no boots, ever, so plan somewhere else for those.
Budget tiers below: $ under $80, $$ $80–$200, $$$ $200 and up.
1. Choose a freestanding tilt-out over a wall unit
The cabinets in every showroom photograph are wall-hung, and they are the wrong purchase for a lease. A freestanding tilt-out does the same job standing on the floor.
Look for one under 40 inches tall on visible legs — the gap underneath makes a narrow hall read wider and lets a vacuum pass. Two or three drawers at 9 inches deep hold six to eight pairs each. Check the hinge before anything else: soft-close matters here because these get shut with a foot, every day, by everyone. Expect $90 to $180 for a decent one. $$
2. Weight it low instead of anchoring it
A cabinet you cannot screw to the wall has to earn its stability. The method is unglamorous and it works.
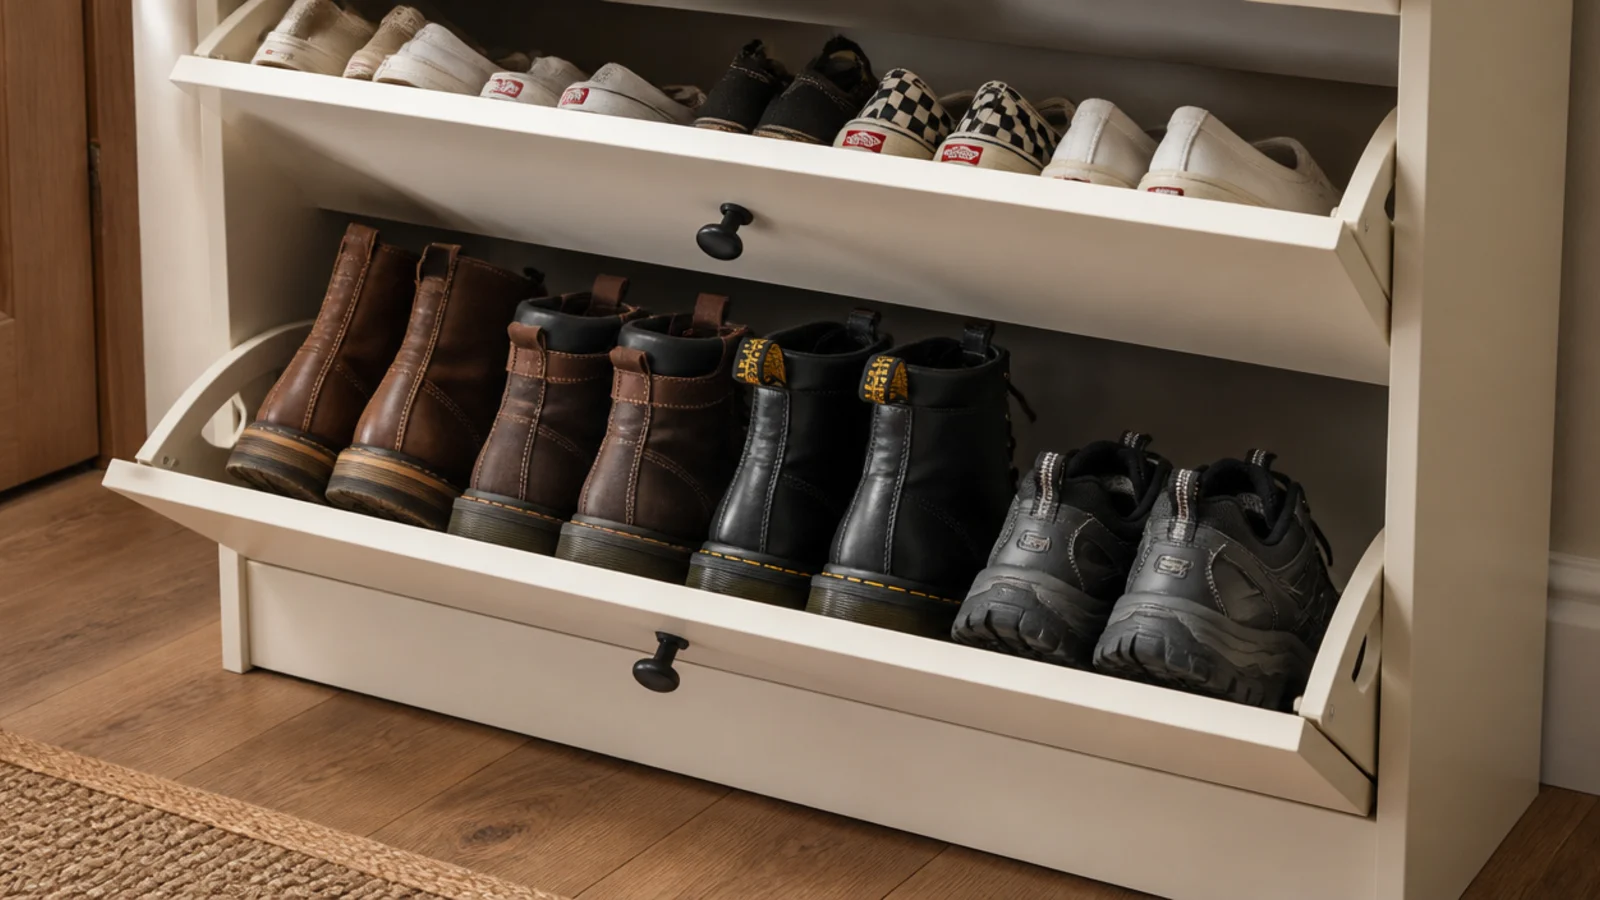
Heaviest shoes go in the bottom drawer and never the top one. Then cut a rubber grip mat, the kind sold under rugs, to the footprint and slide it beneath the base — it costs about $8 and stops the whole unit walking forward when someone yanks a drawer. If there is a toddler or a large dog in the house, accept one anti-tip strap anyway. A single filled hole is a 30-second job on move-out day. $
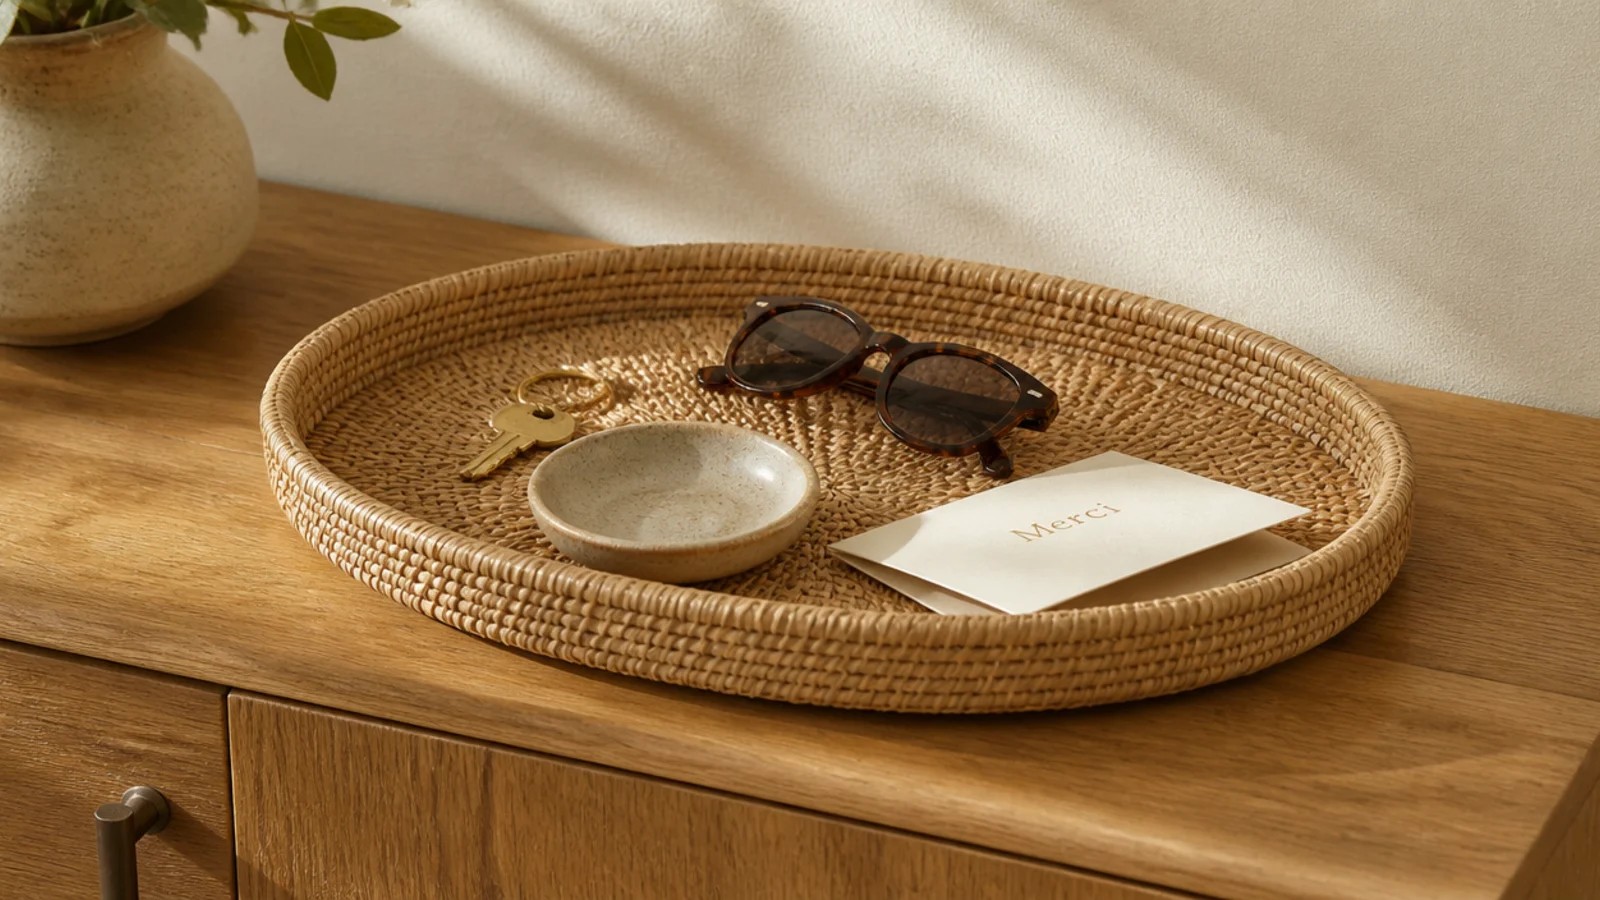
3. One tray on top and everything small lands in it
The top of a shoe cabinet turns into a mail pile within a week unless something with a raised edge claims it first.
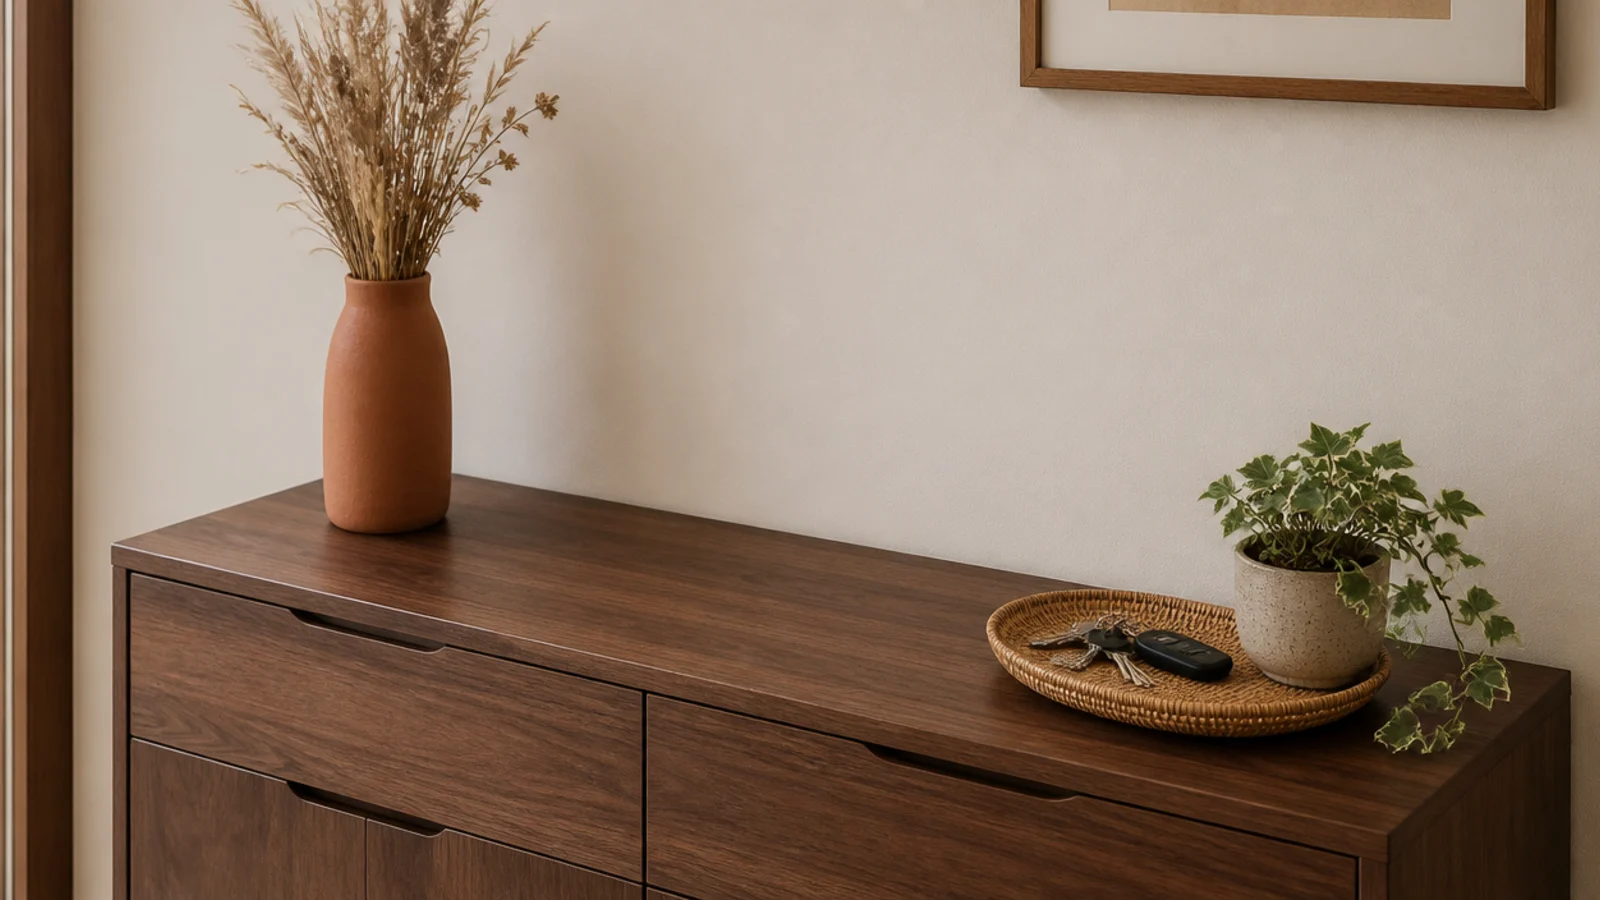
Use a tray 12 to 16 inches wide in rattan, dark stoneware or a lipped brass finish. Keys, sunglasses, a transit card, the dog tag — inside the tray, none of it loose on the wood. The raised lip is the entire mechanism, which is why a flat board does nothing. It is the cheapest decision here at $15 to $30, and it is the one that keeps every other styling choice visible. $
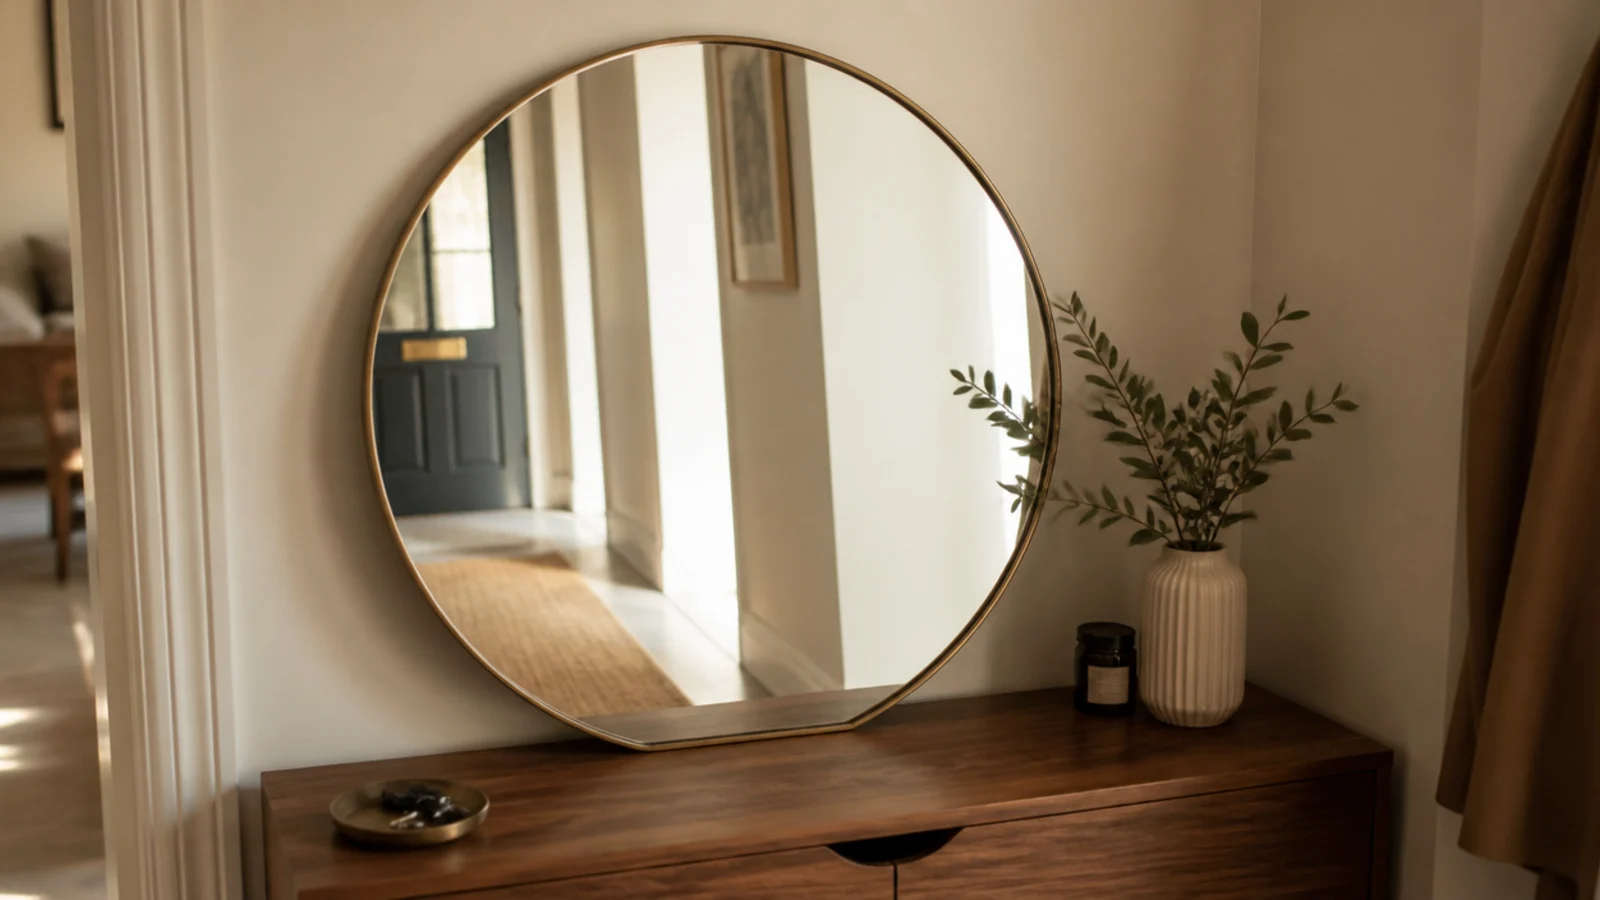
4. Lean the mirror rather than hanging it
A mirror above the cabinet doubles the light in a dark hall and gives you the last-look moment before you leave. Leaning means no anchors at all.
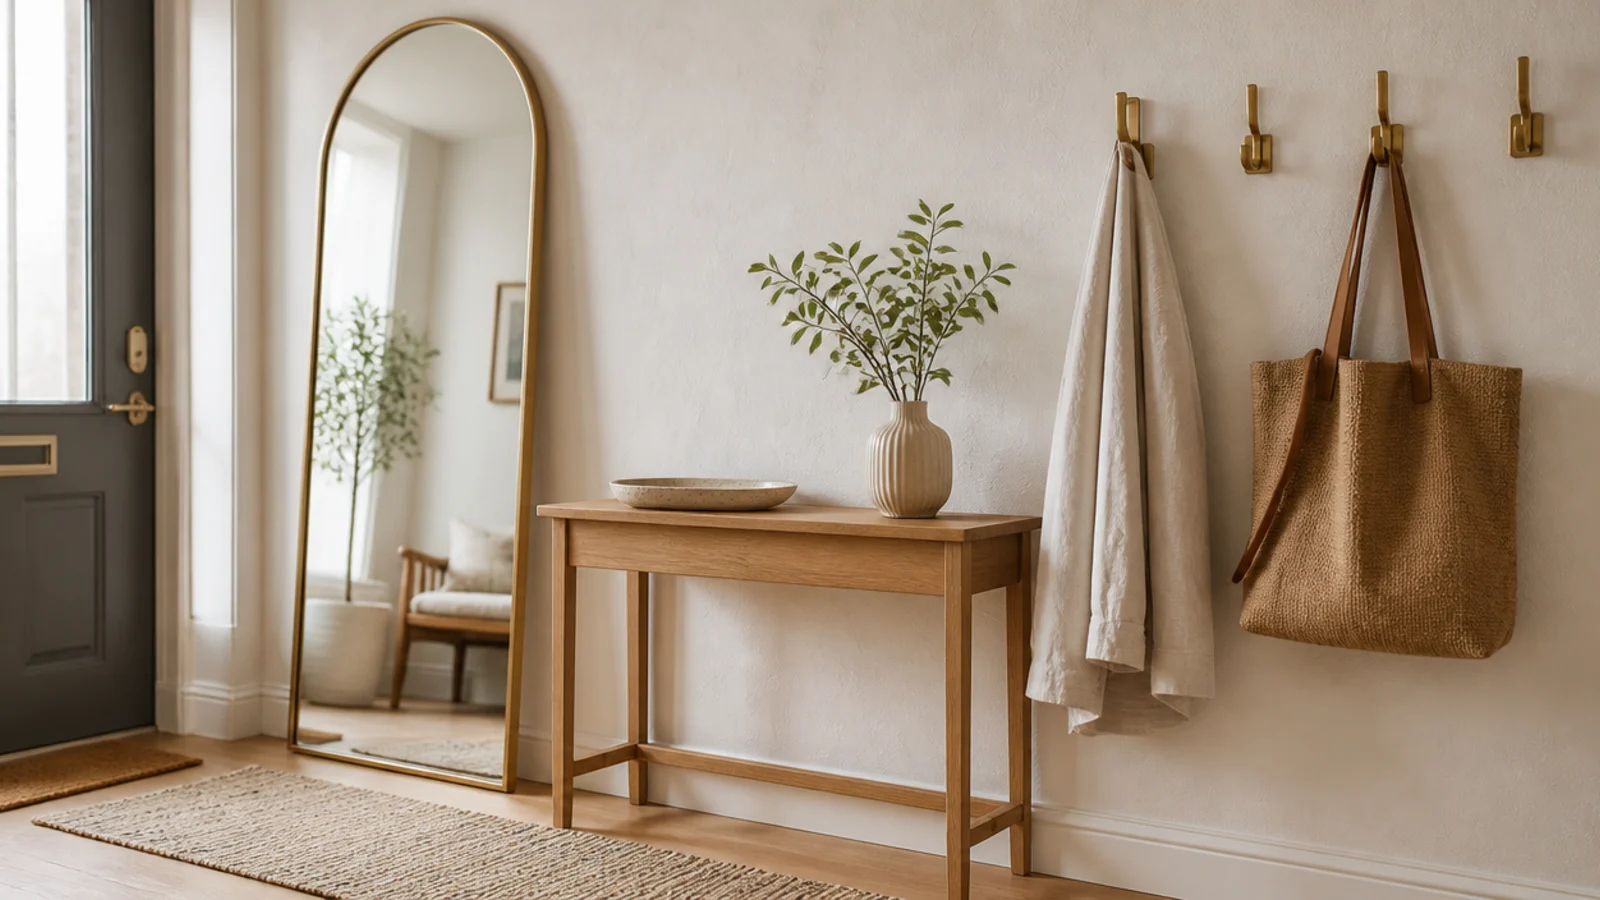
Choose one 28 to 36 inches wide with a flat bottom rail and a shallow frame, and rest it on the cabinet top with the base pushed 2 inches back from the front edge. A strip of clear silicone bumper under the frame stops it sliding. Anything over 30 pounds still gets one wall hook — a leaning mirror that tips forward is a genuine hazard. More on the pairing in shoe cabinets with mirrors. $$
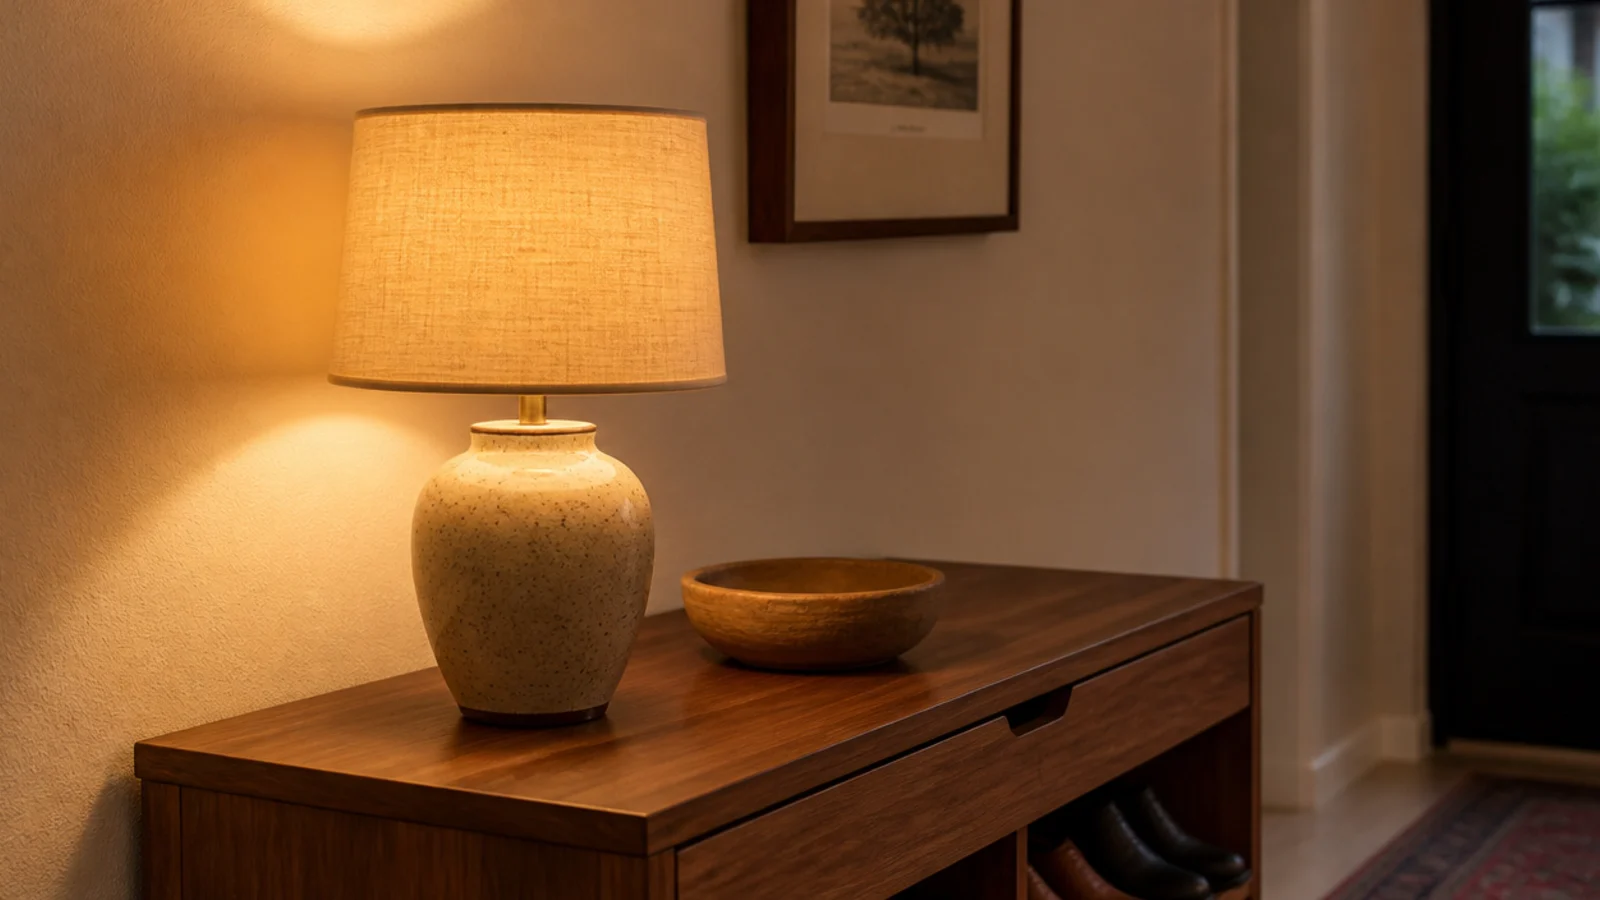
5. A small warm lamp beats the ceiling light
Most rental hallways have one cold overhead fitting and nothing else. A small lamp on the cabinet top changes the room more than anything you could buy for the walls.
Use a 2700K bulb. Cooler bulbs turn warm oak grey and make terracotta look dusty, which is why a carefully styled hallway can still read flat. A compact ceramic lamp with a linen shade runs $30 to $60, and a rechargeable version with no trailing cord is worth hunting for in a hall with one badly placed outlet. $–$$
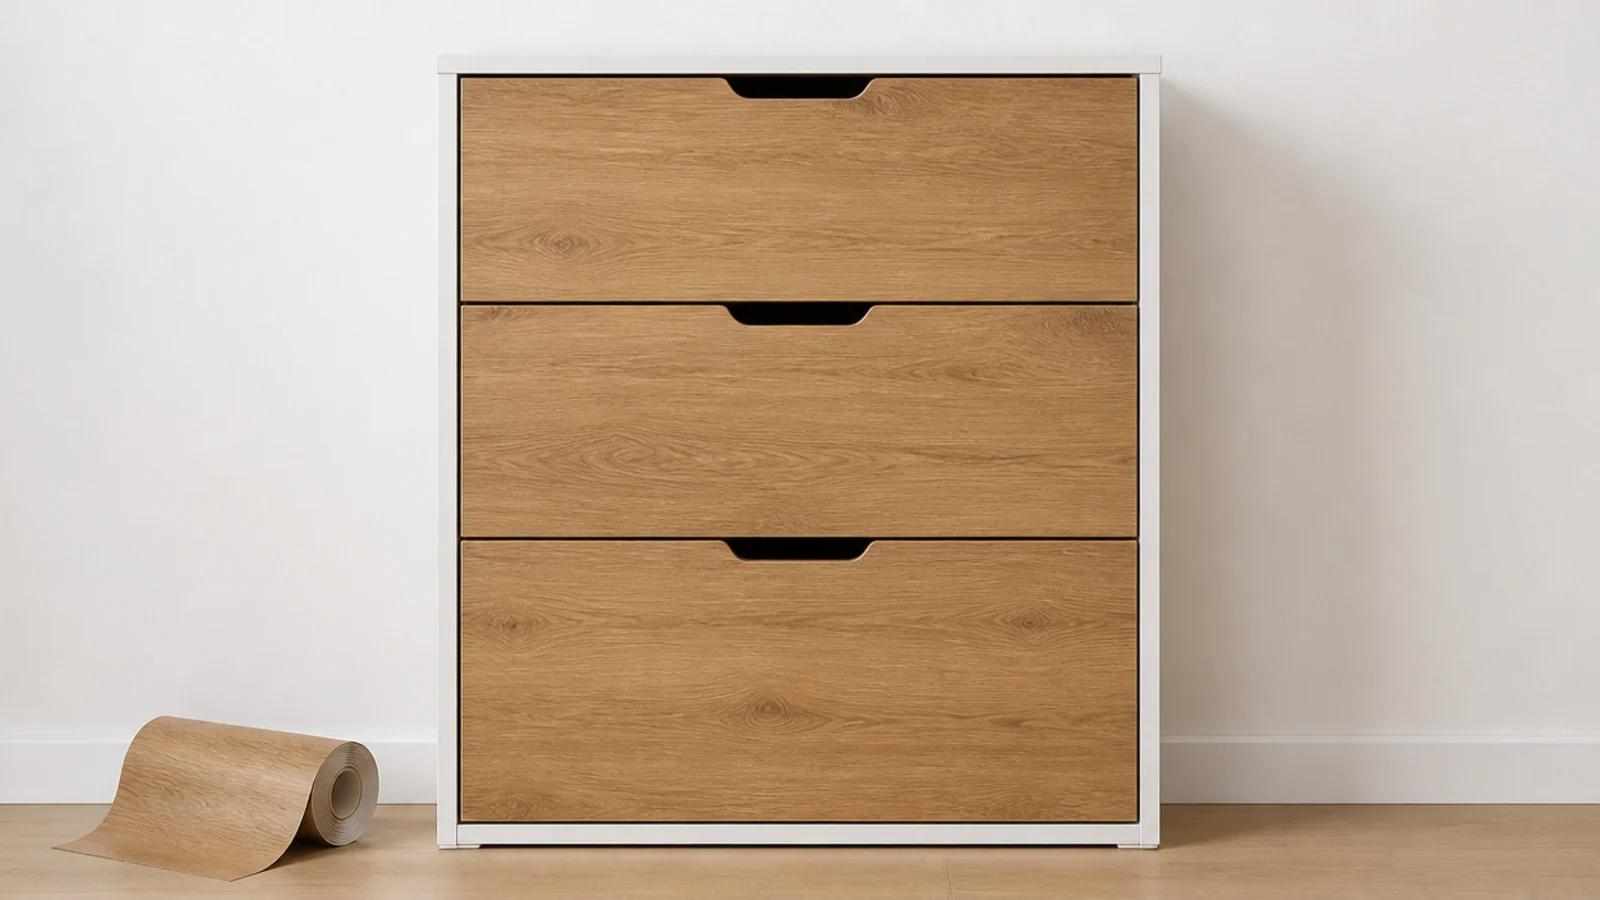
6. Peel-and-stick fronts you can take back off
A plain white flat-pack cabinet is a blank you are allowed to change, because it is your furniture rather than the landlord's wall.
Adhesive wood-effect or matte color film costs $20 to $40 a roll and covers three or four drawer fronts. Clean the faces with rubbing alcohol, apply from the centre outward with a plastic squeegee, and trim with a fresh blade against a steel rule. Warm oak and muted sage read expensive; high-gloss anything reads exactly like what it is. Peel it off with a hair dryer on low when you leave. $
7. Swap the knobs and bag the originals
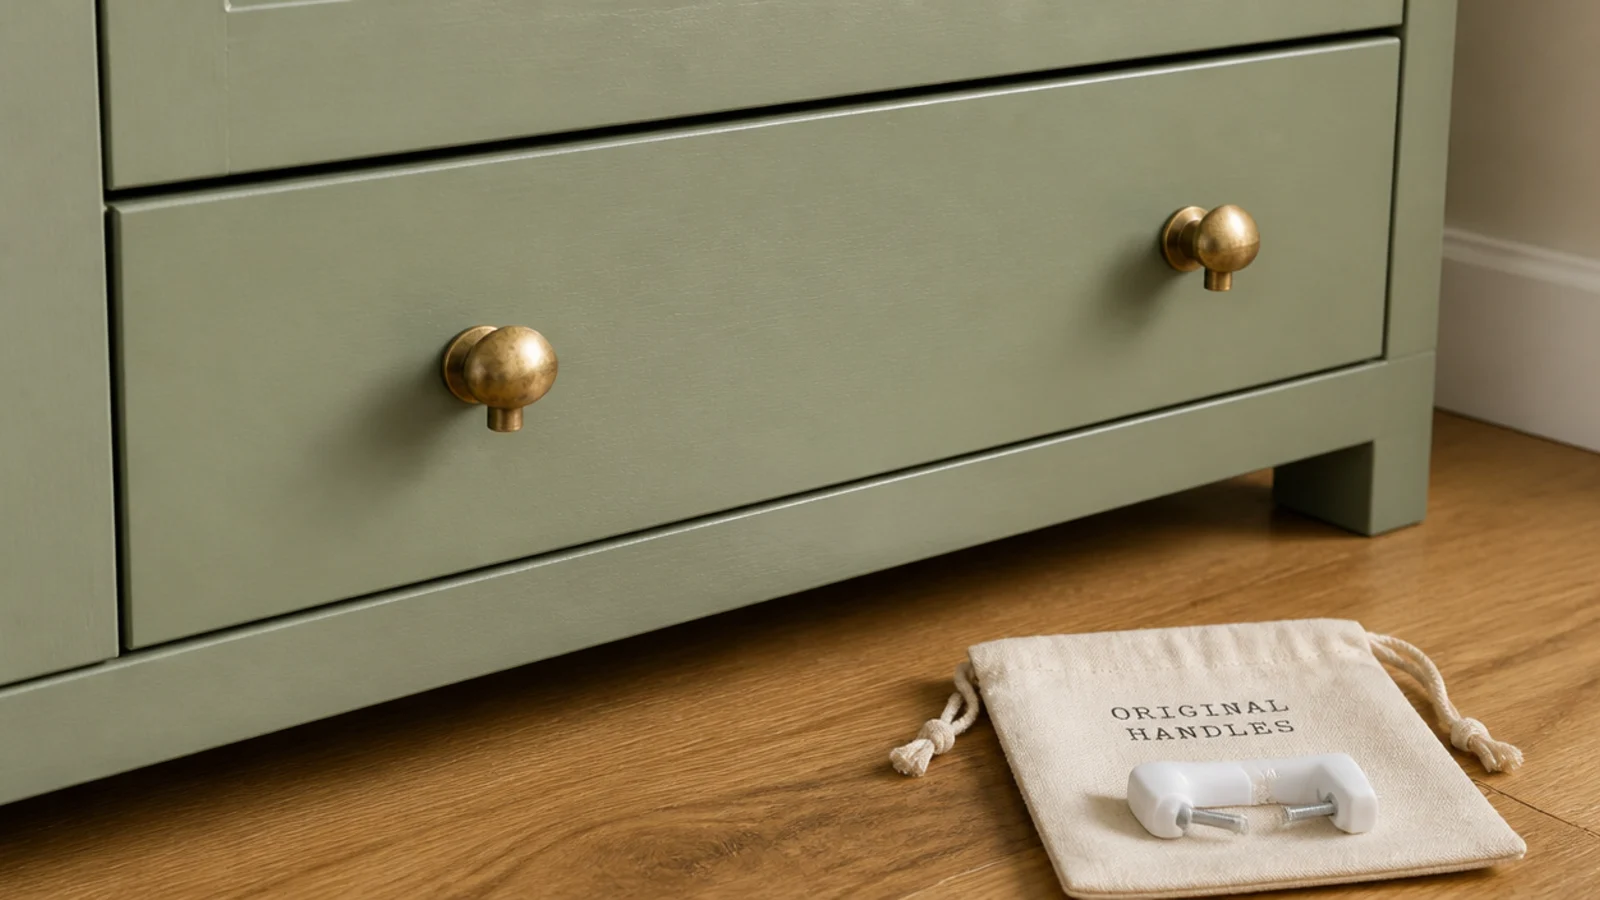
Hardware is the fastest upgrade in this whole article and the easiest to reverse. Two aged brass knobs turn a builder-basic cabinet into something that looks chosen.
Measure the existing hole spacing before buying — single-hole knobs fit almost anything, pull handles do not. Budget $4 to $12 per piece. Then put the original handles and their screws in a labelled bag taped inside the cabinet, because you will not remember where they went in two years and the next tenant deserves them back. $
8. Lay a solid timber top over the laminate one
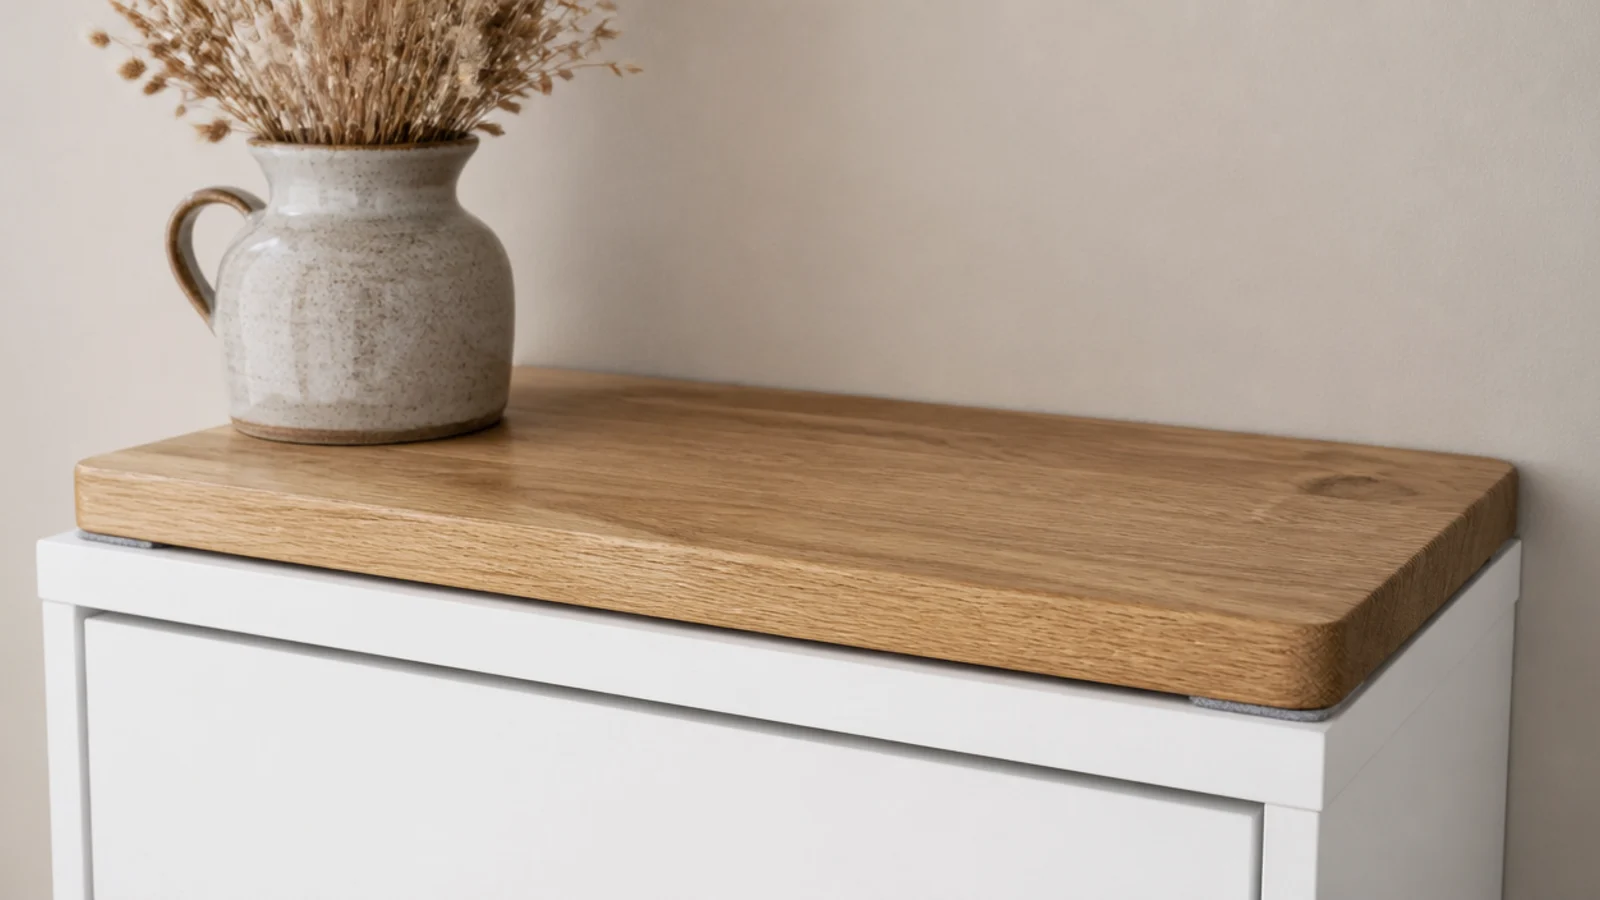
The lid of a budget cabinet is usually the cheapest surface on it, and it is the one part you look at daily.
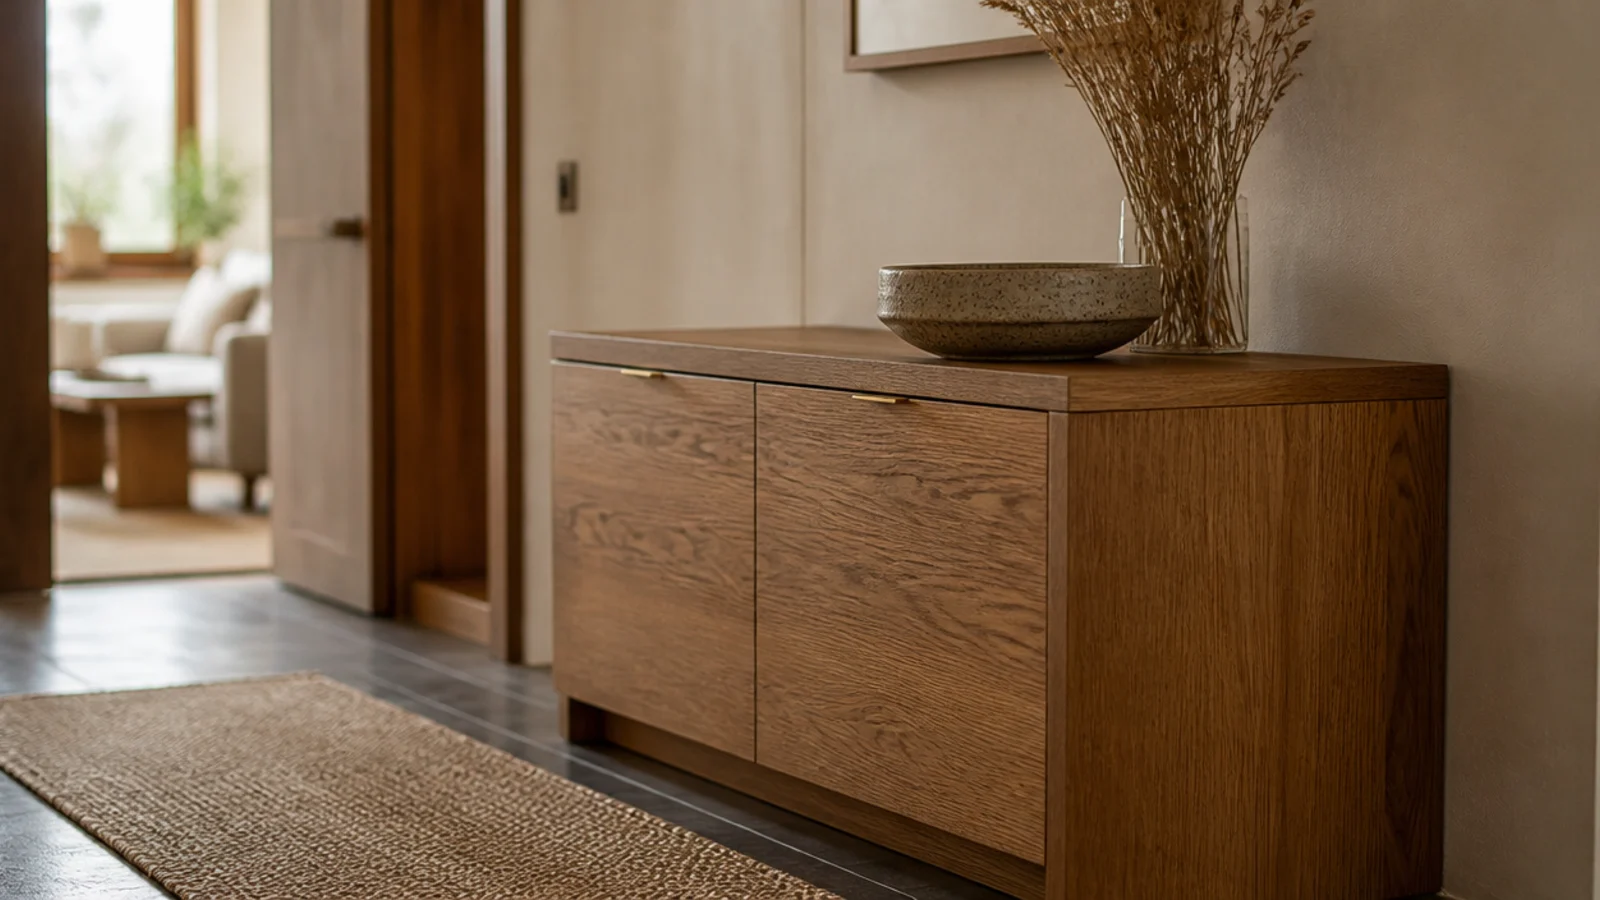
Cut or buy a solid oak or walnut board an inch longer and half an inch wider than the lid, sand the edges soft, and simply set it on top over four felt pads. No screws, no glue, nothing permanent. The extra overhang creates a shadow line that reads like real furniture. A board this size runs $35 to $70, and it lifts off in one motion when you move. $–$$
9. Drill vent holes in the back panel
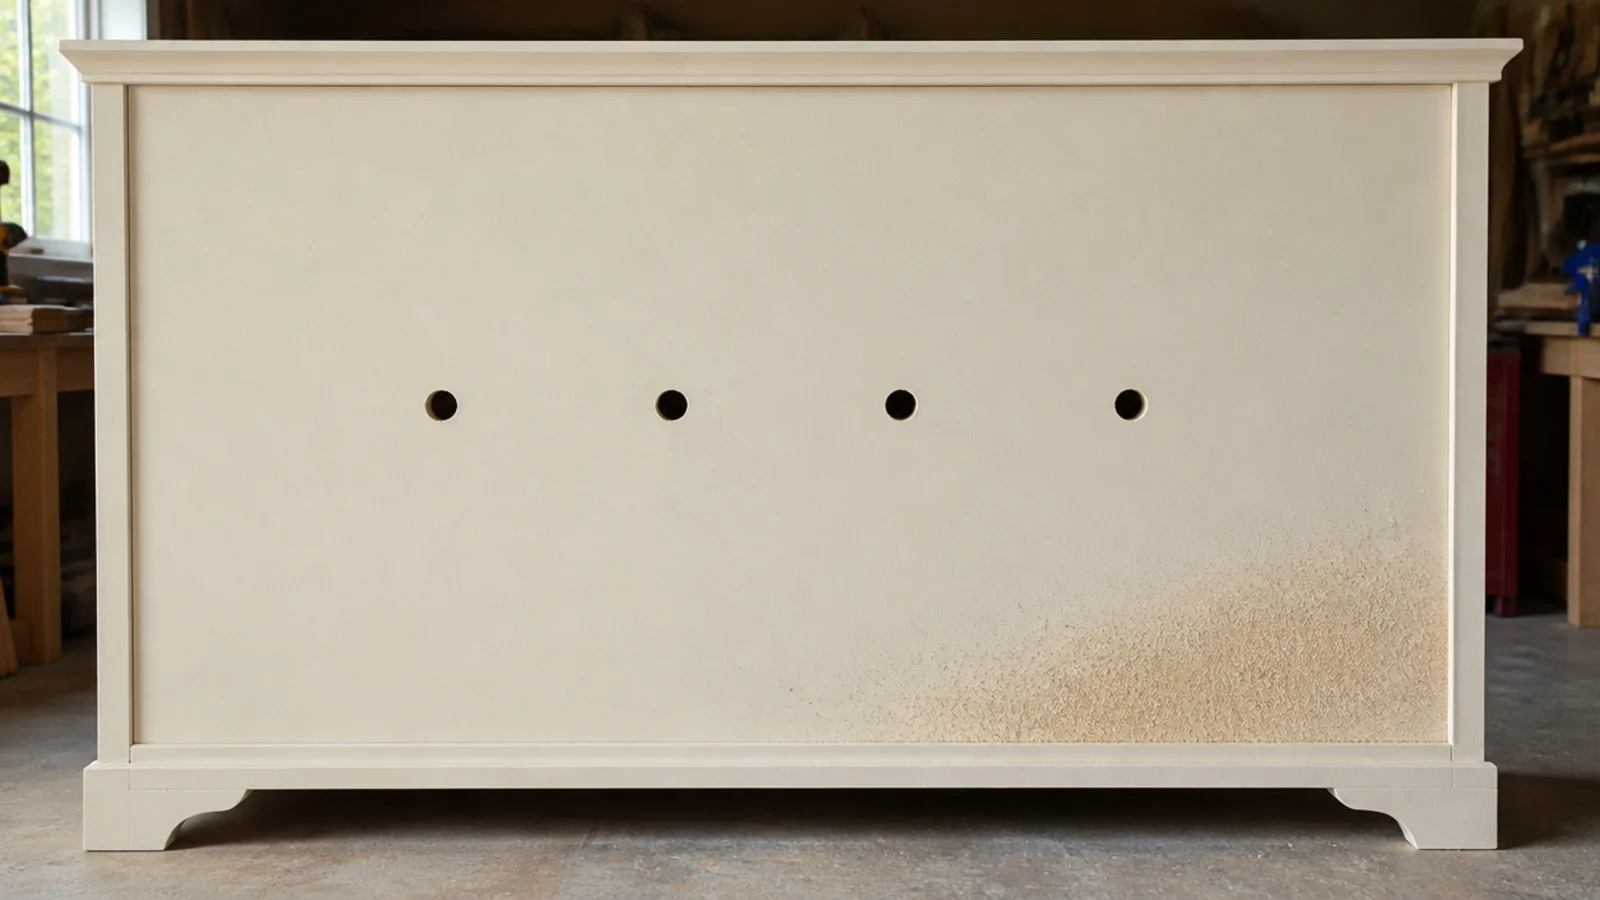
A closed cabinet with no airflow is a humidity box, and that is the actual source of the smell people blame on the shoes.
Drill four one-inch holes through the back panel in a horizontal row, roughly level with the middle of each drawer. Use a spade bit with scrap wood clamped behind so the board does not tear out. If the cabinet has a solid door instead of drawers, a slatted or cane-fronted replacement panel does the same job. This costs nothing beyond a drill bit and it is the single most useful modification here. $
10. A boot tray on the floor for the wet pairs
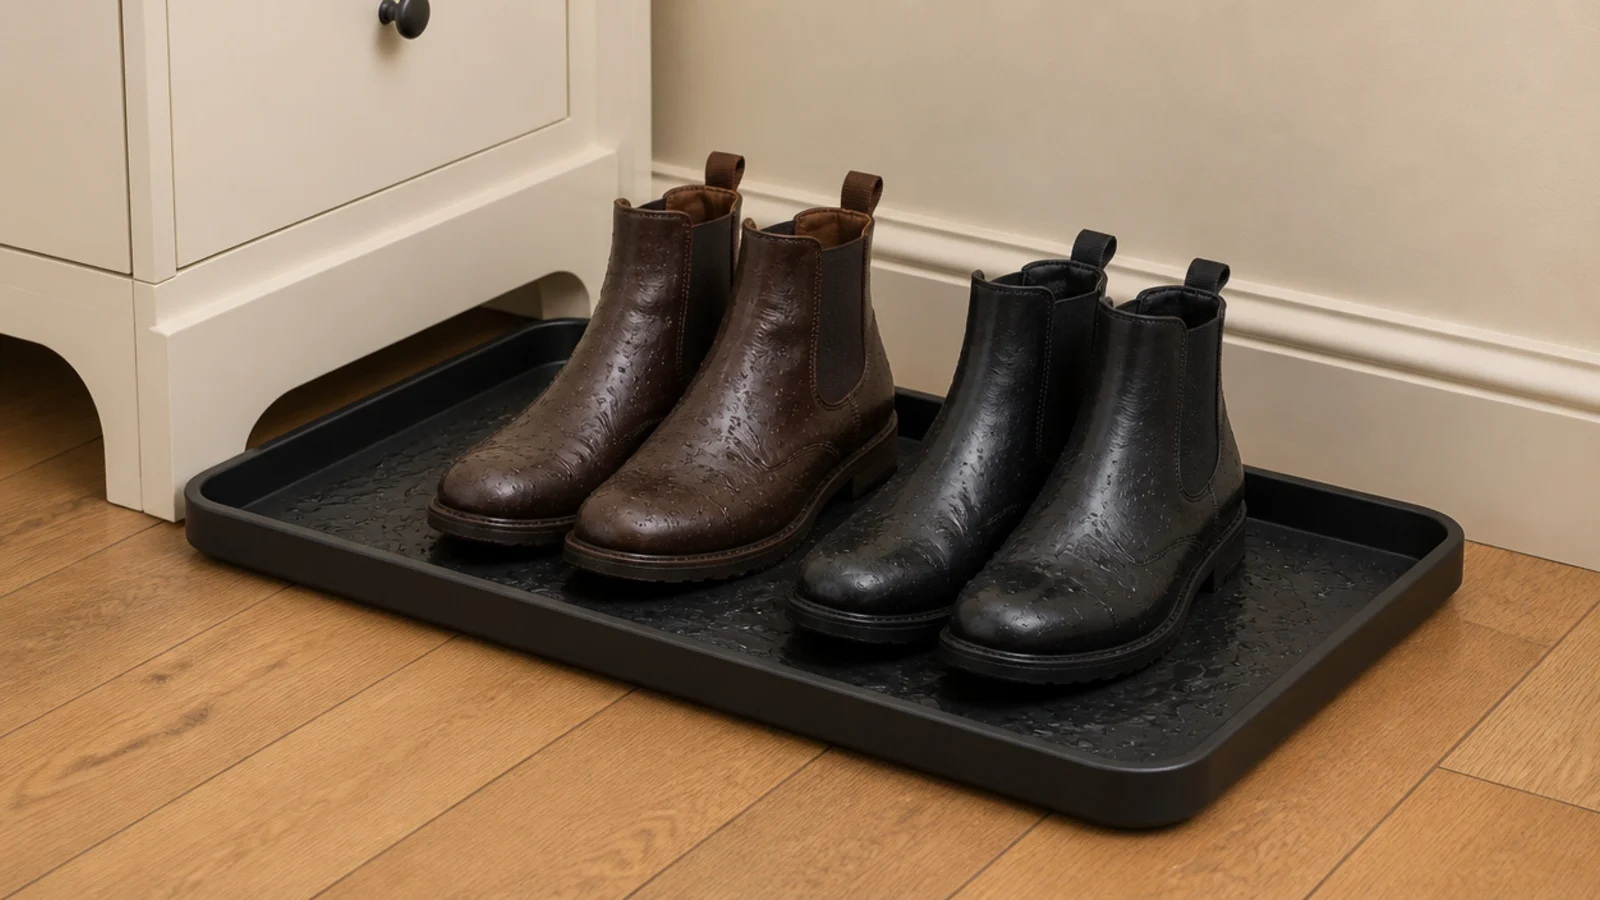
No damp shoe goes into a closed cabinet, ever. Trapped moisture is what makes the whole unit smell, and it transfers to every pair beside it within a day.
Set a raised-lip tray at least 15 inches deep on the floor next to the cabinet, in metal or heavy rubber rather than the thin plastic that cracks in cold weather. It holds two adult pairs. This one $20 item prevents most of the damp-hallway problems people spend money trying to fix with sprays. $
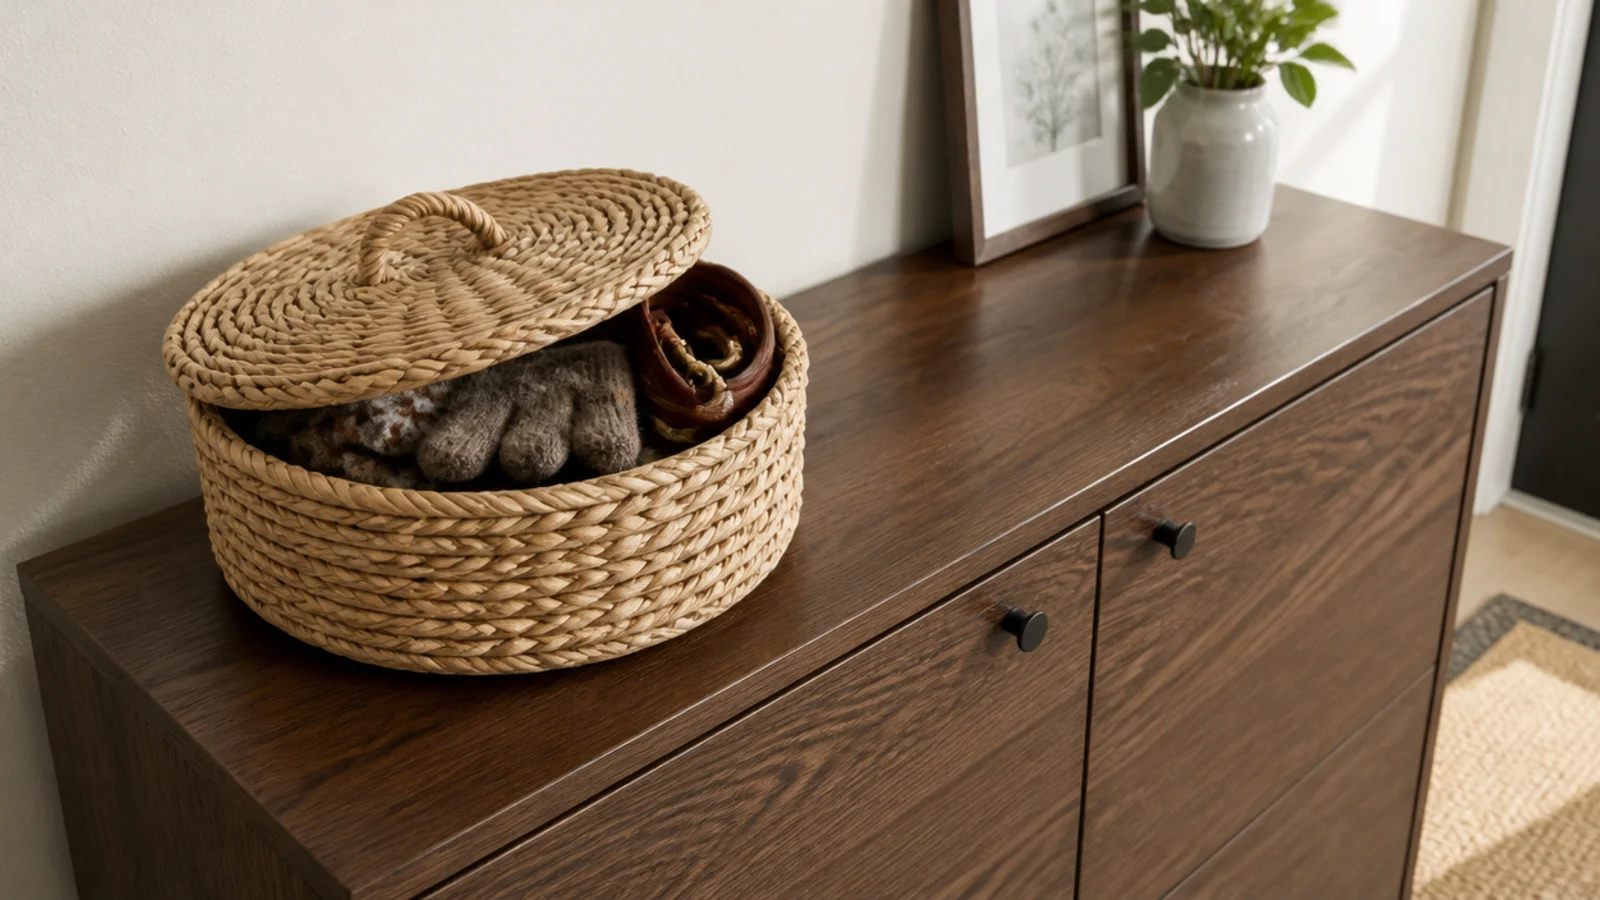
11. A lidded basket for gloves leashes and hats
The seasonal stuff that lives by the door has nowhere obvious to go, so it colonises the cabinet top and cancels out everything else on it.
A round lidded seagrass basket, 10 to 14 inches across, holds gloves, a leash, a folded cap and the spare mask. The lid is the point — an open basket reads as clutter contained, a closed one reads as one calm shape. Put it at the end of the cabinet furthest from the door so it never blocks the sightline down the hall. $
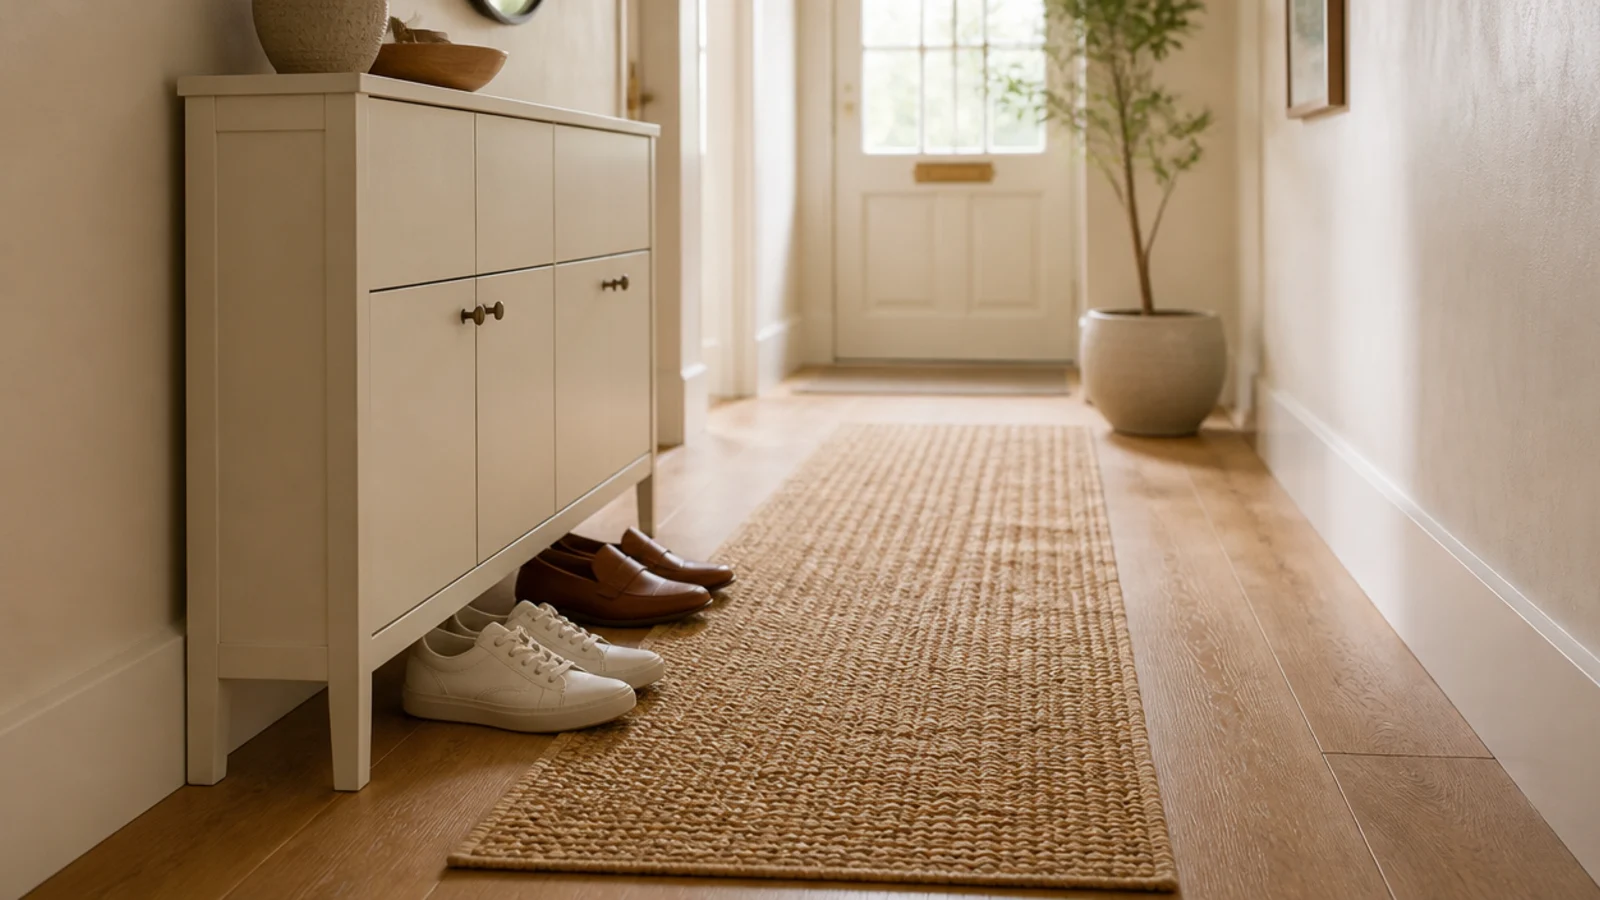
12. A runner that marks the drop zone
A narrow rug in front of the cabinet does two jobs: it protects a rental floor from grit, and it tells everybody where shoes come off without anybody saying it.
Flatweave jute or a low-pile wool at 2 by 6 feet suits most halls. Keep it low-pile so the cabinet drawers clear it — a thick rug that fouls a drawer front is a daily irritation. Add a thin non-slip pad underneath, which also protects the floorboards you would rather not be charged for. $–$$
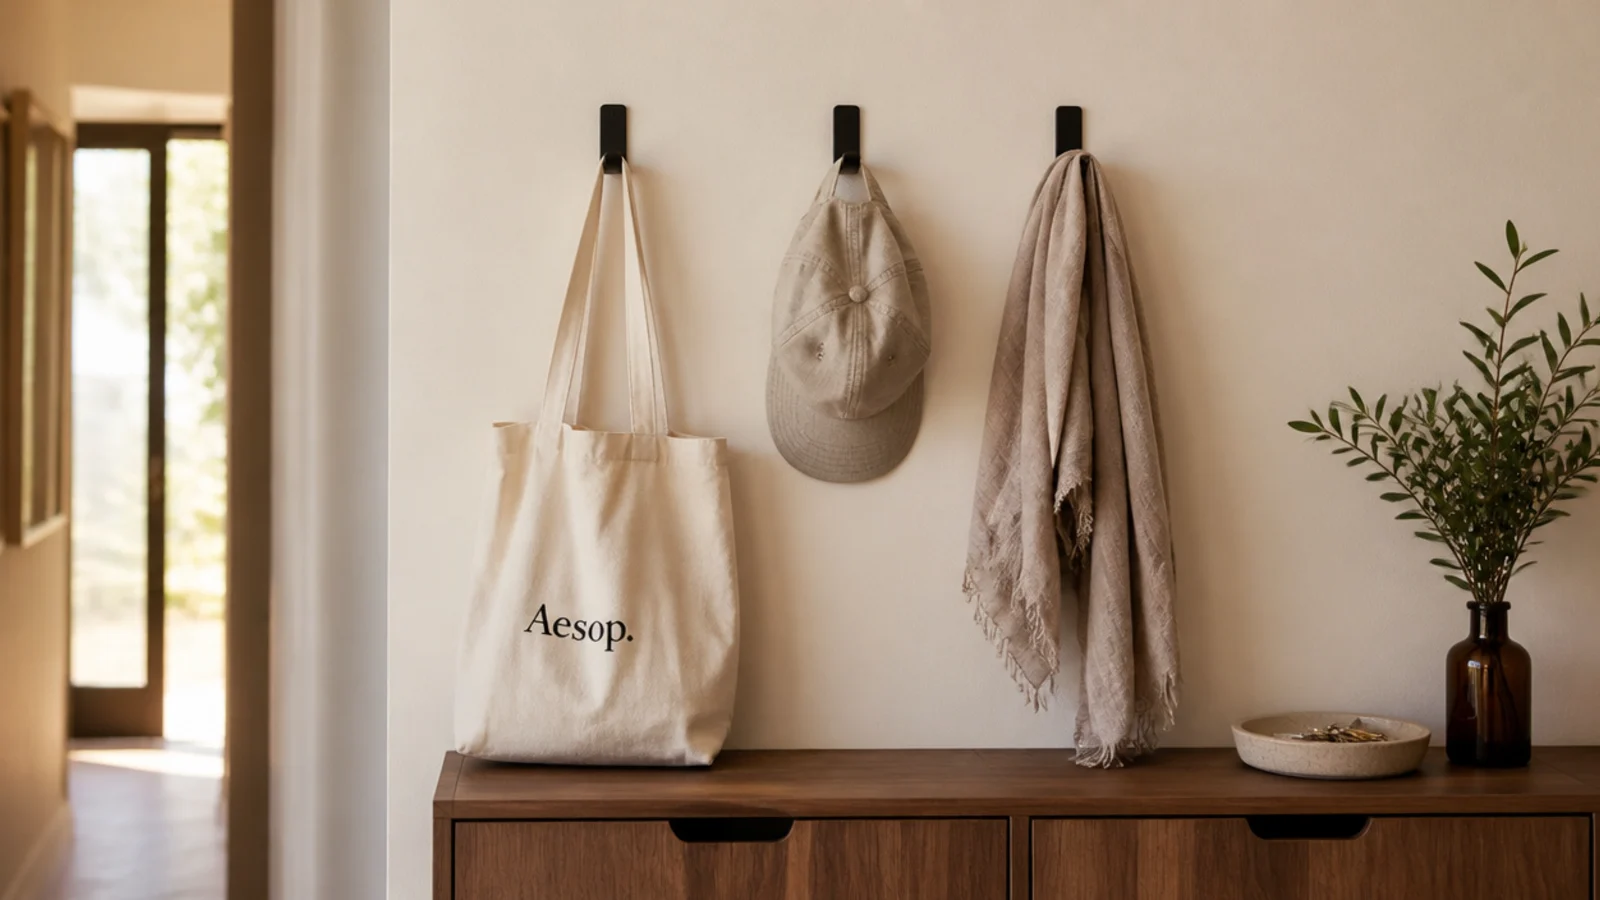
13. Adhesive hooks above, rated honestly
Hooks above the cabinet catch the tote and the cap so they never land on the top surface. The trick is believing the weight rating rather than hoping.
Heavy-duty adhesive hooks carry about 5 pounds each in practice — a canvas tote, a linen cap, a light scarf. Not a wet wool coat, not a backpack with a laptop in it. Test one on a hidden patch of paint first, because flat builder-grade paint peels off with the adhesive. Mount them 14 inches above the cabinet top so bags hang clear. $
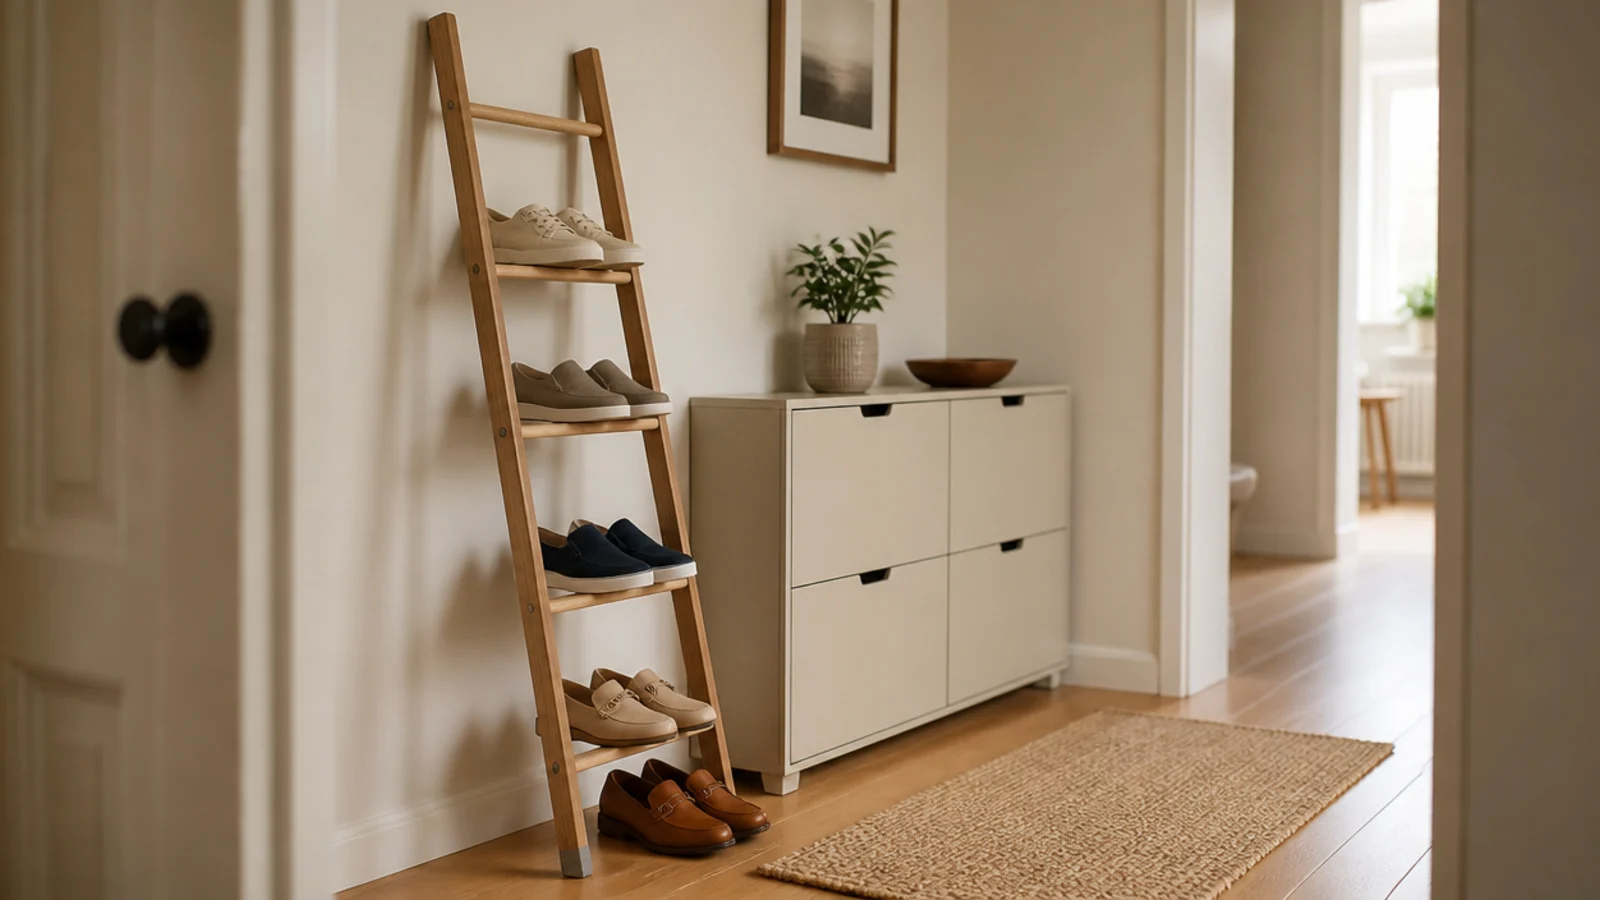
14. A leaning ladder beside it for the overflow
When the cabinet is full and the pile has restarted, the honest answer is more capacity rather than better discipline.
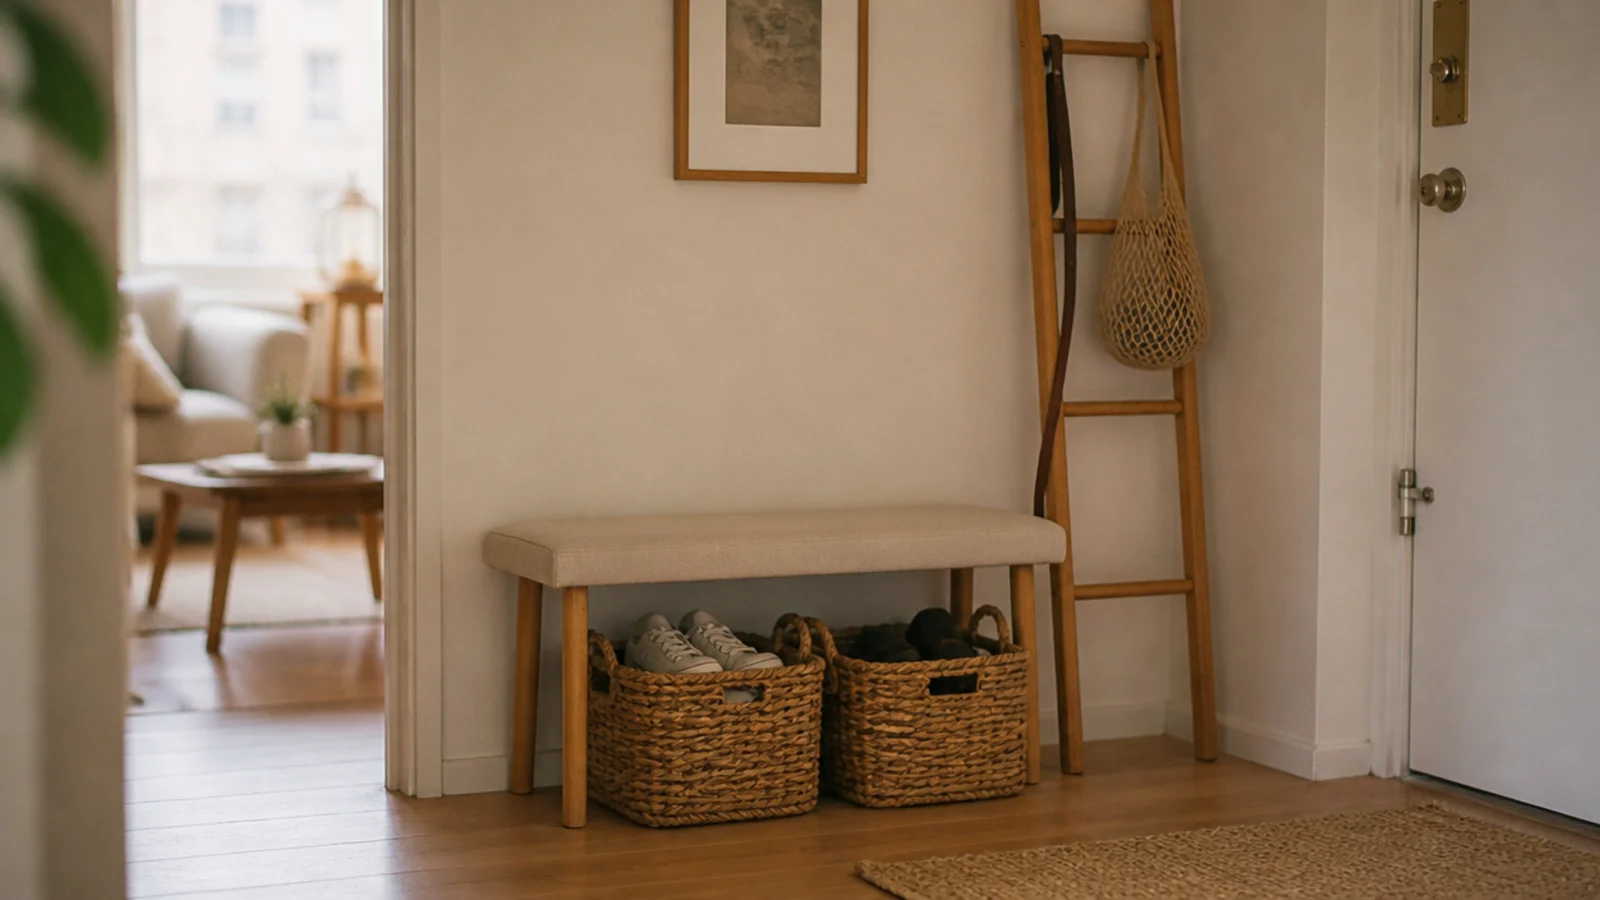
A slim oak ladder rack leaned at about 15 degrees holds eight to ten pairs of flats and sneakers with no fixing at all. Felt pads under the feet stop it walking on a wood floor. Heaviest shoes on the lowest rung, always. It takes no boots, so treat it as the summer overflow rather than the year-round answer. The full range of narrow options sits in slim shoe cabinet layouts. $–$$
15. Three objects on top, then stop
Every well-photographed cabinet top in existence follows the same rule, and it is worth stating plainly because almost nobody applies it at home.
Something tall — a vase of dried grasses at 14 to 18 inches. Something low and wide — the tray. Something soft — a trailing plant or a bowl of clippings. Three things, three heights, and roughly half the surface left empty. The empty half is what makes the other three read as decor rather than as the things you happened to put down on your way in. Free
Mistakes to Skip
- Choosing a 13-inch flat-shelf cabinet for a hallway under 36 inches wide. The depth plus the door swing together make the walkway genuinely unpleasant to use.
- Putting a damp pair into a closed cabinet. Trapped moisture is what makes a cabinet smell, and it spreads to every shoe beside it within about a day.
- Buying a sealed unit with no vent holes and a solid front. A closed box with no airflow holds humidity for days, and no scented insert has ever fixed that.
Frequently asked questions
Can a shoe cabinet work in a rental without drilling?
Yes, if you choose a freestanding unit under 40 inches tall and keep the weight low. Anything taller genuinely wants a wall strap, and one small filled hole on move-out day is a better outcome than a cabinet tipping. Load the bottom drawer heaviest, add a rubber grip mat under the base, and skip wall-hung models entirely.
How deep does a shoe cabinet need to be?
Thirteen inches internally if the shoes lie flat on shelves, because a men's size 12 sneaker runs about 12.5 inches long. A tilt-out drawer holds the same shoe at 45 degrees, so the cabinet only needs 9 inches of depth. That four-inch difference is what lets a tilt-out fit a hallway a flat-shelf cabinet never will.
What should I put on top of a shoe cabinet?
A tray with a raised edge, one warm light source, and one soft thing like a plant or a small bowl of clippings. Three objects at three heights, and nothing else. The tray is the working part — without a raised lip, keys and mail slide across the surface and the top becomes a pile within a week.
How do I stop a shoe cabinet from smelling?
Give it airflow and never close a damp shoe inside it. Drill four one-inch holes in the back panel, or choose a slatted door, so moisture has somewhere to go. Wet pairs go on a tray on the floor outside the cabinet until they are dry. Airing the drawers for an hour each season does more than any scented insert.
Is a freestanding shoe cabinet stable enough for children?
Only if you load it correctly and it sits under 40 inches. Heaviest shoes in the bottom drawer, nothing heavy on top, and a rubber grip mat under the base so it does not slide when a drawer is pulled. With a toddler or a large dog in the house, add one anti-tip strap anyway and patch the hole later.
Start with the cabinet that stands on its own feet and the tray that claims the top, because those two decisions carry everything else. For a tight hall, narrow shoe cabinet layouts maps out the depths, creative flat-pack upgrades covers the modifications worth doing, and shoe storage for small apartments handles everything that will never fit in a cabinet. Save the pin so the numbers are with you when you shop.
Want more like this? Browse all 15 shoe cabinet ideas guides — they all use the same measurements and budget tiers.
Pin it for later
Save this to your Shoe Cabinet Ideas board
Pin it now so it is waiting for you when the tape measure comes out — and so the next person hunting for this idea can find it too.
Save this pinKeep going
More ideas worth saving while you have the tape measure out.