Shoe Cabinet Ideas · Listicle
20 Creative Shoe Cabinet Ideas Anyone Can Do

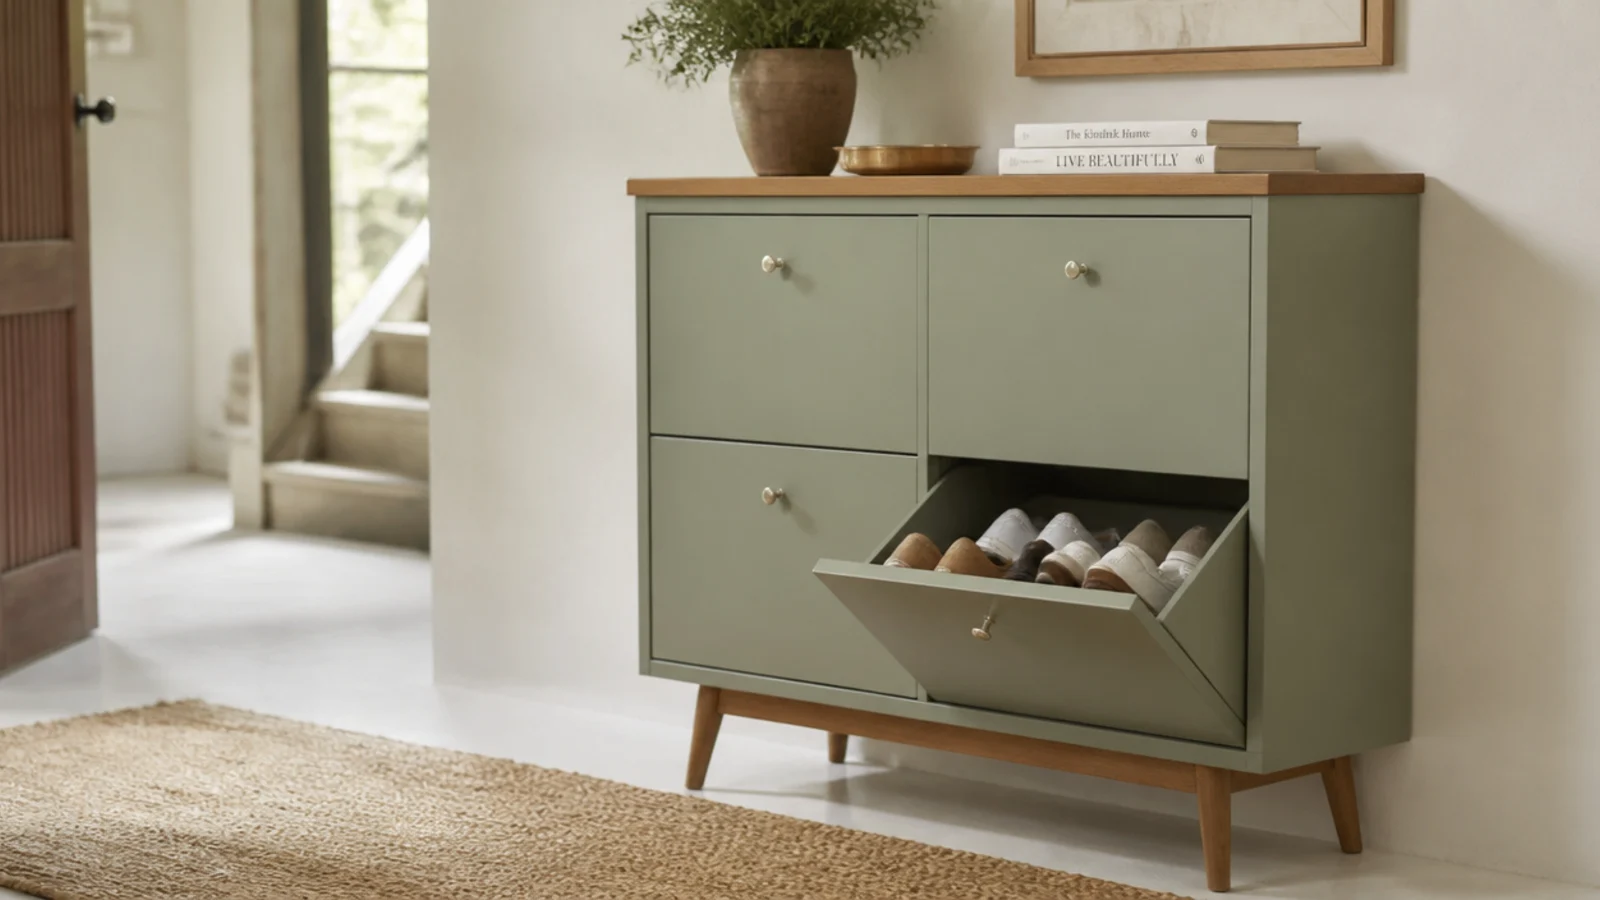
IKEA shoe cabinet hacks are really just a short list of the same five moves applied to a plain flat-pack tilt-out: change the faces, change the feet, change the top, change the hardware, and let the thing breathe. None of it needs a workshop. Everything below is a Saturday afternoon with a drill, a sanding block and a bit of paint, and most of it undoes cleanly if you rent.
In this guide22 sections — tap to openHide
- 1.What IKEA shoe cabinet hacks actually change
- 2.Fit solid timber fronts over the flat-pack faces
- 3.Put the whole thing on tapered legs
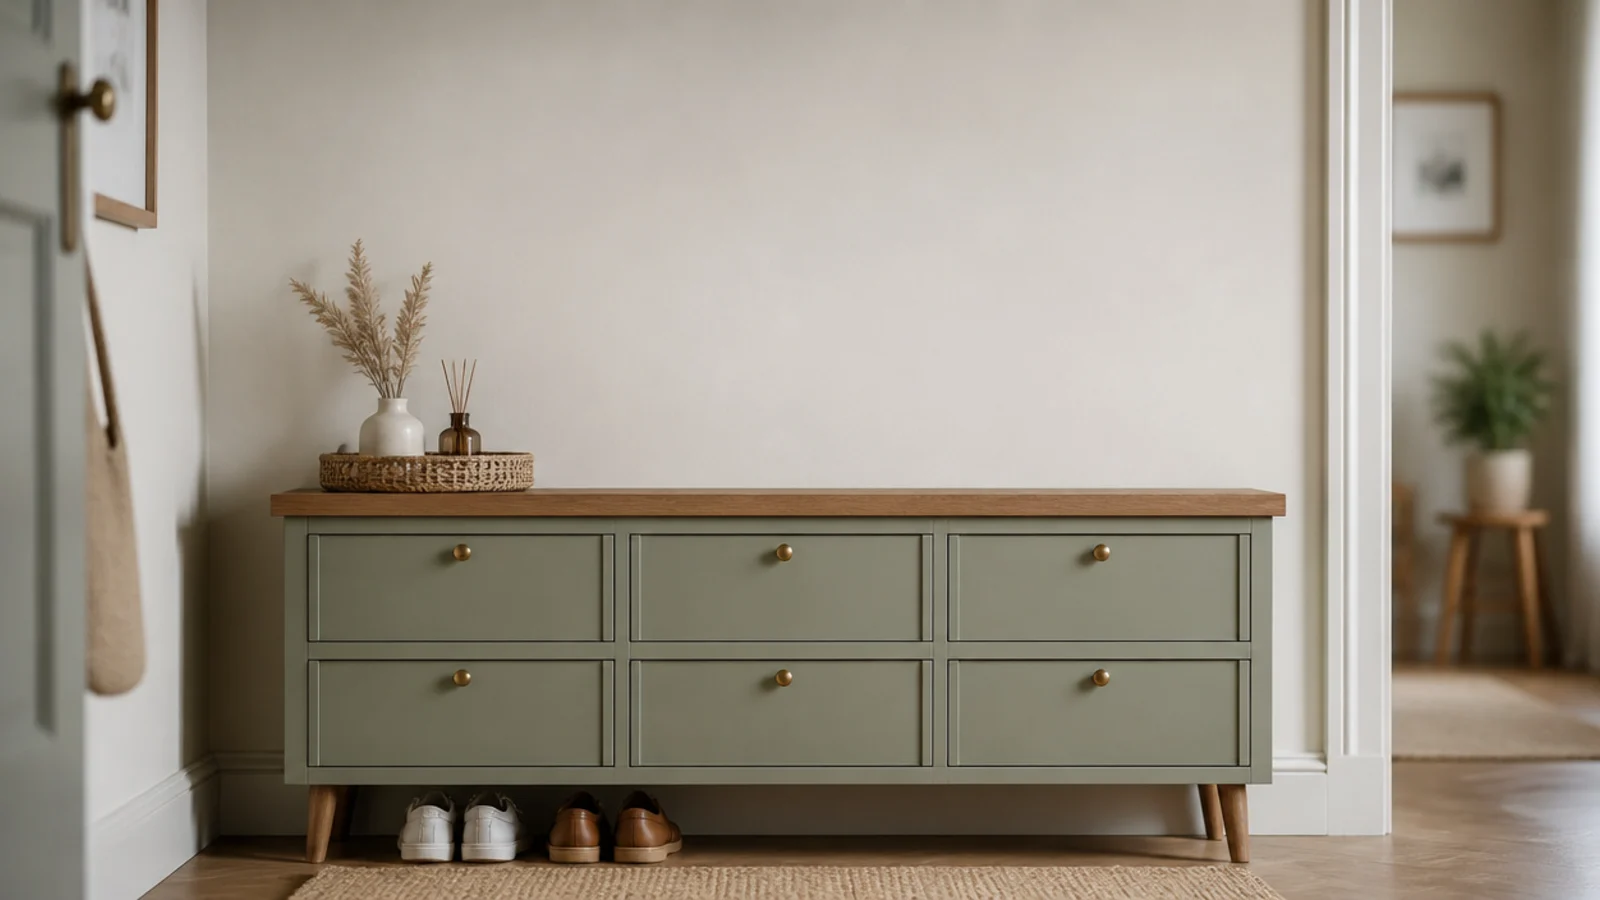
- 4.Paint the carcass and fronts one muted color
- 5.Swap the knobs for brass or leather pulls
- 6.Cap it with a solid oak top
- 7.Cut cane or slatted inserts into the doors
- 8.Drill vent holes through the back panel
- 9.Add a toe-kick plinth so it reads built in
- 10.Close the wall gap with scribe trim
- 11.Line the drawer interiors with washable mat
- 12.Upgrade the hinges to soft-close
- 13.Build a felt-lined key tray into the top drawer
- 14.Stack two shallow cabinets under one top
- 15.Fit a mirror panel to the front
- 16.Add applied moulding for a fluted front
- 17.Panel the exposed side with beadboard
- 18.Turn the top into a perch seat with a cushion
- 19.Hide an LED strip under the top overhang
- 20.Strip the bottom drawer back to a boot bay
- 21.Mount a peg rail above and paint it to match
- 22.Mistakes to Skip
What IKEA shoe cabinet hacks actually change
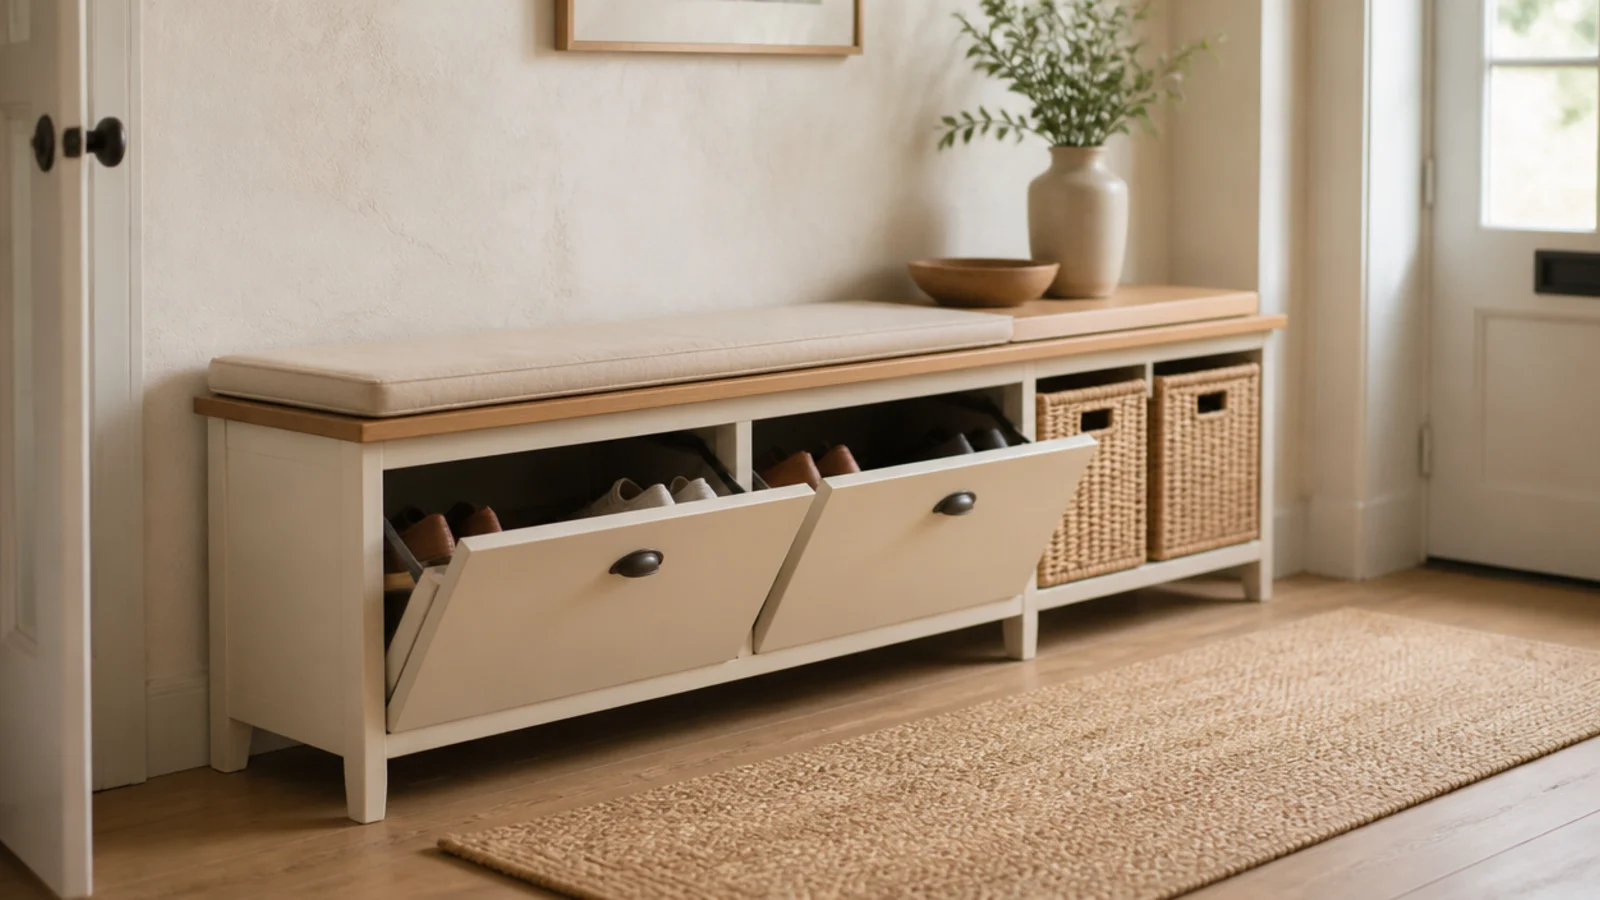
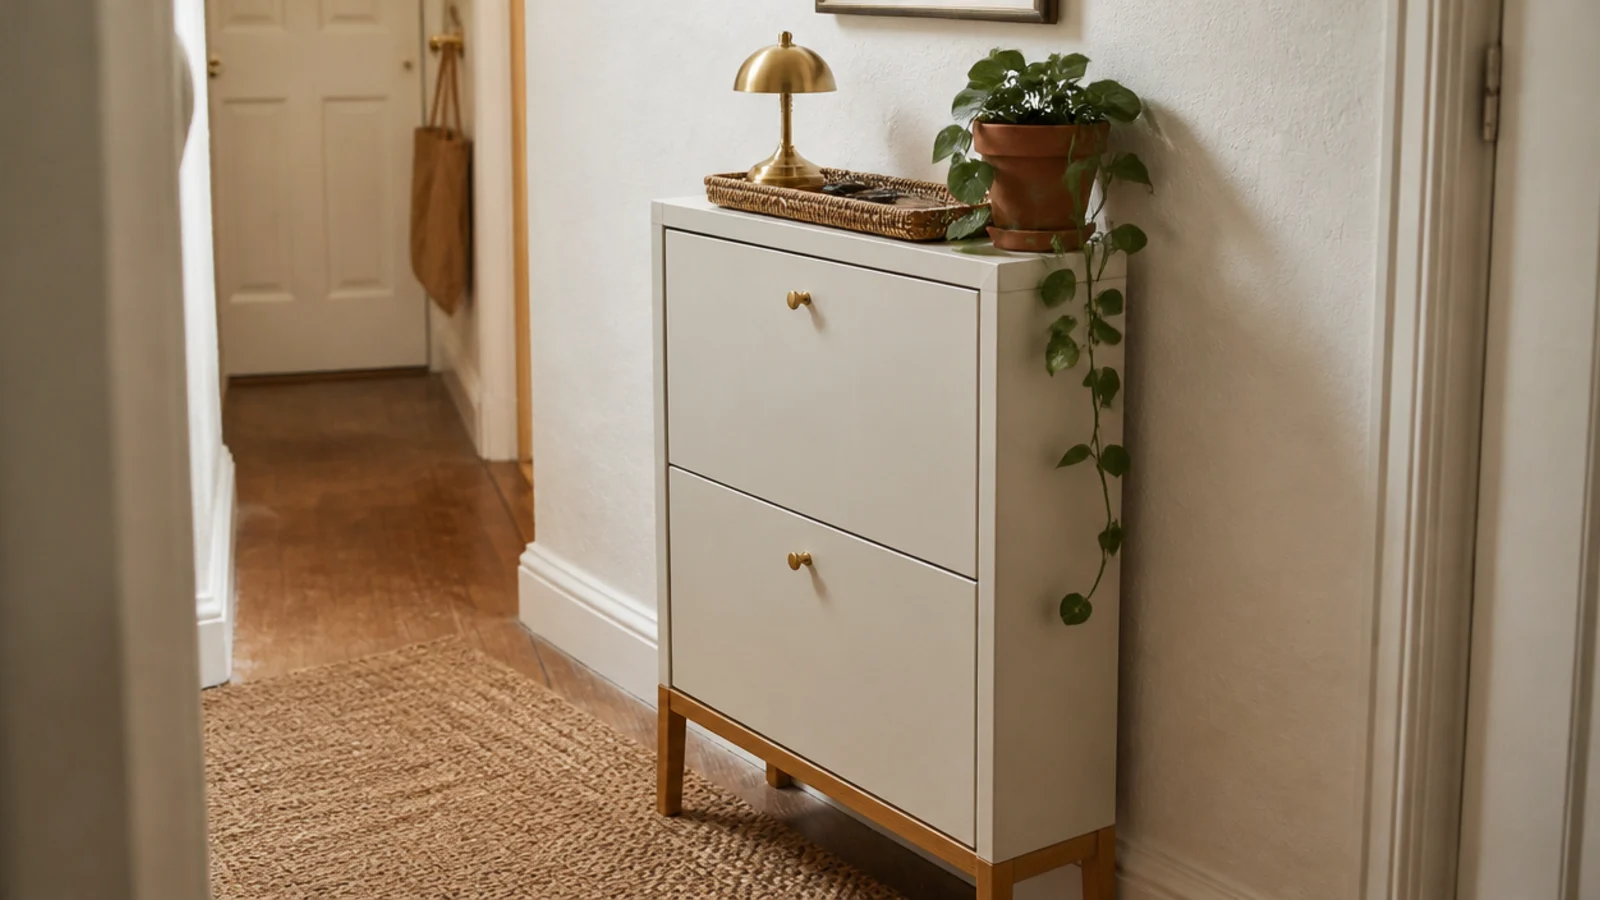
A flat-pack tilt-out is a good bit of engineering sold with cheap surfaces. The carcass is square, the pivot works, and the footprint is genuinely clever — shoes sit at 45 degrees inside the drawer, so a 12.5-inch sneaker fits a cabinet only 9 inches deep. A flat-shelf cabinet doing the same job needs 13 inches.
That geometry is why these units suit narrow halls, and it is also their limitation. Each drawer takes six to eight pairs of flats, sneakers or loafers, and no boots at all. Plan boots separately before you start modifying anything.
What lets these cabinets down is the surface finish, the plastic hardware, the sealed back panel and the way the carcass sits flat on the floor looking like a box someone left there. Every hack below targets one of those four.
Two rules before you start. Keep 36 inches of clear walkway with a drawer open, and strap anything over 40 inches tall to the wall regardless of how solid it feels empty.
Cost tiers per modification: $ under $25, $$ $25–$75, $$$ $75 and up.
1. Fit solid timber fronts over the flat-pack faces
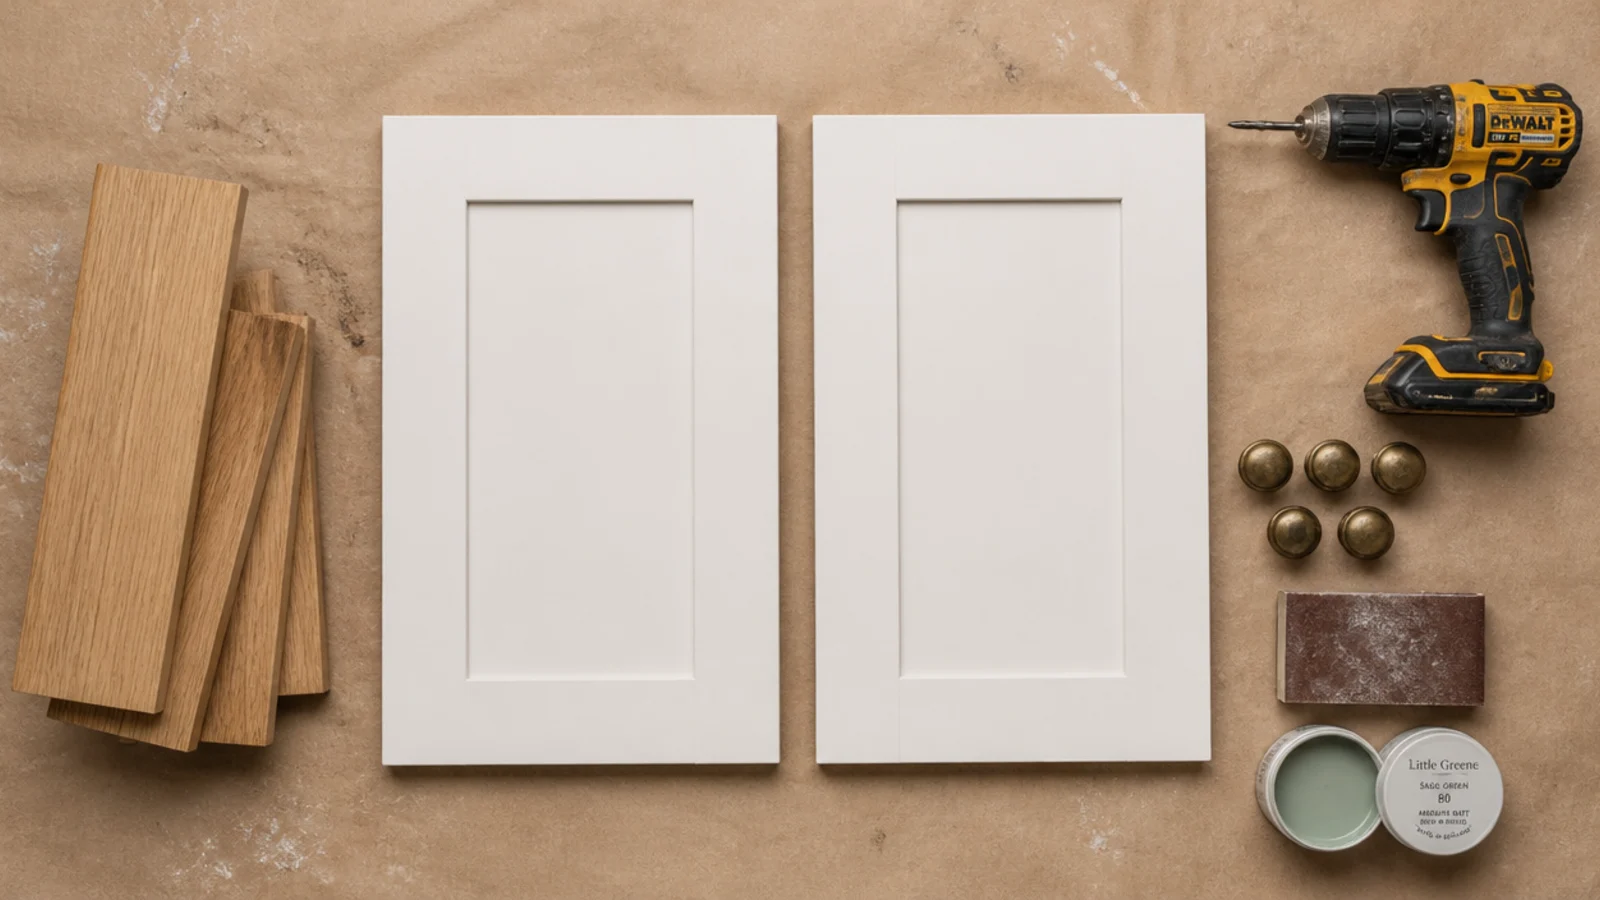
The single biggest visual change. Cut thin solid oak or walnut panels to the exact size of the existing drawer faces and glue them straight on with construction adhesive.
Quarter-inch stock is plenty and adds almost nothing to the depth. Ease the edges with 180-grit paper so they catch light softly rather than reading as a sharp applied slab. Finish with hardwax oil, not polyurethane, because oil can be spot-repaired where a shoe scuffs it. Expect $40 to $90 in timber for a three-drawer unit. $$
2. Put the whole thing on tapered legs
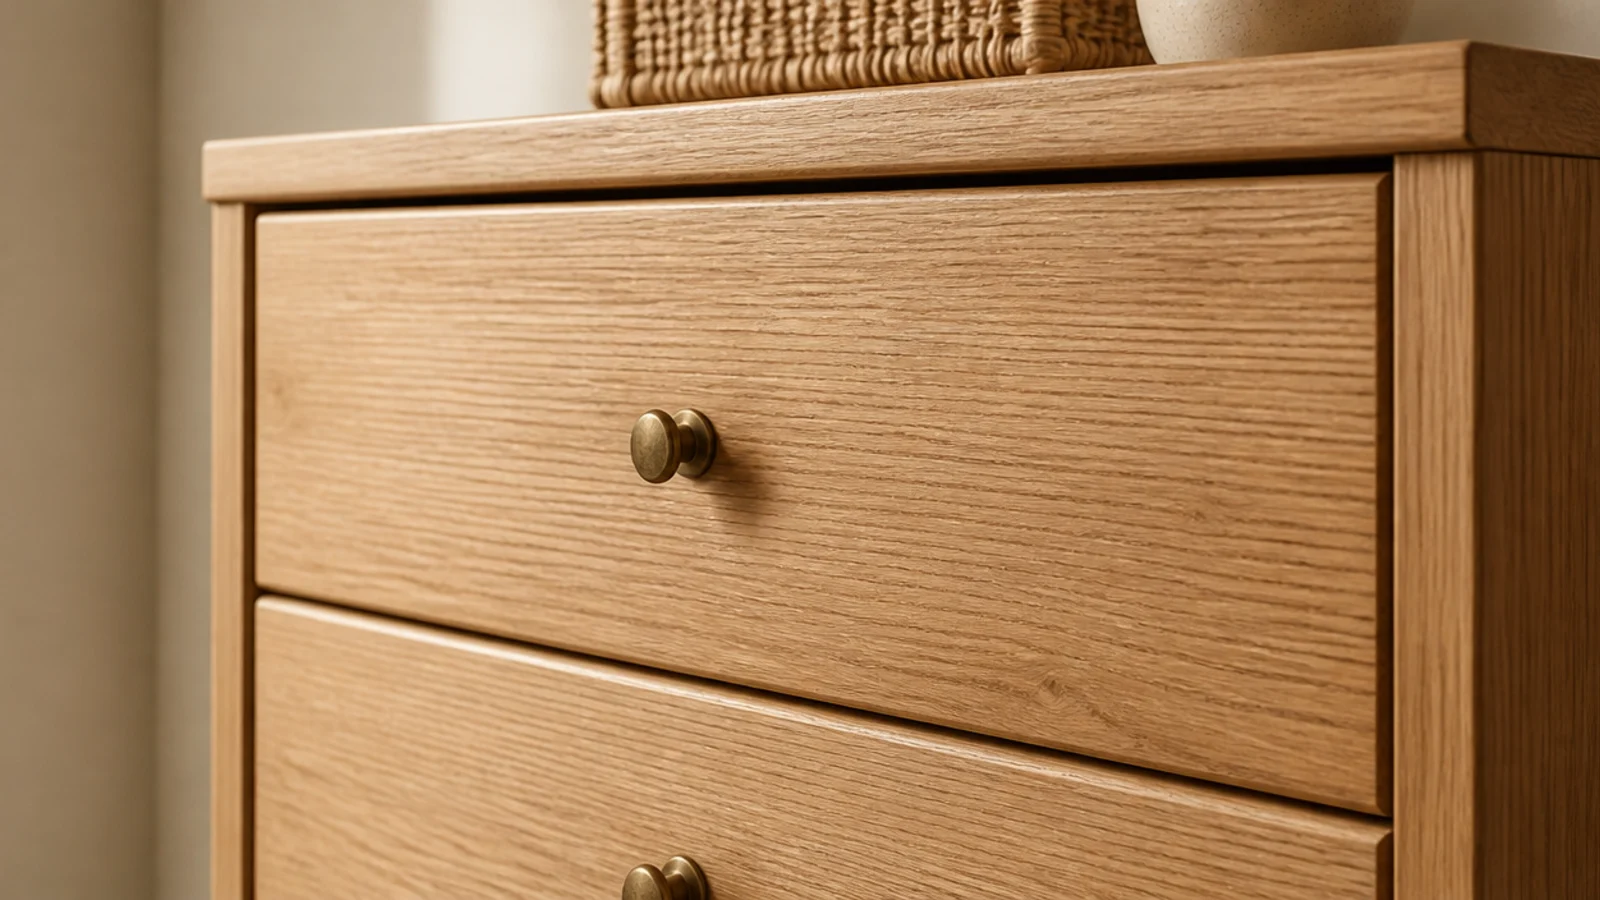
A carcass sitting flat on the floor is the clearest giveaway that a cabinet came in a box. Lifting it 5 or 6 inches changes the whole proportion.
Screw-in tapered legs with angled mounting plates cost $20 to $40 for a set of four. Fit them at the corners over the existing base panel, and add a fifth in the centre if the cabinet is over 36 inches wide. The gap underneath lets a vacuum through and makes a narrow hall read wider, which matters more than it sounds. $–$$
3. Paint the carcass and fronts one muted color
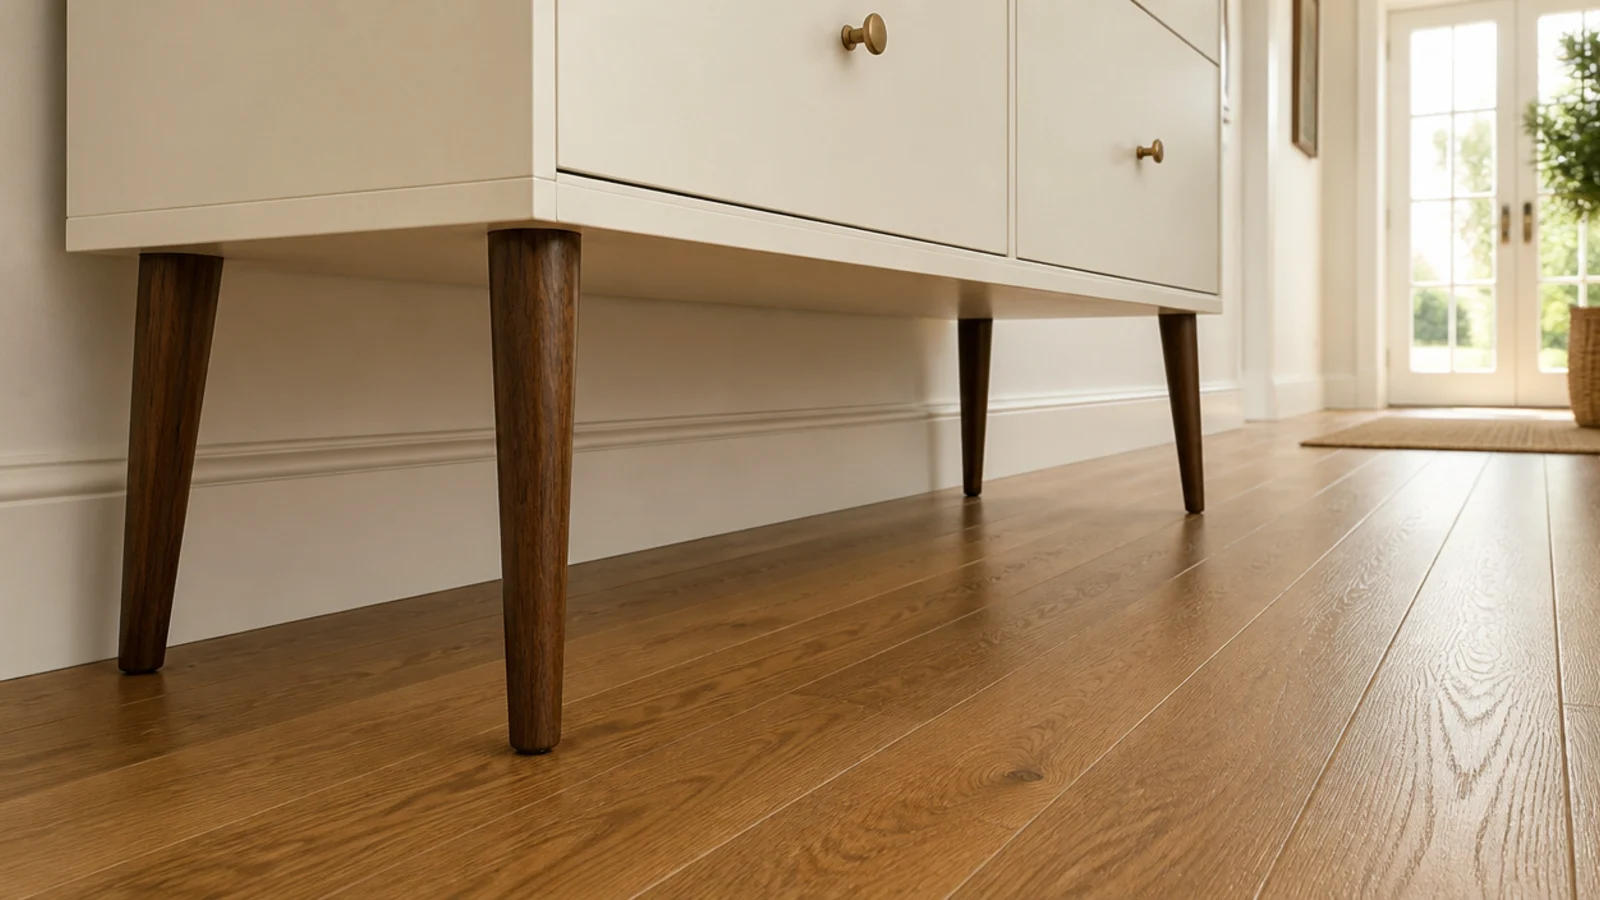
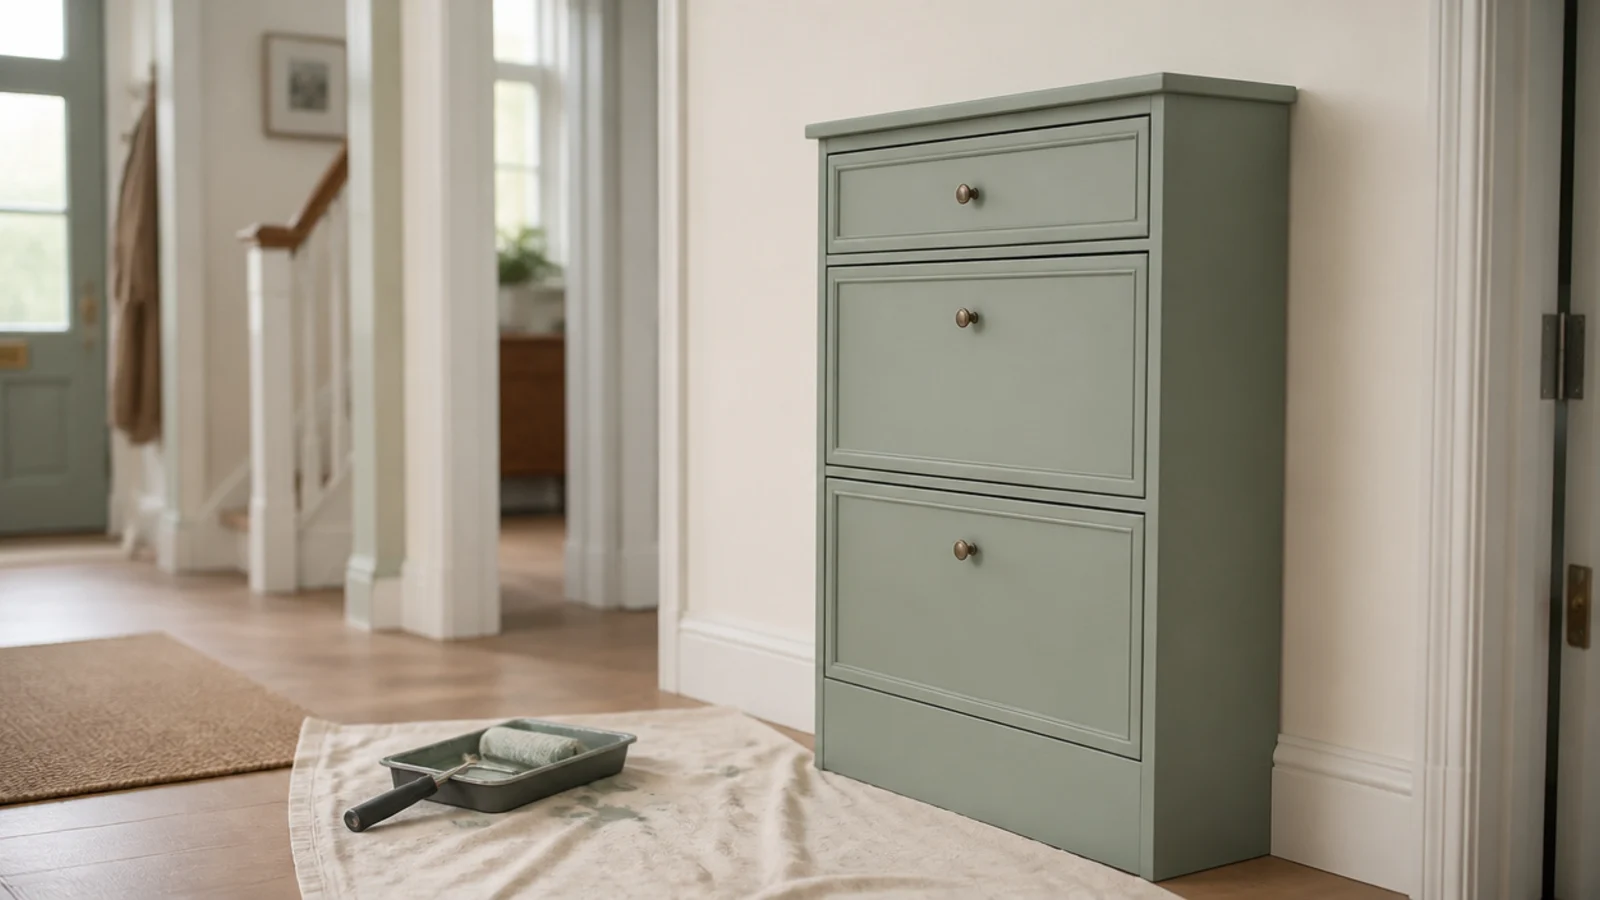
Painting the fronts alone is the mistake. Carry the color over the carcass sides, the top edges and the visible flank so there is no white peeking out anywhere.
Scuff foil-wrapped surfaces with 180-grit, degrease, then use a bonding primer made for slick faces. Two thin satin coats. Muted sage, warm sand and soft clay all read expensive against cream walls. A quart plus primer runs about $45 and covers a cabinet twice. $$
4. Swap the knobs for brass or leather pulls
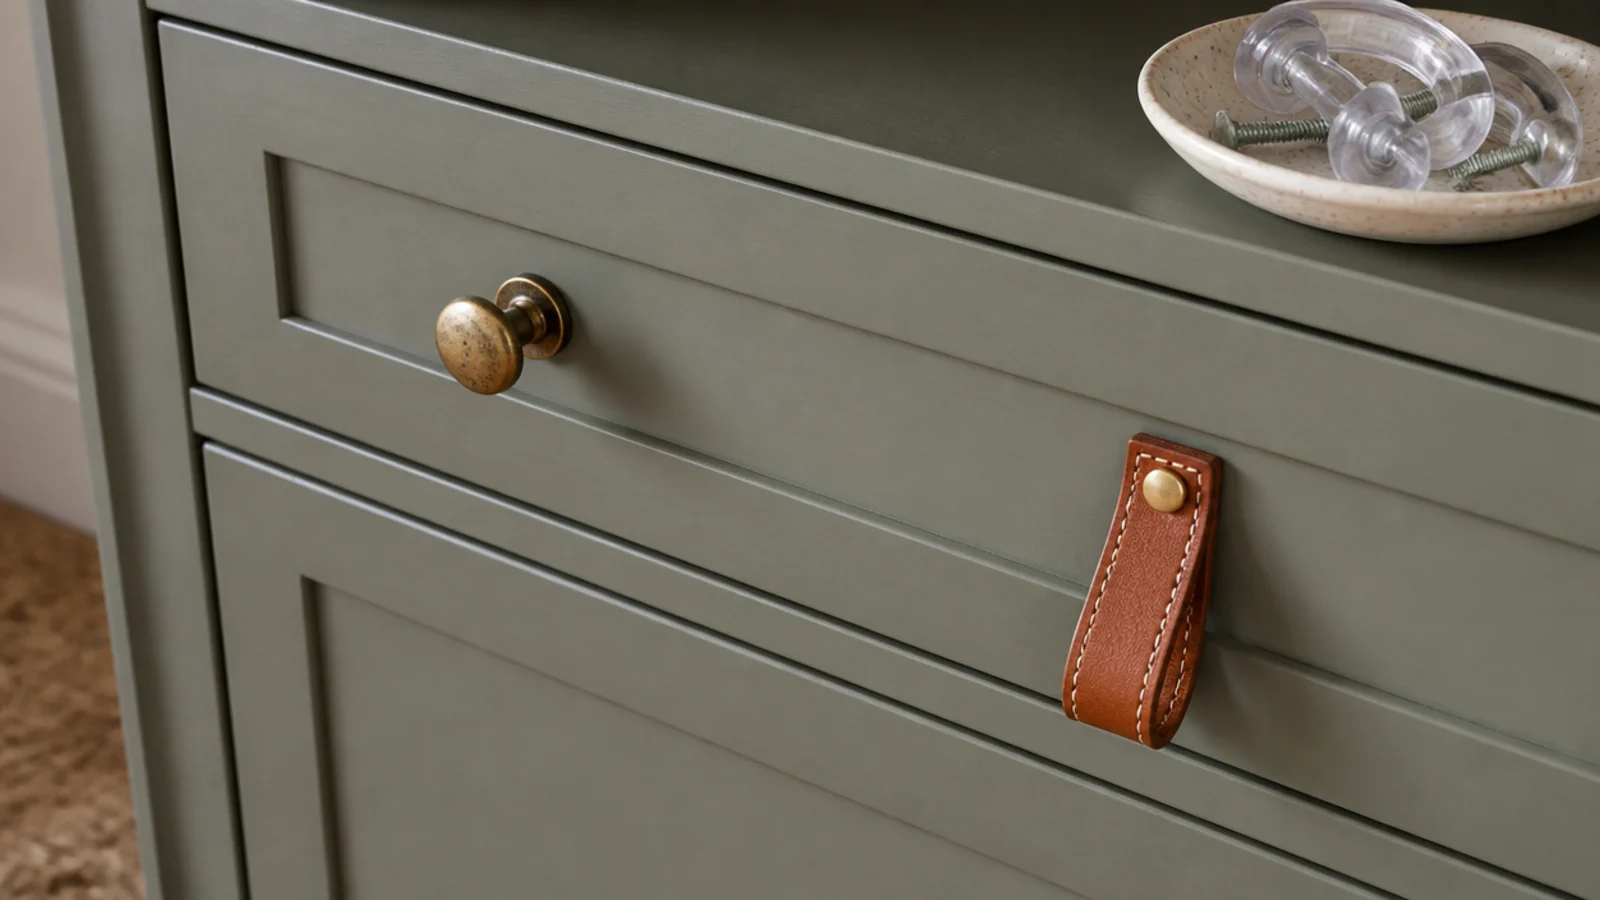
The fastest ten minutes in this article. Aged brass mushroom knobs or stitched leather strap pulls both look chosen rather than supplied.
Measure the hole spacing first — single-hole knobs fit almost any front, two-hole pulls only fit a matching pattern. Budget $4 to $12 per piece, and buy one extra in case you strip a screw. If you rent, keep the original hardware in a labelled bag taped inside the cabinet so it can go back on. $
5. Cap it with a solid oak top
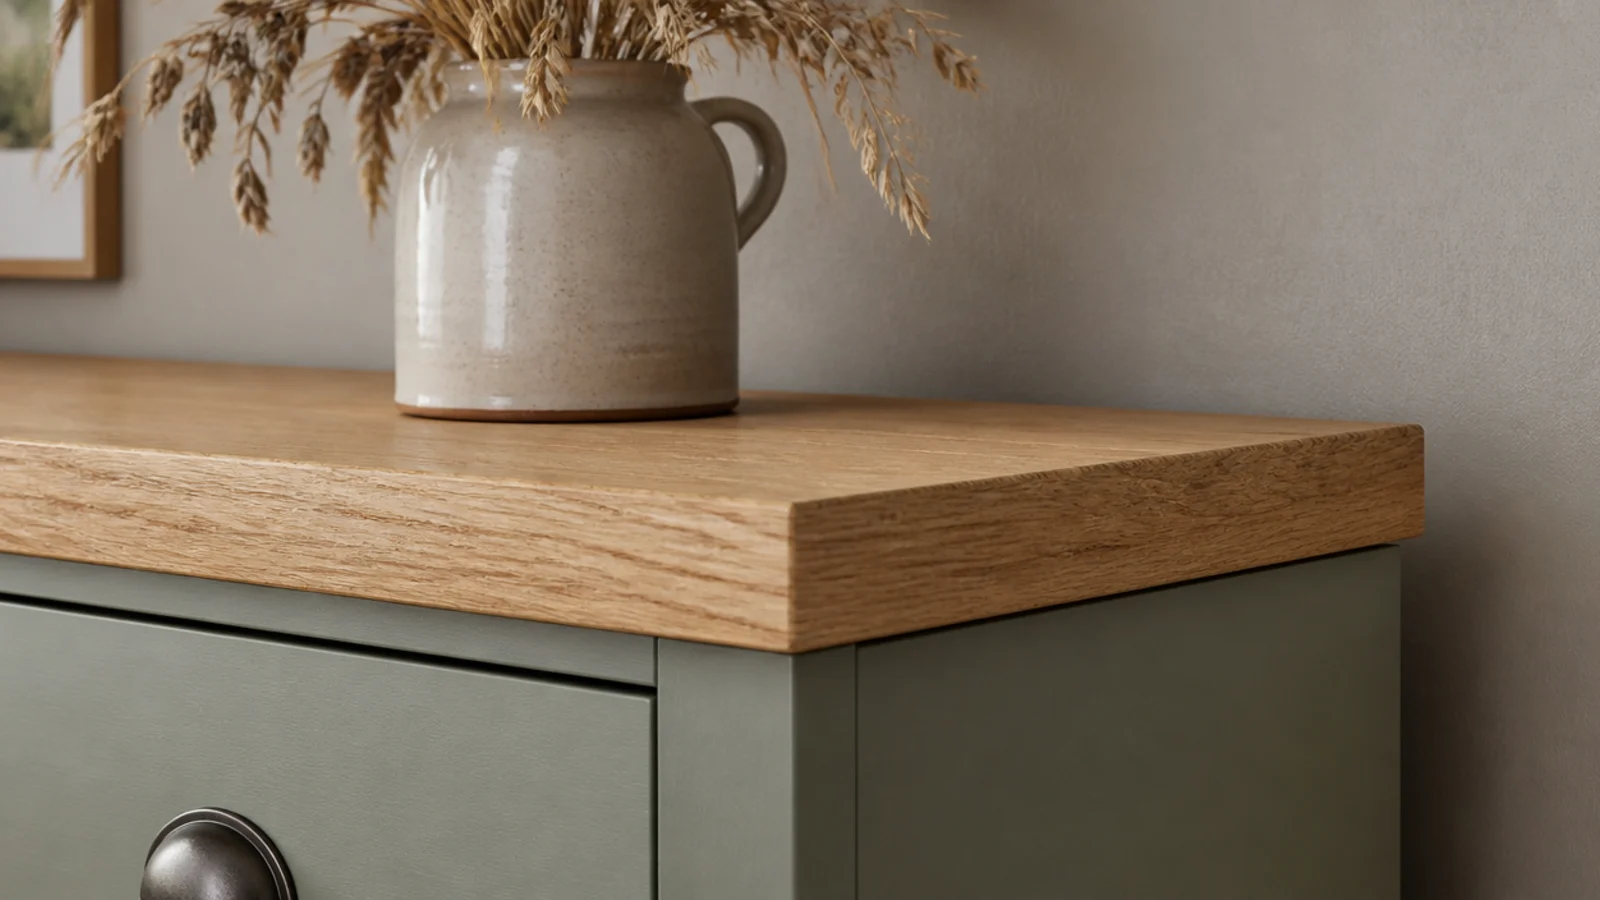
The lid of a flat-pack cabinet is usually its cheapest surface and the one you look at every day.
Buy or cut a solid board half an inch wider and an inch longer than the existing top, sand the edges soft, and fix it with four screws up through the carcass from underneath. The overhang throws a shadow line that reads like real furniture. Left unfixed on felt pads, it lifts straight off at move-out. Around $35 to $70. $$
6. Cut cane or slatted inserts into the doors
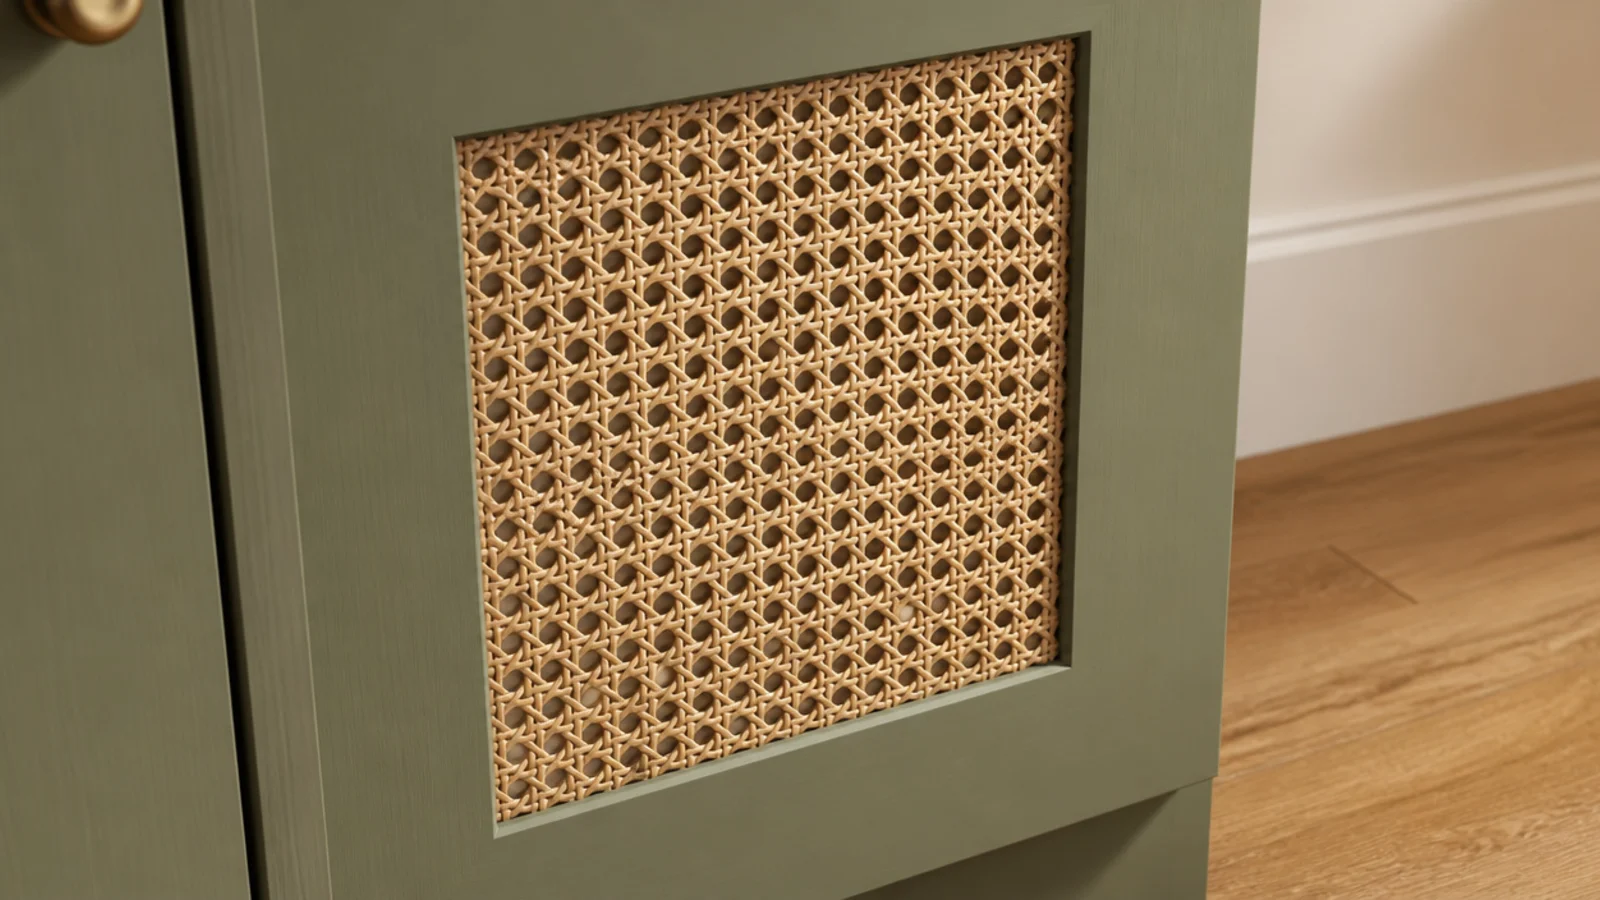
A solid front traps humidity, and humidity is what makes a shoe cabinet smell. Replacing the middle of the panel with cane webbing solves the problem and looks like a much more expensive piece.
Cut a rectangular opening leaving a 2-inch frame all round, then staple soaked cane webbing to the back and trim it flush once dry. It tightens as it dries. A roll of webbing runs $25 to $45 and covers two doors. $$
7. Drill vent holes through the back panel
If cutting into the doors feels like too much, do this instead. It takes fifteen minutes and it is the most useful modification here.
Drill four one-inch holes in a horizontal row through the back panel, roughly level with the middle of each drawer. Clamp scrap wood behind the panel so a spade bit does not tear the board out. Nobody ever sees the back, and the trapped moisture that causes odour finally has somewhere to go. $
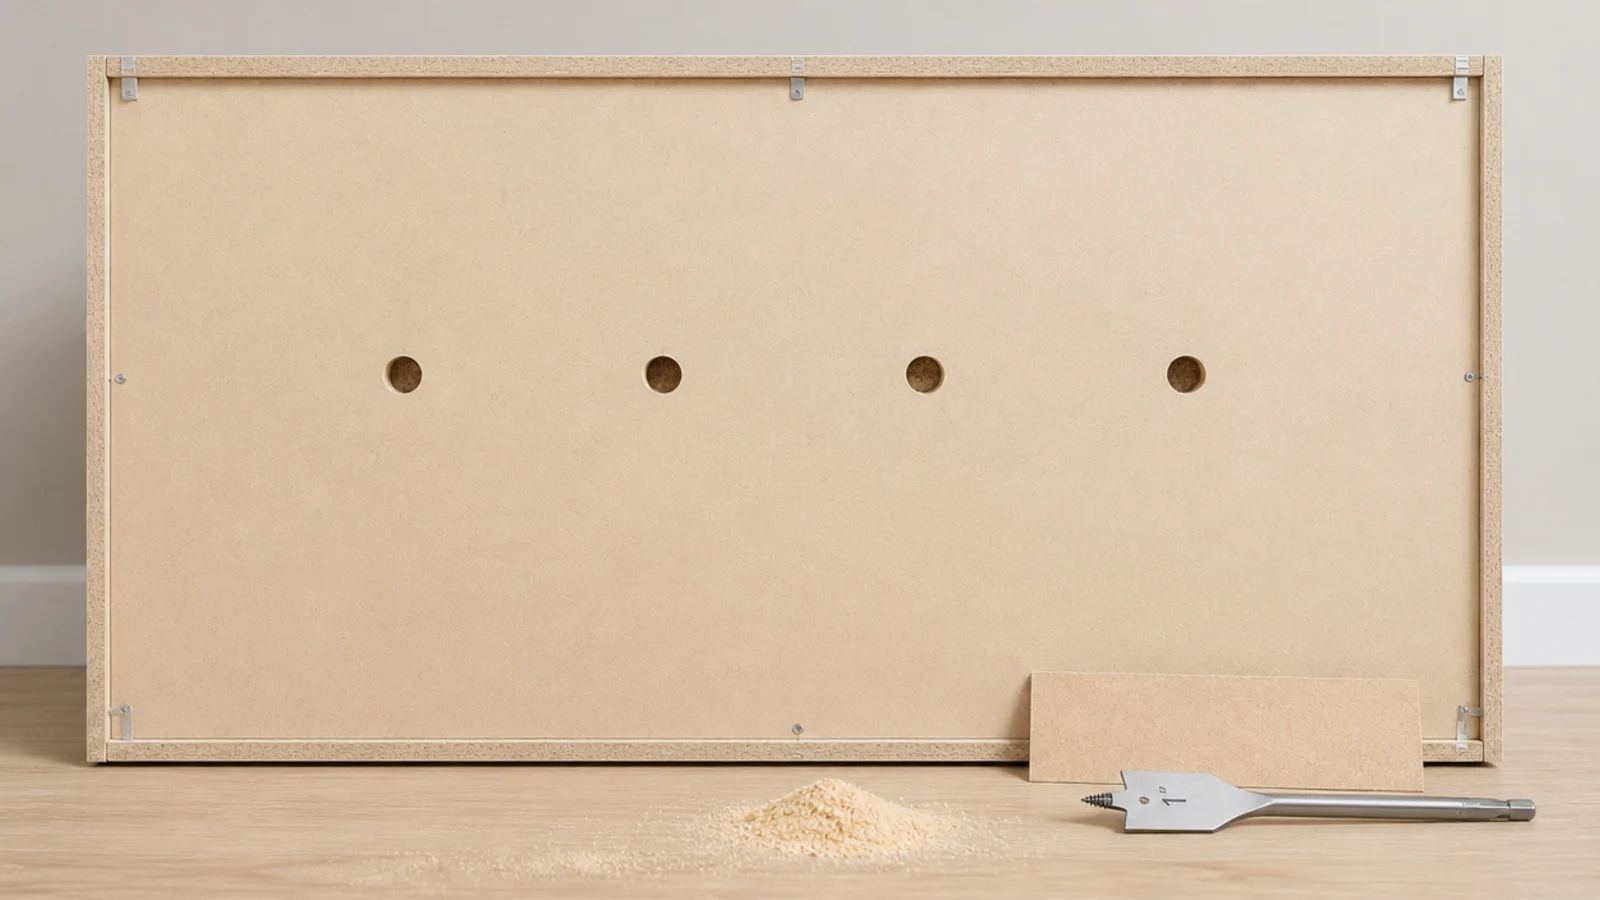
8. Add a toe-kick plinth so it reads built in
Built-in furniture sits on a recessed plinth. Freestanding furniture sits on the floor. Copying the first is a $15 job.
Build a simple frame from 3-inch timber, set it 2 inches back from the cabinet front, and stand the carcass on it. Paint the plinth the same color as the cabinet so it disappears into shadow. Combined with scribe trim and a solid top, this is what makes people ask which carpenter you used. $
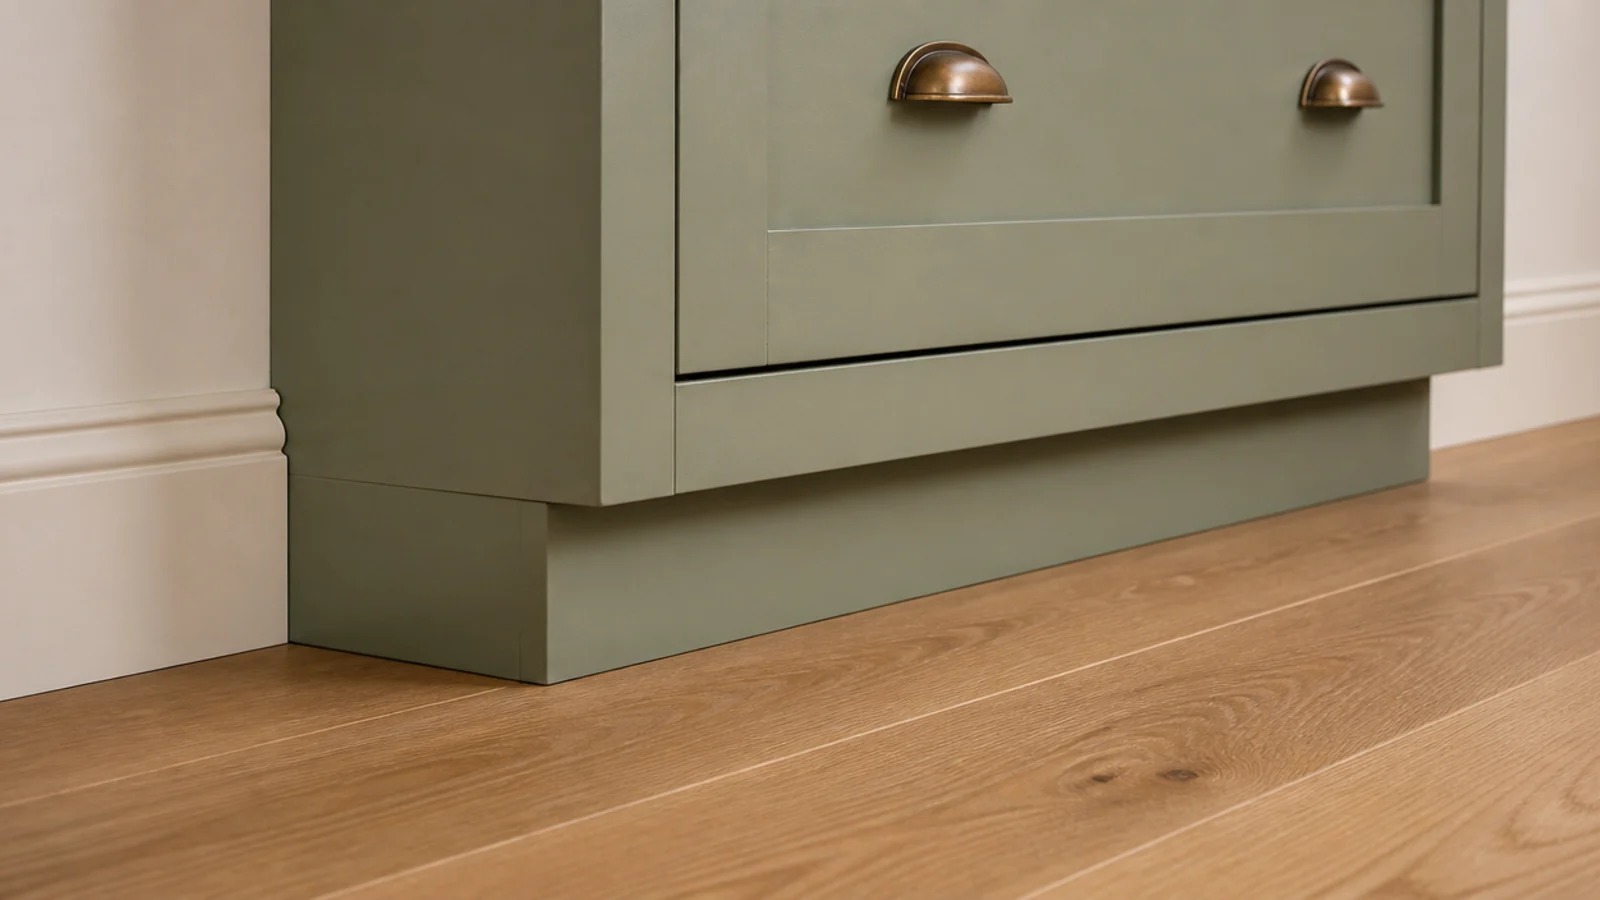
9. Close the wall gap with scribe trim
Walls are never straight, so a square cabinet always leaves a tapering gap along one side. That gap is what your eye reads as flat-pack.
Cut a thin strip of painted timber, scribe it to the wall's wobble with a compass and a block plane, pin it to the cabinet side, then caulk and paint the joint. Ten minutes and about $8 of trim. It is invisible when done and impossible to unsee when it is not. $
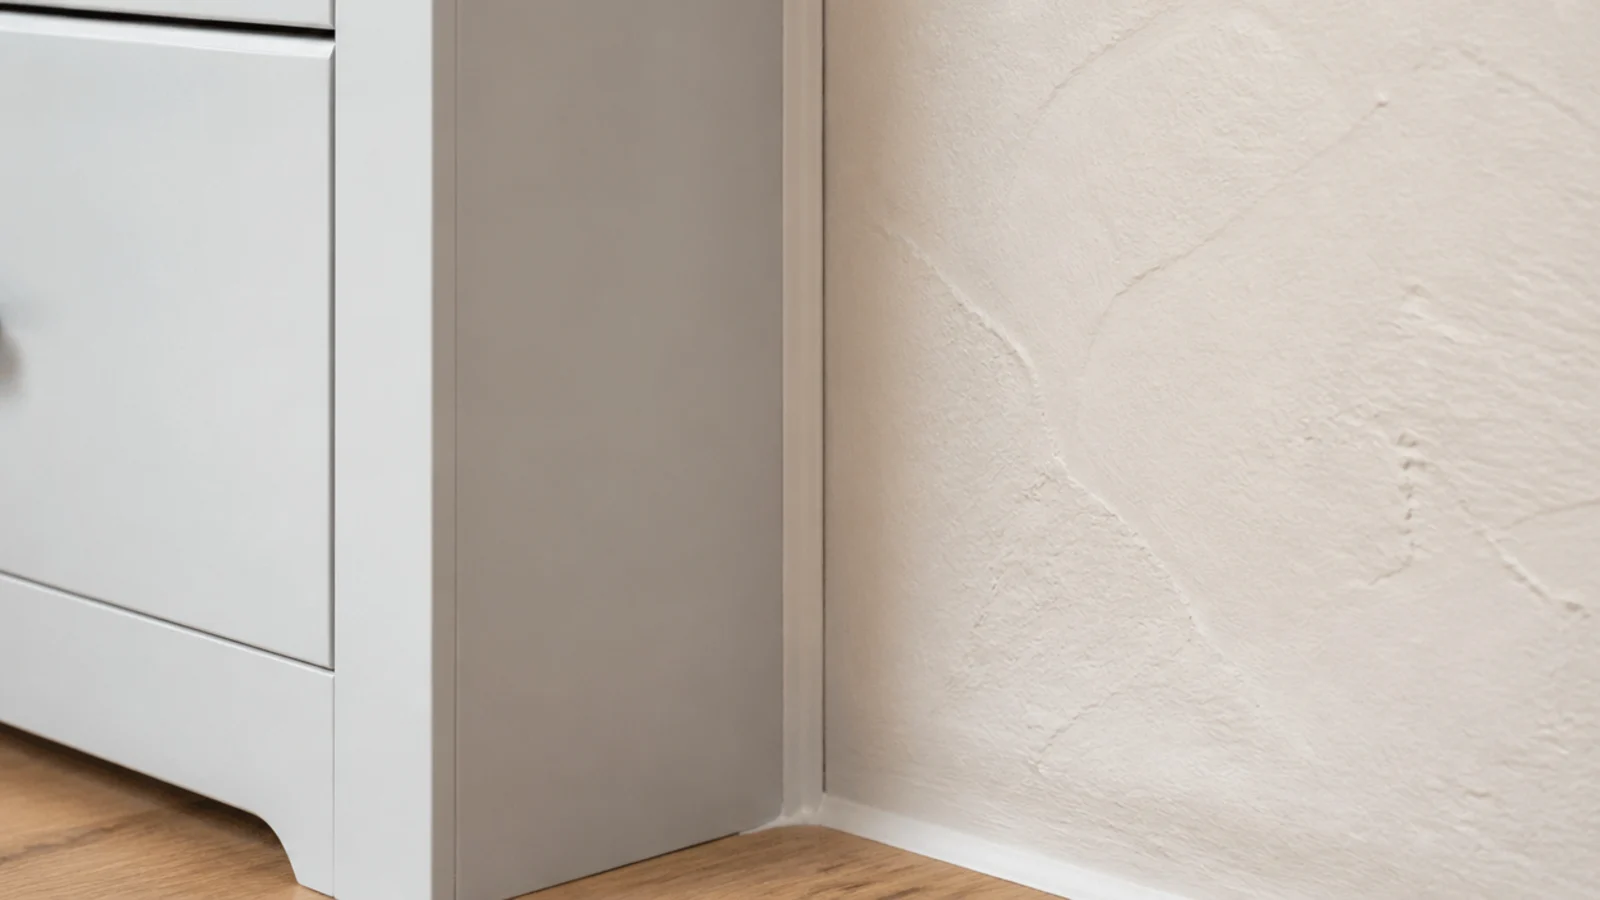
10. Line the drawer interiors with washable mat
Grit, road salt and the odd damp sole all end up in the bottom of the drawer, where they stay.
Cut ribbed rubber or a washable PVC mat about a quarter inch under the internal dimensions so it drops in and lifts out easily. Rinse it in the shower every few months. A roll costs $12 to $20 and does three drawers. It also stops shoes sliding into a heap every time the drawer swings shut. $
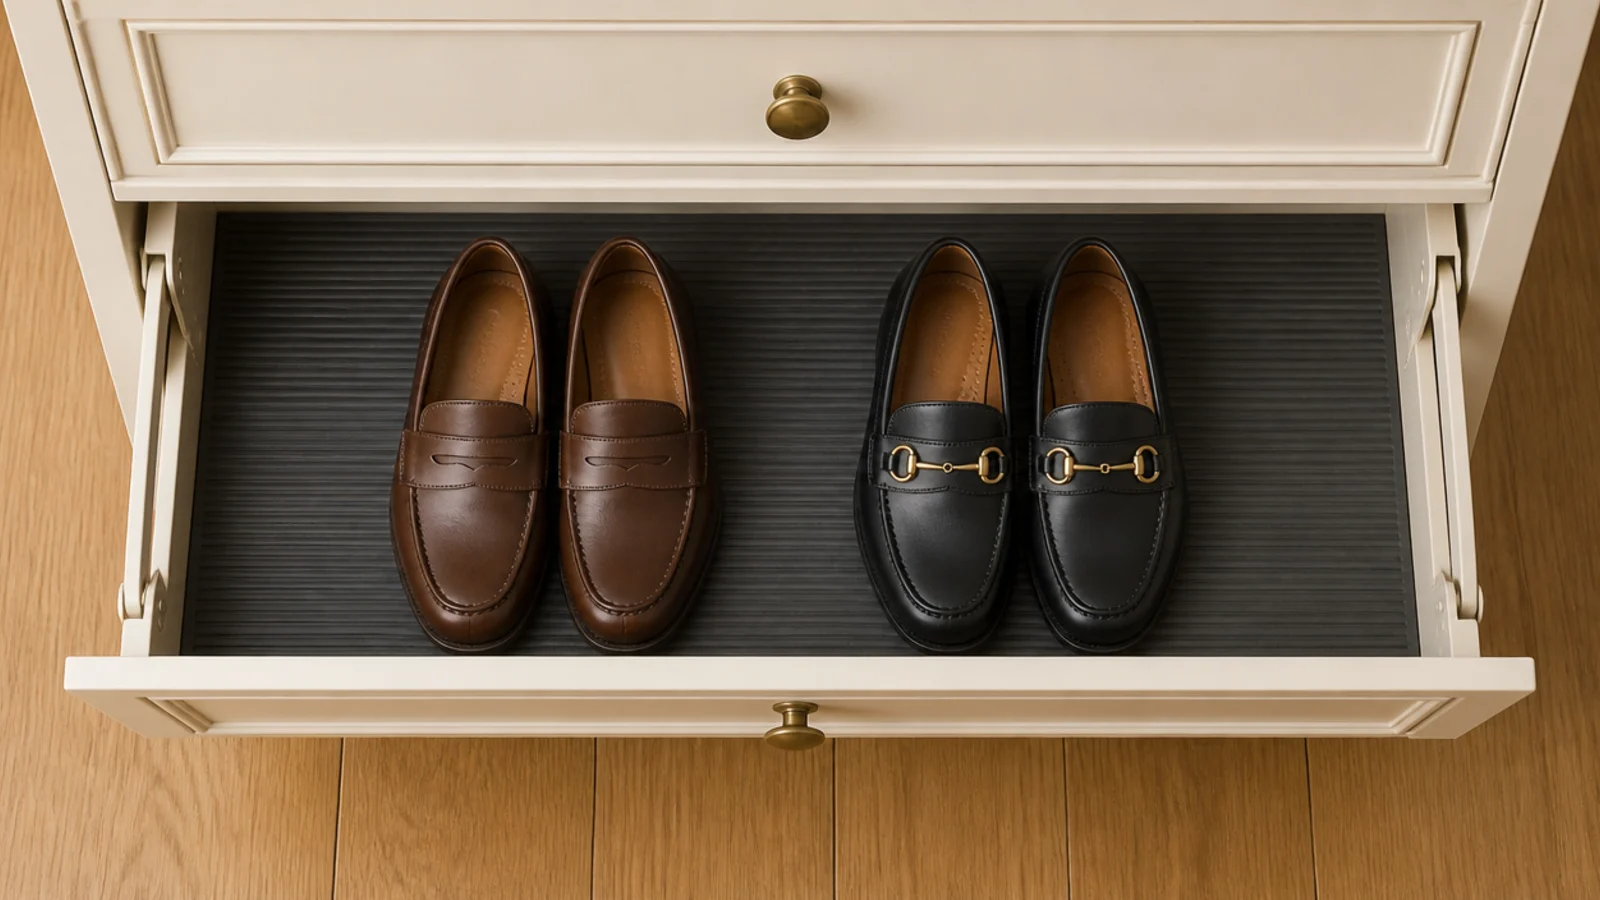
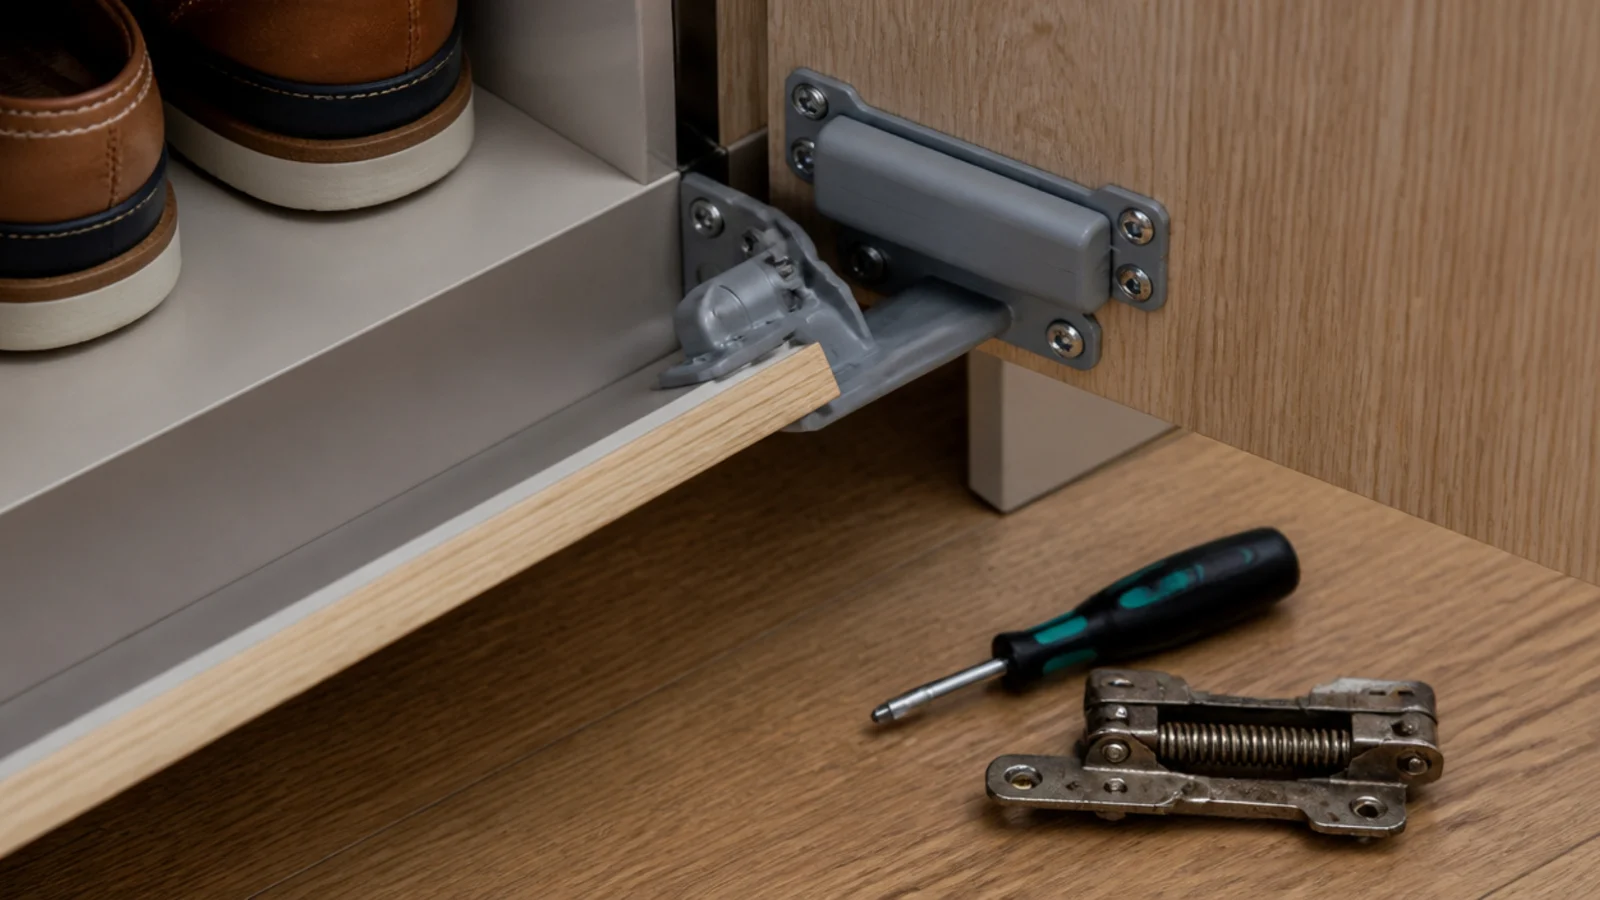
11. Upgrade the hinges to soft-close
These cabinets get shut with a foot, by everybody, daily. Standard spring hinges slam, and the slam eventually loosens the fixings and cracks the front.
Damped soft-close mechanisms retrofit onto most tilt-out pivots for $15 to $30 a pair, and the swap is four screws per drawer. If your unit uses a proprietary pivot that will not accept one, a strip of adhesive cabinet bumper on the closing edge is the poor-man's version and still helps. $
12. Build a felt-lined key tray into the top drawer
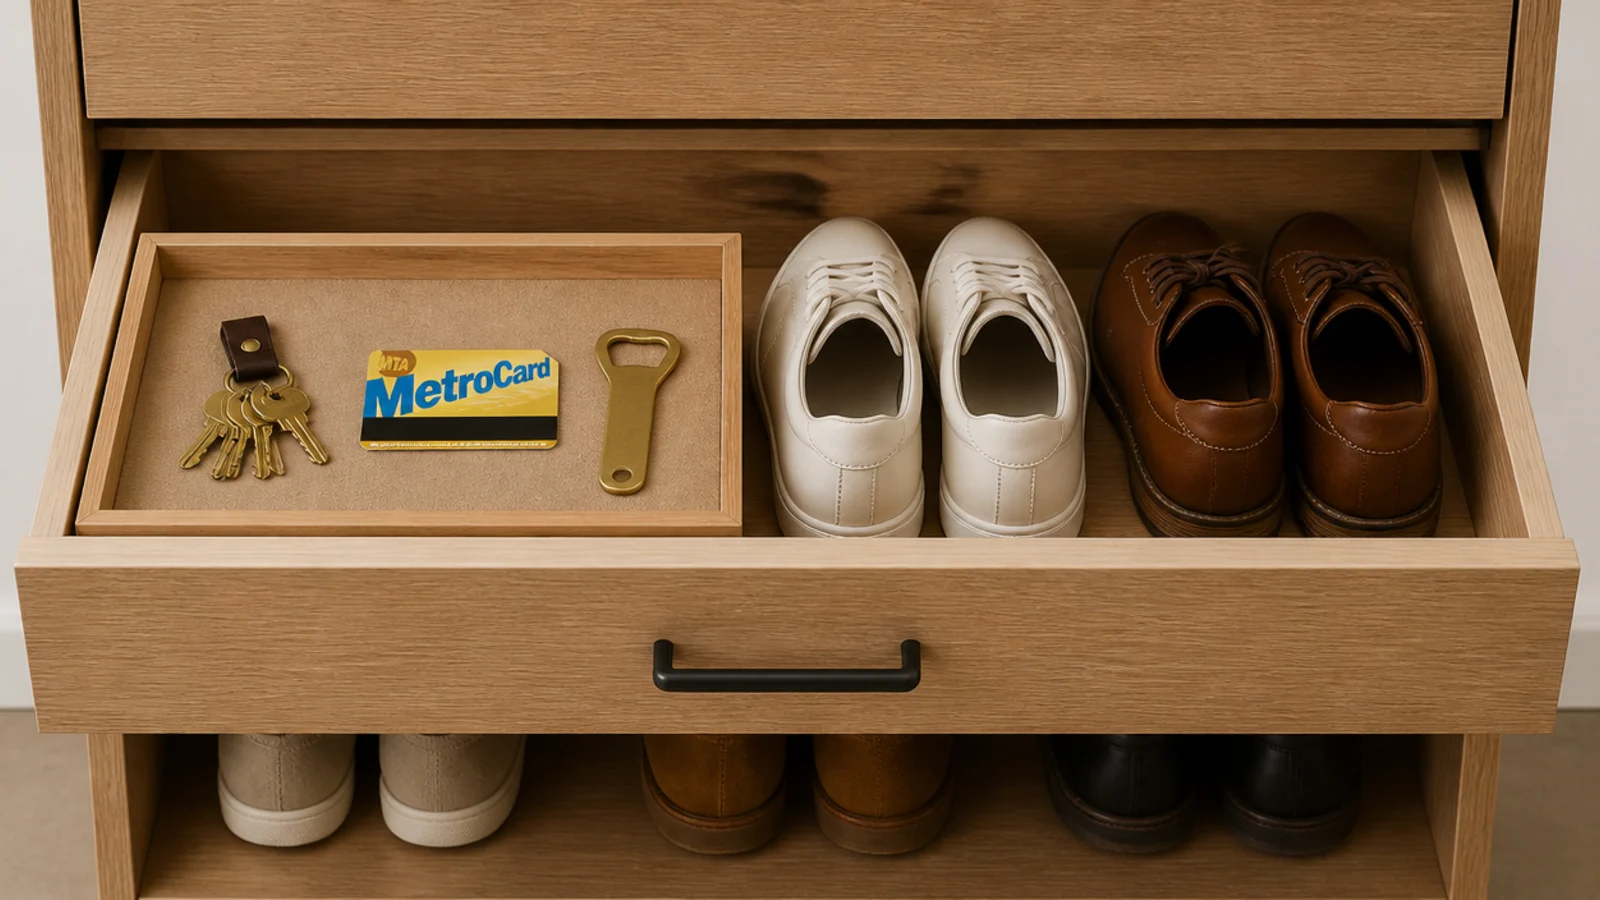
The cabinet top attracts keys, mail and receipts. Giving them a home one inch lower keeps the surface clear.
Make a shallow open tray from quarter-inch stock, sized to sit across one end of the top drawer above the shoes, and line it with self-adhesive felt. Keys go in as you kick the drawer shut. It costs about $10 and it is the modification guests notice least and I use most. $
13. Stack two shallow cabinets under one top
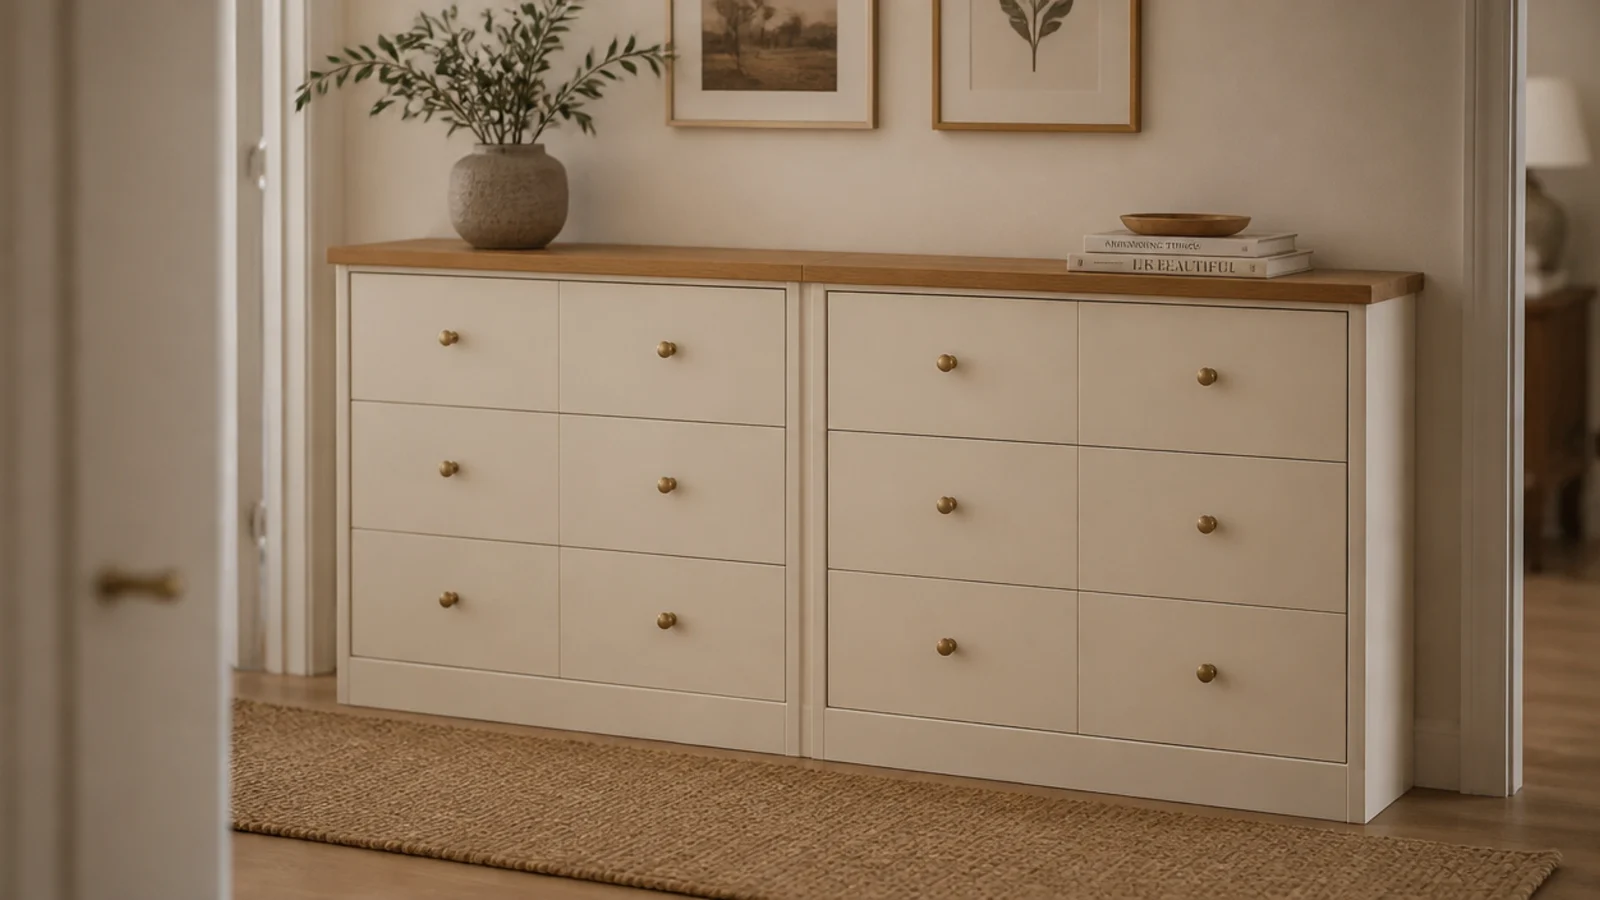
Two matching units, one above the other, joined by a single continuous board, read as one tall piece rather than two boxes.
Screw the upper carcass to the lower through the base panel, then cap both with one oak top overhanging half an inch. Total height usually lands between 55 and 65 inches, which means it must be strapped to the wall — that is not optional above 40 inches. Capacity roughly doubles for the same floor footprint. $$
14. Fit a mirror panel to the front
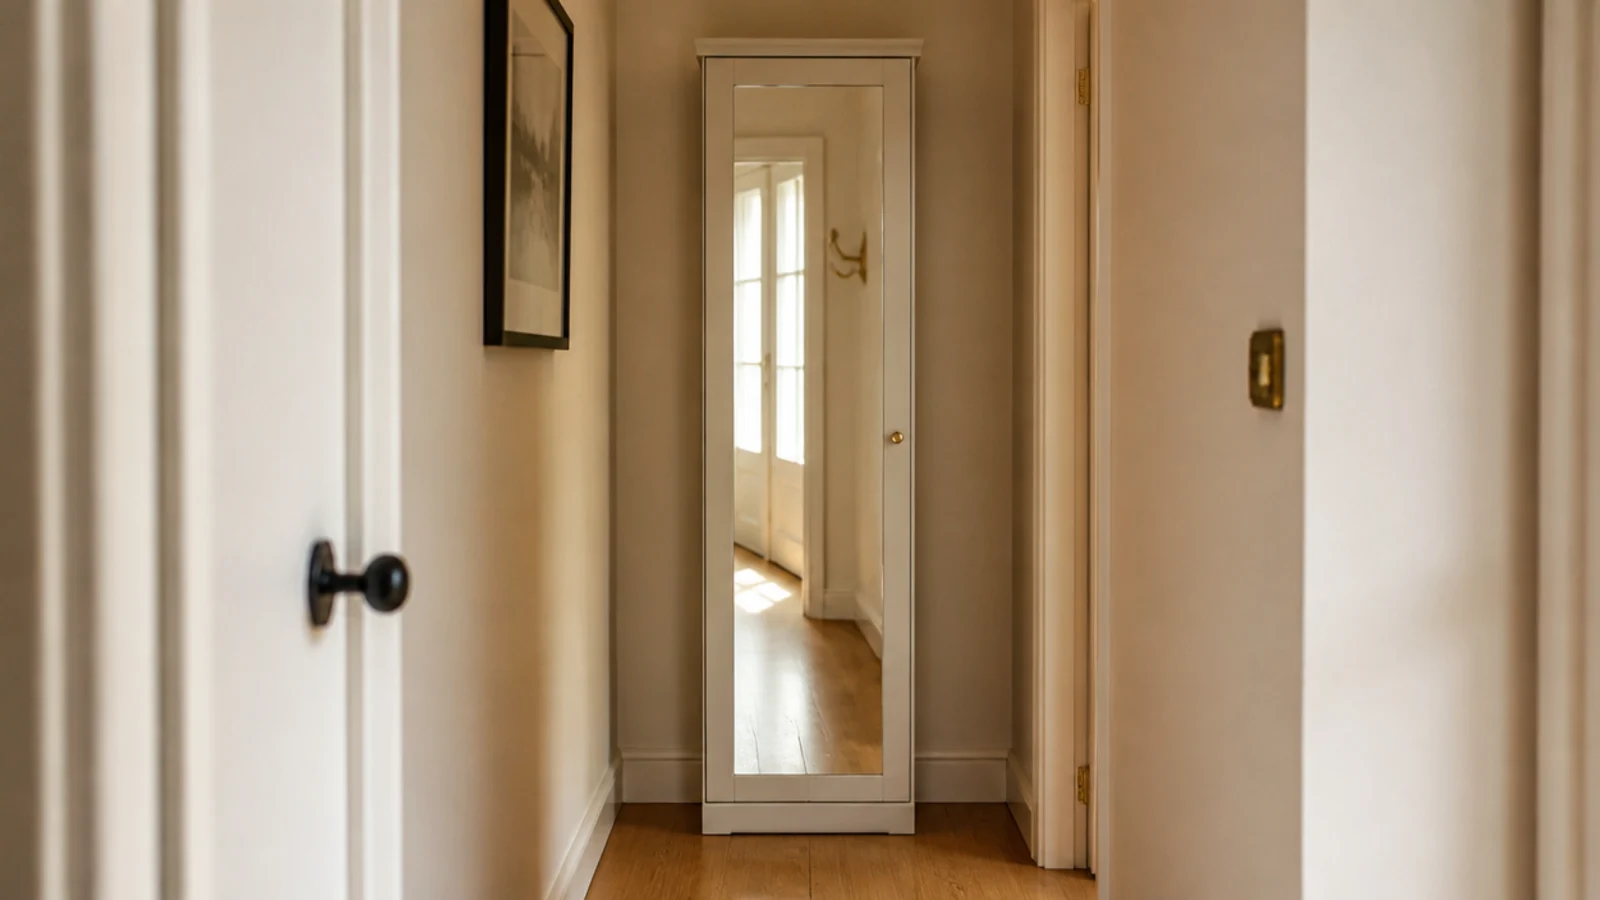
In a dark, narrow hall, a mirrored cabinet front bounces daylight back down the passage and doubles as the last-look mirror on the way out.
Have a glazier cut a panel to your door size with polished edges, $30 to $60, and bond it with mirror adhesive plus two strips of heavy-duty double-sided tape while it cures. Keep it to one door only. A whole wall of mirrored fronts reads like a gym locker. $$
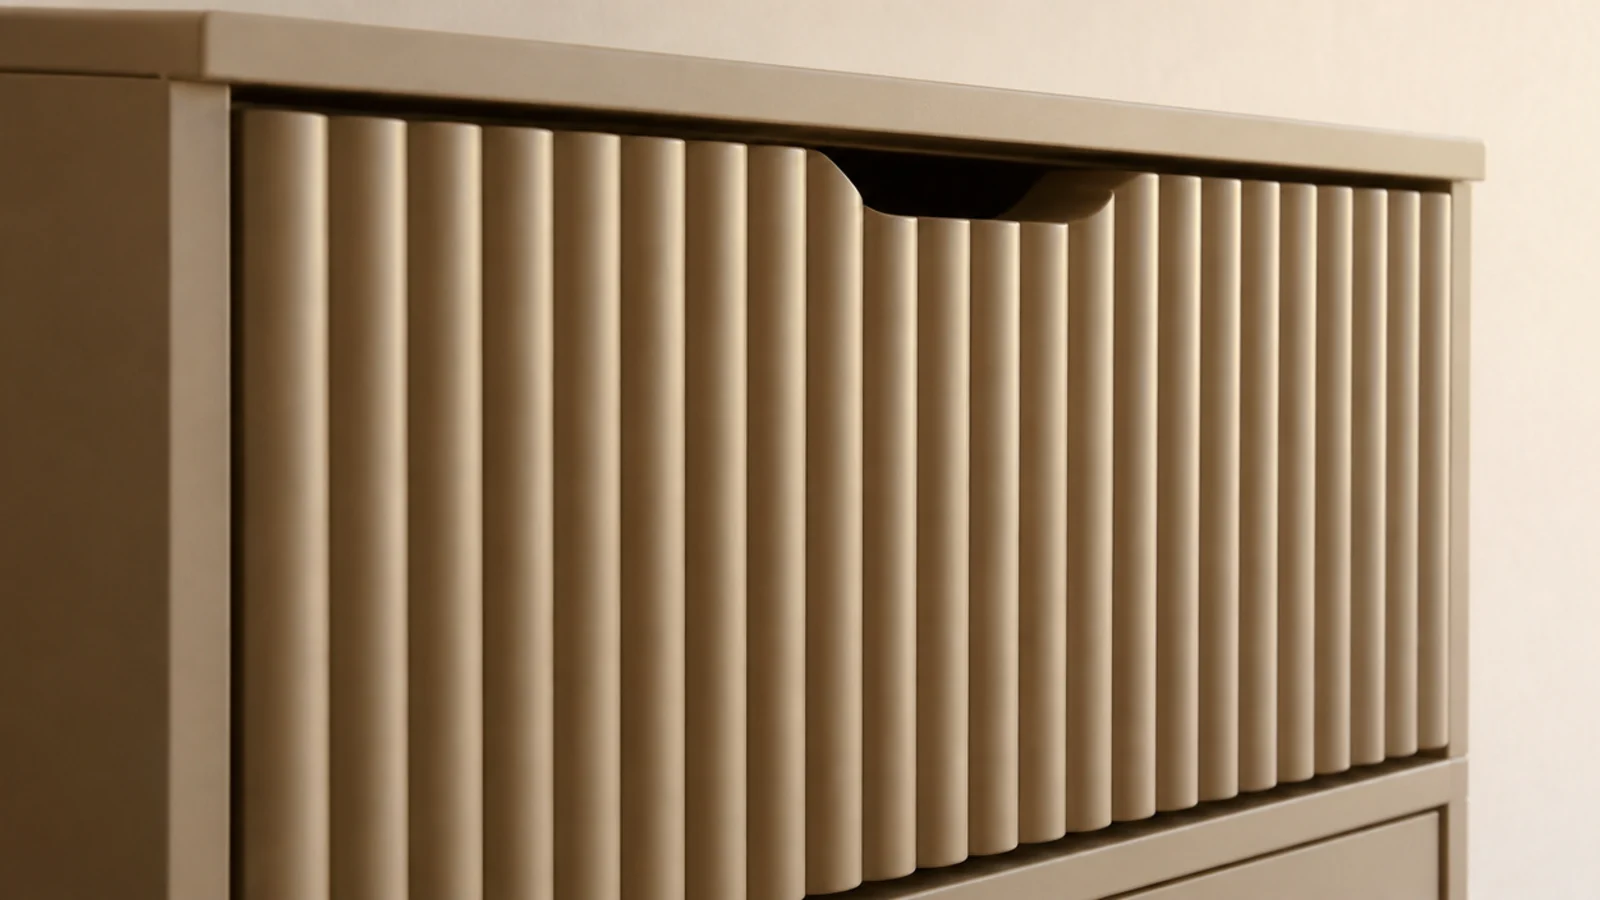
15. Add applied moulding for a fluted front
Fluted furniture is everywhere and costs a fortune. The flat-pack version is half-round timber dowel, glued on and painted over.
Space 12mm half-rounds evenly across each drawer face with a scrap spacer block to keep the gaps identical, glue with a bead of PVA, and tape until dry. Then prime and paint the whole front in one color so the ribs read as texture rather than as stripes. Dowel for a three-drawer unit costs about $20. $
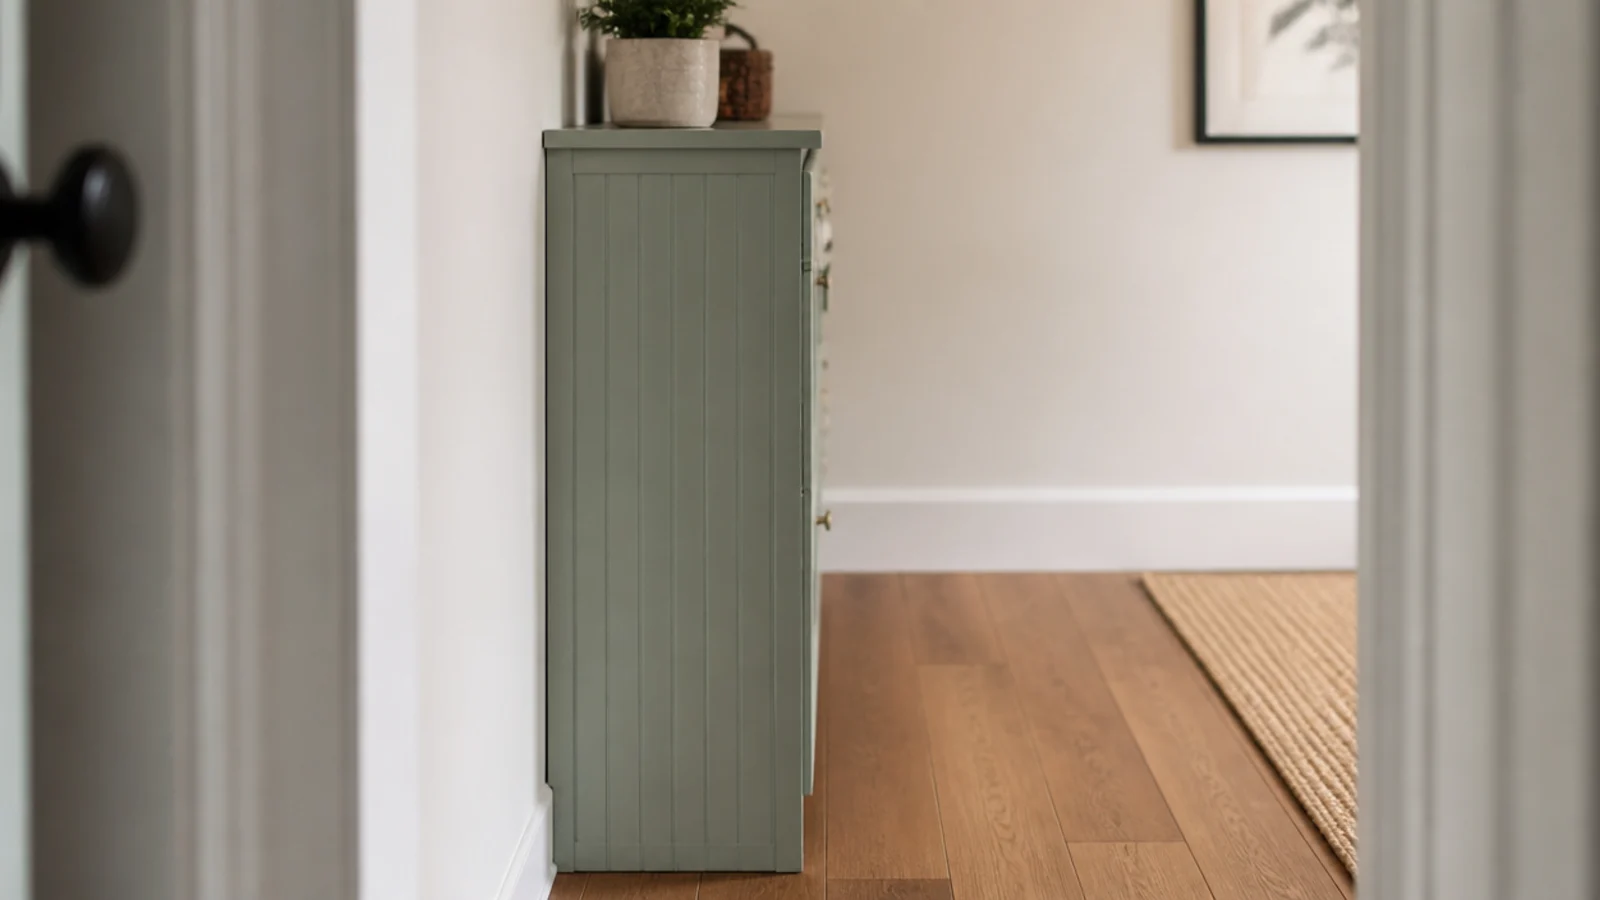
16. Panel the exposed side with beadboard
The side flank is the panel everyone sees walking down a hallway and the one nobody bothers to finish.
Glue narrow beadboard or a sheet of grooved panelling to the exposed side, trim the front edge with a slim bead, and paint it with the cabinet. It adds about half an inch of width. This is the same logic behind full wooden shoe cabinet builds, applied to a box you already own. $$
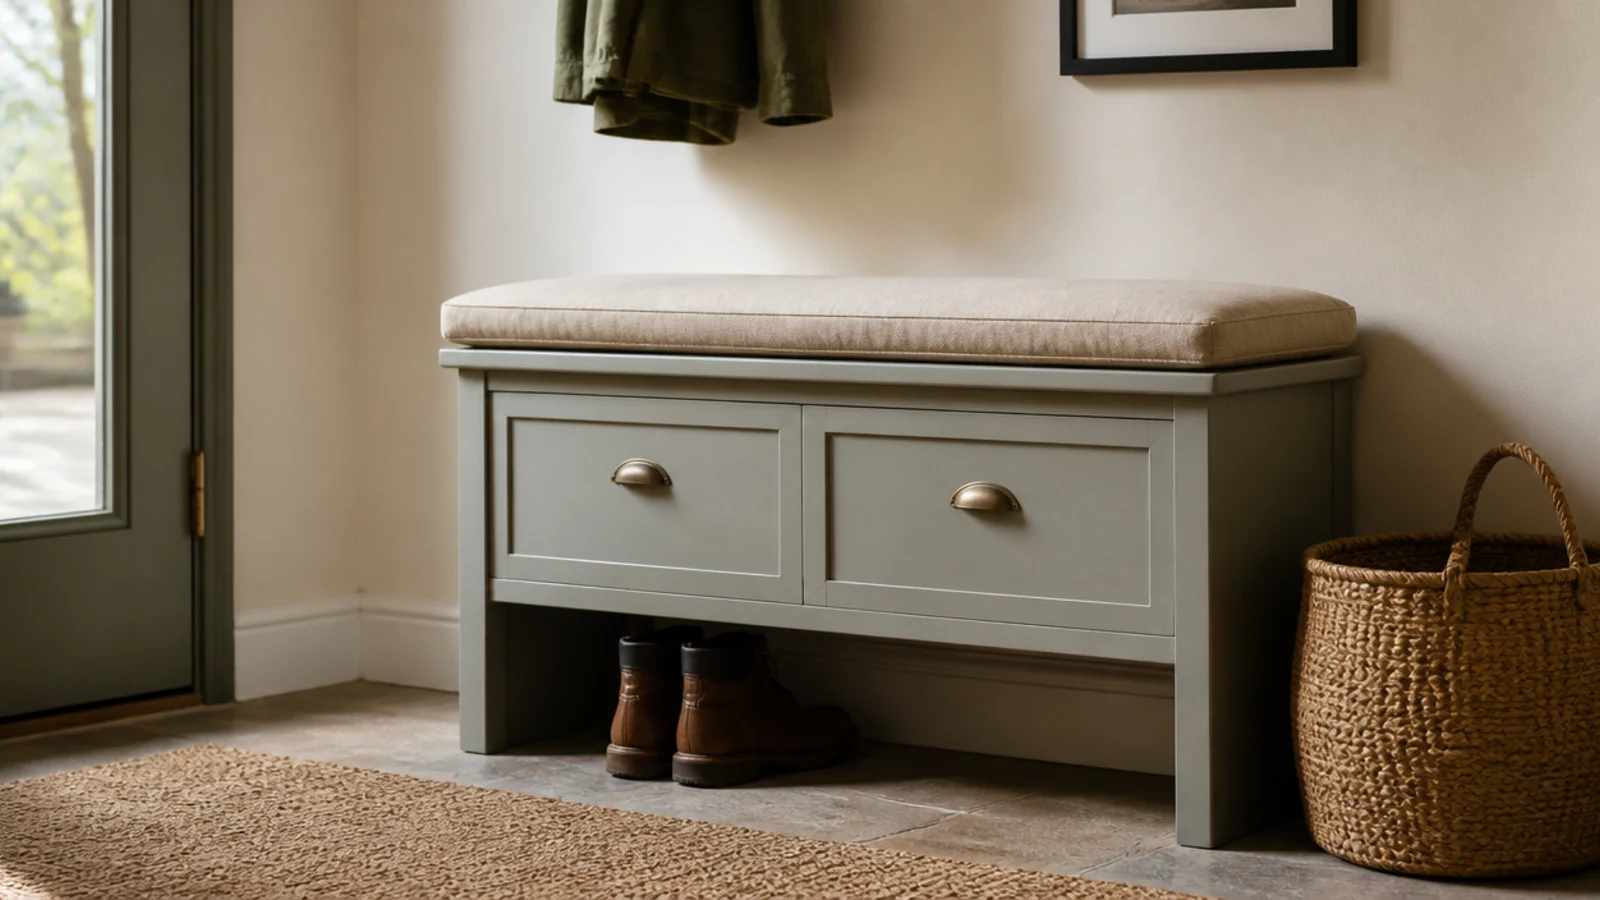
17. Turn the top into a perch seat with a cushion
Most tilt-out cabinets land between 30 and 34 inches tall, which is too high for a proper bench and perfect for a lean-and-balance perch.
A firm foam cushion in linen or a heavy cotton canvas, cut to the top and held with two strips of hook-and-loop tape, gives you somewhere to steady yourself while putting boots on. It costs $25 to $50. It also stops the top becoming a permanent parking spot for mail. $$
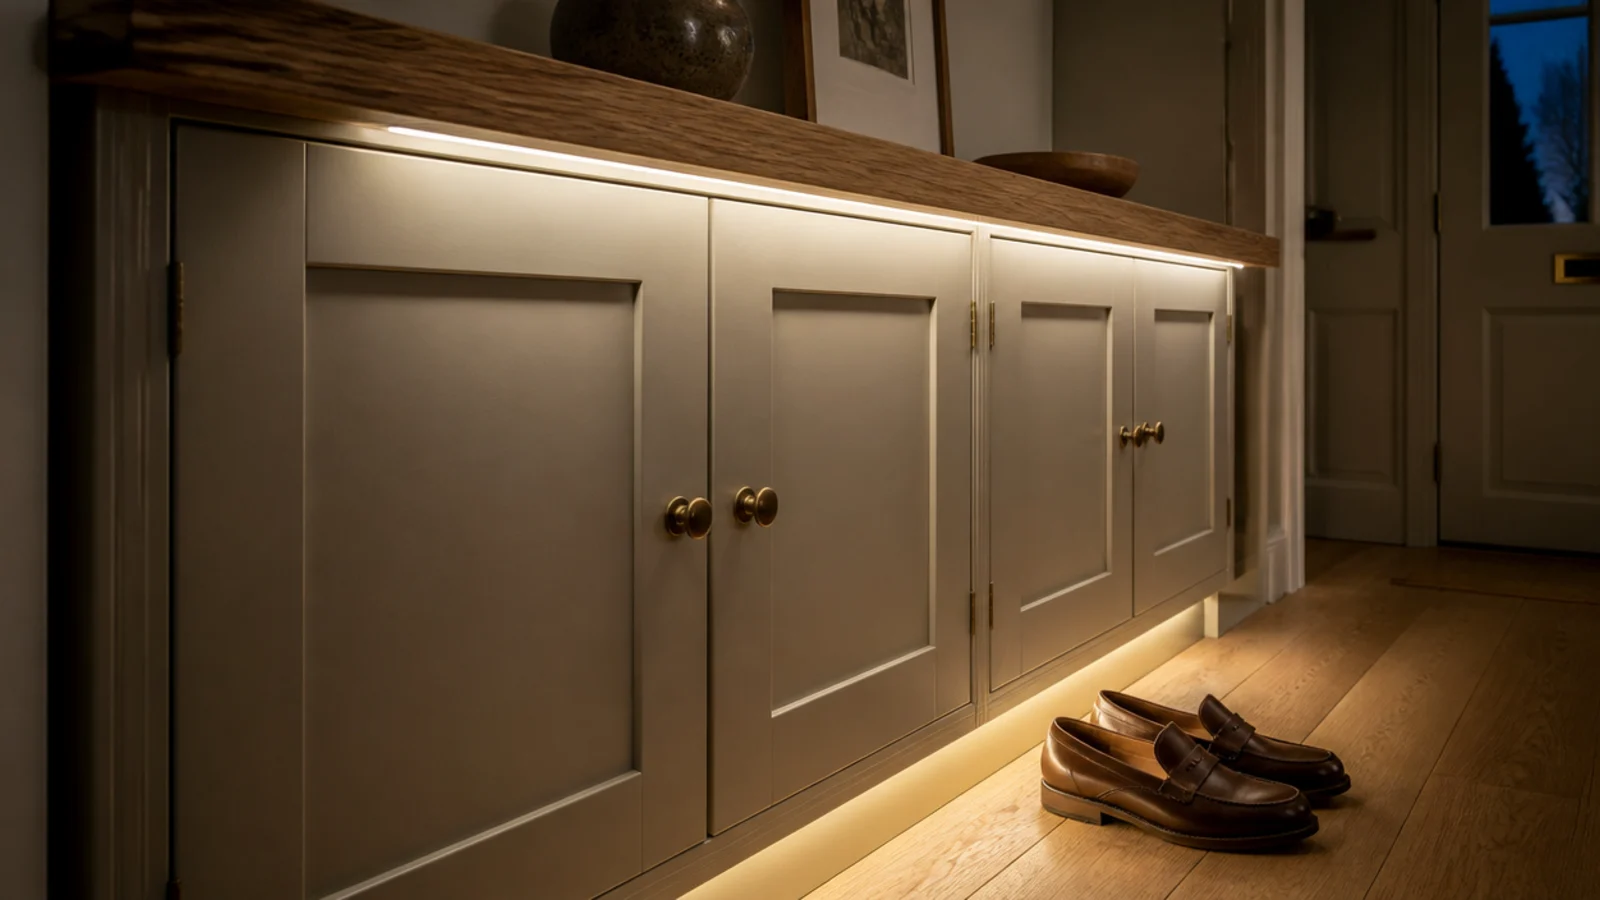
18. Hide an LED strip under the top overhang
If your top overhangs, there is a shadow gap under it doing nothing.
A rechargeable warm-white LED strip with a magnetic mount tucks into that lip and washes light down the front and onto the floor. Choose 2700K — cooler strips turn oak grey and make a hallway feel like a corridor. No wiring, no outlet needed, about $20. It is the cheapest transformation for a hall with one bad ceiling light. $
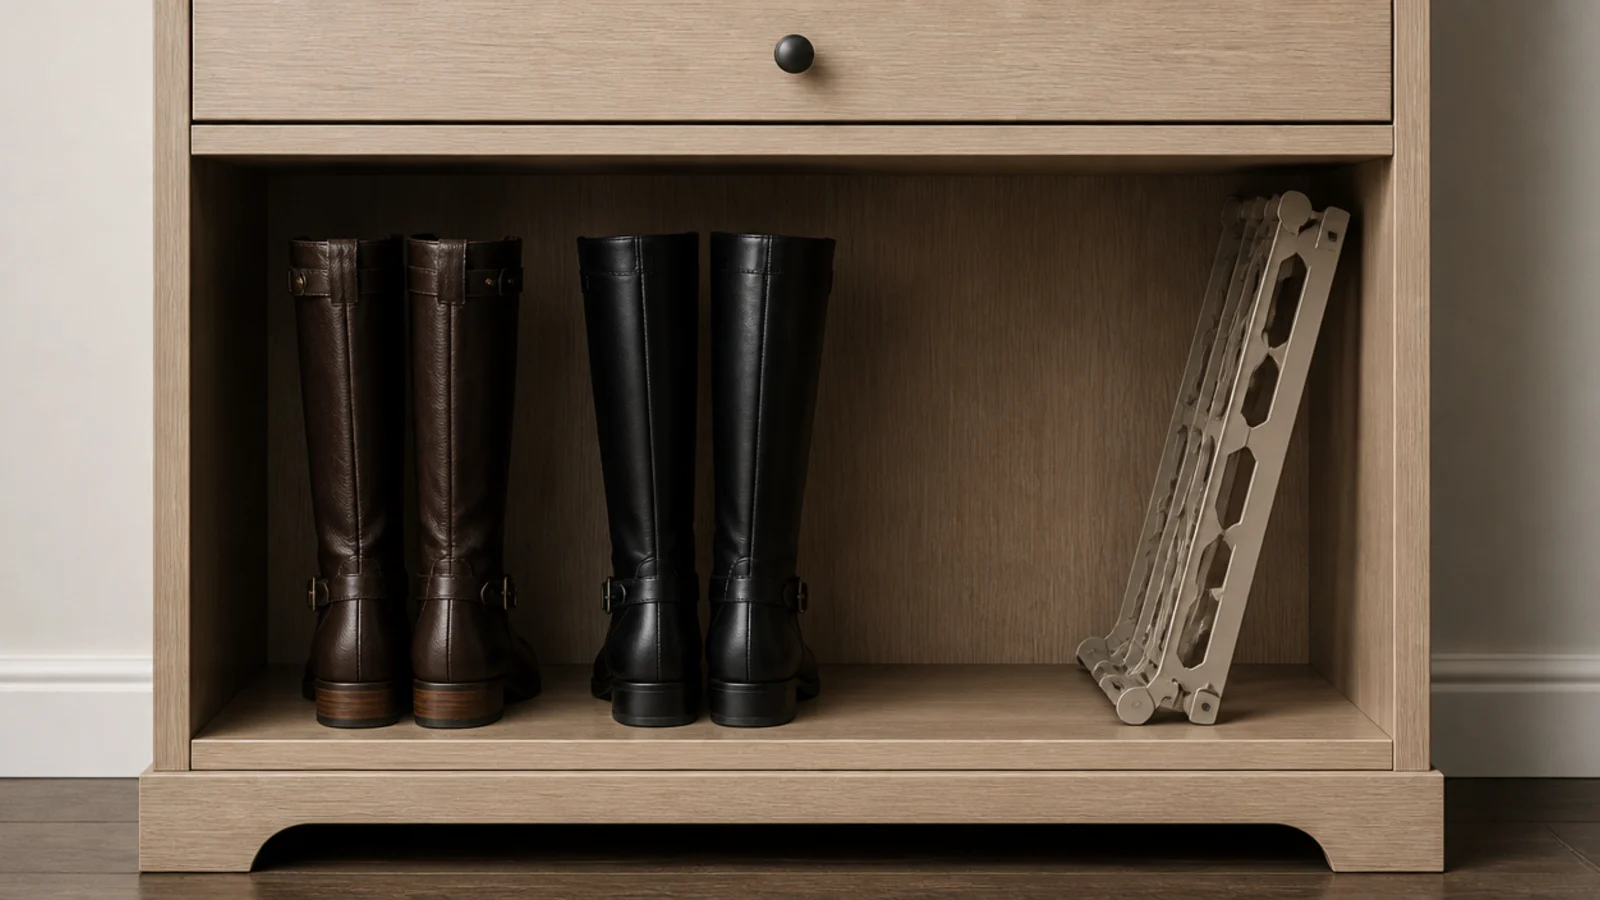
19. Strip the bottom drawer back to a boot bay
The boots problem has one honest solution: give up a drawer.
Remove the tilt insert from the lowest compartment entirely, leaving an open bay roughly 14 to 16 inches tall. Two pairs of ankle boots stand upright in there, or one pair of tall boots lying down. Add a cut-to-size rubber liner because this is the compartment that meets wet soles first. Free, plus a few dollars of liner. $
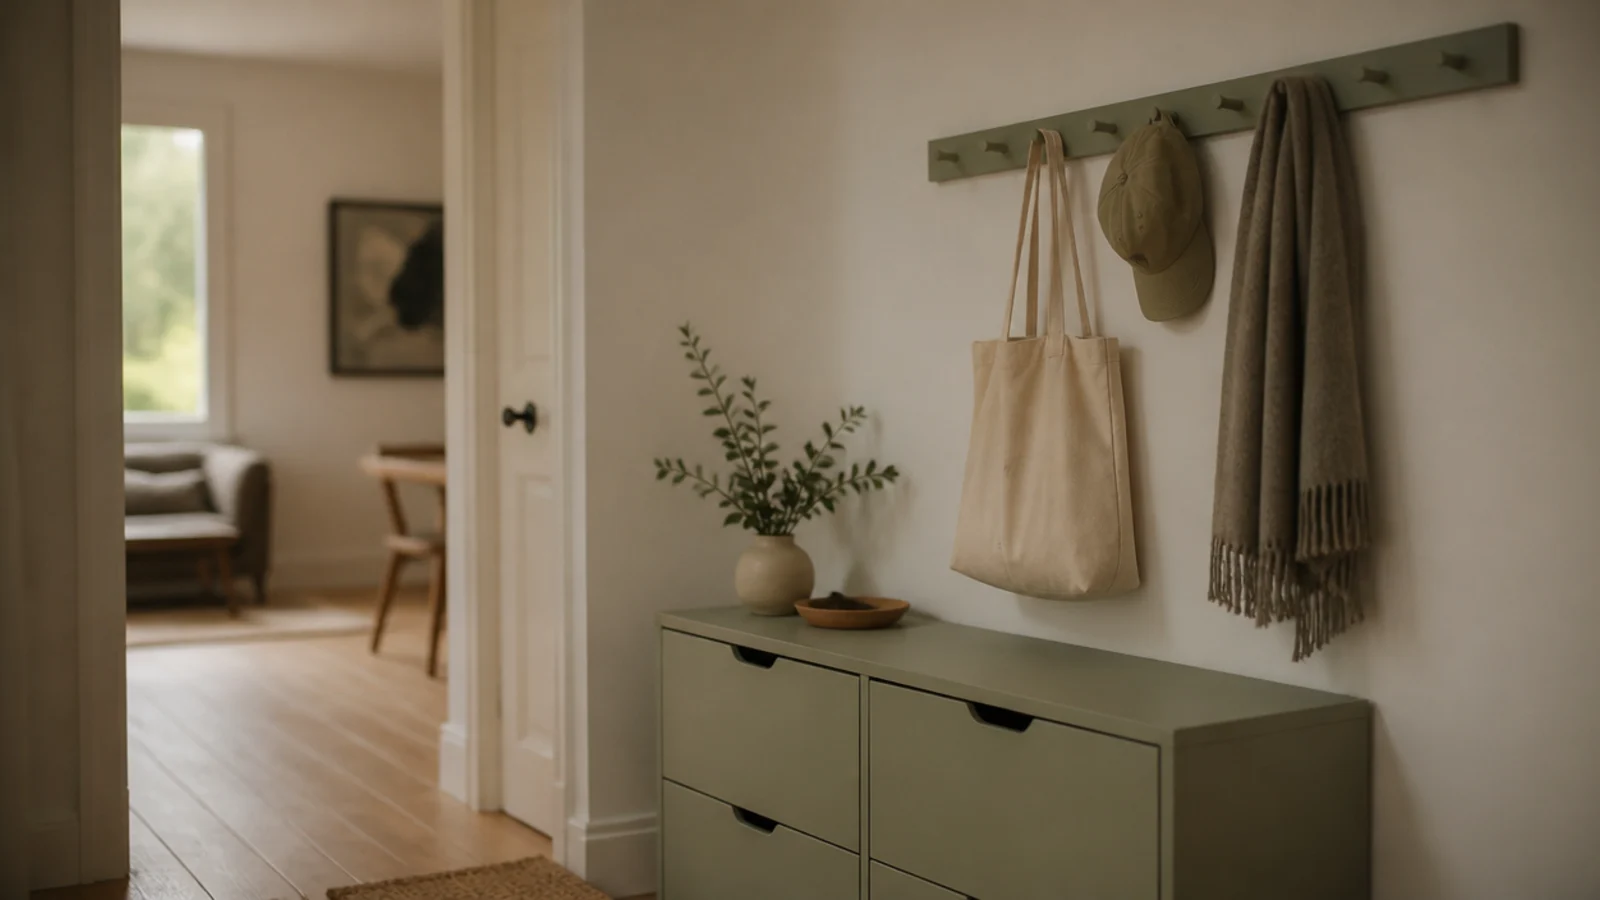
20. Mount a peg rail above and paint it to match
Finish the wall above rather than leaving the cabinet floating on its own.
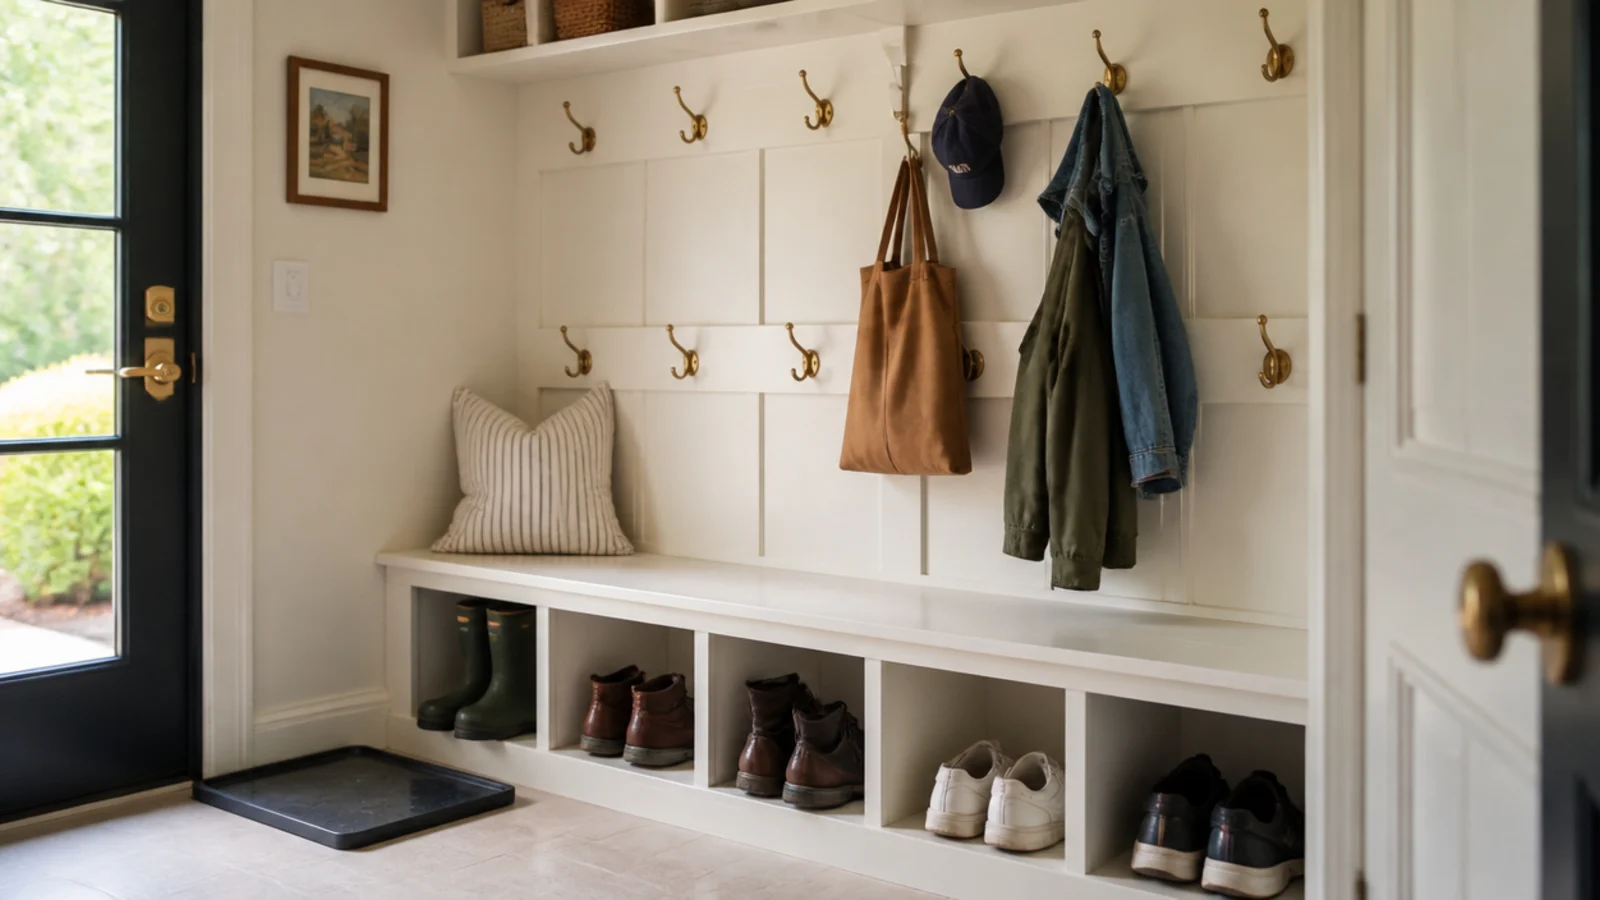
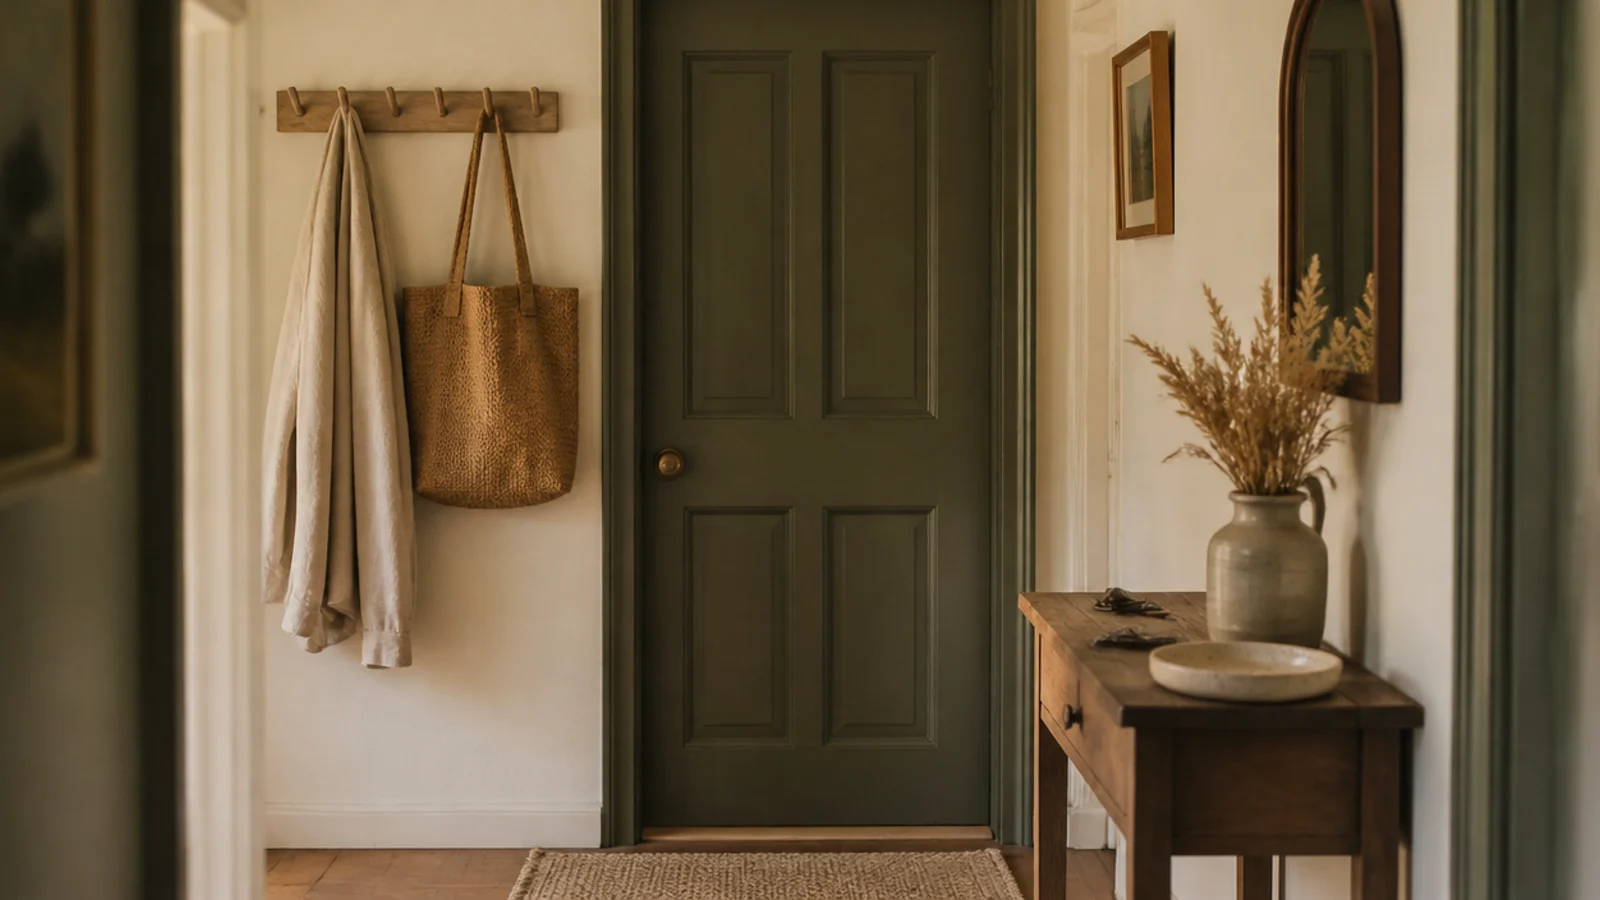
A simple timber peg rail mounted 14 inches above the cabinet top holds a tote, a cap and a scarf clear of the surface. Paint the rail the cabinet color rather than the wall color, so the two pieces read as one designed unit. Fix into studs or use toggle bolts — anything hanging from a rail gets pulled downward, hard. Around $25 with hardware. $$
Mistakes to Skip
- Painting straight onto foil-wrapped fronts without scuffing and priming. It looks perfect for a fortnight and then peels off in sheets where feet touch it.
- Adding a heavy stone or solid timber top to a tall stacked unit without strapping it to the wall. Weight up high on a light carcass is exactly how these tip.
- Sealing the back panel behind a solid front with no vent holes anywhere. The smell people blame on shoes is almost always trapped humidity with nowhere to go.
Frequently asked questions
What is the easiest shoe cabinet hack to start with?
Swapping the knobs. It takes ten minutes, costs $4 to $12 a piece, needs one screwdriver, and it changes the first thing anyone notices about a flat-pack cabinet. Measure the existing hole spacing before you buy — single-hole knobs fit almost any front, while two-hole pull handles only fit a matching drilling pattern.
Can you paint a flat-pack shoe cabinet?
Yes, but the prep decides everything. Melamine and foil-wrapped fronts need a light scuff with 180-grit paper, a wipe with degreaser, then a bonding primer made for slick surfaces. Skip any of those and the paint peels off in sheets the first time a foot closes the drawer. Two thin coats of satin beat one thick coat every time.
How do you stop a flat-pack shoe cabinet from smelling?
Give it airflow and keep damp shoes out. Four one-inch holes drilled through the back panel, or a slatted front, lets moisture escape instead of sitting in a sealed box. Wet pairs belong on a tray on the floor outside the cabinet until dry. Airing the drawers for an hour each season handles the rest.
Do flat-pack tilt-out shoe cabinets hold boots?
No. A tilt-out drawer holds six to eight pairs of flats, sneakers or loafers stored at 45 degrees, and nothing with a shaft above the ankle. If you need boots in the same footprint, remove the tilt insert from the bottom drawer entirely and use that compartment as an open boot bay instead.
How do you make a flat-pack shoe cabinet look built in?
Three cheap moves stacked together: a toe-kick plinth at the base so it appears to sit on the floor, scribe trim closing the gap between the carcass and the wall, and a solid timber top with a slight overhang. Paint all three the same color as the cabinet and the eye stops reading it as furniture.
Pick two modifications rather than ten: a solid top and new knobs will change more than a full repaint done badly. If you would rather build from scratch, the step-by-step shoe cabinet build covers the carcass properly, modern shoe cabinet looks shows where these finishes land, and DIY shoe storage has the open alternatives. Save the pin so the list is with you at the hardware store.
Want more like this? Browse all 15 shoe cabinet ideas guides — they all use the same measurements and budget tiers.
Pin it for later
Save this to your Shoe Cabinet Ideas board
Pin it now so it is waiting for you when the tape measure comes out — and so the next person hunting for this idea can find it too.
Save this pinKeep going
More ideas worth saving while you have the tape measure out.