Shoe Cabinet Ideas · How-To
20 Steps to Style a Stunning Shoe Cabinet

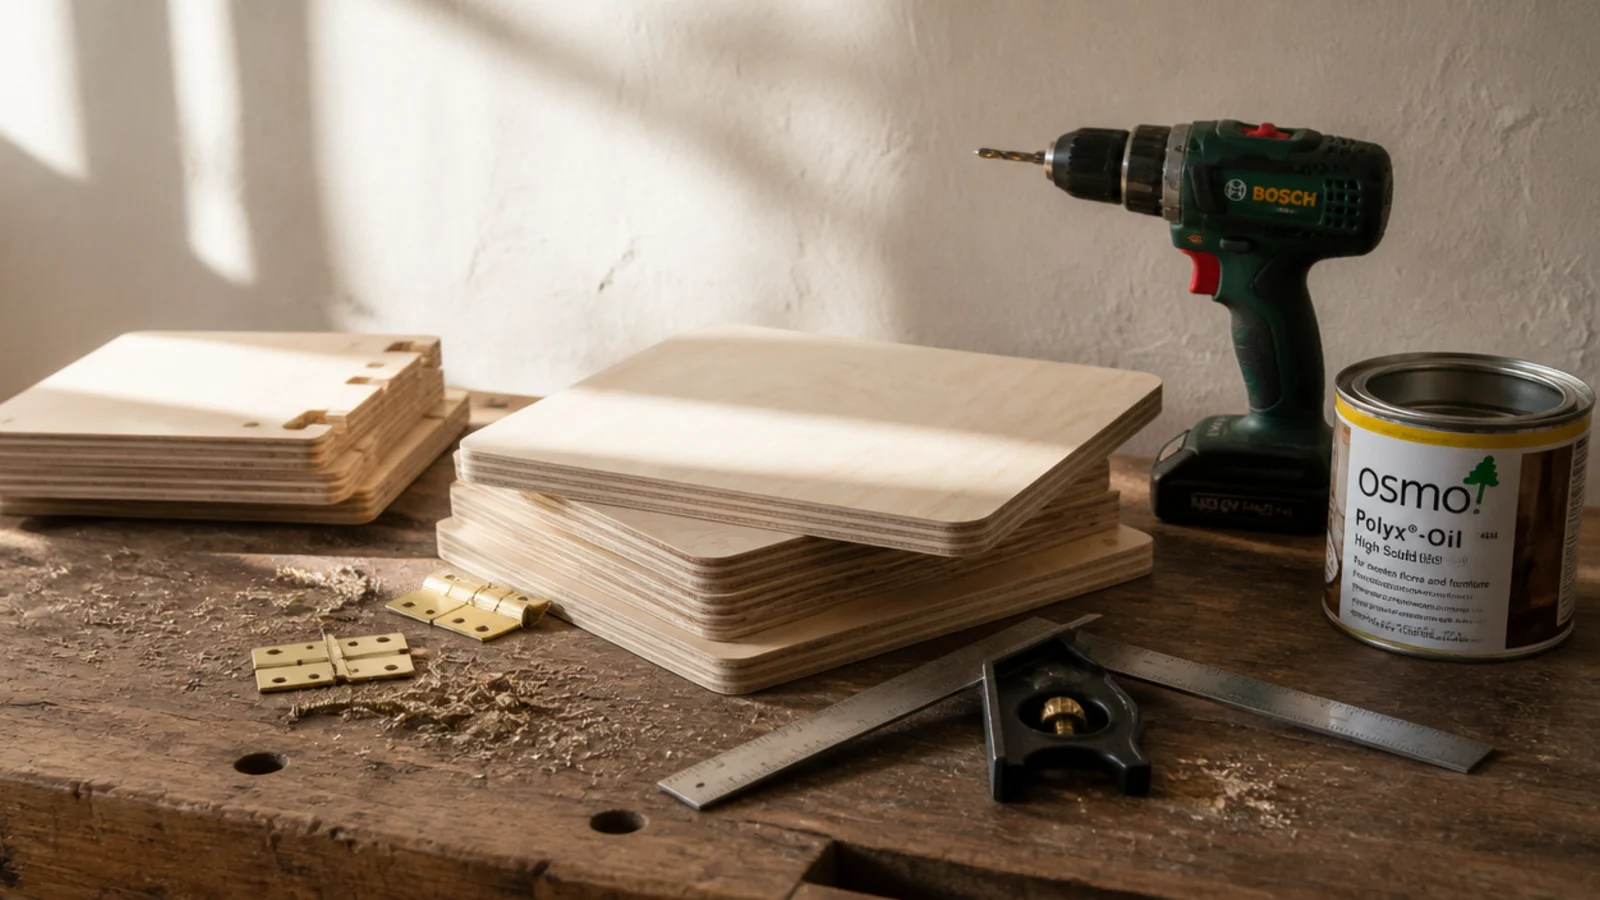
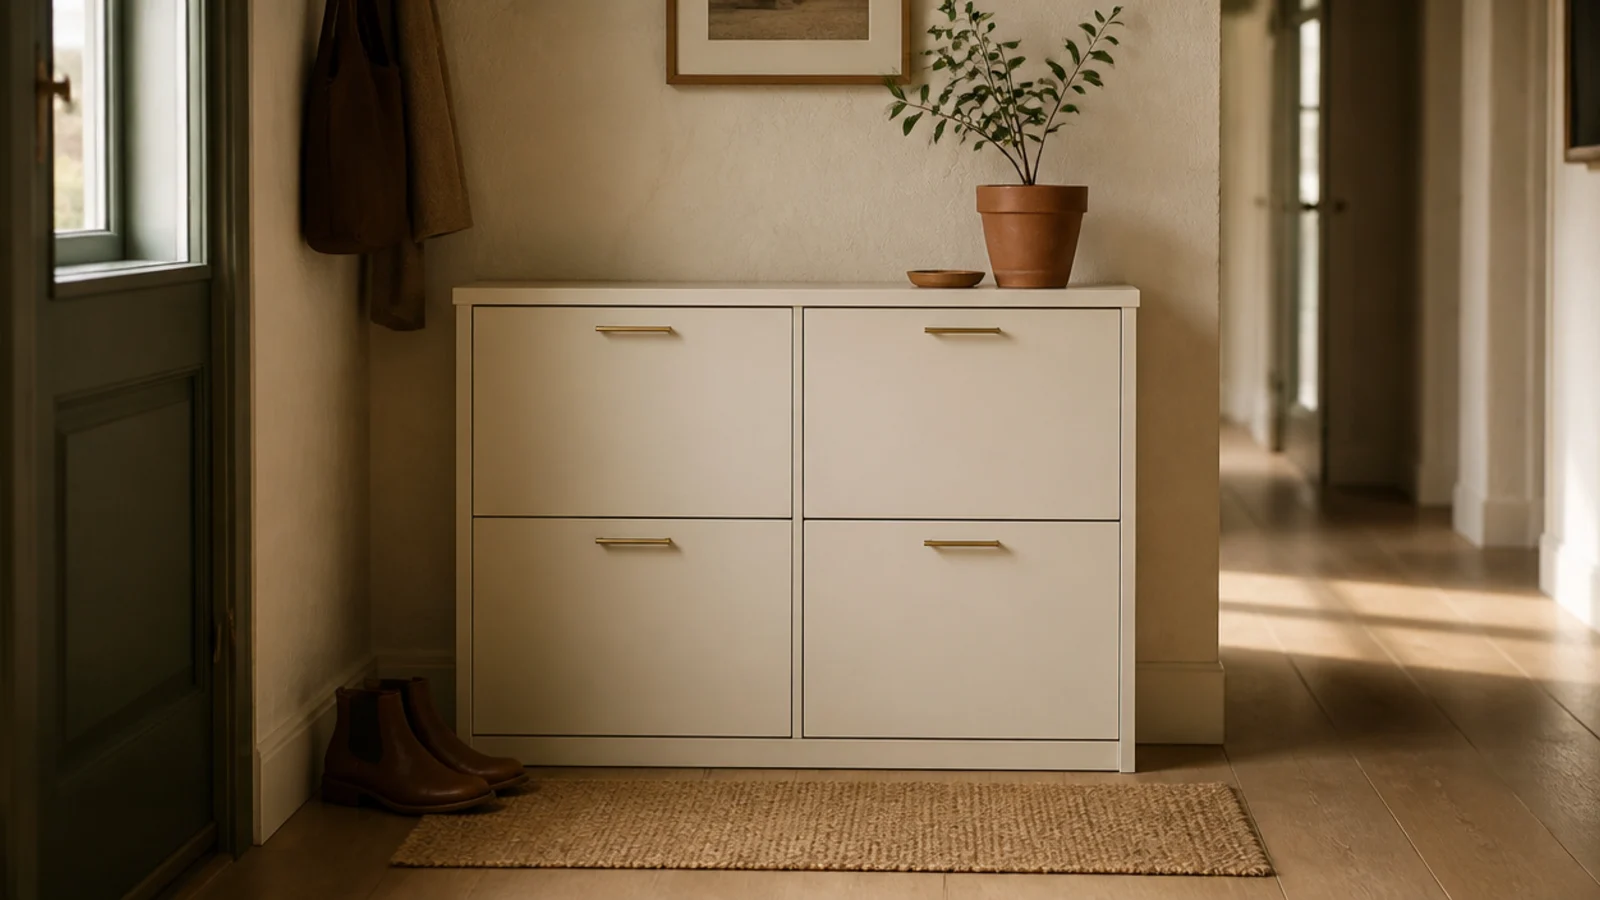
A DIY shoe cabinet is a simpler build than it looks, because the box is only five panels and a door. The difficulty sits entirely in three numbers that most plans never mention. I have built two of these, one for a rental hallway 34 inches wide. These twenty steps take you from a tape measure to a finished, ventilated cabinet with doors that actually shut, over a single weekend.
In this guide23 sections — tap to openHide
- 1.What You'll Need to Build a DIY Shoe Cabinet
- 2.Step 1: Measure the walkway before anything else
- 3.Step 2: Count the pairs and sort them by type
- 4.Step 3: Choose tilt-out or flat shelves
- 5.Step 4: Set the internal depth from your biggest shoe
- 6.Step 5: Pick the carcass material
- 7.Step 6: Draw a cut list and get the sheet cut
- 8.Step 7: Drill the shelf pin holes before assembly
- 9.Step 8: Drill the ventilation row in the back panel
- 10.Step 9: Assemble the carcass square
- 11.Step 10: Fit the back panel and check for twist
- 12.Step 11: Cut and fit the doors or tilt-out fronts
- 13.Step 12: Install soft-close hinges
- 14.Step 13: Adjust the doors until the gaps are even
- 15.Step 14: Build the tilt-out cradle at 45 degrees
- 16.Step 15: Add a toe kick and levelling feet
- 17.Step 16: Sand and break every edge
- 18.Step 17: Finish inside and out
- 19.Step 18: Anchor the cabinet to the wall
- 20.Step 19: Line the bays and set the trays
- 21.Step 20: Style the top and live with it for a week
- 22.Pro Styling Rules
- 23.Mistakes to Skip
What You'll Need to Build a DIY Shoe Cabinet
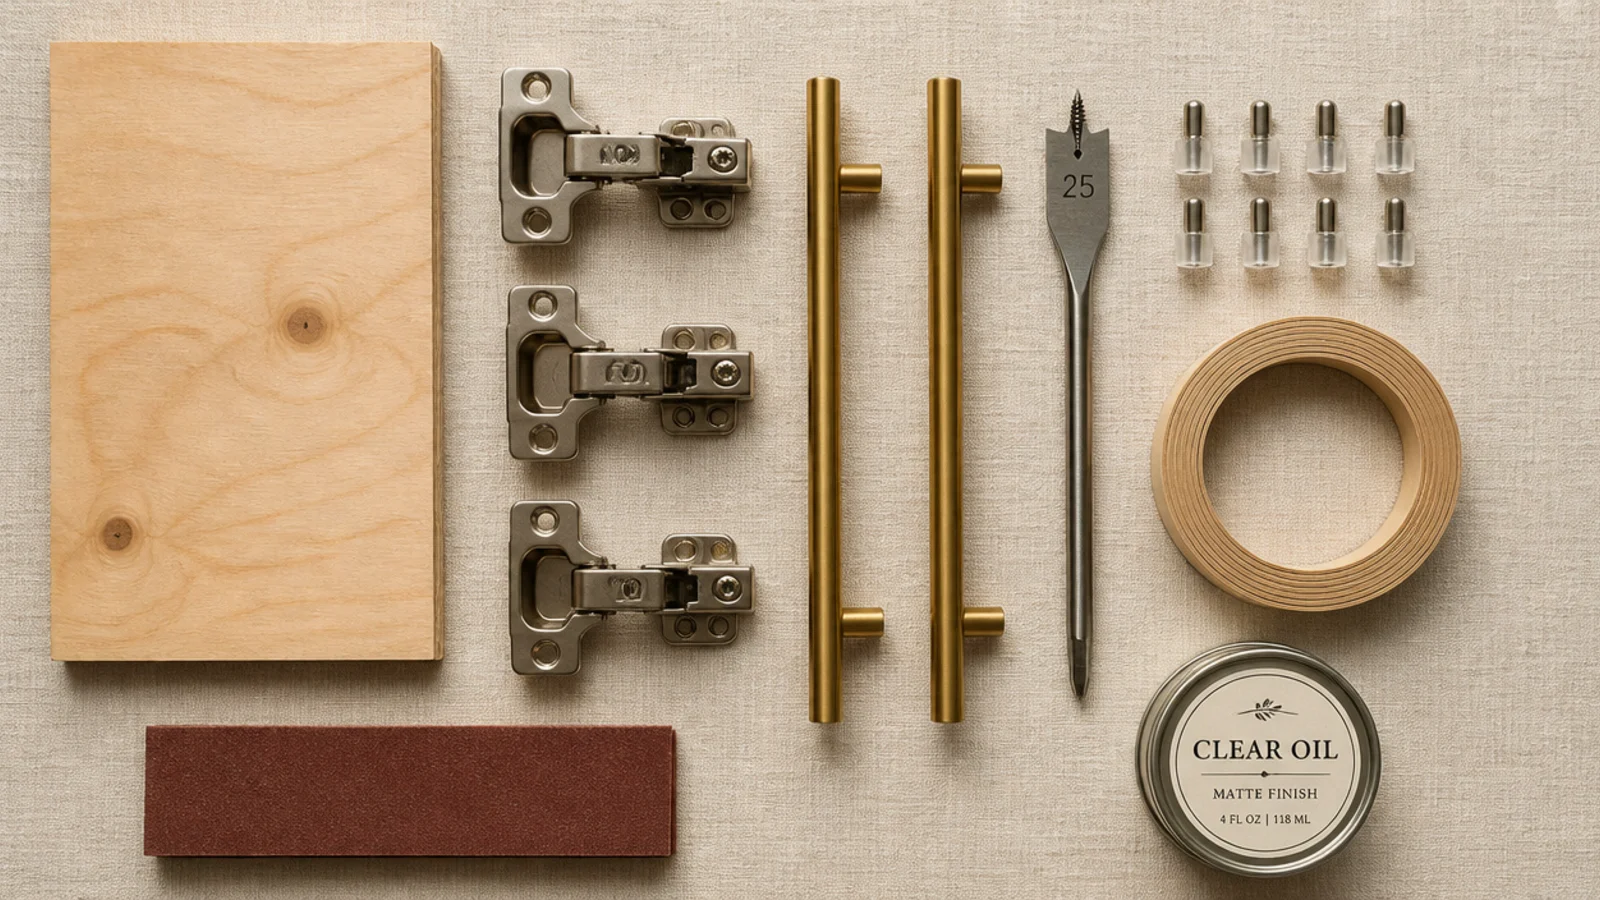
Nothing here is specialist. A three-bay cabinet 32 inches wide runs about $85 in birch plywood with painted fronts, or $150 in solid oak.
| Item | Spec that matters | Rough cost |
|---|---|---|
| Carcass sheet | 3/4 in birch plywood, half sheet | $38–$55 |
| Door fronts | Solid poplar or oak, 3/4 in | $20–$60 |
| Back panel | 1/4 in ply, drilled for ventilation | $12 |
| Hinges | Concealed European, soft-close, 2 per door | $8 per pair |
| Shelf pins | 5mm brass, plus a drilling jig | $10 |
| Handles | Solid brass bar pulls, 96mm centers | $12–$40 |
| Feet and strap | Adjustable feet, one anti-tip strap | $18 |
| Finish | Hardwax oil or satin cabinet paint | $16 |
Step 1: Measure the walkway before anything else
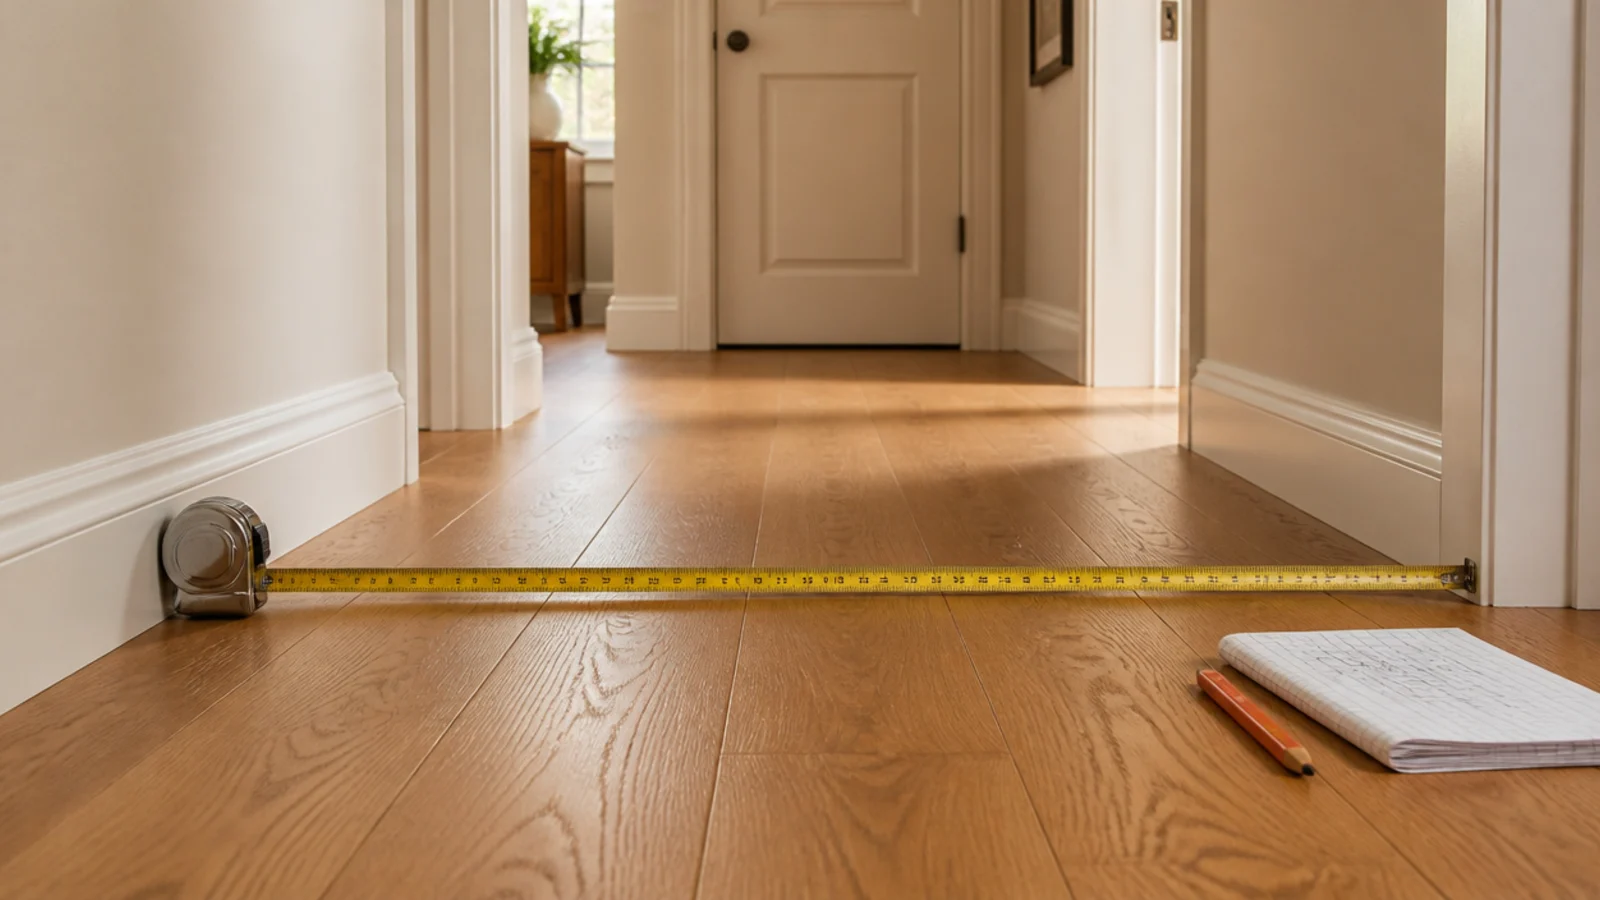
Stand where the cabinet will go and measure from the wall to the nearest thing you walk around. Subtract 36 inches of clear passage from that number.
Whatever is left is your maximum external depth, and it is usually between 9 and 15 inches. Write it down. Every decision from here is downstream of this one measurement, and no amount of clever joinery gets around it.
Step 2: Count the pairs and sort them by type
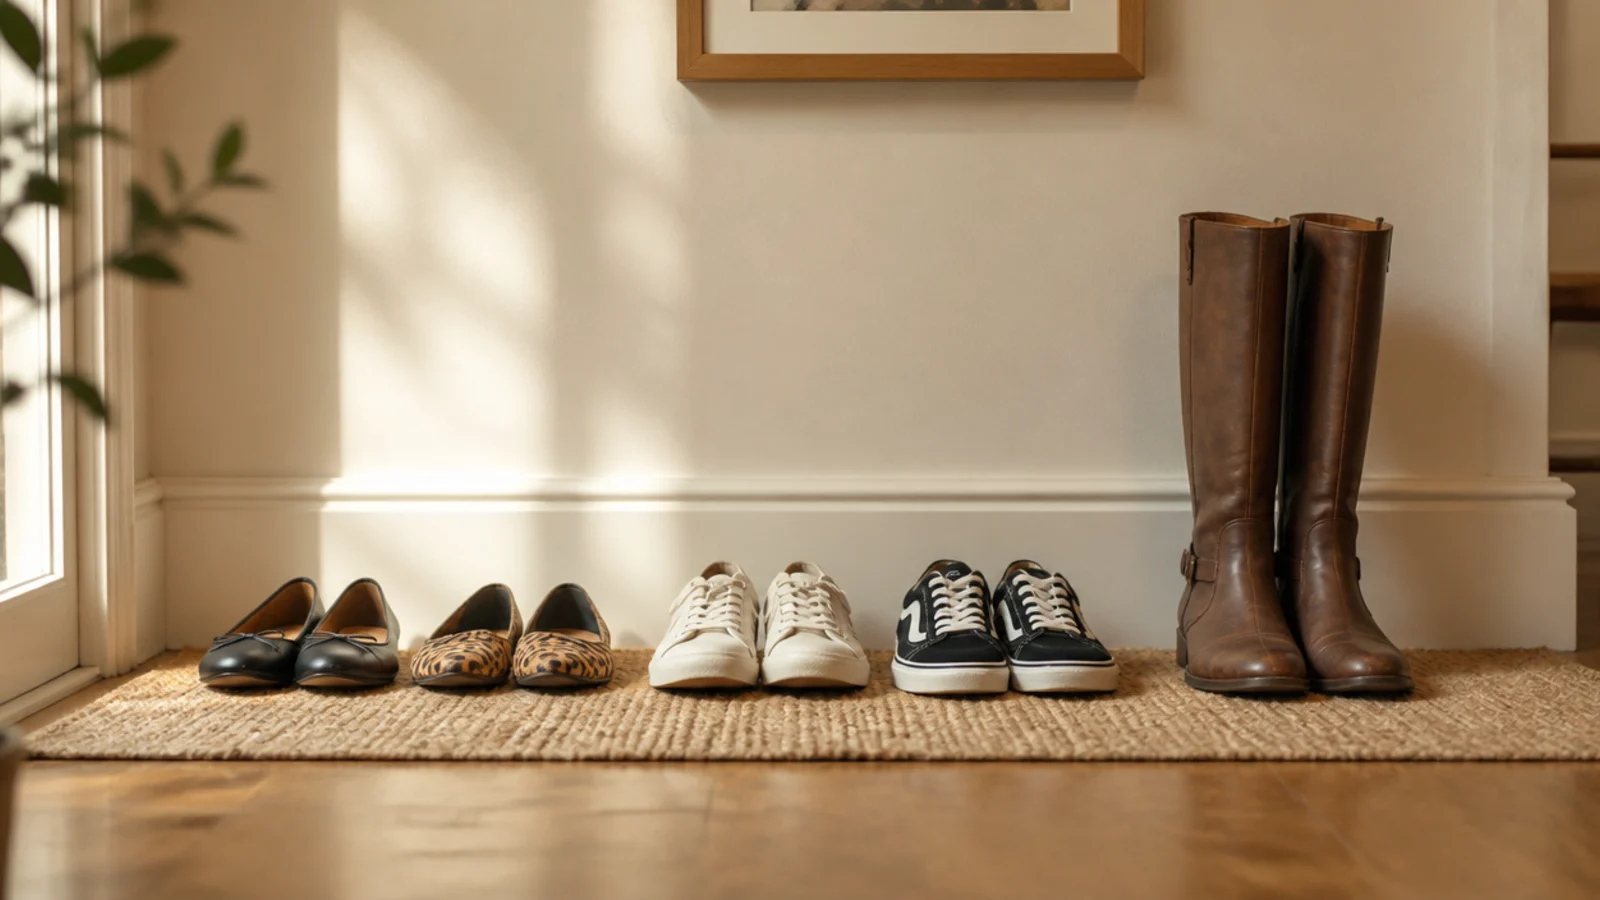
Gather every pair that currently lives within six feet of the door and sort them into three piles: flats and sneakers, boots, and the wet ones.
The flats pile sets your bay count. The boots pile decides whether you need a 16-inch-tall bay. The wet pile is the one that never goes inside the cabinet at all — it gets a tray on the floor, which is Step 19.
Step 3: Choose tilt-out or flat shelves
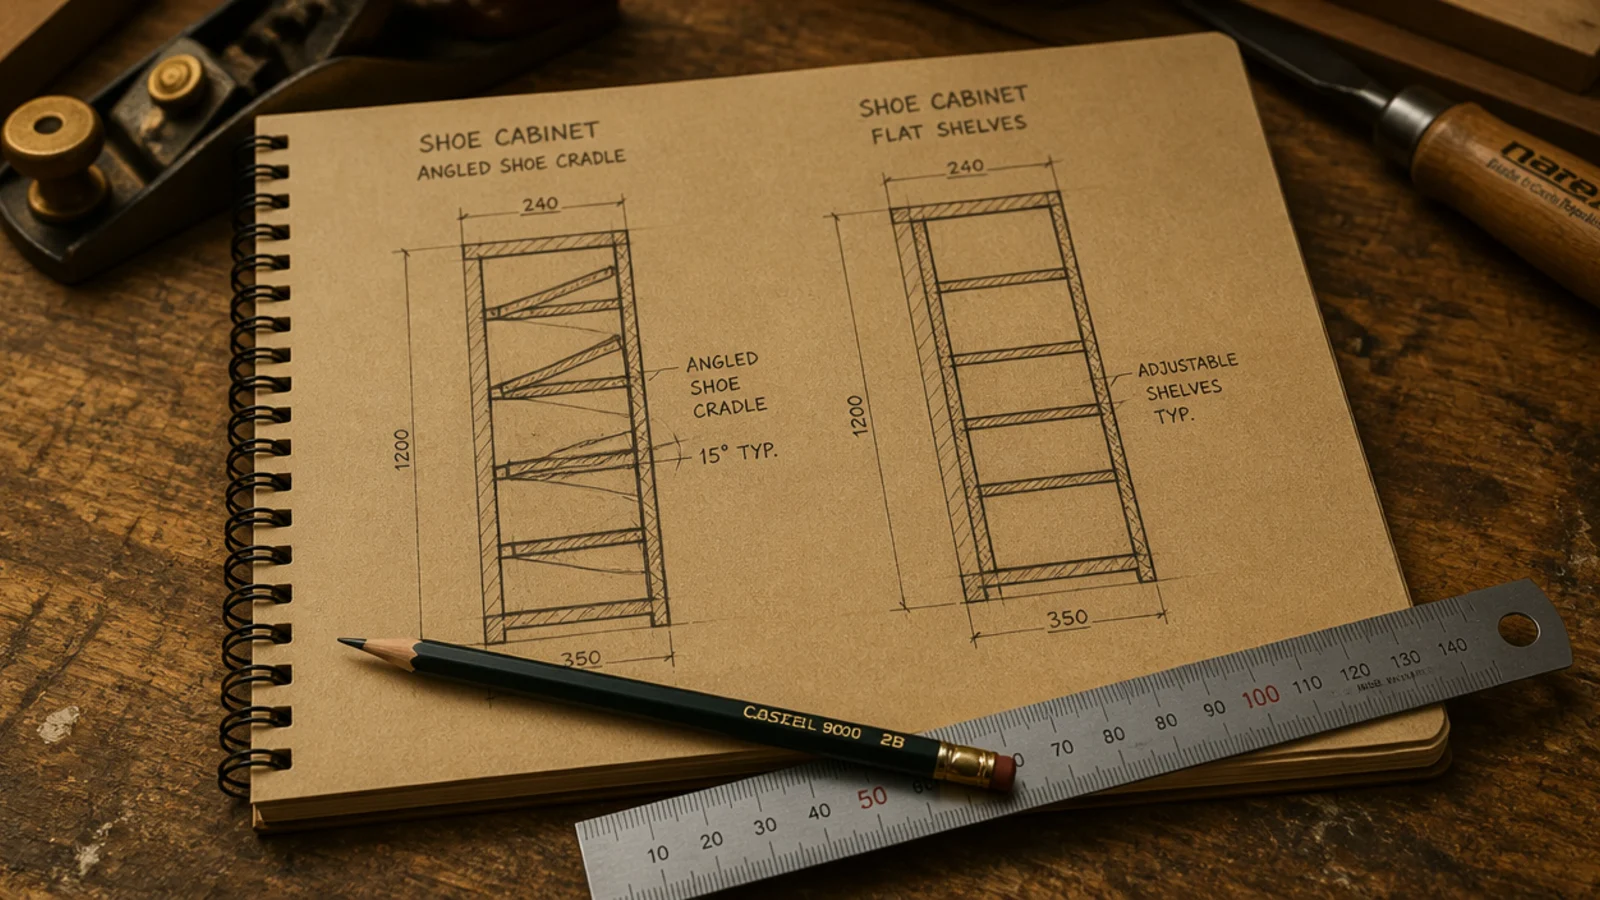
If Step 1 gave you 14 inches or more, build flat shelves. They take boots, heels and sandals, and you can see the whole bay at once.
If it gave you 12 or less, build a tilt-out. Shoes sit at 45 degrees in an angled cradle, so a 12.5-inch sneaker fits inside 9 inches of depth. The cost is capacity and type: six to eight pairs of flats per drawer, and no boots at all.
Step 4: Set the internal depth from your biggest shoe
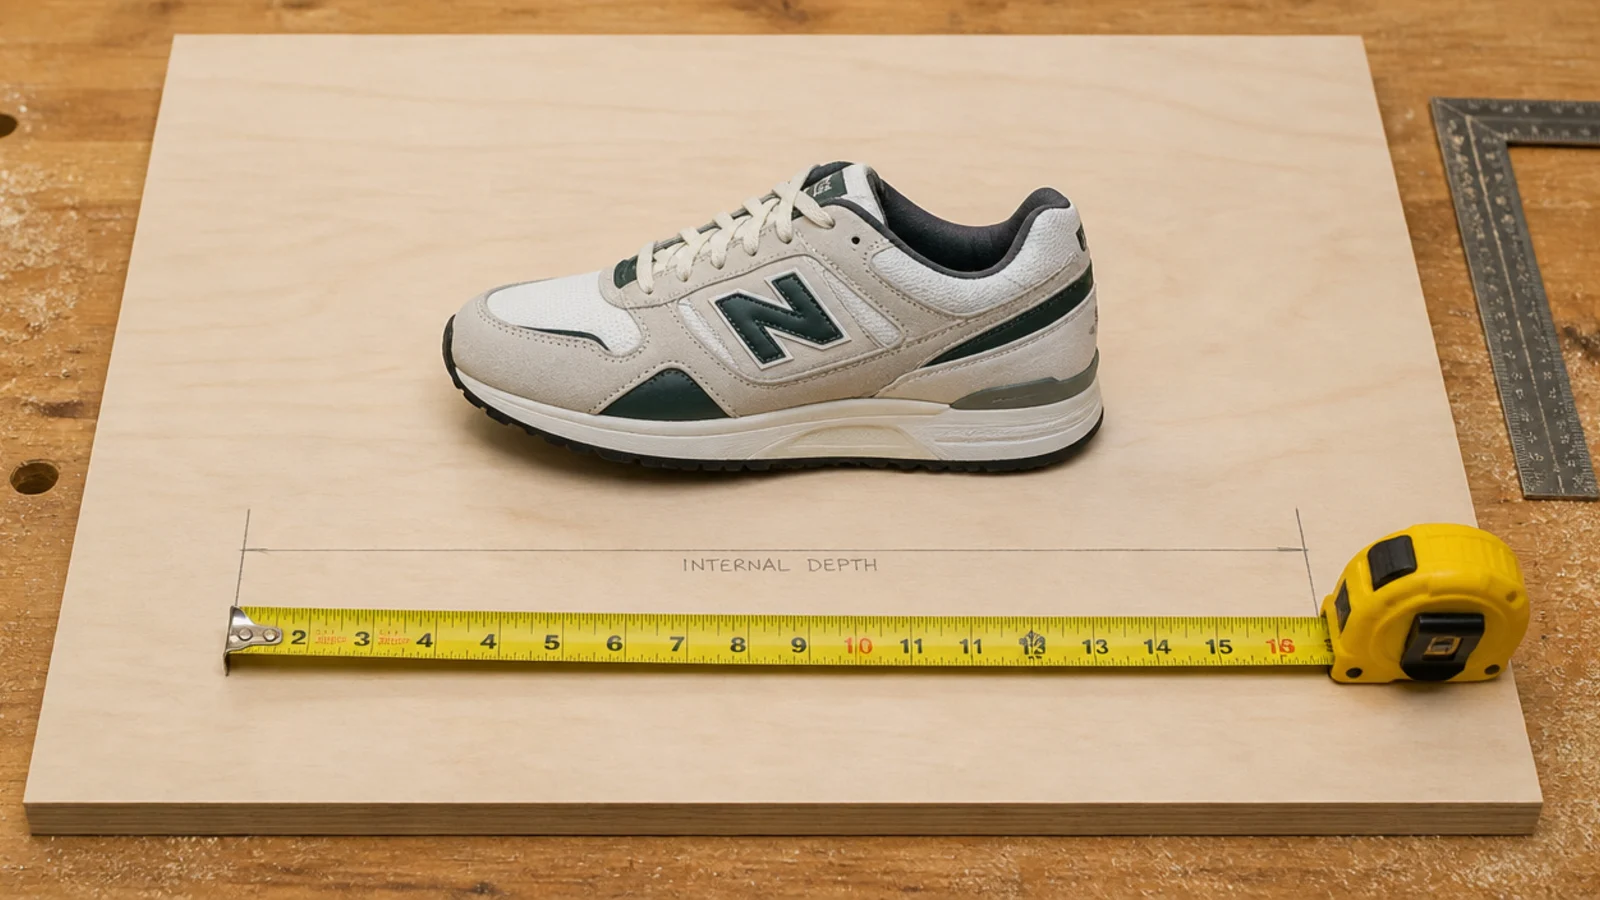
Take the largest shoe in the house, lay it on a panel and measure it. A men's size 12 sneaker comes in around 12.5 inches, and that is the number your interior has to clear.
Flat shelves need 13 inches inside. Add the door thickness and the back panel and your external depth lands near 14.5. This is exactly why a cabinet advertised as 13 inches deep will not take an adult sneaker lying flat.
Step 5: Pick the carcass material
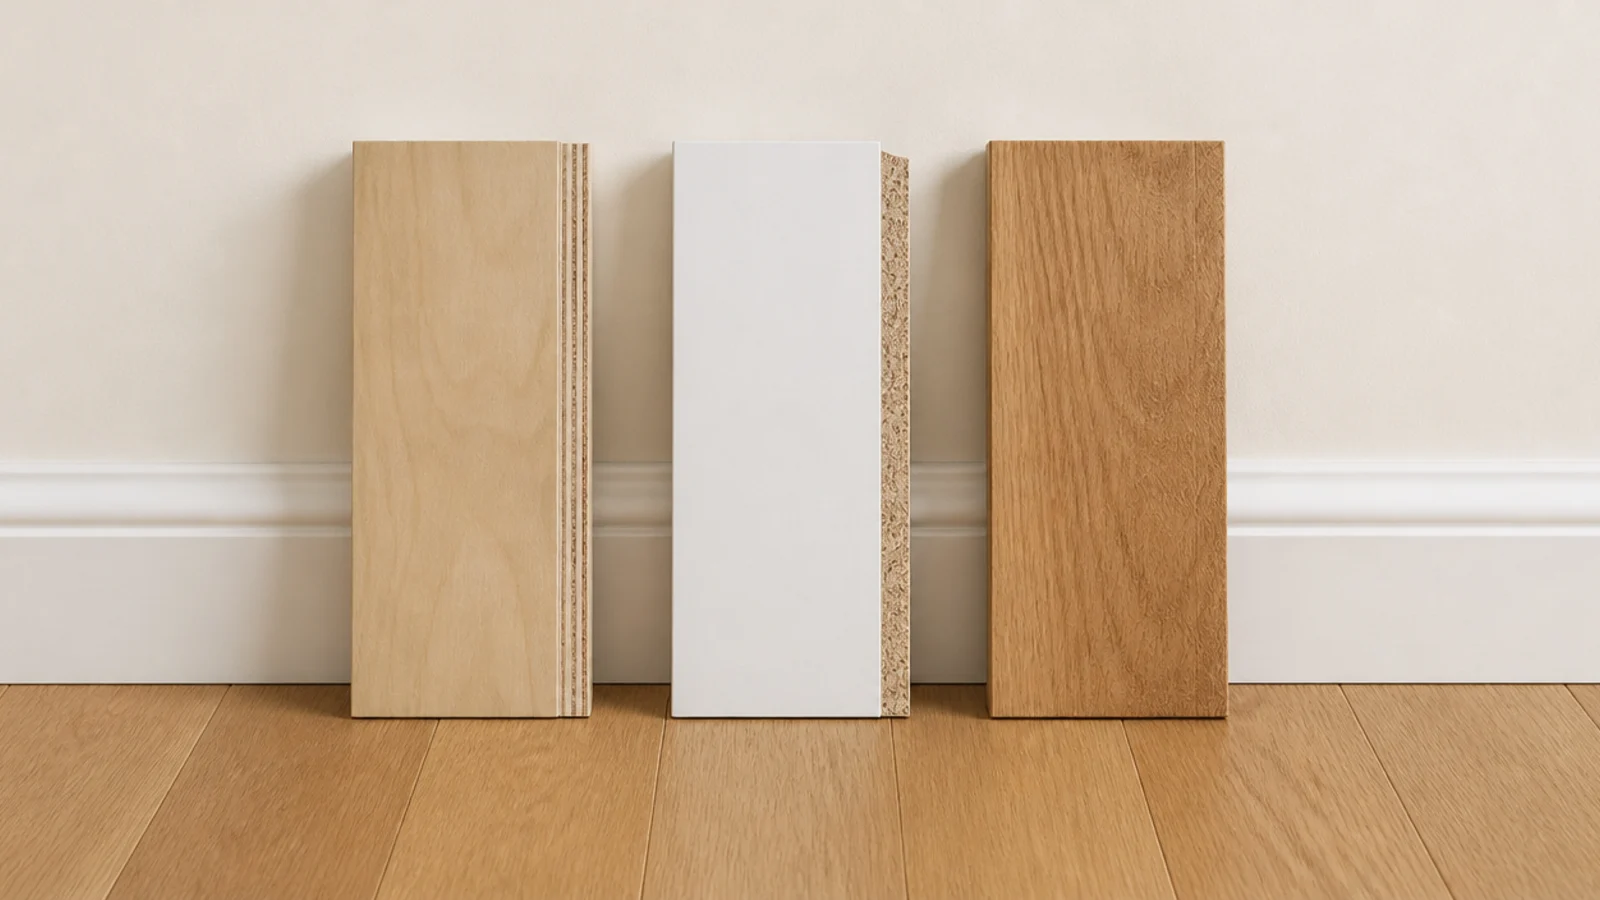
Three-quarter inch birch plywood is the right answer for a first build. It holds a screw properly, it does not sag across a 30-inch span loaded with boots, and the edge takes iron-on banding cleanly.
Particleboard is cheaper and fails at the screw holes within a couple of years of daily door slamming. Melamine-faced board sits between the two: wipe-clean interiors, chippy edges, and it needs pilot holes for everything.
Step 6: Draw a cut list and get the sheet cut
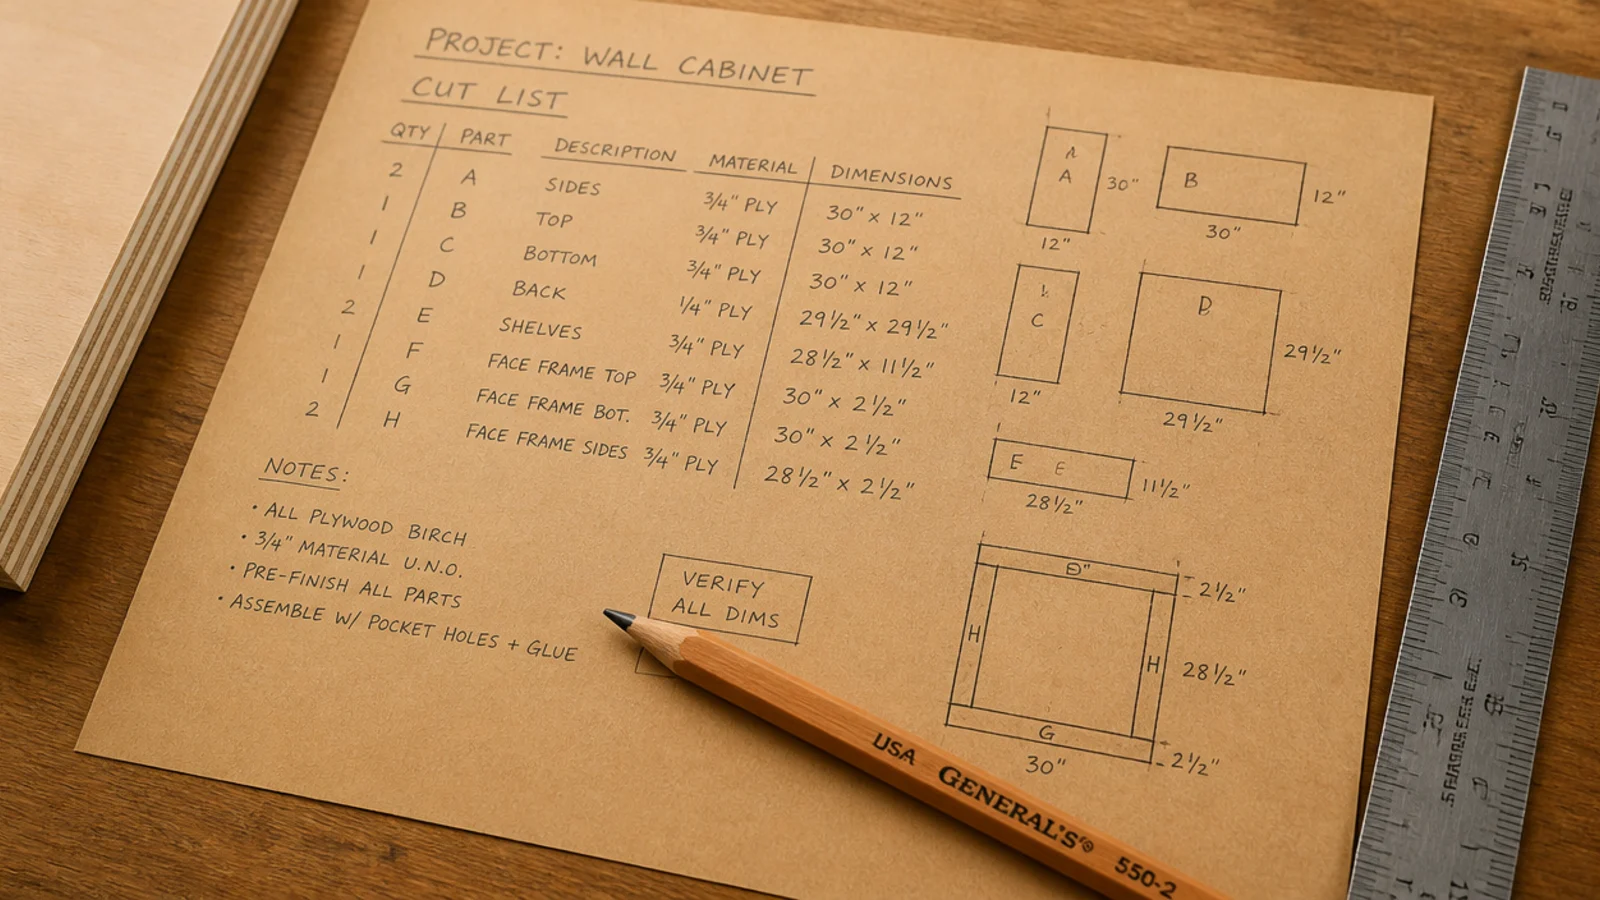
Sketch the cabinet from the front and the side, then write the finished size of every panel next to it. Two sides, a top, a bottom, a back, one fixed middle shelf and your door fronts.
Most home centers will break down a sheet for free or for a couple of dollars a cut. Their panel saw is squarer than a hand-held circular saw, and square panels are what make the box assemble without fighting.
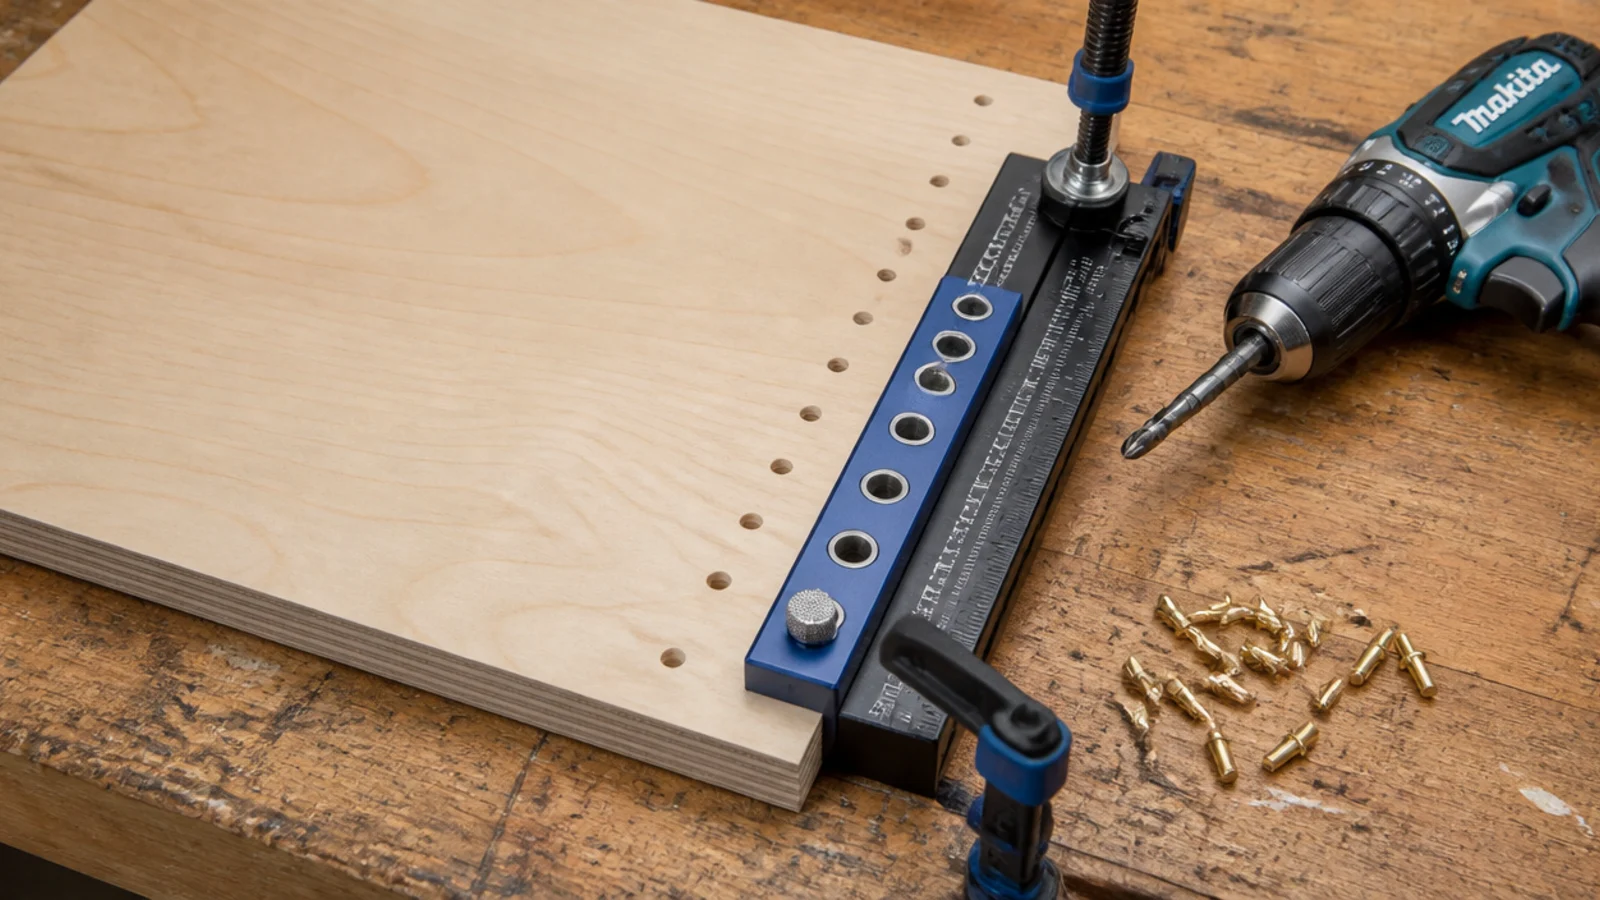
Step 7: Drill the shelf pin holes before assembly
Drill the pin holes while the side panels are still flat on the bench. Doing it inside an assembled box is miserable and inaccurate.
Use a cheap drilling jig and a depth stop so you never break through the outside face. Space the holes 32mm apart in two columns, set 2 inches in from the front and back edges. That spacing lets you drop a shelf to 16 inches of clear height later for boots.
Step 8: Drill the ventilation row in the back panel
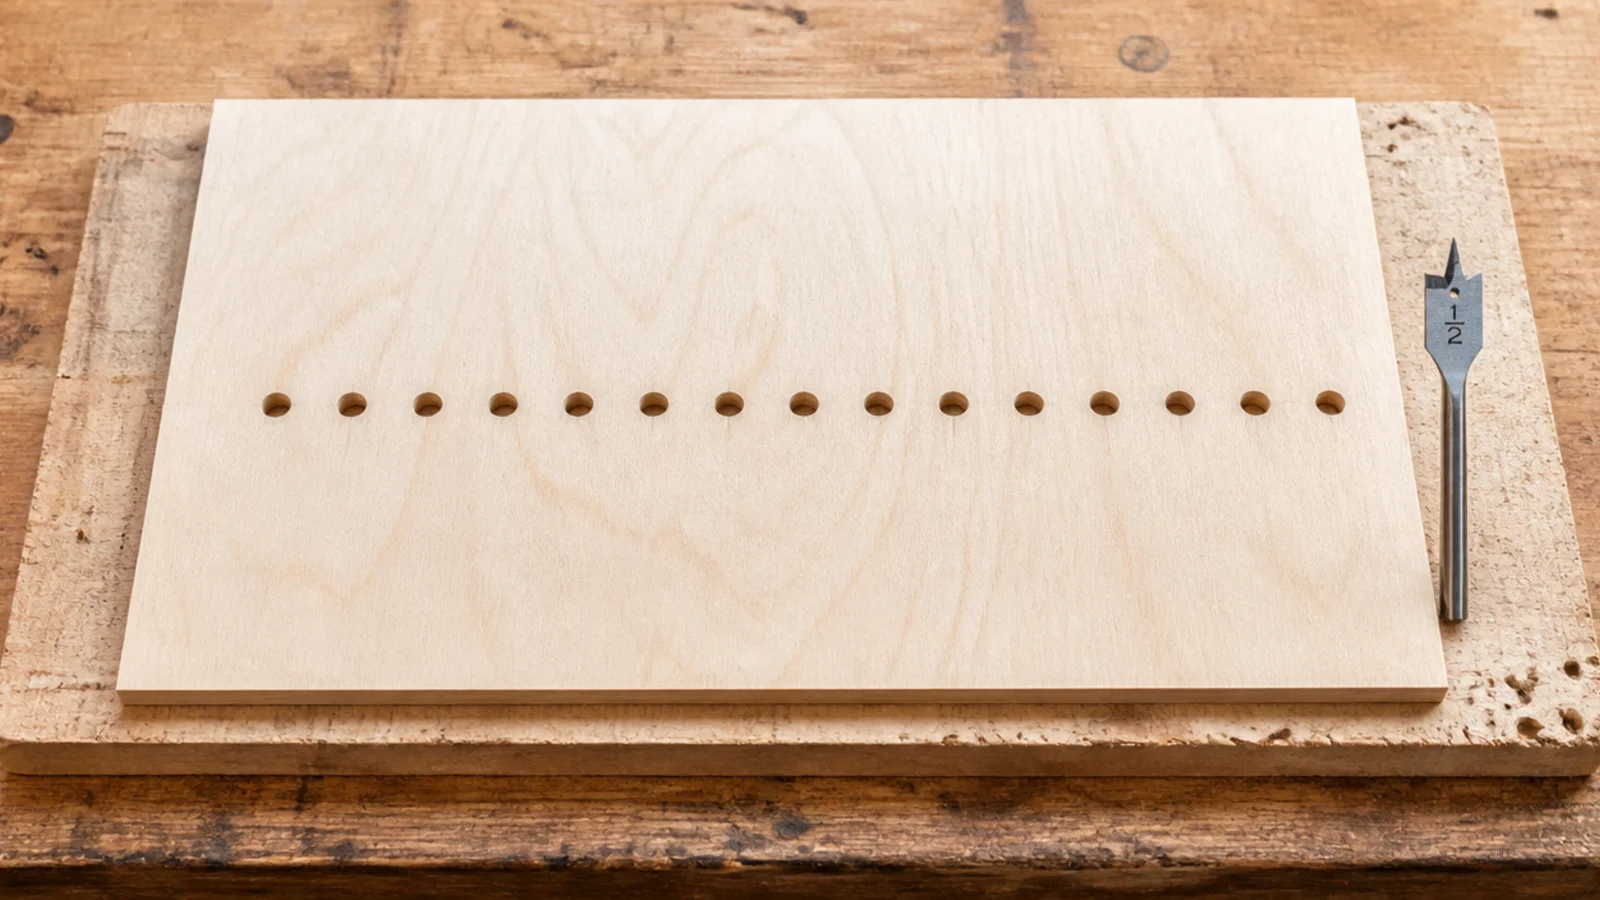
This is the step that separates a cabinet you keep from one you stop opening. Lay the back panel down and drill a horizontal row of half-inch holes, spaced about 4 inches apart, an inch above where each shelf will land.
Back the panel with a scrap board so the exit side does not tear out. A closed box holding damp shoes smells within a fortnight, and these holes are the cheapest insurance in the build.
Step 9: Assemble the carcass square
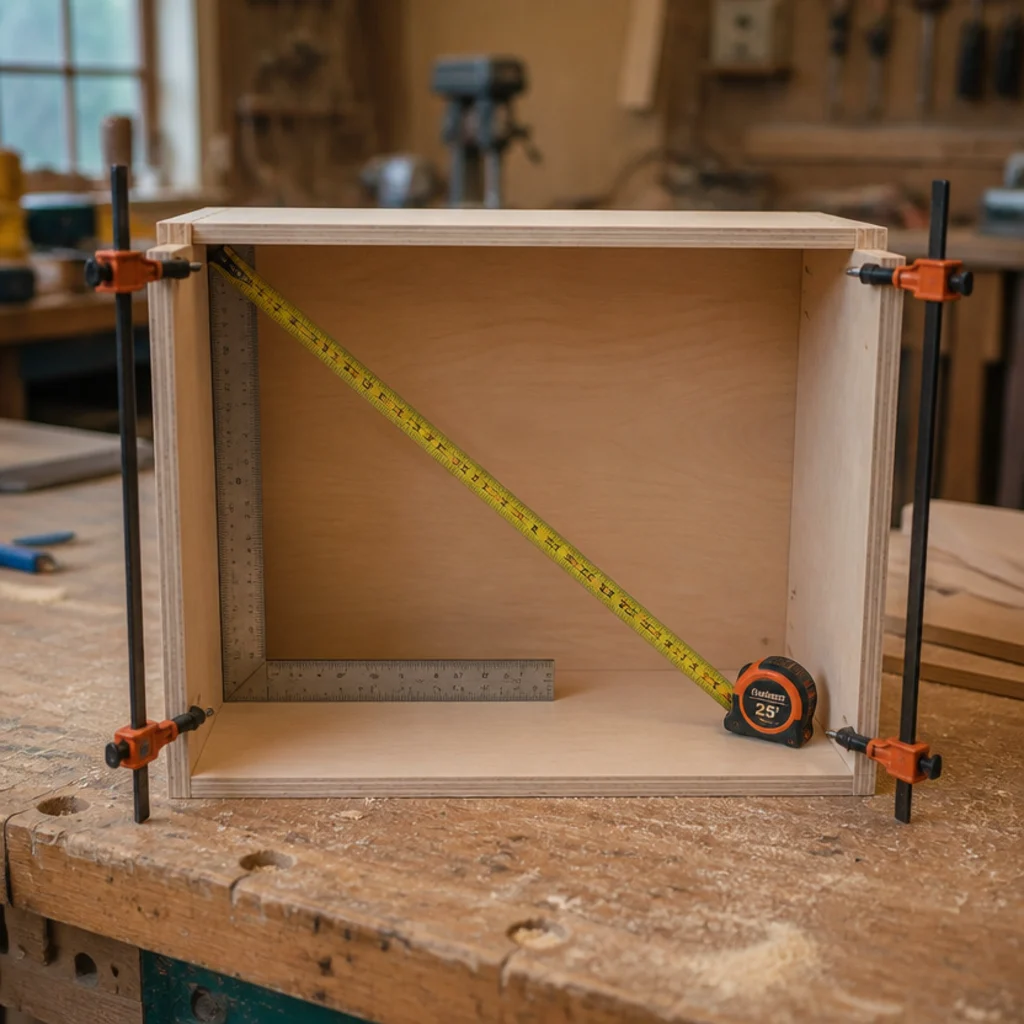
Glue and screw the sides to the top and bottom, then check the diagonals before the glue grabs. Measure corner to corner both ways — the two numbers must match.
If they do not, push the long diagonal gently until they do and clamp it there. A box that dries out of square gives you door gaps that taper, and there is no adjusting your way out of that later.
Step 10: Fit the back panel and check for twist
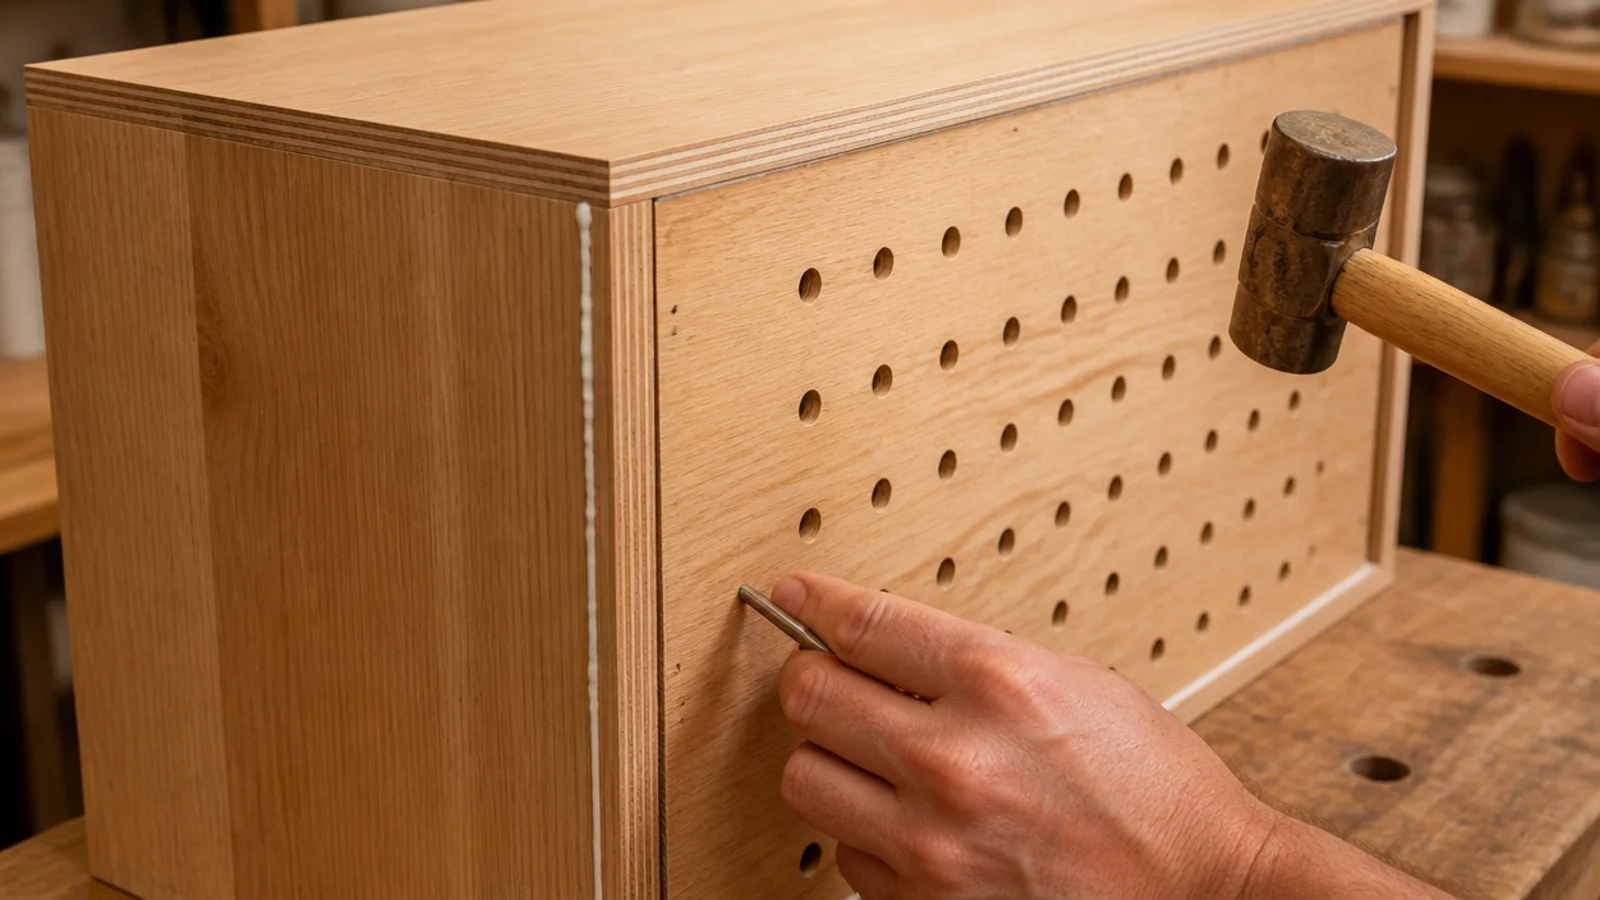
The thin back panel is doing structural work: it is what stops the box racking. Glue and pin it into a rebate or straight onto the rear edges, working from one corner outward.
Then lay the carcass face down on a flat floor and press each corner. If one lifts, the box has a twist in it, and now — before the doors go on — is the only easy time to correct it with a clamp.
Step 11: Cut and fit the doors or tilt-out fronts
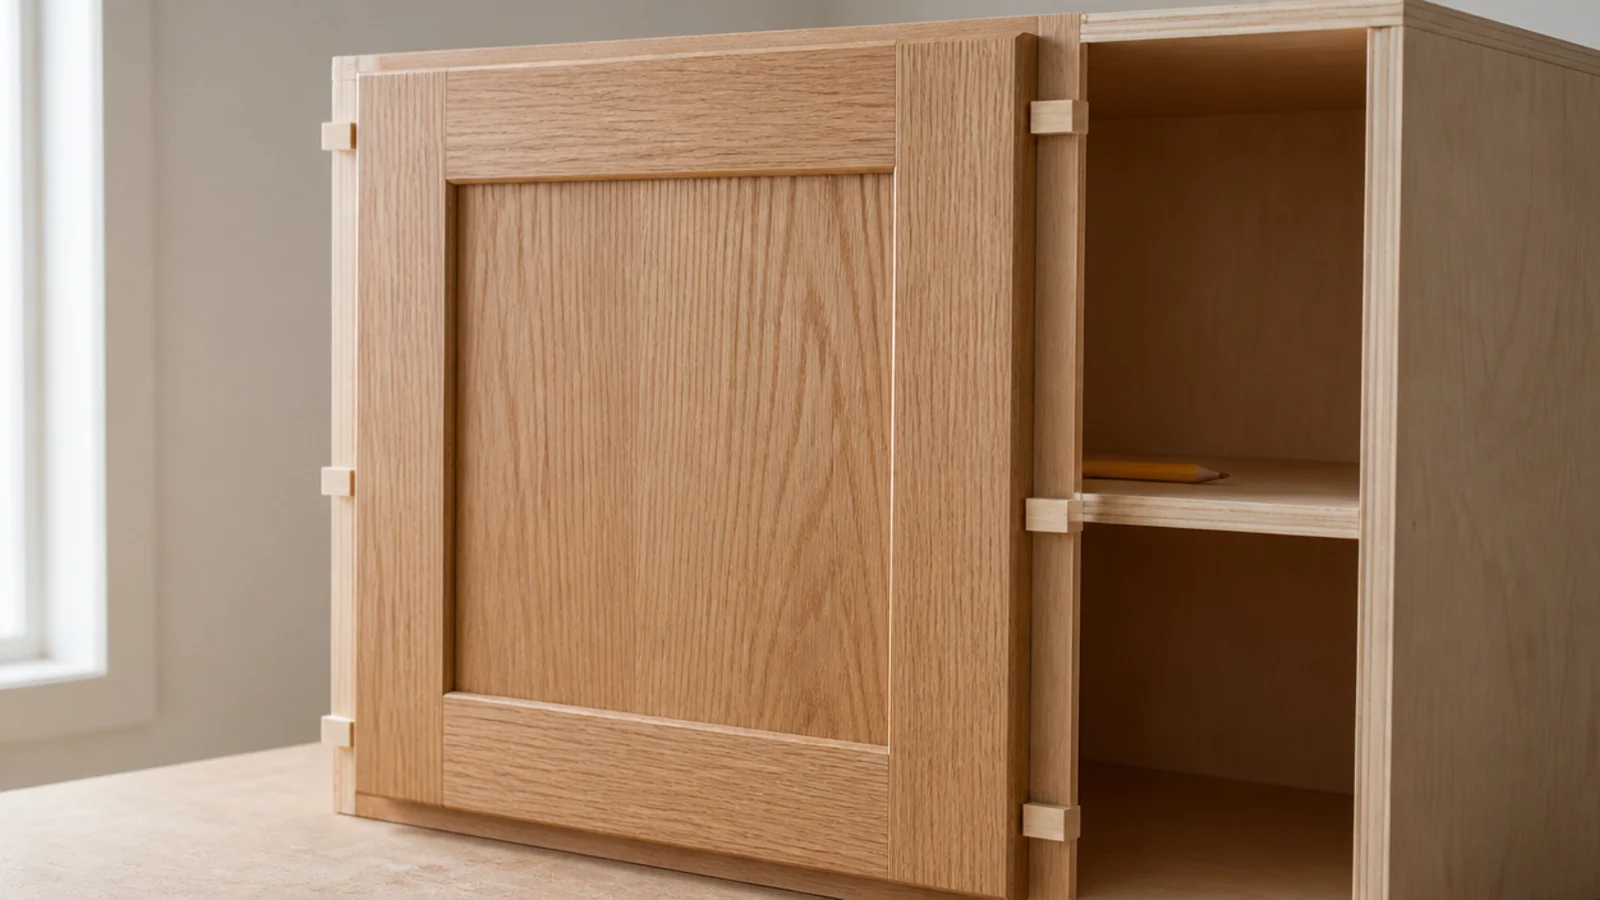
Cut the fronts about 2mm smaller than the opening on every side. That reveal is what makes gaps look deliberate rather than accidental.
Hold each front in place with small shims and stand back. Wooden fronts want their grain running vertically on a tall door and horizontally across a wide one, and a matched pair reads far more expensive than two unrelated boards. The wooden shoe cabinet guide covers grain matching properly.
Step 12: Install soft-close hinges
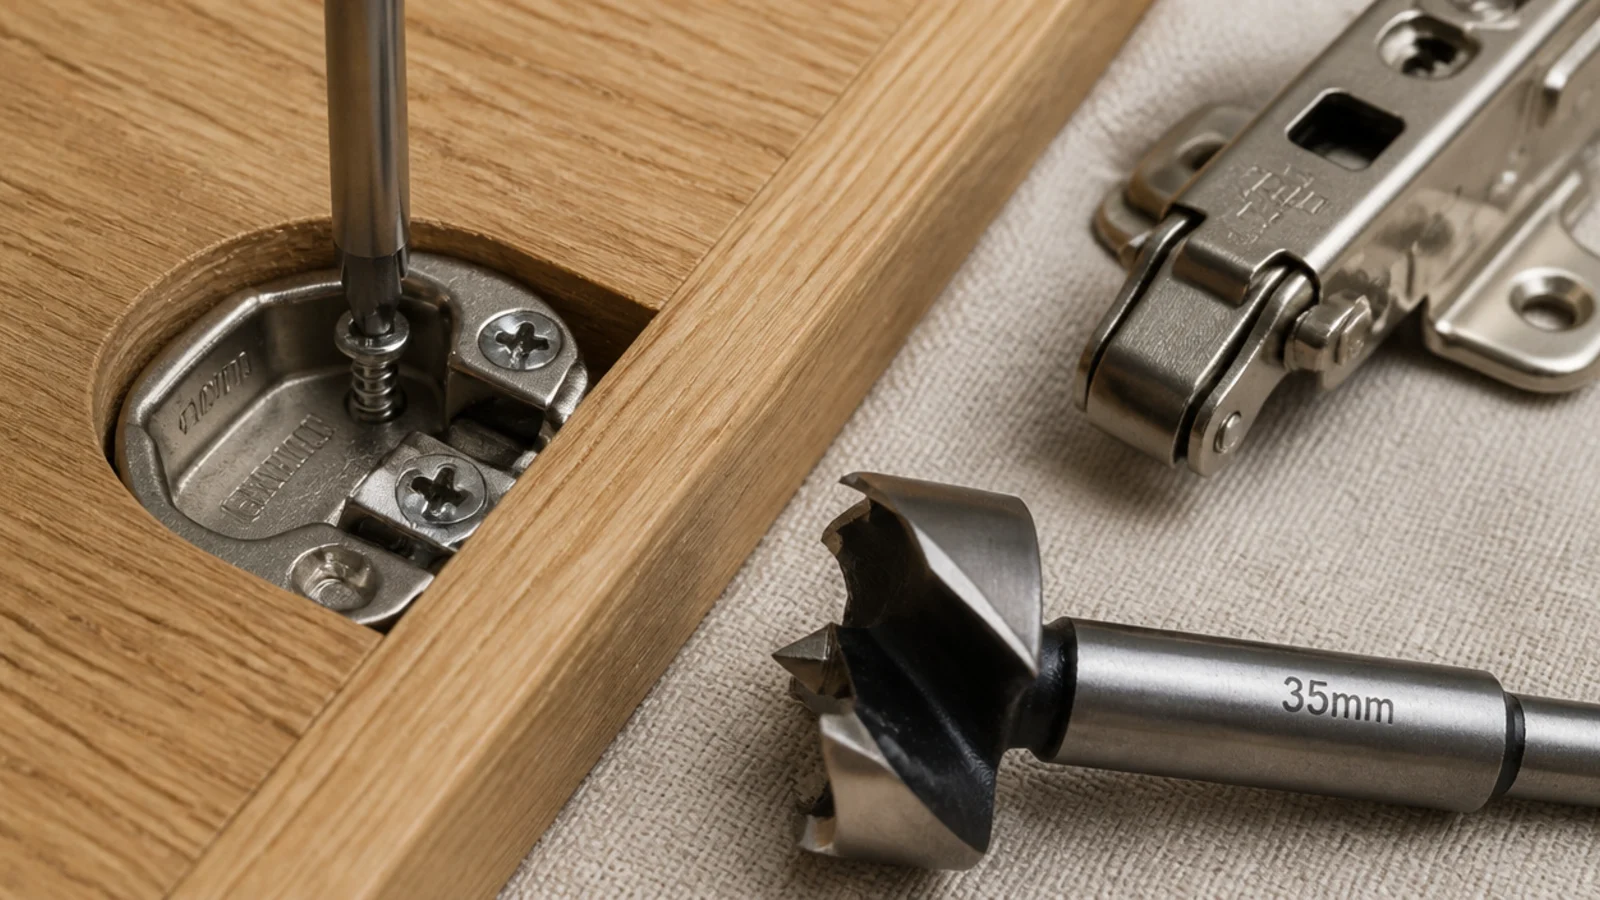
Bore the 35mm hinge cups 3 to 4mm in from the door edge with a forstner bit and a depth stop, two per door up to 30 inches tall and three above that.
Soft-close matters more on a shoe cabinet than anywhere else in the house, because these doors get shut with a foot every single day. A pair costs about $8 and it is the difference between a build that survives and one that rattles loose by next winter.
Step 13: Adjust the doors until the gaps are even
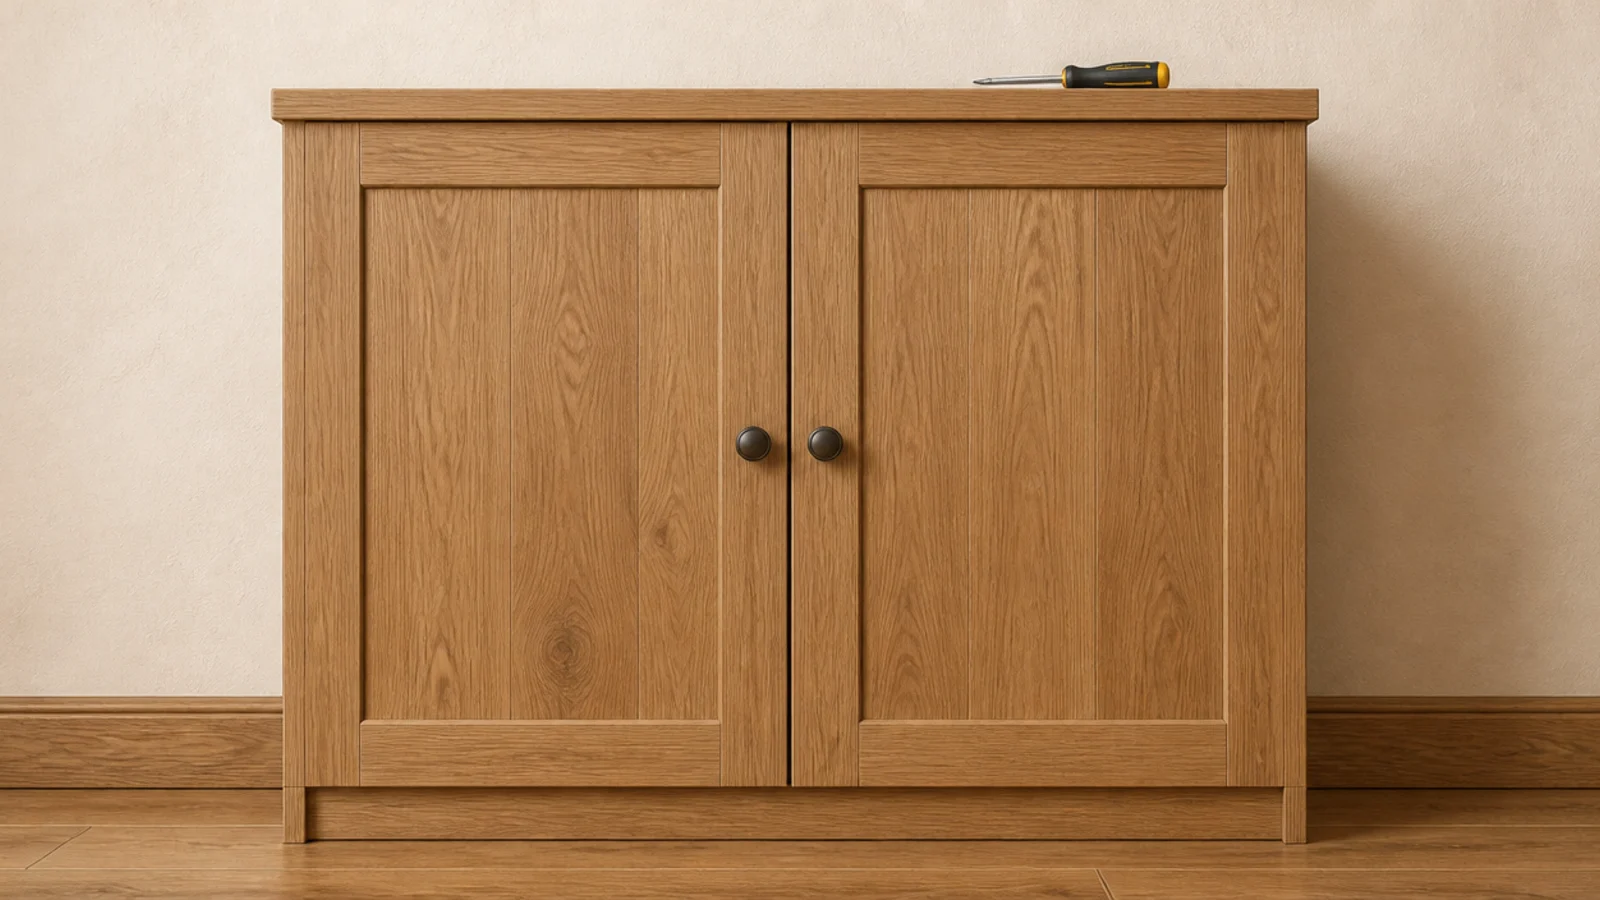
Concealed hinges adjust three ways: in and out, side to side, and up and down. Three screws, and each one does a different job.
Close both doors and look at the vertical gap between them from a few feet back. Adjust the side-to-side screw a quarter turn at a time. Ten minutes here is what makes a homemade cabinet stop looking homemade.
Step 14: Build the tilt-out cradle at 45 degrees
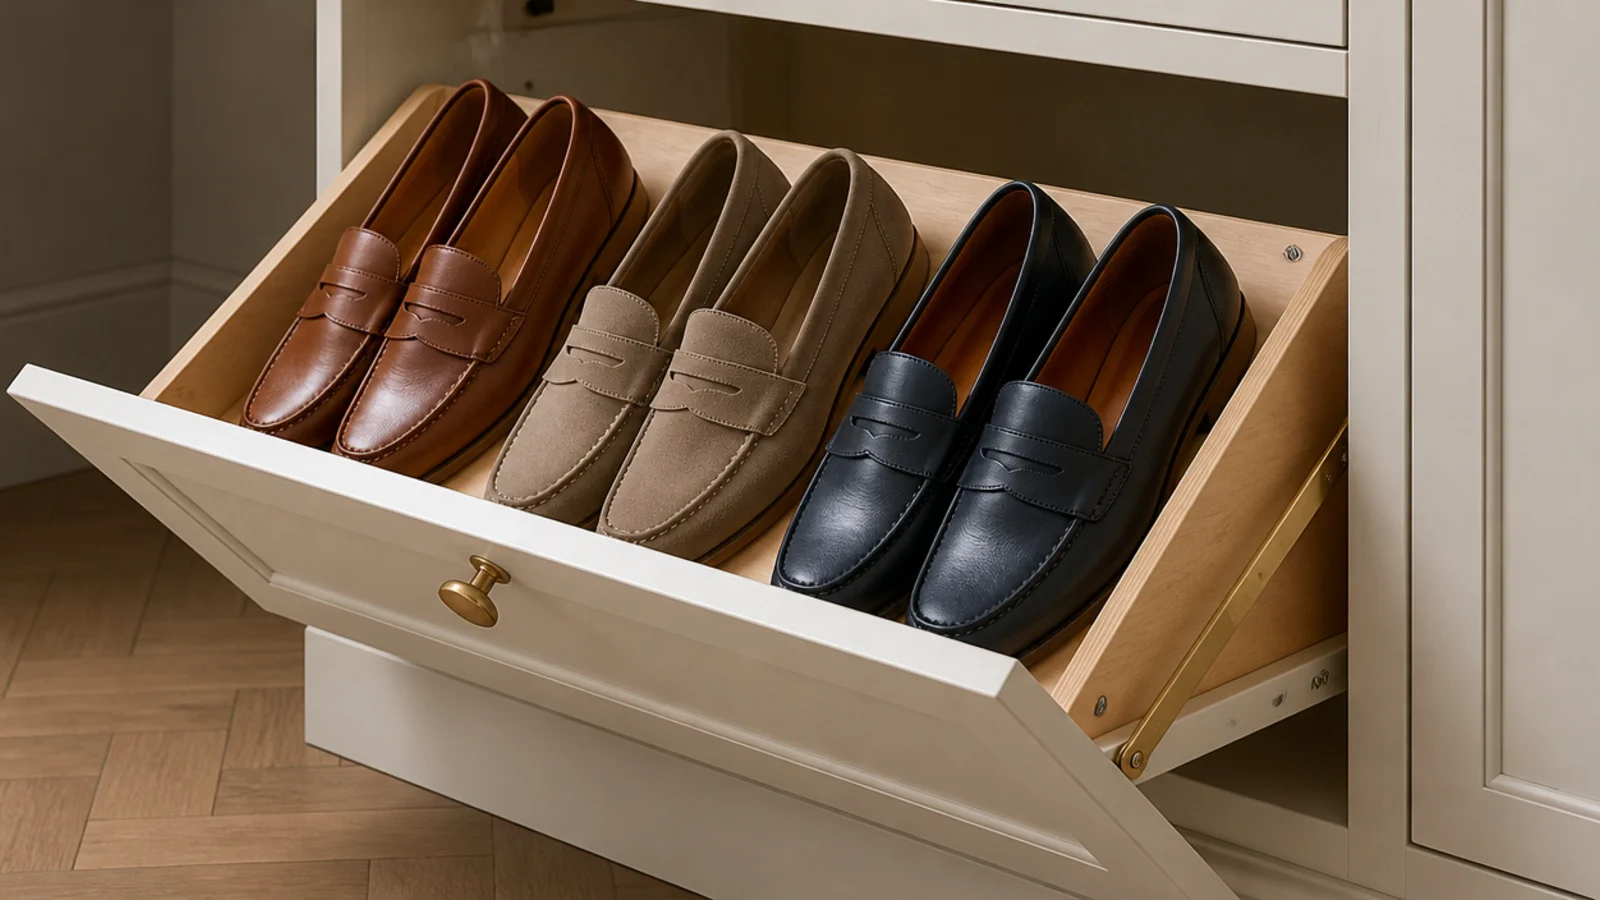
If you chose the shallow route, the cradle is the whole trick. Cut two plywood side profiles with a 45-degree slope, join them with a front panel and a base strip, and hinge the assembly at the bottom of the front.
Add a metal stay arm so the front stops at about 60 degrees rather than falling all the way open. Each cradle holds six to eight pairs of flats. Boots will not fold into it and will jam the front.
Step 15: Add a toe kick and levelling feet
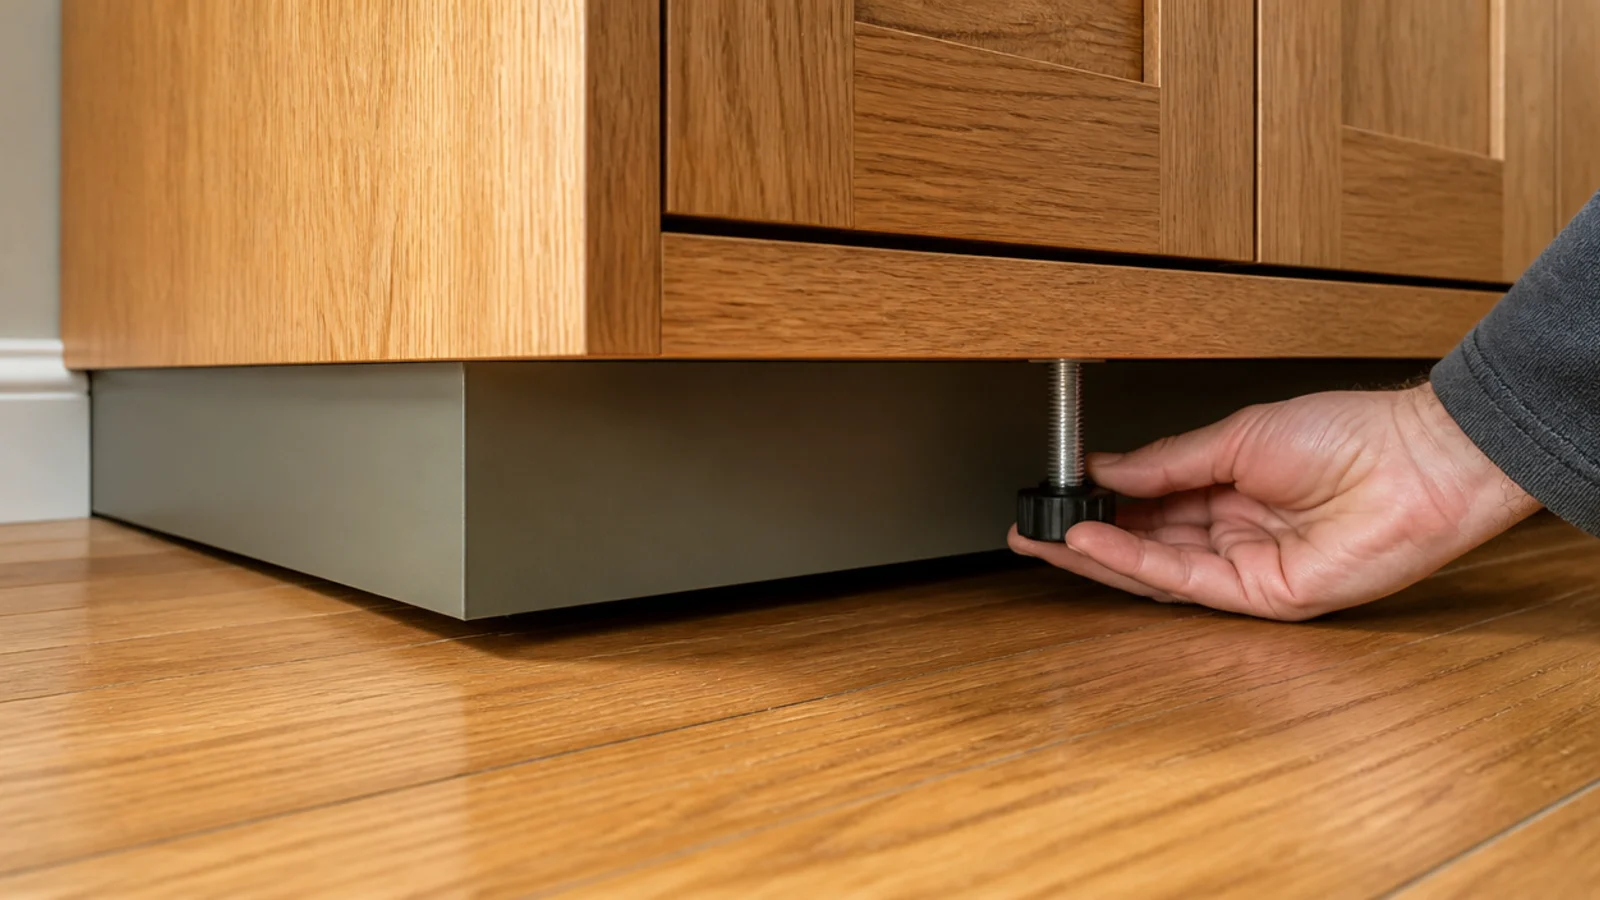
Recess the base 3 inches back from the front face and the cabinet immediately reads as built-in rather than freestanding. It also stops you kicking the bottom edge every time you stand close.
Fit four threaded adjustable feet through a plywood mounting plate, never straight into a particleboard base. Hallway floors are rarely level, and a cabinet that rocks will never hold its door alignment.
Step 16: Sand and break every edge
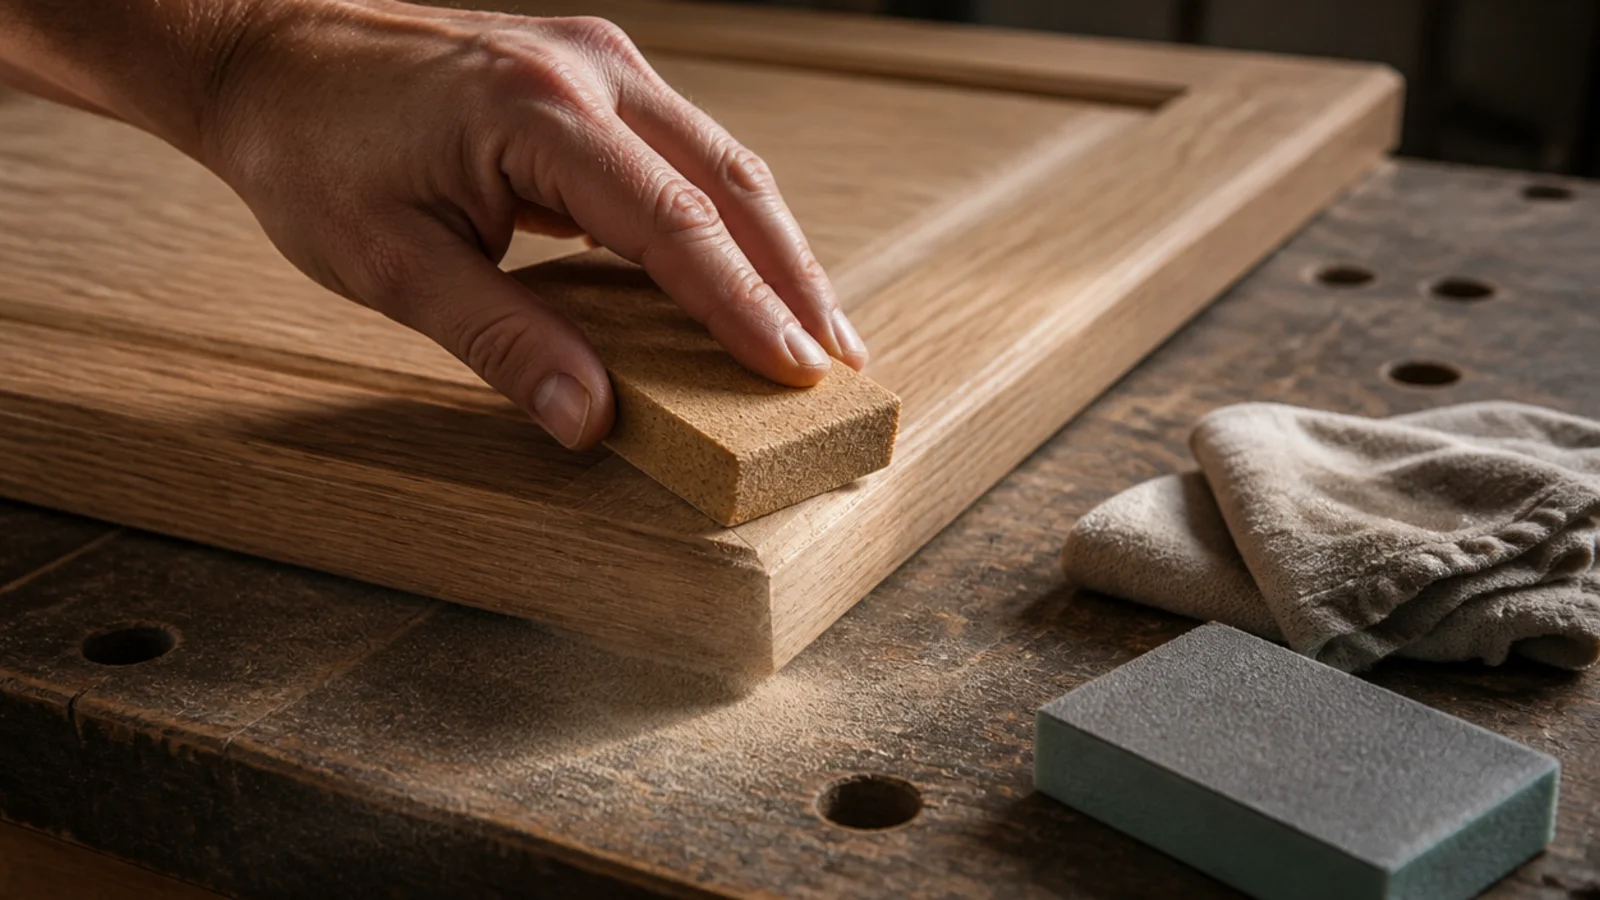
Sand the faces at 120 then 220, always with the grain. Then run 220 along every exposed edge at 45 degrees, about ten passes, until the edge feels rounded under your thumb.
Sharp machine edges read as raw sheet goods. A softened edge reads as furniture. This costs two minutes per panel and it is the highest-value thing you will do all weekend.
Step 17: Finish inside and out
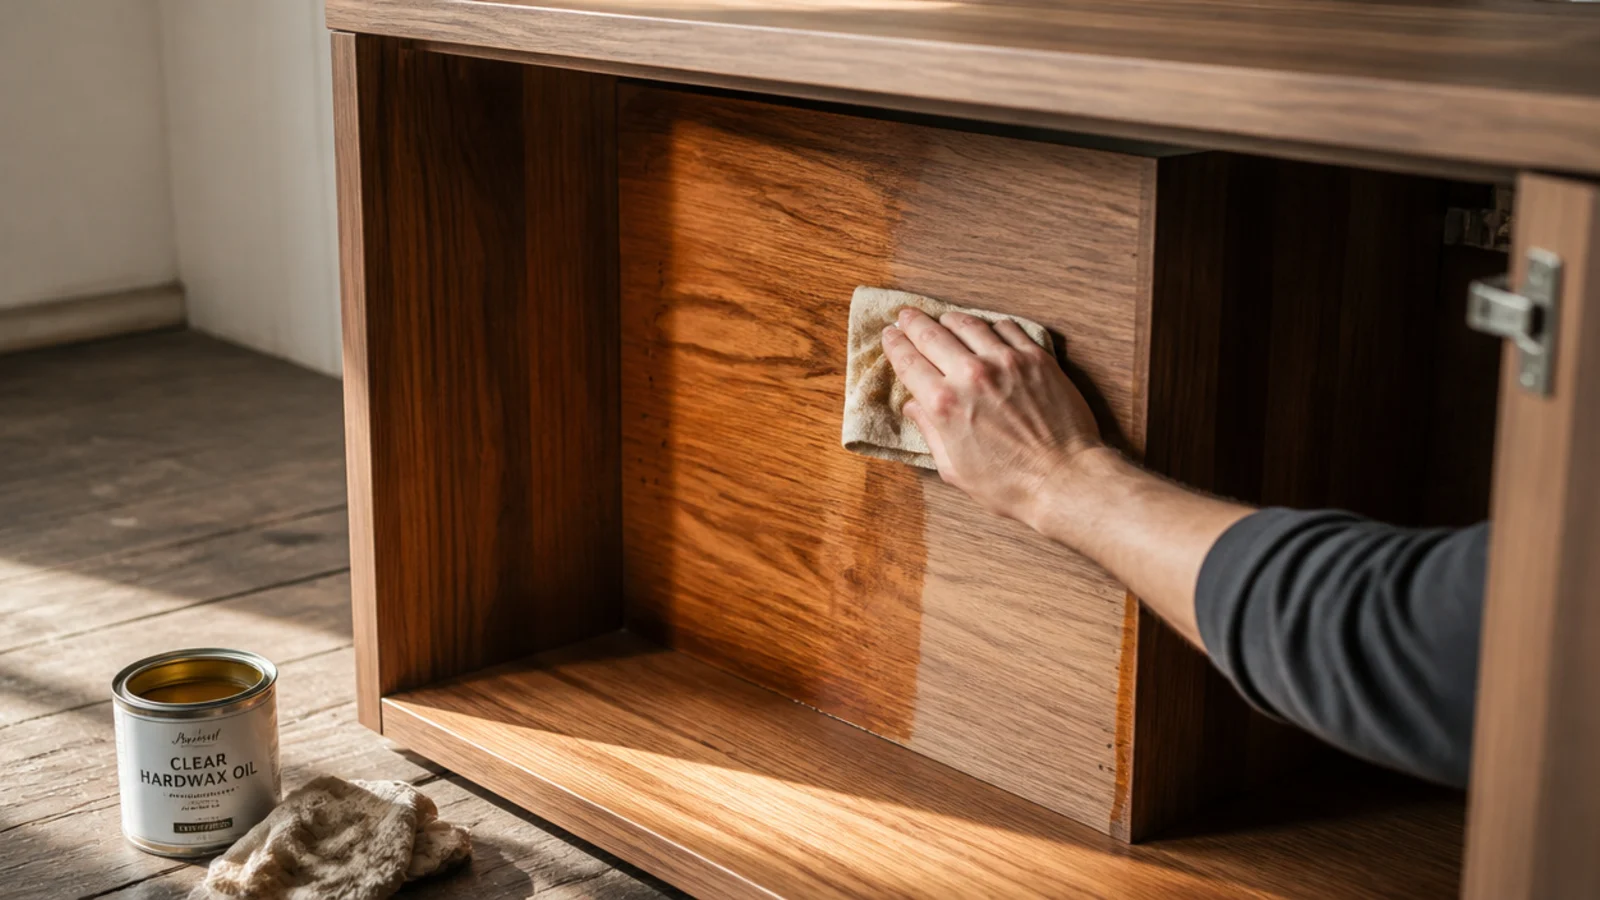
Coat the interior as thoroughly as the exterior. An unsealed inside face absorbs moisture from shoes, cups over a season and holds smell in the grain permanently.
Two thin coats of hardwax oil, or a bonding primer and two coats of satin cabinet paint. Let the final coat cure overnight before the doors touch the carcass — a soft finish will stick and tear where the door meets the frame.
Step 18: Anchor the cabinet to the wall
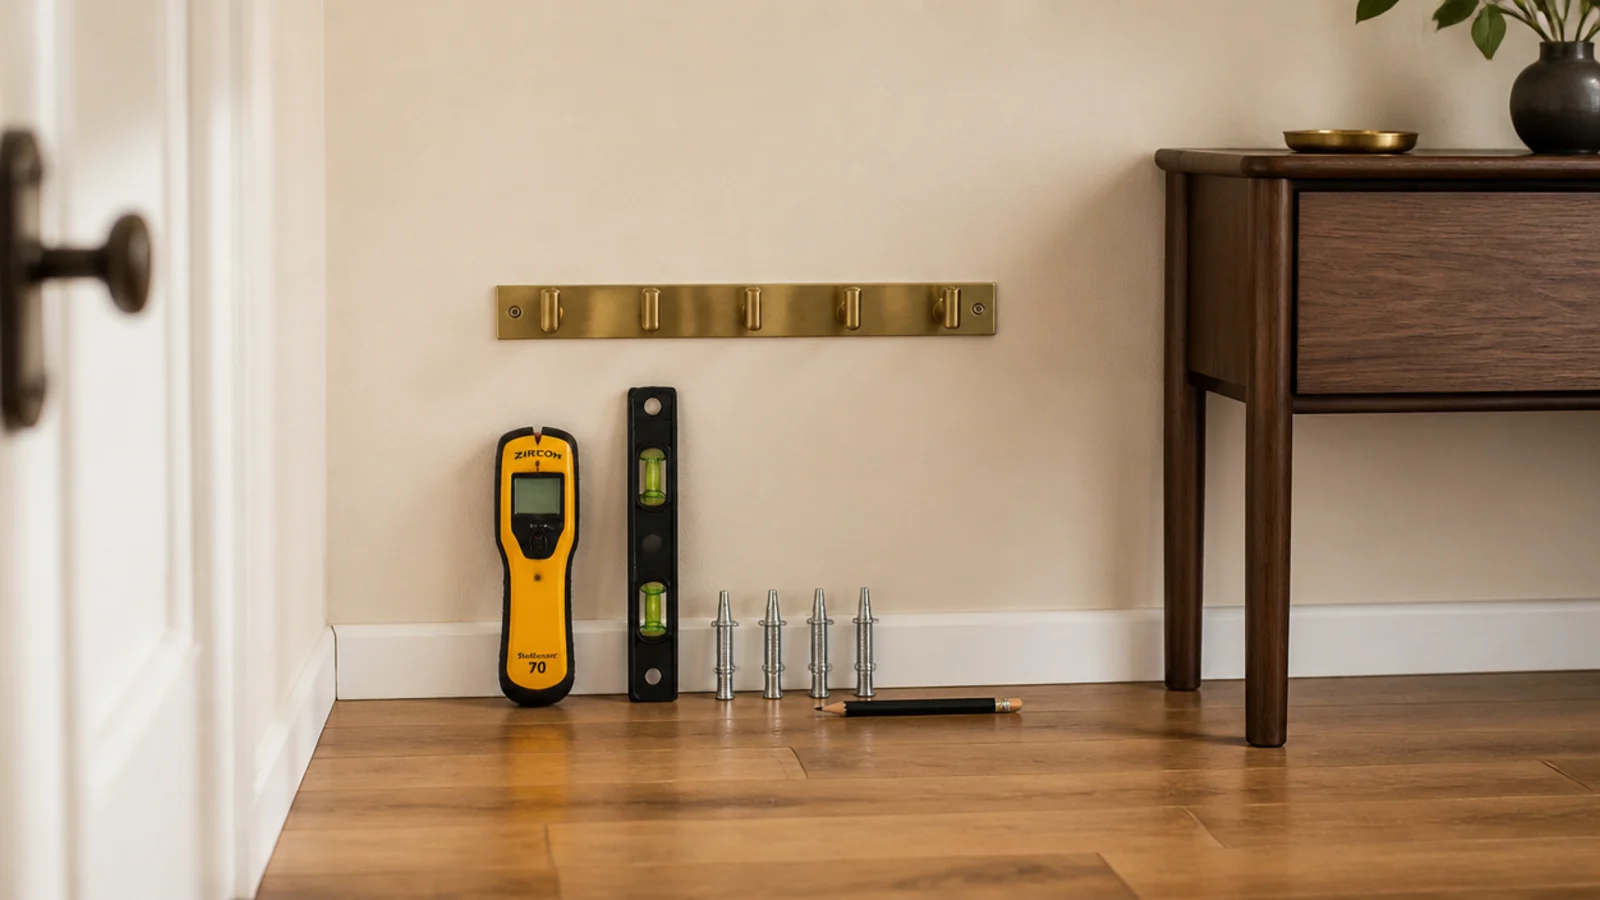
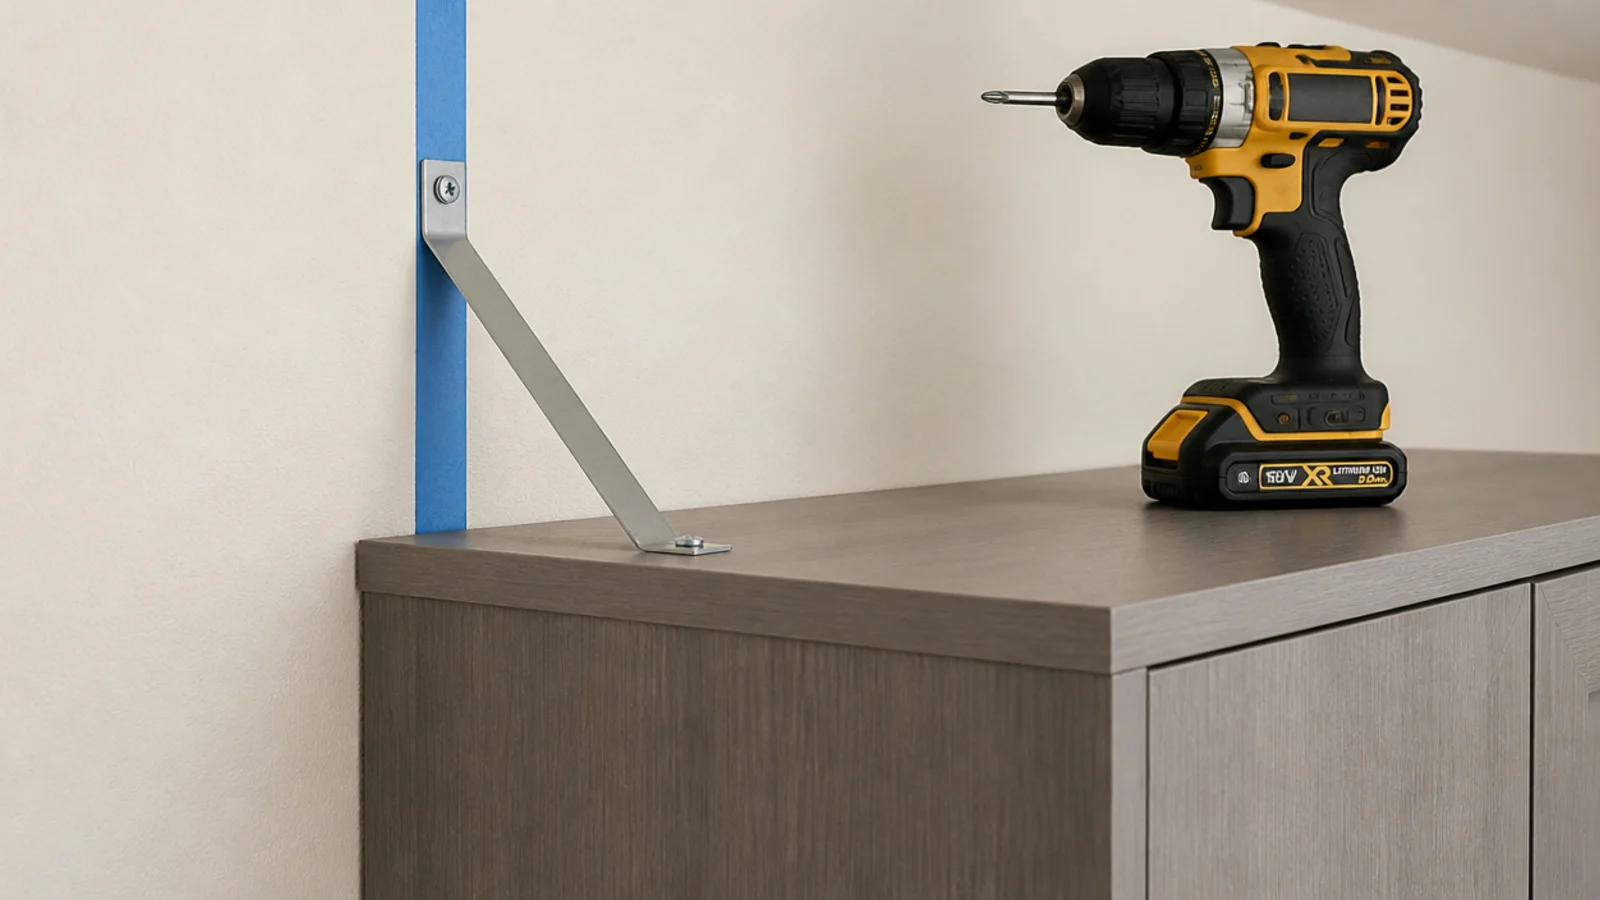
Anything over 40 inches tall gets strapped to a stud. Shoe cabinets are shallow, which makes their footprint narrow, and a tilt-out front hanging open pulls the weight forward.
Find the stud, mark it with painter's tape, and drive a 2.5-inch screw through the strap into solid timber. Two screws and ten minutes. Renters: one hole, filled with a dab of filler on the way out.
Step 19: Line the bays and set the trays
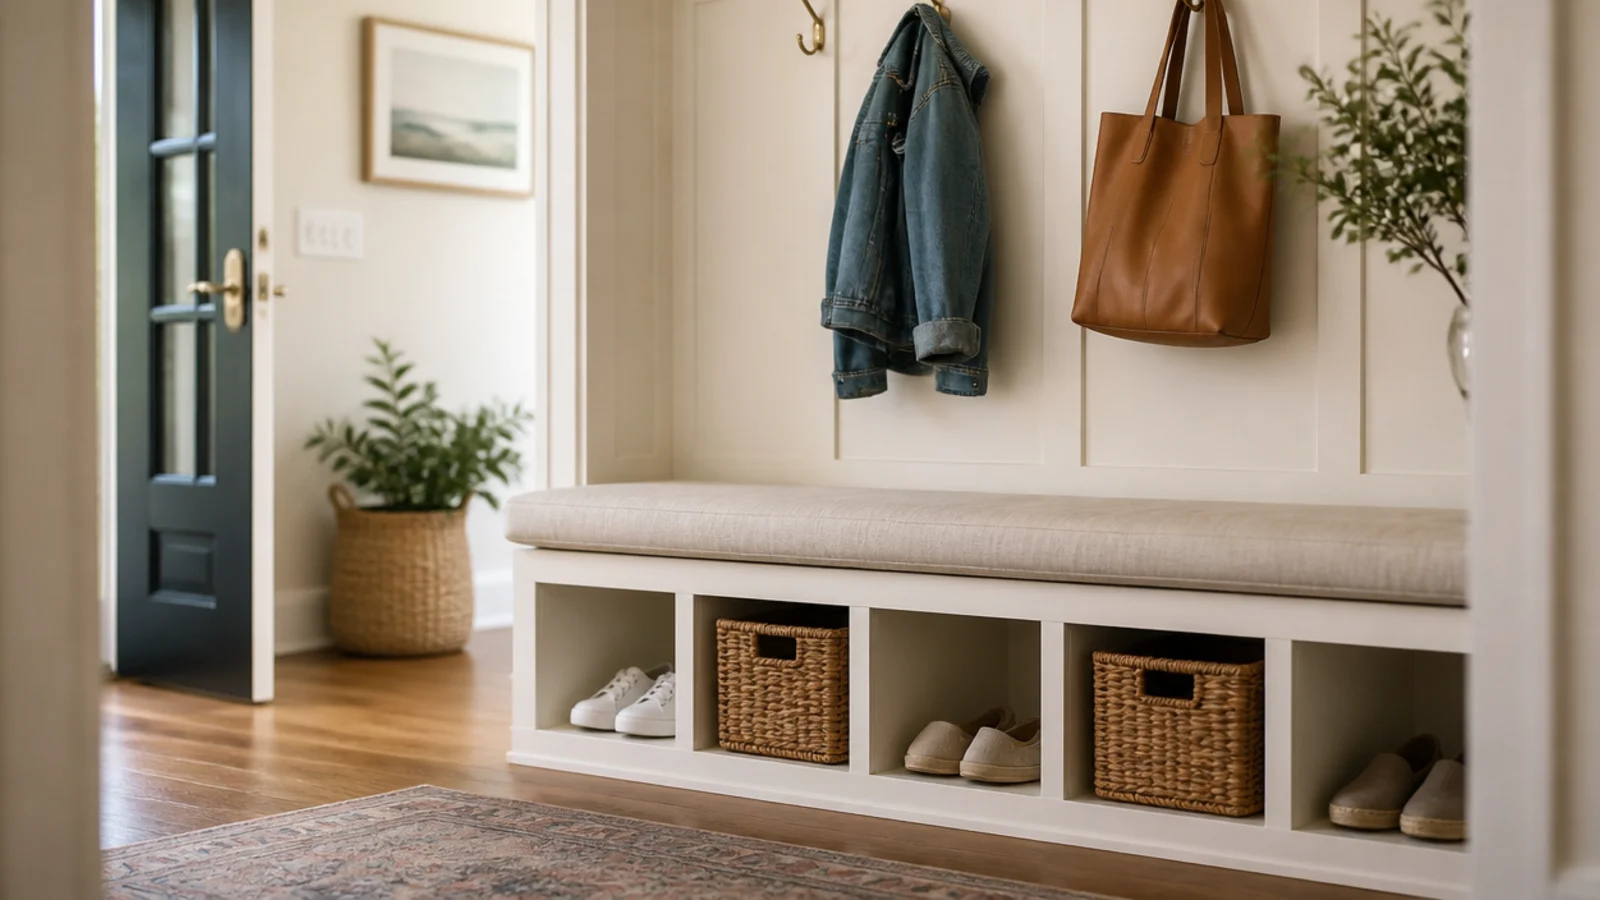
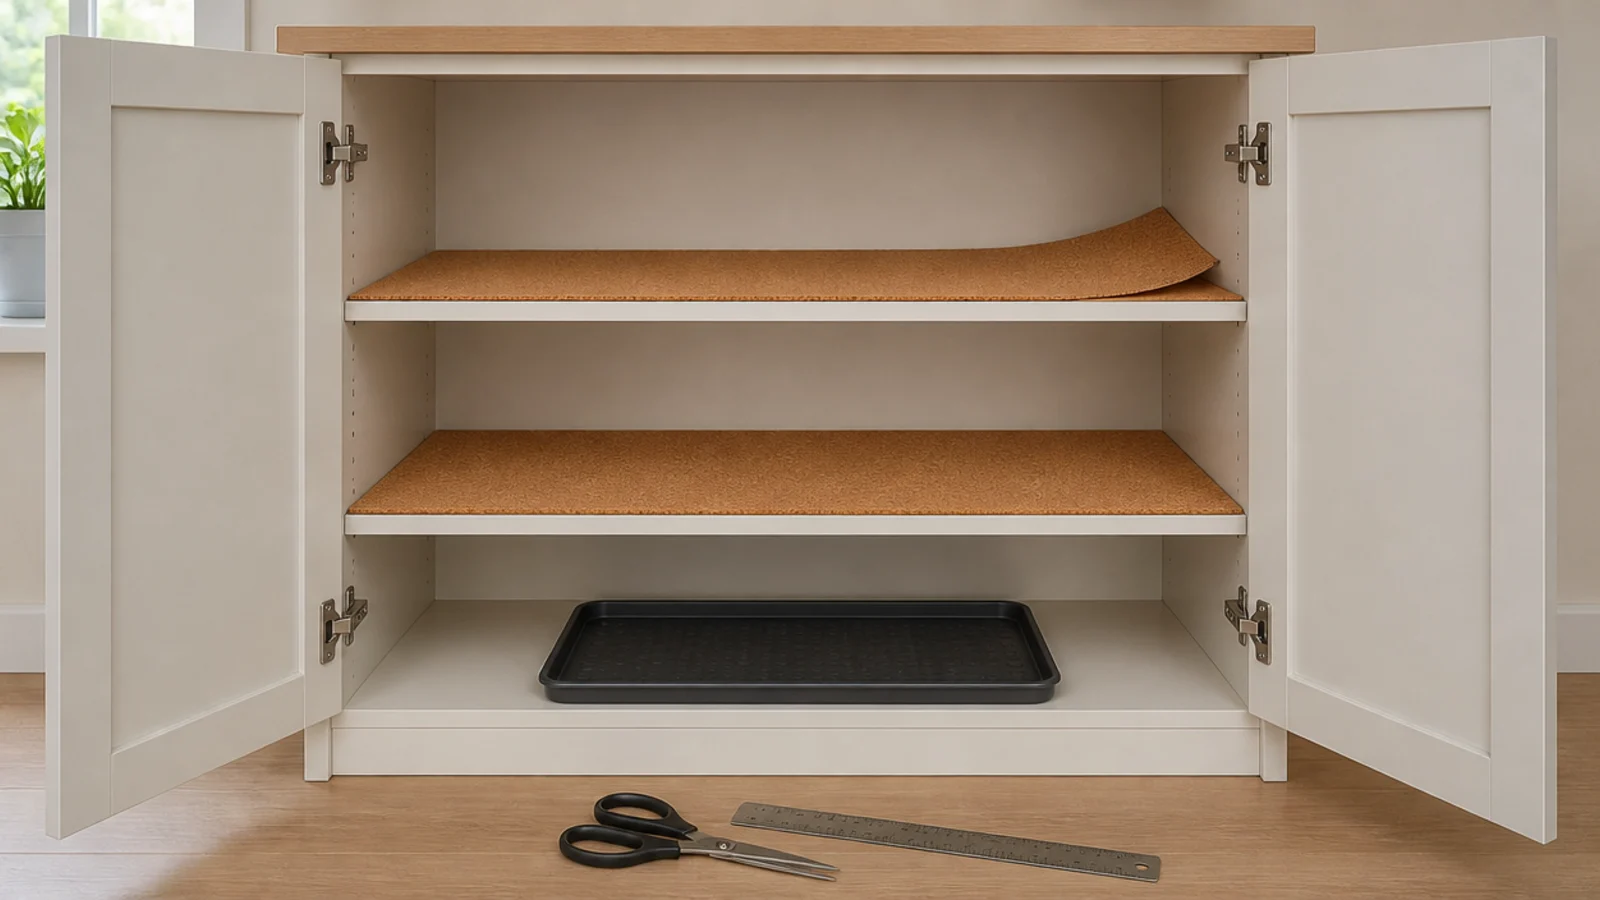
Cut cork or washable rubber matting to fit each bay. Grit from the street scratches a finished interior within weeks, and a liner lifts out and rinses in the sink twice a year.
Then put a raised-lip tray on the floor beside the cabinet for wet pairs. Nothing damp goes inside, ever — it stays damp, transfers moisture to everything around it, and undoes all the ventilation work from Step 8.
Step 20: Style the top and live with it for a week
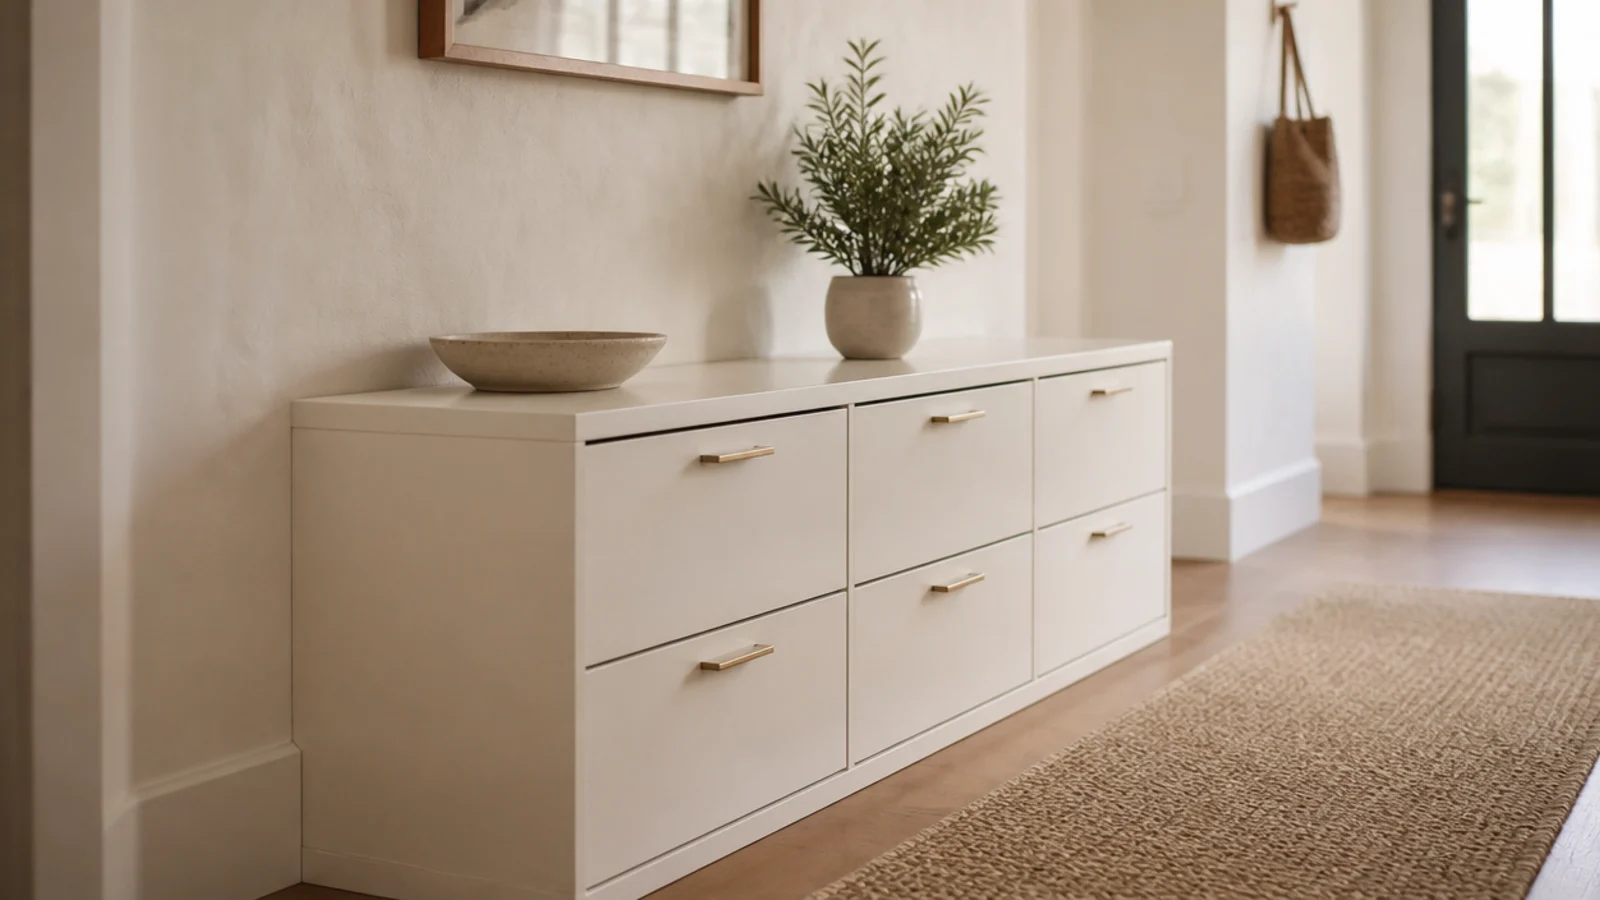
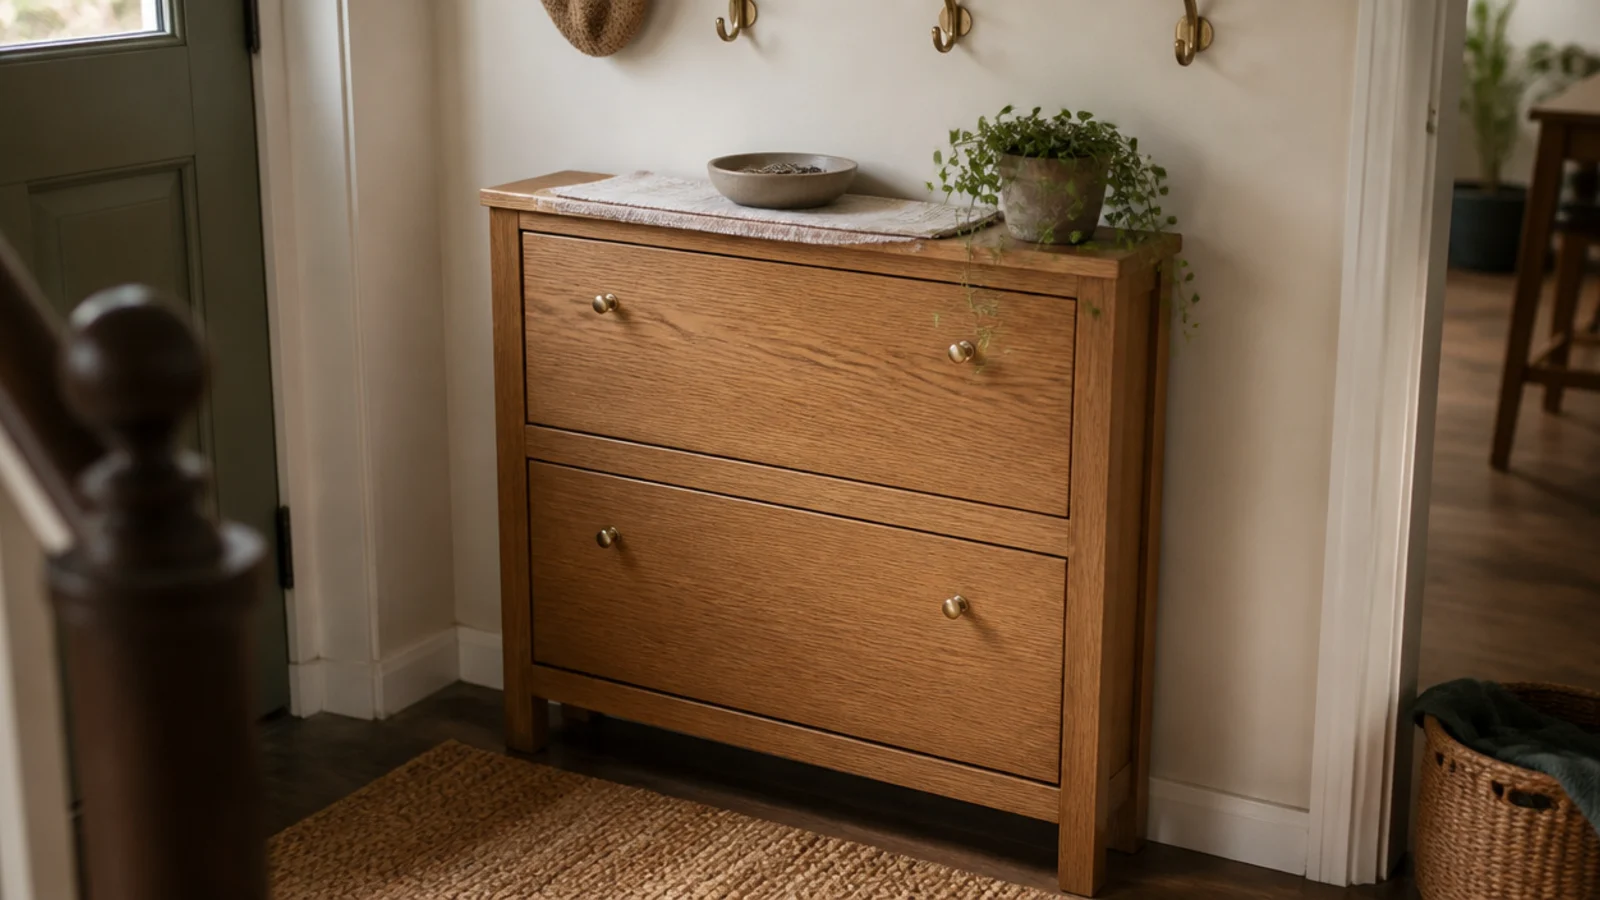
Three objects on top, no more: a shallow bowl for keys, one small plant and something soft like a folded runner. A hallway surface with more than that becomes where mail lands.
Then leave it alone for seven days and notice what you actually use. Almost every cabinet top I style is better a week later with one fewer object on it.
Pro Styling Rules
Mistakes to Skip
- Building to external depth. Subtract the door and back panel first, or an adult sneaker will not lie flat on your finished shelves.
- Skipping the ventilation row because the cabinet looks nice without it. Damp air with nowhere to go means the whole box smells inside two weeks.
- Fitting standard sprung hinges to save eight dollars. A door shut with a foot twice a day works those hinges loose long before the cabinet wears out.
Frequently asked questions
What material should I build a shoe cabinet from?
Three-quarter inch birch plywood for the carcass and solid poplar or oak for the door fronts. Plywood holds a screw far better than particleboard and will not sag across a 30-inch shelf loaded with boots. Melamine-faced board is the budget option and wipes clean, but the edges chip and it needs iron-on banding.
How deep should a homemade shoe cabinet be inside?
Thirteen inches of clear internal depth for flat shelves, because a men's size 12 sneaker is about 12.5 inches long. If your walkway cannot spare that, build a tilt-out instead: shoes sit at 45 degrees in the cradle and the whole cabinet fits in 9 inches of depth. Measure the largest shoe in the house first.
How do I stop a closed shoe cabinet from smelling?
Ventilate it during the build, not afterwards. Drill a row of half-inch holes through the back panel, roughly 4 inches apart and an inch above each shelf line, and leave the toe kick open. Without moving air, a closed box holding damp shoes smells within a fortnight. Wet pairs still belong on a tray outside the cabinet.
What hinges should I use on a shoe cabinet door?
Concealed European hinges with a soft-close mechanism, two per door up to 30 inches tall and three above that. These doors get shut with a foot every day, and standard sprung hinges rattle loose inside a year. Soft-close pairs cost about $8 and they are the difference between a build that lasts and one that annoys you.
How long does it take to build a shoe cabinet?
One weekend for a first build. Cutting and drilling take a morning, assembly and hinges take an afternoon, and the finish needs to cure overnight before you fit the doors properly. Anchoring and styling is another hour on day two. Having the sheet goods cut to size at the store saves roughly three hours.
Build the carcass first and live with it doorless for a few days — you will learn exactly where the boot bay needs to be before you commit to hinges. If the walkway will not spare the depth, slim shoe cabinet options go narrower, entryway shoe cabinet setups cover ready-made alternatives, and the DIY shoe storage build uses the same anchors for open shelving. Save the pin so the cut list is with you at the lumber counter.
Want more like this? Browse all 15 shoe cabinet ideas guides — they all use the same measurements and budget tiers.
Pin it for later
Save this to your Shoe Cabinet Ideas board
Pin it now so it is waiting for you when the tape measure comes out — and so the next person hunting for this idea can find it too.
Save this pinKeep going
More ideas worth saving while you have the tape measure out.